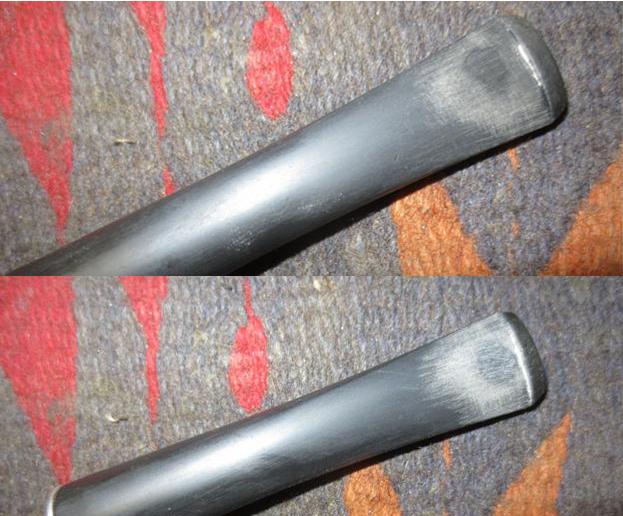
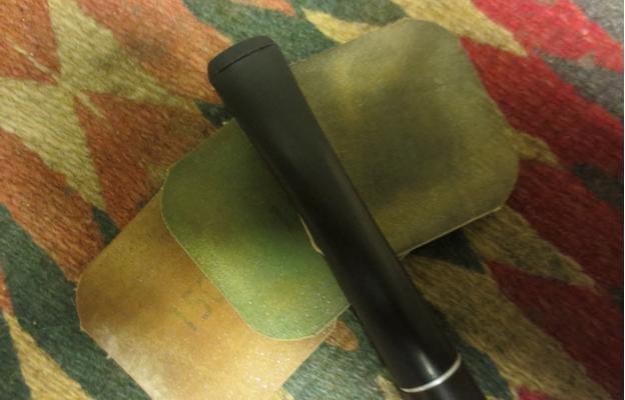
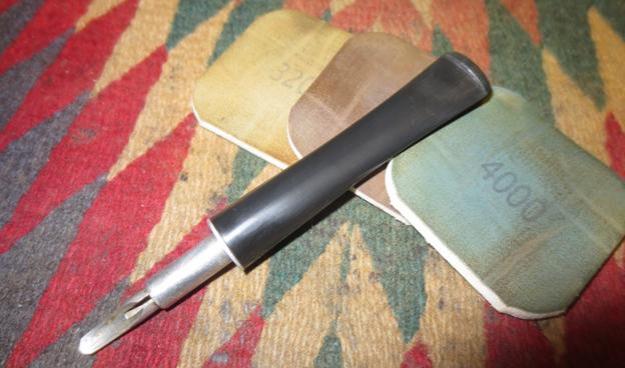
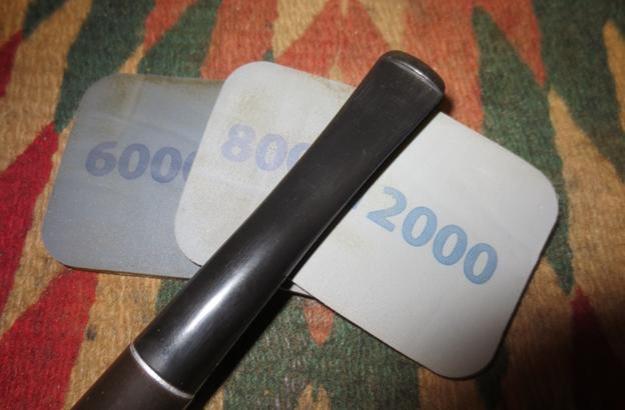
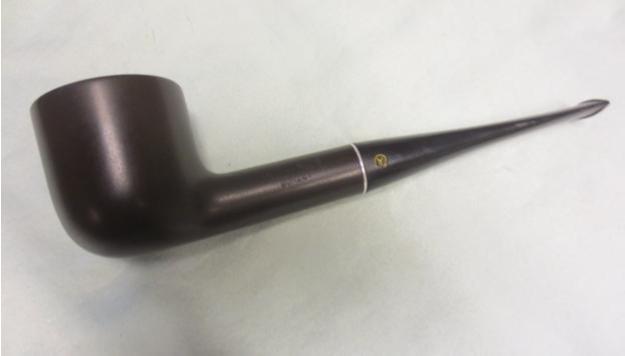
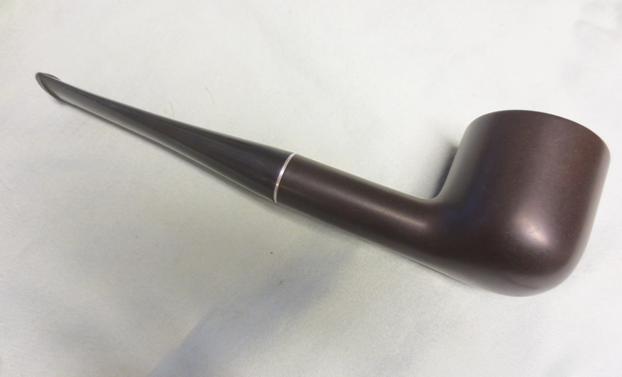
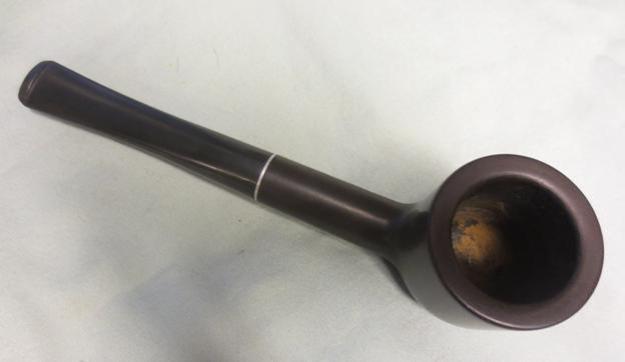
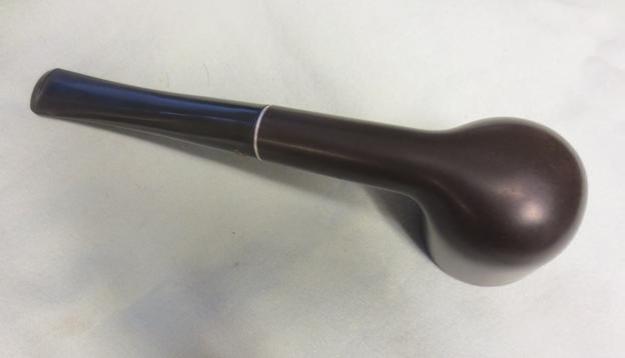
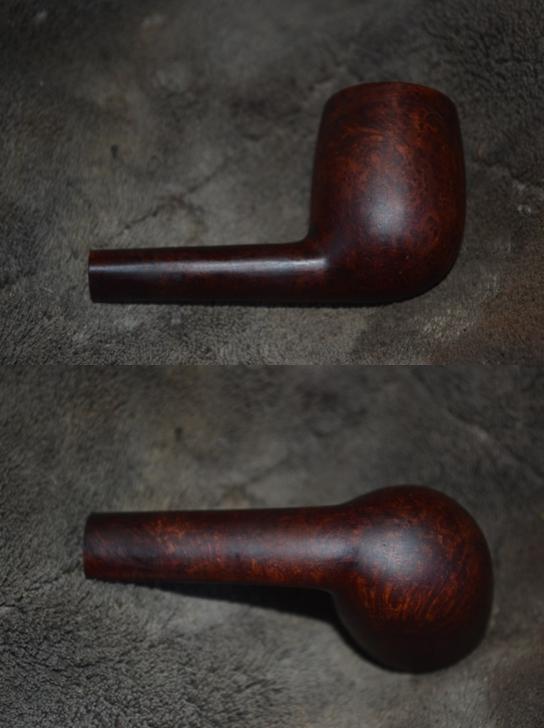
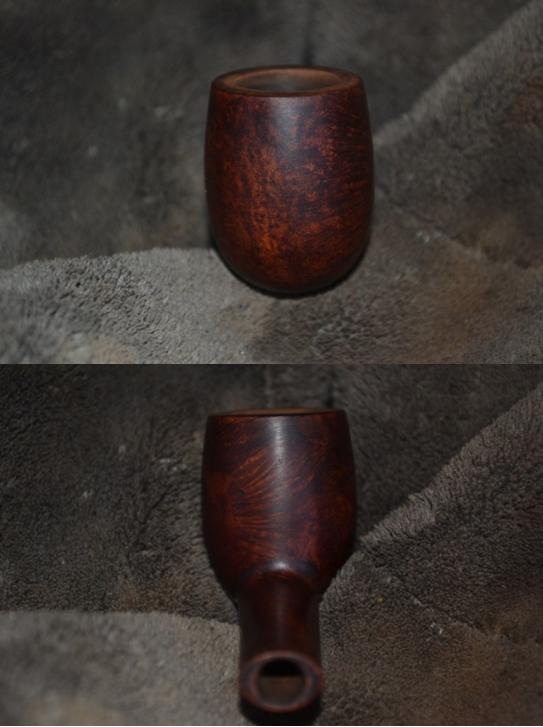
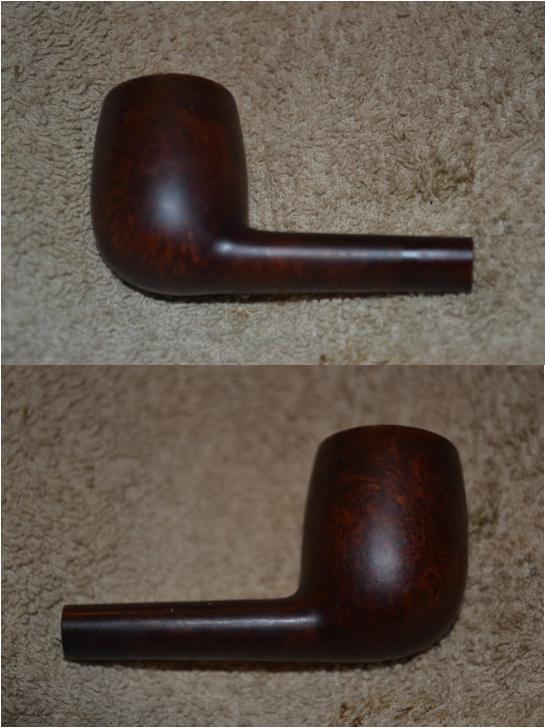
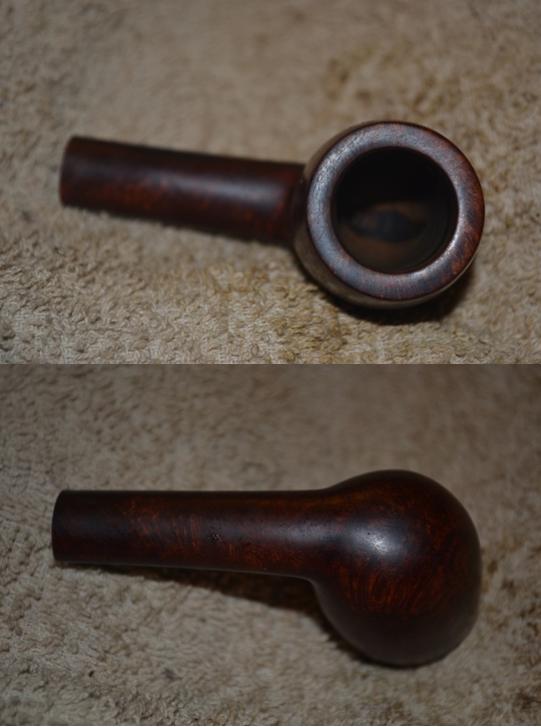
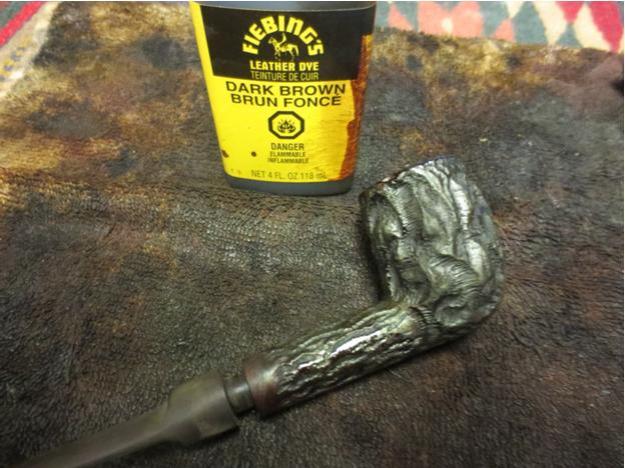
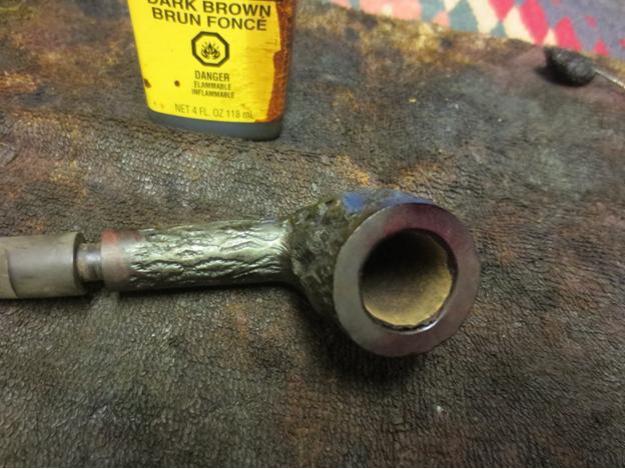
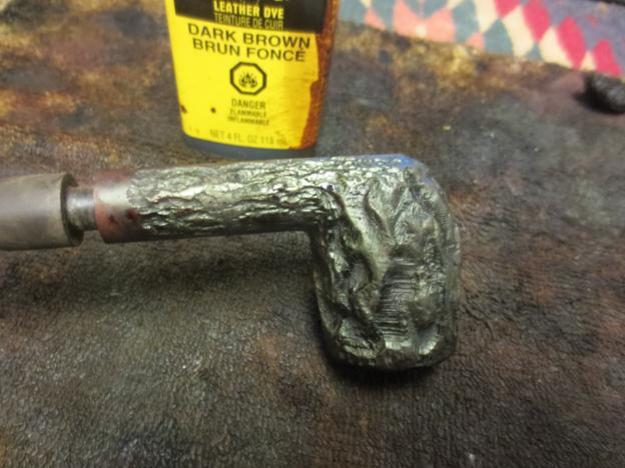
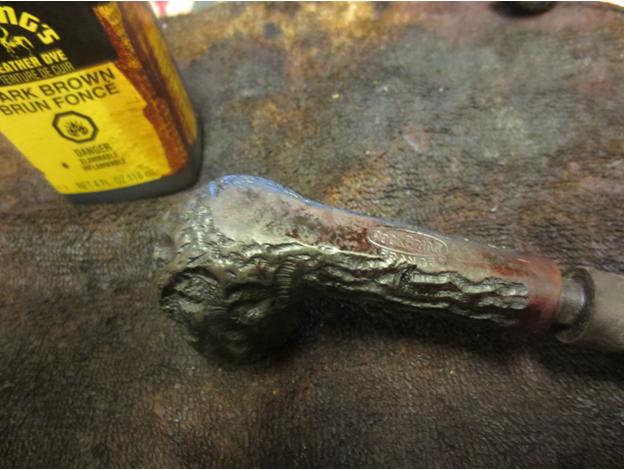
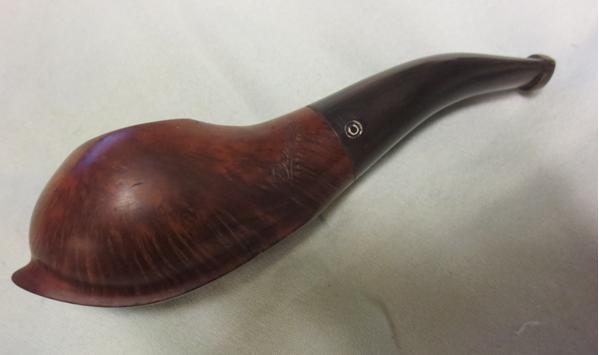
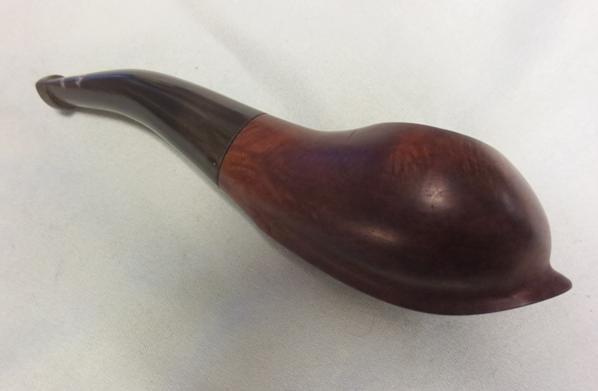
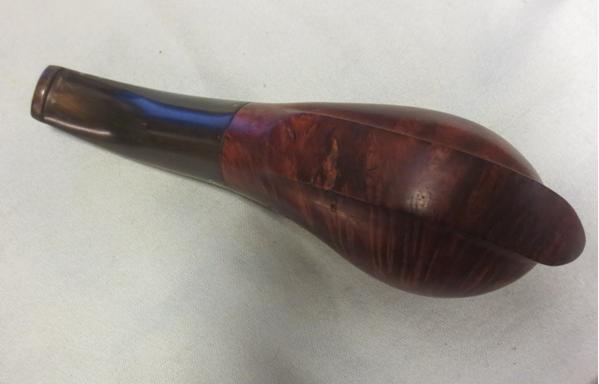
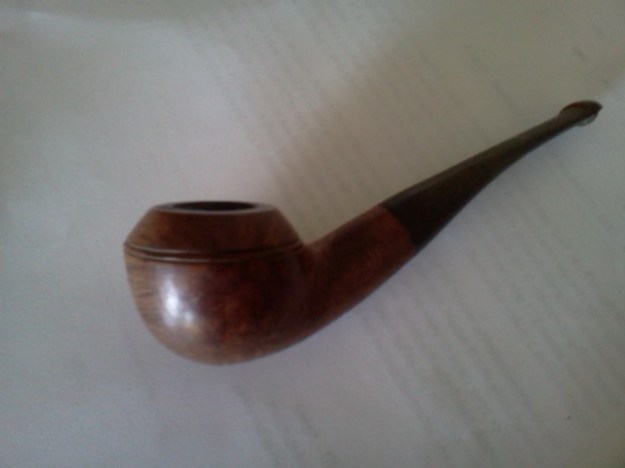
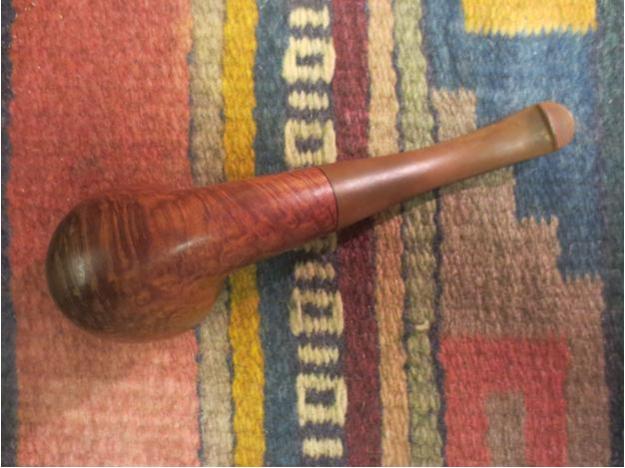
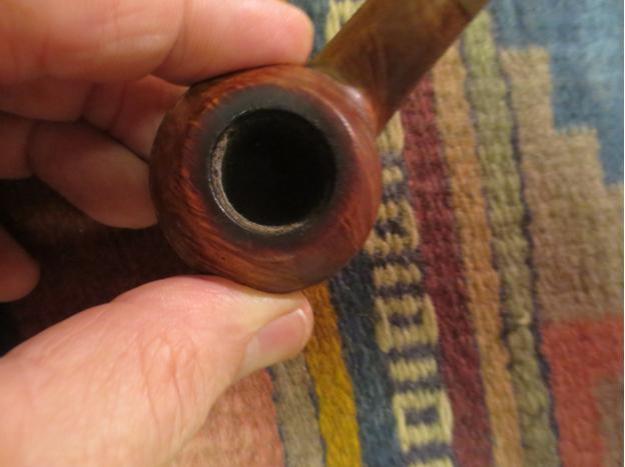
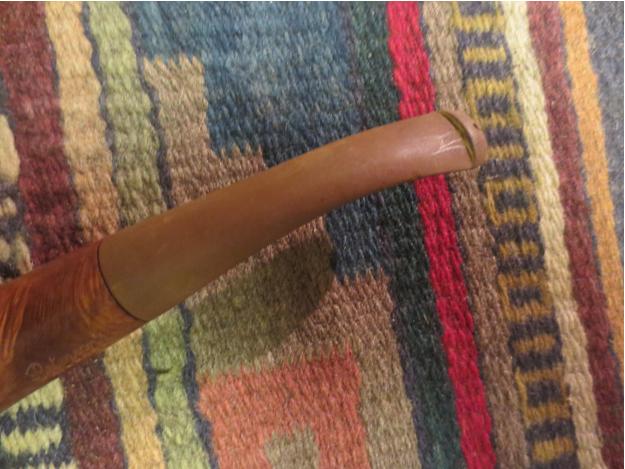
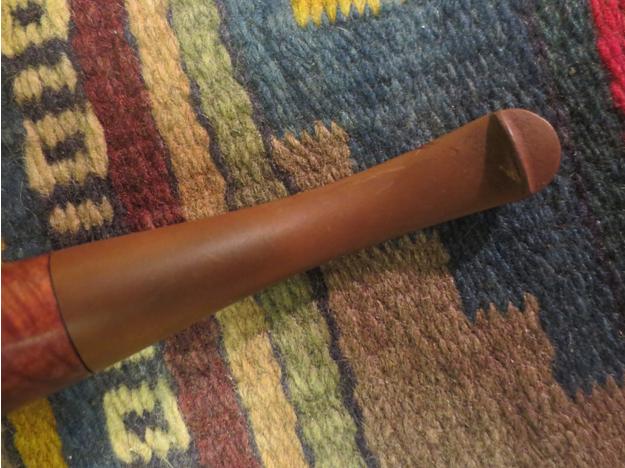
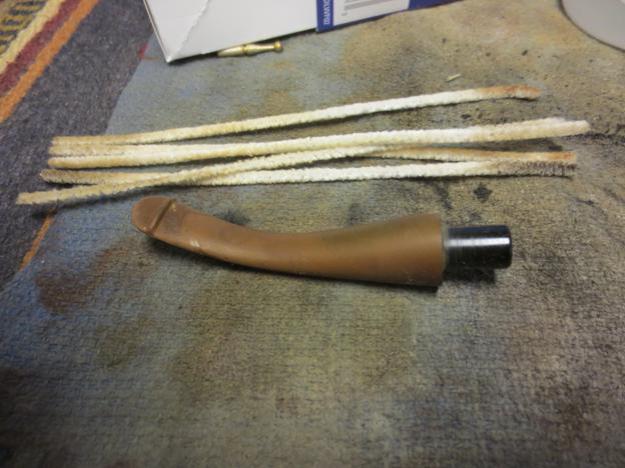
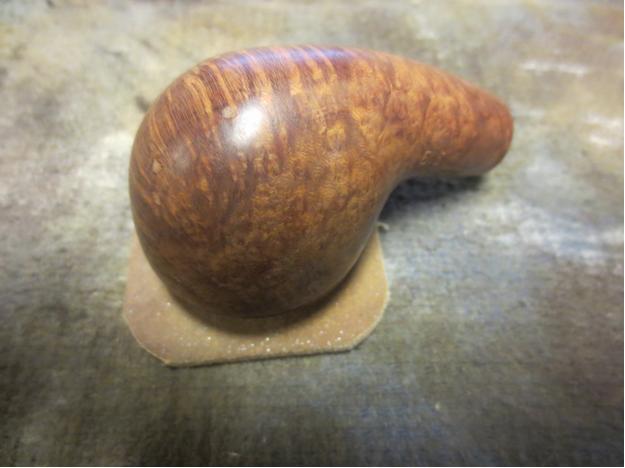
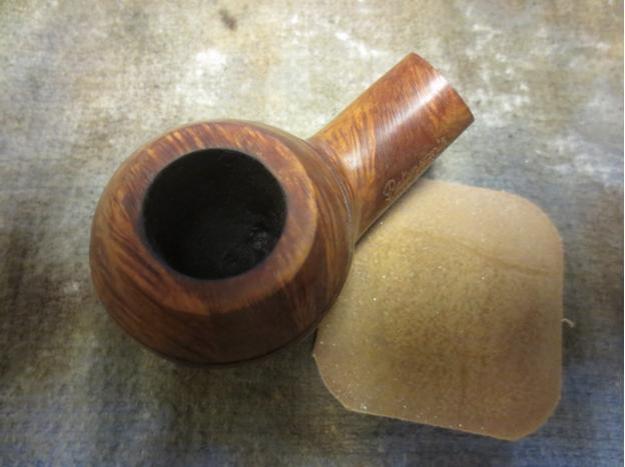
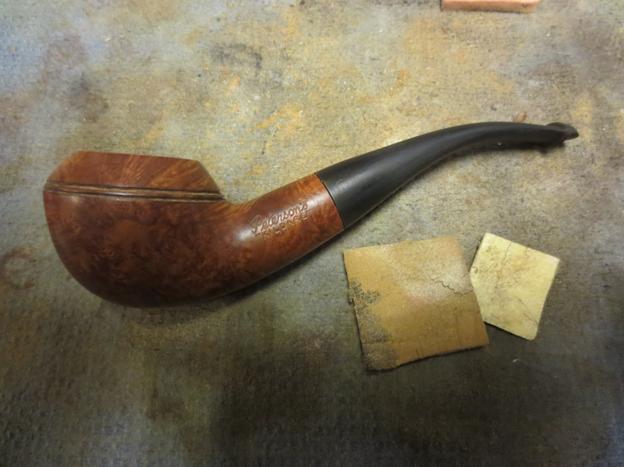
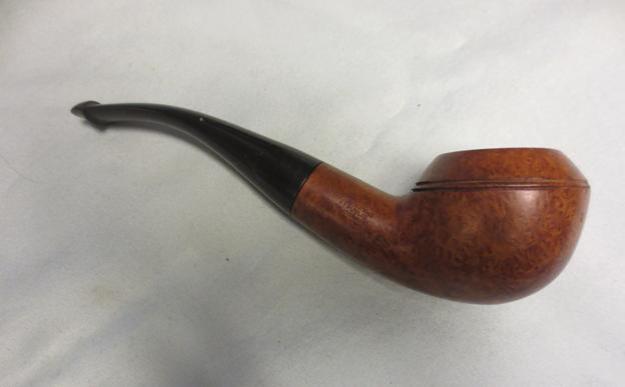
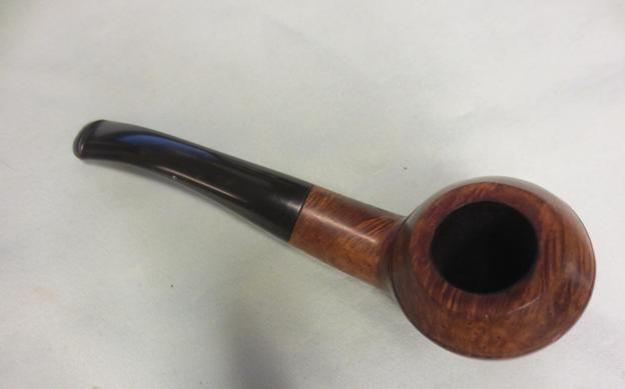
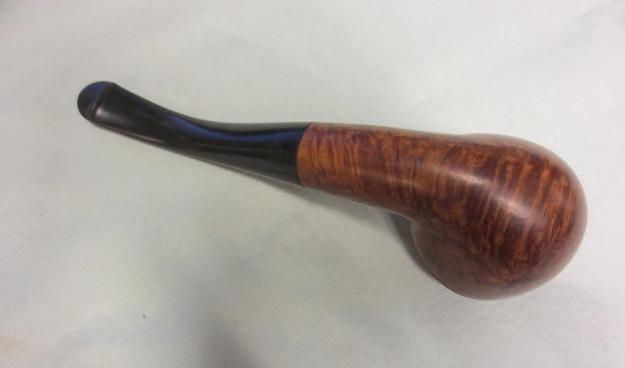
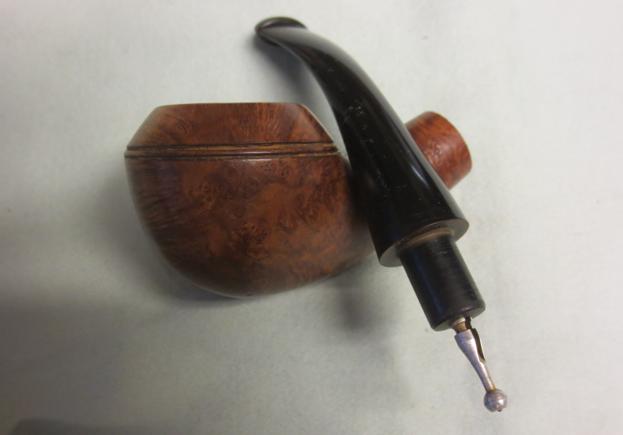
Tag Archives: micromesh sanding pads

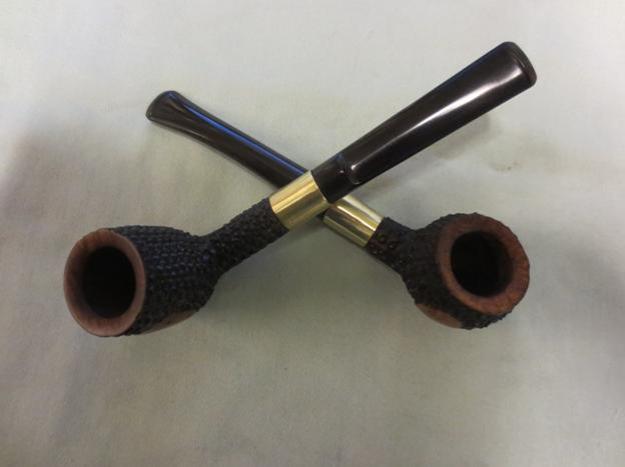
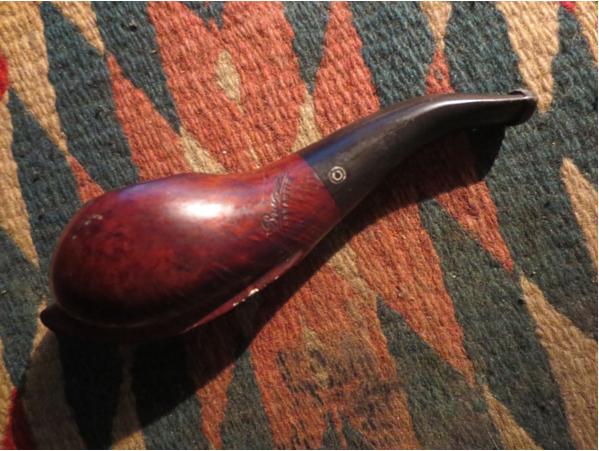
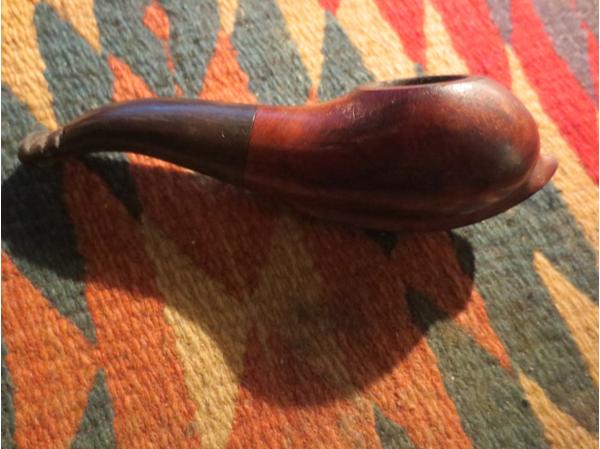
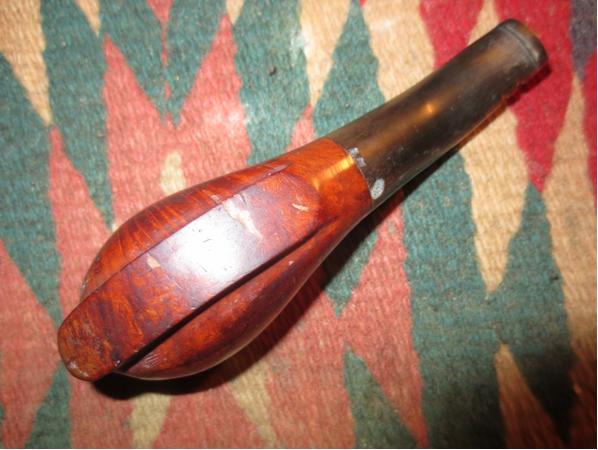
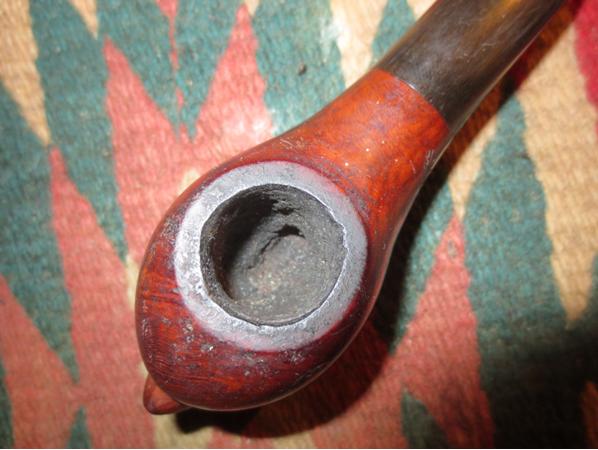
Cleaning up Two Sisters – A pair of Beaver Cut Genuine Briar Pipes


Blog by Steve Laug

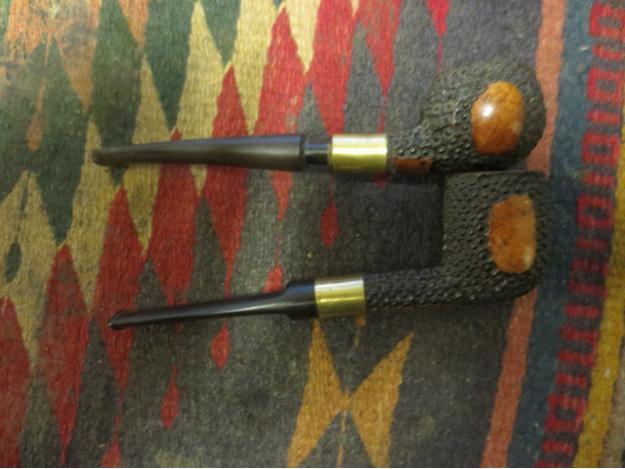
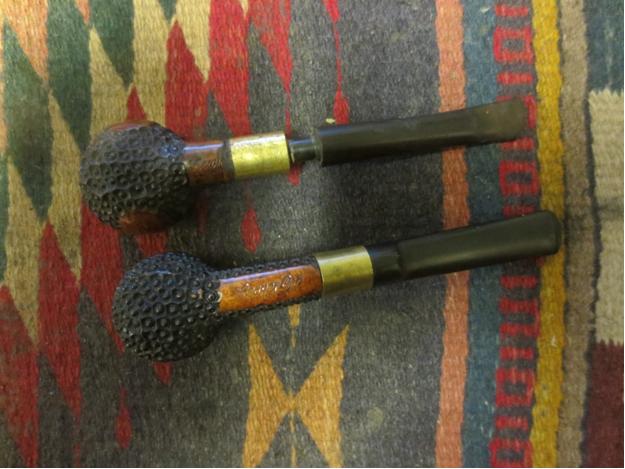
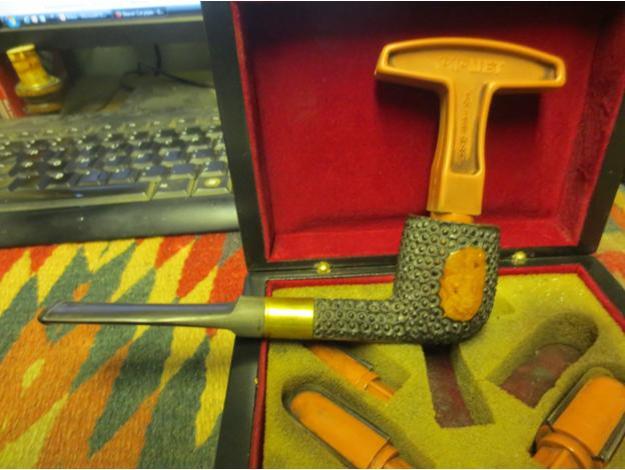
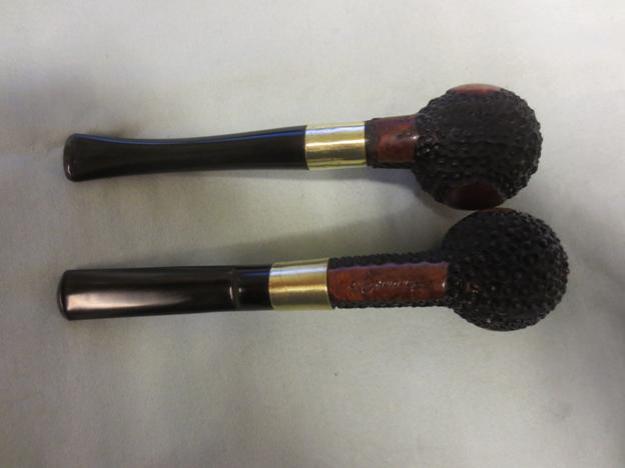
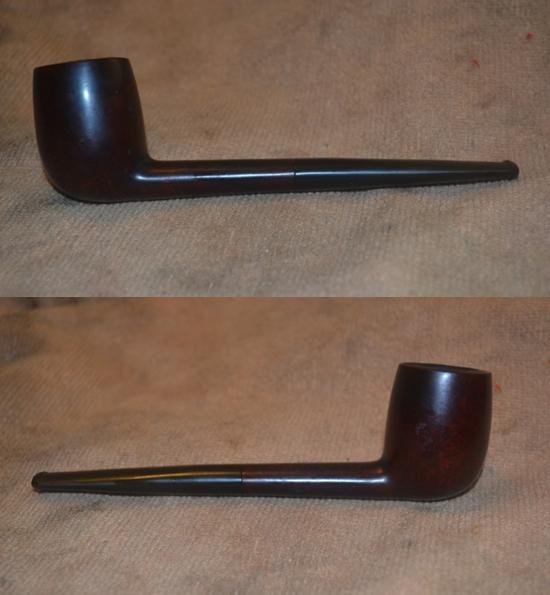
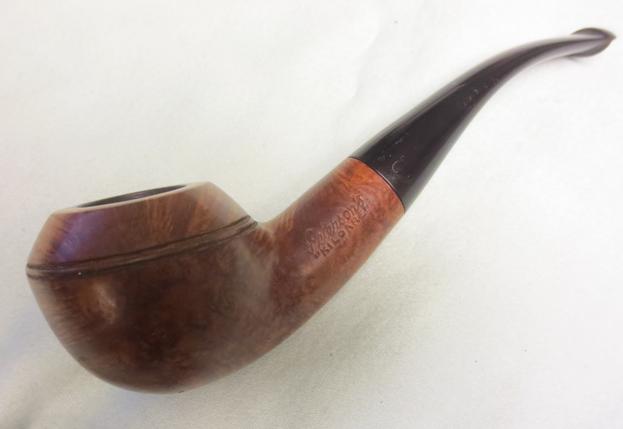
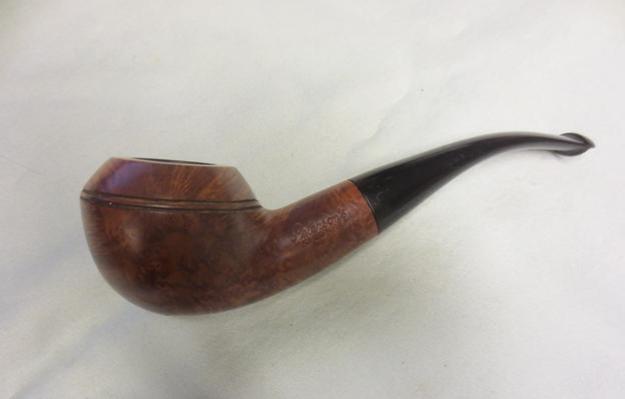
I received this pair of pipes from Charles Lemon of Dad’s Pipes Blog. He picked them up as part of an estate from London, Ontario, Canada. They are both stamped on the bottom of the shank on a smooth surface with the words Beaver Cut in script over a block script Genuine Briar. He did some hunting on the web and could find nothing that gave any sense of history of the brand. When I got them I did the same and found absolutely nothing. The Genuine Briar stamping tells me it is post WW2 and is made in the USA. I found another Beaver Cut for sale on Worthpoint but it also did not have any information. From what I can find that is the extent of the information available.

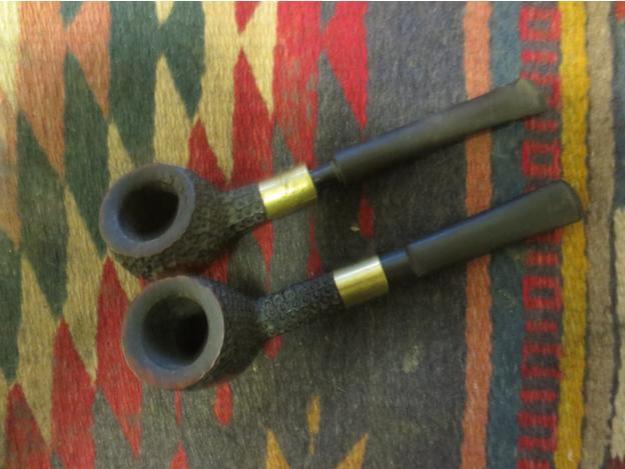
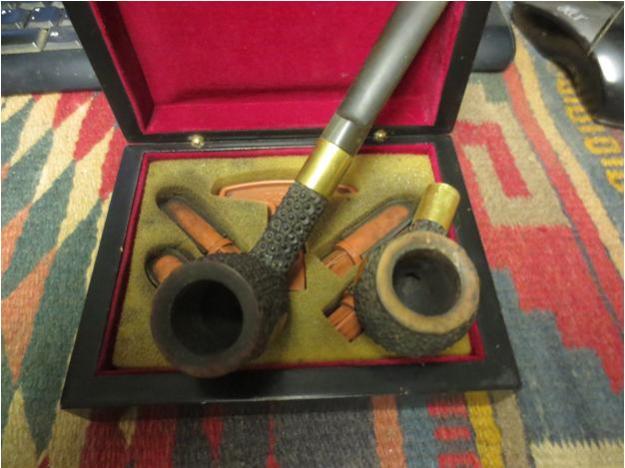
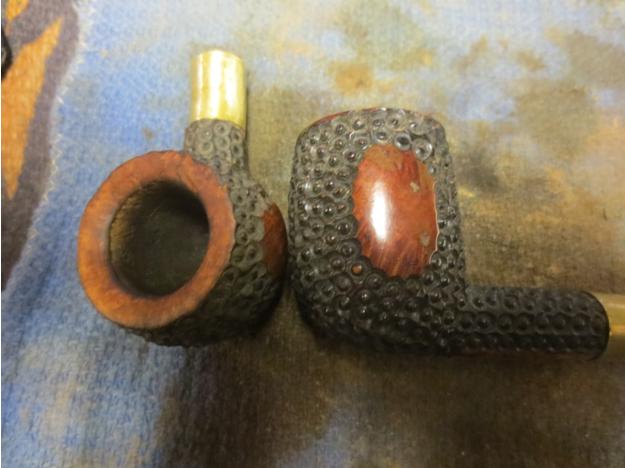
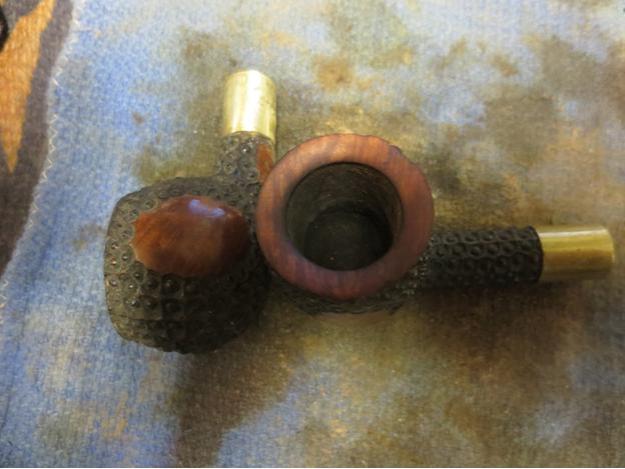
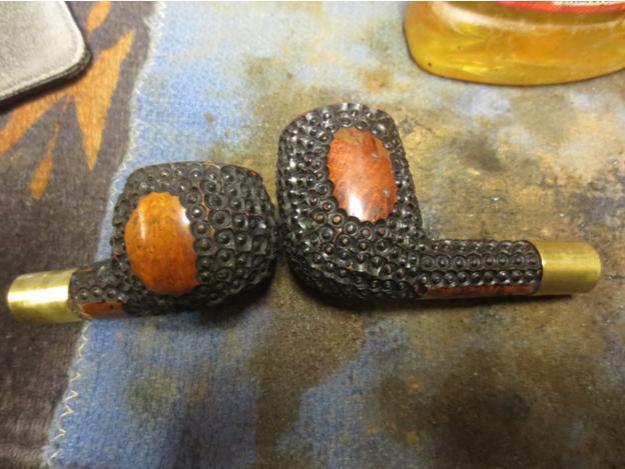
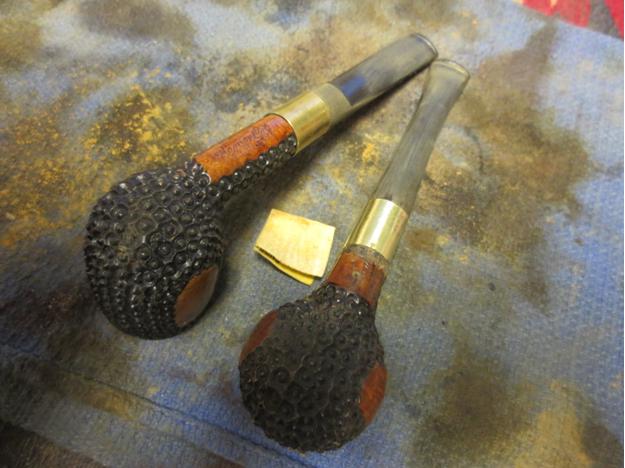
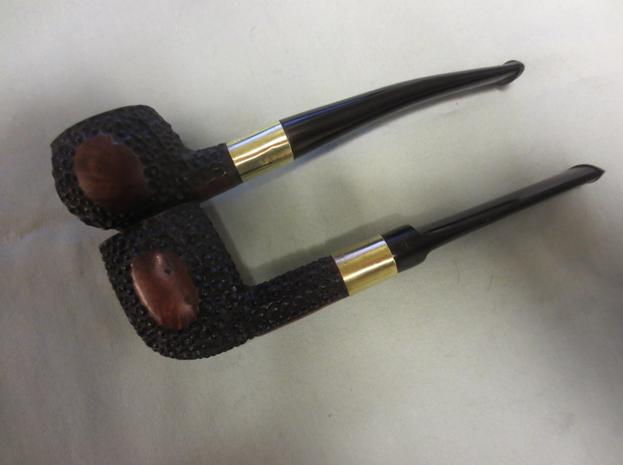
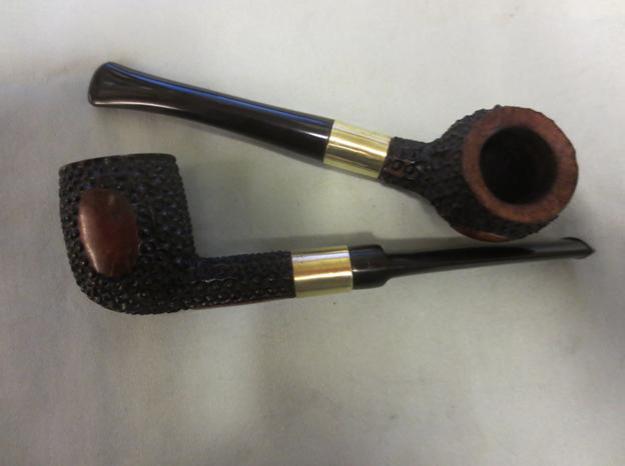
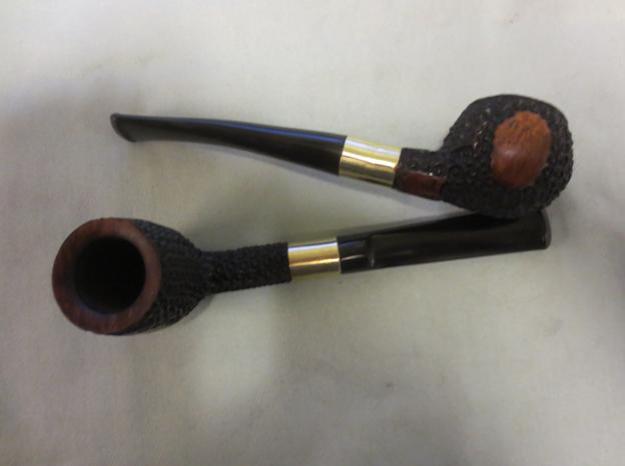
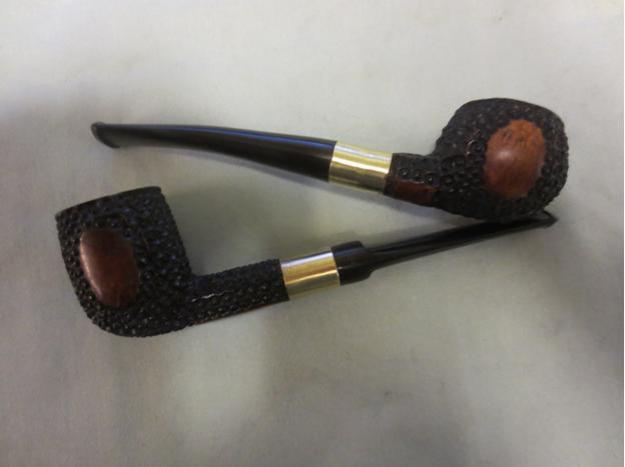
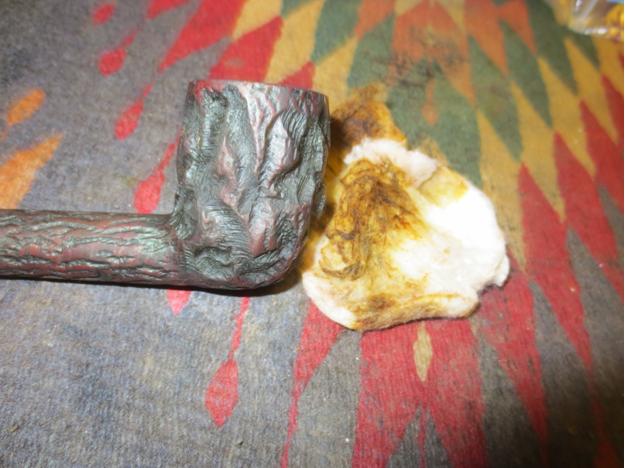
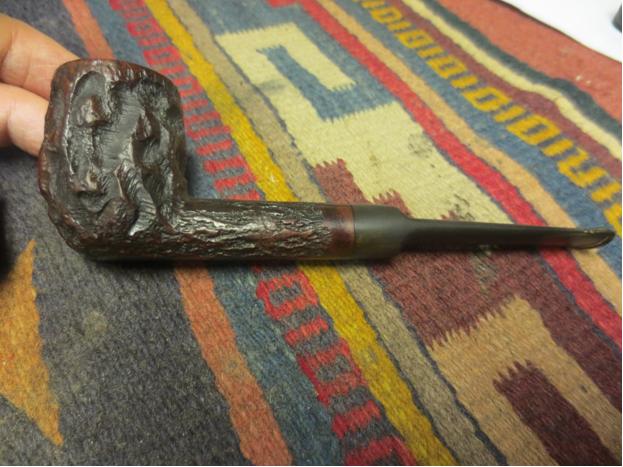
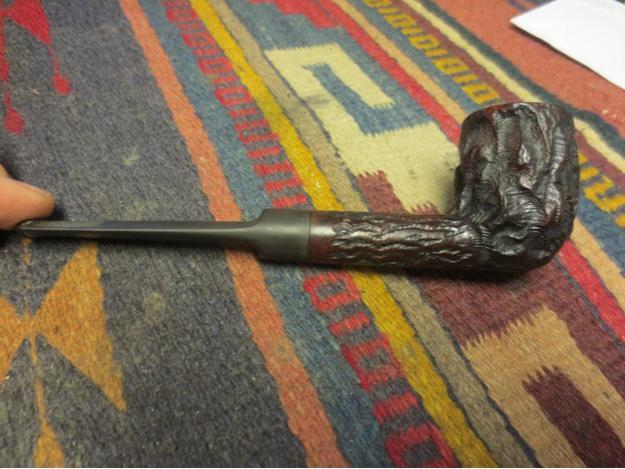
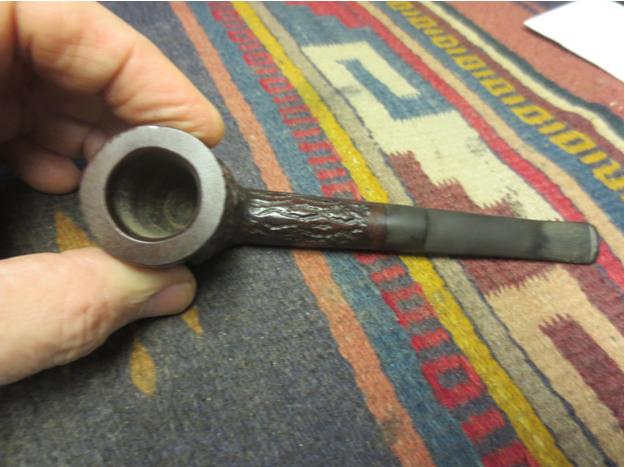
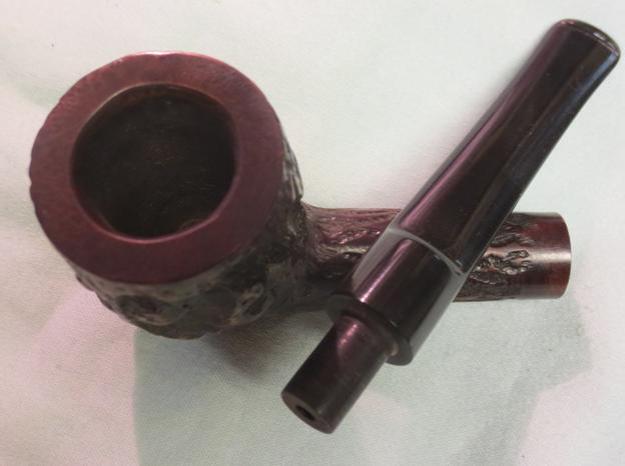
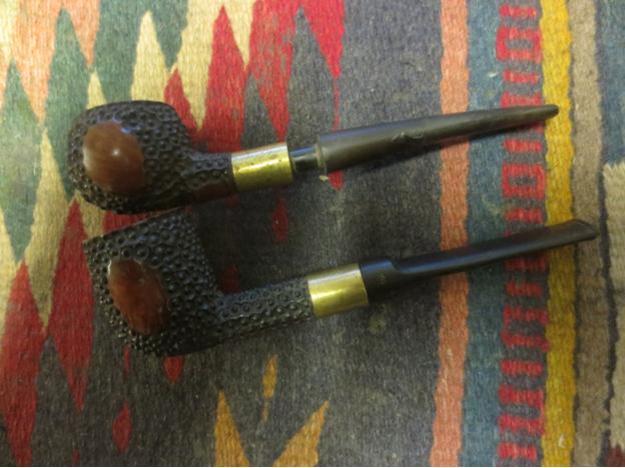
The top pipe in the photo is Prince. The rustication was dirty and a lot of dirt and debris had collected in the grooves. It had a rustication pattern that I had not seen before. It is like rows and rows of birdseye cuts in the surface of the briar. There is a smooth patch on both sides and on the bottom of the shank. The bowl had a thick cake and the shank had a lot of debris and oils in it. The rim had an overflow of lava and oils on the top of the bevel. The inner and outer edge of the rim was in great shape and the bowl was still in round. The brass band on the shank appeared to be factory as it was on both pipes and was identical. It was scarred and had tarnished. When it was installed the installer had made a mess of the shank. He had cut the shank back farther than the length of the band so that when it was installed it left a groove between the edge of the band and the rustication on the shank. It looked almost as if the band was an afterthought. I am pretty certain that it was sent out from the factory with that look. The stamping had been cut in two by the chopping of the briar to fit the band. The stem did not fit the shank due to the buildup internally. The stem was also missing a large chunk on the right side near the button and someone had cut a groove in the top of the stem to begin cutting a new button but had not finished the work.

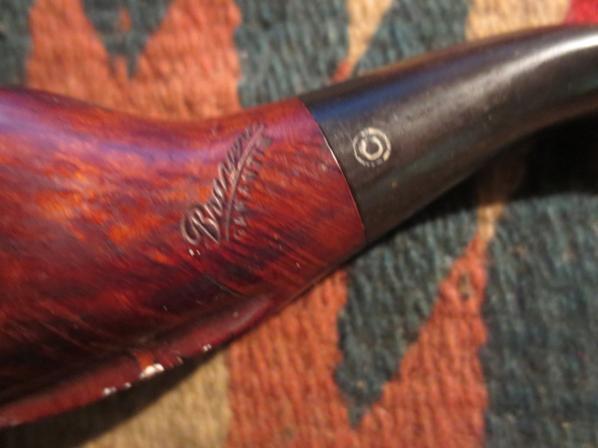
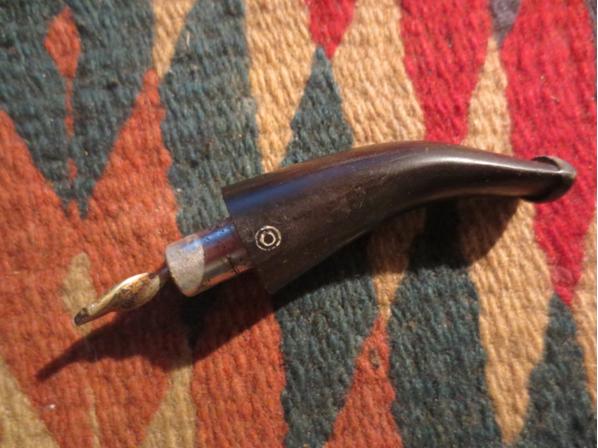
The lower pipe is a Billiard with the exact same grain pattern. It was in a bit better shape than the Prince. The grooves in the unique rustication were actually clean. There was a varnish coat on the smooth parts of the bowl even though there were several sandpits in each smooth spot. The bowl had a thick cake and the rim had an overflow of tars and lava which obscured the bevel. The fit of the band to the shank on this one was better though looking at it from the end of the mortise it was clear that the shank was out of round. The brass was also scratched and marred on this pipe. The stamping on this one was clean and deep. The stem diameter extended further on the right side than on the left though the stem was of equal diameter all the way around. There were some light tooth marks on the top and the bottom of the stem near the button and there was tooth chatter. The stem was oxidized but was faintly stamped with a B in a circle.Beaver1
Beaver2

Beaver3

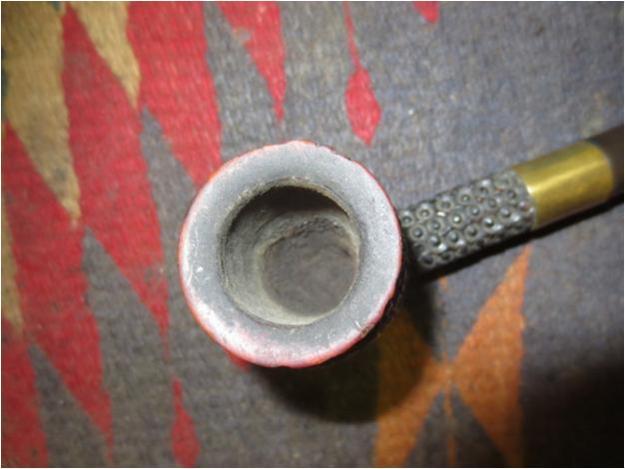
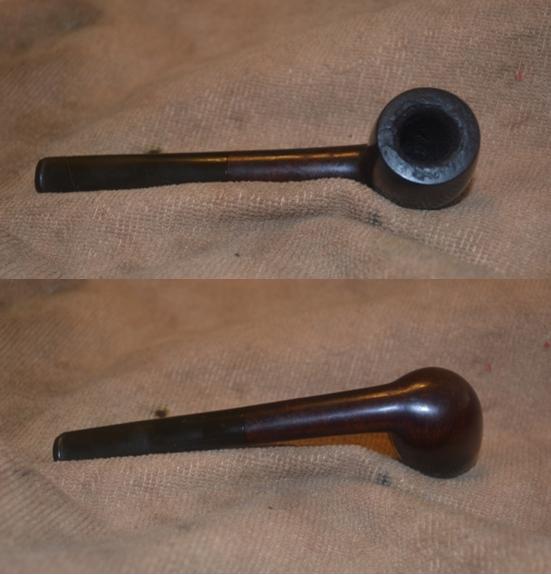
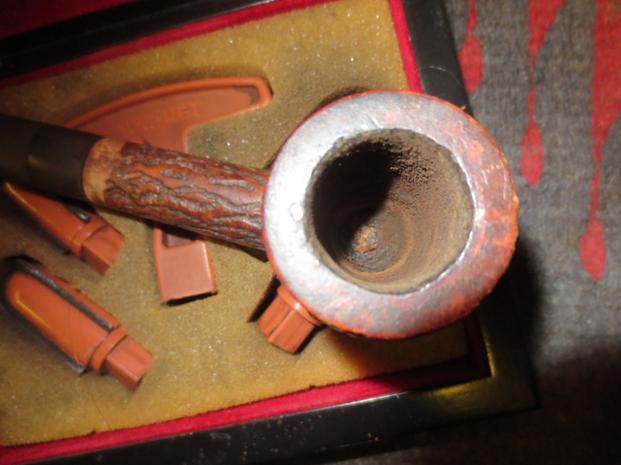
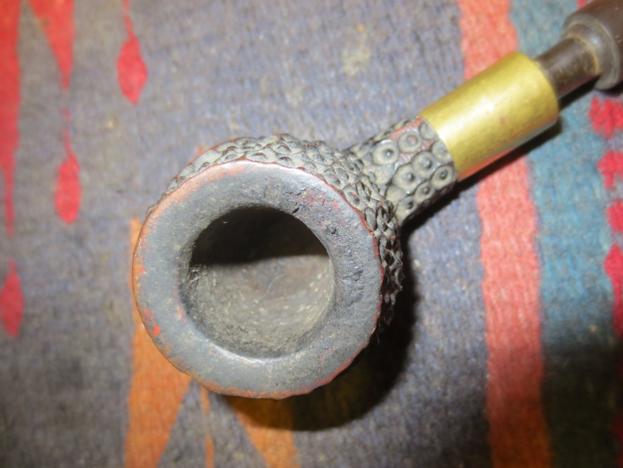
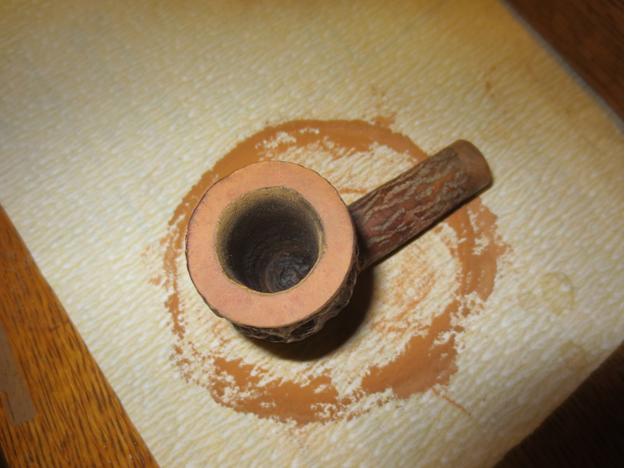
Beaver4 I took a close up photo of the rim on each of the pipes. The first photo below shows the rim on the Prince and the second shows the rim on the Billiard. The buildup and the uneven cake are visible in both pipes. It is hard to see the bevel on the rim in the Prince but it matches the one on the rim of the Billiard.Beaver5
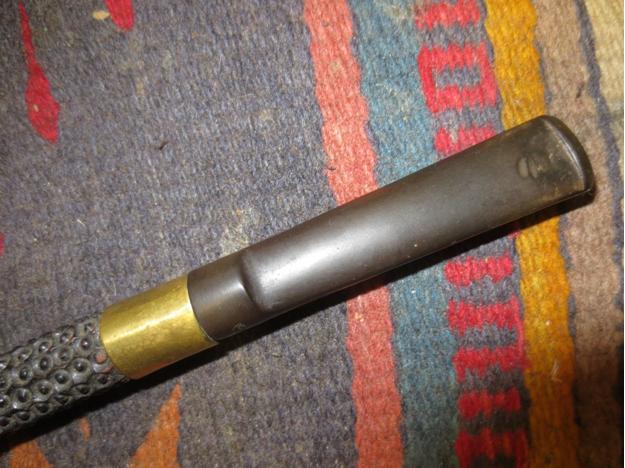
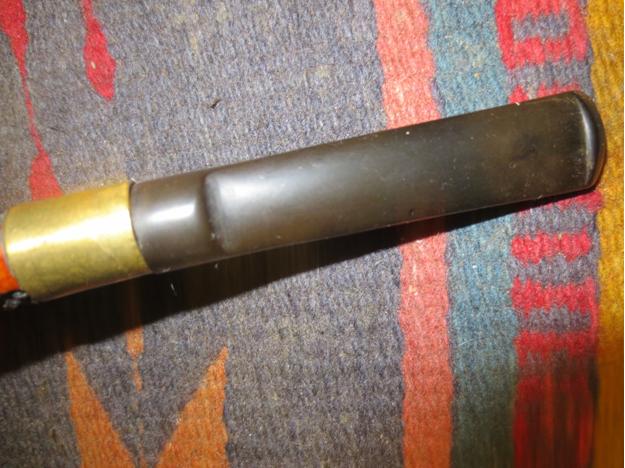
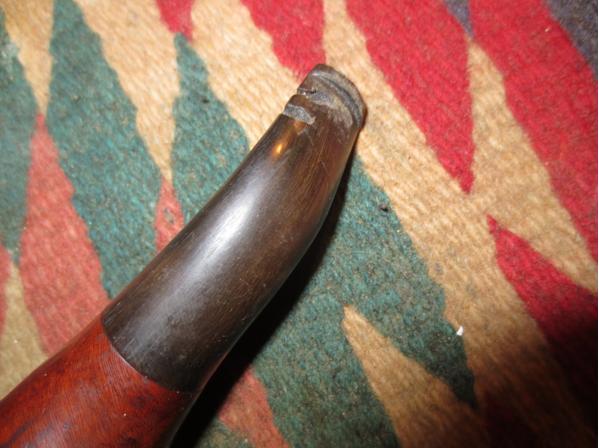
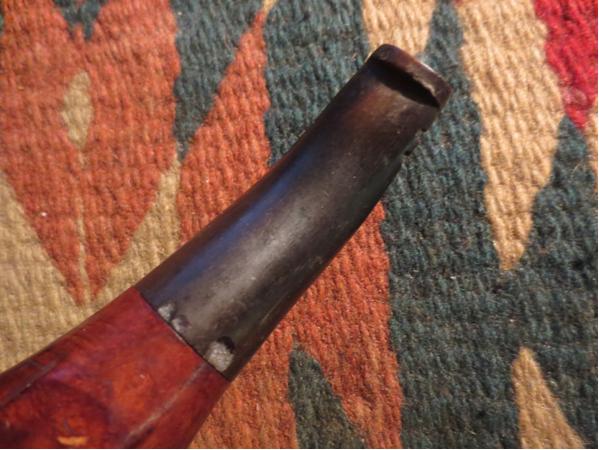
Beaver6 I also took some close up photos of the stems on both pipes to show the state of the stem. The first two photos show the stem on the Prince. You can see the damage of the broken area on the side of the button and the cut off button. You can also see the groove or divot that had been cut in the stem to make the pipe useable. The third and fourth photos show the stem on the Billiard and you can see the tooth marks and chatter on the stem surface. It is also clear that it does not fit well against the side of the band.Beaver7
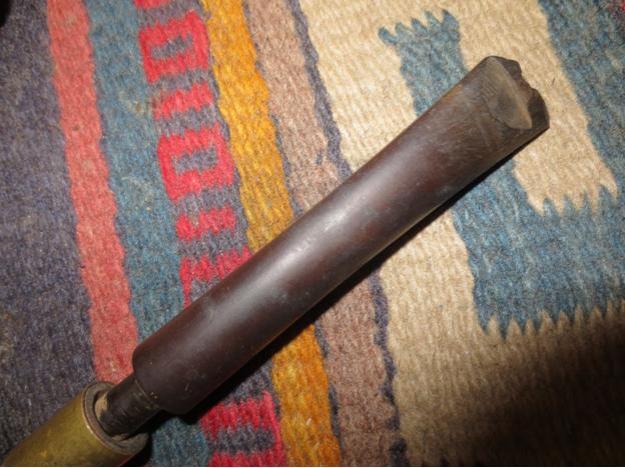
Beaver8

Beaver9

Beaver10 I decided to restem the Prince so I found a stem in my can of stems that was the same diameter as the shank and slightly longer than the broken stem to account for the missing button. I turned the tenon with a sanding drum on a Dremel to get a close fit and then hand sanded until it push snuggly into the mortise.Beaver11 To deal with the badly fit shank band I cleaned the area with a dental pick and then pressed briar dust into the groove just ahead of the band. I dripped clear super glue into the briar dust and then as it settled add more glue and more briar dust. I wanted the transition between the shank and the band to be smooth. I sanded the repair with a folded piece of 220 grit sandpaper and then with a medium and a fine grit sanding sponge to smooth out the scratches in the surface.Beaver12 I reamed both bowls back to bare wood with a PipNet reamer. I sanded the beveled rim on the Prince to clean off the oils and lava and to show the bevel. More work would need to be done on both rims.Beaver13
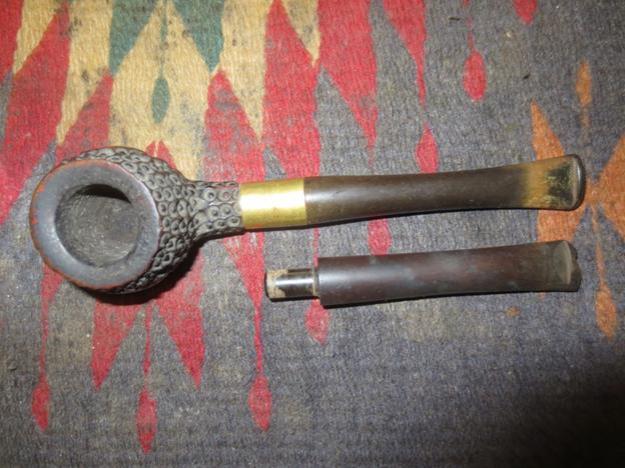
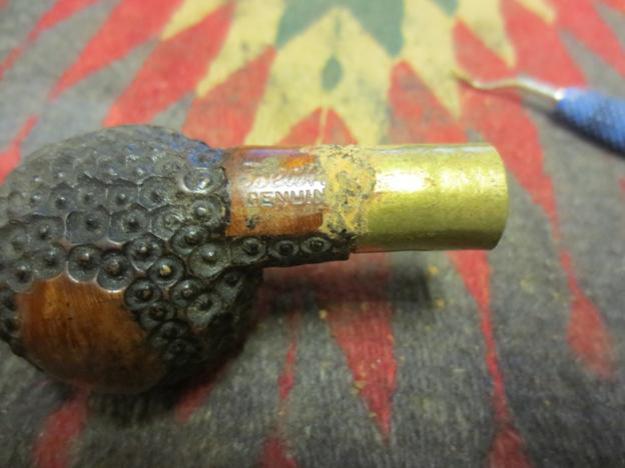
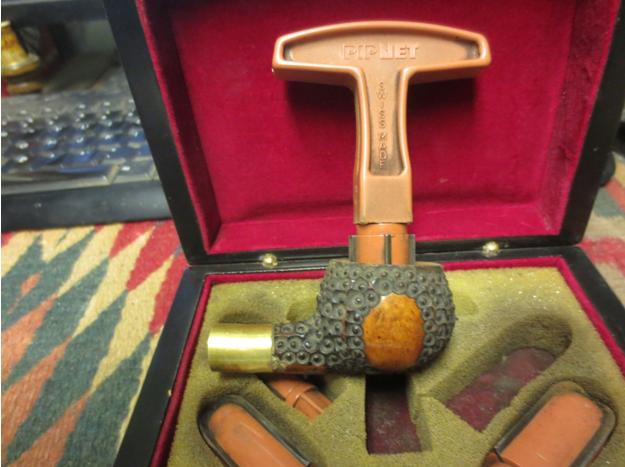
Beaver14

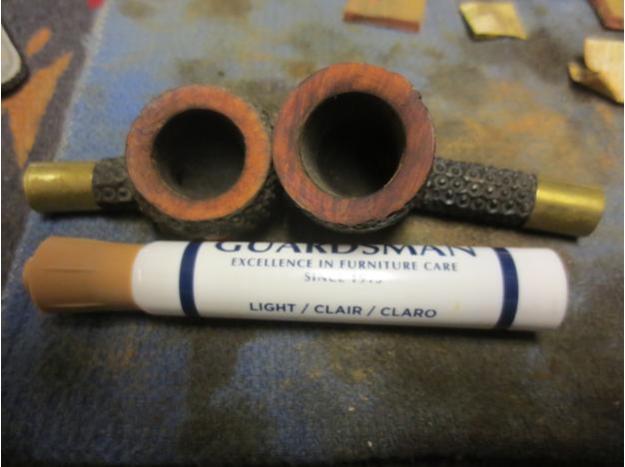
Beaver15 I worked on the bevel of the rims with 220 grit sandpaper to remove the buildup and also to smooth out the bevel. It took quite a bit of sanding on both rims to get the angle consistent all the way around the bowl and also to remove the burn damage on the inner edge of both. I sanded both with a medium and fine grit sanding sponge to finish the cleanup.Beaver16 I stained the newly cleaned surfaces of the rim with a light brown stain pen to approximate the colour on the smooth portions on the bowl sides and bottom of the shank.Beaver17 I sanded them both with 400 grit wet dry sandpaper to smooth out the remaining scratches that showed up with the stain. It also lightened the stain enough that the match was perfect.Beaver18
Beaver19

Beaver20

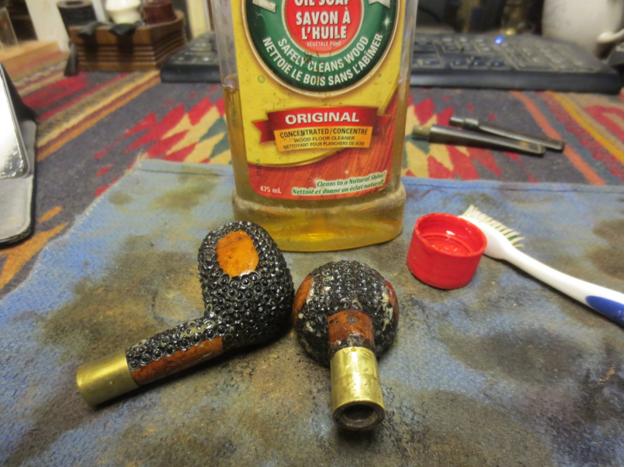
Beaver21 With the rims finished it was time to scrub the rustication. I used Murphy’s Oil Soap and a tooth brush to scour the rustication pattern on both bowls. I scrubbed them and then rinsed them under warm running water.Beaver22
Beaver23

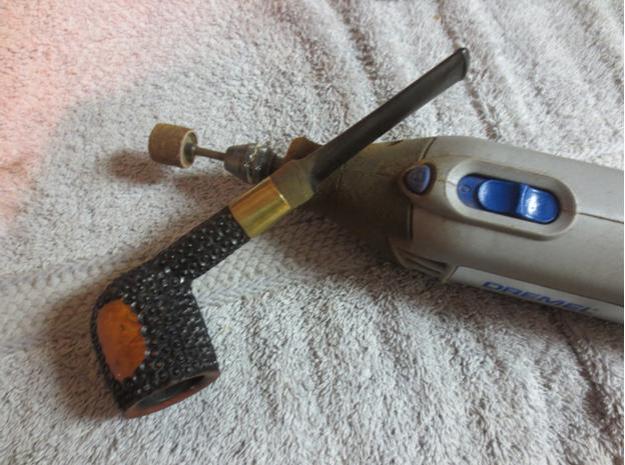
Beaver24 To address the difference in diameter of the stem and the band on the shank on the Billiard I used a Dremel and sanding drum to take down the top, bottom and right side of the saddle stem. I repeatedly checked the fit until I had it very close then I finished adjusting the fit by hand with 220 grit sandpaper. I sanded the stem on the Prince with 220 grit sandpaper to remove the oxidation and the calcification on the end of the stem.Beaver25
Beaver26

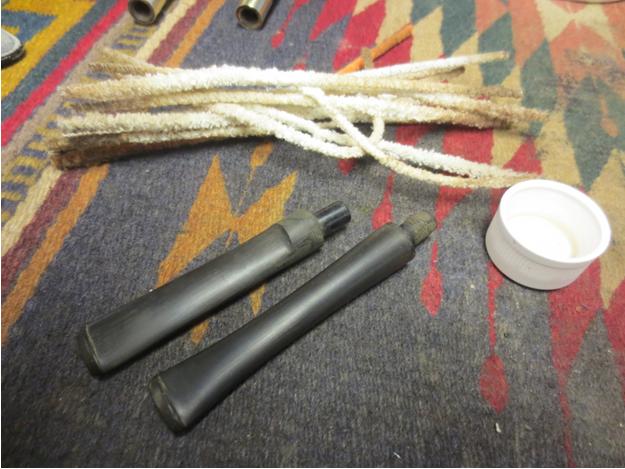
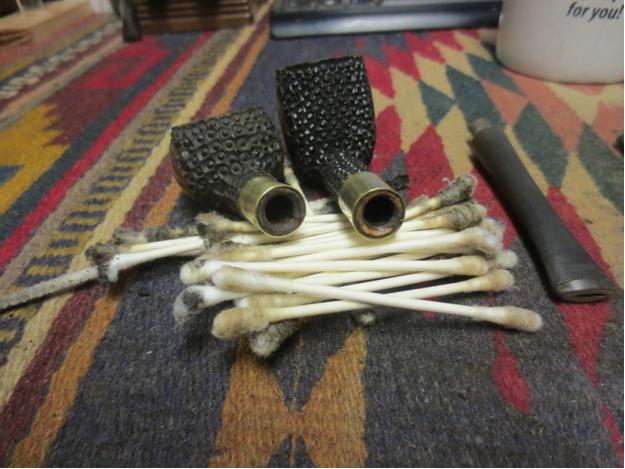
Beaver27 With the fit finished on the stems it was time to clean out the internals of the stems and shanks. I used alcohol, cotton swabs and pipe cleaners to scrub the insides until they were clean.Beaver28
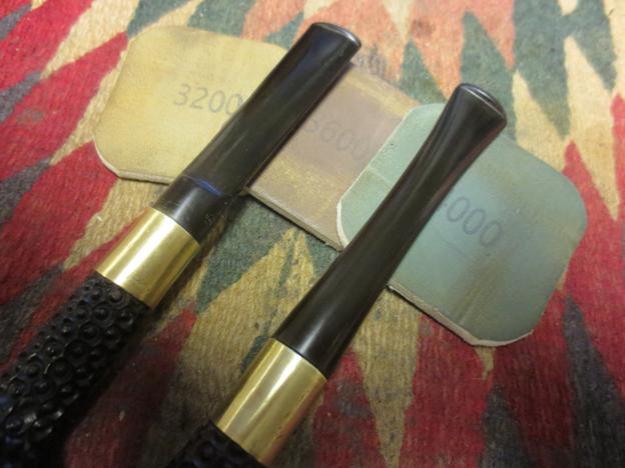
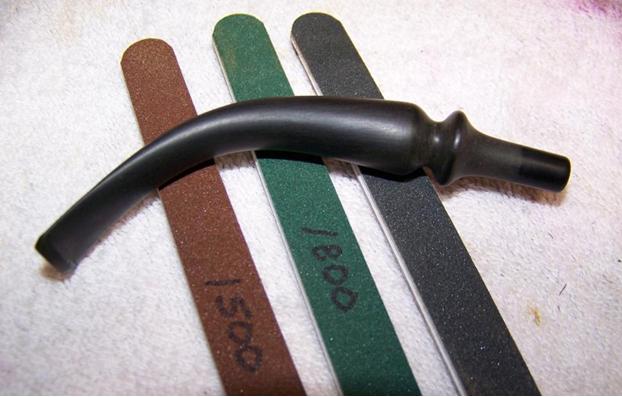
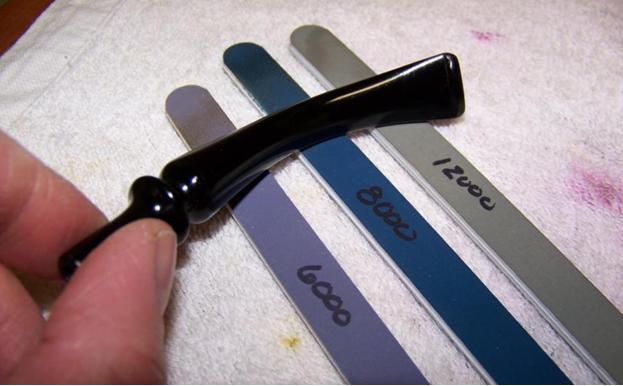
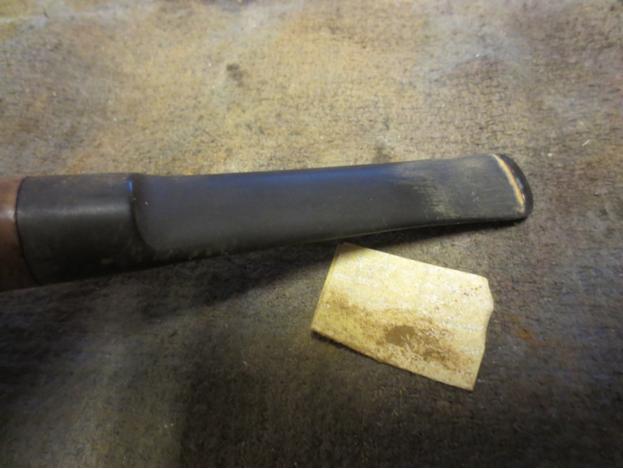
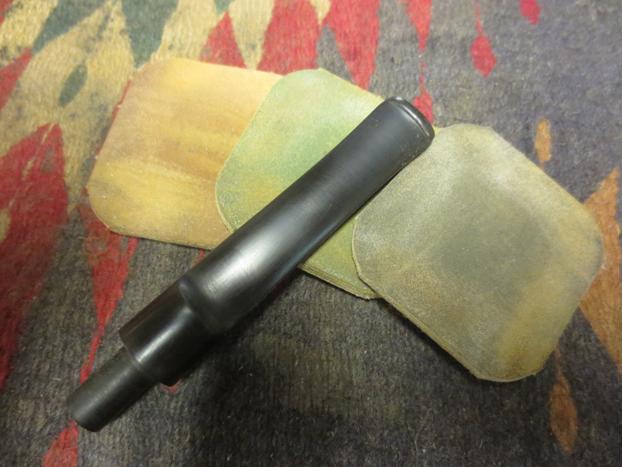
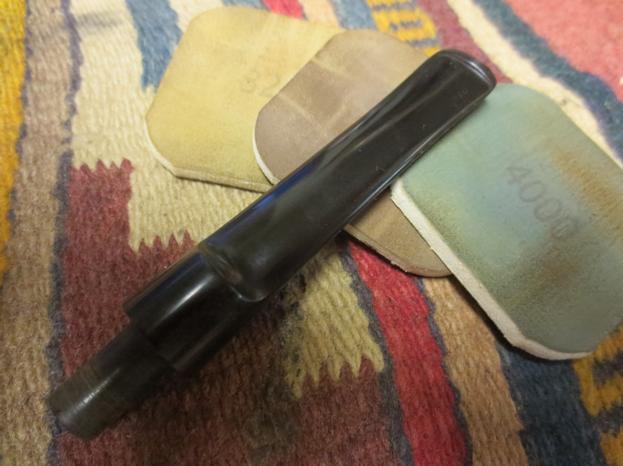
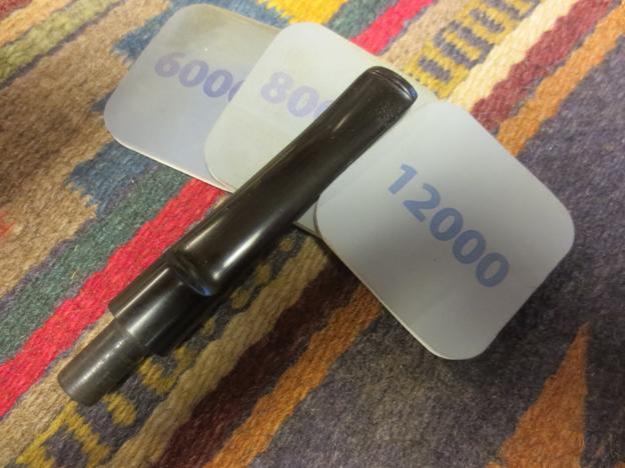
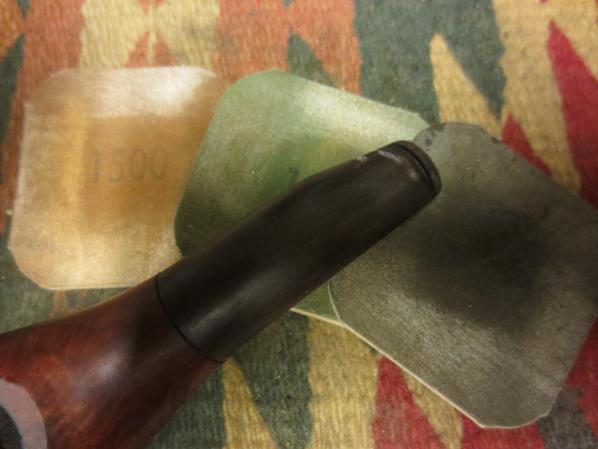
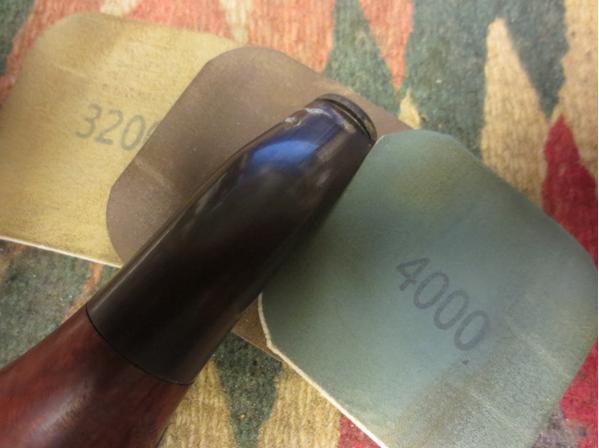
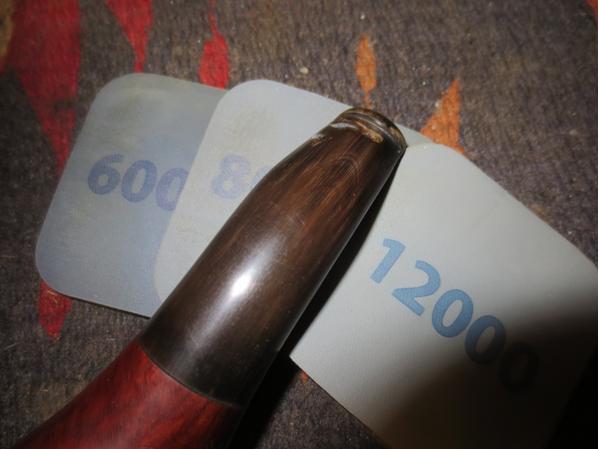
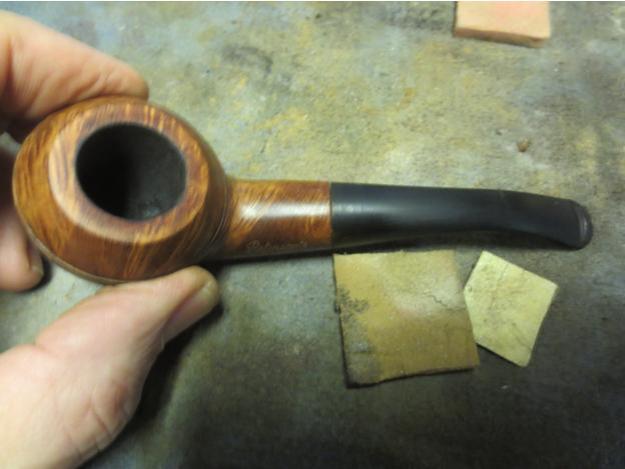
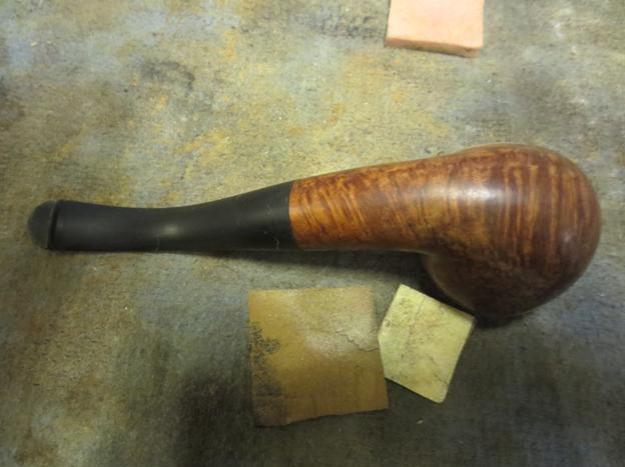
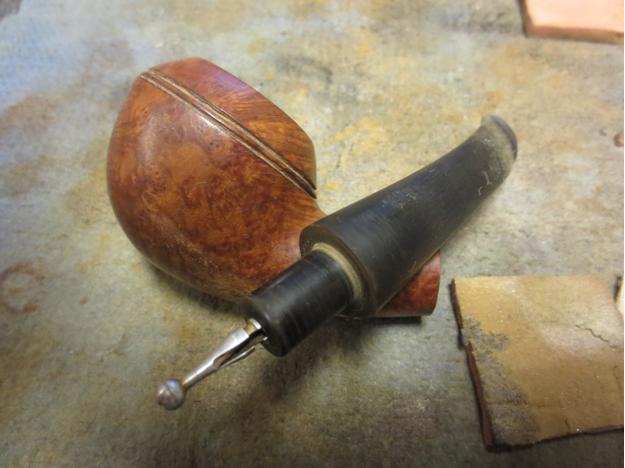
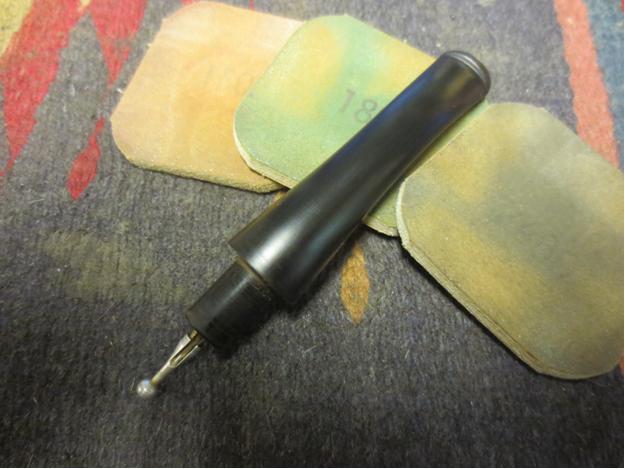
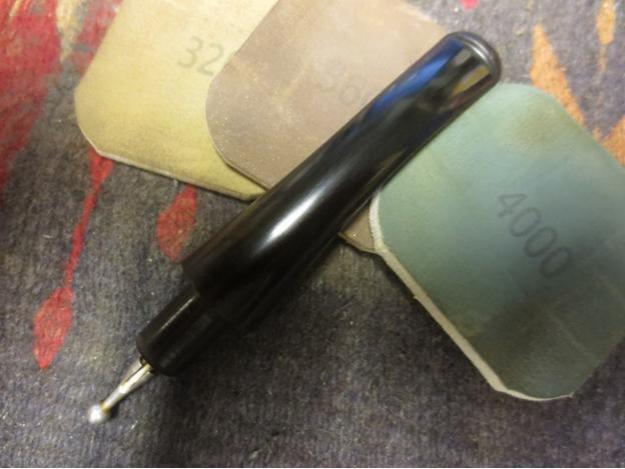
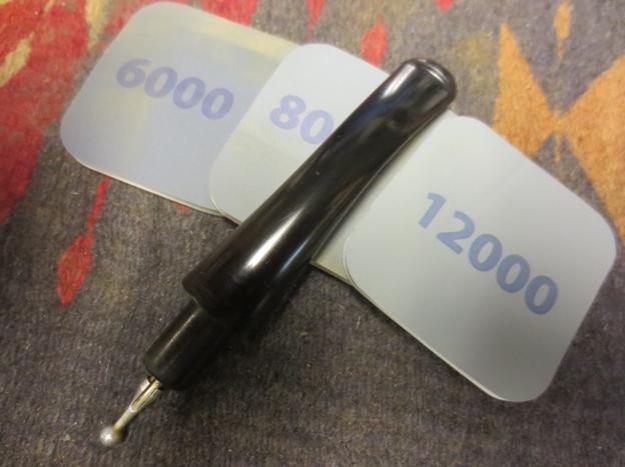
Beaver29 I wet sanded the stem and the brass with a 1500 grit micromesh sanding pad for the first round of sanding on both. It worked to remove many of the scratches and marks in the brass and the vulcanite.Beaver30 I worked on the stem with the micromesh sanding pads – wet sanding with 1500-2400 grit pads and dry sanding with 3200-12000 grit pads. I rubbed the stem down with Obsidian Oil between each set of three pads. When I finished sanding with the 12000 grit pad I let the oil dry on the stem.Beaver31
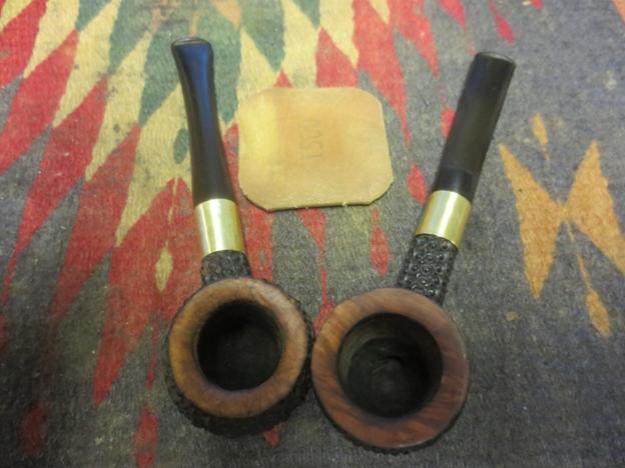
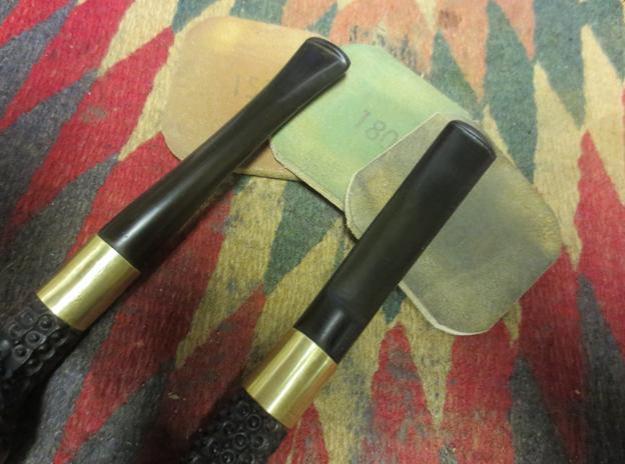
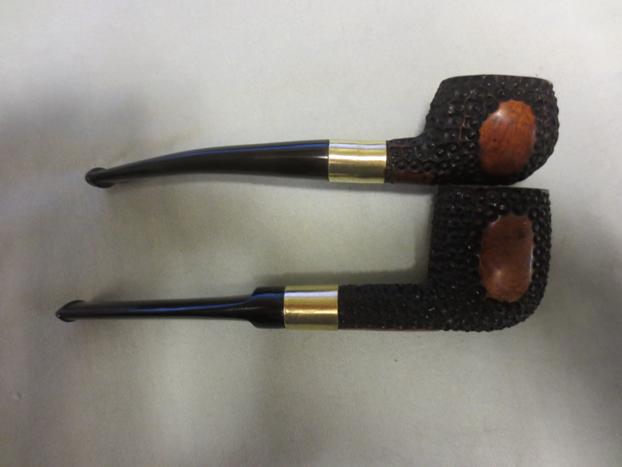
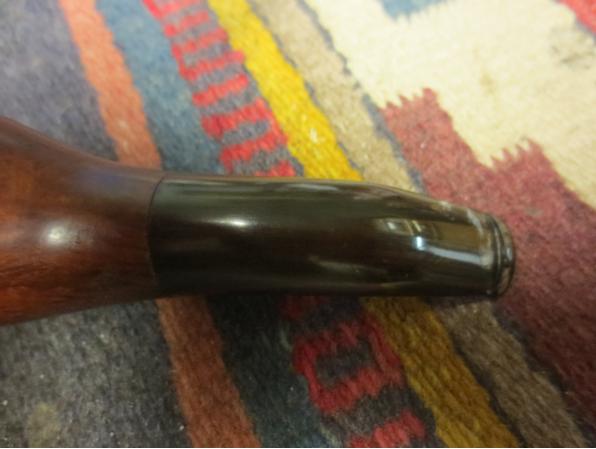
Beaver32 In the final sanding I sanded the brass and it carried over onto the top portion of each stem giving it a bit of a brown look in the next photo. This all came off when I buffed the stem with red Tripoli and White Diamond.Beaver33 I heated the stem on the Prince and gave it a slight bend to give it a more finished looked. I buffed the stems and rims with White Diamond and Blue Diamond and then gave them multiple coats of carnauba wax. I also waxed the smooth portions on the bowl sides, shank bottoms and the rims. I buffed these with Blue Diamond as well. I wiped the rustication down with a light coat of olive oil to bring some life back to the briar. The finished sisters are shown below.Beaver34
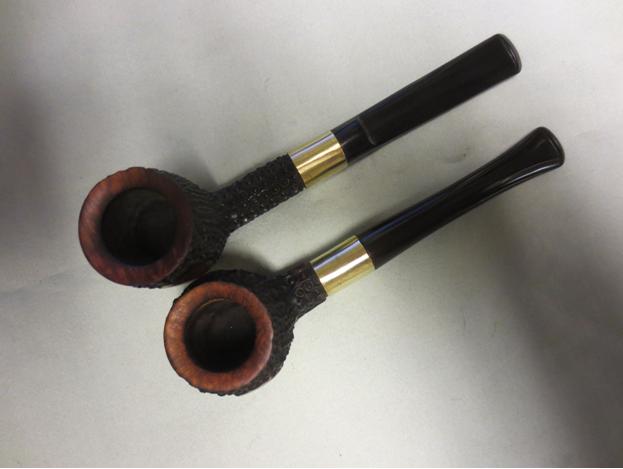
Beaver35

Beaver36

Beaver37

Beaver38

Beaver39

Beaver40

Beaver41 Thanks for looking. Does anyone have any information about this brand? It would be great to be able to get a little information. Please post anything you know in the comments below. Thanks.
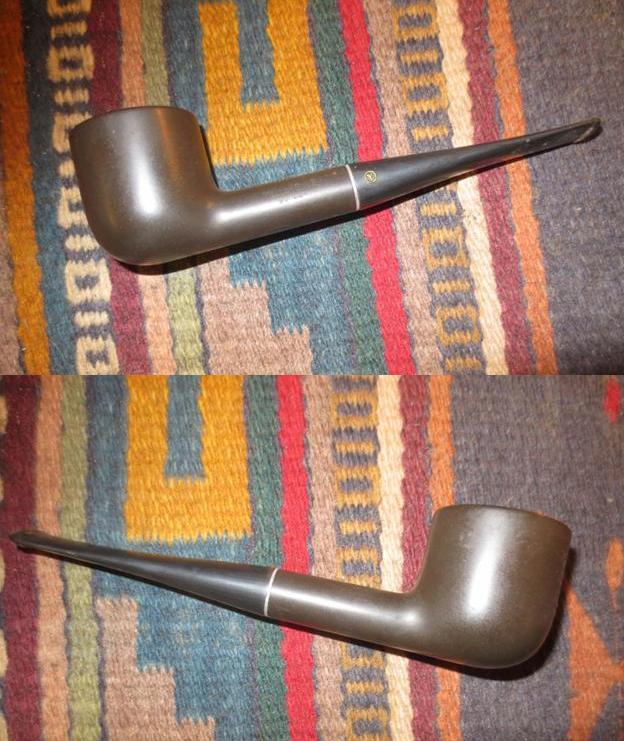
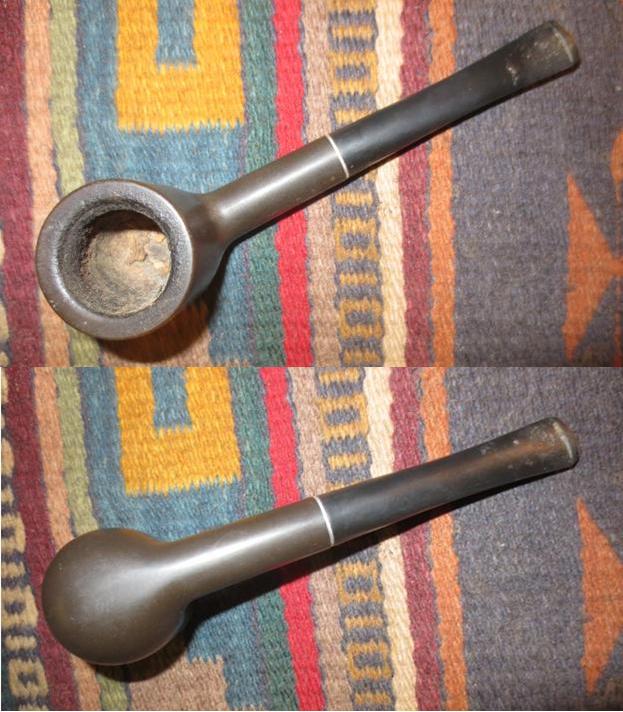
Breathing New Life into a Yello-Bole Burley Pot


Blog by Steve Laug

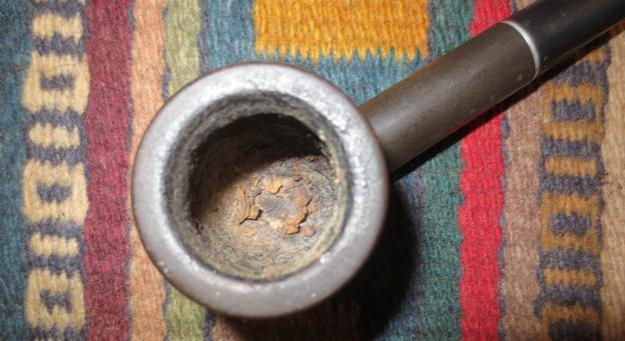
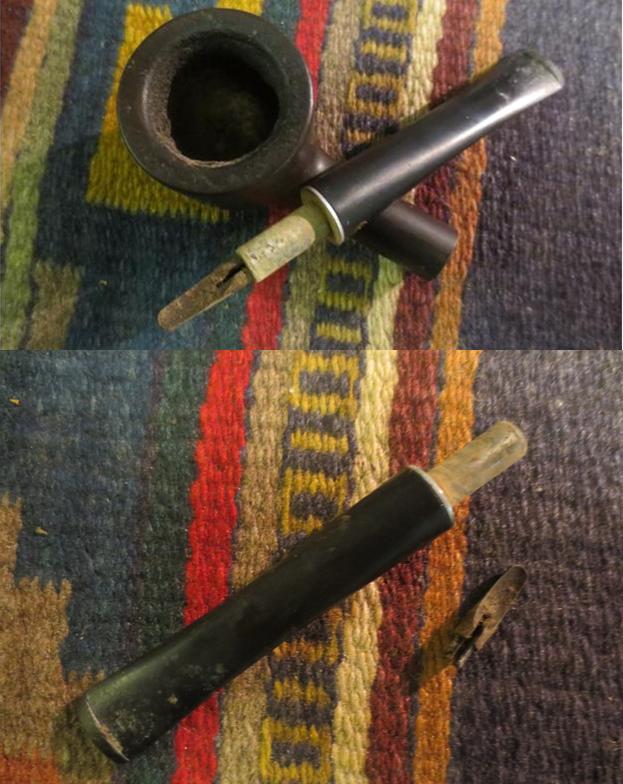
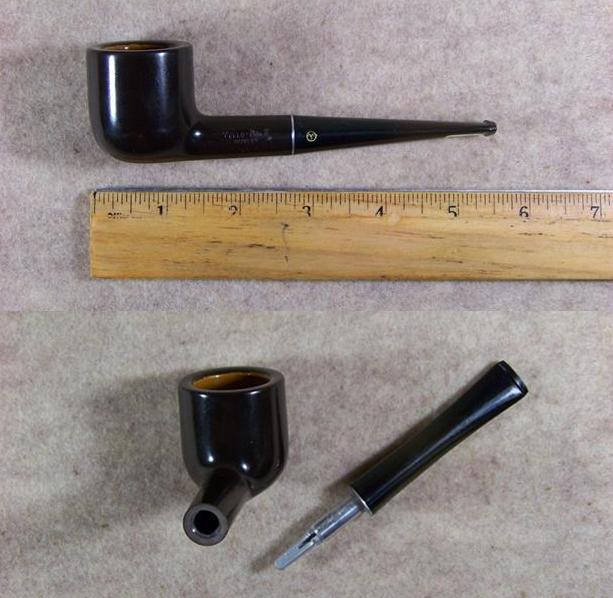
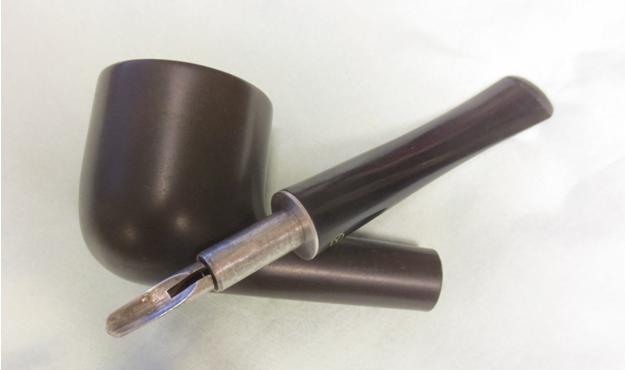
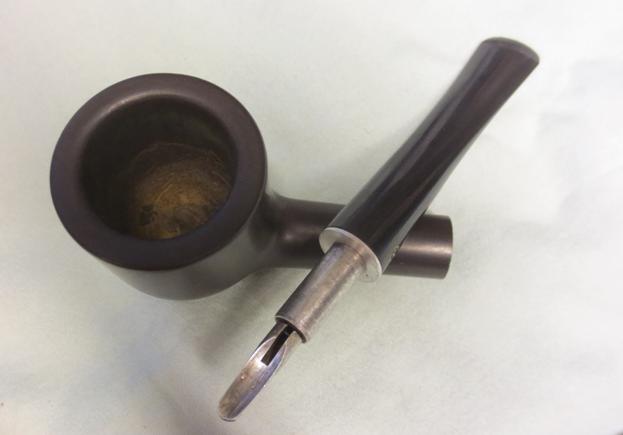
In one of the antique malls in Idaho Falls I found a pipe that I had not seen before. I have had Medico Brylon pipes and other pipes from manmade materials but I had not seen one of these before. This pipe was stamped on the left side of the shank with the words Yello-Bole over Burley with a ® trademark symbol. It appeared to be made of the same material as a Medico that I picked up the day my eldest daughter was born – Brylon. I was sure that the Medico and the Yello-Bole were made by the same company. I was not sure but thought it would be worth picking up as I had not seen one of these before. Besides the price was right – I think it was $8 or so. The bowl had a fairly thick cake at the top and some remnants of the last tobacco smoked in the bottom of the bowl. The stem was stuck in the stem and took a little effort to move it as it was inserted upside down. When I got it out of the shank the aluminum tenon was badly oxidized and there was some corrosion on the surface. The shovel scoop stinger that is a hallmark of Yello-Bole pipes was black with tars and it was stuck in the tenon. The pipe had a heavy smell of English tobacco that made me wonder if it had ever met a pipe cleaner.Burley1

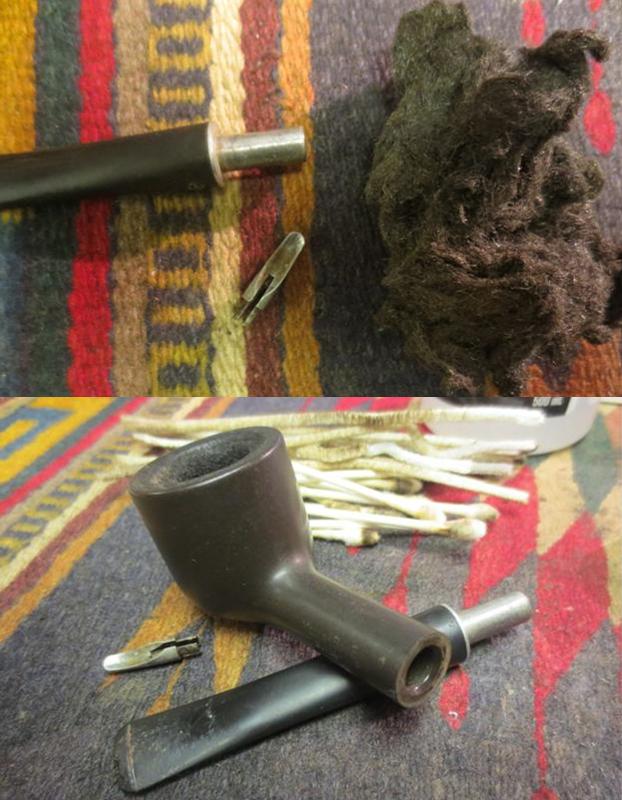
Burley2 I took some close up photos of the bowl and the tenon and shovel stinger apparatus when I got the stem off the shank. The first photo shows the thick cake on the inside of the bowl, the remnants of tobacco and the tars on the rim. It takes a long time (from my experience) and lots of smoking to build up a cake like this in a Brylon pipe. The second photo shows the corroded metal tenon as well as the dirty shovel stinger apparatus. The stem also had some tooth marks and a lot of tooth chatter on both sides of the stem at the button. I was able to wiggle the stinger out of the tenon with a little effort the third photo shows the tenon and stinger.Burley3

Burley4 Since I had not heard of the brand before I did some research before I cleaned up the pipe. I found a link to Pipedia that gave a short history of the brand and I found out that Brylon was developed by SM Frank and Company in 1966. It was a combination of resins and briar dust and was a synthetic that was cheaper alternative to briar. It is virtually indestructible and I have read other place that folks used to throw them in the dishwasher to clean them… The one I had certainly had never met this fate and I would not resort to that method in cleaning it. Here is a portion of the quote from Pipedia with a photo of the Brylon pipe. It also gives information regarding the four lines of Brylon that SM Frank sold.Burley5“This material was immediately used for Yello-Bole pipes, and millions of these pipes have been sold in the decades since then. They continue to be part of the Yello-Bole and Medico brands. At the moment Yello-Bole offers:
• 4 lines of Brylon pipes: Ebony, Nova, Burley and Standard (Prices $15.95 – $18.95) and
• 4 lines of Briar pipes: Spartan, Pug, Checker and Imperial (Prices $19.95 – $24.95).
The Yello-Bole Burley was billed as a great pipe delivering top-notch Brylon quality for just a few bucks. Featuring a push-bit with an aluminum scoop, this no-nonsense pipe is a great starter, or knock-around pipe. http://pipedia.org/wiki/Yello-Bole
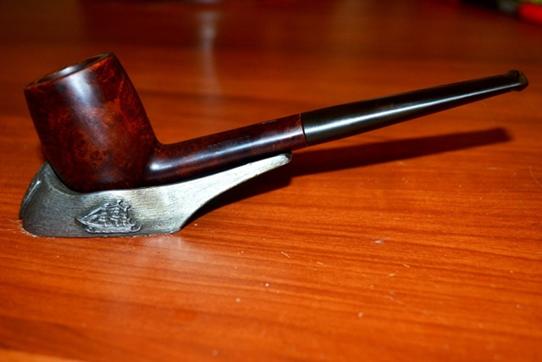
I also found another link that lead on tobaccopipes.com that gave a little more history of the Yello-Bole line. I cite from that article below. http://www.tobaccopipes.com/yello-bole-pipes-history/

Yello Bole Changes Hands -Throughout the 1950s the brand changed hands a few times, finally coming to rest with S.M. Frank & Company in 1955. The brand has been made by this corporation ever since. Brylon, a synthetic pipe material, first began to be used after S.M. Frank took control and is still used today.

Affordable tobacco pipes – Today Yello Bole pipes are made of both Brylon and briar and are made to be an affordable tobacco pipe for the every-man.

Today Yello Bole tobacco pipes come in eight different lines. The Brylon pipes are Ebony, Nova, Burley, Standard and Spartan series. The smoking pipes made from briar wood include Pug, Checker and Imperial lines.

Brylon pipes are generally less expensive than briar wood pipes, generally costing only a little more than a corn cob pipe. All Brylon pipes come with a push bit and scoop. The scoop helps to trap hot flakes of tobacco. It is removable for those who don’t care for this device.

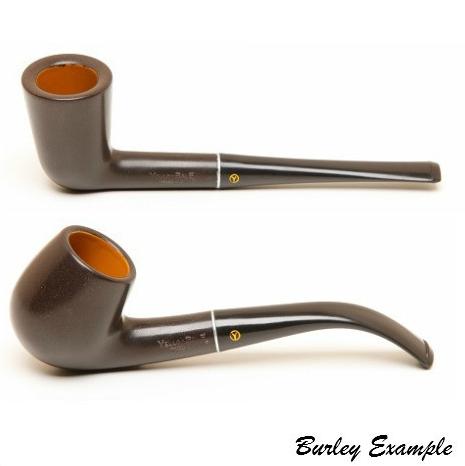
I also found several pictures of the pipe online. The first is one that I include to show the look of the pipe when it was new. The second and third photos show the same model of Burley that I had found. The pipe has a jaunty look to it that catches the eye. The one I have must have been a good smoking pipe as it was heavily used.Burley6

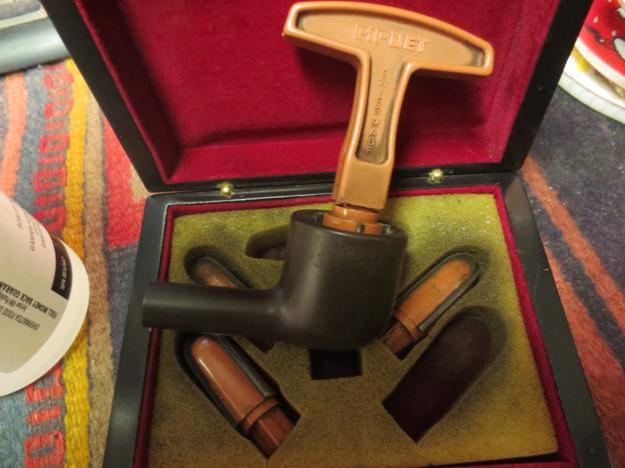
Burley7 I scrubbed the tenon and the stinger with 0000 steel wool to remove the corrosion and grime. It did not take much scrubbing before it was shiny and clean. I cleaned out the inside of the shank and the stem with alcohol, cotton swabs and pipe cleaners. There is a rubber grommet inside the end of the tenon that holds the shovel stinger tightly in place.Burley8 I reamed the bowl with a PipNet reamer using the largest cutting head. I was able to get most of the cake out of the bowl. I also sanded the inside of the bowl to finish removing the buildup. It was fascinating to find some of the Yello-Bole bowl coating underneath the cake on the bottom half of the bowl.Burley9

Burley10 The next photo shows the cleaned and sanded bowl and the cleaned rubber grommet in the end of the tenon. The second photo shows the shovel inserted in the grommet.Burley11 I scrubbed the exterior of the Brylon with a cotton pad and alcohol to remove the grime and build up on the rim. With the bowl finished I worked on the stem. I sanded it with 220 grit sandpaper, 400 grit wet dry sandpaper and with a fine grit sanding sponge to minimize the scratches. On both the top and the bottom side I was able to get rid of most of the tooth chatter but there were some deeper tooth dents that would need some more work.Burley12 I cleaned the surface of the stem with alcohol and then used clear super glue to fill the deeper dents on both surfaces.Burley13 I resanded the stem with 220 grit sandpaper and with 400 grit wet dry sandpaper to smooth out the repairs and blend them into the surface of the stem. I sanded it with a medium and a fine grit sanding sponge.Burley14 The nylon stems are a pain to work on and it takes a lot of sanding to get rid of the scratches. I wet sanded with 1500-2400 grit micromesh and paid a lot of extra attention to the repaired areas. I avoided the stamping on the stem so as not to damage that. I rubbed the stem down with Obsidian Oil and while it was still wet sanded the stem with 3200-4000 grit micromesh sanding pads. I gave it another coat of oil and sanded it with 6000-12000 grit pads.Burley15

Burley16

Burley17 I buffed the pipe and stem with Red Tripoli very lightly to raise a shine on the stem and then finished buffing it with Blue Diamond plastic polish. I gave the bowl and stem several coats of carnauba wax and buffed it with a clean flannel buff. I finished by hand buffing it with a microfibre cloth to deepen the shine. The finished pipe is shown in the photos below.Burley18

Burley19

Burley20

Burley21

Burley22

Burley23

Reviving a Reinhard’s Natural Billiard


Guest Blog by Robert M. Boughton
Member, International Society of Codgers
Member, North American Society of Pipe Collectors
http://www.naspc.org
http://www.roadrunnerpipes.com
http://about.me/boughtonrobert
Photos © the Author

Reinhard: Old Germanic male name meaning brave, hardy; fox
― From “Behind the Name”

INTRODUCTION
After searching in every nook and crevice of the Internet I could conceive, in search of a single clue, even, as to the origin of this Reinhard’s natural billiard, I had to concede defeat and turn to my friend and mentor, Chuck, for any suggestions he might have. I was certain this sleek gentleman’s pipe, with its classic form and fine engineering that from the general look and color hinted at a vintage make, must be an established brand, however limited its period of manufacture. The crispness of the nomenclature in particular threw me. Although the possibility that the Reinhard’s could be the creation of an independent pipe shop somewhere had crossed wires somewhere in my mind, I wanted to believe the elegant piece of briar was descended from a higher pedigree. When Chuck came back with a scenario that was not only viable but likely, therefore – that the derivation of my pipe indeed was probably a small shop somewhere, but with the added conjecture that it was likely of mid-western U.S. descent, from a place with a high concentration of German or other Teutonic immigrants – my spirits were somehow bolstered. Maybe the Reinhard’s was something more than the variety of pipe commonly relegated to the classification of “no-name” after all.

The natural, dark brown color of the pipe, reminiscent of staining popular during the 1950s and ’60s and into the ’70s, had grown more pronounced with age and regular use. As with all such pipes I come across, I wanted to bring out more of the natural grain I was sure was hidden beneath a thin layer or two of decades of accreted grime on top of the original finish. The bowl is slightly canted, suggesting a Canadian except for the longer bit. And so I settled on a sweet, alternative billiard. Please correct me if I’m wrong. I still have trouble with the whole Canadian-Lovat-Lumberman-Liverpool mess.

RESTORATIONRein1

Rein2

Rein3

Rein4 First, there was the typical carbon buildup in the chamber and the rim cleaning to confront.Rein5 A 17mm fixed reamer started the process of dispending with the cake, and followed up with sanding, using 150-grit paper to even out the chamber interior after which I smoothed it with 320-grit paper, the result was chamois-smooth. The basic cleaning with Everclear-soaked bristly cleaners and a thorough retort was easier than I feared, but still necessary, of course. I’m always happy when a pipe only needs two or three infusions of strong boiled alcohol through its innards to leach out the buildup of tobacco juices and other elements of regular enjoyment; it shows that the previous owner cared for the pipe.

After a bath with distilled water on small pieces of cotton cloth, wet micromesh paper from 1200-3600 did a nice job on the rim. The soft, brown, more natural exterior of the bowl and shank came out with delicate use of superfine steel wool.Rein6

Rein7

Rein8 Almost done, I used the same wet micromesh progression that cleaned up the rim to smooth the exterior of the pipe.Rein9

Rein10

Rein11 The bit was in exceptional shape, but I still rinsed it in a OxyClean solution and micro-meshed from 1500-3600. Finally, I buffed the bit with red and White Tripoli, with the clean wheel in between, and used white Tripoli, White Diamond and carnauba on the wood.Rein12

Rein13

Rein14 CONCLUSION
I achieved the effect I wanted, without over-removing the darker stain, to maintain the integrity of the maker’s – whoever he might have been, God bless him – plan.

Being somewhat of a known easy touch when it comes to gifting pipes to deserving individuals, I found myself at my tobacconist with a small box of finished pipes, including the Reinhard’s, and some that still needed work. Candice, the lovely young worker on duty, had told me she had her eyes on a golden-orange The Pipe for sale. As it was to be her first foray into the world of pipe enjoyment, in my judgment, that just would not do.

Candice, cropped from a photo with her in the background

Candice, cropped from a photo with her in the background

Perhaps a bit impetuously, I laid out my wares, separated so that Candice could choose from the restored samples. The good lady did protest, of course, citing the old it’s-too-generous excuse and even offering to pay something, but I would have none of it. They weren’t moving on my business website, after all, and Candice (who was named for Candice Bergen by her thoughtful parents) looked them all over and concluded she could not make up her mind, and she would be happier if I chose one. Isn’t that just like a woman? I love it!

And so, with a slight pang, my hand went on its own volition to the Reinhard’s, which I handed to Candice. Something in her reaction told me it was the one she would have chosen, had push come to shove, so to speak.

In my humble opinion, the Reinhard’s fits her always helpful, friendly, sparkling personality to perfection.

Gourd Calabash Restoration


Blog by Aaron Henson

I was at work the other morning and got caught looking at something on the internet that should not have been. It was not as terrible as it sounds. My job requires that take annual training (given online) each year, and after almost ten years of the same information I take some liberties. While the training was running in one window I was browsing the latest estate pipe auctions on eBay in another. At 6:30 am there are not many other people about the office so I didn’t think much about it until a friend happened by and asked about my interest in pipes. We talked for a bit and at the end of the conversation he said that he had his father’s Sherlock Holmes pipe that was collecting dust and would I be interested in it. Of course I said “Yes!”

The very next morning my friend brought over a beautiful calabash gourd pipe. He also sent me home with nice Grabow Savoy bent billiard – his own pipe that he had not smoked in over ten years. The calabash, he said, was a pipe that he had bought as a gift for his father sometime in the late ‘70’s or early ‘80’s. After his father had passed away it had come back him. He had had it on display in his rec-room for a while but in recent years it was pushed to the back of the shelf.

Upon getting home that night, I put my other restoration projects on hold (a 1929 Peterson Irish Free State with a broken shank and an Oom-Paul with a bit through stem) to make room on the work bench. I did not jump right into the restoration that night however. All of my restorations up to this point have been with briar pipes. I have always been interested in meerschaum and calabash pipes but never actively pursued acquiring one. But now, with this amazing gift, I dove into study about the making, care and restoration of calabash gourd pipes.

What I found was that there is not nearly as much information about restoring gourd pipes as there is about restoring briar. I believe this to be in part because gourd pipes just don’t hold up as well over time as briar does.

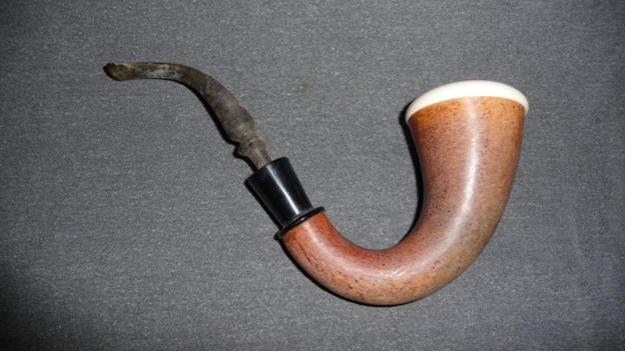
I began with a thorough inspection of the pipe. The stem had a lot of dried crust of some sort on it but not much oxidation but there was very little tooth chatter around the button. Upon reflection I realized that this was not too surprising considering that a pipe of this size would be very difficult to clench. The stem was also slightly misaligned. Nothing very noticeable and may even have been intentional so as to provide a more comfortable smoke. The stem inserted into a plastic ferrule that was in very good condition but it was only with great difficulty that I remove the stem. I was worried that would break it before it came free. A drop of alcohol at the base of the stem eventually helped it break free.

The gourd was a little dirty but the most noticeable thing was that one side appeared faded compared to the other, probably a symptom of being placed on display. I confirmed with my friend that the meerschaum bowl was a replacement. The outer rim of the bowl sits almost flush with the edge of the gourd, there not being much overhang. I tried to remove the bowl for inspection and cleaning but it seems that the new bowl was glued in place. There we no markings of any kind on the pipe, so the manufacturer will remain a mystery.Calabash1

Calabash2

Calabash3

Calabash4

Calabash5 I began by cleaning the stem by setting it to soak in an Oxyclean bath. After 10 minutes I removed the stem and scrubbed it with a magic eraser pad. This was a new technique for me and I was so focused on what I was doing I forgot to take pictures. The outside of the stem cleaned up very well the crusties coming off in the soak. The interior of the stem also cleaned up easily; the third alcohol soaked pipe cleaner came out as clean as it went it in. Below is the cleaned stem. My apologies for the background – the green is a little hard on the eyes.Calabash6 Next I addressed the tooth chatter; one large dent on the top of the stem and three smaller on the bottom. I tried to raise the dents with some heat from lighter. While the stem was still warm I realigned the bit with the curve of the stem. The heat helped raise the dents but didn’t remove them completely and the larger one still required a drop of black super glue filler. The other dents were easily removed with 220 grit sandpaper. The pictures below are after the heat was applied and before the sanding.Calabash7 I follow the same regimen that many of the others on this blog do for polishing vulcanite stems: 1500-12000 micro-mesh pads, wet sanding the first six pads and stopping every 3 pads to coat the stem in mineral oil. I found a set of ½-inch wide micro-mesh sticks at my local Wood Works store and these worked very well around the bead detail on the stem.Calabash8

Calabash9

Calabash10 Since I could not remove the meerschaum bowl, I opted not to use any alcohol based cleaners on the gourd. Instead I scrubbed it down with Murphy’s Oil Soap on a cotton pad. After cleaning, I made several passes with a wet paper towel to wipe off the soap residue.Calabash11 The sun bleached side of the pipe had kind of a rough feel so I lightly sanded the entire gourd with 600 grit paper. This evened out the texture and removed any surface damaged of the gourd.Calabash12 The ferrule was plastic and I had very difficult time removing the stem the first time. Some of the sticky residue I had cleaned from the stem must have gotten into the mortise. I used a pipe cleaner bent in half and dipped in alcohol to swab the mortise clean. Even with my initial troubles, three passes was all that was required to clean the mortise. I wiped the outside of the ferrule down with alcohol and then buffed using the 4000 – 8000 micro mesh pads to remove any light scratches.Calabash13

Calabash14 I debated with myself a long time about what to do with the discolored gourd. I finally decided to try to blend the discoloration with a light stain. Mixing one part Fiebing’s Light Brown with three parts isopropyl alcohol, I used a cotton swab to apply the stain. Starting at the edge of the discoloration, I worked my way around the pipe, layering the stain to get the variation and depth of color. To my surprise this worked well and I was very pleased with the results. After multiple coats and looking at the pipe under various types of lighting I was finally satisfied with the results. When the stain had dried completely, I applied a light coat of mineral oil wiping off the excess.Calabash15

Calabash16

Calabash17

Calabash18 Taking the stem to the buffing wheel, I put on three coats of carnauba wax and called the restoration complete. My next project is to build a stand for the pipe. I will start on it as soon as I can settle on a design that I think will complement the shape of the pipe. And maybe someday, I will replace the bowl with one that gives the pipe a more traditional calabash look. But right now, I am looking forward to burning bowl of Burley Virginia.

Thanks for looking.

Restoring 2 Kaywoodies – a Flame Grain 99B and a Meerschaum Lined 86B


Blog by Dave Gossett
KW1 These two Kaywoodie’s were found at an estate sale. They are great survivor examples from the heyday of Kaywoodie. I could tell the previous owner cared for and loved these pipes. They were well used and dirty, but in near perfect condition. Free of fills, tooth chatter, scratches, nicks, or dents. The stampings are crisp and clear. The lines are sharp and straight. Both are 4 hole Drinkless stinger era KW’s.

Bringing these pipes back to their former glory was pretty simple. I have about an hour of work in each pipe. I gave them a wood soap wash, a light ream, deoxidized the stems, and put on fresh coat of carnauba.

The first is a Kaywoodie Flame Grain 99B KW2

KW3

KW1

KW5 The second is a Kaywoodie Meerschaum Lined 86BKW6

KW7

KW8

KW9

KW10

Replacing a push-tenon and mortise in a Meerschaum pipe


Blog by Steve Laug

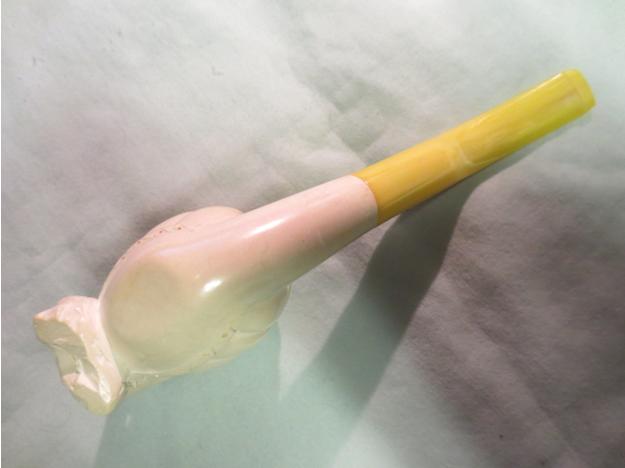
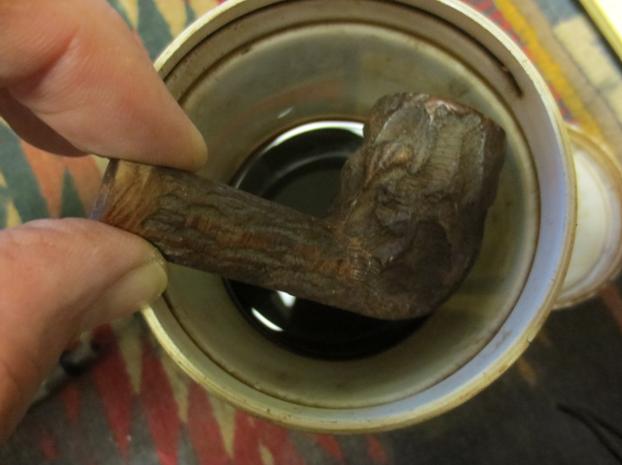
My brother, Jeff has been on a roll picking up some nice pipes that he gifted me. The first was the CAO meer that I reworked the stem and wrote about. The second was the Peterson Kildare 999 (one of my favourite shapes). The third one that I worked on was a no name meerschaum. It is a bent barrel shaped pipe with a stag running through the trees carved on the front of the bowl. The meerschaum is very heavy and dense in appearance so I am pretty certain it is a pressed meerschaum pipe. The stem is a bright yellow Lucite that actually shows better craftsmanship than the Lucite stem on the CAO meerschaum. The pipe came in a decent brown leather cover case with smooth fabric in the lid and a soft faux fur in the base. The hinge and the clasp were brass. The pipe fit well in the case. The photo below comes from the auction and gives a clear picture of the pipe as it was advertised.hunt1 The issue that I had to address with this one was that the mortise insert for the push stem connector was shattered in the shank. When I twisted the stem out of the shank a portion of the insert came with it. I looked into the mortise and I could see the cracks and breaks in the insert. It would need to be pulled.hunt2 The bowl of the pipe was pretty clean. The inside of the bowl was slightly darkened but looked like it had been smoked only a few times (if that). There was also some rim darkening that probably would clean up easily enough. Under a bright light it appeared that there was either a small crack or a scratch on the outer rim just above the ring on the barrel on the right side of the bowl. I checked the mark with a jeweler’s loupe and it appears to be a small hairline crack. I cannot feel it with my finger when I run it over the surface. There is a scratch below the band on the barrel as well, just below this. That particular line is not a crack but a scratch. That is the bad news and the good news regarding the crack. The shank was clean past the insert.

The stem had some oils and stain in the airway. There were light tooth marks and chatter on the underside of the stem next to the button. The slot was well cut in the end of the button and the interior of the Y was smoothly sanded. The button itself was well shaped. The stem did not align with the shank. Though they were both the same diameter, the airway in the shank was slightly off centre which made the right side of the stem extend past the edge of the shank while the left side was slightly smaller than the shank diameter at that point. I may need to do a bit of work on the right side to make it match the right side.

I removed the stem from the shank and wiggled the broken portion of the mortise insert that was stuck at the top of the push tenon in the stem free from the stem. I used a knife blade inserted in the shank to bite into the broken insert and twisted it free of the shank. It came out in three pieces that fell apart when they hit the table top.hunt3

hunt4 I have a few Delrin push tenons and inserts that I ordered for just such an occasion and took one out of the box where I have them. I cleaned up the edges and casting overage on the top cap. I sanded it to smooth out the Delrin fitting. I aligned the thread in the shank with those on the insert and screwed it into place in the shank. When I replace these I do not glue them in place in case they again disintegrate or crack. It will make a replacement much simpler for whoever has to work on the pipe next.hunt5

hunt6

hunt7 I unscrewed the push tenon from the stem so that I could clean out the area behind it. It was a cheap clear nylon that was discoloured and had some grooves cut in the surface from the fractured mortise insert pieces. I would replace it with the Delrin tenon counterpart once I cleaned out threads in the end of the shank and the airway in the stem. I used cotton swabs, pipe cleaners and alcohol to remove the staining and oils in the airway. The new Delrin tenon had a larger airway and gave a more open draw on the pipe. It will be a significant improvement to the smokability of the pipe. A small bonus was that once I replaced the tenon and put the pipe back together the stem aligned better with the shank. I lined up well enough that the only small overage in diameter of the stem is on the underside. Also a quick draw on the pipe once it was together confirmed the new more open draw. It looked like this quick repair gave some unexpected bonuses that were worth the little effort.hunt8

hunt9

hunt10

hunt11 I sanded the tooth chatter on the stem with 220 grit sandpaper and with a medium and fine grit sanding sponge. I wet sanded this area with 1500-2400 grit micromesh pads. I was able to remove all of the tooth chatter and polish the stem. The stem is clean and the finish has a shine. I scrubbed the top of the bowl with cotton pads and saliva to remove the tars and oils on the rim. A little elbow grease and the majority of the darkening came off.hunt12 I left the scratch on the side of the meer as I did not want to chance removing the top coat if the bowl was pressed meer.hunt13 I rubbed down the surface of the bowl and the rim with some white beeswax to protect the finish and to encourage colouration of the bowl. I let the wax dry and then hand buffed the pipe with a microfibre cloth. The finished pipe is shown in the photos below. It is polished, repaired and ready to be used.hunt14

hunt15

hunt16

hunt17

hunt18

hunt19

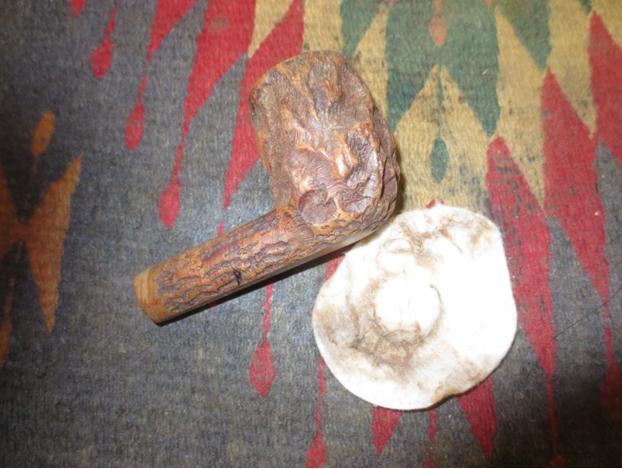
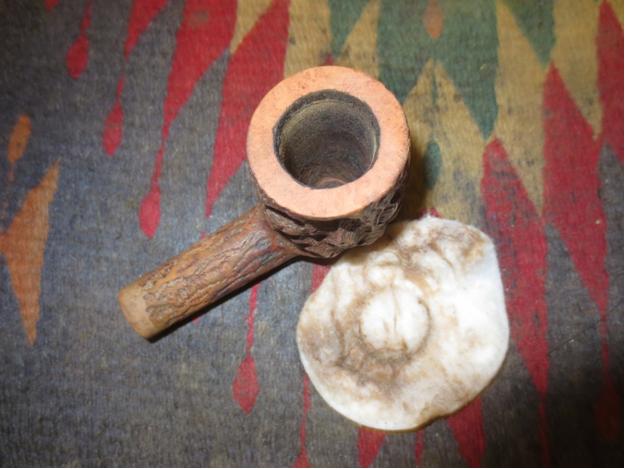
Bringing a Mastercraft Rock Briar Billiard back to life


Blog by Steve Laug

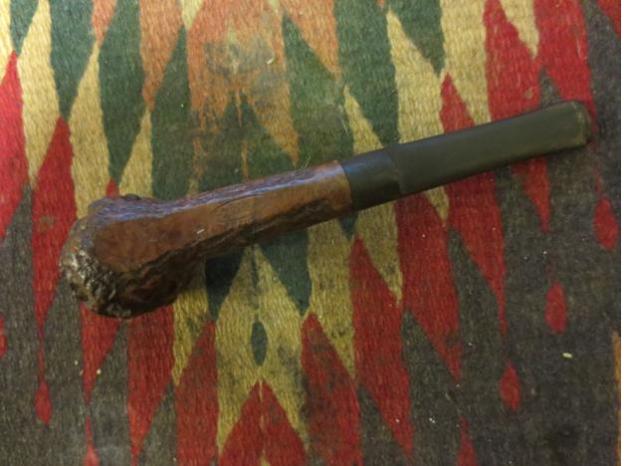
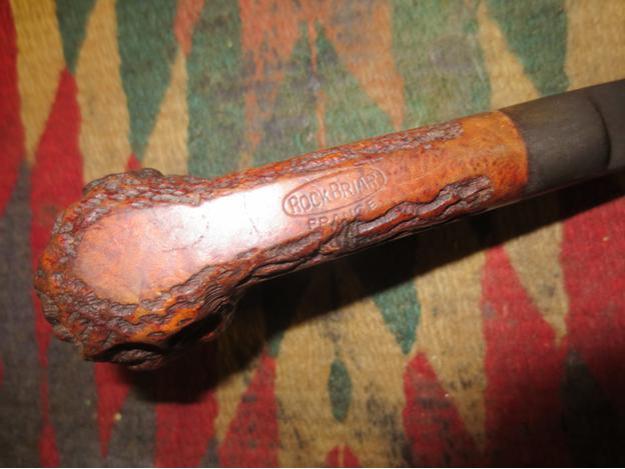
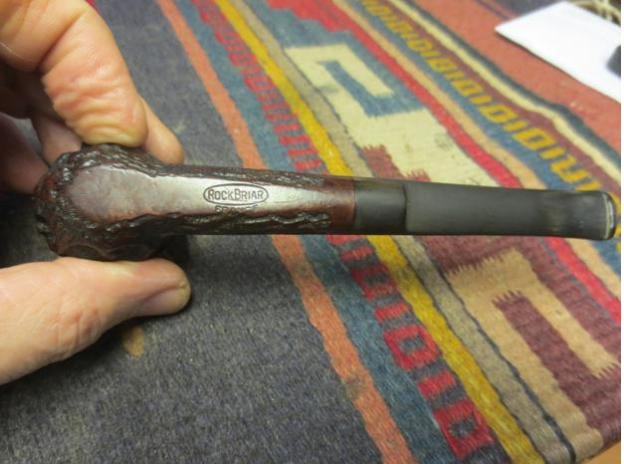
I found this old billiard for sale in an antique mall in Idaho Falls, Idaho. It was there when I visited in July and I bypassed it. It was still there this time so I made a deal with the seller and it came home with me. The bowl was dirty and had a cake and a bunch of tobacco debris and dust in the bottom. The rim had a buildup of tars and lava on the surface. The inner edge had some light damage and was slightly out of round. The finish was a rough rocklike rustication that was worn and dirty. There were white flecks and flecks of what looked like putty fills on the side of the bowl. There were several small sandpits in the bowl sides and on the bottom right side of the shank.RB1

RB2

RB3

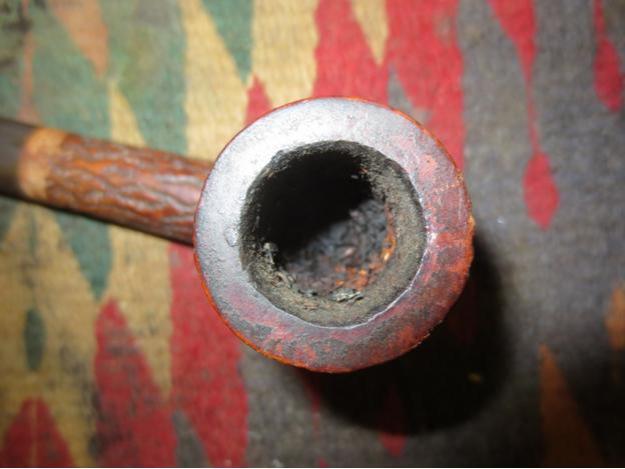
RB4 The stamping on the bowl was on a smooth flattened panel on the bottom of the bowl and shank. It bore the stamping Rock Briar in an oval and underneath France. I found out from Who Made That Pipe that the pipe was made for Mastercraft in France. From my research it doesn’t appear that Mastercraft ever manufactured pipes but rather bought them from multiple factories — mostly French and English. It survived briefly the post war recovery and then was acquired by Grabow.RB5 The next photo is a close-up picture of the rim and the debris in the bowl. The rim and bowl would take some work to clean out.RB6 I reamed the bowl with a PipNet pipe reamer and starting with the smallest cutting head worked my way up to one the same diameter as the bowl. I removed the cake and the clutter in the bottom of the bowl. I also used a pen knife to scrape out the small remnant of cake that the reamer did not take out.RB7

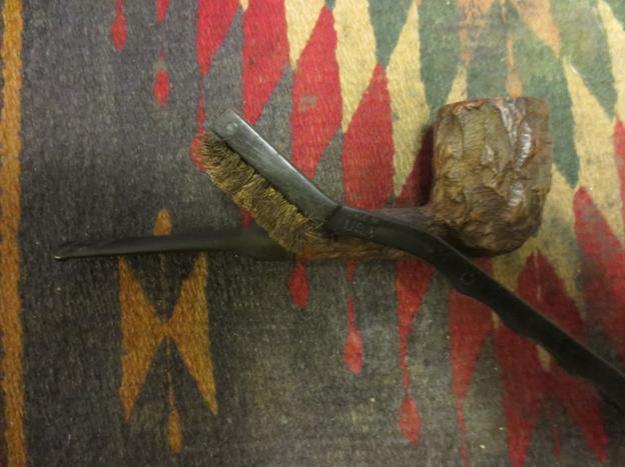
RB8 I scrubbed the bowl with a brass bristle whitewall tire brush to remove the buildup of grime and dust in the grooves of the rustication. Once the grime was loosened I put the bowl in an alcohol bath to soak while I went to work for the day.RB9

RB10 When I got home from work I took the bowl out of the bath and used the brass bristle brush on it once again. When I had finished brushing it I dried it off with a cotton cloth. The following photos show the bowl after the half day soak.RB11

RB12

RB13 I decided to lightly top the bowl to clean up the rim surface. I used a 220 grit topping board followed by a medium and a fine grit sanding sponge.RB14

RB15 I used a folded piece of 220 grit sandpaper to sand and bevel the inner rim. I wanted to minimize the inner edge damage.RB16

RB17 I scrubbed the bowl down with acetone on a cotton pad to remove the dust and remnants of the finish on the bowl and shank. I scrubbed out the shank, mortise and the bowl with alcohol, cotton swabs and pipe cleaners to remove the debris and dust.RB18

RB19

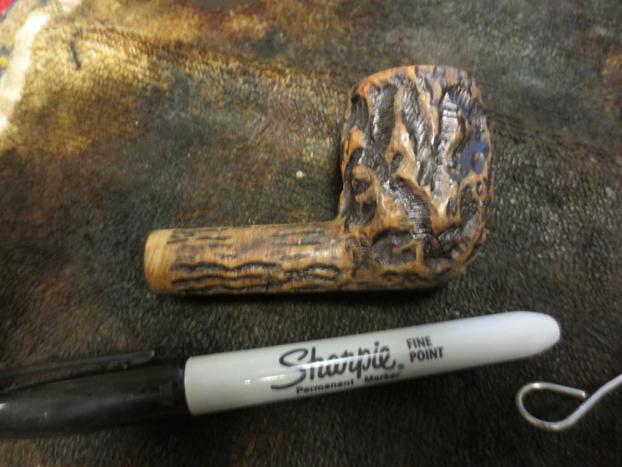
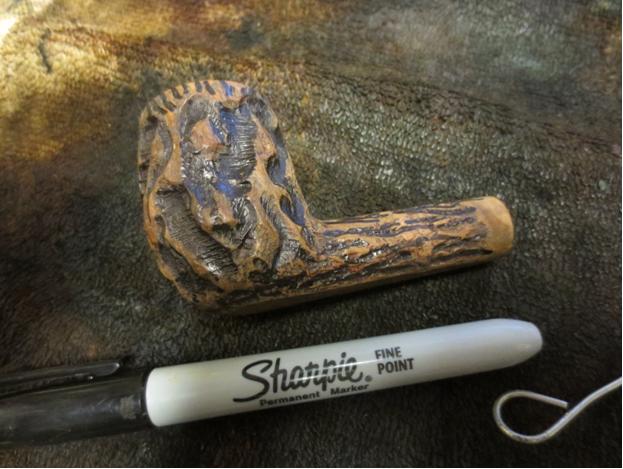
RB20 I decided to do a bit of contrast on the stain. I used a black Sharpie pen to colour in the grooves and rusticated patterns on the bowl and shank. Once I finished that they would add some depth to the colour that I stained the pipe.RB21

RB22 I stained the bowl with a dark brown aniline stain that I had thinned by half to give a bit of translucence to the colour on the bowl. I applied the stain and flamed the bowl to set the stain in the grain.RB23

RB24

RB25

RB26 I wiped the bowl down with isopropyl alcohol on a cotton pad to remove the stain from the high spots on the briar. I wanted a distinct contrast in colour between those and the grooves which I had coloured black.RB27

RB28 I buffed the bowl with red Tripoli and with White Diamond to remove some more of the colour from the high spots and polish them while leaving the grooves dark and unpolished.RB29

RB30

RB31

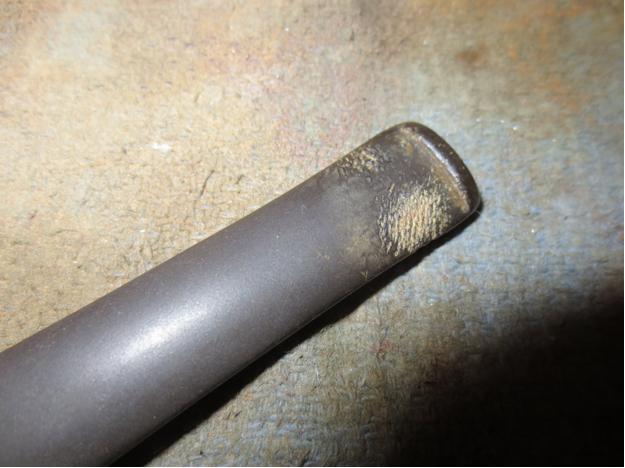
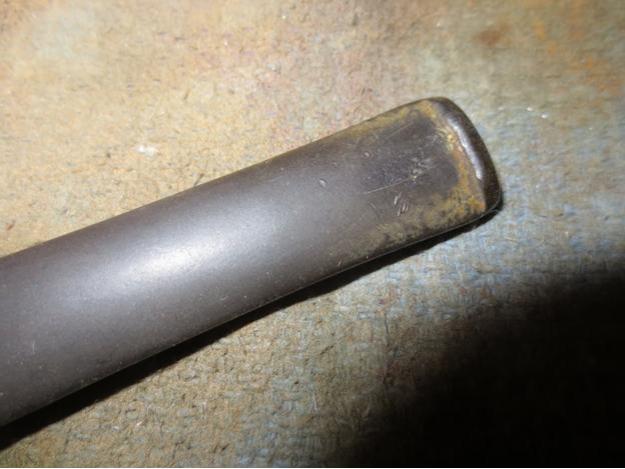
RB32 The stem was in decent shape with some tooth chatter and minor oxidation. I like the overall look and the rustication on the bowl. The stem and shank are long and straight and work well with this pipe.RB33

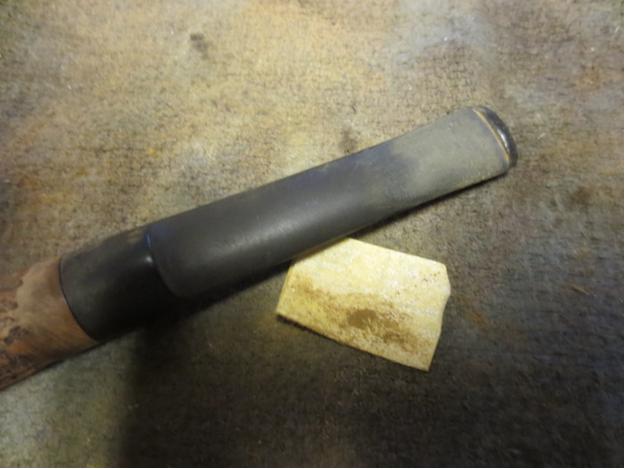
RB34 I sanded the stem with 220 grit sandpaper on both sides next to the button to remove the tooth chatter. I followed that by sanding it with a medium and fine grit sanding sponge.RB35

RB36 I worked on the stem with the micromesh sanding pads. I wet sanded with 1500-2400 grit pads and then rubbed the stem down with Obsidian Oil. I dry sanded with 3200-4000 grit pads, gave it another coat of oil and finished with the 6000-12000 grit pads. I gave it a final coat of Obsidian Oil and let it dry.RB37

RB38

RB39 I buffed the pipe with White Diamond and Blue Diamond and then gave it multiple coats of carnauba wax. I buffed it with a clean flannel buff and then hand buffed it with a microfibre cloth. The finished pipe is shown below. The unique finish intrigues me and the rustication feels great in the hand. Thanks for looking.RB40

RB41

RB42

RB43

RB44

RB45

Reworking a Burned Rim on a Savinelli Oscar Lucite Prince


Blog by Steve Laug

My brother bought me a beautiful little Savinelli Prince when I was visiting. It is stamped Oscar Lucite on the left side of the shank and has the Savinelli shield and shape 313 over Italy on the right side of the shank. On the underside it is stamped Savinelli Product. The stem bears the embossed shooting star logo that is a familiar mark on the Oscar line. We had looked at it several hours earlier and I had passed on it because of the rim damage. I just did not feel like dealing with that as I looked at it and I felt the seller was asking too much for the condition it was in. But throughout the day it nagged at me and I kept thinking I should take another look at it and make an offer just to see if I could get the price down.Prince1

Prince2 So we went back late in the afternoon and I picked up a few other pipes there and my brother got the shopkeeper to take the pipe out of the case so we could look at it again. I examined it and could see that not only the top of the rim was damaged but the inner edge had significant damage from the burn. It seemed that the previous owner had not smoked the pipe much as it was in great shape other than that damage. The bowl was not even caked or darkened from mid bowl to the bottom. I removed the stem and checked out the mortise to see what it looked like. It was actually very clean. I examined the airway and slot in the stem to see what they looked like in terms of use. The stem was in great shape with no tooth marks or damage. All those things made me wonder if he used a torch lighter, fired it up once or twice – just enough to char the rim and damage it and then decided that either this particular pipe or pipes in general were not his cup of tea. Either way the pipe was in decent shape except for the burn on the back right side of the rim.Prince3

Prince4 I put it back but my brother said he would buy it for me so it came back to Canada with me. I have been home for over a week now and have cleaned up several of the pipes that came back with me. I picked the Savinelli up several times over the weeks and always put it back as I just did not feel any push to work on it. On Sunday I talked with my brother on Face Time and he asked if I had worked on it yet. I said no but it would be next on the agenda so last evening I took it from the box of refurbs to deal with it. I sat at the work table for a while examining it and looking at how deep the burn mark went into the briar. It was deep but I knew that topping it could remove much of the rim damage on the surface. I was concerned about the inner edge of the rim and wondering how I could bring that edge back into round with the rest of the bowl. I scraped out the bowl with a pen knife to remove the tobacco debris from the surface and then removed the stem to prepare it for topping.Prince5 To begin with I used a worn piece of 220 grit sandpaper to work on the rim. I faced it into the sandpaper and turned it until I removed a lot of the surface damage. I continued to work it until the sandpaper did not remove any more. I then changed the topping paper for a new piece of 220 grit sandpaper to finish the process. I sanded it until the surface was smooth and the slope of the burn from the surface to the inside of the bowl was minimized. I should have measured how much material I removed from the surface but I just kept sanding until most of the burn mark was gone. I am still surprised that it did not change the shape dramatically – such is the mercy that the burned rim was on a prince.Prince6 I sanded the rim with a medium and a fine grit sanding sponge and then with micromesh sanding pads using 1500-4000 grit pads to remove the scratch marks left behind by the sandpaper. Once the rim was smooth I stained the rim with a light brown stain touch up pen and blended it to match the colour of the rest of the bowl. I buffed it with red Tripoli and then White Diamond to smooth it out.Prince7 I then folded a piece of 220 grit sandpaper and worked on the inner edge of the rim. I wanted to bevel like it had been originally. A gentle slope on the rim toward the bowl would work to hide the burned edge and bring the rim into round once again. I sanded it with the sand paper at the same angle the entire way around the bowl edge. I repeated the circuit around the bowl repeatedly to keep the angle consistent the entire circumference of the inner edge. I sanded it until it was canted to the angle that had originally been present on the bowl.Prince8 Once the sanding was done I used a dark brown stain touch up pen to darken the bevel on the rim. I figured that by darkening the entire bevel I could mask the effect of the burn mark. I cleaned out the shank and the inside of the bowl with alcohol and cotton swabs to remove the debris and to blend the darkening of the bowl with the dark brown stain of the rim. I wanted the transition between the rim edge and the dark of the bowl to flow together.Prince9

Prince10

Prince11 I restained the rim with a light brown stain and then buffed the bowl. I gave it a light coat of olive oil and then buffed it with carnauba wax. The repaired rim is shown after all of the polishing and buffing in the next photos. The darkening of the bevel on the rim does a pretty decent job hiding the burn mark.Prince12

Prince13

Prince14 I cleaned up the stem with cotton swabs, pipe cleaners and alcohol to sanitize and refresh it. I used the micromesh sanding pads – wet sanding with 1500-2400 grit and dry sanding with 3200-12000 grit pads. I buffed the stem with Blue Diamond on the wheel to raise a final shine. I gave the bowl and stem several coats of carnauba wax and buffed them with a clean flannel buff. I finished by hand buffing the pipe with a microfibre cloth. The finished pipe is shown in the photos below. I was able to minimize the burn mark and its effects on the rim top and edge. The pipe looks great and is ready for a real pipeman to take care of it and enjoy it.Prince15

Prince16

Prince17

Prince18

Cleaning up a Bruyere Garantie Pocket Pipe with a Horn Stem


Blog by Steve Laug

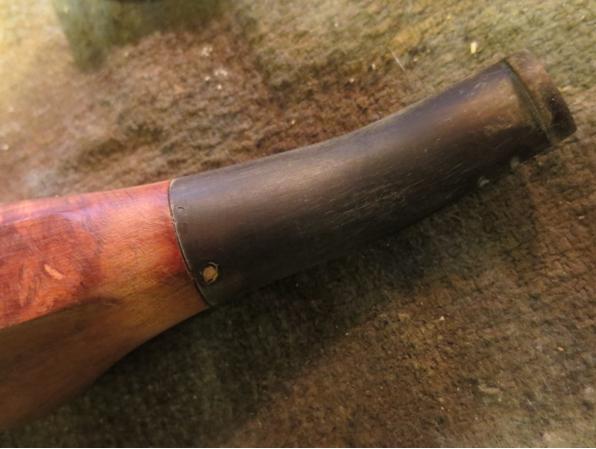
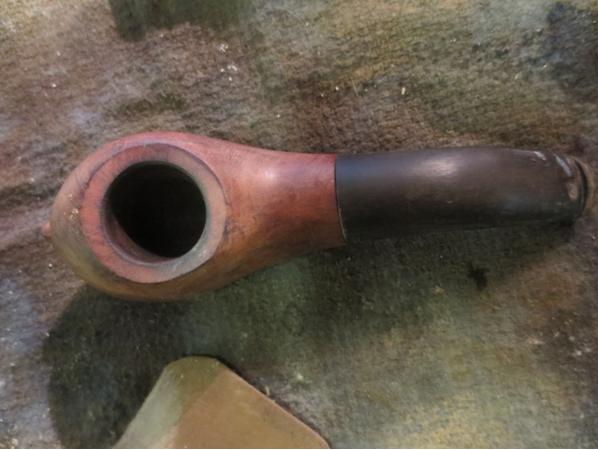
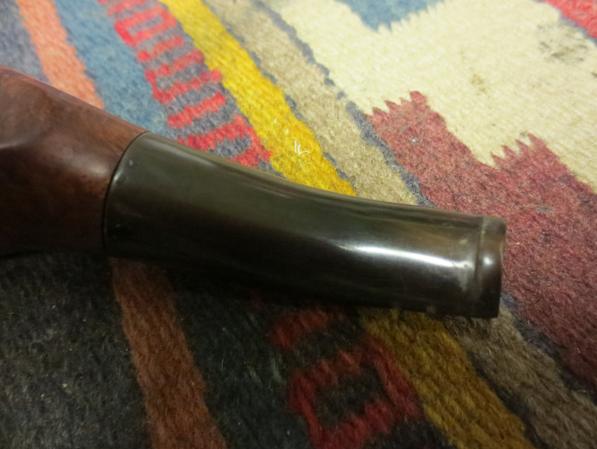
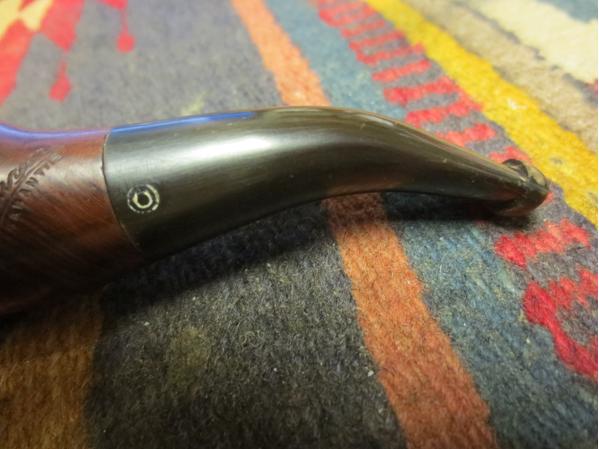
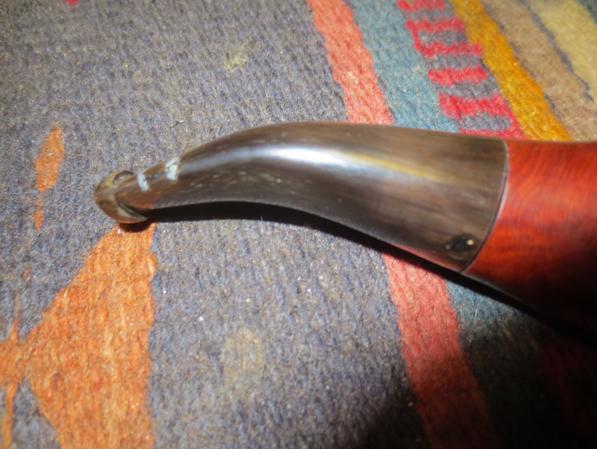
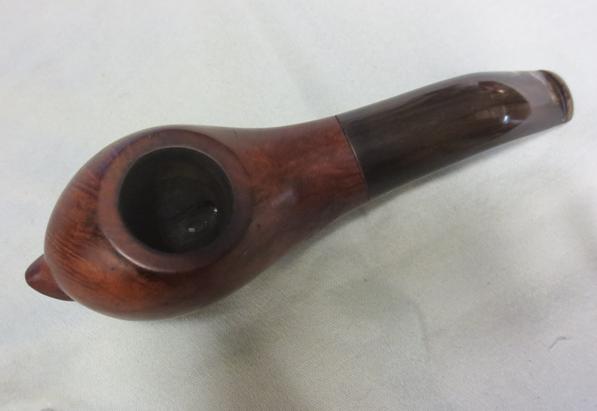
This pipe reminds me of the Mokin Pocket Pipe that Anthony restored and wrote about in an earlier blog. When I saw it on eBay I put a bid in and actually won it. The pipe needed a lot of work. From the photo it looked as if it had a thick coat of varnish or some shiny topping. That would need to go. The finish was spotty and appeared to have some flecks of paint on the top and on the skate at the bottom of the bowl. The rim was darkened and hard to tell whether it was burned or just tarry. The bowl was slightly out of round but it also had a cake that would need to be reamed out before addressing the out of round inner wall of the rim.The stamping was clear and distinct and read Bruyere Garantie on the left side of the shank. The stem had a double circle on the left side. The stem also appeared to be horn. There were two deep cuts on the right side of the stem near the button that would need work and with those marks I was sure there were other issues. The first two photos are the ones included in the seller’s description of the pipe on eBay. I had no idea what the other side or bottom of the bowl or stem looked like or if there would be more issues that would need to be addressed.Bruyere1

Bruyere2 When the pipe arrived I was both encouraged by what I saw and concerned by several other issues that had not been shown in the photos above. The encouraging thing was that there was no shiny coat of varnish or lacquer on the bowl. All that was present was a very dirty, grimy natural finish that seemed to have a reddish-brown colouring to it. The concerns involved the fills on the underside of the bowl. What had appeared to be paint flecks on the skate at the bottom turned out to be part of the fill on the bottom and a missing piece of briar. The bowl was indeed caked and the cake was crumbling and uneven. Looking at it initially I wondered if there would not be burned spots in the walls of the bowl once the cake was removed. The inner edge of the rim was also more damaged than I had expected from the seller’s photo. The cuts in the stem were dangerously close to the airway but fortunately had not broken through. The fact that the airway was unharmed was a small miracle given the depth of the cuts. The fact that they angled probably save the airway from damage. On the underside of the stem there were also large chips missing from the stem at the shank stem union. It appeared that someone had tried to pry the stem away from the shank rather than twisting it off. There was also tooth chatter on the top and underside of the stem near the button. The button however was clean and sharp as was the slot in the in the end of the button. The stem had some beautiful striations of colour that I had not seen in the photos and I looked forward to seeing if I could bring them out.Bruyere3

Bruyere4

Bruyere5

Bruyere6 I took some close up photos of the damage to the rim and the stem. The first photo below shows the damage to the inner edge of the rim and the crumbling cake in the bowl. Looking closely at the top of the photo and the bottom of the bowl you can see the cause for my concern regarding the potential burn out damage. The second and third photos below show the cuts in the stem and the missing chips. You can see how close the cut closest to the button came to the airway in that photo.Bruyere7

Bruyere8

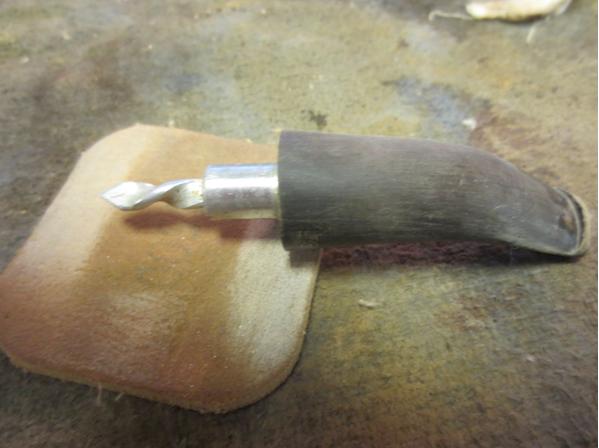
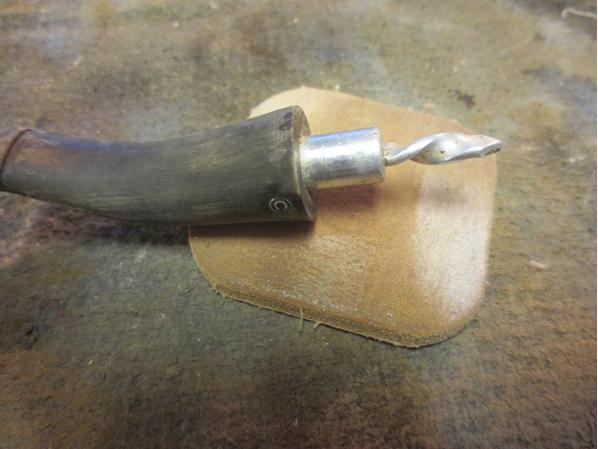
Bruyere9 The next photo shows the stamping on the side of the shank and the logo on the stem. It is hard to see but much of the depth of the stamping on the stem is gone so restoring that with new white colouring will not be possible.Bruyere10 When I removed the stem the tenon was inset aluminum and there was a stinger apparatus in place. It was a twisted piece that had a slot in the top for the airflow that followed the twist to the airway. It was stuck in the tenon and would need to be loosened before I could properly clean out the airway in the stem. I included some extra photos of the stem to show the cuts and chips from a different angle.Bruyere11

Bruyere12

Bruyere13 I reamed the bowl with a PipNet reamer. I started with the smallest cutting head and cleaned things up with it first. I then used the second cutting head which was pretty close to the diameter of the bowl. I cut the cake back to nothing so that I could examine the interior walls of the bowl. I was pleasantly surprised to find that once the cake was gone the interior walls of the bowl were solid and there was no burning.Bruyere14

Bruyere15 I worked on the out of round bowl with a folded piece of sandpaper to smooth out the damaged areas and bring it back to as close to round as I could get it. I then topped the bowl on my topping board to smooth out the rim and clean up the damage on the surface. I will often do this just to bring the damage on the inner edge of the rim closer to the top so that I can smooth it out further with sandpaper.Bruyere16

Bruyere17

Bruyere18 I wiped down the bowl with acetone on a cotton pad to remove the grime and the remnants of the finish. There appeared to be some damage to the front of the bowl that I wanted to have a closer look at once the bowl was cleaned up.Bruyere19 I wiped down the horn stem with cotton pads and some alcohol to clean up the surface so that I could begin the repairs. I debated on whether to use black super glue or clear super glue for the repairs to the chipped areas but decided to go with the clear hoping that once it dried the colour would come through the repair and blend it into the horn better. I layered the repair to the chipped areas on the underside and the cuts on top side of the stem. I wanted each layer to dry before I added another layer of glue.Bruyere20

Bruyere21

Bruyere22 After many layers of glue I was disappointed that glue did not cure clear but rather had a cloudy white appearance. The fills on the cut areas dried hard but looked like two white slashes. I was hoping that as I polished the stem these would blend in a bit more. The fills in the chips were a mixed bag. The smaller ones dried perfectly and blended in well. The larger divot was also white. I cleaned that area once again and added a drop of black superglue to the top of the repair to see if I could hide it better.Bruyere23

Bruyere24 I sanded the bowl and stem with 220 grit sandpaper and then medium and fine grit sanding sponges to clean up the repairs and the scratches in the briar. I carefully avoided the area of the stamping and the logo so as not to harm them. I also cleaned up the stinger and was able to remove it from the tenon. It was threaded and after cleaning up the joint I was able to unscrew it and clean it and airway of the stem. I wet sanded the bowl and stem with a 1500 grit micromesh sanding pad. The striations of colour are beginning to show on the stem and the bowl is looking far better than when I started.Bruyere25

Bruyere26

Bruyere27 I wiped the stem down with a light wipe of alcohol to remove the sanding dust and then continued to wet sand it with 1500-2400 grit micromesh pads. I rubbed it down with Obsidian Oil and then dry sanded with 3200-4000 grit pads. I rubbed it down again with the oil and then finished sanding it with 6000-12000 grit pads. I gave it a final coat of Obsidian Oil and let it dry.Bruyere28

Bruyere29

Bruyere30 I buffed the bowl and stem with White Diamond and Blue Diamond on the wheel. I then cave the bowl and stem multiple coats of carnauba wax and buffed it with a clean buffing pad. I hand buffed the stem and the bowl with a microfibre cloth. The first photos below are of the polished stem. You can see the repairs from the cuts. For some reason the glue dried white – even though it is clear. I did a patch on the chip on the underside with black super glue and it does not quite match… ah the frustrations of repairs. This one is staying with me so I will not mind as the stem is now smooth and polished. The cuts and the chips are repaired and are smooth to the touch. The fit of the stem to the shank is good with no missing stem parts.Bruyere32

Bruyere33

Bruyere34

Bruyere35 The final four photos show the finished pipe. The bowl polished up very nicely with just carnauba wax. The polished stem shows the striations that are one of my favourite parts of horn as a stem material. The deep shine is a bonus.Bruyere36

Bruyere37

Bruyere38

Bruyere39

Breathing new life into a Republic Era Peterson’s Kildare 999


Blog by Steve Laug

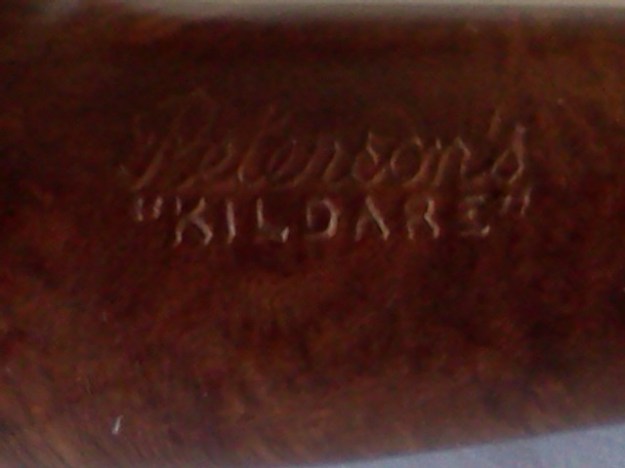
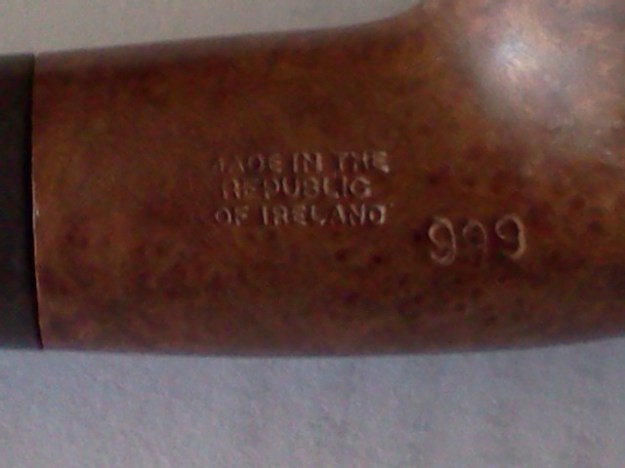
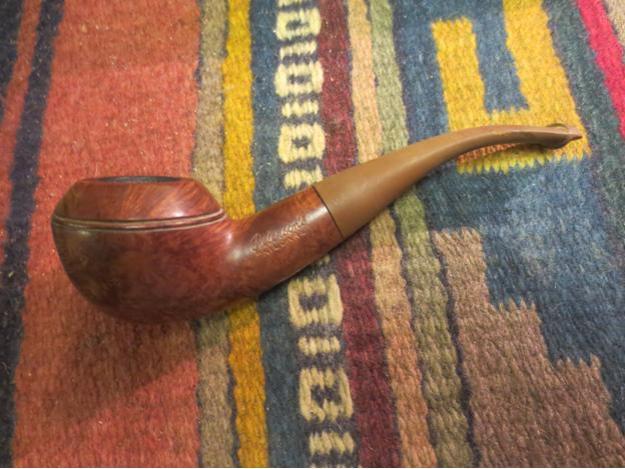
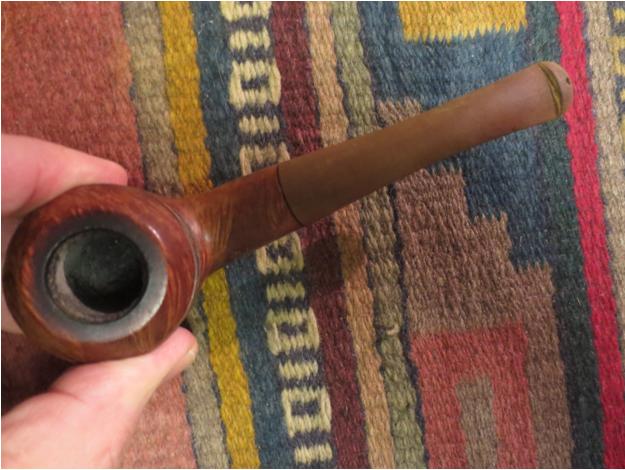
My brother picked this pipe up for me when he was in Austin, Texas. It is actually one of my favourite Peterson shapes – the 999. This one is stamped Peterson’s over “Kildare” on the left side of the shank and Made in the Republic of Ireland 999 on the right side of the shank. It actually is in really decent shape. The bowl had grime on the finish but no real dings or gouges. The rim was tarred and dirty but otherwise in good condition. The outer and the inner edge of the rim were smooth and the bowl was round. The double ring under the cap of the bowl was also in great shape with no chips or missing parts. There were a few small fills on the underside of the bowl among the cross grain that covered that and the top and bottom of the shank. The birdseye grain on the bowl and shank sides is quite stunning. The stem had straightened out during the time the pipe had been sitting and would need to be rebent somewhere along the line. The stem was oxidized, but otherwise clean with no tooth dents or bite marks. The fit against the shank was not tight but that would probably change once the pipe had been cleaned. There was a stinger in the end of the tenon once I removed the stem from the shank. The next three photos are ones that my brother sent me when he found the pipe. The first is a side view of the pipe and the second and third show the stamping on the shank.Pete1
Pete2

Pete3 When I was visiting with my brother in Idaho Falls I decided to rebend the stem on this one. I used a cup of water that I boiled in the microwave and then put the stem in to heat and soften the rubber. Once it had softened I bent it to match the curve of the bowl. When I heated the stem in the water the oxidation rose to the surface of the stem and turned it an unsightly brown. That is what I expected and why at home I use a heat gun rather than water. But as the stem was oxidized already the water would bring the rest of it to the surface for an easier clean up.Pete4

Pete5

Pete6

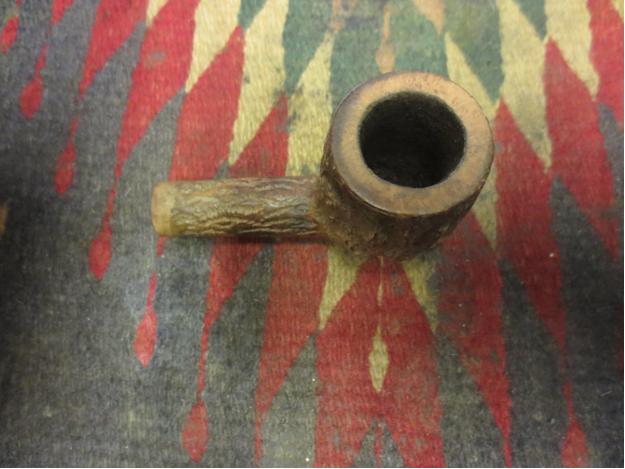
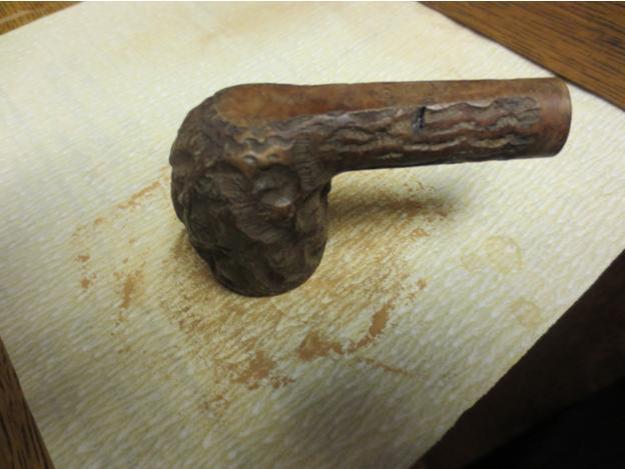
Pete7 I took the next three photos – close-up pictures of the rim and the stem – to show the state of those areas. Both the rim and the stem were in very good shape under the tars and the oxidation.Pete8
Pete9

Pete10 I reamed the bowl with a PipNet reamer to take the cake back to bare briar. I used the first two cutting heads to clean out the cake.Pete11
Pete12 I scrubbed out the bowl and shank with cotton swabs, pipe cleaners and alcohol to remove the build up and oils. It did not take too long for the shank to be clean.Pete13 The next photo shows the small stinger that was in the tenon when I removed the stem. It has a slot on the top of apparatus behind the ball and collects the moisture from the smoke. The shank is drilled deeper than my other 999 pipes to accommodate the stinger. I removed the stinger and cleaned out the stem with pipe cleaners and alcohol. I cleaned the stinger with the same and then polished it with 0000 steel wool.Pete14

Pete15 I scrubbed the top of the rim with alcohol and a cotton pad and then used a 1500 grit micromesh sanding pad to sand the surface of the rim. I used the pad like a topping board and worked the rim around the pad in a clockwise motion. Why clockwise? I honestly don’t know other than I am right handed.Pete16

Pete17 I wiped down the bowl with alcohol and a cotton pad to remove the wax and grime from the surface of the briar. The pipe was unstained or stained with a light stain so the alcohol did not remove any of the colour.Pete18 I sanded the stem with 220 grit sandpaper to remove the oxidation that sat on the surface of the stem. I worked hard on the angles of the button to remove the oxidation there. I then sanded the stem with a medium and a fine grit sanding sponge to remove the scratches left behind by the sandpaper.Pete19

Pete20

Pete21

Pete22

Pete23 I wet sanded the stem with 1500-2400 grit micromesh sanding pads and rubbed the stem down with Obsidian Oil. I dry sanded it with 3200-4000 grit pads and rubbed it down with Oil once again. I finished by dry sanding with 6000-12000 grit pads and giving it a final coat of Obsidian Oil. I let the oil absorb into the rubber of the stem.Pete24

Pete25

Pete26 I buffed the stem and bowl with White Diamond and then Blue Diamond on the buffing wheel. I gave it multiple coats of carnauba wax and then buffed it with a clean flannel buff on the wheel. I finished by hand buffing the pipe and stem with a microfibre cloth to give it a deep shine. The finished pipe is shown in the photos below. Thanks for looking.Pete27

Pete28

Pete29

Pete30

Pete31

Pete32

Pete33

Pete34