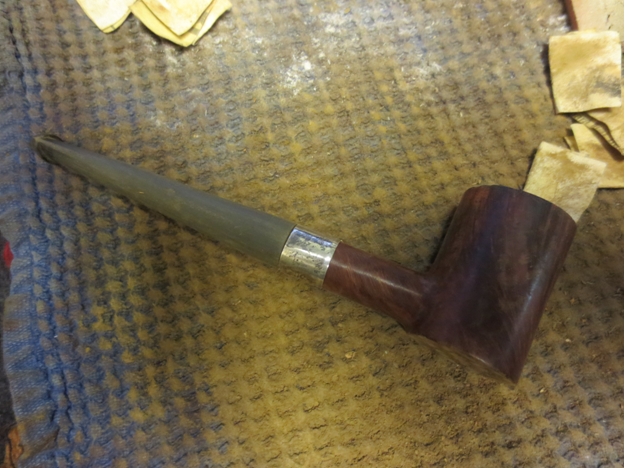
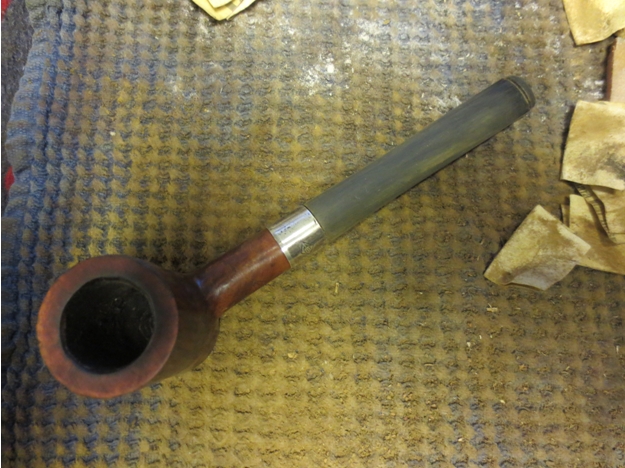
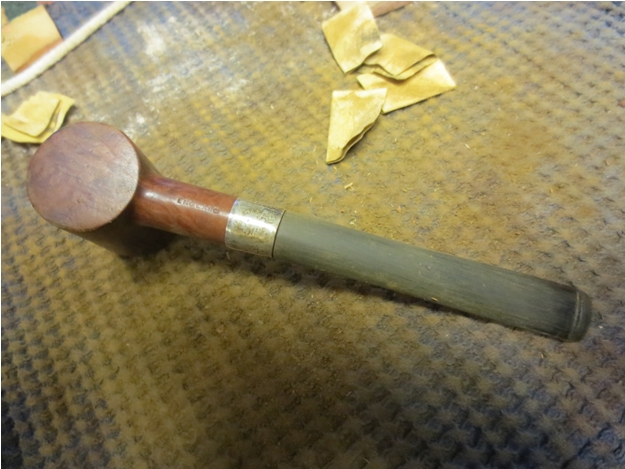
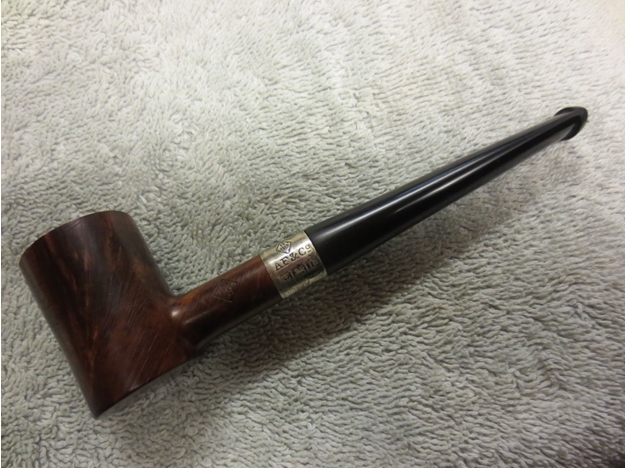
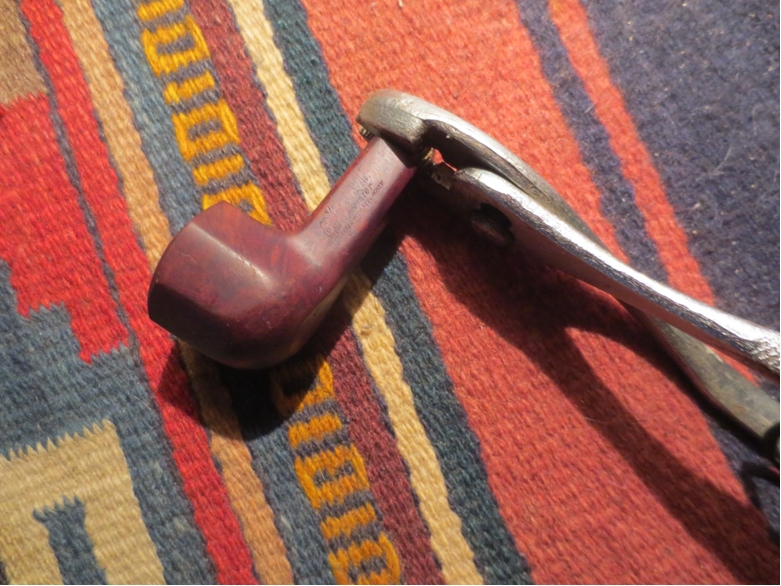
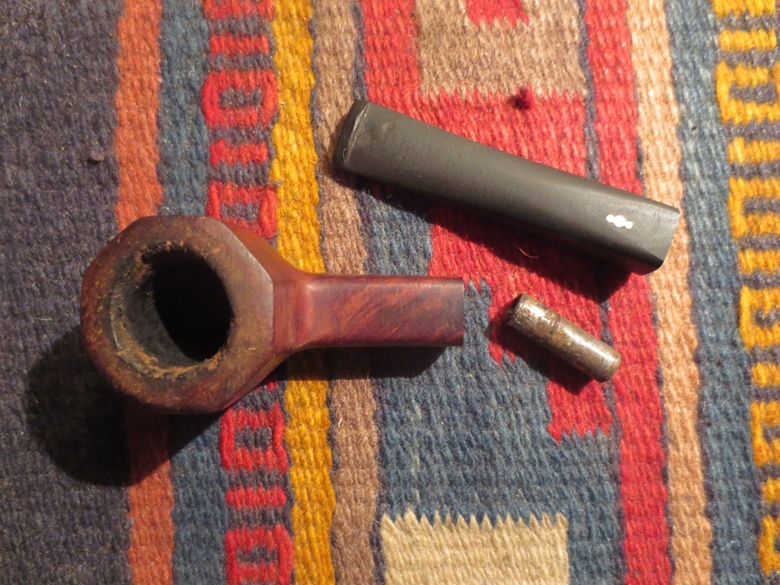
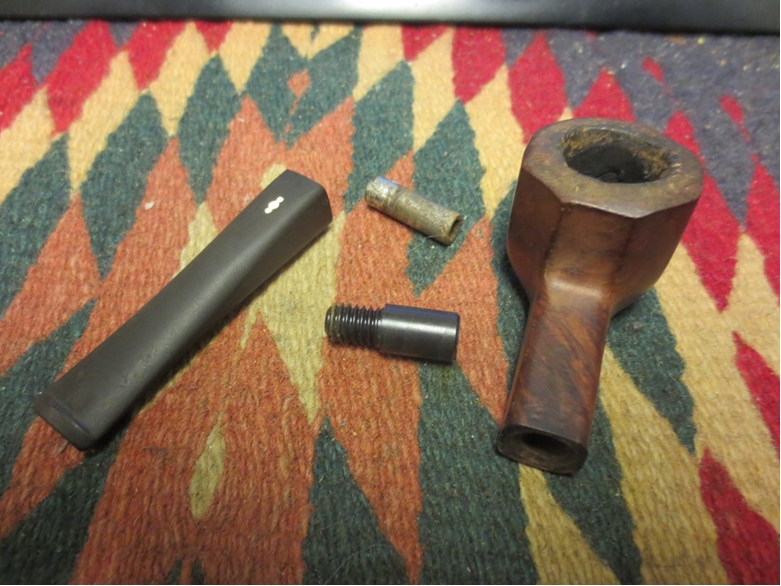
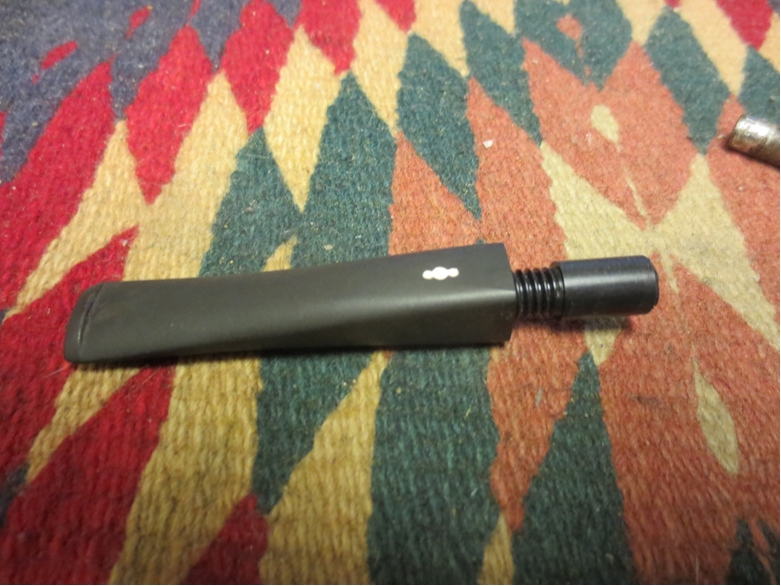
Blog by Anthony Cook (Piffyr from Reddit’s /r/PipeTobacco forum)
It is a pleasure to put Anthony’s first blog on rebornpipes. His work on this tired old Suffolk pipe is well done. His ability to adjust and flex to deal with the challenges presented by this old pipe is really enjoyable to read about. I did a little digging and found that Suffolk pipes were made by two companies – one in England (Tyler & Co.) and one in the US (Whitehall Products). My guess would be that this is the American made pipe – thus made by Whitehall. It has a look that is very similar to some of the Whitehall pipes that I have restored over the years. Welcome to the blog Anthony. We look forward to reading about more your work in the year ahead. Thanks for being willing to post here. Without further introduction here are Anthony’s own words.
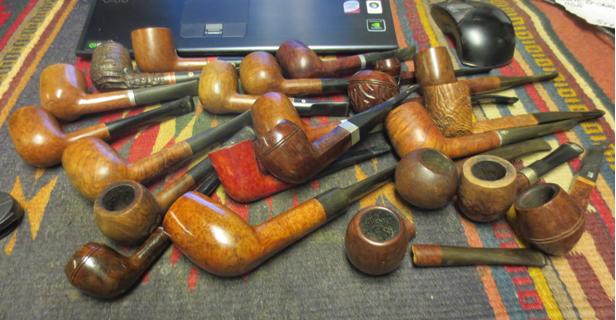
I think when I first spoke with Steve near the end of last year over on Reddit’s /r/PipeTobacco forum that I was actually a bit starstruck. You see, I’m a new guy at the art of pipe restoration, but since discovering Reborn Pipes around mid-2014, I have fallen madly and deeply in love with the site. I have read every post going back to October 2012. Steve, Al, Greg, and the other contributors here have been unwittingly providing me a free education for months and I have great admiration for the excellent work that they do.
So, when Steve invited me to share some of my work on the site I quaked in my Nikes a little. At the time, I had restored a sum total of six pipes to varying degrees of success. None of them had exploded, but I did partially dissolve one (more on that later). Still, when you are invited up to the Country Club, you go even if you’re not dressed for it.
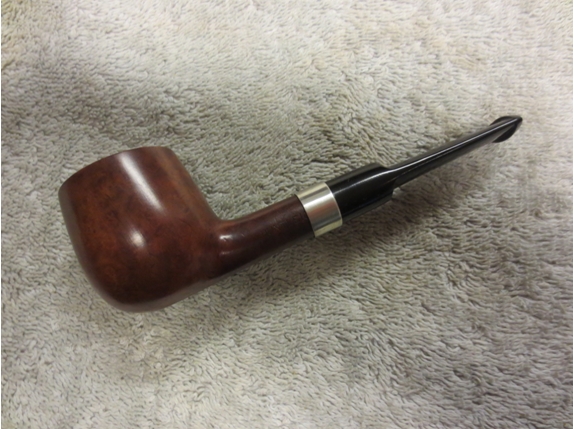
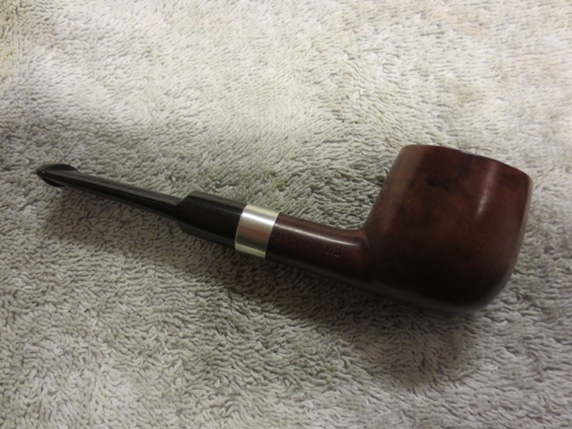
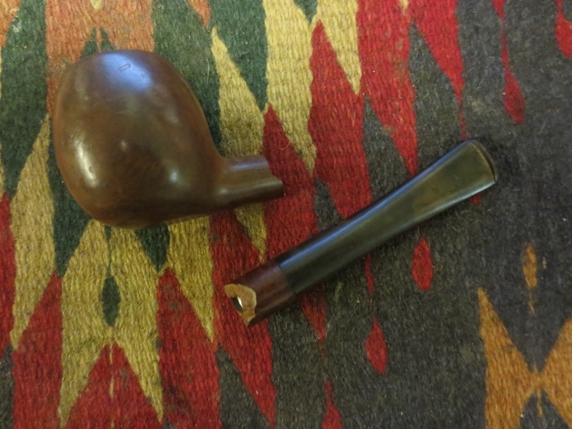
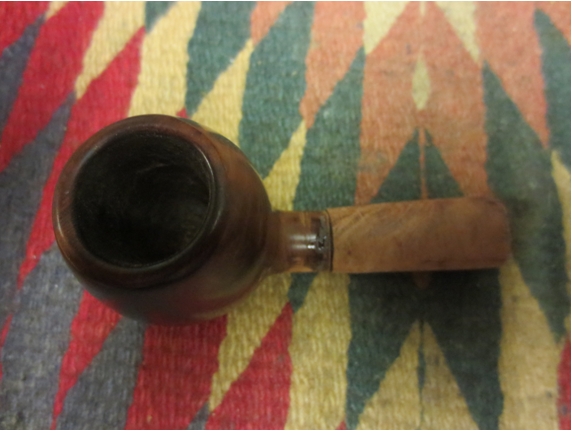
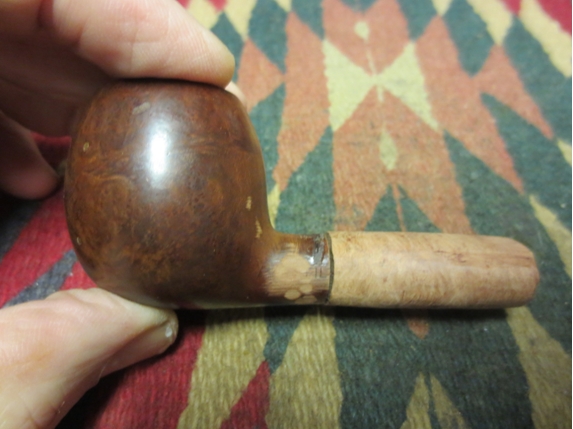
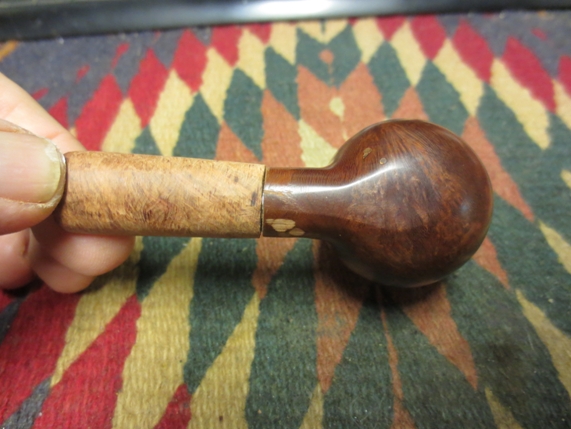
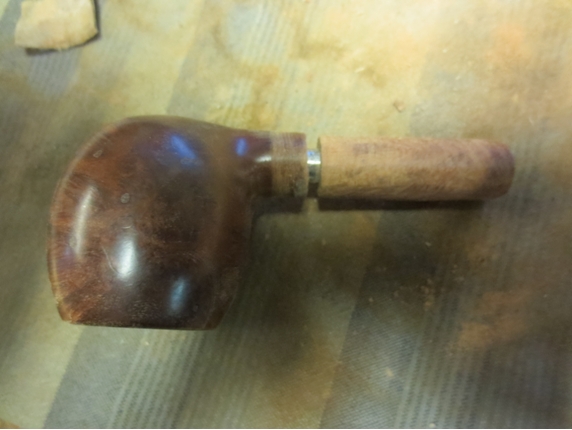
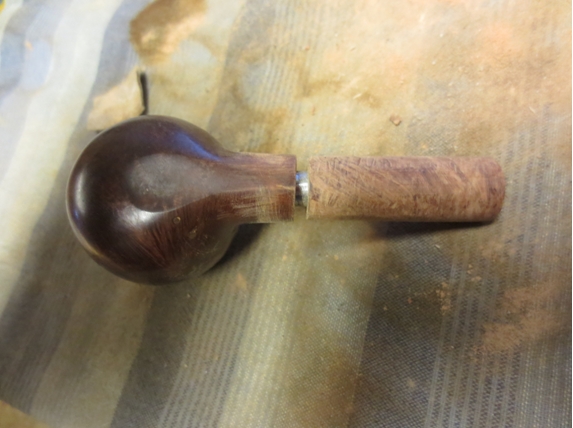
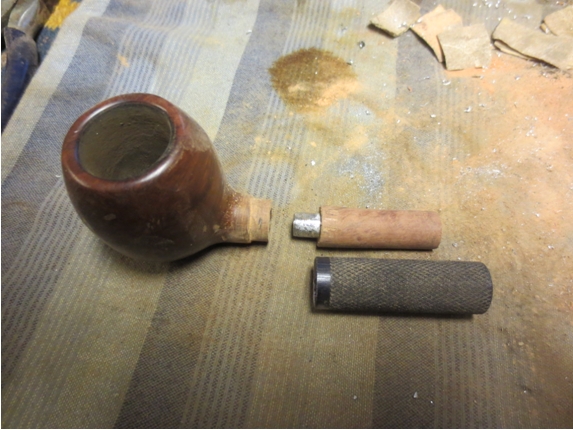
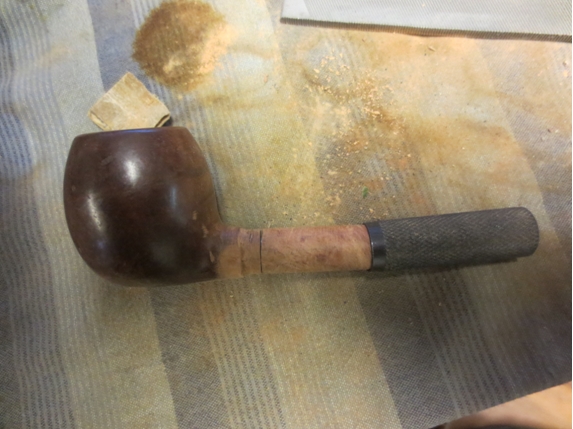
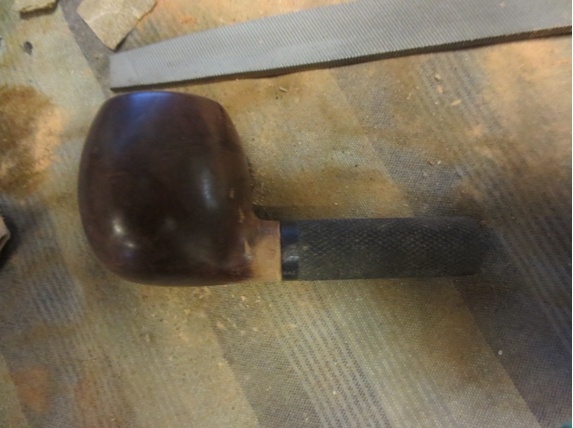
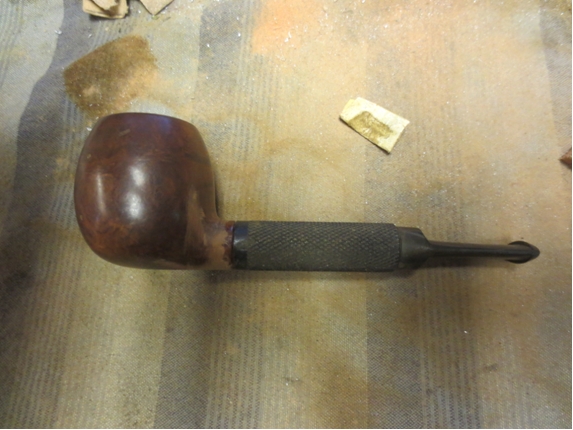
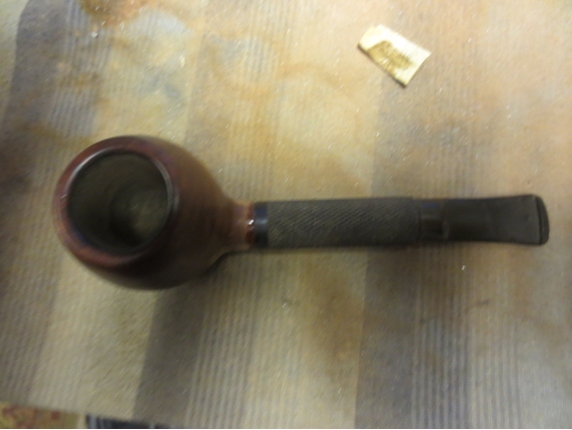
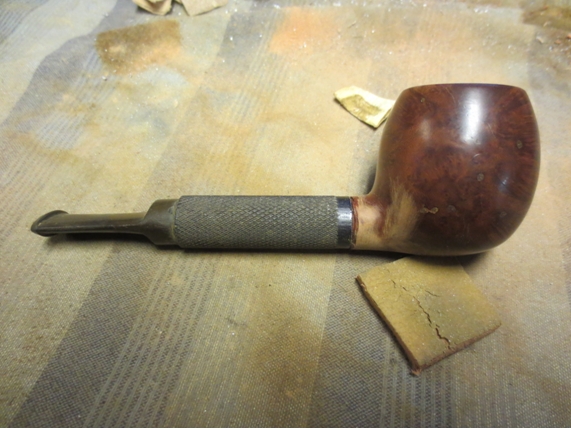
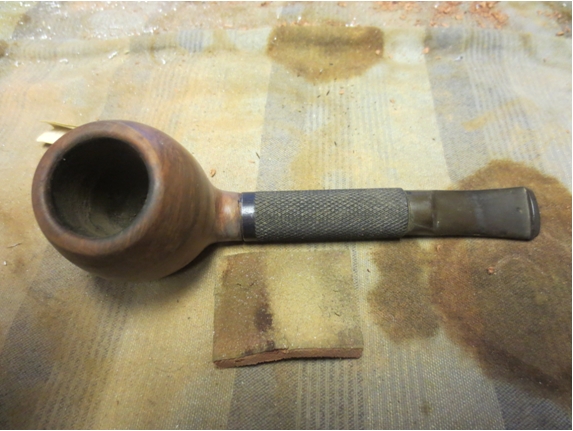
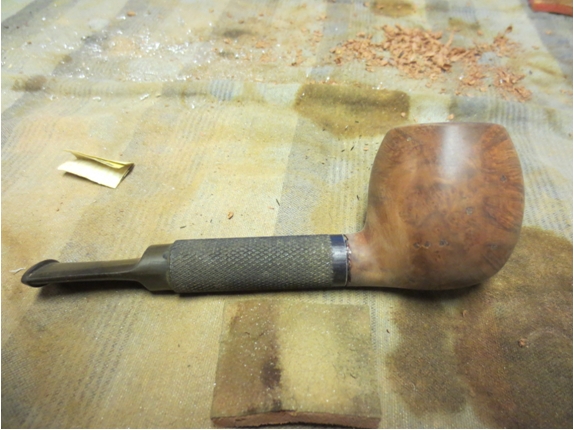
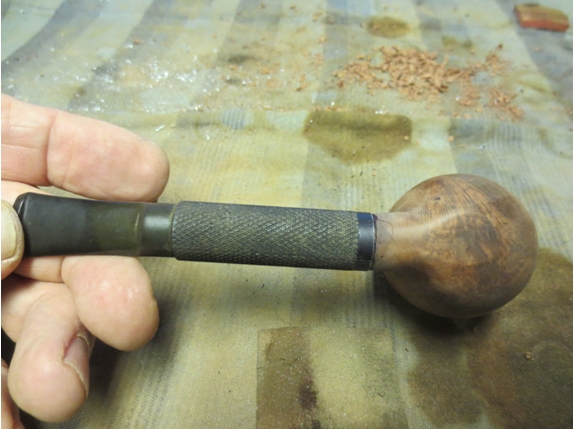
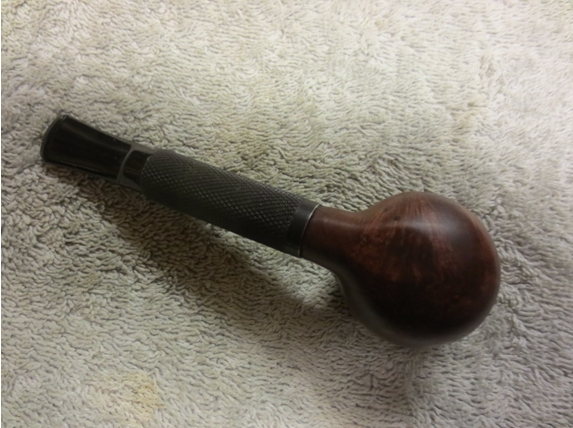
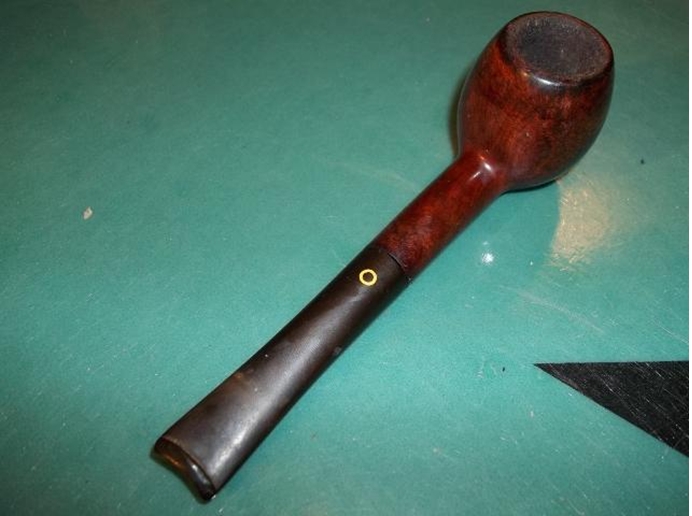
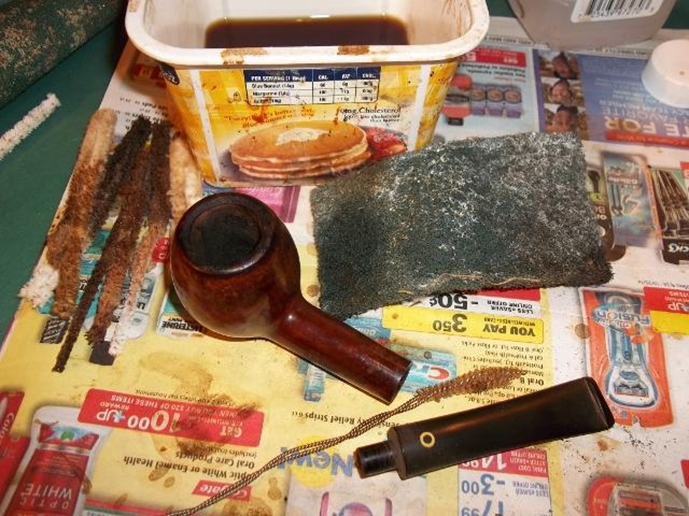
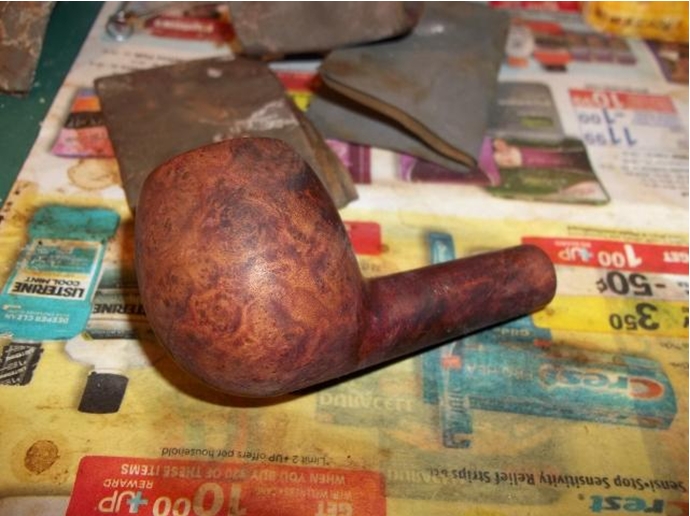
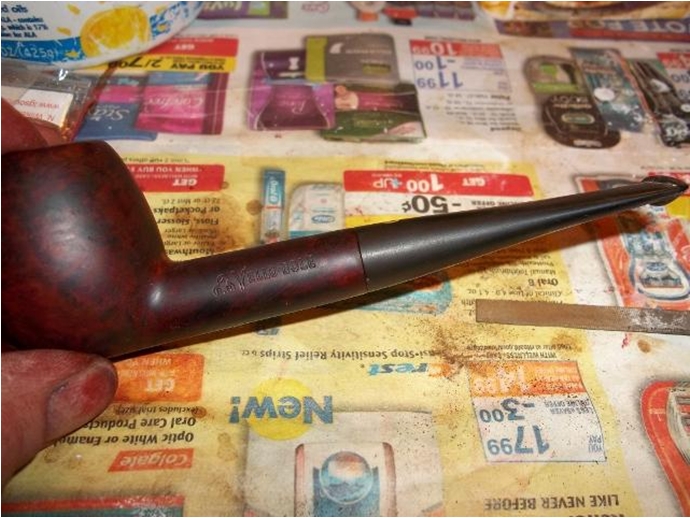
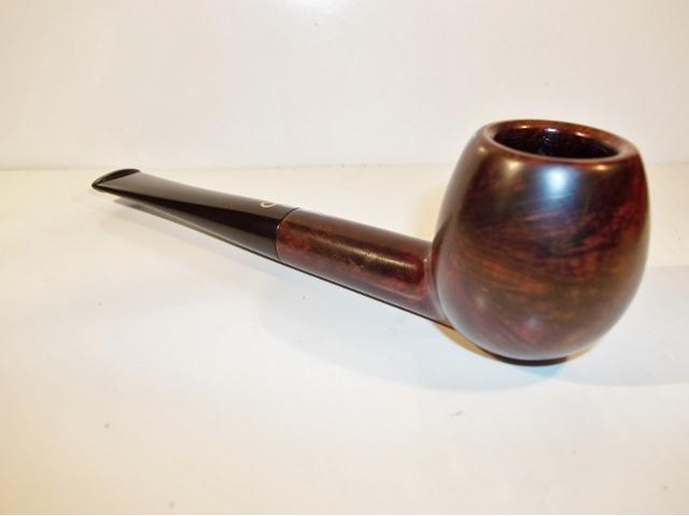
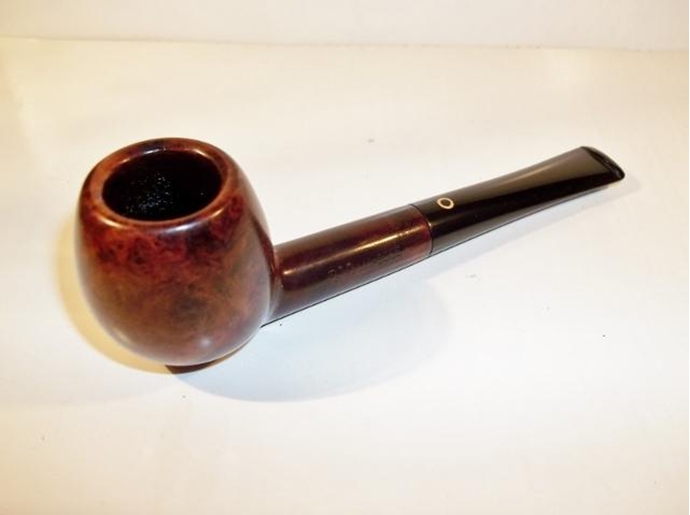
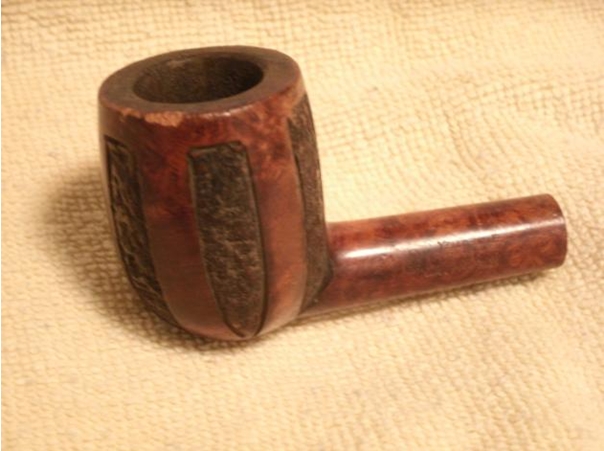
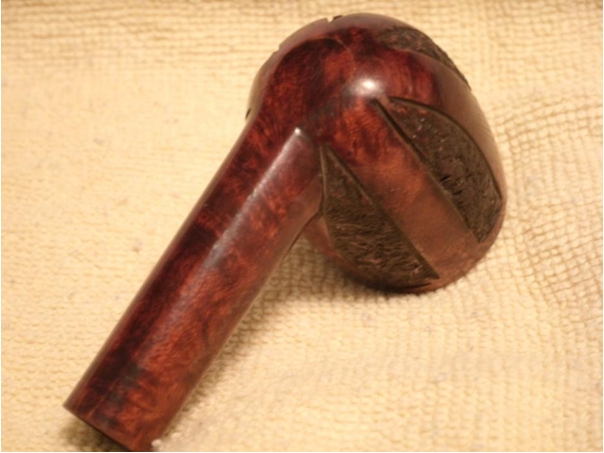
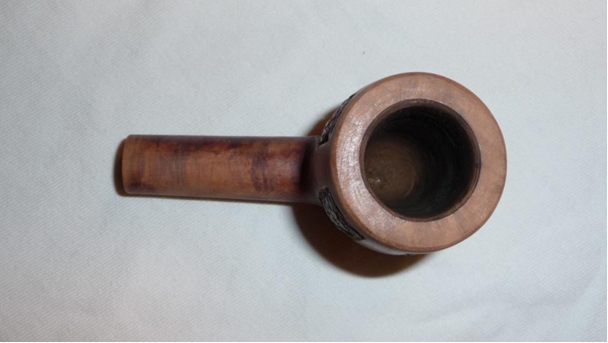
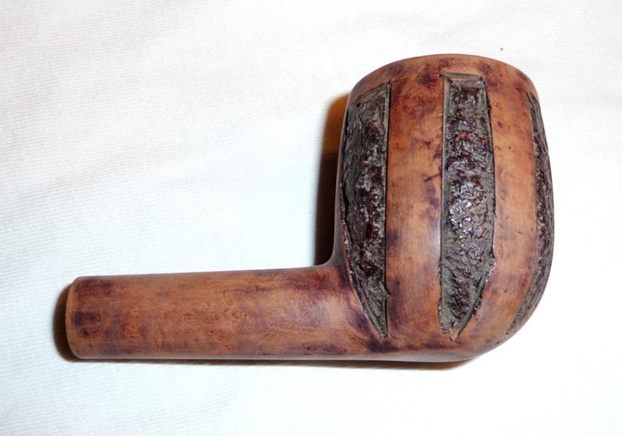
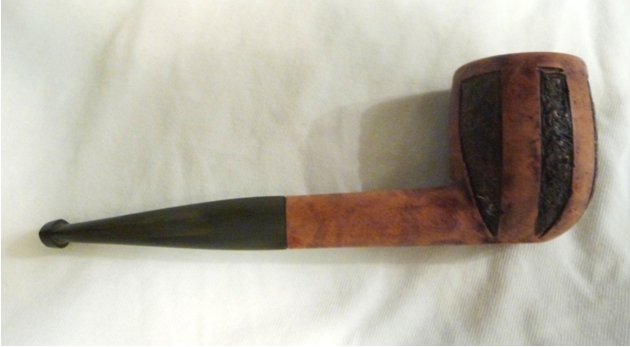
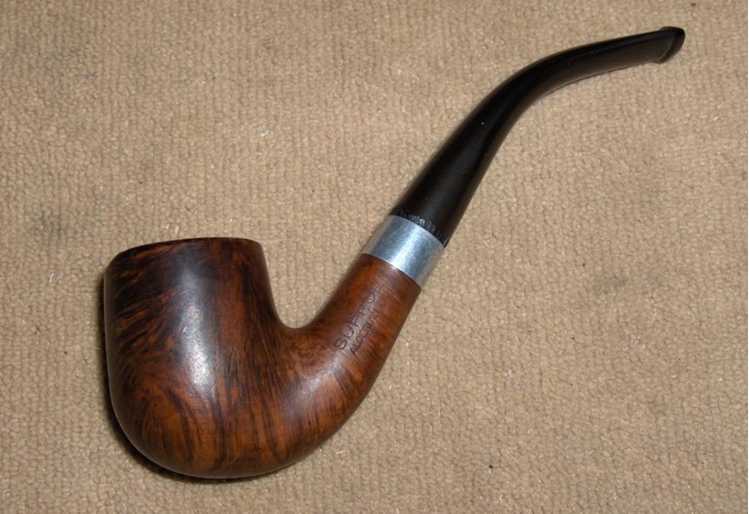
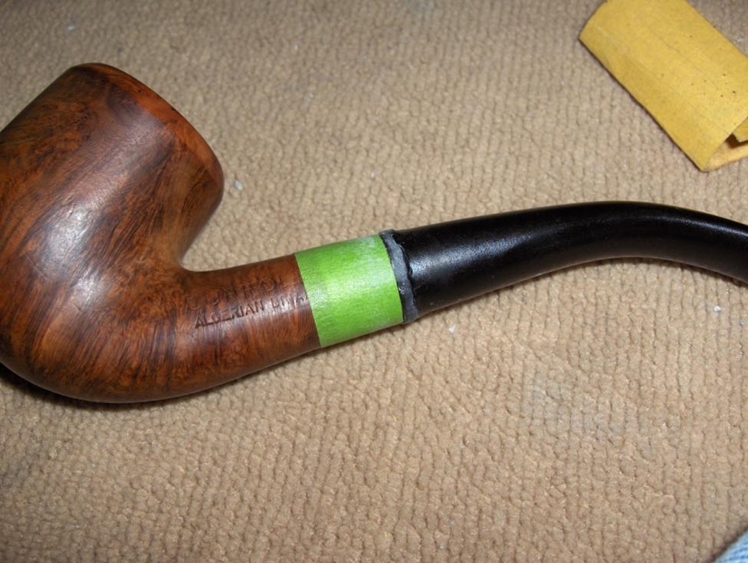
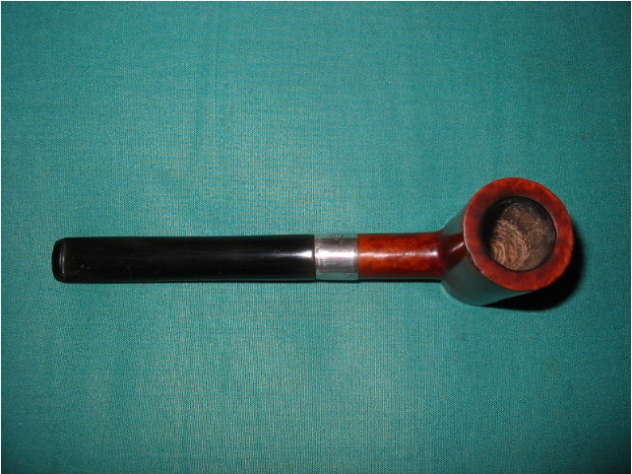
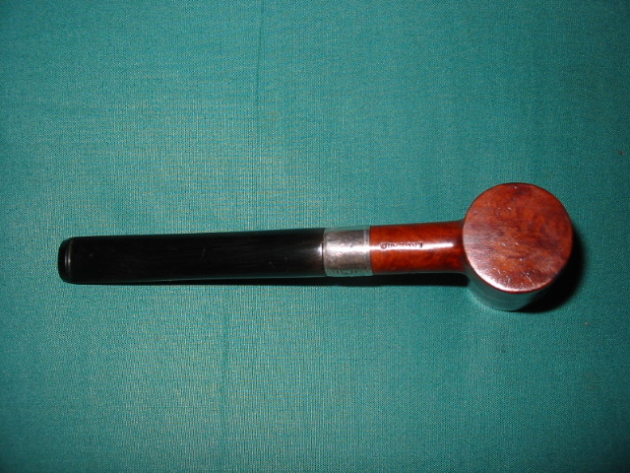
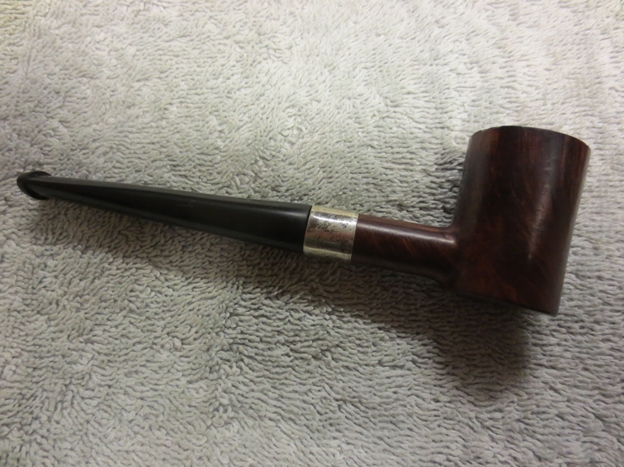
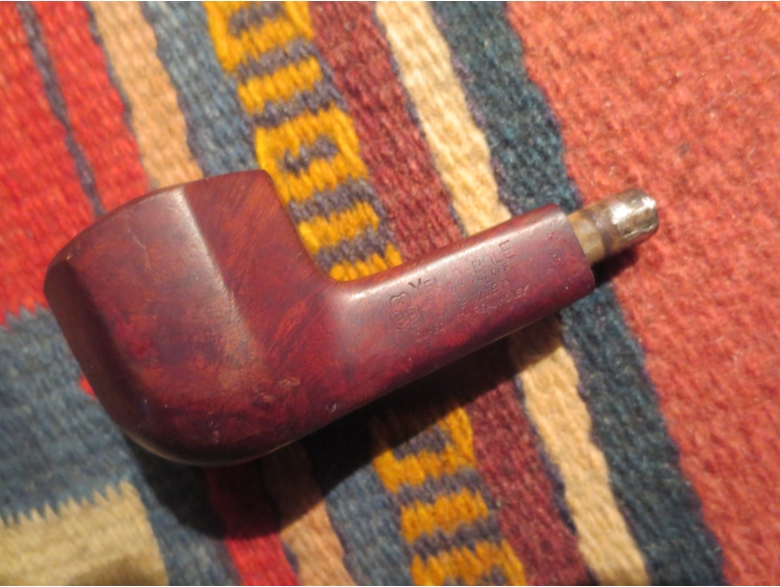
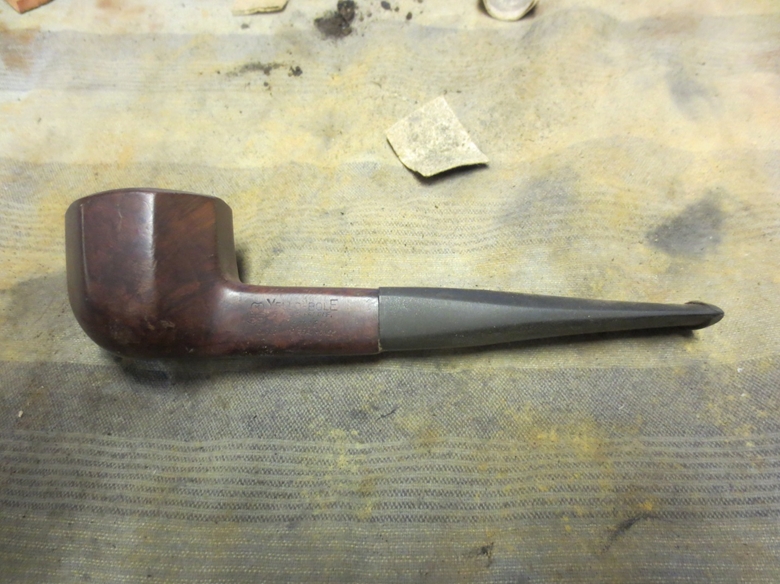
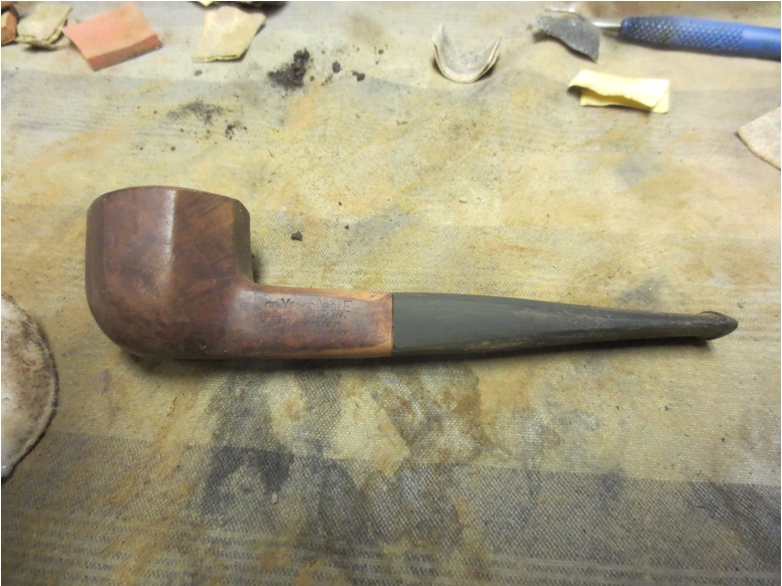
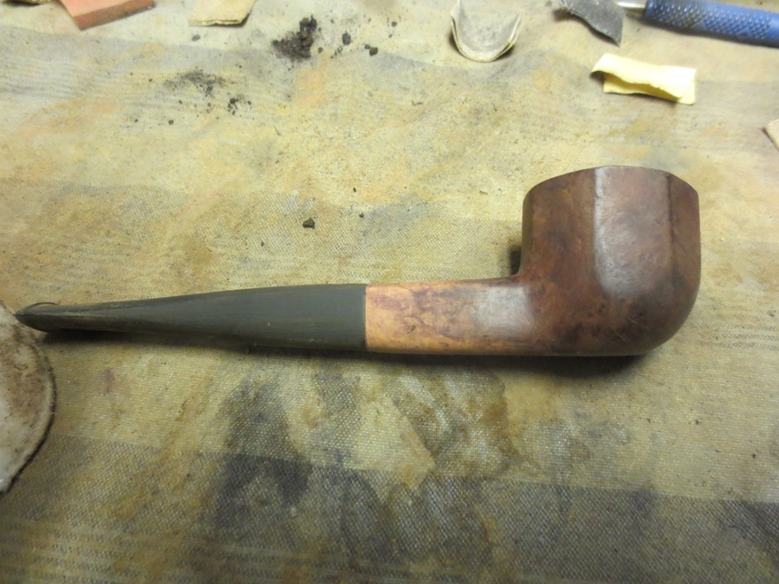
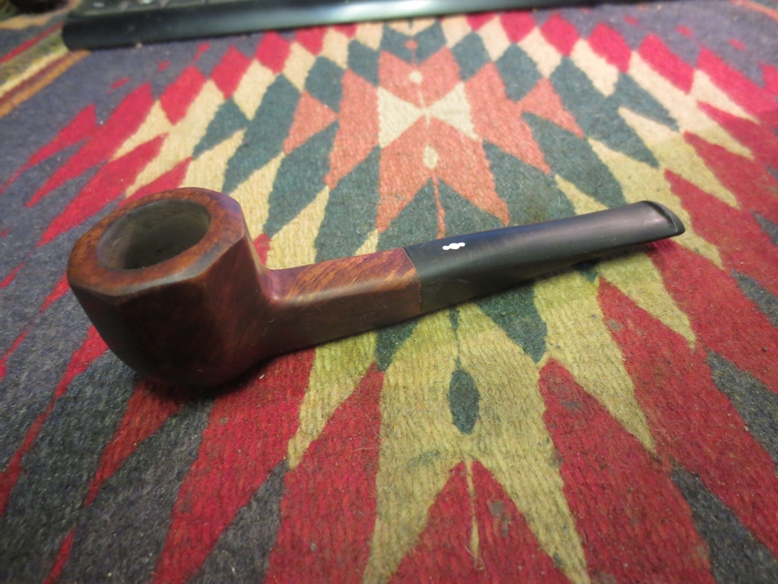
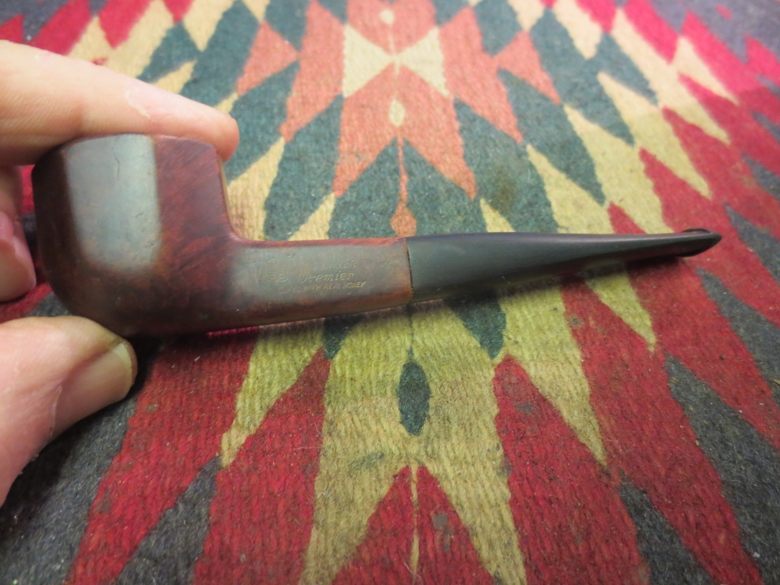
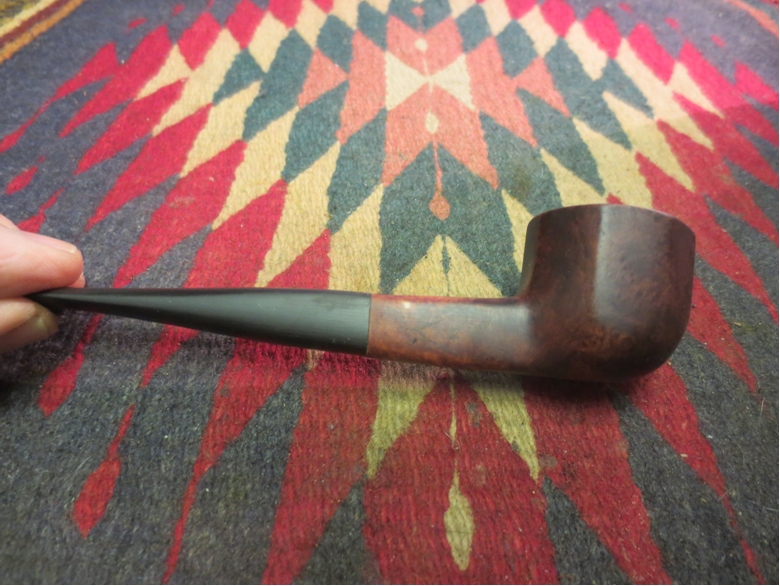
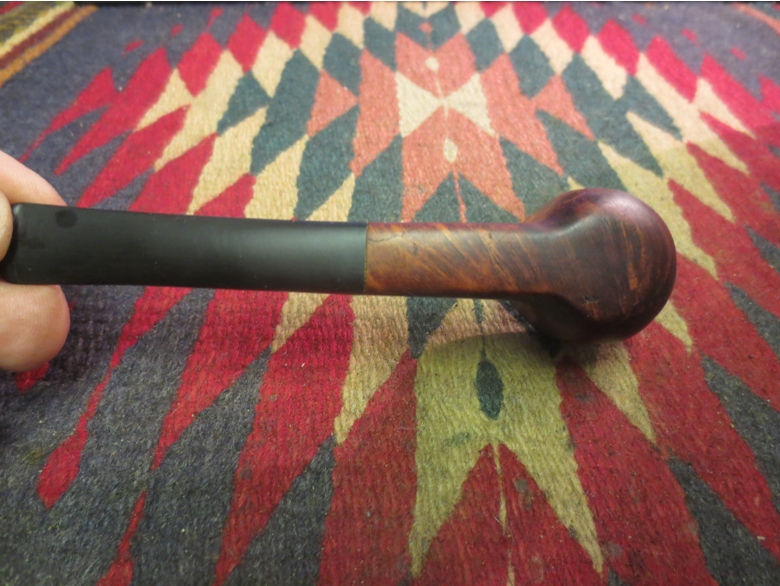
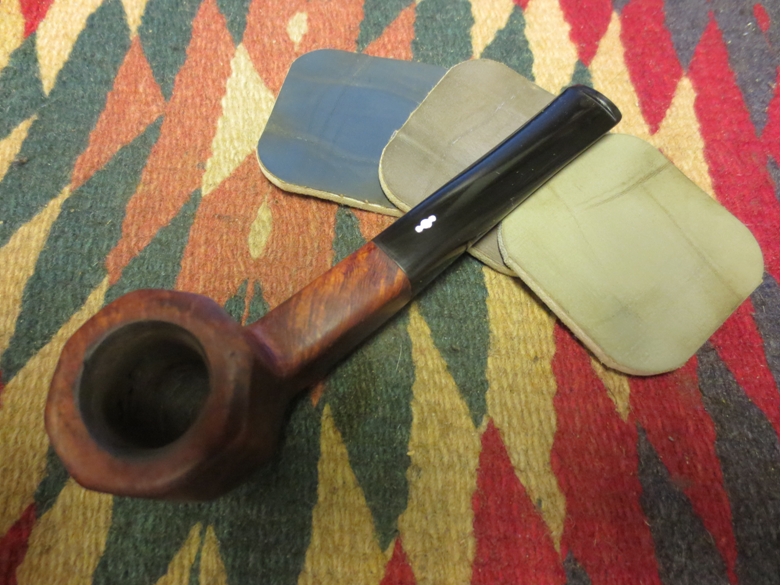
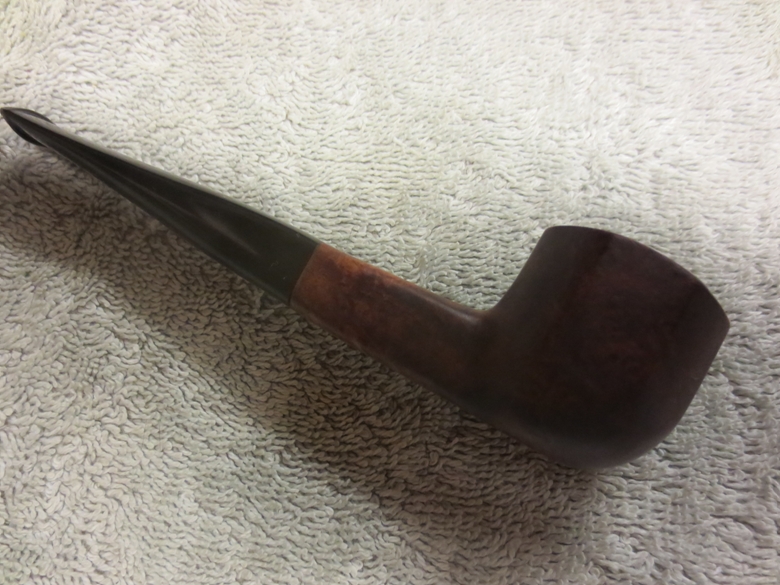
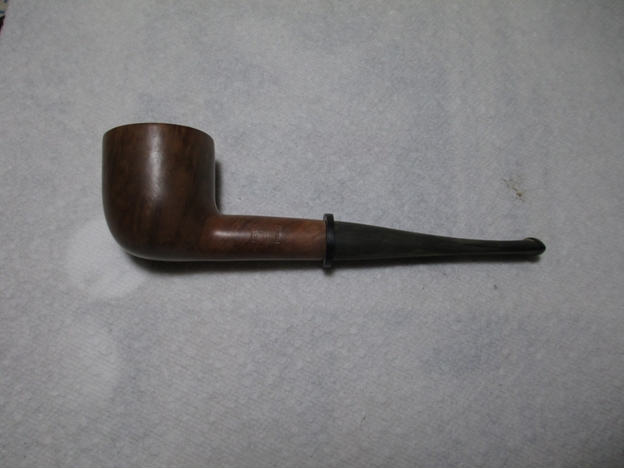
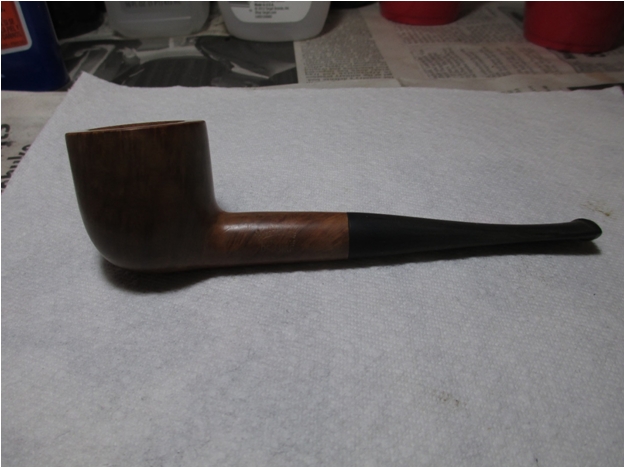
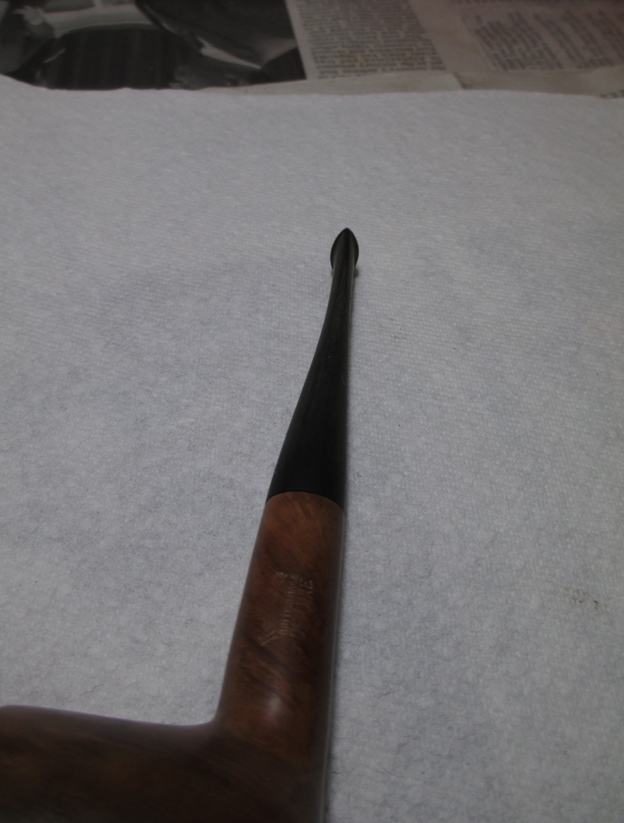
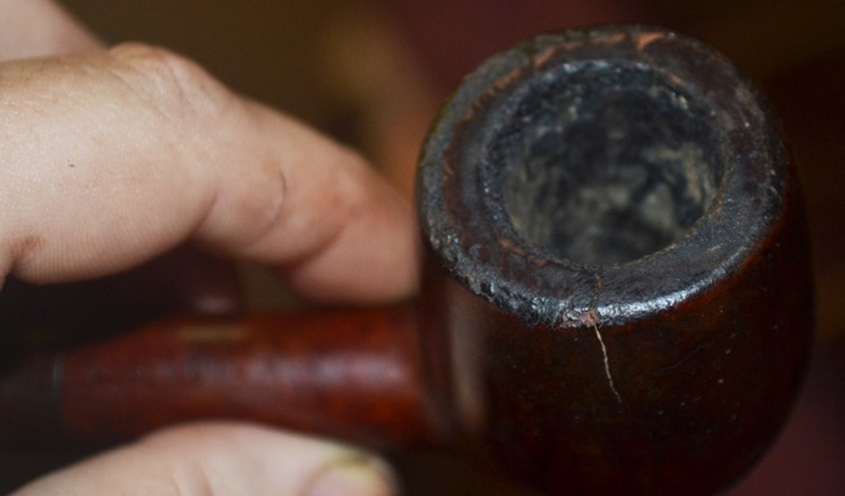
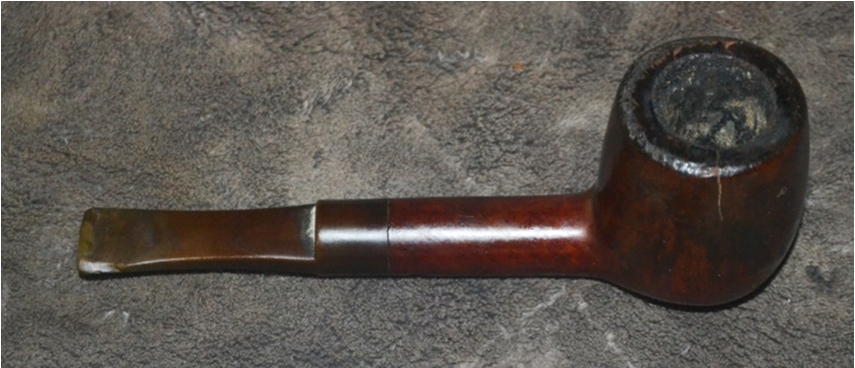
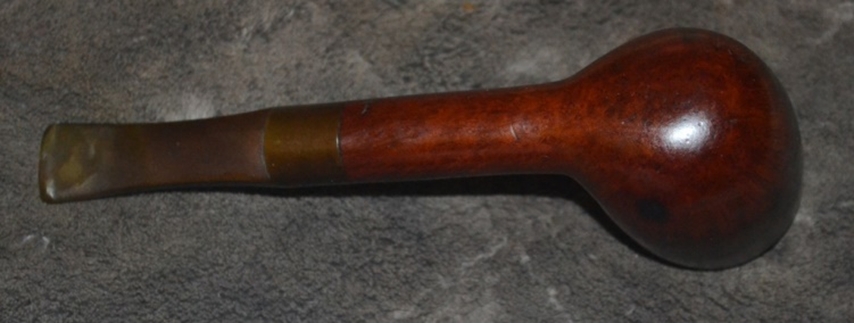
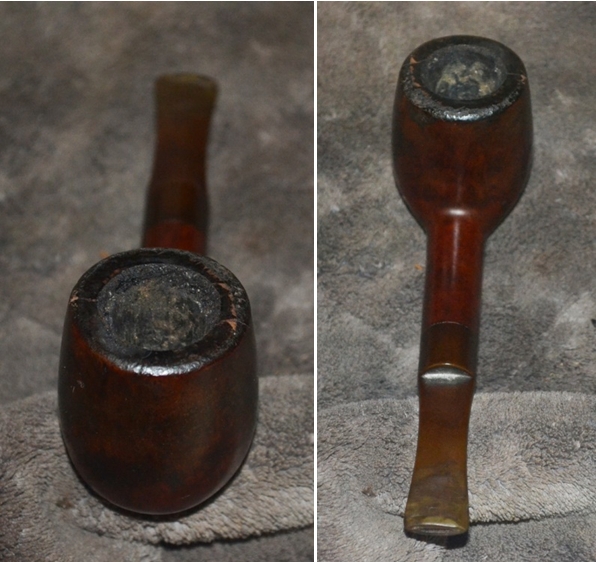
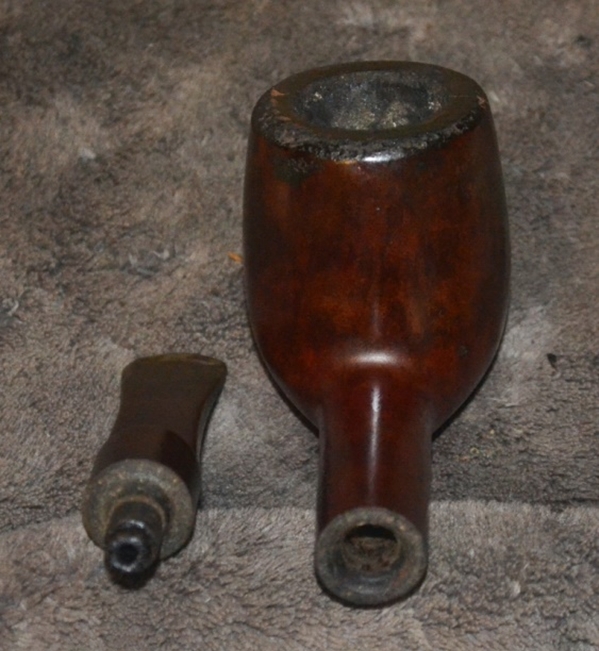
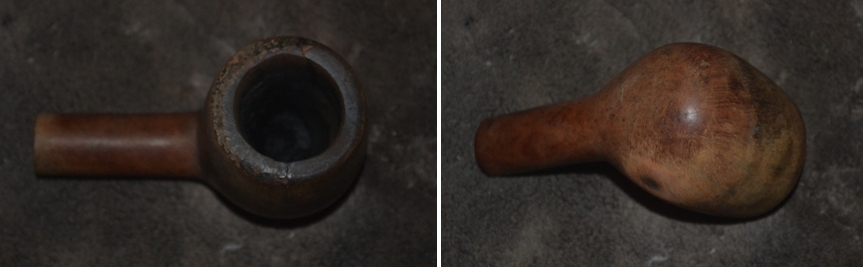
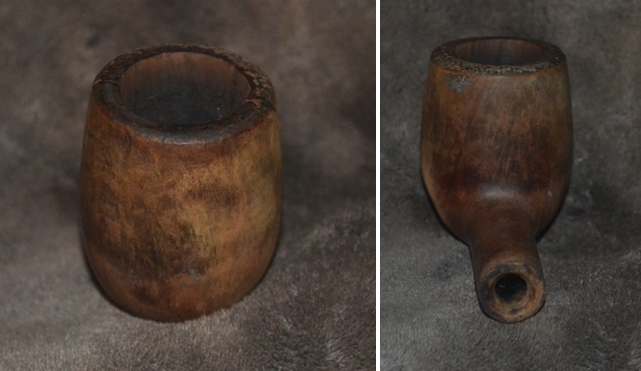
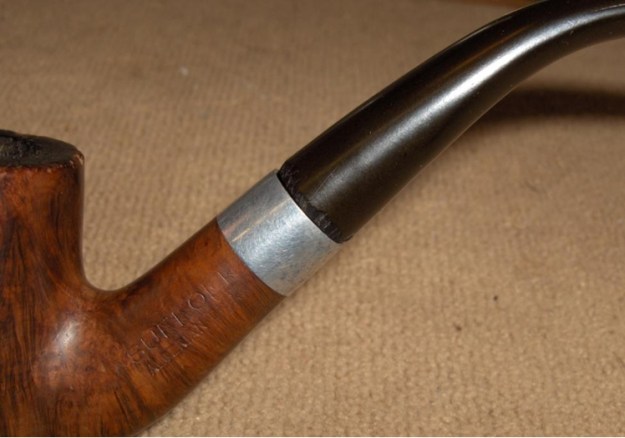
It so happens that another member of that same forum was kind (or possibly foolish) enough to send me a few pipes to practice with around that same time. The pipe in the following picture was part of that group. It was described by him as one of two in the lot that were “as basket pipey as basket pipes get.” It had a few issues that I had not dealt with previously and had rarely seen covered. Since Lady Fortuity seemed to have spoken, I decided to document the restoration of this one and contribute it to the site to pay back some of the tuition that I owe.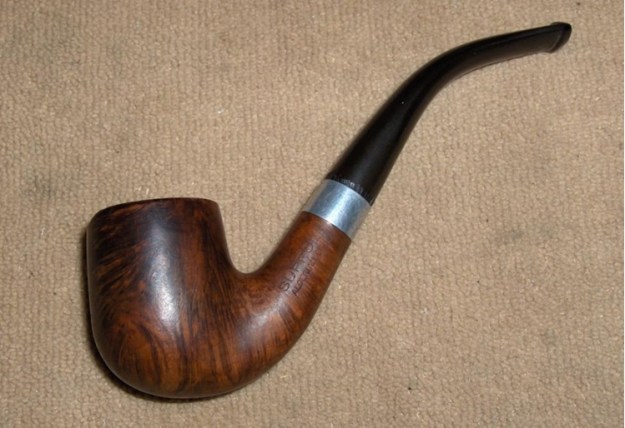 I’ve had no luck digging up anything on the origin of this pipe, but the stamping reads “SUFFOLK” over “ALGERIAN BRIAR”. The first thing that struck me when I pulled this one out of the packaging was the interesting and varying grain pattern. I thought it would be fun to work with to bring up to its full potential. Two small fills on the side of the bowl that were barely more than scratches and another that peeked out from under the band on the shank were the only factory flaws that I could find. There was clear evidence that it had suffered through an abusive relationship in its past though.
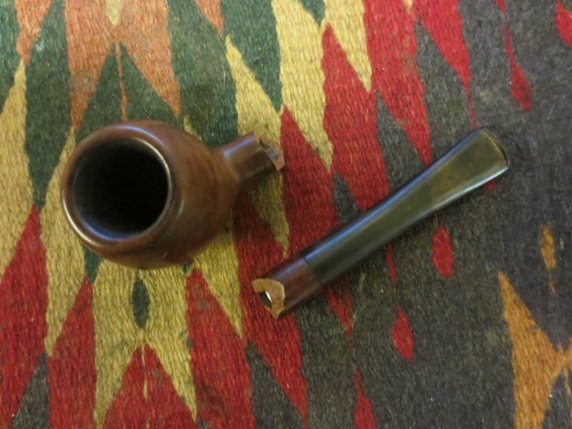
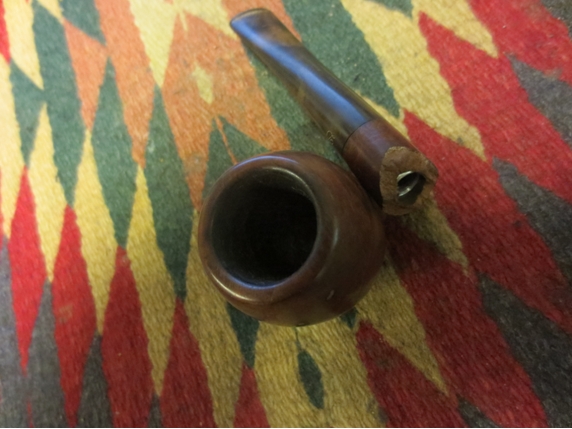
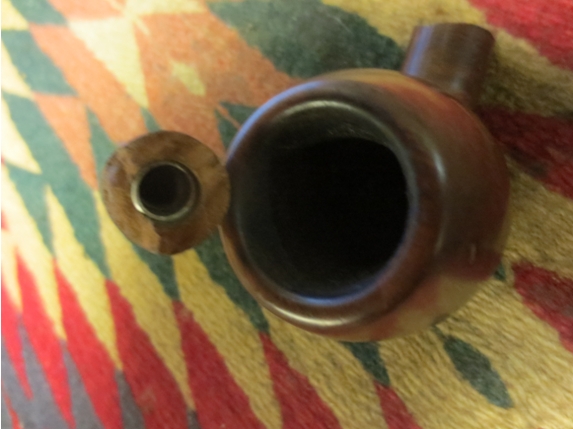
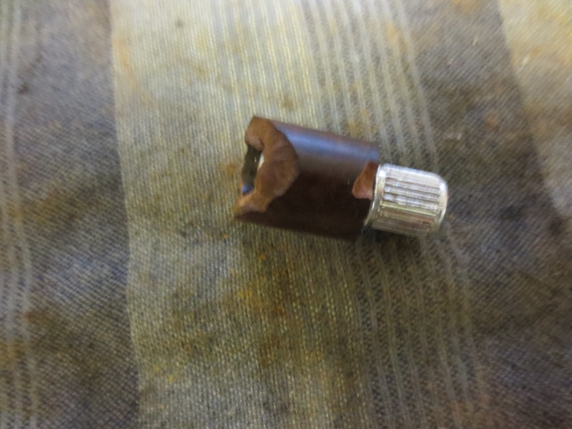
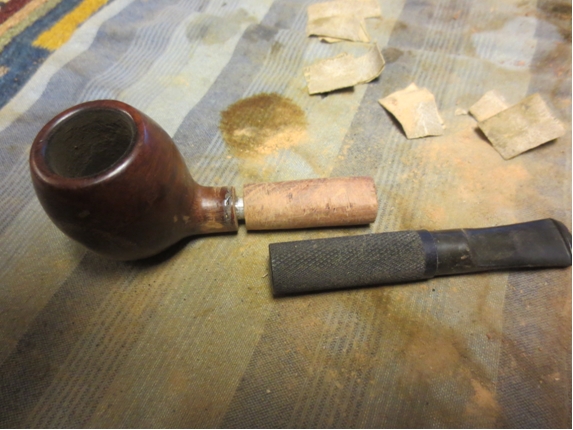
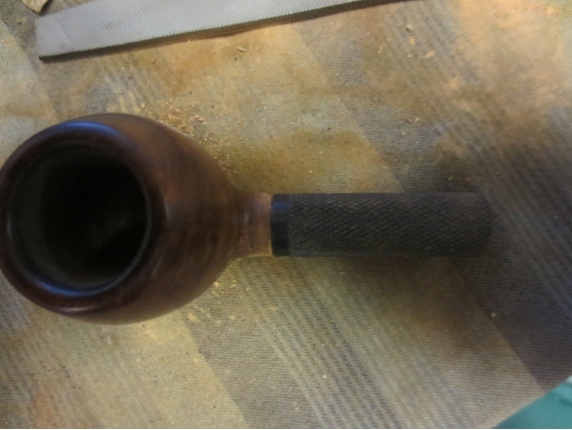
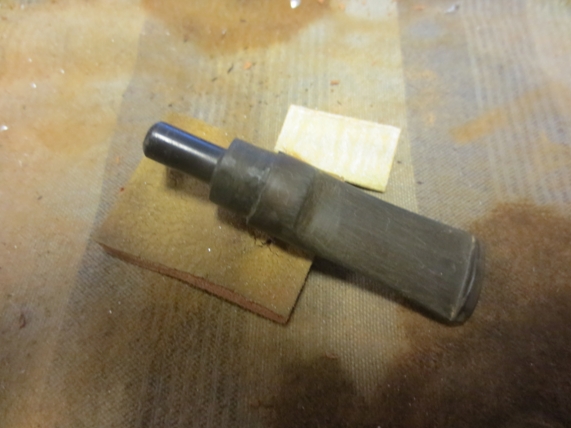
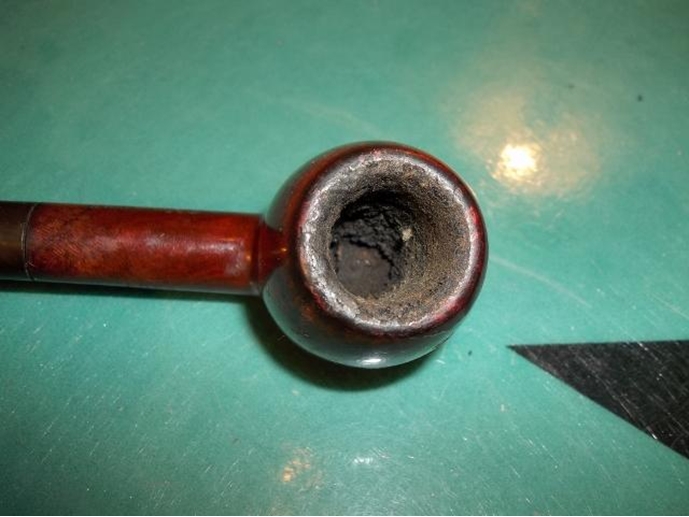
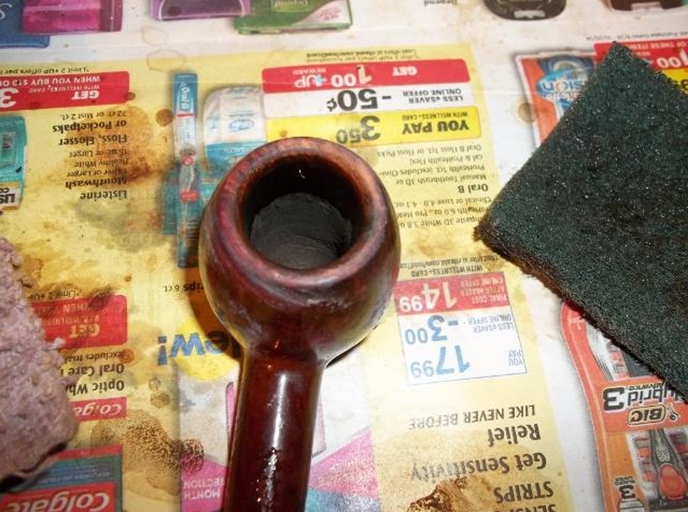
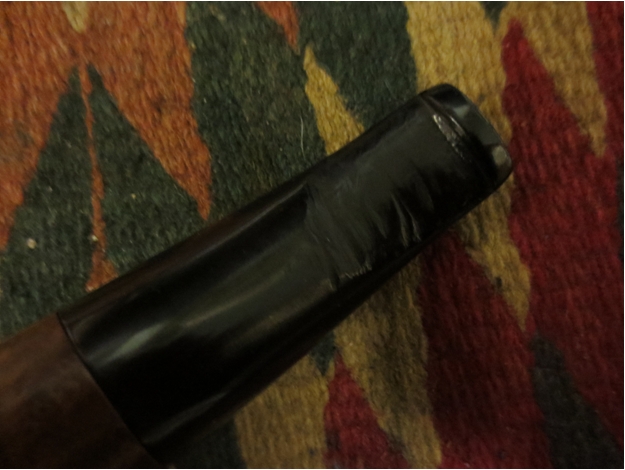
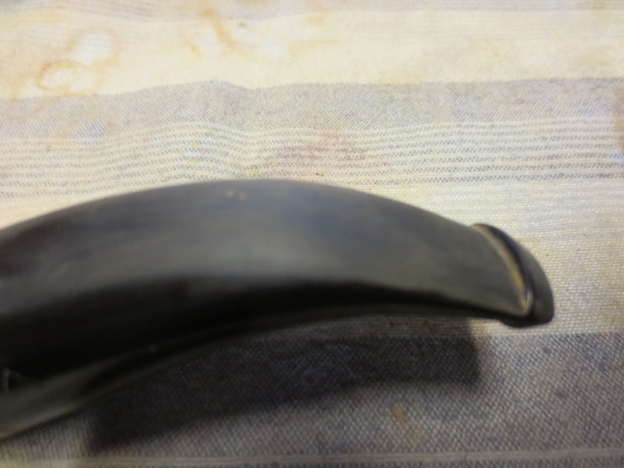
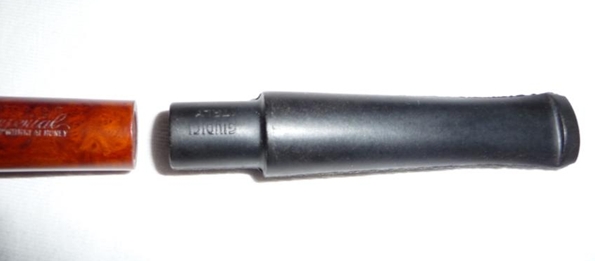
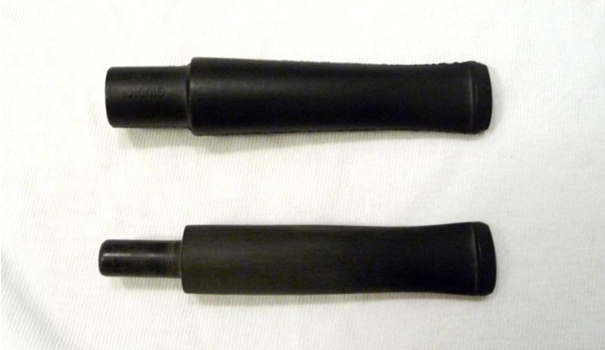
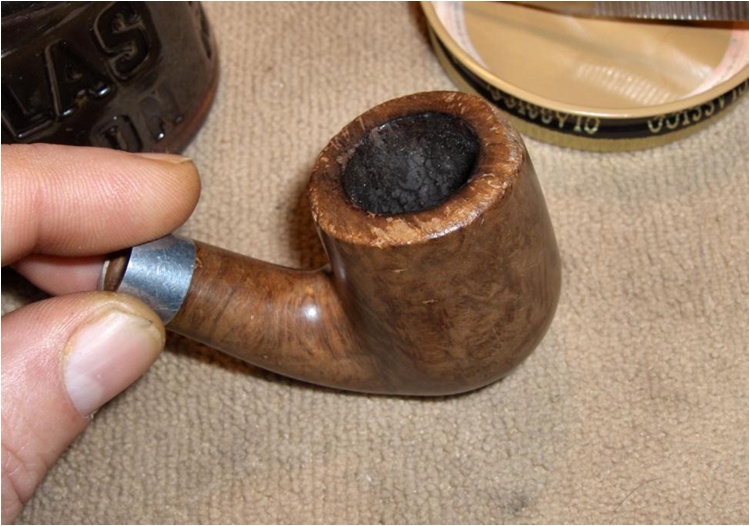
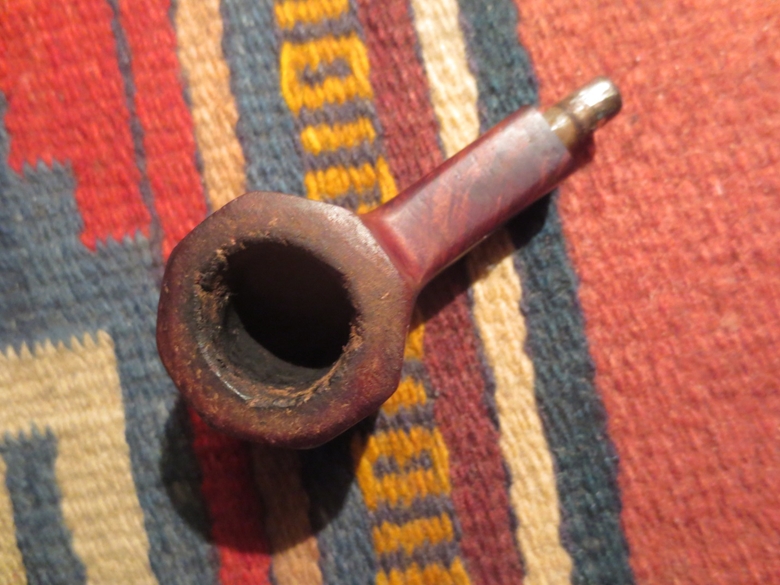
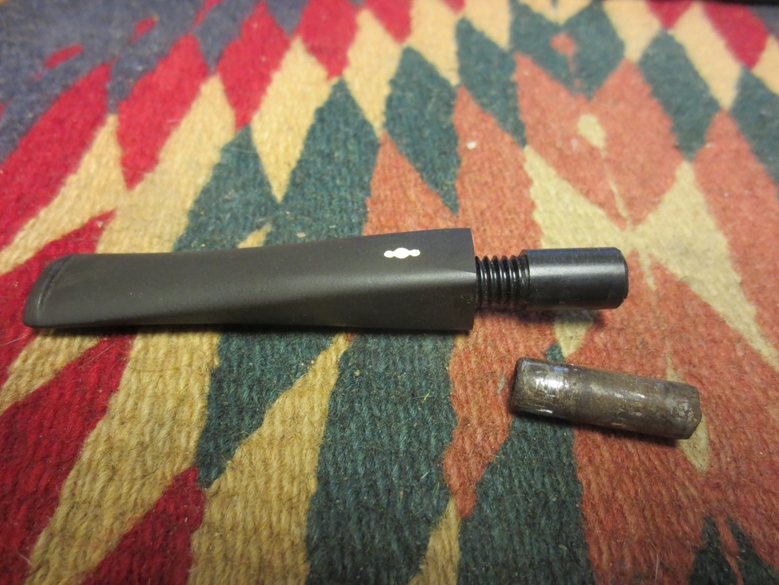
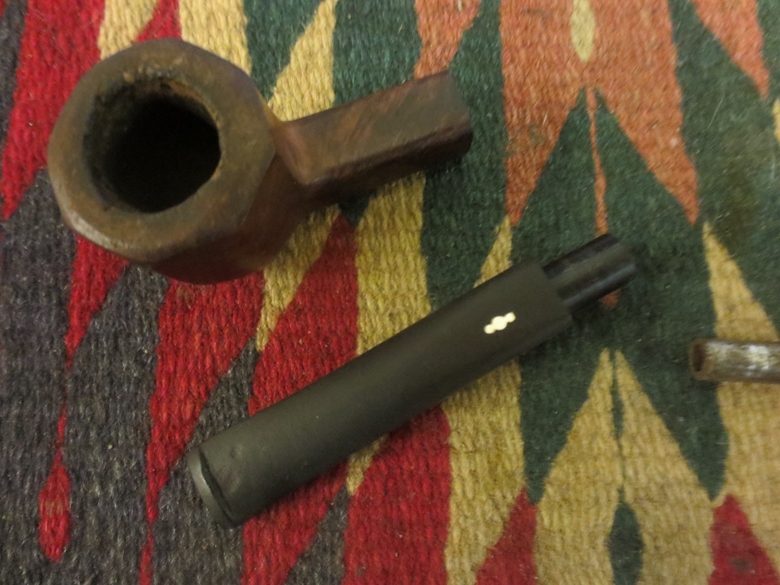
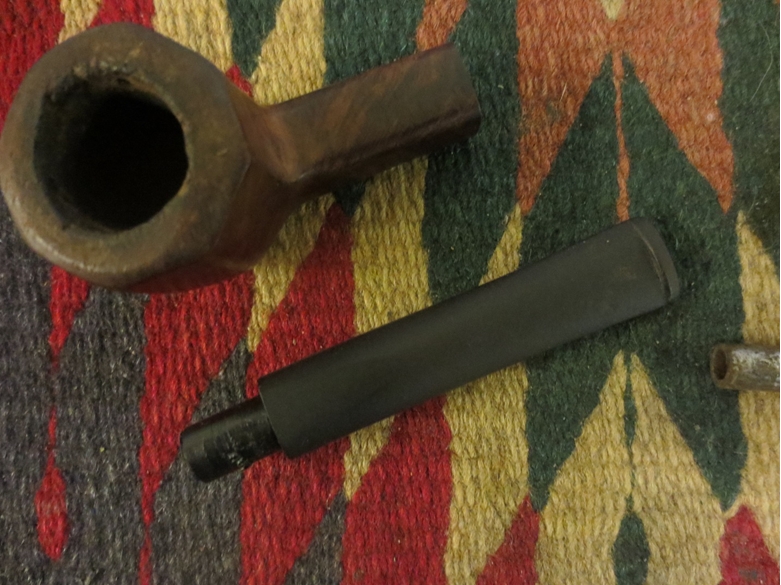
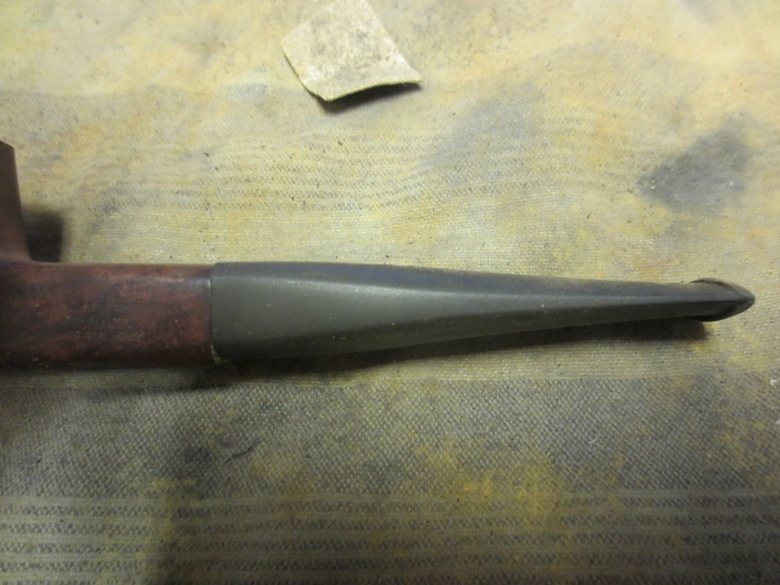
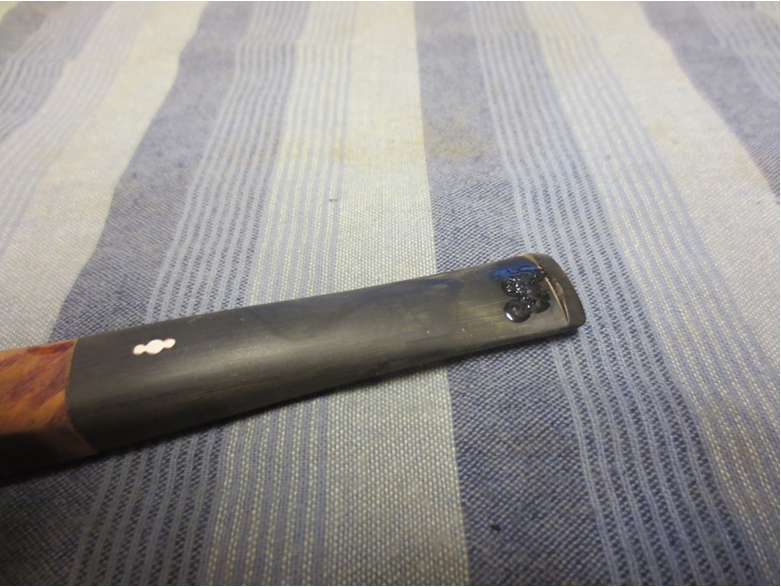
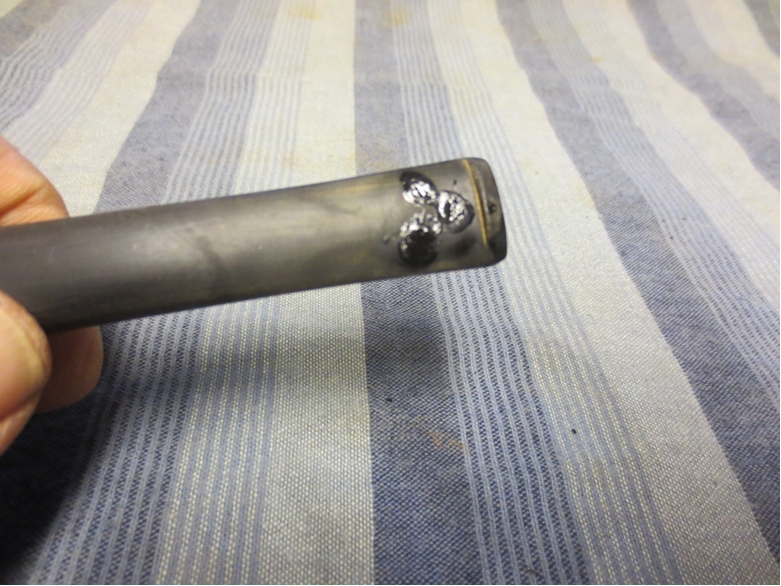
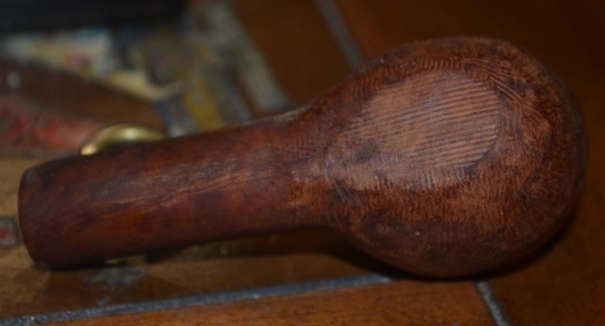
The stummel was dented and well scratched with a worn and uneven stain. The rim, as you can see in the photo below, was tarred, charred, deeply scratched, and there was a large gouge on the front edge from being knocked on a hard surface. Worse yet, the bottom of the bowl chamber had been reamed within five millimeters of its life and it was just begging for a burnout. Clearly, the wood was going to need some intensive therapy.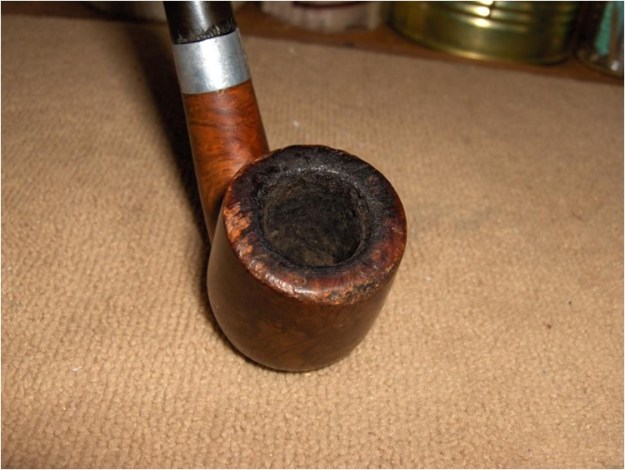 The ABS stem was largely in good shape on the bit end with only light tooth chatter and a small amount of material missing from the upper portion of the button. On the other end though, the edge of the stem face had been roughly chiseled away in what I could only imagine to be an attempt to create a faux military mount fit. There was also an abrasion along the side that was deep enough to take the stem out of round.
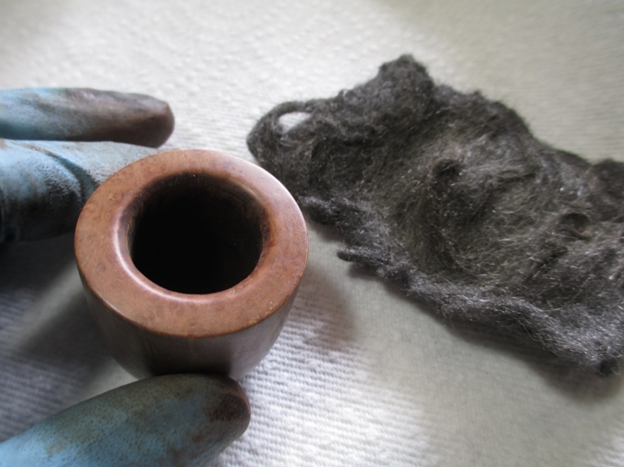
 Once the ailments were cataloged, I went to work cleaning and sanitizing the internals. I started by reaming the bowl to bare wood to prepare it for the necessary repairs. Since I was unsure of the condition of the bottom of the chamber, I used my T-handle reamer only in the top 2/3 of the bowl. Then, I sanded out the remaining cake in the bottom by hand with 400-grit, then 600-grit sandpaper.
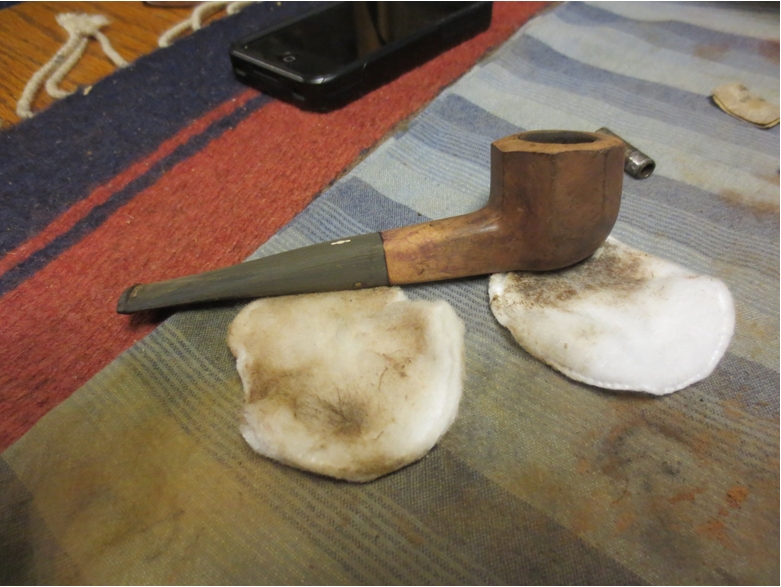
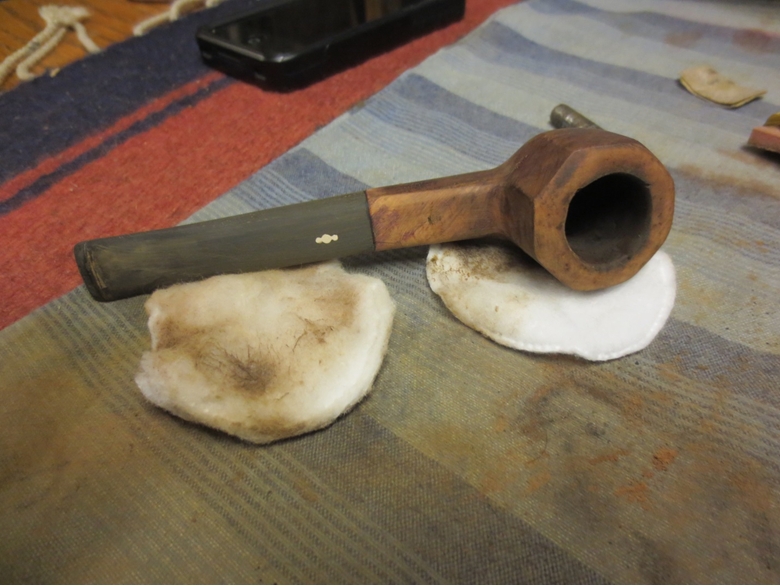
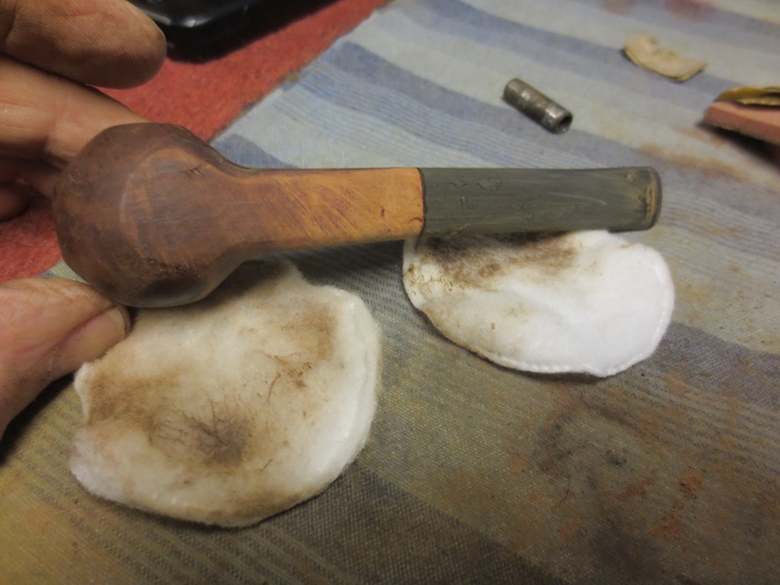
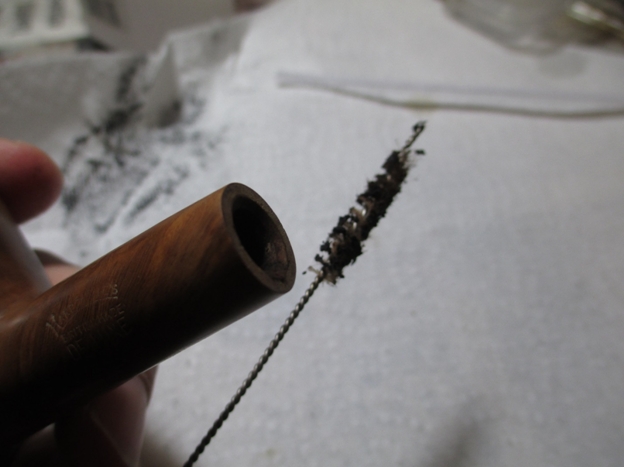
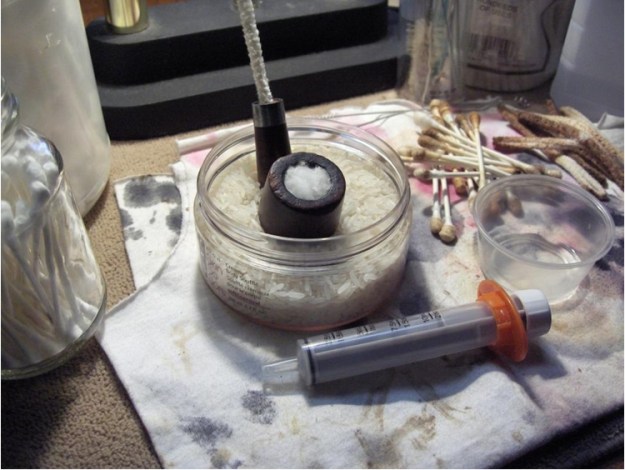 The bowl, mortise, and airway were scrubbed clean with several cotton swabs and pipe cleaners until they came out as white as they were when they went in. Then, I ran a pipe cleaner through the shank into the bowl and filled the chamber with cotton balls and alcohol and set it aside in a container of rice (to keep it upright) and let it leech out any remaining tars. I know that some people prefer to use kosher salt instead of cotton balls for this treatment. I’ve tried both and haven’t seen any difference in the end results. Cleanup is easier with the cotton balls, though. So, that’s the method I choose. In any case, I’ve since figured out that this step is unnecessary for pipes like this, because it’s going into an alcohol bath anyway and that will accomplish pretty much the same thing. Sometimes, it takes me a while, but I get there eventually.
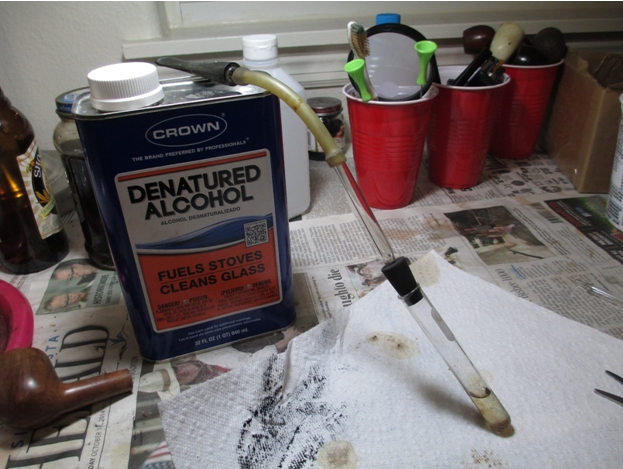
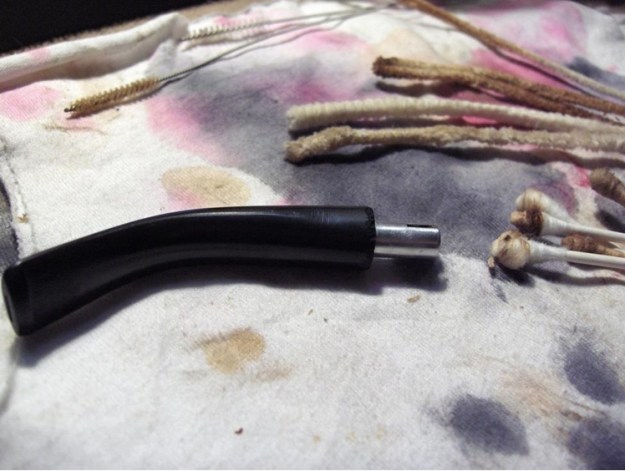 I then turned my attention to cleaning the stem. I don’t like working with ABS stem material. Some experience has taught me that some of the cheaper ones will begin to dissolve when exposed to alcohol. You’ll think (or at least I did) that you are removing thick tar build-up, but the sticky sludge on the pipe cleaner is actually disintegrated stem material. I speak with no exaggeration when I tell you that this is a horrifying revelation when you are faced with it. So now, I make sure to always test them first by dipping the pad of a finger in alcohol and pressing firmly against the surface of the stem for 20-30 seconds while it’s lying on the work surface. If the stem sticks to my finger when I lift it away and needs to be “peeled” off, then I know that the material is no good for alcohol cleaning. If that’s the case, like it was here, I use a citrus cleaner instead. It doesn’t work as well for breaking down tar build-up, but it’s non-toxic and doesn’t cause harm to the stem material. It just takes more a bit more elbow grease and I always keep a good supply of that on hand.
Roughly 24 hours later, I removed the tar-stained cotton balls and pipe cleaner from the bowl. Then, I dropped the stummel into a jar of isopropyl alcohol to bathe overnight to remove the old stain and soften the tar around the rim to make removing it easier.
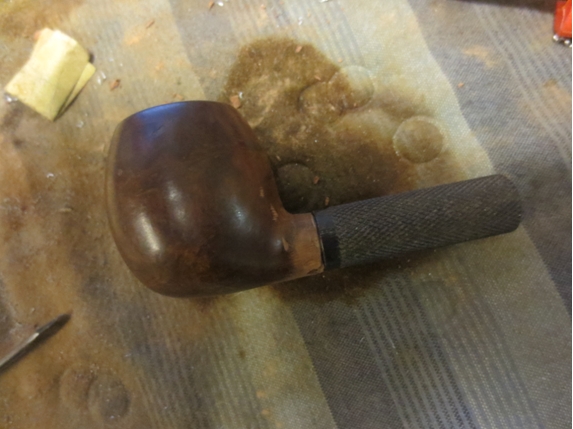
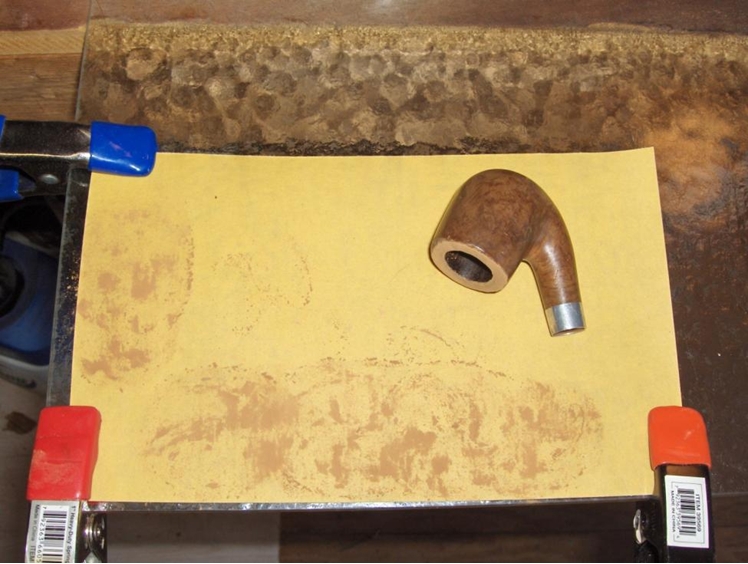
I removed the stummel from the bath the next morning. I was surprised to see that not only had it performed well at removing the stain, but it had done a fantastic job of removing the crud from around the rim too. A lot of what I had taken to char was actually heavily caked soot and tar that had dissolved away in the alcohol. It still looked like it had been through a thresher, but this time at least, the machine hadn’t been on fire. My first step in repairing the damaged rim was to remove the surface scratches. I clamped 220-grit sandpaper to a sheet of glass from and glass-top table (the glass looks dimpled in the photo below, but that’s actually the opposite side) to set up a topping surface. 220 is more course than what I would normally start with, but the scratches were deep and it helps to speed things up when you’re removing that much material. I placed the bowl rim-down on the paper, firmly gripped the bottom of the bowl, and slowly sanded in a circular motion. While sanding, I made sure to check my progress often and to change the position of my hand frequently to avoid putting too much pressure on the same side.
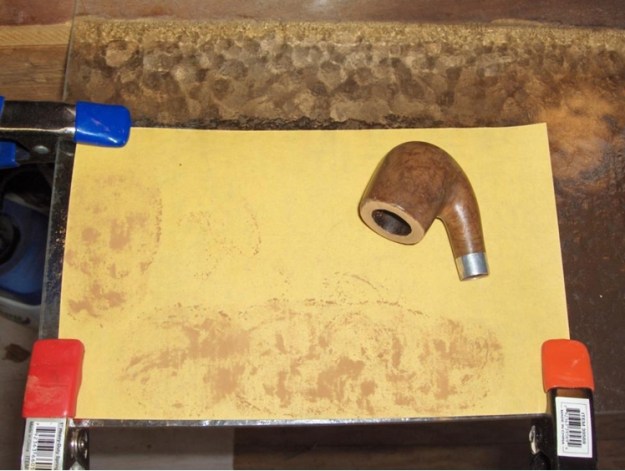 Once the worst of the scratches were about half of their original depth, I switched to a 320-grit paper. I continued sanding until the scratches were barely visible. Then, I swapped the paper to 400-grit and sanded until the scratches and majority of the charring were gone.
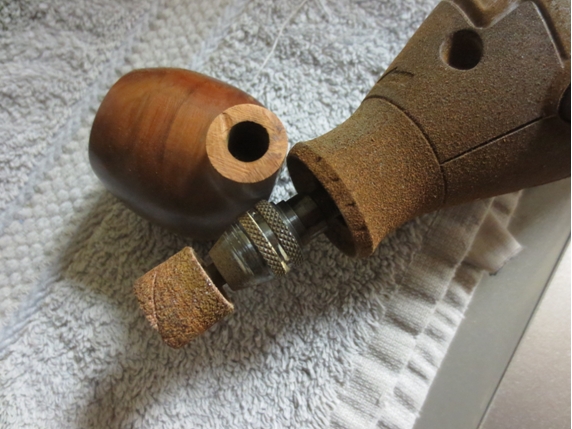
The top surface of the rim was smooth and scratch-free but there were still several small nicks remaining along the inner and outer edges. Also, the gouge along the front had barely been touched. So, I decided to chamfer the outside edge of the rim at an angle and depth that matched the gouge. The chamfer would have to be deep. So, this decision was going to take the project outside of the realm of pure restoration and into modification, since it was going to change the shape of the pipe. I’m never completely happy with a choice like that, but in my opinion, it was the only way to give the pipe a truly refinished look.
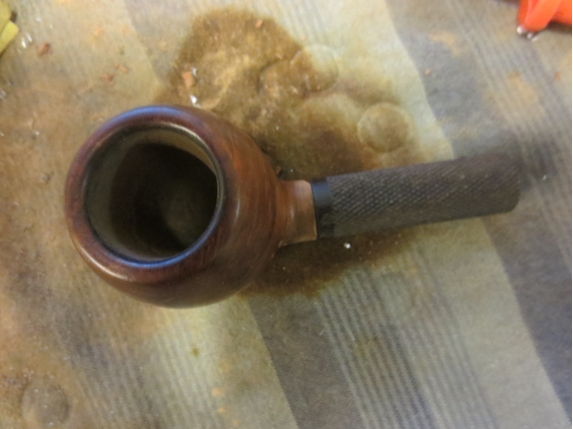
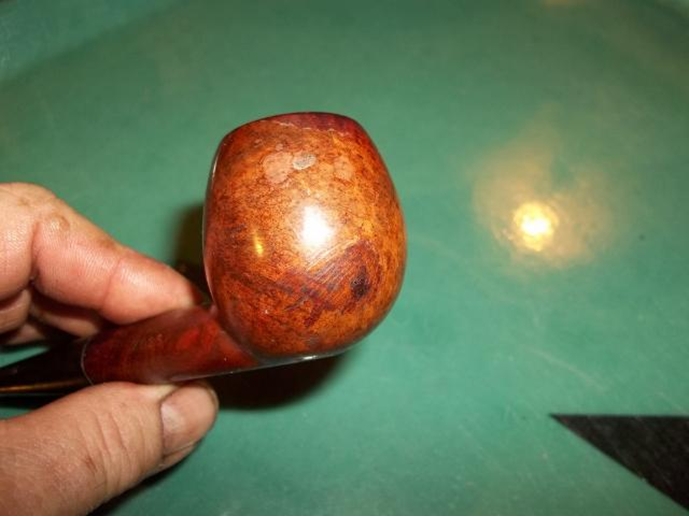
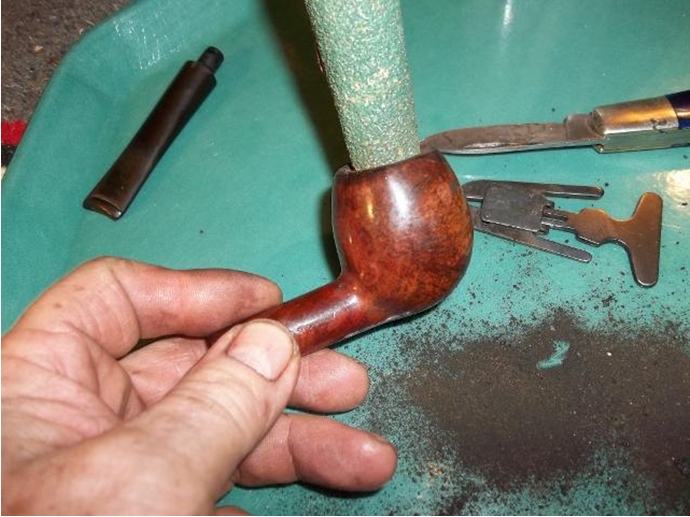
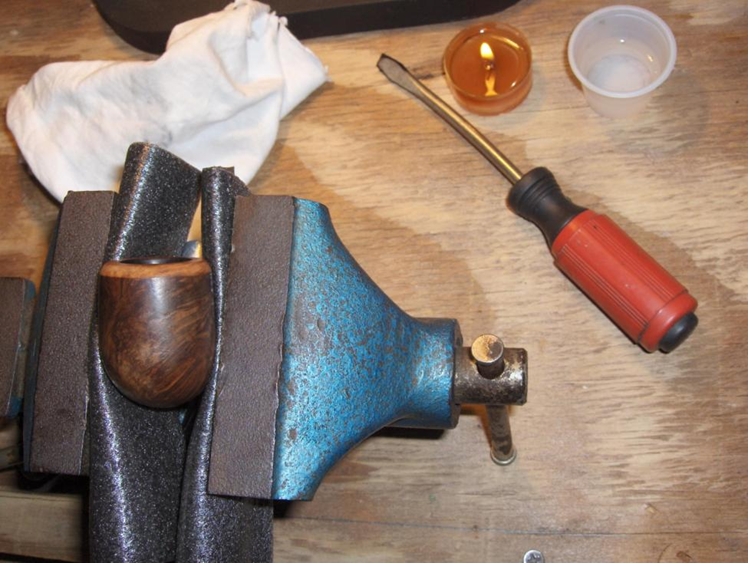
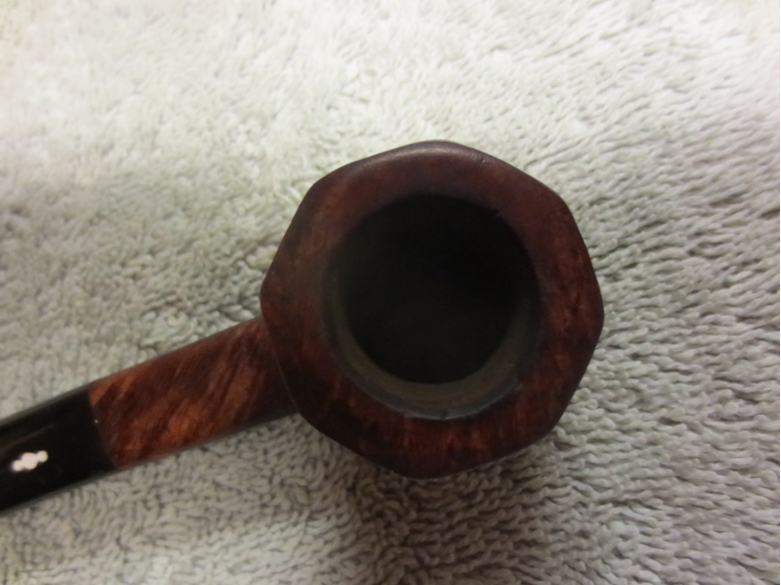
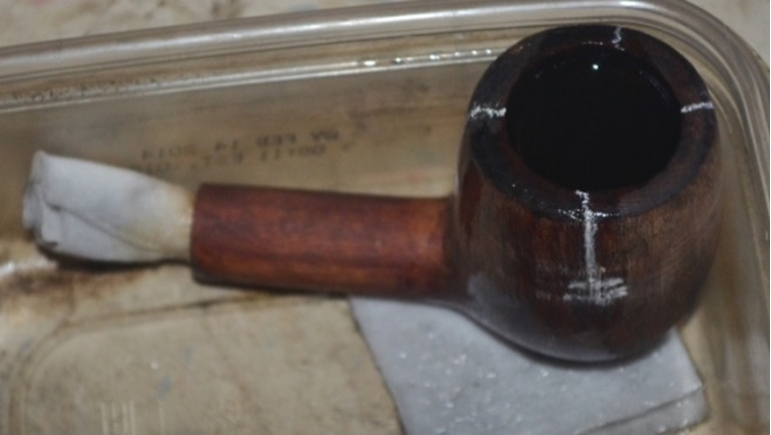
Starting at the front of the rim, I first sanded the rough surface of the gouge smooth, and then worked my way around the rim to create the chamfer. I used the same progression paper that I had when topping the bowl. I roughed in the shape with 220-grit and then refined it as I moved to the higher grits. I also put a narrow chamfer on the inside edge to remove most of the nicks there. You can see the end results in my admittedly poorly lit photo below.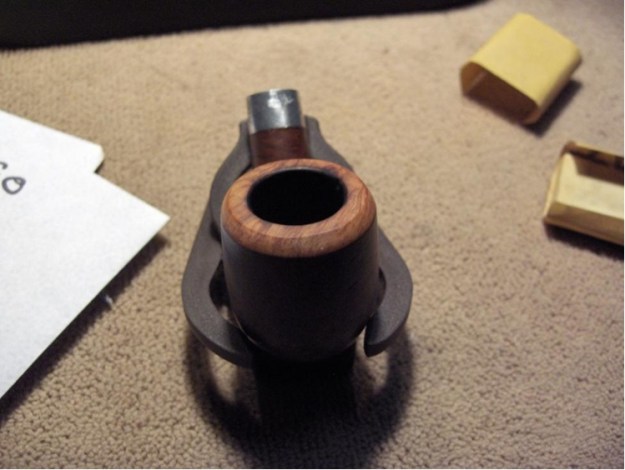 The major issues of the rim were taken care of. So, I began to work on the rest of the briar surface using a little steam power. To free up my hands, I secured the stummel in my bench vice using a bit of foam rubber to protect it. I then heated the end of an old, flat-head screwdriver over a tea candle, placed a dampened cotton cloth over the dents, and pressed the hot metal into it. If there’s no material missing inside the dent and the edges aren’t too sharp, this method does a fine job of raising the wood to the surface. There were still scratches when I finished, but I would take care of those in a later step.
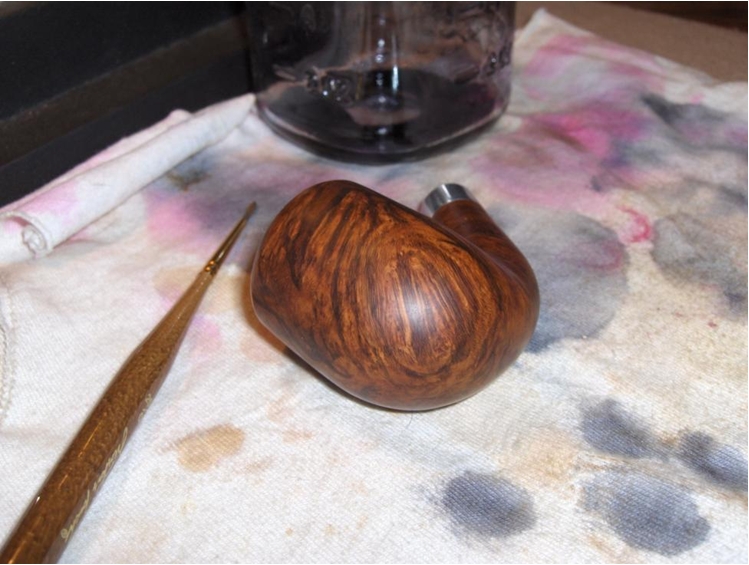
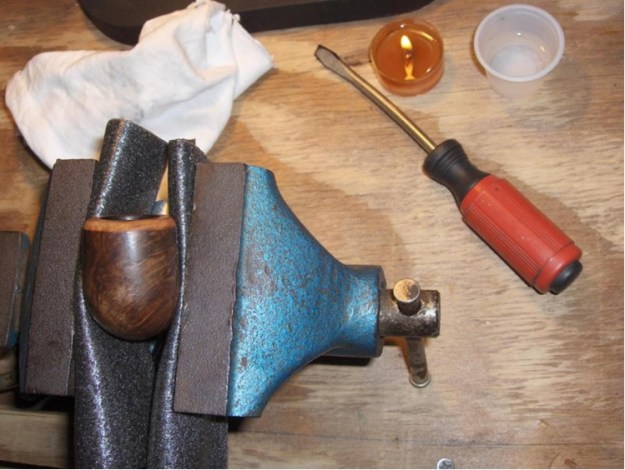 I gave the stummel a good wipe-down with acetone after working on the dents, and then dropped it into a short alcohol bath to further remove the original stain. I wanted this one as bare as possible to give the grain the chance to do what it so badly wanted to do.
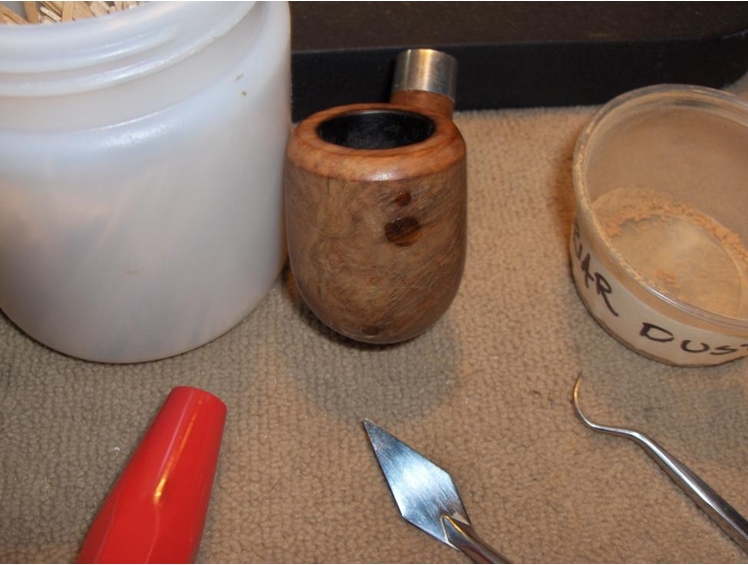
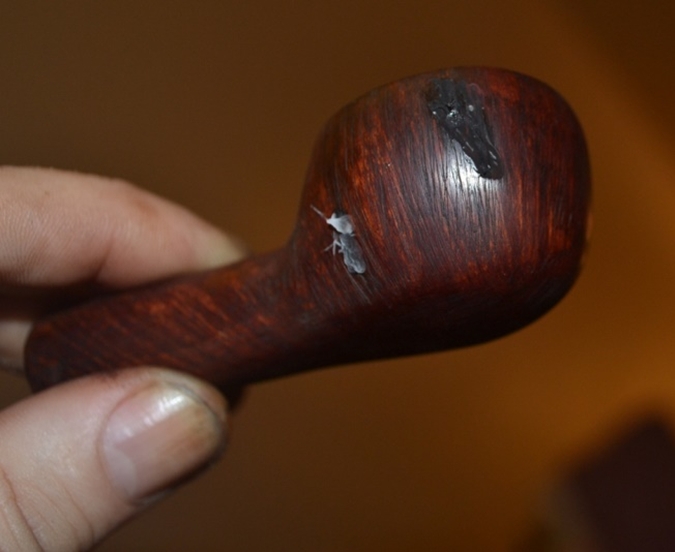
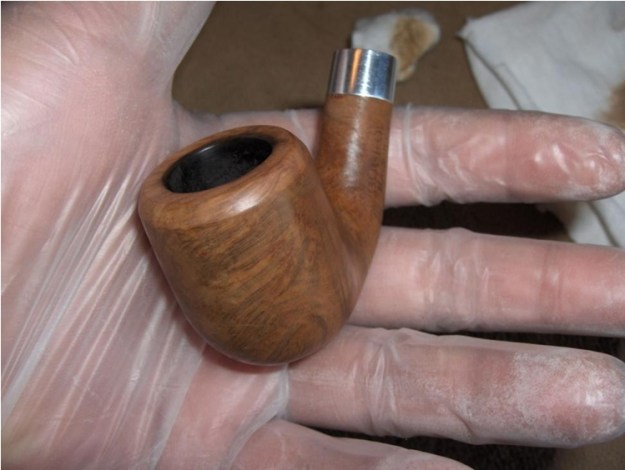 I let the stummel completely dry out overnight. Then, I patched a few scratches on the front of the bowl that were too deep to be sanded out. I used an artist’s palette knife as a trowel to pack briar dust into the scratches until they were slightly overfull and dripped CA glue into the dust.
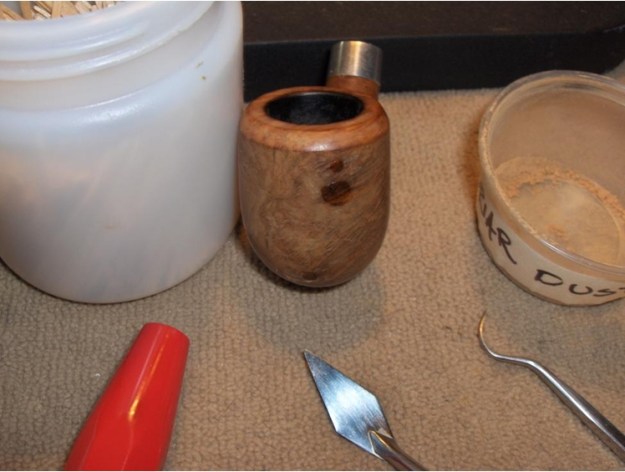 Once dry, I sanded back the hardened glue. I began sanding with 320-grit until the “bumps” of glue were about half their original height. Then, I used 400-grit until the glue was just barely a ridge above the surface. Finally, I sanded with 600-grit to sand the patch flush and remove any of the shiny glue that remained on the surface around the patch.
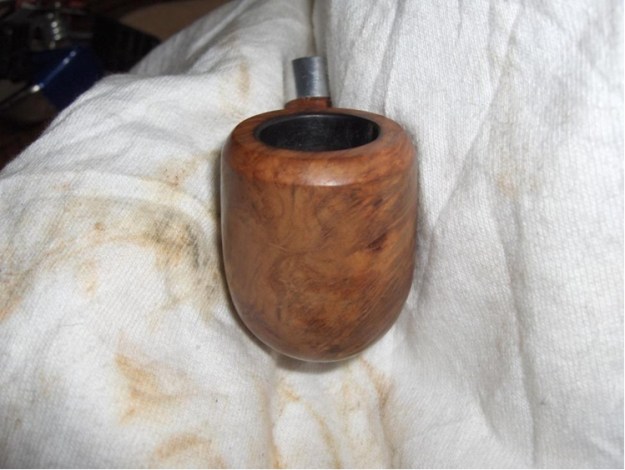 At this point, the bowl was looking much better, but it was still heavily scratched and needed more work. However, I also needed to pay some attention to the stem. So, I sat it aside for later.
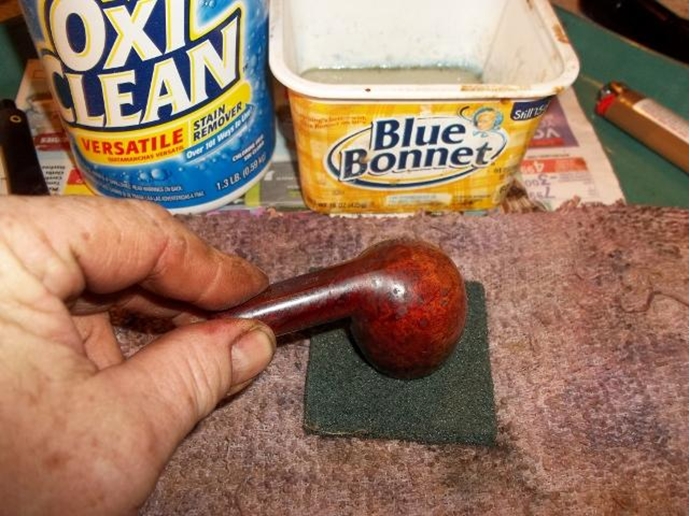
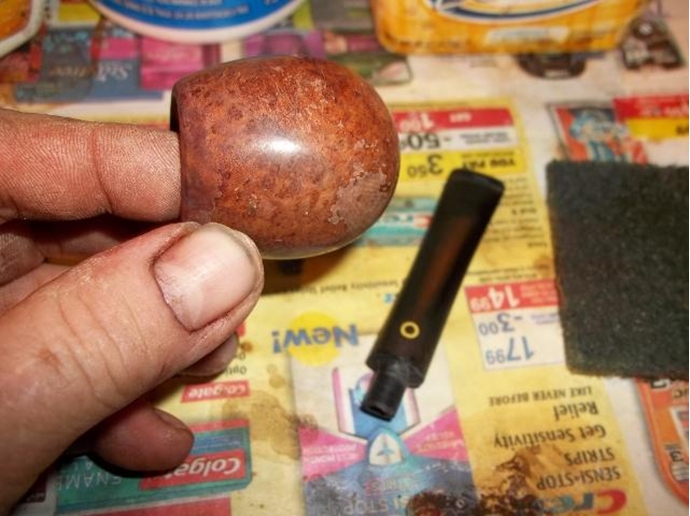
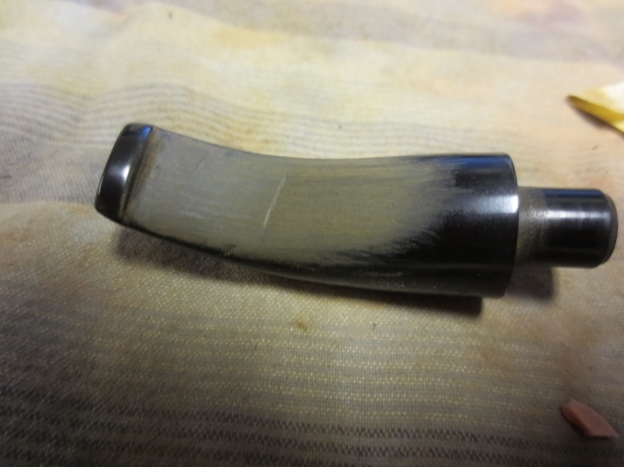
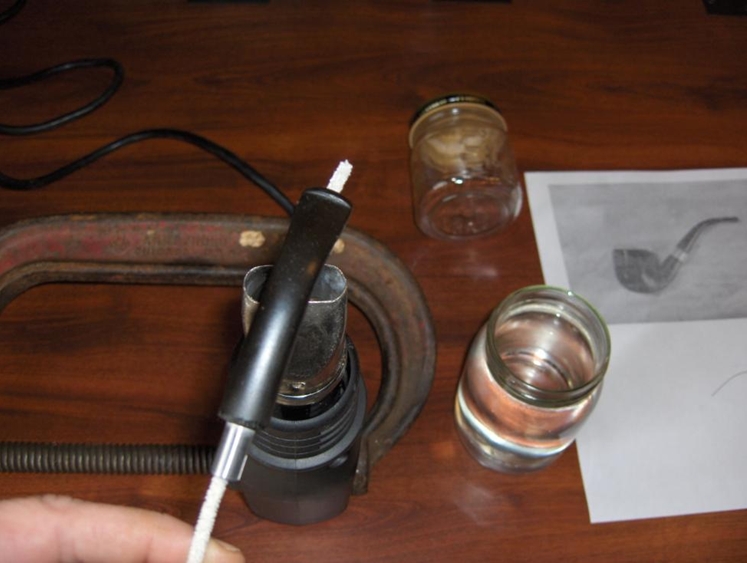
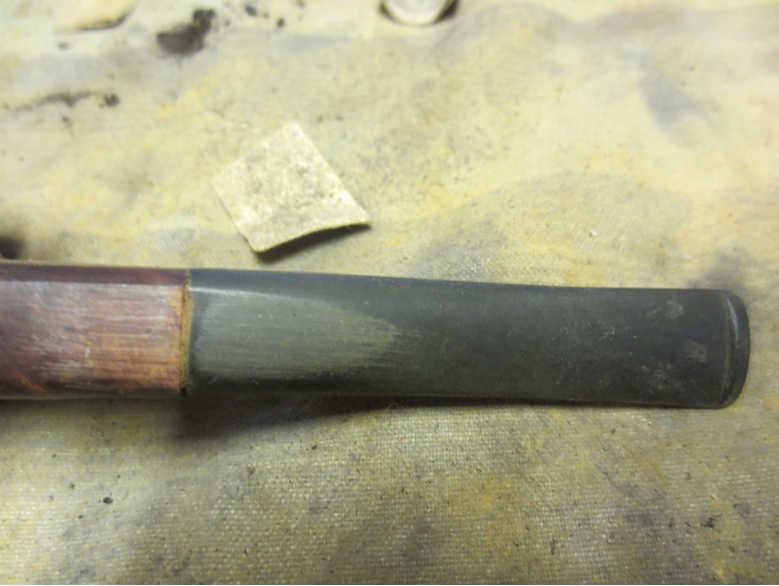
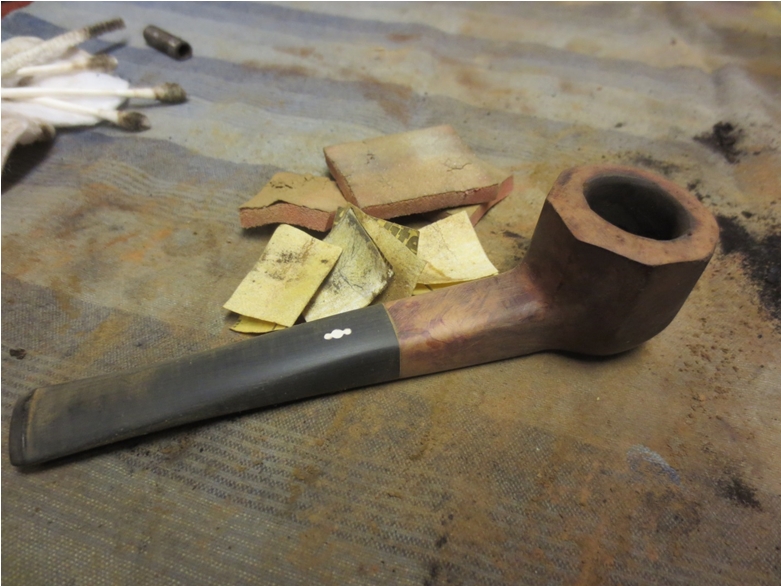
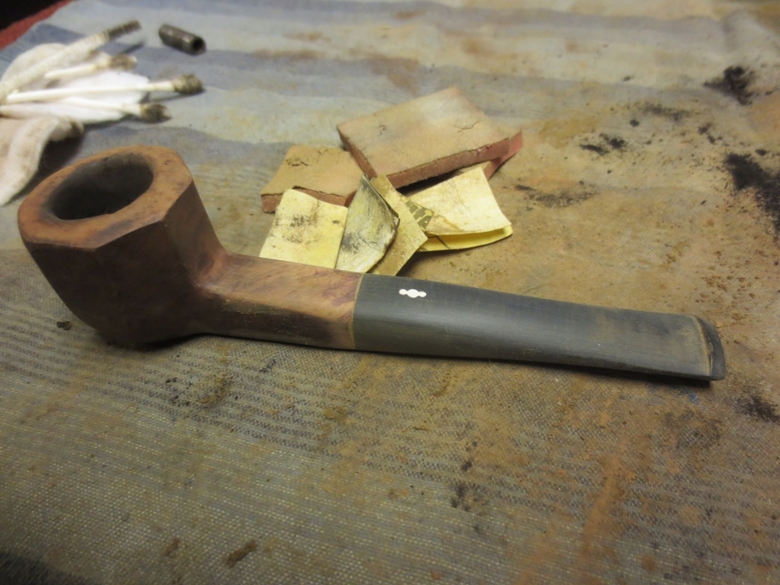
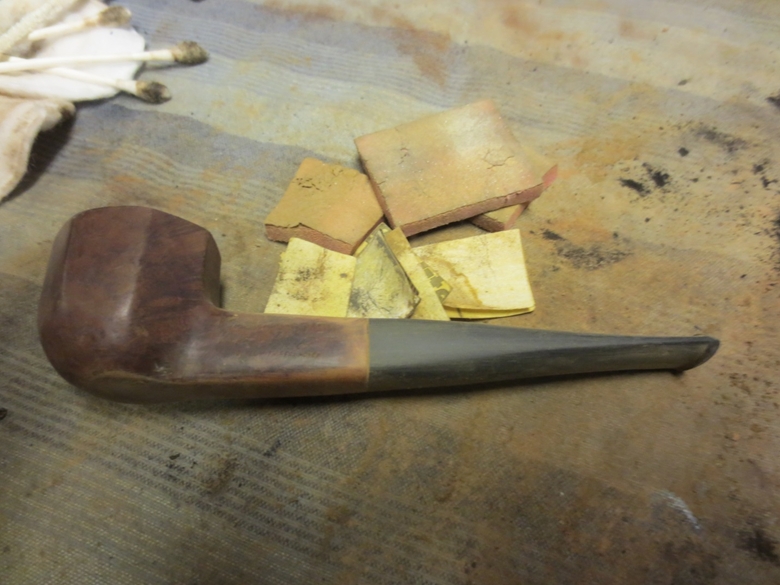
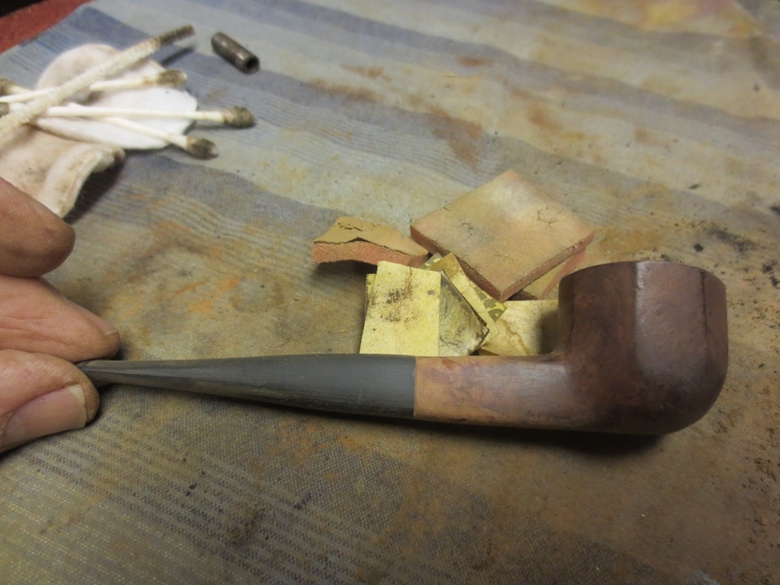
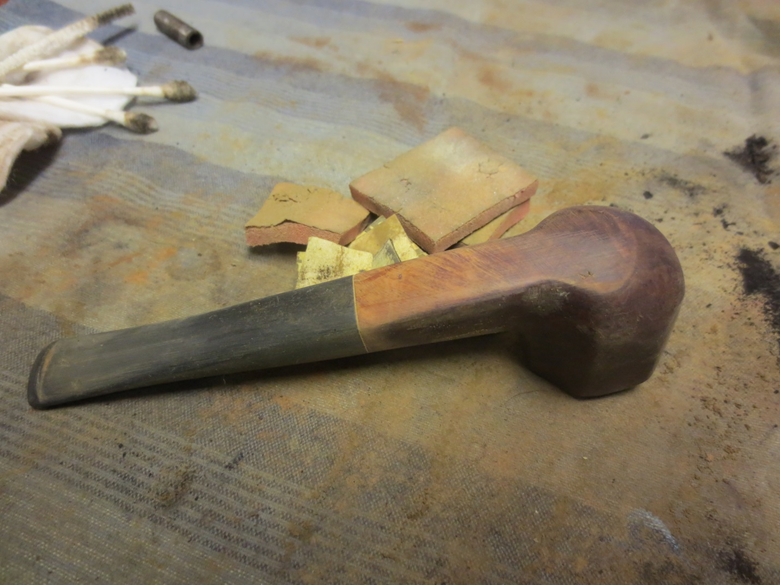
It seems that even these ABS stems will oxidize over time. Perhaps not at the rate or to the severity of vulcanite, but I’ve noticed a brownish hue on the surface of some of the older stems like this one. So, I applied a bit of Vaseline to the metal tenon and dropped it into a Oxyclean bath for an hour or so (the Oxyclean dulls the finish on polished metal, thus the Vaseline). Once removed, it was ready for a scrub with a Magic Eraser. When I use these, I cut each pad into eight cubes and rotate the cubes as I work to get a clean surface. Lightly oxidized stems might need only one or two cubes before they’re finished. Here’s the stem with a matte black finish after the scrub.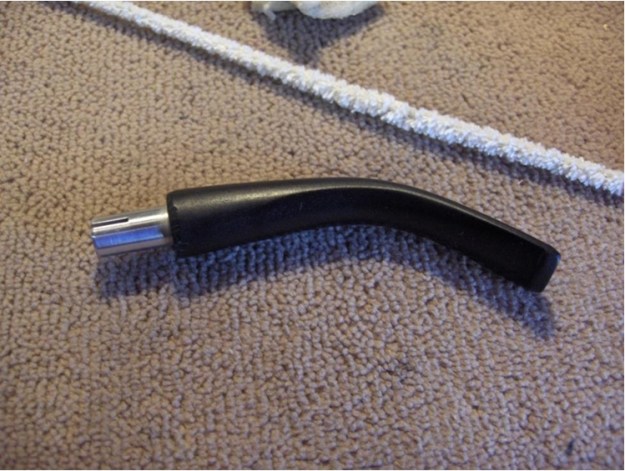 Heating a stem is a great method for raising deep tooth dents in most materials. I’ve found that it also works well for leveling out even normal chatter. The more that I accomplish with the application of heat, then the less material I will have to remove and the less work I will have to do in sanding them out. So, it’s become part of my regular routine for stem maintenance. My high-tech stem heating apparatus consists of a paint stripper secured by a large, weathered c-clamp with a jar of cold water by the side. I run a pipe cleaner through the stem to hold it and move it back and forth over the heat source to keep it from burning. As soon as I can smell the hot material I know that I have done all that I can do. I either immediately dip it in the cold water to set it, or re-bend if necessary, and then dip.
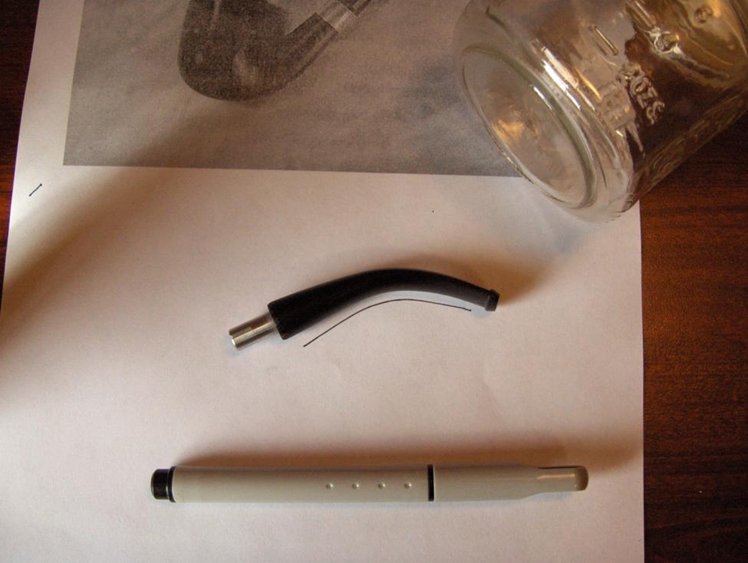
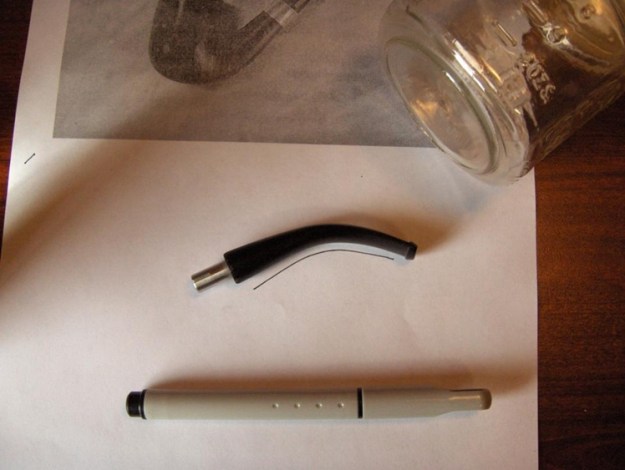
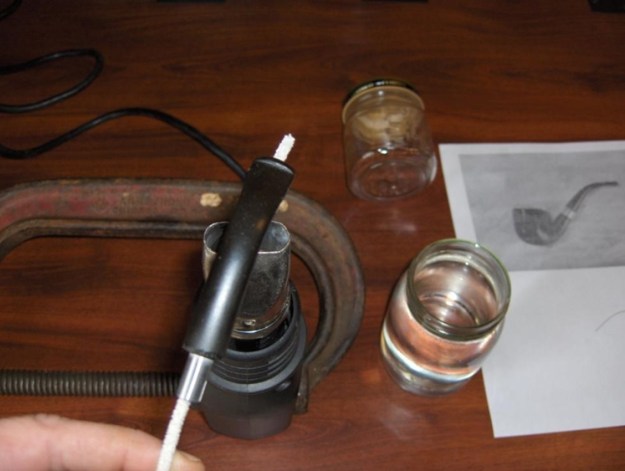 Most bent stems like this one tend to straighten out at least a little during heating. So, before I begin, I print a photo reference of the stem, trace the inside edge of the bend on paper, and find a hard, smooth, rounded surface that fits well inside the bend. If it’s required, I’ll grasp both ends of the pipe cleaner and bend the warm, pliable stem over the rounded surface and let it cool for a few seconds. Then, I set it with cold water, wipe it dry and compare it to my tracing. If it’s still off a bit, it usually takes only a couple of minutes to reheat the stem enough to give it another try. The following picture shows the stem after heating and re-bending.
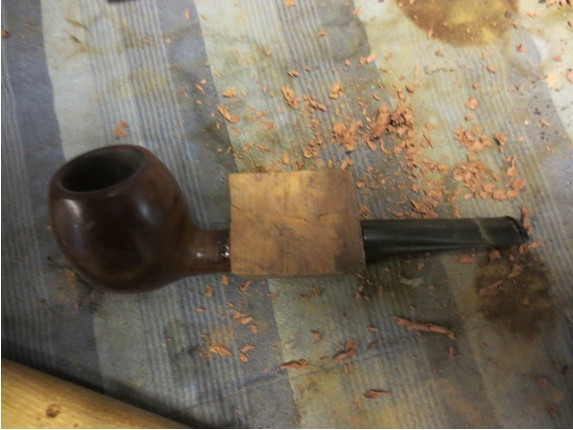
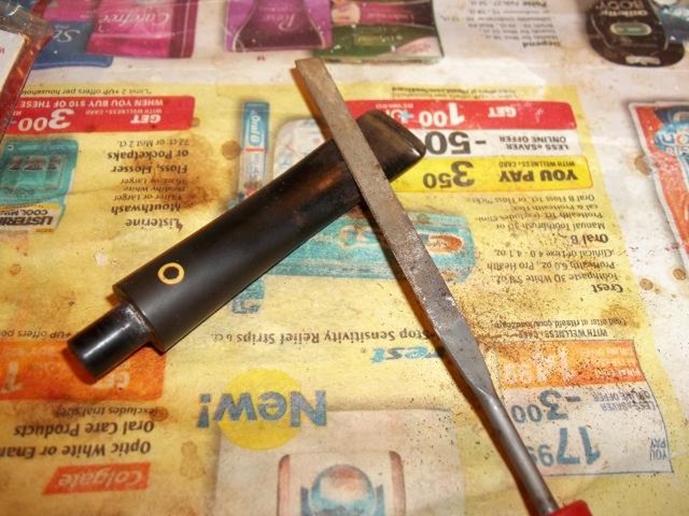
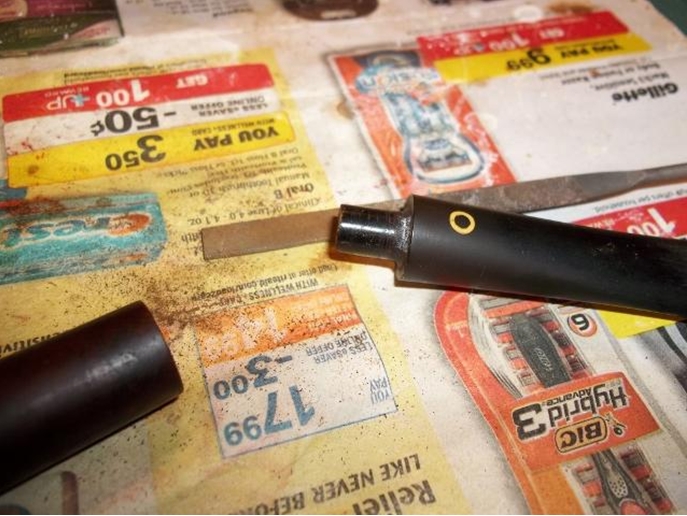
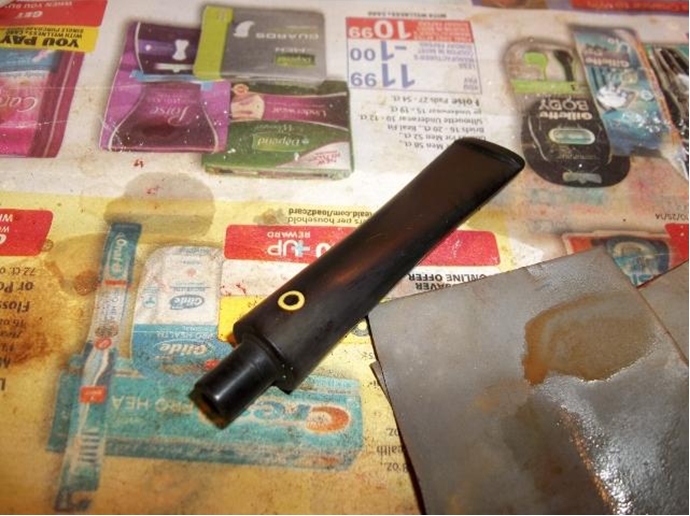
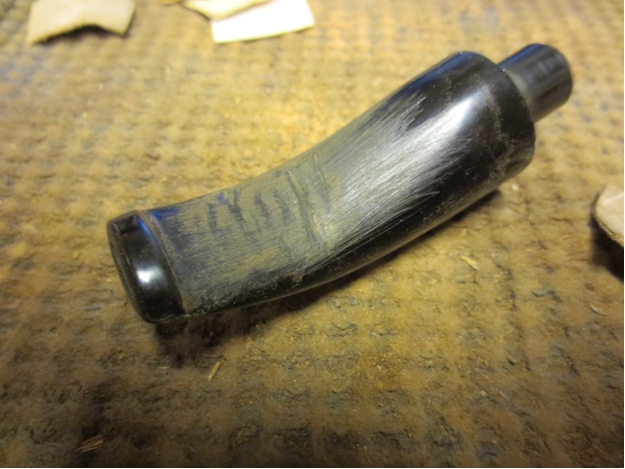
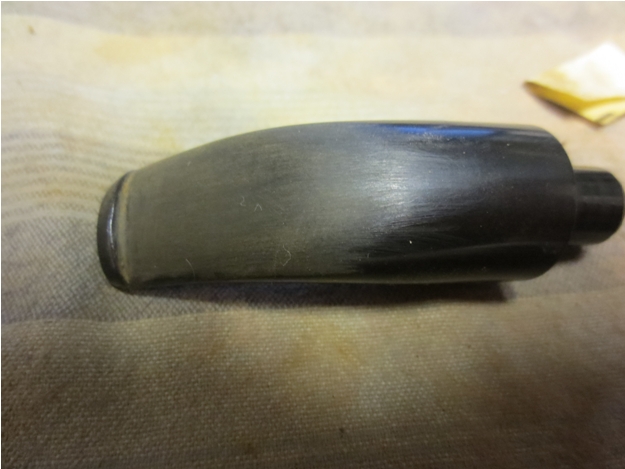
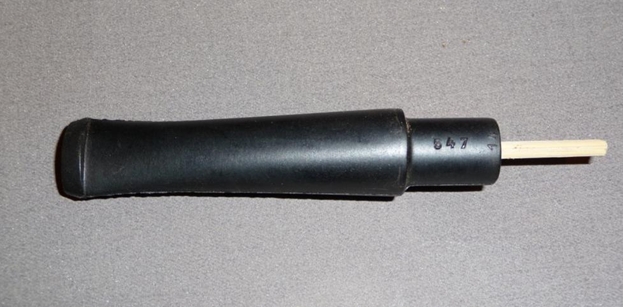
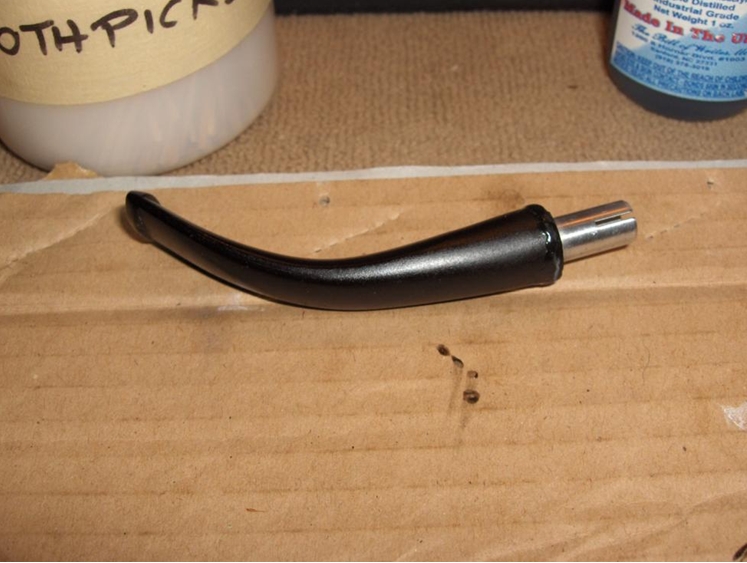
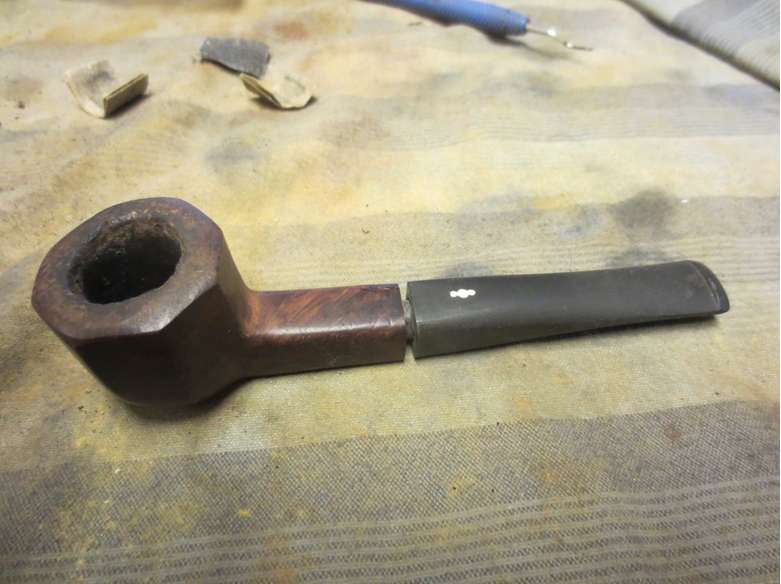
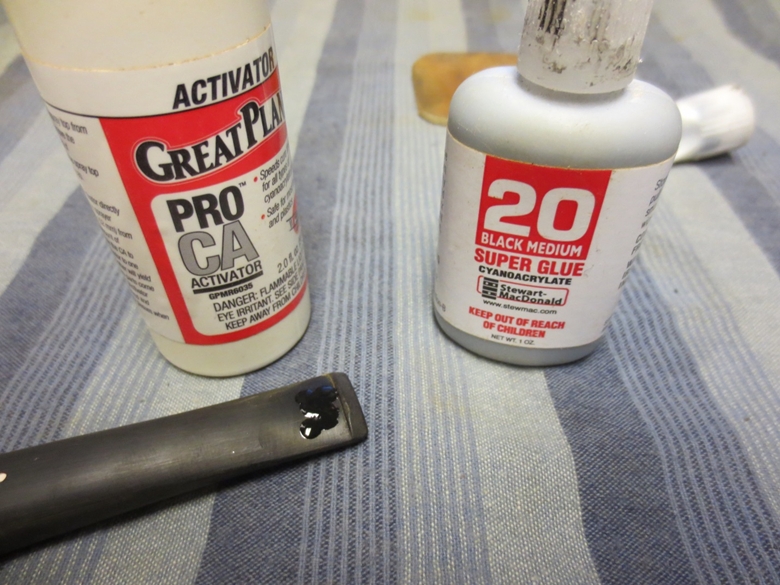
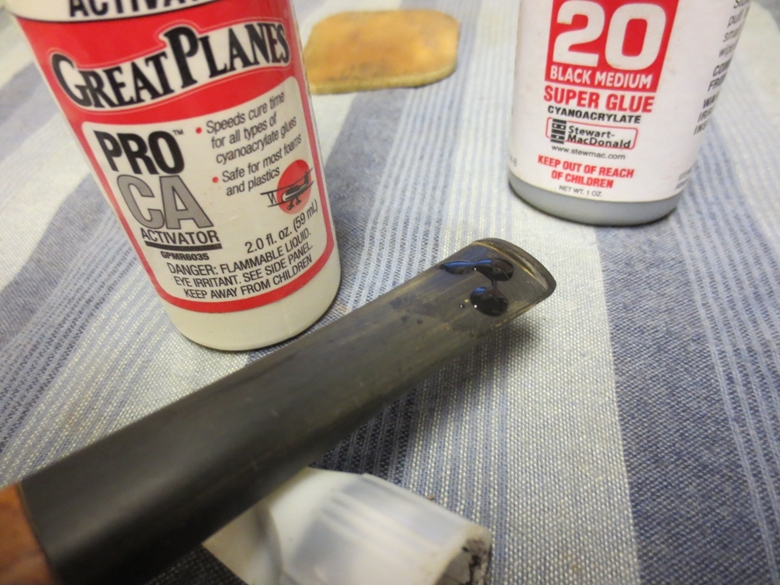
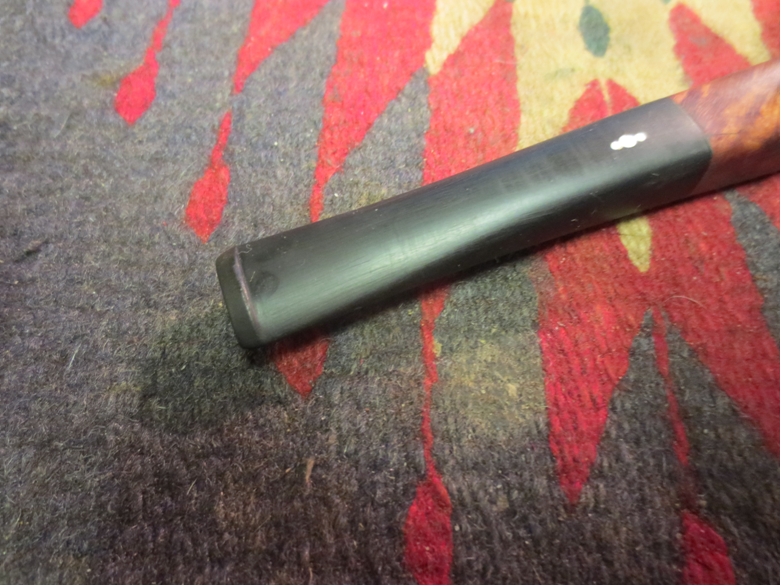
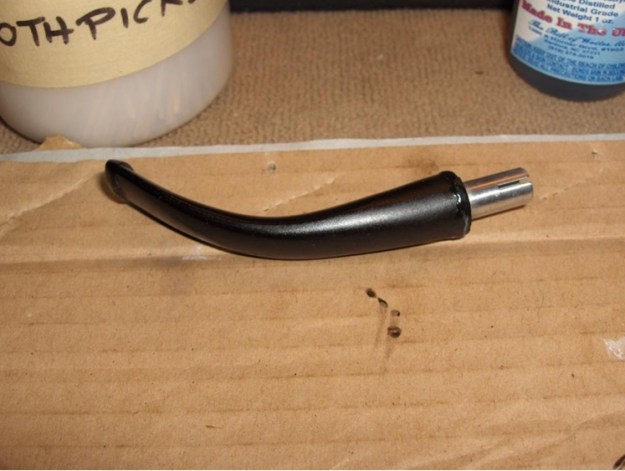
 It was time to address that chiseled chamfer along the stem face. I considered cutting the damage off and reseating the tenon, but decided against it because I didn’t want to shorten the stem. The only other option, aside from replacement (and that wasn’t going to happen – this was for practice after all), was to replace the missing material. I began by applying several layers of black CA glue to create a sort of collar around the edge. I allowed each layer to dry and sanded them back a bit to keep it smooth and prevent bubbles from forming between each layer. I also applied a couple of layers of CA glue to the abrasion that had taken the stem out of round and on the top of the button where a bit had been worn off. The picture below shows the collar once it was completely built-up.
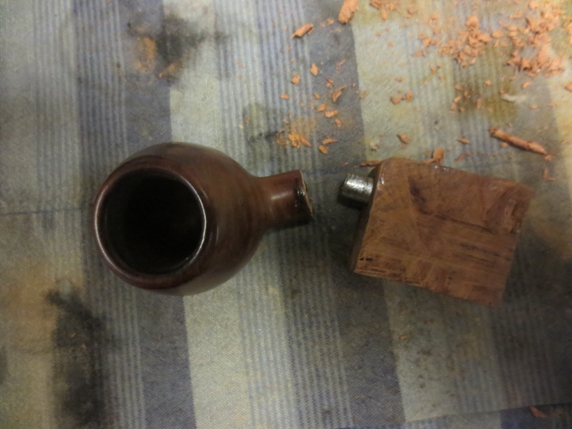
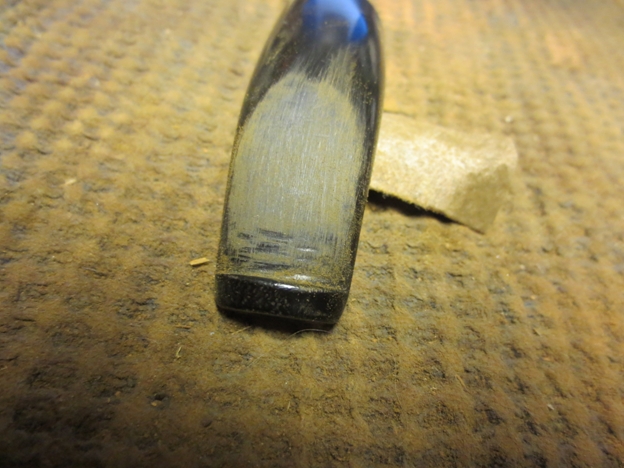
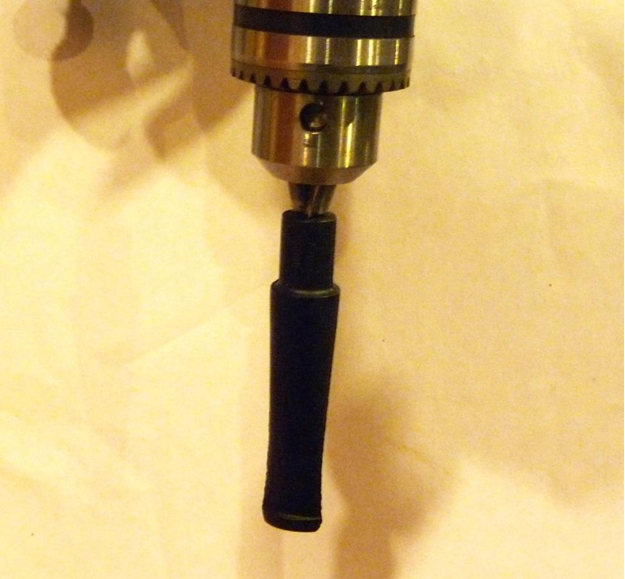
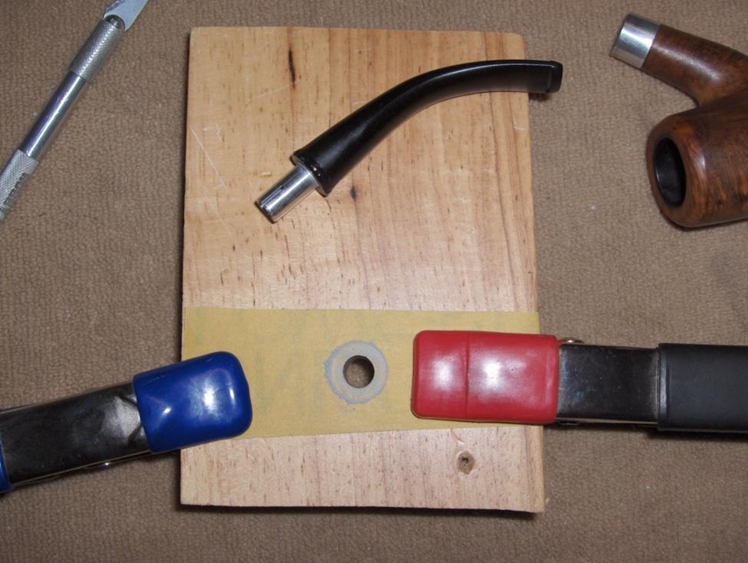
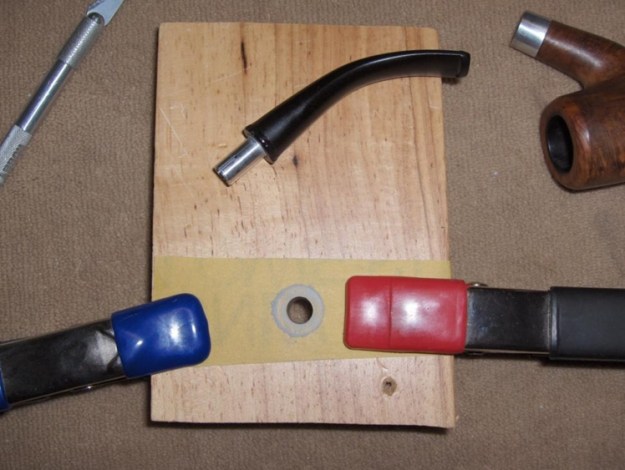
 To ensure that the stem was without gaps when attached to the shank, I needed a way to evenly sand out a smooth surface on the face of the stem. My solution was to take a piece of scrap wood and drill a hole in it only slightly larger than the tenon. Then, I tightly clamped a strip of sandpaper over the wood and used an X-Acto blade to carefully cut a hole in the paper to match the bore. I inserted the tenon into the hole, then twisted and rotated to sand out any lumps and bumps created by the CA glue. I began sanding with 320-grit paper, and then progressed to 400-grit and 600-grit to finalize.
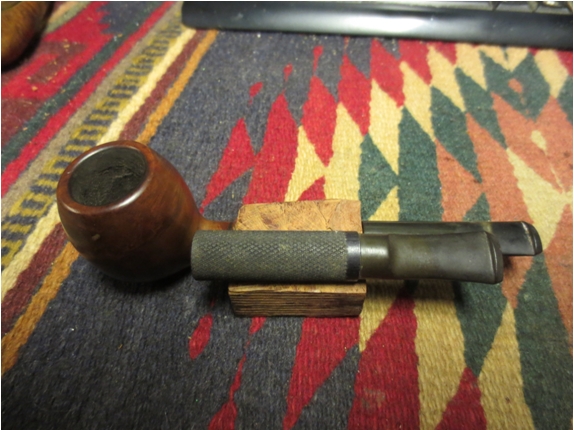
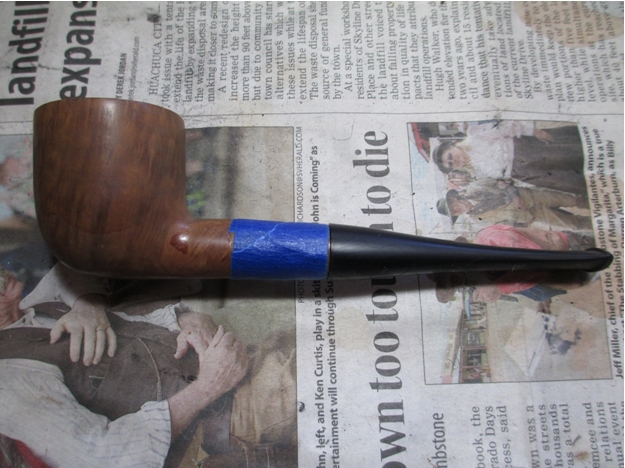
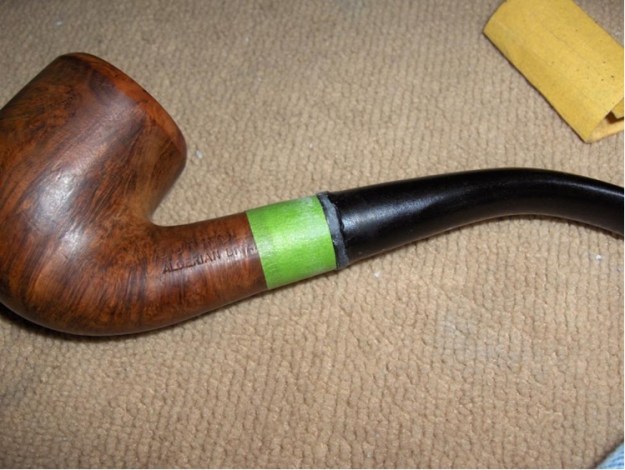
 When the stem face was smooth and even, I reattached it to the stummel to do the final work on the stem patches. I put a strip of painter’s tape around the end of the shank to prevent any scratching. It’s much easier to match the shape of this sort of patch with the stem attached. Still, care has to be taken not to remove material from outside of the patch, which would give it a fluted appearance. I used the same progression of grits to sand as I did on the face.
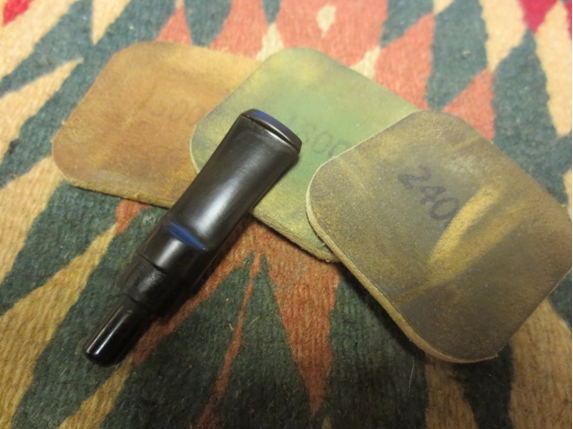
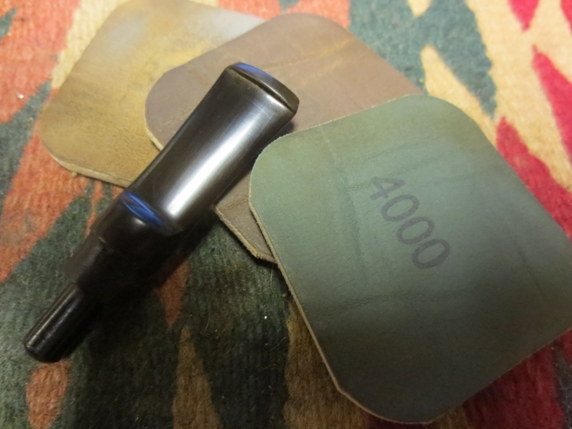
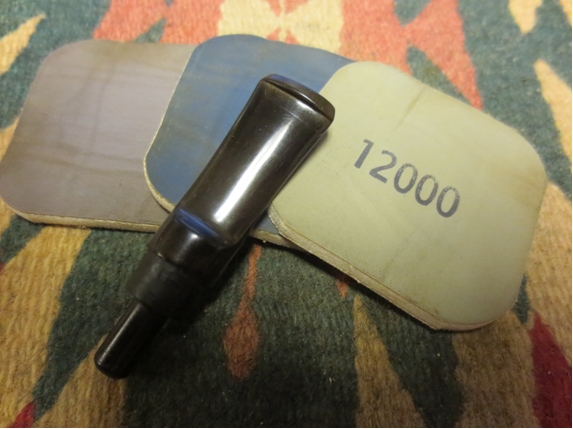
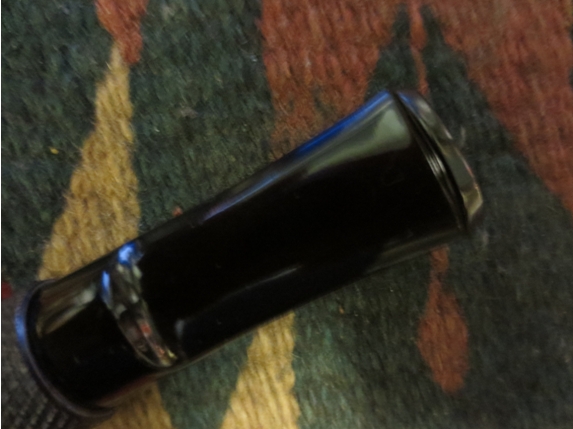
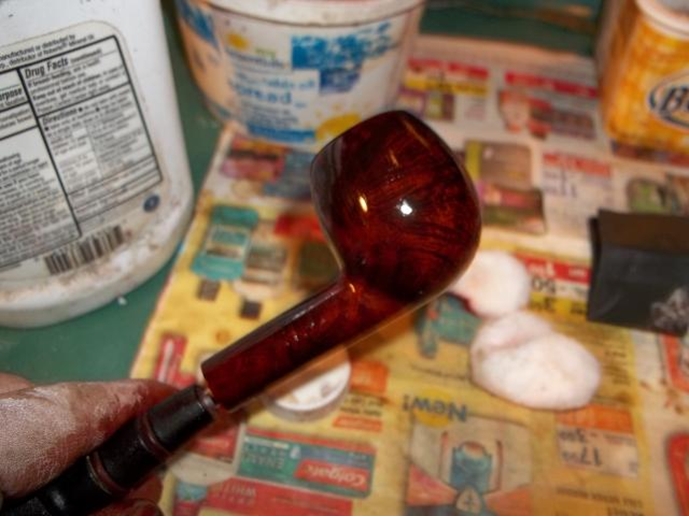
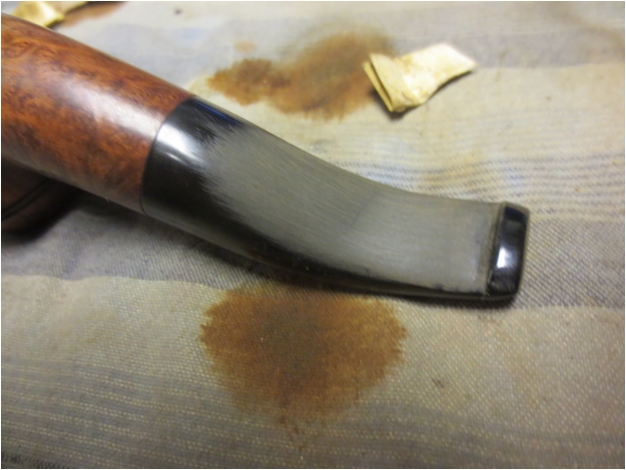
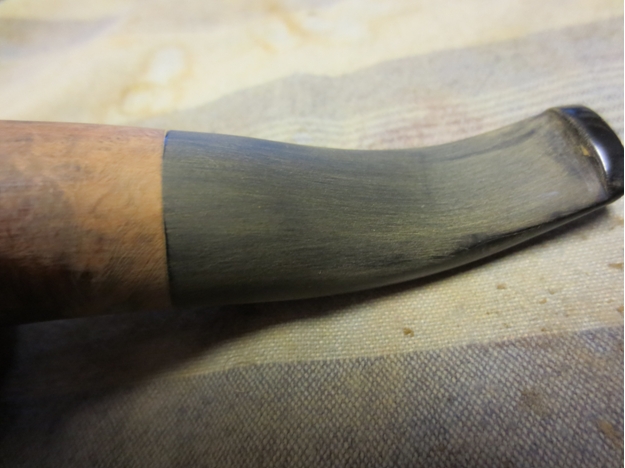
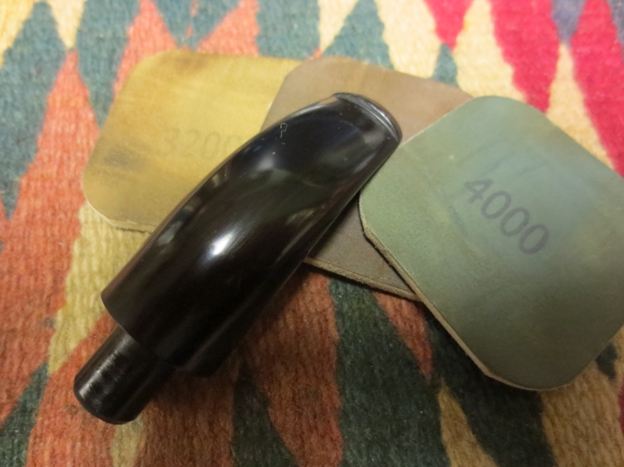
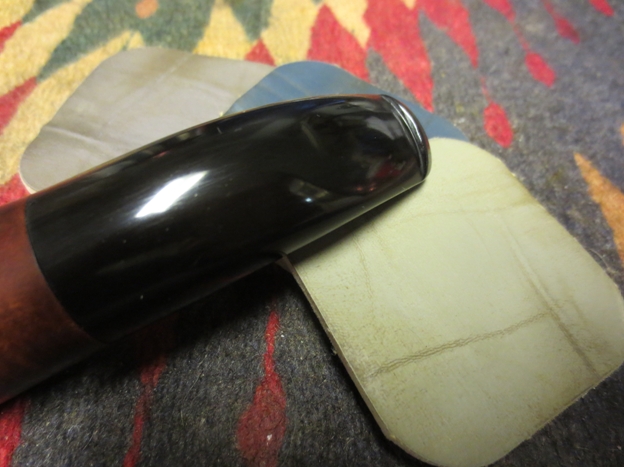
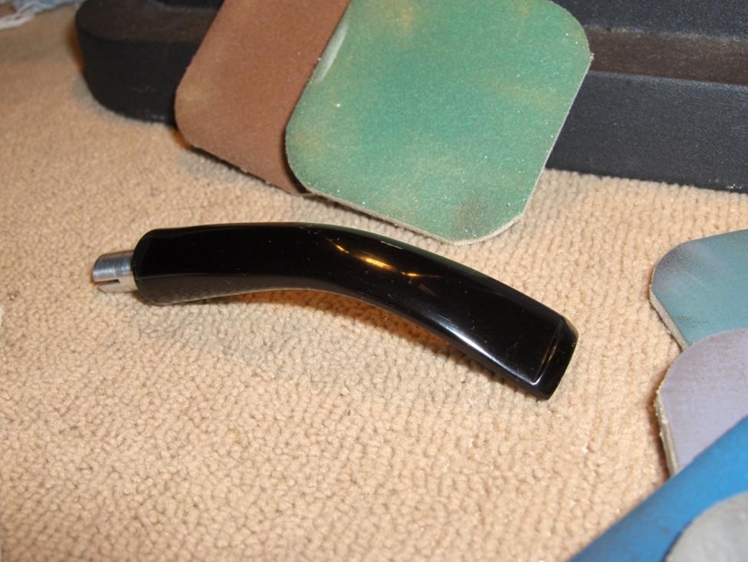
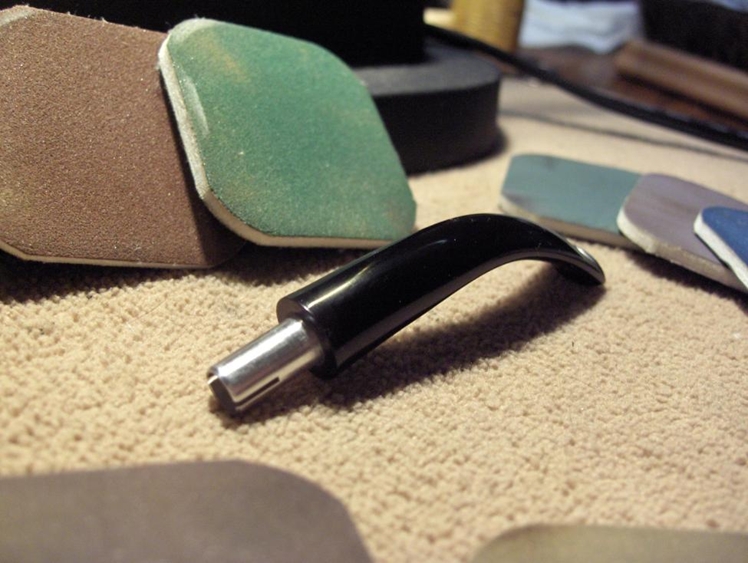
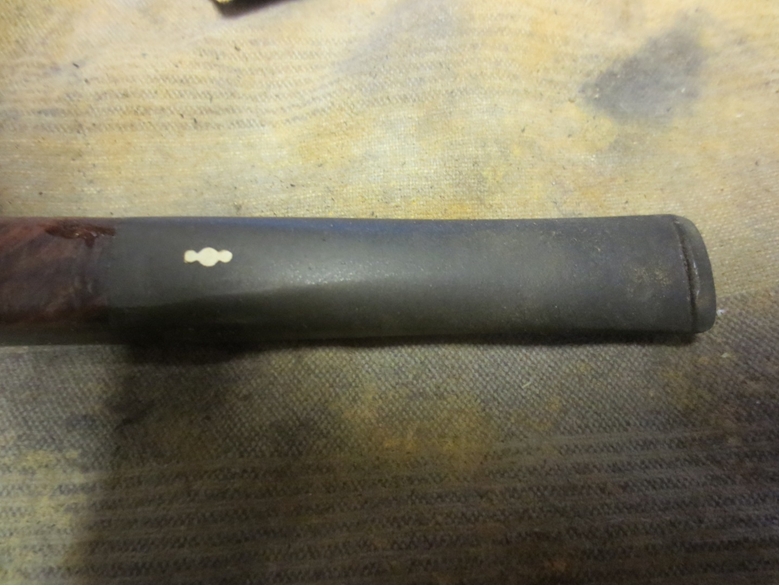
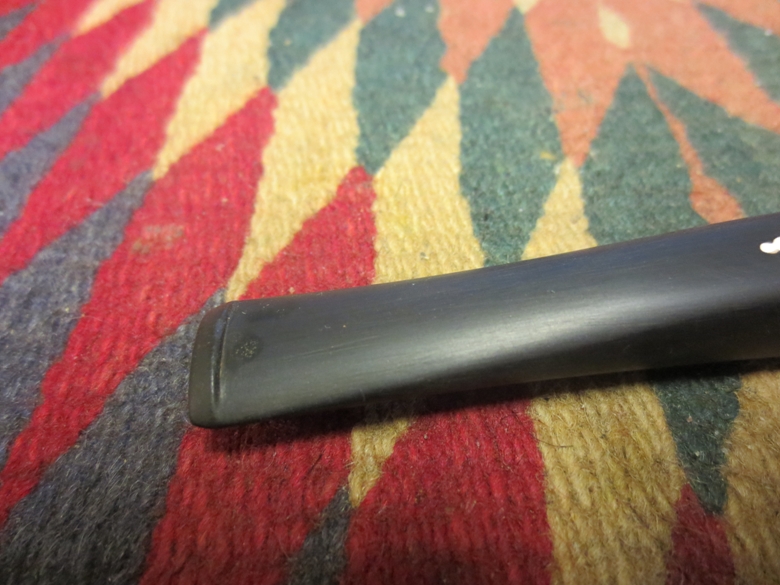
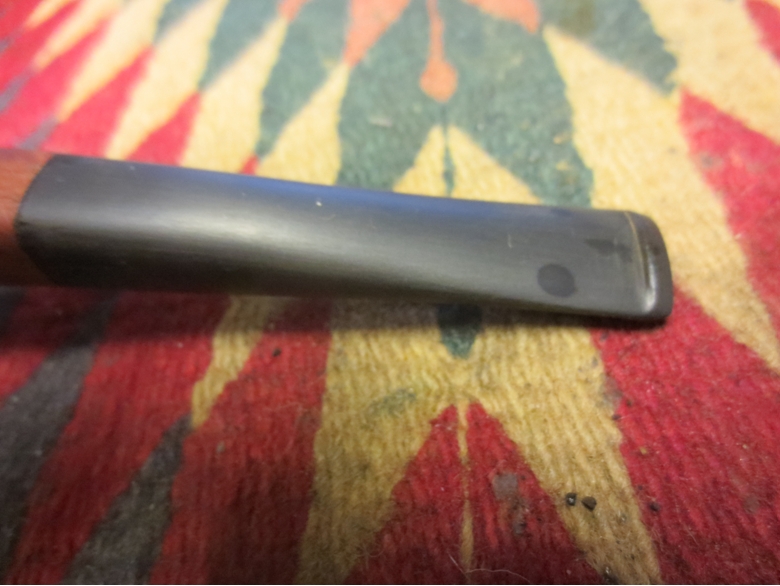
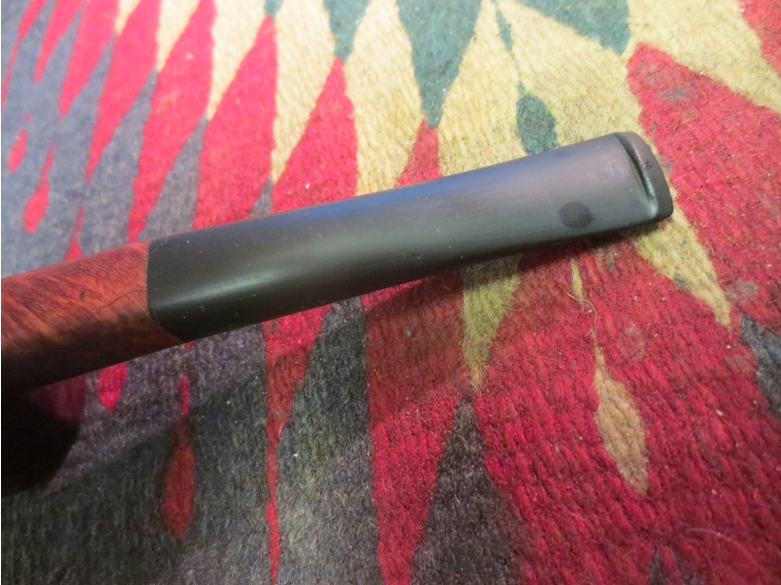
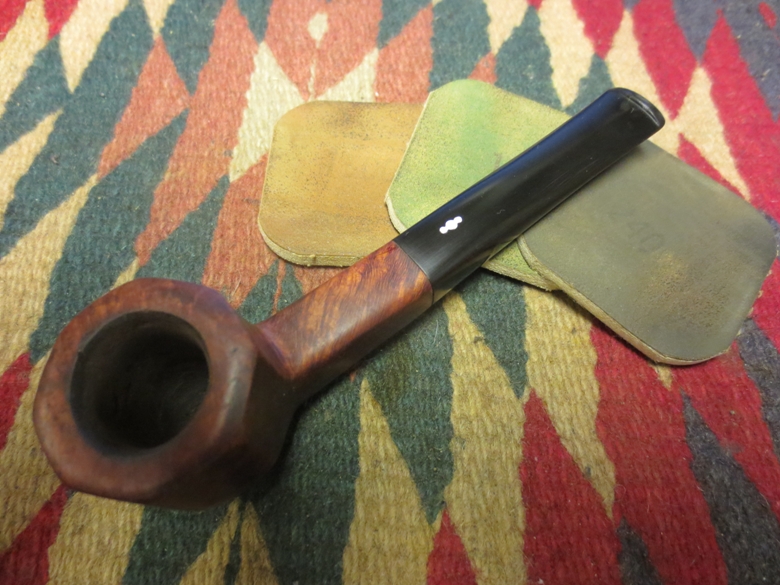
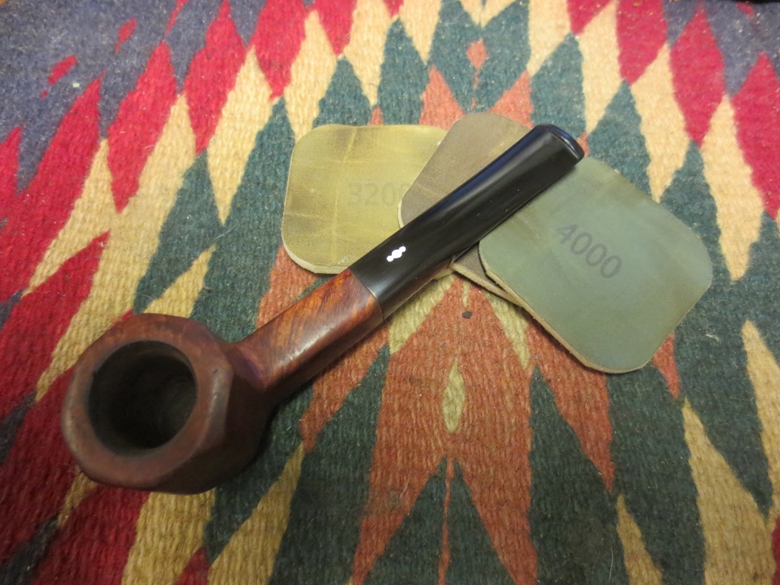
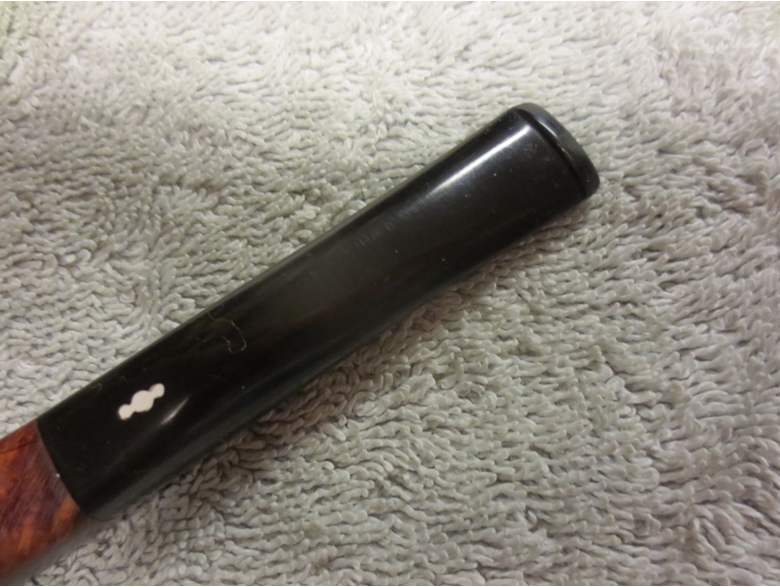
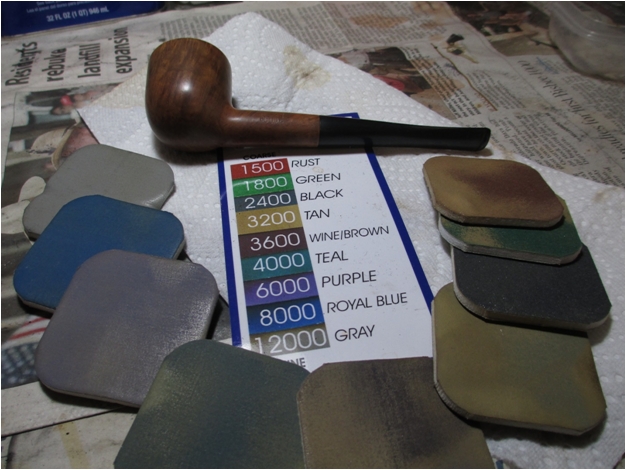
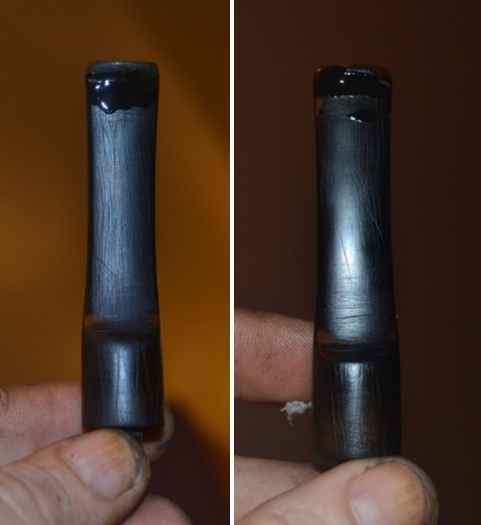
 It took a long time to get the collar, abrasion, and button patches shaped to my satisfaction. Once they were, I sanded out what tooth chatter remained after the heat treatment with 400 and 600-grit paper. Then I lightly sanded the entire stem with 1200-grit to smooth the dimpled surface. I followed with the full range of micromesh pads from 1500 to 12,000 to polish it. I don’t have a currently working buffer. So, that was going to have to be it for this stem. I gave it a wipe down with Obsidian oil and two shots of Paragon wax to achieve the results you see in the two pictures below. Also, it is obvious from those pictures that I am not working in a lint-free environment.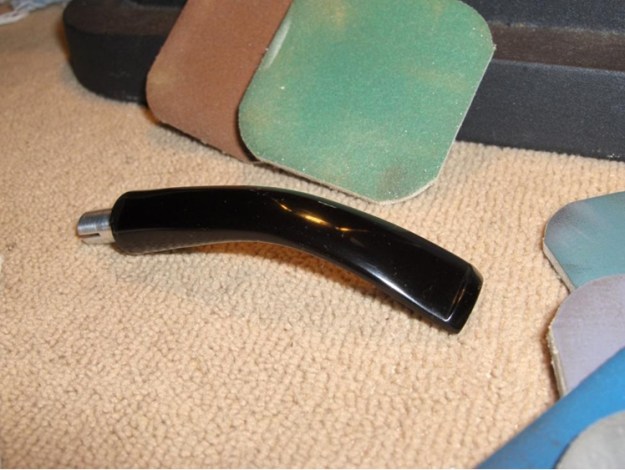
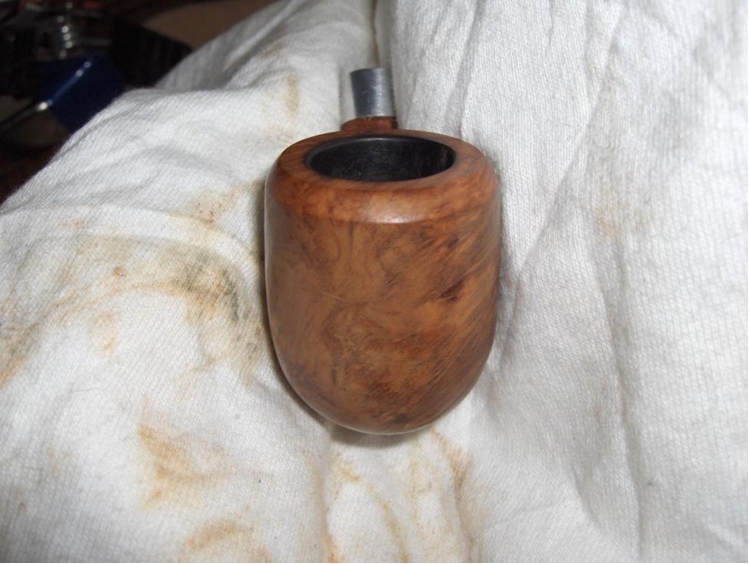
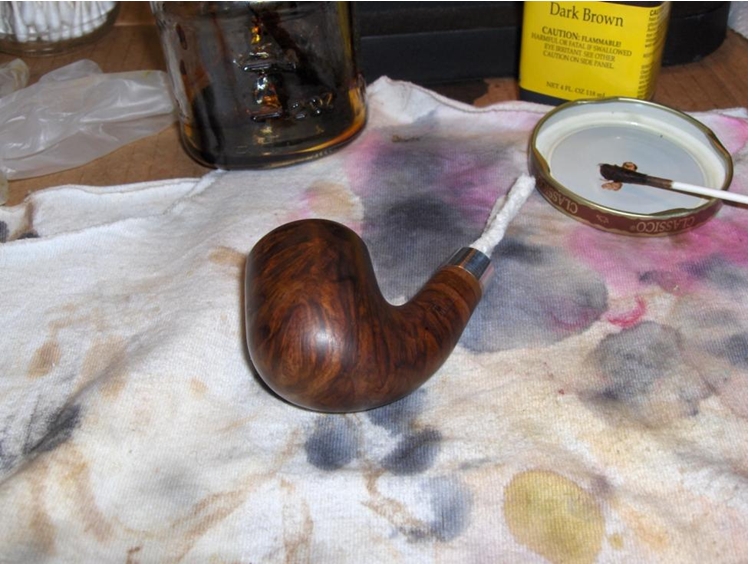
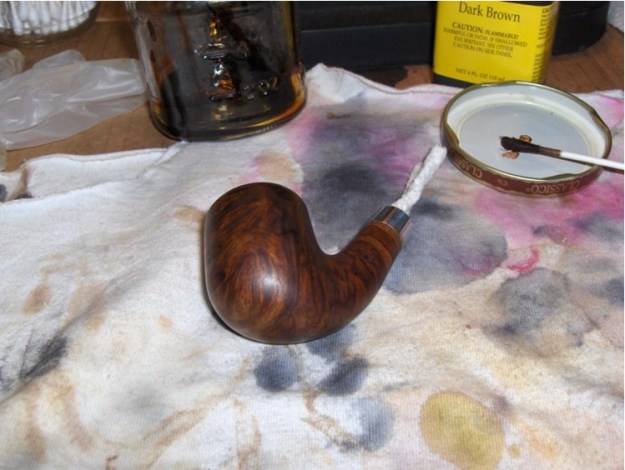
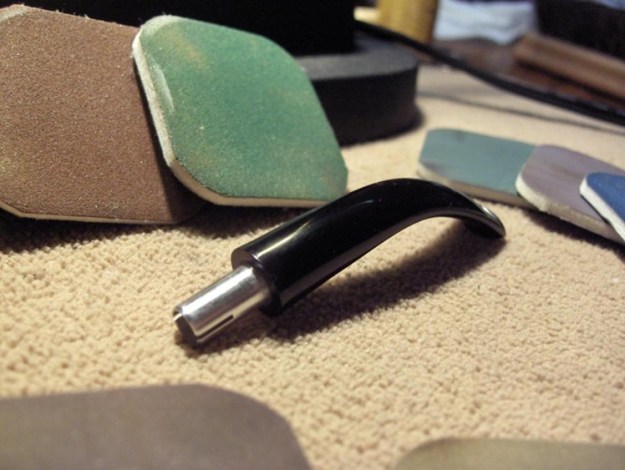 The stem was complete. So, I could get back to work on the stummel, which is where I have the most fun. There were still all of those scratches to address, but before removing them, I applied a quick layer of dark brown stain thinned with about three times the amount of isopropyl alcohol. I heated the wood to open the grain, and then I used a cotton swab to “paint” the stain along the grain. I didn’t want to cover the whole piece. I just want to add a bit of contrast and variation to the grain. The stain is very uneven and blotchy in the picture below, but that’s fine. Most of it was to be removed in the next step anyway, leaving only what had set in the grain.
 After letting the stain set, I sanded out the scratches with 600-grit paper. I also took the opportunity to further refine the shape of the rim chamfer and soften the edges a little. You can see in the picture below that the contrast stain has done its thing and the grain is really starting to “pop”. Even the minor grain has some definition now.
 Once again, I painted the bowl with another contrast stain. This time, I got fancy and used a size 20/0 liner brush. I again heated the wood, and then used a black stain to paint over only the thickest and tightest areas of the grain. The last staining gave the grain definition. I was hoping that this one would give it depth.
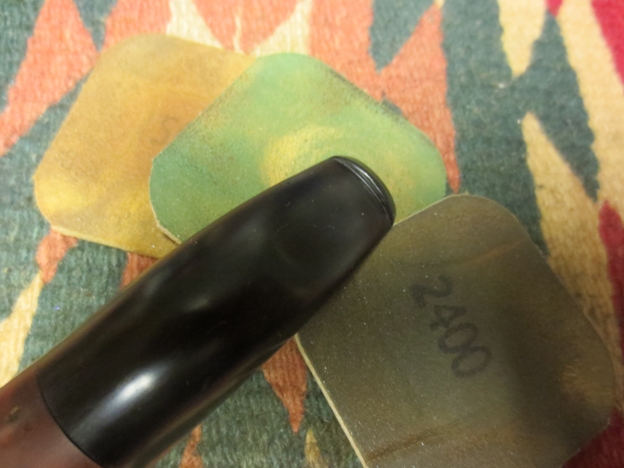
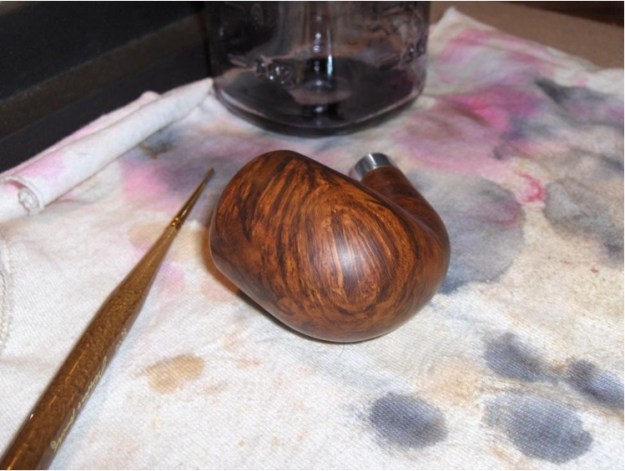 Next, I sanded the stummel with 1200-grit paper. Then, I used micromesh pads 1500, 1800, and 2400 to arrive at the results you see in the picture below. It’s difficult to tell from the picture, but the lighter grain seems to recede a bit behind the darker stained grain to add some subtle intensity.
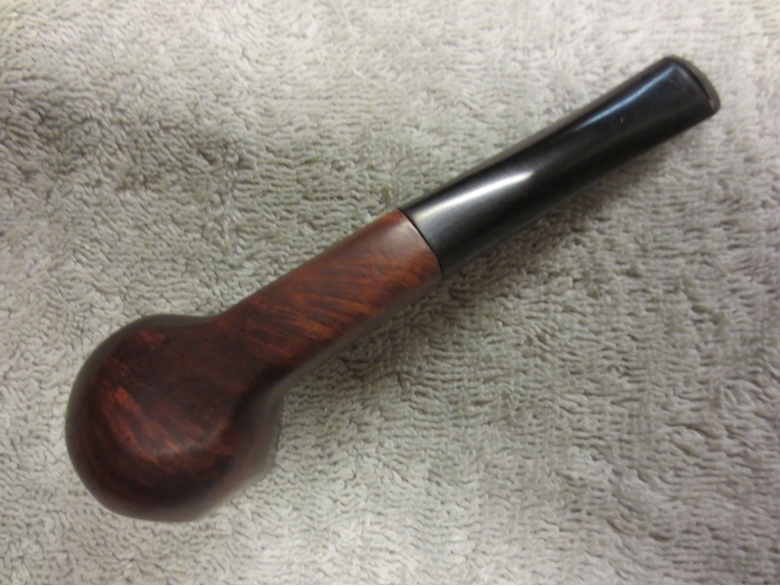
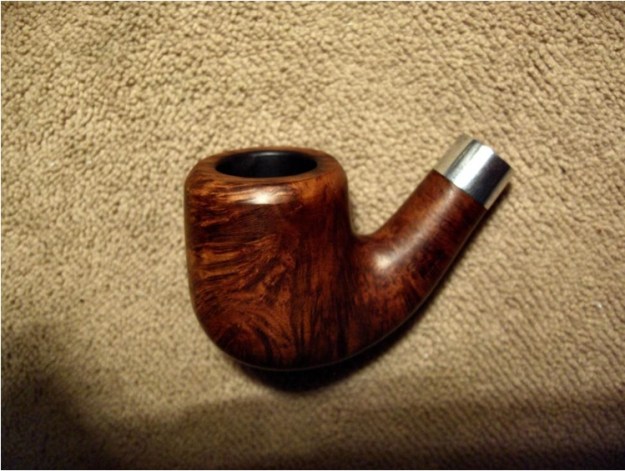 I then applied a final stain to the wood. I used a medium brown to even everything out and add some warmth. I used micromesh pads 3200-12,000 to give it a polish. The following picture gives you an idea of the final finish.
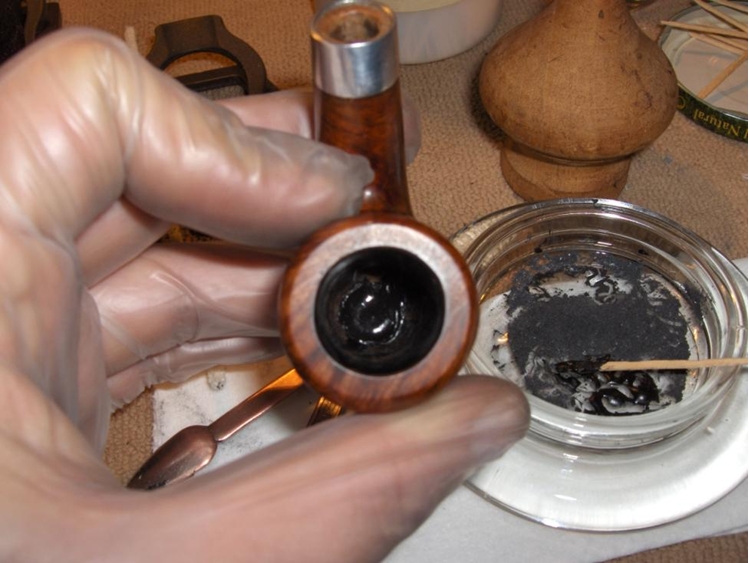
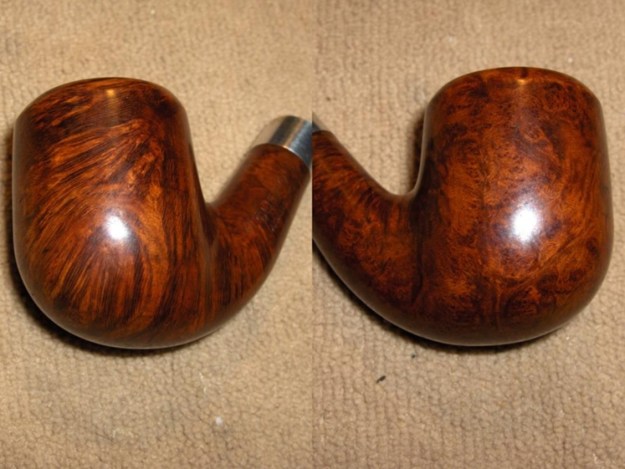 There was still the issue of that over-reamed bowl that needed to be addressed. So, I mixed up a batch of pipe mud to fill the bottom of the bowl. The recipe that I use consists of activated charcoal, powdered pumice and sodium silicate (water glass). I use the spoon on my pipe tool to “measure” out roughly equal parts activated charcoal and powdered pumice. Then, I use a toothpick to stir them together in a glass candle jar top. When they are well mixed, I level out the powdered material, and then use a pipette to drip a few drops of sodium silicate into the mix near the edge. I then begin stir the sodium silicate into the mix with the toothpick and “shovel” in more dry material as needed. Once it reaches a thick, tar-like consistency, it’s ready to be applied.
Once mixed, the patch material begins to set up very quickly. So, it’s important to work with a bit of haste. I use the toothpick to load the spoon of my pipe tool with the gooey “tar”, and then transfer it to the pipe bowl where I have already ran a pipe cleaner through the airway and slightly into the bowl to seal it. When the patch is in the bowl, I use the tamper to press it into place just below the draft hole. After a minute or two, the patch material has set up enough that it is no longer sticky but still pliable. I use this opportunity to refine the shape of the patch with my fingertip.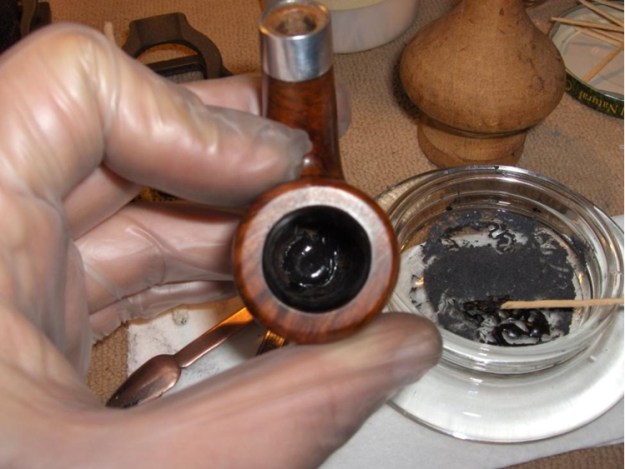 I put the stummel aside for three days to give the bowl patch a chance to fully cure. When I returned to it, the material had become dark gray and very hard to the touch. I’m sorry, but I didn’t get a picture of it after it cured. I was excited to be in the home stretch with this pipe and plunged ahead without thinking about it. So, I probed around the edges of the patch a bit with the spoon of my pipe tool, and then turned the bowl upside-down and gave it a few firm taps into the palm of my hand. I wanted to make sure that the material was fully adhered to the bottom surface of the chamber. Once I was satisfied that it was, I sanded the patch a bit with a piece of 600-grit paper to smooth the edges along the slope of the chamber and the patch was complete. This repair should last a long time and eliminate any chance of a burn-through in the bottom of the bowl.
Then, I prepared a batch of bowl coating. I know that bowl coatings are a controversial subject among pipe smokers, but to me it just makes sense when a chamber has been badly damaged like this one. To me, any extra protection that I can provide is a benefit. Personally, I can’t detect any taste from it, but I won’t argue with those who say that they can. In any case, my simple recipe is a mixture of sour cream and activated charcoal. I don’t measure. I just mix by eye until it becomes a deep charcoal gray. I then apply it to the inside of the bowl with a cotton swab. 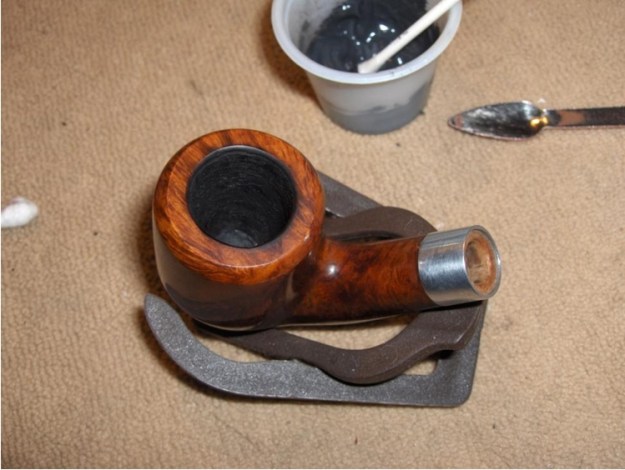 After six hours, the coating was dry and I smoothed it out with a paper towel wrapped around my finger.
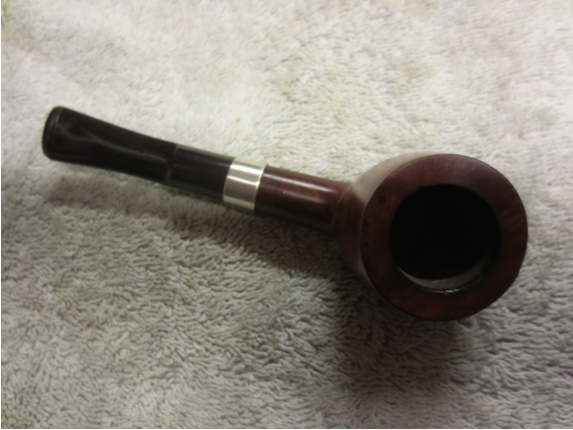
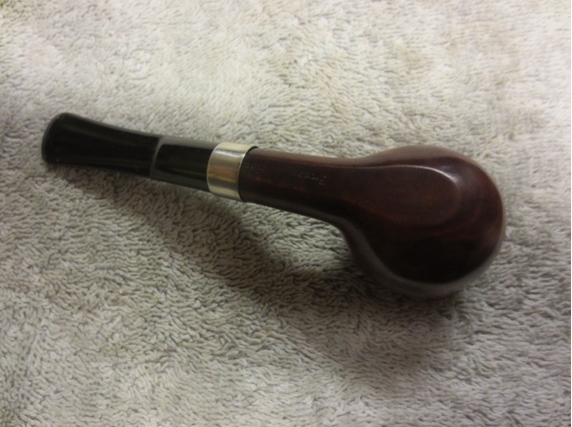
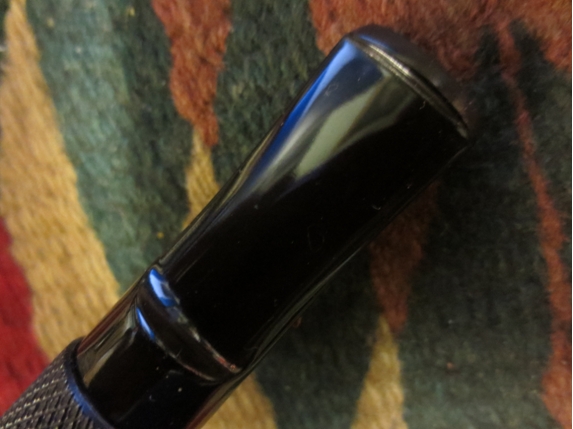
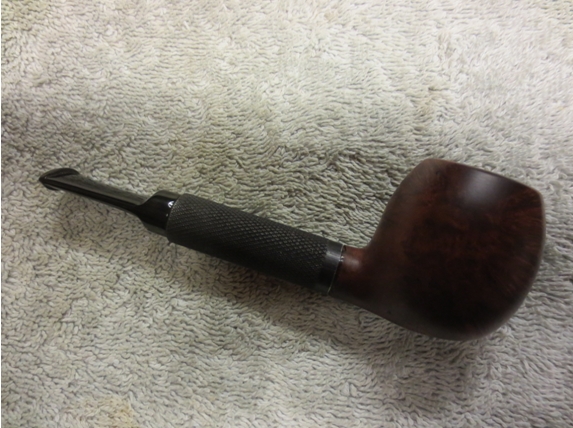
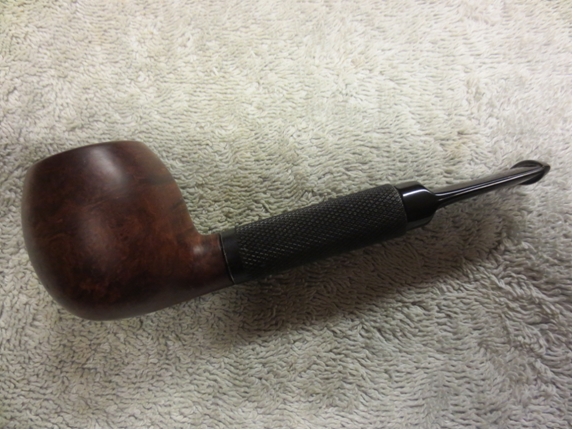
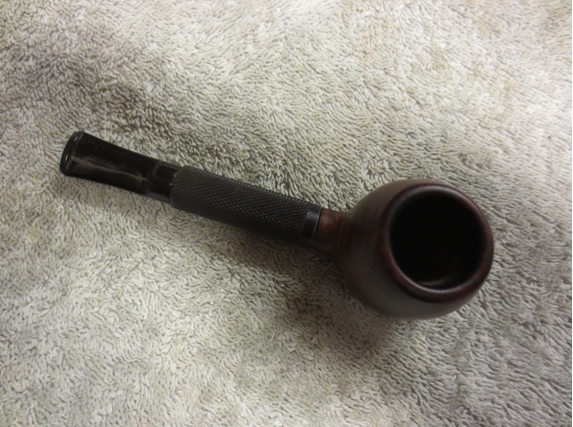
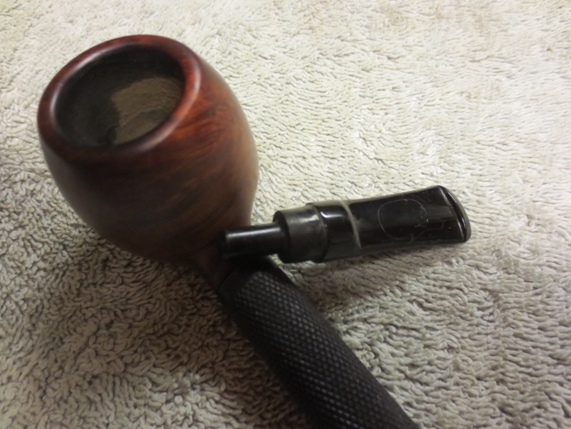
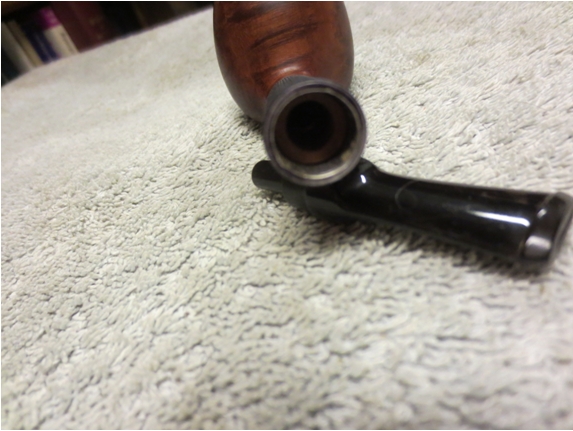
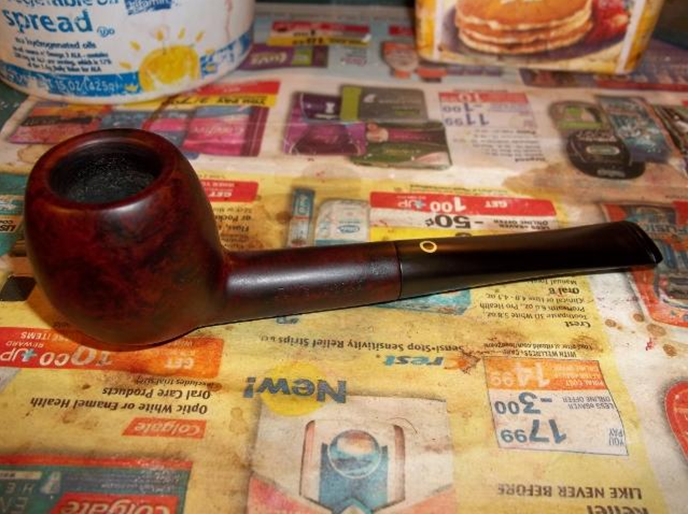
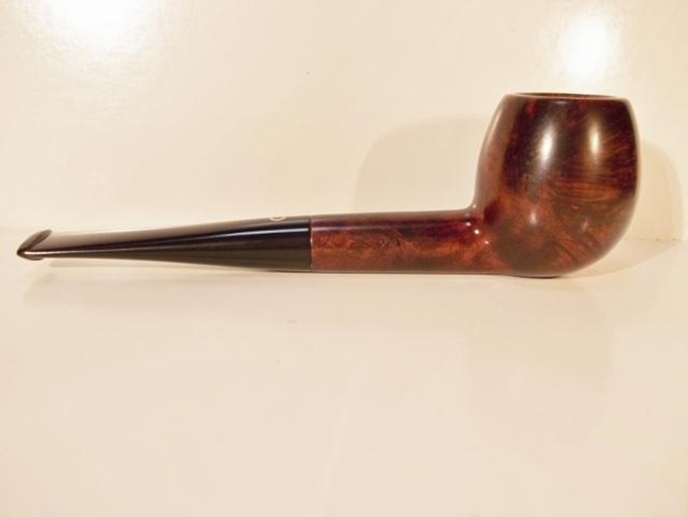
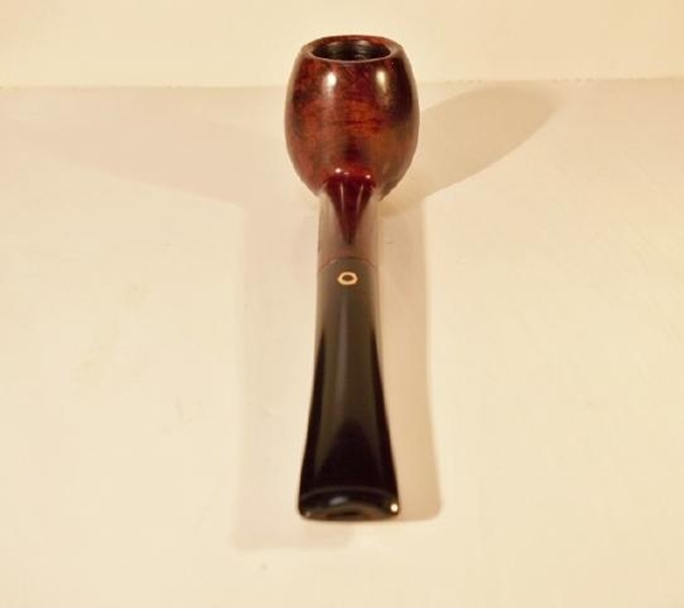
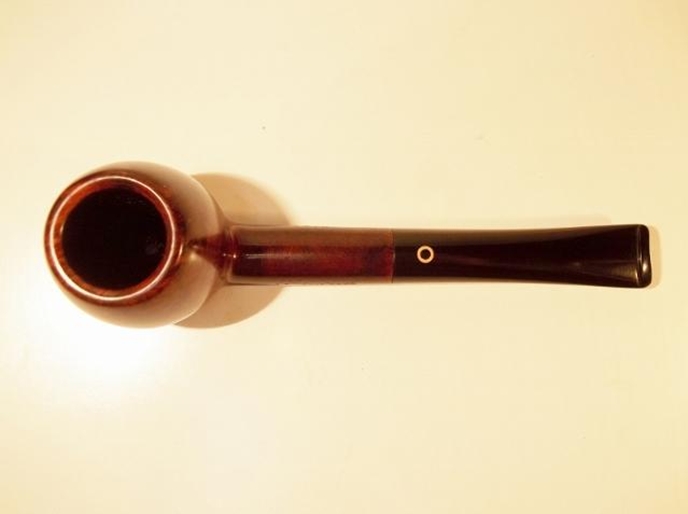
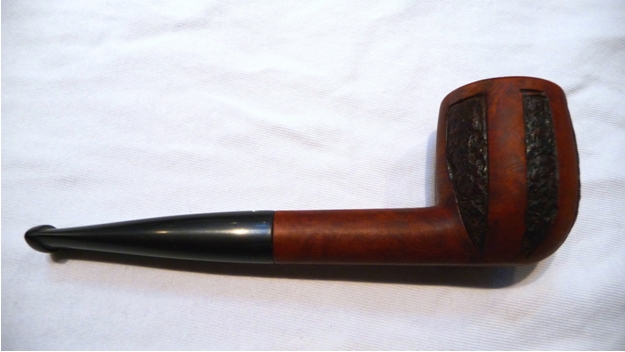
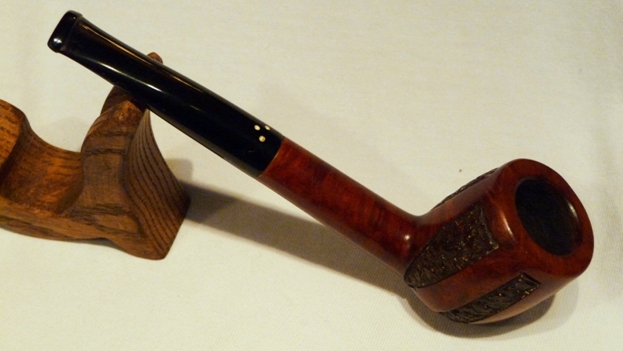
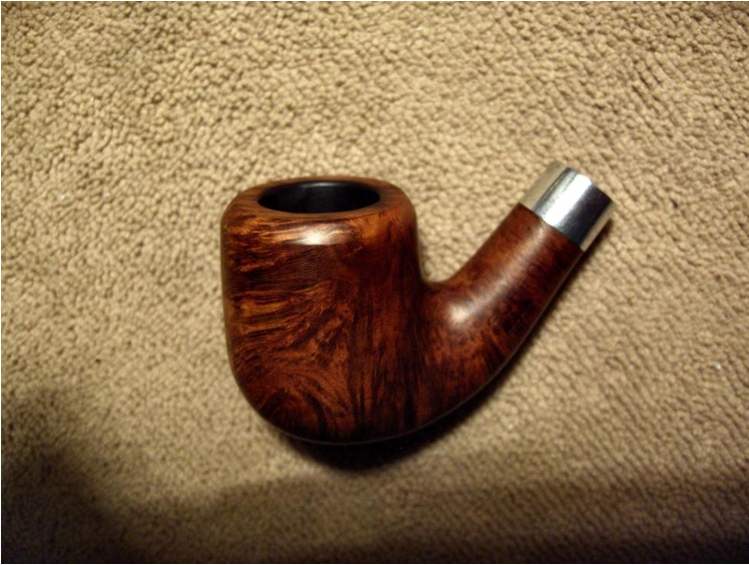
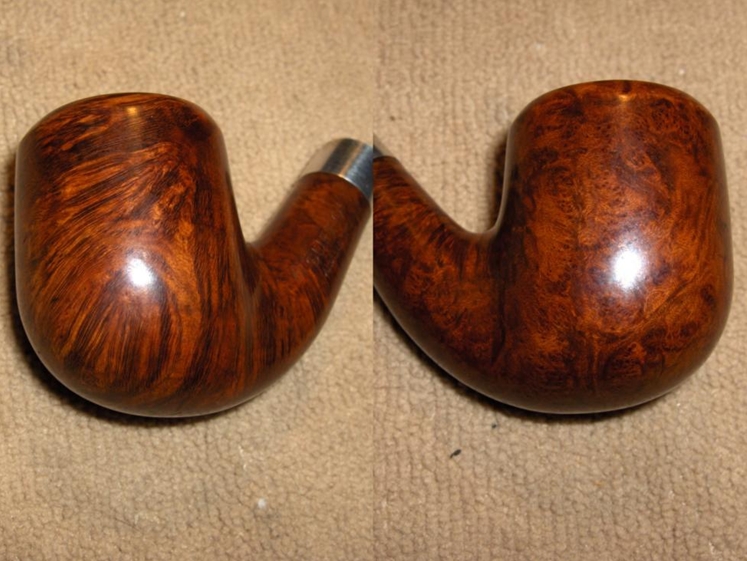
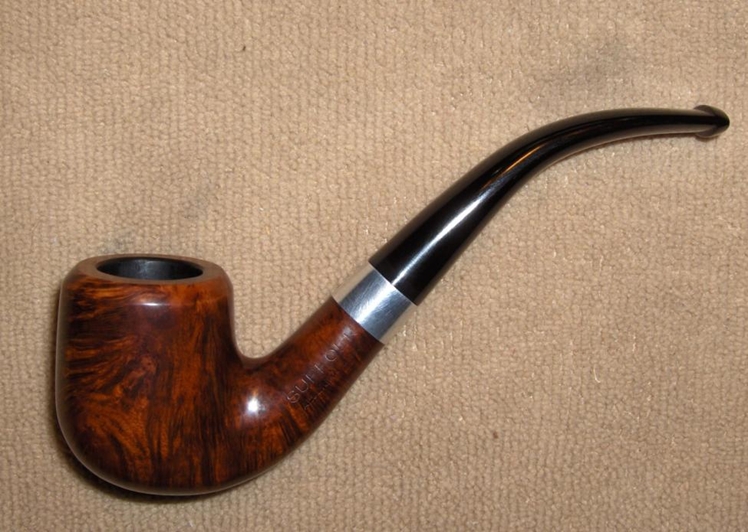
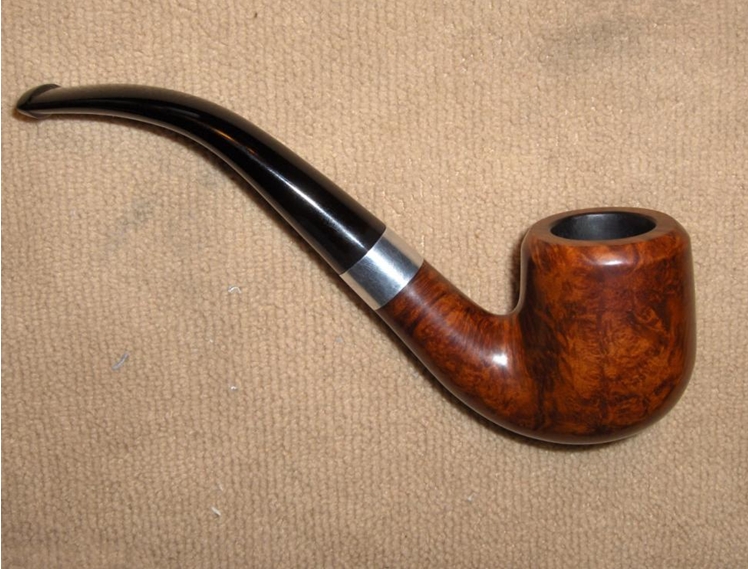
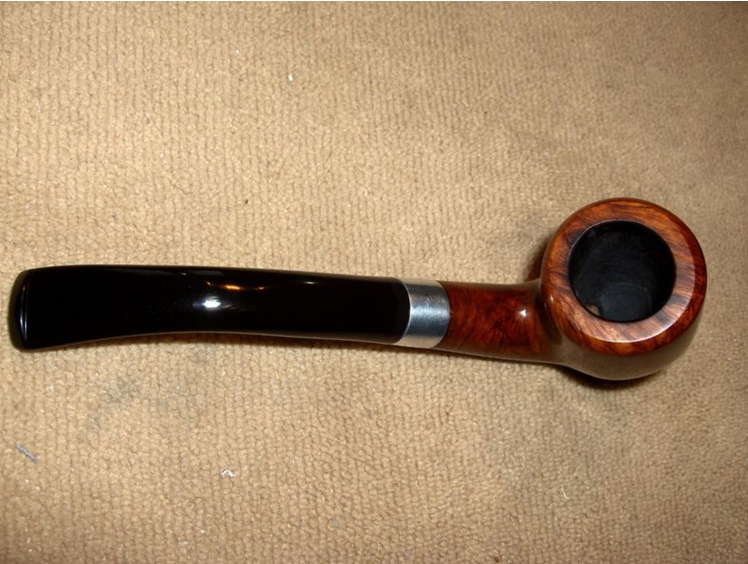
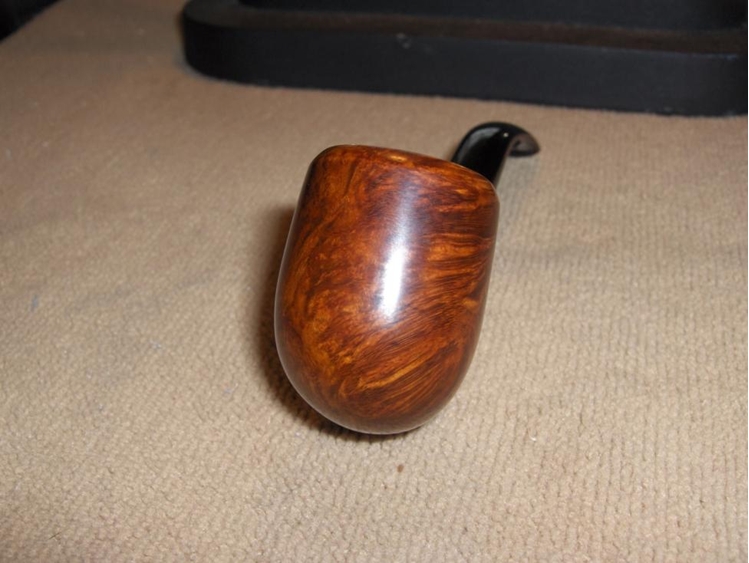
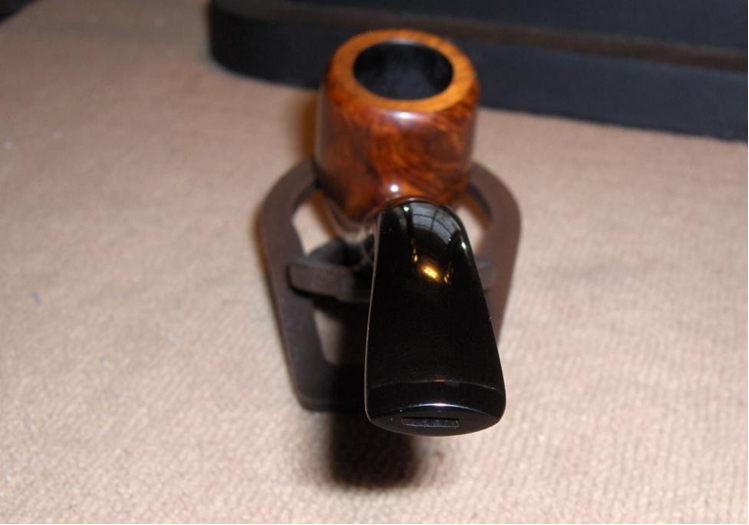
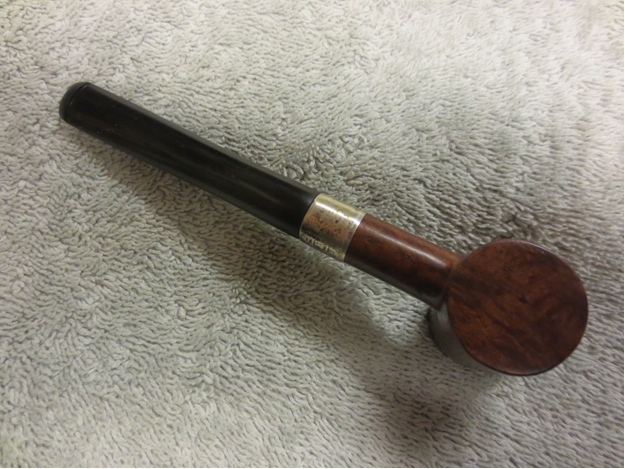
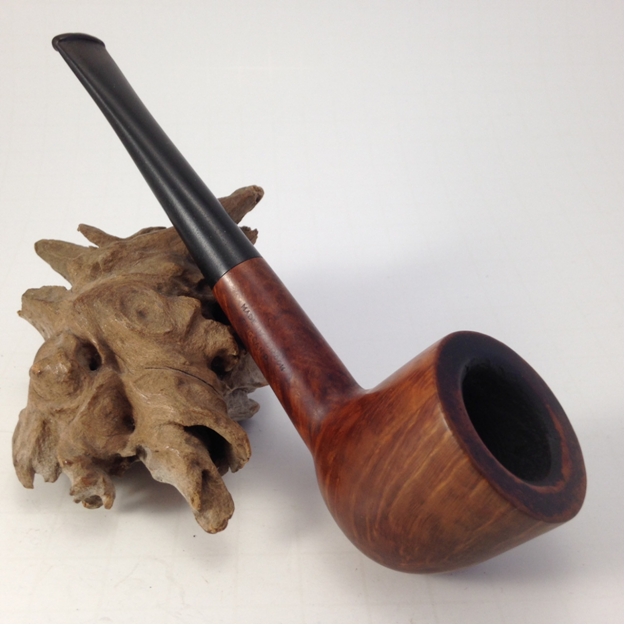
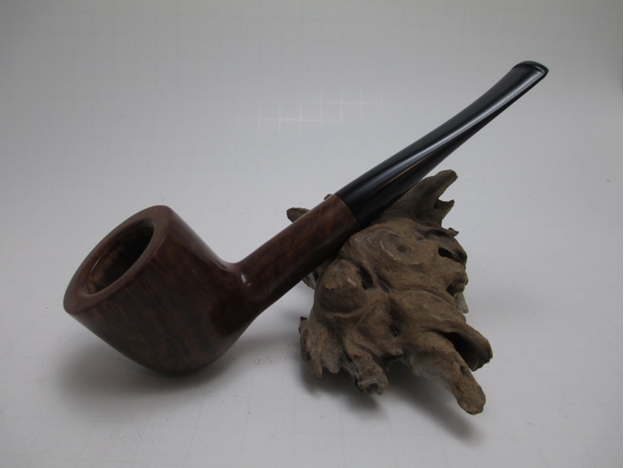
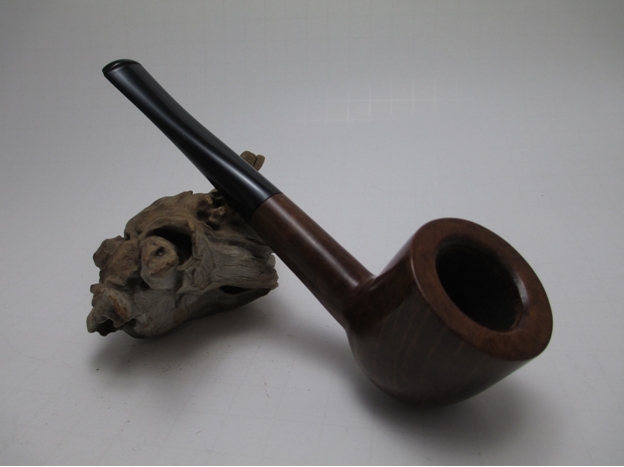
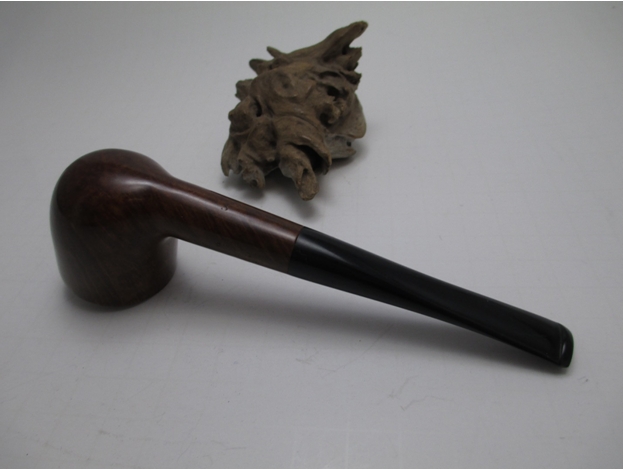
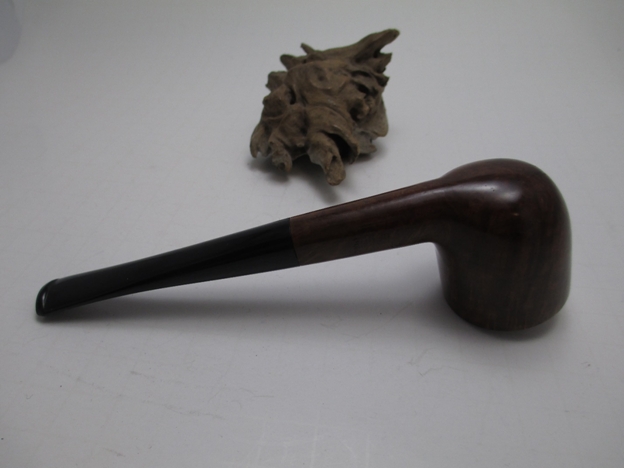
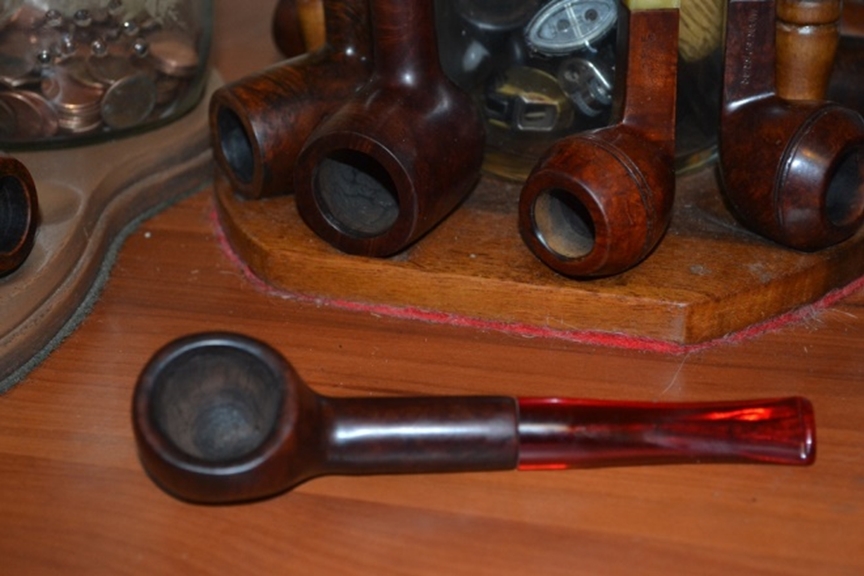
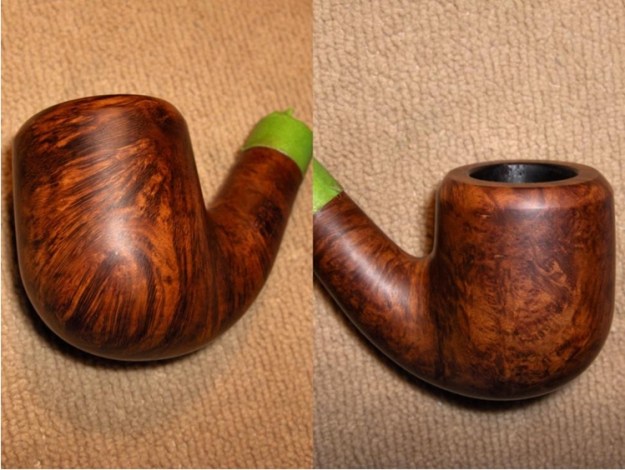
Again, I’m currently working without a buffer. So, instead of carnauba, I gave the bowl several coats of Paragon wax to finish the work. You can see the completed pipe in the pictures below.
Thanks again to Steve and the rest of the contributors at Reborn Pipes for taking the time to teach me the skills to get this done. I still have a lot of learning to do. So, I’ll be around for a good while. Until next time… 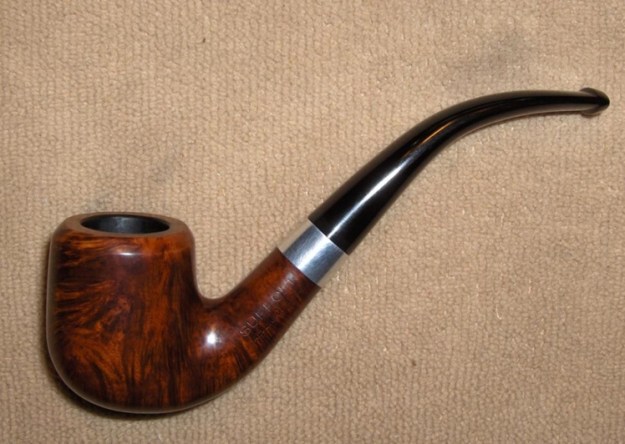
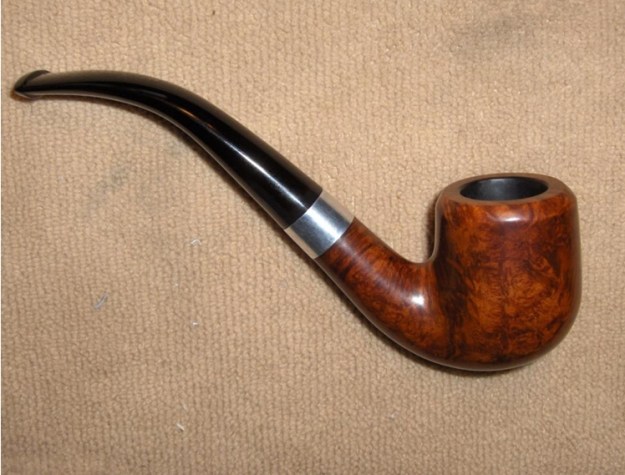
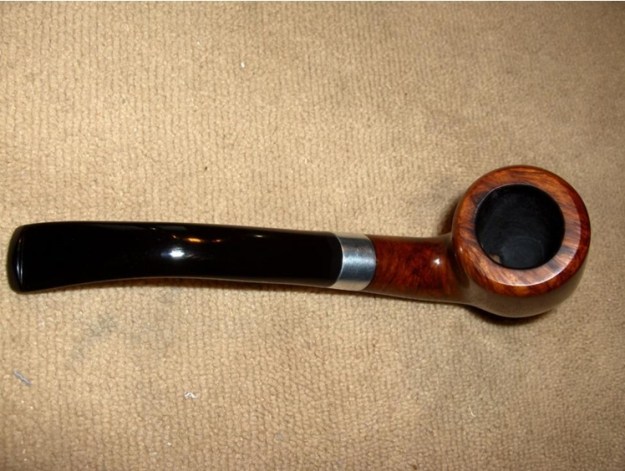
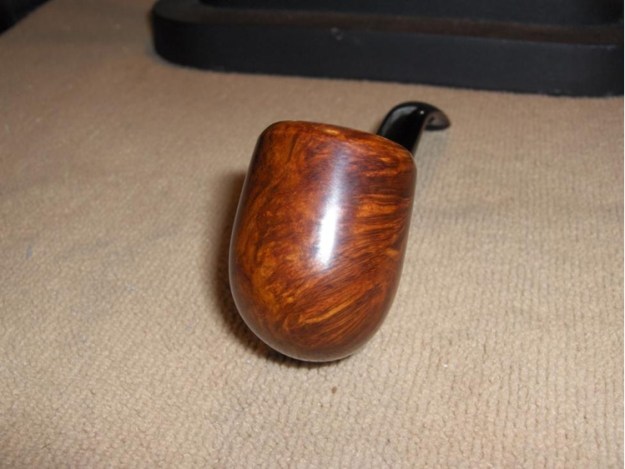


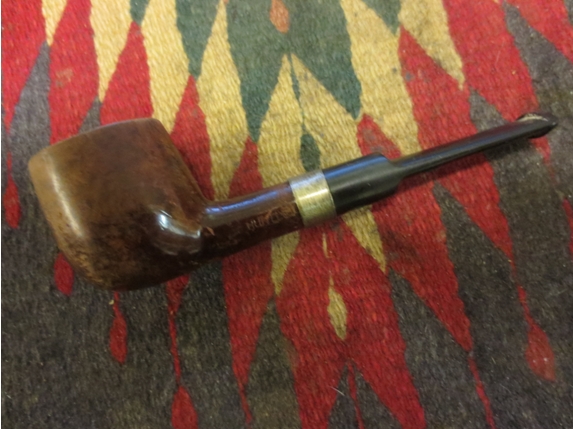
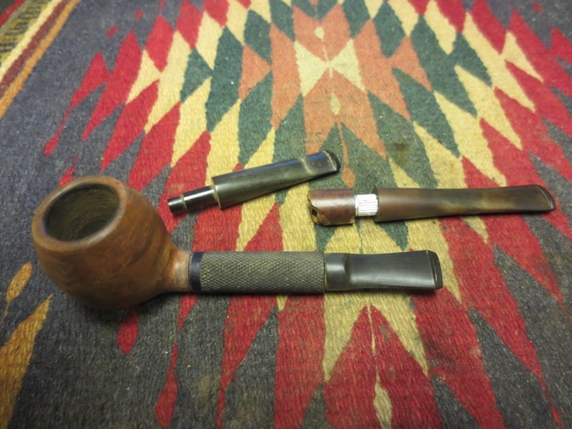
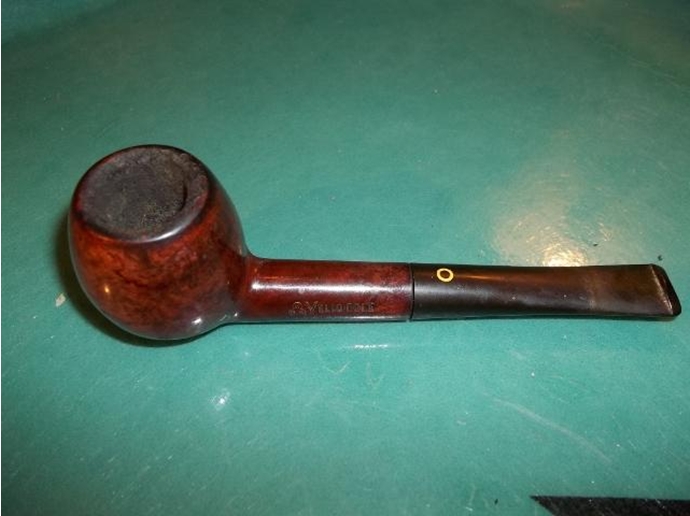
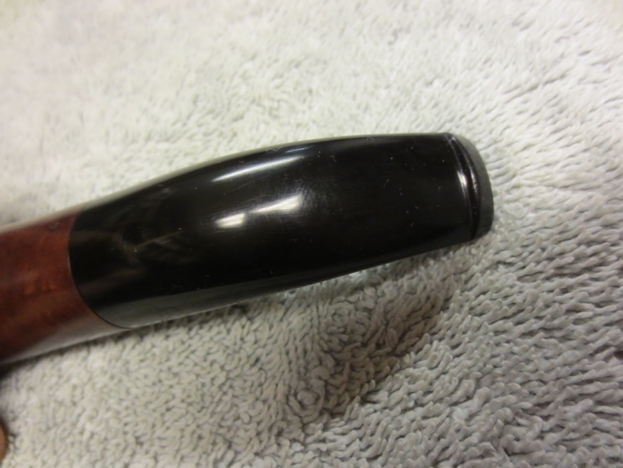
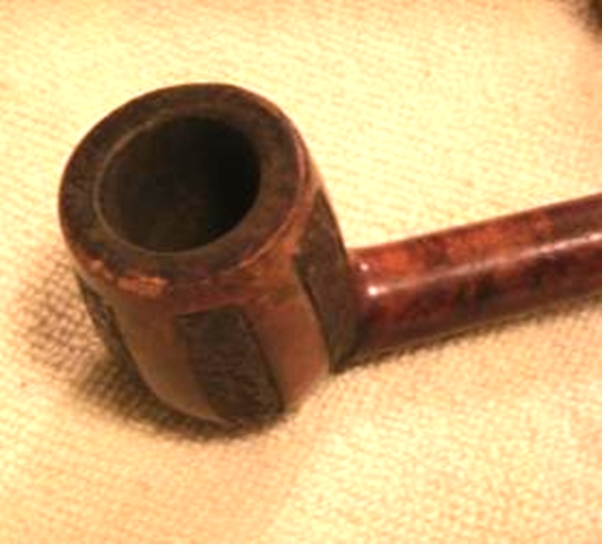
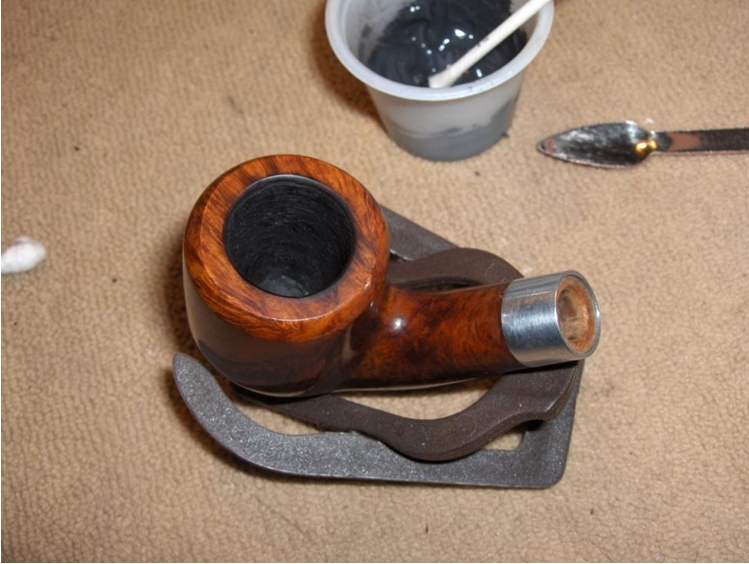
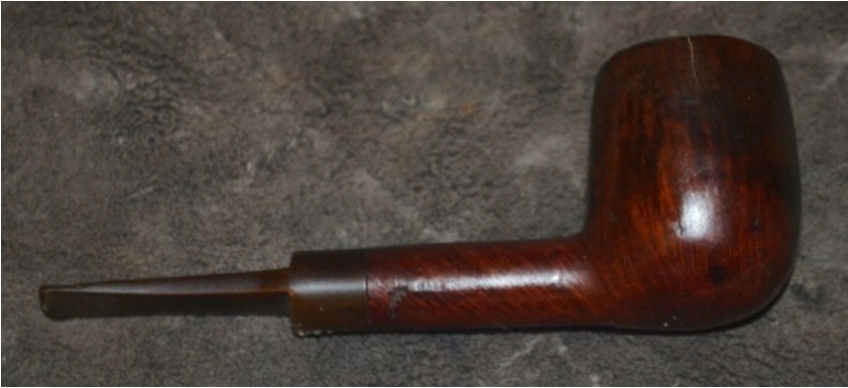
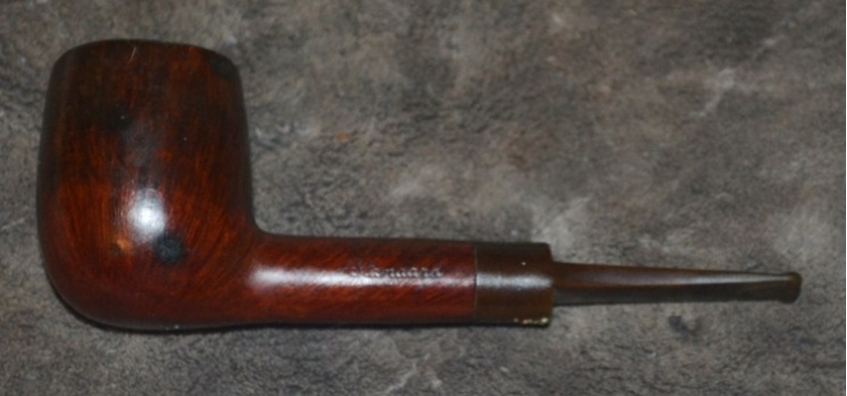
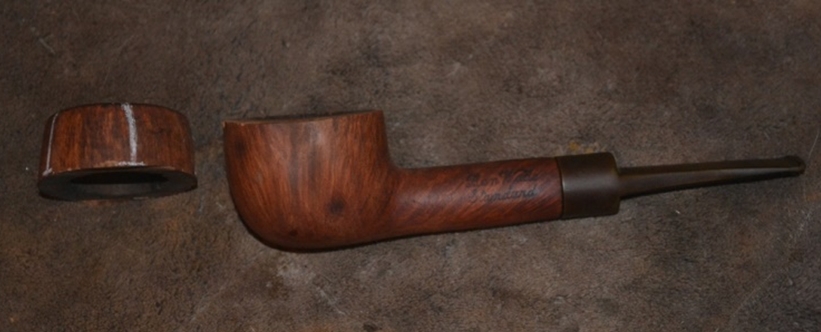
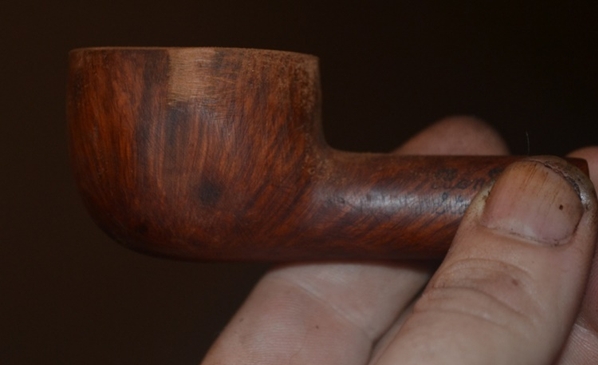
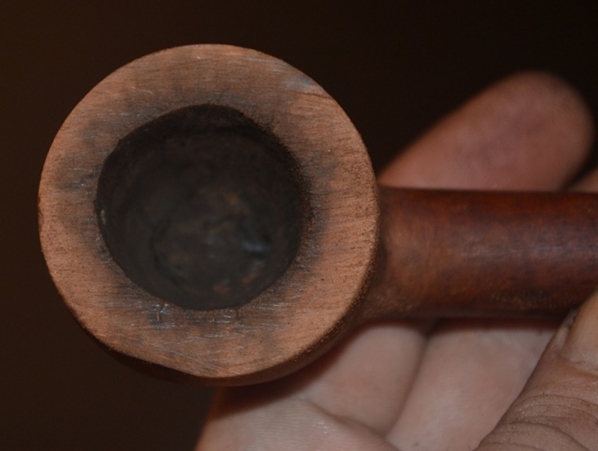
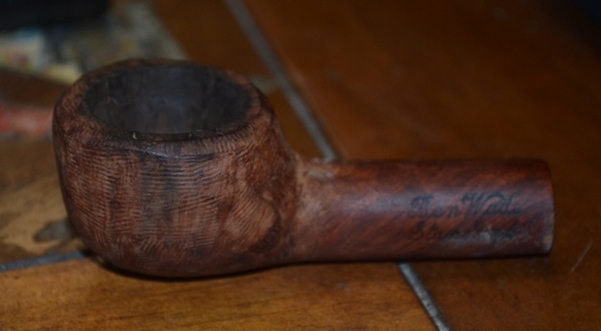
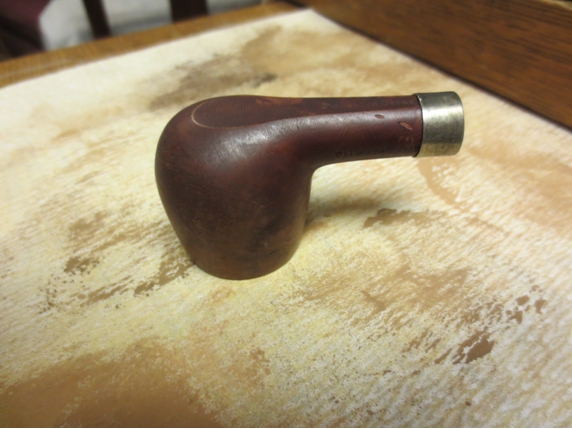
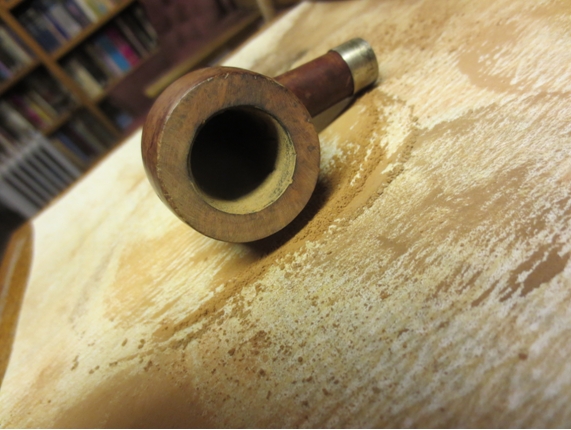
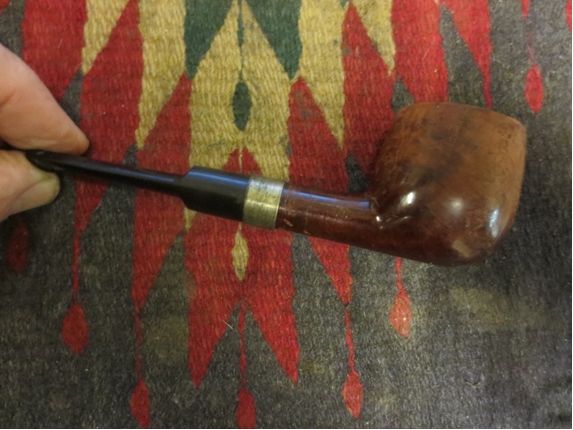 The finish on this old boy was very tired. The finish on the top half of the bowl was worn off while on the lower half it had an old varnish coat that was peeling away. The outer edge of the rim was not beat up or worn at all. The inner edge was slightly damaged and had nicks in that made the bowl out of round. The top of the rim was damaged with small pin prick holes that look like they came from knocking out the pipe on a rough surface. The end cap/mortise insert was polished aluminum and it was oxidized. The stem had a lot of tooth chatter on both sides from the button up the stem about an inch. The button itself had nicks in it and there was a small tooth mark on the top and bottom of the stem next to the button in virtually the same spot. The stinger was quite clean. The bowl had been reamed out recently.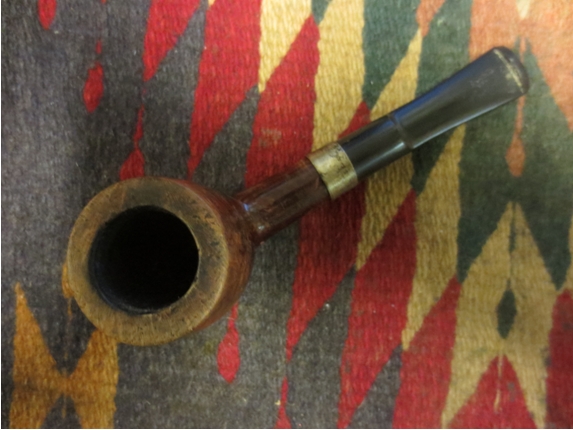
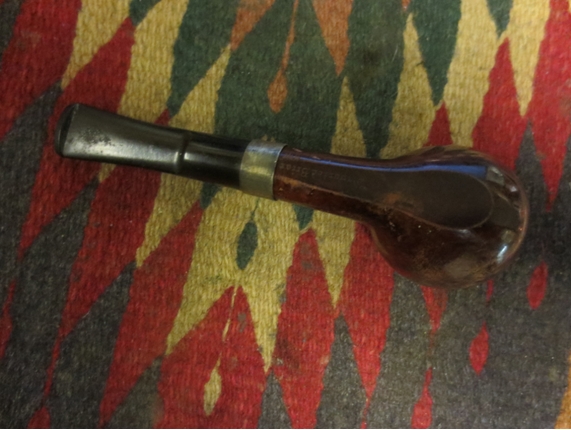
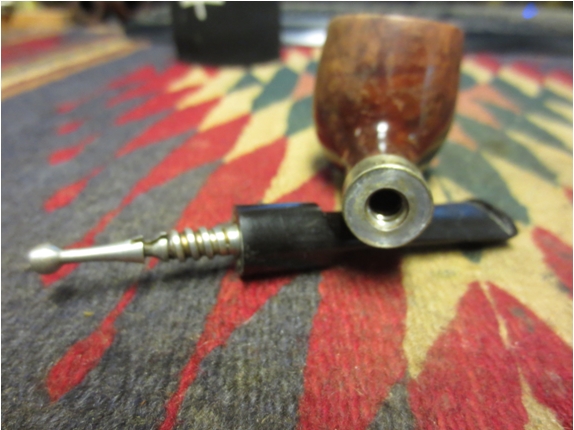
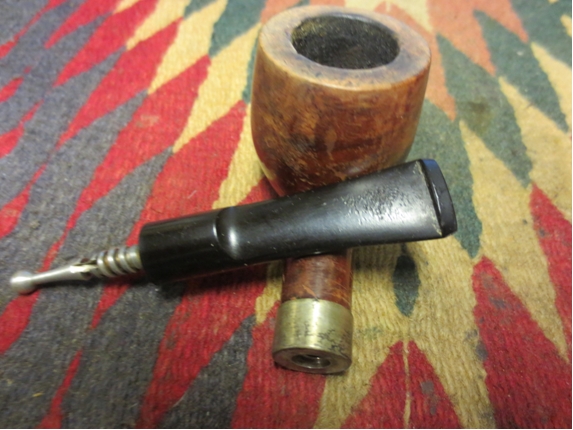
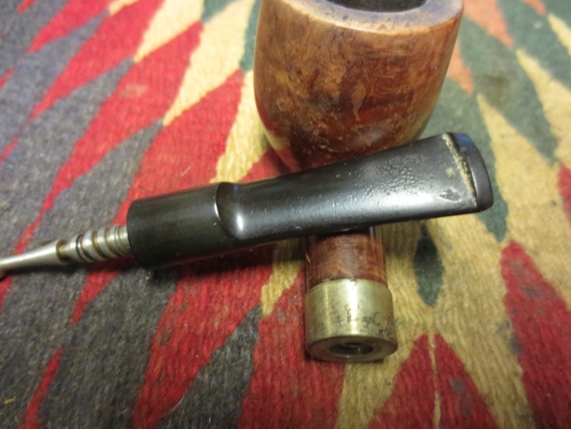 I decided to start with cleaning up the finish on the bowl. The peeling varnish and overall worn and tired appearance bugged me so I started there. I wiped the bowl down with acetone on cotton pads to remove as much of the finish as possible.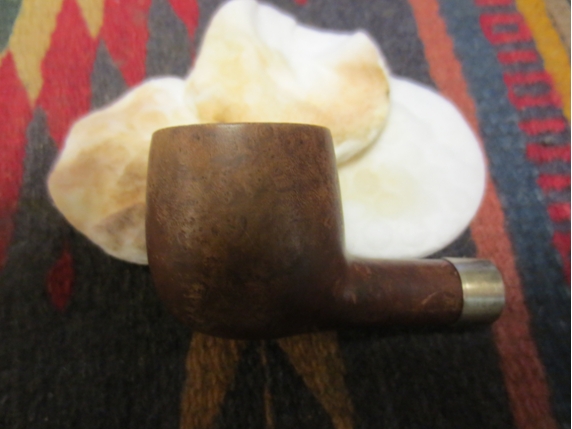
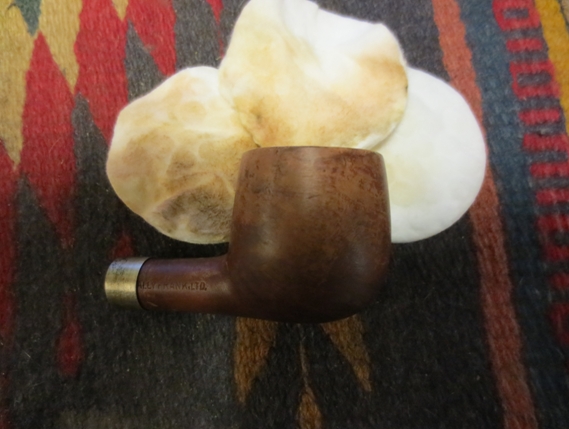
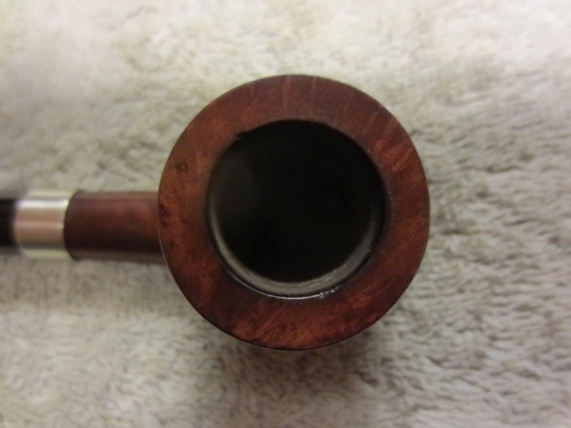
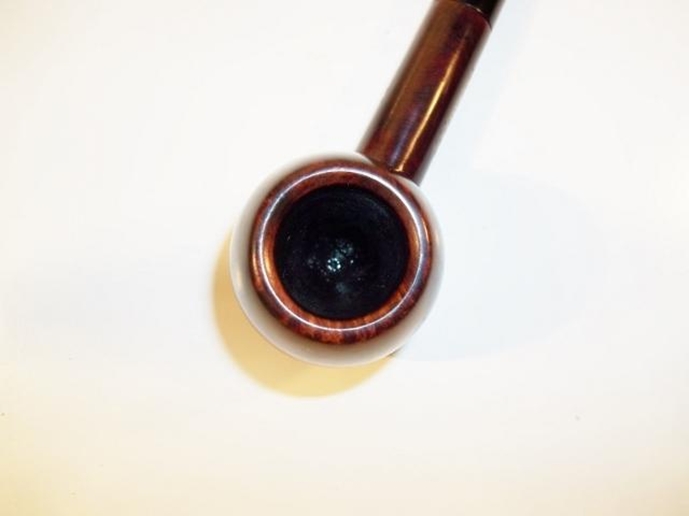
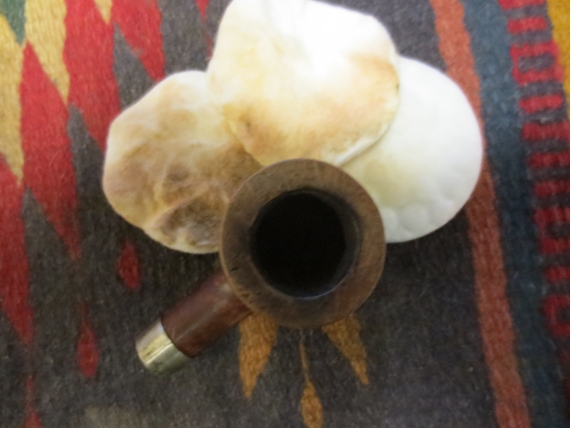 I mentioned above the damage to the rim surface so I have included the first photo below to show a close up view of the damage. I topped the bowl with 220 grit sandpaper on a topping board and removed the damaged surface. I sanded until the rim was smooth and the pinpricks were gone.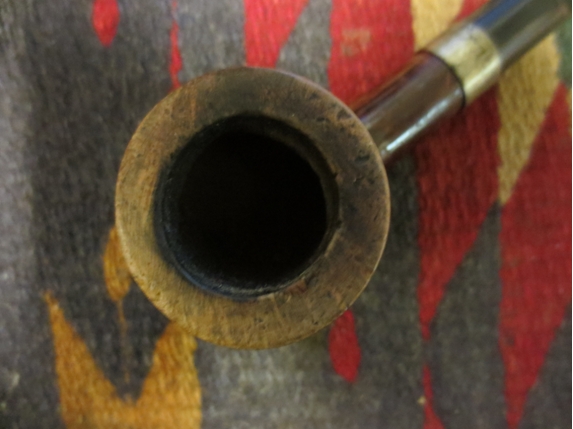
 With the rim clean and the finish partially removed I decided to drop the bowl in my alcohol bath and let it soak awhile. I figured the alcohol would loosen what remained of the finish and also lend a patina to the sanded rim and the bowl. When I removed it from the bath after an hour of soaking it looked pretty good – as long as it remained wet!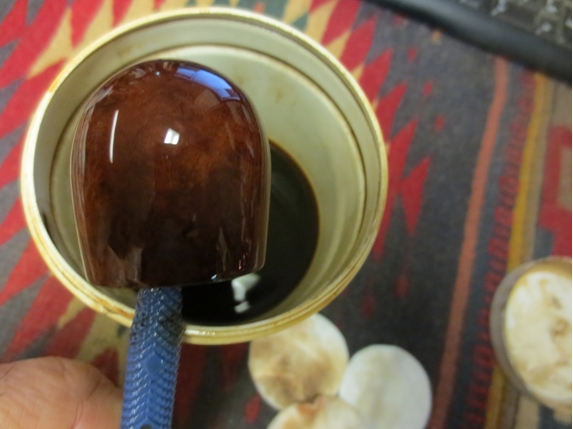
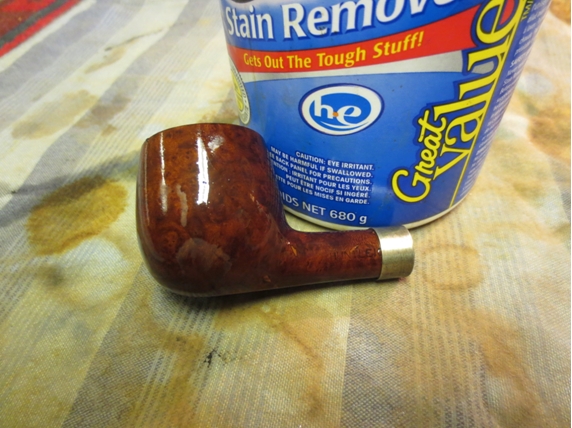 Once I dried it off I could still see the line around the bowl where the finish had been and where it had worn off. This was a stubborn bowl. I sanded it with a medium and a fine grit sanding sponge. I also repaired some of the fills that were pitted with super glue and briar dust. The next two photos show the bowl after I had sanded the finish off. It was finally getting to the point where I could start again with the finish. There were many imperfections and fills in the bowl and shank. This one was going to be a challenge. I knew I could not remove all of them but I wanted to give the old pipe a bit of dignity and take away the tired looking finish.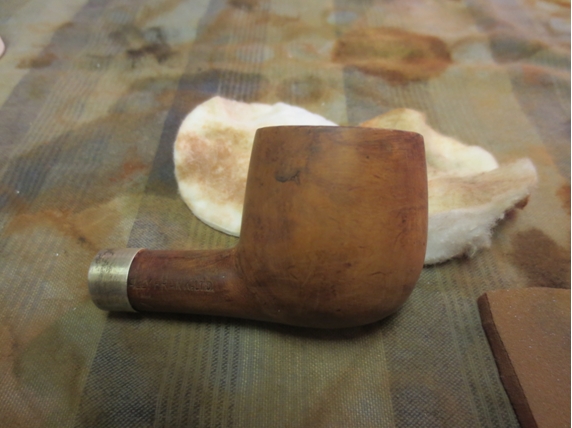
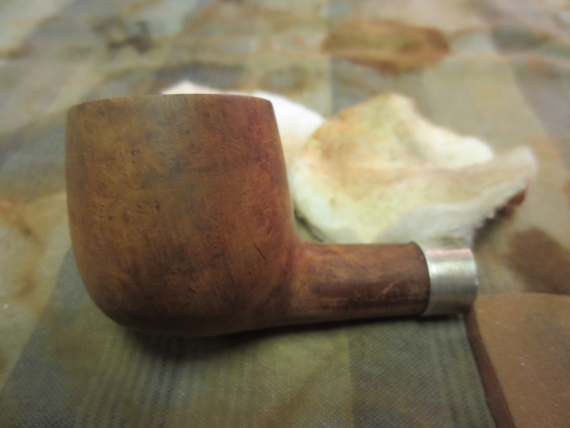 While I reflected on what to do with the bowl I worked on the stem. I sanded the tooth chatter and tooth marks with a folded piece of 220 grit sandpaper. I was able to remove all of the tooth marks and chatter. The stem would clean up nicely.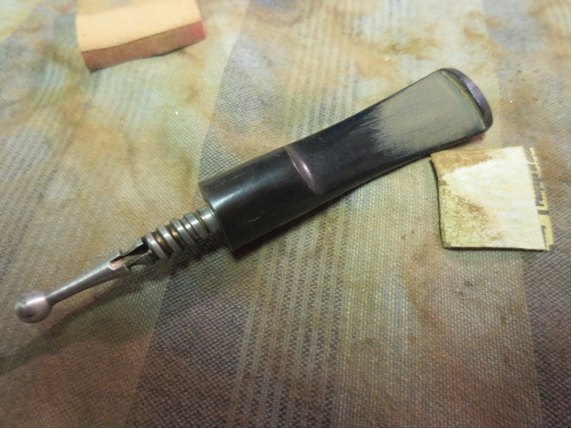
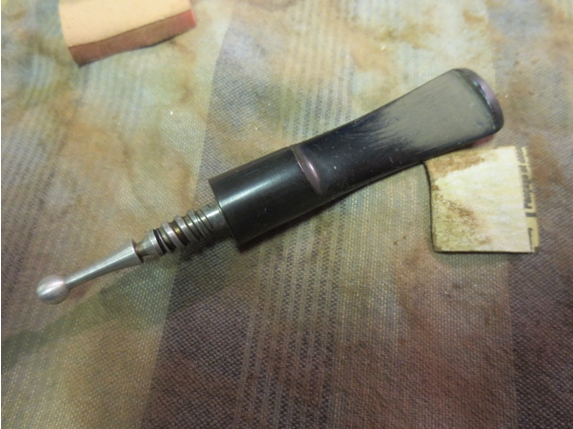 I sanded the stem with a medium and a fine grit sanding sponge to remove the scratches left behind by the sandpaper. The stem surface was free of marks now but still needed to be polished to bring back the shine to the vulcanite.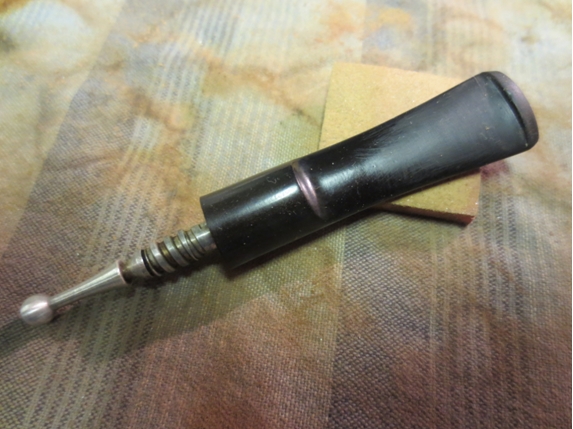
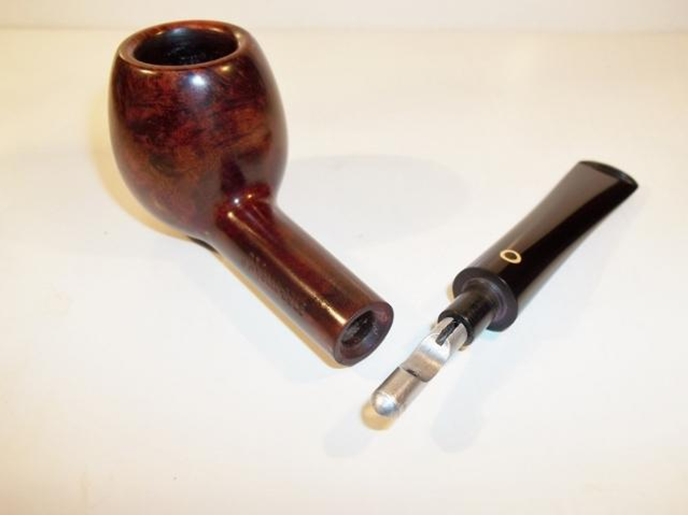
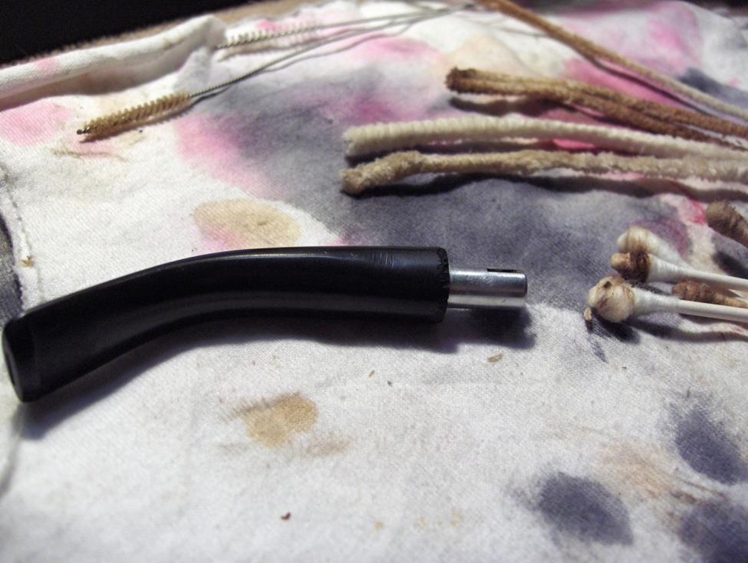
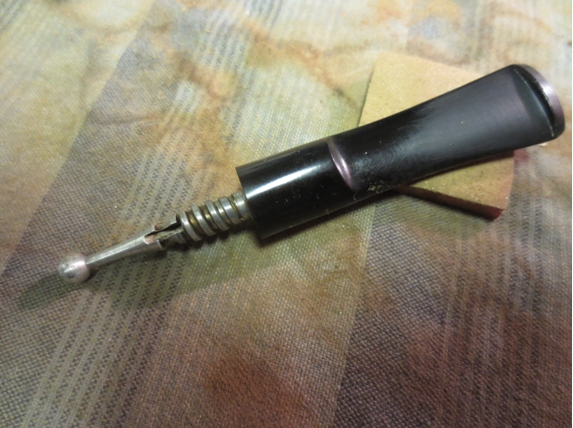 I cleaned out the shank and stem with pipe cleaners, cotton swabs and isopropyl alcohol. The dirty portion of the shank was the grime in the threads of the mortise. The airway ahead of the metal mortise was clean. It took a bit of scrubbing but I was able to clean out the grime. The internals of the shank were clean. I ran pipe cleaners through the stem and stinger. I was surprised that I could easily run a pipe cleaner from the slot to the bowl without major issues with the stinger. Once it was clean I threaded the stem on the shank to see what the pipe looked like so far. It had come a long way and had the potential to turn out to be a good looking pipe.
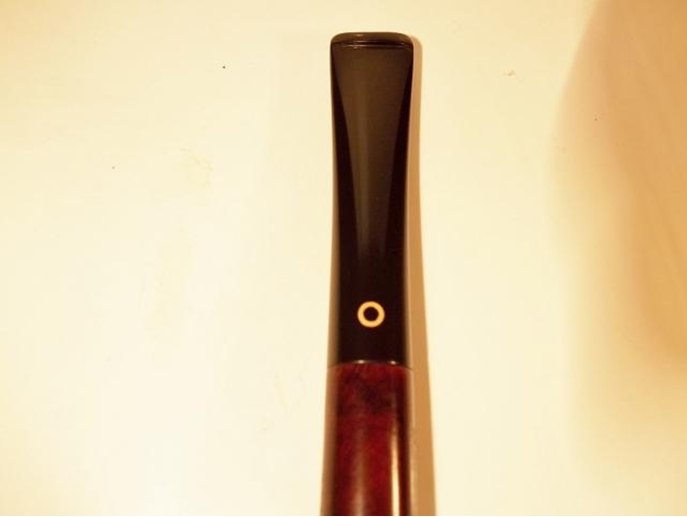
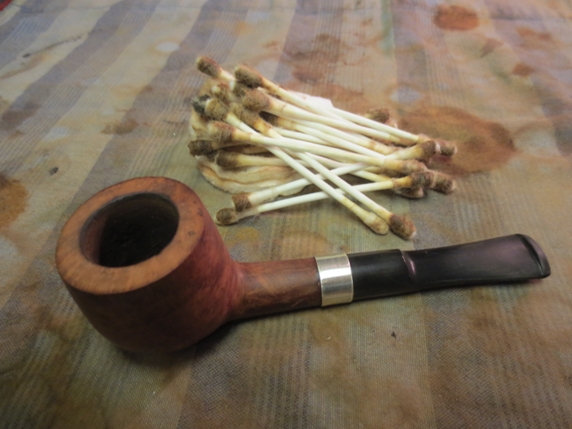 I wiped the stem down with a damp cloth and then worked it over with the micromesh sanding pads. I wet sanded with 1500-3200 grit pads this time and then dry sanded with 3600-12,000 grit pads. I rubbed the stem down with Obsidian Oil between each set of three pads. I also used the later grit pads to polish the aluminum of the mortise insert. After sanding the stem with the 12,000 grit pad I rubbed it down a final time and let it soak in before taking it to the buffer.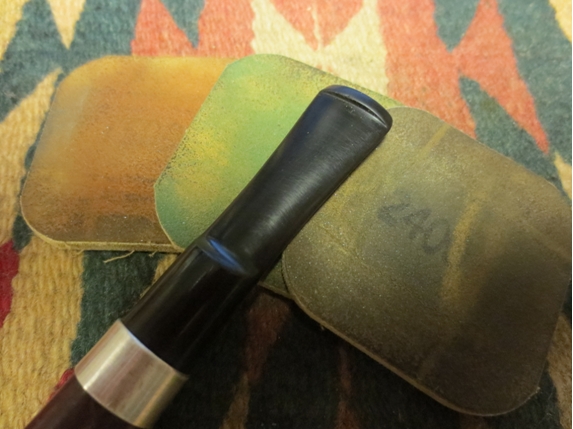
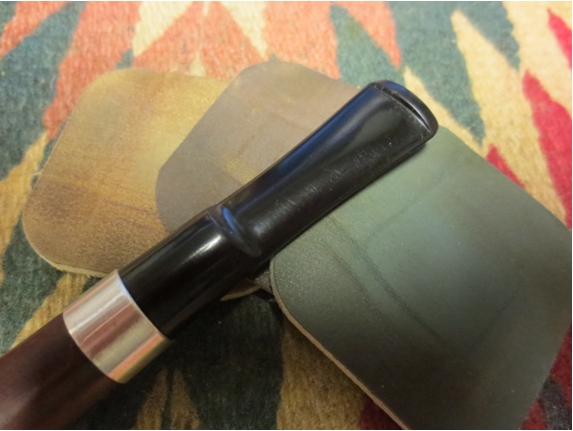
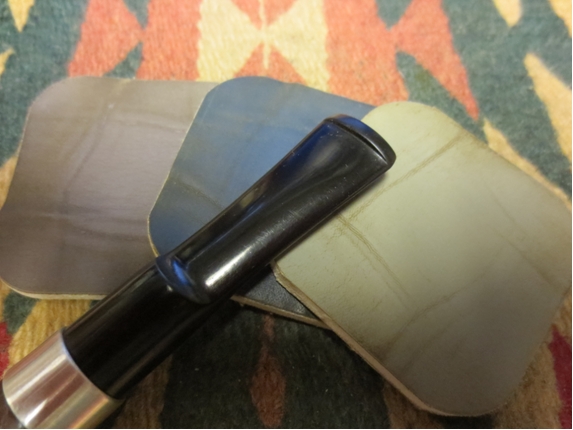 I buffed the stem with White Diamond and a blue plastic polish bar that I picked up. It really gives the stem a deep shine.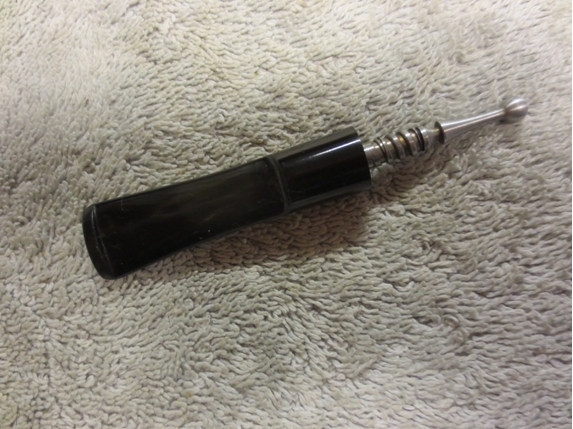
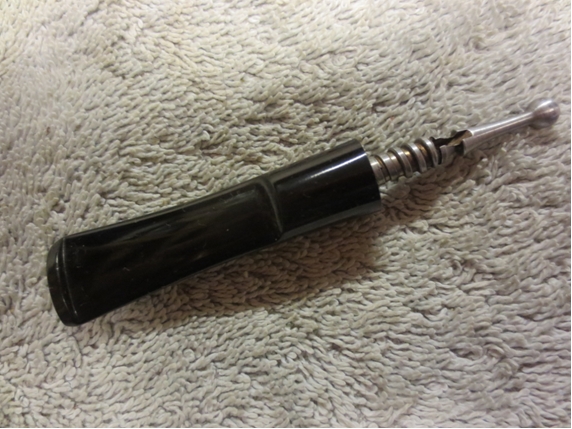 I stained the bowl with several coats of a cherry aniline stain and flamed it. In the photos below the pipe is shown after a light buffing with a soft cloth. (These photos were taken before I polished the stem.)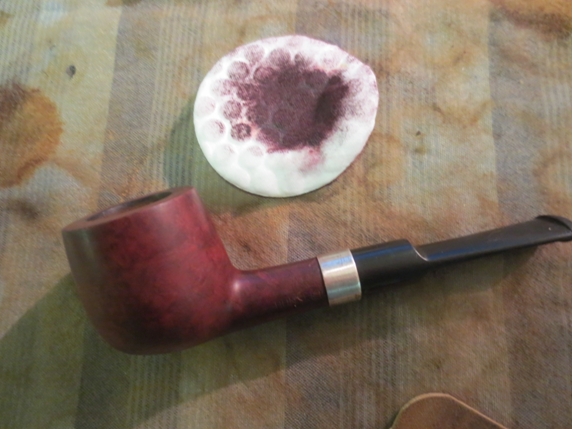
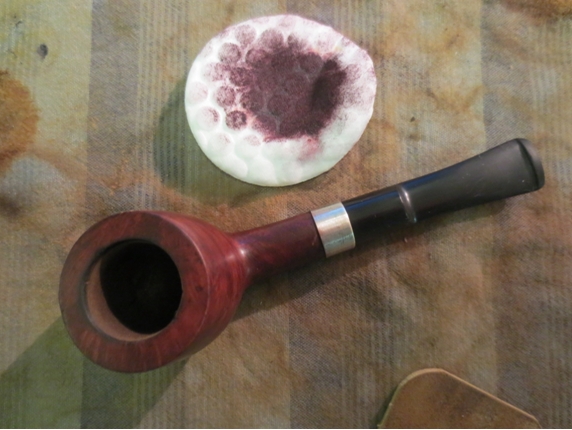
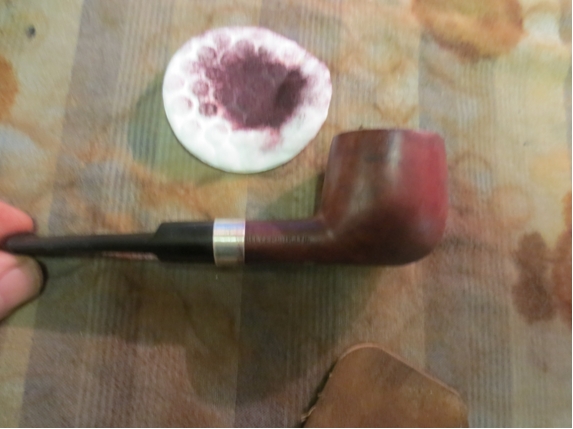
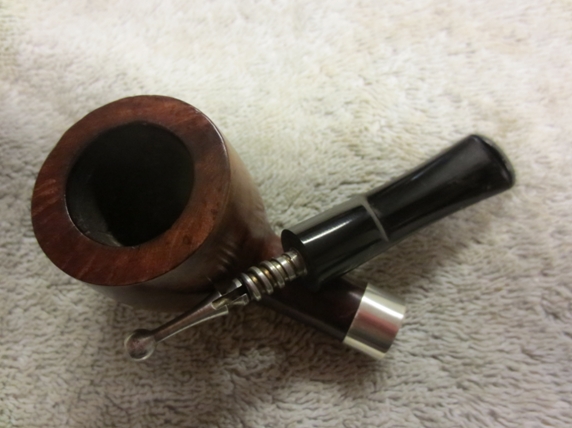
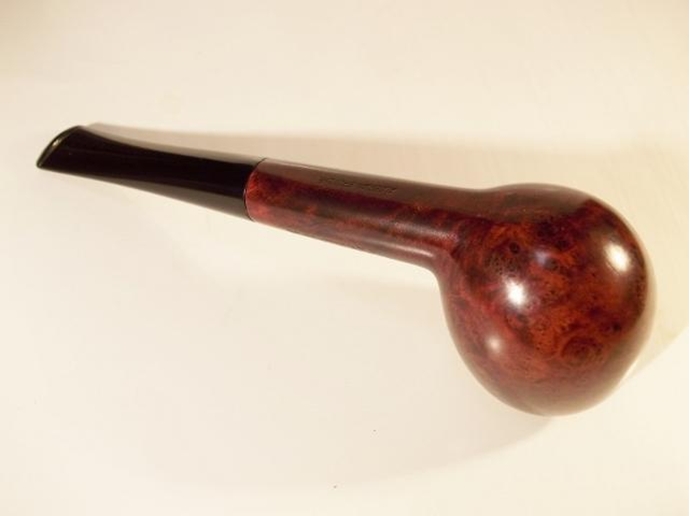
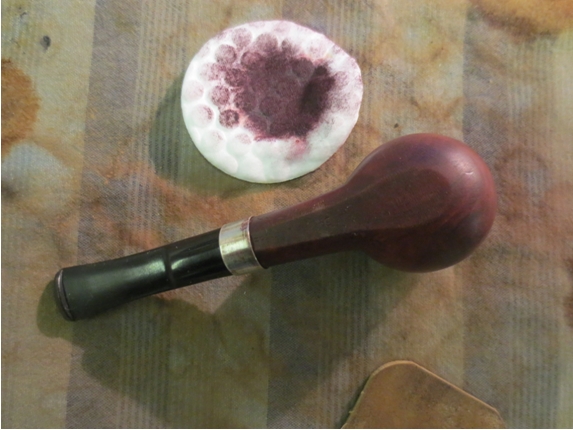 I sanded the bowl with the 6000-12,000 grit micromesh sanding pads and then buffed it with White Diamond. I gave the bowl and the stem multiple coats of carnauba wax and buffed it with a soft flannel buff. The finished pipe is shown below. I have also included a photo of the reworked rim and the tenon and aluminum mortise just to show the finished pipe in all of its parts. It should make someone a good smoking pipe if the original condition was any sign of the smoke-ability of this pipe.