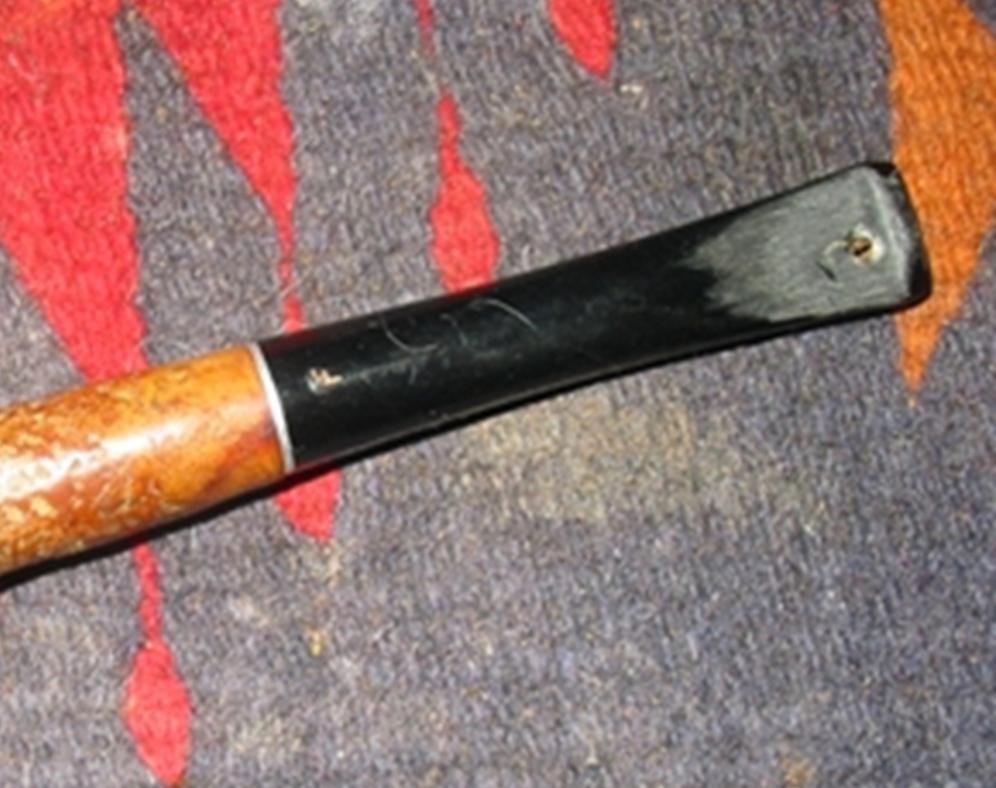
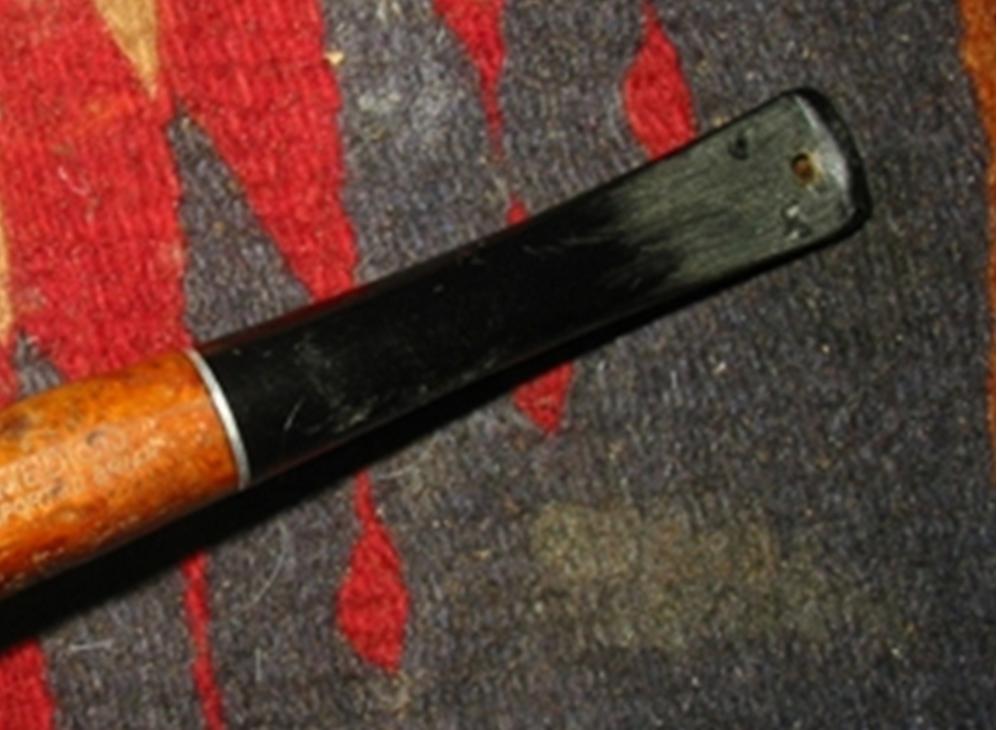
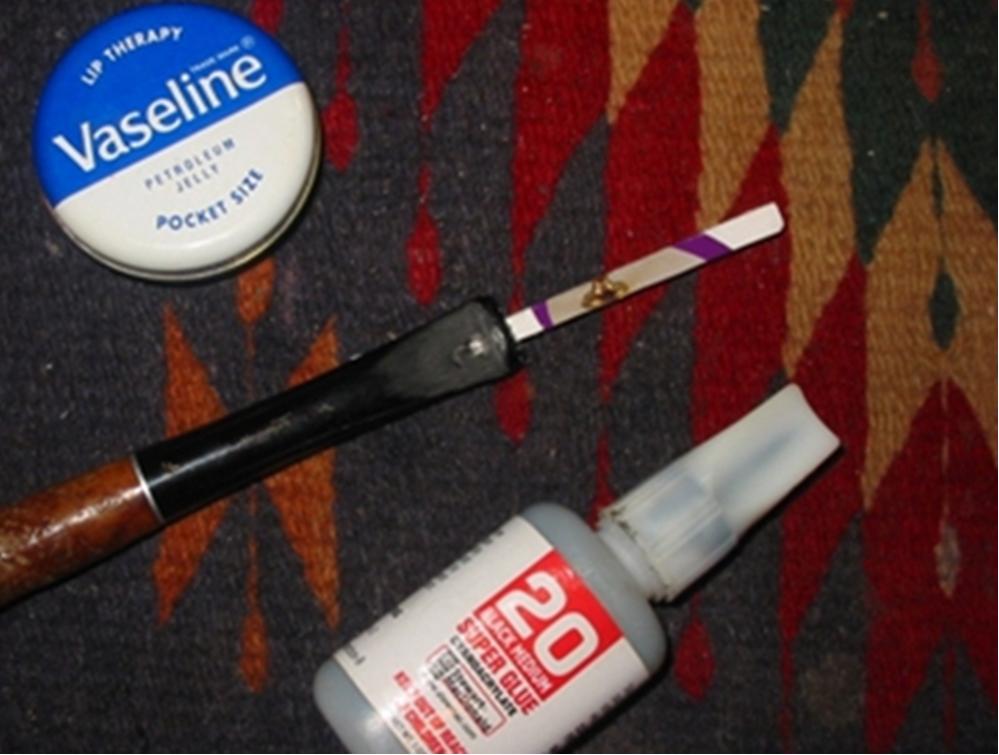
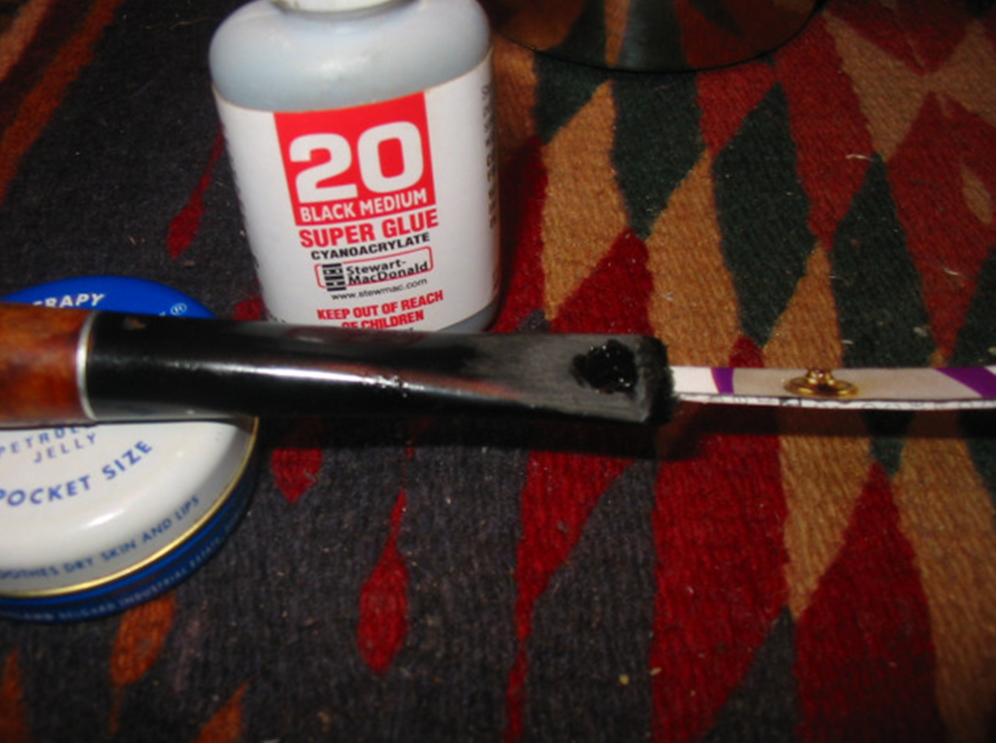
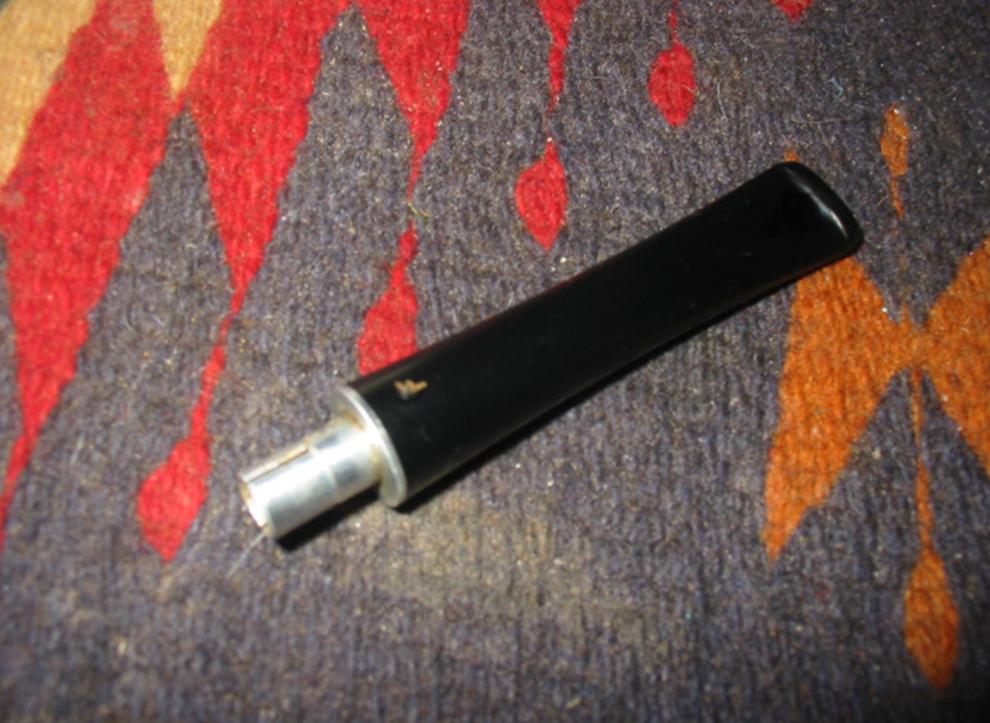
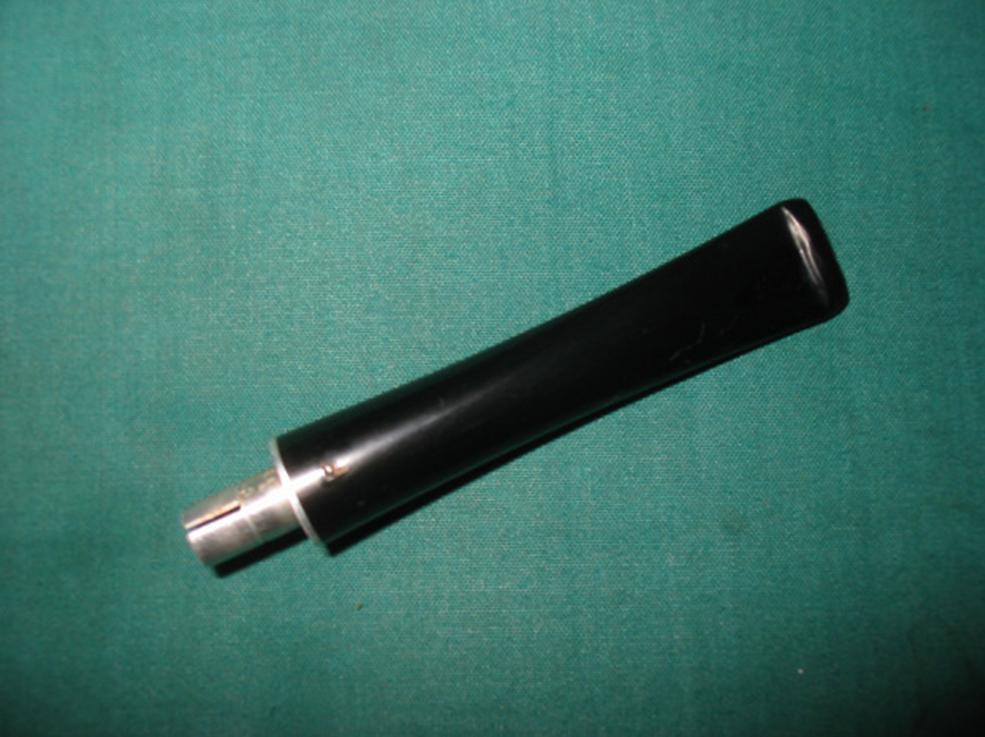
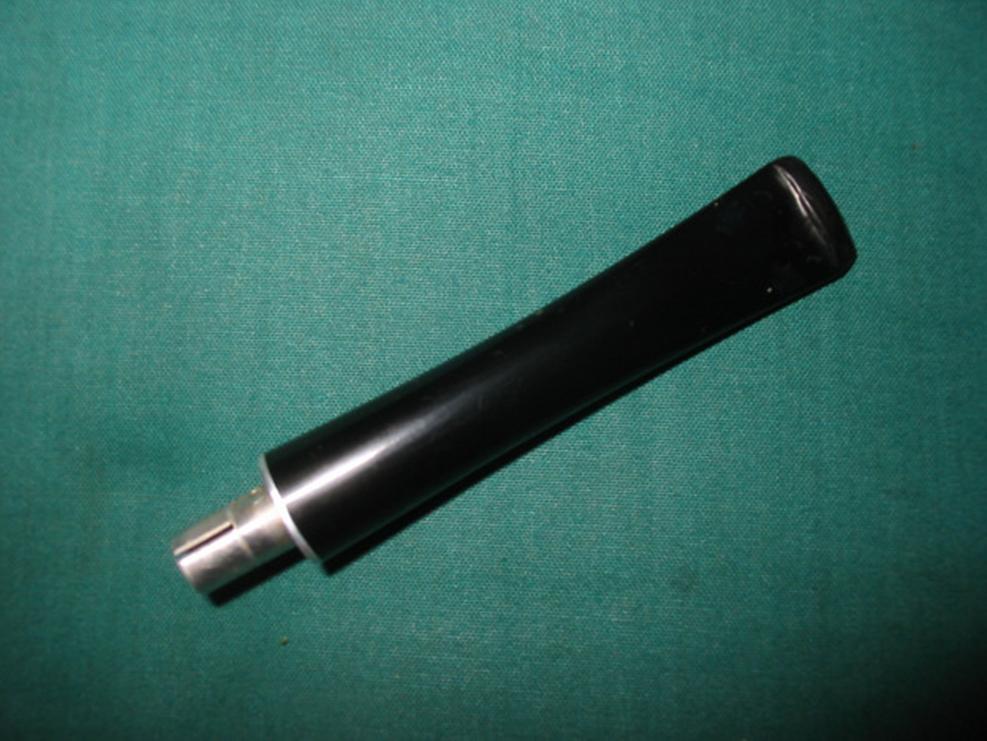
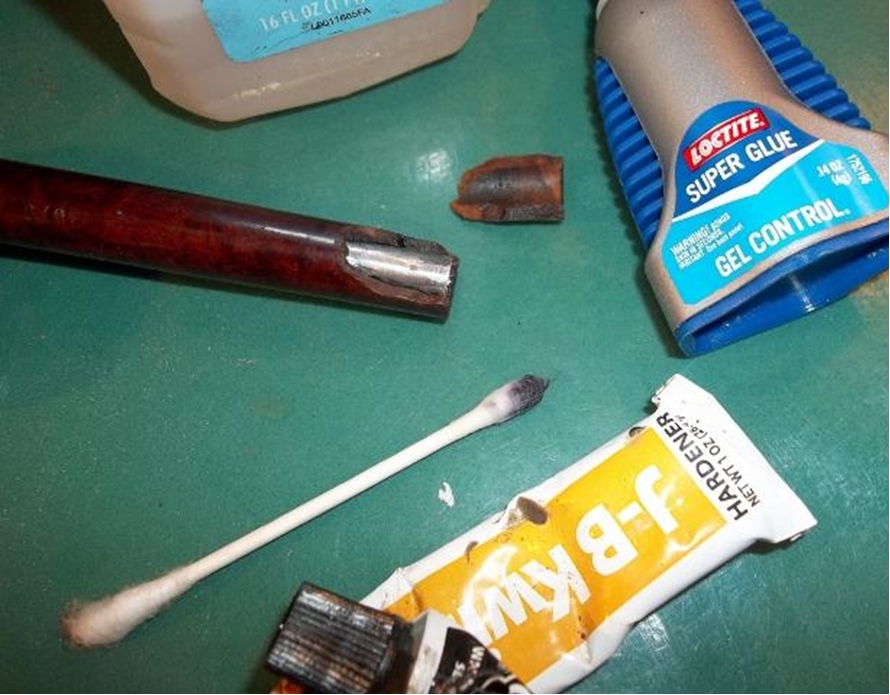
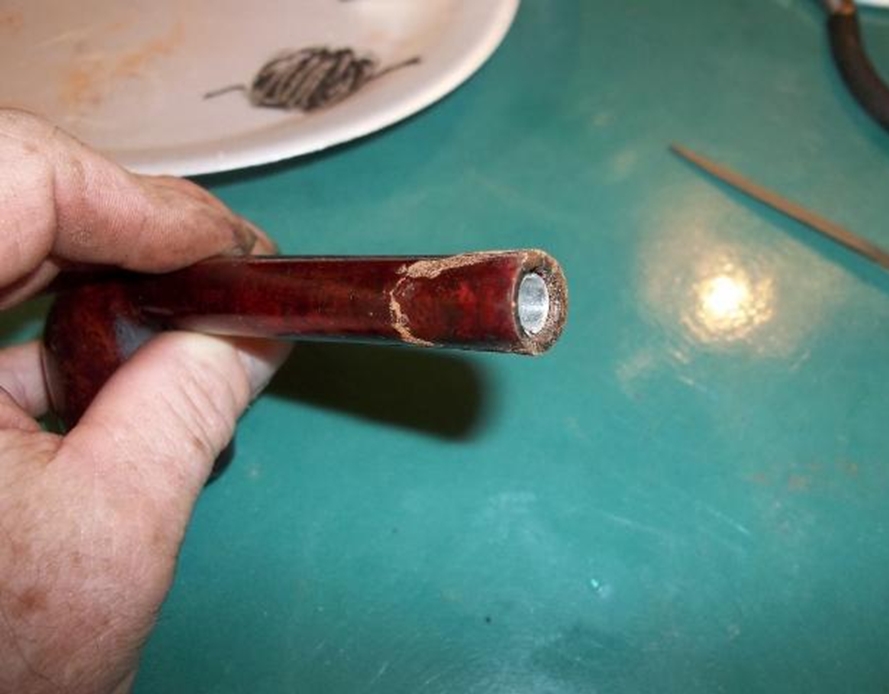
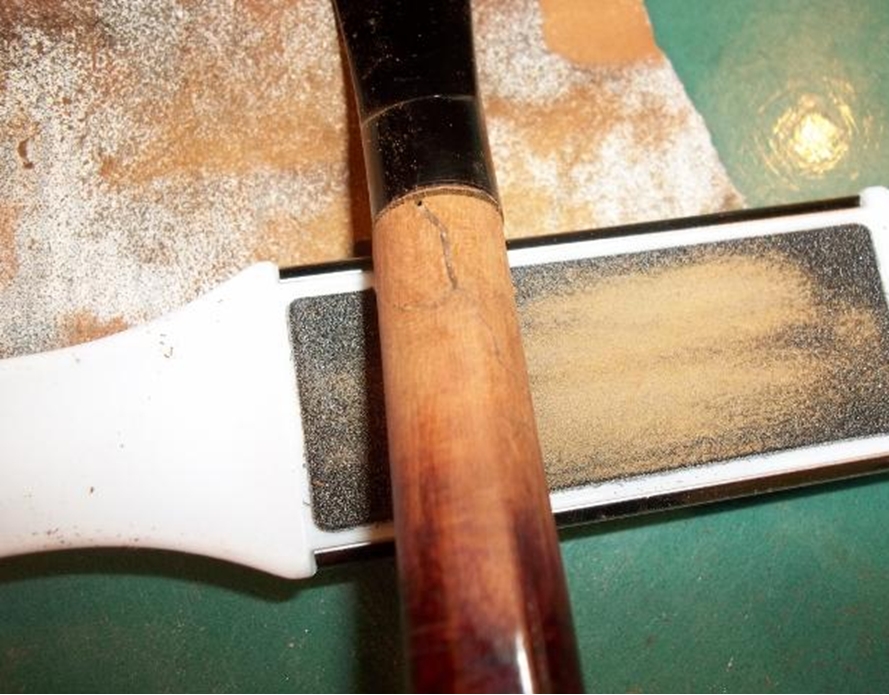
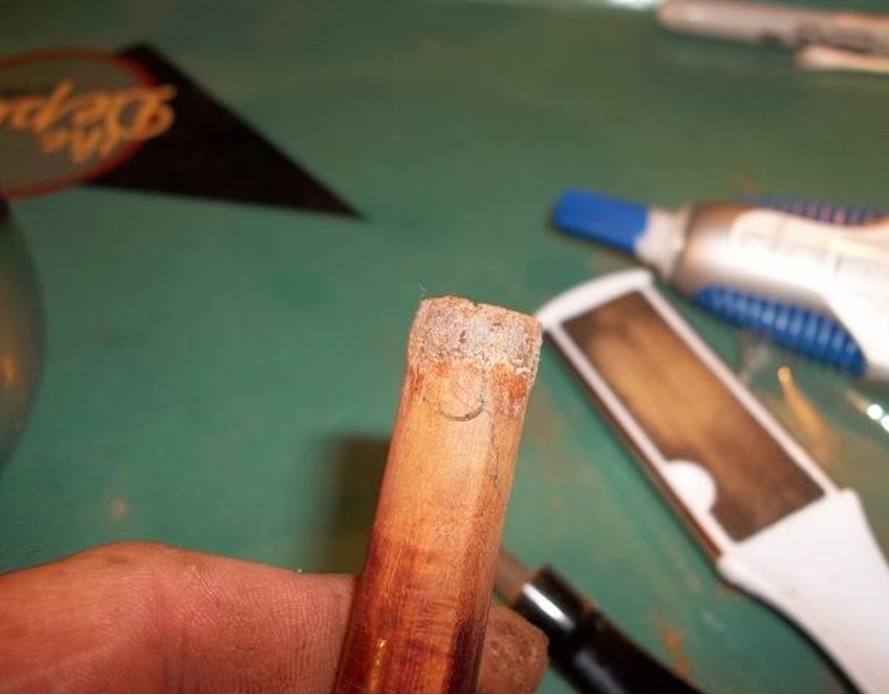
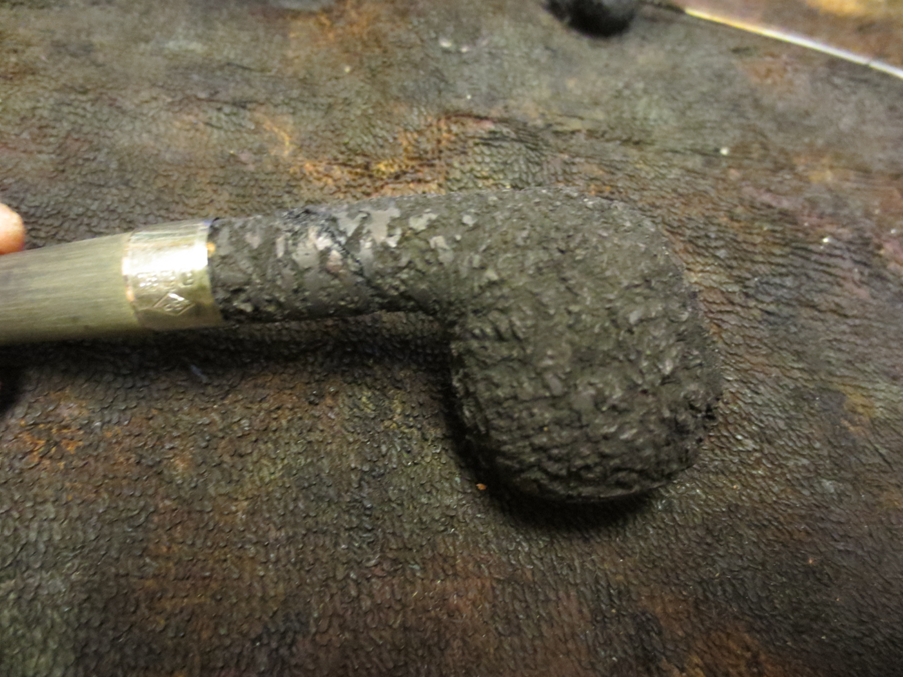
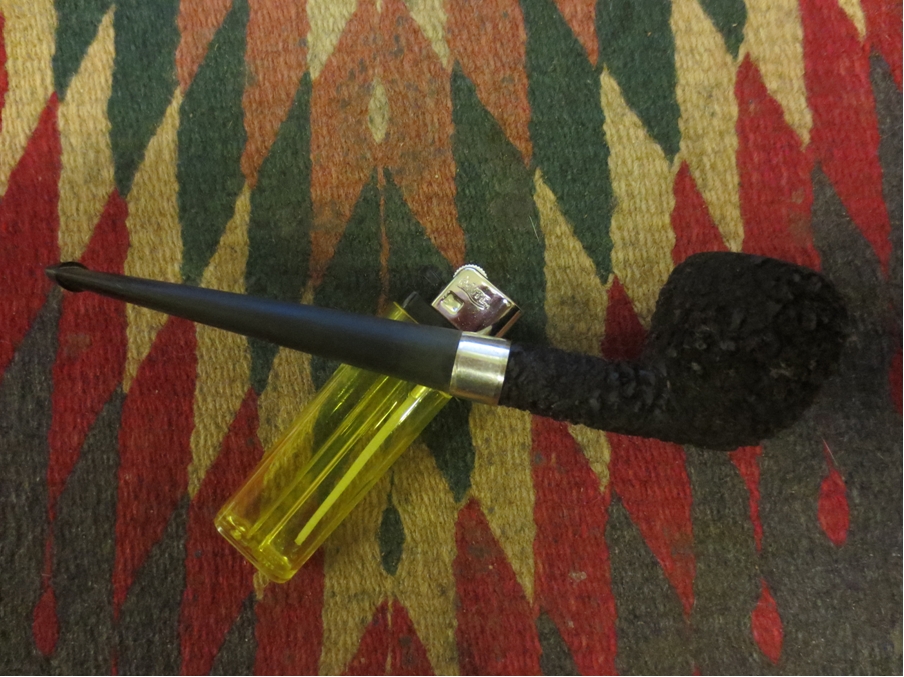
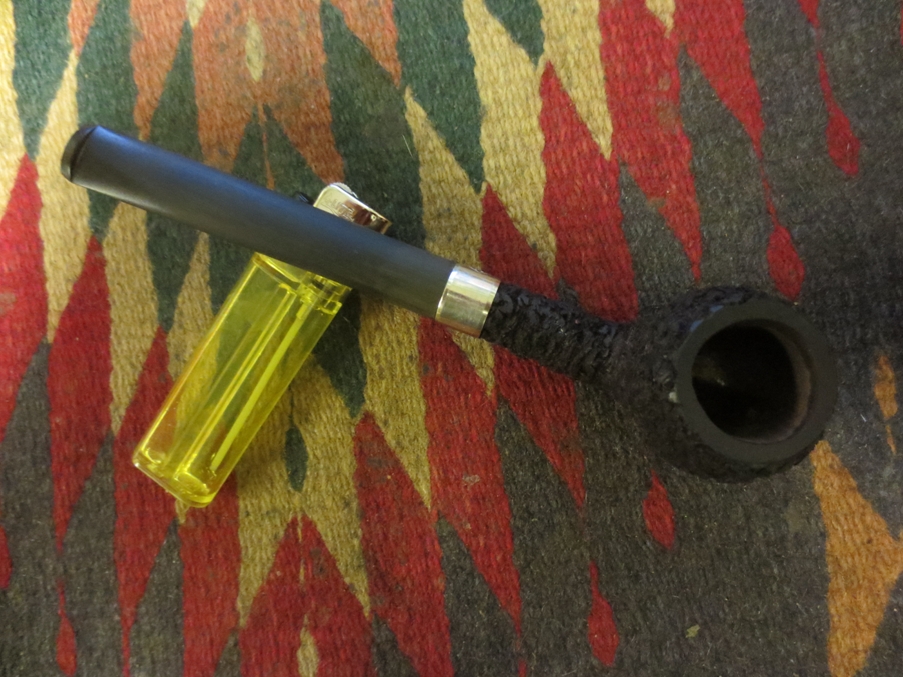
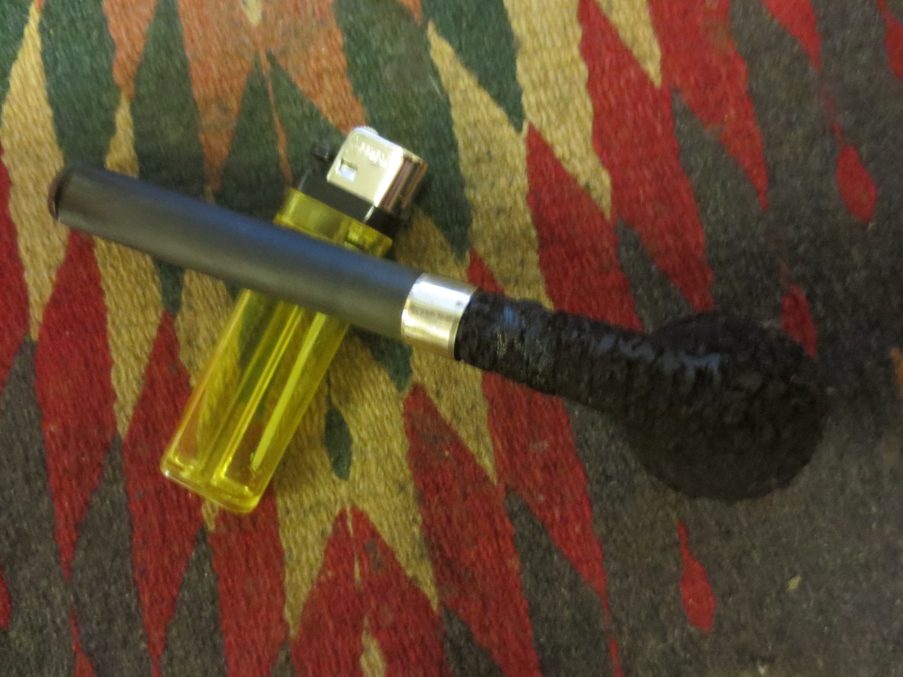
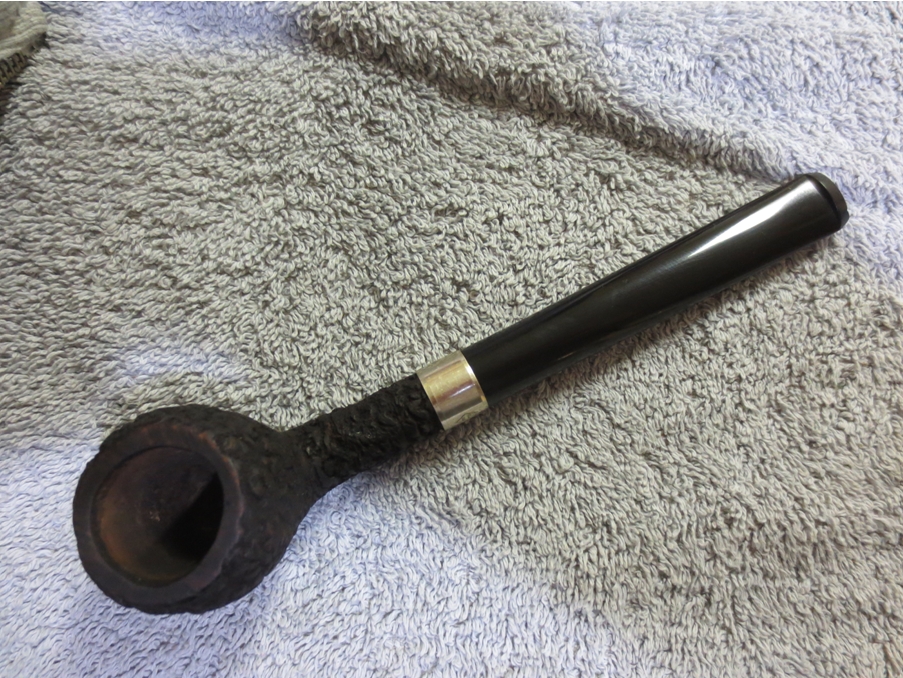
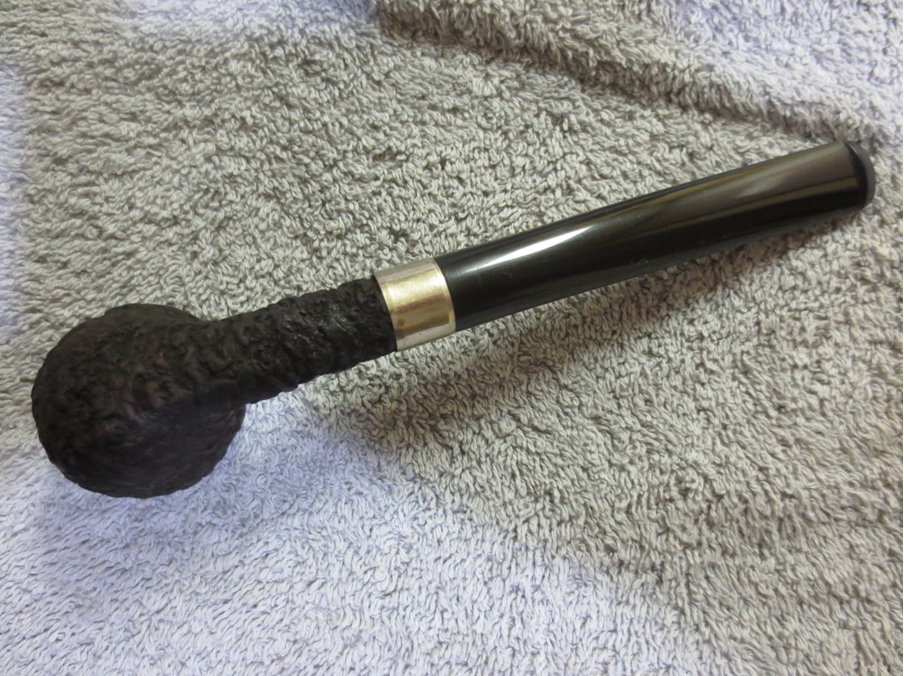
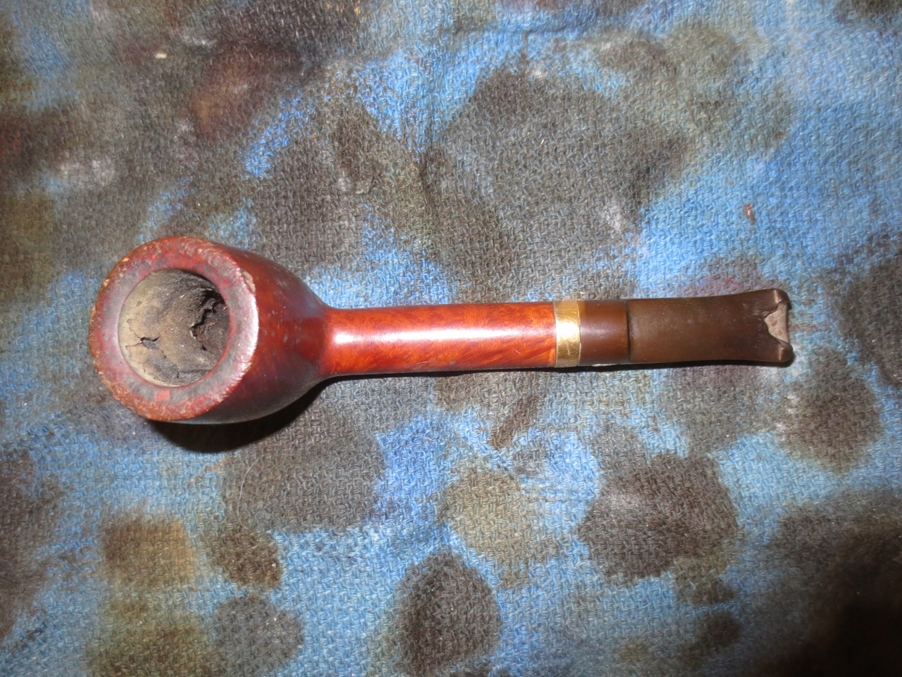
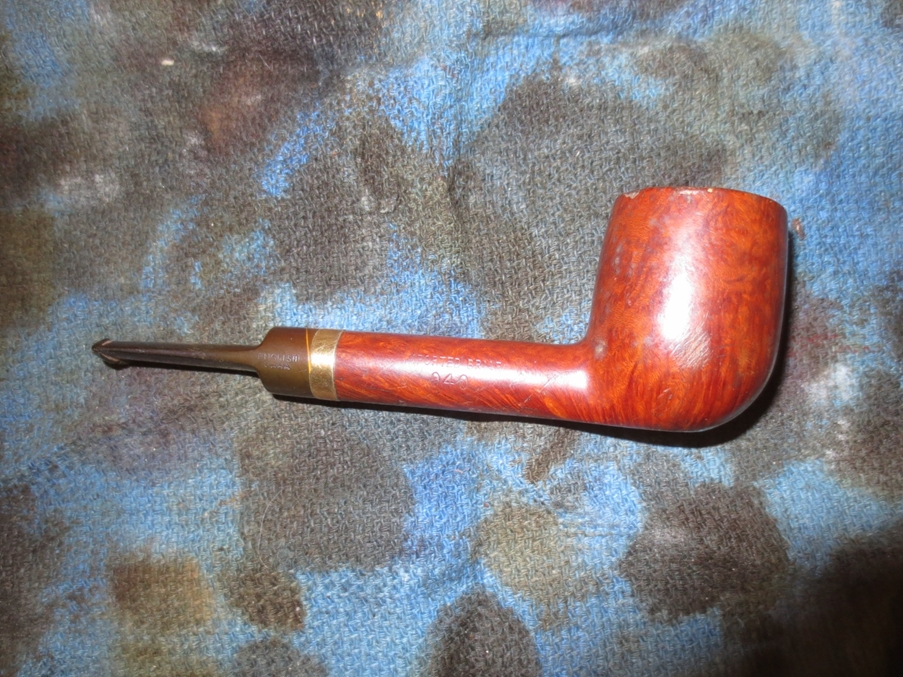
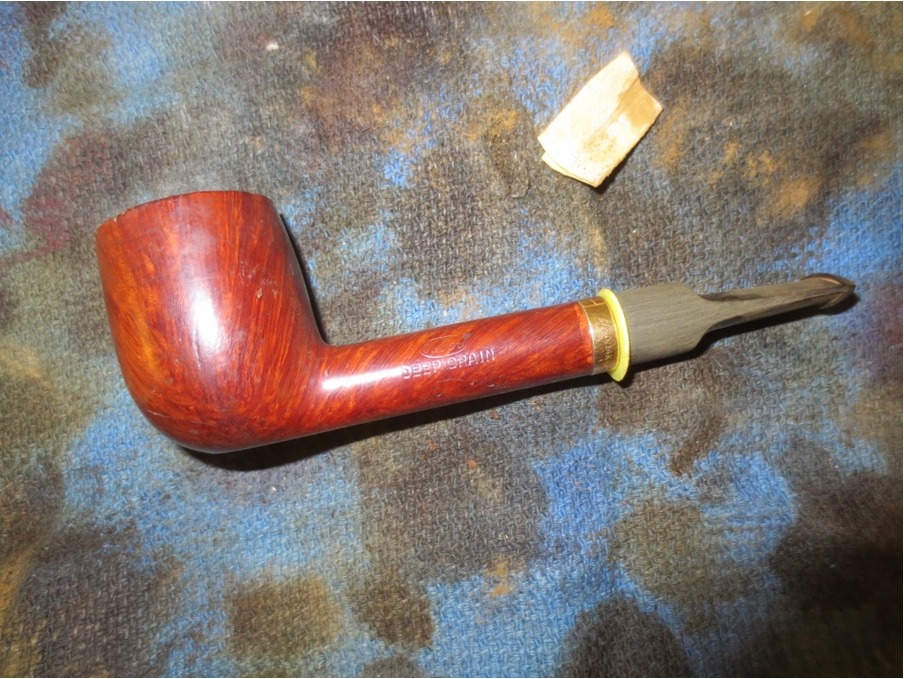
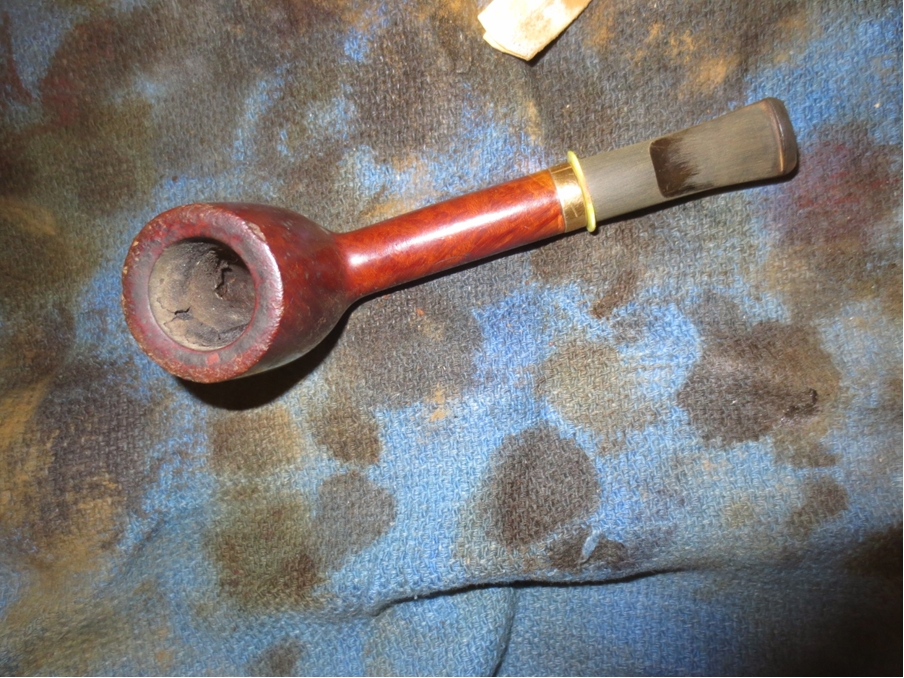
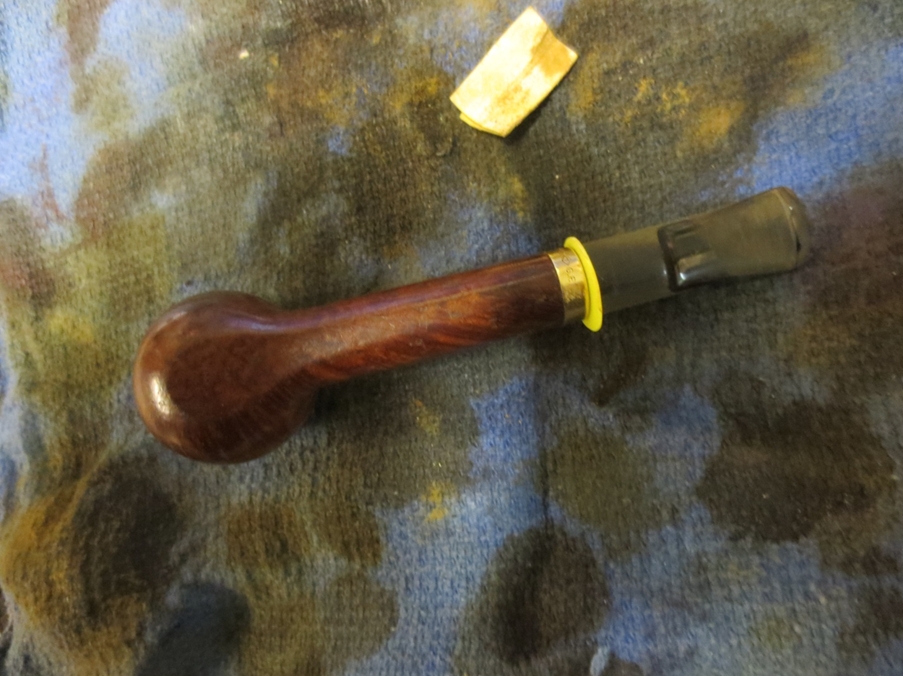
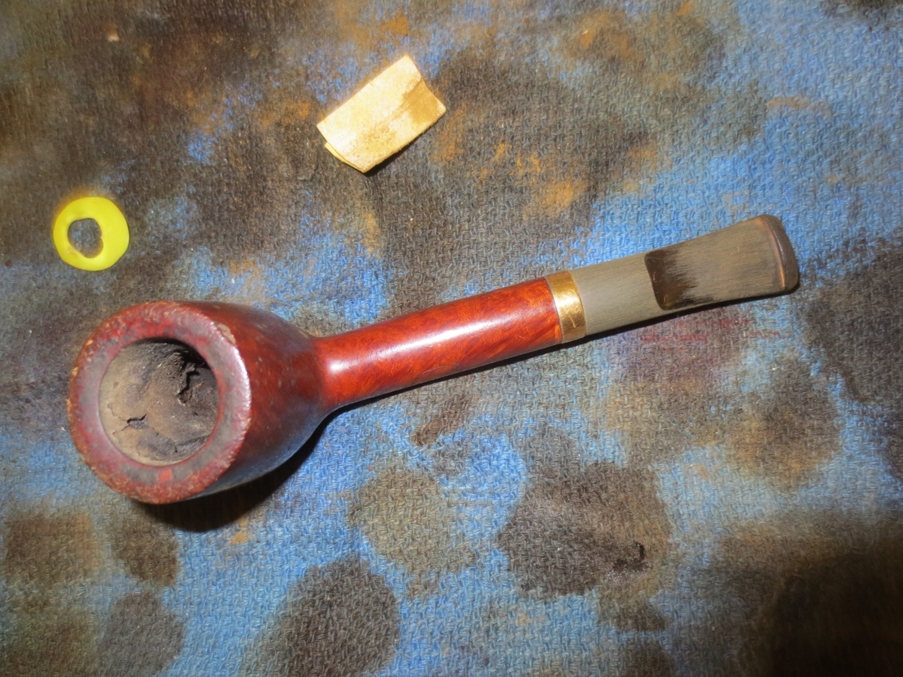
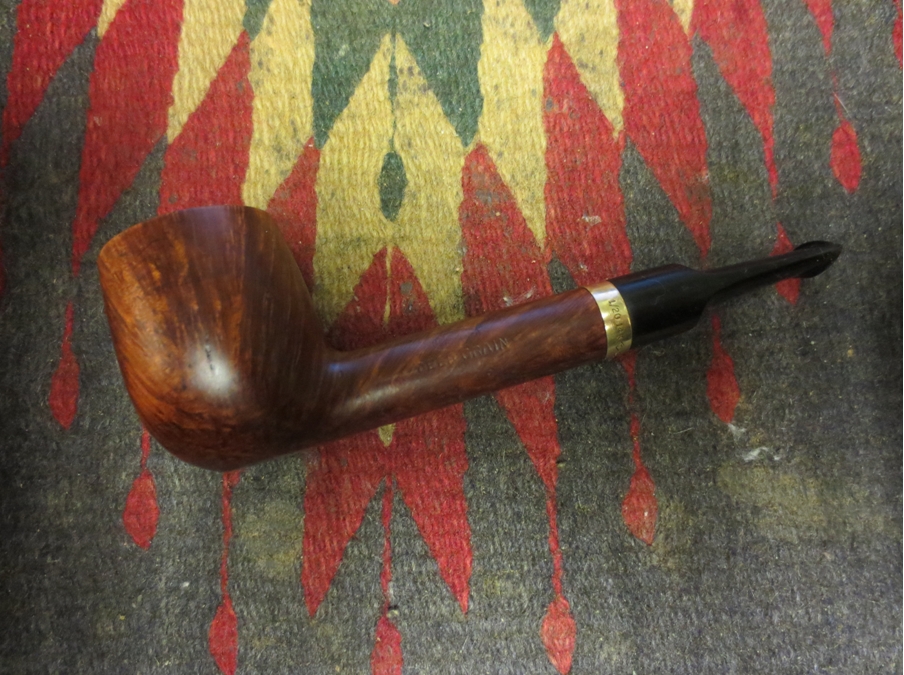
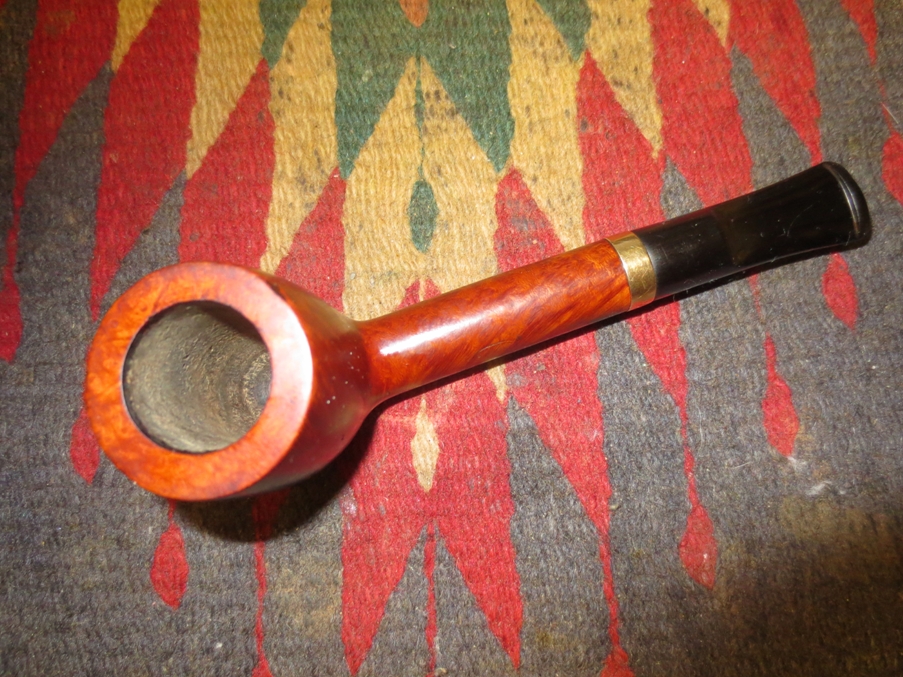
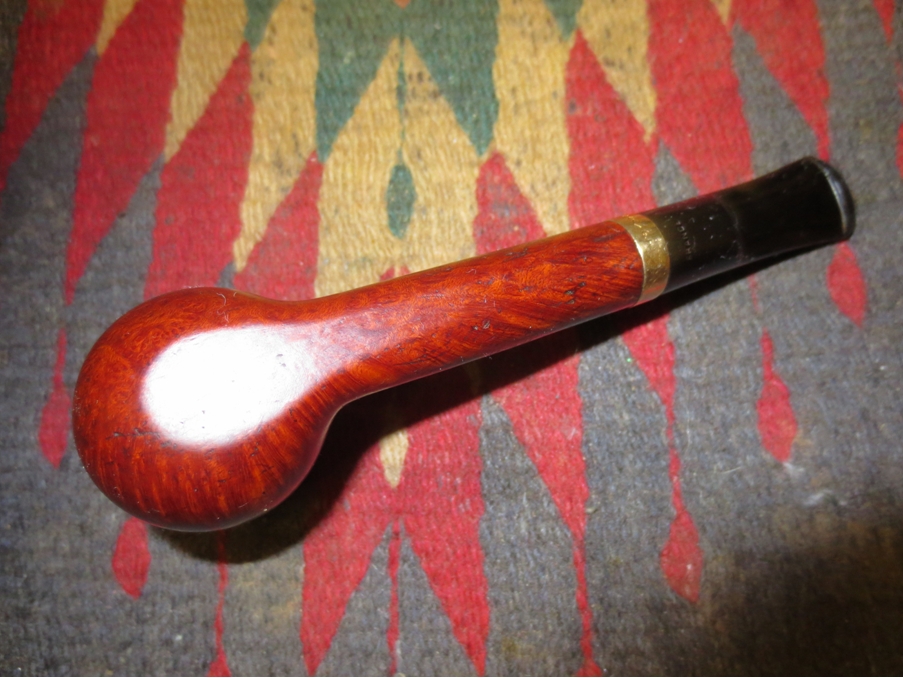
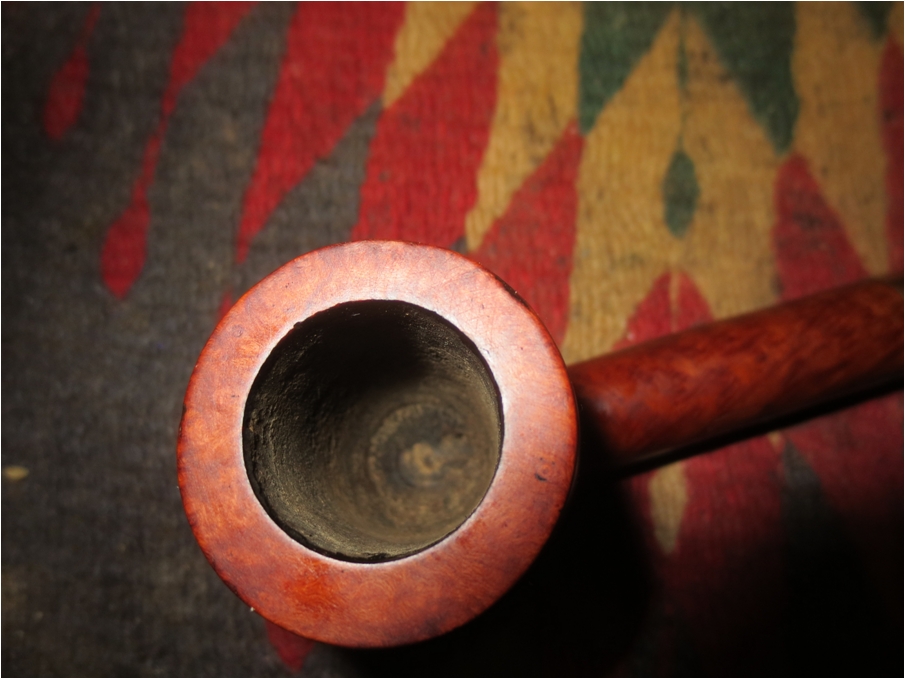
Tag Archives: fitting a stem

The B(ew)itchin‘ Pipe – A Lost Episode of ‘The Twilight Zone’


Guest Blog by Robert M. Boughton
Member, North American Society of Pipe Collectors
http://www.naspc.org
http://www.roadrunnerpipes.com
http://about.me/boughtonrobert
Photos © the Author

“Every writer is a frustrated actor who recites his lines in the hidden auditorium of his skull.”
― Rodman Edward “Rod” Serling (1924-1975), U.S. TV/film writer, narrator, anti-war and –racism activist, in “Vogue” magazine [April 1957]

INTRODUCTION
Good evening. Imagine, if you will, a rather large college town in the heart of the American Southwest, population estimated at a little more than half a million. This sprawling urban area does not appear on any globe of the Earth, nor do its lights draw the attention of a satellite passing far overhead at night in the vacuum of outer space. Nevertheless, due to the proximity of two of the country’s three top nuclear weapons developers to this liberal college and arts metropolis, it is likely the target of hundreds if not thousands of such warheads from other, potentially hostile nations or terrorists, foreign and domestic.

In today’s episode, we are about to meet a 53-year-old man named Robert Boughton, who as a matter of record resides in this sprawling burg. Mr. Boughton knows the twin peaks that are, atop the one, success and hope, and the other, defeat and futility. At the moment, he is at the very zenith of the heap of that more and more common social malaise that people glibly call the harried man. He is finding his way through one of the more interesting times of his life, in the sense of the ancient Chinese curse. Honest, hard-working and trustworthy, he has had more jobs than he could ever recall to put down on a government security clearance application, from maintenance man to assistant manager in hotels; neighborhood delivery boy to photojournalist for newspapers, and, most recently, both caregiver and pipe restorer – tobacco pipes, he always adds to prospective new customers he doesn’t know as he offers them his card.

During the past seven years, Mr. Boughton has postponed his lifelong pursuit of a literary career to dedicate almost every waking hour as caregiver to a mentally unstable roommate with a slightly shorter list of physical disorders, one of them fatal; a shrewish man a few years over the hill who carries his misfortunes the way some brag about drug abuse or petty thievery, but in his case molded into the very form and execution of his tragic worldview by the madness of living day-to-day knowing he is deteriorating from the core of marrow of his brittle bones to the disappearing sheath around every nerve fiber and the corresponding loss of sight and voluntary movement, and finally to the thin skin of his failing frame.

Mr. Boughton’s roommate has no idea how close he has come to being granted his repeated if insincere request to be put out of his misery; to a drive far out onto a back road of the desert for a very long stay. He has pushed Mr. Boughton to the limits of his self-control – to the end of his wits and the edge of his sanity. But the downward spiral is about to change, as you will soon understand. For not long ago, Mr. Boughton caught sight of a pinhole of light in the abyss; a hobby that helped him survive the slings and arrows that another writer once called outrageous fortune.

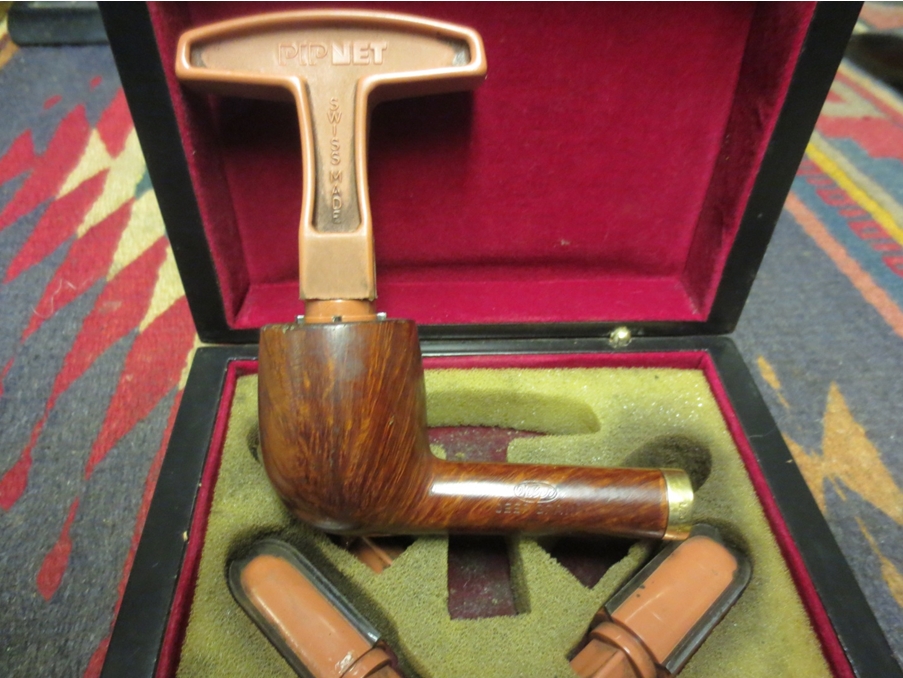
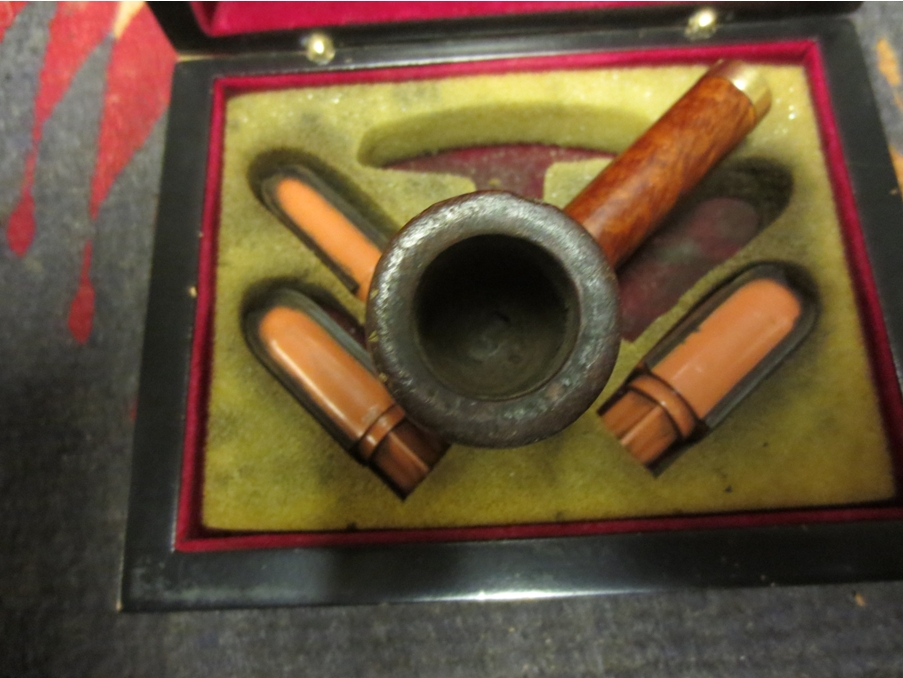
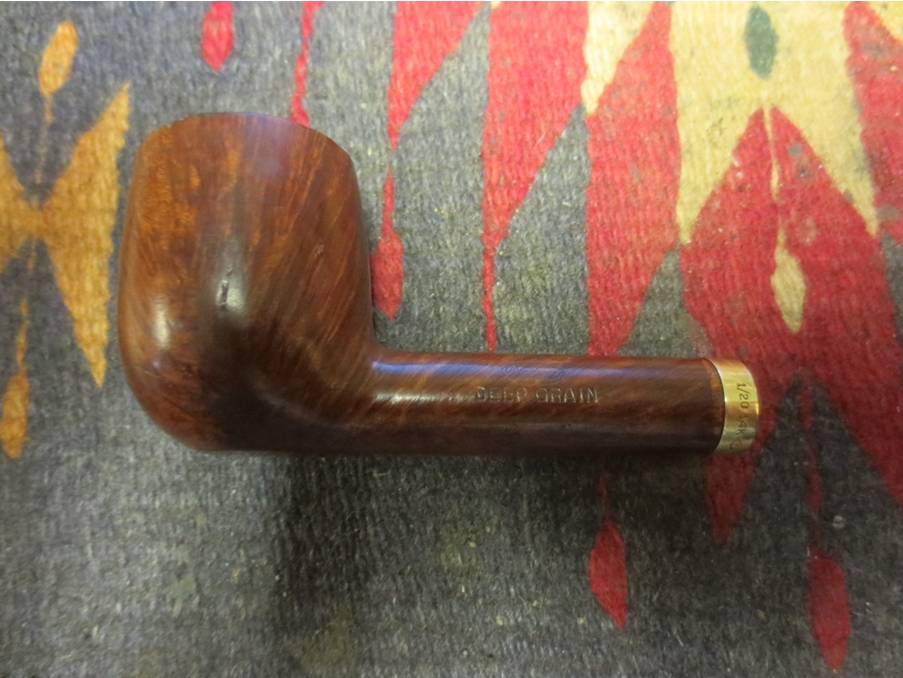
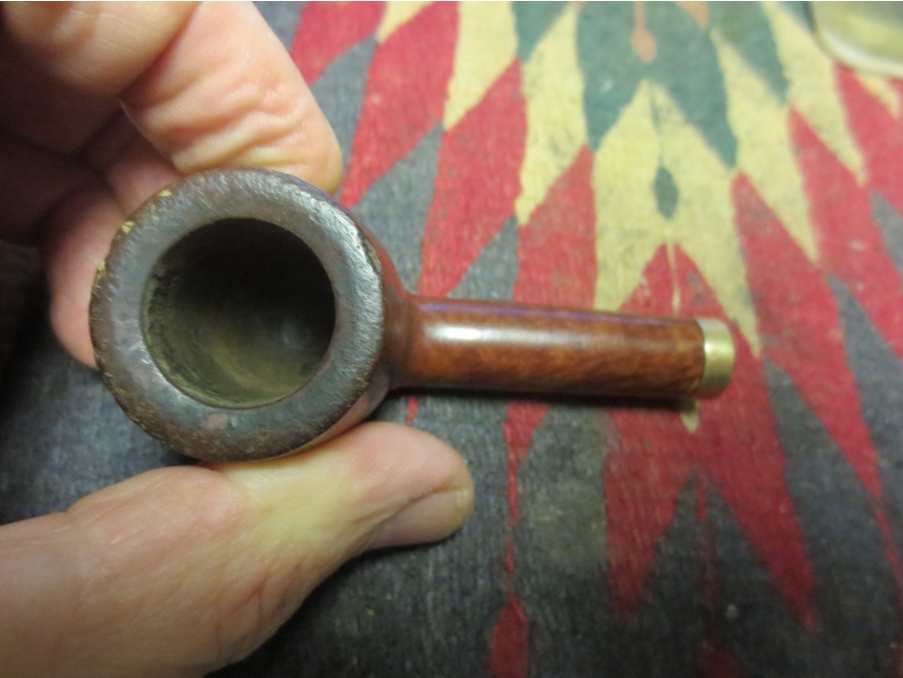
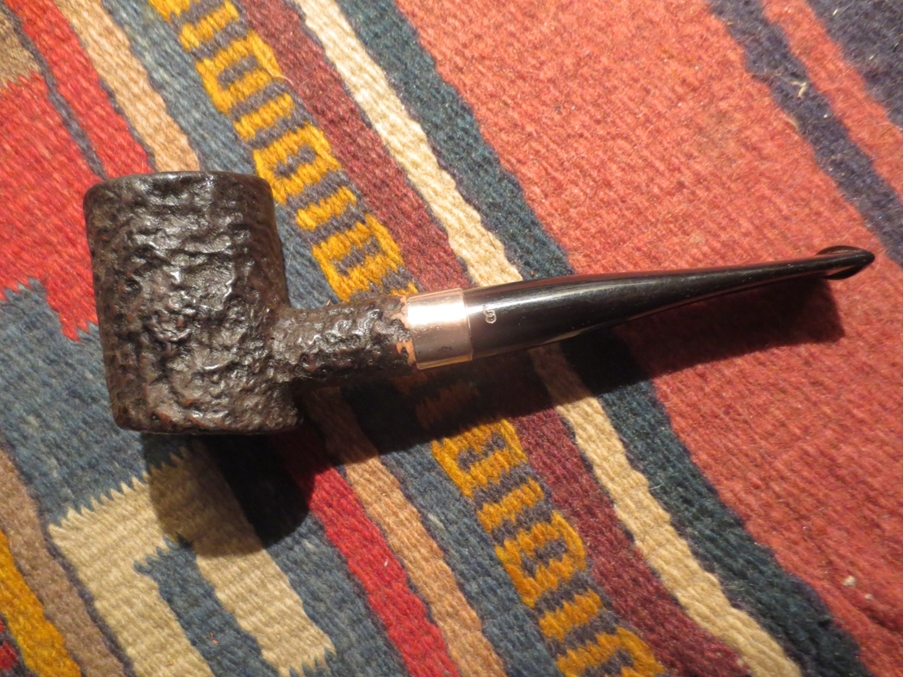
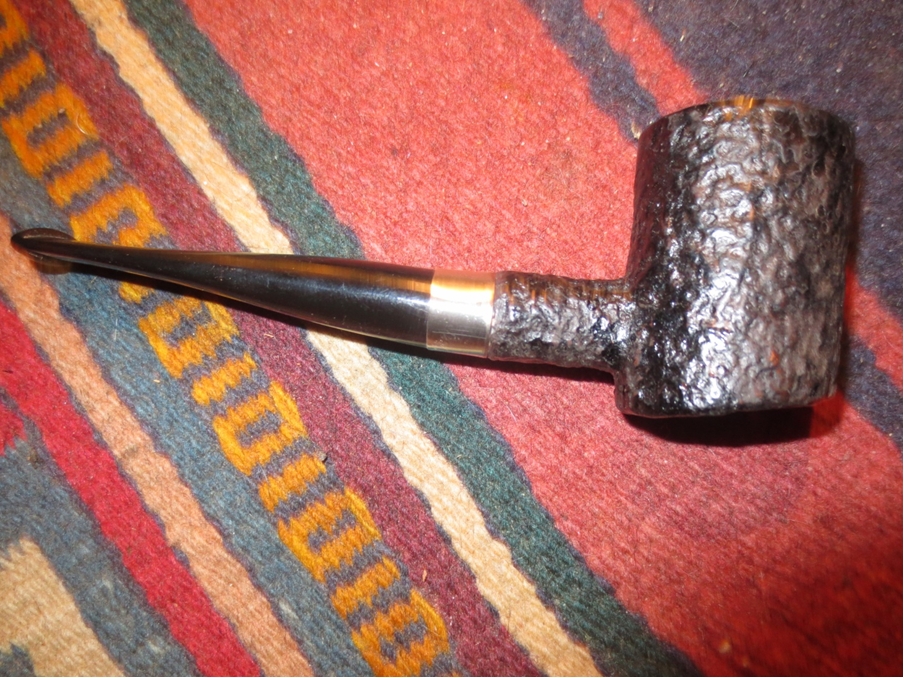
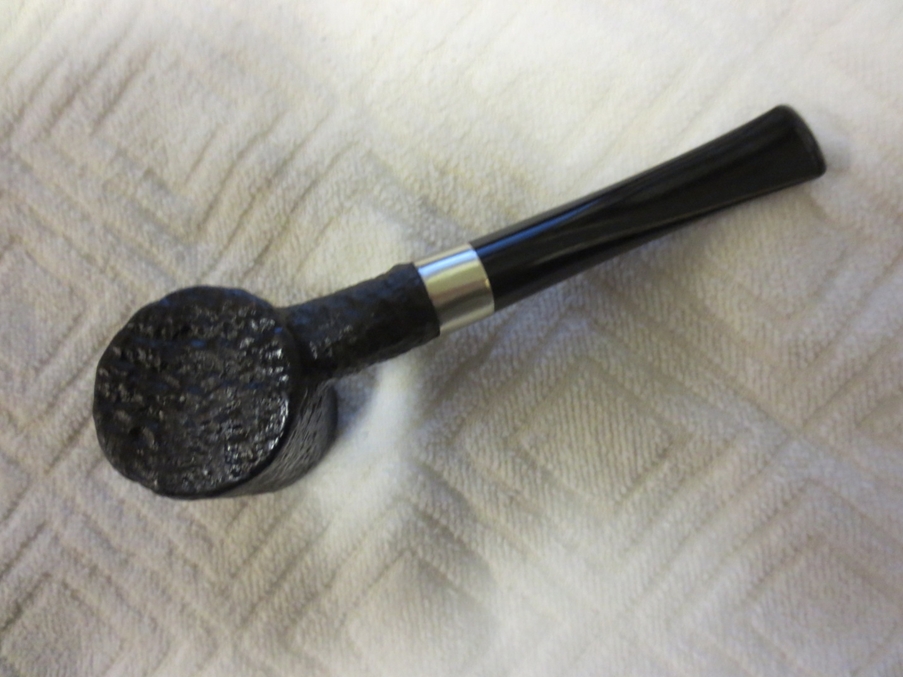
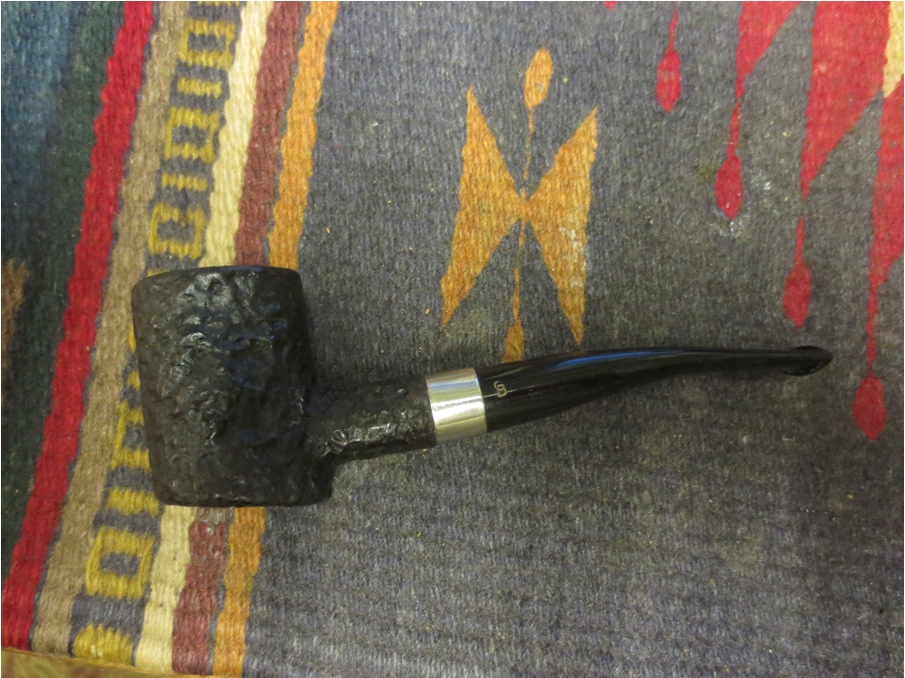
And now all of Mr. Boughton’s troubles are about to change for the better from the simple purchase of an estate lot of seven tobacco pipes in time to write off as an expense on last year’s business income taxes. All of them would have been finds for more than the $25 he paid for the lot – but at a glance, the real gem, in the eye of the restorer at any rate, first went unnoticed. See if you can spot it in the following picture from our gallery, which we call “Lot #7: Tobacco Pipes.” Robert1 If you correctly identified the L&H Stern Straight Billiard, on the right in the middle, as the object of Mr. Boughton’s growing obsession, shall we say, then you either have what is commonly referred to as the Sixth Sense or you are an astute collector of fine pipes.

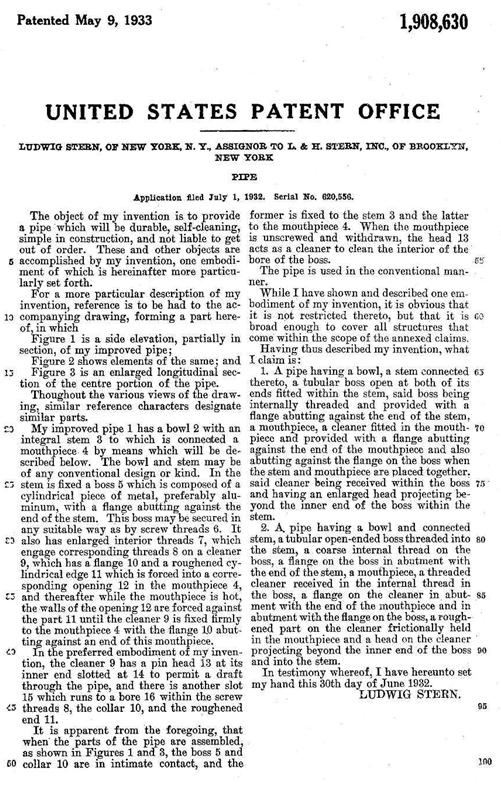
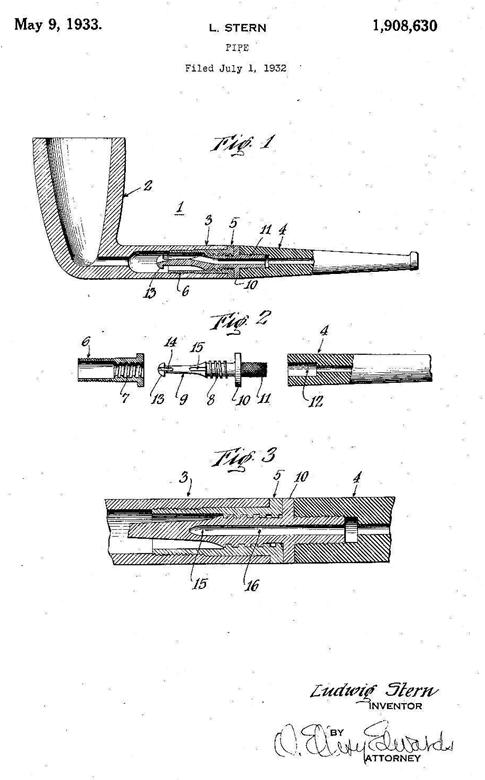
The Park Lane, an invention of the company’s primary founder, is stamped with U.S. Patent № 1908630, issued May 9, 1933. Mr. Boughton has always appreciated the elegant – in expressions of poetry, law, logic and art, to name a few – and as for Patents, he considers this one, being only two pages including the obligatory illustration of parts, to be as brief and comprehensive as they come.Robert2
Robert3 L&H Stern Inc. was officially organized in 1911 by one Ludwig Stern (the L in the initials, which in the early days were fashioned L. & H. S.), with his older brother, Hugo (the H). Ludwig emigrated from Germany as a young man, after his brother, who was five years older.

(And now, if the audience will permit a brief side-bar, a point of interest: Ludwig worked for the largest supplier of tobacco products to the entire state of New York – somehow providing an estimated 90% of cigarettes, cigars, pipe tobacco and other related items to manufacturers and retailers in the area – as early as 1899, the year the behemoth tobacco supplier was spawned. Called the Metropolitan Tobacco Company, a corporation born of a cartel of others in the same business known to everyone who was anyone within the industry as the “Tobacco Trust,” became the object of a drawn-out restraint of trade civil complaint. The original trial and both appeals of said cause were decided, not surprisingly, in favor of the tobacco industry defendants. The small shops, banded together as plaintiffs, now collectively relegated to historical obscurity by a single last name and “et al.,” were forced to close. I submit for your consideration one question: could the wheels of justice have been greased in this case by the main product of the second of the Seven Deadly Sins? This is offered as food for thought – only available at your local diner in the Twilight Zone.) [See Link 2.)

The brothers moved the re-formed business in 1920 to Brooklyn. The new location, in a seven-story building, was – for the then-ubiquitous craft – in a convenient part of town now known by its acronym, D.U.M.B.O. (Down under the Manhattan Bridge Overpass). It remained there until closing in the mid-1960s. [See Link 3.] LHS was already so well respected in the business at the time that the company reorganization and move were news in those bygone days. [See Link 4.]

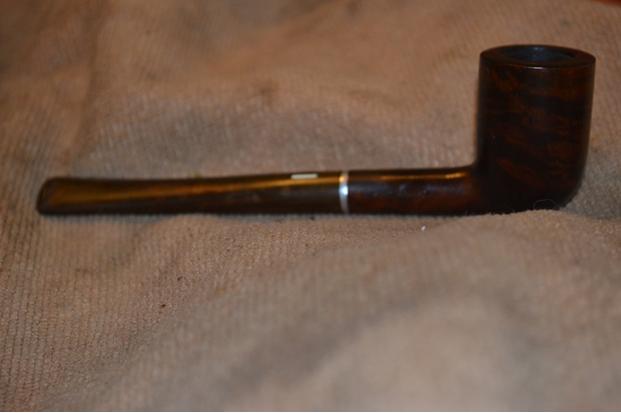
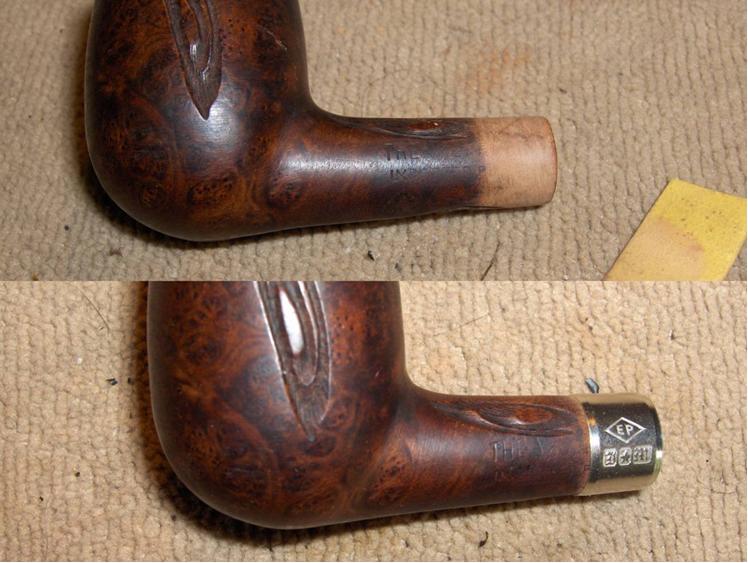
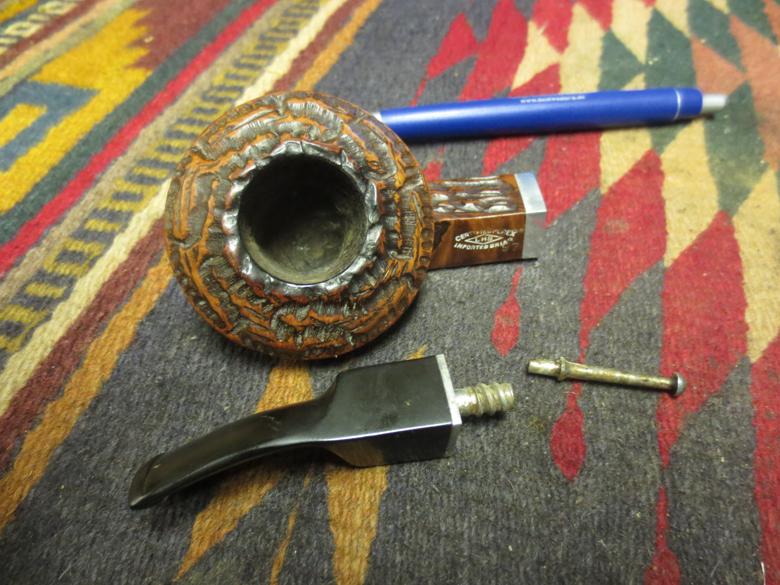
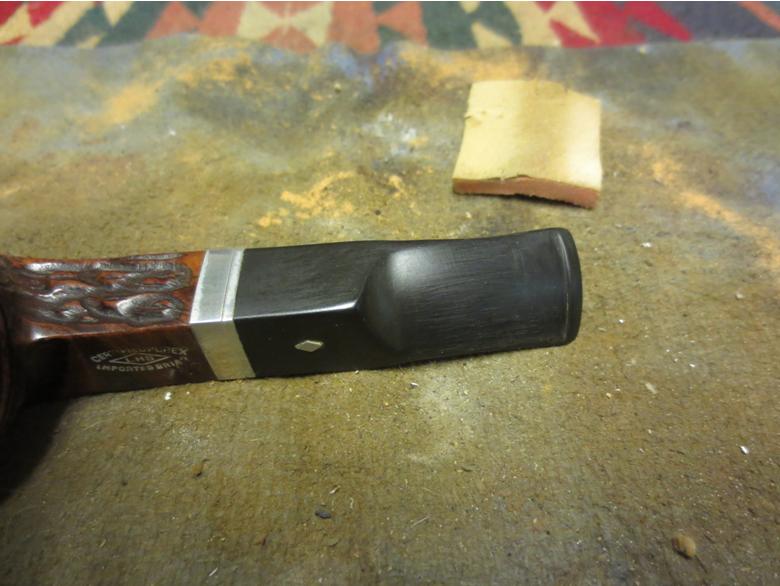
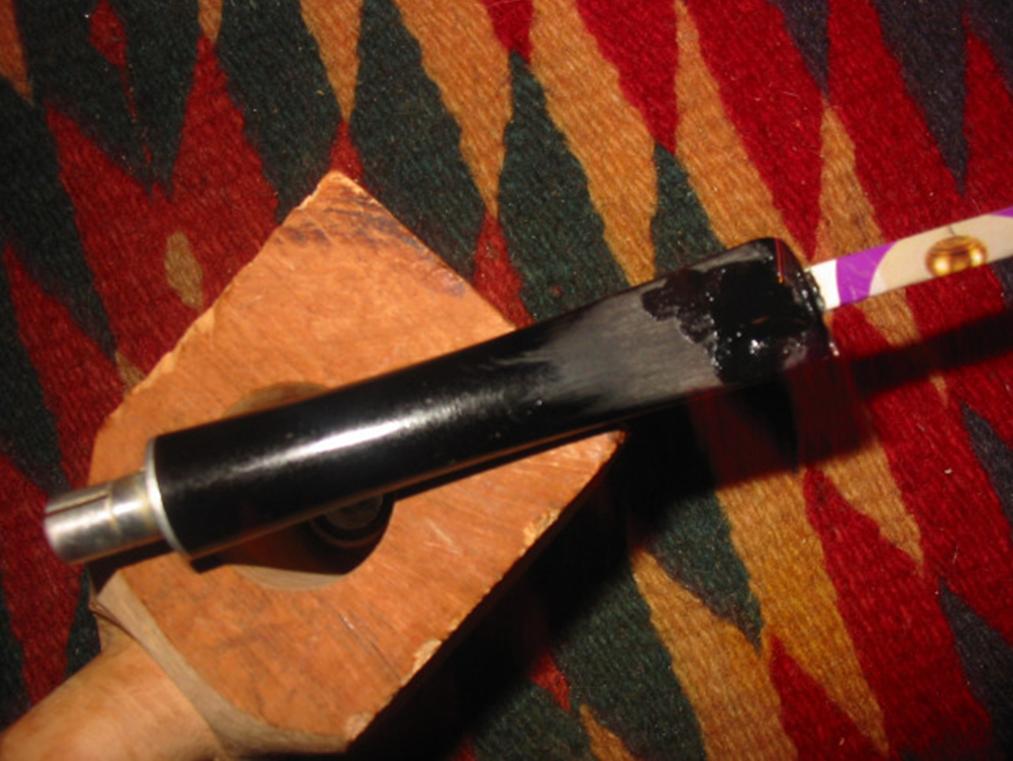
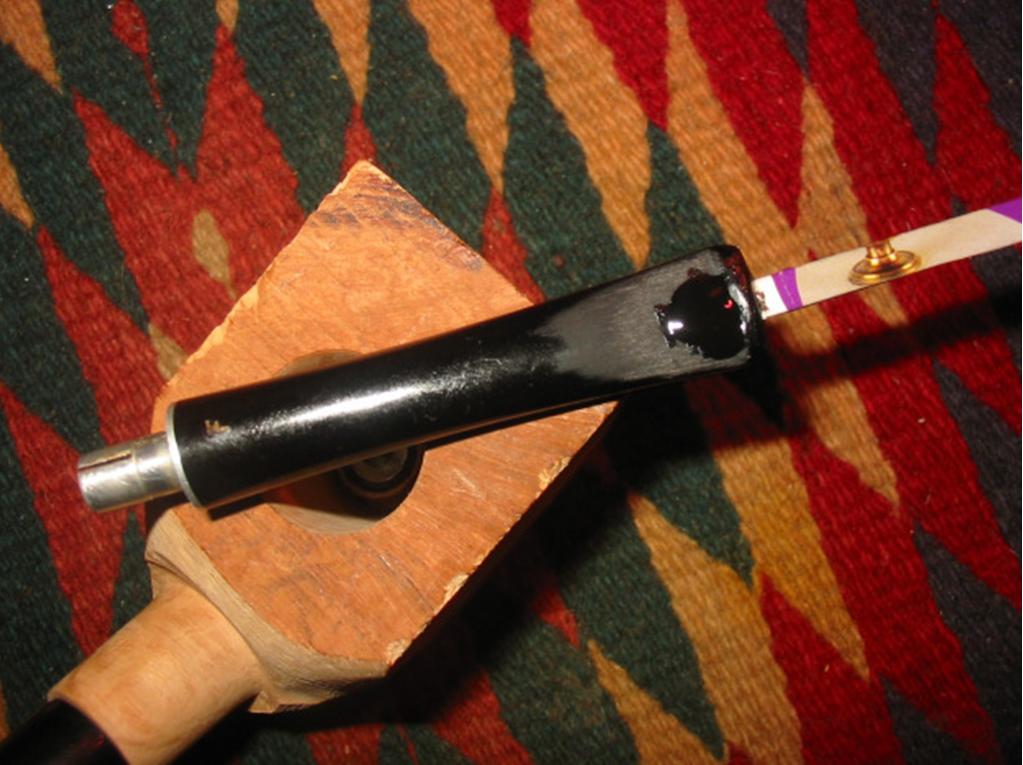
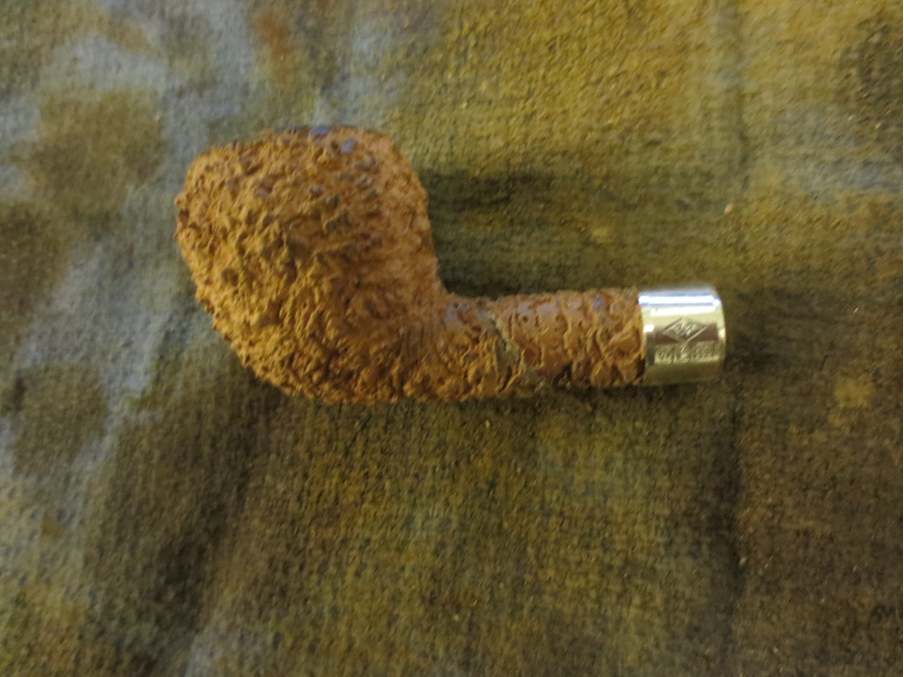
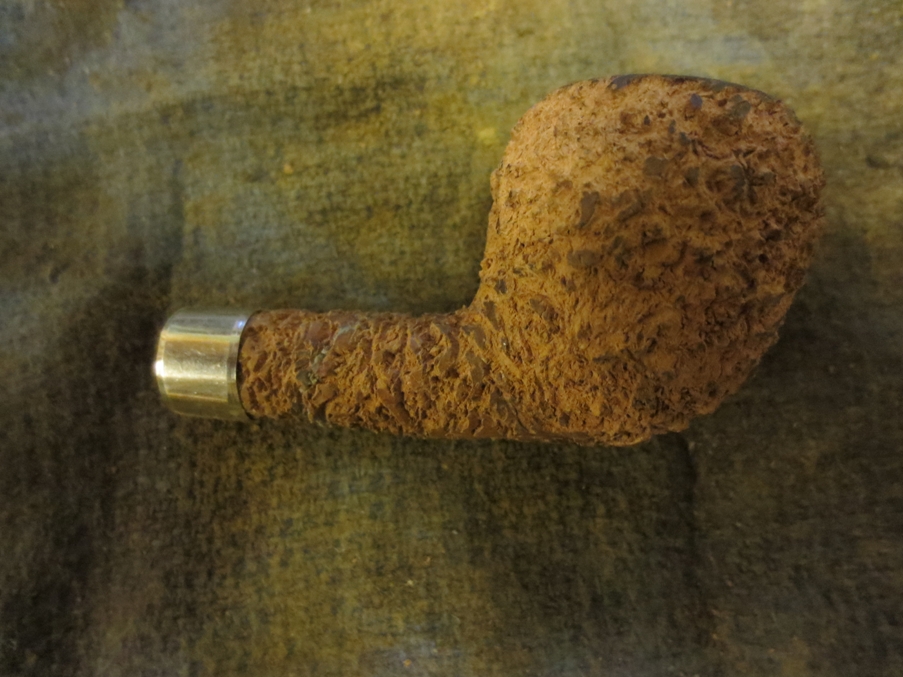
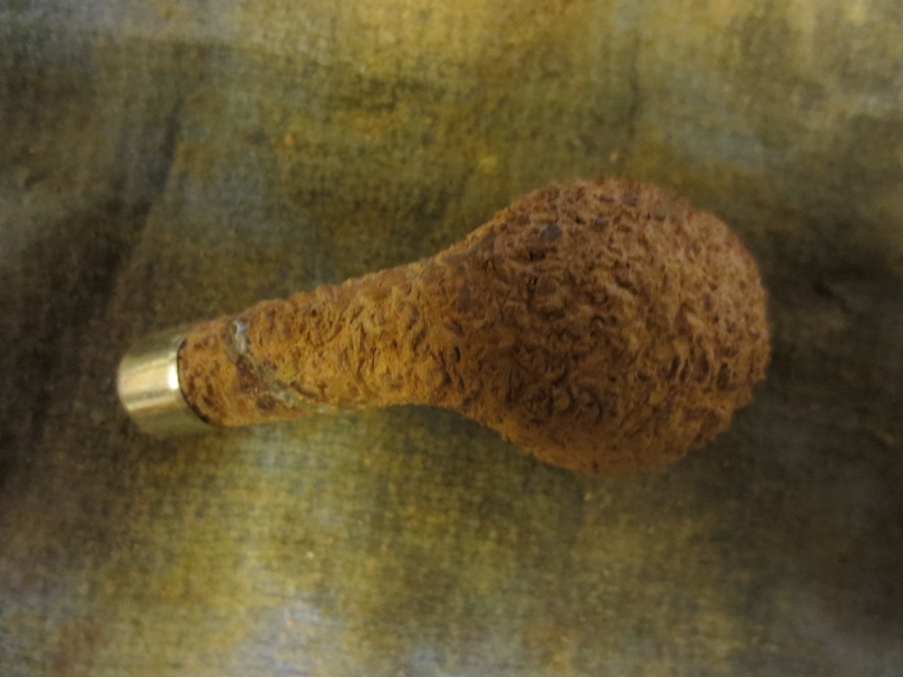
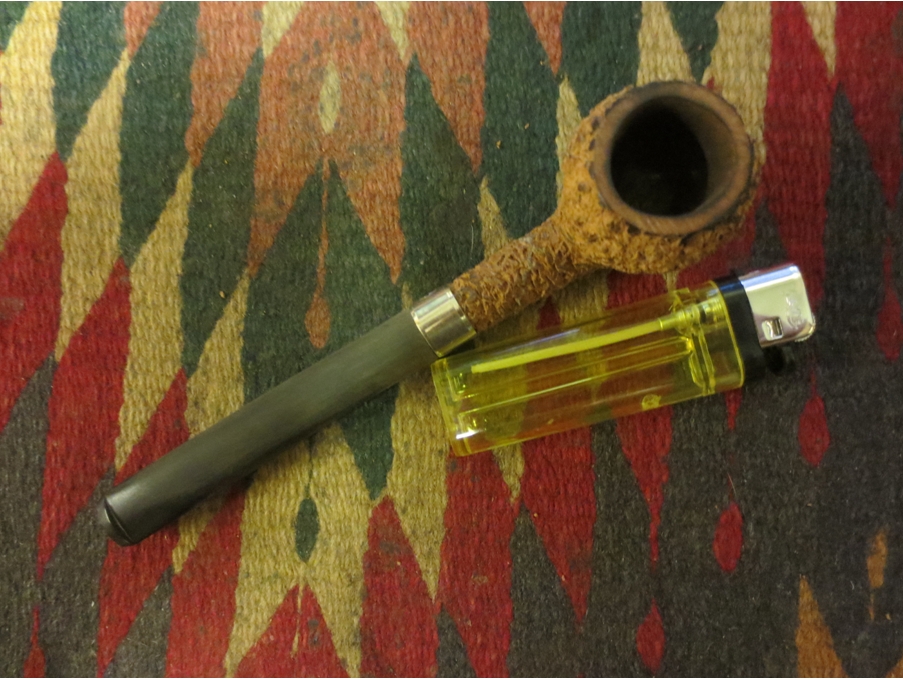
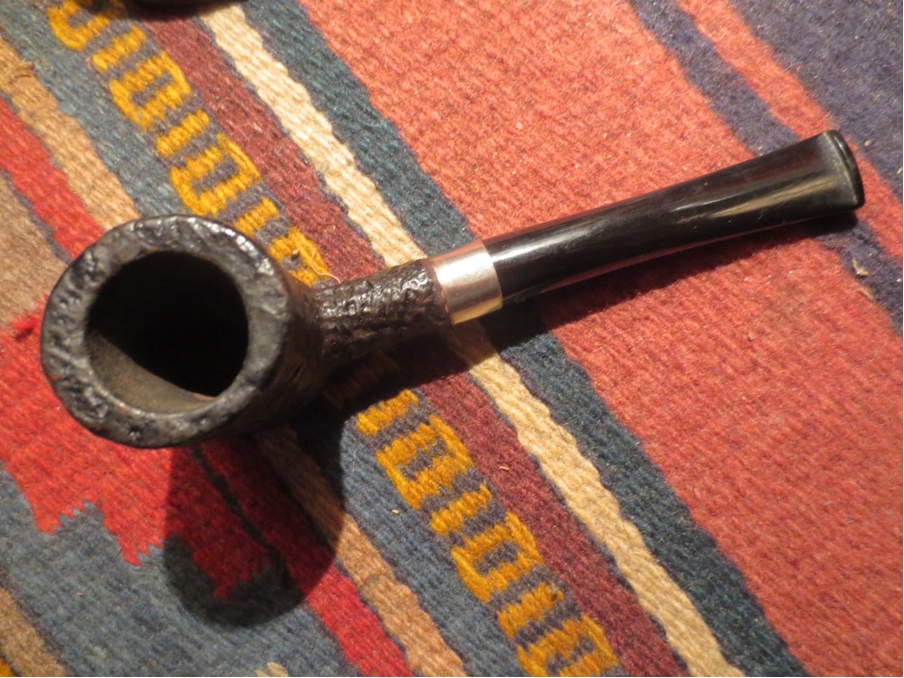
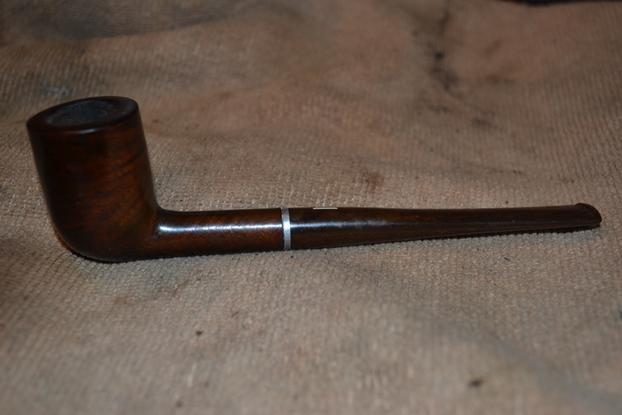
The LHS Park Lane Billiard included a brown and orange swirled Cumberland bit, handmade from Ebonite and fashioned in this case to look like wood. Mr. Boughton considered the task of restoring this pipe to be distinctly good fortune and a pleasure of restoring, in particular because of a certain aspect of the repair that was new to him. The line was made only in the 1930s. [See Link 5.]

At the present moment, Mr. Boughton is busy at work attempting to restore the WDC Park Lane to its original state. As noble as the endeavor may be, the only problem, with this peculiar specimen, is the invisible transformation the pipe has undergone during years of smoking by a single prior owner who had the good grace to love it. As Mr. William Shakespeare so aptly put it in “A Midsummer Night’s Dream”: “Love looks not with the eyes, but with the mind,/And therefore is wingèd Cupid painted blind.” Now, meet Mr. Boughton in his favorite activity – restoring tobacco pipes with every ounce of his love.

RESTORATION
Robert4

Robert5

Robert6

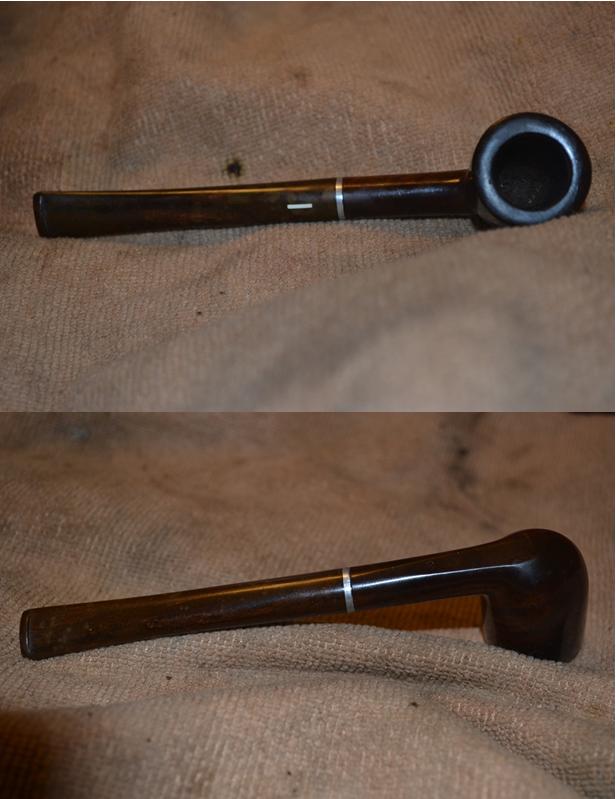
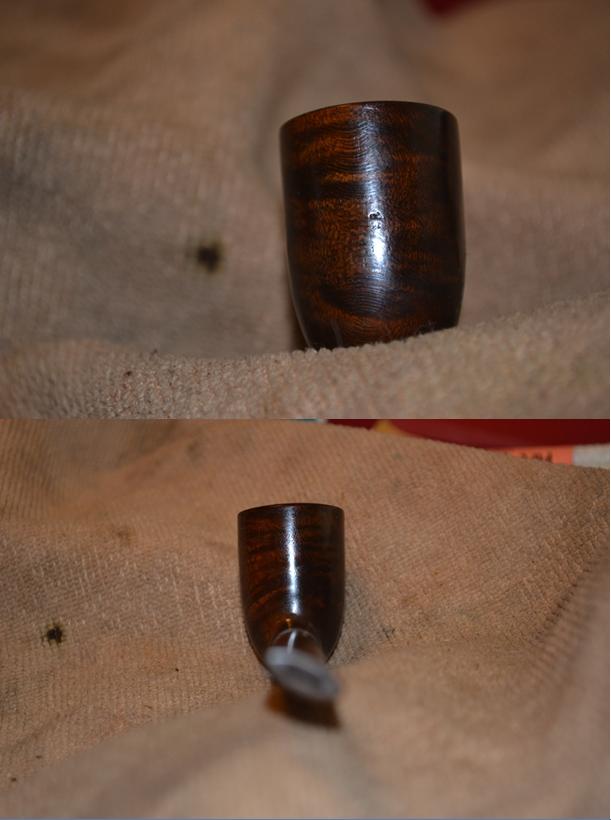
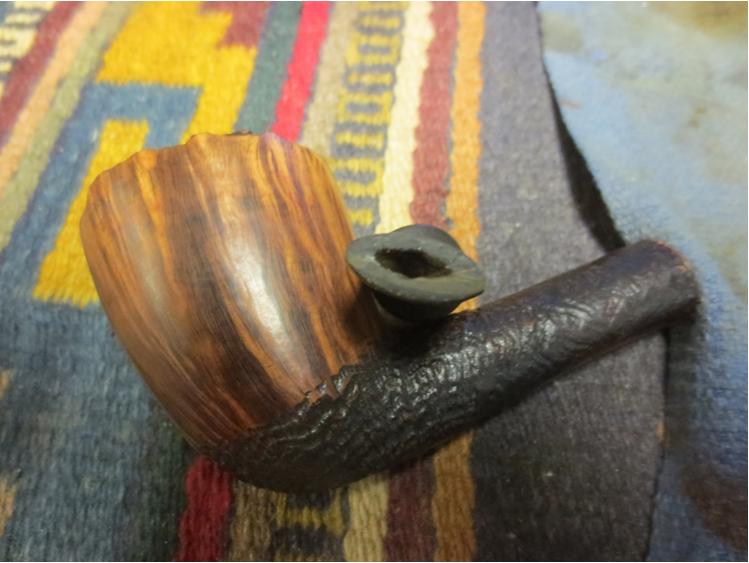
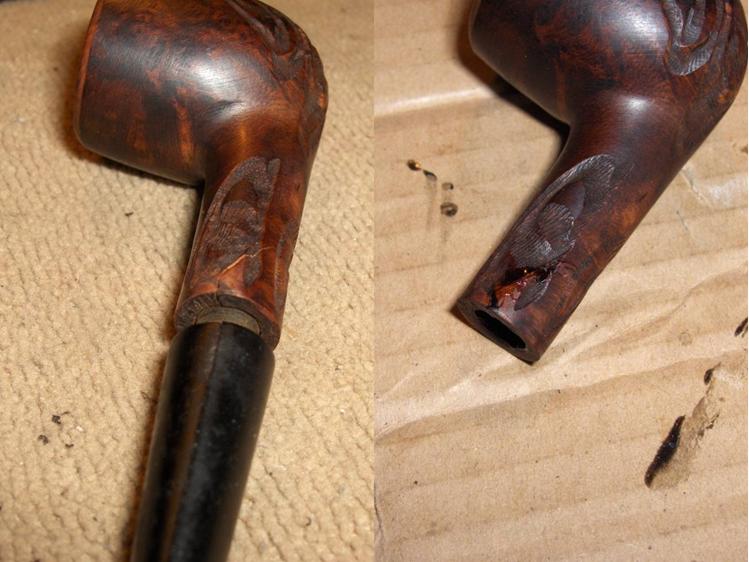
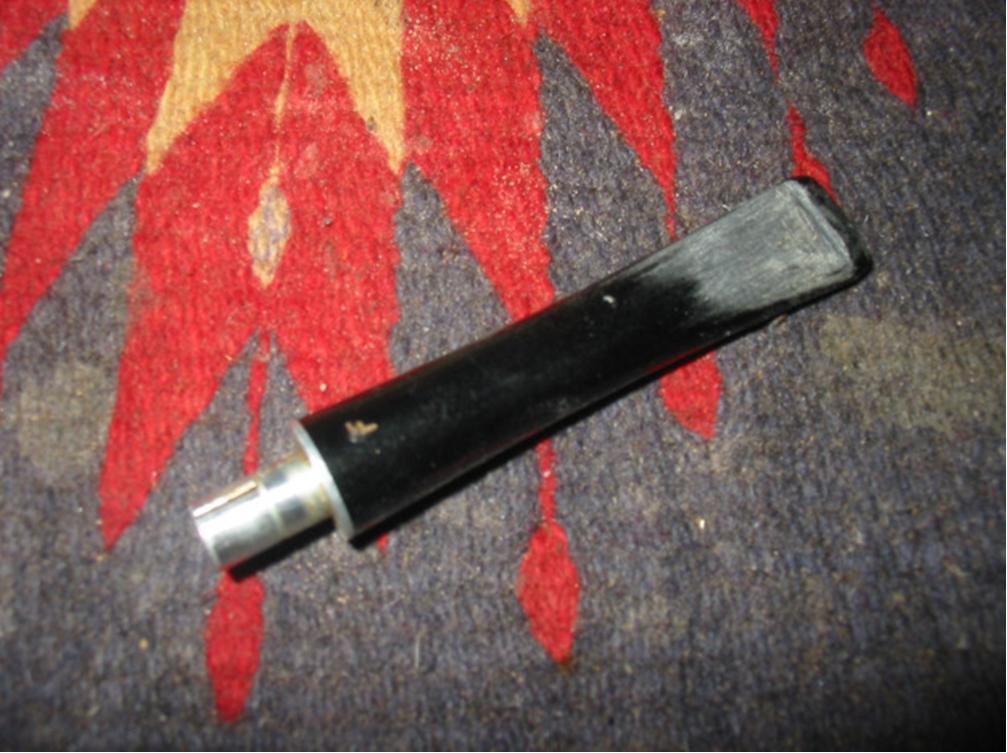
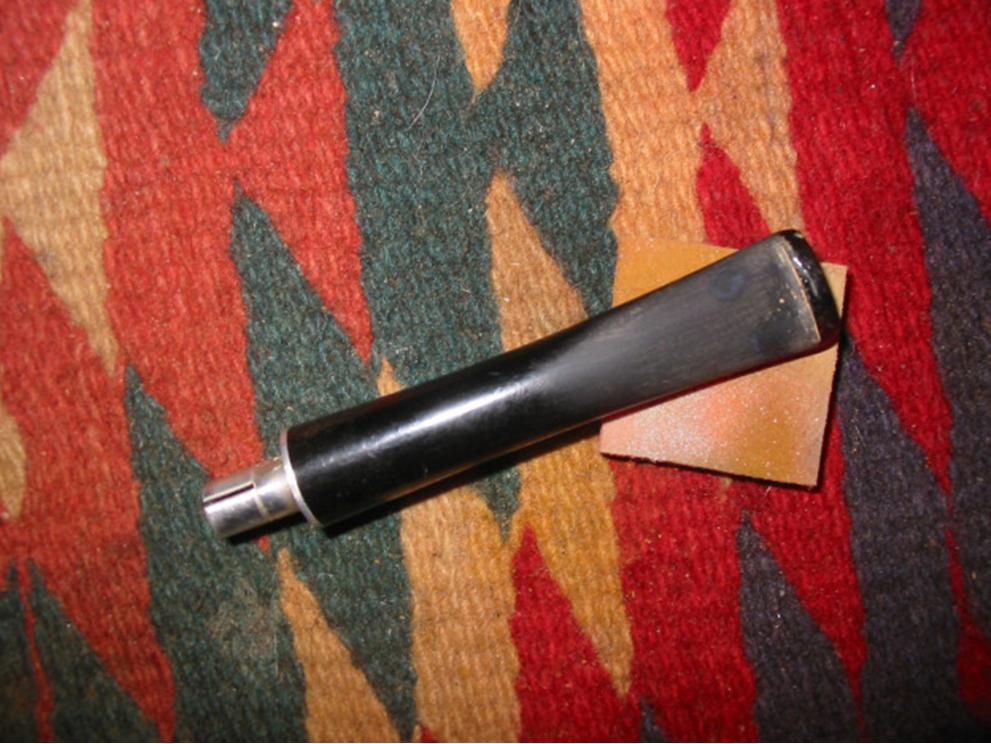
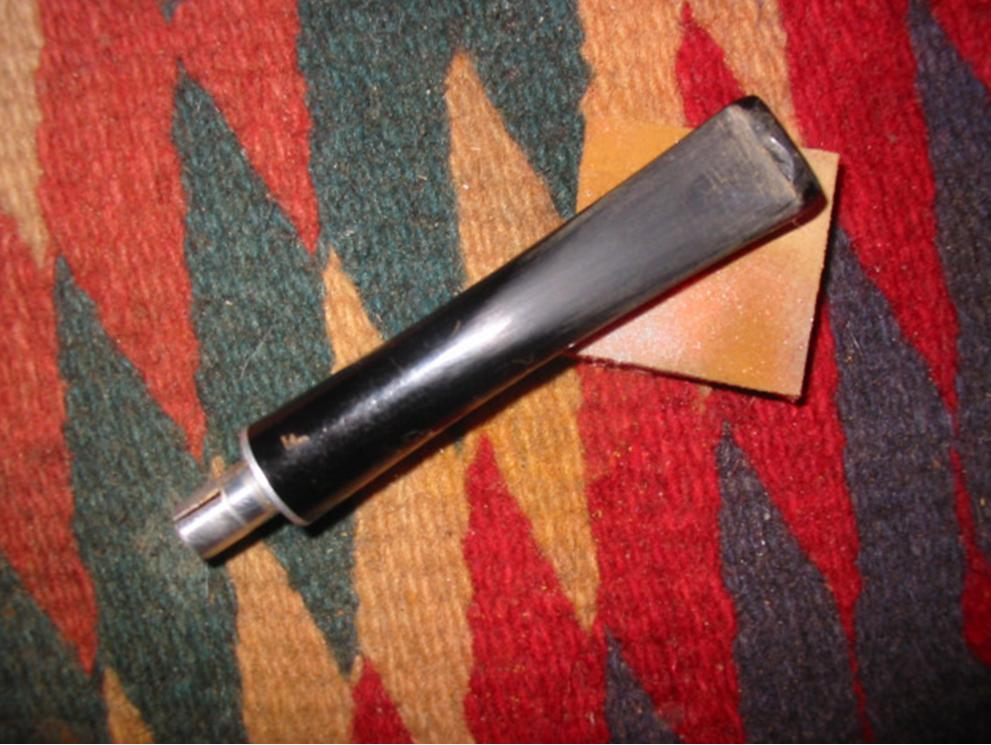
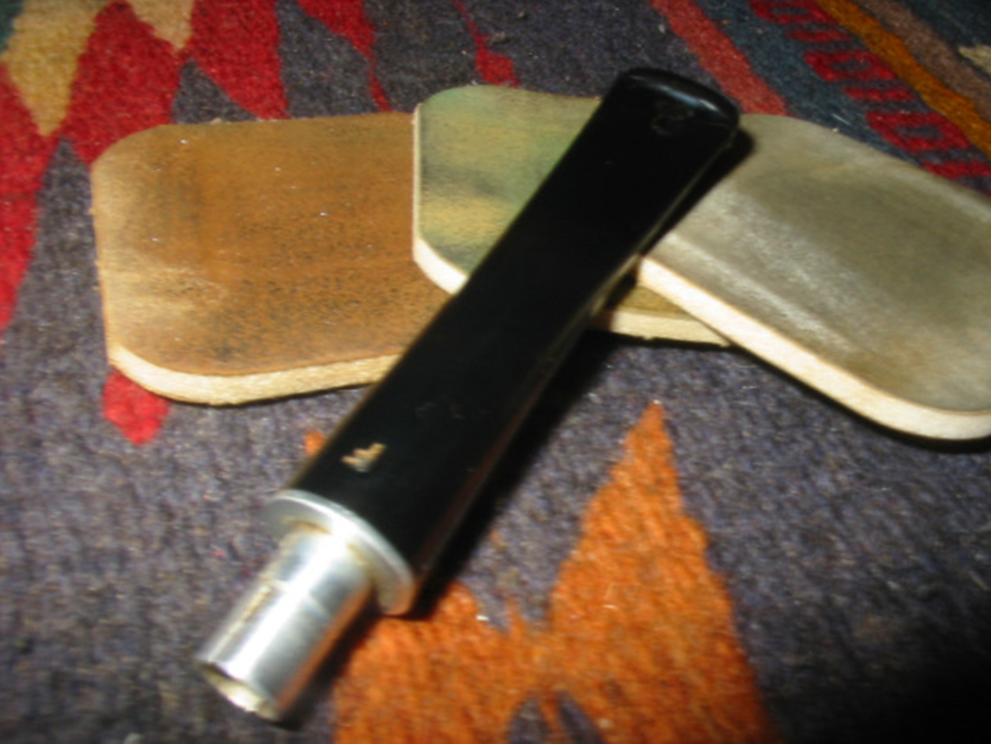
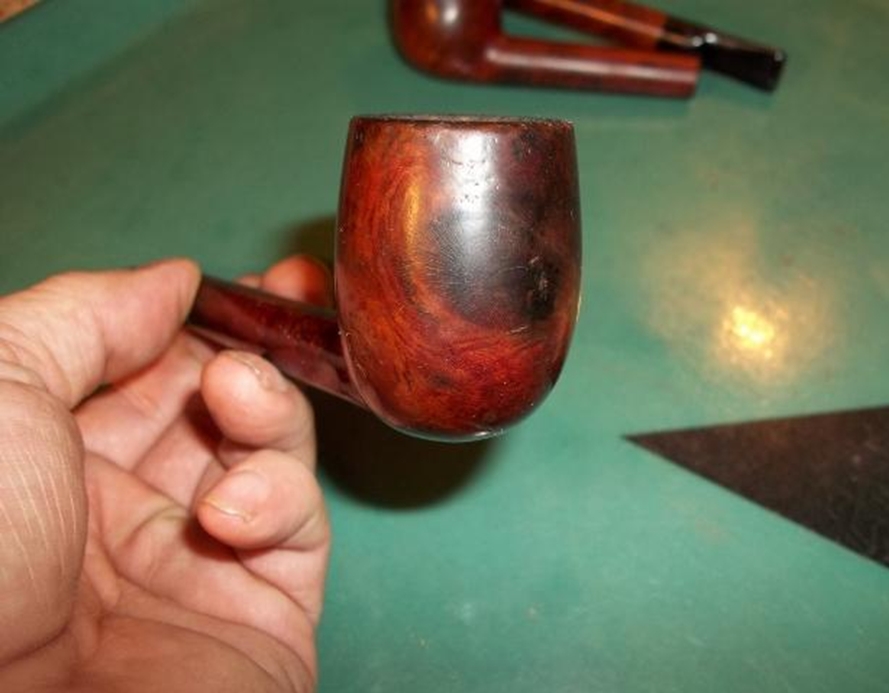
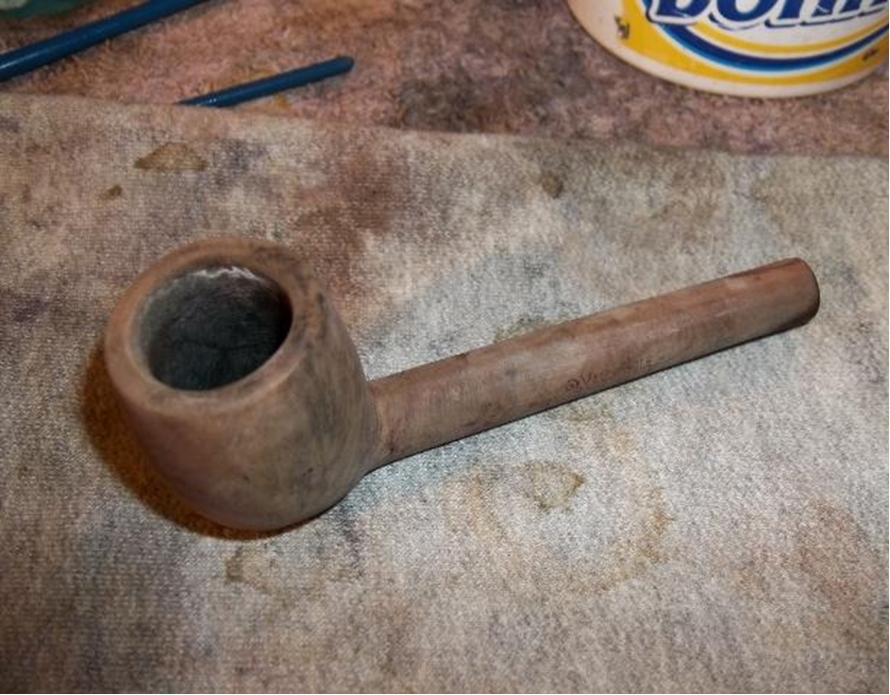
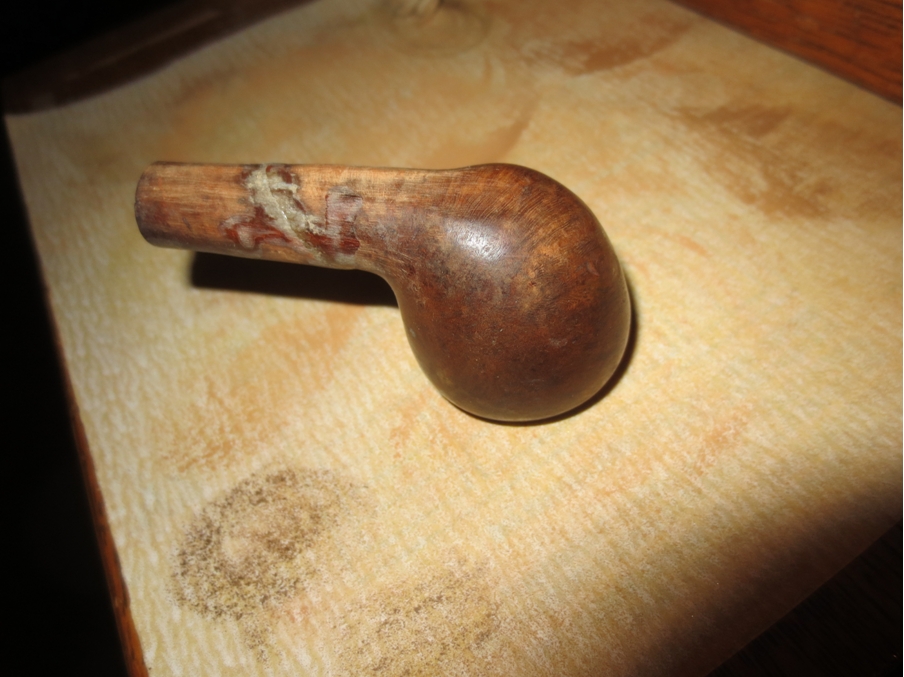
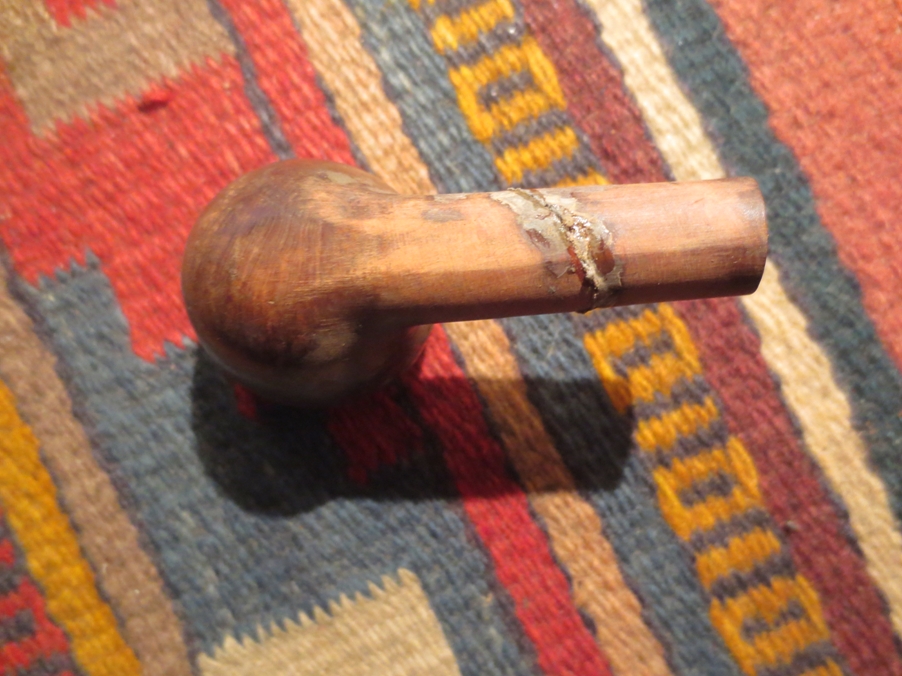
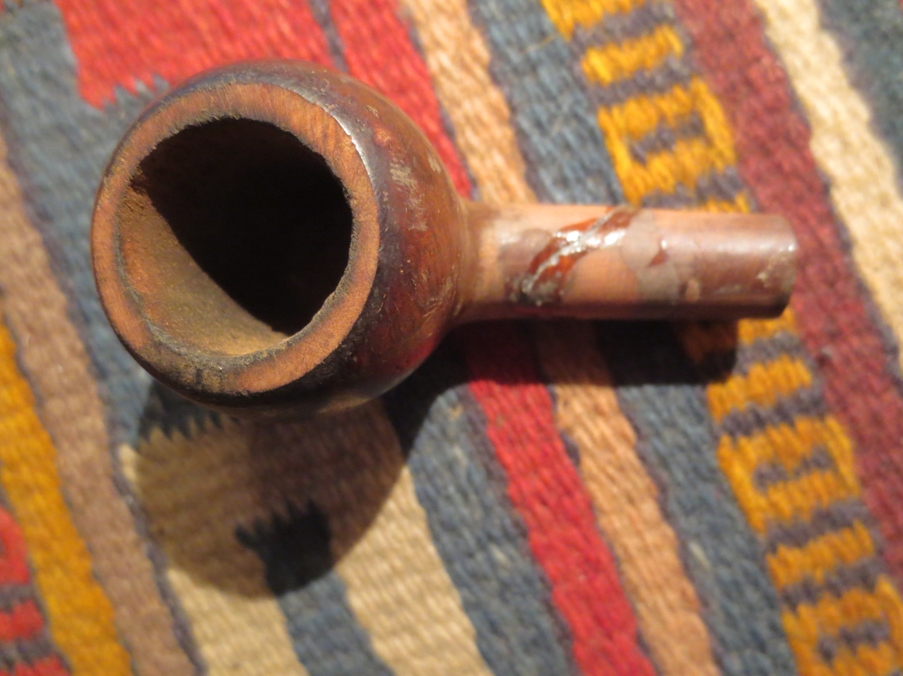
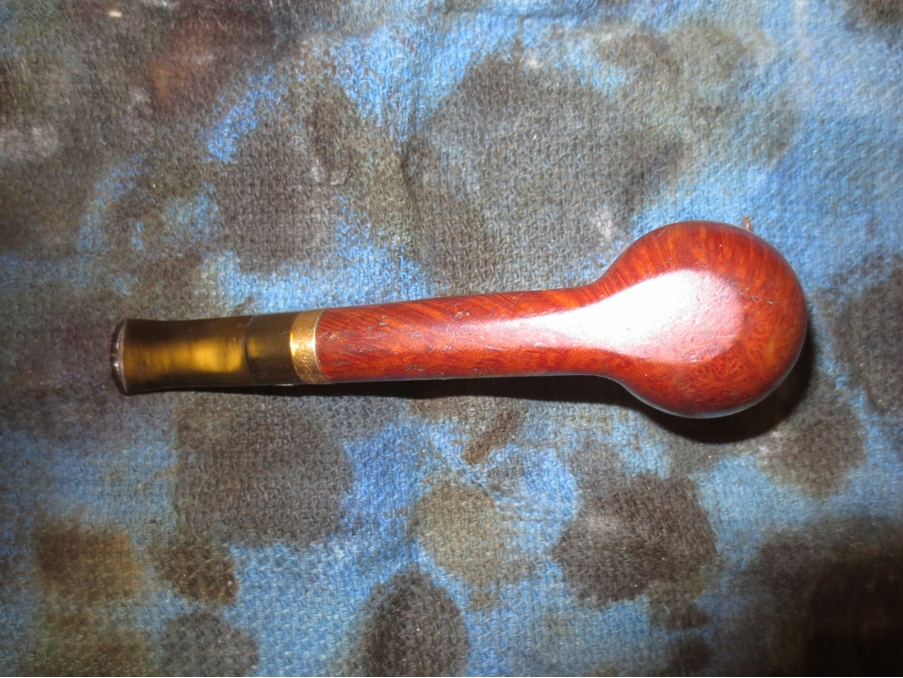
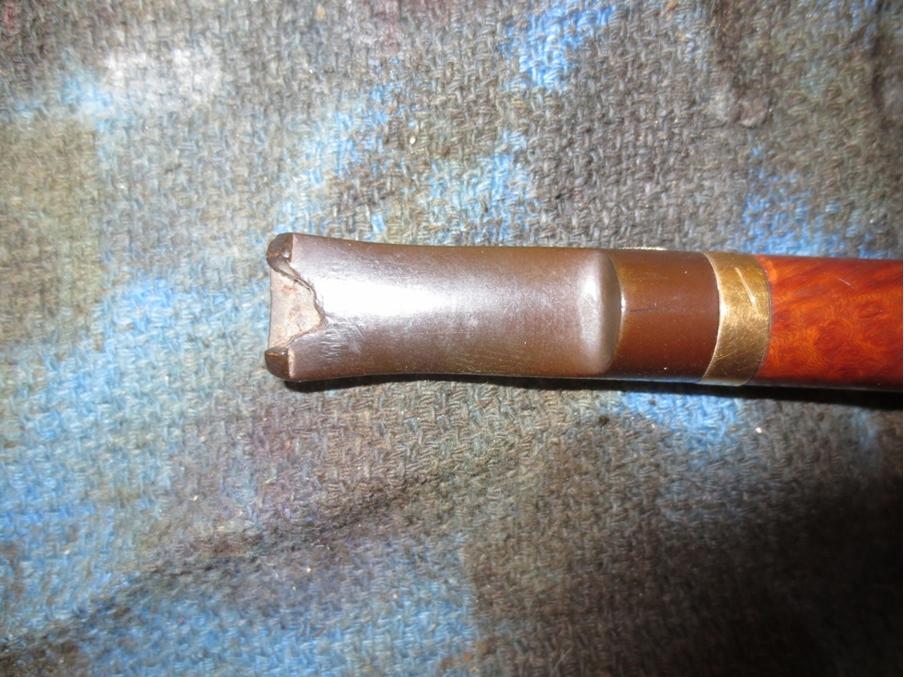
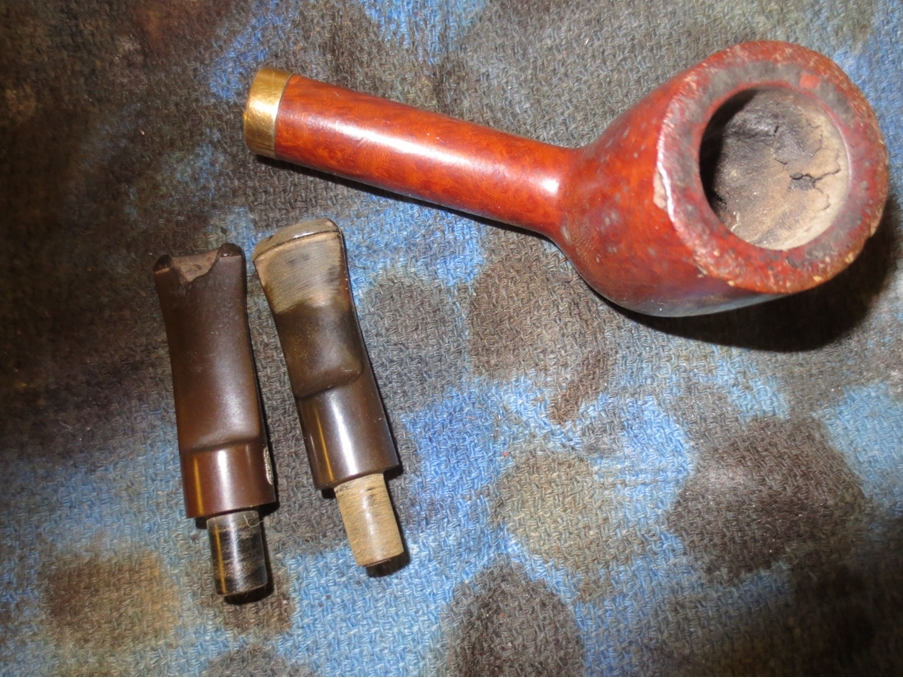
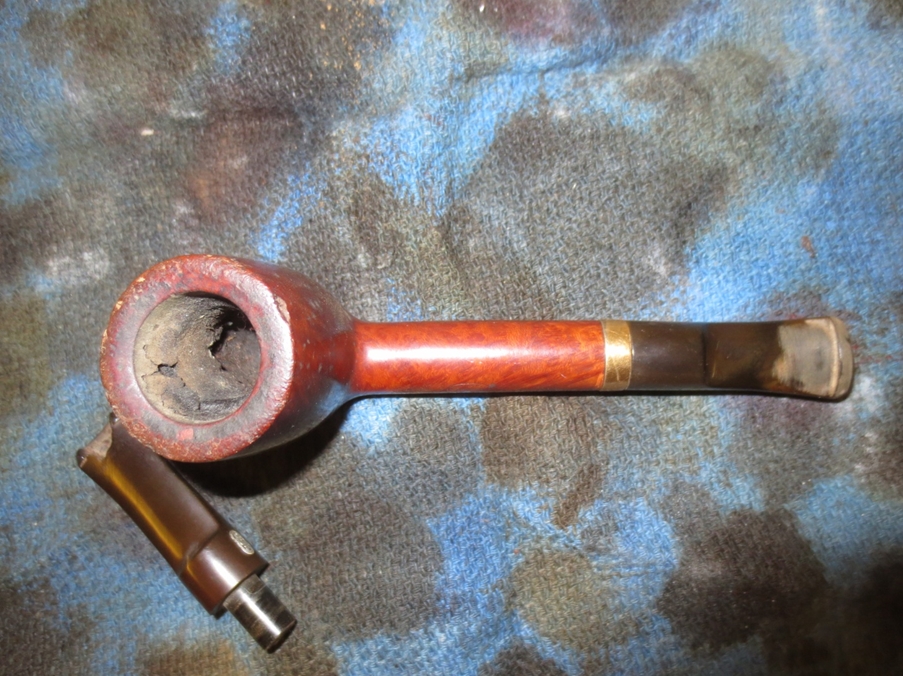
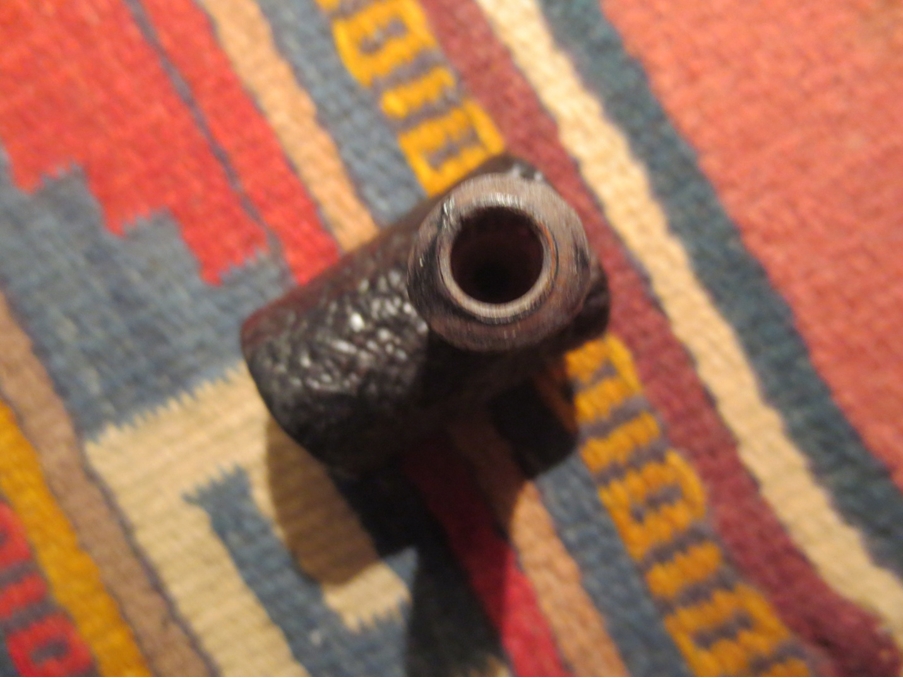
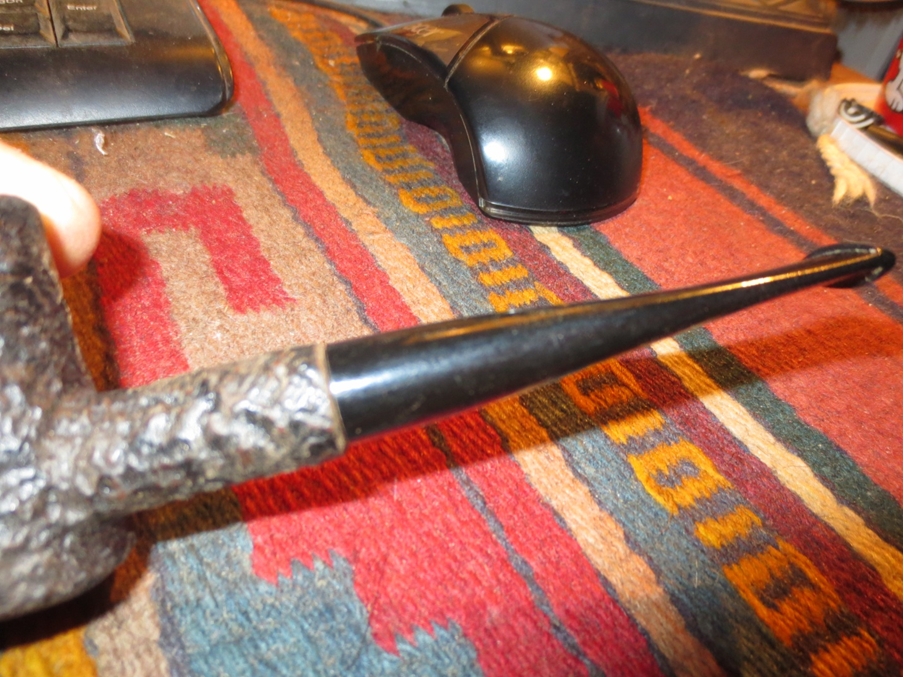
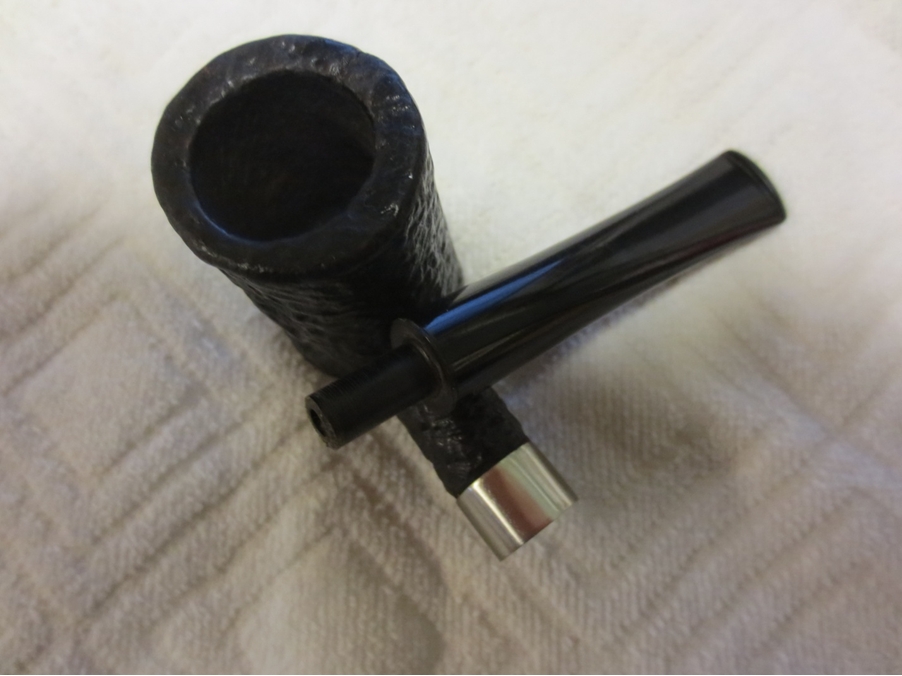
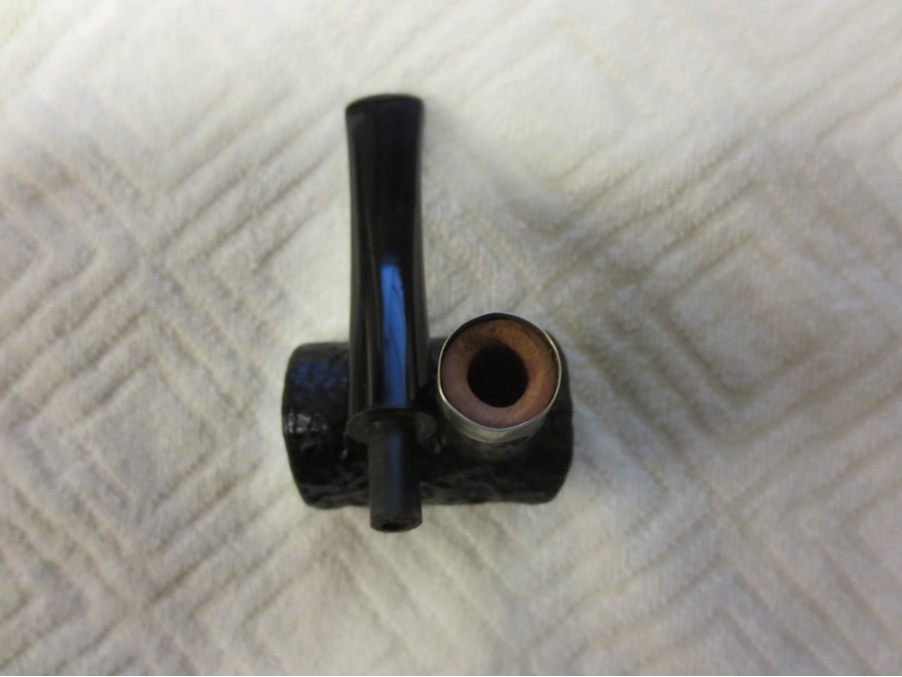
Robert7 The last shot of the Park Lane prior to restoration, above, makes the most serious problem I encountered apparent. The bit was off by about an eighth of a turn, which may seem negligible to one who has never enjoyed the ruminating quality of a fine pipe, but is in fact a microcosmic chasm along the lines of the Grand Canyon to the general viewer.

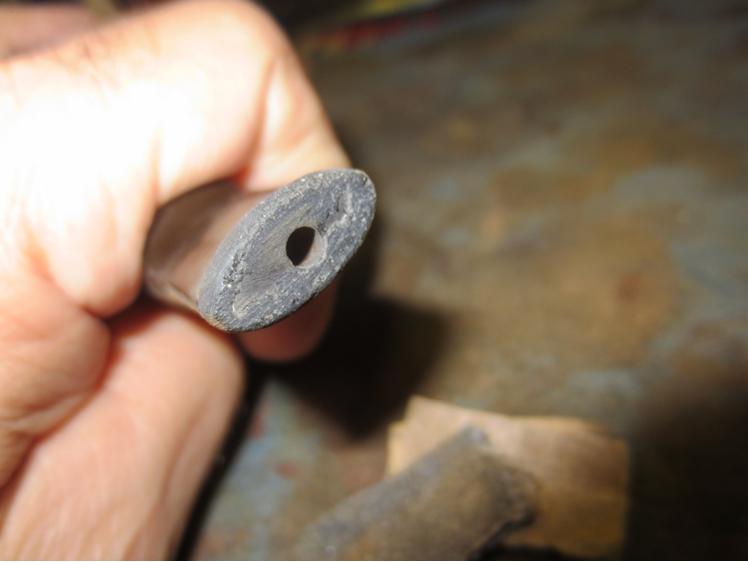
The flaw was masked by the seller of these estate pipes, who, with no small amount of duplicity, placed a piece of paper around the metal tenon screw built into the opening of the shank.Robert8
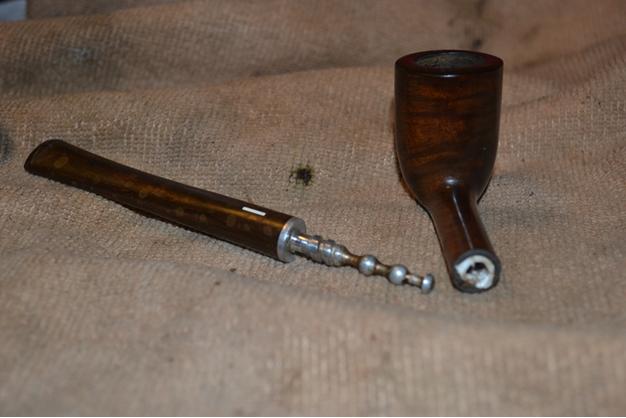
Robert9 The wily culpability of this particular ilk of seller is obvious from the freshness of the paper. Hence the conspicuous starting point for my restoration.

At this point of experience restoring pipes, I consider myself a journeyman in the craft. Although familiar with various ways to tighten Vulcanite, Ebonite, Lucite and other tenon materials, I was unable to locate any useful information on the Internet – the modern day Library of Alexandria, which was dedicated to the Muses, or nine gods and goddesses of the Arts – concerning the re-alignment of metal tenons fixed either to the bit or shank.

Nevertheless, finding myself without a clue how to proceed, I sent an email to Steve Laug, who soon replied with the suggestion that I read his recent online blog on the restoration of an LHS Purex Bulldog. This amused me, as the many notices of comments on the blog in question were forwarded to me, I wondered what all the hoopla was about and had intended to check it out.

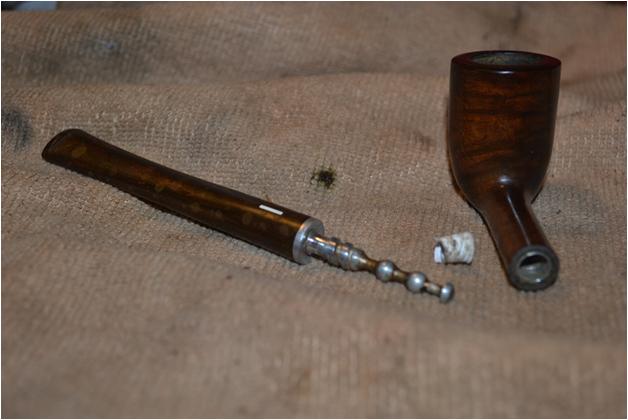
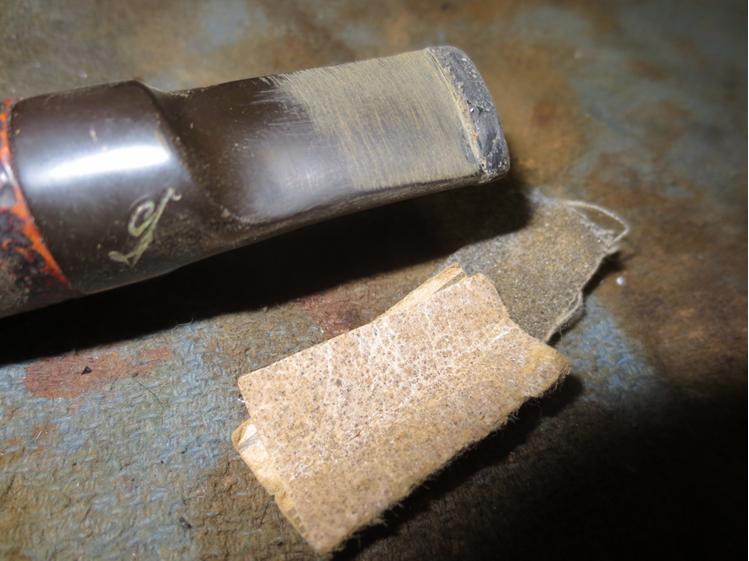
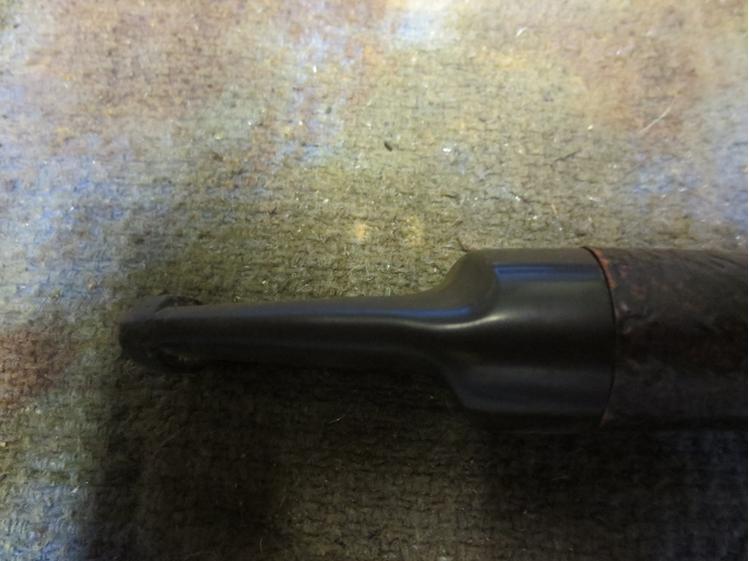
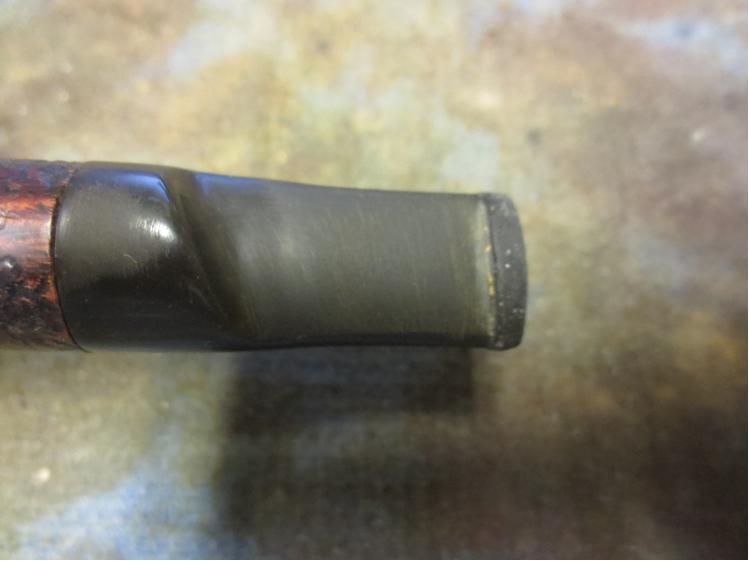
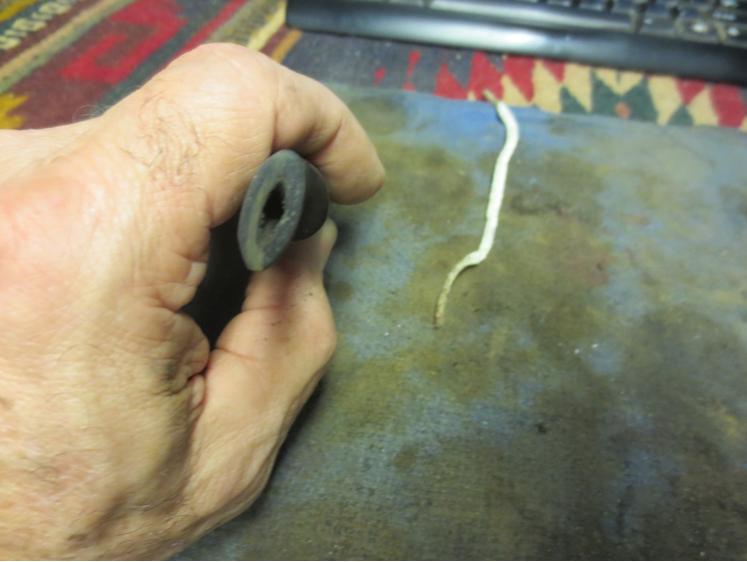
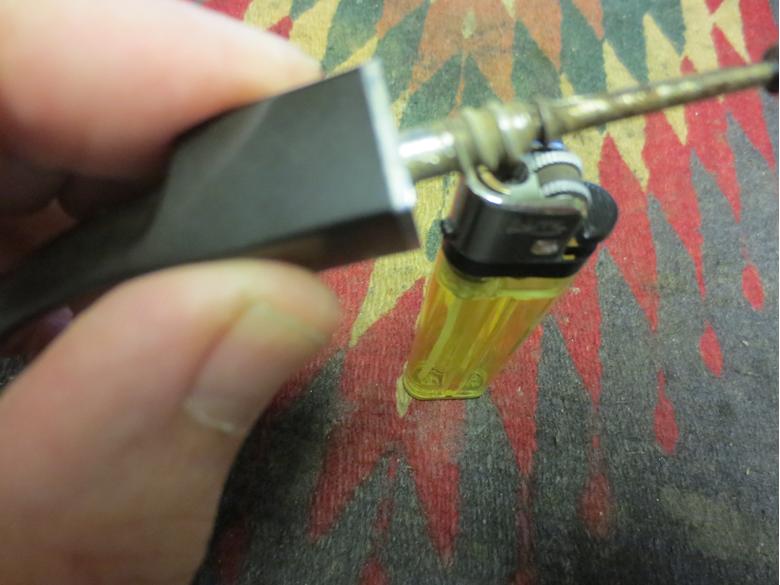
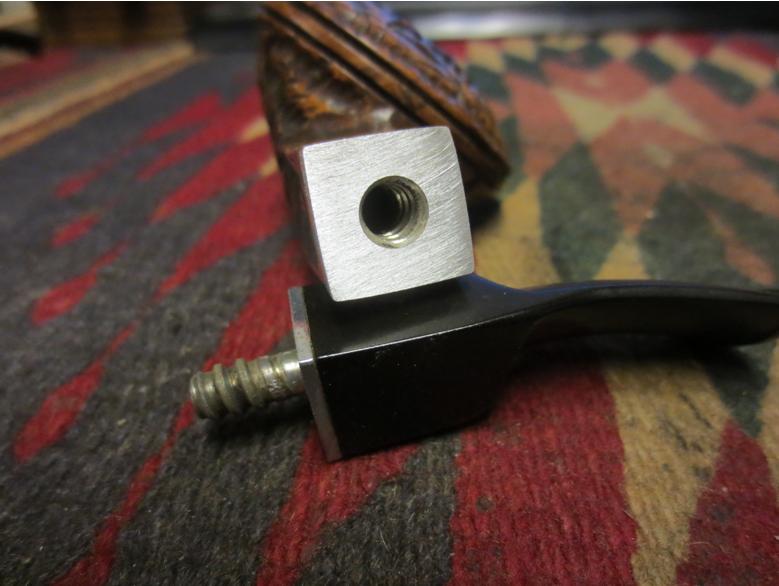
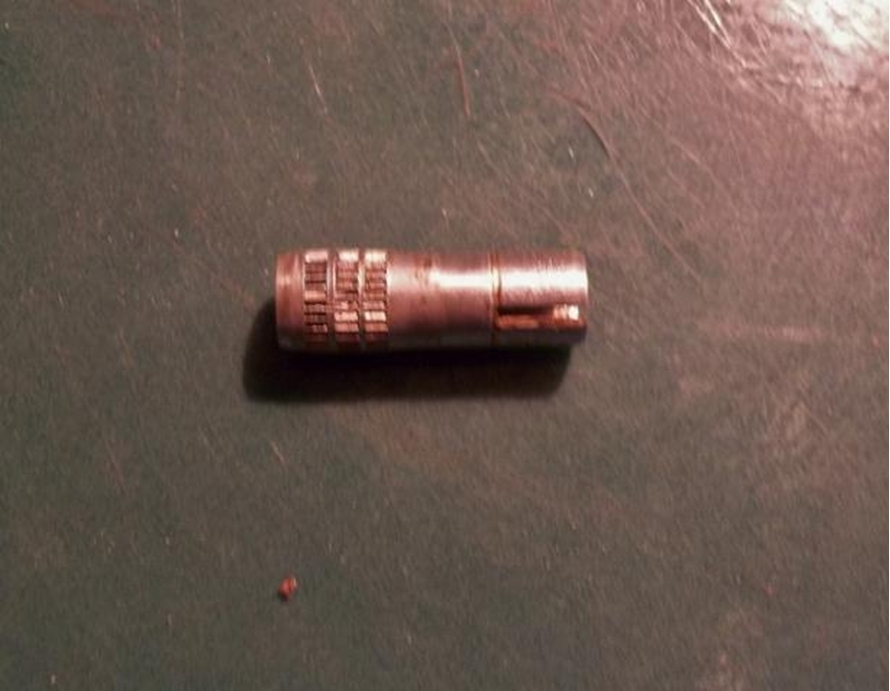
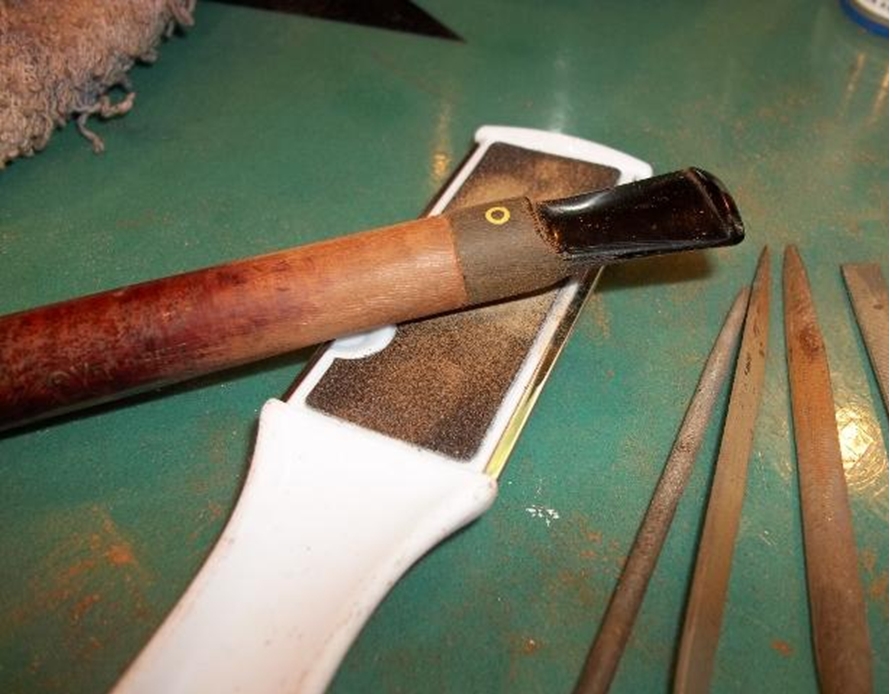
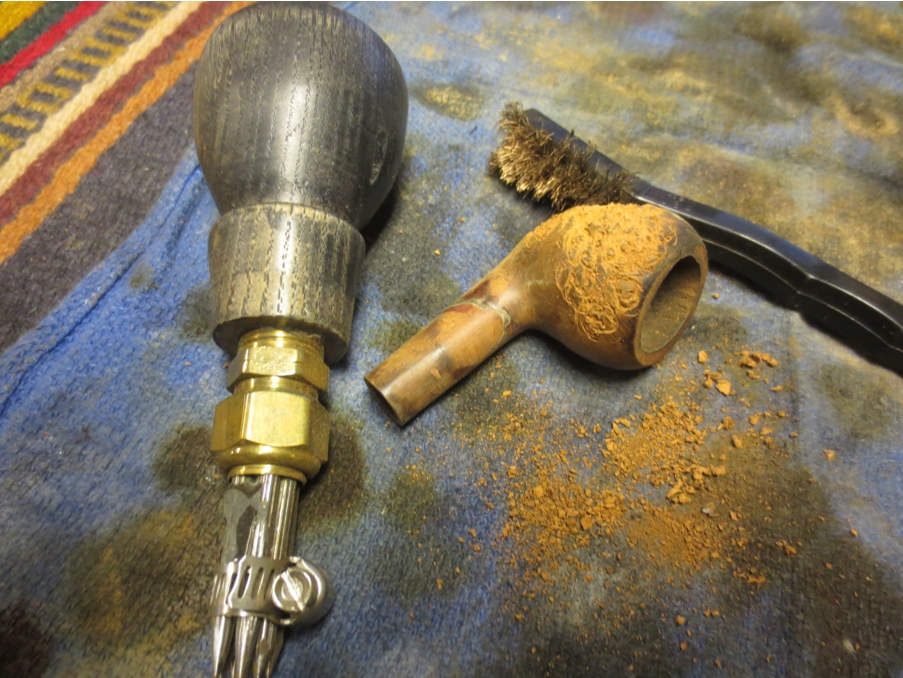
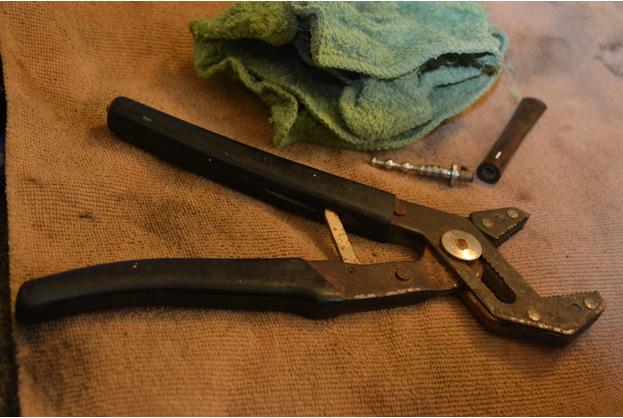
However, awaiting Steve’s reply did not hinder me from proceeding with certain steps I knew, such as the fact that the stinger extension of the tenon should come off. Thinking of that, I tried heating the entire aluminum tenon with the flame of a Bic, careful not to touch the shank opening beyond the part of the tenon Ludwig Stern referred to as the flange [see p. 1, Fig. 2, part 10 of the Patent]. Unfortunately, the tenon still would not budge. Even the stinger [illustrated as a whole as part 9, with parts 13, 14 and 15 forming its length and pushing into part 8] seemed to form a single piece. I was aware this would be odd, if not unprecedented, but after four attempts, I swear it would not come off.Robert10 One lesson I did manage to learn from my dad in his countless frustrated endeavors to teach me about mechanics was that if a part of a mechanism or machine would not come free using reasonable pressure, don’t force it. But, always believing that not all of his maxims were absolute, I suspected he meant it as a guideline that was not immutable under controlled conditions I might someday, by some miracle, learn to recognize. Therefore, I found a small wash rag and a pump plier that I feared might be overkill, but it was all I owned that had not been stolen by previous apartment owners. I also possess a wicked sense of adventure at moments like these. Adjusting the rivet to match the job, I then wrapped the small towel around the base of the tenon/stinger by the flange and loosely clamped the end of the plier over the tenon. As I applied pressure, I could feel the two sides of the mouth turn and clamp firmly down on the rag-covered metal. Gripping the bit in one hand, I turned the plier with my other and immediately felt it begin to move. Slowly, it came free and undamaged.Robert11 In the meantime, Steve replied with the suggestion that I read his recent online blog on the restoration of an LHS Purex Bulldog. This amused me, in a good way. As the many notices of comments on the blog in question were forwarded to me, I wondered what all the hoopla was about and had intended to check it out.
Reading through to the first mention of the difficulty encountered by Steve, my heartbeat quickened. Confident I was on the verge of making the discovery that would enlighten me, I continued, on the edge of my seat on the couch in my living room, as though I were reading a real page-turner of a book or watching an Alfred Hitchcock thriller or perhaps “The Twilight Zone.” Indeed, in my mind I envisioned the Canadian master at work in his studio, so vivid were the words and photographs flashing across his computer screen.

Nearing the expected moment of revelation, I was consumed with anticipation – only to come to a single photograph of Steve’s LHS shank that dashed my hopes in a nanosecond, as is the popular if peculiarly à propos phrase these days; for the illustration revealed the exact reverse of my predicament, one that could not be repaired in the same fashion.

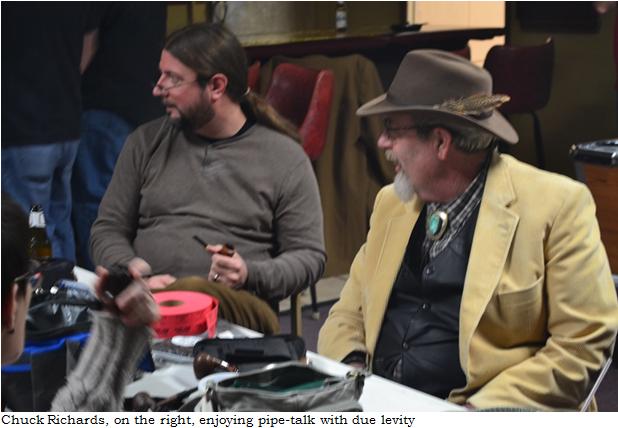
Delayed but not daunted, I set out to do that which I knew I should have attempted in the first place: taking the Park Lane to my own friend and mentor, Chuck Richards, I humbly sought his advice.

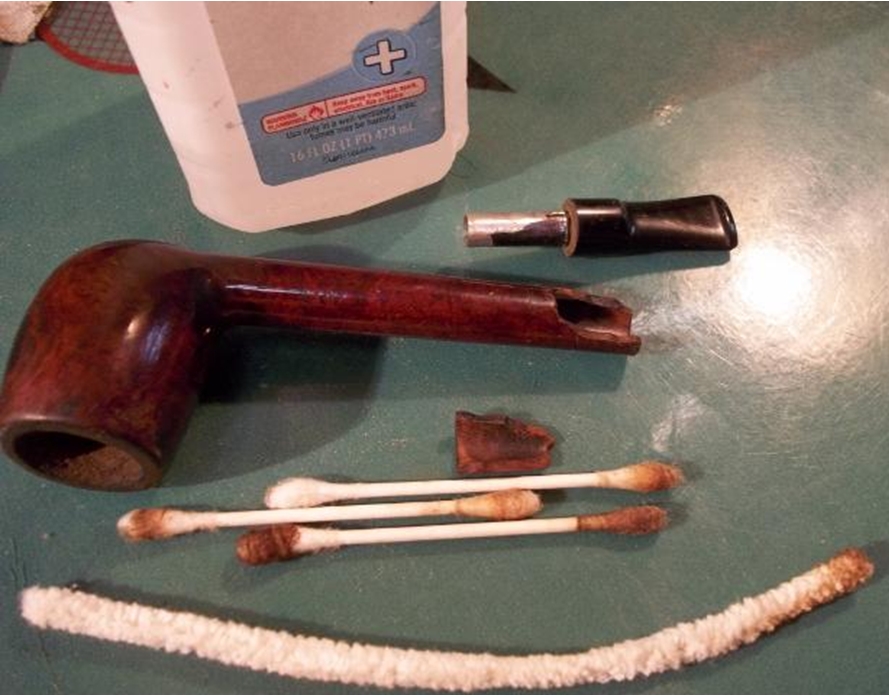
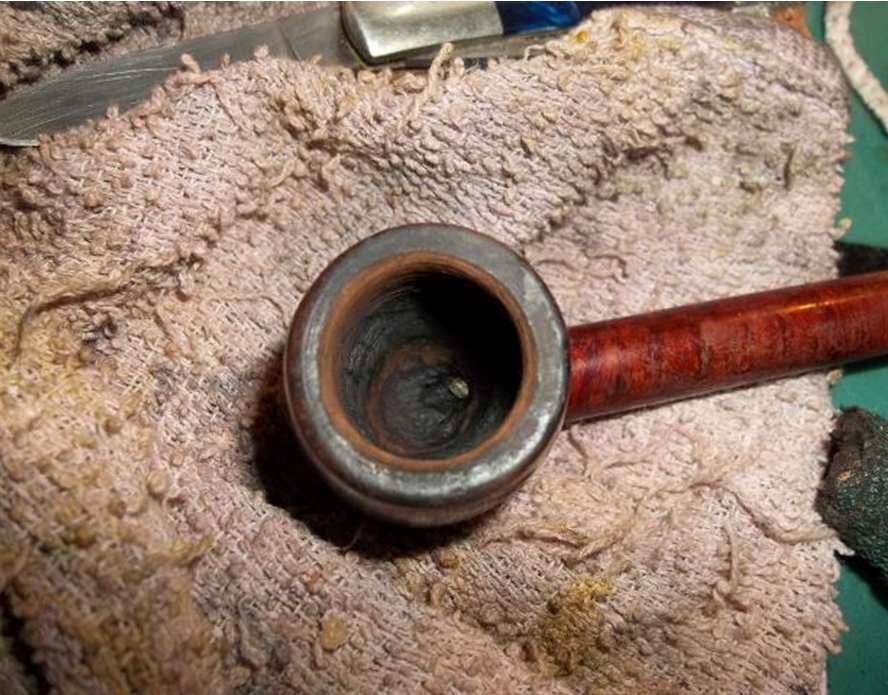
Before doing that, I continued where I had left off, cleaning the tenon and stinger inside and out, including the corroded threads that screwed into the bit, using a small square piece of cotton cloth soaked with Everclear and bristly cleaners that passed through the airways. To be done with it, I also ran a pipe cleaner with alcohol through the air hole of the bit, and when it came out filthy, recalled Steve’s words in his blog that this sort of pipe often needs considerable cleaning of the shank and bit. Quite a few cleaners later, I had the mess under control for the time. Known to my dad for having “a mind like a steel trap” and to my friends as being on the stubborn – or, as I prefer to think, confident side – I was by whatever label loathe to surrender to any challenge.Robert12

Robert13 When I arrived at the pipe shop and we exchanged pleasantries, I presented my distressed pipe. Chuck, pipe of the day in mouth, put on his eyeglasses and examined the LHS closely. Within a blurring handful of seconds, my older, more experienced mentor made his diagnosis, telling me with his typical certitude to heat the tenon before tightening it into the bit. A man who prefers to let people learn as much as they can on their own, Chuck then offered the rare treat of extra advice: “It will be counter-intuitive.”

Intrigued, I took a seat in the pipe shop and, starting a fresh bowl full of tobacco in a new pipe, mulled over the problem in my mind. In a flash, I thought of a comparison, and unfortunately blurted it to the complete perplexity of all of the cigar smokers present.

“Like turning into the skid on ice!”

Chuck, caught unawares by the outburst and not at first grasping the metaphor, at last smiled and said, “Yes, something like that.”

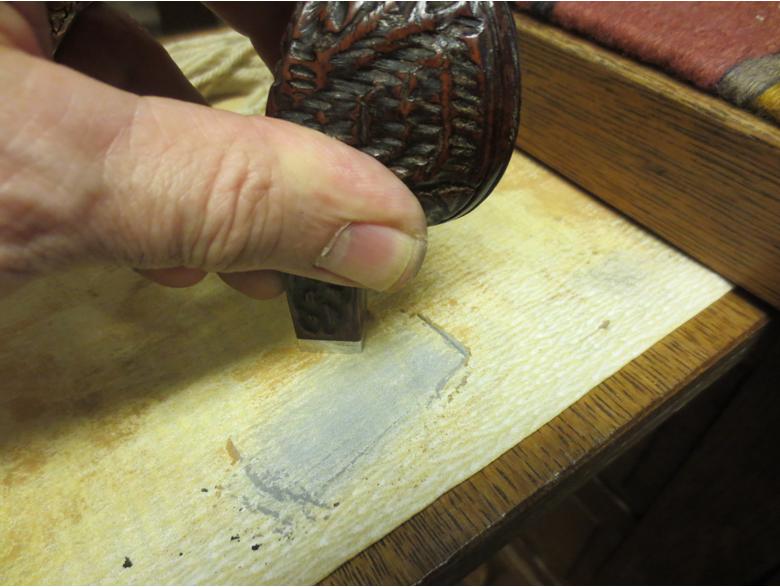
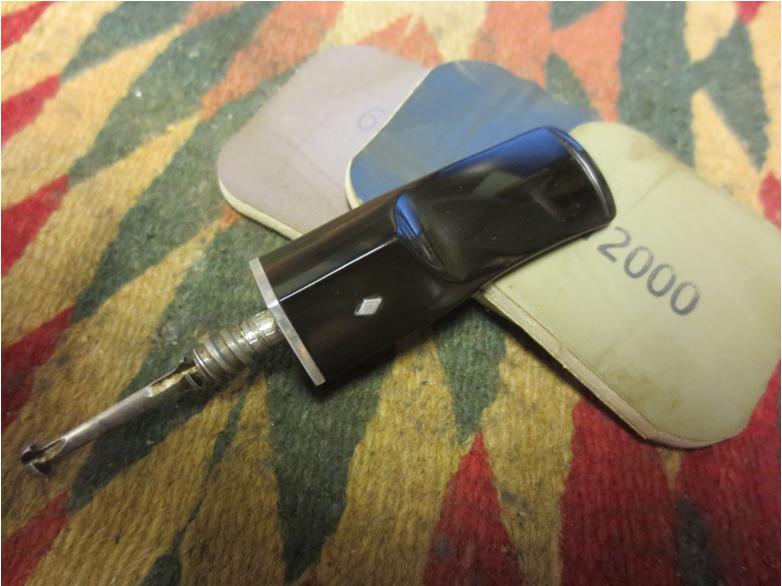
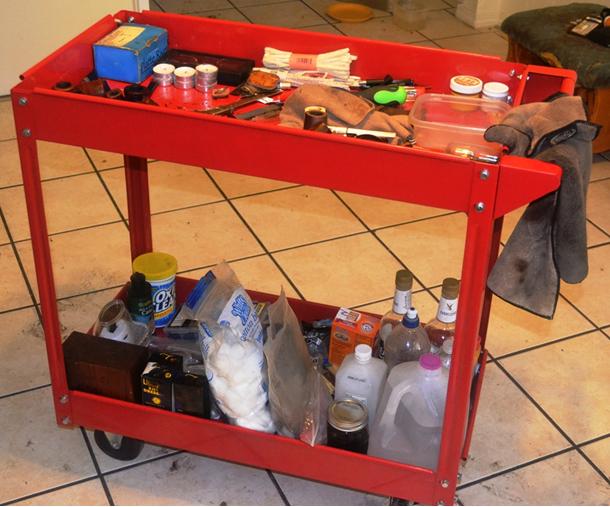
At home later, the first chance I had, I sat down with my movable feast of standard implements of construction, including quite a few that were improvised, to make my first attempt at the genuine repair of a loose bit.Robert14 Following Chuck’s advice, and keeping the counter-intuitive dog treat in mind, I was set to apply heat to the tenon stinger when the idea struck me to try removing the stinger again. Of course, then it came out with a simple turn of my fingers, apparently loosened by the work I did earlier and the passage of time.
And so I flicked my Bic and held it under the small tenon with even more care not to burn the precious Cumberland bit. (A Cumberland, by the way, is made from a special sort of Ebonite that can be colored with limits, which in turn is a particular variation of Vulcanite. This subject, I understand from research, is a matter of some hot debate.) With the tenon blackened, I quickly tossed a small rag over it and grabbed my pump pliers, clamping them firmly and remembering not to turn the small metal insert opposite from the direction the bit was off but toward it – as one would, if one hoped to avoid losing control of a vehicle and crashing or rolling, turn into the skid on black ice. Thus one particularly memorable experience on a bridge late one night in Colorado Springs, when my training and reflexes saved me, proved useful in this new endeavor. Each of several increasingly difficult rounds of this process brought the bit closer until it was aligned snugly.

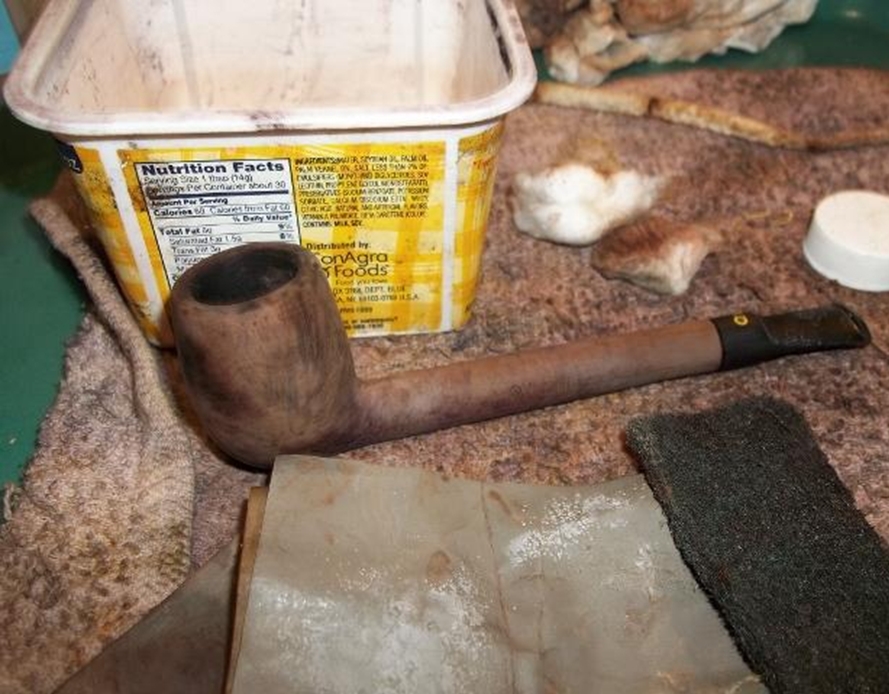
Reaming the chamber and sanding it with 150-grit paper before 200 and then 320 was an easy task, as was using super fine 0000 steel wool to remove the rim char and excess dark stain that was popular when the pipe was made somewhere around three-quarters of a century ago. The rim and bowl then only needed a progression of micromesh from 1500-4000.

At this late stage of the restore, I retorted the pipe, again, unfortunately, with the tenon in place. I at least left the stinger aside for that process, which required about five Pyrex tubes of Everclear boiled through the pipe’s innards to clear out decades of crud and juices soaked into the briar from considerable use by someone who loved this pipe.

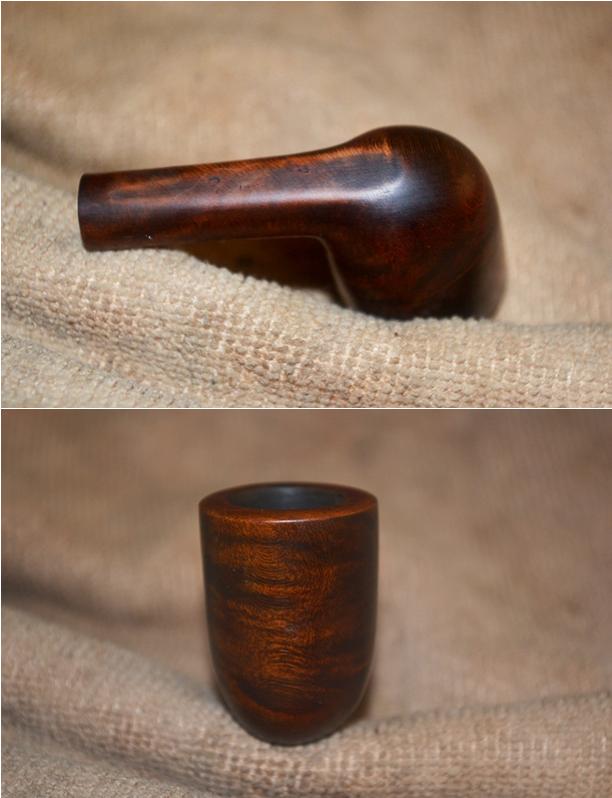
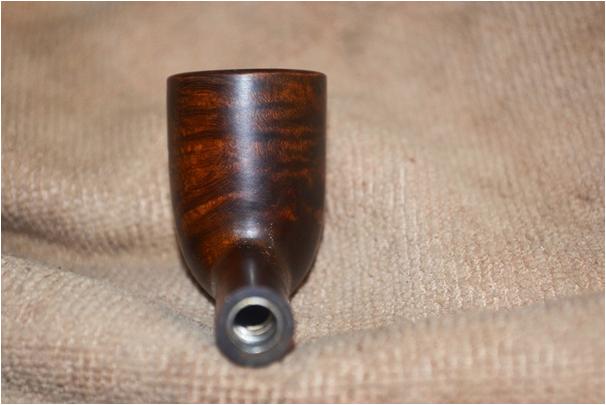
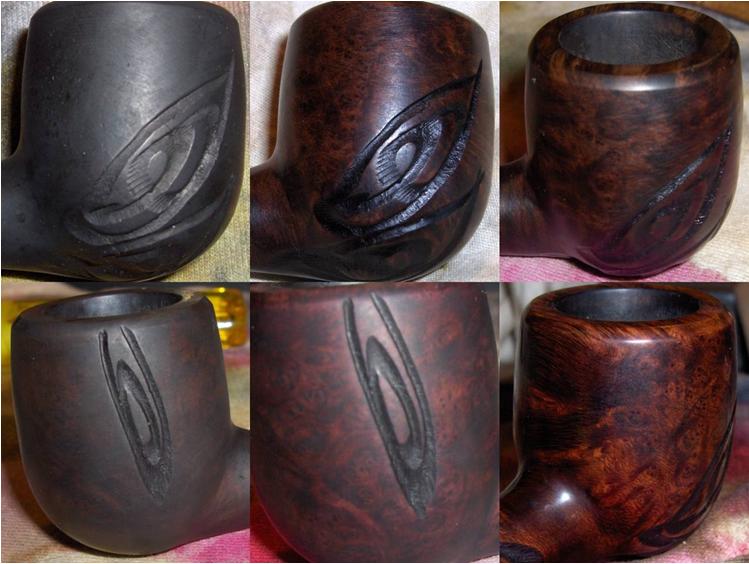
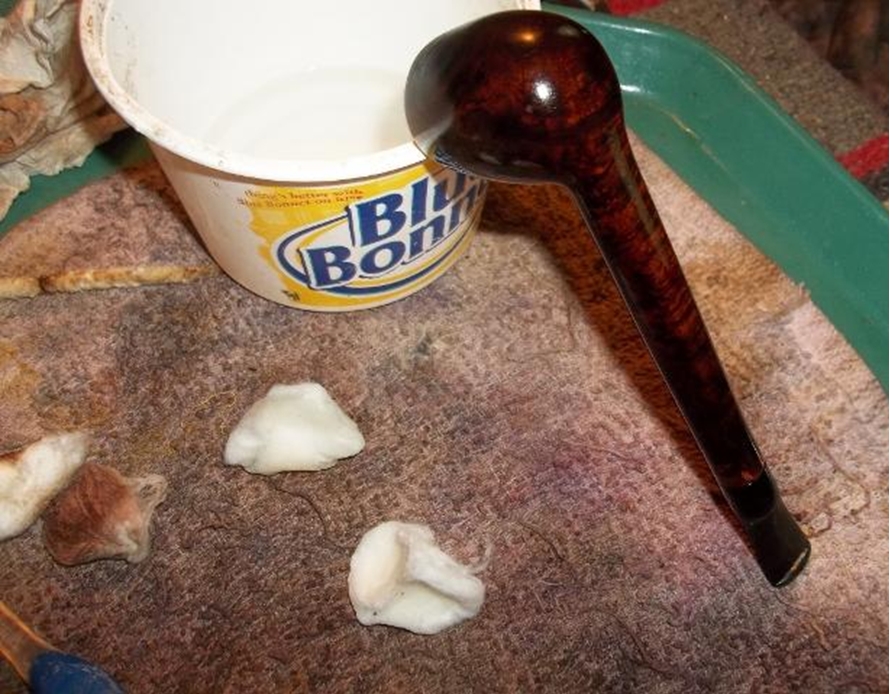
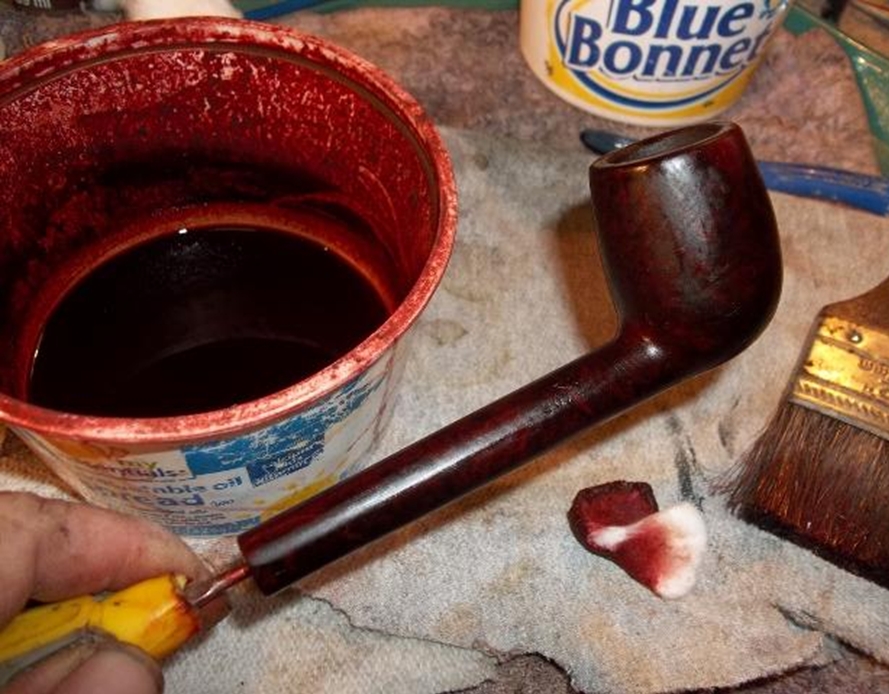
I stained the briar with Lincoln Brown boot stain, as opposed to Medium Brown which appears lighter, and flamed it before removing the thin layer of char with gentle rubbing using 3600 micromesh.Robert15
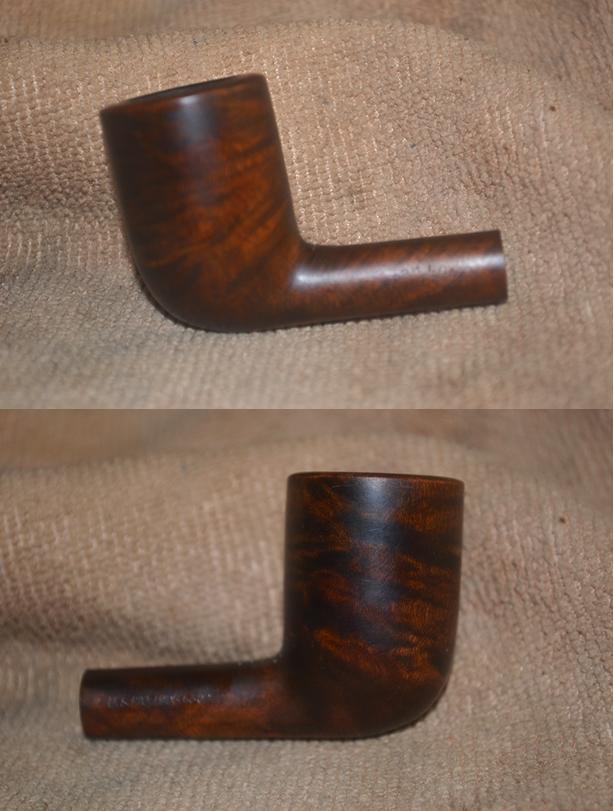
Robert16

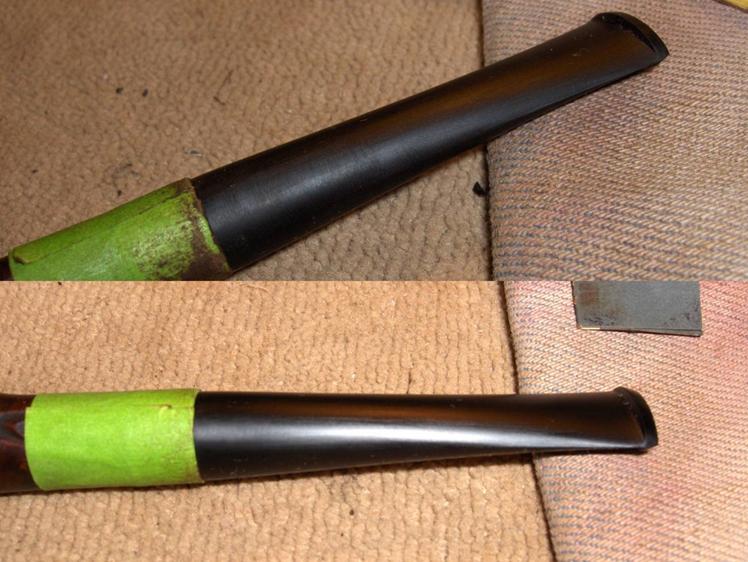
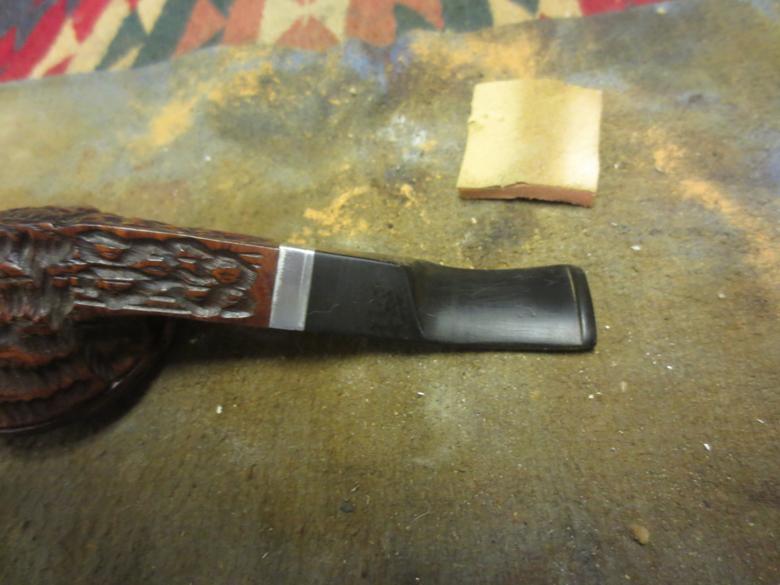
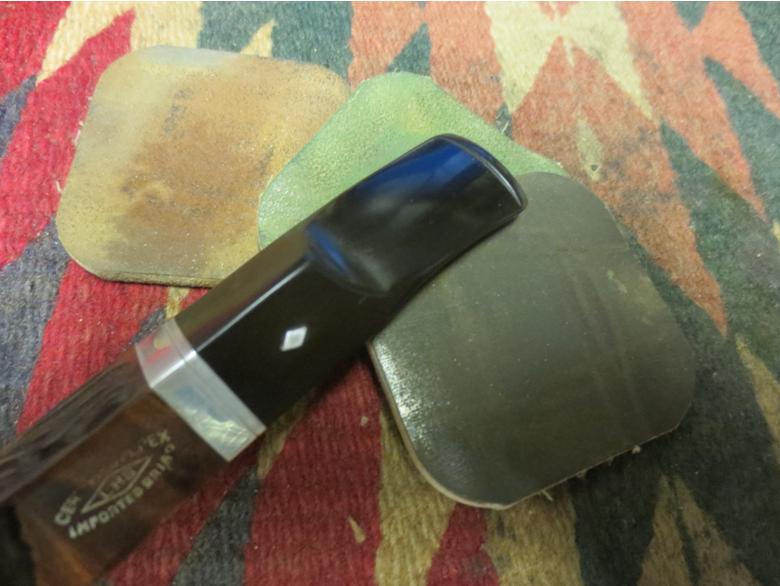
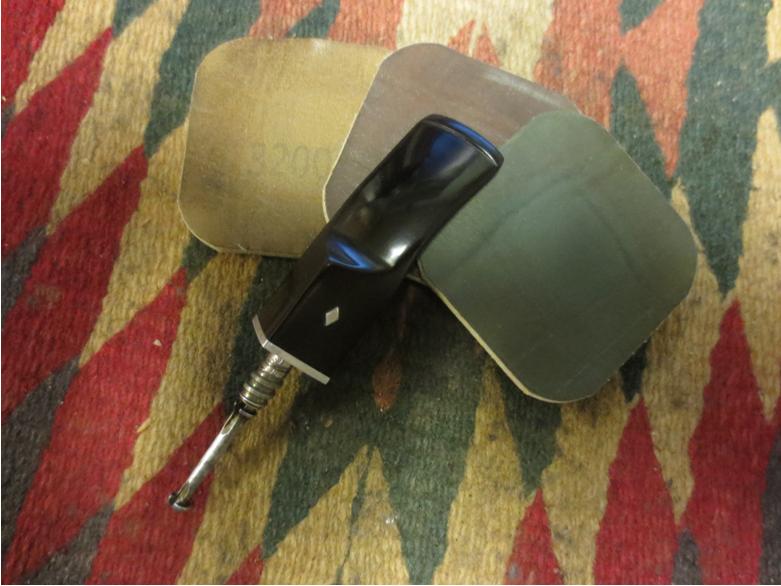
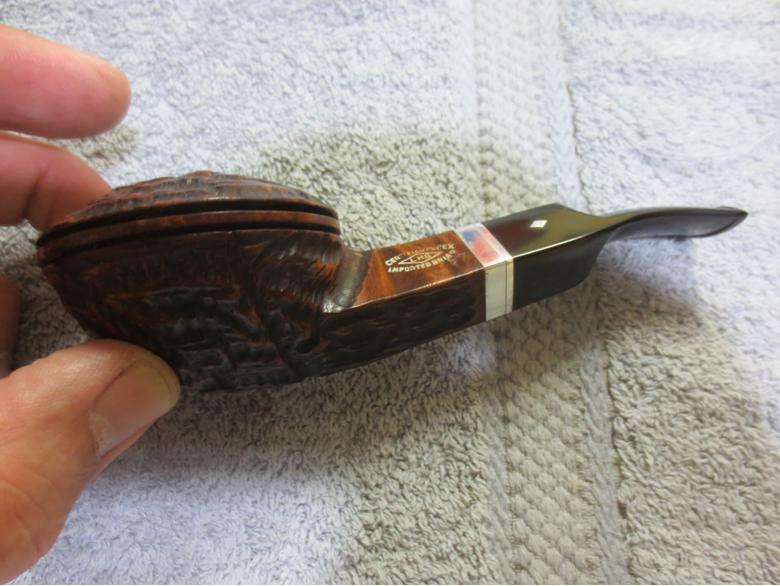
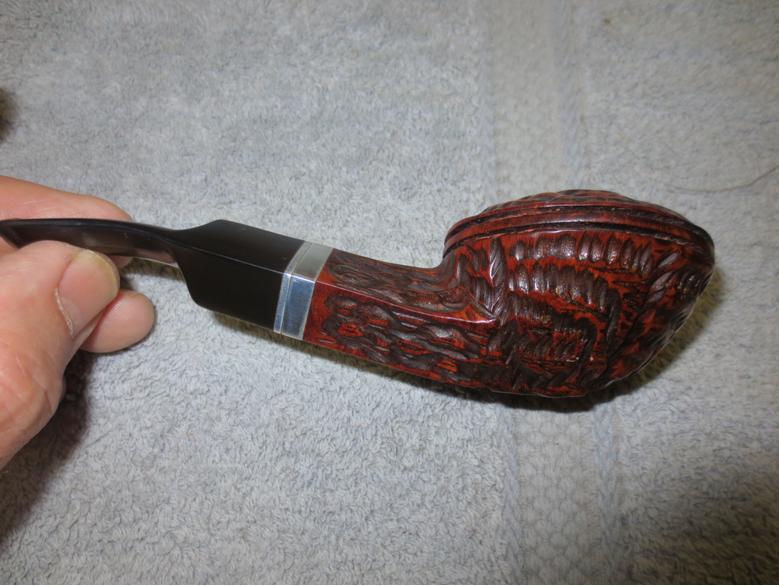
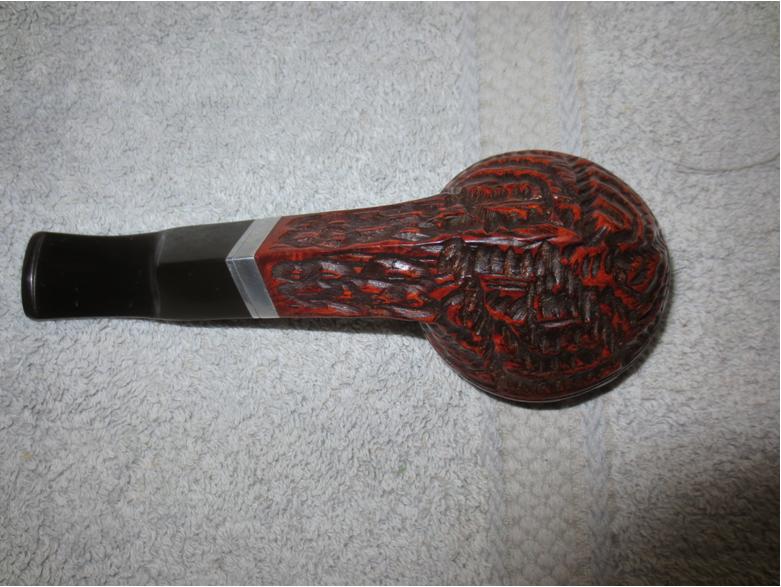
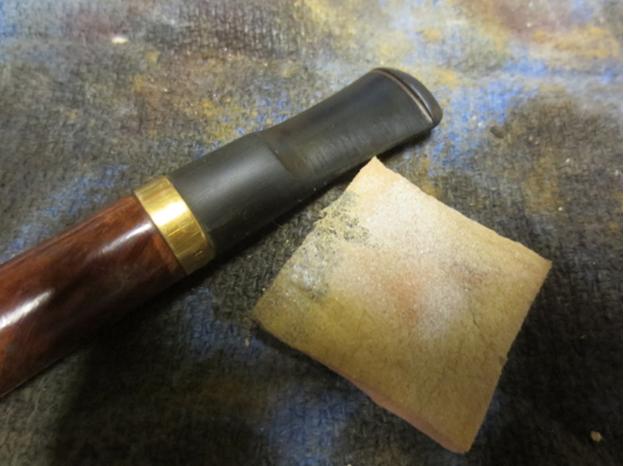
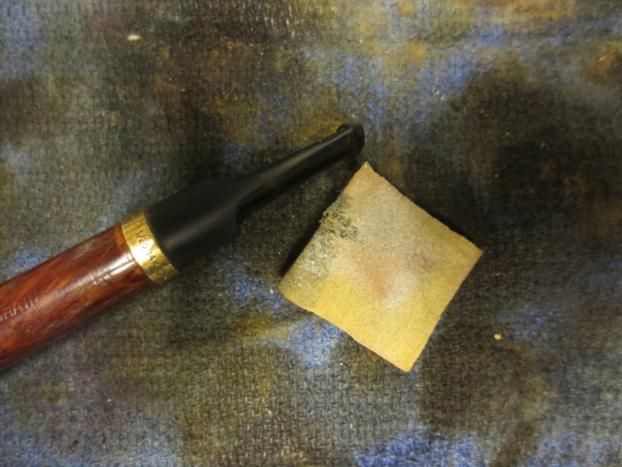
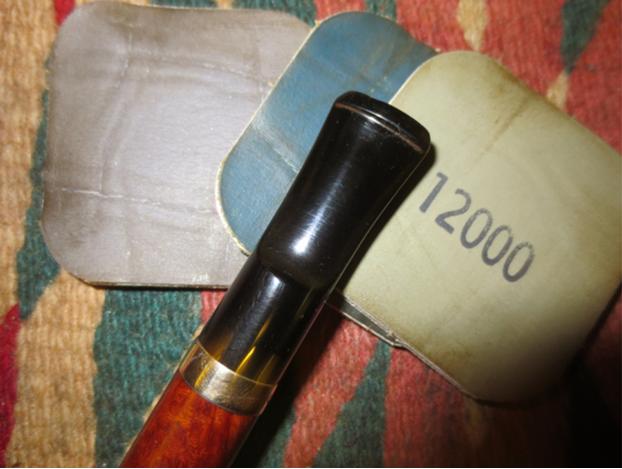
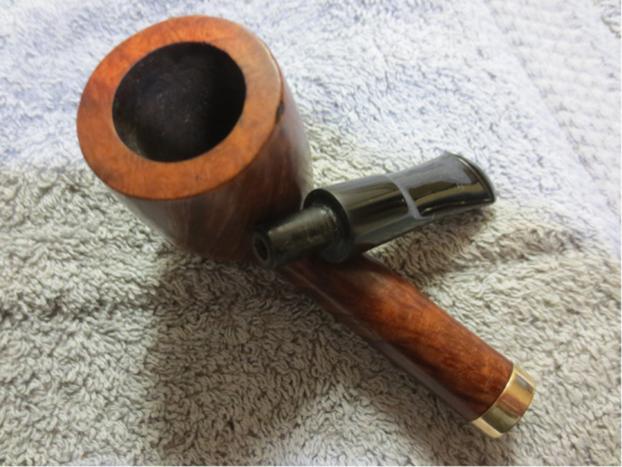
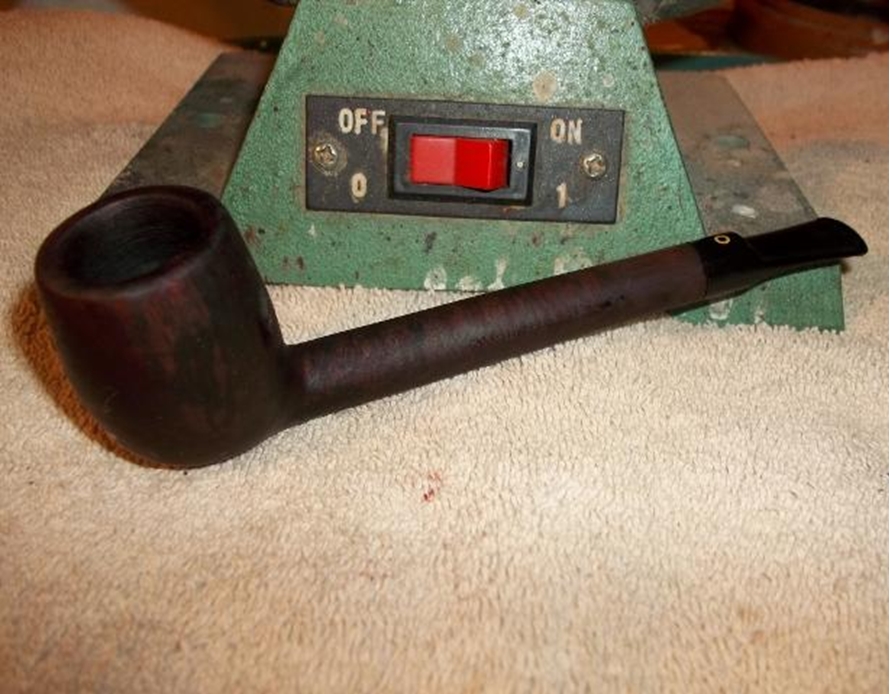
Robert17 At last I am at the end of this rather strange, I admit, blog. I buffed the stem with white and red Tripoli and White Diamond, using a soft cotton cloth and a clean wheel between each. Then I used white Tripoli, White Diamond and carnauba on the wood, with the same steps between each.Robert18

Robert19

Robert20

Robert21 CONCLUSION
Mr. Boughton had intended to offer this fine LHS pipe for sale at his online store. But following an odd impulse he could neither resist nor explain, he found himself loading a bowl of one of his best tobacco blends and, before he knew it, striking a match and placing the flame to the firm top layer.

The magical qualities of the pipe immediately became apparent. Where he had been tense to the point of explosive results, he was consumed with a sense that all was right in the world. Continuing to puff the mysterious pipe that had somehow found its way to him, he pondered the possible reasons behind the overwhelming sense of attraction to the diminutive pipe. Nothing he could imagine provided a satisfactory explanation, and Mr. Boughton also found he no longer cared.

Mr. Shakespeare also wrote, on the same subject and in the same play: “And yet, to say the truth, reason and love keep little company together nowadays.” Truer words may never have been written.

For at that very moment, although Mr. Boughton thought he was sitting on his sofa in his suddenly less dreary little apartment in the heart of the American Southwest, he was, in fact, still on the outskirts of the Twilight Zone.

SOURCES
1. “The Twilight Zone,” Introduction, Season 2, with thanks. http://www.imdb.com/title/tt0052520/quotes

2. Locker et al. v. American Tobacco Co. et al, NY Sup. Ct. (1907), pp. 115-124. https://books.google.com/books?id=34g7AAAAIAAJ&pg=PA117&lpg=PA117&dq=metropolitan+tobacco+company+brooklyn&source=bl&ots=hQ6aVa_tY8&sig=1uaY2AesgKT4mCKepaOyan9gB9I&hl=en&sa=X&ei=MIiQVZGuHYizoQSxsouAAg&ved=0CCgQ6AEwAg#v=onepage&q=metropolitan%20tobacco%20company%20brooklyn&f=false

3. L&H Stern background, including D.U.M.B.O.
Featured Fade – L & H Stern – Smoking Pipes & Holders – DUMBO – Fred King

4. Magazine story on L&H Stern 1920 move.
https://books.google.com/books?id=rpc7AQAAMAAJ&pg=RA1-PA22&lpg=RA1-PA22&dq=l%26h+stern+inc&source=bl&ots=cDWCX4gIom&sig=eLu9PUkd8JzfNPCZDb7df71R4Ic&hl=en&sa=X&ei=M5-MVbi1FM7IogThw5ToDg&ved=0CCsQ6AEwAg#v=onepage&q=l%26h%20stern%20inc&f=false

5. LHS Park Lane dating confirmation.
http://www.smokingpipes.com/pipes/estate/united-states/moreinfo.cfm? Product_ID=100458

Midterm Exam #4: Re-Refurbishing an Unknown Bulldog


Blog by Anthony Cook

It’s time for the fourth and final midterm exam! This one is an “unknown” bent bulldog that I picked up from eBay. I snagged it because I liked the shape and it was cheap. What I didn’t know at the time, but became immediately apparent when the pipe arrived, was that the end of the shank had been shattered into at least three pieces and glued back together. There was no stamping on the pipe, but I don’t think that was always the case. It was likely sacrificed during the shank repair. The repair is fairly obvious in my photos below, but I assure you that it was not nearly so in the seller’s. The right combination of lighting and angles can cover up a multitude of sins, folks. Caveat emptor.

The exposed cracks weren’t the worst part of the story though. The repair did as much damage to the pipe as the crack did. An alarming amount of material had been taken off while sanding out the excess glue. It’s difficult to see in the photos, because from any one angle everything looked correct. However, if you held the pipe in hand and rolled it around you would notice that no two faces on the shank were equal. The shank was no longer a diamond shape; it was a trapezium. The repairman hadn’t paid much attention to keeping the surfaces level either. So, there was a subtle undulation to the line of the shank as it went from thick to thin and back again several times along its length. There was also very little effort made to blend the repaired area into the rest of the pipe, and several shallow “steps” were visible where the two surfaces met. There was at least an attempt to match up the stem to the shank, but that only gave the stem the same odd angles and even they didn’t quite match up to the ones on the shank. All in all, it was a bit of a travesty. Here are a few photos taken just after it arrived.Anthony1

Anthony2

Anthony3 That was all far more than my tender, noobie hands could handle at the time. So, I cleaned the internals of the pipe and put it away for later, but not before adding a bit of bend to the stem that it seemed to have lost over time.
I’ve finished up work on all the rest of the pipes in that first batch. So, this week it was time to put a collar on that dog and turn in my final midterm.

I started (or restarted I should say) by dropping the stummel into an alcohol bath for a couple of hours to soften any coating that might be on the pipe. I had quite a surprise when I removed it later on. It looked fine when it was fresh from the bath, but a hazy, white glaze began to form on the surface as it dried. I hadn’t seen anything like this before and I’ll admit to a brief moment of panic. I assumed that this was probably the result of some type of coating reacting to the alcohol. So, I wiped the stummel down with acetone taking extra care around the shank repair, since acetone will break down superglue. That did the trick and the stummel cleaned up nicely.Anthony4 I set up the retort to see if I could remove any more tar buildup from the pipe. I flushed the shank about 10 times with boiling alcohol before allowing the pipe to cool. I noticed that the vial appeared to be losing a lot of liquid during the retort. The cotton wasn’t discolored. So, it wasn’t gassing out through the bowl. It really had me scratching my head until I saw a spot of moisture on the shank when I was removing the retort. For some reason, it wasn’t sealing well at the mortise and I’d need to look into that before I went much further.Anthony5 I gave the pipe a post-retort scrub of the stem and shank, and then inspected the crack repair for gaps. The surface of the glue joints looked airtight, but I noticed that the glue hadn’t penetrated very deep. The joints left shallow fissures inside the mortise and along the shank face. I used a small pushpin to place a little super-thin CA glue directly into the fissures, and then used a toothpick to apply a thin layer of the CA around the end of the mortise to create a seal inside as well as out.

When the glue was dry, I sanded out the interior patches with sanding needles and a piece of 400-grit sandpaper wrapped around a small dowel. I refaced the shank on my topping surface in a manner similar to how I would top a bowl (pressing lightly into the paper and using a circular motion). The following pictures show the patches when fresh and after they had been sanded out. You can also get some idea of the irregularities in the shank by comparing the differences in the face angles and wall thickness around the mortise.Anthony6 After that, I reattached the stem and ran a retort through it again to test for leaks. The outside of the stem and shank stayed dry as a bone through the whole process. So, I began addressing the pipe’s cosmetic issues.

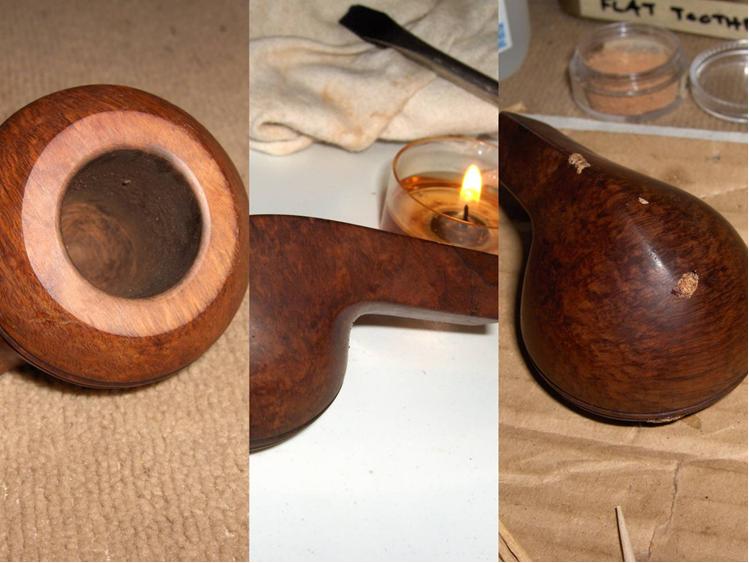
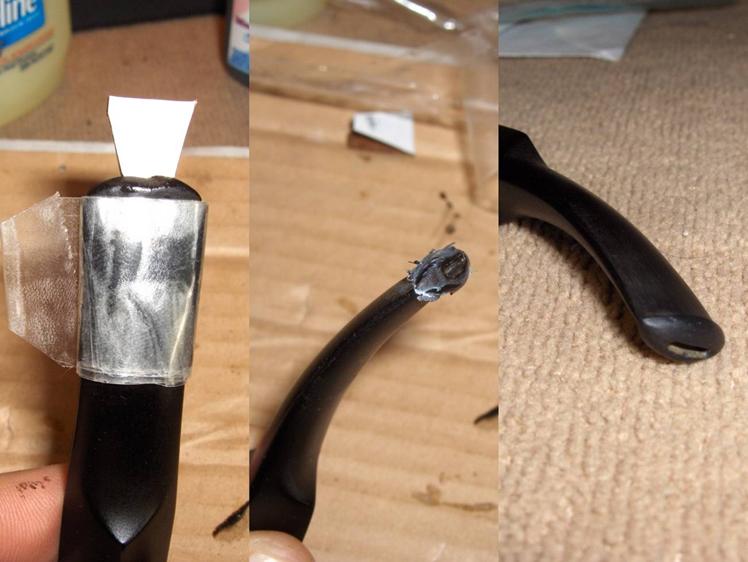
I lightly topped the bowl and chamfered the inner rim to remove the scratches and dings. Then, I steamed a few dents out of the finish by pressing a screwdriver that had been heated over a tea candle into a wet cloth placed over the dents. Finally, I used CA glue and briar dust to patch a few, small gouges and missing fills and sanded them out with 220-grit and 320-grit sandpaper.Anthony7 While I worked on the stummel, the stem had been soaking in an Oxyclean bath. I removed it and scrubbed it down with a Magic Eraser to remove any oxidation. I used black CA glue to fill the tooth dents on the top and bottom of the stem. Once that had dried I sanded it down with 220-grit paper.Anthony8 The stem button needed to be rebuilt since it was worn and dented. I wrapped several layers of clear tape around the stem just below the button to create a form to make a crisp edge and also inserted a Vaseline smeared wedge of cardboard into the slot to seal it. Then, I applied thick, black CA glue in several layers to the end of the stem to begin building the new button. It wasn’t a pretty thing to look at when I removed the tape, but the edge was sharp and there was enough material to work with. I trimmed away the glue artifacts created by the tape molding with an X-Acto blade and rough-shaped the new button with 220-grit paper.Anthony9 Once the button started taking shape, it was time to do something about the other end of the stem and also the deformity of the shank. This was the part of the exam that I had not been looking forward to. Up to this point, everything had been the equivalent to multiple-choice or fill-in-the-blank questions. There were a couple of challenges, but nothing too rough. The next part was more like the essay section.
After a lot of thought, I finally decided that there just wasn’t enough material left around the stem to square everything back up. So, I thought I’d try some trickery of my own. If I couldn’t make everything right, maybe I could use a little more finesse and subtlety than the original repairman did to make it at least look “righter”. If ya can’t beat ‘em, join ‘em.

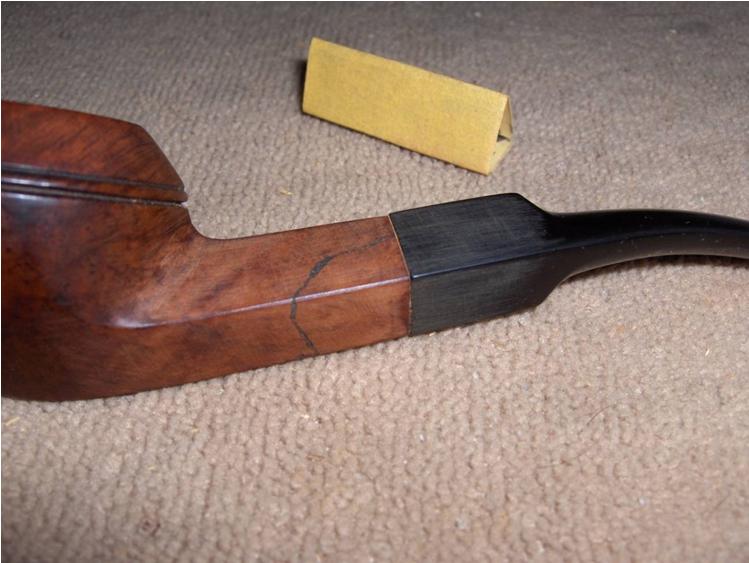
I used 220-grit sandpaper to start carefully nudging the edges of the shank and stem saddle this way and that to give them an appearance of alignment. All the while I paid special attention to keep the faces as level and even as I could. There was very little technical skill involved. I was basically just freehanding. Once I had corrected the lines as much as I could, I began blending the reworked areas into the rest of the pipe with 320-grit. The photo below shows the progress somewhere early in the reshaping phase. Honestly, I was at this for a while and kind of lost myself in the middle of it. So, I didn’t get many photos.Anthony10 When I was as satisfied as I was likely to be with the shape of the shank and saddle, I went back to work on the rest of the stem to finish it up. I continued shaping the button with 320-grit and 400-grit paper. Then, I smoothed the entire surface by lightly sanding with 600-grit and 1200-grit paper. Finally, I polished the stem with micro-mesh pads 1500-12000.Anthony11 The stem work was wrapped up. So, it was time to do the same for the stummel. The off-kilter shape of the shank made it difficult to find a band that would fit well. It took three attempts before I found one that would work. I used a method for shaping a round band for the diamond shank similar to what Steve has previously written about here, but it took quite a bit of reworking to get it to conform to the now strange dimensions of the shank. I’m still not quite happy with how it fits, but I’m not sure what I could have done differently.Anthony12 There was nothing left to do at that point but to address the finish of the stummel. I wanted the final color to be close to the original but a little darker to help hide the bit of crack repair that was still visible. I heated the stummel over the heat gun to open the grain and then applied Fiebing’s black dye to the stummel. I then sanded down the surface with 400-grit paper to remove the remaining scratches and most of the black stain, except for what had set in the grain and recesses of the rings. Next, I applied a mahogany stain before sanding with 600-grit and 1200-grit paper. I took the stummel to the buffer and gave it a quick Tripoli buff, and then applied a final stain of British Tan.

The stummel was polished with micro-mesh pads starting with 3600-grit and working through to 12000-grit. I then buffed the entire pipe with white diamond compound and gave it several coats of carnauba wax to finish it up.

I leaned back in my chair and checked the clock on the wall. There were only minutes to go and most of the other seats were already empty. I had to admit that this was really as good as it was going to get. So, with a sigh, I stood up from my chair, gathered my exam materials, and delivered them to the desk at the front of the room…Anthony13

Anthony14

Anthony15

Anthony16

Building a New Button on the Cut off Stem of a Savinelli Autograph 4


Blog by Steve Laug

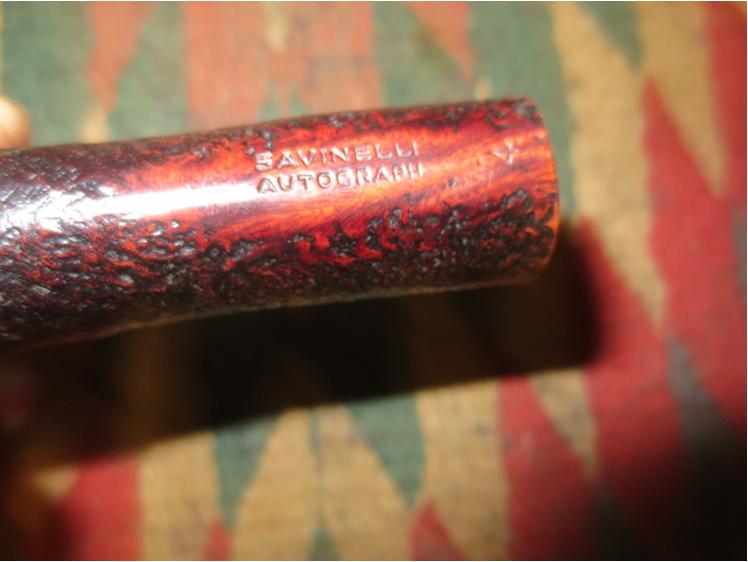
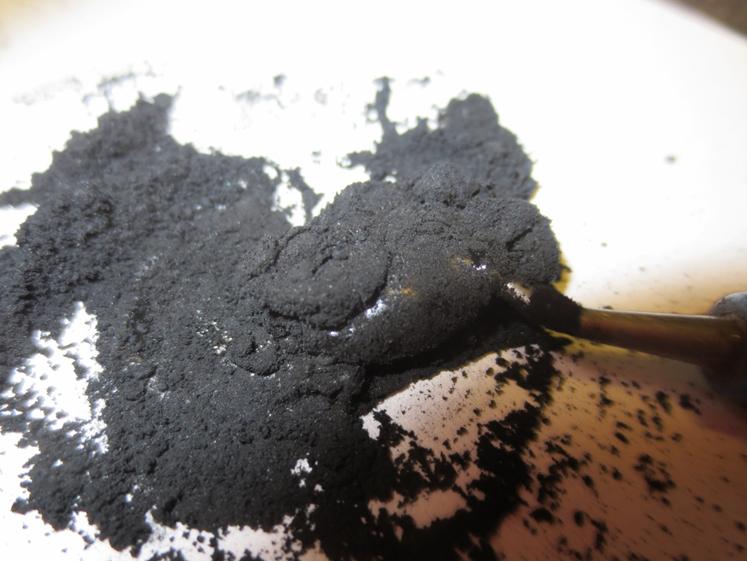
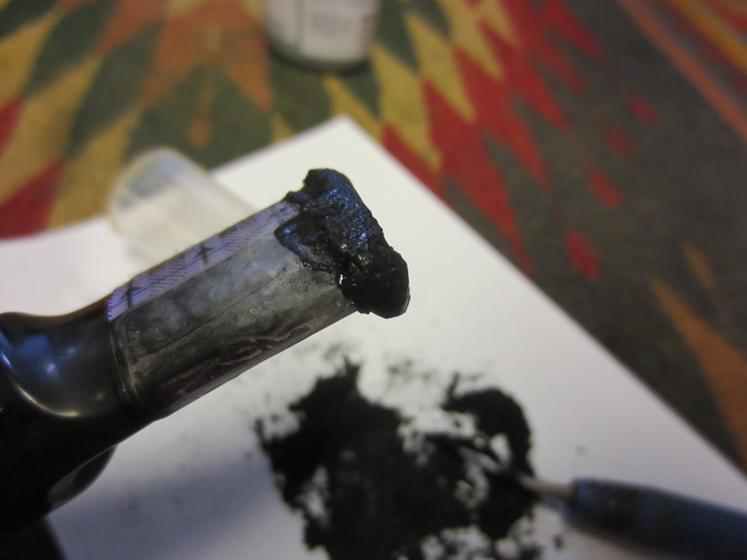
I decided to tackle another button rebuild. A friend brought over a cut off Savinelli Autograph long shank plateau Dublin that he had picked up. The shank was stamped Savinelli Autograph 4 on the underside and there was a signature stamp on the stem.Auto1 I have no idea how the stem got cut off but my guess would be that someone removed the damaged part of the stem and button and then saw how close to the surface the airway was and decided to abort the mission of cutting a new button on the stem. I have been working with developing my mixture of medium viscosity black cyanoacrylate glue and charcoal powder to rebuild/craft new buttons. I have used it on quite a few repairs of my own and on a few for friends. It definitely dries harder than the glue by itself and seems to be very strong once it has cured. I thought this pipe would be a good candidate for that process.Auto2 I wrapped the end of the stem with a band of cellophane tape to make a straight edge to work against for the glue and charcoal powder mixture. It works to keep a semi-straight edge but I find it is more of a guide than anything else. It gives me an edge to work with when I build up the layers of patch material.Auto3

Auto4 I mixed a batch of glue and charcoal powder on a card that I use for that purpose. That way when I have finished the mix and repair I can fold the card and throw it away without getting the glue all over the place.Auto5 I stirred the powder and glue together with a dental pick until I had a thick paste mixture that was still workable.Auto6 I applied it to the end of the cut off stem with the dental pick and shaped it roughly to match the kind of button shape I was aiming for when finished.Auto7

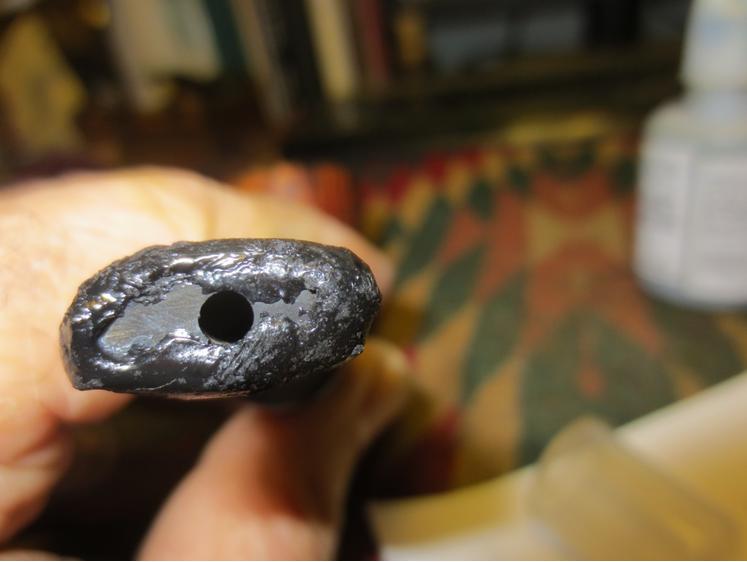
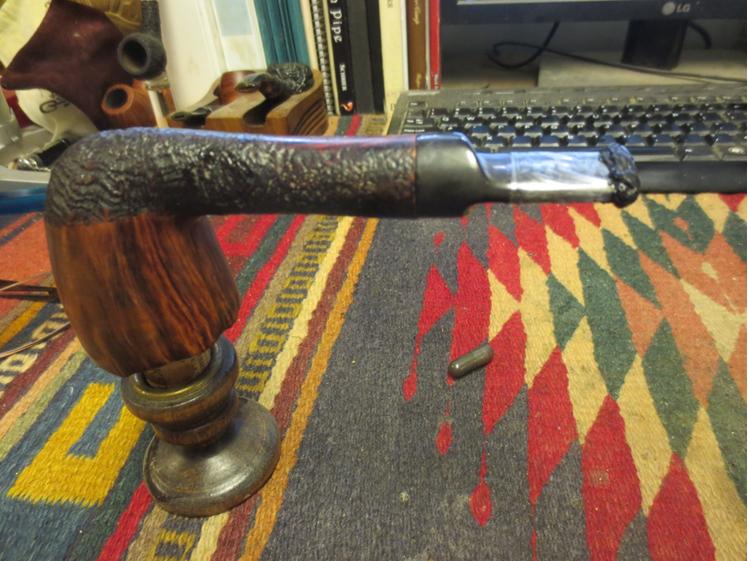
Auto8 I put the pipe on a cork and candle stick holder that I use for drying bowls when I stain them or stems when I have done this kind of repair and set it aside to cure for two days. This kind of patch is a long haul project. It is not a quick repair. If you start reshaping the button too soon the repair breaks off in chunks that are still soft underneath the surface. So, having learned that I left it alone and did other work while the days passed.Auto9 After two days of curing the repair was solid all the way through. I would still need to be careful as the longer it cured the harder it would become. I used emery cloth and 180 grit sandpaper to shape the button into an oval and to face the end of the button. You can see in the photo below how much more material there was to work with now in terms of shaping the airway and the slot in the button thanks to the build-up of material.Auto10
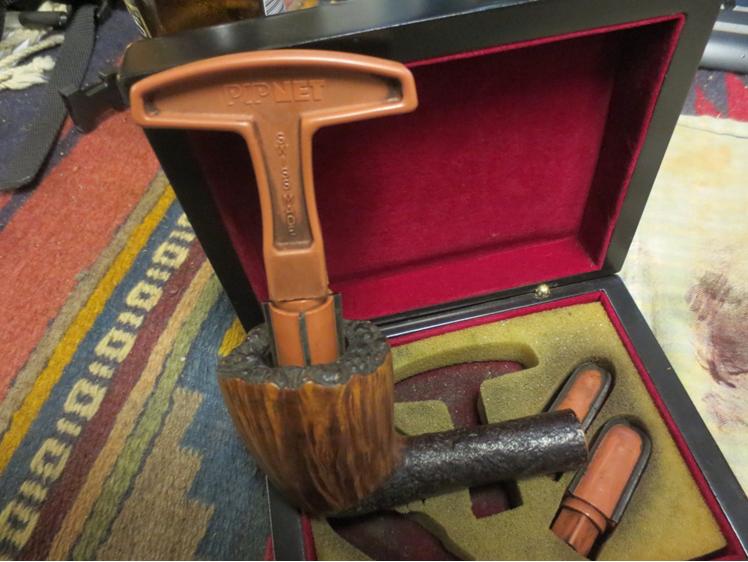
Auto11 I worked over the edge of the button with the sand paper as well to clean up the sharp edge next to the blade of the stem. I moved on to sand with 220 grit sandpaper and also with a medium and a fine grit sanding sponge to further define the new button and to clean up the scratches.Auto12 After the initial shaping and sanding I put the stem to the side to cure longer and addressed the bowl and shank. I reamed the bowl with a PipNet reamer and took the cake back to a very thin layer.Auto13

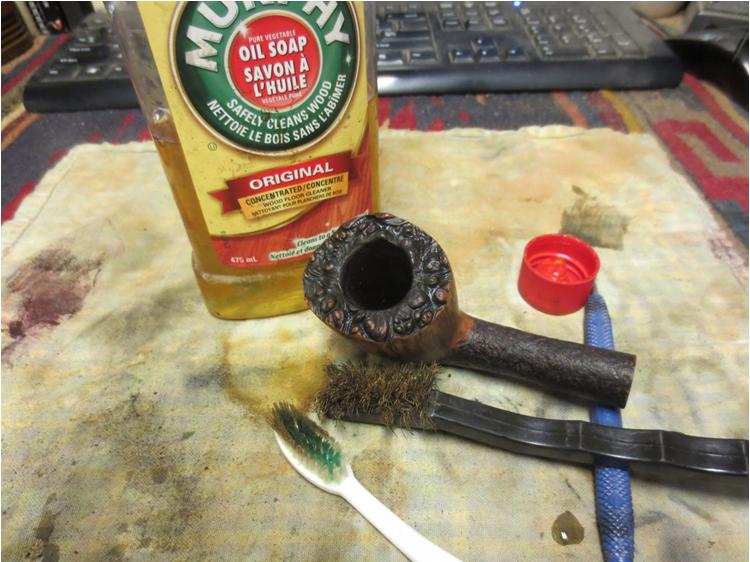
Auto14 I cleaned the interior of the airway and mortise with pipe cleaners, cotton swabs and isopropyl alcohol until they were clean.Auto15 I scrubbed the bowl and the plateau rim with a tooth brush and Murphy’s Oil Soap to clean off the grime and dirt in the plateau and the sandblast shank.Auto16

Auto17 I scrubbed the plateau with a brass tire brush to dig out the built up tars and oils that had clogged the crevices in the finish there.Auto18 I put my thumb in the bowl and carefully rinsed off the soap with cool running water. I dried the bowl with a cotton rag and took the next series of photos to show what the bowl looked like clean.Auto19

Auto20

Auto21

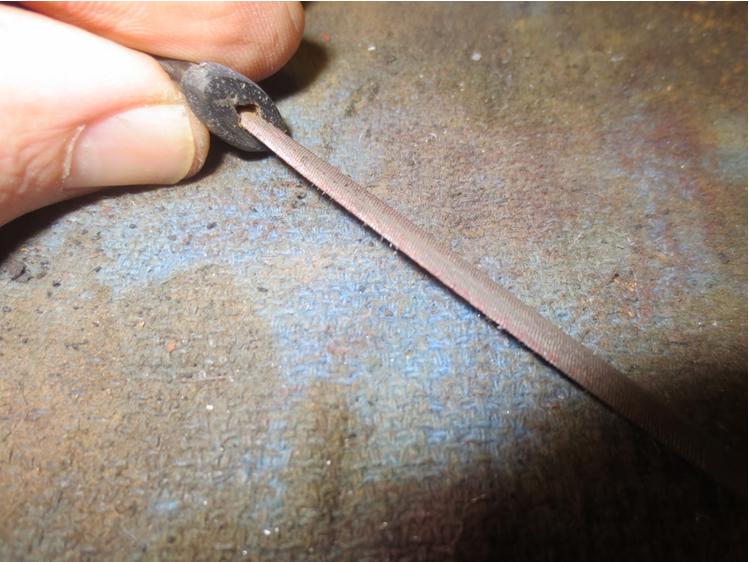
Auto22 The next day I decided to work on the slot in the button and open it up with a flare to create a Y shape. I used needle files to work on the airway. The next series of photos show the files and the progress of opening the airway.Auto23

Auto24

Auto25 With the airway/slot roughed in it was time to continue shaping the button and the face of the slot. I sanded it with 220 grit sandpaper to refined the shape and to smooth out the end of the stem.Auto26

Auto27

Auto28 I used a folded piece of sandpaper to smooth out the interior of the slot and further shape it. The photo below shows the state of the slot and the shape of the button.Auto29 With the shaping completed it was time to work on fine sanding of the stem and new button. The charcoal bits in the mixture are hard and coarse and need to be refined with fine sanding. I worked over the stem and button with micromesh sanding pads, wet sanding with 1500-2400 grit pads to remove the majority of the coarseness. It is only this first step in the process of polishing the stem but it is amazing to see the transformation as I work through the various grits of micromesh. I rubbed the stem down with Obsidian Oil when I had finished with the 2400 grit pad. I will still need to refine the inner edge of the button with files but the overall shape of the stem and button are clearly visible.Auto30

Auto31 I wet sanded the stem with the 2400 grit micromesh until I had minimized the scratches and polished the button. I then rubbed it down with another coat of Obsidian Oil and then sanded it with 3200-4000 grit micromesh pads. I gave it another coat of oil and then sanded it with 6000-12,000 grit pads. I gave it a final coat of oil and let it dry.Auto32

Auto33 I buffed the stem and the bowl with Blue Diamond and then lightly buffed the blast with the same. I gave it multiple coats of carnauba wax and buffed it with a clean flannel buffing pad to raise the shine. The finished pipe is shown below. The new button looks like it belongs. The shape of the slot is open and it accepts a pipe cleaner with ease. It should provide years of service to the pipeman who is holding it in trust. He should enjoy smoking it with much more ease. Thanks for having a look!Auto34

Auto35

Auto36

Auto37

Auto38

Auto39

Midterm Exam #3: Restemming a Thermofilter Billiard


Blog by Anthony Cook

I’m turning in my third midterm exam today. This one is based on an old Thermofilter pipe. I’ve made plenty of mistakes while fumbling my way through the learning process of pipe restoration, but one of my biggest and earliest blunders was inflicted on this poor pipe.

Thermofilter seems to be one of those nearly forgotten brands that nevertheless still pops up on eBay on a fairly frequent basis. The best information that I can dig up on it comes from a comment that “emo” posted on the Dr. Grabow Collector’s Forum:

Thermofilter was made in Italy by Fratelli Rossi in Varese. Started about 1964 and continued till about 73/74. It was imported and sold by Mastercraft…. to, best I recall, Whitehall Products Co. in Wheeling WV… Division of CULBRO.

We had several “left over” and closed them out for $3.98 over a year or two… not as Thermofilter, but simply as a filter pipe, even though they were stamped Thermofilter. Pretty cheap stuff…

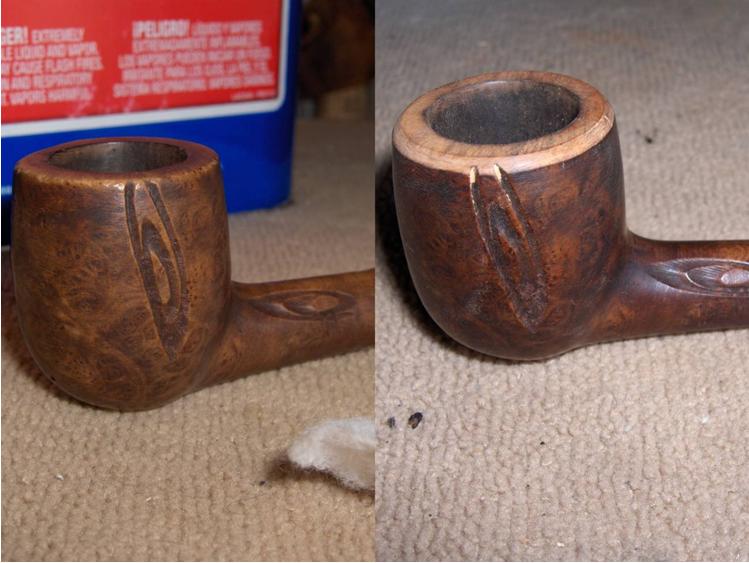
The pipe in my possession is a small billiard with carved rustication. The center letters of the stamping are very worn and faint, but there’s enough there to make out “THERMOFILTER” over “IMPORTED BRIAR” on the left side of the shank. The stem did not have any markings and the bit end had been hacked off. Below are some photos of the pipe that I took shortly after its arrival.Anthony1

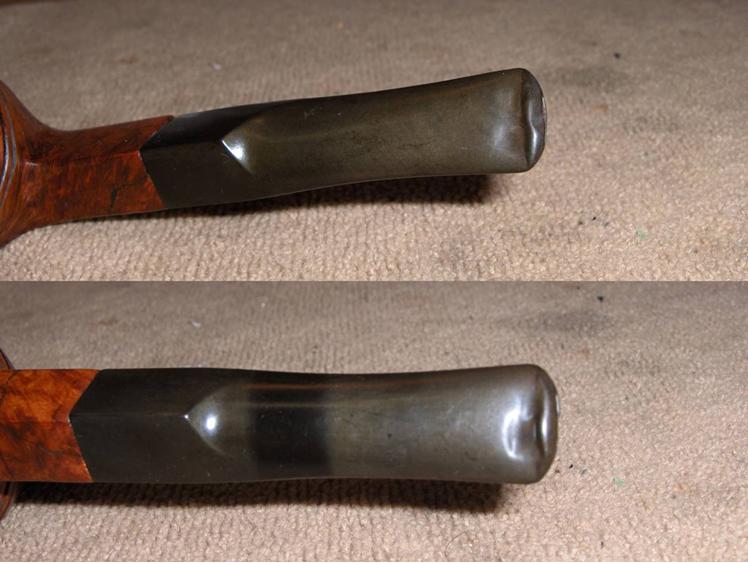
Anthony2 You may have noticed that I used past tense when mentioning the stem above. That’s because I dissolved the original, plastic stem from the inside out. Yes, you read that right. When I was running alcohol dampened pipe cleaners through the stem to clean it out, the first couple came out covered with the thickest, blackest, and stickiest goo that I had ever encountered and I surmised that I was working on some serious tar build-up. I was surprised to find that the amount goo wasn’t diminishing as I worked, but actually appeared to be increasing. Eventually, I noticed that the bore of the airway seemed larger than I had originally thought it was. That’s when I realized the horrible truth. The alcohol on the cleaners was causing the cheap, plastic material of the stem to break down and it was disintegrating from the inside out. You can see for yourself in the comparison photos below.Anthony3 You’d think that I would have noticed it earlier, but I honestly wasn’t paying attention to the diameter of the airway. I mean, who thinks that their stem is just going to dissolve, right?

In any case, I didn’t have any extra stems to replace the original with. So, I tossed the poor, mutilated stem into the trash and dropped the stummel back into the box. It’s been wasting away in there for the past several months. For my third midterm exam, I decided to pull it out to see if I could do right by this old pipe, try some new things, and correct my past mistakes.

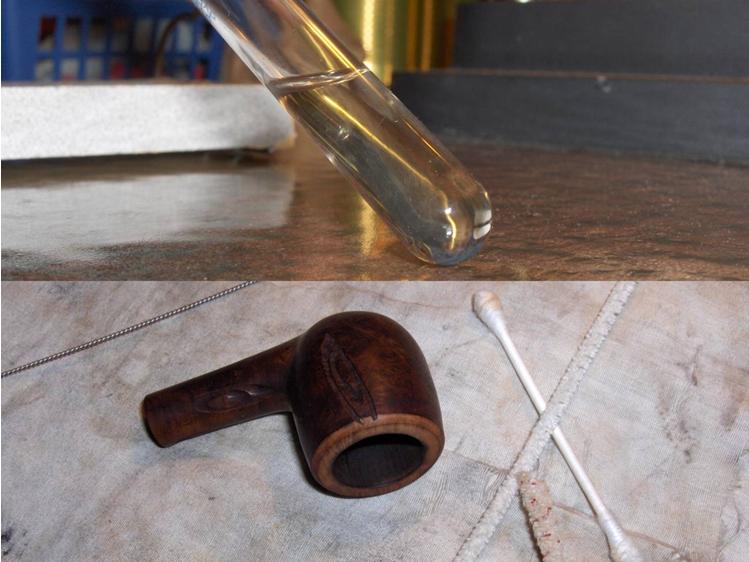
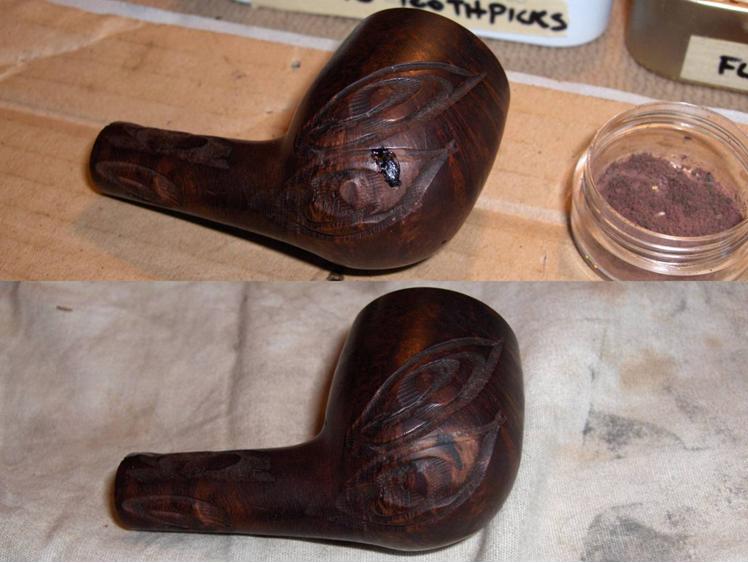
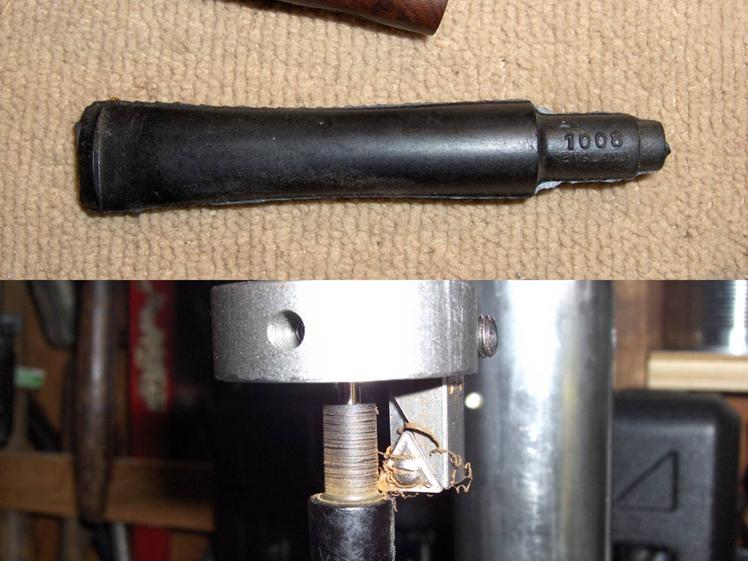
I started by giving the stummel an alcohol bath and wiping it down with acetone. This removed the lacquer coat and much of the old stain. It also revealed some really nice grain between the areas of carved rustication. Then, I topped the bowl with 220-grit and 320-grit papers. I used the same grits to rough out a chamfer around the rim to remove the gouges along the edge.Anthony4 Even though the pipe had been hand cleaned before being boxed up, I wanted to do a retort since I didn’t have one at the time. So, I placed the original, aluminum tenon into the mortise and attached the retort tube directly to that. I flushed the boiling alcohol through the shank 8-10 times before setting the pipe aside to cool, and then I dumped the amber-colored alcohol and repeated the process. After the second flush, the alcohol remained nearly clear and I was satisfied that the retort had done all that it could do. I gave the shank a final scrub using a few pipe cleaners, cotton swabs, and a shank brush and considered the pipe to be clean as it was going to get.Anthony5 The stummel had a few fills that needed to be dealt with. It also had a small, surface crack at the end of the shank that did not penetrate into the mortise. I had wondered about using black CA glue for fills for a while. When I saw Al’s work on the Chelsea pipe I knew that I had to give it a try. After picking the fill material out, I applied a bit of glue into the pits and crack with a round toothpick, and then packed in a little pre-stained briar dust that I had left over the Rogers pipe that I posted earlier. I repeated this until I had a good patch built up above the surface. When the glue was dry, I sanded it down with 220 and 320-grit paper. I also used a round, tapered needle file and 240/320-grit sanding needles to smooth and shape a patch inside the carved rustication.Anthony6 Once the fills and crack were repaired, it was time to do something about the stem. I had picked up a grab-bag batch of pre-made stems a short while earlier. I sifted through them until I found a decent match. I decided to trim the tenon rather refitting the old, aluminum one. So, I cut off the stepped end of the tenon with a Dremel, and then trimmed the tenon with the tenon turning tool chucked into the drill press. The tool was new to me and the first image in the picture below shows the result of my first cut. My speed was off and I didn’t take it up far enough to face it properly. No worries though, because it was still too large and the subsequent trims went much better.Anthony7 After each turn of the tenon, I tested the fit by inserting it partially into the shank. When I thought I was getting very close, I attempted to insert the stem a bit farther and heard a sharp “snap”. It was the unmistakable sound of the shank cracking. It seems that the surface crack that I had thought was insignificant had suddenly become significant.

To repair the crack, I smeared petroleum jelly over the tenon and inserted it into the mortise to spread the crack open. Then, I applied CA glue (clear, not black this time) into the crack and removed the stem to allow the crack to close. I squeezed the shank tightly together with my fingers for a couple of minutes until the glue had set.Anthony8 I wasn’t going to do anything more with the stem until I added some support to the shank. I considered trimming down the original, aluminum tenon to use an internal splint, but decided against it. Since the new crack had run longer than the length of the tenon. So, I decided to band the shank.

I had some trouble finding a band that would fit properly. A 13mm would slide most of the way up the shank easily, but a 12.5mm band wouldn’t even start over the end. So, using the 13mm as a guide, I marked off an area that was the width of the band and sanded it down until the 12.5mm band would just barely slide onto the shank. Then I held the band attached to the stummel over a heat gun to expand it. In less than a minute it had expanded enough that I could push the band the remaining distance up the shank by pressing the end into a soft cloth on a hard surface.Anthony9 With the band in place, I could continue working on the tenon. I continued to slightly reduce the diameter of the tenon with 220-grit, 320-grit, and 400-grit paper until the stem was held tightly in place but easily removed.

The stem was already a pretty close match to the width of the stummel but it needed some refinement and the artifacts from the mold needed to be removed. I kept the stem attached to the stummel and wrapped a strip of painters tape around the band to keep from dragging fine metal shavings into the vulcanite (which dulls it). Then, I began shaping the stem and removing the extra material with sandpaper and sanding sticks. I began roughing it with 220-grit and 320-grit (results in first picture below) and refined it with 400-grit and 600-grit (results in second picture below).Anthony10 I used a set of needle files and sanding needles to open the slot and funnel it. This was my first time trying my hand at this and I’m going to need some more practice because the results were rough. I also funneled the tenon to remove the whistle when the stem was drawn on. Finally, I lightly sanded the entire stem with 1200-grit paper before polishing with micro-mesh pads 1500-12000. The final stem, along with a whole lot of lint, can be seen in the bottom image below.Anthony11 Between the large areas of carved rustication (blech!) on the stummel there was some really nice grain. I can appreciate straight grain for its rarity, but I love a good bird’s eye. When it’s stained well, it has a depth that’s almost like looking at an x-ray of the briar. So, I wanted to do everything that I could to accent that grain and take your eyes away from the ugly, carved, tobacco leaf swirls.

Three main stains were used to achieve the final look of the pipe; black to accent the grain, mahogany to give the overall tone, and ox blood at the end to add a bit of vibrancy. The first two colors were mixed at a 3:1 ratio of isopropyl alcohol to stain. The final color was mixed as a thin wash that I just eyeballed. The stummel was sanded between each staining; starting with 400-grit after black, 600-grit after mahogany, and 1200-grit after the ox blood wash, and then a micro-mesh polish 1500-12000. I also did a lot of grain massaging between each stain using a variety of tools including liner brushes and markers and inks and dyes of a few different colors. You can see how the staining progressed from start to finish in the pictures below.Anthony12 When the staining was complete, I reattached the stem and buffed the entire pipe with White Diamond, gave it several layers of carnauba wax, and added a bowl coating to the well worn chamber. Here’s the pipe that I’m turning in for my third exam.Anthony13

Anthony14

Anthony15

Anthony16 Thanks for looking!

NEPAL PROJECT PIPE SALE 11 – Restoring a LHS Certified Purex 97 Squashed Bulldog


Blog by Steve Laug

I decided to add this LHS Bulldog to the sale. It is thus the eleventh pipe from the box of pipes that I was gifted by a good friend of mine with the instructed purpose of cleaning them up and selling them with all of the proceeds going to the aid of earthquake victims in Nepal. Once again all funds raised will all go to the SA Foundation, and organization that has worked in Nepal for over 15 years helping provide recovery, housing and job training for women who are victims of sexual exploitation and trafficking. The ongoing earthquakes (over 300) that continue to shake Nepal have left much in ruins. The SA Foundation Project there was able to find new housing for the women and help with staff as well. Every dollar raised from the sale of these pipes will go to the work in Nepal.

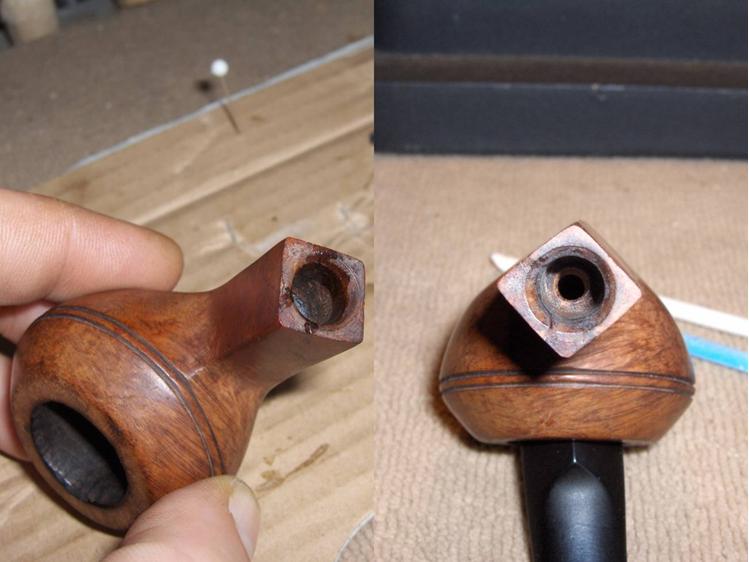
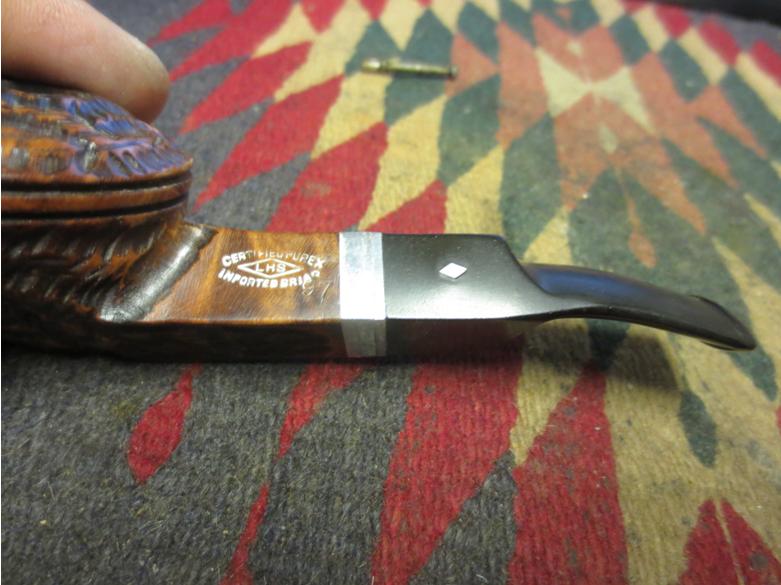
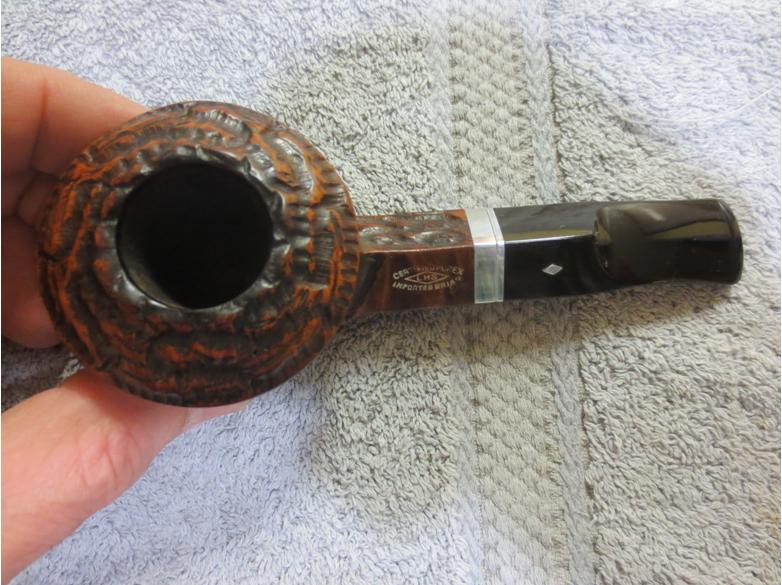
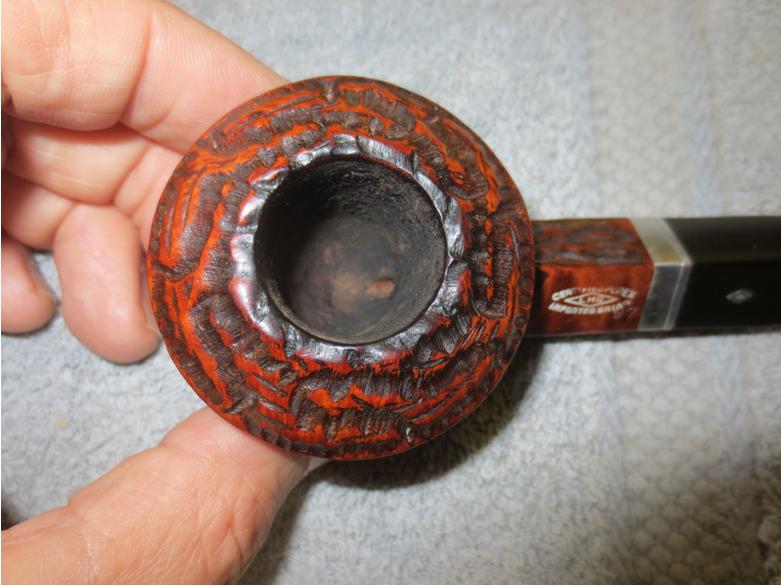
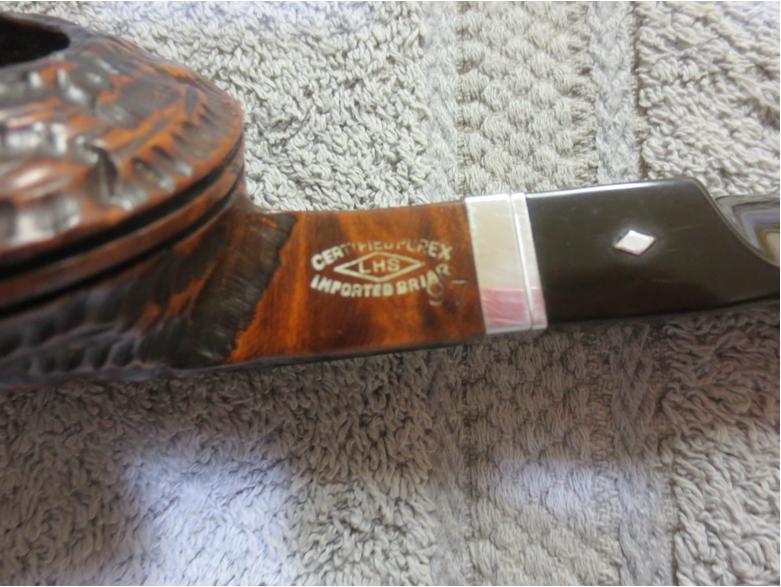
It is an old LHS (LH Stern) Bulldog. It is stamped on the left side of the shank with the shape number 97 and almost over the top of that stamp is the application of a white imprinted logo. The logo reads LHS in a flattened diamond. On the top of the diamond it reads Certified Purex and on the bottom of the diamond it read Imported Briar.Bulldog1 I have had quite a few LHS pipes on my work table over the years but this is the first time I have seen this shape bulldog. It is squat and short but has a large bowl – the size of my thumb and the bowl is quite deep. There are two rings around the bowl and a bulldog cap. The rustication pattern is also quite unique – looking like a thatched pattern. There is an aluminum fitment in the shank of the pipe and an aluminum tenon with a separated stinger that screws into the fitment in the shank. The stem was slightly oxidized and underturned. There were no major tooth marks or chatter on the stem. The finish was in decent shape, just dirty and dusty. The rings around the cap were plugged with debris that would need to be cleaned out. The airway in the bottom of the bowl was very small looking. The bowl had been reamed recently and was clean that way.Bulldog2

Bulldog3

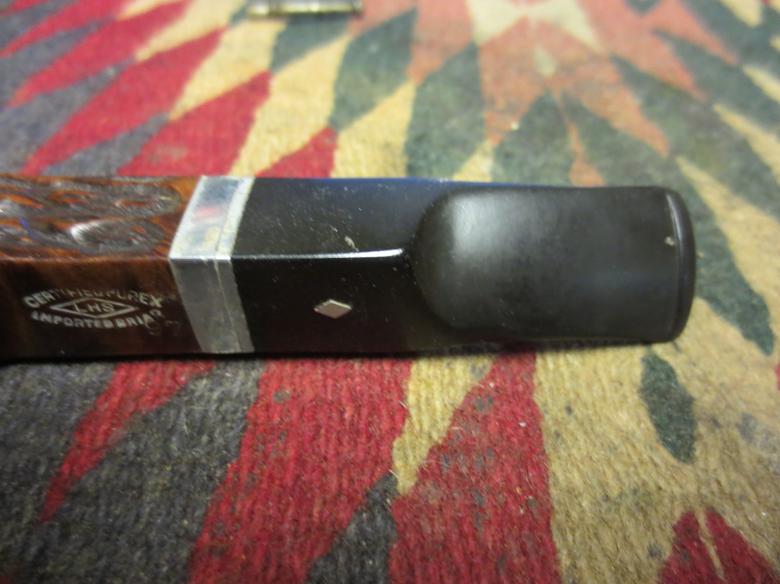
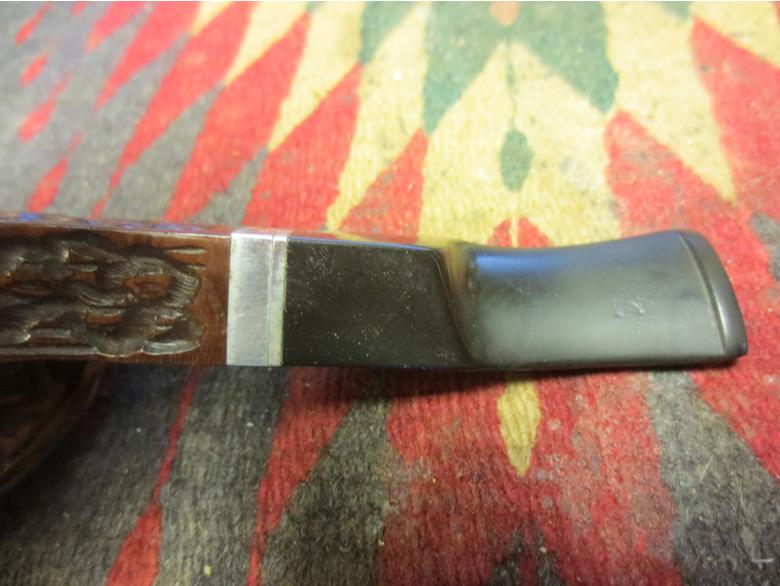
Bulldog4 If you look closely at the alignment of the metal band on the shank with the band on the stem you will see how it is underturned and how the band on the shank is slightly corroded next to the shank.Bulldog5

Bulldog6 The close up of the bowl shows the constricted airway at the bottom of the bowl on the back side. Too me it looked to be almost plugged with tars and would not be too difficult to open.Bulldog7 I unscrewed the stem from the shank to look at the internals. I have found that pipes with the metal fitment in the shank are generally quite dirty on the other side of the metal mortise and take some work to clean. This pipe was no exception. I tapped the metal end against my desk top and a lot of chunks of tar fell out on the desk top. The stinger was inserted into the threaded tenon and also was quite dirty and the slots in it were also restricted with buildup.Bulldog8 I heated the tenon and stinger with the flame of the lighter hoping to loosen the tenon in the shank and straighten the fit in the shank. I heated it until the stem itself was warm and the metal tenon did not budge. I was able to remove the stinger for cleaning.Bulldog9

Bulldog10 I examined the tenon insert in the stem (probably should have done this first). I found that the metal plate that acted as a stem adornment and the tenon were integrated into one piece and no amount of heating would ever loosen the tenon from the shank. I had to come up with another solution. I screwed the stem back on the pipe and set it aside to contemplate my course of action. I thought of adding a thin plate of Lucite or briar between the stem adornment and the shank adornment but decided against that. I let it sit for a while and worked on the stem.

Suddenly I figured out a potential fix. If I were to sand down the shank end enough to allow the stem to sit correctly I could possibly get the alignment correct. I measured the depth of the threads in the shank and then those on the tenon and found that the thread went deeper than the length of the tenon by about 1/8 of an inch. If I could remove some of the aluminum shank end plate I could get it to seat correctly. I used my topping board and pressed the end of the aluminum end plate flat against the board. I carefully worked it in a circular motion on the sandpaper. I checked frequently to make sure I did not take of too much or too little of the aluminum plate.Bulldog11 The next photo shows the end plate after it had been topped sufficiently. The scratches from the sandpaper would easily be polished off with micromesh. I have also included four photos of the different angles on the stem to show how the underturn had been corrected. The fit was perfect.Bulldog12

Bulldog13

Bulldog14

Bulldog15

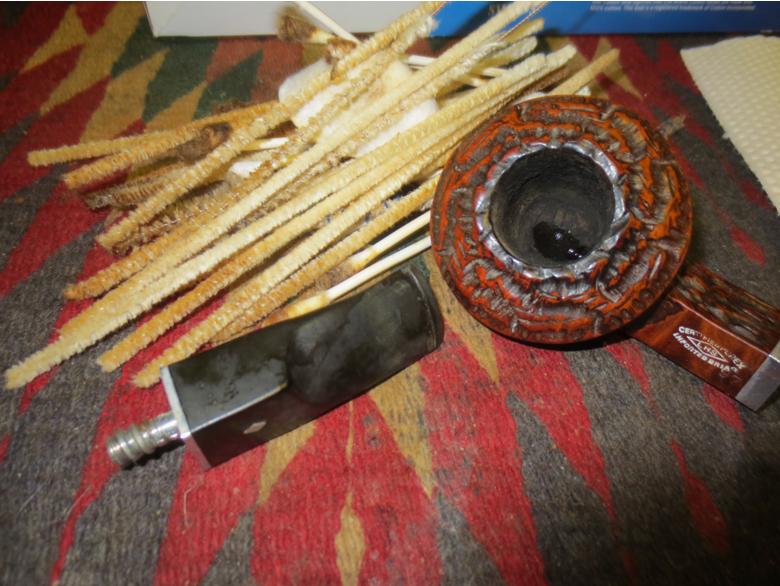
Bulldog16 With the stem fit corrected I then turned to cleaning out the inside of the stem and the shank. It took many pipe cleaners, cotton swabs and alcohol. I also used the drill bit from the KleenReem reamer to open the airway into the bowl. Bulldog17 I scrubbed the exterior of the bowl down with oil soap and a tooth brush. I picked out the debris in the twin rings around the cap. I sanded the stem down with 220 grit sandpaper and then followed that by sanding with a medium and a fine grit sanding sponge.Bulldog18

Bulldog19 There were two small tooth marks in the vulcanite on the underside of the stem. I repaired those with a drop of clear super glue. I sanded the glue patch with 220 grit sandpaper and then repeated sanding it with the two sanding sponges. When finished I sanded it with micromesh sanding pads – wet sanding with 1500-2400 grit pads and dry sanding with 3200-12,000 grit pads. Between each set of three pads I rubbed the stem down with an Obsidian Oil saturated sock that I use for this purpose. I let it sit for just a few moments before continuing with the next grit of pads. The oil gives traction for polishing the stem.Bulldog20

Bulldog21

Bulldog22 I used the micromesh pads to also polish the aluminum on the shank and the stem. I worked through all of the grits to polish it to a shine. I also used 0000 steel wool to polish the stinger and the tenon. Then I buffed the stem with Blue Diamond Plastic polish to further raise the shine. I put it back on the bowl and buffed the bowl and shank lightly with Blue Diamond. A light touch keeps the buffing compound from collecting in the grooves. I also carefully worked around the white stamping on the shank. I gave the stem several coats of carnauba wax and then rubbed the bowl down with Halcyon II Wax and hand buffed the bowl and shank with a shoe brush. The finished pipe is shown in the photos below. I really like the shape and the rustication on this one. I am looking forward to loading a bowl and enjoying it on the weekend ahead. Thanks John.Bulldog23

Bulldog24

Bulldog25

Bulldog26

Bulldog27

Bulldog28 This LHS Bulldog is a beautiful pipe and the rustication and stain gives it almost a multidimensional look. It should make someone a great addition. The entirety of the sale price will go to the Nepal project. I will pay the postage so that does not get taken off the proceeds. If you are interested in reading about the SA Foundation you can look at their website at http://www.safoundation.com.

Thanks for looking.

What are the options for repairing a damaged stem?


Blog by Steve Laug

Over the years that I have been working on pipe restoration I have found that when working on badly damaged stems I have 4 basic choices on how to deal with the damage. They are stated in the form of a simple list below but each one will have to be detailed out to understand the implications of the choice.
1. Cut it off
2. Build it up
3. Splice it
4. Replace it

Choice #1 – Cut it off

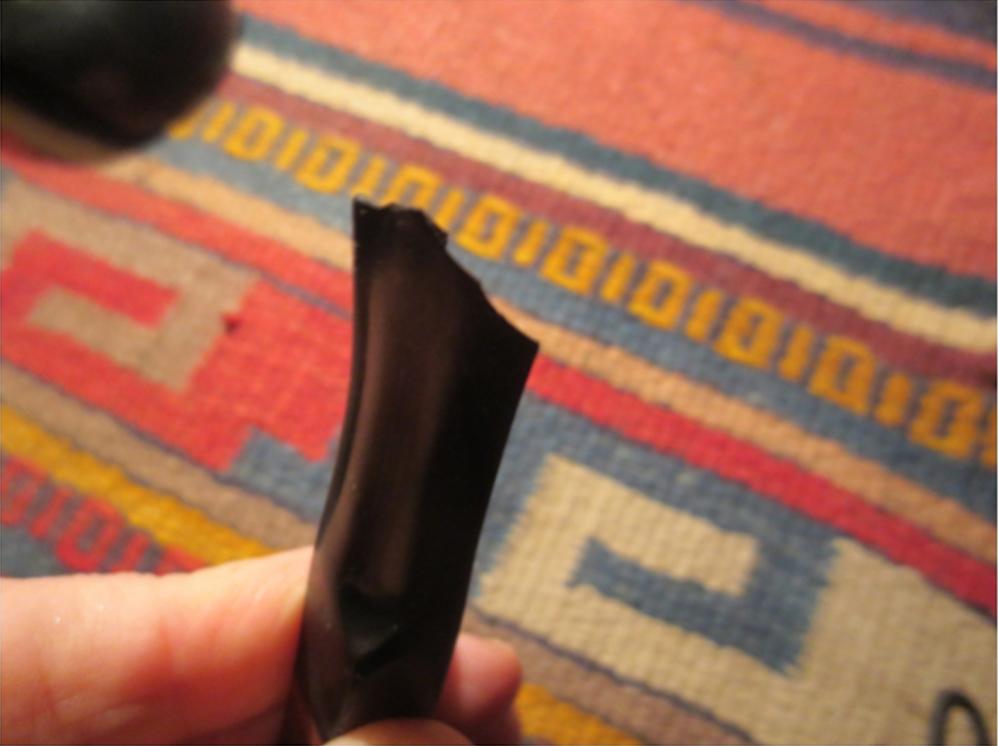
This sounds pretty brutal but it really is a pretty easy repair to work on the chewed stem. I generally see how far back I have to go to get enough stem material on the top and bottom of the stem to shape a new button. Once I have a pretty clear idea of that I put a piece of cellophane tape on the stem to get an idea of how it will look with that bit of stem removed. Sometimes the new stem length just does not work. If it is too short it is awkward. If not then it can be reworked and still look acceptable. I have even cut back badly broken billiard stems and crafted a Lovat shaped pipe that looked really good. The decision is yours and cannot be reversed without making a new stem for the pipe.

The process is quite simple. Once I have marked the part of the stem I plan to remove I use a Dremel with a sanding drum to remove the damaged portion. It works quite quickly. The only caution is to keep the line straight as you are removing the broken part of the stem. This line is not only the horizontal one across the surface of the stem but also the vertical one looking at the pipe from the end. Others use a coping saw or hacksaw to remove the broken area. I prefer a Dremel. With the end removed the stem is ready for reshaping. I use needle files to cut a new button on the stem. I do that by filing a straight line across the top and bottom of the stem making sure that they align.Broken1

Broken2

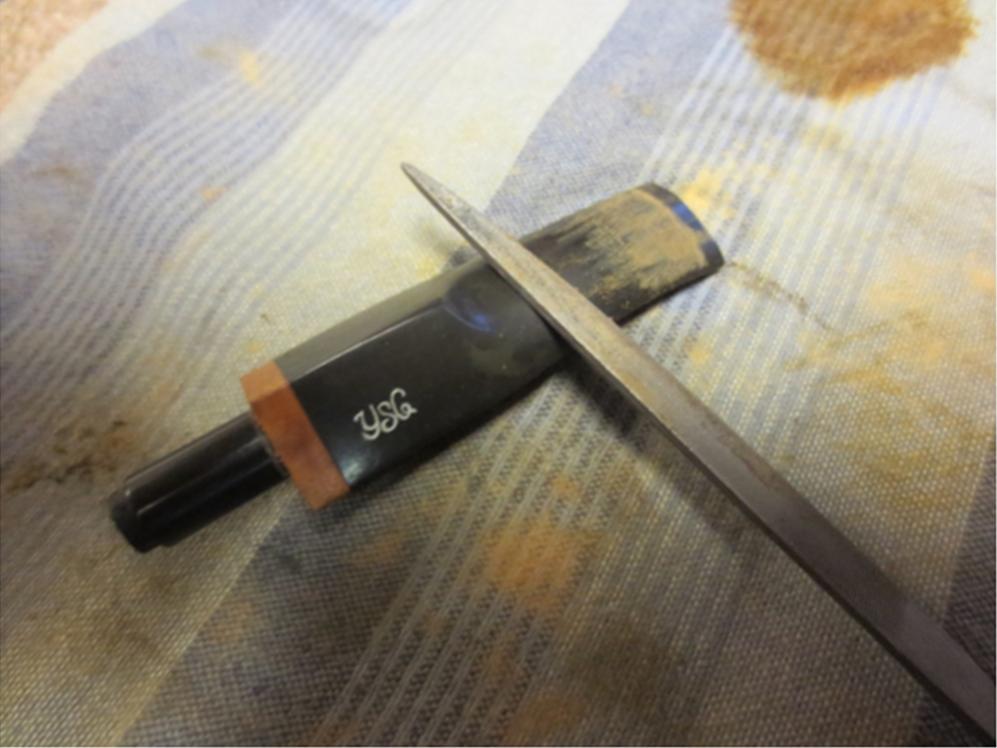
Broken3 Once the new button line is in place I use a flat needle file to file back the slope of the stem to the button line. I am careful not to go to deep but judge depth by the amount of material above the opening in the stem end. Once I have the slope set and the button more defined I use the flat needle file to clean up and define the edge of the button. I want a good sharp edge on the inside of the button to catch behind the teeth. I use 220 grit sandpaper to clean up the slope and smooth out the file marks.Broken4

Broken5 When I get the stem shaped the way I want it I then move on to the shaping of the button. I like a button that is shaped like an oval that tapers outward to the edges on both sides. I sand and file and file and sand to shape it. When I have the shape correct I also slope the button backward toward the airway on the stem end. I generally am working the button to look as much as possible like the one that was originally on the stem. I use pictures of the stem from the internet or from the camera that I took to get the look just right.Broken6 After the button is shaped I work on the airway in the end of the button. I want it to be a slot. I use the needle files to open the airway. I flair it from the opening like a Y. The idea is to create an opening that is funnel shaped. I start with a flat file and work toward a round and an oval needle file I shape the ends of the slot to match the shape of the button as much as possible. When I finally have the slot open I fold a piece of sandpaper and work on the inside of the slot to smooth out the file marks.Broken7

Broken8

Broken9 I finish by sanding the stem with micromesh sanding pads and polishing it to give it a shine. Here are some photos of the finished stem.Broken10

Broken11
Choice #2 – Build it up

I have used this method quite a bit with variations. I have used it repair bite marks and bite throughs on stem. The basic procedure is to clean up the affected area on the stem with alcohol and sandpaper to prepare it for the buildup. I leave the area slightly roughened to give the repair something to grab on to. Once all loose debris, sanding dust and oxidation is removed you are ready to begin the patch. The stem I am using to illustrate the process had holes on both sides of the stem and both were large. Alongside both sides there were also many tooth dents that needed to be addressed as well. In this case those dents would provide a strong base for what would be a large patch.Broken12

Broken13 I grease a piece of folded paper or a nail file with Vaseline and insert it into the slot on the stem. I want to have a slick base for the glue to sit against but not fasten to. I also do not want to close off the airway and this method has worked well for me for many years.Broken14

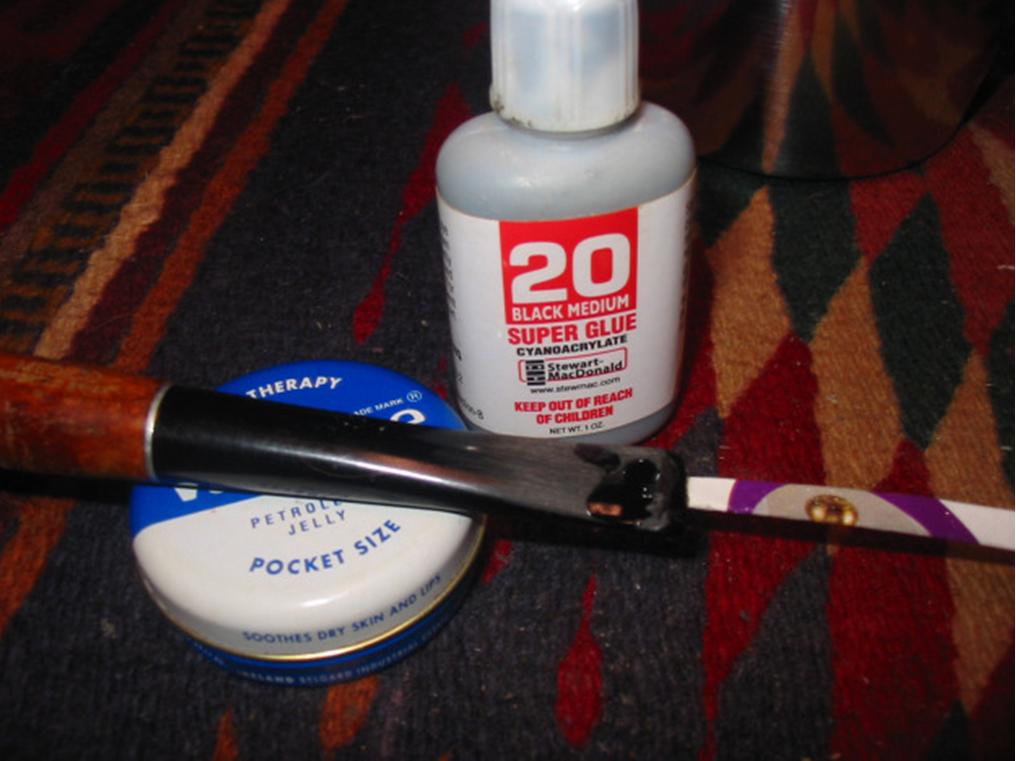
Broken15 With the folded paper inserted it is time to begin to build up the repair. I use medium viscosity black super glue that I get from Stewart MacDonald online. I build up the edges of the repair first. Some folks will use an accelerator at this point to speed up the process. I have also done so but find that the glue is more brittle and I have had patches fail after using it. So I have learned to “patiently” wait for the glue to harden. Others mix in fine charcoal powder or grit with the superglue and feel that it gives a stronger patch. I have done that as well but did not choose to use that on this stem repair.Broken16

Broken17 As the first layer of glue dried I continued to build the patch inward to the middle and thicken it as well. The process took several days and included at least four layers of glue.Broken18

Broken19 Once the last layer of the patch was finished I set the pipe aside to cure for several days. When it was dry I sanded it with 180 grit sandpaper and then 220 grit sandpaper to level out the patch and the surrounding stem.Broken20

Broken21 I used needle files to sharpen and define the edge of the button. I sanded it with a medium and a fine grit sanding sponge. The patches show up still in the surface of the stem as a slightly different colour but once the stem is sanded with micromesh they begin to disappear.Broken22

Broken23

Broken24

Broken25 The finished stem looks like new.Broken26

Broken27
Choice #3 – Splice it

On the blog, Jacek Rochacki has written of splicing a repair and reshaping the stem. I am inserting his procedure at this point to explain the choice he uses.
Instead of cutting/removing the damaged part and carving the lip/button of what is left, I would proceed in different way. Keeping in mind my wish of keeping original dimension, proportions, form, I would try to reconstruct damaged stem/mouthpiece as following:

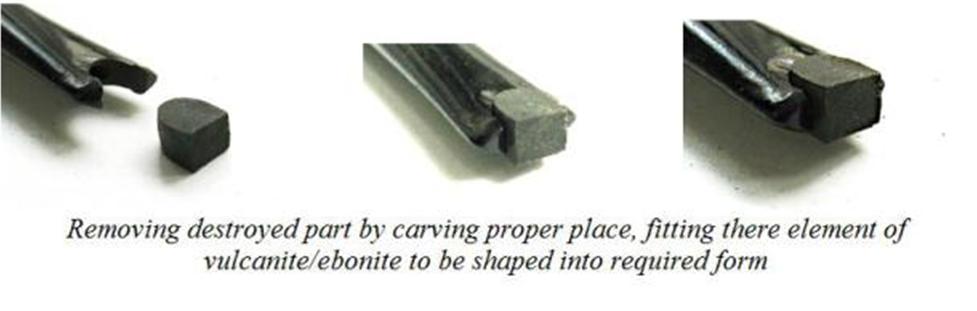
By using sharp cutting tools – engravers/burins, scrapers or in case of better equipped “workshop corner” – cutters, like those used by jewelers for stone settings, or even a sharp pocket knife, a frame saw and needle files I would work on the damaged area making it a proper shape a piece of the same material carved that I will later shape/carve to fit what is missing. The words “making it of proper shape”, may be a subject for another longer text. But as sort of inspiration may be the different ways dentists use to “elaborate” holes in teeth so that the filling will be kept securely in place. In a stem the situation is easier as we have good binding glues and are binding together the same kind of materials – vulcanite/ebonite to vulcanite/ebonite.

When the newly carved material is fixed into the missing area with glue, I work with files and drill bits to achieve desired missing shape. Then I proceed with finishing techniques. Let us look at the pictures:Broken28

Broken29

Broken30 Others have actually cut off the broken portion of the stem after matching it to a similar style and shaped stem. The also cut off the replacement stem so that the undamaged areas match perfectly. A small stainless steel tube can be used to join the two pieces of stem together and black superglue can be used to hold it together and to fill in the joint of the two stems. Once the glue has cured then the repair can be sanded and blended together so that it does not show at all.

Choice #4 – Replace it

The fourth option is to fit a replacement stem on the pipe or make one from vulcanite or Lucite rod stock. I do not have a lathe so I usually use precast stems and do a lot of shaping and fitting and improvements on the blank. The photos below show a new stem that I fit to a Lovat pipe for a friend. I used an old saddle stem that I had here so I did not need to use a precast one. This one just needed adjustment and fiddling to make it work well.
The original stem had a large bite out of the end of it the underside next to the button.Broken31 I choose a stem that is similar in shape and style that was the same length. It had a slightly larger saddle portion on the stem but I liked the look of it and figured it would work. I turned the tenon down slightly to make for a snug fit in the mortise.Broken32 In this case I sanded the stem down to remove the oxidation from the surface and also to remove the slight tooth marks and tooth chatter that was there.Broken33

Broken34 After sanding with the 220 grit sandpaper I used a medium and a fine grit sanding sponge to clean up the stem further and remove scratches.Broken35

Broken36 I sand the finished stem with micromesh sanding pads to polish it.Broken37 After sanding with the 12000 grit pads I buffed it with Blue Diamond Plastic Polish and then with carnauba wax and a soft flannel buffing pad. The finished stem is shown below.Broken38

Broken39

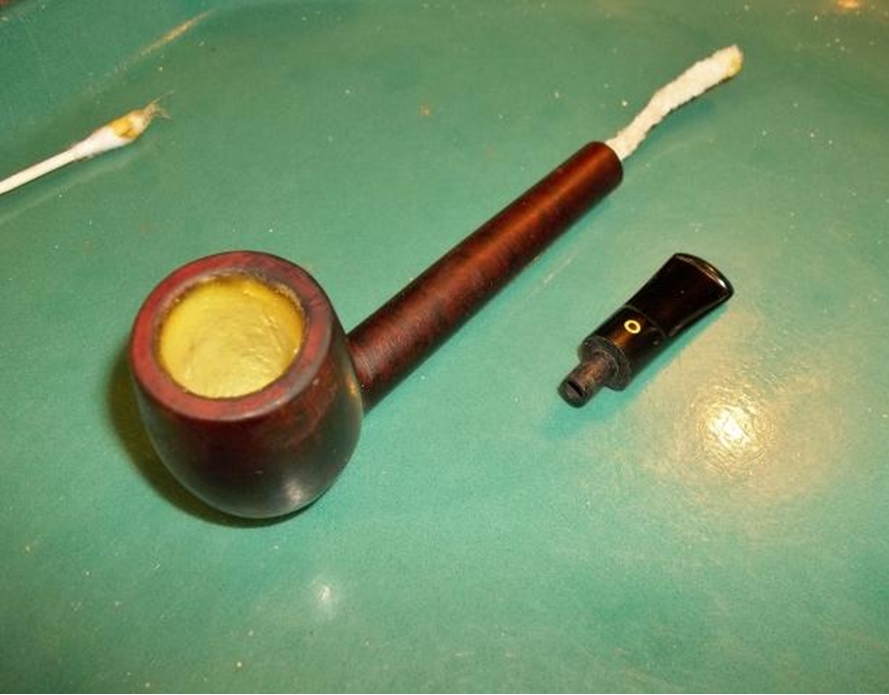
Doing an interior shank repair and restemming a KBB Yello Bole Lovat


Blog by Troy Wilburn

I got this pipe from a member of Dr. Grabows Collector Forum, John McP. He hails from across the pond in Scotland. He had contacted me about a old KBB Yello Bole pipe that he had picked up that did not have a stem and wanted to know a little about it and what kind of stem it originally had. He also informed me it had an old repair of a cracked shank.

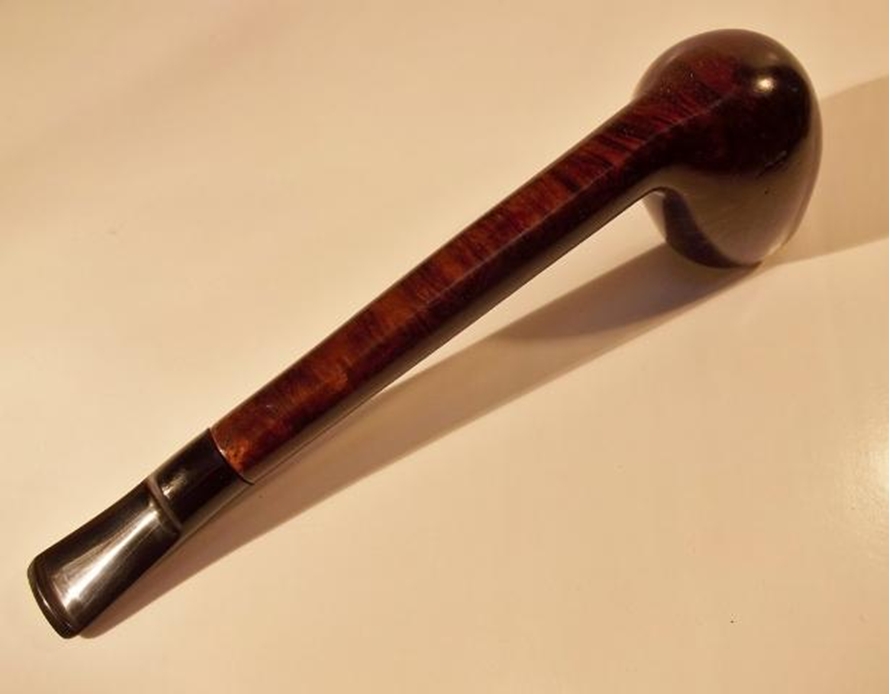
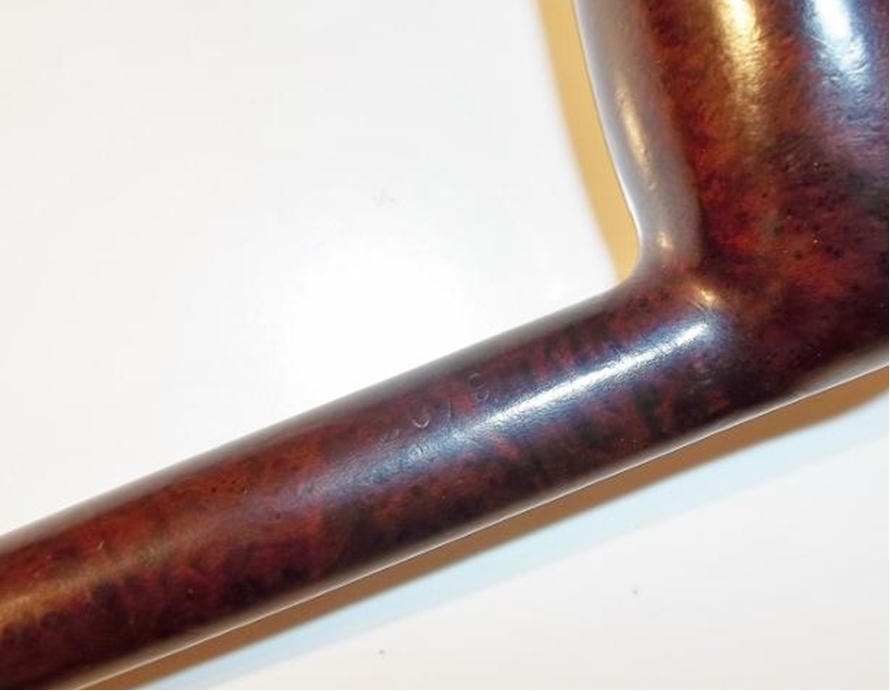
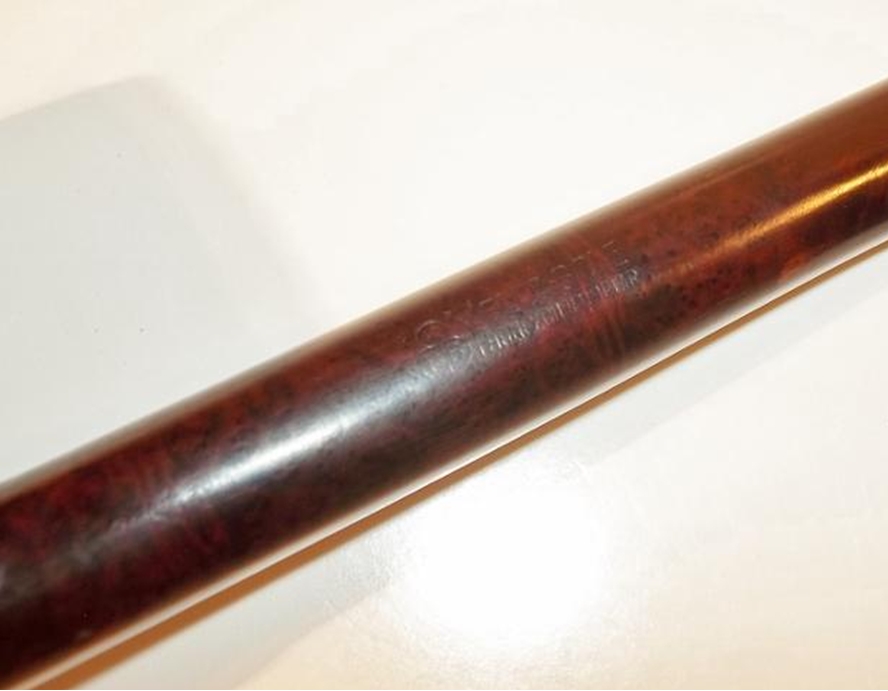
It is stamped 2079 and had the “Honey Cured Briar” under the KBB Yello Bole, which made it a pre 1936 model. I then checked my Kaywoodie charts. It’s a large bowl, long shank Lovat saddle bit. Even though the KW shape charts call it a Canadian I don’t think so because of its round shank. I’ll never consider a round shank as a Canadian.K1 I informed him that it was a nice pipe and should be a good smoker once cleaned up and a replacement stem found. Unfortunately for John the old repair was not a good one and it had made the shank weak. When John tried to fit some stems to it, a piece broke out of the shank. He asked me if I wanted it free of charge as he did not want to tackle repairing the pipe.

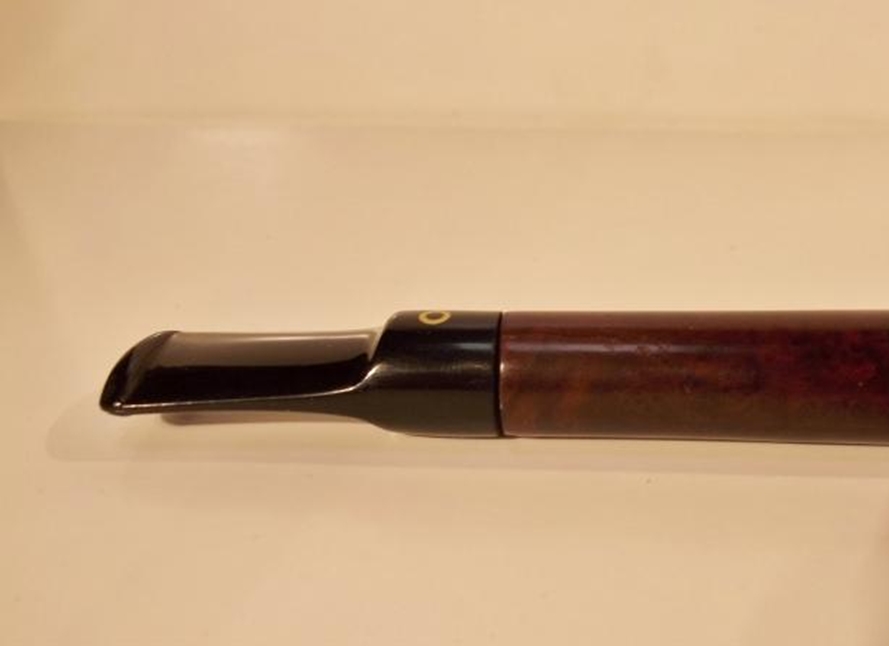
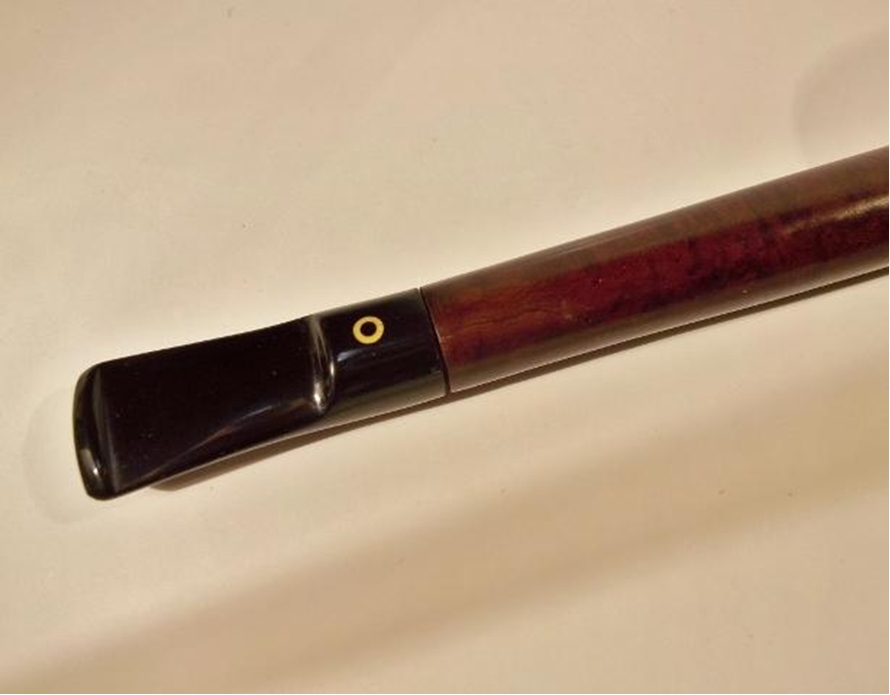
The pipe as John showed me before he sent it.K2 I agreed that I would see what I could do with it. Well after over a month in the mail it finally arrived and I got a good look at it and found a donor saddle bit from another Yello Bole.K3

K4 The bowl had some black scorch marks from smoking hot.K5 I was going to get this pipe blasted after repairs to help hide them and cover some dark burn marks on the bowl. After much thought I decided to restore it close as factory as I could. The possible history of this pipe was just too good to alter it. In the short time of my possession of this pipe it had already been half way around the globe. That’s just a fraction of the long life that this pipe has had over it’s at least 80-year-old life. Maybe it was taken over by an allied soldier and left behind as a gift of friendship? Maybe it was carried by an OSS agent behind German lines during the war? Maybe not but its fun to think of the possibilities.

So all the sand pits and small fills were left as is and not covered or filled. After all it’s a Yello Bole if it did not have these imperfections it would have been a Kaywoodie. The old war horse has some scars from repairs and wear. The stamping’s are quite worn but it’s a pipe someone had thought enough of to repair it once before. Hopefully it has many more years left in it.

I decided to do an inner band like Steve did on a YB I sent him for repair. I found an old metal tenon from a Grabow filter stem I had.K6 I filed out the inner shank and broken shank piece to clean up and to give the glue something to grab too.K7 After grinding the metal tenon to fit inside the shank. I cleaned up the shank and broken piece with some 91% alcohol and marked the best way it fit with a black sharpie so I know where to place it when glued.K8 I mixed up some two part epoxy and then set the inner band in the shank.K9 After it set up I got ready for the broken piece and cleaned off the Sharpie from the metal band to ensure a good bond. I put two part epoxy on the metal band then super glue on the briar edges and set the broken piece. Then I applied briar dust before the glue set. I had to work fast so no pics during this process, only before and after.K10

K11

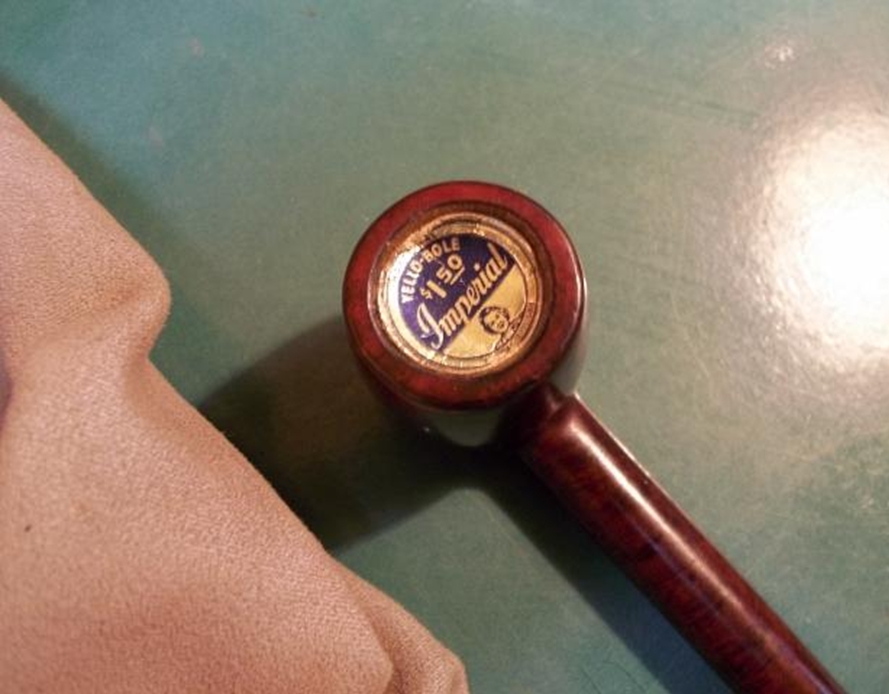
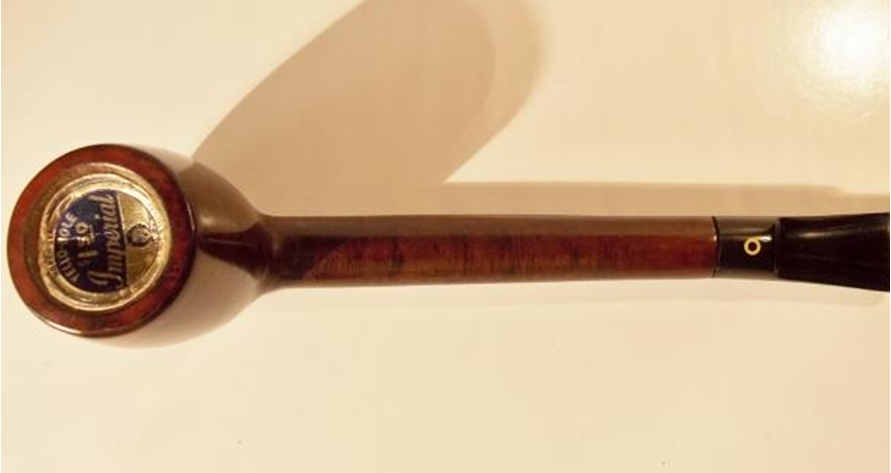
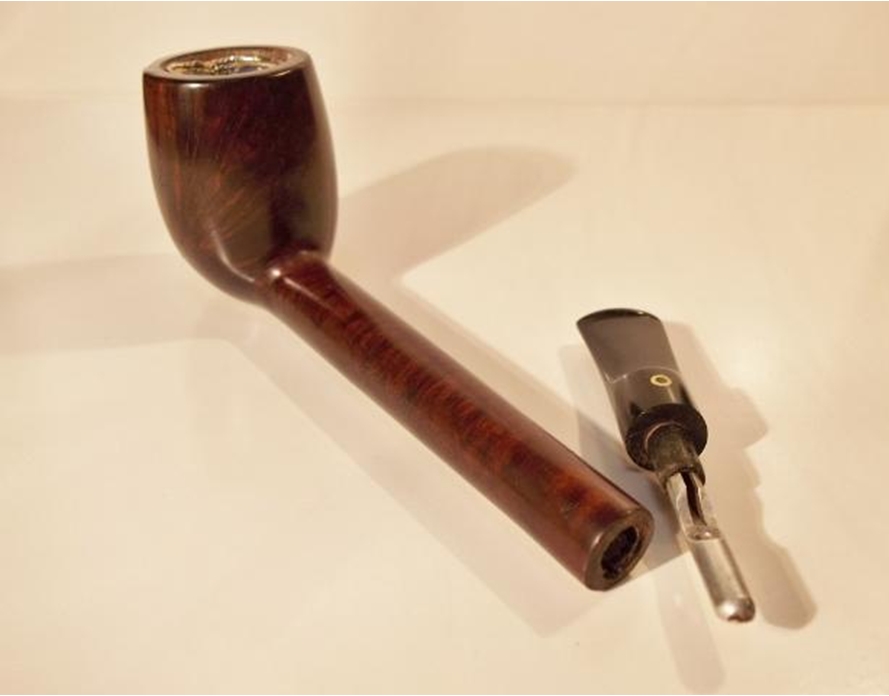
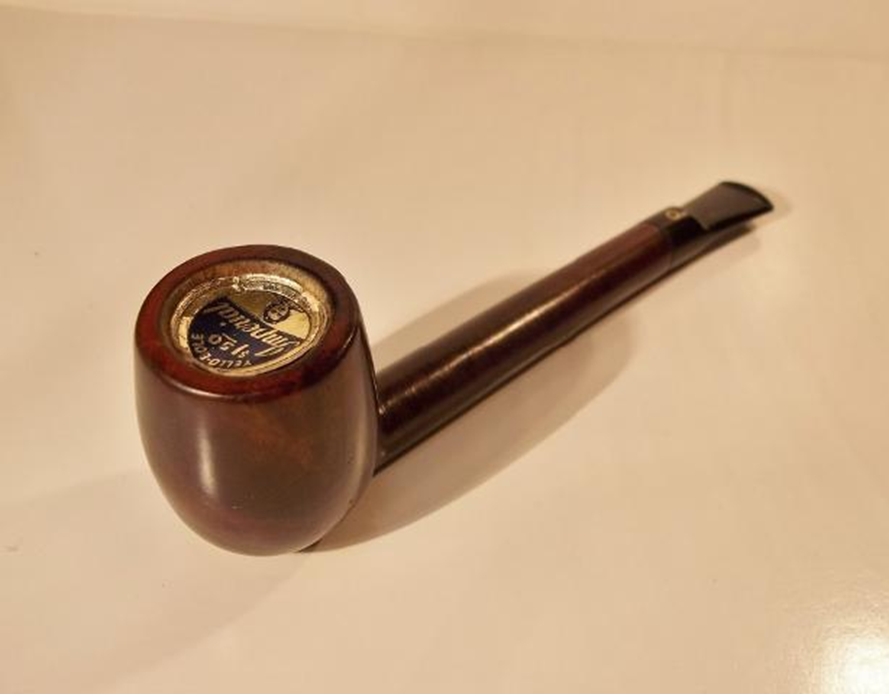
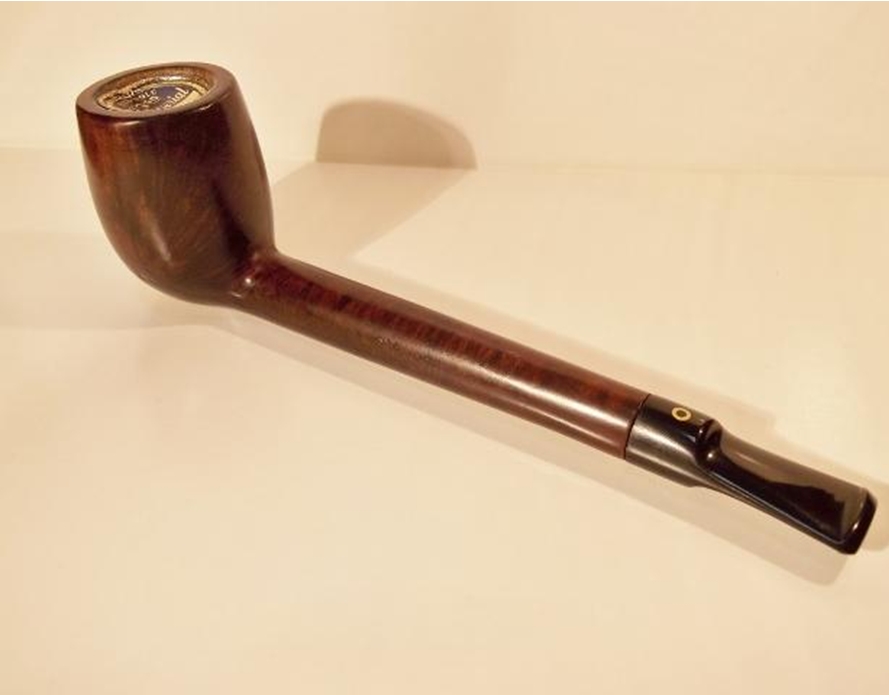
K12 I then sanded the repairs; the old repair had a bad high spot and took some filing.K13 I had to build up the bottom from making the old repair flush again. It was a bit lower than the stem.K14 I then filed the stem to match the shank.K15 After cleaning out the shank and bowl I noticed that all the old YB coating was gone from wear or scraped out over time. I decided to remove all the cake and address this later.K16 I then stripped off the old finish with warm water and Oxy Clean bath. I did some light scrubbing with a toothbrush and a Scotch Brite pad used on the stubborn spots. I then wet sanded repairs and bowl with various grits of wet dry paper from 600 – 2500.K17 After this I wiped the pipe several times with household bleach to lighten the dark spots and repairs so it would be harder to spot with the dye.K18 After bleach bath the pipe is ready for dye.K19 I then mixed up some dye close to original stain but slightly darker to help cover the repairs and black marks. I applied three coats.K20 Pipe dry and ready for some base wax.K21 After applying three coats of wax to lock in the dye I mixed up some homemade Yello Bole bowl coating.K22 I applied the bowl coating and found a Yello Bole paper cover from a NOS pipe I have. The cover is from an Imperial but I thought it would look nice for the pictures.K23

K24 After several more coats of wax the pipe is done. First off the repairs are not perfect and I wish I could have gotten a tighter fit with the stem. This was my first inner banding so I didn’t get the band quite as square as I should have making the stem fitting a bit difficult .The more I tried to get a tight fit the more gap I would get on one side, so I settled for a uniform gap. I’ll know better next time and should get a better fit. Here are some pics of the finished repairs.

As Steve pointed out to me on the Dr. Grabow Collectors Forum, if you flare the tube it will make it fit more squarely. I think showing your mistakes is as important as showing your successes for the next person trying to do a similar repair. So if you are doing an inner band repair soon I suggest you flare the end before you set it with epoxy.K25

K26

K27

K28 I did manage to save what little of the stamping’s were left.K29

K30 Pictures of whole completed pipe K31

K32

K33

K34

K35

K36

K37

K38

K39

K40

K41 Even though this was a tough and time consuming refurbish it was quite fun and wish to thank John for sending me this old soldier to be used and enjoyed again.

Repairing a Broken Shank Acorn Shaped Pipe and giving it a New Look


Blog by Steve Laug

I have had this broken Acorn shaped bowl in my box of parts for a long time now. I remember breaking it. There were several fills around the shank at that point. The stem was absolutely stuck in the shank and no matter what I did I could not get it out. Heat, cold, alcohol bath or any other means would not work. Finally after I had dunked it in boiling water hoping to loosen things I twisted on the stem and the shank snapped. Then I could see the problem. The stem had an aluminum tenon that had basically begun to disintegrated and had bonded to the shank. It had a long aluminum stinger that extended virtually to the air hole. It was a mess. I clean up the shank and the bowl to remove all of the corroded aluminum and scraped it clean. I was undecided whether to fix it or just part it out so I put it in the box and left it there.

Yesterday I decided to take it out and have a look at it. I put the two parts back together and saw that the fit was actually quite clean. There were just two small places where the briar actually had chipped. I had a polished aluminum tenon that I had extracted from a broken stem and saved for just such a repair. I sanded it and used a file to score the surface of the metal tube so that the glue would have something to grab hold on in the shank. I mixed a batch of two part epoxy and a painted it on the tube with the mixing stick. I liberally coated the tube with epoxy and let it sit until it got a little tacky and then inserted it in the shank end of the break. I inserted the stem in the mortise end so that I did not set the tube too deeply in the shank. Once I had it positioned I let it cure for 30 minutes until the epoxy set and the tube was solidly in place in the shank.Broke1 I put epoxy on both sides of the exposed briar and then on the other end of the extended tube. I carefully pressed the two parts together and worked to make sure that I had them aligned correctly. The excess epoxy squeezed out and bulged around the enter repair. I used a dental pick and scraped away the excess leaving a smooth top coat of epoxy in the cracked area.Broke2

Broke3

Broke4 The top surface of the rim was quite damaged and the bowl was out of round. I topped the bowl on a topping board to remove the damage and burn marks that were present on the surface. I sanded it with a sanding block to remove the scratches and smooth out the finish.Broke5

Broke6 I sanded the epoxy on the shank back until it was smooth with 220 grit sandpaper. In the photo below you can still see the slight bulge of epoxy that needed to be removed but since I was planning on rusticating the bowl and shank I did not spend a lot of time sanding that out.Broke7

Broke8

Broke9 I sanded it a little bit smoother and then used the rustication tool that Chris Chopin made for me to do a deep rustication on the bowl and shank. As I rusticated it I then used the brass bristle wire brush to knock off the loose briar chips. (I collected the briar chips as I plan on using them as Joe suggested in fill repairs to see if I can get them to stay light). I left the rim smooth and would later top it lightly to smooth it out.Broke10

Broke11

Broke12

Broke13

Broke14

Broke15

Broke16 When I finished the bowl I wrapped a piece of cello-tape around the end of the shank to make a smooth area that I would later install a band on. The shank end was not straight so I would need to clean it up a bit and then band it to get a clean fit of the stem in the shank.Broke17

Broke18

Broke19

Broke20

Broke21 Once I finished rusticating the shank I removed the tape to show the smooth shank end.Broke22

Broke23

Broke24

Broke25 I slid the band on the shank slightly and then heated it with a lighter until the metal expanded enough to press the band into place. I left about 1/8 of an inch extended to allow for the stem to fit properly in the shank and sit inside the band. I sanded the stem with 220 grit sandpaper until the diameter was a close fit in the band. I slid it in place and took the pictures below to show the look of the pipe at this point. I knew that there was a lot more sanding to do to get a snug fit in the band but I wanted to see a picture to look at the fit a bit removed from the pipe I held in my hands. I purposely chose a longer stem to give it a subtle elegance and length bordering on a mini-churchwarden pipe.Broke26

Broke27

Broke28

Broke29 I lightly topped the bowl some more to take care of the burn marks on the right side of the rim top. Then I took a set of close-up photos of the bowl with the band to look at the rustication and figure out where I needed to do some touch up work on it. The shank was where I was the most concerned. I wanted it to match as much as possible with the bowl rustication. I could see that overall it looked good but that the left side of the shank would need some adjusting before it was finished.Broke30

Broke31

Broke32

Broke33 I touched up the rustication on the left side of the shank and then wire brushed the entire bowl and shank with the brass bristle brush to knock of loose particles.Broke34

Broke35

Broke36

Broke37 I brushed of the dust with a shoe brush and then took out some black aniline stain to give the rustication and undercoat of black. I applied the stain with the dauber and then flamed it with the lighter to set the stain in the bottom of the rustication.Broke38

Broke39

Broke40

Broke41 I sanded the stem with a medium and a fine grit sanding pad and put it back in the shank to get a feel for the appearance of the pipe after staining.Broke42

Broke43

Broke44

Broke45 I took the stem back out and worked on it with the micromesh sanding pads. I wet sanded with 1500-2400 grit pads and dry sanded with 3200-12,000 grit pads. I rubbed the stem down with Obsidian Oil between each of the three grits.Broke46

Broke47 Between the 4000 and the 6000 grit pads I buffed it with White Diamond on the wheel and then finished with the higher grit micromesh pads.Broke48 I buffed the stem with Blue Diamond and gave it a coat of carnauba wax. The next two photos show the polished stem in place on the pipe.Broke49

Broke50 I sanded the surface of the rustication to knock off some of the high points and smooth it out slightly using a sanding block. The sanding made the rustication a bit more pebble like in appearance and once I had finished the sanding I gave the bowl a coat of oxblood aniline stain as a top coat. It added some red highlights to the rustication – particularly on the high spots. I then buffed the stem with Blue Diamond on the wheel and gave the stem multiple coats of carnauba wax. I polished the band with silver polish and hand buffed it with a soft jeweler’s cloth. The finished pipe is shown below. It has a delicate look that gives it an air of elegance and class. I am looking forward to firing it up and enjoying a bowl soon.Broke51

Broke52

Broke53

Broke54 Thanks for looking.

Restemming and Restoring a Weber Deep Grain Lovat


Blog by Steve Laug

I have been doing a bit of reading on the Dr. Grabow Collectors Forum and have been learning a lot from the folks there. On one of the threads on refurbishing Scot wrote and asked about restemming an older Weber Deep Grain Lovat. He had it sitting and did not feel confident about doing the stem work on it. I offered to restem it for him for the postage. When the pipe arrived I took it to the work table and took the following photos. The bowl had some really nice grain on it. The finish was rough with a lot of scratches, dents and nicks. Next to the band the finish was work off on the right side. There were some deep gouges and a scratch across the surface on the right side of the bowl. The rim was in rough shape. The outer edges were beat up pretty badly with gouges and chunks missing from the edge. The inner edge was clean and undamaged. The top of the rim was very rough. There were nicks and dents and it was almost crowned looking – though uneven. The bowl was badly caked forming a thick ring about mid bowl. Below that the cake was almost non-existent and above that it was flaking off in sheets. The stem was worn out with a large bite taken out of the top side near the button and the underside it was cracked. It was ruined.Weber1

Weber2

Weber3

Weber4 I took the next two close-up photos to show the rim damage and the odd cake in the bowl and also the damage to the stem.Weber5

Weber6 When Scott first sent it I was under the impression that he merely wanted me to make a new stem for it. After I saw it I wrote him and asked if he wanted me to clean it up and restore it for him. While I waited for his response I worked on the new stem. I had a stem that was the same length and had a tenon that was not only the right length but also almost the right diameter. I sanded the tenon down lightly and fit the stem to the shank. It was perfect in diameter on the bottom side of the band but was a little large on the top and left side of the saddle.Weber7

Weber8

Weber9

Weber10

Weber11

Weber12

Weber13 I put a plastic washer between the shank and the stem so that I could sand it to the edge without rounding the shoulders of the stem. I sanded it with 220 grit sandpaper to shape it and fit it to the band diameter. I also sanded off the oxidation that was on the surface of the stem and some of the wavy lines that were present on the flat surface of the blade.Weber14

Weber15

Weber16

Weber17 removed the washer and carefully sanded around the shank/band junction to clean up that edge.Weber18

Weber19

Weber20

Weber21 I sanded the stem with a medium and a fine grit sanding sponge to remove the scratches that were present on the stem from the sandpaper.Weber22

Weber23

Weber24 Once I had removed the majority of them I sanded the stem with micromesh sanding pads – wet sanding with 1500-2400 grit pads and dry sanding with 3200-12,000 grit pads. I rubbed the stem down with Obsidian Oil between each set of three pads.Weber25

Weber26

Weber27 There were still some scratches present on the stem that would go once I had buffed it with Blue Diamond but just before I took it to the buffer I heard back from Scott. He said he would be glad to have me give the pipe a work over. Given that go ahead I set aside the stem and turned to work on the bowl. Once I had the bowl finished I would buff the entire pipe.

I reamed it with a PipNet reamer starting with the smallest cutting head and then finishing with the second smallest head. With that I took the crumbling, flaking uneven cake back to bare wood. I figured that Scott could start over and build an even hard cake of his own choosing.Weber28

Weber29 I took a few photos of the bowl to record the damage and scratches to the finish. I wanted to not only get a good look at them but I also wanted to document them. The right side of the bowl had a large series of scratches and grooves from what looked like dropping the pipe on concrete. There were also scratches on the shank and outer edge of the rim. In fact the rim edge was very rough. The left side of the bowl also had some scratches that were pretty deep. The top view of the rim shows the missing chunks of briar around the edge of the bowl and the uneven crown that came from tapping the bowl out against a hard surface. The underside of the shank had a rough spot next to the band and quite a bit of scratching.Weber30

Weber31

Weber32

Weber33I washed down the bowl with acetone on cotton pads to remove the remnants of the finish before I worked on the scratches and dents in the bowl and shank.Weber34 topped the bowl on a topping board to remove the damaged surface and outer edge of the rim.Weber35 Once I had the bowl topped and the rim smooth and flat again I decided to repair the missing chunks of briar on the outer edge and the deep cuts on the right side of the bowl. I sanded the edge and scratches with a sanding sponge to clean up the jagged edges. I wiped the areas down with alcohol. I then filled the cuts and the missing chunks with superglue and packed in briar dust to fill them. I generally overfill them and then sand them back until they are smooth and blend into the surface area around them.Weber36

Weber37 I sanded the fills with a folded piece of 220 grit sandpaper and then with sanding sponges until I had blended the area in with the surrounding surface of the bowl.Weber38 I took the next two profile photos of the pipe to show the clean look of the bowl rim. Notice on the second photo the repair to the cuts on the right side of the bowl toward the lower ¼.Weber39

Weber40 The next photo shows the newly topped and repaired rim from the top.Weber41 I sanded the bowl surface with a medium and a fine grit sanding sponge being careful around the stamping so as not to damage it. Once it was smooth and the scratches minimized I rubbed down the bowl with a light coat of olive oil. The olive oil gives some life to the grain and highlights the areas that I still needed to sand. The next four photos show the pipe after it had been rubbed down with a soft cloth after the olive oil.Weber42

Weber43

Weber44

Weber45 I took another close up of the rim to show the repairs and how the olive oil brought out the colour of the rim so that it matched the rest of the pipe.Weber46 I then took the pipe to the buffing wheel and buffed it with Blue Diamond Plastic Polish. I worked the stem over with the polish and then buffed the briar as well. Afterwards I gave the bowl and stem several coats of carnauba wax and buffed it with a clean, flannel pad to raise the shine of the wax. The finished pipe is shown below. Tomorrow I will get it packed up and sent back to Scott. It should serve him well for a good many years to come. Thanks for letting me work on this old pipe. It was a pleasure.Weber47

Weber48

Weber49

Weber50

Weber51

Weber52

Giving a no name Poker a new stem and a new look


Blog by Steve Laug

Over the past six or seven months I have picked this pipe up and looked it over at the small antique shop I visit regularly. Every time I put it back down and leave it there. There was really nothing redeeming about the shape with its one thin side and the odd shank that was not quite round. The stem was just plain ugly and unfinished. It was as if the maker or owner just turned a blank to fit the mortise and flared it backwards to avoid having to deal with a smooth fit to the shank as it was everything but flat and round. The sides of the stem still showed file marks and the diameter was markedly different than that of the shank. All in all it was one that I could do without that is for sure.

Then this past weekend I was in the shop again. I picked it up and looked at it once more. I don’t know if my mood was different or I was on the adrenaline high of finding the old Zeus at the shop before or what but this time I saw some possibilities in the pipe. I paid the $8 cash and the pipe was mine. Now what would I do with it?

When I got home I took some photos and weighed my options over Saturday evening and Sunday. I thought about making a freehand style stem for the pipe and ditching the old one. I thought about cleaning up and reshaping the old stem. I thought about facing off the shank end and giving it a more classic look. I took the stem off and looked at the shape of the shank, the shape of the shank end and tried to visualize it with a classic look. As you can guess by this point if you know my likes I went for the classic look.Poker1

Poker2

Poker3

Poker4 I took a couple of close-up photos of the rim and the shank end to give an idea of how the bowl and shank were not round or close to it. The first photo of the dirty rim of the bowl shows the odd shape it was in. The right side of the bowl wrapping about half way around both the back and the front had a nice thick, even width while the left side tapered in from the thickness and roundness of the right, back and front to a thinner width. Besides that it also seemed to be a bit oval on the back and front but after measuring it I could see that it was an illusion. The second photo shows the shank end. It is a bit hard to see but the shank end was crowned and rounded over but inconsistently. The shank itself had the same problem as the bowl – it too was not round but was thicker on the left side than on the right; just the opposite of the bowl. This little pipe was going to be a challenge to make look correct.Poker5

Poker6 I decided to face the end of the shank and remove the uneven crown and to flatten it to fit a flush stem. I used the topping board and carefully pressed the end of the shank into the sandpaper. I had to make sure that I held it straight vertically while sanding so that I did not slant the end of the shank and make things worse.Poker7 I worked it against the 220 grit sandpaper until it was smooth and the crown was gone. I then used a medium grit sanding block to make sure the shank end was flat and even.Poker8 I had an old Georg Jensen stem that fit on the right side of the shank perfectly. The left side and the bottom and top on that same side were off. I tried a saddle stem I had as well. No matter which stem I use the shape of the shank made a perfect fit impossible. The good news was that the flush stem fit snugly in the mortise and flat against the end of the shank. Now I would need to make adjustments to the shank diameter without losing the nice sandblast finish.Poker9 I went through my bands and found one that would fit both the shank and the stem once it was in place. I used my Dremel and sanding drum to take down and round out the shank end so that the band would sit properly. I wanted to make the adjustments to the shank before the band so that once it was in place the stem would fit without adjusting the roundness of the stem to match the out of round shank. It took some work to round out the shank but the Dremel made short work of the process.Poker10 I was able to put the band loosely on the shank to get an idea of the overall look of the pipe with the band. It appeared to me that it would work well.Poker11

Poker12 I decided to heat the band with a lighter rather than set my heat gun to do the simple heat up of the band. Once I heated it I pressed it into place on the shank. The metal expanded slightly with the heat and by pressing the shank end against a flat surface I was able to push the band into place.Poker13

Poker14

Poker15

Poker16One problem was solved. The shank was now round at the end and the stem would fit tightly against the shank and the band made the match perfect.Poker17

Poker18

Poker19

Poker20 I used a dark brown stain pen and a black permanent marker to touch up the raw briar in front of the band and blend it into the colour of the bowl and shank.Poker21

Poker22

Poker23

Poker24 Once I had the stained matched, it was time to clean the sandblast finish. I used Murphy’s Oil Soap and a tooth brush to scrub the bowl and shank. I did it after the stain touch up as I figured that the scrub would help blend the stains together.Poker25 I rinsed the bowl with fresh water avoiding getting it into the shank and the bowl. I dried it off and brought it back to the work table. I cleaned out the shank and the used stem with a few pipe cleaners and alcohol. The pictures below show the pipe at this point in the process.Poker26 The stem needed some work to clean up the scratches and wear around the button. I wet sanded it with 1500-2400 grit micromesh sanding pads and dry sanded it with 3200-12,000 grit pads. I rubbed it down with Obsidian Oil and then buffed it with Blue Diamond Plastic Polish on the buffing wheel. I gave it a quick coat of carnauba and took it back to the work table.Poker27

Poker28

Poker29 I gave the bowl and stem a light buff and rubbed the bowl down with a light coat of olive oil. When it dried, I hand buffed the bowl with a shoe brush to raise the shine. The finished pipe is shown in the pictures below. I think I achieved what I set out to do when I started this project. I took a pretty ugly poker with a misfit stem and with work transformed it into a more classic poker look. What do you think? Thanks for looking and giving your opinion on the new look.Poker30

Poker31

Poker32

Poker33

Poker34

Poker35

Taking the idea that several readers gave regarding the straight stem I bent it this morning. I heated it with the heat gun and then gave it a gentle 1/8 bend. Here are the photos.Bent1

Bent2

Bent3

Bent4