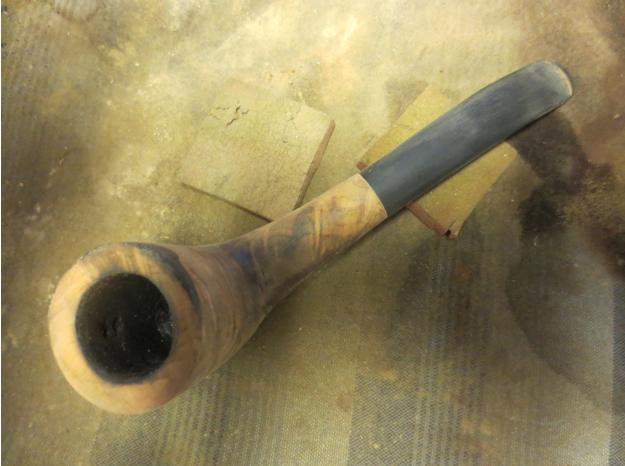
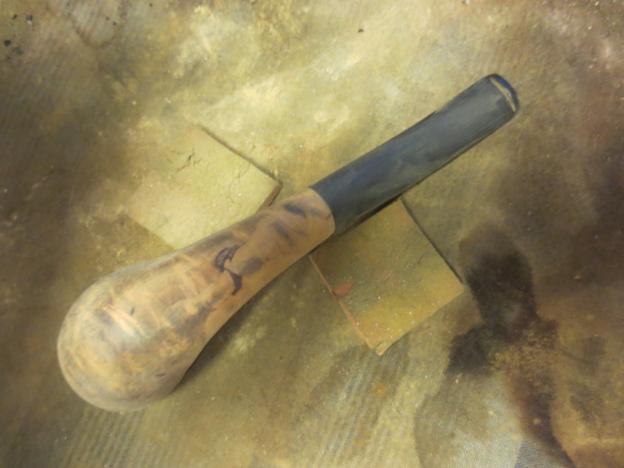
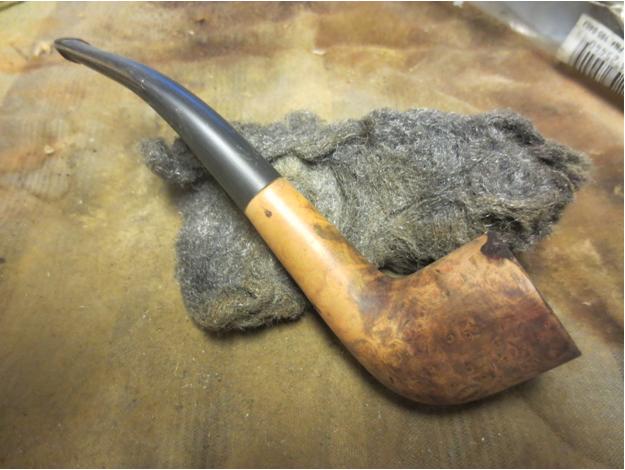
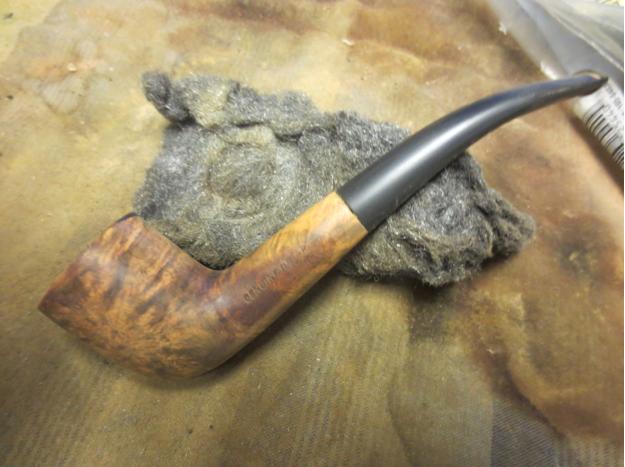
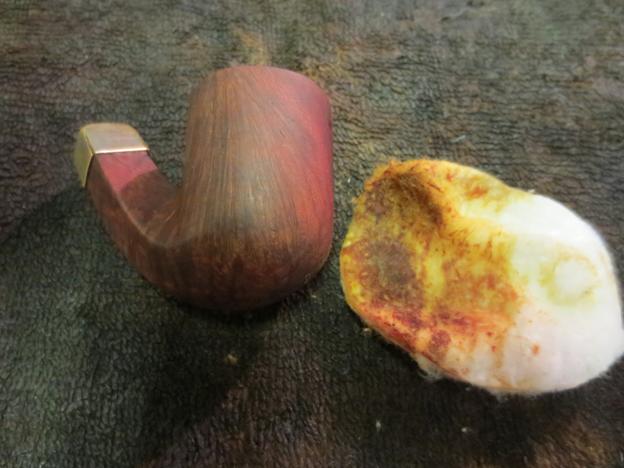
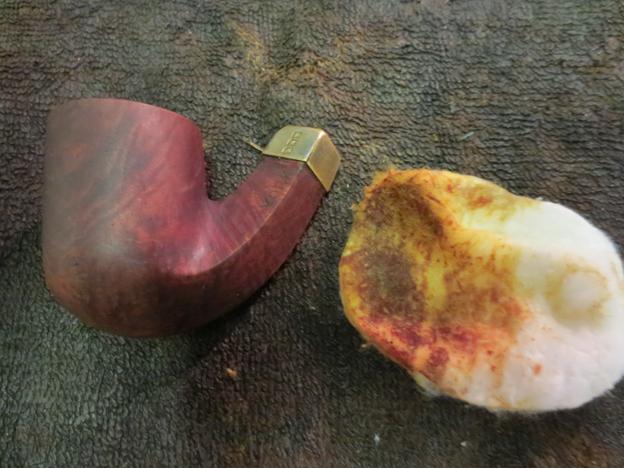
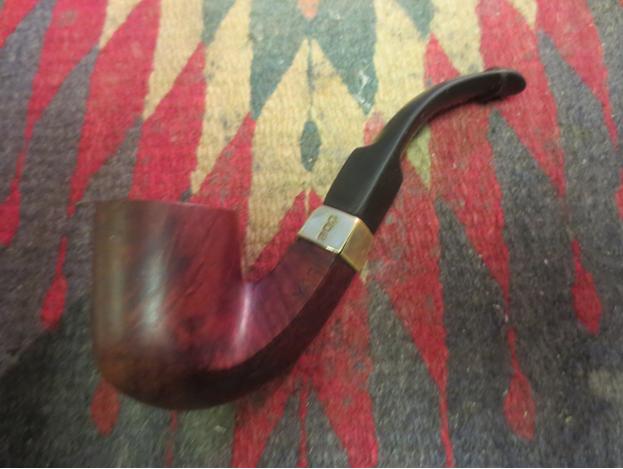
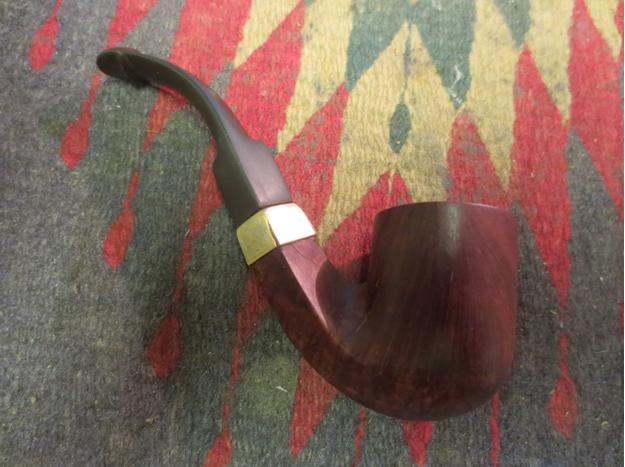
Tag Archives: fitting a stem

Another dressed for the Prom… maybe the Prom King – Cheap Meer Given a New Look


Blog by Steve Laug

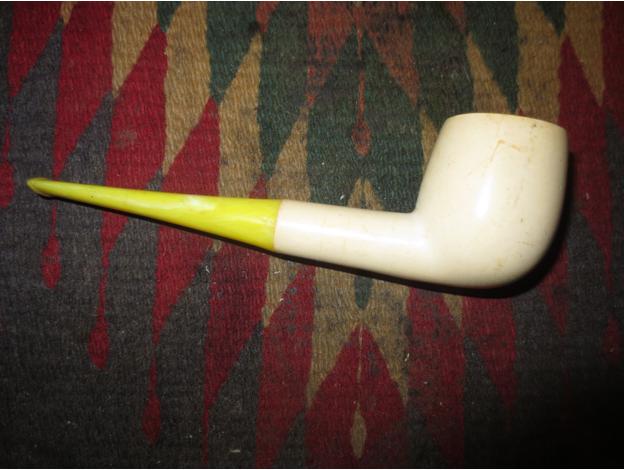
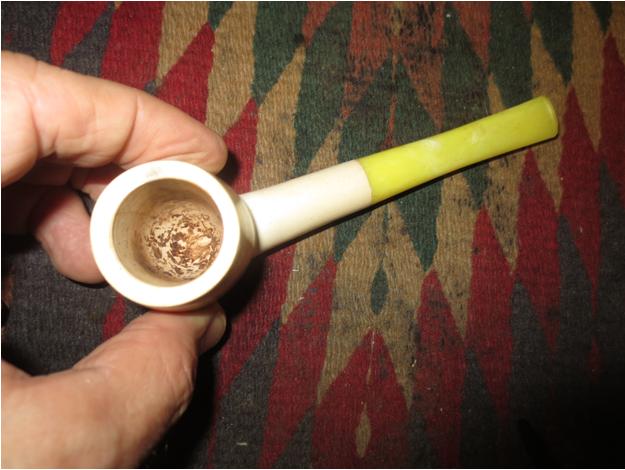
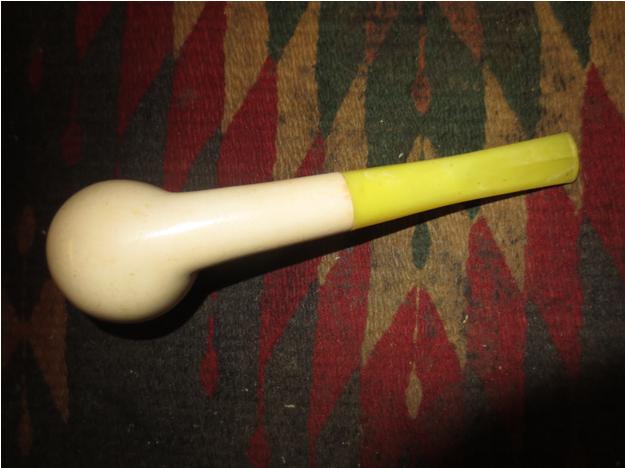
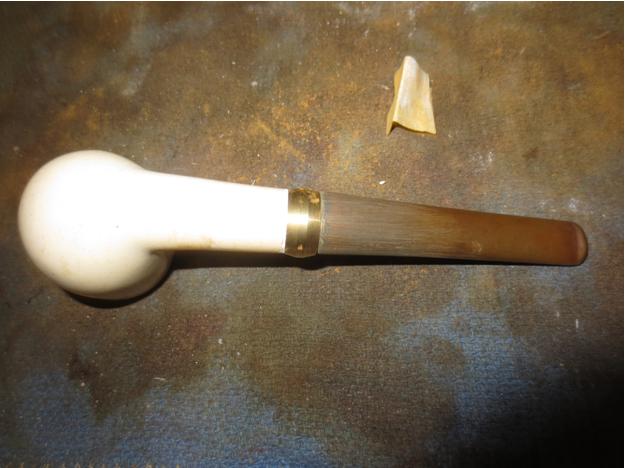
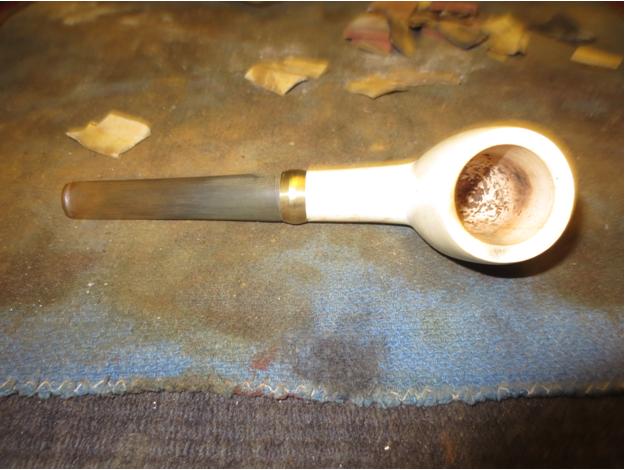
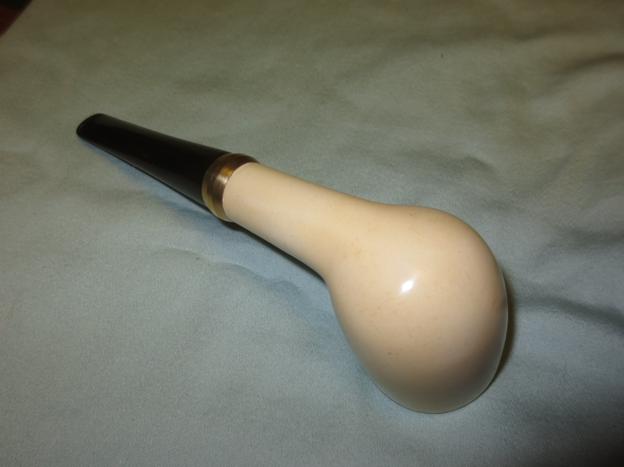
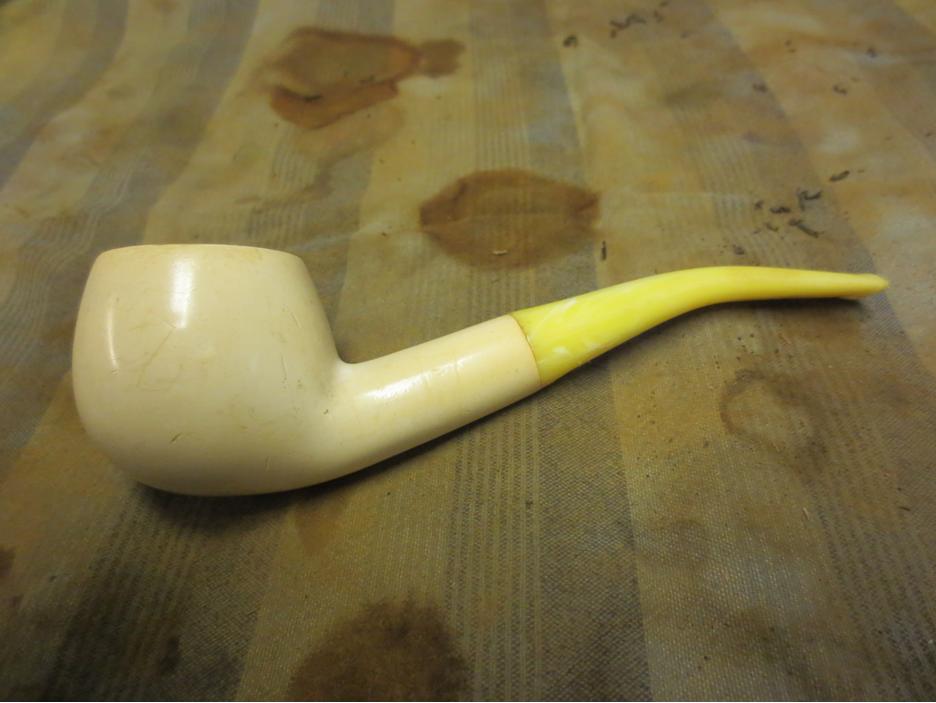
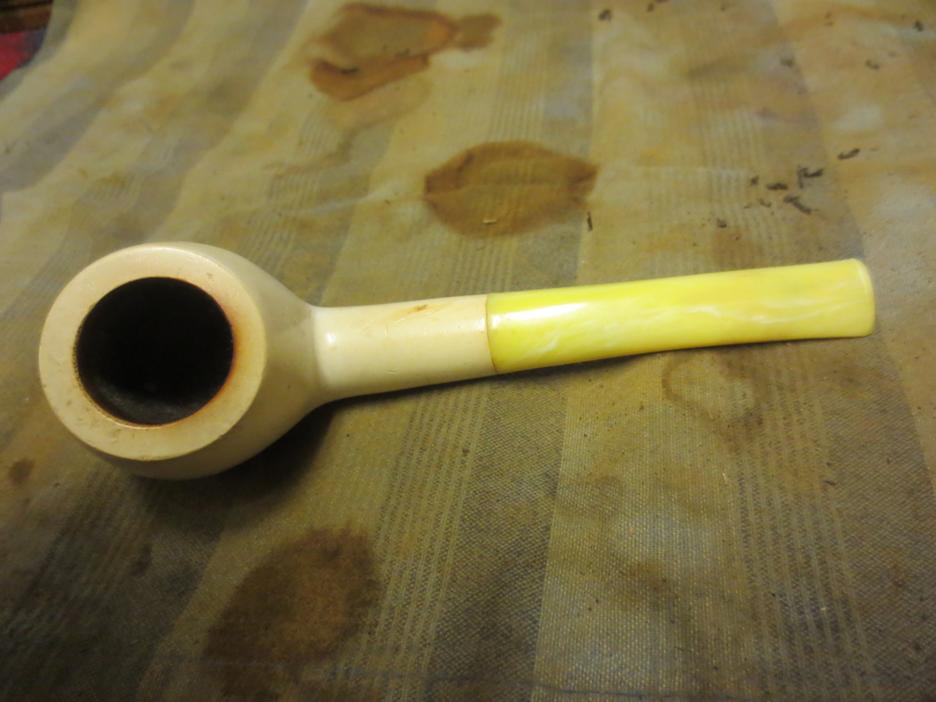
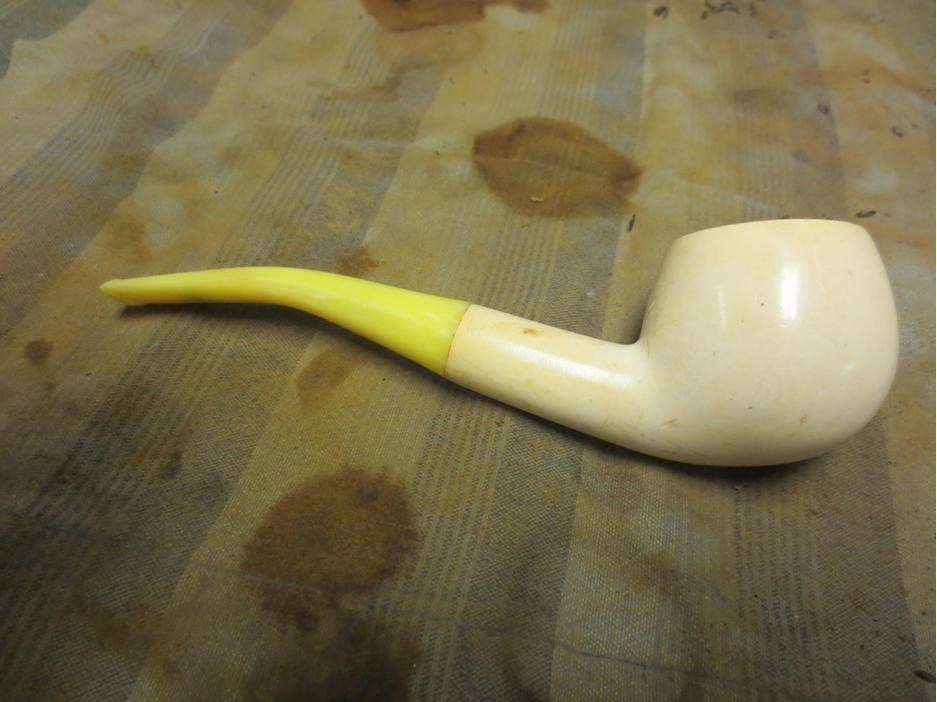
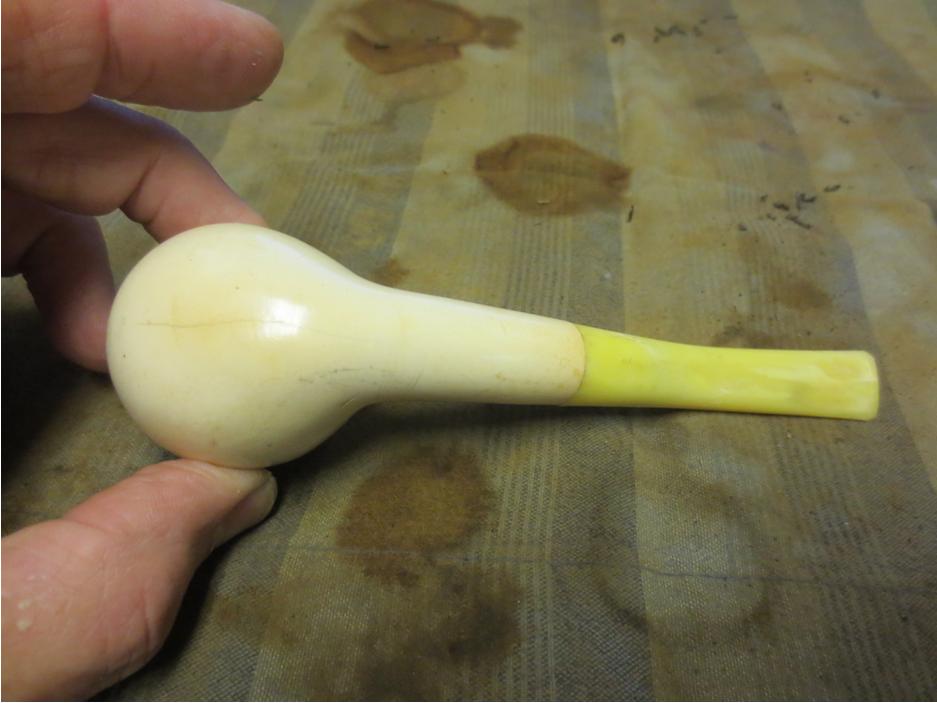
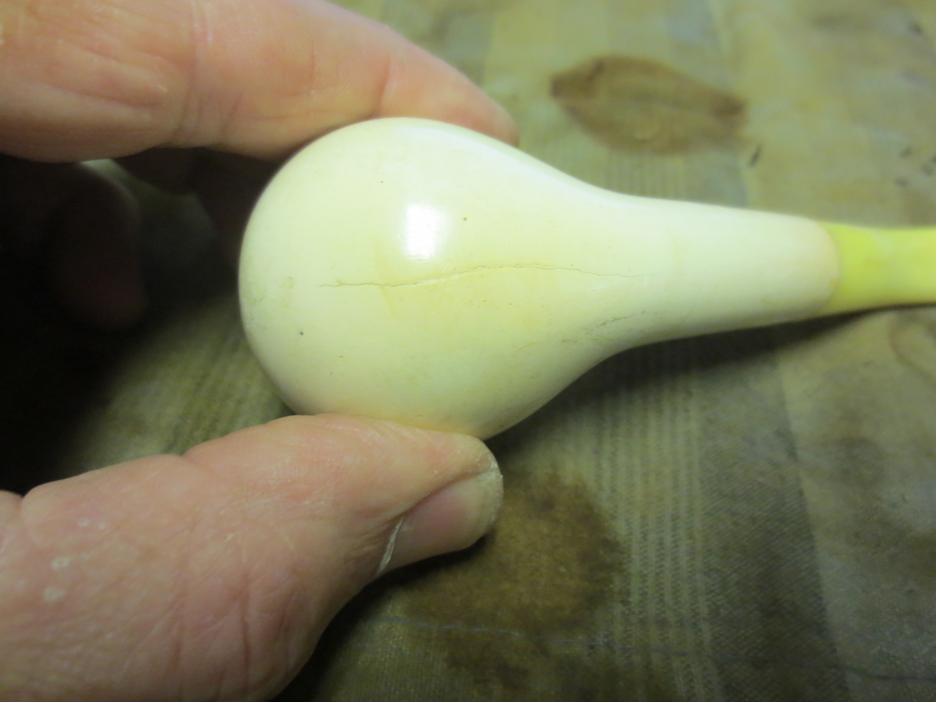
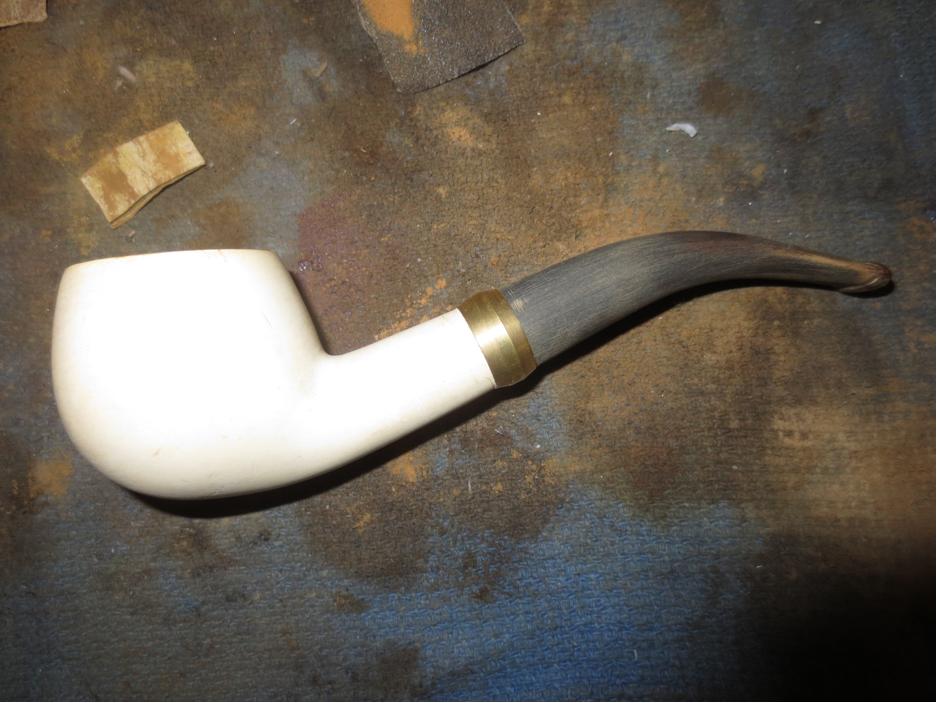
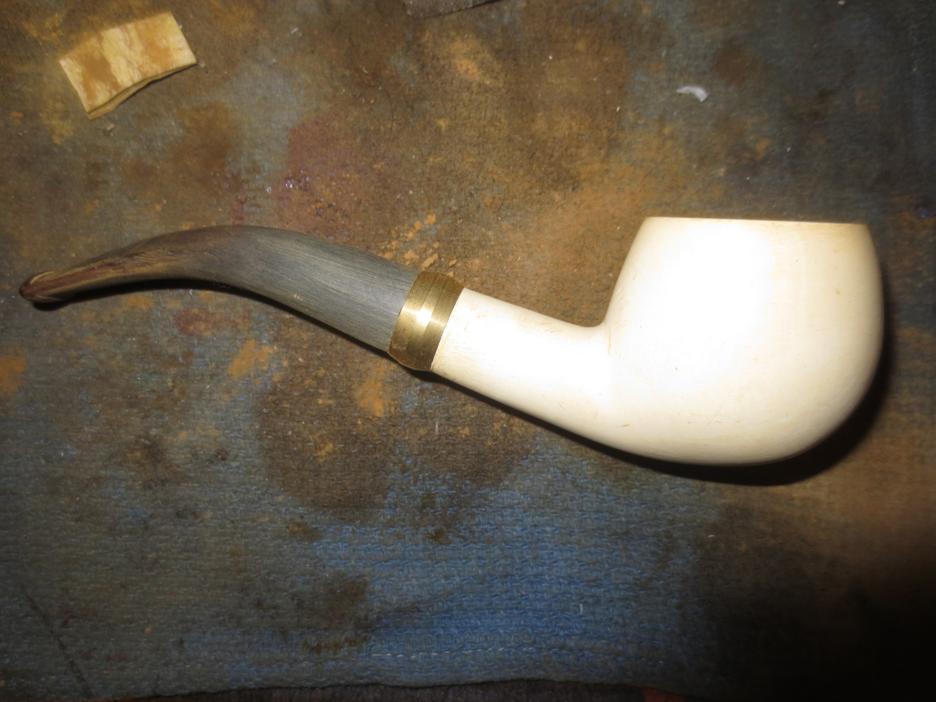
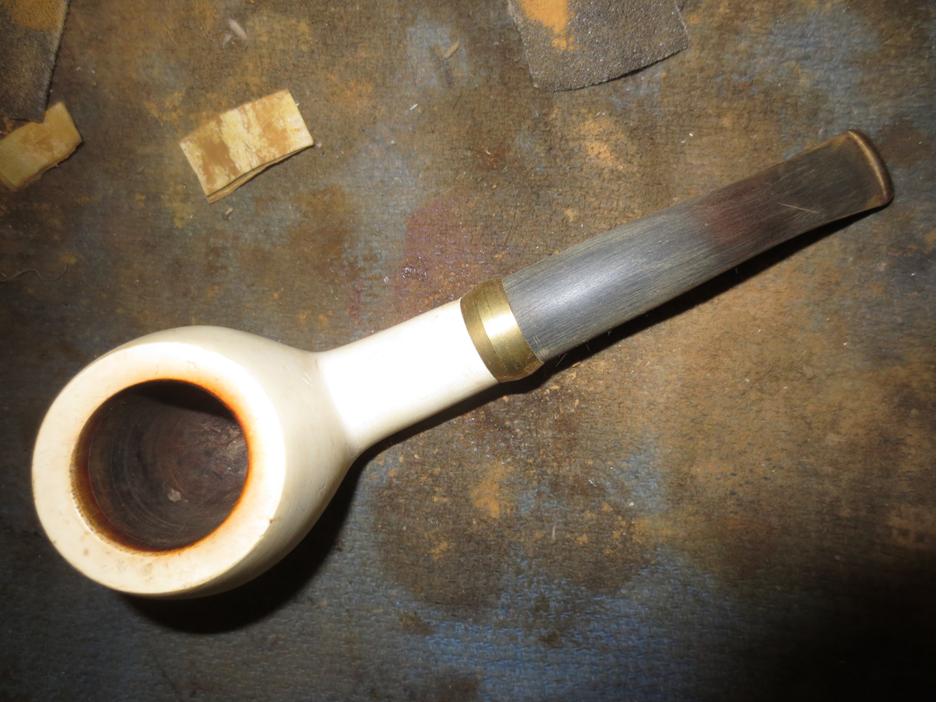
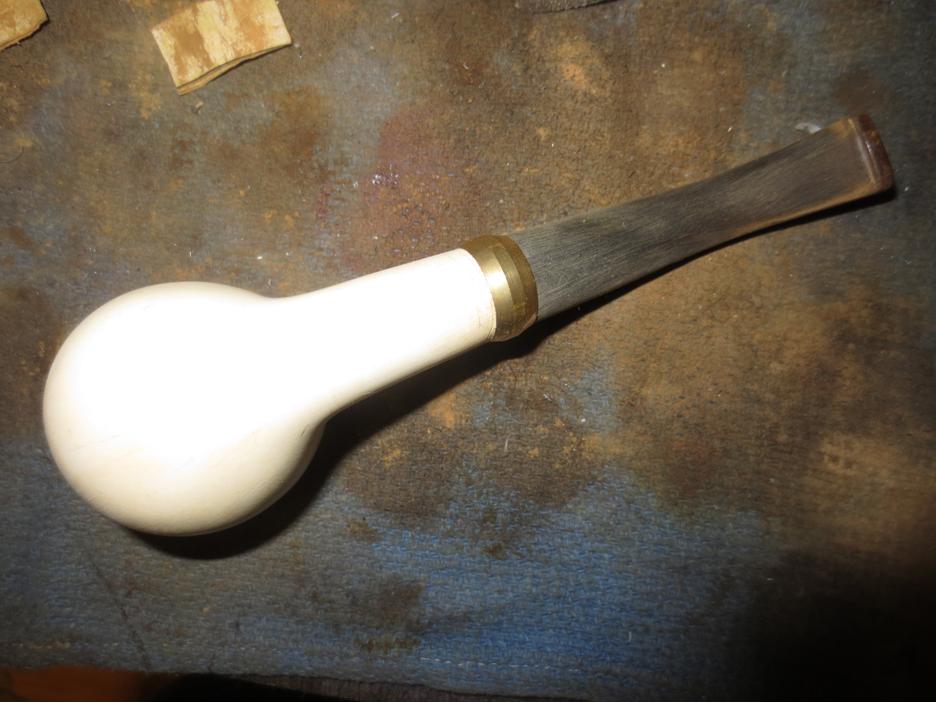
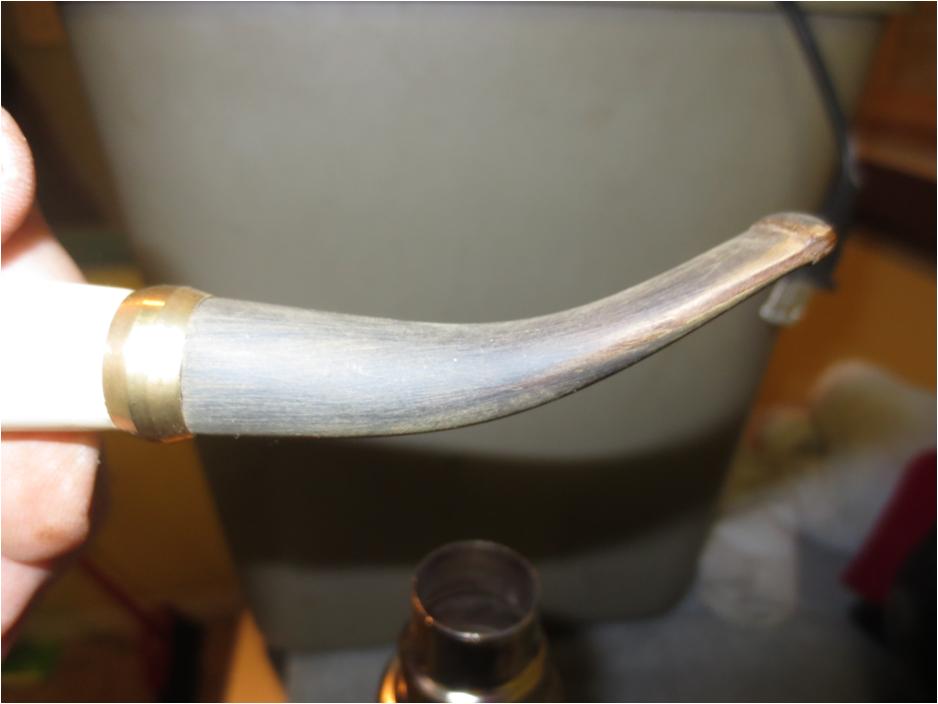
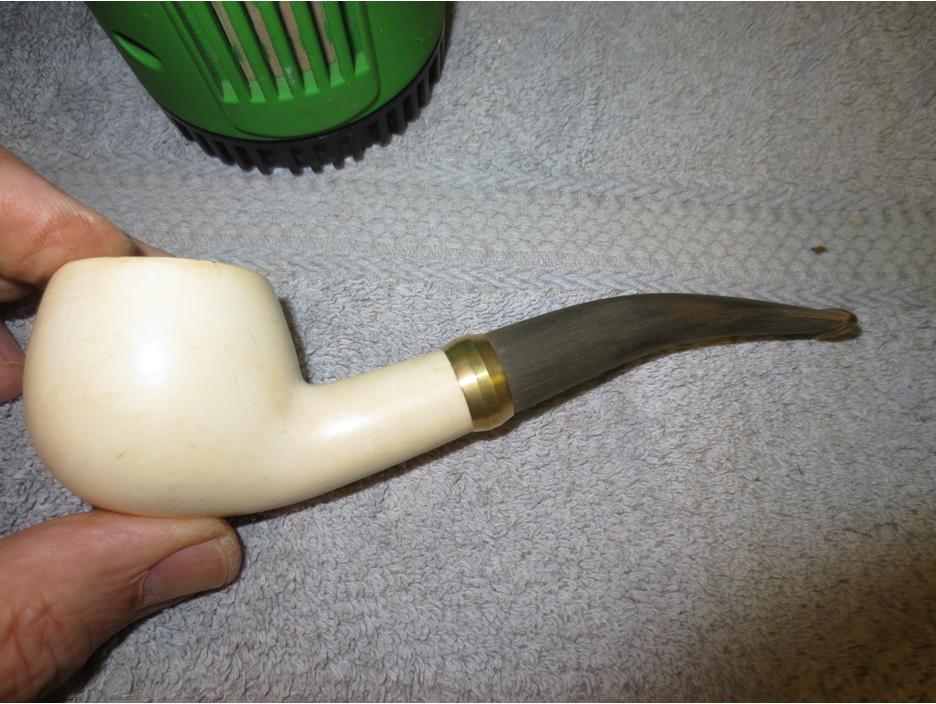
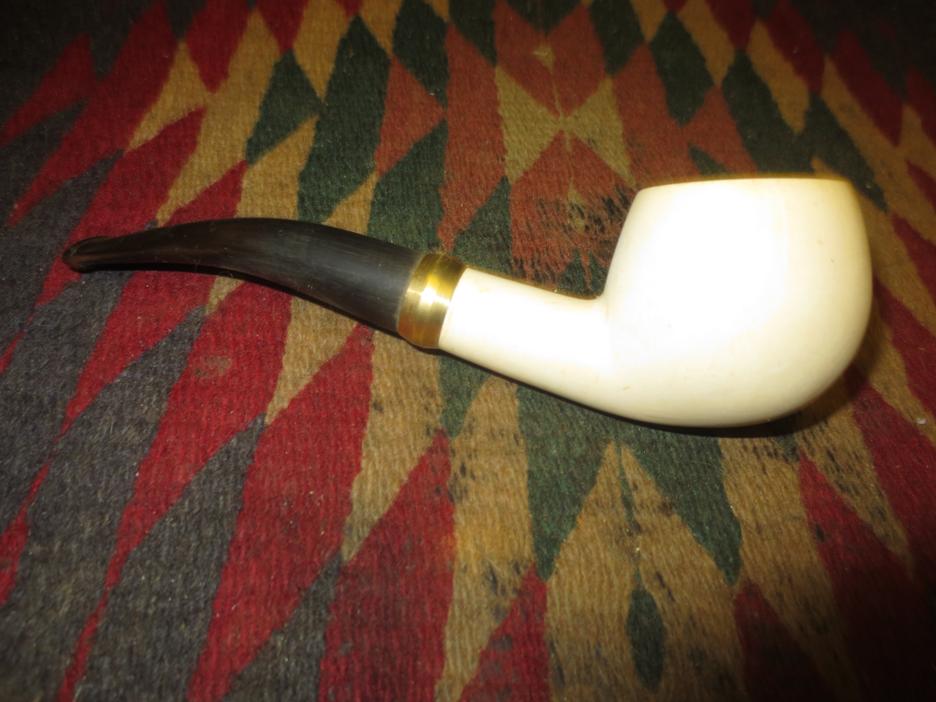
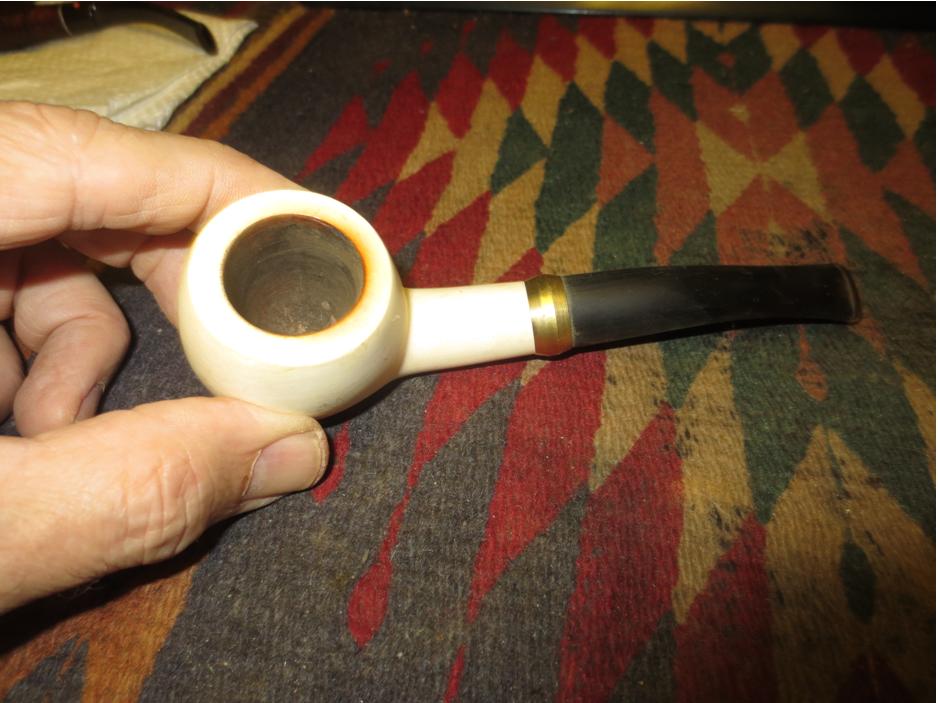
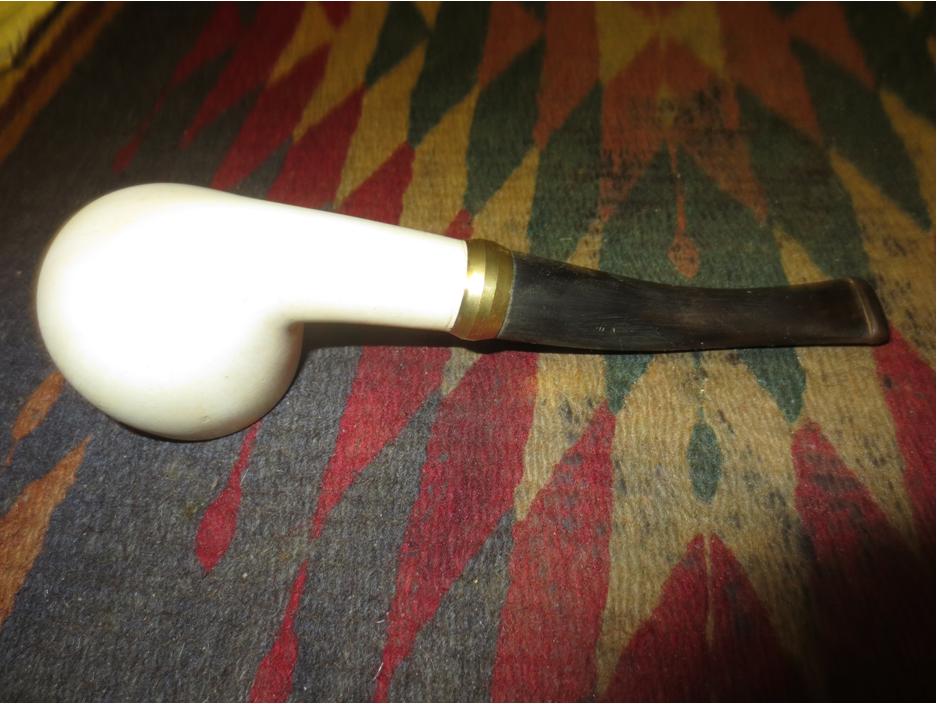
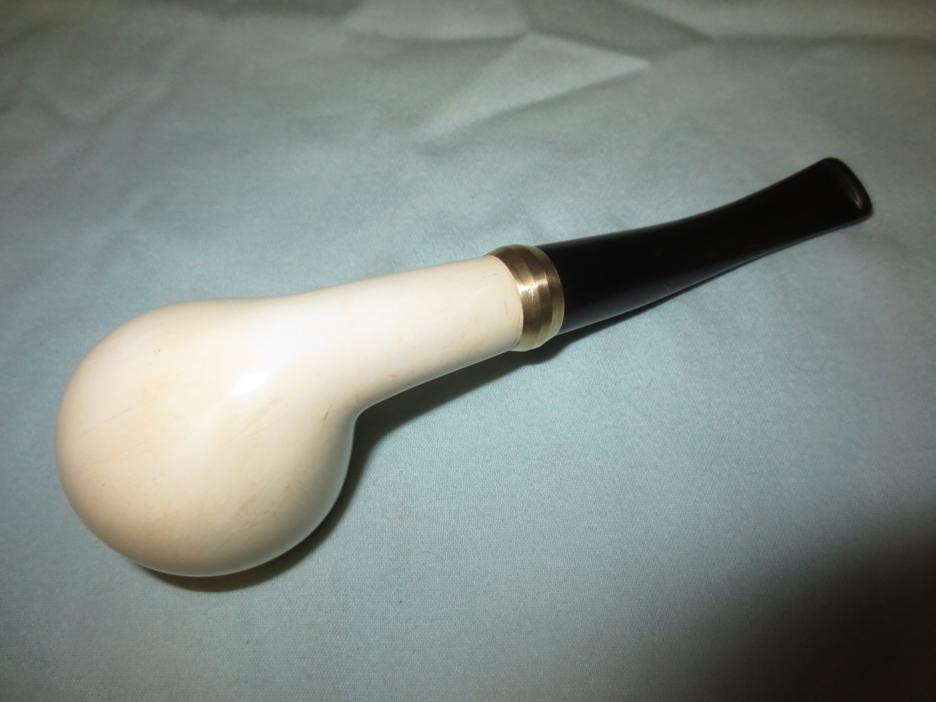
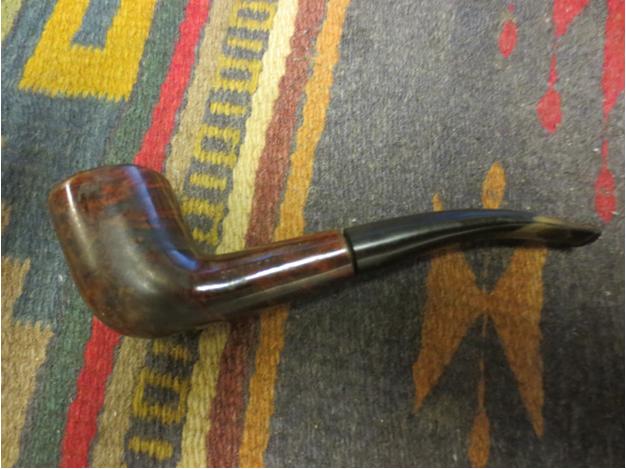
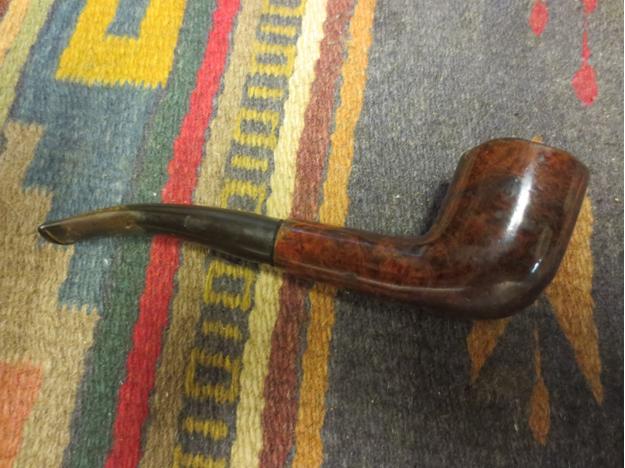
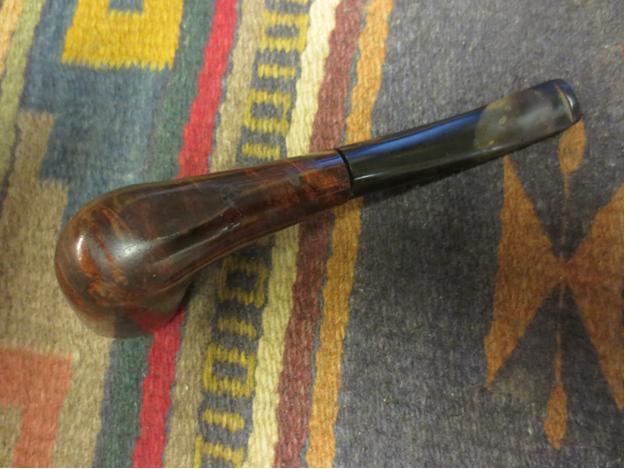
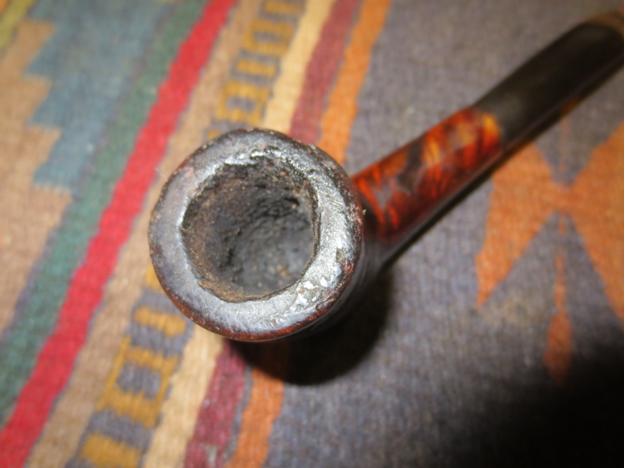
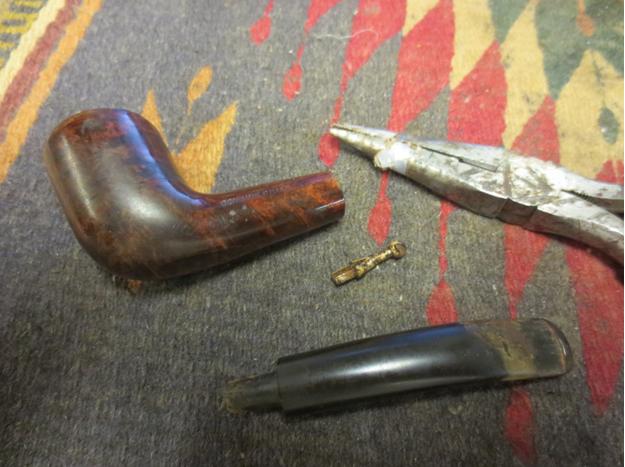
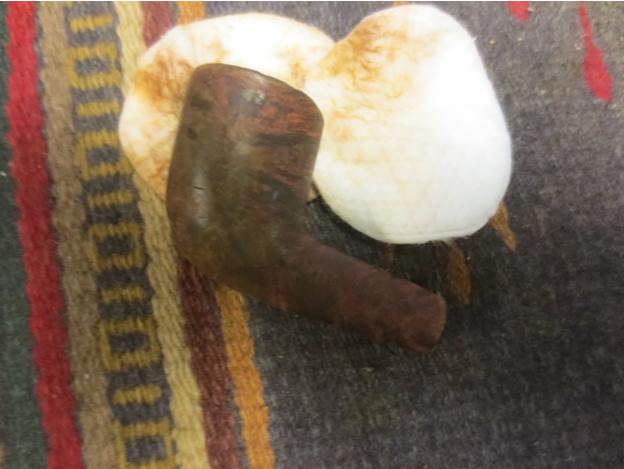
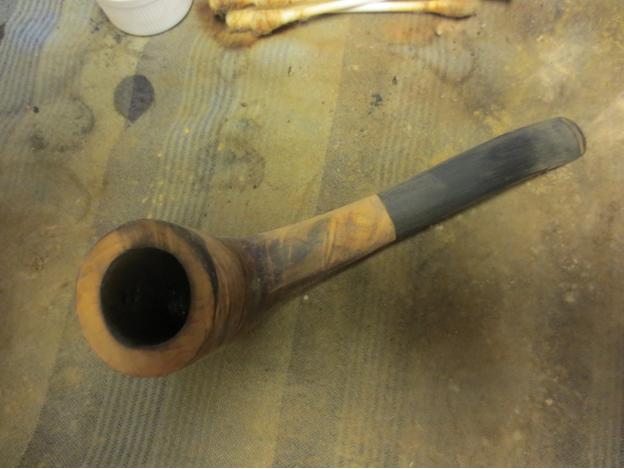
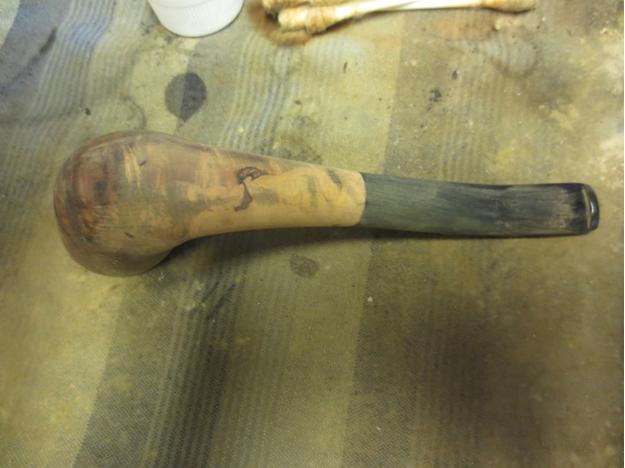
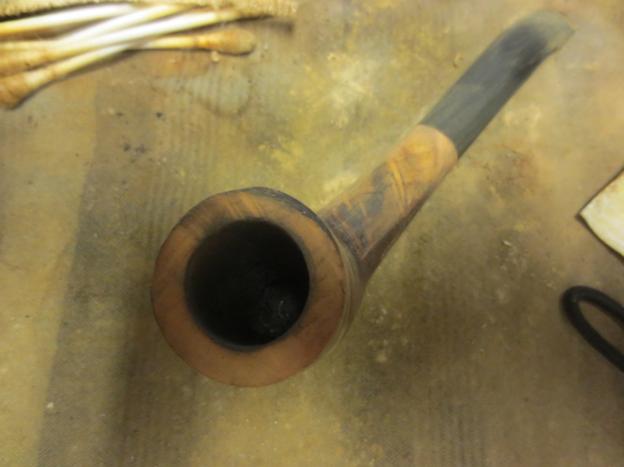
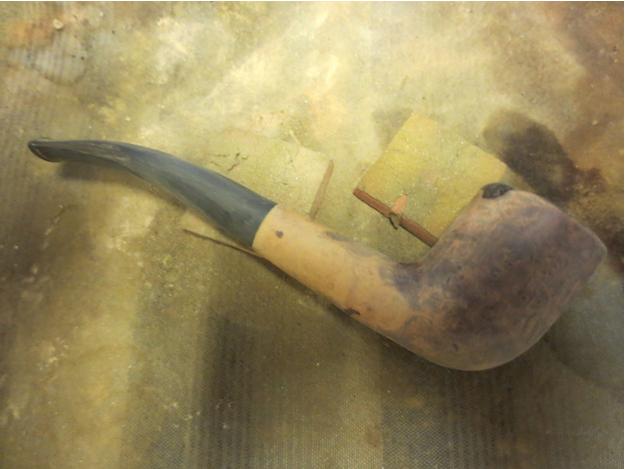
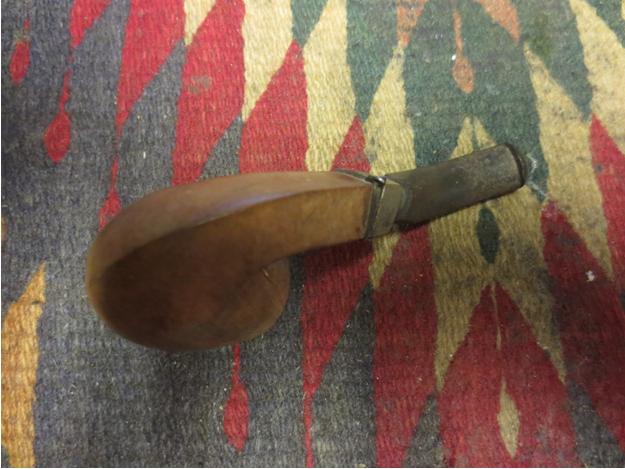
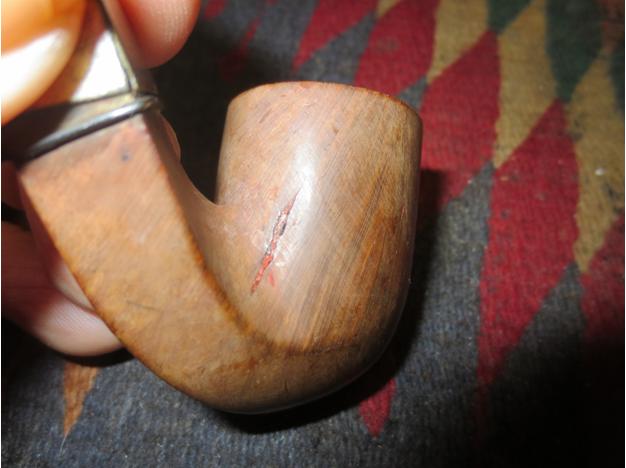
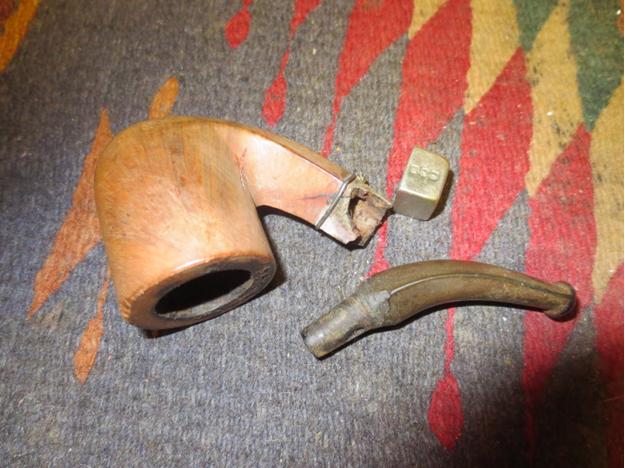
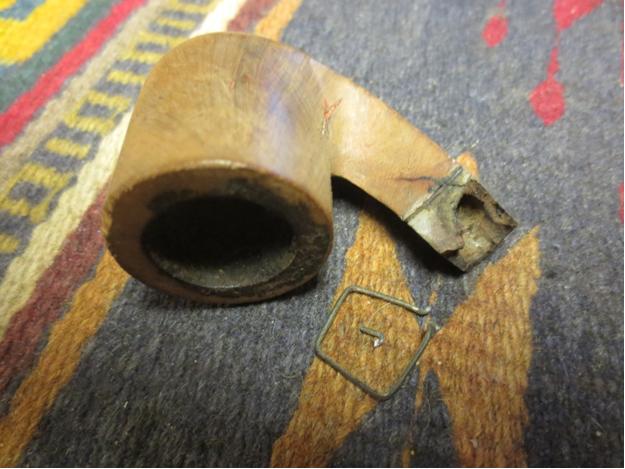
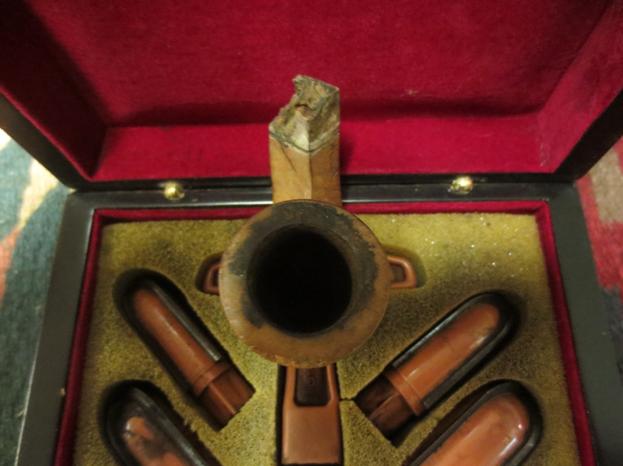
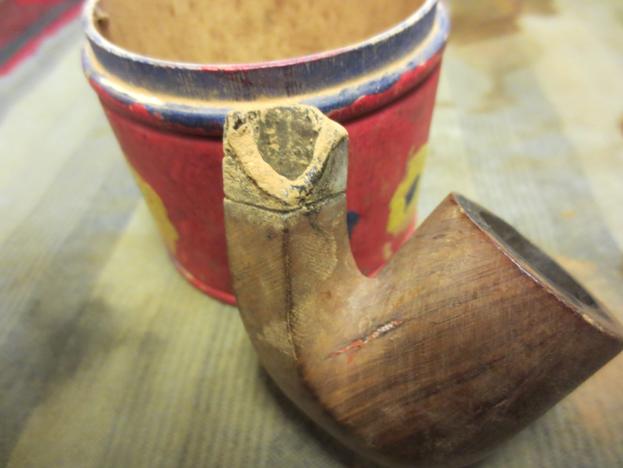
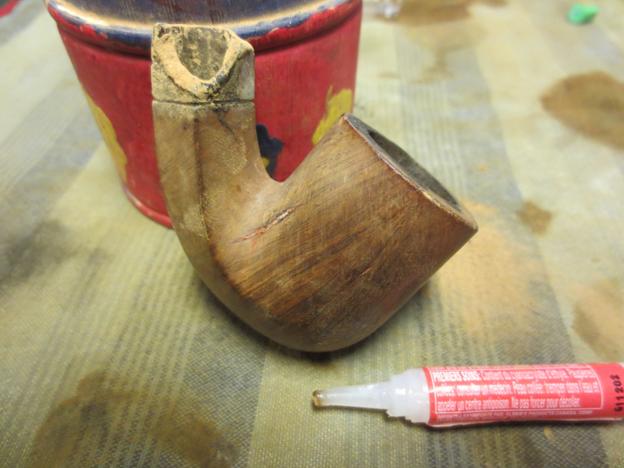
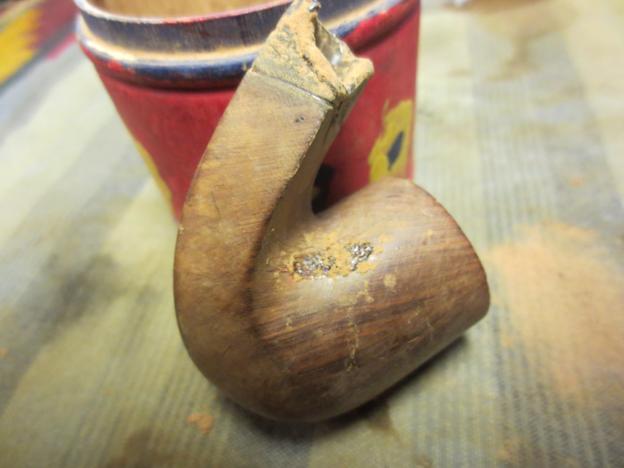
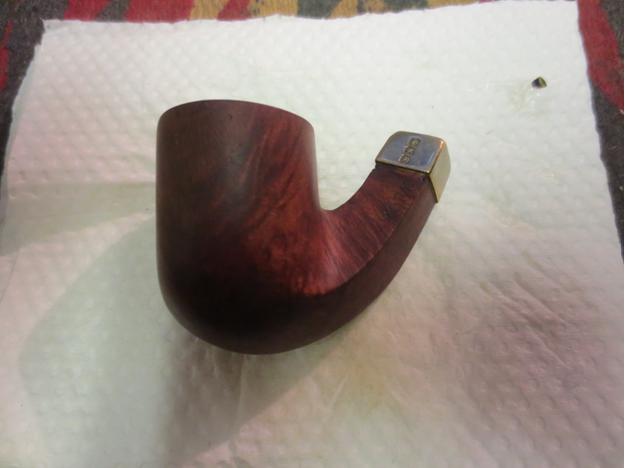
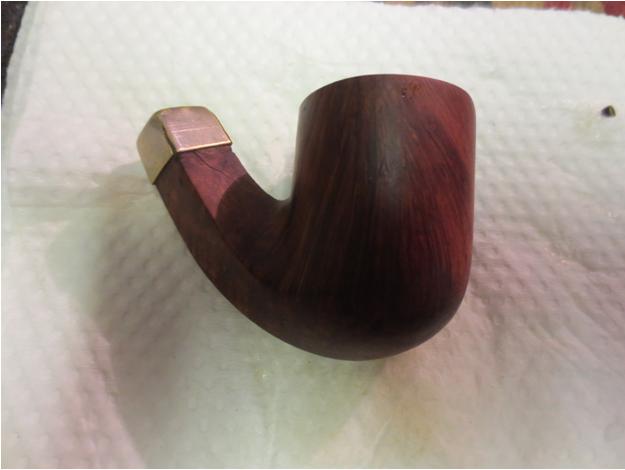
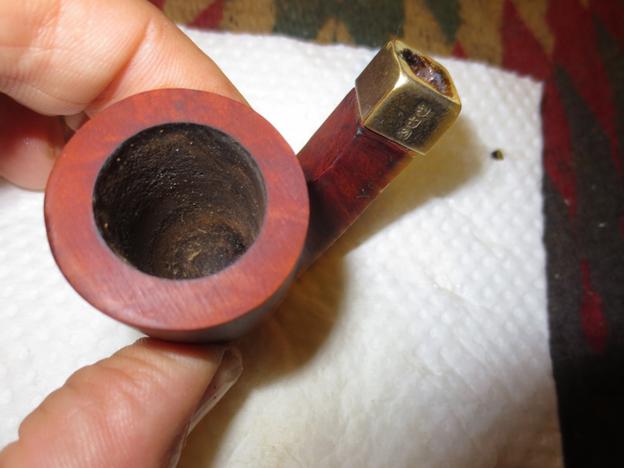
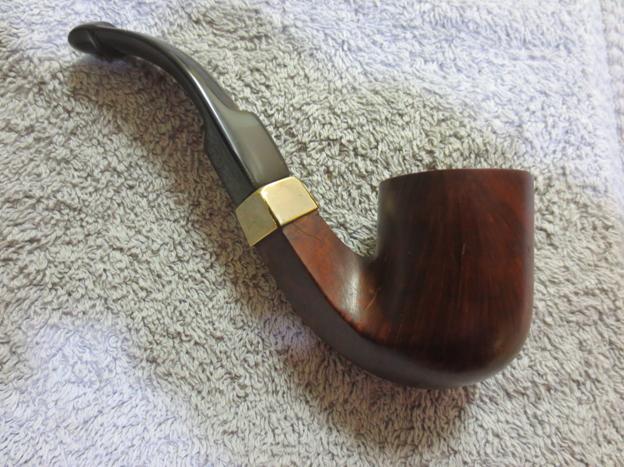
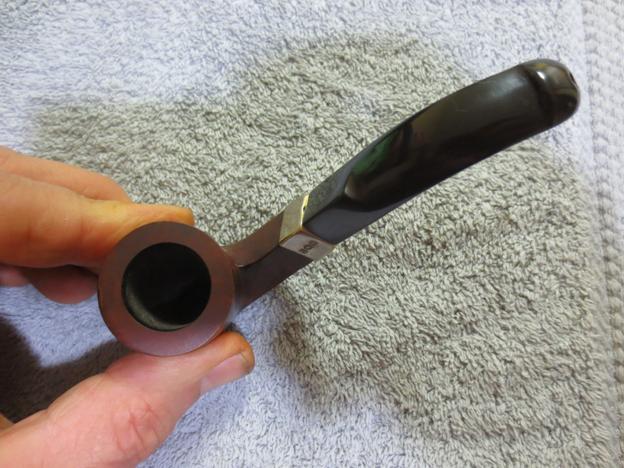
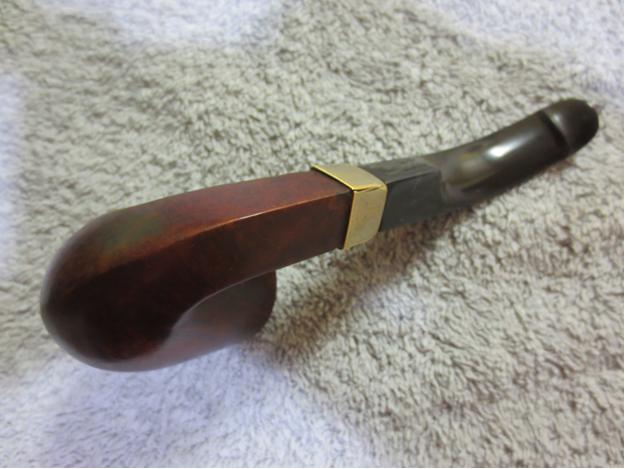
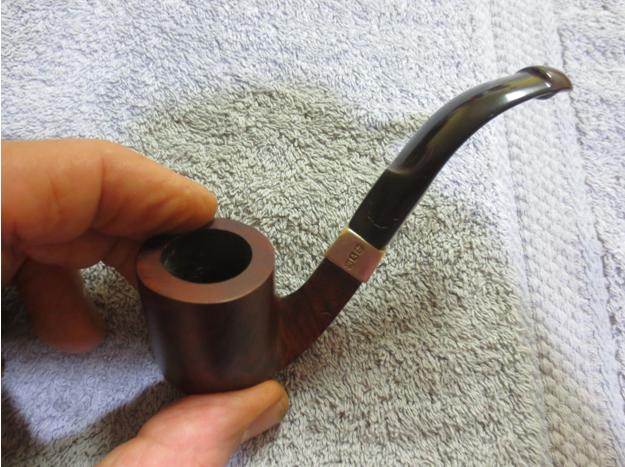
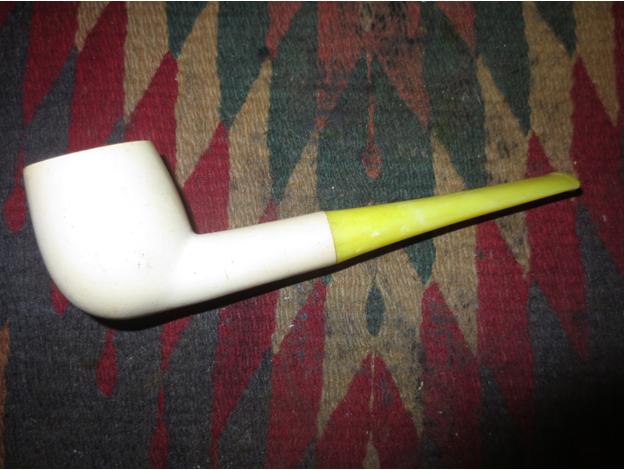
In the box of pipes to experiment with and refurbish as I can I had the mate to the little meerschaum apple that I restored a few days ago. https://rebornpipes.com/2015/08/28/prom-night-dressing-up-a-cheap-meerschaum-apple/ This one is a Meerschaum billiard. It had the same plastic (nylon) stem (it is not acrylic – way too soft). It had been smoked about the same amount as the other one – in fact the detritus in the bowl was identical. The stem had a crack on the underside from the button forward about 1 ½ inches. The finish had some dings and scratches in the surface but was very redeemable. I thought since I had to restem it anyway I might as well make it a match to the apple.Bill1
Bill2

Bill3

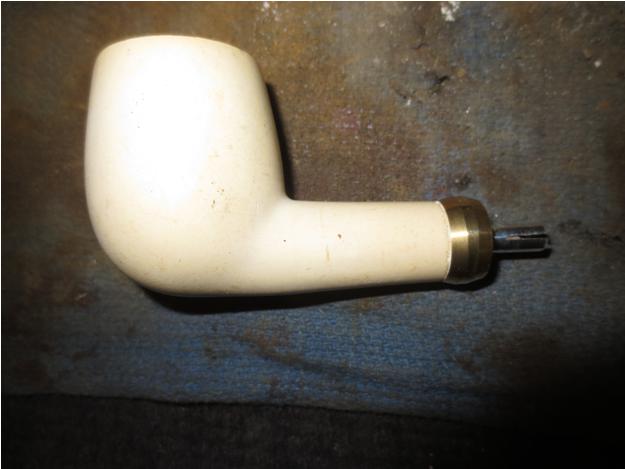
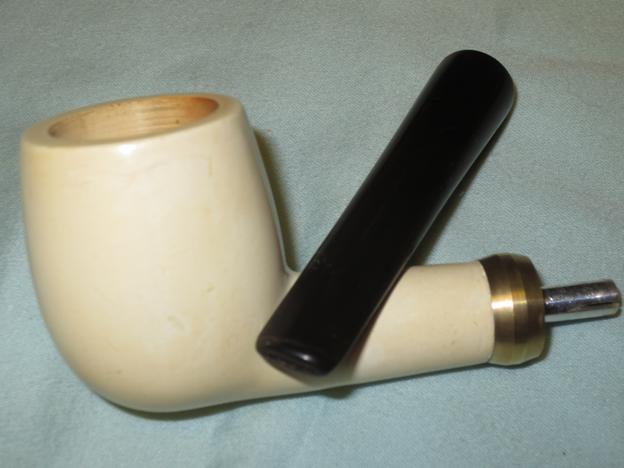
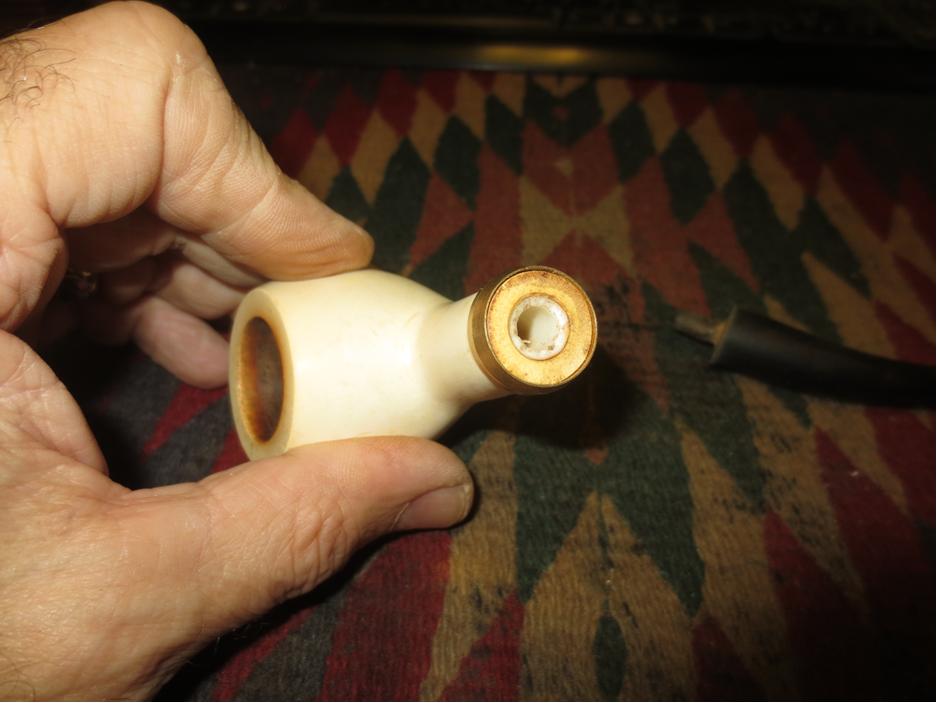
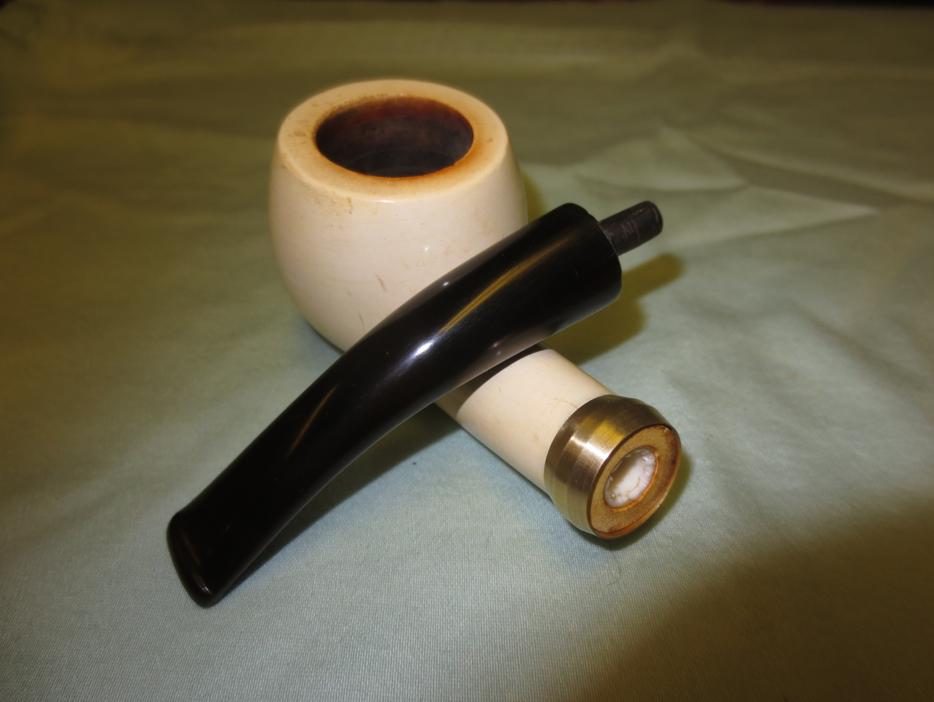
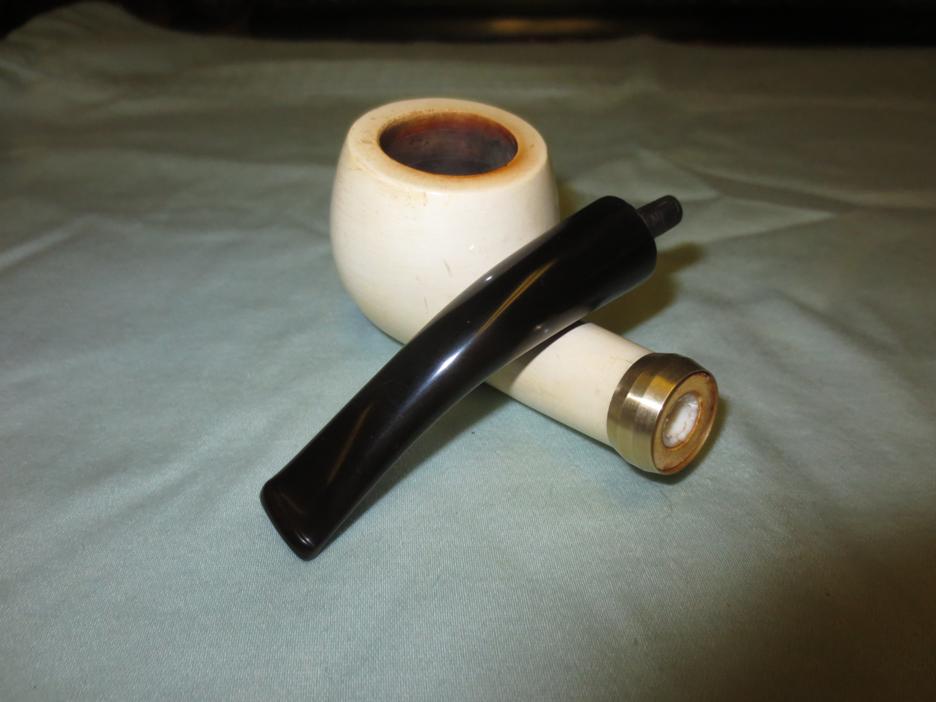
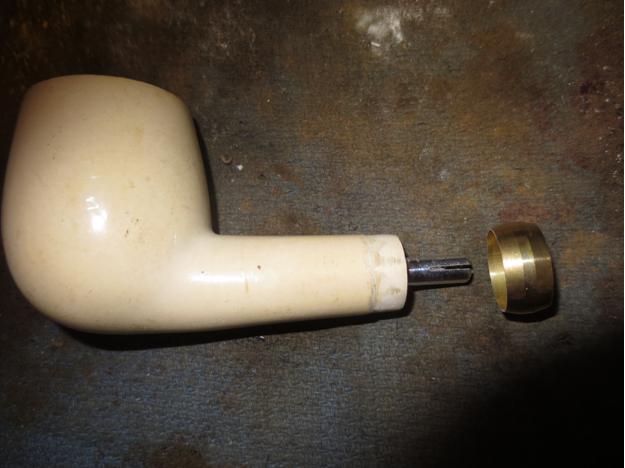
Bill4 I took the next close-up photo to show the fit of the stem to the shank and also the crack in the underside.Bill5 The next series of photos show the brass band that I chose to put on this one to match the other. It is a pressure ferrule and I have used them a lot in the past as they make a great looking band. Sometimes I grind out the rings and other times I leave them as I did in this case. Note the different tenon set up on this stem. The other stem had been drill out and the shank had a Delrin insert to accommodate a push stem. This one has a stainless steel tube glued solidly in the shank of the pipe. I heated it and pulled it but I am not able to remove it so I decided to leave it alone.

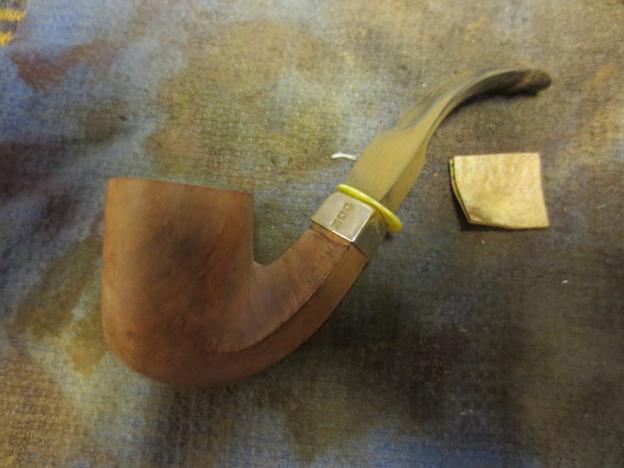
To make the shank ready for the band I needed to sand it back the width of the band. I used 220 grit sandpaper and carefully worked it back evenly to make fitting the band simpler. My normal pressure fit method of pressing a band would need to be modified on this one because of the metal tenon locked in the shank. It would still work but just need modification. I heated the band with a lighter and then pressed in place a little bit at a time working my way around the tenon.Bill6
Bill7

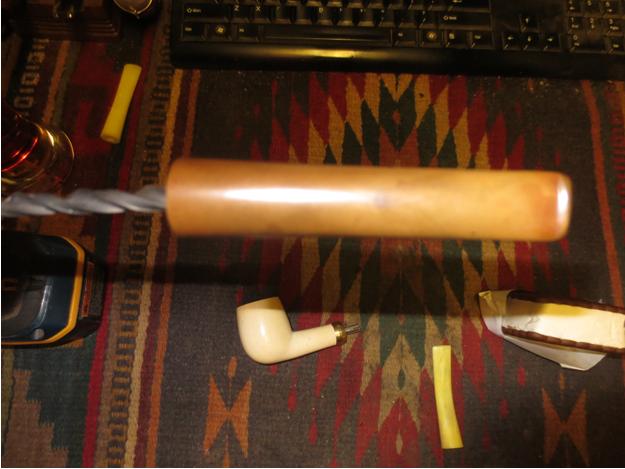
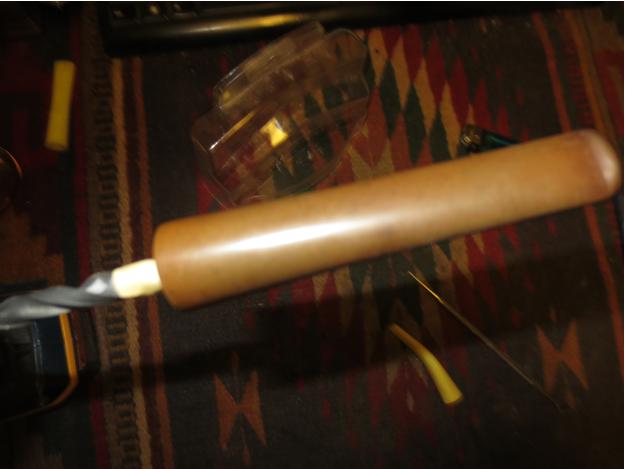
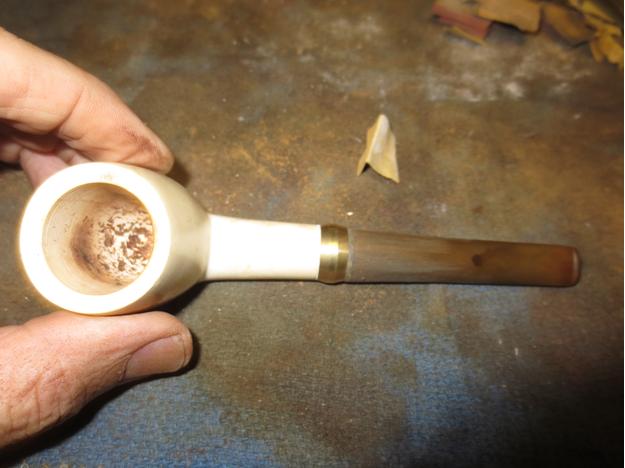
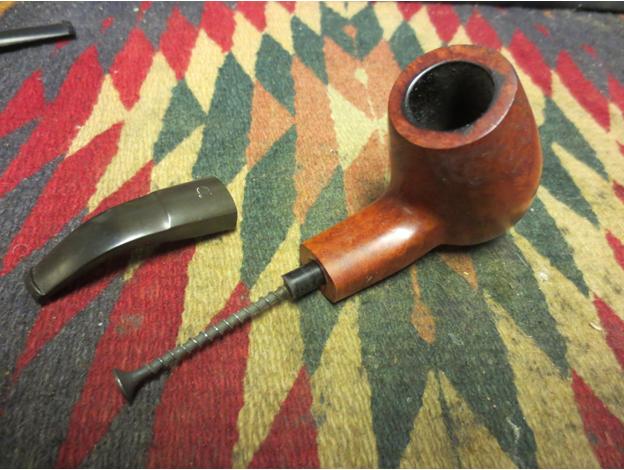
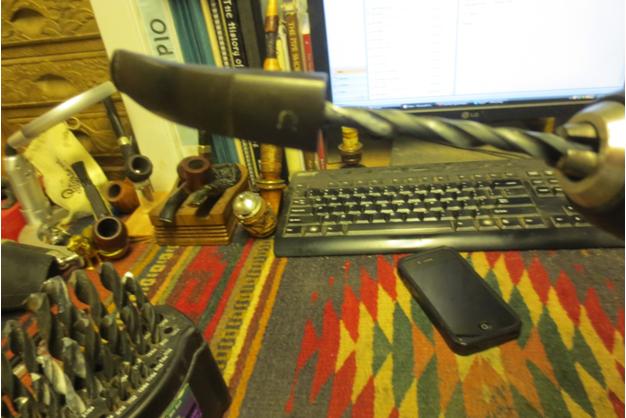
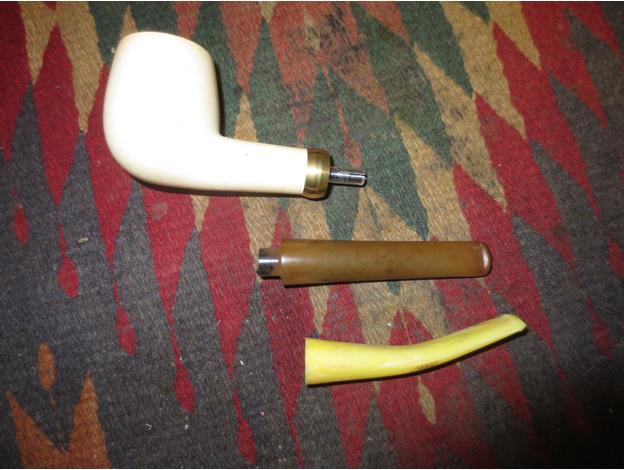
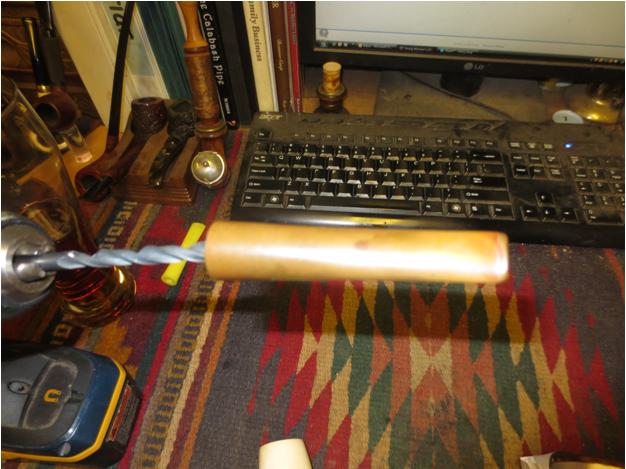
Bill8 With the newly banded shank finished it was time to work on a new stem. I toyed with the idea of using the nylon one from the other pipe. It did not take me long to put that idea aside. I had a stem in my can of stems that would do the job – an old taper vulcanite with a very straight profile would look great on this meer billiard. I used the Dremel and sanding drum to take back the existing tenon and flatten it against the face. I forgot to take a photo of the stem to begin with so I stopped mid stream after I had removed about half of it to take the photo below.Bill9 Once I had removed the tenon I needed to drill out the airway to accommodate the metal tenon. I would in essence make a reverse tenon set up on the stem. I started with a drill bit slightly larger than the airway and hand twisted the stem onto the bit. I have found this is far safer that using a power drill to do this finicky work. I worked my way up to a bit the same diameter as the tenon and hand turned the stem onto the bit. I put a piece of tape on the bit so I would know when to stop turning the stem. That marked the depth of the tenon. Once I got to that place the stem would push onto the tenon flush against the shank end in the band.Bill10
Bill11

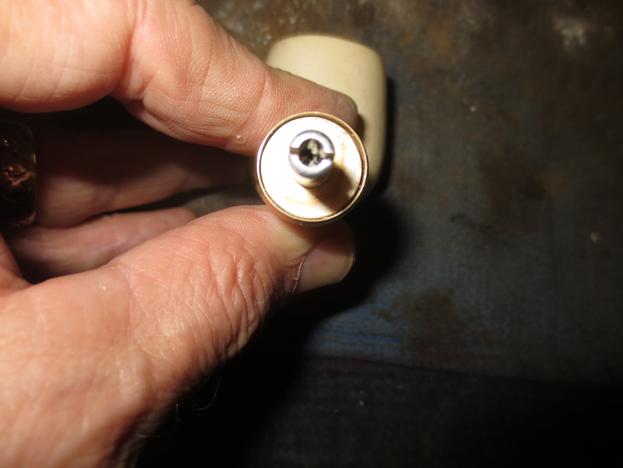
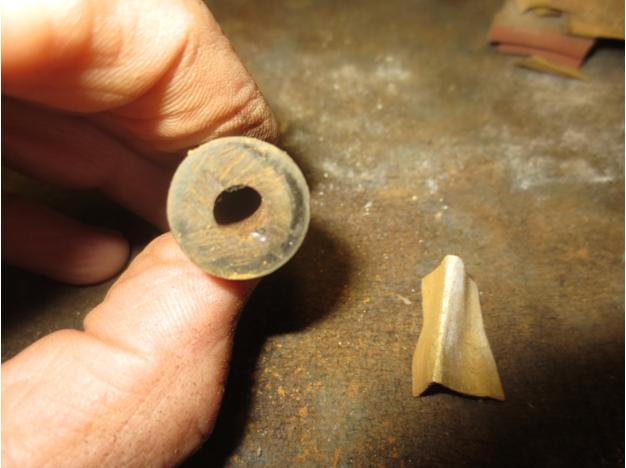
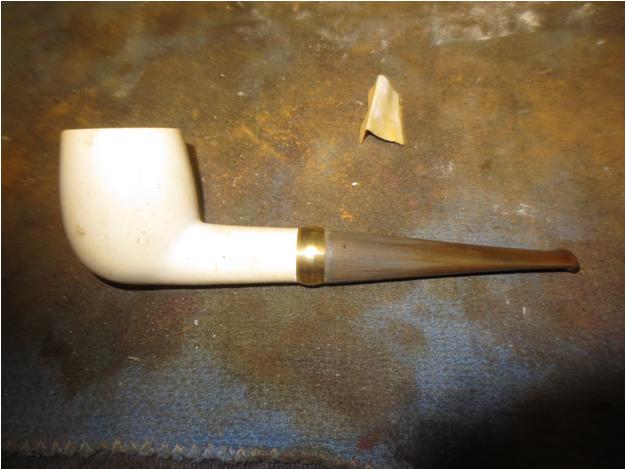
Bill12 The next photo is an end view of the newly drilled airway. It is a little rough and will need to be sanded smooth to remove all of the scratches.Bill13 I pushed the stem in place on the pipe to get an idea of the final look of the newly dressed prom king. The photos below show the stem before I did the final adjustments to the diameter and flow.Bill14
Bill15

Bill16

Bill17 I liked the new look a lot. It had the same touch of class as the meerschaum apple does. It would come out looking pretty slick once it was finished. I sanded the diameter of the stem with the Dremel and sanding drum to take off a fraction so that it would sit flush in the band with no gap around the edges. I then hand sanded it with 220 grit sandpaper to further fine tune the fit.Bill18

Bill19

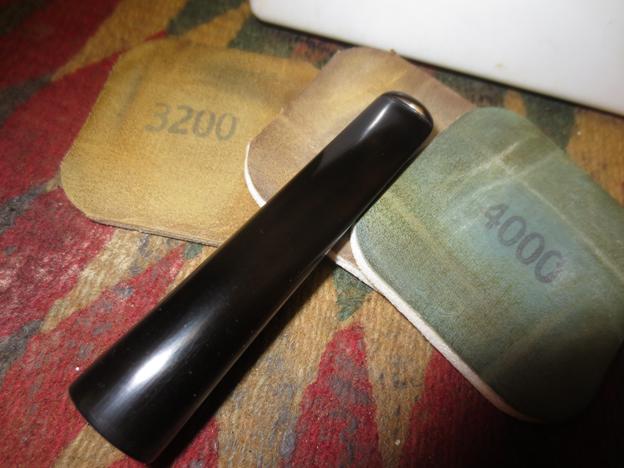
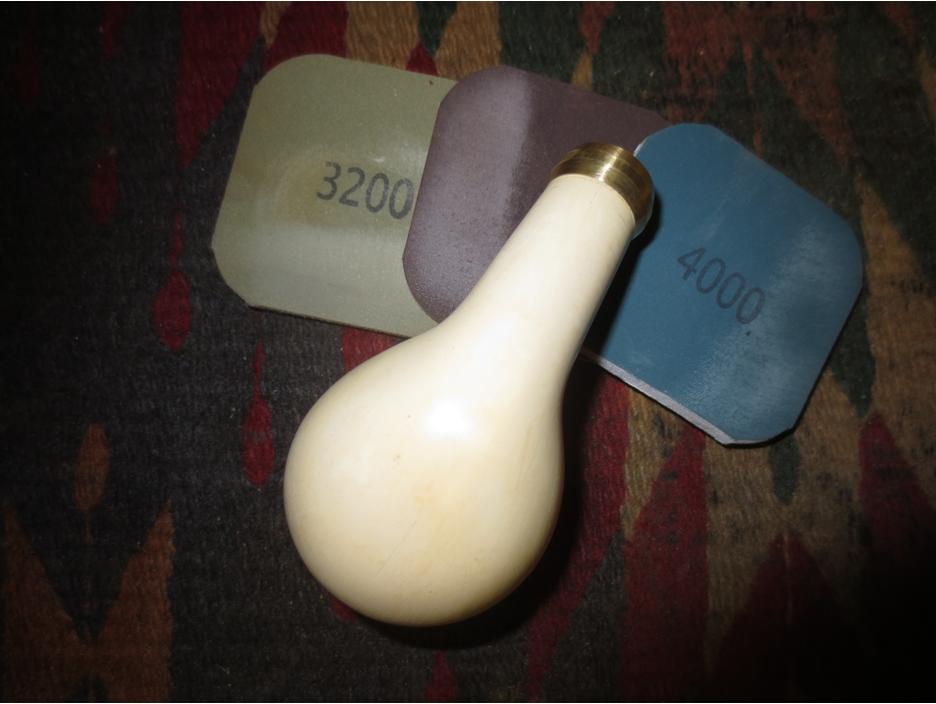
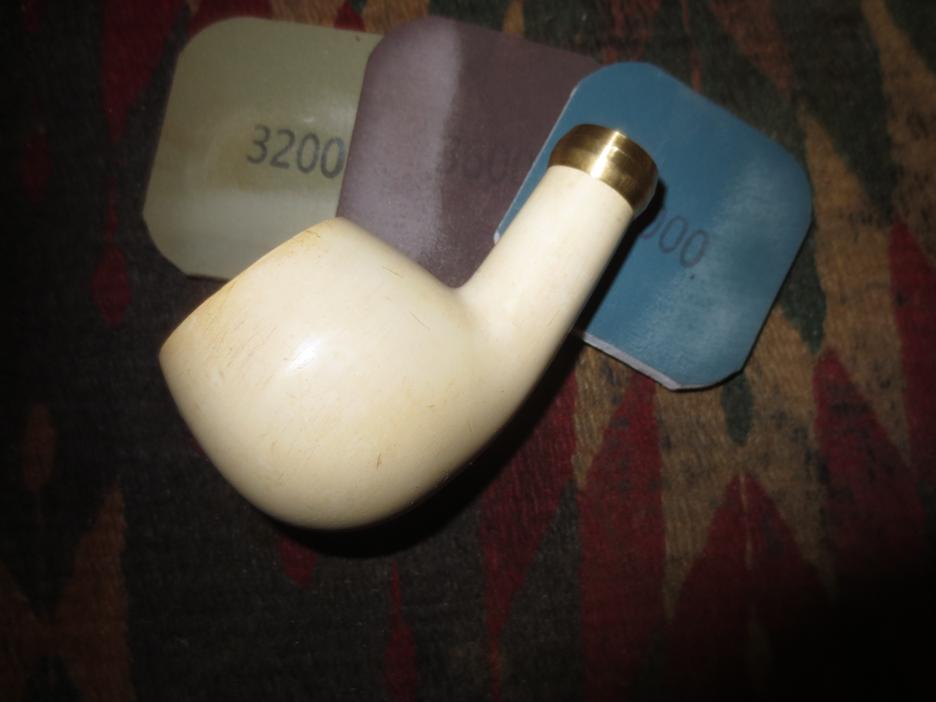
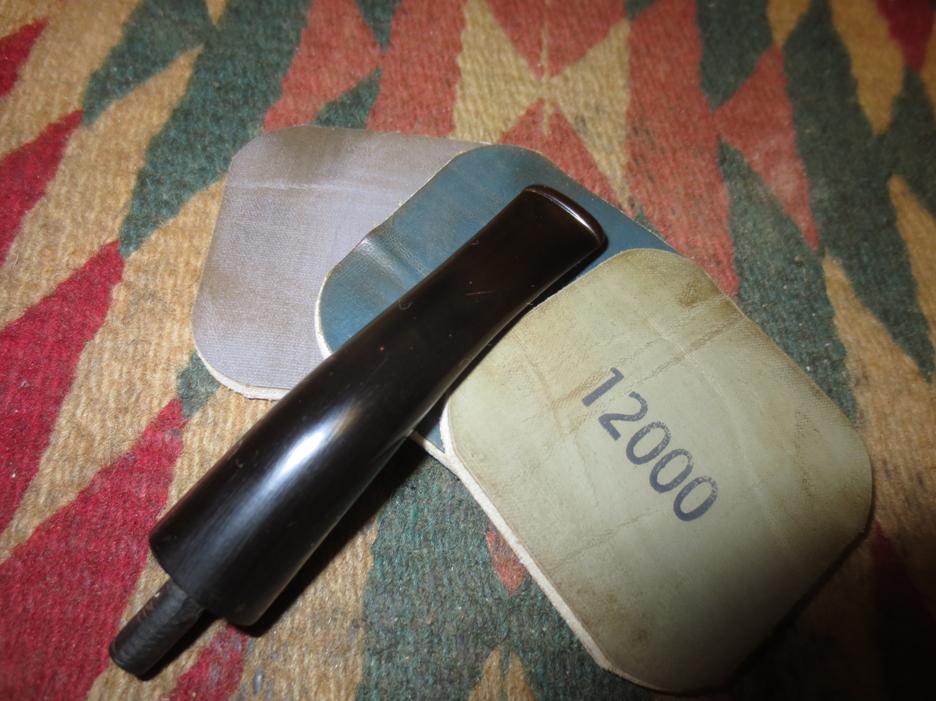
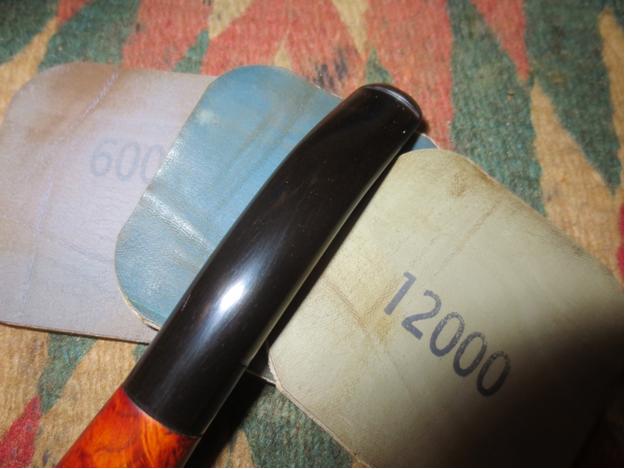
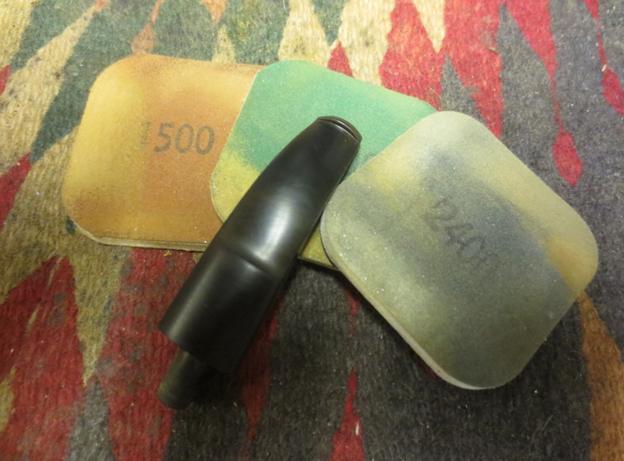
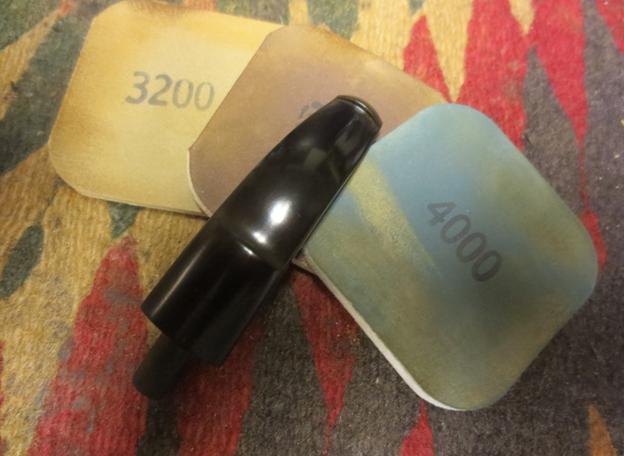
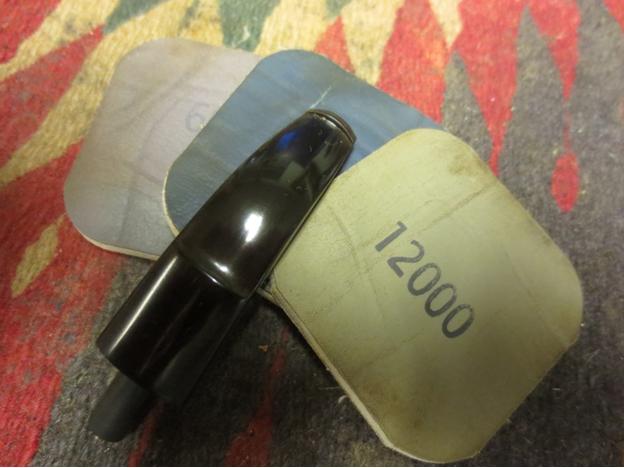
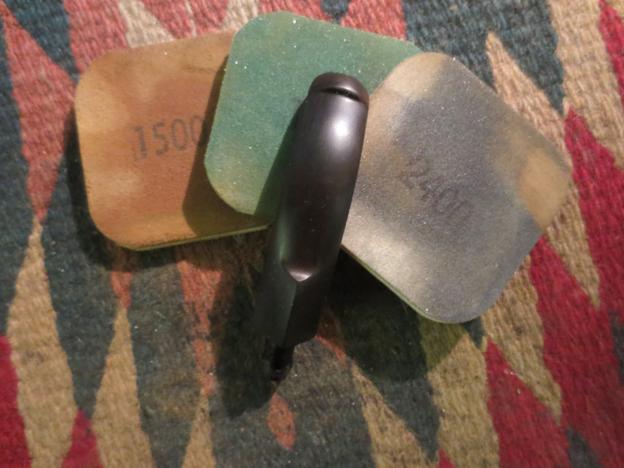
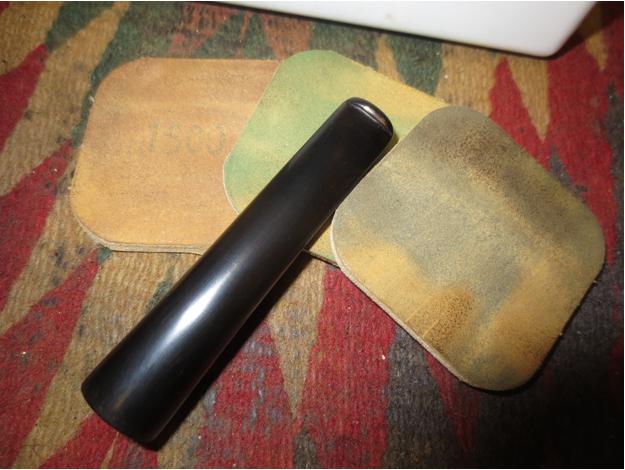
Bill20 I sanded the newly fit stem with a medium and a fine grit sanding sponge to clean up the vulcanite and remove all of the scratches from the sanding drum and 220 grit sandpaper. I sanded it with micromesh sanding pads – wet sanding with 1500-2400 grit pads and dry sanding with 4000-12000 grit pads. I rubbed it down with Obsidian Oil between each set of three pads and then after the 12000 grit pad I let it dry before going to the buffer. I also sanded the bowl with the micromesh pads to polish the meerschaum.Bill21
Bill22

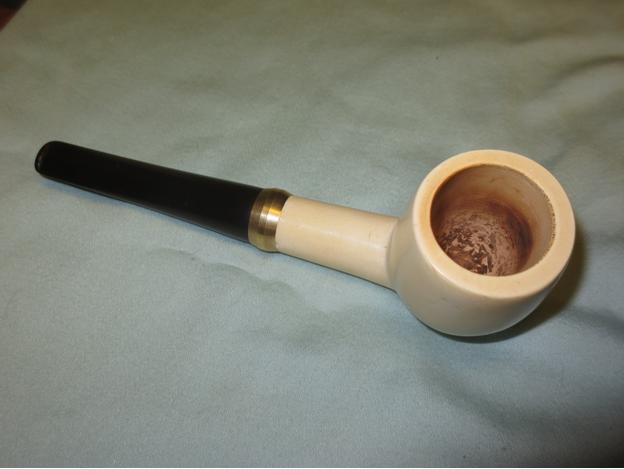
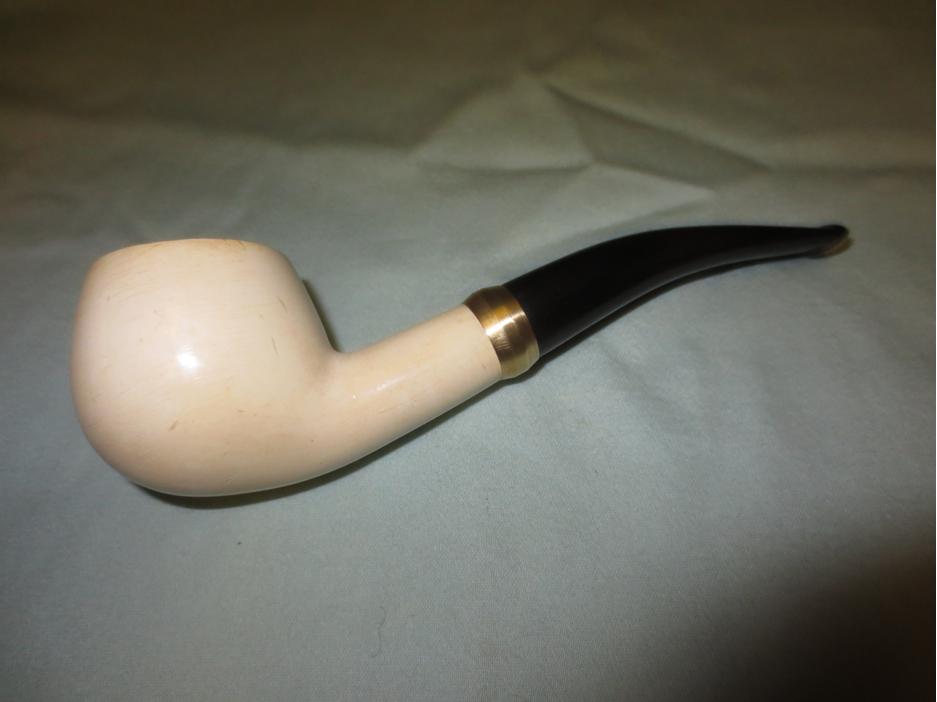
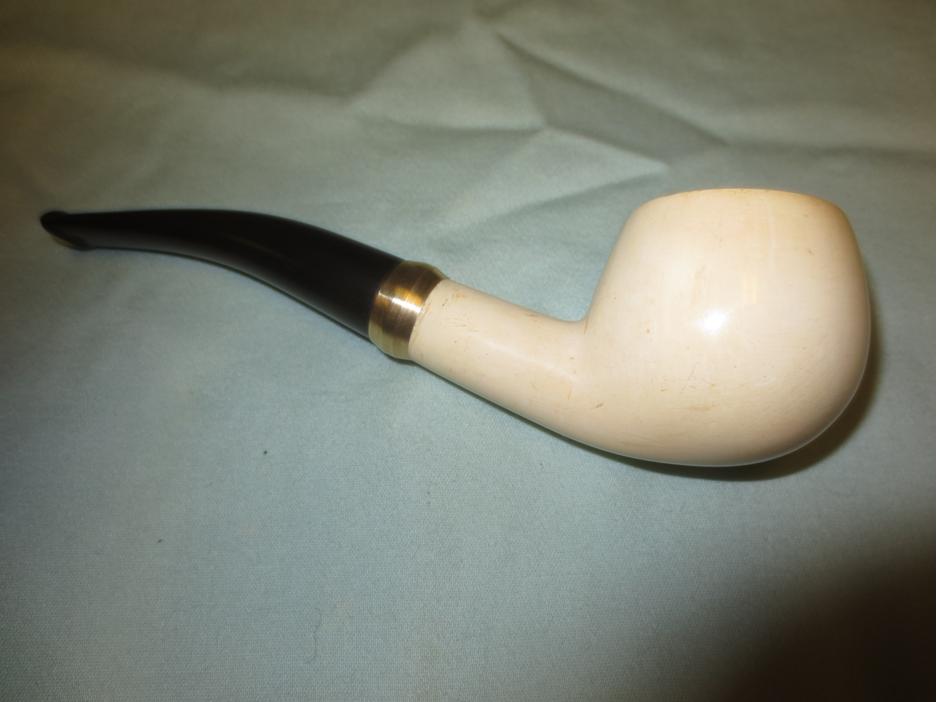
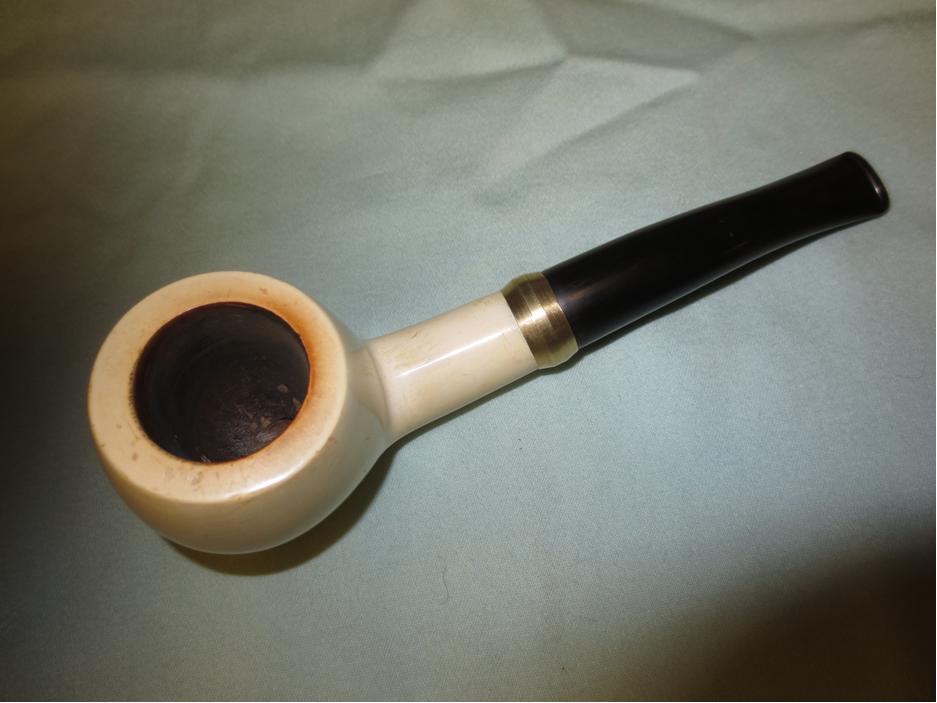
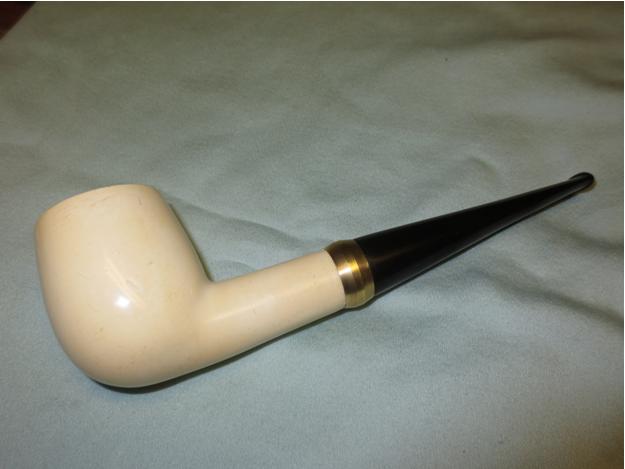
Bill23 I buffed bowl and stem with Blue Diamond and then gave the stem multiple coats of carnauba wax. I buffed it with a clean flannel buff to raise a shine and then hand buffed it with a microfibre cloth to put on the final touches. The finished pipe is shown below.Bill24
Bill25

Bill26

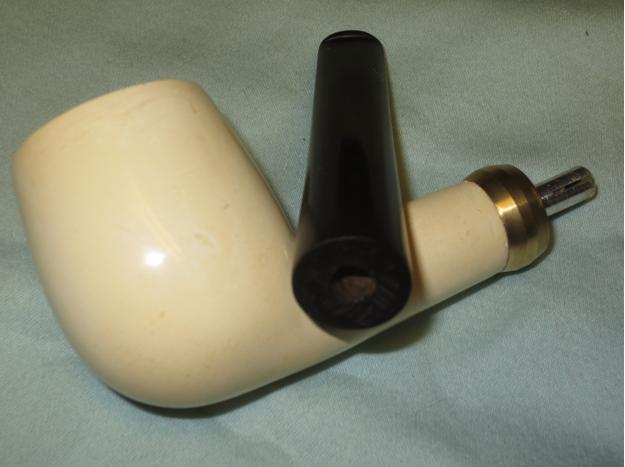
Bill27 The next two close up photos show the detail of the stem. They also show the way the air hole has been opened to accommodate the metal tenon.Bill28
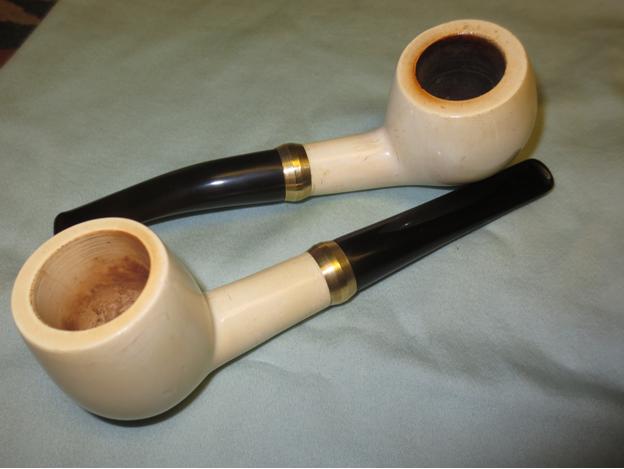
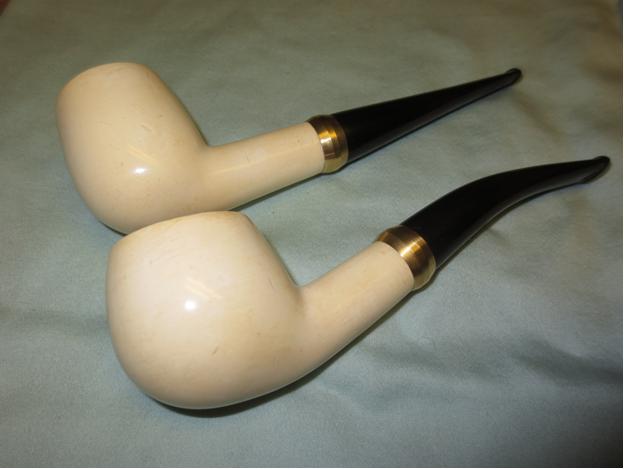
Bill29 The final two photos show the two meers, dressed and ready to head out to the Prom. They look like royalty – maybe Prom King and Queen. Ah well so much for an old guys memory of things long past in the recesses of the high school years file.Bill30
Bill31

Prom Night – Dressing up a Cheap Meerschaum Apple


Blog by Steve Laug

I was given a batch of pipes from a friend on one of the forums that he had lying around a long time. He was pretty certain that they were not worth much but he thought they might be fun for me to fiddle with. One of them was a meerschaum apple-shaped pipe with a plastic stem. The draw on it was awful, like sucking air through a coffee stirrer. The bowl had a few issues at first glance. There were some gouges in the meer on the sides of the bowl and the shank. There were some small cracks in the shank from the end forward near the top. There was a Delrin sleeve so these may or may not be a problem. The tenon itself was small and rough. The stem had some damage from what appeared to be melting at some point in its life. But it was barely smoked and there was something about it that caught my eye. I could see some promise in it so it would be worth the fiddle.band1

band2

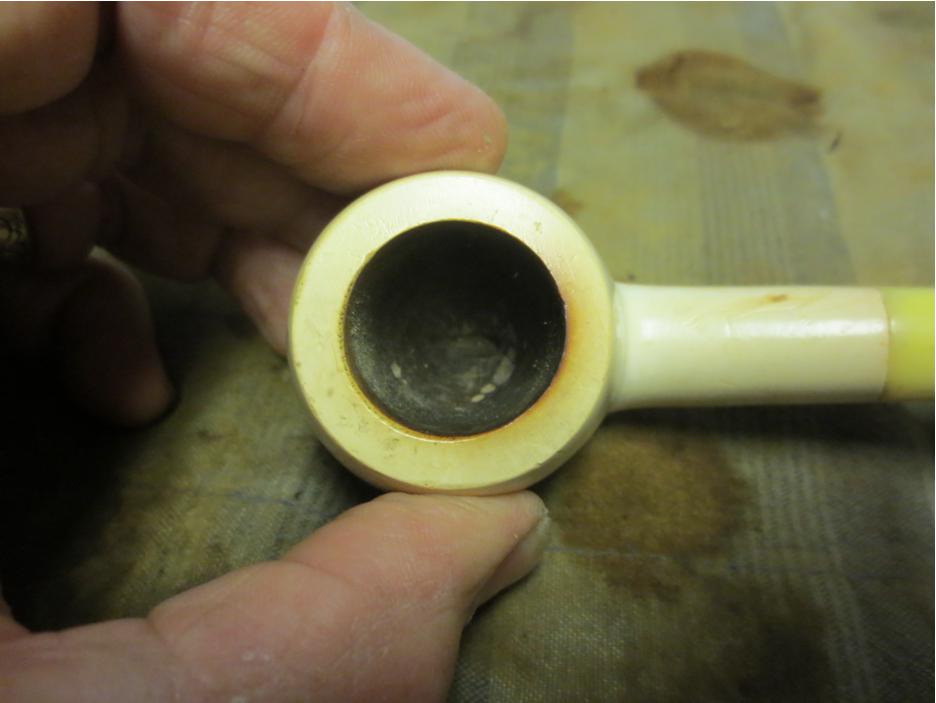
band3 On the bottom of the exterior of the bowl there looked like there was a crack that ran for the length of the bowl. I examined it with a lens and it turned out to be a gouge in the surface of the meerschaum. It may be a crack but it did not go deep in the material so it was salvageable.band4

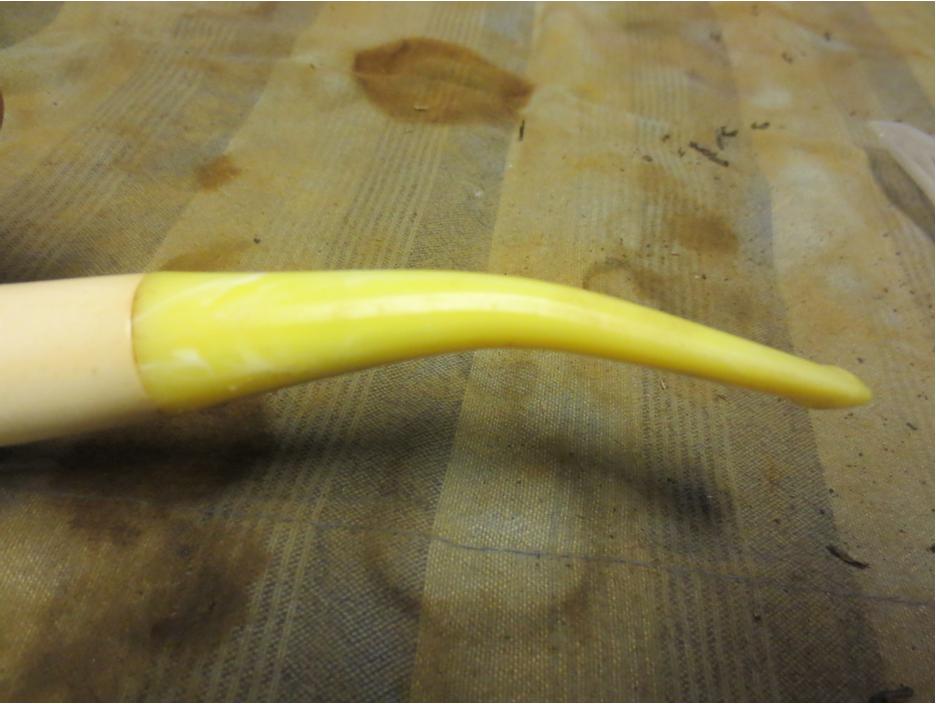
band5 I took a close-up photo of top and inside of the bowl. You can see that it is barely smoked and the crack does not appear to go into the bowl.band6 The plastic stem just bugged me. I could find nothing redeeming in the shape of it at all. The taper was wrong and it was pinched at the shank joint. The faux amber look of it was really fake looking. The material was very soft and I could scratch it with a fingernail.band7

band8 Everything about the way the pipe looked when it arrived made me think it would be one that I would clean up, polish and turn around and get rid of. I probably would not sell it but would pass it on to someone wanting a meerschaum pipe. I cleaned the inside of the bowl with a cotton swab and water. I cleaned out the airway in the shank and stem with cotton swabs, pipe cleaners and alcohol. I had finished the cleaning and had lightly sanded the bowl with 400 and 600 grit sandpaper to minimize the scratches and dings in it. I was done with the pipe and took it to the buffer to lightly polish the stem and bowl.

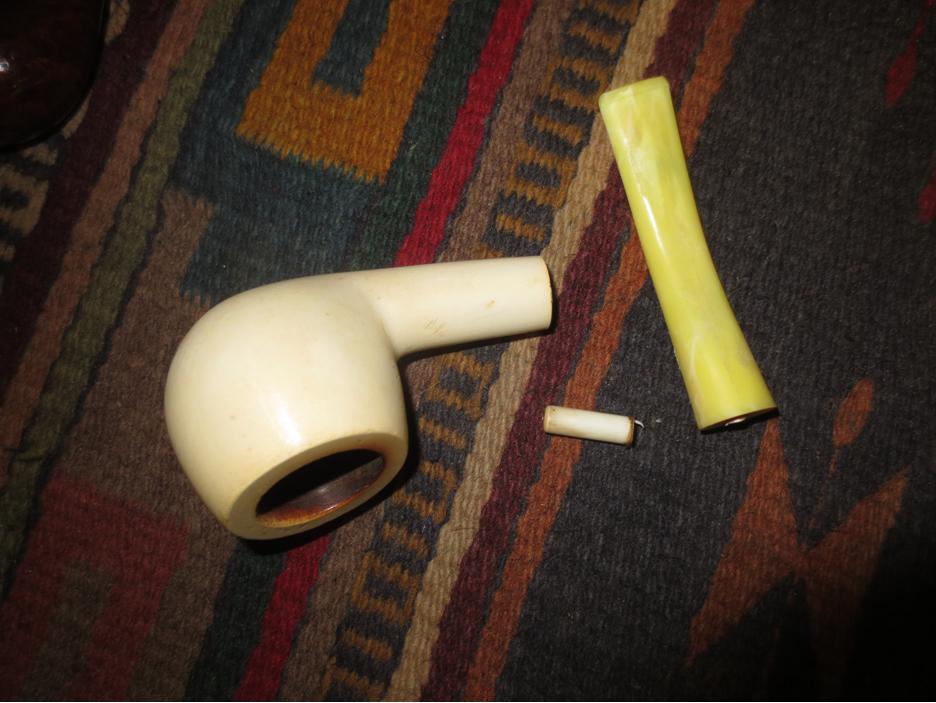
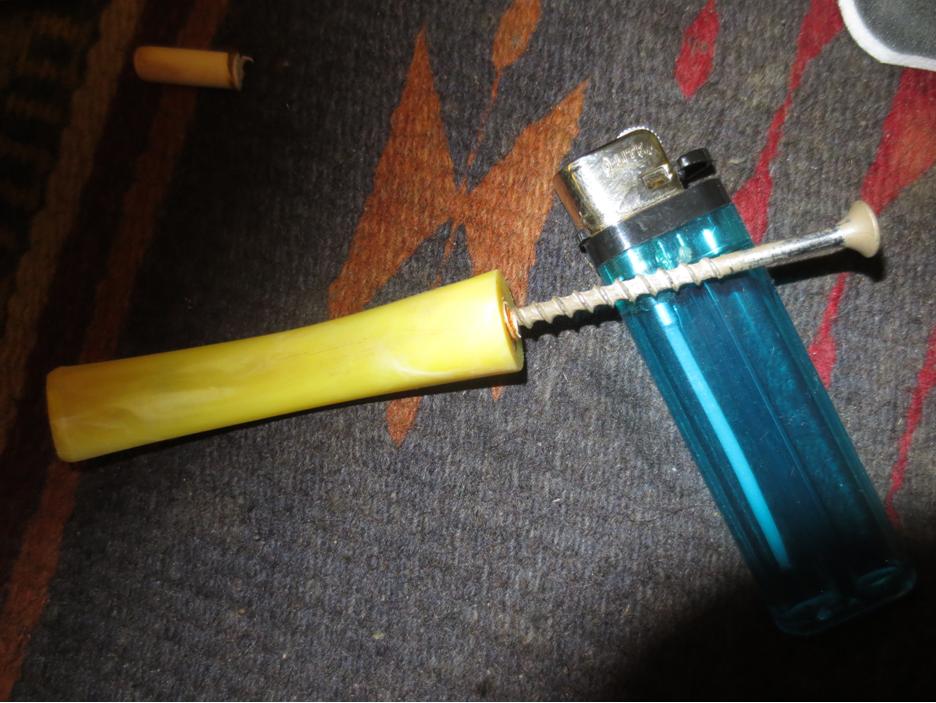
It has been a long time since a pipe got away from me when buffing but this one did. The Blue Diamond polishing wheel is a bit touchy and it grabbed the plastic stem and took the pipe out of my hand. It hit the tile floor right in front of the buffer and the stem snapped off at the shank. The tenon was stuck in the shank and the other end was glued in the stem. I was very fortunate as the pipe hit directly on the stem and not on the meer bowl or it might have been ruined. As it was it meant I had a good excuse to throw away the plastic stem and make a vulcanite one. I pulled the tenon out of the shank with a screw. It came out easily. I tried to pull the glued end out of the stem but putting in a screw and heating the screw but the glue held. I put the stem away and went on a hunt in my stem can for a suitable vulcanite stem for the pipe.band9

band10 I found just the right donor stem. It was a bent round stem that came from an old-timer somewhere along the way. It was thick and the diameter was close to that of the shank. I took the tenon down with the Dremel and sanding drum and finish it by hand with sandpaper to make a snug fit in the Delrin sleeve in the shank. I used the Dremel and sanding drum to take off the excess diameter of the stem and then hand sanded it with 220 grit sandpaper to make the shank and stem match. While I was working on it I examined the two small cracks in the shank. They bothered me. While they would not go anywhere as the Delrin sleeve was glued and held them together, they still bothered me. I used a small micro drill bit on the Dremel and put a hole in the end of both cracks on the shank. I put a drop of super glue in the holes to seal them. I then remembered that I had some brass plumbing pressure fittings that make interesting bands. I heated the brass with a lighter and pressed it onto the shank to cover the cracks and give the pipe a little more bling.

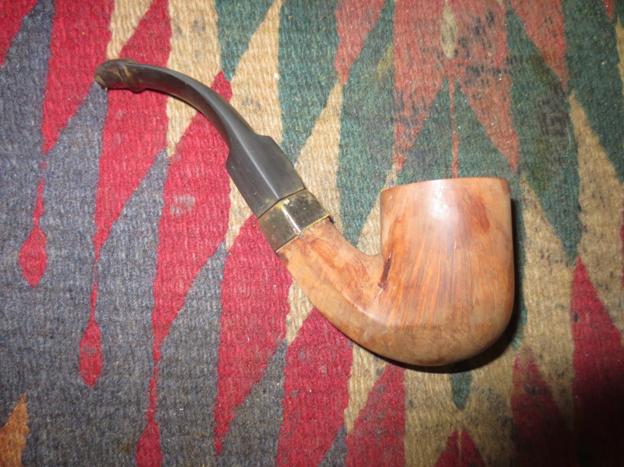
I finished shaping and fitting the stem and took the photos below to give an idea of what the pipe would look like when finished. The bend in the stem is a little too much at this point and I would need to take some of the bend out. The bowl looks good with the brass fitting and the stem length works with this bowl.band11

band12

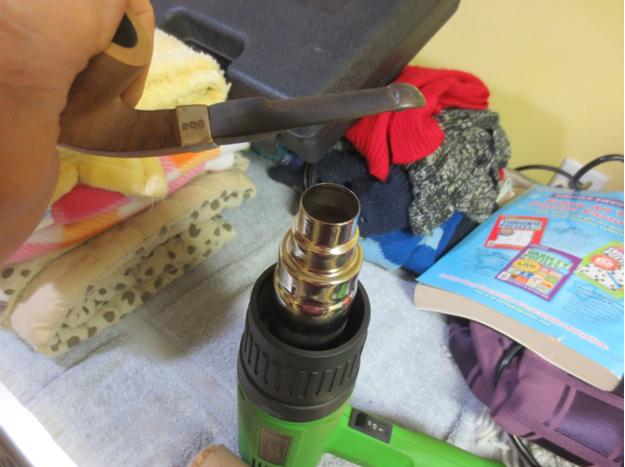
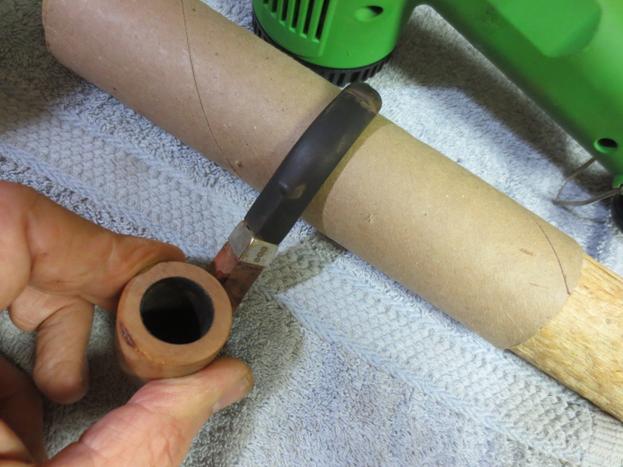
band13 I was able to sand out the gouge on the bottom of the bowl and it looks smooth and fresh now. I will need to sand the entire bowl with micromesh to polish the meerschaum and give it a shine.band14 I heated the stem with a heat gun to take out some of the bend. When the stem was flexible I pressed it against table surface with a towel to take out some of the bend. I cooled it with water to set the new bend. The second photo below shows the newly bent stem.band15

band16 I sanded the stem with a medium and a fine grit sanding sponge to take out the scratches and work on the oxidation that was deep in the edges of the button.band17

band18

band19

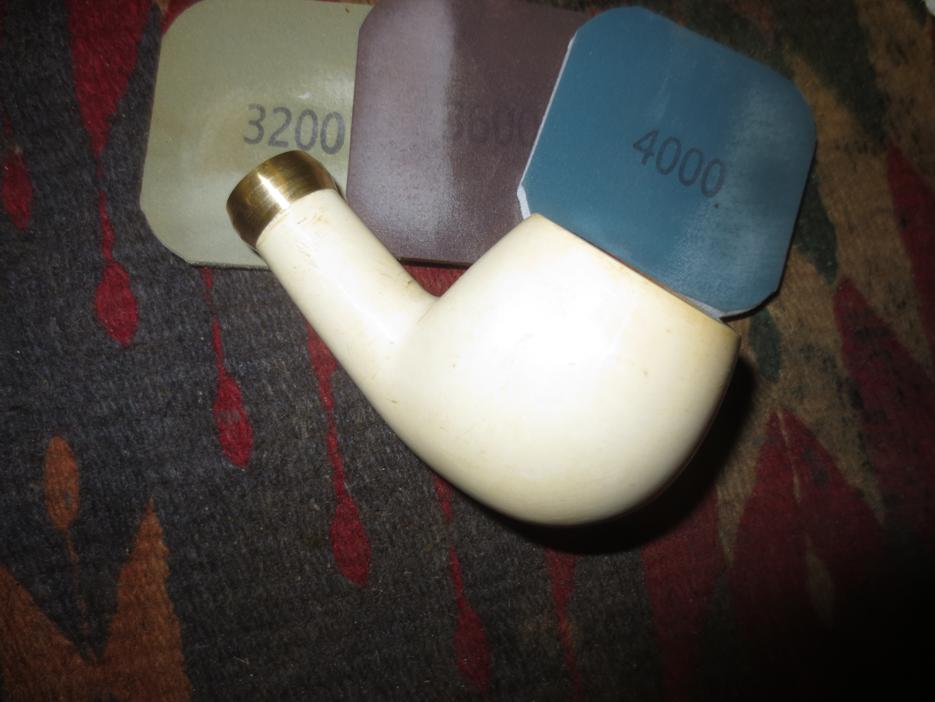
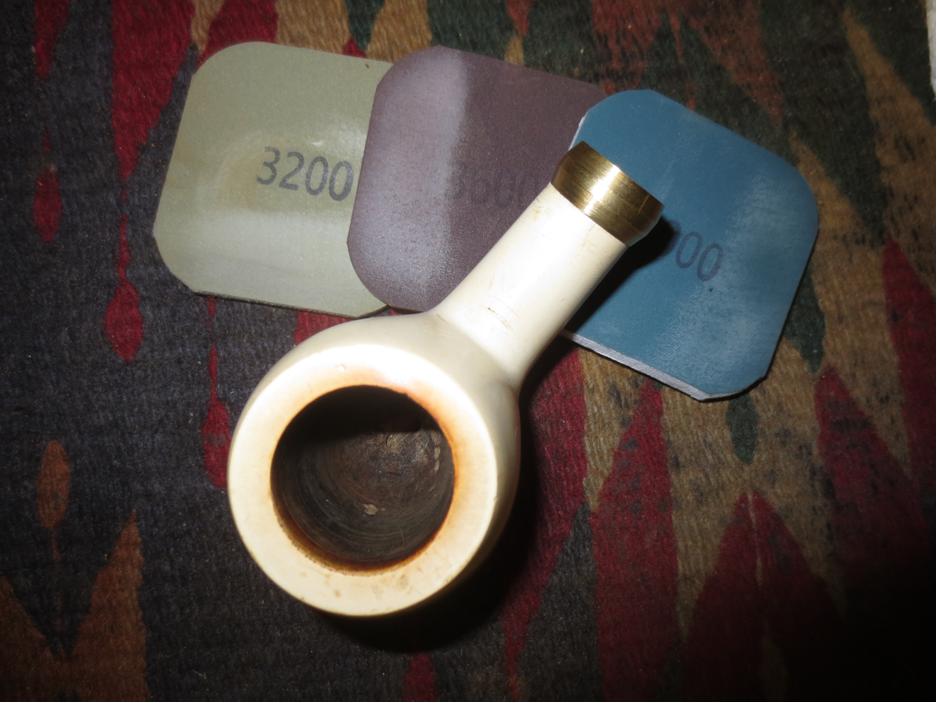
band20 You can see in the photos above that the stem did not quite seat properly in the shank. I used a sharp knife to bevel the inner edge of the mortise so that the stem would sit properly against the shank.band21 I sanded the bowl and shank with 3200-4000 grit micromesh sanding pads to minimize the scratches.band22

band23

band24

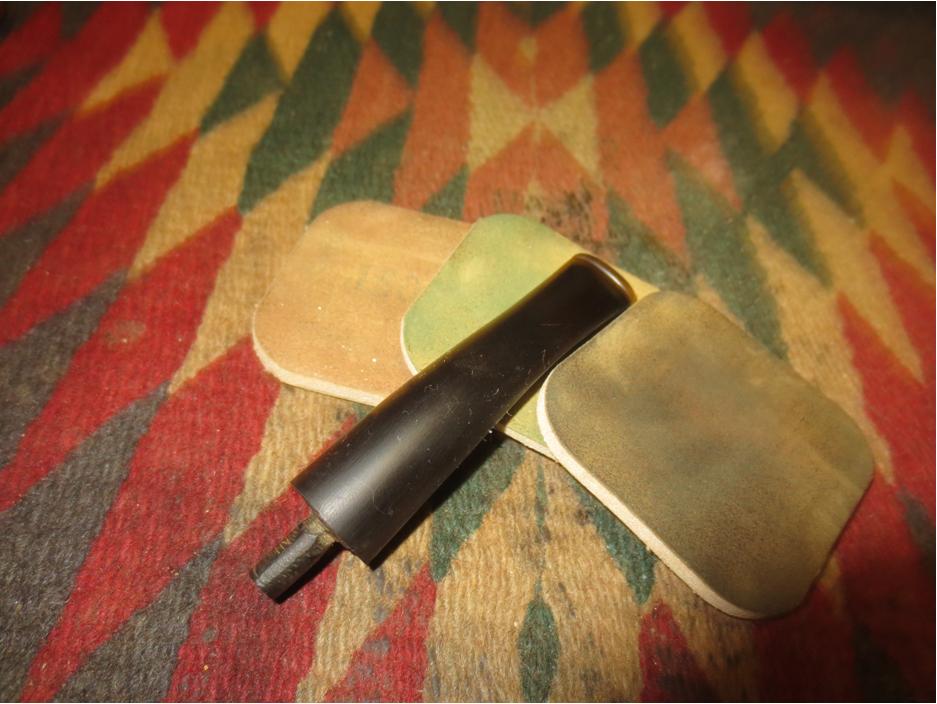
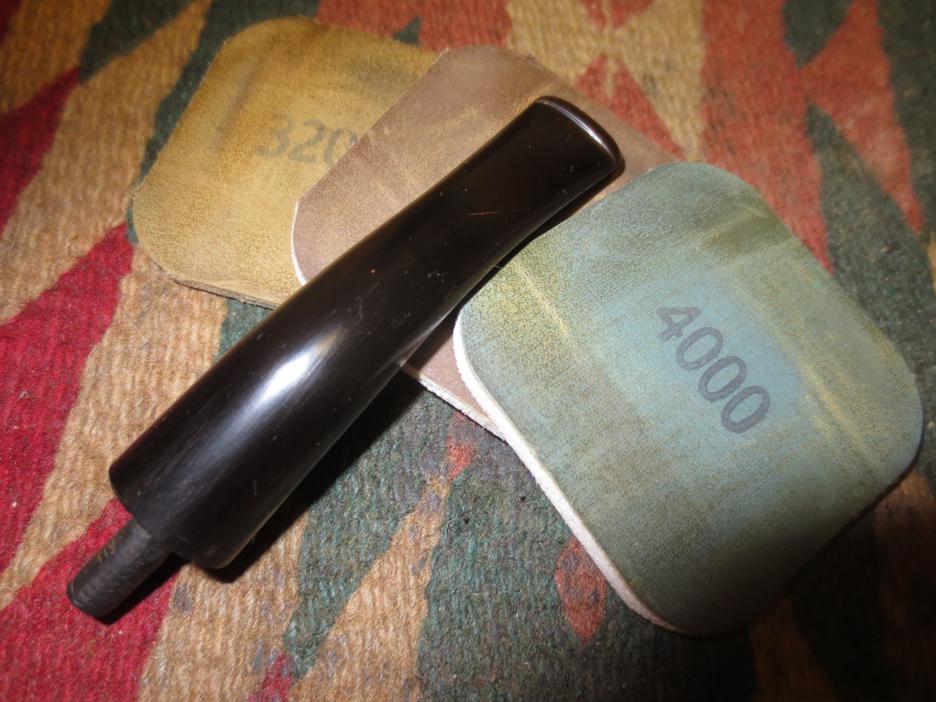
band25 I wet sanded the stem and the tenon with 1500-2400 grit micromesh pads and then rubbed them down with Obsidian Oil. I continued by dry sanding the stem with 3200-4000 grit micromesh pads and the giving it another coat of oil. I finished by sanding with 6000-12000 grit pads and gave it a final coat of Obsidian Oil. When it dried it was ready to buff.band26

band27

band28 I buffed the bowl and stem with Blue Diamond Plastic polish on the wheel and then gave the stem several coats of carnauba wax. I gave the bowl two coats of white beeswax and the buffed it as well. I buffed both with a clean flannel buff and then by hand with a microfibre cloth. The finished pipe is shown in the photos below.band29

band30

band31

band32

band33

band34

band35

Crafting a Interior Shank Repair for a Cracked Shank Peterson Churchwarden


Blog by Steve Laug

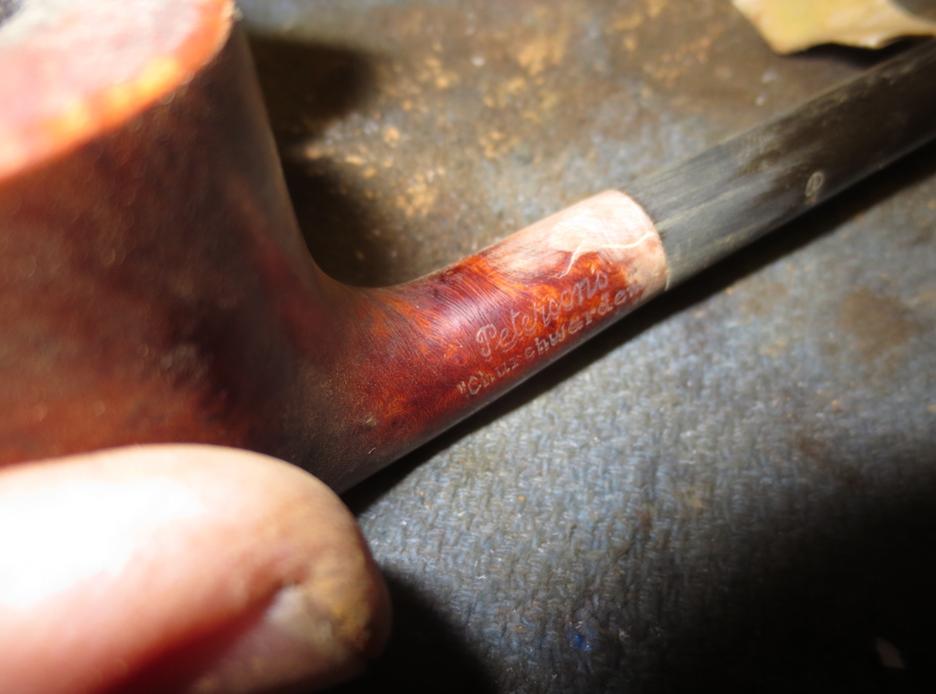
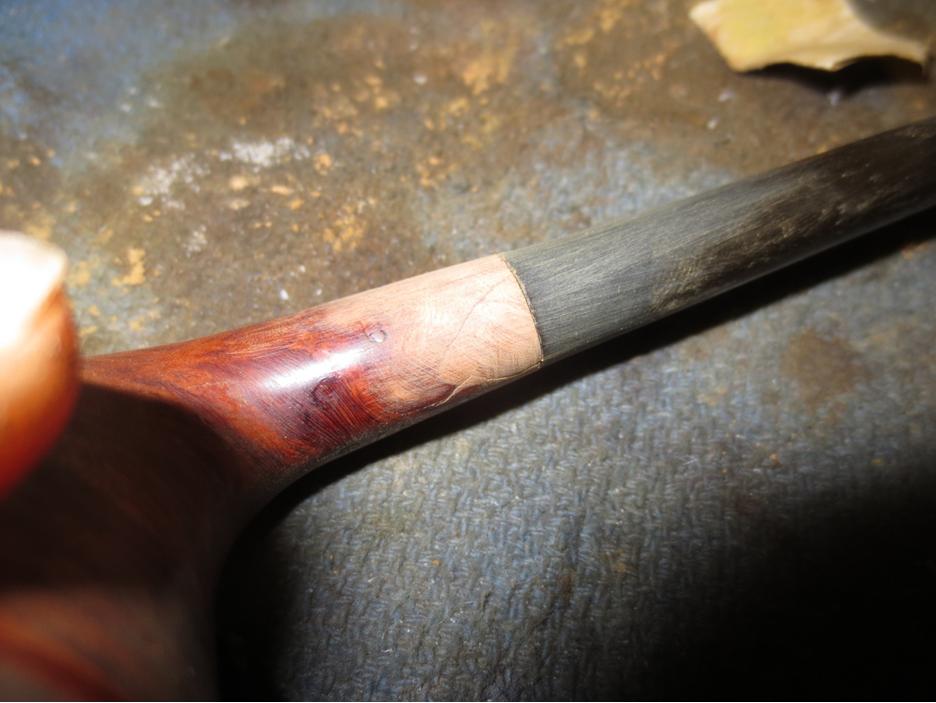
A friend of mine stopped by with a pipe he wanted me to take a look at. It was a beautiful Peterson Churchwarden with a shapely long bent stem. The Dublin shaped bowl was perfect for this pipe. He showed me the issue – a cracked shank. Now that is typically an easy repair – just drill a pin hole at the end of the crack, glue and band the shank. But John being who he is does not like bands or bling on his pipes so he wanted me to see if I could band it from the inside! I thought it would be worth a try as I had done it before using a Delrin tube glued inside the shank to stabilize the cracks and then super glue into the cracked area and clamp until it sets. The issue with this crack was not as straight forward as the two photos below show. It was actually cracked in two places on the top of the shank – about a half-inch apart. The two cracks joined and if I had wanted to I could have removed a triangular piece of briar from the shank. The good news with this was that the joining of the two cracks had stopped the crack from going further up the shank so a repair would be straightforward.CW1

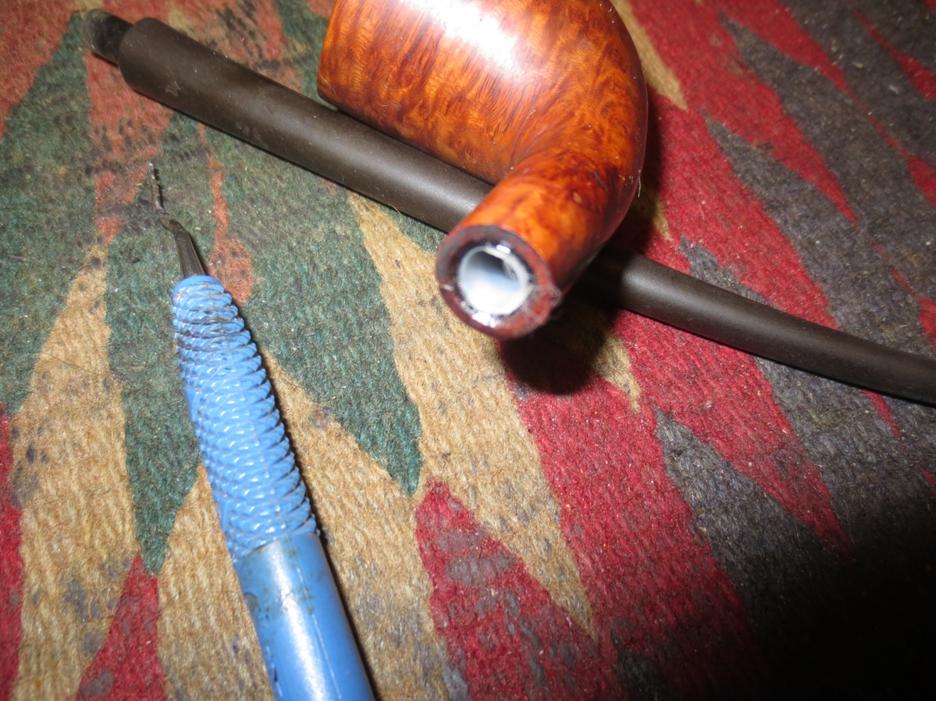
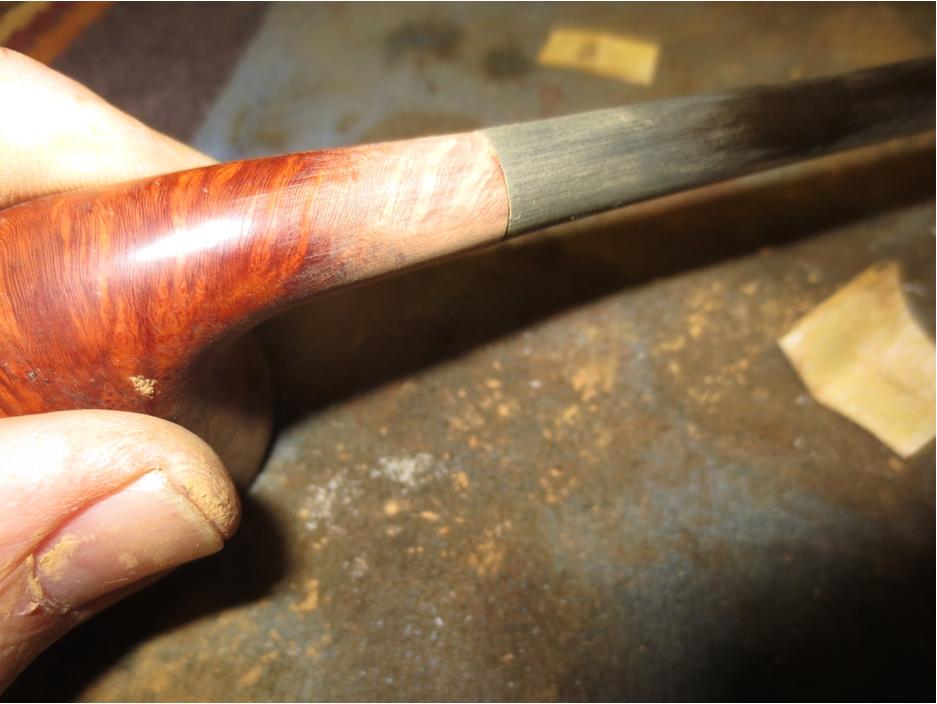
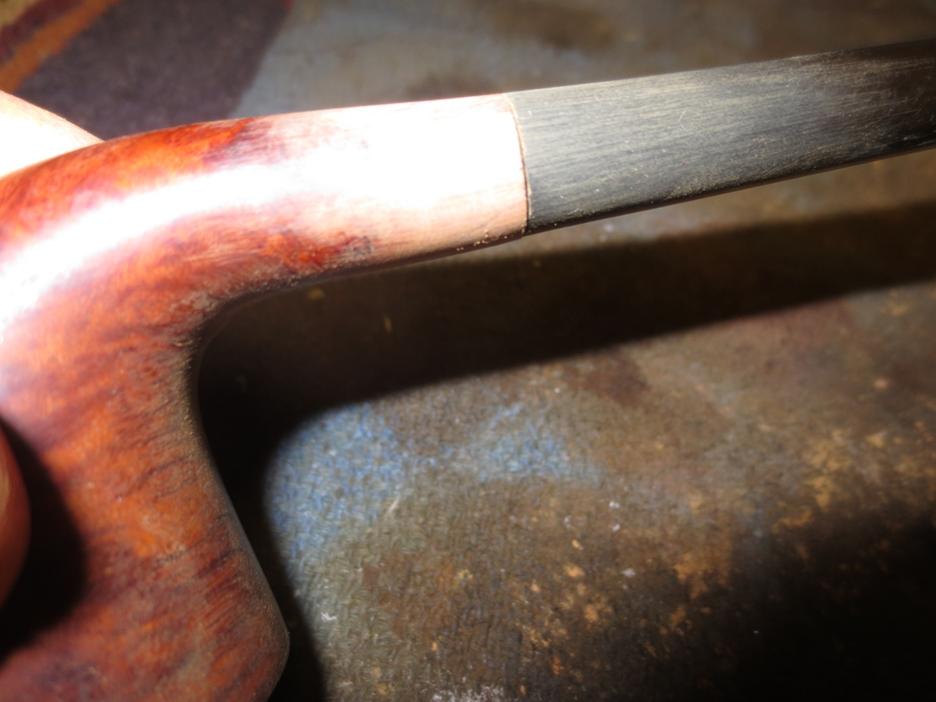
CW2 Now the challenge begins. I did not have any Delrin tenons that I could repurpose so I looked in my parts box and found the shank end of a replacement push tenon insert for meerschaum pipe repairs. Long ago I had used the stem end for something else and saved the shank insert knowing that one day I would be able to use it. Today was the day. I used my Dremel and sanding drum to sand off the edges of the thick end and to take down the threads on the insert. When I was finished sanding I had a rough surfaced tube insert that would sit in the shank of the Peterson with little effort.CW3 I opened the crack in the shank and put clear super glue into the opening. I pressed it together until it set. Then I coated the exterior of the tube with viscous super glue that was slow drying and pressed it into the shank. I set it aside to dry while I worked on the diameter of the tenon to reduce it enough to fit in the repaired shank. To me this is always the tricky part. I was sure I could take the tenon down some without weakening the strength of the tenon too much. With the size of the airway I only had one chance to get it right.CW4 When the insert was set, I used a drill bit and turned it into the shank to remove excess thickness and maximize the room for the tenon. I also used a knife to bevel the end of the tube insert and flare it to fit the bevel of the briar. I put the stem in place and the fit was good! I sanded the shank to clean up the repair glue. I sanded carefully around the nomenclature so as not to harm it but I wanted it to blend with the rest of the shank.CW5

CW6

CW7

CW8 Once I had the shank/stem fit the way I wanted it I stained it with a medium and dark stain pen to blend it in with the rest of the briar. I also scrubbed the rim with saliva and a cotton pad to remove the tars on the surface. I buffed the bowl with Blue Diamond and then gave the bowl several coats of carnauba wax.CW9

CW10 Though still visible on the exterior of the shank the crack is sealed and repaired. I worked on the stem to give it a polish. I sanded it with micromesh sanding pads – wet sanding with 1500-2400 grit pads and dry sanding with 3200-12,000 grit pads. In between each set of three pads I rubbed the stem down with Obsidian Oil. After the final sanding with the 12,000 grit pad I let the oil soak into the vulcanite before buffing the stem with Blue Diamond.CW11

CW12

CW13 I buffed the stem with Blue Diamond polish on the wheel and then gave the bowl and stem multiple coats of carnauba wax. I polished it with a clean flannel buff and then rubbed it down by hand with a microfibre cloth to give it a final shine. The finished pipe is shown below.CW14

CW15

CW16

CW17

CW18

CW19

A Very Simple Cleanup on a Dr. Grabow Regal Dublin


Blog by Steve Laug

This pipe came to me in a box of pipes that a friend brought by for me. He was getting rid of a bunch of the pipes that he no longer smoked and thought I might enjoy cleaning them up. This one is stamped on the left side Regal over Dr. Grabow and on the right side, Imported Briar over Adjustomatic over Pat. 2461206. When I took it out of the box it had a half stem. The rest of it had been broken off and it was about 1 ½ inches long. I took it off and put the bowl back in the box. I have no idea what I did with the old stem; I have looked for it for a while now as I wanted to pirate the Adjustomatic tenon from the stem. It will show up when I least expect it and I will deal with it then. Yesterday I took the bowl out of the box and was looking it over. It was in very decent shape. The finish was clean. There were some lighter marks on the back right outside edge of the rim but other than it was clean. There was no cake in the bowl. It was worth a little time to see what I could do with it.

I went through my can of stems and found a Dr. Grabow stem that was the proper diameter. It was in decent shape. There were tooth marks on the top and underside of the stem next to the button. The button itself had some tooth dents. There was some calcification on the surfaces as well. The tenon and stinger were black with tars and oils but would clean up easily enough. The only thing with this stem and tenon is that it was not an Adjustomatic stem but it would do.Dr1

Dr2

Dr3

Dr4

Dr5 I cleaned out the shank and mortise with cotton swabs, pipe cleaners and alcohol. The shank was pretty clean and it did not take much to remove the little that was there. I removed the stinger and cleaned out the stem with alcohol. It too was not in to bad of shape on the inside. I cleaned the stinger and tenon with alcohol and 0000 steel wool.Dr6

Dr7 I heated the stem and raised the tooth dents as much as possible and then sanded them smooth with 220 grit sandpaper. One of the divots was a little too deep to raise so I filled it with a small batch of black super glue and sanded it smooth.Dr8

Dr9 I used a needle file to redefine the sharp edge of the button and make a clean line on both sides of the stem.Dr10 I sanded it with a medium and a fine grit sanding sponge to remove the scratches from the vulcanite and then wiped the stem down with Obsidian Oil.Dr11 I sanded the stem with micromesh sanding pads – wet sanding with 1500-2400 grit pads and then wiping down the stem with Obsidian Oil. I dry sanded with 3200-4000 grit pads, gave it another coat of oil and then continued with 6000-12000 grit pads. Each successive grit of pad made the patch disappear and blend into the surface of the stem. I gave the stem a final rub down with Obsidian Oil and let it dry.Dr12

Dr13

Dr14 I buffed the pipe with Blue Diamond polish on the wheel and then gave it multiple coats of carnauba wax. I buffed it with a clean flannel buff on the wheel and then hand buffed it with a microfibre cloth for a final deep shine. The following photos show the finish pipe. It should work well for many years to come. This one is for sale should anyone wish to add it to their rack. Email me and let me know.Dr15

Dr16

Dr17

Dr18

Dr19

Restoring and restemming an old Meerschaum Pipe


Blog by Steve Laug

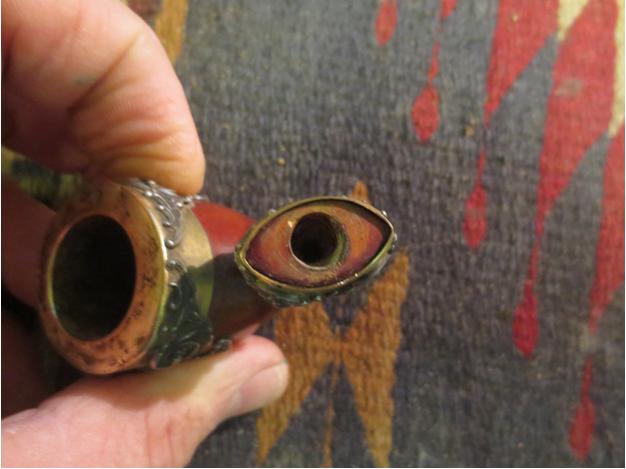
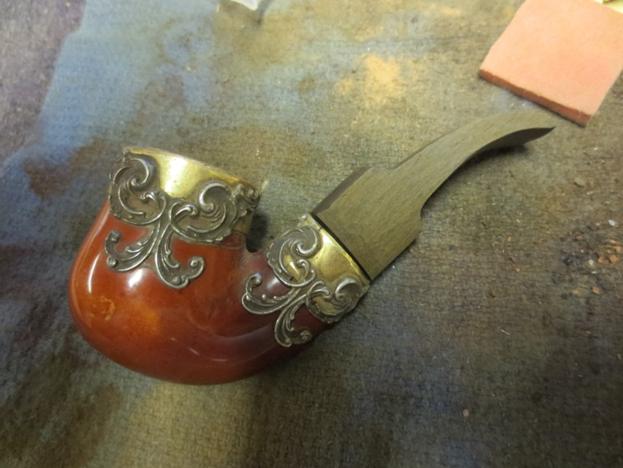
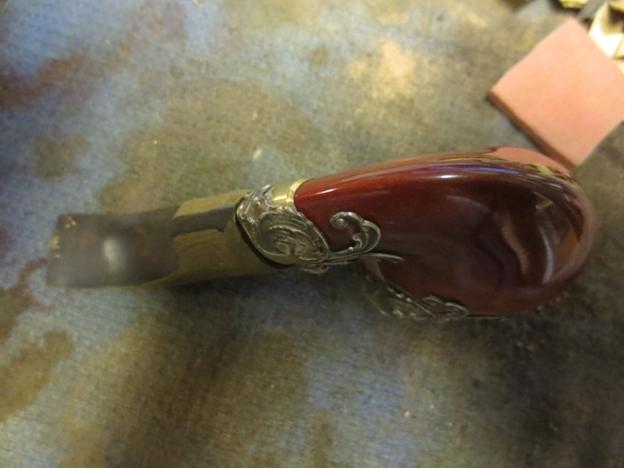
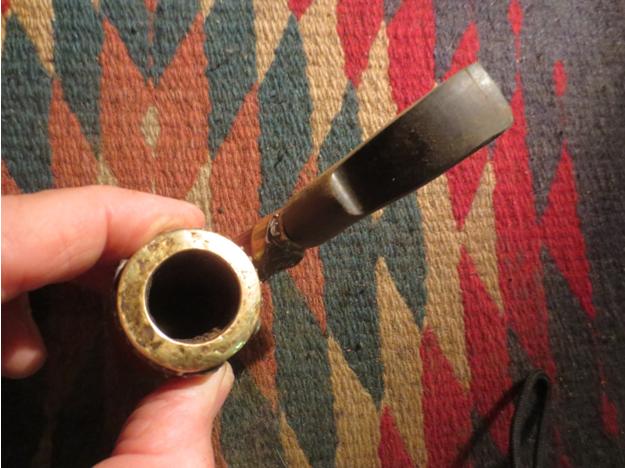
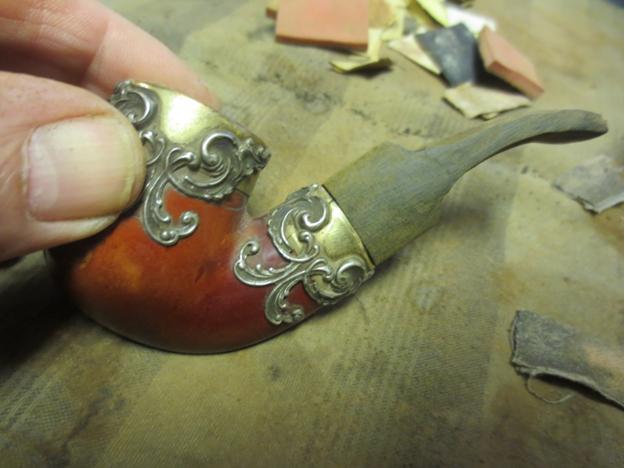
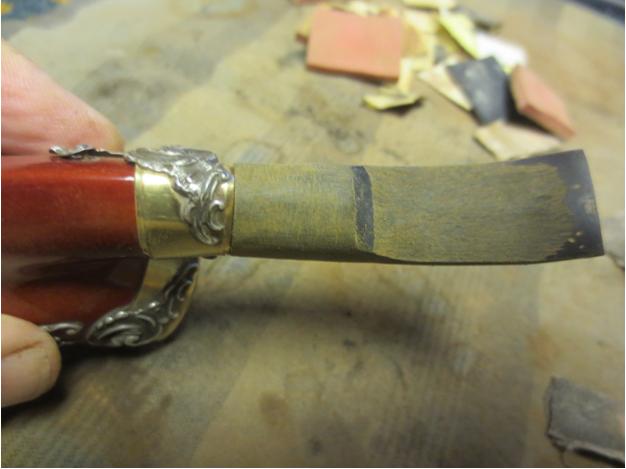
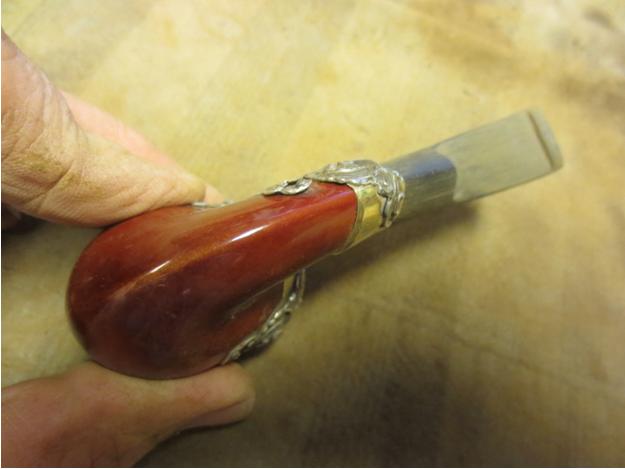
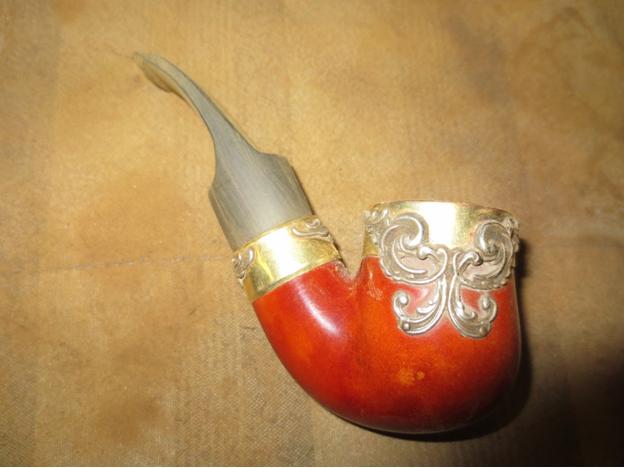
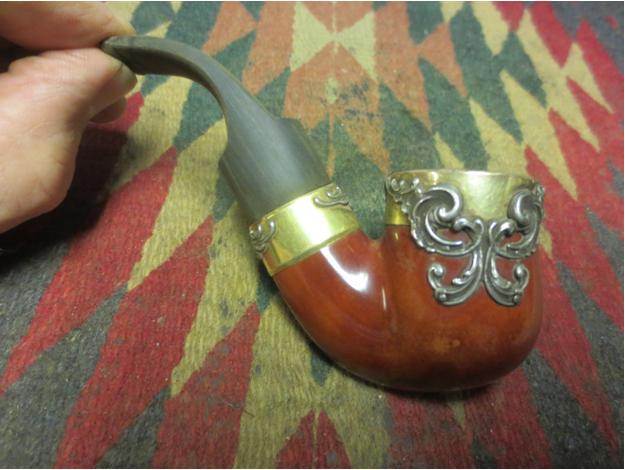
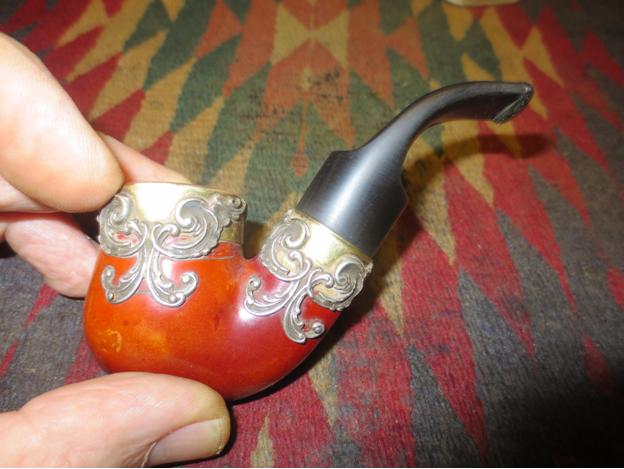
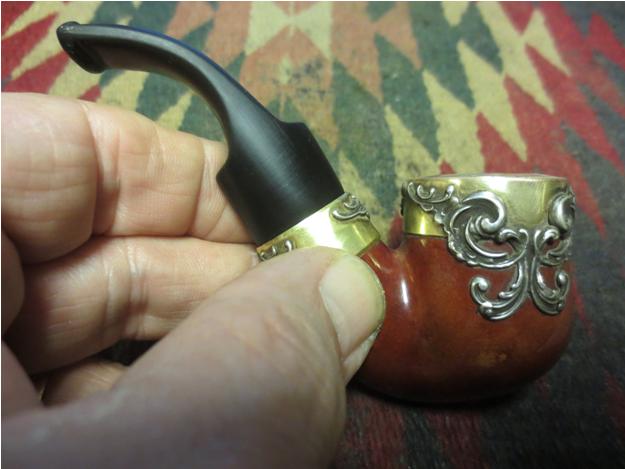
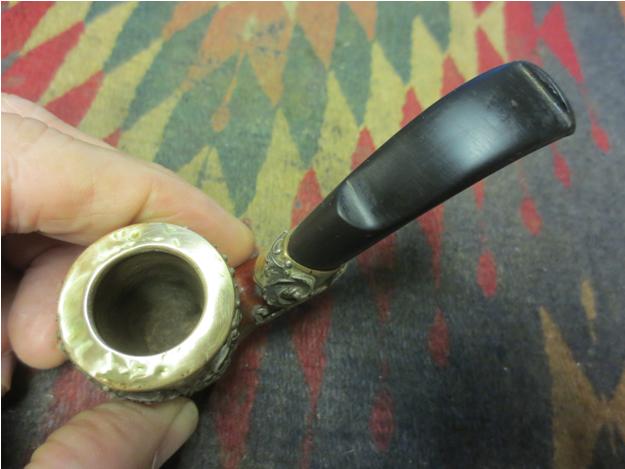
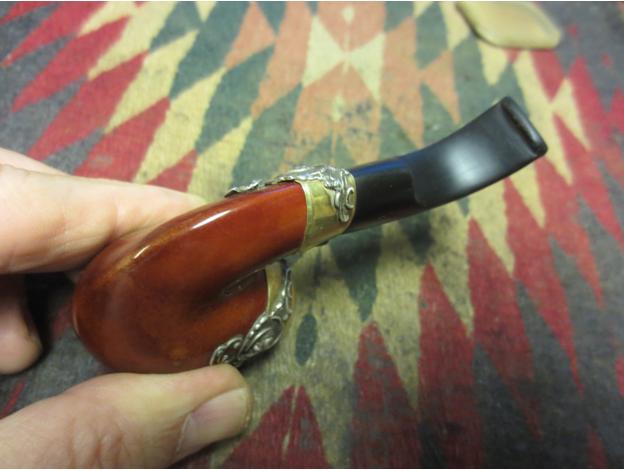
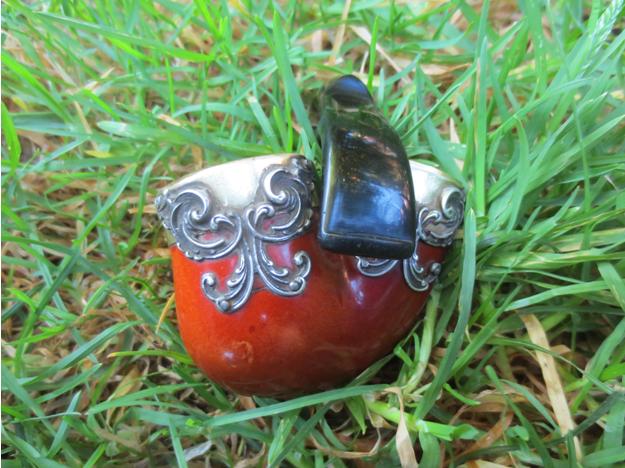
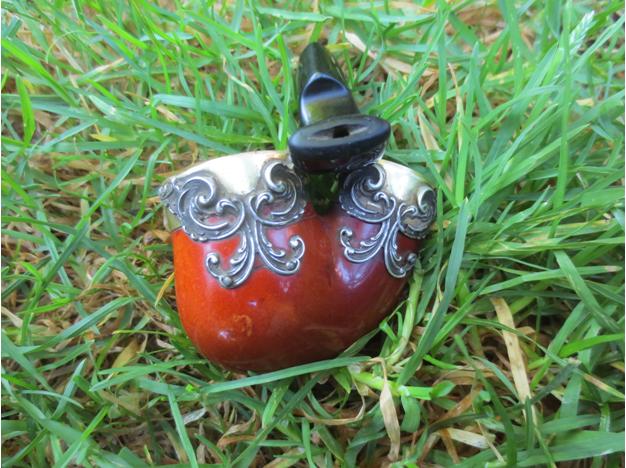
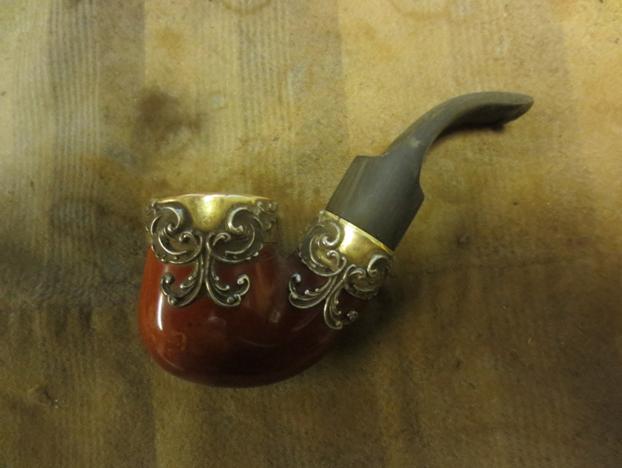
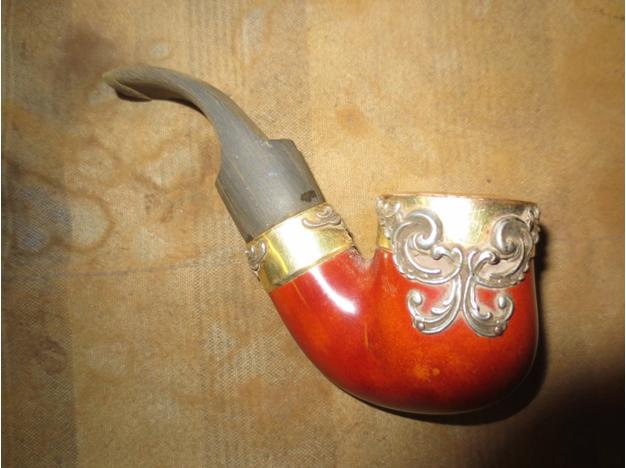
When I purchased the German Folk art meerschaum at the antique mall in Idaho Falls I also got a little meerschaum bowl with lots of brass bling around the rim and the end of the shank. It had a broken bone tenon in the shank that was hopelessly corroded and not removable by normal methods. It appeared to have been glued in place with epoxy. The pipe had an oval shank and I figured that if I could get it cleaned up it would be a neat looking keepsake. It would definitely be a pocket pipe but I had a vision for it. The first photo is a bit blurry but it gives you an idea about the look of the old pipe. There was a lot of dust and debris in the filigree work and the decorative band at the end of the shank was loose because of a broken nail on the left side.Meer1

Meer2

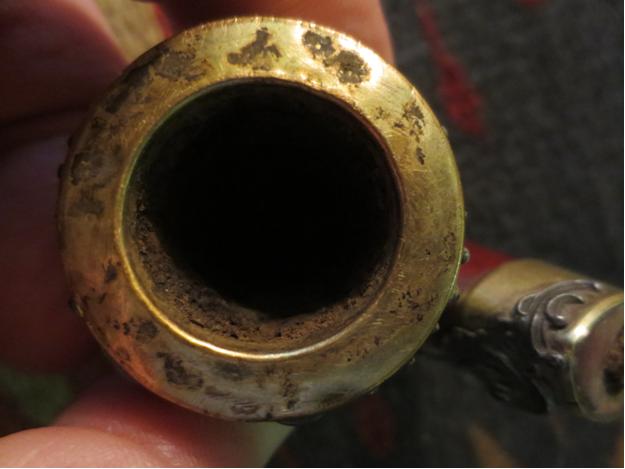
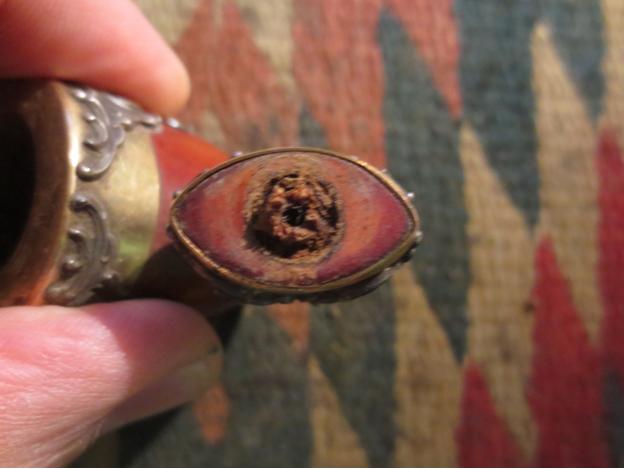
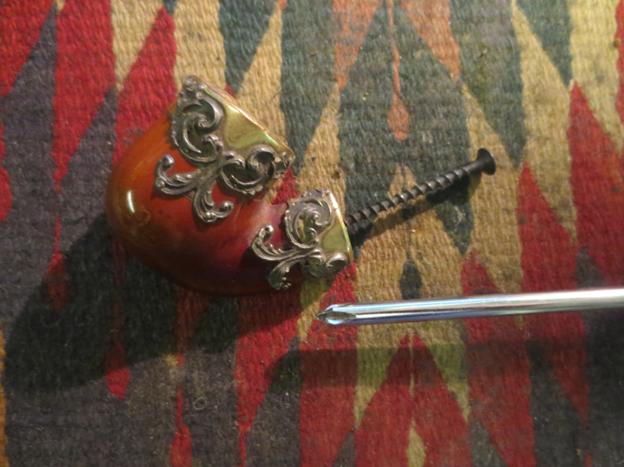
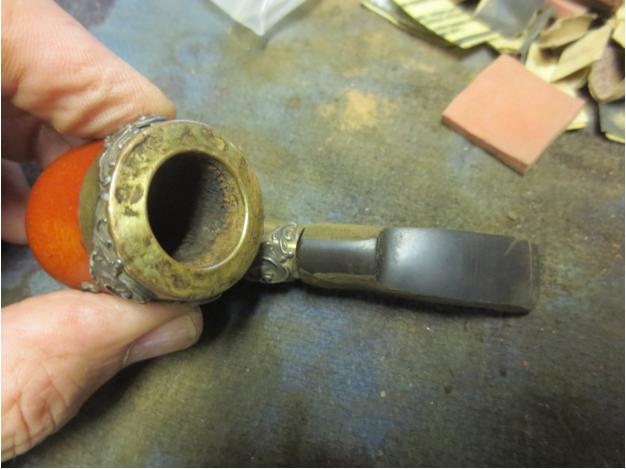
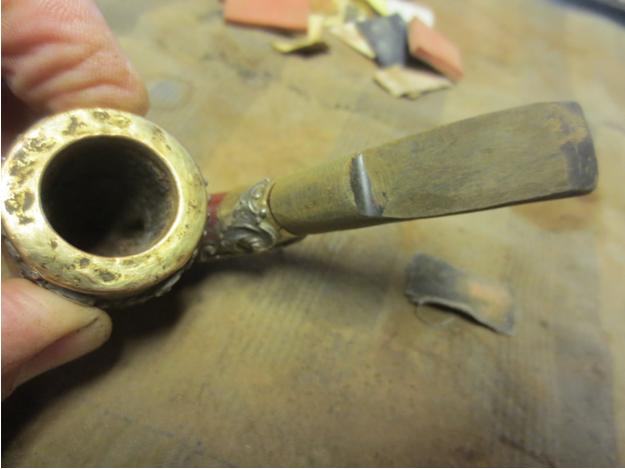
Meer3 The next two photos show the damage to the rim and the broken tenon in the shank. The rim damage was significant enough to look bad but I would not be able to remove the cap without breaking the meerschaum bowl so I would need to remedy that in a different way. In the second photo you can see the broken tenon and how it appears to be glued into the shank.Meer4

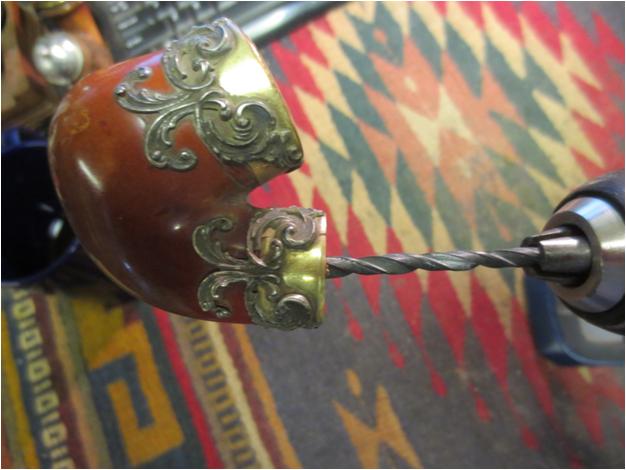
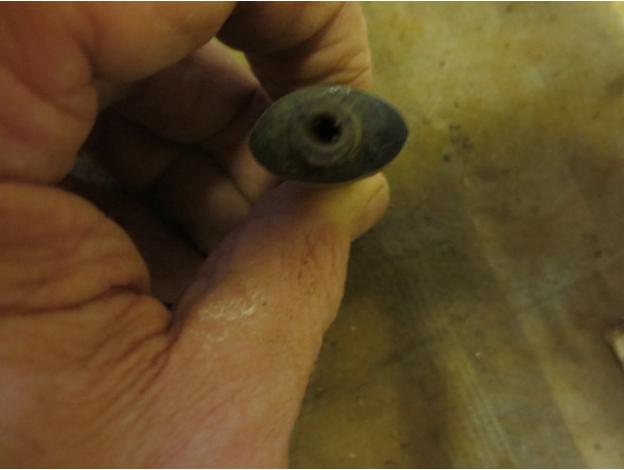
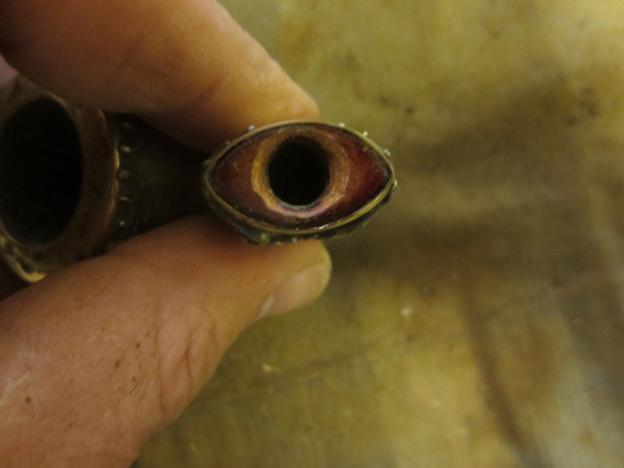
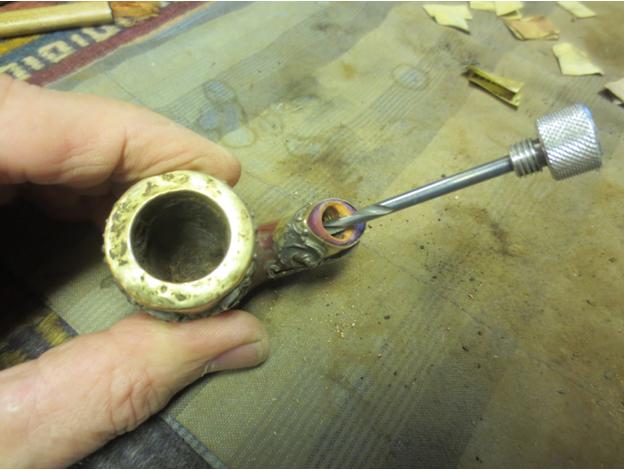
Meer5 I tried my normal method for pulling stuck tenons but this one would not even budge. It was stuck in the shank.Meer6 So I had to drill it out of the shank. This is trickier than it looks. I never power the drill on. I set it up and use it as a stationary base. I hand twist the shank onto the bit. I start with a bit about the size of the airway and work my way up until I have the entire old bone tenon out of the shank.Meer7

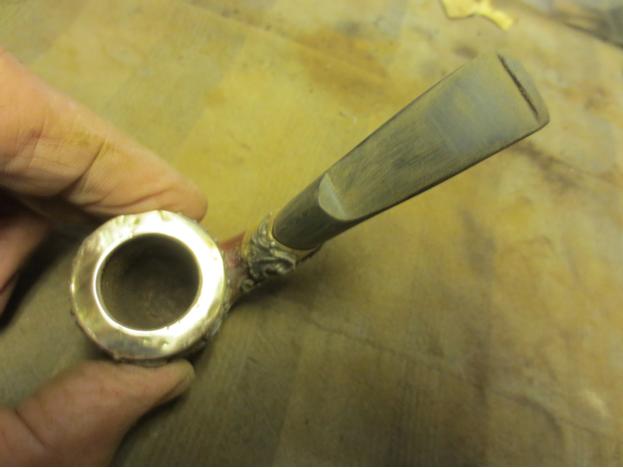
Meer8 I had a damaged round stubby stem from a GBD 9438 that I picked up somewhere. The button was gone and the stem had been cut off. Since the oval shank was vertical I needed a stem with a similar dimension from top to bottom. The GBD stem was perfect. I took off the excess vulcanite with the Dremel and sanding drum and roughly shaped it to fit. There would be more – a lot more – sanding that would have to happen but the shape was there. I would also need to build a new button and thin down the thickness of the stem but overall you can see the shape.Meer9

Meer10

Meer11

Meer12 More shaping with the Dremel. I wanted the stem to have a thin oval shape at the shank and then flare out toward the end. I would cut the new button so I wanted a smooth taper back toward it.Meer13 With the Dremel work done it was time to hand shape the stem with sandpaper. I sanded it with coarse emery cloth and then refined it with 180 grit sandpaper. The lion’s share of the work was done with 220 grit sandpaper.Meer14

Meer15

Meer16 The oval of the stem finally matches the oval of the shank. The tenon fits snugly. More sanding will need to be done so that the new stem sits in the band tightly against the shank end.Meer17

Meer18 On a whim I blew air into the airway on the shank and it was plugged. When I drilled out the mortise the debris obviously clogged the airway from the shank to the bowl. I used the drill bit that comes with the KleenReem reamer I have to open the airway and push the debris into the bowl. It did not take much and the airway was clear and open.Meer19 I used needle files and flat files to recut a new button on the stem and to smooth out the taper from the saddle backward. The next photos show the newly cut button. The stem is quite thin at this point so a deep button cannot be cut deep enough.Meer20

Meer21 The bend in the stem was insufficient for the pipe to sit correctly in the mouth so it would need to be carefully bent to more of an angle.Meer22 I heated the stem with a heat gun until the vulcanite was soft and then bent it to the correct angle.Meer23 The newly bent stem is shown in the next series of photos. It matches the angle of the bottom of the bowl.Meer24

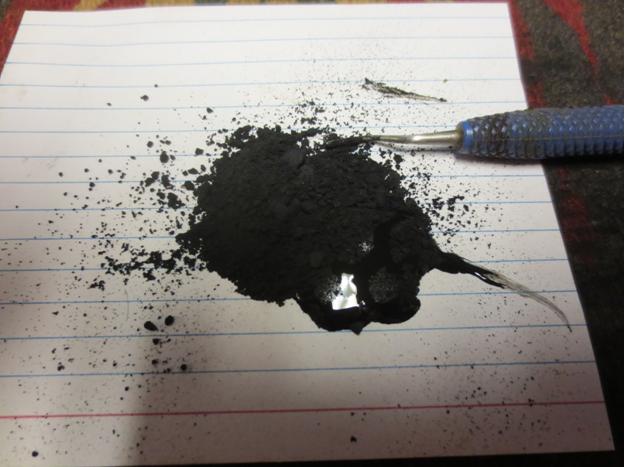
Meer25 There are some spots on the stem in the photo below that look like a hole – it is not it is a damp spot from cooling the stem to set the bend. I sanded the rim with a medium grit sanding sponge and also with a fine grit sponge to clean up some of the high spots on the rim cap. In the photo below you can see the improvement.Meer26 I cleaned the grooves in all the filigree adornments on the rim and the shank using cotton swabs and alcohol. The photo below shows the cleaned bling and the meer spots between the bling. The pipe is coming along.Meer27 To make the end of the stem thicker and give me more material to work with to shape the button I built it up with a mixture of black super glue and charcoal powder. I mixed it to a paste and used a dental pick to shape and build up the edges of the button.Meer28

Meer29 The next three photos show the stem after I have built up the material for the new button. I set the stem aside to cure for the day while I headed off to work.Meer30

Meer31

Meer32 I used a file and sandpaper to begin shaping the new button. It was going to take a lot of sanding but the new button was beginning to take shape.Meer33

Meer34 I sanded the stem with a medium and a fine grit sanding sponge to shape the button and smooth out the stem.Meer35

Meer36

Meer37

Meer38 At this point in the process I was still debating the final shape of the airway in the button. My original intent was to make an orific button styled after the era of the pipe. However, the more I worked on it the more I was thinking of making the stem more modern era and leave the bowl old era. The combination would be a wedding of old and new!Meer39 For the time being I put that decision on hold and worked on polishing the stem. I wet sanded it with 1500-2400 grit micromesh sanding pads and then rubbed it down with Obsidian Oil. While the oil was still wet I dry sanded the stem with 3200-4000 grit micromesh pads. I again rubbed it down with oil after the 4000 grit pad was used. I dry sanded with 6000-12000 grit pads and then gave it a final coat of Obsidian Oil. I let it dry before buffing.Meer40

Meer41

Meer42 I finally made the decision to flare the slot in the stem. I figured it makes it clear that this is a replacement stem if nothing else does. I like the wedding of old and new in this pipe and it one I plan on keeping so I made it the way I like it. The photo below shows the slot before I did the final sanding with sandpapers and micromesh to clean up the file marks and fine tune the slot. The finished slot can be seen in the final pictures.Meer43 I buffed the stem with Blue Diamond and gave it multiple coats of carnauba wax. I buffed it with a clean flannel buff and then finished with a hand buff with a microfibre cloth to give depth to the shine. The finished pipe is shown in the photos below. I am looking forward to giving this one an inaugural smoke soon. The draw is very open and the airflow uninterrupted. The pipe should last long after I have passed it on to the next pipeman to care for.Meer44

Meer45

Meer46

Meer47

Meer48

Meer49 Thanks for looking.

Rebirth – A Genuine Briar Zulu


Blog by Steve Laug

I am working on yet another Idaho find. This one comes from a small shop in Victor, Idaho. I had a great visit with the shop keeper who has traveled the world. We talked about travels and pipes. She had a small jar of pipes behind the counter and I purchased all of them. I love the Zulu shape and this one is a good example of it. The pipe is in rough shape. The finish is worn and is peeling off on the sides of the bowl. The rim is damaged. The cake had been reamed with a knife and the bowl was out of round. The top was rough and the back outer edge was beat down and had a large nick on the back right side. The stem did not fit in the mortise all the way. It had some oxidation and a band of calcification toward the back near the button. The slot was almost closed off with grit and when I removed it from the shank it had a very grimy short stinger. Not sure but I think I will lose the stinger. I am not sure the stem is the original as the diameter of the shank and the stem are not quite the same.Gen1

Gen2

Gen3

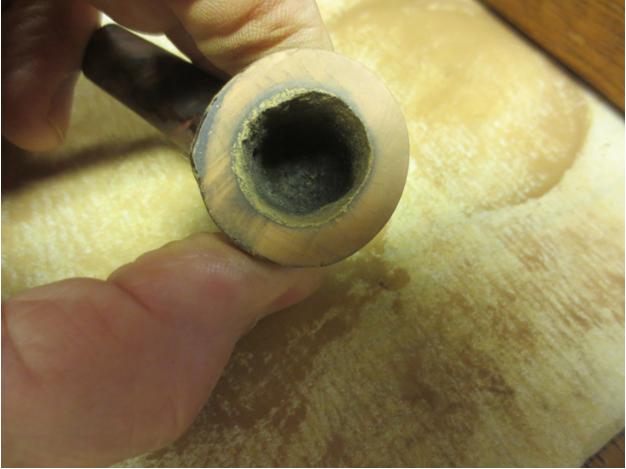
Gen4 I took a close up photo of the rim to show the damage to the top and the back side of the rim. It was truly a mess.Gen5 I took the stem off the pipe and pulled the stinger with a pair of pliers.Gen6 I scrubbed down the exterior of the bowl and the rim with acetone on cotton pads to remove the peeling varnish and the grime as much as possible before I worked on the rim and the backside of the bowl.Gen7

Gen8 There was a large fill that had crumbled on the underside of the shank about mid shank. It would need to be picked out and repaired.Gen9 I picked out the crumbling fill with a dental pick and then topped the bowl on the topping board using 220 grit sandpaper.Gen10 When I had flattened out the majority of the rim damage I repaired the damaged back side of the bowl using super glue and briar dust. I also replaced the fill in the bottom of the shank at the same time.Gen11

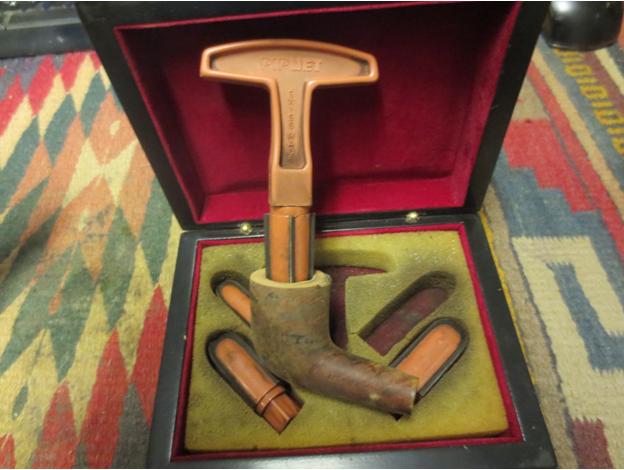
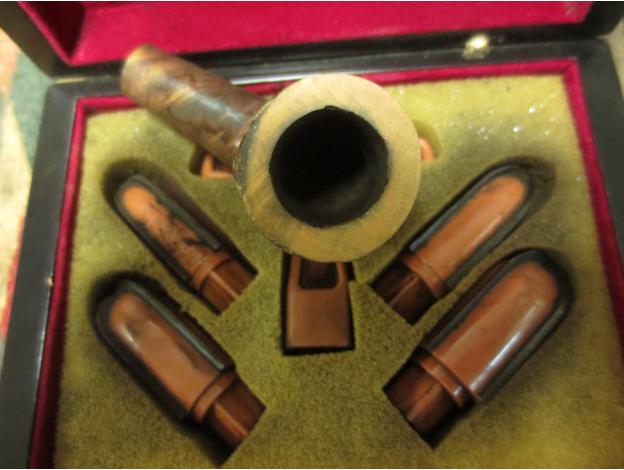
Gen12 When the patch dried I did some more topping of the rim to blend the repair into the flat surface of the rim.Gen13 I reamed the bowl with a PipNet reamer using the first two cutting heads. I took the cake back to bare briar to check for damage to the inside of the bowl.Gen14

Gen15 I sanded the repairs on the underside of the shank and the back of the bowl to blend it into the briar around it. I wanted the transition to be smooth and seamless. The top and the backside of the bowl took some effort to clean up. You can see from the photos the size of the repairs. They had dried hard as a rock and were very stable but they were quite large.Gen16

Gen17

Gen18 I sanded the bowl and shank with 0000 steel wool to smooth out the scratches and polish the repairs. I used it on the entire bowl to help remove the previous finish.Gen19

Gen20 I used the KleenReem drill bit to clean out the air way between the mortise and the bowl. It was constricted from the build-up of the grime. I could not get a thin pipe cleaner into the airway before I used the bit to open it up.Gen21 I cleaned out the shank and airway in the bowl with pipe cleaners, cotton swabs and alcohol. I scrubbed it until they came out clean and white. It was incredibly dirty. I tried to get a pipe cleaner down the stem but the slot in the button was too constricted to get even a thin cleaner through it.

I sanded the transition between the stem and shank. The stem did not fit properly in the shank. I worked on the tenon to even it up the fit in the shank. It was almost conical at the end next to the stem so I used a Dremel and sanding drum to even it up. It was also sanded at a bit of an angle so there was a gap on the right side of the shank. I even out the tenon and made it round again. When I was finished the gap was gone and the stem fit. Now all I had to do was adjust the diameter of the shank on the right side and top as it was slightly larger than the diameter of the stem. I sanded the shank with 220 grit sandpaper until the transition was smooth and the diameter the same on both the shank and stem. I sanded the stem at the same time and removed the tooth chatter and calcification on the button end.Gen22

Gen23

Gen24

Gen25 I sanded the inside edge of the bowl with a folded piece of 220 grit sandpaper to smooth out the roughness on the back edge.Gen26 I sanded the bowl and stem with a medium and a fine grit sanding sponge to remove the scratches left behind by the sandpaper.Gen27

Gen28

Gen29

Gen30 I sanded it with 0000 steel wool to take out the next level of scratches on the briar.Gen31

Gen32

Gen33

Gen34 With all of the sanding completed I stained the bowl with the oxblood alcohol based stain to highlight the grain. It would be the first coat of stain that I used. I wanted to make some of the birdseye and cross grain standout and chose the oxblood colour to be the undercoat.Gen35 I flamed the stain and then buffed it to remove the excess stain.Gen36

Gen37

Gen38

Gen39 I wiped the bowl down with alcohol and sanded it with 1500 grit micromesh to further remove the excess stain.Gen40

Gen41 I then stained it with the top coat – a dark brown aniline stain thinned 50/50 with alcohol to make it more of a brown wash coat. I applied it with a cotton swab and then flamed it. I repeated the process until it gave a good coverage. I applied heavily around the top of the rim and on the underside of the shank over the repairs.Gen42 I buffed it with White Diamond on the buffer and then rubbed down the bowl with a light coat of olive oil to bring life and depth to the finish.Gen43

Gen44

Gen45

Gen46 At this point I set the bowl aside to work on the stem. The slot was so tight that I could not get a thin pipe cleaner through it. That had to change so that I could easily clean it. I used small needle files to open it up. I started with a flat oval file and worked on the bottom and top edge of the slot. Once I had them opened I used a thicker oval to give the top and bottom edge more depth and the sides more of a taper inwards to the airway. I finished with a round file and folded sandpaper to smooth out the opening.Gen47

Gen48

Gen49 I wet sanded the stem with 1500-2400 grit micromesh sanding pads to remove the scratching and oxidation that remained. I rubbed it down with Obsidian Oil and continued by dry sanding with 3200-4000 grit micromesh pads. I gave it another coat of oil and finished with 6000-12000 grit micromesh pads. I gave it a final coat of oil and let it dry.Gen50

Gen51

Gen52 I buffed the bowl and the stem with Blue Diamond Plastic Polish on the buffing wheel and then gave the bowl and stem multiple coats of carnauba wax. I buffed the pipe with a clean flannel buff and then hand buffed it with a microfibre cloth to add depth to the shine. The finished pipe is shown below. The contrast stain worked well and the birdseye grain stands out on both sides of the bowl. The cross grain on the front and back also looks great. The repairs are still visible but less so than they were before the two coat stain process. It came out pretty well considering where it was when I started on this old timer. Now it should continue to deliver good smokes for a long time to come. I put the stinger in for the photos but it is easily removed and I am pretty sure that I will remove it once I smoke it!Gen53

Gen54

Gen55

Gen56

Gen57

Gen58

Crafting another Frankenpipe – one plus one equals three


Blog by Steve Laug

I have wanted to do some more experimenting and learning new ways of doing things for a while now. That is why I love refurbishing, there is always something new to learn. I was sent some pipes as a gift to either scrap out or clean up. In this lot was an Israeli Anderson freehand pipe. The bowl had been cut off and what was left was not much different from a Falcon base. There was no way it would hold any tobacco that would even make it worth smoking and it was in pretty rough shape. The stem was great the base was solid but the finish was done. I also had a pipe that I had cut the shank off of and repurpose on another project so the bowl was left. It had a lot of large fills on the side that were full of pink putty. I thought maybe with a little imagination I could join the two parts together and get a workable pipe. Let’s see what I can do with the parts.Franken1

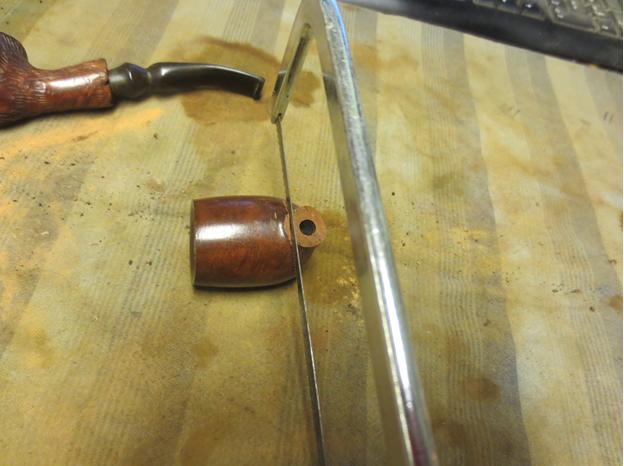
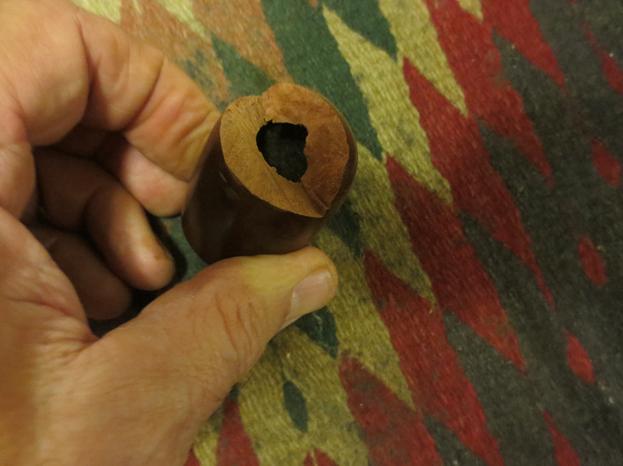
Franken2 I don’t have a table saw or a band saw so any kind of cutting briar needs to be done by hand. In this case I used a hacksaw to cut the bottom of the bowl off so that I could splice the bowl and the base together. I figured it would work and I might get a half way decent pipe out of the blend.Franken3

Franken4

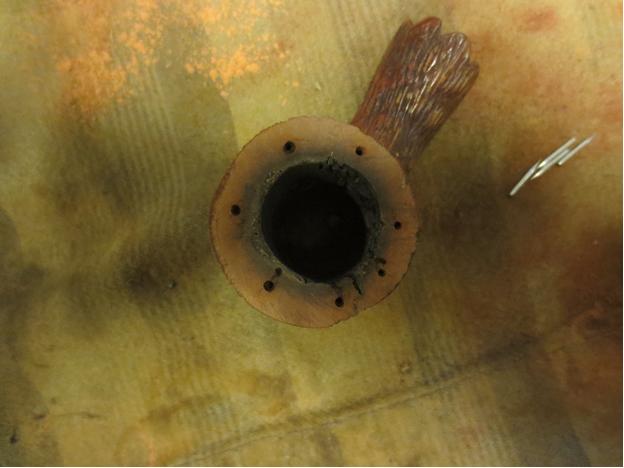
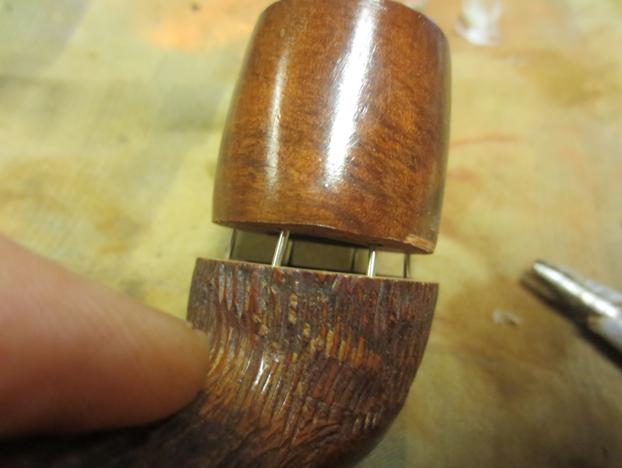
Franken5 I used a small drill bit to place six small holes around the base and the bowl. I stabilized the small cracks with wood glue and briar dust. I planned on putting a bowl coating on the interior so I was not too concerned with the walls of the base. I had some small stainless steel pins that I had found that would work well to join the two parts together.Franken6 I inserted the pins in the holes in the base and glued them in place. When the glue had set I put glue on the top of the base and the bottom of the bowl portion and set it on the pins as well.Franken7

Franken8 I pressed the bowl onto the pins in the base until the two surfaces connected. I clamped it in place until the glue dried. Once it was dry I put a ring of super glue around the joint on the two and pressed briar dust into the remaining crevices in the joint.Franken9

Franken10

Franken11

Franken12 I used a Dremel and sanding drum to remove the excess briar on the front of the base and bring it into alignment with the bowl. I did the same on the sides and back of the bowl.Franken13

Franken14

Franken15

Franken16 I sanded the bowl and base union with a medium grit emery paper and then with 180 grit sandpaper to smooth out the surface of the two parts and to work on making the junction smooth between the two. I followed that by sanding it with 220 grit sandpaper to further smooth out the walls of the new pipe. The photos below show the new “Stack” that had been fashioned from the two parts – one plus one did in this case render a third.Franken17

Franken18

Franken19

Franken20 I sanded the exterior of the bowl and base with a coarse grit sanding block and then with a medium grit block. The photos below show the state of the bowl after much sanding with the blocks. The surface of the bowl and base junction is smooth to touch. The large fills on the side of the bowl and the dark ring of the glue and briar dust patch around the middle were going to take some work to make them “disappear”.Franken21

Franken22

Franken23

Franken24 I sanded the bowl with a fine grit sanding sponge to further smooth things out while I decide on how to proceed next with the finish on the bowl.Franken25

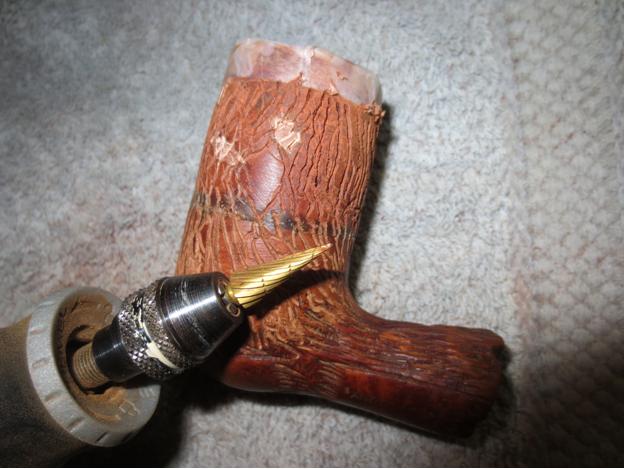
Franken26 The internal junction of the bowl and base needed some work as well. The bowl I had used was slightly conical on the base so the internal walls came in at an angle. The base walls were straight. I needed to sand the joint from the inside to smooth out the junction. I used the Dremel and the sanding drum to smooth out the junction. I proceeded slowly and carefully and was able to smooth out the walls. The photo below shows the inside of the bowl after the first work over with the Dremel and sanding drum. More needs to be done but you can see the progress.Franken27 When I got back from the office I decided to rusticate the new bowl with the same tree bark rustication pattern that the Anderson Freehand had. I used a pointed dental burr with striations through the shape of the cone. I held it like a pencil and worked on the surface of the briar. I followed the pattern on the lower portion of the pipe and worked to match it and continue it to the top of the rim.Franken28
Franken29

Franken30 As I got closer to the top of the bowl I wrapped the edge with several layers of cellophane tape and folded it over the rim as well. I continued to use the burr until I had carried the pattern all the way to the edge of the tape. The original bowl also had some smooth spots in the midst of the rustication. These looked like the ends of cut off branches. I put several of them on the sides of the new bowl as well to match the lower portion.Franken31

Franken32 The next two photos show the conical burr that I used for the rustication pattern.Franken33

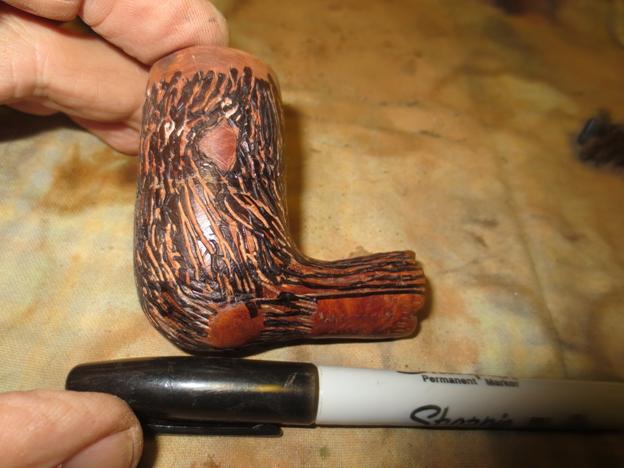
Franken34 To highlight the barklike nature of the rustication I used a black Sharpie permanent marker to colour in the trails in the briar.Franken35

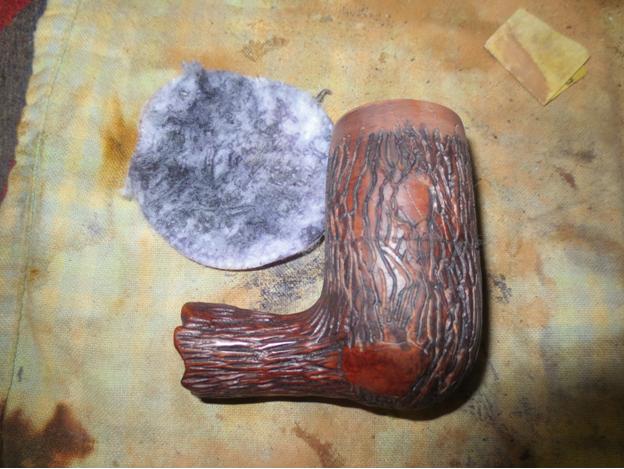
Franken36 I wiped the bowl down with alcohol on a cotton pad to even out the black and to set it in the bottoms of the lines.Franken37

Franken38

Franken39

Franken40 I stained over the black marker with a dark brown thinned 50% with alcohol. I applied the stain and then flamed it. I repeated the process until the coverage was even.Franken41

Franken42

Franken43 I then gave the bowl a coat of oxblood stain thinned 50/50 with alcohol and set it on the cork stand to dry.Franken44

Franken45

Franken46

Franken47 To protect the newly sanded bowl and the joint between the bowl and the base until a cake had a chance to form I mixed a batch of organic bowl coating that I have used for years. It sounds like it would smell and make things a mess but it does not. I use sour cream and activated charcoal powder. I put a dollop of sour cream in a bowl and empty the contents of three or more charcoal capsules into the sour cream. I mix it until it is a grey pasted. At this point there is very little smell to the mixture.Franken48

Franken49 I painted the inside of the bowl walls and bottom with a folded pipe cleaner. I want to give the bowl a coating on all sides. I insert a pipe cleaner in the airway so I do not get the mixture in the airway. I put on the coating in several layers letting the one underneath get a little set. I paid special attention to the area around the junction of the two parts.Franken50 I set the bowl aside to dry. When it dries the coating will be a charcoal black colour and provide a base for the formation of the cake. While it dried I worked on the stem. I sanded it with a medium and a fine grit sanding sponge and then moved on to sanding with micromesh pads. I wet sanded with 1500-2400 grit pads and rubbed the stem down with Obsidian Oil. I dry sanded with 3200-4000 grit pads, rubbed it down with oil again and then dry sanded with 6000-12000 grit pads. I gave it a final coat of Obsidian Oil and when it dried I buffed the stem with Blue Diamond.Franken51

Franken52

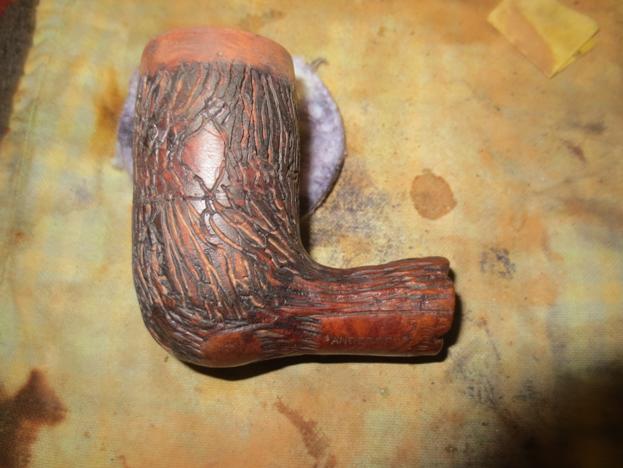
Franken53 I lightly buffed the stem and the bowl with carnauba – spending more time on the stem than on the bowl. I then took it back to the work table and hand buffed it with a microfiber cloth to raise the shine. I did not want too much of a shine as I think the matte finish looks good on the tree bark rustication. The finished pipe is shown below. Once the bowl coating has dried for several days it will be ready to smoke. I am still mulling over what I will pack it with for the inaugural smoke. Thanks for looking.Franken54

Franken55

Franken56

Franken57

Franken58

Franken59

Franken60

Replacing a Broken Tenon & Doing a Simple Restoration on a Unique Bjarne Danish Handmade Egg


Blog by Steve Laug

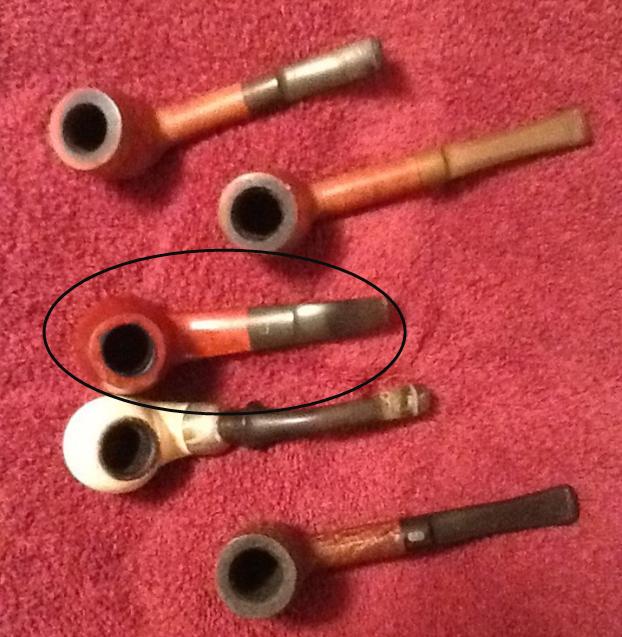
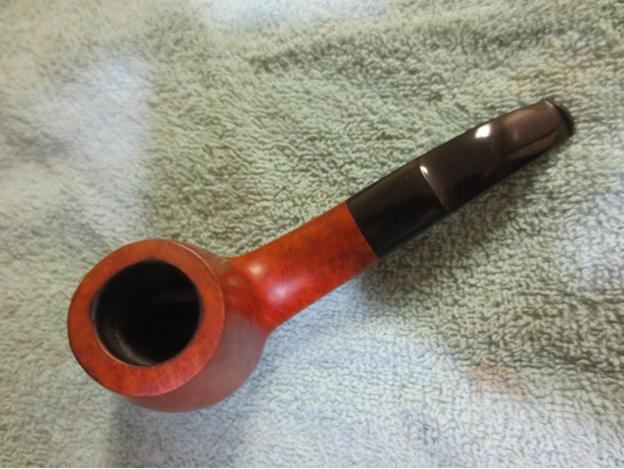
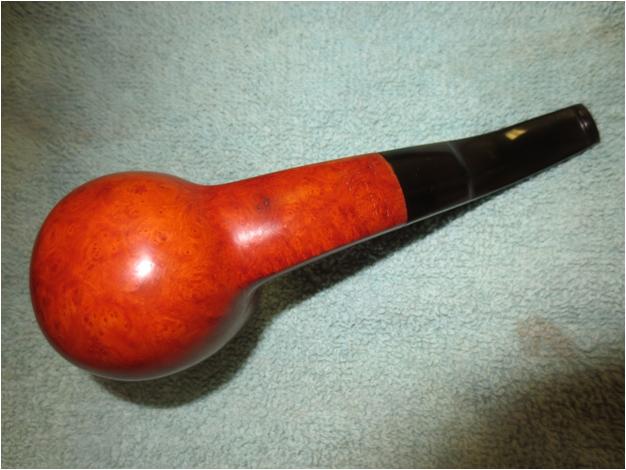
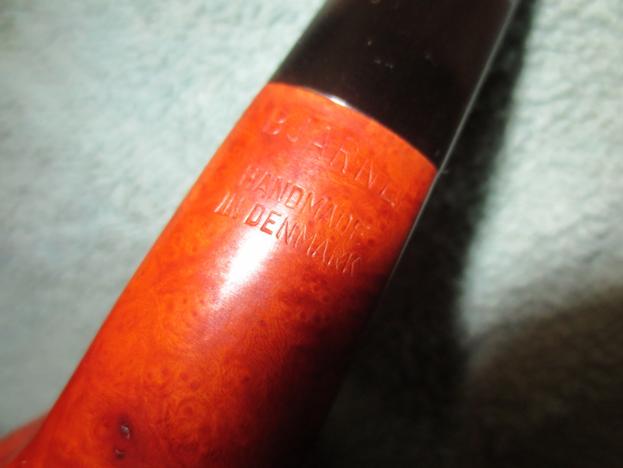
I found this interestingly shape pipe in an antique mall in Idaho Falls. I was attracted to the egg shape, the hanging bottom and the rectangular shank and saddle stem before I even knew who had made it. I was pretty sure that it was a Danish made pipe but did not know who had made it. When the clerk took it out of the display case I saw that it was priced at $15 US – not a bad price these days for estate pipes. I turned it over in my hands and could see that it was well made and barely smoked. The bottom of the bowl still showed unseasoned briar. The stem was oxidized but free of tooth marks and tooth damage. The finish was in decent shape other than some sticky spots where the person selling it had put price tags. On the bottom of the shank it is stamped BJARNE over Handmade in Denmark. That is the only stamping on the shank. It is the pipe circled in the photos below.Bjarne1

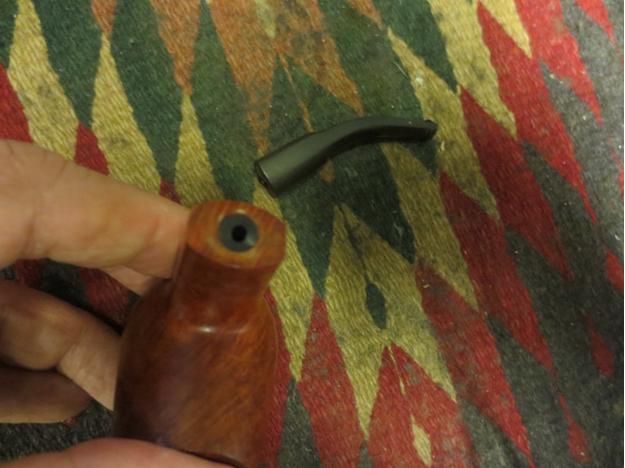
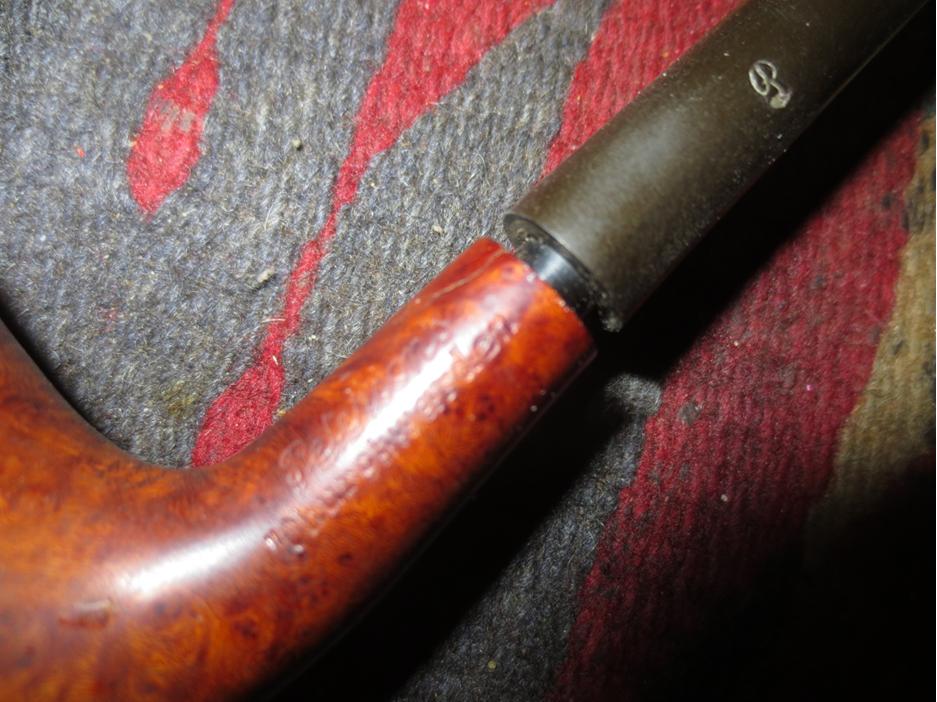
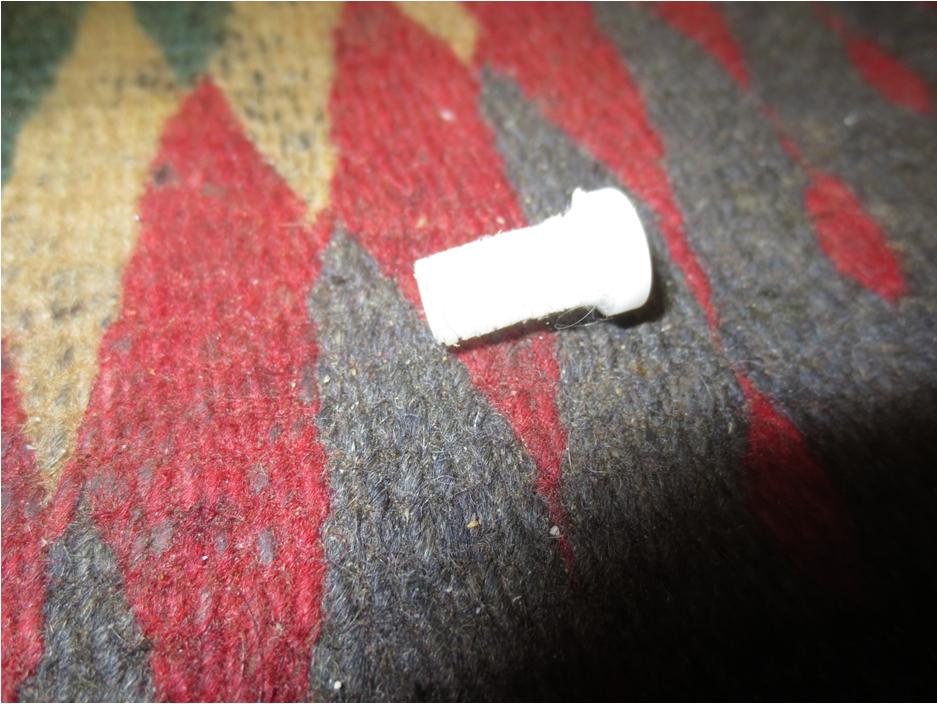
Bjarne2 I was excited by this find. I liked the shape and the cleanup would be simple. I purchased it and took it back to my mom and dad’s place. But then the something happened that I have come to dread. I was carrying the bag across their parlour when the bottom fell out of the bag and the pipe bounced off the tile floor. There was a sharp crack and the stem had disappeared. I found it hidden in the pattern of the carpet about three feet from the bowl. I was sick to my stomach. The tenon had snapped off evenly in the shank. The stem and the bowl were undamaged otherwise. This meant that what was originally a simple restoration would now be a bit more complicated. I would need to replace either the tenon or the stem.Bjarne3 I took some photos of the bowl when I brought it to my work table. The briar was beautiful and not a flaw in the grain on the bowl itself. There was one small sand pit on the bottom side of the shank but it had only darkened from handling and was not that big a deal. The rim had some darkening and burn marks on the top near the back, the right side and the right front. These would have to be dealt with.Bjarne4
Bjarne5

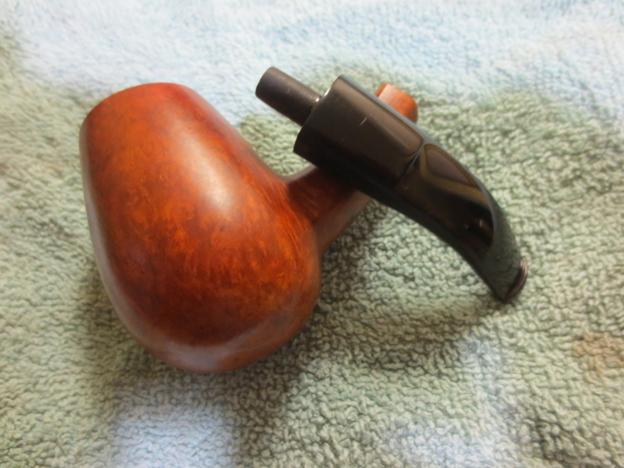
Bjarne6 I used my tried and true method for pulling broken tenons. I twisted a drywall screw with wide threads by hand into the airway on the tenon. When it bit, I wiggled the tenon free of the shank. It did not take much to pull it out. If it had I would have put the bowl in the freezer for a half hour and repeated the process.Bjarne7 I faced the stem on my topping board to knock off the remnants of the broken tenon and then twisted the stem onto a drill bit slightly larger than the airway in the stem. I don’t use the power feature on the drill as I would rather turn the stem onto the bit by hand. This is critical when working on short saddle stems where it is very easy to over drill the airway and ruin the stem.Bjarne8 When I had the airway open for a new tenon I improvised by using a junk stem I had in my can of stems. I pressed the tenon on the thin stem into the freshly drilled airway on the stem. The fit was snug and the once I cut back the donor stem I would have a new vulcanite tenon. I glued the new tenon in place with super glue and pressed it until it set. The next three photos give an idea of how the new tenon and the donor stem fit in the stem as a replacement tenon.Bjarne9 I cut off the stem with a hacksaw. In this case, after measuring the depth of the mortise I knew I could cut of the tenon portion of the donor stem and be left with a tenon the right length for the pipe.Bjarne10 I turned the diameter of the new tenon down with a sanding drum on my Dremel until it was close to fitting and then finished the fit by hand with 220 grit sandpaper.Bjarne11

Bjarne12 As often happens with a new tenon I had to do a little fine tuning on the shank – not much really but a slight removal of briar on the left side and a little vulcanite on the left. I probably could have left it but I am picky so I sanded it lightly until the transition was smooth. I wiped down the bowl with acetone on a cotton pad to remove the mottled finish and the glue that was on the shank and the bowl from the price tags.Bjarne13

Bjarne14 I examined the burns on the rim and to repair/remove them the bowl would have to be lightly topped. I used the topping board and 220 grit sandpaper to take off most of the burn marks and minimize the damage.Bjarne15

Bjarne16 I sanded the rim with a medium and fine grit sanding sponge and then wiped the bowl down with a cotton pad to remove the sanding dust.Bjarne17

Bjarne18

Bjarne19 I restained the sanded areas on the shank and the rim with a stain touch up pen using the lightest colour stain. I was able to match the colour of the bowl and not have to restain the whole pipe. Bjarne20

Bjarne21

Bjarne22 I gave the bowl a quick buff with a coarse cotton rag to blend in the stained areas with the rest of the bowl and feather in the new stain.Bjarne23

Bjarne24 I took the stem off and cleaned out the shank and the stem. It was a pretty clean pipe which lent proof to my earlier assumption of the pipe being lightly smoked.Bjarne25 With the tenon replaced, the bowl stained and looking fresh all that remained was to remove the oxidation on the stem. I lightly sanded the stem with medium and fine grit sanding sponges and then went on to sand it with micromesh sanding pads. I wet sanded the stem with 1500-2400 grit pads and rubbed the stem down with Obsidian Oil. I “painted” over the saddle area and the edge of the button with the flame from a Bic lighter to remove the oxidation. I dry sanded with 3200-4000 grit pads, rubbed it down with oil once again and then sanded it with 6000-12000 grit pads. I gave it a final rubdown with Obsidian Oil.Bjarne26

Bjarne27

Bjarne28 Once the oil dried I buffed the stem and the bowl with Blue Diamond on the wheel and then gave it multiple coats of carnauba wax. I buffed it with a clean flannel buff to raise the shine. I then used the new addition to my order of things, learned from Dave Gossett and hand buffed the bowl and stem with a microfibre cloth to take the shine to the next level. The finished pipe is shown below. The fit of the stem makes the repair look like it came that way. The final photos of the stem and tenon show how the new tenon looks when it was completed. I am sure glad that the broken tenon did not ruin this old pipe and that once the new tenon was replaced the restoration was quite simple. This pipe should serve me well for years to come. Thanks for looking.Bjarne29

Bjarne30

Bjarne31

Bjarne32

Bjarne33

Bjarne34

Bjarne35

Repairing and Restemming a York (KBB) Diamond Shank Bent Billiard


Blog by Steve Laug

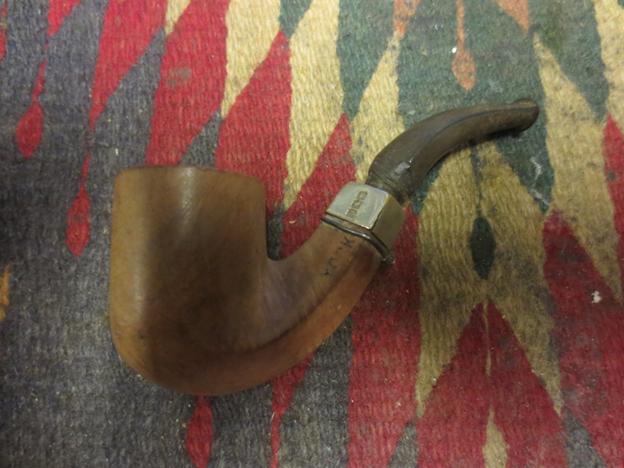
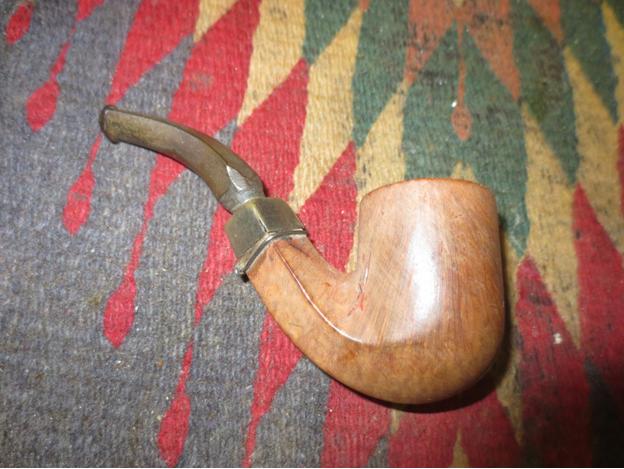
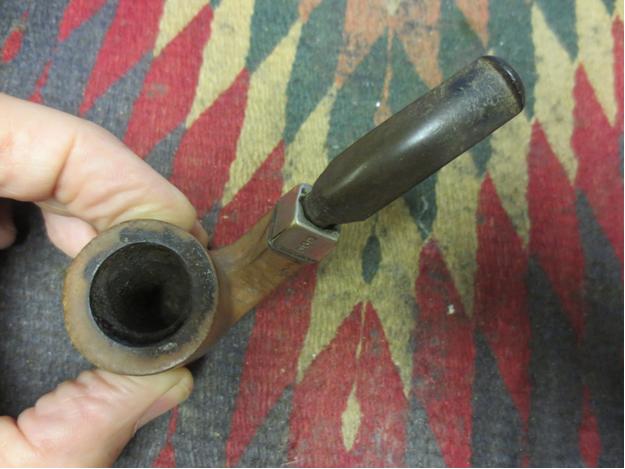
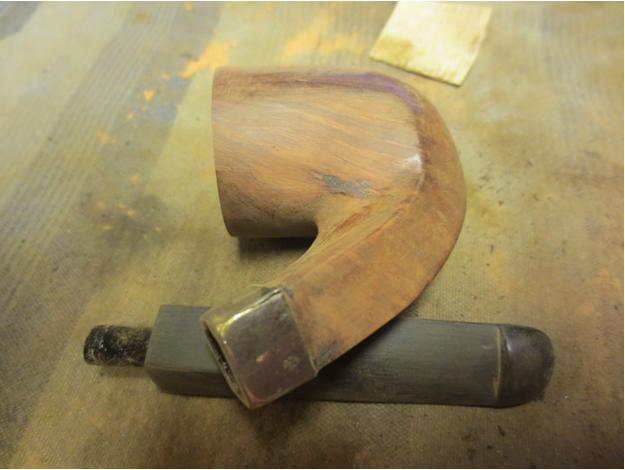
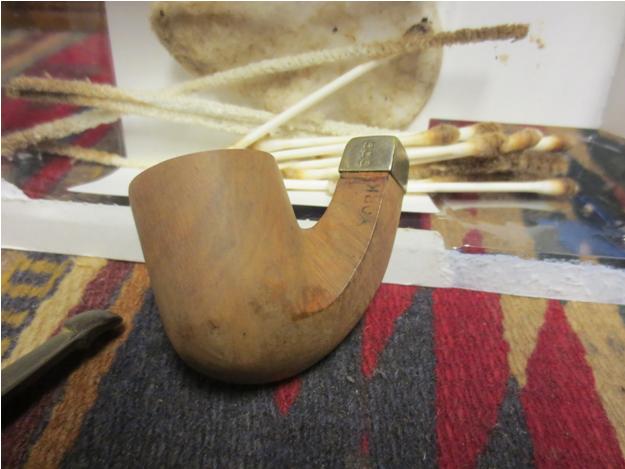
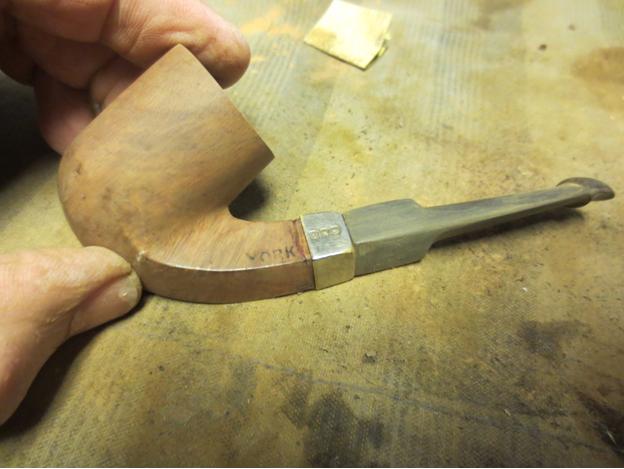
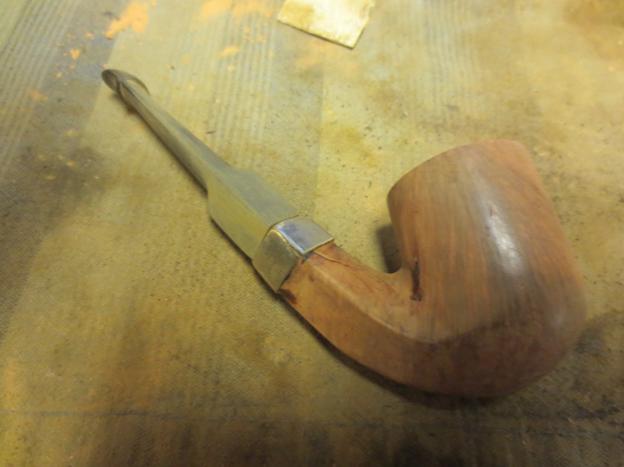
When I was traveling in Idaho my brother and I took the family for a trip to Jackson Hole, Wyoming. On the way we stopped in a little town called Victor, Idaho. There was an antique shop there in the town and I found four more old pipes. The first of these reminded me of an old WDC Diamond shank billiard that I have. This one was stamped YORK on the left side of the shank and from research it may have been made by KBB. It was in rough shape. The shank had been cracked and repaired with glue and a piece of twisted wire. The stem obviously had a broken tenon and the previous owner had carved it down to fit in the shank anyway. The bowl had a thick cake and the finish was gone. The rim was damaged on the front outer edge and there was some tar on the rim.York1

York2

York3

York4 On the right side of the bowl near the shank junction there was a pink putty fill that was coming out. Most of the putty had fallen out of the briar. This would need to be repaired.York5 When I got back home I took the pipe out of the bag to have a look. The silver end cap had some hallmarks but they were the faux hallmarks that I have found on older American made pipes to give them a touch of class. All four edges of the band were split. I removed the stem and looked inside the mortise and could see that a major part of the briar was missing on the right side of the shank under the cap. With little effort I removed the cap and sure enough a huge chunk was missing out of the briar. In fact the whole right side under the cap was gone. There was a small crack that had been repaired earlier. There was a small hole in the shank to stop the crack and the crack was glued and clamped with the wire. This was going to take a bit of work to bring it back from the brink of destruction. York6 I clipped the wire with a pair of wire cutters so that I could work on repairing the broken portion of the shank. This repair would take some careful and time consuming work to rebuild the missing portion of briar.York7 I reamed the bowl to clean out the thick cake. It was crumbling so I wanted it removed so that the repair of the shank would be less dirty. I use a PipNet reamer to take the cake back to the bare briar.York8

York9 The first step in rebuilding the broken area was to clean up the damaged ends of the remaining briar. Once it was clean I put clear super glue on the raw edge of the broken spot and tamped the end into some briar dust. I repeated the process until the edge was repaired as much as possible with this method.York10

York11 During the process I also picked out the broken putty fill and replaced it with briar dust and super glue.York12 I sanded the flat surface of each of the four sides of the diamond shank smooth with 220 grit sandpaper until the cap slid easily over the shank. I also faced the end of the shank on the topping board.York13

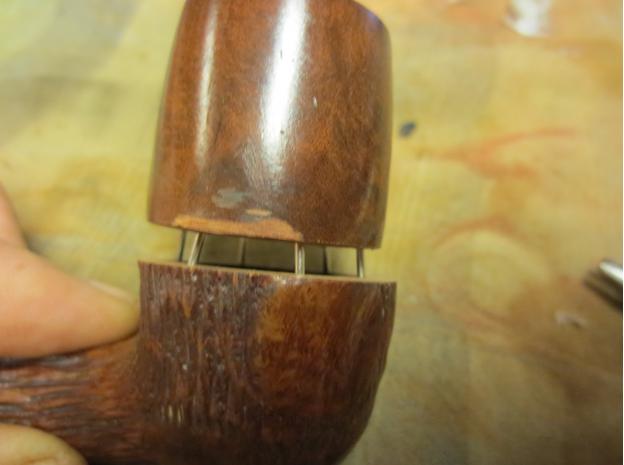
York14 The next step in the process of rebuilding the shank and the mortise was a little more difficult than the briar dust and super glue rebuild. It involved working on the internals of the shank. I glued the end cap in place with wood glue and clamped it in place to take care of small splits in the edges of the metal cap. Once that dried and set, I mixed white wood glue with briar dust to make putty. I tamped the mixture into the remaining areas of the shank with a dental pick and dental spatula until the area was filled solid looking once again. The next two photos show the rough repair on the inside of the mortise and shank. The broken area is gone! The holes are filled in and the repair is complete. Once the glue set I would have to clean up the mortise and make the walls smooth. The edges of the metal cap, looking at it from the end are damaged and I will not be able to repair them.York15

York16 While the shank repair cured I worked on the rim. There was a thick tar build up that was like rock on the back edge and the front edge of the rim had been knocked against something hard and was rough.York17 I decided to top the bowl to remove the rock hard tar and also minimize the damage to the front of the bowl. I used a topping board with 220 grit sandpaper and worked the rim against the sandpaper until the damage was minimized. Once I had it smoothed out I put some briar dust and super glue on the remaining divot on the front edge of the bowl as a fill. When it dried I sanded it smooth and lightly topped the rim once more to even out the repair with the rest of the rim. (That picture will be shown shortly.)York18 The stem that came with the bowl was damaged beyond repair. It had been repeatedly been cut off by the previous owner and hacked at until it fit in the damaged tenon. It was not a stem I would use again on this pipe. I went through my can of stems and found a faux p-lip stem – the airway came out the end of the button rather than on the top. It was old enough to work on this pipe and with some modification I thought it would look just right. The problem was that it did not have a tenon. When I found it the tenon was missing and the end of the stem had been drilled out to receive a replacement tenon. I am currently out of Delrin tenons so I used a thin vulcanite stem as the sacrificial tenon. I glued the tenon on the donor stem in place in the diamond shaped stem with super glue and then cut off the stem with a hacksaw. I left a piece of vulcanite that was longer than necessary so that I could work it to a proper fit in the repaired shank.York19

York20 The next photo shows the repaired stem and tenon and the topped bowl before I put the two parts together. I used a Dremel to remove the excess material on the new tenon and shortened it to the depth of the mortise in the shank.York21 The next photo shows the repaired fill on the bowl side with another photo of the new stem.York22 Once the shank repair was dry I used a needle file to clean up the rough areas and smooth out the inside of the mortise. I gave it several more coats of glue and briar dust to buildup the areas that had shrunk as the glue dried. I continued to work it with the files and sandpaper until the fit was correct. I cleaned out the airway to the bowl and the inside of the mortise with alcohol, cotton swabs and pipe cleaners in preparation for putting the new stem in place.York23 The next two photos show the newly fit stem. There was still work to do to fine tune the flow of the diamond stem sides to match the flow of the diamond shank but the look is clear at this point in the process.York24

York25 I sanded the stem with 220 grit sandpaper and with a medium and a fine grit sanding sponge to fine tune the fit. When I had it the way I wanted, it was time to bend the stem. I used my heat gun to do the work. In this case I quickly set it up on the dryer in our laundry room (shh don’t tell my wife I did this) and heated the stem. I bent it over an old rolling pin that I use for this purpose until the bend in the stem matched the curve of the bottom of the bowl. I set the bend by holding the stem under cool running water.York26

York27 The next two photos show the newly bent stem and give an idea of how it will look with the pipe once it is finished.York28

York29 With the easiest part of fitting a stem completed I went on to do the laborious and tedious part of sanding and more sanding to get the fit just right. To do this without rounding the edges of the stem at the shank stem junction I use a plastic washer placed between the two areas. I sanded the stem with 220 grit sandpaper to smooth out the transition and make the angles square (or at least as square as possible on these old pipes where every side has a different angle and width).York30 When I had the fit of the stem correct it was time to polish it. I wet sanded with 1500-2400 grit micromesh sanding pads and rubbed the stem down with Obsidian Oil.York31 I needed a break from the stem work so I turned my attention to the bowl. I rubbed it down with a light coat of olive oil to highlight the grain. I took a few photos to show what it looked like at this point. It is certainly looking far different than it did when I started working on it. There is a deep richness in the red tones of the briar.York32

York33

York34

York35 I decided to highlight those tones with a dark brown aniline stain thinned by 50% with some isopropyl alcohol. I applied it and flamed it to set it in the grain.York36 I hand buffed it with a cotton cloth to get an idea of the coverage. It was still too dark to my liking so I would need to address that.York37

York38 I wiped the bowl down with some acetone on a cotton pad to remove some of the stain and make the grain show through better.York39

York40 I buffed the bowl with White Diamond and then gave it the first of many coats of carnauba. I don’t know about you but by this point in a long refurbishment I get a bit anxious to see what I have accomplished. It always seems that it is going to go on forever so I rewarded myself by putting the stem in place and taking a few photos to see what I had achieved.York41

York42 For comparison purposes I took the next two photos of the pipe with the old stem next to the new one. You can see how badly hacked the vulcanite was from the previous owners salvage work on his broken pipe. The pipe is beginning to look like a very different pipe than when I started. That always encourages me!York43

York44 Now it was time to finish up with this long project and get the stem done. I dry sanded it with 3200-4000 grit micromesh sanding pads and then rubbed it down with Obsidian Oil once again. I then dry sanded it with 6000-12000 grit pads and gave it a final coat of oil and let it soak into the vulcanite.York45

York46 I buffed the stem and bowl with Blue Diamond and then gave them both multiple coats of carnauba wax. I buffed them with a clean soft flannel buff to raise the shine and then hand buffed the pipe with a microfibre cloth to finish. The completed pipe is shown below. It has come a long way from the pipe I started on this morning. I had a quiet day at home and between reading and napping finished the work on this old timer. From what I can find out in my research and from Who Made That Pipe, the pipe may well be from the old KBB pipe works. Thanks for looking.York47

York48

York49

York50

York51

York52

Restoring an 1810 German Meerschaum Folk Art Pipe with a Story


Blog by Steve Laug

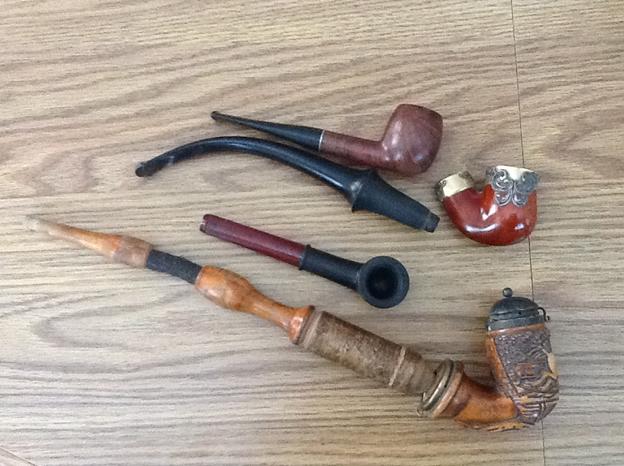
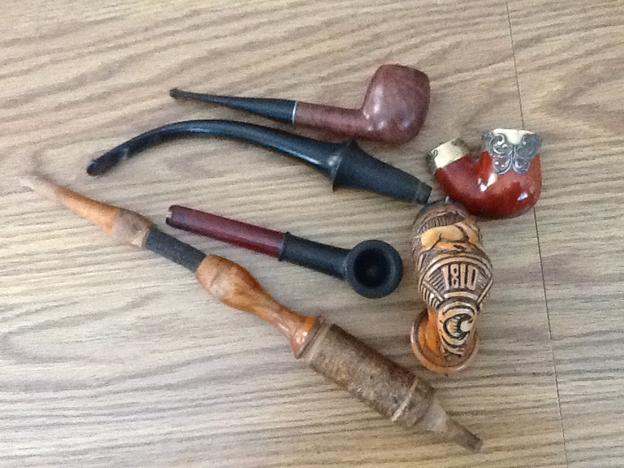
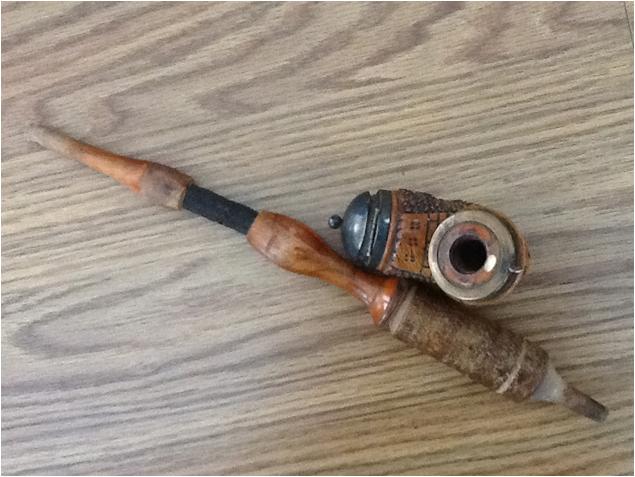
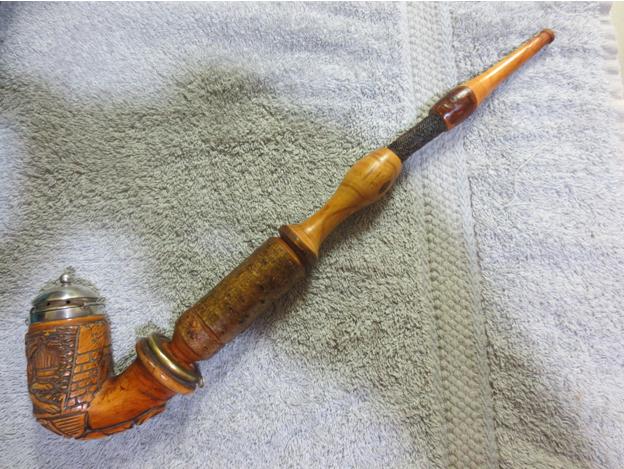
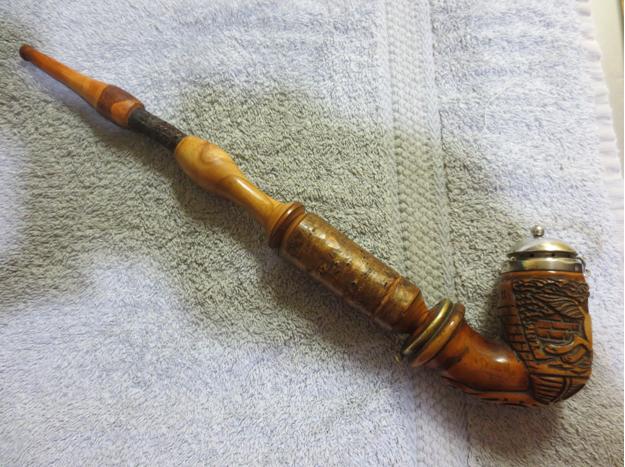
On Monday, June 29, 2015 after a weekend of celebrating with my parents and brothers in Idaho Falls, I went to visit one of my favourite pipe hunting haunts when I come to town. There weren’t any pipes on the three floors of the antique mall but before I left I asked the sales clerk if he had any pipes that somehow I had neglected to see. He said that there were not any on the floor but he had a few in a bag at home and if I would come back on Wednesday he would bring them with him and we could make a deal. Wednesday when I went back he had a bag of old pipes that are shown in the photo below. The top pipe is a Kaywoodie Apple with a three hole stinger. Tthe stem below it comes from a WDC Wellington but the pipe itself was missing. Next to it was an oval shank meerschaum with lots of bling on the shank and the bowl top. It had a broken tenon in the shank and would be an easy one to make a stem for. The third pipe down was a Bakelite stem and base but was missing the bowl. The bottom one was quite interesting to me. I had not seen one of these before intact. It was a meerschaum bowl with a wind cap and brass shank end. The stem itself was long with bark on the bottom portion and then hard wood ending with a woven hose and stem that was also wooden with bark on the portion next to the hose.Ger1

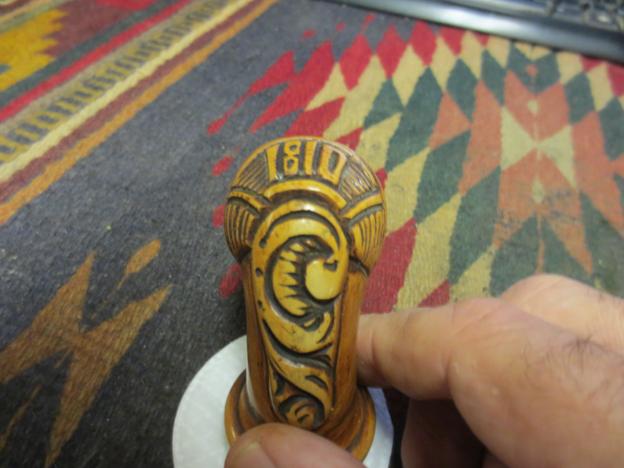
Ger2 I asked the sales clerk where the pipe had come from hoping that he would know the story behind this old meerschaum. It turned out that he knew a lot about the old pipe. I had belonged to his grandfather who was a German immigrant to Idaho Falls. The two meerschaum pipes were his. He had brought them with him when he came from Germany. He was brought over to be the beermeister for the Eagle Rock Brewery which only had a short life – 1896-1898. His own father (the sales clerk’s great grandfather) had purchased the pipes new in Germany and smoked them throughout his life. He had passed it on to his son, the brewmeister who smoked the pipe throughout his life even after the brewery closed. The sales clerk’s father had passed it on to him with the story of the pipe. The carved date on the pipe fits well with the four generations – 1810. I love these old stories behind the pipes I refurbish.Ger3

Ger4

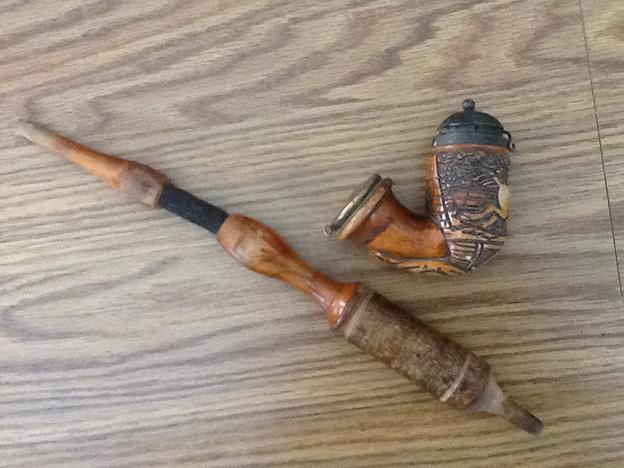
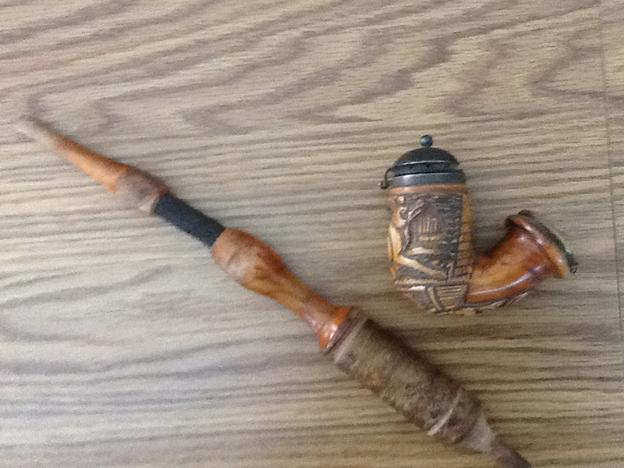
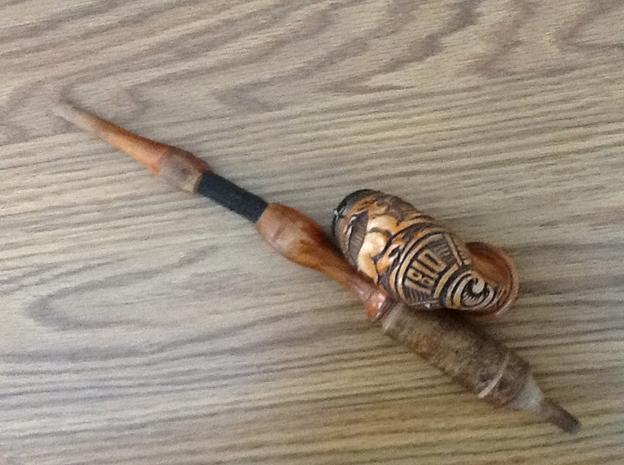
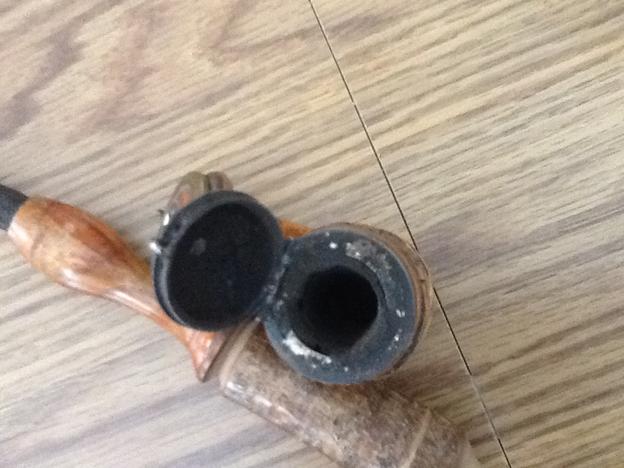
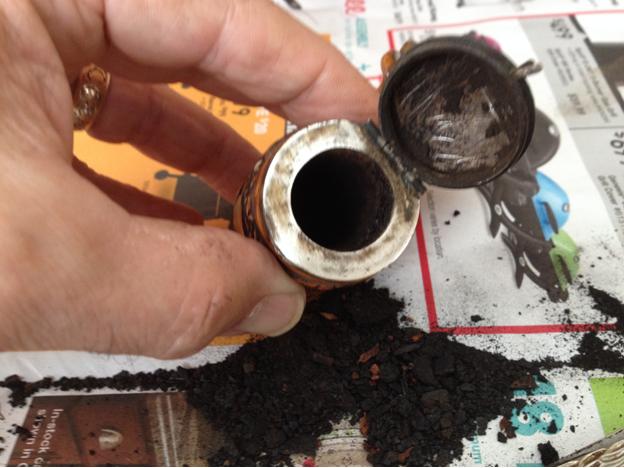
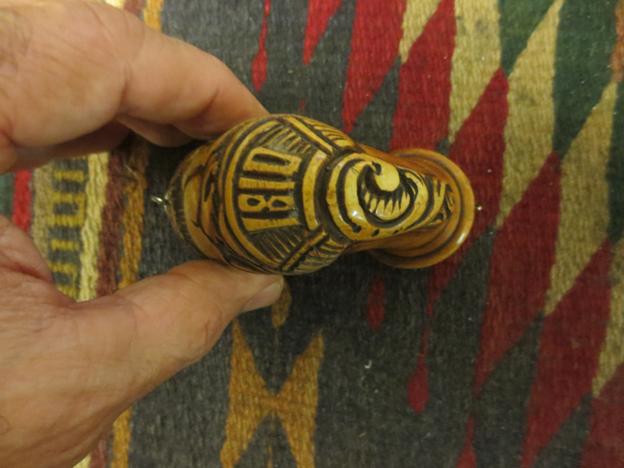
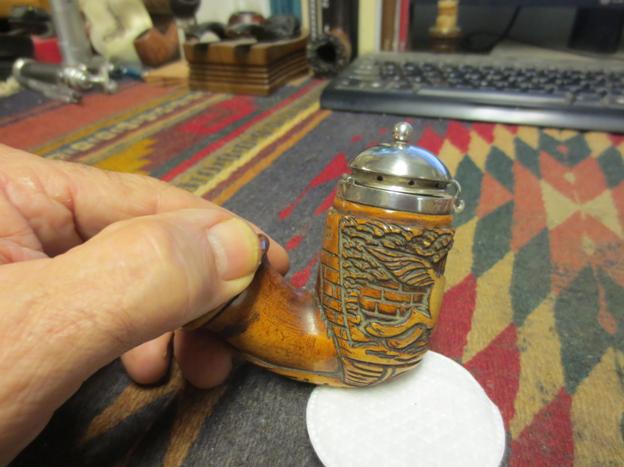
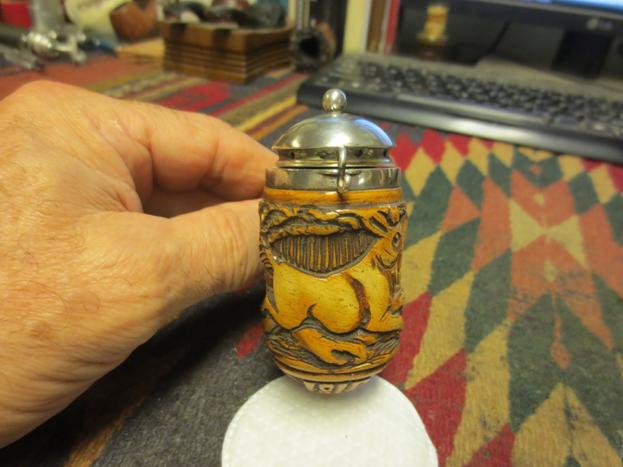
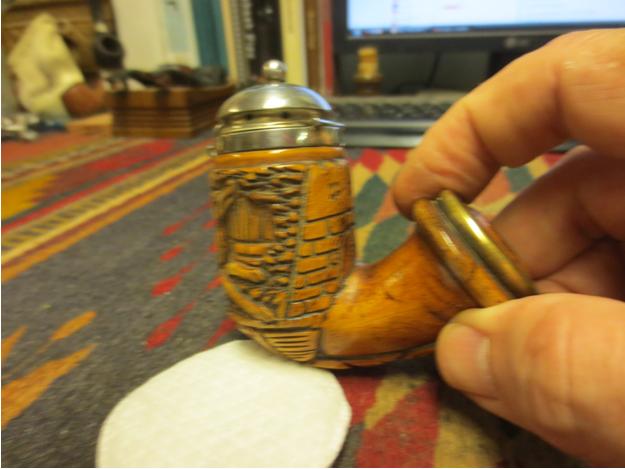
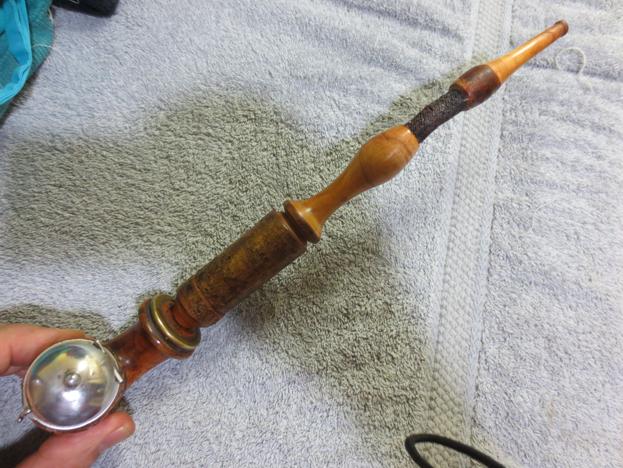
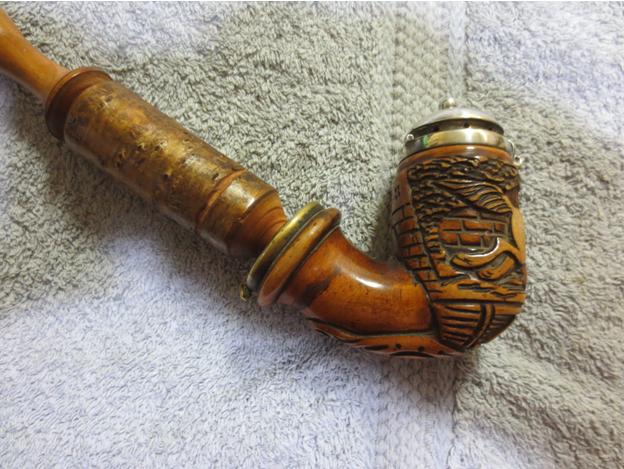
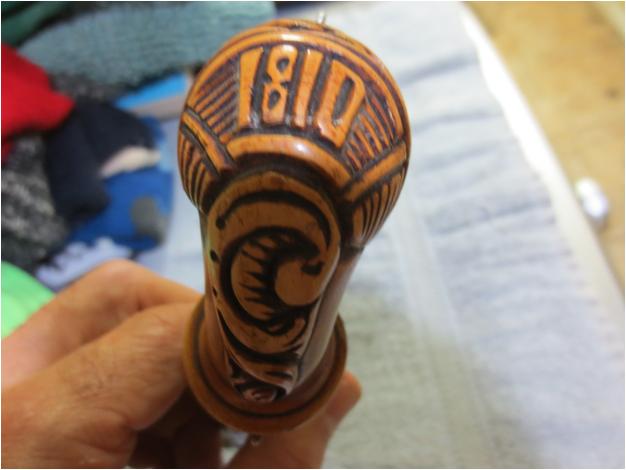
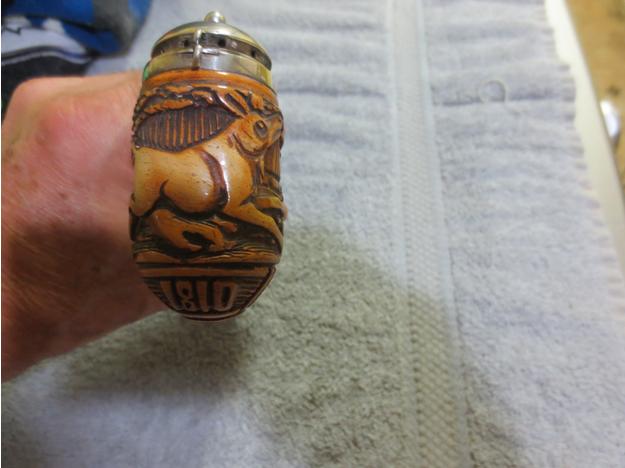
Ger5 The bowl had a few little nicks in the meerschaum but none were detracting. The meer had a nice patina that was all over the bowl and shank. The carving on the bowl was a dog set in a background of carved bricks and wood making up a wall. On the front underside of the bowl was carved the year 1810. Someone had rigged some brass wire around the stem and the ring on the shank to keep the stem inserted in the bowl but it was very loose. The stem portion was in great shape on the bottom part up through the hose. The hose itself was dried out and had some cracking in the surface. The top portion, the stem was dry but had been chewed and there were tooth marks in the surface.Ger6 The wind cap was badly oxidized and the top of the rim was oxidized and covered in thick tar. I was not sure if it was silver or brass under the black of the oxidation. The inside of the cap had a heavy tar buildup that was like rock. There was a very thick cake that went to the bottom of the bowl and there was some unburned tobacco in the bottom 1/3 of the bowl. It was a bit of a mess and would take some work to bring it back to life and usability.Ger7

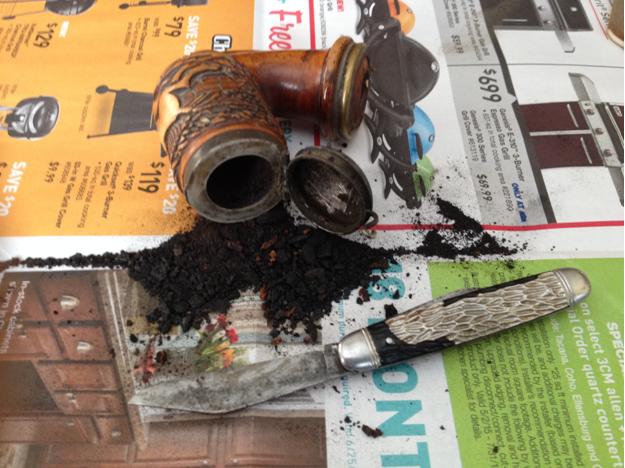
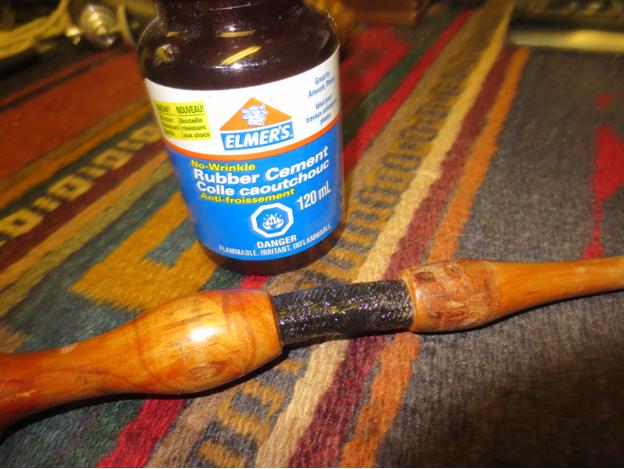
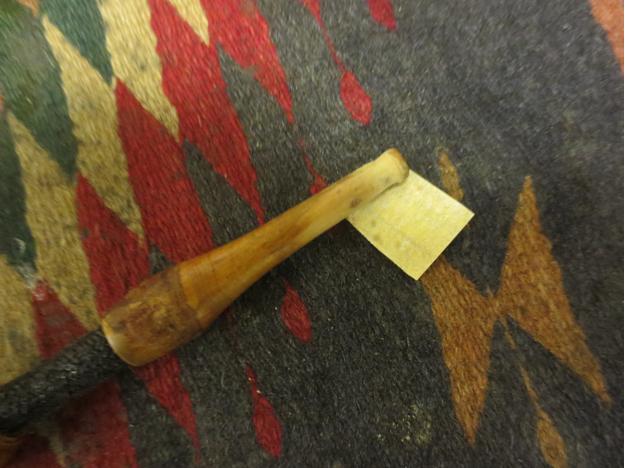
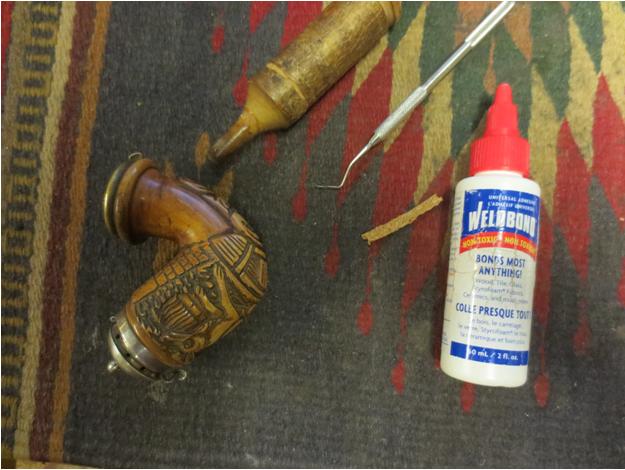
Ger8 I paid the clerk $40 for the lot and headed home to my parents. I put newspaper on the kitchen table and went to work cleaning up the bowl. I did not have a reamer with me so I used a sharp knife with a short rounded blade to ream out the carbon/cake in the bowl. I took it back to the meerschaum walls so that there was no cake left.Ger9 I scraped as much of the buildup on the inside of the wind cap and the rim as was possible with the tools that I had with me.Ger10 I put the pipe away carefully in my bag to be carried back to Vancouver. When I got home I worked some more on the pipe. I started by working on the hose portion of the stem. I gave it a thick coat of rubber cement to fill in the cracks and to provided the flexibility that was originally present when the pipe was made.Ger11

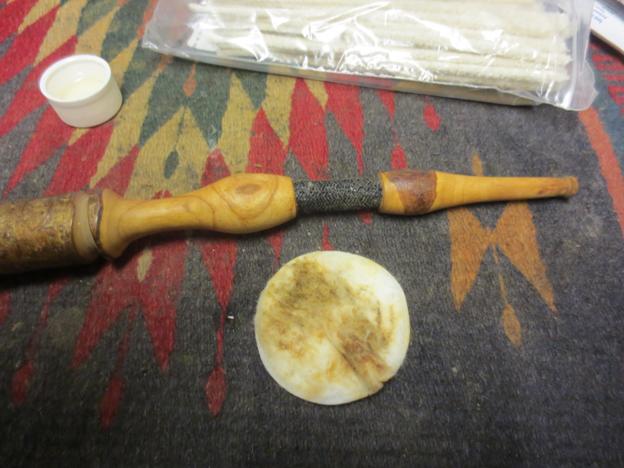
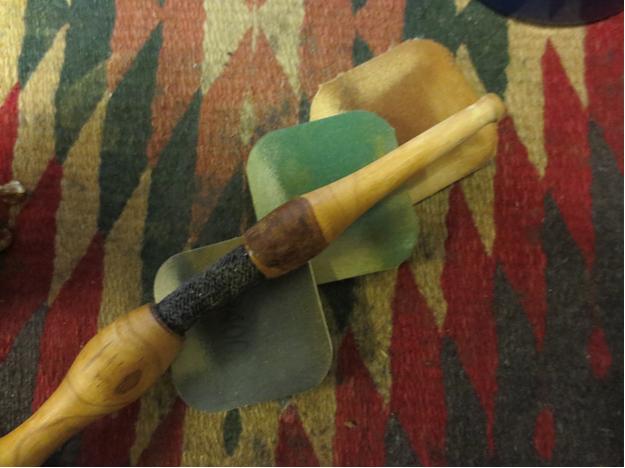
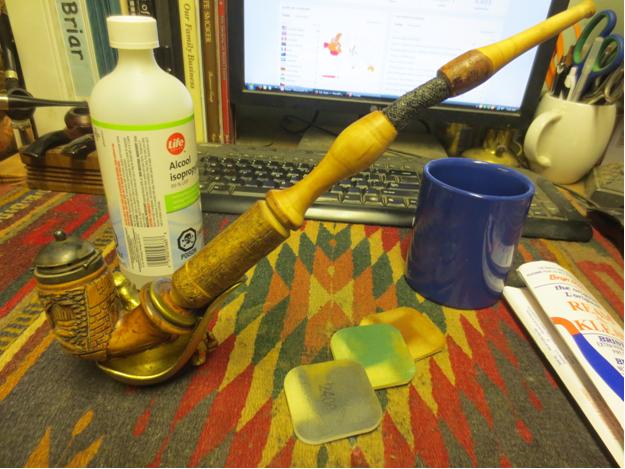
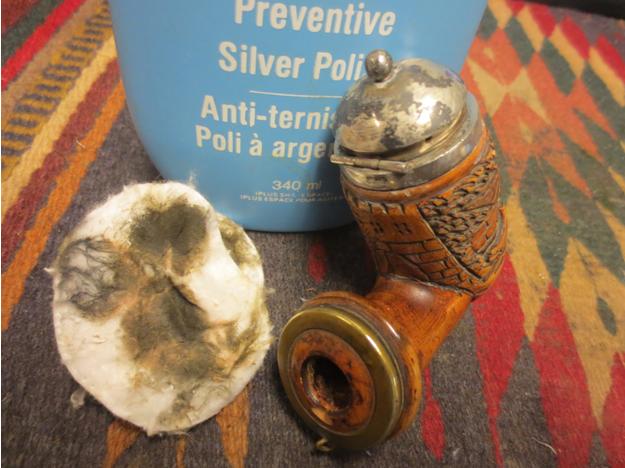
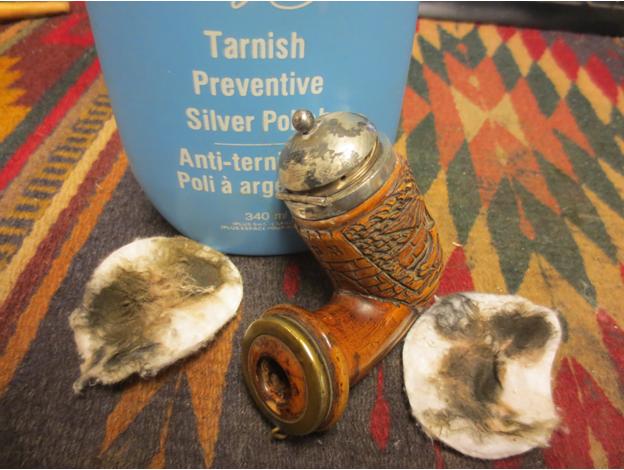
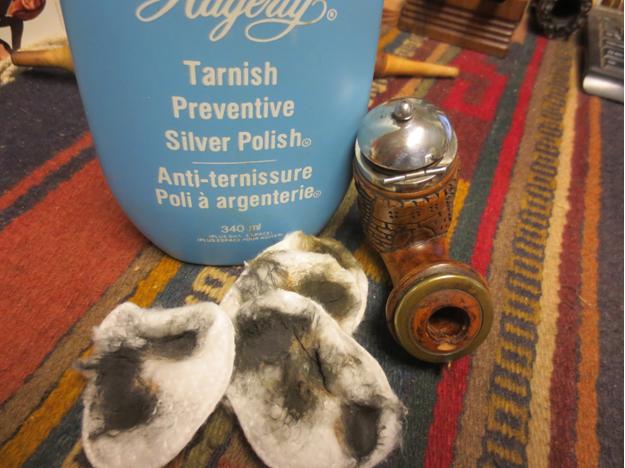
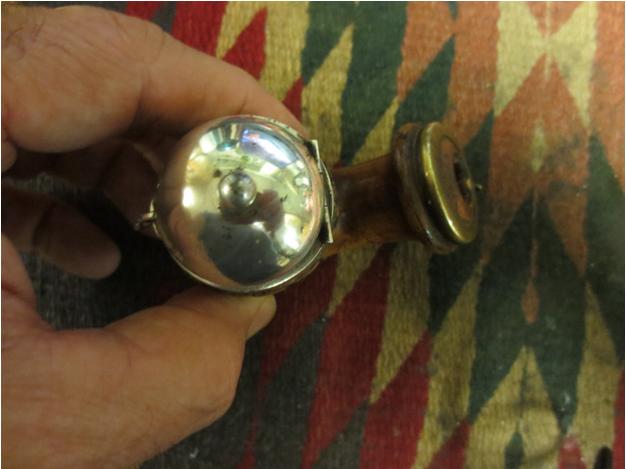
Ger12 I sanded the bit portion of the stem with 220 grit sandpaper to remove the tooth damage and reshape the button.Ger13 I cleaned out the inside of the shank and stem with pipe cleaners, cotton swabs and isopropyl alcohol until they came out clean. I used the brown tarred pipe cleaners to touch up the nicks on the bowl and shank.Ger14 The entire stem had a coat of varnish on it that was peeling on the centre portion. I wiped down the entirety with acetone on a cotton swab to remove the varnish coat.Ger15 I sanded the stem with 1500-2400 grit micromesh pads to smooth out the wood and minimize the tooth damage.Ger16 I removed the brass wire that held the stem to the shank and cleaned out the groove that had been carved in the bark of the lower portion. I put it in a pipe rest and took the next photo to show the look of the pipe at this point in the clean up process.Ger17 I scrubbed the wind cap with silver polish tarnish remover until the silver below all the black began to shine. The next photos show the silver beginning to shine through with each successive cotton pad.Ger18

Ger19

Ger20 I took the next set of photos to show the look of the bowl and cap after polishing the silver.Ger21

Ger22

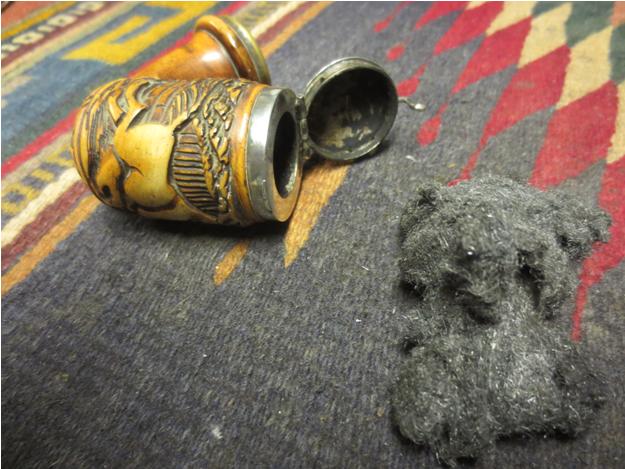
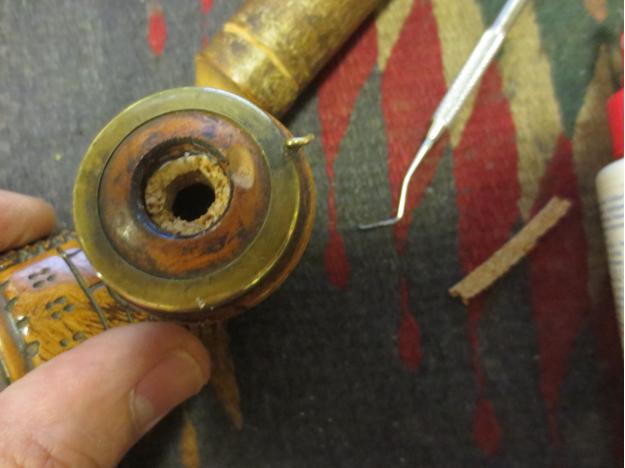
Ger23 I used 0000 steel wool to clean up the inside of the wind cap. The tar was thick and some of the silver had deteriorated. I was able to smooth out the surface of the inside of the cap but it left some dark areas on the cap.Ger24 The tenon end of the stem was very loose in the shank and needed a little creativity to make a snug fit. As I looked at the inside of the shank it appeared that it had originally had some sort of gasket that was glued to the inside of the mortise. I cut a small strip of cork to fit in this area of the shank. I cleaned out the shank with alcohol and then coated the outside of the cork piece with white glue. I used a dental pipe with a flat spatula end to press it into the shank. When the glue on the cork dried I inserted the stem to have a look at the finished fit. It was perfect.Ger25

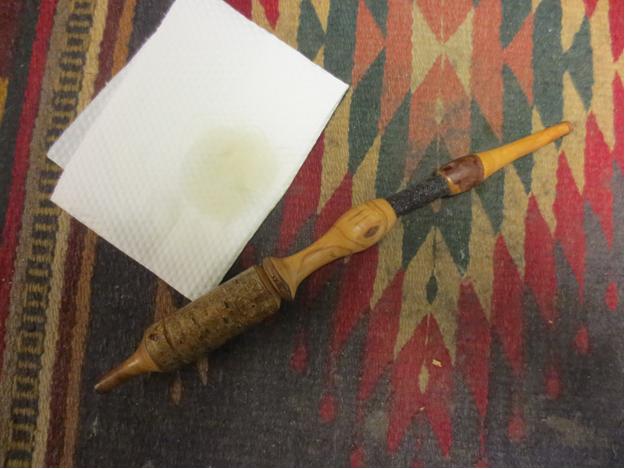
Ger26 I rubbed down the long stem with a light coat of olive oil to bring more life to it. I stained the long stem with some Danish Oil and cherry stain to protect the wood.Ger27

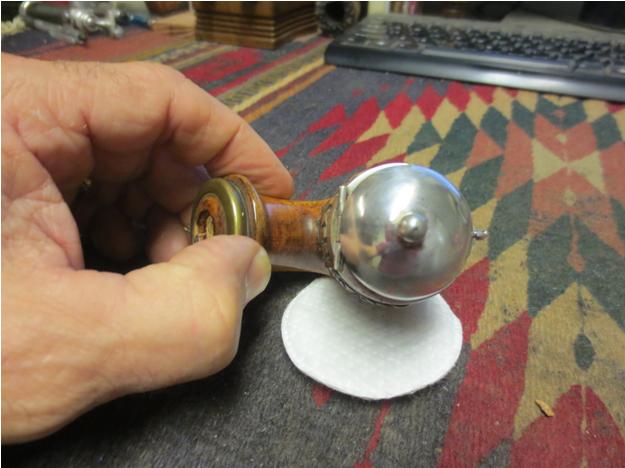
Ger28 I rubbed the silver cap and rim with a silver polishing cloth to give it a final polish. It really combines nicely with the brass ring around the end of the shank and sets off the darkening meerschaum bowl.Ger29

Ger30

Ger31

Ger32

Ger33 I hand buffed the stem and bowl with a microfibre cloth to raise a shine and polish it a final time. The finished pipe is shown in the photos below. It turned out far better than I had expected when I picked it up at the antique mall.Ger34

Ger35

Ger36

Ger37

Ger38

Ger39

Ger40

Ger41

Ger42Addendum

One of the readers of the blog just sent me this information regarding this pipe. It is much appreciated and answer questions that remained for me when I finished the restoration. Thanks Brad.

Regarding your post on the 1810 German Meerschaum pipe…

I’ve got a similar pipe and have been doing research on it. Mine has “1815” and has a portrait of the Duke of Wellington on it, likely commemorating the Battle of Waterloo. It has a horn mouthpiece with copper and mother of pearl inlay on the stem. While mine is missing a wind cap which would have the makers mark, it is very similar in look.

I’ve found through endless searching that these pipes are likely related to Josef Klinkosch, an Austrian metalsmith that worked from 1822-1888. If you google his name you will see similar work. There are similar pipes that have been sold through Gros & Delettrez online.

Since I finally found my answer, I figured I’d share it with you.