by Steve Laug
When Kenneth and I visited a fellow pipe repair guy near Vancouver, Washington this past Fall he gave us a bunch of pipe parts and some pre-drilled partially shaped pipe kits that needed a lot of work to finish. Mind you, the shaping was roughed in and the drilling was finished. Some of them it was not too bad and some were drilled high or off to the side of the bowl bottom. Anyway you looked at it they would be fun to fiddle with. Kenneth and I both took several of them to add to the “to do list”.
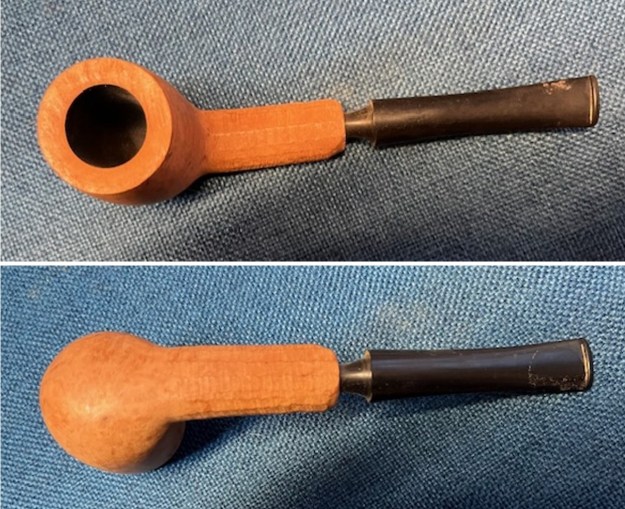
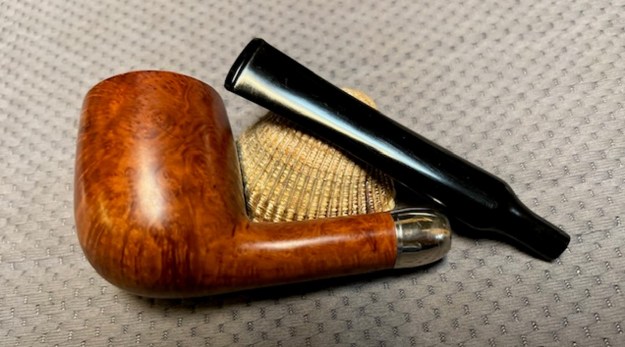
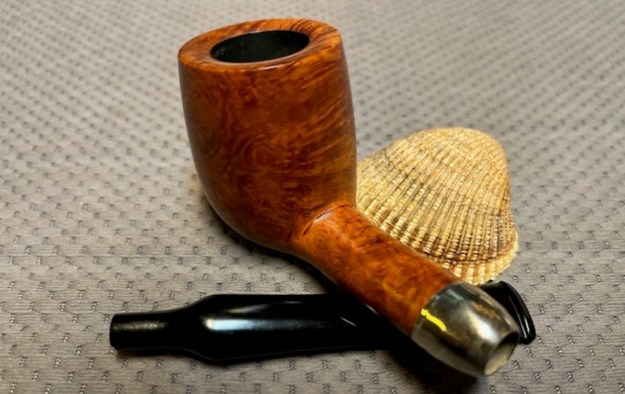
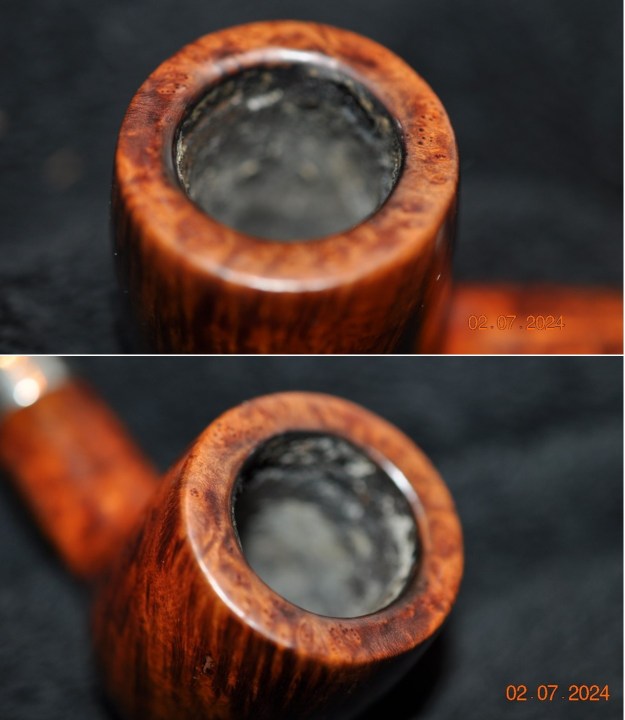
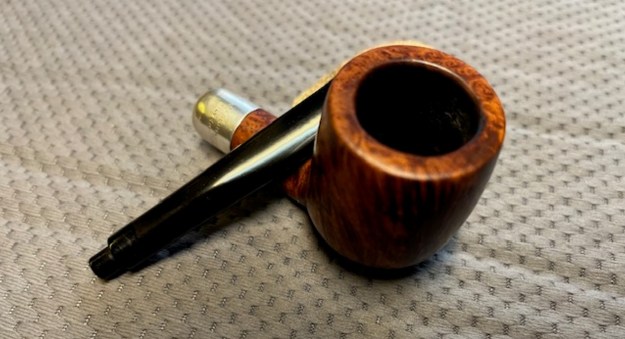
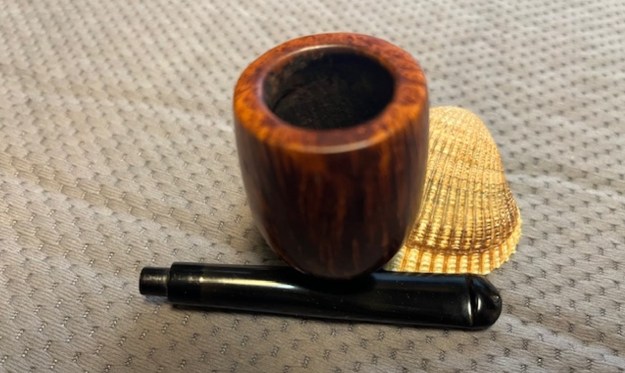
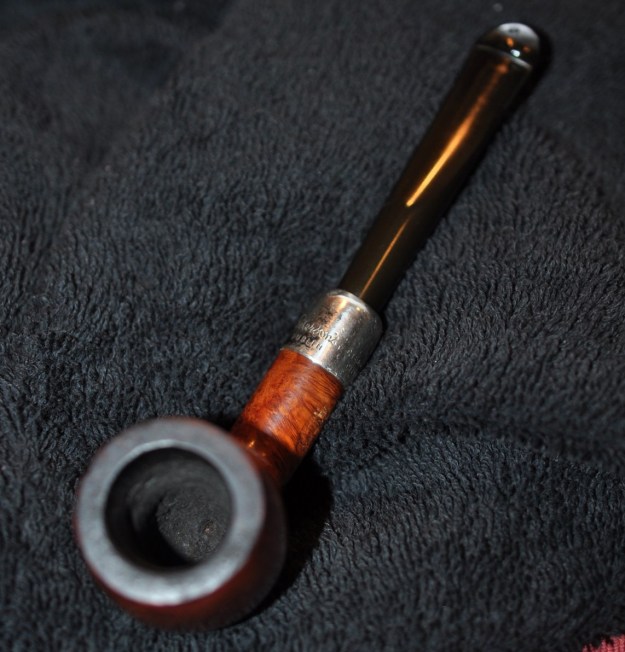
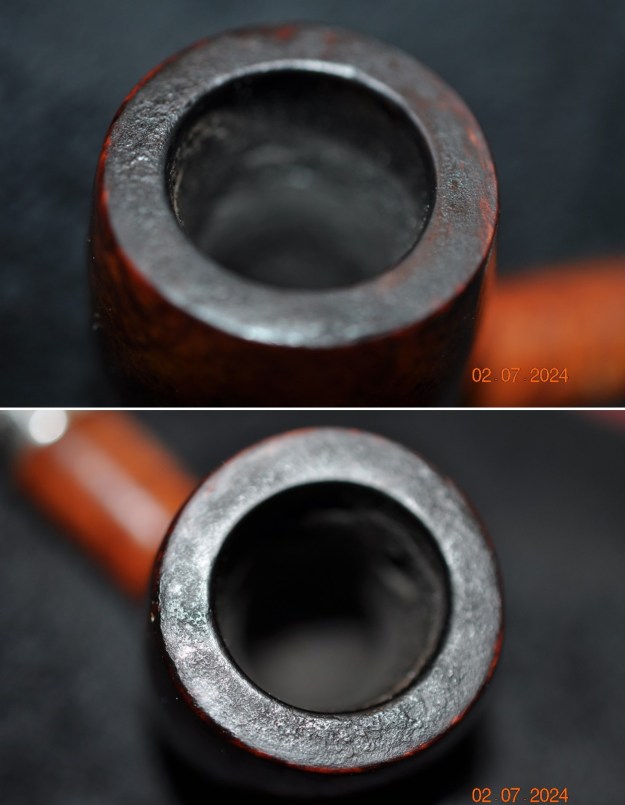
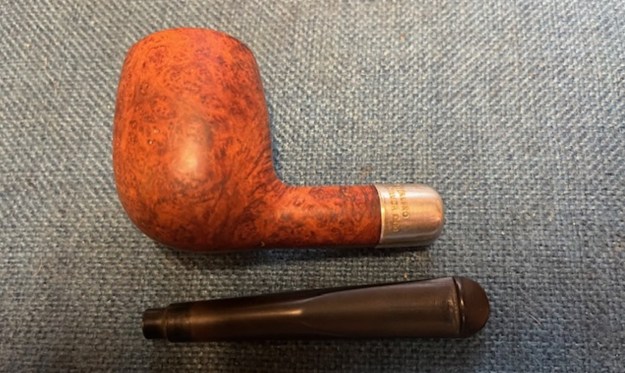
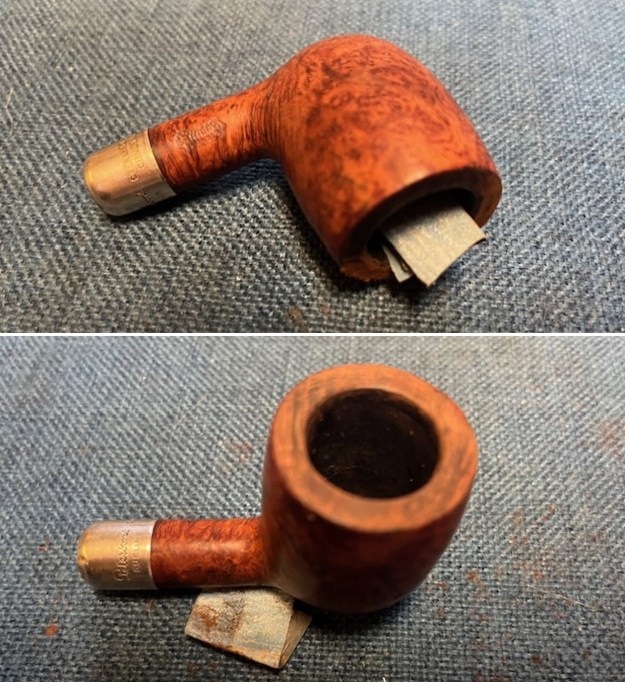
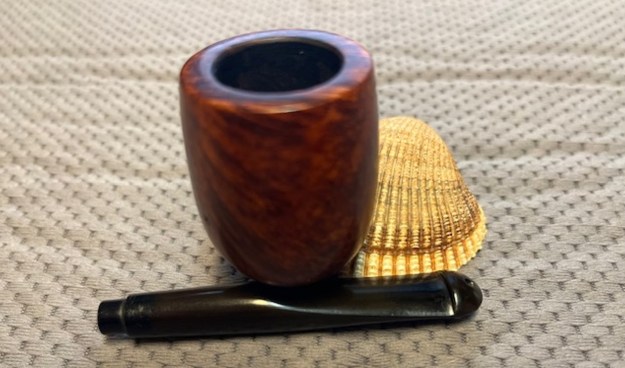
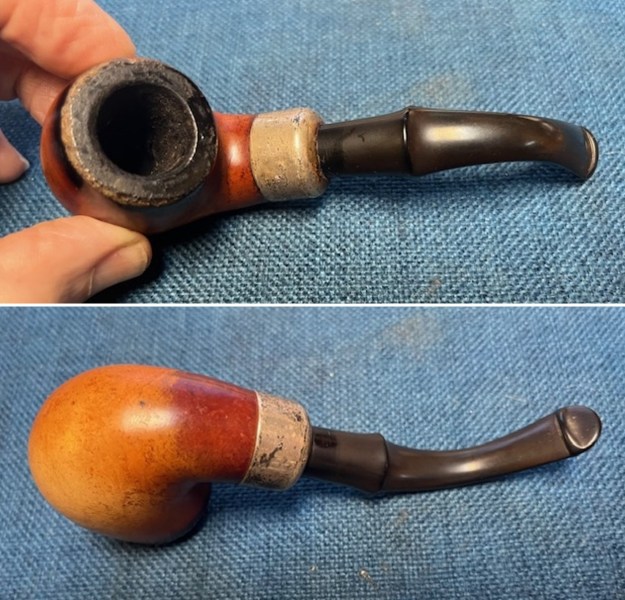
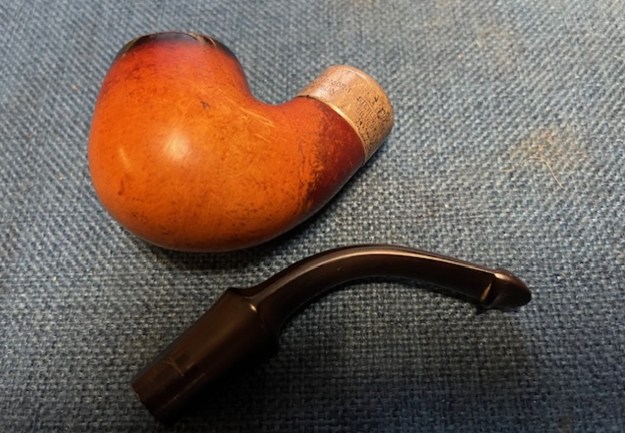
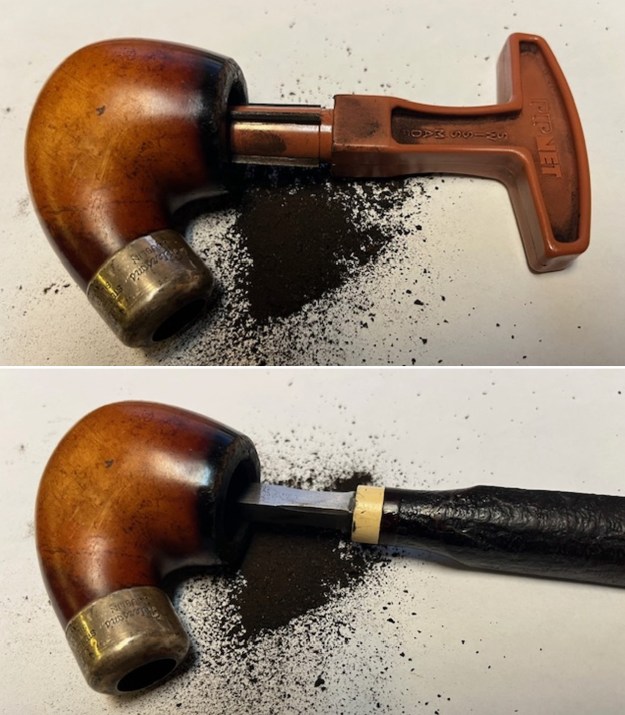
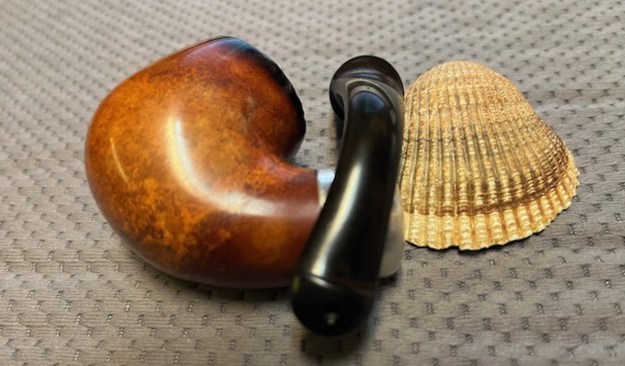
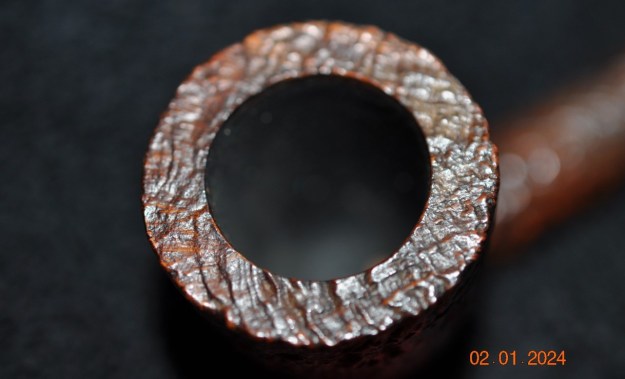
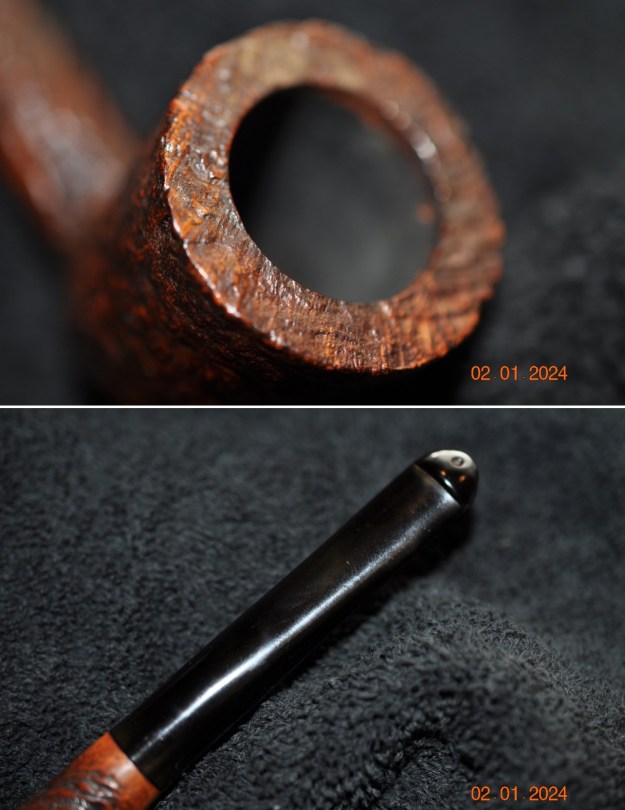
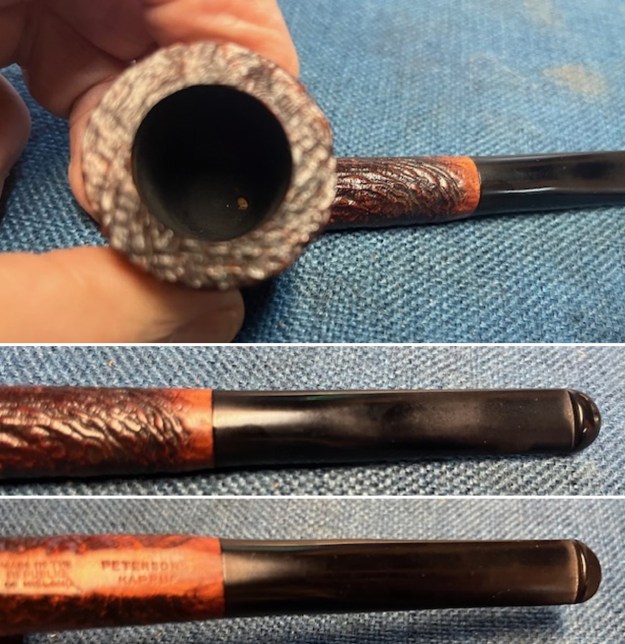
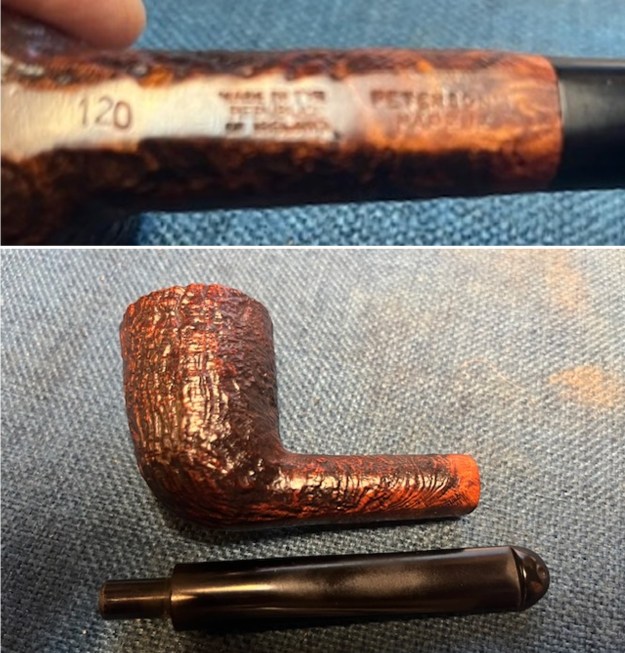
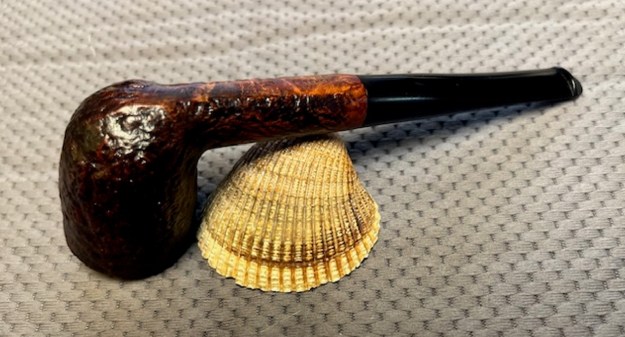
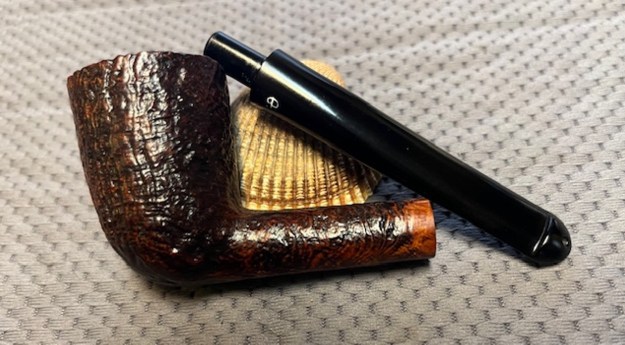
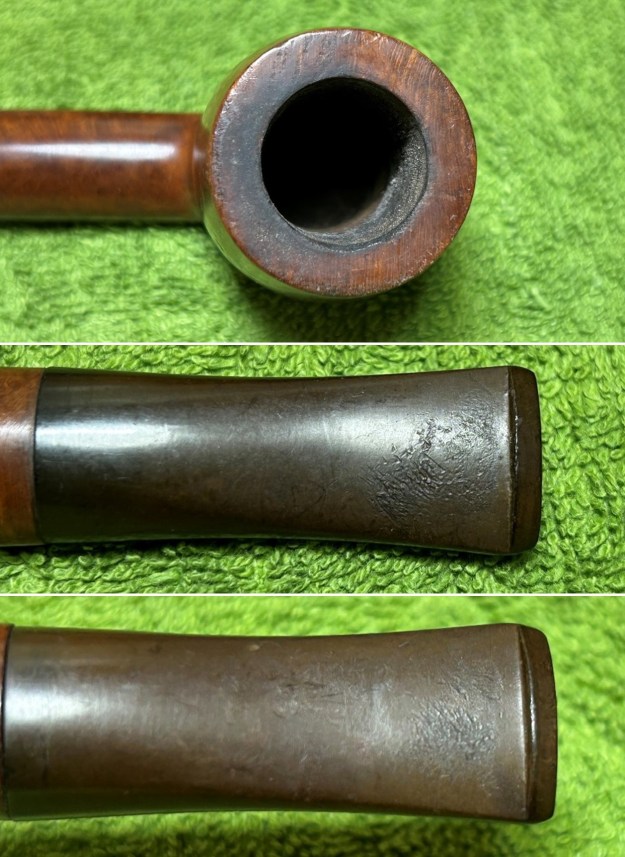
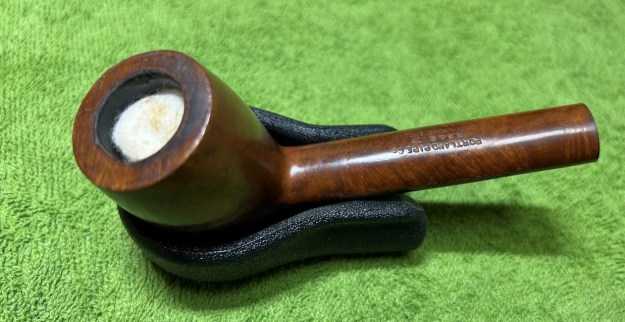
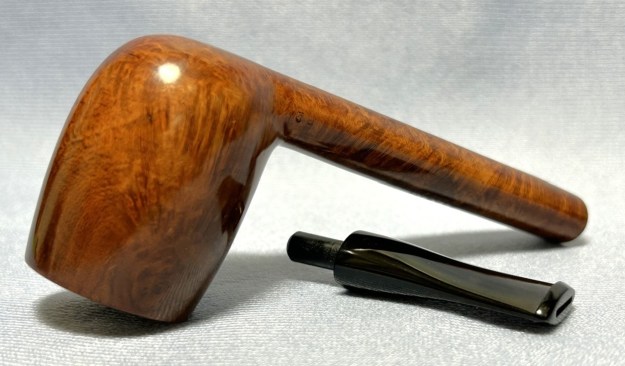
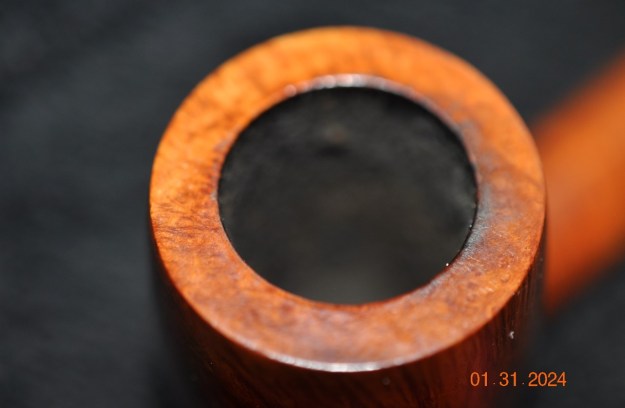
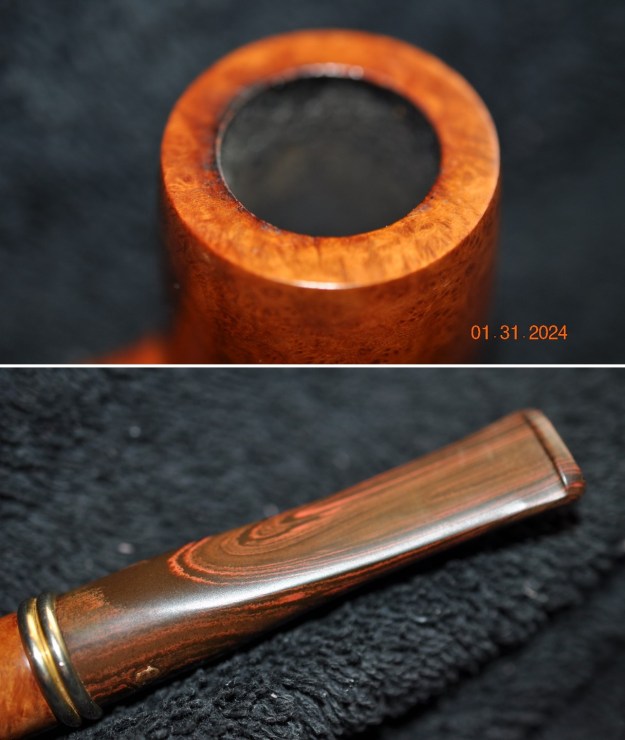
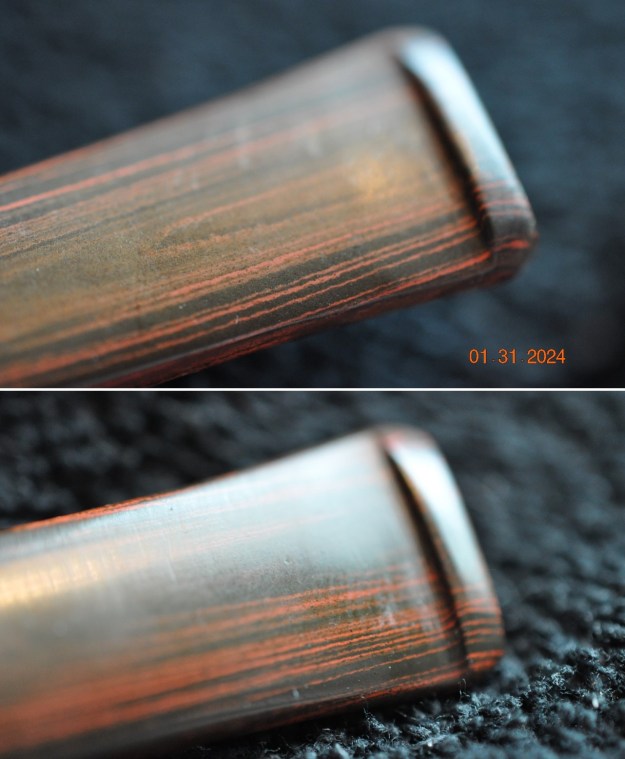
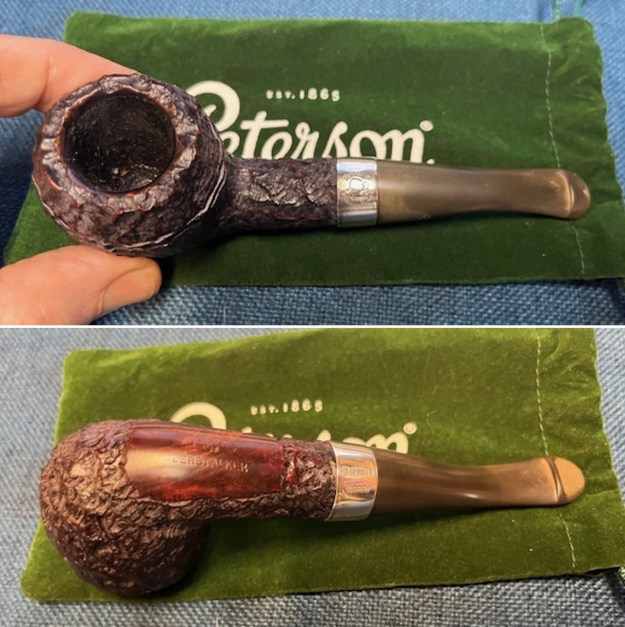
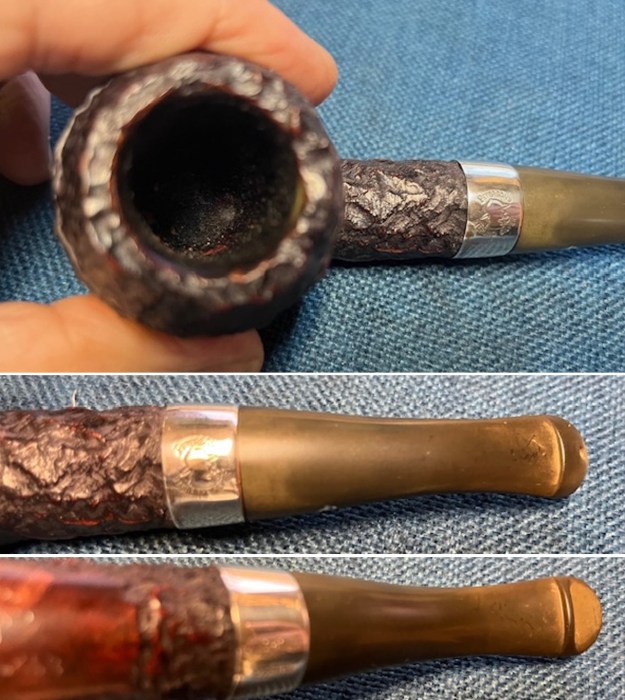
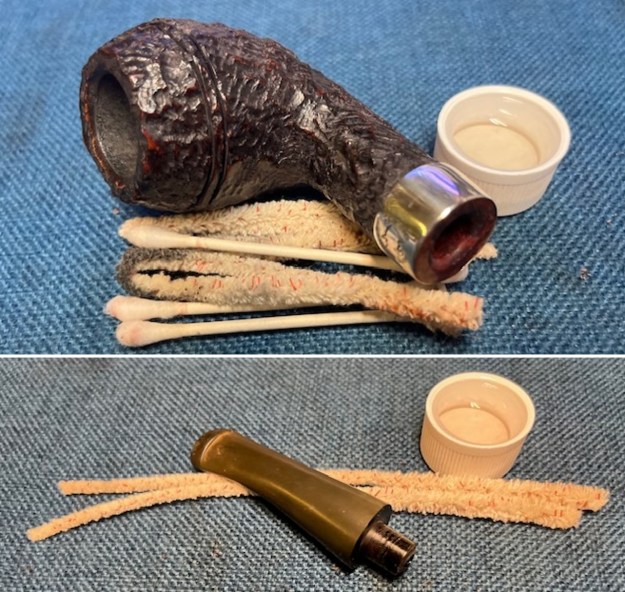
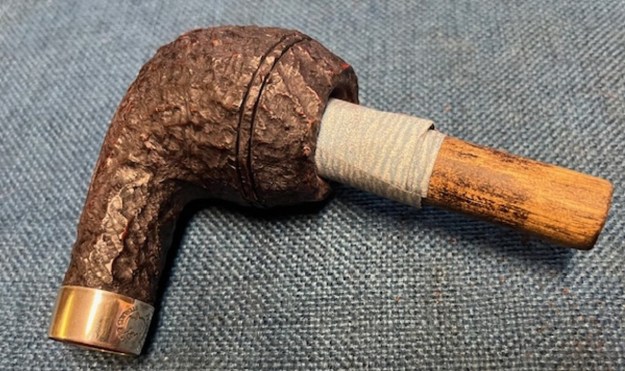
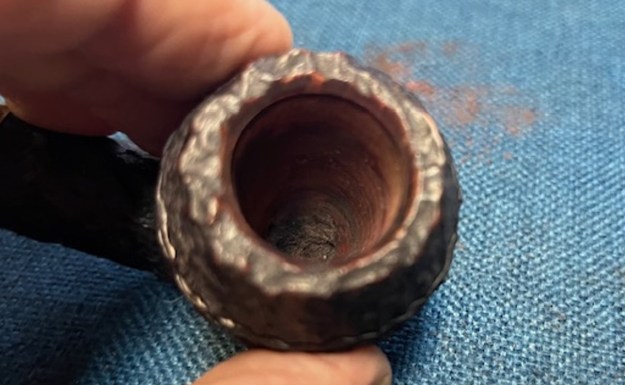
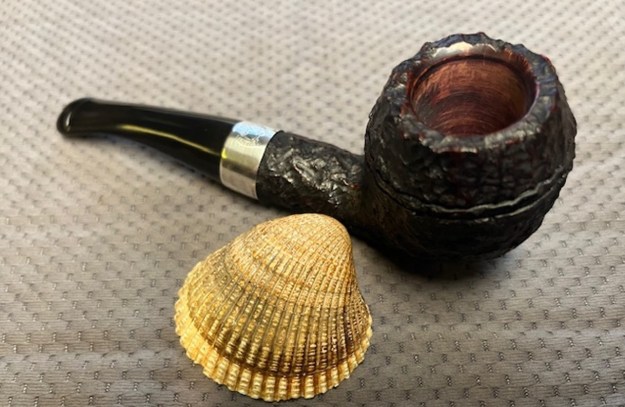
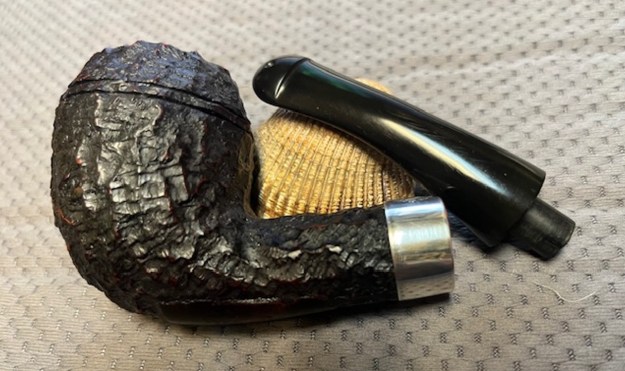
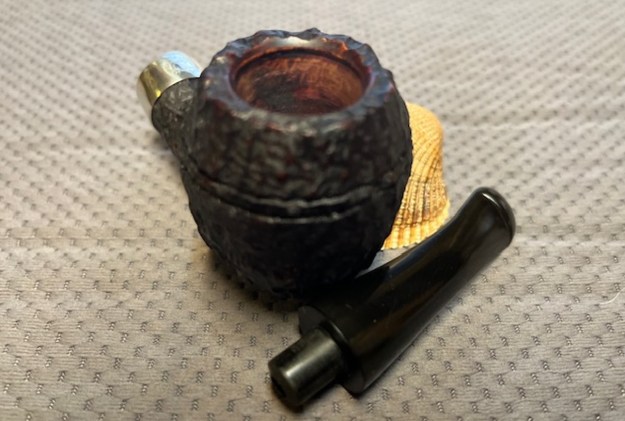
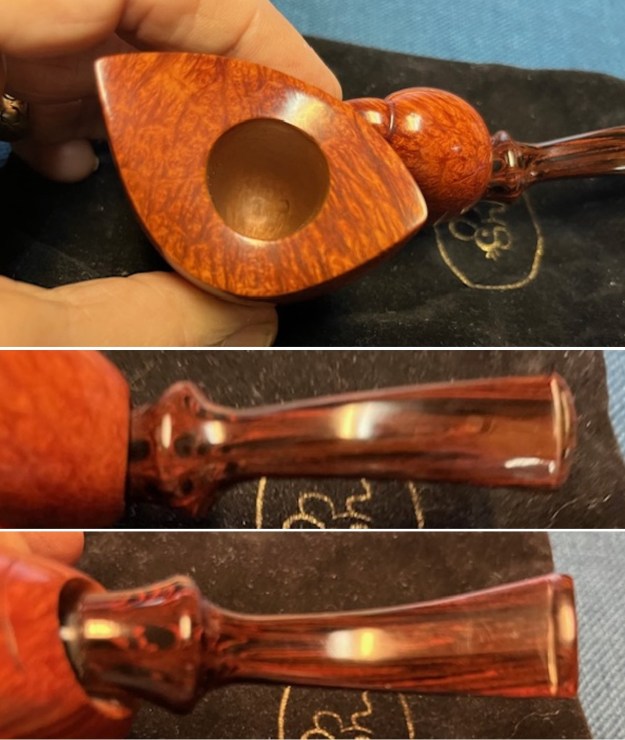
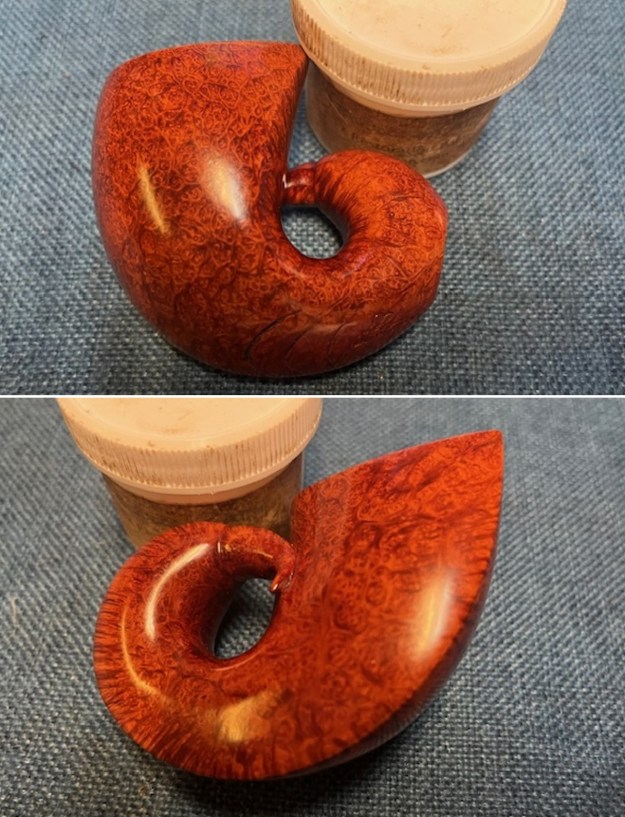
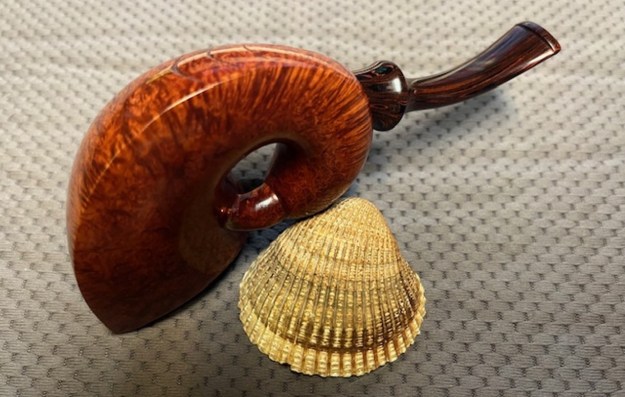
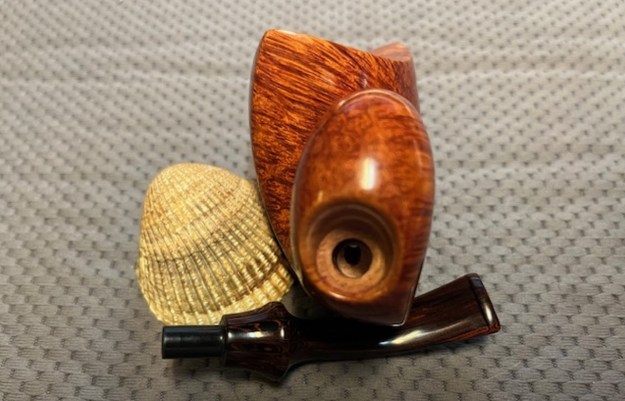
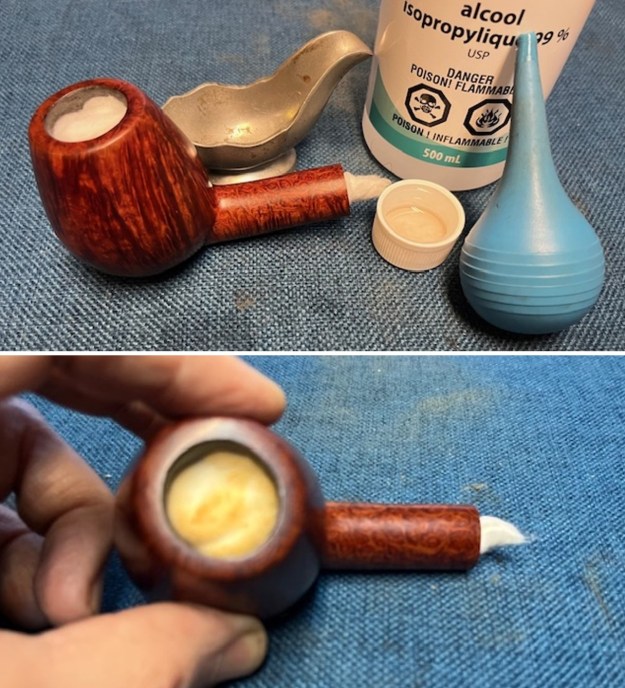
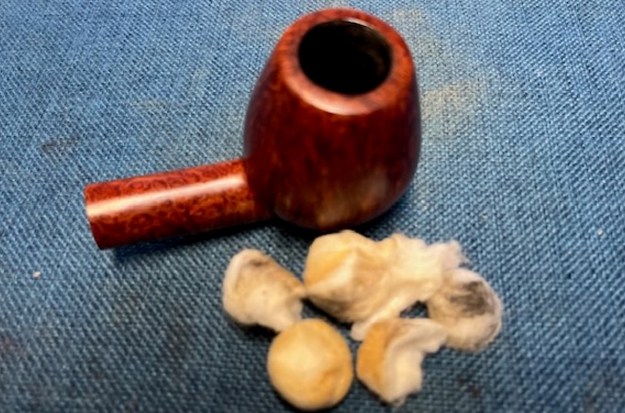
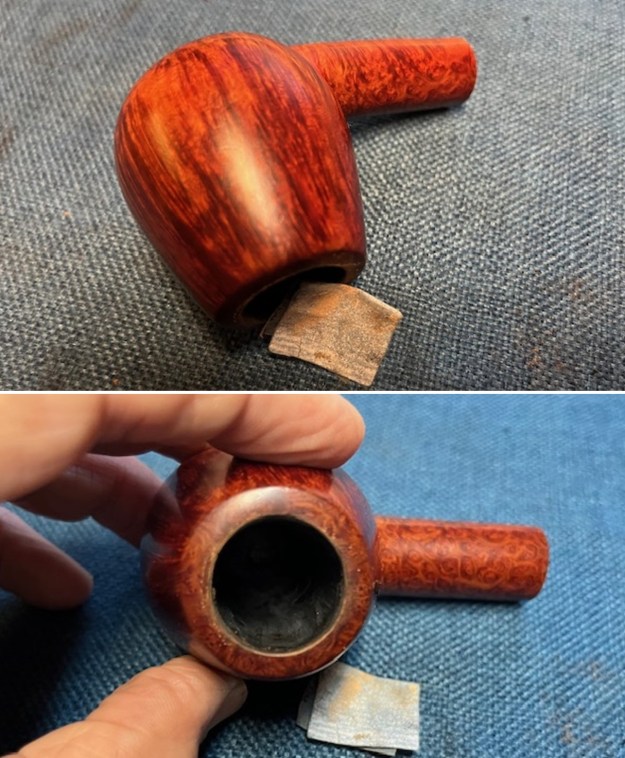
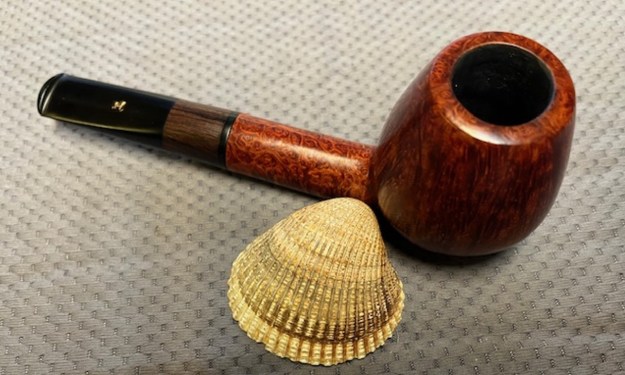
This afternoon I chose a block to work on as the internet was giving me fits with poor connections. It was making blog writing downright frustrating. I was not in the mood for an unshaped block so I chose a partially shaped Billiard with a stem made to give a hint of a military bit. The bowl was smooth externally with one small flaw on the right-side mid bowl toward the front. The inside of the bowl had a dark bowl coating – maybe water glass. The shank had been roughly shaped with a file and knives. The shape of it pointed toward being oval. The shank was not long enough to be a Canadian so I called it a Billiard. The corners of the shank end had been knocked off or partially rounded and the stem was an oval taper to help the person who took on the project go the right direction with it. I liked the inward bevel of the rim top and the grain on it was nice. The bowl looked good. The shank would need a lot of work no matter which direction I went with it. Here are some photos of the kit when I started this afternoon.
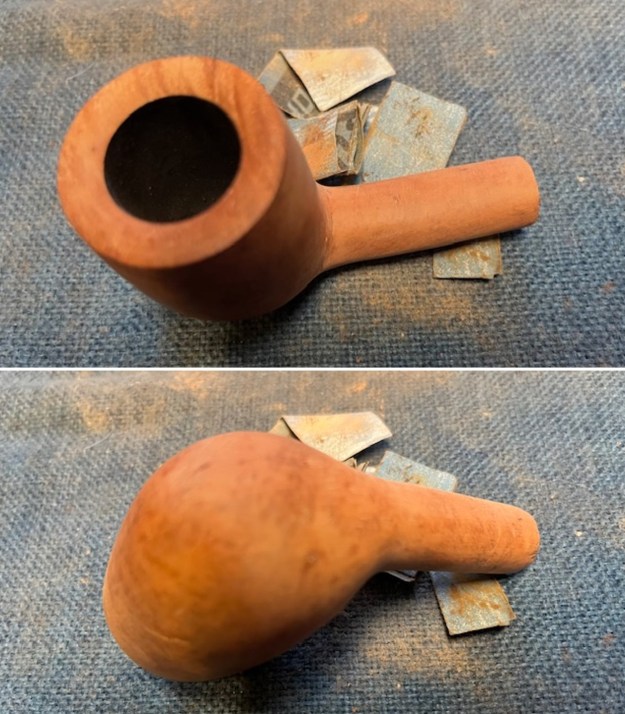
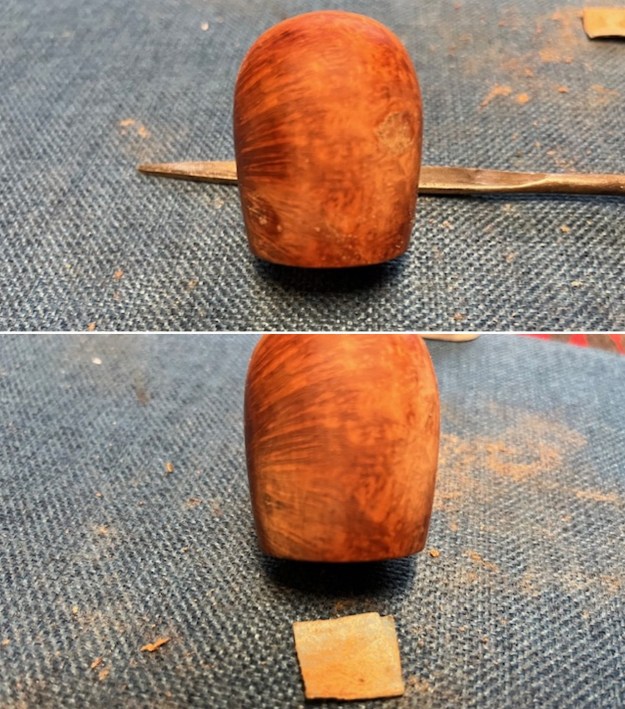
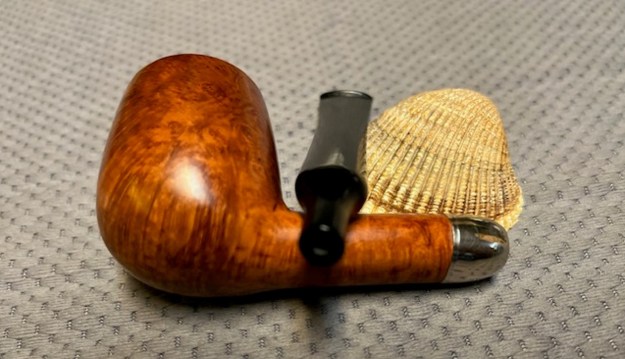
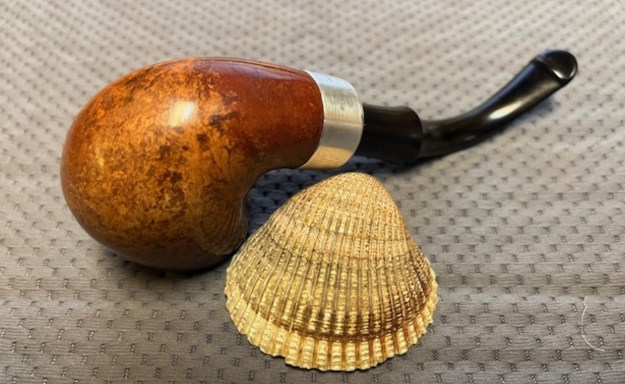
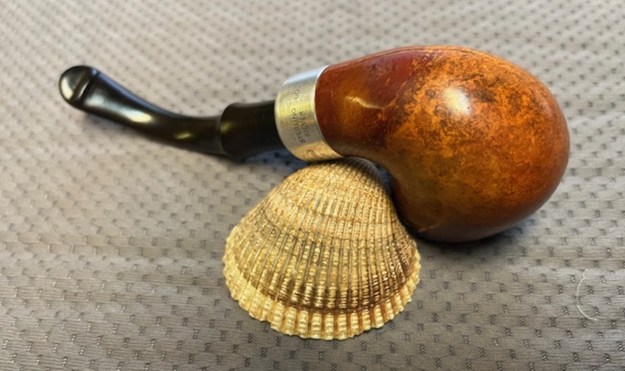
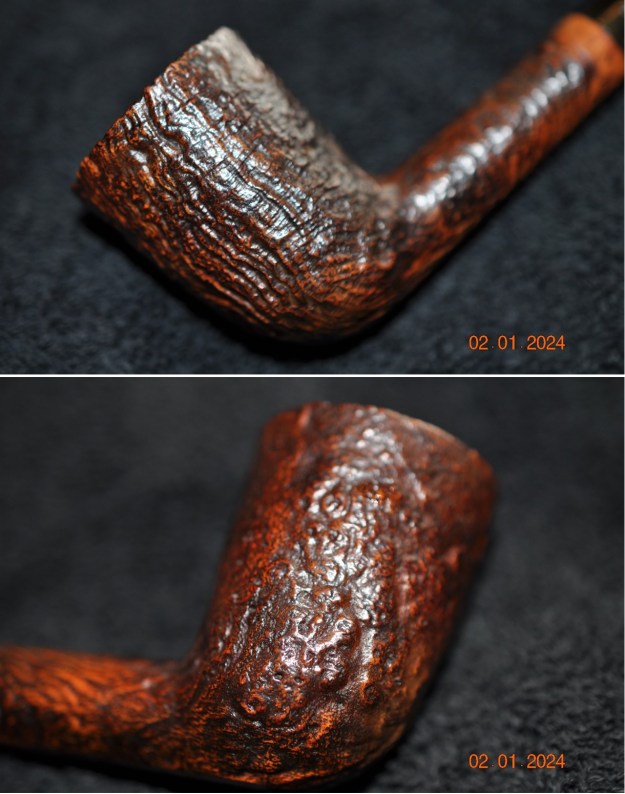
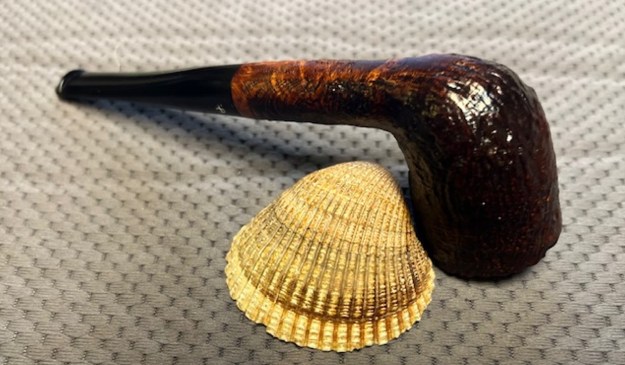
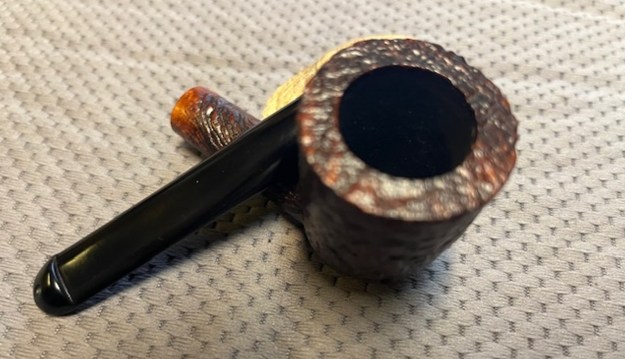
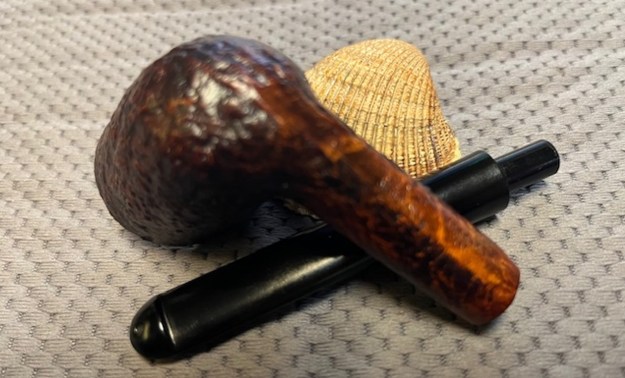
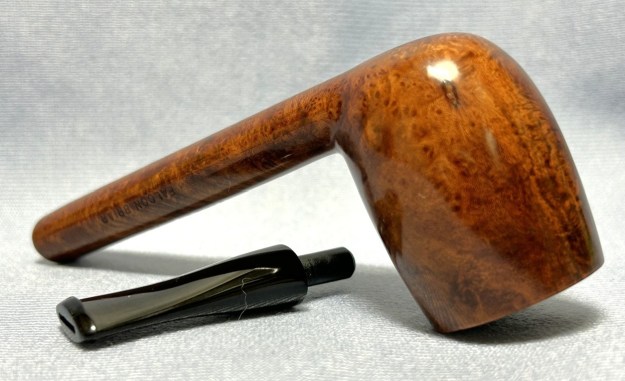
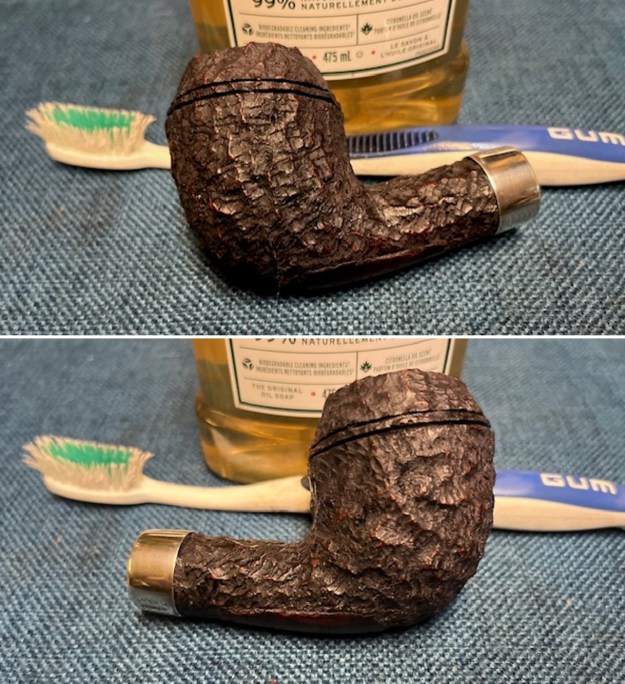
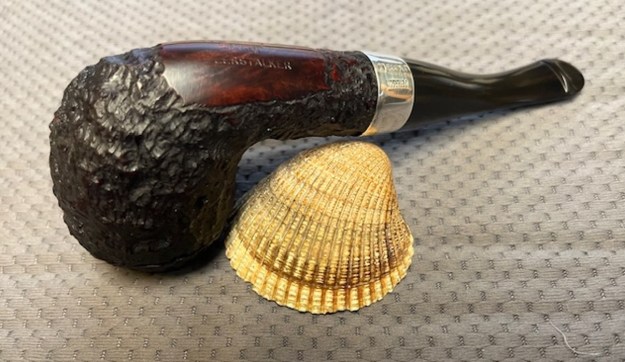
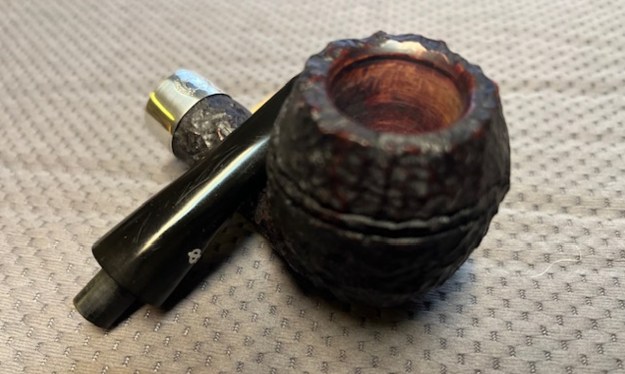
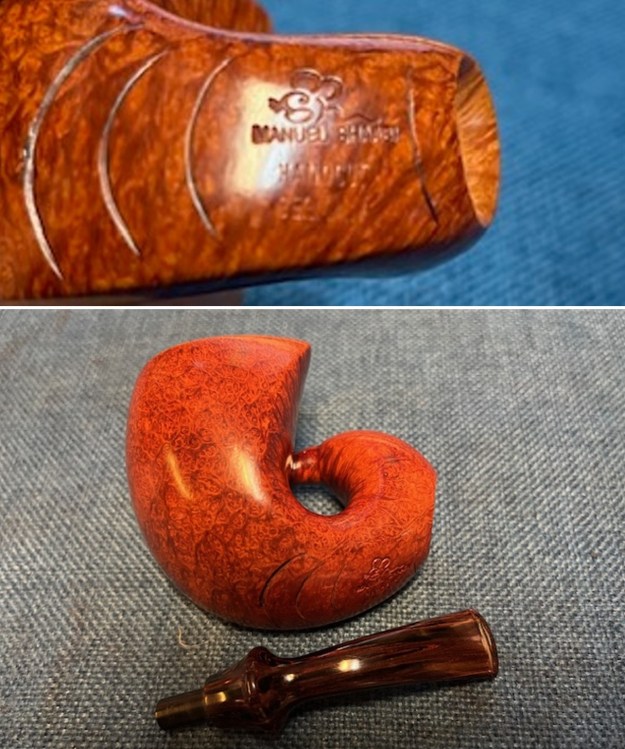
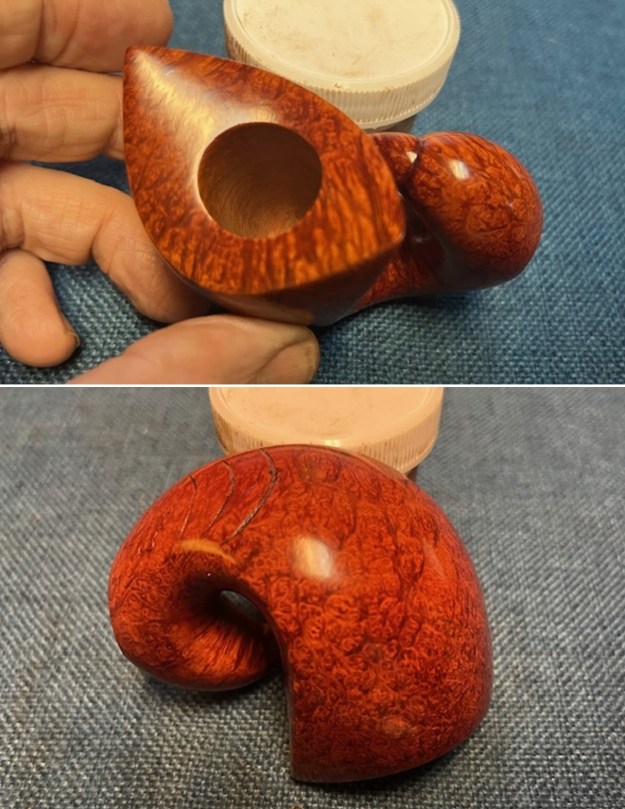
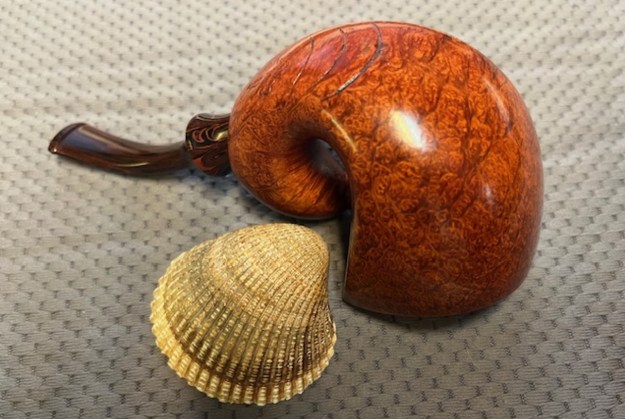
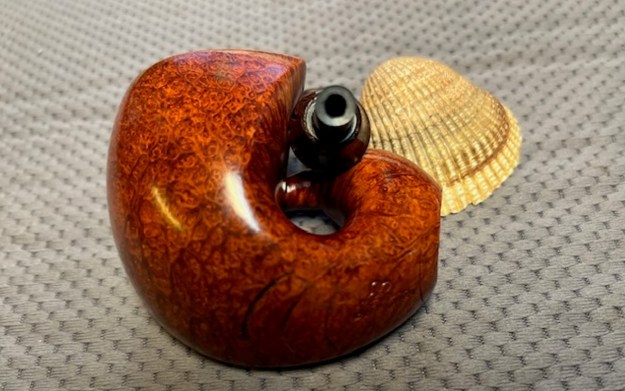
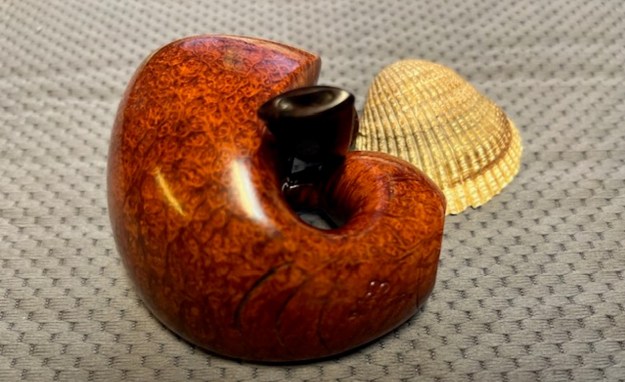
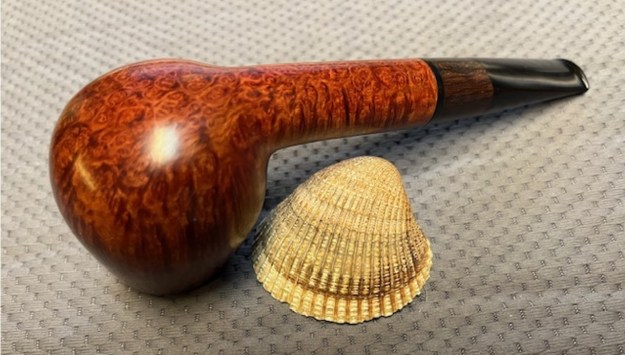
 I brought out the big guns this afternoon instead of fiddling around with files. I put a sanding drum on the Dremel and headed out to the front porch. It was chilly here today so I bundled up accordingly with a warm coat and a toque and took the tool and the block to the porch. I plugged in and worked over the shank with the Dremel and sanding drum. I had an idea in my minds eye that I was aiming for. I shaped and rounded the shank to make a rounder oval than perhaps the block cutter had imagined. I flattened out the knocked off corners and carried the shank straight through to the end. I was thinking that I might fit a ferrule on the shank end and reshape the stem to truly be a military style stick bit. Like most of these projects you have to have some idea in mind but hold it loosely while shaping it. You never know what is going to show up as you shape the briar. I have heard carvers speak of briar having a mind of its own so I truly hold my idea loosely and work away at it. By the time I had it rough shaped the way I wanted I was chilled so I packed it in and headed back to my basement desk top. I took some photos of the pipe at this point in the process. I had removed a lot of briar but still a lot more remained to be shaped and moved. Have a look.
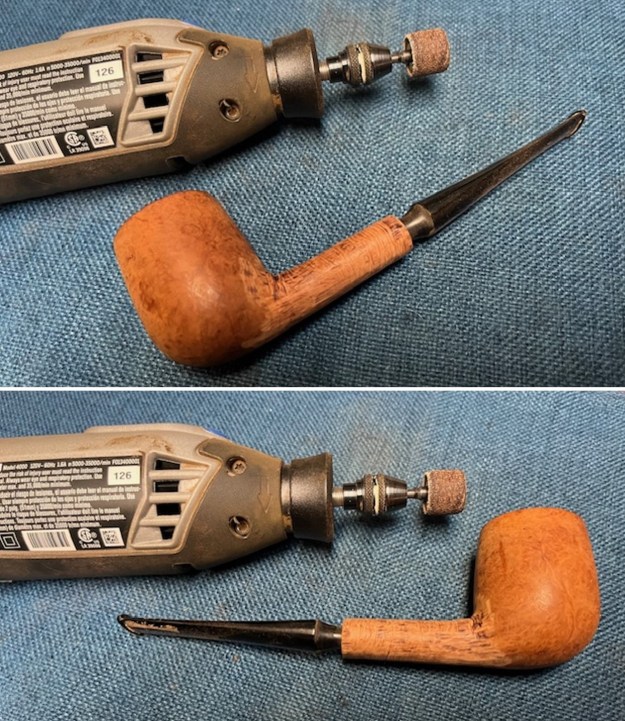
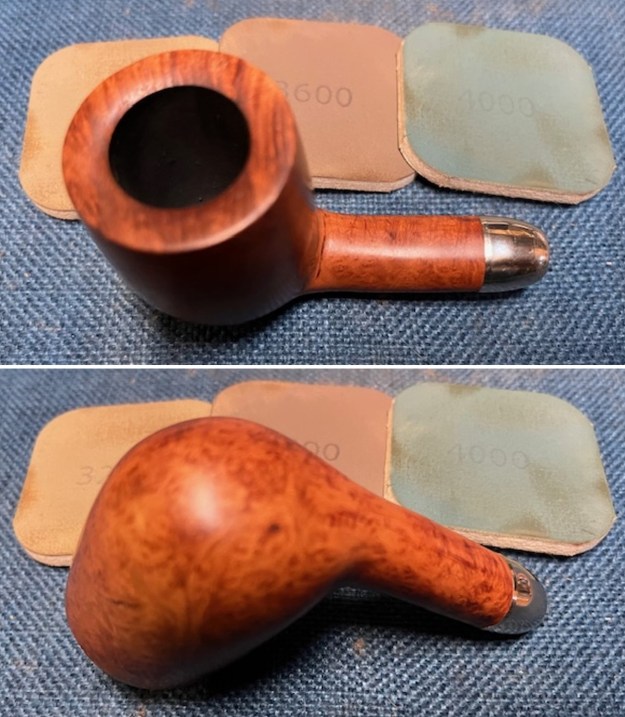
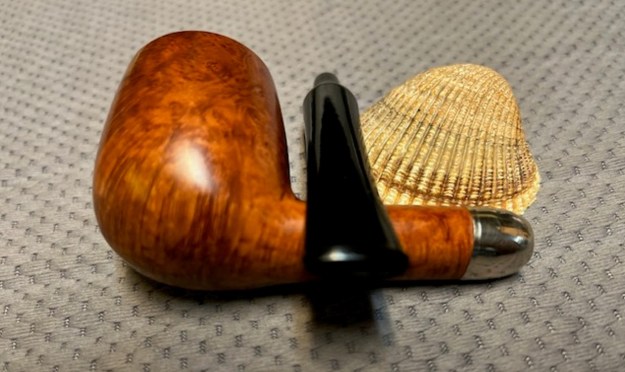
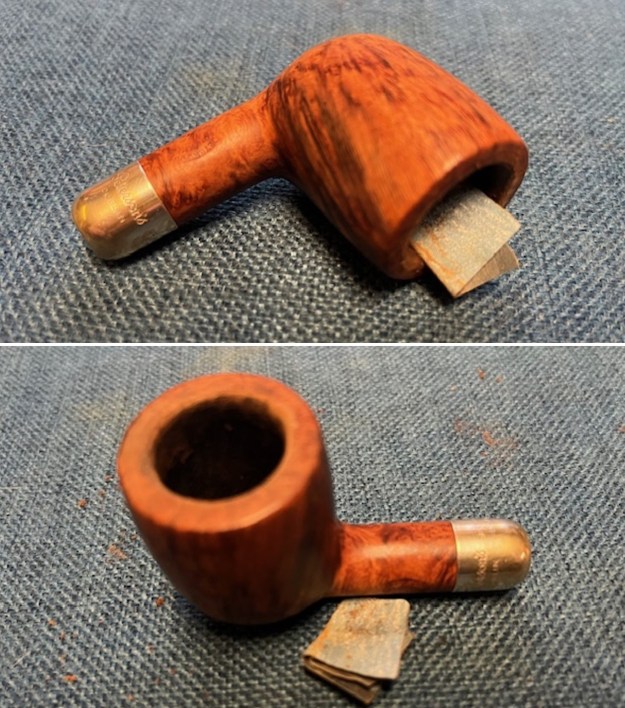
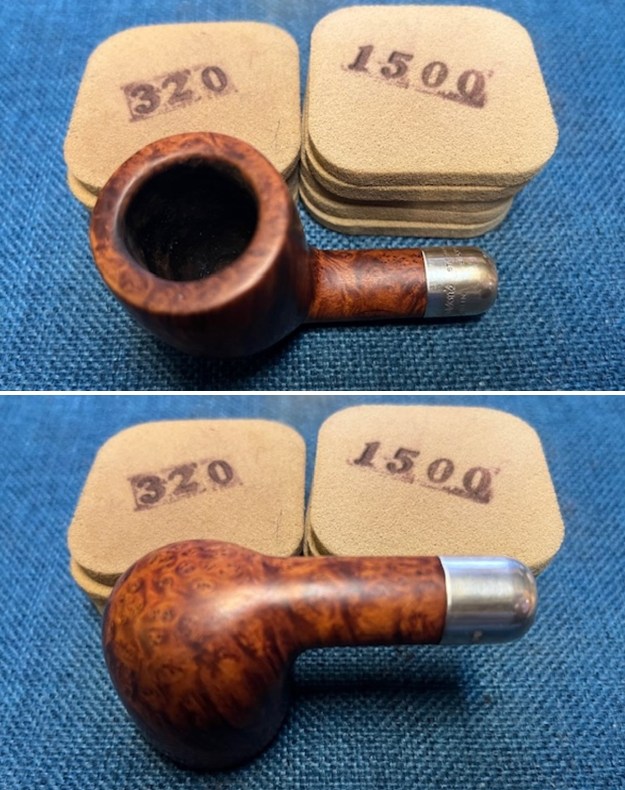
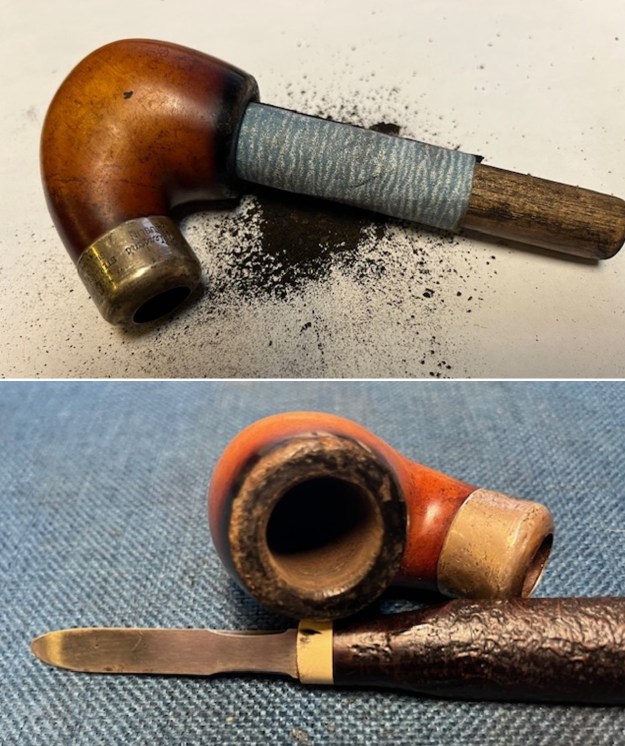
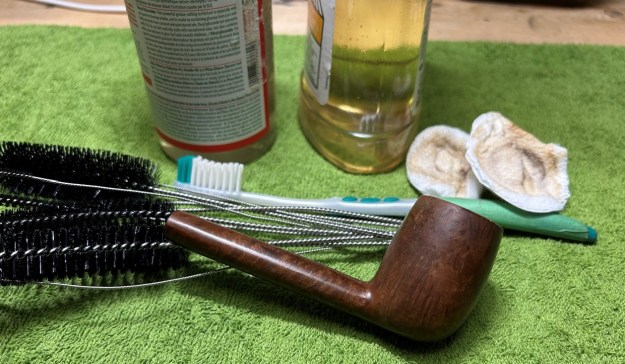
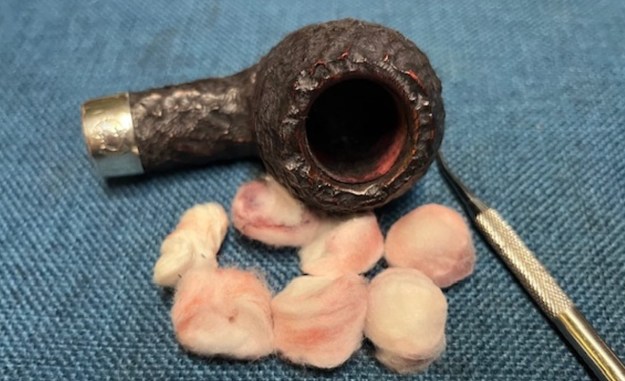
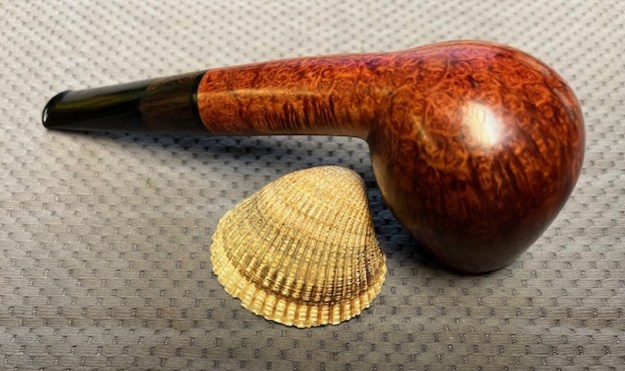
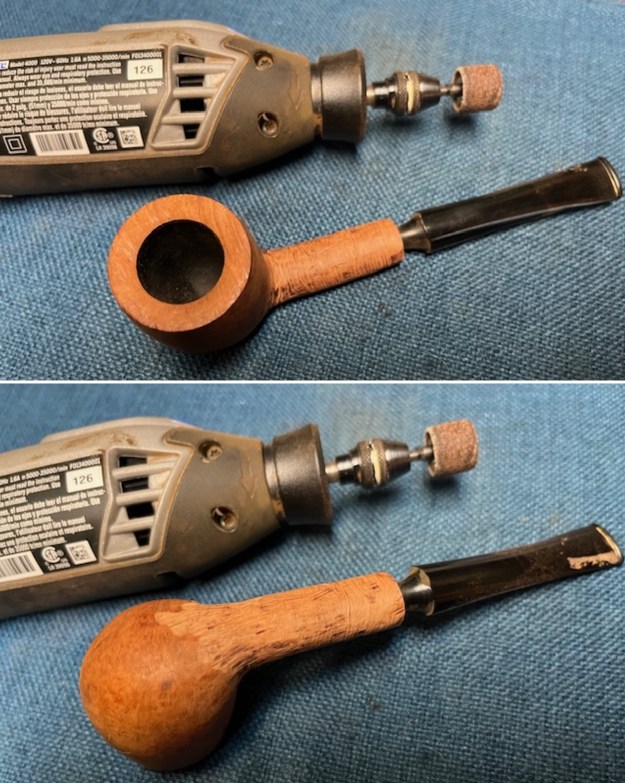 Now it was time for a cup of tea and a lot of sanding. First I made the tea and then I removed the stem from the shank. I used many pieces of 220 grit sandpaper to smooth out the Dremel marks and remaining file marks on the shank and the transition between the shank and the bowl. It took a lot of sanding and several cups of tea. But it was getting there.
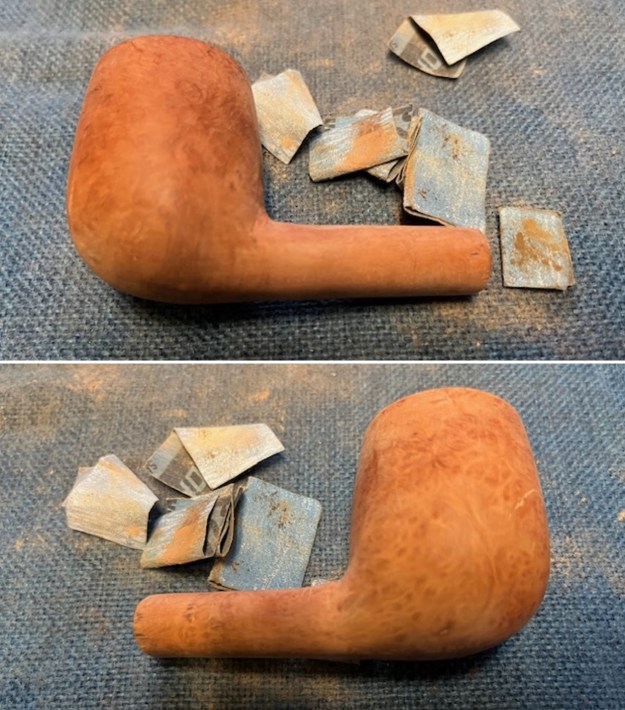
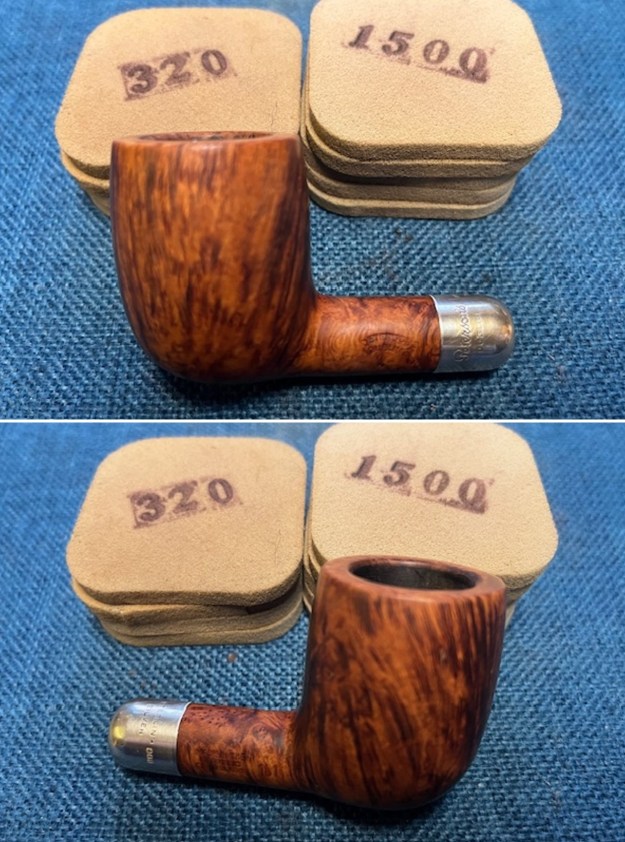
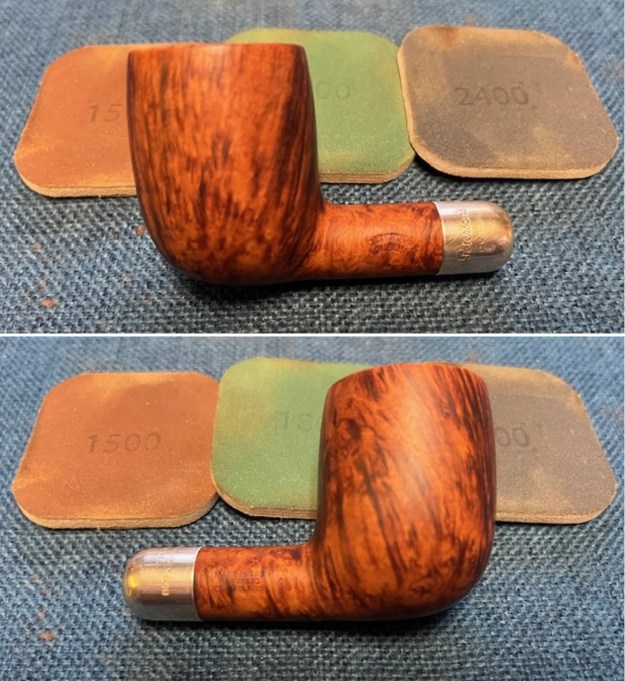
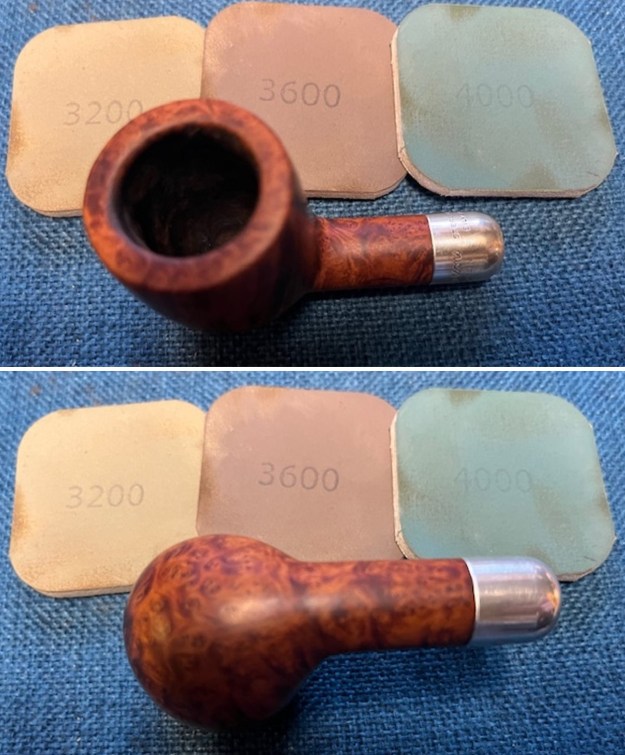
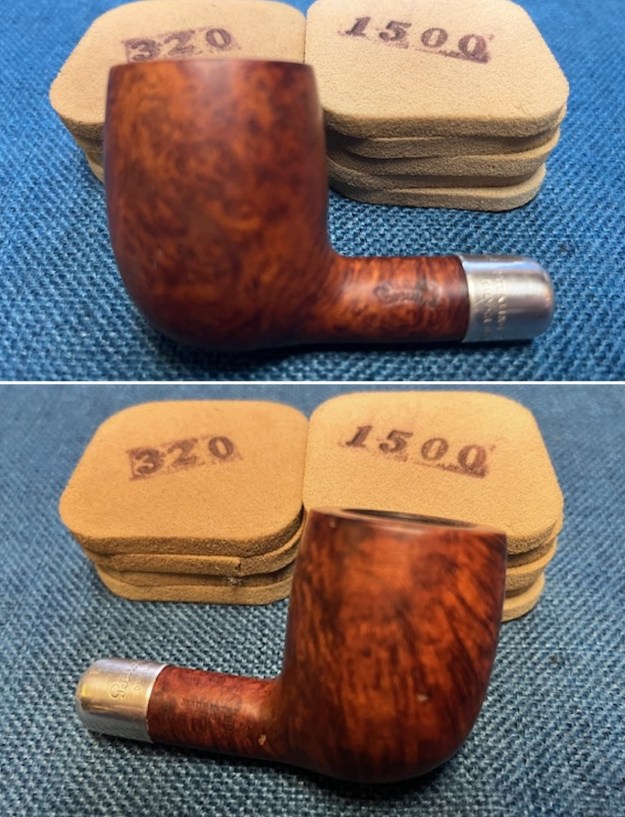
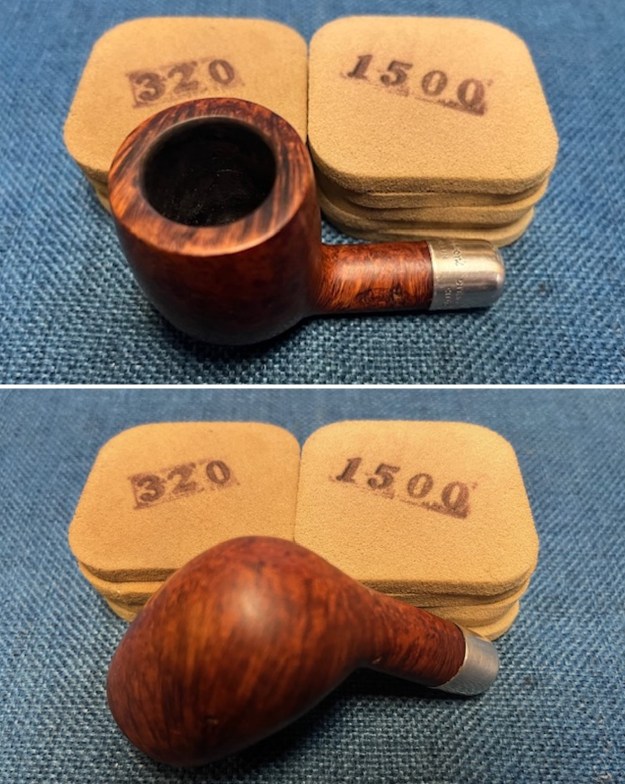
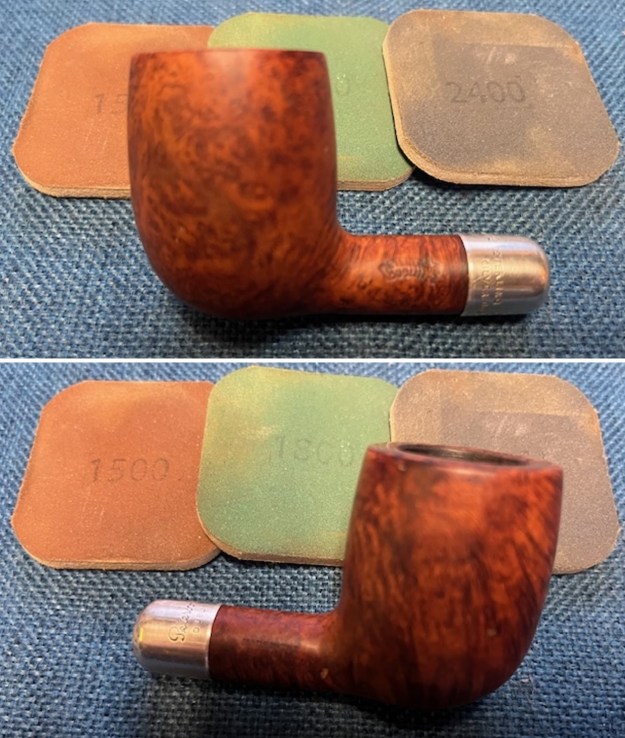
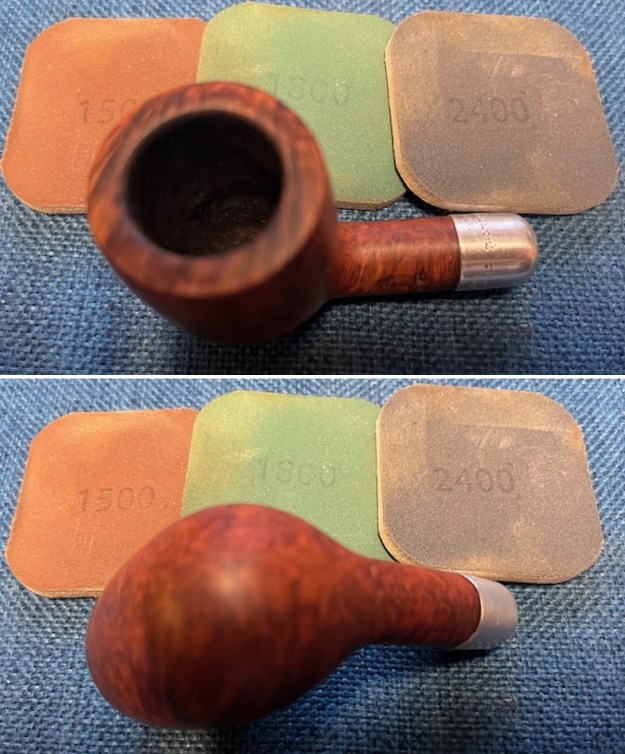
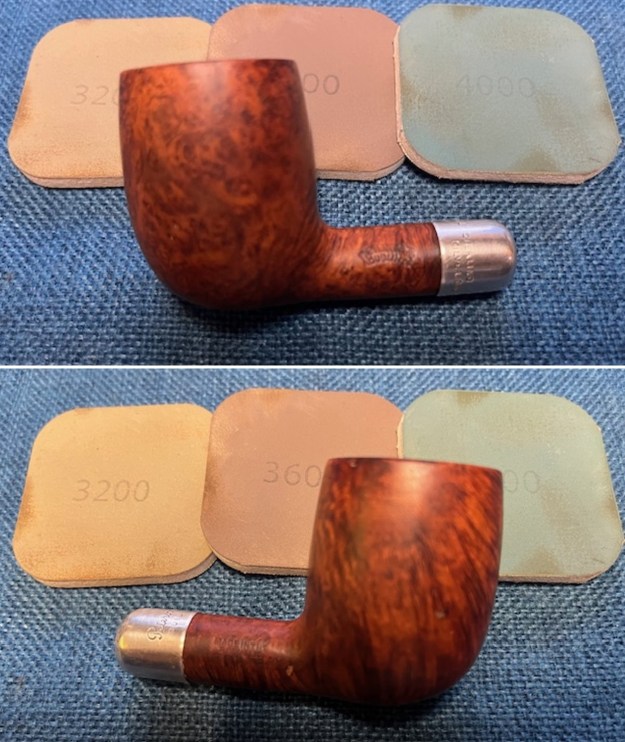
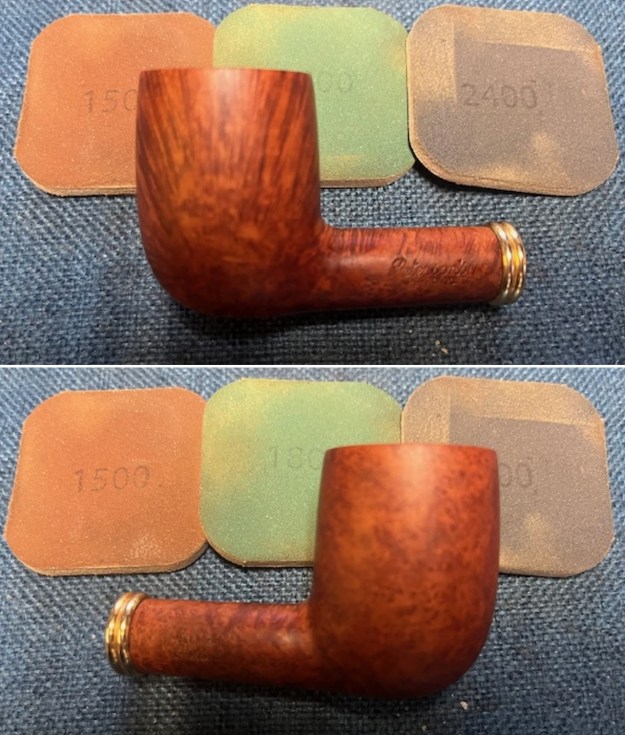
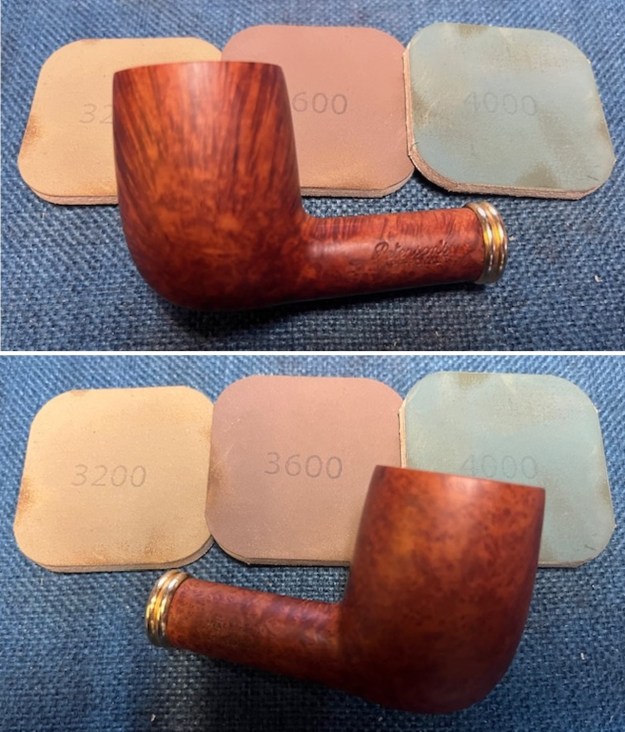
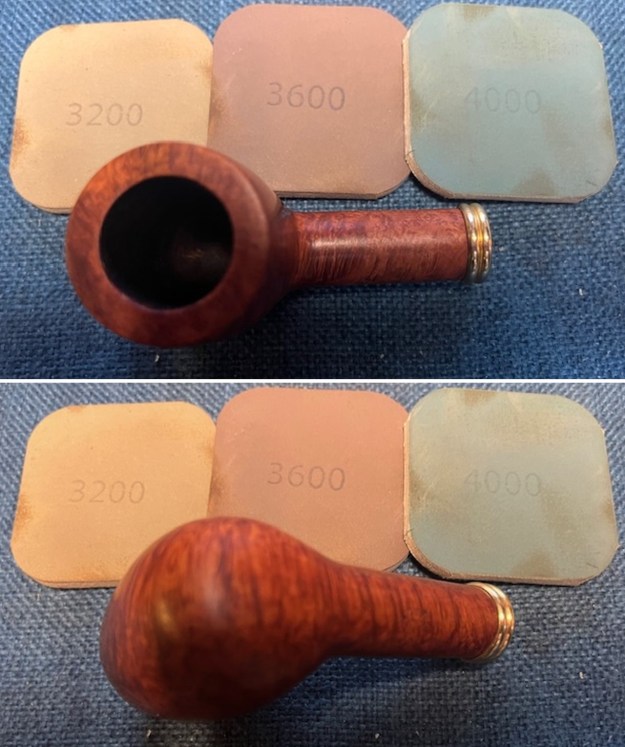
 I sanded the bowl and shank with 320-3500 grit sanding pads. I wiped the bowl down after each sanding pad with a cloth and a drop of olive oil to remove the debris. It certainly is beginning to look quite good at this point.
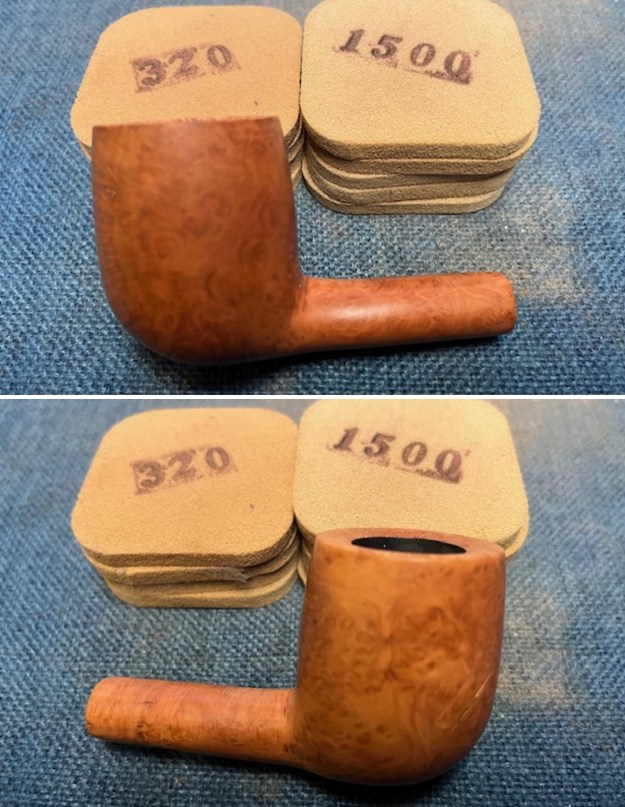
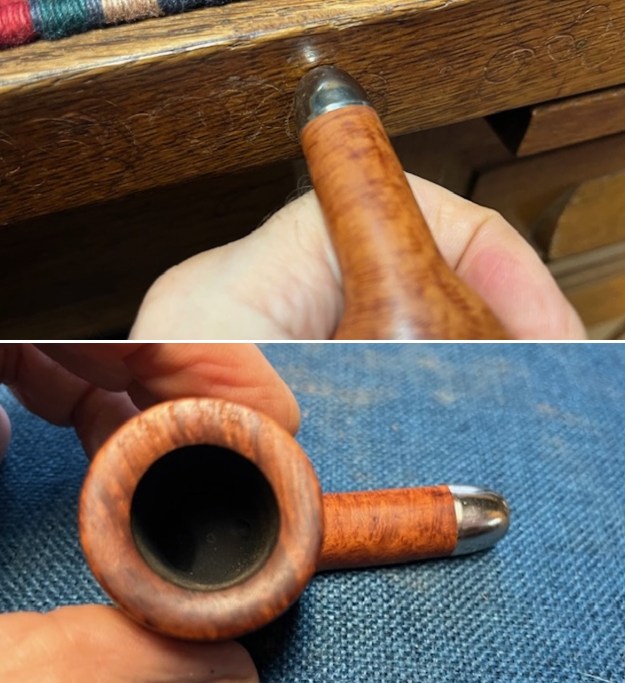
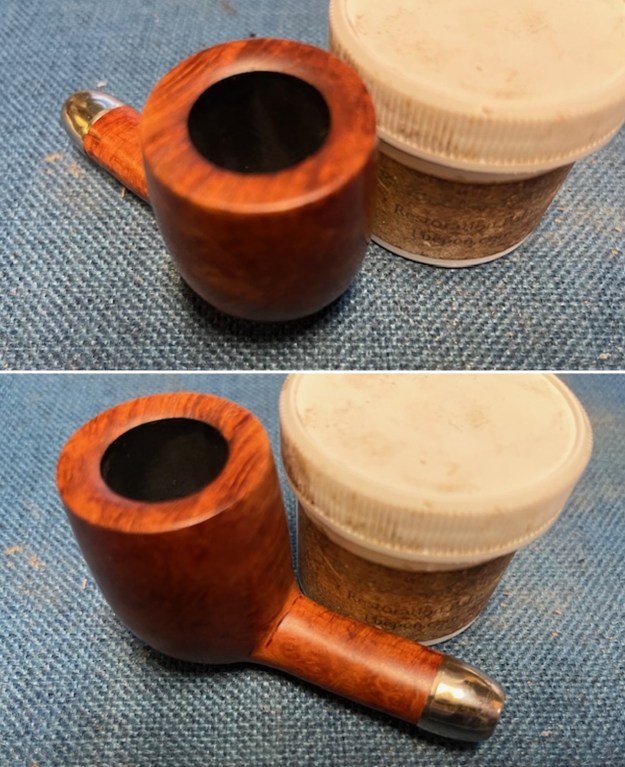
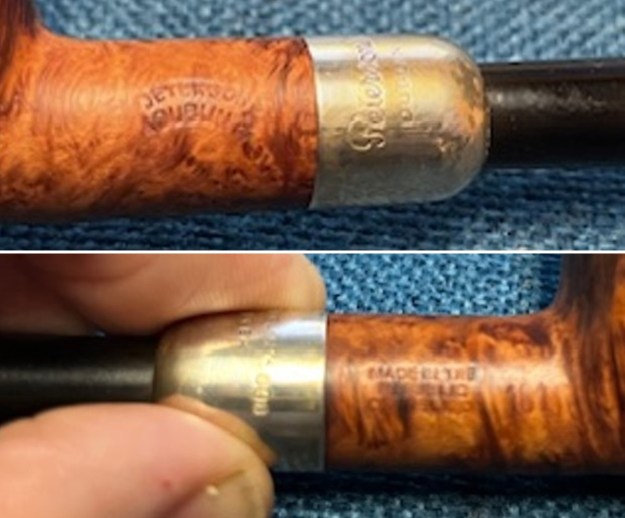
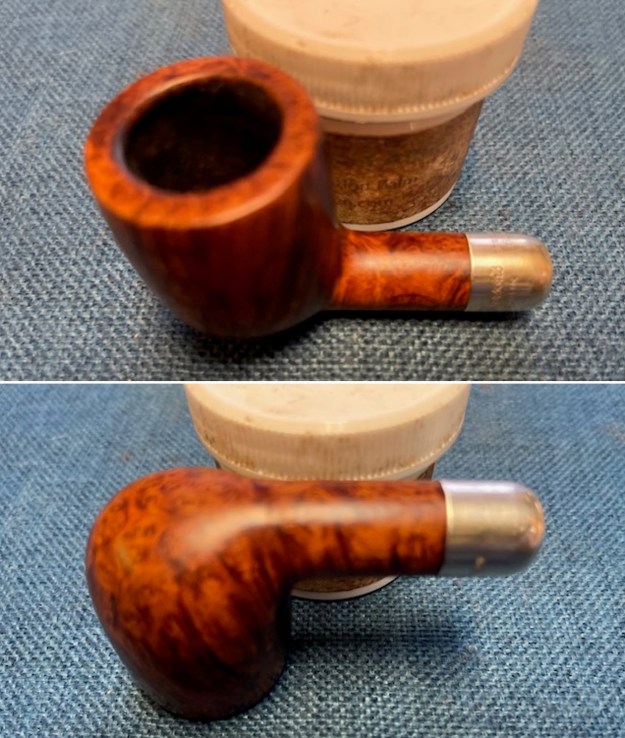
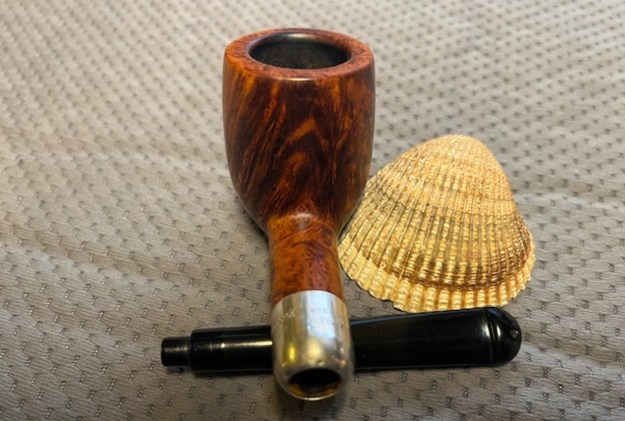
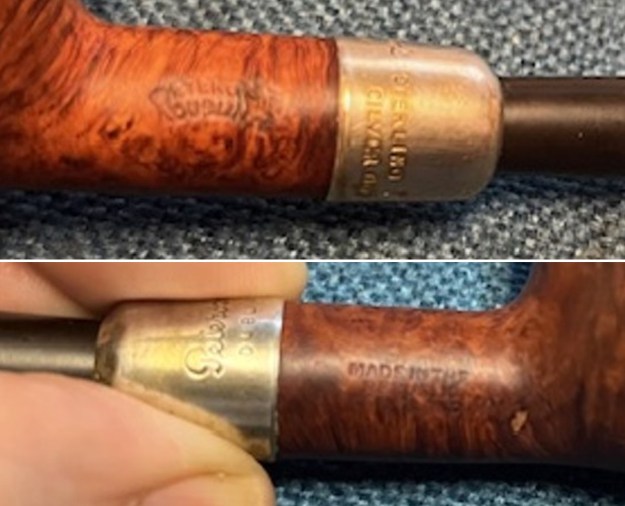
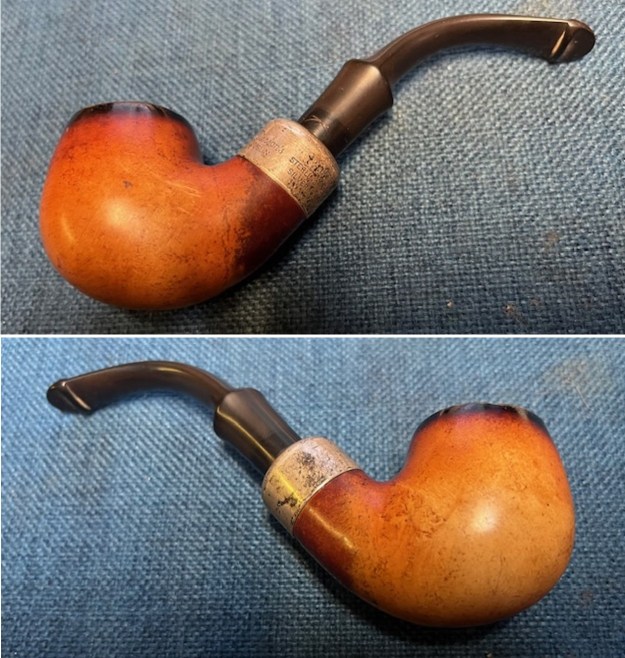
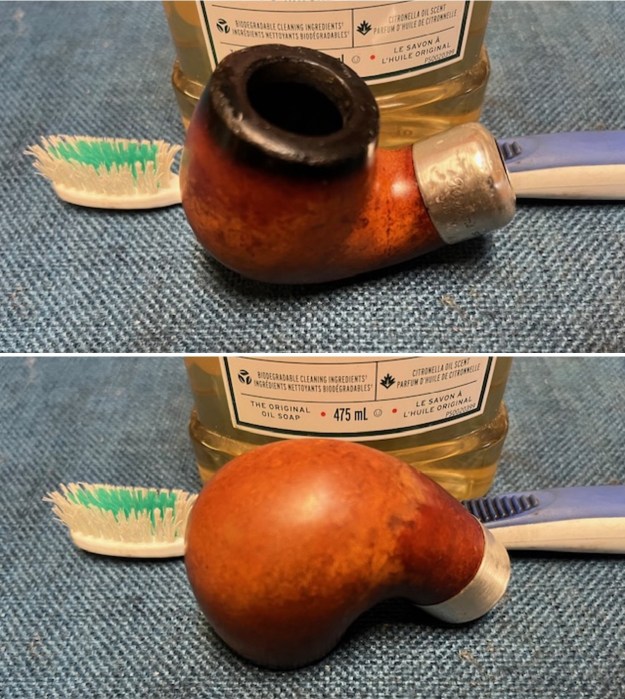
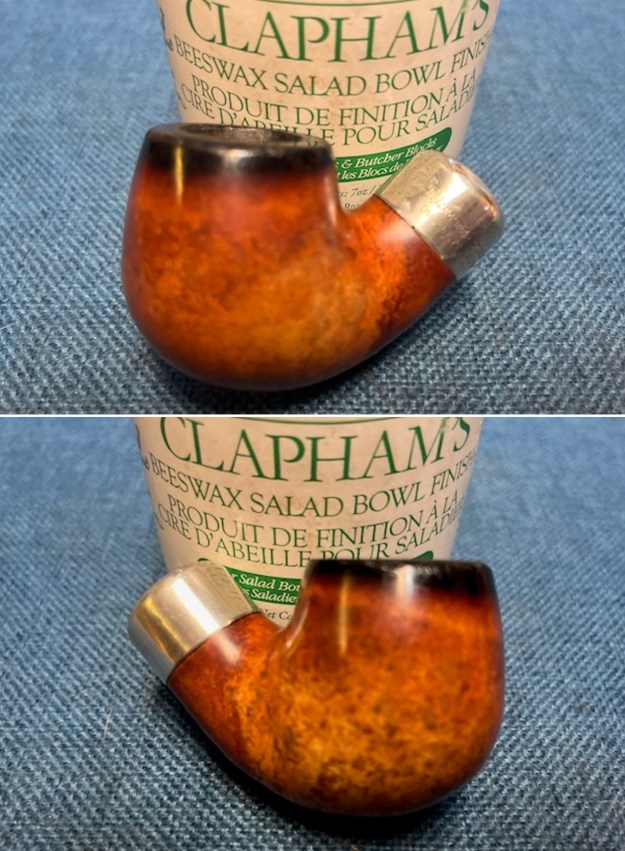
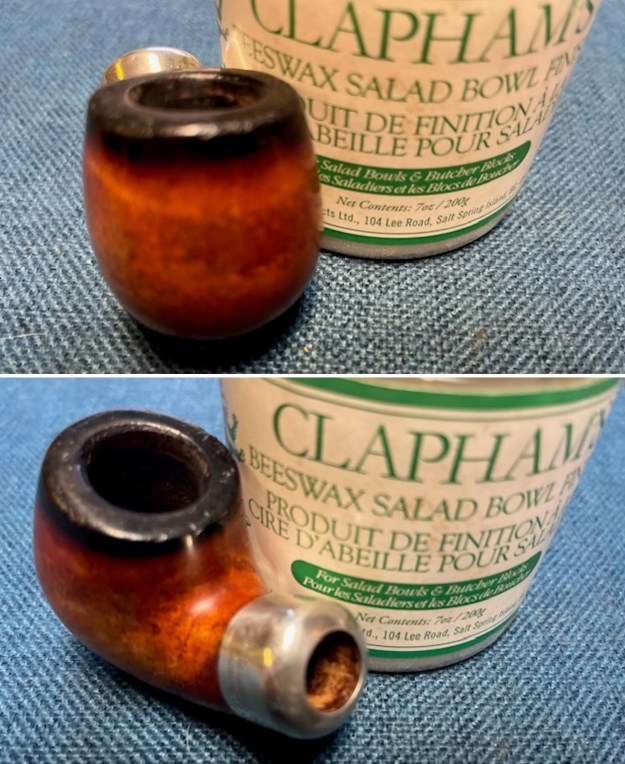
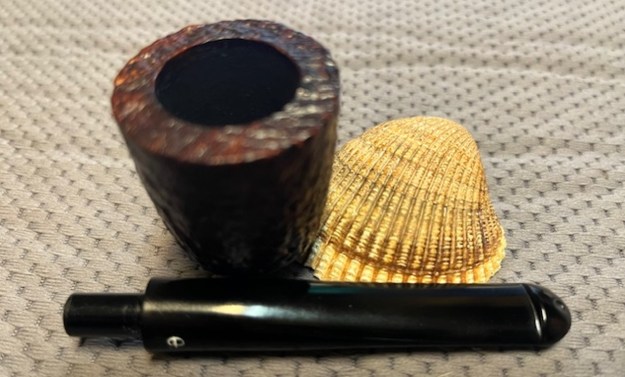
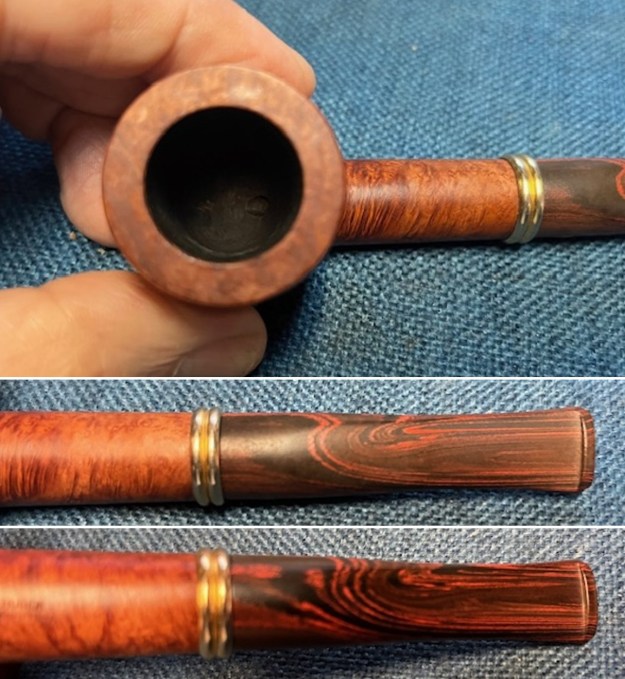
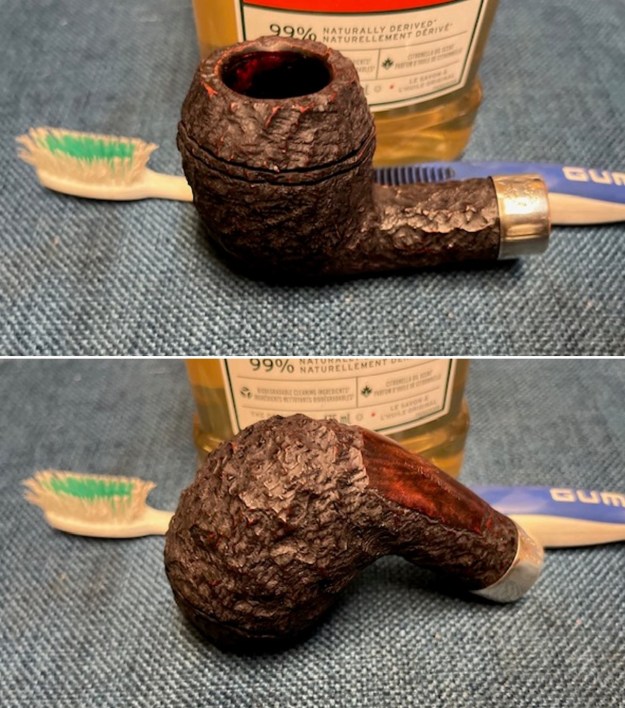
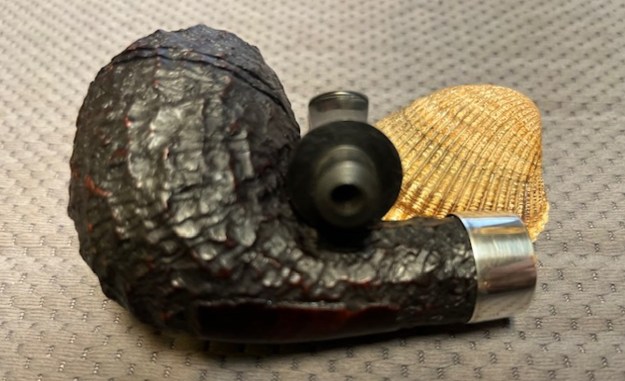
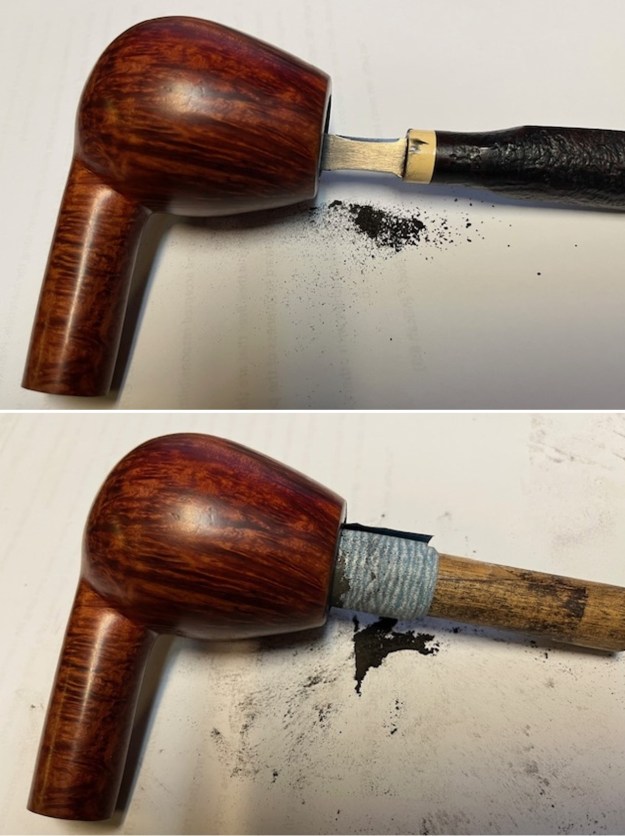
 I rounded the shank end with my Dremel and sanding drum and a folded piece of 220 grit sandpaper. I wanted to have the curves on the shank match the nickel ferrule. Once I had the fit correct I pressed it in place on the shank end.
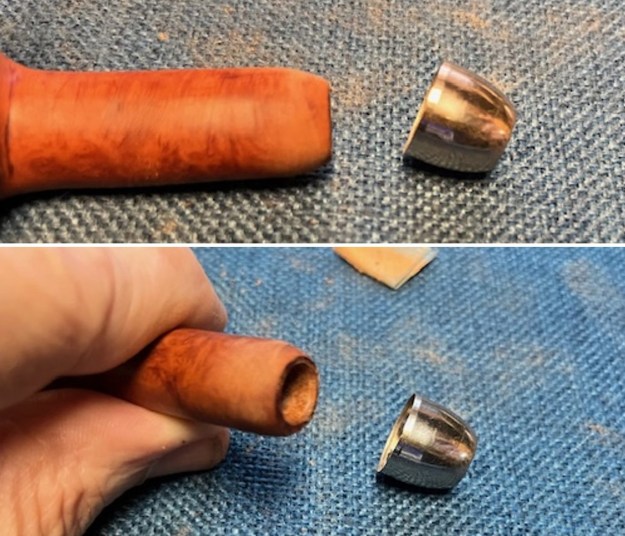
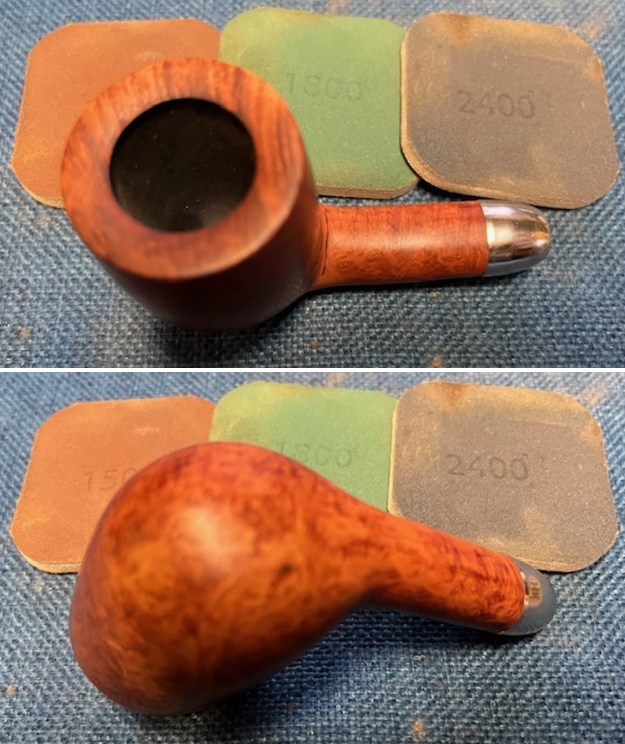
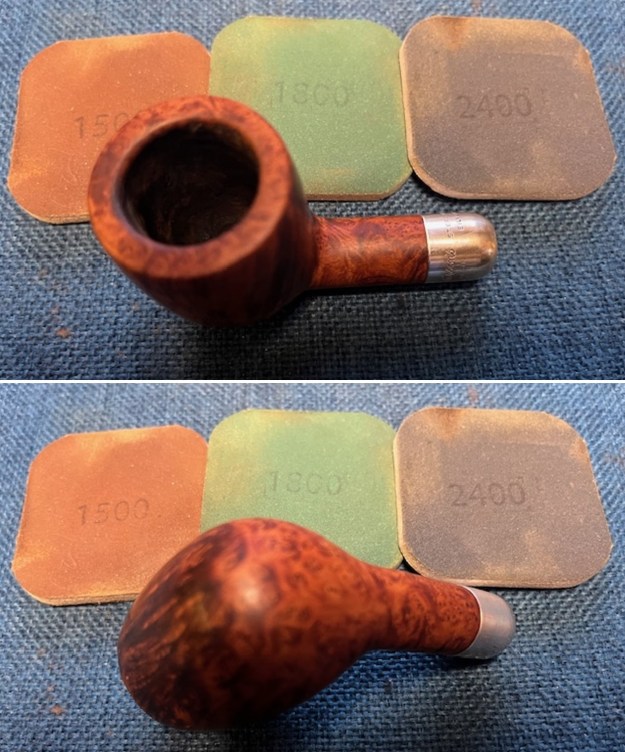
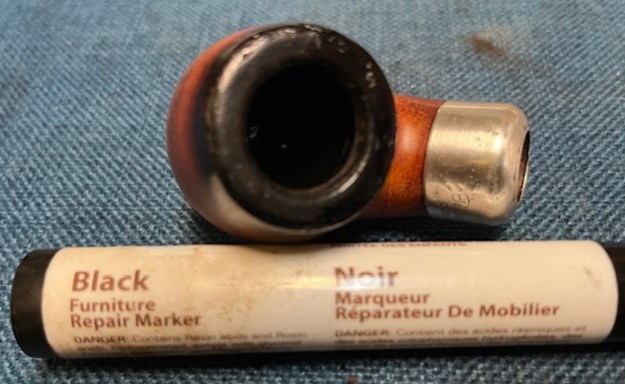
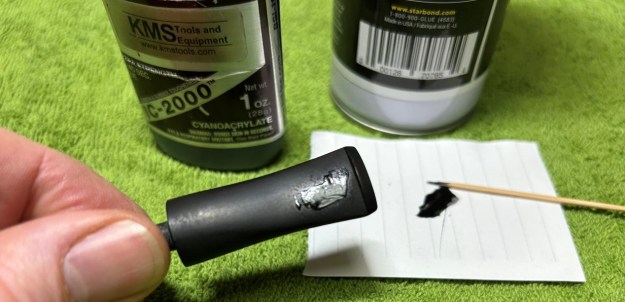
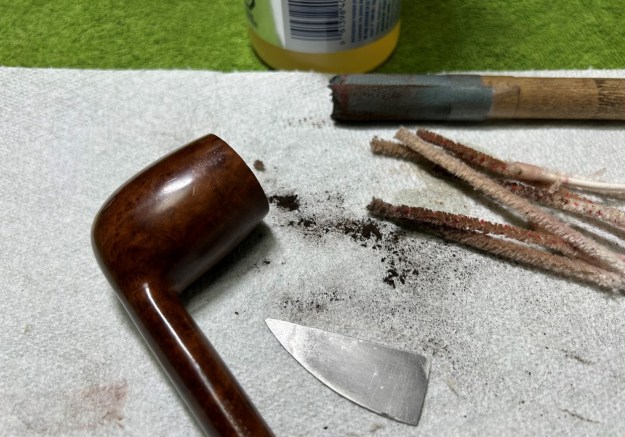
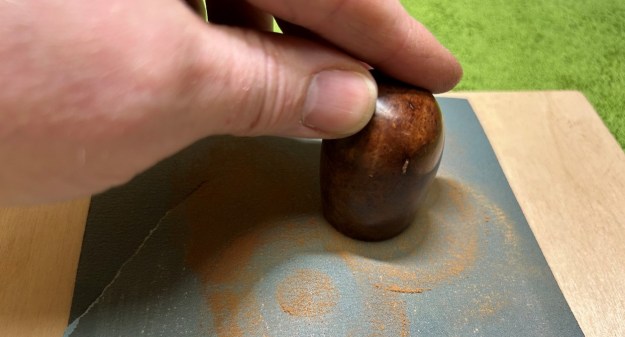
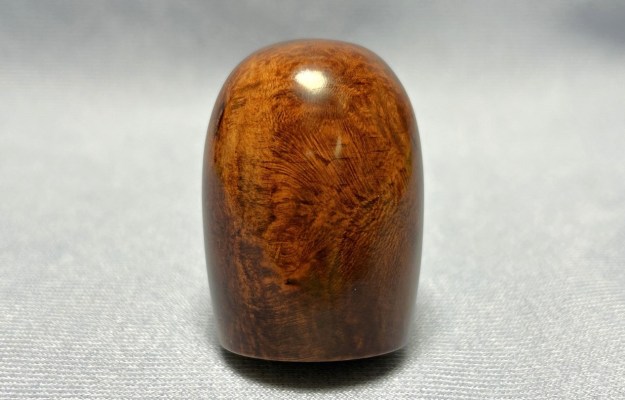
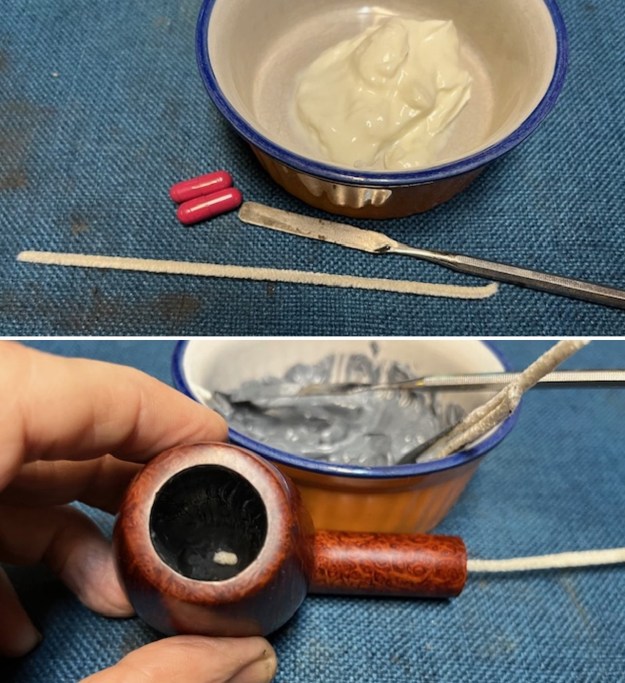
 There were two flaws in the briar – one on the left side toward the top and one mid bowl on the right side. I filled them in with briar dust and clear CA glue. Once it cured I flattened out the repair with a small file. I sanded it with 220 grit sandpaper to blend it into the surface of the briar. It began to look very good.
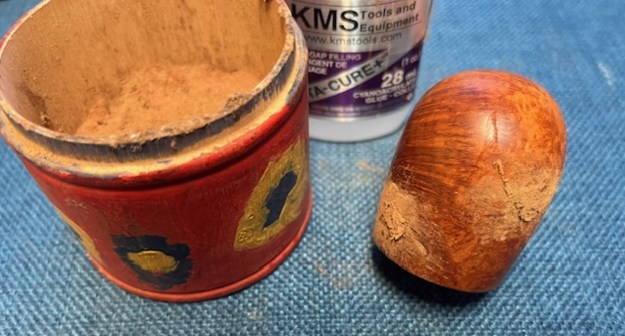
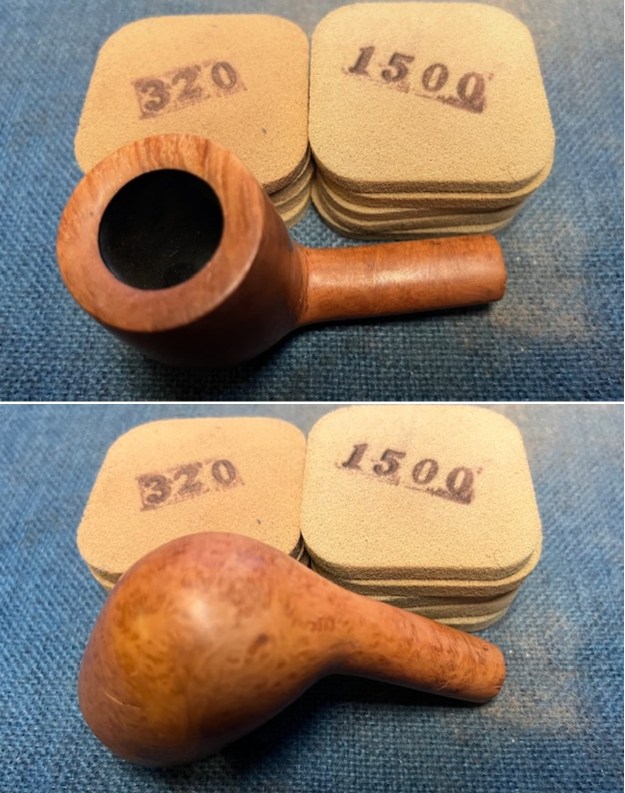
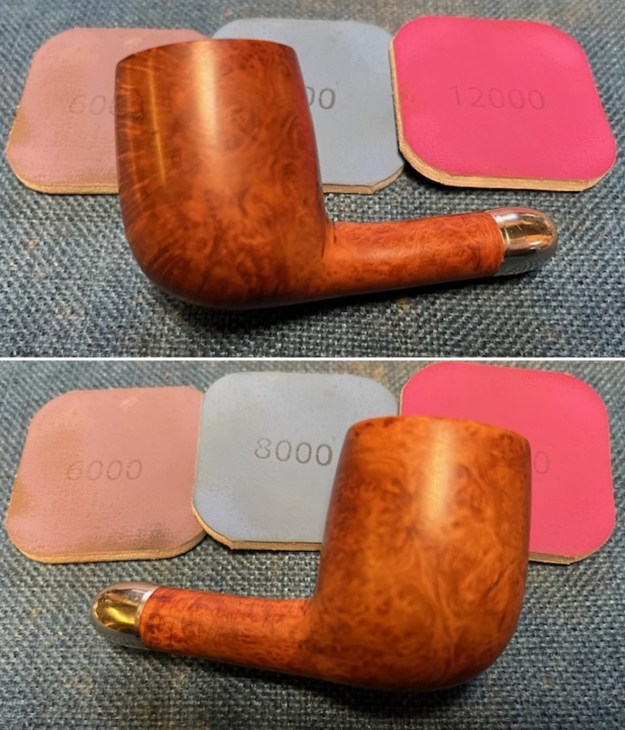
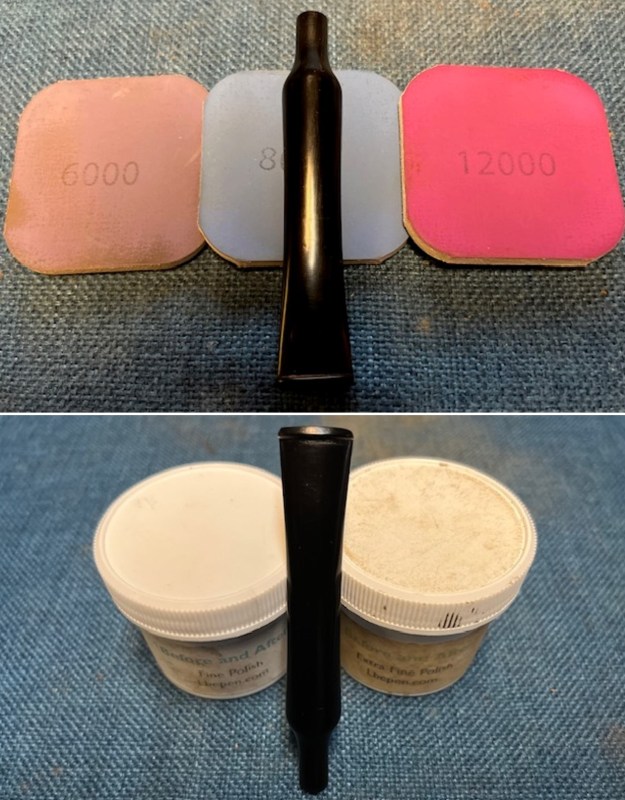
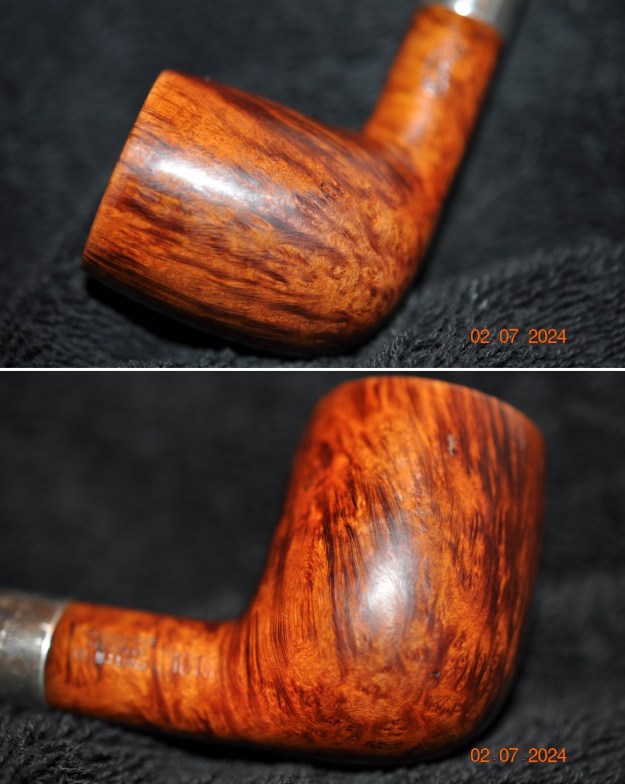
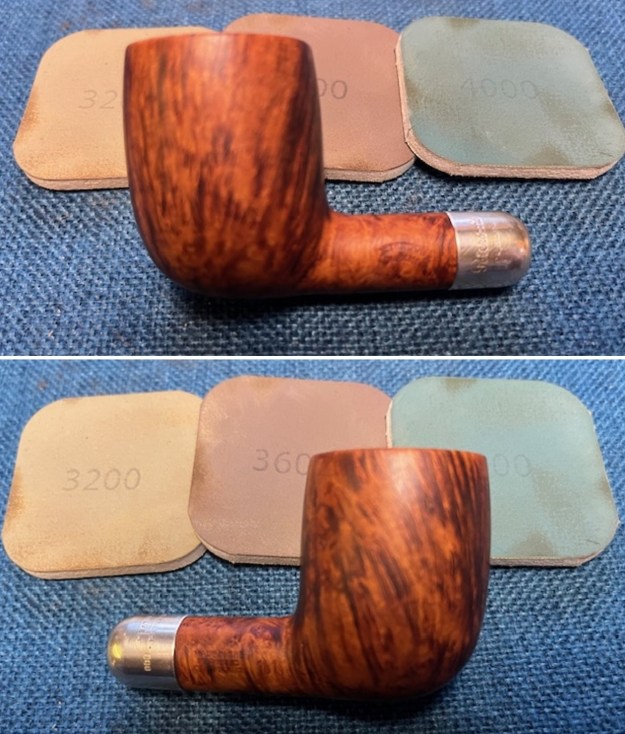
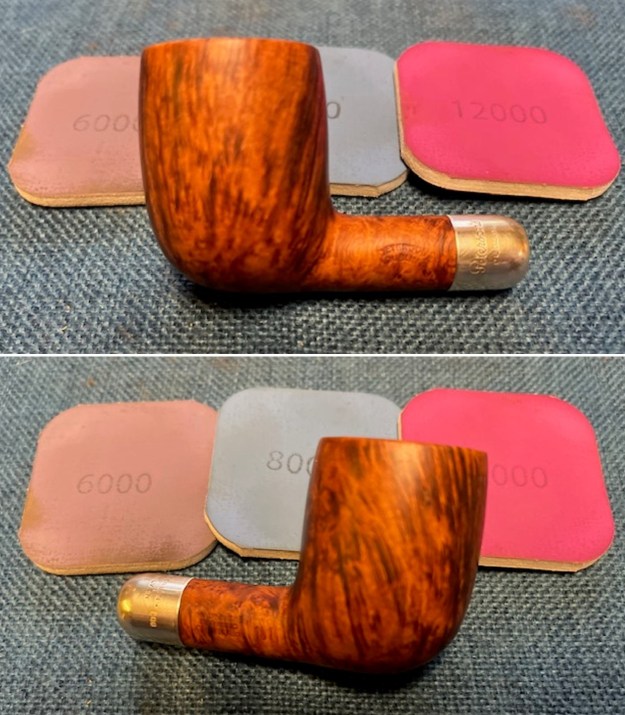
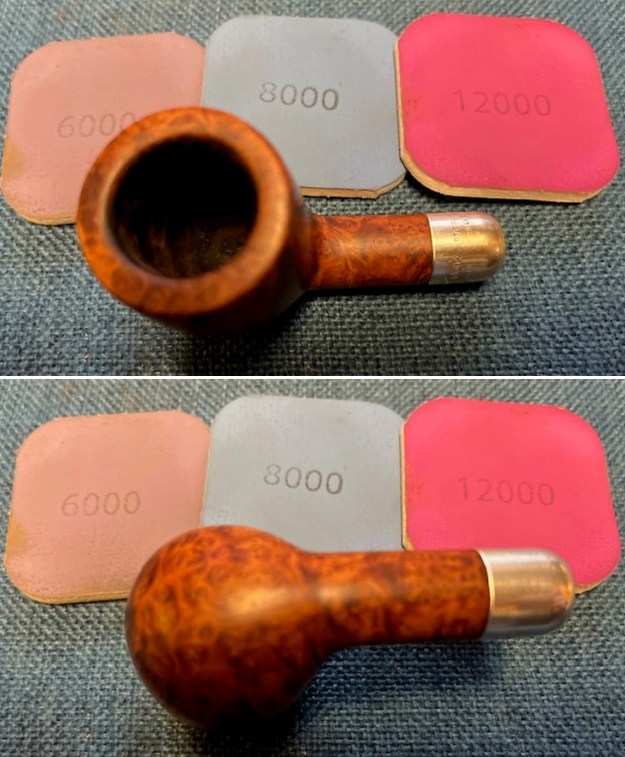
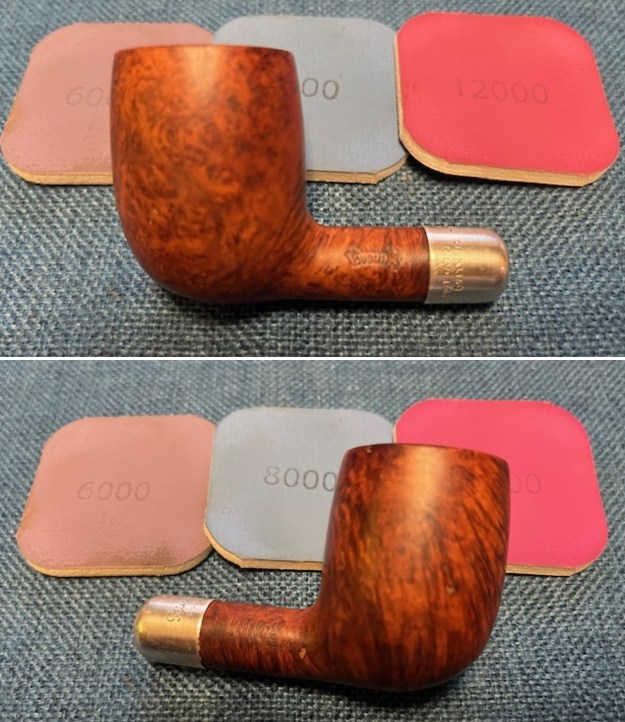
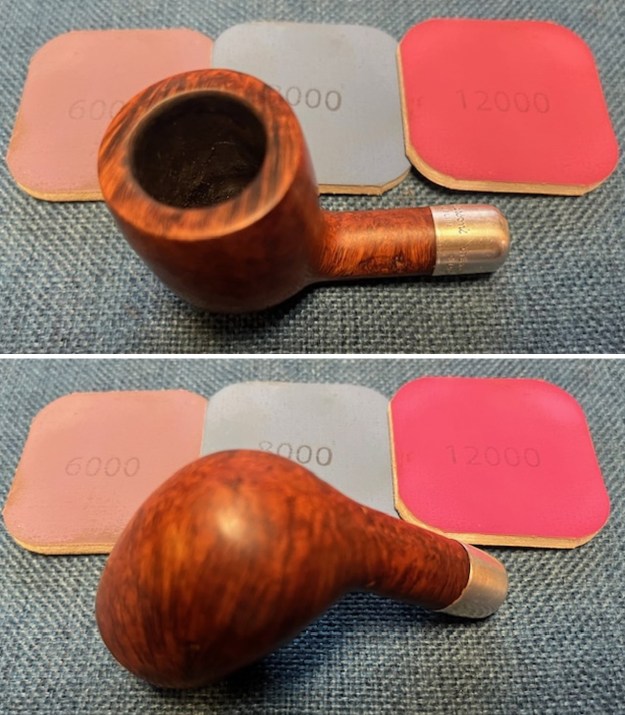
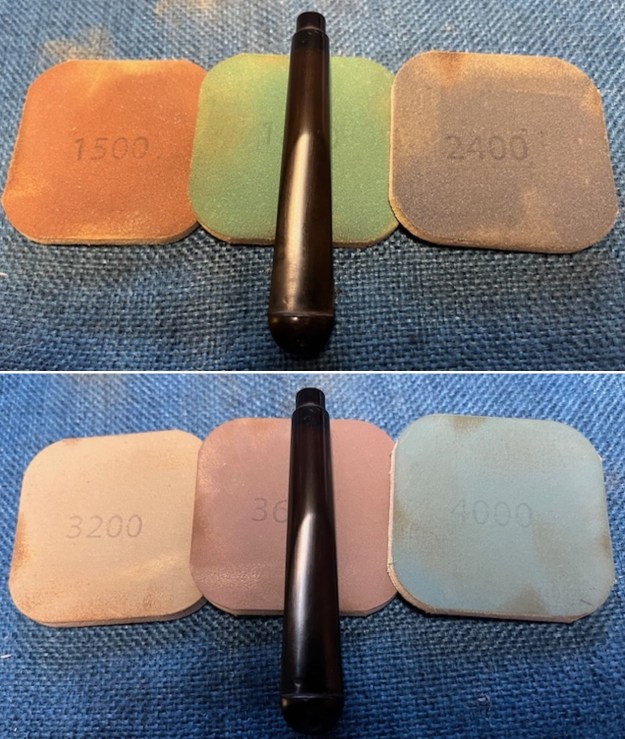
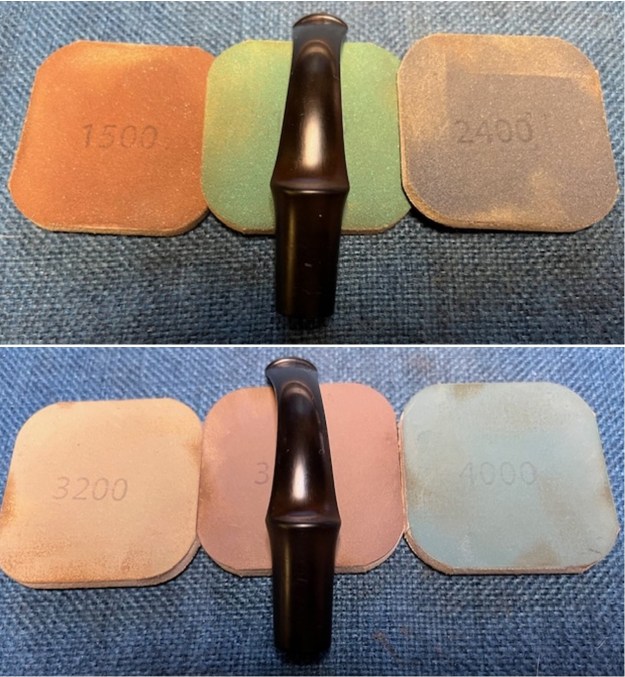
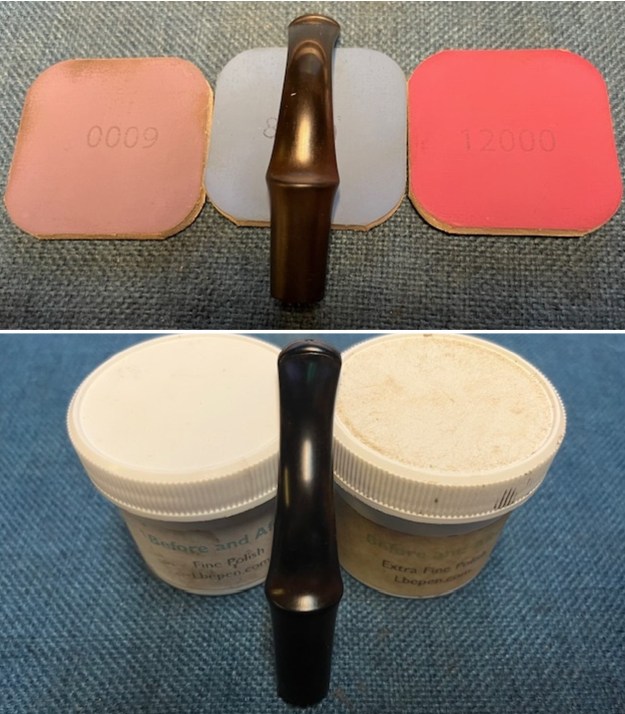
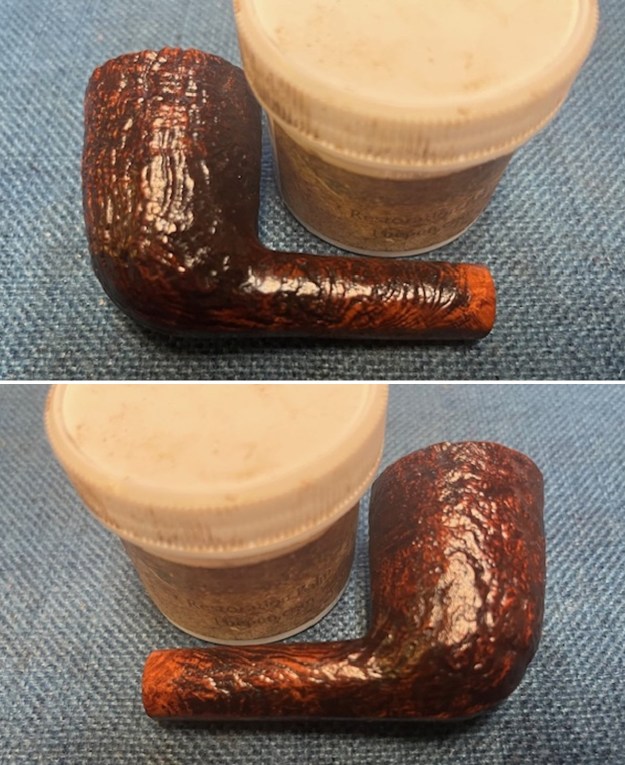
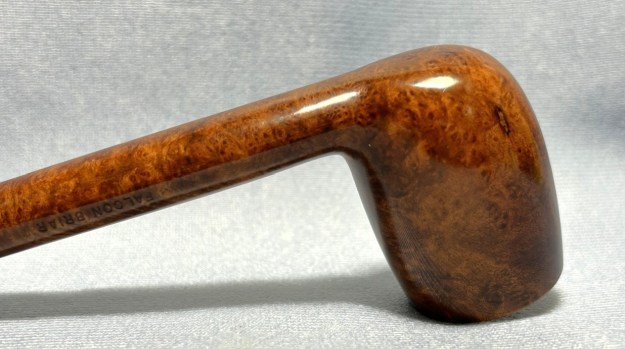
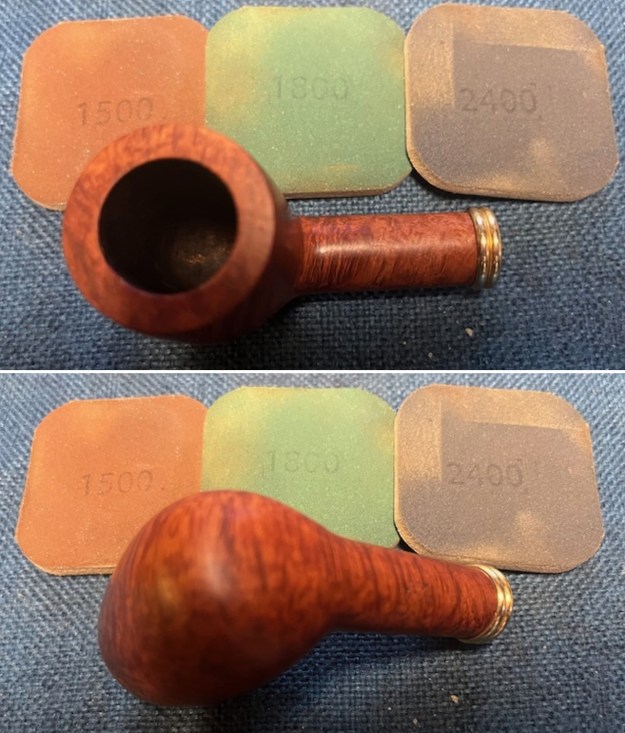
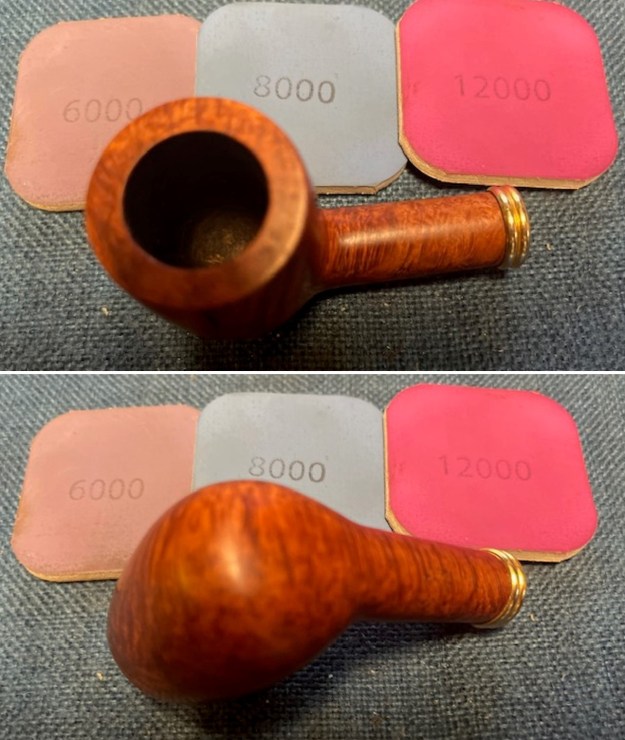
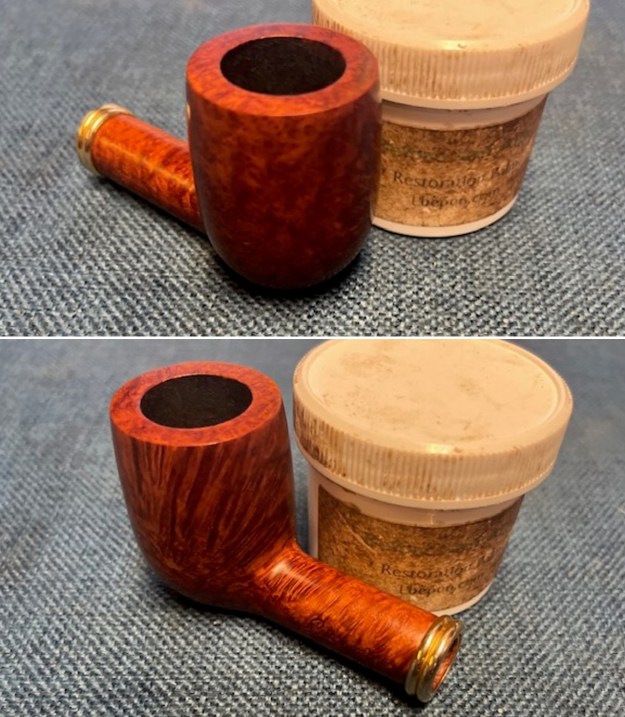
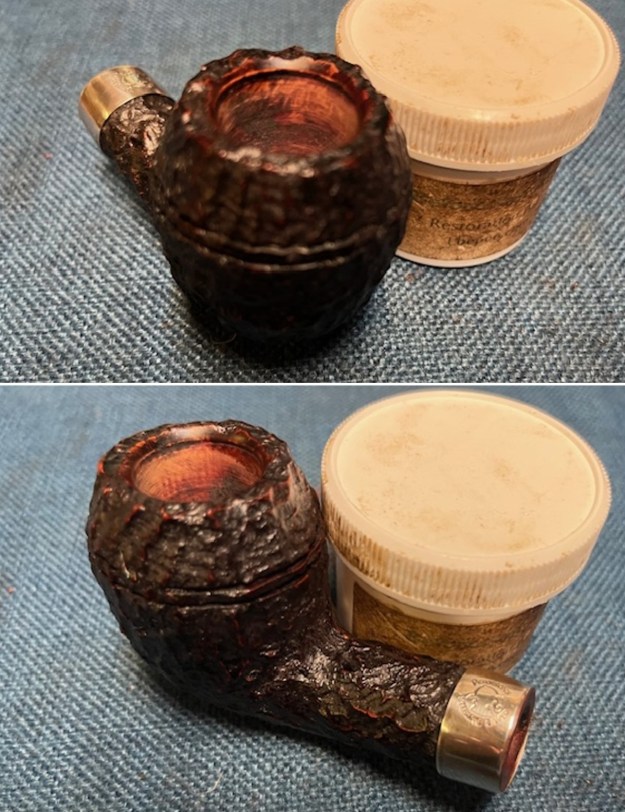
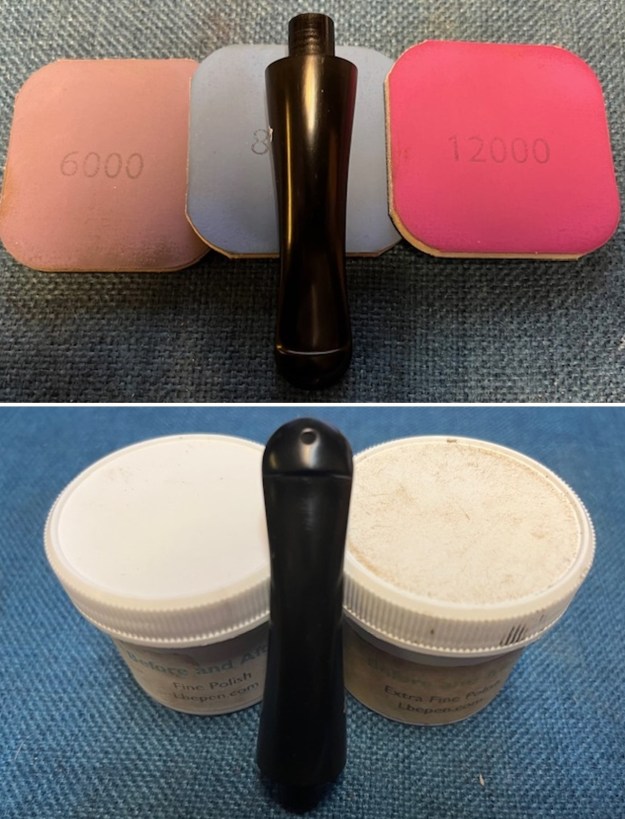
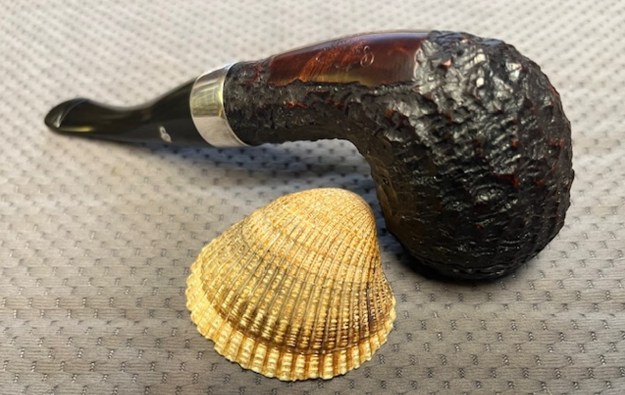
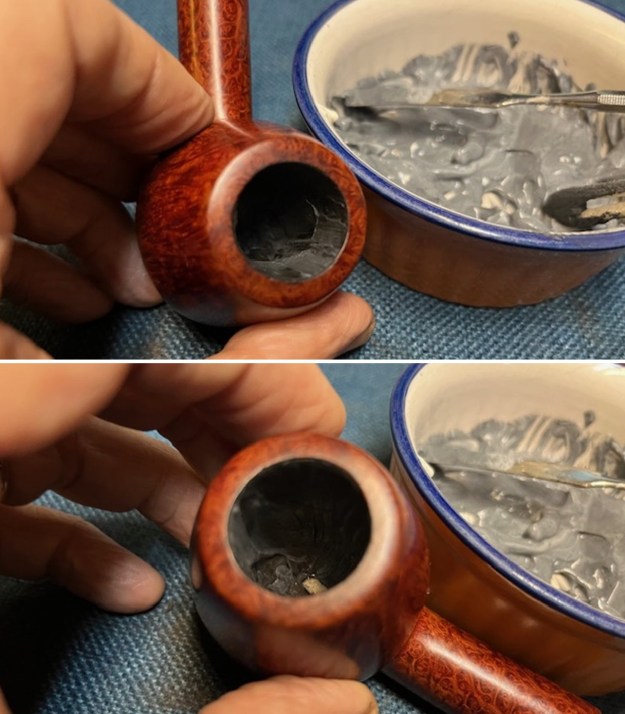
 I polished the briar with micromesh sanding pads – dry sanding with 1500-12000 grit sanding pads. I wiped it down after each sanding pad with a drop of olive oil and a paper towel. The briar began to take on a rich glow and the grain began to stand out.
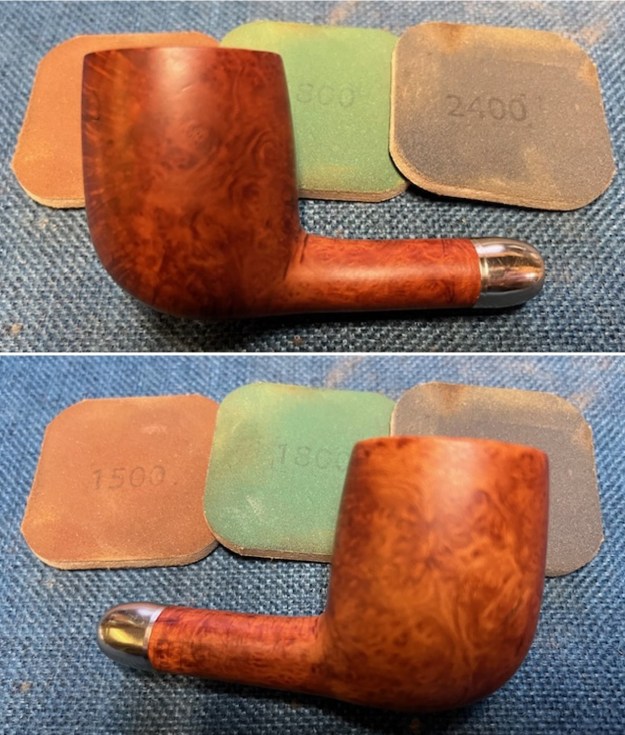
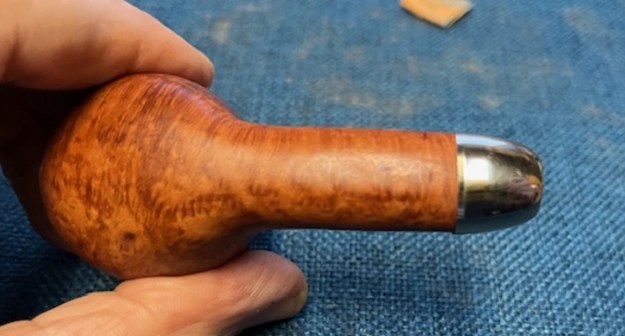
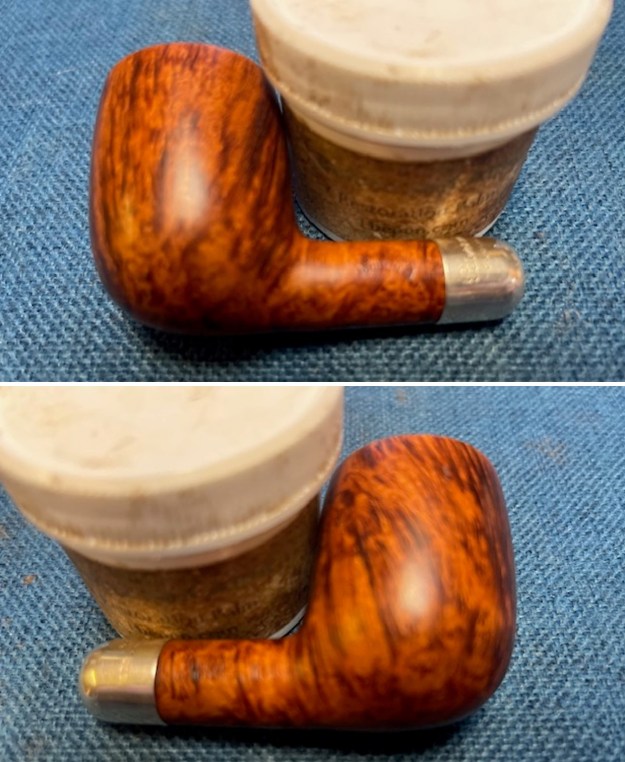
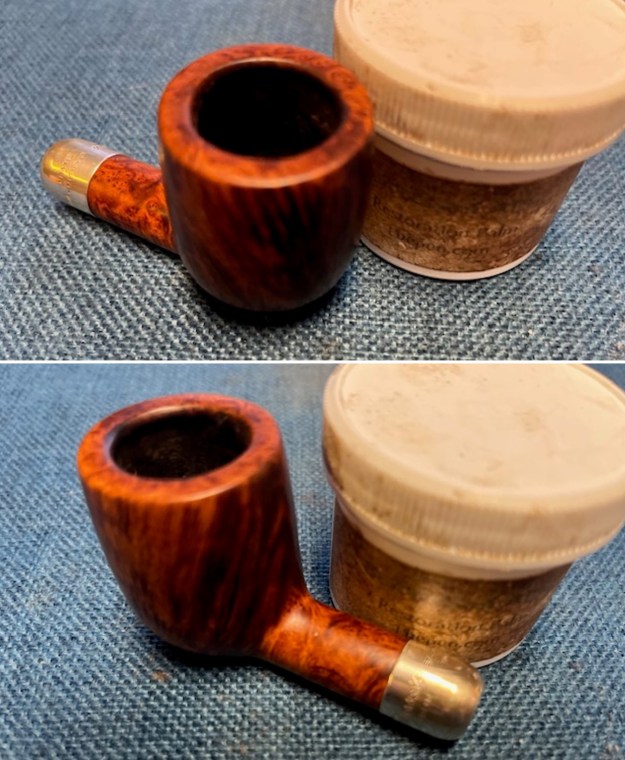
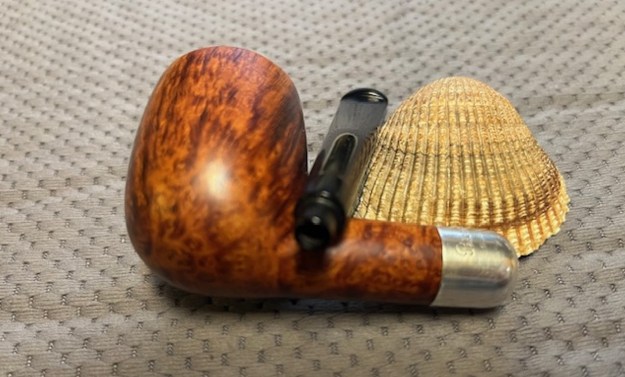
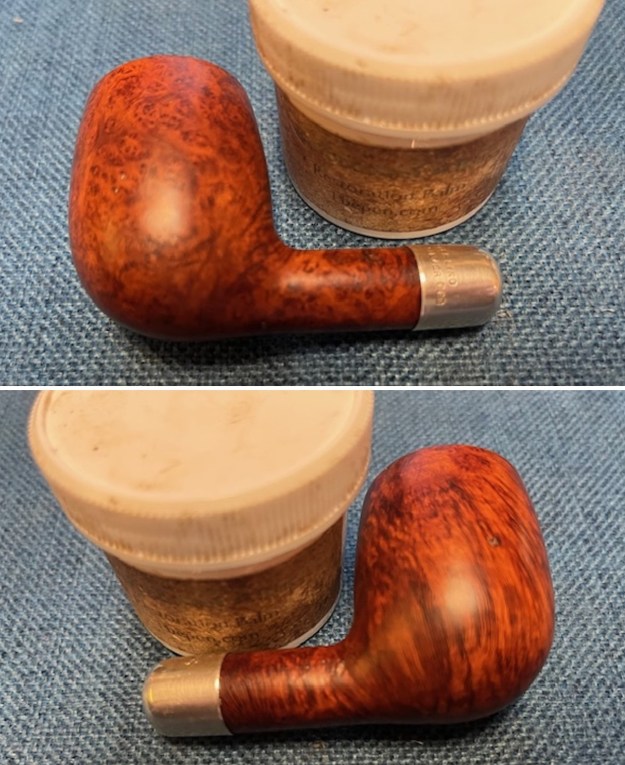
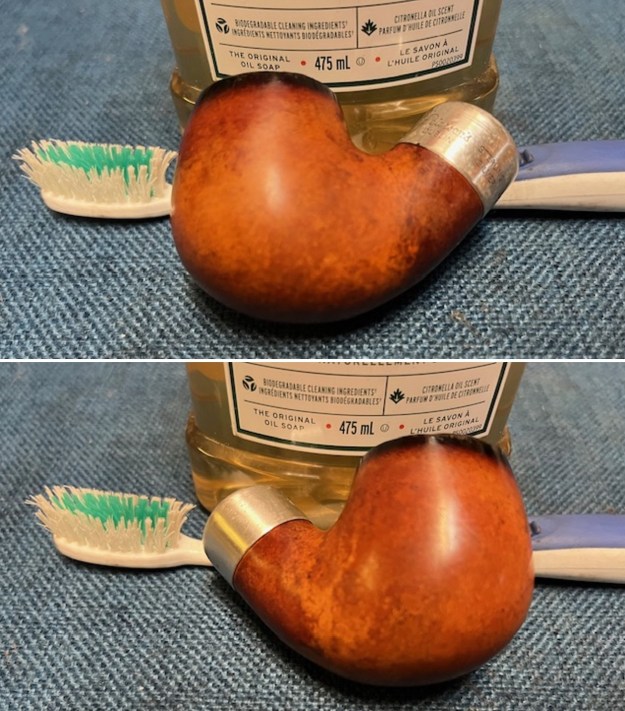
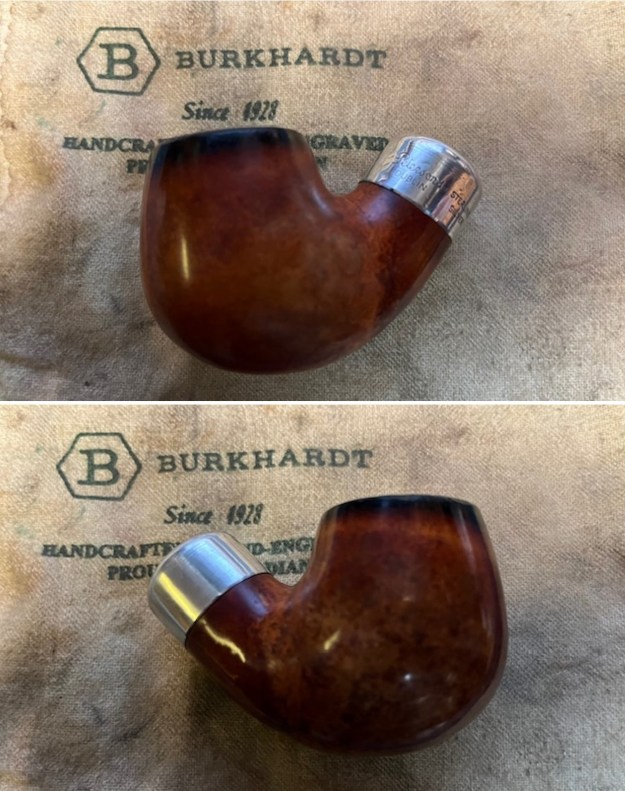
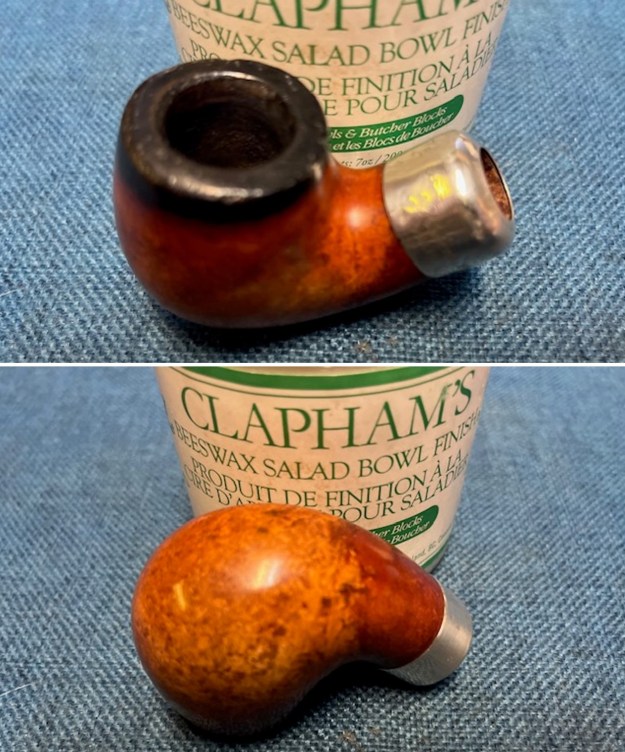
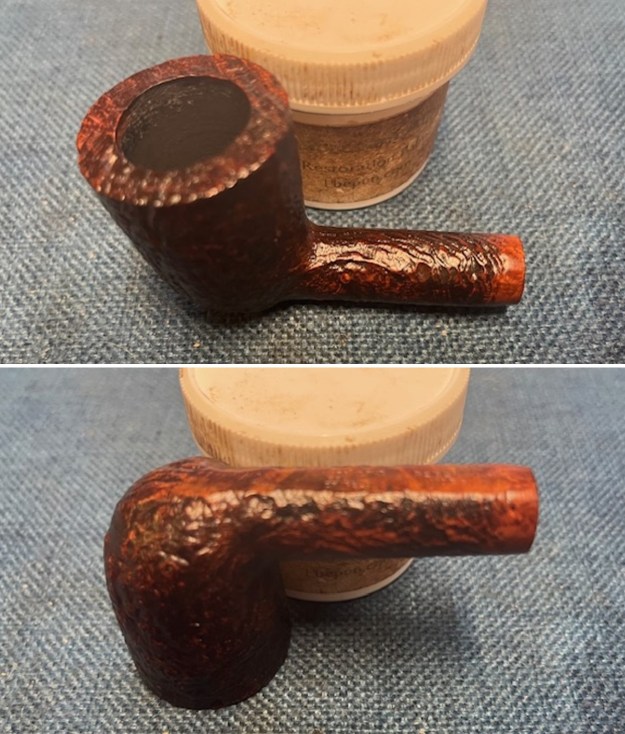
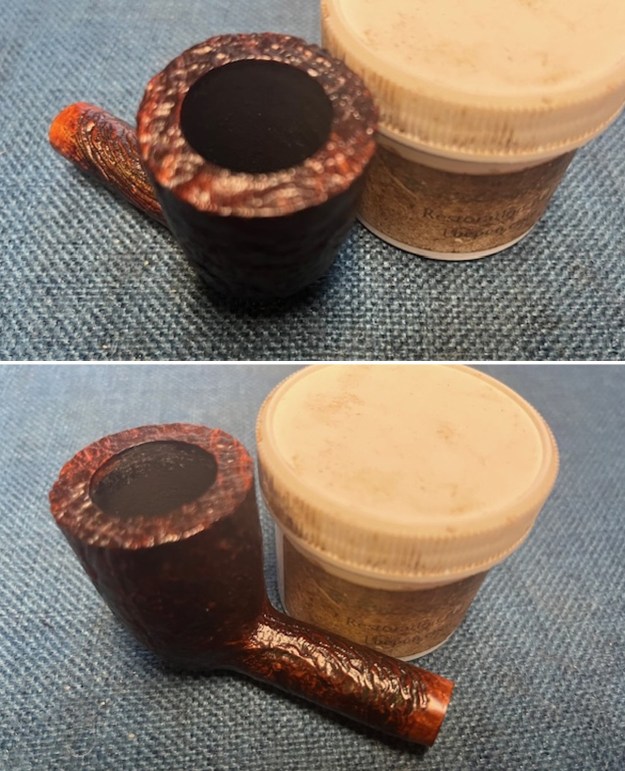
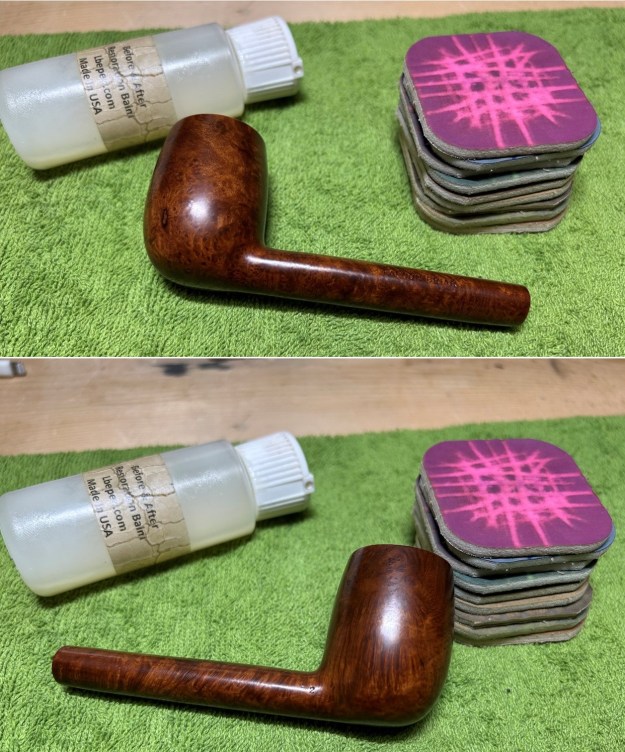
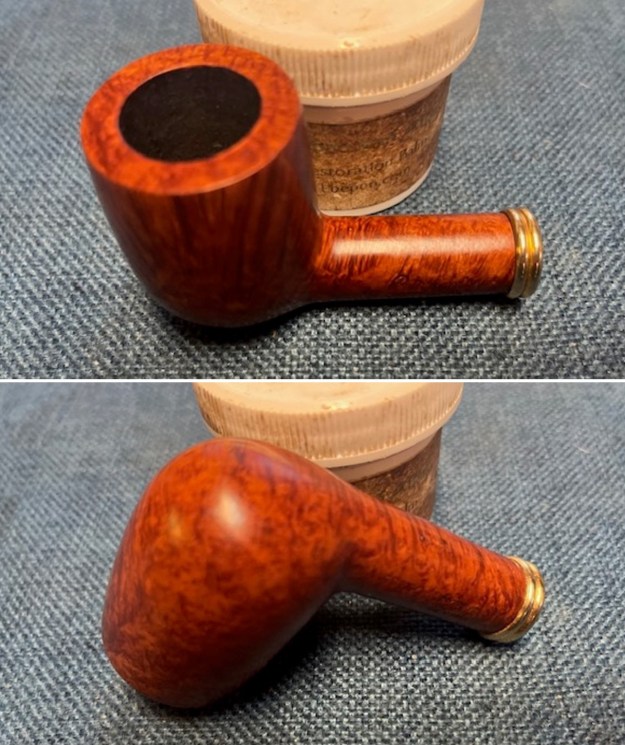
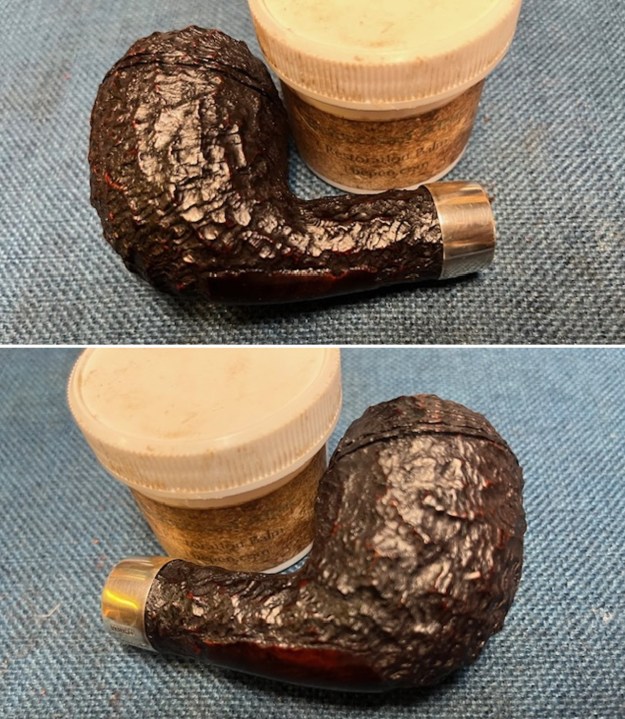
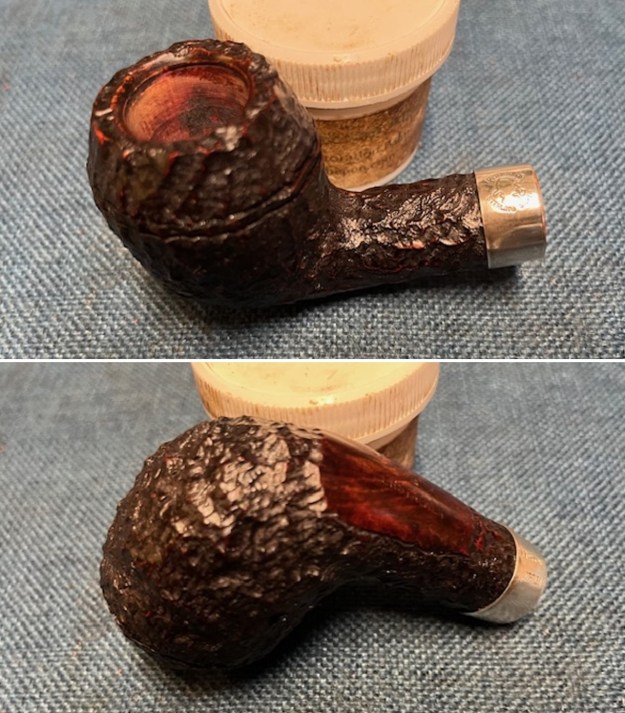
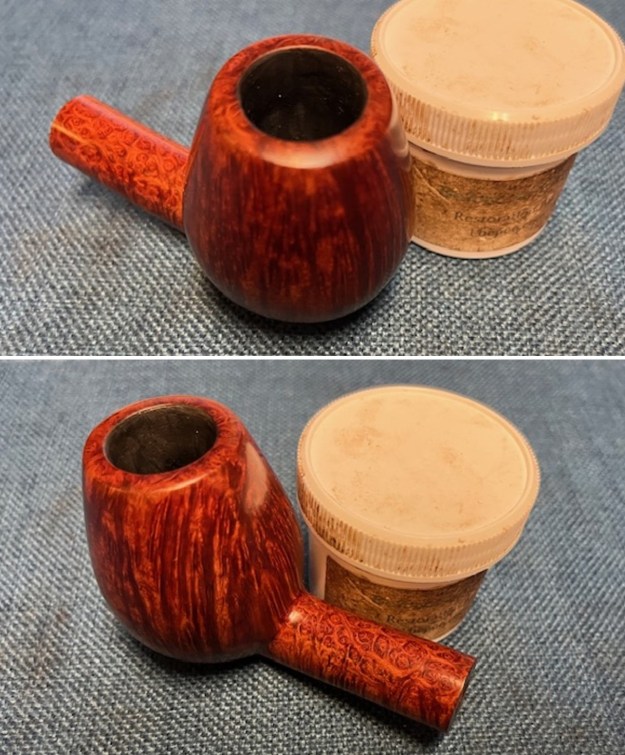
 The briar was in looking good at this point in the process. I rubbed the bowl and shank down with Before & After Restoration Balm. I worked it into the surface of the bowl sides and shank with my fingertips to clean, enliven and protect the briar. I let the balm sit for a little while and then buffed with a cotton cloth to raise the shine.
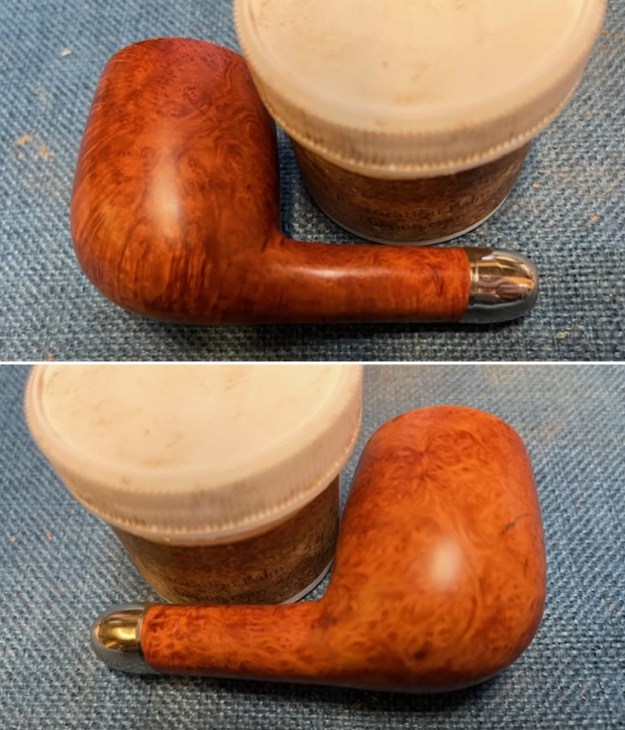
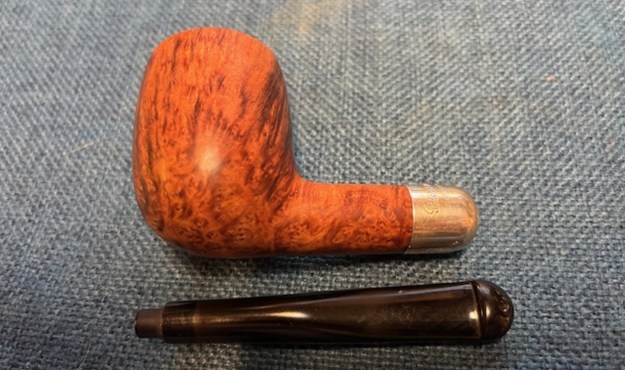
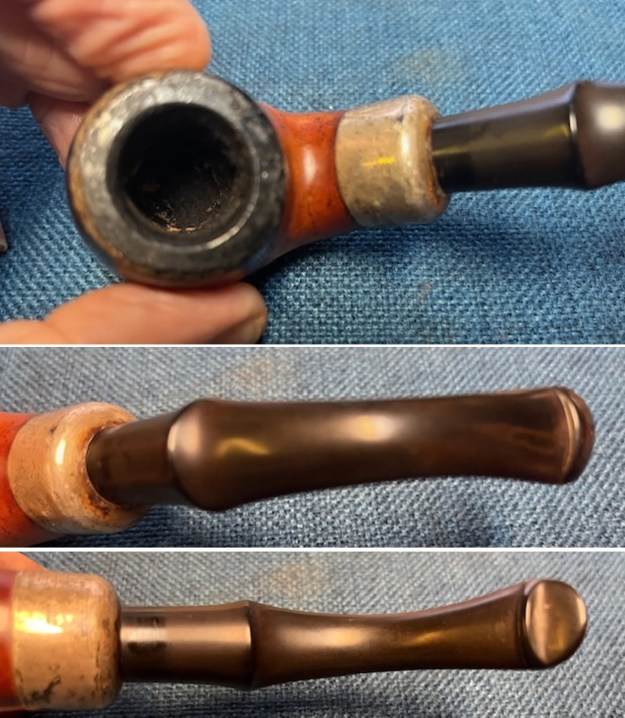
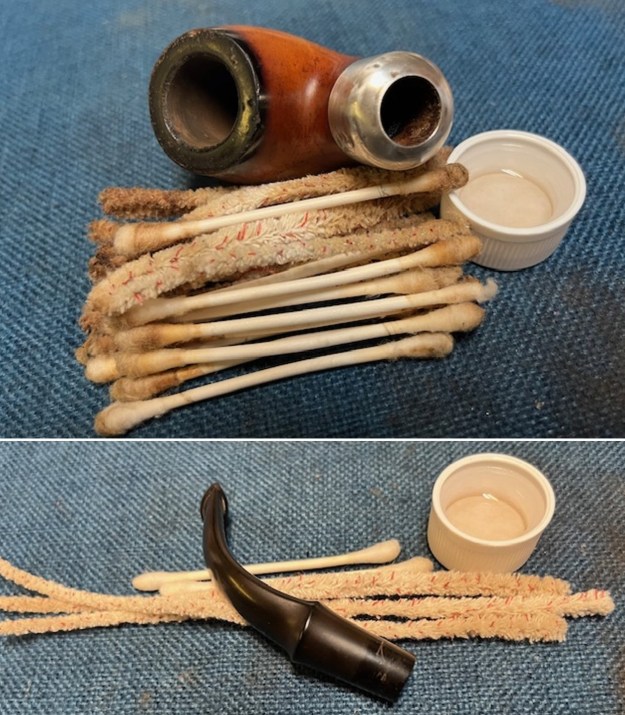
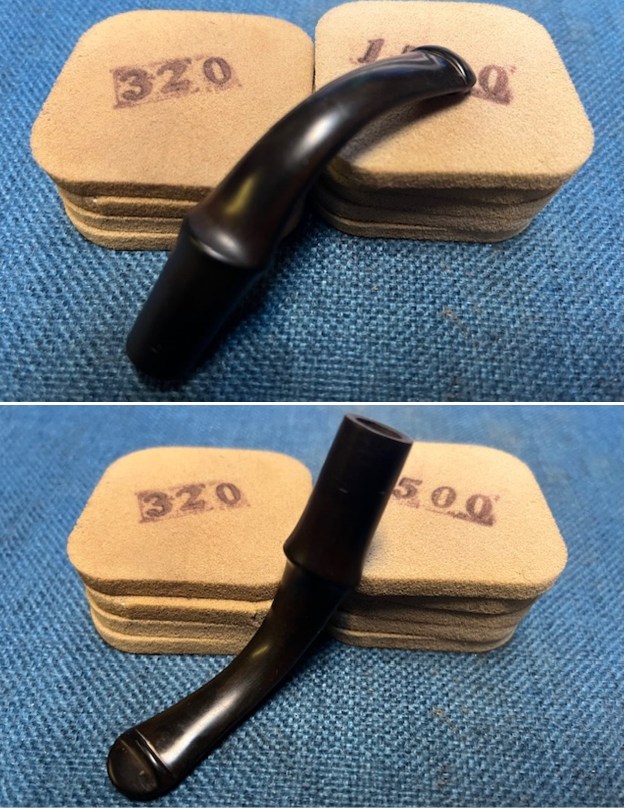
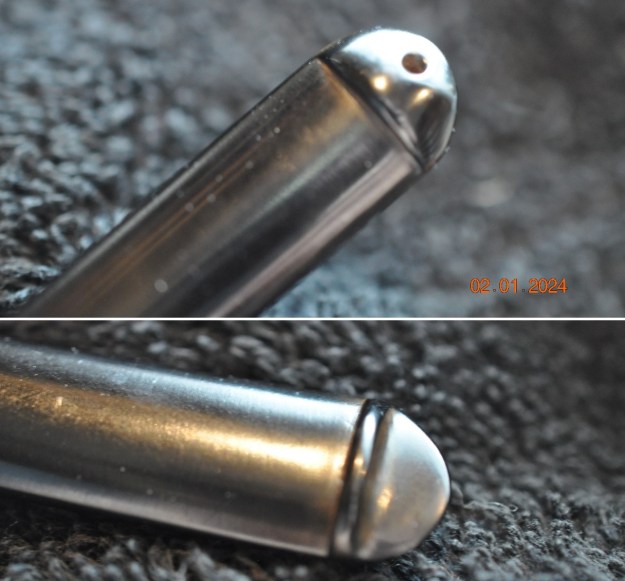
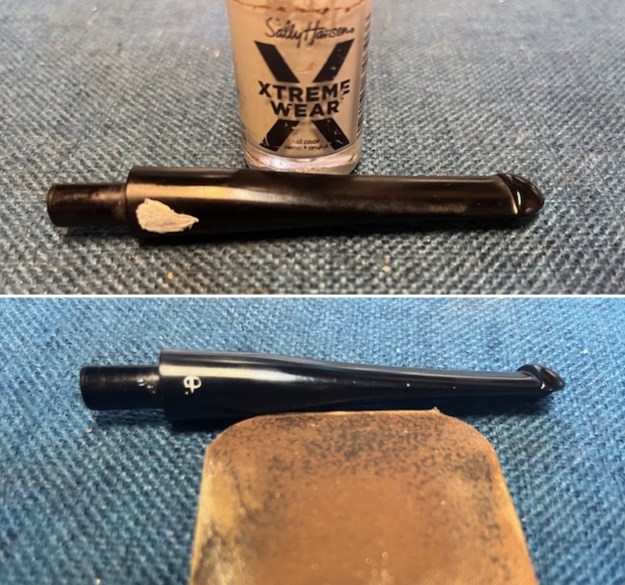
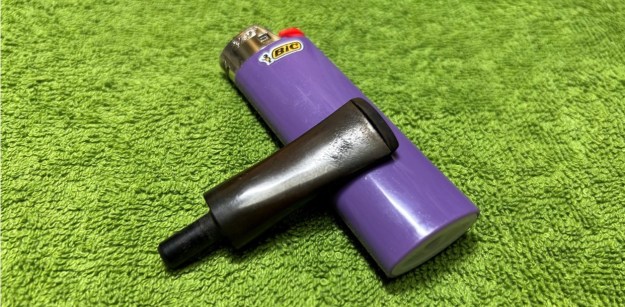
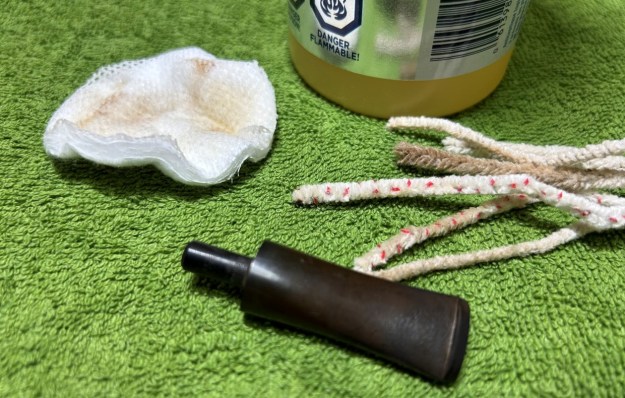
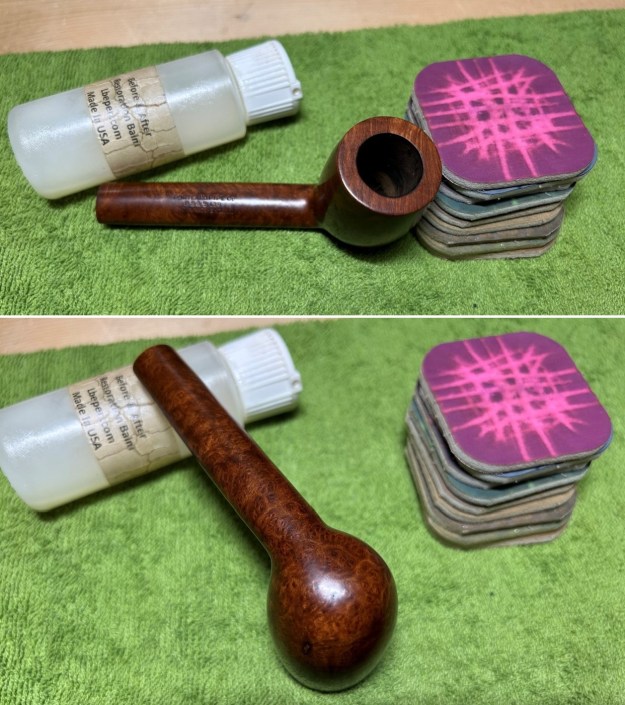
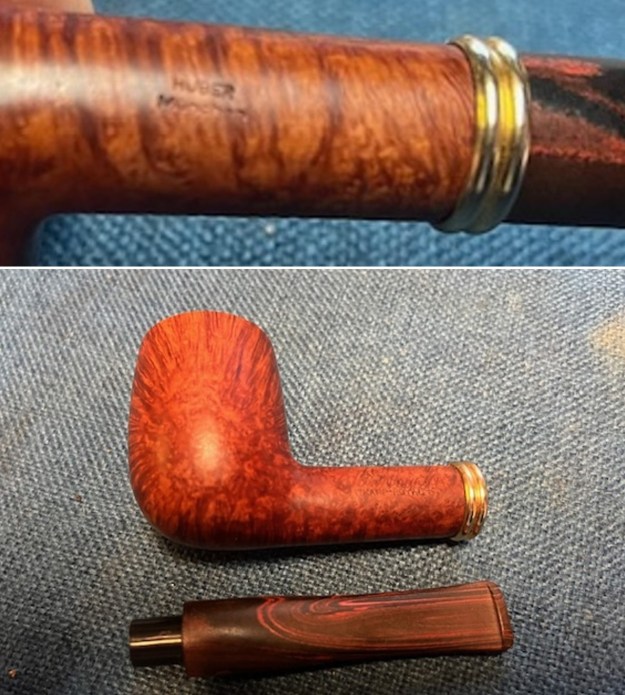
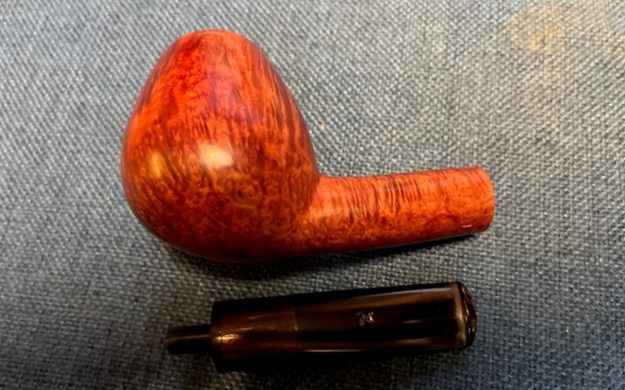
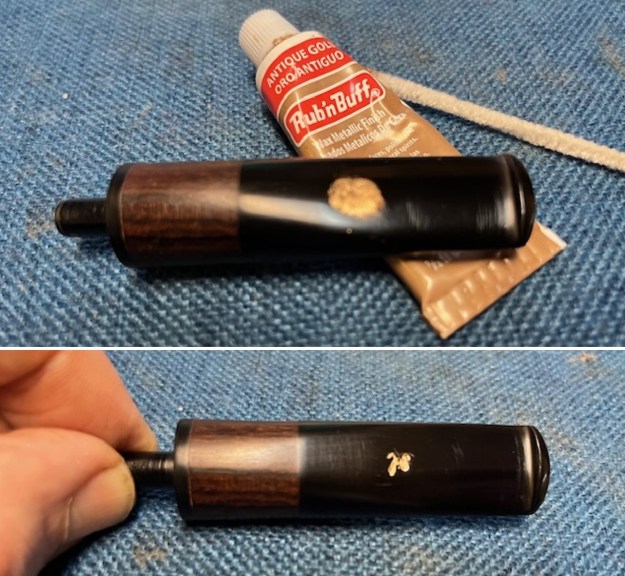
 I set the bowl aside and turned to work on the stem that came with it. I used a file to flatten out the sharp edges on the shank end. I wanted it to be more or a flowing military style bit.
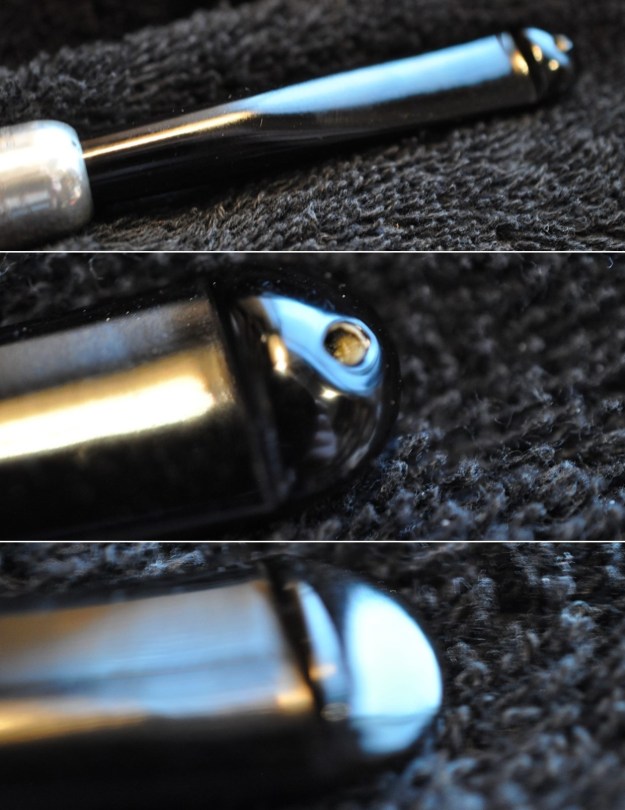
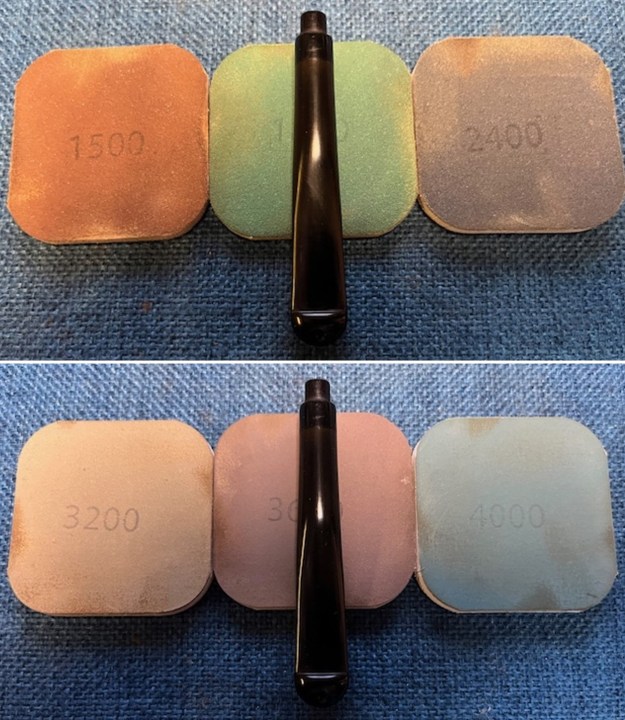
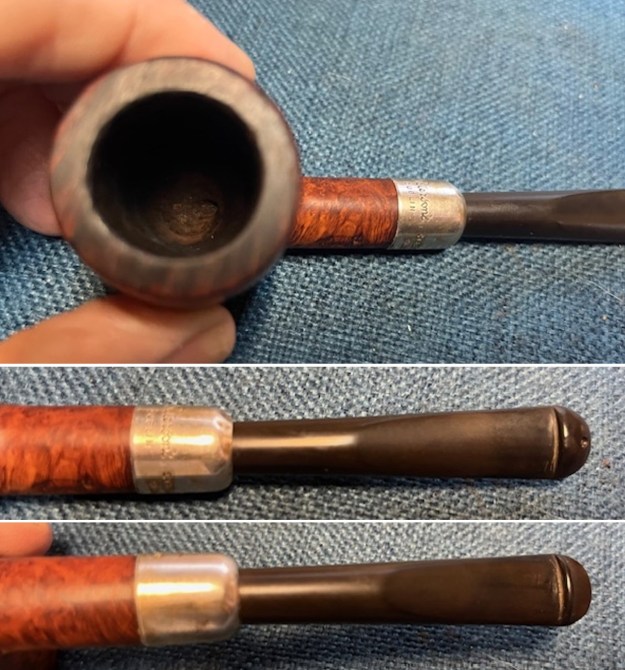
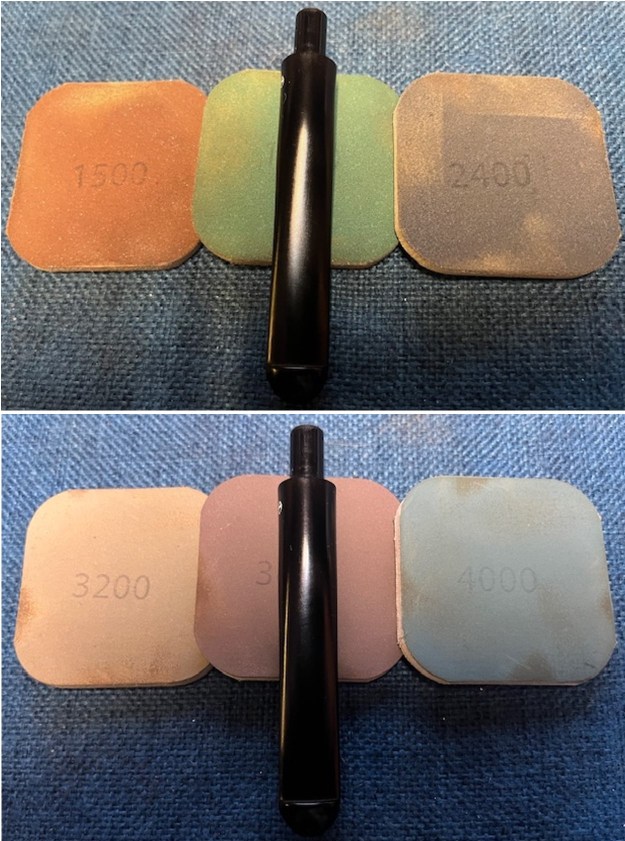
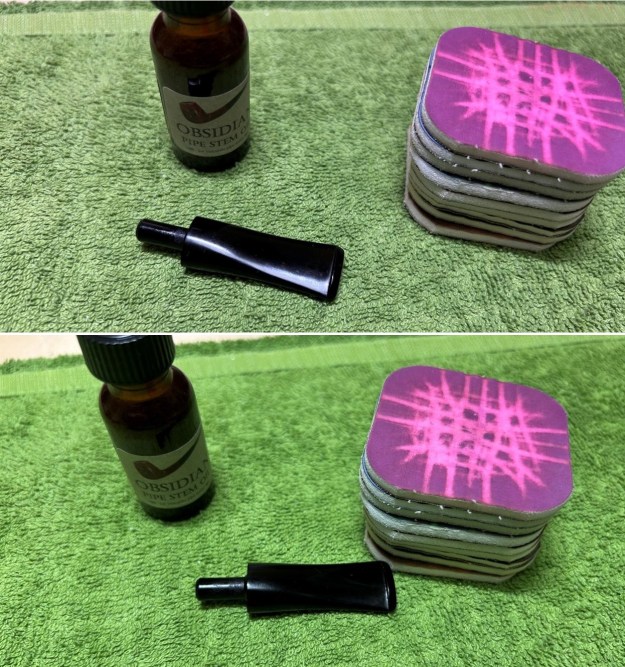
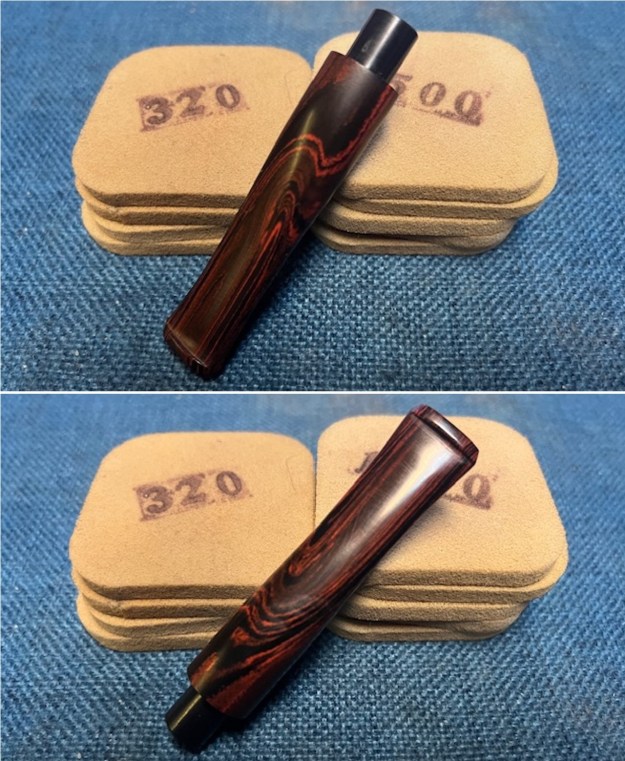
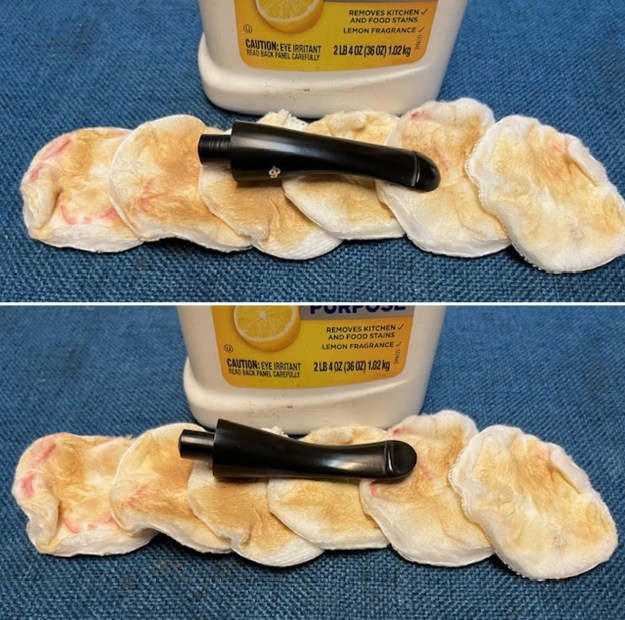
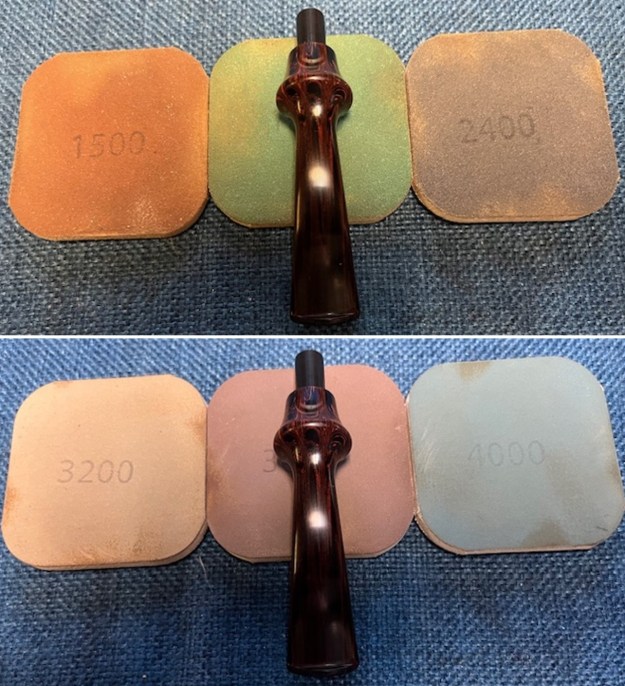
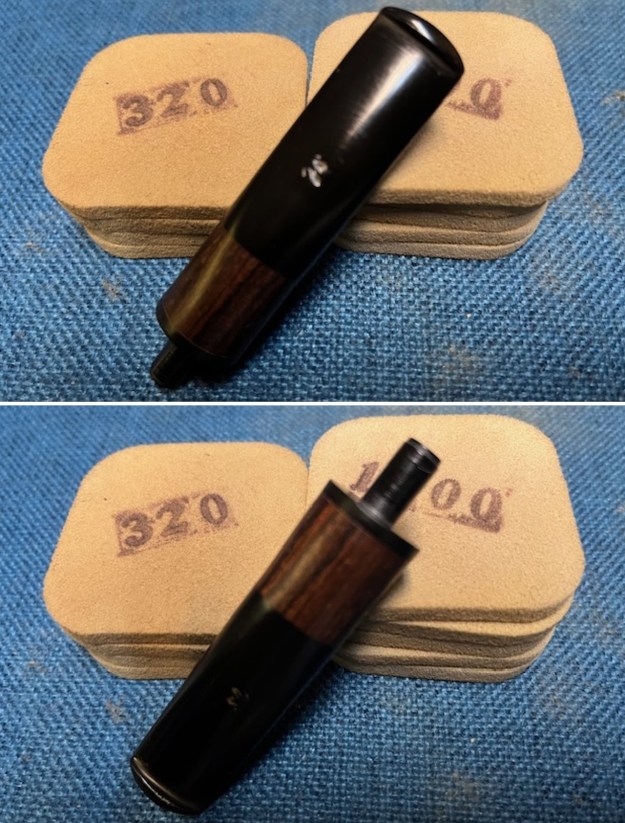
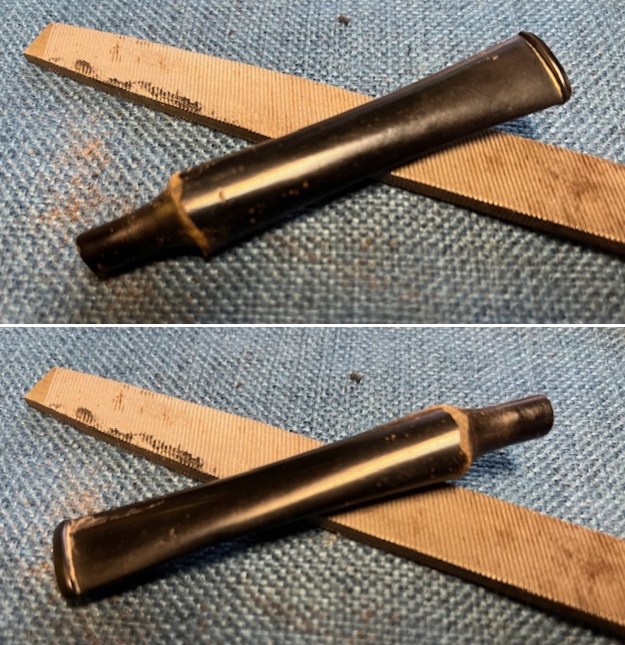 I shaped it with 220 grit sandpaper a bit more then switched to 320-3500 grit sanding pads. I wiped the stem down after each pad with some Obsidian Oil. By the end the shape was right and the fit was perfect. It began to take on a shine.
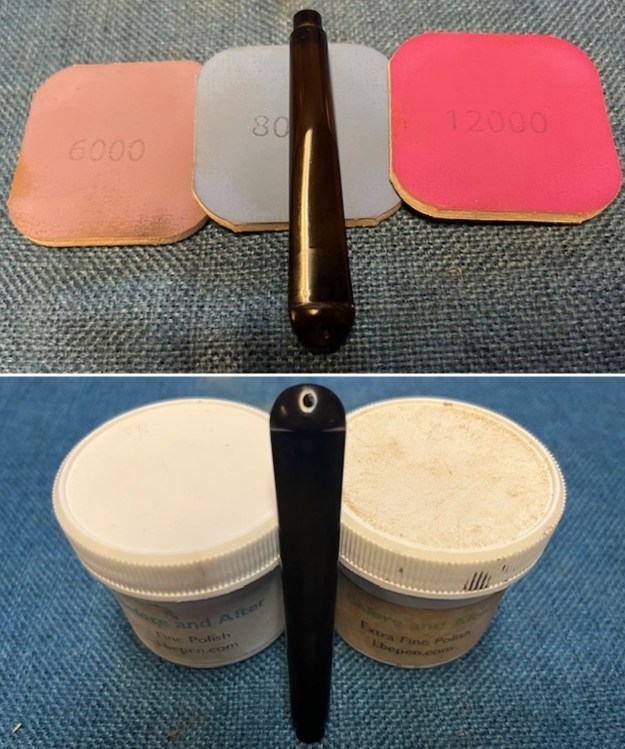
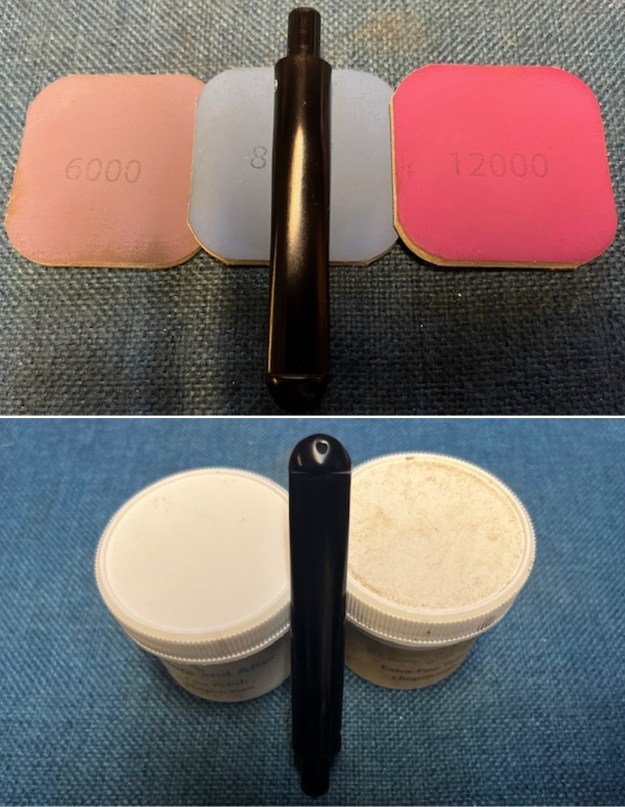
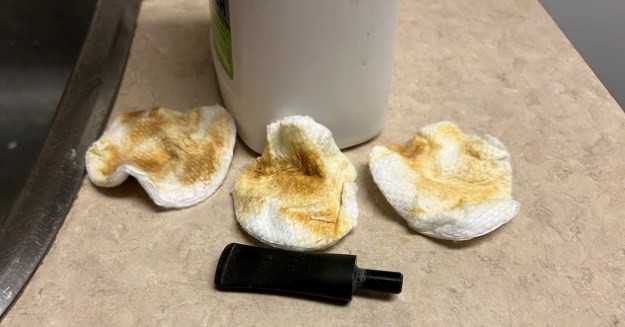
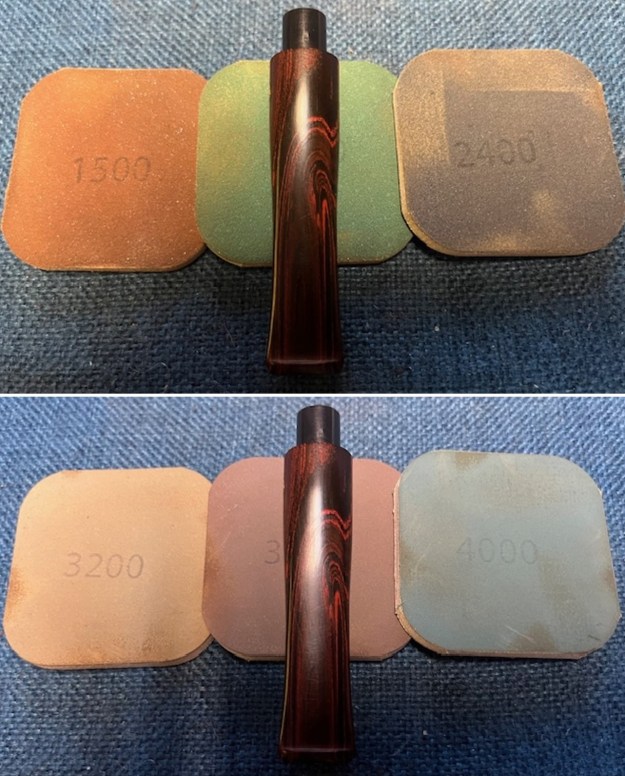
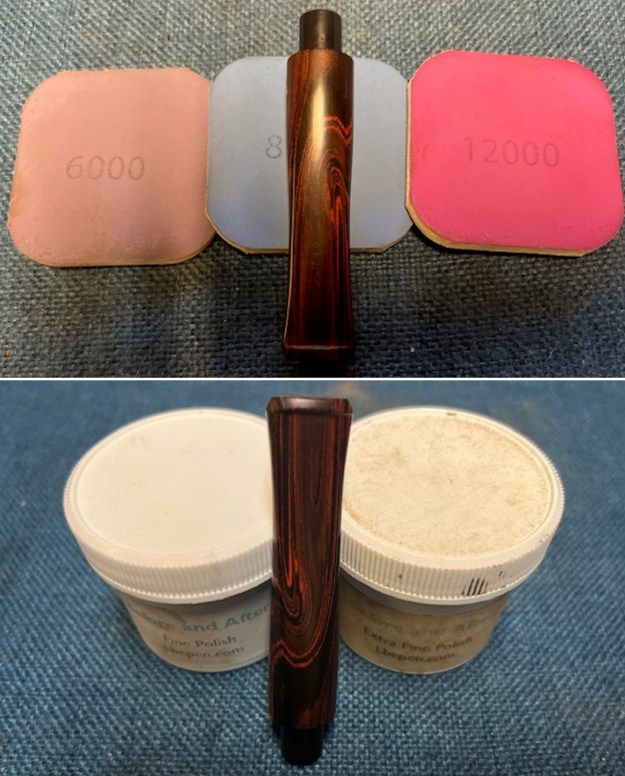
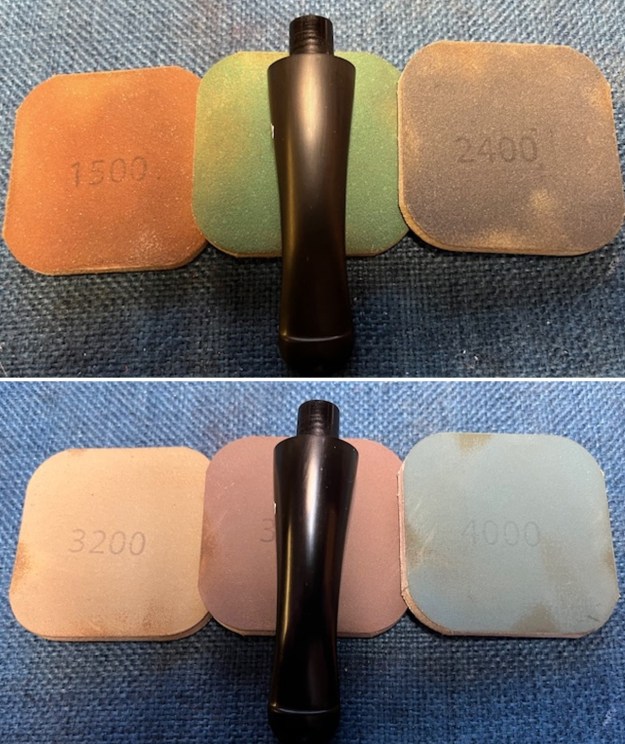
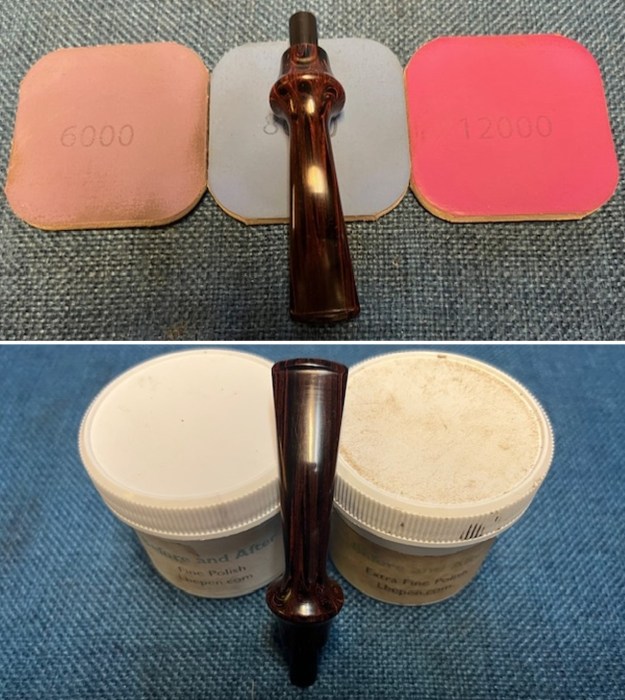
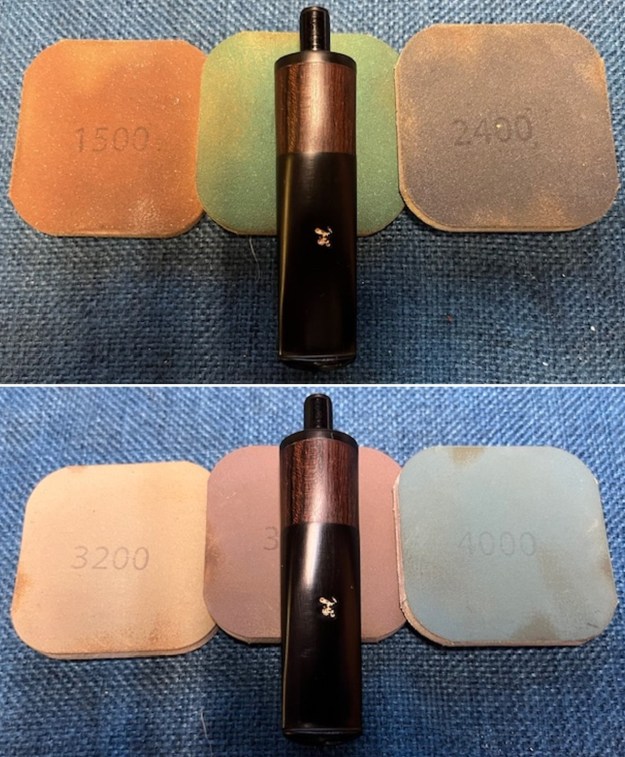
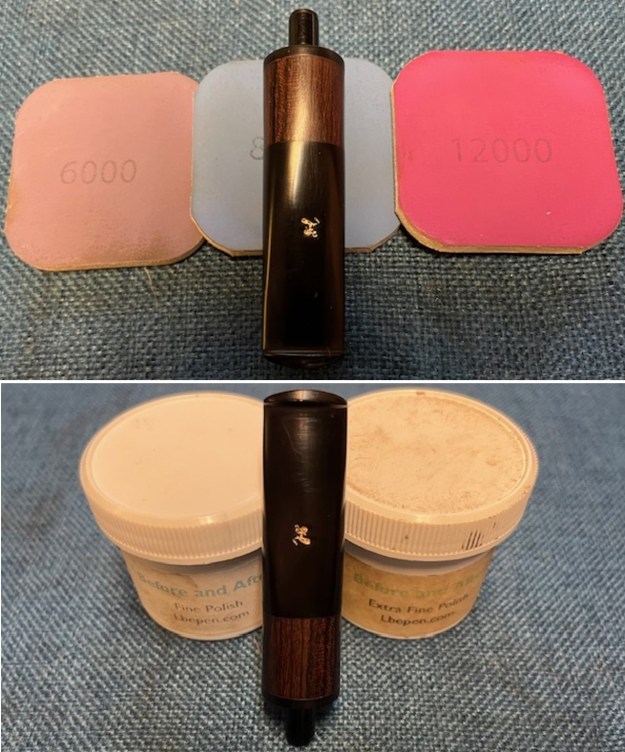
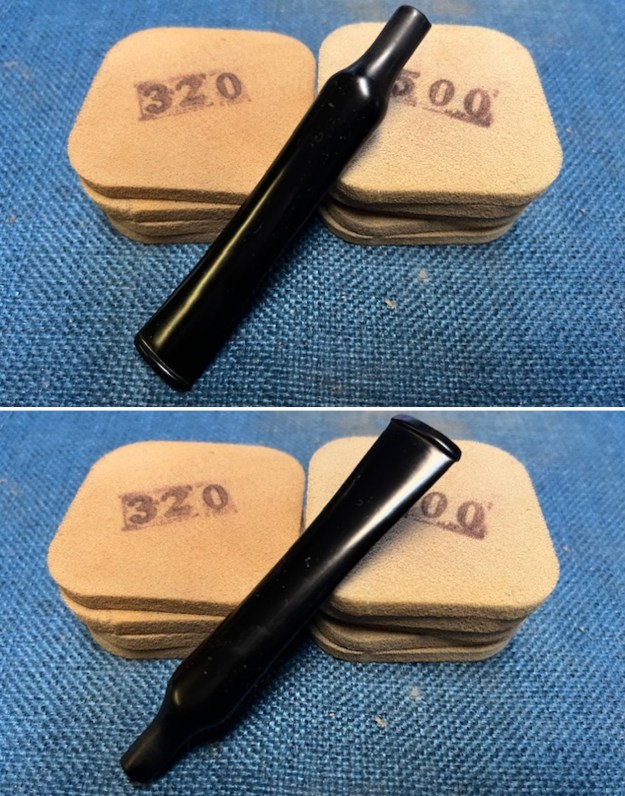 I polished the vulcanite stem with micromesh sanding pads – 1500-12000 grit pads. I wiped it down with a damp cloth after each sanding pad. I used Before & After Pipe Polish – both Fine and Extra Fine to further polish the stem.
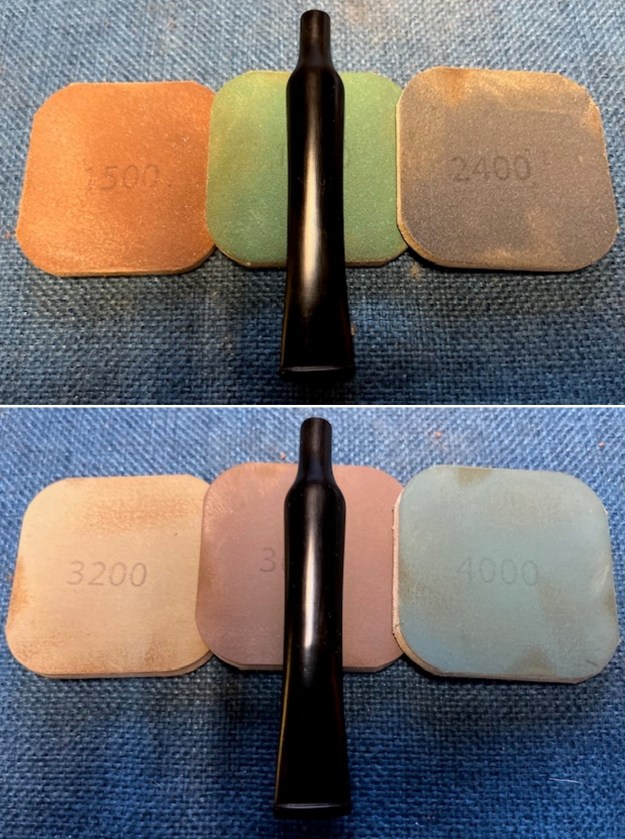
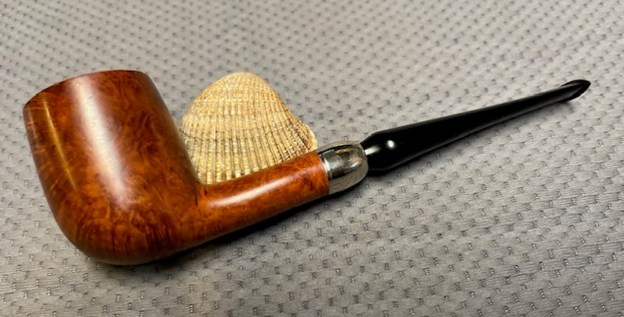
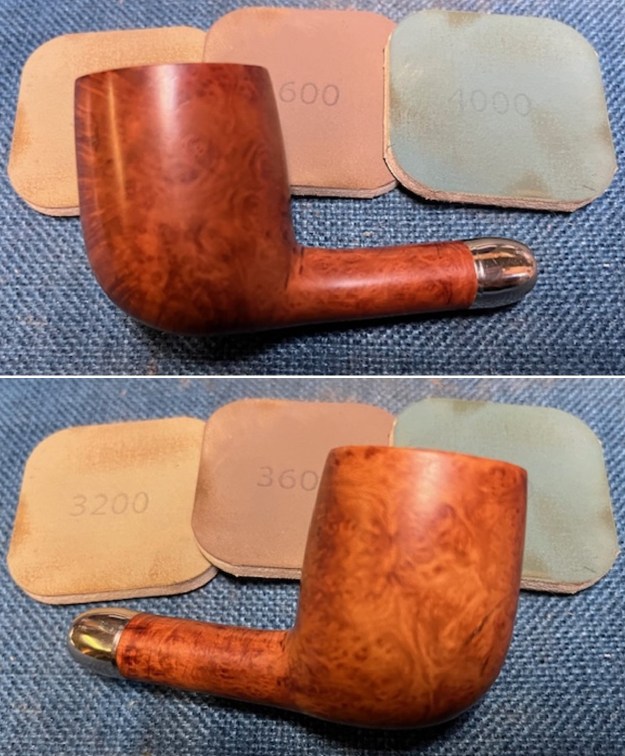
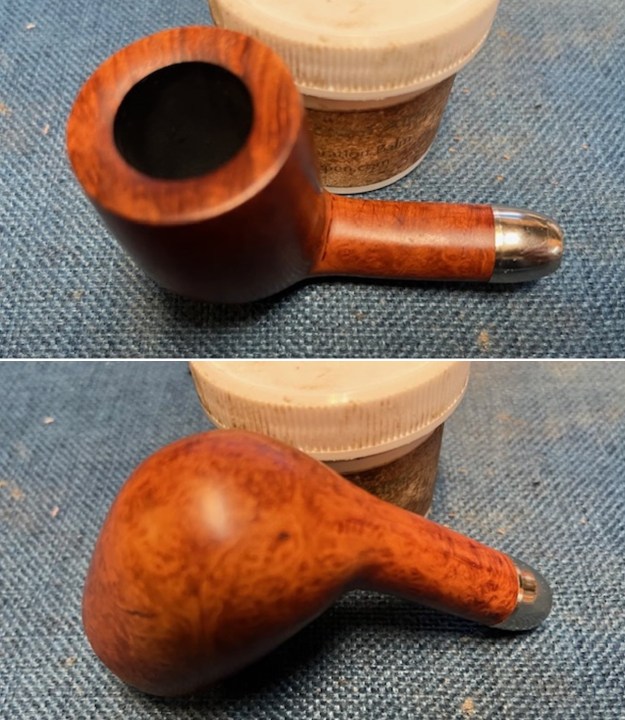
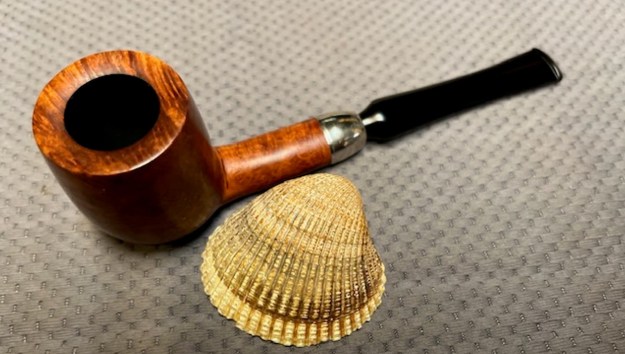
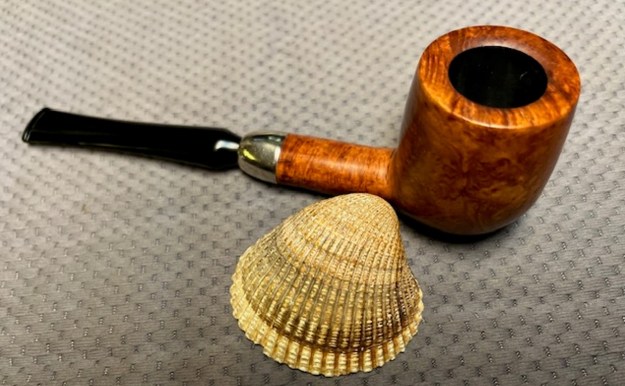
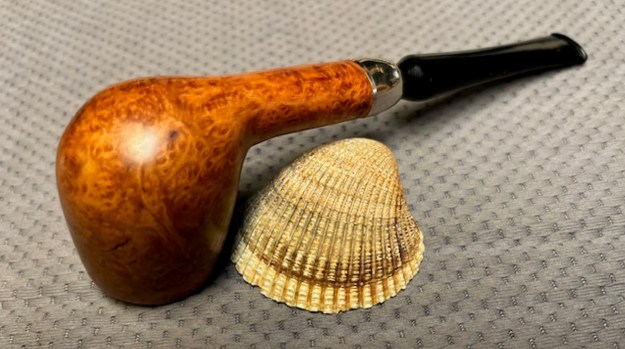
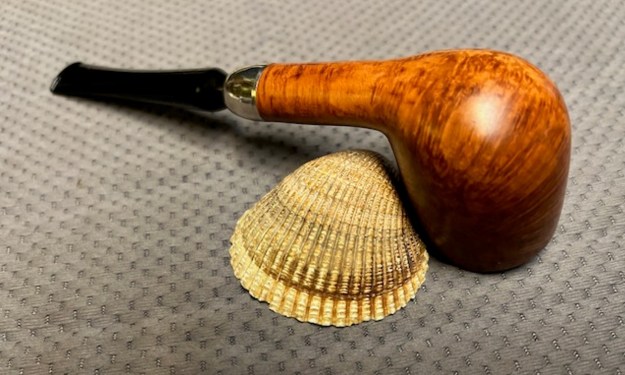
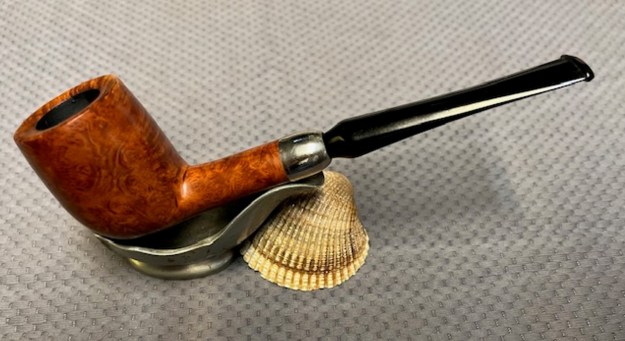
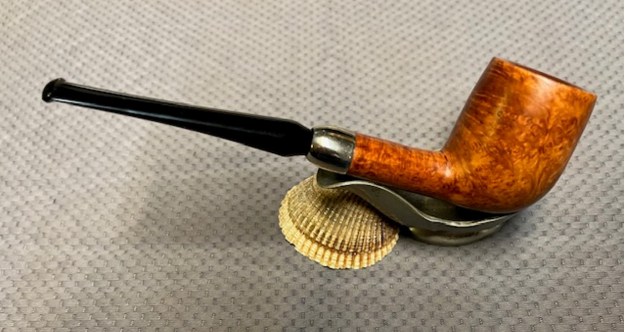
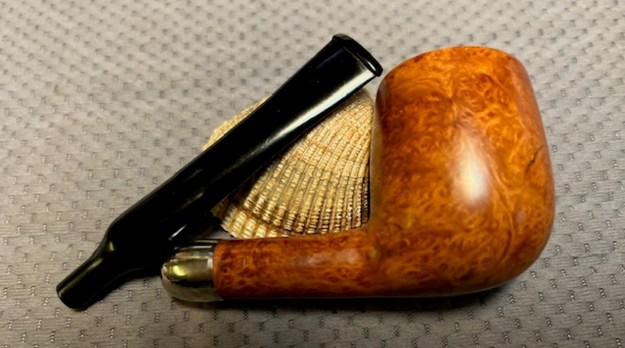
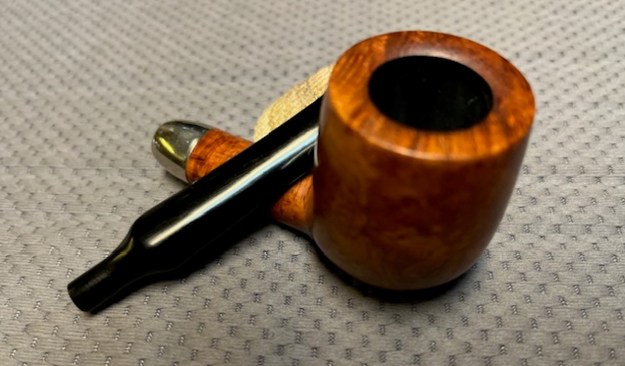
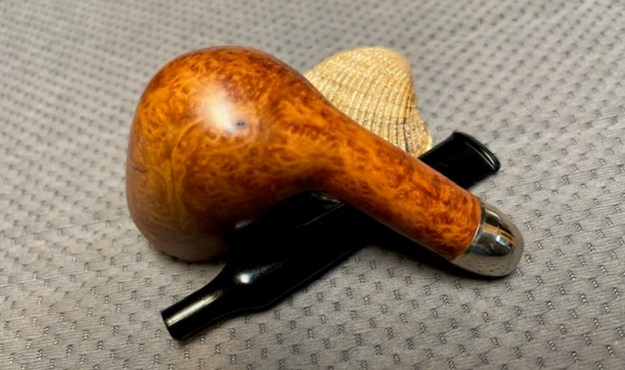
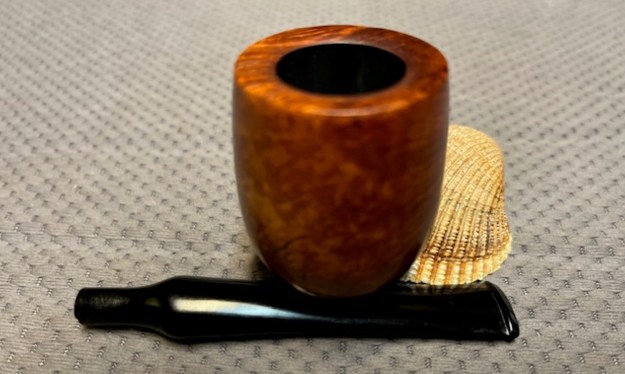
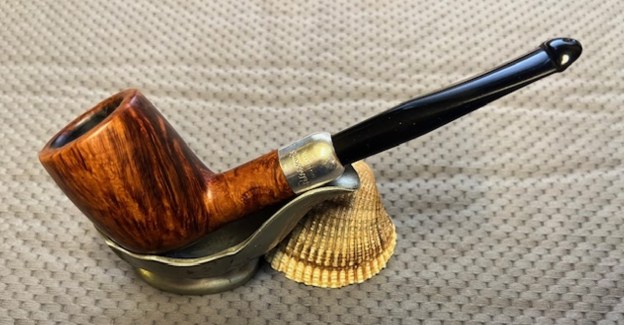
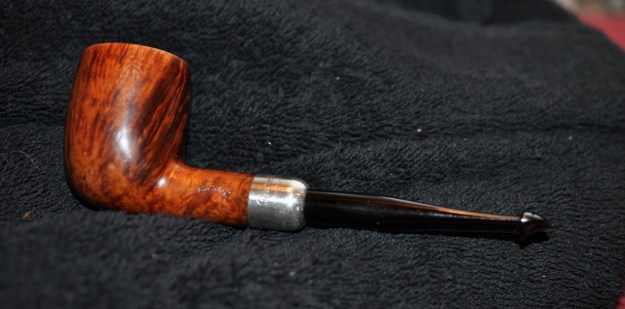
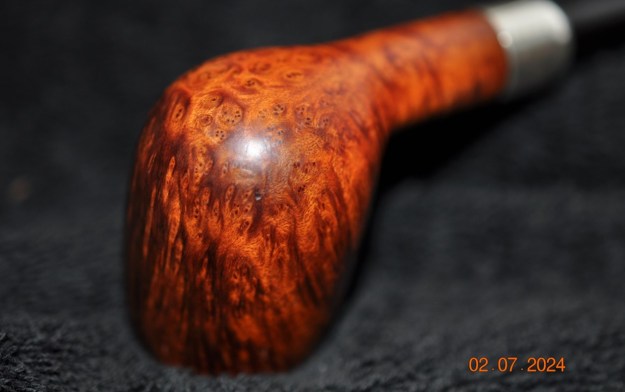
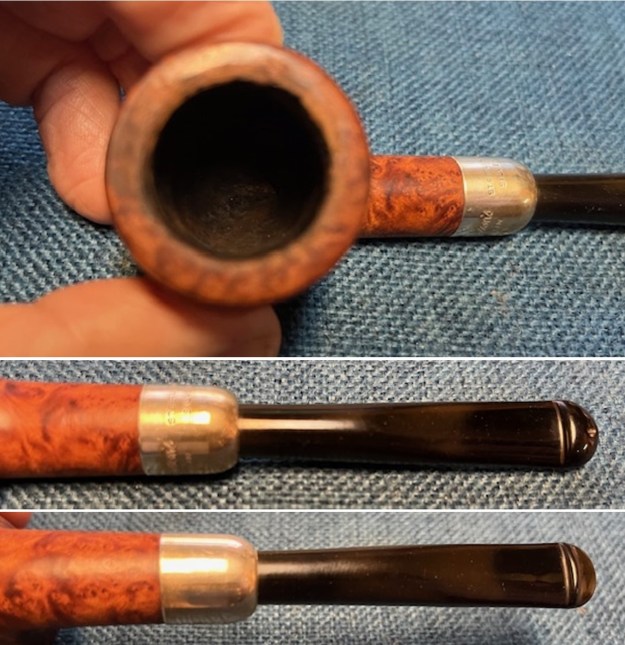
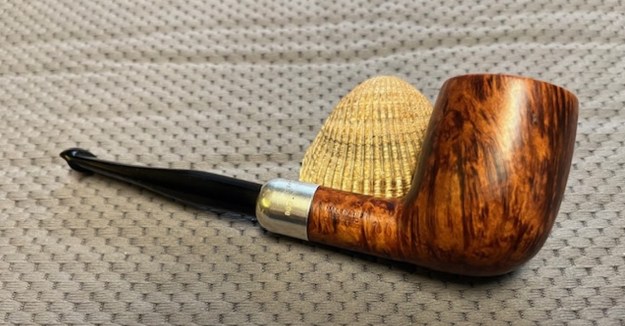
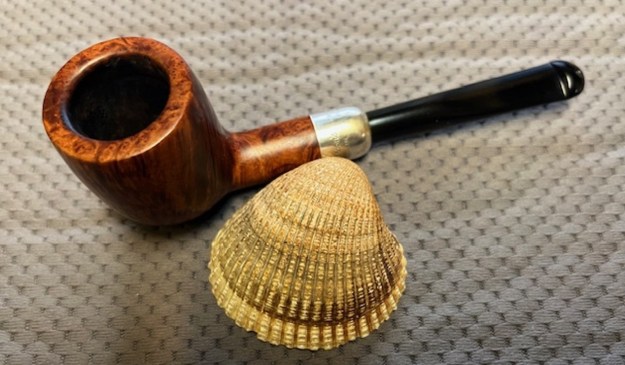
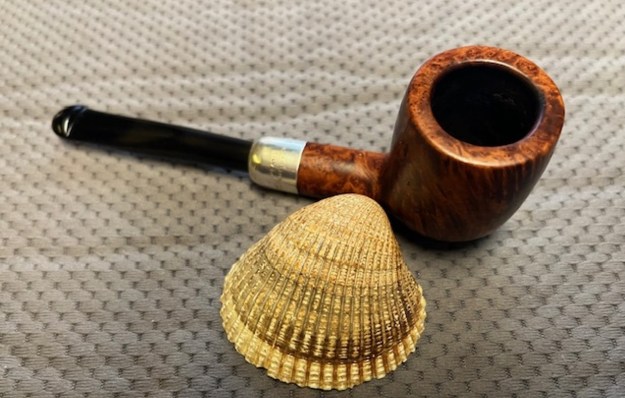
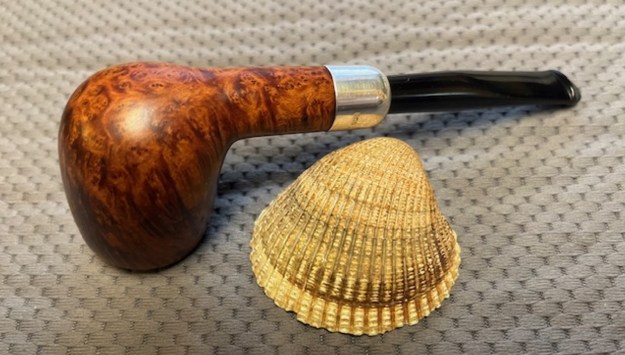
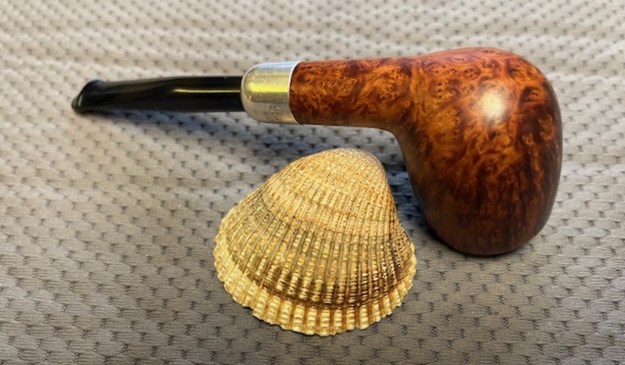
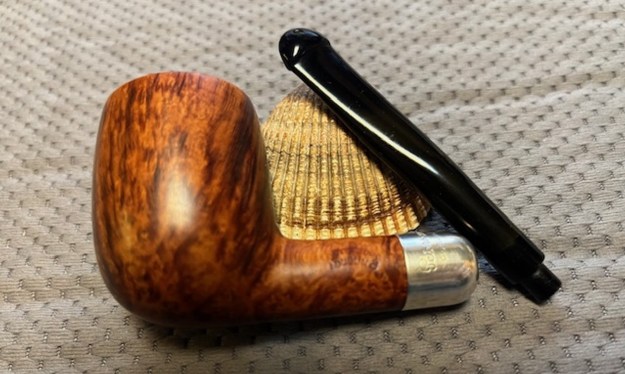
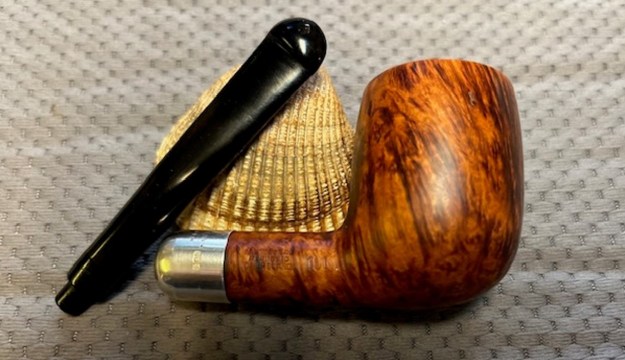
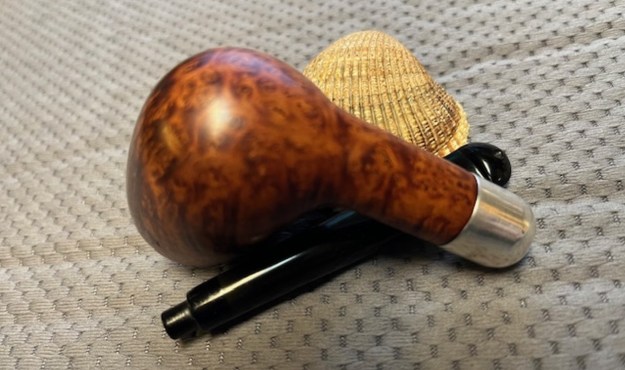
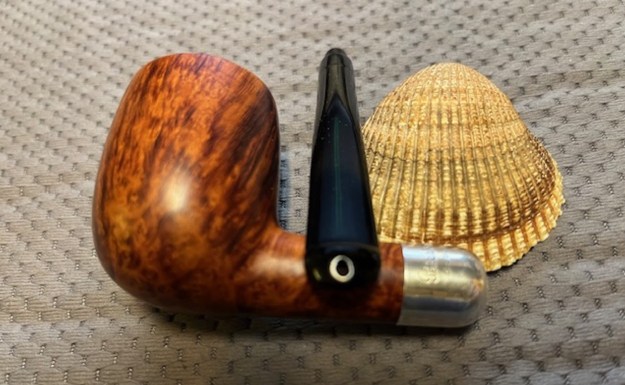
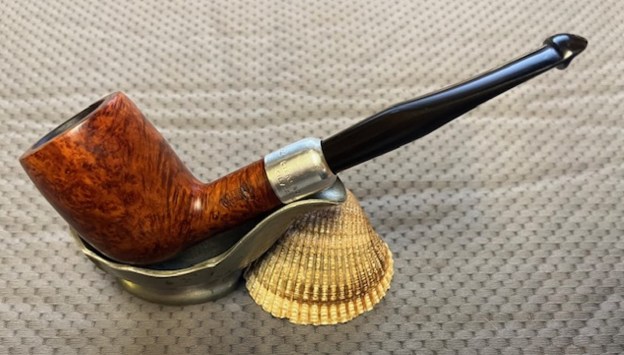
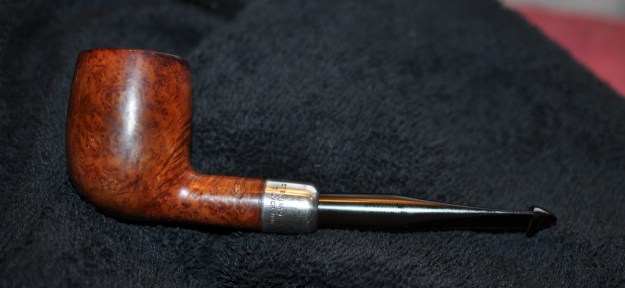
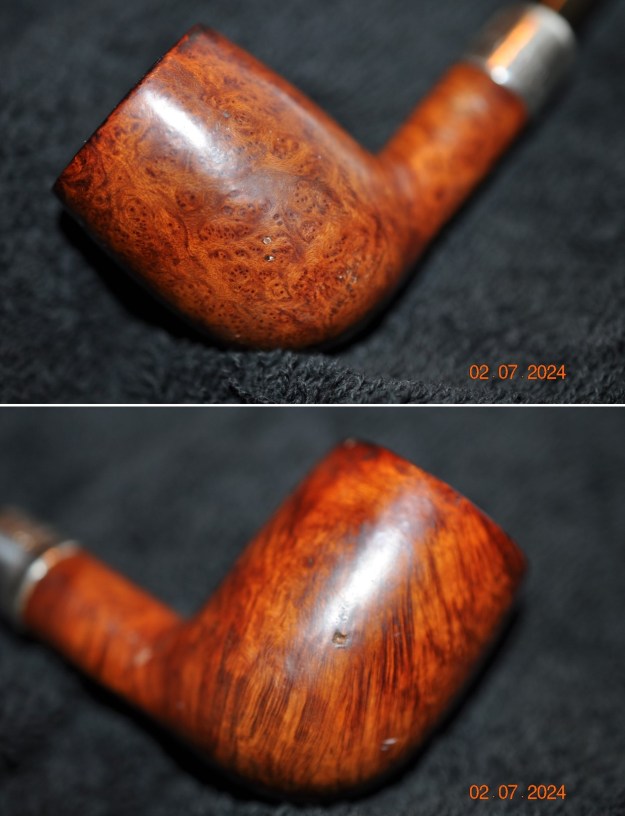
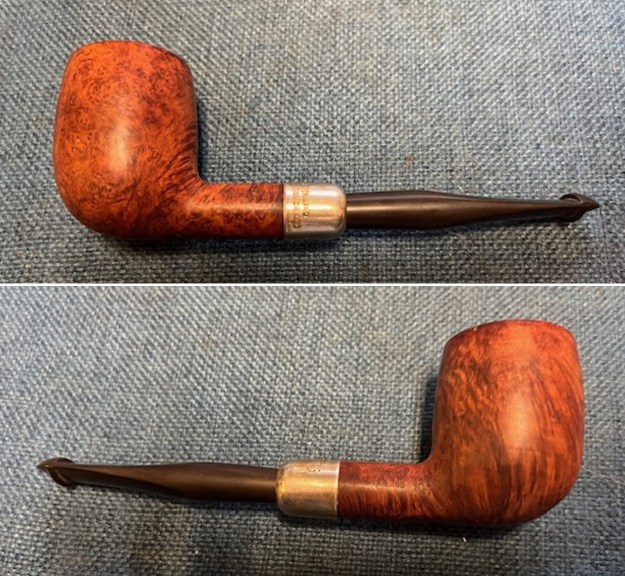
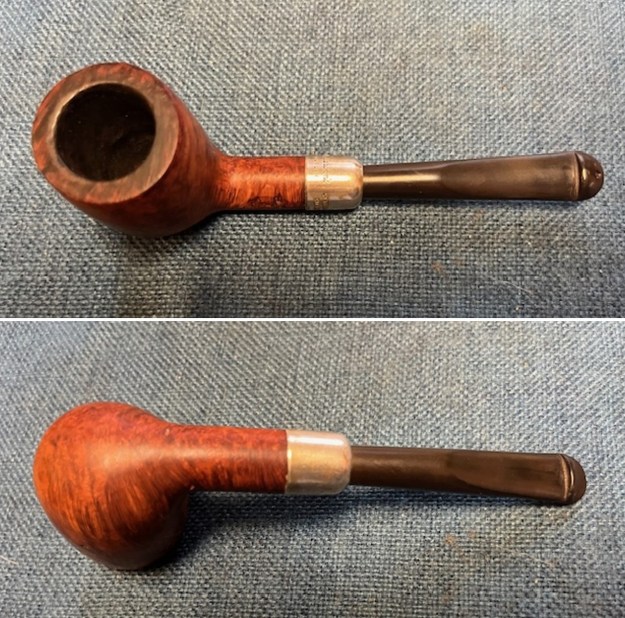
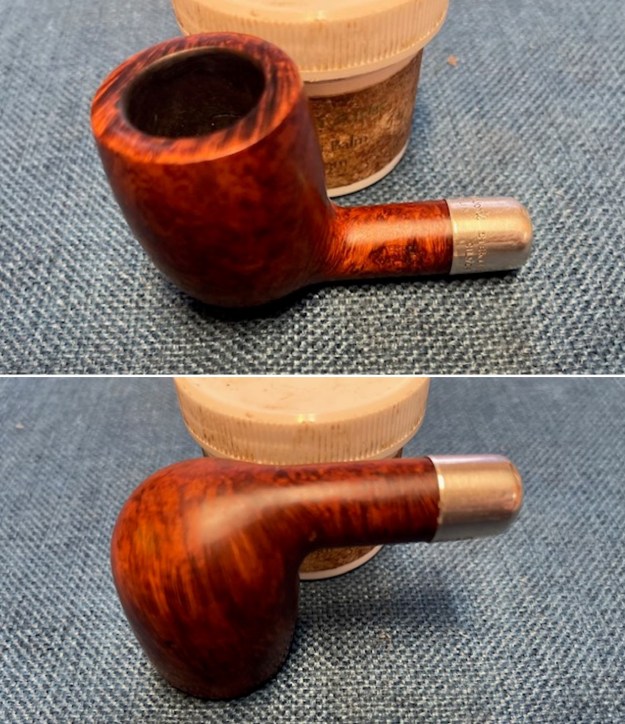
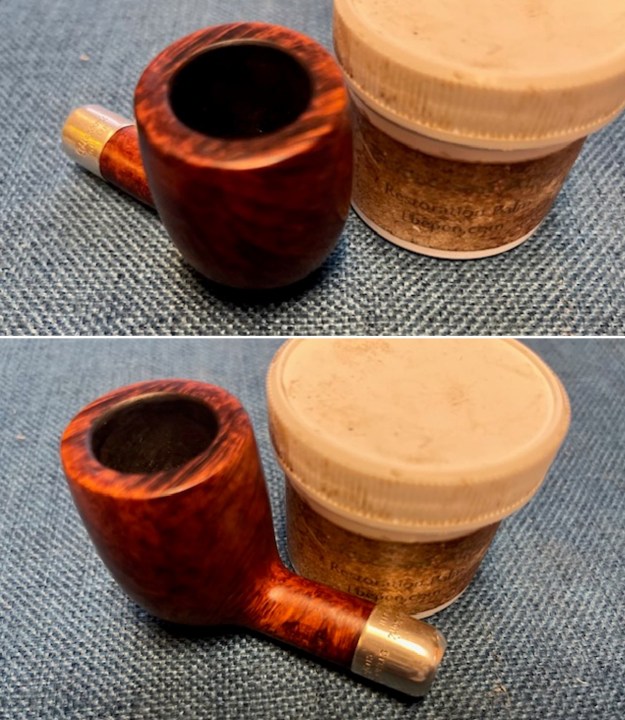
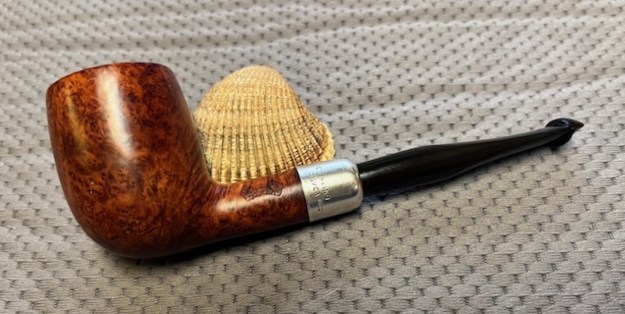
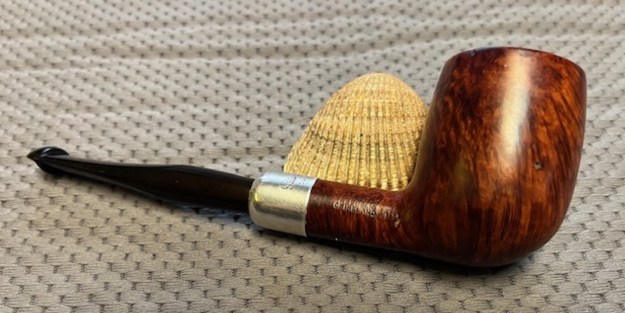
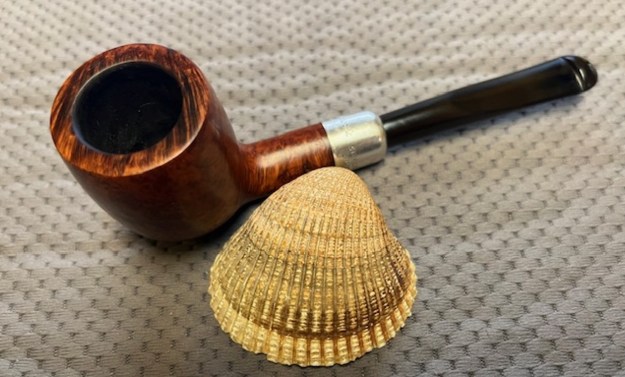
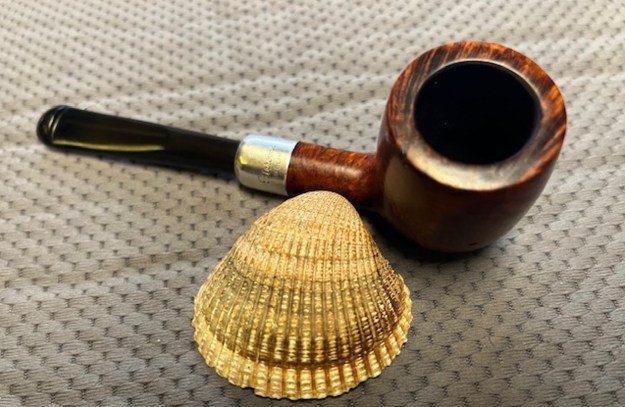
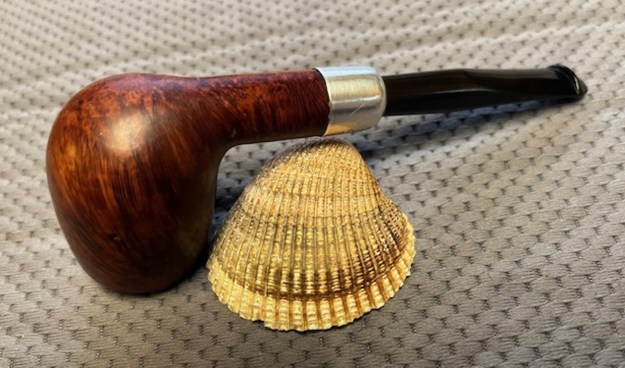
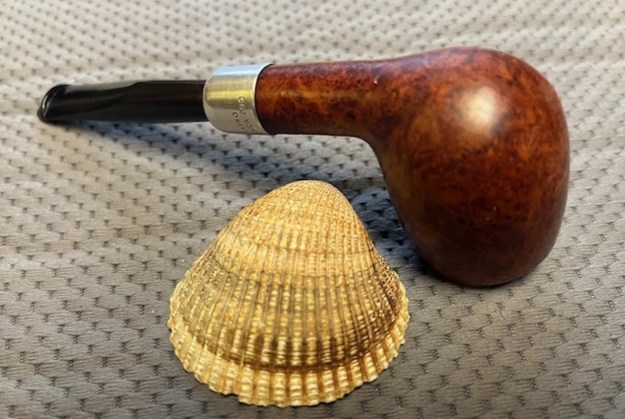
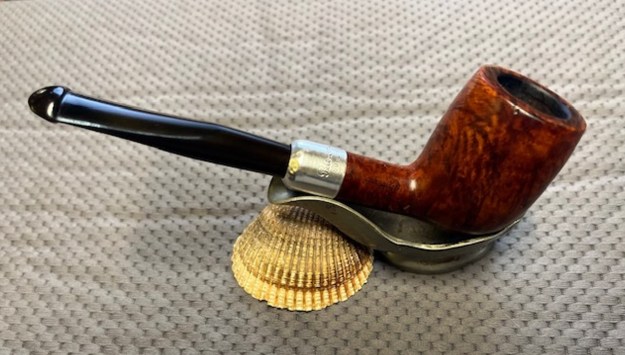
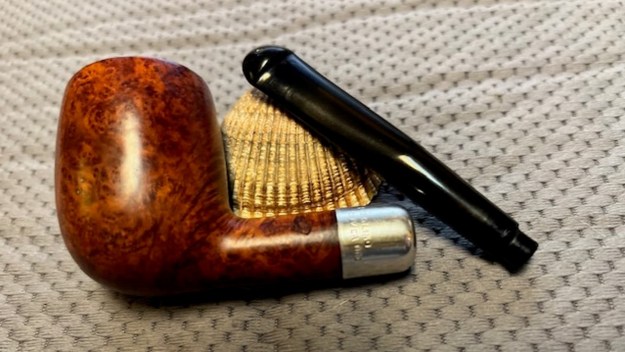
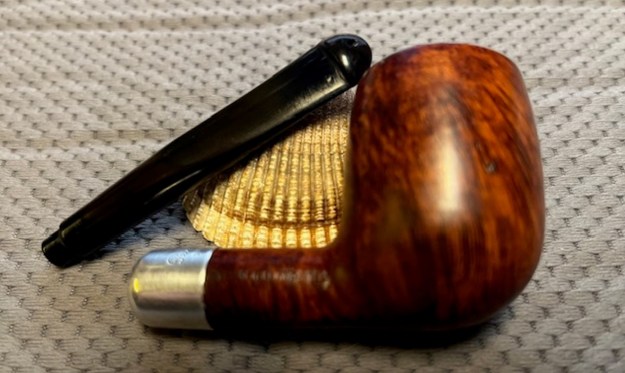
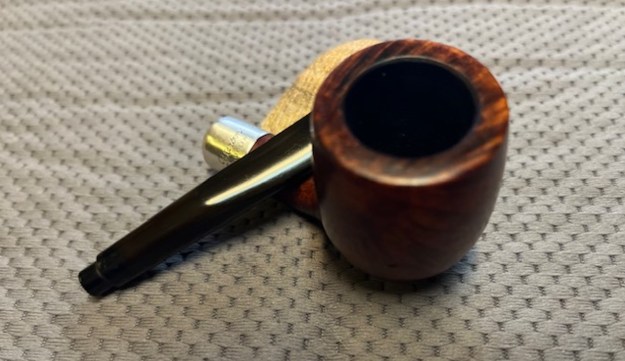
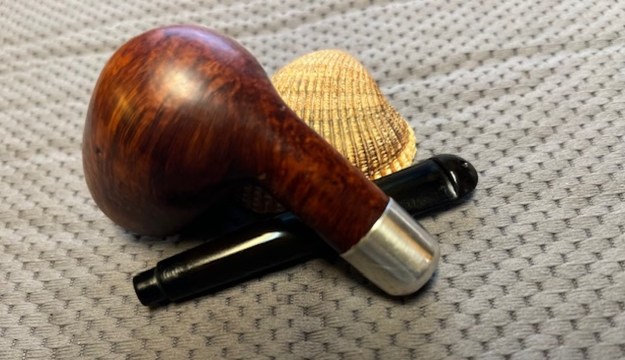
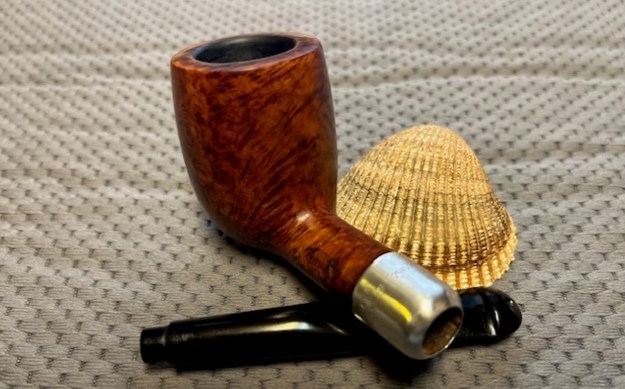
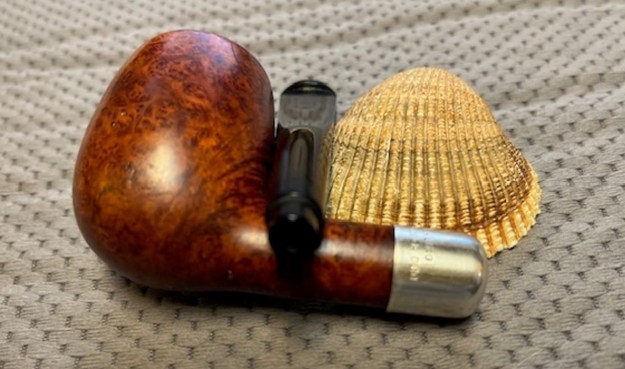
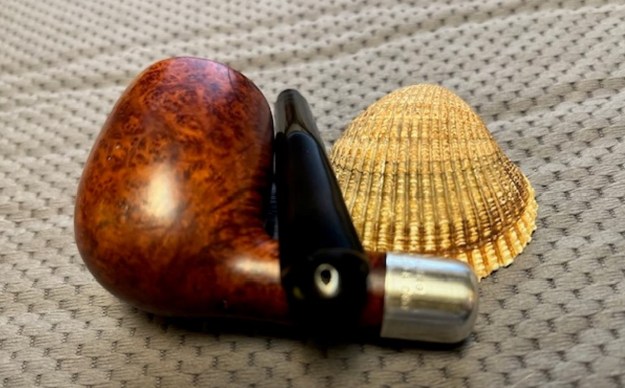
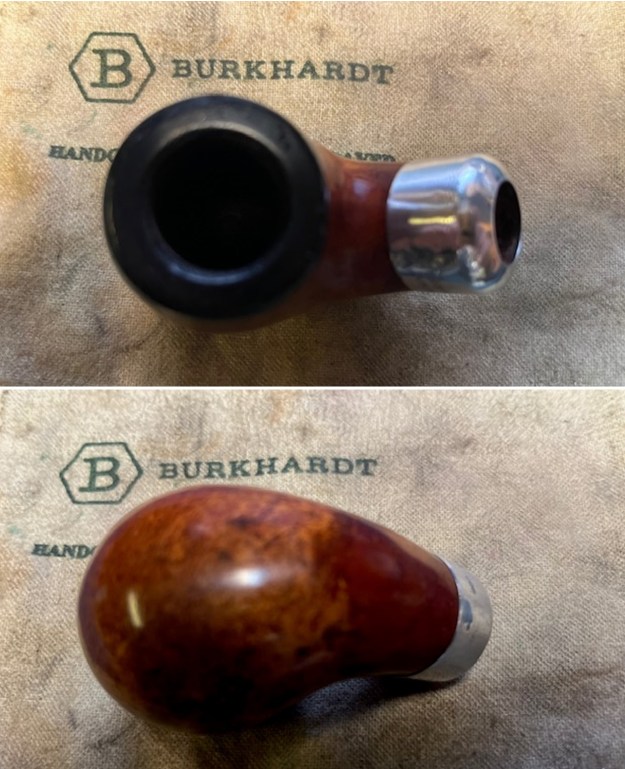
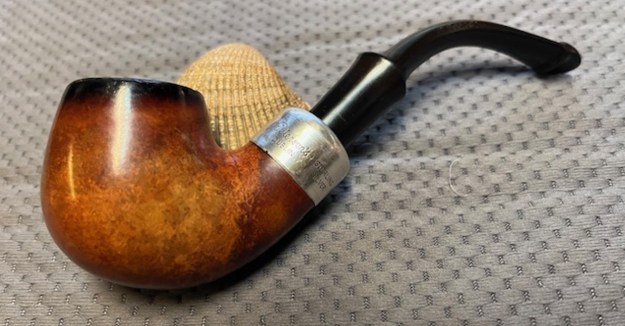
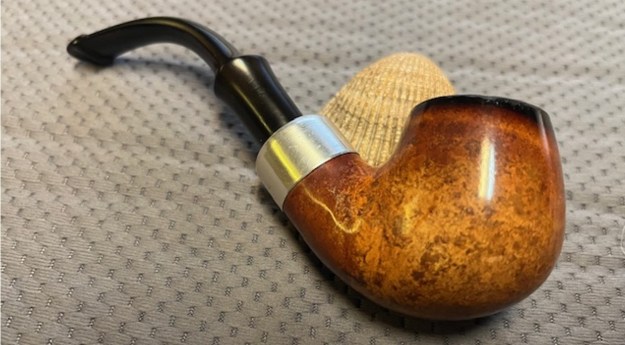
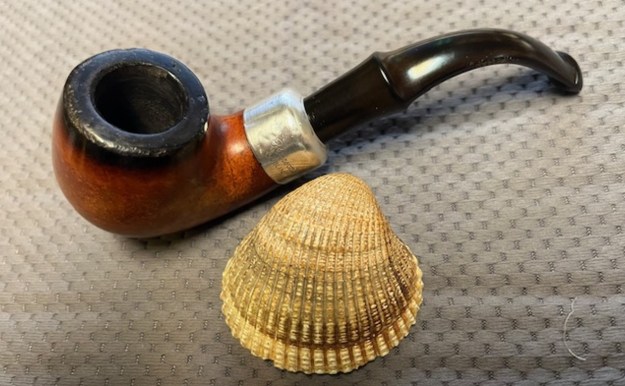
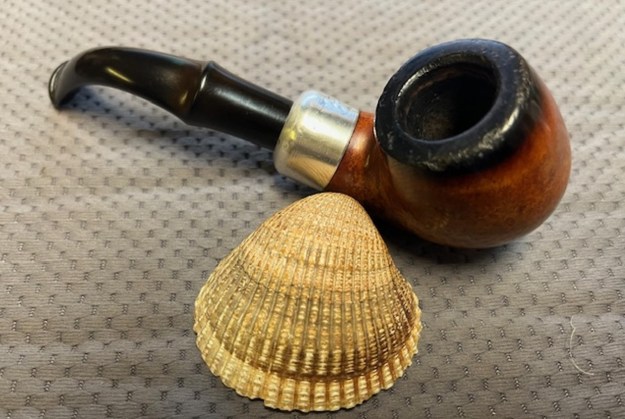
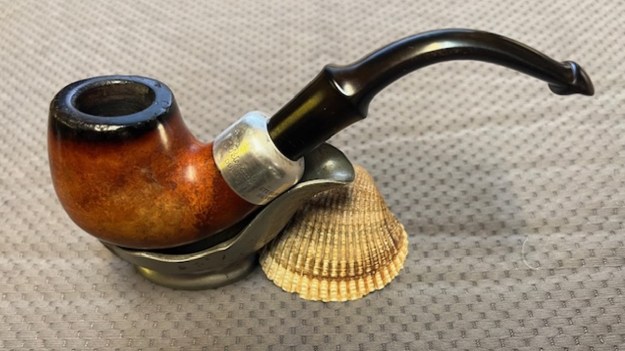
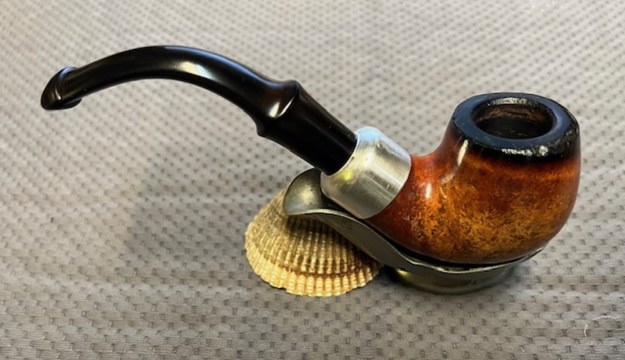
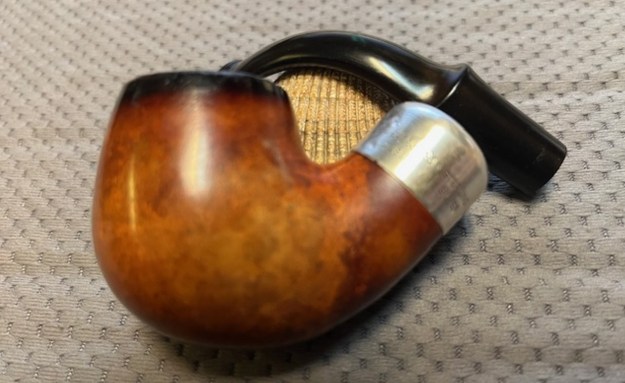
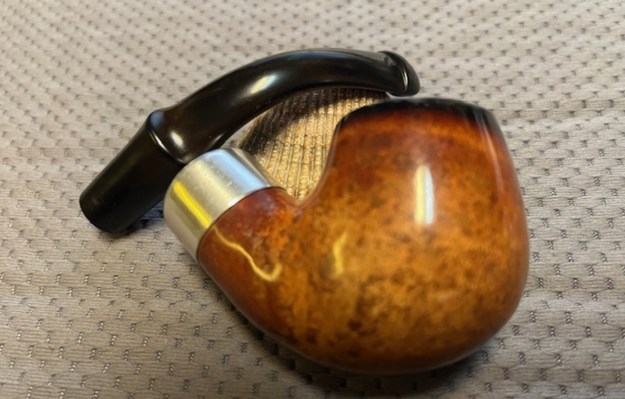
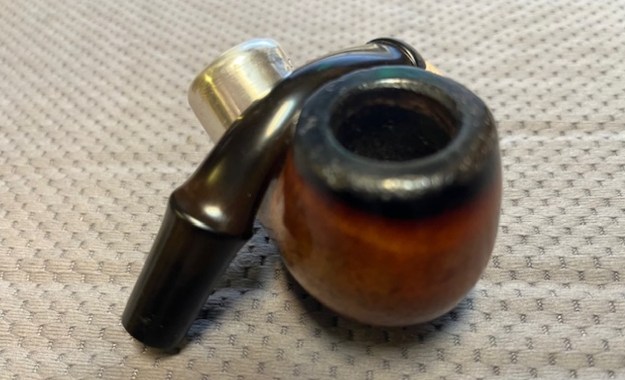
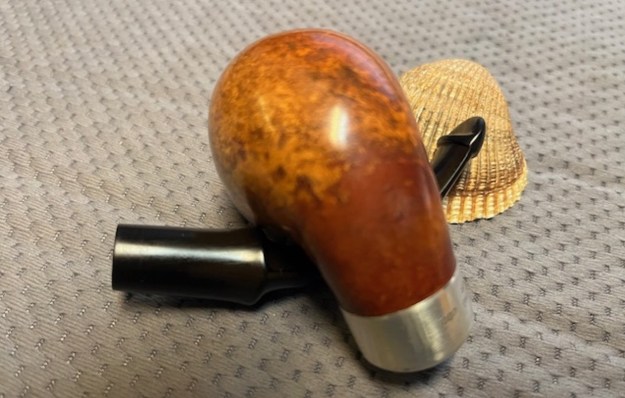
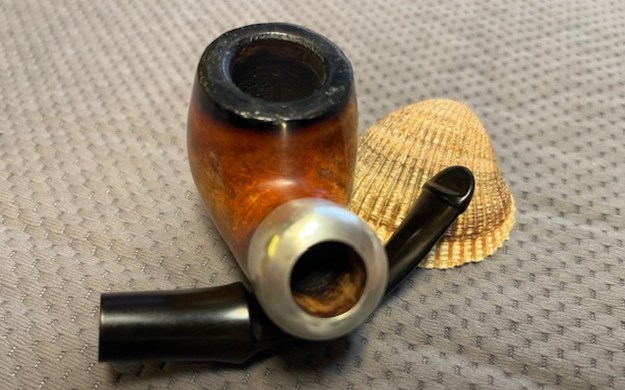
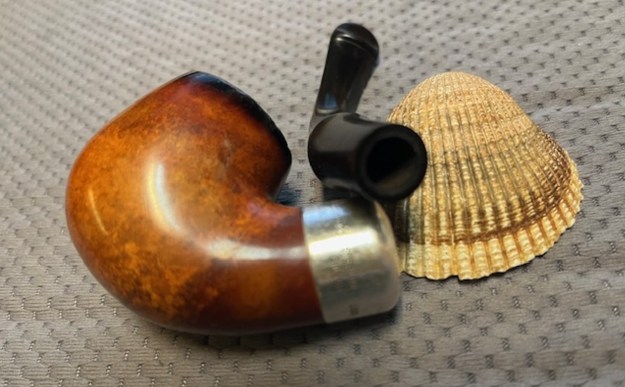
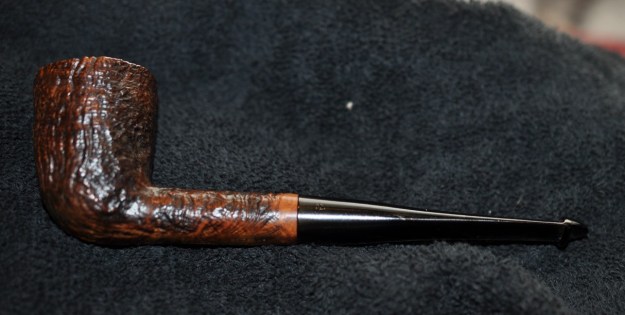
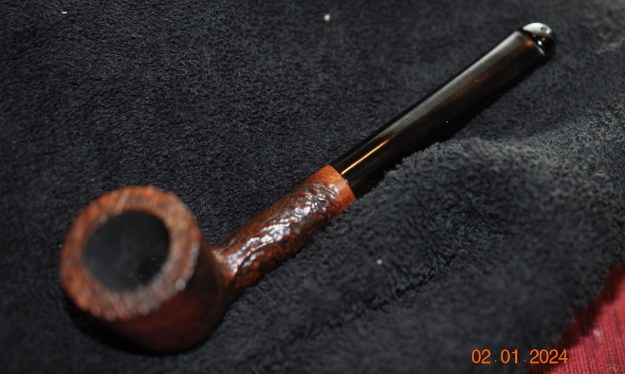
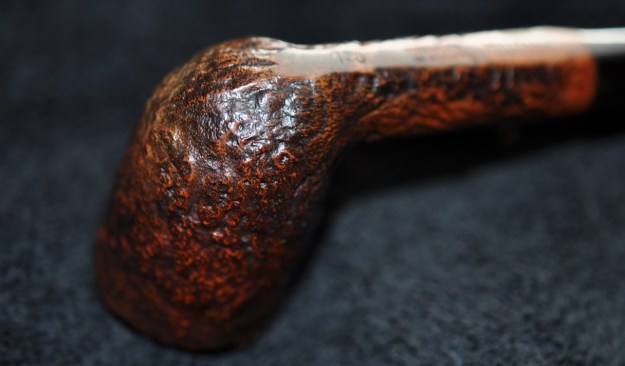
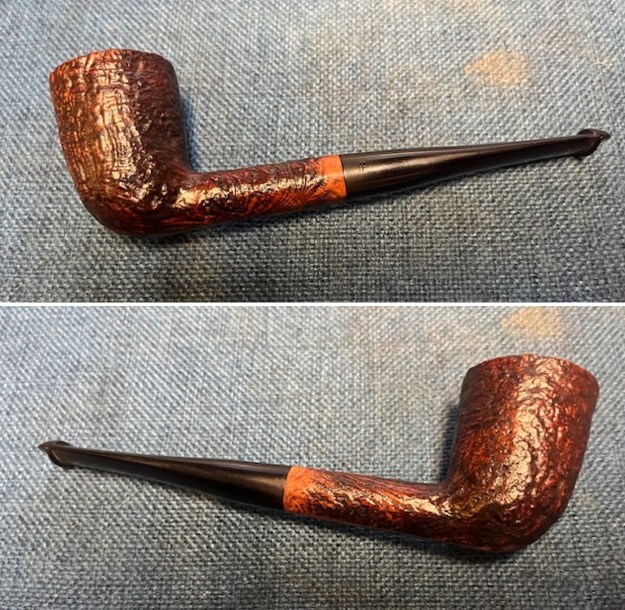
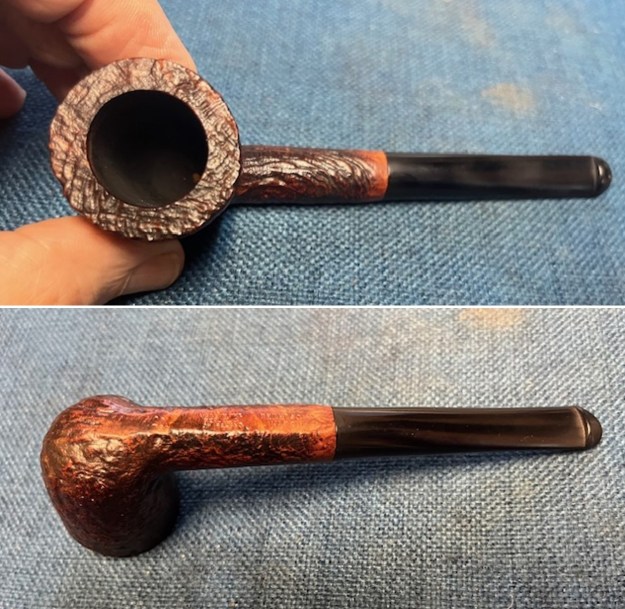
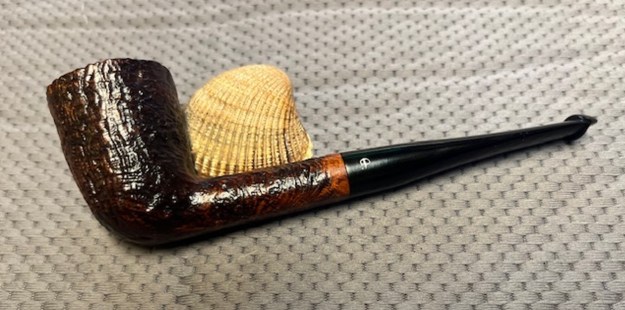
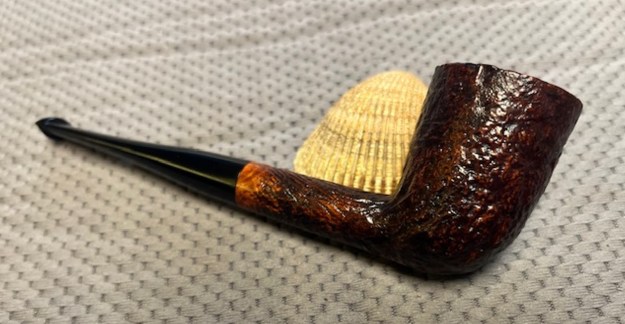
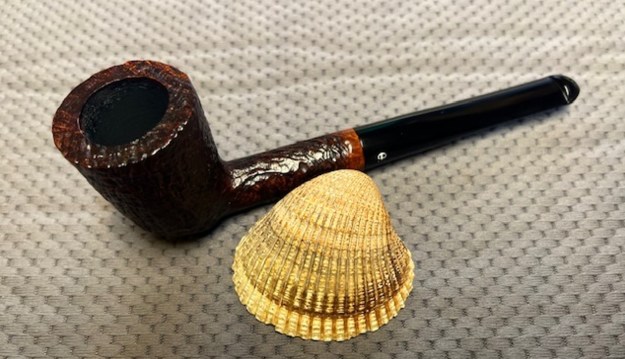
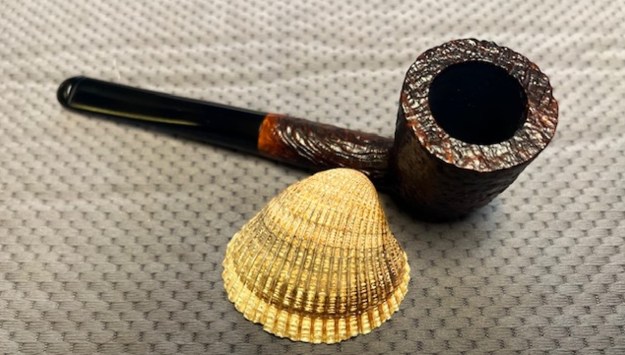
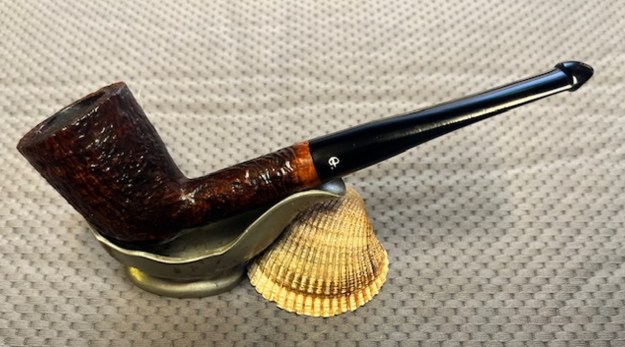
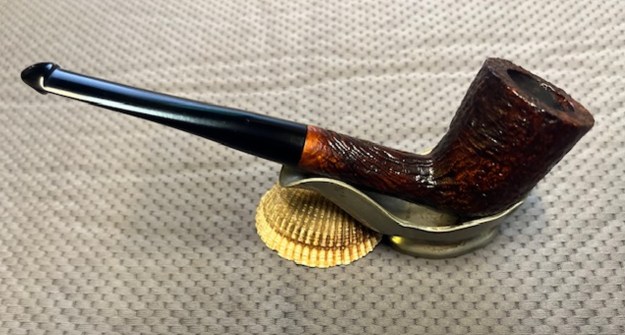
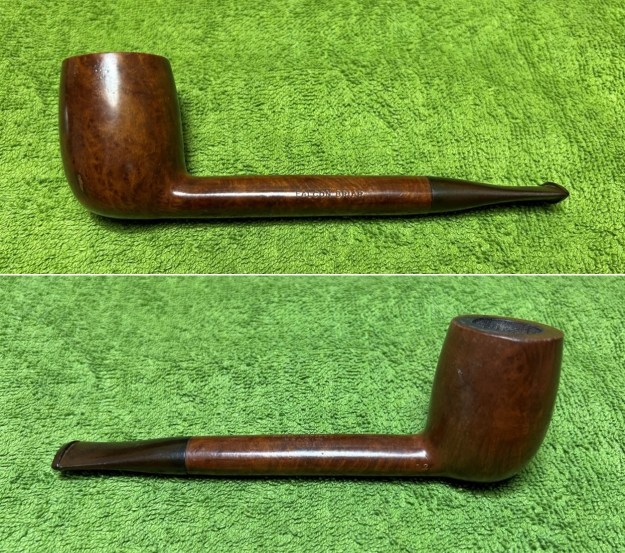
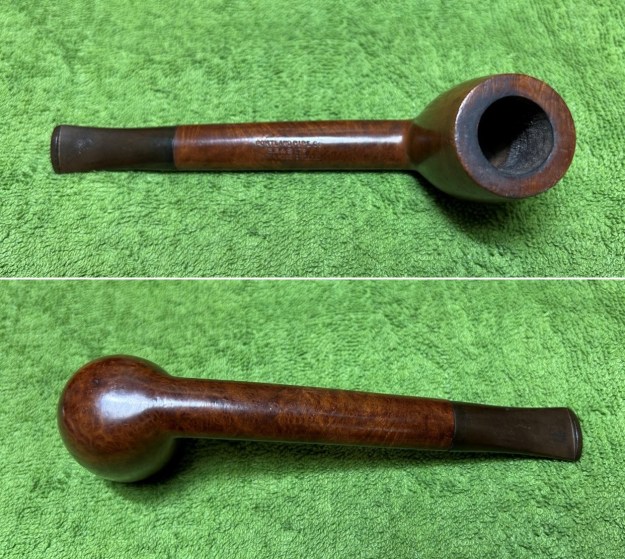
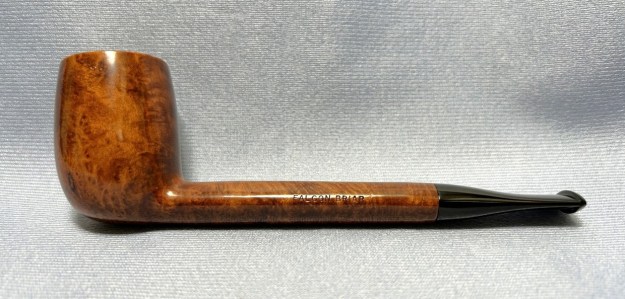
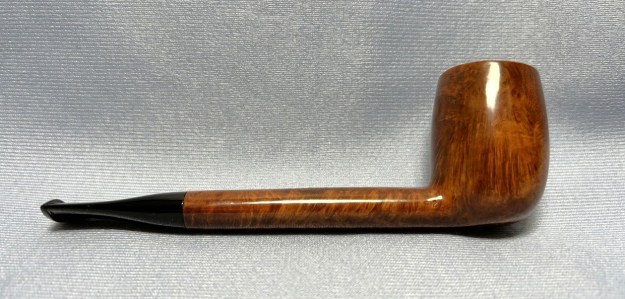
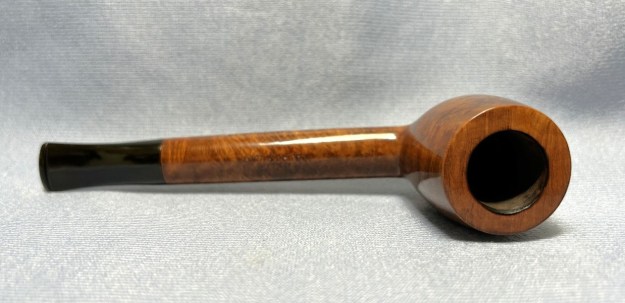
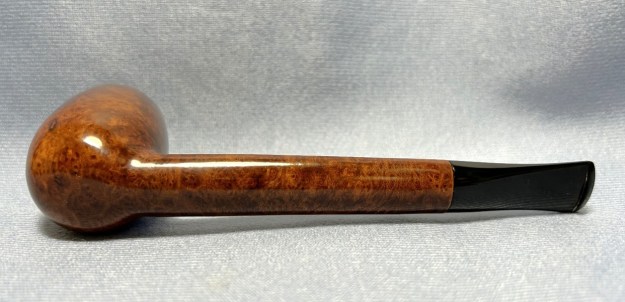
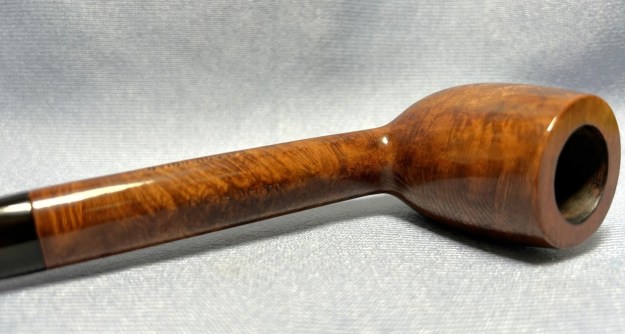
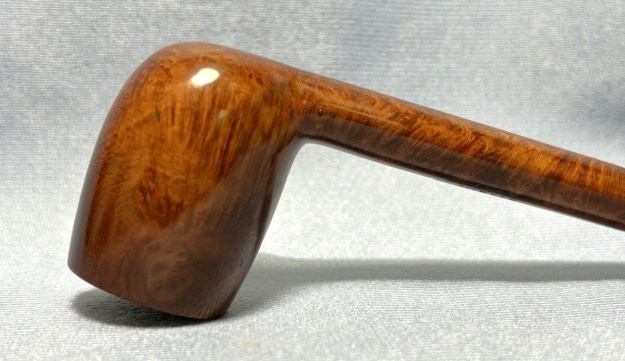
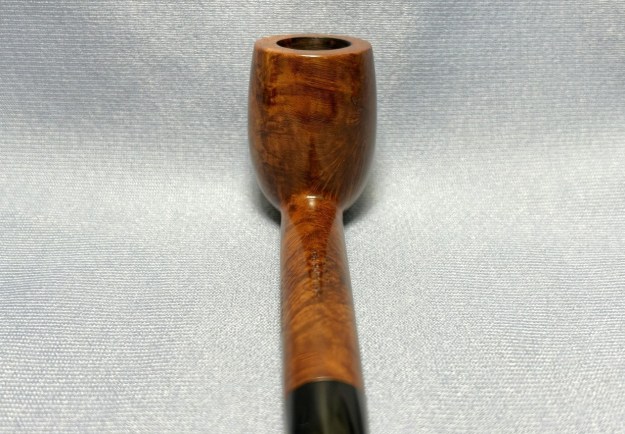
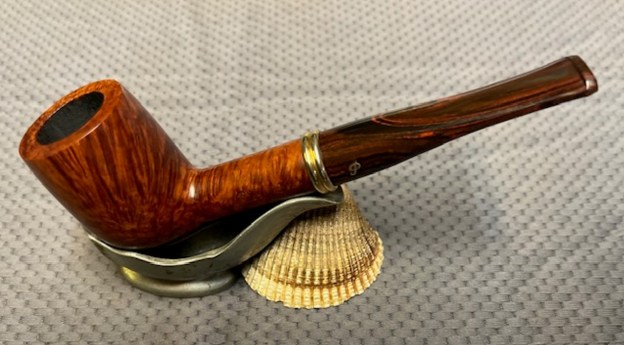
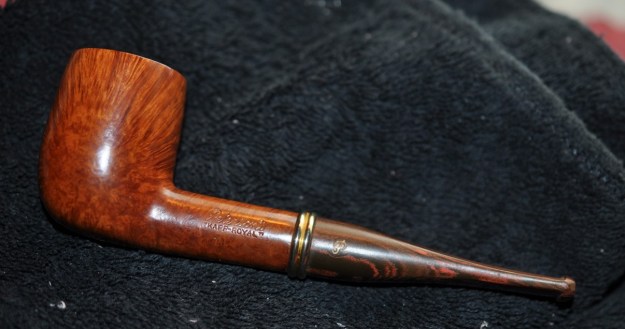
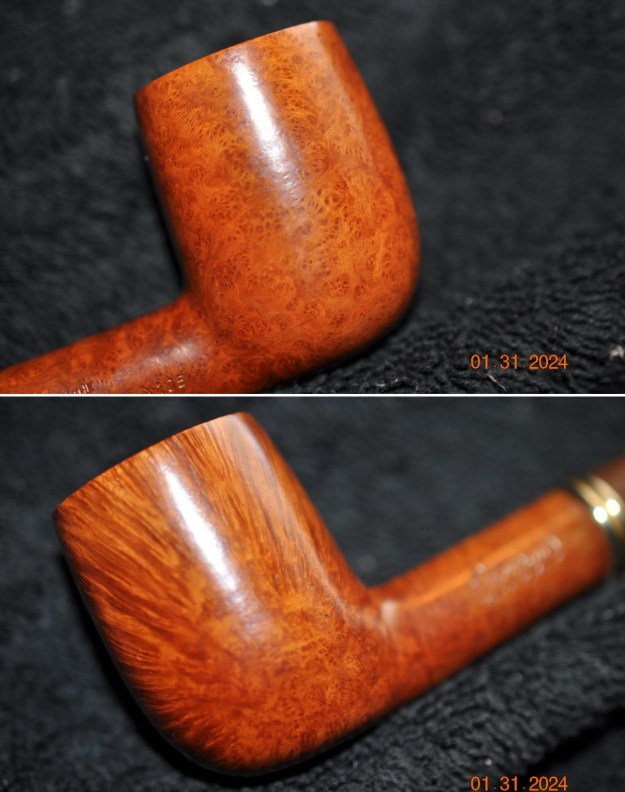
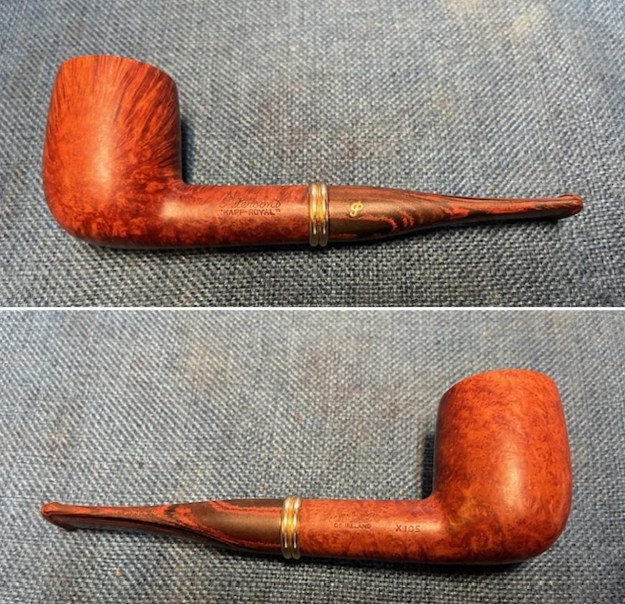
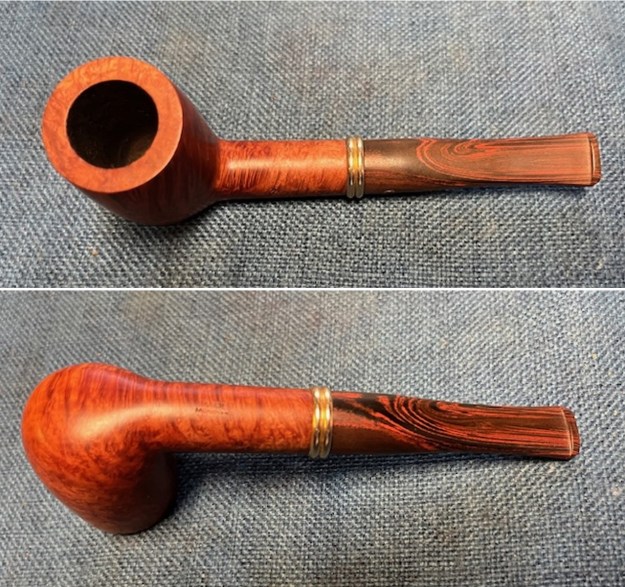
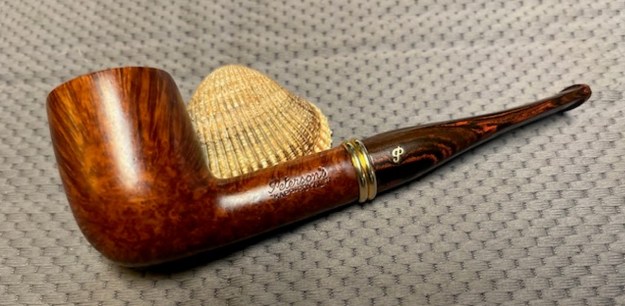
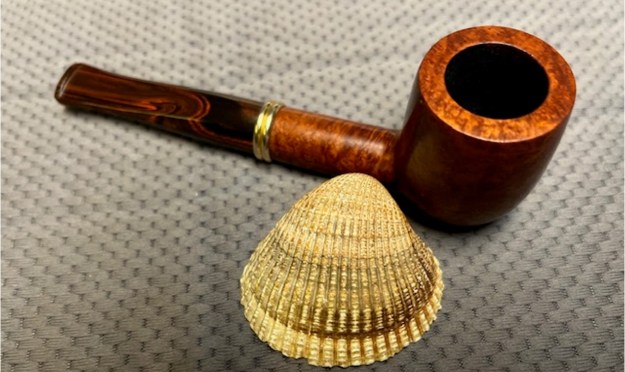
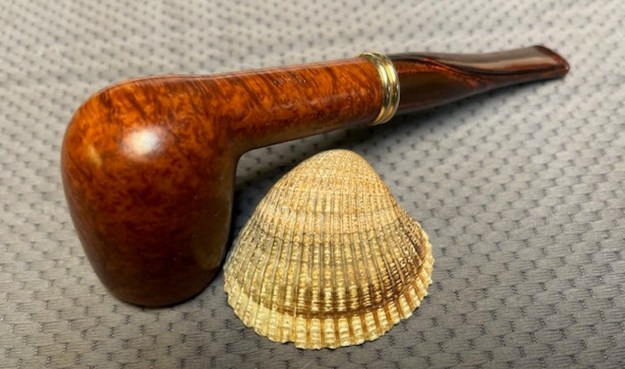
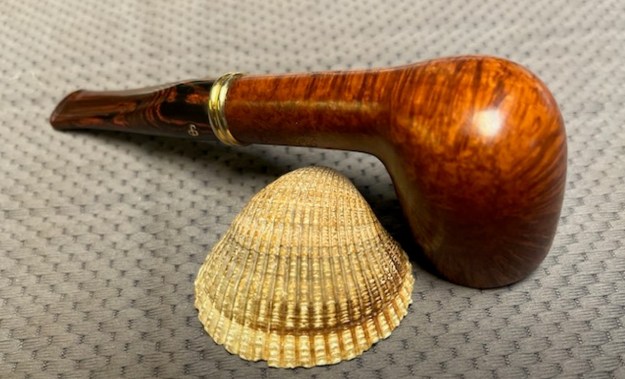
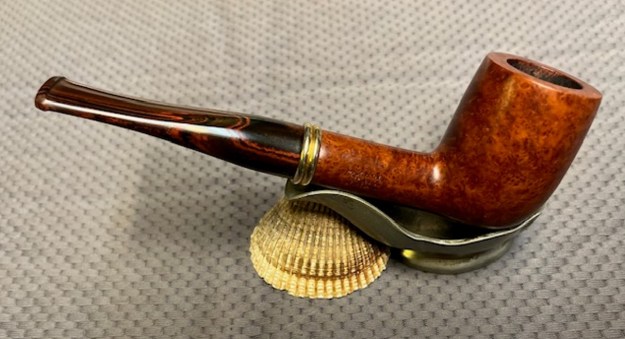
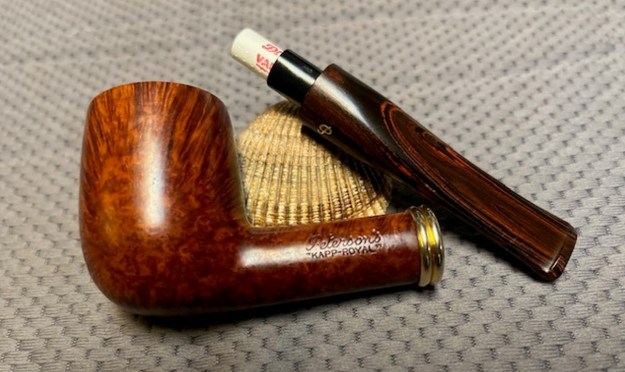
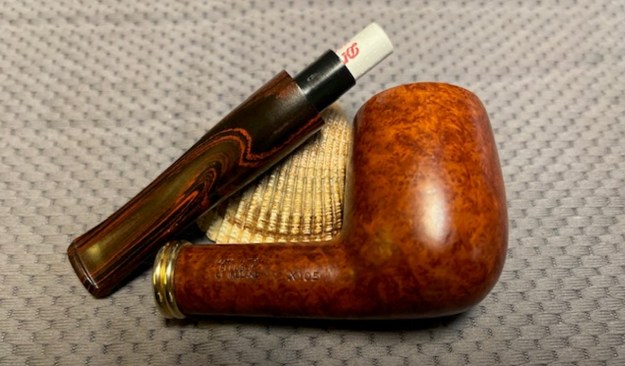
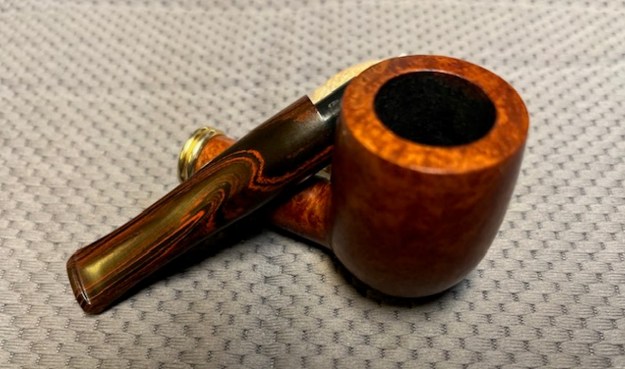
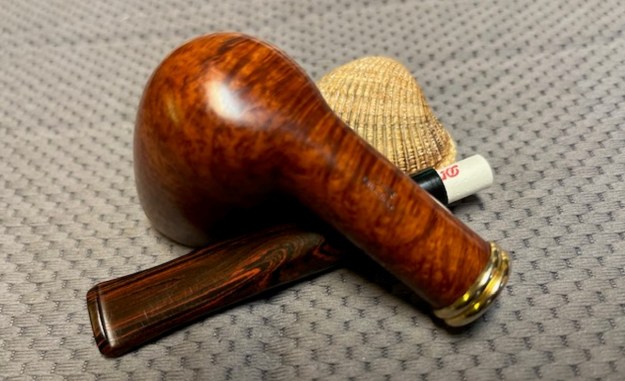
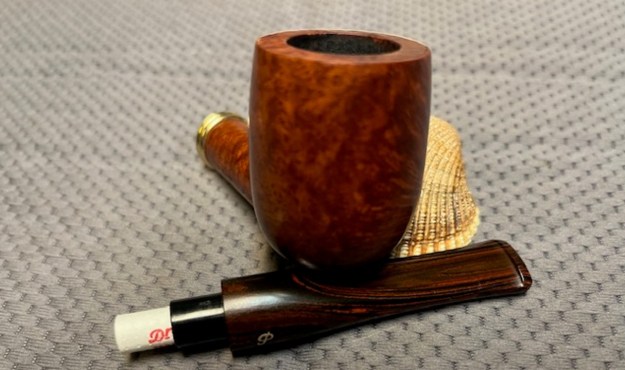
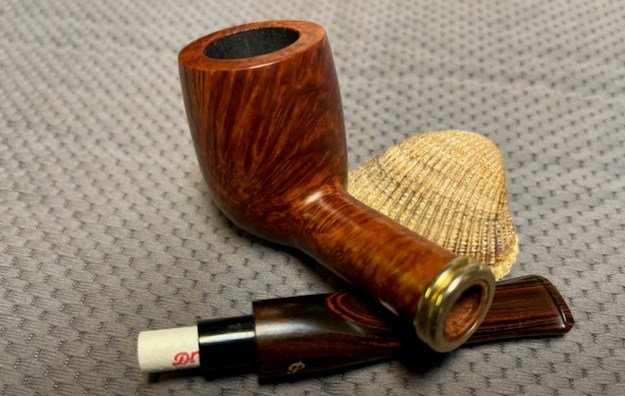
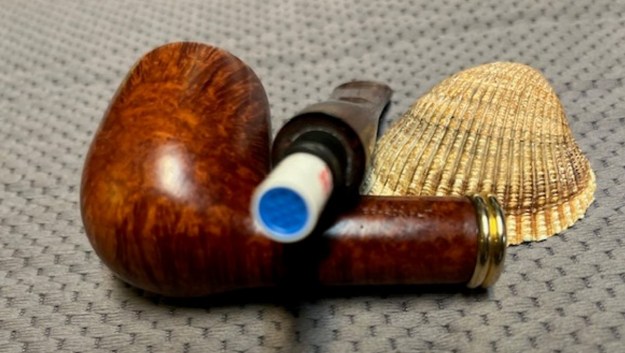
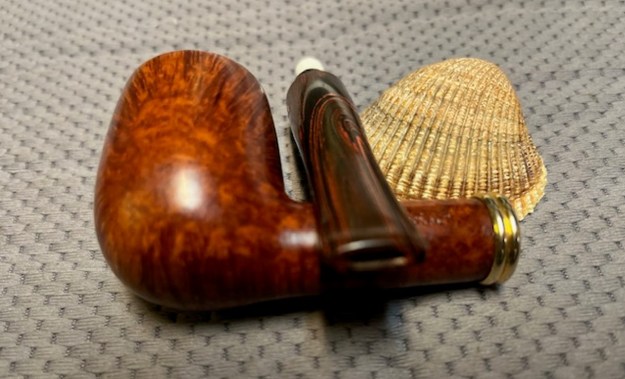
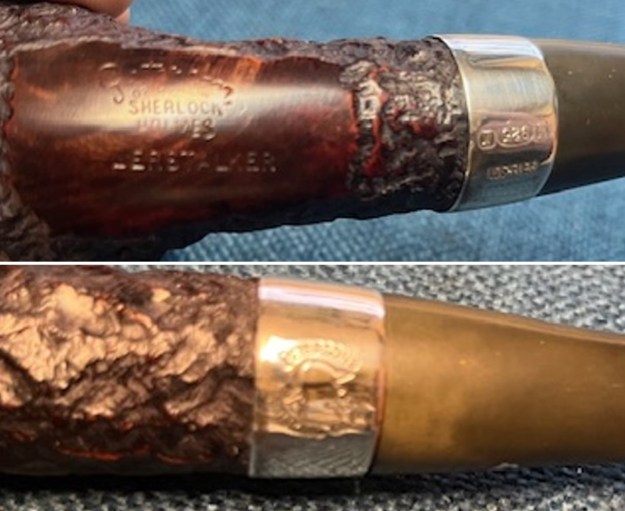
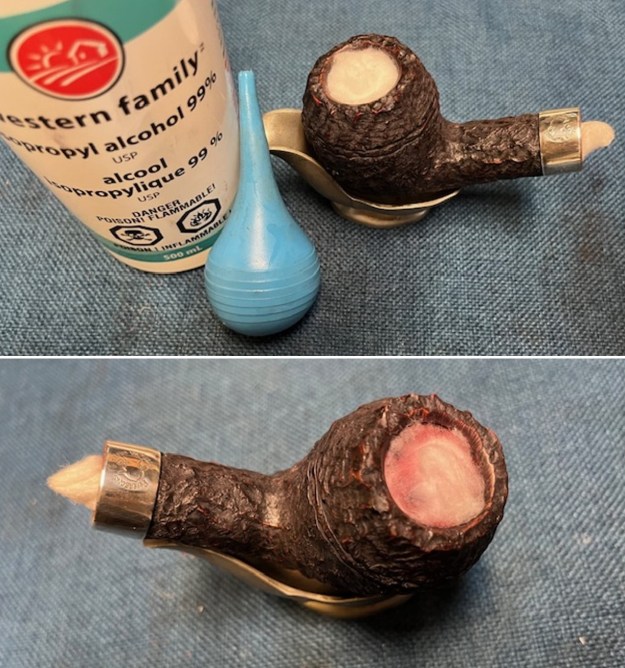
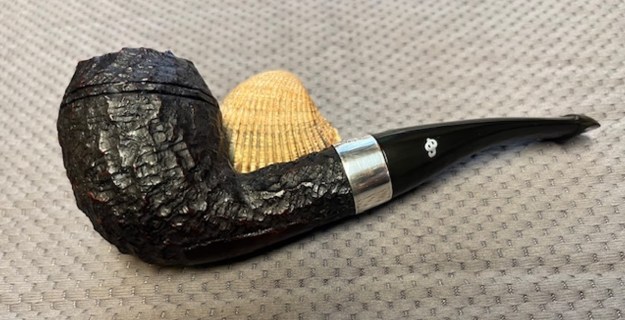
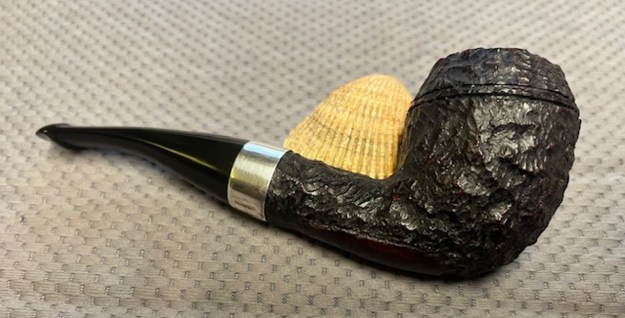
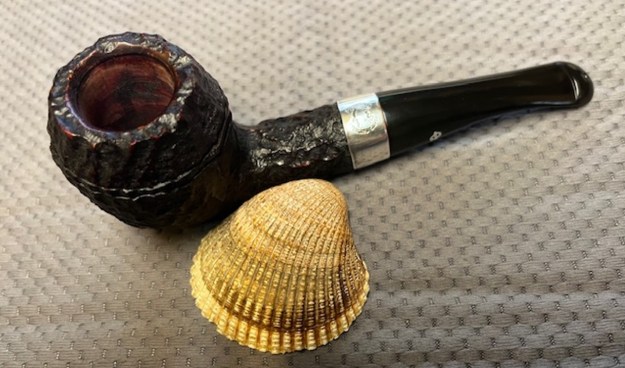
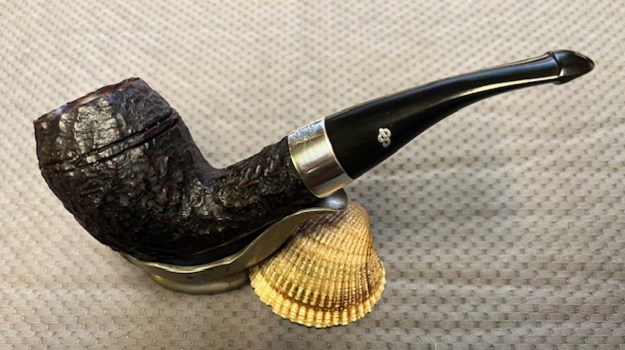
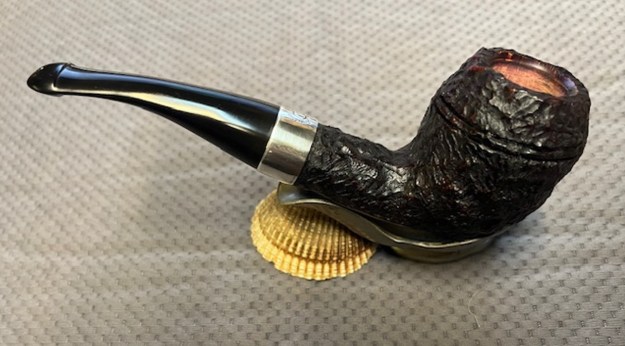
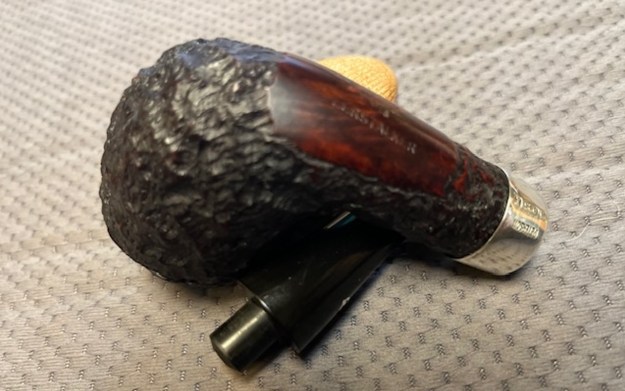
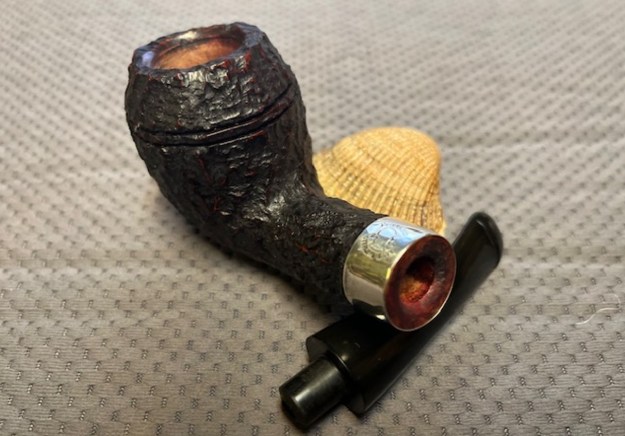
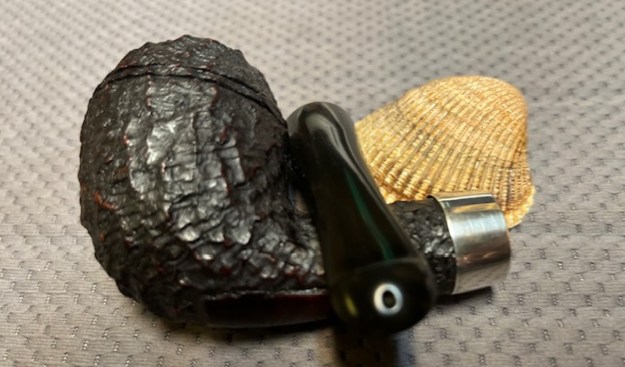
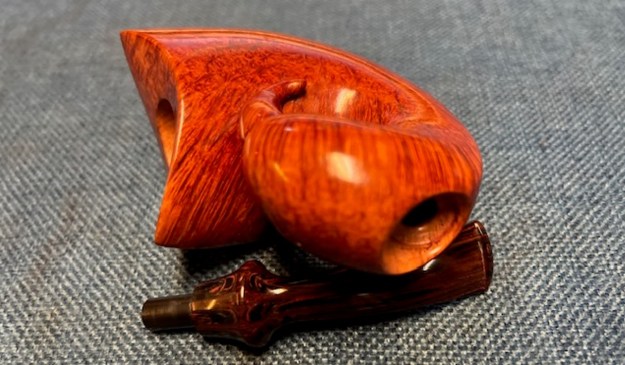
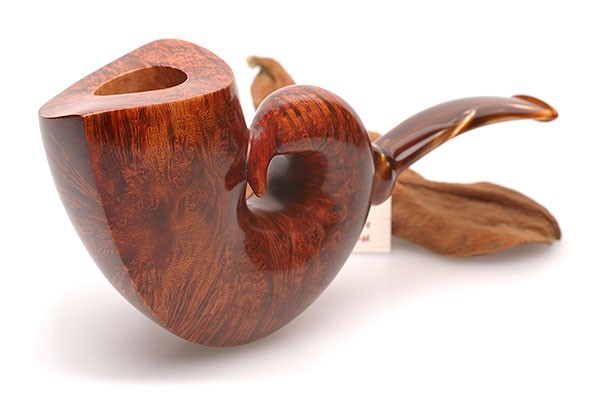
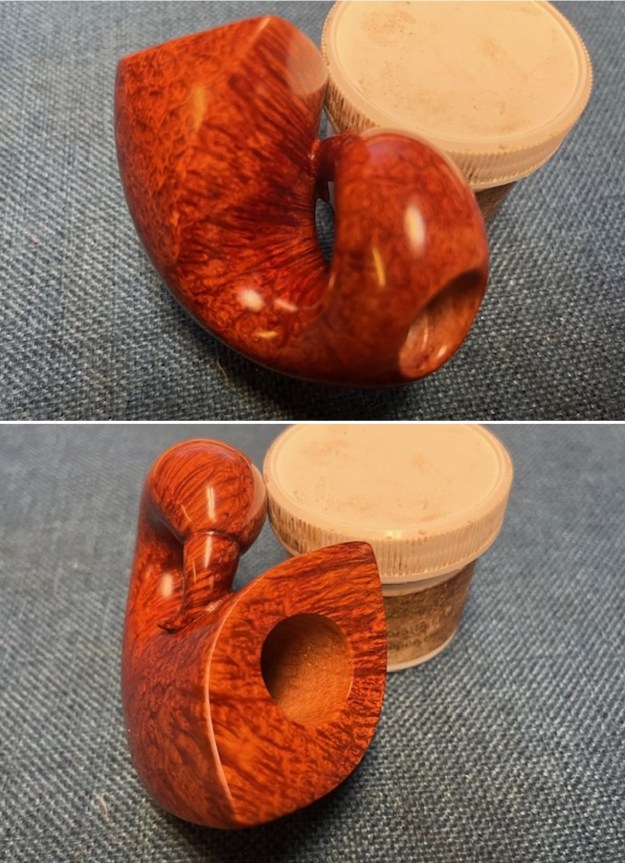
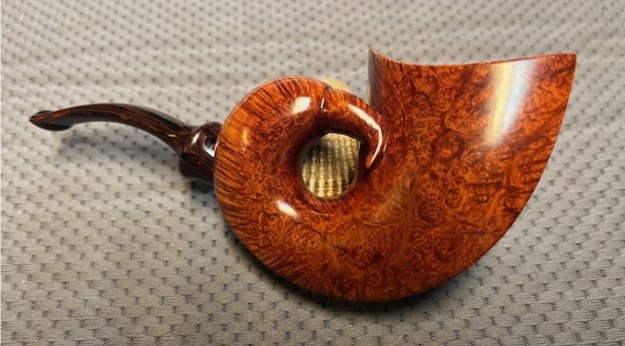
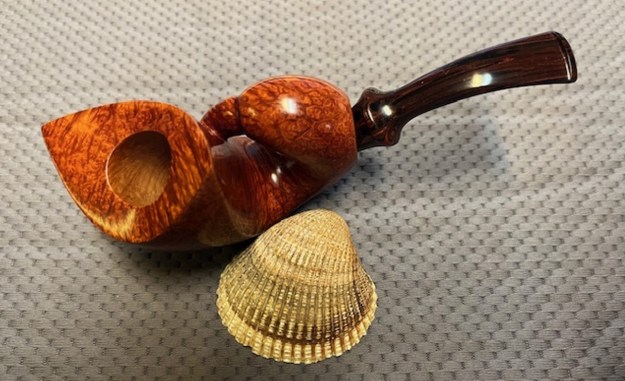
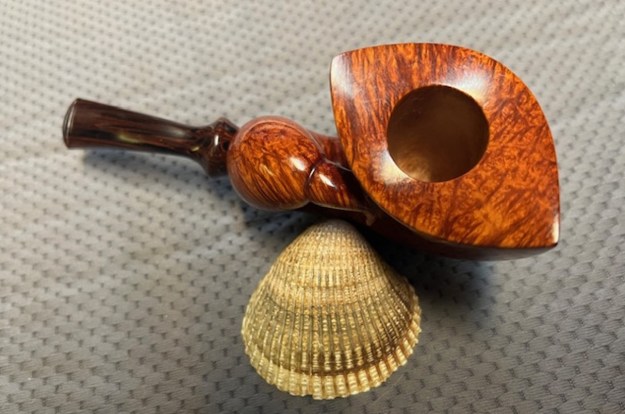
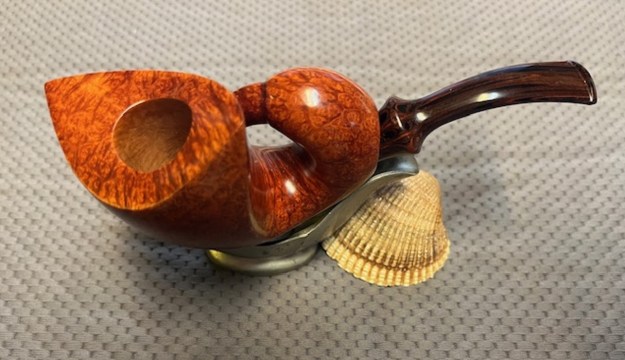
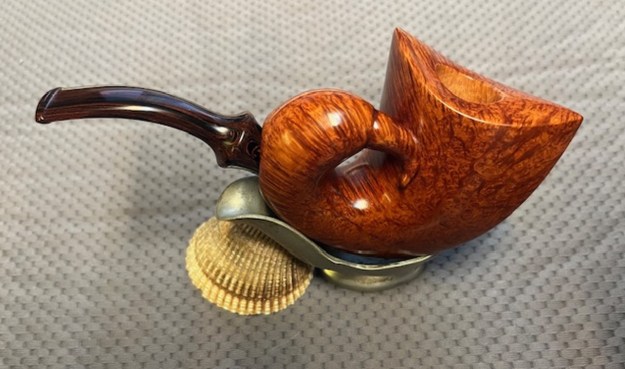
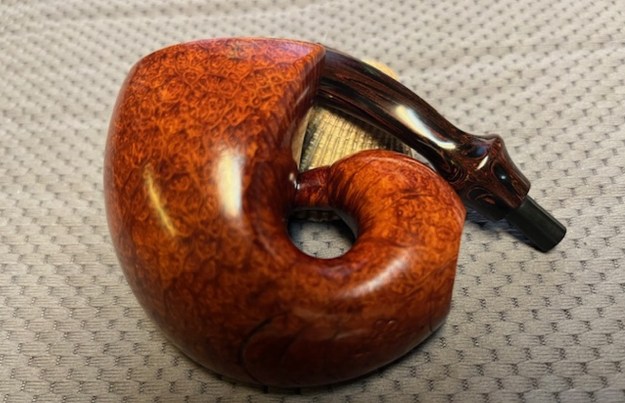
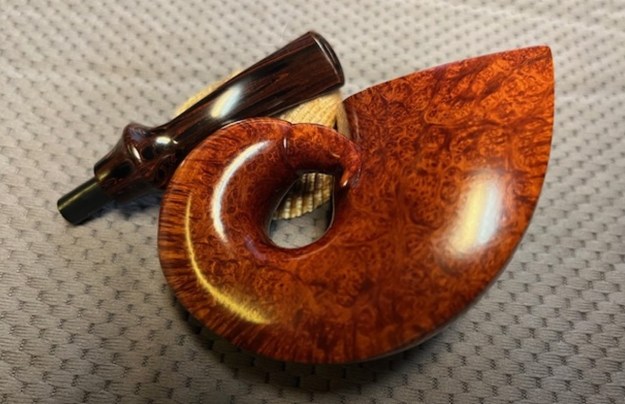
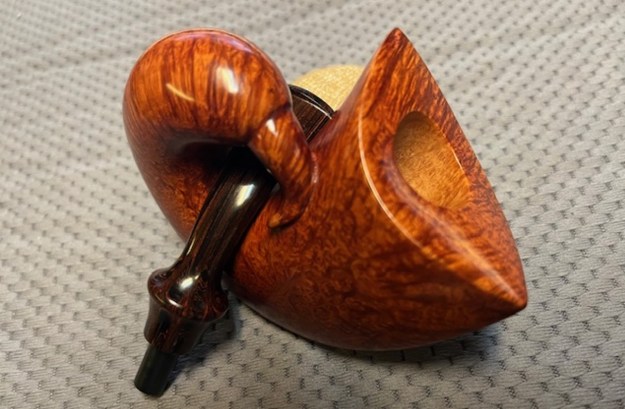
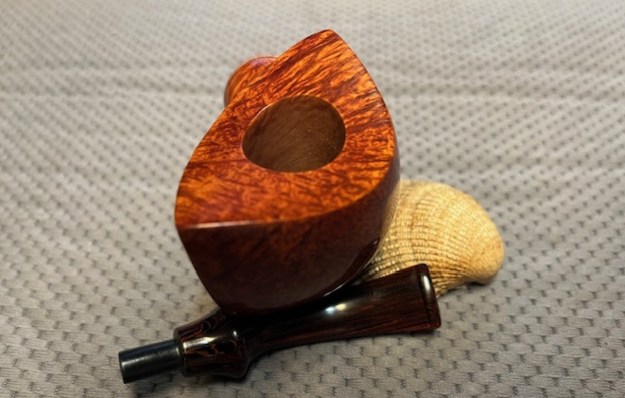
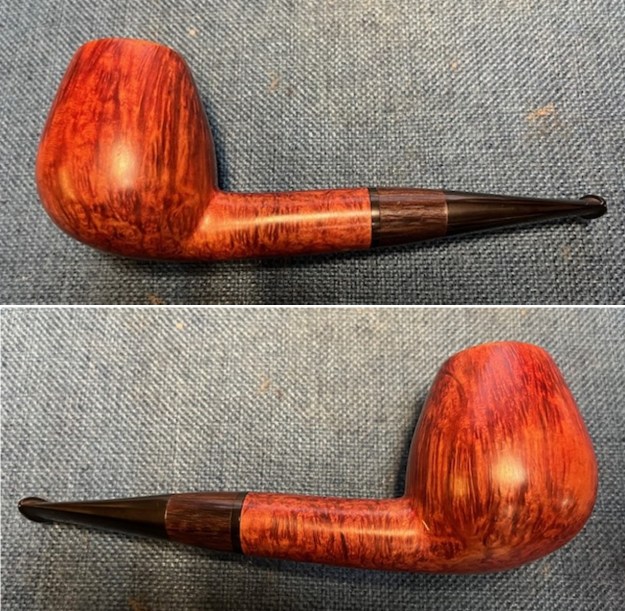
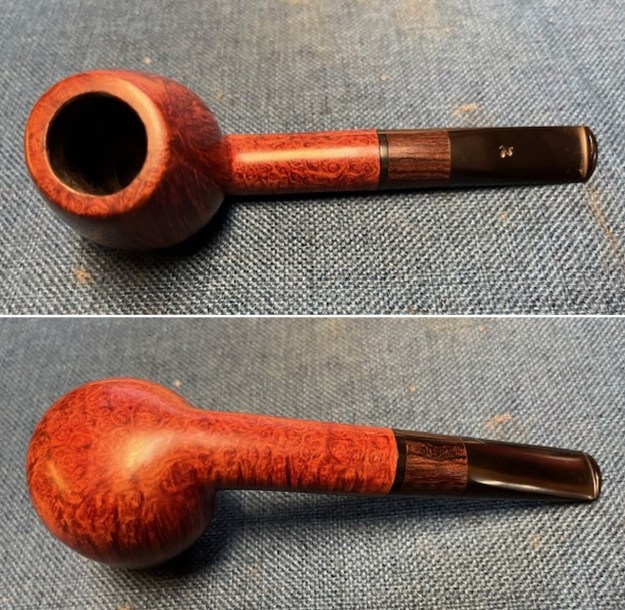
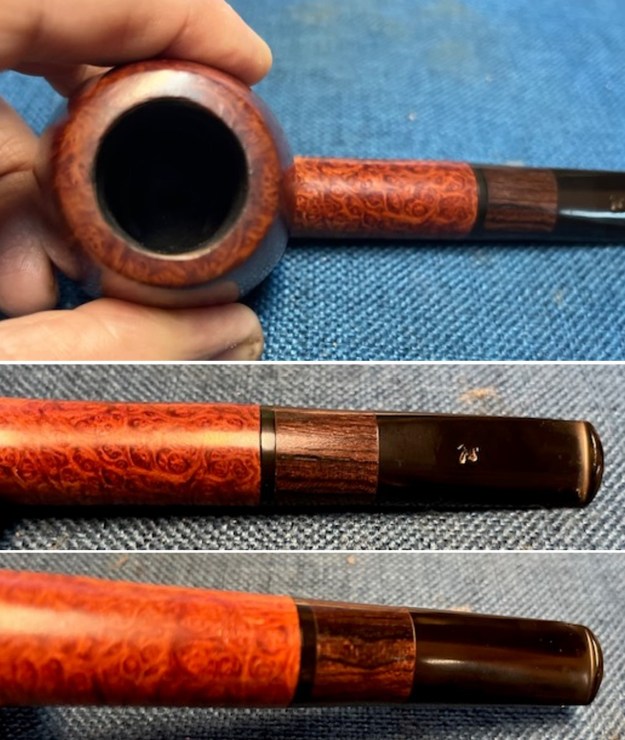
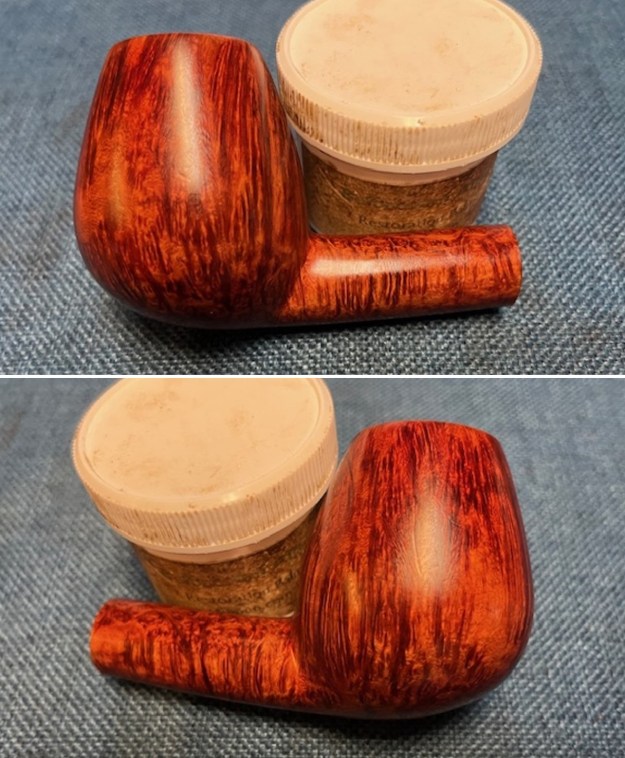
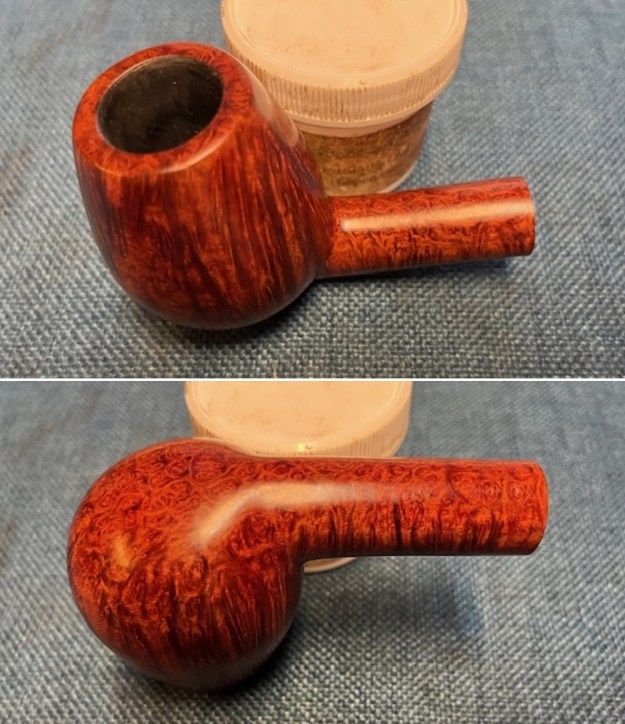
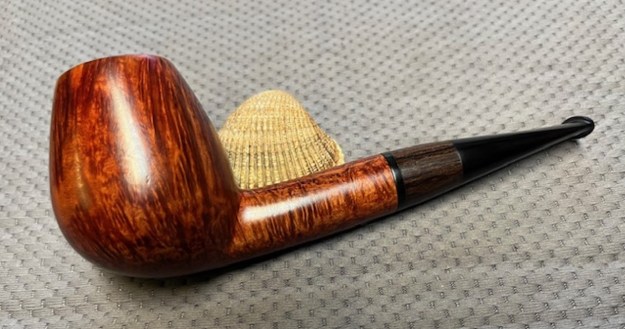
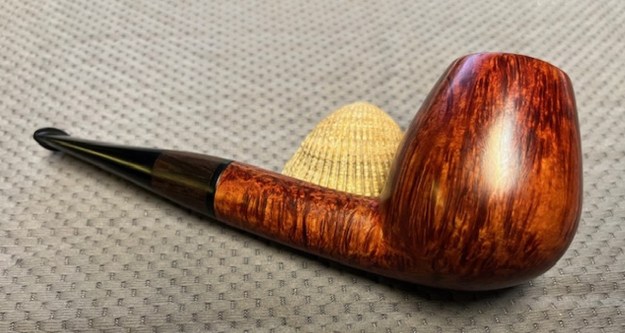
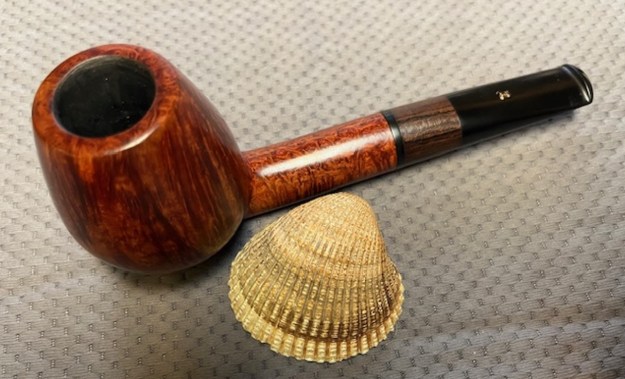
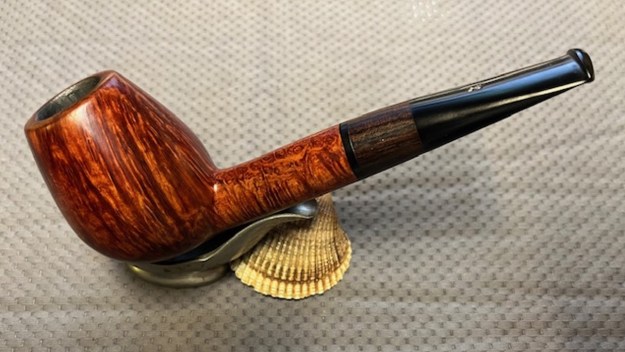
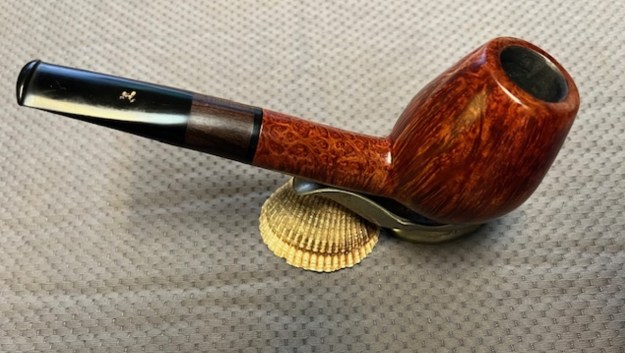
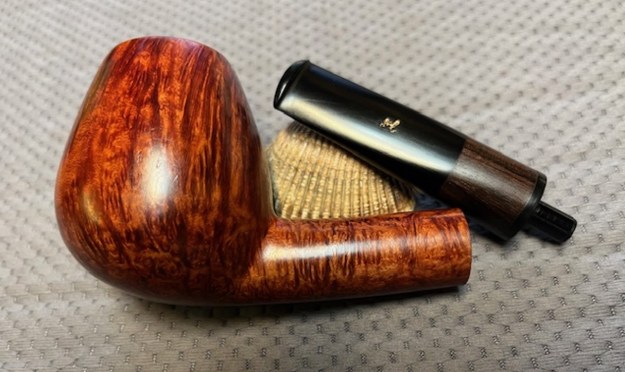
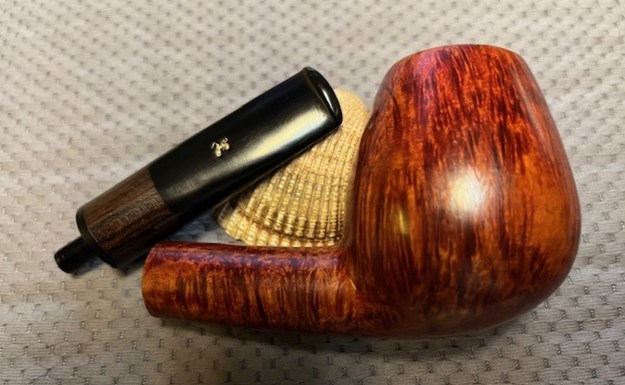
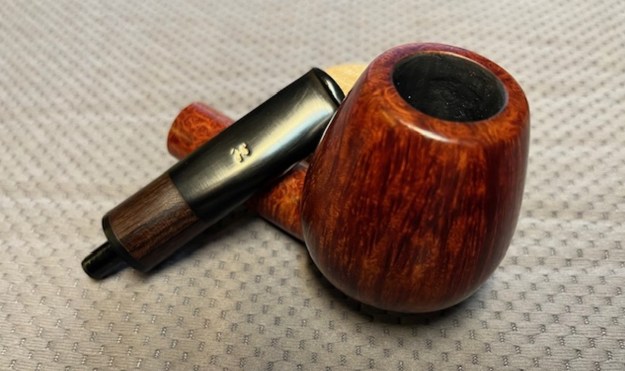
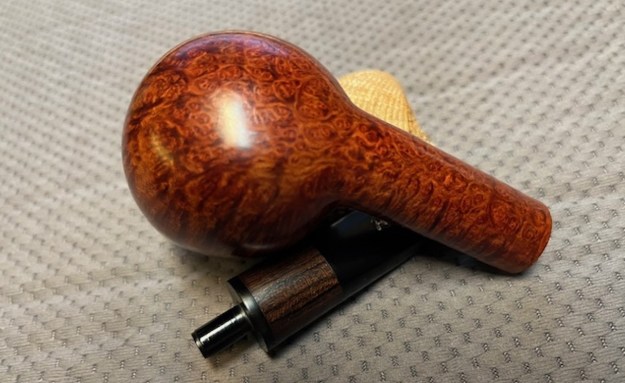
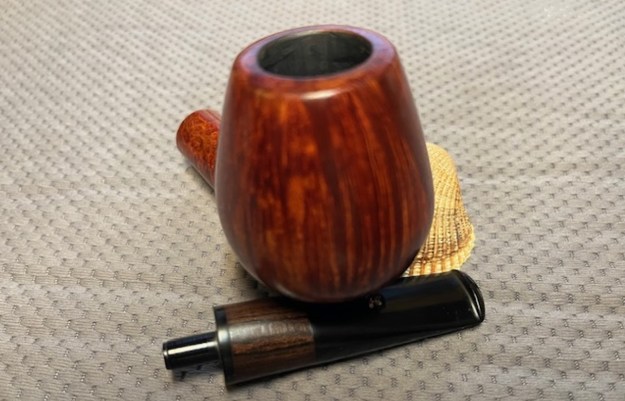
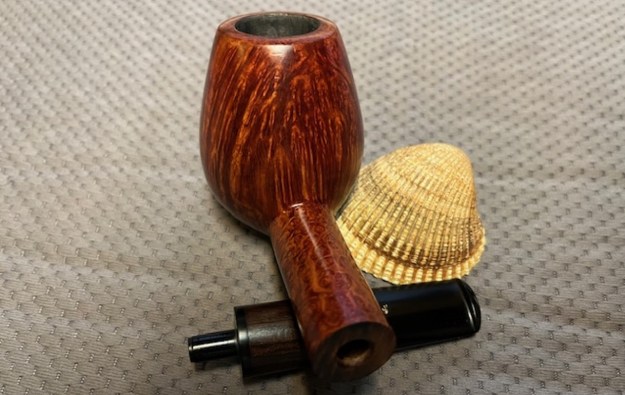
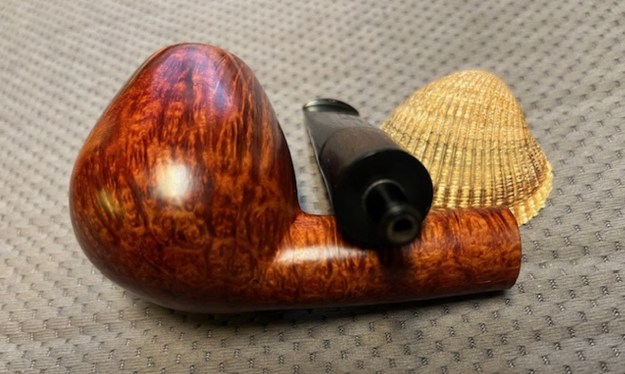
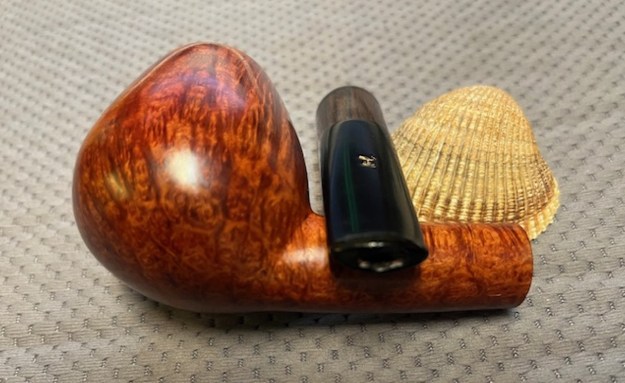
 I finished carving my Pipe Kit Billiard this afternoon. The shape came out looking very good and the polished nickel ferrule works well with the pipe. I oiled the bowl with another coat of EVO (Extra Virgin Olive Oil). The oil brought the grain out very well and the oil gave it a rich reddish brown look. I put the stem back on the bowl and carefully buffed the pipe with Blue Diamond on the buffing wheel using a light touch on the briar. I gave the bowl and the stem multiple coats of carnauba wax on the buffing wheel and followed that by buffing the entire pipe with a clean buffing pad. I hand buffed the pipe with a microfiber cloth to deepen the shine. The finished Pipe Kit Billiard is a beauty and fits nicely in the hand and looks very good. Give the finished pipe a look in the photos below. The dimensions of the pipe are Length: 6 inches, Height: 1 ¾ inches, Outside diameter of the bowl: 1 ¼ inch, Chamber diameter: ¾ of an inch. The weight of the pipe is 44 grams/1.55 ounces. This was a fun one to carve for me. I like how it turned out and look forward to enjoying a bowl in it very soon. Thanks for reading this blog and my reflections on the pipe while I worked on it.


