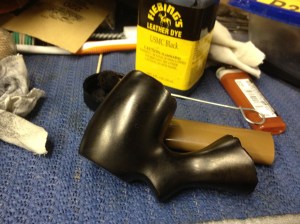
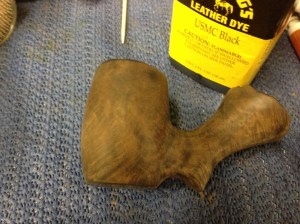
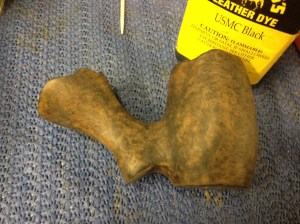
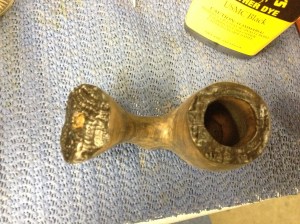
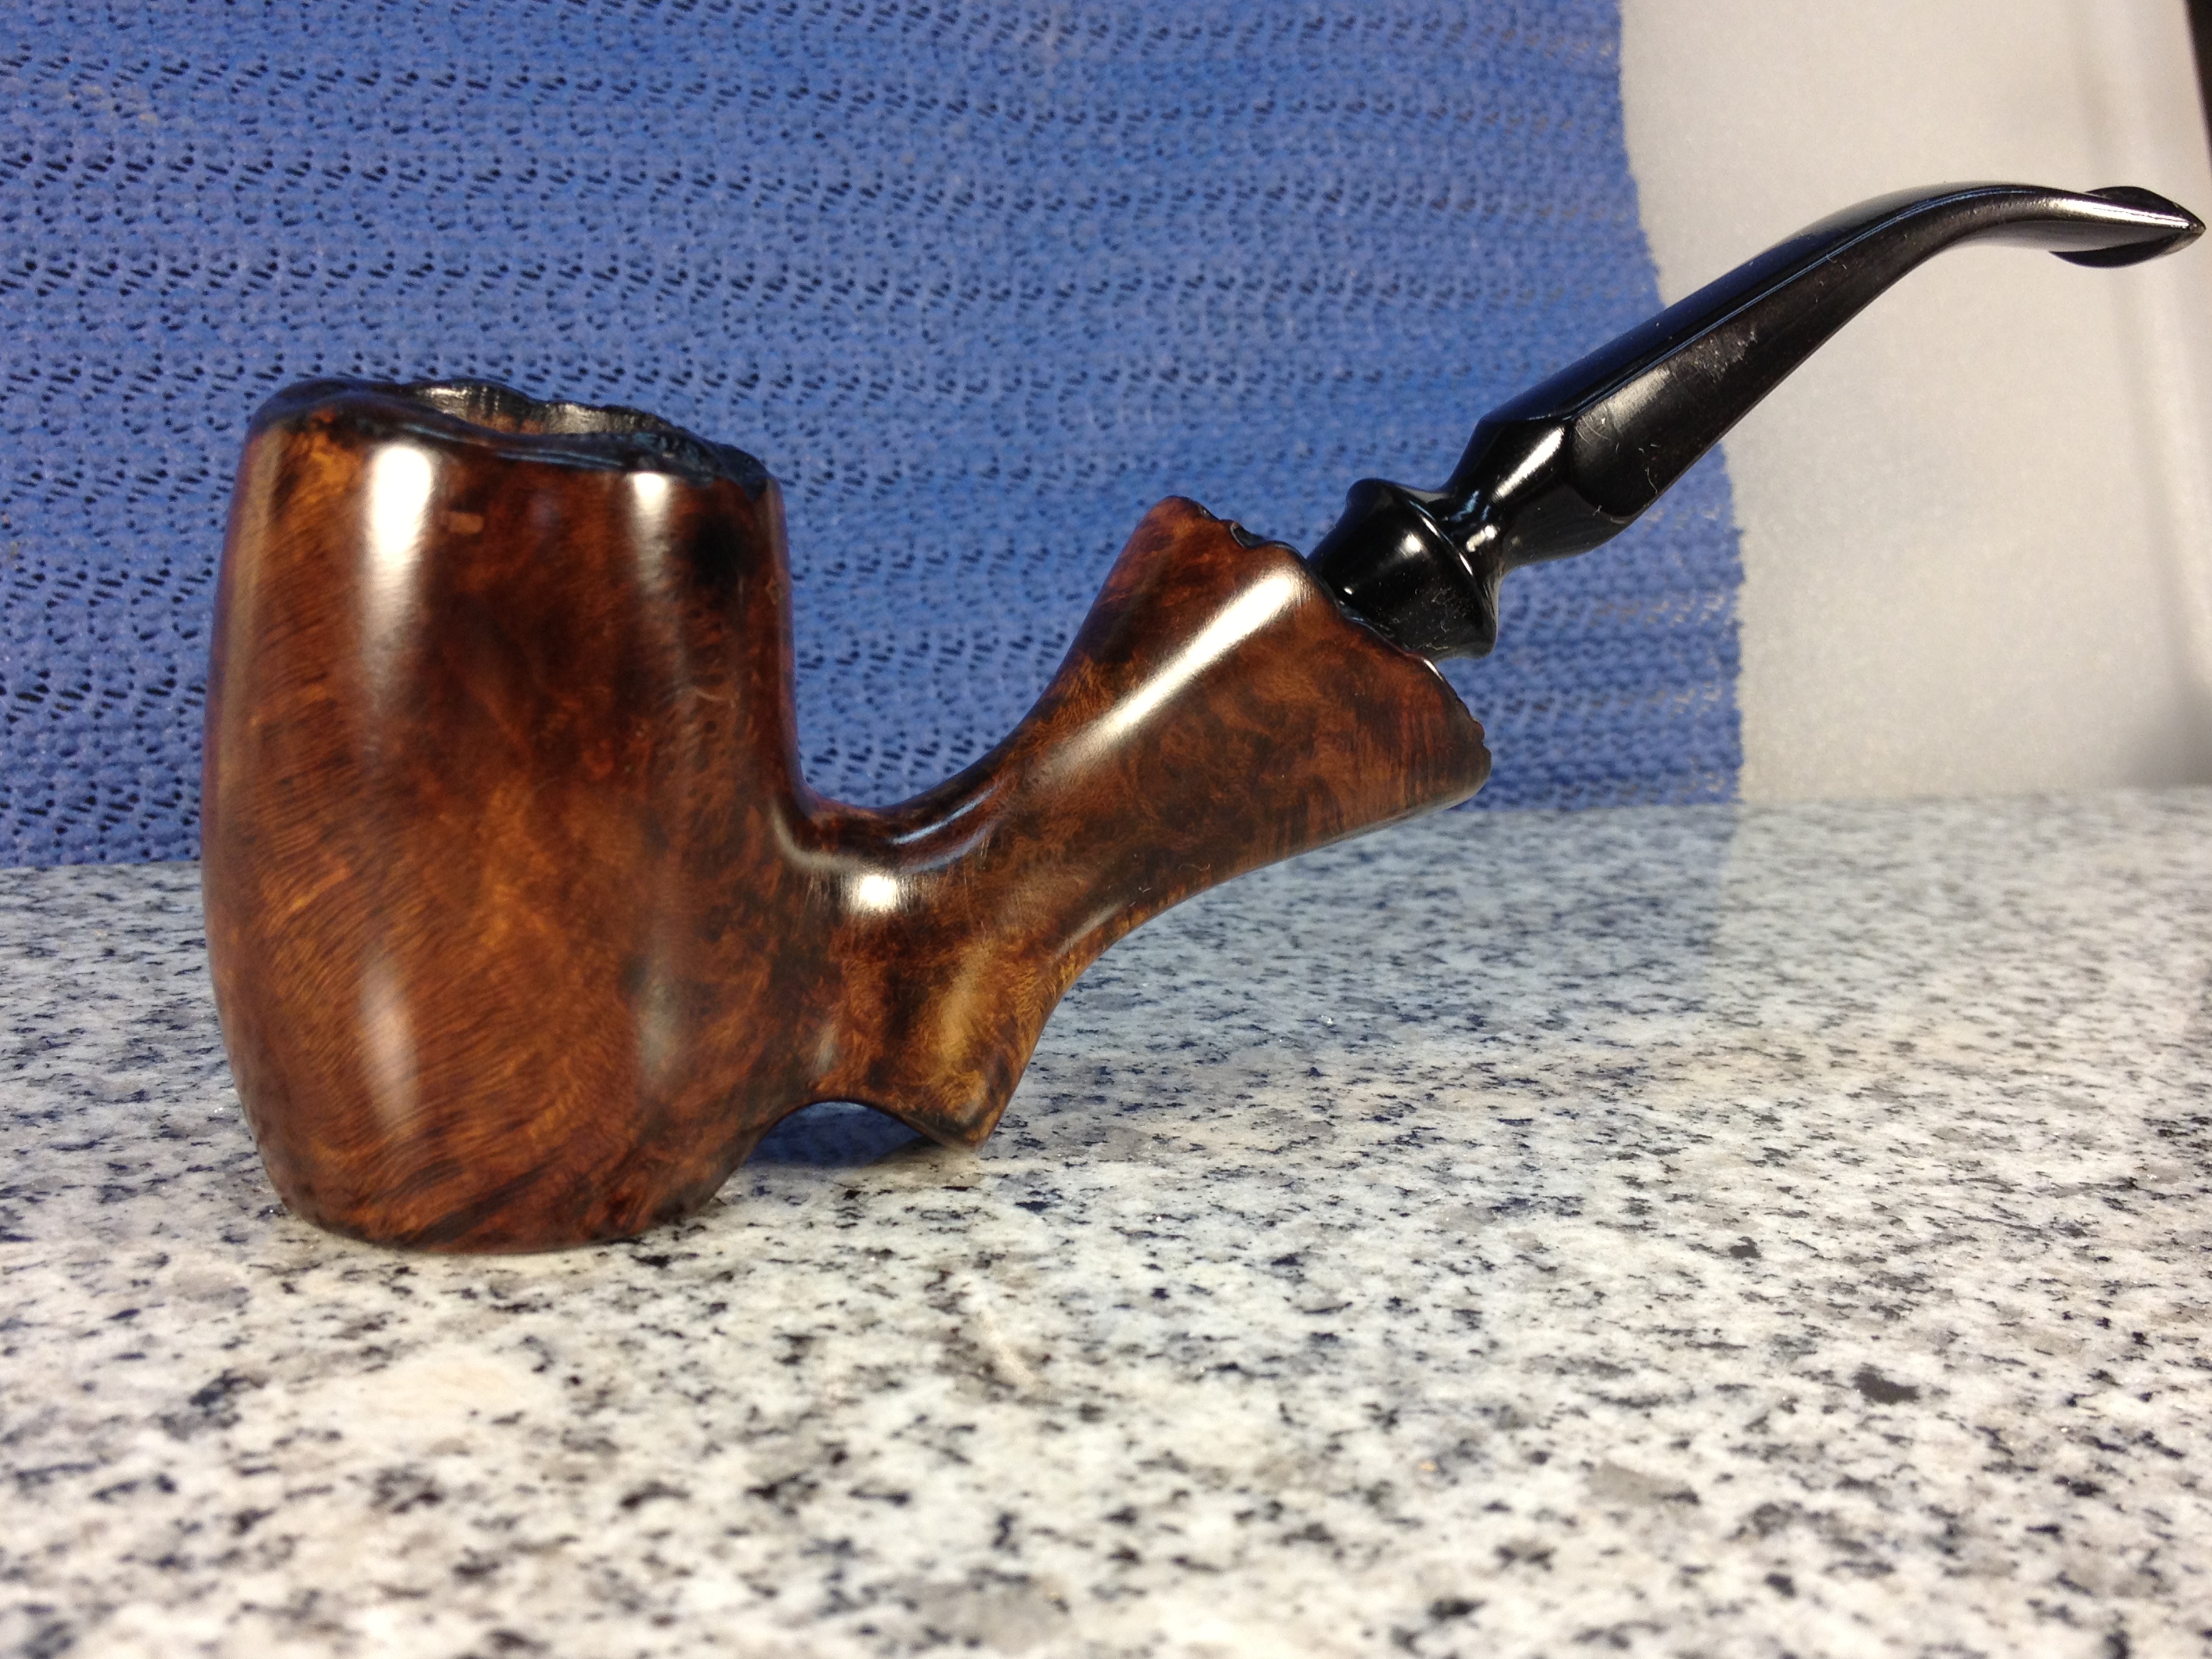
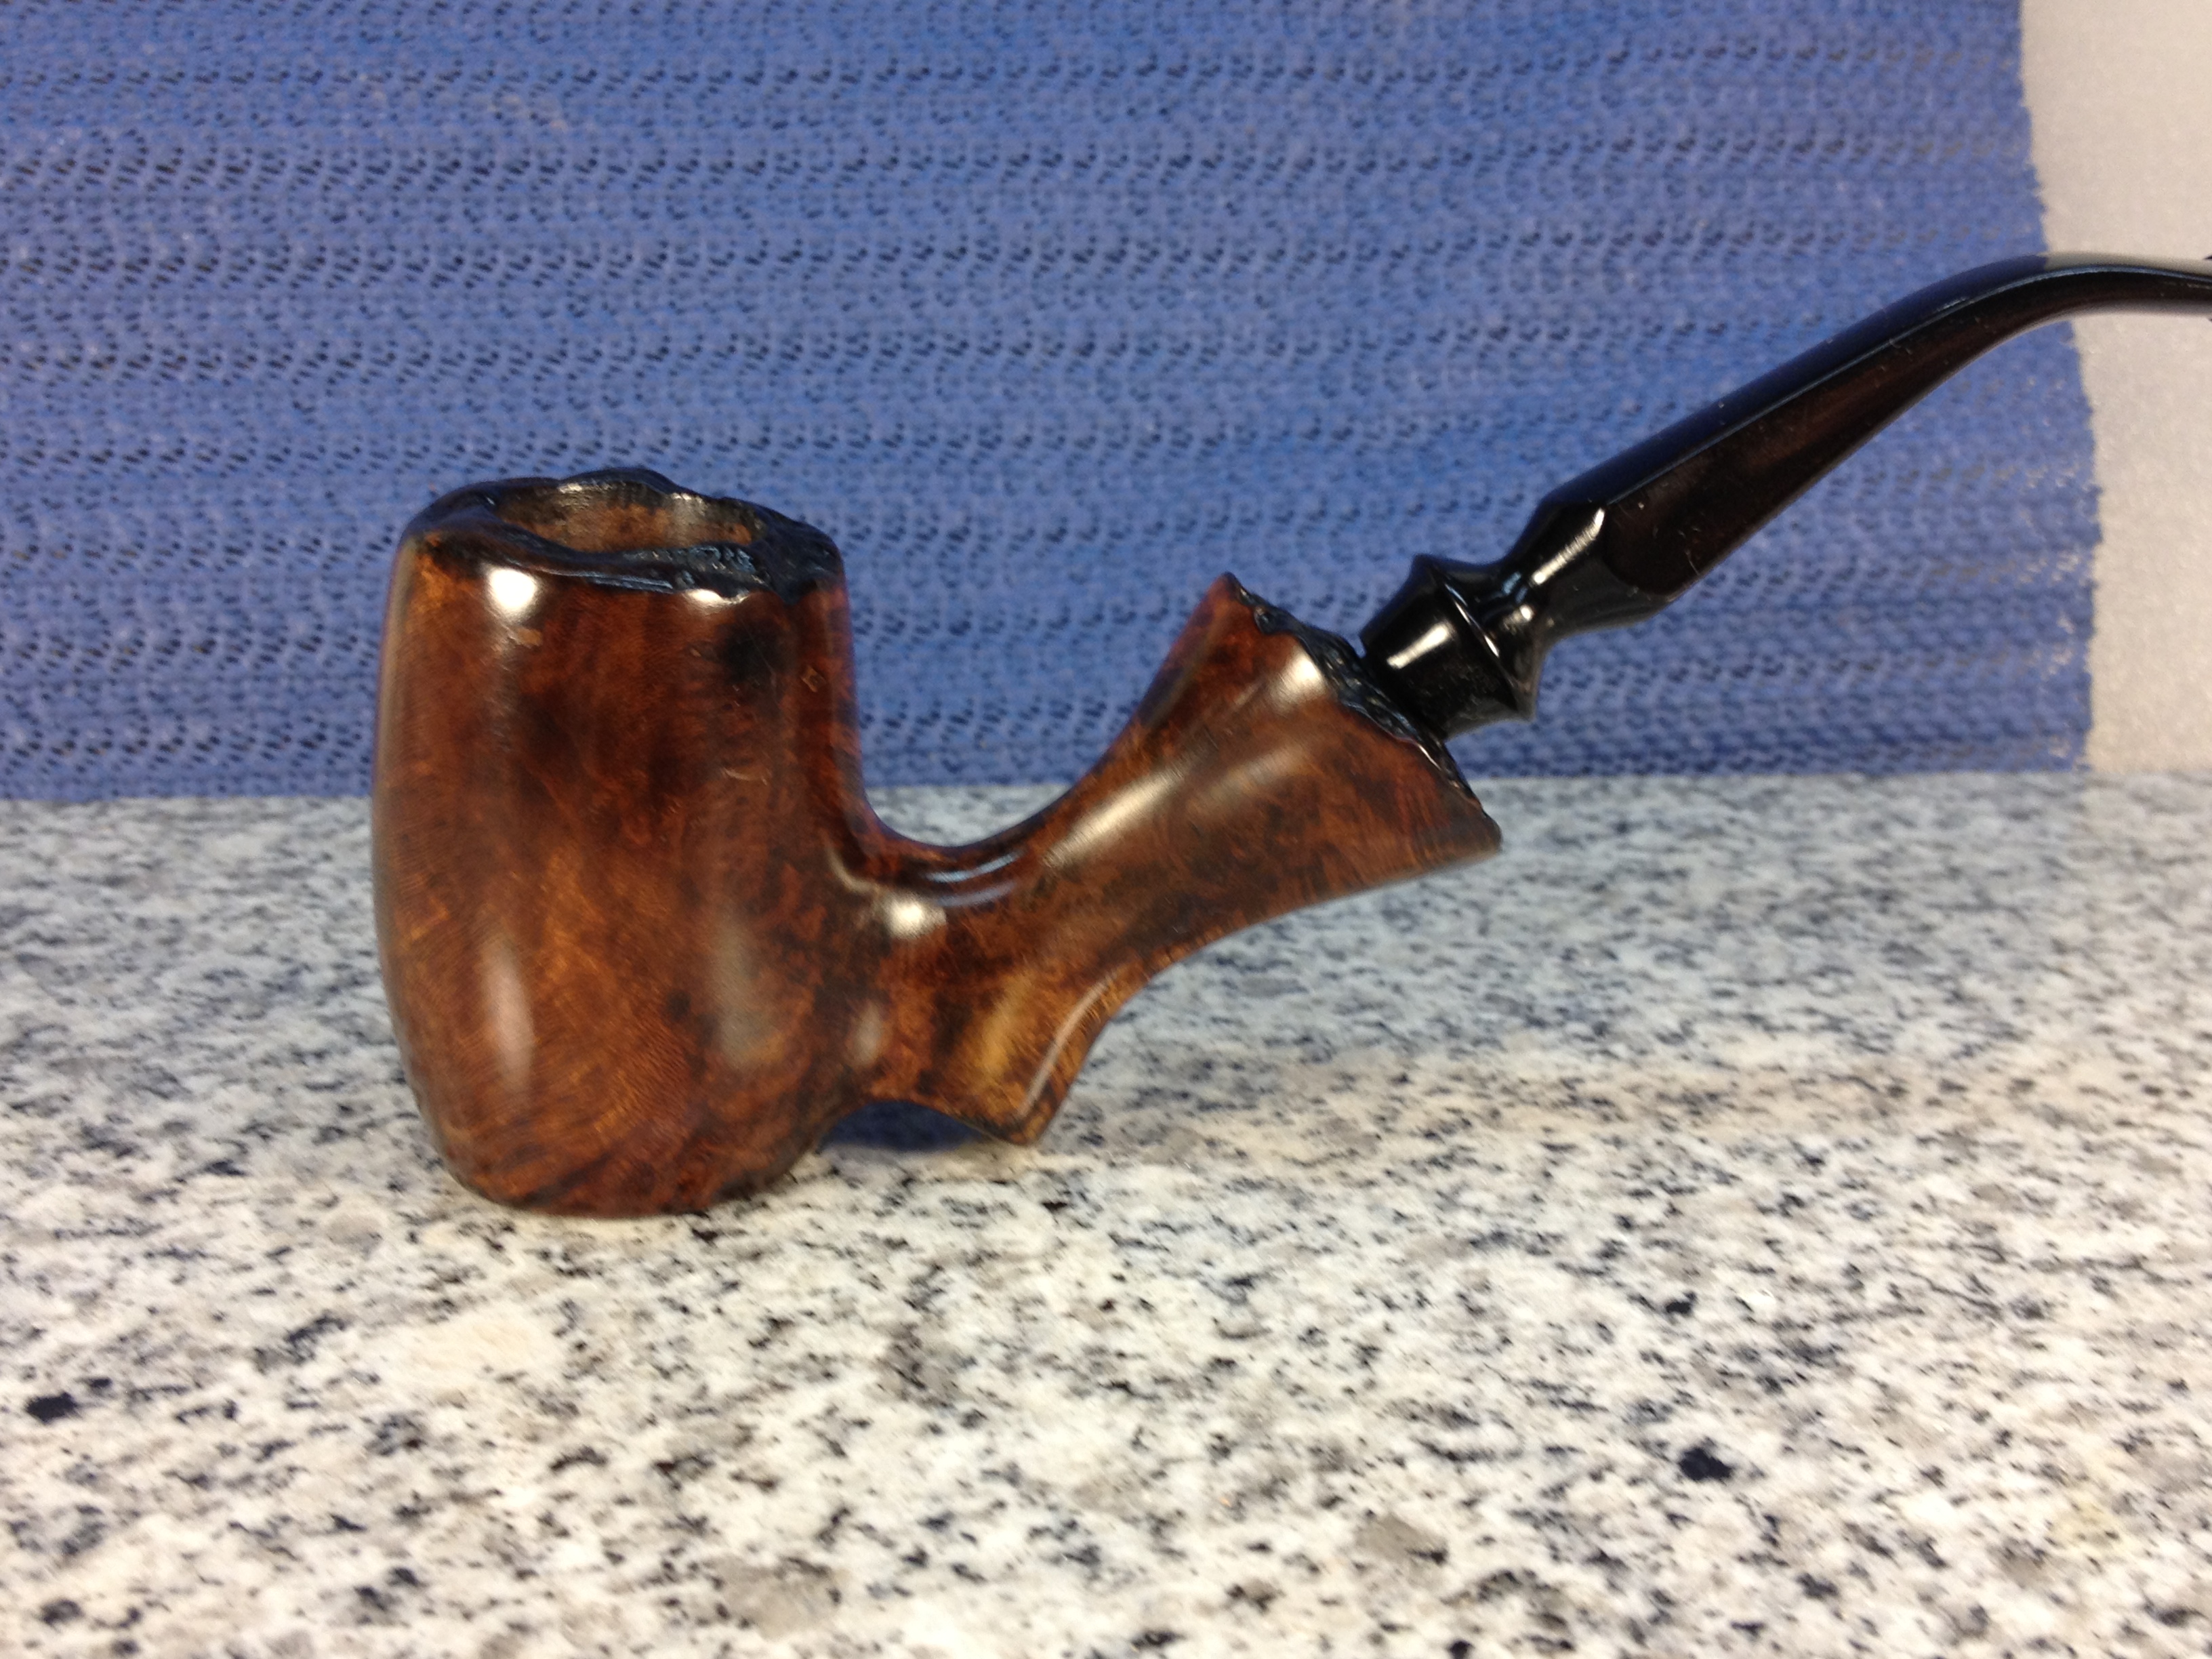
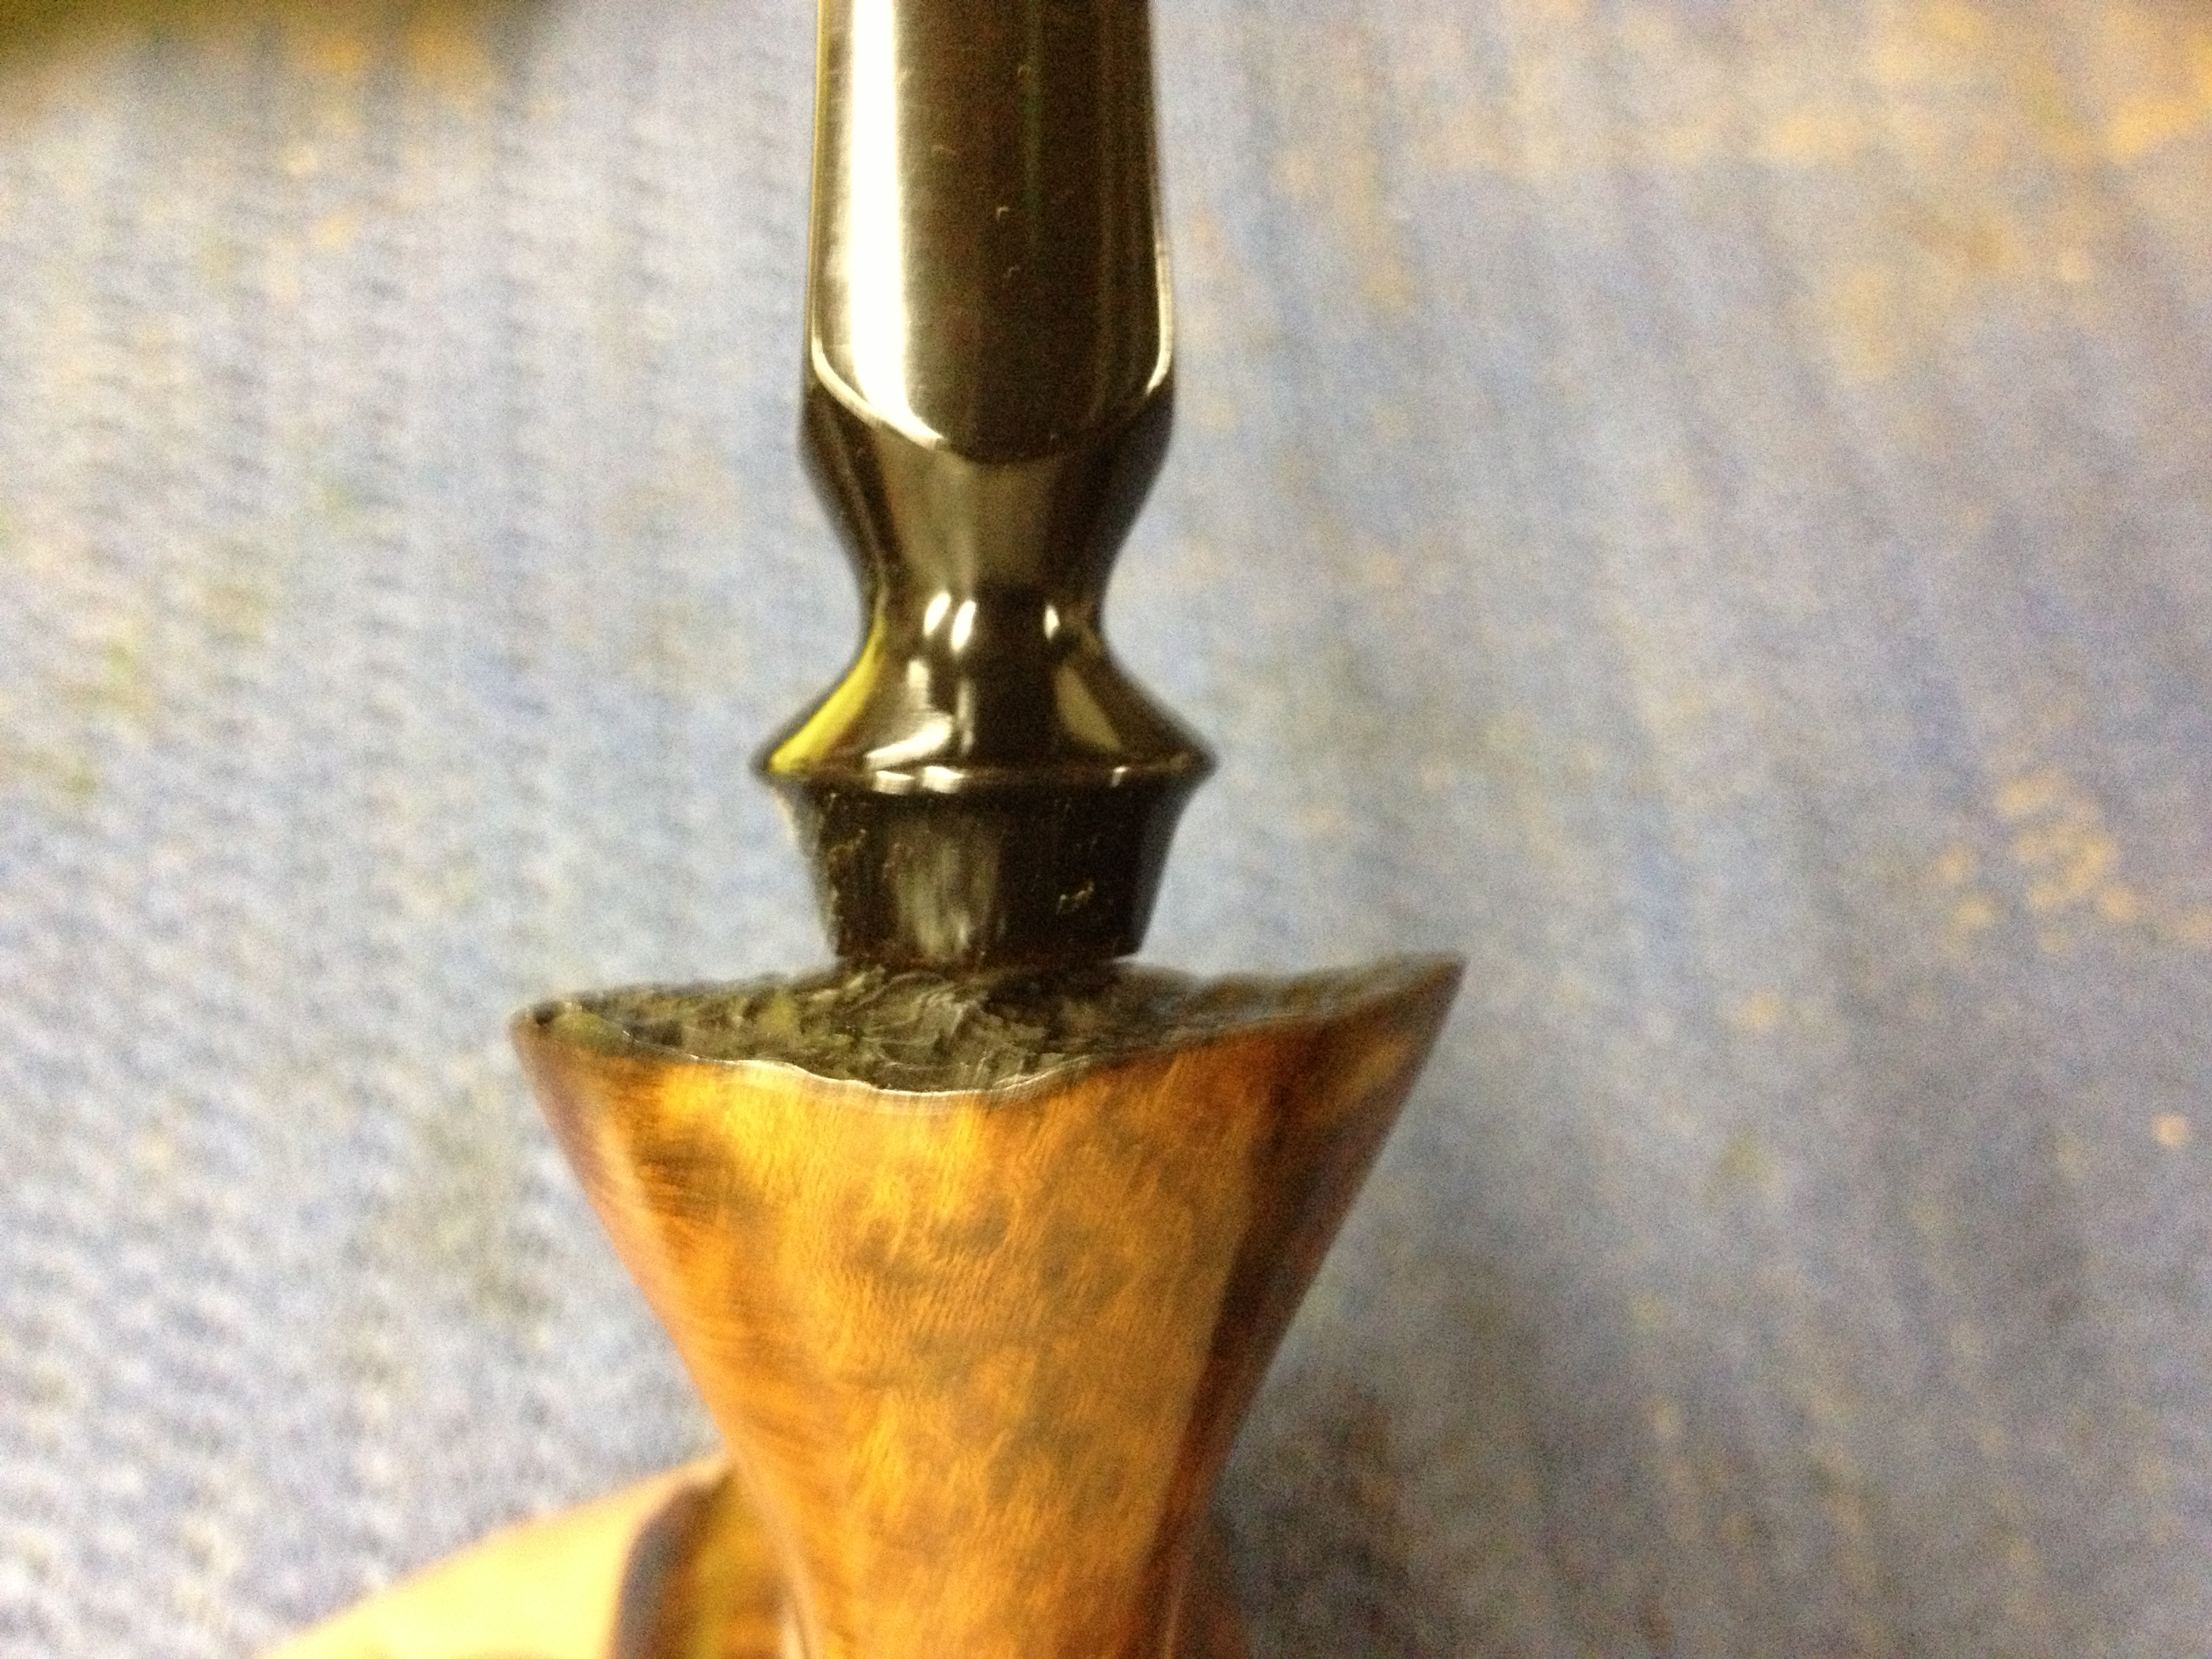
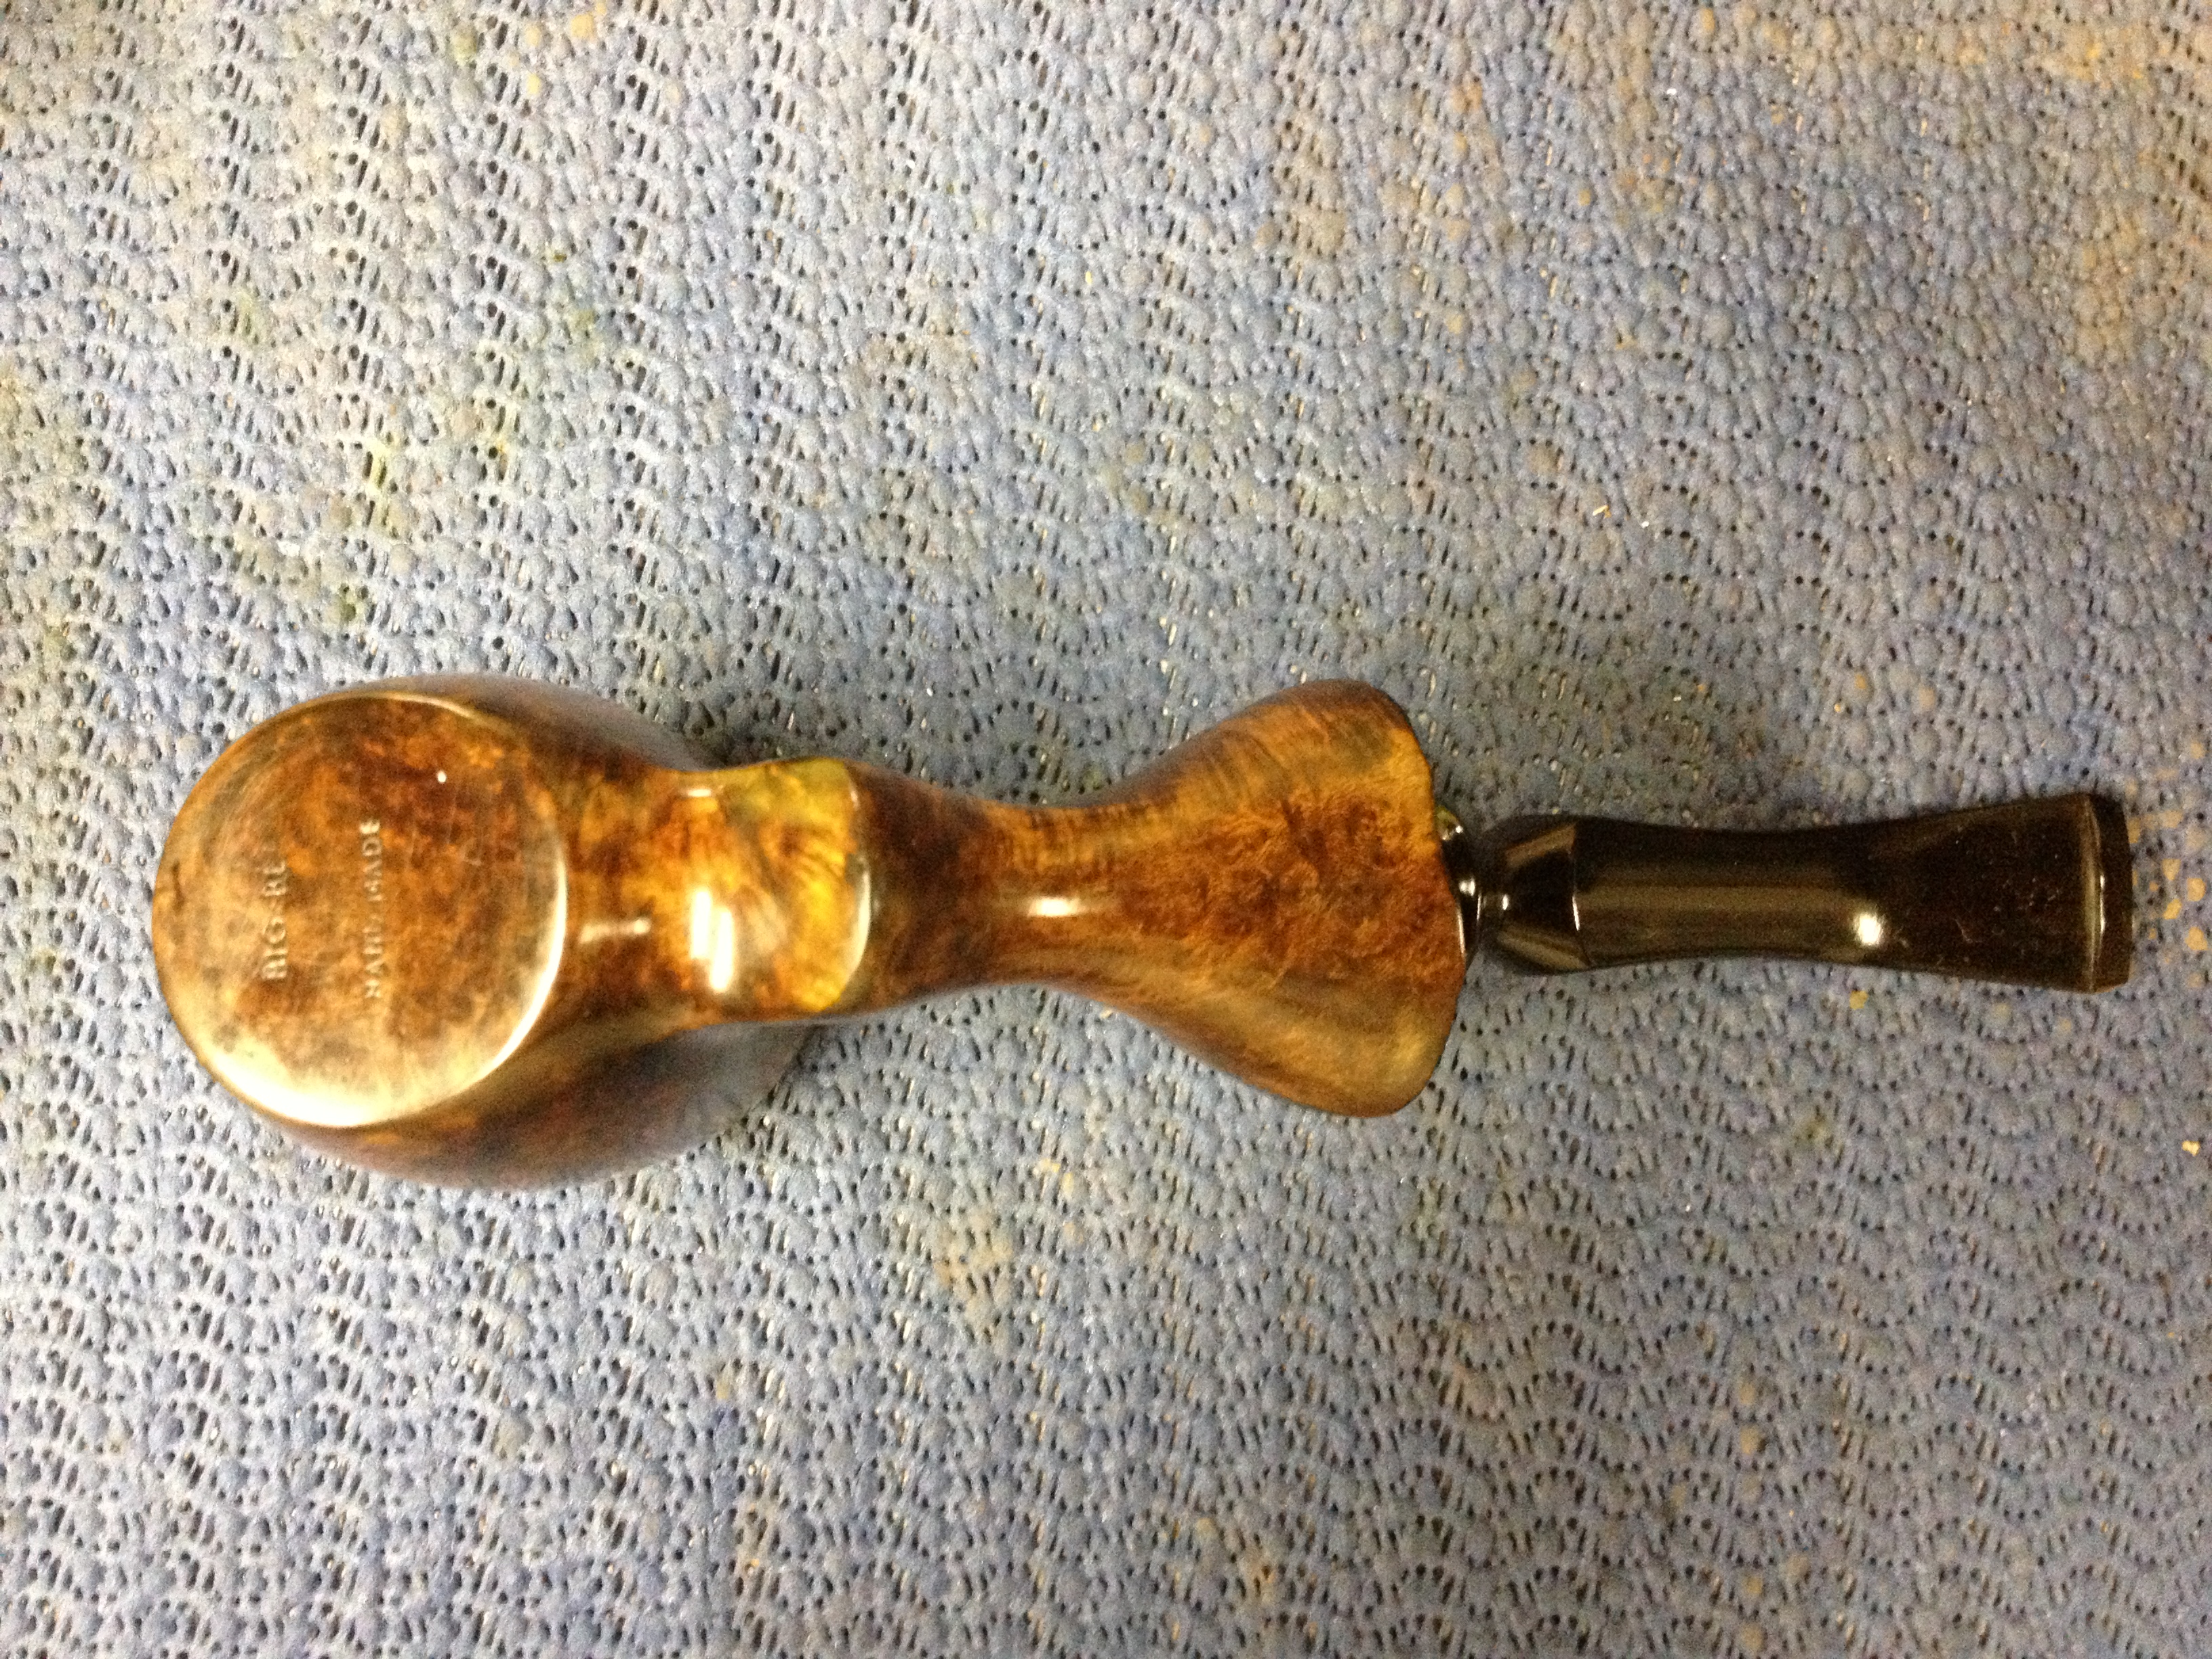
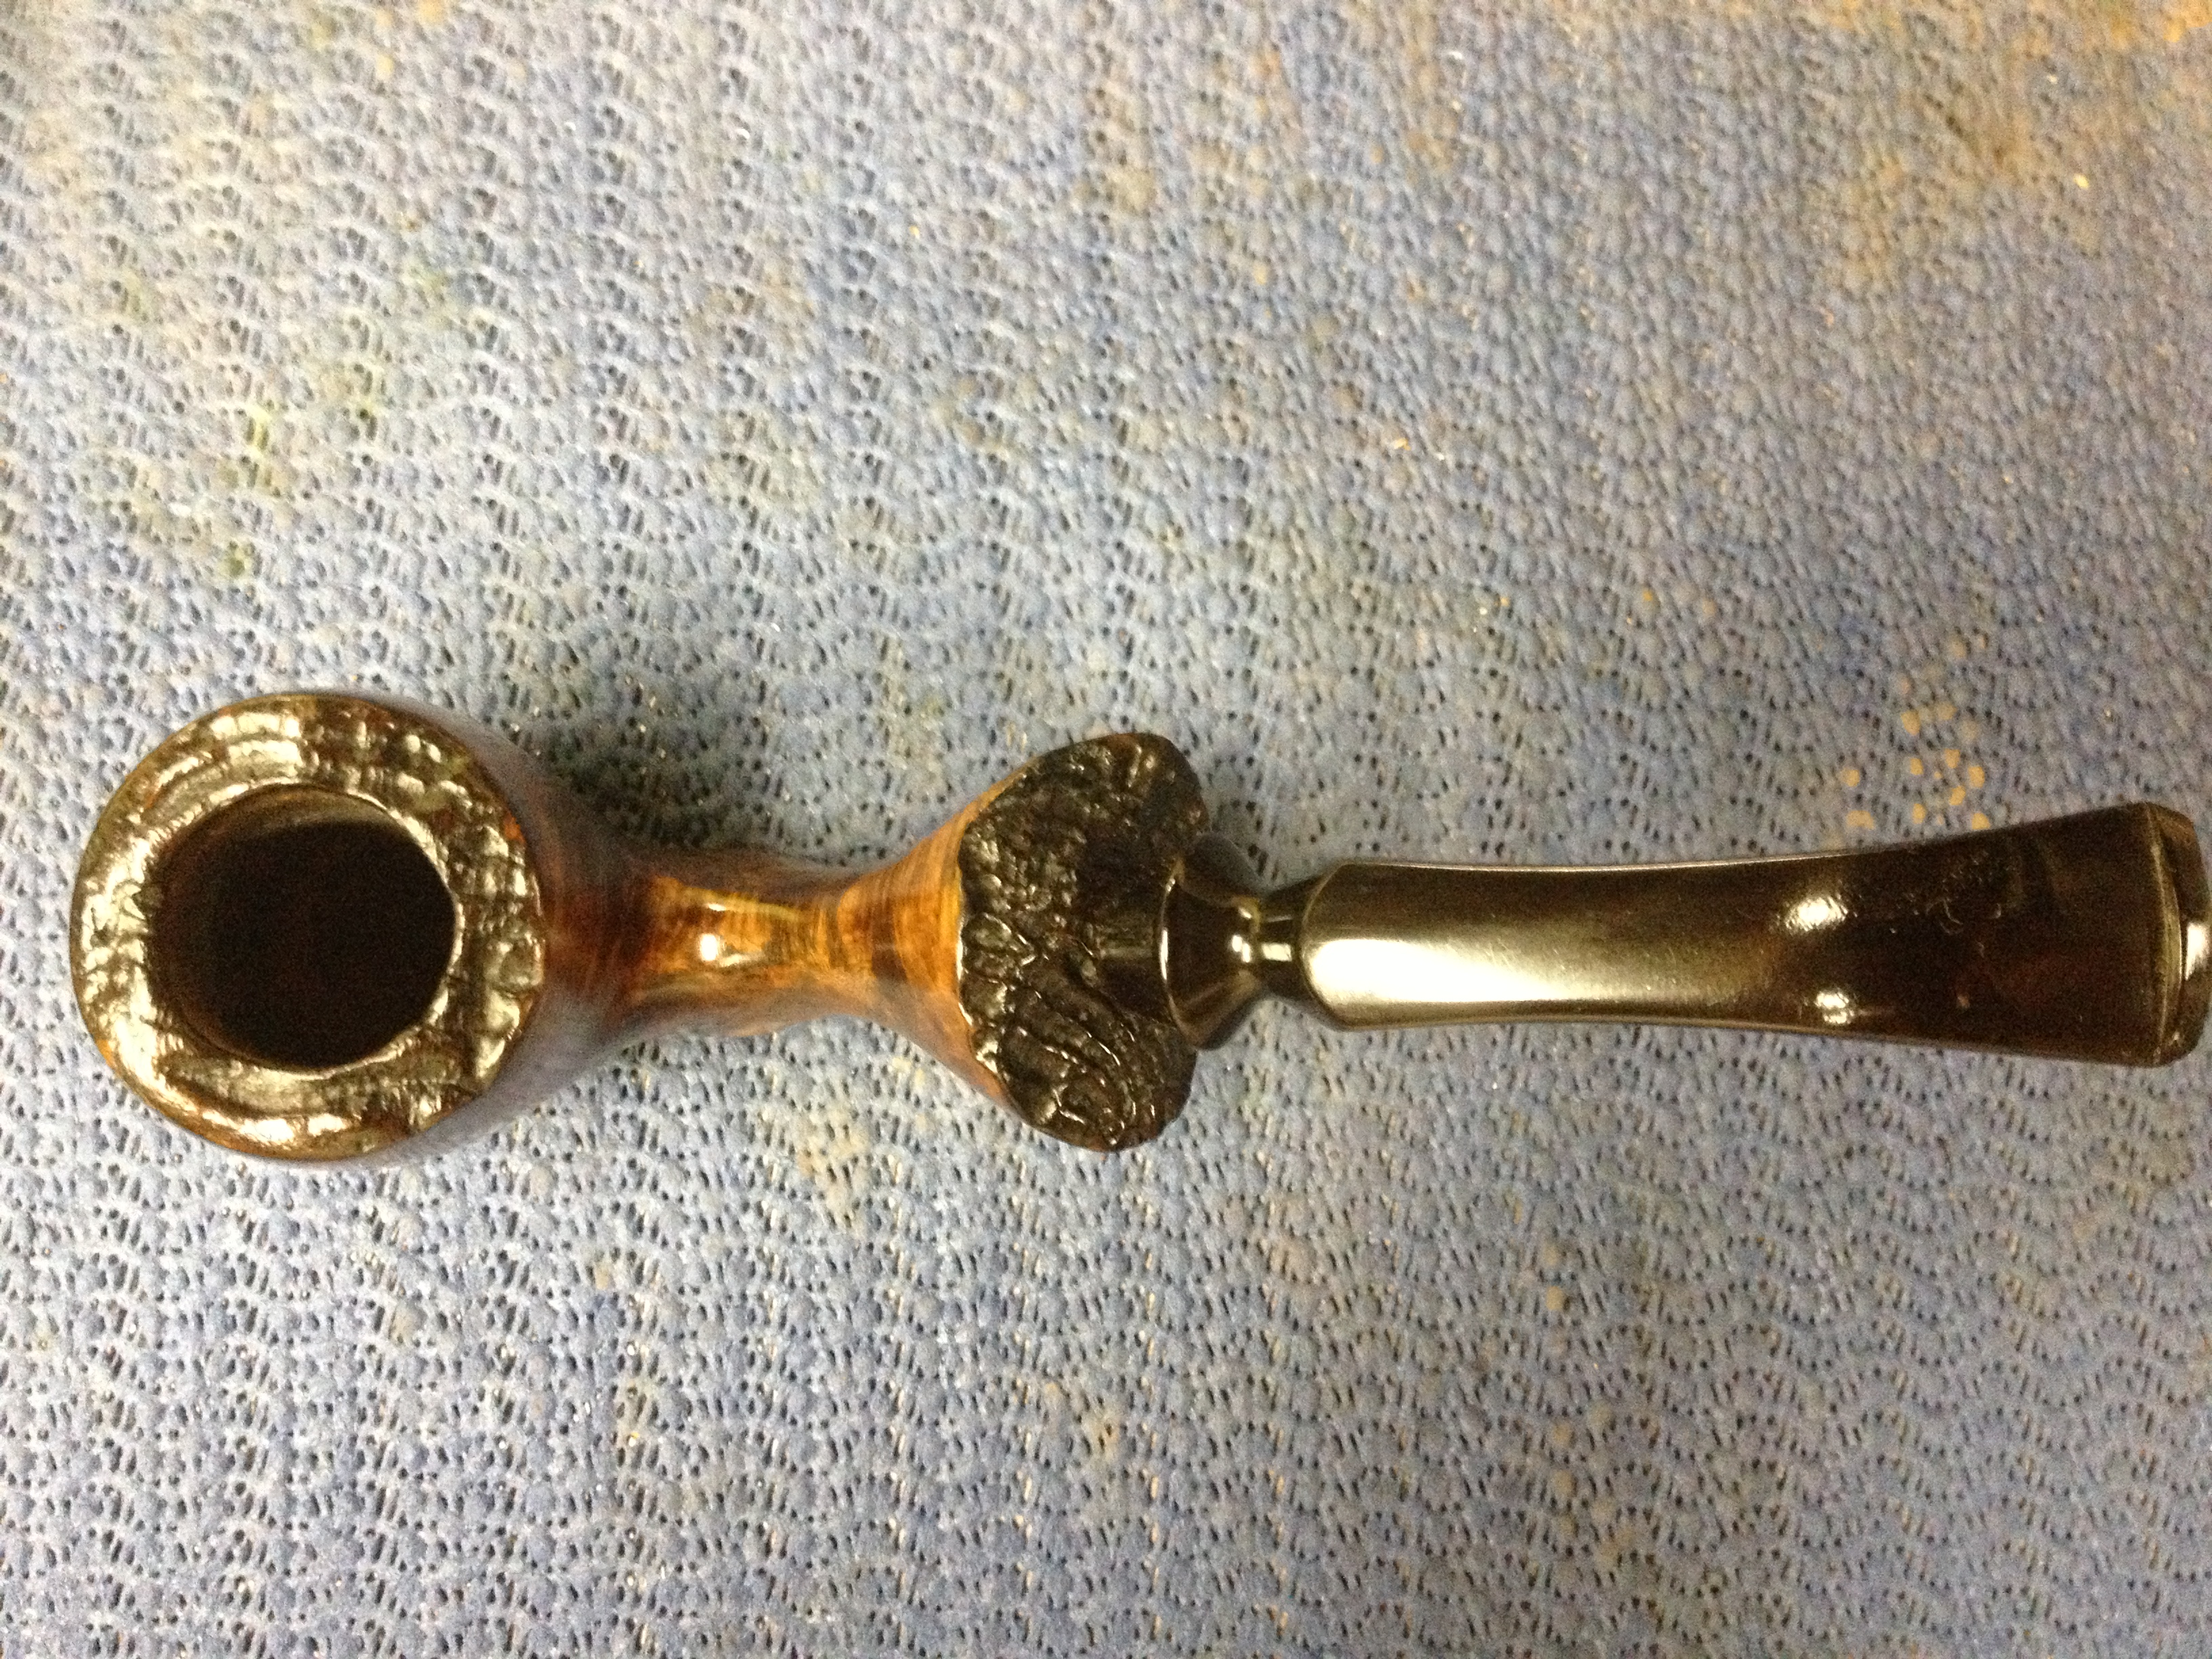
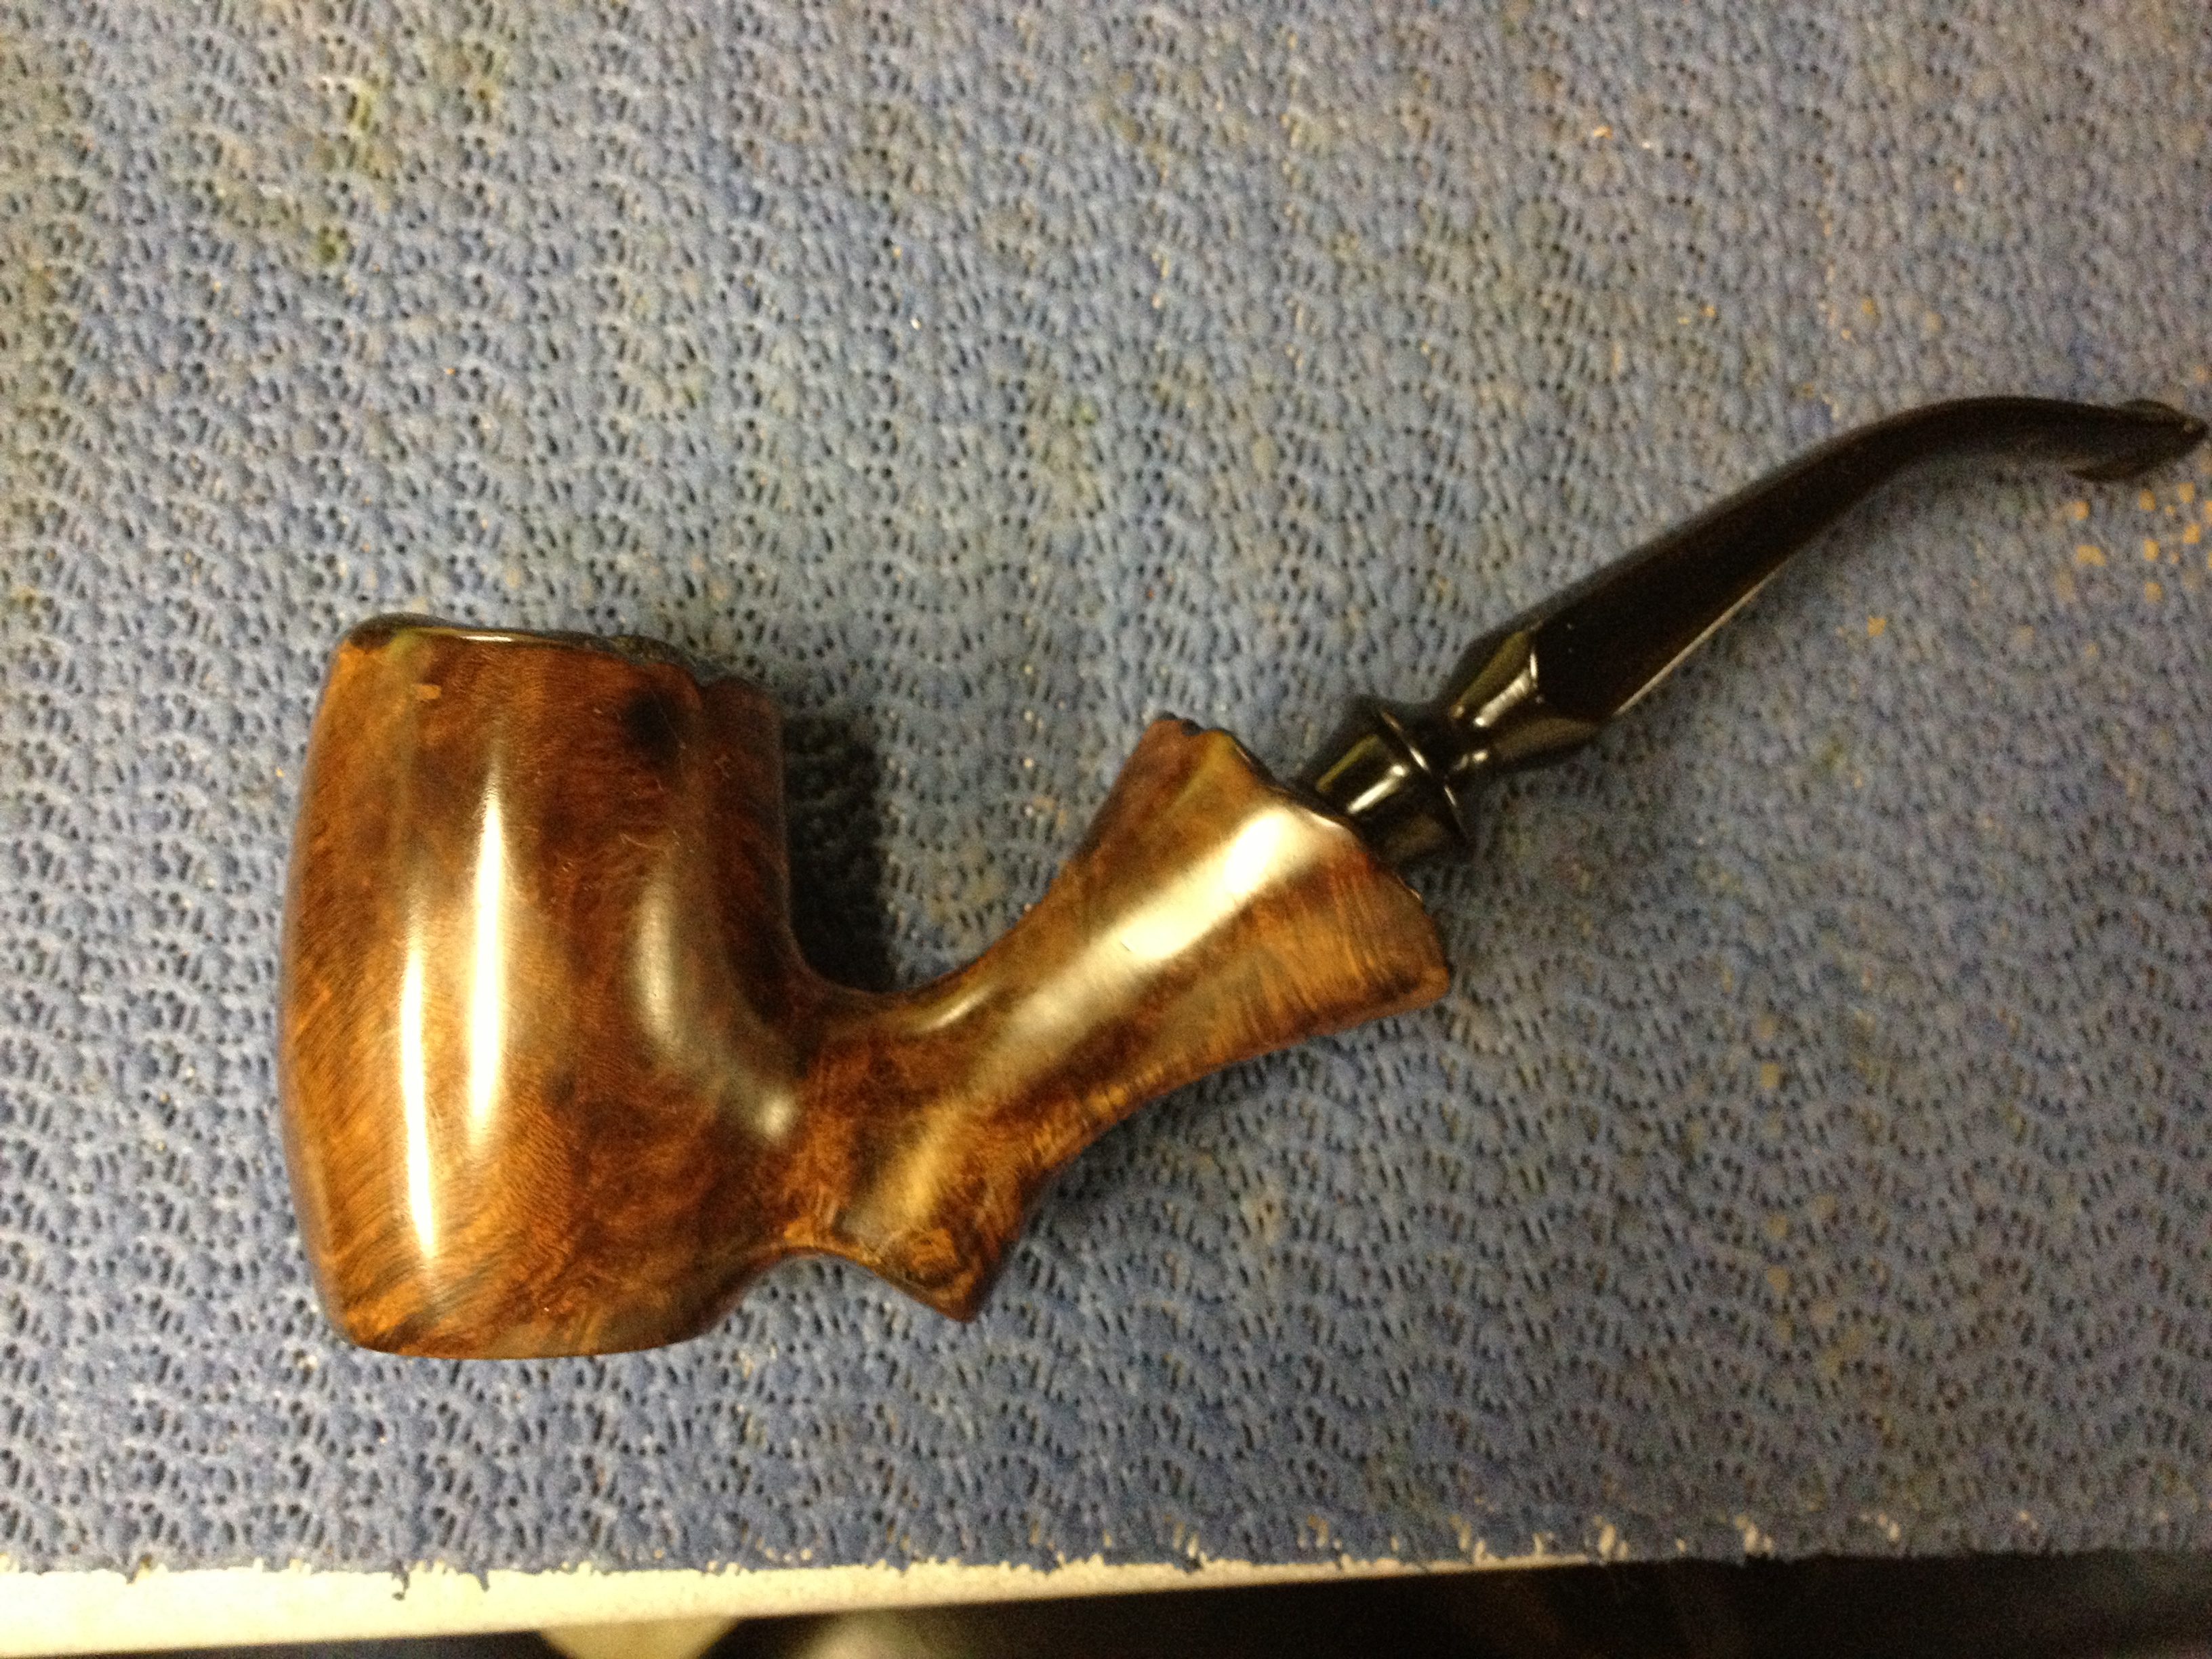
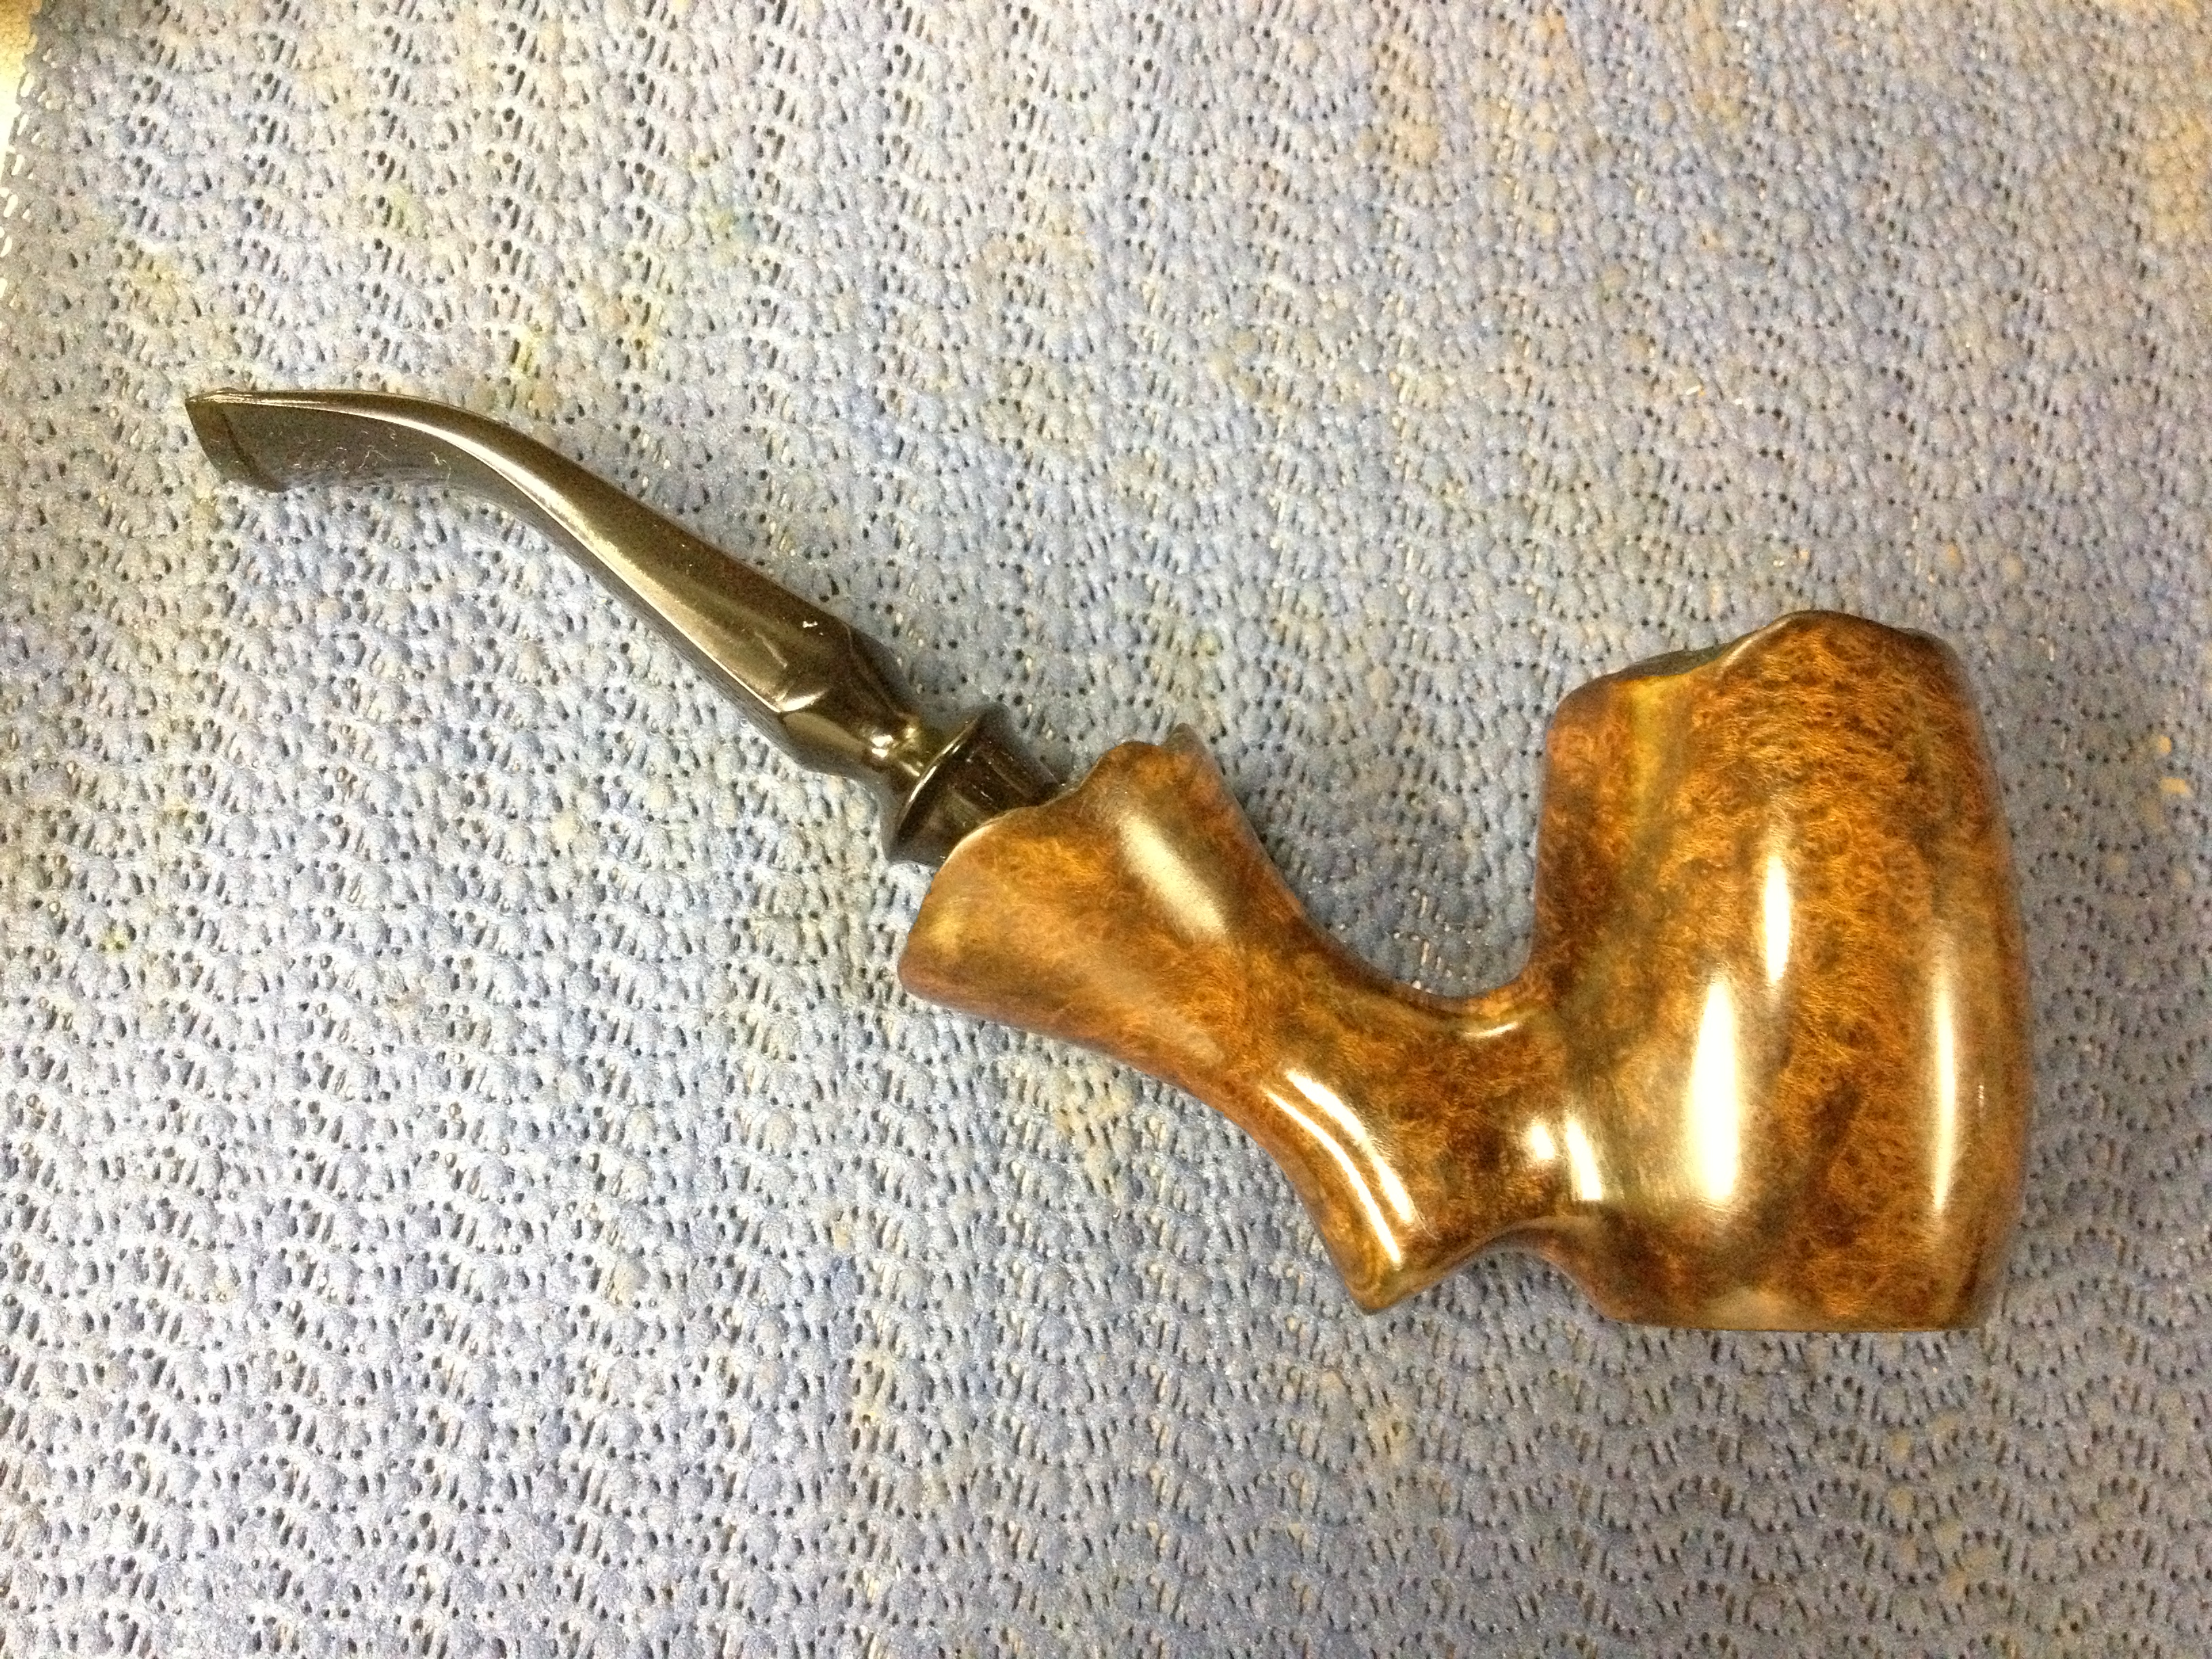
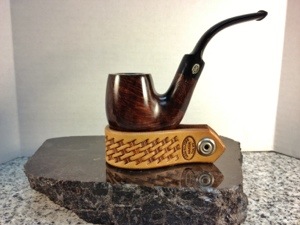
Tag Archives: buffing

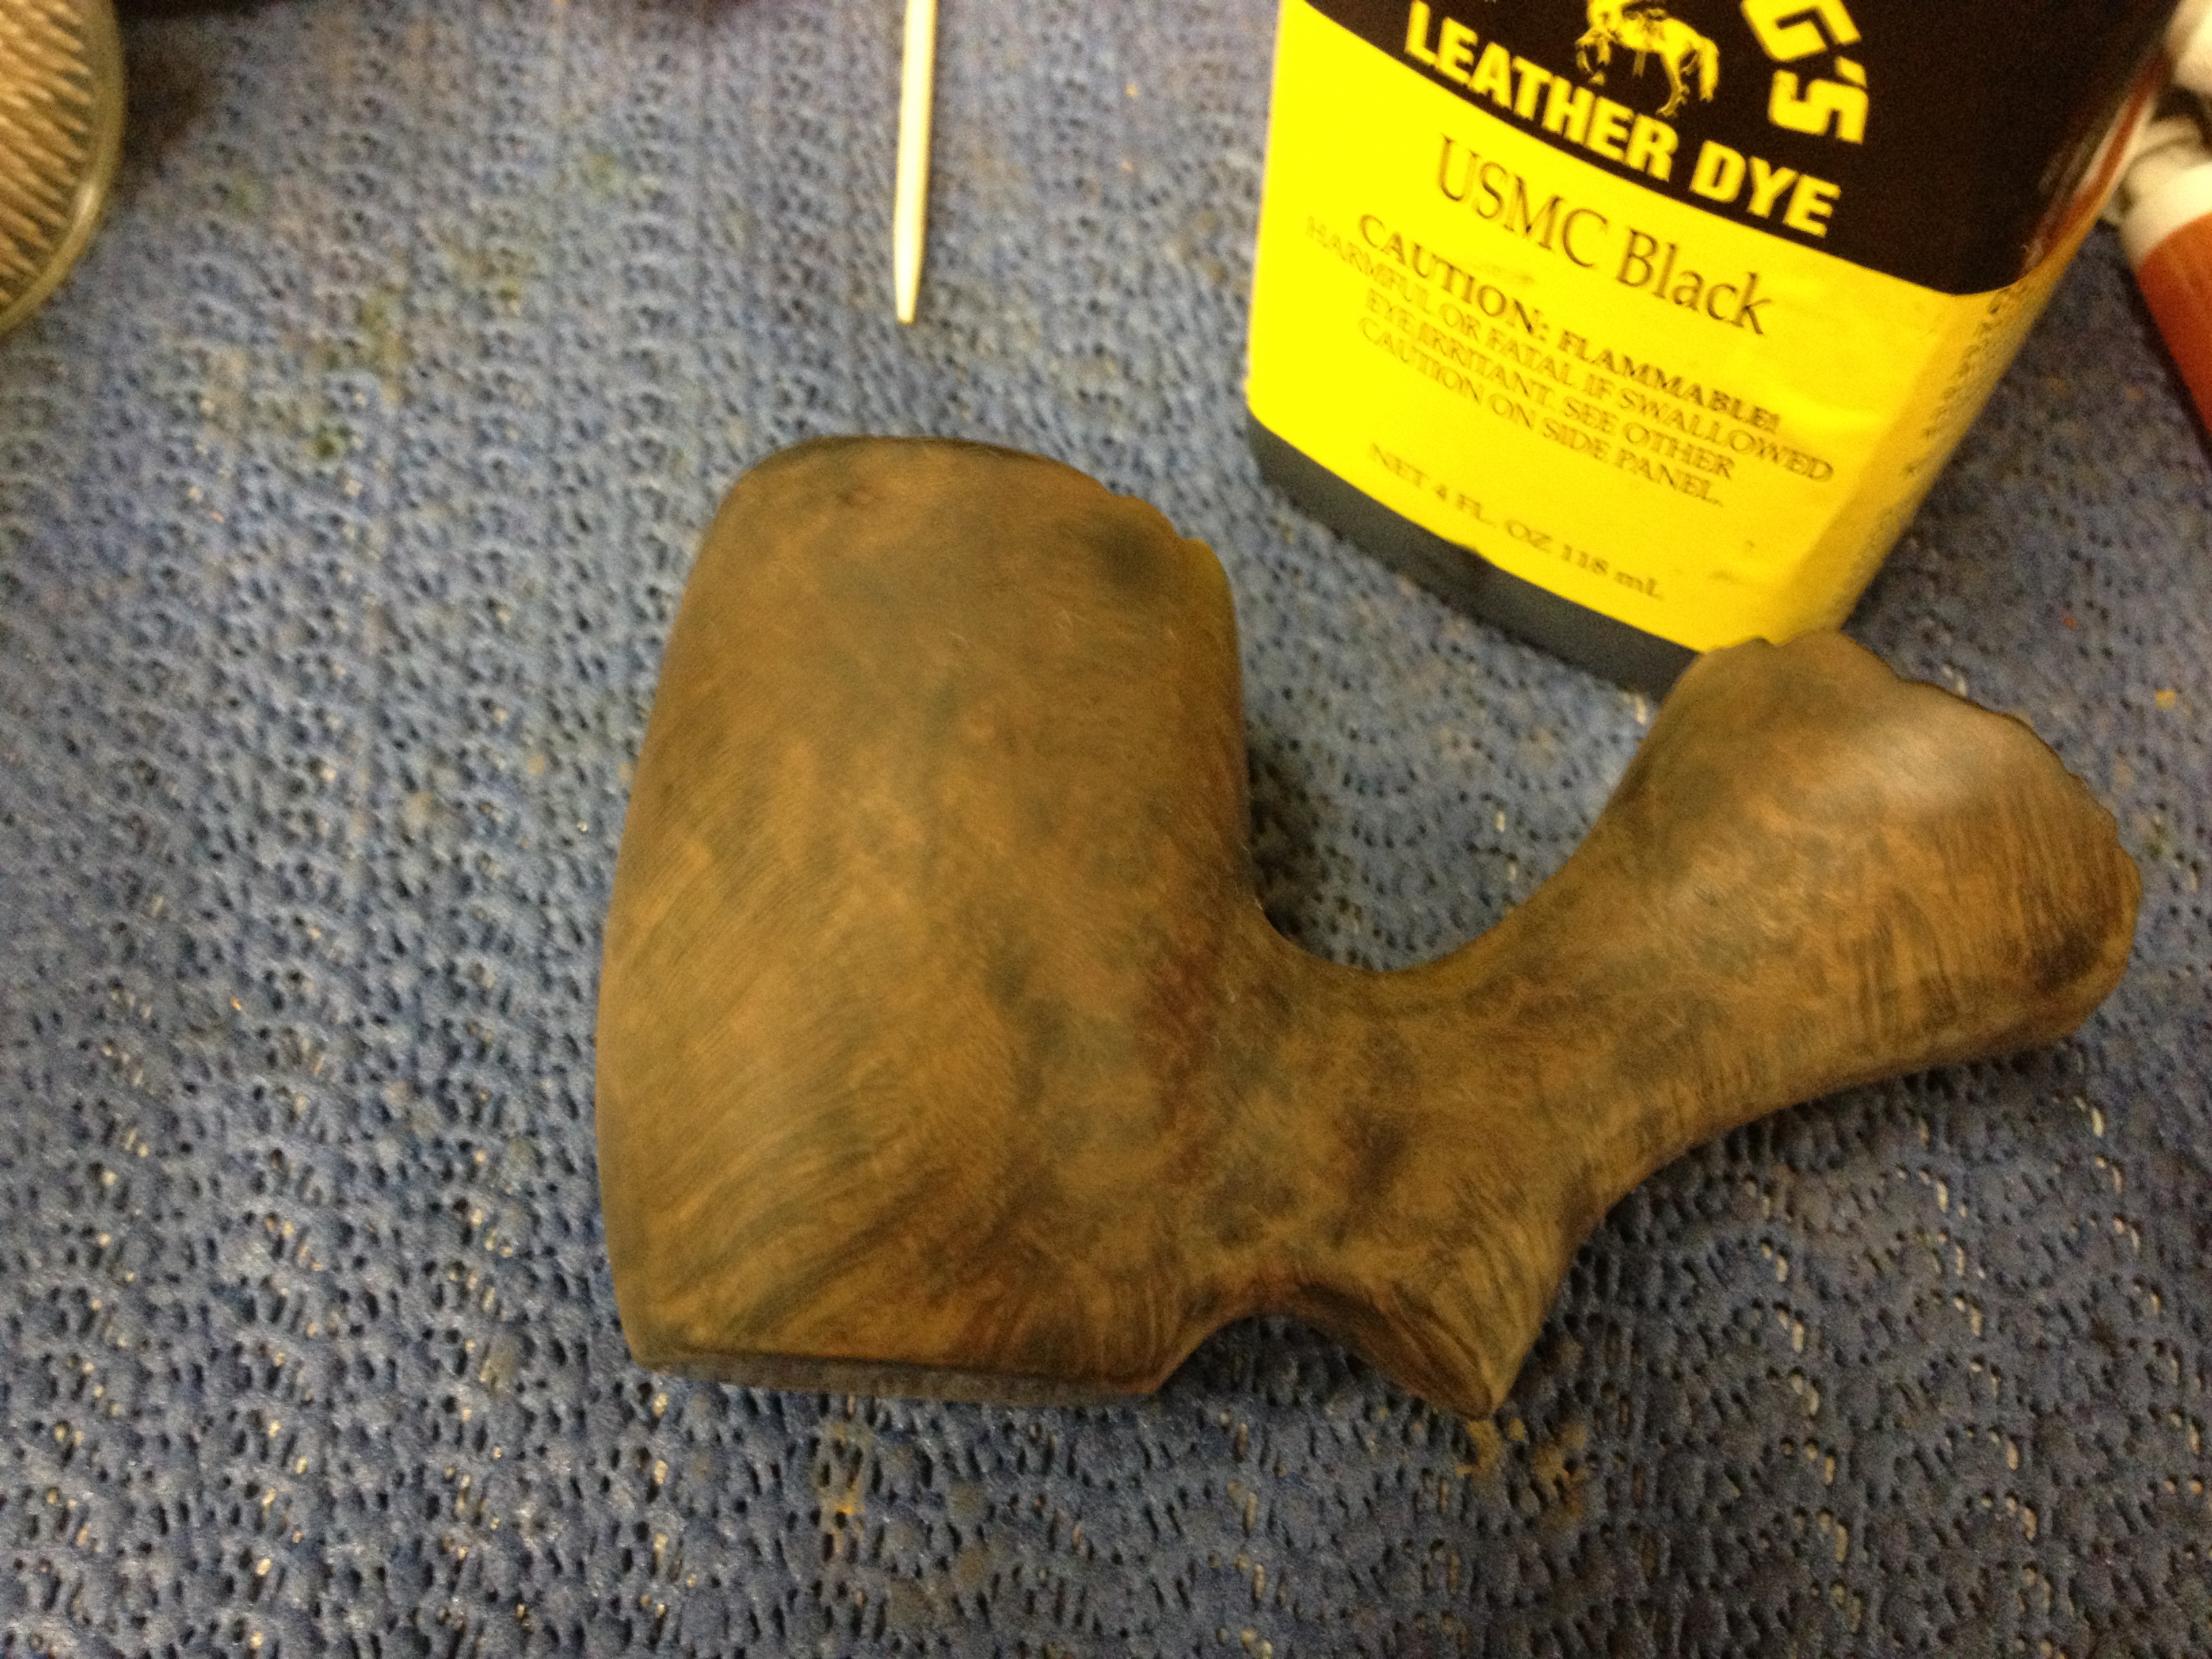
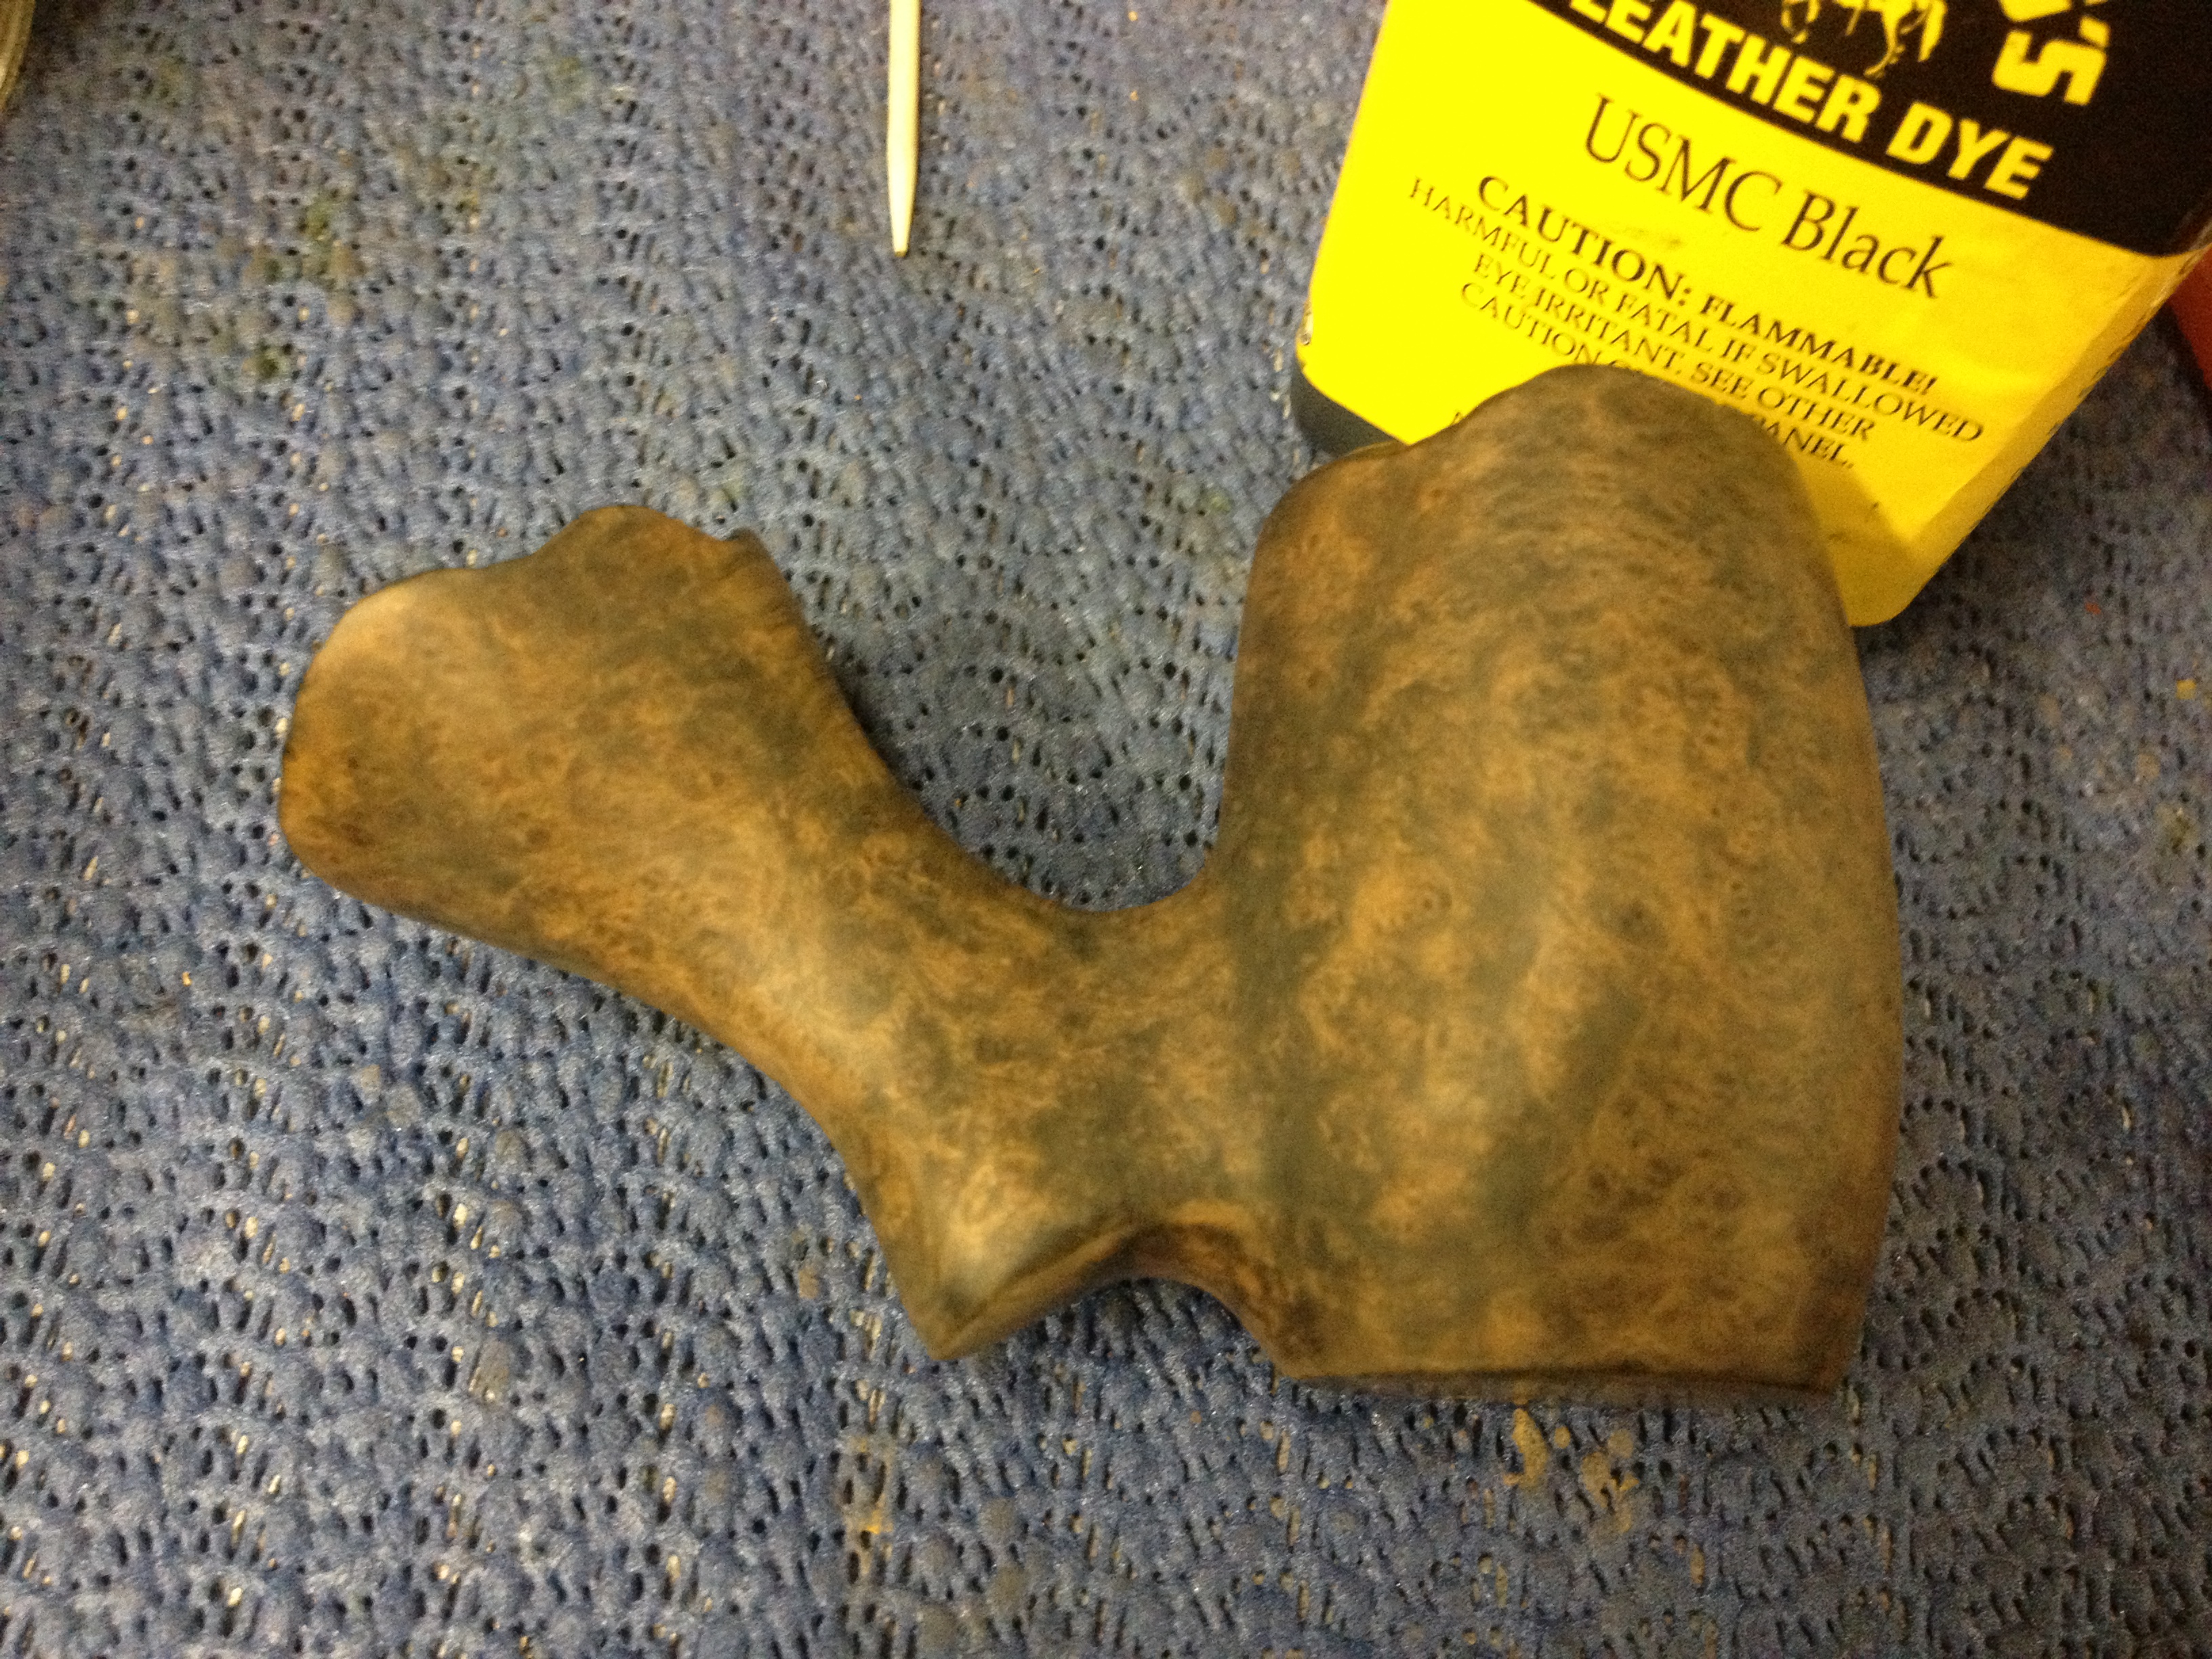
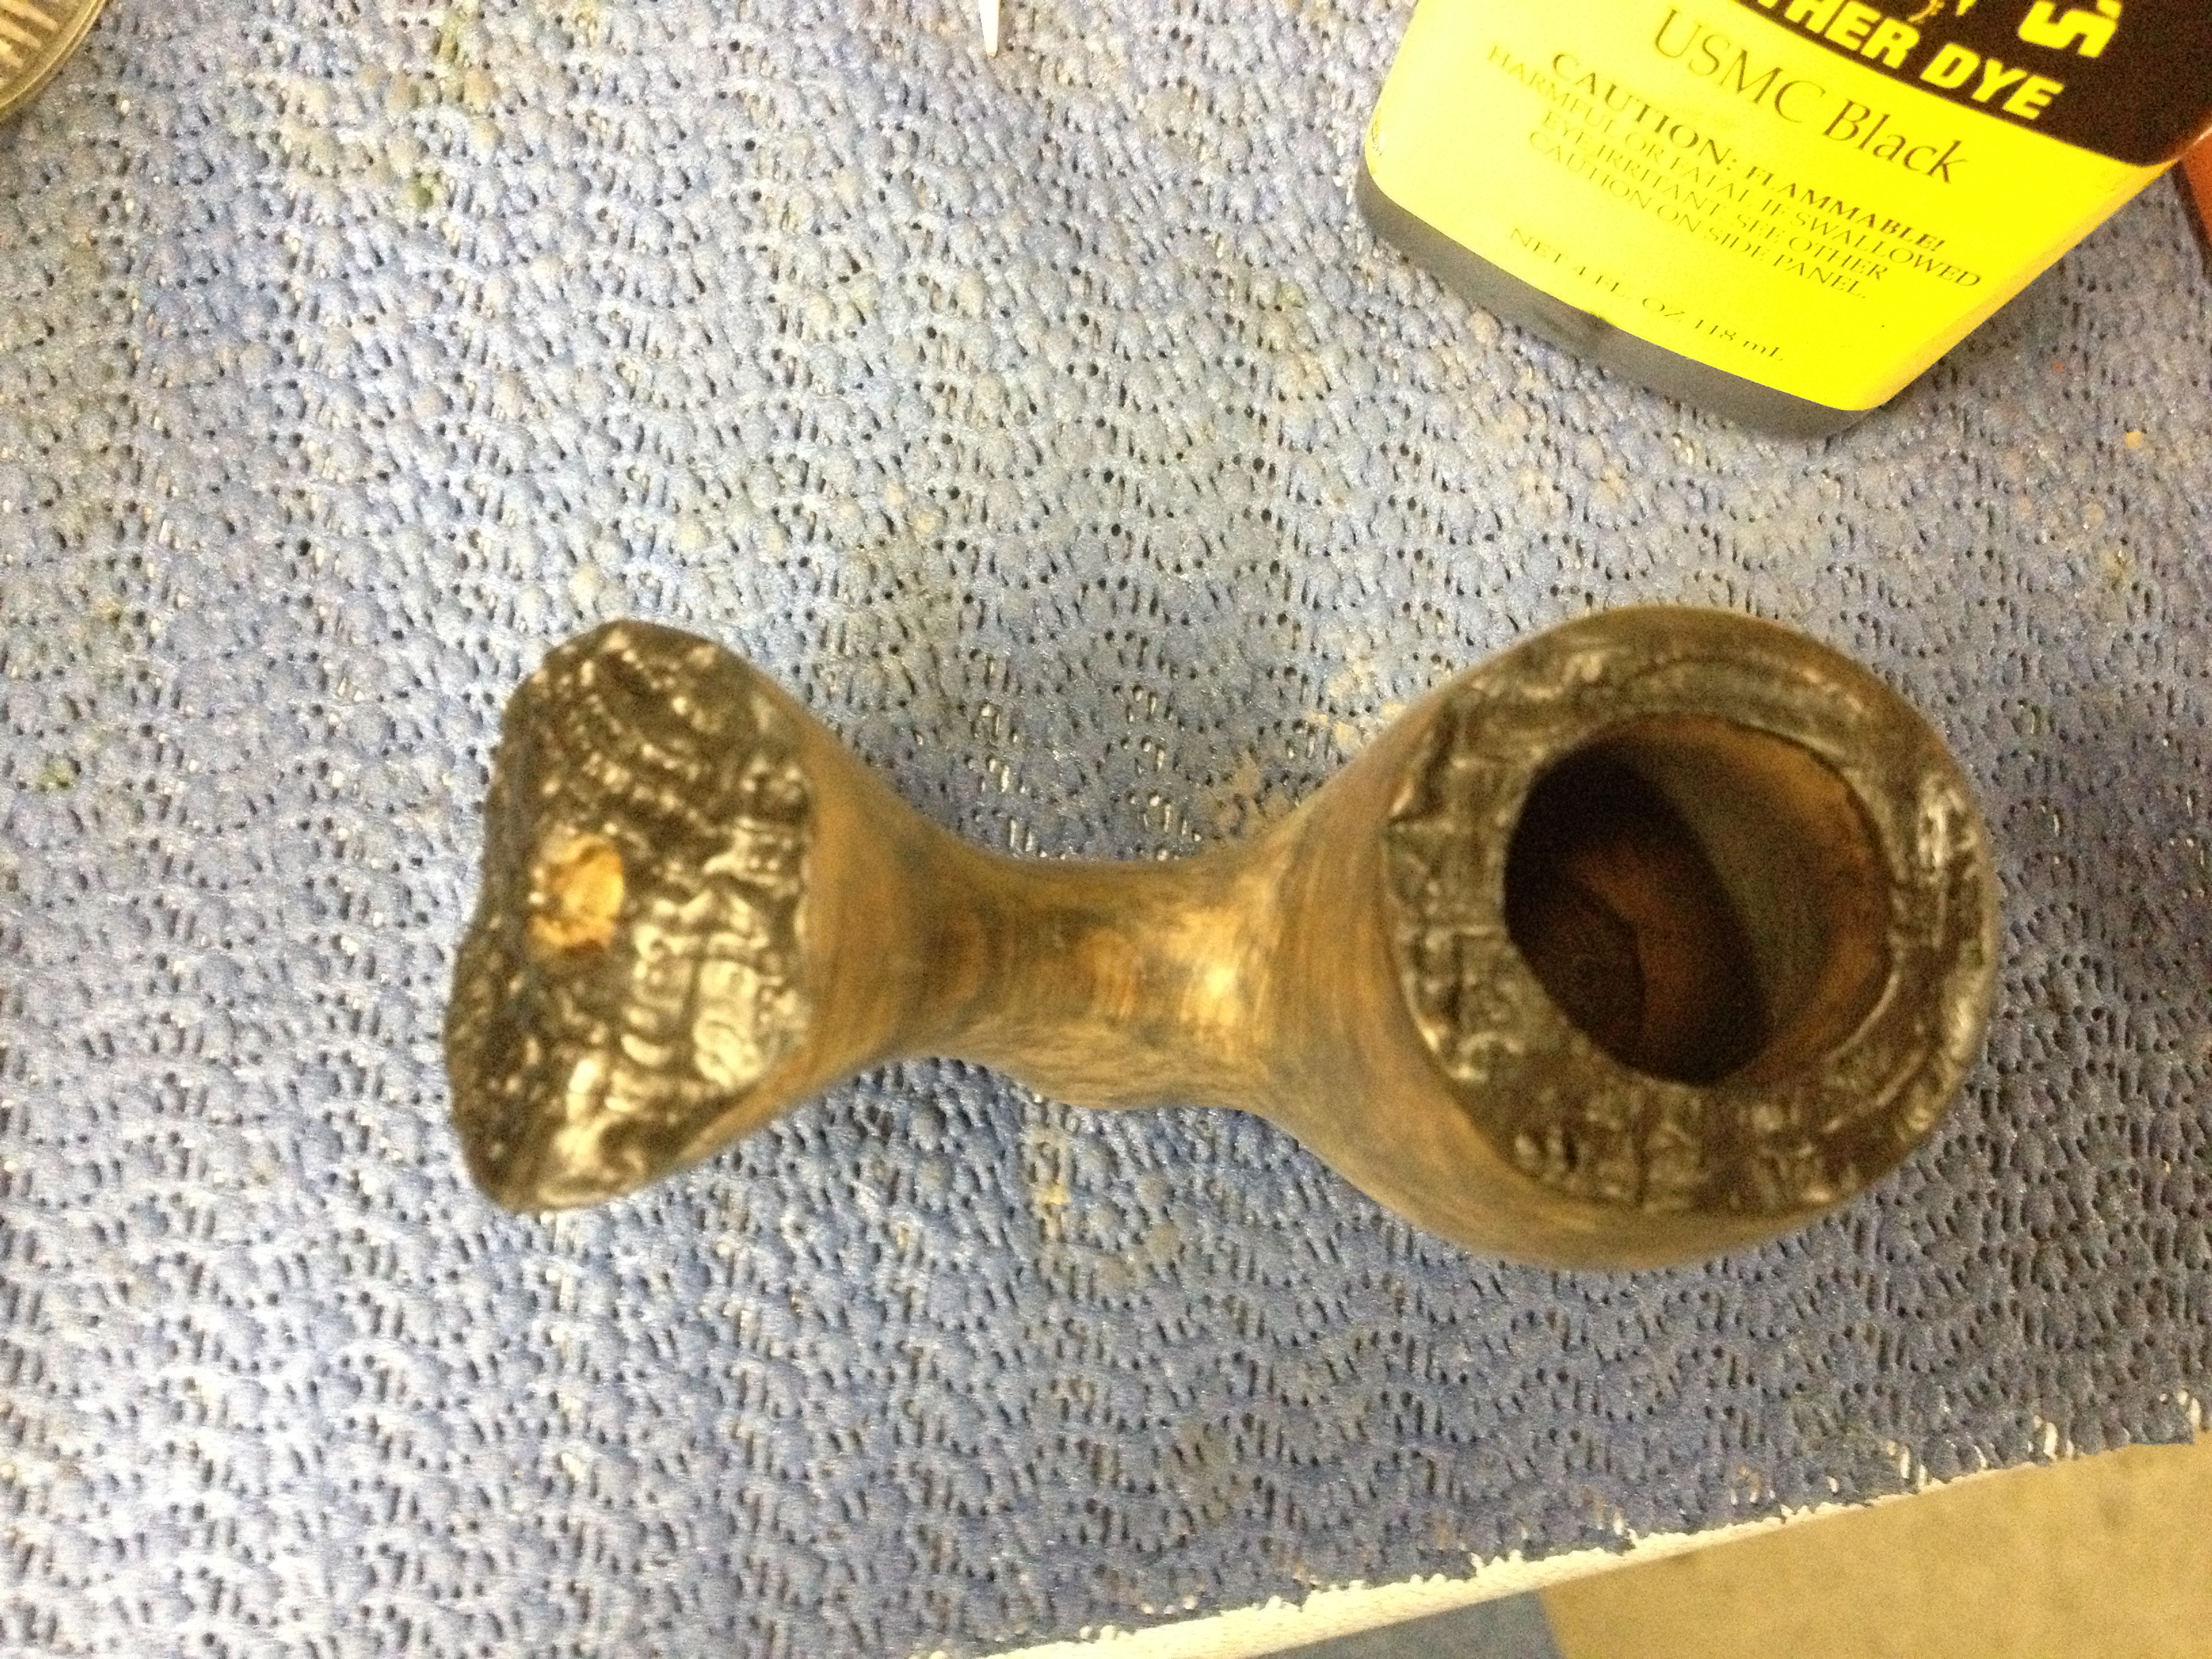
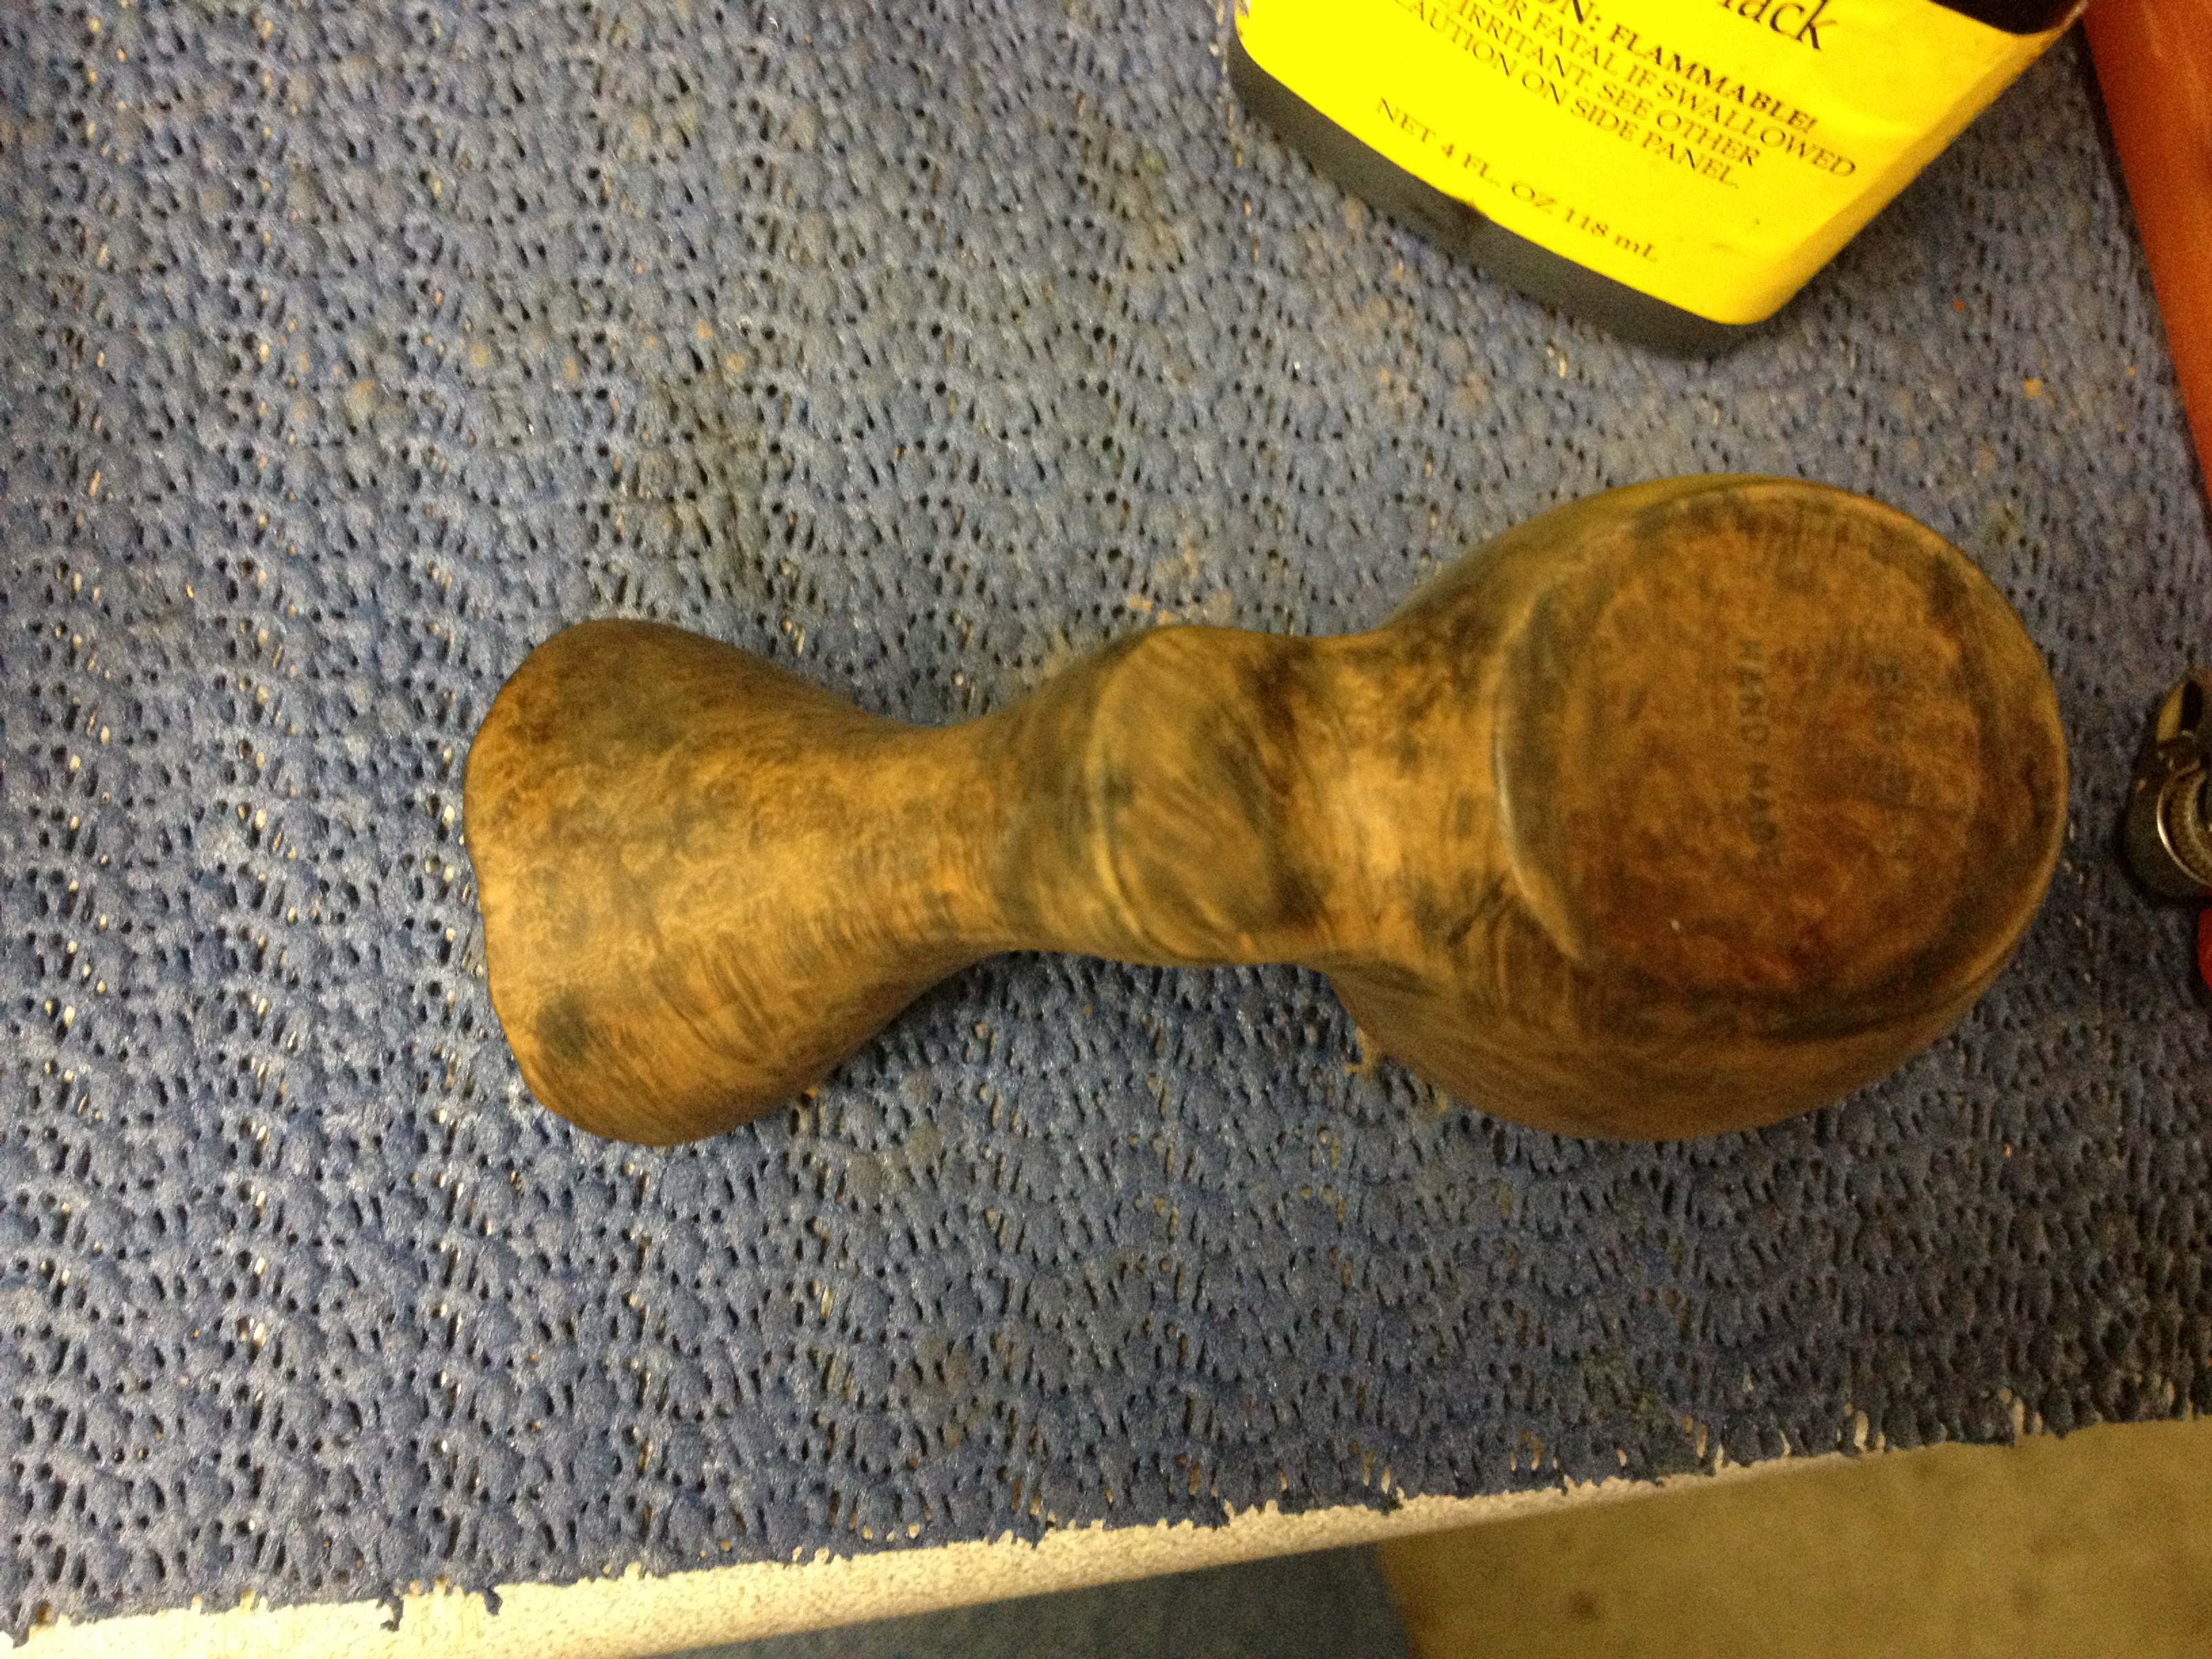
Reworking a Mastercraft Custom Deluxe Billiard and Removing Mold


Blog by Steve Laug

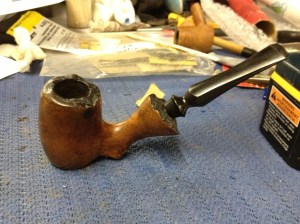
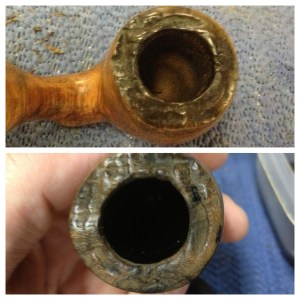
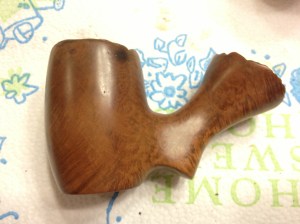
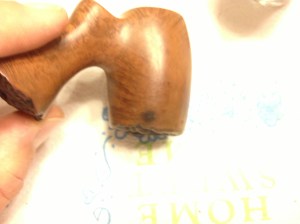
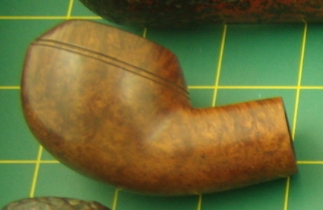
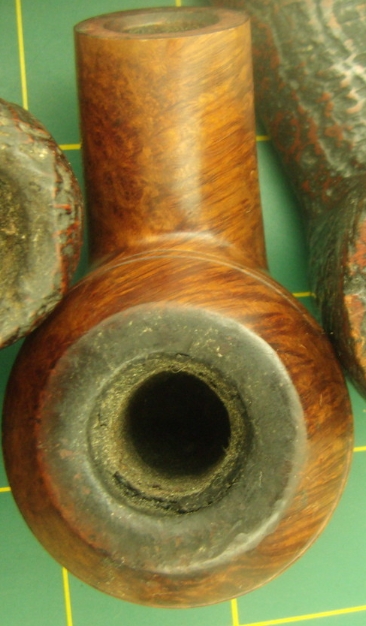
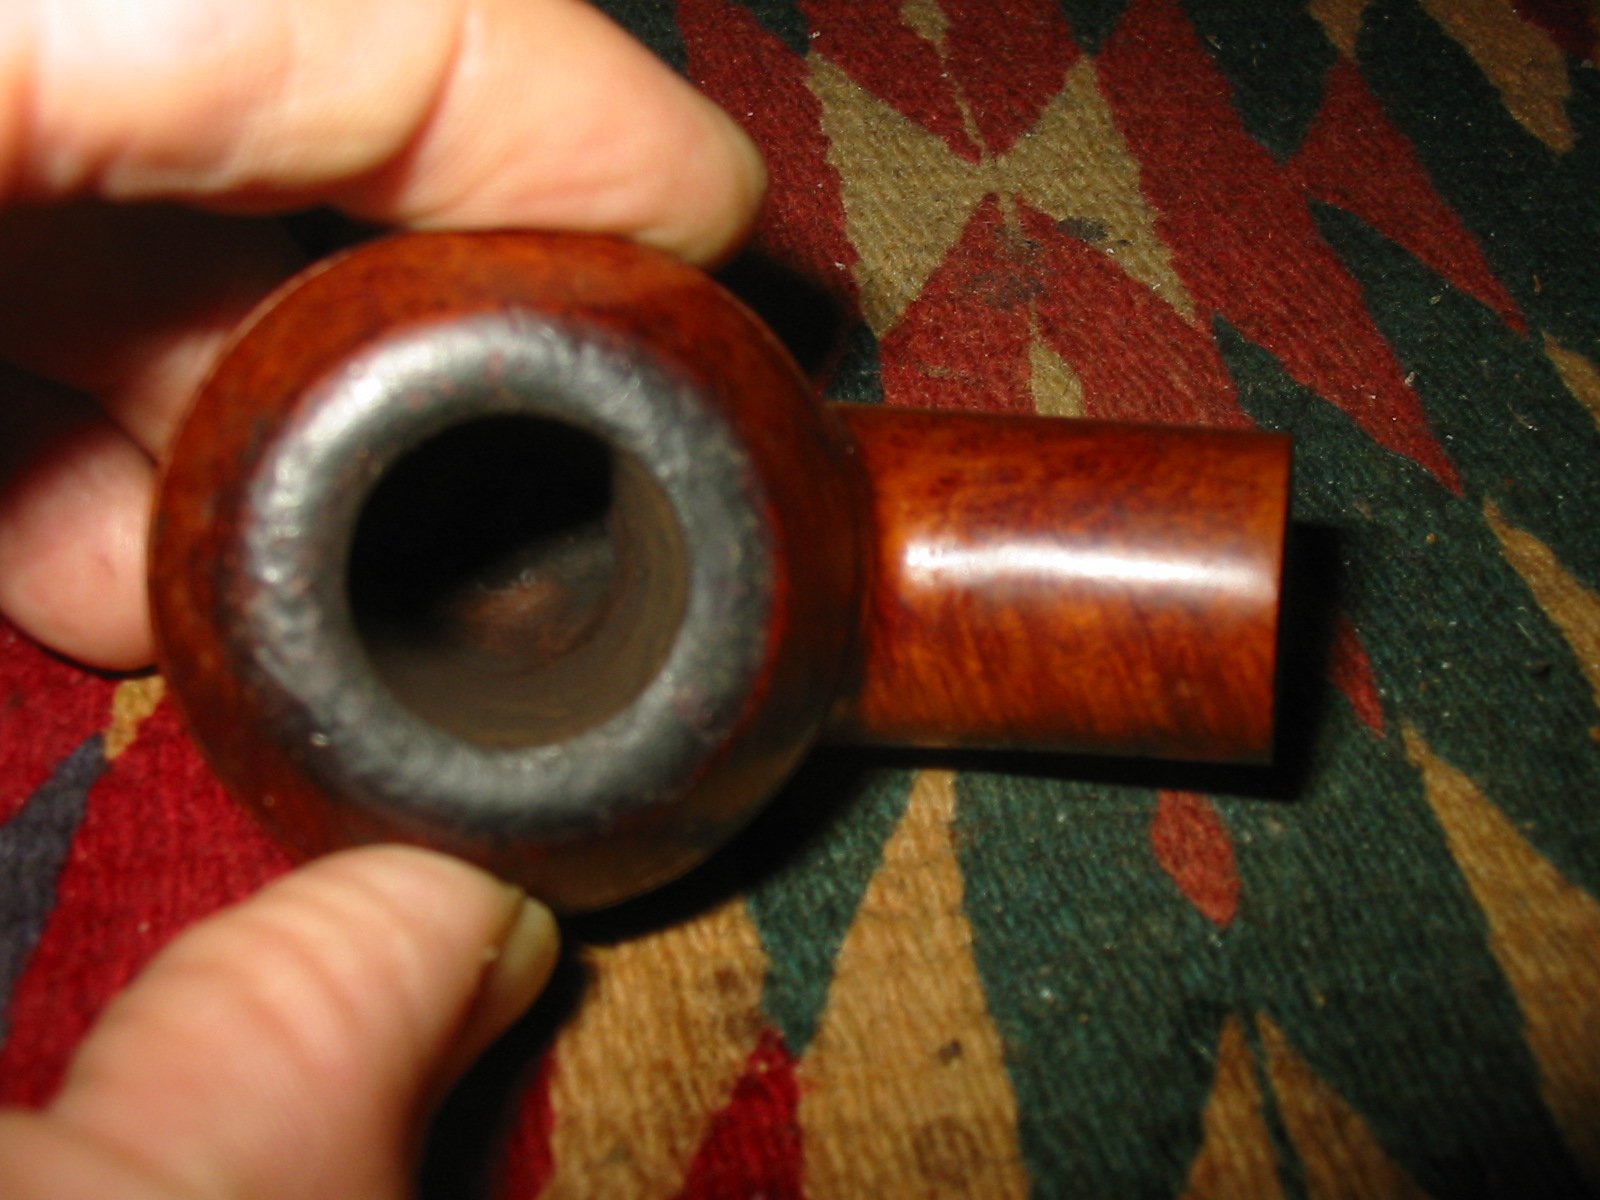
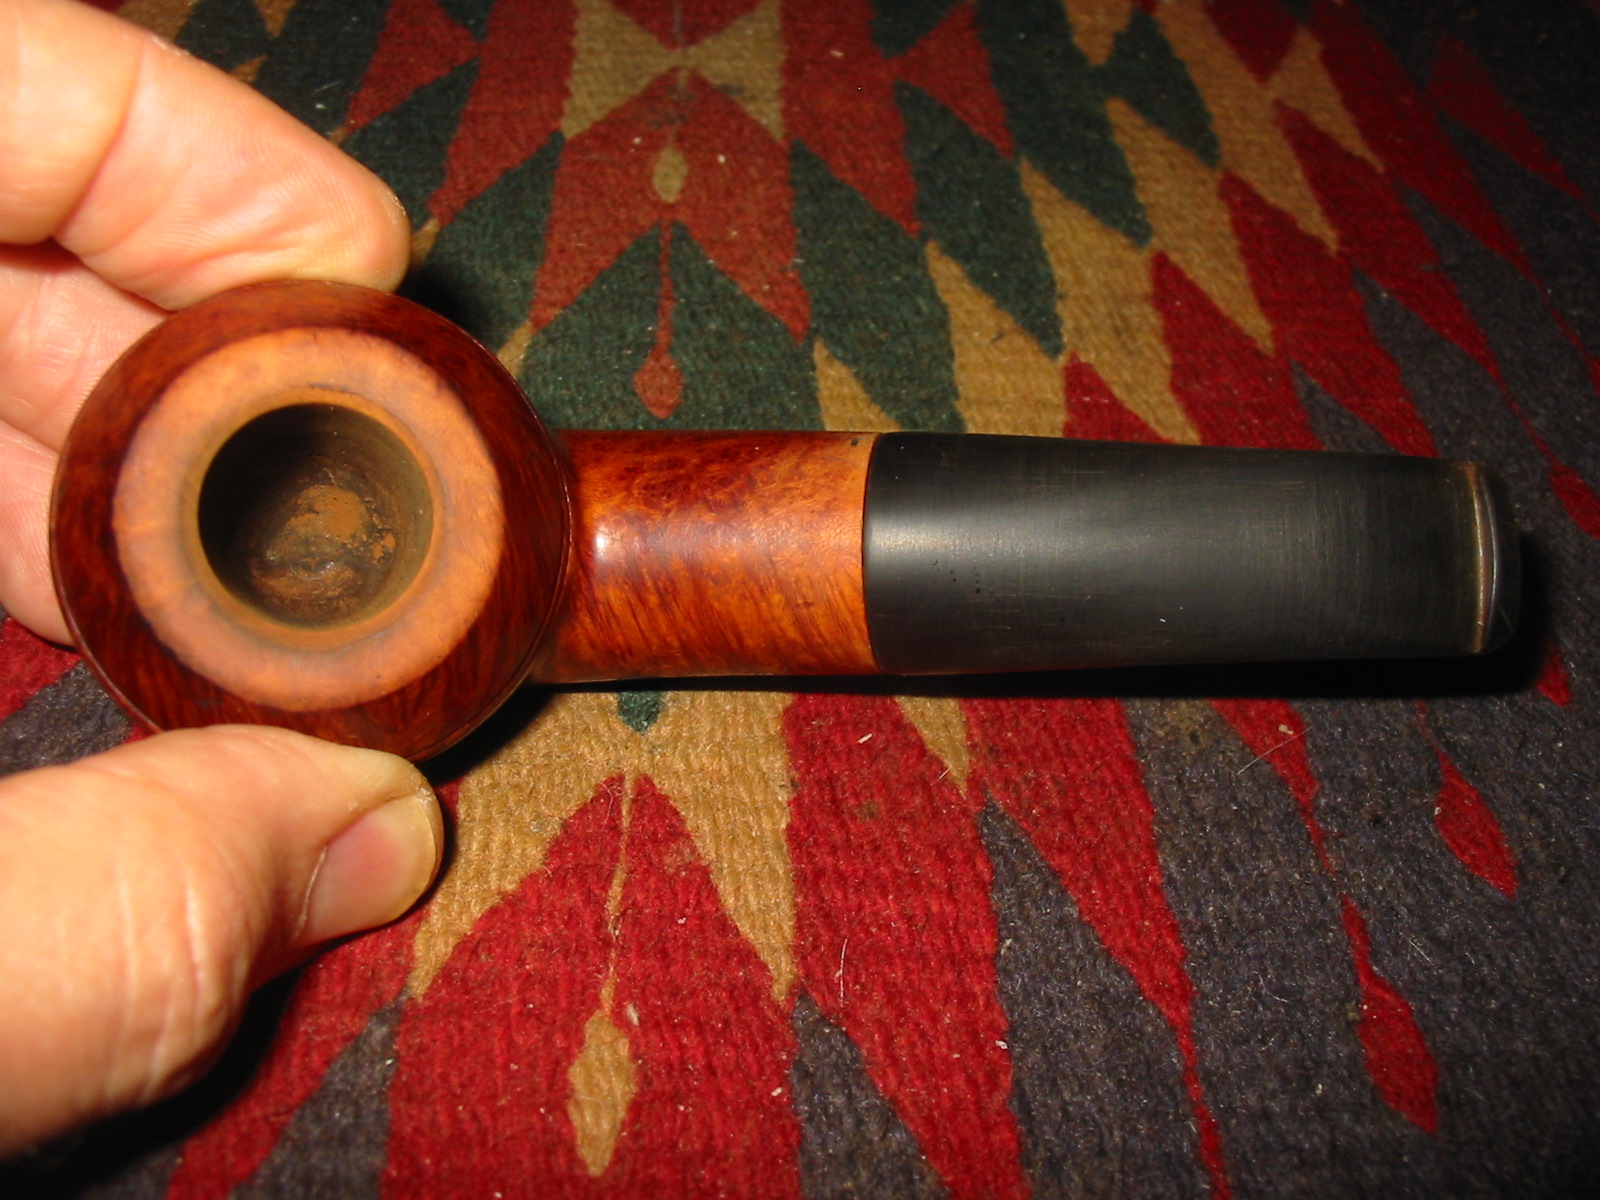
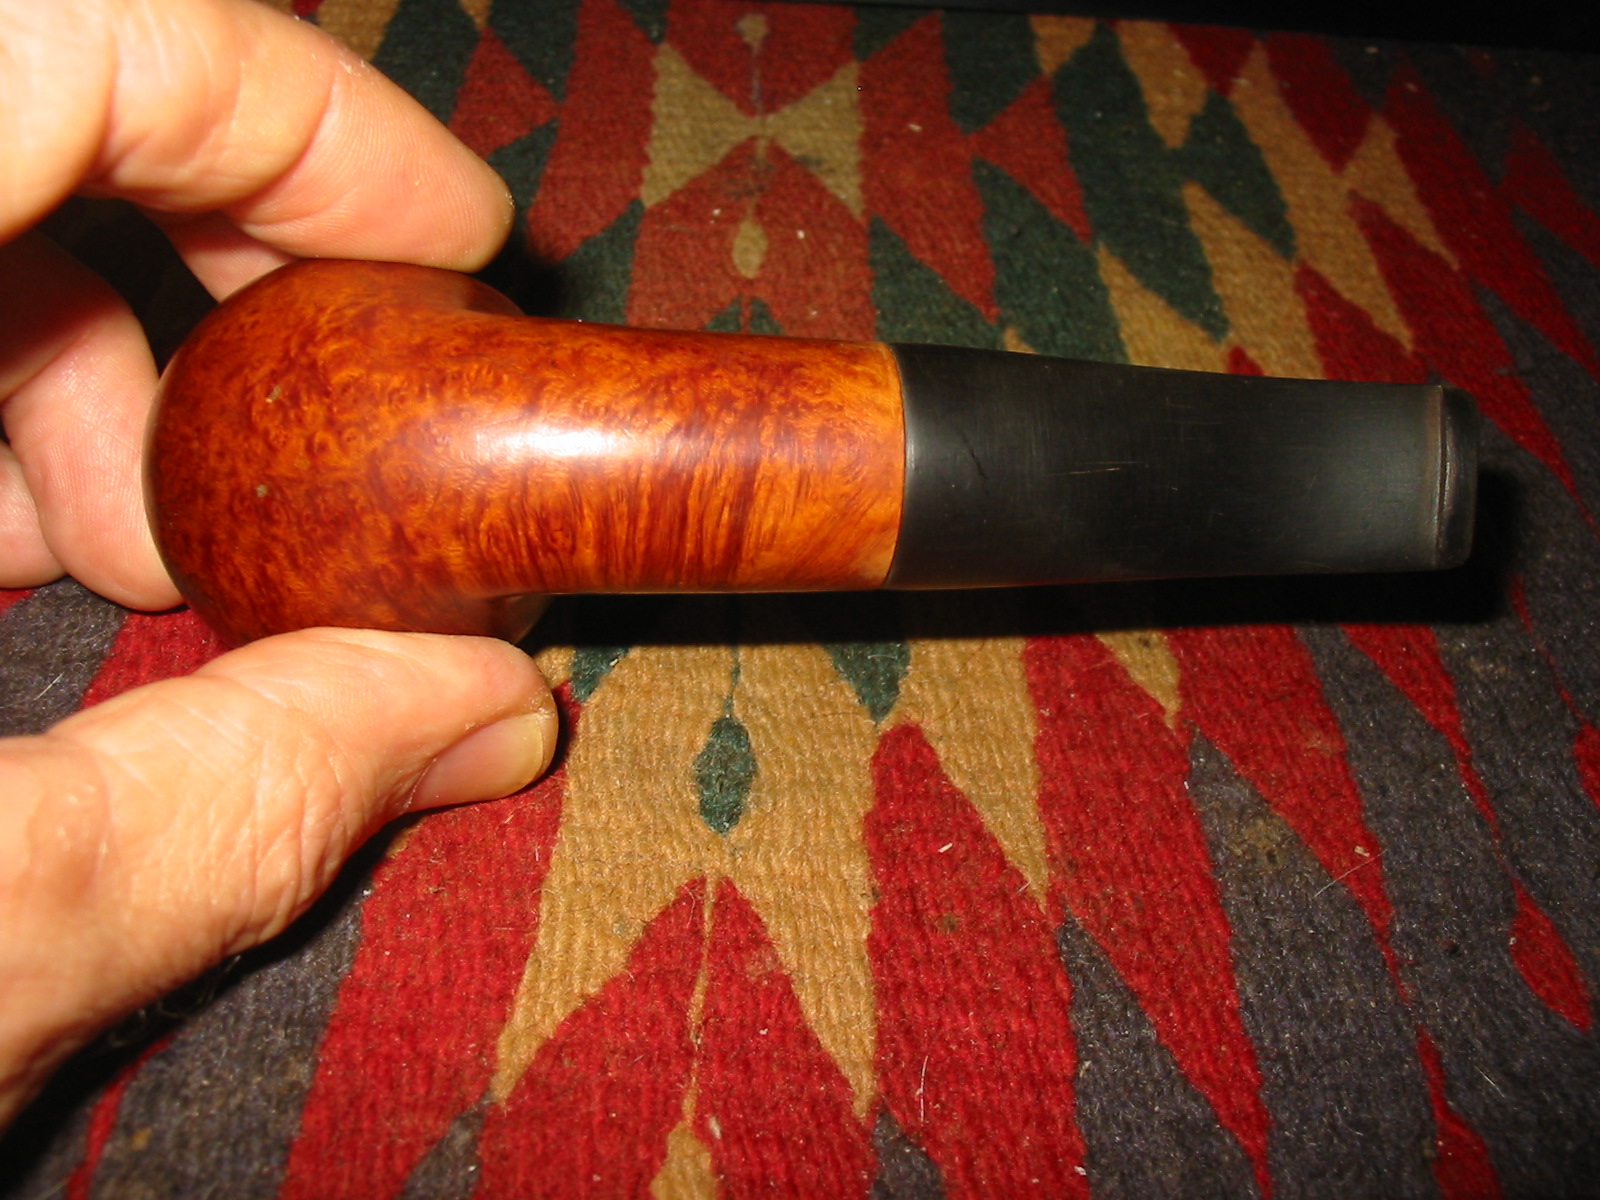
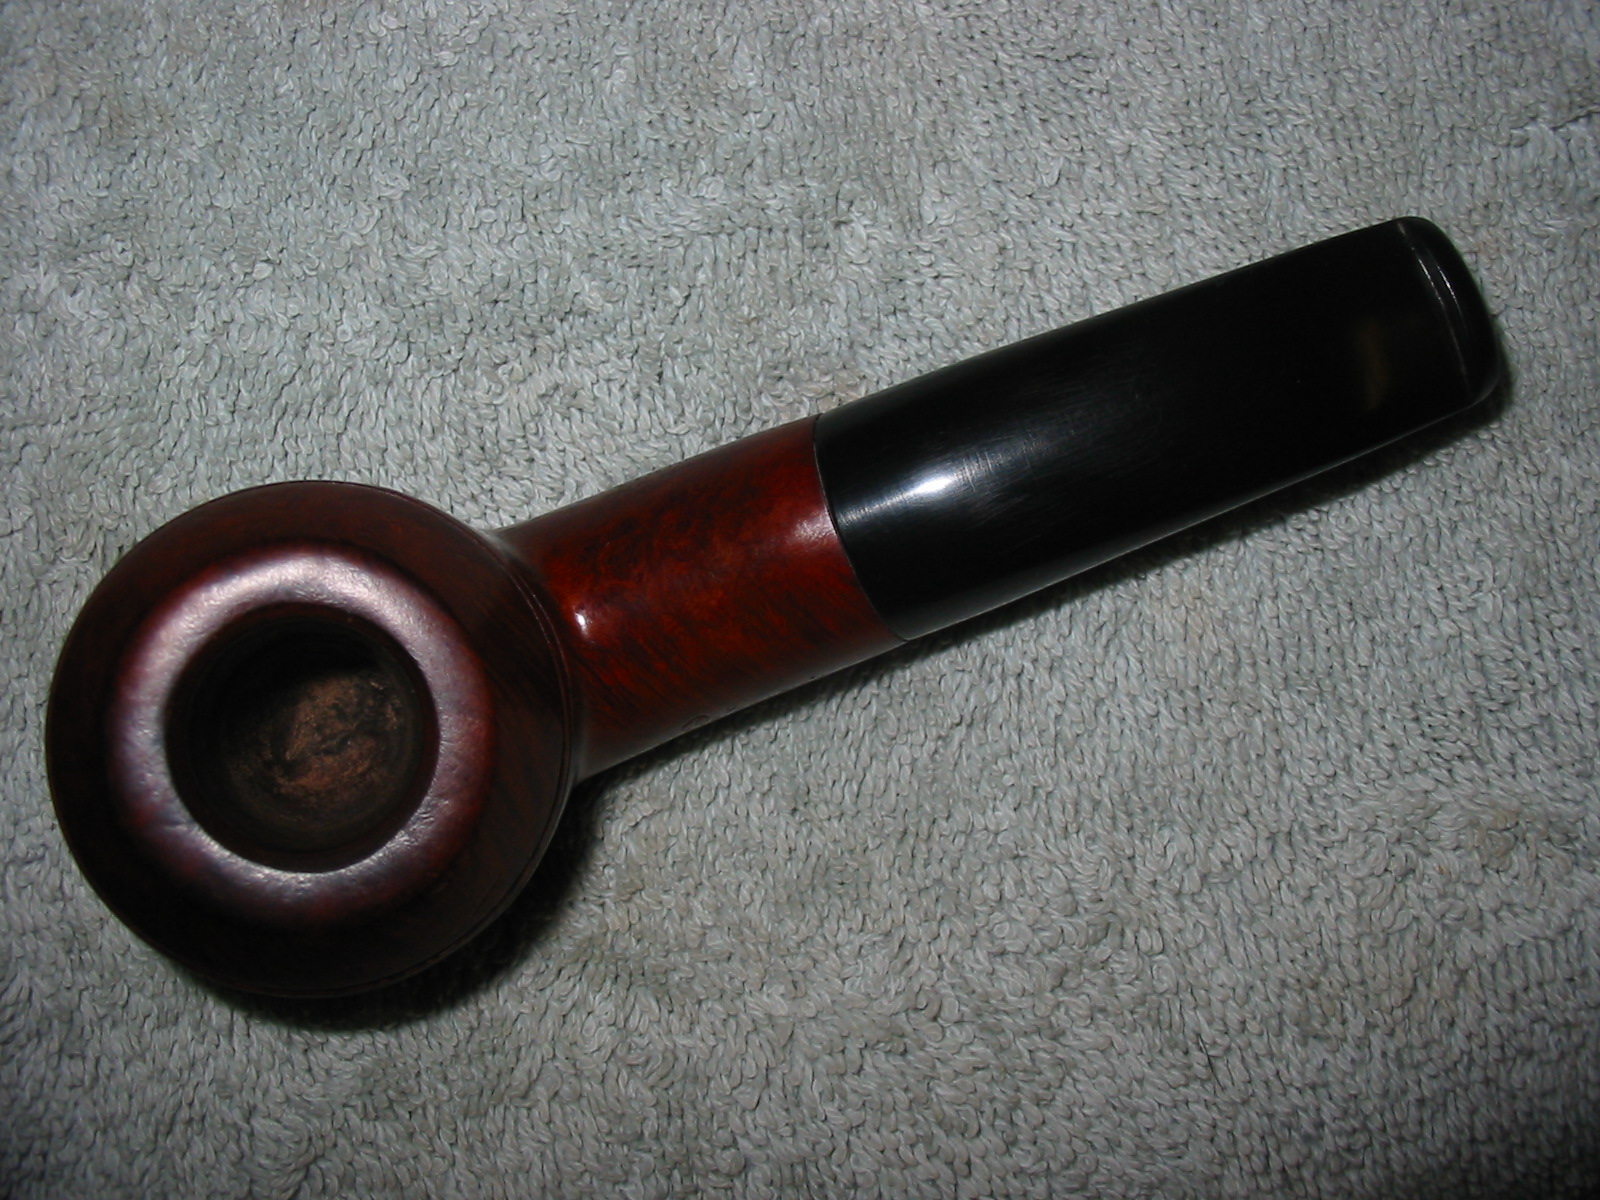
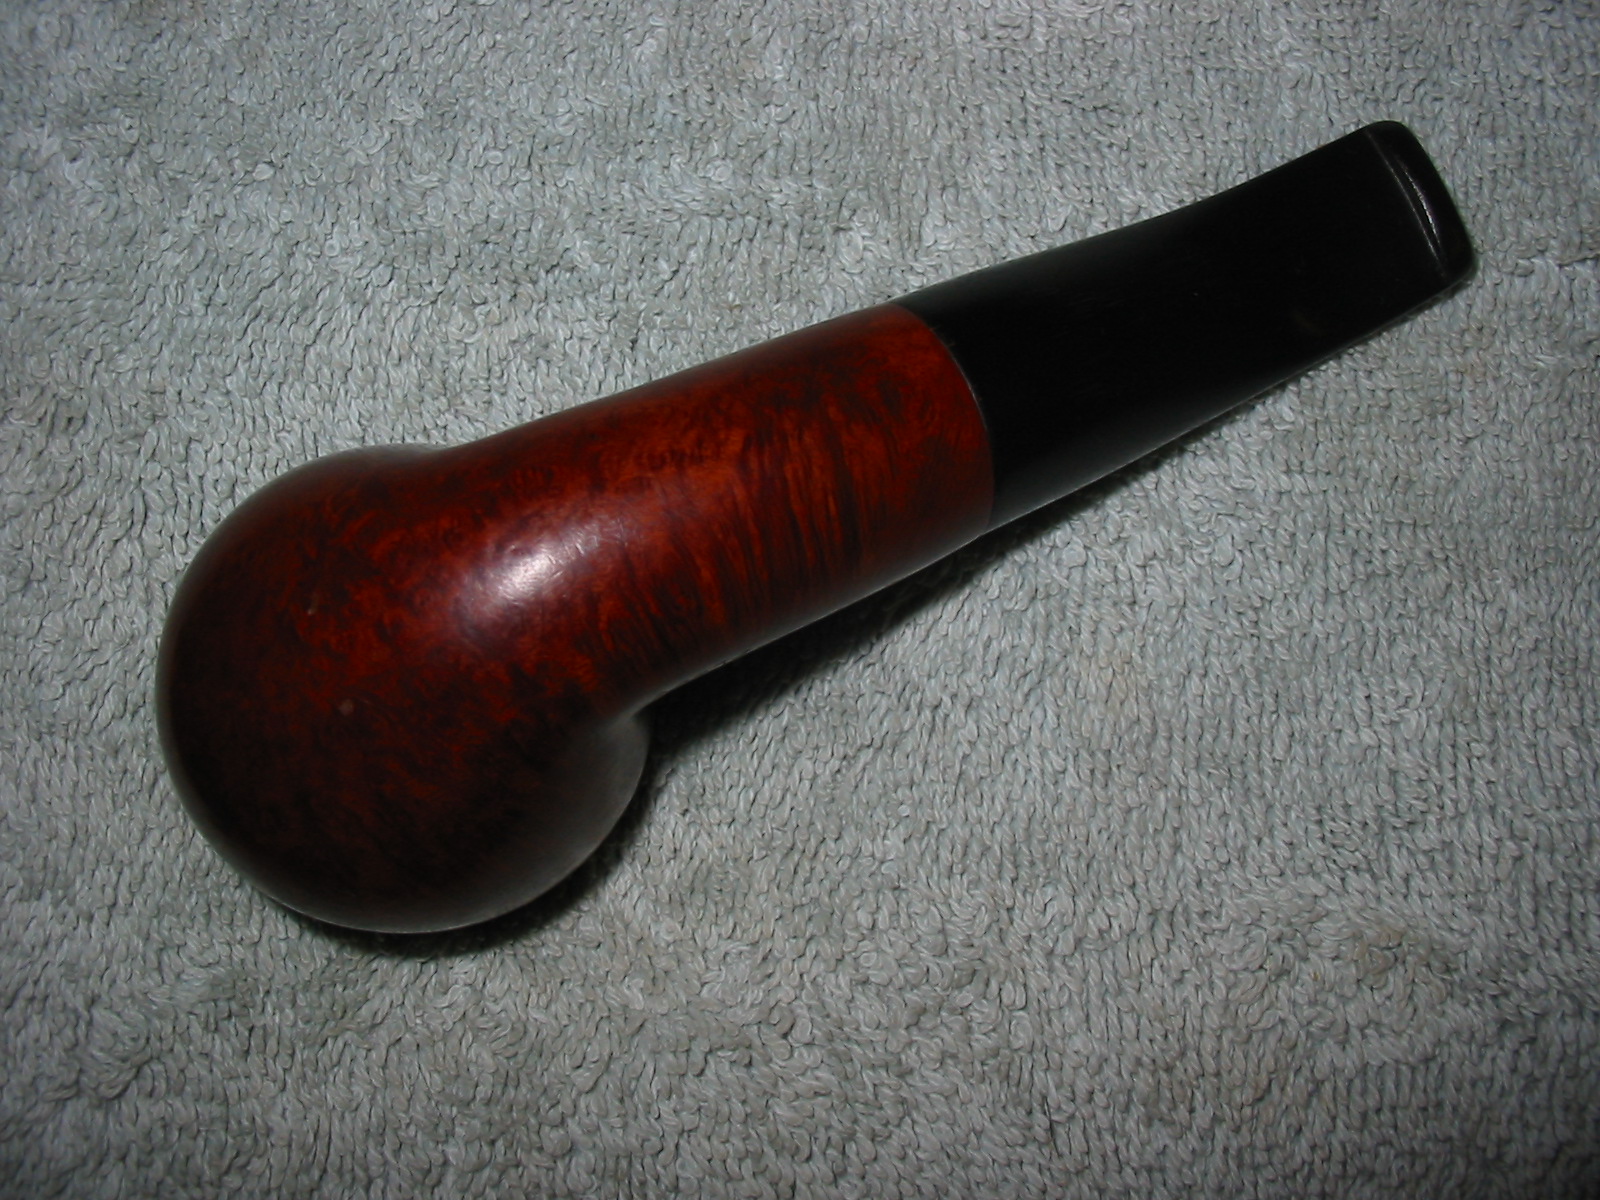
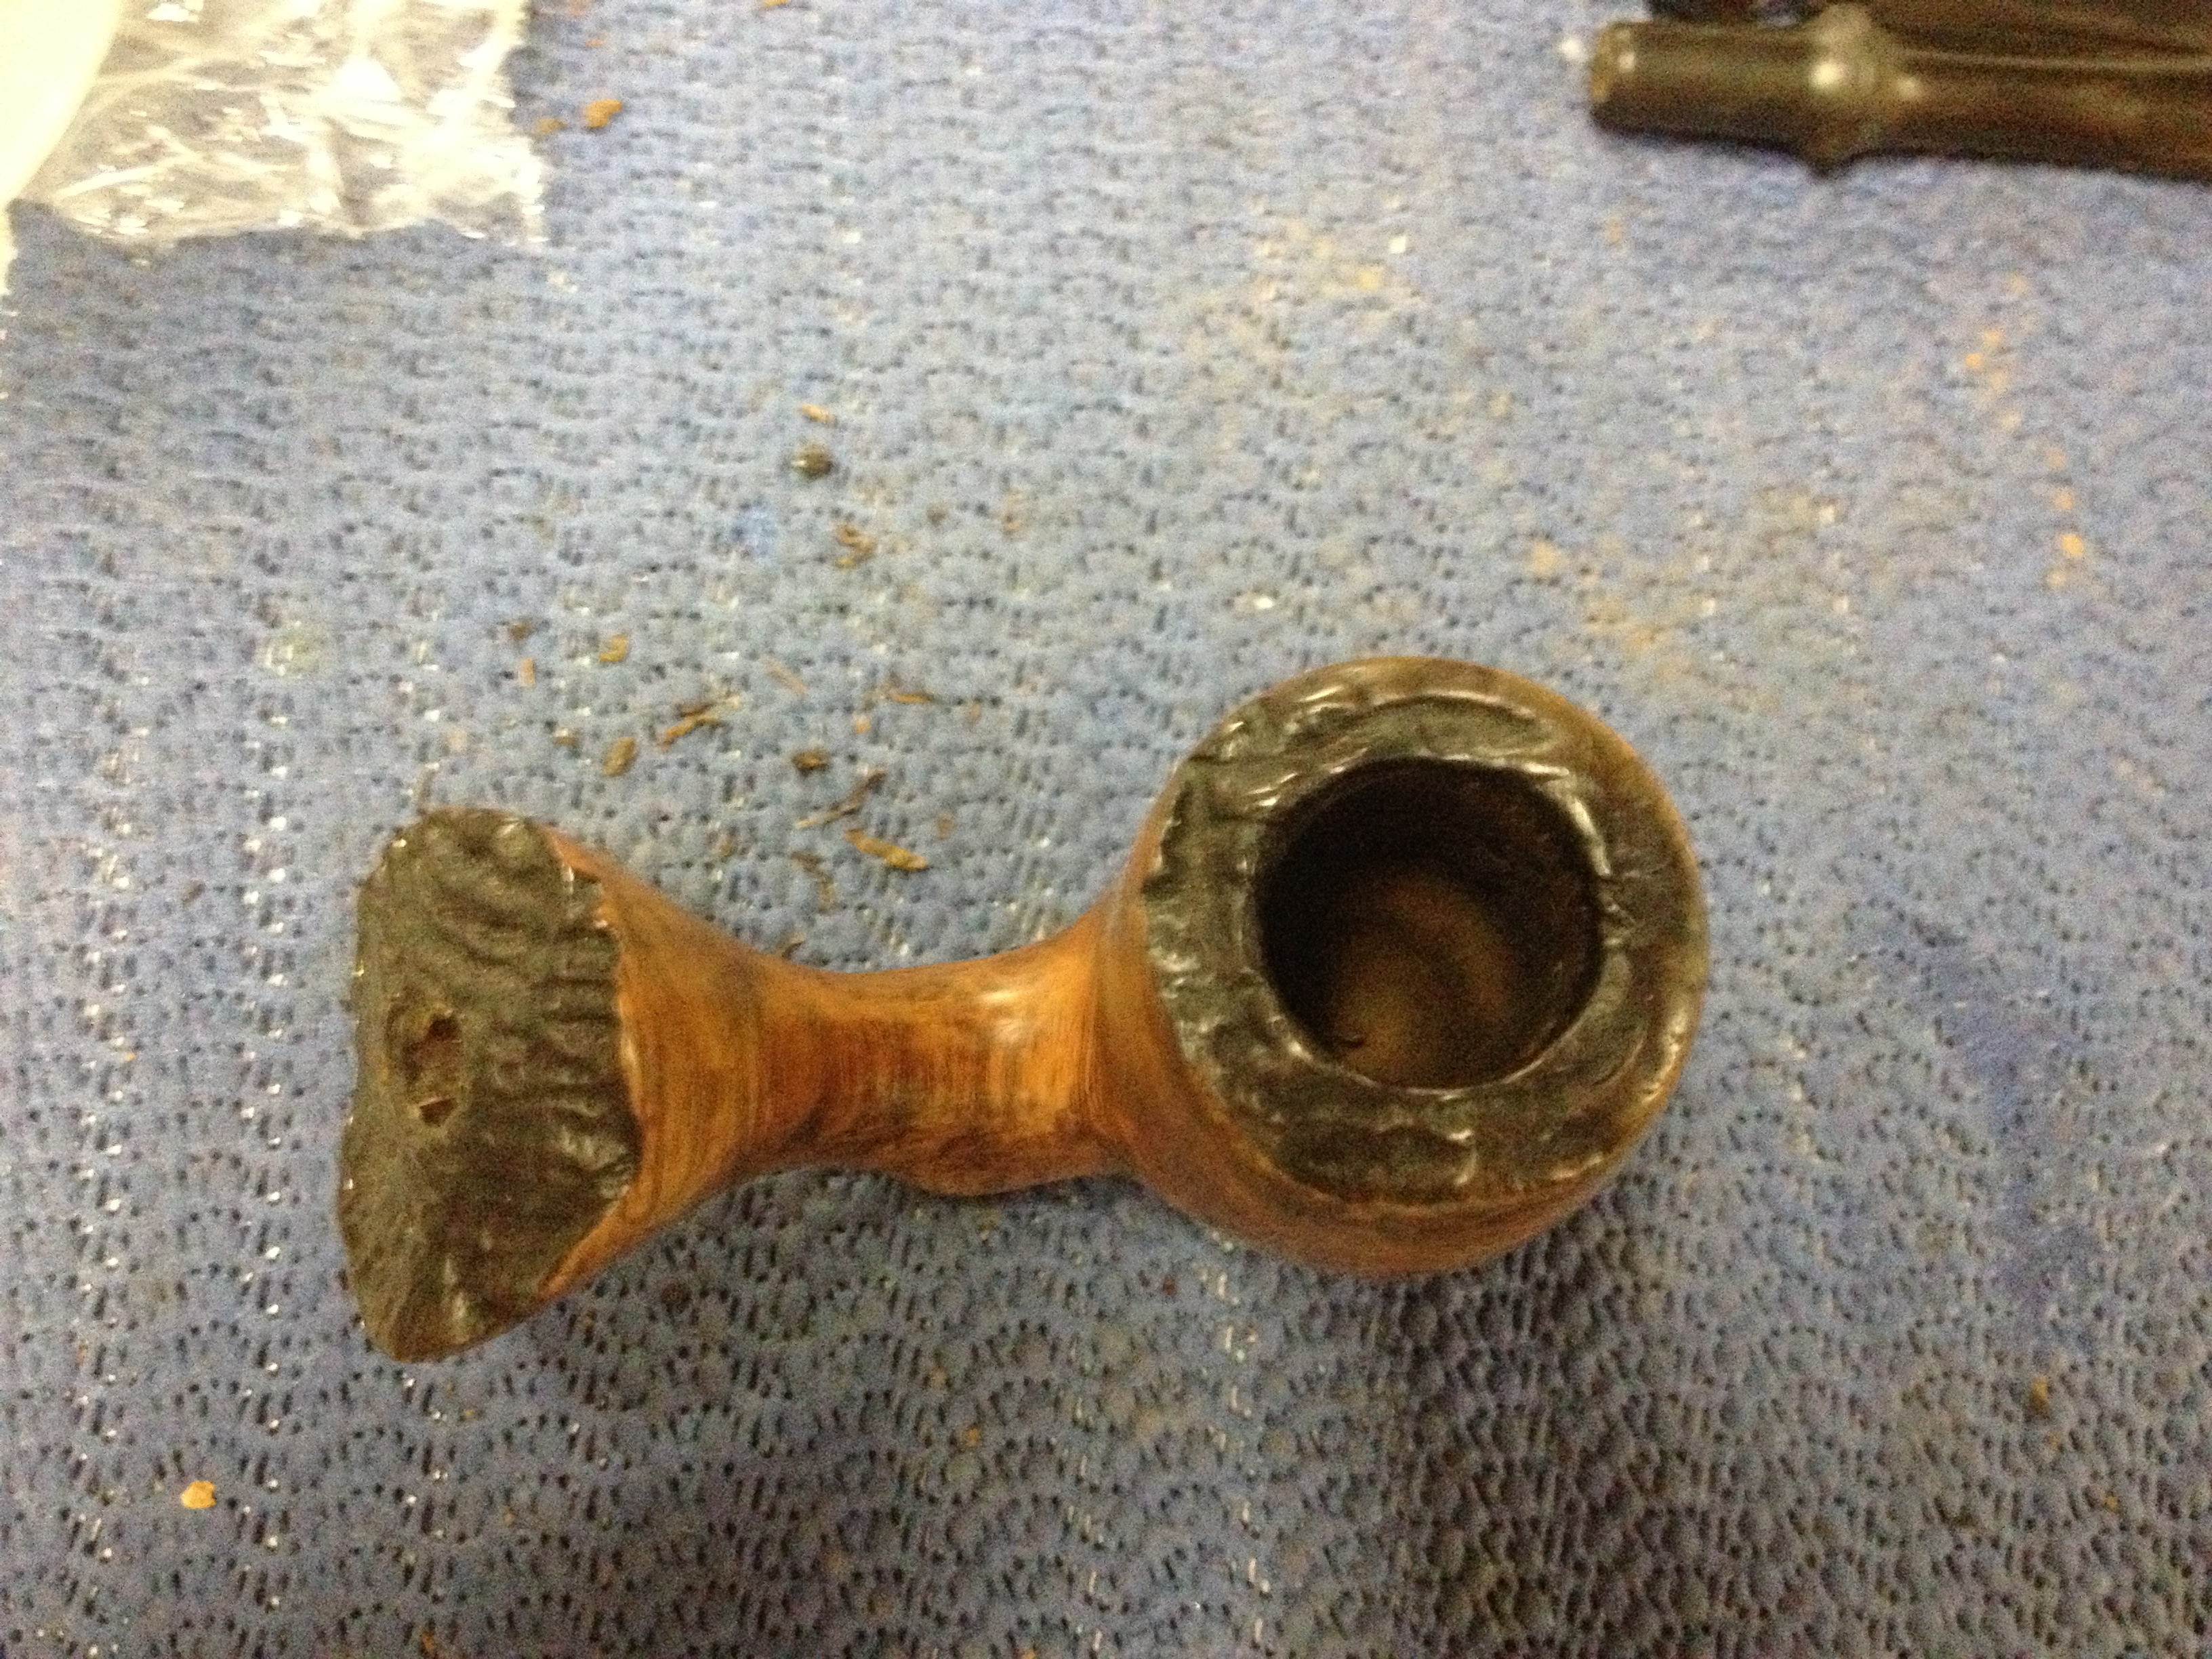
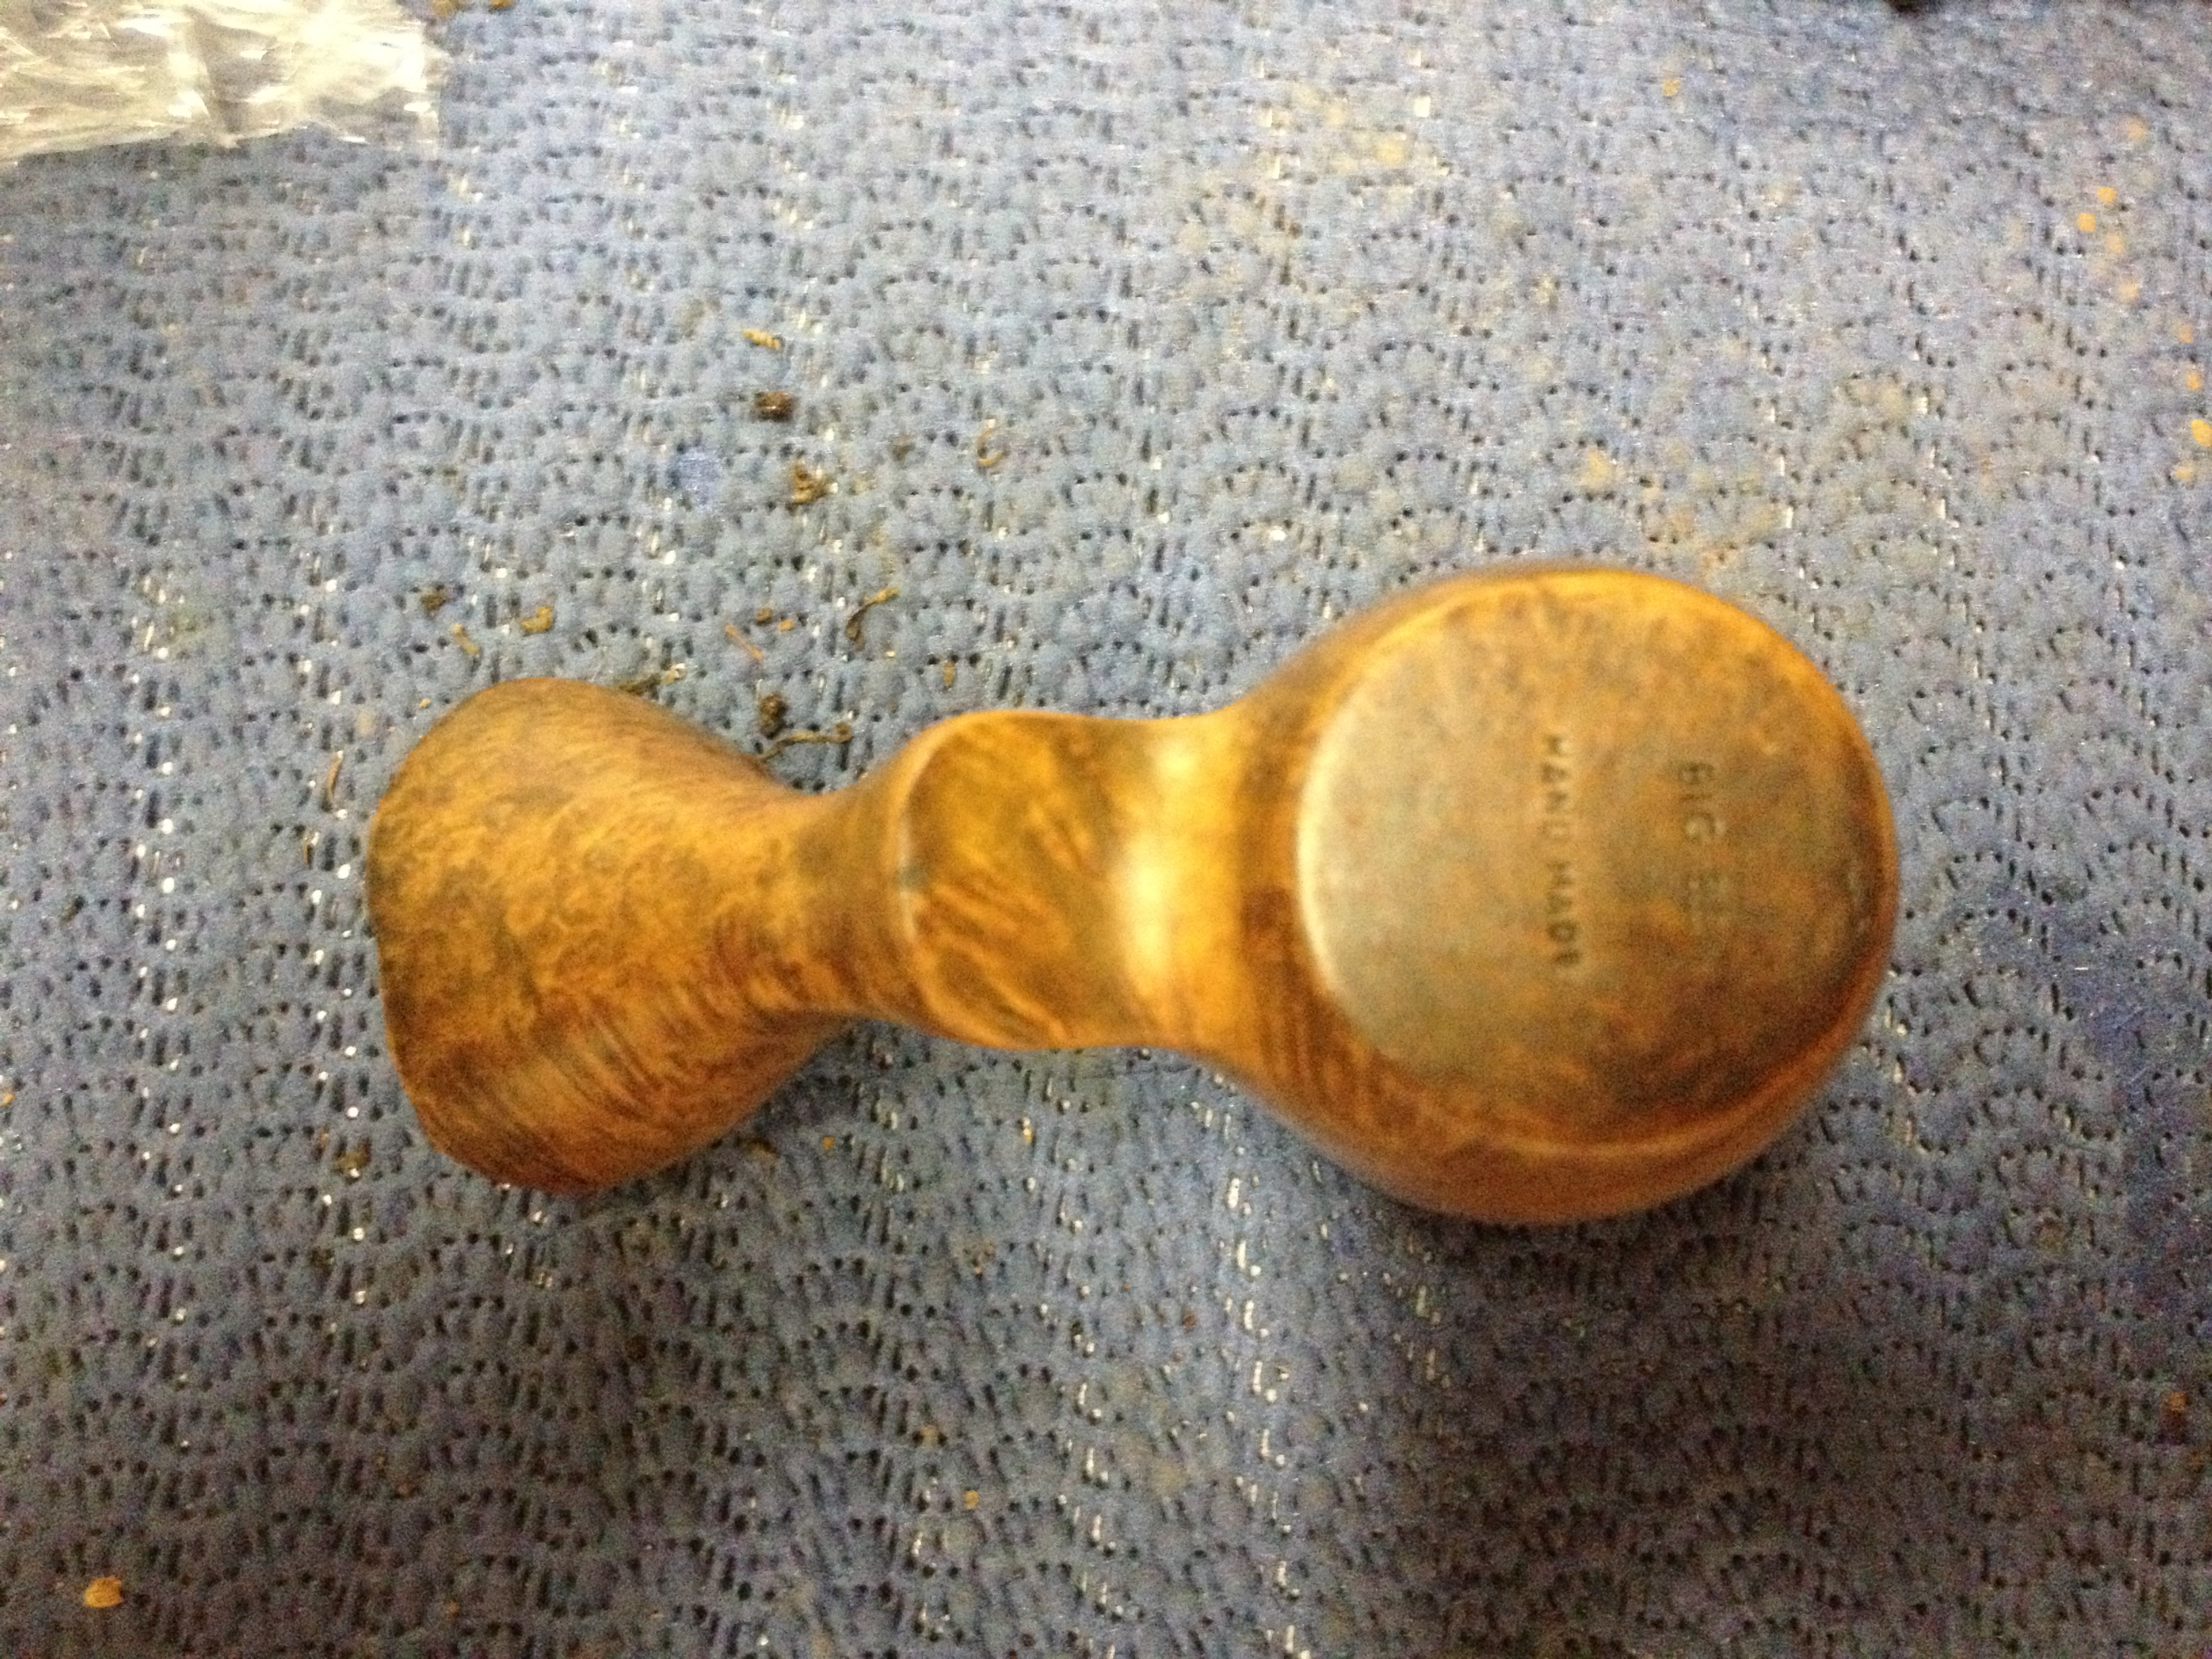
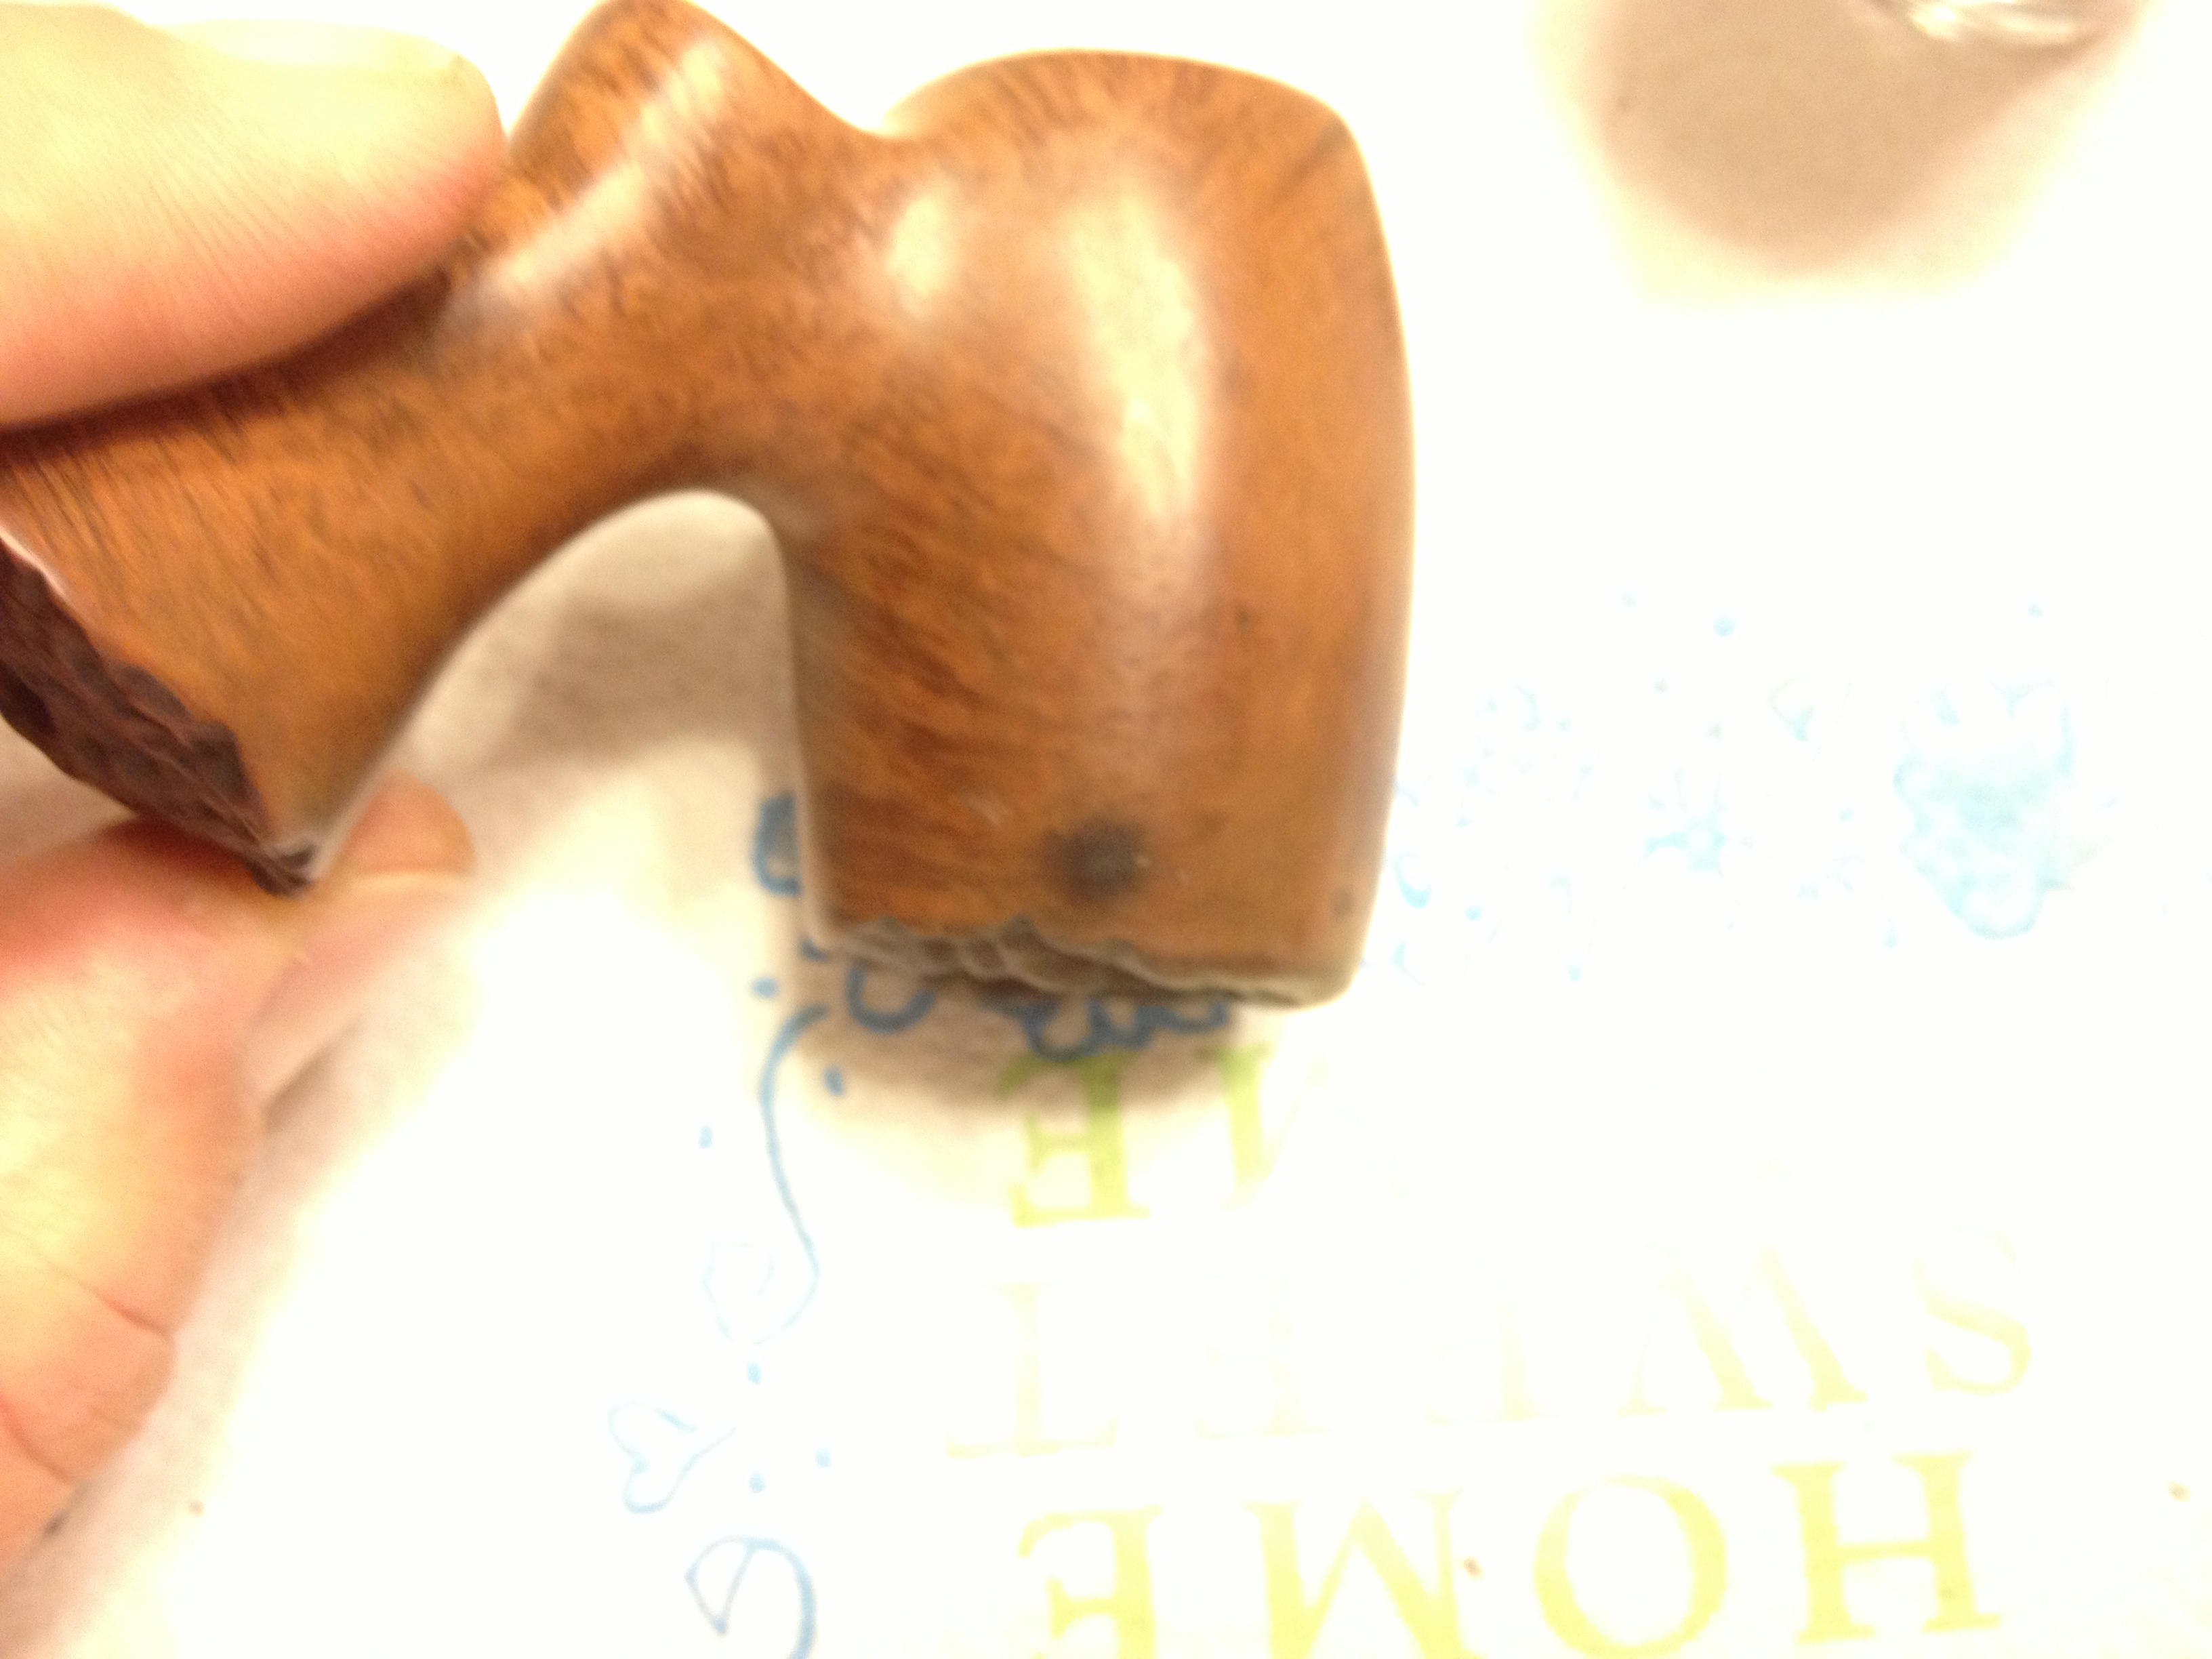
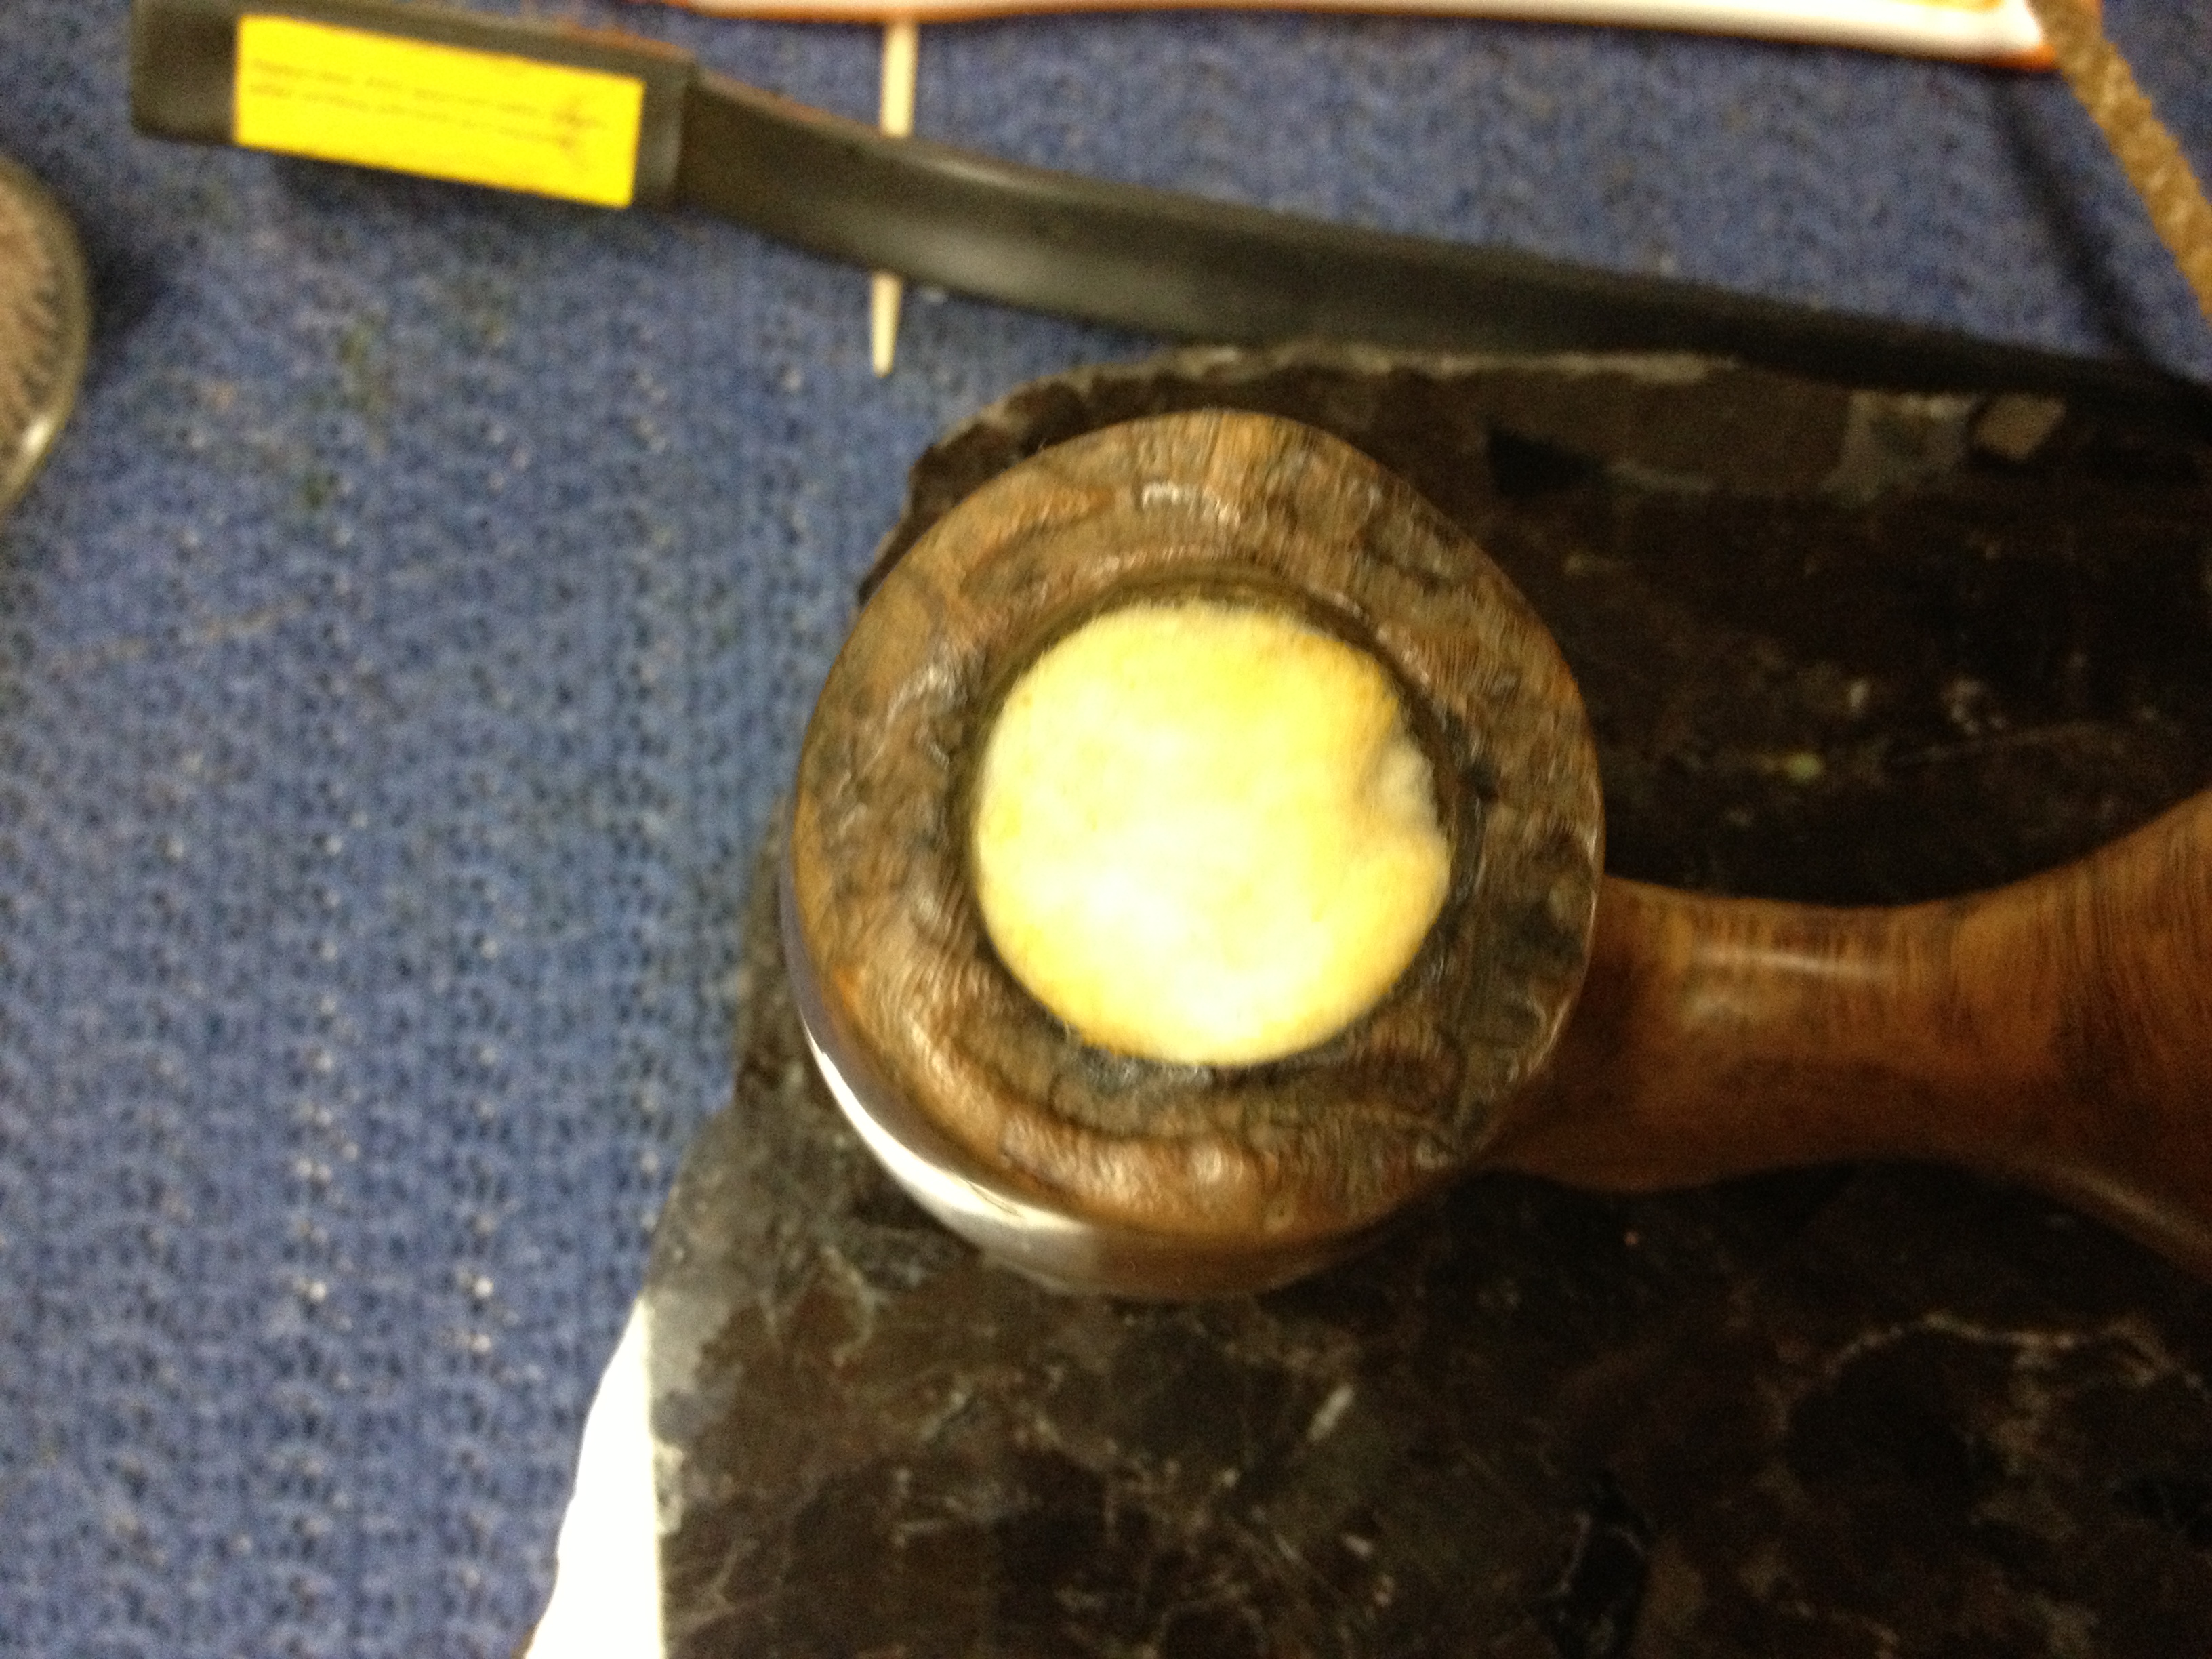
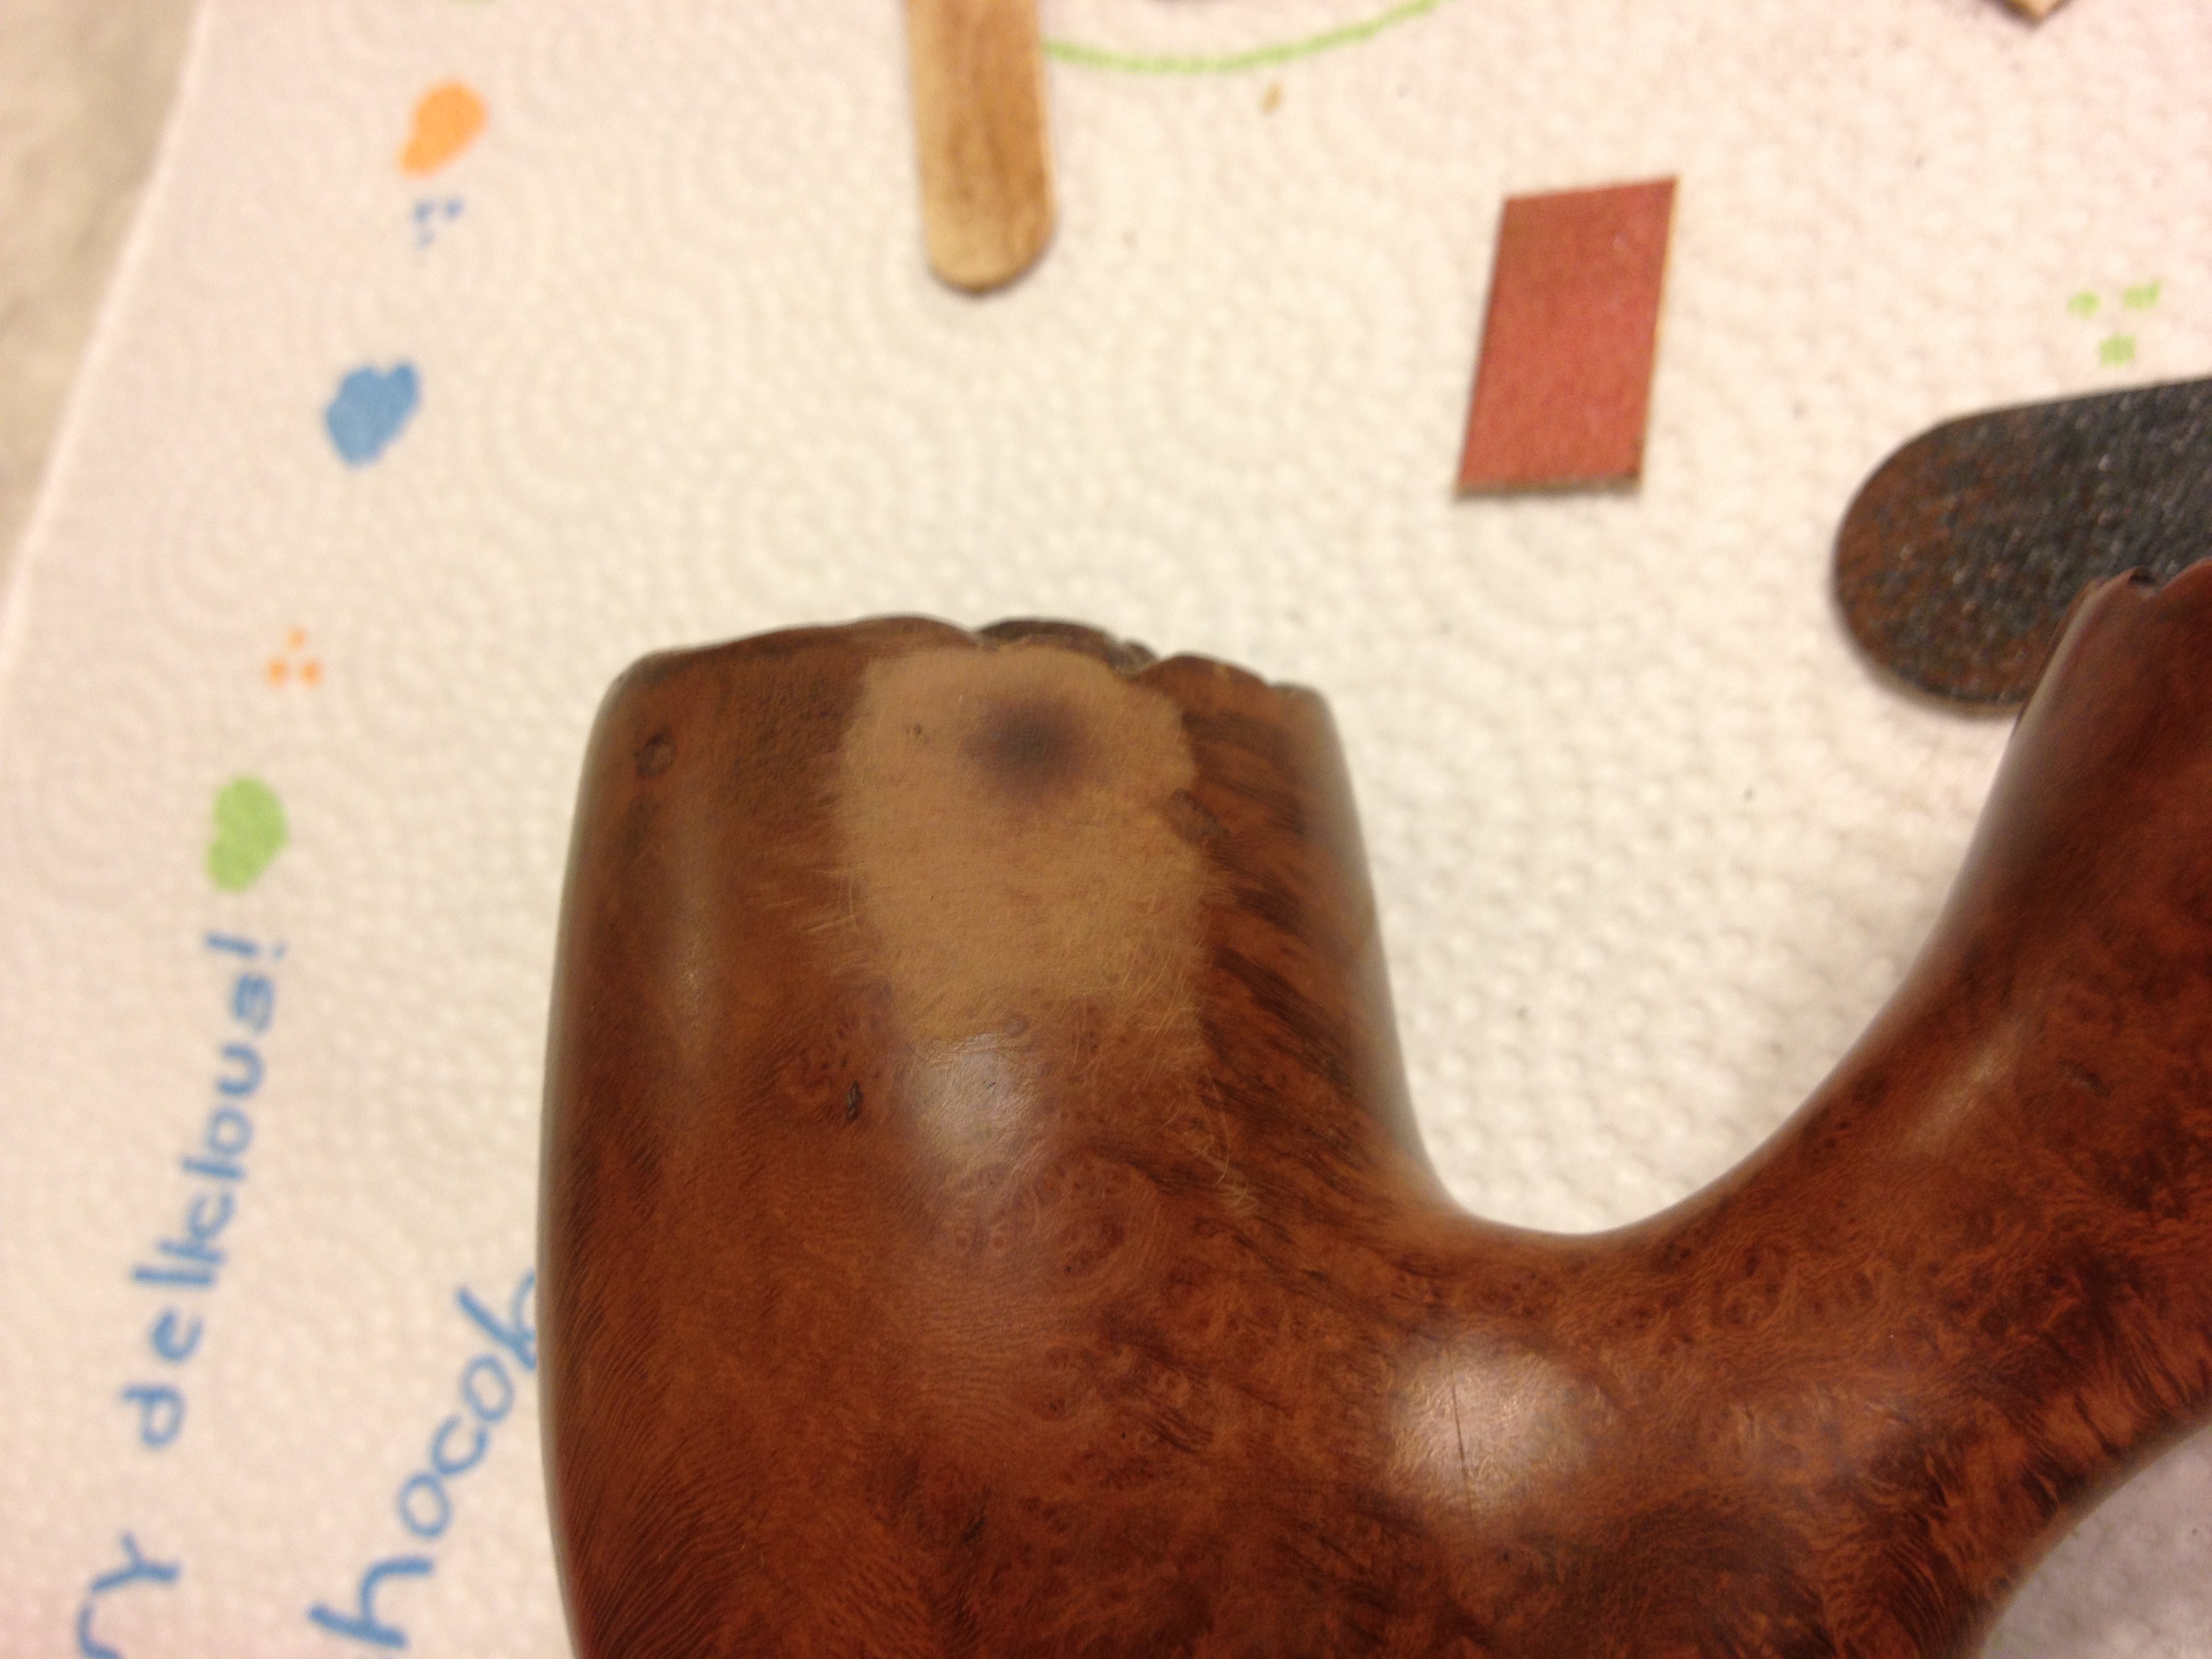
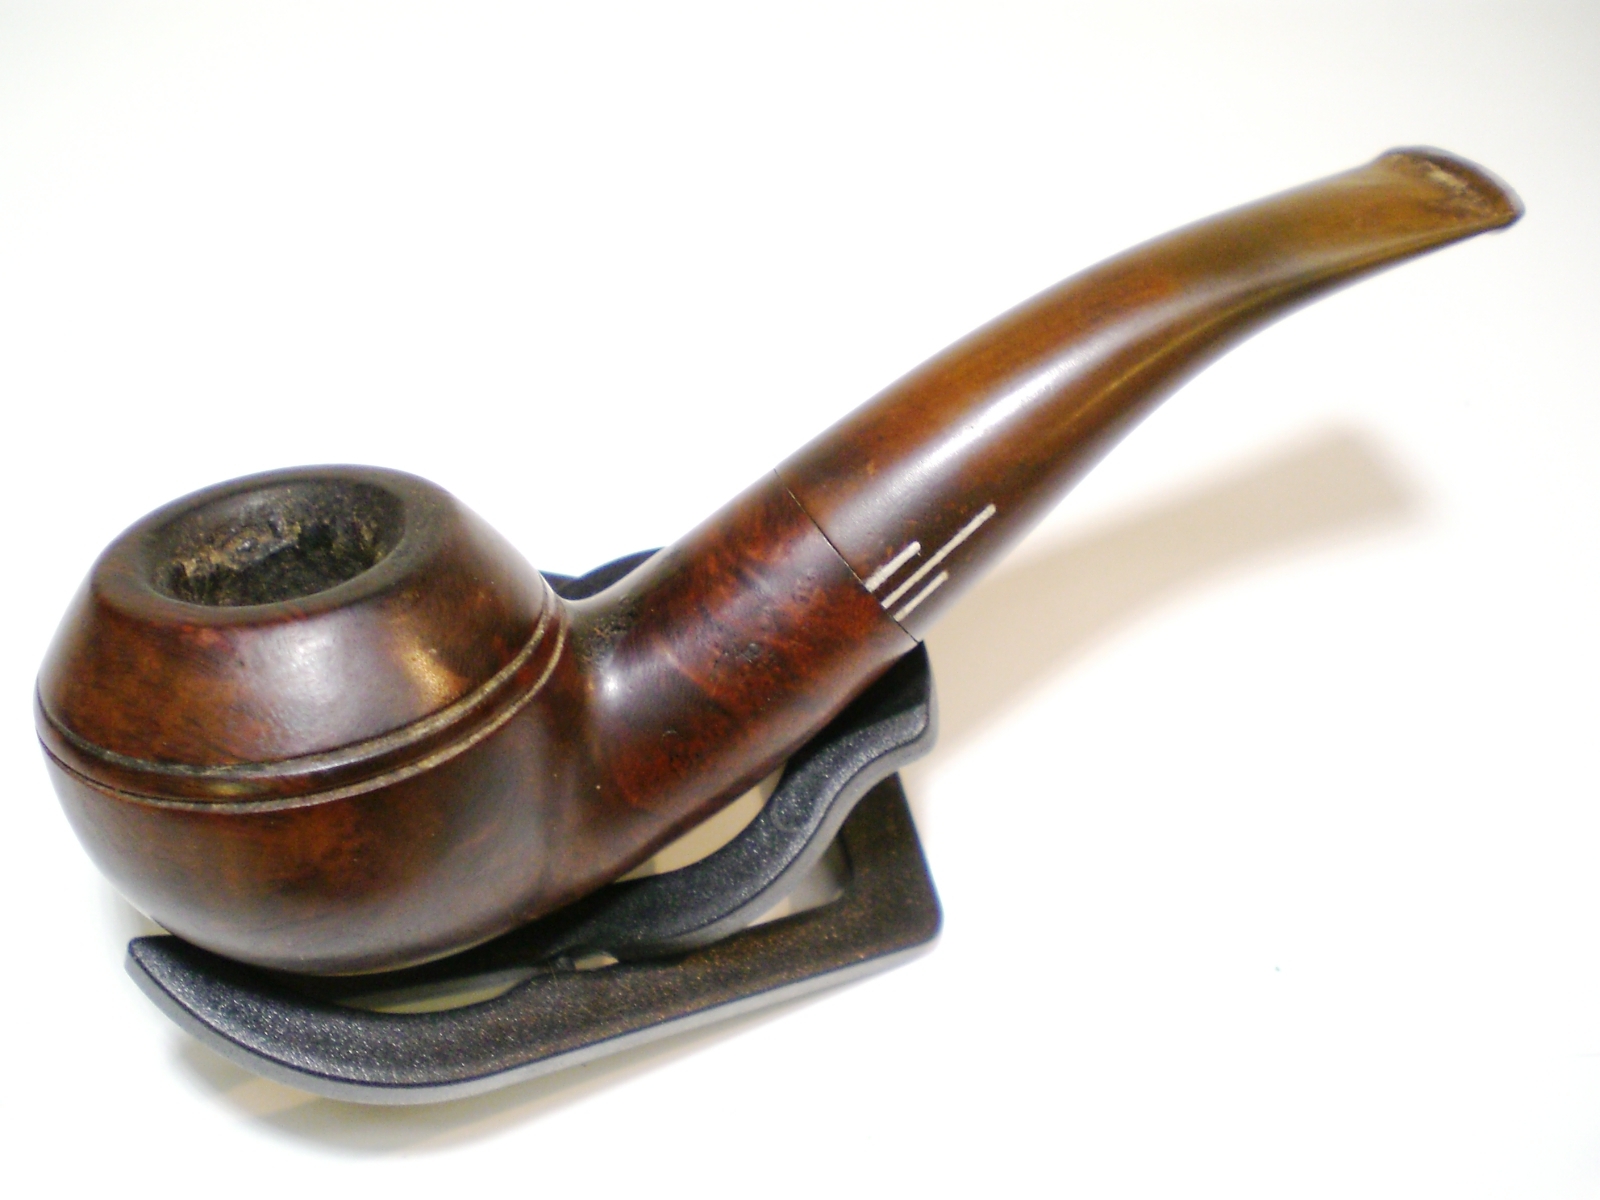
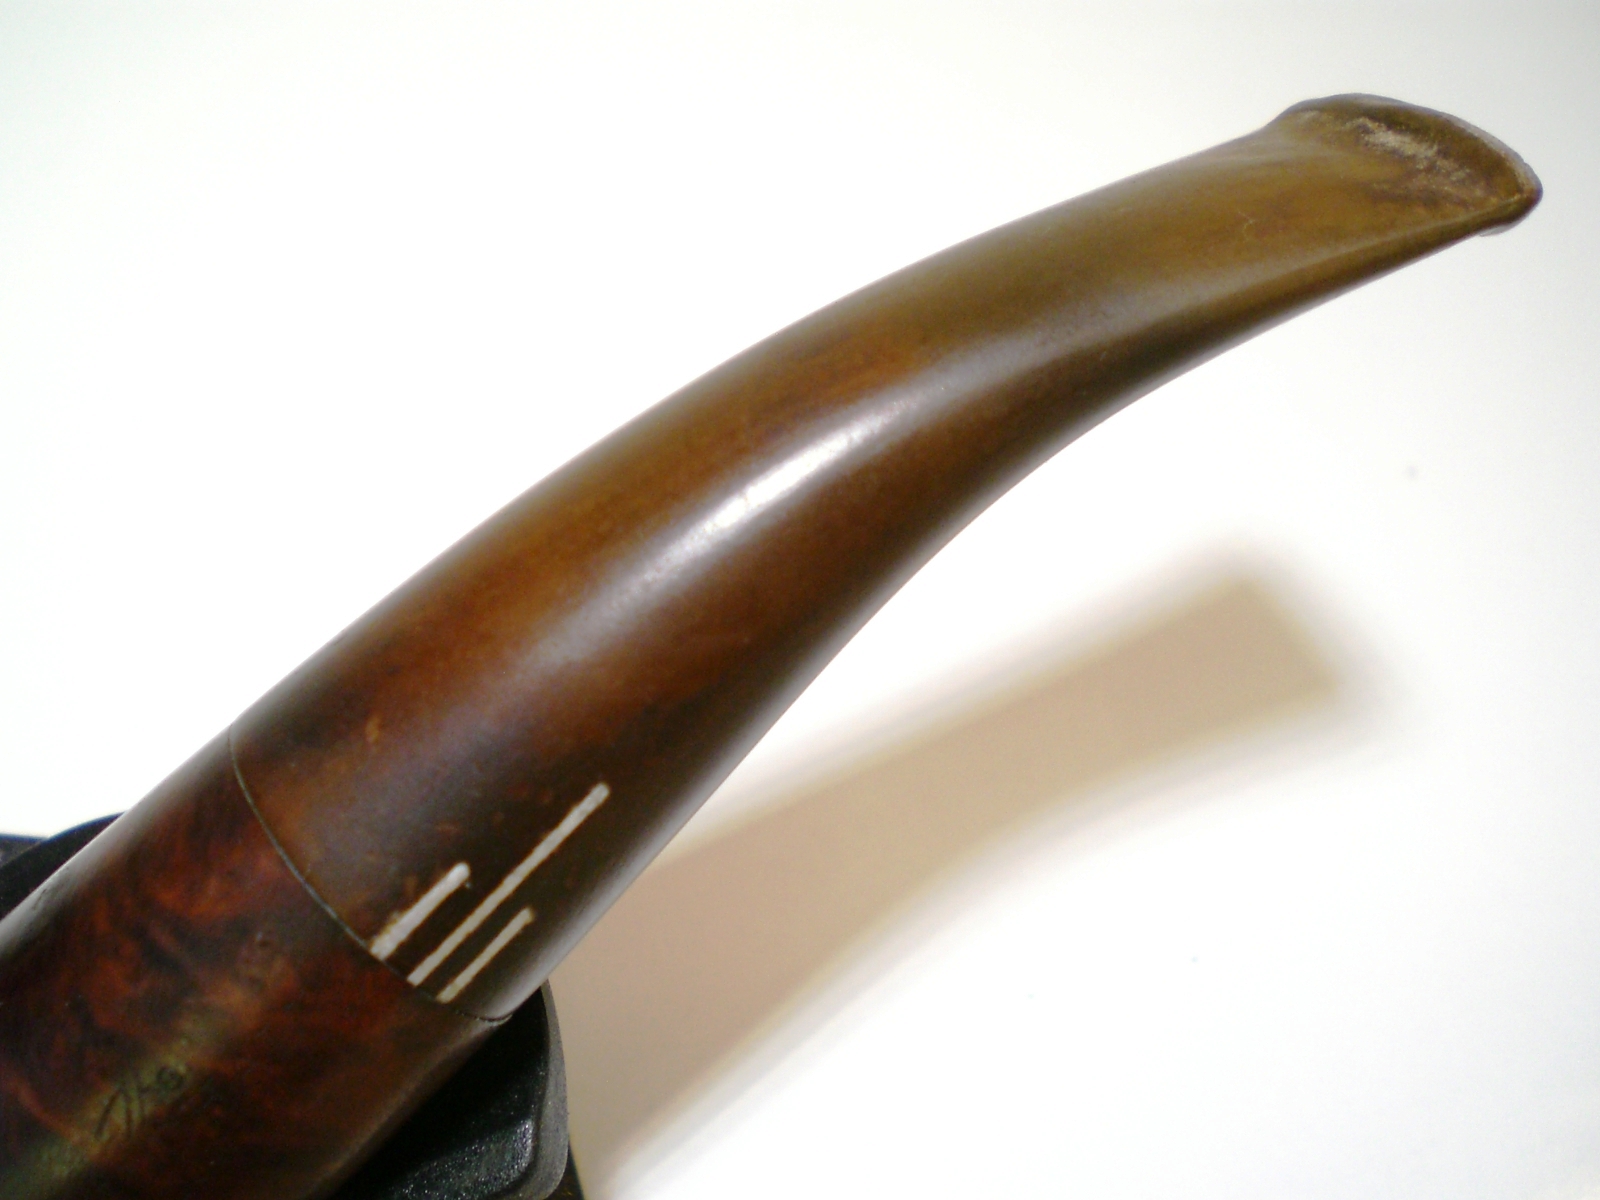
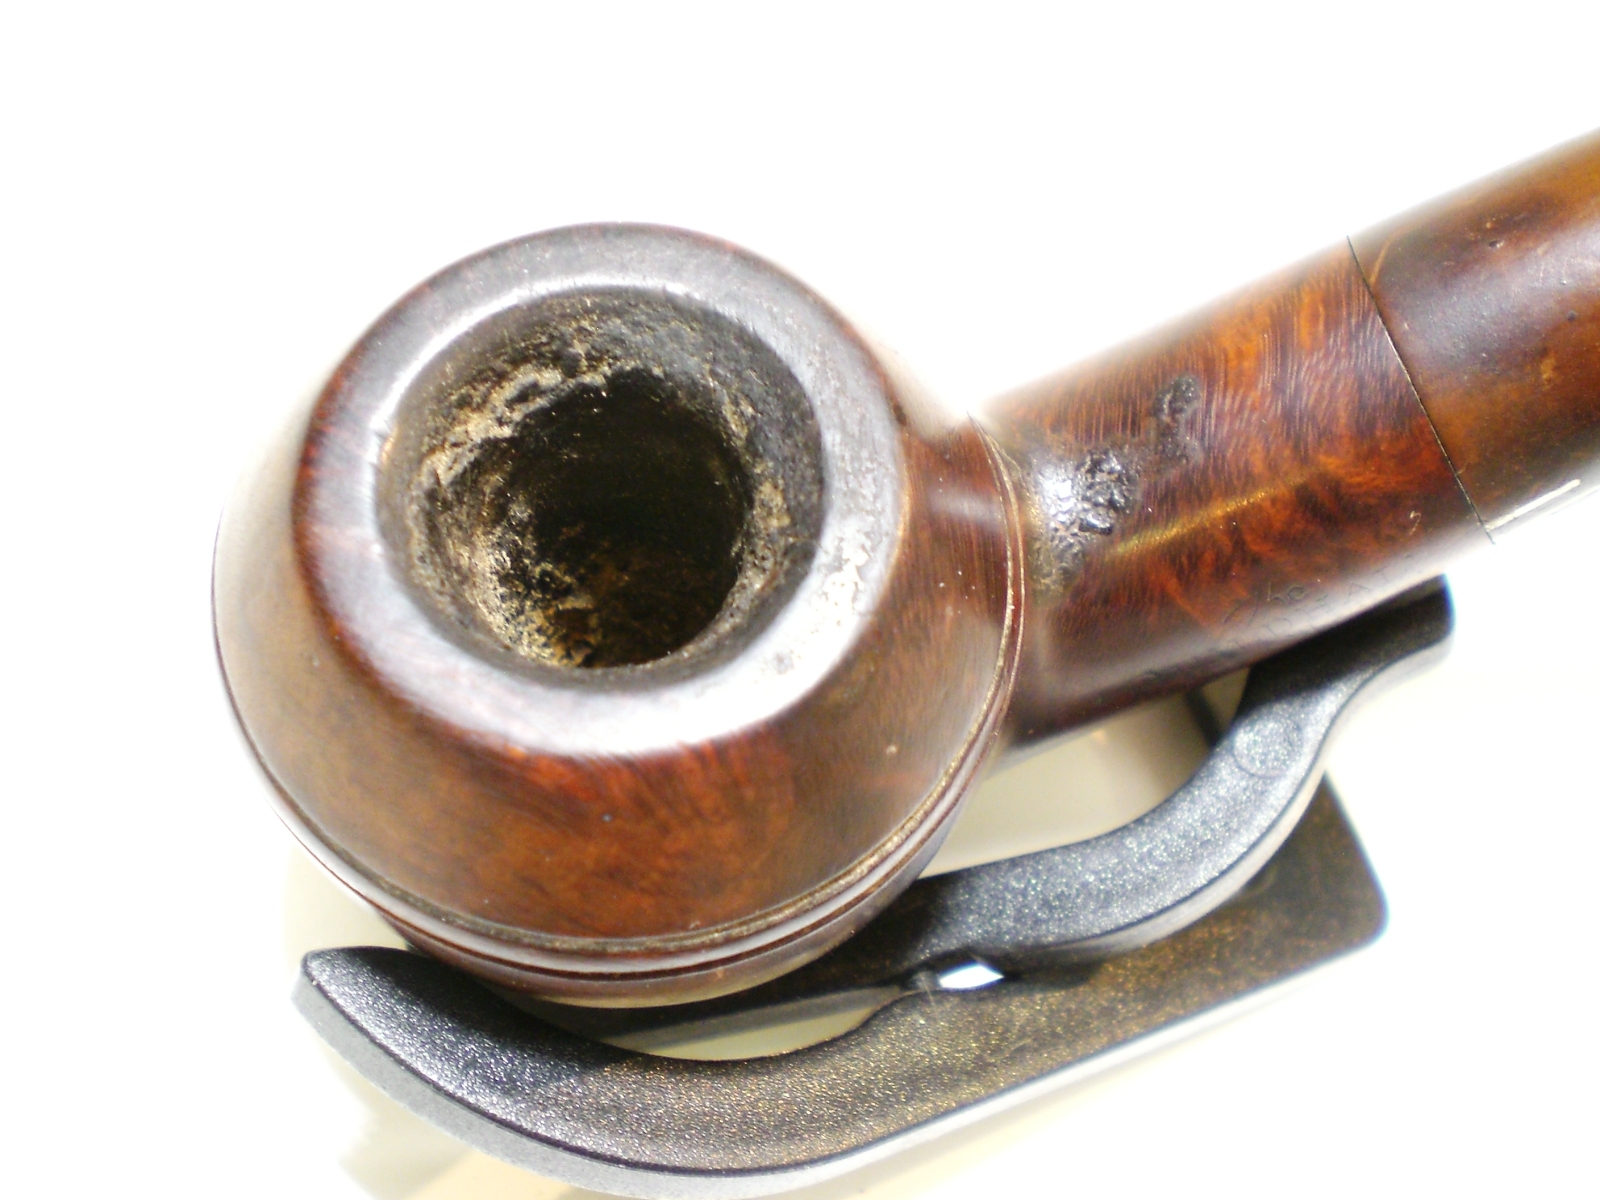
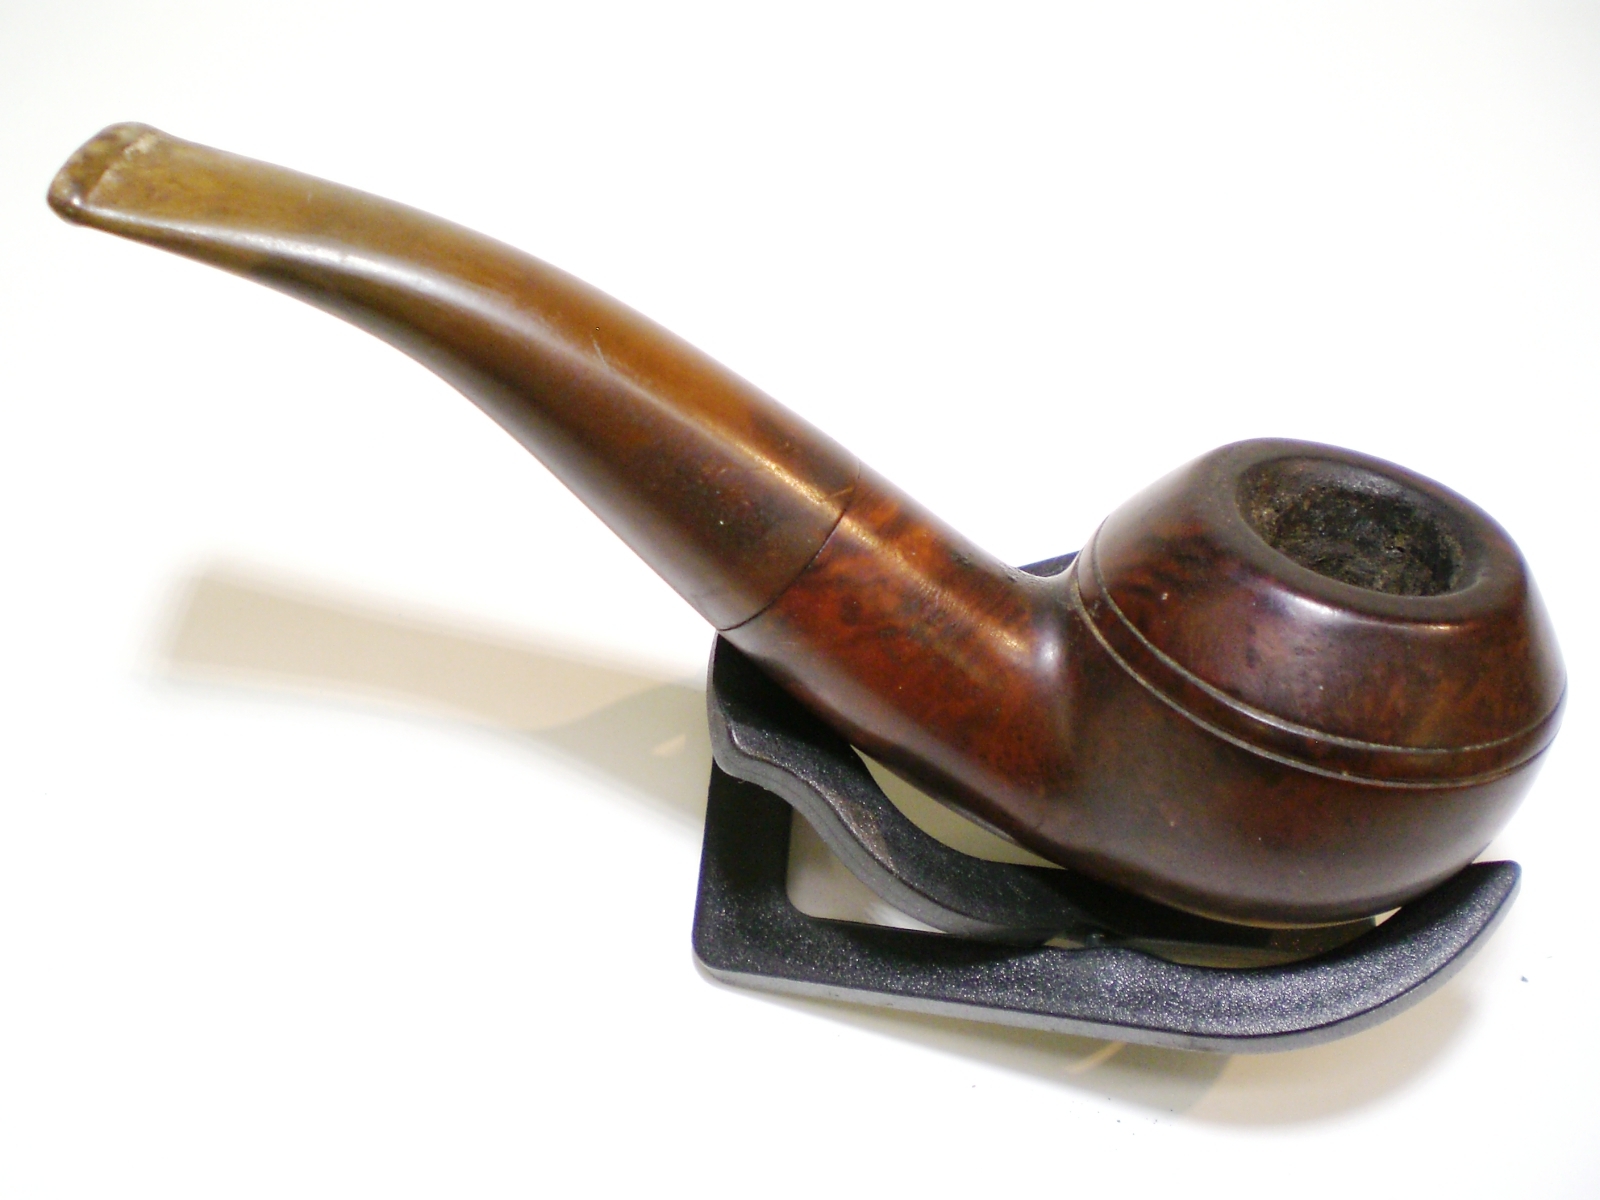
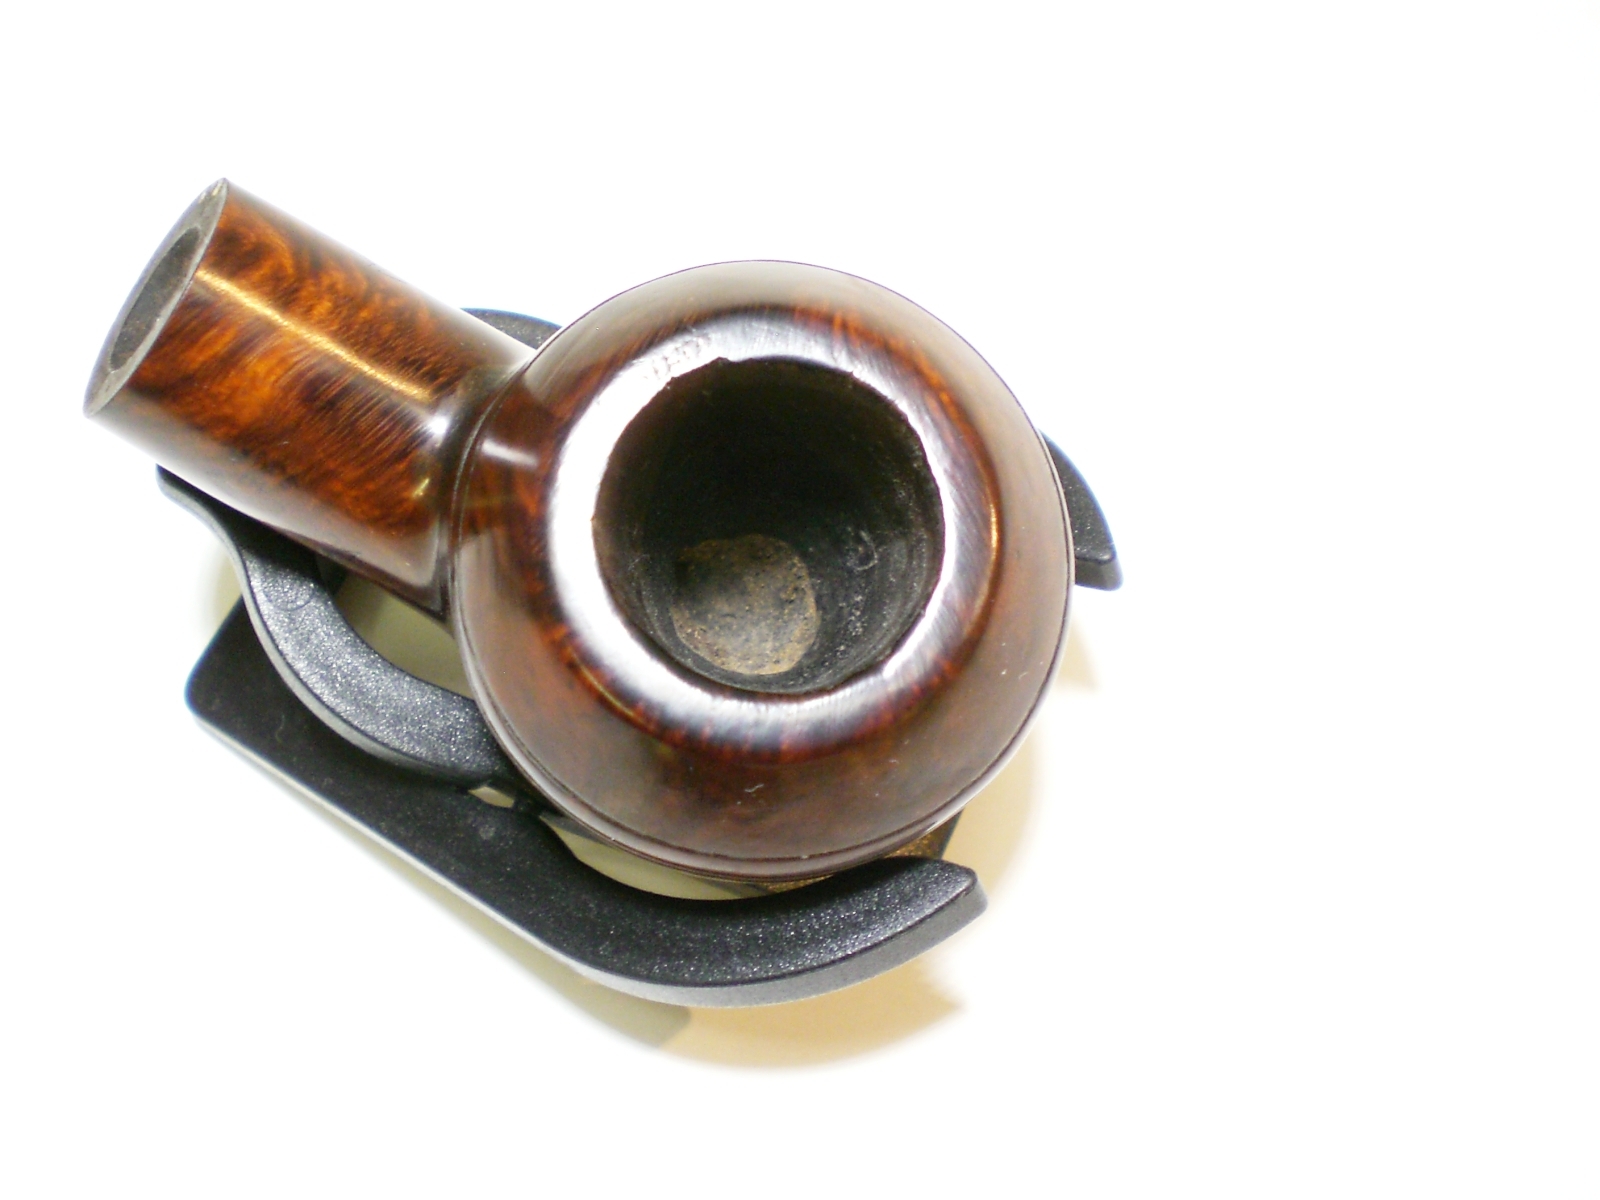
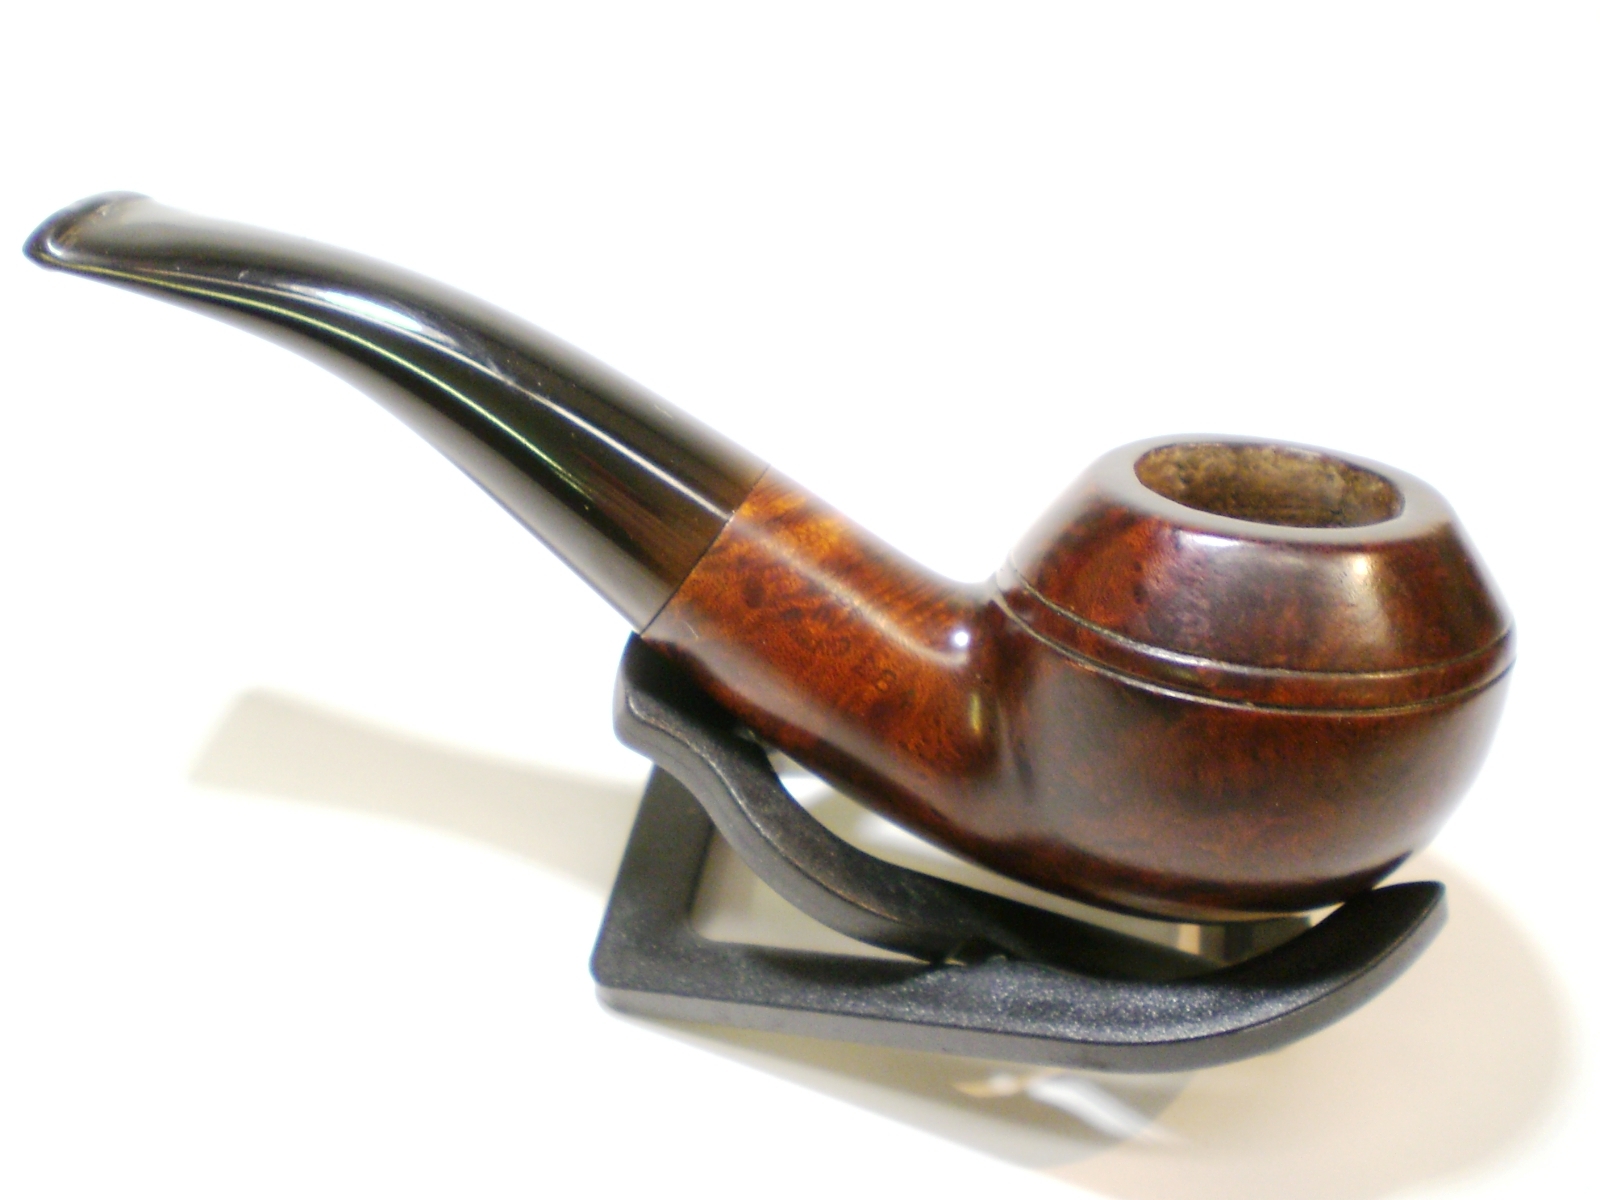
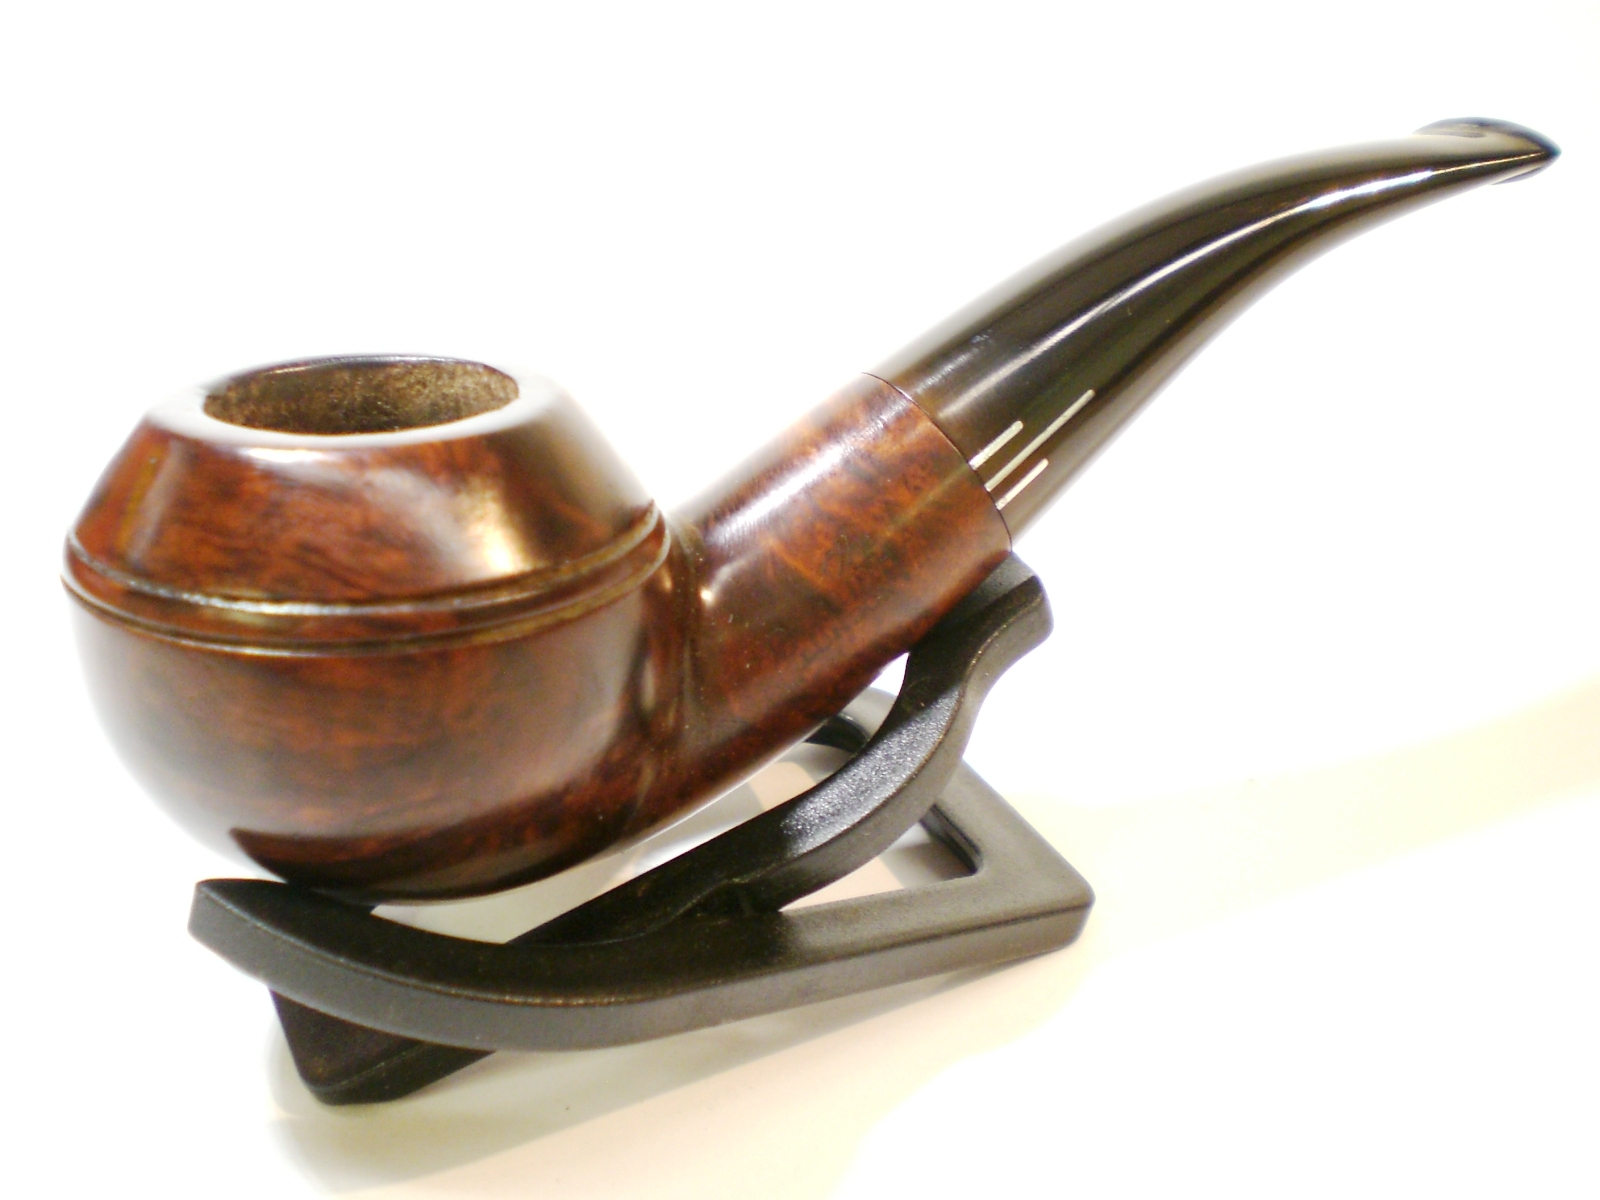
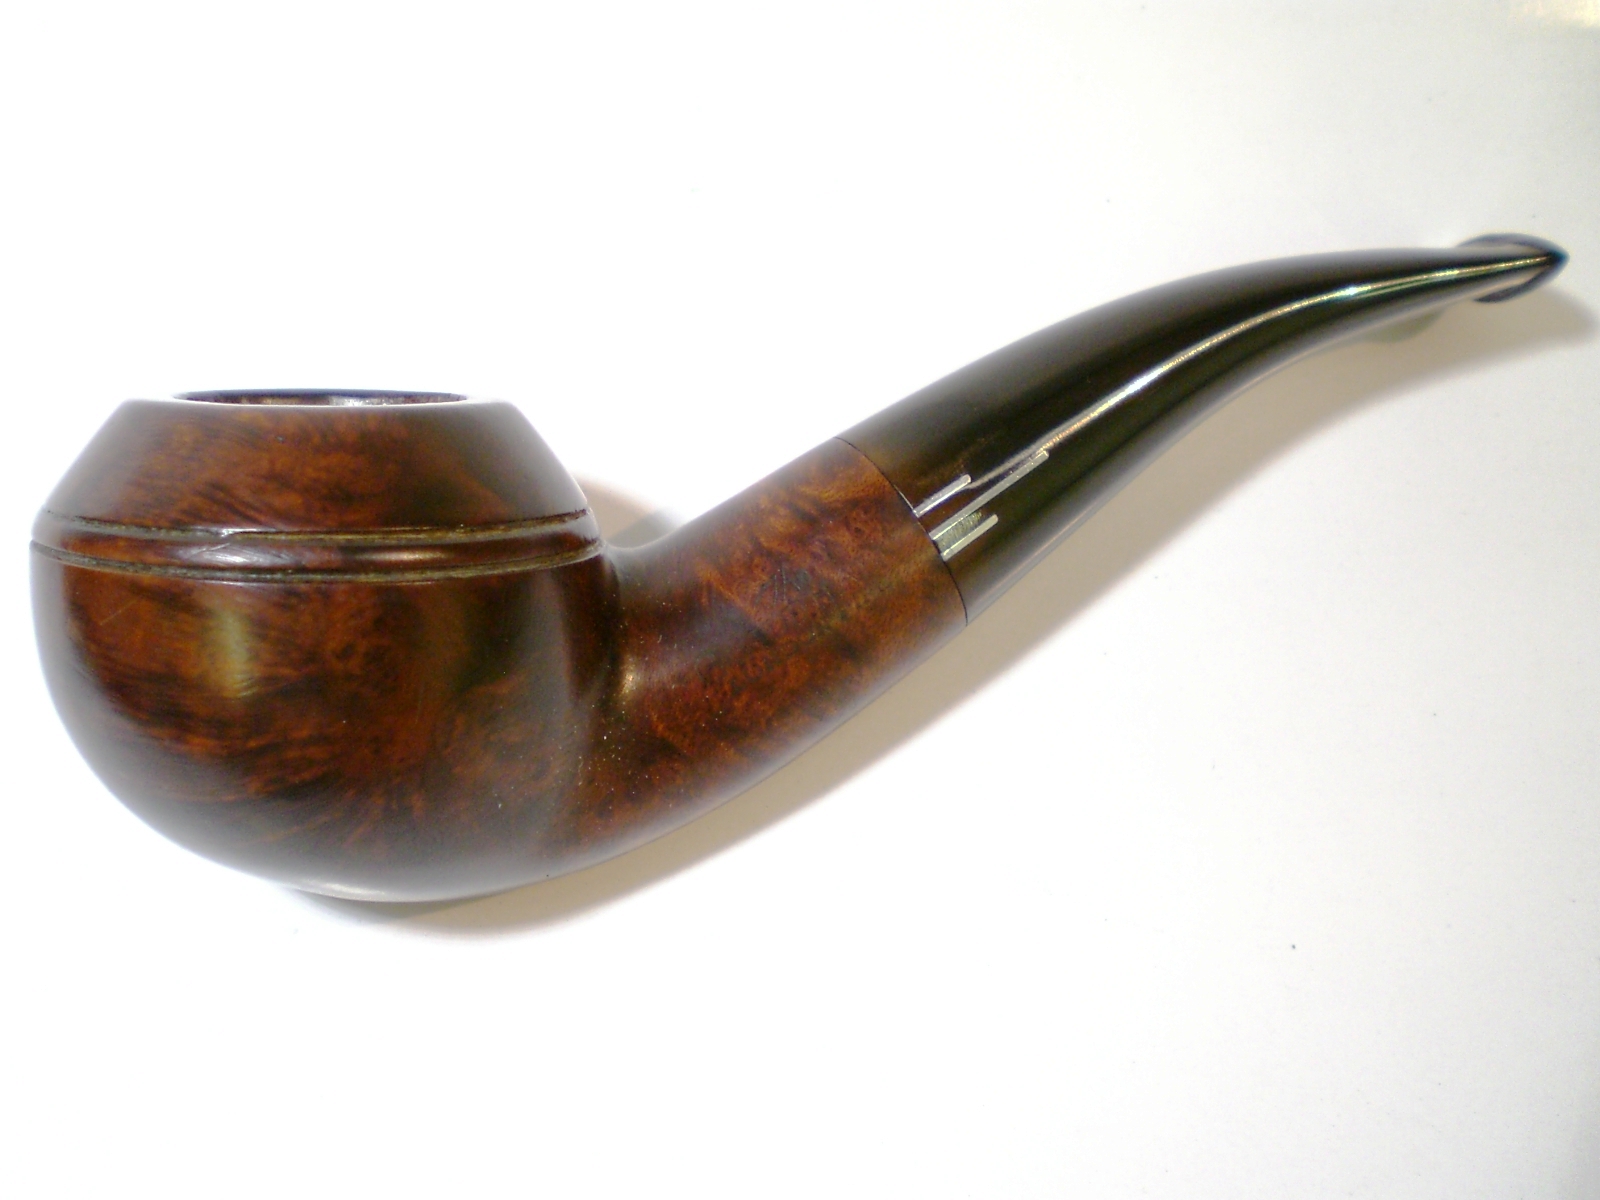
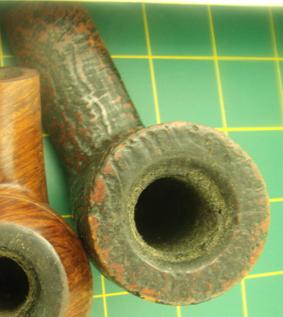
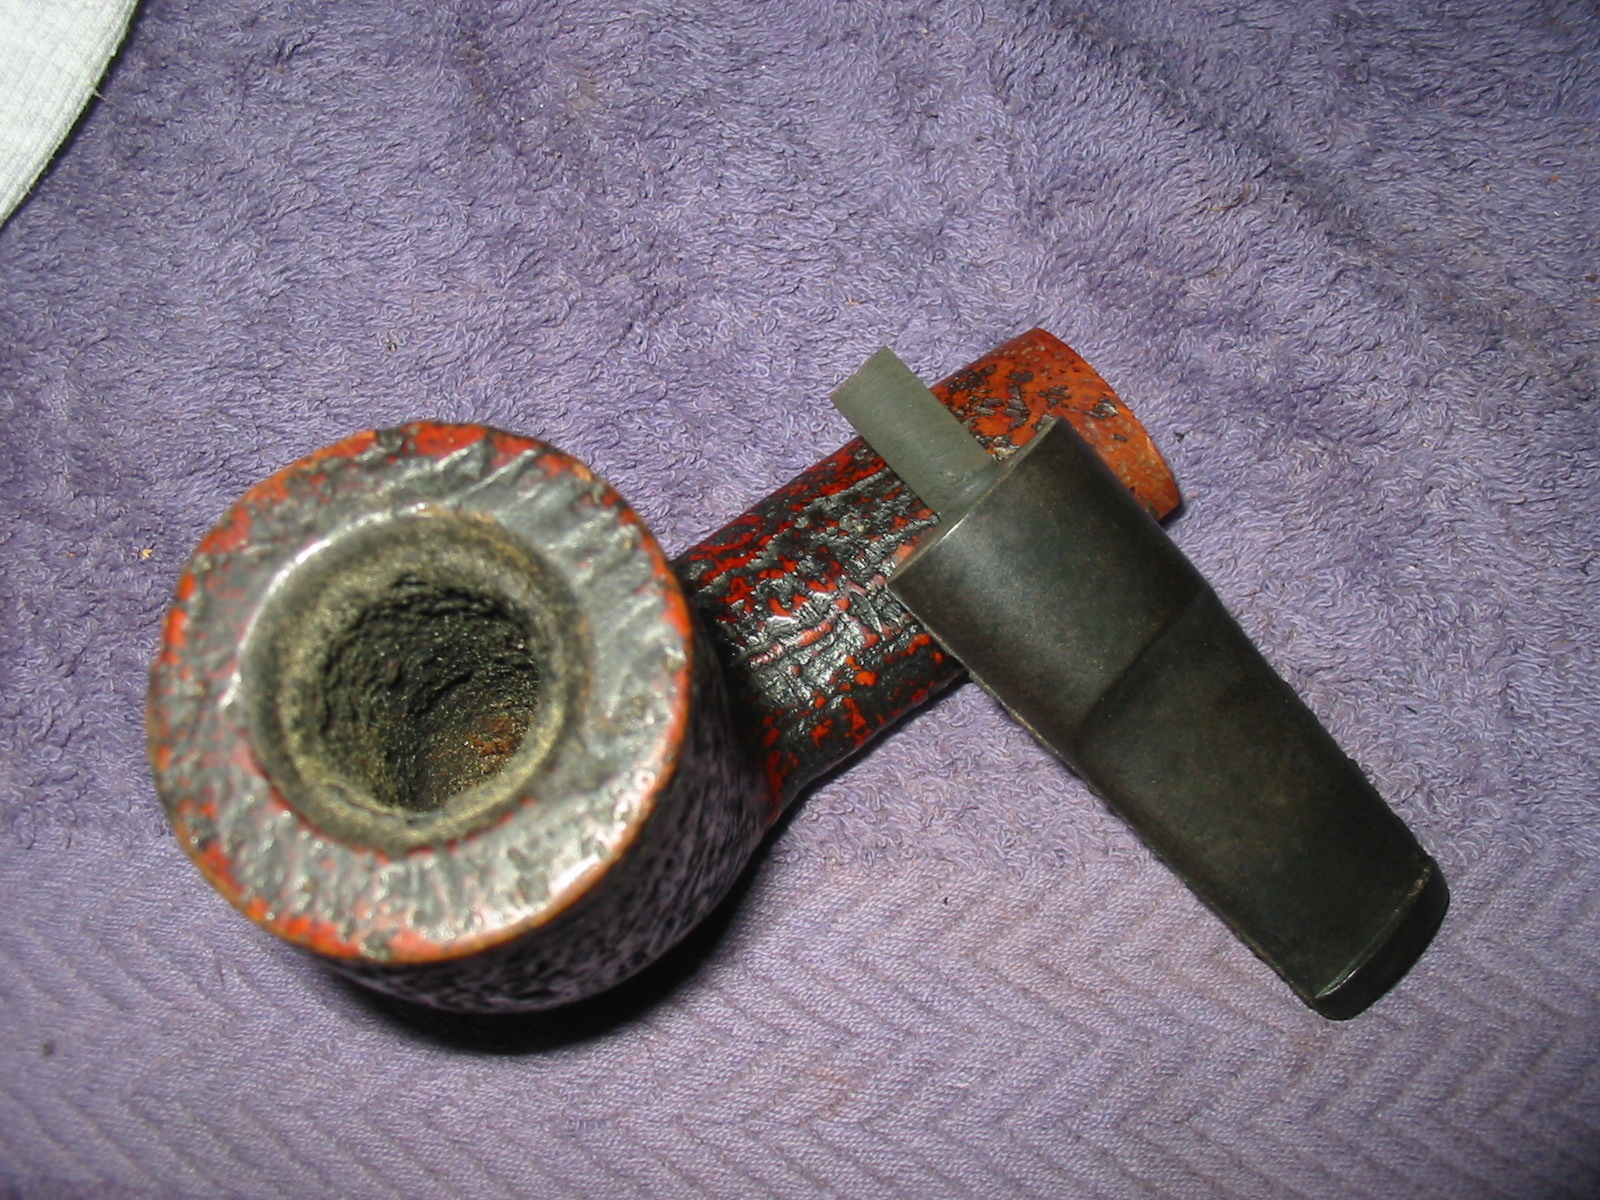
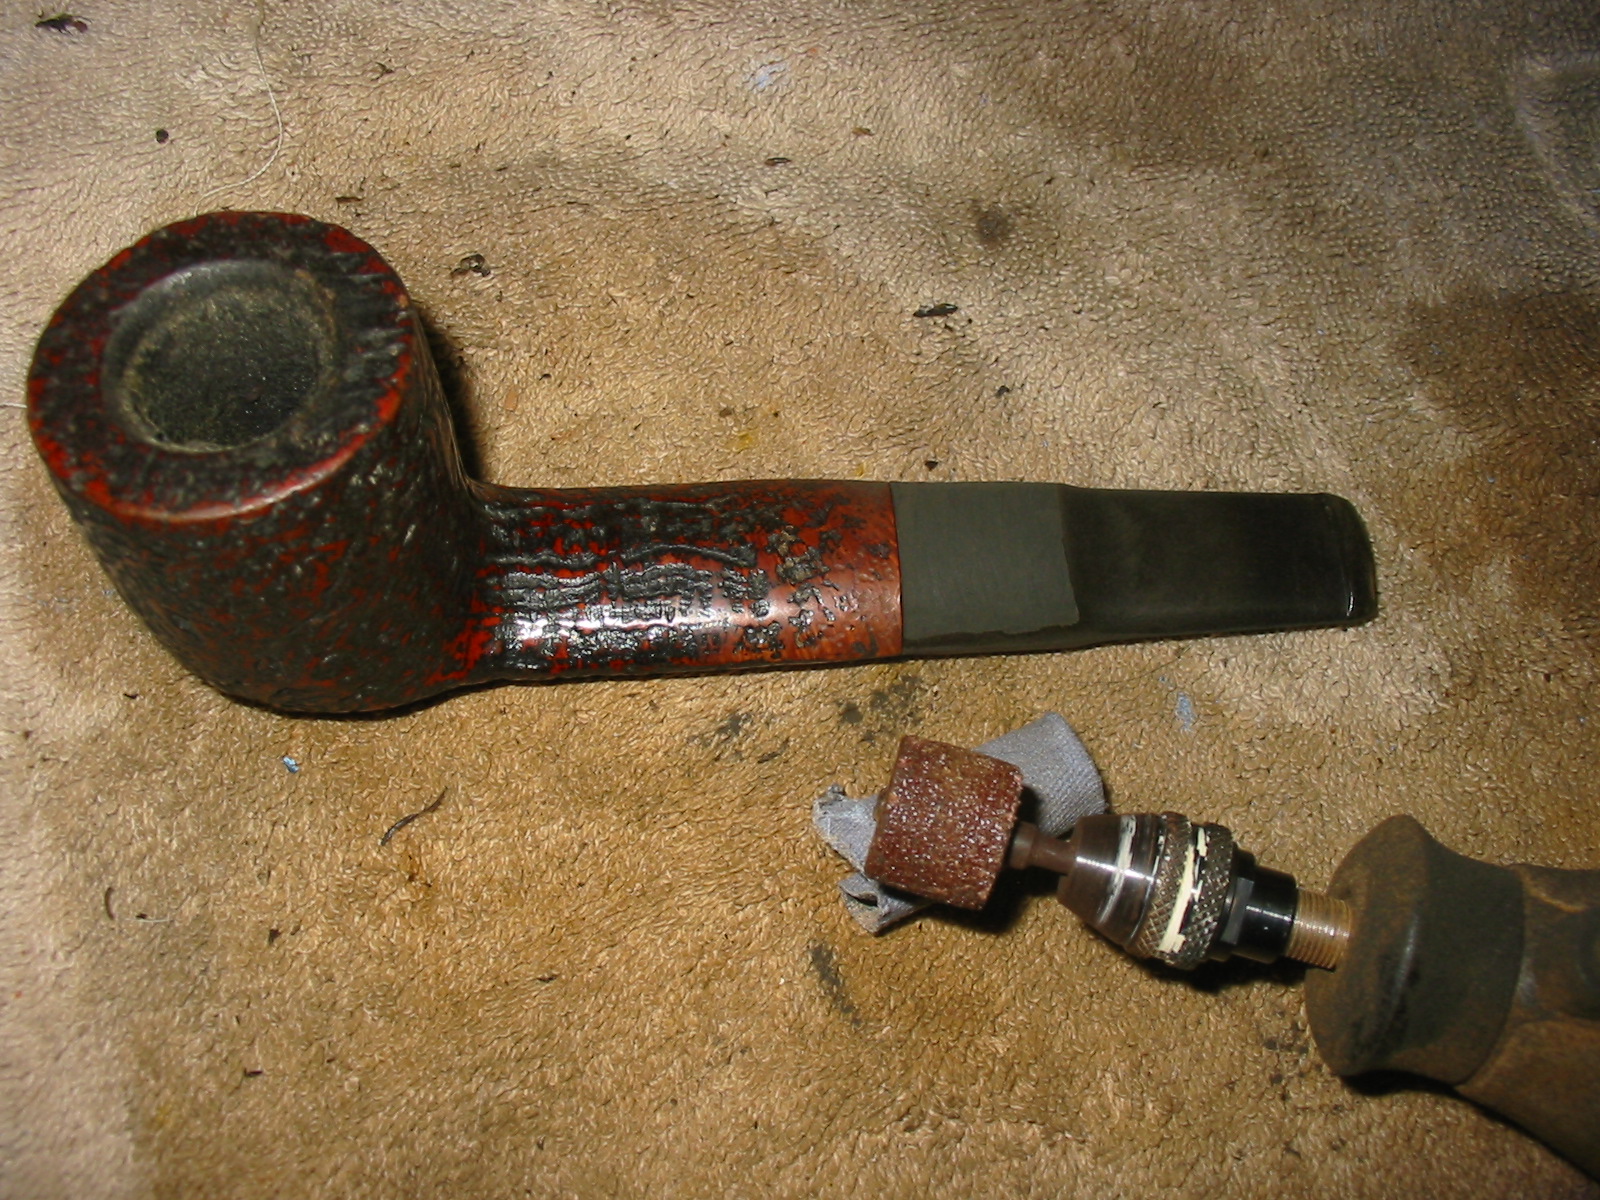
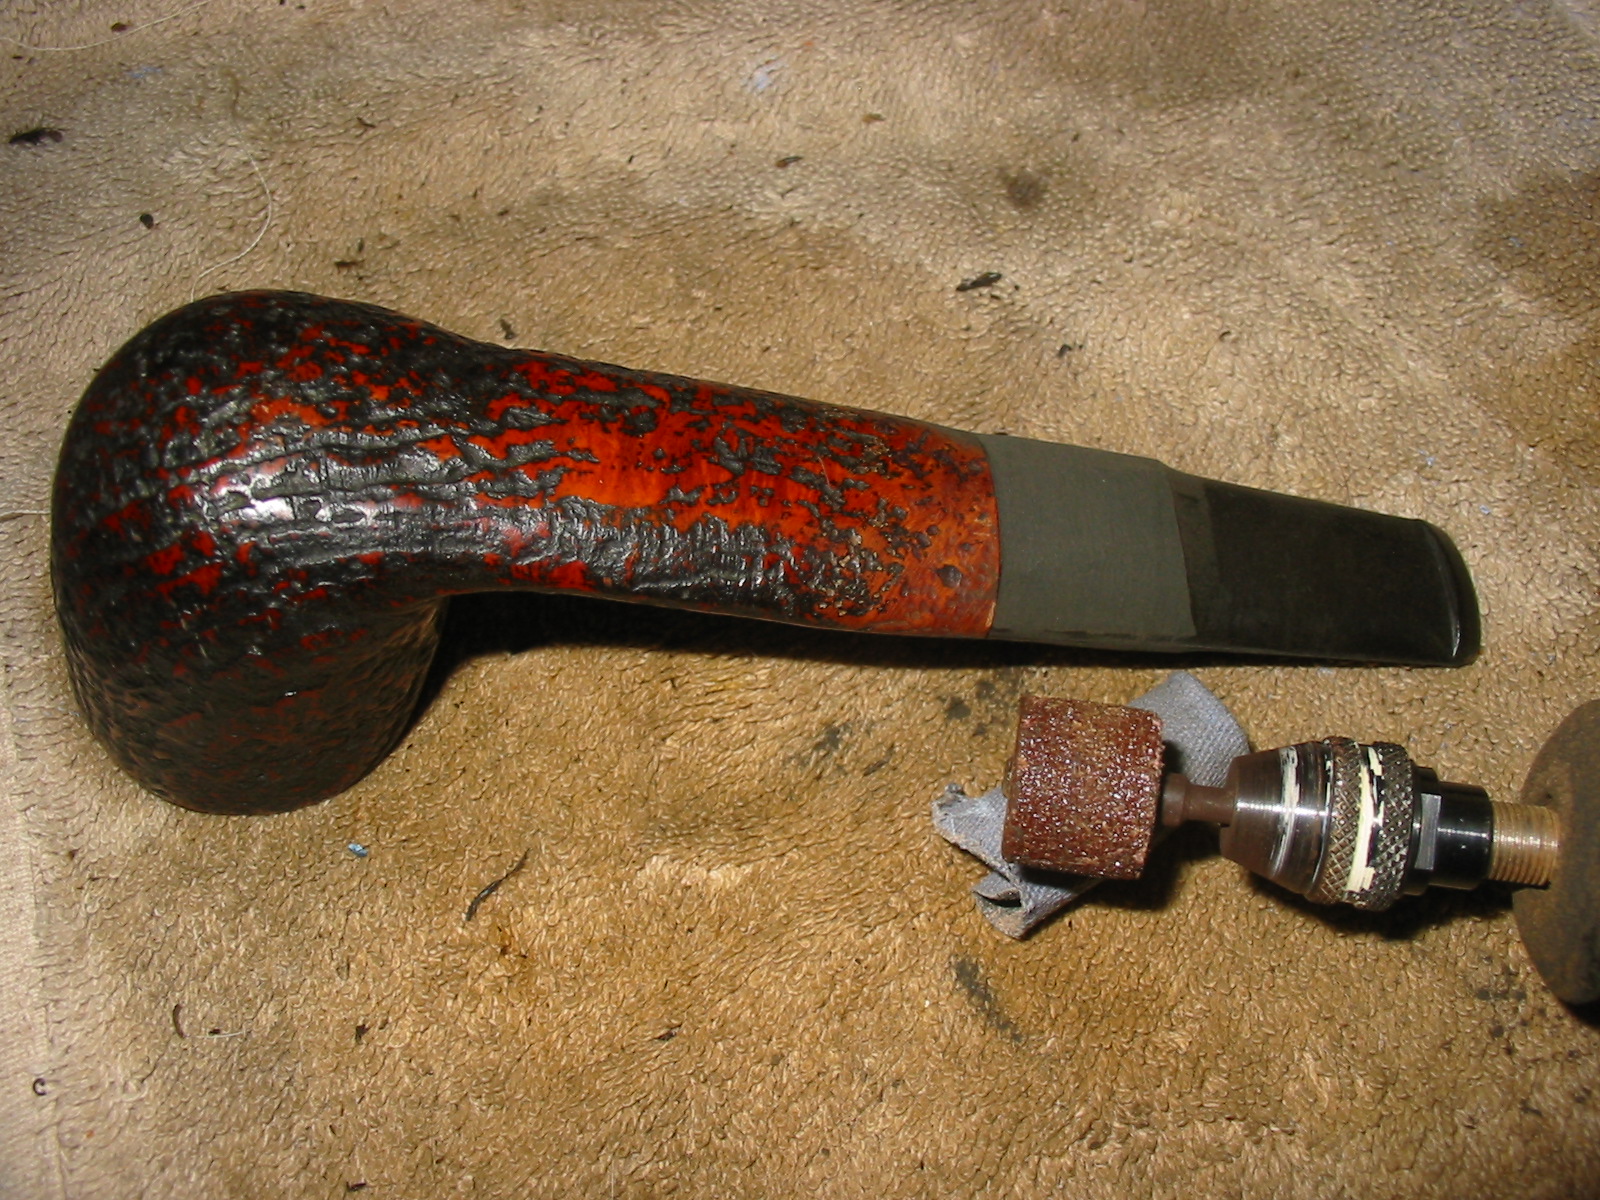
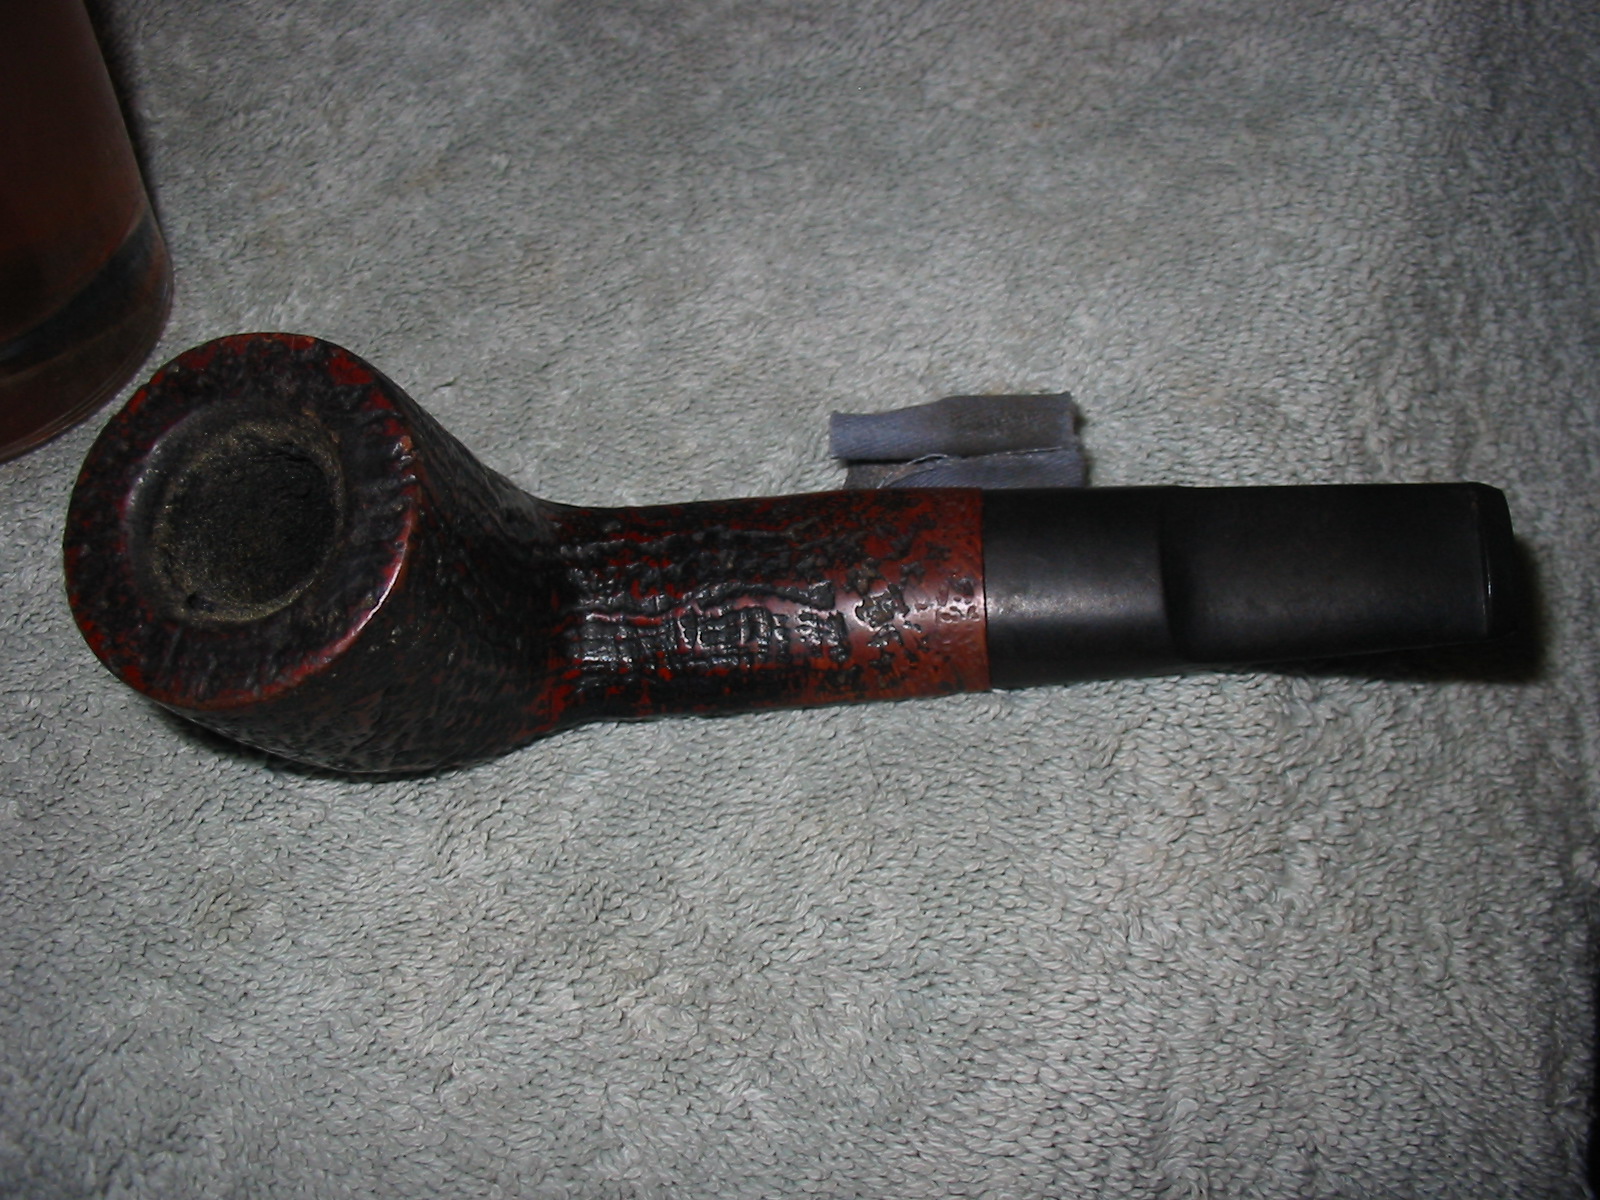
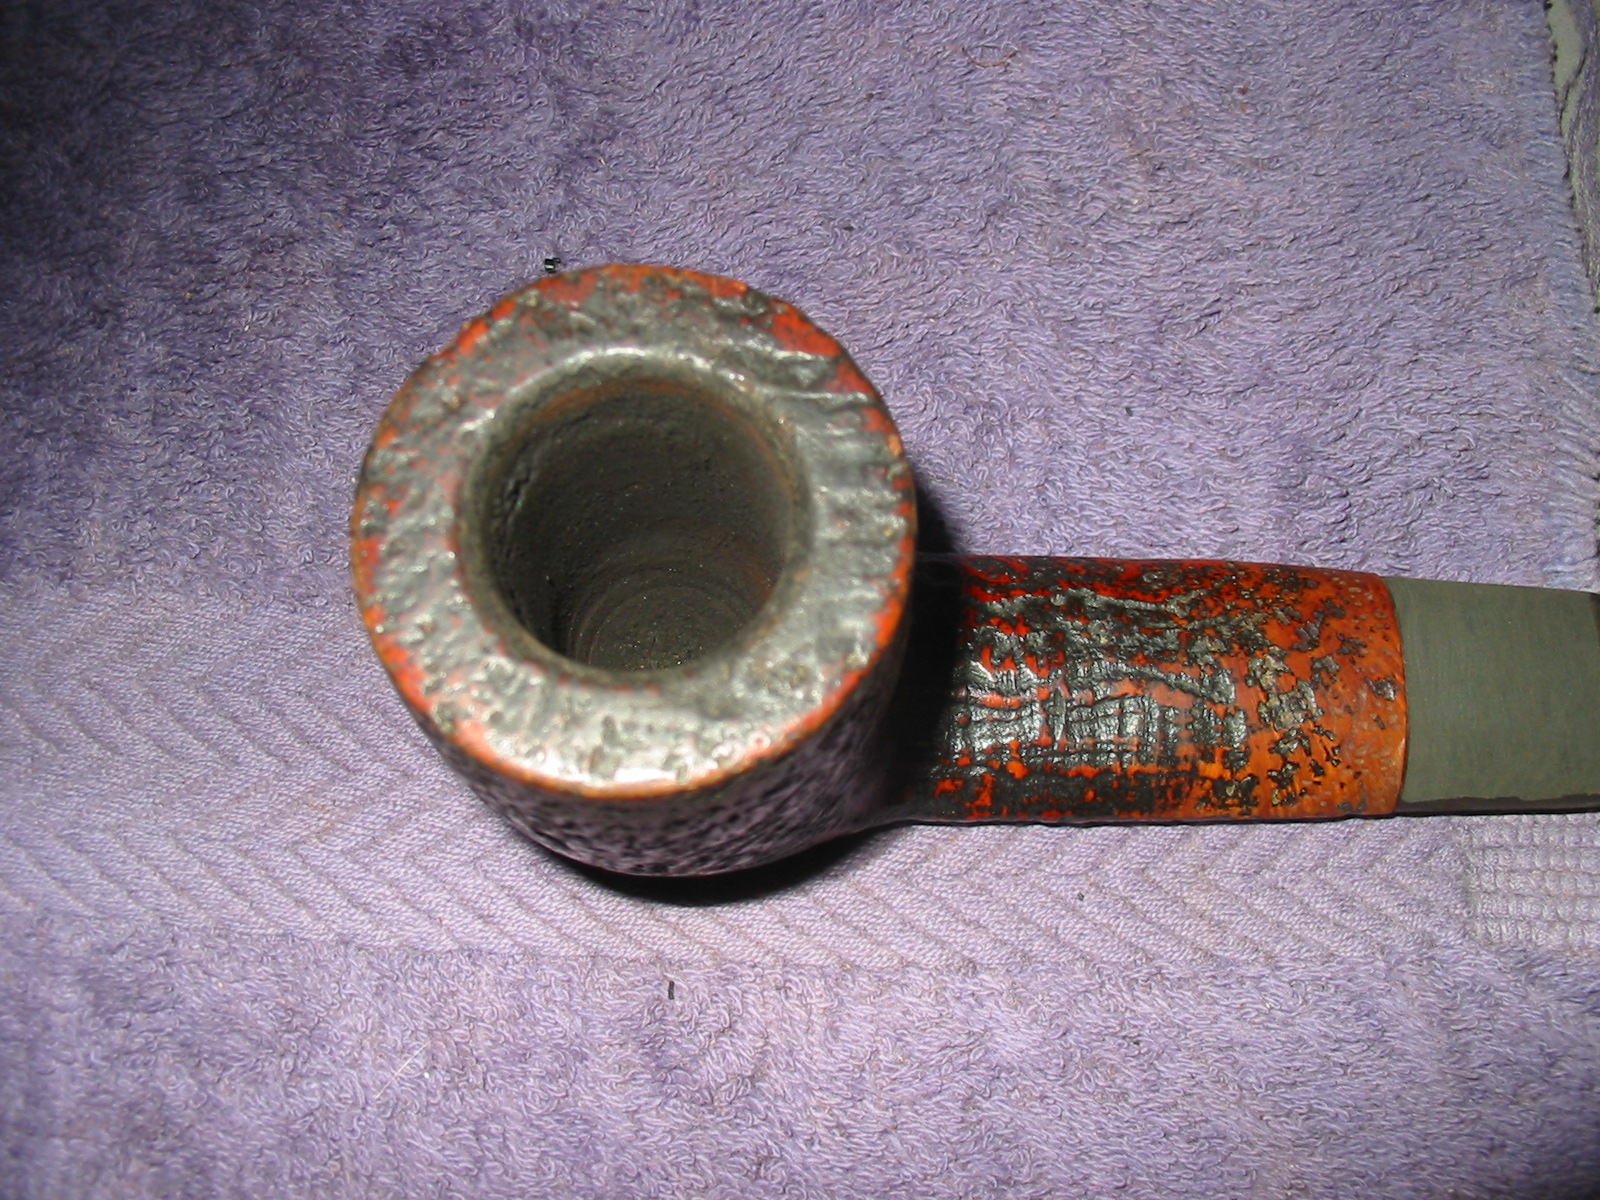
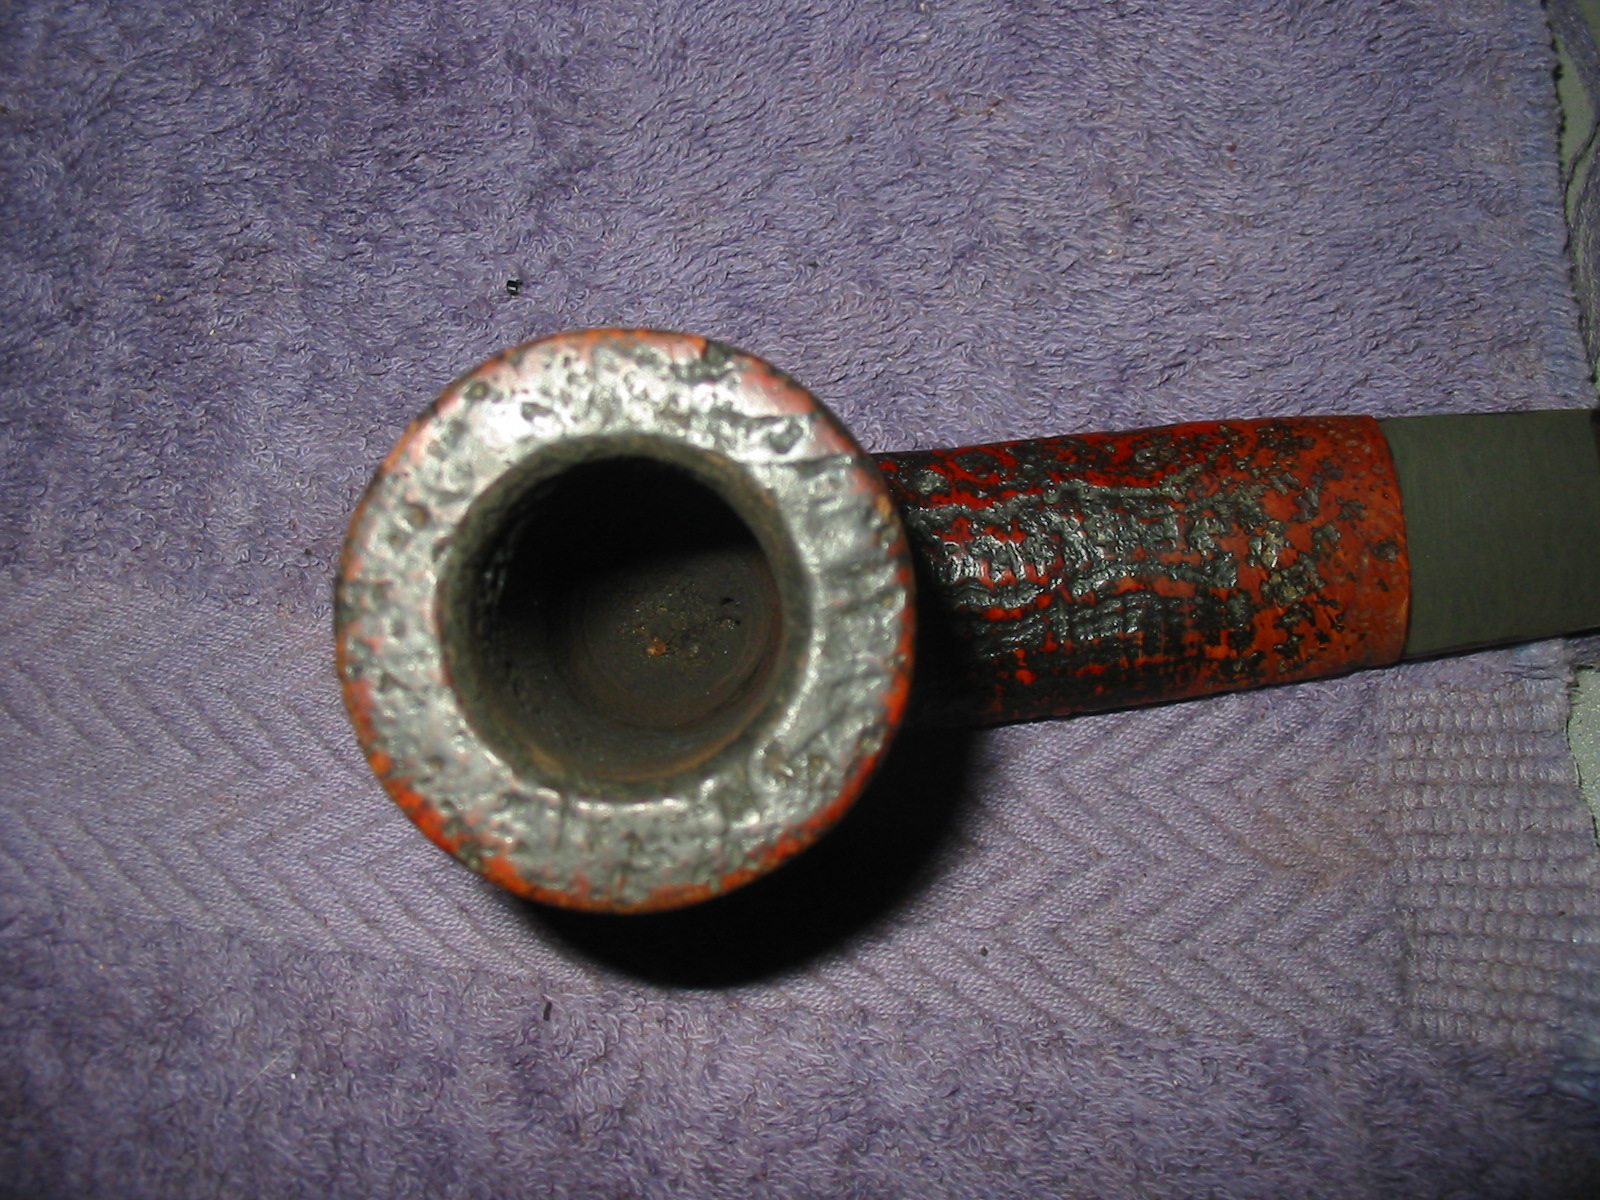
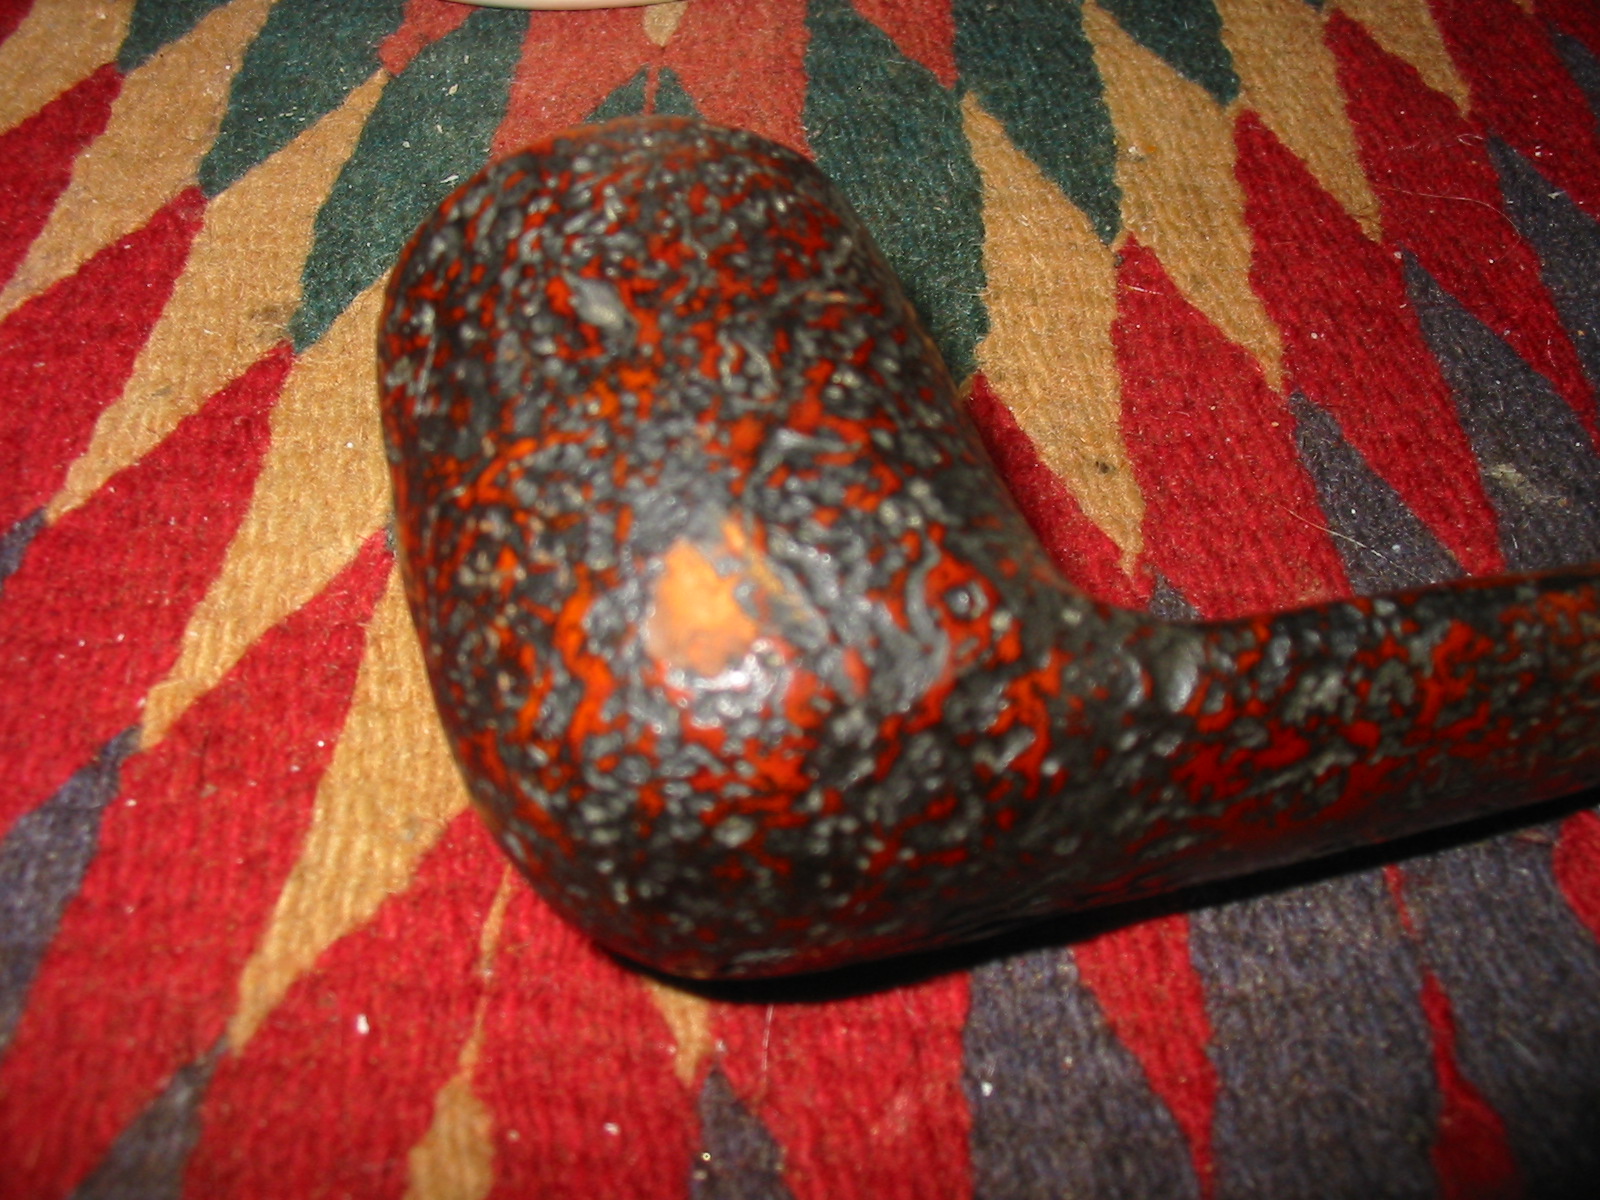
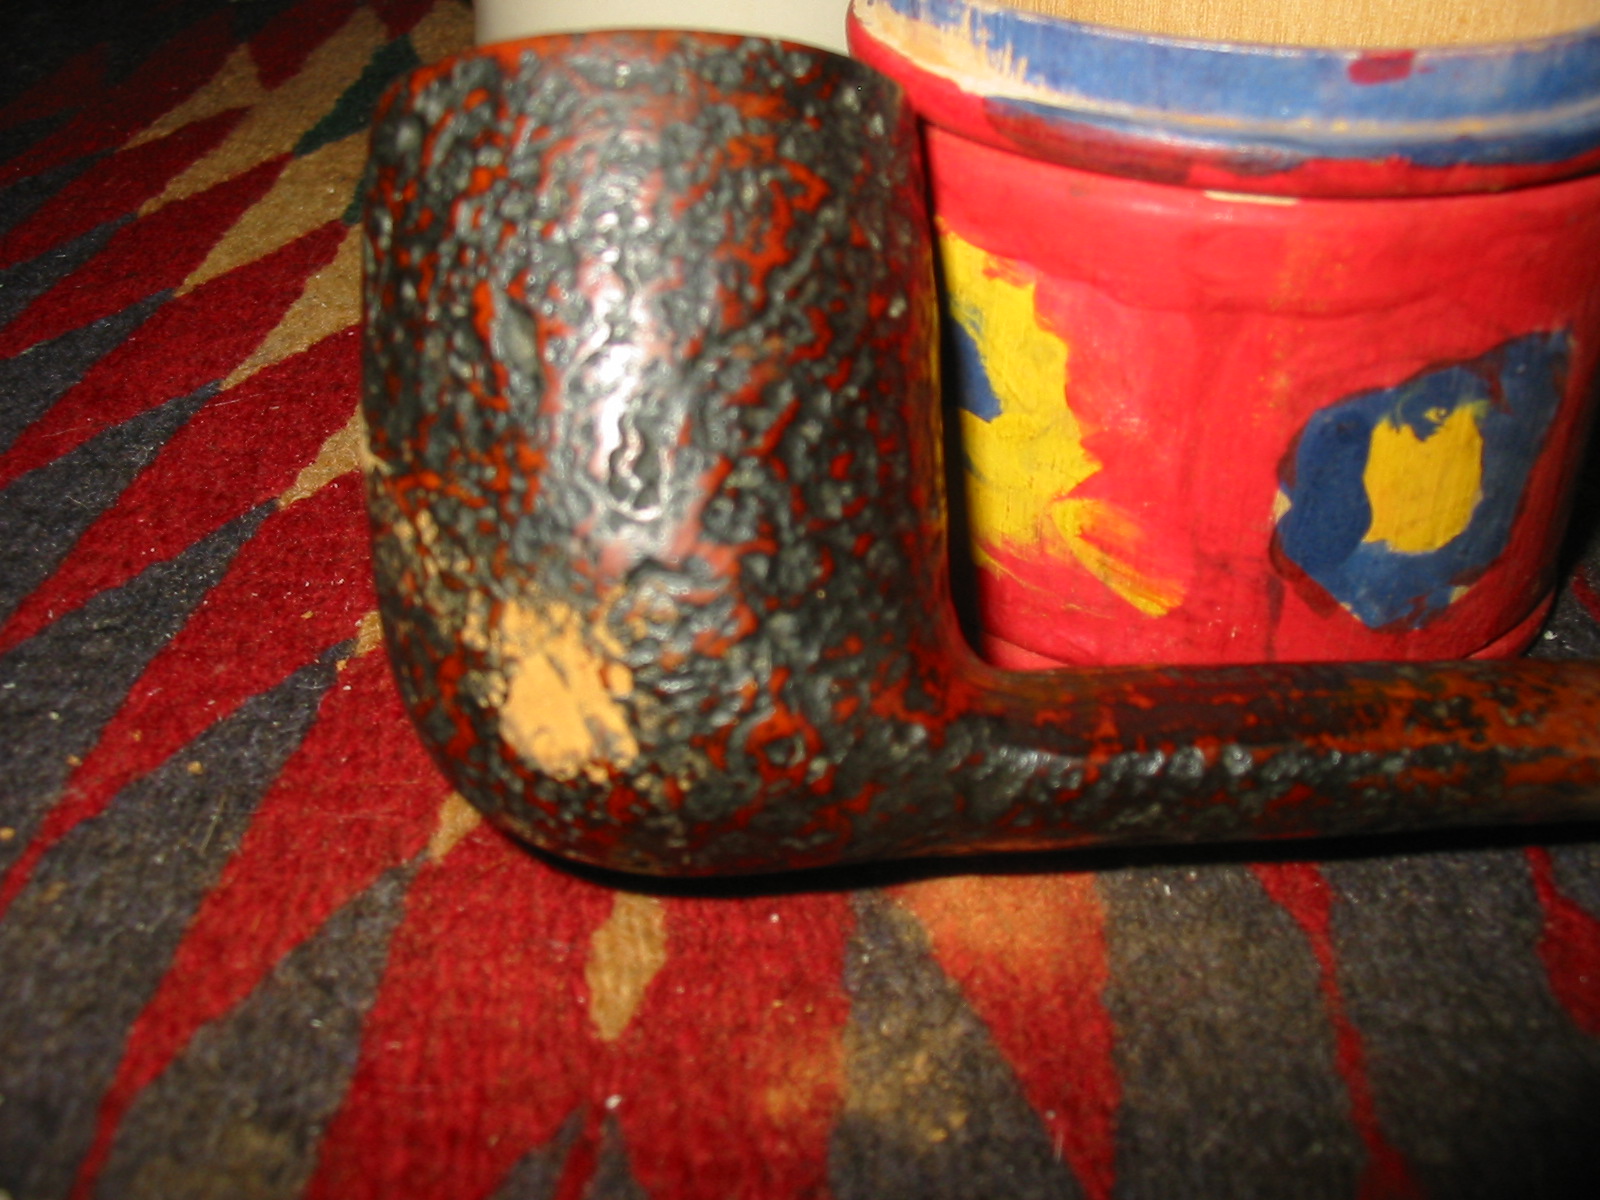
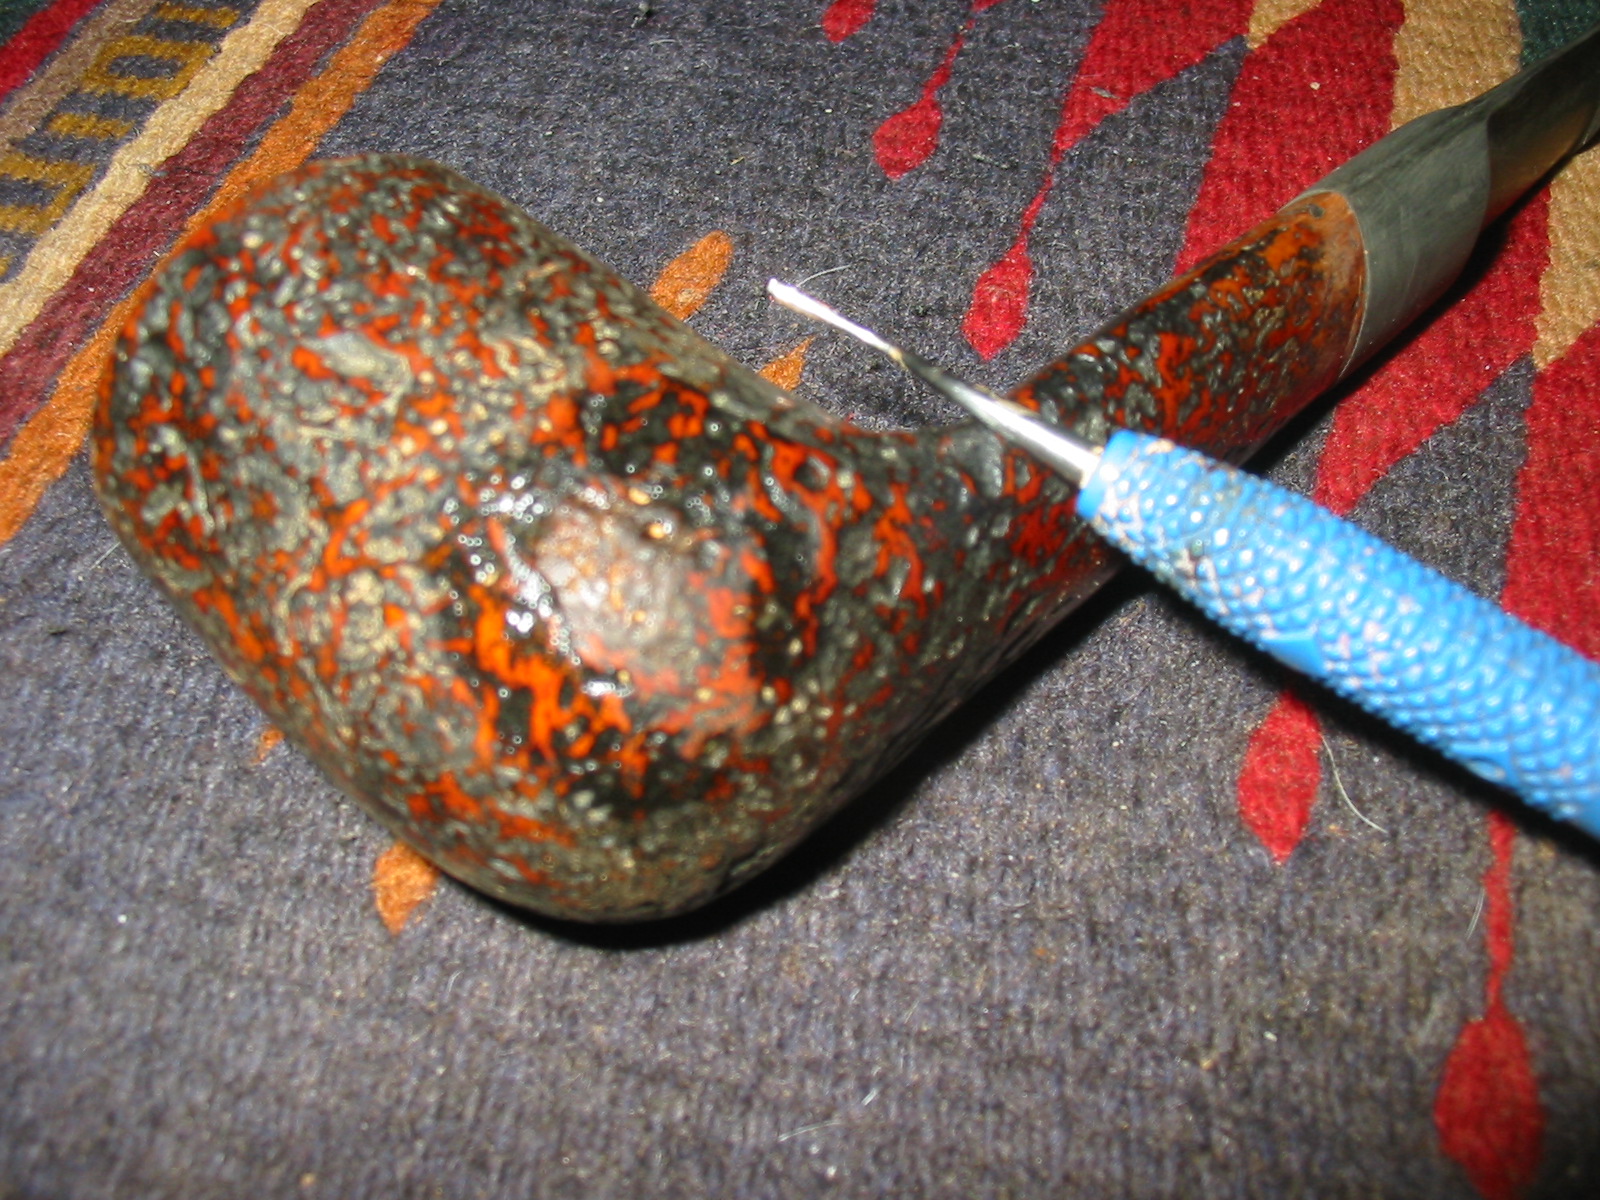
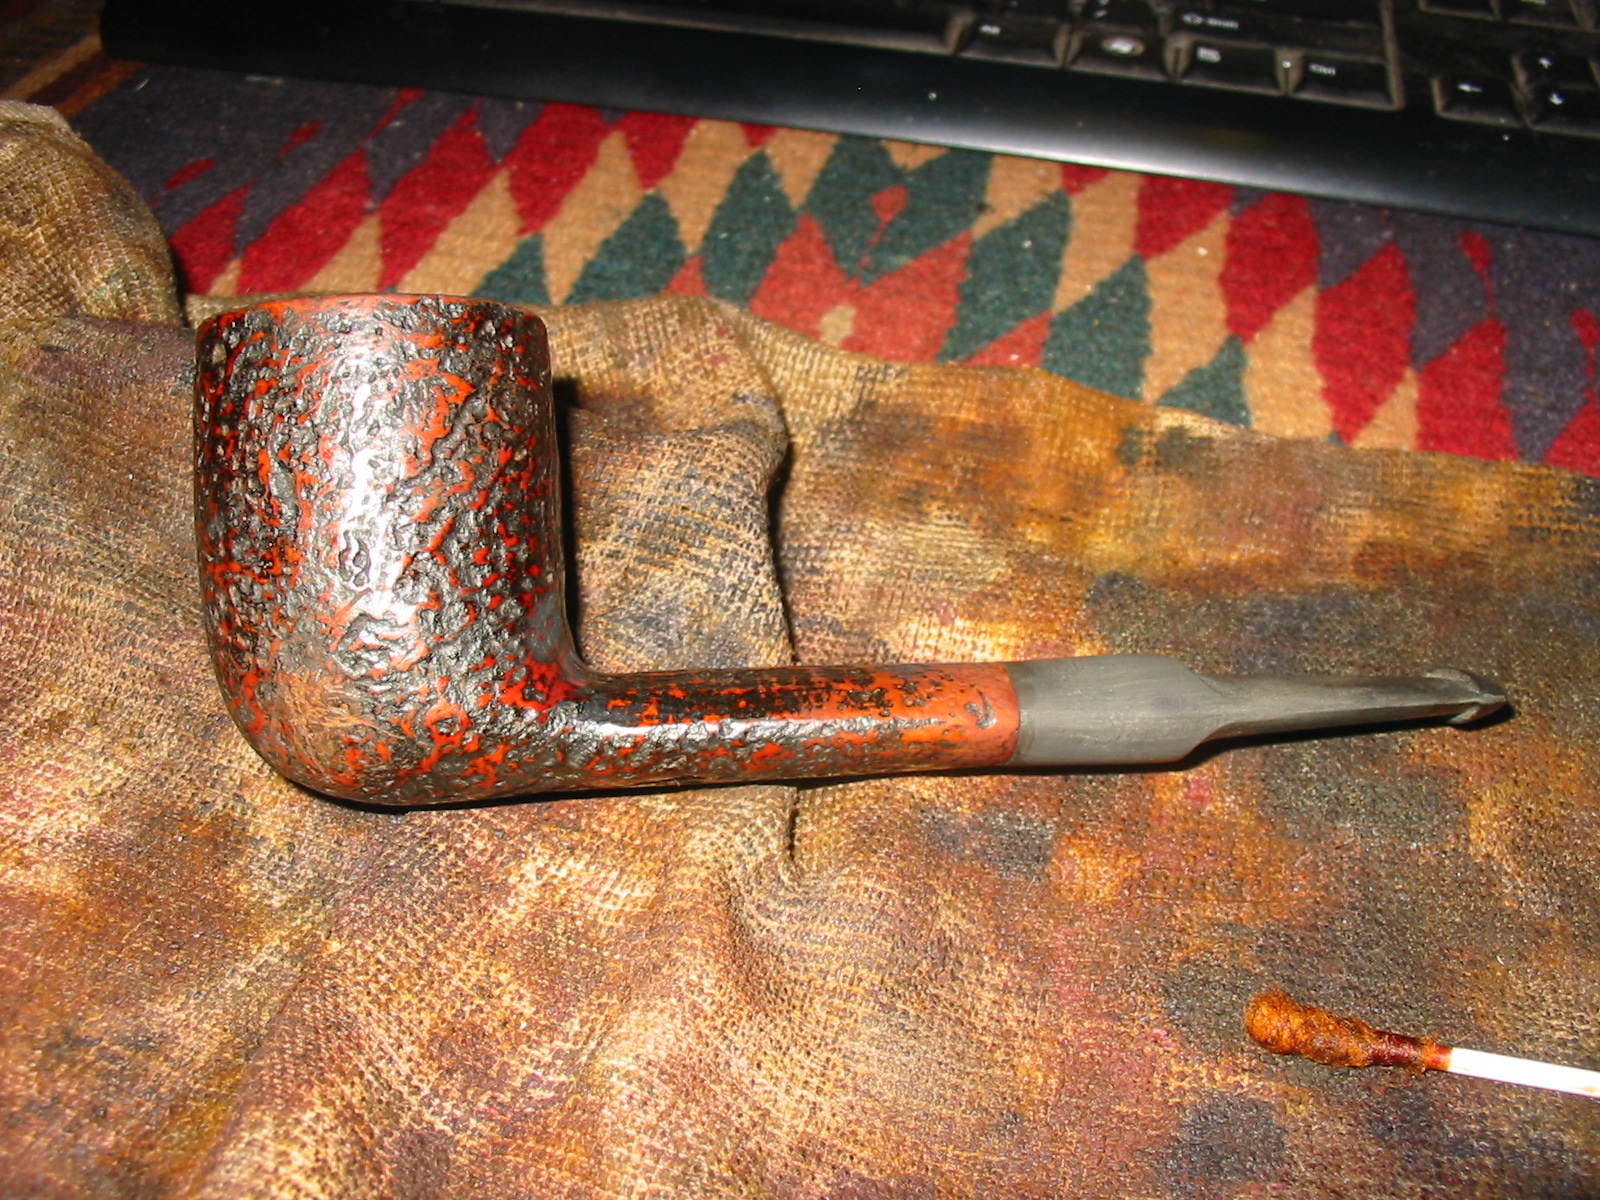
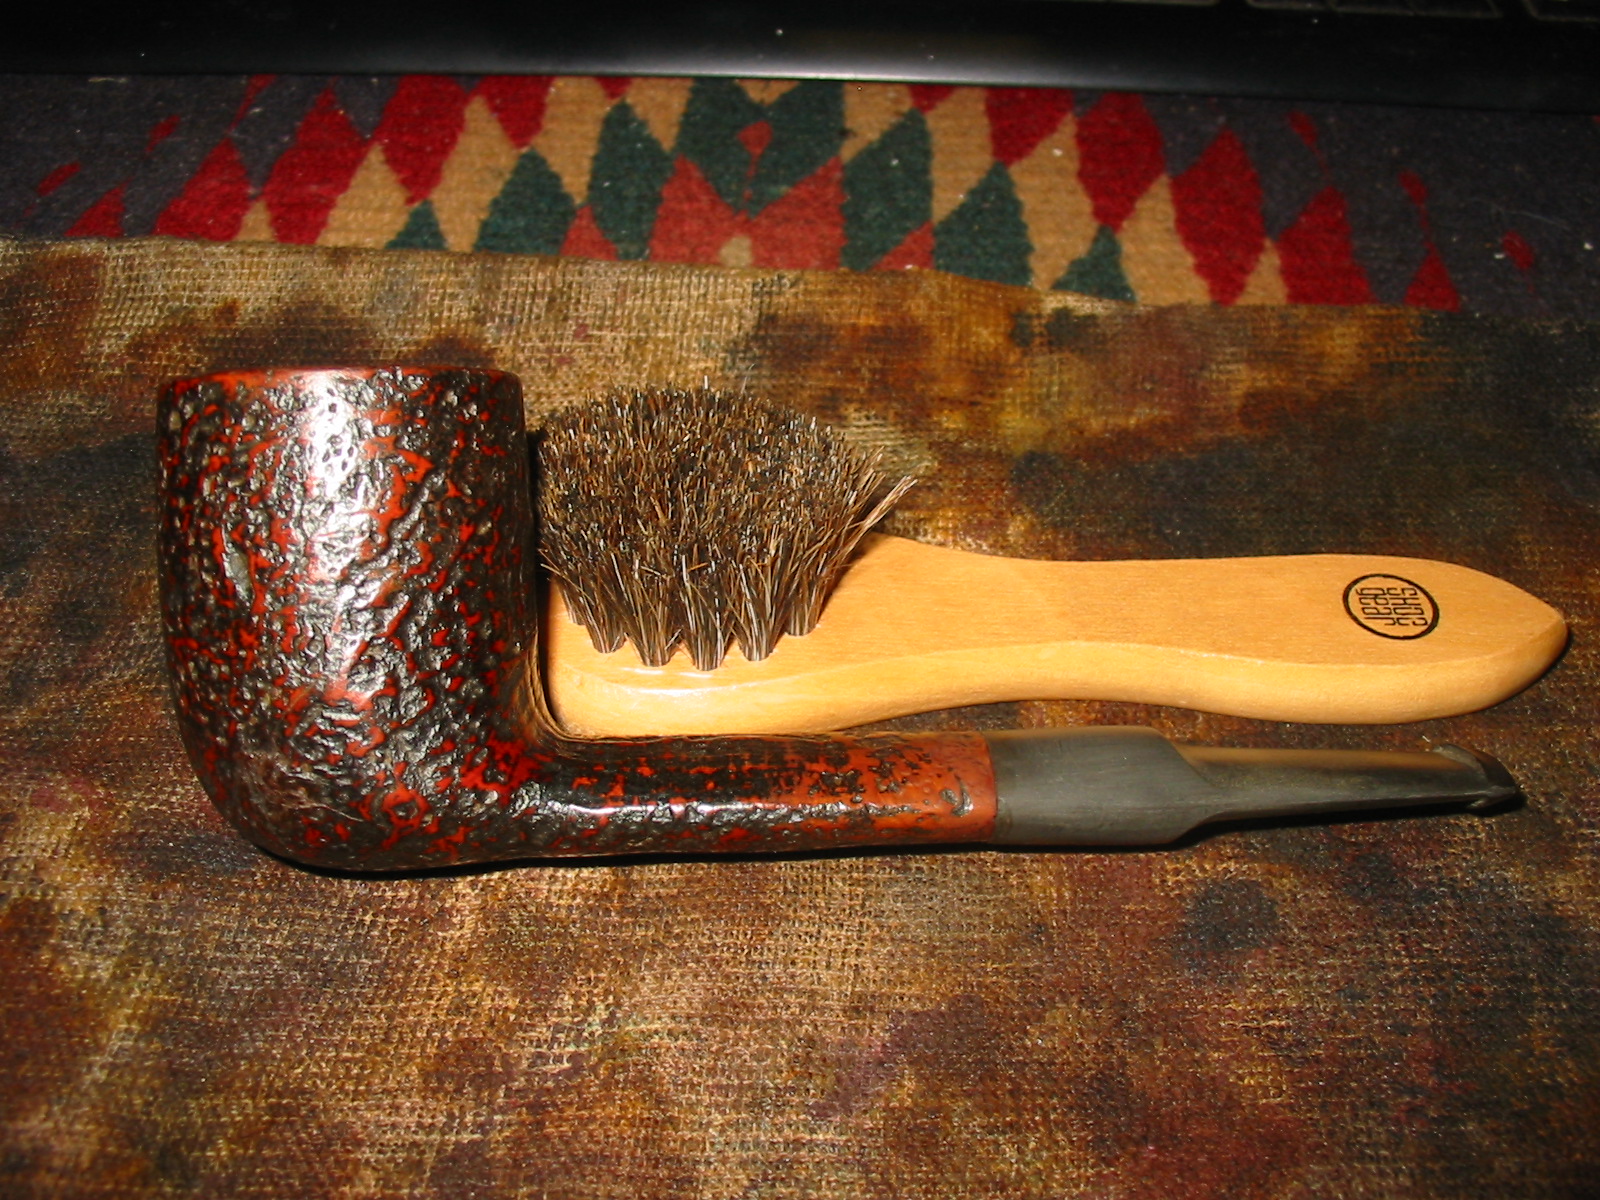
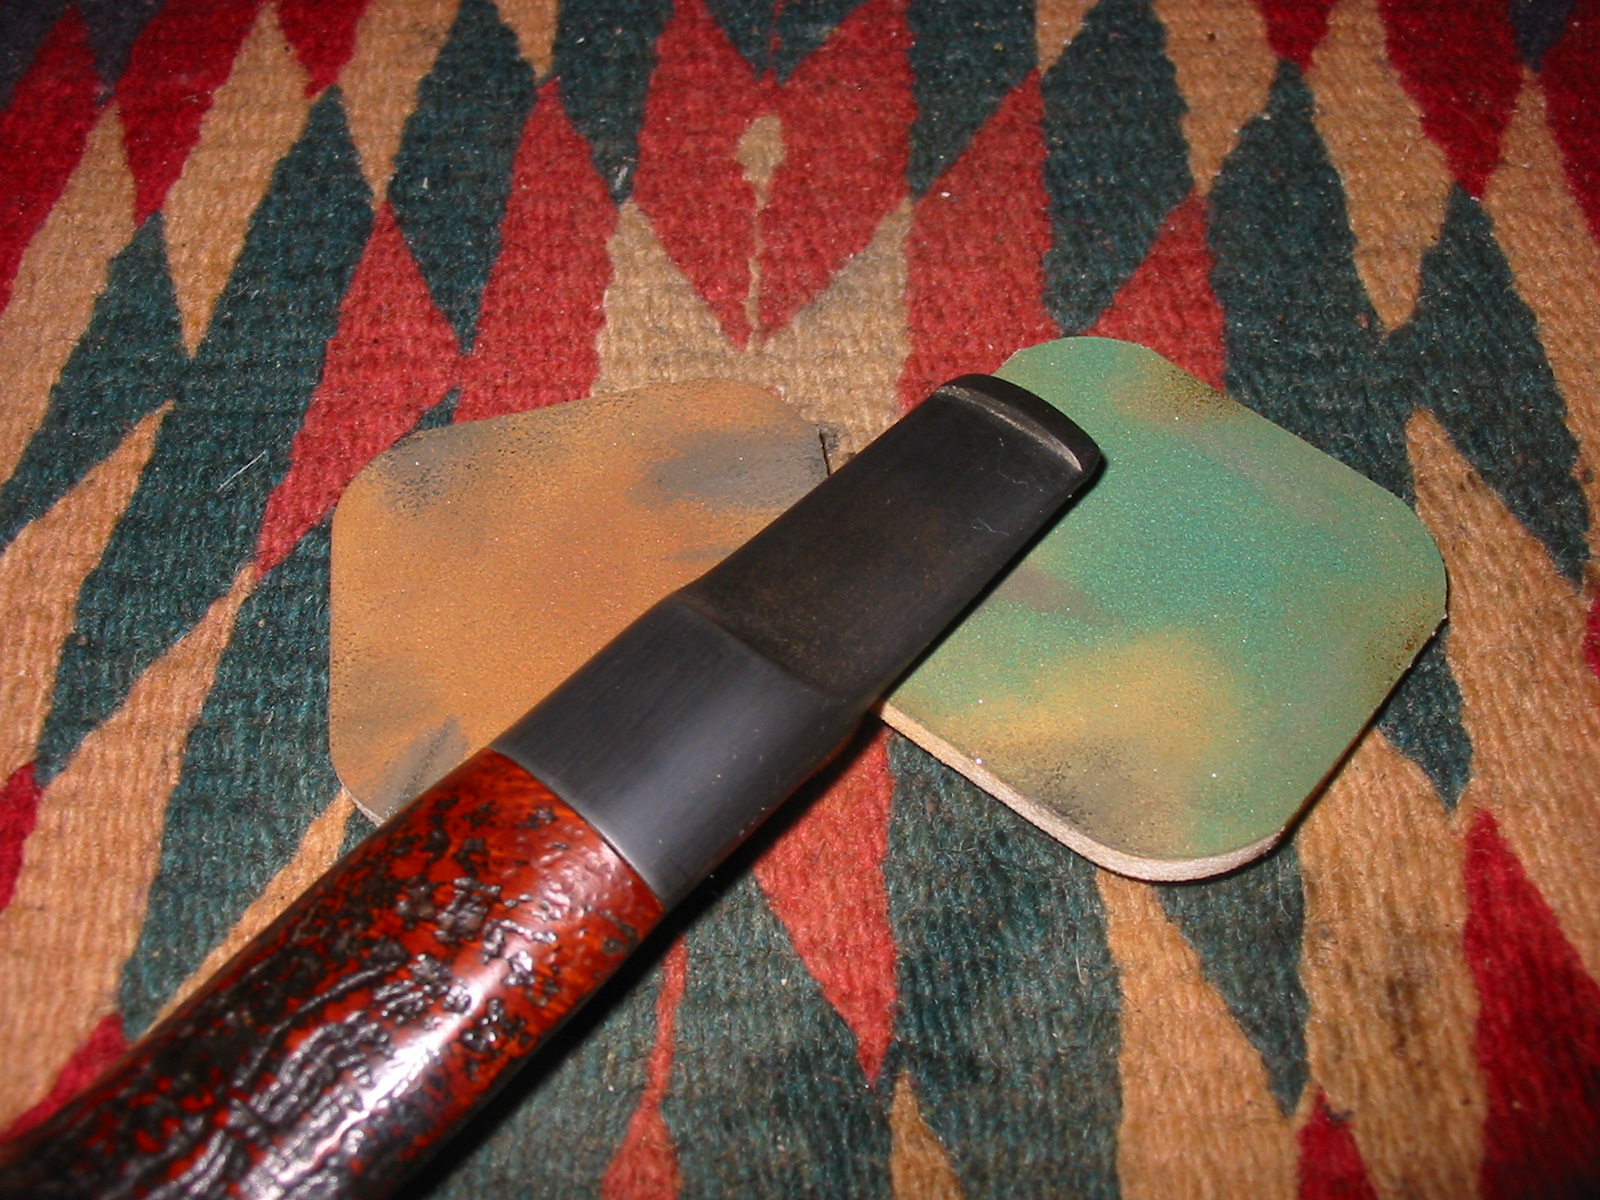
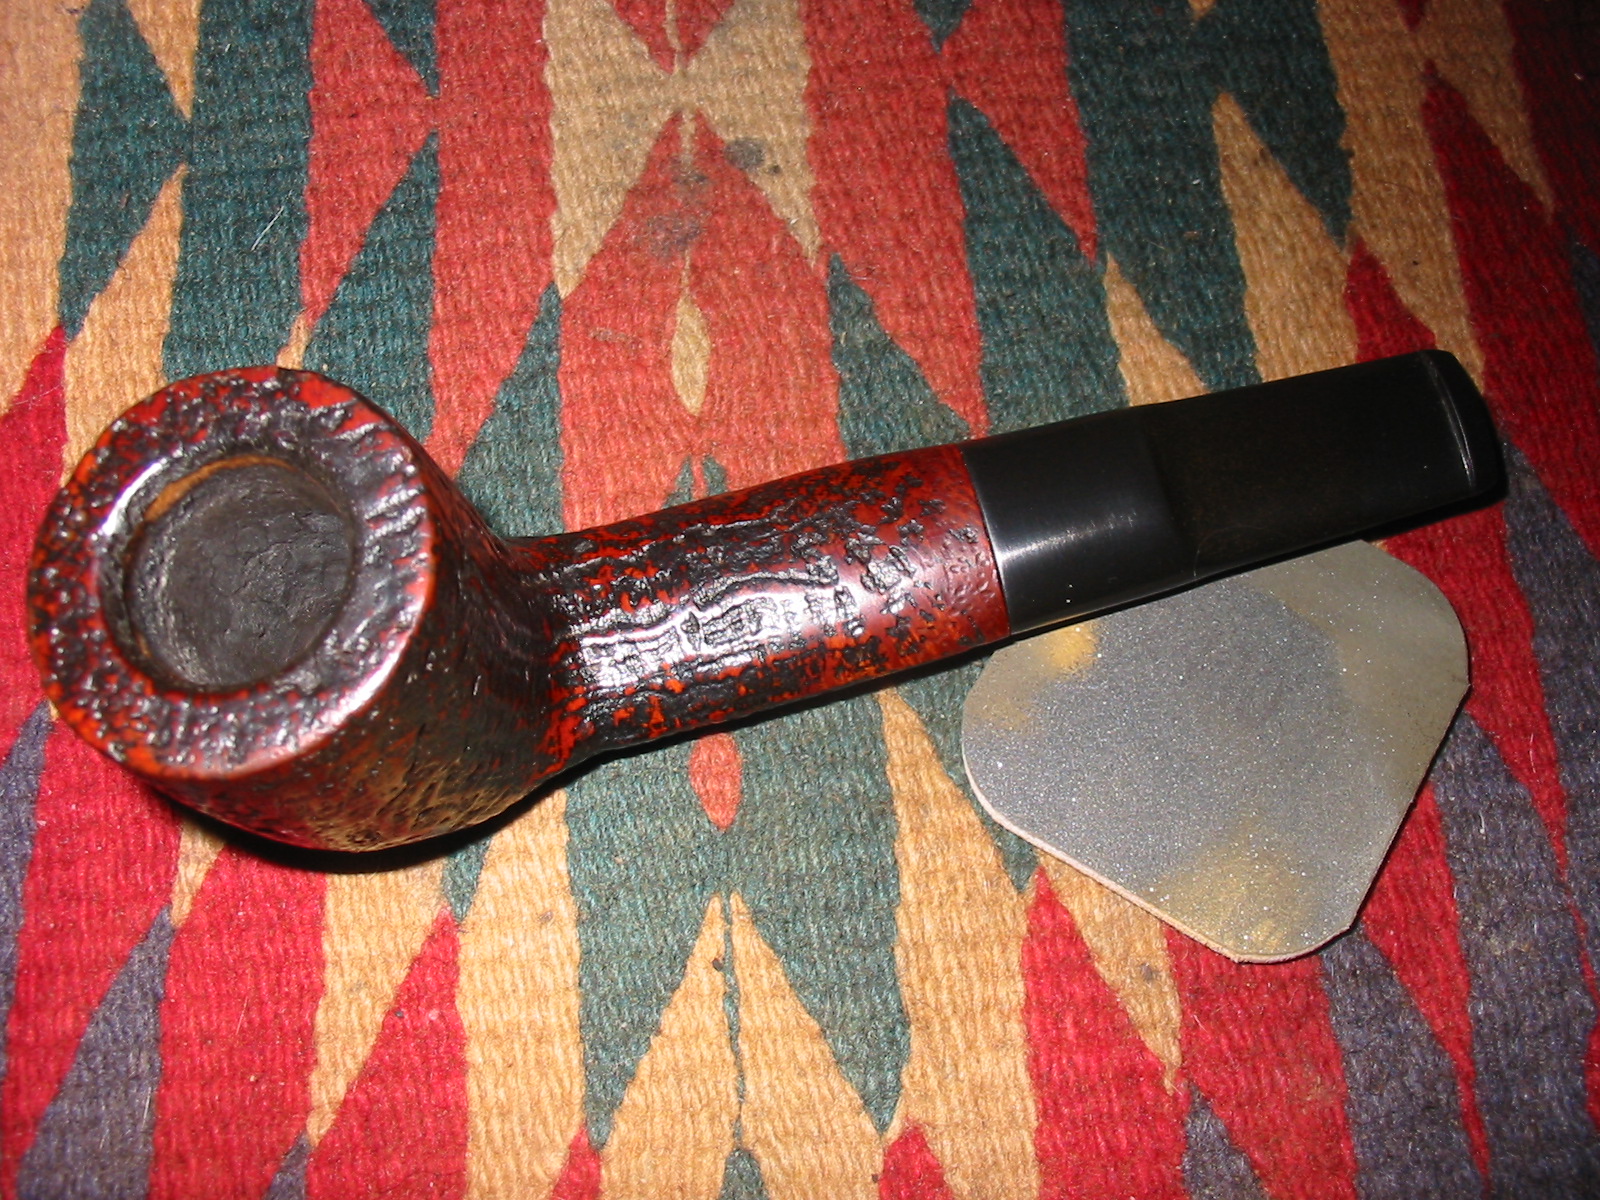
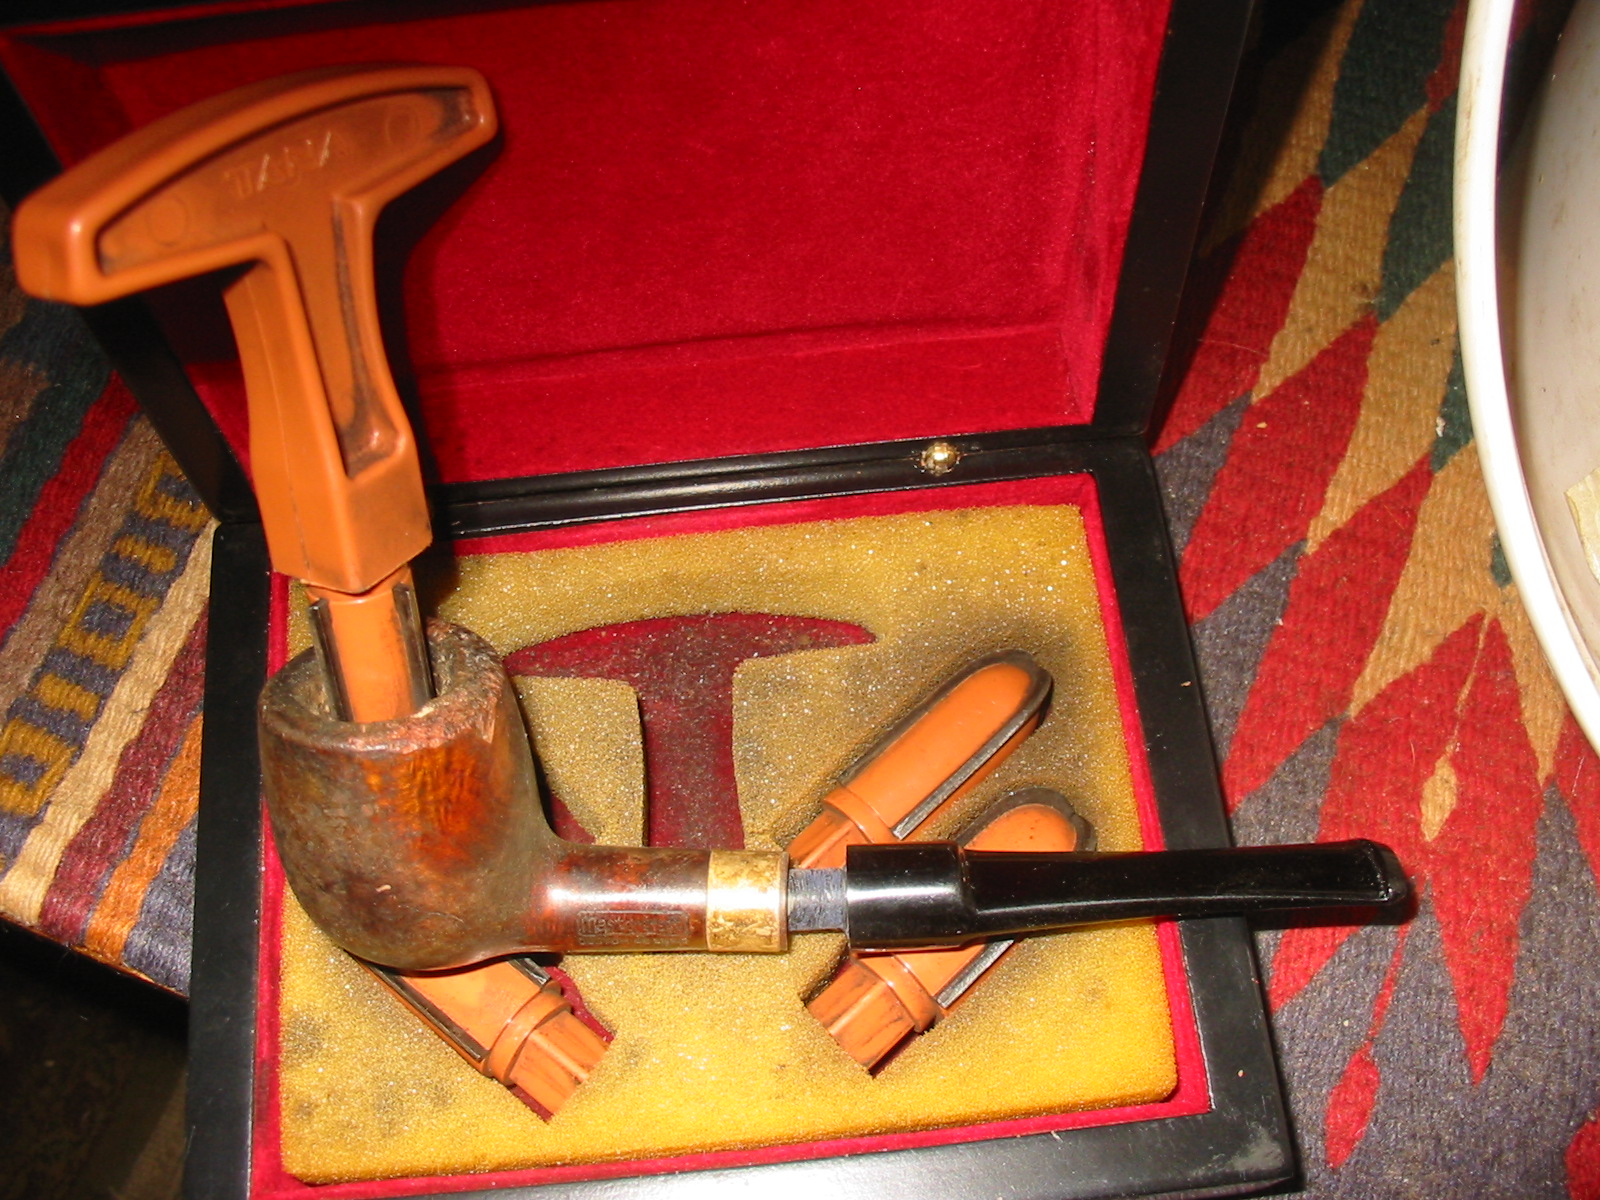
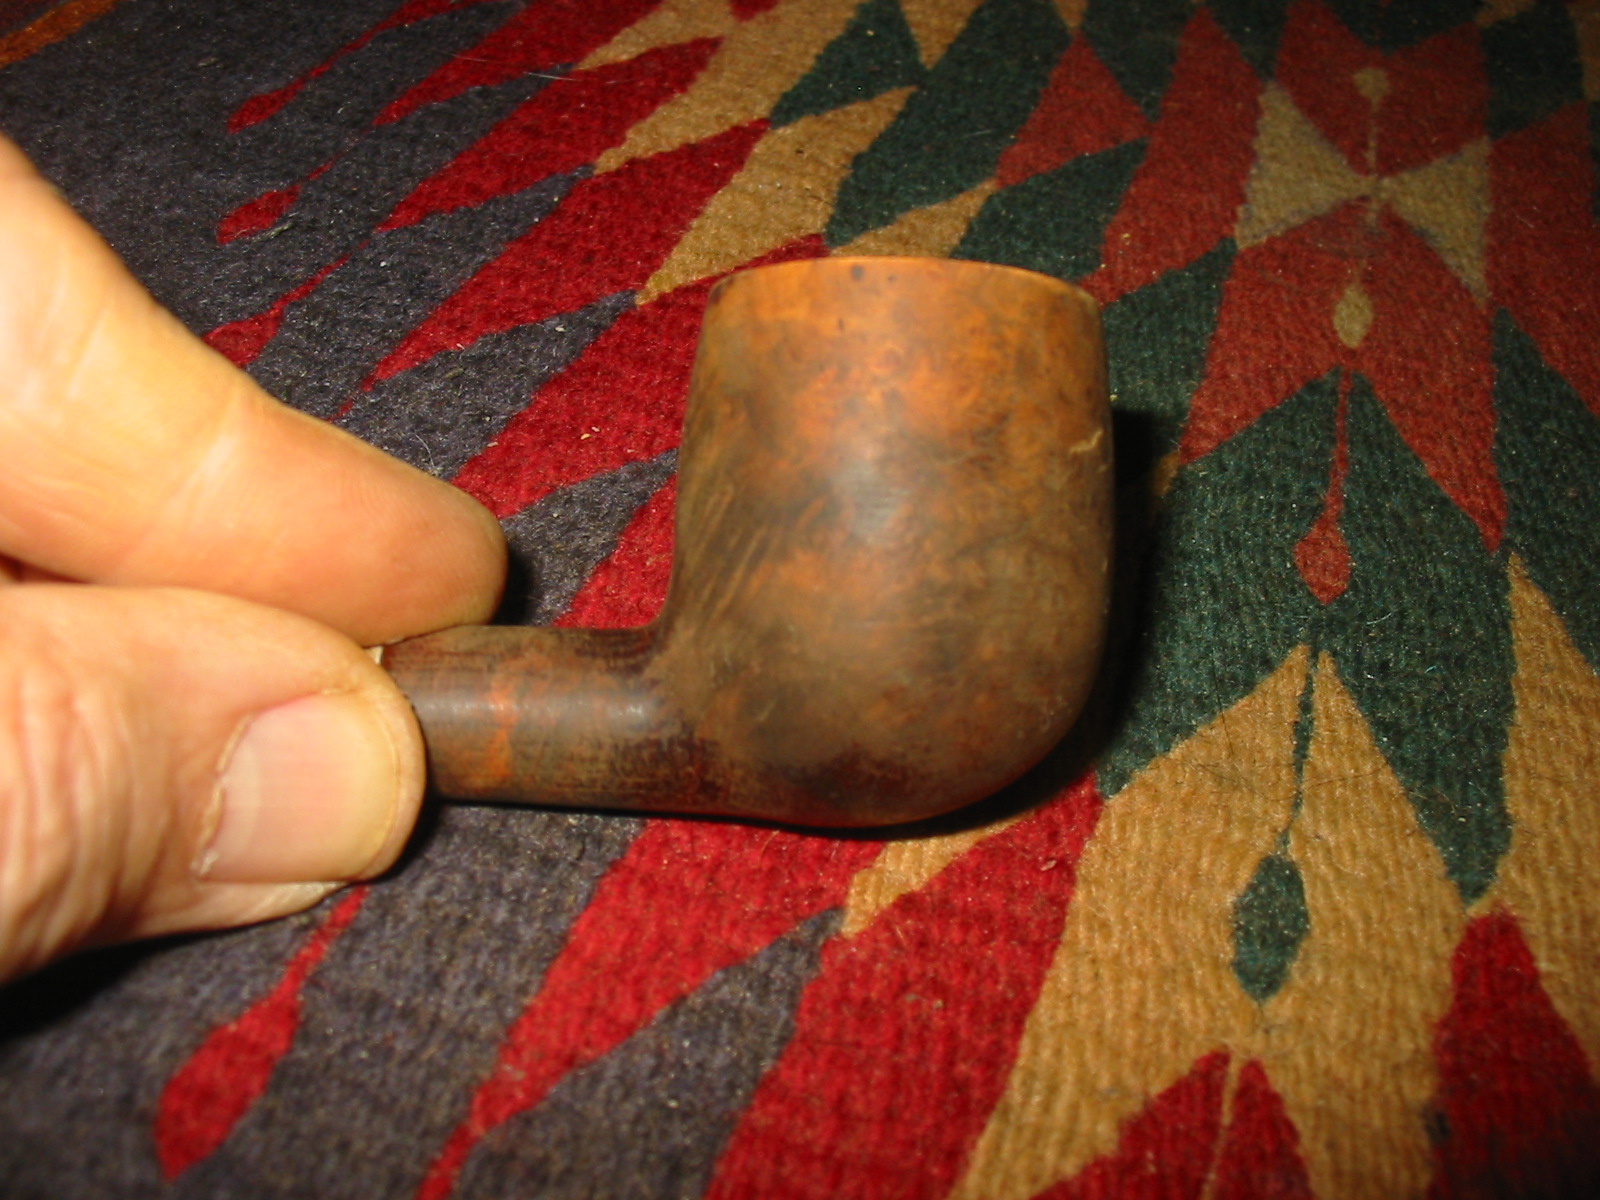
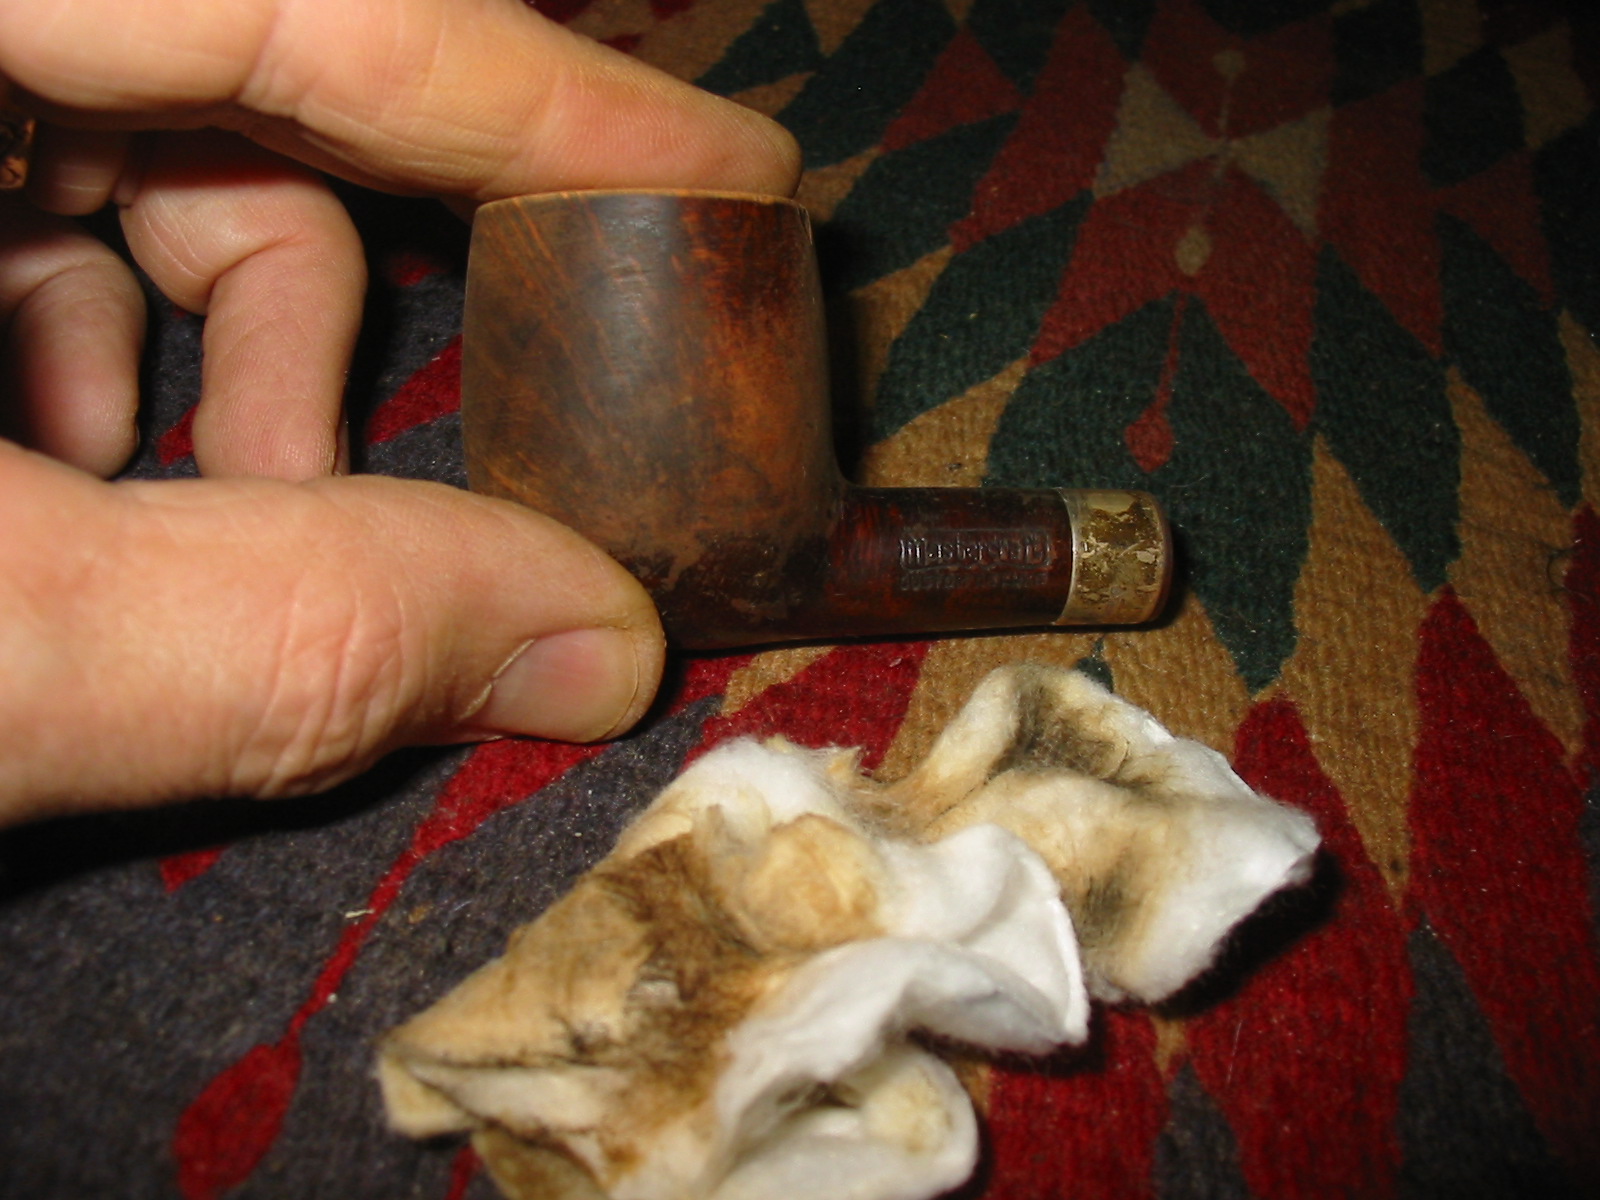
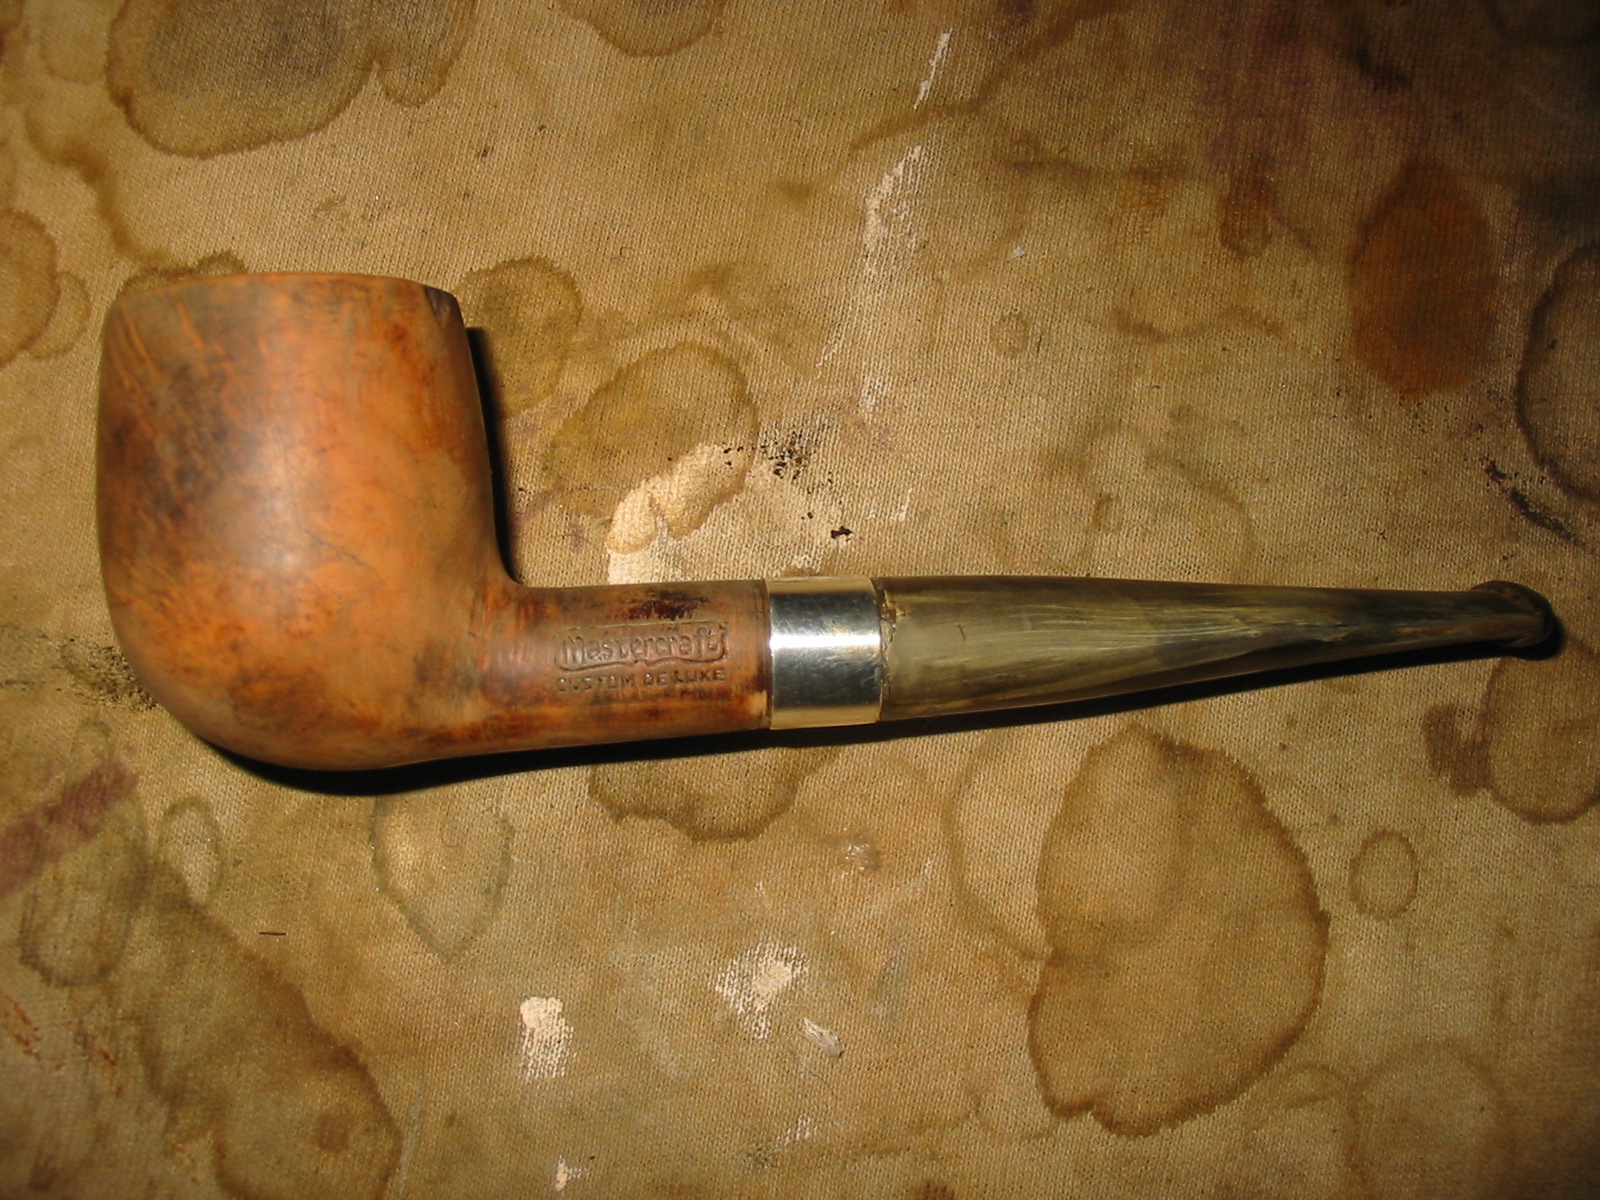
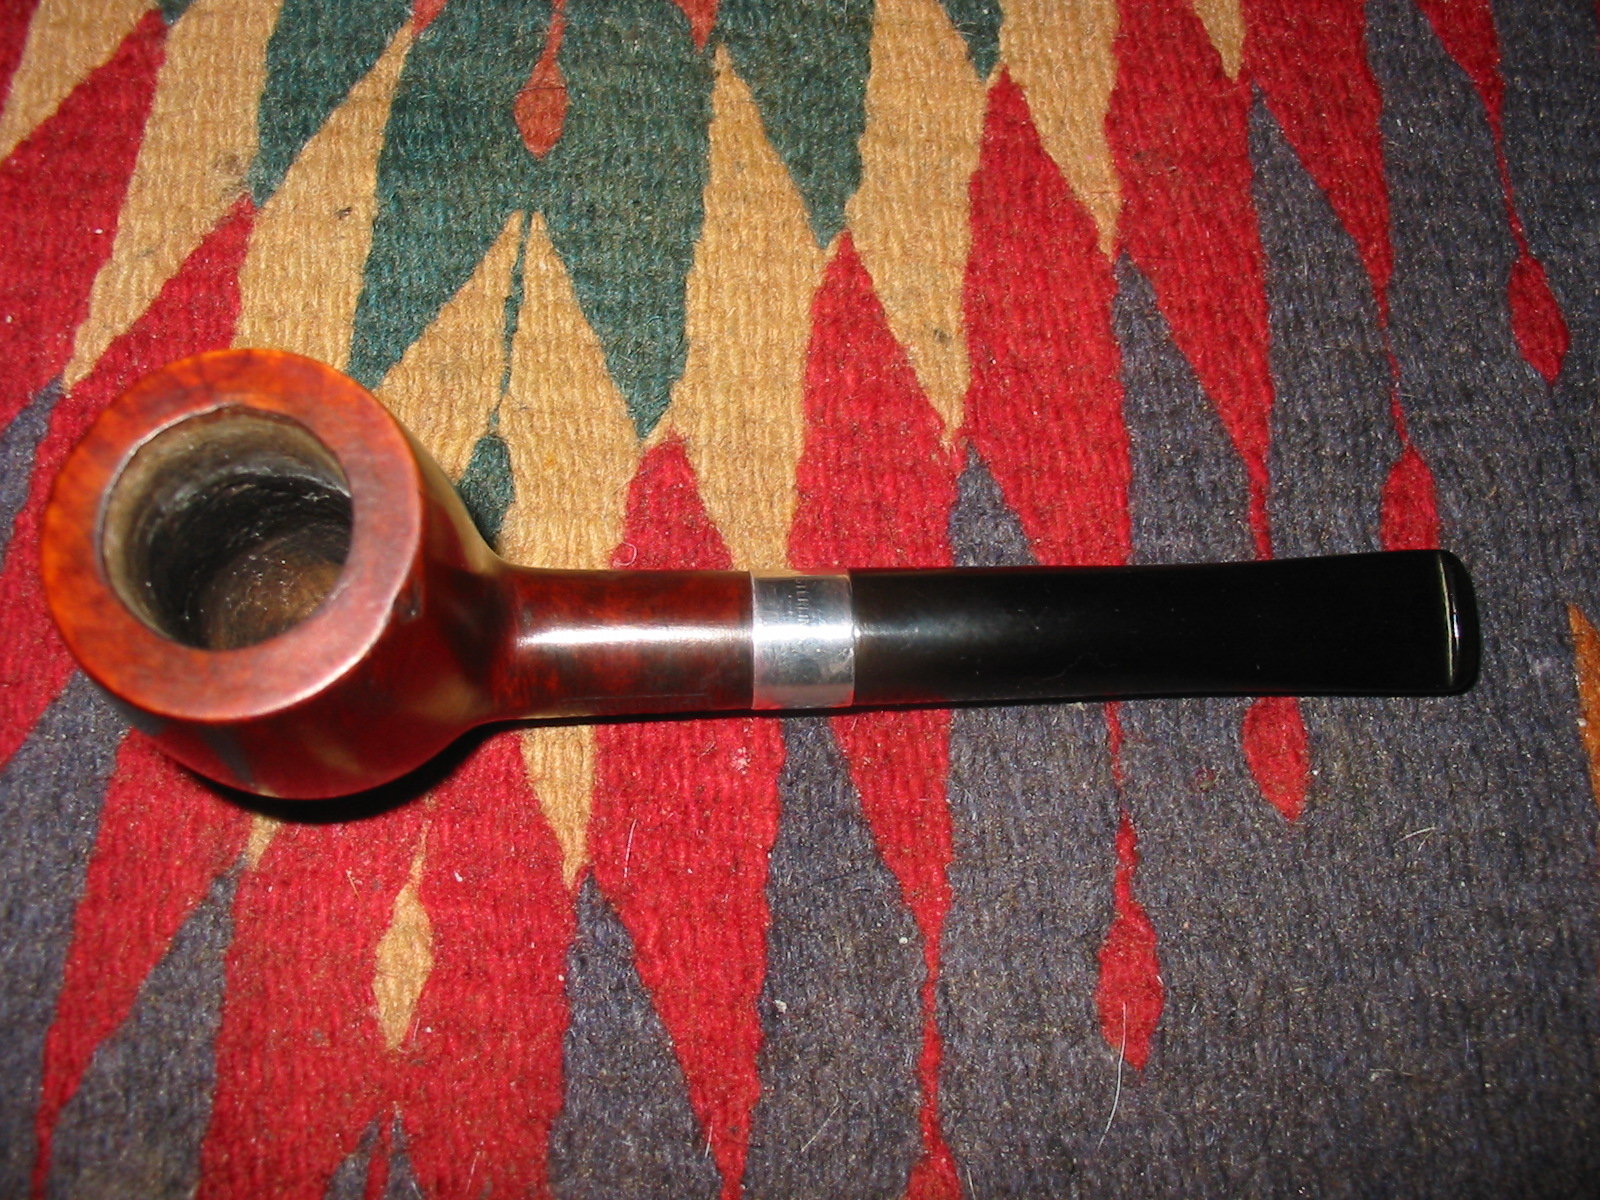
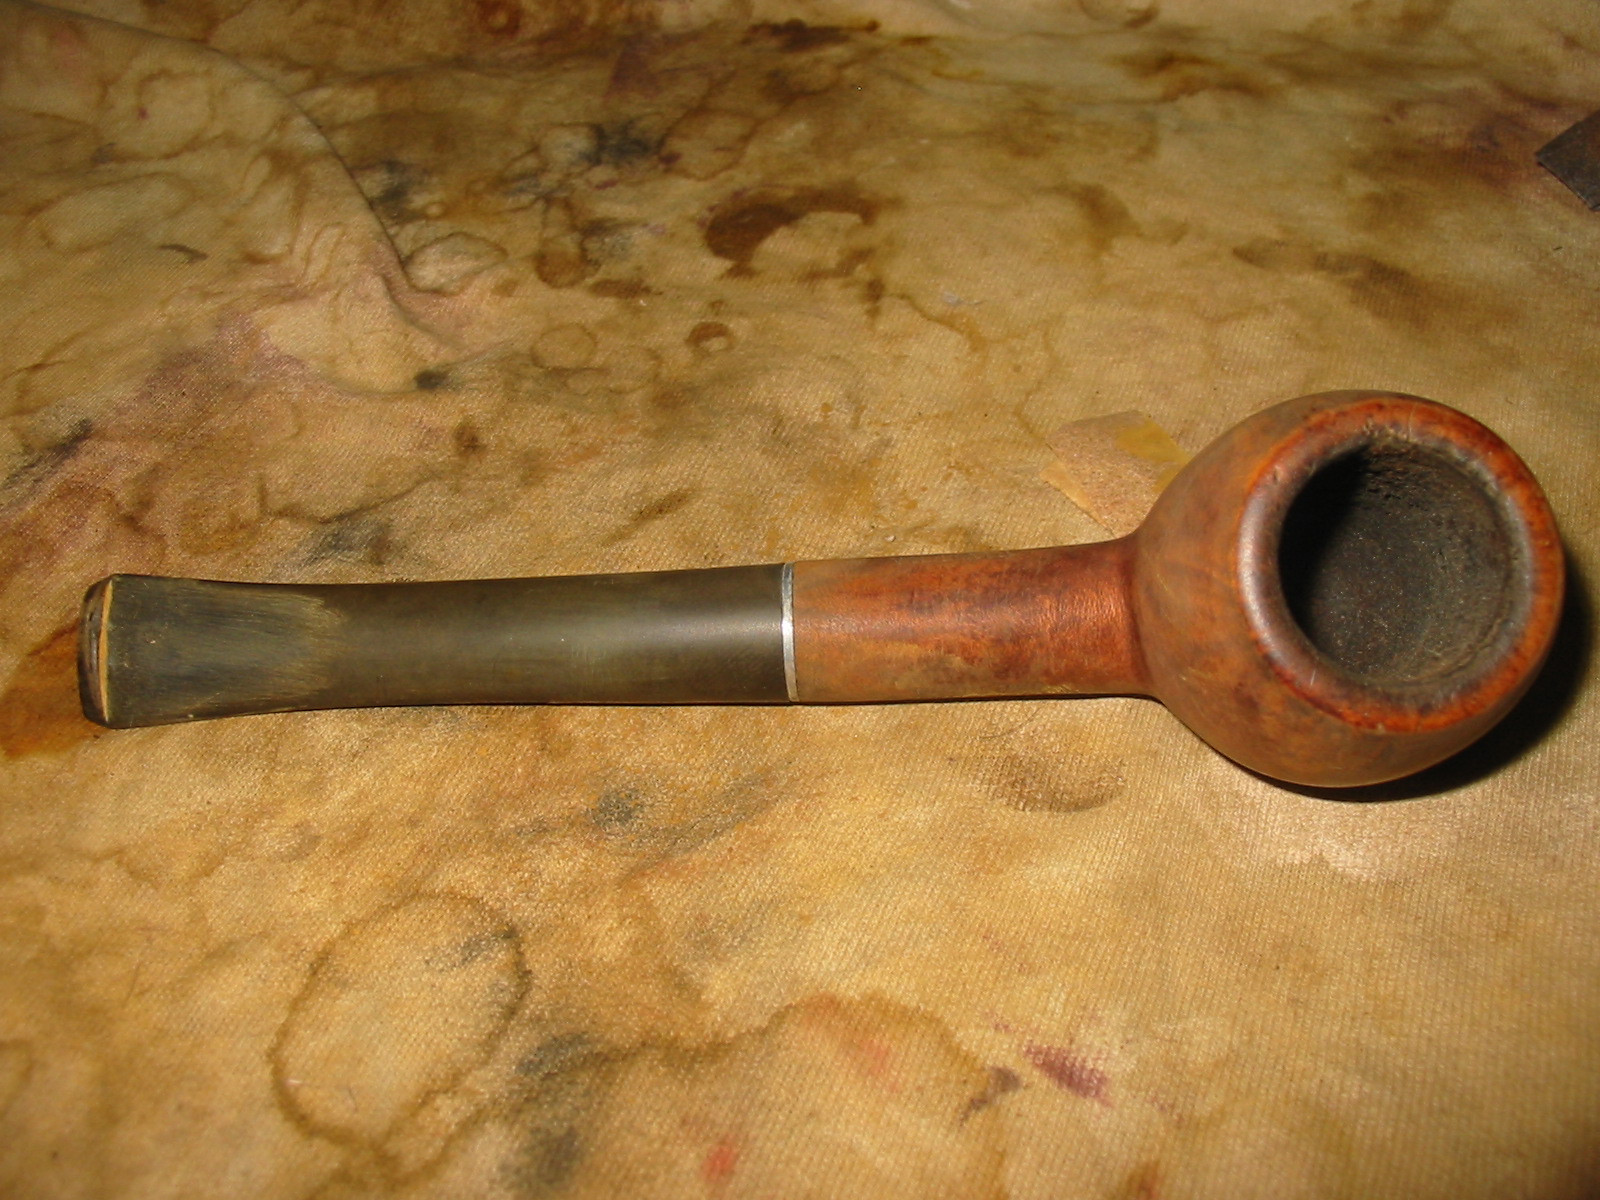
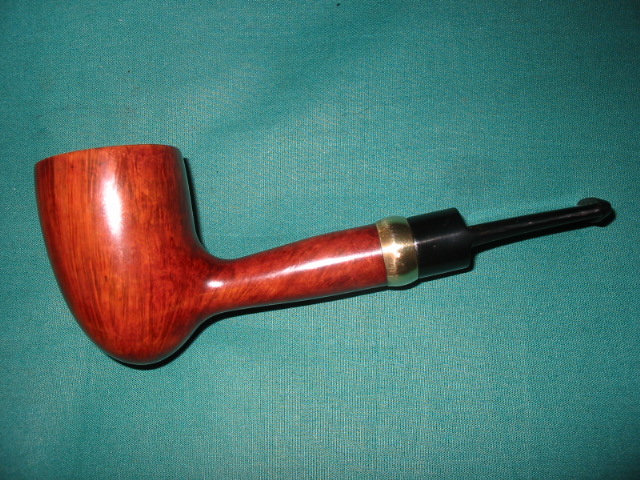
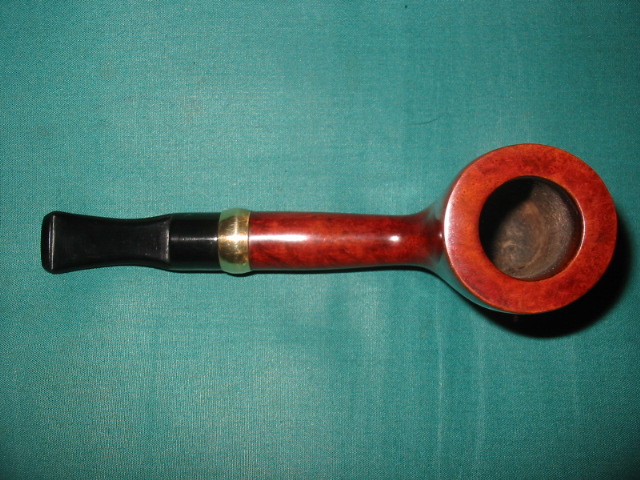
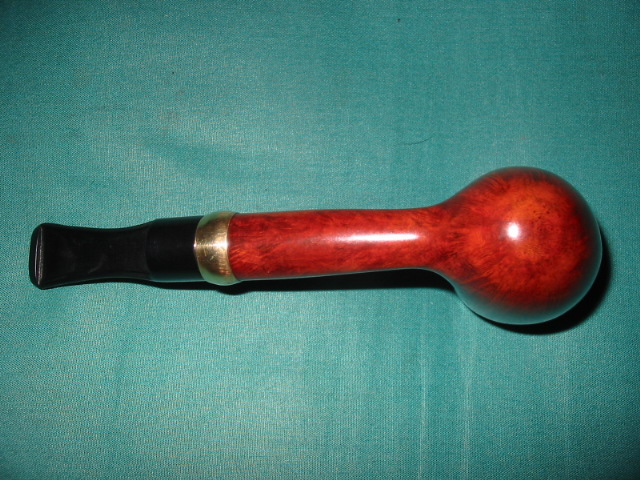
This old Mastercraft billiard is the second pipe of the threesome that was sent to me last week as a gift. In his email asking if I wanted them he said they were either going to the rubbish bin or to me so I was not surprised when I opened the box and unpacked them. It had some nice looking grain underneath all of the grime and peeling varnish. But this one was in very rough shape. The stem was chewed in half so there was not enough to save. The inner tube apparatus inserted into the stem looked like it had been destroyed and then somebody bent it close to shape and cut a X cut in the end of the tenon so that it would fit into the stem. The shank was grimy and dark with a white mold residing inside both the bowl and the shank. The pipe reeked of mold. The bowl itself had a heavy but broken cake underneath the mold. It had a coat of varnish that was spotty and peeling where it was worn off the briar. In those worn spots the briar was almost black. The rim was also in very bad shape. The front was burned down from repeatedly lighting the pipe in the same spot with a torch. The back side of the rim looked like it had been scraped on concrete or hammered out on concrete because it was worn and broken down. The three photos below (I apologize for the poor quality – still getting used to this new camera!) show the state of the bowl and stem.

IMG_1009

IMG_1010

IMG_1011

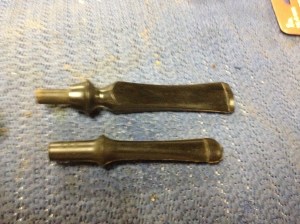
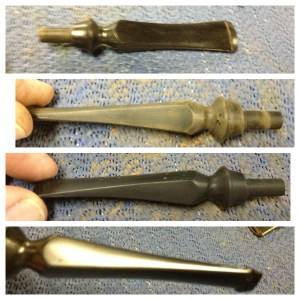
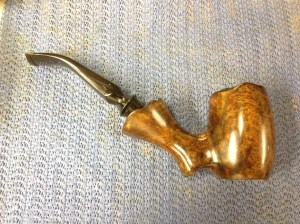
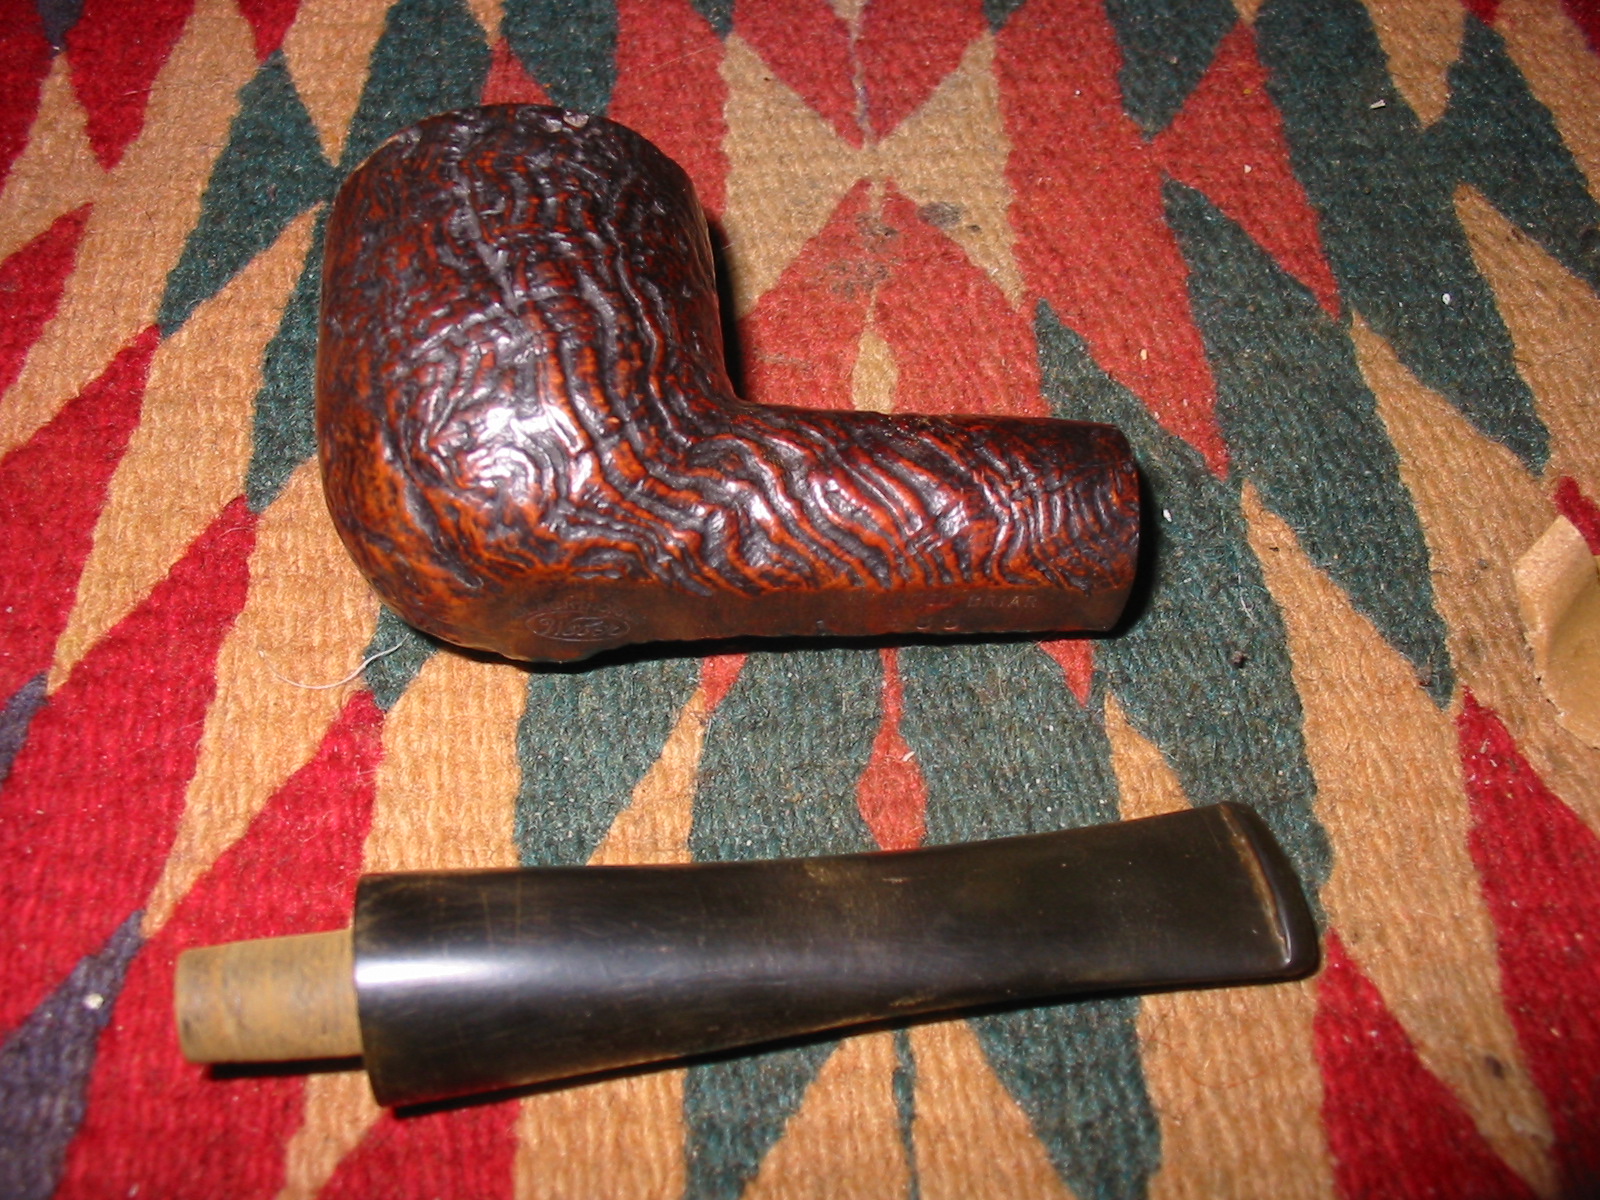
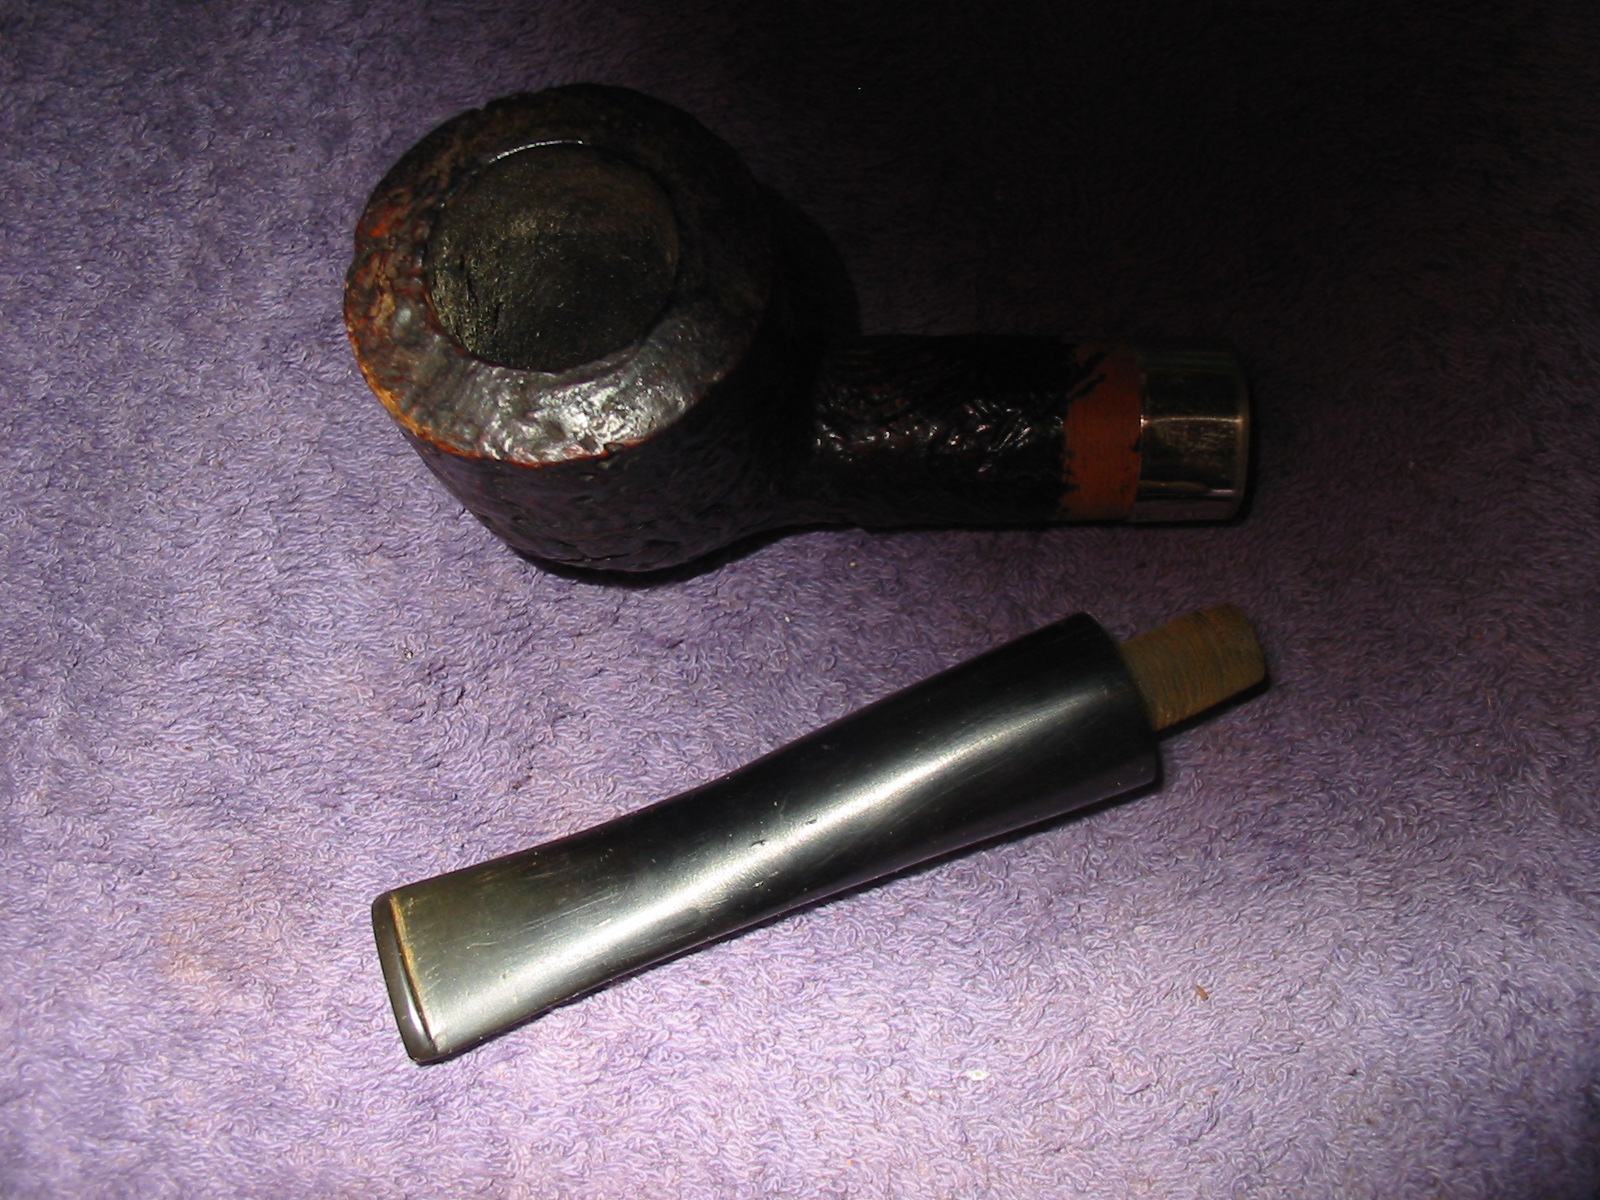
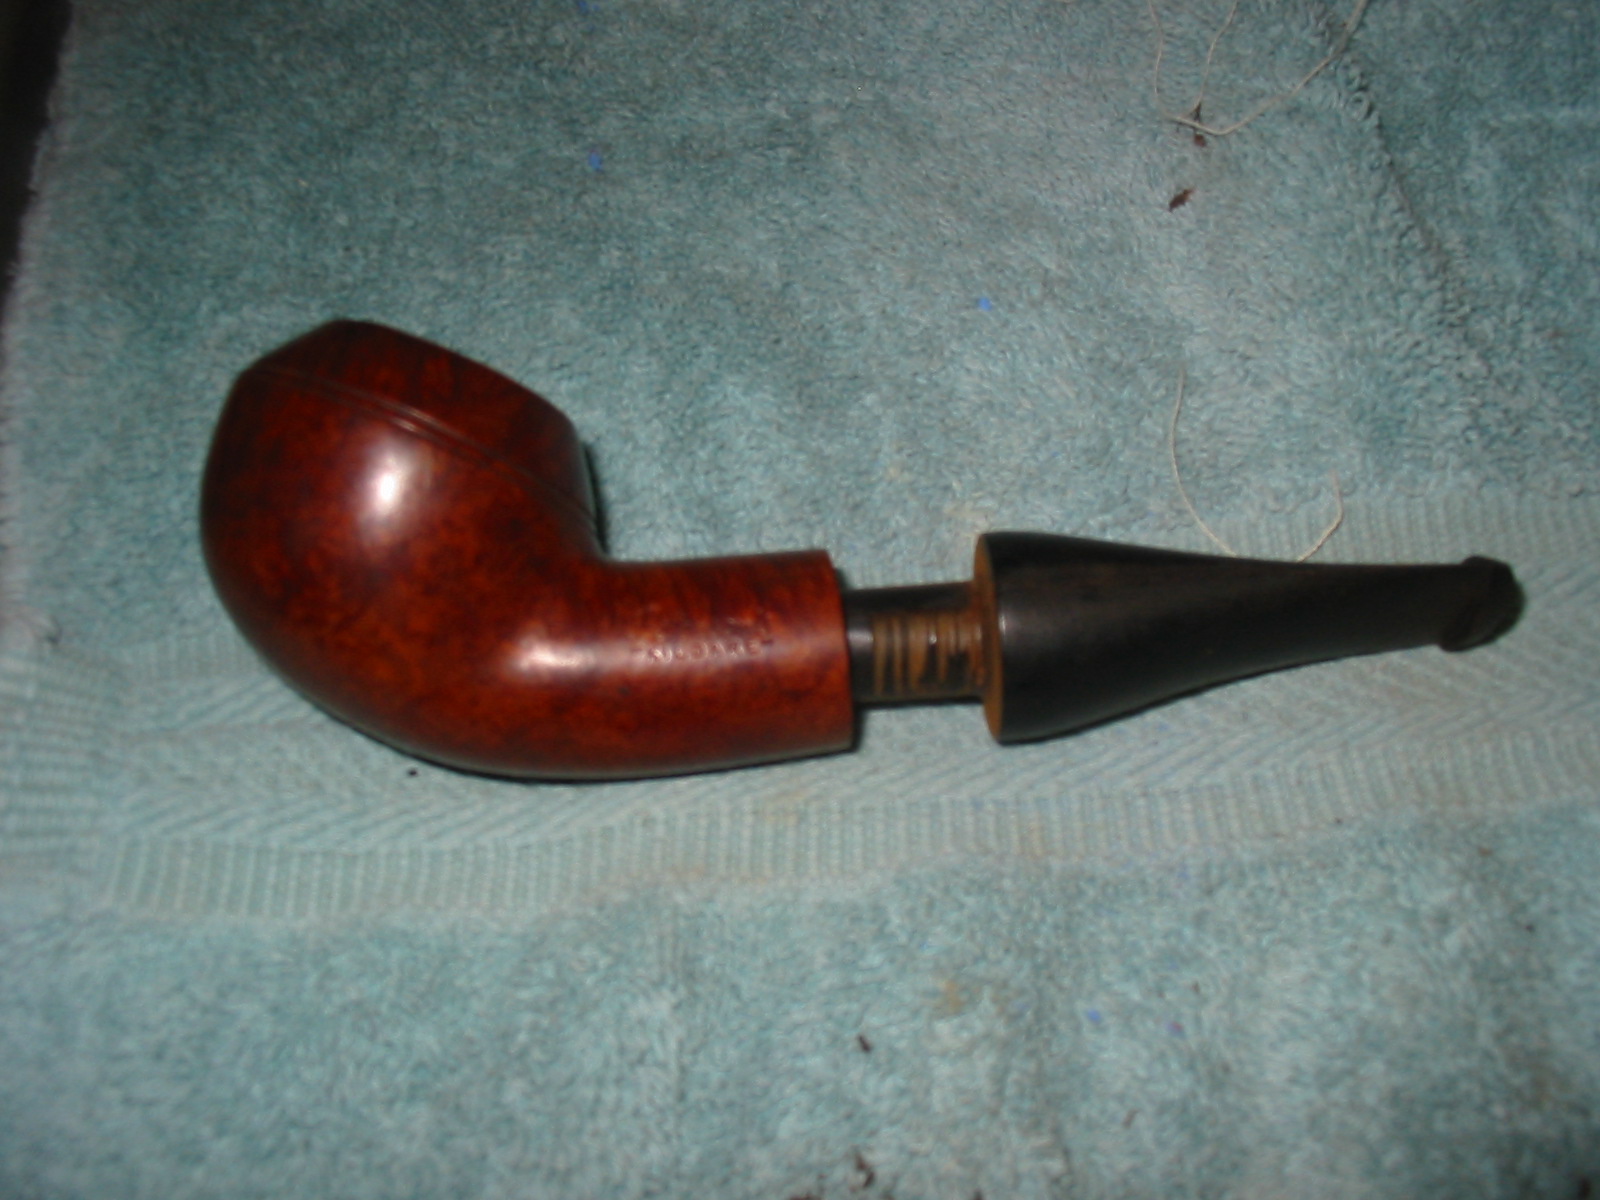
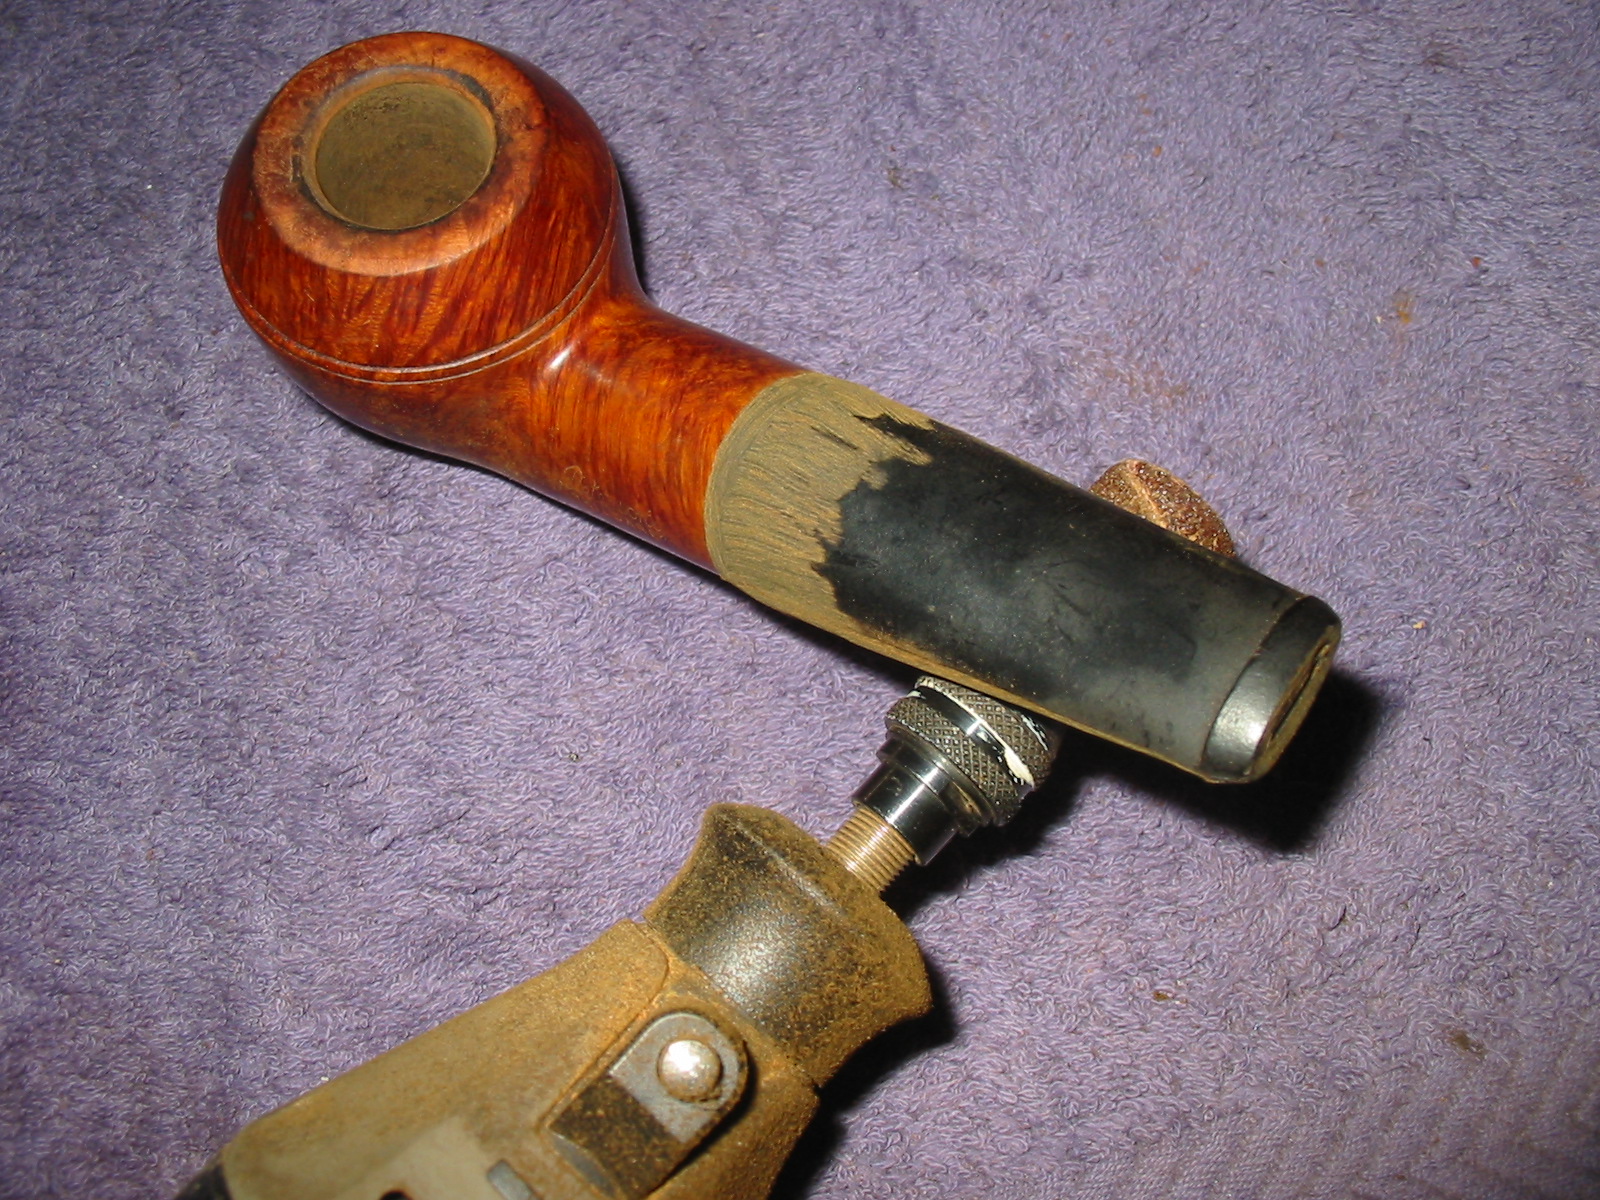
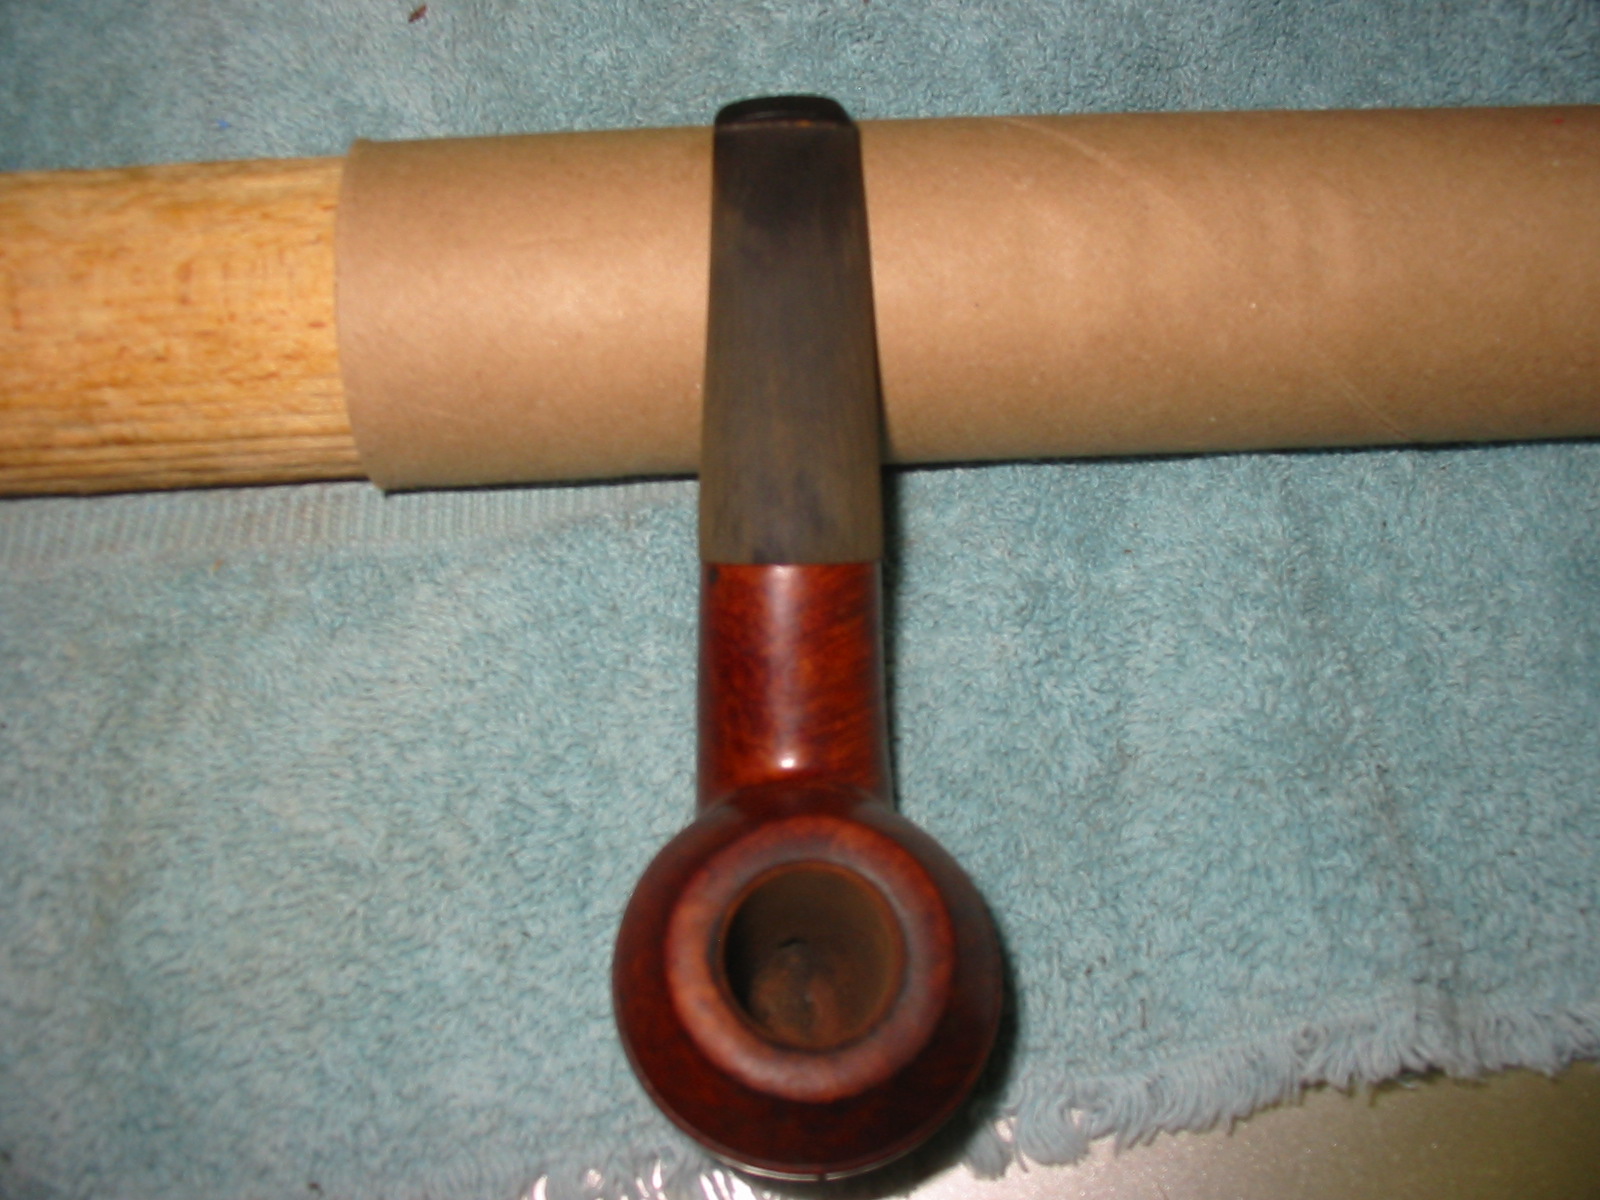
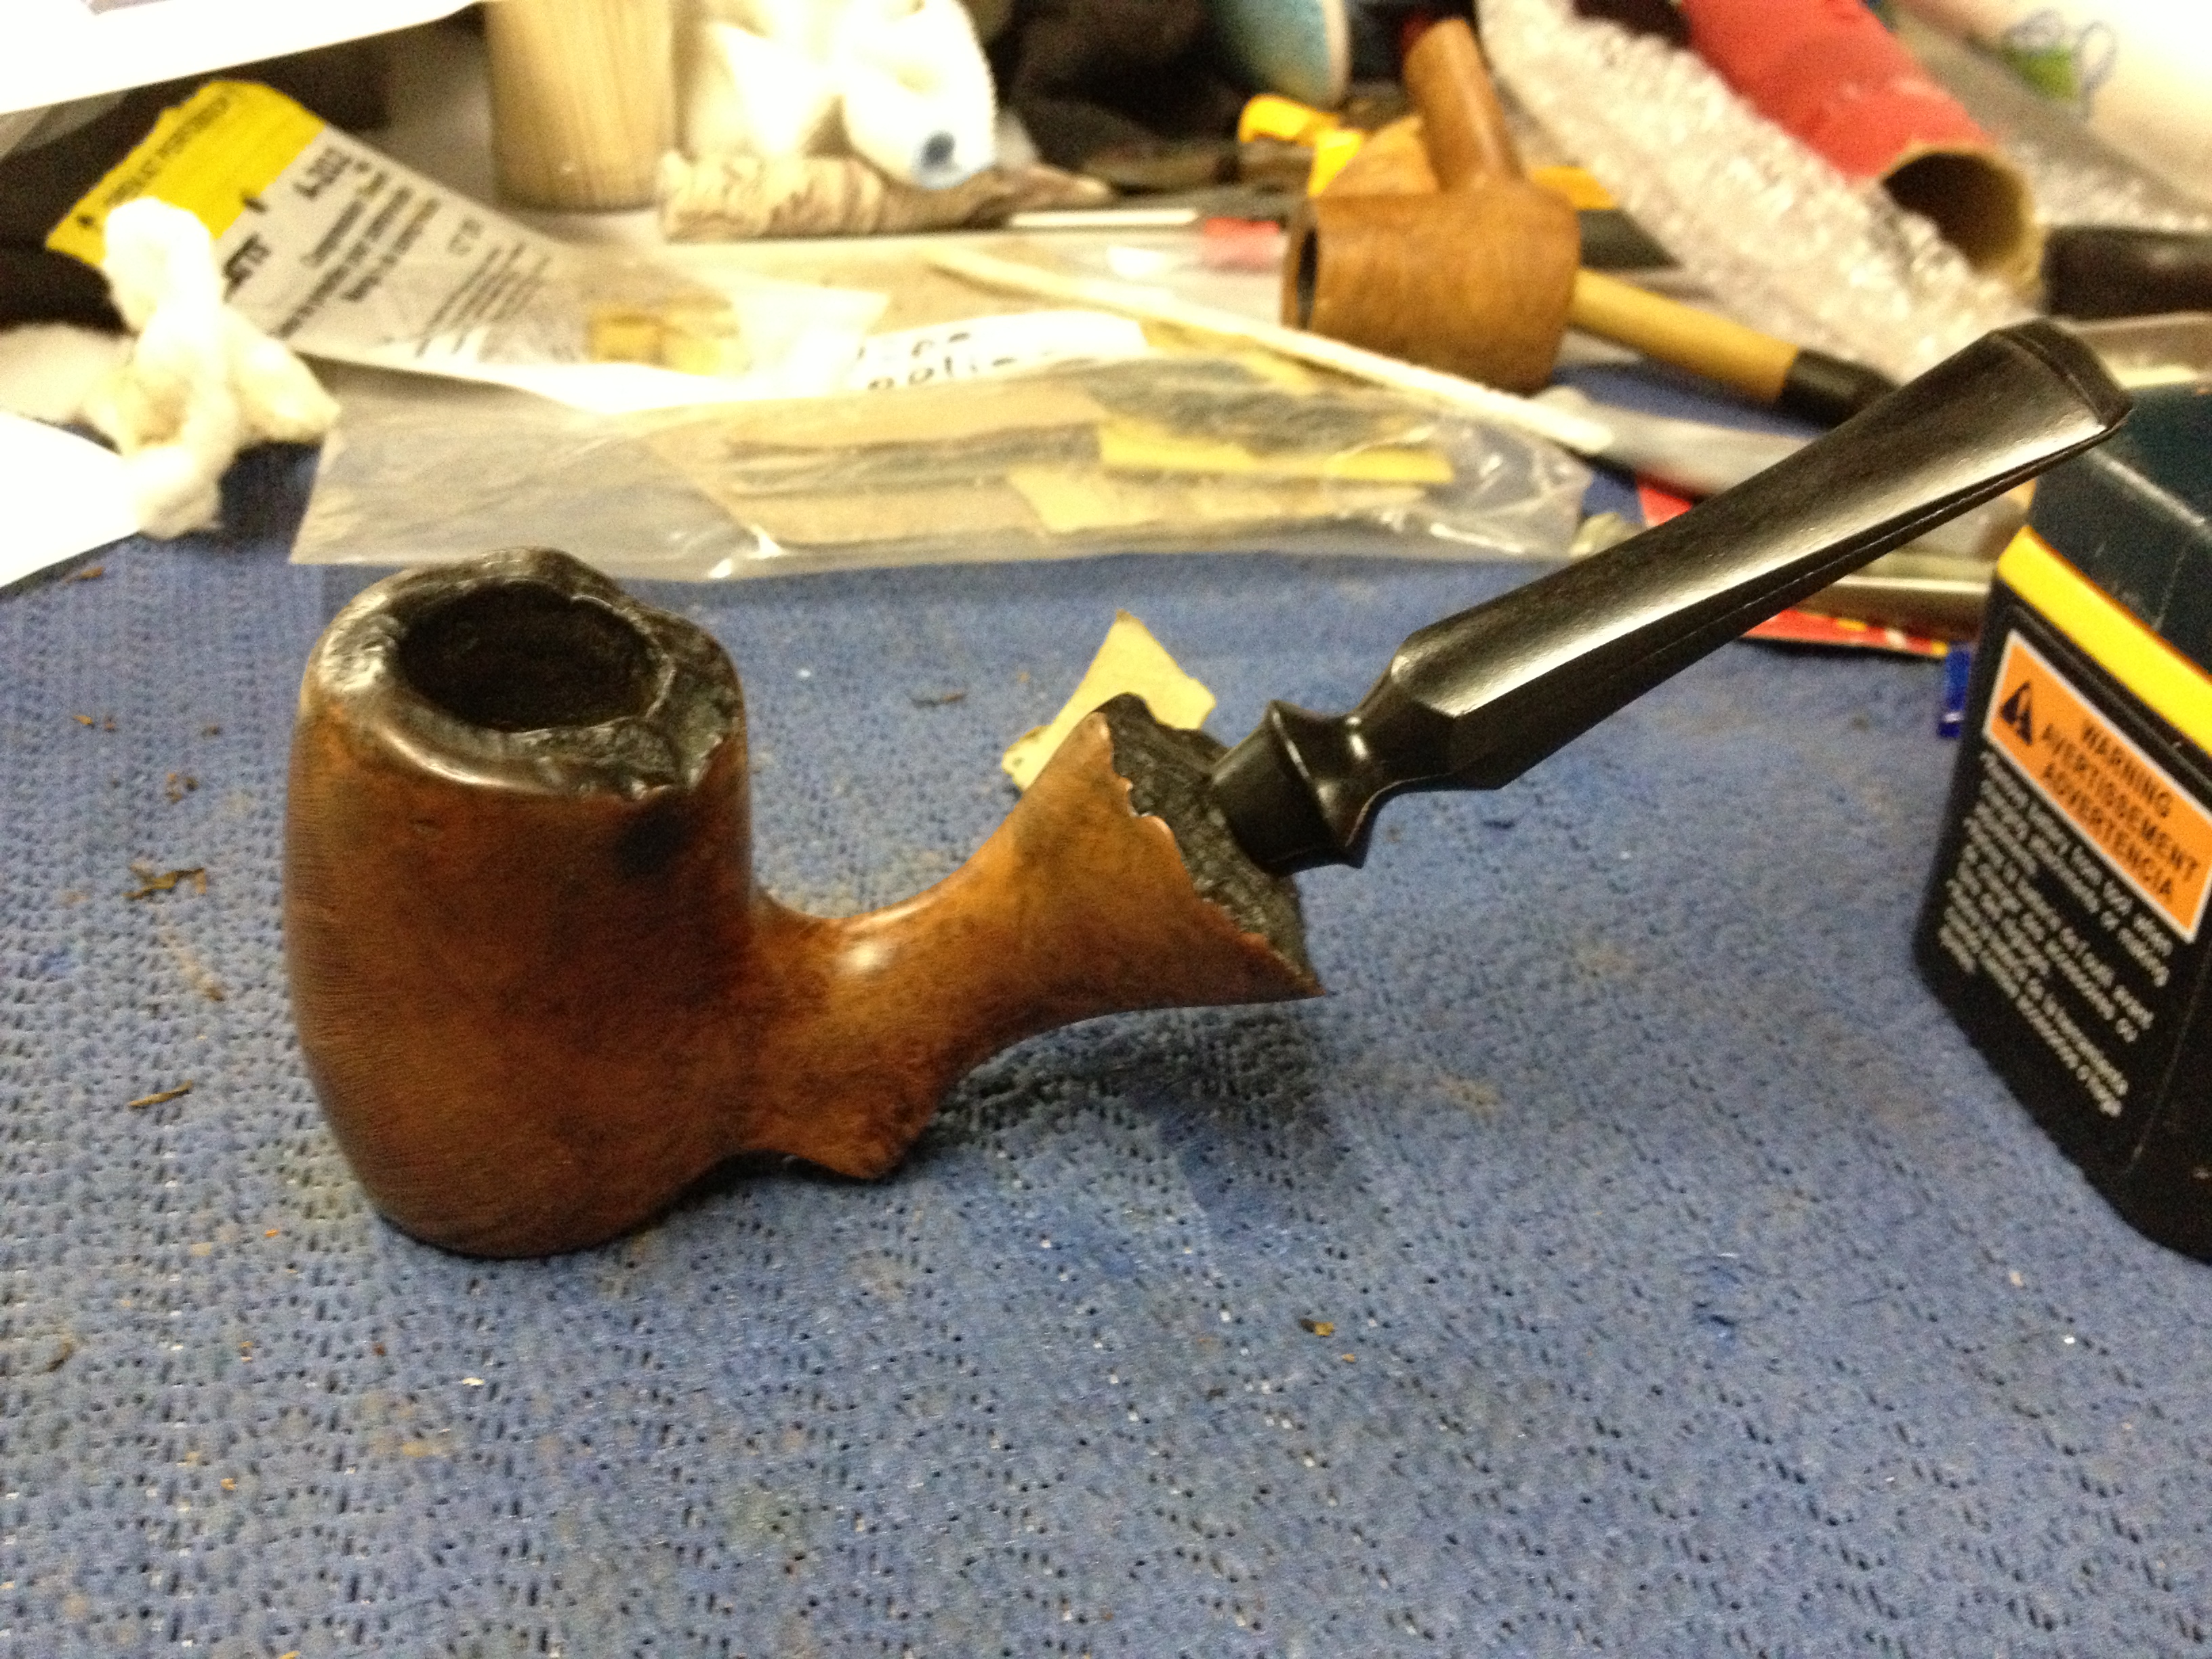
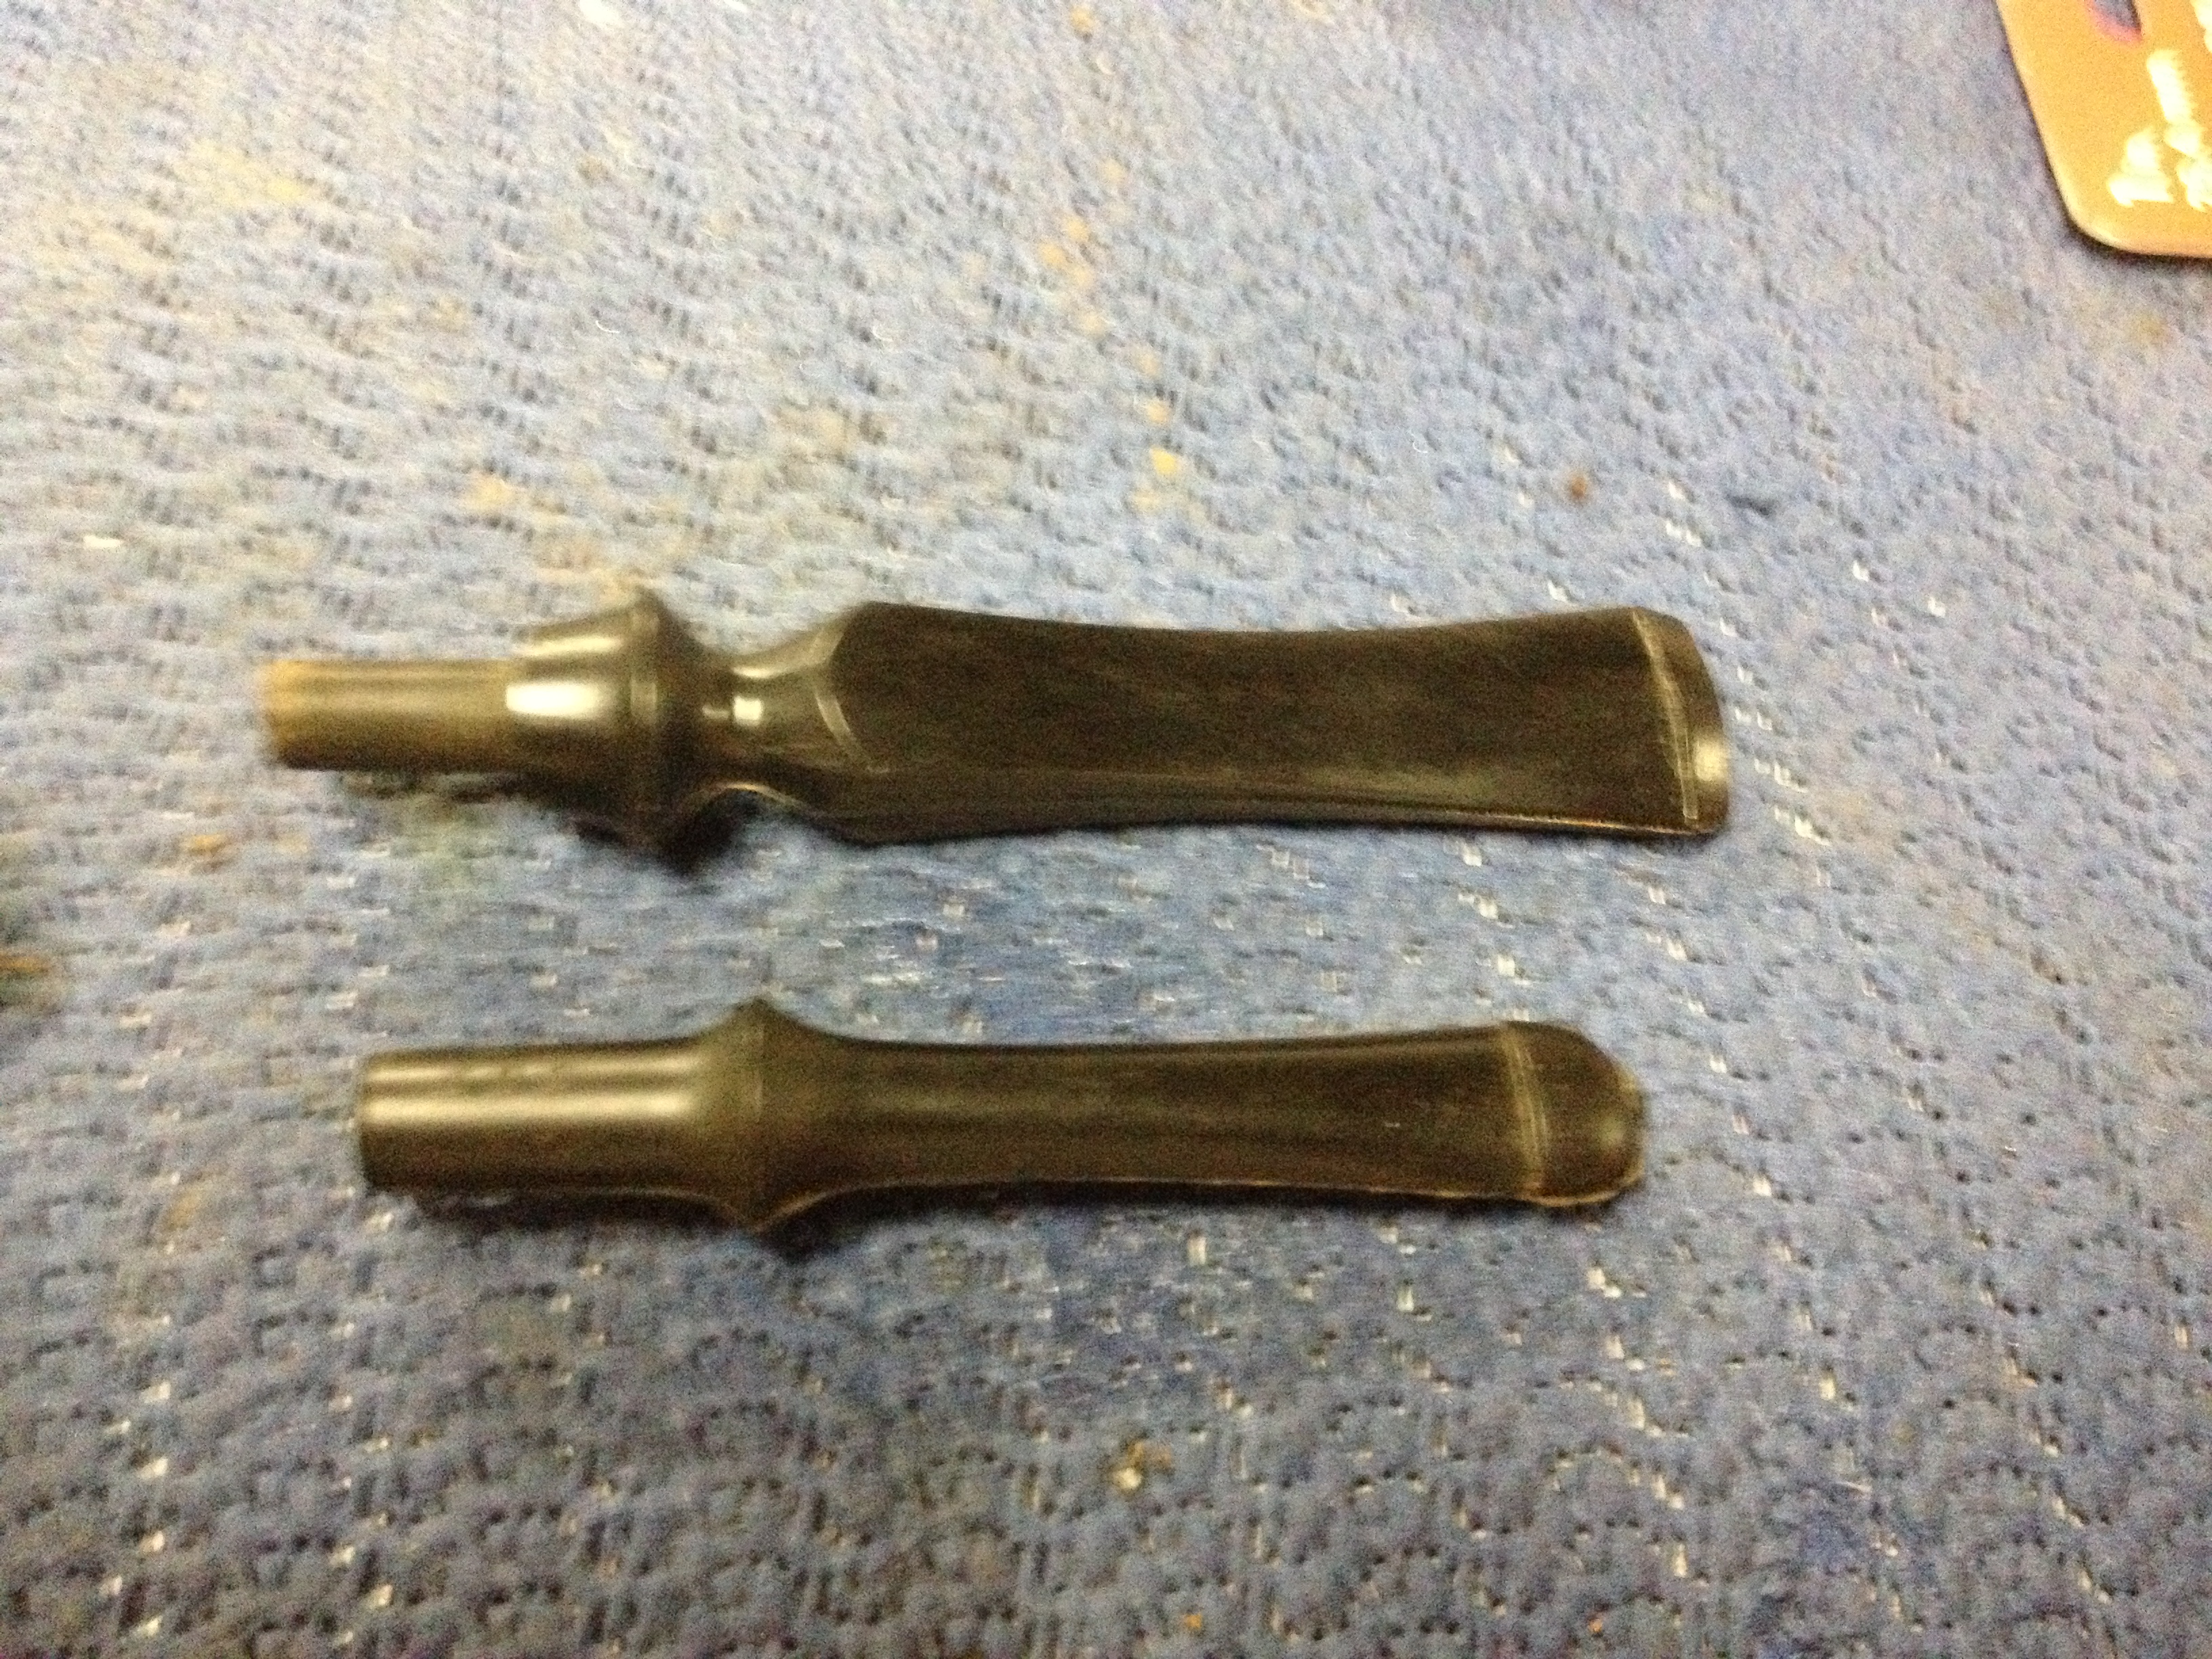
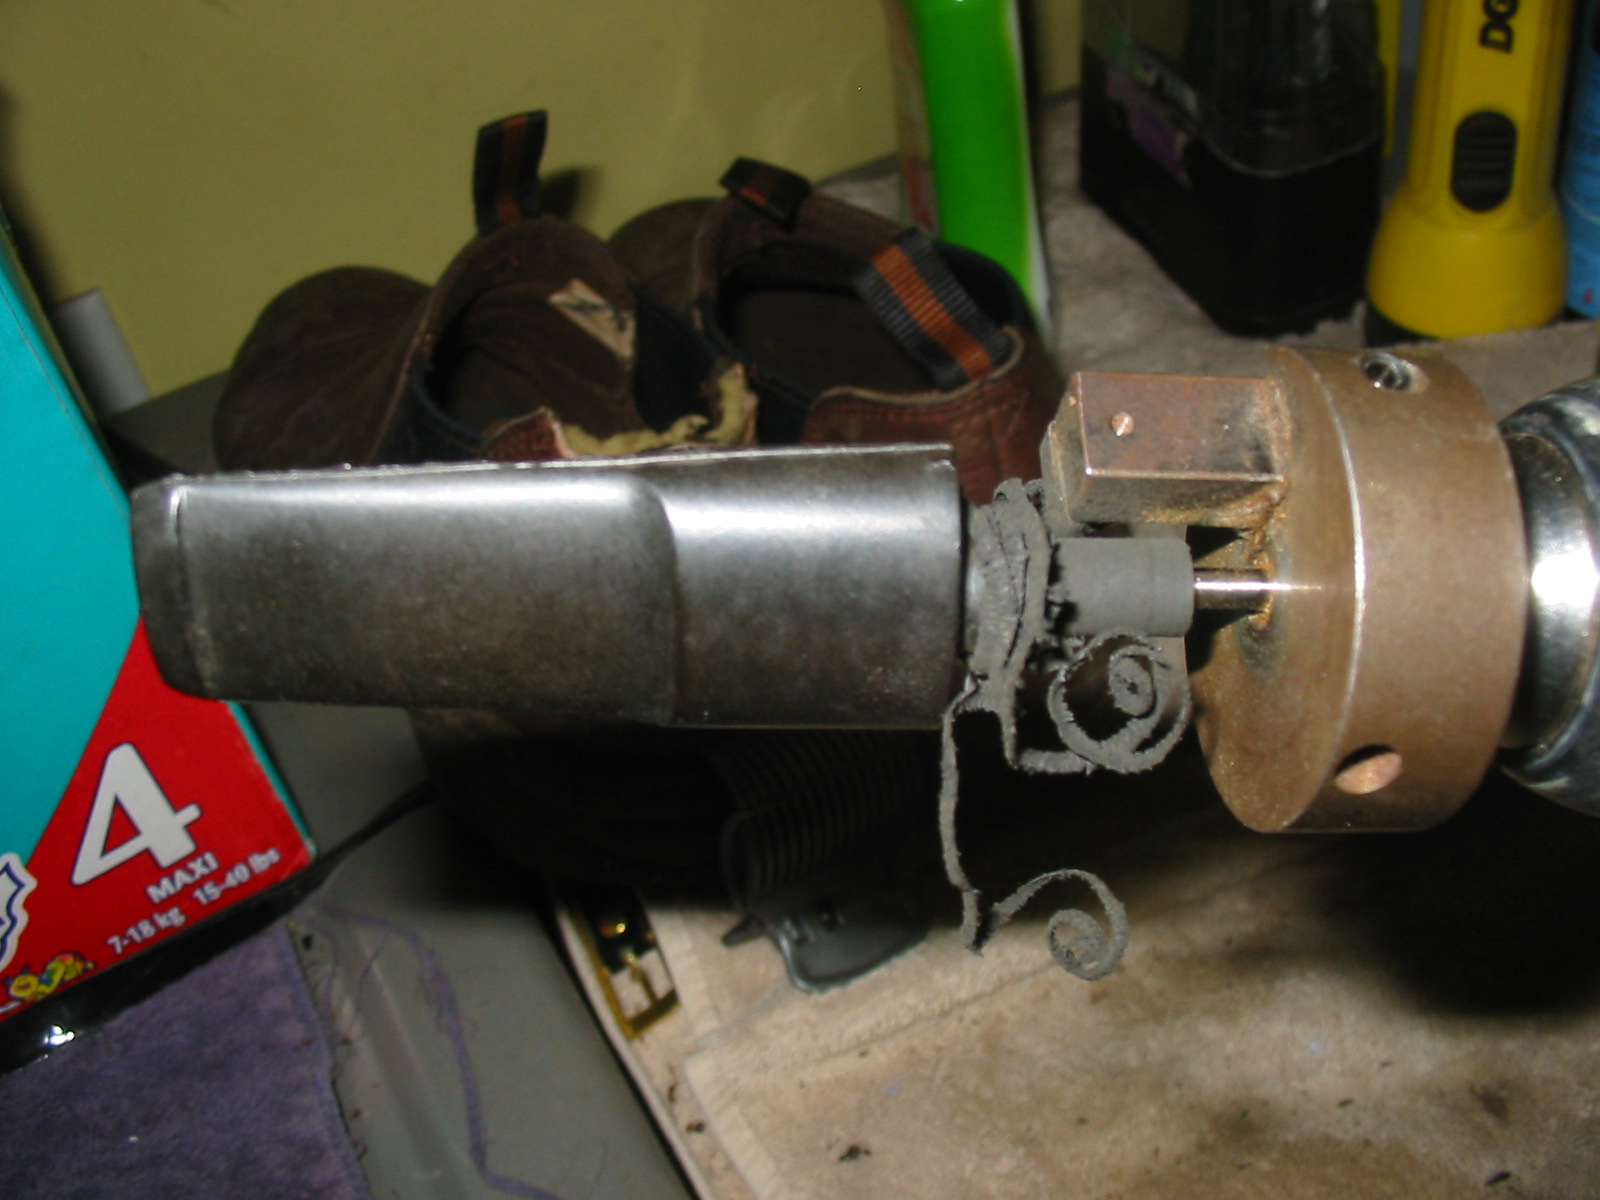
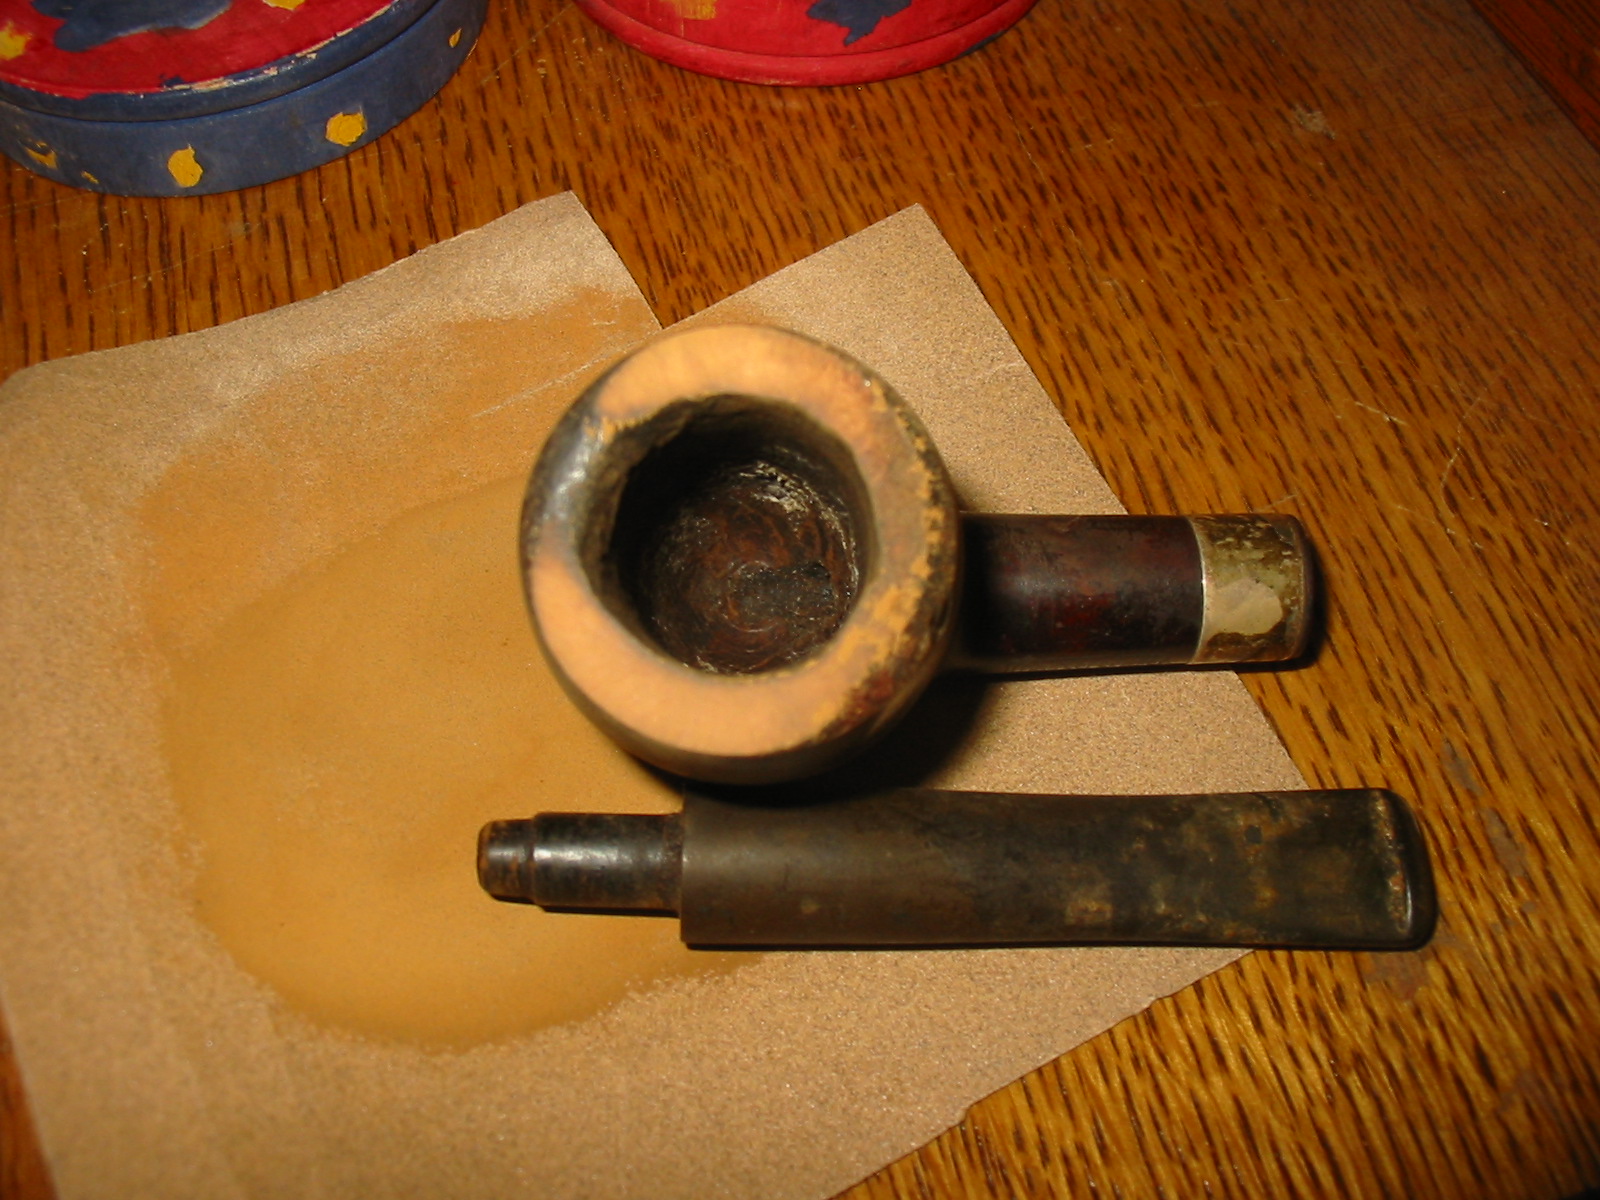
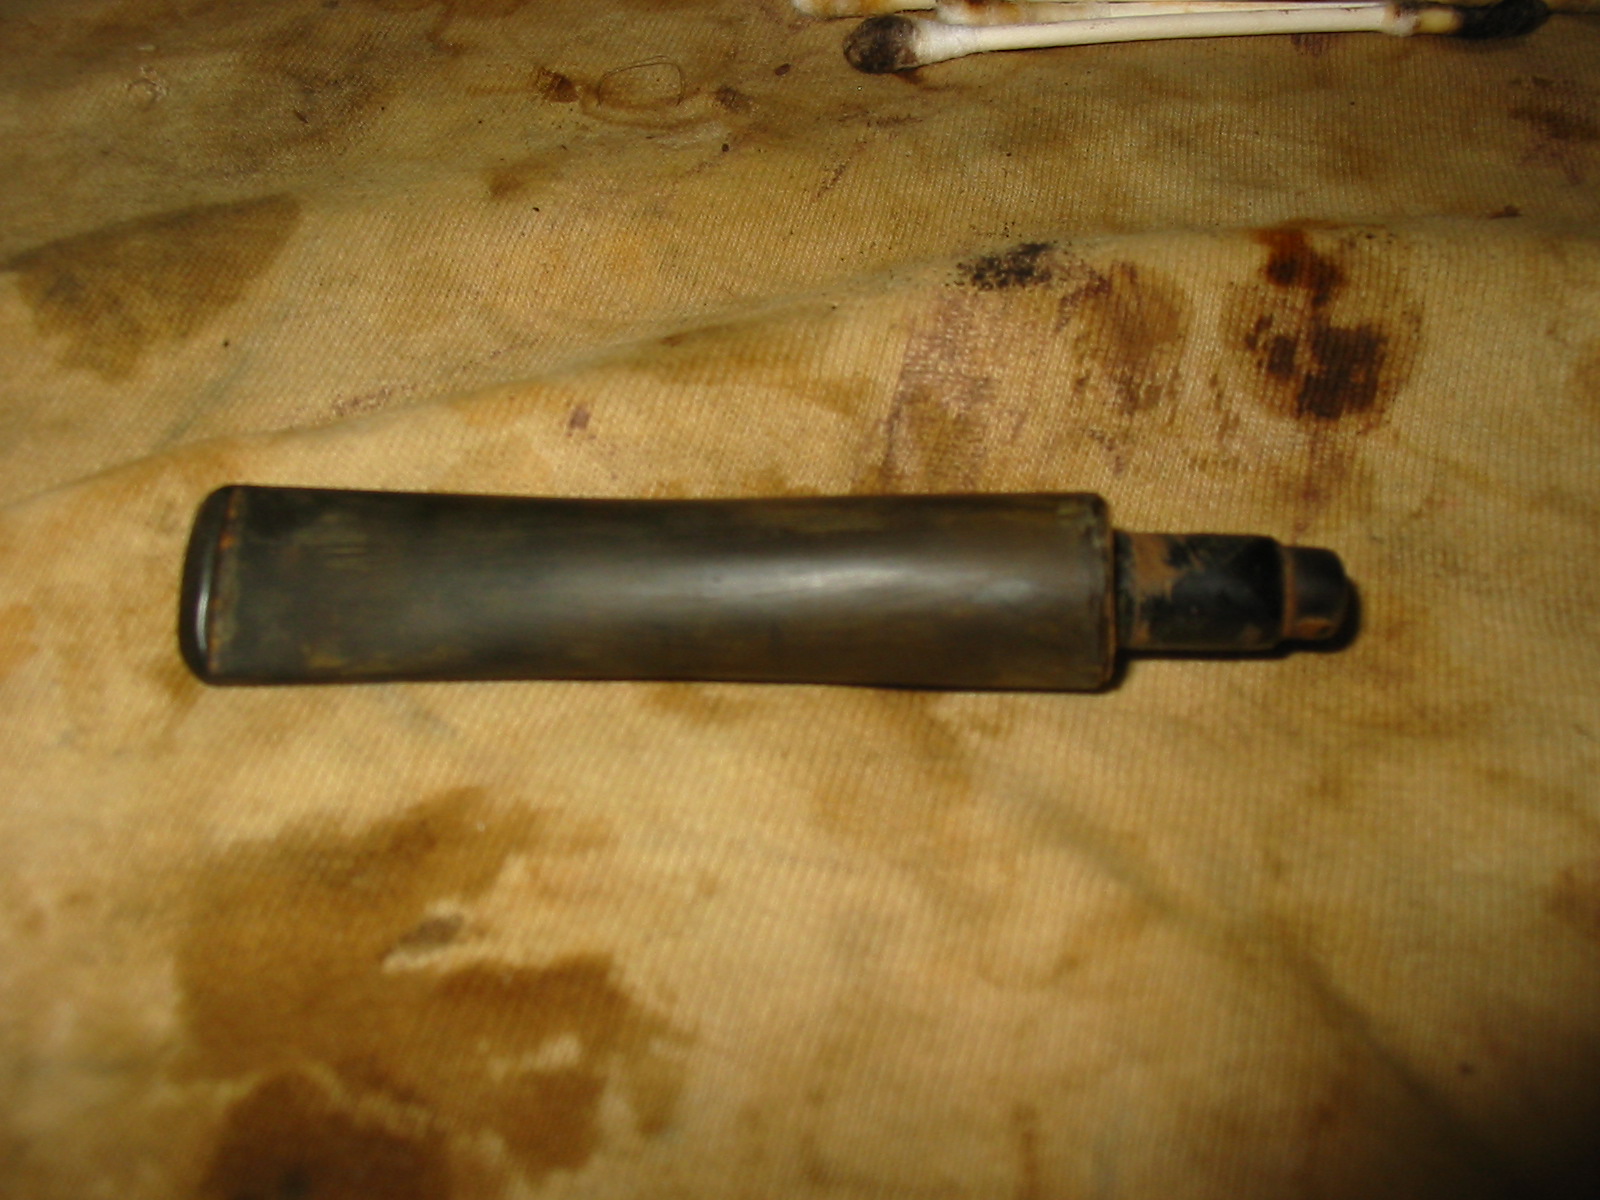
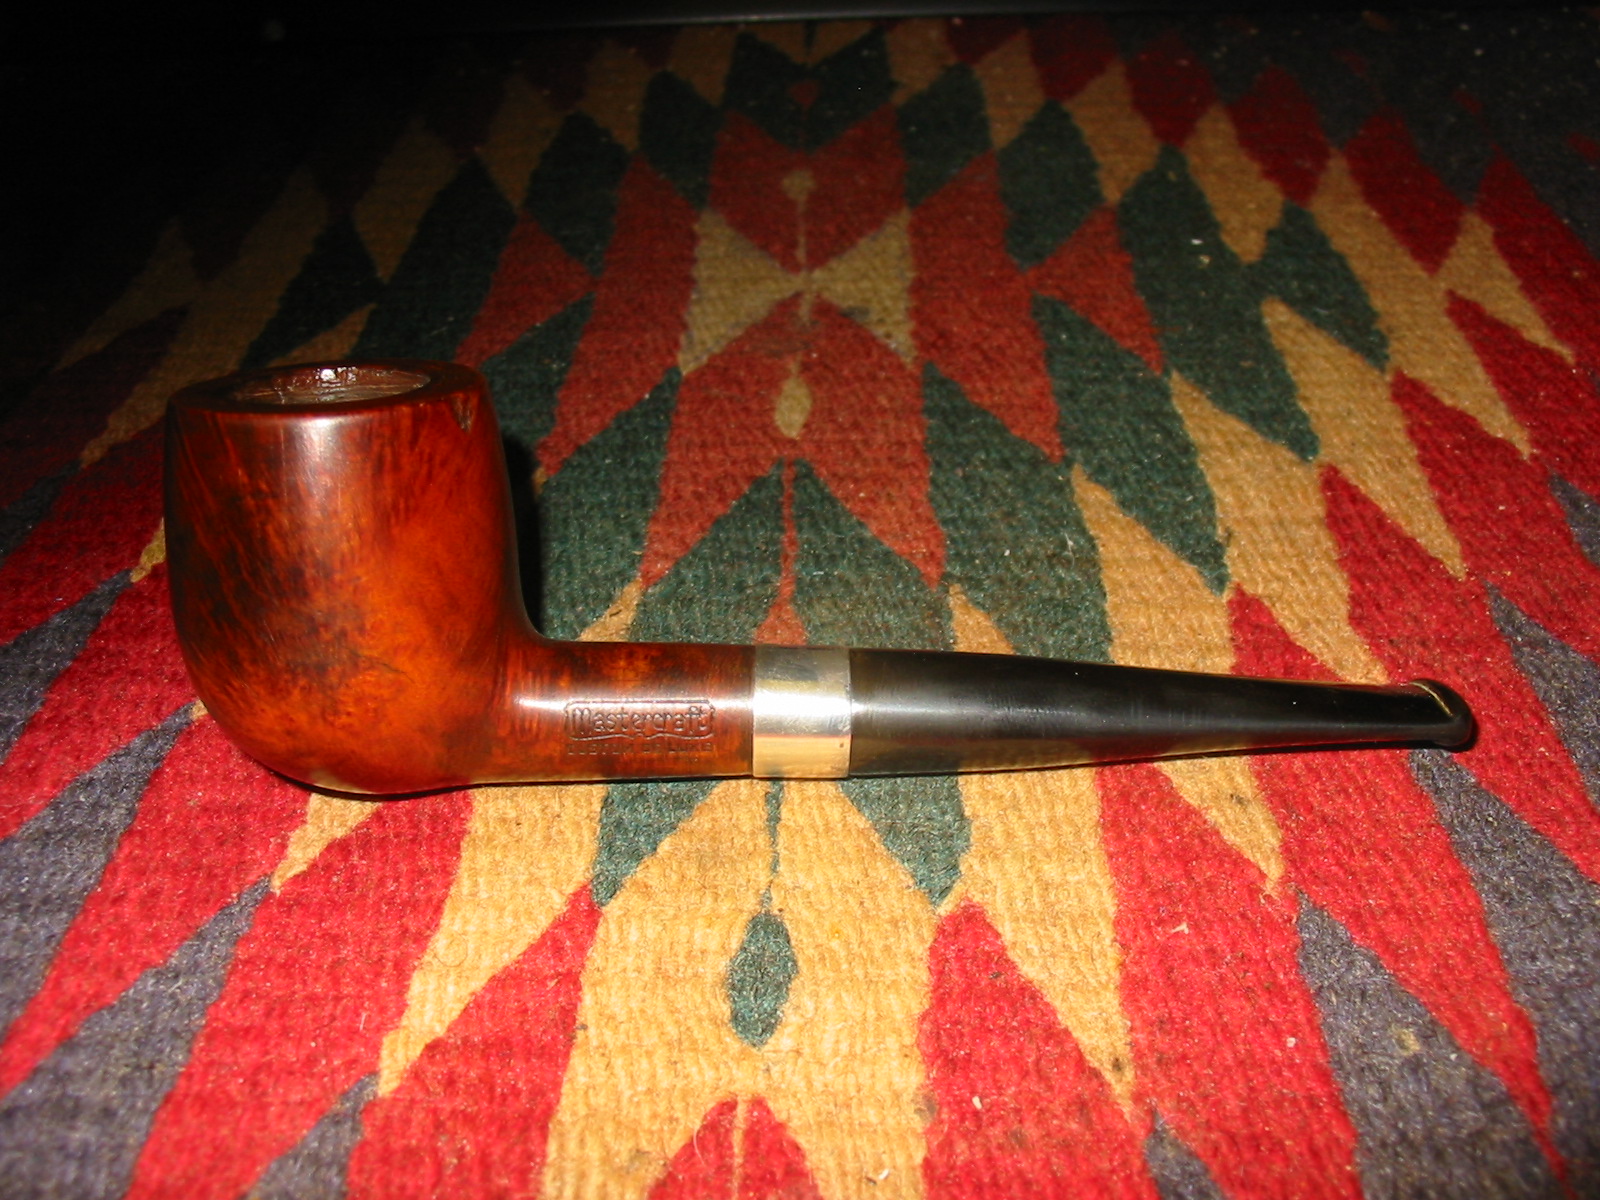
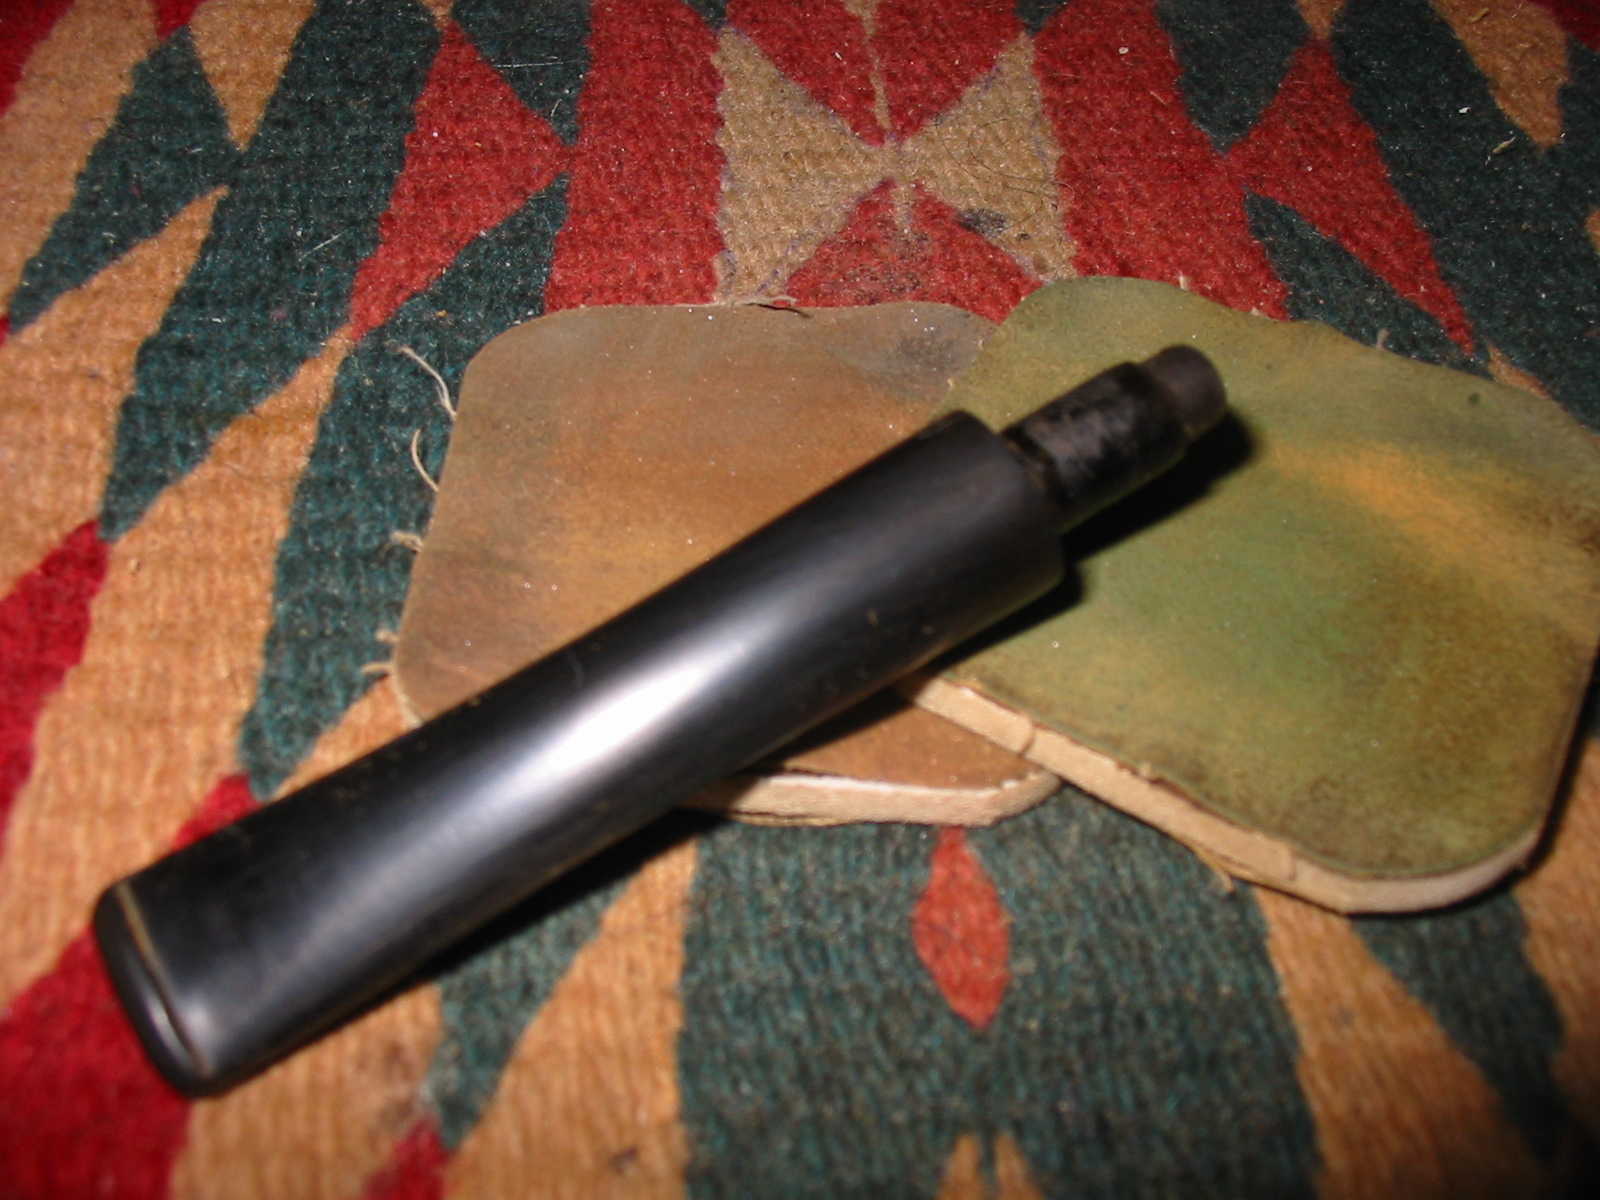
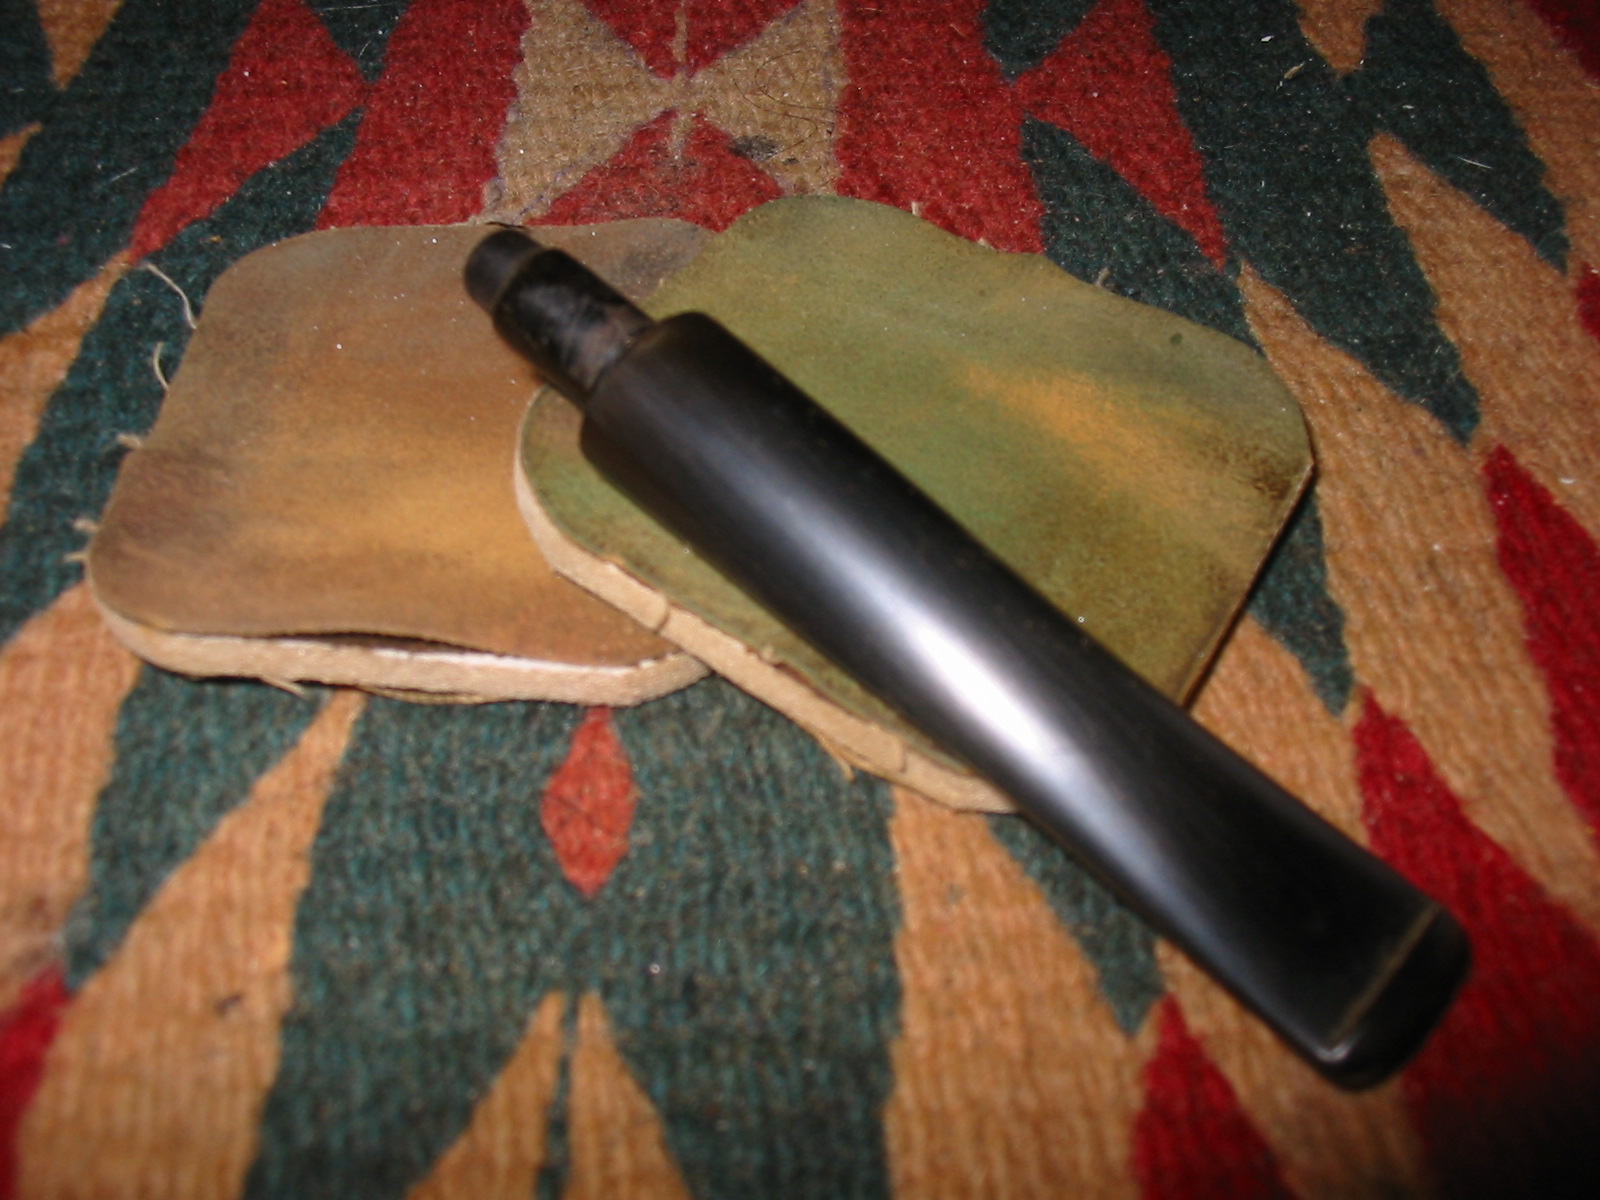
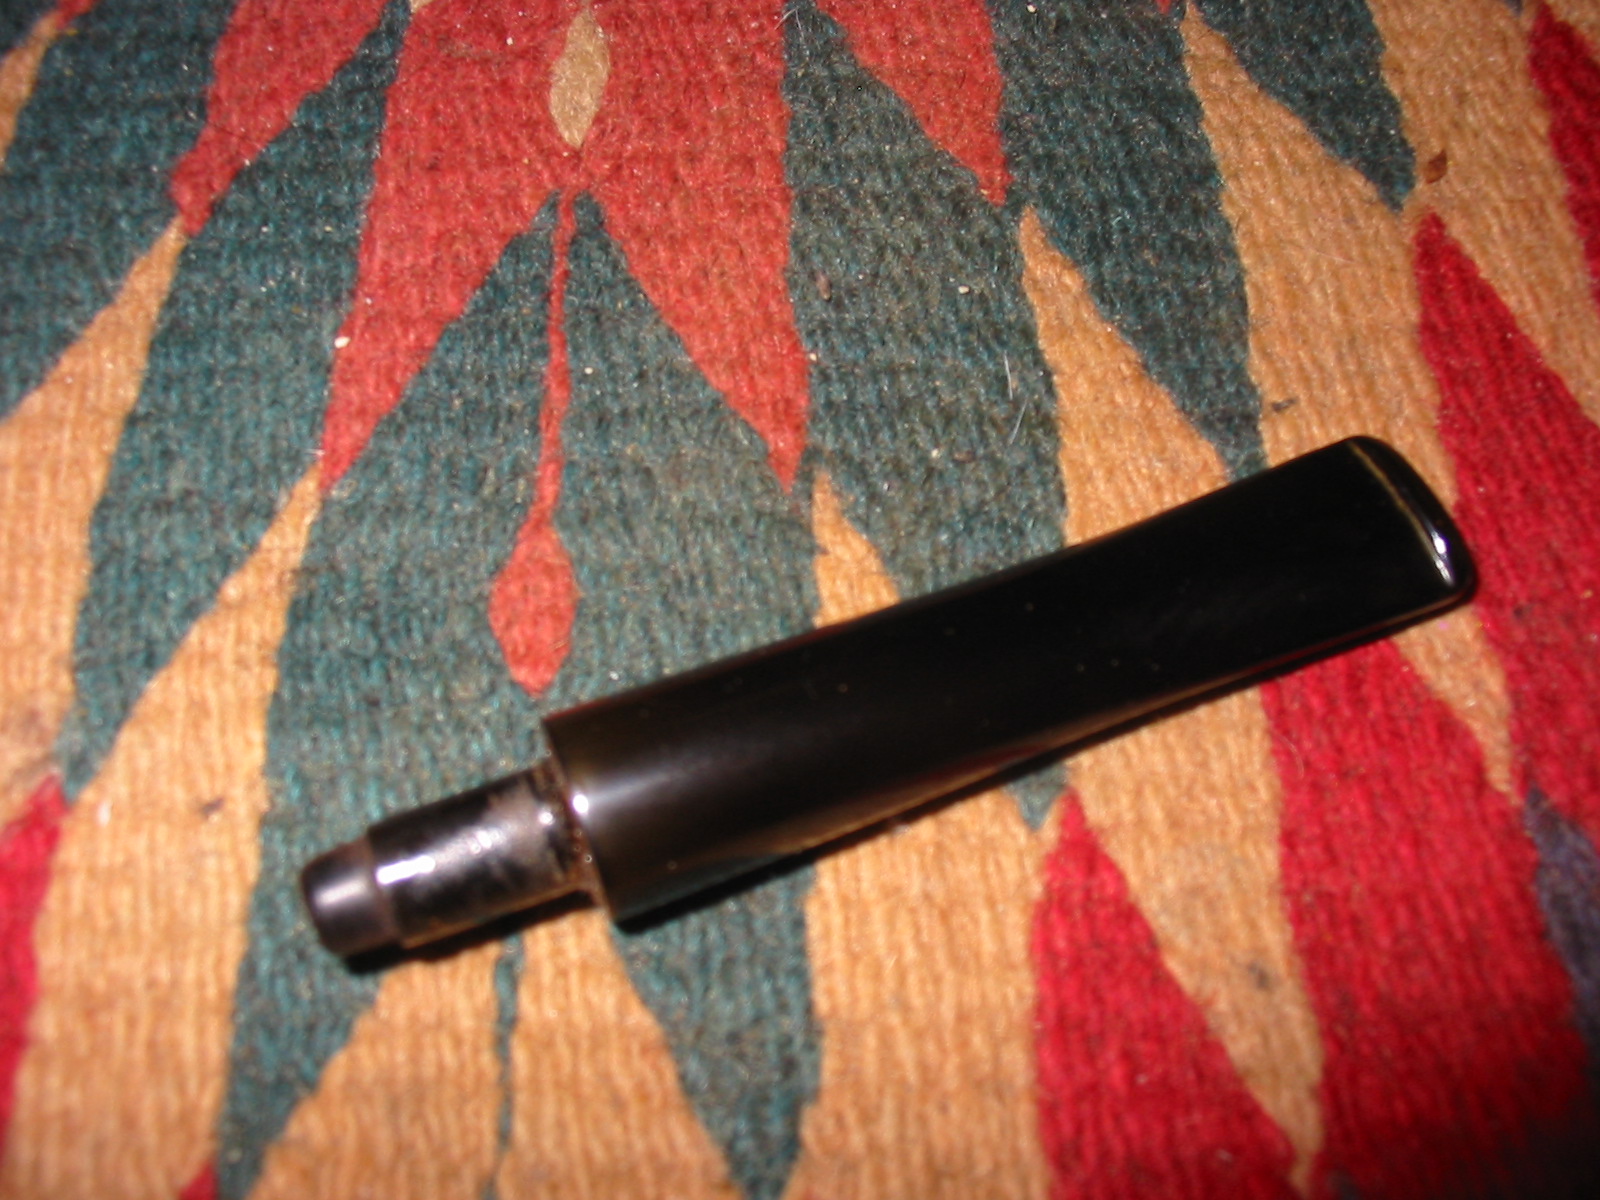
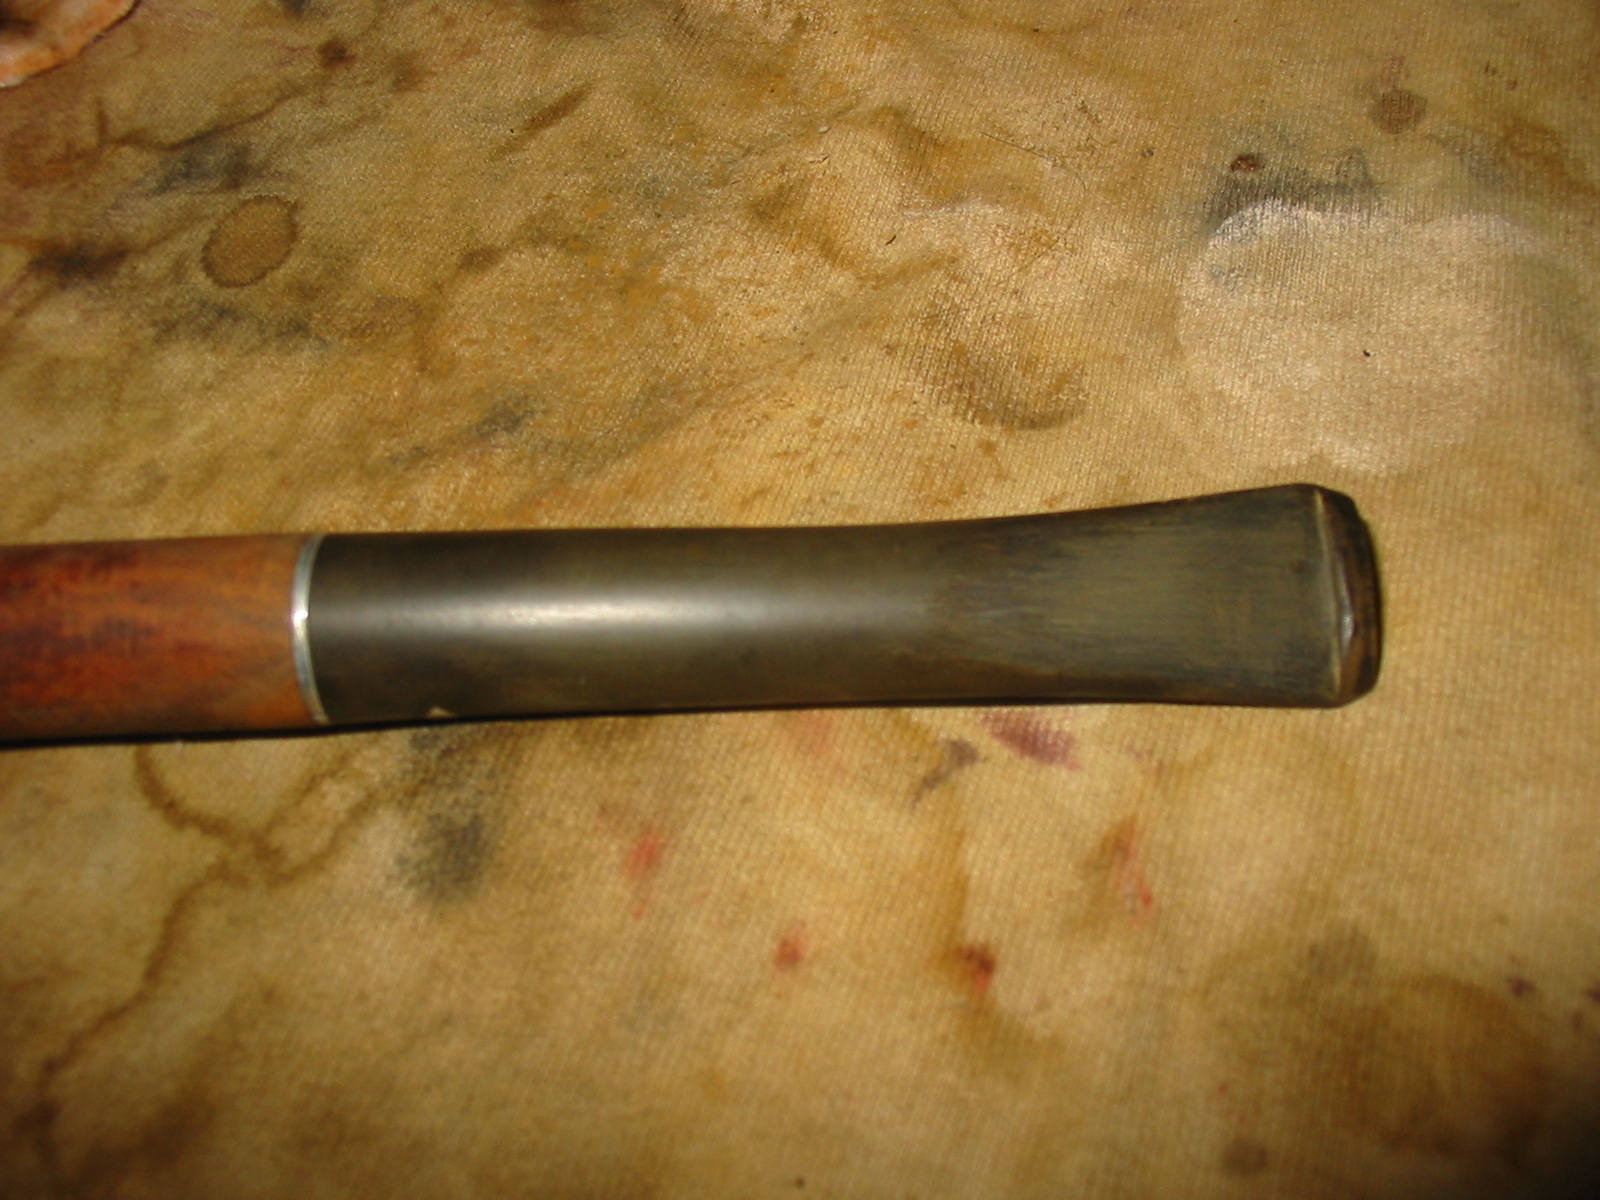
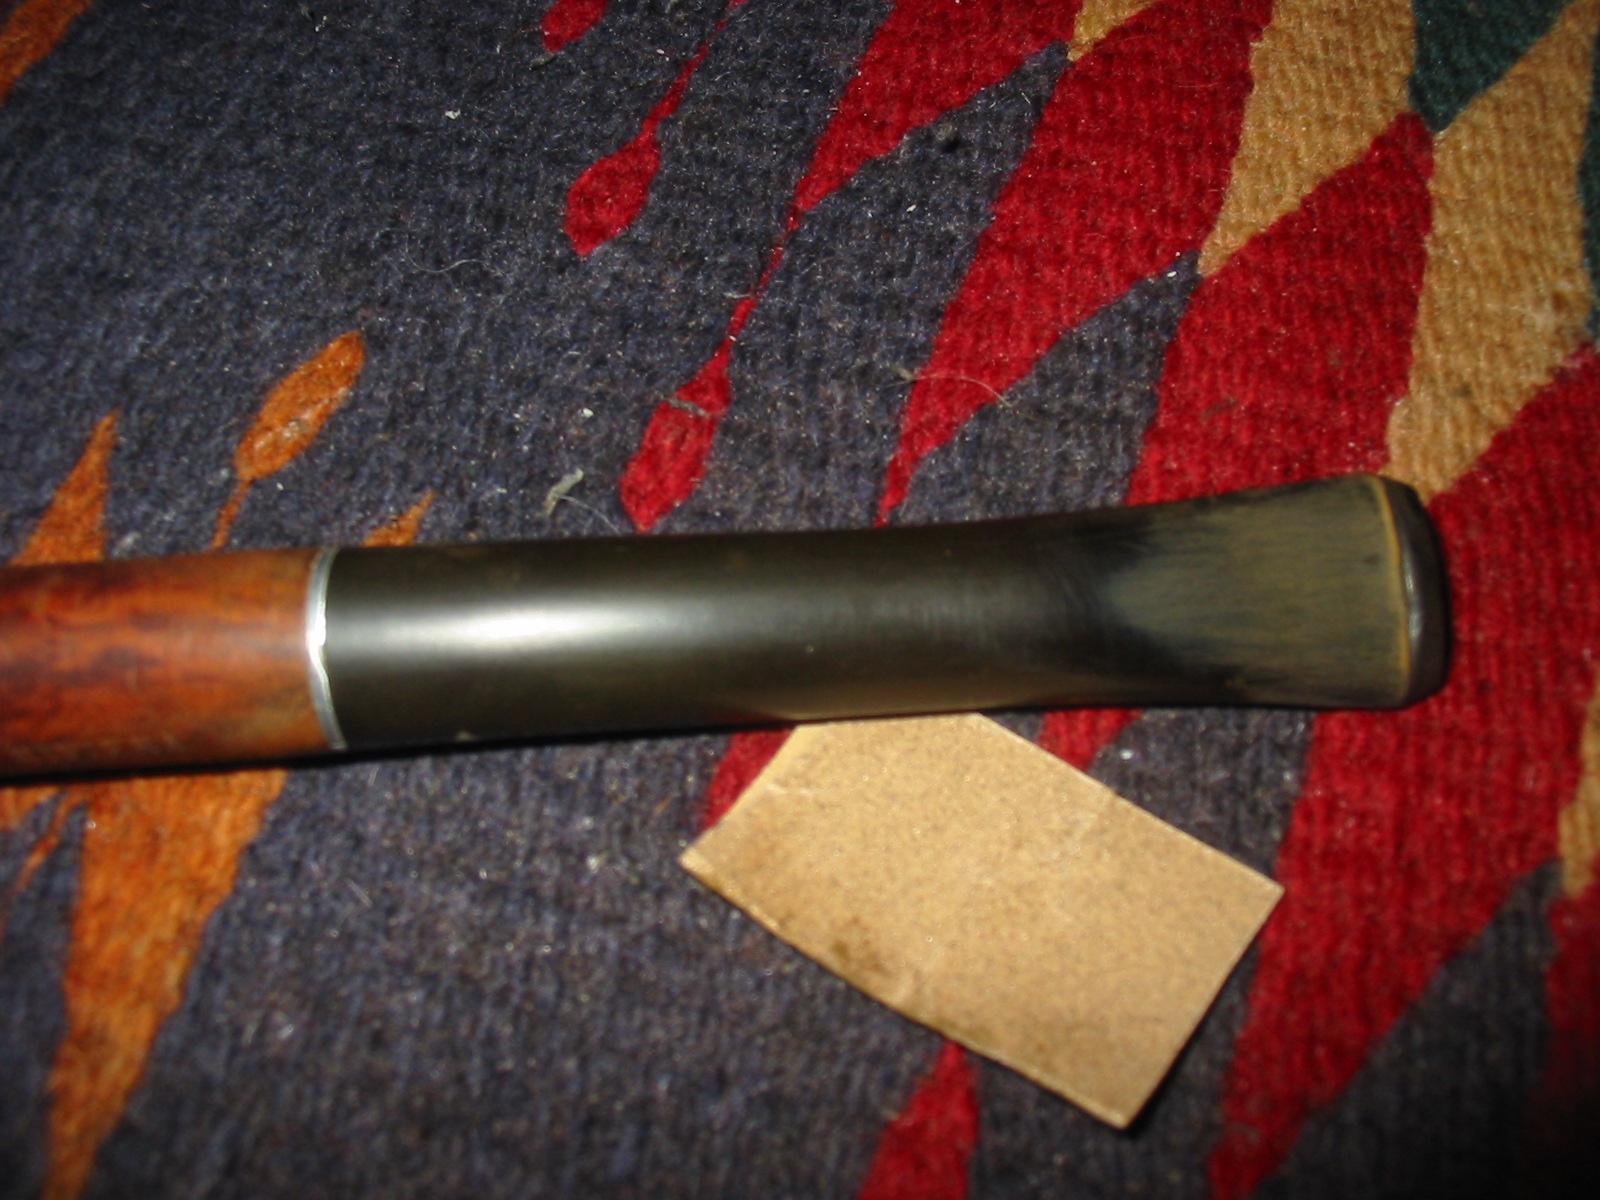
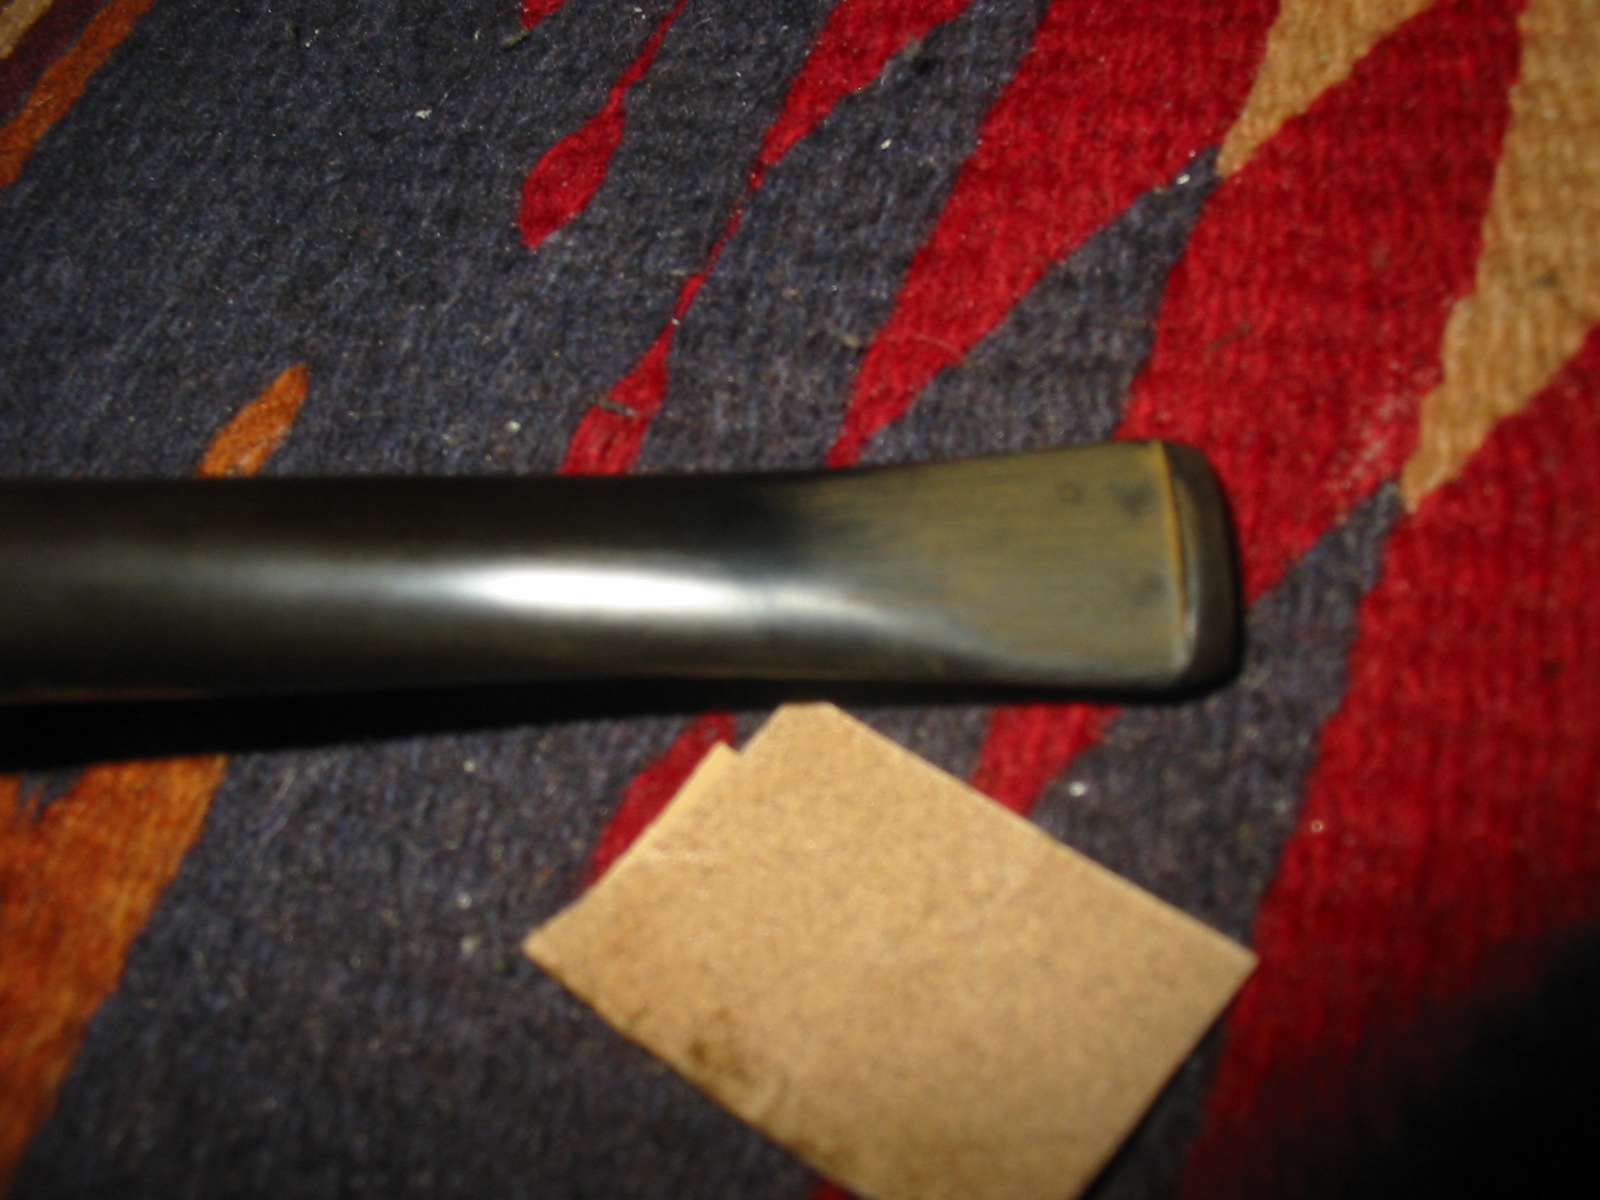
I sorted through my stems and found two options that I thought might work on the pipe. The first one was an acrylic saddle stem that I thought might look good with the bowl (pictured in the first photo below). I turned the tenon and fit it to the pipe but did not like the proportion of the stem and shank length. I then took the second stem – a shorter, straight tapered stem and fit it to the pipe (pictured in the second – fourth photo below). It looked like it belonged on the pipe so my choice was made. It was an old previously used vulcanite stem from my collection of old pre-used stems that I collect. This one would take some work as it was oxidized and had a calcified buildup around the button area. It was also clogged and the slot was plugged to a small pin hole. But it had the right look so it would be worth cleaning up.

IMG_1020

IMG_1049

IMG_1050

IMG_1051

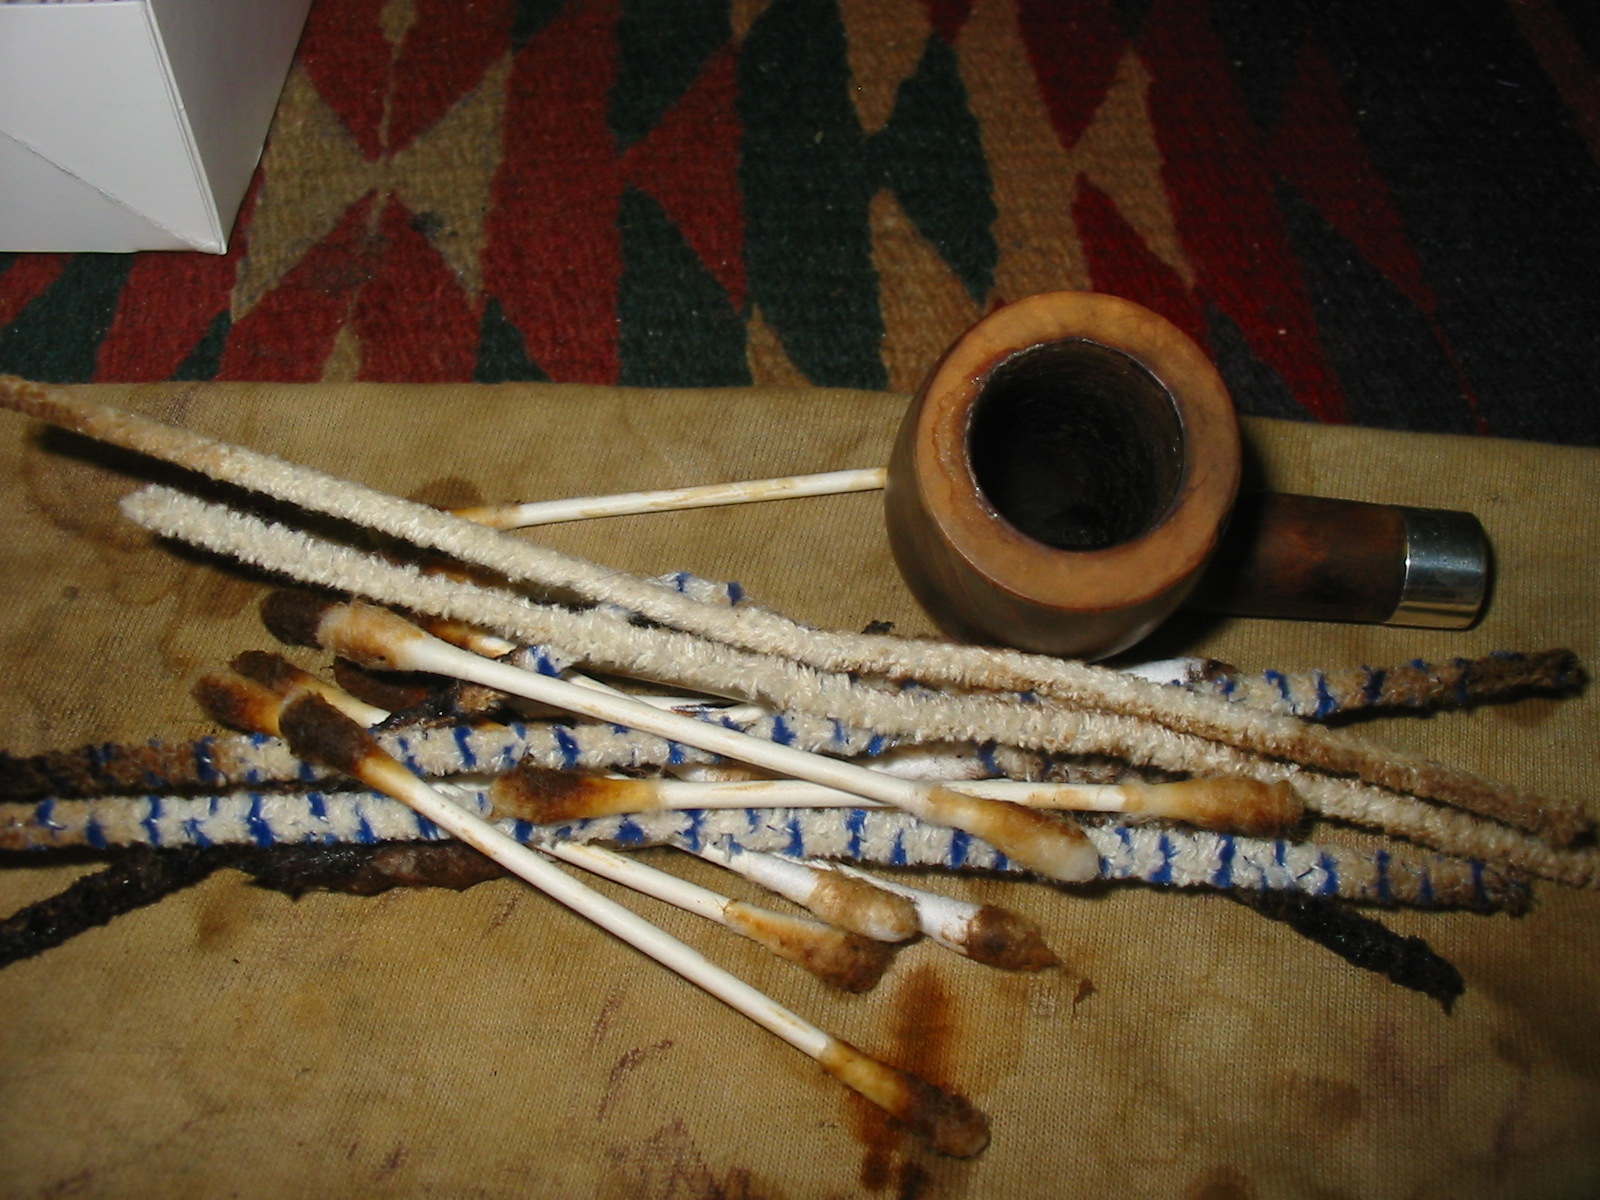
I set the stem aside and worked on the bowl. I reamed the pipe with a PipNet reamer to get rid of the cake and the mold. I cleaned the reamer with alcohol before putting it away. I cleaned the bowl and the shank with cotton swabs, pipe cleaners and Everclear to remove as much of the tars and oils and moldy smell as possible.

IMG_1021

IMG_1022

IMG_1023

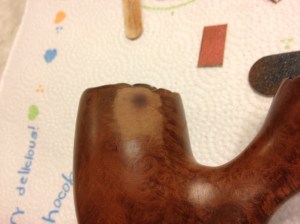
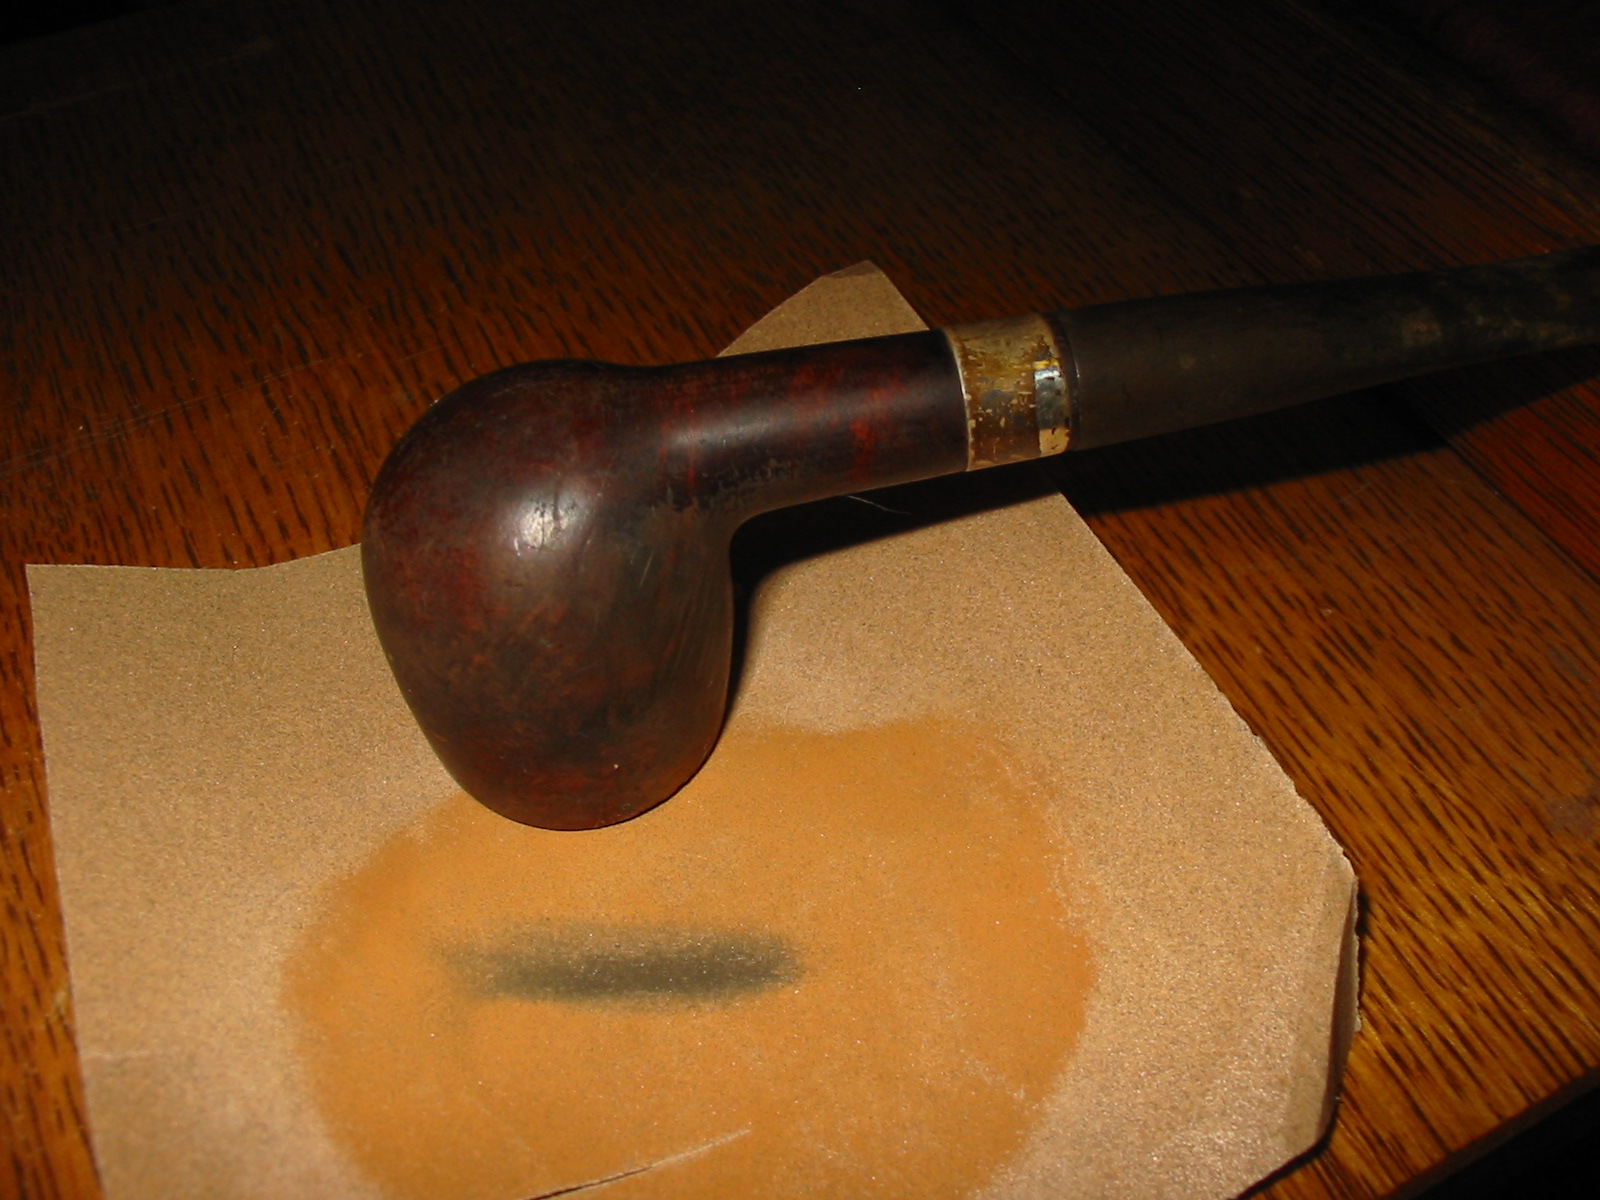
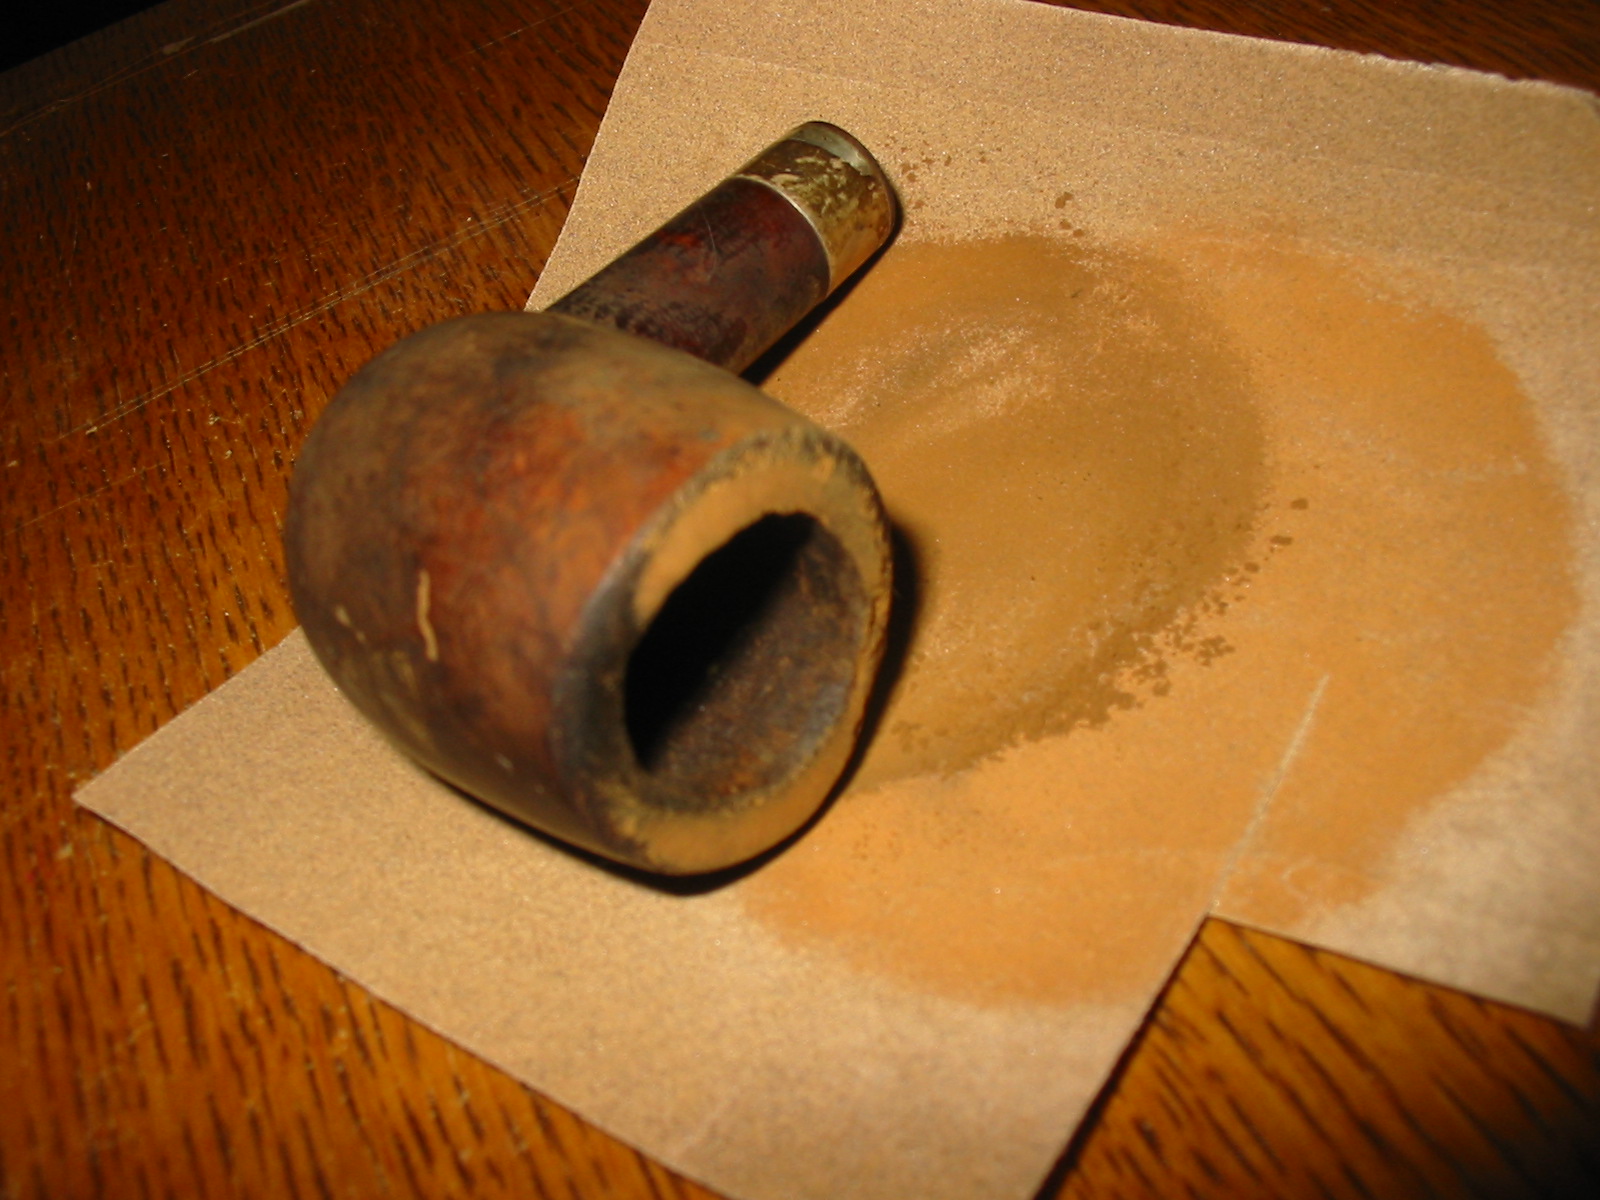
When I finished it still smelled moldy, but I had several plans in mind for addressing that. But first I topped the bowl with my usual flat board and 220 grit sandpaper. I place the bowl rim down flat against the sandpaper and work in it a circle to remove the damage on the rim. This one took quite a bit of work to even out the top and get rid of the damage from the burn on the front side of the rim and the roughened back edge done by beating the pipe against concrete. I sanded it, repeatedly checking to see if I was removing enough of the damage to get a sharp edge on the bowl. On the outer rim next to the shank there was a chunk of briar missing that I would try to minimize after topping the bowl. I was able to remove all of the damage of the burned area and most of the damage of the battering the old pipe had taken. The rim looked good. I used a folded piece of sand paper to work on the inside edge of the rim and clean up the damage that was done there and keep the bowl in round.

IMG_1053

IMG_1054

IMG_1055

IMG_1056

IMG_1057

IMG_1058

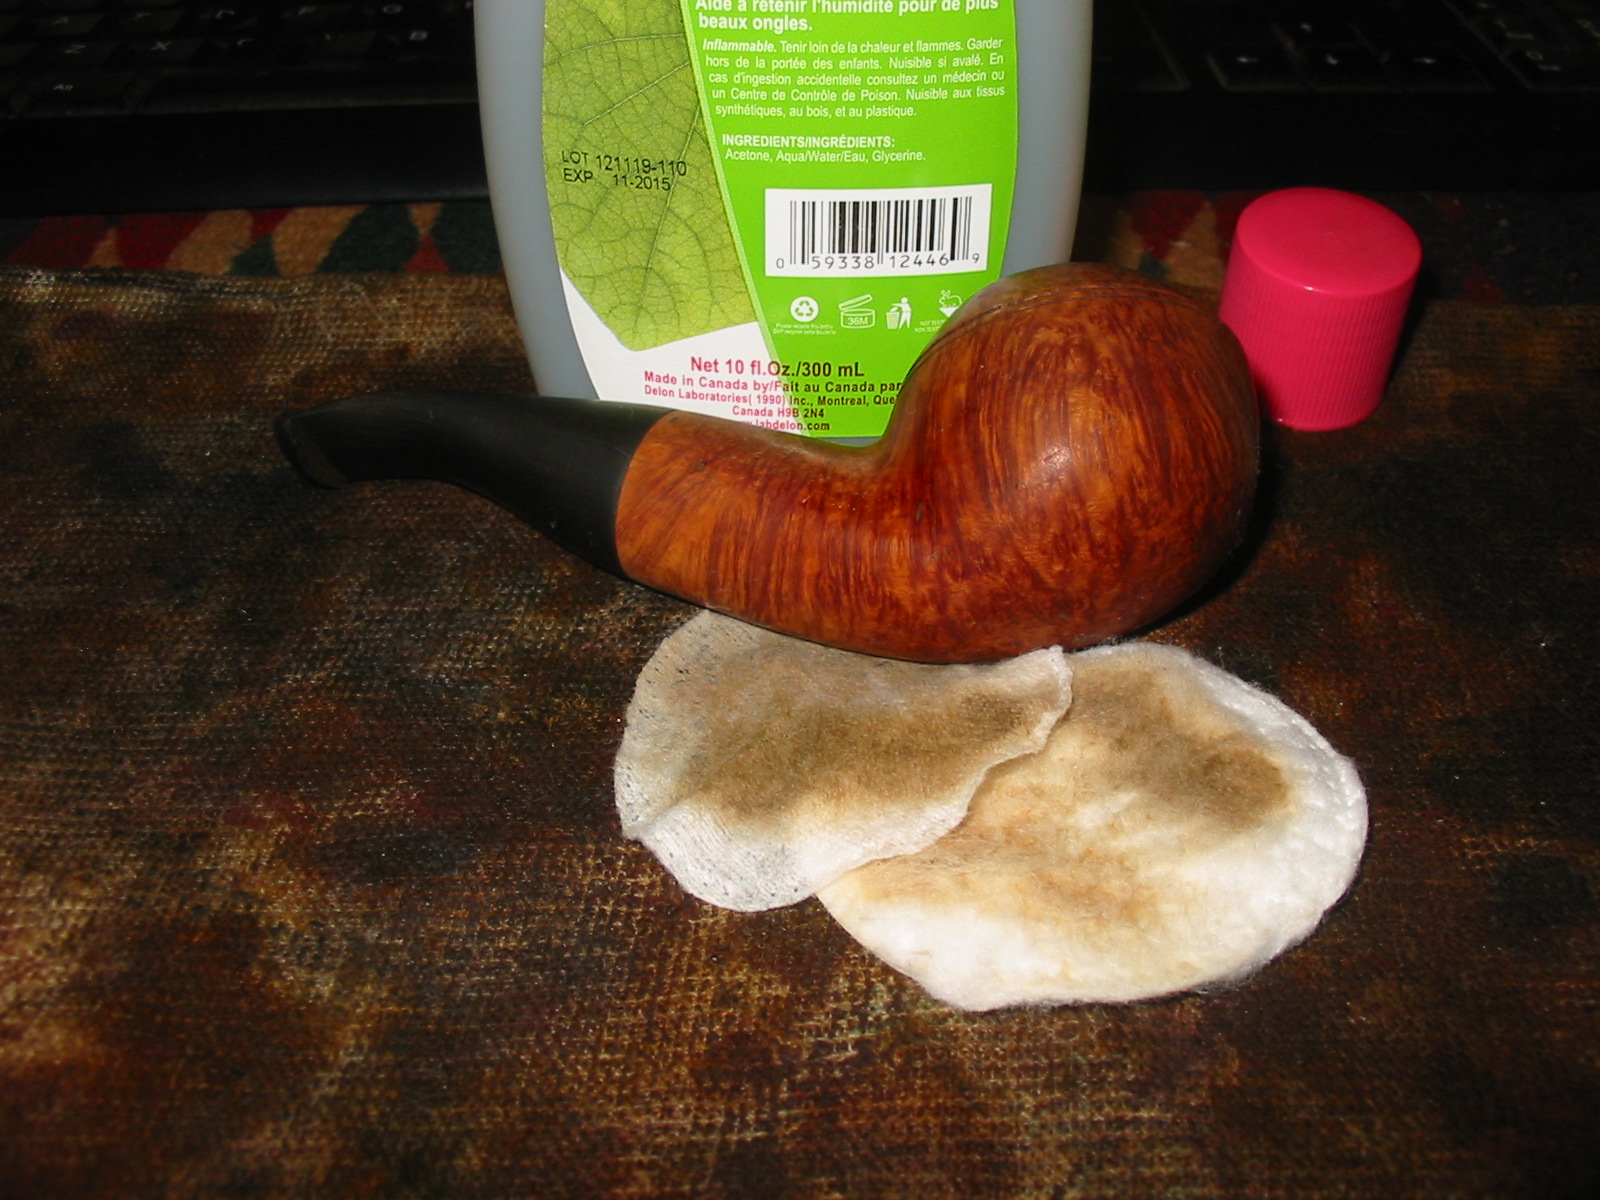
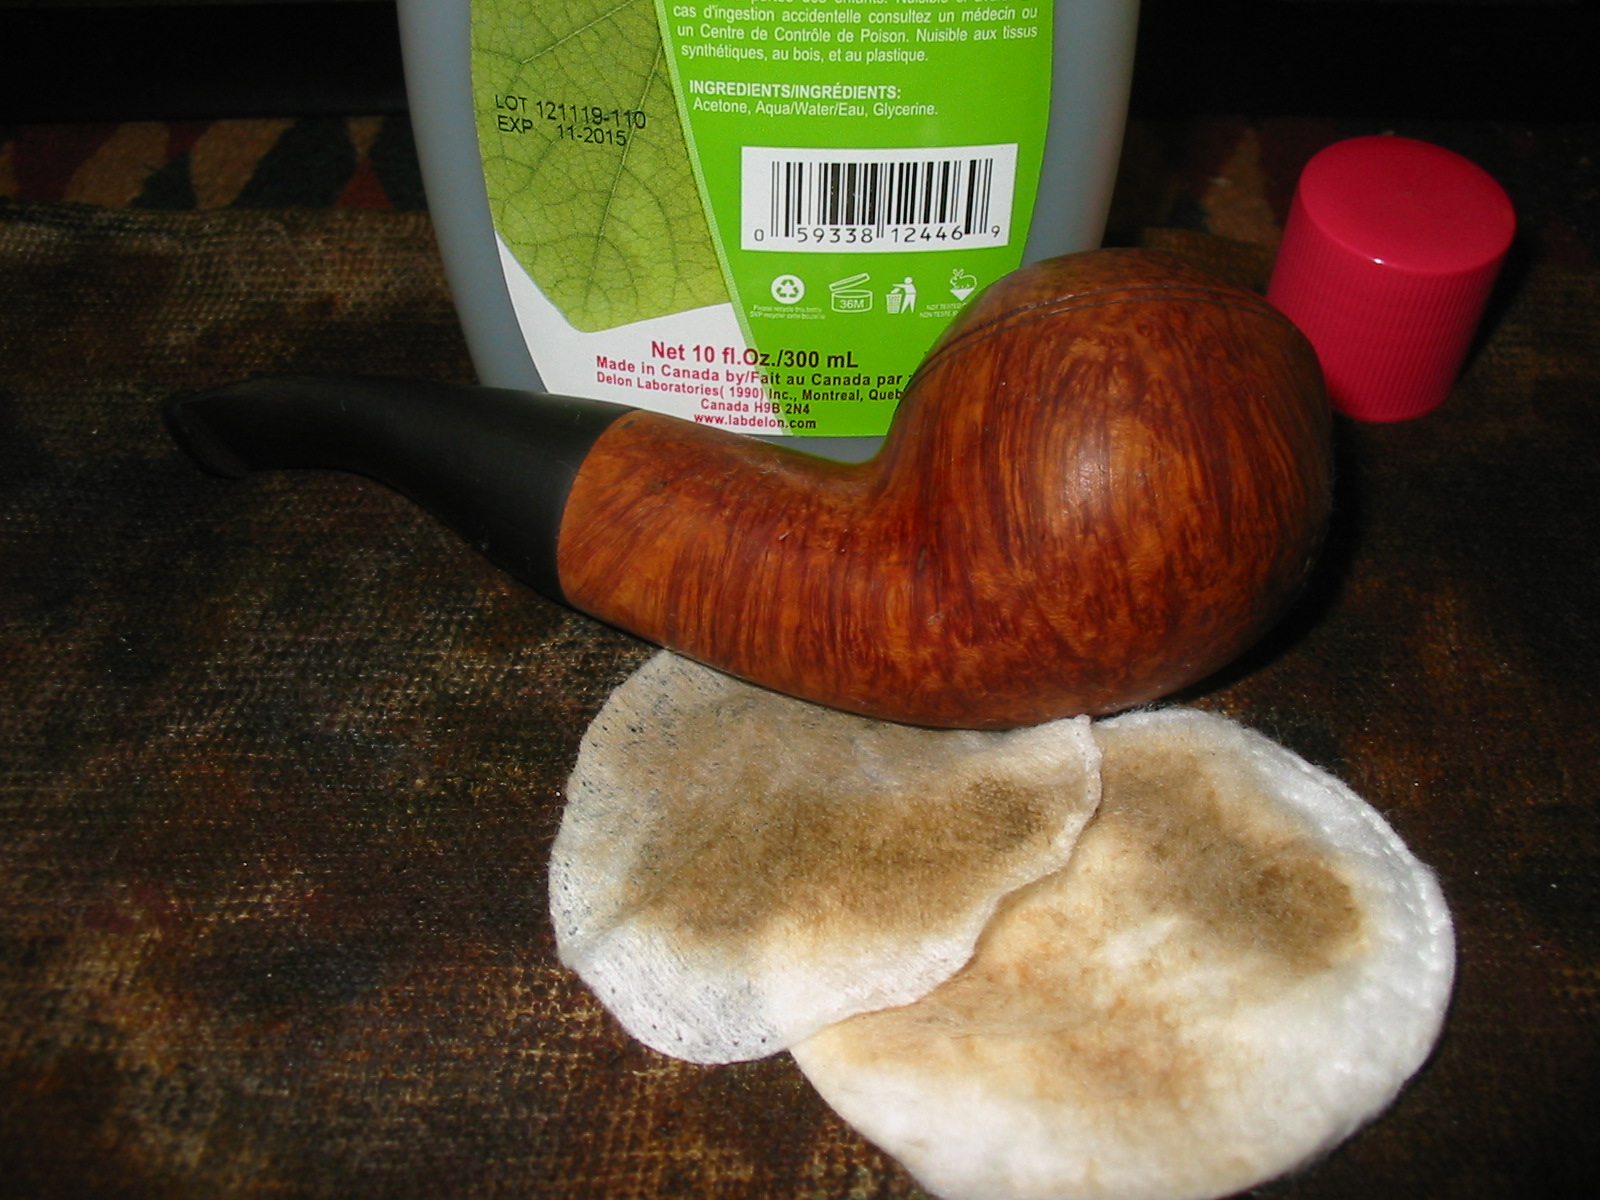
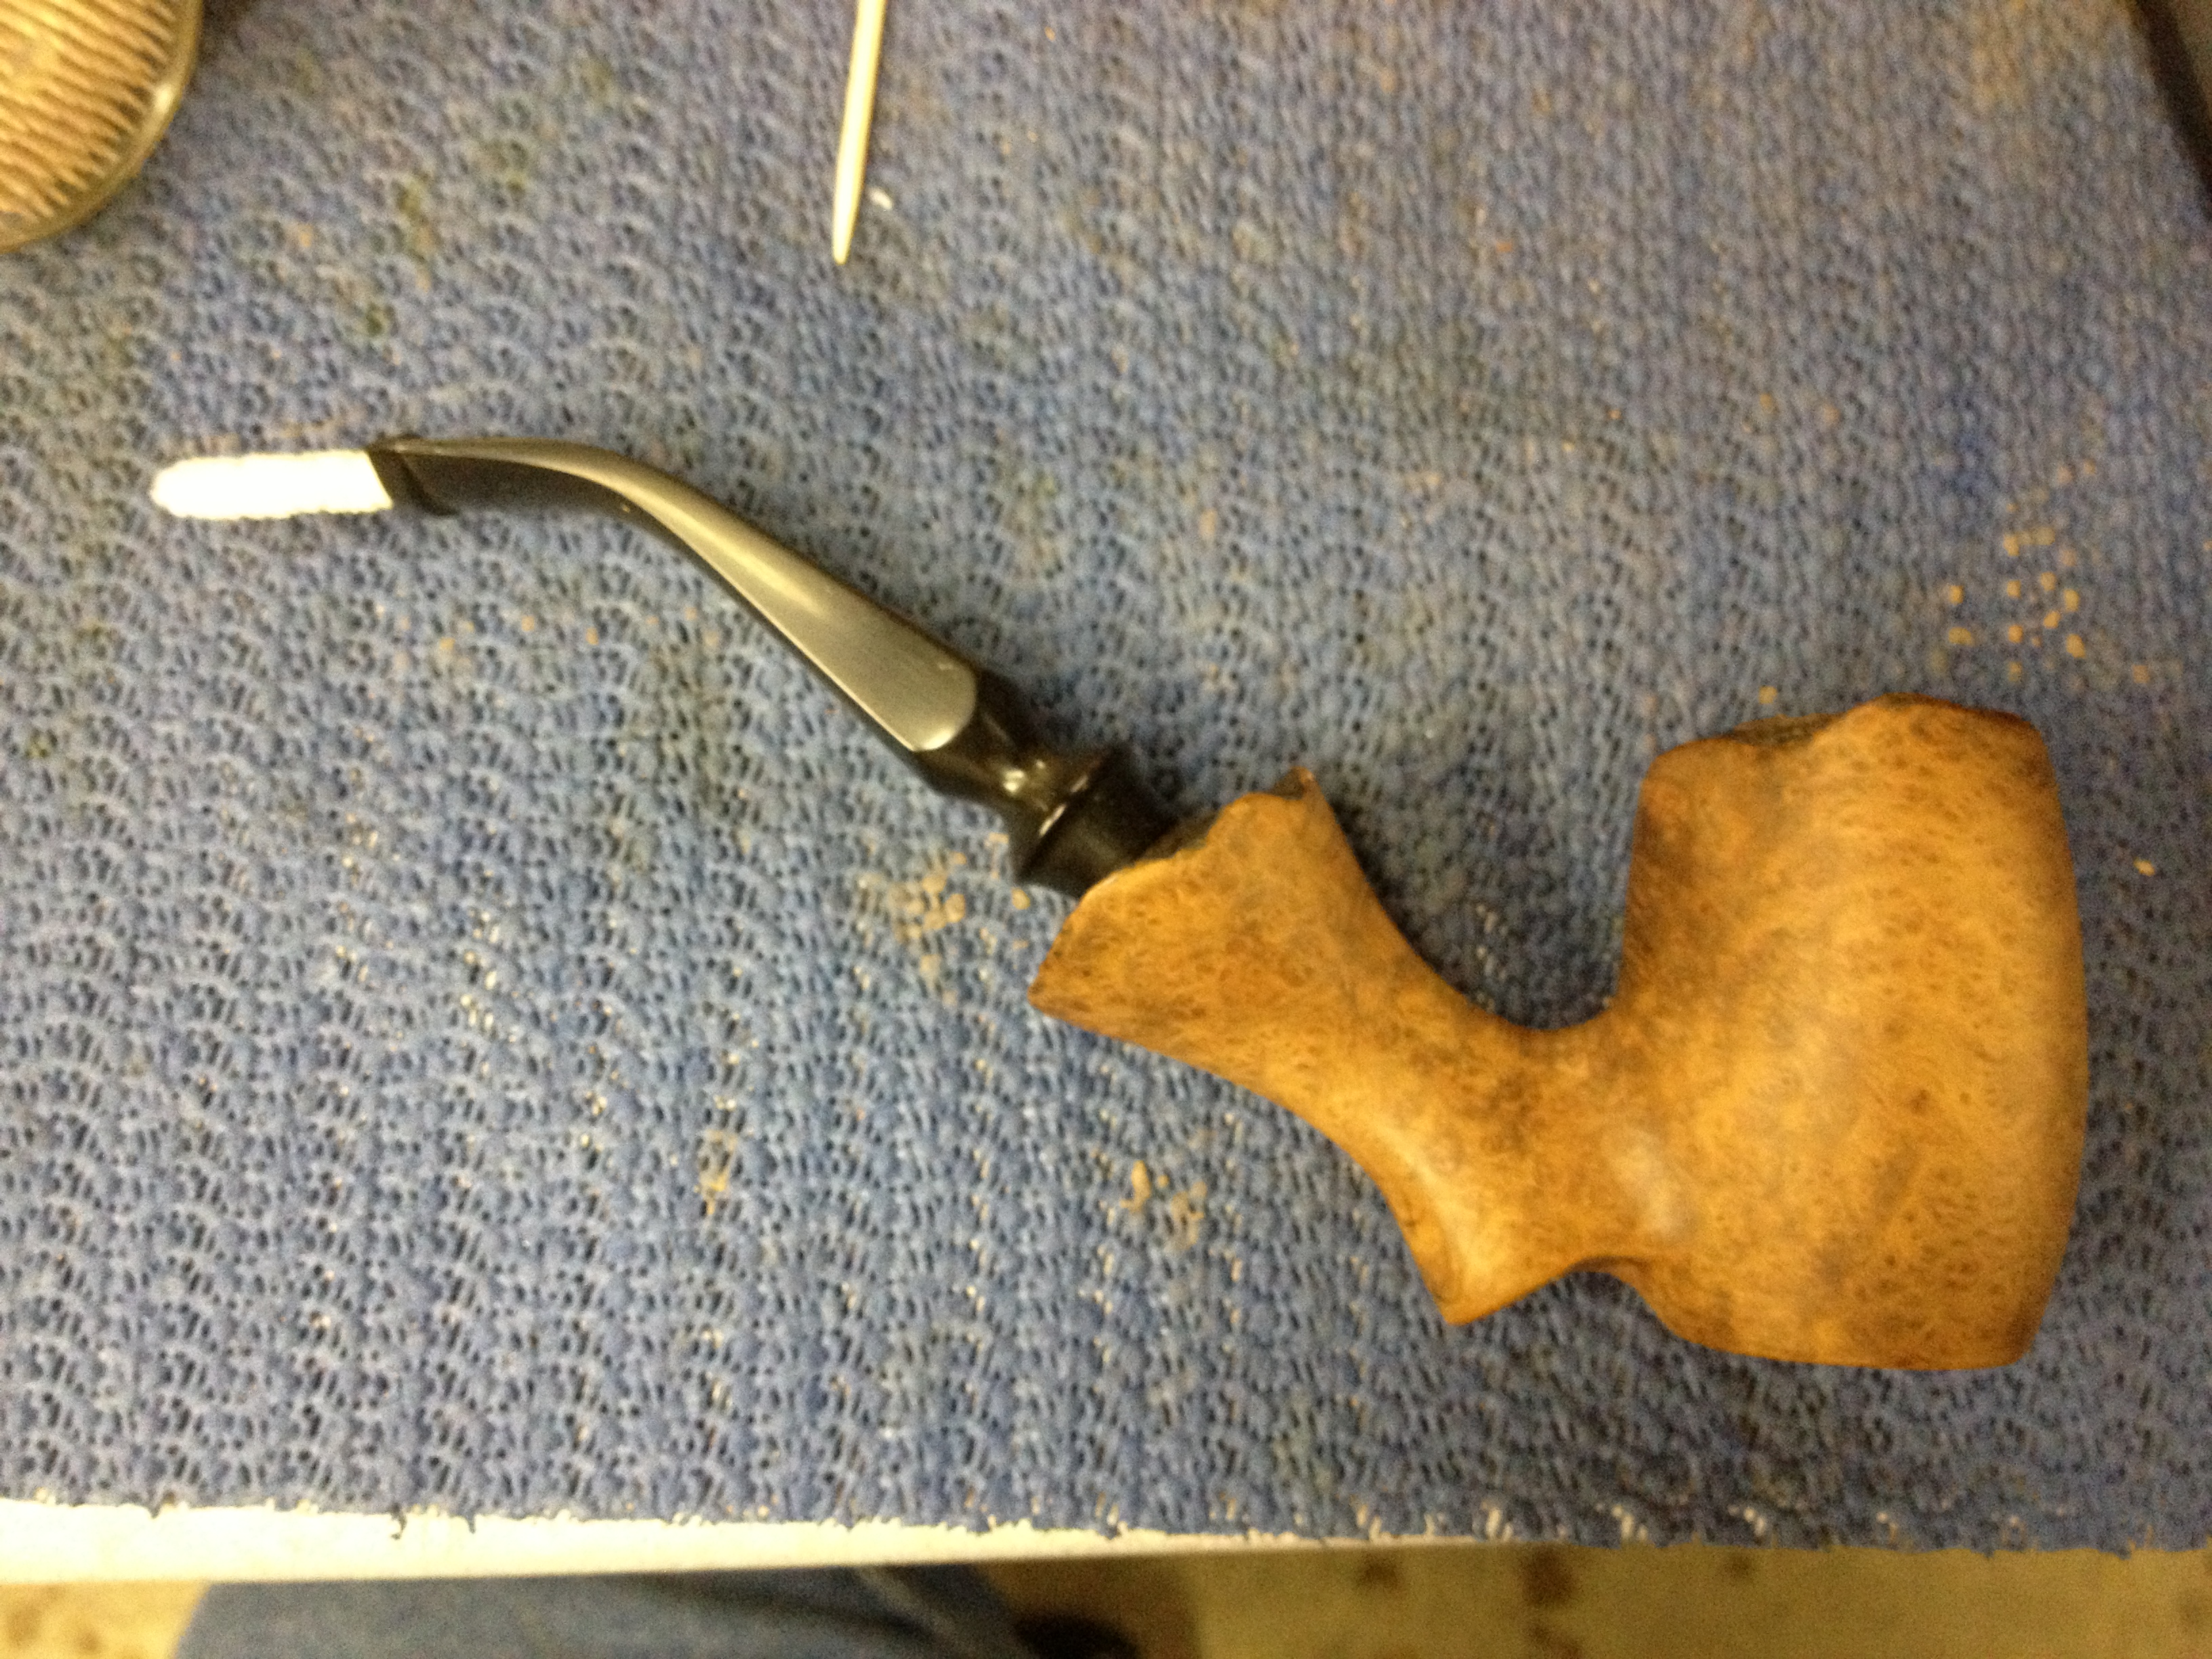
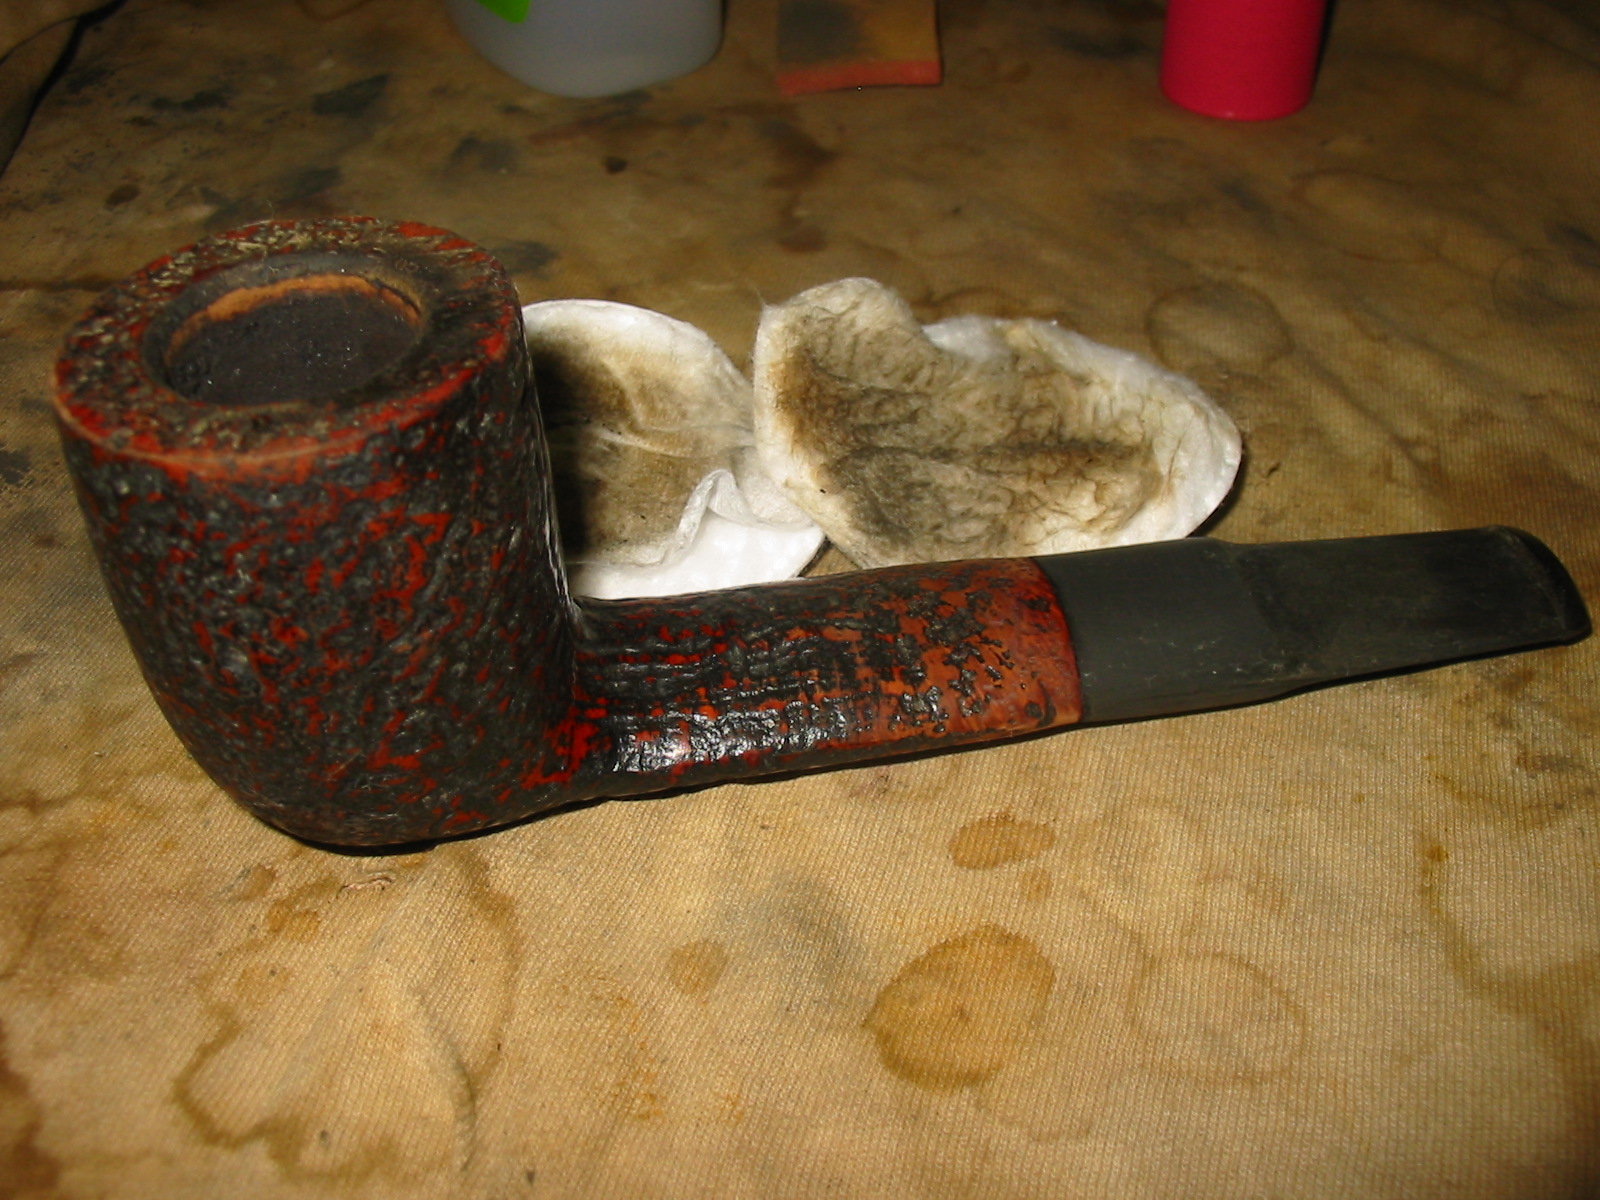
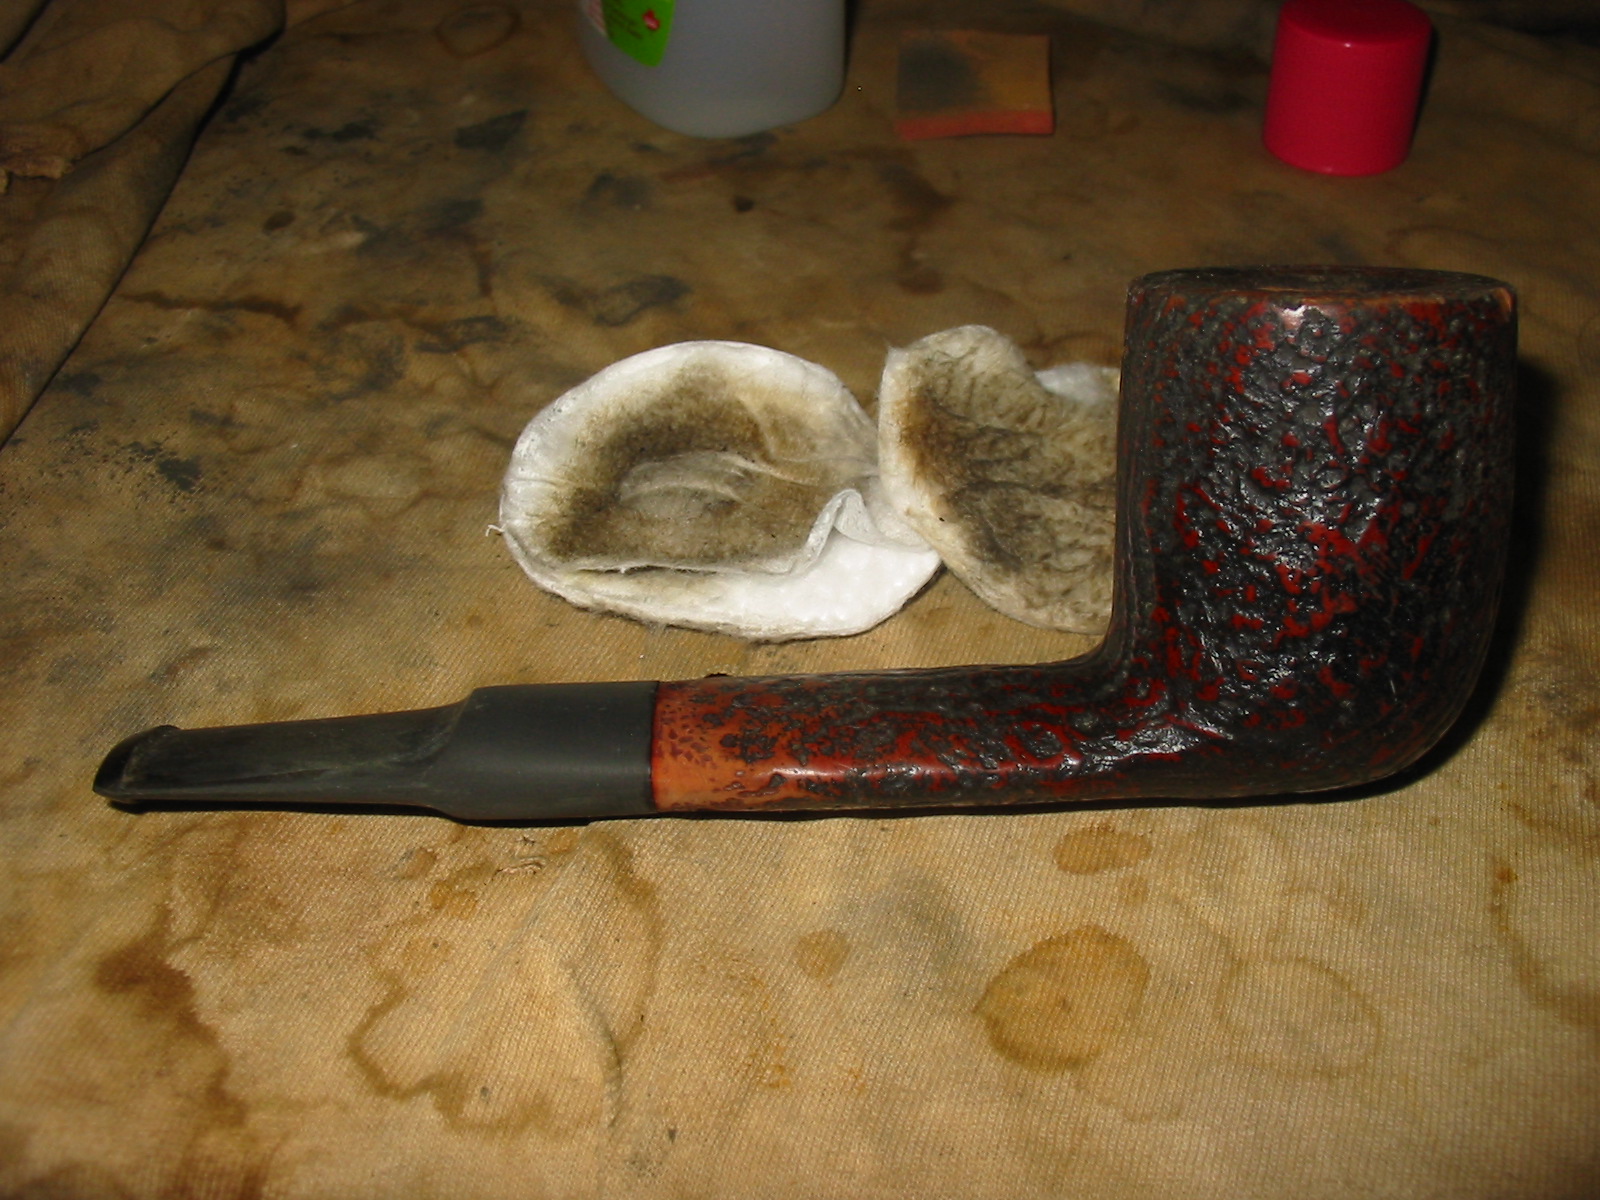
I wiped the exterior of the bowl down with acetone on a cotton pad to remove the grime and the finish that remained. I repeated this until I could not remove any more finish or grime. The next two photos show the wipe downed bowl.

IMG_1059

IMG_1060

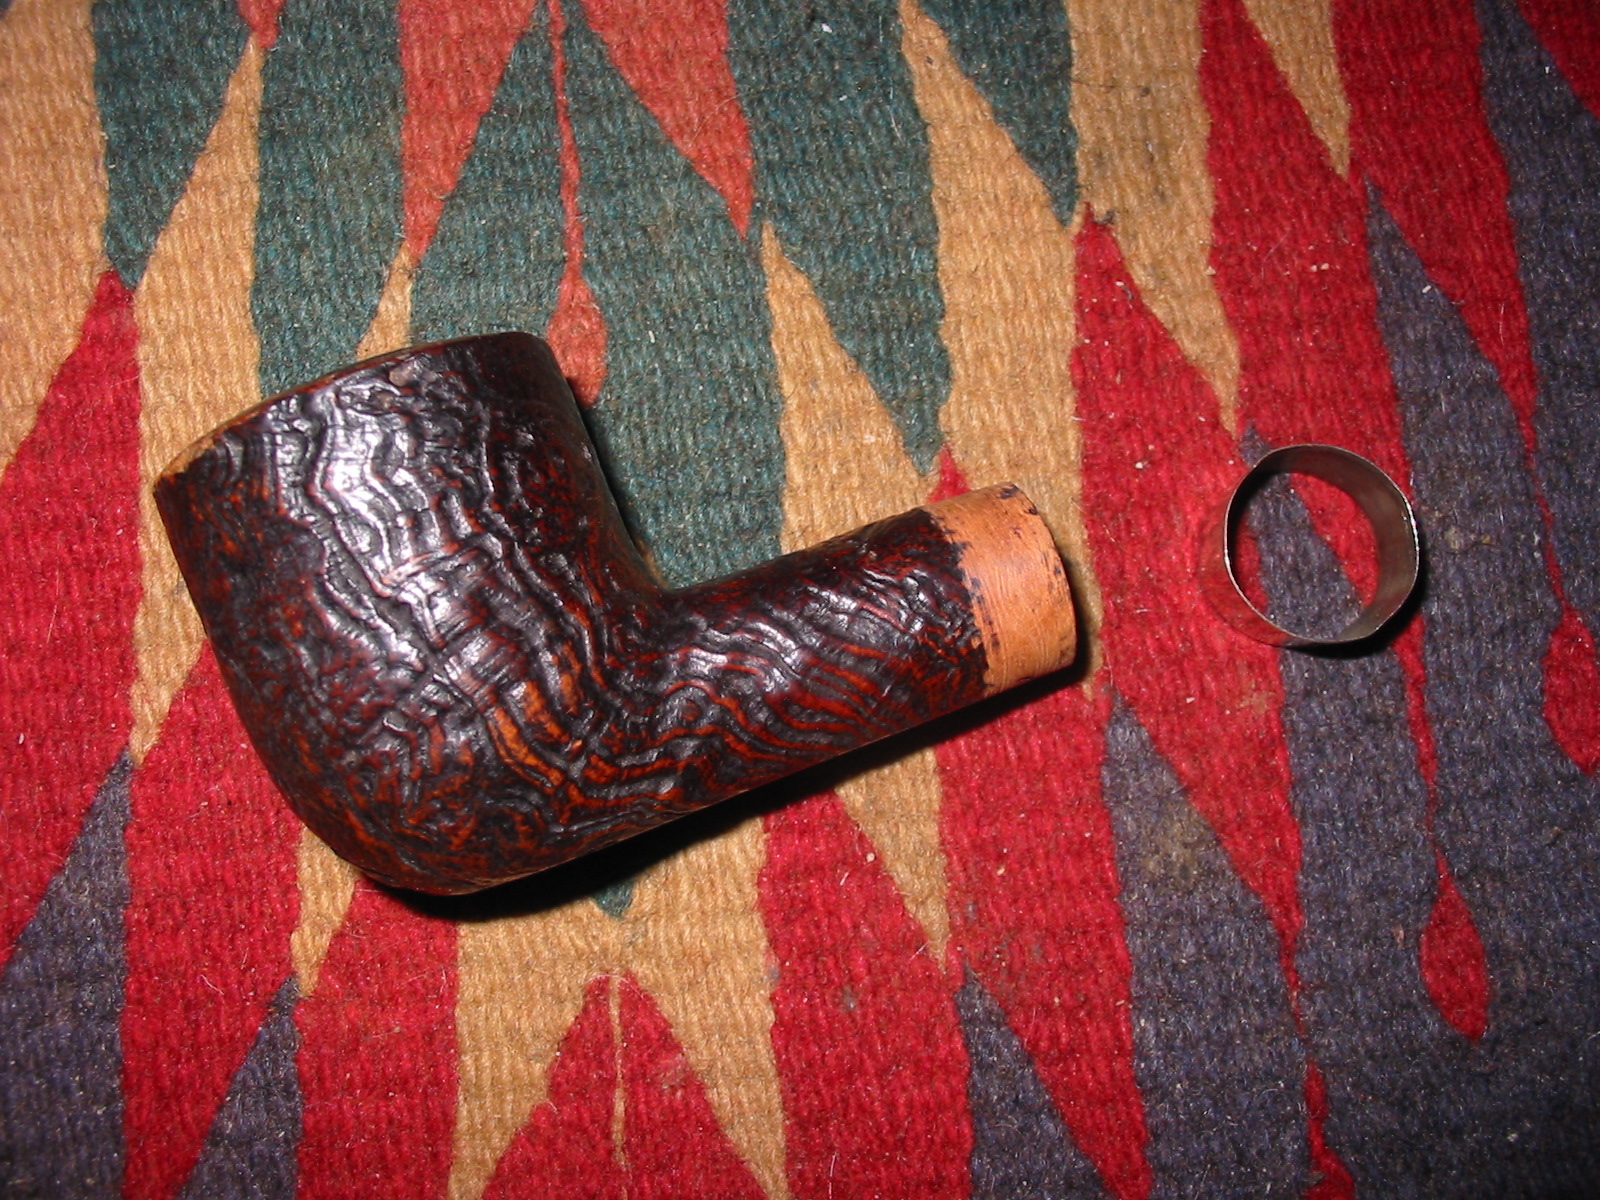
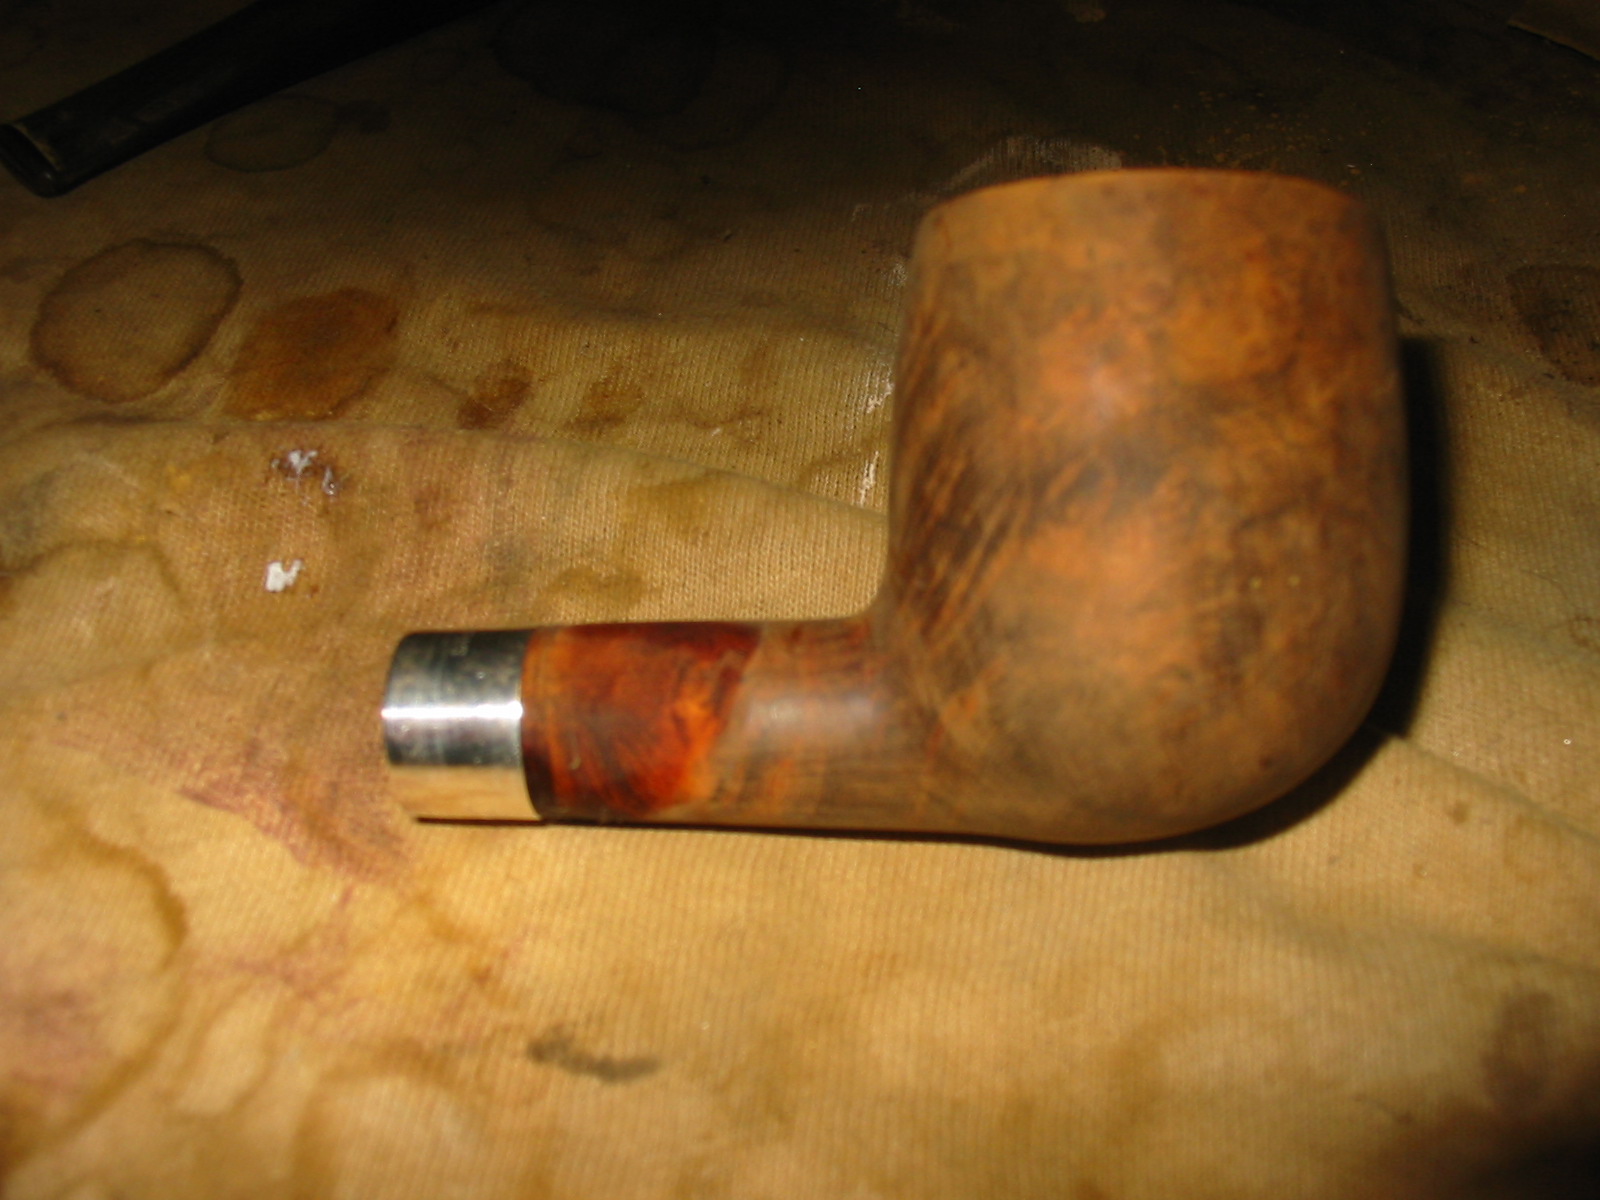
I placed the bowl in an alcohol bath for several hours while I worked on the stem and worked on several other old pipes that I have on the go. When I took it out of the bath, I dried it off with a cotton cloth and scrubbed it with a tooth-brush dipped in alcohol from the bath. I dried it again to check on the finish. There were still several spots where the varnish remained – the shank and the bottom of the bowl. One benefit of the bath was that the glue softened on the over pressed band and I was able to remove it from the shank. I sanded and scrubbed the old glue off the shank and sanded the bowl with a fine grit sanding sponge. I wiped it down with another acetone cotton pad. It still needed to soak a bit longer to finish breaking down the varnish that remained. While it soaked I cleaned up the silver band with silver polish and the jeweler’s polishing cloth. Under all the tarnish I found that the band was stamped Sterling.
I removed the bowl from the alcohol soak and dried it off. I used a lighter to burn off the alcohol from inside the bowl and the shank. I then recleaned the inside of the bowl and the shank with Everclear and many more pipe cleaners and cotton swabs. The amount of tars and sticky oils and grit that came out of the shank was incredible. It was no wonder that the pipe still reeked like mold. The next series of three photos show the pipe after soaking and sanding.

IMG_1061

IMG_1062

IMG_1063

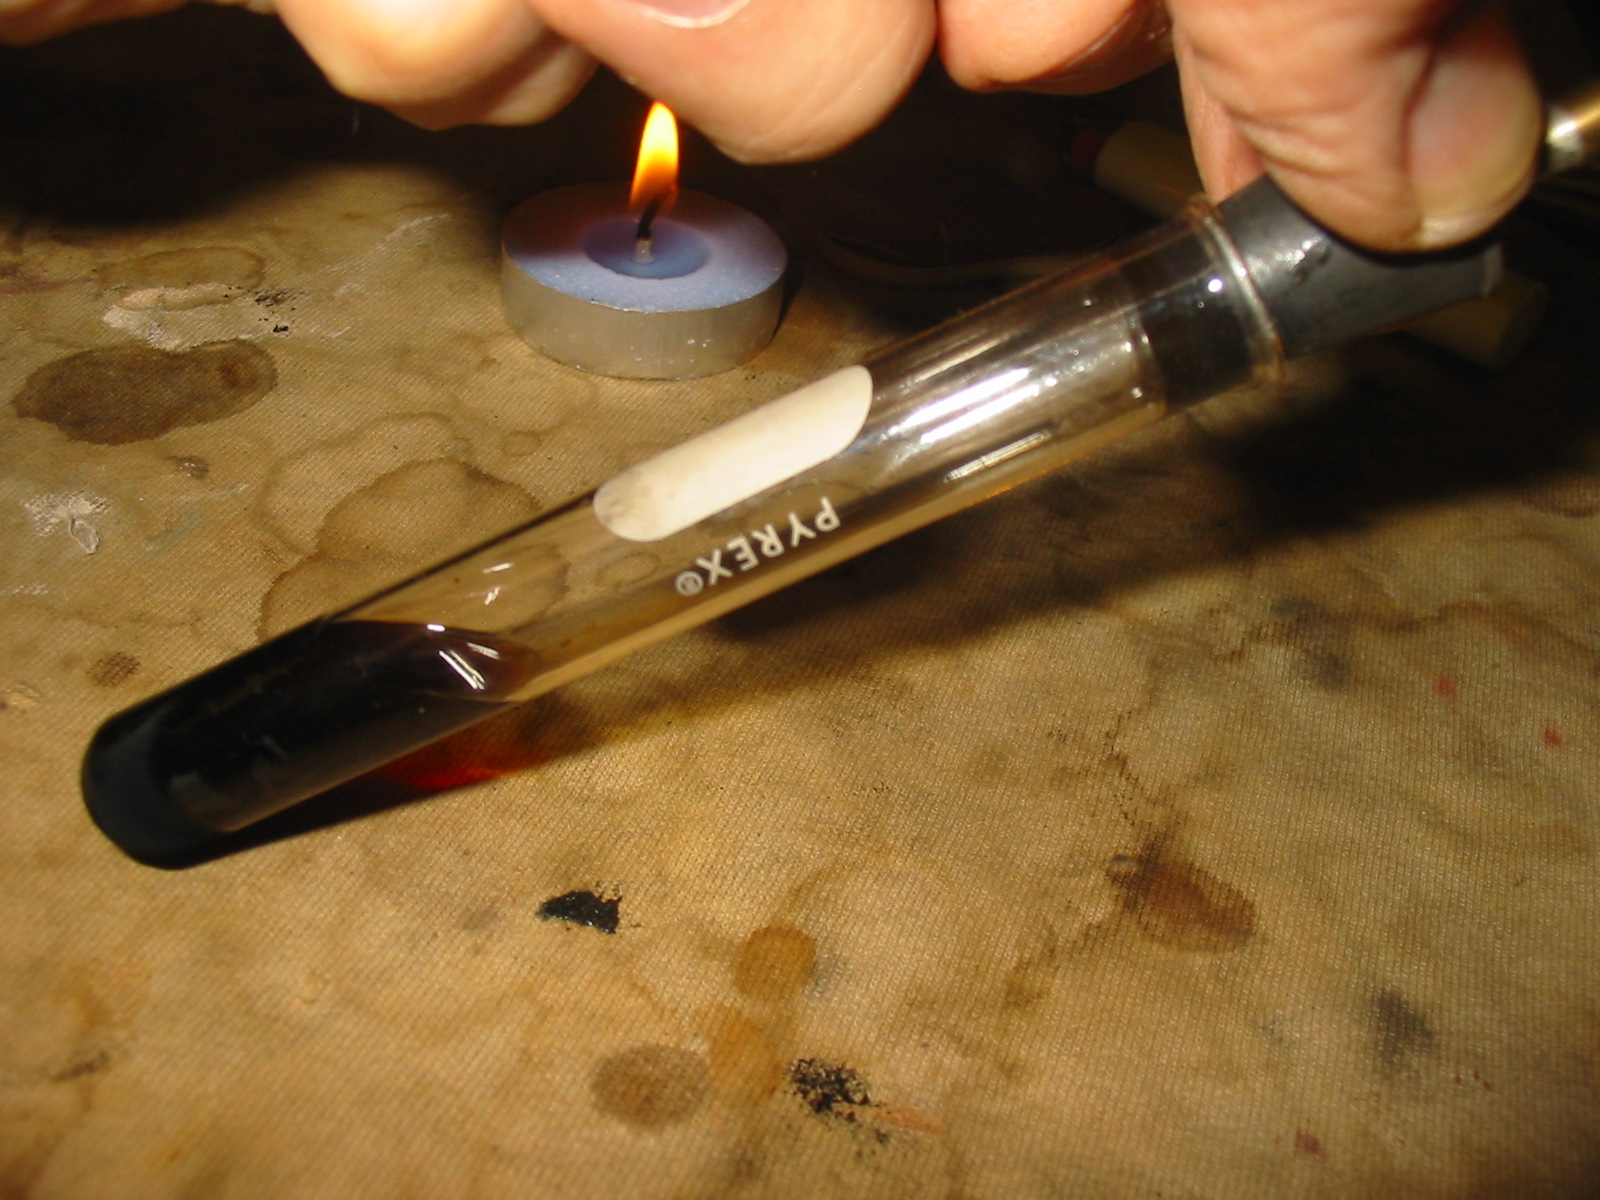
I scoured the shank until it was fairly clean and then set up a retort to do a more thorough clean. The retort sends vaporized alcohol into the bowl and shank and in essence boils out the grime with hot alcohol. As the alcohol cools it returns to the tube and with it the grime and oils from the pipe. I repeated the retort three times on the pipe until the alcohol came out clean. I then took apart the pipe and cleaned out the shank with pipe cleaners and cotton swabs a third time. There was even more oil and grime that came out of the shank. I cleaned off the surface with an acetone wipe and then reset the silver band with Weldbond glue. I turned it so that the Sterling stamp was on the top of the shank and pressed it on to the shank until it was even with the edge of the shank. Weldbond dries fairly quickly to touch so that the band would not be loosened when I went on to the next step in my cleaning process.

IMG_1064

IMG_1065

IMG_1071

After removing the retort I cleaned the bowl and shank. Yet even more grime came out. I put the stem back on and took the four photos below to show the state of the pipe at this point. I did this more for an encouragement to me as this one was proving a difficult rework. The photos gave me a picture of what I was aiming for in cleaning this one up. If I lose sight of that it will end up in the bin as rubbish.

IMG_1066

IMG_1067

IMG_1068

IMG_1069

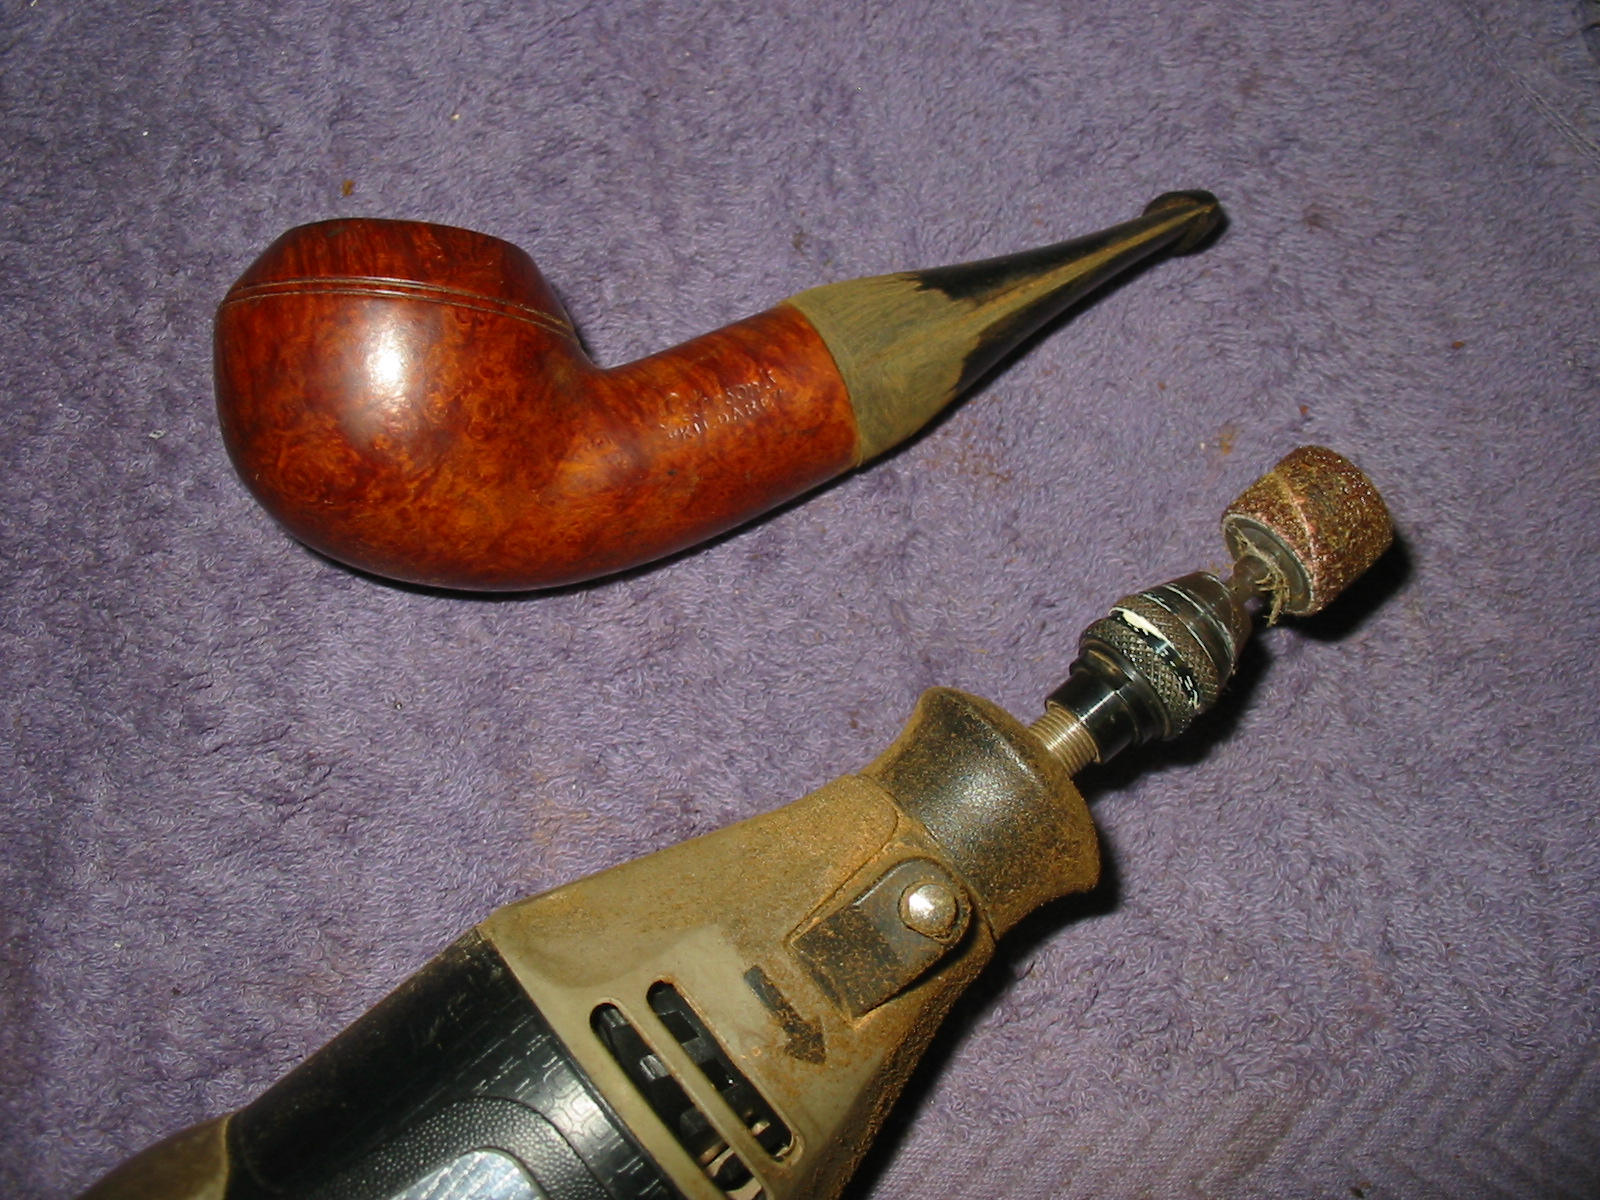
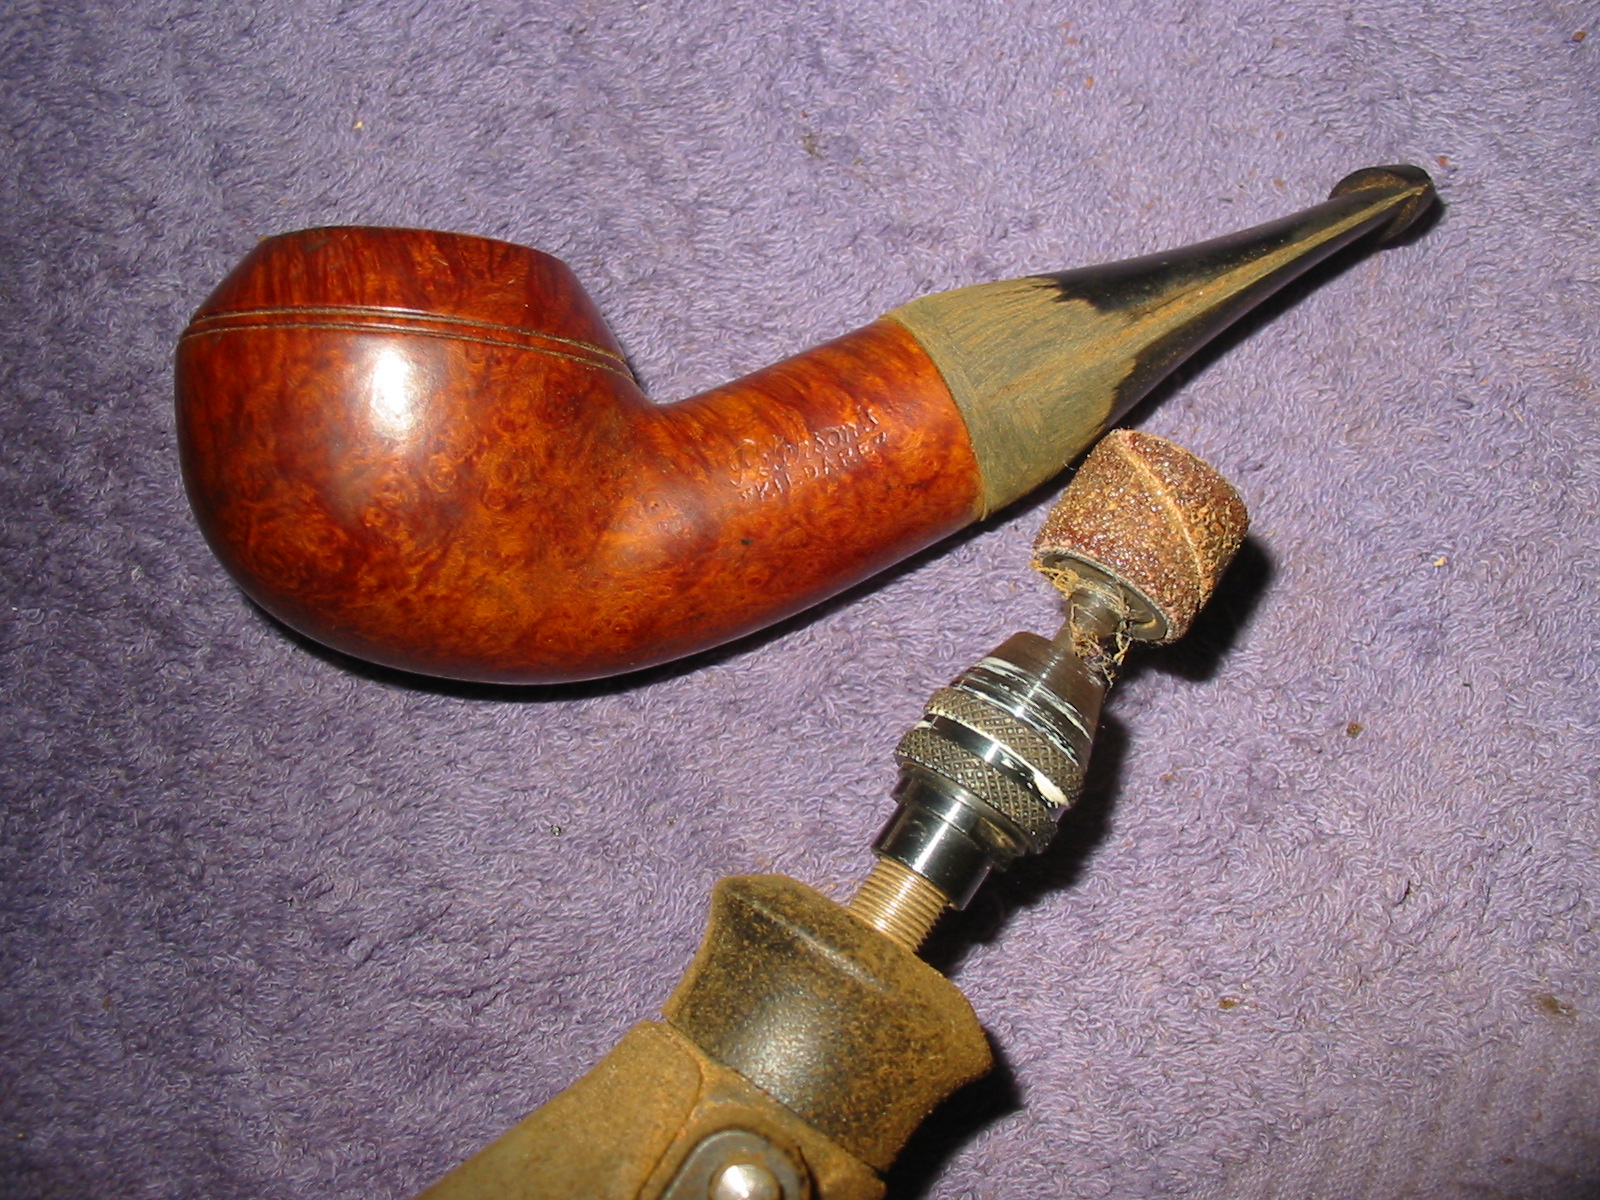
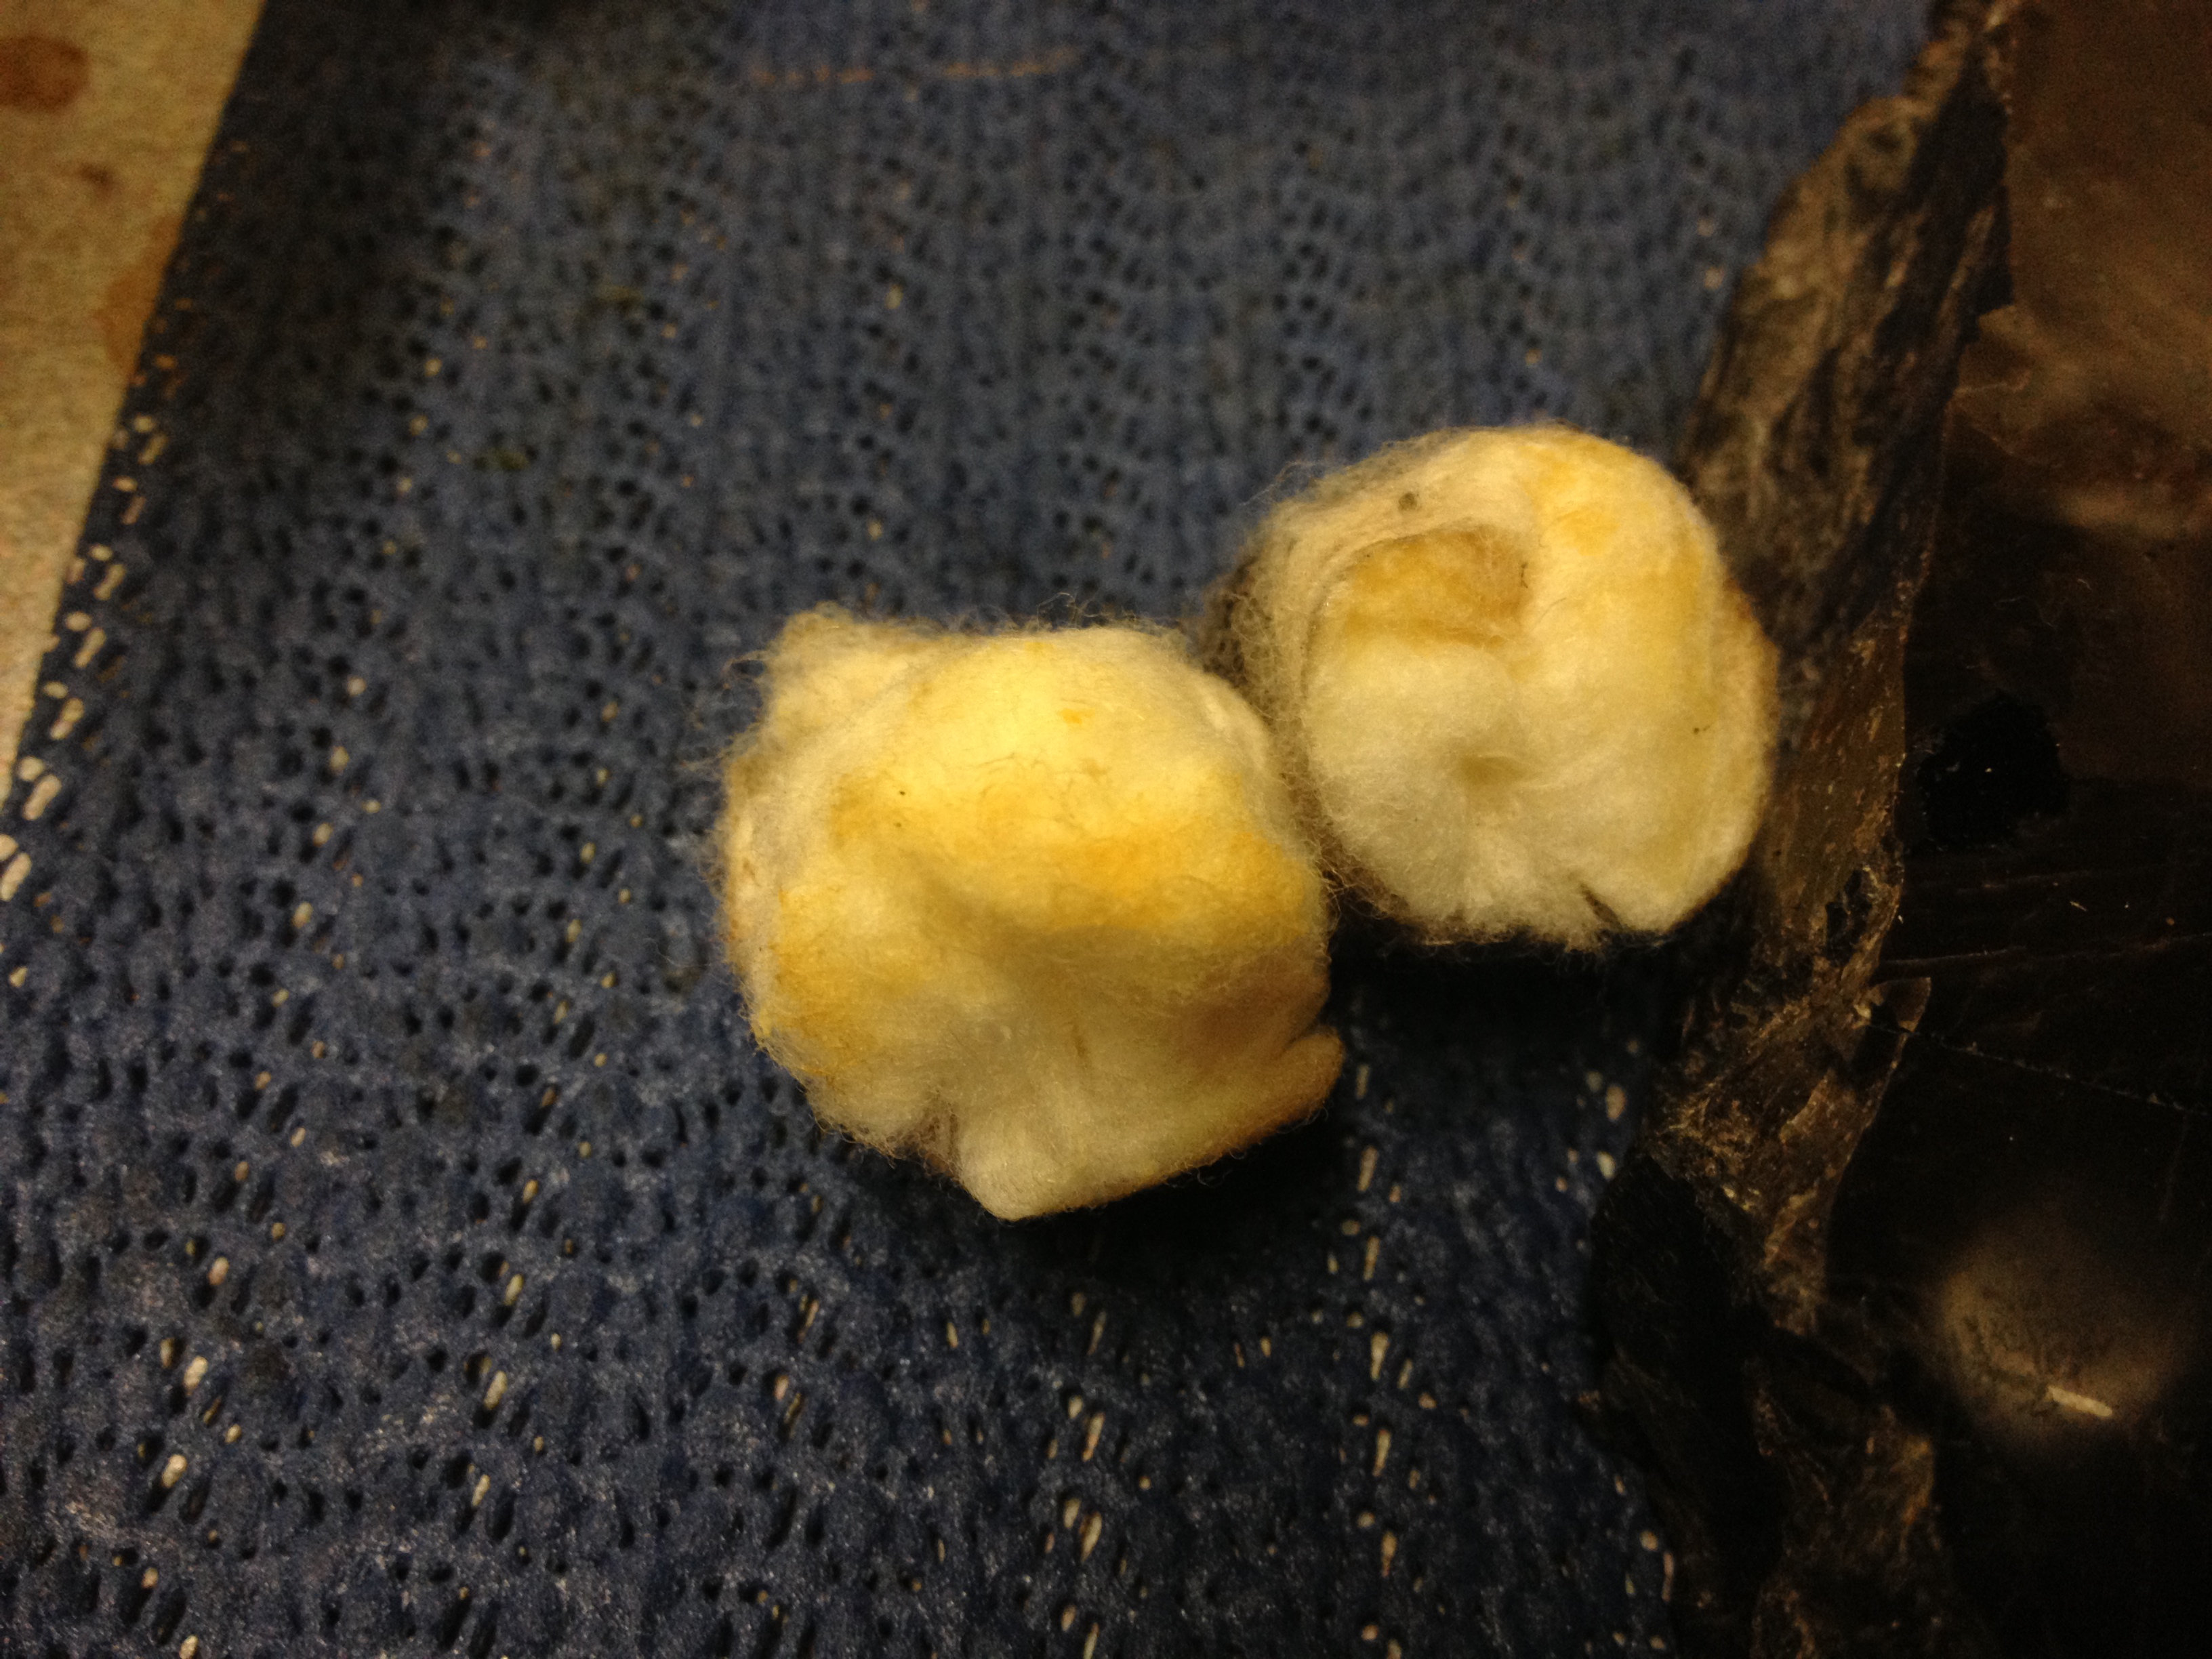
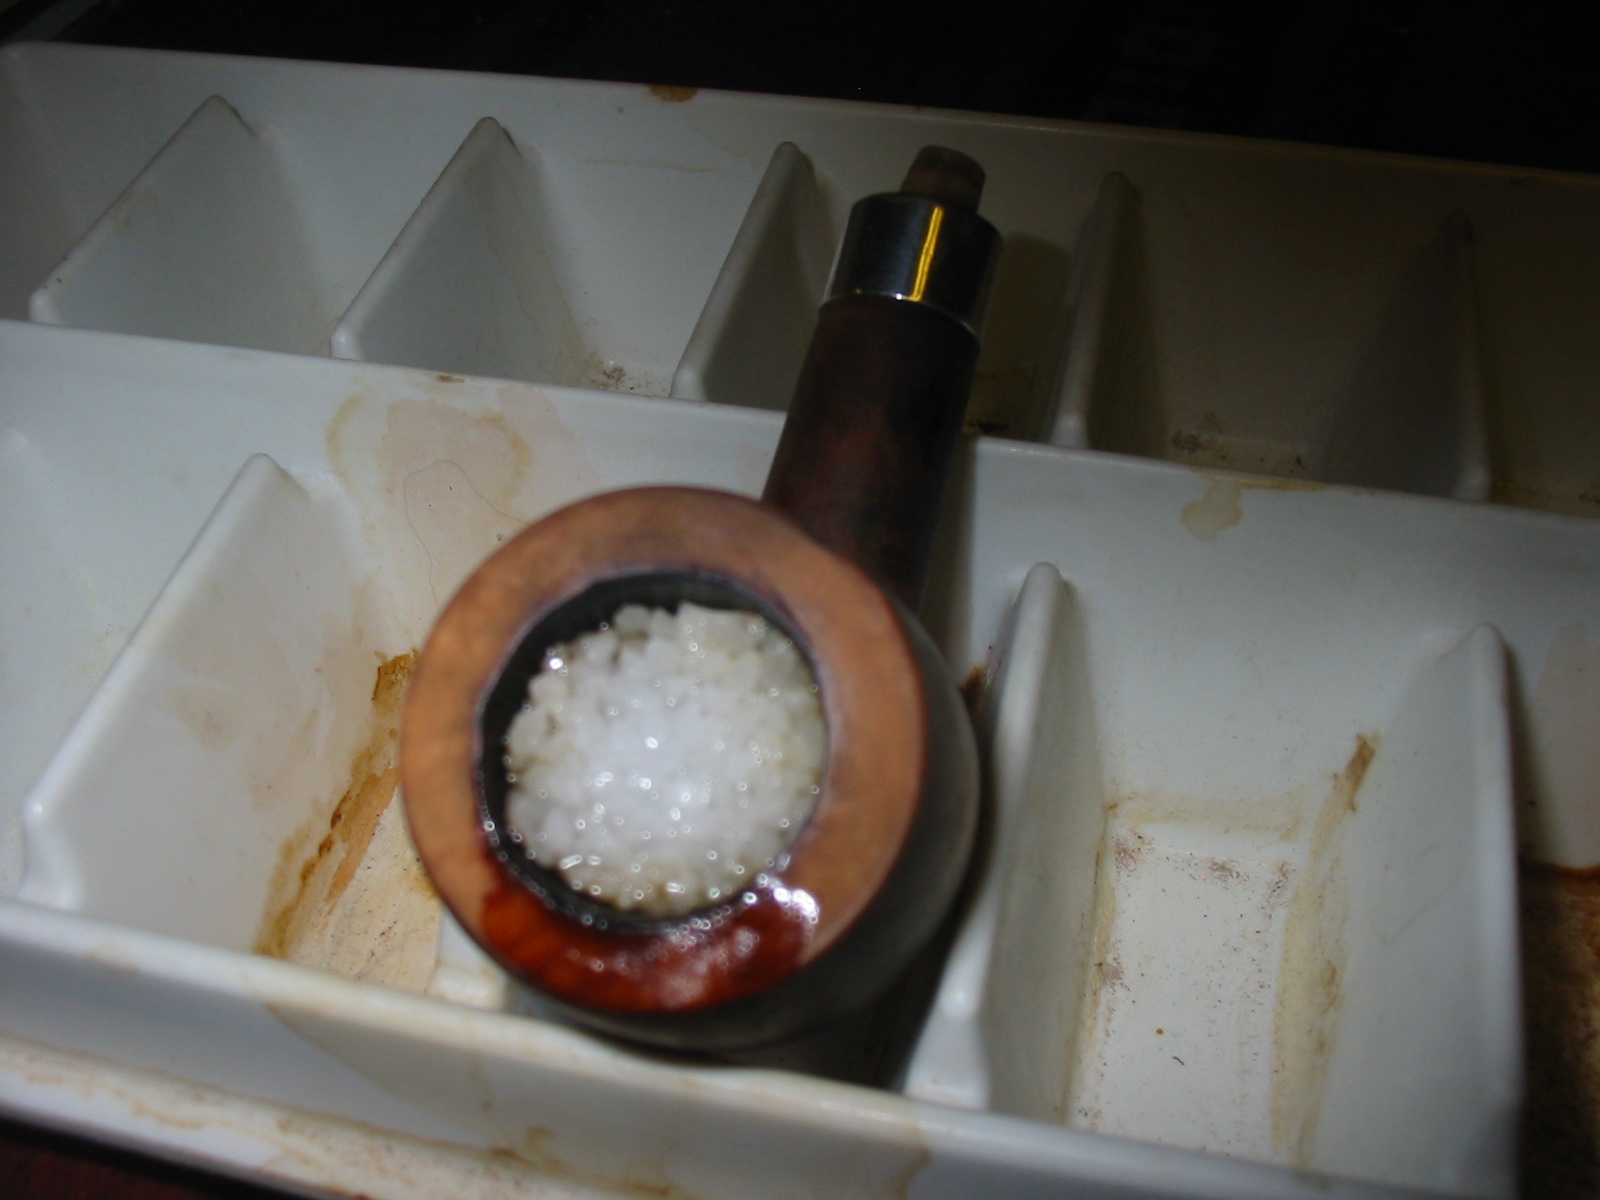
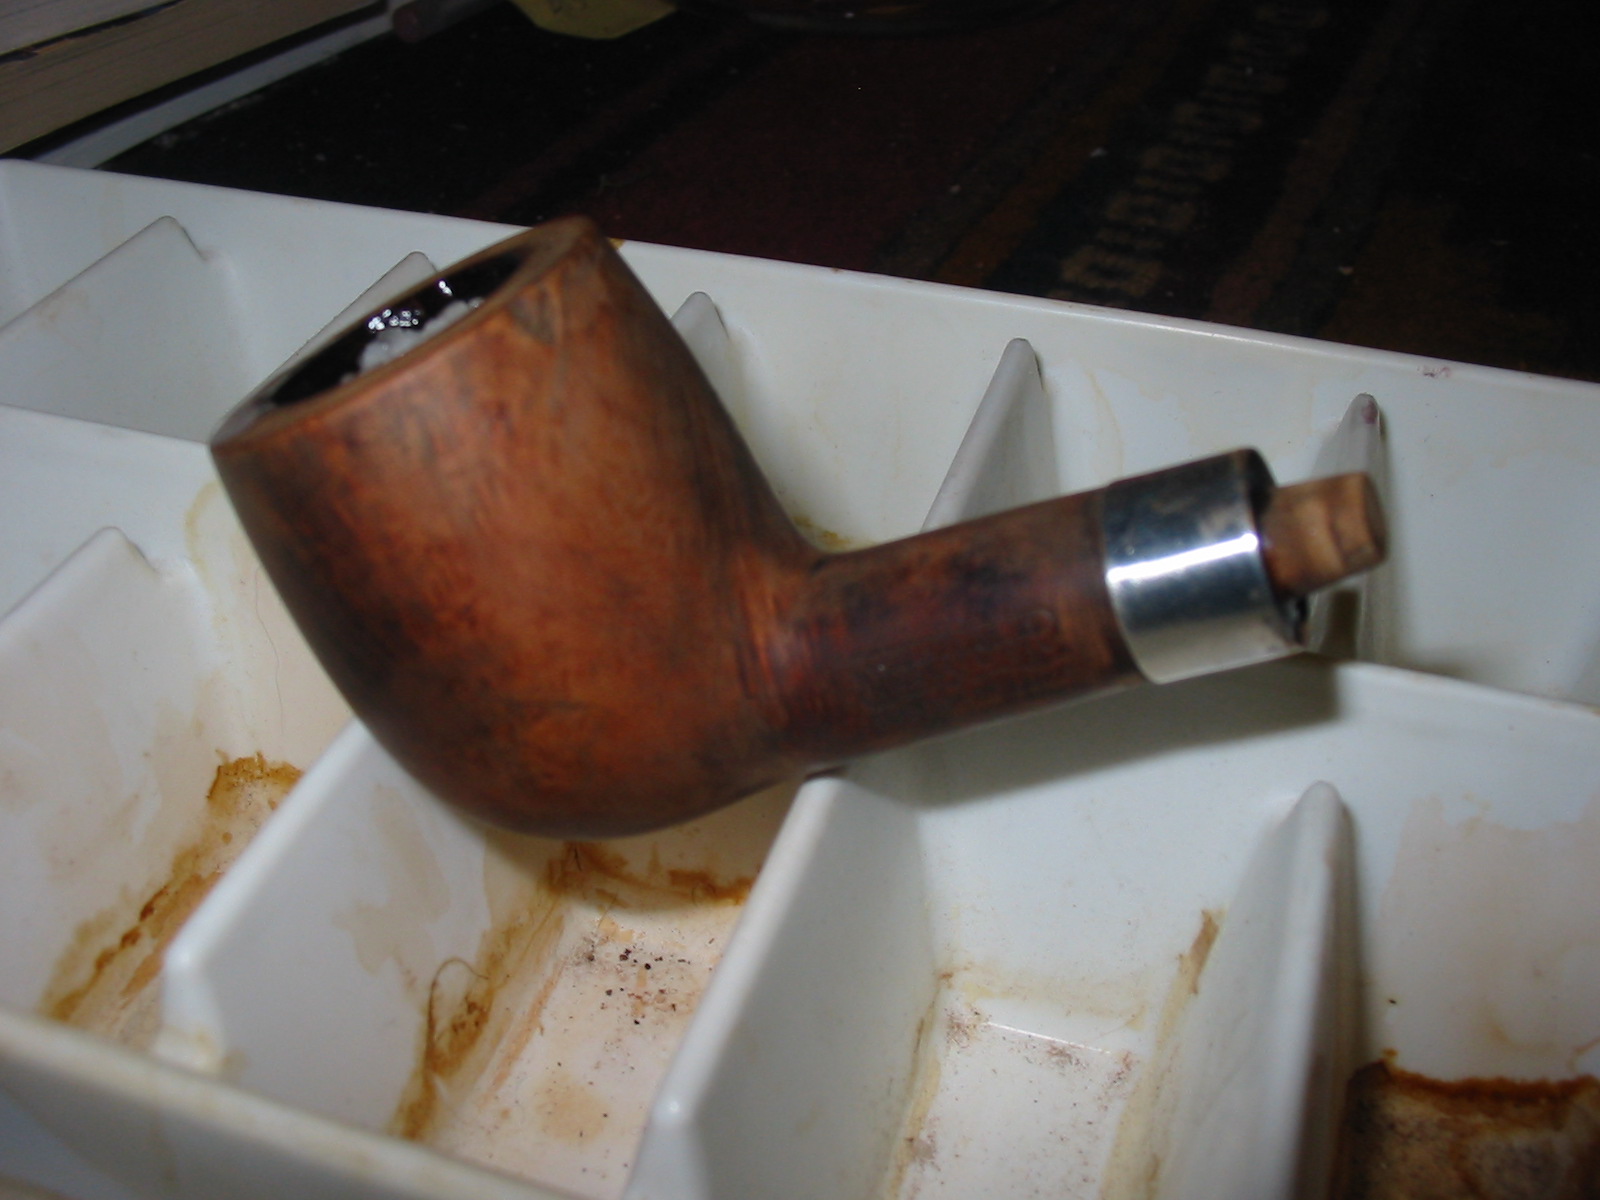
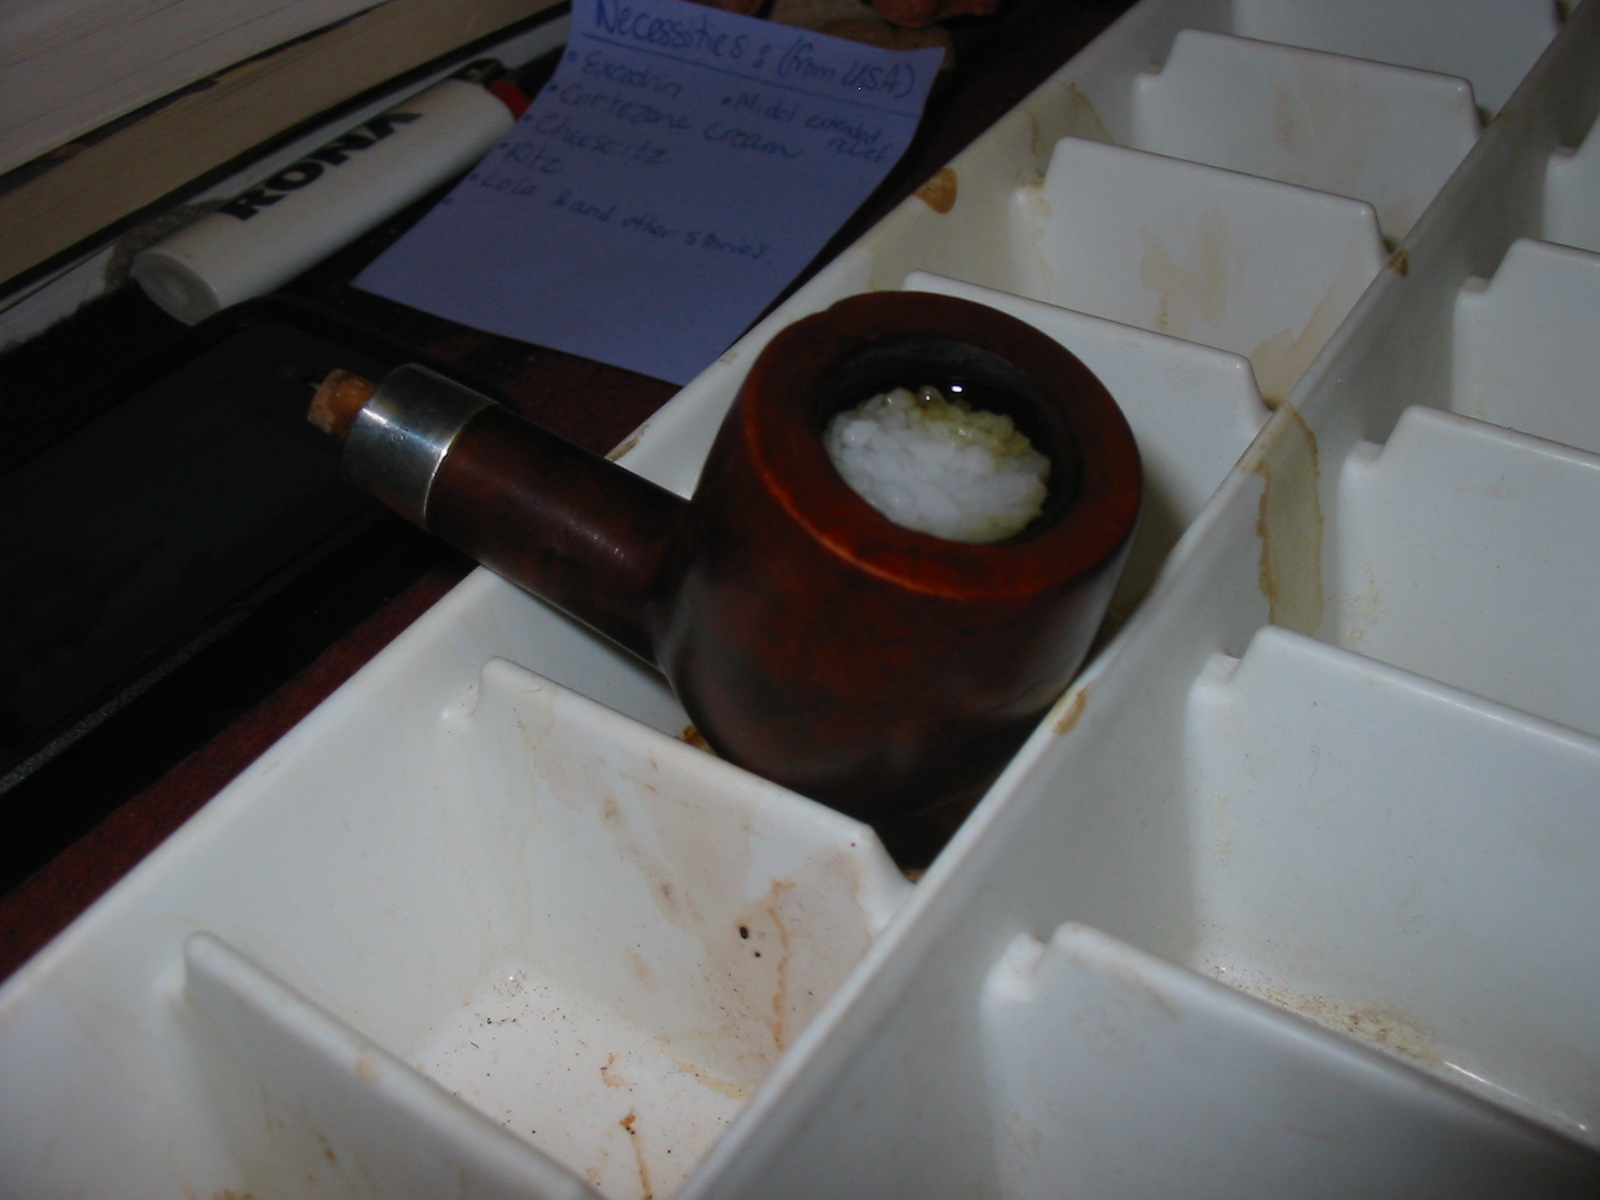
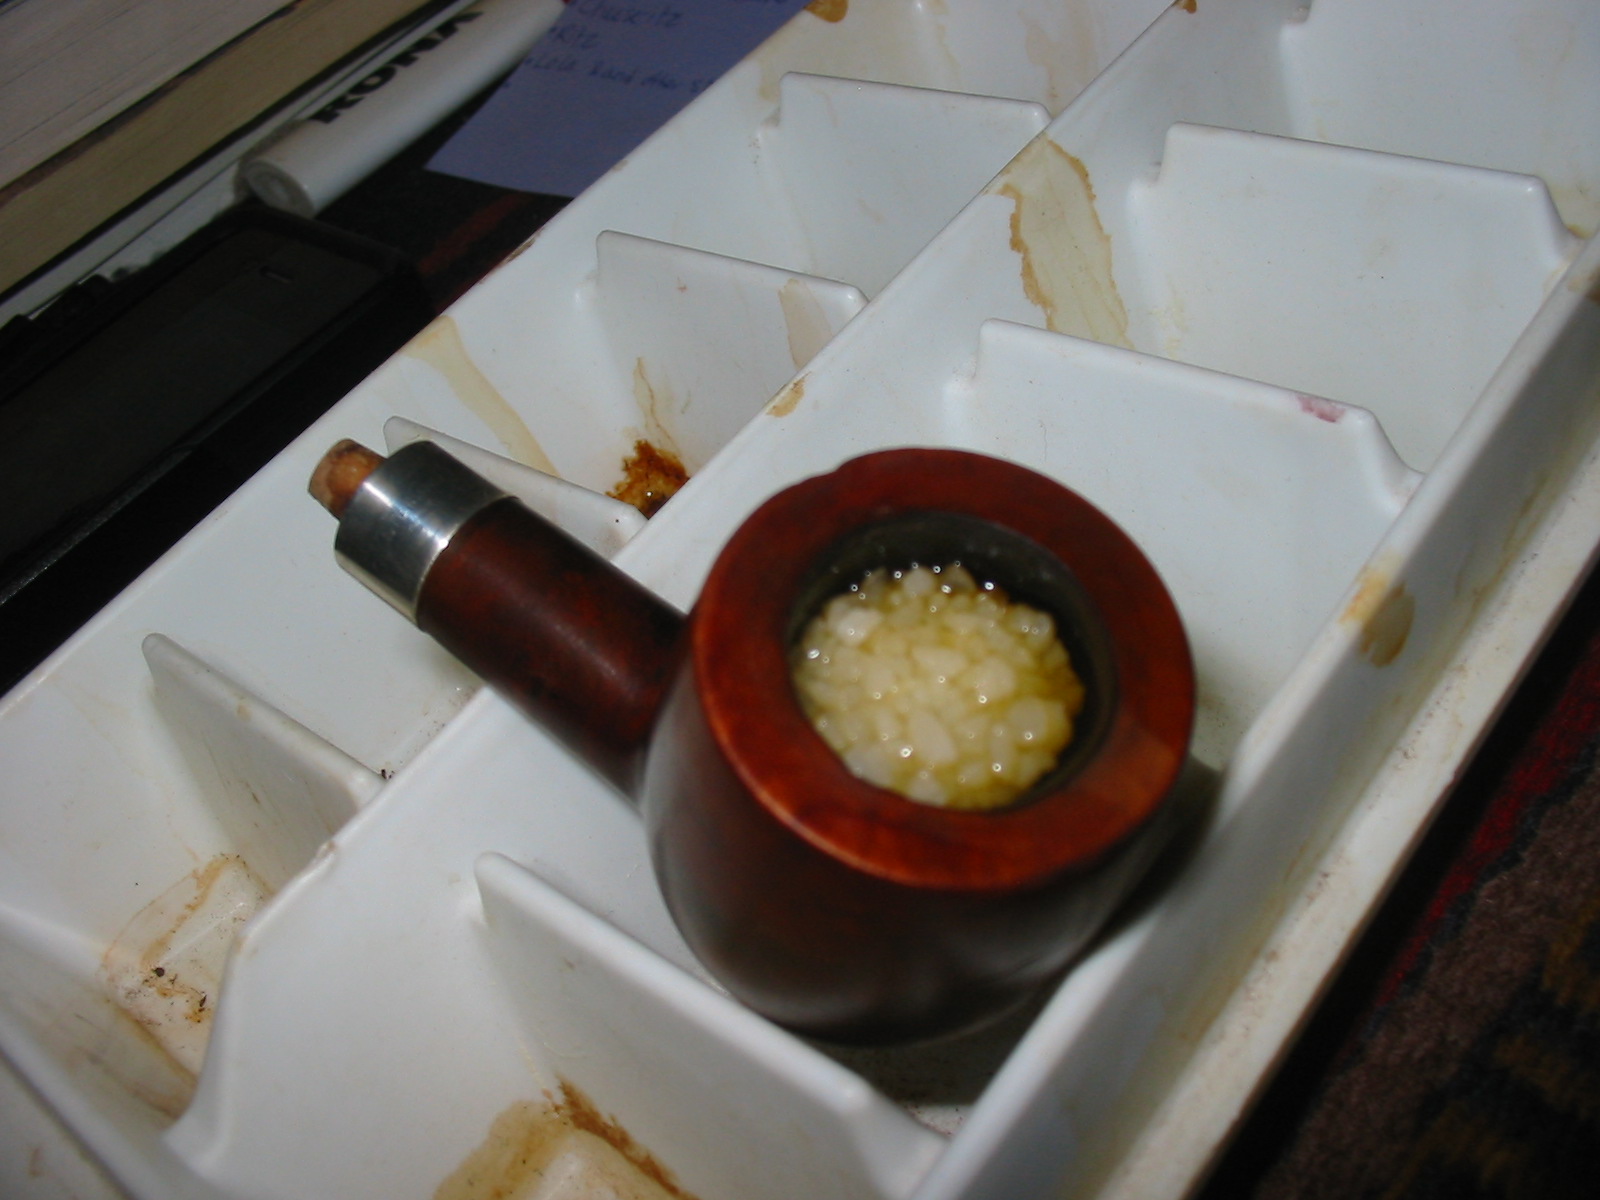
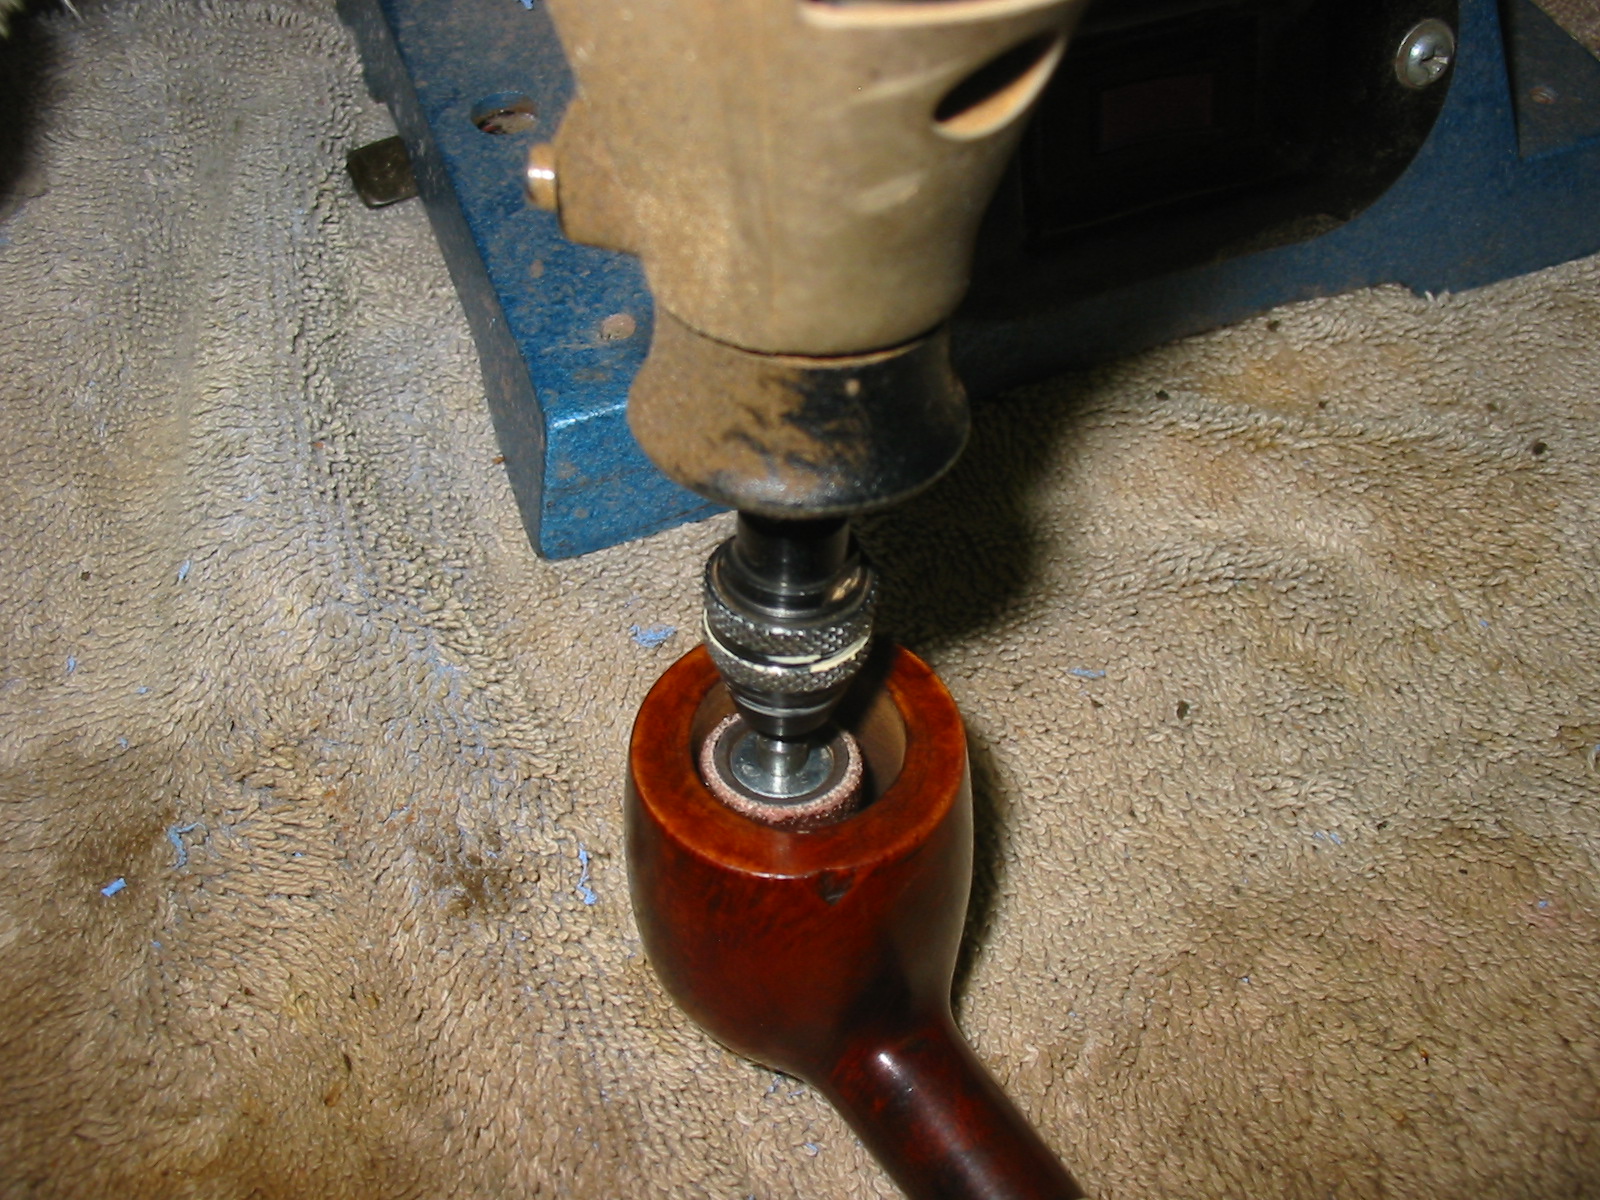
When the alcohol dried in the bowl and the visual showed a clean bowl and shank I took a sniff of the bowl. After all of this work the moldy smell still was present in the bowl and shank. This called for more drastic measures. I used the Dremel with a sanding drum on it and sanded the inside of the bowl until the briar was bare and clean. Then I filled the bowl with salt and alcohol to leach out the oil from the inside of the bowl and shank. My hope was that in doing this I would also kill the stench. I plugged the shank with a cork, filled the bowl with kosher rock salt (I was out of my normal cotton bolls) and set it up on an old ice-cube tray. I used an ear syringe to fill the bowl with 99% isopropyl alcohol. I set it aside and went to bed to let the treatment do its work while I was sleeping. The two photos below show the bowl after filling with alcohol.

IMG_1072

IMG_1073

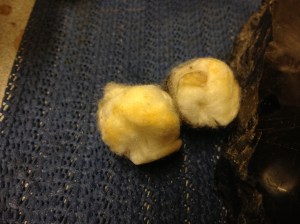
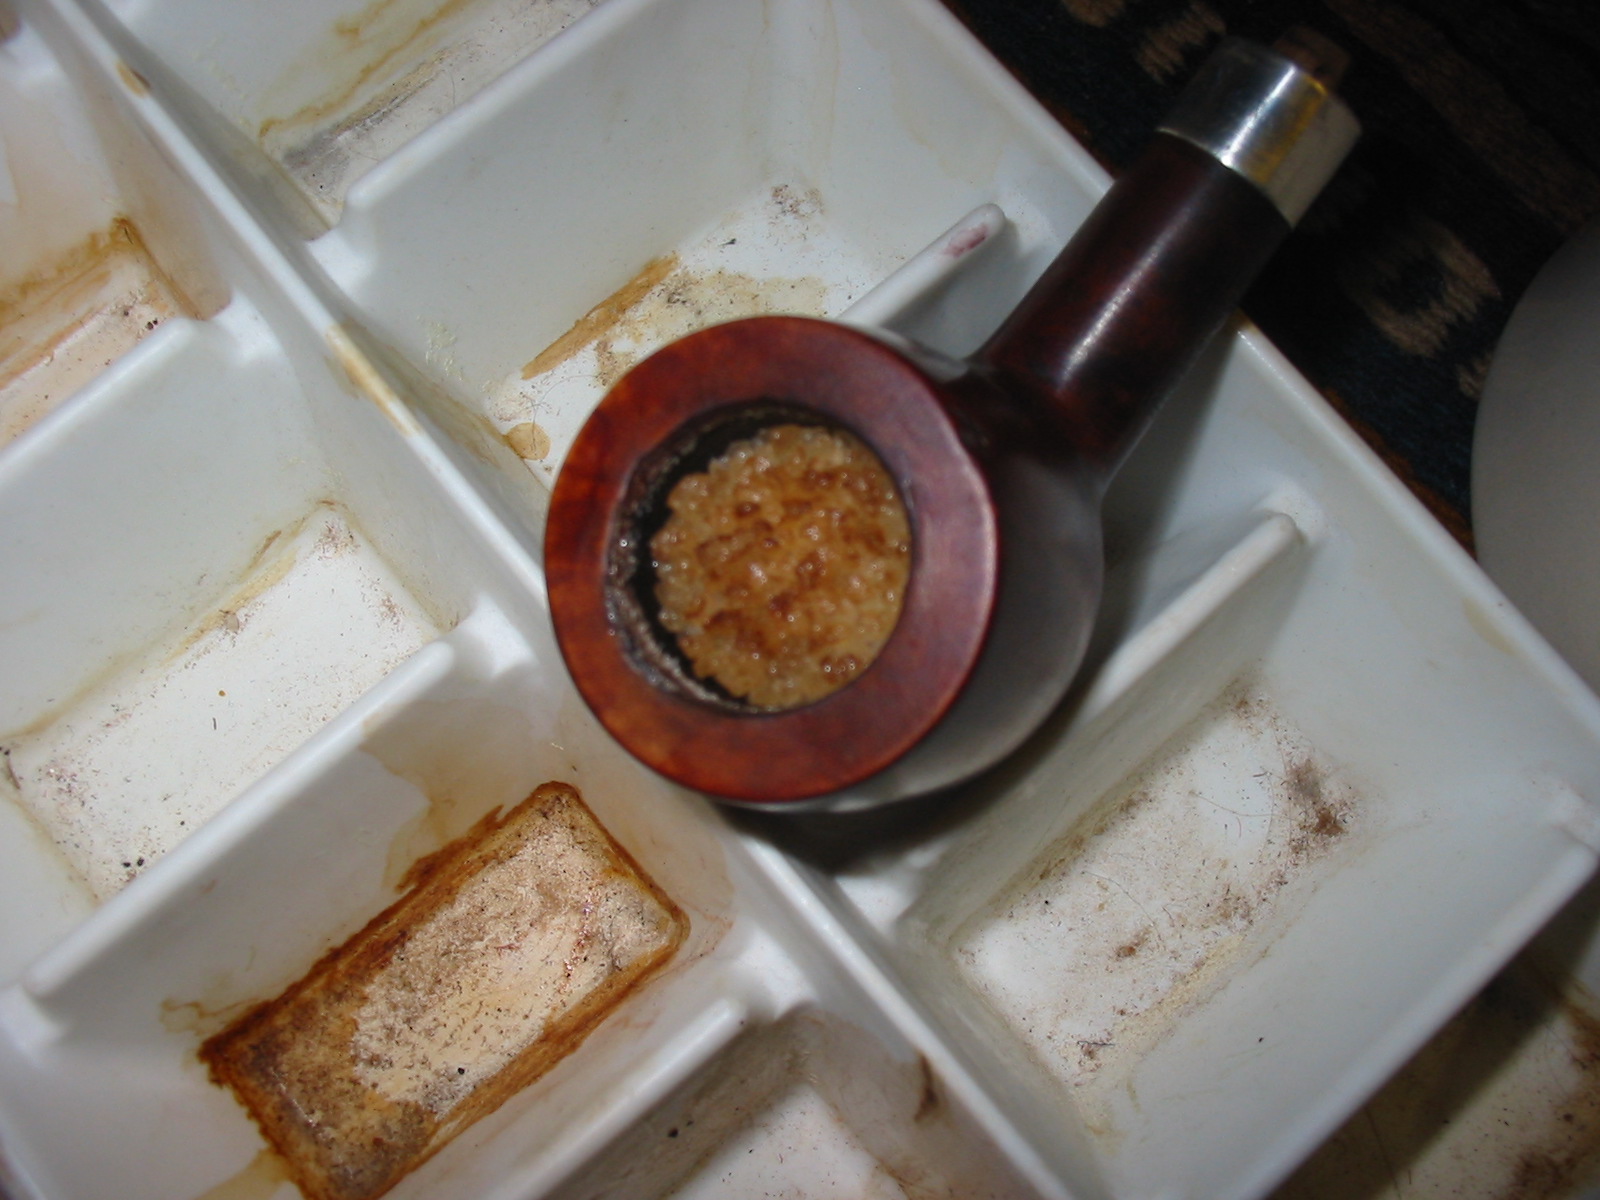
In the morning the salt was a dark brown as pictured below. I emptied the now darkened salt and dried out the inside of the bowl by flaming the alcohol with my lighter. It still smelled like mold though the smell was definitely losing strength.

IMG_1070

I cleaned out the button area of the stem with the dental pick and then ran several bristle pipe cleaners through it and then followed up with regular pipe cleaners. I soak both in Everclear to clean out the stem. I then sanded the stem with 220 grit sandpaper to remove the calcification that was all over the stem. I also gave the stem a quick sand all over with the 220 grit to remove the top oxidation. I ran the flame from the Bic lighter over the surface to burn off the oxidation. It did a great job of removing what I had loosened with the sandpaper. I continued sanding it with a fine grit sanding sponge to remove the remaining oxidation. I rubbed down with Obsidian Oil and set it aside with the bowl while I went off to work. The Obsidian Oil sat on the stem and soaked in for the 9 hours I was at work.

IMG_1074

IMG_1075

IMG_1076

IMG_1077

I refilled the bowl with salt and put a cork in the shank. I again used the ear syringe to fill the bowl with alcohol and set it aside to work on the stem. It too sat for the nine hours I was at work.

IMG_1072

When I got home from work the stem looked quite good. It was significantly more black and the oxidation was gone except around the stem shank union. More work to do there. The salt was a dark brown, but slightly lighter than the first treatment. I dumped out the salt and cleaned out the bowl and shank with cotton swabs again. When I finished the smell was better but present nonetheless. I cleaned out the bowl with alcohol and cotton swabs again.

IMG_1078

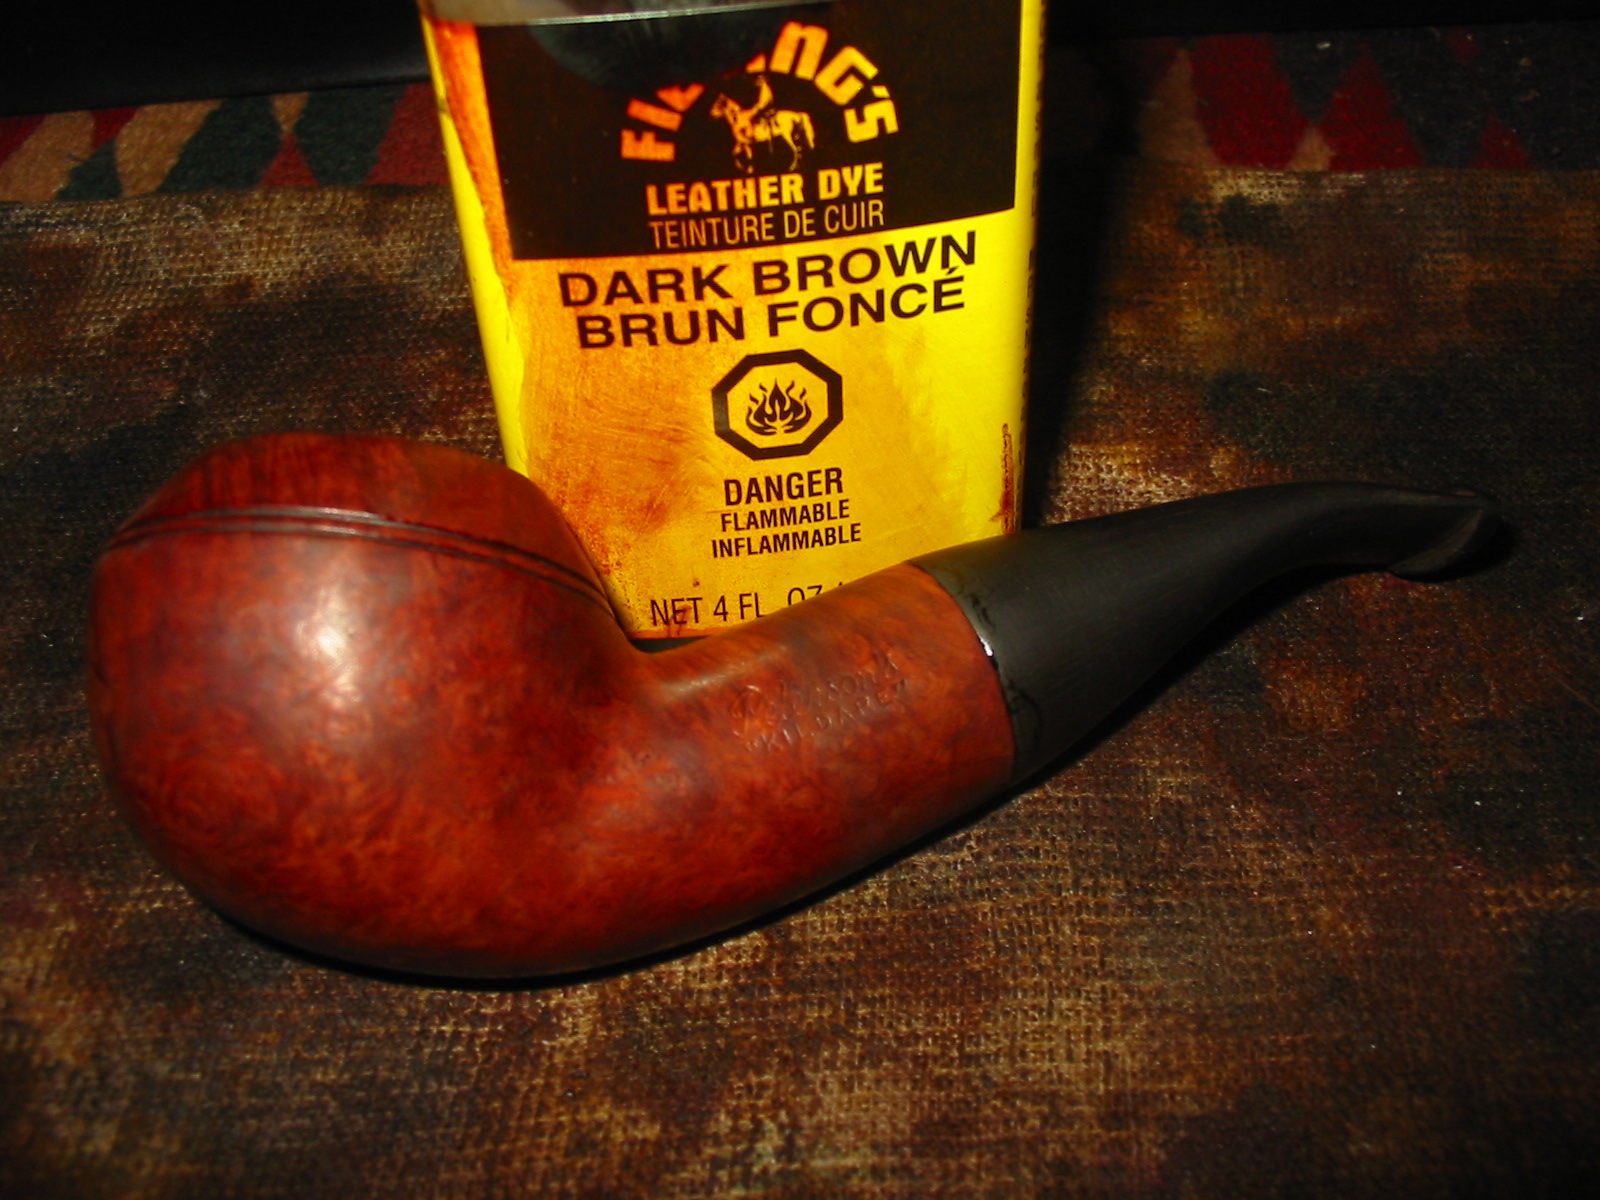
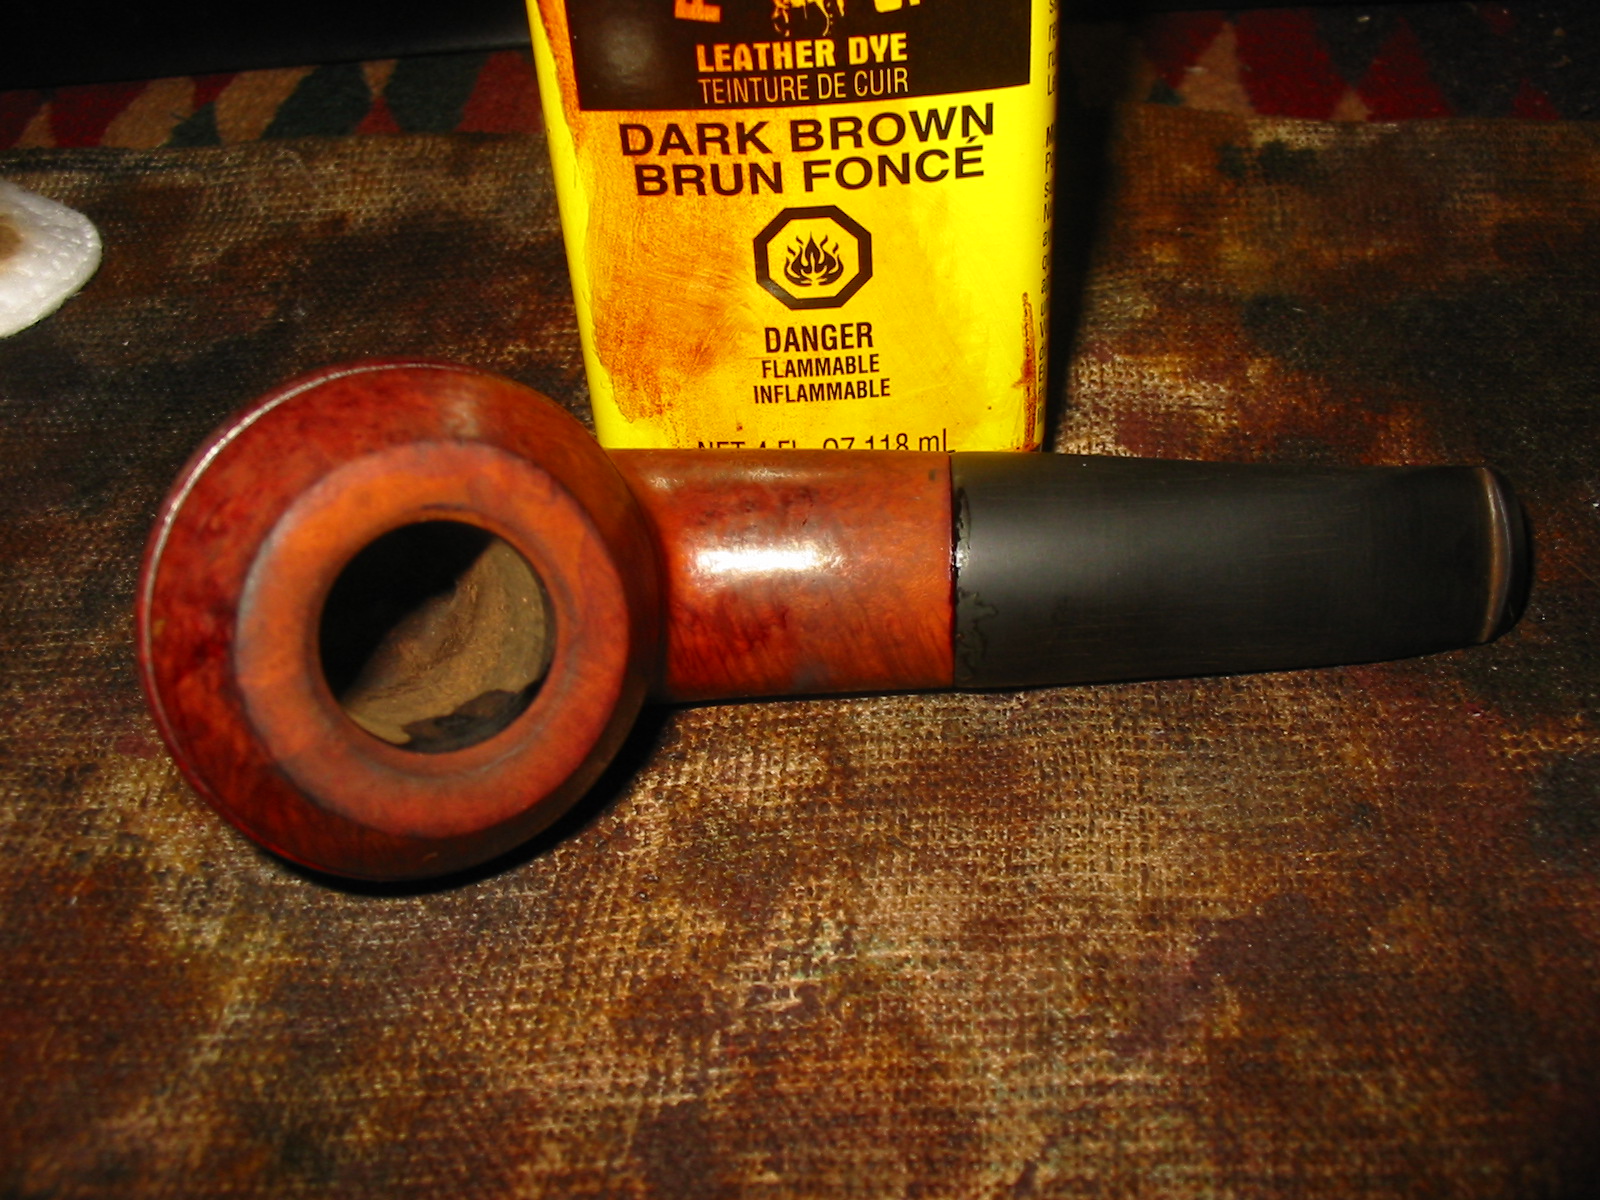
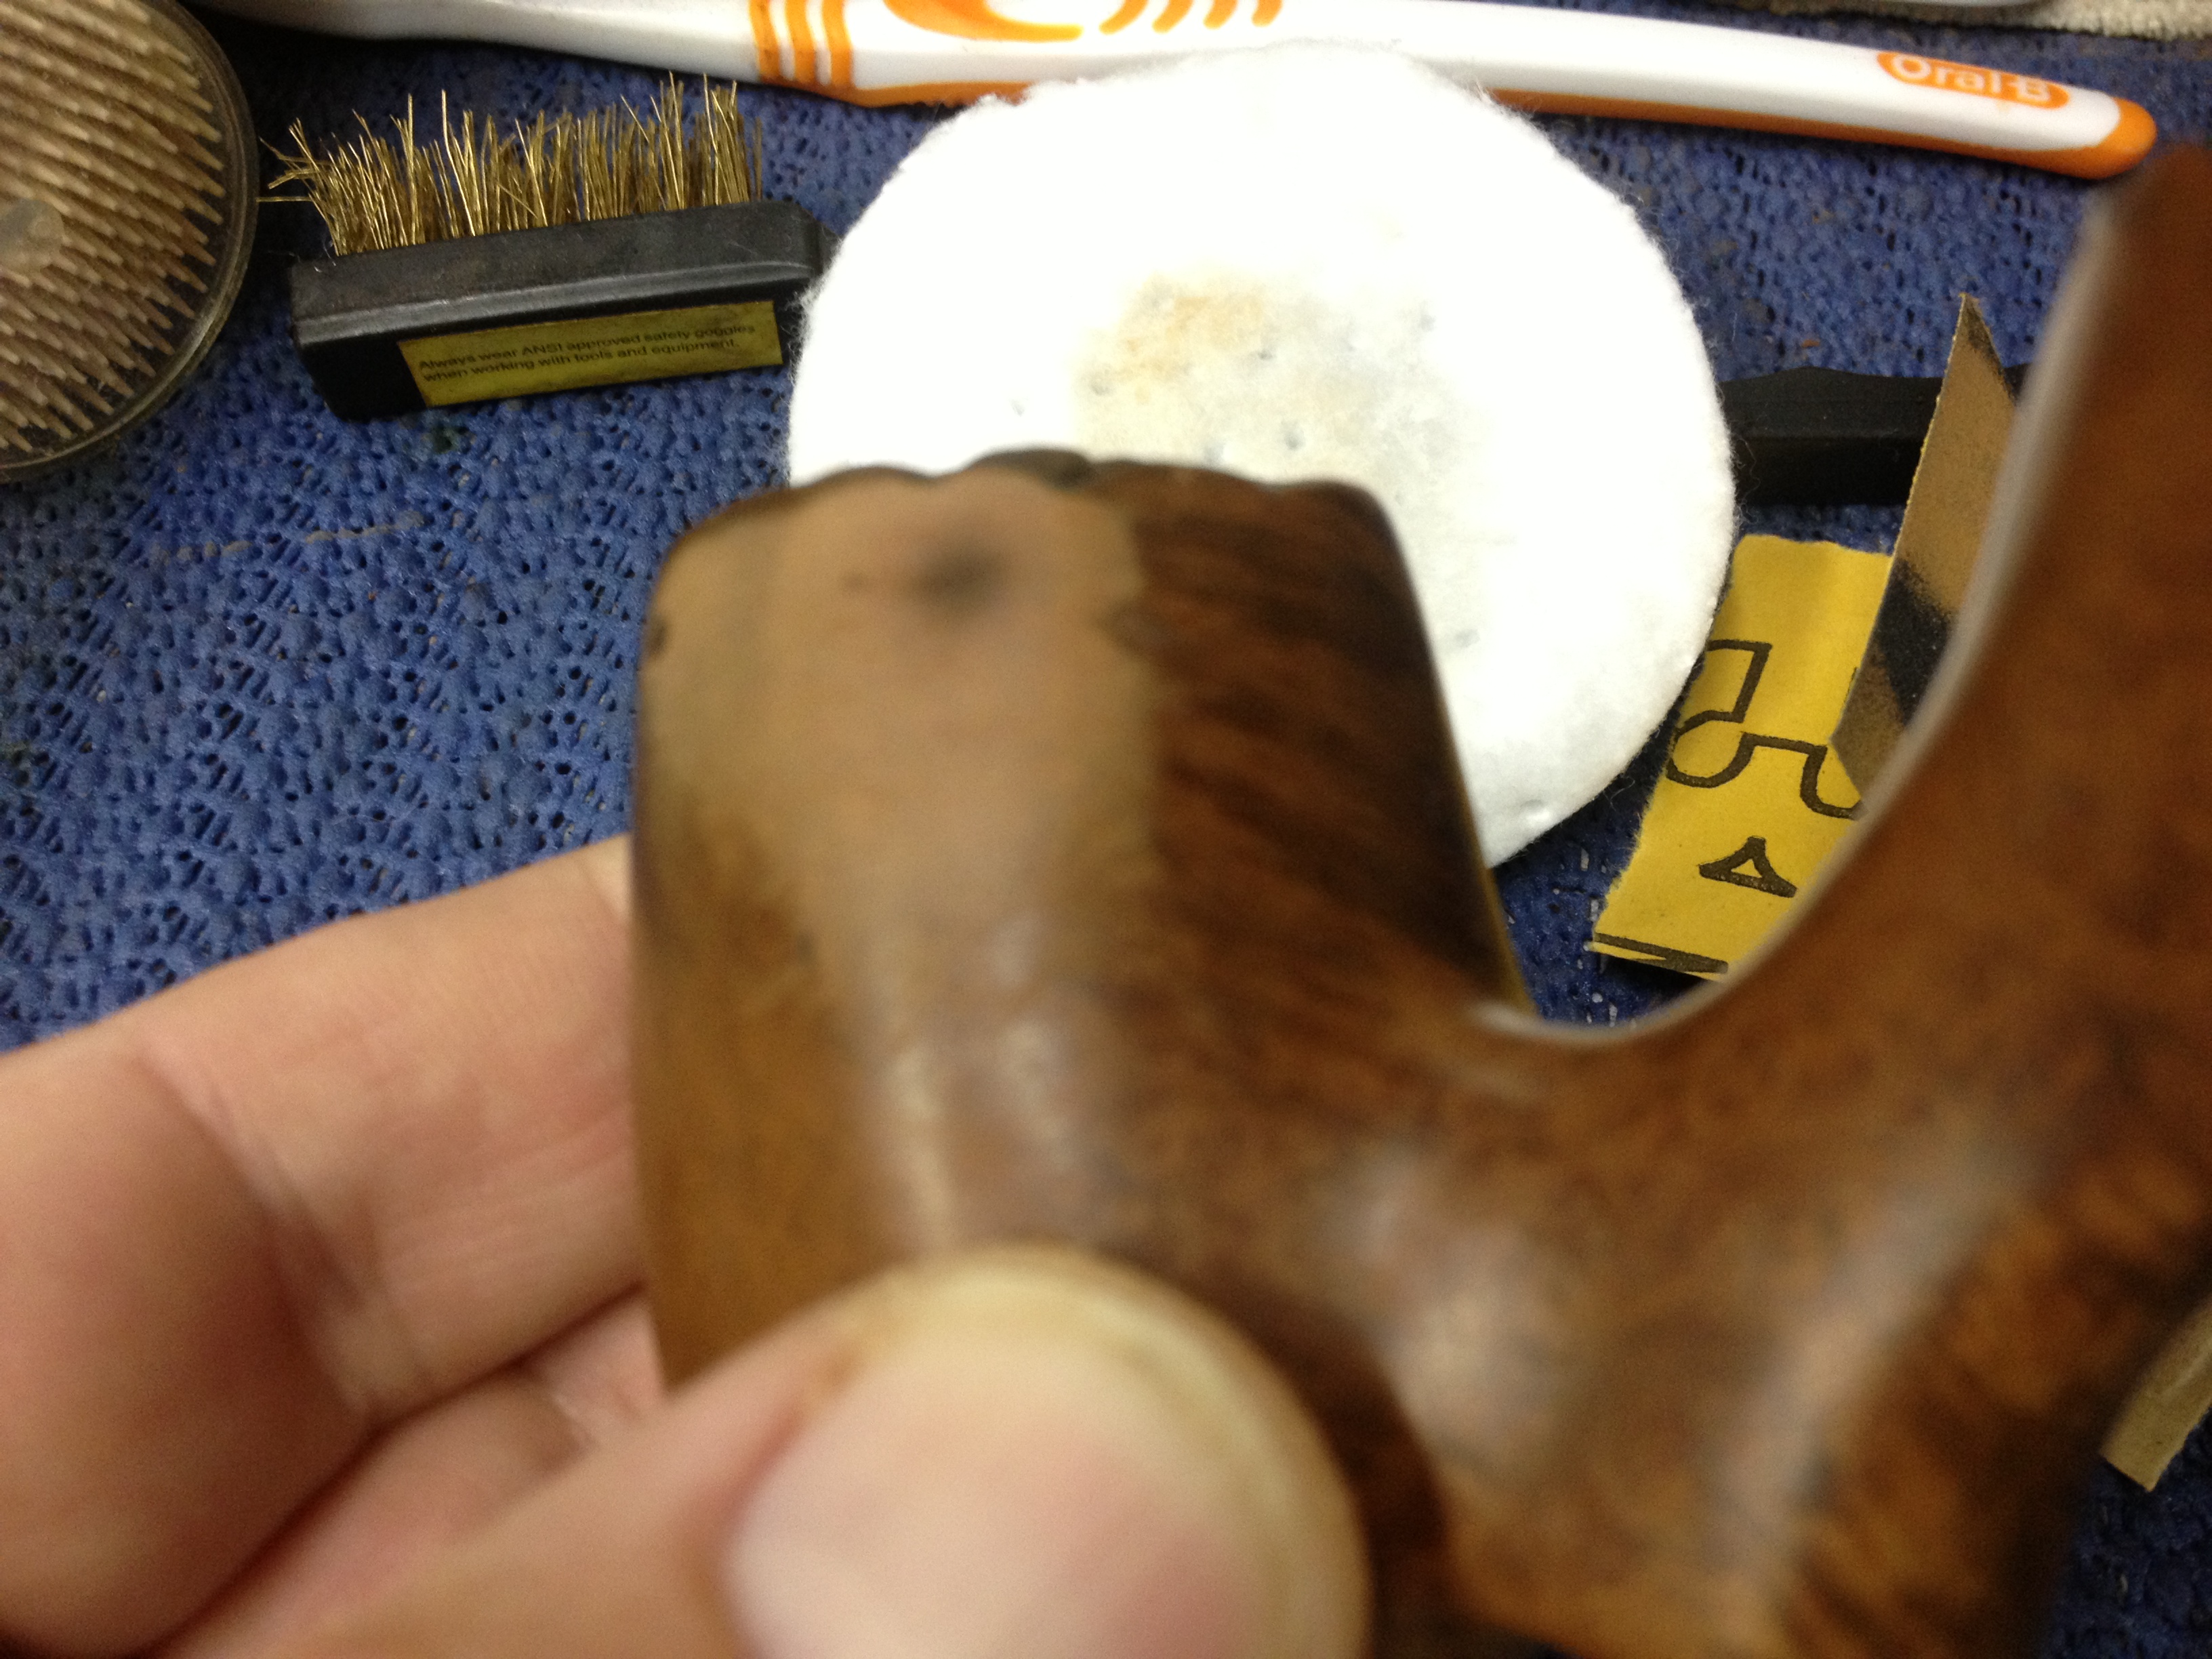
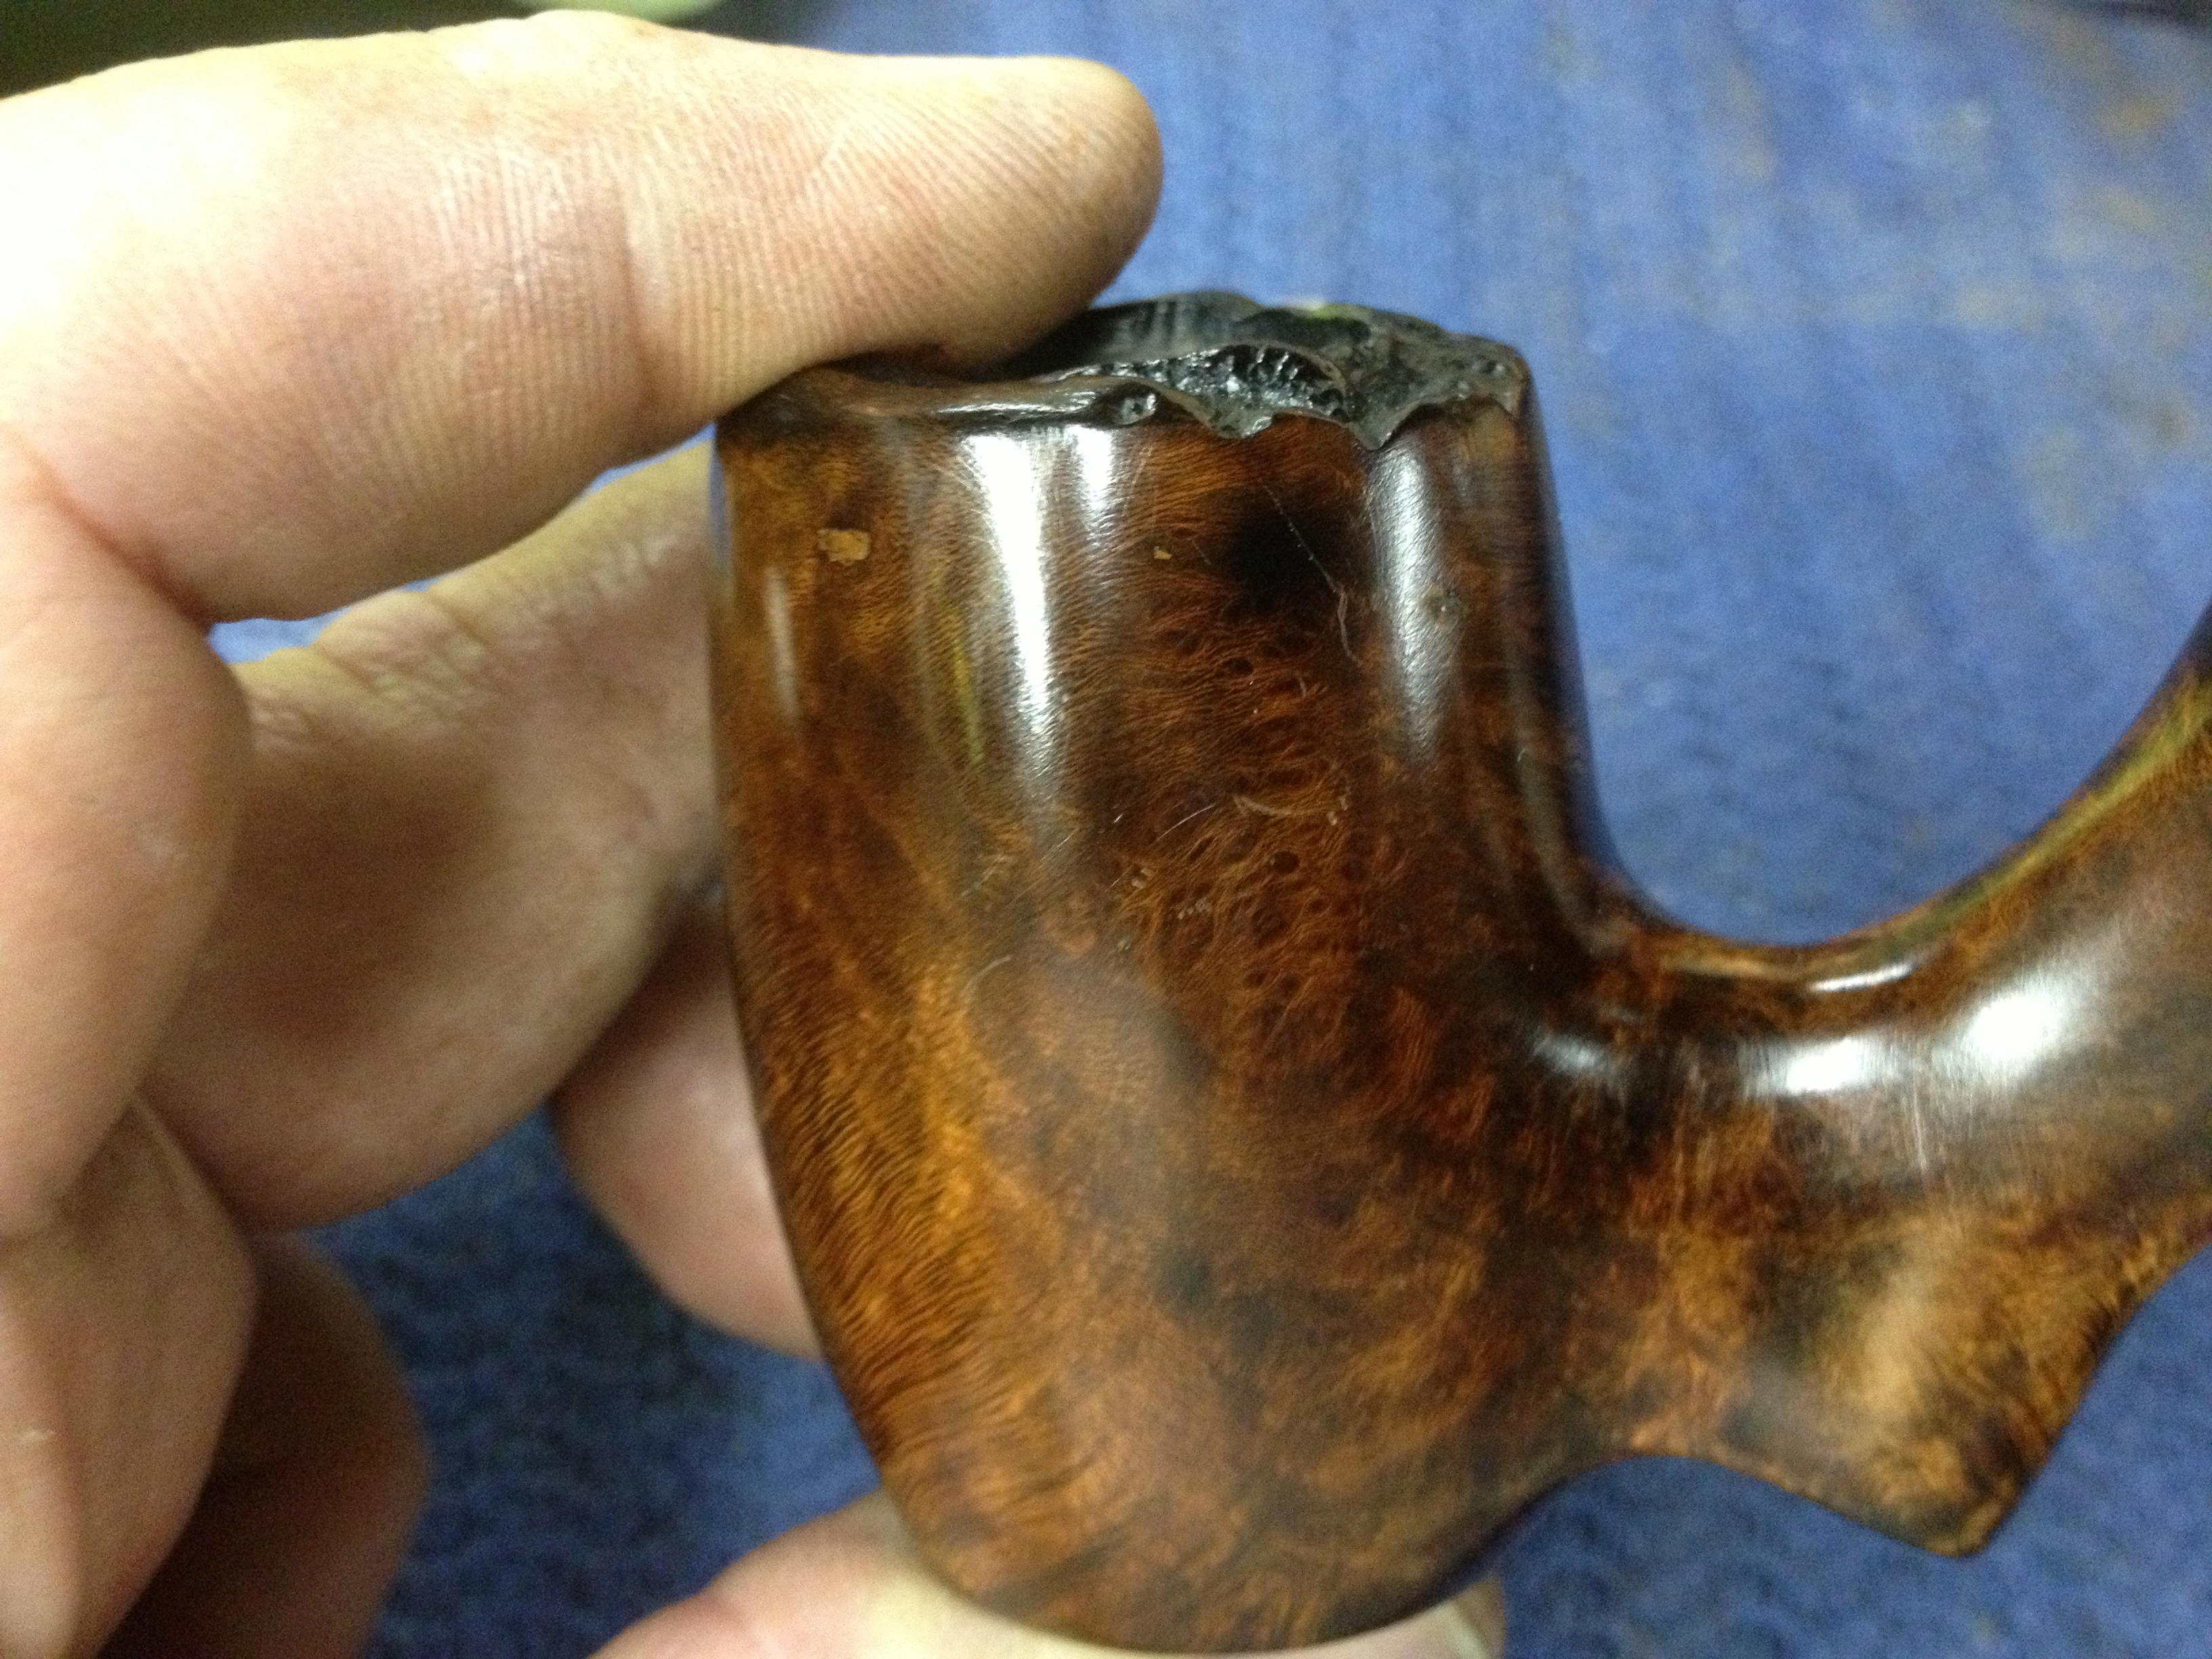
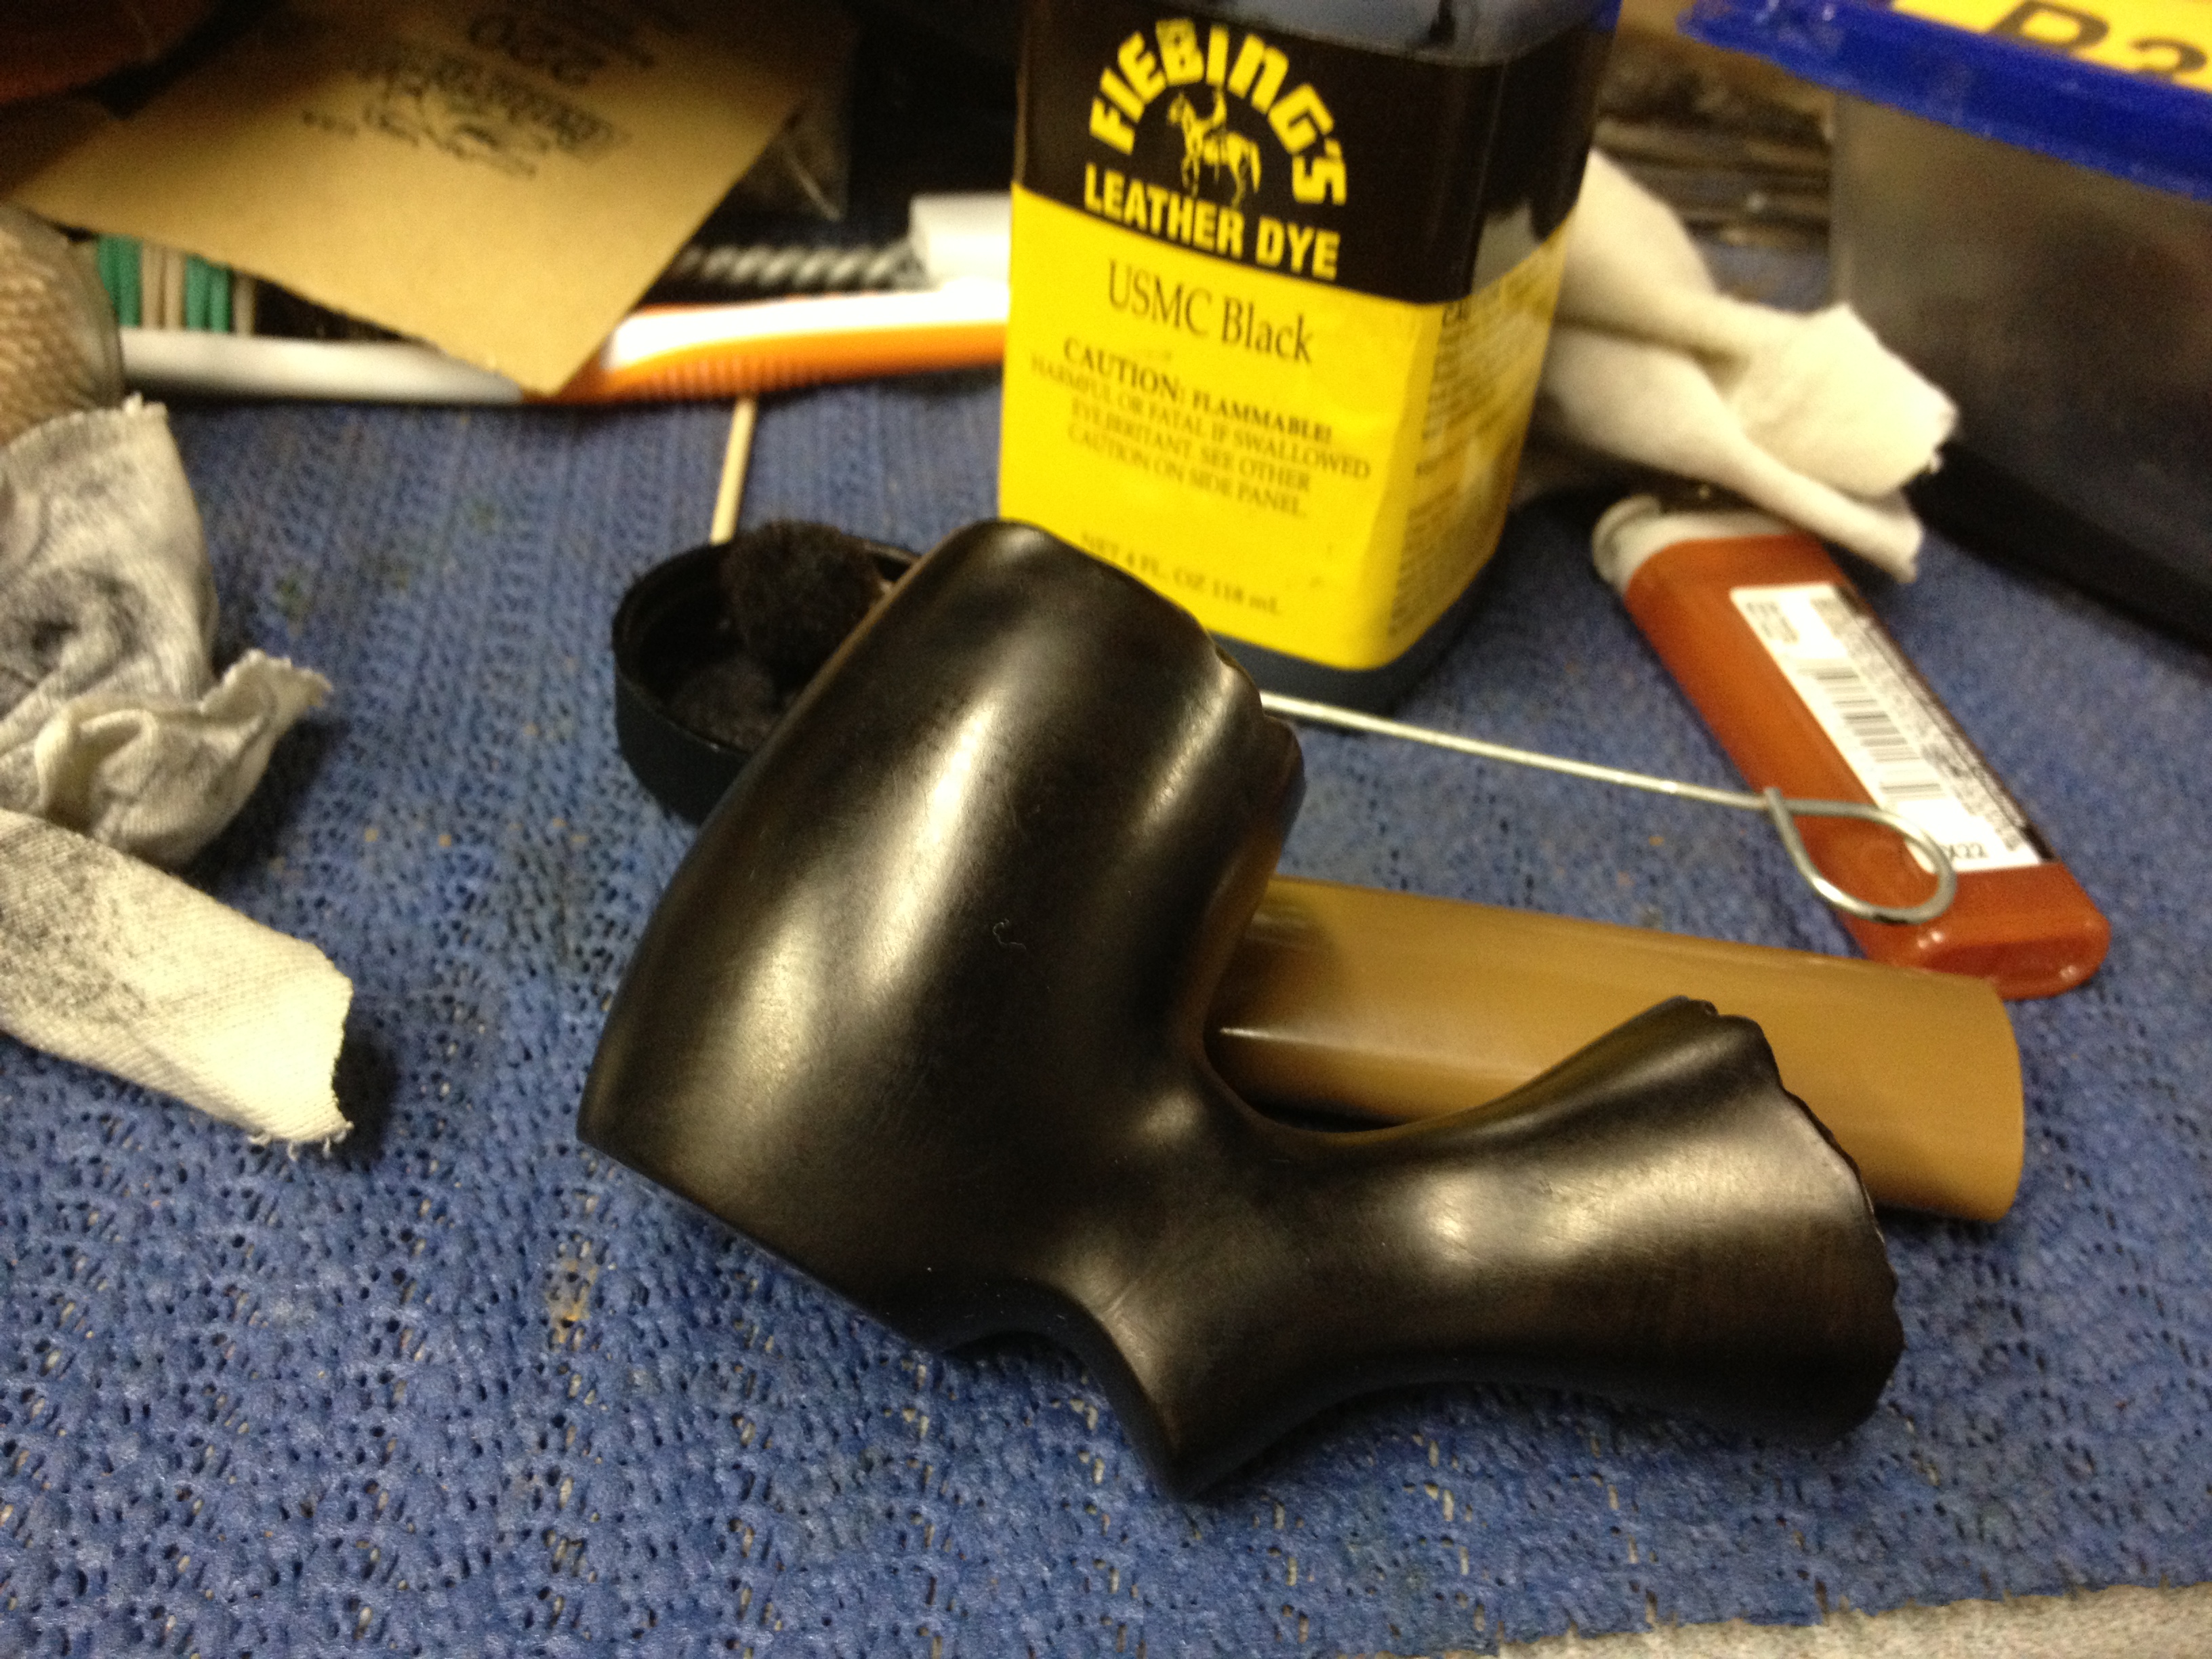
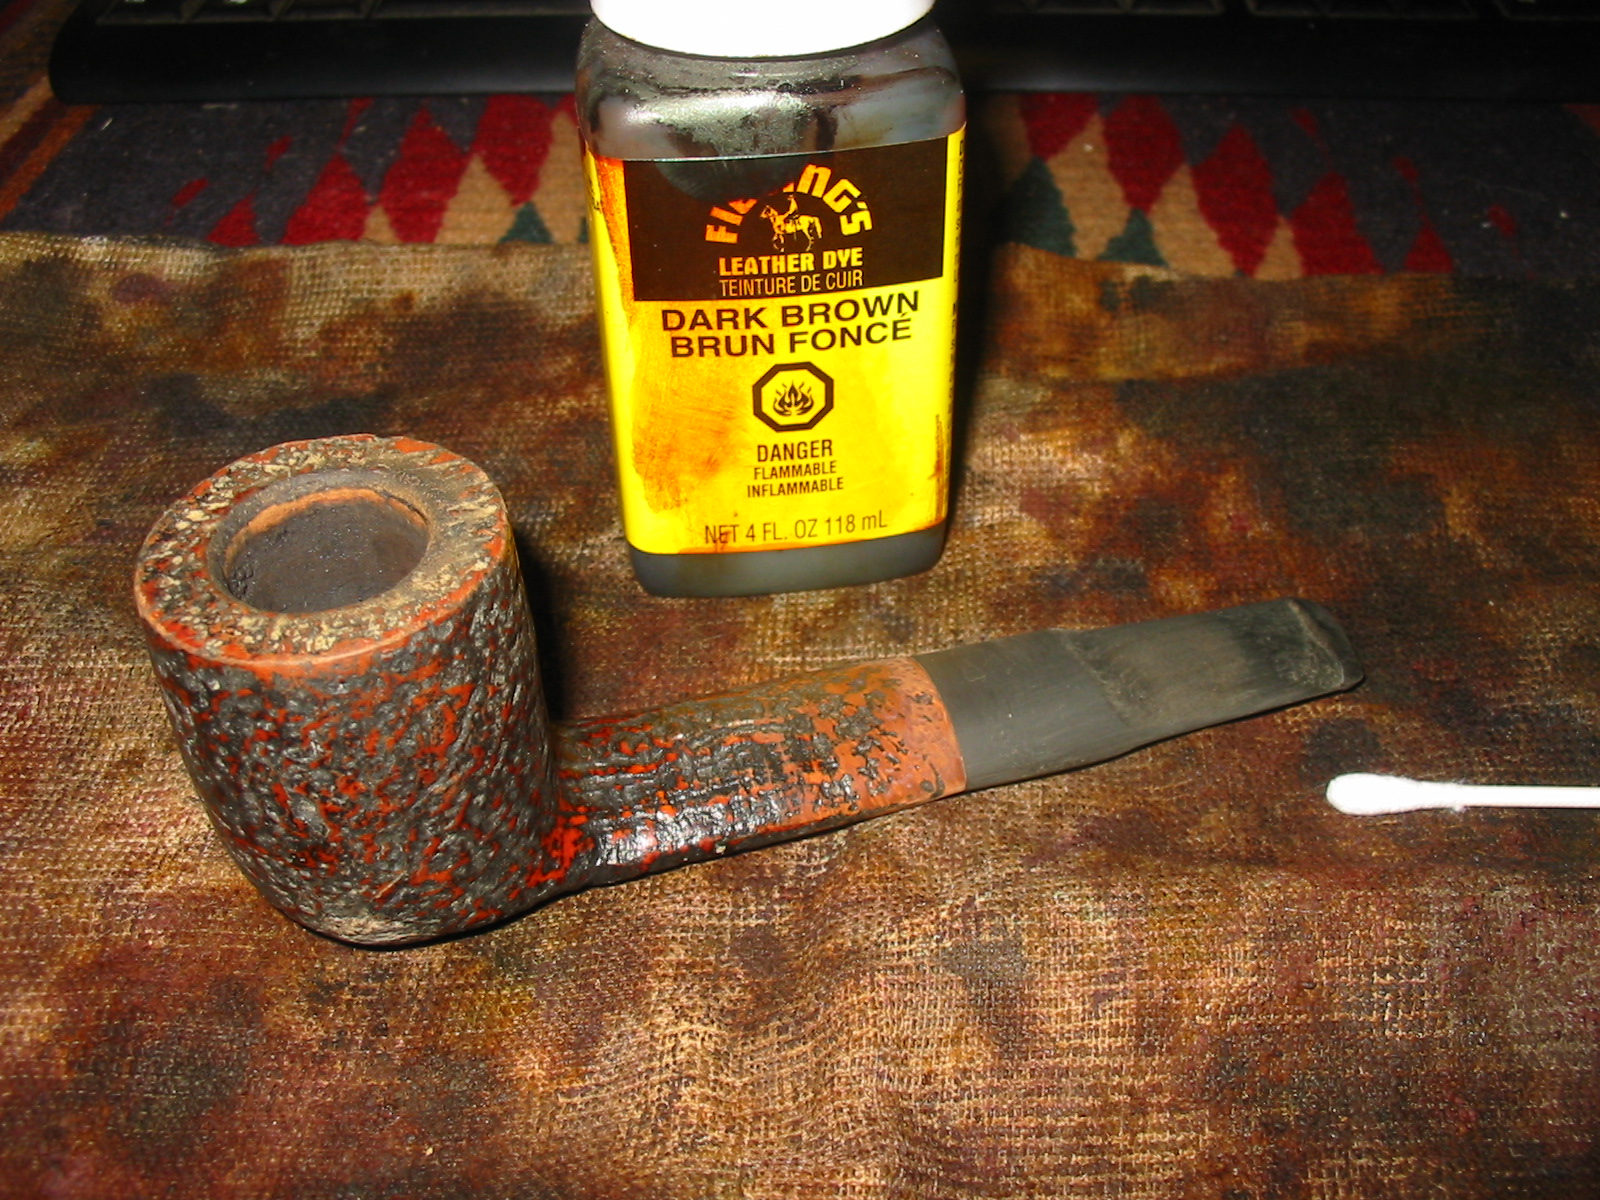
I needed another bit of encouragement at this point so I decided to stain the pipe with a dark brown aniline stain cut 2:1 with isopropyl alcohol. I applied the stain, flamed it and then buffed it on with Tripoli and White Diamond (photos 1-4 below). The brown did a fair job of coverage but I would need to give it a second coat of stain using a oxblood colour to do some blending with the dark areas on the bowl.

IMG_1083

IMG_1084

IMG_1085

IMG_1086

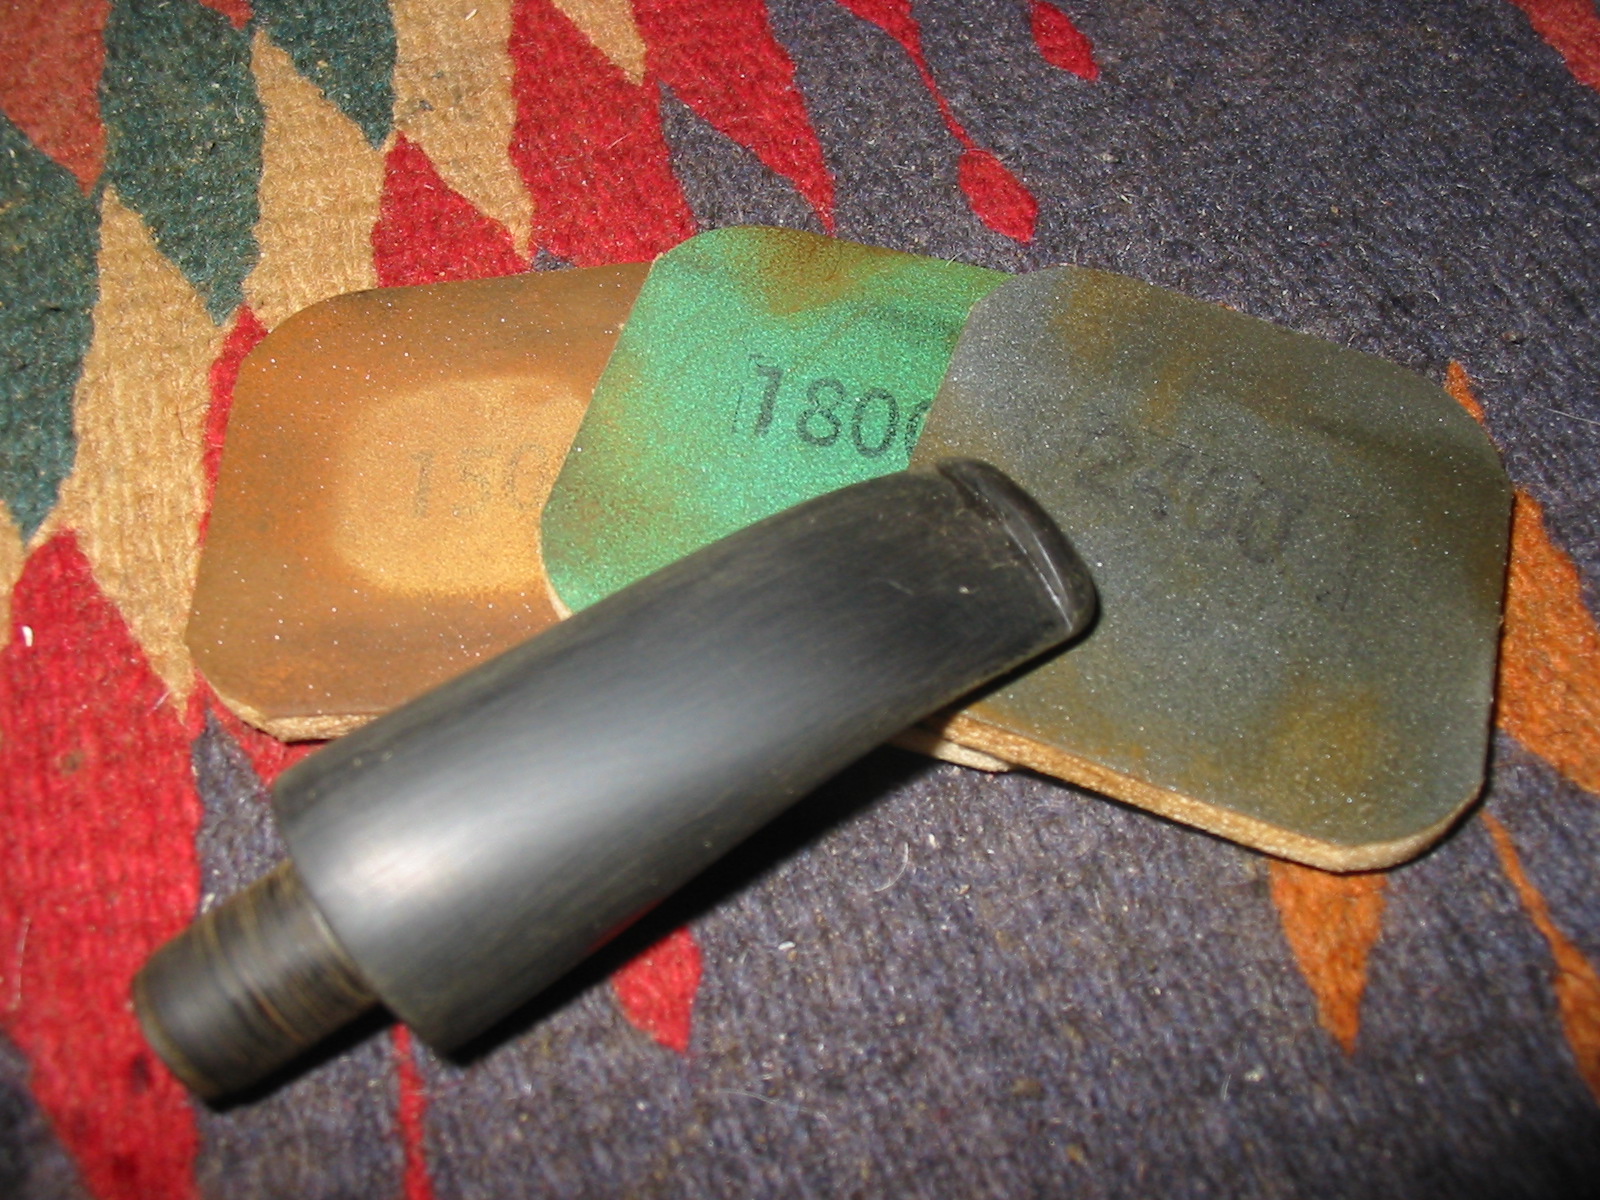
I worked on the stem with fine grit sanding sponges and 1500-2400 grit micromesh sanding pads. There were some minor tooth dents that still showed up so I passed over them with a Bic lighter and was able to raise them. More sanding was needed and I repeated the sanding described above.

IMG_1079

IMG_1080

IMG_1081

IMG_1082

Once the bowl dried out it still smelled so I decided to repeat the salt and alcohol treatment a third time. I filled the bowl with salt and isopropyl and set it aside over night (photo 1 below). In the morning the salt was little lighter brown this time (photos 2-3 below). I dumped the salt out and cleaned the bowl and shank again. This time the cotton swabs came out fairly clean. I flamed the inside of the bowl. Once the bowl dried out it still smelled so I decided to repeat the salt and alcohol treatment again. I filled the bowl with salt and isopropyl and set it aside over night. In the morning the salt was once again a dark brown. I dumped the salt out and cleaned the bowl and shank again. This time the cotton swabs came out fairly clean. I flamed the inside of the bowl. Though the inside of the bowl and the shank was very clean the musty smell still remained, though less prevalent. This was one stubborn pipe bowl to clean.

IMG_1087

IMG_1088

IMG_1089

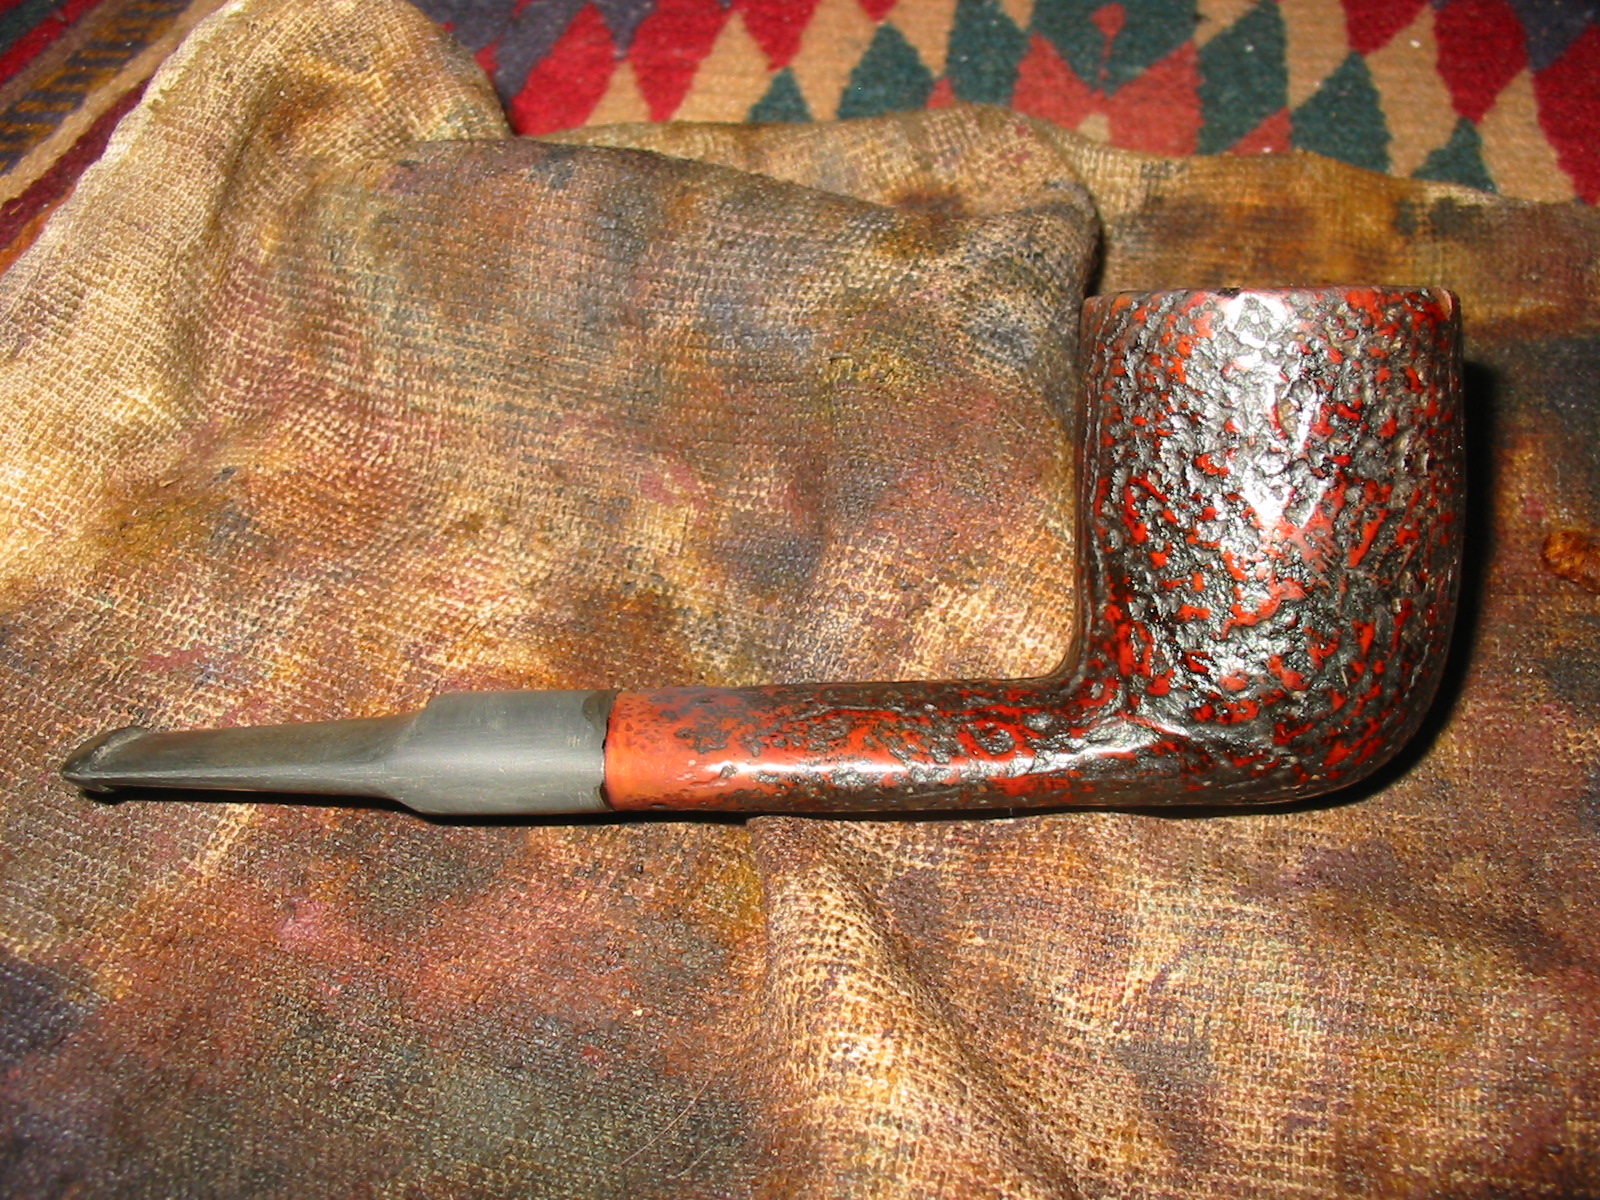
While the inside of the bowl dried out I decided to restain the bowl. For the second/top coat I used a oxblood stain. I applied it and wiped it off (first photo below). The coverage this time was much better. The dark reddish stain blended well and covered the dark areas of the bowl. The finished colour is a nice older deep reddish brown look (second-fourth photos below).

IMG_1090

IMG_1091

IMG_1092

IMG_1093

I decided to sand back the inside of the bowl yet again. I used the Dremel with the sanding drum a second time. When I was finished the inside of the bowl was very clean and fresh looking. The smell was still there. I stuffed the bowl with cotton bolls and then used an ear syringe to fill it with white vinegar and set it in the ice-cube tray to let it work. I have used that in the past to remove stubborn ghosts so I thought I would give it a try on this one.

IMG_1094

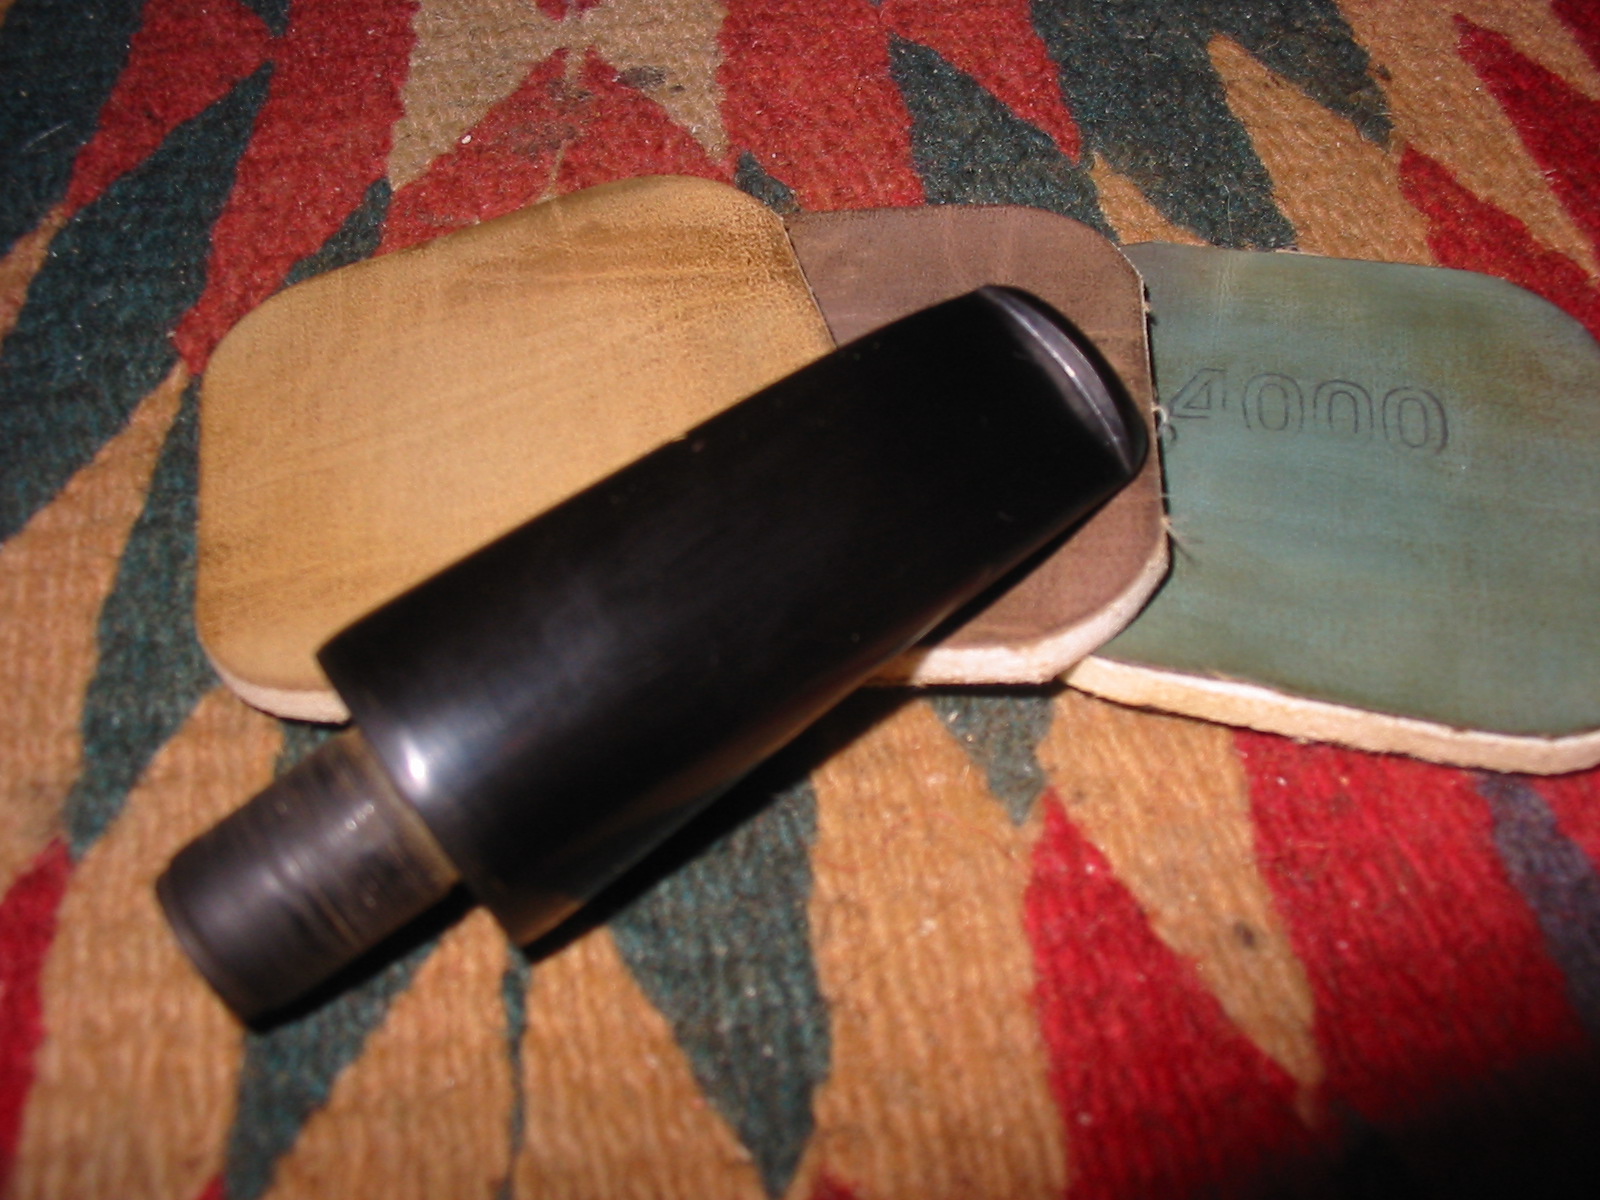
While the bowl soaked I worked on the stem with the remaining grits of micromesh sanding pads – 3200-12,000 to bring back the deep shine on the stem. Sanding them with the higher grits of micromesh really gives a deep shine to the stem. It is amazing to see the difference between each of the successive grits of micromesh. I did not take photos of the steps as almost all of my refurbishing posts have shown the polishing process with the micromesh. The next two photos show the finished stem. Once the bowl is finished I will buff the bowl and stem with White Diamond and then give the whole a buff with multiple coats of carnauba wax to polish.

IMG_1141

IMG_1142

Once the vinegar had soaked in the bowl for several hours I removed the cotton boll and dried out the bowl. I then used a Dremel with a sanding drum to sand back the sides of the bowl yet again. This time I extended the diameter of the bowl to get rid of the surface area of the bowl interior. Once I was finished with the Dremel I hand sanded the bowl with 220 grit sandpaper to smooth out the small ridges left behind by the drum sanding. The last two photos in this sequence show the newly sanded bowl.

IMG_1126

IMG_1127

IMG_1119

IMG_1120

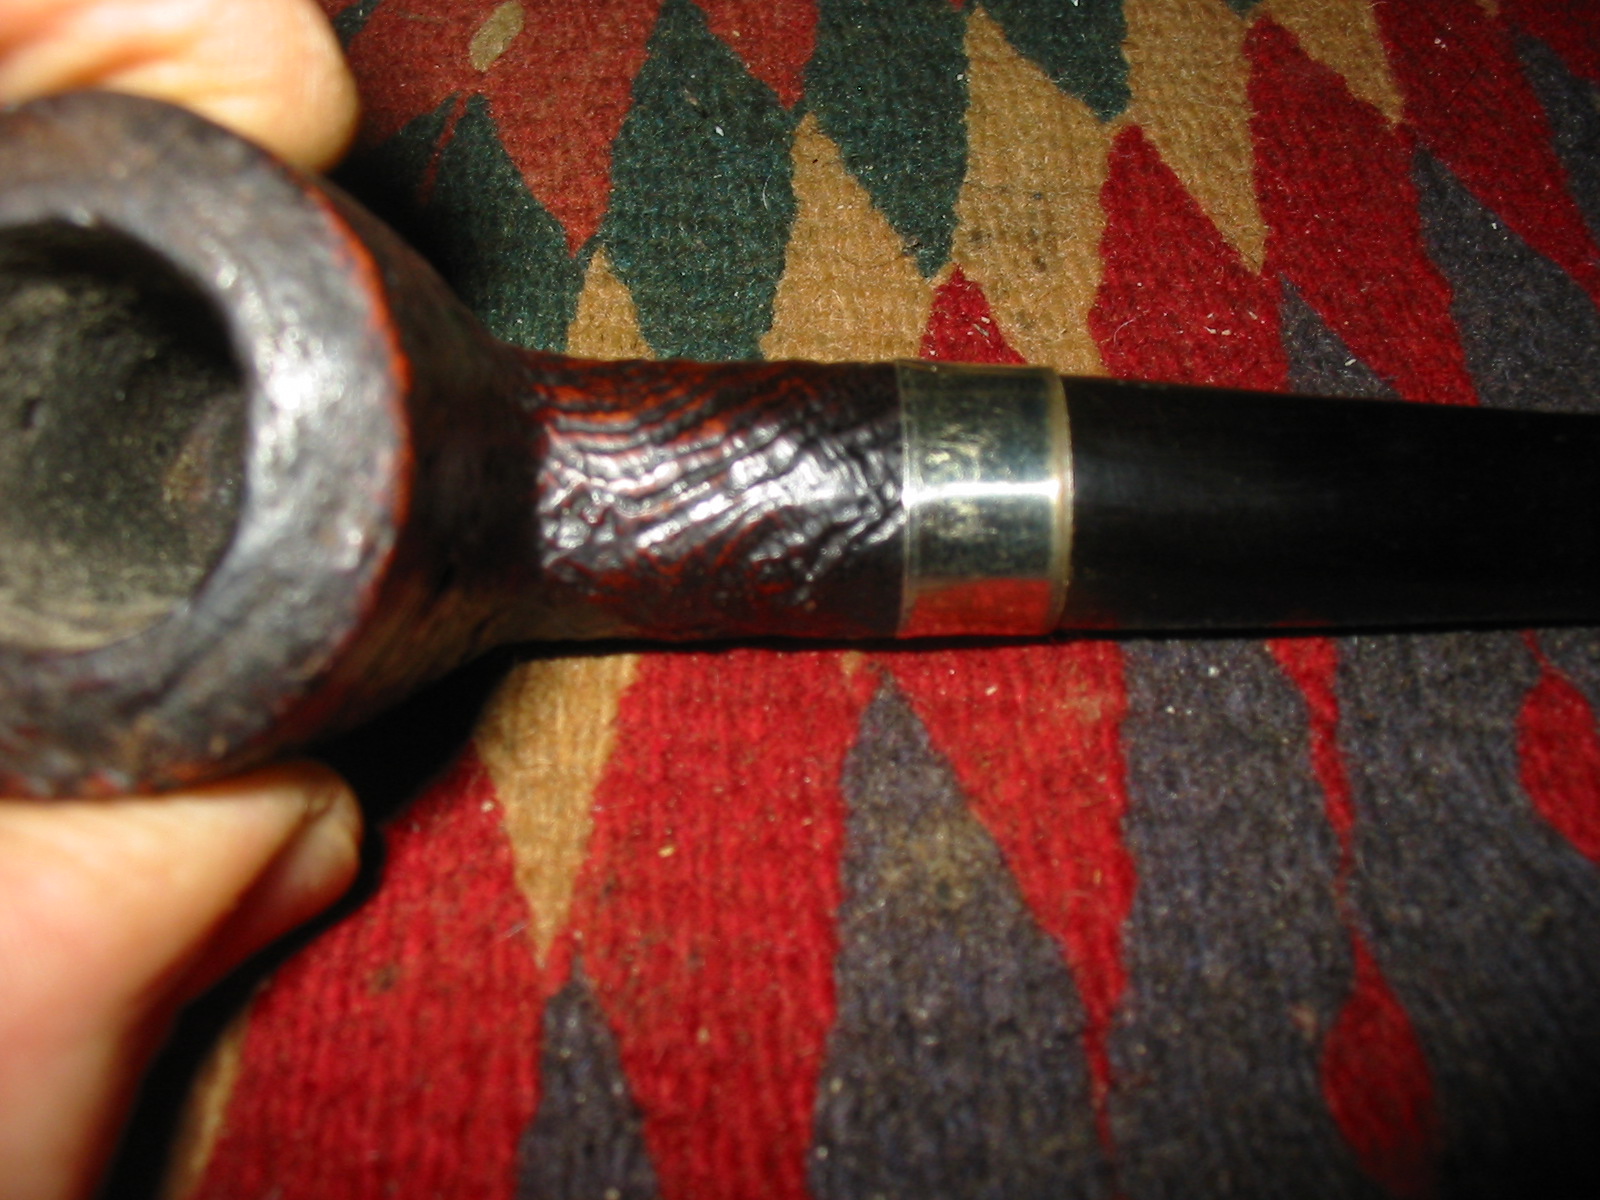
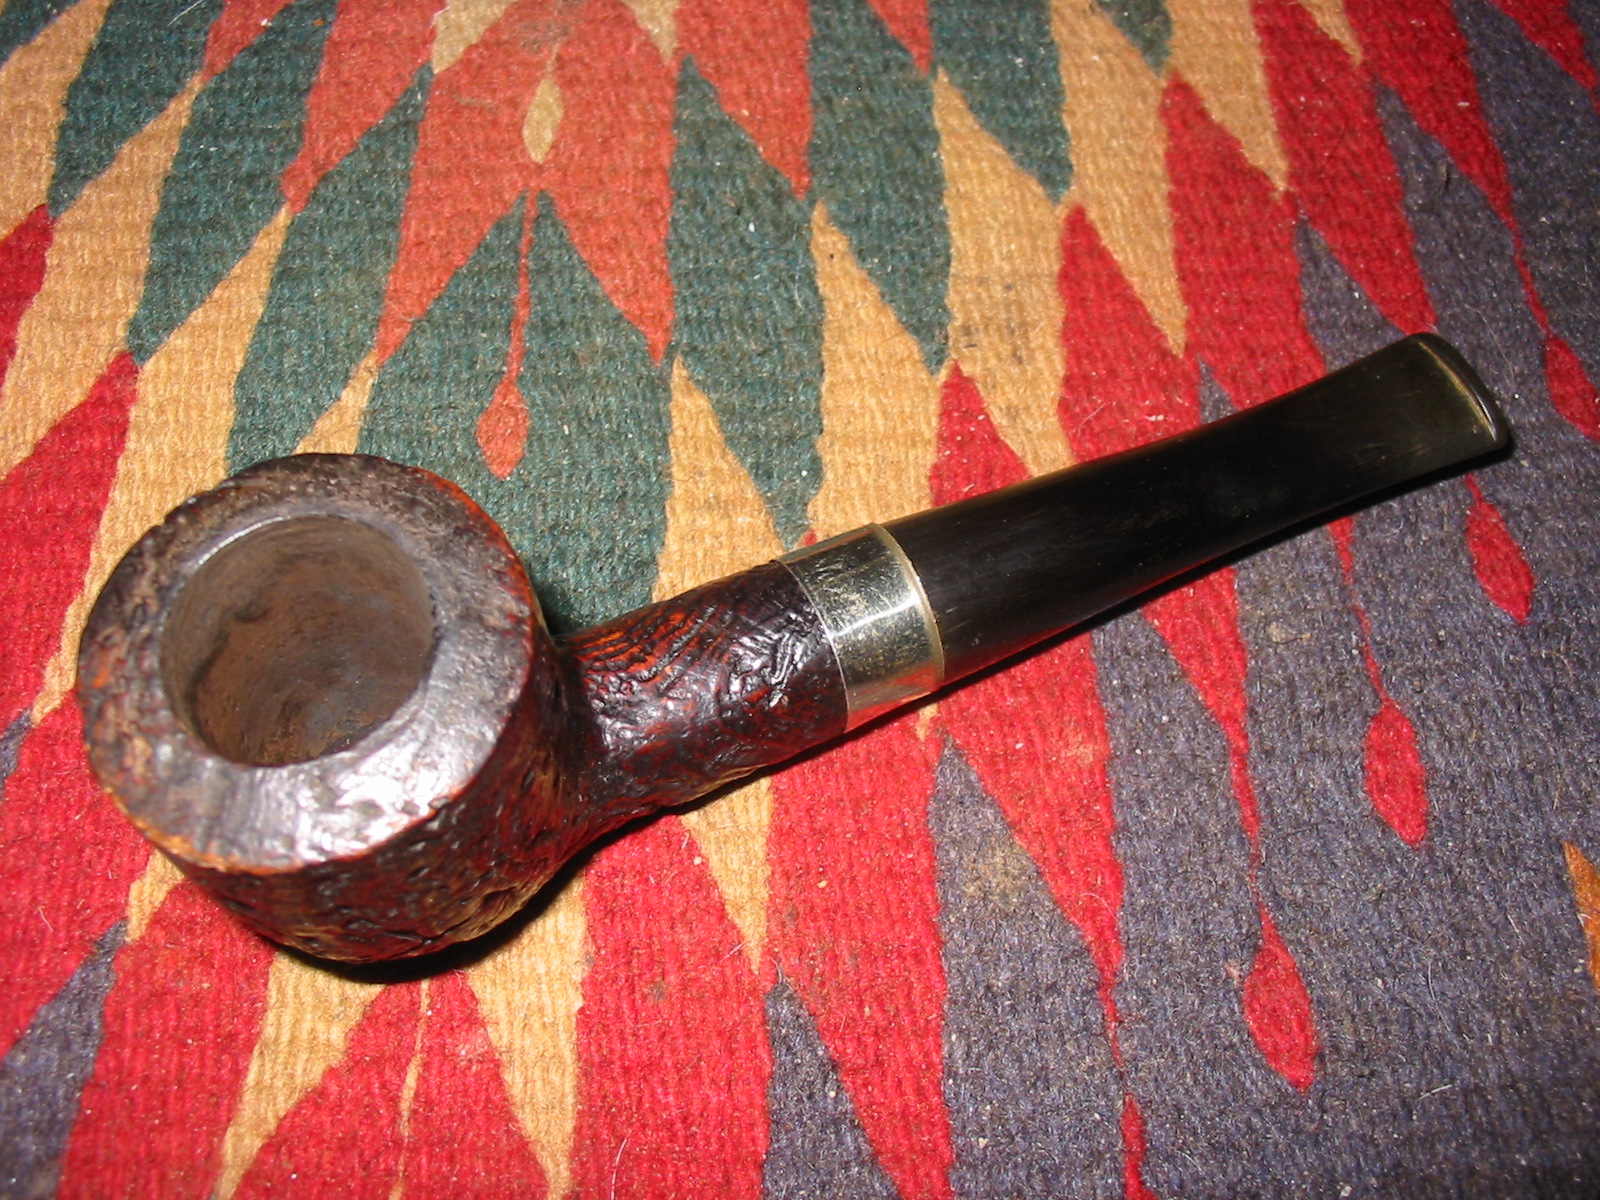
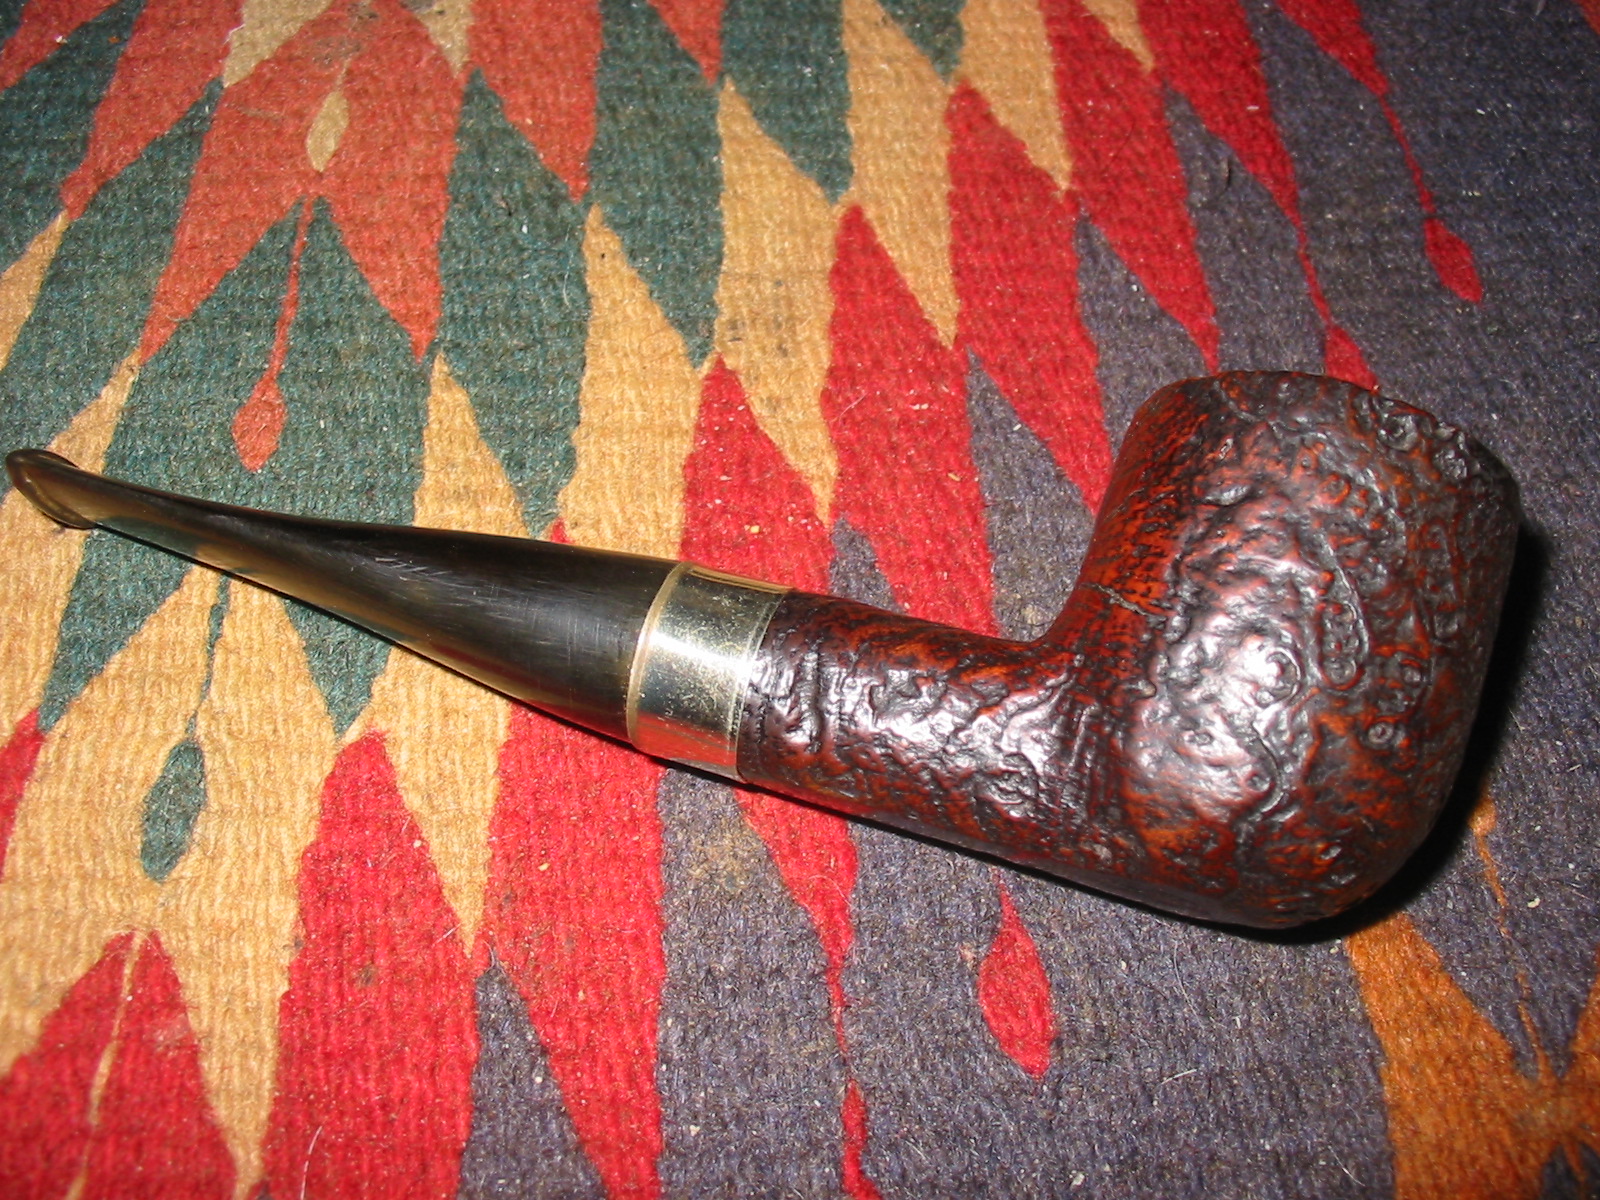
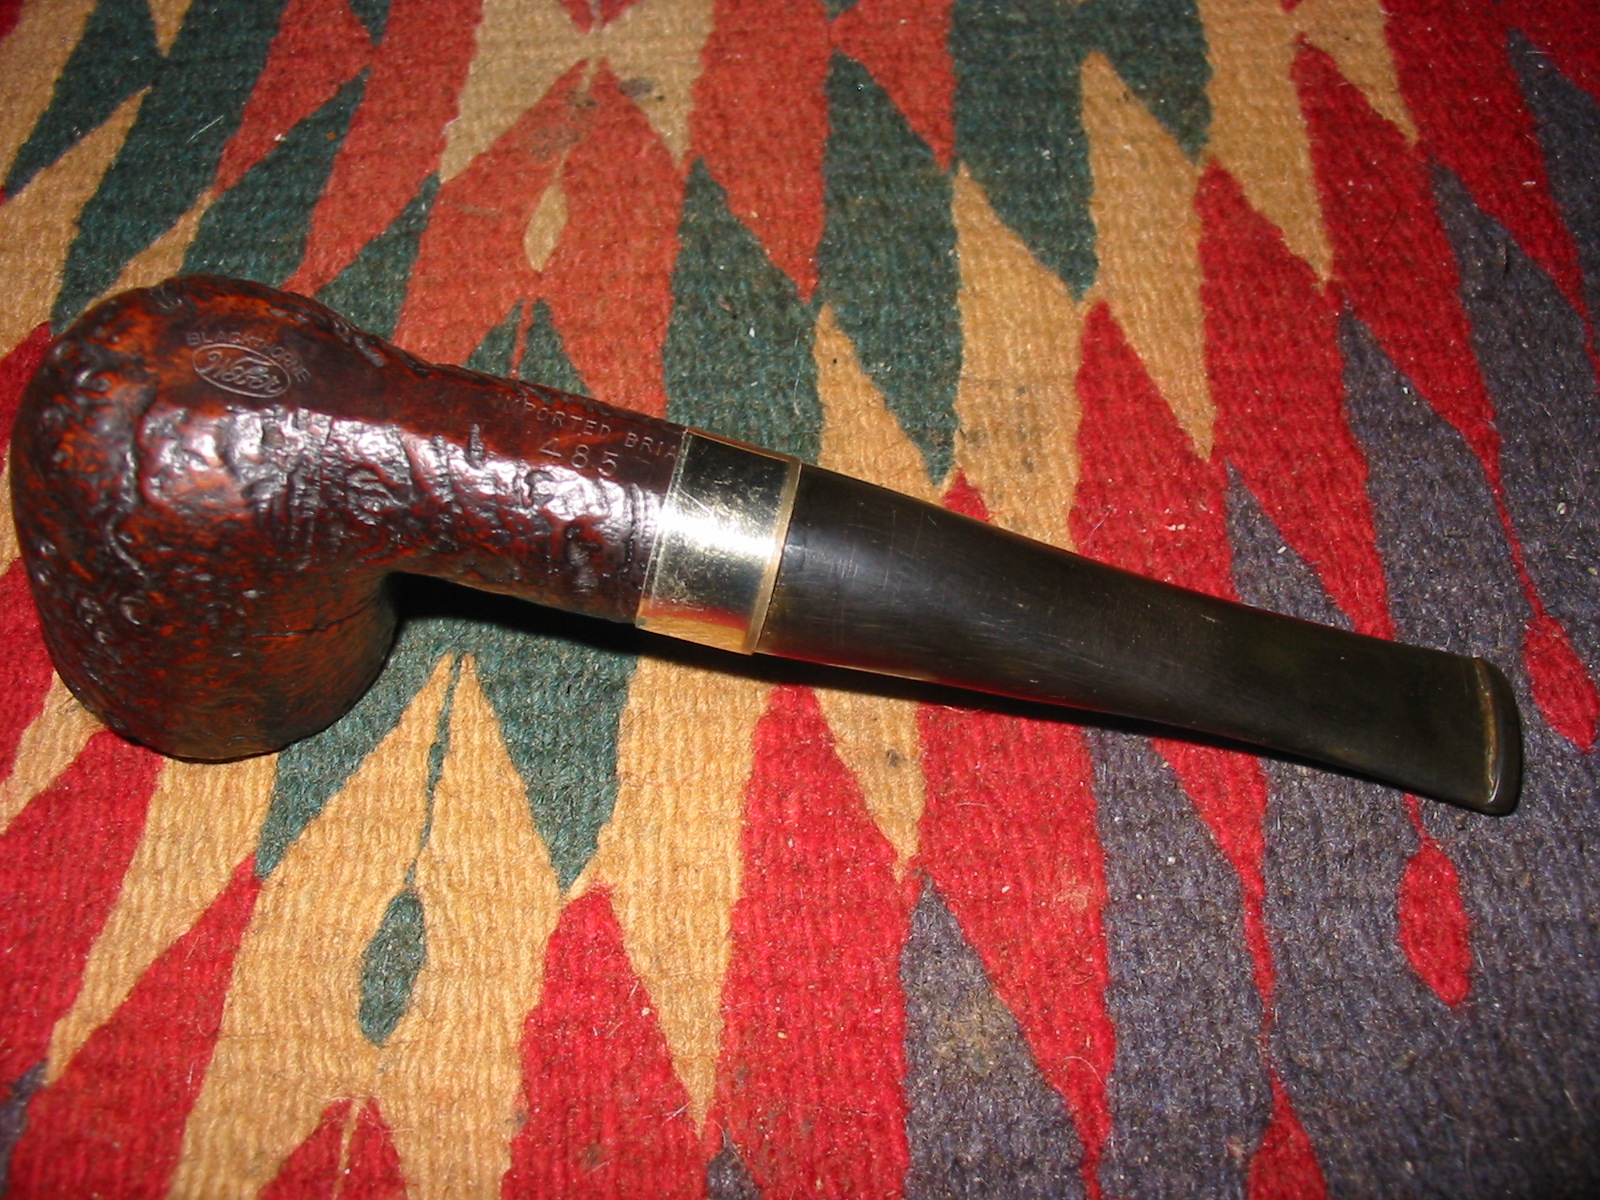
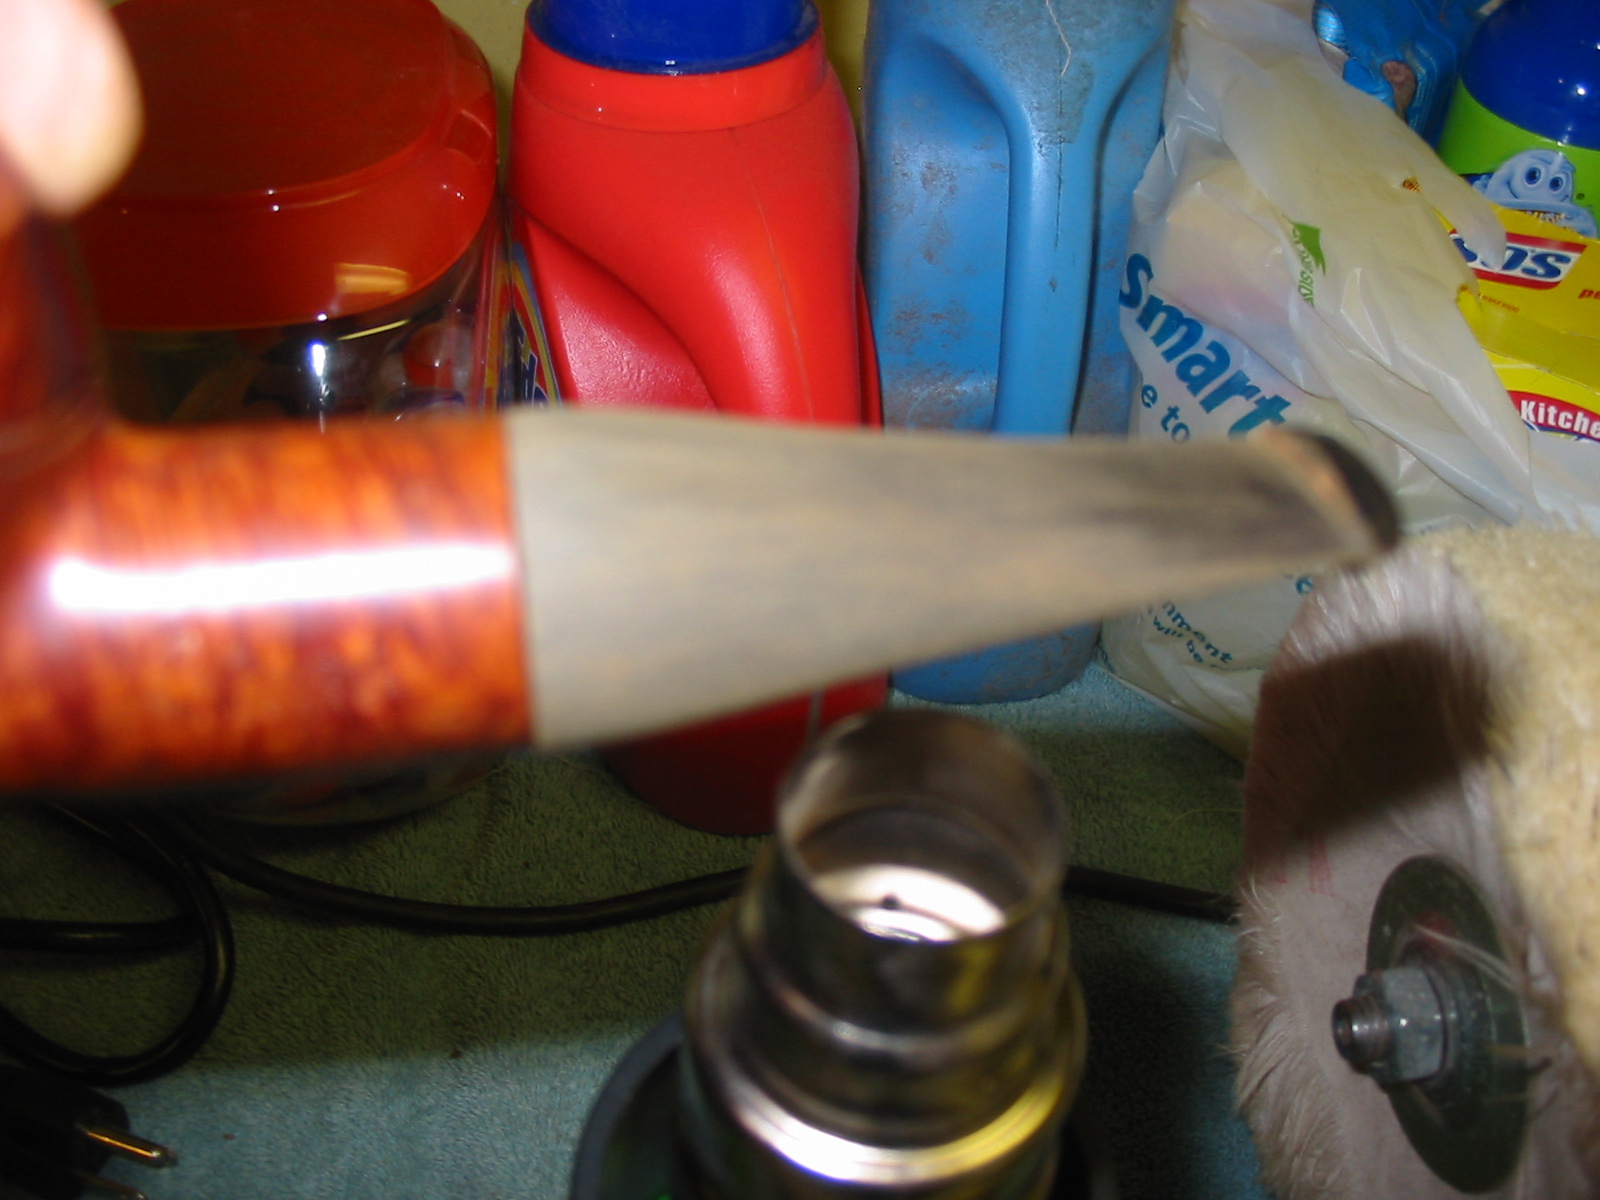
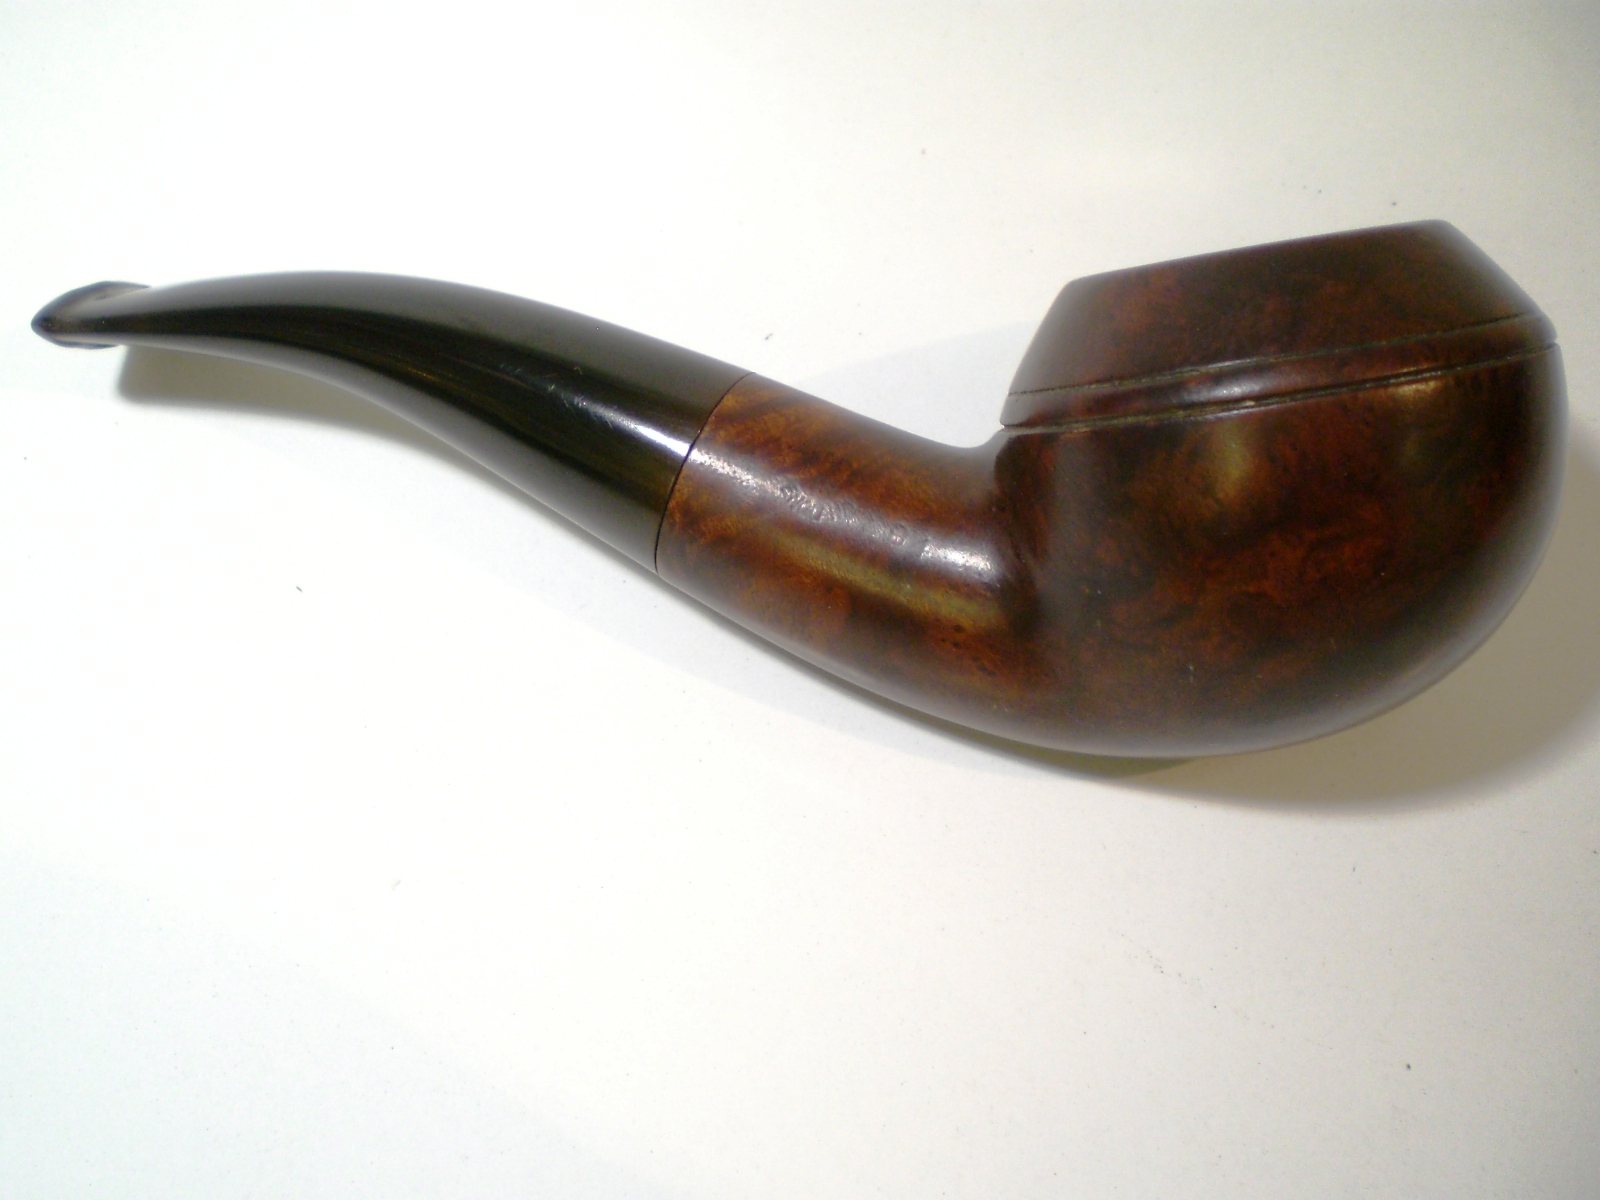
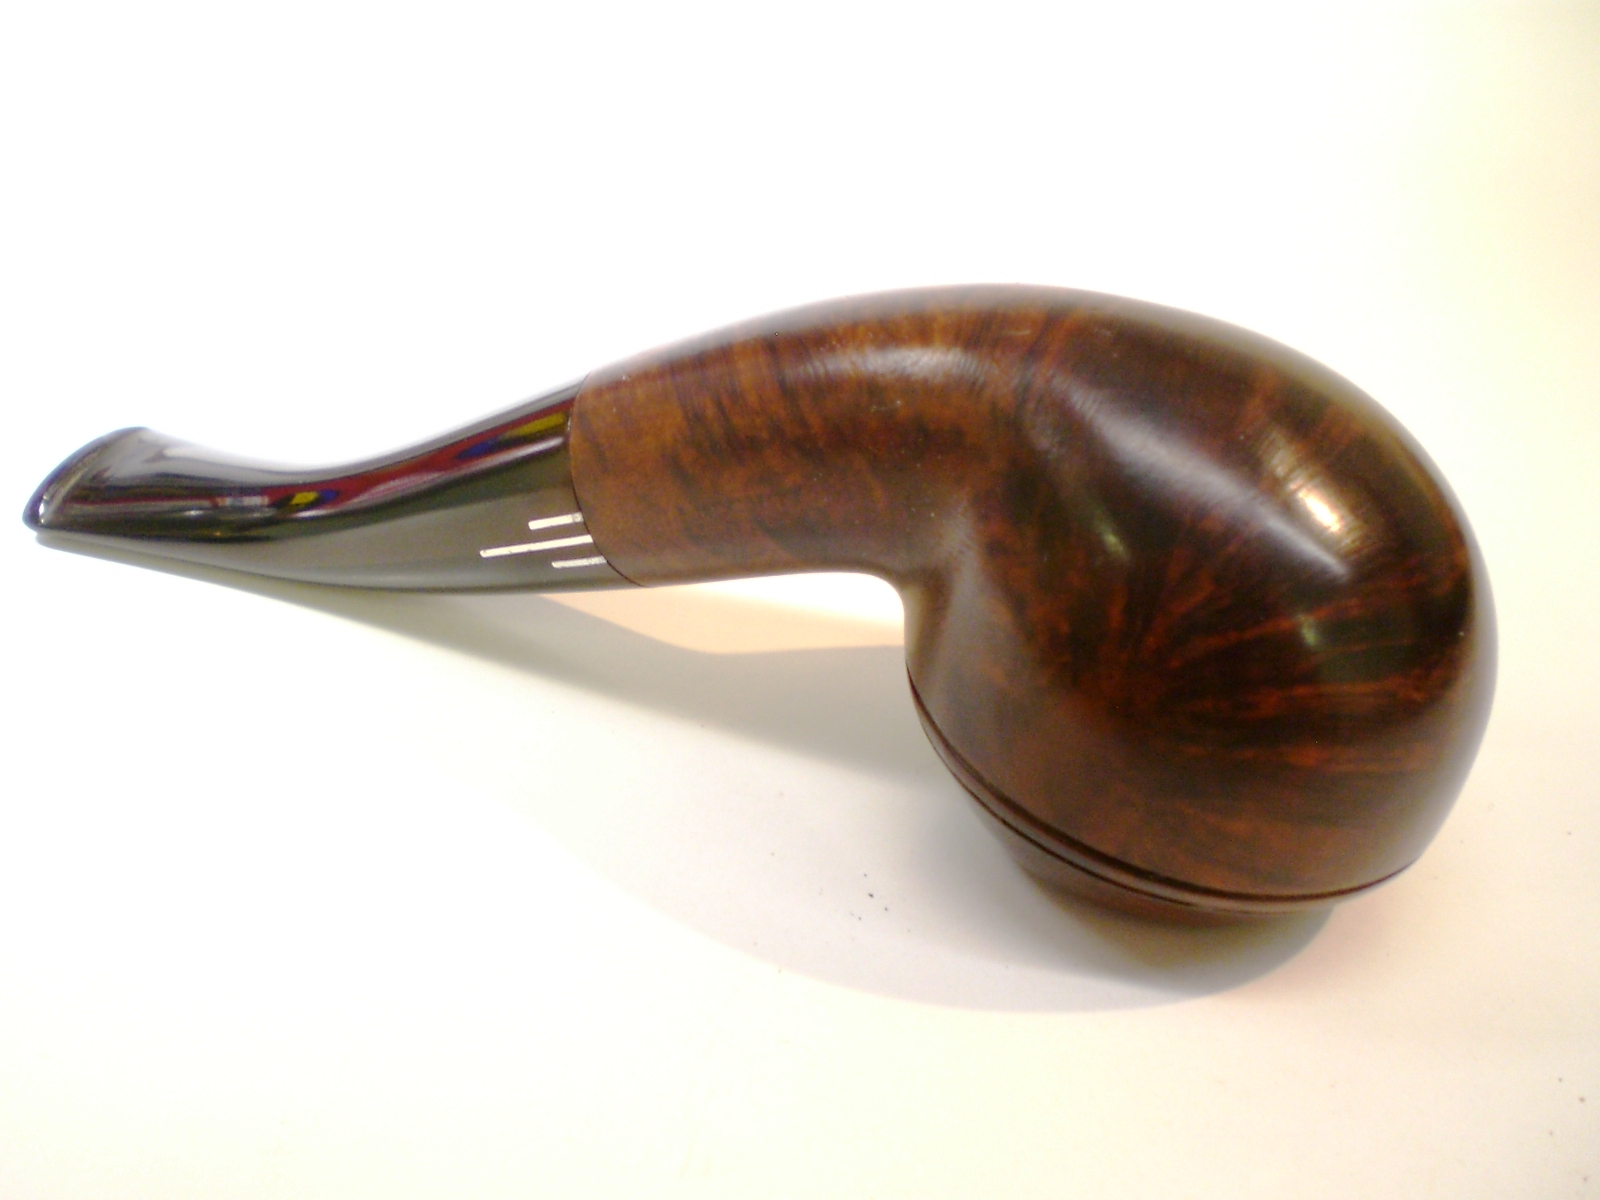
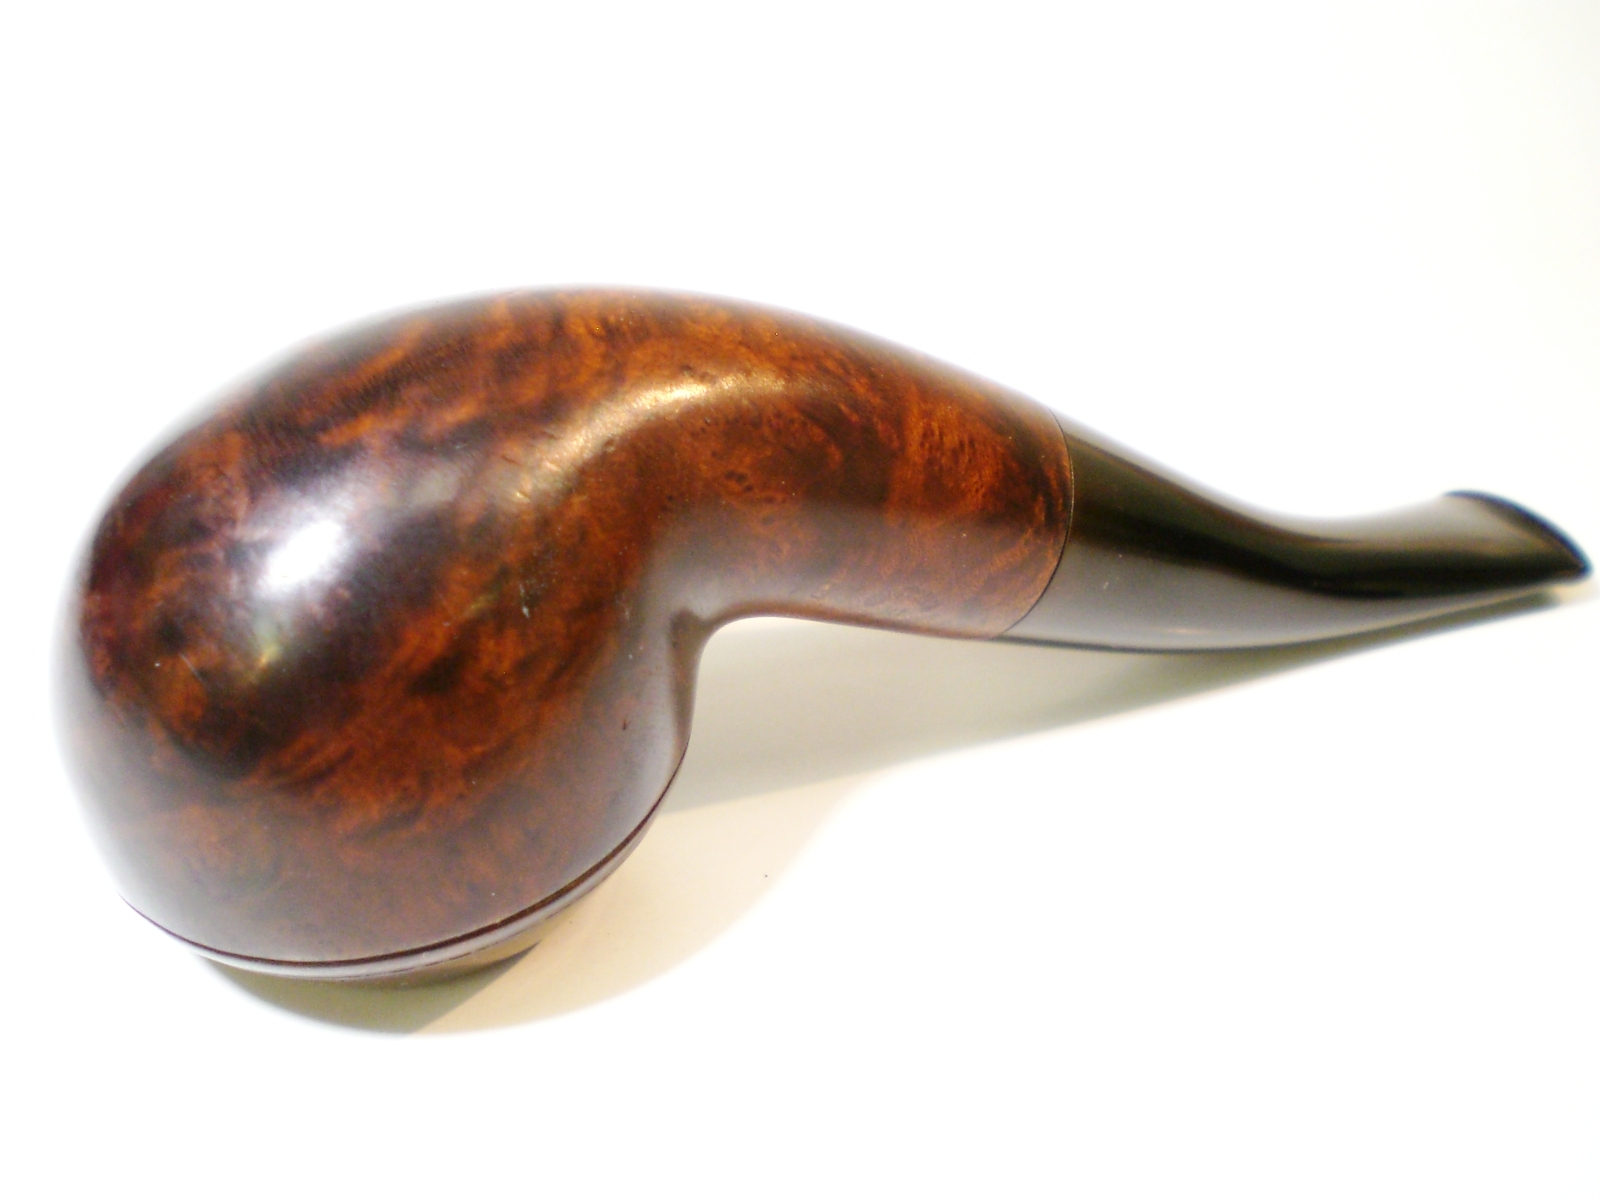
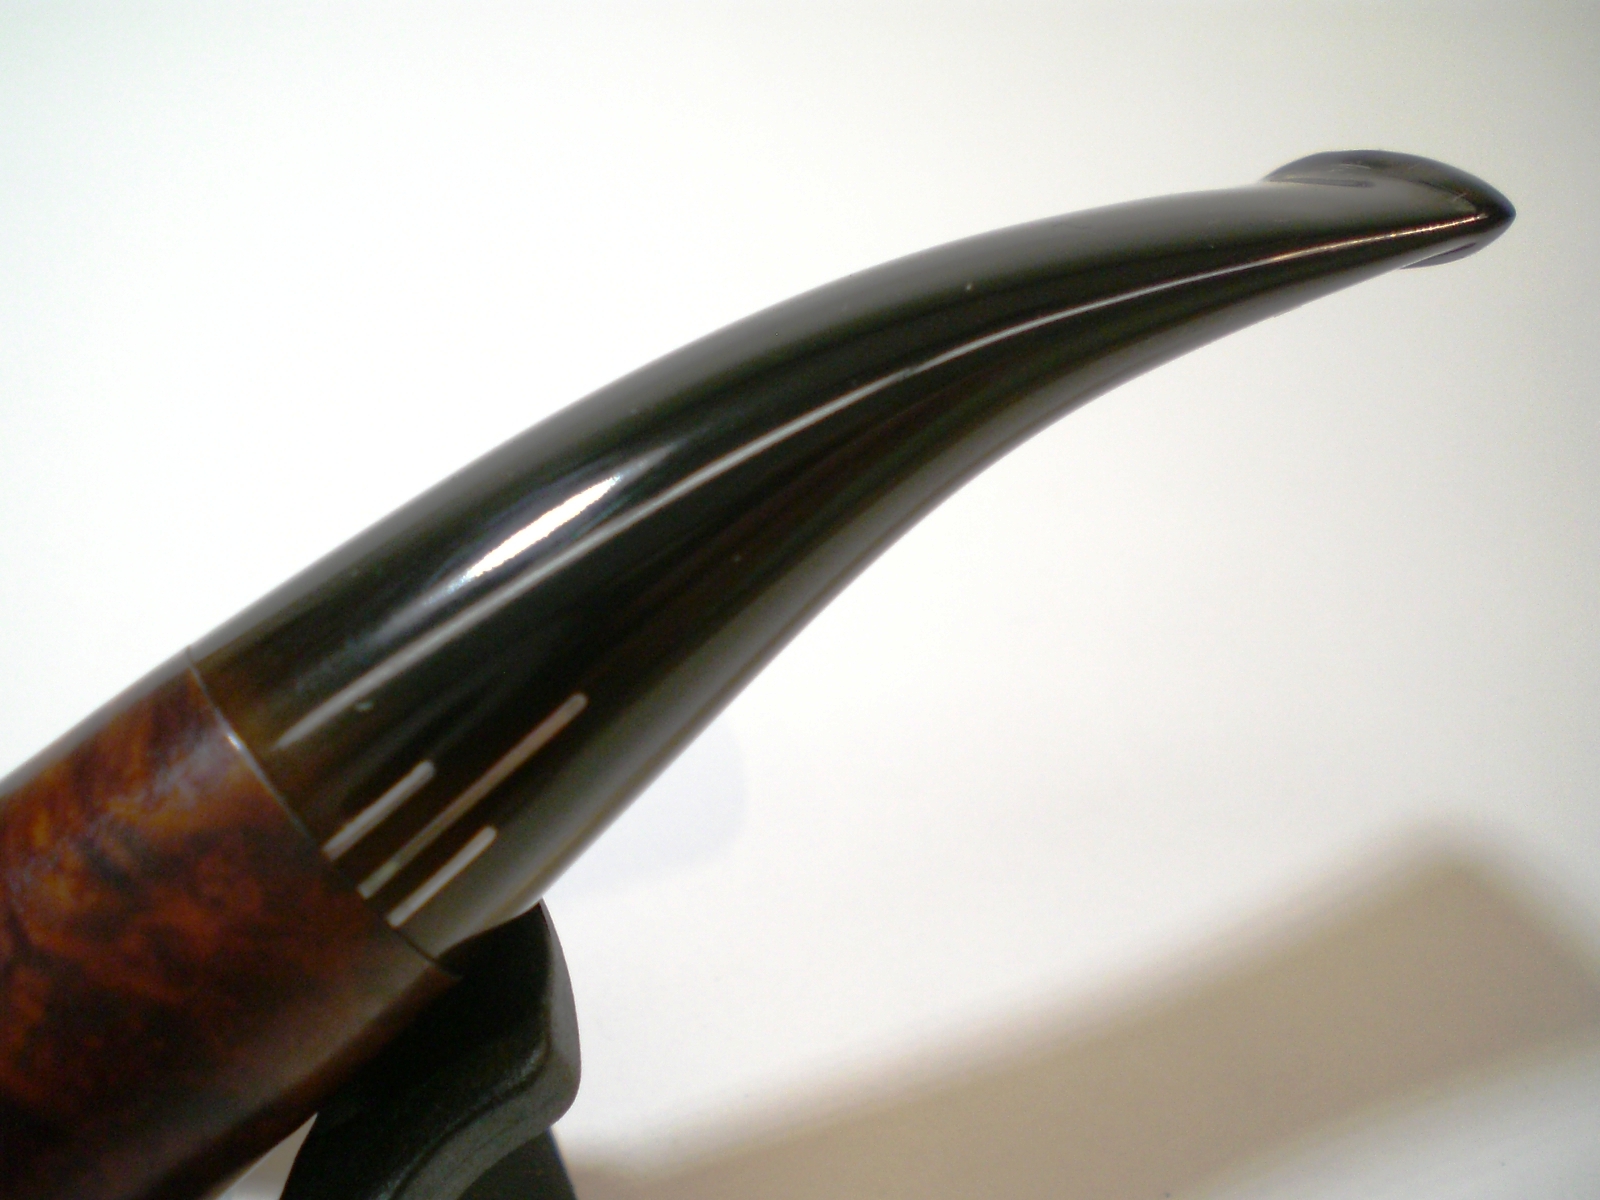
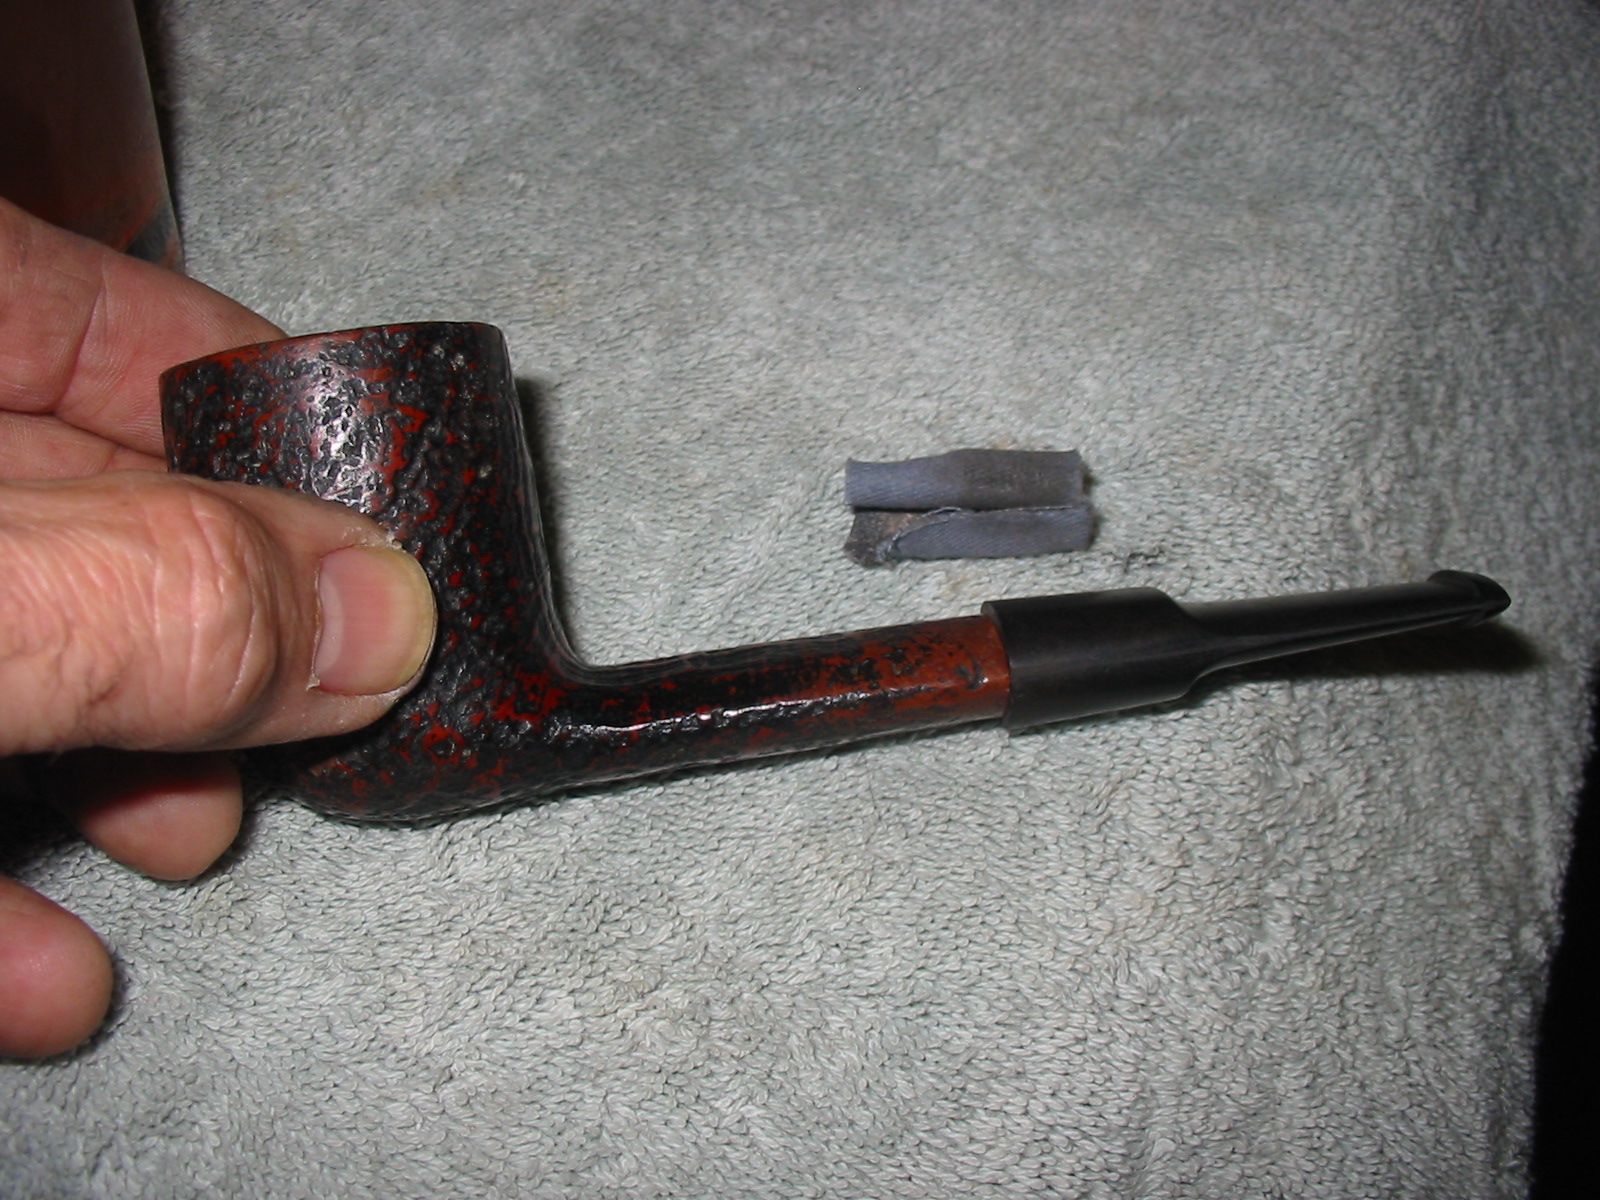
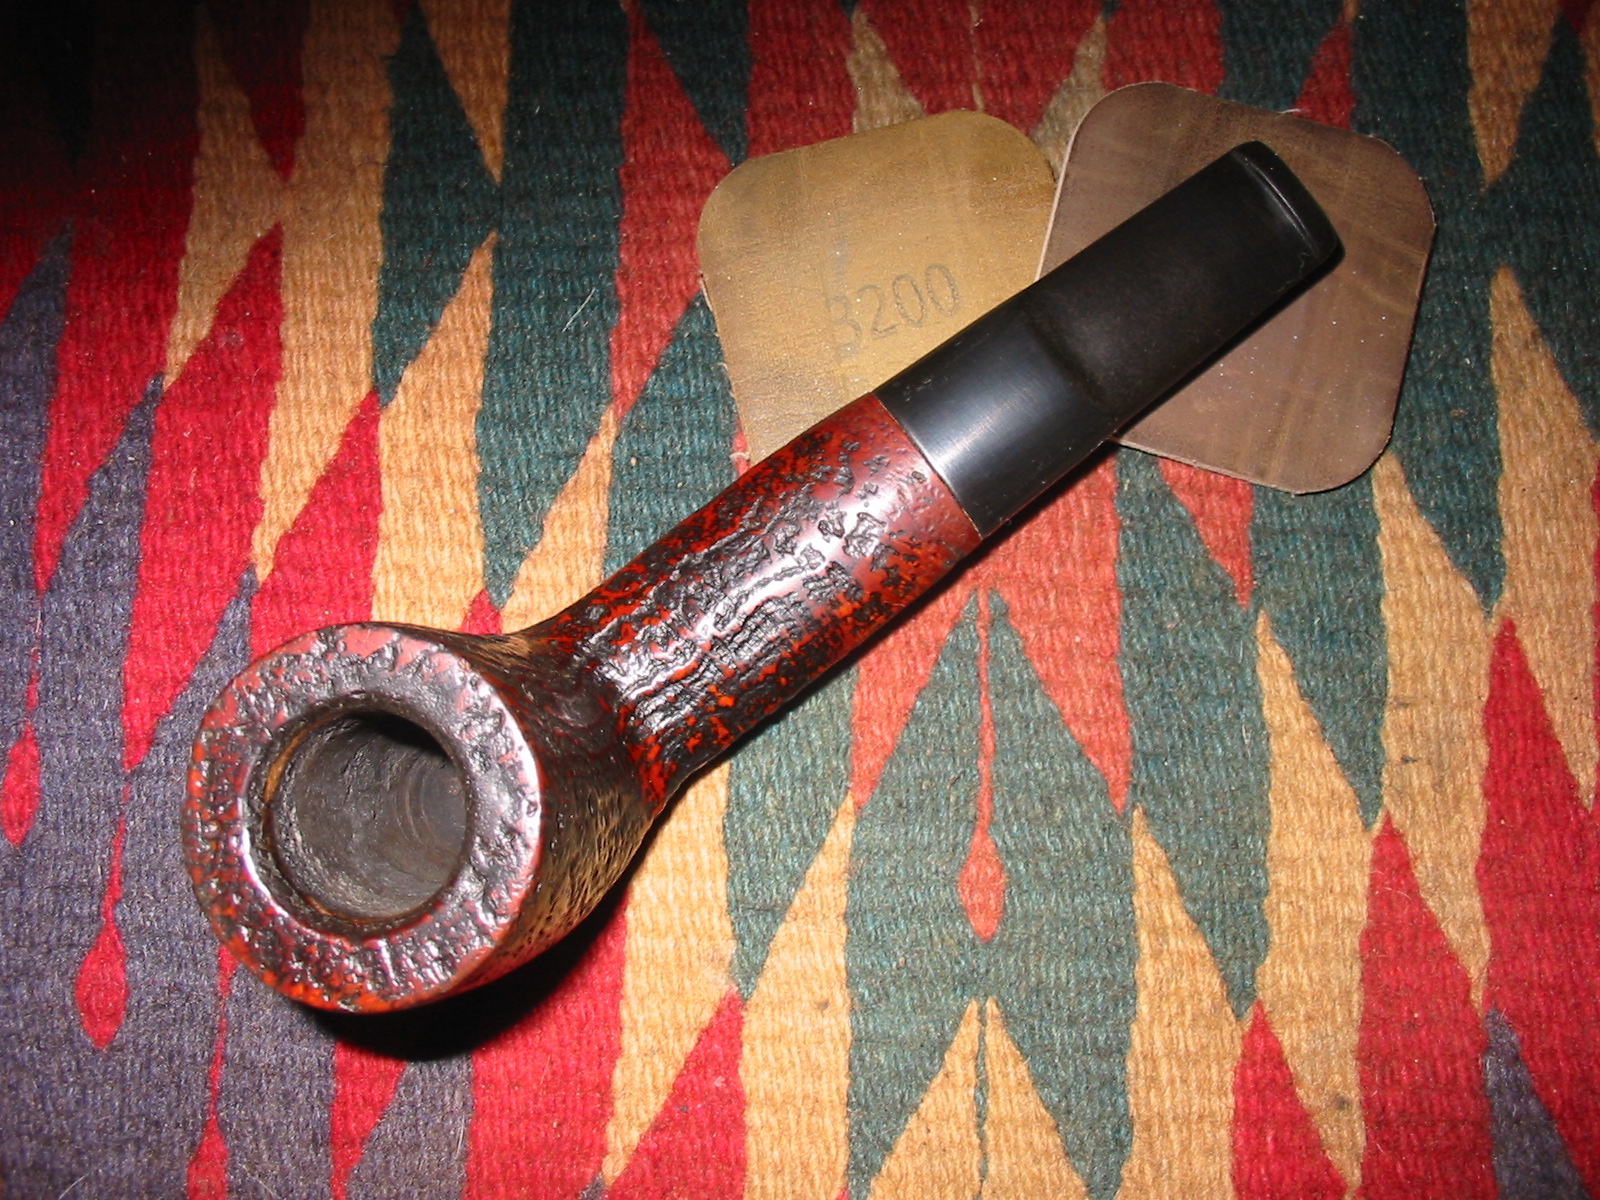
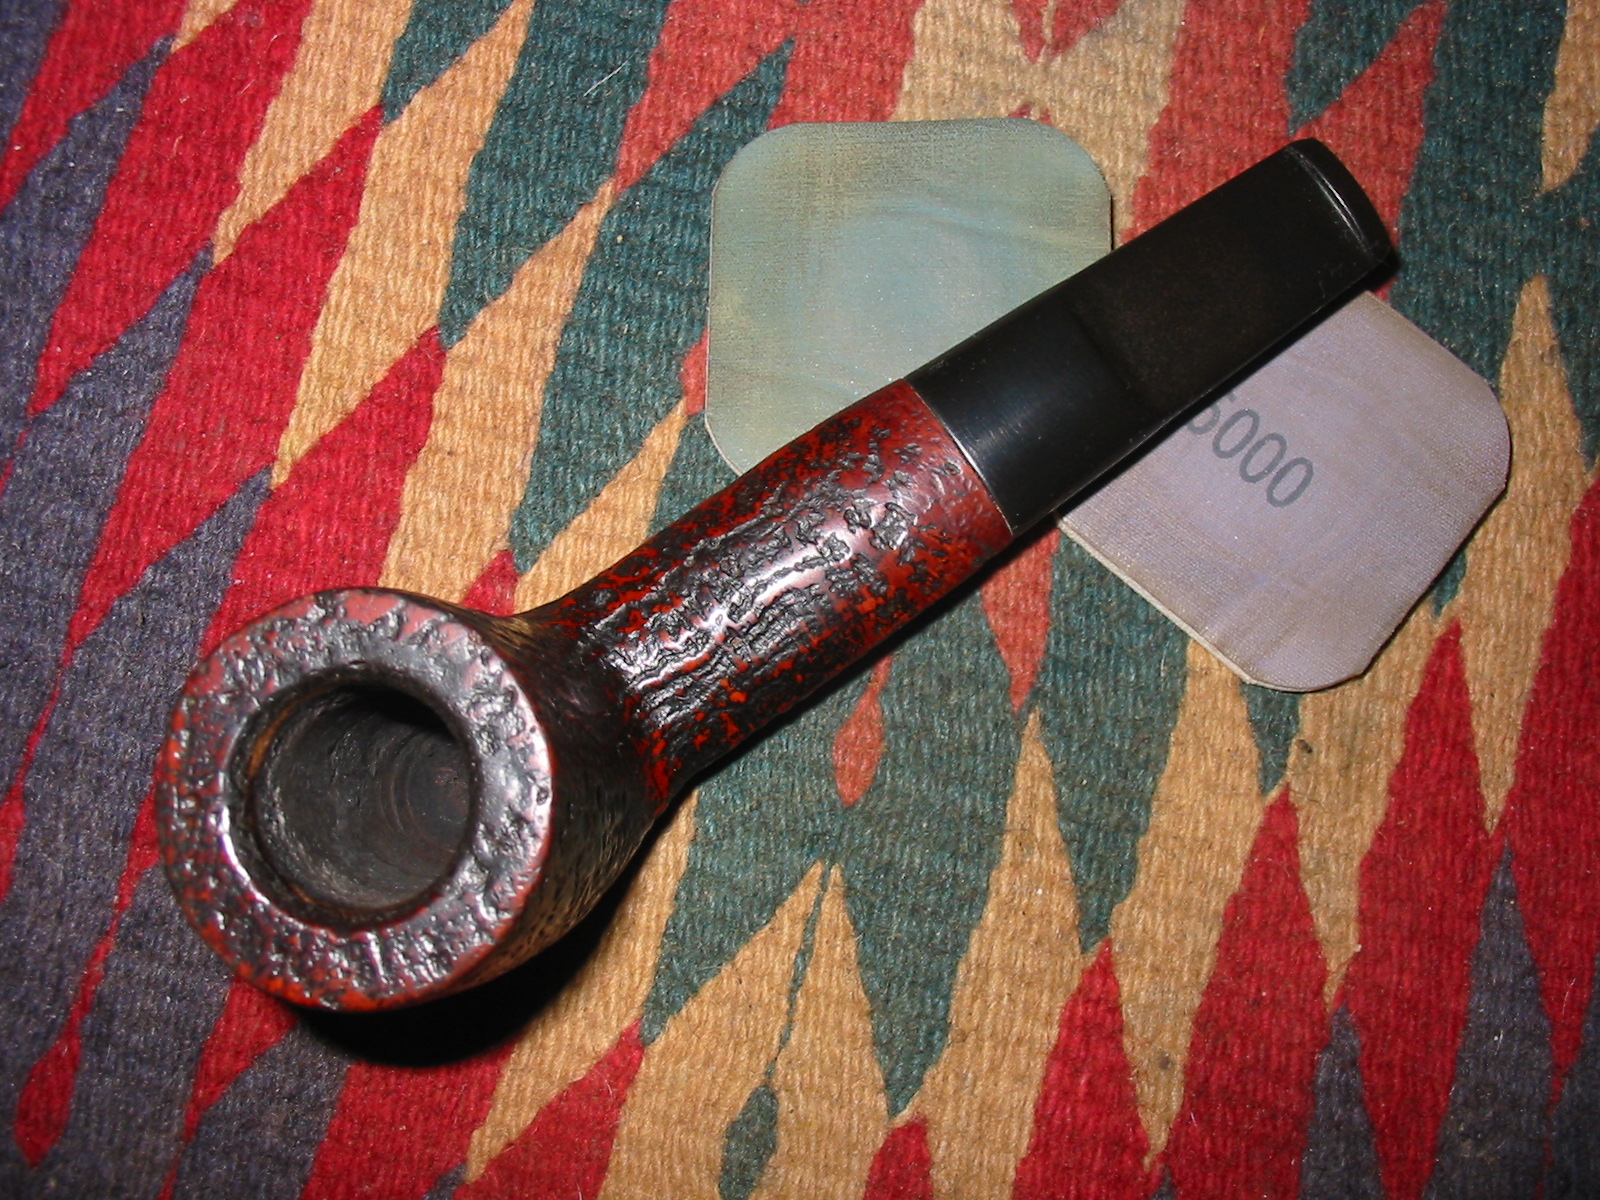
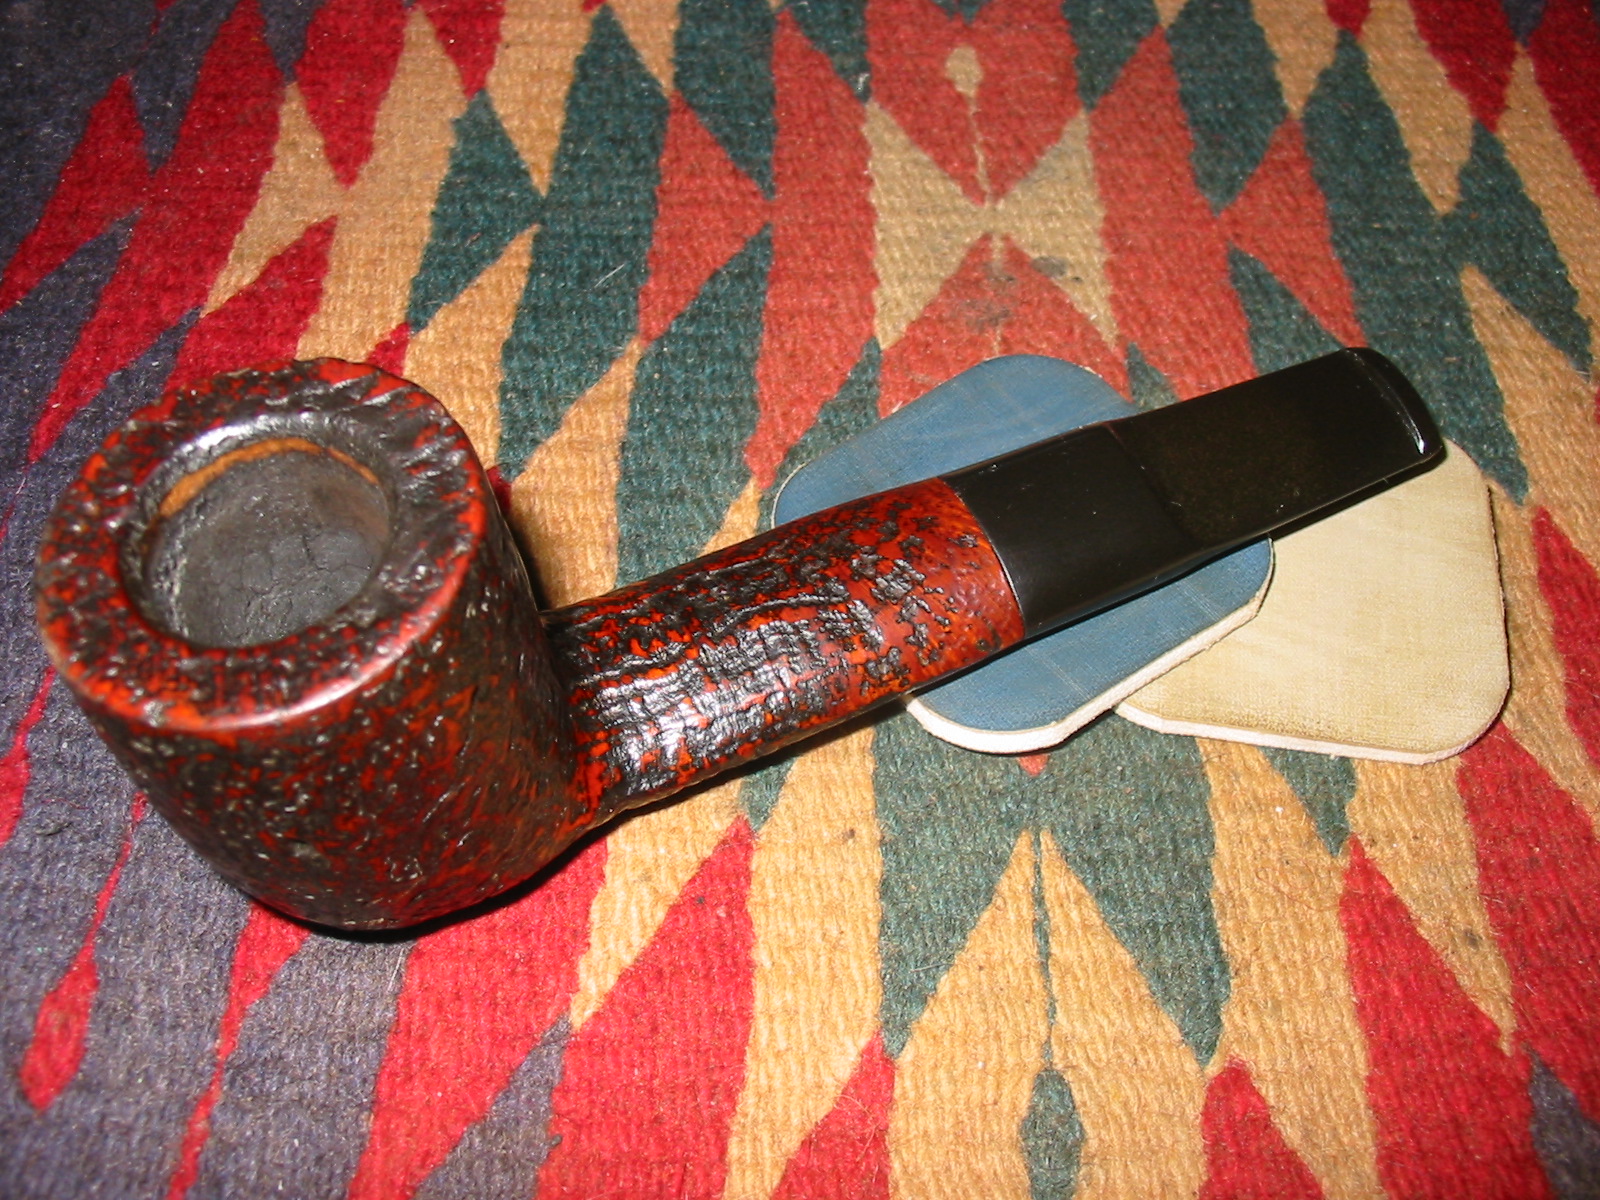
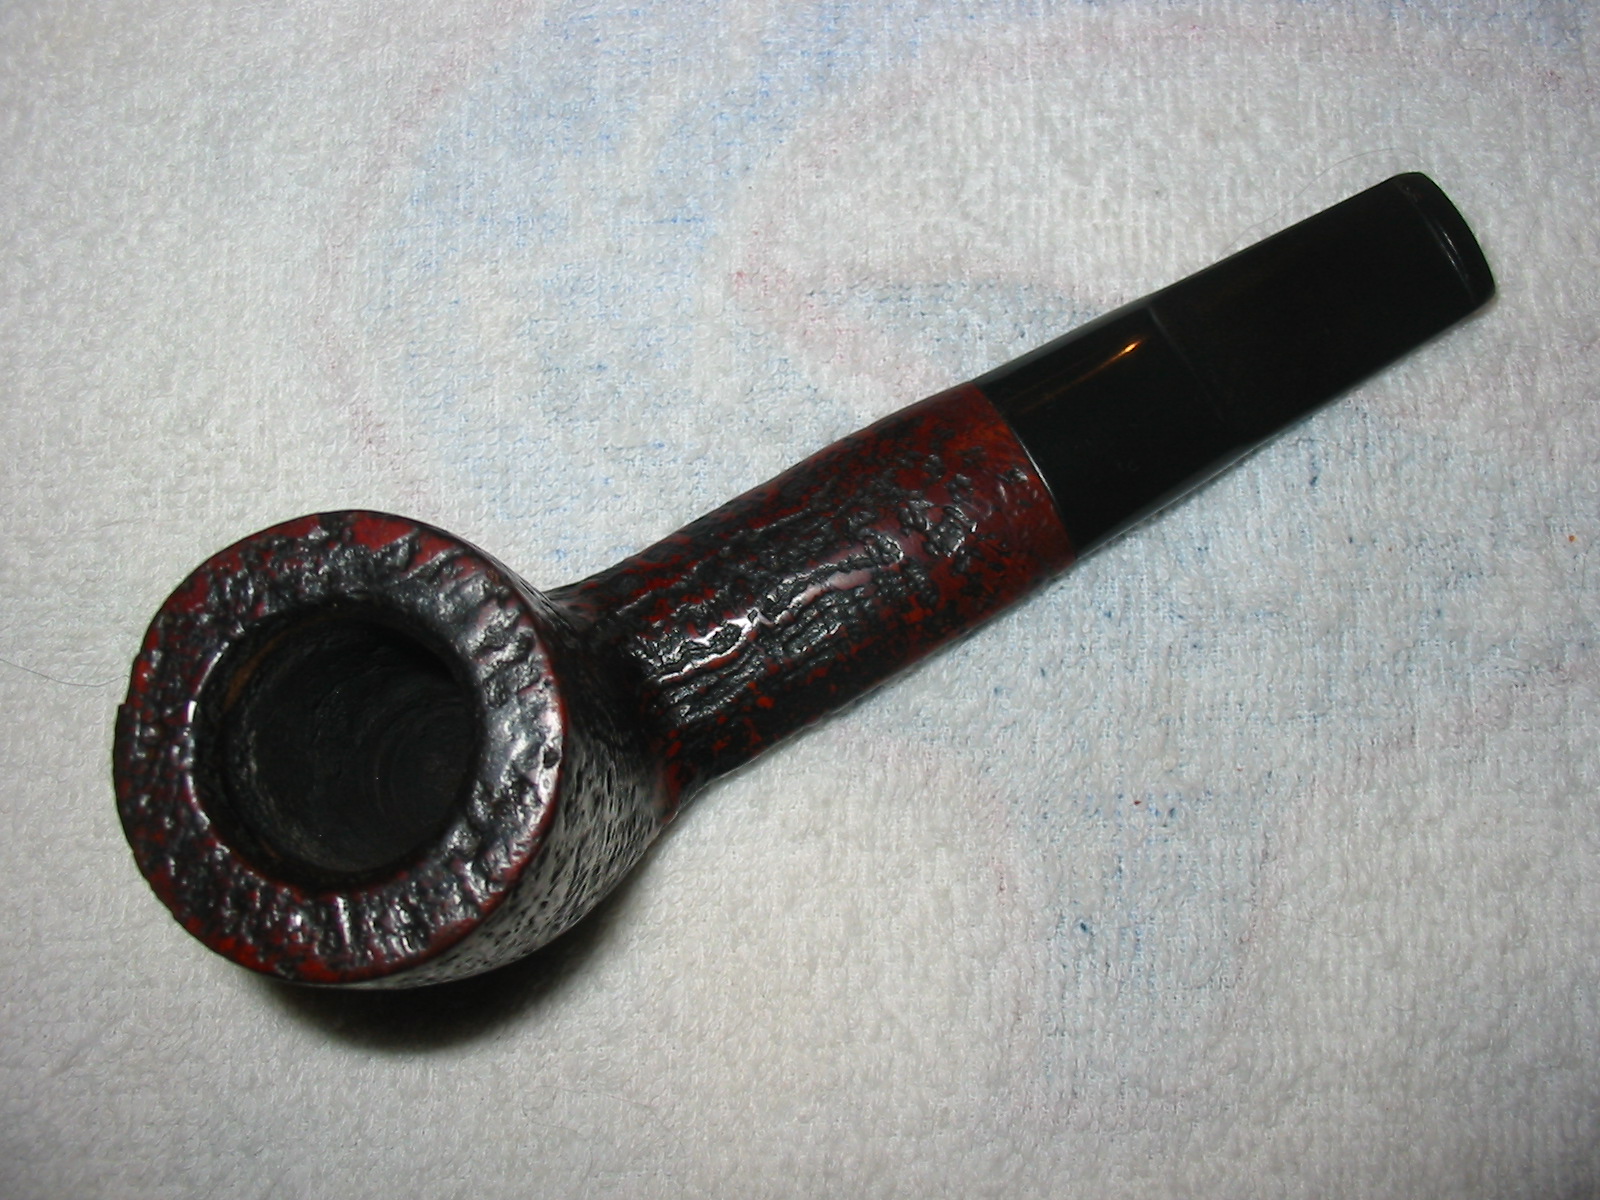
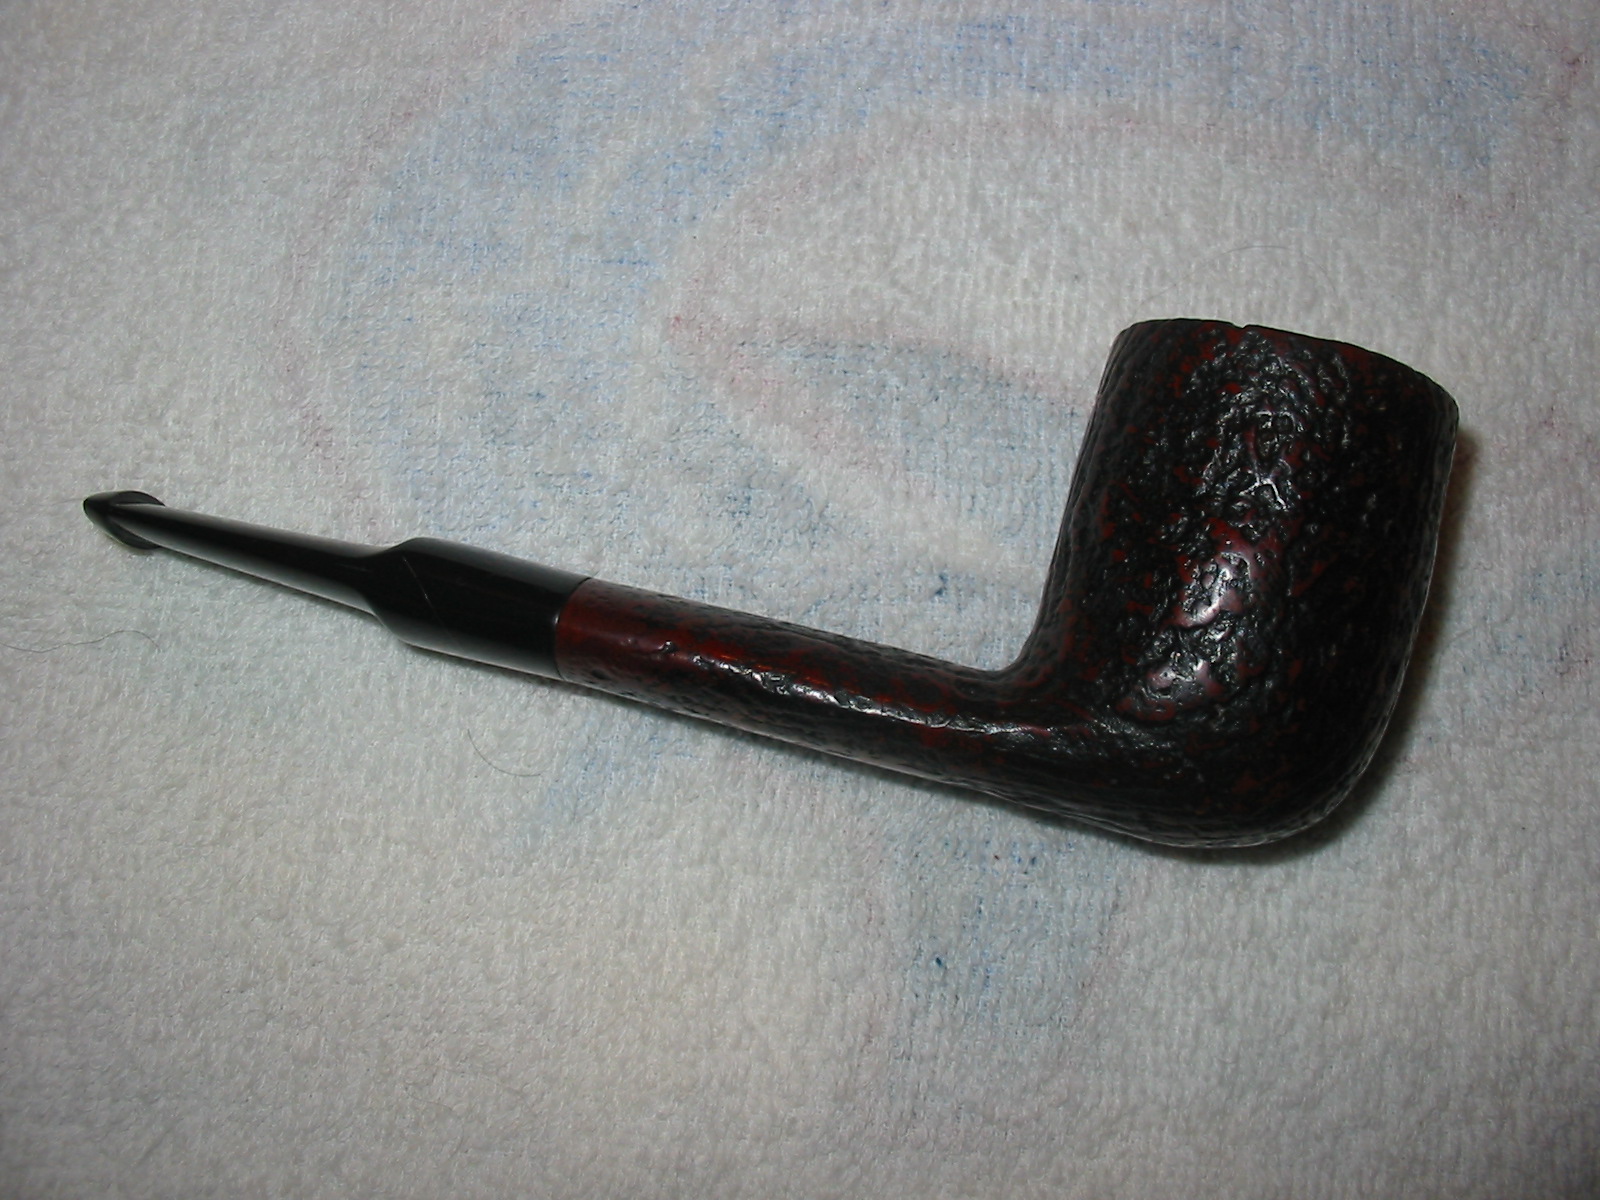
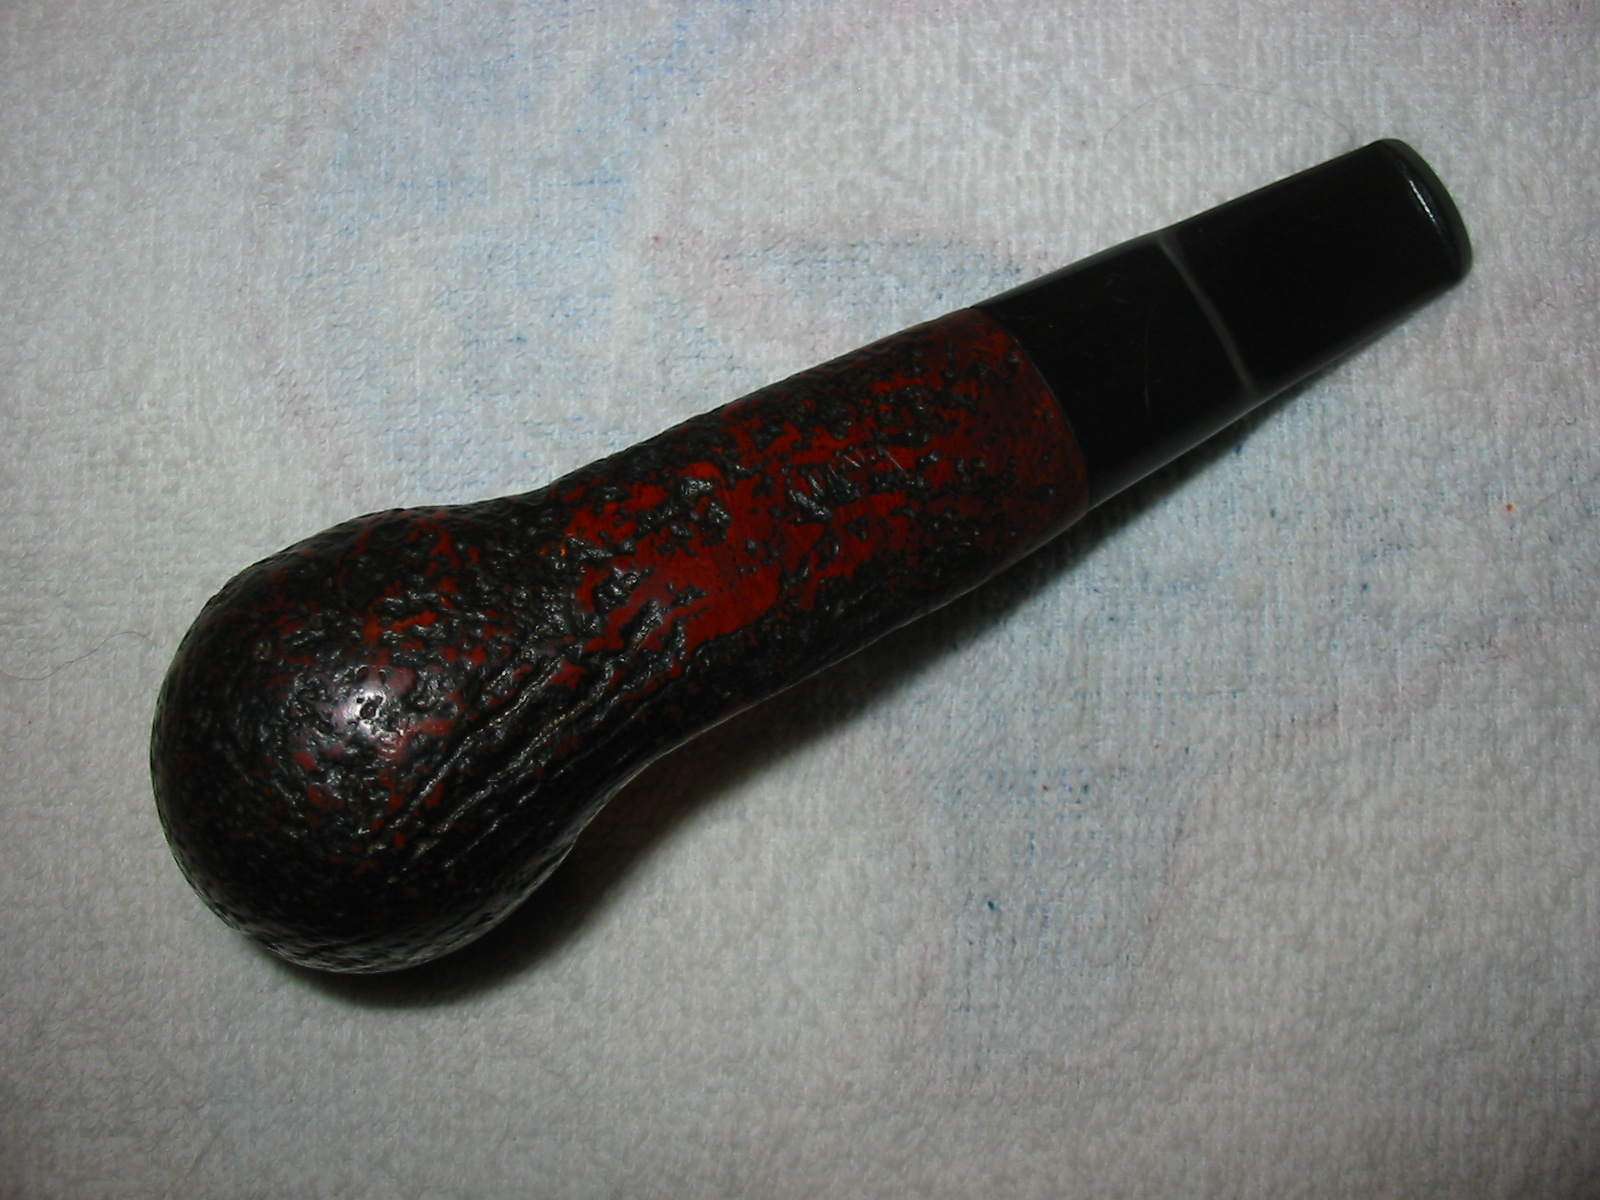
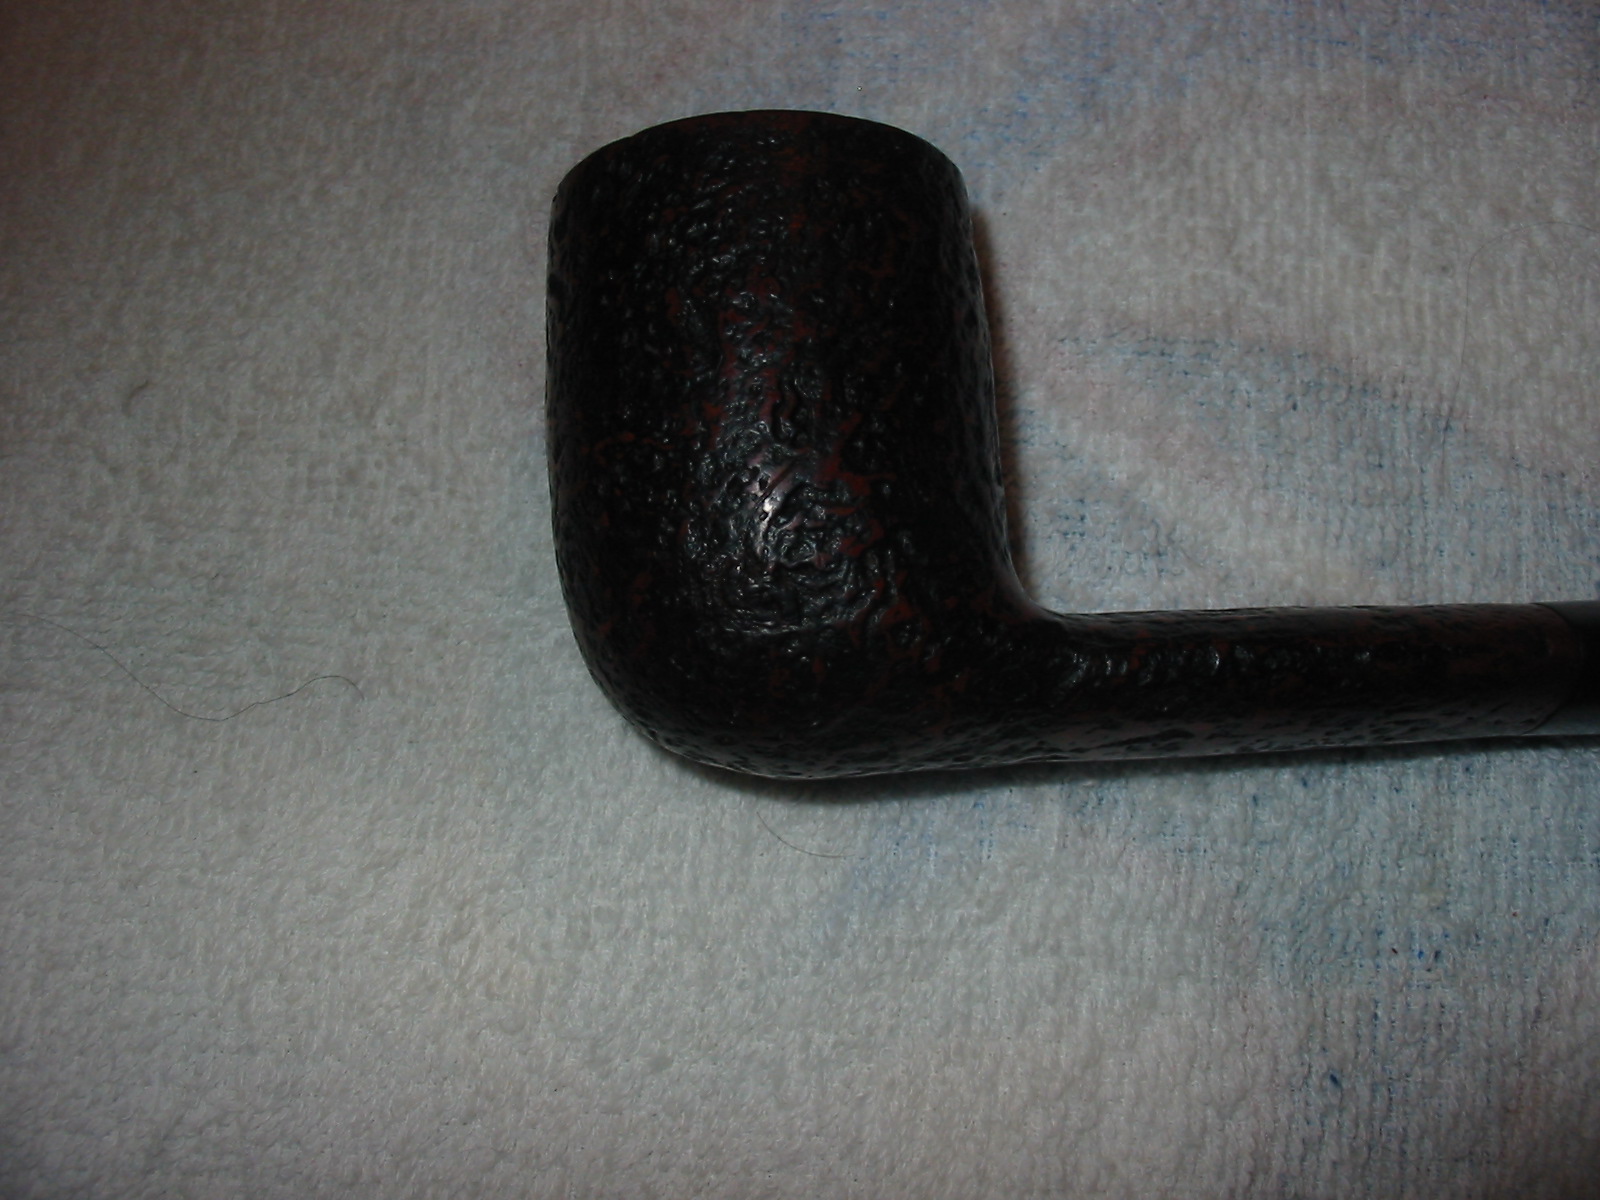
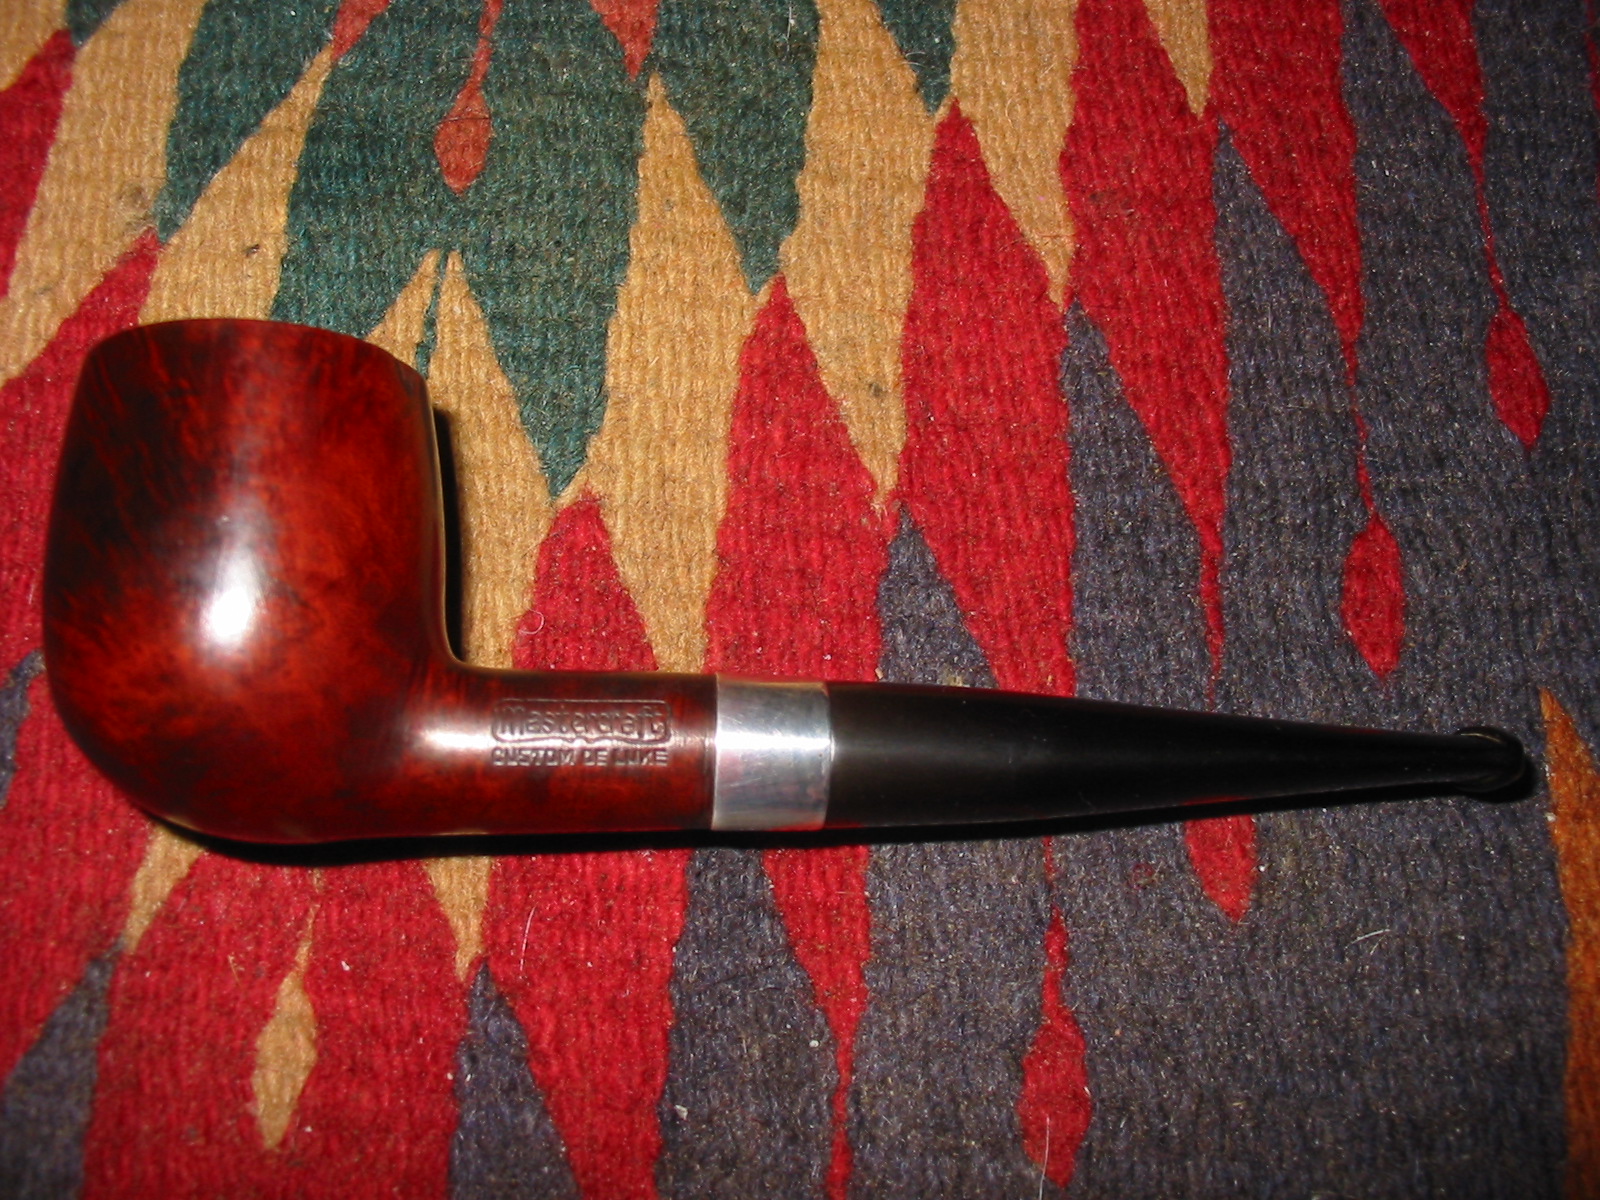
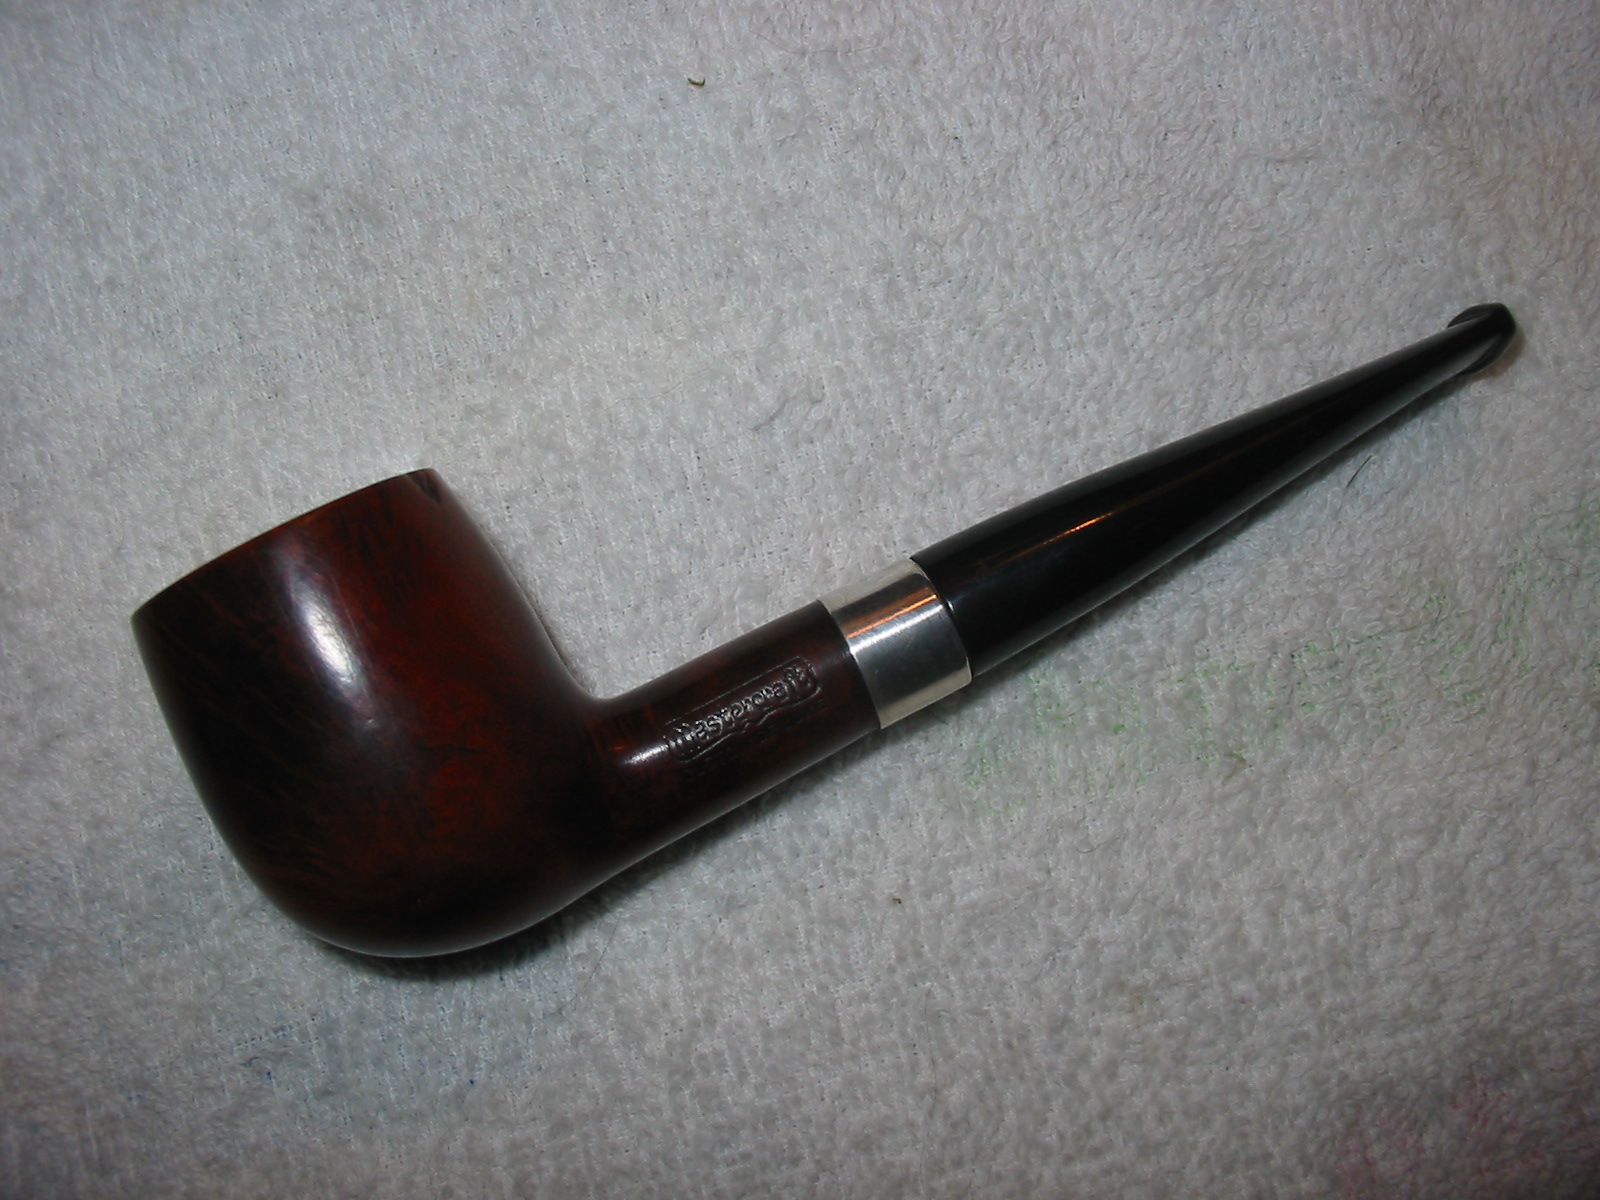
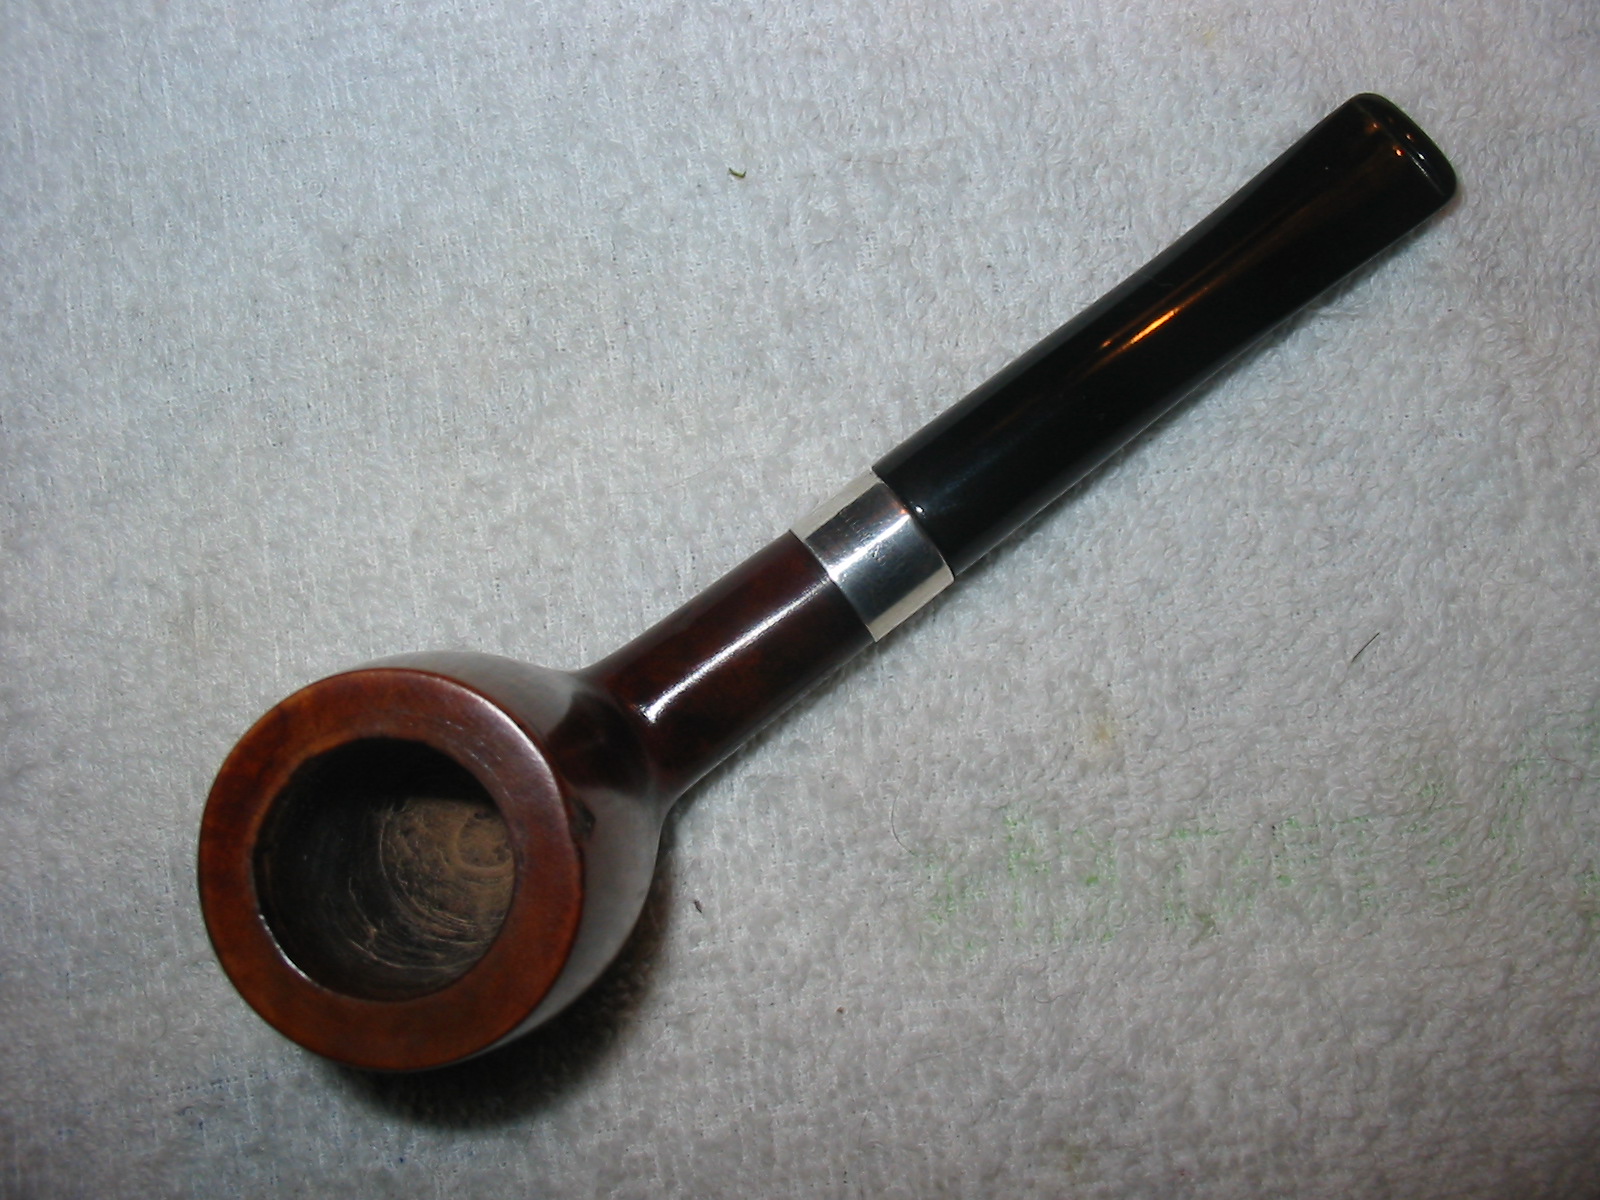
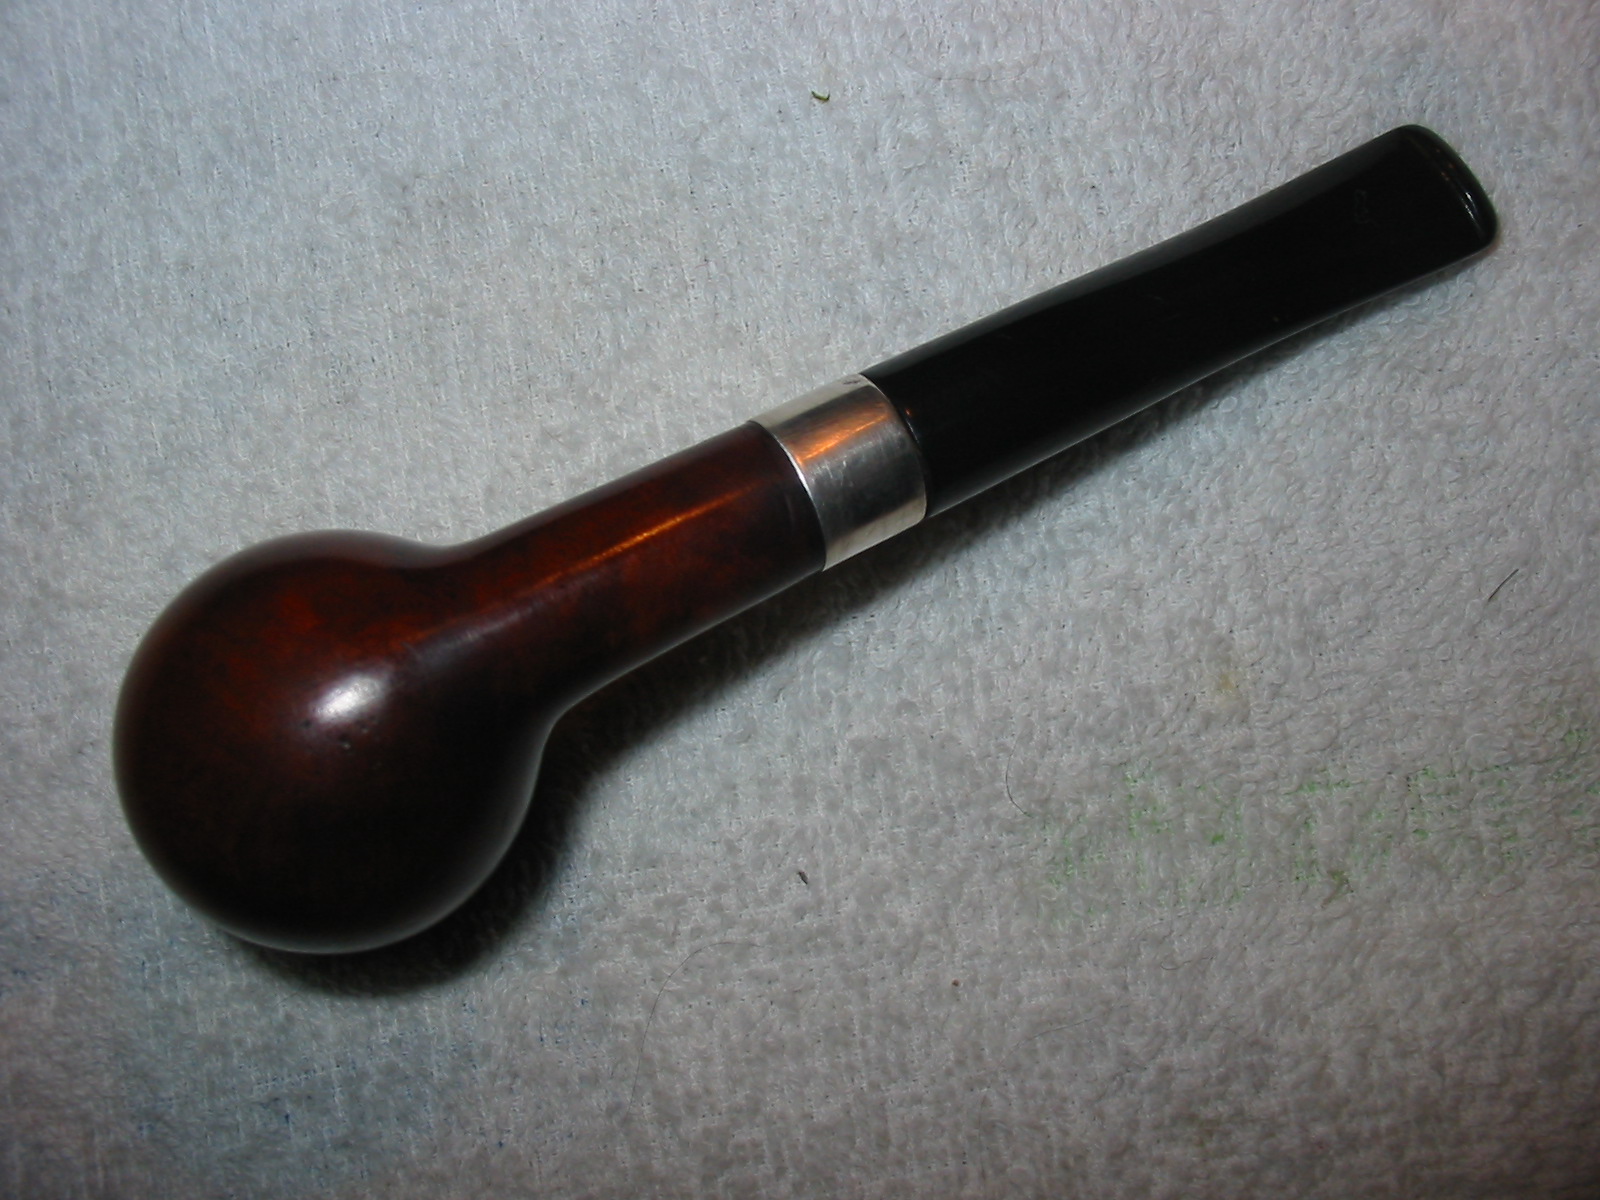
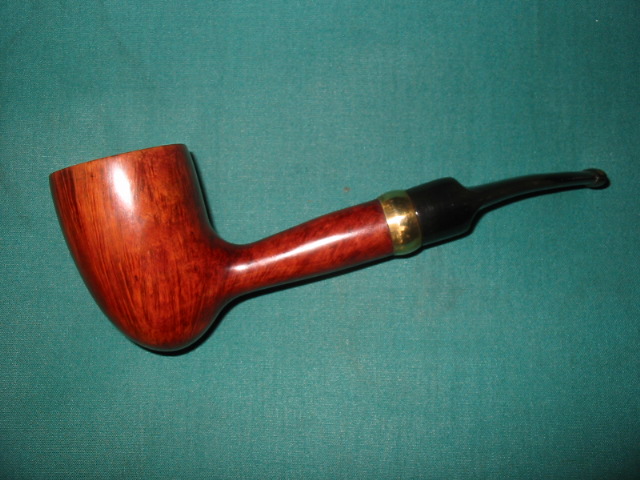
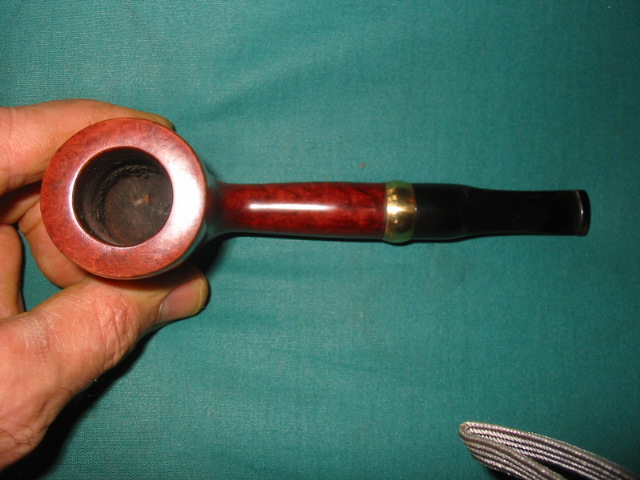
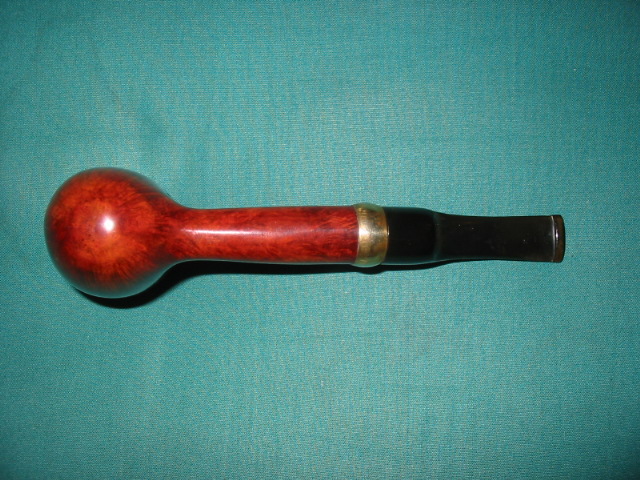
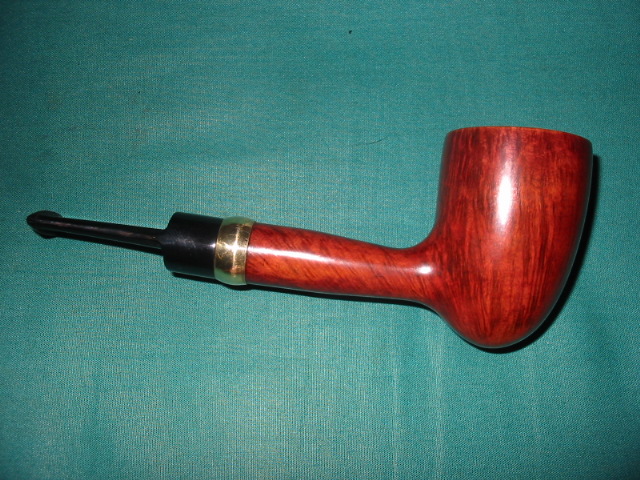
I took the bowl outside and put it in the bright sun on my patio. I wanted to let the heat and the UV rays from the sun do more work on the potential mold in the bowl. The evening is cooling down and the sun is no longer as warm. I brought in the bowl and wiped down the inside of the bowl and shank with an alcohol based anti bacterial wipe. I took it to the buffer and gave the whole pipe a buff with White Diamond. I then gave it several coats of carnauba wax and buffed it with a clean flannel buff. The pipe is like new and it SMELLS GREAT. I finally beat the moldy smell. The final four photos show the finished pipe.

IMG_1143

IMG_1144

IMG_1145

IMG_1146

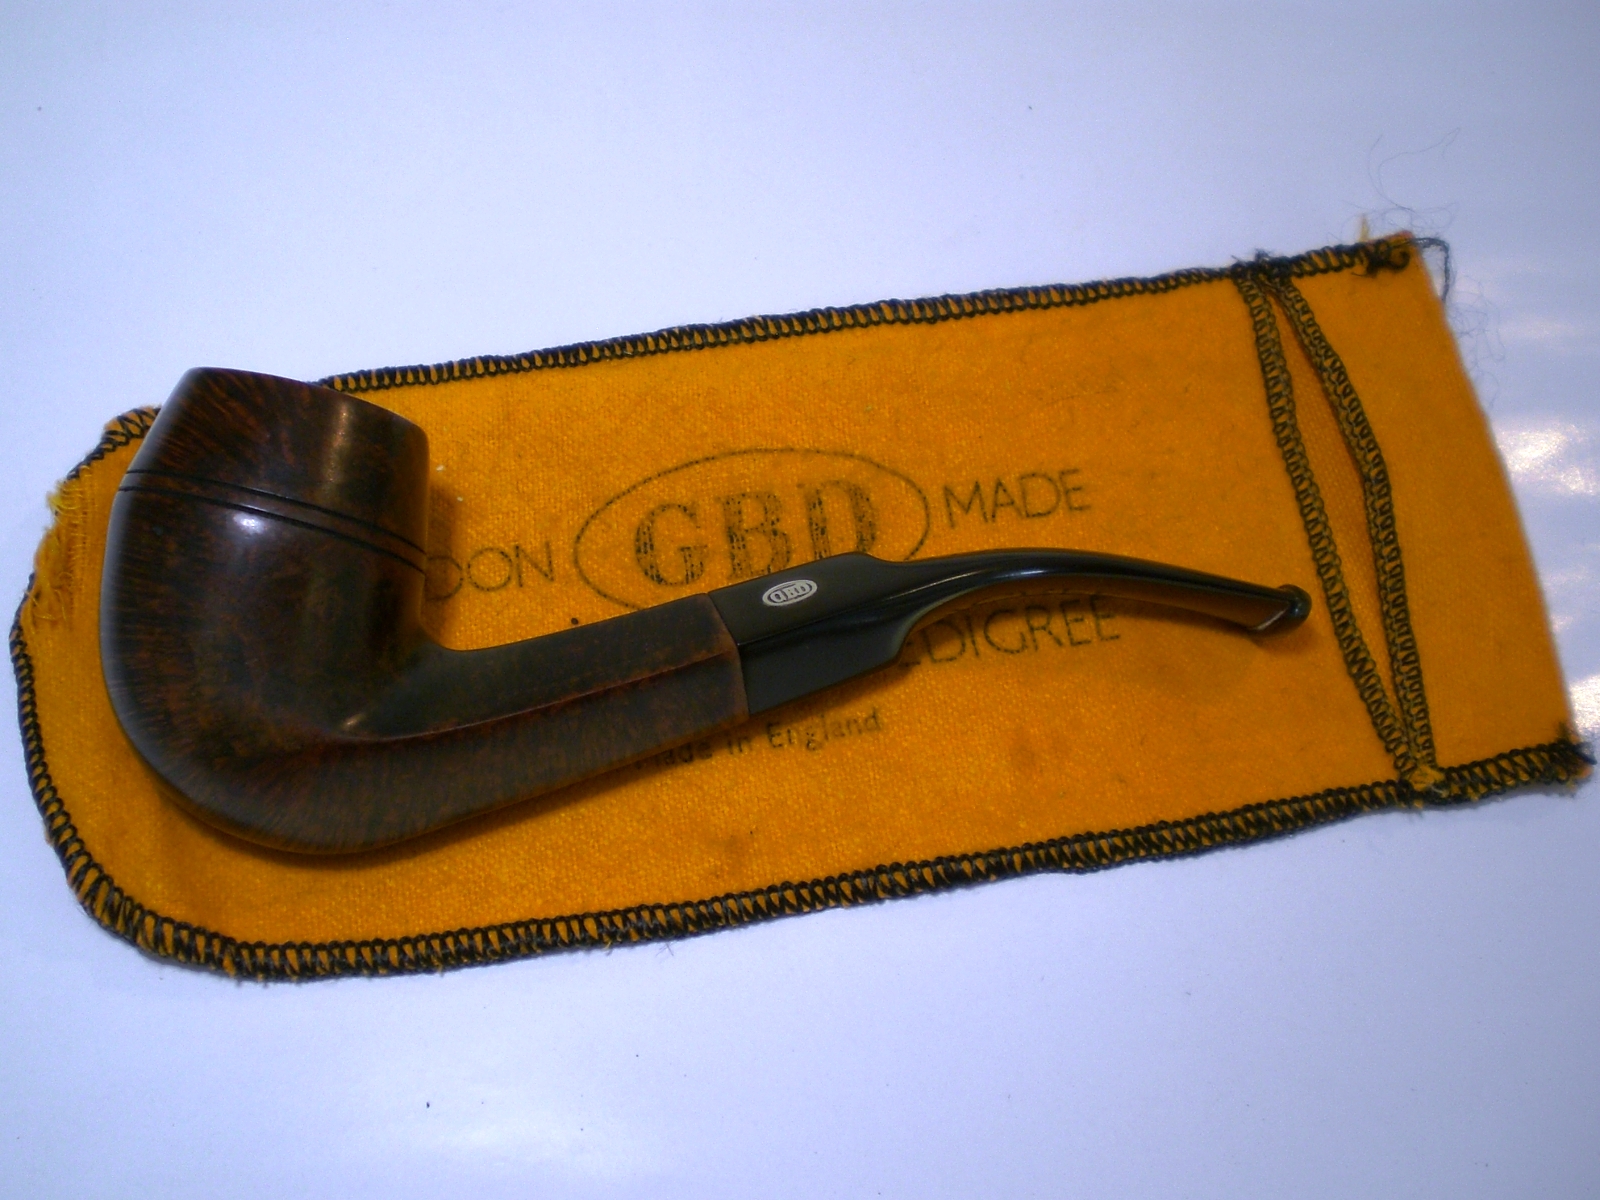
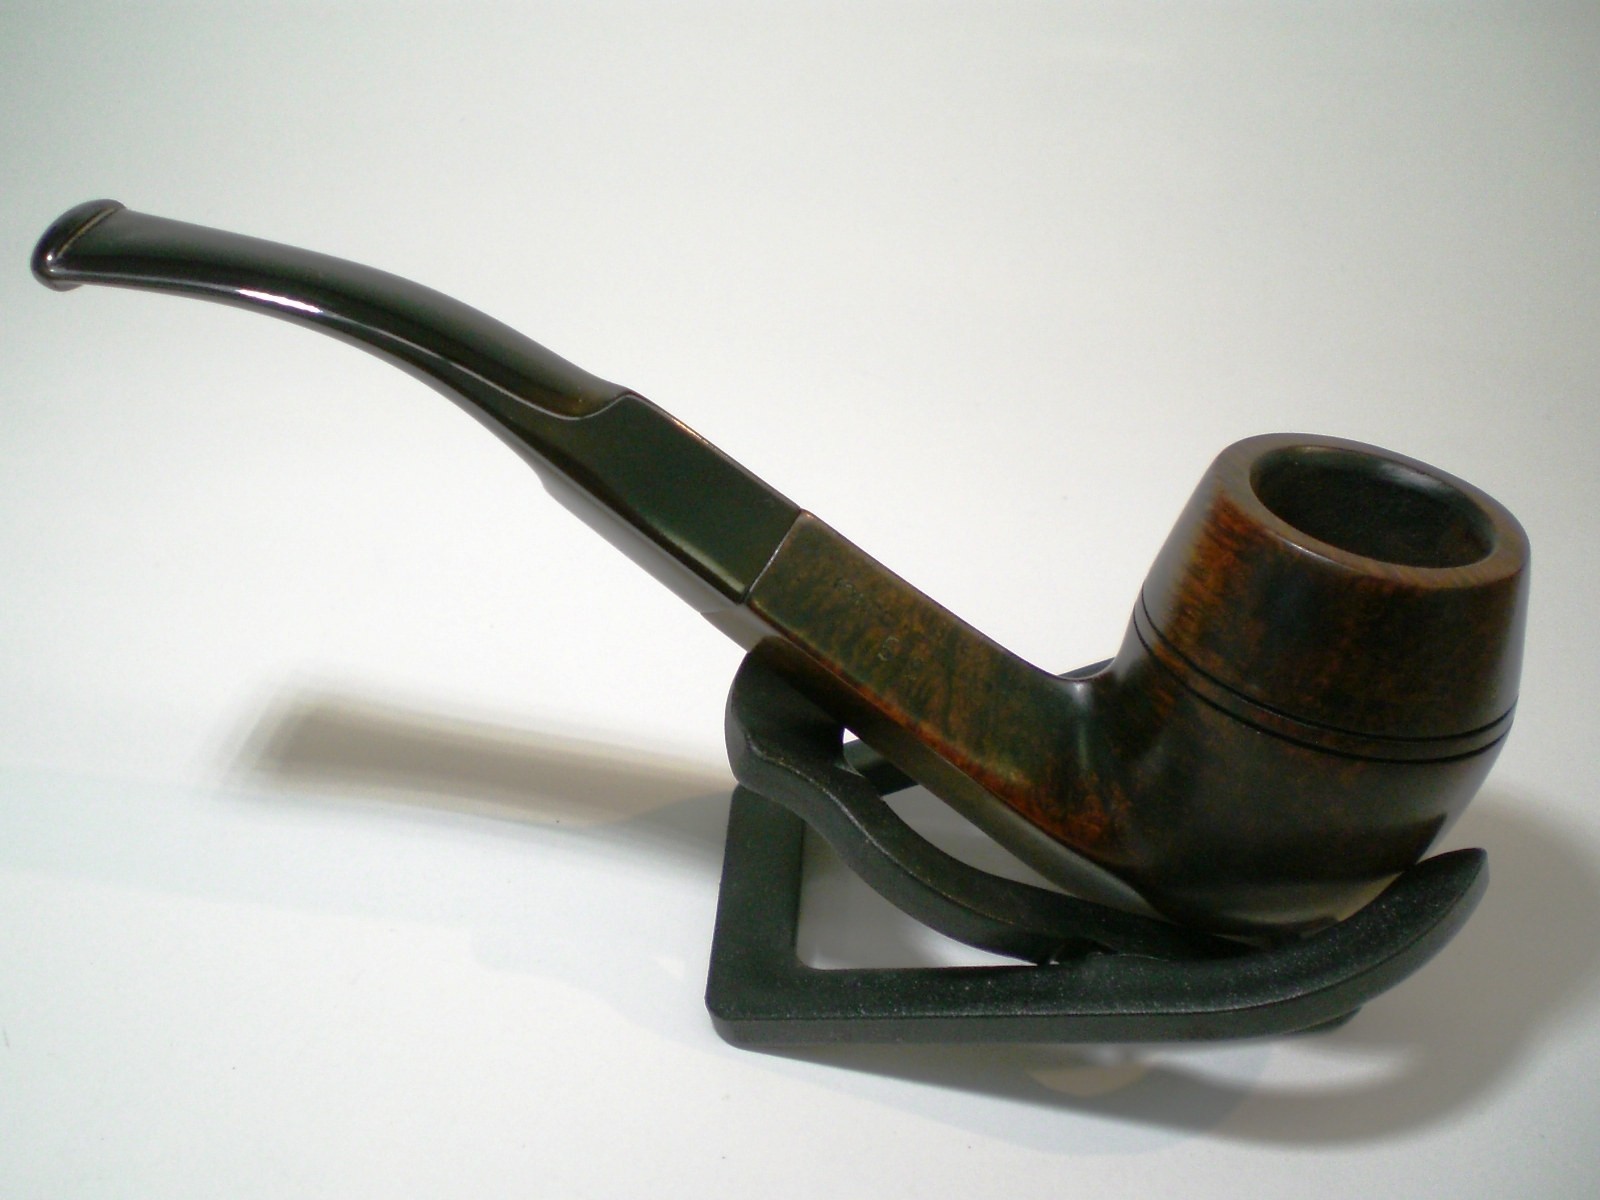
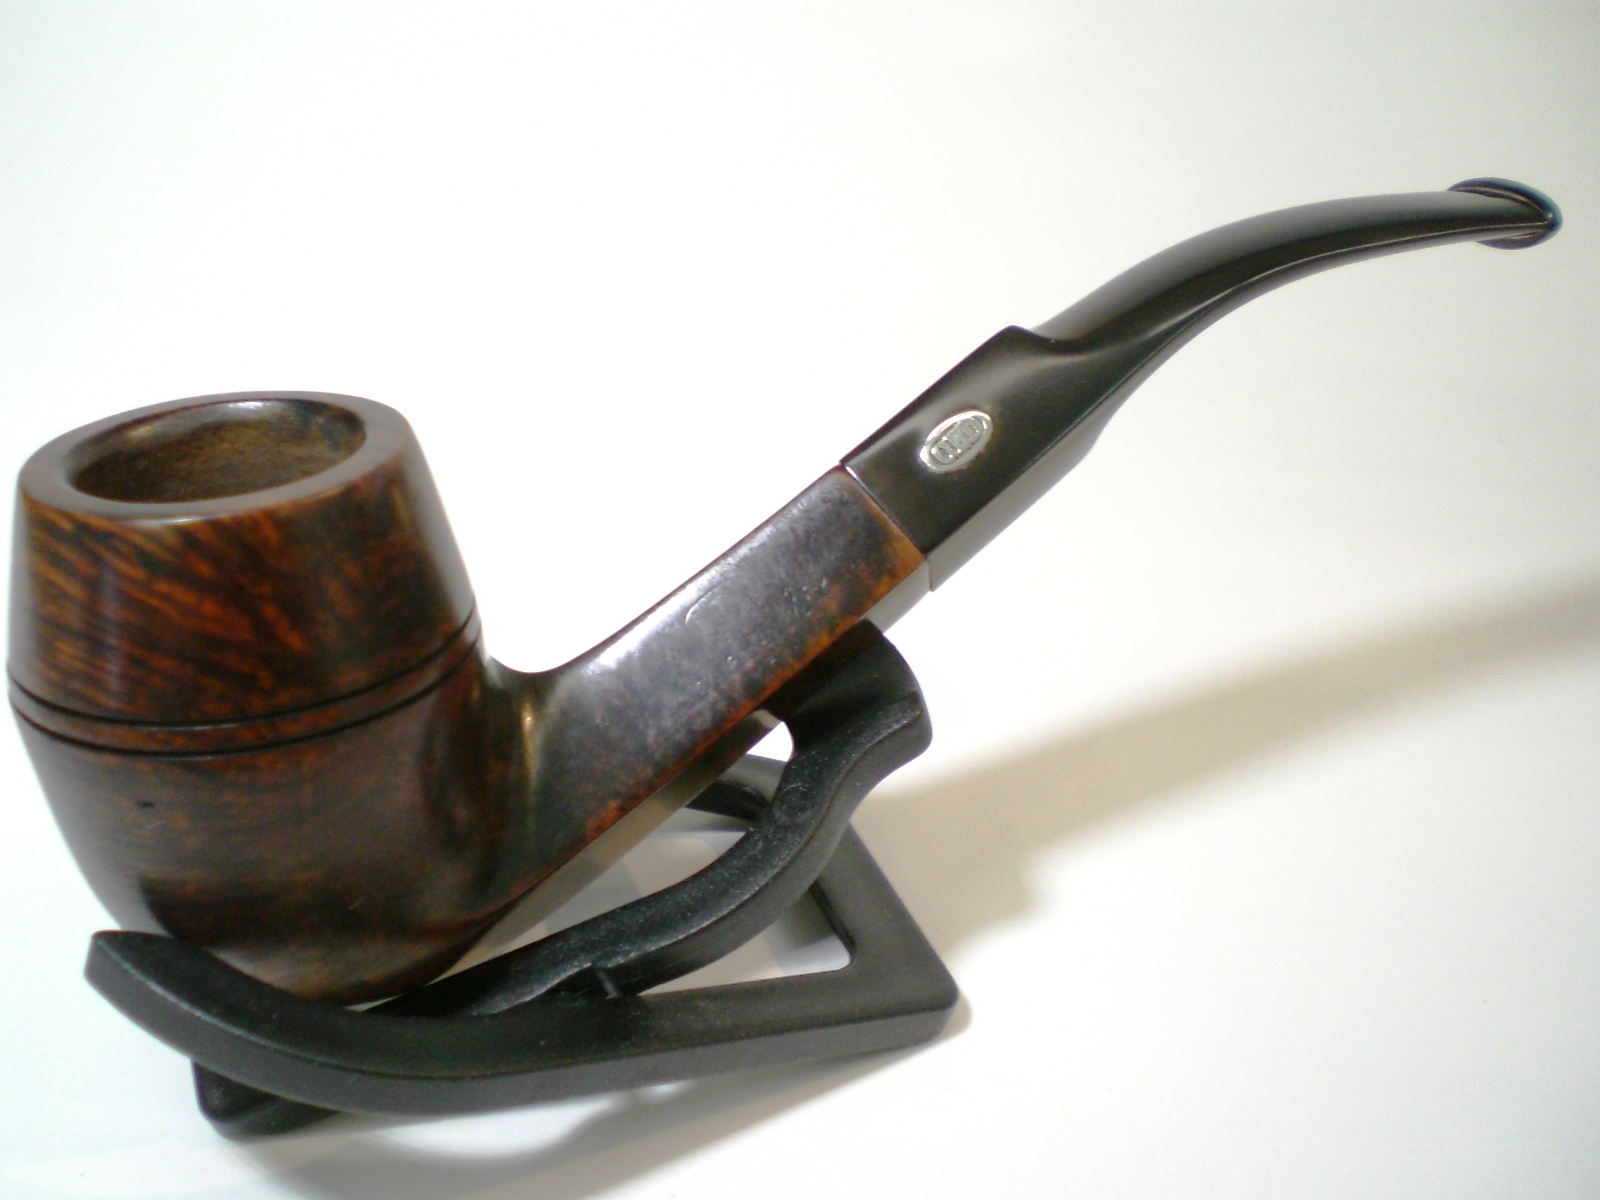
GBD Midnight 9456


Blog by Greg Wolford

The last few months have been extremely busy for me. It is amazing how much a disabled, non-working person can be obligated to do; I think I had more “free time” when I was working full time in the car business! Ah, but I digress …

By chance, I found myself today with no obligations, no chores, no appointments, just a day to myself. Unfortunately it also stormed badly which flared up my arthritic joints but I was able, finally, to get to a project, if only a simple one.

I picked up this GBD Midnight about two weeks ago. It was a fair price and an interesting pipe to me; all of the Midnight models I had seen before had acrylic stems and this one had vulcanite. Some later research led me to believe that there were at least two productions of this line: the first with vulcanite stems shortly after the merger and another some time later with acrylic stems.
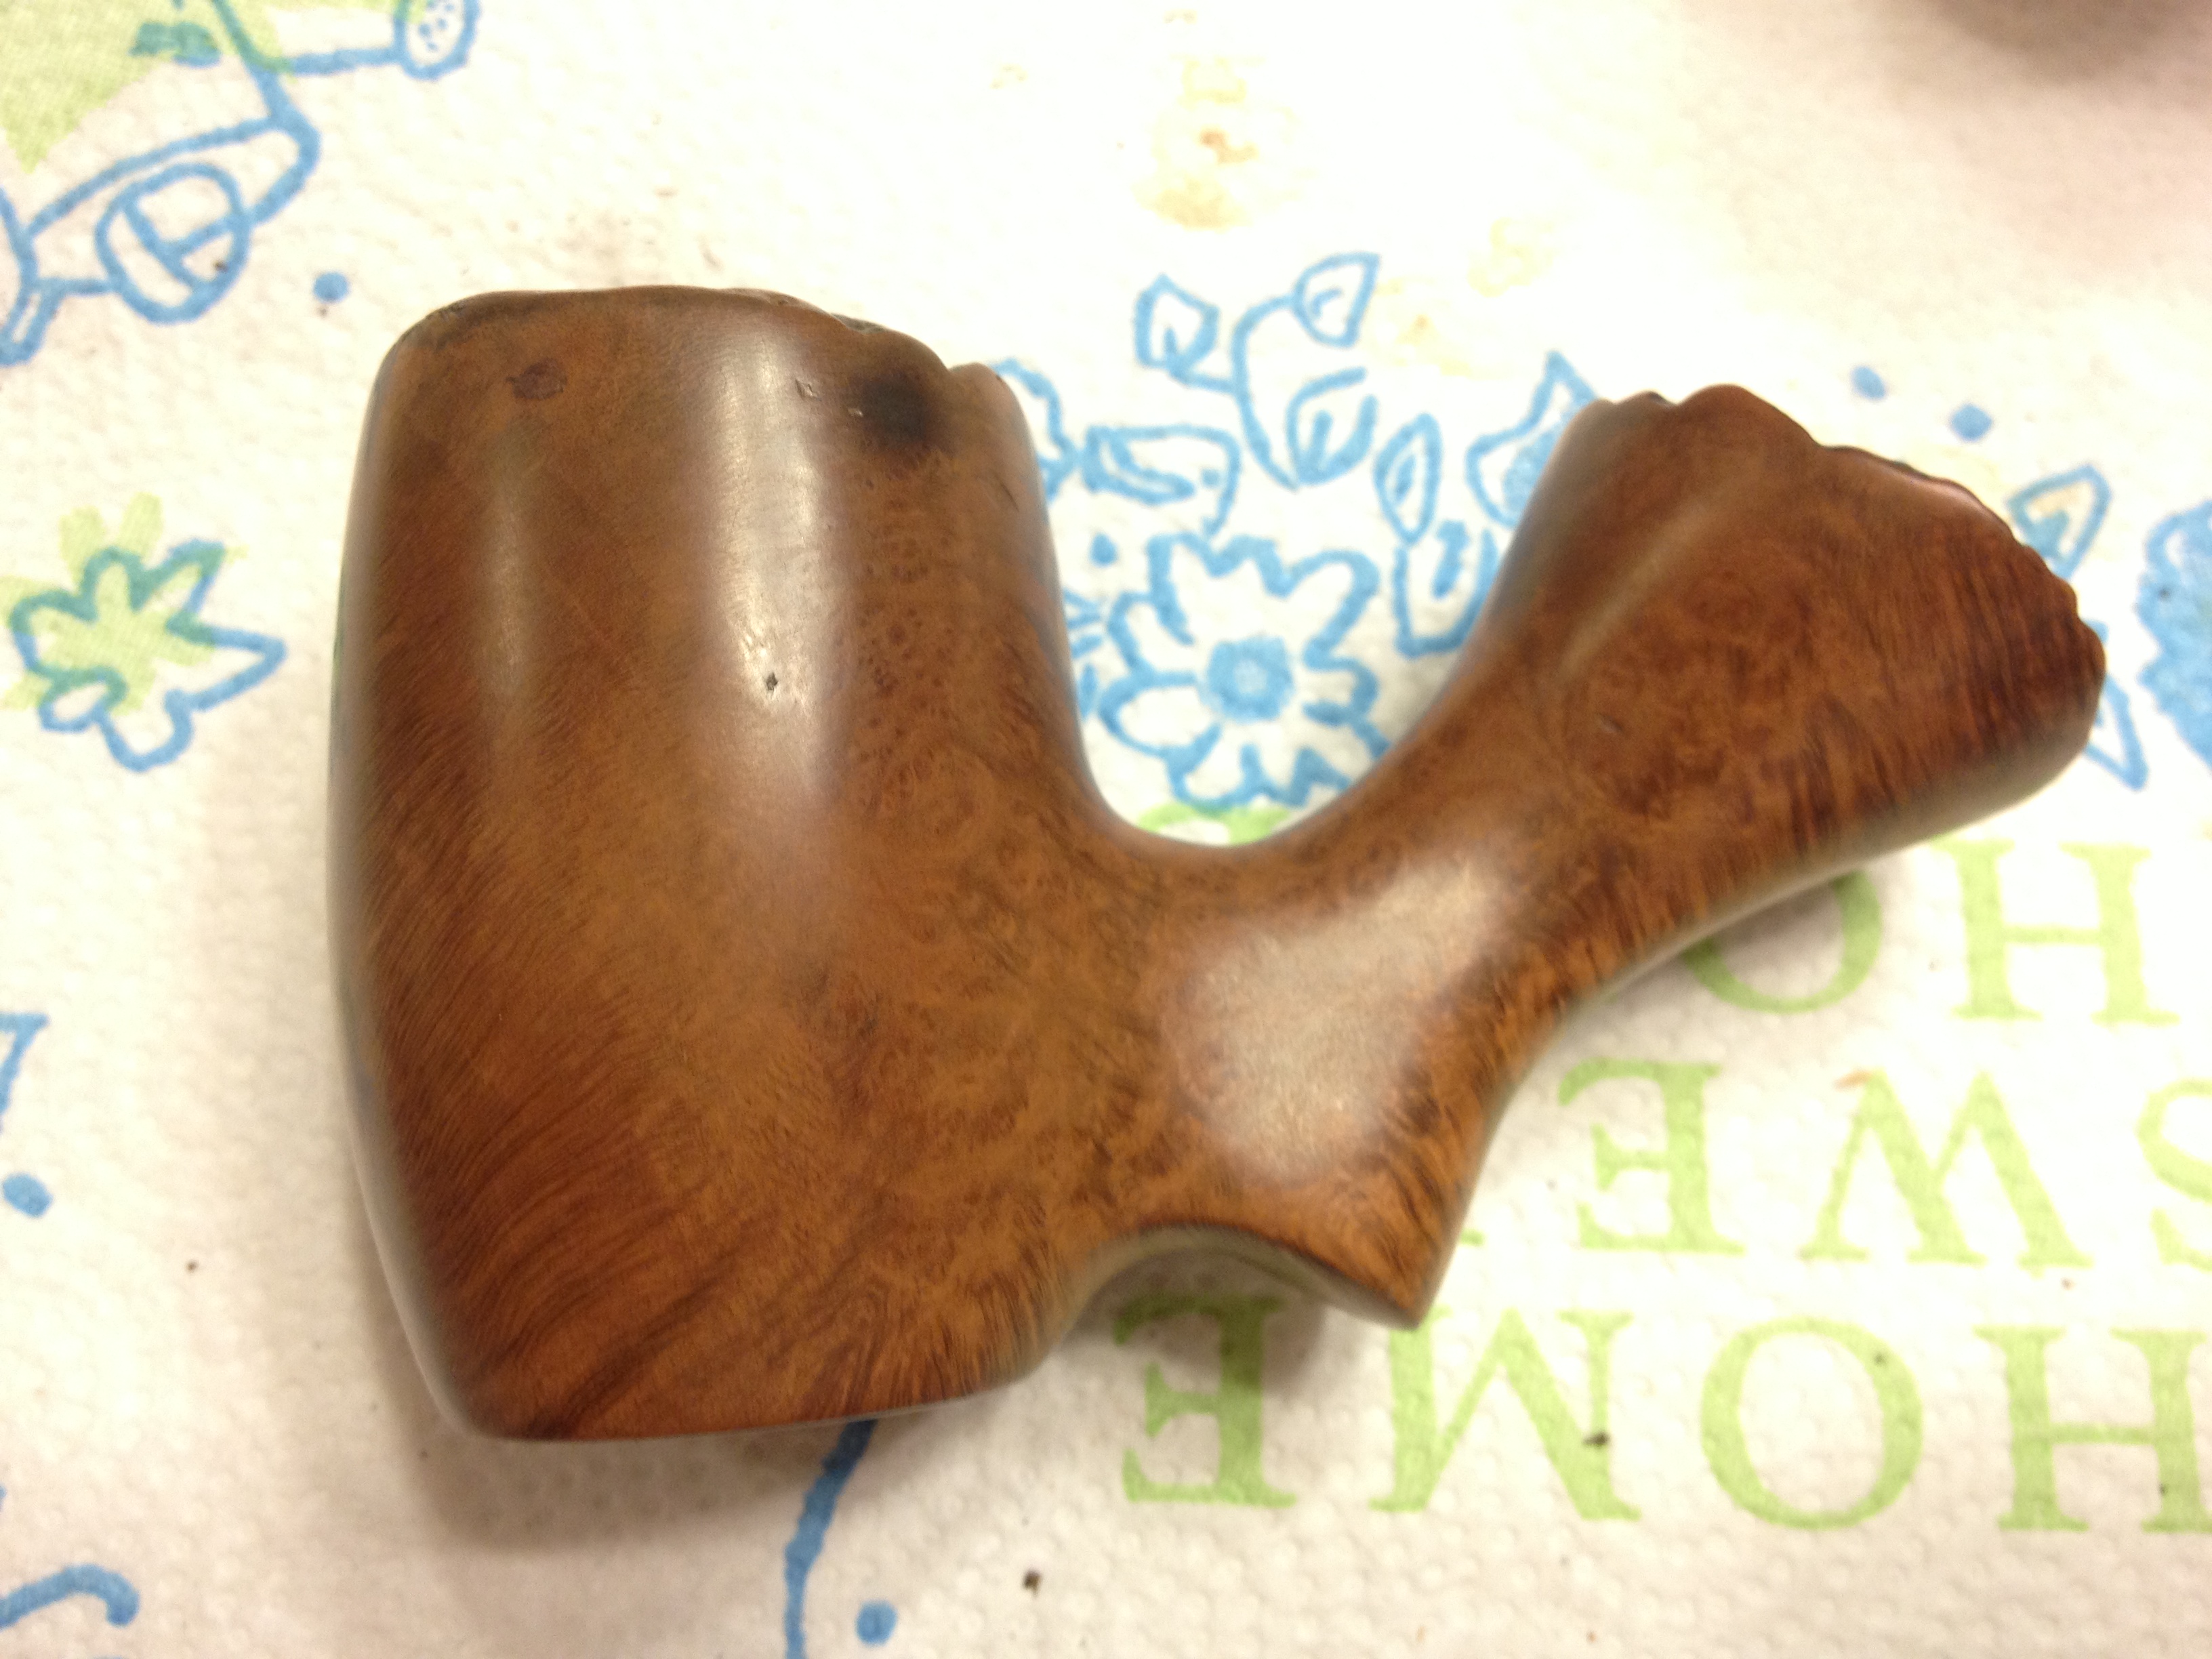
Although I forgot to take “before” photos the seller’s were quite accurate except for the oxidation was a bit more than I anticipated: it wasn’t thick or heavy but was even, all over brown. The seller said he had only smoked it a few times over the years and didn’t like it; he prefers a 9 mm filter pipe. He said there were a few tooth dents but not bad ones and that he had cleaned it; these things were accurate, if he meant cleaned the inside.

The too had a fair amount if tar build up but not thick. The stummel was dirty but not in bad shape at all. And the dents were mild as be had said.

I began with an alcohol soaked pad, wiping down the stummel, paying extra attention to the rim’s build up. It didn’t take a lot to get it cleaned up and the rim smoothed out. I then reamed the bowl, which needed it but wasn’t badly caked. I set the stummel aside and began to work on the stem.

I started by rubbing the entire stem well with Back-to-Black, which removed a lot of oxidation. Then I took some automotive rubbing compound and cotton pads and polished away almost all of the remaining oxidation. After the rubbing compound I took the stem to the heat gun to raise the dents. They came up pretty well but not completely. But they were now slight enough I decided to not sand them smooth; I wanted to finish this pipe and write this blog tonight, those things and the small dents left made this decision for me easy. I did wet sand the stem with 400 grit wet/dry paper to remove the last of the oxidation and the few scratches I saw.

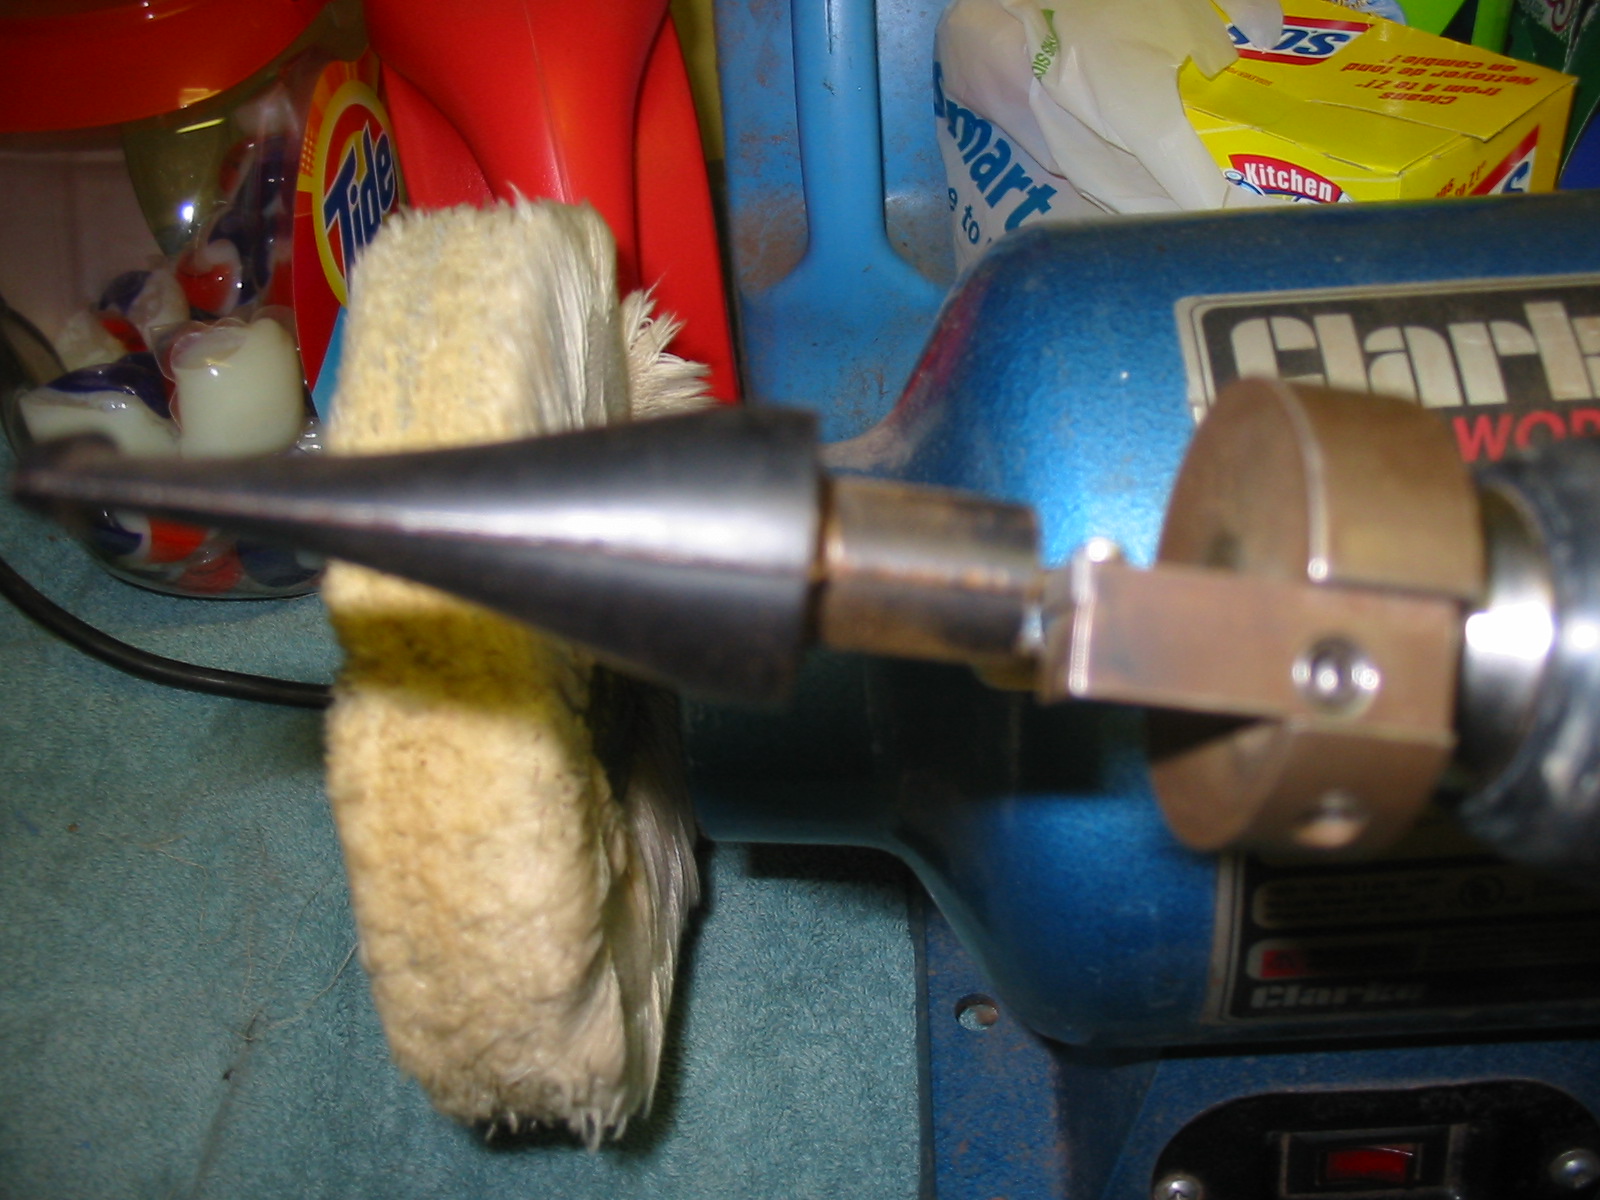
I reassembled the pipe and went to the buffing wheel. I like to buff the shank-stem union together so as to keep a nice fit. I began with black buffing compound, about an 800-grit I believe. After the union was buffed I took the stem and stummel apart and buffed each piece. I moved onto brown tripoli, then white diamond doing the same process.

I had a small deviation at the end of the white diamond buffing: the wheel grabbed the stummel and bounced it off my table. It left two dents, the bounce across the garage, that totally irritated me. I then had to steam the the dents out; thankfully the dents weren’t bad and came out. I went back to the white diamond and re-buffed the stummel.

I reassembled the pipe and gave it several coats of carnauba wax, buffed it on a soft, clean wheel and, finally, hand buffed it wearing a pair of linen gloves I bought just for that purpose.

The pipe came out quite well I think. After cleaning and buffing it is a bit lighter on color, which I am very happy with; the grain, especially the Birdseye on the front of the bowl really pops now.

Hopefully the frantic pace of life will slow some over the coming weeks; I have many more wonderful old pipes that are patiently awaiting being brought back to life. And I am anxious to do the work an share it with you.

20130613-222006.jpg

20130613-222015.jpg

20130613-222023.jpg

20130613-222030.jpg

20130613-222040.jpg

20130613-222049.jpg

20130613-222056.jpg

20130613-222105.jpg

20130613-222111.jpg

20130613-222119.jpg

20130613-222126.jpg

20130613-222132.jpg

Breathing New Life into a Dr. Grabow Riviera


Blog by Steve Laug

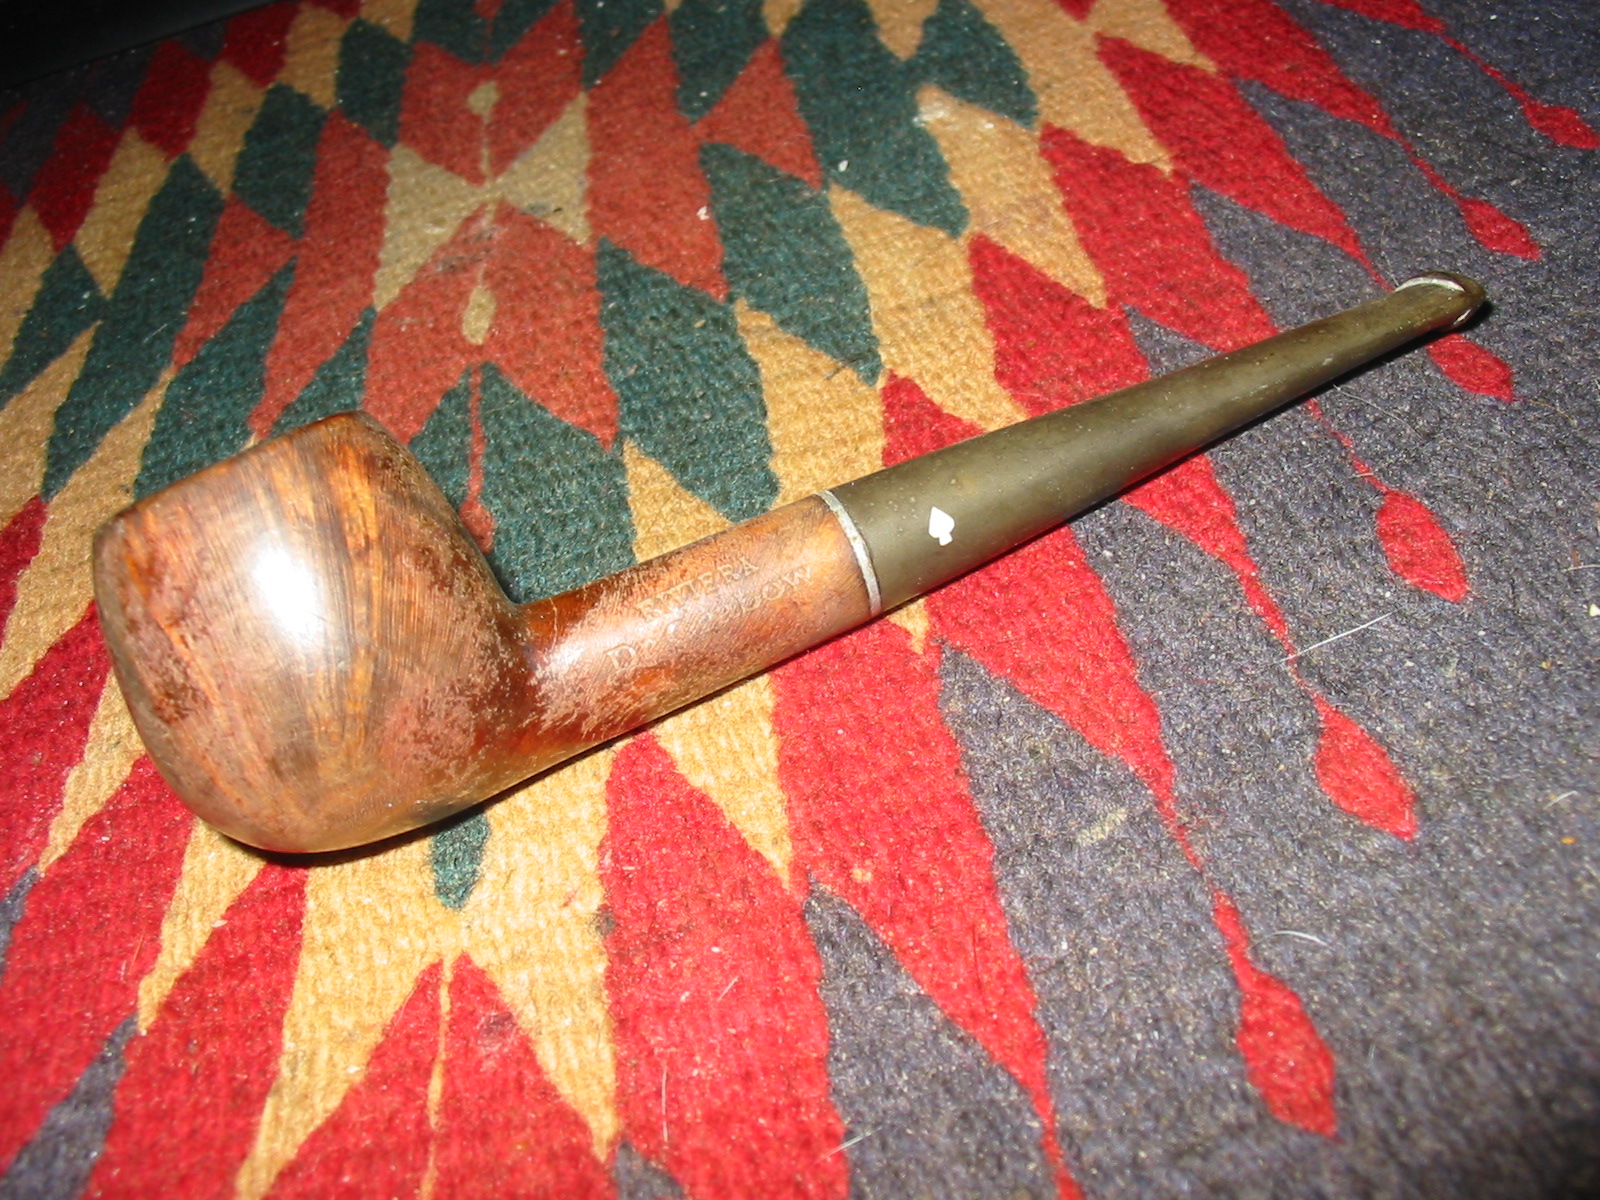
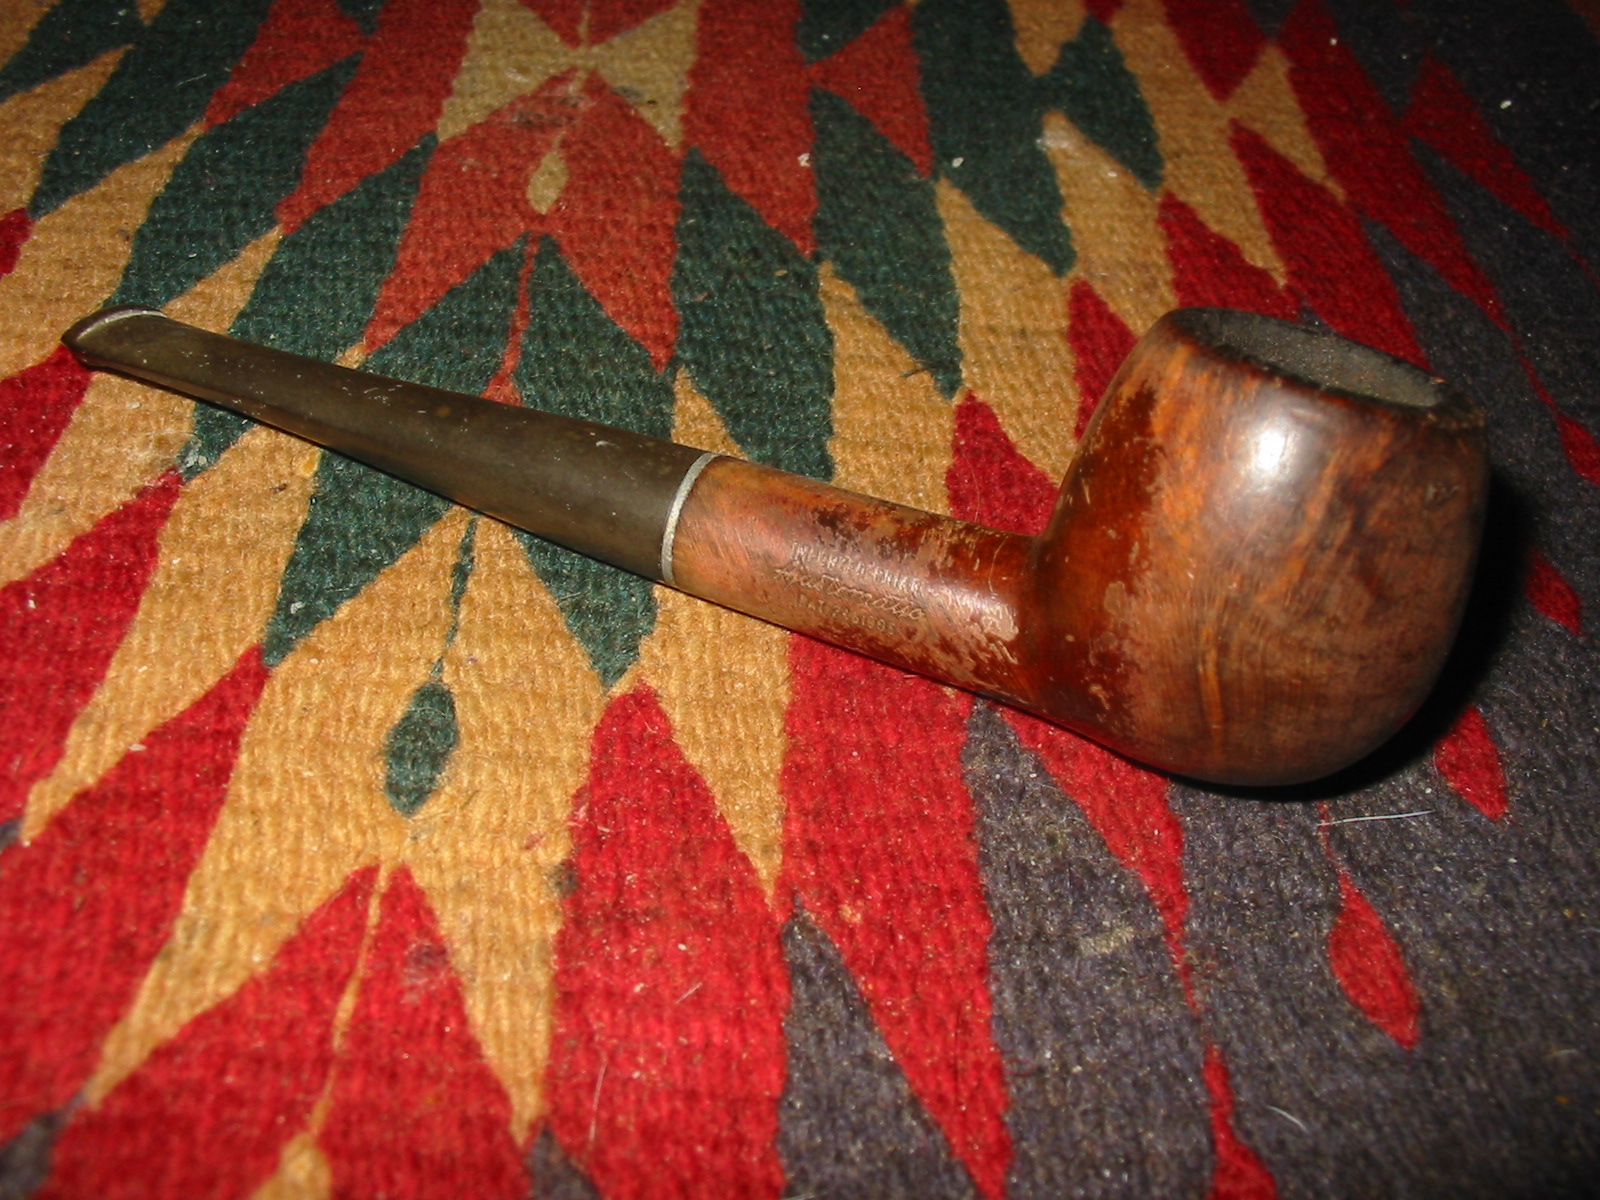
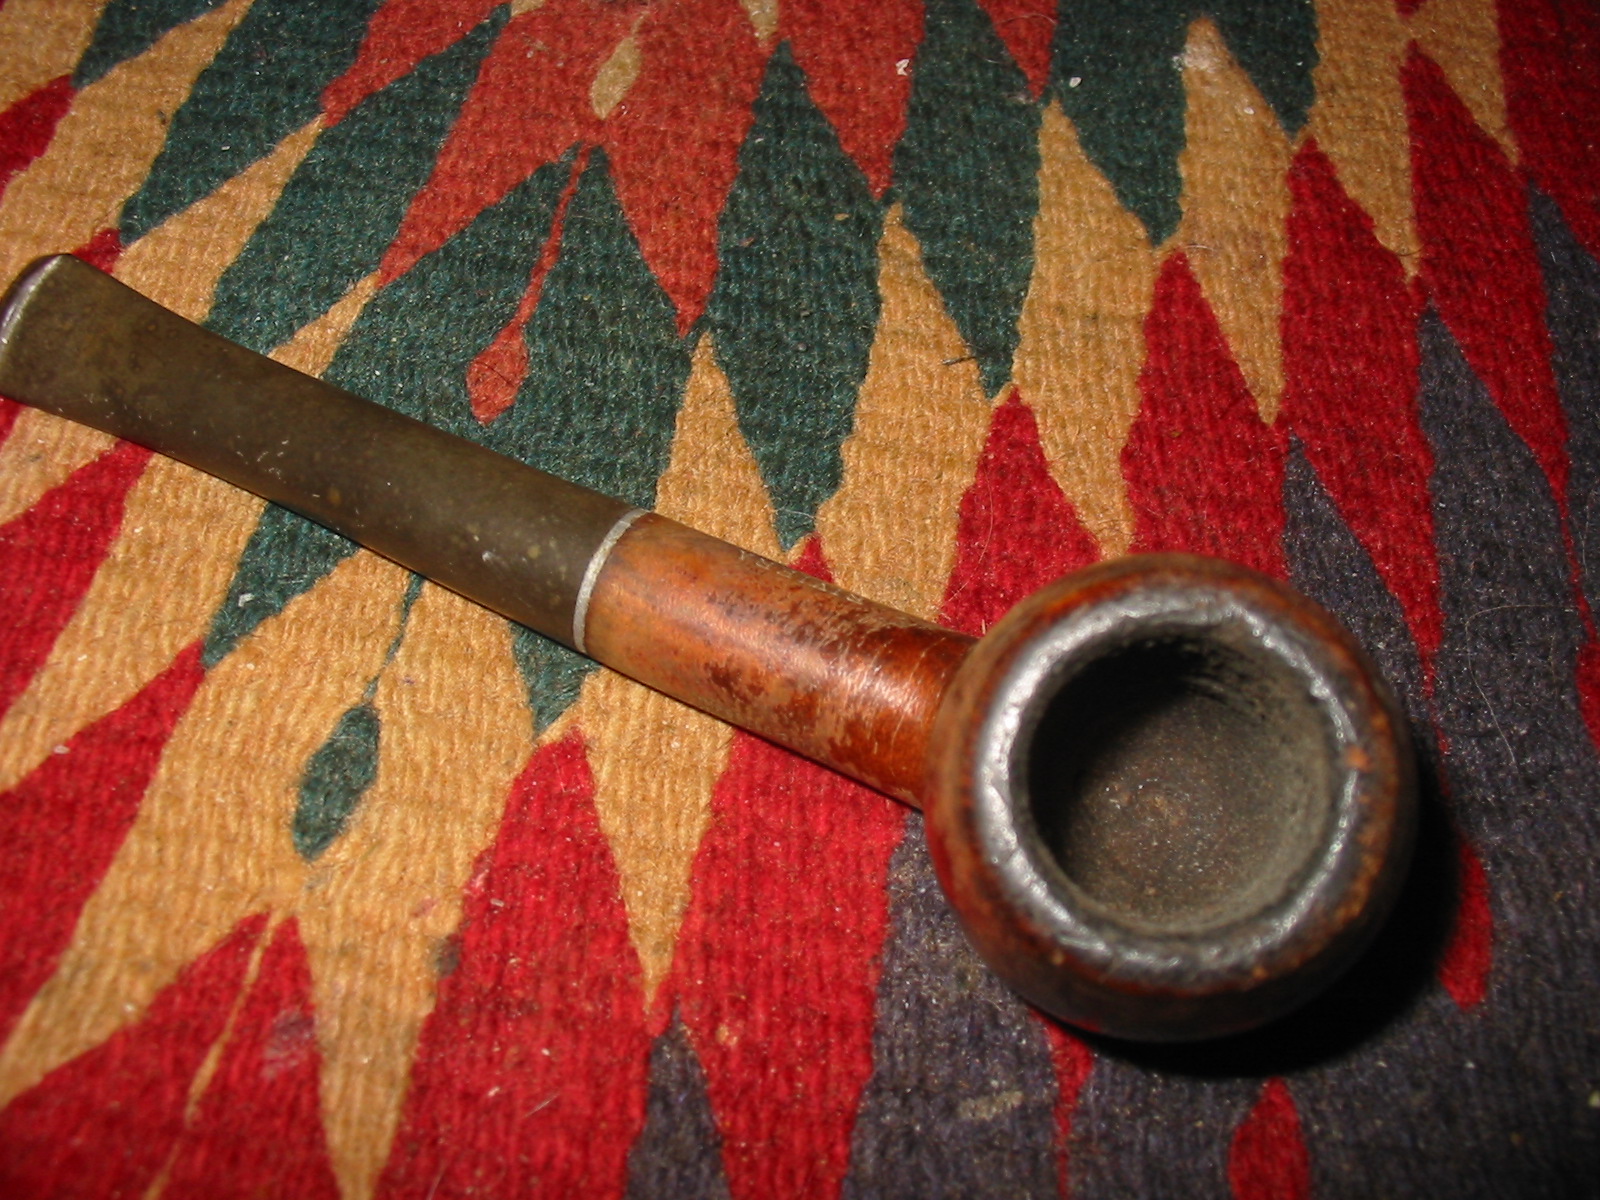
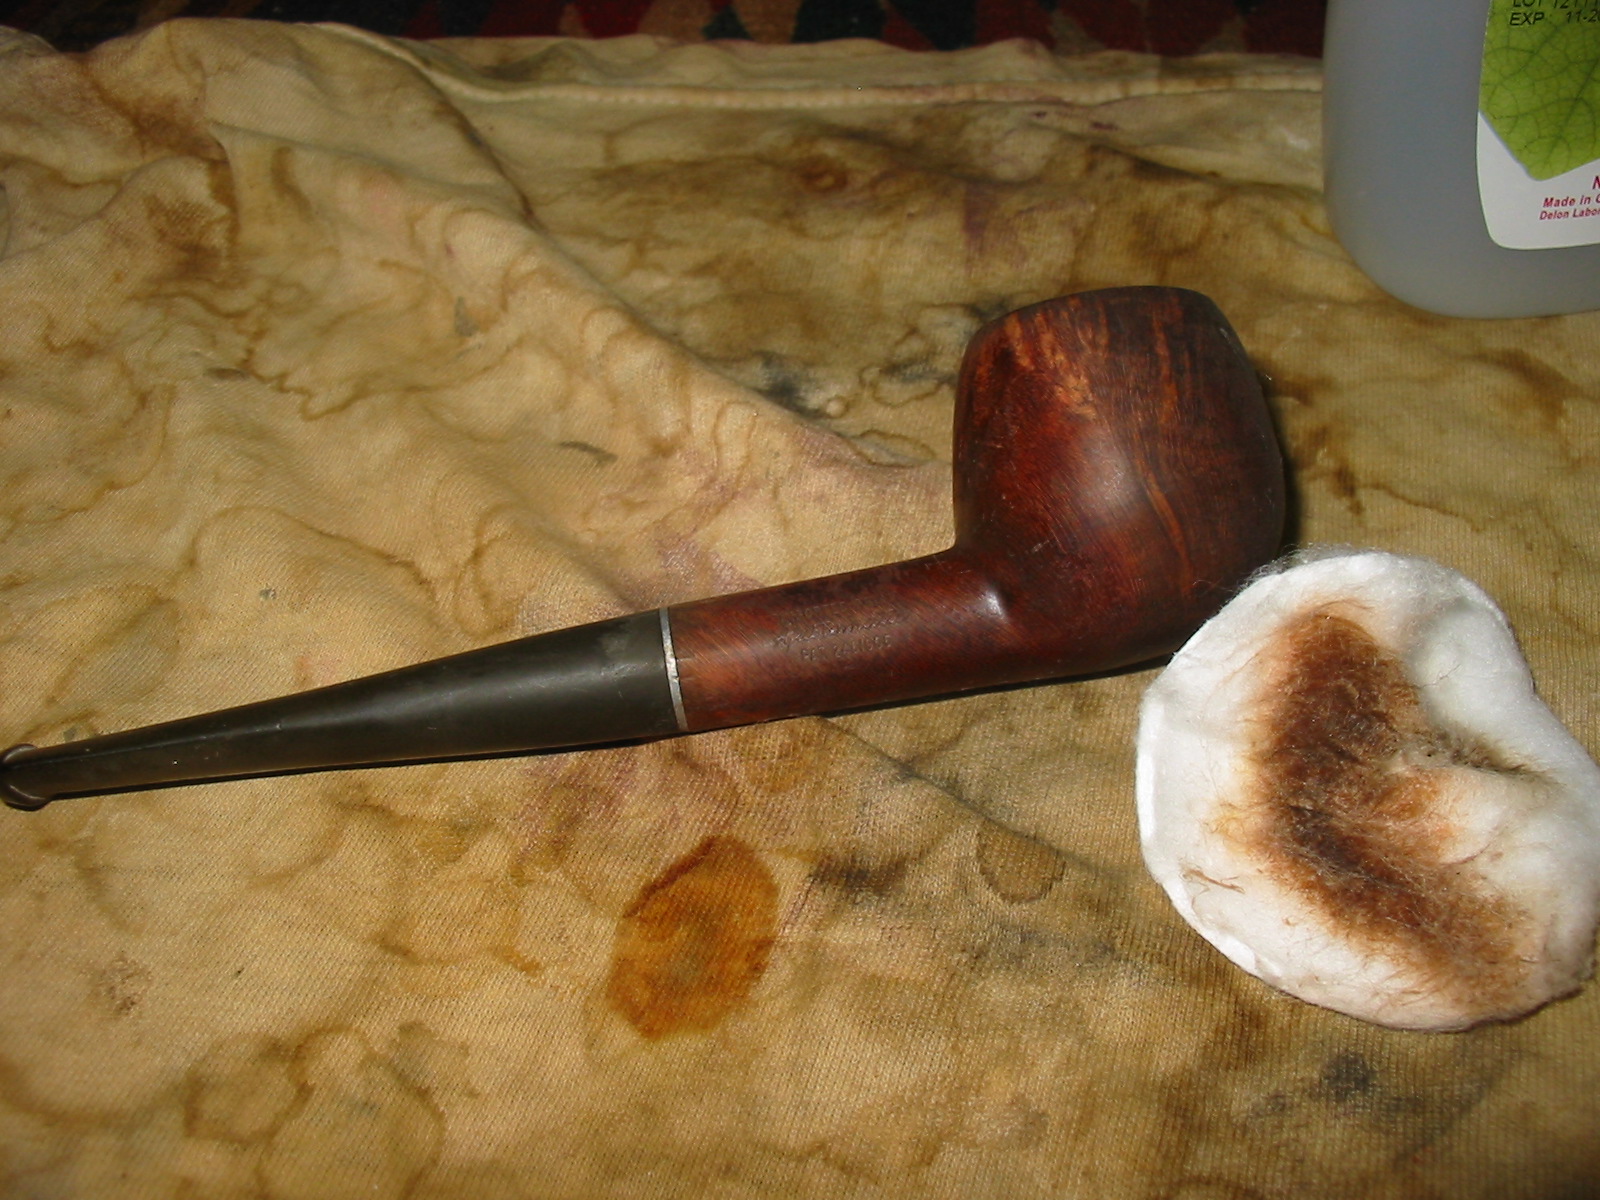
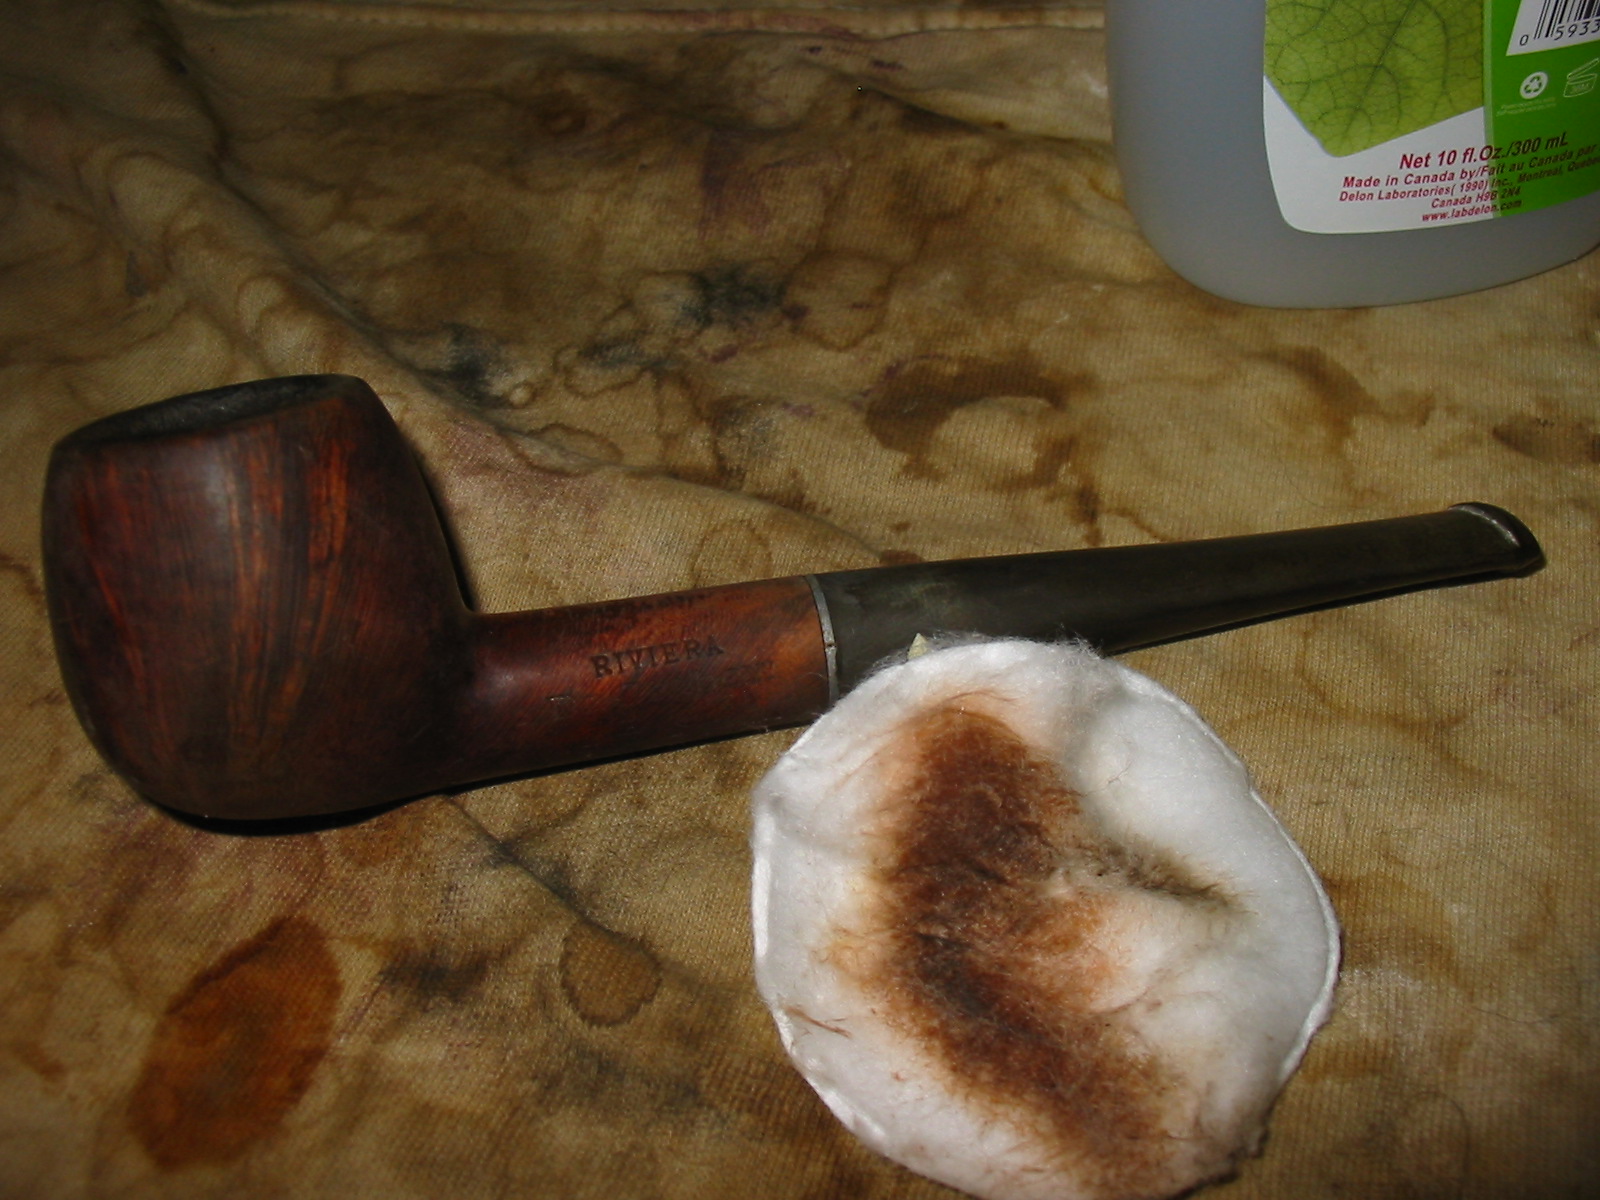
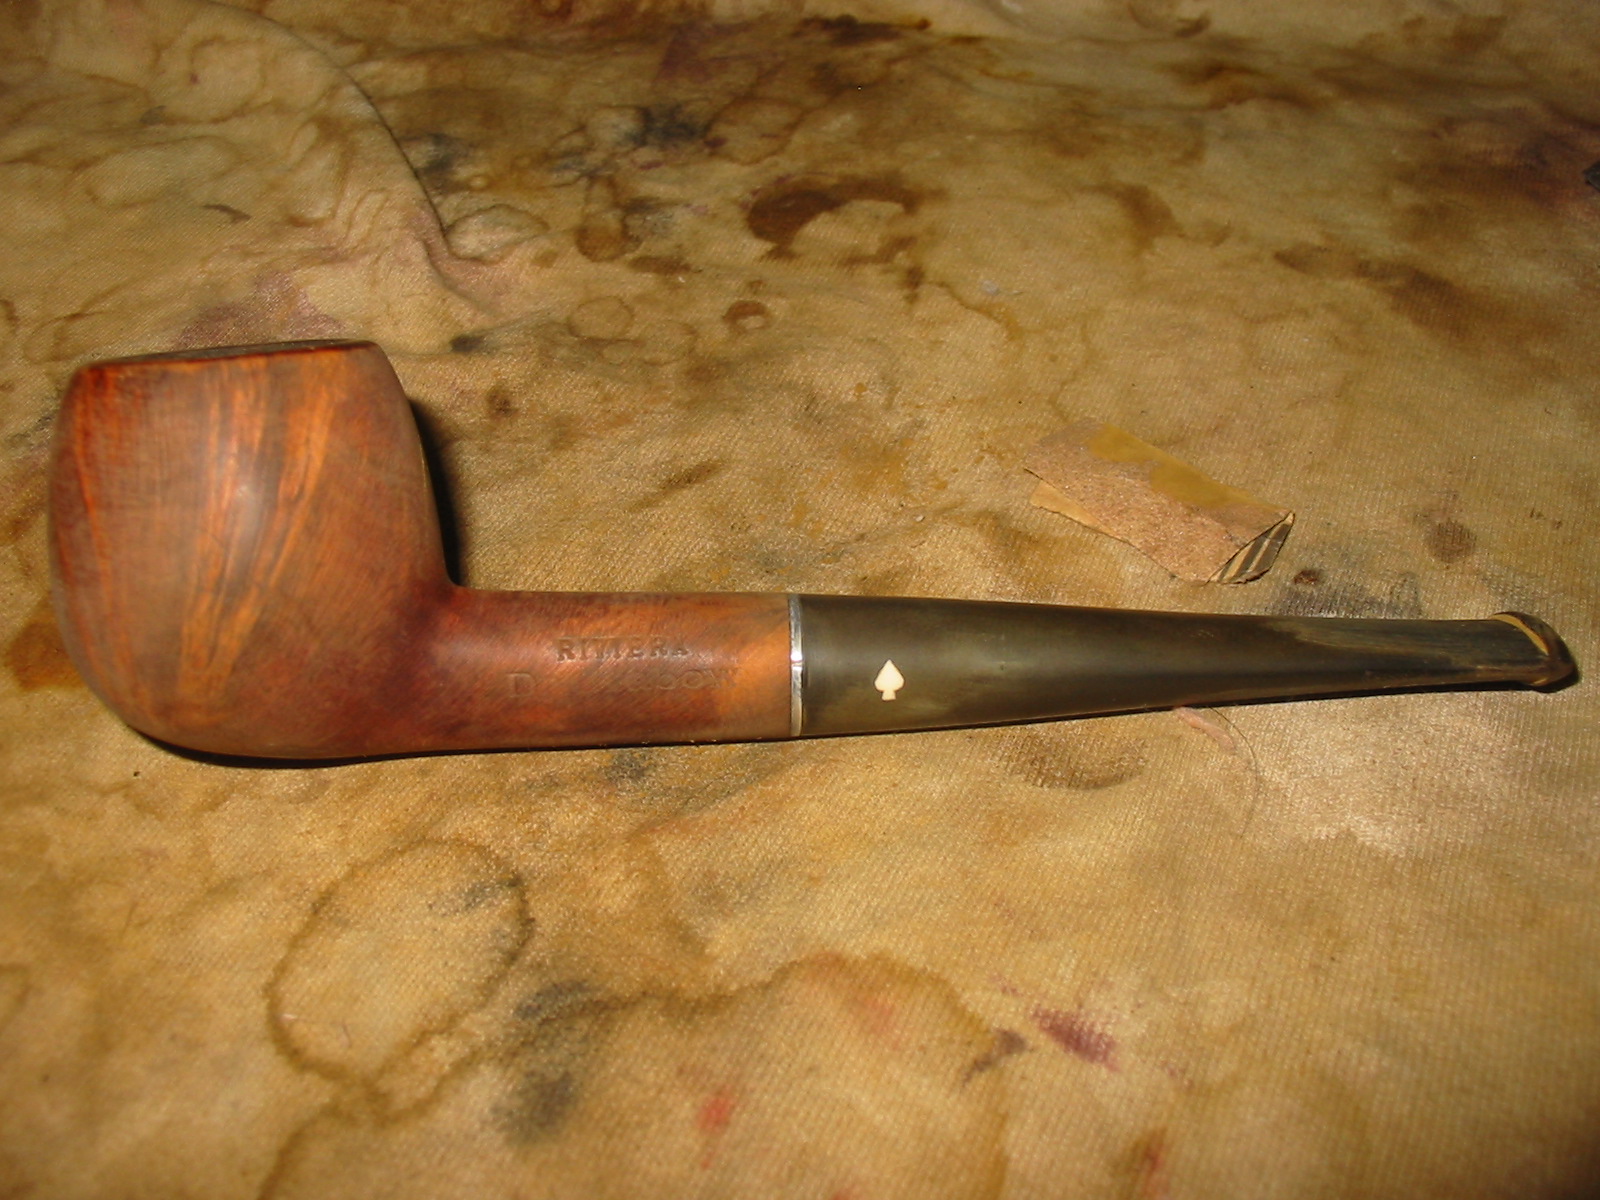
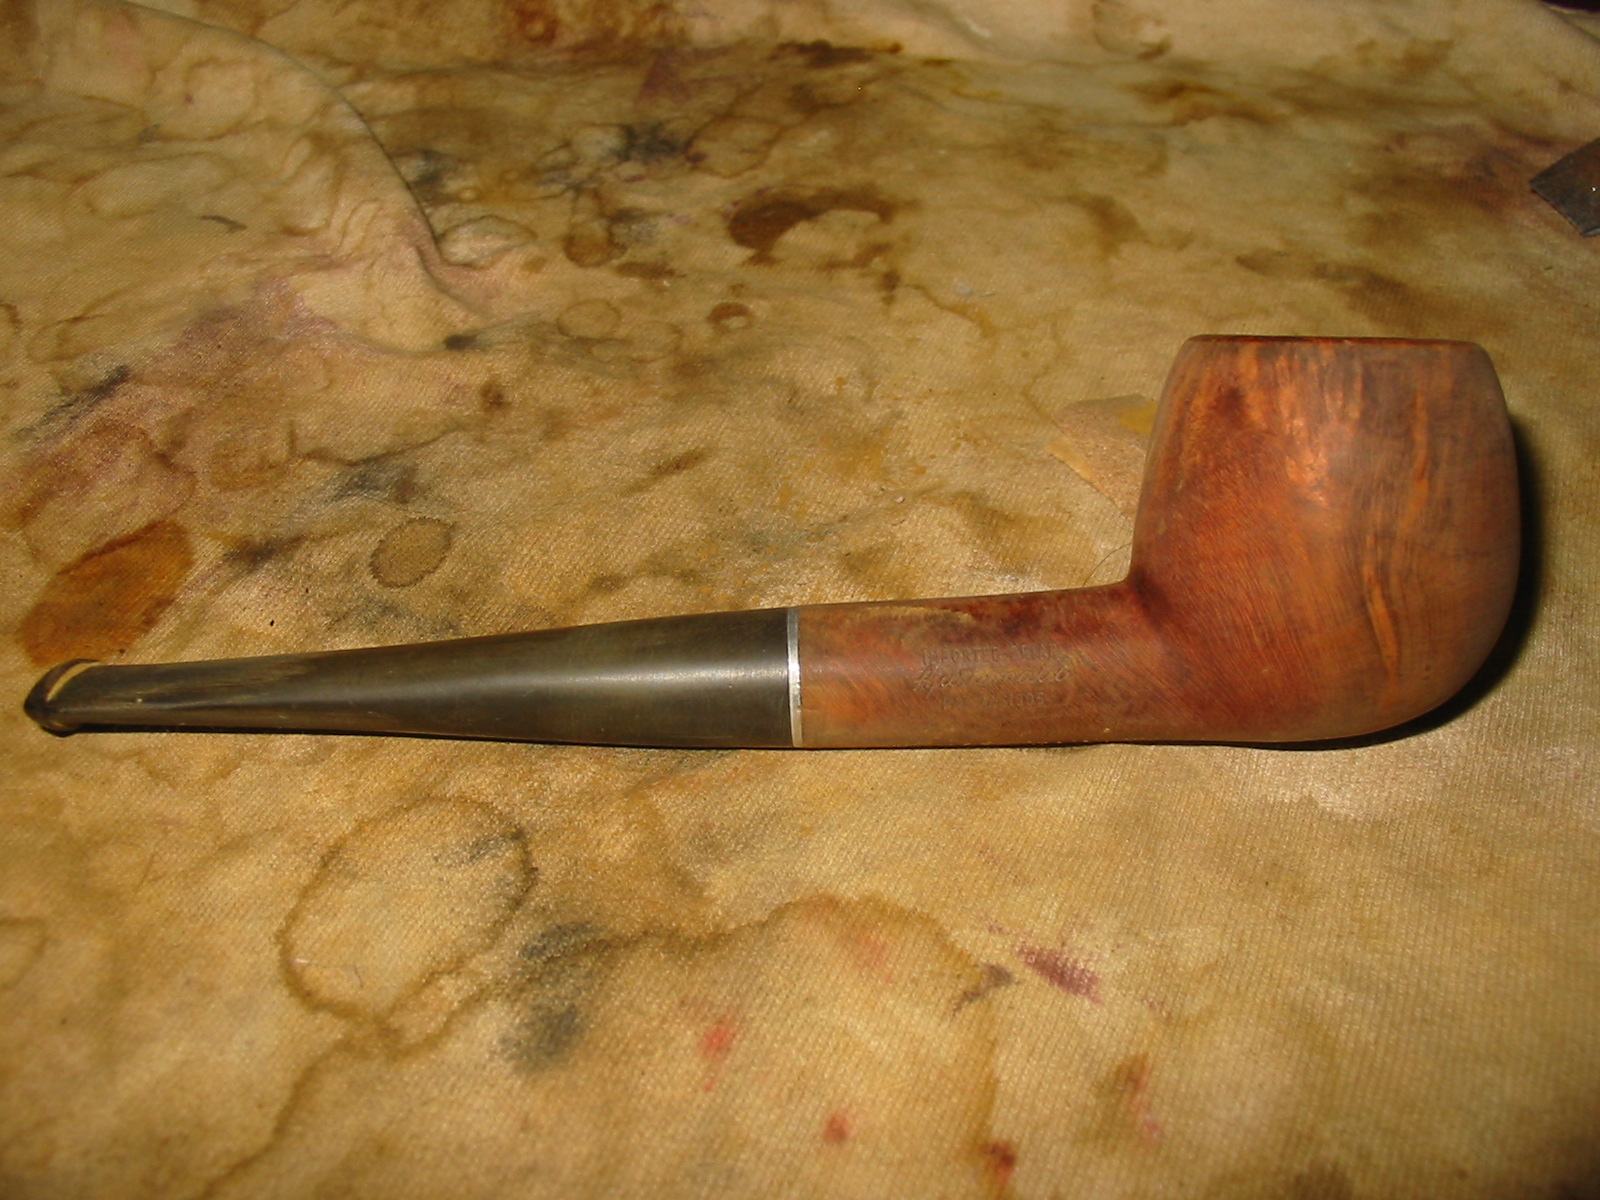
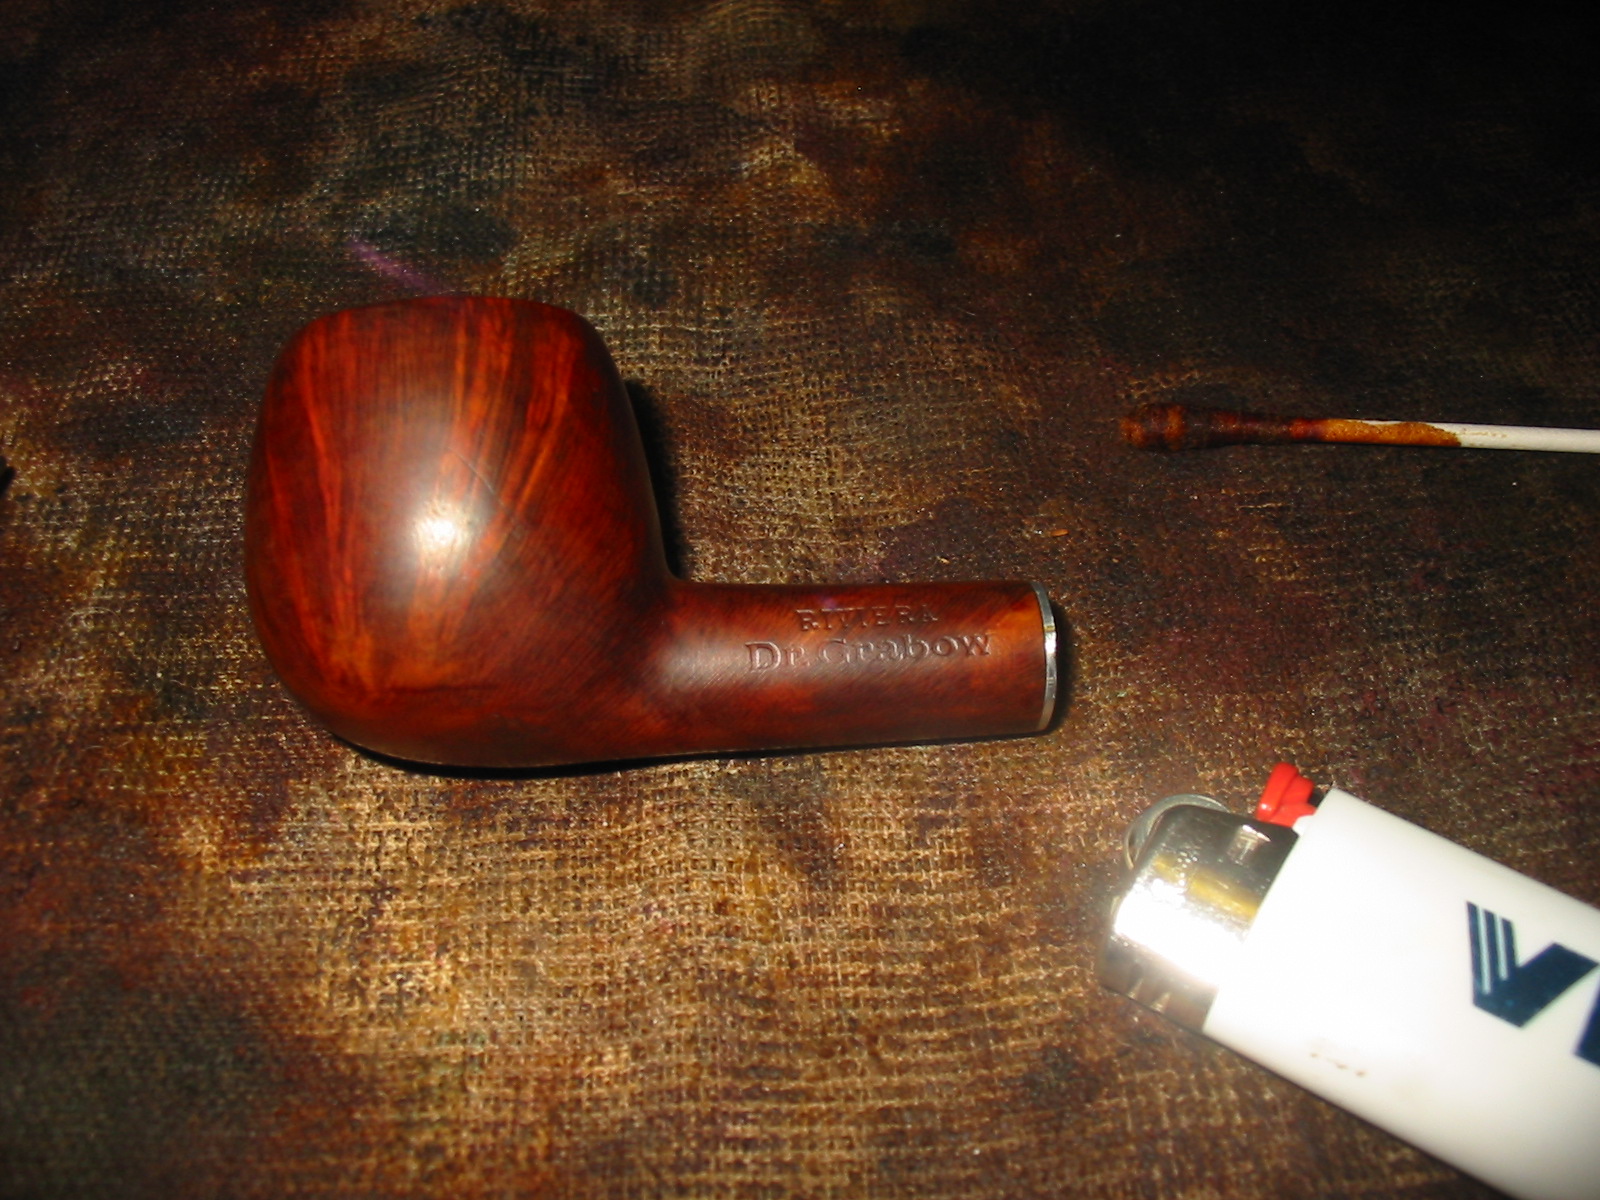
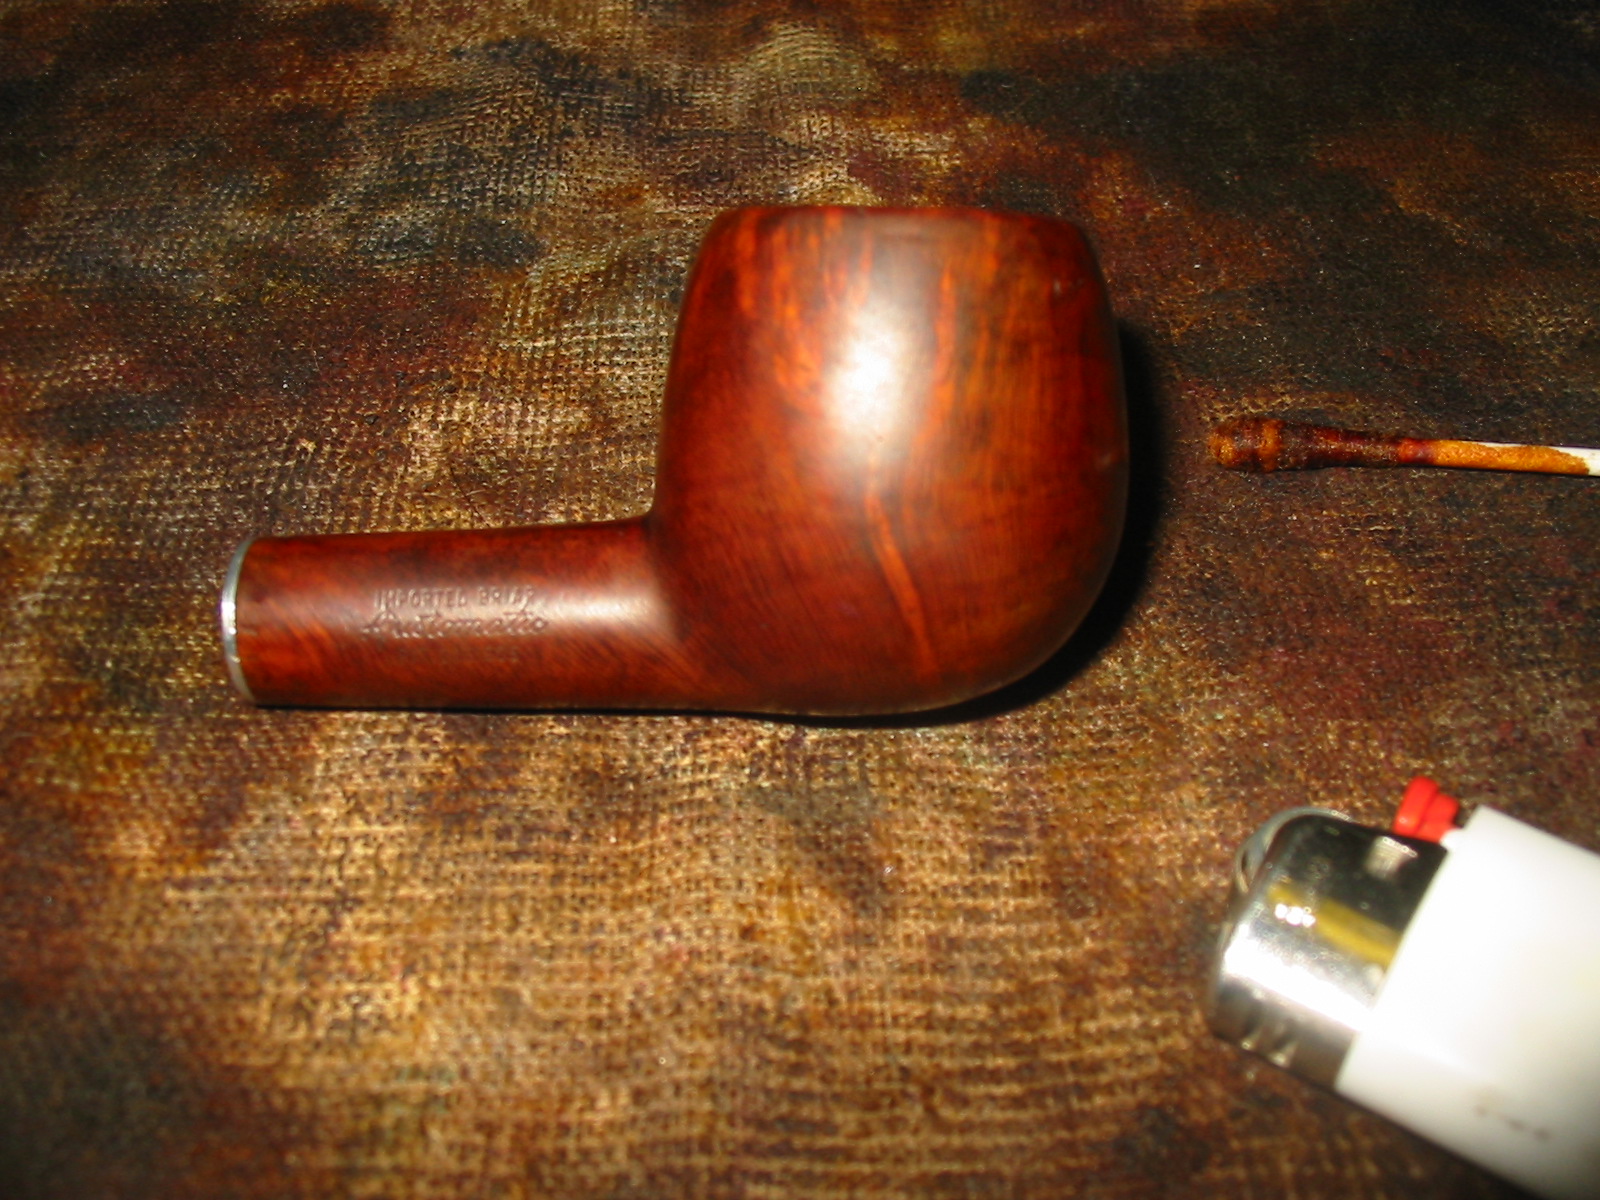
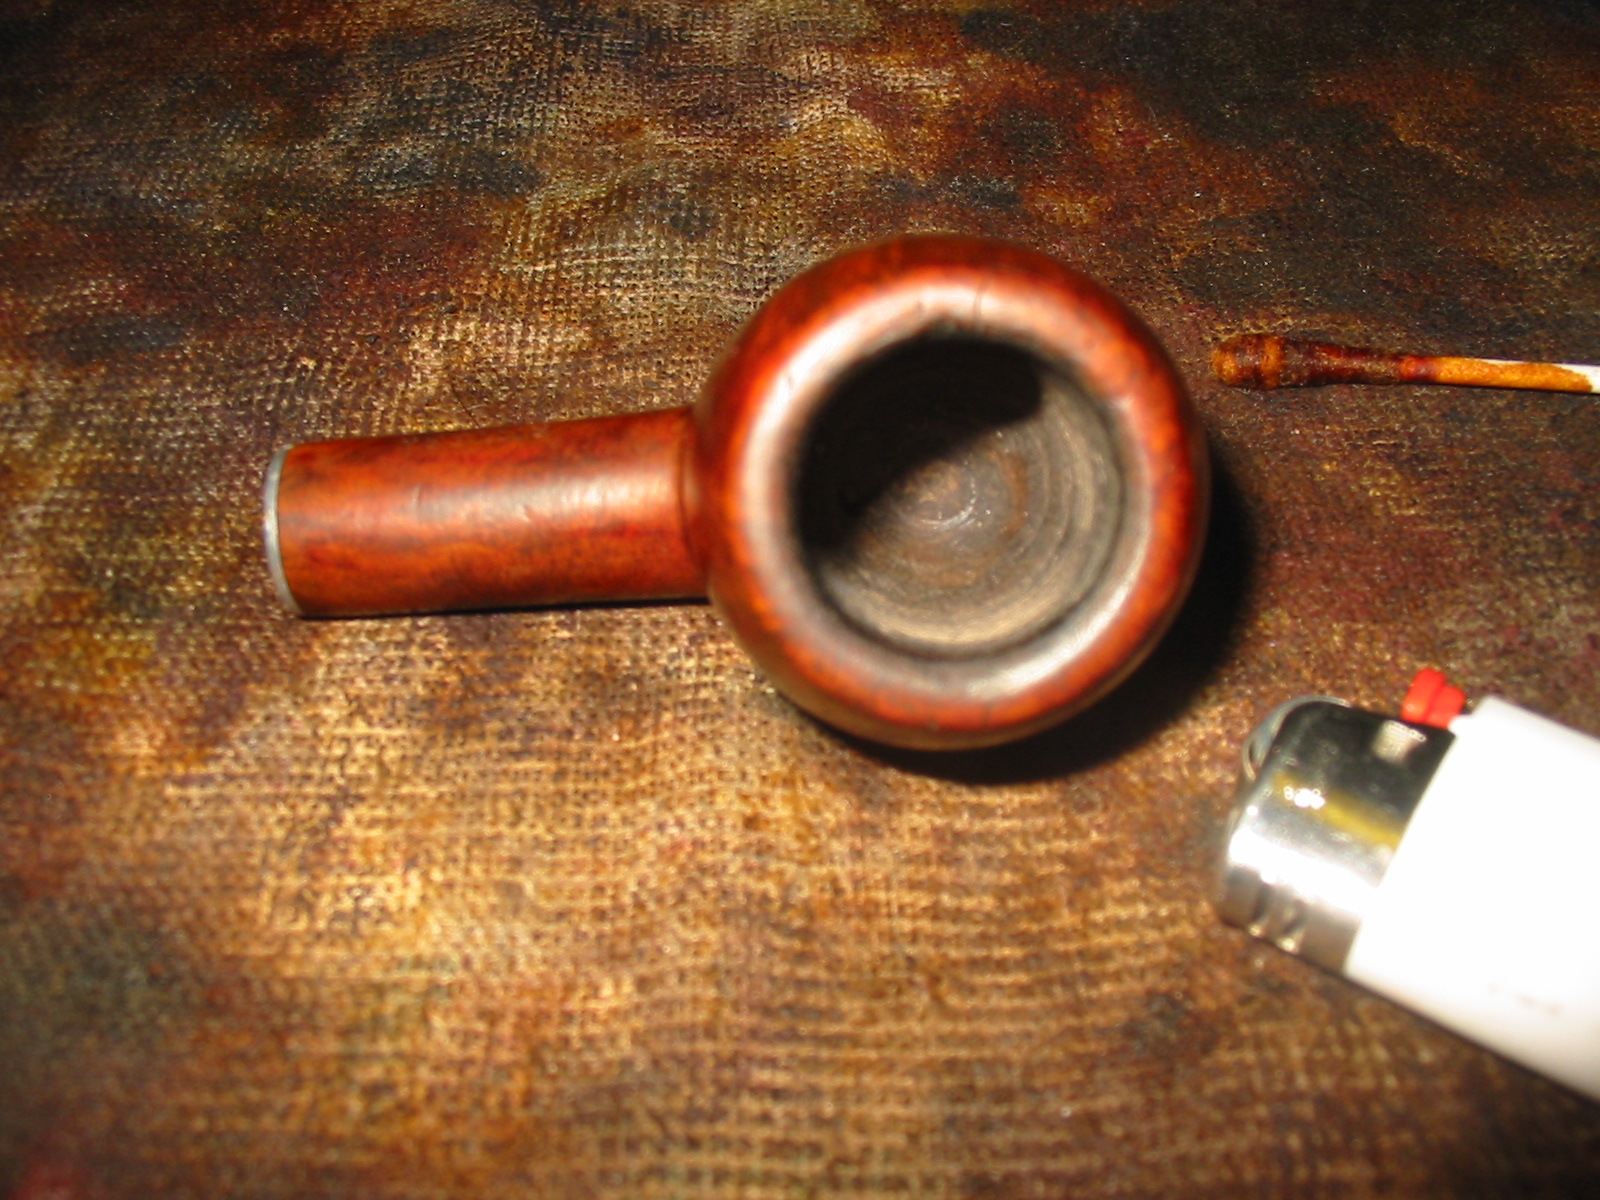
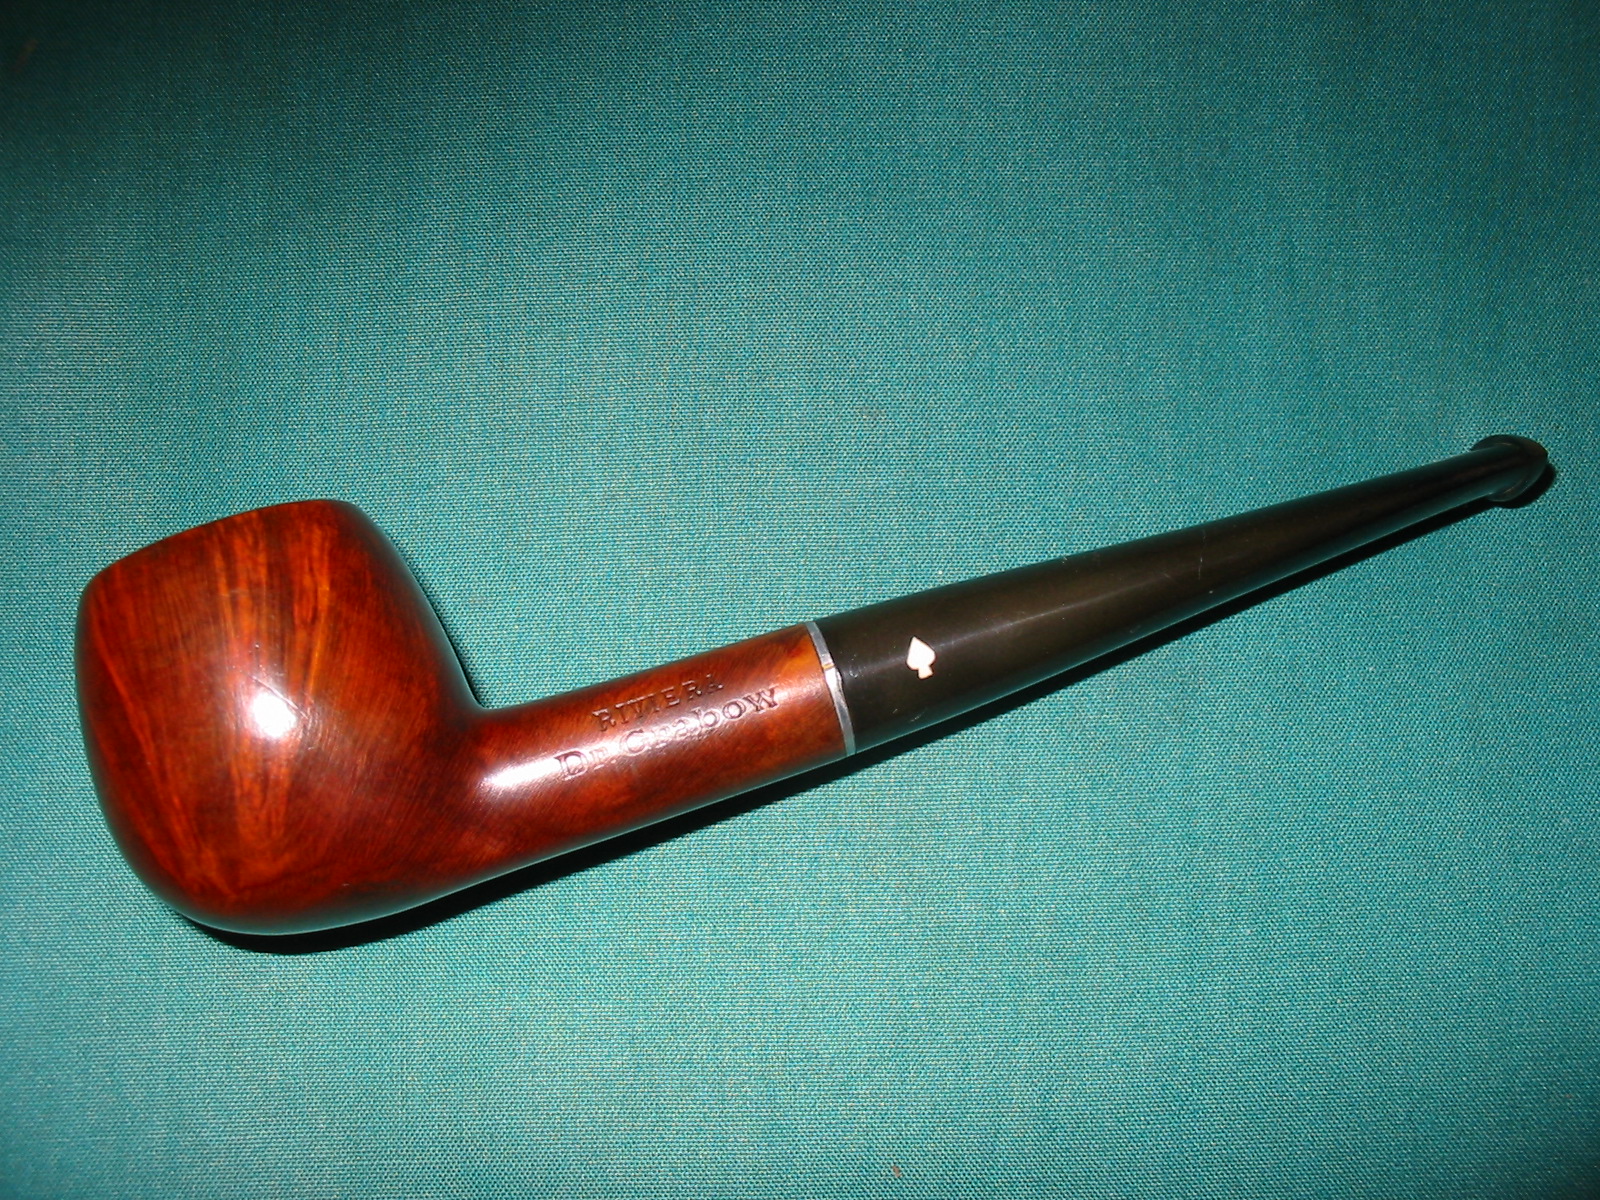
When I am refurbishing pipes I take the same care on older factory made pipes as I do on the more collectible ones. To me this is part of the stewardship of refurbishing. It does not matter what the original price of the pipe was – it is worth redeeming and bringing back to life. The refurbishing of the next pipe is one of those. It is an older Dr. Grabow Riviera. It was given to me by a good friend in Ponoka, Alberta. He gave it to me as a gift when I visited him recently. It is stamped Riviera over Dr. Grabow on the left side of the shank and Imported Briar over Adjustomatic over a patent number – PAT. 2461905 on the right side of the shank. The stinger apparatus in this one is an insert into the metal tenon. It is tube with a scooped portion on top that has a hole in the bottom of the scoop. The air/smoke circulates in the shank and is drawn into the stem by the smoker. The surface area of the apparatus acts as a condenser and filter. The beauty of this design is that it can be removed. The stem was badly oxidized and also had tooth dents on the top and bottom near the button. The finish was shot and the varnish was peeling from the bowl and shank. The rim was darkened and dirty and had a small crack on the top left side. The four photos below show the state of the pipe when I brought it home.

IMG_0846

IMG_0847

IMG_0848

IMG_0849

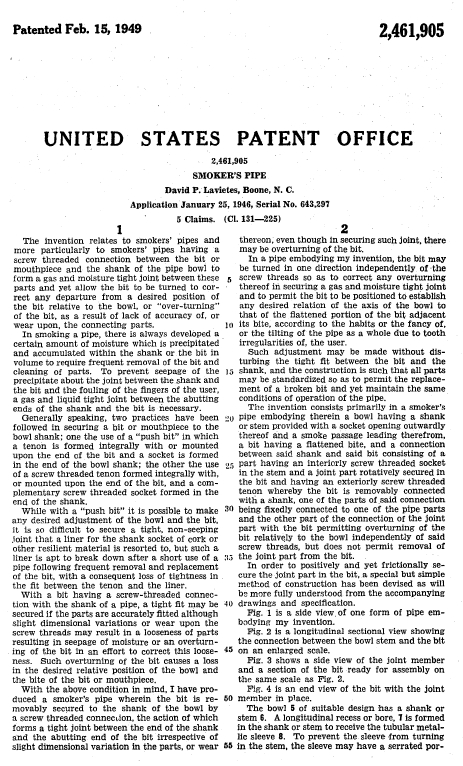
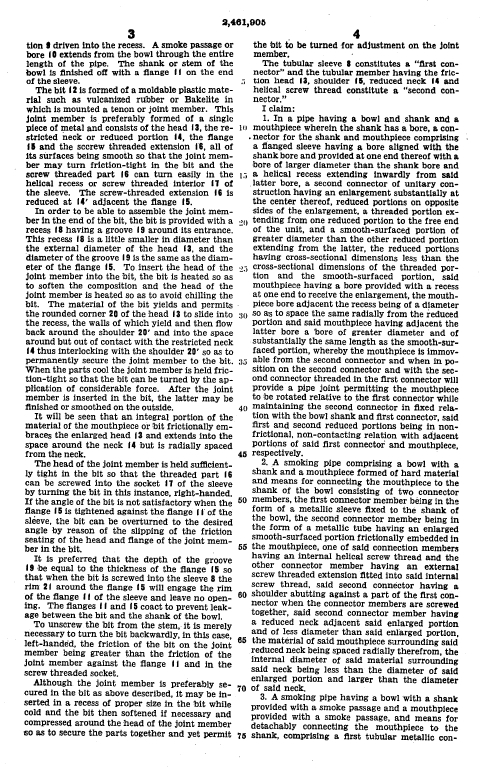
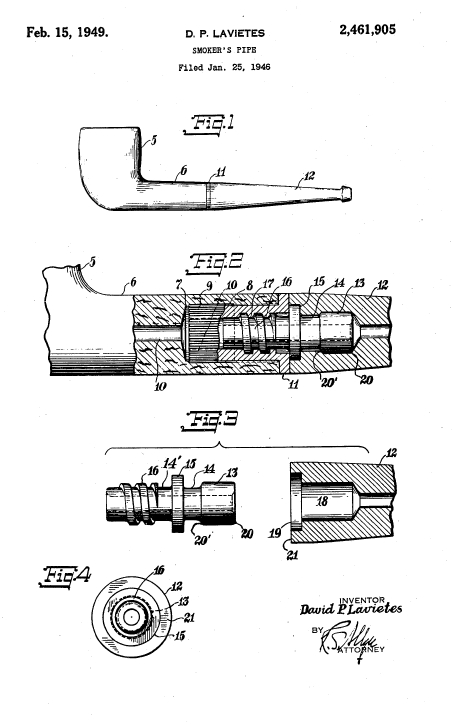
I love doing research on old patents and with US made pipes it is very simple. The following website is a simple way to find data and diagrams. http://patft.uspto.gov/netahtml/PTO/srchnum.htm In the search parameters you enter the patent number from the pipe and click on the search button. Generally, these older patents have been made into PDF files that can be downloaded. Here is a copy of the information I found there. It is a patent for the Adjustomatic connector. I always find reading through these patent application documents gives me a feel for why the designer came up with invention. This proved true of this application as well.

Grabow Patent1

Grabow Patent2

Grabow Patent3

Grabow Patent4

After reading through the patent information I was ready to restore this old pipe. It appeared to be made somewhere around the time of the Patent as it had the patent number stamped on it. That dated it somewhere around 1949 after the patent was given. I began by reaming the bowl with the PipNet reaming set to clear up the uneven and broken cake. I decided to work on the externals first. I wiped down the bowl and shank with acetone on a cotton makeup pad to remove the finish. There was some very nice grain poking through the mottled finish and very few tiny fills that made it even more attractive to me. The acetone removed the varnish very well and also took away the dirt and filth on the exterior. The first two photos below show the process of wiping down the bowl. The old finish is visible on the cotton pad.

IMG_0850

IMG_0851

Once the finish was removed from the bowl as much as possible with the acetone, I sanded it down with 340 grit sandpaper and a fine grit sanding sponge to further remove the finish. The next series of four photos show the bowl after the acetone wash and the sanding. The grain on this one is very nice. The inner rim would need to have some attention to smooth out the rough edges and the darkening.

IMG_0852

IMG_0853

IMG_0854

IMG_0855

I sanded the metal shank band as it had some deep scratches and gouges in it. I could not remove the damage but I minimized its look. I worked on the tooth marks in the topside and the underside of the stem surface. I heated the stem with a Bic lighter – passing the flame over the tooth marks to lift them to the surface. I then sanded the stem with 220 grit sandpaper to remove the remaining marks that were present (Photos 1 – 4 below). I followed that by sanding with a fine grit sanding sponge to remove the scratches left behind by the 220 grit sandpaper (Photos 5 – 6 below).

IMG_0856

IMG_0857

IMG_0859

IMG_0860

IMG_0861

IMG_0862

I sanded the entire stem with the sanding sponge to remove the oxidation from the vulcanite. I took the pipe apart and cleaned the stinger apparatus with a cotton swab and alcohol. The next two photos show that design of the stinger. It is a two part piece and the extended tube can be removed from the screw in metal tenon. I cleaned the inside of the stem and also the inside of the stinger to remove the buildup of tars and oils inside.

IMG_0863

IMG_0864

I sanded the bowl with 1500 – 12,000 grit micromesh sanding pads, being careful around the stamping on the shank. Once the scratches were removed and the bowl was smooth I restained it with a dark brown aniline stain thinned 2:1 with isopropyl alcohol. Doing this makes the stain less opaque and also several shades lighter. I wanted to highlight the grain not hide it so this was the perfect mix to do that. I applied the stain with a cotton swab, flamed it with a lighter to set the stain and then repeated the process a second time. The next three photos show that process. You will note that I also cleaned up the inner edge of the rim with the sanding process noted above. Most of the roughness is removed. A small crack remains on the top of the left side of the bowl rim.

IMG_0948

IMG_0949

IMG_0950

I set the bowl aside and worked on finishing the stem. I sanded it with 1500 – 12,000 grit micromesh sanding pads until it was smooth and finished. I rubbed down the stem with Obsidian Oil to protect and remove the oxidation. I reattached it to the bowl and buffed the stem and bowl with White Diamond on the buffer. I gave the entirety several coats of carnauba wax to bring out the shine and protect it. The final four photos show the finished pipe – cleaned, restored and ready to smoke. The photos show tinges of brown/oxidation still remaining in the stem under the flash of the camera. To deal with that I polished the stem some more and gave it another coat of Obsidian Oil and let it soak in. Upon finishing I buffed it again with carnauba.

IMG_0951

IMG_0952

IMG_0953

IMG_0954

The ongoing evolution of a handmade pipe


With all the refurbishing and staining I have done lately it is no wonder that when I pulled out this pipe from my rack it seemed just plain dull! This is a pipe I carved probably ten or more years ago and then reworked and thinned down in the past three or four years. It is great to be able to pull out one of my own pipes – carved by me – and rework it as the desire rises. I have no qualms about doing that as they are my creation and I am not changing someone else’s work. I had originally stained this pipe with a black understain and then used a very thin mix of medium brown stain on it. At the moment it looked good to me. But over the years that finish has grown faint and lack lustre. I have buffed it and given it new coats of wax but it still was lacking.

The morning I pulled it out was the day for a makeover. I finished the bowl I was smoking in it and while the briar was still warm I took it to the work table to restain. I decided to give it a coat oxblood aniline stain to liven it up and give it some warmth over the dark understain that had become more prominent with time. I rubbed on a coat of the stain and flamed it and then buffed it off so that the pictures below show its new look. I am enjoying its new look. I know it does not make it smoke better (it always has been a great smoking pipe) but the newness makes me reach for it more often.

I am thinking of restemming it now with a wider blade and tapered saddle but we shall see. These things seem to take a life of their own so truly there is no end to the changes that could be made over the years. Here it is now in its process of development!

ImageImageImageImage

UPDATE!!
Last evening (Aug. 8, 2012) after work I decided to cut a different stem for this pipe. The narrowness of the blade (flat portion of the stem from saddle to button) just did not look right to me. The more I looked at the pictures the less I liked it. I did not have any rod stock so I found a precast stem in my jar of stems that would work for now. I cut the tenon down so that it would fit and also reworked all the casting marks along the edges of the stem. I opened the draw and also reworked the slot and button for more comfort and ease of cleaning. Here are the pictures of how the stem looks now. I think it is better than before. Oh, I also decided not to bend the stem this time.

The stem looks shorter than the previous stem but it is actually the same length. The proportions are thicker and thus give the illusion of a more stubby looking stem.

Dr. Plumb Bulldog Restoration


My daughter’s boyfriend found this neat little Dr. Plumb bulldog at a New Orleans shop and sent it to me for restoration. I thought Dr. Plumb had a connection to GBD and I believe they are now owned by the Cadogan group. The stem was in terrific shape, save for a heavy coat of oxidation. The top of the bowl was scorched and it had some dents and scratches.

Before:

I reamed the bowl with both my Castleford and Senor reamers. Someone in the pipes past had reamed it a little out of round, but it wasn’t too bad. I removed some of the dents with a knife heated by a flame and a wet towel. Most of the major ones popped back out nicely. The bowl has some fills, but they are hidden well by the factory finish. In order to remove the scorched top, it would have required a restain. I was afraid with the numerous fills, it would look better with the factory finish. “Character” as they say. I buffed the bowl with some Tripoli, White diamond and with a final buff using Carnuba. The stamping is very legible.

The stem was soaked in an Oxyclean solution overnight to soften the brown coating. Unfortunately, the stem logo proved very problematic. I could not get the oxidation off this part of the stem without removing the logo. The owner opted for me to leave the logo and brown patch.

Here is the finished product.

The pipe sure looks like it would be a good smoking piece and I hope the young man enjoys it for many years.

Selected Straight Grain (Comoys) Restoration


By Al Jones

Several months ago, a thread on the SmokersForum.uk about the Comoys “Selected Straight Grain” pipes piqued my interest. Member Dirigo (Tom) was kind enough to share with me how to identify these interesting pipes. I was able to grab this Shape 13 via Ebay last week, which corresponds with the Comoys shape chart. That shape looked to be in decent shape, with the exception of one putty fill. I assume this flaw made the pipe unworthy of the Comoys stamping. There were only the slightest tooth marks and no pesky stem logo to worry about.

From the Ebay picture, you can see the ugly fill.

There was only minimal cake inside the bowl so it was lightly reamed and soaked with Everclear and sea salt. The top of the bowl was scarred, so that was going to take some work.

While the bowl was soaking, I started on the stem, which had been soaking in a Oxyclean solution. I went thru my usual 1500/2000 grit wet paper that onto the final four micromesh grades. The stem was then buffed with white diamond and a final plastic polish. Removing the light chatter was pretty straight forward. The button was worn, so I used a needle file to slightly reform the edges.  Unfortunately, I was unable to remove the oxidation without making the edge of stem slightly rounded.  I need to learn how to avoid this issue.

Once the bowl was done soaking it was moved to an alcohol bath to remove the stain. I spoke to Steve prior to this step and he recommended the fill be corrected using the superglue & briar technique he recently posted on Reborn Pipes. That solution worked well and I used two steps to fill in the pit. After restaining, the fill is just slightly visible, a big improvement from the factories solution using the bubble-gum putty.
The Super-Glue and briar dust patch.

I used a two-step stain process to highlight the grain, also a recommendation from Steve. First I “painted” on some black stain, after the bowl was warmed to open the grain. Then, the bowl was sanded with micromesh and a very diluted application of Medium Brown stain was applied. The bowl was than buffed with Tripoli and white diamond, followed by a final buff with Carnuba wax. I was careful on all steps not to diminish the stamping, which is quite legible.

Thanks to Steven Laug for his help with this one and Tom for information on this interesting Comoys niche.

Restemmed Red Point Capped Bent


I picked up this Red Point Old Briar Capped Pipe bowl on Ebay awhile ago. It did not have a stem but seemed to have promising grain. When it came in the mail I cleaned it up a bit and then worked on a stem for it. I decided to use a faux p-lip stem that has the airhole on the end of the stem rather than on the top. I fit the tenon to the shank – that was a bit of a trick as the shank is like a Pete shank in that it narrows/tapers as it descends toward the bowl. I finished fitting and polishing the stem.

Here are some pictures of the bowl when it came. From the second photo you can see that it was barely smoked. It was very clean and needed a few pipe cleaners run through it. The exterior needed to be wiped down with a little oil soap to clean away the grime – I always rub it on undiluted (no water) and quickly wipe it off. I do not leave it to sit. I also polished the silver work on the shank and the cap.

ImageImage

I heated the stem with my heat gun and bent it slightly and took the next three pictures. I have learned that pictures give the true story in terms of bend and overall look of the pipe in a way that is clearer than the naked eye. From the photos I decided that the bend need to be a bit more dramatic and match the curve of the bottom of the bowl and shank. I reheated it and used the rounded edge of my work table to get a proper bend in it.

ImageImageImage

Here is the final product – a proper bend with a curve that matches the bottom of the bowl and shank. The look is like an elongated S. Once it was finished I cooled the stem for a bit and then loaded it with Blue Mountain and smoked the inaugural bowl. Since then I have smoked it several times. It delivers a great smoke.

Image

New Life for a Yello Bole Canadian


On a recent trip to the US to visit my parents I also visited several antique malls in their city. I have three that I usually have on my list when I go there. The one I want to focus on in this post is in an old grain elevator and has three floors of many “antiques” which always surprise me because many are the same age as I am!  Anyway, on the second floor I found a booth with two pipe racks containing over a dozen older pipes. Most were junk in that they had cracked bowls and broken shanks etc. But also in the midst of it was this old Yello Bole Canadian. It had some beautiful briar in it. Yello Bole is the grade down the line for KayWoodie, or so I am told. Pipes that don’t make the grade for KW will often be stamped with the Yello Bole brand. This one was stamped KBB in a cloverleaf on the top of the shank and next to it Yello Bole over honey cured, over imported briar. The stem has the yellow circle inlaid in the vulcanite. If memory serves me correctly this is one of the older pipes in the line.

ImageImage

The bowl was in pretty clean shape. The yellow coating was still visible in the bowl and the bottom half of the bowl was very clean with just a bit of darkening to the yellow coating. The rim was dirty and dented. There were tars on the rim and some deep scratches to go along with the dents. The bowl however, was still round, it had not been ruined by a reamer going a muck. The stem was oxidized and was slightly brown. There was light tooth chatter but no dents on the surface of the stem. The overall finish of the pipe had light spots and dark spots where the finish seems to have been exposed to light or was wiped down and finish removed. There was no over coat of varnish or of lacquer just solid clean briar with a spotty stain.

ImageImage

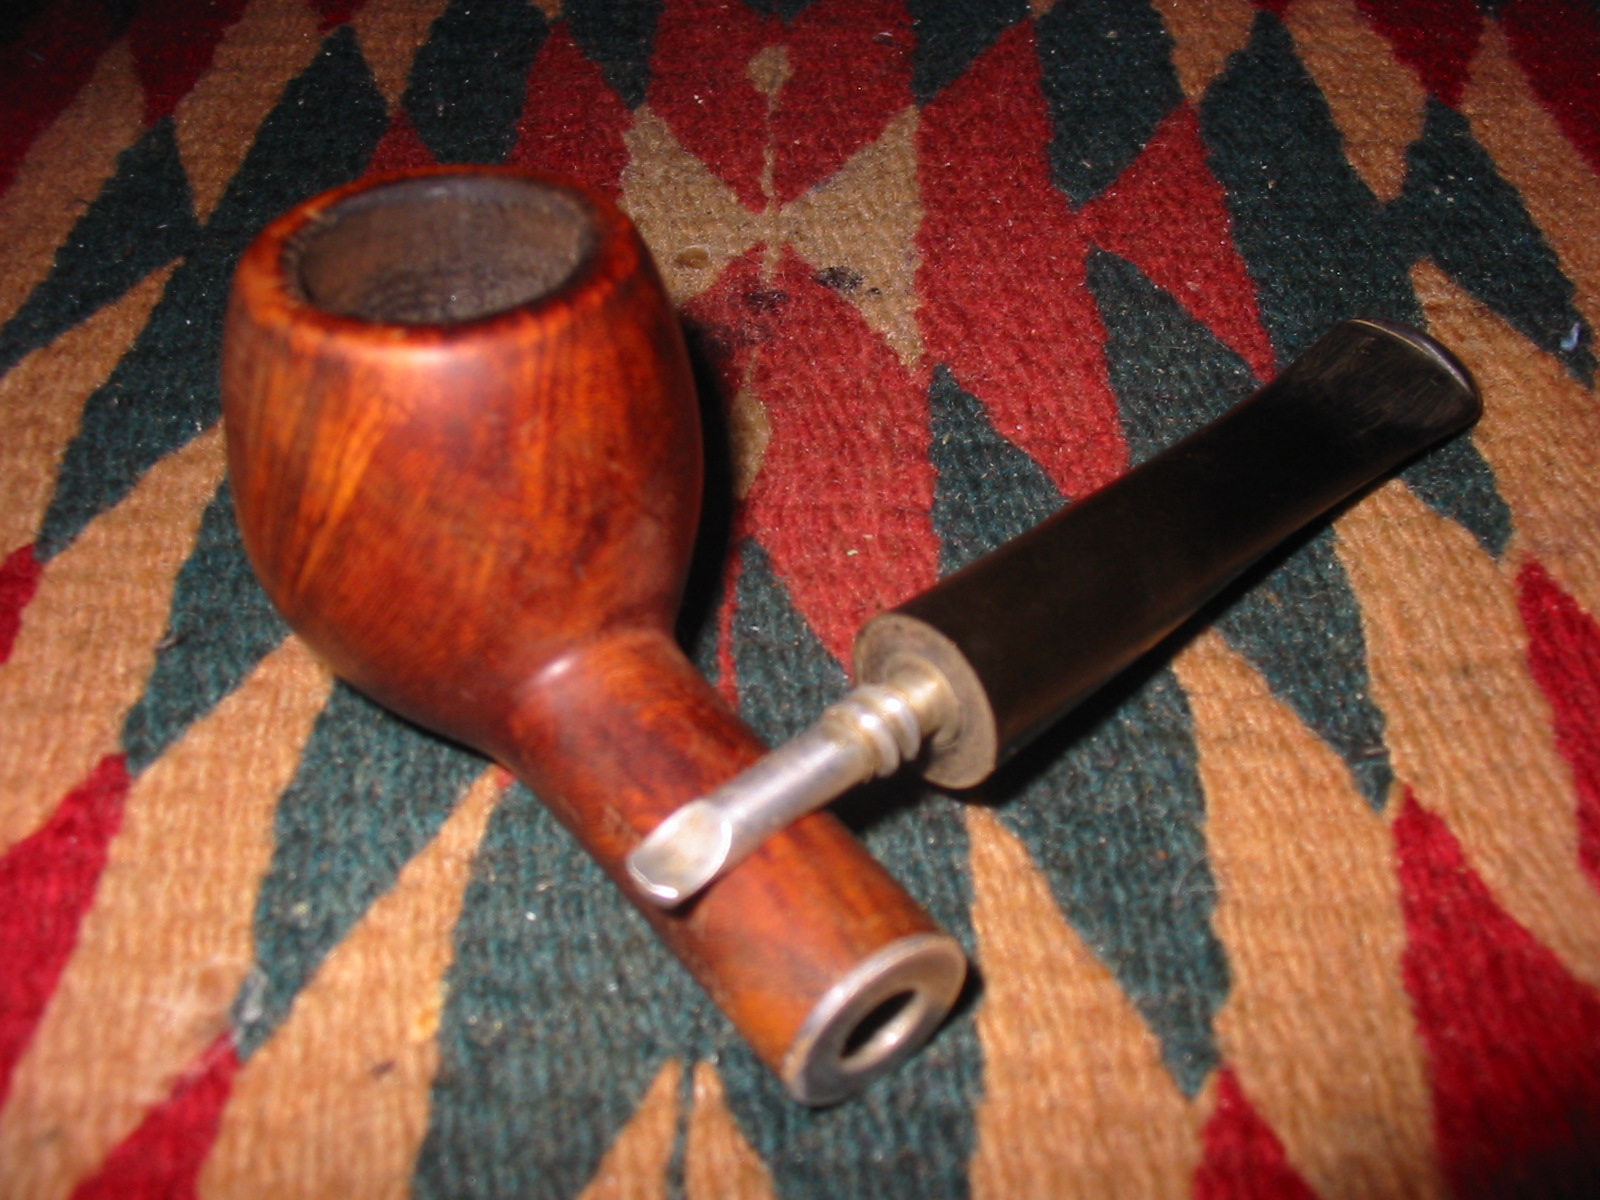
I broke the pipe down as seen in the pictures below. The stinger apparatus can be seen in the pictures. It is an aluminum shovel like contraption with the hole near the tenon and a long shovel like extension that extends through most of the shank. I cleaned out the bowl with an alcohol scrub on cotton swabs and cleaned out the shank with a shank brush, bristle pipe cleaners and fluffy pipe cleaners and alcohol. When they came out clean I worked on the outside of the bowl. I used cotton balls and acetone to wipe down the outside of the bowl and shank. I wanted to remove the rest of the finish so that I could prepare it for restaining. I applied the acetone until the bowl was free of the stain and finish. The pictures below show the cleaned surface of the bowl. I also used the acetone and some 400 and 600 wet dry sandpaper to clean the top of the bowl and rim. A folded piece of sand paper was used on the inner edge of the rim to clean the beveled edge. Before I stained the pipe I decided to clean and polish the stem. I used the Bic lighter method mentioned in an earlier blog post to get rid of the oxidation. In the pictures below the stem has the majority of the oxidation removed using that method. I then used 400 and 600 grit wet dry sandpaper with water and my usual list of micromesh pads from 1500-6000 grit to polish the stem.

ImageImageImage

Once the stem was cleaned and polished by hand I inserted it into the bowl and used it to hold the pipe while I restained it. I used a medium brown aniline stain on this pipe to approximate the original stain and to highlight the grain. I applied it with the dauber that came with the stain and then flamed it to set the stain. I then took it to the buffer and buffed it with Tripoli to remove some of the opacity of the medium brown stain and bring the grain to life. Once that was done it was buffed with White Diamond. Both the stem and the bowl were buffed. Care should be exercised in the buffing process to not obliterate the stamping. I use a light touch when buffing around the stamping. The four pictures below show the finished pipe – ready to load with a favourite tobacco and enjoy!

ImageImageImageImage


Refurb – A Pair of Custombilt Look A Likes


I just finished up on these two Custom Bilt look a likes. The Rhodesian shaped pipe has no stamping other than Imported Briar. The bent pot is stamped Aged Imported Briar on one side and Ben Rogers on the other side. I am not familiar with the brand. So if anyone has information on it please post it here. I would appreciate learning about the twosome.

ImageImageImage

Both pipes needed quite a bit of work to make them smokeable once more. The bowls had a thick cake and each one of them still stuffed with half a bowl of tobacco. The stems were rough and pitted from the oxidation and had a white lime like coat on them. They were very dirty inside and out. I cleaned them with a shank brush, bristle pipe cleaners and finished with fluffy ones all dipped in isopropyl alcohol until they came out clean. I buffed the stems with Tripoli after cleaning them to try and break down the coat of oxidation. It did not do much so I put them both in a bath of Oxyclean to soak. I find that though it does not remove the oxidation it does soften it considerably and makes sanding and buffing it off much easier.

Once they were soaking I turned to the bowls. First I reamed them both to remove the crumbling and uneven cake. I generally take them back to bare wood when they are in this state or at the most leave a thin bit of cake on the walls. I cleaned the rims with alcohol and a soft cloth and sanded it with 600 wet dry sandpaper to remove the tar deposits and carbon on them. Once that was done I dropped them in the alcohol bath to wet them and scrubbed them with a soft bristle toothbrush. I find that on the smooth and semi-rusticated finish of these pipes the tooth brush works very well to remove deep seated grime and loosen oils and dirt.  I then left them to soak while I went back to the stems.

After the soak the stems came clean pretty easily with 240 grit sandpaper, 400 and 600 wet dry sand paper and a finishing buff with Tripoli. I worked on them for a while with the sandpapers and Tripoli and then used White Diamond for the final polishing buff. I was careful to not buff the last bit around the stem edge that would meet the shank. I would finish it once the bowls were stained and ready. Then I would buff them together with carnauba wax.

By the time I was done with the stems the bowls were ready. I took them out of the bath and wiped them down. Once they were dry I restained them both with a medium brown aniline stain, flamed the stain and then buffed them with White Diamond to remove excess stain and give a contrast between the smooth portions and the rustication. I hand waxed them both with Halcyon wax and buffed with a soft cotton cloth.

ImageImageImage

Custom-Bilt Saddle Billiard Comes Back to Life


Blog by Steve Laug

It was a pleasure to refurbish this original Custom-Bilt (note the hyphenated title). I have always loved the rugged individualism of Tracy Mincer’s pipes. They are like none of their imitators in terms of character and sheer smoke-ability. They feel great in the hand; have and open draw and generally a comfortable stem. They are nothing pretty to look at yet there is something endearing about their “ugliness”. This old pipe was in very rough shape when I started to work on it. I apologize up front in that I forgot to grab the camera to take pictures of the pipe when I began the work. My words will have to suffice as I tell you about it. There was still a dry and almost petrified dottle of tobacco left in the bottom of the bowl. The cake that was on the walls was filled with cracks and major chunks of it were missing. The only way to remedy that was to ream it. The exterior of the bowl had a very tarred and sticky rim and the finish was gone and flecks of white paint were all over the crevices of the rustication. The stem was dull brownish green with a white crust around the button and up the stem a good half inch. This stuff was like concrete.

I always start my refurbishing process by addressing the issues of the bowl. That way as it soaks I can work on the stem. I scraped out the petrified dottle and reamed the broken cake back to bare wood. I cleaned the inside of the shank with a shank brush and bristle and fluffy pipe cleaners and isopropyl alcohol until they came out clean. I wiped down the exterior of both the shank and bowl with a rub of alcohol. When finished it was dropped in the alcohol bath for most of the morning while I worked on the stem.

I went to work on the stem. I decided to buff it with black Tripoli (coarse polishing compound) to address the hard crust on the front of the stem and the general oxidation on the blade of the stem before the saddle. I did not want to work on the saddle with it off the shank as it is too easy to round the edges and spoil the fit. After buffing it was sanded with 240 grit sandpaper to finish breaking through the white crust. Once it was gone the rest of the stem was cleaned up with my normal list of 400, 600 grit wet dry (with water), and then micromesh pads – 1500, 1800, 2400, 3200, and 4000 grit. I also used the wet dry sandpaper and the pads to careful work on the saddle portion of the stem. Upon completion the entirety was given a coat of Obsidian Oil and then waxed with carnauba.

I set the stem aside and retrieved the bowl from the alcohol bath. As I took it from the bath I scrubbed it with a brass bristle tire brush to get into the crevices on the pipe and the rustication. It was a mess with some paint in the rustication. The alcohol had removed the grime and the wire brush removed the paint flecks. Just a reminder – I use a soft bristled brass white wall tire brush in these instances as the bristles do not damage the surface of the briar. When the bowl was clean I wiped it down with isopropyl on a cotton boll. It was ready to restained with a medium brown aniline stain. I applied the stain with the dauber that comes with the Fiebings Shoe Dye (aniline stain), flamed it and set it aside to dry thoroughly. Once it was dry I buffed it with White Diamond on my buffer and then applied a coat of Halcyon Wax and buffed it by hand with a cotton cloth.

ImageImageImage