Blog by Steve Laug
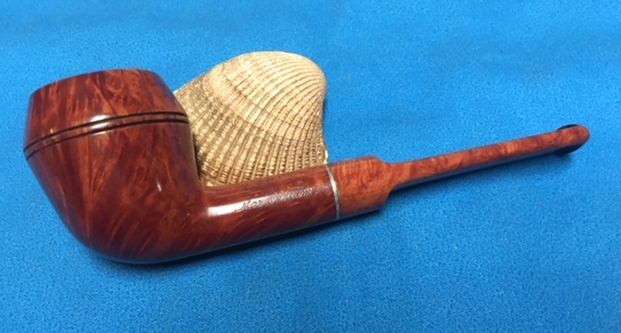
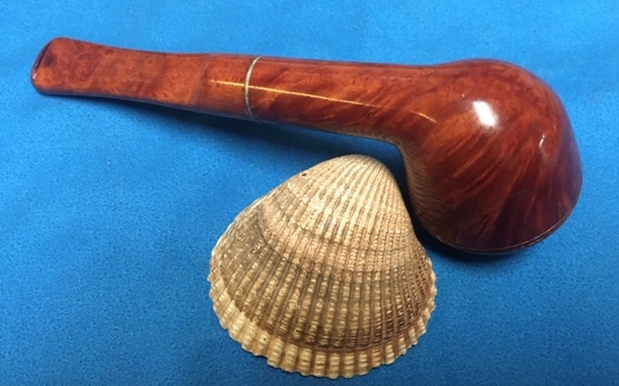
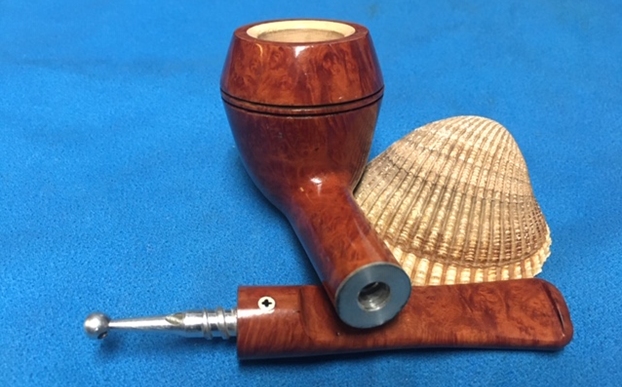
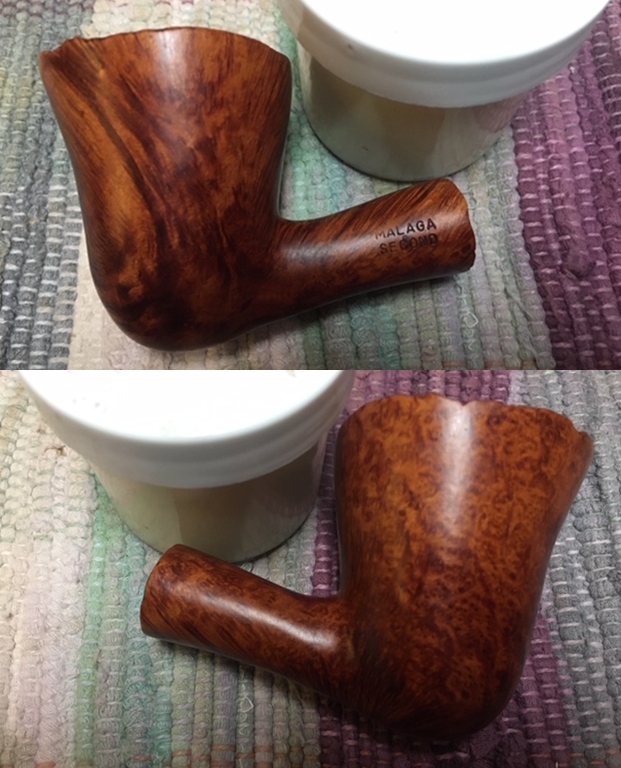
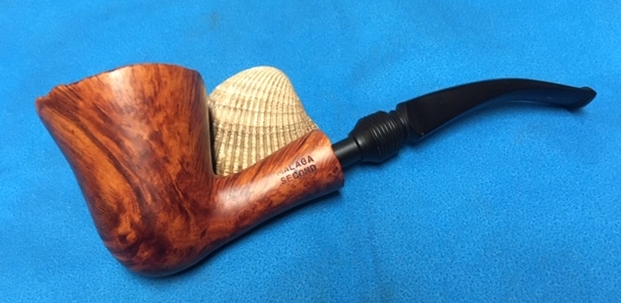
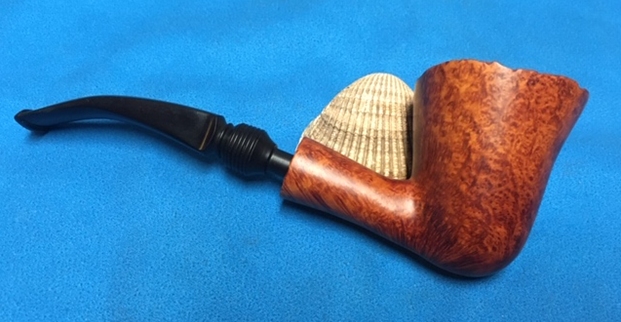
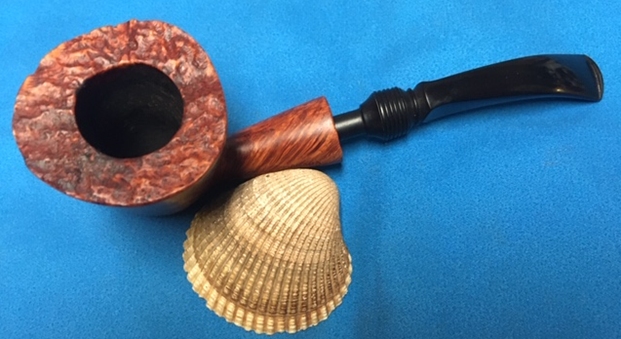
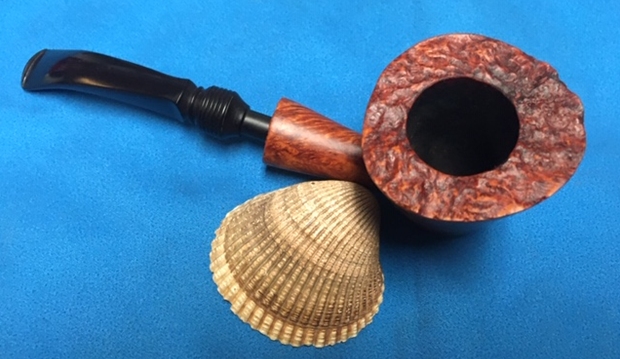
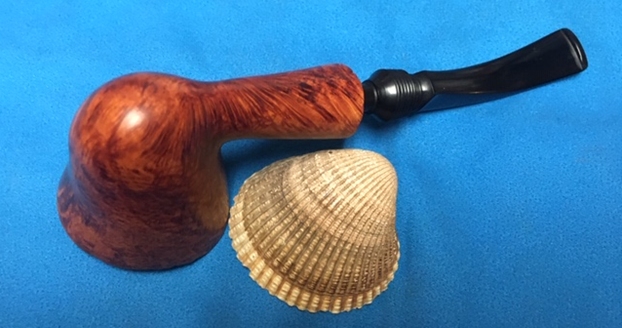
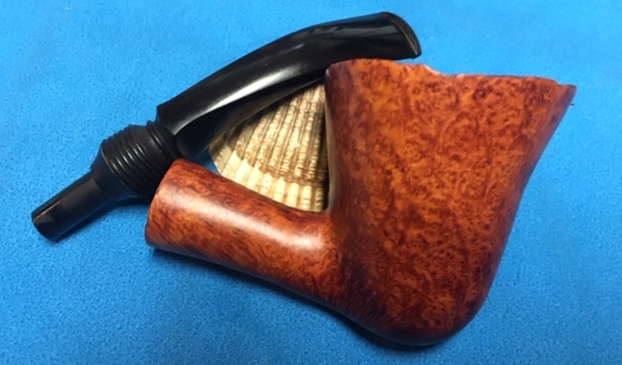
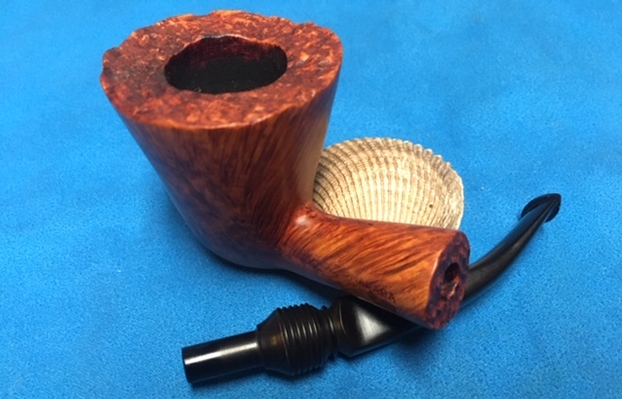
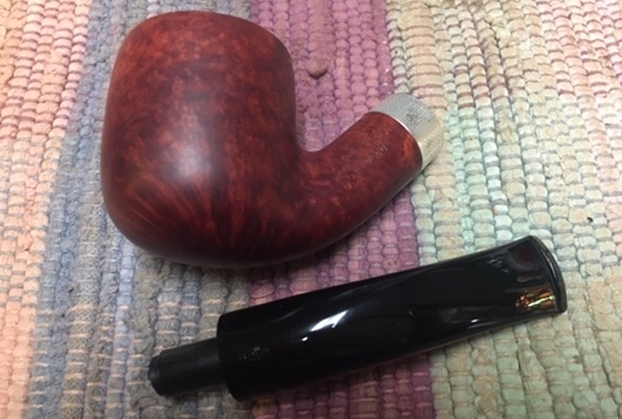
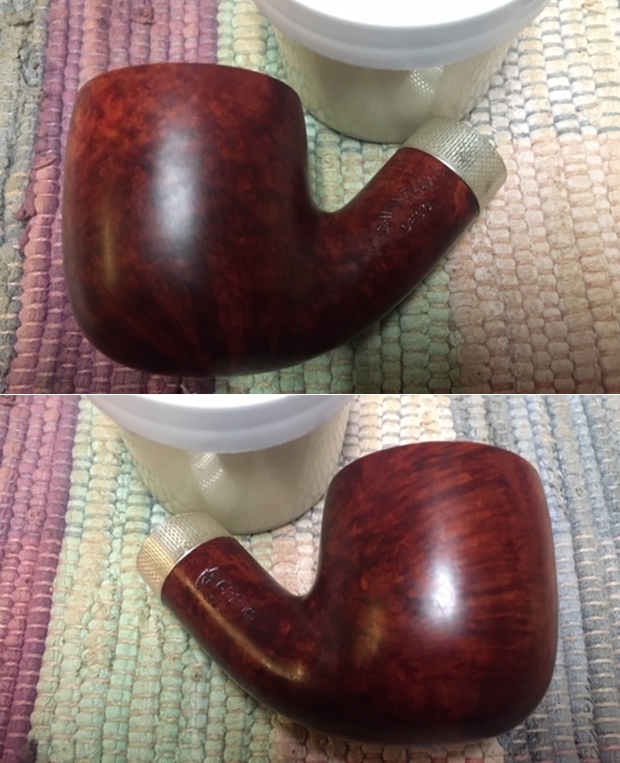
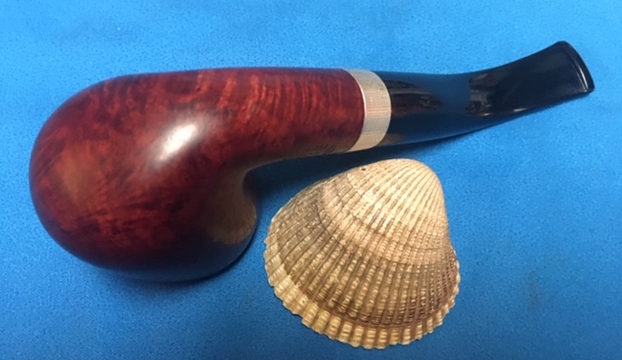
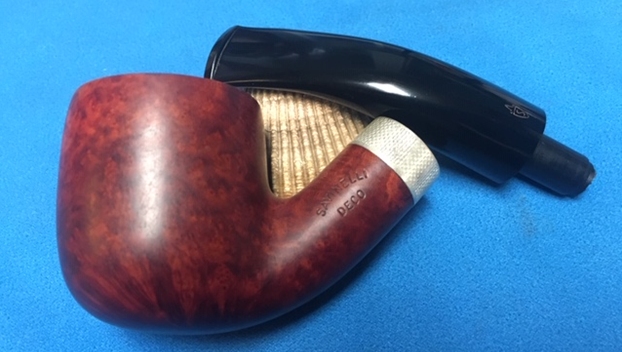
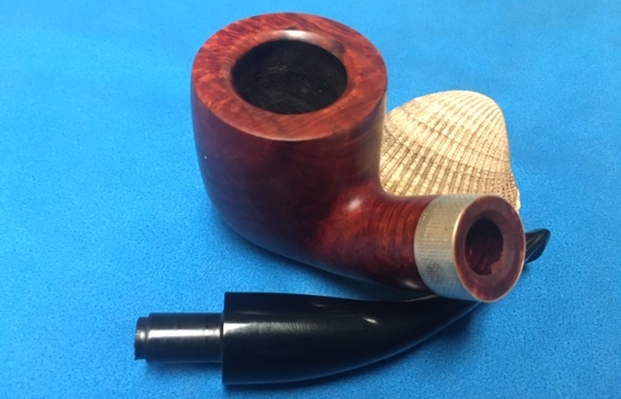
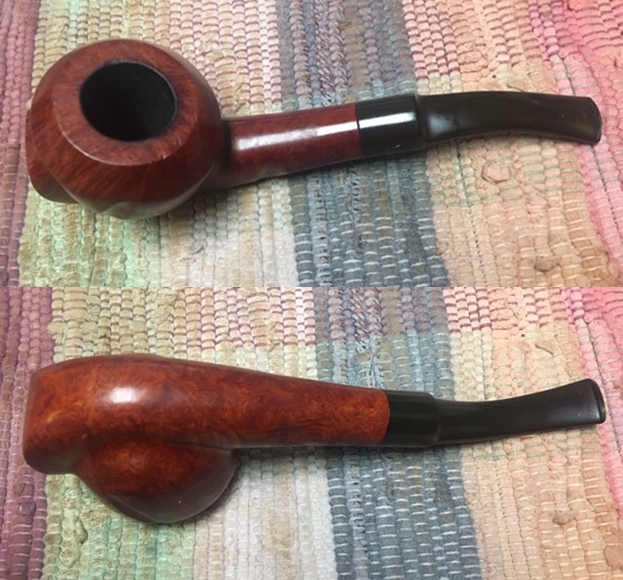
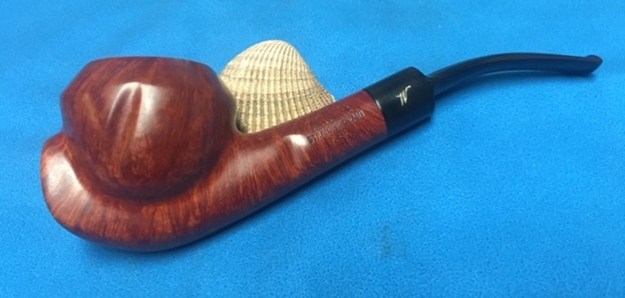
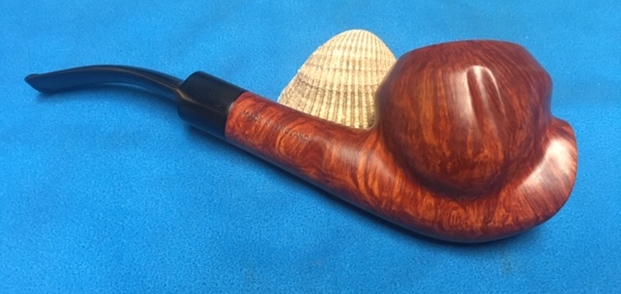
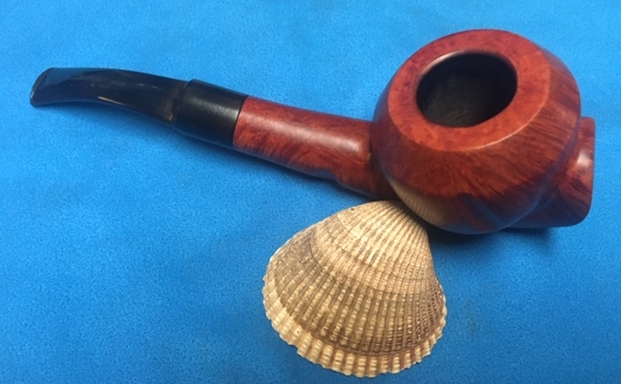
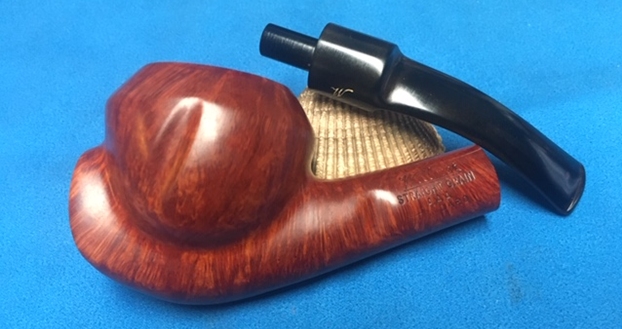
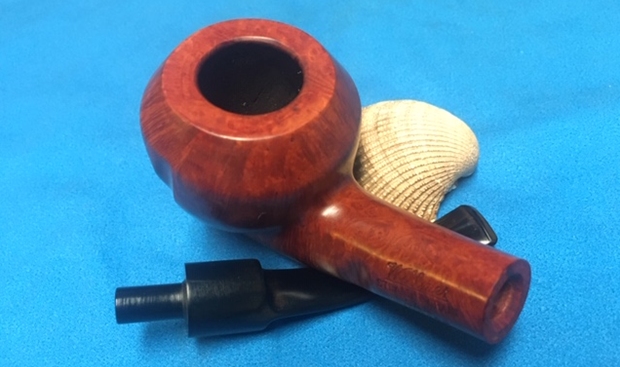
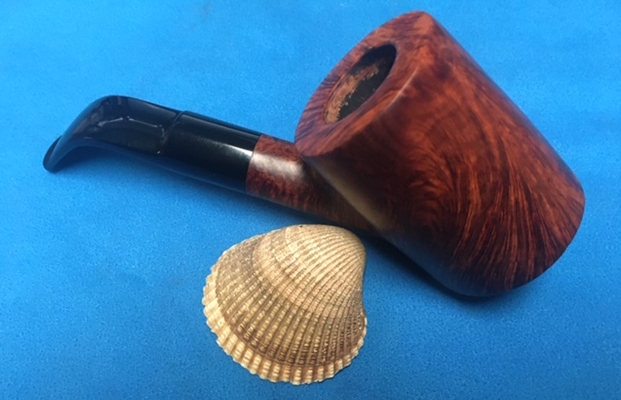
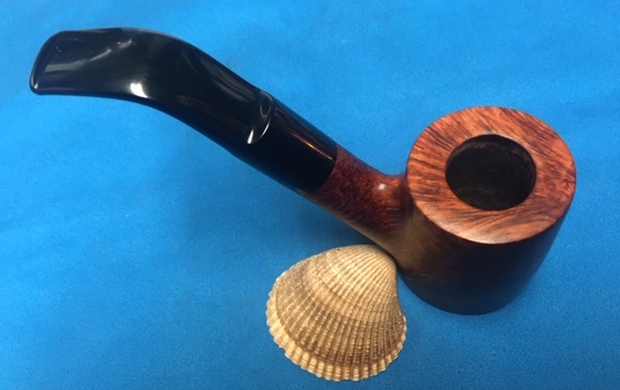
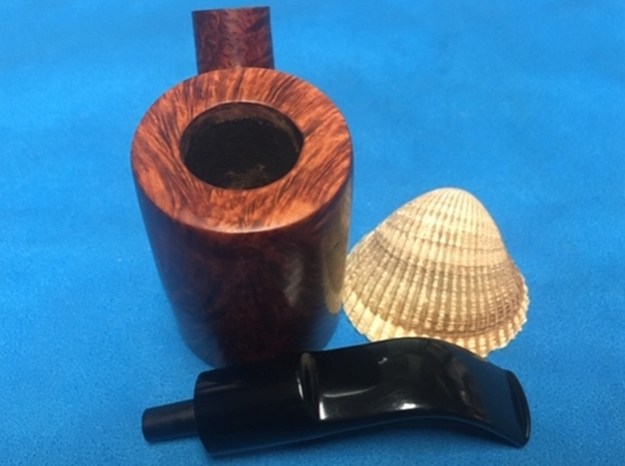
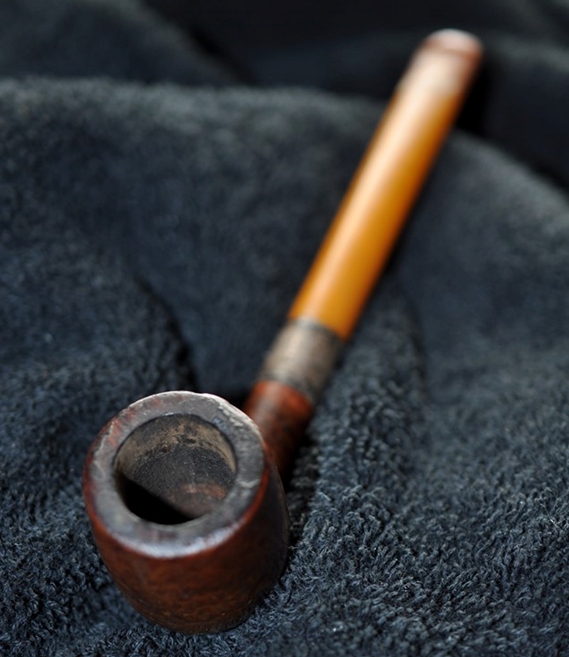
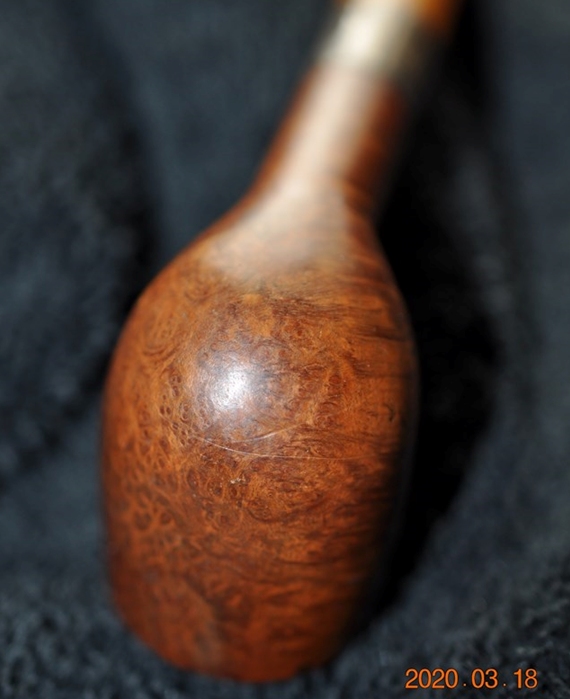
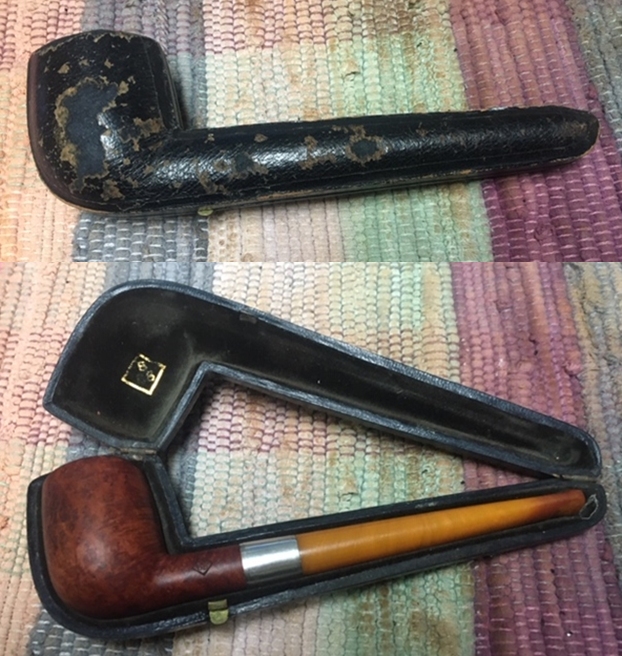
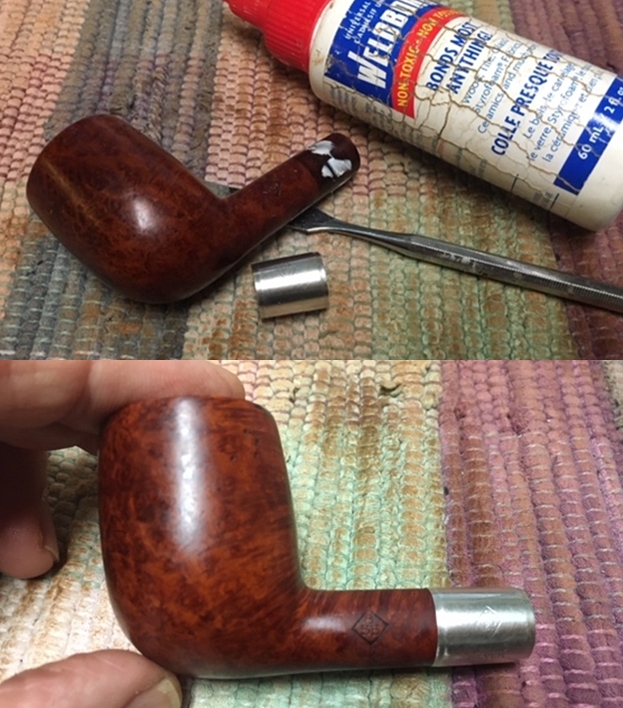
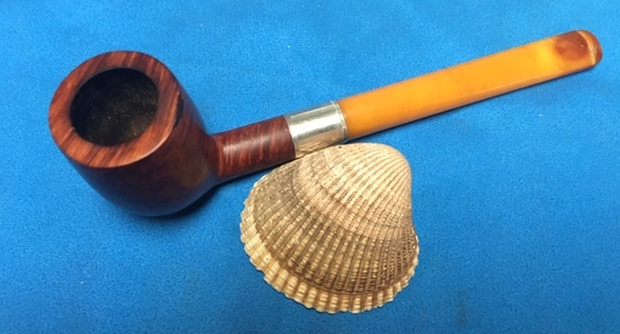
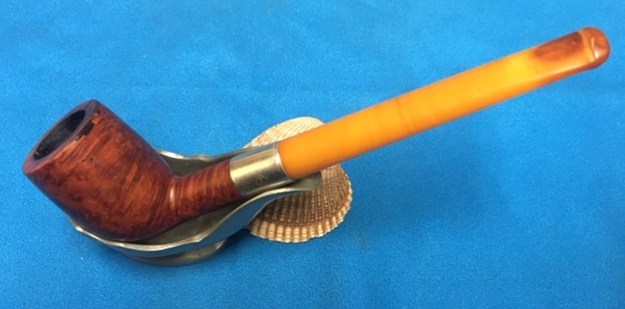
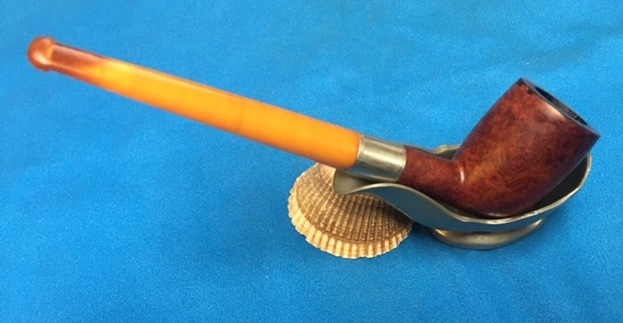
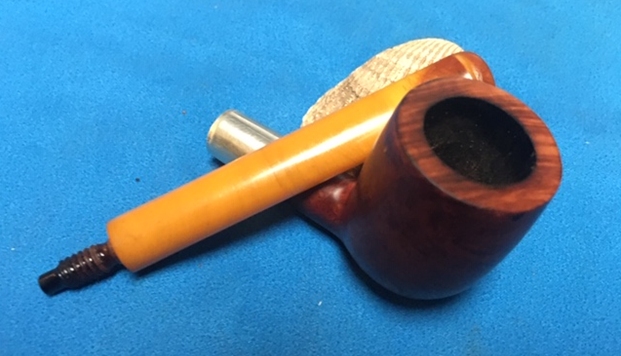
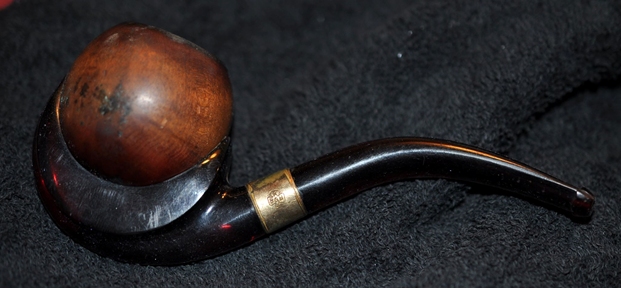
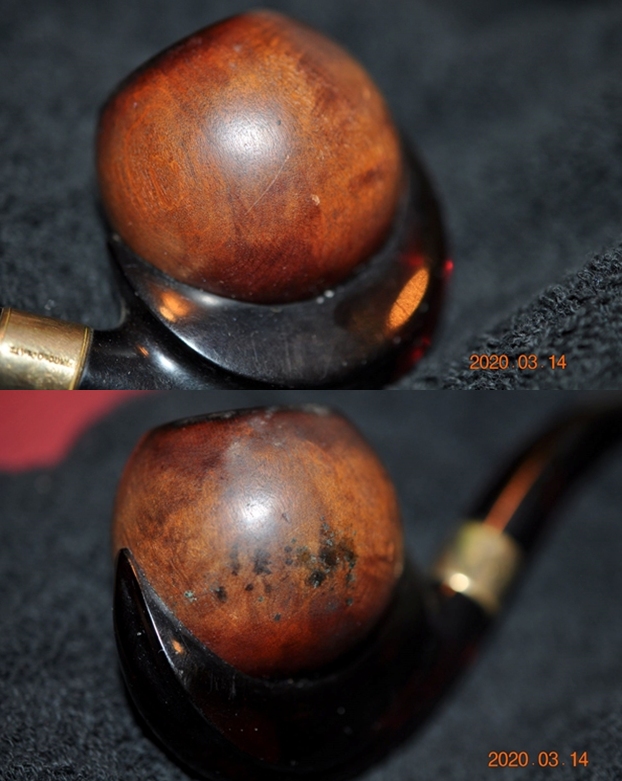
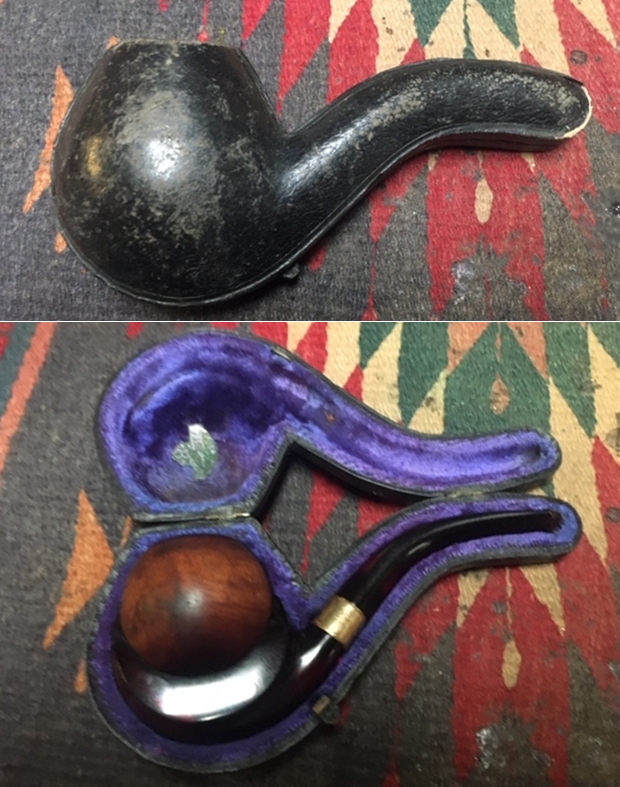
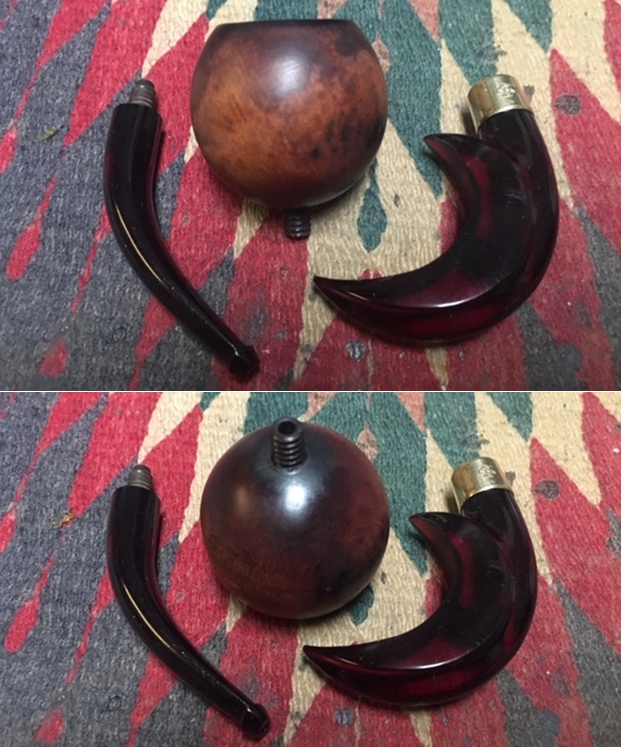
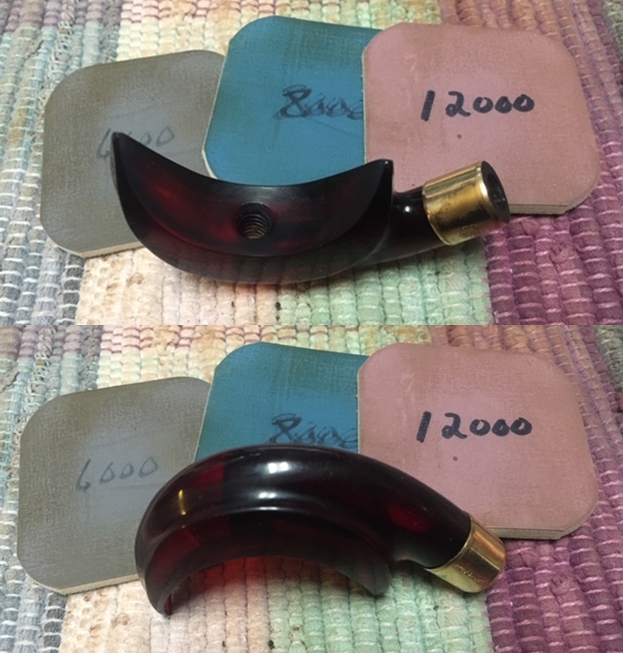
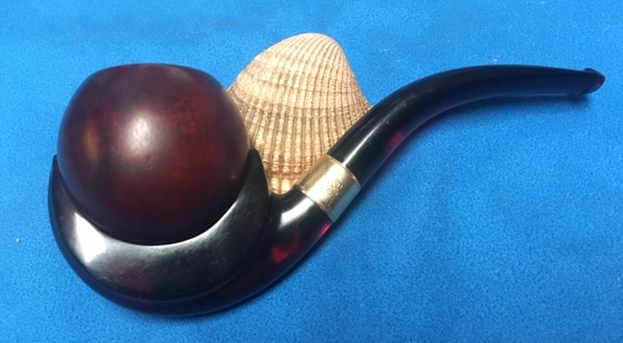
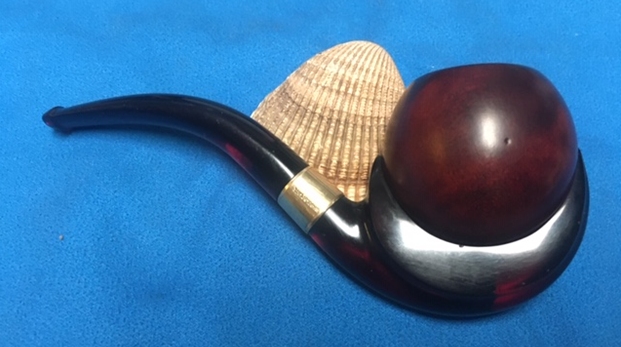
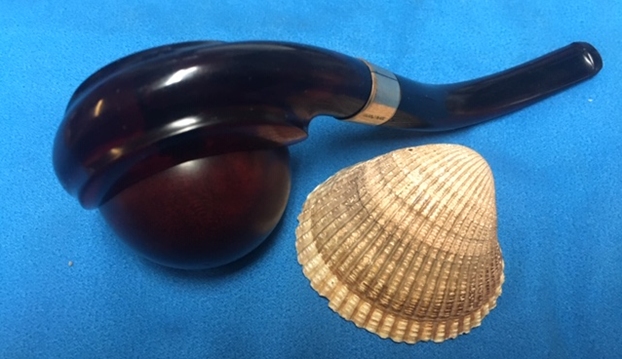
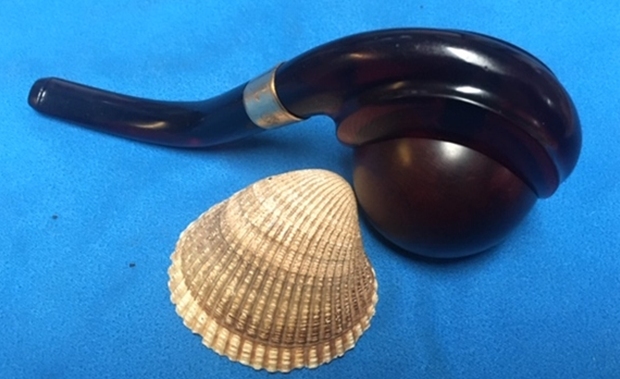
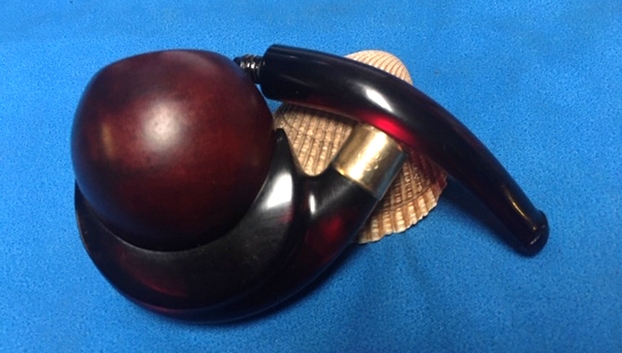
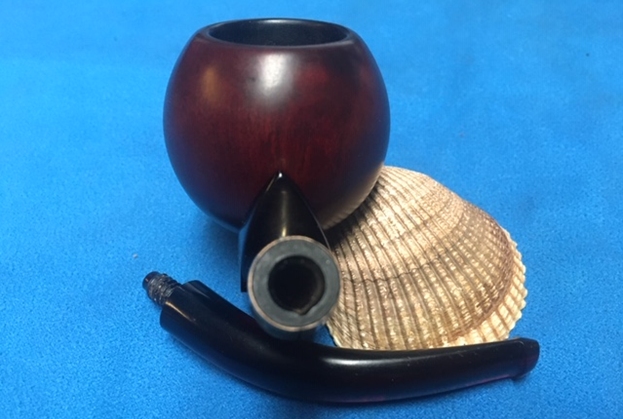
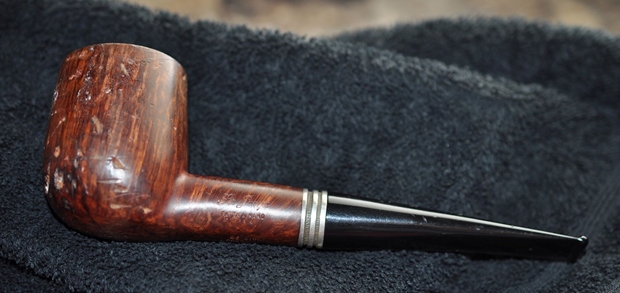
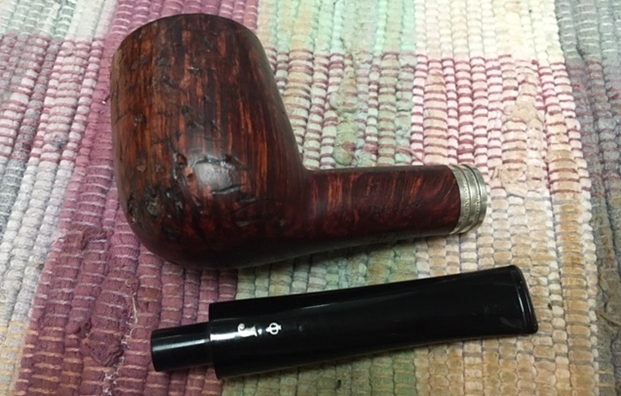
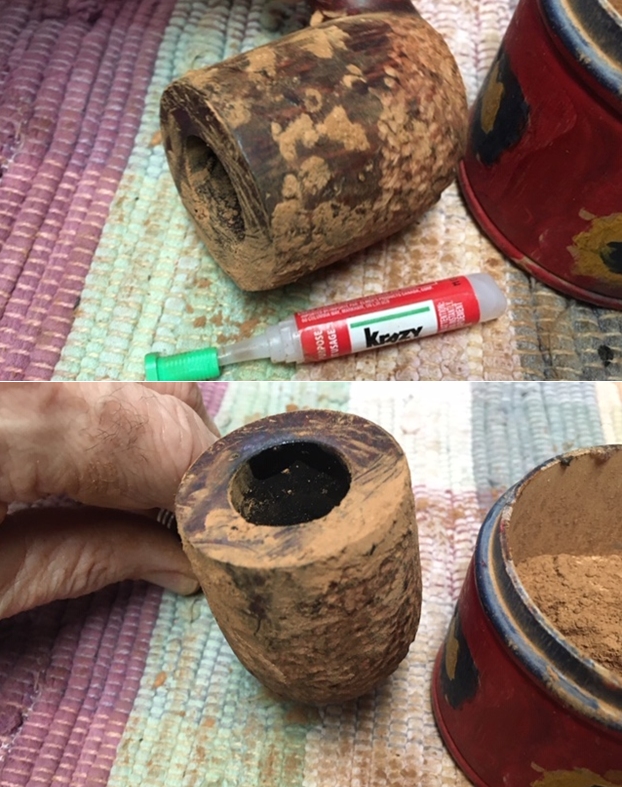
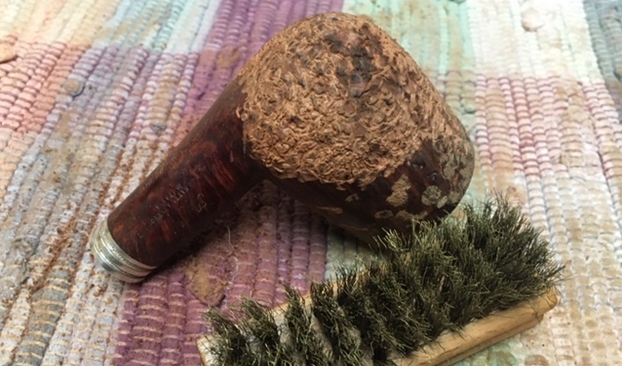
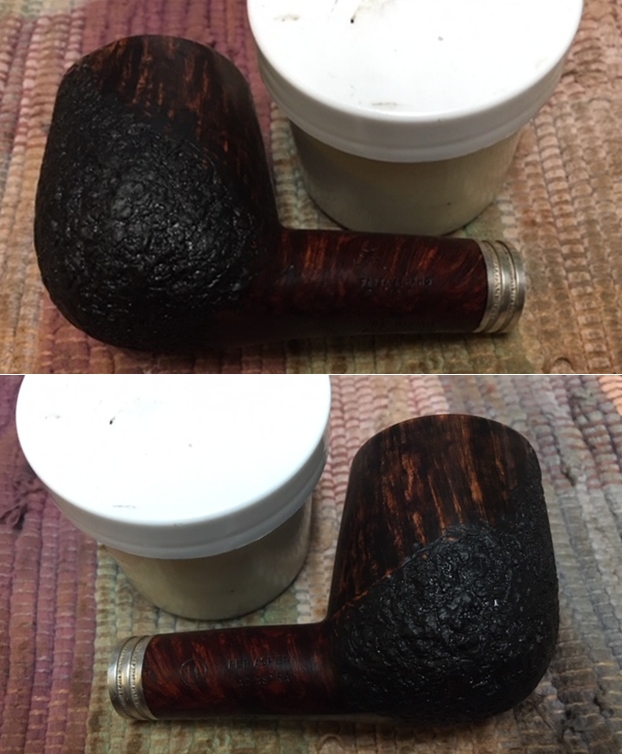
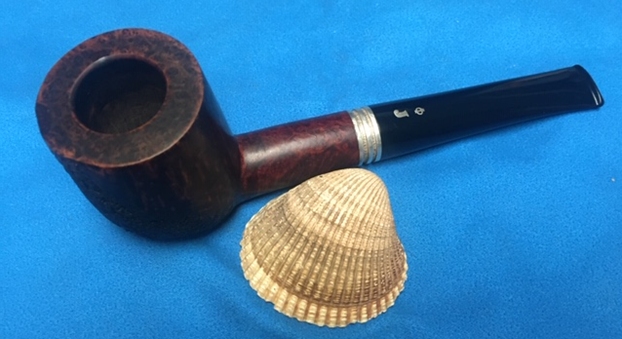
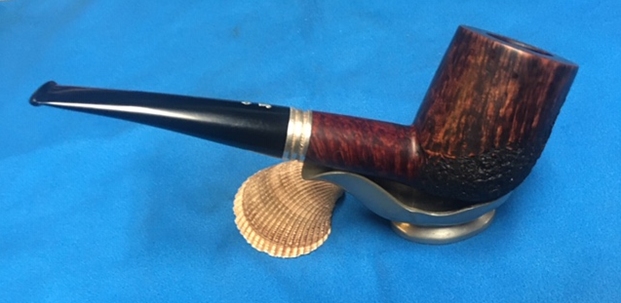
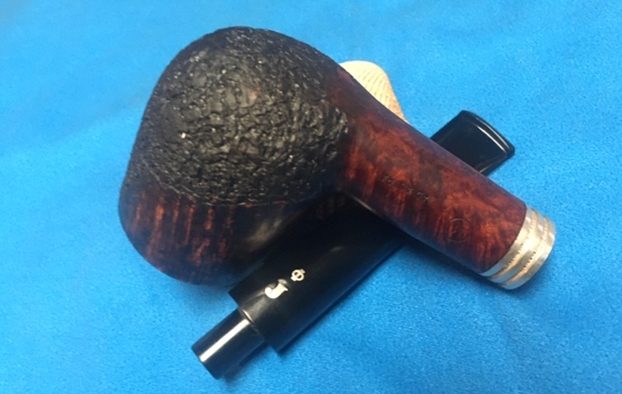
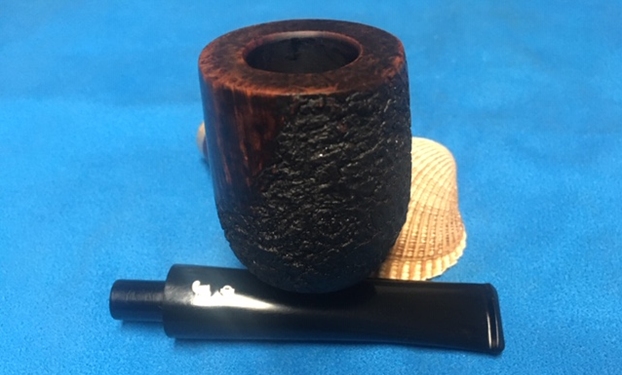
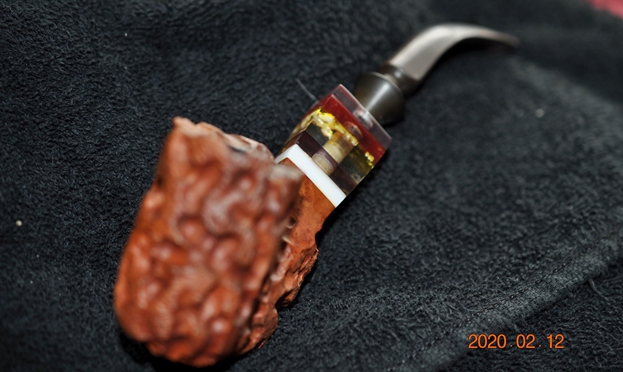
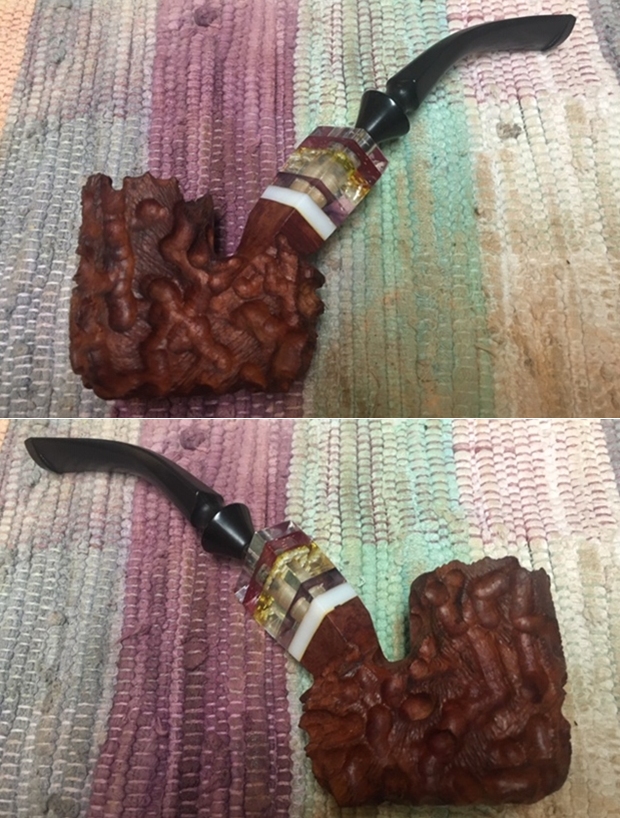
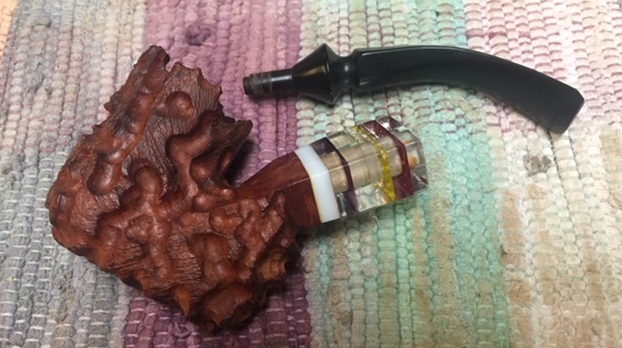
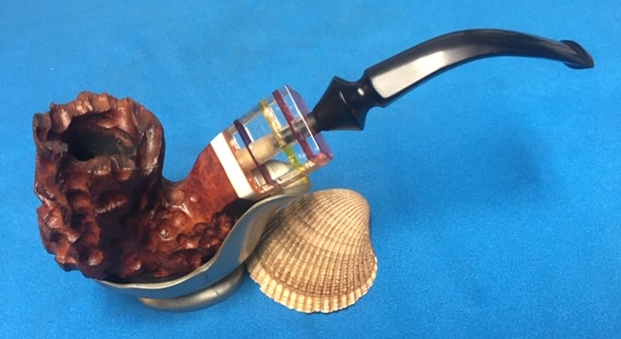
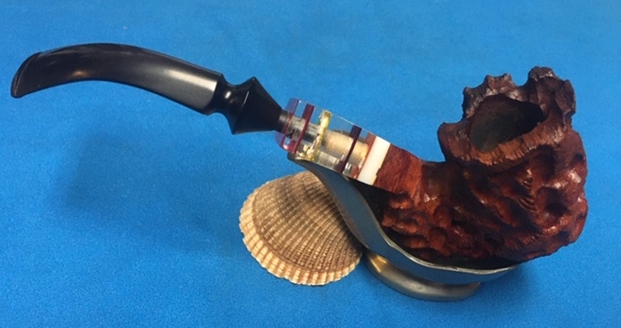
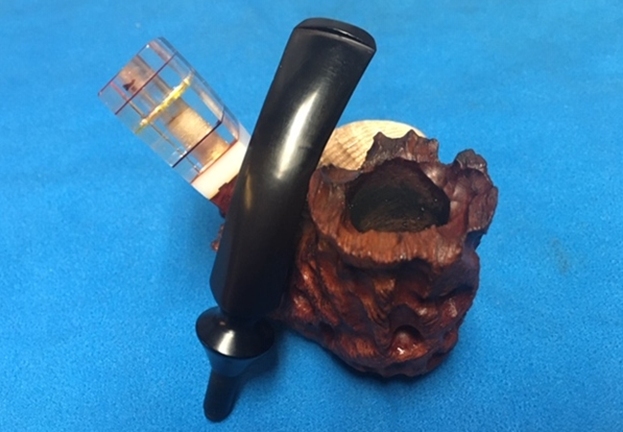
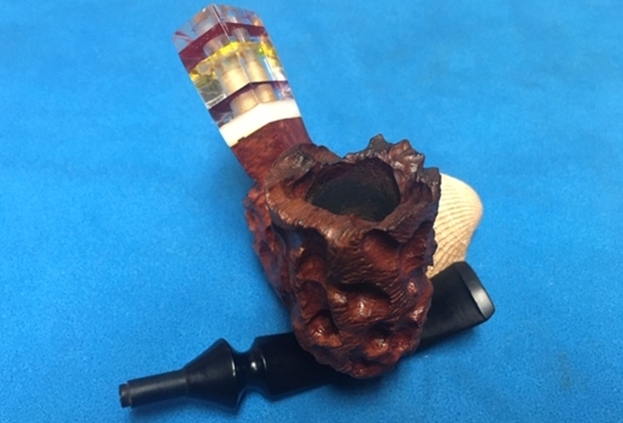
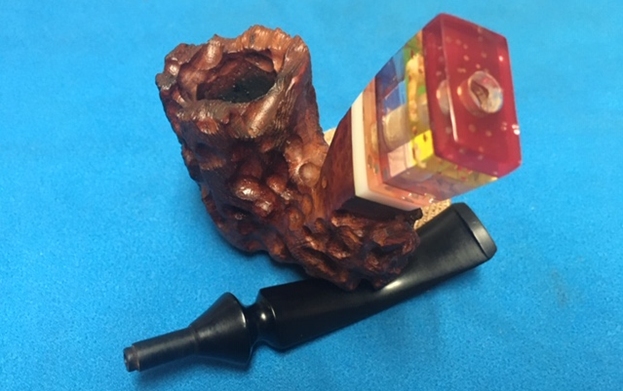
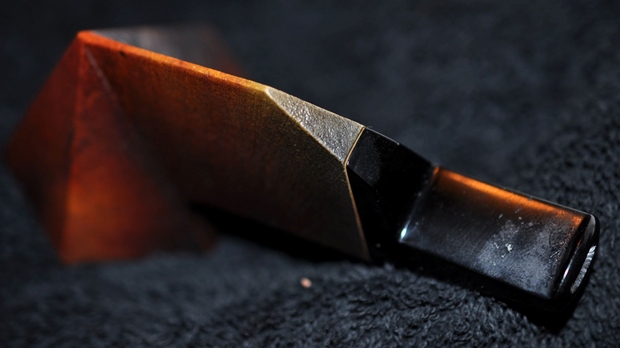
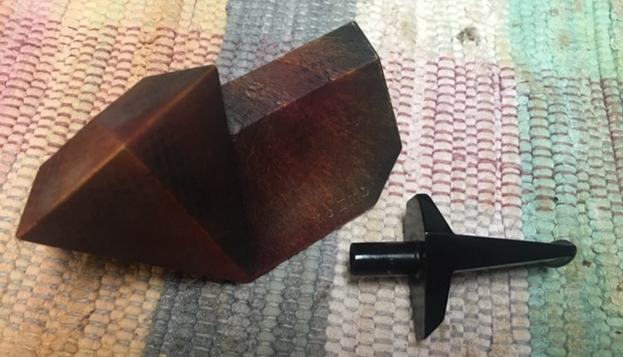
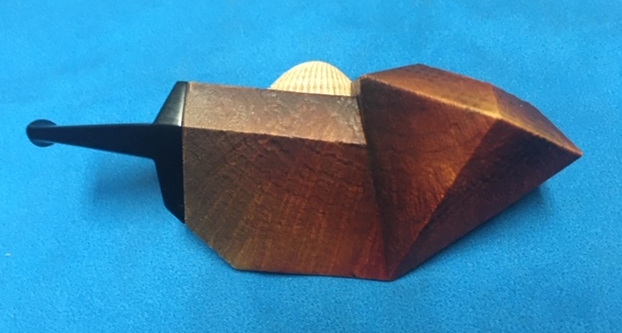
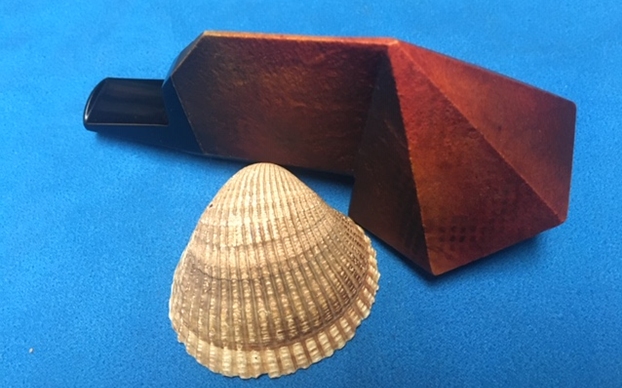
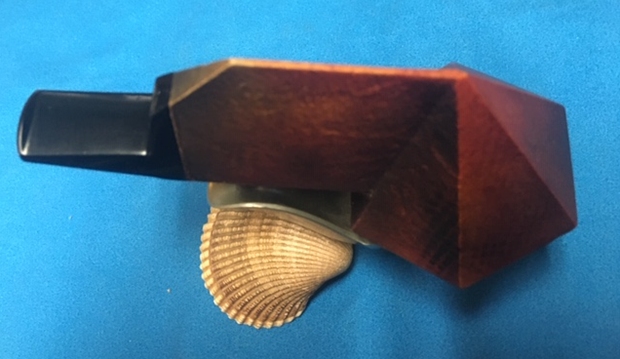
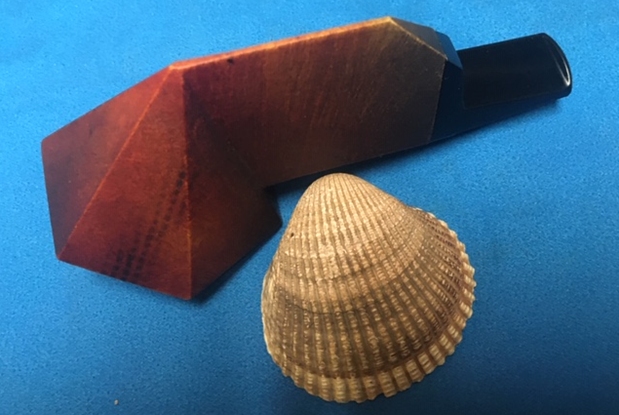
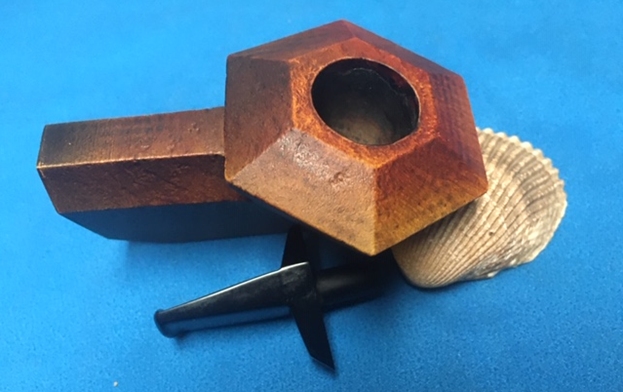
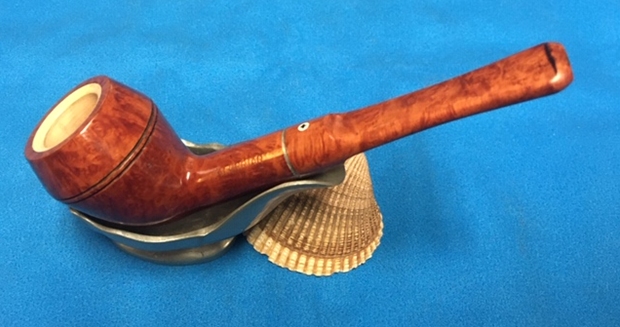
I have worked on a few Kaywoodie All Briar Pipes in the past and also worked on the same shaped 50B that had an All Briar Bite Proof Stem that I had to rebuild and restore. That was a real job starting with a chewed off briar stem. Here is the link to that blog if you are interested in reading about that restoration (https://rebornpipes.com/2017/08/02/salvaging-a-kaywoodie-all-briar-rhodesian-50b-with-a-serious-issue/). The pipe on my worktable now is another All Briar Rhodesian. This one does not have an All Briar taper Bite Proof stem but rather an All Briar Saddle Stem. This pipe was in excellent condition other than being dusty. The meerschaum bowl had been smoked maybe one time or two with a bit of staining but very clean. The rim top had a few wrinkles in the varnish finish but was otherwise clean. The exterior of the bowl and stem had the same varnish coat and it looked very good. The stem was the only part of the pipe with an issue. It had bite marks and tooth chatter on both sides of the stem ahead of the button. That truly was the only issue I had to deal with. I took photos of the pipe before I started my work on it.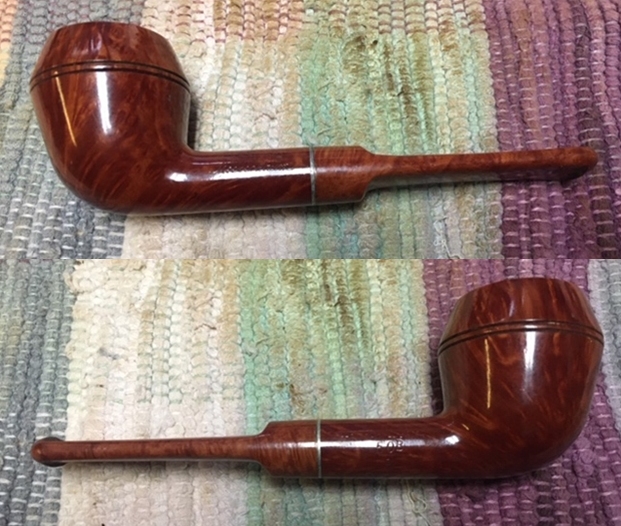
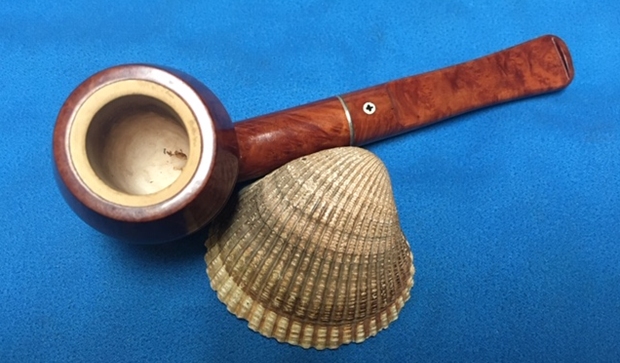
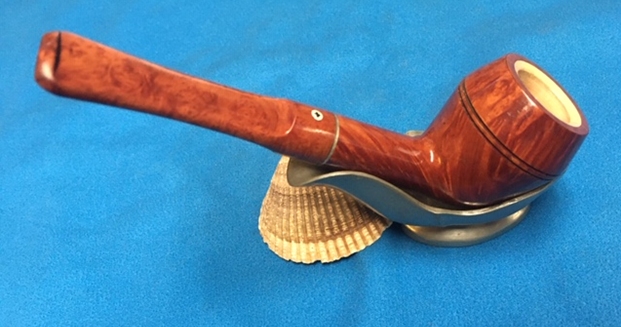
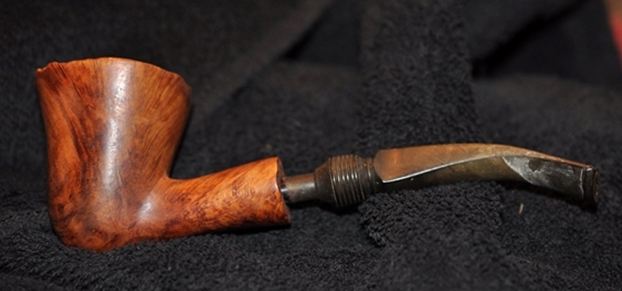
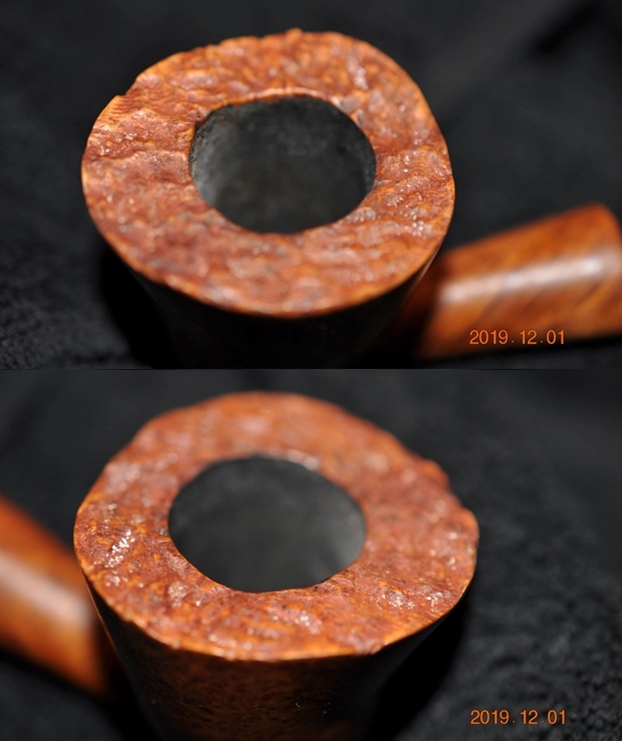
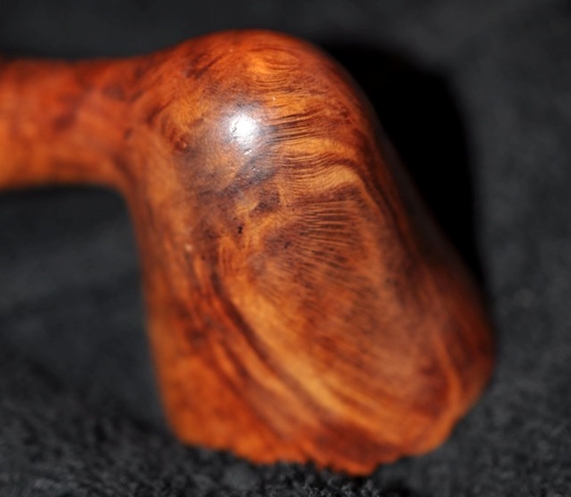
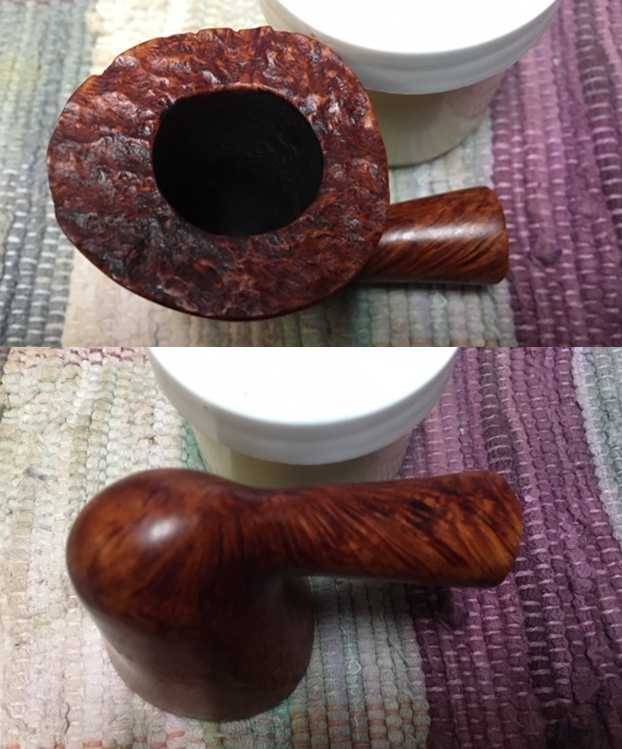
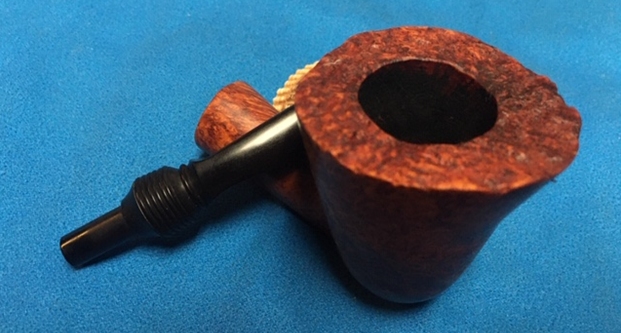
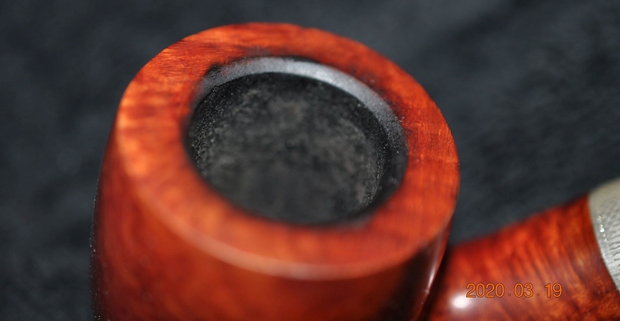
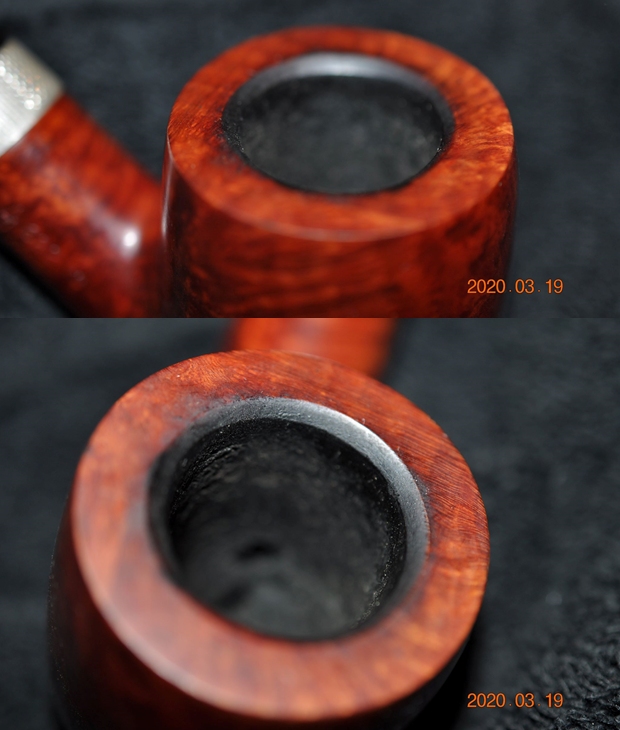
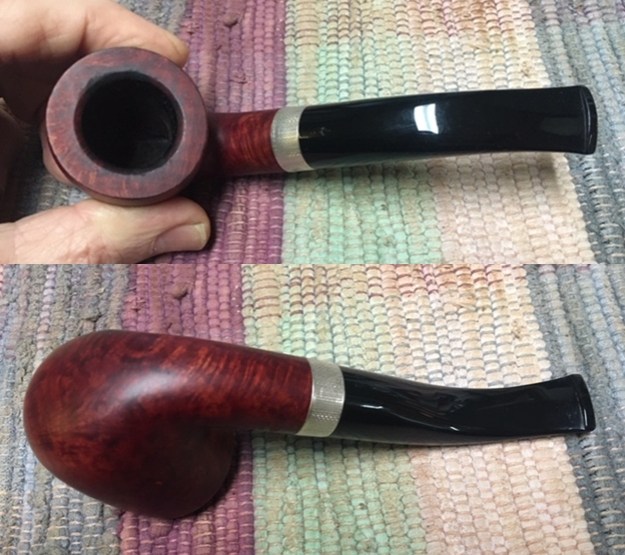
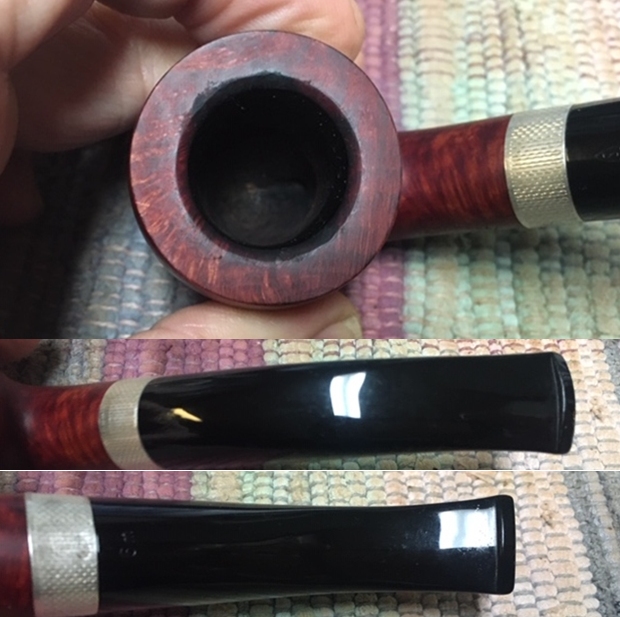
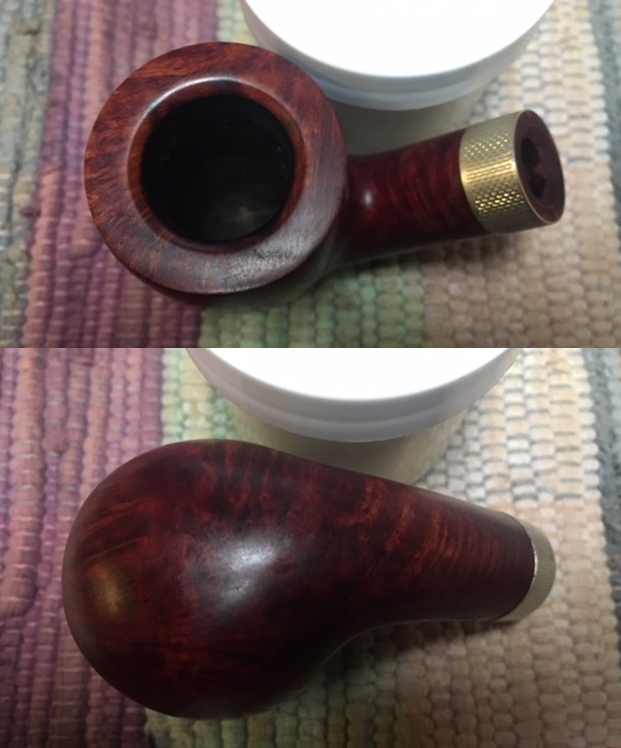
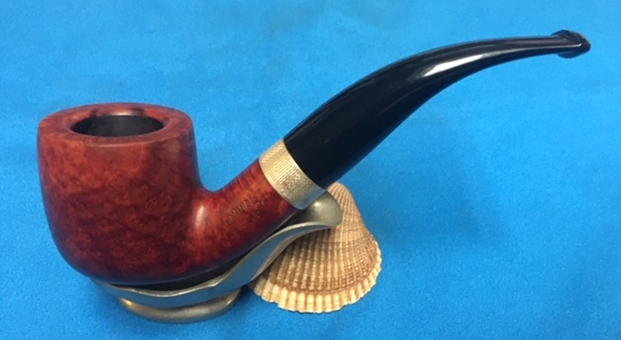
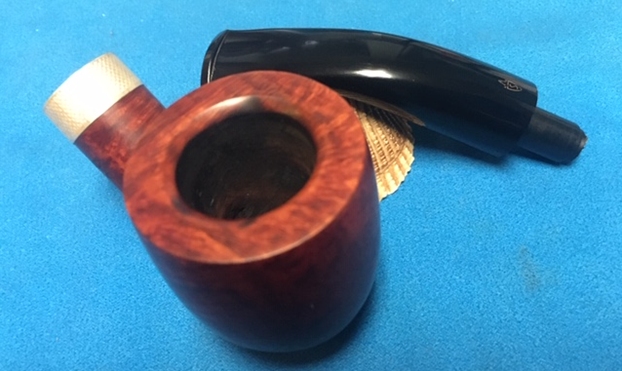
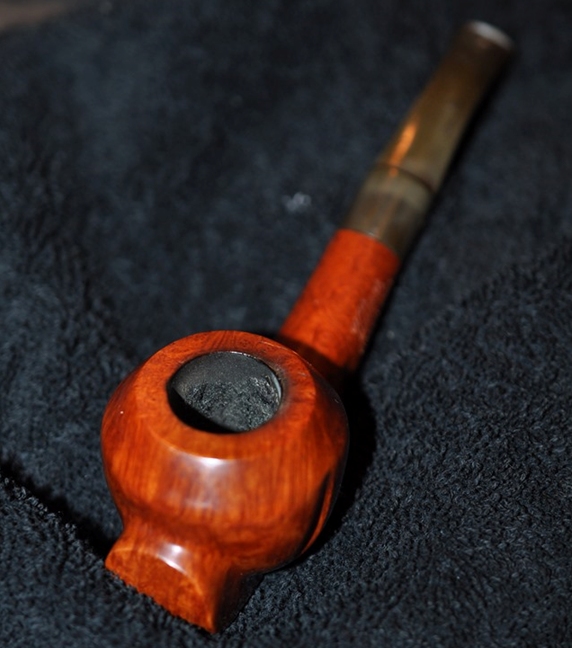
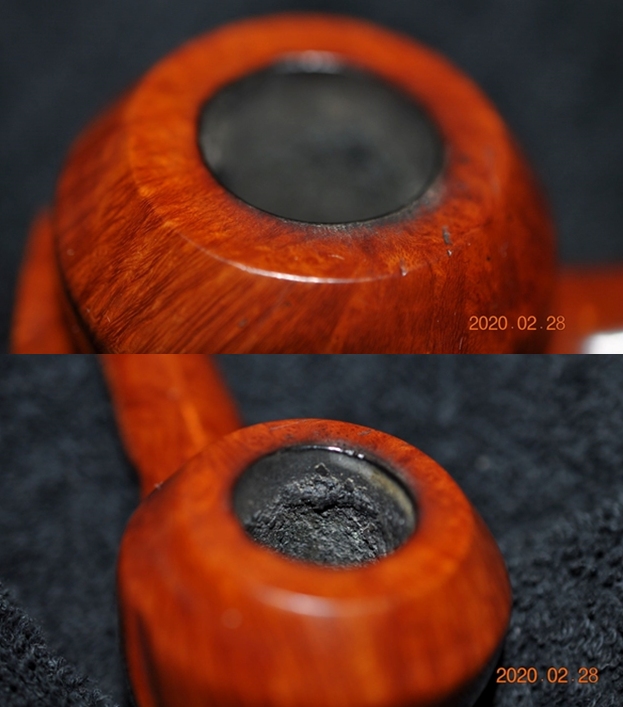
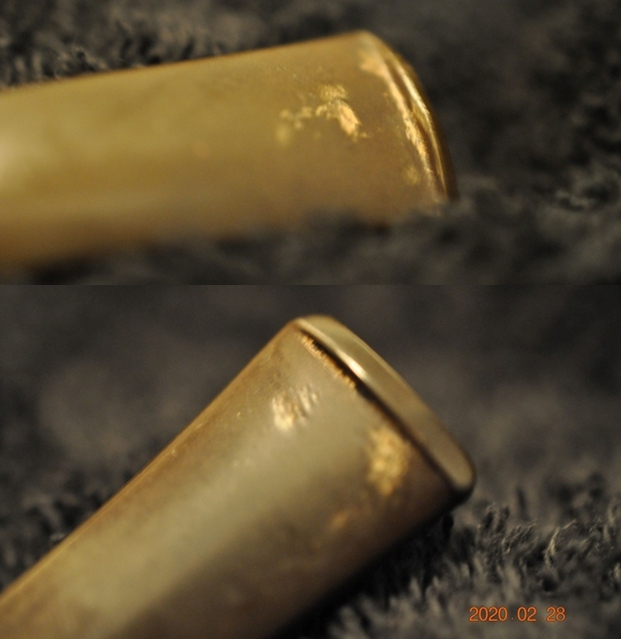
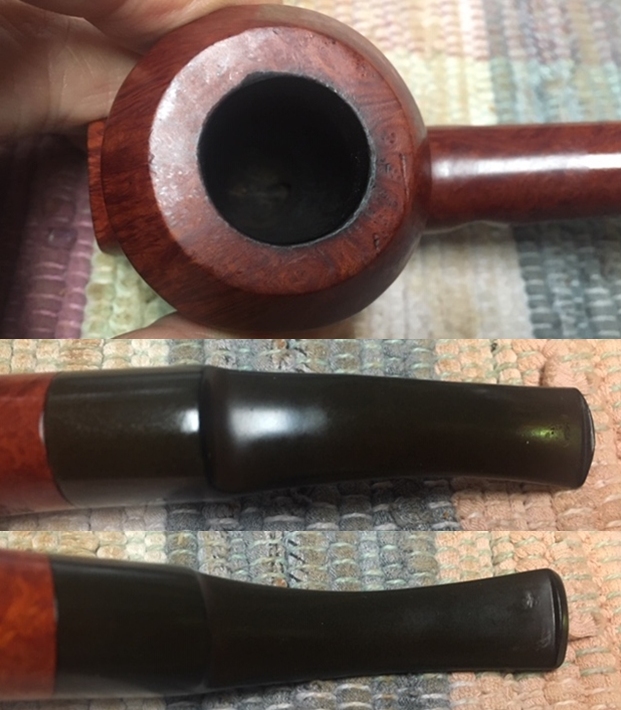
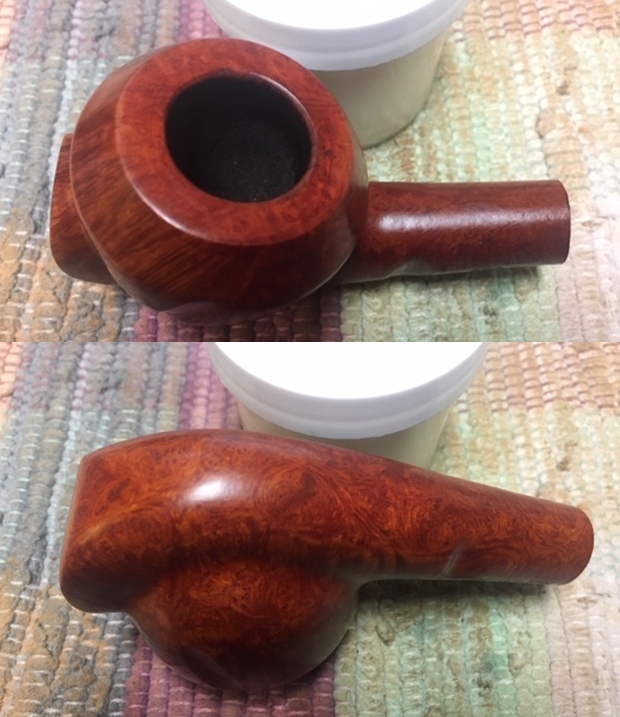
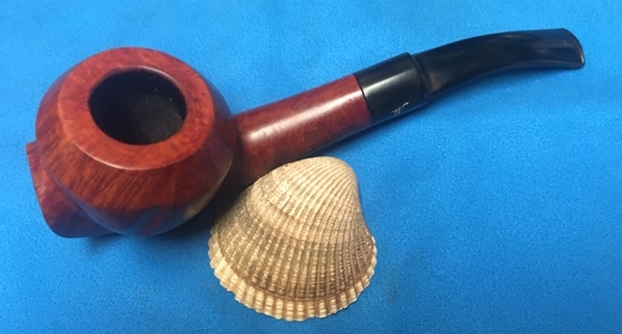
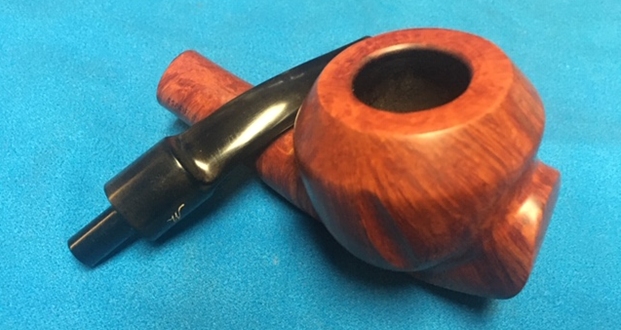
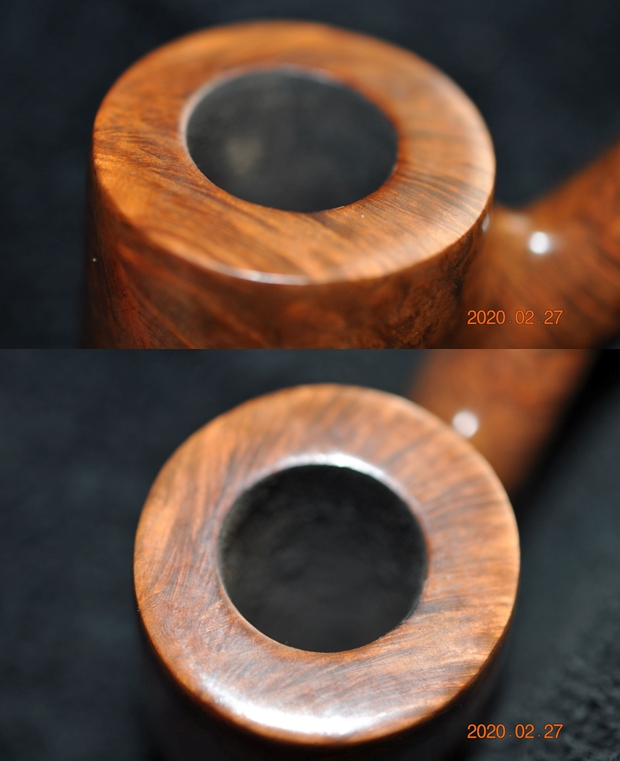
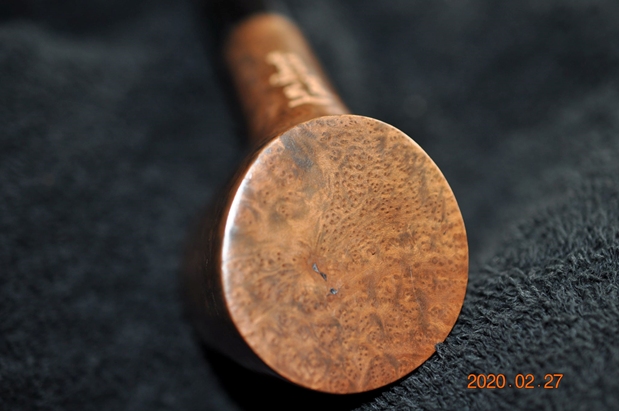
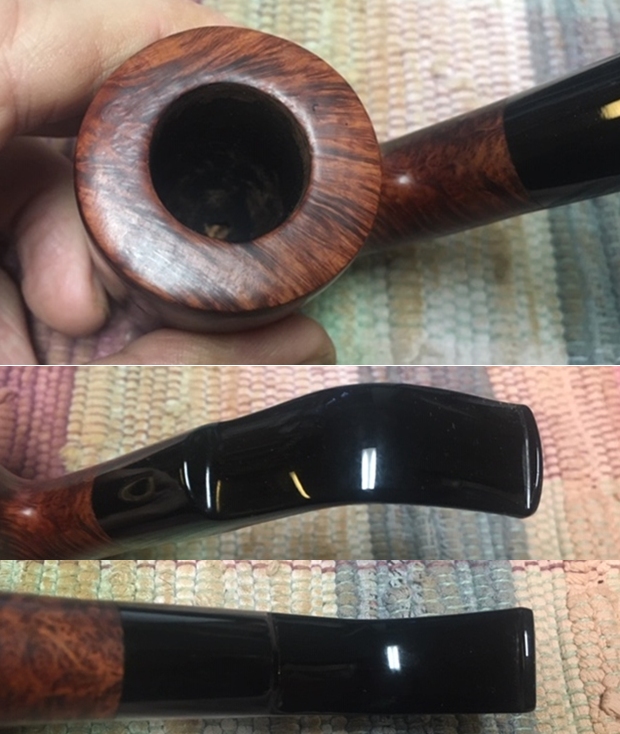
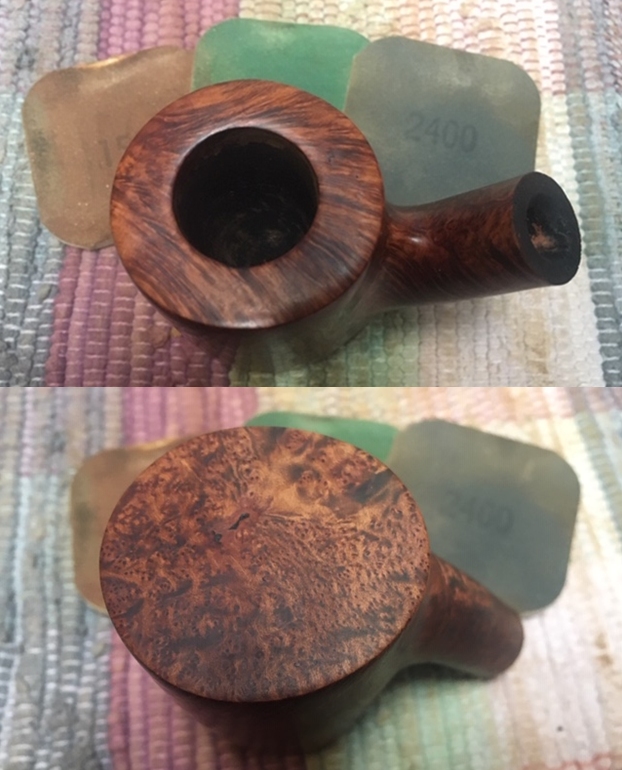
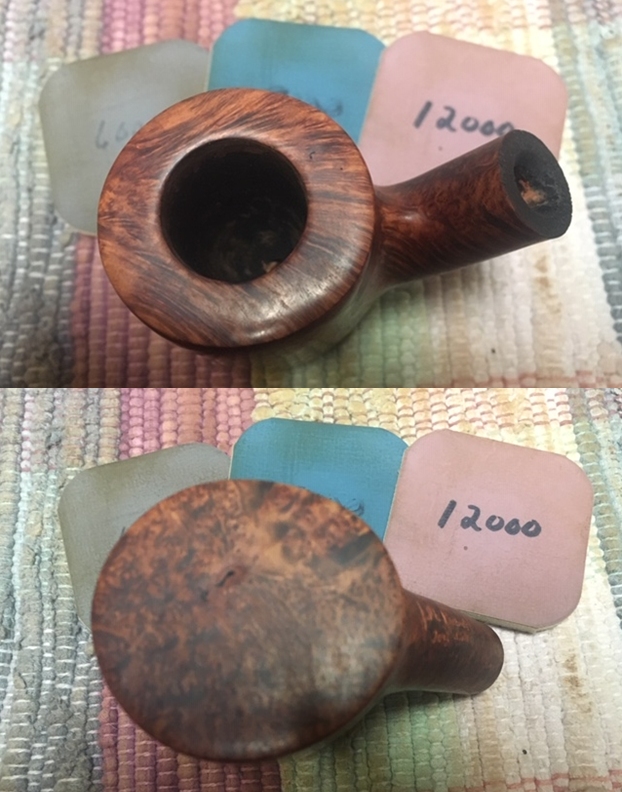
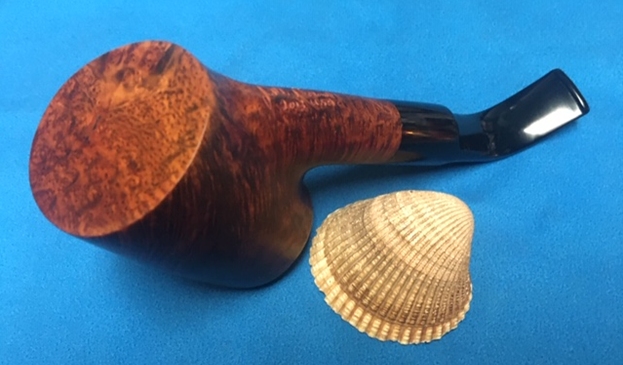
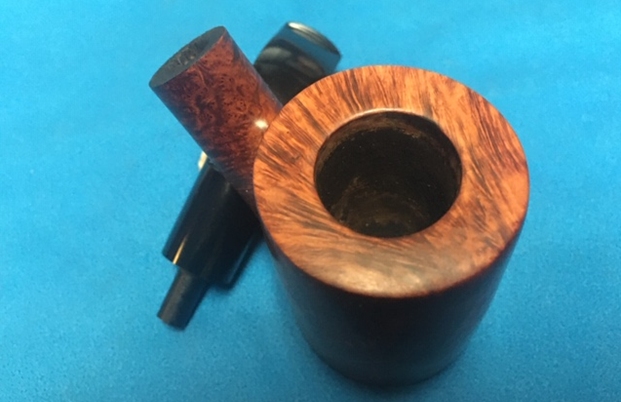
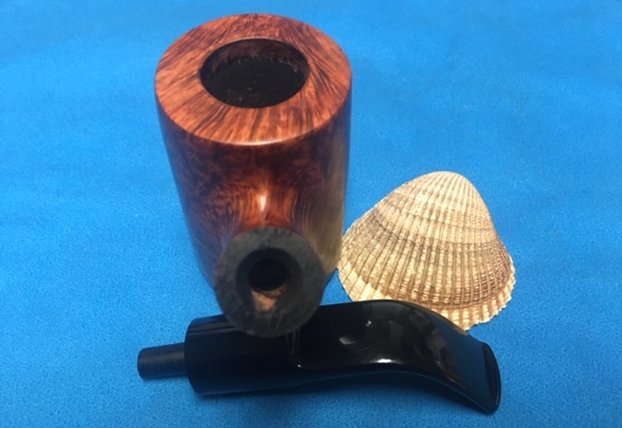
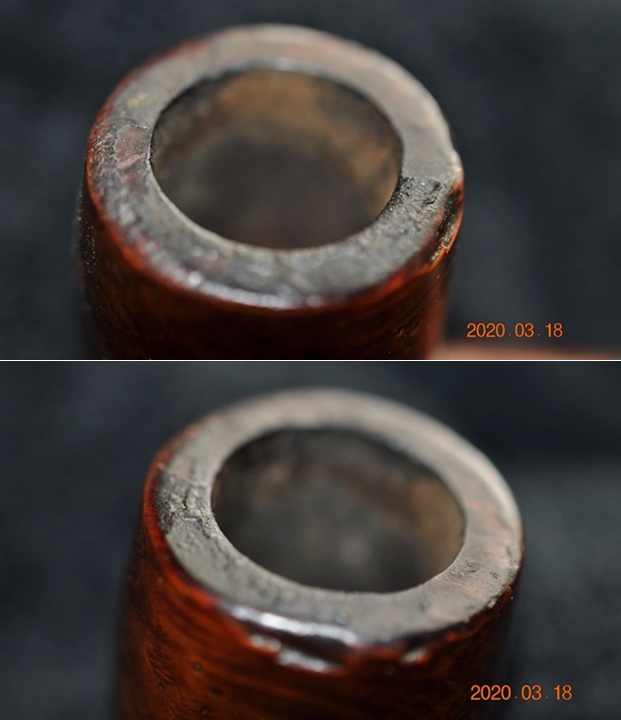
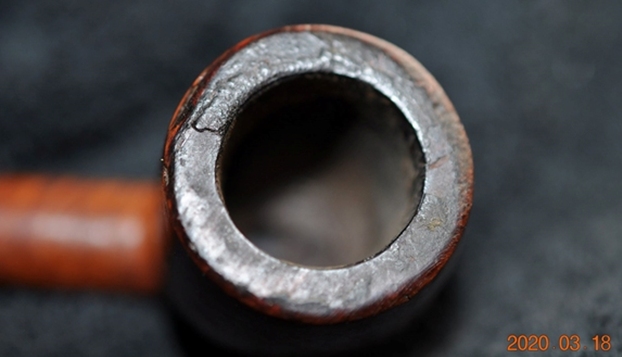
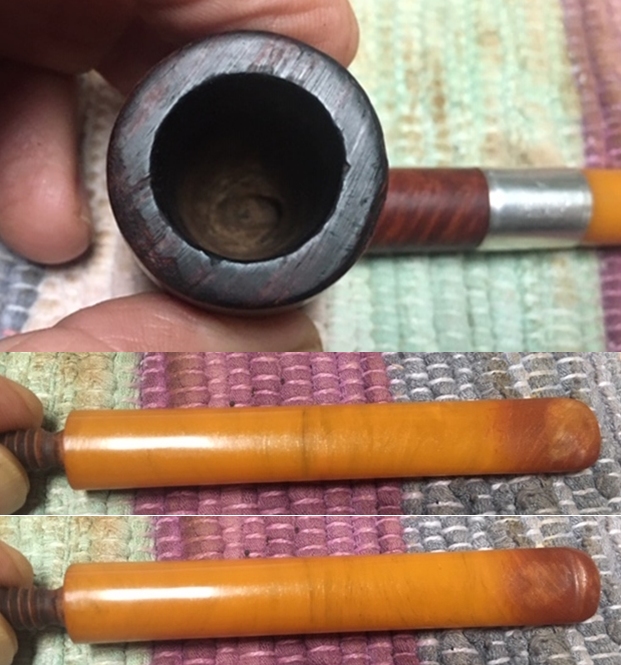
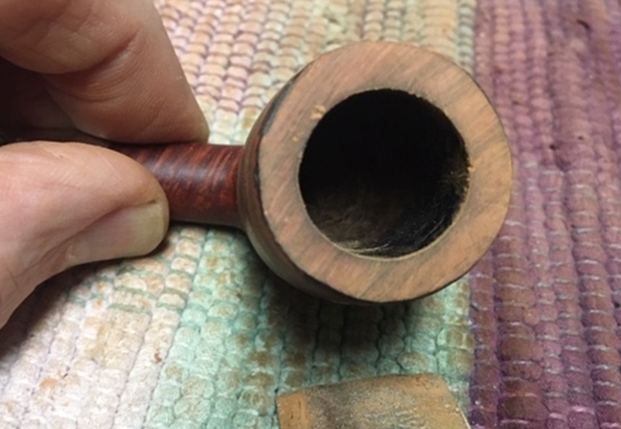
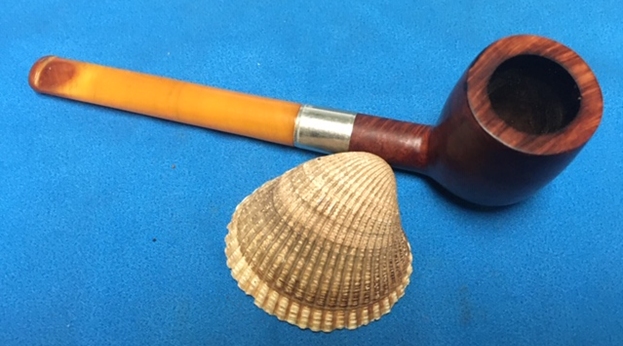
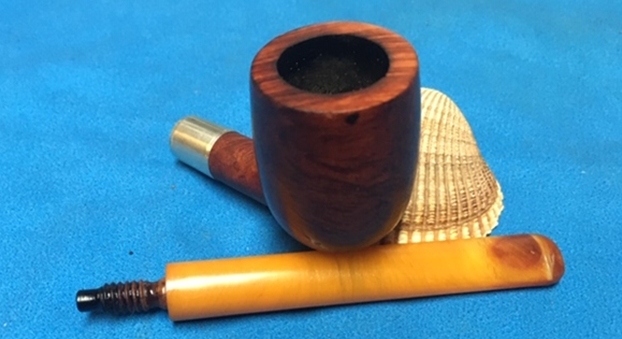
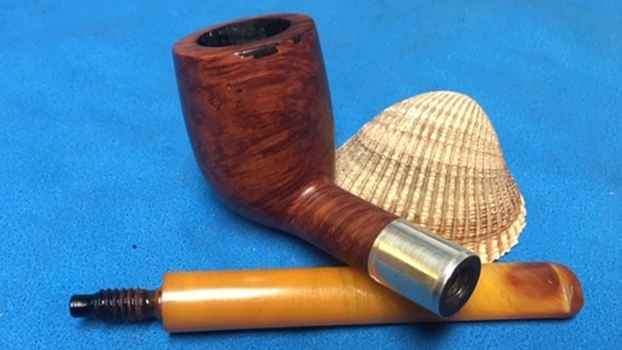
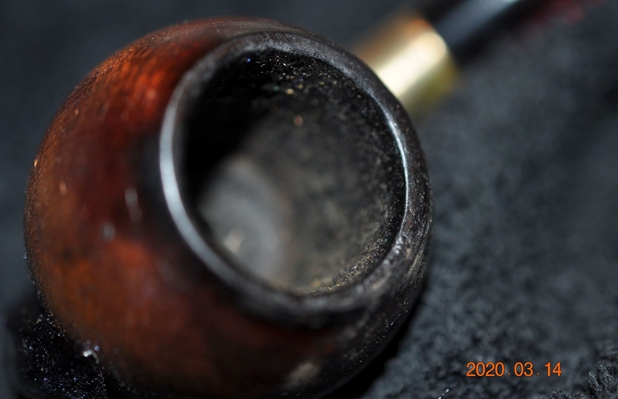
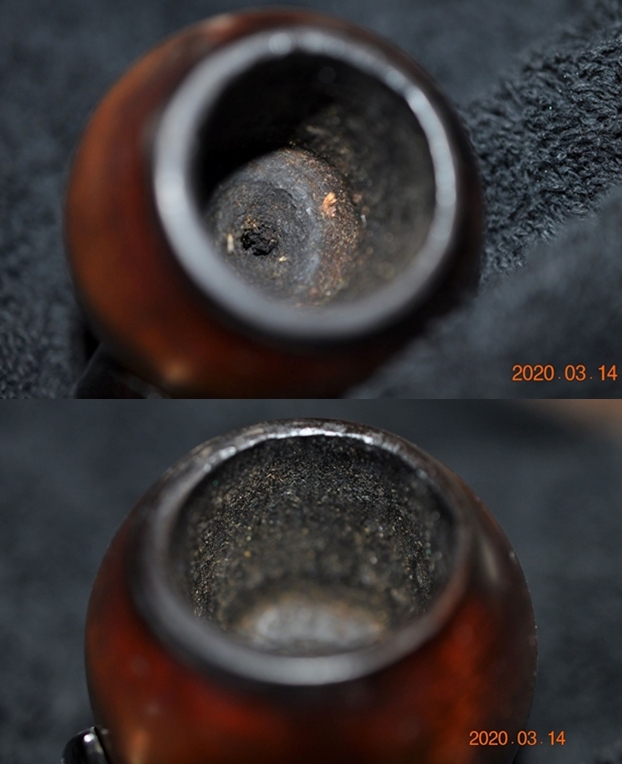
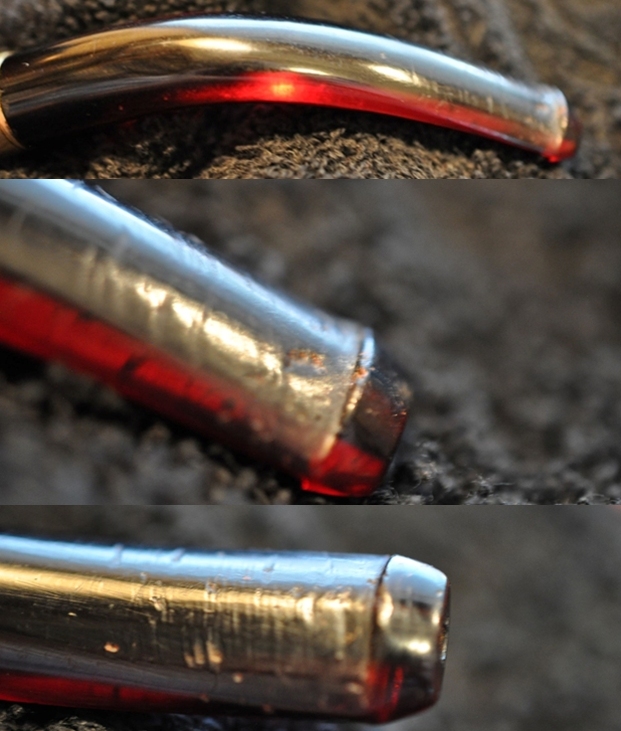
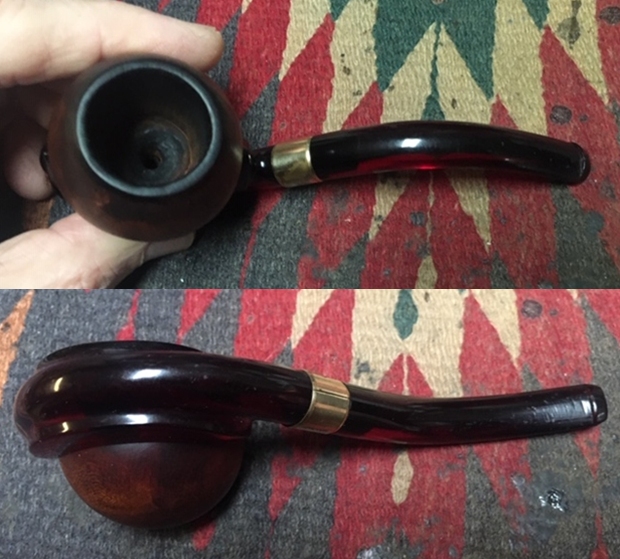
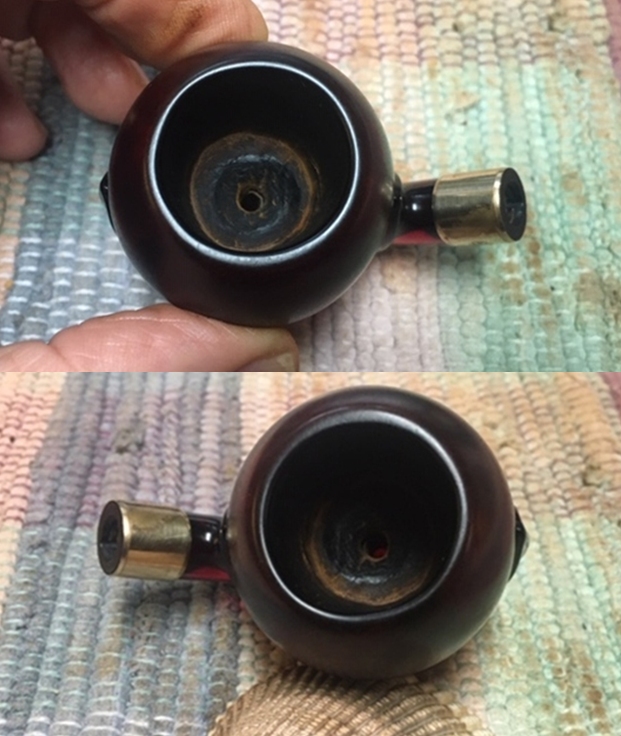
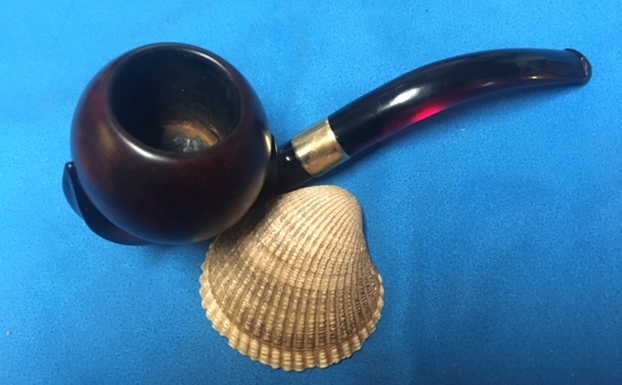
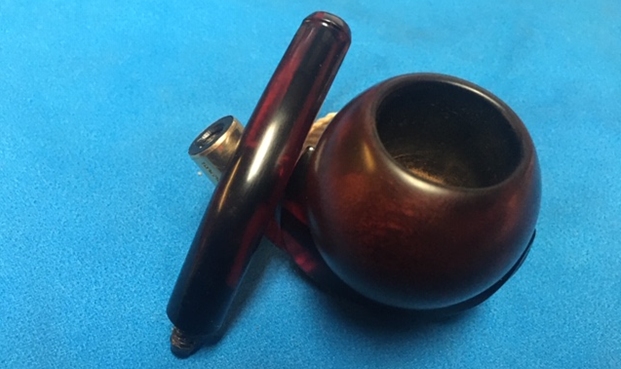
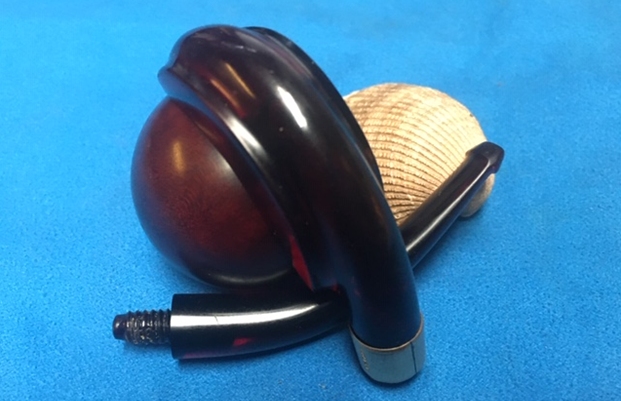
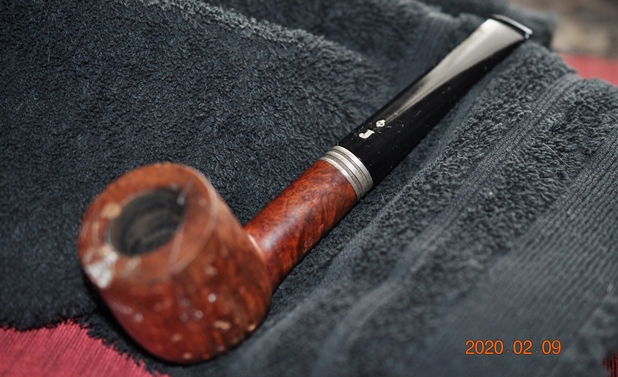
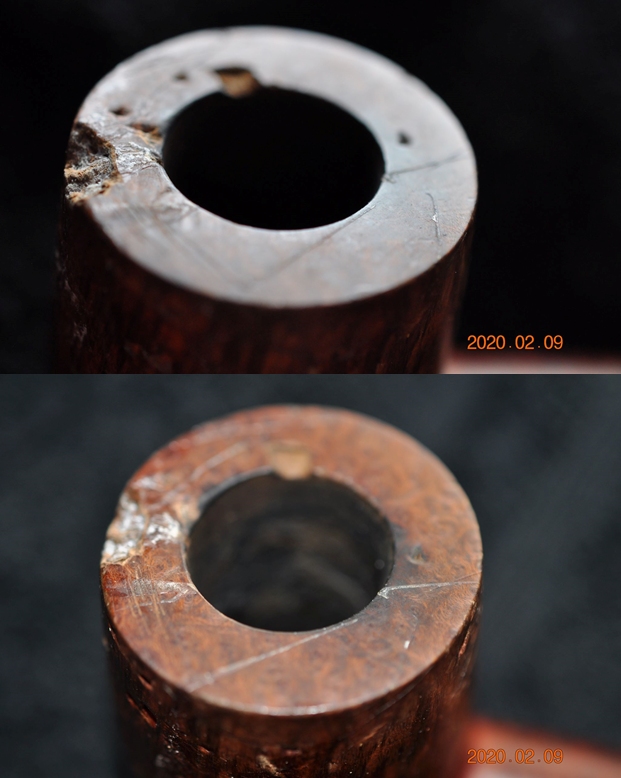
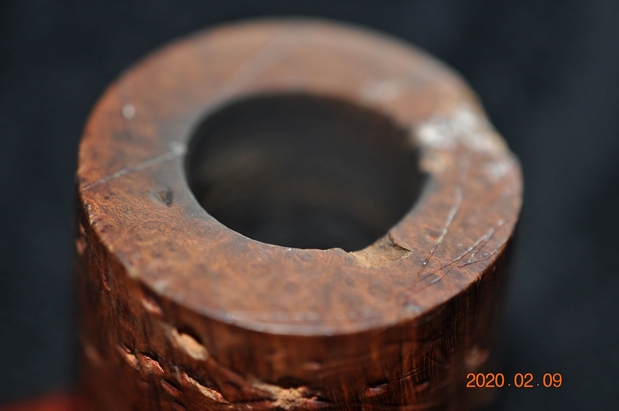
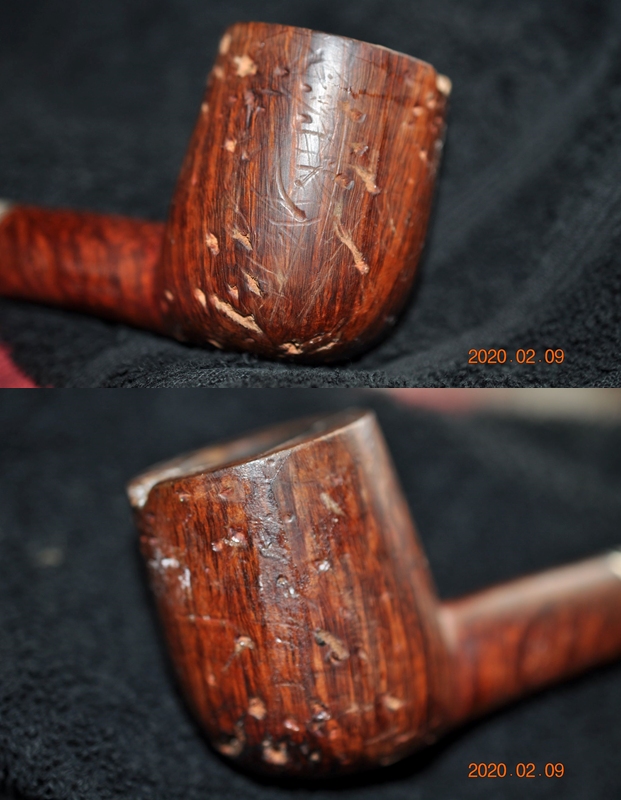
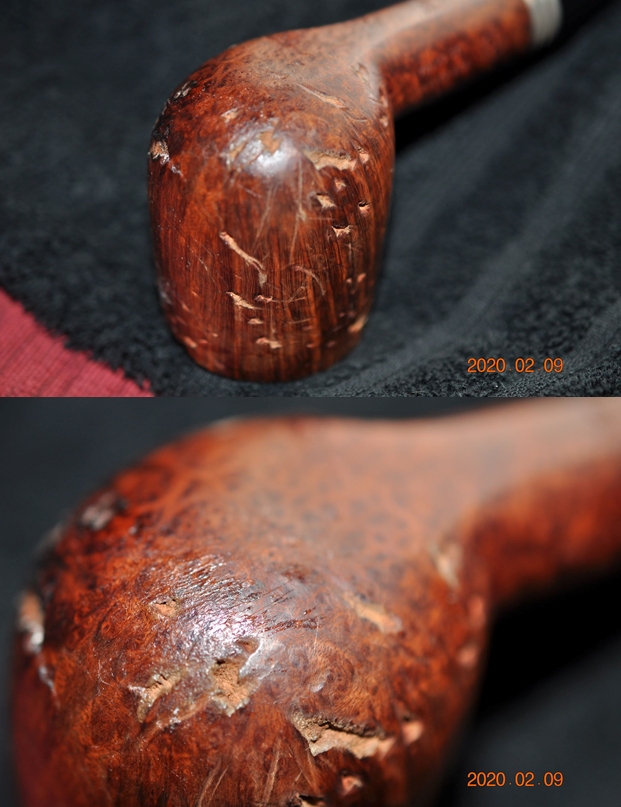
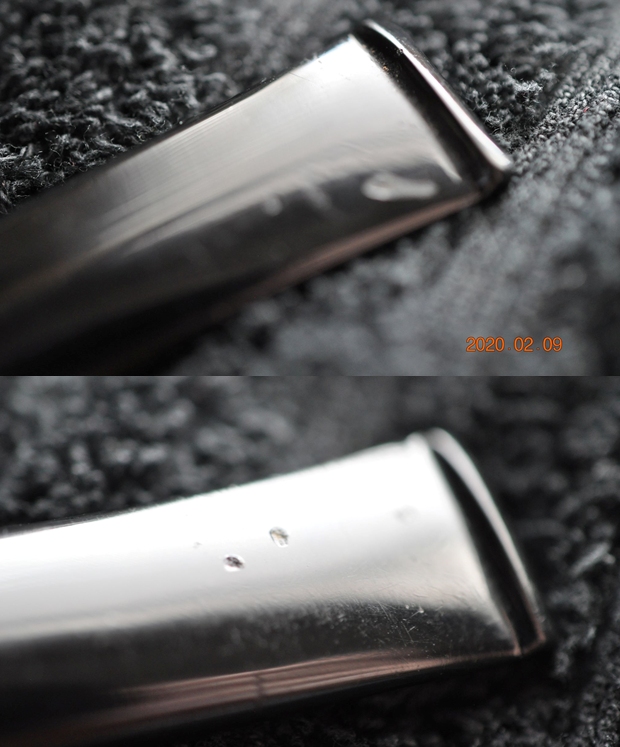
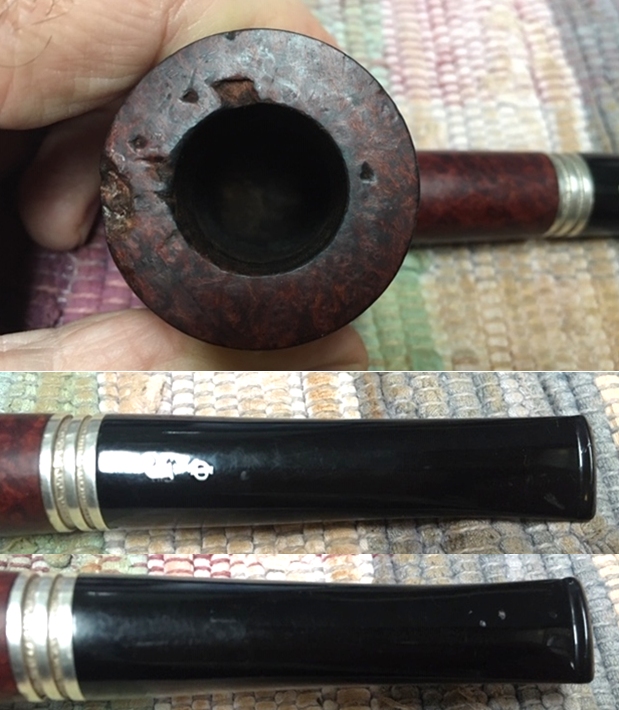
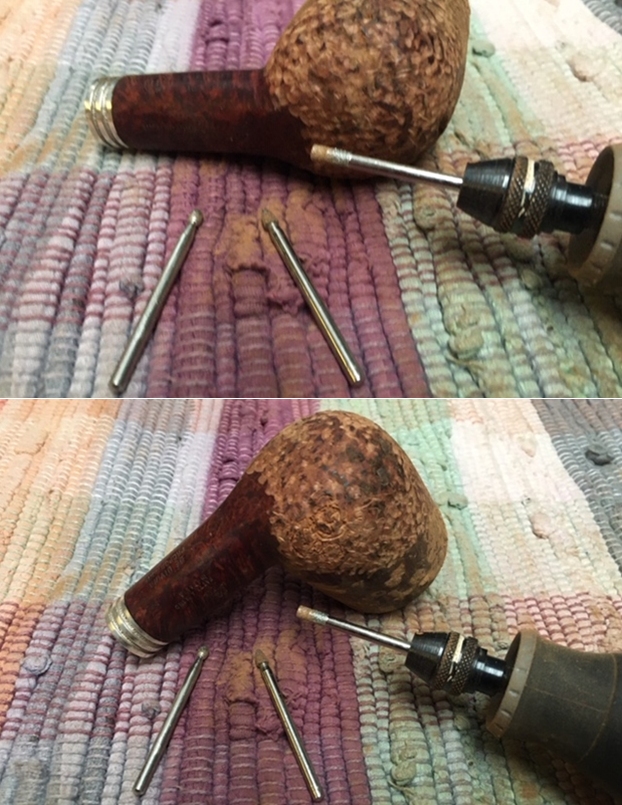
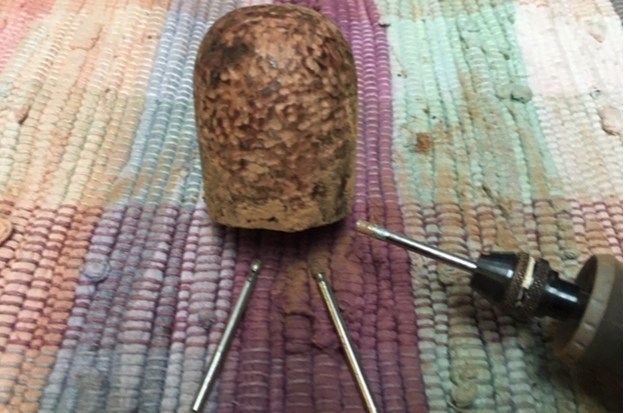
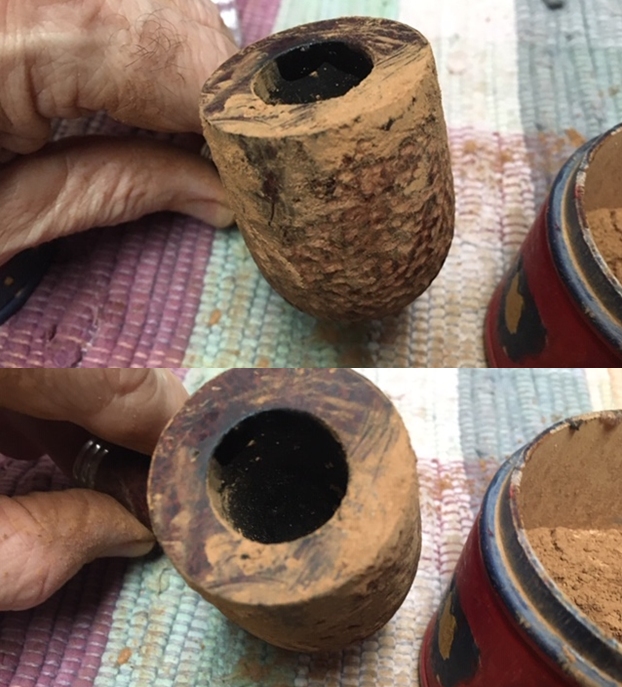
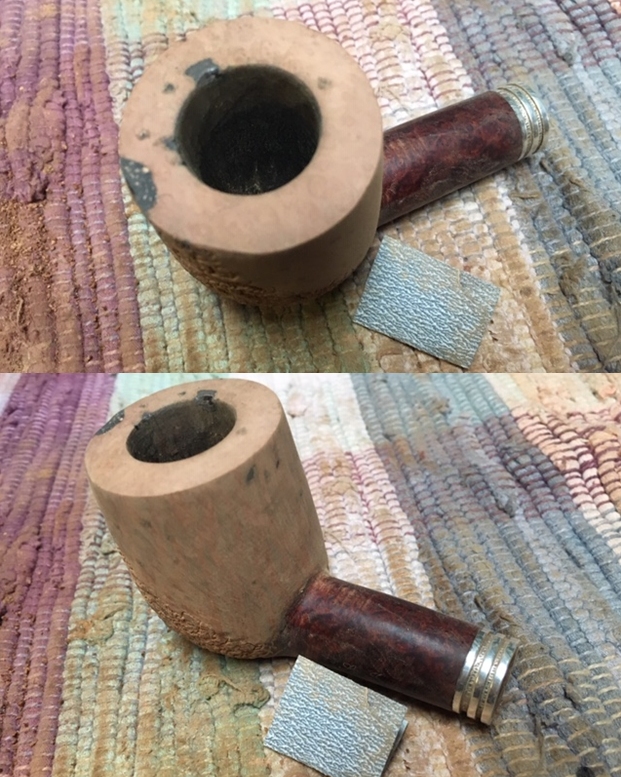
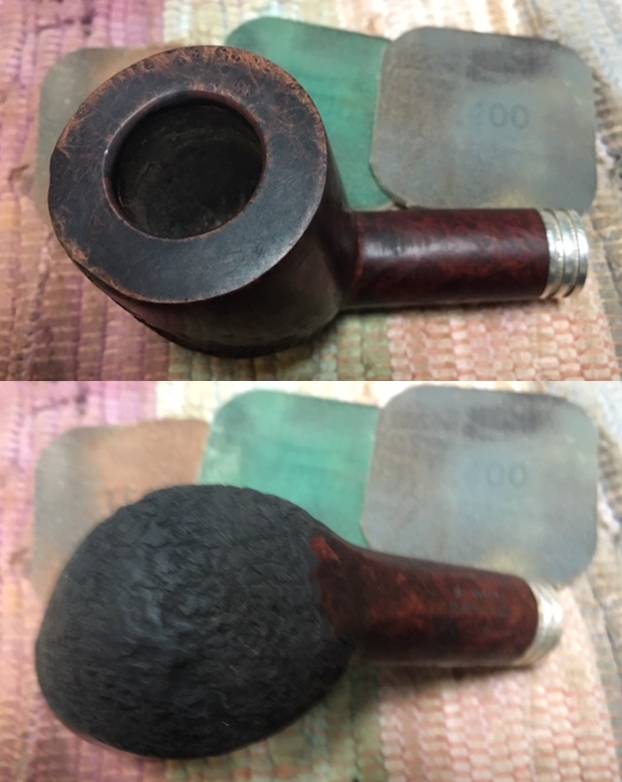
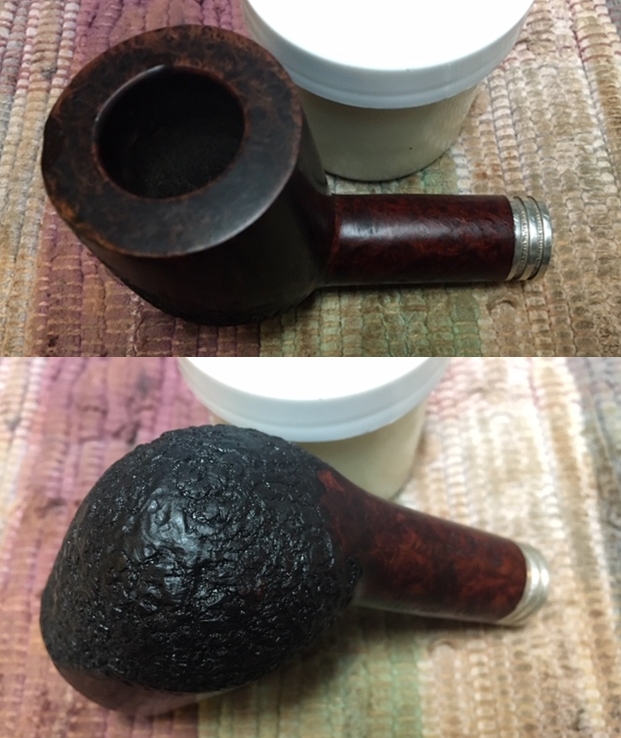
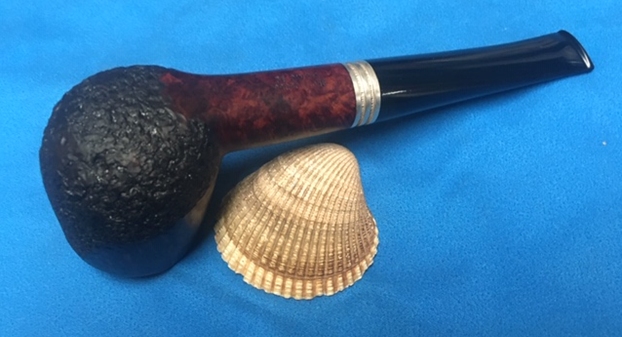
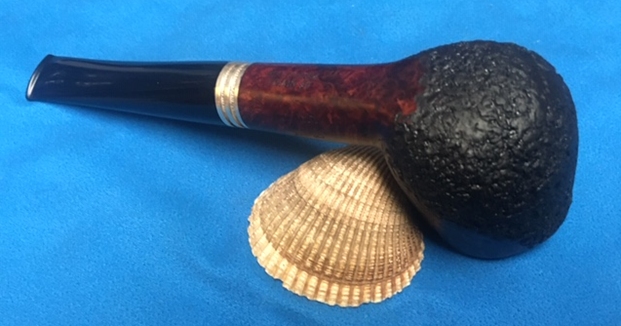
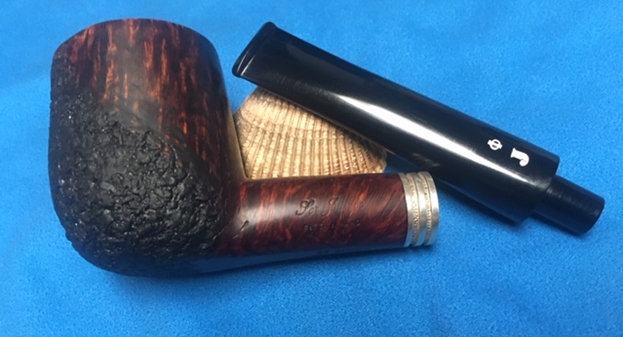
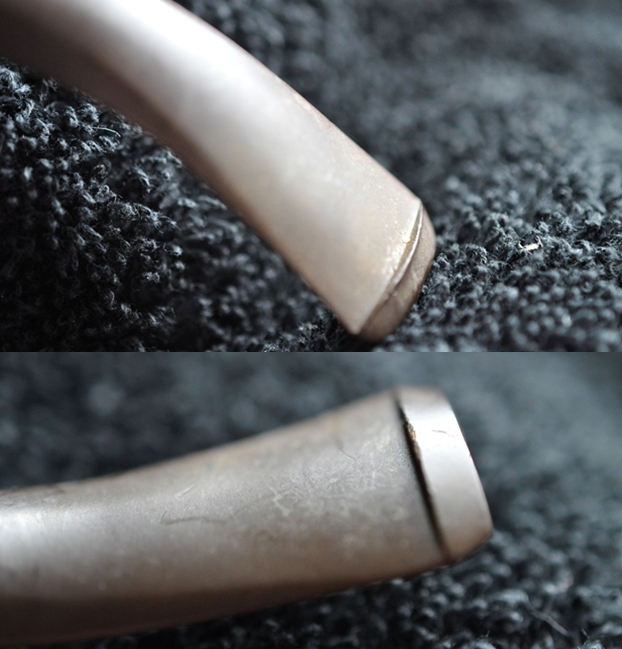
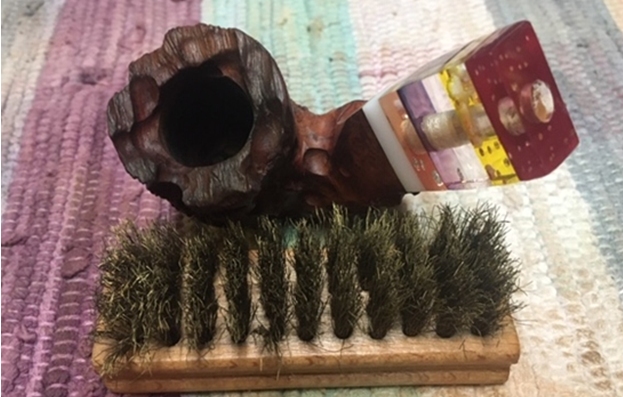
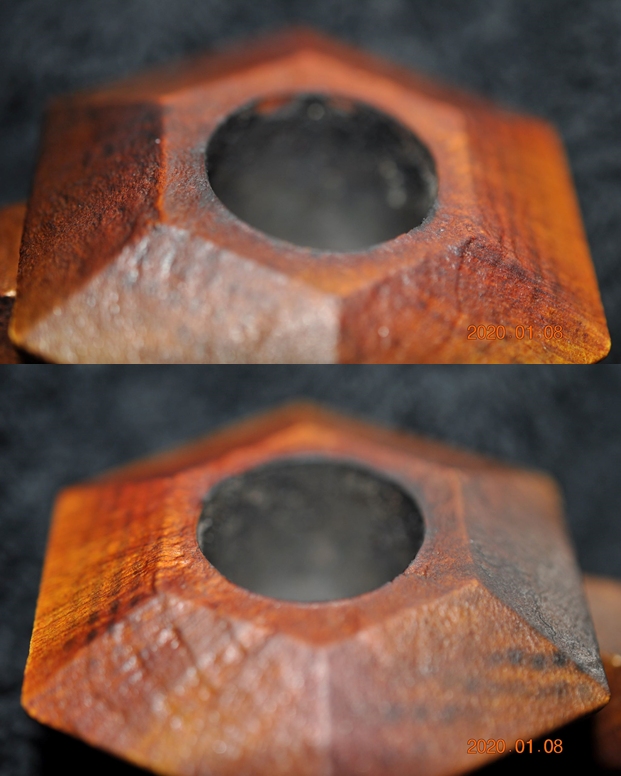
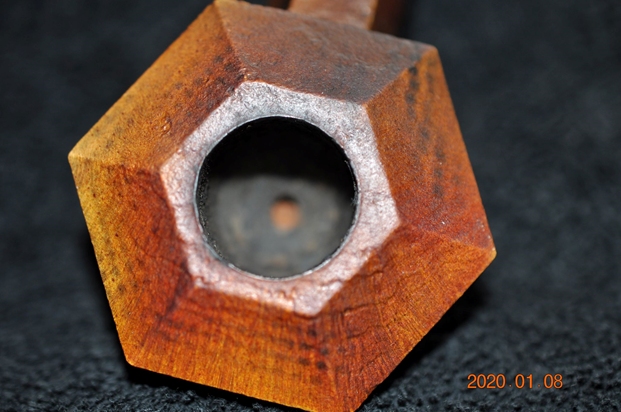
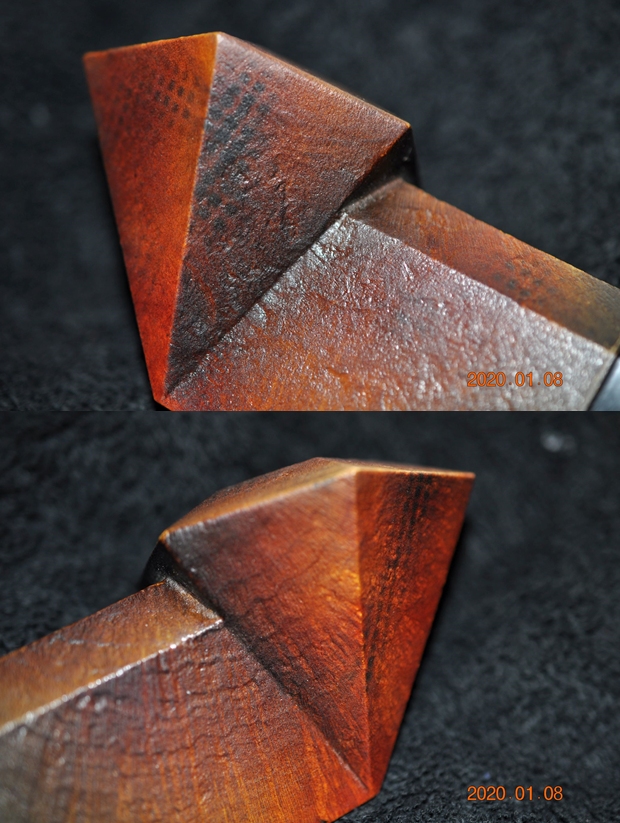
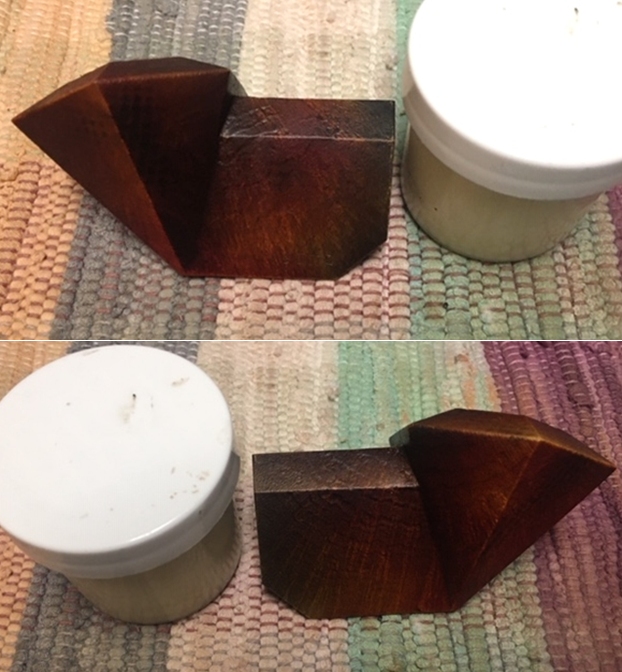
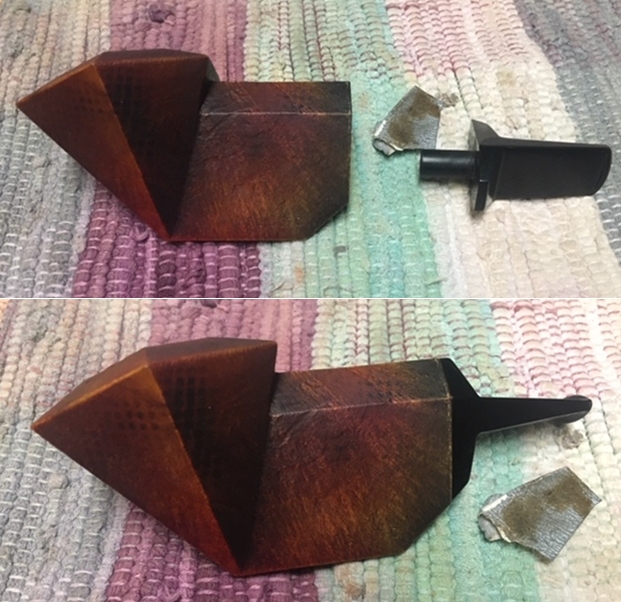
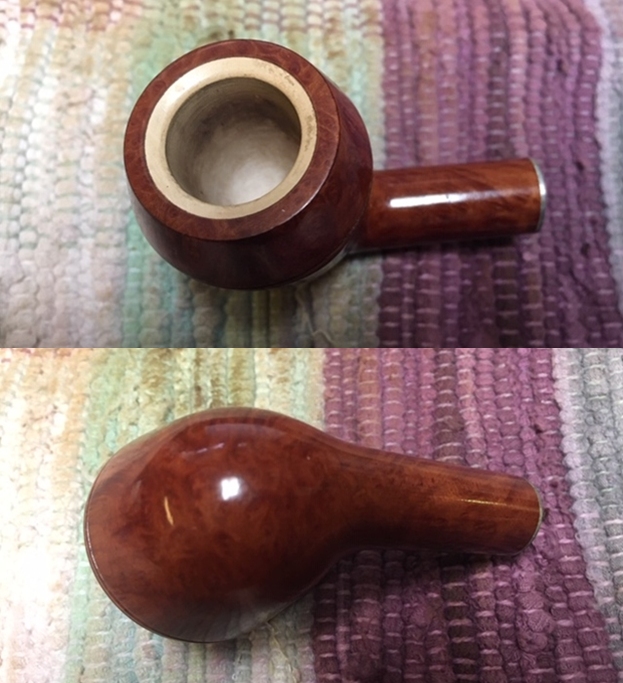
 I took photos of the rim top and the stem to show the condition. You can see the damage noted above on the rim top and the tooth marks and chatter on the stem surface. I have drawn red circles around the damaged areas on both the stem and the rim top.
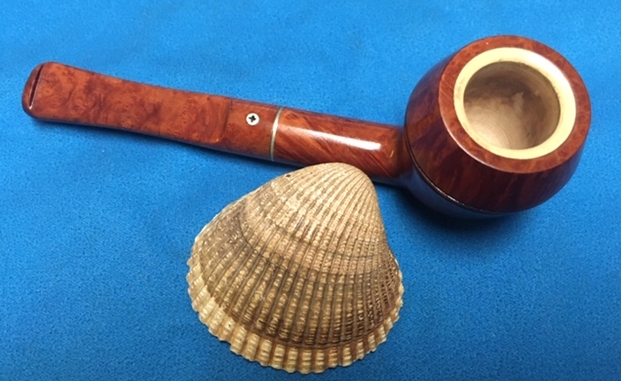
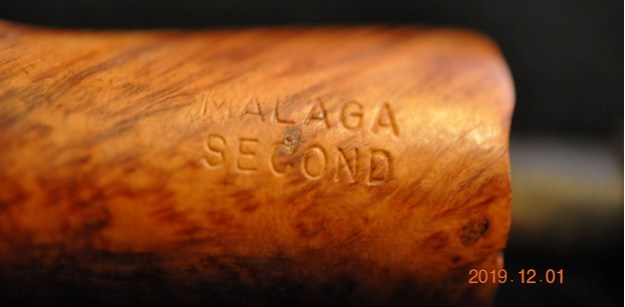
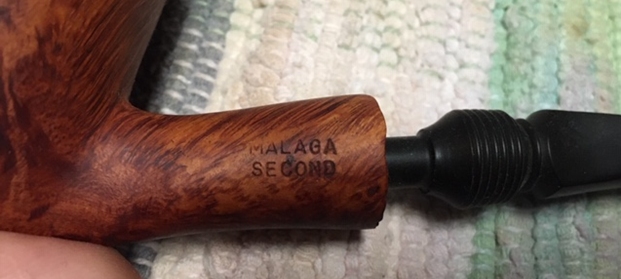
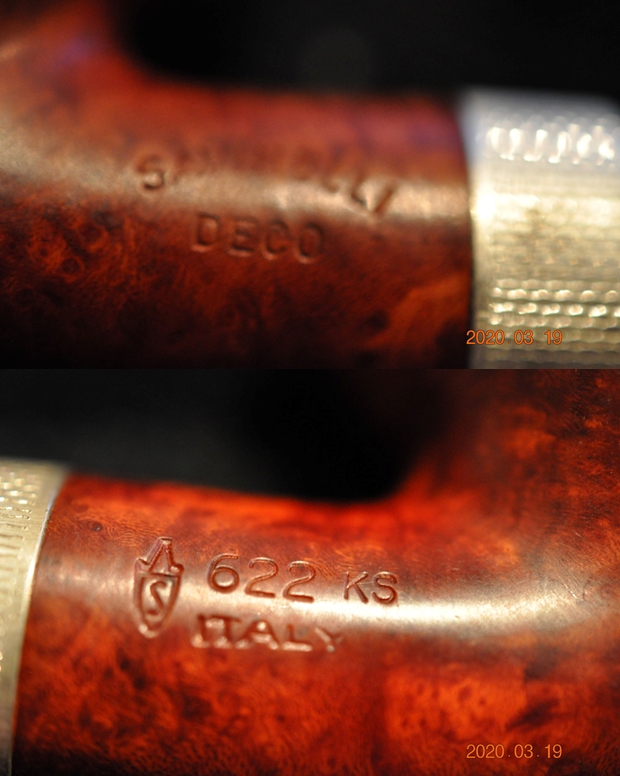
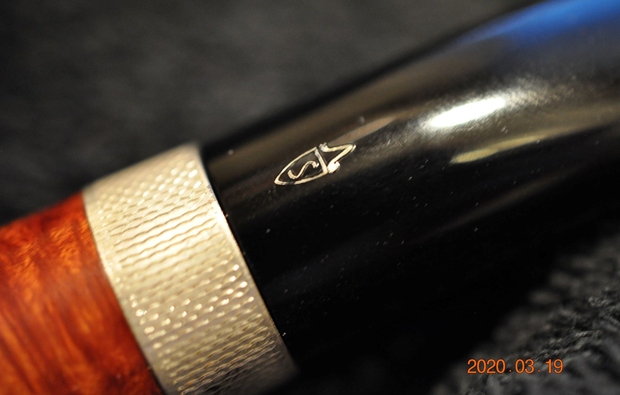
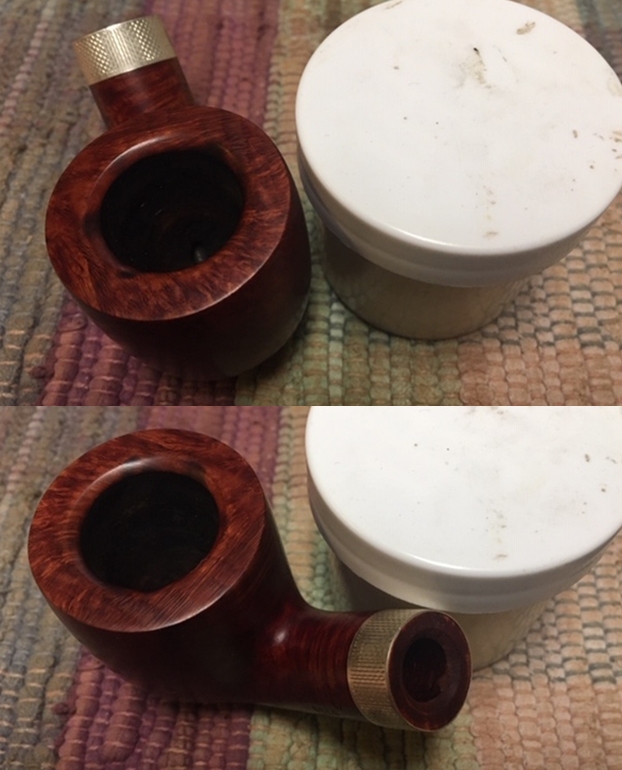
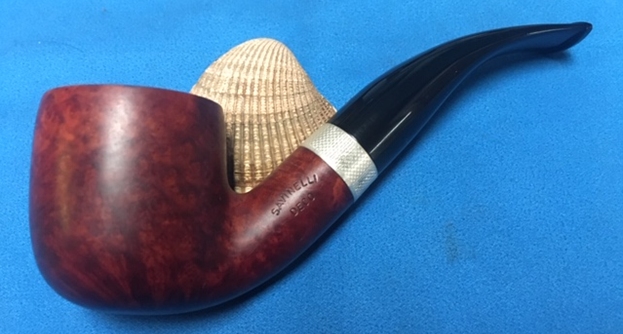
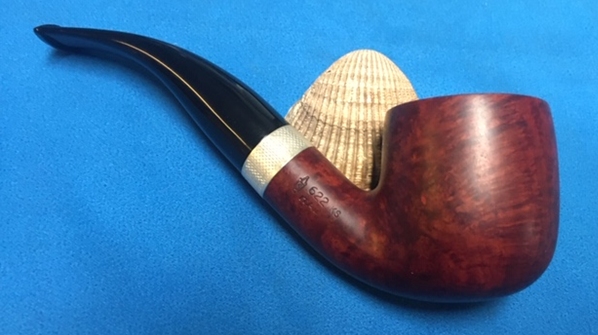
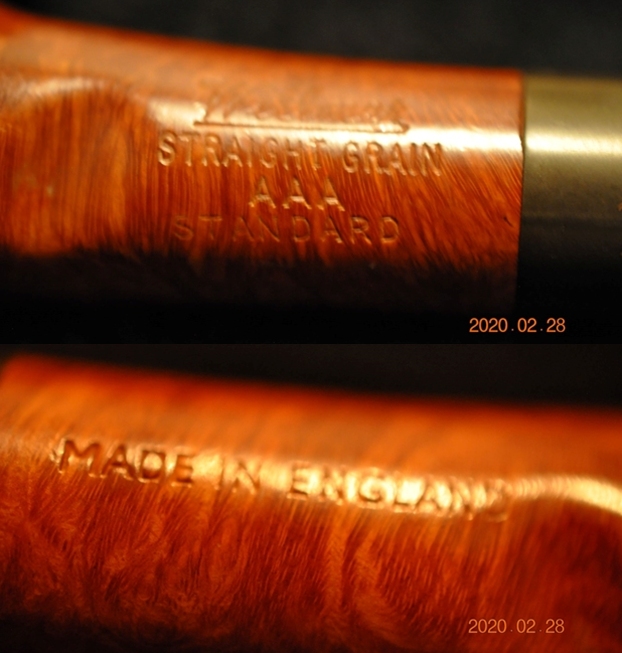
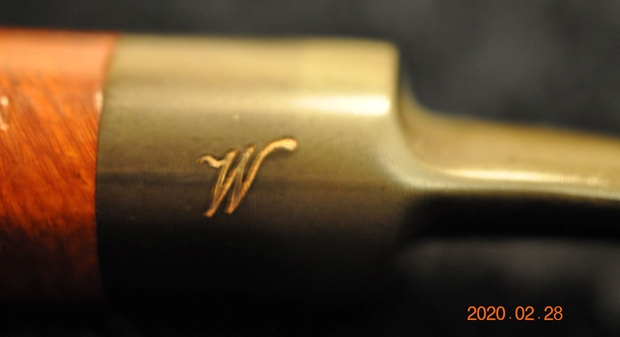
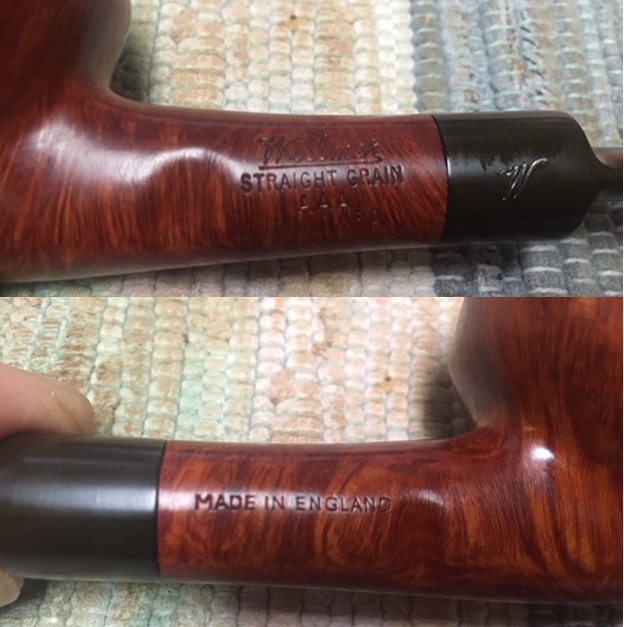
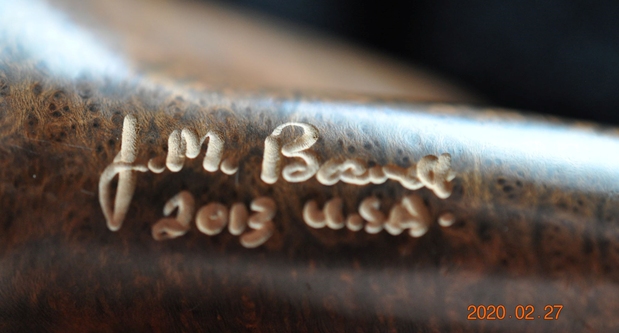
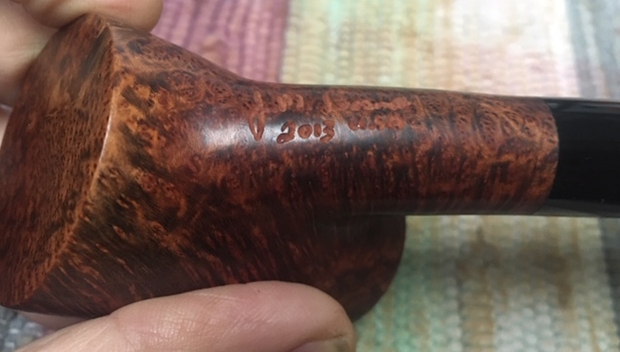
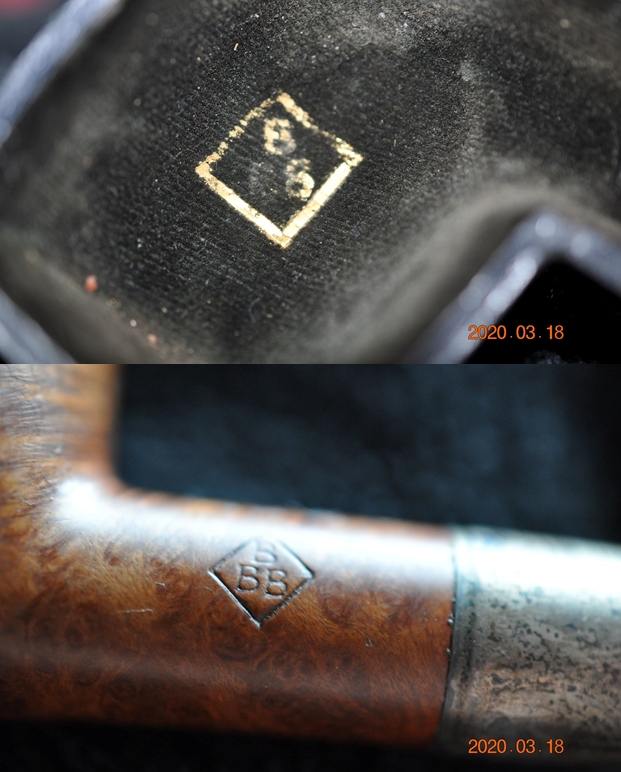
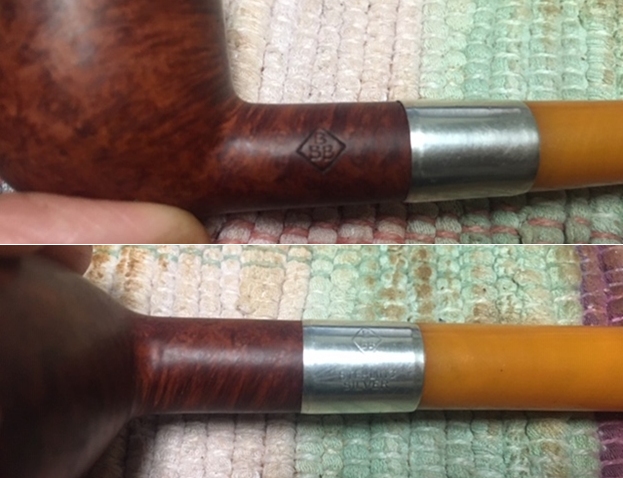
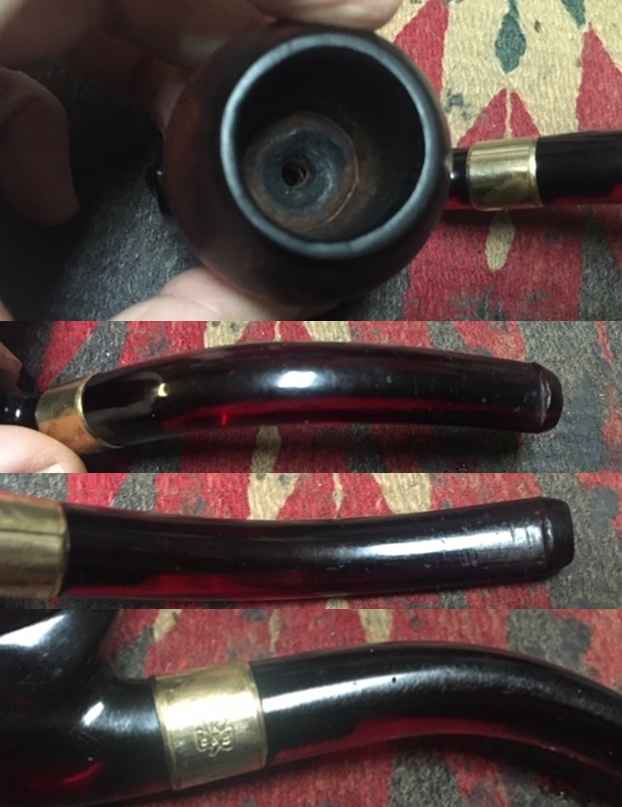
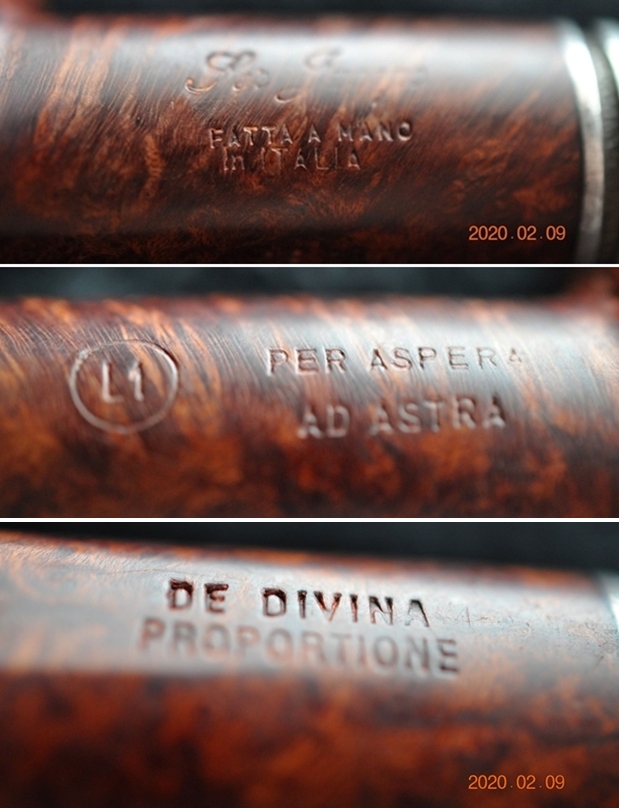
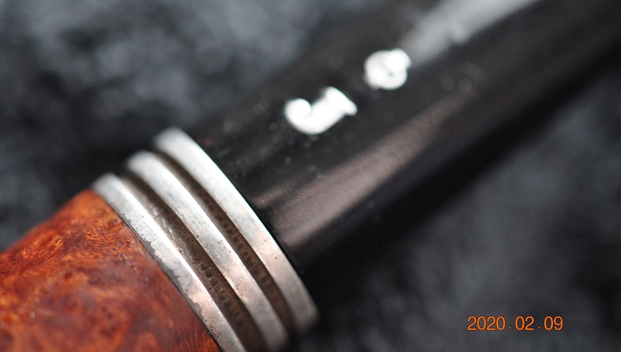
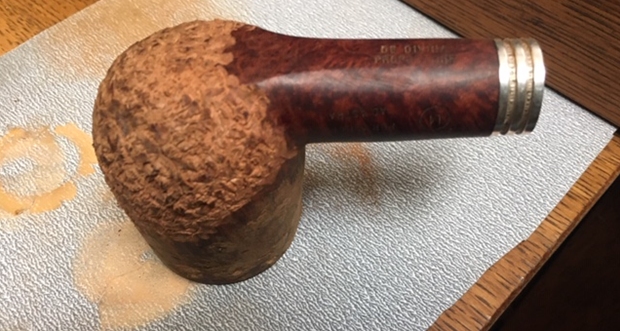
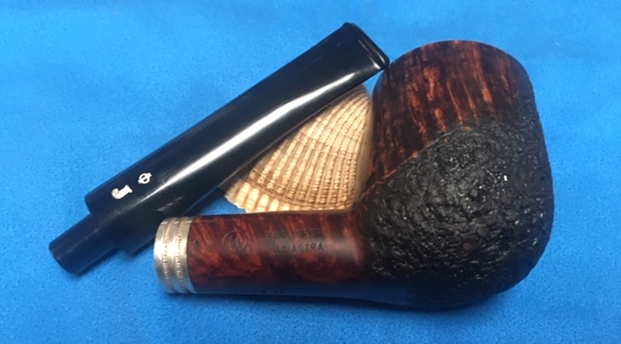
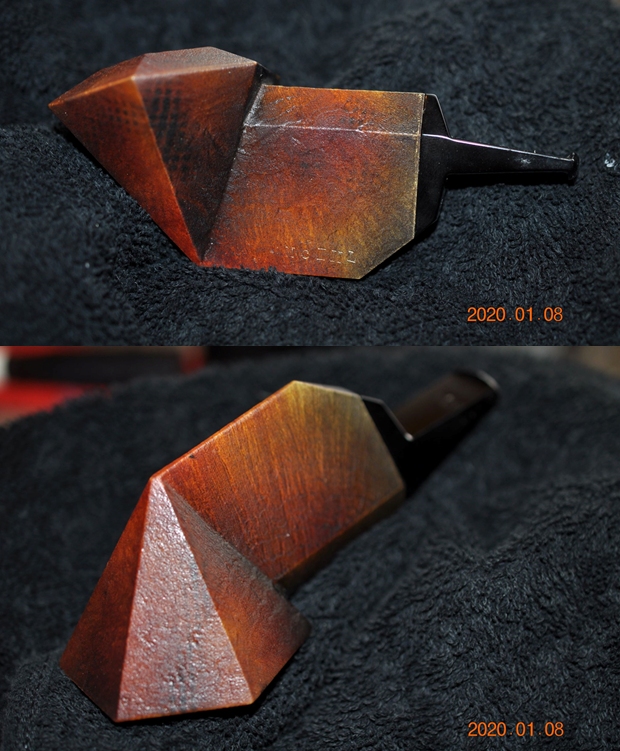
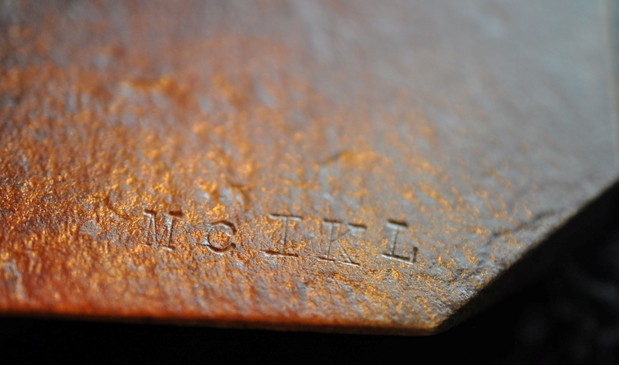
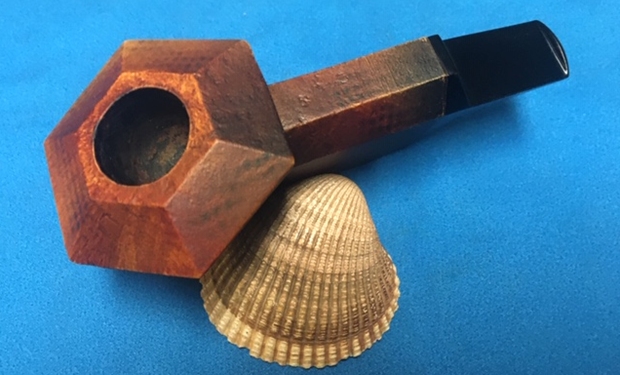
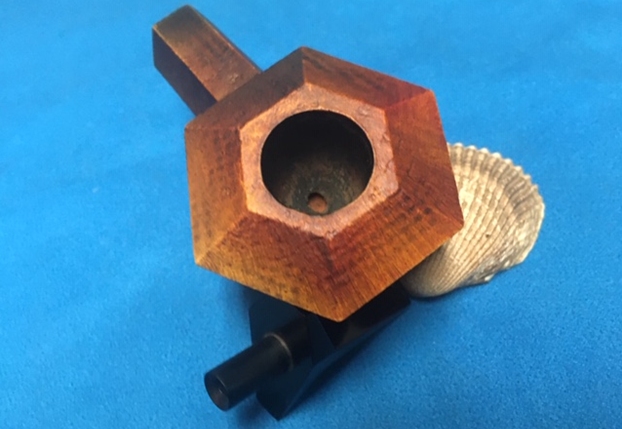
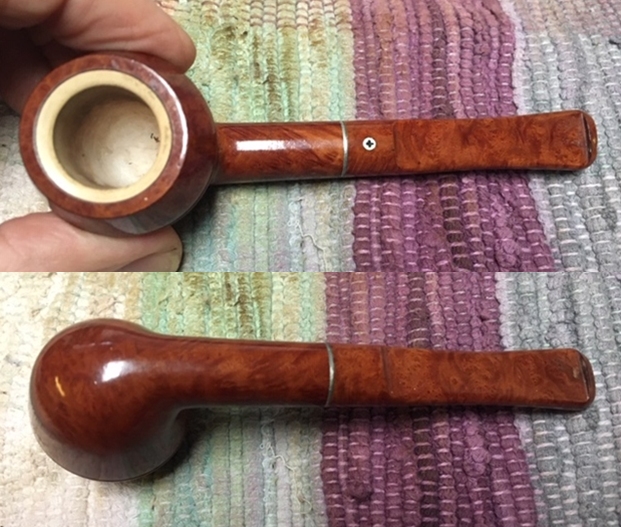
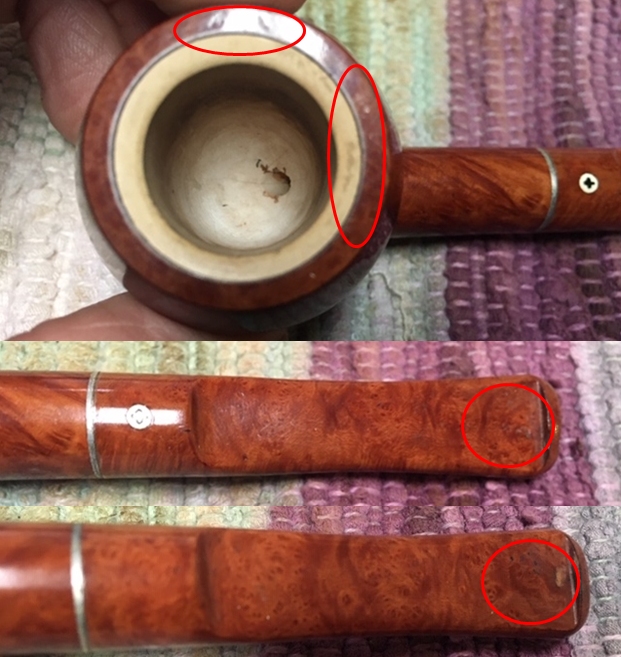 I took some photos of the stamping on both sides of the shank. Because of the shiny surface they are a bit hard to read but are very readable nonetheless. The stamping on the left side of the shank reads All Briar and under that read Kaywoodie over Meerschaum. On the right side of the shank it is stamped All-Imported Briar over the shape number 50B. Underneath the shape number is a small capital E stamped backwards.
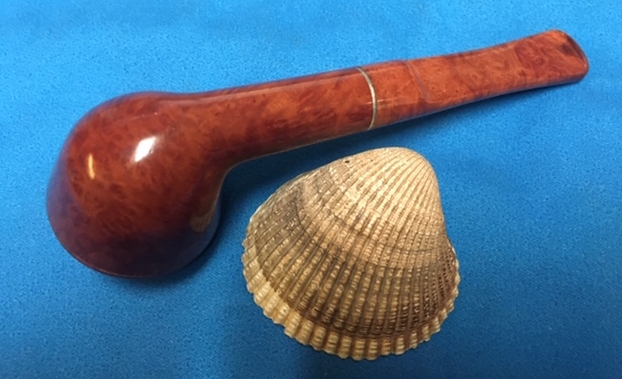
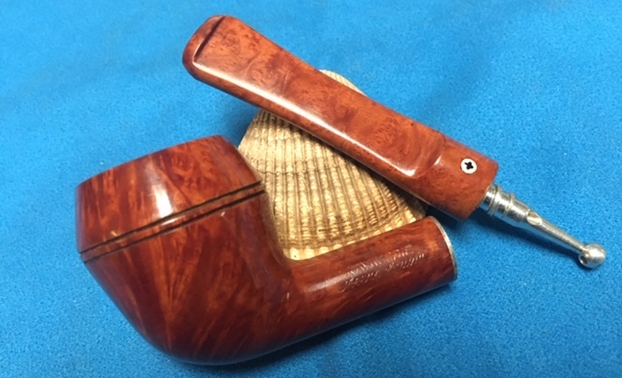
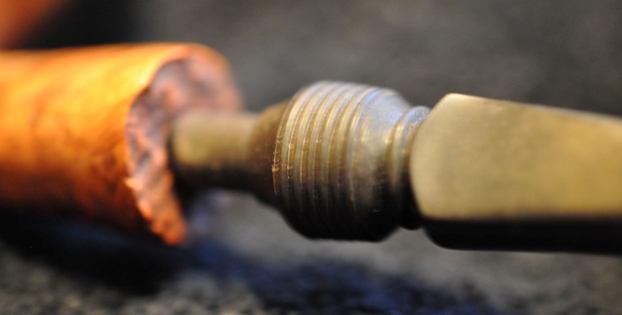
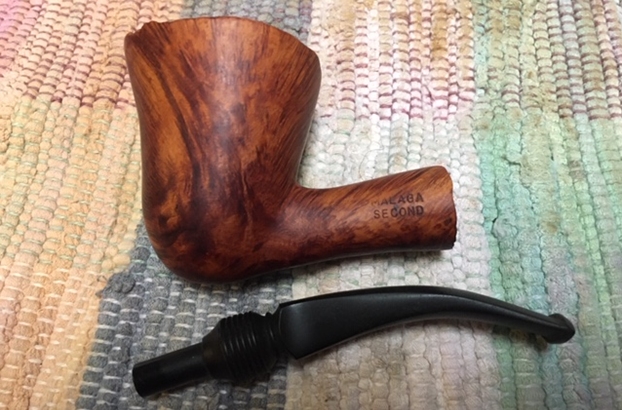
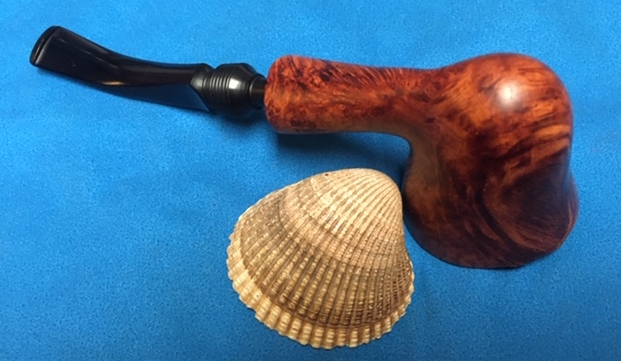
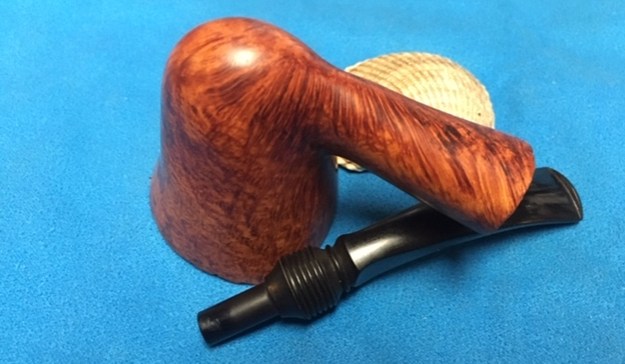
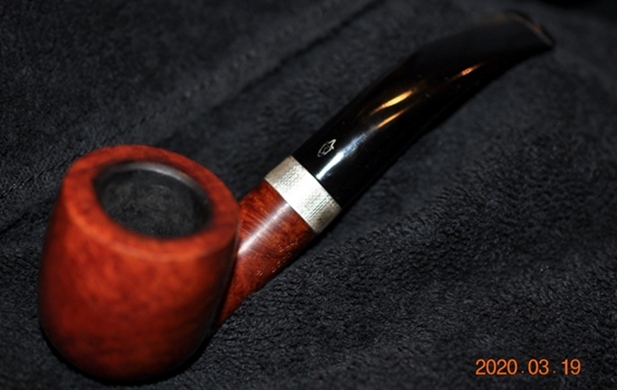
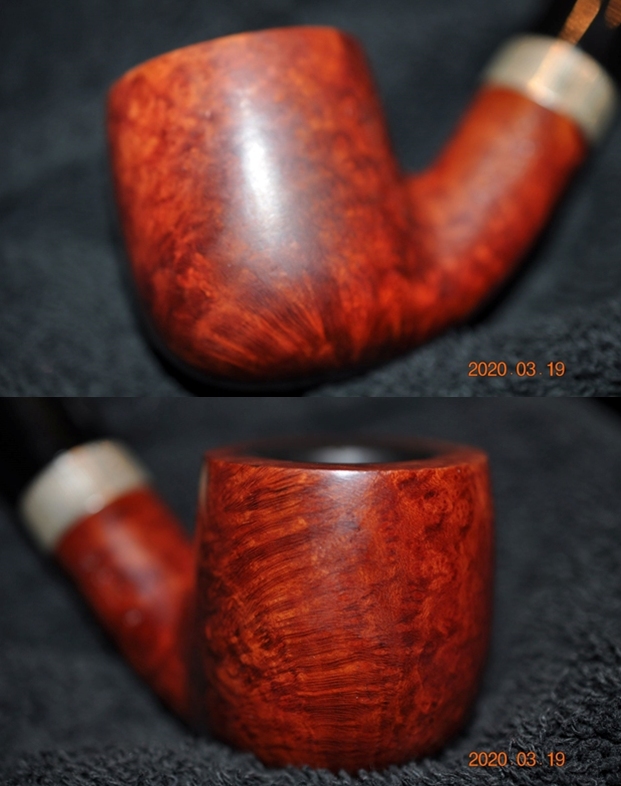
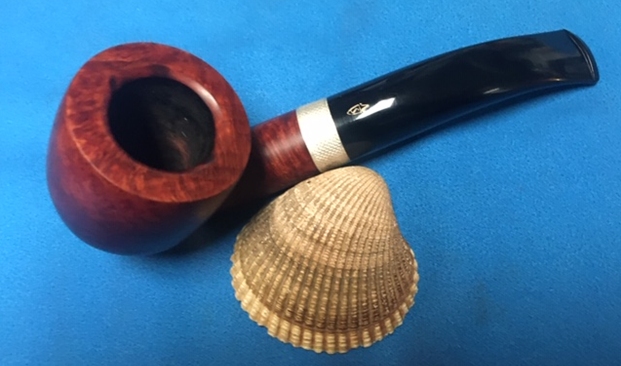
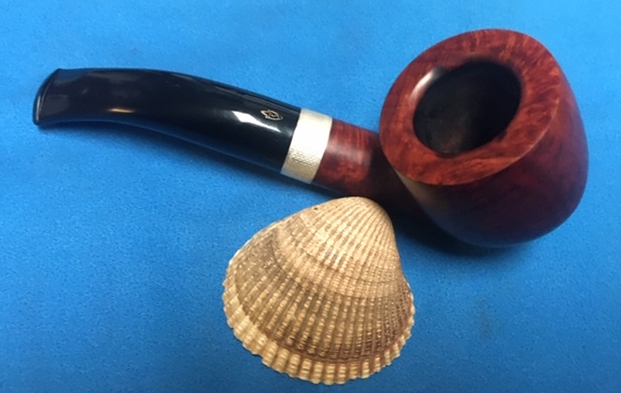
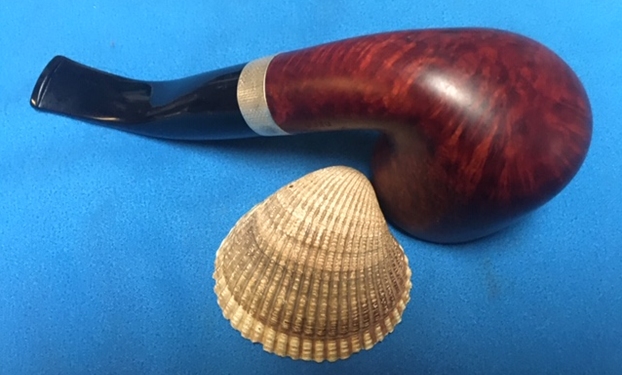
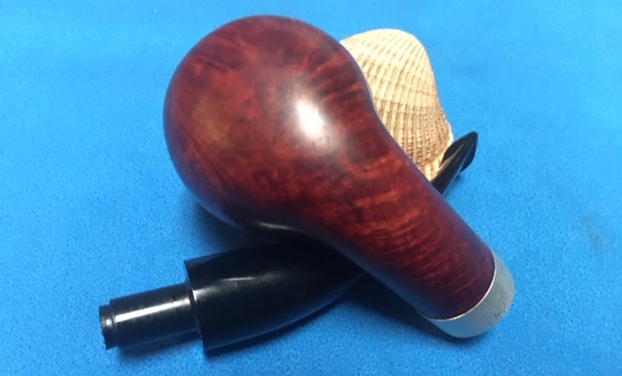
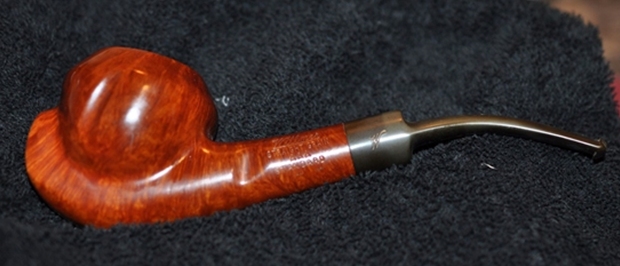
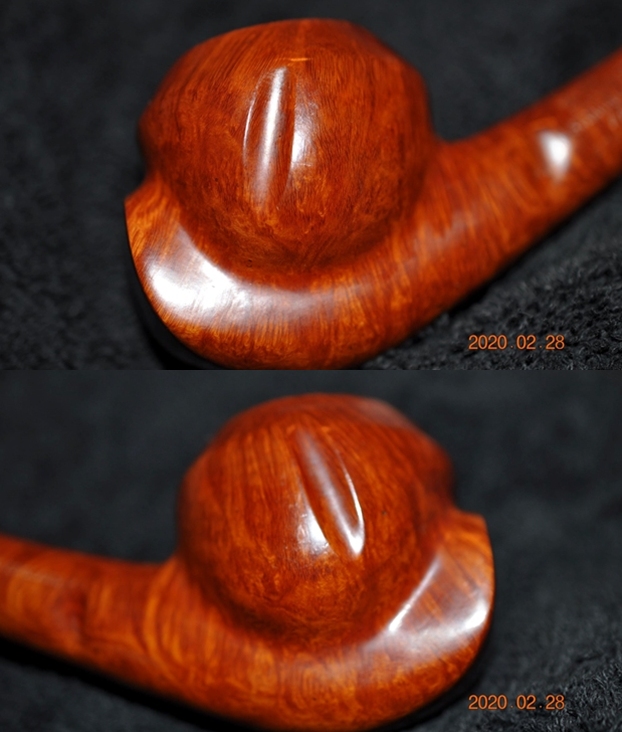
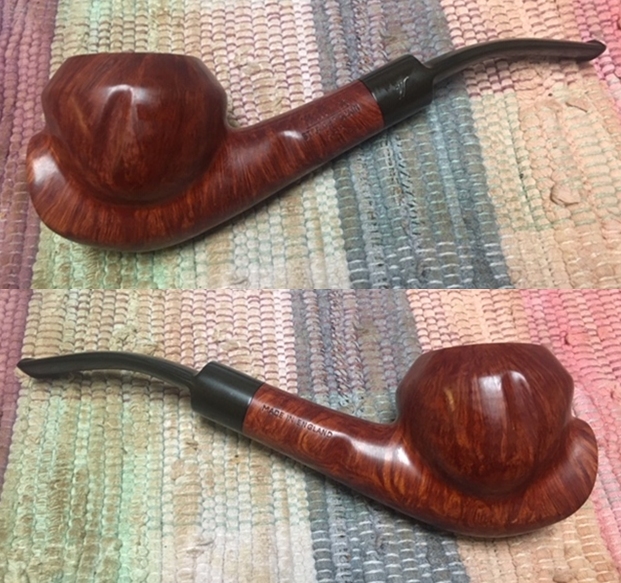
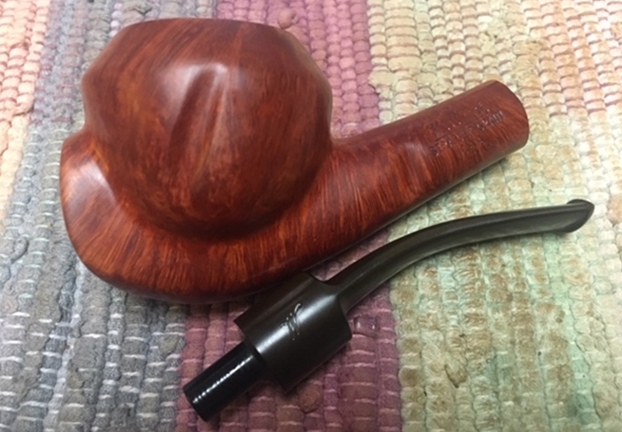
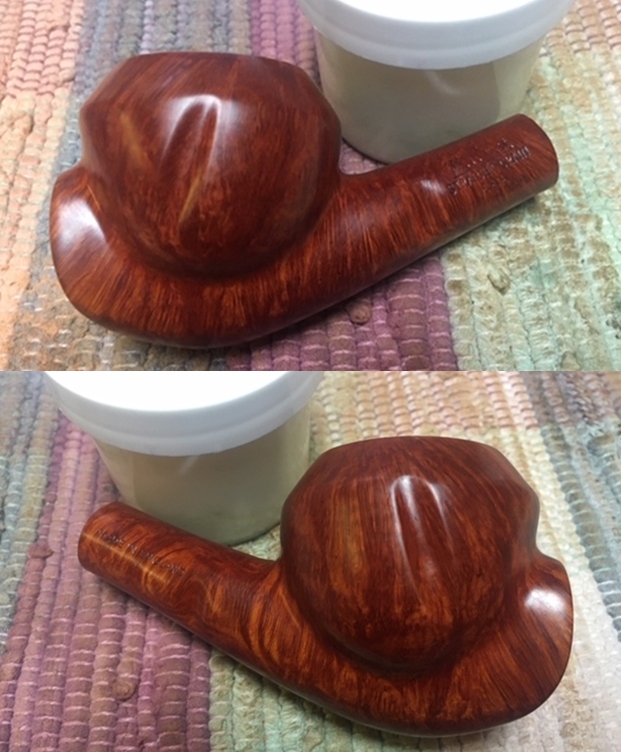
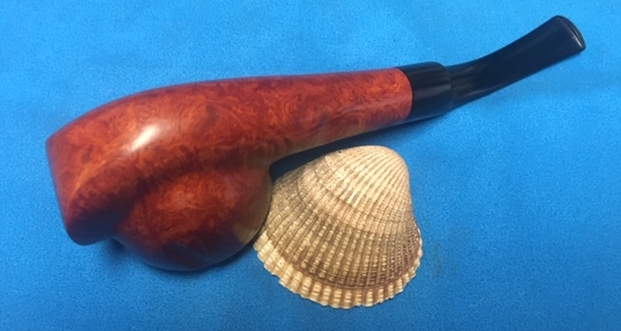
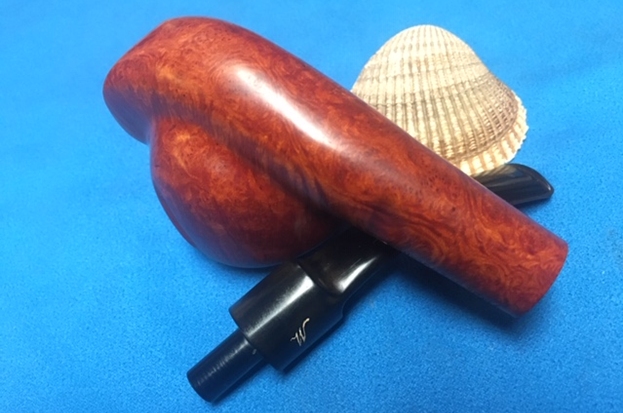
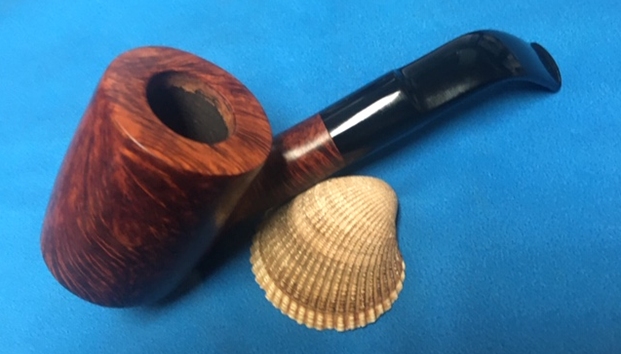
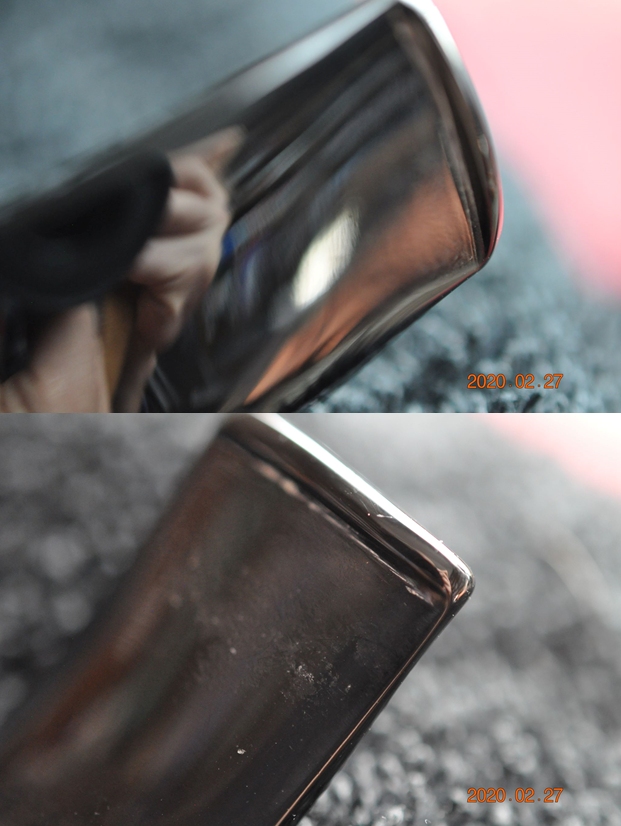
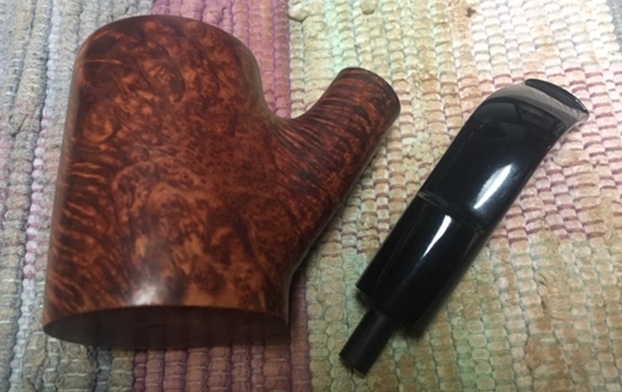
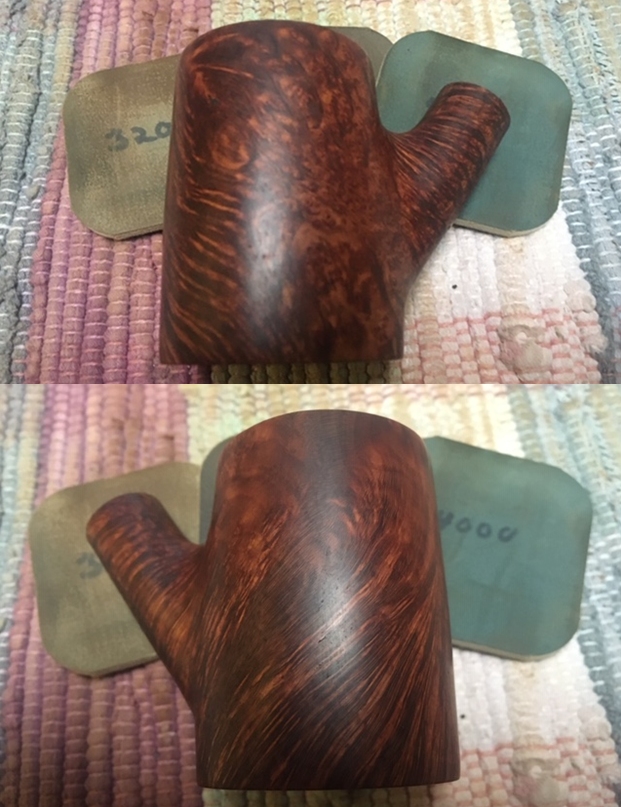
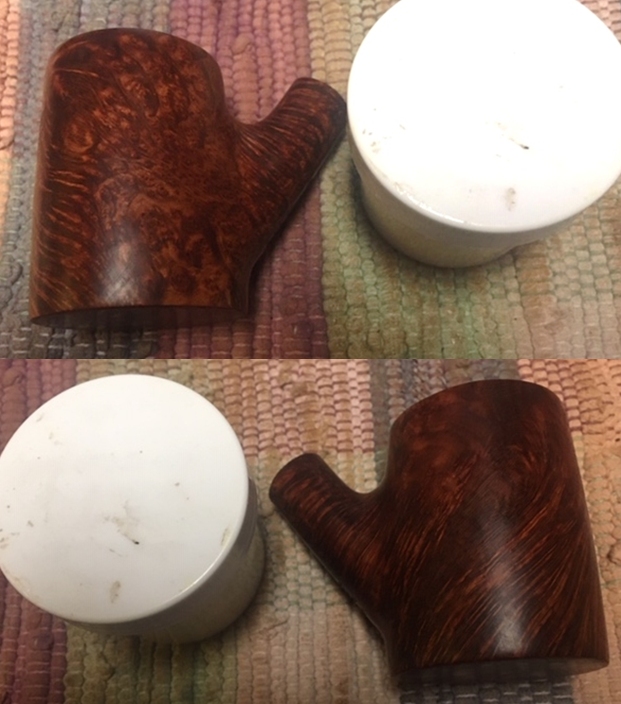
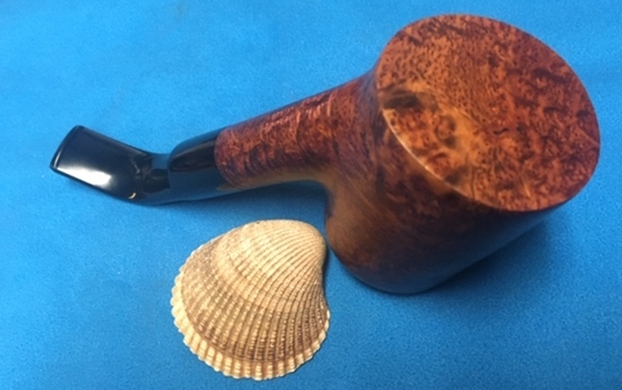
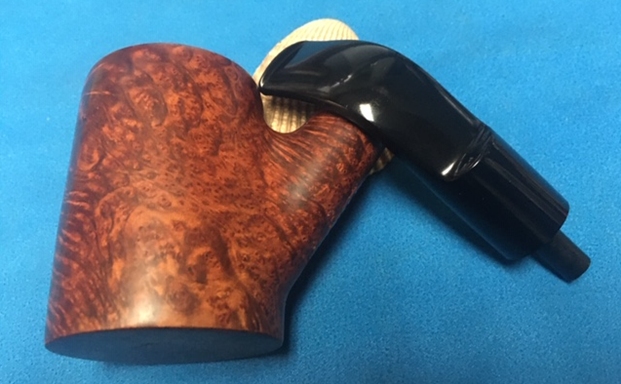
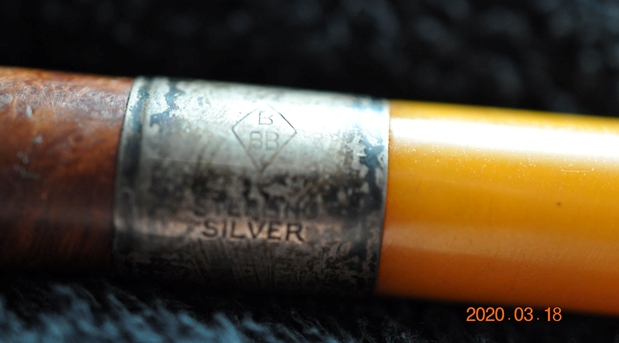
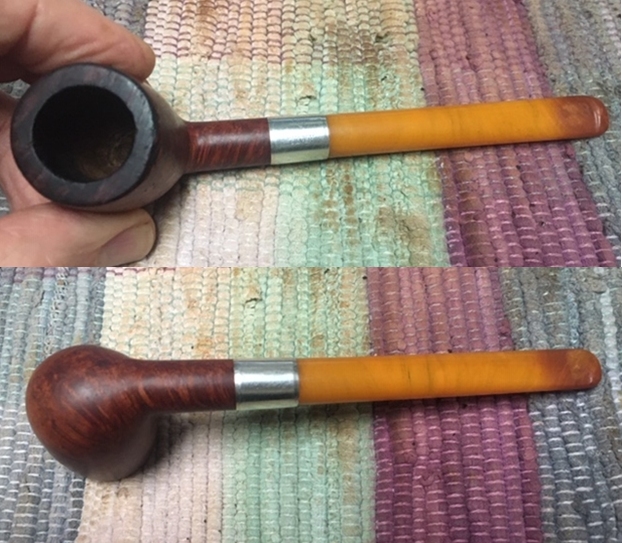
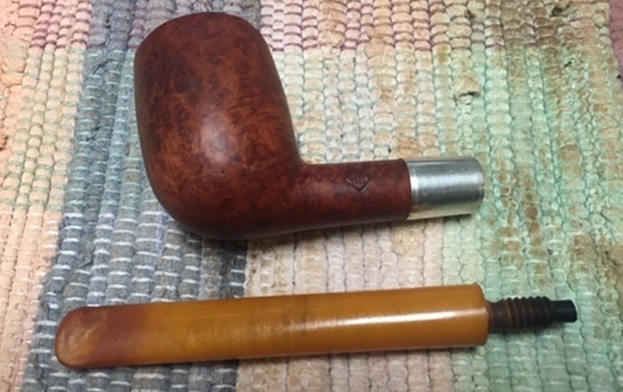
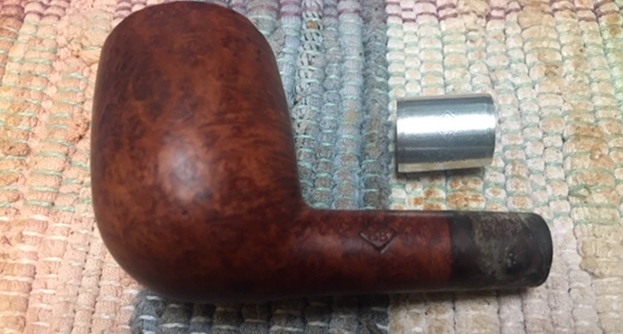
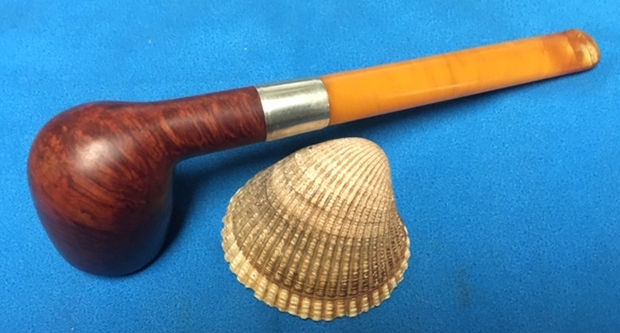
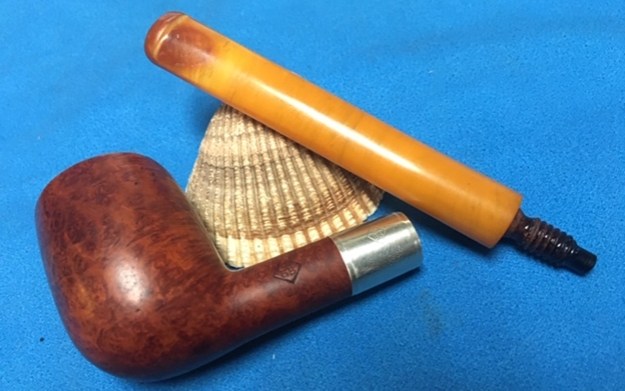
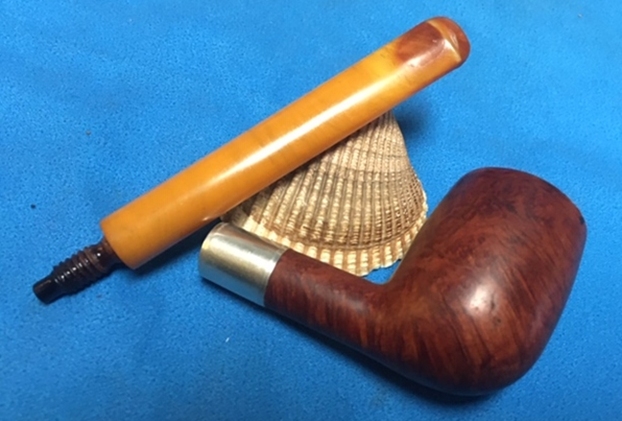
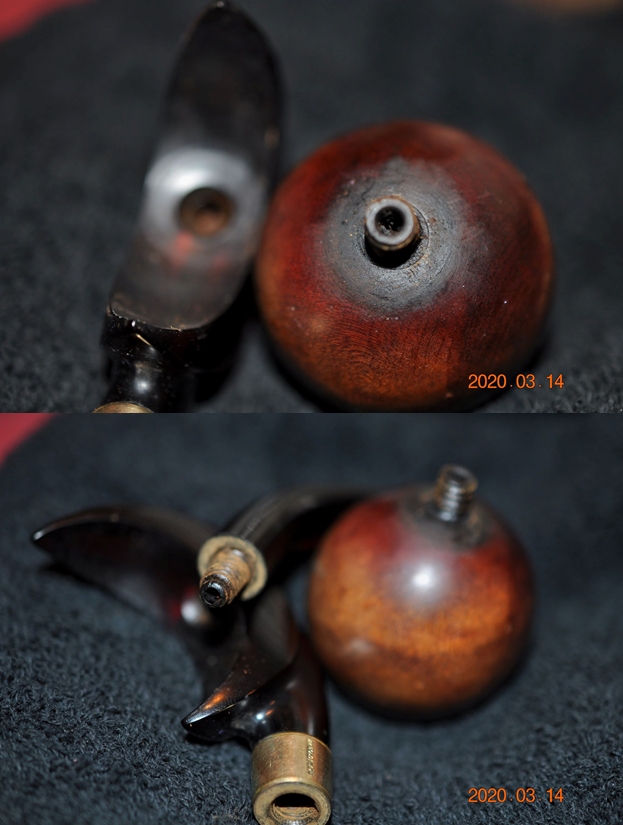
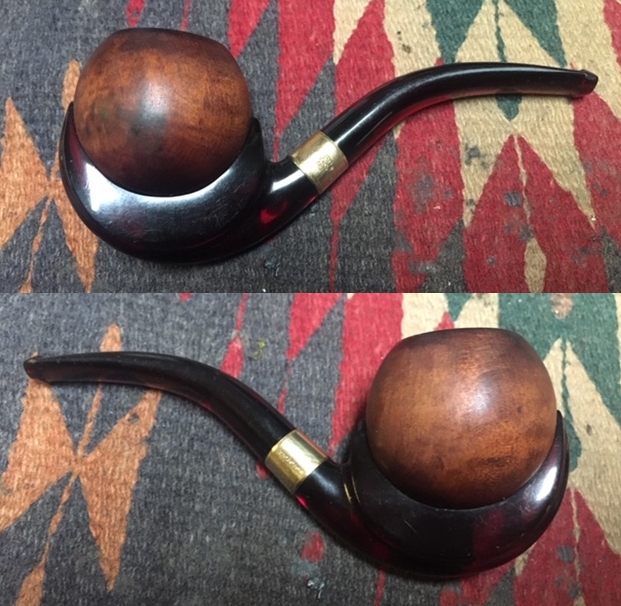
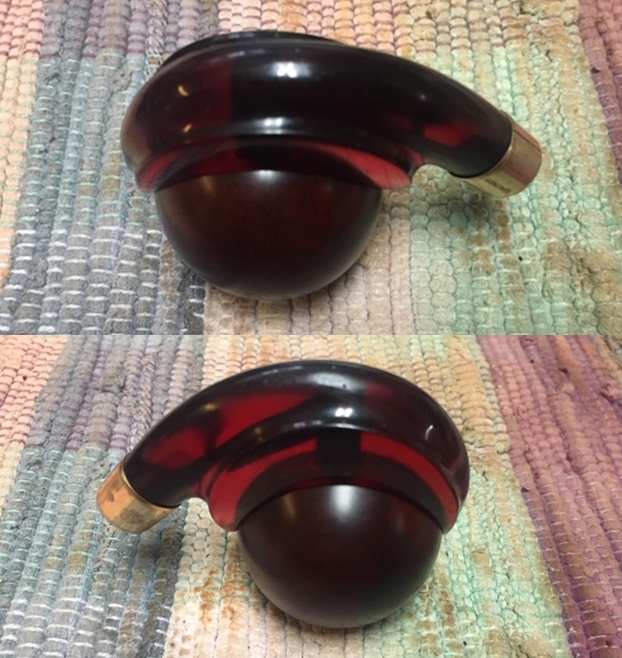
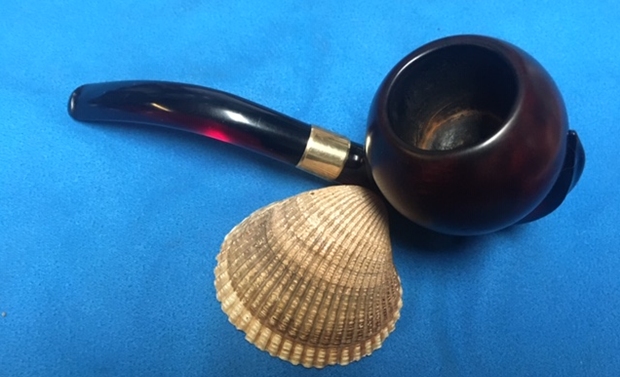
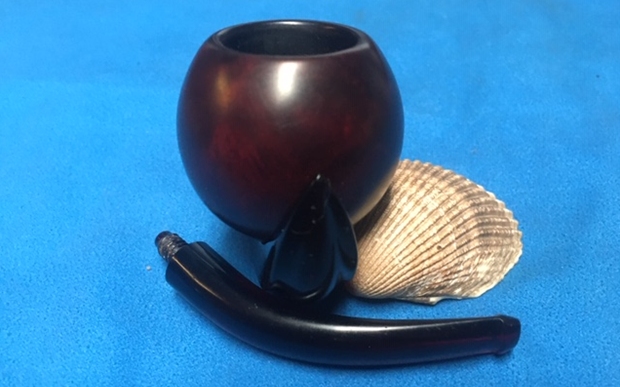
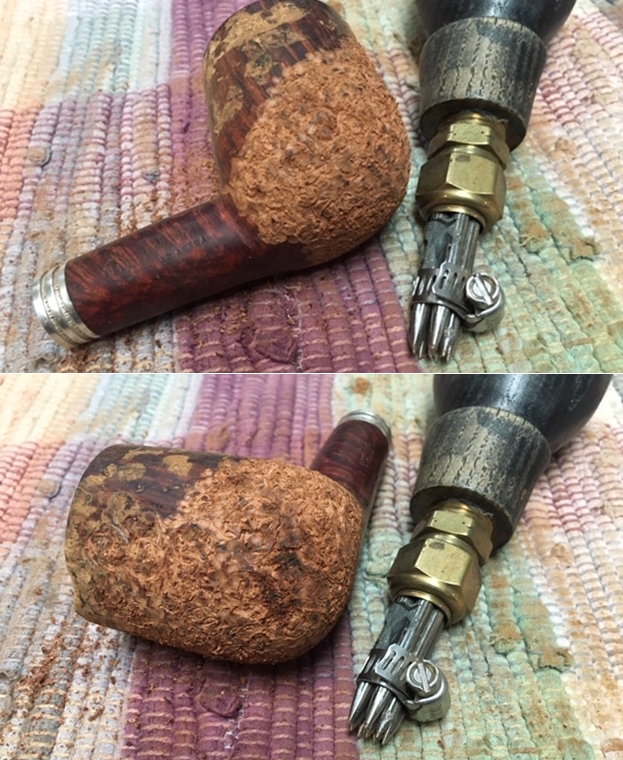
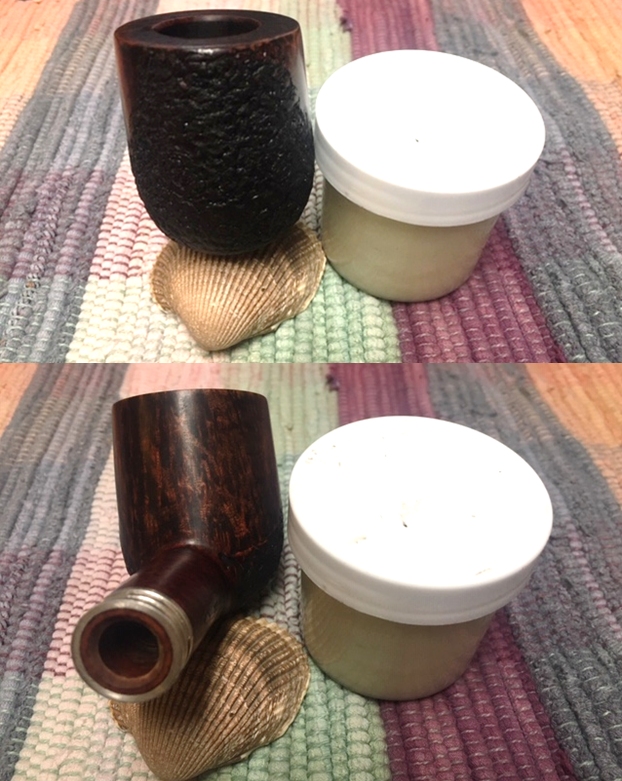
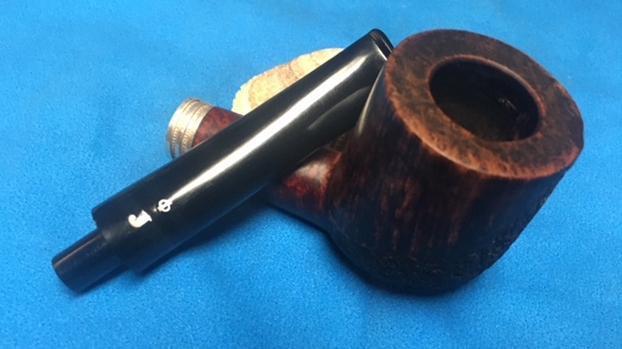
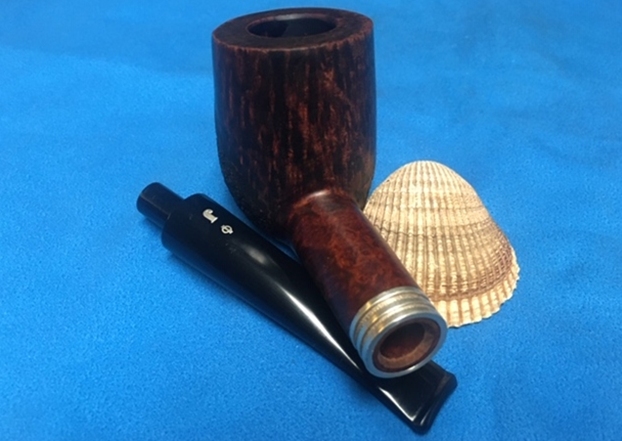
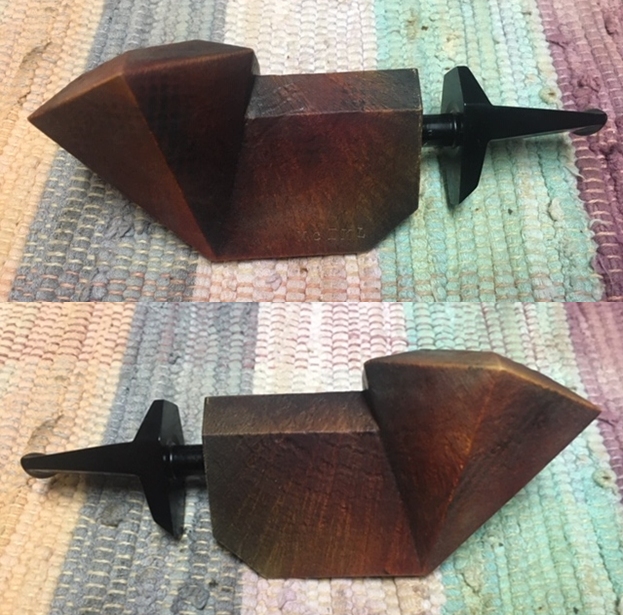
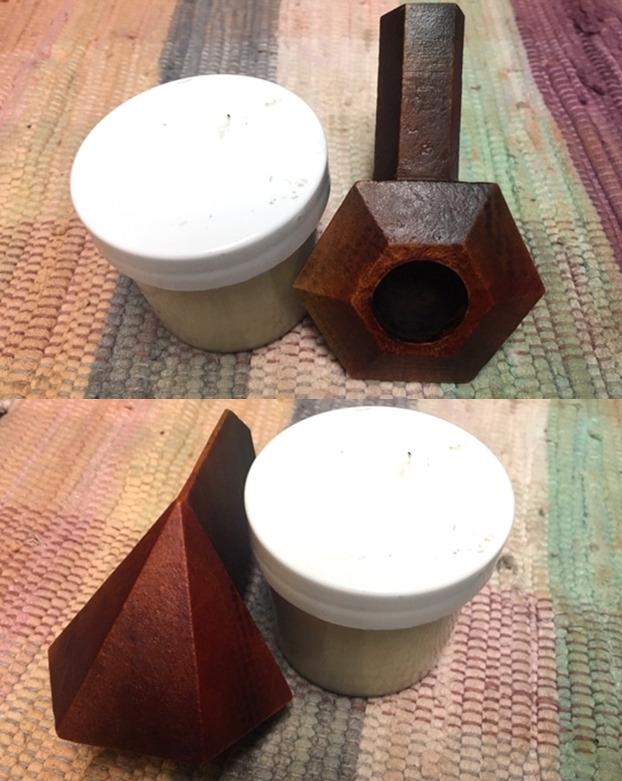
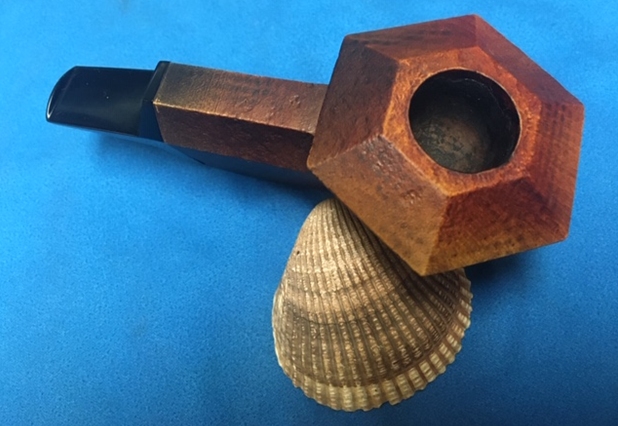
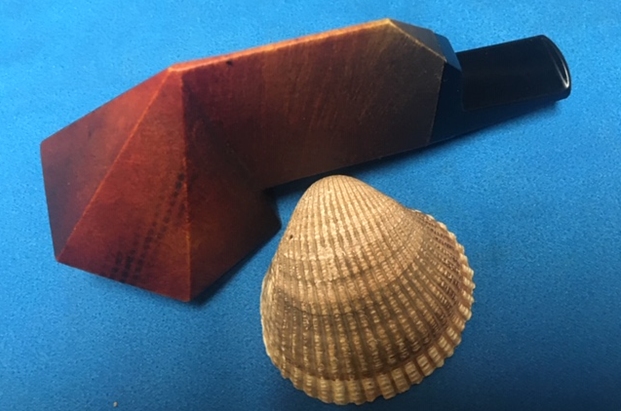
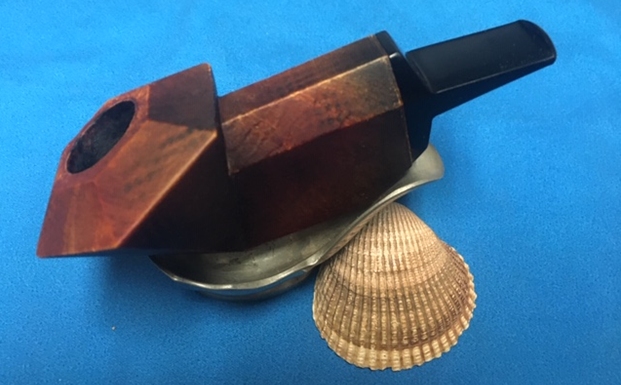
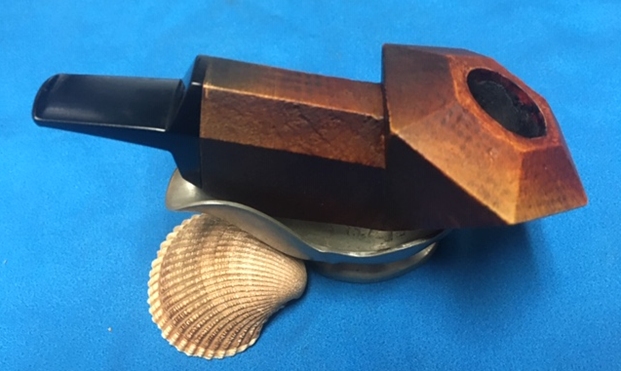
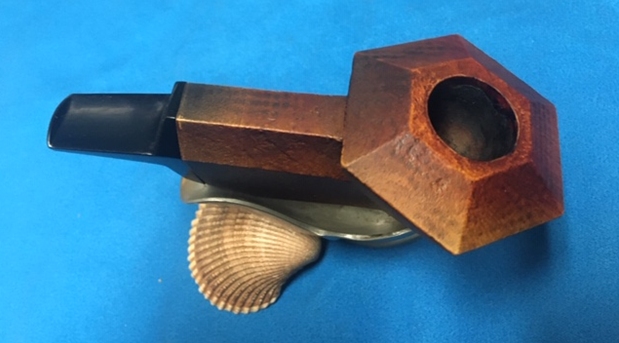
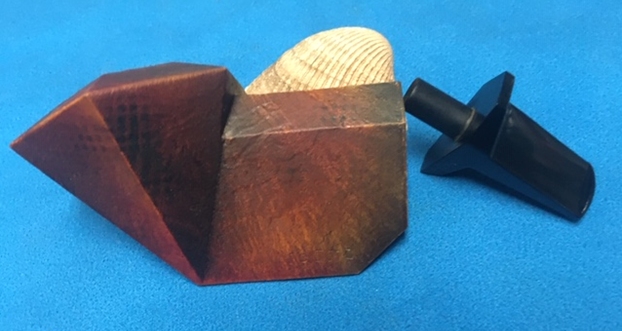
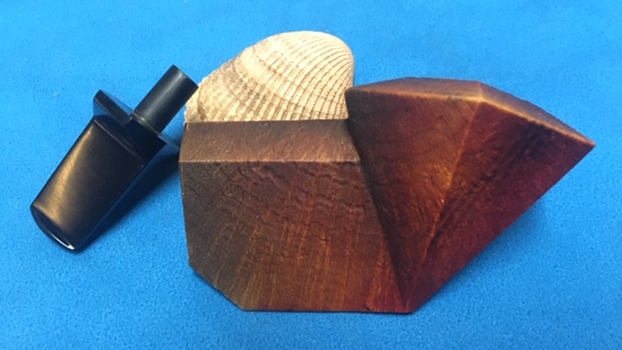
  I unscrewed the stem from the shank and took photos of the pipe. The Rhodesian is very well shaped and is a great looking piece of briar. The briar saddle stem is also very nice.
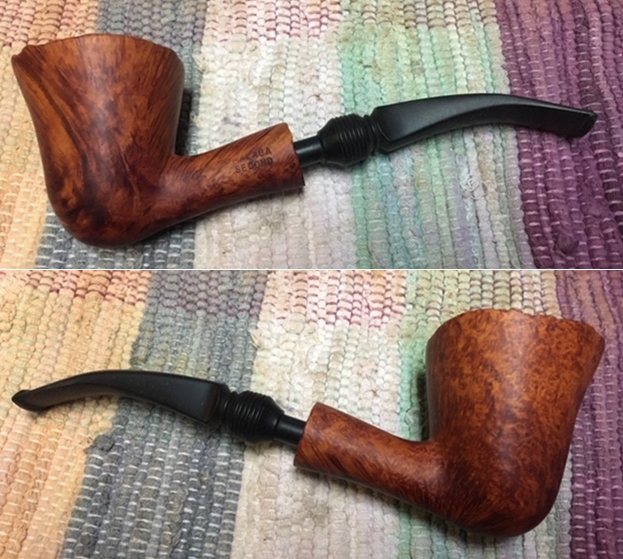
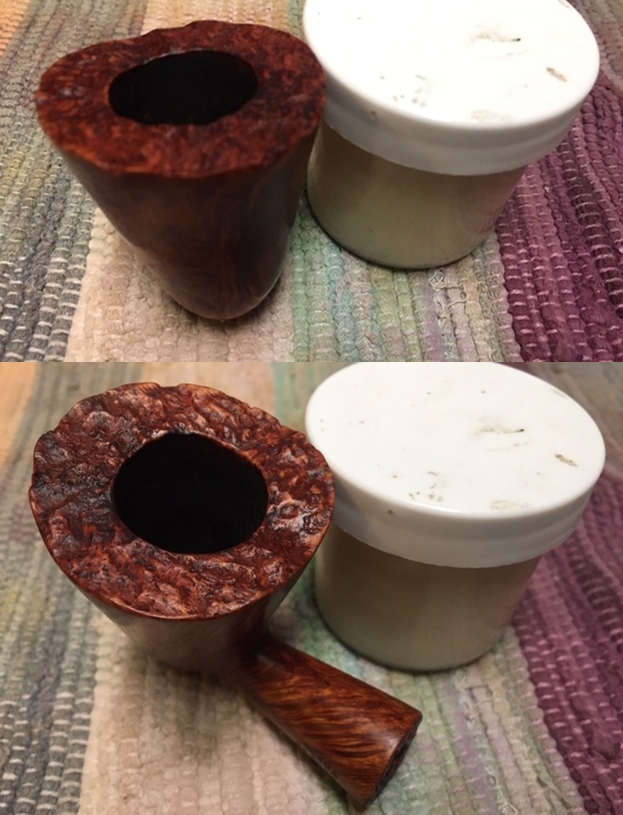
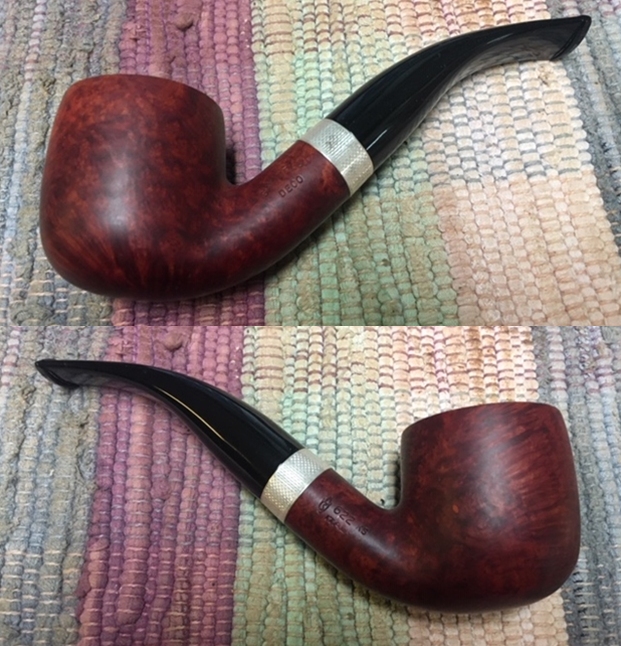
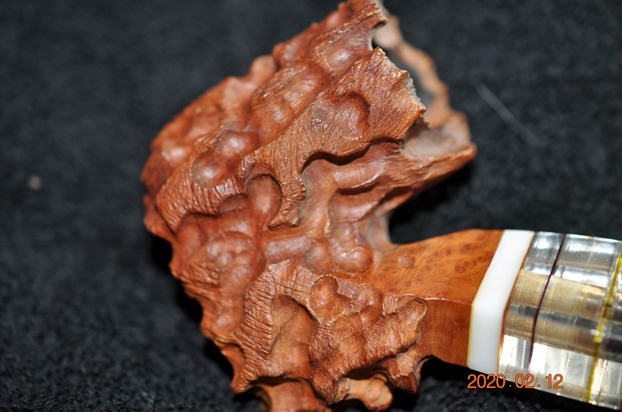
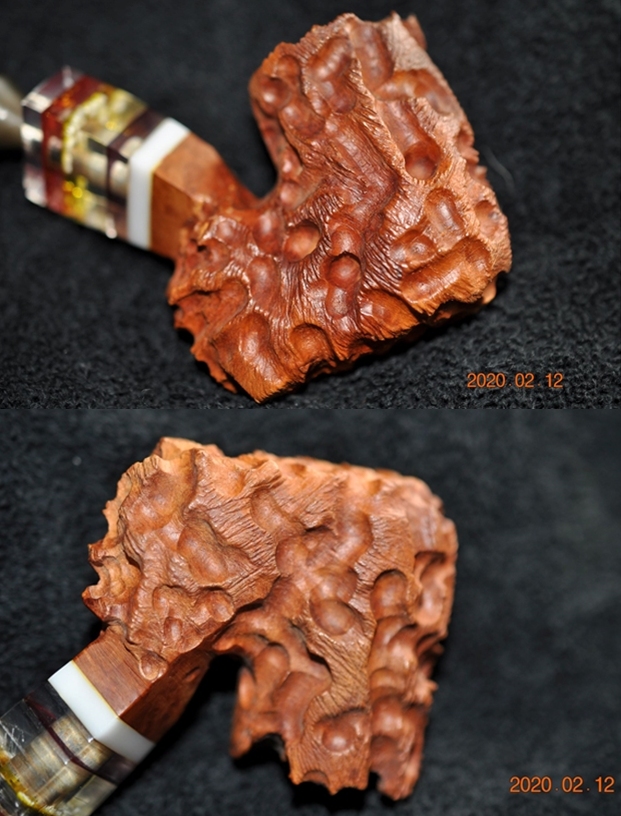
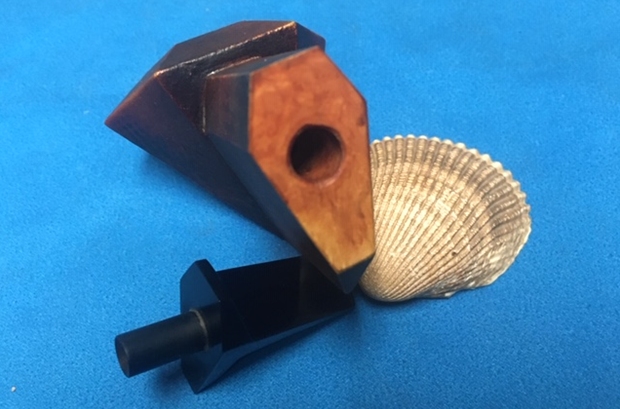
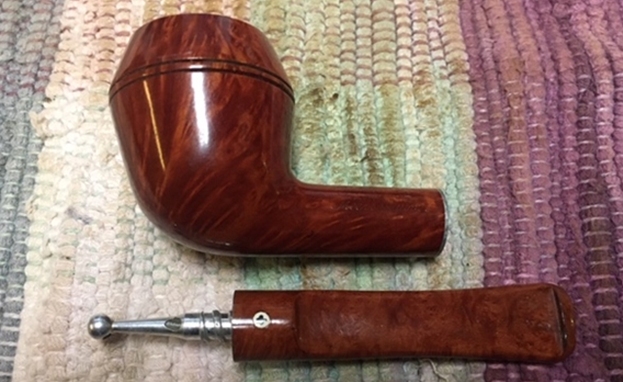 The earlier All Briar Rhodesian 50B with the chewed off stem includes some great information that I had researched on the brand (https://rebornpipes.com/2017/08/02/salvaging-a-kaywoodie-all-briar-rhodesian-50b-with-a-serious-issue/). I am including that in this current blog.
“I have read a lot of information in the past on other Kaywoodie pipes I have worked on and spent time on the Kaywoodie Collectors Forum to help educate me on the various lines and historical periods of Kaywoodie production. On Pipedia.org there is a helpful summary of the history of the brand that has been condensed in one place. It is called the Collectors Guide to Kaywoodie Pipes (https://pipedia.org/wiki/Collector%27s_Guide_to_Kaywoodie_Pipes). I found the All Briar line of pipes included in the section of the Guide for 1955. I quote here the pertinent sections with the references to the All Briar pipe underlined and highlighted in bold.”
The line-up of pipes in the 1955 catalog (Table 3 below) was more extensive than in previous years. The catalog presented an expanded line of meerschaum pipes and introduced a 4-pipe set of Matched Grain Pipes, as well as several pipes with “special features”. The number of shapes available… was not substantially different from the number offered in the 1947 catalog…
The Twin-Bowl Kaywoodies were available in an all-meerschaum model (two removable inner bowls of meerschaum) and a meerschaum and Flame Grain model (outer bowl of flame grain briar and removable inner bowl of meerschaum). Other meerschaum pipes presented in the 1955 catalog included the Gourd Calabash; the Coral (“dimpled”) Meerschaum; the All Briar (briar bit) and Flame Grain pipes with inlaid meerschaum bowls; and the “Doctor’s” pipe…Included in the guide was a helpful list of pipe grades and prices. I have included the list below (Table 3) and noted the pipe I am working on by highlighting it in bold red print and underlining the reference. It is in this list that I found confirmation that Kaywoodie made an All Briar with a meerschaum bowl insert and an All Briar without the meerschaum insert. The All Briar I am working on now is meerschaum lined. It is fascinating for me to see that the addition of a meerschaum bowl was only $2.50 in 1955.
TABLE 3. 1955 KAYWOODIE PIPE GRADES AND PRICES
Meerschaum Character Pipes: $100.00
Block: 15.00-50 (According to size)
Meerschaum Twin Bowl: $35.00
Meerschaum/Flame Grain Twin Bowl: $25.00
Sandblasted “Doctor’s” Pipe: $25.00
Centennial: $25.00
Coral Meerschaum: $20.00-25 (According to size)
Gourd Calabash: $15.00-25 (According to size)
Ninety-Fiver: $20.00
Oversize: $10.00-25(According to style and finish)
Connoisseur: $15.00
All Briar w/Meerschaum Inlaid Bowl: $12.50
Flame Grain (Meerschaum Inlaid) $12.50
Export Pipes: $5.00-15 (According to grade)
All Briar (Briar Bit): $10.00
Flame Grain: $10.00
Fit Rite: $10.00
Silhouette: $10.00
Carburetor: $7.50
Relief Grain: $7.50
Chesterfield: $5.00-15 (According to grade)
Chinrester: $5.00-10 (According to grade)
Stembiter: $5.00-10 (According to grade)
Streamliner: $4.00-10 (According to grade)
Super Grain: $5.00
Carved Super Grain: $5.00
White Briar: $5.00
Standard: $4.00
Filter Plus: $4.00
Drinkless pup: $3.50
Drinkless Tuckaway: $3.50
Drinkless In-Between: $3.50
Two-Pipe Companion Setsb: $10.00-25 (According to grade)
Matched Grain Set (4-Pipes): $50.00
Matched Grain Set (7-Pipes): $125.00
I am also including some more information that I picked up when working on that blog.
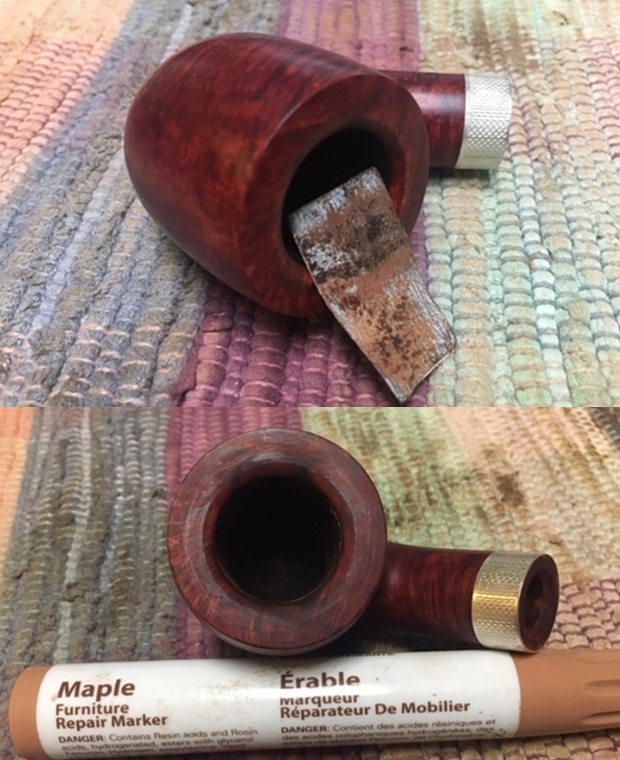
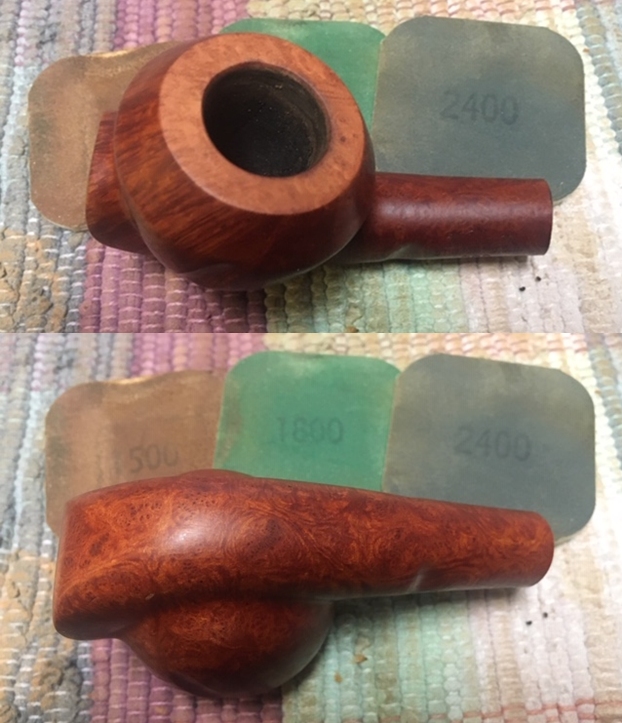
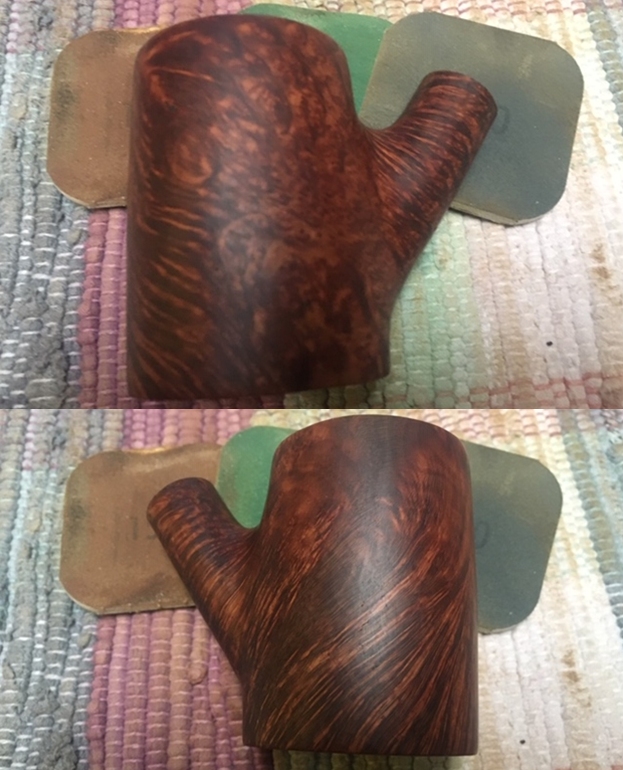
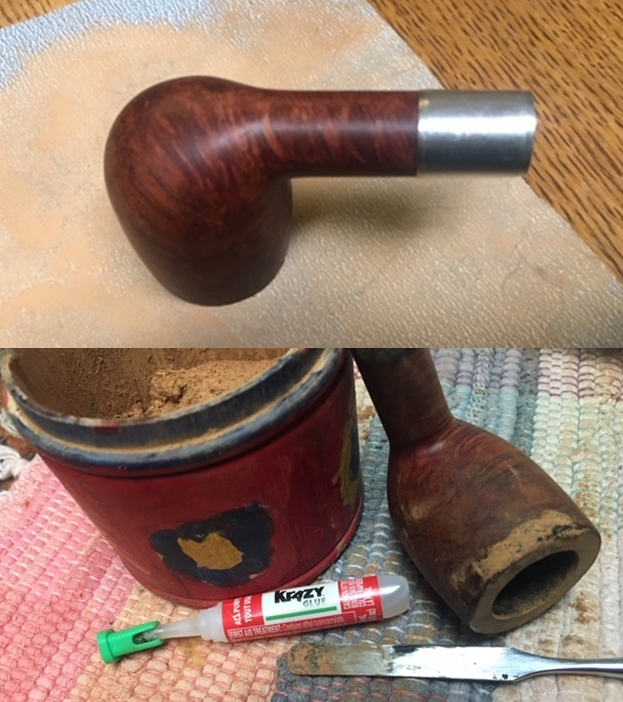
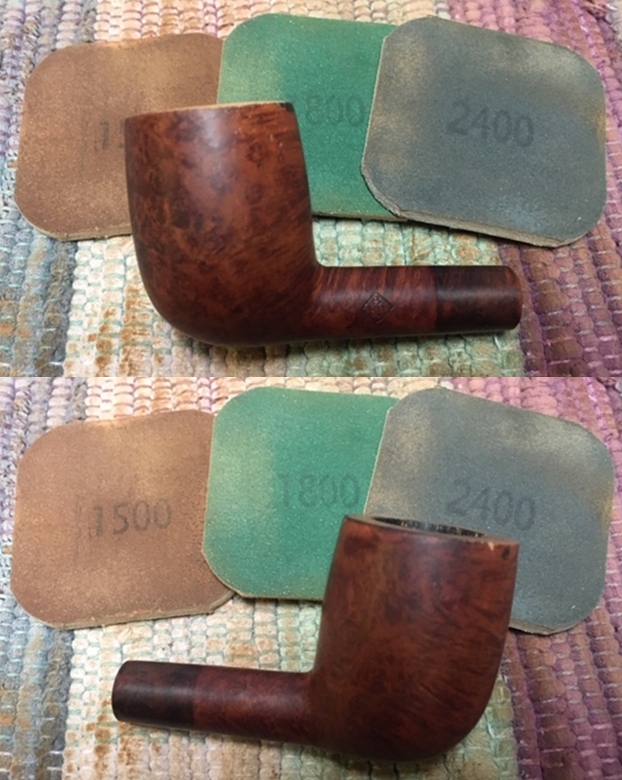
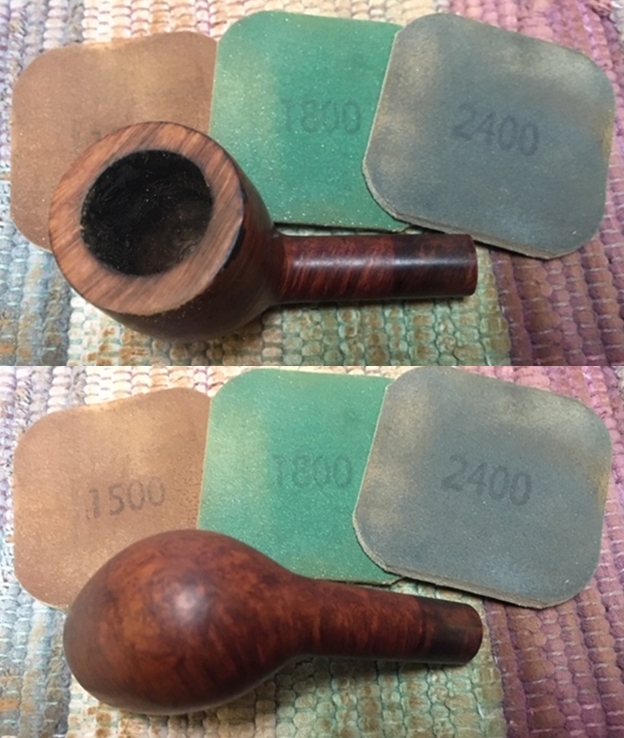
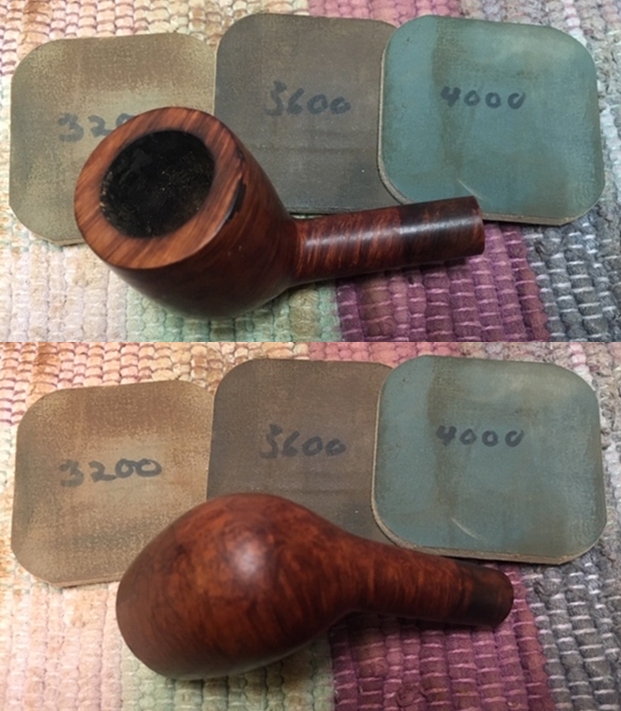
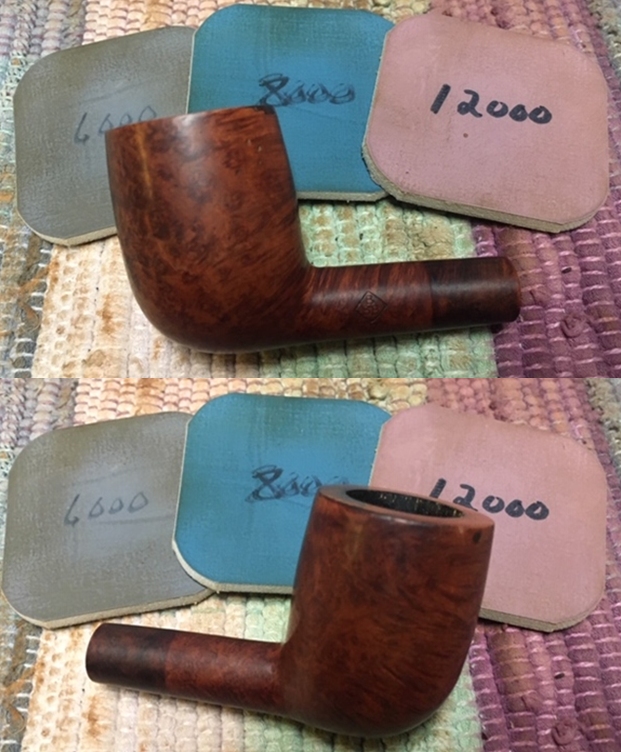
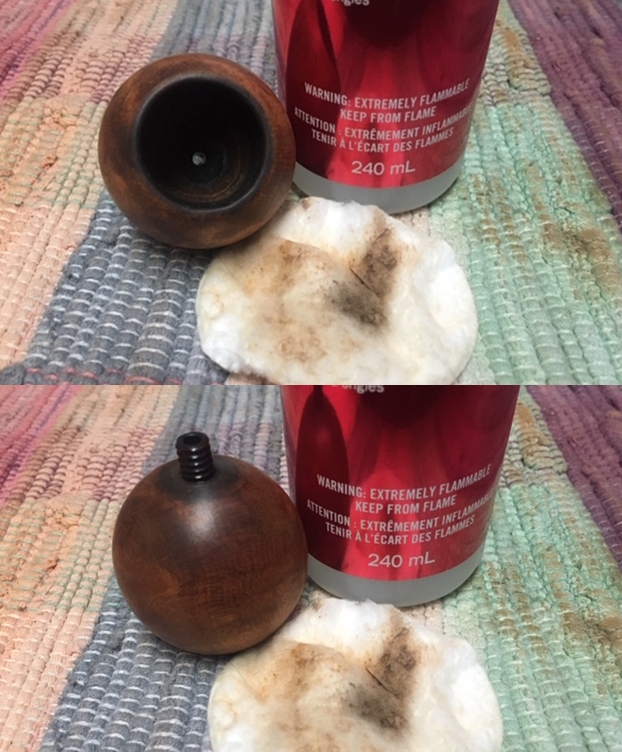
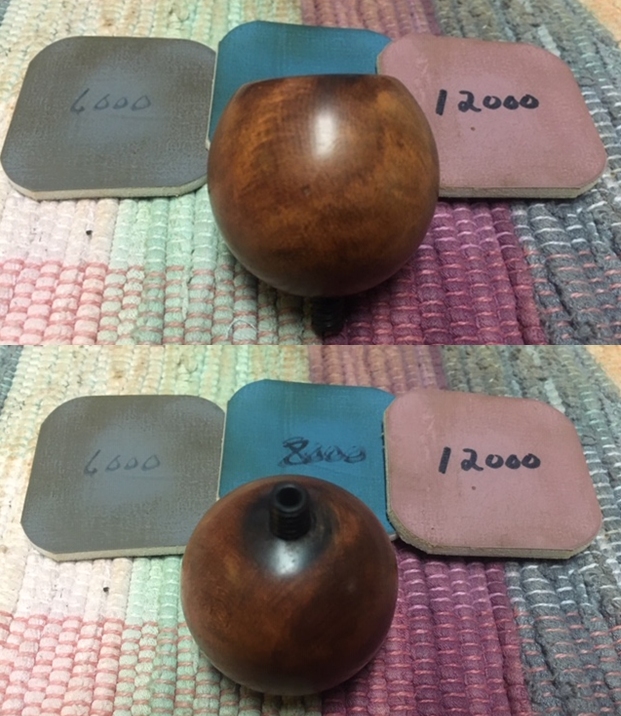
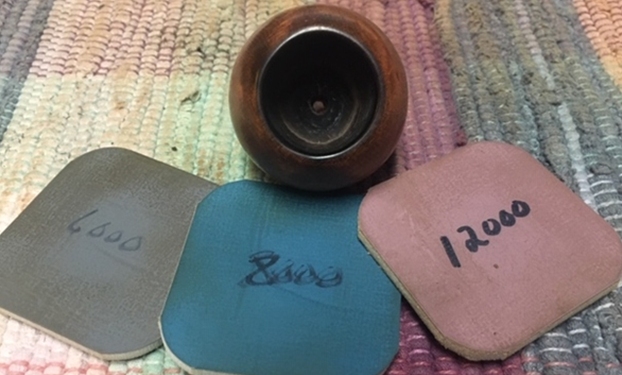
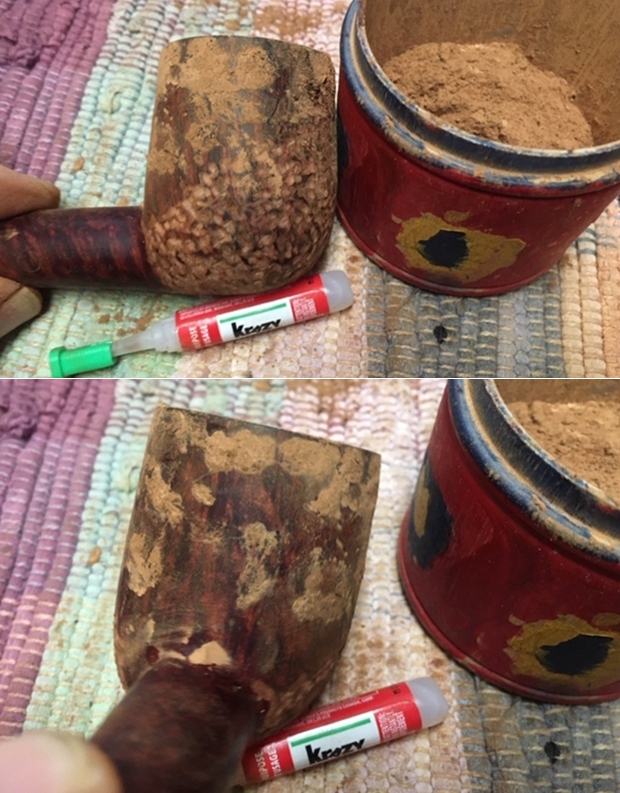
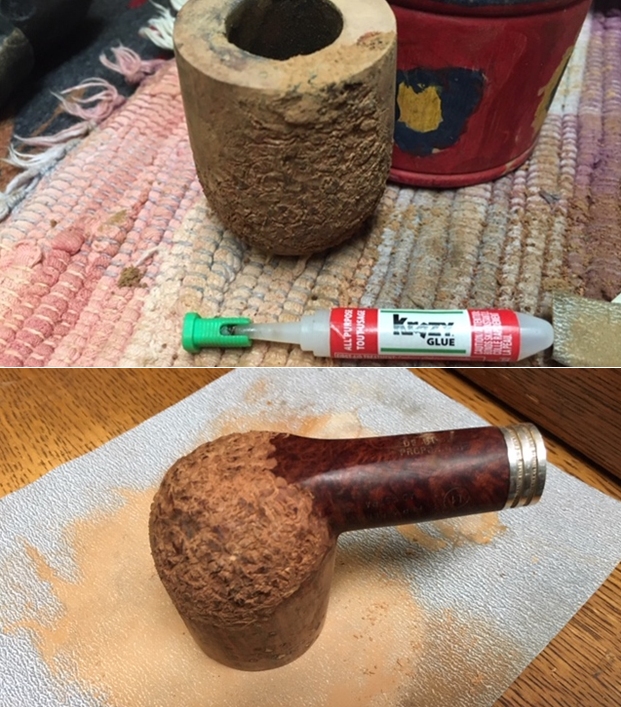
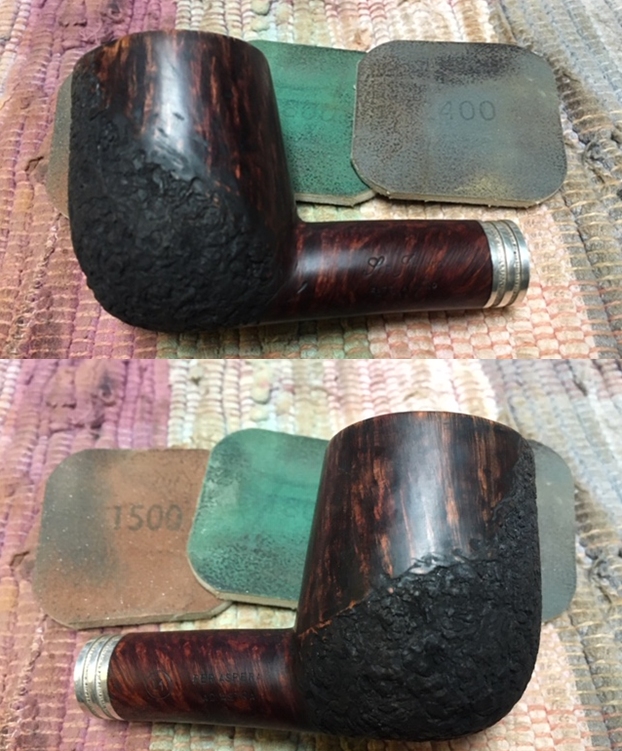
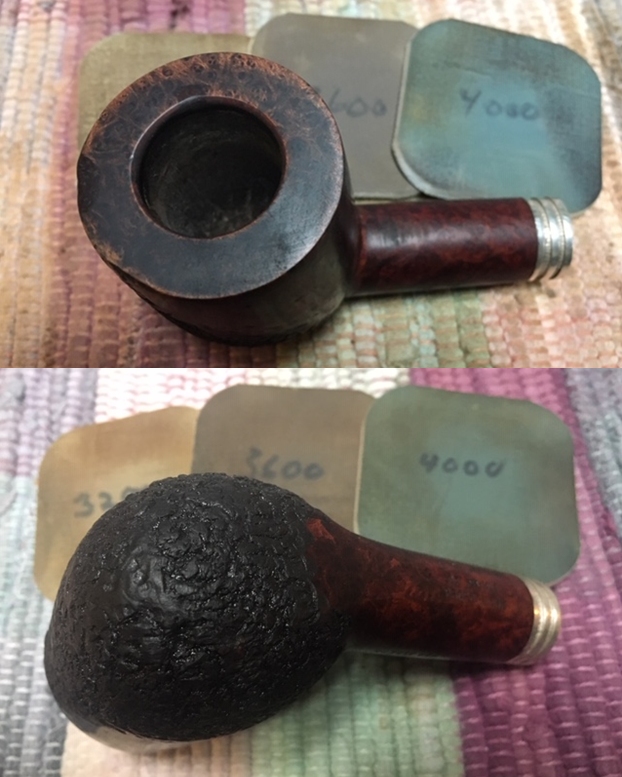
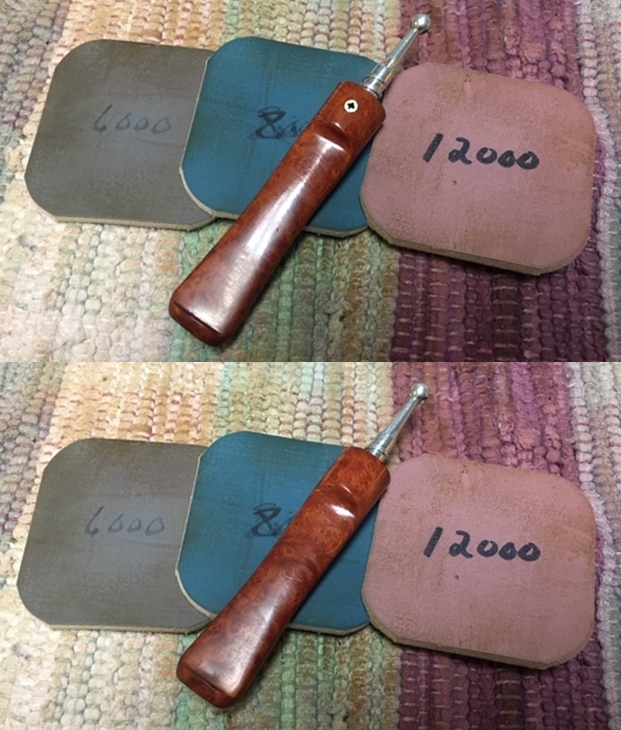
Further reading on Pipedia under the general listing for Kaywoodie Pipes provided me with a magazine advertisement that included the All Briar pipes. It is a great Father’s Day Ad and the bottom items in the ad show the All Briar line. I have included both the link and a copy of the ad for your reading pleasure (https://pipedia.org/wiki/Kaywoodie). I started my quick repairs on this pipe by addressing the damage to the rim top. I sanded out the bubbled and marked edges of the briar portion of the rim top. I dry sanded it with 1500-12000 grit micromesh and wiped it down after each pad. Each grit pad smoothed out the surface of the briar rim and when I was finished it looked very good.
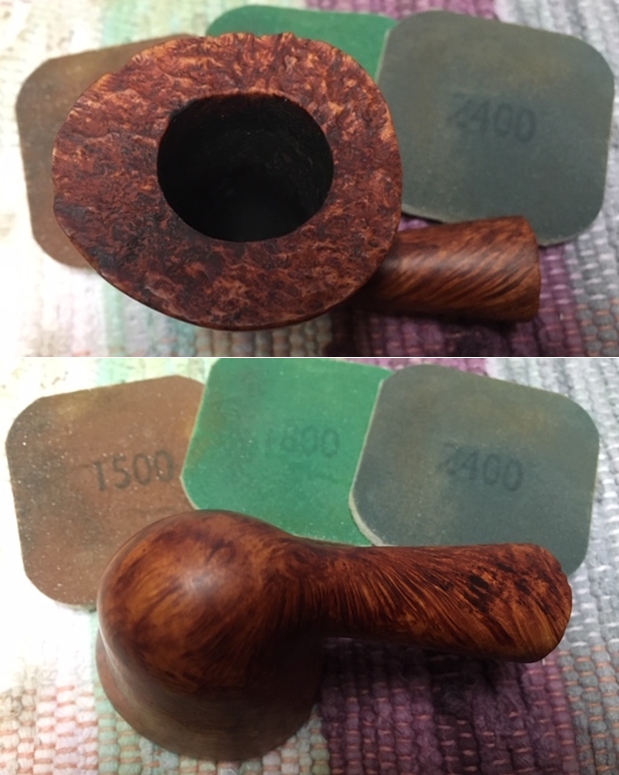
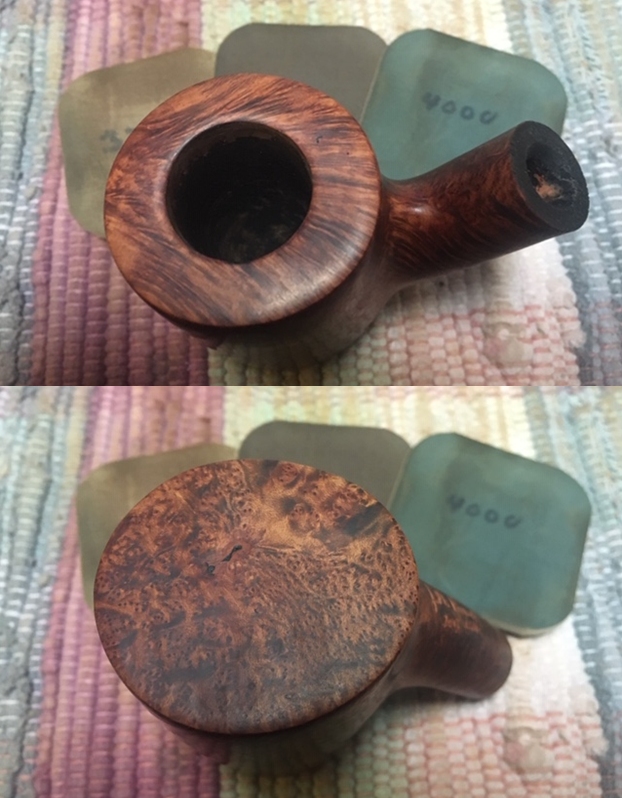
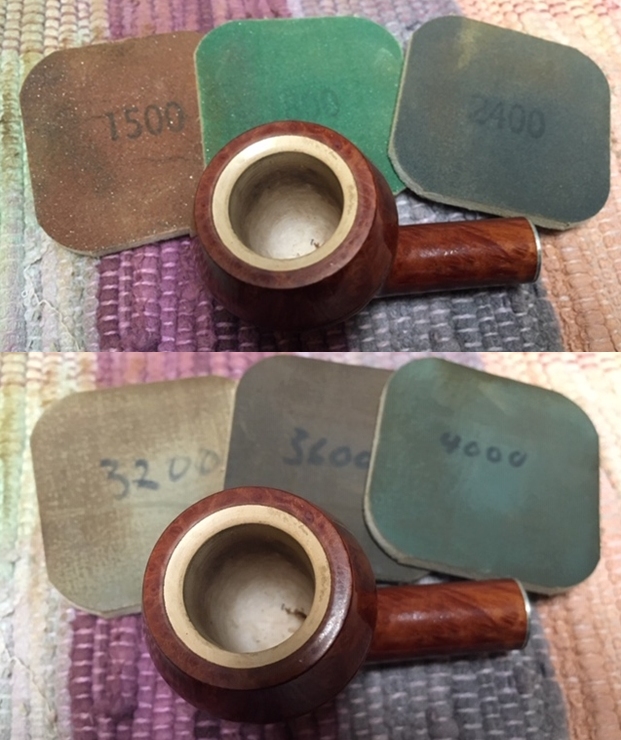
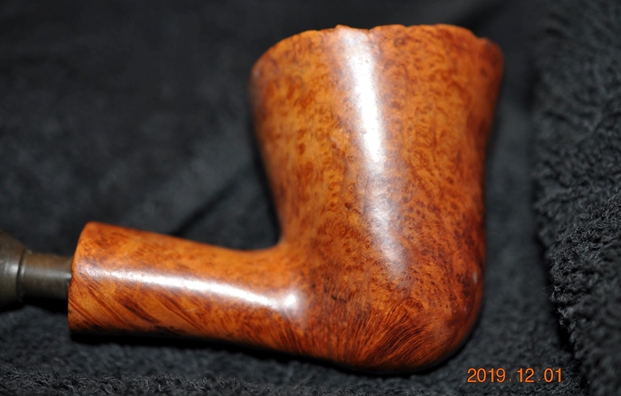
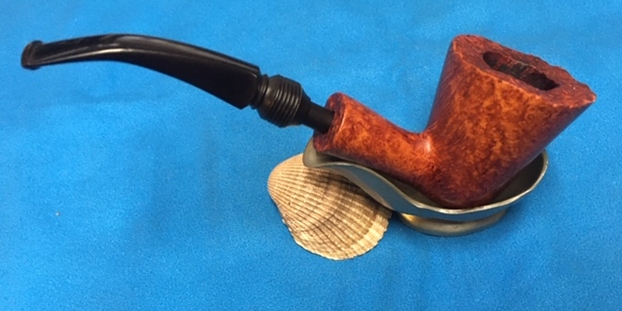
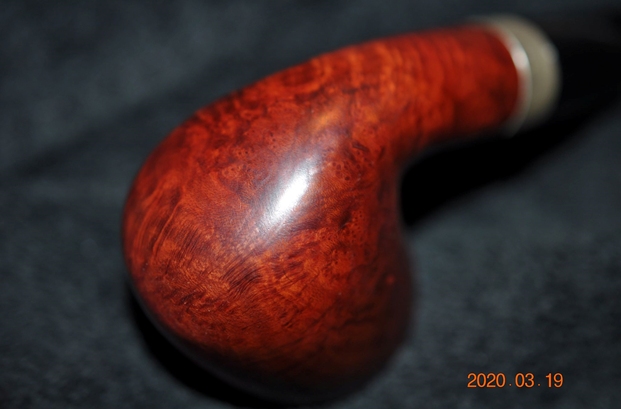
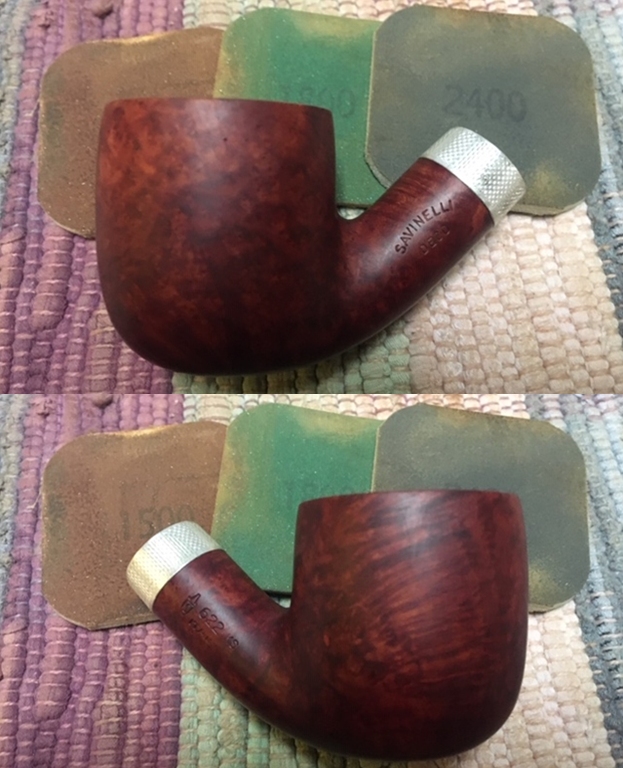
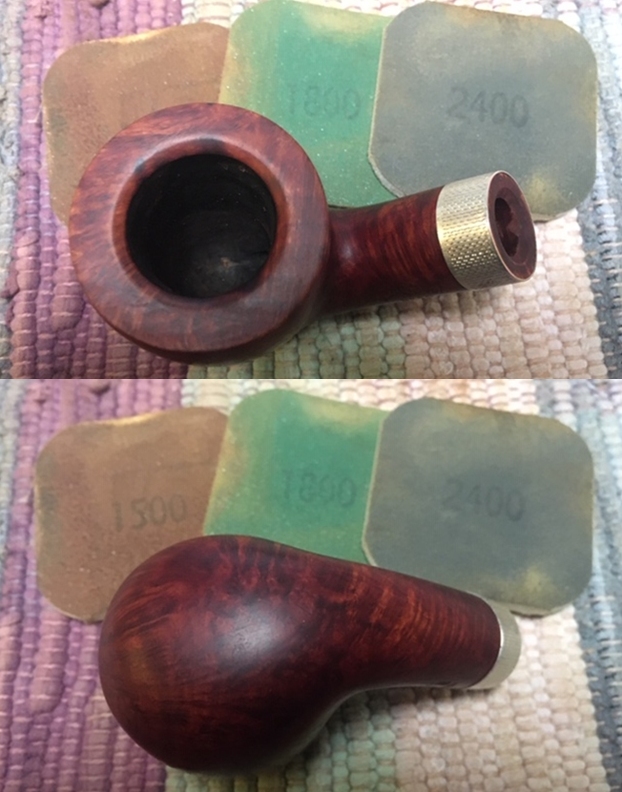
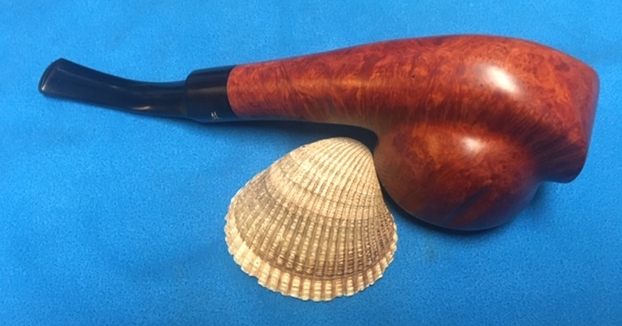
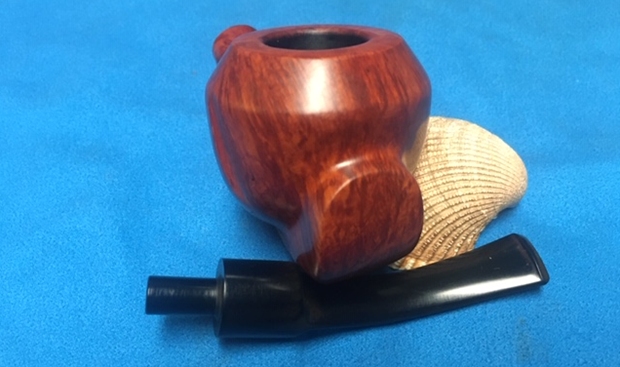
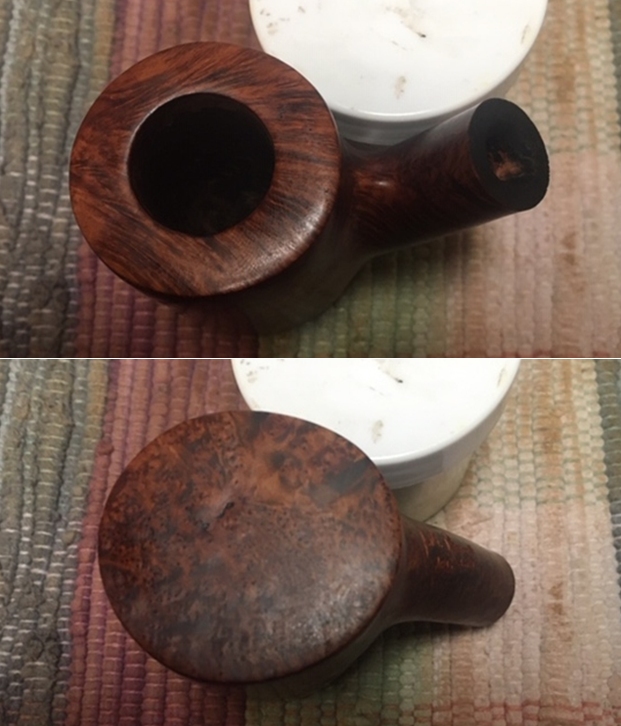
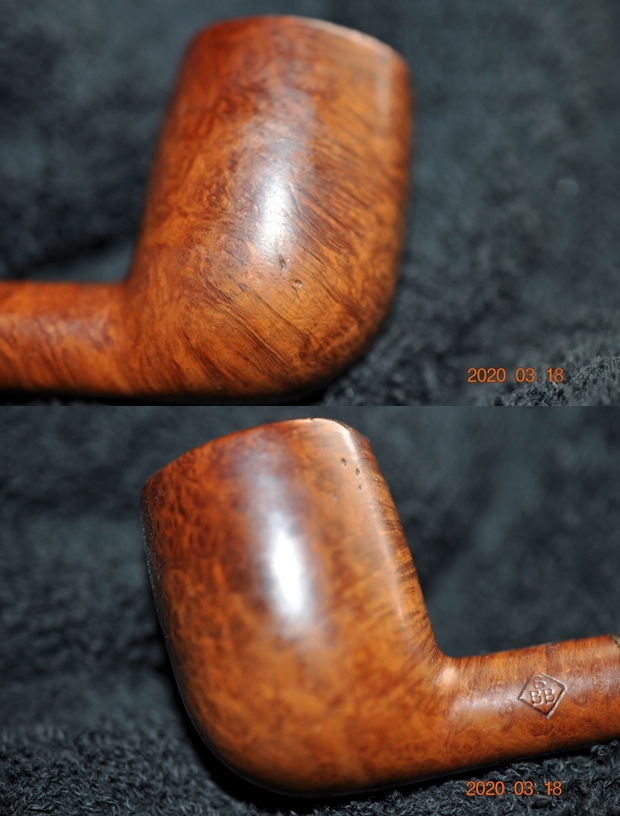
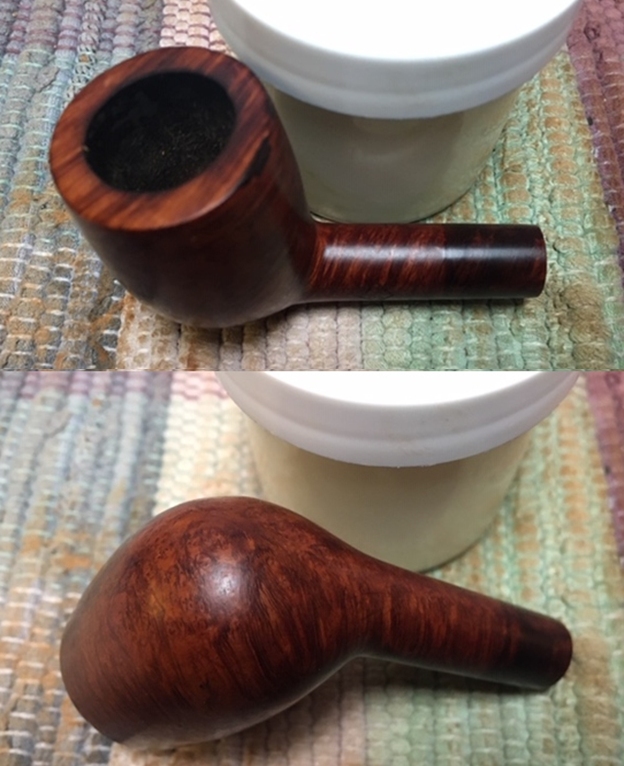
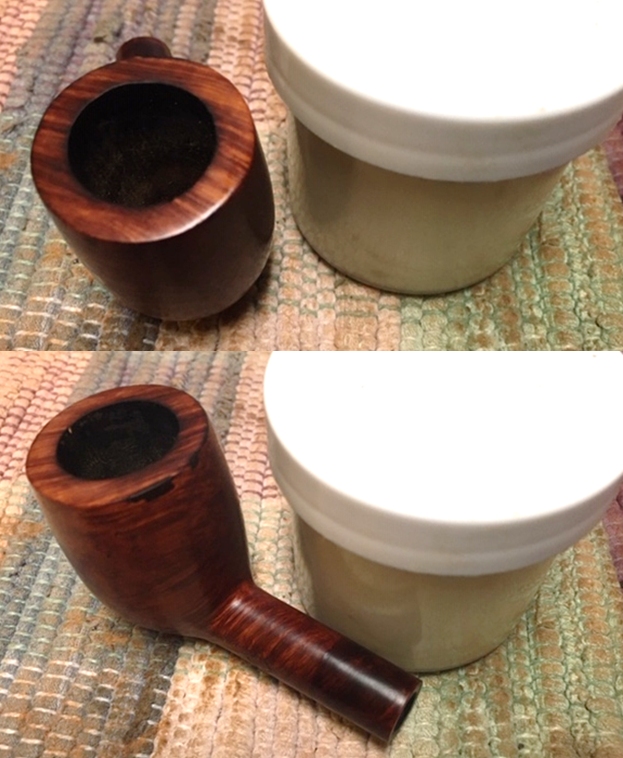
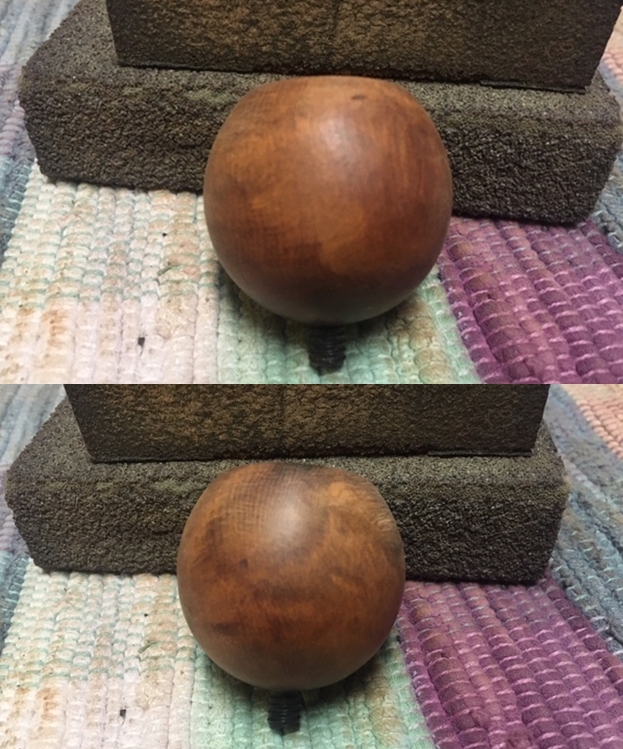
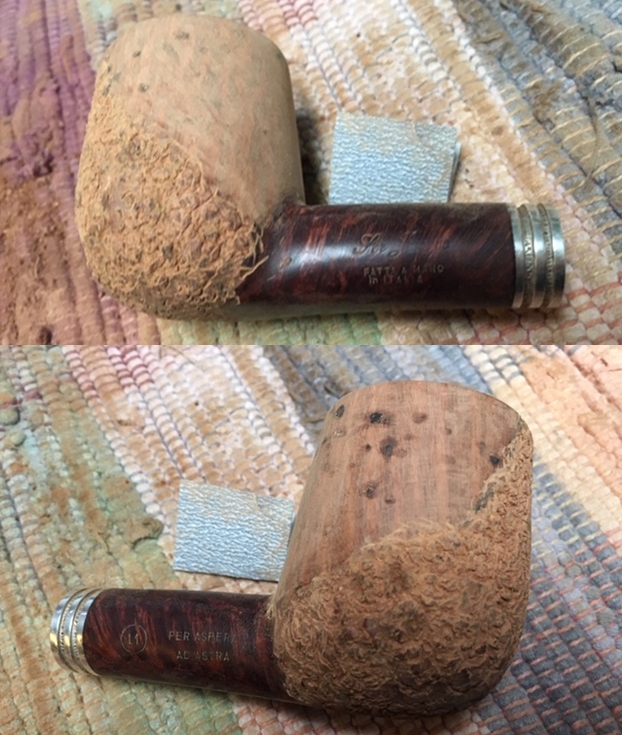
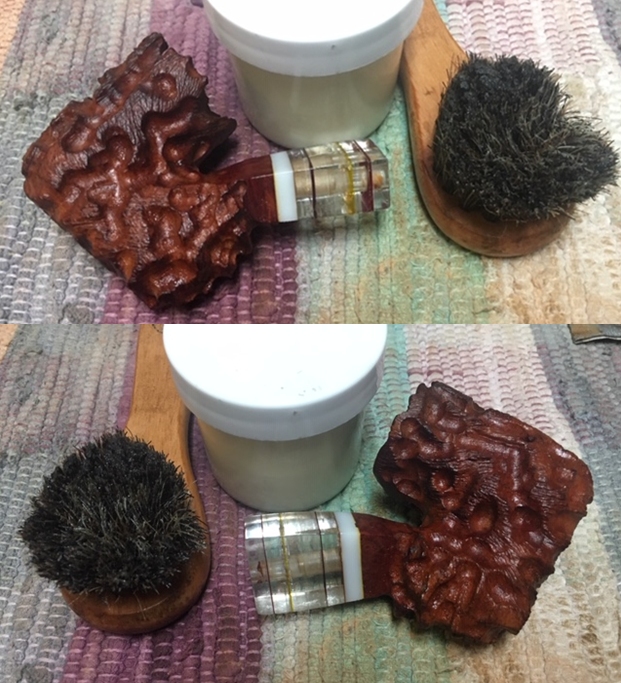
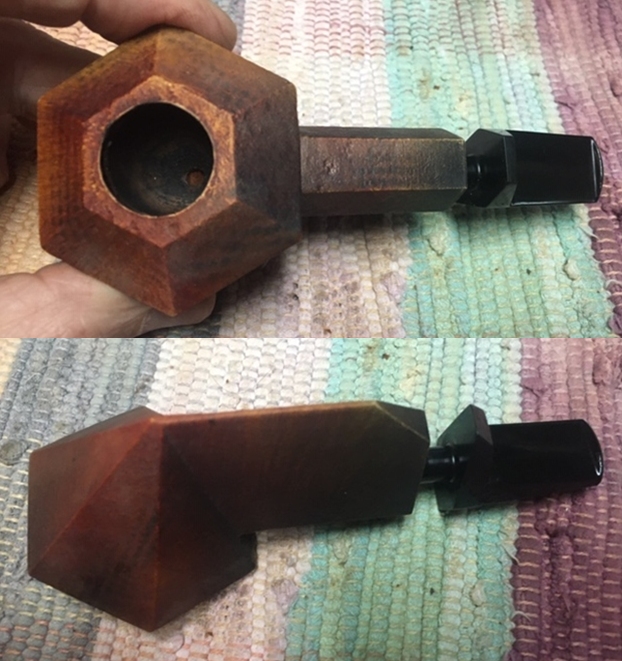
 There is a great mix of flame and straight grain on the bowl and shank. It is a beauty. I decided to not to remove the varnish coat from the bowl as it looked very good. Even the repaired and smooth rim top looks really good.
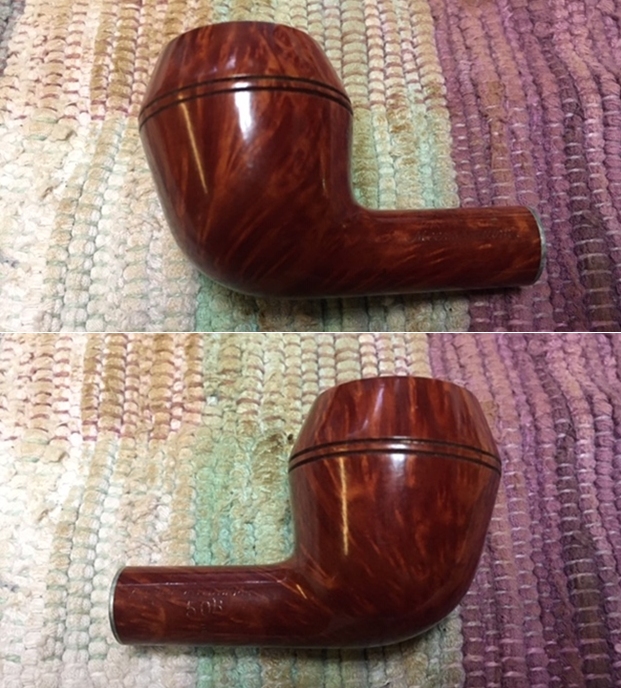
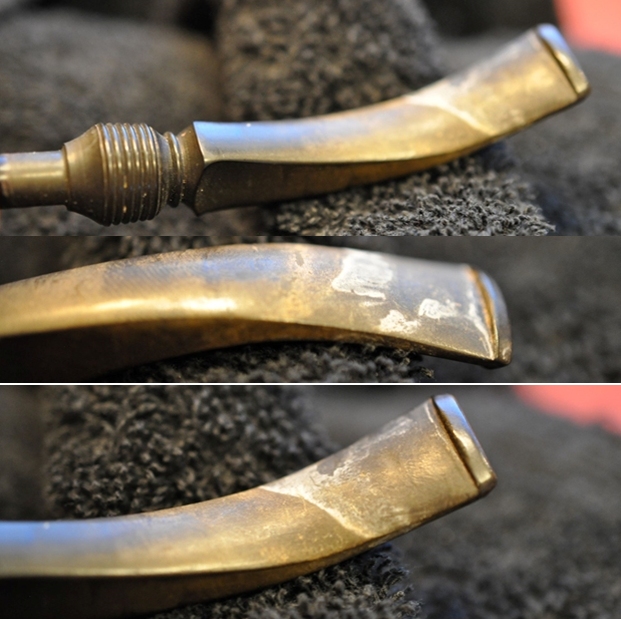
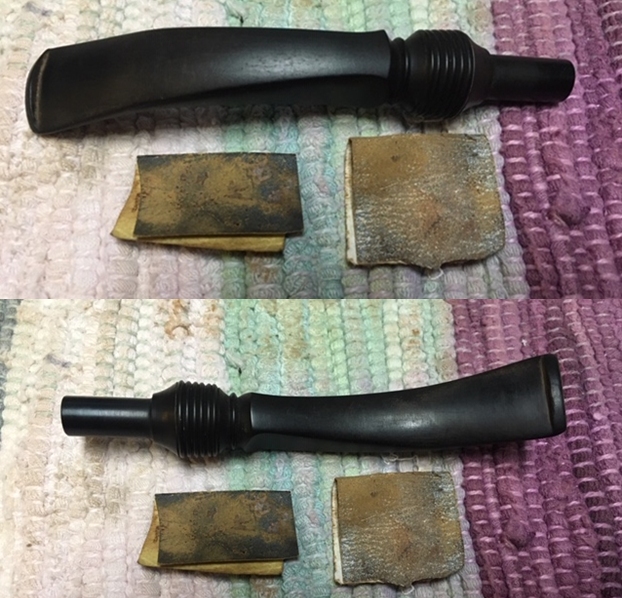
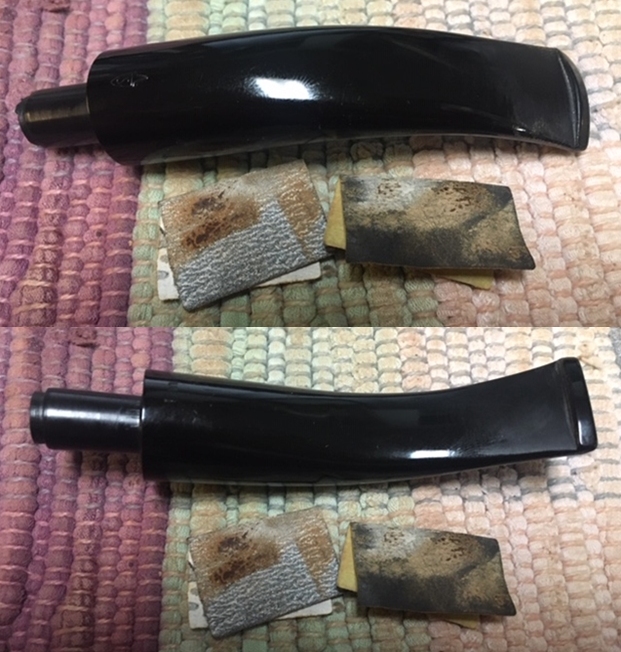
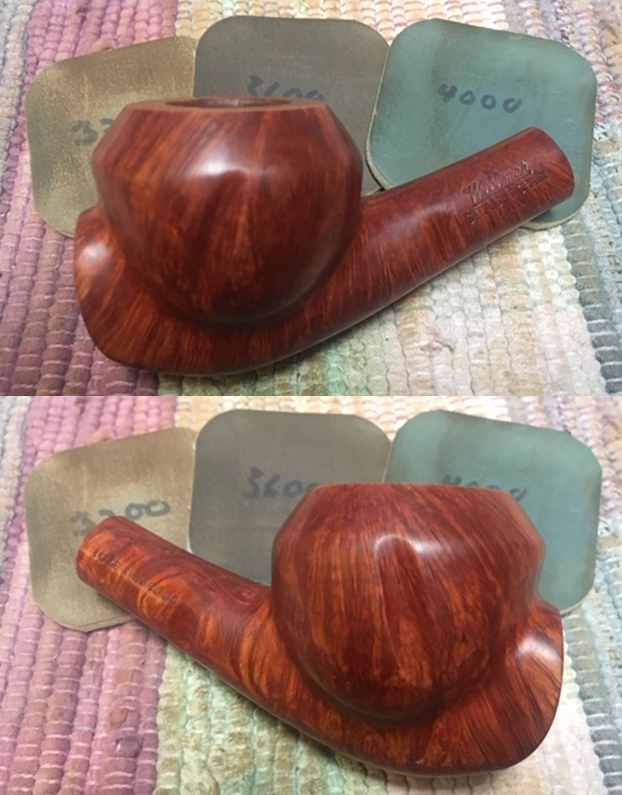
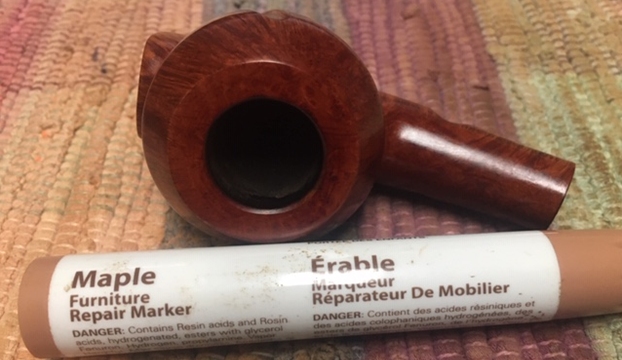
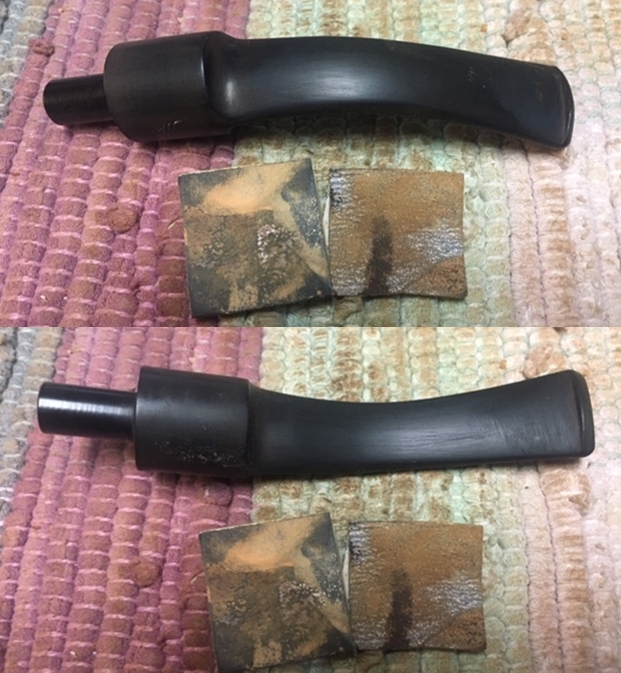
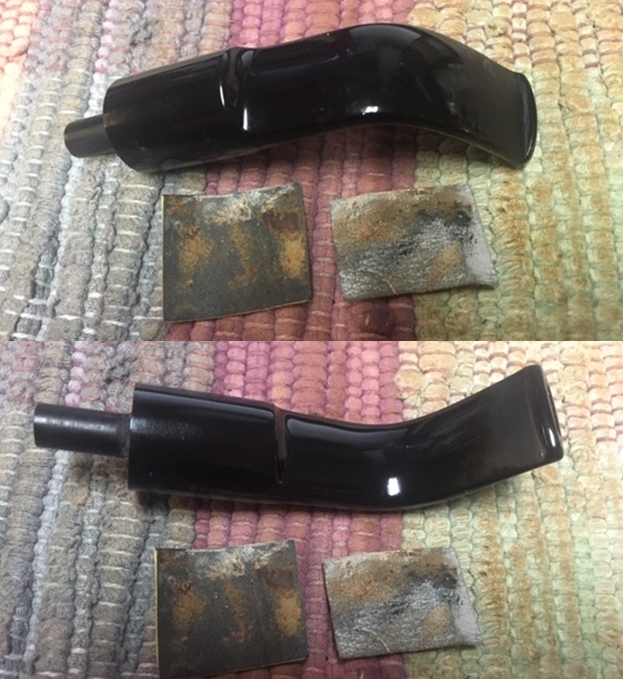
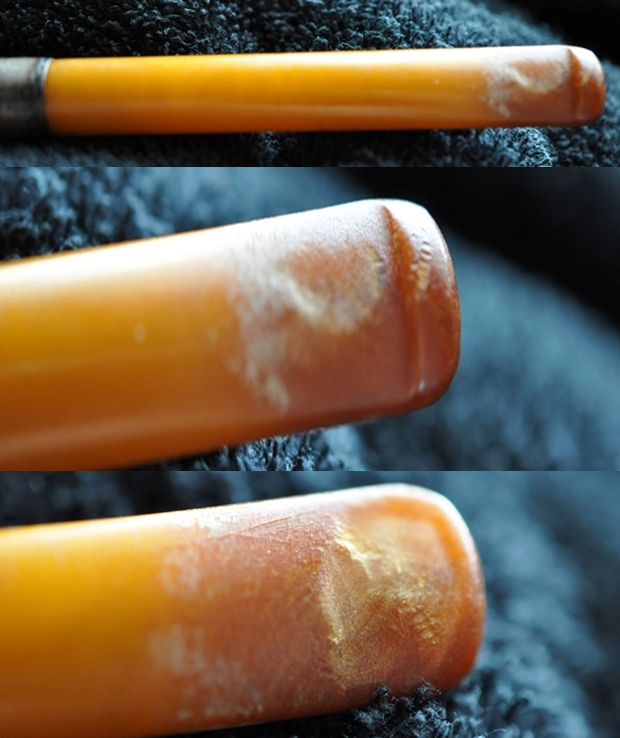
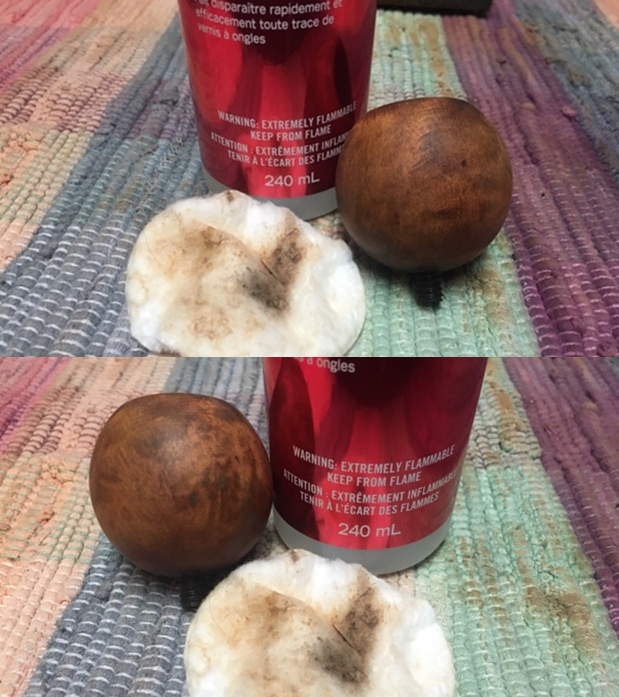
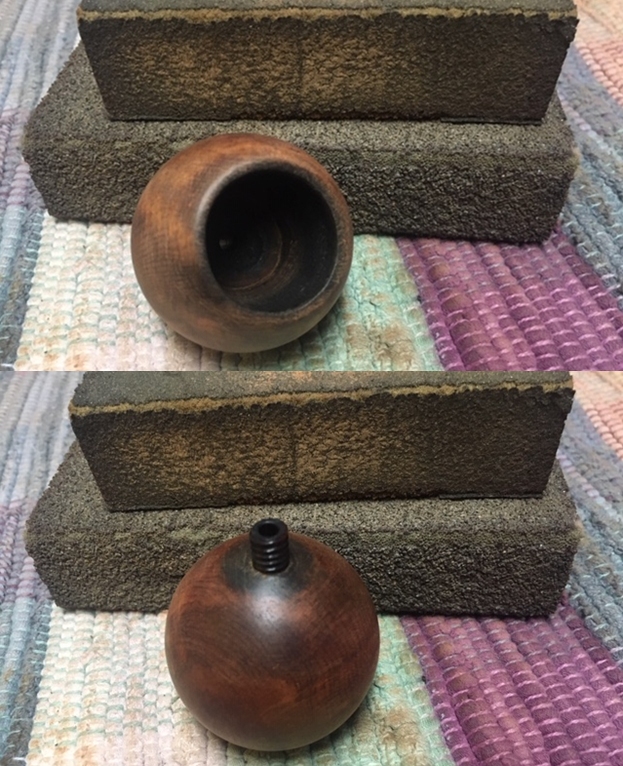
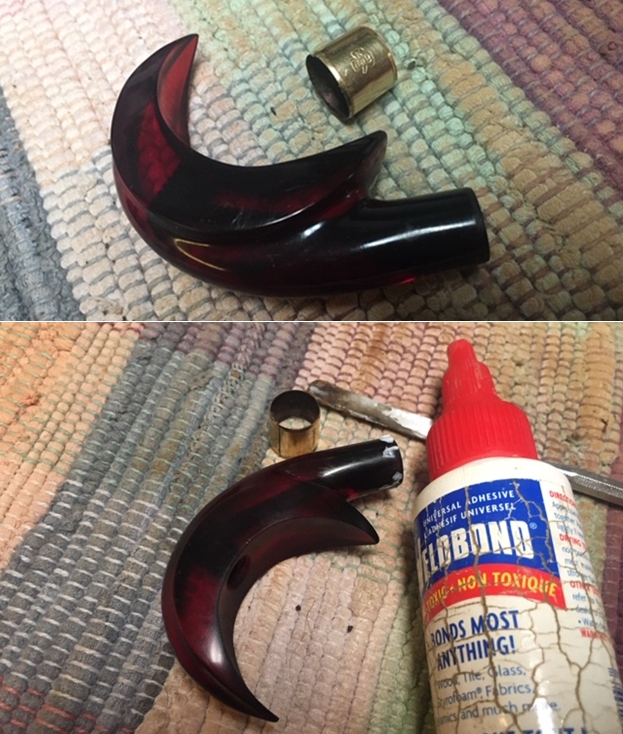
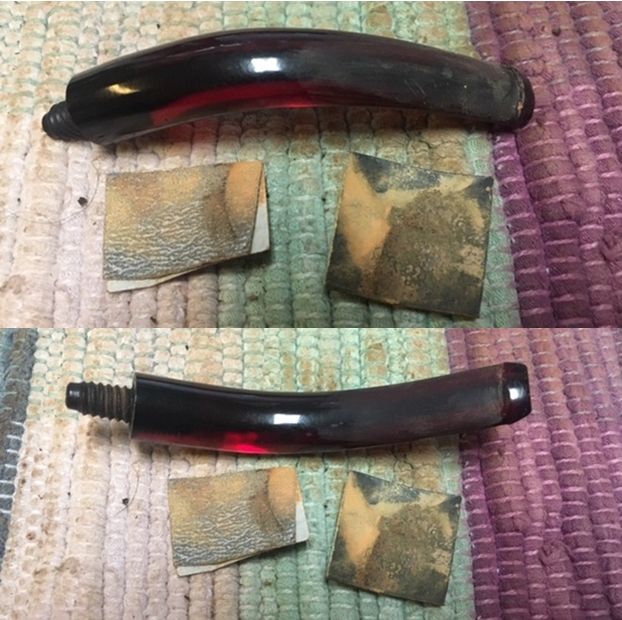
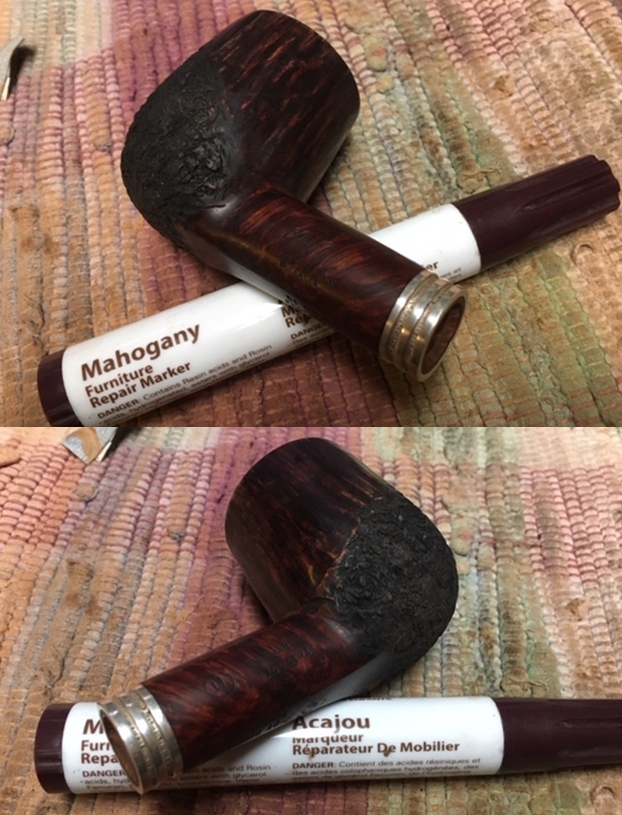
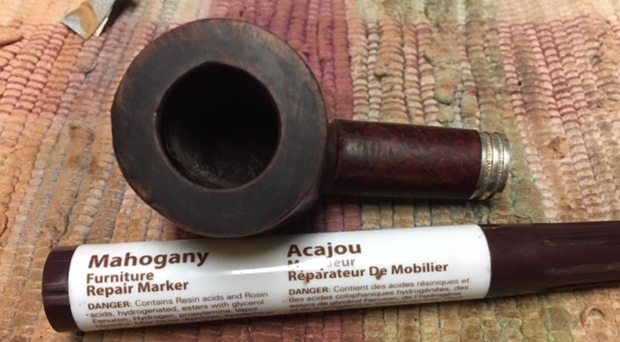
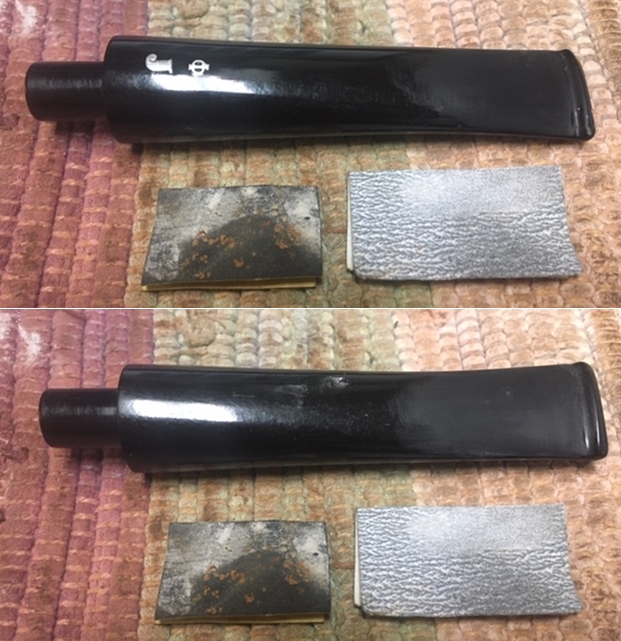
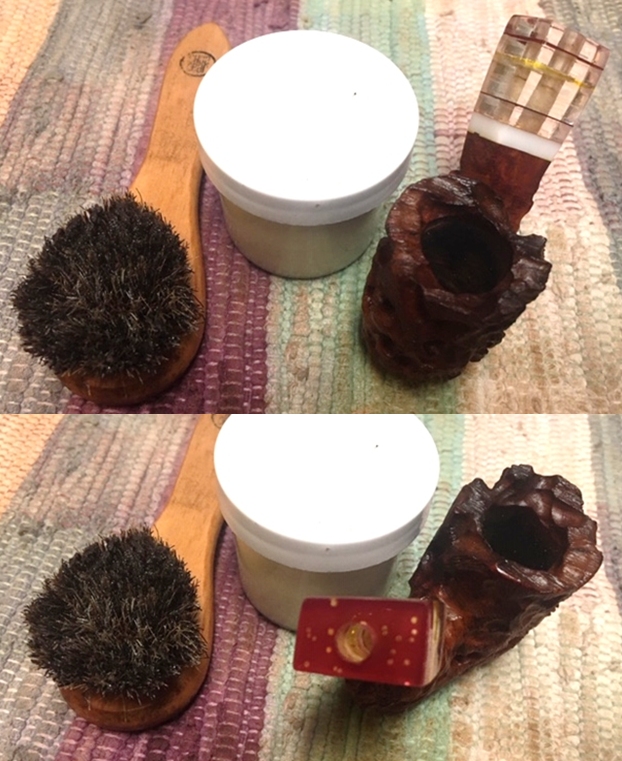
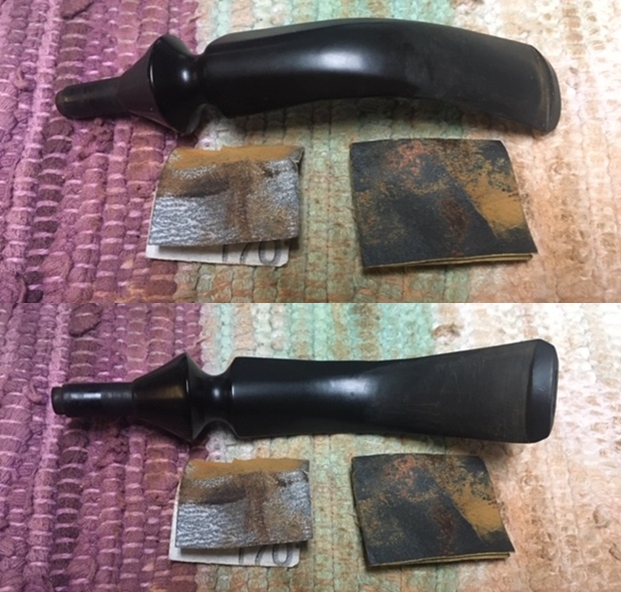
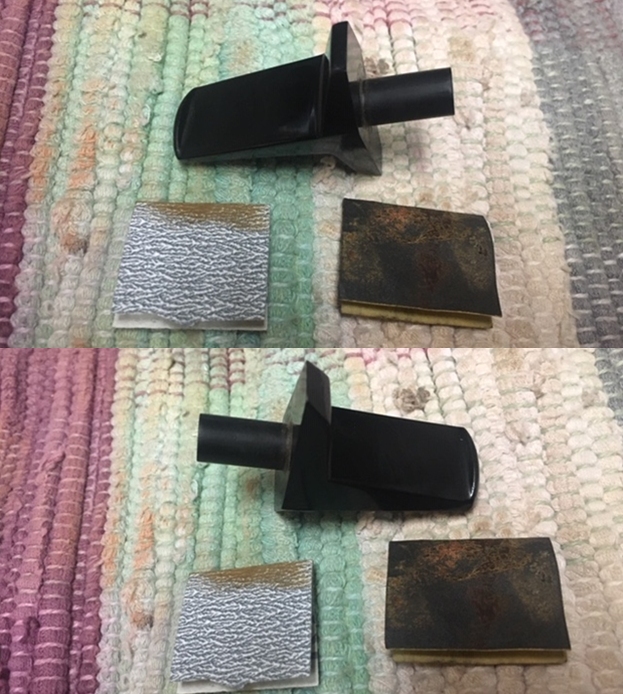
 At this point the bowl was finished. I set it aside to deal with the stem issues. I sanded out the tooth marks and chatter on the surface of the stem with a folded piece of 220 grit sandpaper. I sanded until the surface was smooth and the tooth marks and chatter were gone.
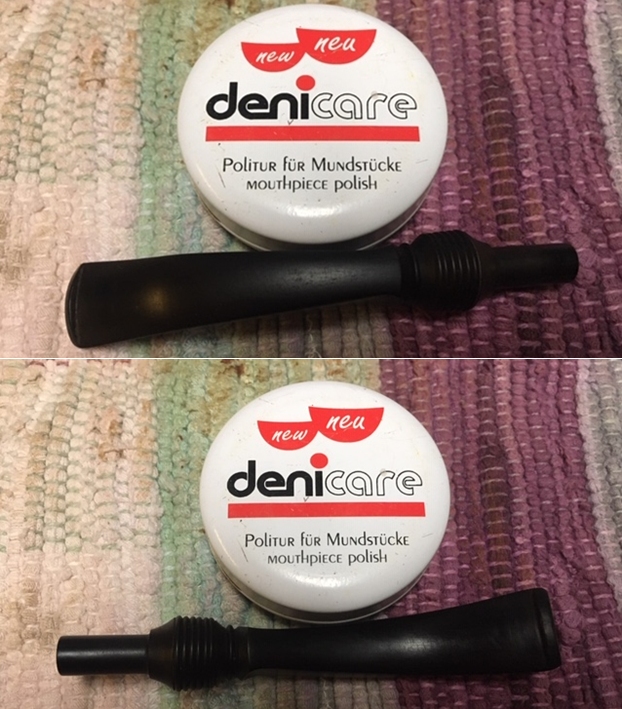
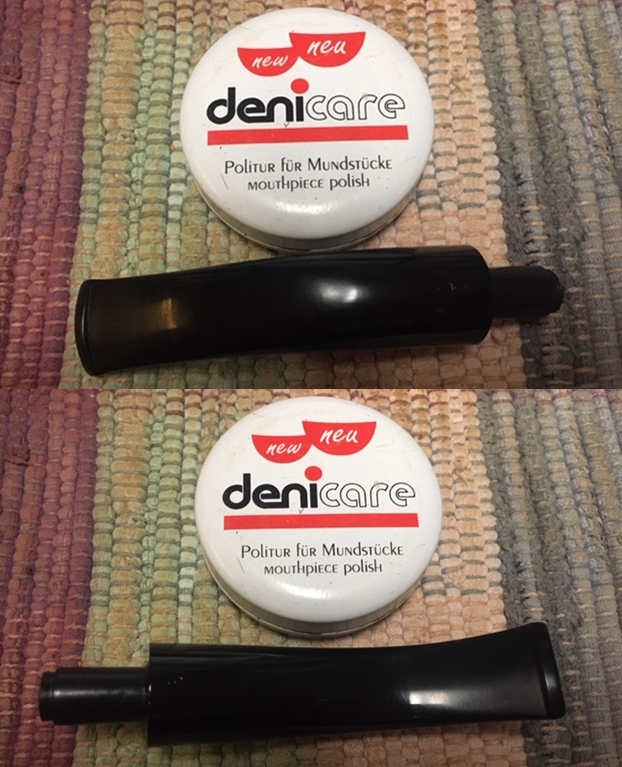
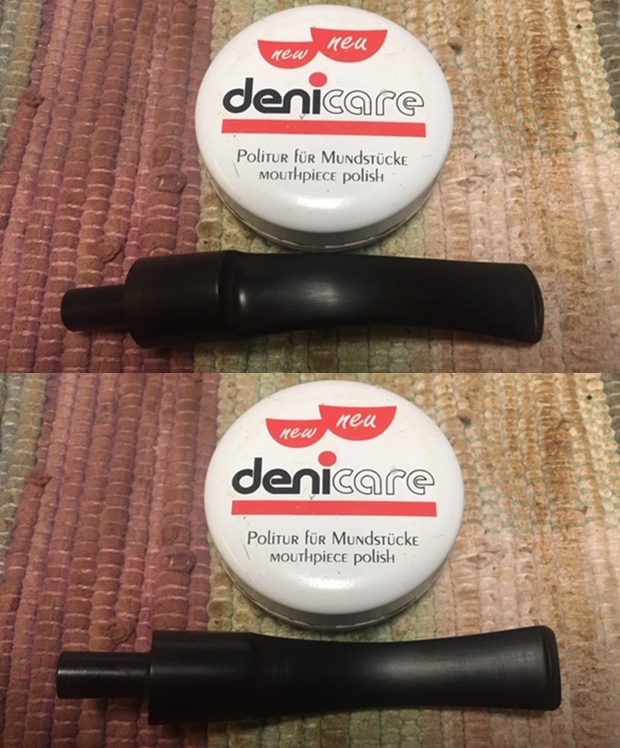
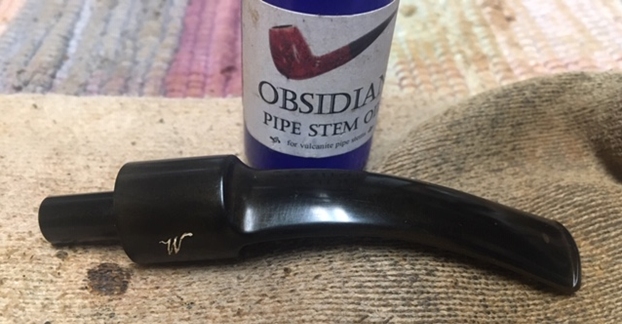
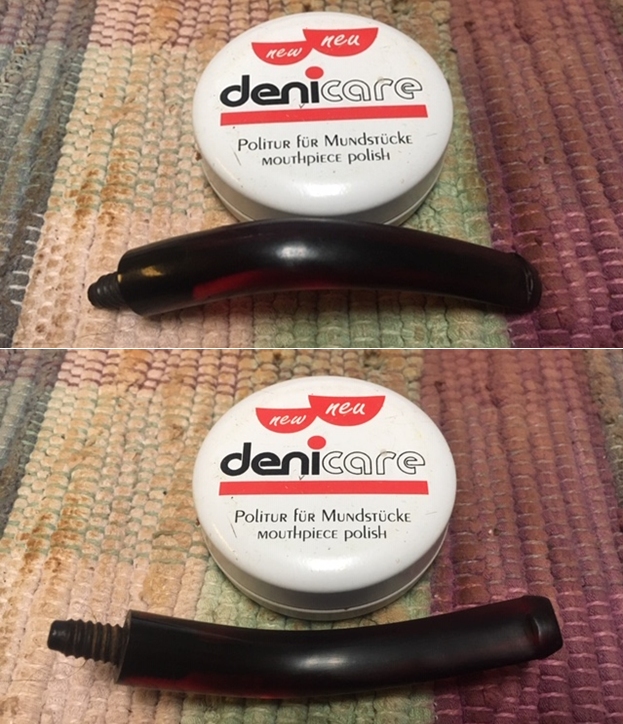
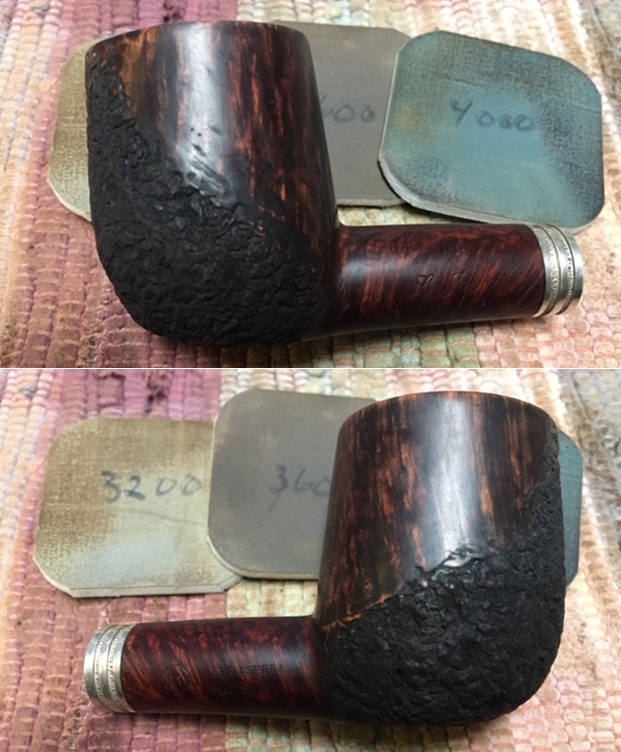
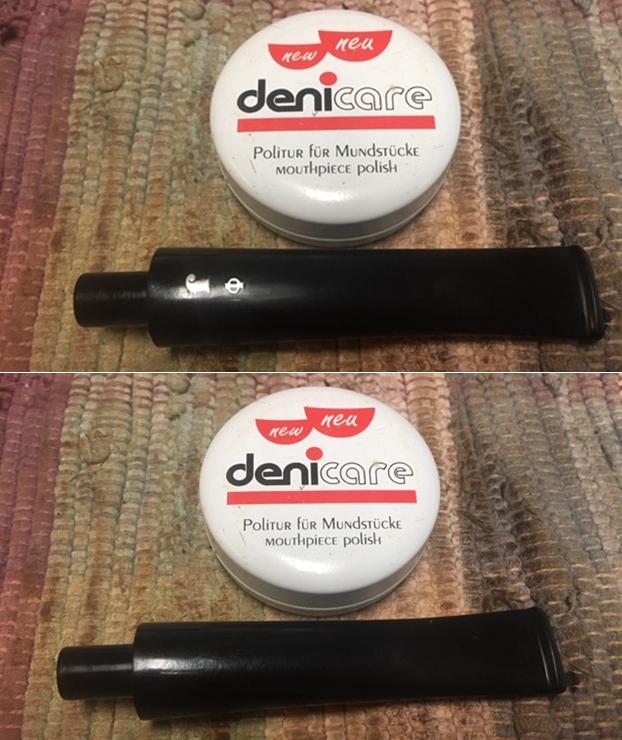
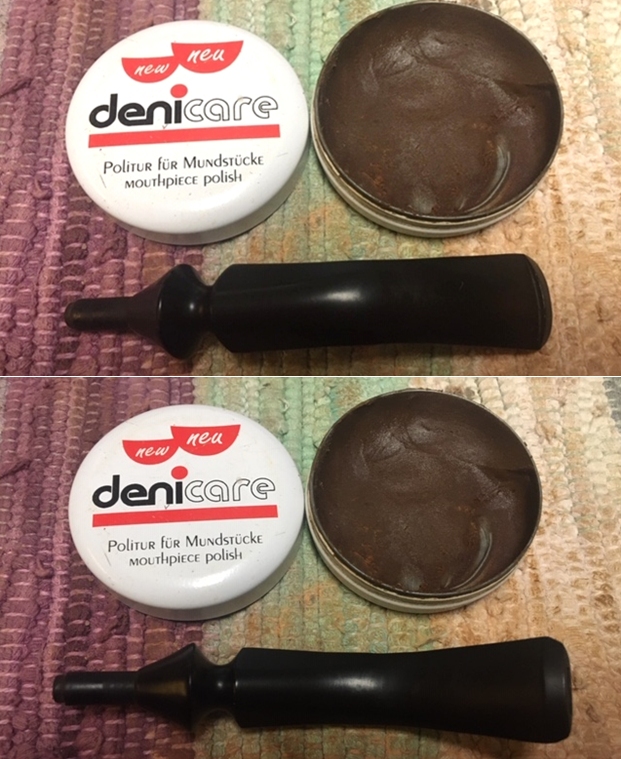
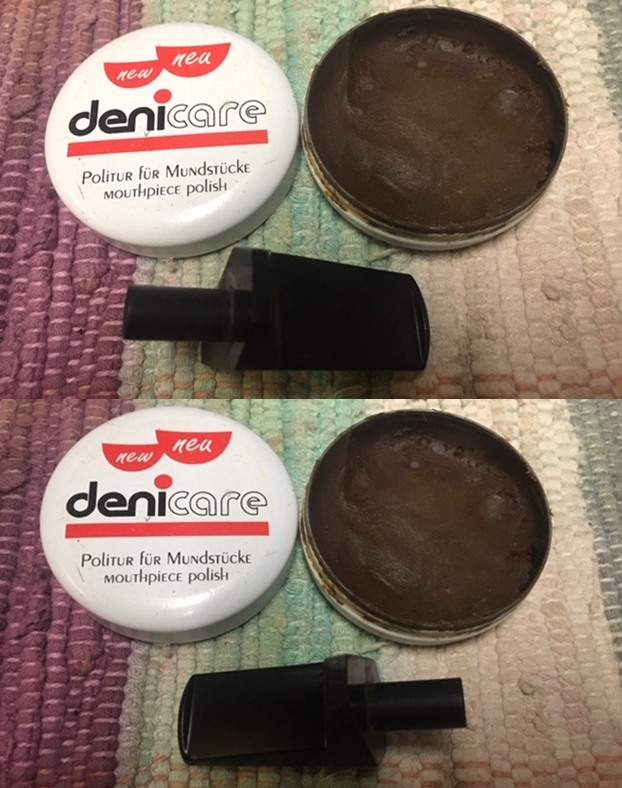
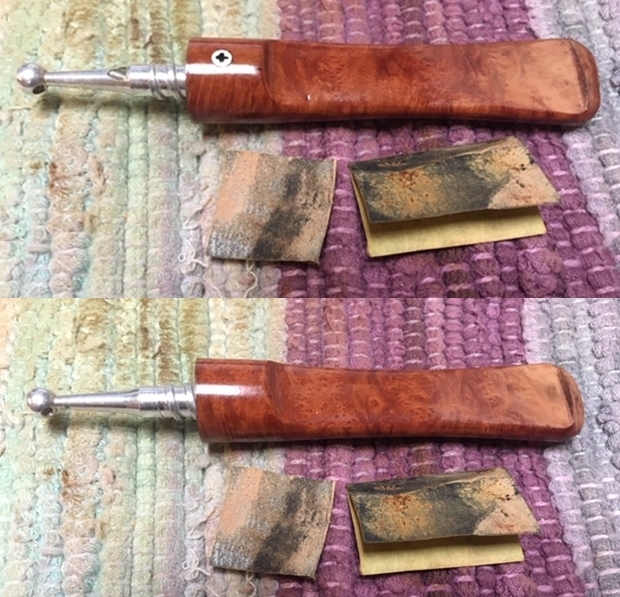 I started polishing out the sanding marks with Denicare Mouthpiece Polish. It is a red, gritty paste that has the texture of Red Tripoli. The gritty polish takes out all the minute scratches in the briar and leaves the surface smooth. I rubbed it on with my fingertips and polished it off with a soft cotton cloth. The stem is starting to look very good at this point.
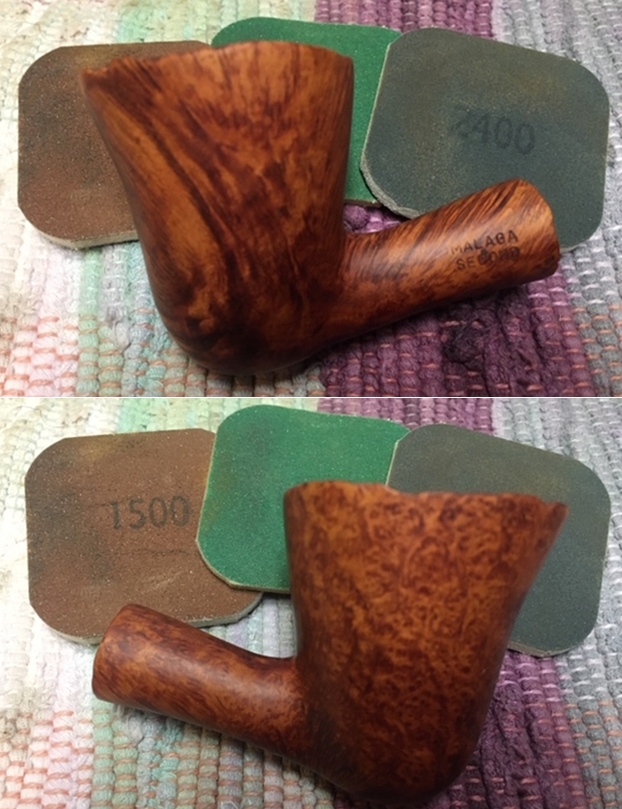
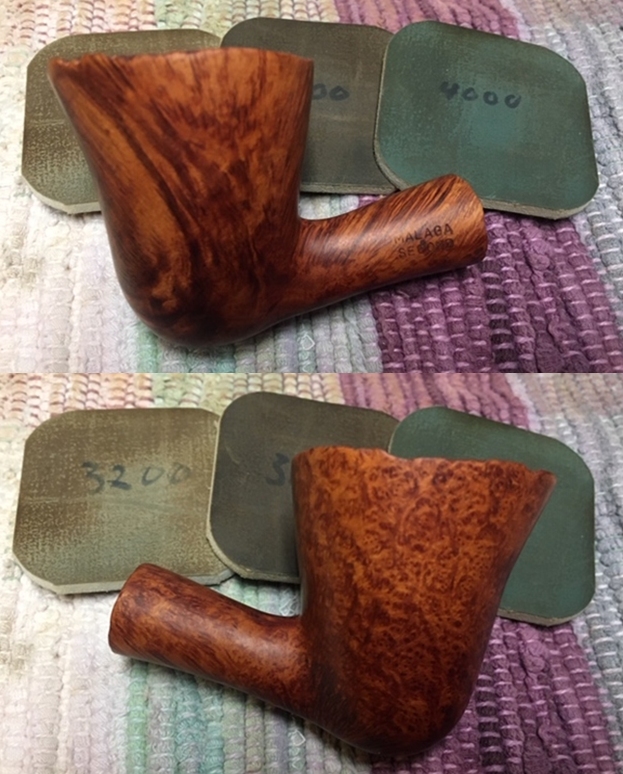
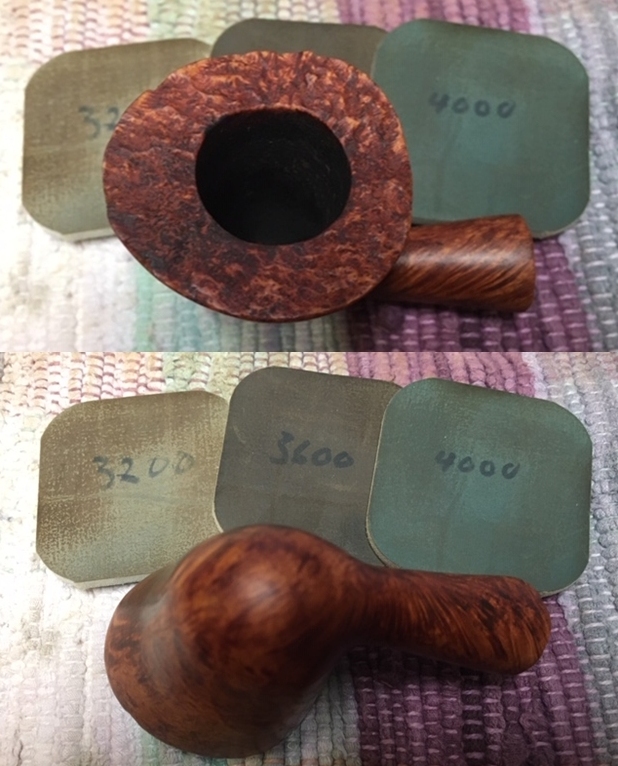
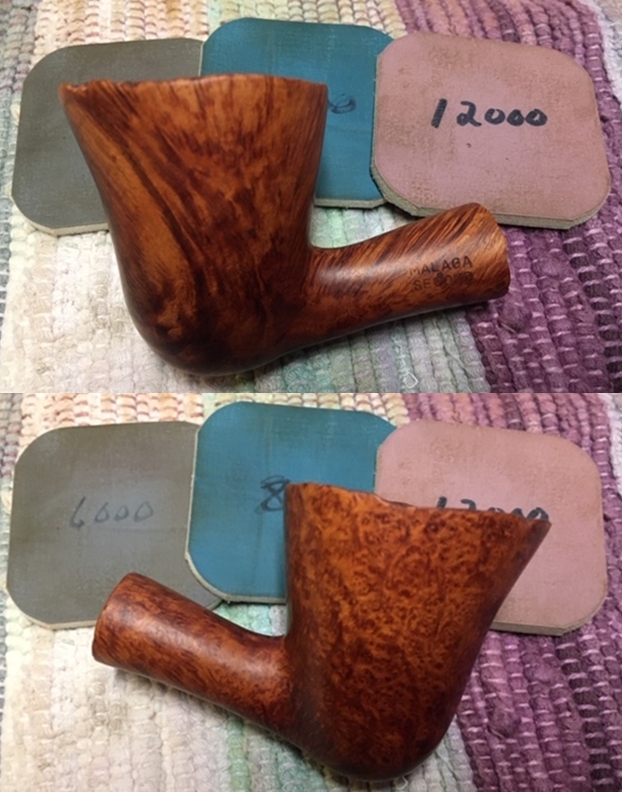
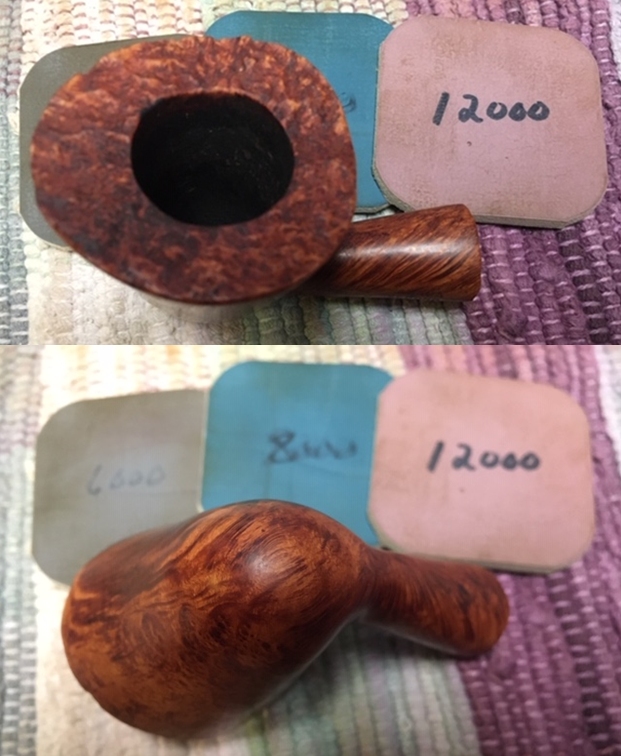
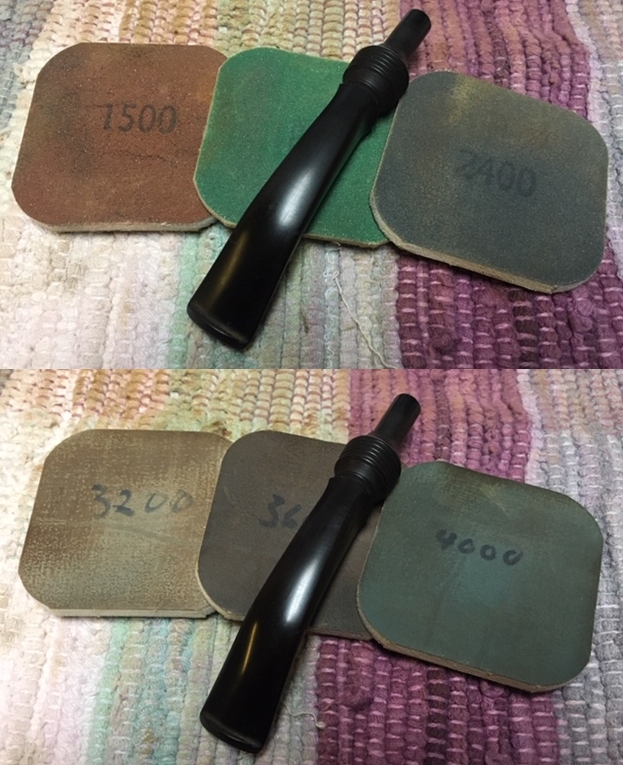
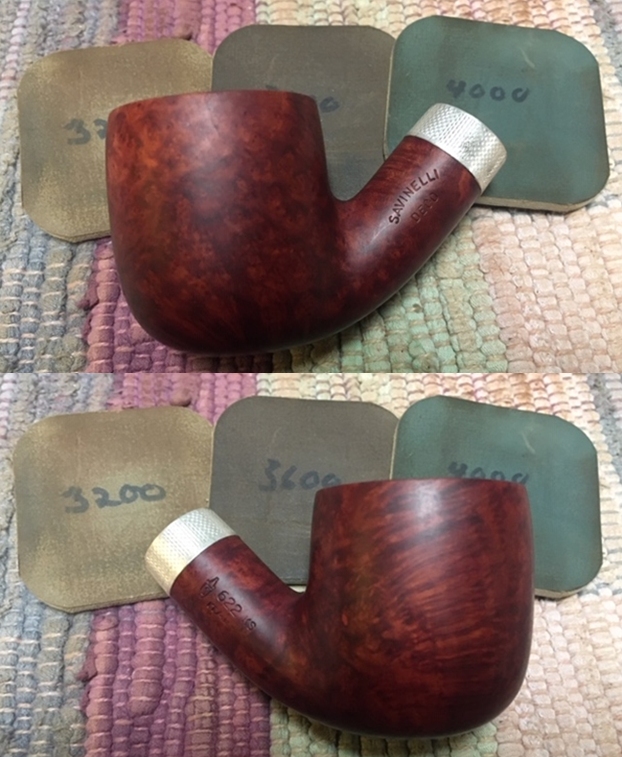
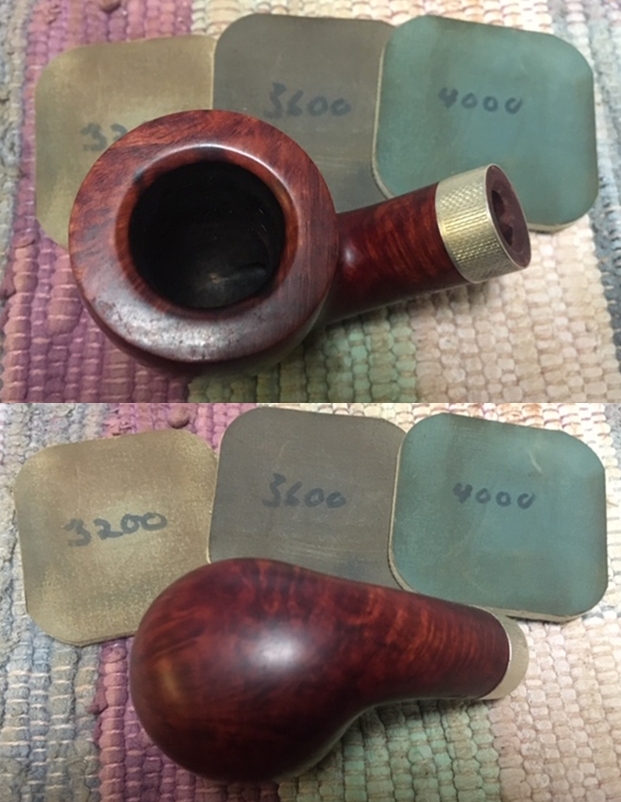
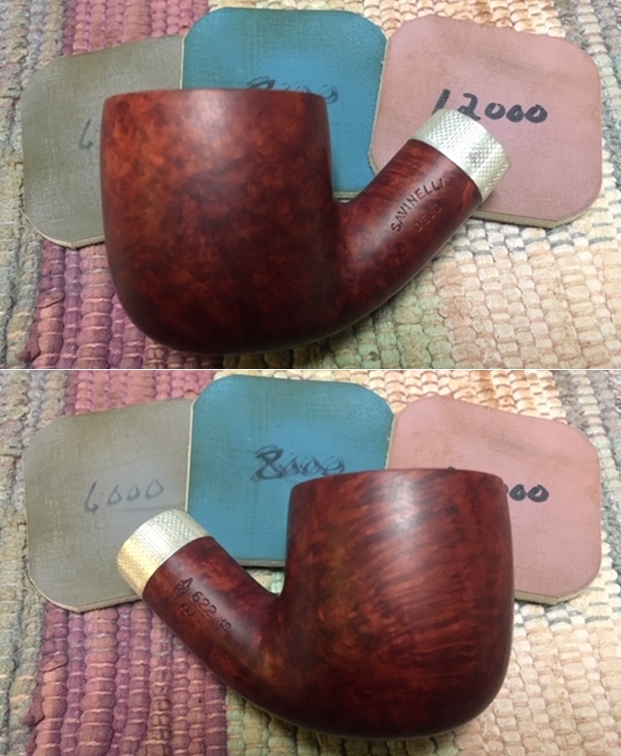
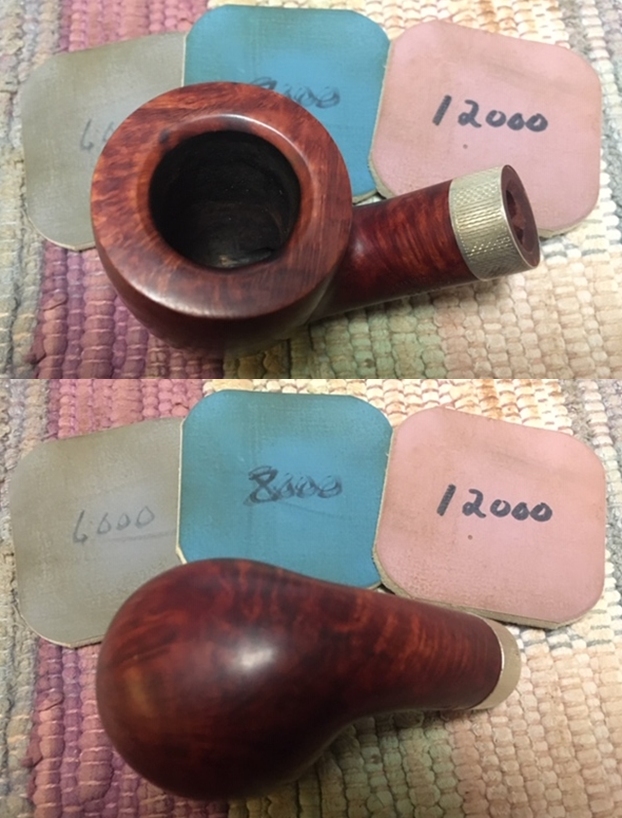
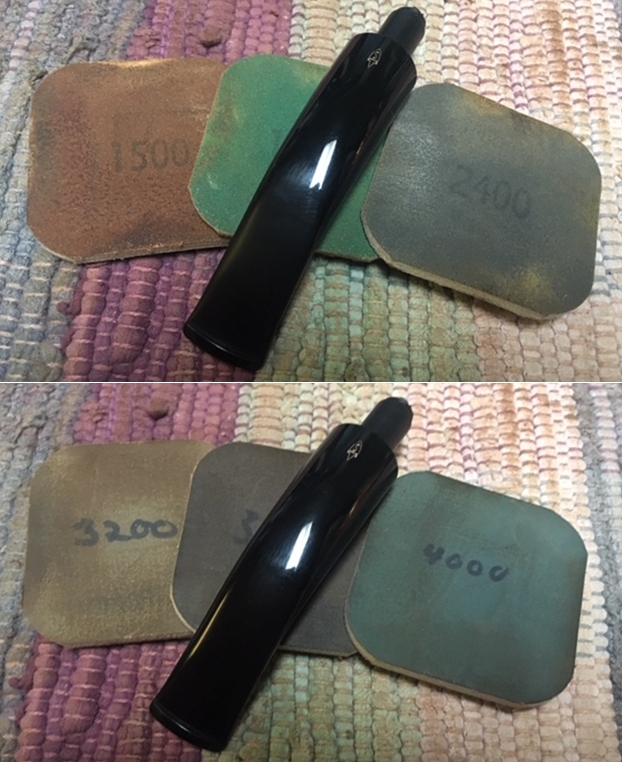
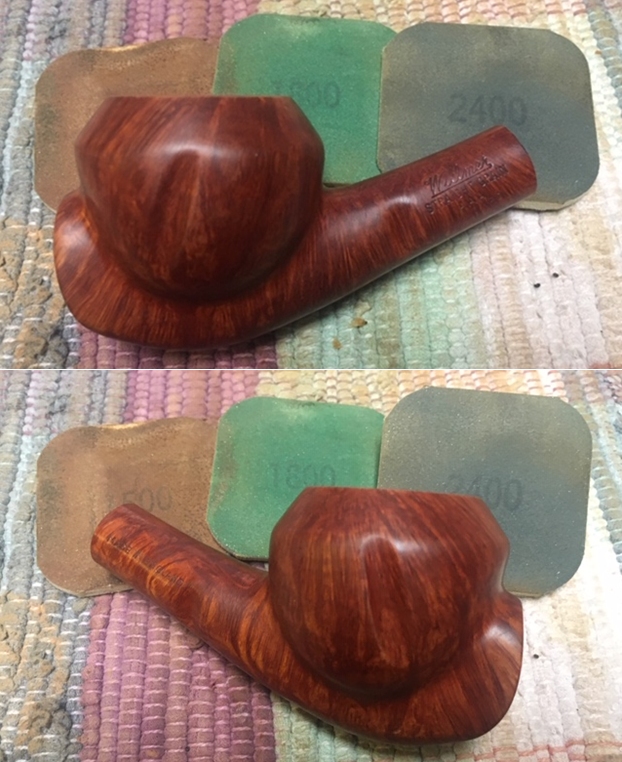
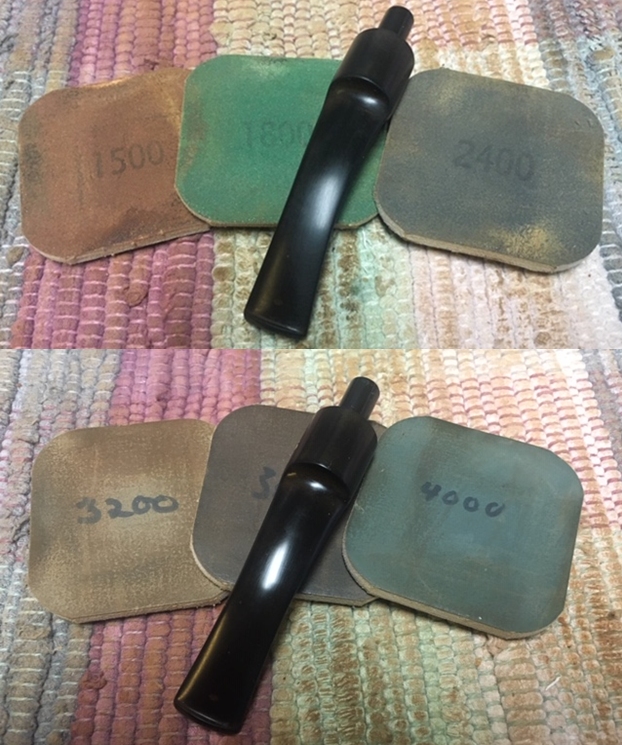
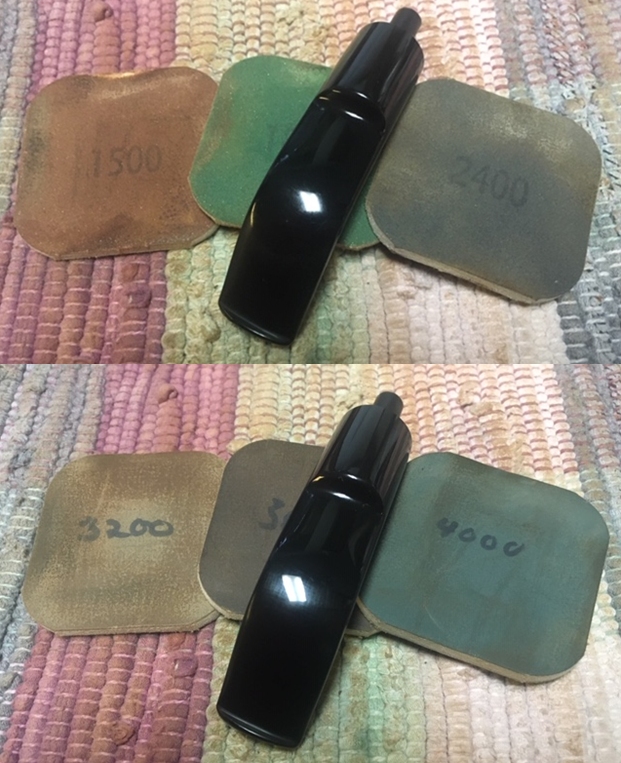
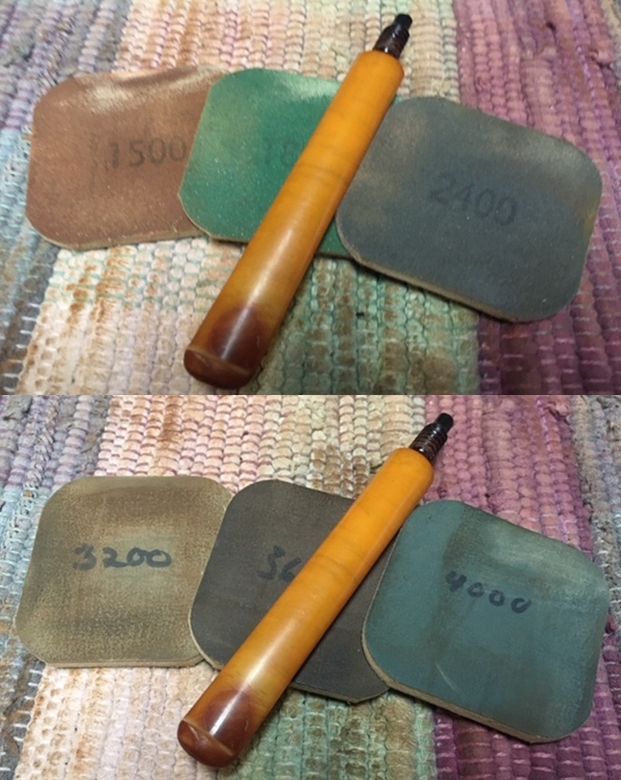
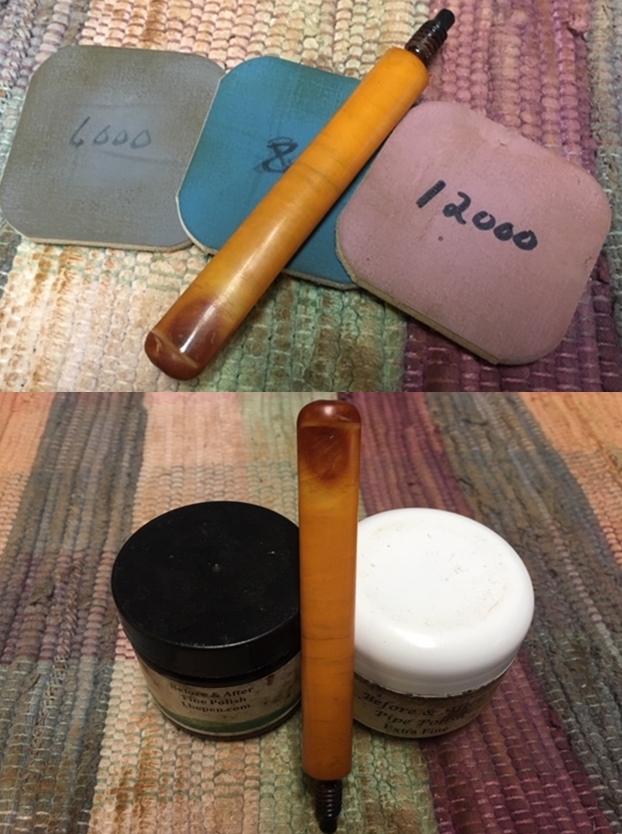
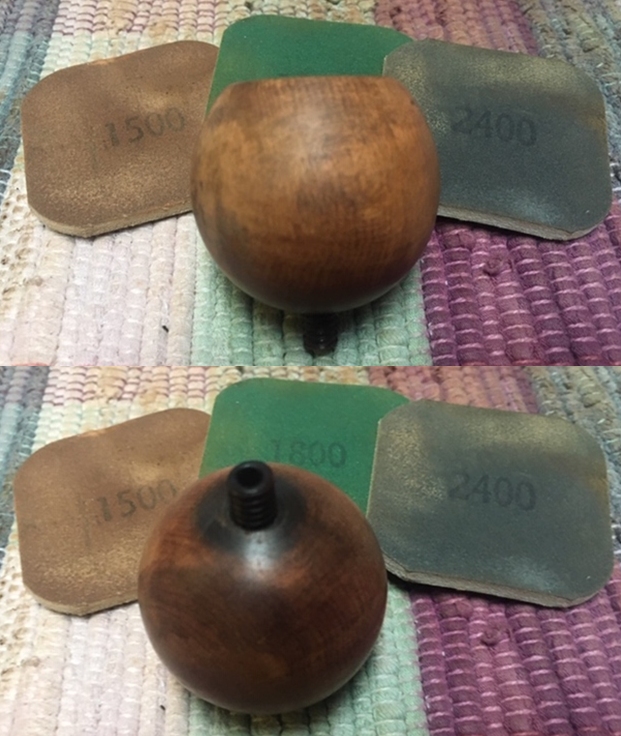
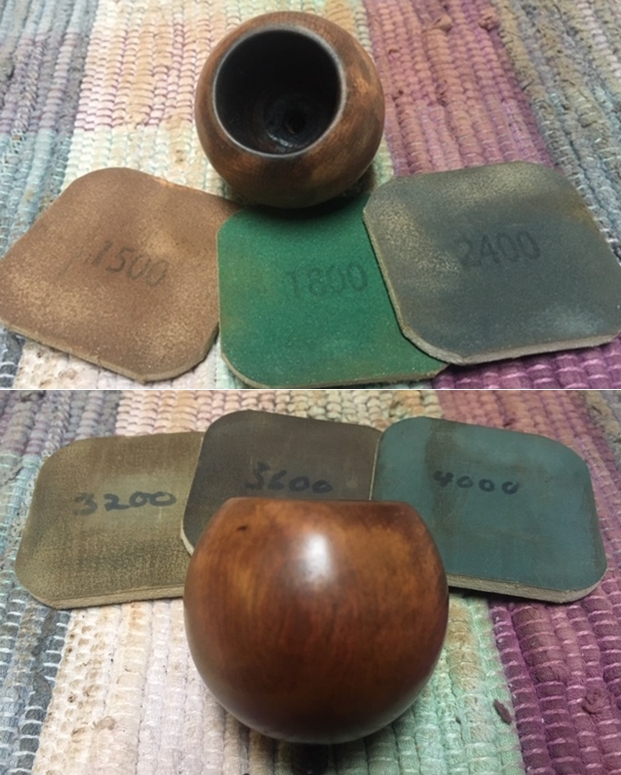
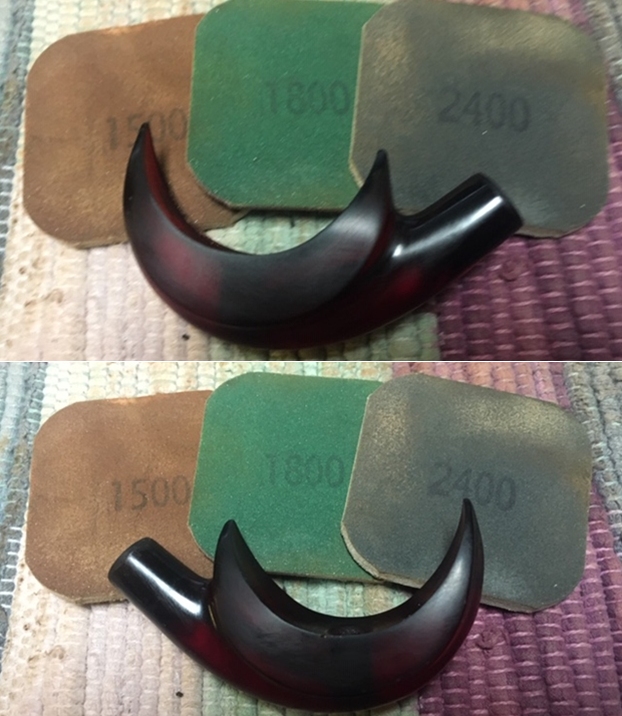
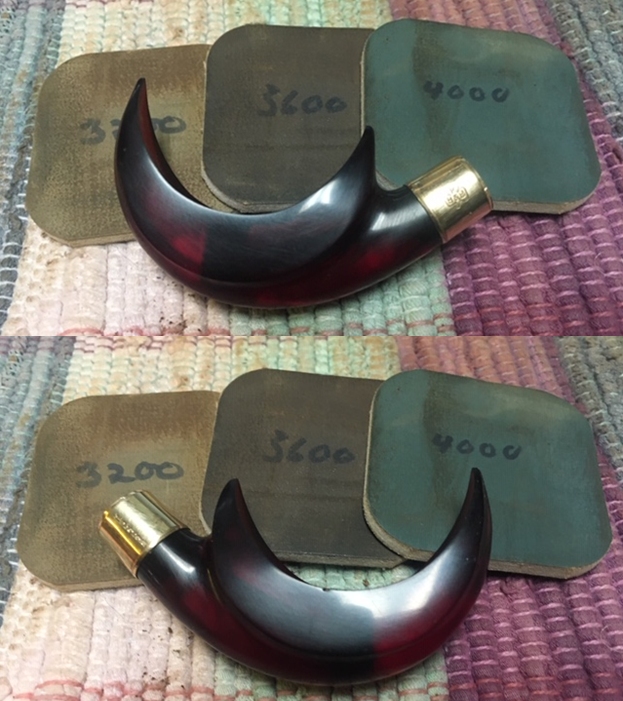
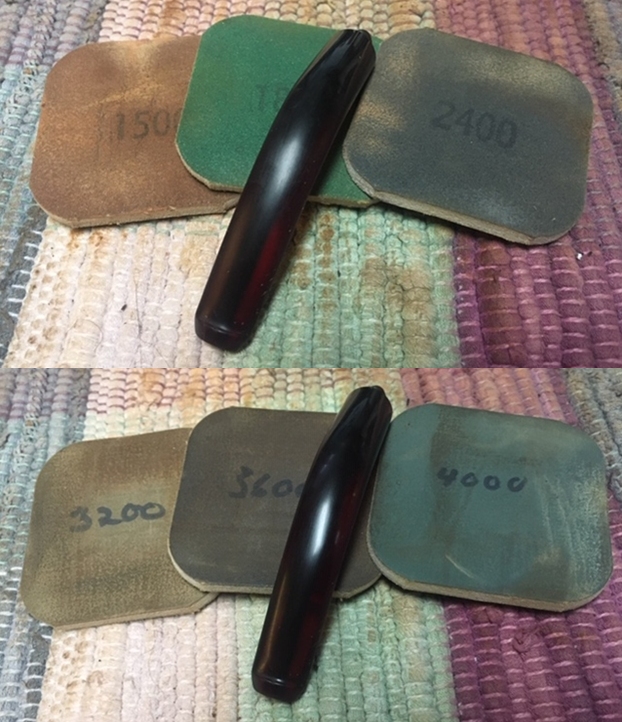
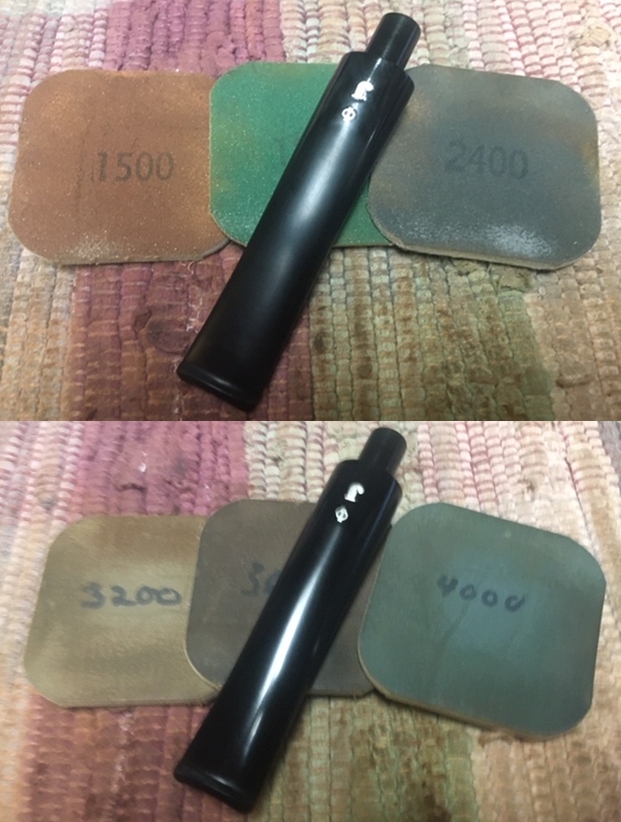
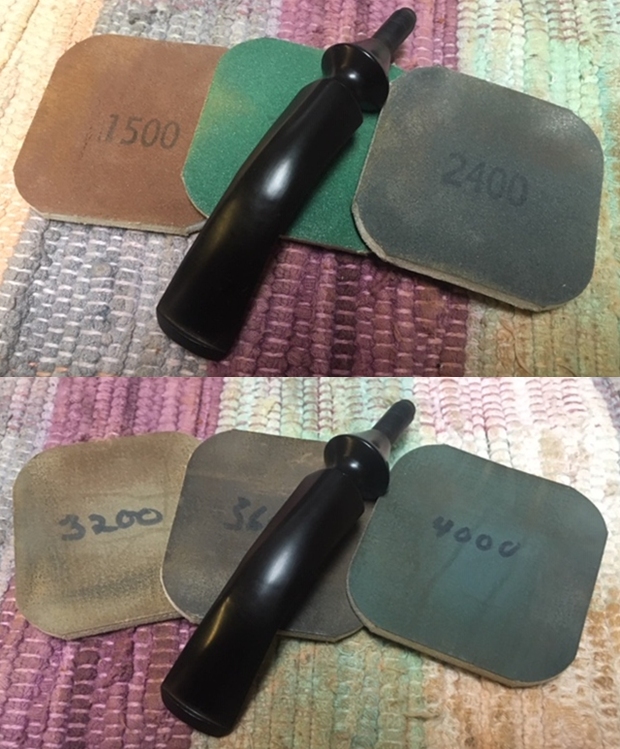
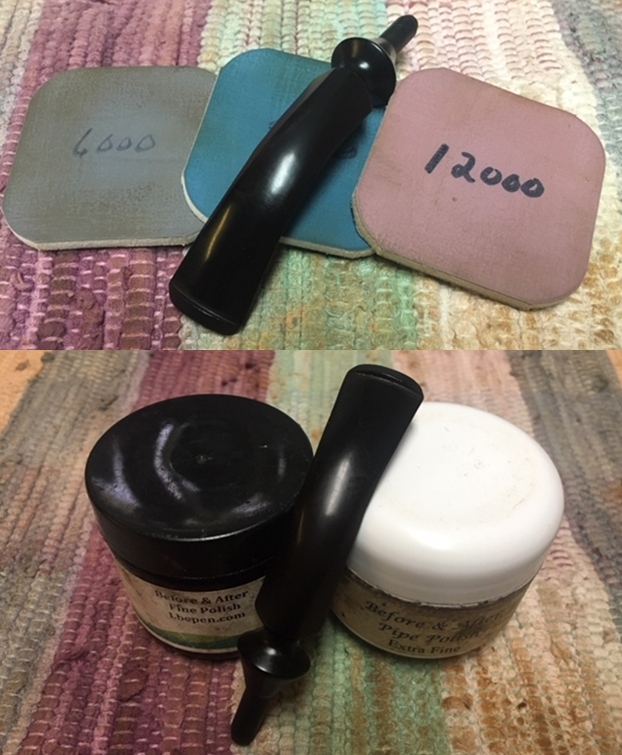
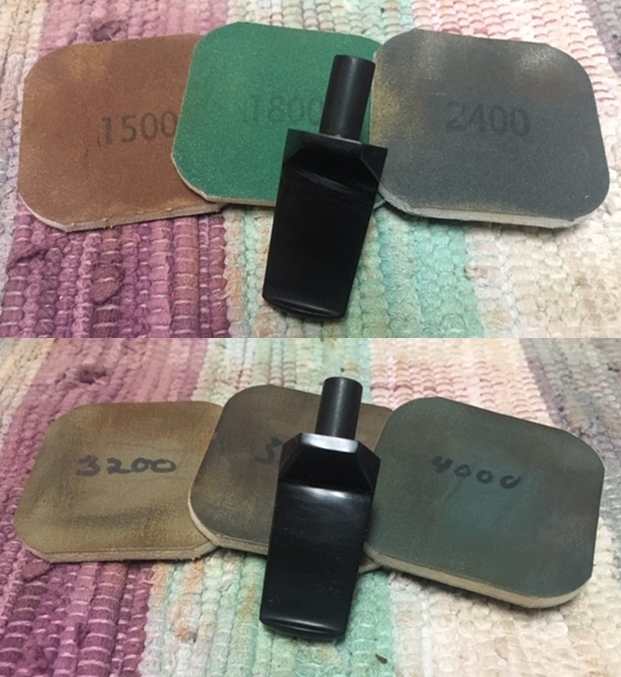
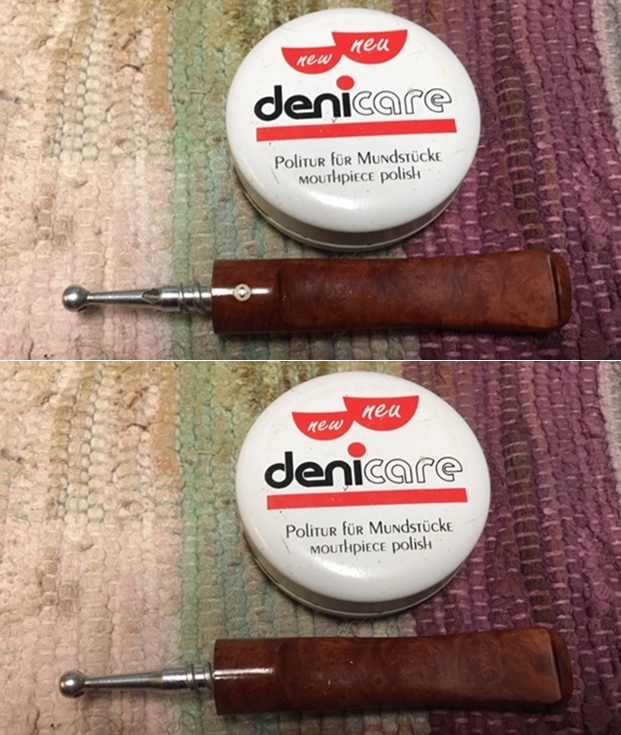 I continued to polish the briar stem with micromesh sanding pads. I wet sanded with 1500-12000 grit pads and wiped the stem down with a damp cloth after each sanding pad. The stem is starting to look like it should. More work to do for sure but it is going the right direction.
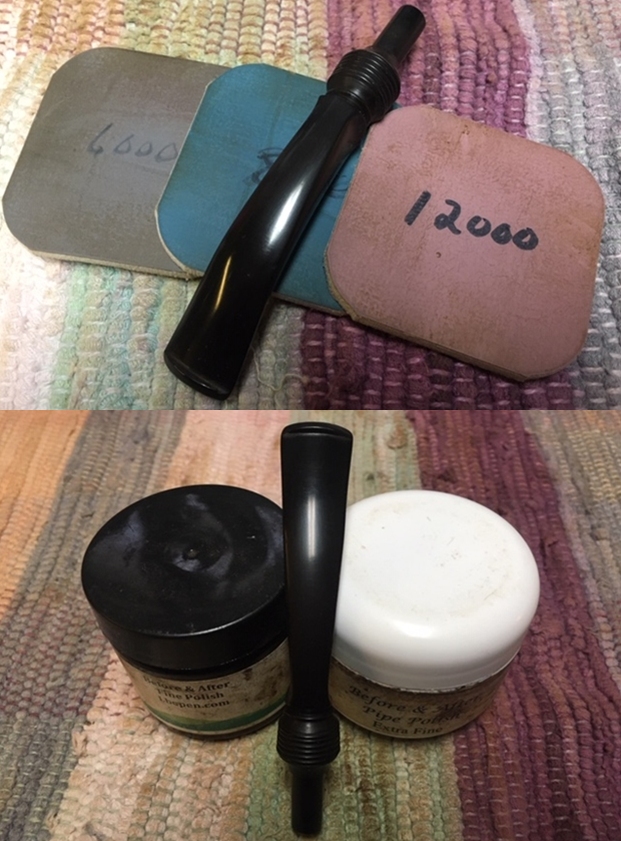
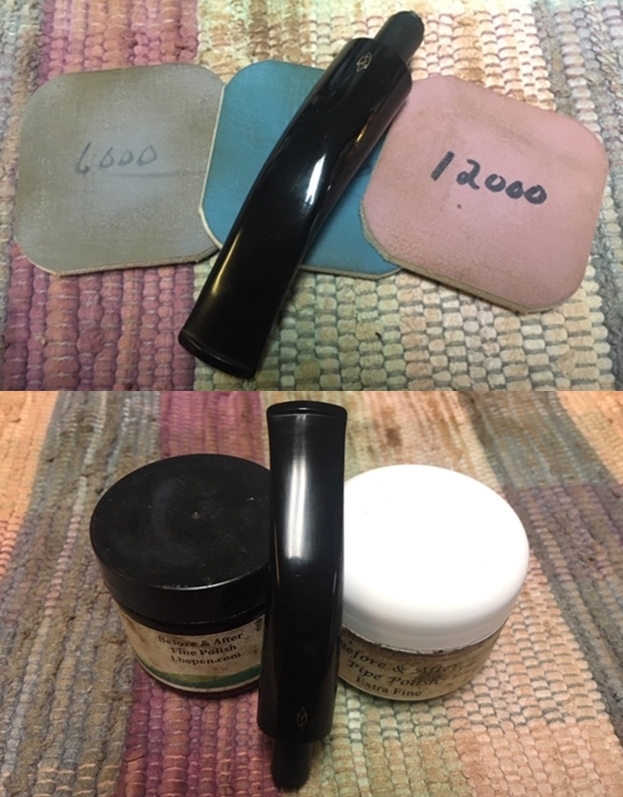
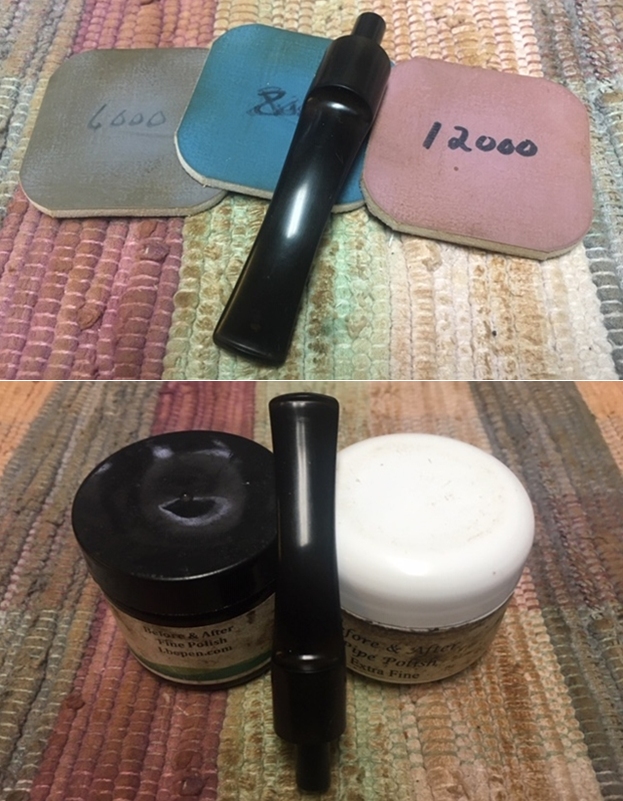
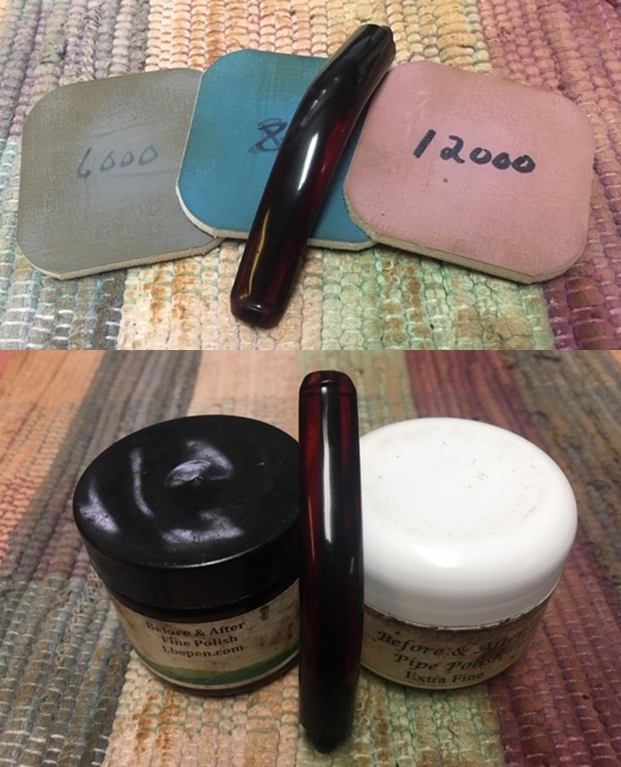
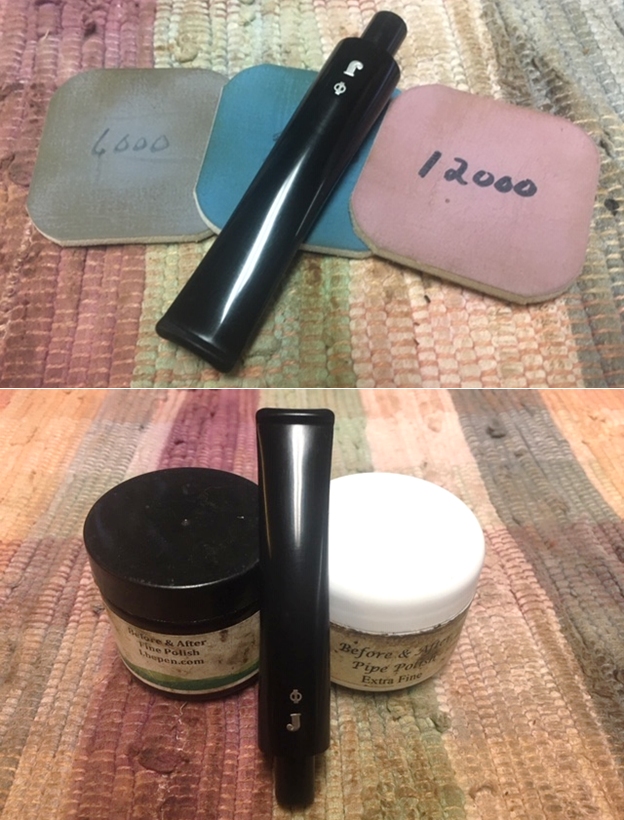
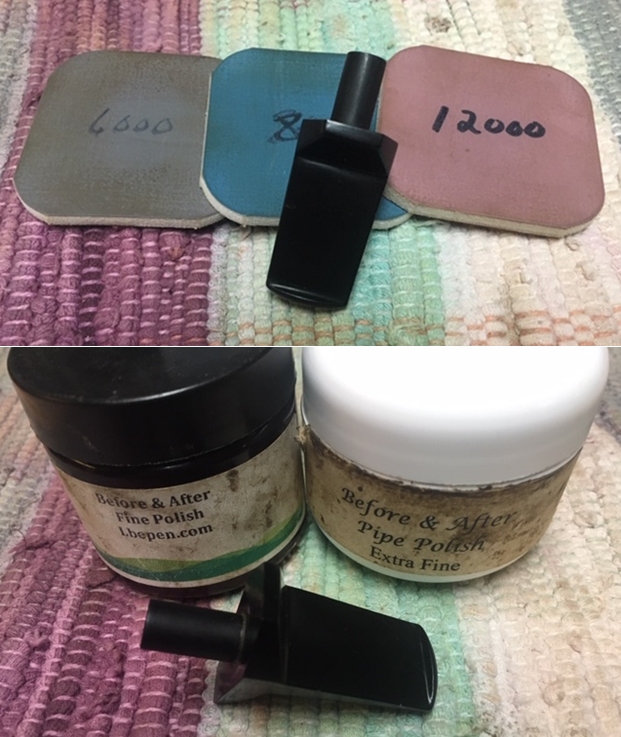
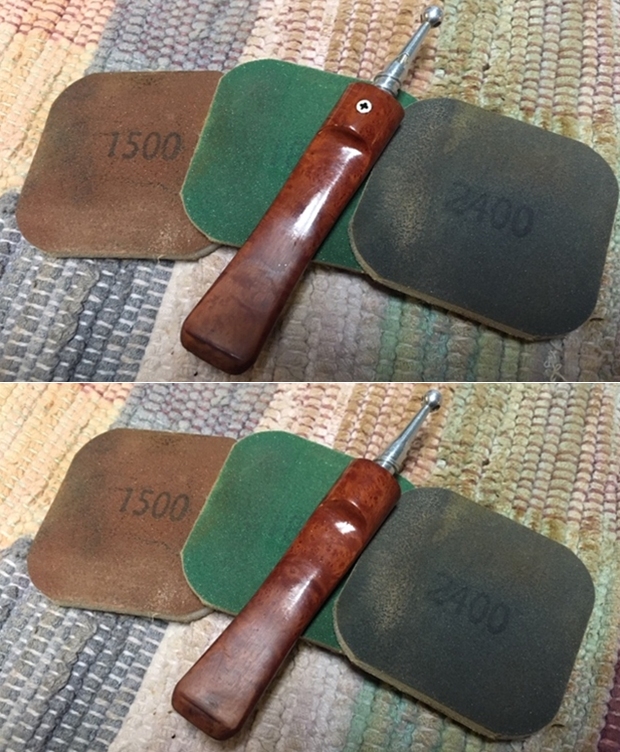
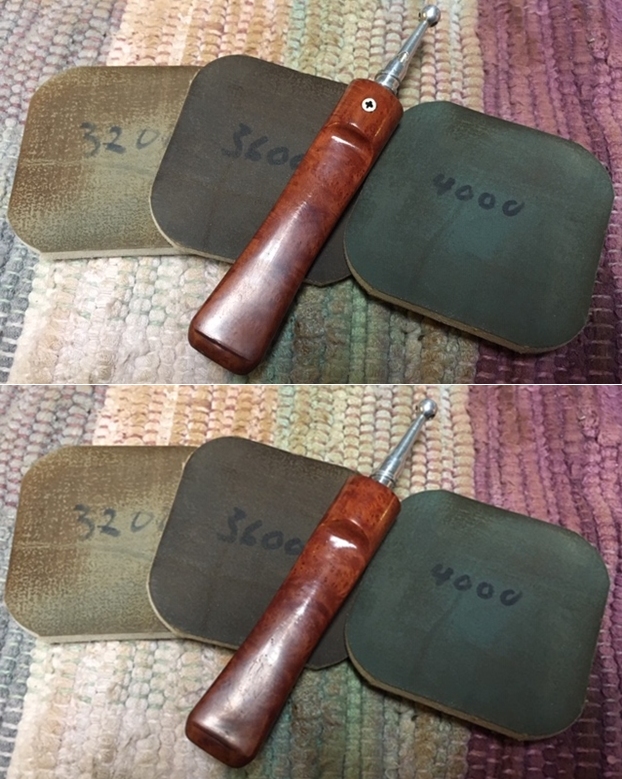
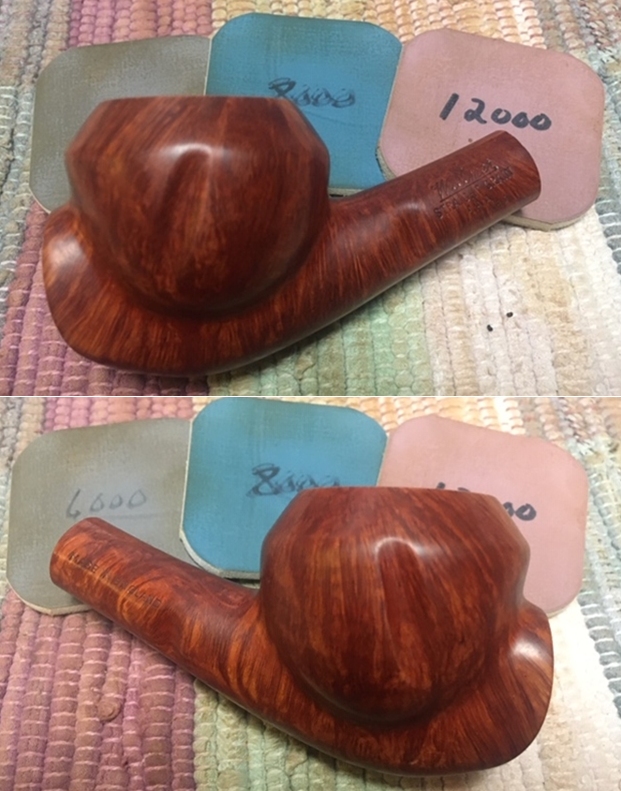
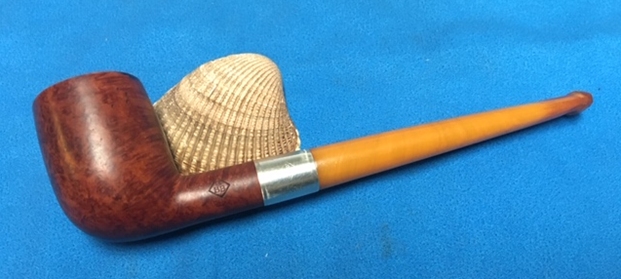
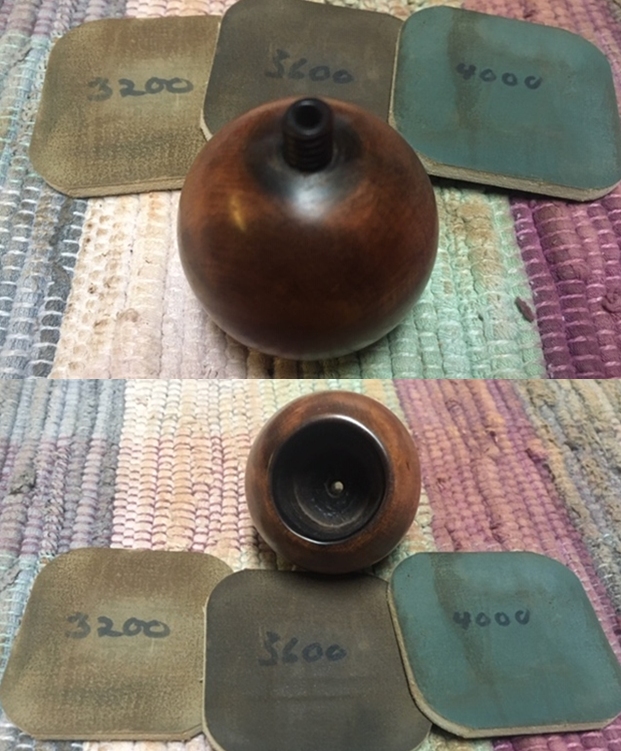
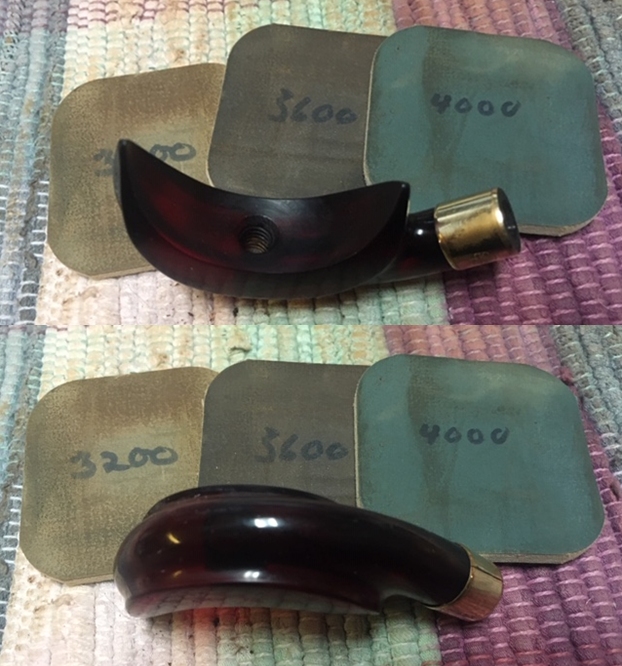
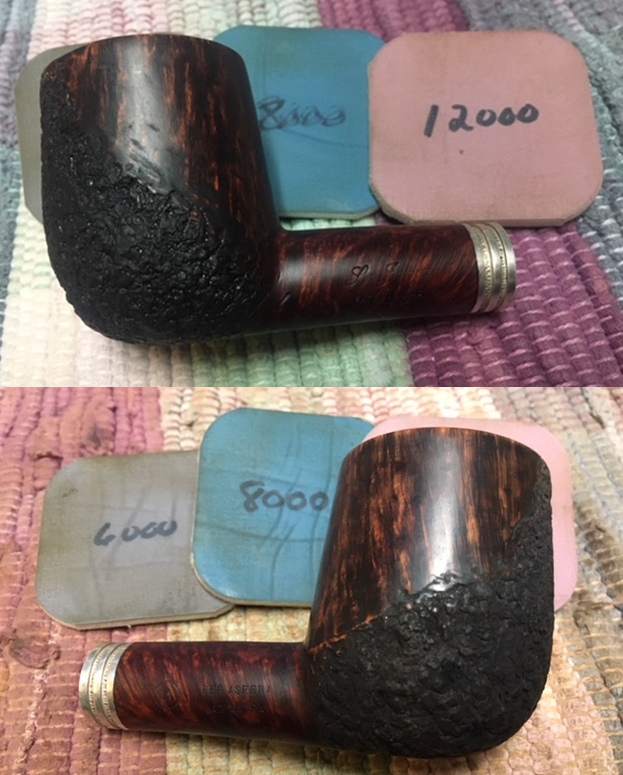
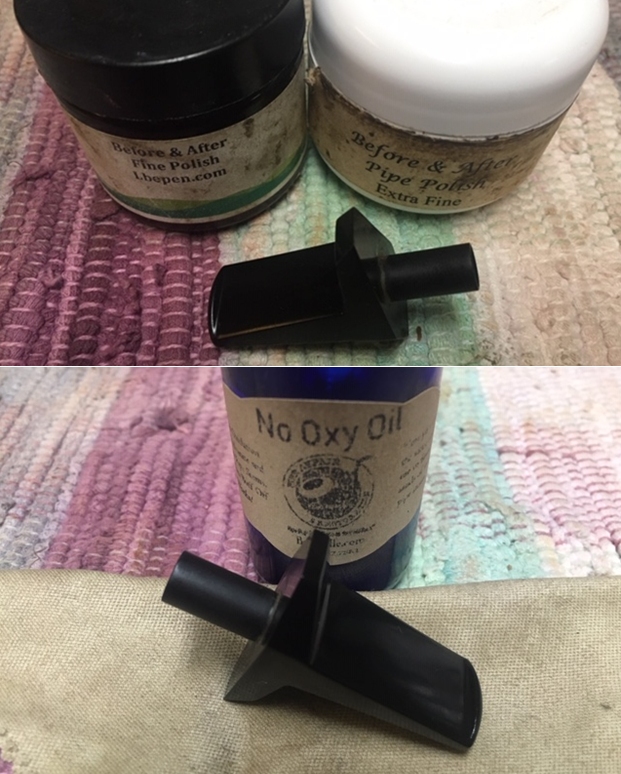
 I polished the briar stem further with Before & After Pipe Polish – both Fine and Extra Fine to further raise a shine on the wood.
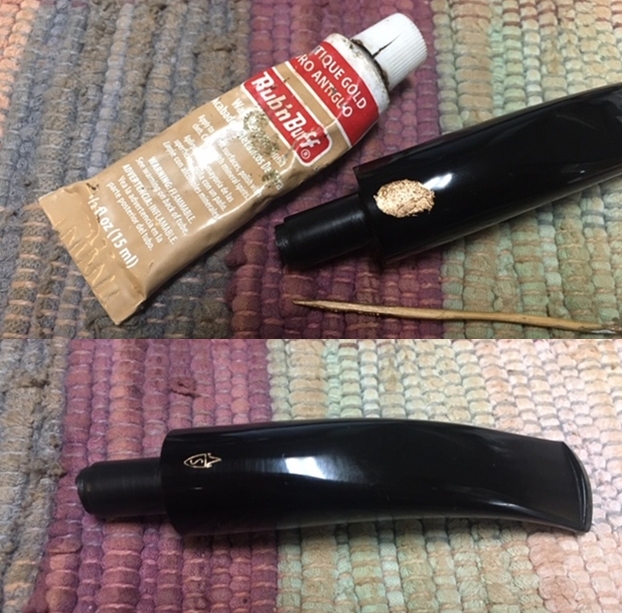
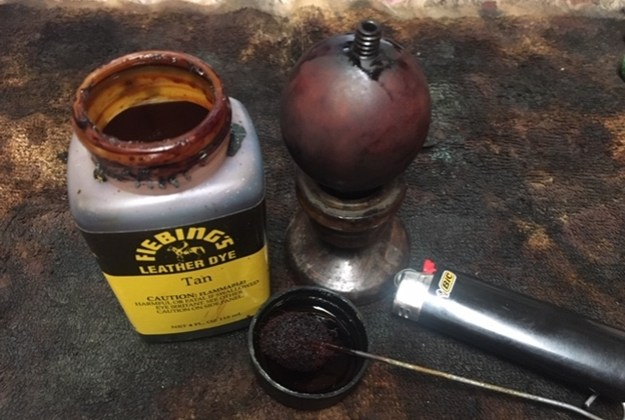
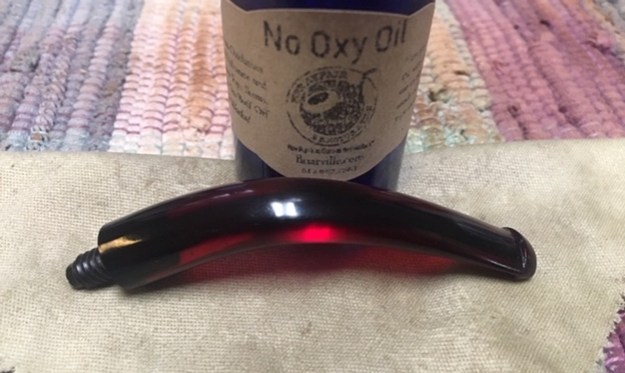
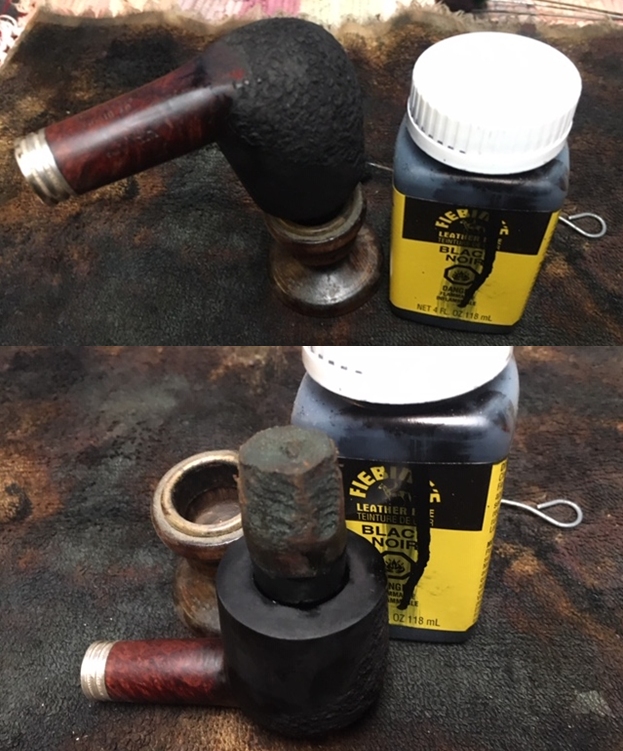
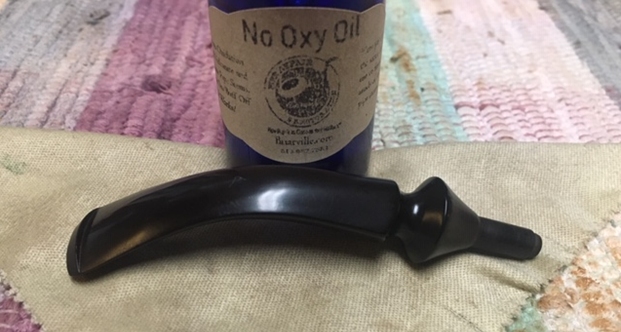
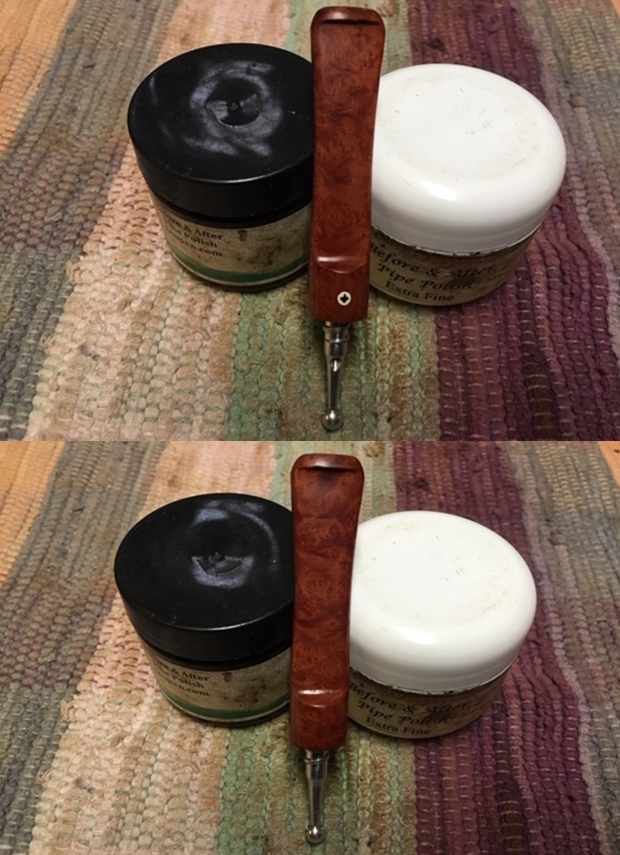 The original pipe has a coat of varnish on the stem and bowl. I don’t have any varnish to give repaired areas the shine that the rest of the stem and bowl has. I do have some Danish Oil which is a bit of stain and linseed oil. After the finish cures it buffs up into a very nice shine.
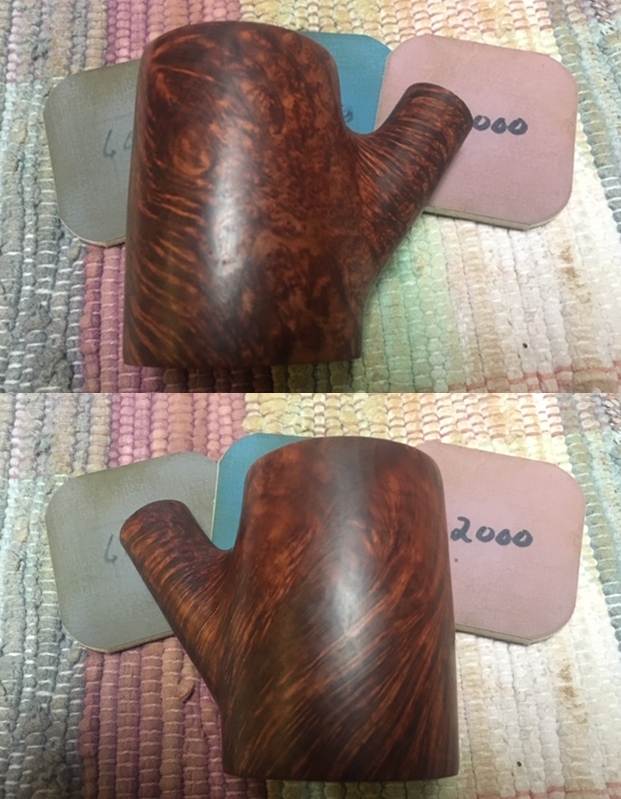
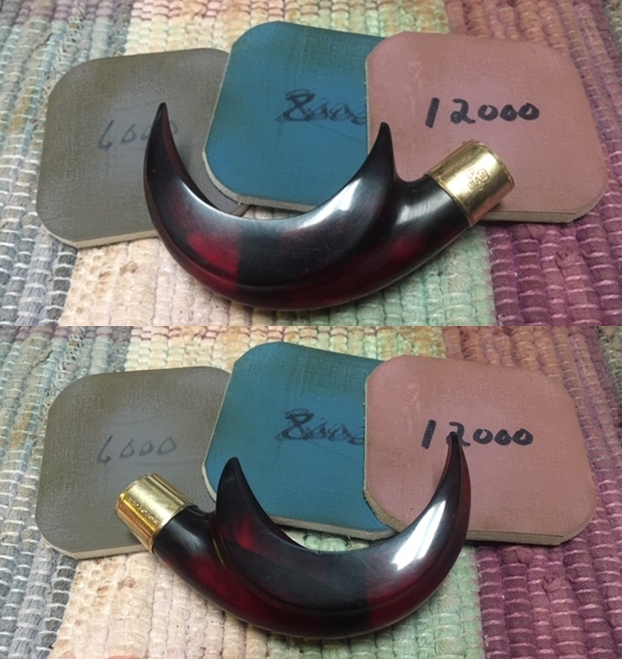
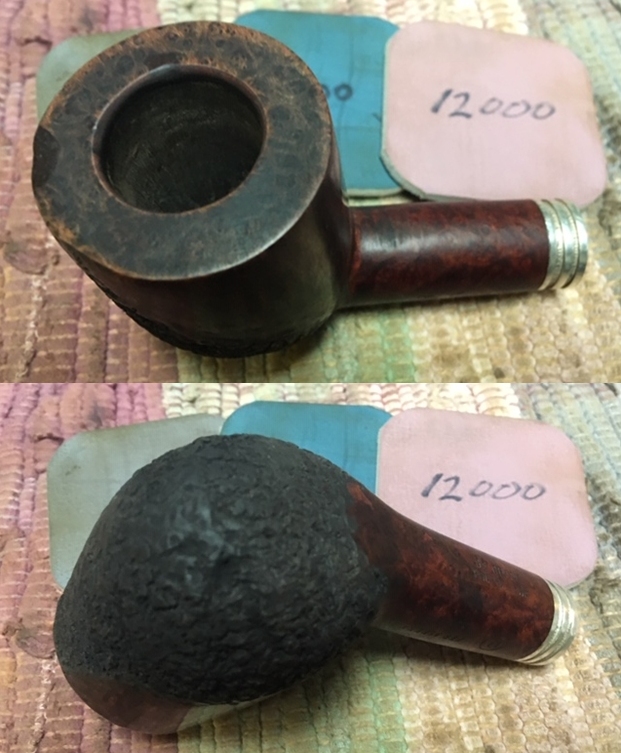
 I buffed the stem on the buffing wheel to raise the shine and gave it several coats of carnauba wax. I buffed it with a clean buffing pad. The repaired stem looks very good. The tooth marks and chatter are a thing of history. There is a little darkening on the underside of the stem but the surface is smooth.
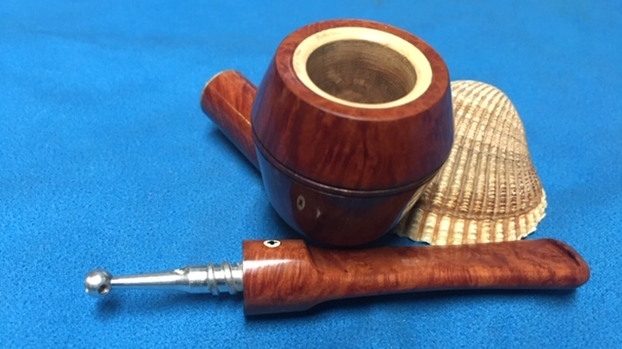
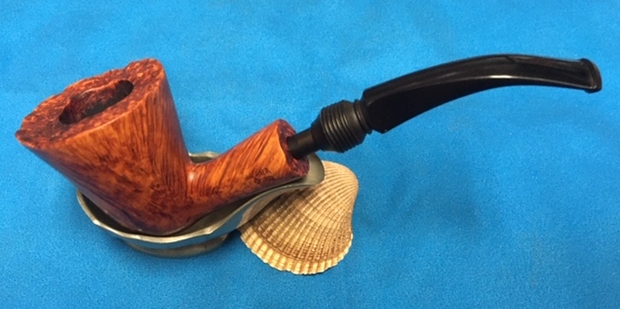
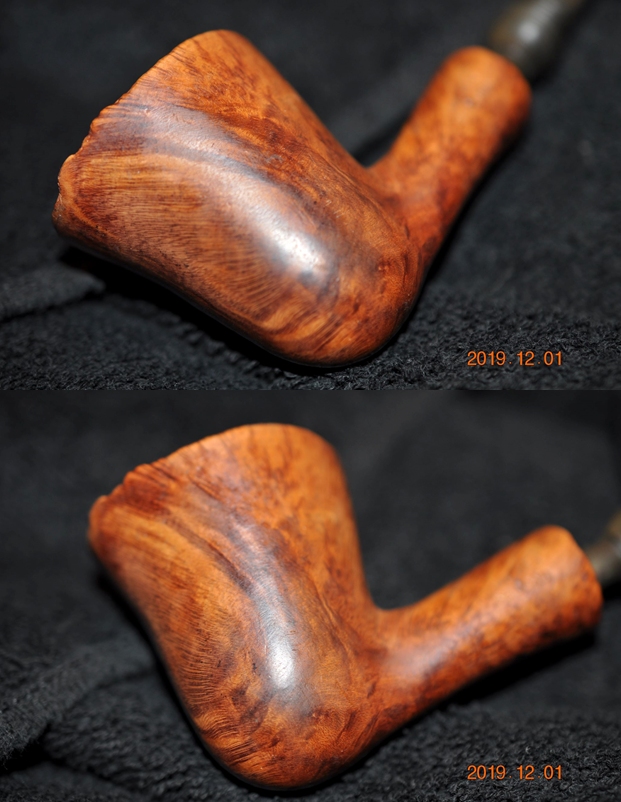
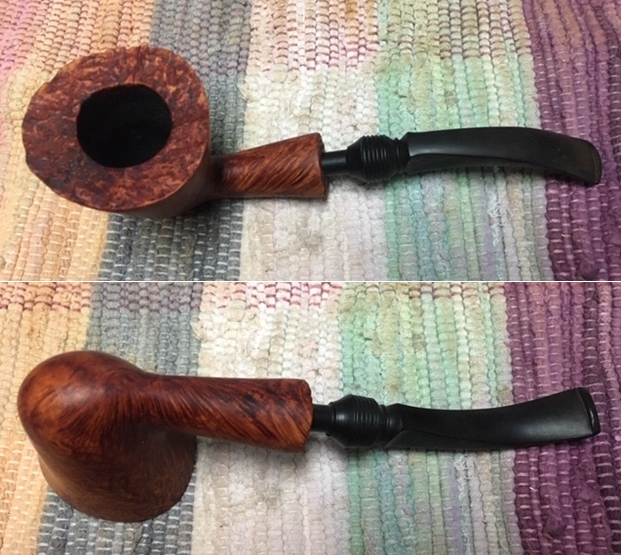
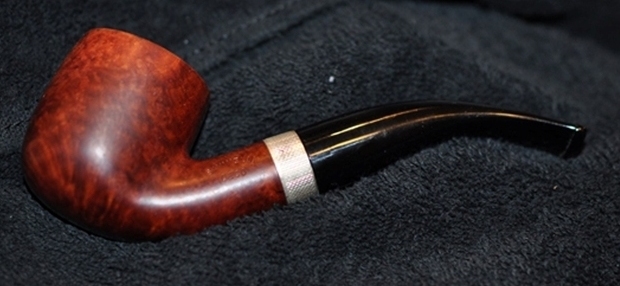
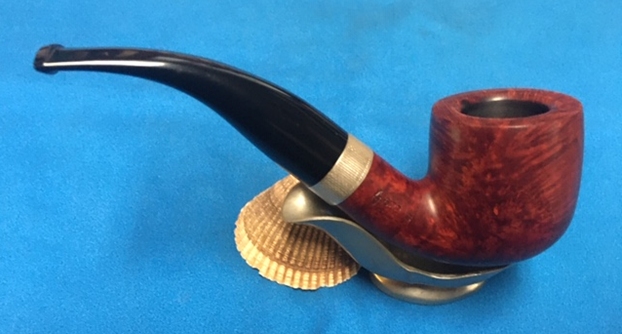
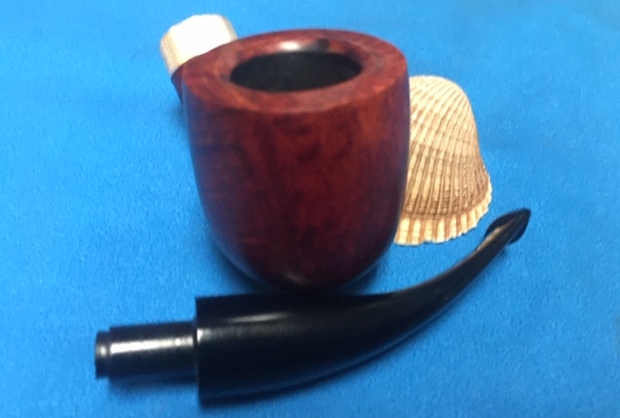
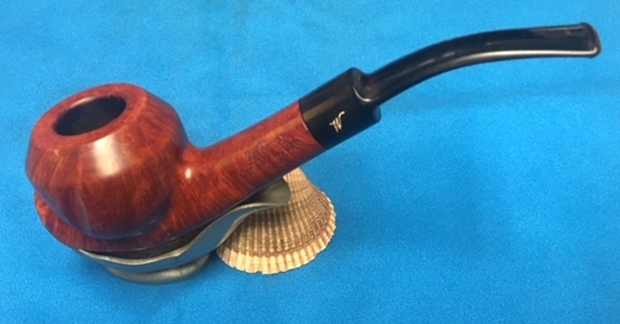
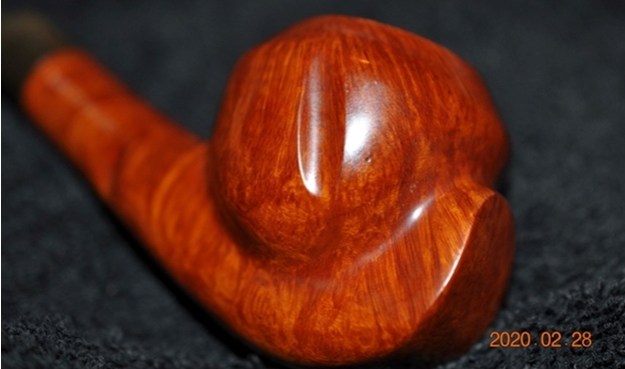
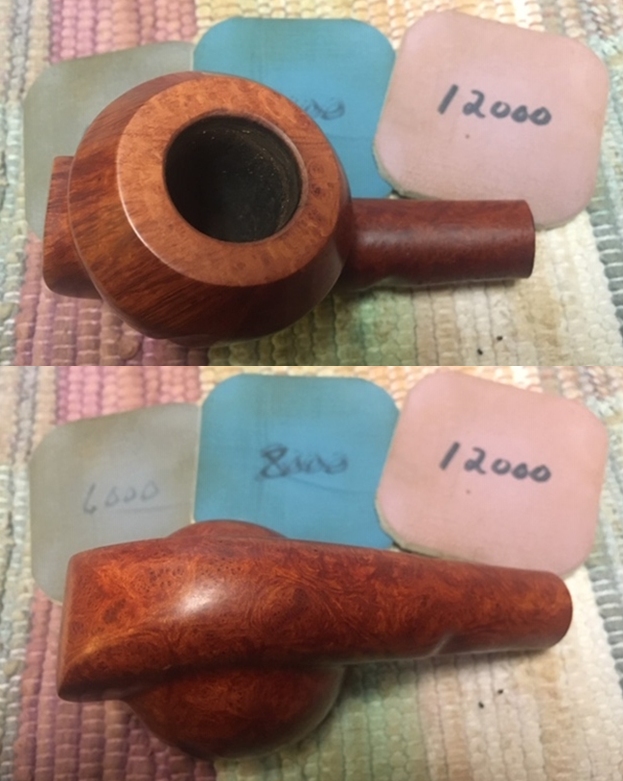
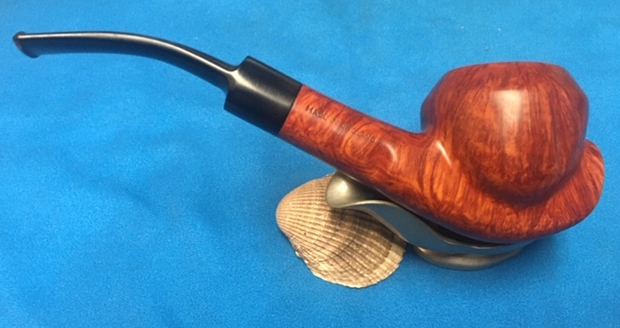
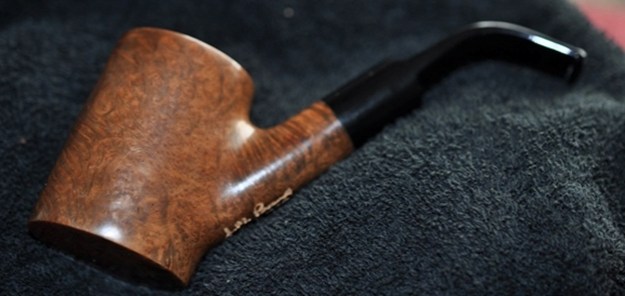
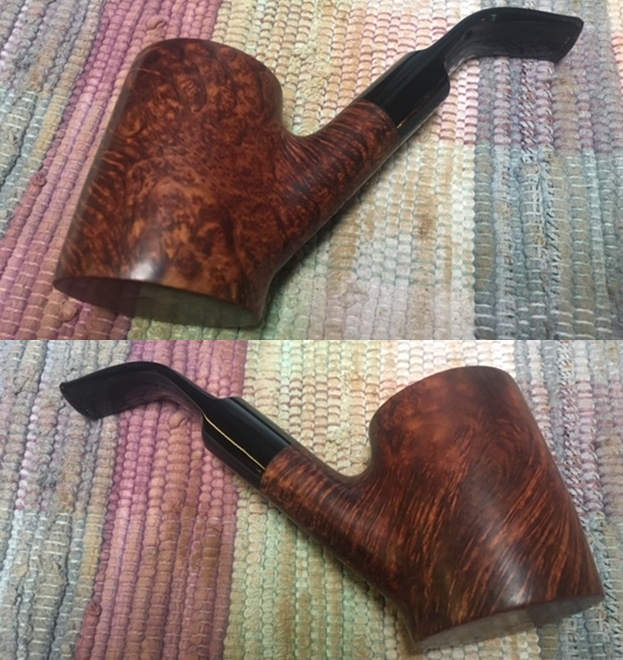
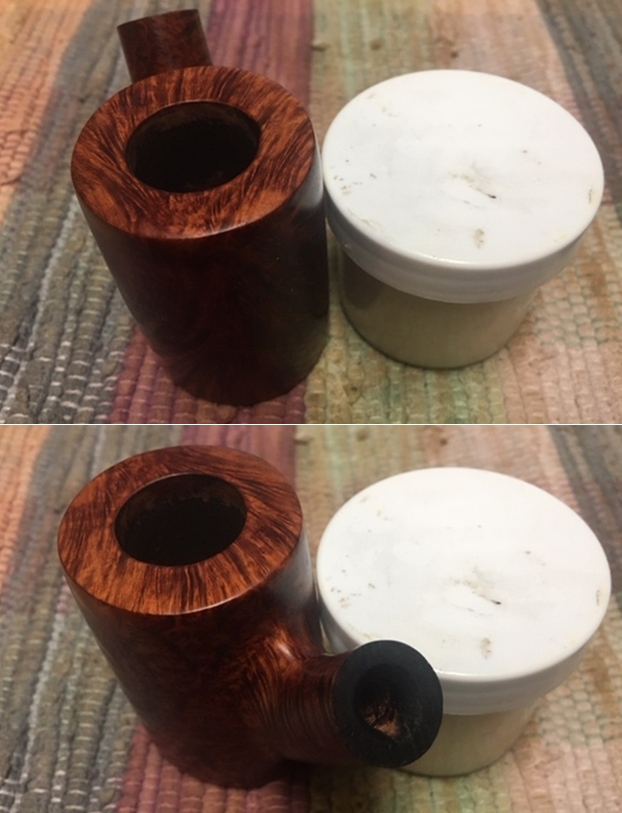
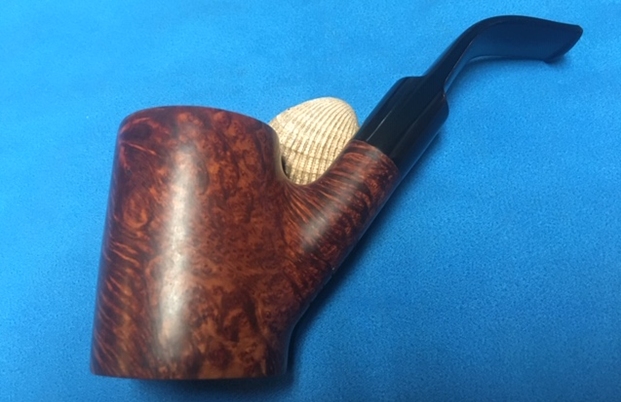
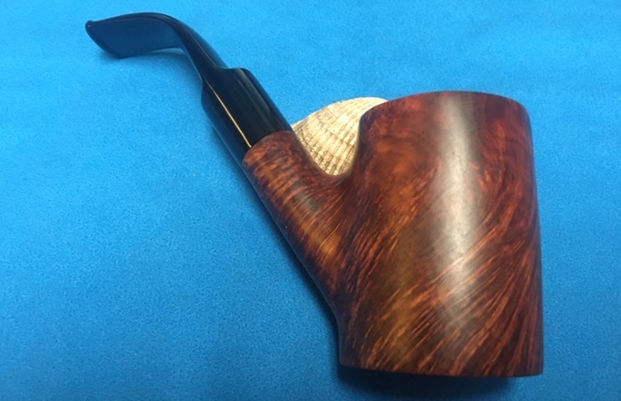
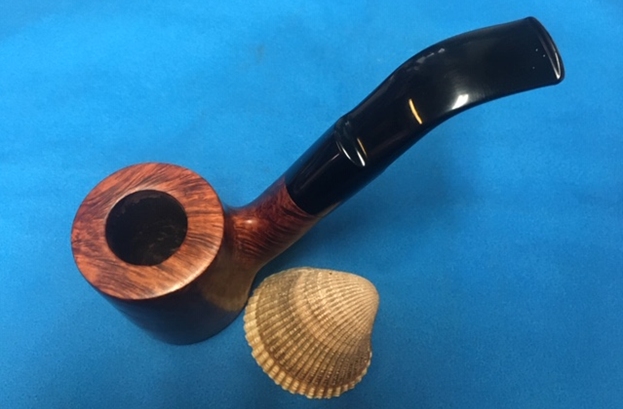
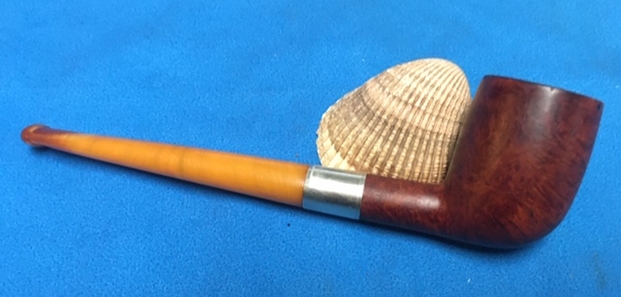
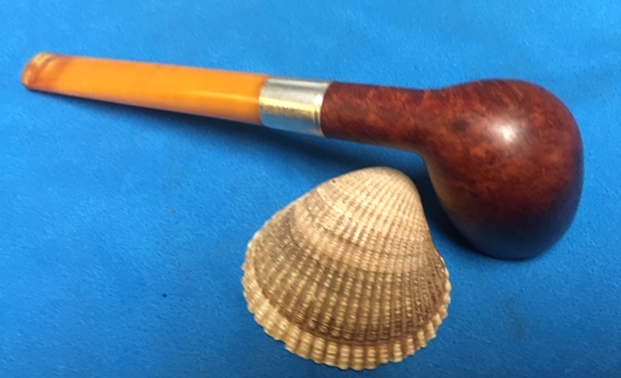
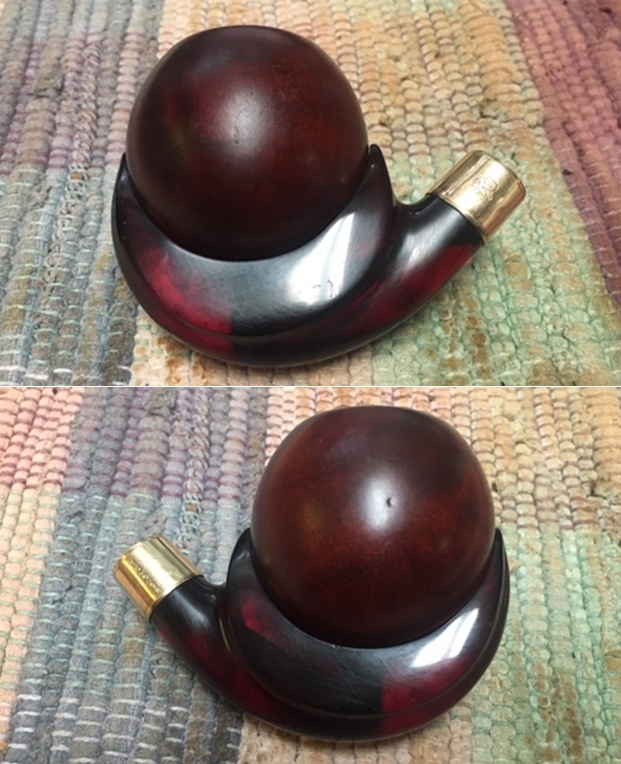
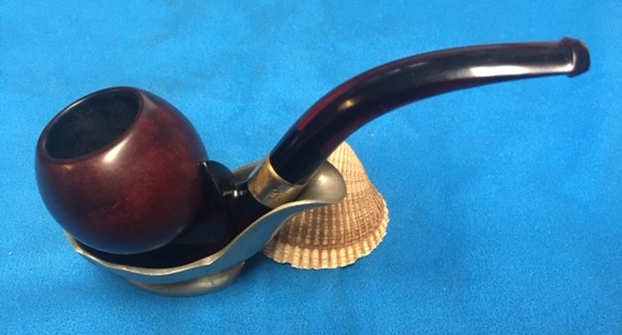
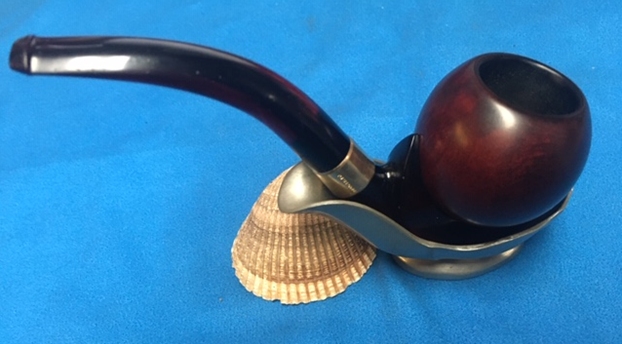
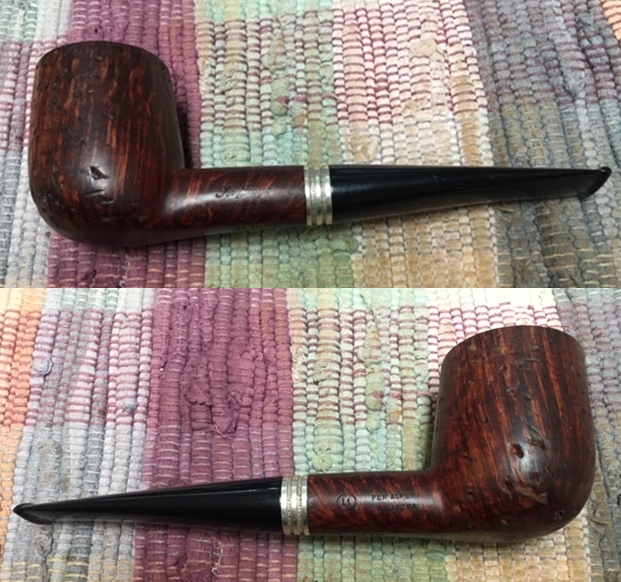
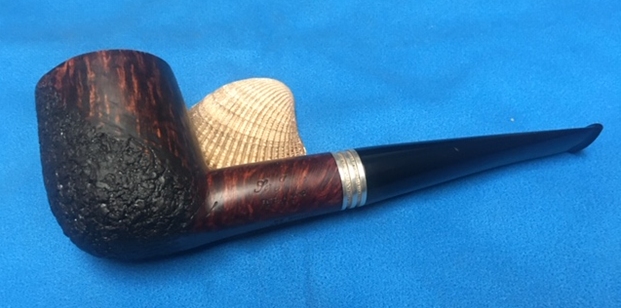
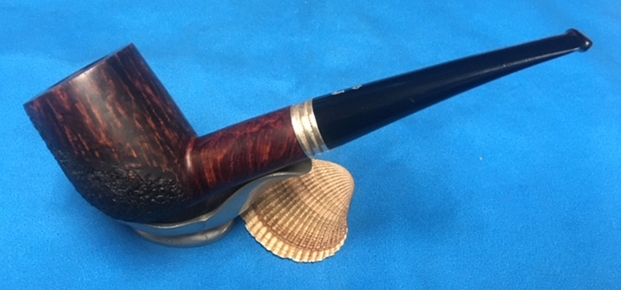
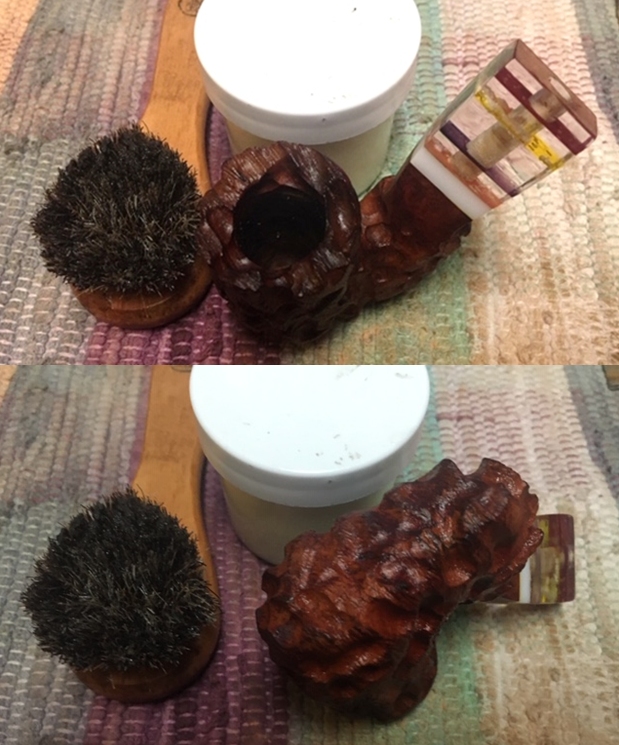
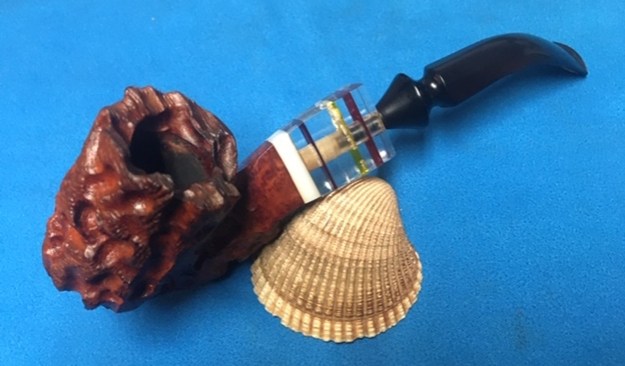
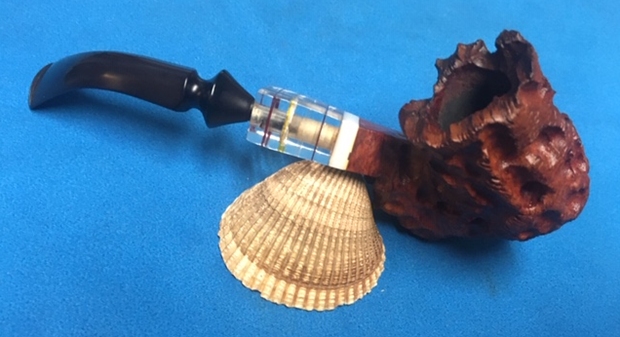
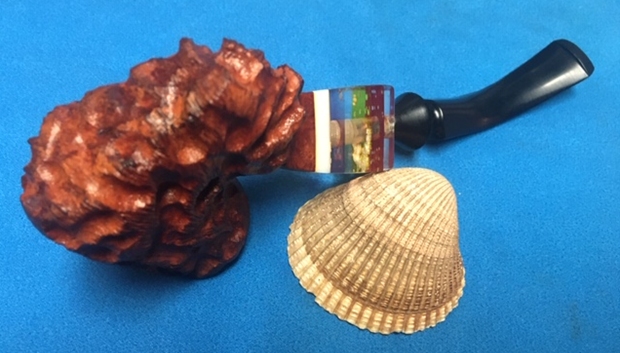
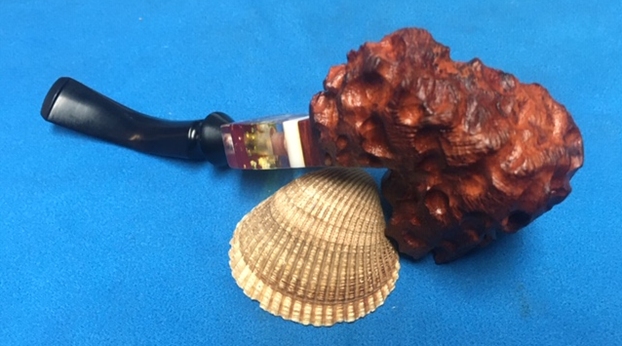
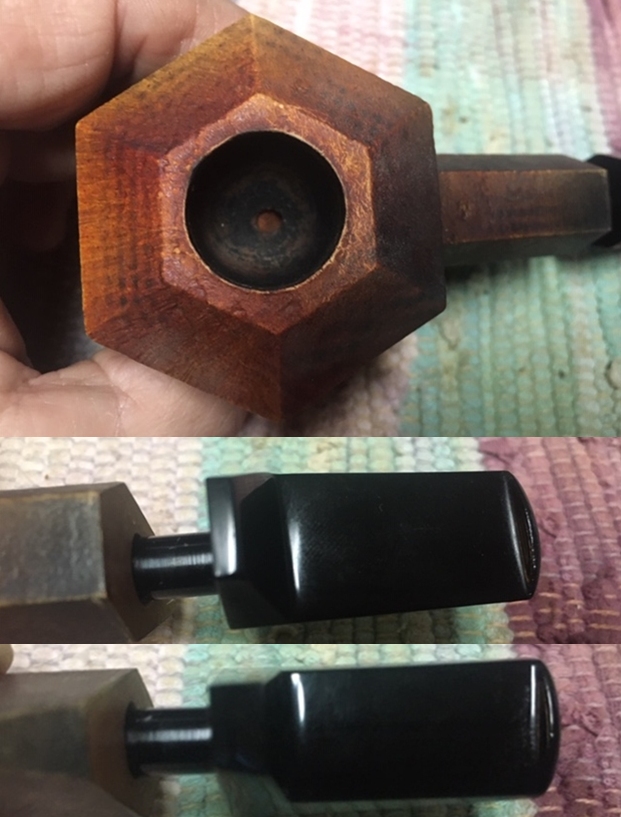
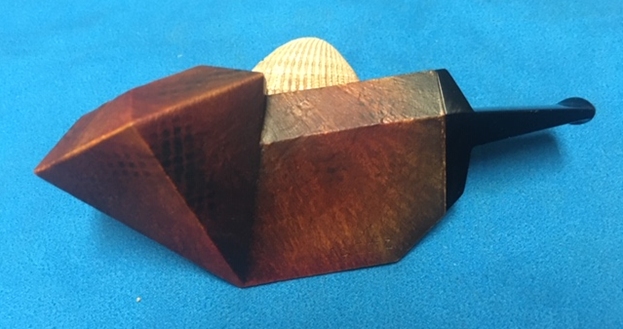
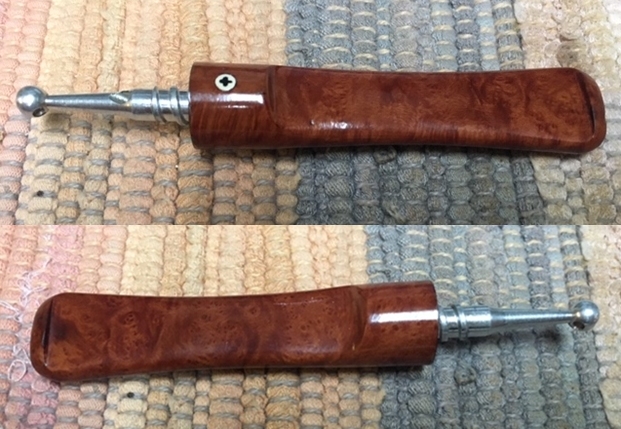 With the completion of the stem the pipe was finished. Because it had a shine coat on it I gently buffed it with Blue Diamond to take out the scratches on the bowl but not damage the varnish coat. I gave the entire pipe several coats of carnauba for good measure and buffed it with a clean buffing pad to raise the shine. I hand buffed it with a microfiber cloth to deepen the shine. The finished pipe is shown in the photos below. This Kaywoodie All Briar Meerschaum Lined Rhodesian 50B is quite a beautiful pipe. It is for all intents and purposes barely smoked so whoever adds it to their collection will get the privilege of enjoying this “new” pipe. The dimensions of the pipe are Length: 5 ¼ inches, Height: 1 ¾ inches, Outside diameter of the bowl: 1 ¼ inches, Chamber diameter: 5/8 of an inch. I really like the way that Kaywoodie makes these All Briar pipes. It seems to really have set the standard that is hard to beat. This is a great looking pipe in great condition. Thanks for walking with me through this restoration. It was one with challenges but it was a fun one to work on.