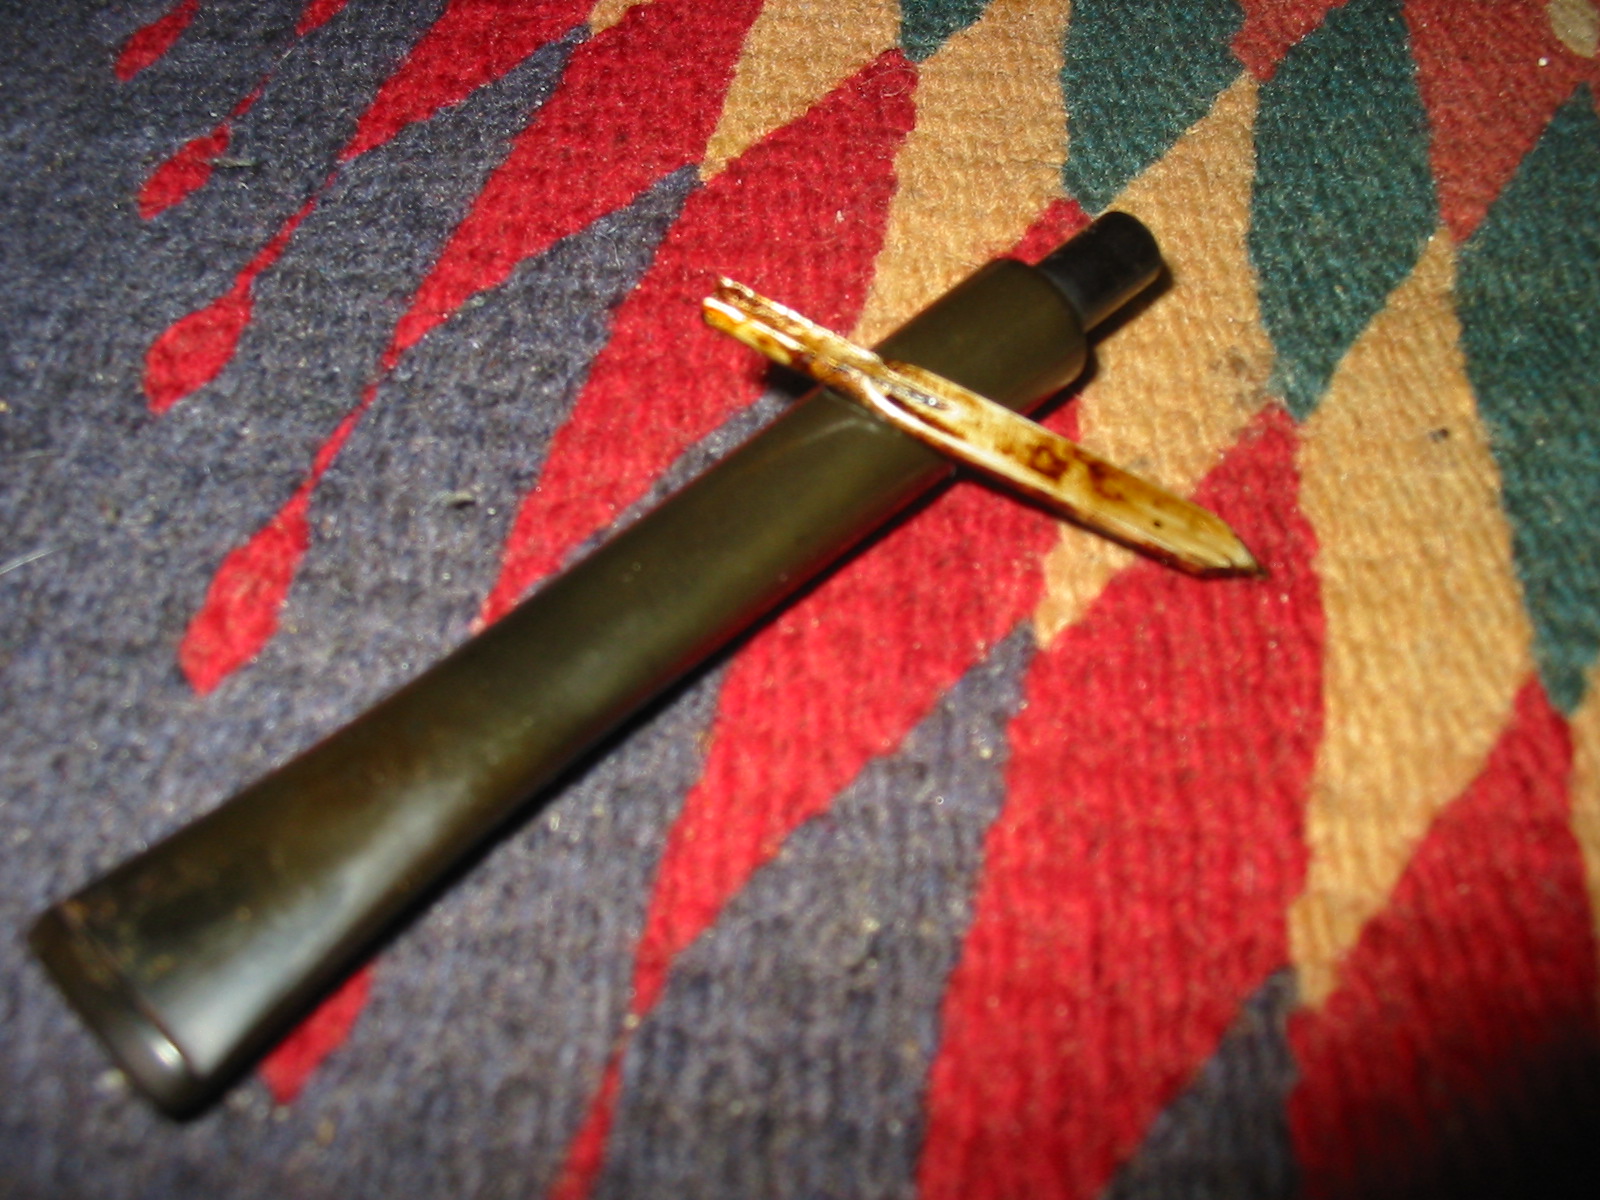
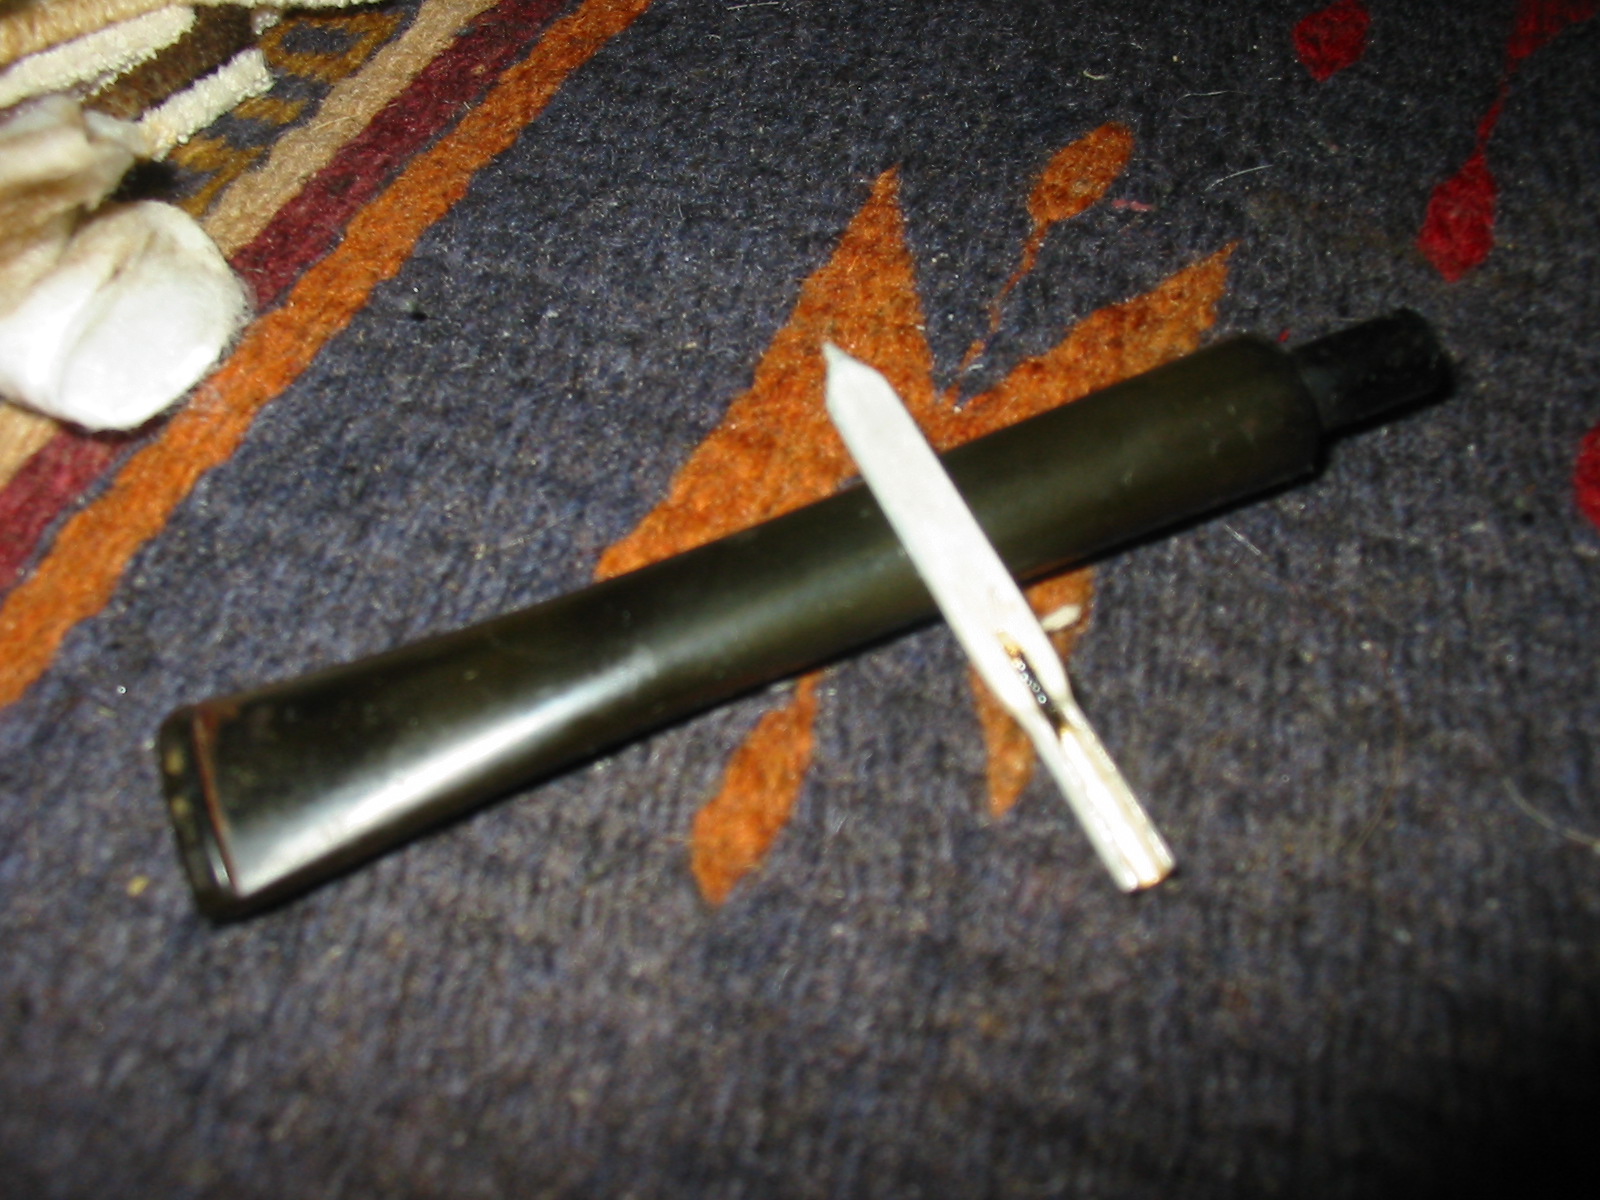
Category Archives: Pipe Refurbishing Essays

Essays and pictorial essays on the art of refurbishing

Cleaning Out the Shank of an Estate Pipe


Blog by Steve Laug

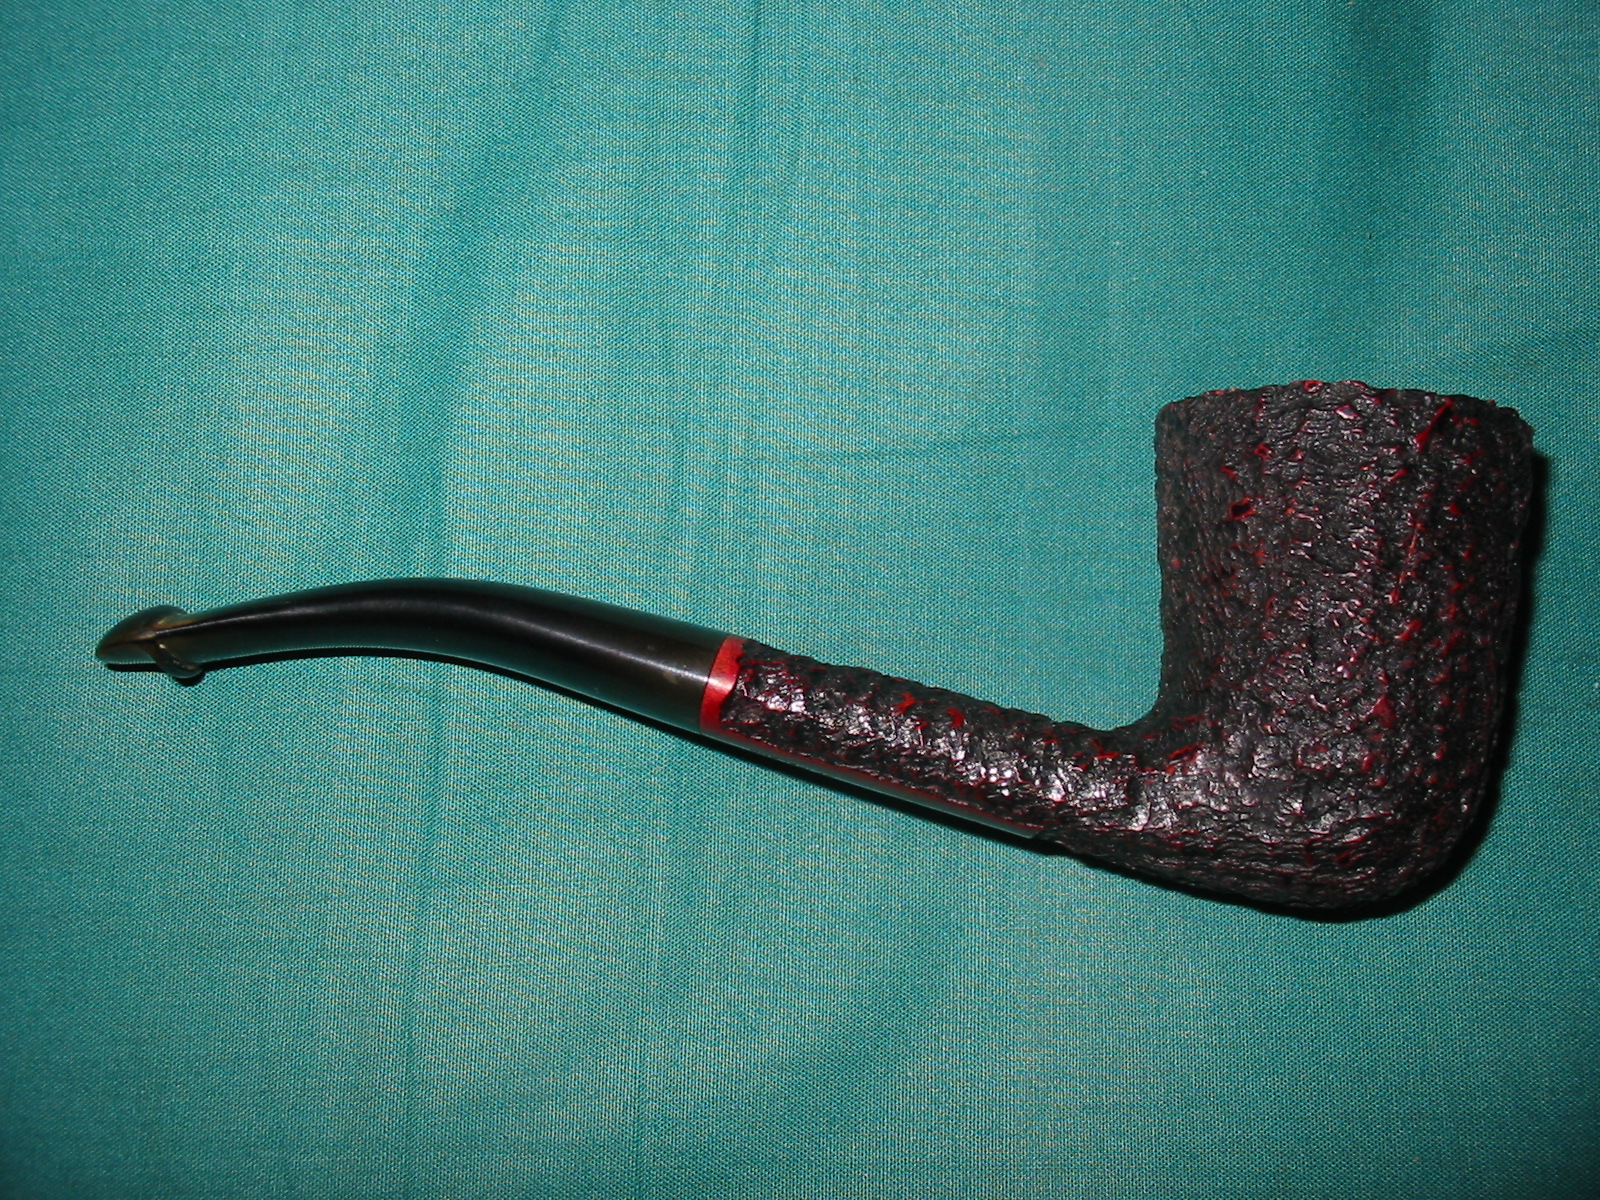
Over the years I have been continually looking for better ways of cleaning out the shank of an estate pipe. I have tried and discarded many methods over that time. The one certainty about the cleaning is that it takes many pipe cleaners, cotton swabs and much alcohol. There are no short cuts to cleaning the shank and airway. Nothing takes the place of slow and repetitive cleaning. Even with using a retort, a short cut on one level, the cleaning of the pipe still takes time before and after the retort has been used. I thought it might be interesting to some of you to read about the process in detail. I have written about the cleaning process – with and without the use of a retort.

With a retort

When I clean the shank with a retort I clean the inside of the stem and remove surface grime in the shank and airway. Before setting up the retort I try to remove as much of the surface grime internally as possible. I ream and clean out the bowl to remove any crumbling or breaking cake. I clean out the stem and button as well to give the pipe a relatively clean surface before I set up the retort. Some people use the retort immediately after reaming and leave out the cleaning step that I begin with. I have done it both ways but like the results of my process. The surgical tubing on the retort slides over the button on the stem and if the surface is dirty or has calcified buildup it does not seal well and the boiling alcohol will seep out around the tubing and make a mess. I clean out the inside of the stem to accelerate the cleaning in the shank. Even with pre-cleaning the pipe it often takes multiple uses of the retort to actually remove all of the tars and oils.
IMG_1115

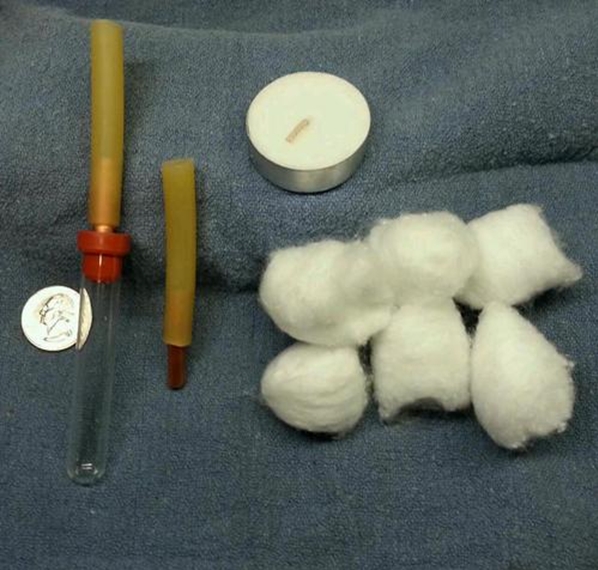
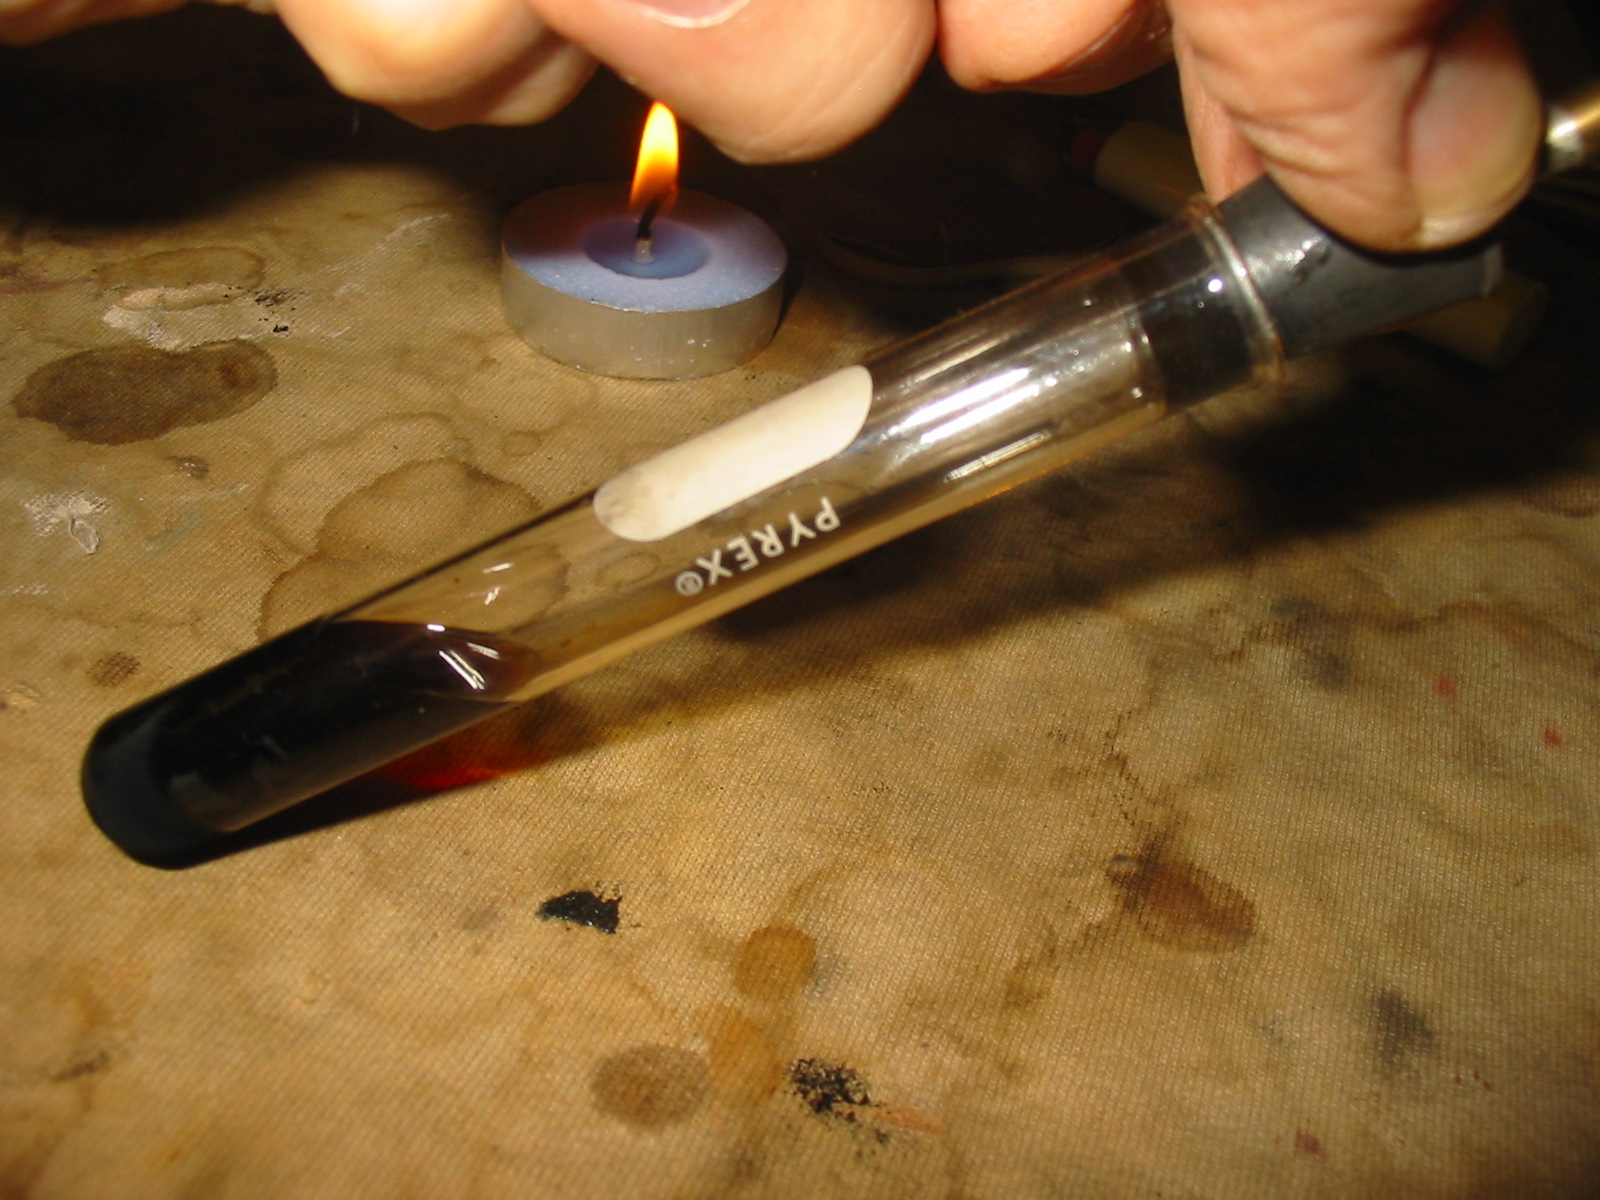
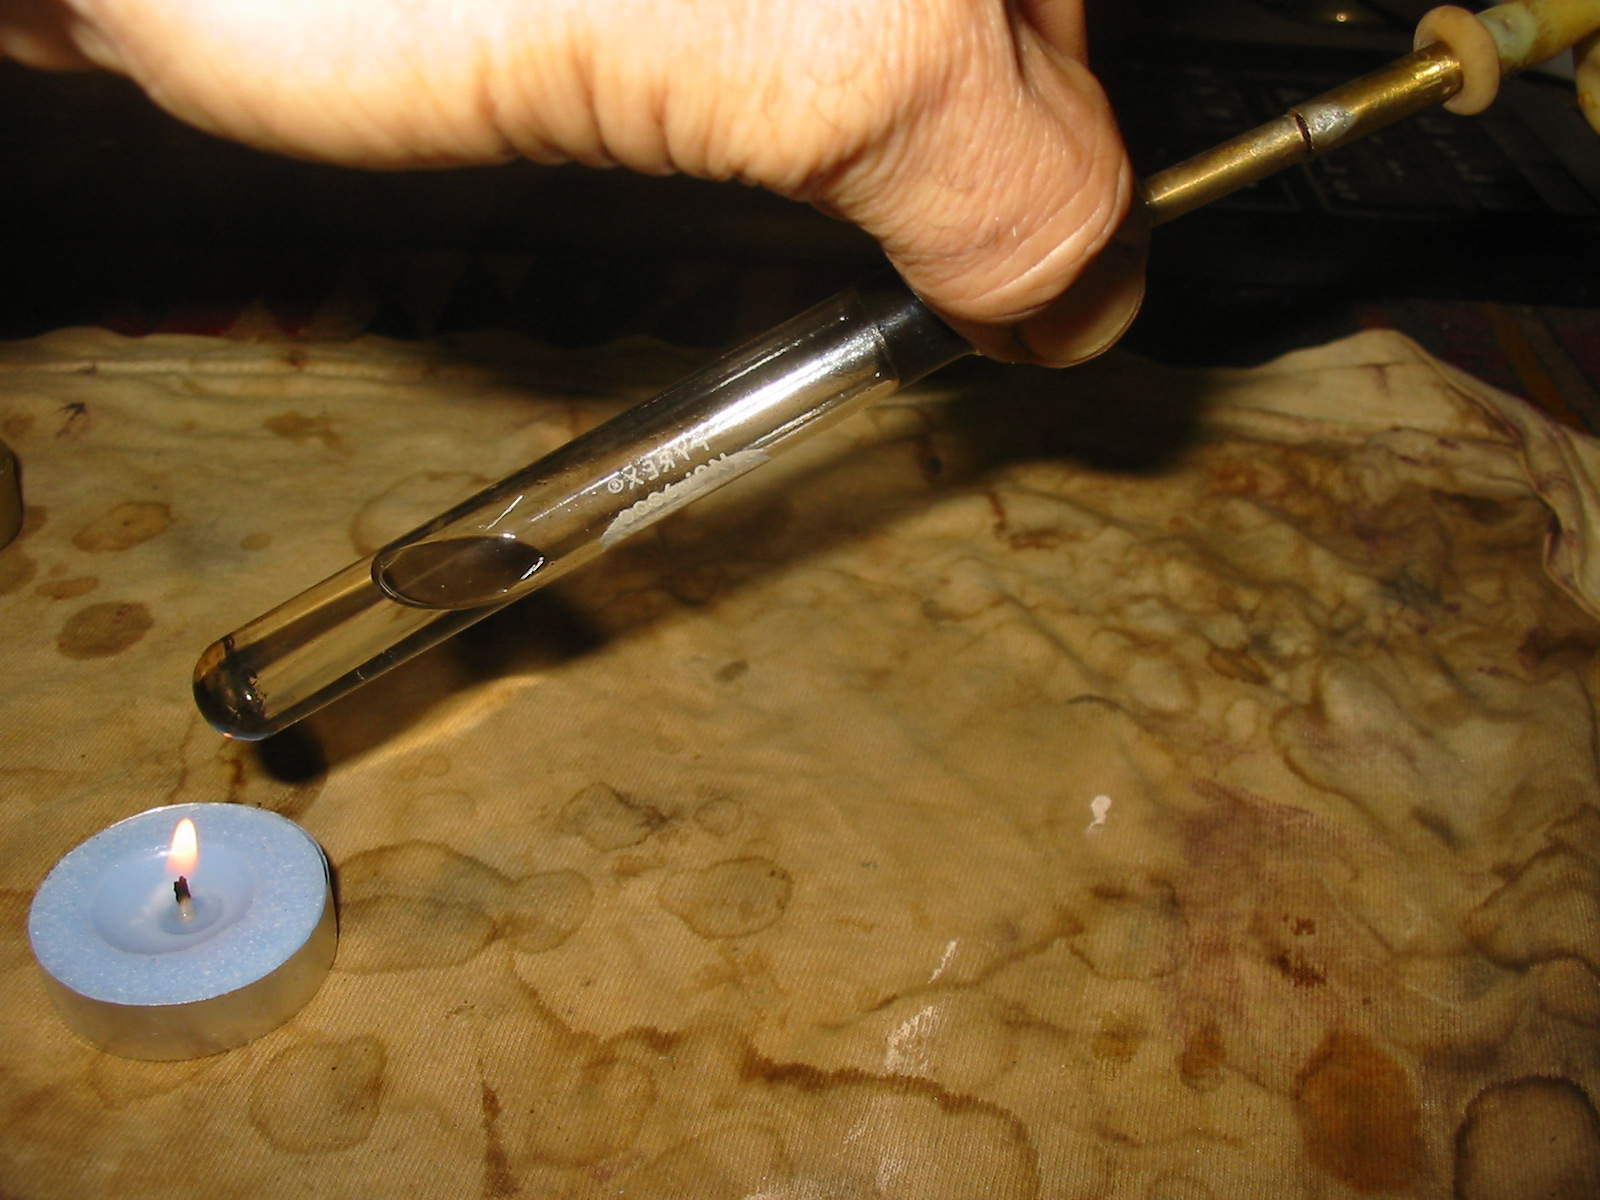
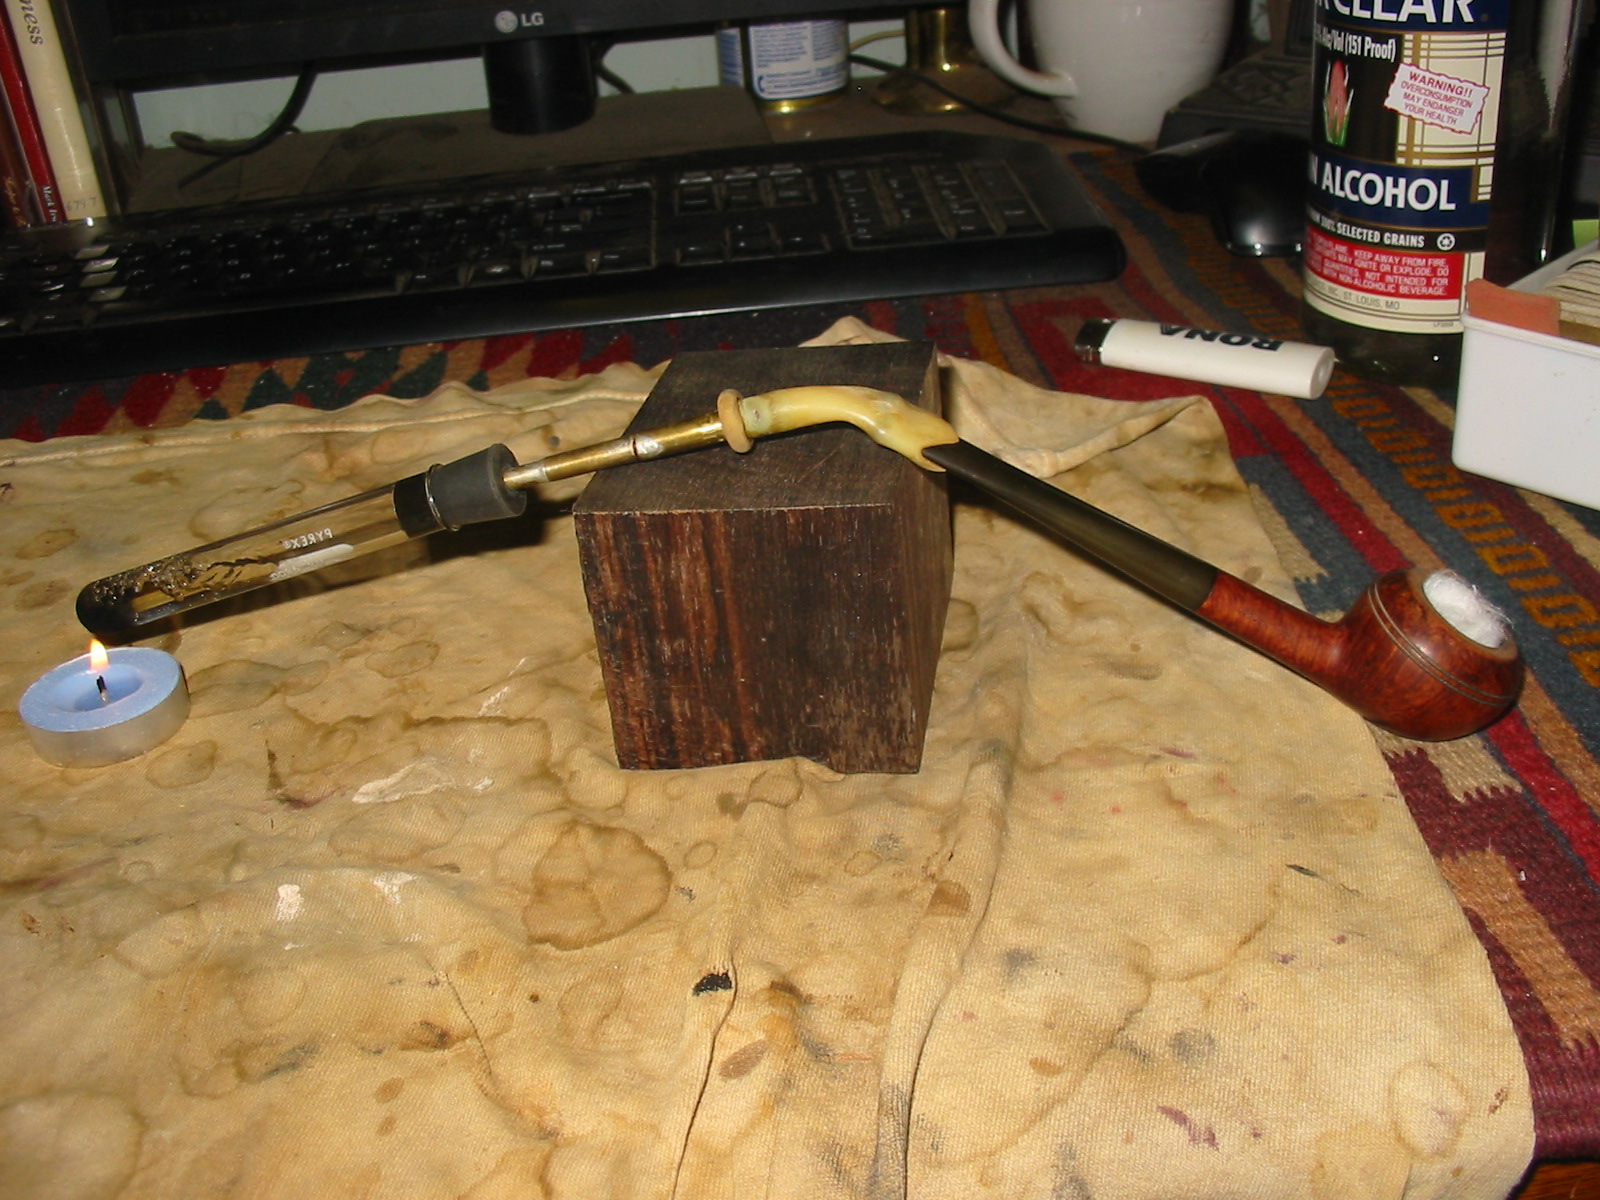
To prepare the pipe for the retort, I stuff a cotton boll in the bowl and do not press it down to hard into the bowl. I want it to plug the top so that the boiling alcohol does not come out the top but still allow it to circulate within the bowl and the shank. I use isopropyl alcohol in the test tube of the retort and I heat it over a tea light/small candle. The boiling point is quite low so it does not take long for alcohol to begin to boil. The stem and shank heat up as the alcohol goes through them. When it is removed from the heat the alcohol will be drawn back into the test tube and will be a dark brown. I empty out the dirty alcohol, refill the test tube and repeat the process until the alcohol come out clean. I remove the retort and run cotton swabs and pipe cleaners dipped in alcohol through the stem and the shank to absorb anything that has been left behind. When the pipe dries out it smells fresh and new.

retort2

retort3

retort1

Without a retort

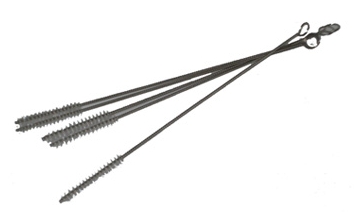
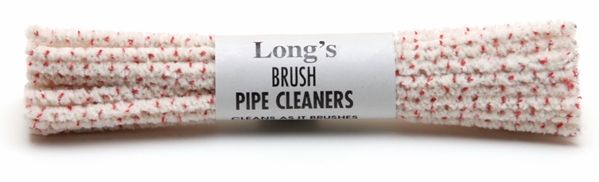
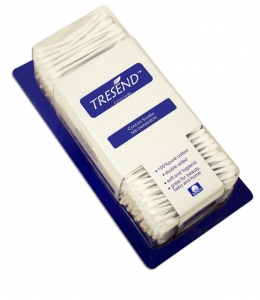
The process of cleaning a shank without a retort begins the same way as the above description. I ream the bowl and clean out the bowl and shank with pipe cleaners and cotton swabs dipped in isopropyl alcohol. I use both the bristle and the fluffy pipe cleaners and also shank brushes. The process for cleaning begins with removing the surface grit and grime. This takes many pipe cleaners before they begin to come out semi clean. Then I use the drill bit that is built into the KleenReem reamer and twist it into the shank. It scrapes the sides of the airway all the way into the bowl and removes the tarry buildup. I clean the bit off with alcohol and repeat the process several times until the bit slides through the airway with no impediment. I then wrap a cut pipe cleaner around the drill bit, dip it in alcohol and run it through the shank and airway until it comes out clean. I finish the cleaning process by scrubbing out the shank and the airway with cotton swabs dipped in alcohol and then pipe cleaners folded and unfolded.
mainmaincotton-swabs-1

cotton-swabs-3

Shank brushes

Shank brushes 3

Longs_Extra_Absorbent_Pipe_Cleaners

Longs_Brush_Pipe_Cleaners

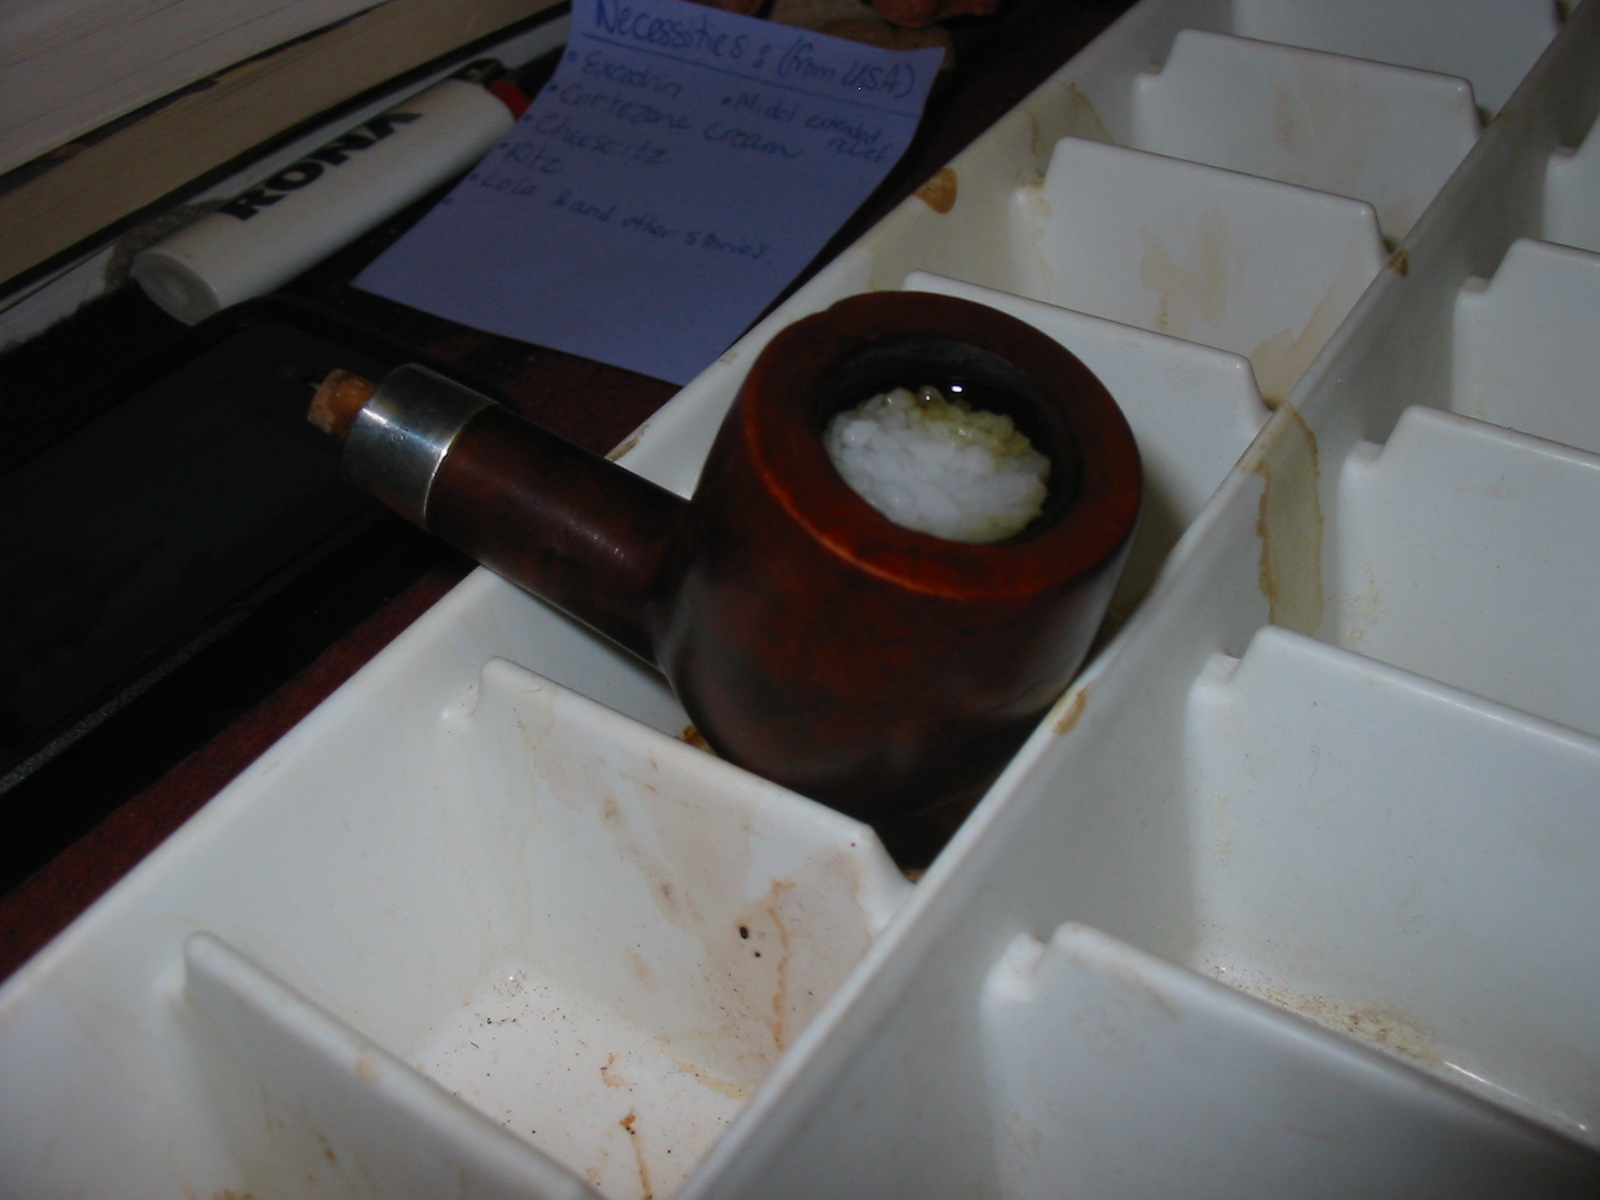
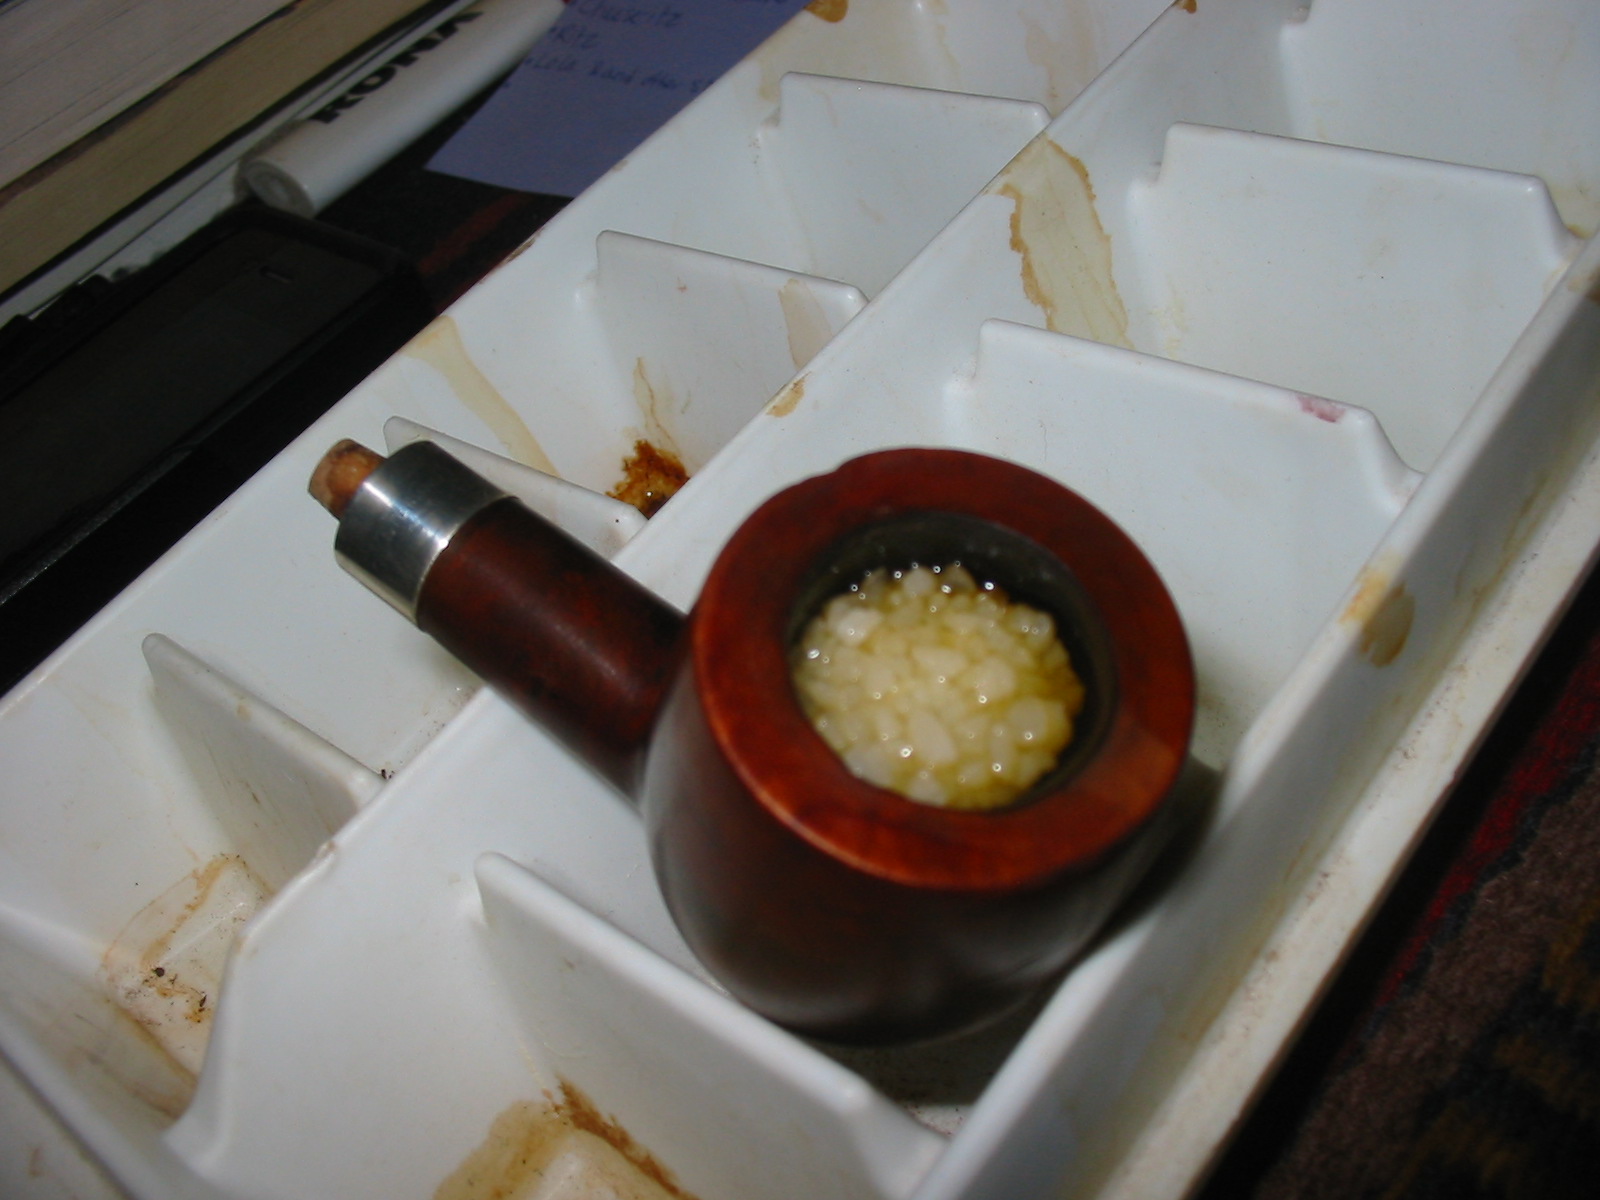
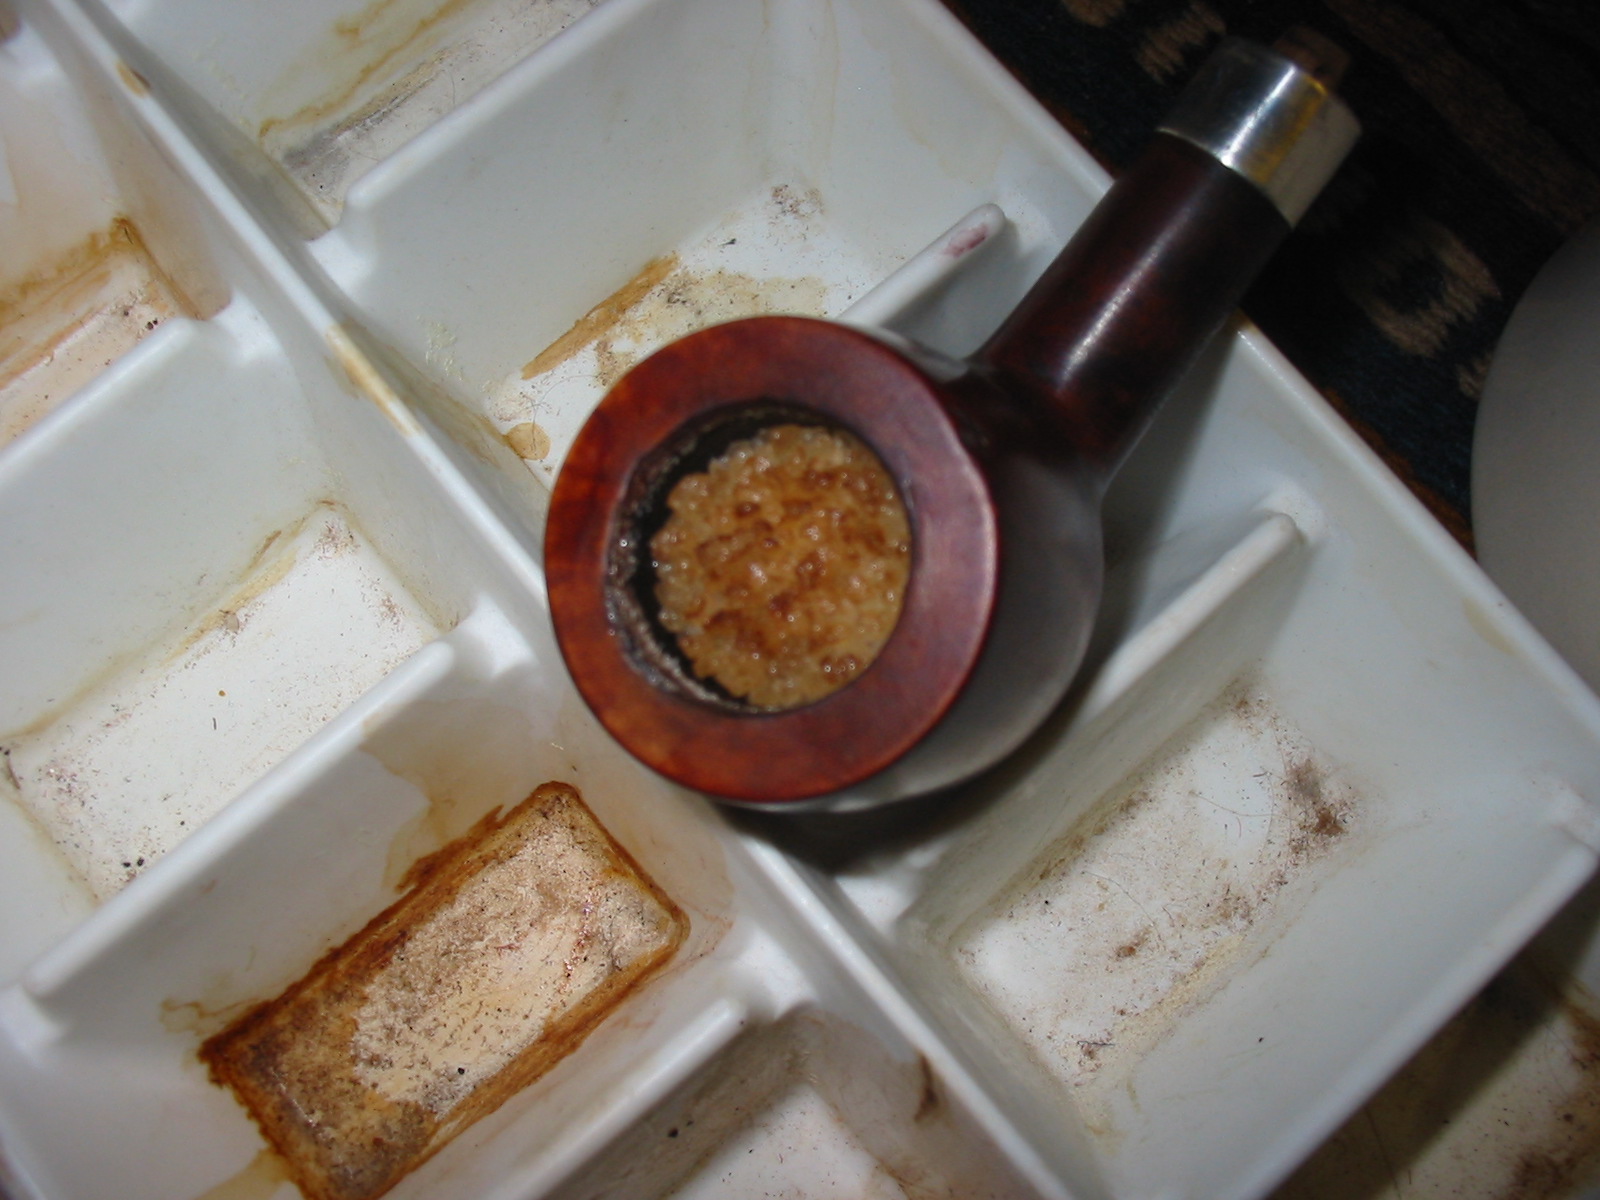
Once the pipe cleaners and the cotton swabs come out clean I smell the pipe and shank to see if it smells clean. If not then I stuff cotton bolls in to the bowl tightly. I leave about ¼ inch of clearance from the bowl rim and then fill the bowl with alcohol using an ear syringe. I have found that this keeps the alcohol within the bowl and off the finish of the pipe. I set the pipe in an old ice cube tray that I have and leave it overnight. The alcohol leaches out the oils and tars that are in the shank and bowl. I remove the cotton and wipe out the shank and bowl and repeat the process until the cotton is clean on the next morning. Once that is done the bowl and the shank are cleaned a final time with pipe cleaners and alcohol. The pipe is now ready to be used.

IMG_9808

Comoys 215 “The Guidall” Restoration


This Comoys “Guildhall” came with an Ebay estate lot that held my recent GBD Seventy-Six project. It is a stamped “C” logo pipe but the briar is nice and it should make a decent smoker. I suspect given the stamped logo and nomenclature, that this one is from the 1980’s.

The stem was heavily oxidized and it took a lot of elbow grease to get it shiny again. The bowl was reamed and soaked with an alcohol and sea salt mixture, as is my usual practice. There was a chip on the bowl top, around the 7 o’clock position. That spot was sanded lightly with a piece of 6000 grit micromesh which mininized the mark and didn’t require the bowl top to be restained. The beveled edge, a common Comoys styling element, is still intact with some darkening.

Comoys_215_Guidall_Before (3)

Comoys_215_Guidall_Before (4)

Comoys_215_Guidall_Before (5)

Comoys_215_Guidall_Before (6)

I put a dab of grease on the “C” logo stamp and soaked it in a mild Oxy-Clean solution. It took a lot of sanding with a piece of 1500 grit wet paper to remove the oxidation. The logo has to be avoided, which is tricky. I then moved to 2000 grit wet paper. The stem had a pretty decent level of shine at that point and I finished the hand work with 8000 followed by 12000 grit micromesh papers. The pipe was then buffed on a machine with White Diamond followed by Blue Magic plastic polish.

The bowl was buffed lightly with Tripoli rouge followed by White Diamond and finally several coats of carnuba wax.

Here is the finished pipe. This one will most likely be sold via pipe forum classifieds or Ebay.

Comoys_215_Finish_B

Comoys_215_Finish_B (1)

Comoys_215_Finish (8)

Comoys_215_Finish_B (4)

Comoys_215_Finish_B (5)

A Peterson Pipe Finds Its Way Home


I don’t think I have ever had a pipe I gave a way or sold come back to me years later. Usually they are gone from my radar. I have a record of the pipes I have sold but rarely record the ones I give away. They are gifts and as such the moment they leave my hand they are no longer on my radar. There has been times when I wished they would come home but never truly expected it to happen. That is until yesterday!

The pipe that came home has been there and back again! Its residence with me began when I visited Mike Glukler in Aldergrove many years ago. Periodically I would visit and look through the pipes he had for sale through Briar Blues. This time I looked through and was drawn to a Peterson Special in a rusticated Dublin shape. I checked it out and the purchased it. I brought it home with me and smoked it a couple of times but never quite enjoyed it enough to make it a regular in my rotation. So it sat neglected for a while. On day I was going through my rack and deciding which pipes to sell and which to keep and I came across this one. I almost put it in the “to be sold pile” but instead I cut a new fishtail stem for it. I smoked it more often then.

I have always had a curiosity about the estate pipes that I purchase. I want to find out as much as possible about them. In the case of this Peterson that meant I would contact Mike Leverette. I wanted to get an idea of what I had in my hands. I wanted to know a bit about the age and details of the pipe. Mike was excited when he heard about this pipe. He said he had never seen a Special in this shape. I sent him photos of it and he sent back replies about it that were very helpful to me. I had it in the rack and smoked it occasionally with the new fishtail stem but never truly seemed to reach for it that often.

Through my work I would travel to Atlanta several times a year and stay for a week or more at a time. I always took along pipes and tobacco that I would gift to other pipemen that I would call and meet for a bowl and a chat. I met John Offerdahl and Mike Hagley on some of those trips. But I would always get together with Mike Leverette. He would drive up from his home to Atlanta where I was staying in a hotel by the airport and we would have lunch or dinner together. We would talk about all kind of things – history, Vikings, architecture, pipes, history, pipes. WE kept in touch by email and phone over the years and when he was diagnosed with cancer and underwent surgery we talked and afterwards we met together. When I was diagnosed with cancer and was scheduled for surgery we talked and met together. Mike was my friend and a kindred spirit in terms of pipes, history, writing and many other things. If you have a picture in your mind of two old gents sitting together over dinner chatting and later adjourning to the open space near my hotel to smoke our pipes and talk some more you have the right image in your mind. I always enjoyed those visits. Several times John Offerdahl would join us for dinner and a pipe. I have missed those visits and conversations since Mike died.
LTR: John Offerdahl, your’s truly, Mike Leverette

LTR: John Offerdahl, your’s truly, Mike Leverette

It was on one of those trips, quite a few years ago now, that I gave that Peterson’s Special Dublin to Mike when I visited him in Atlanta, Georgia. I remember sitting in an Italian restaurant near the hotel and each of us pulled out our gift pipe and tobacco to exchange. It had become a bit of a ritual with us. We would exchange our gifts before even opening the menu! I remember on this particular occasion Mike gave me two old sandblasted Barling Canadians that needed to be restemmed and a tin of Virginia Flake tobacco. My gift to him was wrapped like most of my presents (at least that is what my daughters tell me) in a grocery bag. When he opened it and took out the Pete Dublin the look on his face was a mixture of surprise and excitement. He turned it over in his hands and read the stamping and commented on the history of the pipe. He took it apart and looked down the long shank and examined the stem. He loved that pipe a lot. I had included a tin of Latakia Flake for him as it was a favourite of his.

We finished our dinner that evening and went back to the hotel and adjourned to the bench out front. He loaded up the pipe with some of his own tobacco and I loaded mine. He smoked it and thoroughly enjoyed the smoke. I am sure there was much more that went on that evening but this is what my memory brings up. That evening was in the pre-cancer days for both of us so we did not have a care in the world or a worry on our minds. I remember a bit of the conversation that evening – we spoke of the route of the Exodus of Israel from Egypt. Mike had done a lot of work on that in a paper he sent me and he wanted some feedback. It was a great evening and we talked and smoked until the sun went down. We parted company that evening both richer for the conversation and friendship. That was the last I saw of the Dublin.

Now jump ahead about 12 or more years. I was on the phone with a buddy who is selling Mike’s pipes for Mike’s widow, Jeanette. We were talking about the pipes in the lot that he was selling. There were several of them that he wanted to send me to recondition and document the process I used on them. As we talked I asked him in passing about the Peterson Special Dublin. I was curious as to what happened to that pipe after Mike died. I told him a bit of the story I have written above. He laughed and said that he happened to have that pipe in his hand at just that moment. I asked him about its condition and what he thought of it. It was at that point he offered to send it back to me. He would call Jeanette and tell her about our conversation and then ask her about the pipe coming back to me. She told him she was more than happy to have it come home! He let me know that it would be shipped out to me soon!
I knew it was coming but not when. Today I came home from work and found a package waiting for me. It was addressed from my buddy in Texas. I excitedly opened it and carefully unwrapped “Mike’s Pipe”. It had come home to Canada. As a kindness my friend had include a small bag of HH Dark Flake tobacco for me to try. I know he had said it was too strong for his liking but the funny thing is I think it is just the tobacco that Mike would have loved. I took the pipe down to my work table and gave it a thorough examination. It was actually in great shape. The cake was minimal, just the way I like it. The finish was in excellent shape with no dings or scratches. There was a little darkening and dust on the rim but that would clean up easily. The stem had some oxidation around the P stamp and on the underside as well (to be honest I think this was there when I gave it to Mike, or at least it looked like I remembered it). There was some small tooth chatter on the top of the stem and on the underside just ahead of the button and the shelf, but none of it was too deep. I decided to clean up the pipe right then. The next three photos show the pipe as it looked when I took it from the box.

IMG_1155

IMG_1156

IMG_1157

I used a Bic lighter and passed the flame over the tooth chatter on the top and underside of the stem. I then sanded it lightly with 1500 grit micromesh to make the tooth marks very visible. I used 220 grit sandpaper to remove the tooth ridges and remnants left after the heat of the lighter raised the dents. I wet sanded it with the 1500 grit micromesh to smooth out the scratches left by the 220 grit. I also decided to add some white to the stamping on the stem. I use a whiteout pen to do that. I apply the whiteout heavily to the stamping and once it is dried I sand it off with the 1500 grit micromesh sanding pad.

IMG_1163

IMG_1158

IMG_1159

IMG_1161

The next series of three photos show the progress of polishing the stem with the micromesh sanding pads from 1500-12,000 grit. The recoloured stamping is also visible. At this point in the process I scrubbed the top of the bowl with warm water and a tooth brush. The darkening and light build up was easily removed by this method. I then buffed the stem with White Diamond to give it a final polish and lightly buffed the bowl. I buffed the stem with carnauba to protect it from oxidizing and then took the pipe back to my table. I gave the bowl a coat of Halcyon II wax and hand buffed it with a shoe brush. I have found that this keeps the rustication crisp and fresh where a buff on the buffer can flatten the rustication and change the feel in the hand.

IMG_1164

IMG_1165

IMG_1166

The next series of four photos show the rejuvenated pipe. The stem is a bright black and the tooth marks are gone. The bowl and internals are also cleaned and the pipe is ready to load up with the HH Dark Flake and smoke. This pipe will always be “Mike’s Pipe” to me. I raise the bowl in his honour!

IMG_1182

IMG_1183

IMG_1185

IMG_1187

Not So “Mint” Danish Sovereign Reborn


Blog by Greg Wolford

I picked up this Danish Sovereign off eBay for my son as a gift. I have one in a different shape and he has admired it since I got it. I knew that he had been wanting a Danish pipe and when I was this one it looked to be right up his style-alley.

This pipe came described as in “mint condition” from an eBay seller. It was a Father’s Day gift for my son, his first Father’s Day pipe actually; he took up the pipe only about 8 months ago. The photos the seller provided were not good and none of the problems were shown/disclosed; I could see some oxidation but didn’t expect the chatter and dents.

The seller shipped it not as expediently as I had hoped so the pipe didn’t arrive in time for Father’s Day; it came yesterday. I spent the evening getting it cleaned up for him, not doing anything to alter the originality of the pipe, which is what he wanted. If he decides he wants me to, I may end up sanding it down and re-staining it, filling the dents as needed, to make it much more like new. But that’ll be his call since it’s his gift.

I thought I would try something, actually a few things, different for this project: I used a few new things/processes, yes, but mainly the difference is I took video as I went instead of photos and will show the steps/progress in the video rather than writing it all out. This is something I have been wanting to try and so, now I have! Since it is the first time doing a resto-video I’m sure there will be things that could’ve been done better. And hopefully with time and practice, if this idea seems to “fly”, they will in the next projects.

Concerning a Vintage Portland London Made – Robert M. Boughton


It is a pleasure to have another article by Robert Boughton. In this article he demonstrates his skills in the restoration of a Portland Pot shaped pipe. Thanks Robert for your additions to the blog.

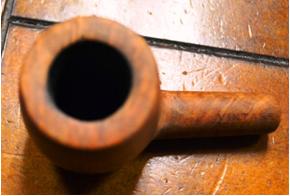
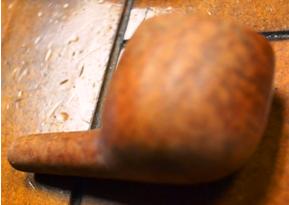
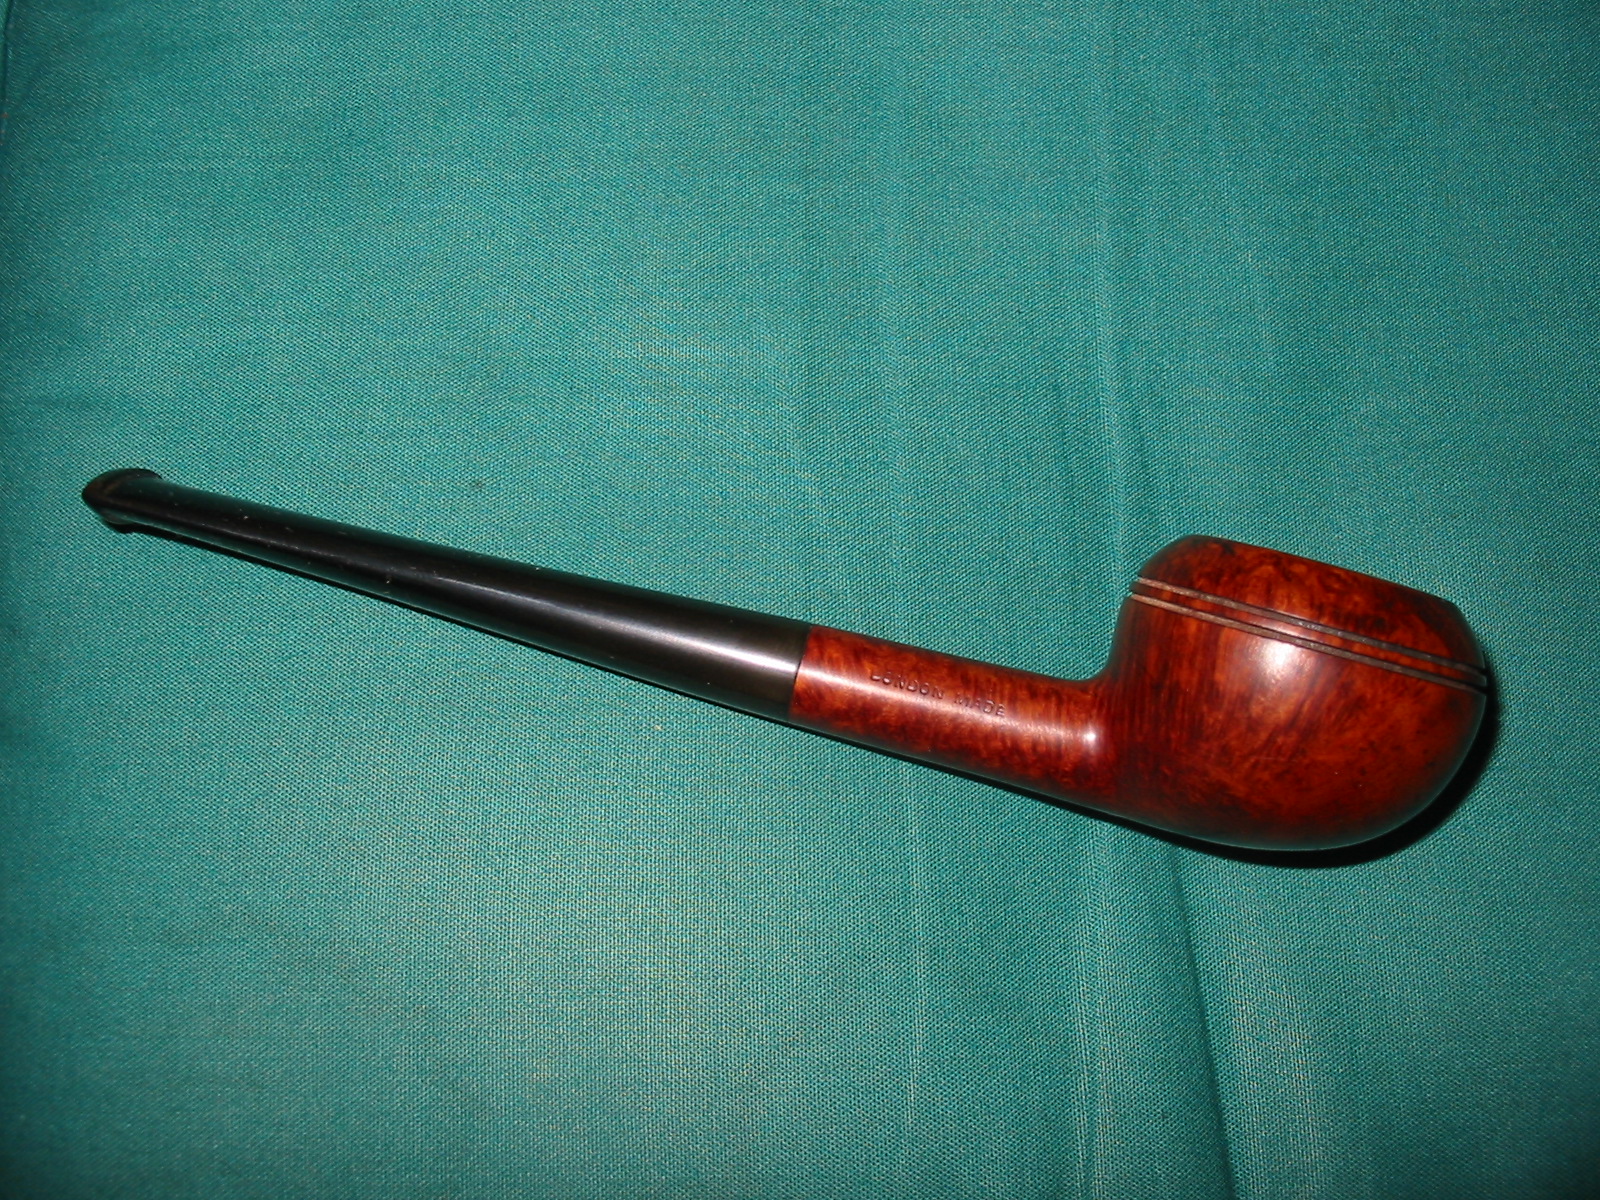
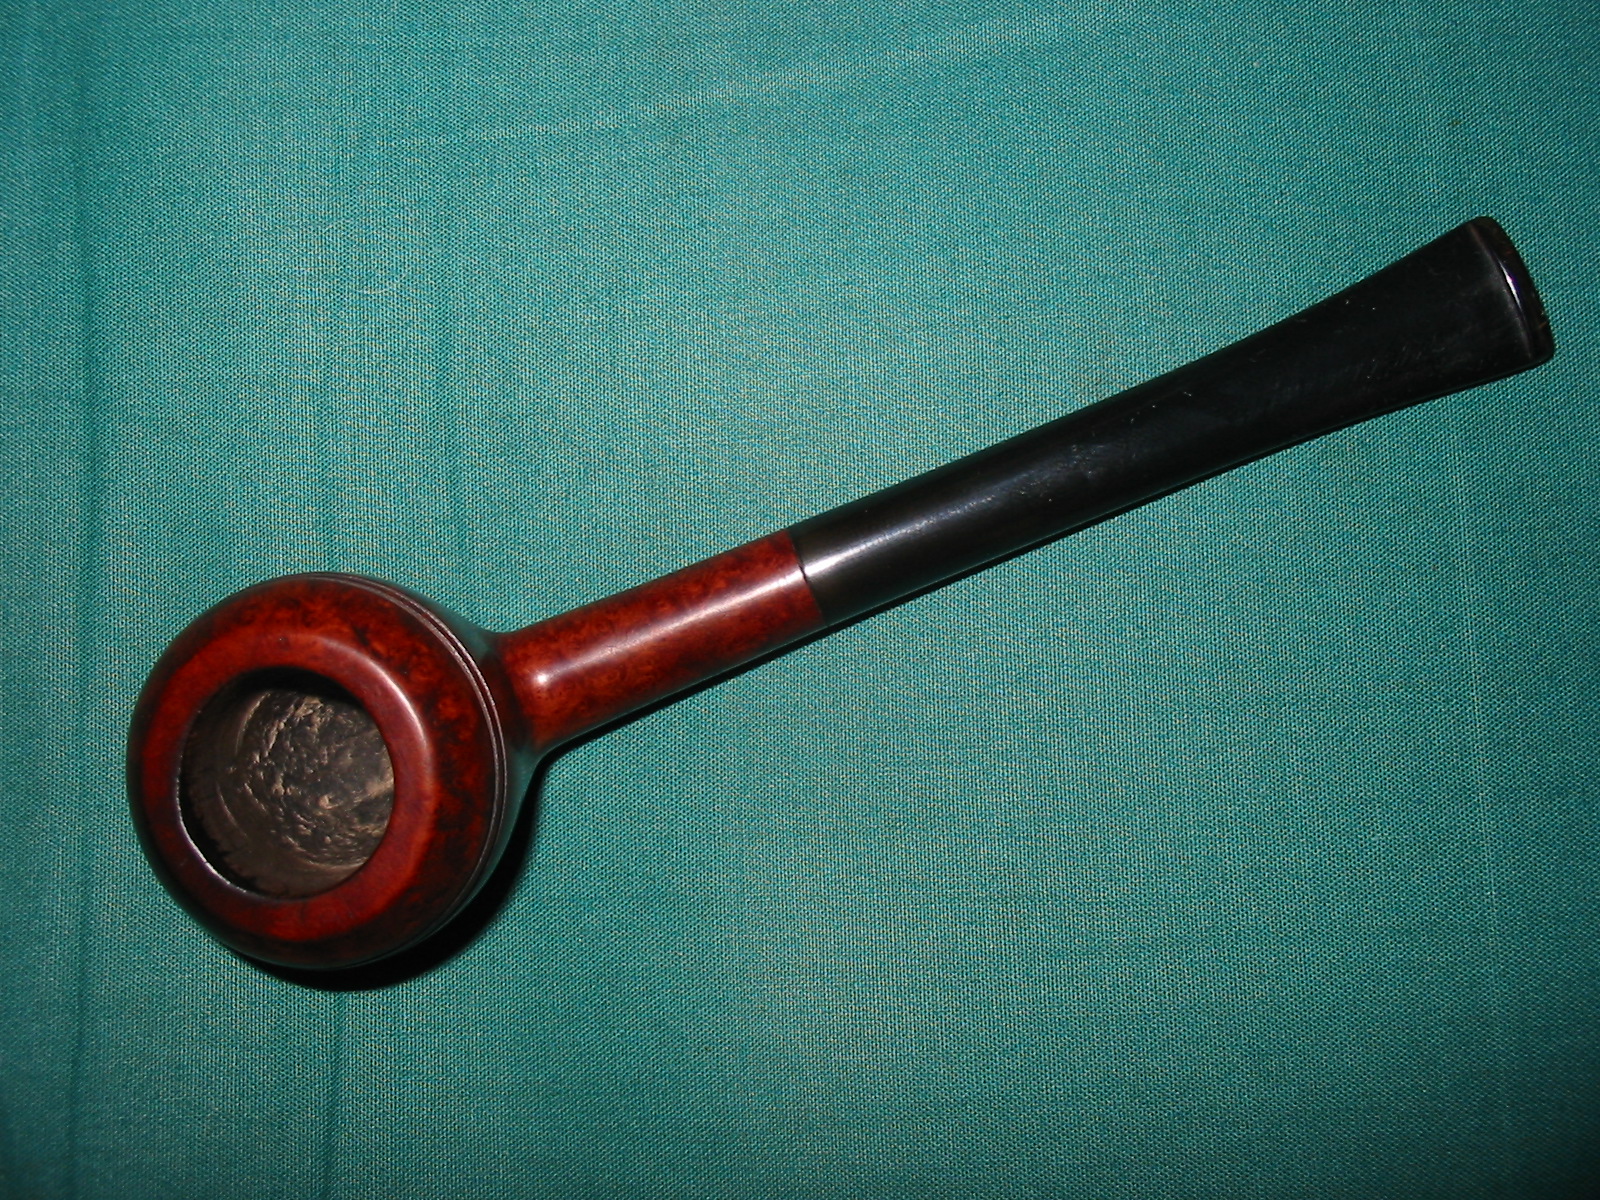
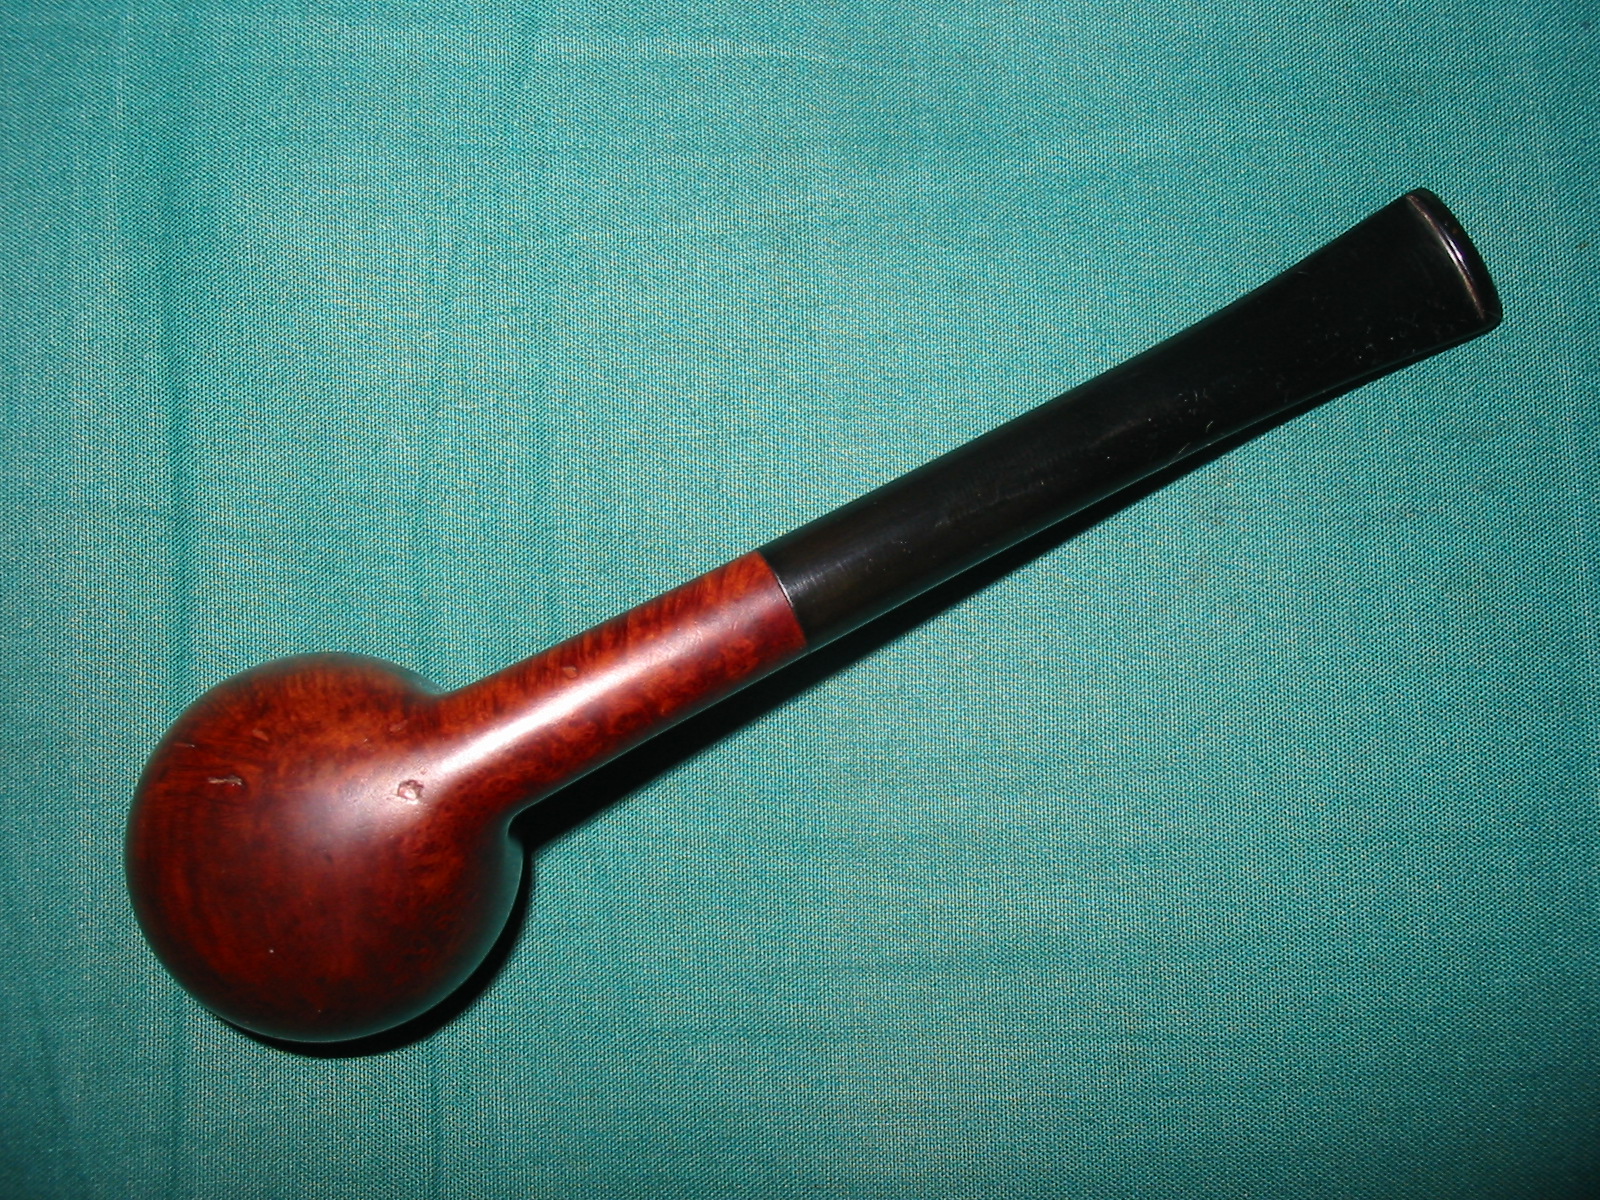
The particulars of said pipe being that it is an elegant, very small straight pot (5’’ length with a 1.5” x 1.25” bowl), and is believed by the author to be a BB&S, or Barling, seconded to Topsall Portland
Guest Blog by Robert M. Boughton

Introduction
Irish author James Joyce, in a memorable example of poetic license, called his collection of short stories assembled in Dubliners his “little epiphanies.” Rare stones are known as gems. Wise men have written that the smoking pipe is “the poor man’s friend”and“the fountain of contemplation, the source of pleasure, the companion of the wise,” and that it “draws wisdom from the lips of the philosopher, and shuts up the mouth of the foolish.” To me, the moment I first saw on eBay this fine specimen of pipe-making, its simple and classic lines and curves shining through the obvious considerable use by its previous owner(s),“sudden as the spark from smitten steel” I was effected the same as the hammer striking metal in a forge. I had to have this pipe, and for a penny less than $20 it became mine. Knowing nothing at the time of purchase of its possible history, my only desire was to restore the beautiful little pot to its original splendor.

As I sit here on the only piece of comfortable furniture so far moved into my new apartment in a much better and safer part of town than I described in my previous blog, with the morning view of a golf course outside my window, I am smoking in my little Portland pot – now restored to the above-sought condition – a gentle bowl of Stokeby’s 4th Generation 1855 ready-rubbed mixture with its natural Virginia sweetness, and feeling so happy I made the small investment of money and time. Although I am comfortable taking credit for the full restoration of the pipe, this being my first such complete endeavor in the art and craft of such work, I must again give thanks for the collaborative contributions of several friends, in this case Chuck Richards, Hunter Brooks and Leigh Brady, whose parts in the task will be described in time.

Boughton1

Again, when I bought this pipe, I did so without any initial research. By the time it arrived in the mail four days later, however, I had found references online that seem to identify it as a BB&S (Barling’s) second made for a company known as Topsall Portland. Other sources include eBay and the Brothers of Briar. I am satisfied with the pipe regardless of its origins, though, and any better information would be appreciated.

Chuck Richards.  Photo © by the Author

Chuck Richards. Photo © by the Author

Hunter Brooks.  Photo © by the Author

Hunter Brooks. Photo © by the Author

Leigh Brady.  Photo courtesy of L. Brady

Leigh Brady. Photo courtesy of L. Brady


Restoring the Portland

First, there’s the sanding that I expected to reveal a small crack in the top of the shank near the stem, which in fact was my original excuse for the full restoration of the pipe as opposed to the initial refinish I had completed to remove the bad discoloration of the bowl and stem…but after sanding down the entire bowl and shank, the “crack,” I was actually disappointed to discover, was only a mirage created by the old finish.

Boughton5

Then, after the initial setback of discovering there was no need to fill a crack and use a metal band to seal the shank, I micro-meshed the wood:

Boughton6

Boughton7

Boughton8

Following the micro-mesh, I used a light brown leather stain recommended by Chuck, which I found at Hoffmantown Shoe and Boot Repair, after which Hunter at Stag Tobacconist(owing to my lack of supplies and equipment) buffed the bowl with Red Tripoli Wax and the stem with White Tripoli.
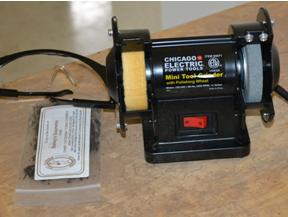
I bought a very cheap wheel buffer to apply Halcyon II Wax, which gave the pipe a decent but still somewhat wanting finish.

Chicago Electric Mini Grinder/Buffer

Chicago Electric Mini Grinder/Buffer

Finally, I tackled the hardest, and therefore most satisfying, task of micro-meshing the stem where it connected to the shank, which appeared to have been replaced at some point during the pipe’s long life. By my estimate, this Portland London Made pot was crafted no later than the 1960s. Perhaps this accounts in large part to my dread of fitting the stem to the shank, a job that even I could feel was necessary to call the overall work a full restoration but which I approached with considerable trepidation for fear of overdoing this step – and in so doing botching the entire effort! But, at Chuck’s insistence, I applied gentle, patient micro-meshing and at last achieved the desired effect. Again I am indebted to Chuck’s guidance, without which my own inclination to put the helpless stem to the wheel almost surely have obliterated all of my hard work!

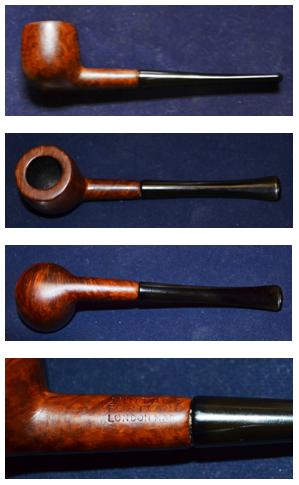
The next Friday night, at our weekly pipe club meeting, I presented the pipe for scrutiny by my fellow members. I was gratified by Chuck’s initial pronouncement, which was a simple “Nice!” but even more so for his almost immediate observation that I had attached the stem upside-down – and his final contribution of a quick carnauba Wax spin on the shop’s high-speed buffer wheel as well as a small amount of beeswax to tighten the loose stem, rendering the following finished product:

Boughton10

Conclusion
It is with a sense of humility and responsibility for the admitted first attempt at such a work that I present this finished product to the pipe smoking world at large for its final judgment and, I hope, suggestions for how to approach future restorations.

My final word of appreciation is owed to Leigh, a fine British friend and fellow lifelong member of the Stag Pipe Club, for his contribution concerning this pipe’s possible history being linked to the Great Portland Street of London, which he wrote in an email is known for its tobacconists as well as being “very close geographically to the famous Baker Street which was the choice of abode for the great Sherlock Holmes.”

GBD Oval-Shank Pot “Seventy-Six” Restoration


In 1976 GBD introduced a series called the “Seventy-Six” to commemorate the United States Bicentennial.  I was in Sophomore in high school during 1976 and the year-long celebration had a big impact on me.  The Seventy-Six model remained in the GBD catalog until 1981.  From the 1976 Catalog:

“The GBD “Seventy-Six” is our contribution to the Bicentennial celebrations.  We have really pushed out the boats for “the colonies” in launching this new series that will be remembered by its proud owner long after the celebrations are forgotten.”

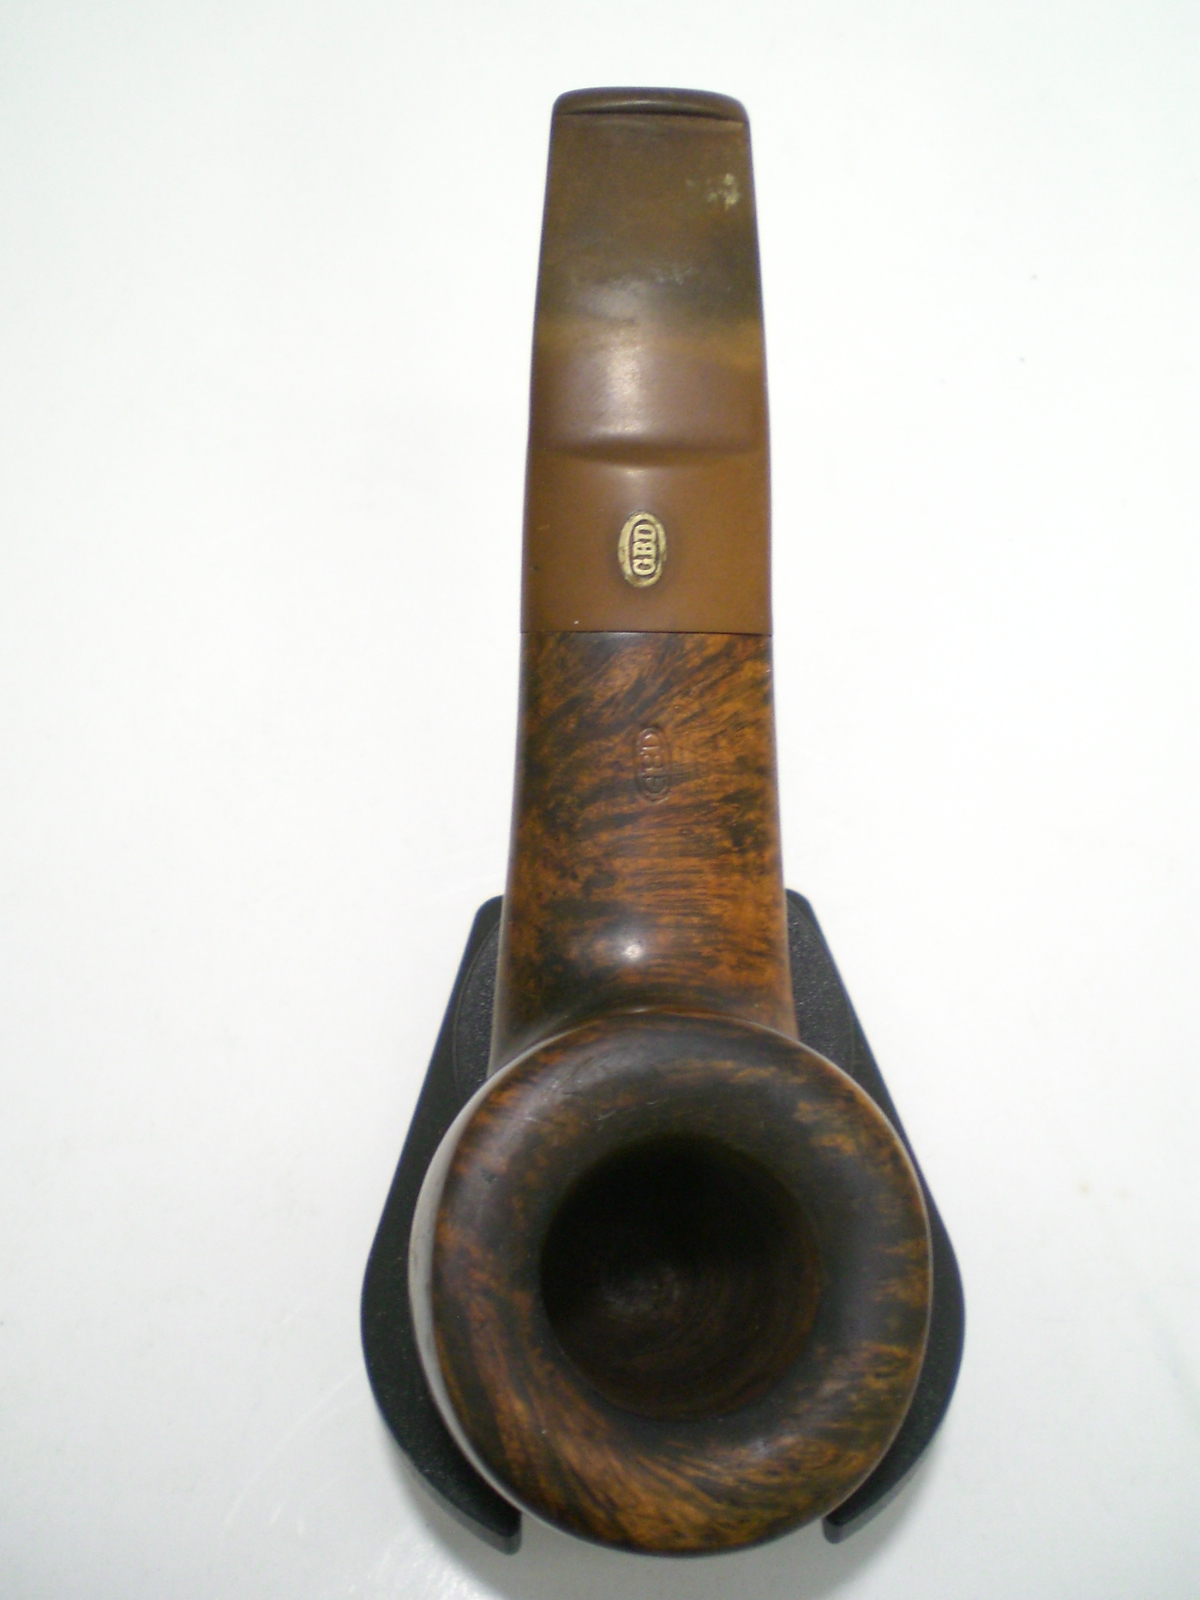
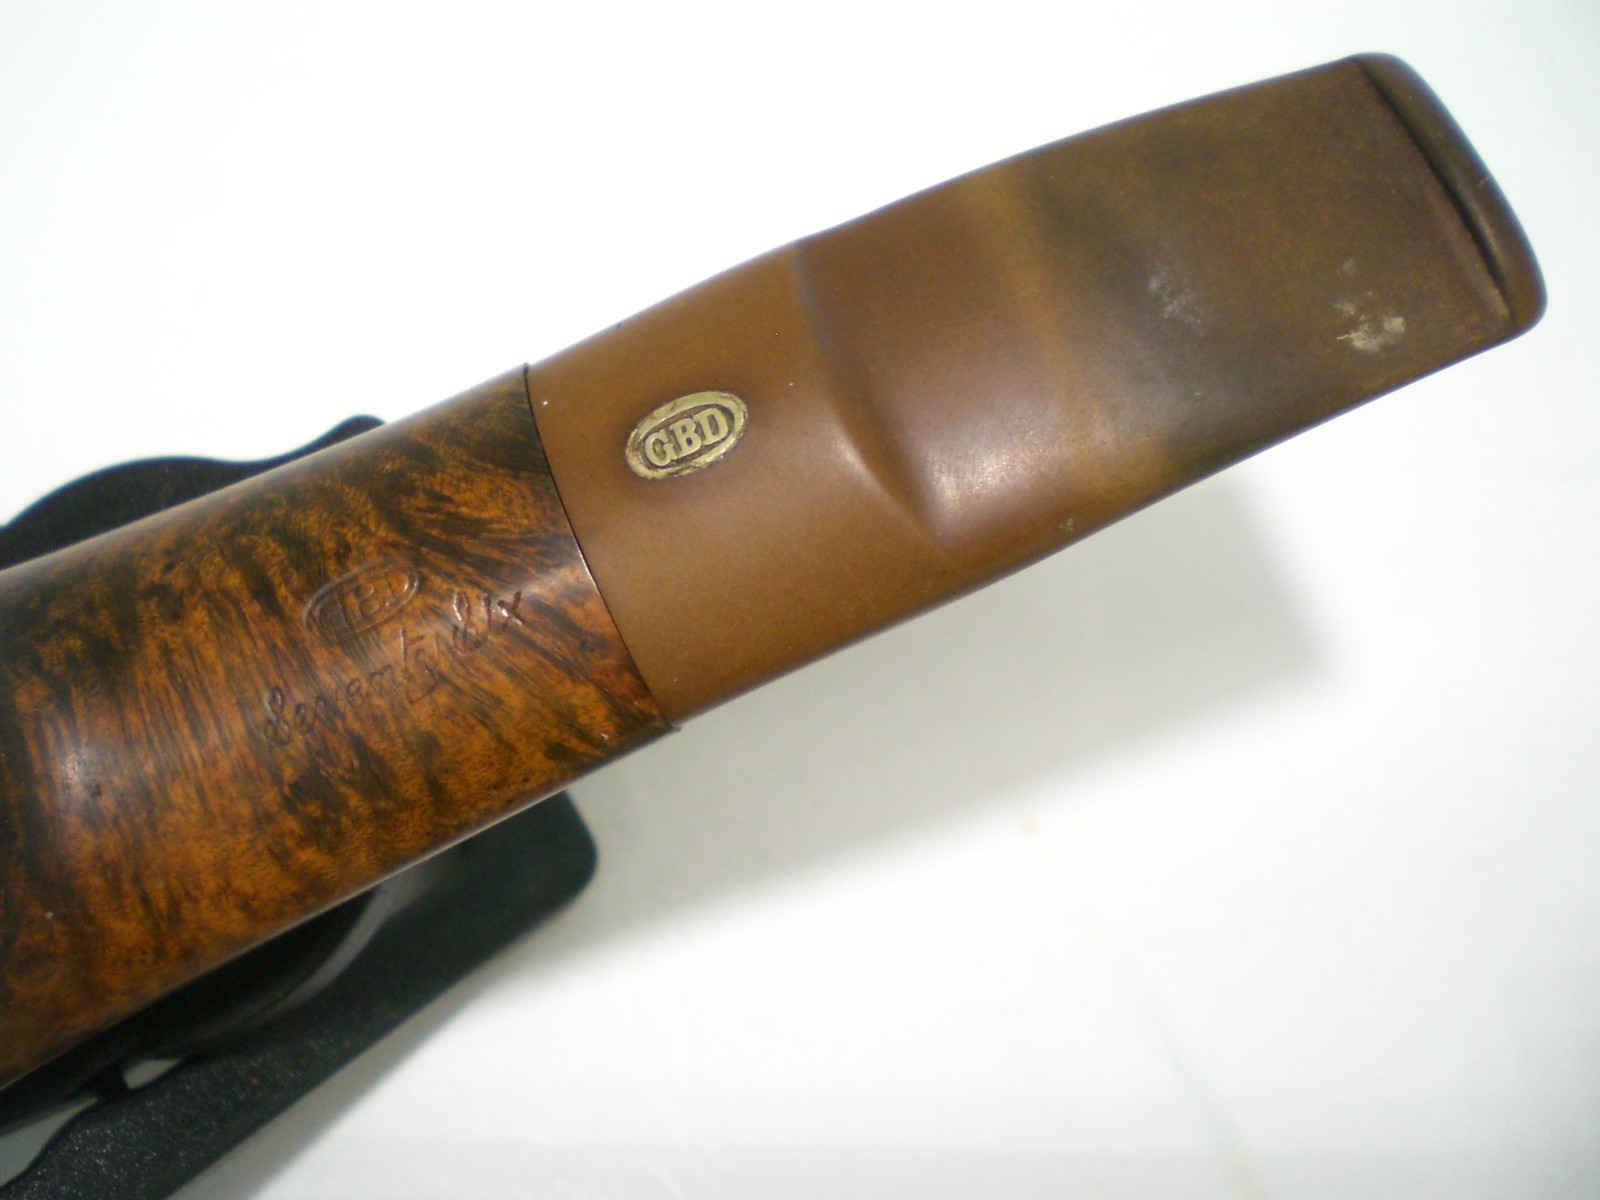
My first “Seventy-Six” model was a 1976 Coloussus and I’ve since added three more, including this Shape 1353.  I would call this a banker, but in a Smokers Haven sales ad, it is referred to as a “bent oval-shank pot”.

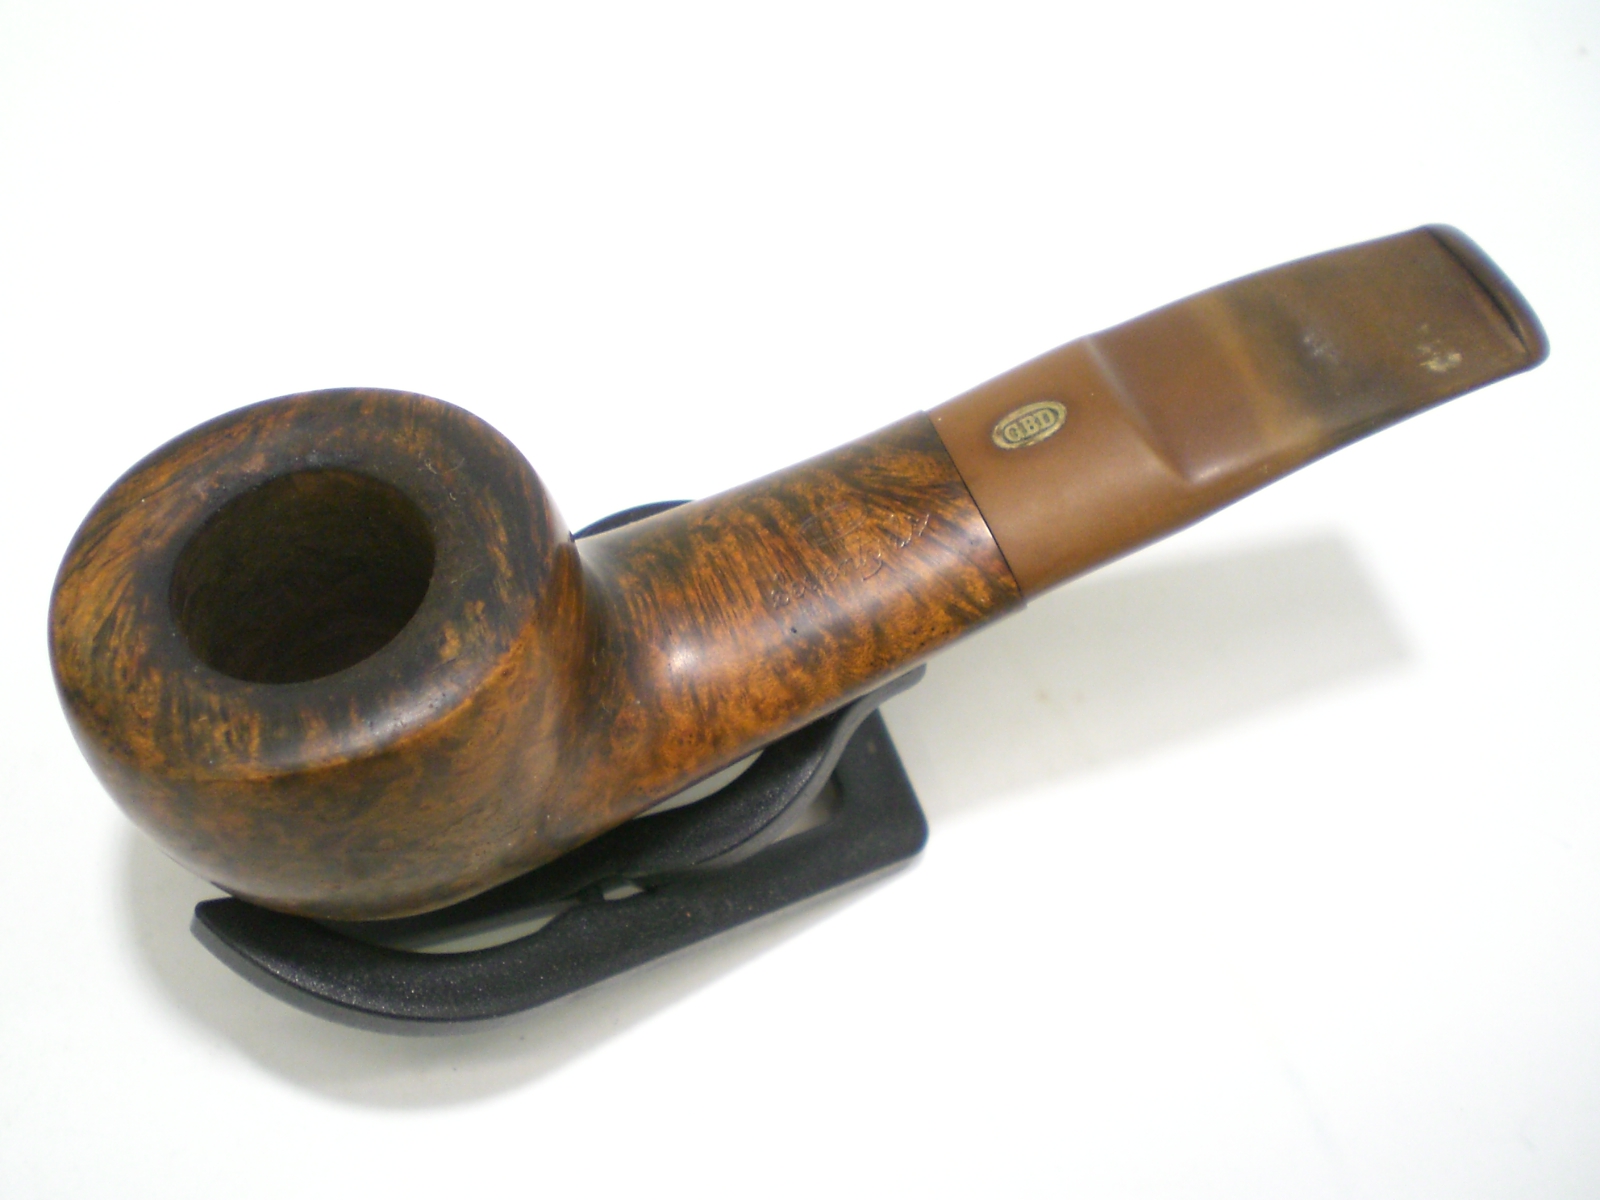
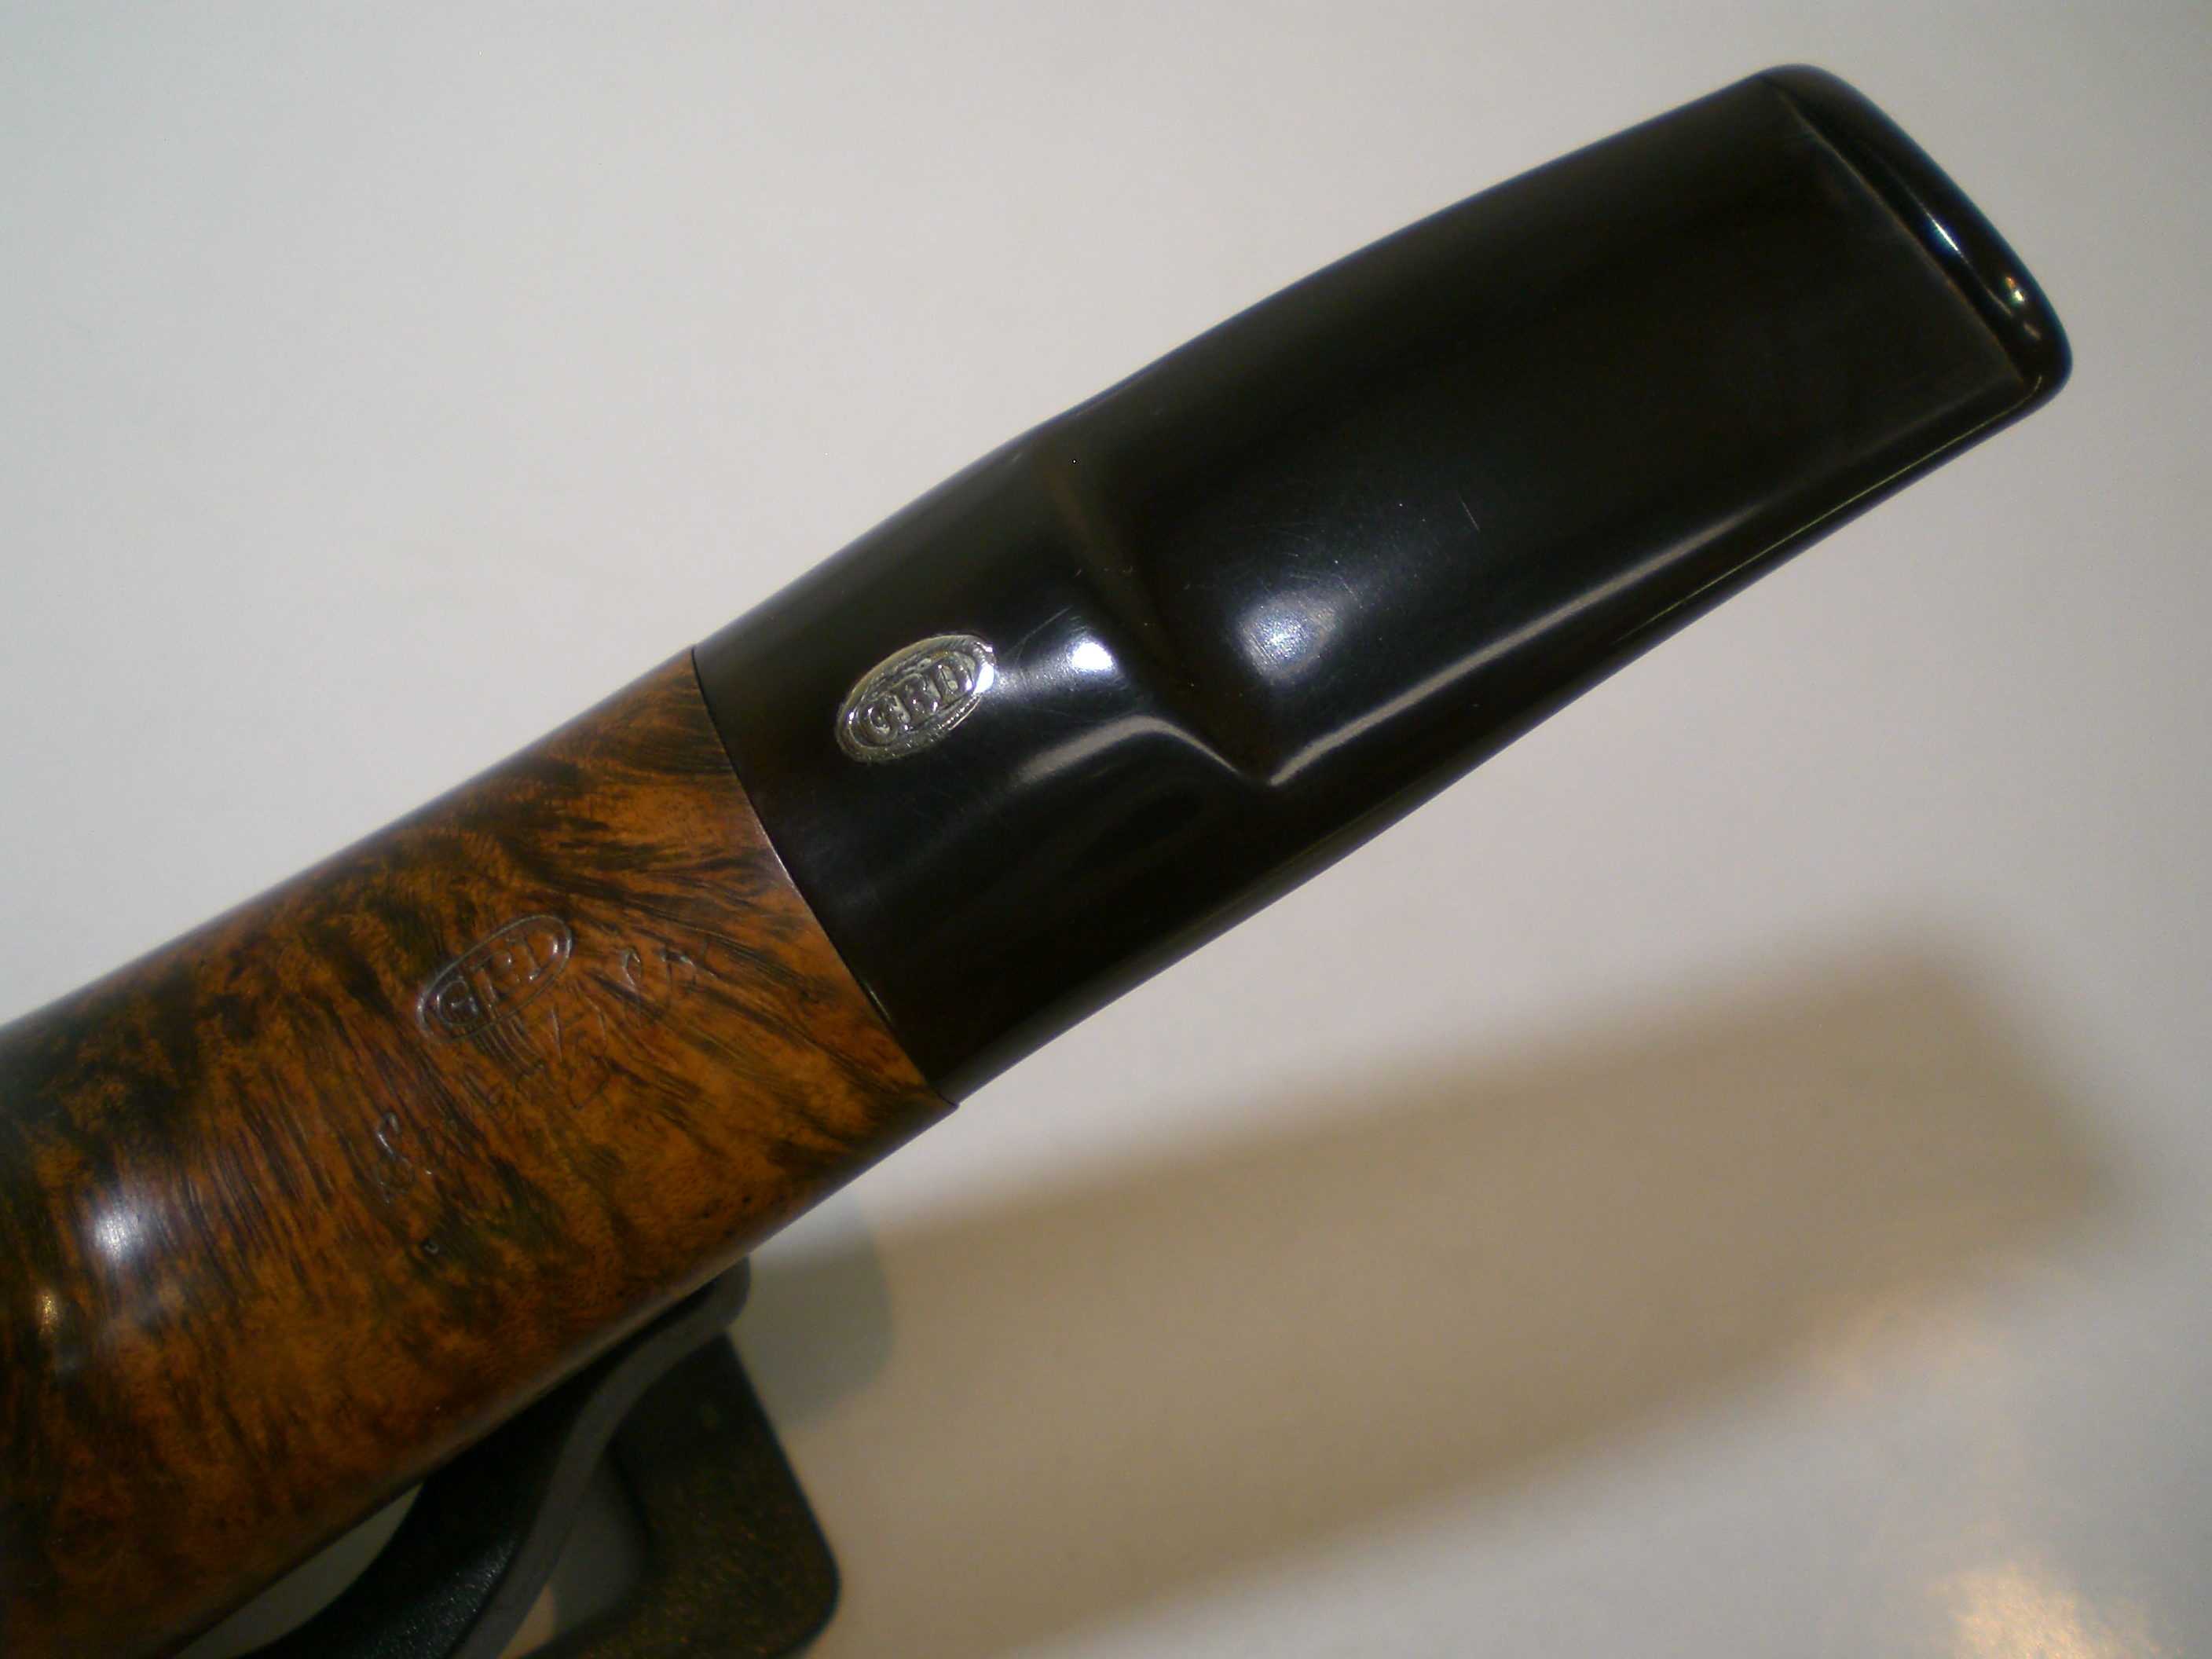
The pipe was in decent shape, with a moderate coating tars on the bowl top, along with a few nicks and dents.  The stem, while heavily oxidized still had the brass rondell.  The rondell along with the “London, England” stamp indicated a pre-Cadogan era GBD.  The stem was also free of any serious teeth marks.  Several of the nicks were very noticeable and I wasn’t sure they could be removed or hidden easily.

GBD_1353_76_Before GBD_1353_76_Before (1) GBD_1353_76_Before (2) GBD_1353_76_Before (3)

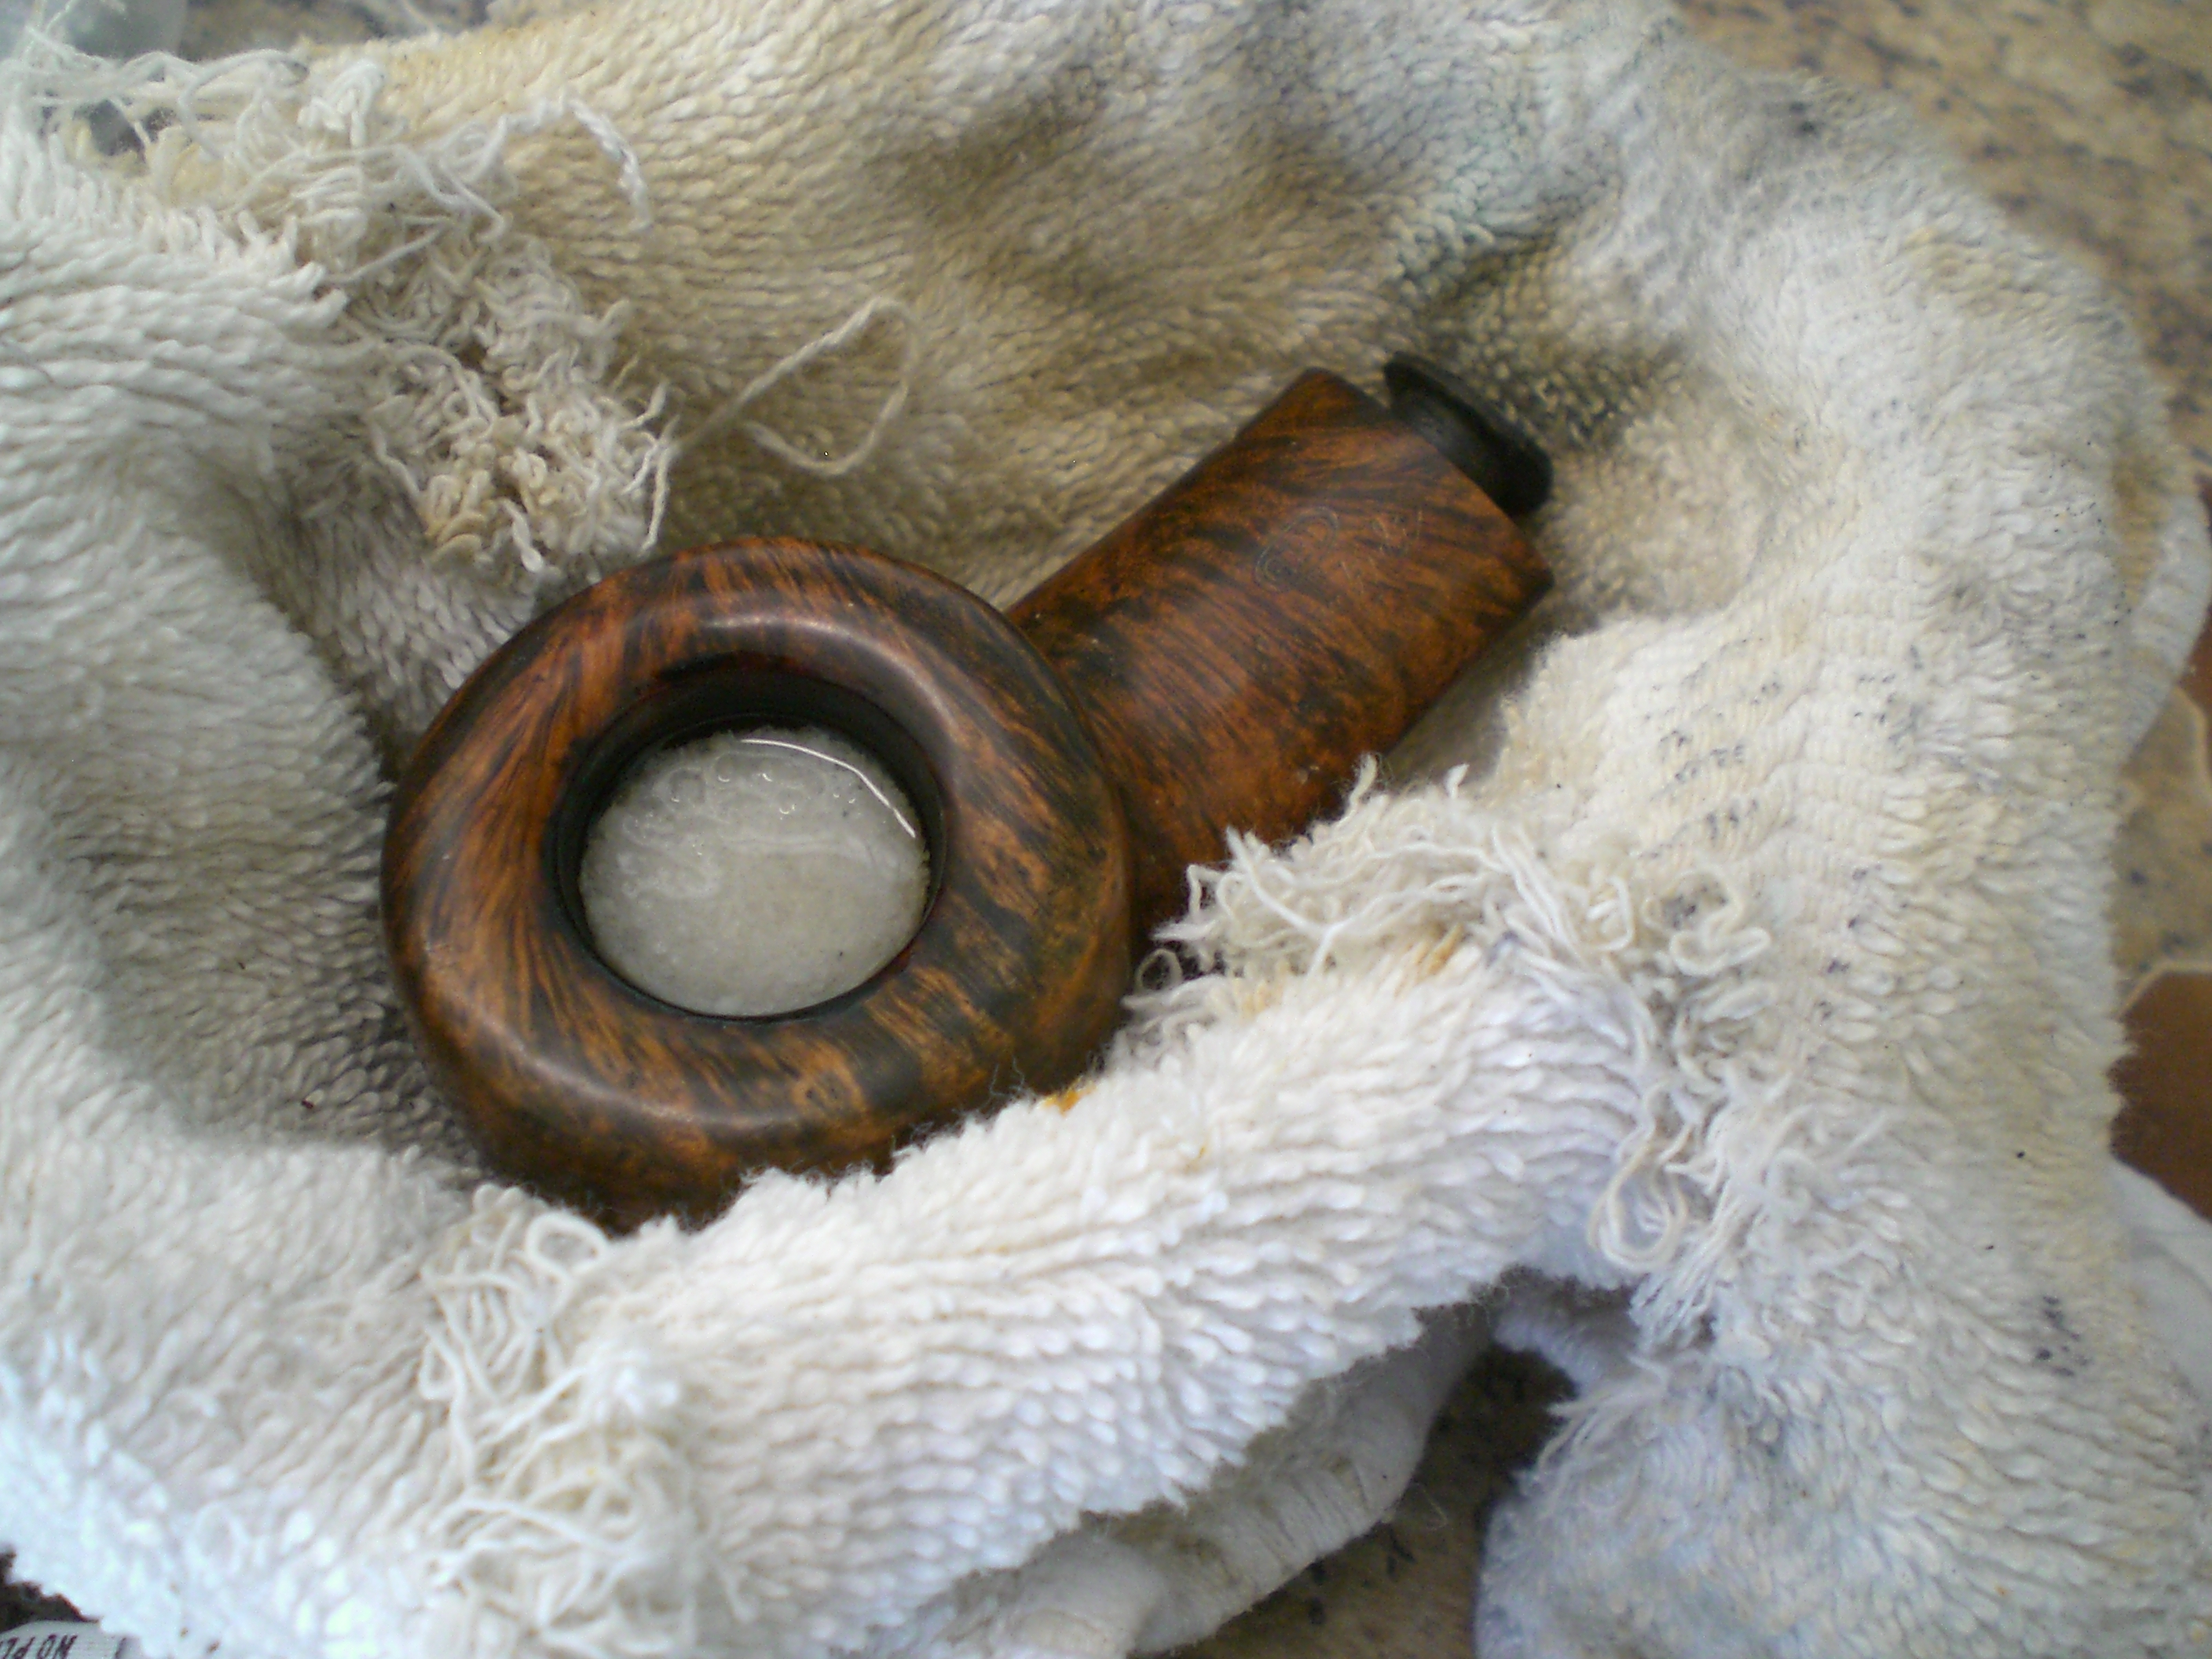
I reamed the bowl and soaked it for six hours with some Everclear and sea salt.  Prior to soaking, I buffed the pipe lightly with some Tripoli and White diamond followed by a buff with carnuba wax.  I like to leave the wax on the pipe during the soaking process in the event some alcohol is splashed on the briar bowl top and I believe the wax gives it some protection from lifting the stain.  While the bowl was soaking, the stem was also soaked in a mild solution of Oxy-clean.  I put a dab of grease on the brass rondell.  The oxidation was so heavy, part of the rondell was obscured and at first I thought it was just worn heavily.   That turned out not to be the case.

GBD_1353_76_Restore (13) GBD_1353_76_Restore (5)

After the bowl was soaked, I emptied the salt and alcohol solution.   I heated a kitchen knife with a torch and applied that to the dents with a wet towel.  The steam generated allows the dents to pop back out most of the time.  In this case, the dents did spring back to shape and I was able to reduce the depth of some of the nicks.  Next I buffed the briar bowl again, using separate wheels of Tripoli, White Diamond and several coats of carnuba wax.  I was able to diminish all of the nicks, in particular the one on the right side of the oval stem.

Next I went to work on the stem, which I re-attached to the bowl in order not to round off the crisp edge.  I removed the oxidation with 1500 grade wet paper (dipped in my oxy-clean solution) followed by 2000 grade paper.  Next I moved to the Micromesh sheets, using 8000 and finally 12000 grade paper.  I then buffed the stem with white diamond and Blue Magic brand plastic polish.

A wire bristle brush dipped in Everclear was used to clean the shank.  It took approximately 25 swabs with the bristle cleaner until the brush came out clean.    I’ll let the briar dry out for a few days before smoking the pipe.   Below are some pictures of the finished pipe.

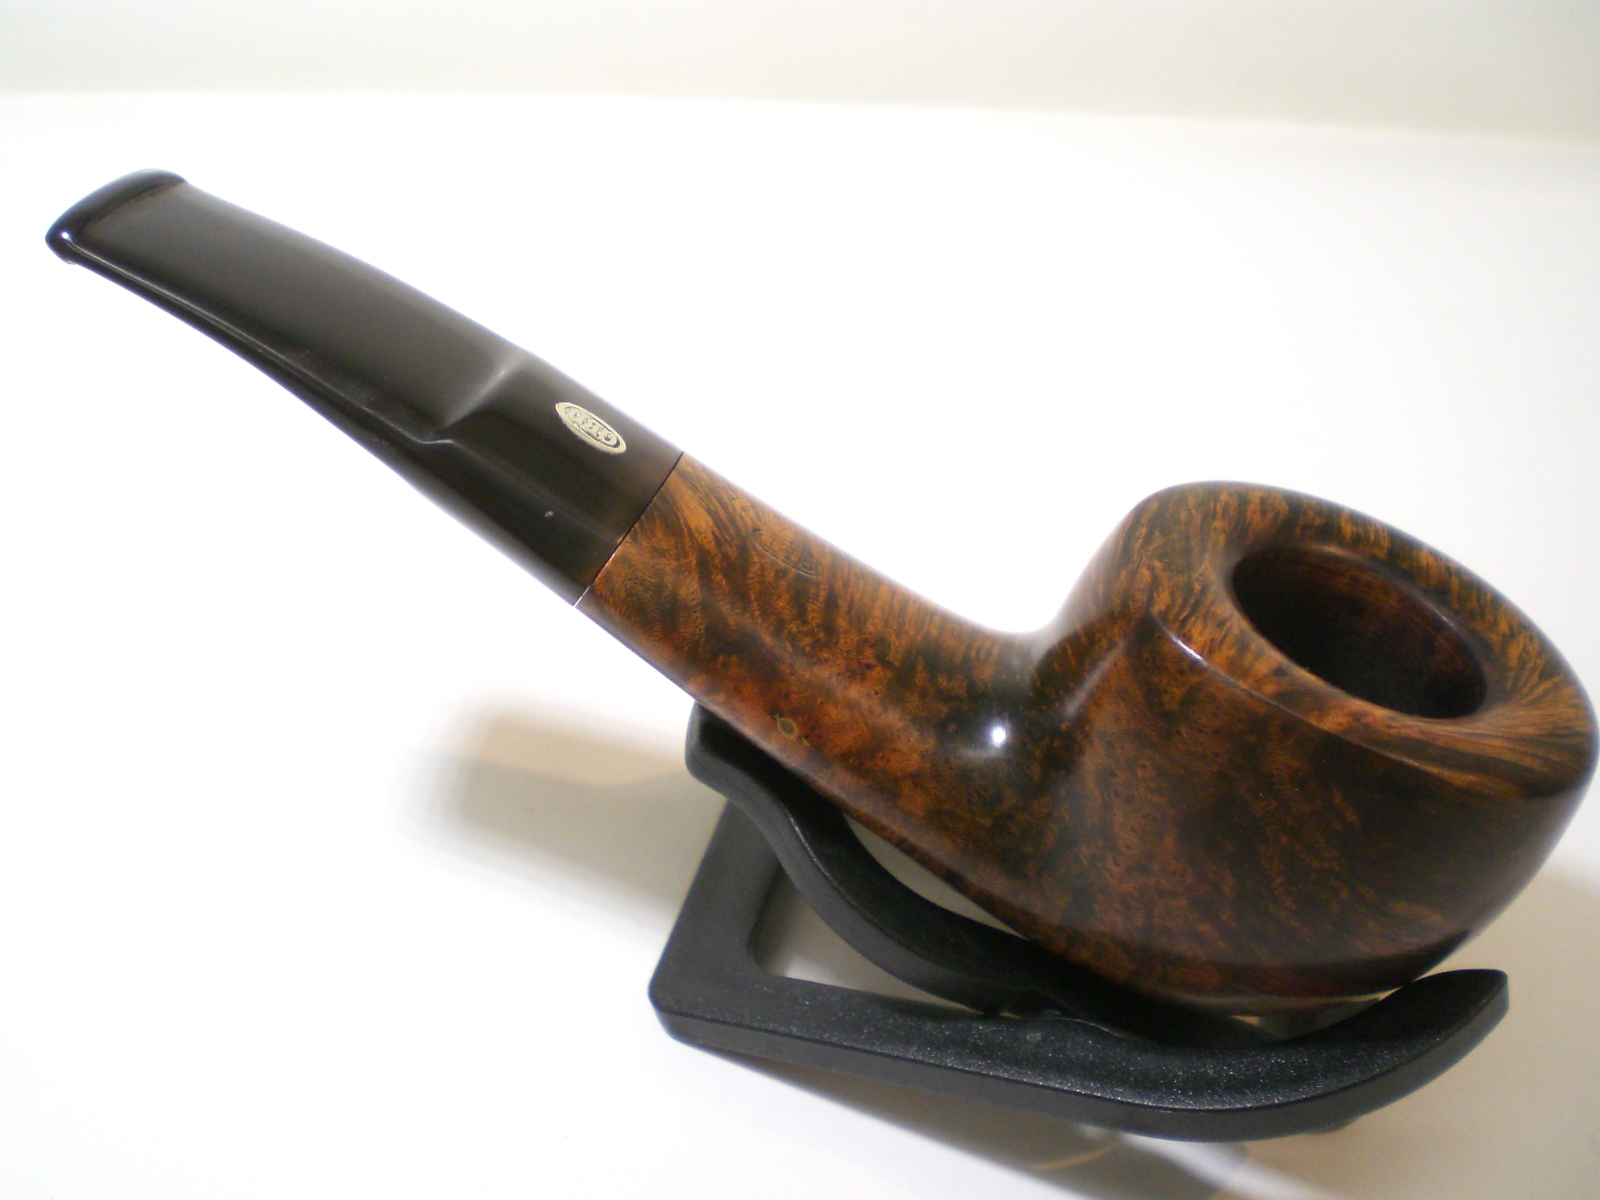
GBD_1353_Gallery2 GBD_1353_Finished (1) GBD_1353_Finished2 (3) GBD_1353_Finished (3) GBD_1353_Finished (5) GBD_1353_Finished (4)

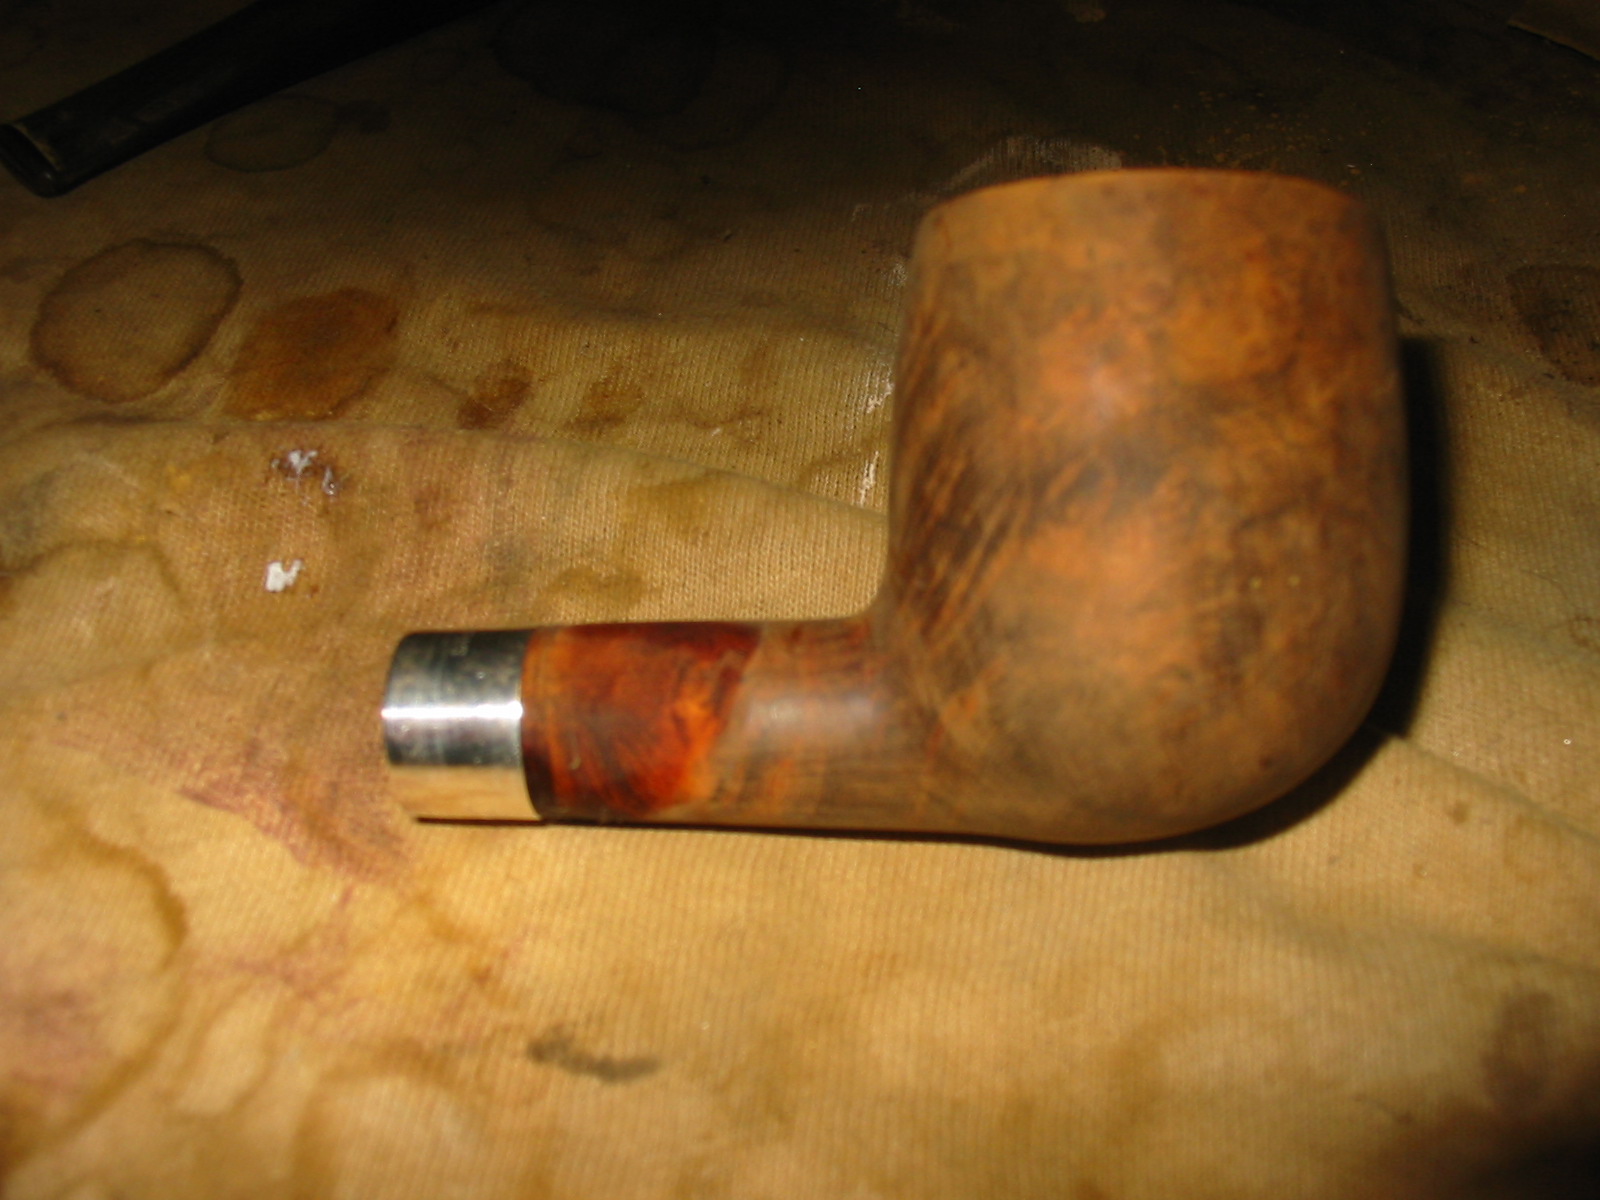
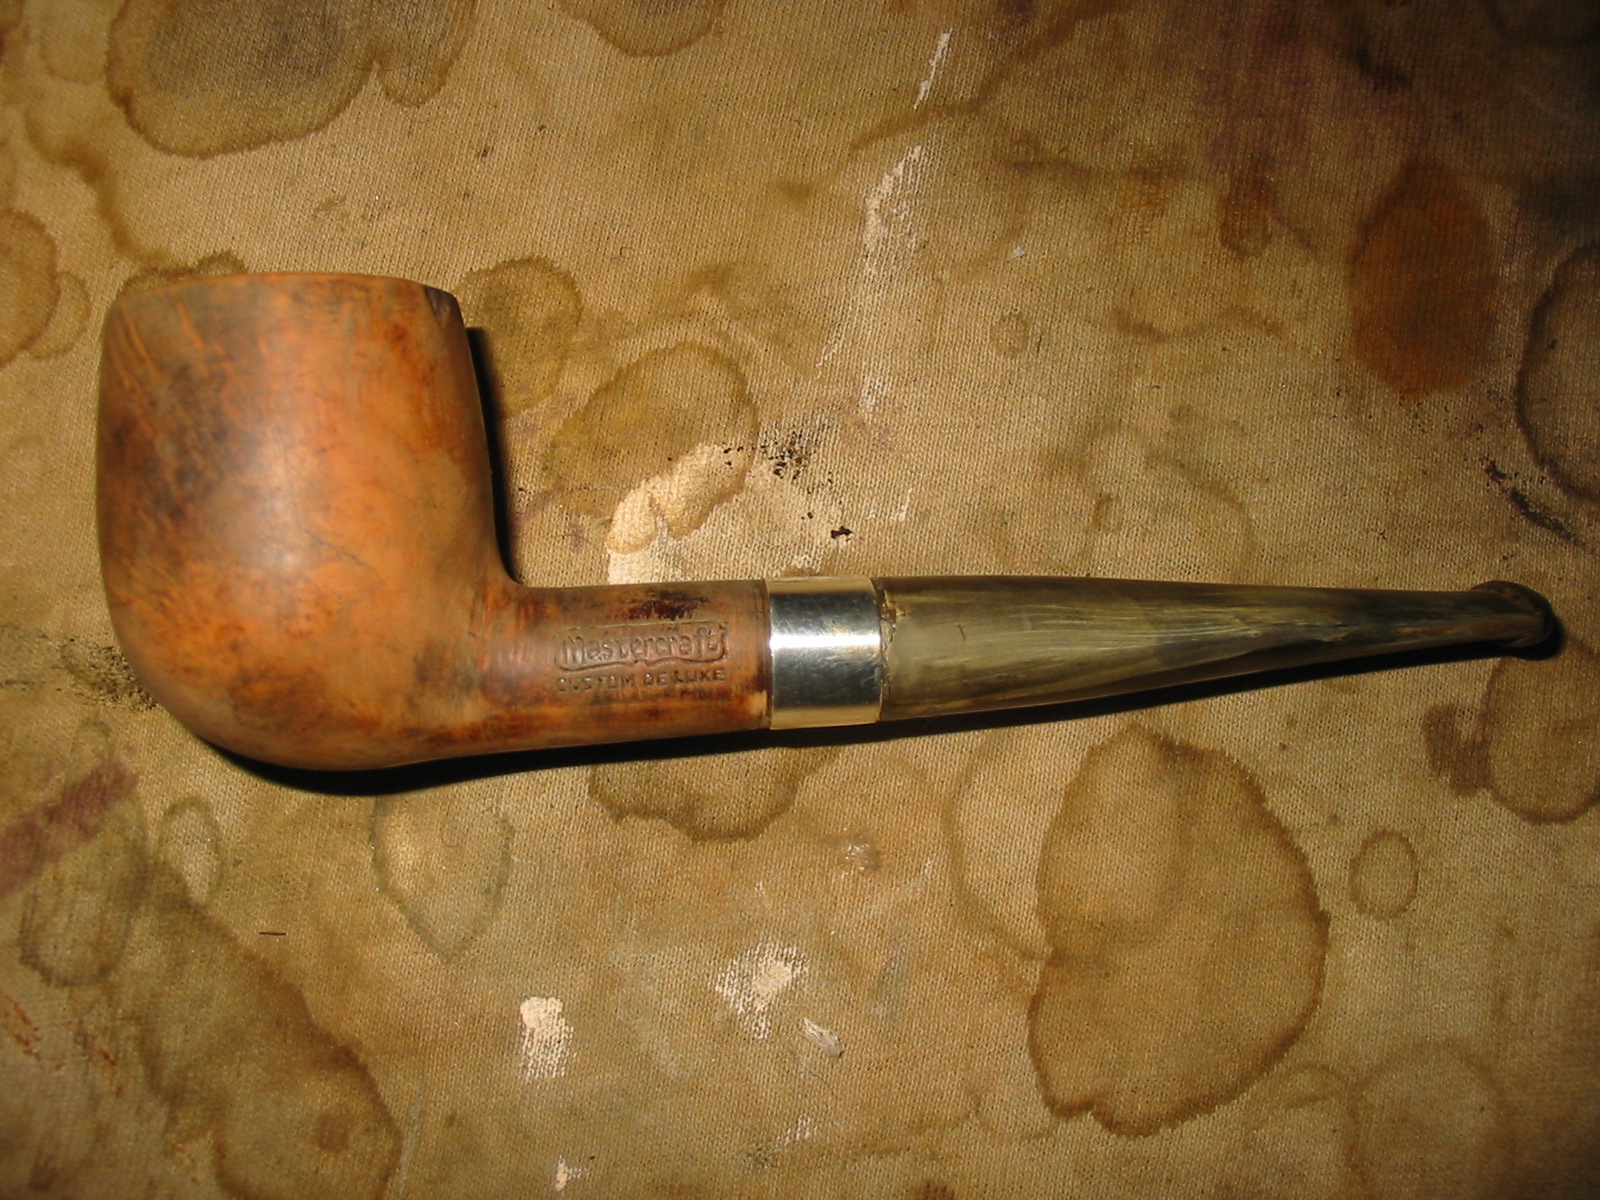
Reworking a Mastercraft Custom Deluxe Billiard and Removing Mold


Blog by Steve Laug

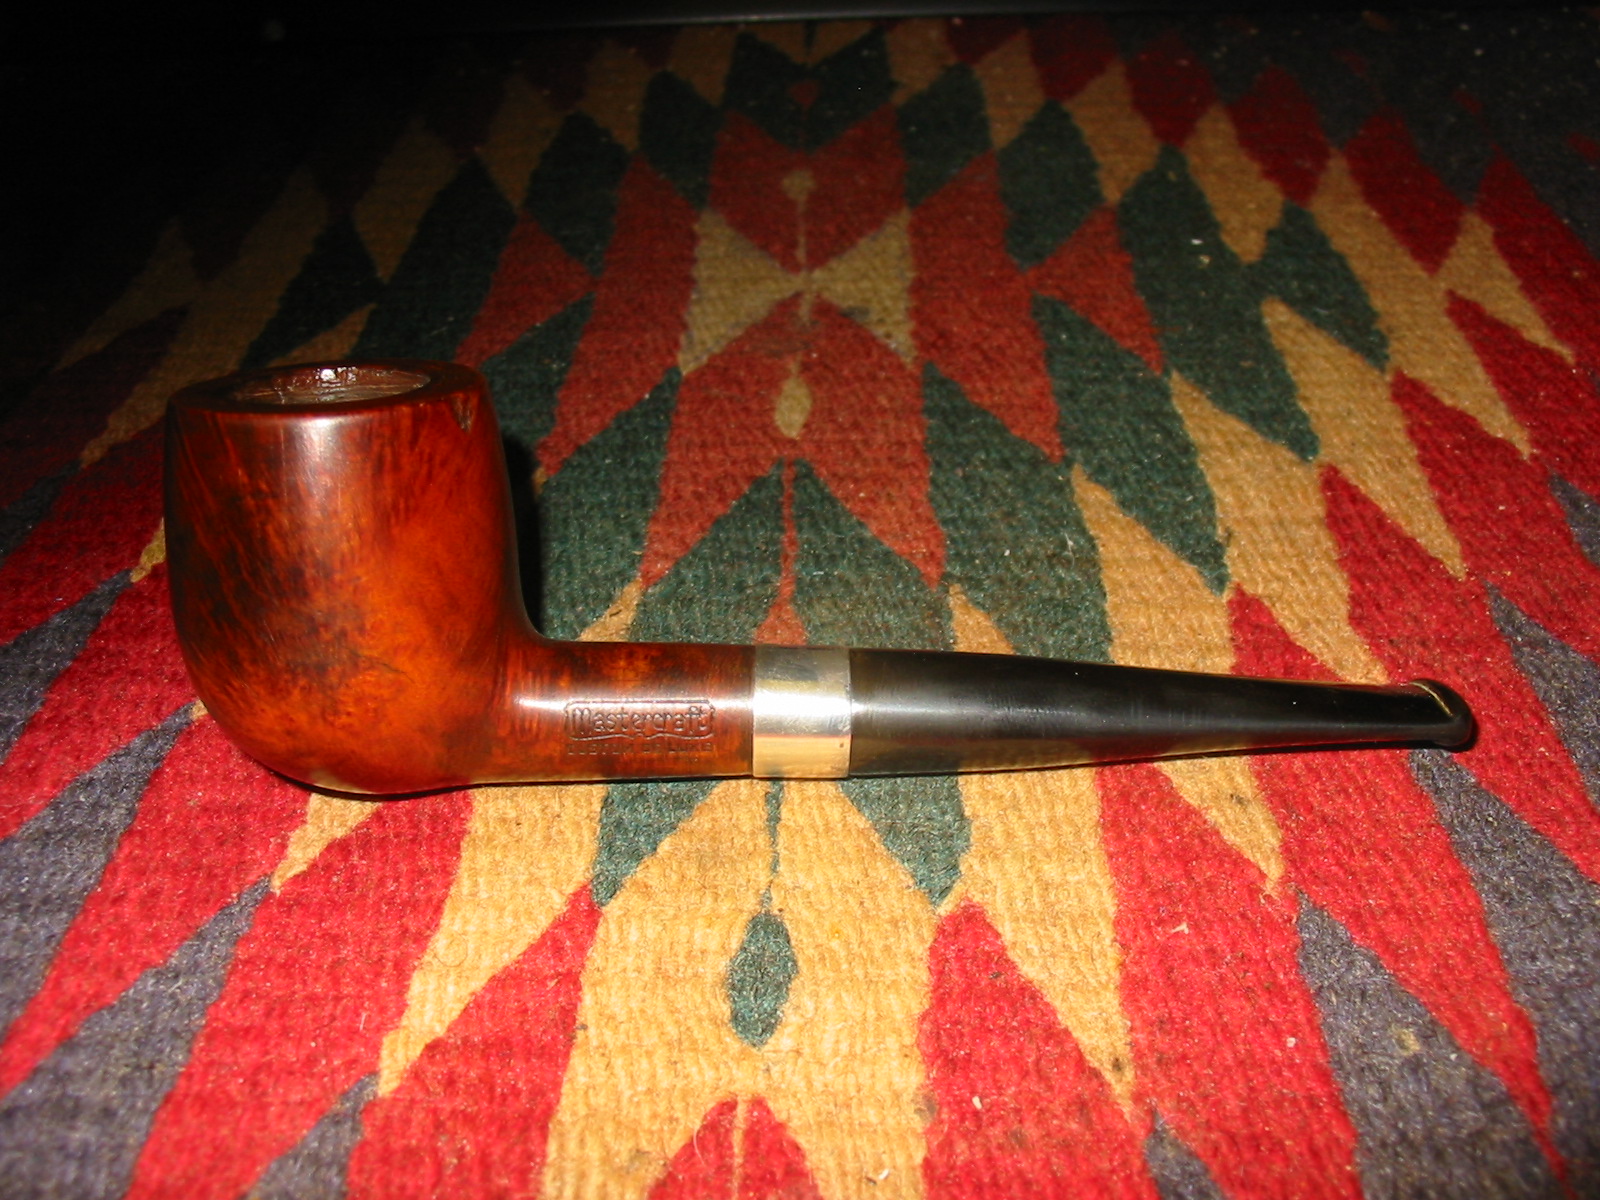
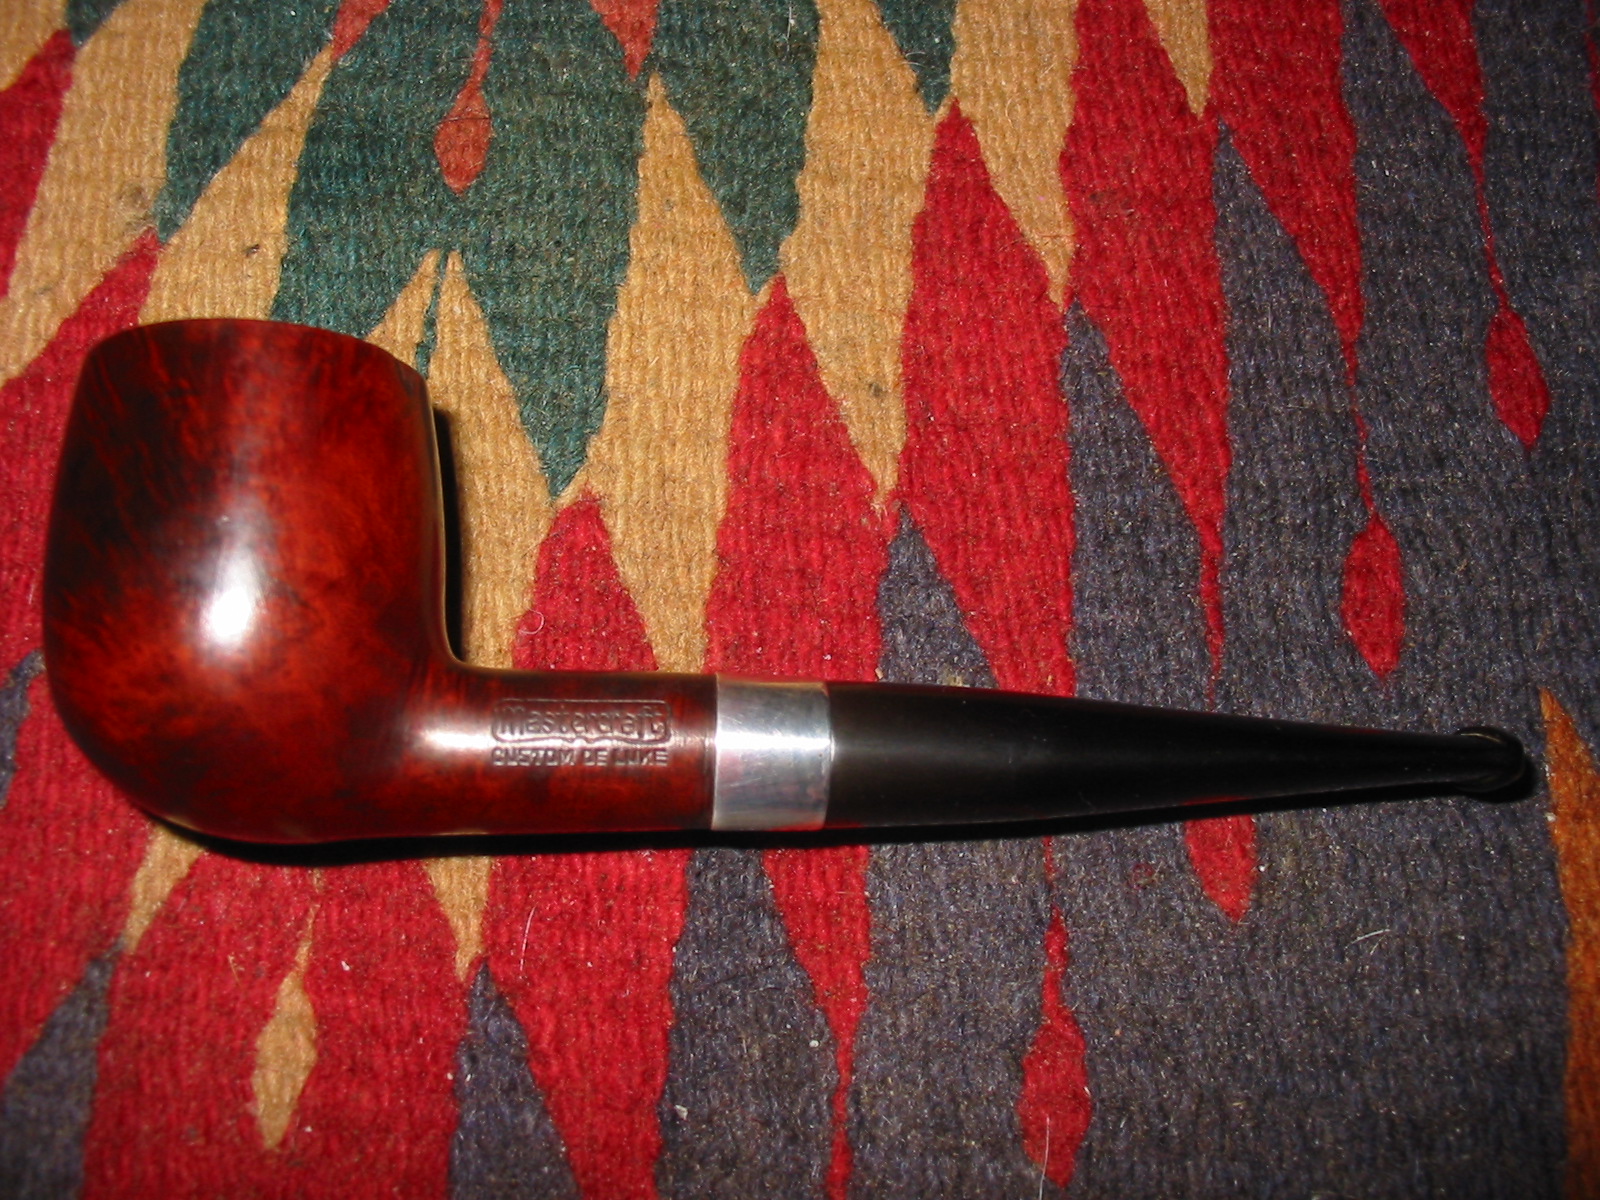
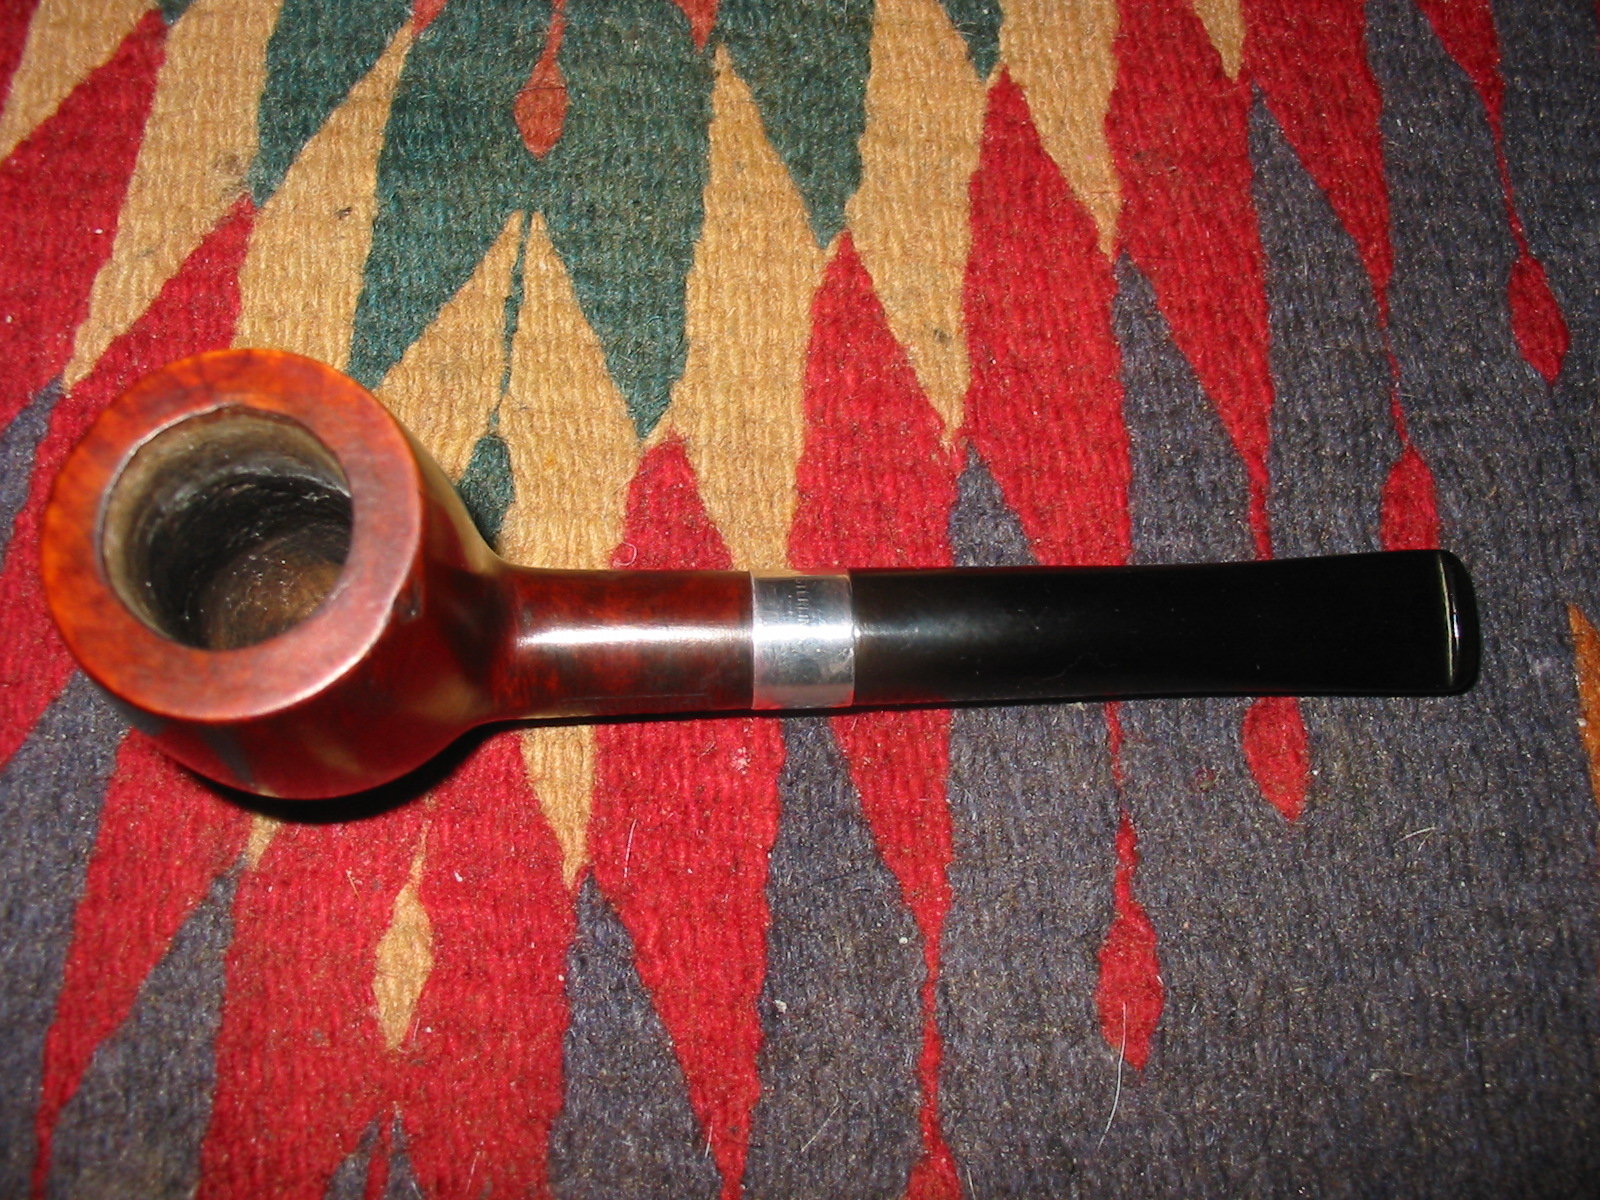
This old Mastercraft billiard is the second pipe of the threesome that was sent to me last week as a gift. In his email asking if I wanted them he said they were either going to the rubbish bin or to me so I was not surprised when I opened the box and unpacked them. It had some nice looking grain underneath all of the grime and peeling varnish. But this one was in very rough shape. The stem was chewed in half so there was not enough to save. The inner tube apparatus inserted into the stem looked like it had been destroyed and then somebody bent it close to shape and cut a X cut in the end of the tenon so that it would fit into the stem. The shank was grimy and dark with a white mold residing inside both the bowl and the shank. The pipe reeked of mold. The bowl itself had a heavy but broken cake underneath the mold. It had a coat of varnish that was spotty and peeling where it was worn off the briar. In those worn spots the briar was almost black. The rim was also in very bad shape. The front was burned down from repeatedly lighting the pipe in the same spot with a torch. The back side of the rim looked like it had been scraped on concrete or hammered out on concrete because it was worn and broken down. The three photos below (I apologize for the poor quality – still getting used to this new camera!) show the state of the bowl and stem.

IMG_1009

IMG_1010

IMG_1011

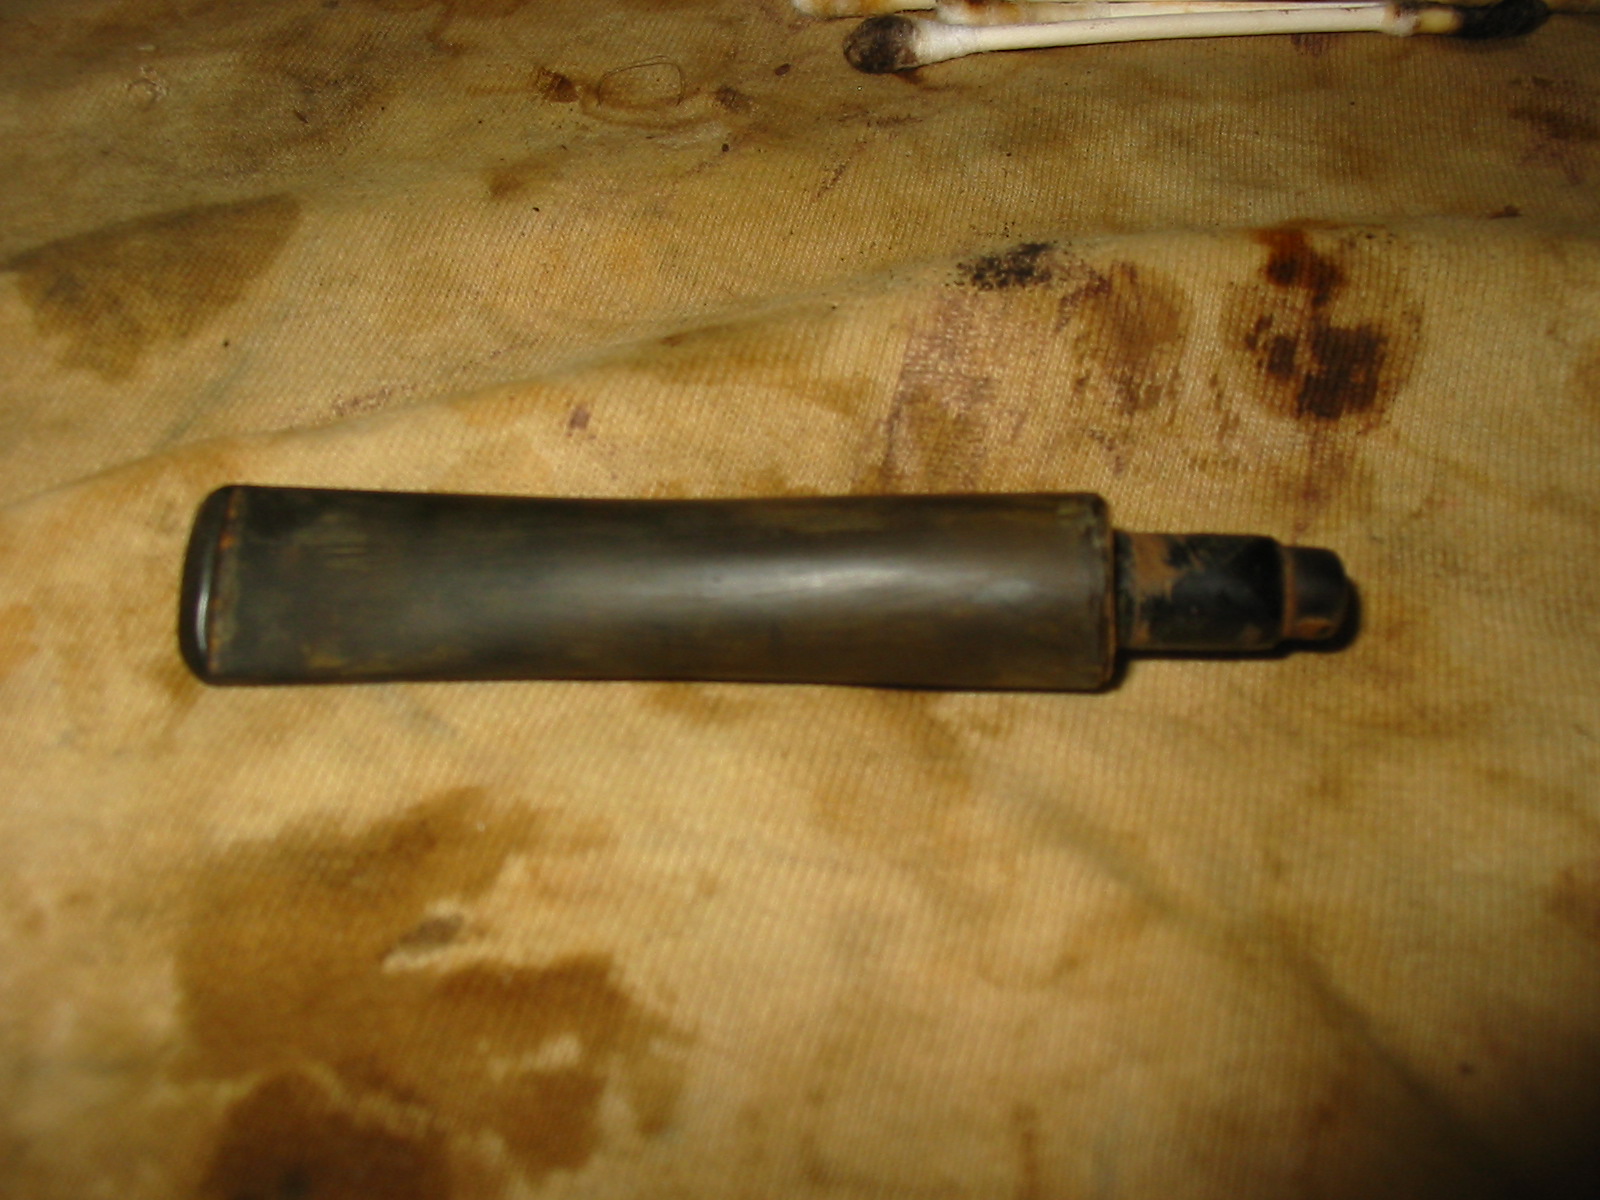
I sorted through my stems and found two options that I thought might work on the pipe. The first one was an acrylic saddle stem that I thought might look good with the bowl (pictured in the first photo below). I turned the tenon and fit it to the pipe but did not like the proportion of the stem and shank length. I then took the second stem – a shorter, straight tapered stem and fit it to the pipe (pictured in the second – fourth photo below). It looked like it belonged on the pipe so my choice was made. It was an old previously used vulcanite stem from my collection of old pre-used stems that I collect. This one would take some work as it was oxidized and had a calcified buildup around the button area. It was also clogged and the slot was plugged to a small pin hole. But it had the right look so it would be worth cleaning up.

IMG_1020

IMG_1049

IMG_1050

IMG_1051

I set the stem aside and worked on the bowl. I reamed the pipe with a PipNet reamer to get rid of the cake and the mold. I cleaned the reamer with alcohol before putting it away. I cleaned the bowl and the shank with cotton swabs, pipe cleaners and Everclear to remove as much of the tars and oils and moldy smell as possible.

IMG_1021

IMG_1022

IMG_1023

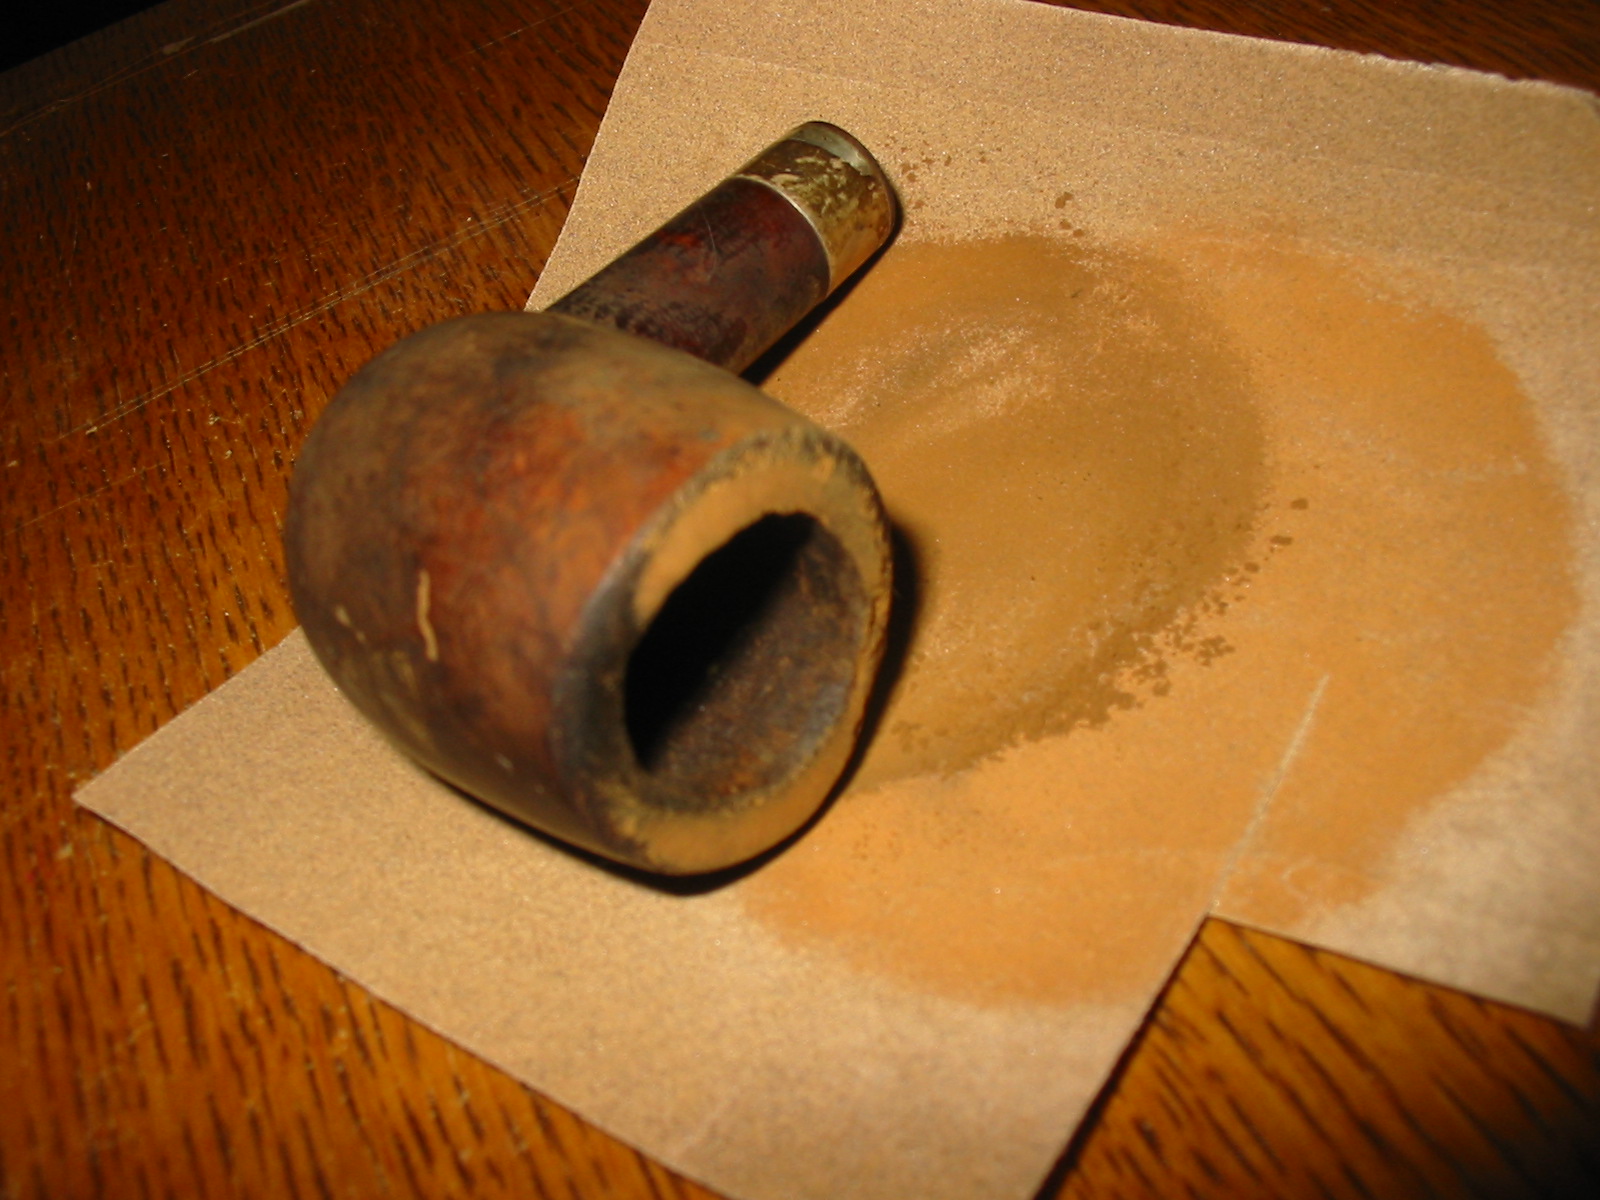
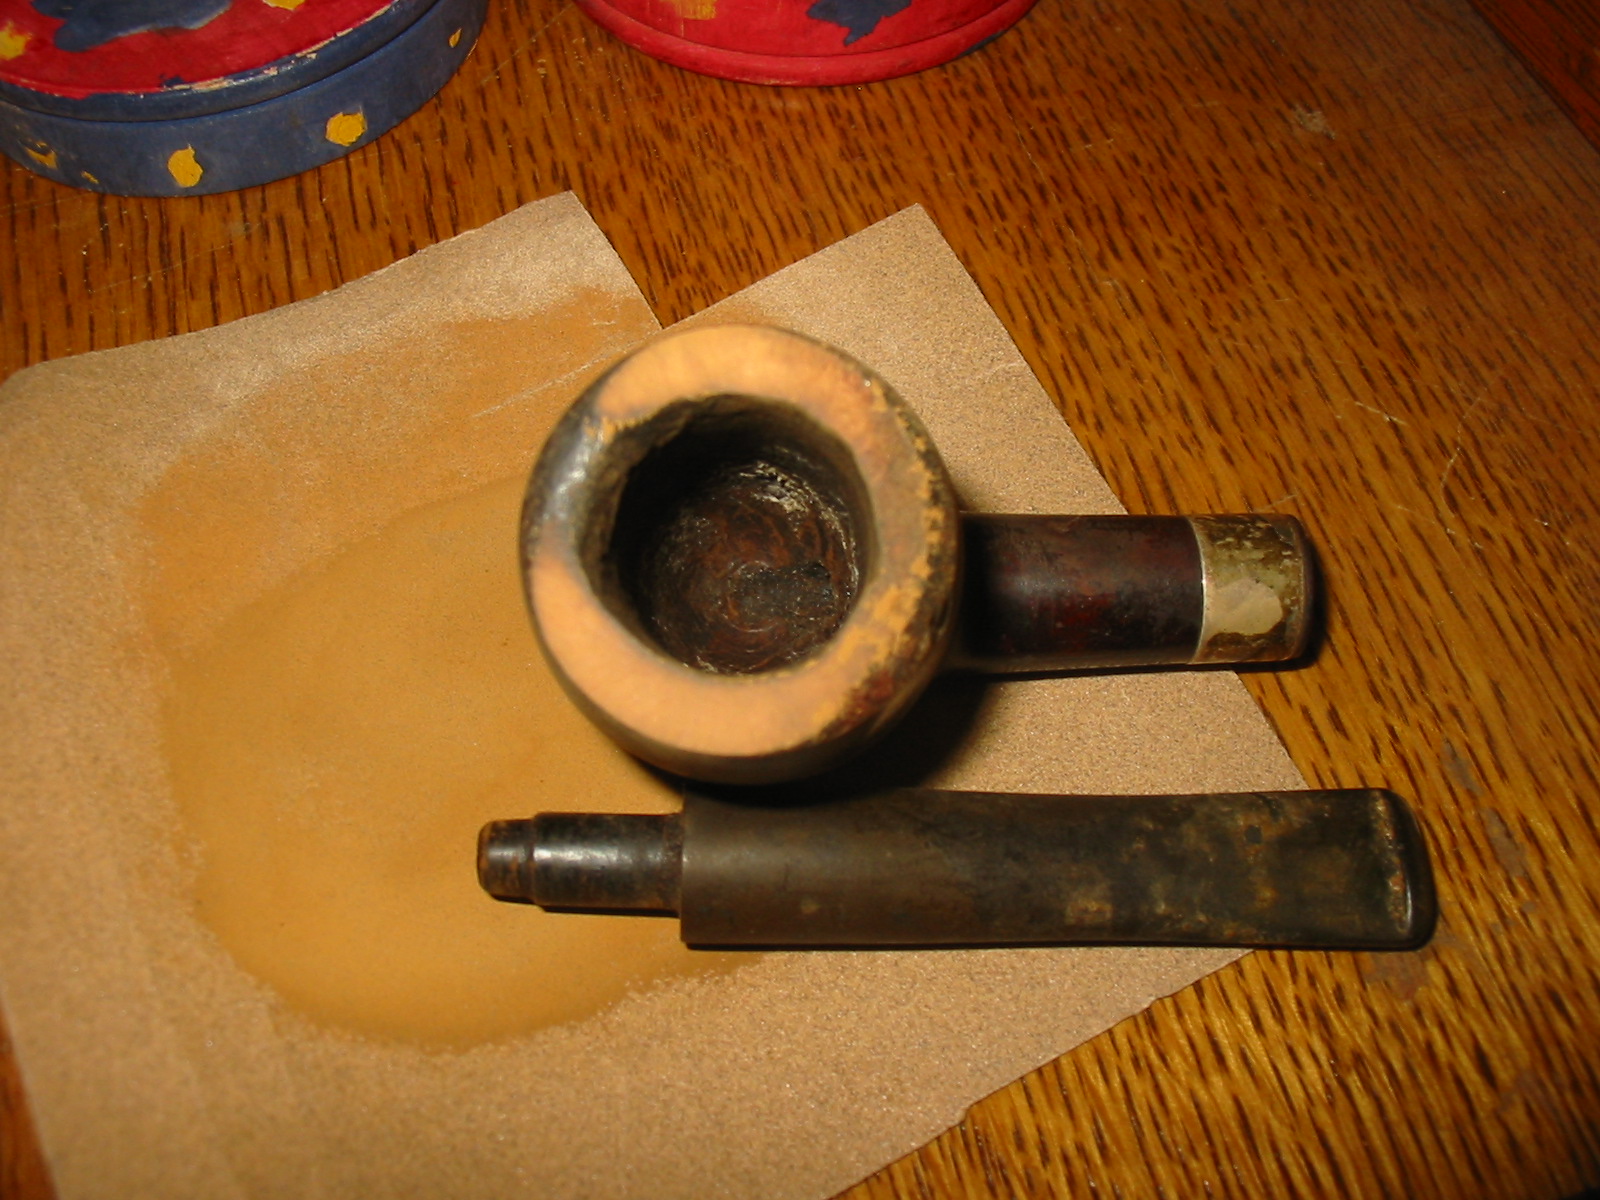
When I finished it still smelled moldy, but I had several plans in mind for addressing that. But first I topped the bowl with my usual flat board and 220 grit sandpaper. I place the bowl rim down flat against the sandpaper and work in it a circle to remove the damage on the rim. This one took quite a bit of work to even out the top and get rid of the damage from the burn on the front side of the rim and the roughened back edge done by beating the pipe against concrete. I sanded it, repeatedly checking to see if I was removing enough of the damage to get a sharp edge on the bowl. On the outer rim next to the shank there was a chunk of briar missing that I would try to minimize after topping the bowl. I was able to remove all of the damage of the burned area and most of the damage of the battering the old pipe had taken. The rim looked good. I used a folded piece of sand paper to work on the inside edge of the rim and clean up the damage that was done there and keep the bowl in round.

IMG_1053

IMG_1054

IMG_1055

IMG_1056

IMG_1057

IMG_1058

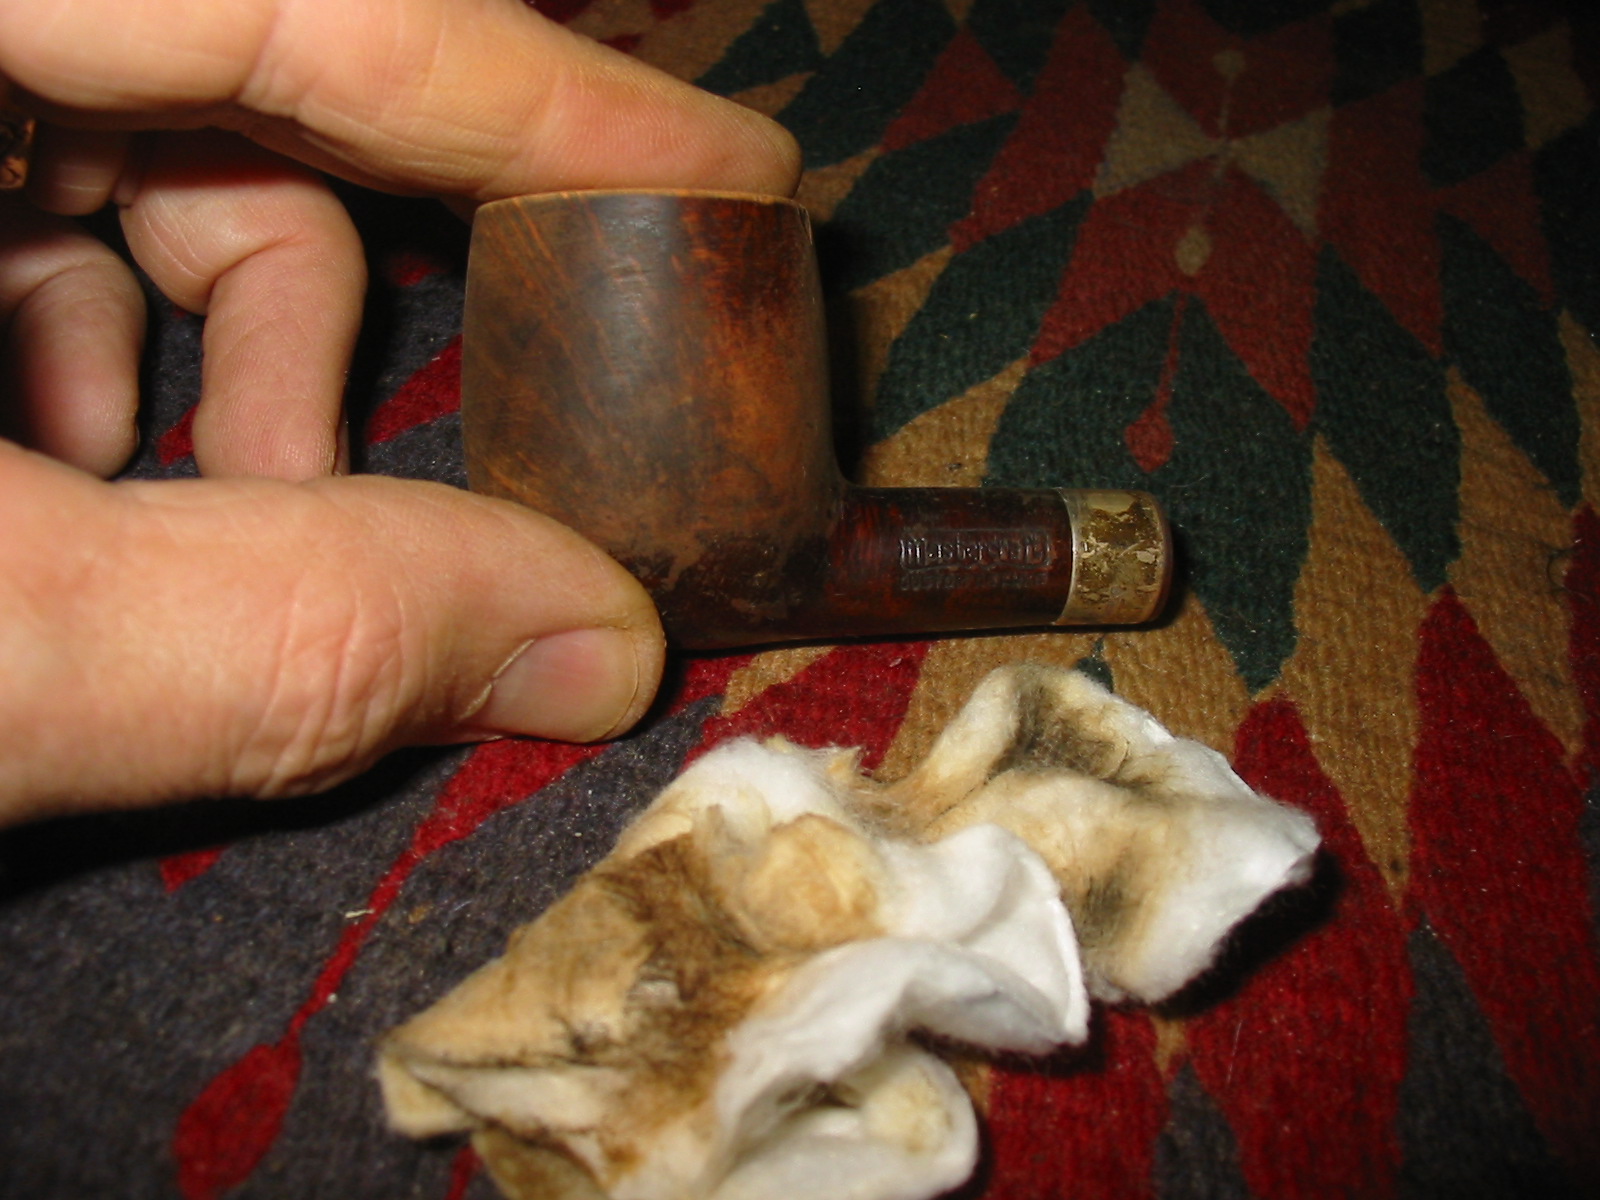
I wiped the exterior of the bowl down with acetone on a cotton pad to remove the grime and the finish that remained. I repeated this until I could not remove any more finish or grime. The next two photos show the wipe downed bowl.

IMG_1059

IMG_1060

I placed the bowl in an alcohol bath for several hours while I worked on the stem and worked on several other old pipes that I have on the go. When I took it out of the bath, I dried it off with a cotton cloth and scrubbed it with a tooth-brush dipped in alcohol from the bath. I dried it again to check on the finish. There were still several spots where the varnish remained – the shank and the bottom of the bowl. One benefit of the bath was that the glue softened on the over pressed band and I was able to remove it from the shank. I sanded and scrubbed the old glue off the shank and sanded the bowl with a fine grit sanding sponge. I wiped it down with another acetone cotton pad. It still needed to soak a bit longer to finish breaking down the varnish that remained. While it soaked I cleaned up the silver band with silver polish and the jeweler’s polishing cloth. Under all the tarnish I found that the band was stamped Sterling.
I removed the bowl from the alcohol soak and dried it off. I used a lighter to burn off the alcohol from inside the bowl and the shank. I then recleaned the inside of the bowl and the shank with Everclear and many more pipe cleaners and cotton swabs. The amount of tars and sticky oils and grit that came out of the shank was incredible. It was no wonder that the pipe still reeked like mold. The next series of three photos show the pipe after soaking and sanding.

IMG_1061

IMG_1062

IMG_1063

I scoured the shank until it was fairly clean and then set up a retort to do a more thorough clean. The retort sends vaporized alcohol into the bowl and shank and in essence boils out the grime with hot alcohol. As the alcohol cools it returns to the tube and with it the grime and oils from the pipe. I repeated the retort three times on the pipe until the alcohol came out clean. I then took apart the pipe and cleaned out the shank with pipe cleaners and cotton swabs a third time. There was even more oil and grime that came out of the shank. I cleaned off the surface with an acetone wipe and then reset the silver band with Weldbond glue. I turned it so that the Sterling stamp was on the top of the shank and pressed it on to the shank until it was even with the edge of the shank. Weldbond dries fairly quickly to touch so that the band would not be loosened when I went on to the next step in my cleaning process.

IMG_1064

IMG_1065

IMG_1071

After removing the retort I cleaned the bowl and shank. Yet even more grime came out. I put the stem back on and took the four photos below to show the state of the pipe at this point. I did this more for an encouragement to me as this one was proving a difficult rework. The photos gave me a picture of what I was aiming for in cleaning this one up. If I lose sight of that it will end up in the bin as rubbish.

IMG_1066

IMG_1067

IMG_1068

IMG_1069

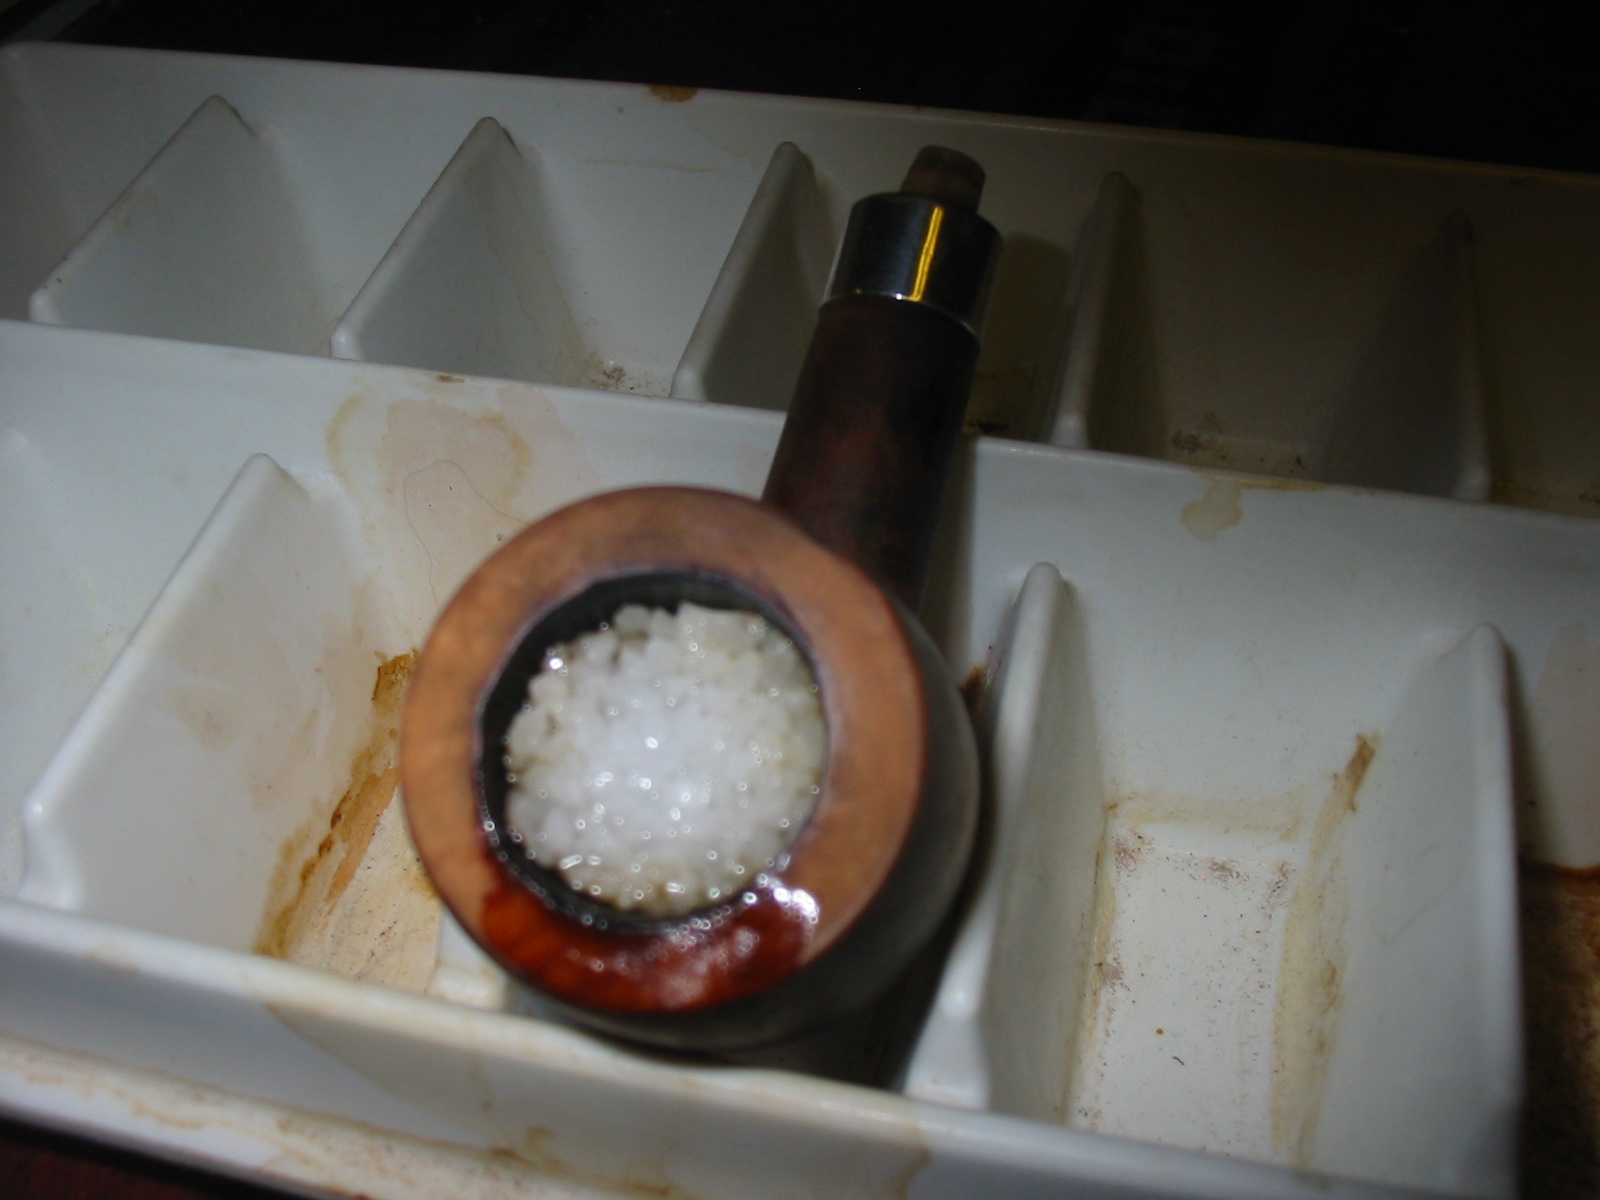
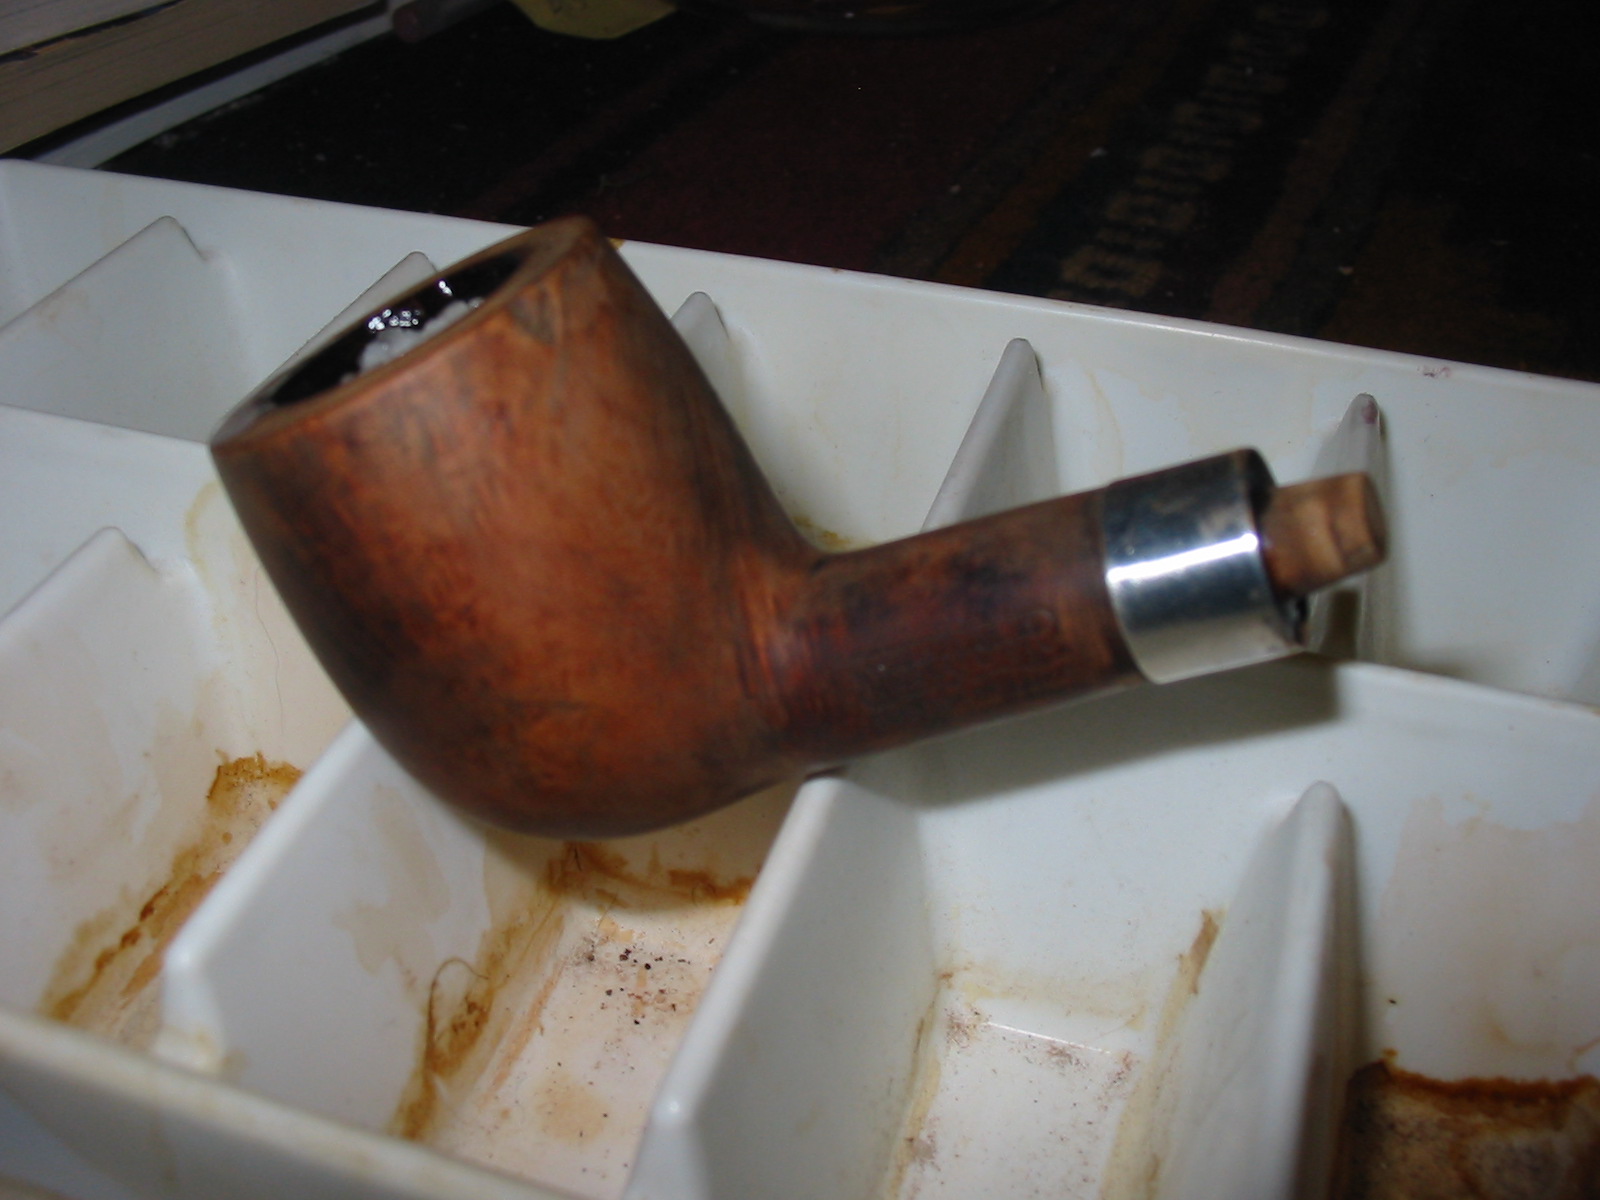
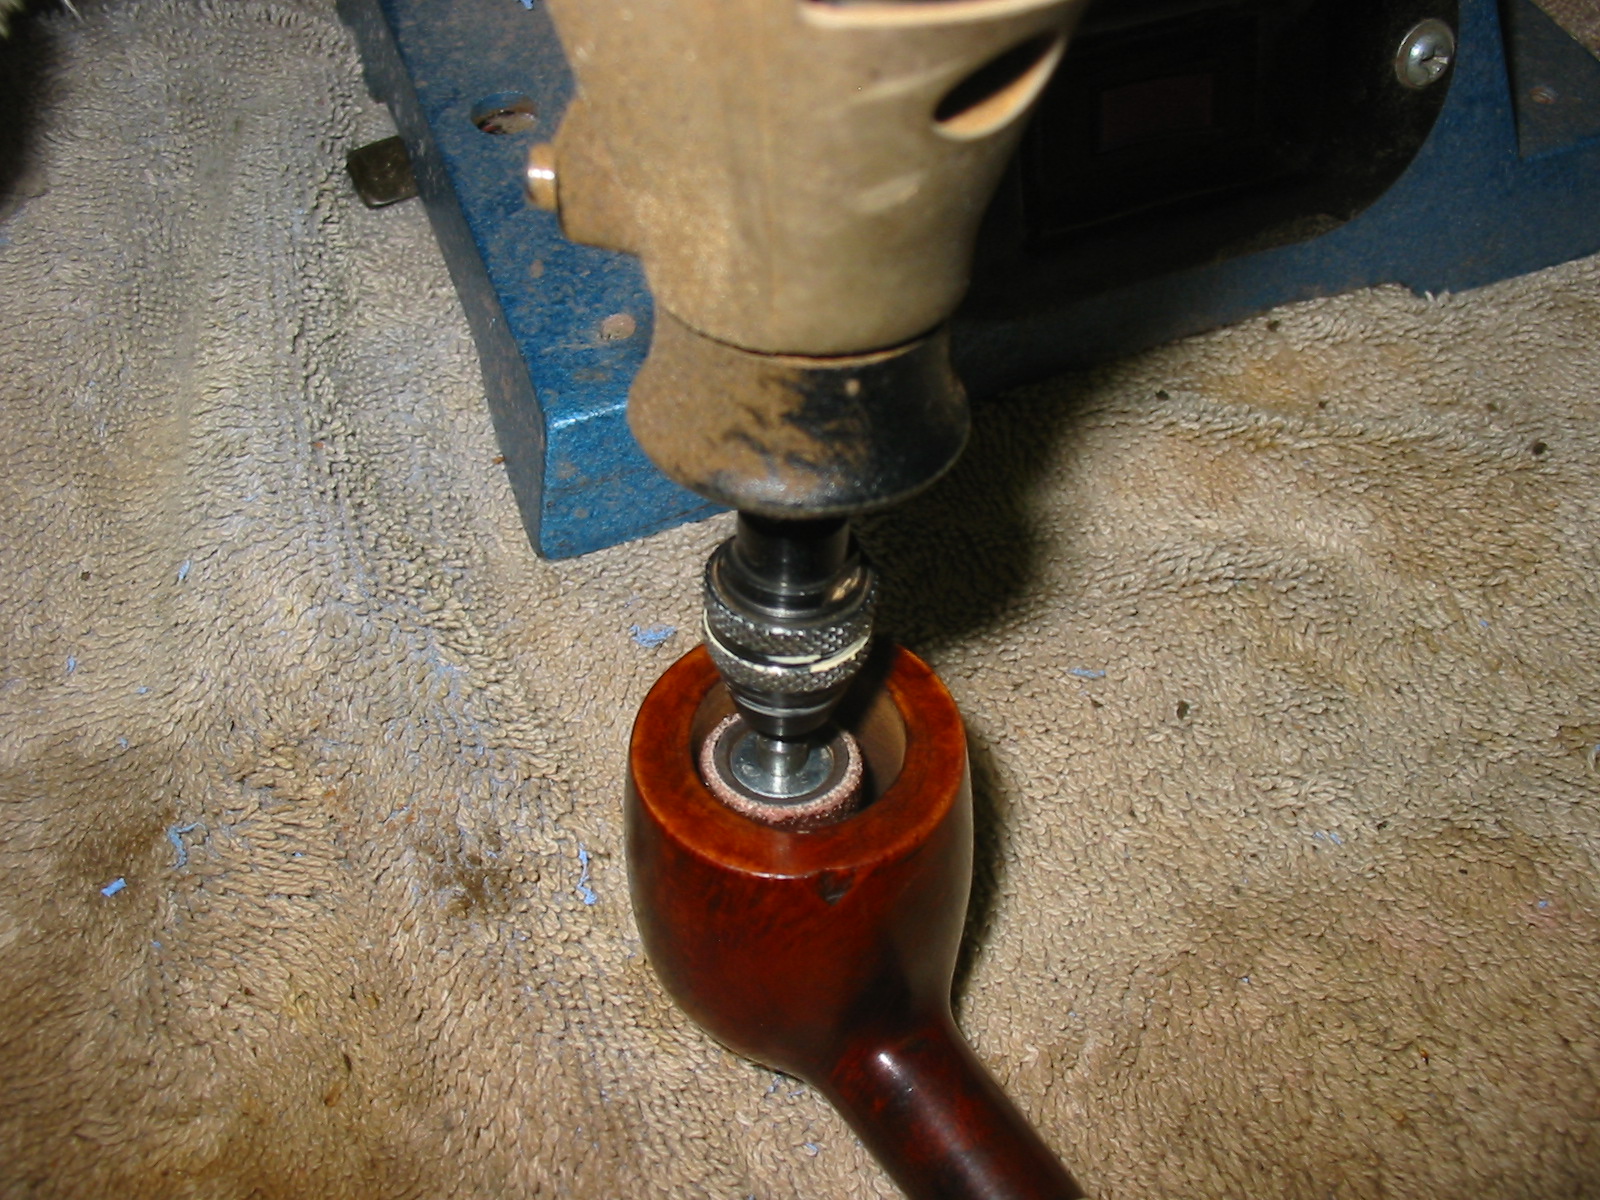
When the alcohol dried in the bowl and the visual showed a clean bowl and shank I took a sniff of the bowl. After all of this work the moldy smell still was present in the bowl and shank. This called for more drastic measures. I used the Dremel with a sanding drum on it and sanded the inside of the bowl until the briar was bare and clean. Then I filled the bowl with salt and alcohol to leach out the oil from the inside of the bowl and shank. My hope was that in doing this I would also kill the stench. I plugged the shank with a cork, filled the bowl with kosher rock salt (I was out of my normal cotton bolls) and set it up on an old ice-cube tray. I used an ear syringe to fill the bowl with 99% isopropyl alcohol. I set it aside and went to bed to let the treatment do its work while I was sleeping. The two photos below show the bowl after filling with alcohol.

IMG_1072

IMG_1073

In the morning the salt was a dark brown as pictured below. I emptied the now darkened salt and dried out the inside of the bowl by flaming the alcohol with my lighter. It still smelled like mold though the smell was definitely losing strength.

IMG_1070

I cleaned out the button area of the stem with the dental pick and then ran several bristle pipe cleaners through it and then followed up with regular pipe cleaners. I soak both in Everclear to clean out the stem. I then sanded the stem with 220 grit sandpaper to remove the calcification that was all over the stem. I also gave the stem a quick sand all over with the 220 grit to remove the top oxidation. I ran the flame from the Bic lighter over the surface to burn off the oxidation. It did a great job of removing what I had loosened with the sandpaper. I continued sanding it with a fine grit sanding sponge to remove the remaining oxidation. I rubbed down with Obsidian Oil and set it aside with the bowl while I went off to work. The Obsidian Oil sat on the stem and soaked in for the 9 hours I was at work.

IMG_1074

IMG_1075

IMG_1076

IMG_1077

I refilled the bowl with salt and put a cork in the shank. I again used the ear syringe to fill the bowl with alcohol and set it aside to work on the stem. It too sat for the nine hours I was at work.

IMG_1072

When I got home from work the stem looked quite good. It was significantly more black and the oxidation was gone except around the stem shank union. More work to do there. The salt was a dark brown, but slightly lighter than the first treatment. I dumped out the salt and cleaned out the bowl and shank with cotton swabs again. When I finished the smell was better but present nonetheless. I cleaned out the bowl with alcohol and cotton swabs again.

IMG_1078

I needed another bit of encouragement at this point so I decided to stain the pipe with a dark brown aniline stain cut 2:1 with isopropyl alcohol. I applied the stain, flamed it and then buffed it on with Tripoli and White Diamond (photos 1-4 below). The brown did a fair job of coverage but I would need to give it a second coat of stain using a oxblood colour to do some blending with the dark areas on the bowl.

IMG_1083

IMG_1084

IMG_1085

IMG_1086

I worked on the stem with fine grit sanding sponges and 1500-2400 grit micromesh sanding pads. There were some minor tooth dents that still showed up so I passed over them with a Bic lighter and was able to raise them. More sanding was needed and I repeated the sanding described above.

IMG_1079

IMG_1080

IMG_1081

IMG_1082

Once the bowl dried out it still smelled so I decided to repeat the salt and alcohol treatment a third time. I filled the bowl with salt and isopropyl and set it aside over night (photo 1 below). In the morning the salt was little lighter brown this time (photos 2-3 below). I dumped the salt out and cleaned the bowl and shank again. This time the cotton swabs came out fairly clean. I flamed the inside of the bowl. Once the bowl dried out it still smelled so I decided to repeat the salt and alcohol treatment again. I filled the bowl with salt and isopropyl and set it aside over night. In the morning the salt was once again a dark brown. I dumped the salt out and cleaned the bowl and shank again. This time the cotton swabs came out fairly clean. I flamed the inside of the bowl. Though the inside of the bowl and the shank was very clean the musty smell still remained, though less prevalent. This was one stubborn pipe bowl to clean.

IMG_1087

IMG_1088

IMG_1089

While the inside of the bowl dried out I decided to restain the bowl. For the second/top coat I used a oxblood stain. I applied it and wiped it off (first photo below). The coverage this time was much better. The dark reddish stain blended well and covered the dark areas of the bowl. The finished colour is a nice older deep reddish brown look (second-fourth photos below).

IMG_1090

IMG_1091

IMG_1092

IMG_1093

I decided to sand back the inside of the bowl yet again. I used the Dremel with the sanding drum a second time. When I was finished the inside of the bowl was very clean and fresh looking. The smell was still there. I stuffed the bowl with cotton bolls and then used an ear syringe to fill it with white vinegar and set it in the ice-cube tray to let it work. I have used that in the past to remove stubborn ghosts so I thought I would give it a try on this one.

IMG_1094

While the bowl soaked I worked on the stem with the remaining grits of micromesh sanding pads – 3200-12,000 to bring back the deep shine on the stem. Sanding them with the higher grits of micromesh really gives a deep shine to the stem. It is amazing to see the difference between each of the successive grits of micromesh. I did not take photos of the steps as almost all of my refurbishing posts have shown the polishing process with the micromesh. The next two photos show the finished stem. Once the bowl is finished I will buff the bowl and stem with White Diamond and then give the whole a buff with multiple coats of carnauba wax to polish.

IMG_1141

IMG_1142

Once the vinegar had soaked in the bowl for several hours I removed the cotton boll and dried out the bowl. I then used a Dremel with a sanding drum to sand back the sides of the bowl yet again. This time I extended the diameter of the bowl to get rid of the surface area of the bowl interior. Once I was finished with the Dremel I hand sanded the bowl with 220 grit sandpaper to smooth out the small ridges left behind by the drum sanding. The last two photos in this sequence show the newly sanded bowl.

IMG_1126

IMG_1127

IMG_1119

IMG_1120

I took the bowl outside and put it in the bright sun on my patio. I wanted to let the heat and the UV rays from the sun do more work on the potential mold in the bowl. The evening is cooling down and the sun is no longer as warm. I brought in the bowl and wiped down the inside of the bowl and shank with an alcohol based anti bacterial wipe. I took it to the buffer and gave the whole pipe a buff with White Diamond. I then gave it several coats of carnauba wax and buffed it with a clean flannel buff. The pipe is like new and it SMELLS GREAT. I finally beat the moldy smell. The final four photos show the finished pipe.

IMG_1143

IMG_1144

IMG_1145

IMG_1146

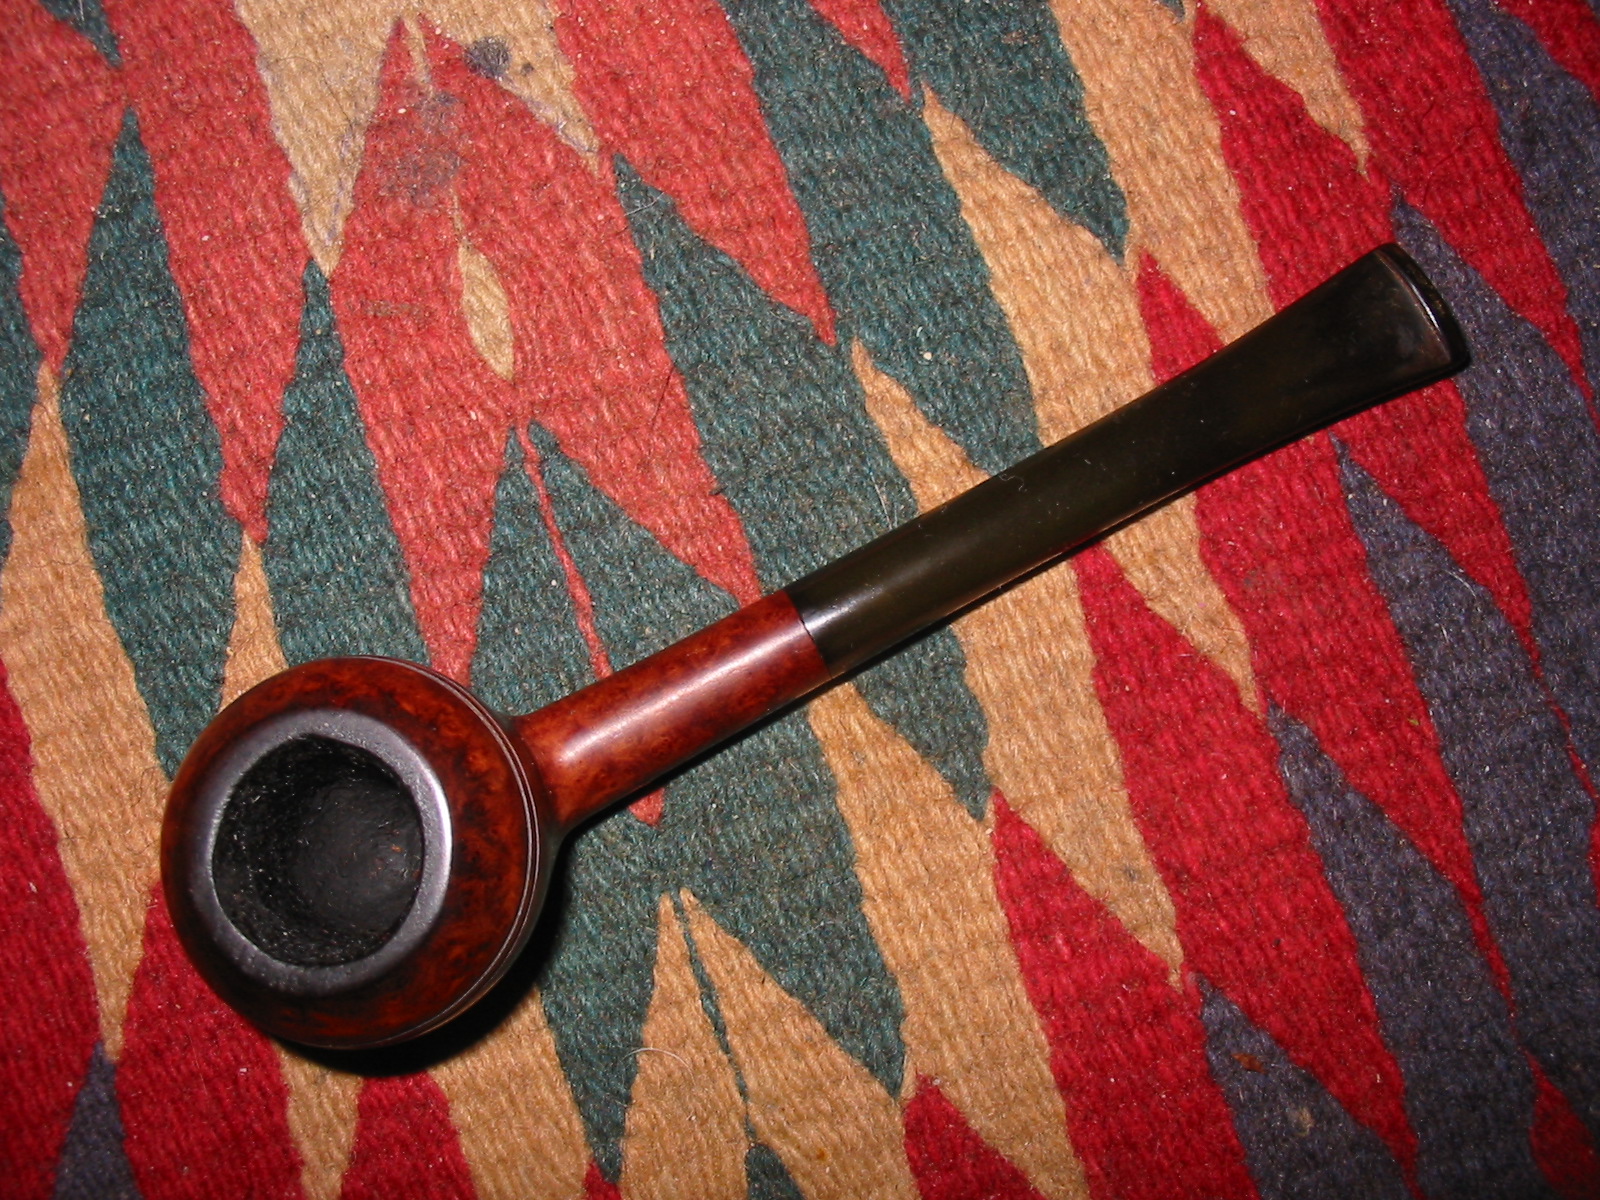
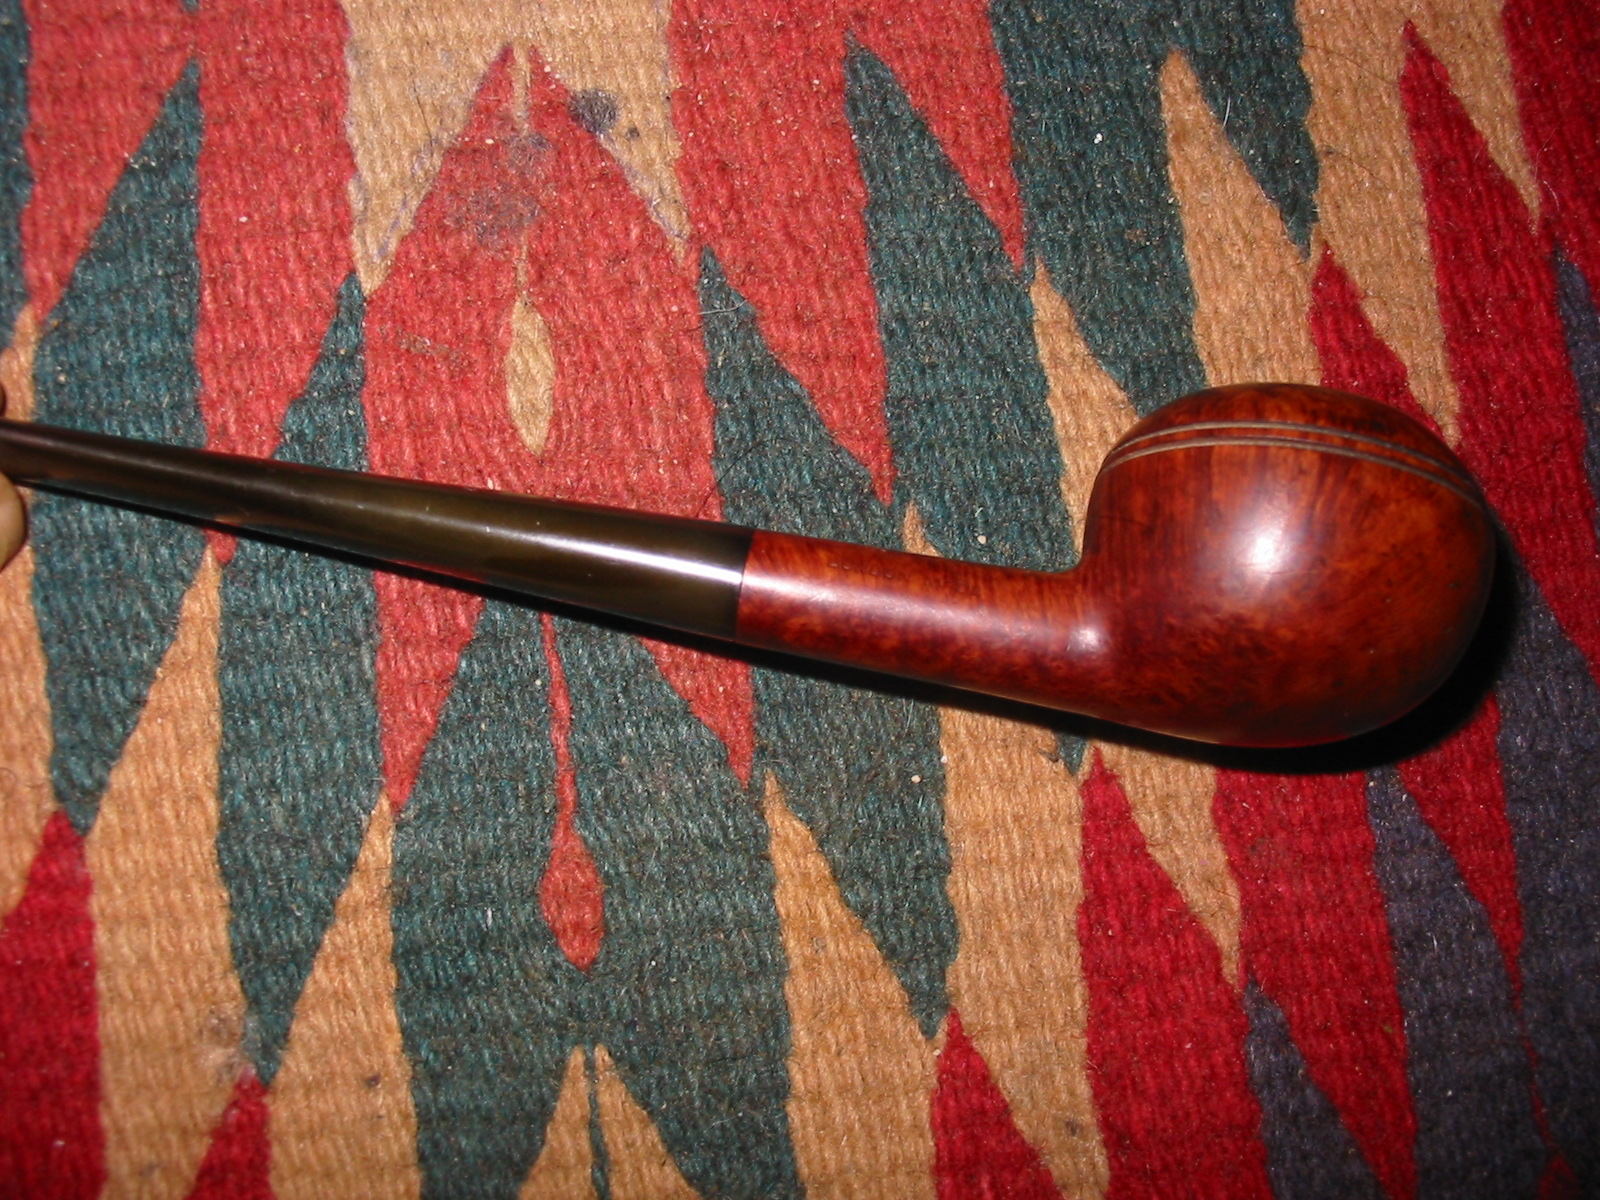
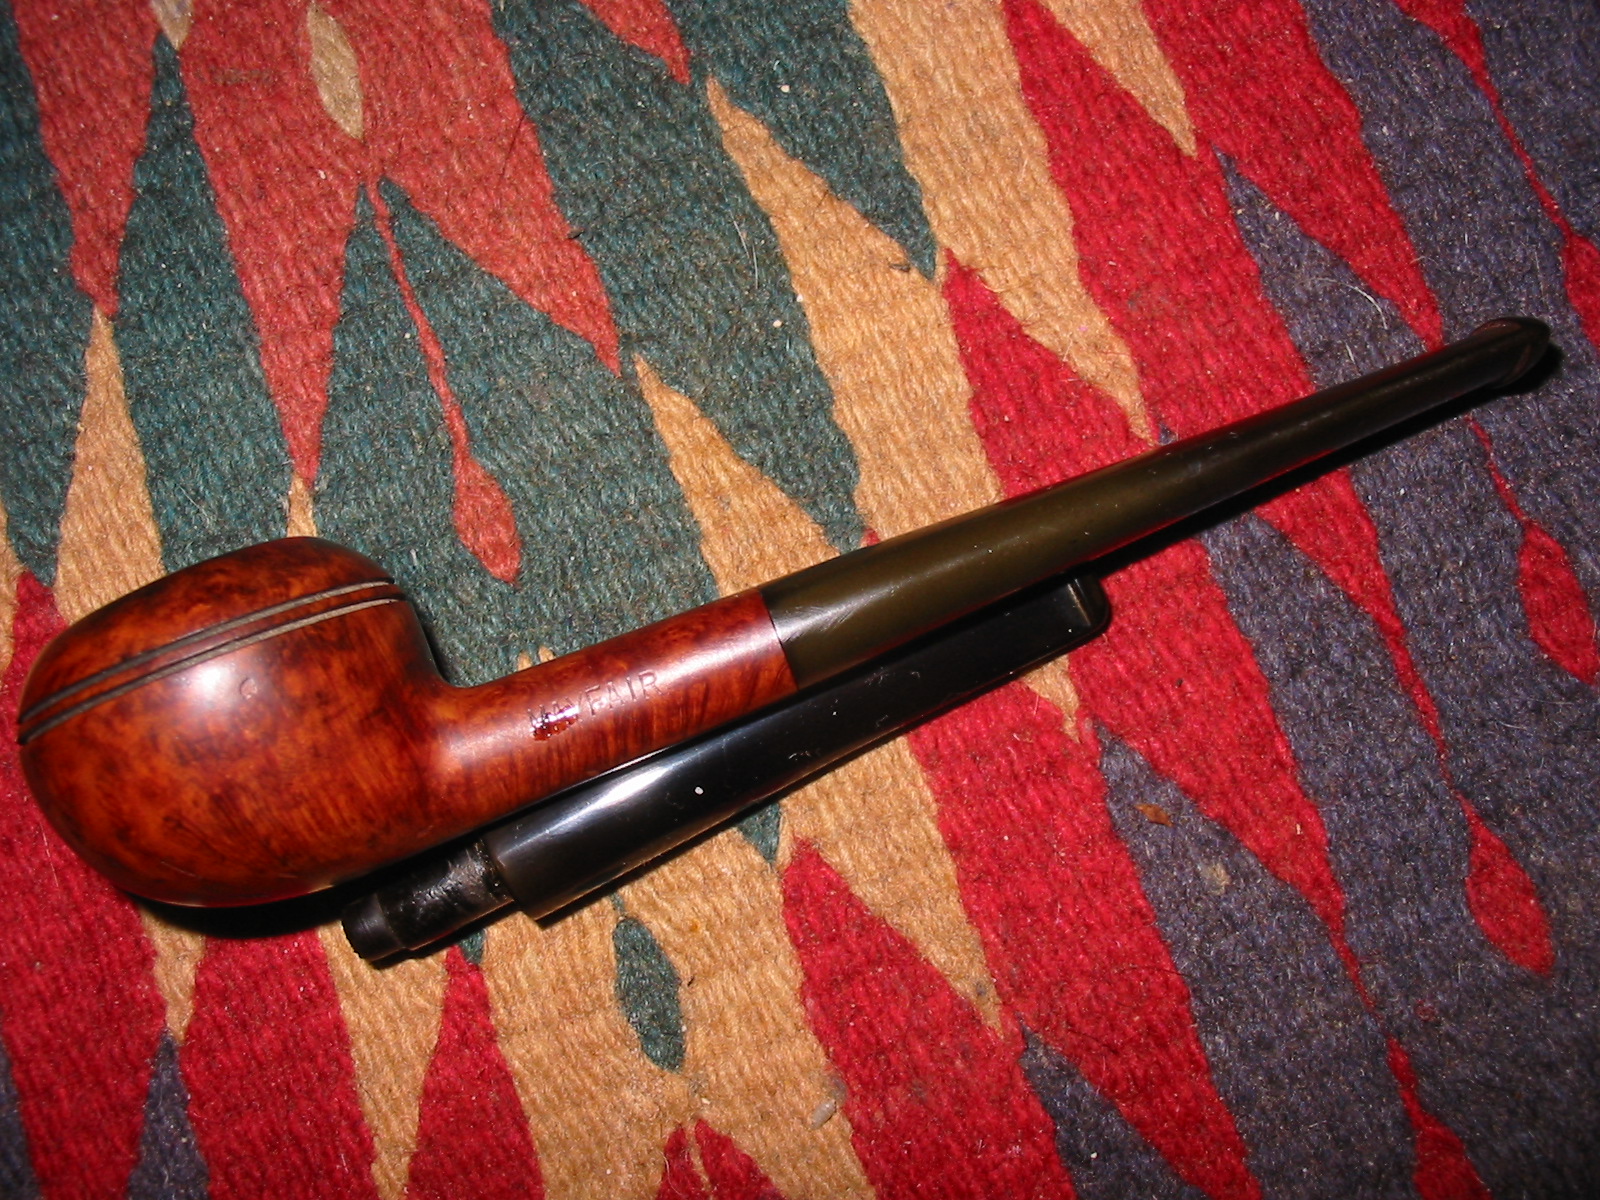
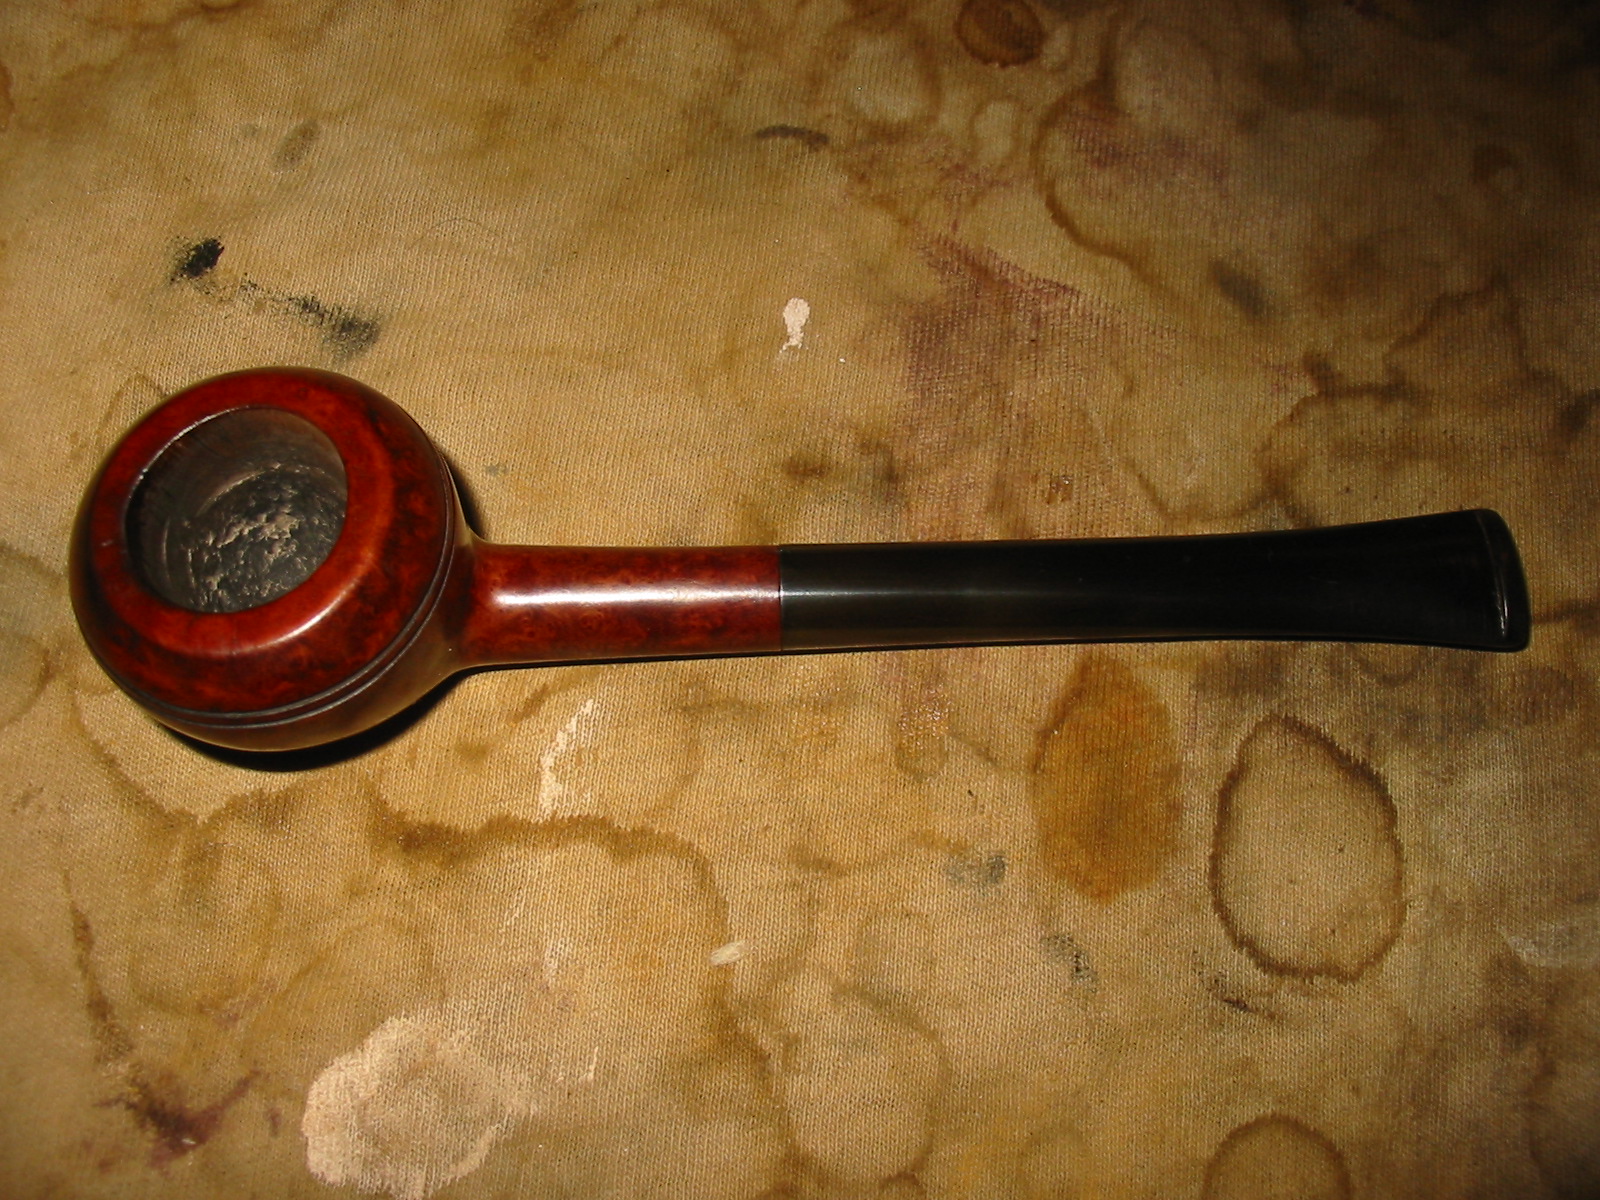
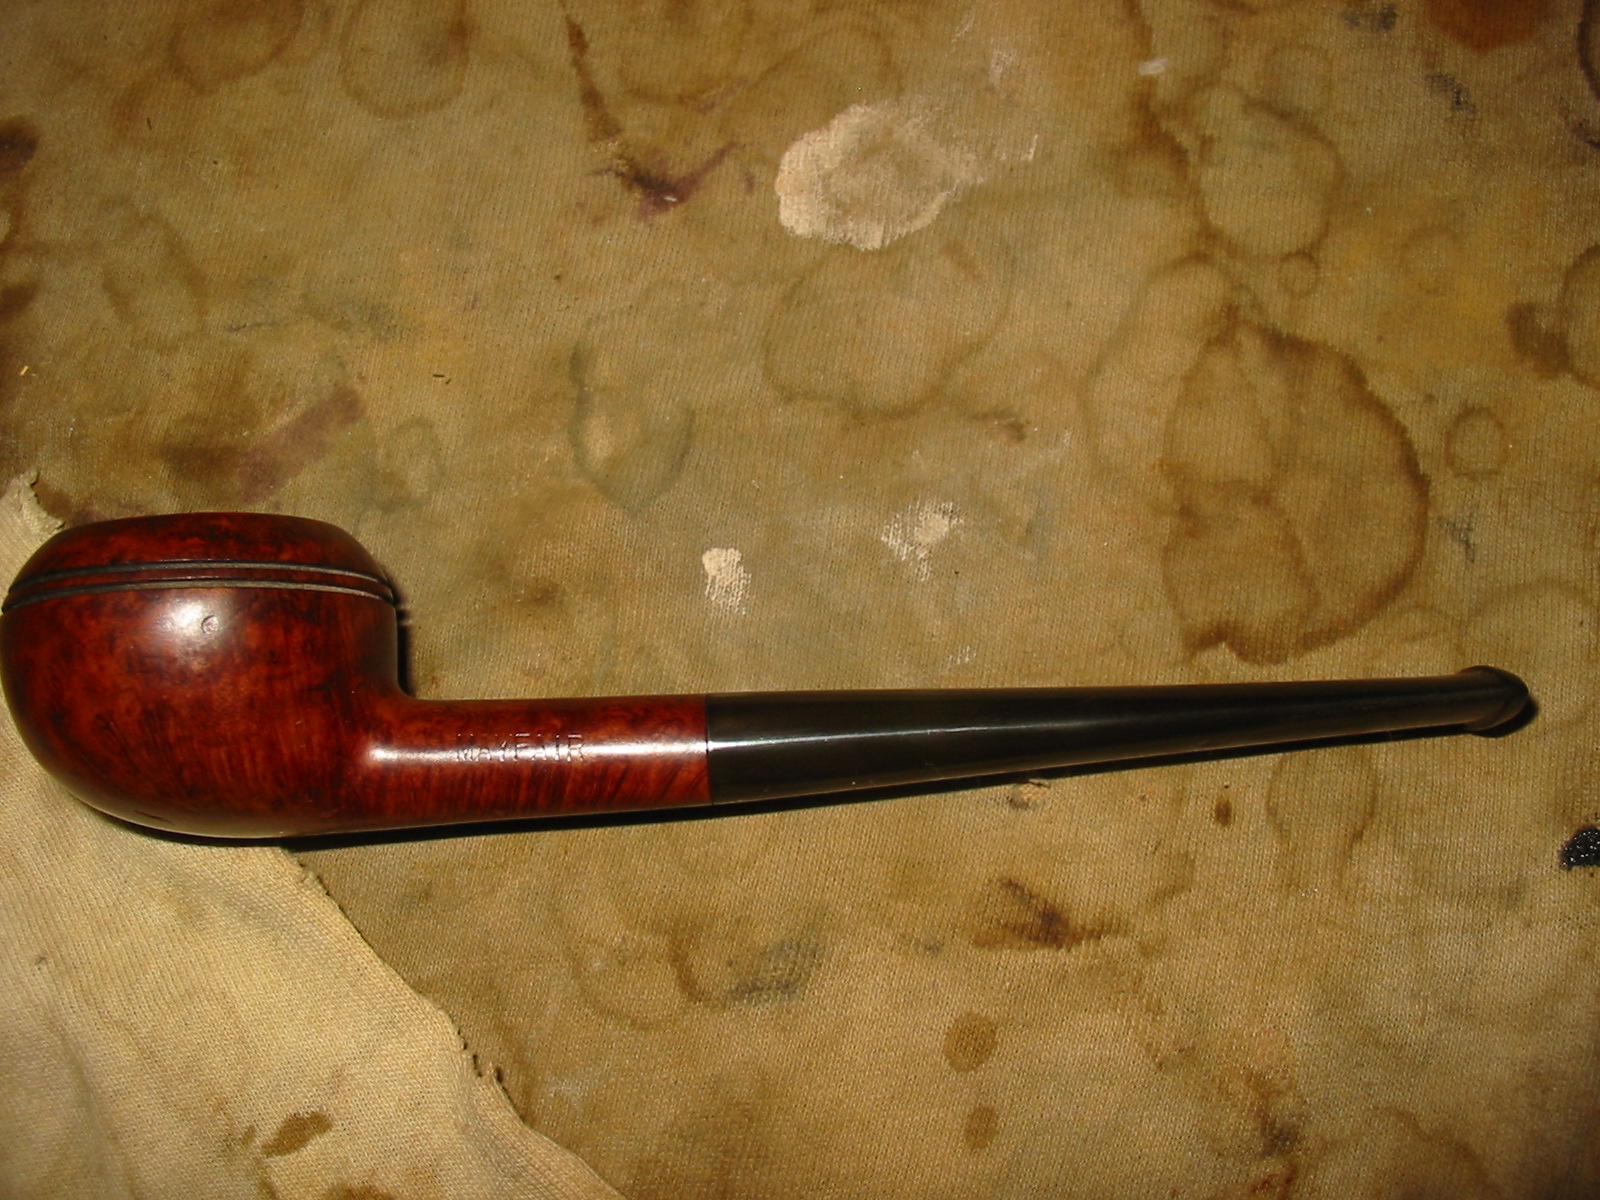
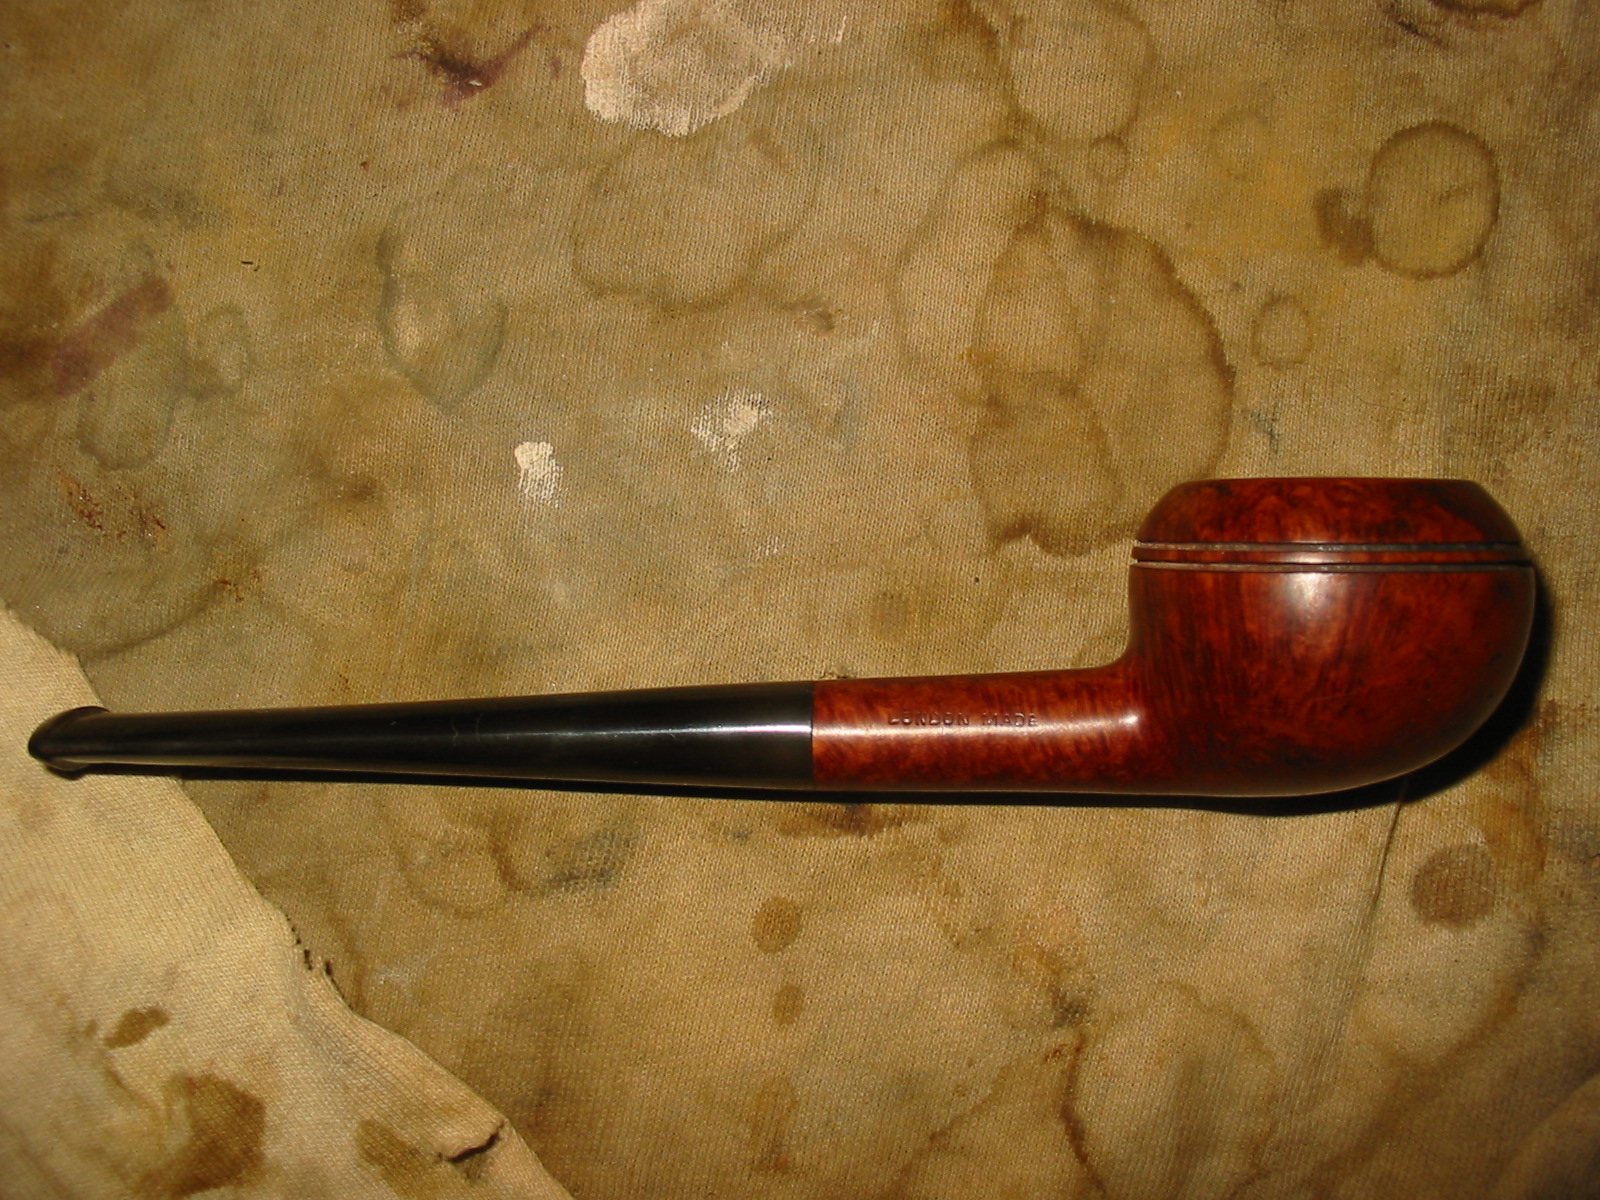
Beautifying a Sasieni Mayfair


Blog by Steve Laug

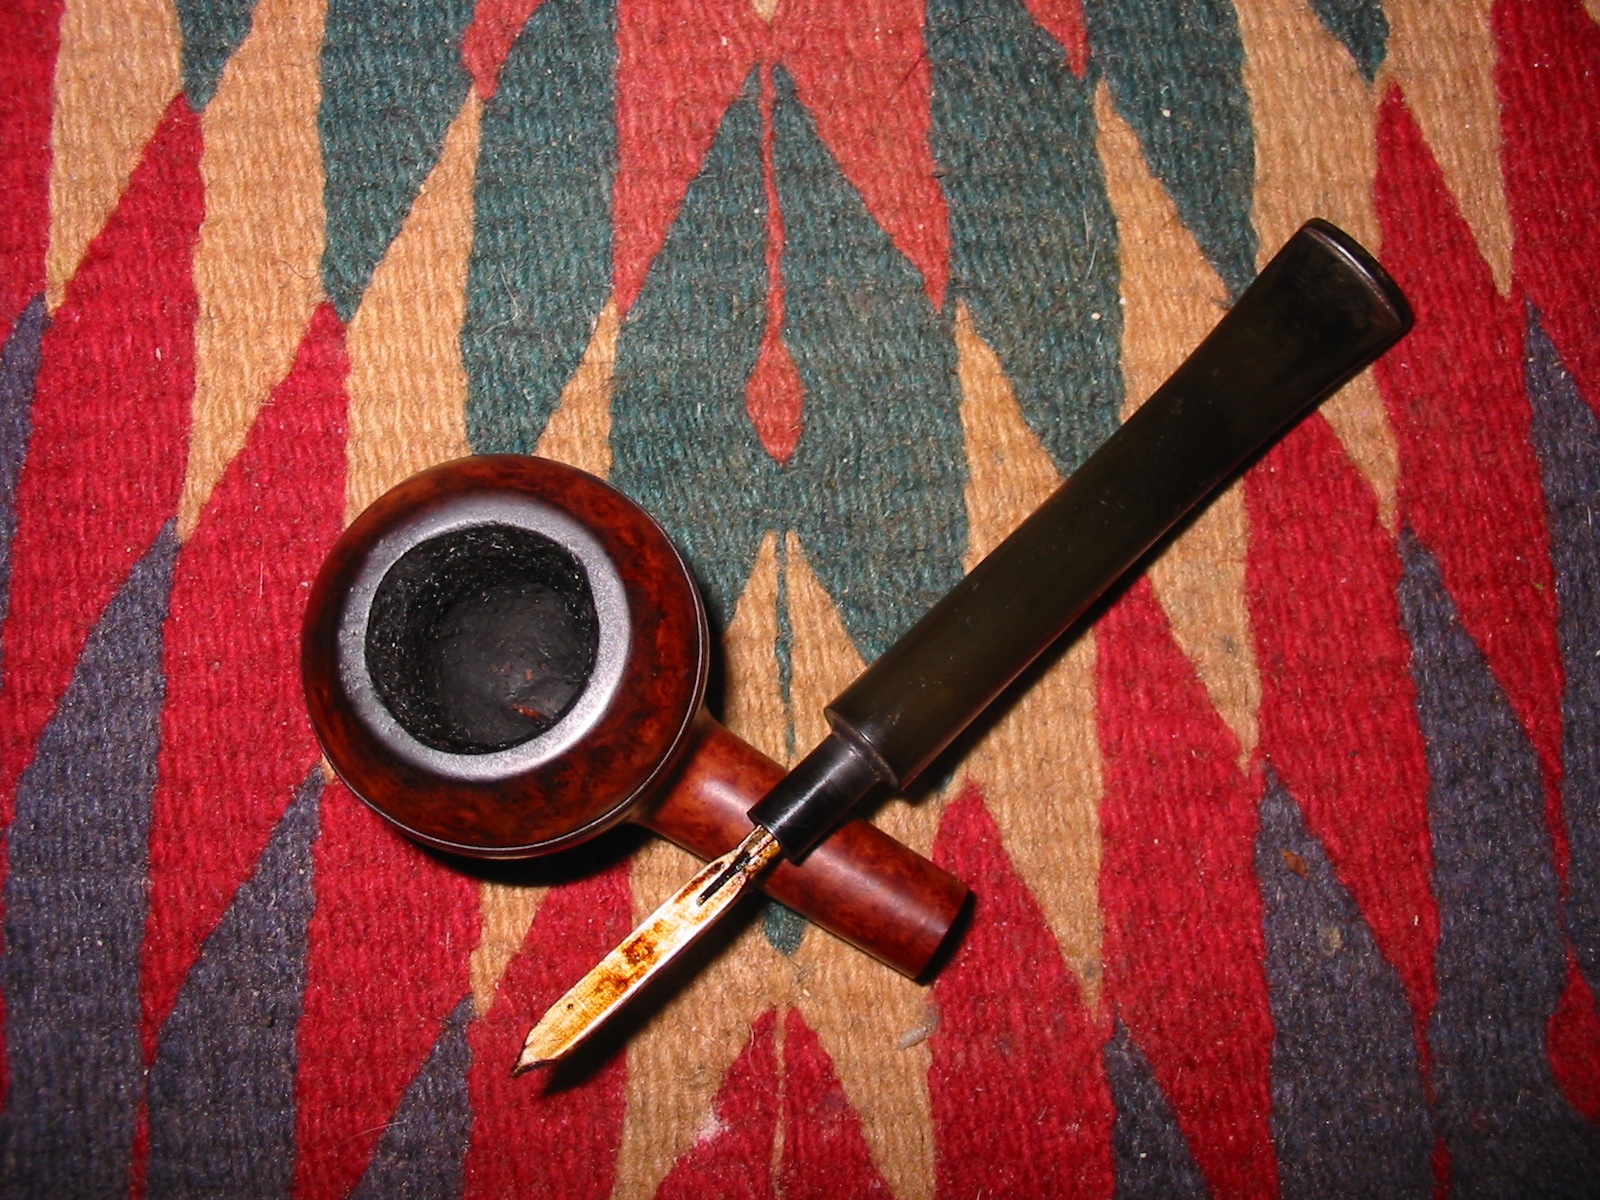
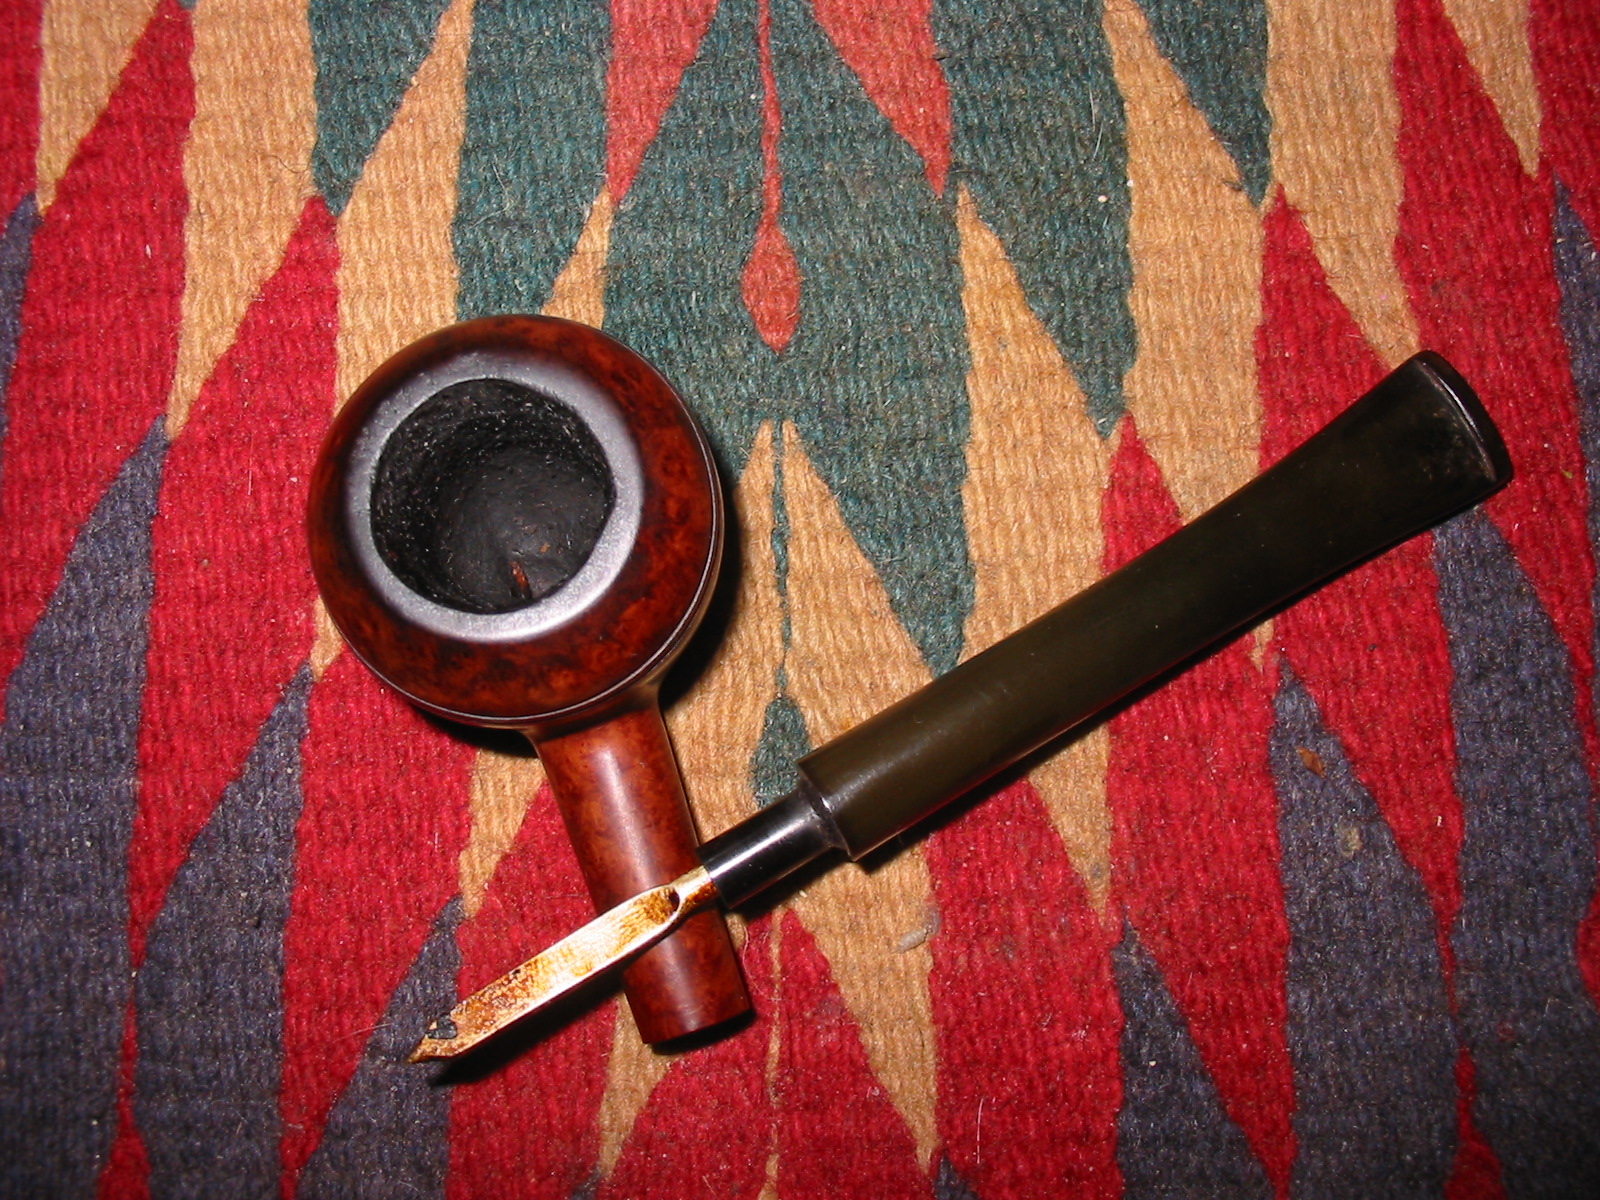
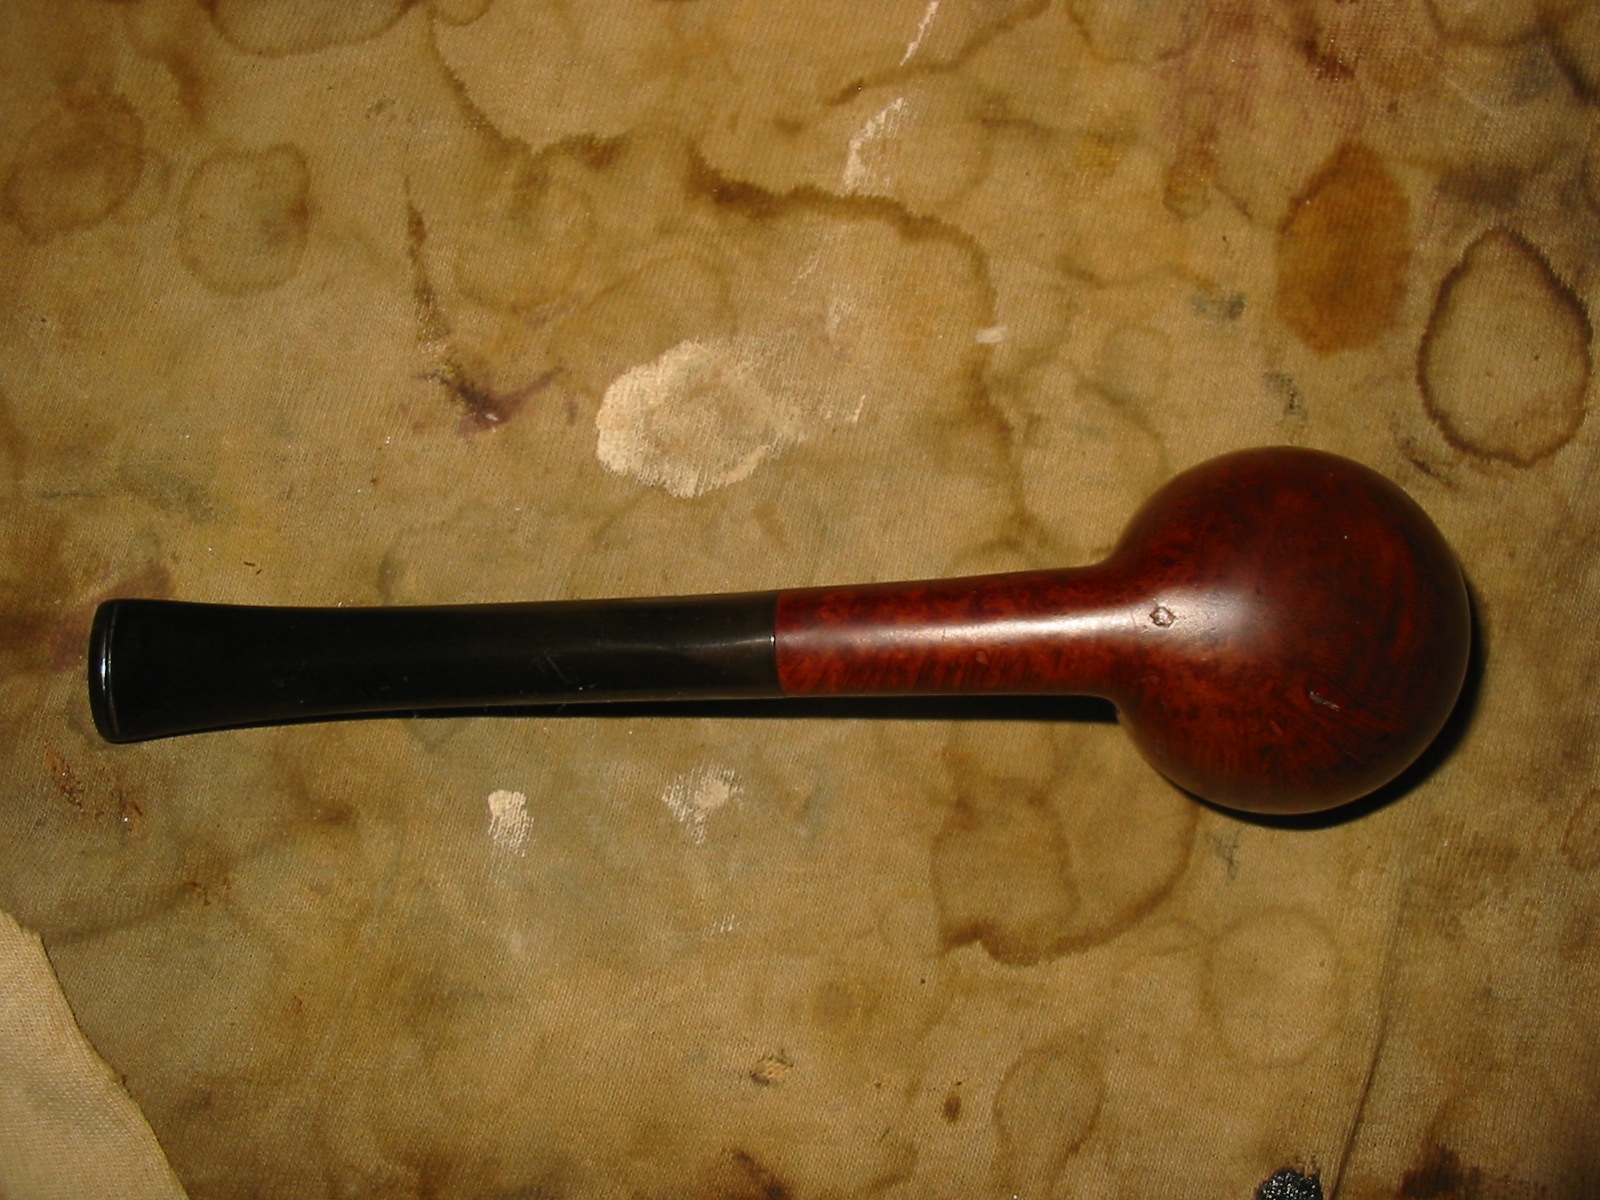
Yesterday I picked up this beautiful little Sasieni Mayfair. It is stamped Mayfair on the left side of the shank and London Made on the right side. The bowl was tarry with a sticky aromatic and the top had been burned on the front side and then poorly topped to get rid of the burn. This left the bowl slanted toward the front side where the burn had been. The rim was also covered with the aromatic goo. The stem was tight but I was able to remove it from the bowl at the shop and found the typical stinger apparatus intact. It was a flat metal blade that ended in a round tube that inserted into the tenon. The tube was slotted to allow the smoke to pass into the airway of the stem. The stem was slightly oxidized and had a tooth mark on the top and the bottom of the stem. Other than those things it was a nice piece of briar and the finish was actually in excellent shape. There were several small sandpits on the bottom of the bowl but they did not detract from the beauty. The shape is kind of a cross between a Prince and a Rhodesian. The shank is a pencil shank. Dimensions for this little pipe are: length 5 ½ inches, height 1 ¼ inches, bowl diameter ¾ inches, bowl depth ¾ inches, shank diameter 3/8 inches. The two photos below show the pipe as it was when I found it. We went for supper at a Mexican Restaurant and I took these photos on the table top.

IMG_0373

IMG_0374

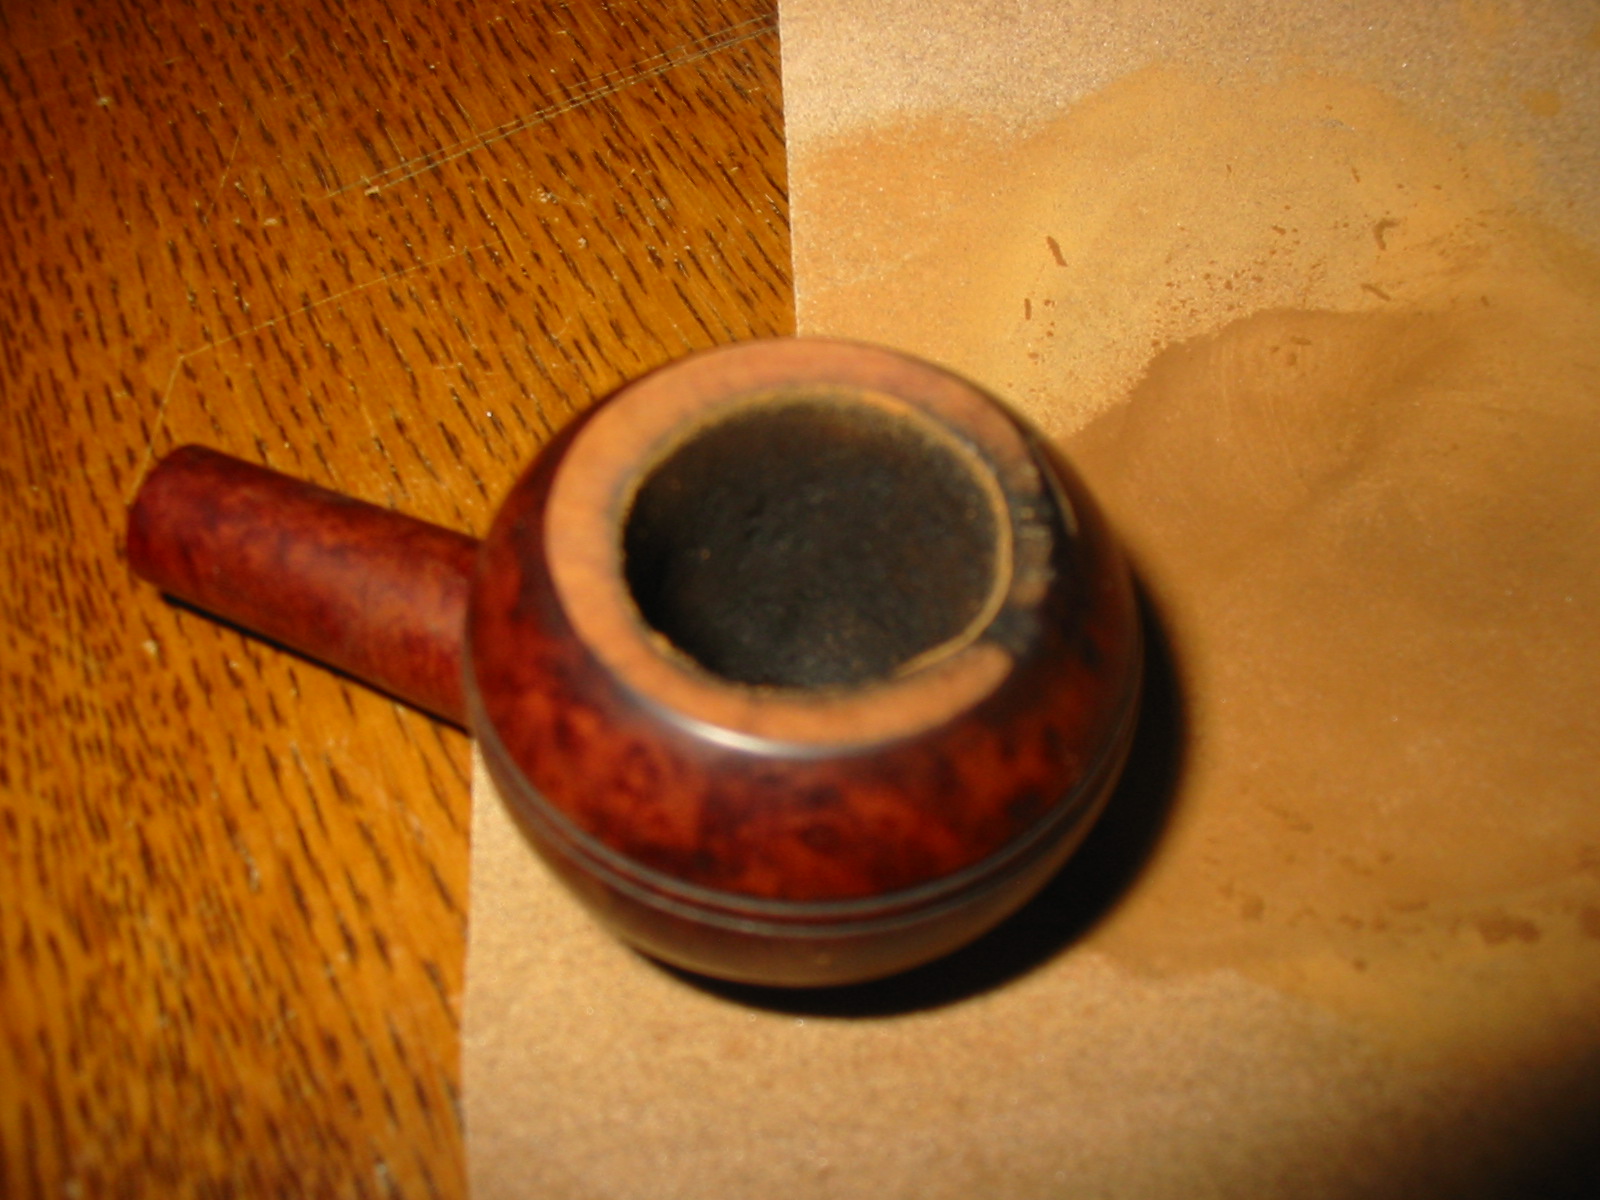
This morning I went to work on it. I took the following photos on my work table. The first three show the externals of the pipe. The damage on the rim is visible as is the state of the bowl. In the third photo note the angle of the bowl top in comparison to the one above it in the second photo. The angles are different and the bowl top is slanted toward the left and the front of the bowl.
IMG_1101

IMG_1102

IMG_1103

I took the pipe apart to check on the internals and remove the stinger apparatus. The next two photos show the top and bottom of the stinger. It is also clear in these two photos the damage to the right inside edge of the rim as well. It is slightly out of round.

IMG_1104

IMG_1105

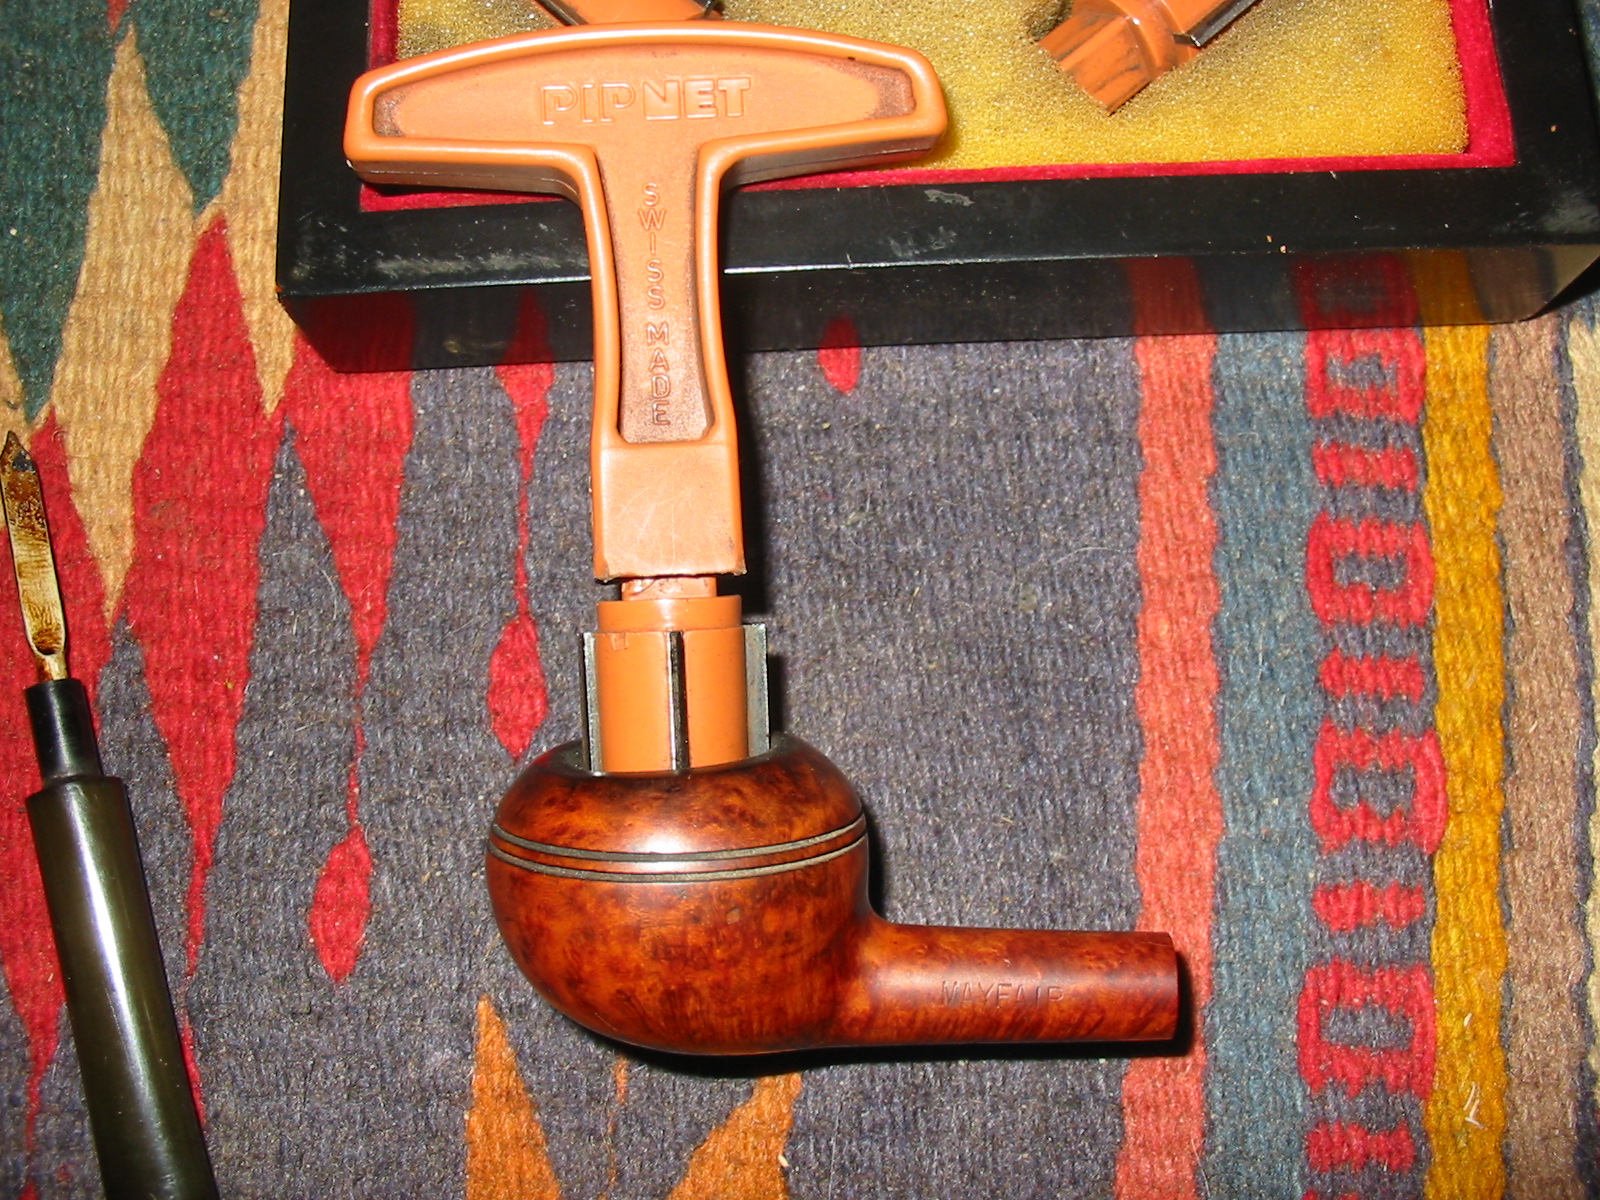
I reamed the bowl with a PipNet reamer using two different cutting heads. I start with one size smaller than the diameter of the bowl to start the reaming. I then follow-up using the correct size cutting head in the bowl. I find that it is easier to cut the cake carefully and not do any further damage to the roundness of the bowl.

IMG_1106

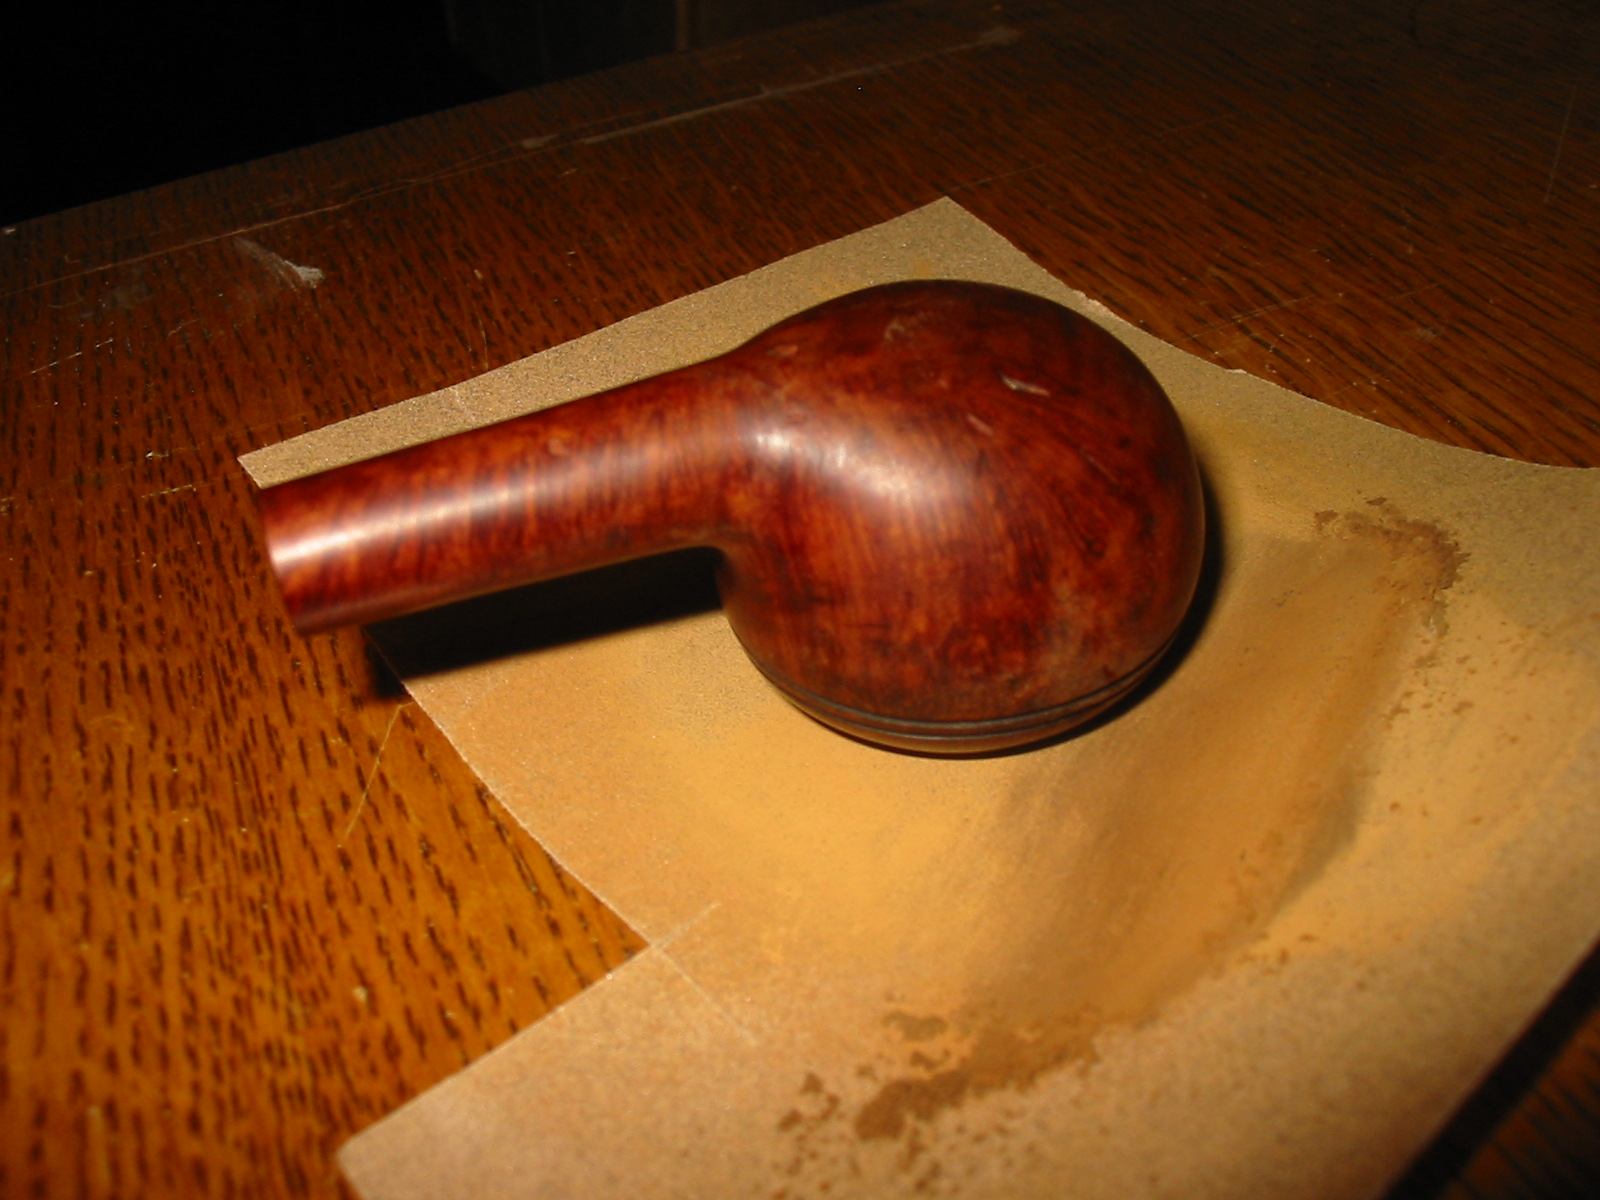
Topping the bowl on this one was a bit tricky. I needed to take down the back left side of the rim and even out the back side of the rim without removing any from the front edge. I used the flat hard surface that I always use for topping. I held the bowl with the back side pressed into the sandpaper and the front edge off the paper. I move the bowl right to left across the sandpaper checking to see the effect (photo 1 below). I did not want to make the top worse than it already was. Once I had the back left and right sides even and the front and the back even I was ready to do a slight topping on the bowl to even it up neatly (photo 2 below).

IMG_1107

IMG_1108

At this point I sanded the top a little more to clean off the burn damage on the front of the bowl. Once I had that minimized I sanded the top with a medium and a fine grit sanding sponge until the scratch marks were gone. I also used the Dremel to even out the diameter of the bowl and bring it back into round.
I then removed the stinger apparatus and cleaned it with alcohol and cotton pads. I picked the slot clean with the dental pick. I did not intend to use it on the pipe once it was clean so I put it away in case I sold the pipe and the new owner wanted the stinger.

IMG_1109

IMG_1110

I set up the retort and filled the test tube with isopropyl alcohol and boiled out the inside of the bowl and stem. The next four photos show the set up and the process. I heat the alcohol with a tea candle and once the alcohol has cooled from the boil it returns back to the test tube and carries the oils and tars of the bowl and shank with it. I repeated this process twice.

IMG_1111

IMG_1112

IMG_1113

IMG_1114

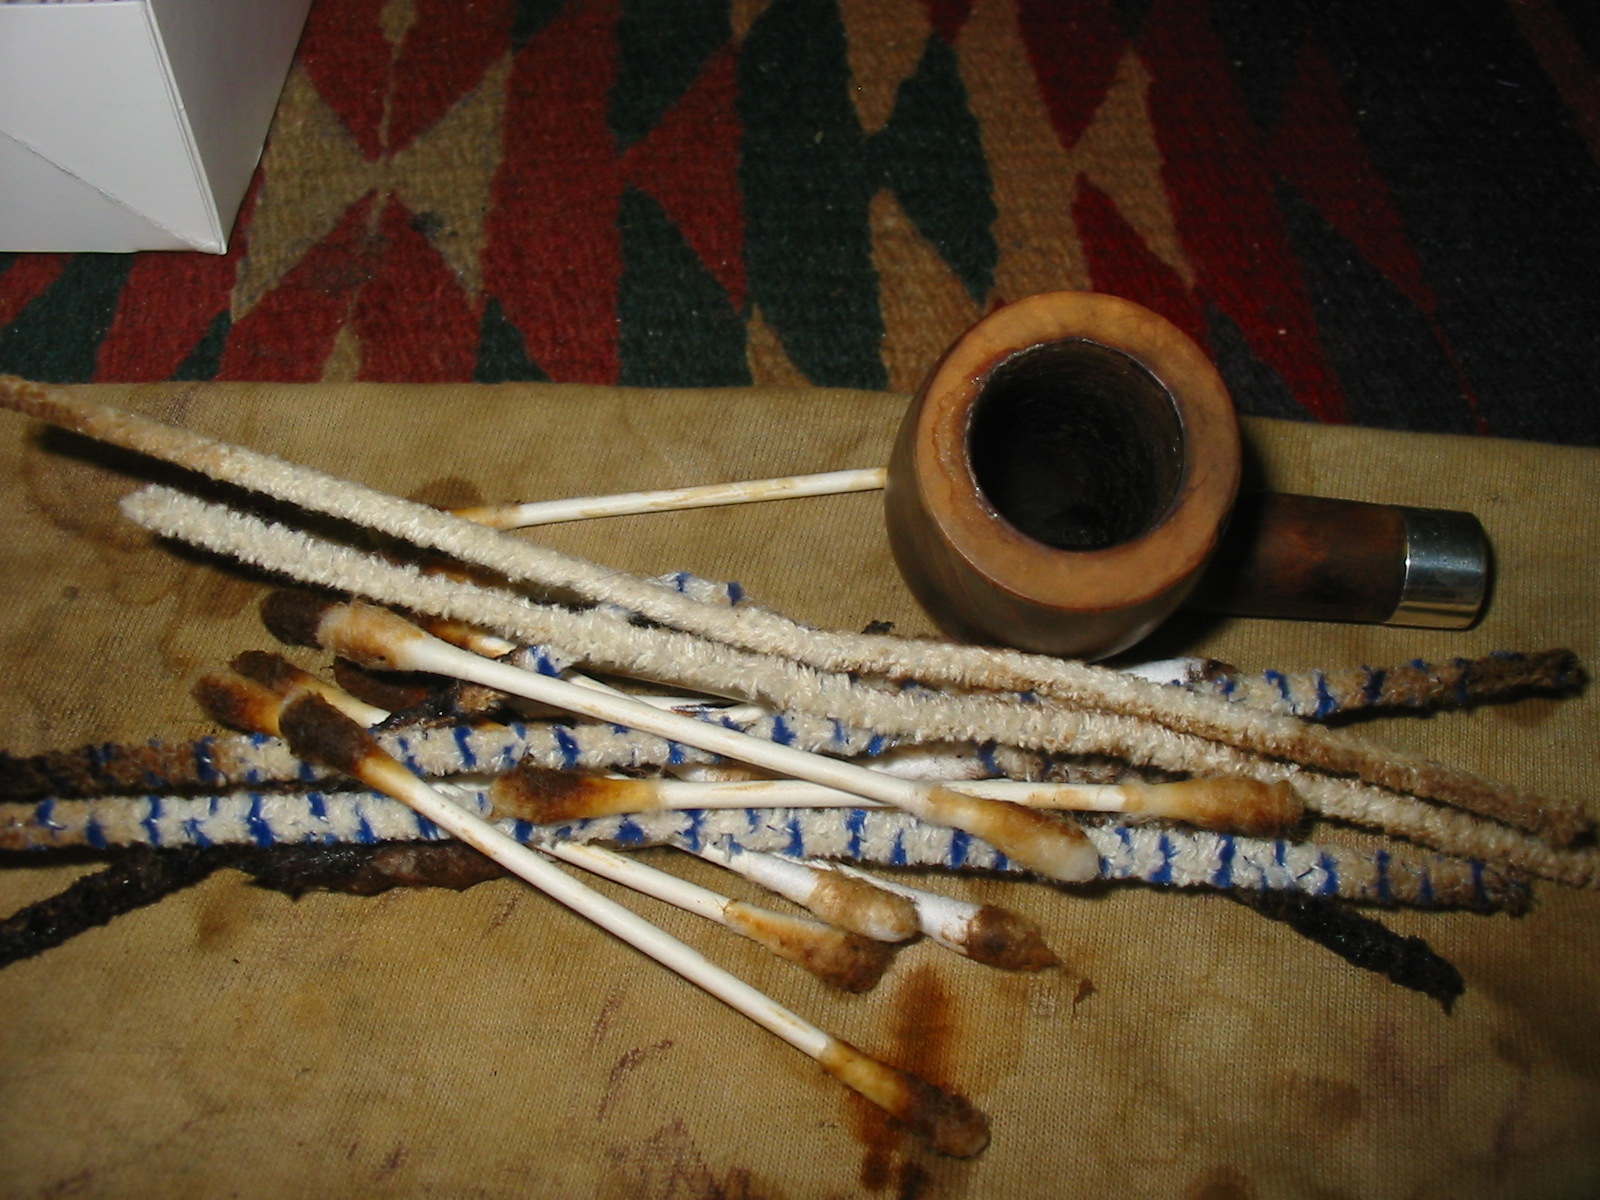
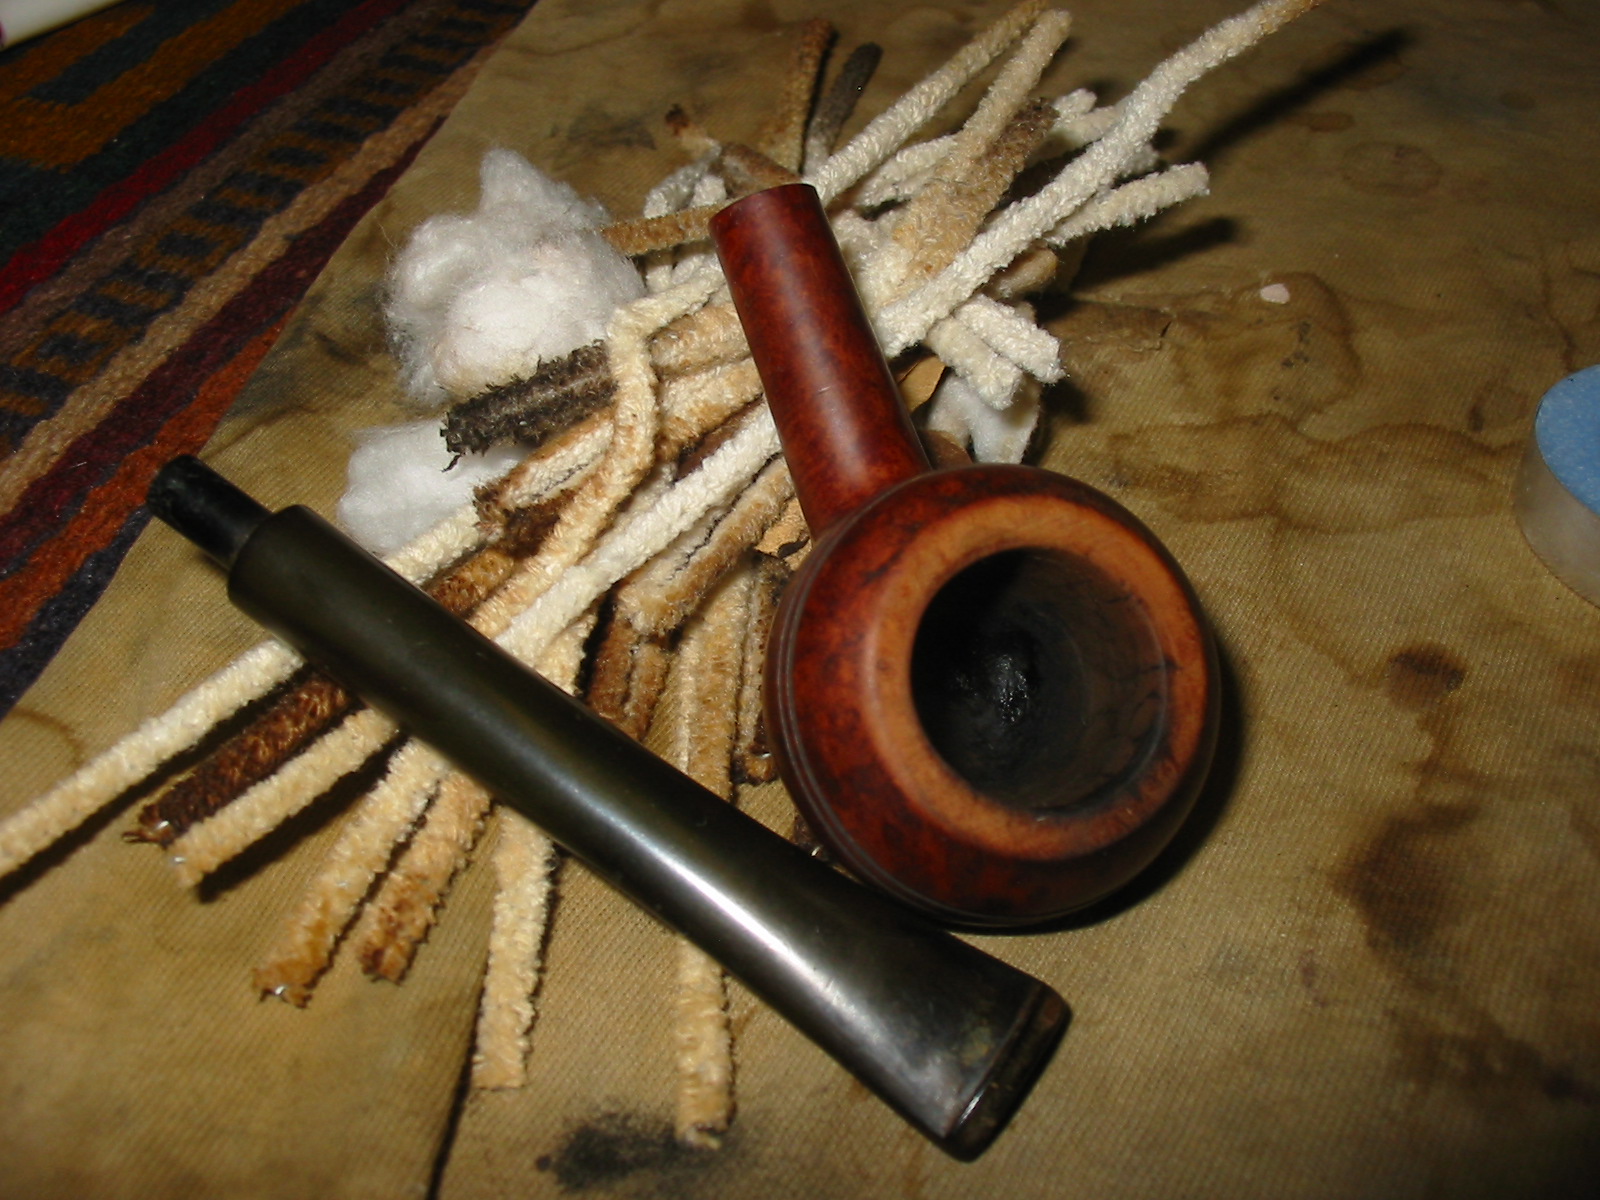
I cleaned up after the retort with pipe cleaners and Everclear. Both the stem and the shank were cleaned of all the internal grime. The pile of pipe cleaners in the picture below show the sheer volume of pipe cleaners used in cleaning up after the retort. Once this was finished the interior of the shank and stem were clean and pipe cleaners came out pristine.

IMG_1115

It was time to work on the stem. I ran the flame of a Bic lighter across the tooth marks on the topside and bottom side of the stem until they lifted. I then sanded the stem with 220 grit sandpaper to remove the remaining signs of the marks. And then I sanded the entire stem with a fine grit sanding sponge to remove the oxidation and to deal with the scratch marks from the sandpaper.

IMG_1116

IMG_1117

IMG_1118

I stained the top of the bowl with dark brown aniline stain that I thinned 2:1 with isopropyl to match the colour of the bowl and shank. I flamed it and then repeated the process until the colour was an exact match to the rest of the pipe.

IMG_1124

IMG_1125

I took the pipe to the buffer and buffed the bowl with White Diamond to shine up the bowl and the newly stained rim. I also buffed the stem with Tripoli and White Diamond at the same time to further shine the stem. The four photos below show the buffed and polished bowl and stem after the White Diamond buff.

IMG_1128

IMG_1129

IMG_1130

IMG_1131

I took the pipe back to my desk and sanded the stem with micromesh sanding pads. I worked through the various grits of micromesh from 1500-12,000 to polish the stem.

IMG_1132

IMG_1134

IMG_1135

IMG_1136

I gave the entire pipe another buff with White Diamond and then gave it multiple coats of carnauba wax and buffed it to a shine with a clean flannel buff. The final four photos show the finished pipe.

IMG_1137

IMG_1138

IMG_1139

IMG_1140

GBD Midnight 9456


Blog by Greg Wolford

The last few months have been extremely busy for me. It is amazing how much a disabled, non-working person can be obligated to do; I think I had more “free time” when I was working full time in the car business! Ah, but I digress …

By chance, I found myself today with no obligations, no chores, no appointments, just a day to myself. Unfortunately it also stormed badly which flared up my arthritic joints but I was able, finally, to get to a project, if only a simple one.

I picked up this GBD Midnight about two weeks ago. It was a fair price and an interesting pipe to me; all of the Midnight models I had seen before had acrylic stems and this one had vulcanite. Some later research led me to believe that there were at least two productions of this line: the first with vulcanite stems shortly after the merger and another some time later with acrylic stems.

Although I forgot to take “before” photos the seller’s were quite accurate except for the oxidation was a bit more than I anticipated: it wasn’t thick or heavy but was even, all over brown. The seller said he had only smoked it a few times over the years and didn’t like it; he prefers a 9 mm filter pipe. He said there were a few tooth dents but not bad ones and that he had cleaned it; these things were accurate, if he meant cleaned the inside.

The too had a fair amount if tar build up but not thick. The stummel was dirty but not in bad shape at all. And the dents were mild as be had said.

I began with an alcohol soaked pad, wiping down the stummel, paying extra attention to the rim’s build up. It didn’t take a lot to get it cleaned up and the rim smoothed out. I then reamed the bowl, which needed it but wasn’t badly caked. I set the stummel aside and began to work on the stem.

I started by rubbing the entire stem well with Back-to-Black, which removed a lot of oxidation. Then I took some automotive rubbing compound and cotton pads and polished away almost all of the remaining oxidation. After the rubbing compound I took the stem to the heat gun to raise the dents. They came up pretty well but not completely. But they were now slight enough I decided to not sand them smooth; I wanted to finish this pipe and write this blog tonight, those things and the small dents left made this decision for me easy. I did wet sand the stem with 400 grit wet/dry paper to remove the last of the oxidation and the few scratches I saw.

I reassembled the pipe and went to the buffing wheel. I like to buff the shank-stem union together so as to keep a nice fit. I began with black buffing compound, about an 800-grit I believe. After the union was buffed I took the stem and stummel apart and buffed each piece. I moved onto brown tripoli, then white diamond doing the same process.

I had a small deviation at the end of the white diamond buffing: the wheel grabbed the stummel and bounced it off my table. It left two dents, the bounce across the garage, that totally irritated me. I then had to steam the the dents out; thankfully the dents weren’t bad and came out. I went back to the white diamond and re-buffed the stummel.

I reassembled the pipe and gave it several coats of carnauba wax, buffed it on a soft, clean wheel and, finally, hand buffed it wearing a pair of linen gloves I bought just for that purpose.

The pipe came out quite well I think. After cleaning and buffing it is a bit lighter on color, which I am very happy with; the grain, especially the Birdseye on the front of the bowl really pops now.

Hopefully the frantic pace of life will slow some over the coming weeks; I have many more wonderful old pipes that are patiently awaiting being brought back to life. And I am anxious to do the work an share it with you.

20130613-222006.jpg

20130613-222015.jpg

20130613-222023.jpg

20130613-222030.jpg

20130613-222040.jpg

20130613-222049.jpg

20130613-222056.jpg

20130613-222105.jpg

20130613-222111.jpg

20130613-222119.jpg

20130613-222126.jpg

20130613-222132.jpg

Refinished Rims and Touch-Ups – Alan Chestnutt


A while ago Alan posted this on Smokers Forums and I kept a copy of it. We spoke of the process and how well it worked. Since then I have been hunting for them in my area and so far no luck. I thought I would post Alan’s piece so that you all could read it and give it a try. Let us know how it works.

When restoring pipes, I nearly always like to refinish the rim. I think a nice clean sharp rim always sets a pipe off. As well as this it is just as easy to sand and refinish a rim as to try to remove tar and staining to the old rim. One of the problems though in refinishing a rim is trying to match the stain to the rest of the bowl. I always shied away from getting leather dyes, simply because you would need to be artist to be able to correctly mix all the differing shades.

I always remember my grandfather staining shoes and the smell of the dye always lingered in my brain. In more recent times that memory was triggered when smelling a sharpie marker, so my thoughts were that it must contain a similar alcohol based dye. I used a sharpie a few years ago to restain a black sandblast bowl and it worked a treat. “If only they were available in shades of brown” I thought to myself.

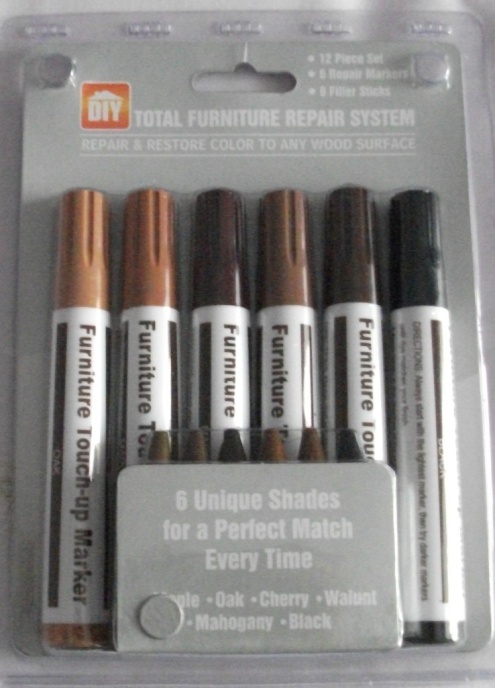
So while walking through a local discount store a few months ago, I spied furniture repair markers. Exactly what I had been thinking of.

pens

They come in 5 shades of brown plus black and cost £2 (about 3 bucks). I couldn’t wait to get home and try them. They are a chisel shape marker and apply a translucent stain exactly like an alcohol dye. Perfect! With the variety of shades a match can be made 99% of the time by application of a couple of coats or moving to the next darker shade. Simply cover the rim by wiping the marker over it and a few seconds later remove the excess with a soft cloth.

pens2
A refinished Tilshead rim.

They are excellent for touch ups on other areas of the pipe and I often use them to just refinish the whole pipe to brighten up the grain. Needless to say I acquired a few more packs, but I have refinished literally hundreds of pipes and I am still on my first pack. Simple to use, no mess, a variety of shades and cheap. I class them as my best purchase ever for restoring pipes, so keep your eyes open for them. Available on eBay too, but at a premium.

They are excellent for touch ups on other areas of the pipe and I often use them to just refinish the whole pipe to brighten up the grain. Needless to say I acquired a few more packs, but I have refinished literally hundreds of pipes and I am still on my first pack. Simple to use, no mess, a variety of shades and cheap. I class them as my best purchase ever for restoring pipes, so keep your eyes open for them. Available on eBay too, but at a premium.