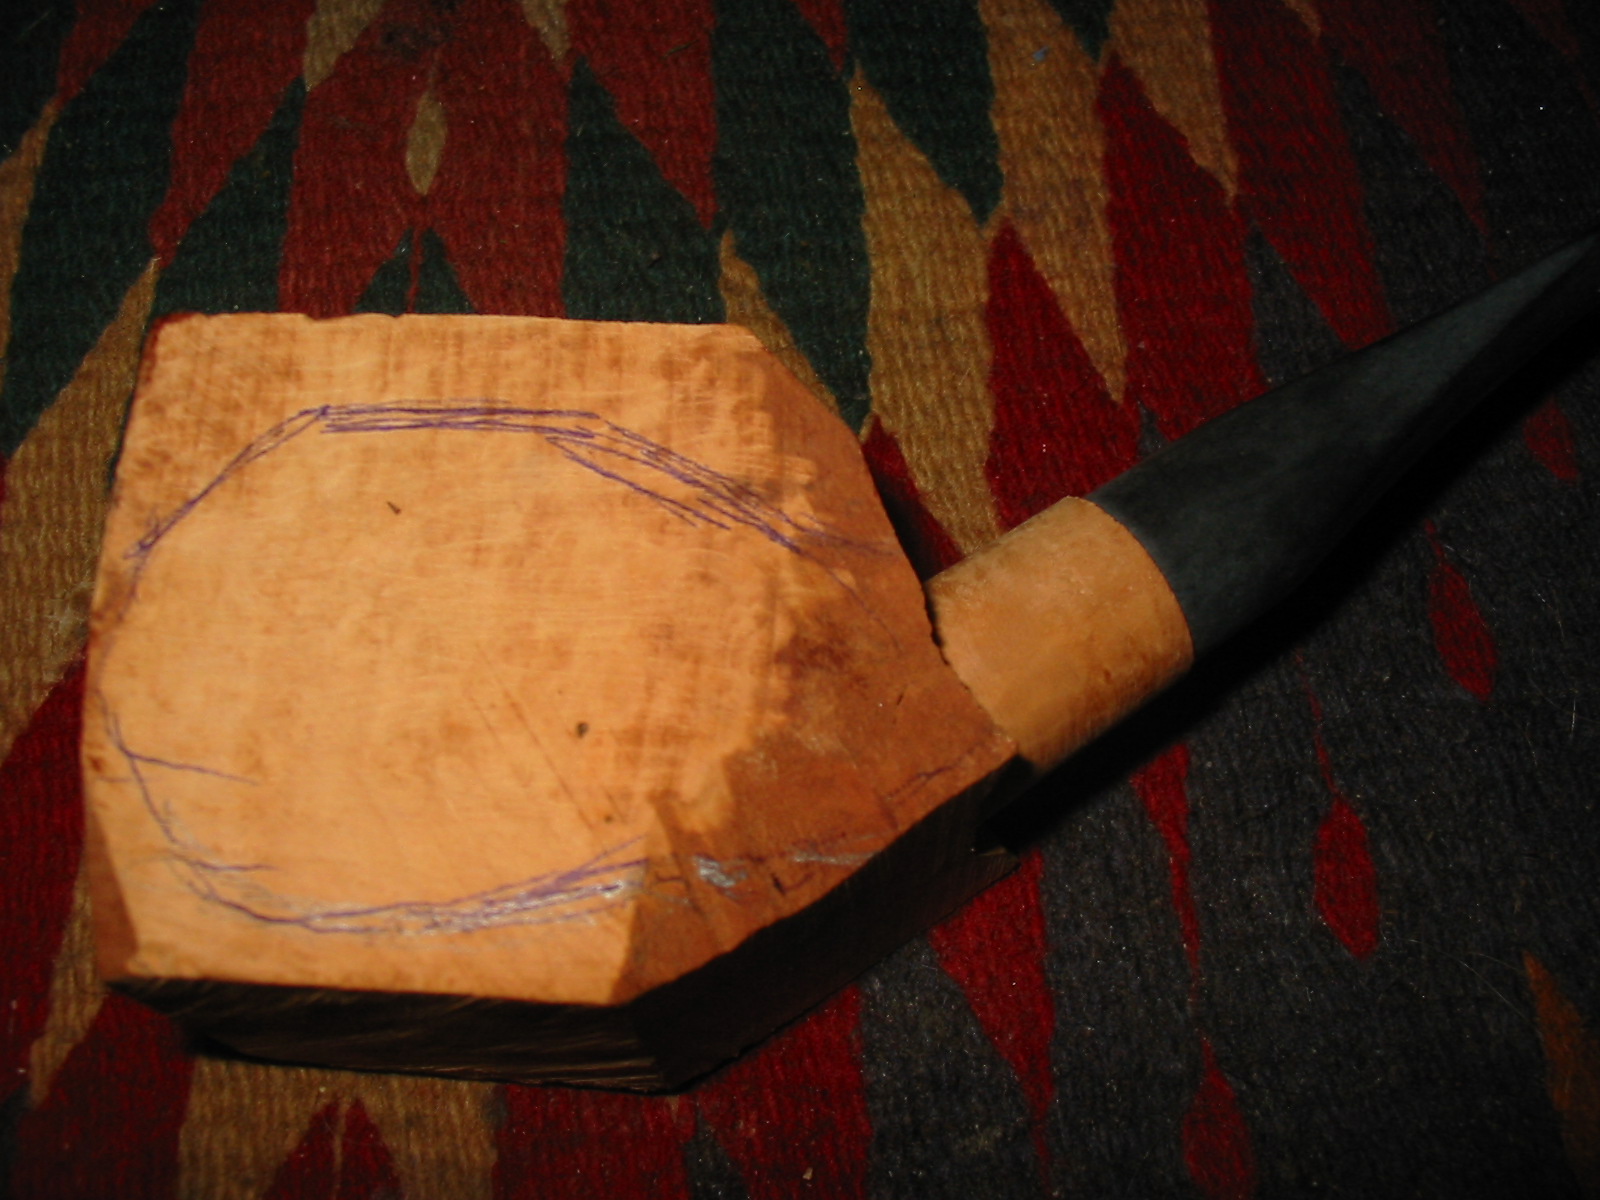
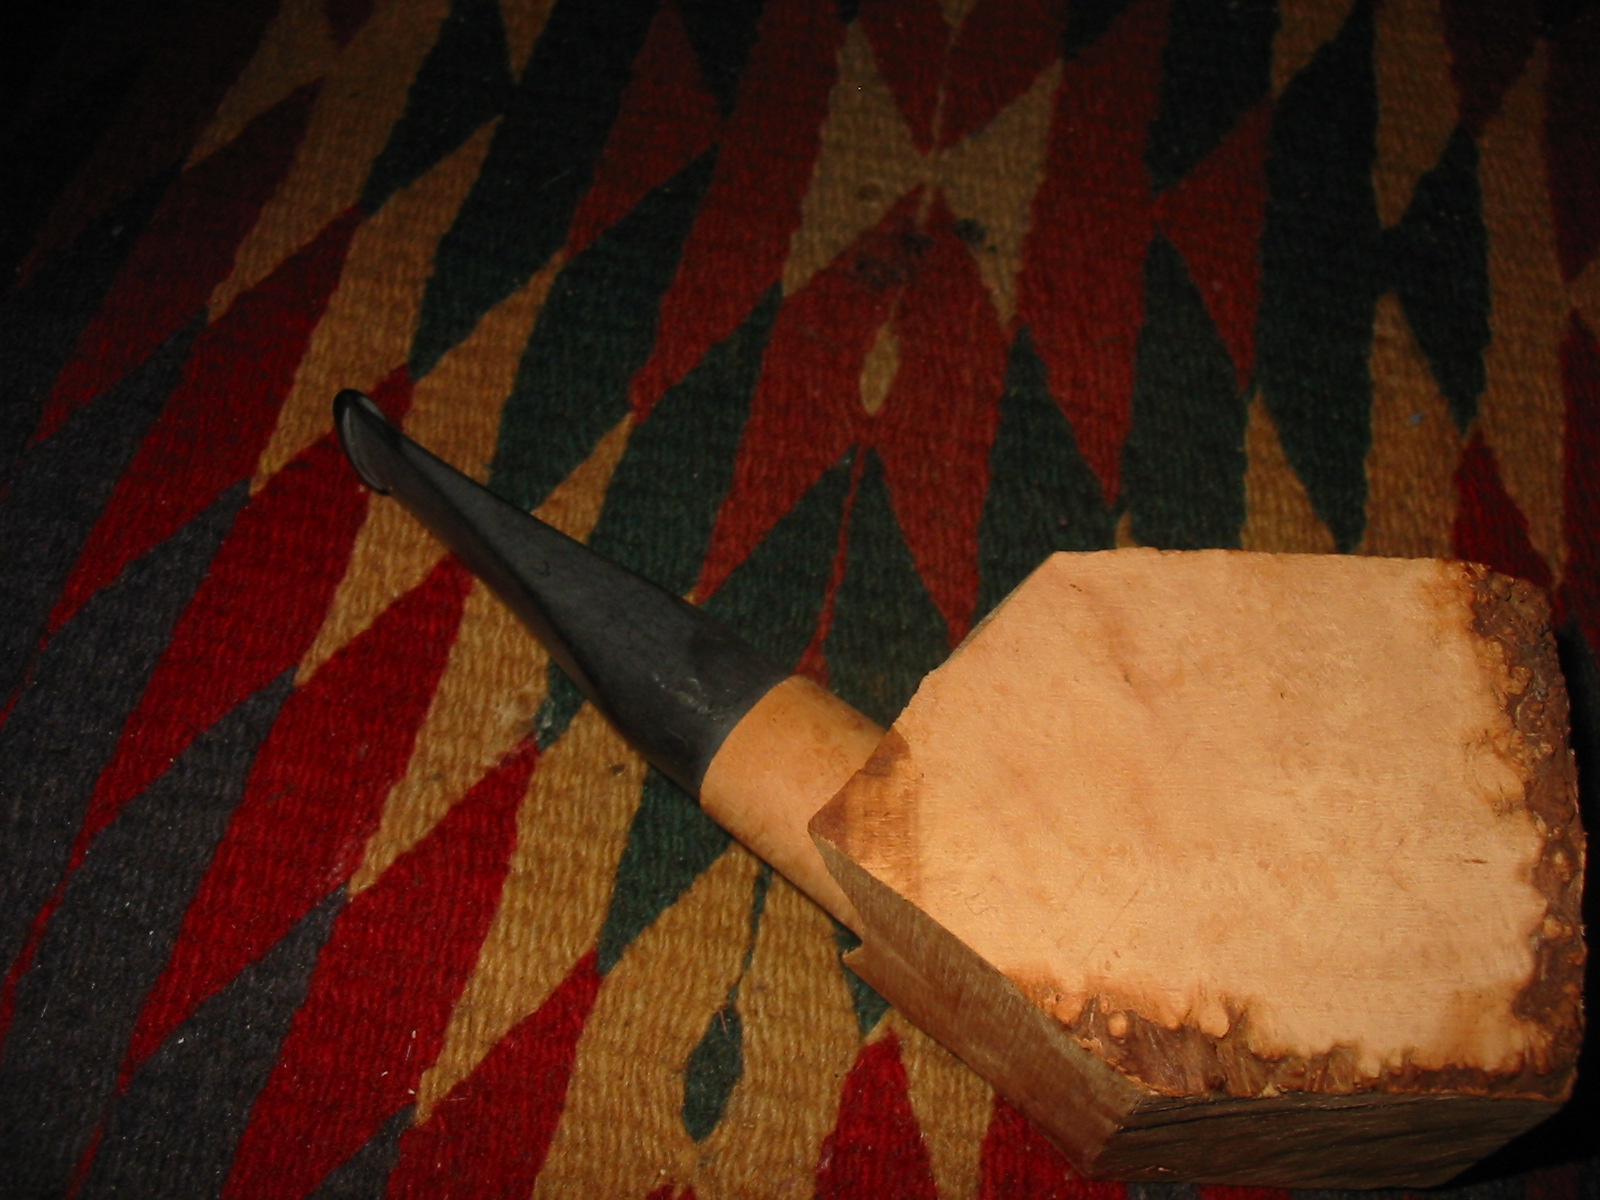
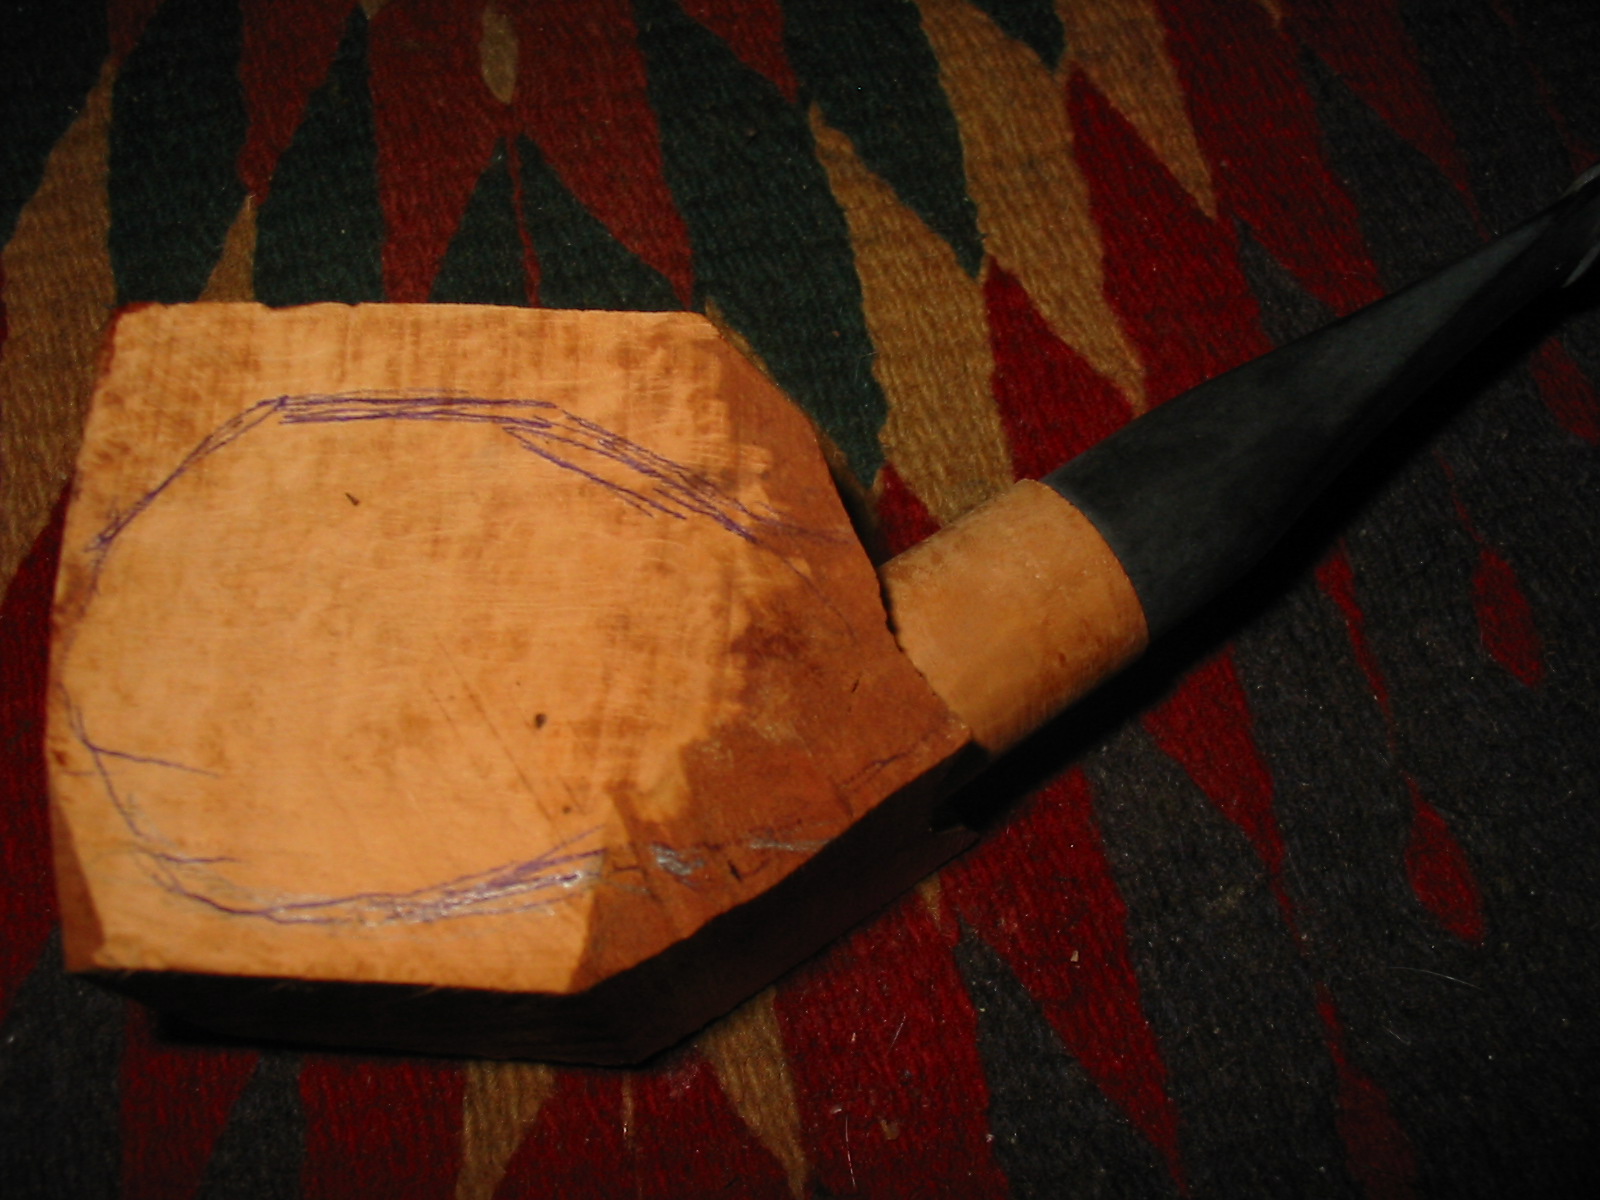
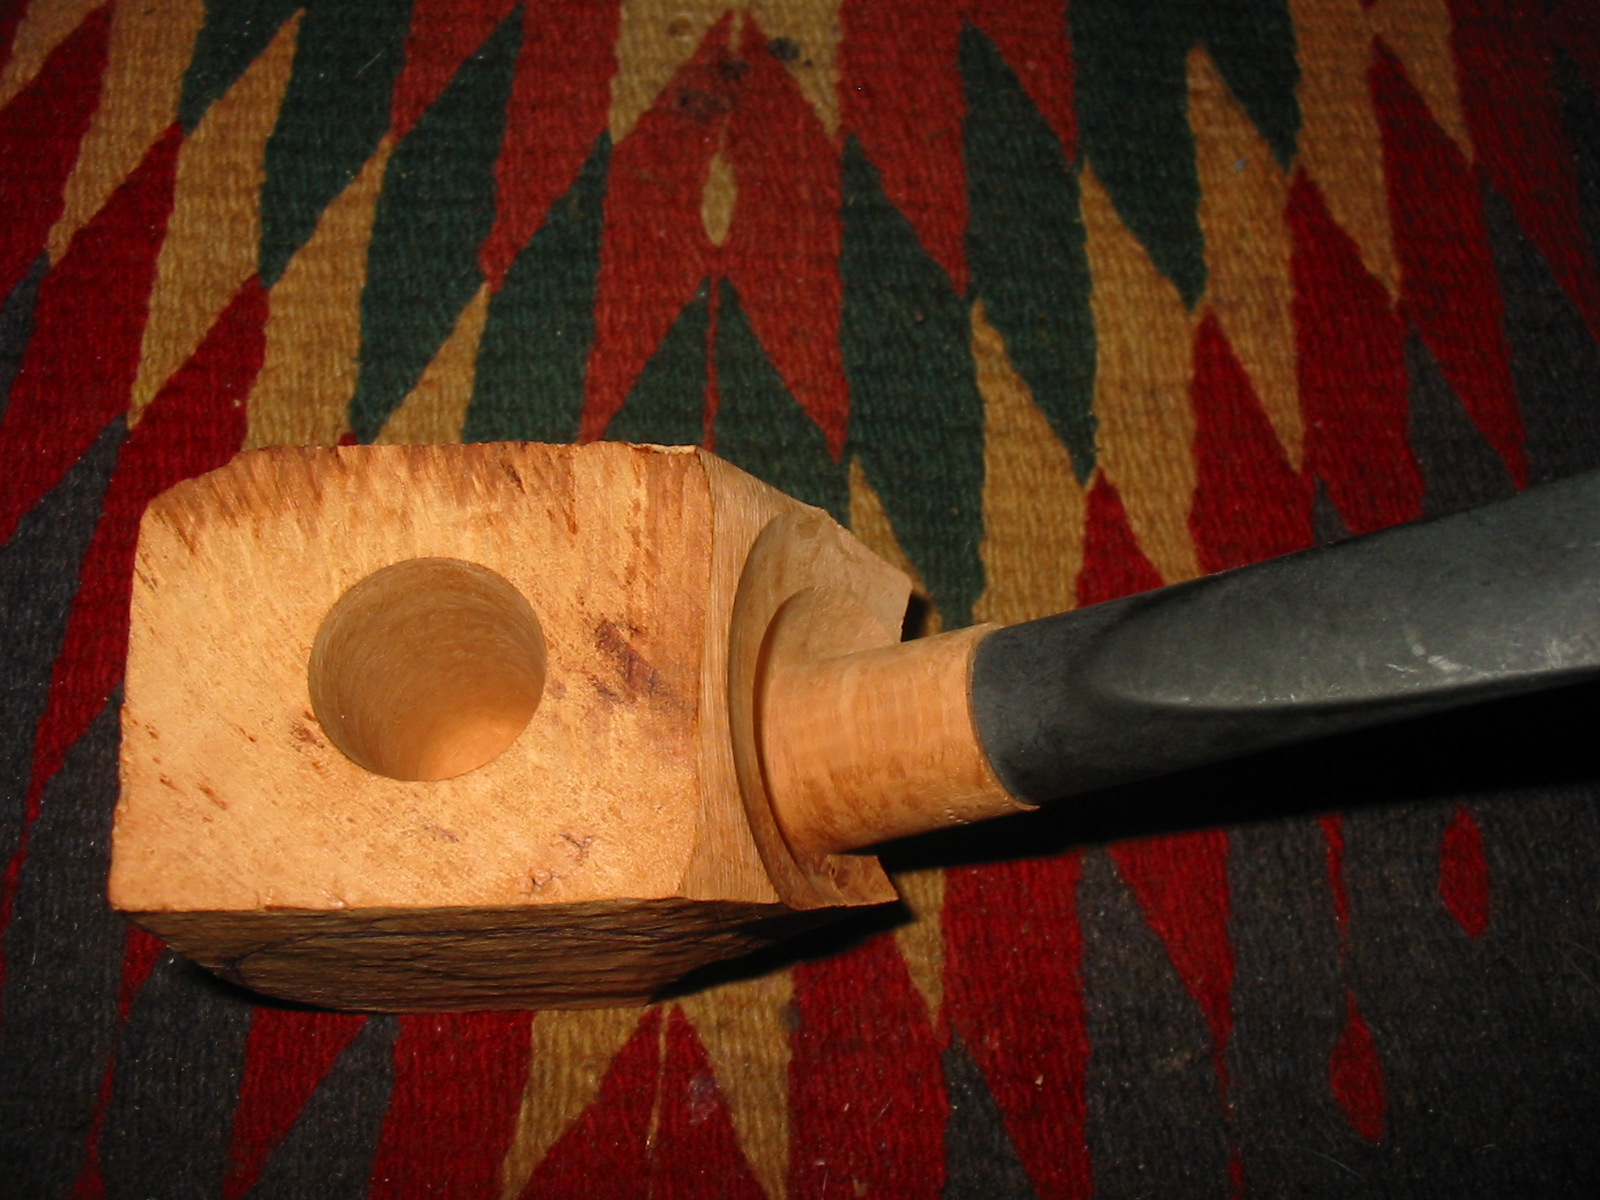
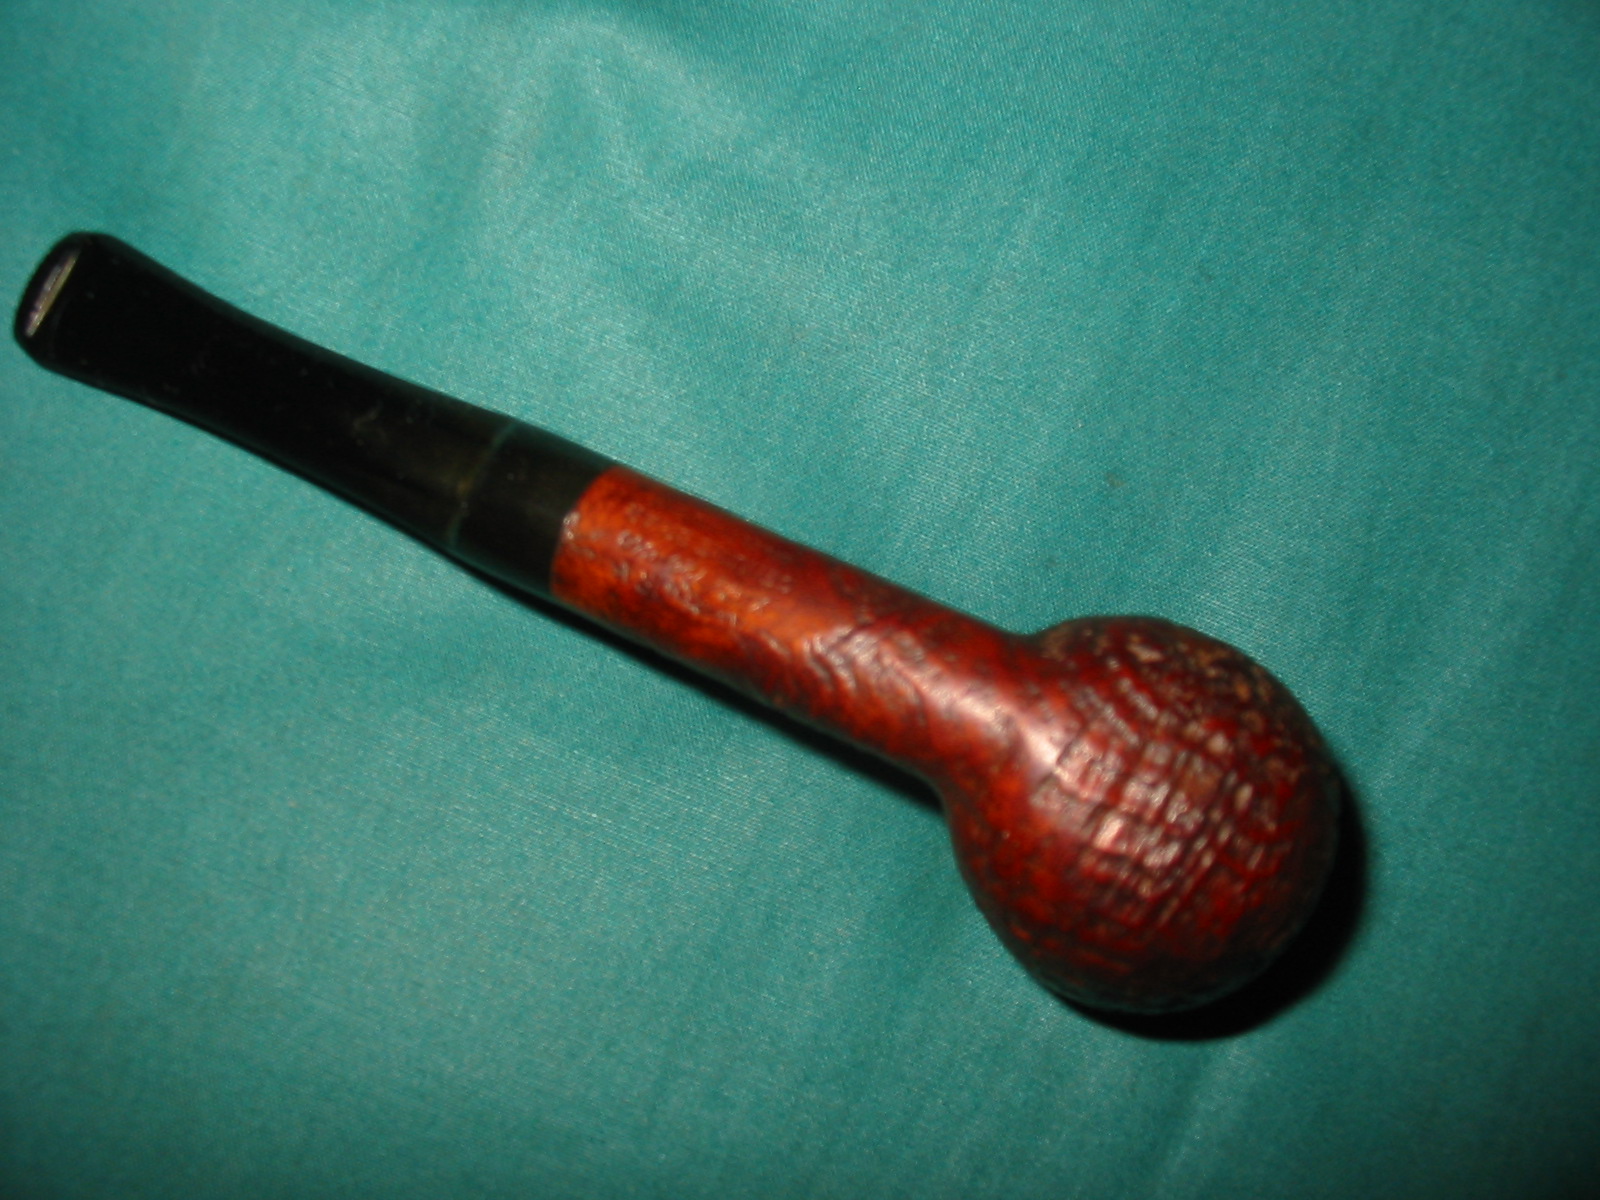
Category Archives: Pipe Refurbishing Essays

Essays and pictorial essays on the art of refurbishing

Refinished Rims and Touch-Ups – Alan Chestnutt


A while ago Alan posted this on Smokers Forums and I kept a copy of it. We spoke of the process and how well it worked. Since then I have been hunting for them in my area and so far no luck. I thought I would post Alan’s piece so that you all could read it and give it a try. Let us know how it works.

When restoring pipes, I nearly always like to refinish the rim. I think a nice clean sharp rim always sets a pipe off. As well as this it is just as easy to sand and refinish a rim as to try to remove tar and staining to the old rim. One of the problems though in refinishing a rim is trying to match the stain to the rest of the bowl. I always shied away from getting leather dyes, simply because you would need to be artist to be able to correctly mix all the differing shades.

I always remember my grandfather staining shoes and the smell of the dye always lingered in my brain. In more recent times that memory was triggered when smelling a sharpie marker, so my thoughts were that it must contain a similar alcohol based dye. I used a sharpie a few years ago to restain a black sandblast bowl and it worked a treat. “If only they were available in shades of brown” I thought to myself.

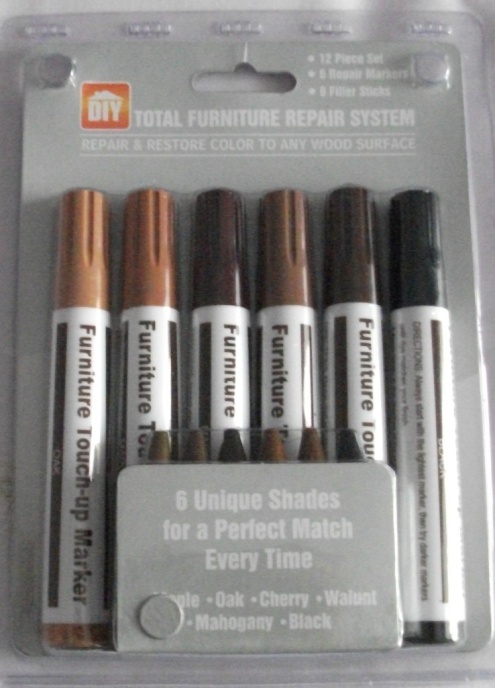
So while walking through a local discount store a few months ago, I spied furniture repair markers. Exactly what I had been thinking of.

pens

They come in 5 shades of brown plus black and cost £2 (about 3 bucks). I couldn’t wait to get home and try them. They are a chisel shape marker and apply a translucent stain exactly like an alcohol dye. Perfect! With the variety of shades a match can be made 99% of the time by application of a couple of coats or moving to the next darker shade. Simply cover the rim by wiping the marker over it and a few seconds later remove the excess with a soft cloth.

pens2
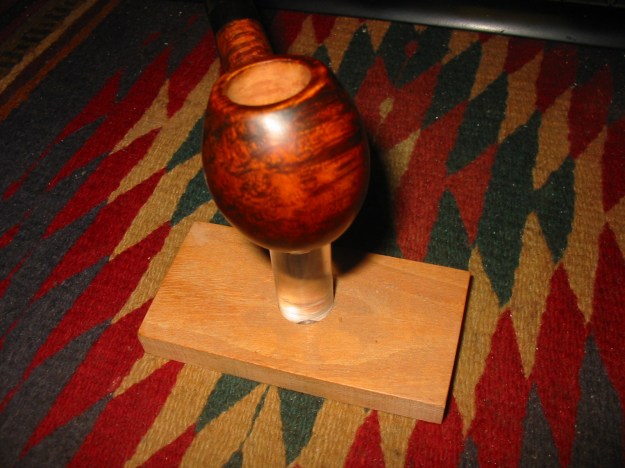
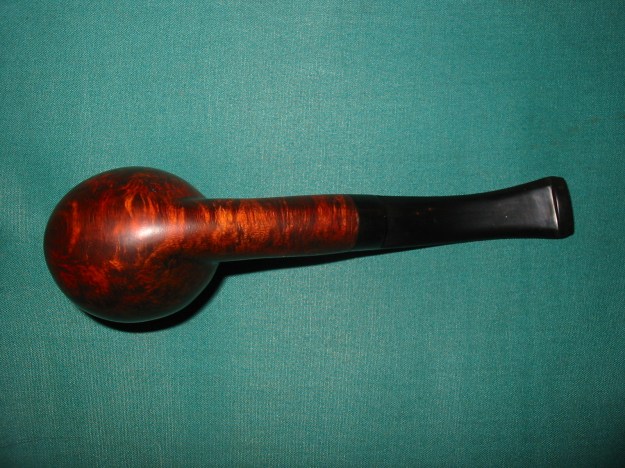
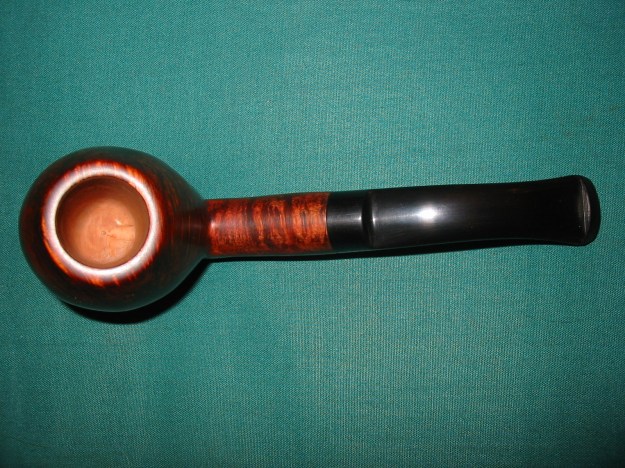
A refinished Tilshead rim.

They are excellent for touch ups on other areas of the pipe and I often use them to just refinish the whole pipe to brighten up the grain. Needless to say I acquired a few more packs, but I have refinished literally hundreds of pipes and I am still on my first pack. Simple to use, no mess, a variety of shades and cheap. I class them as my best purchase ever for restoring pipes, so keep your eyes open for them. Available on eBay too, but at a premium.

They are excellent for touch ups on other areas of the pipe and I often use them to just refinish the whole pipe to brighten up the grain. Needless to say I acquired a few more packs, but I have refinished literally hundreds of pipes and I am still on my first pack. Simple to use, no mess, a variety of shades and cheap. I class them as my best purchase ever for restoring pipes, so keep your eyes open for them. Available on eBay too, but at a premium.

Restoring and Reclaiming a Byford Prince


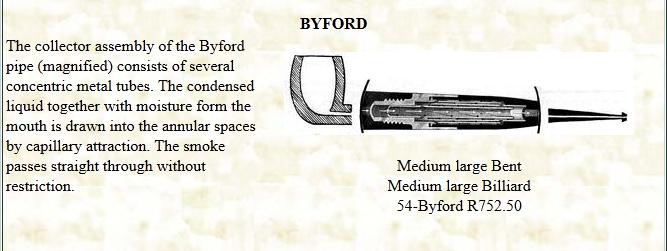
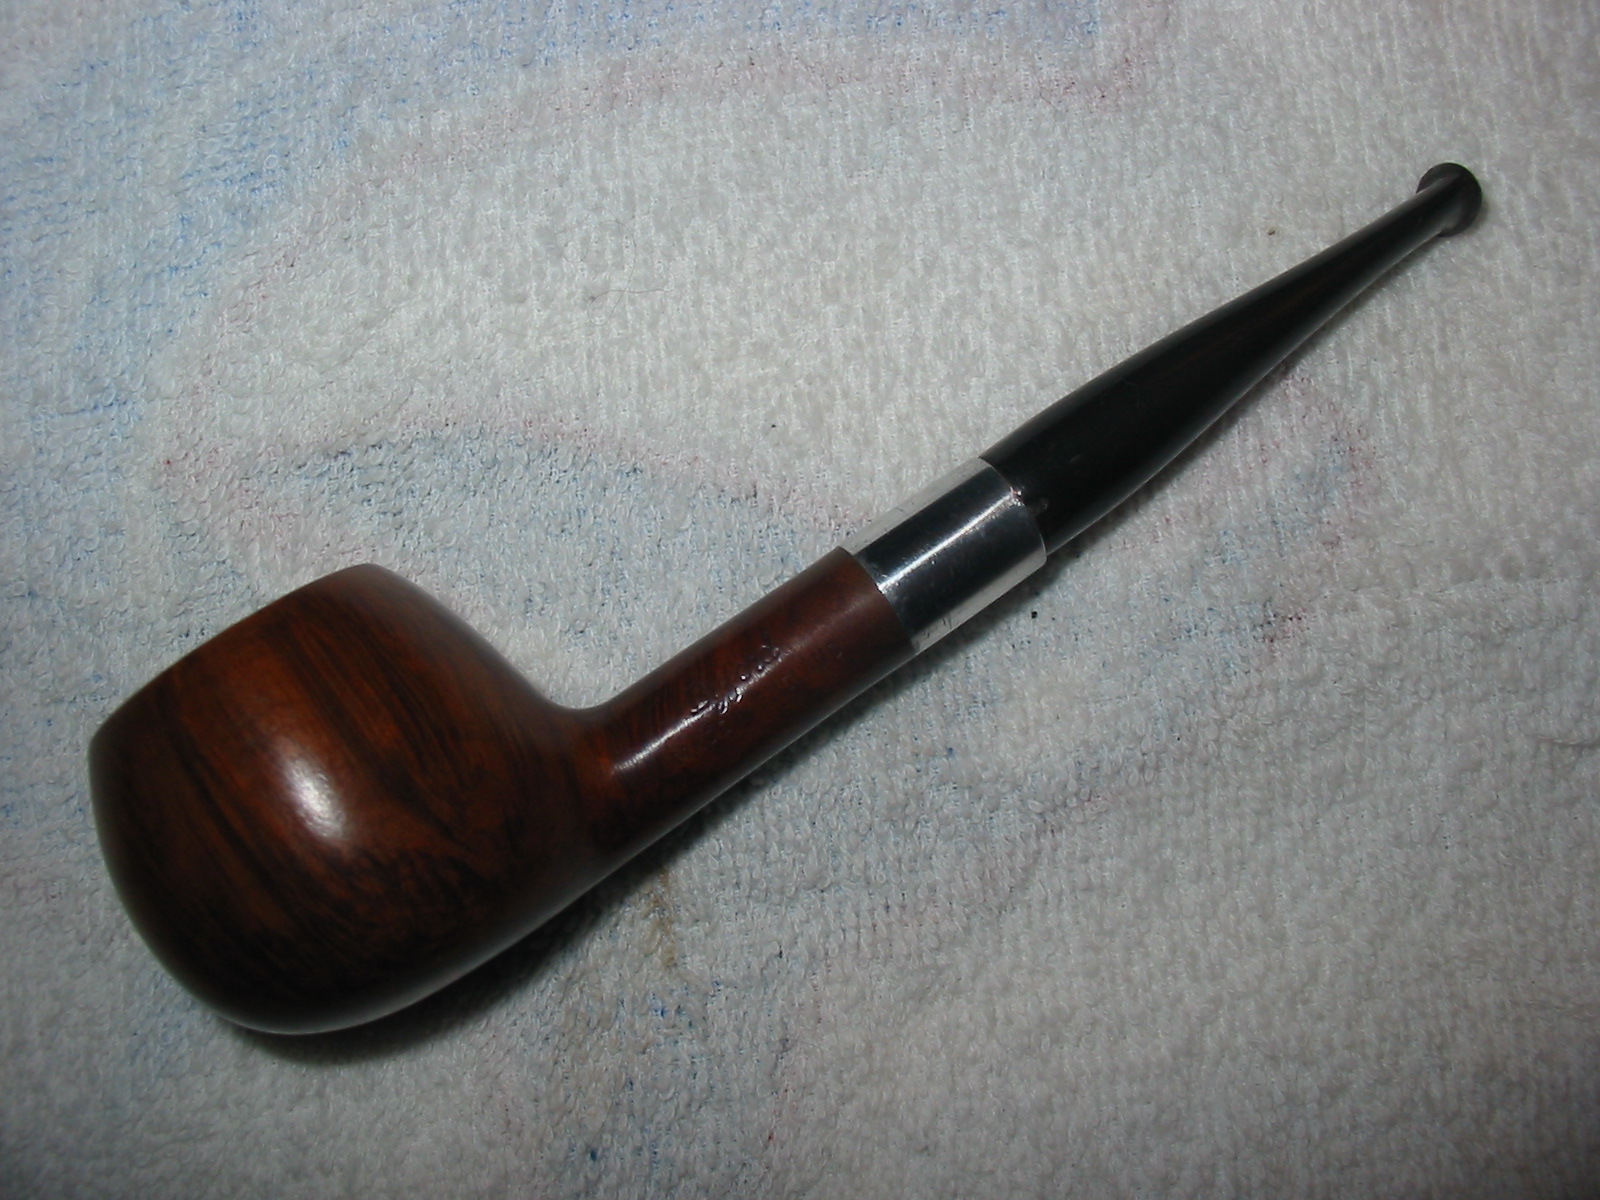
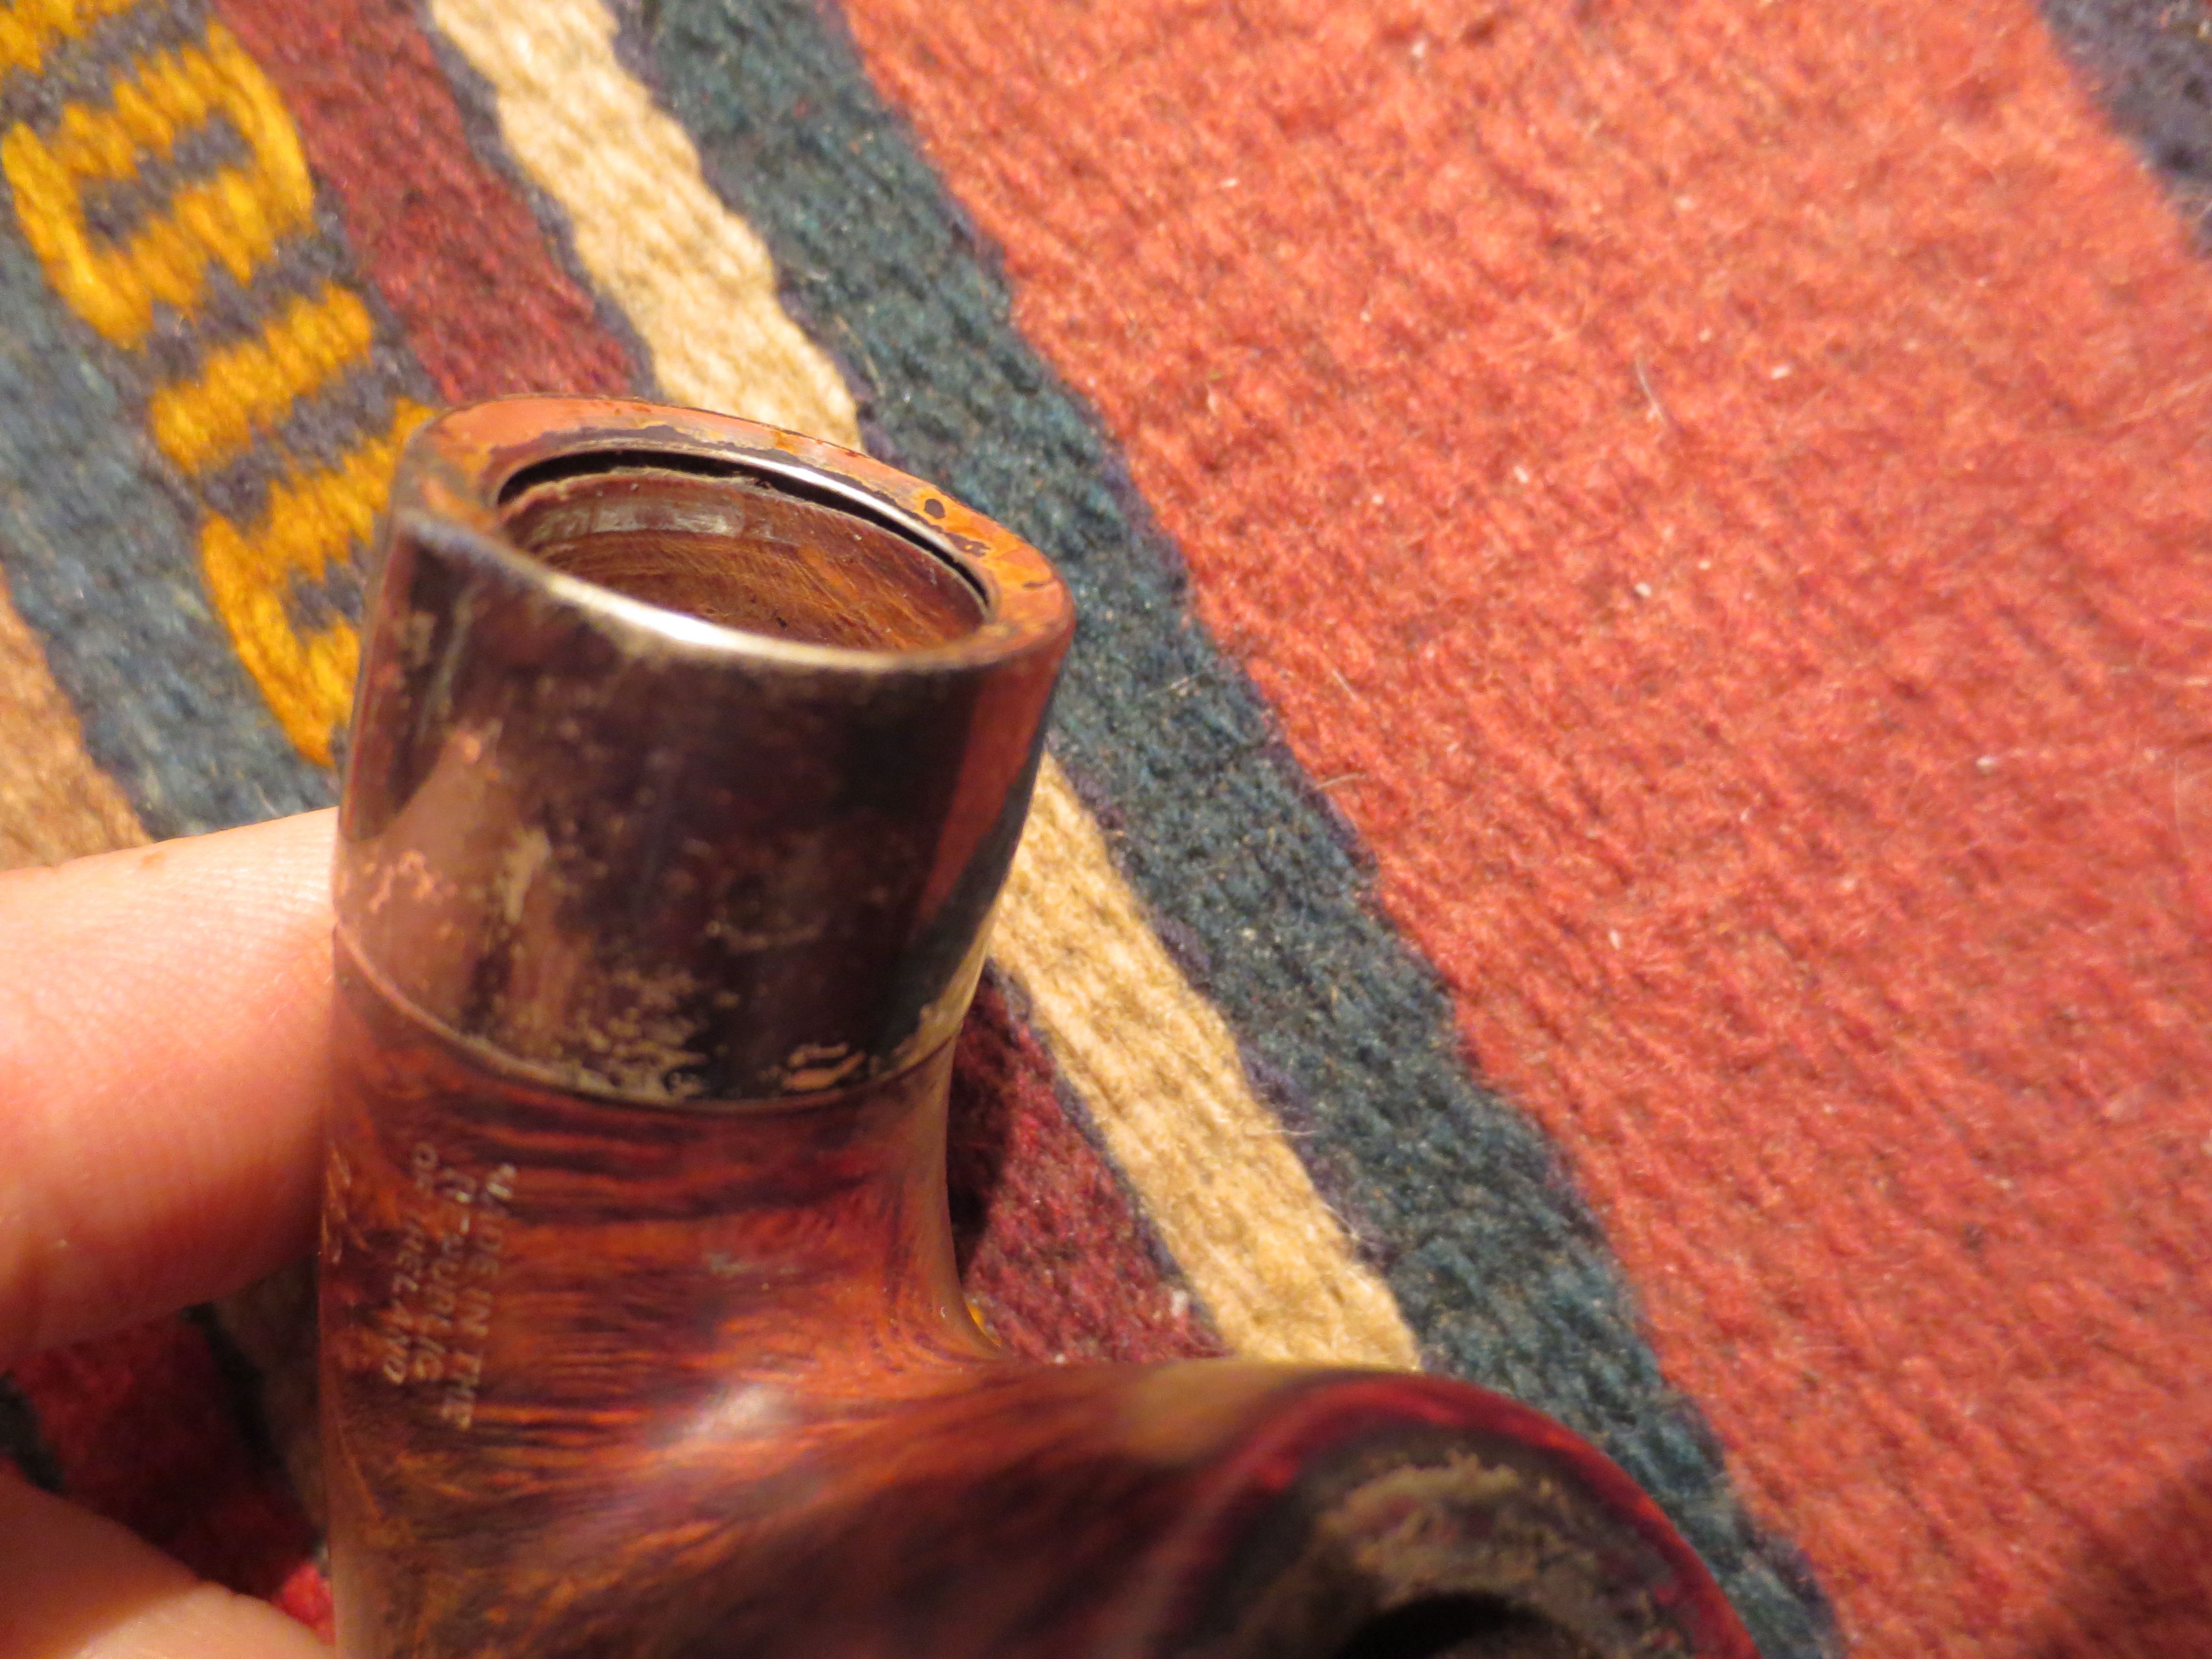
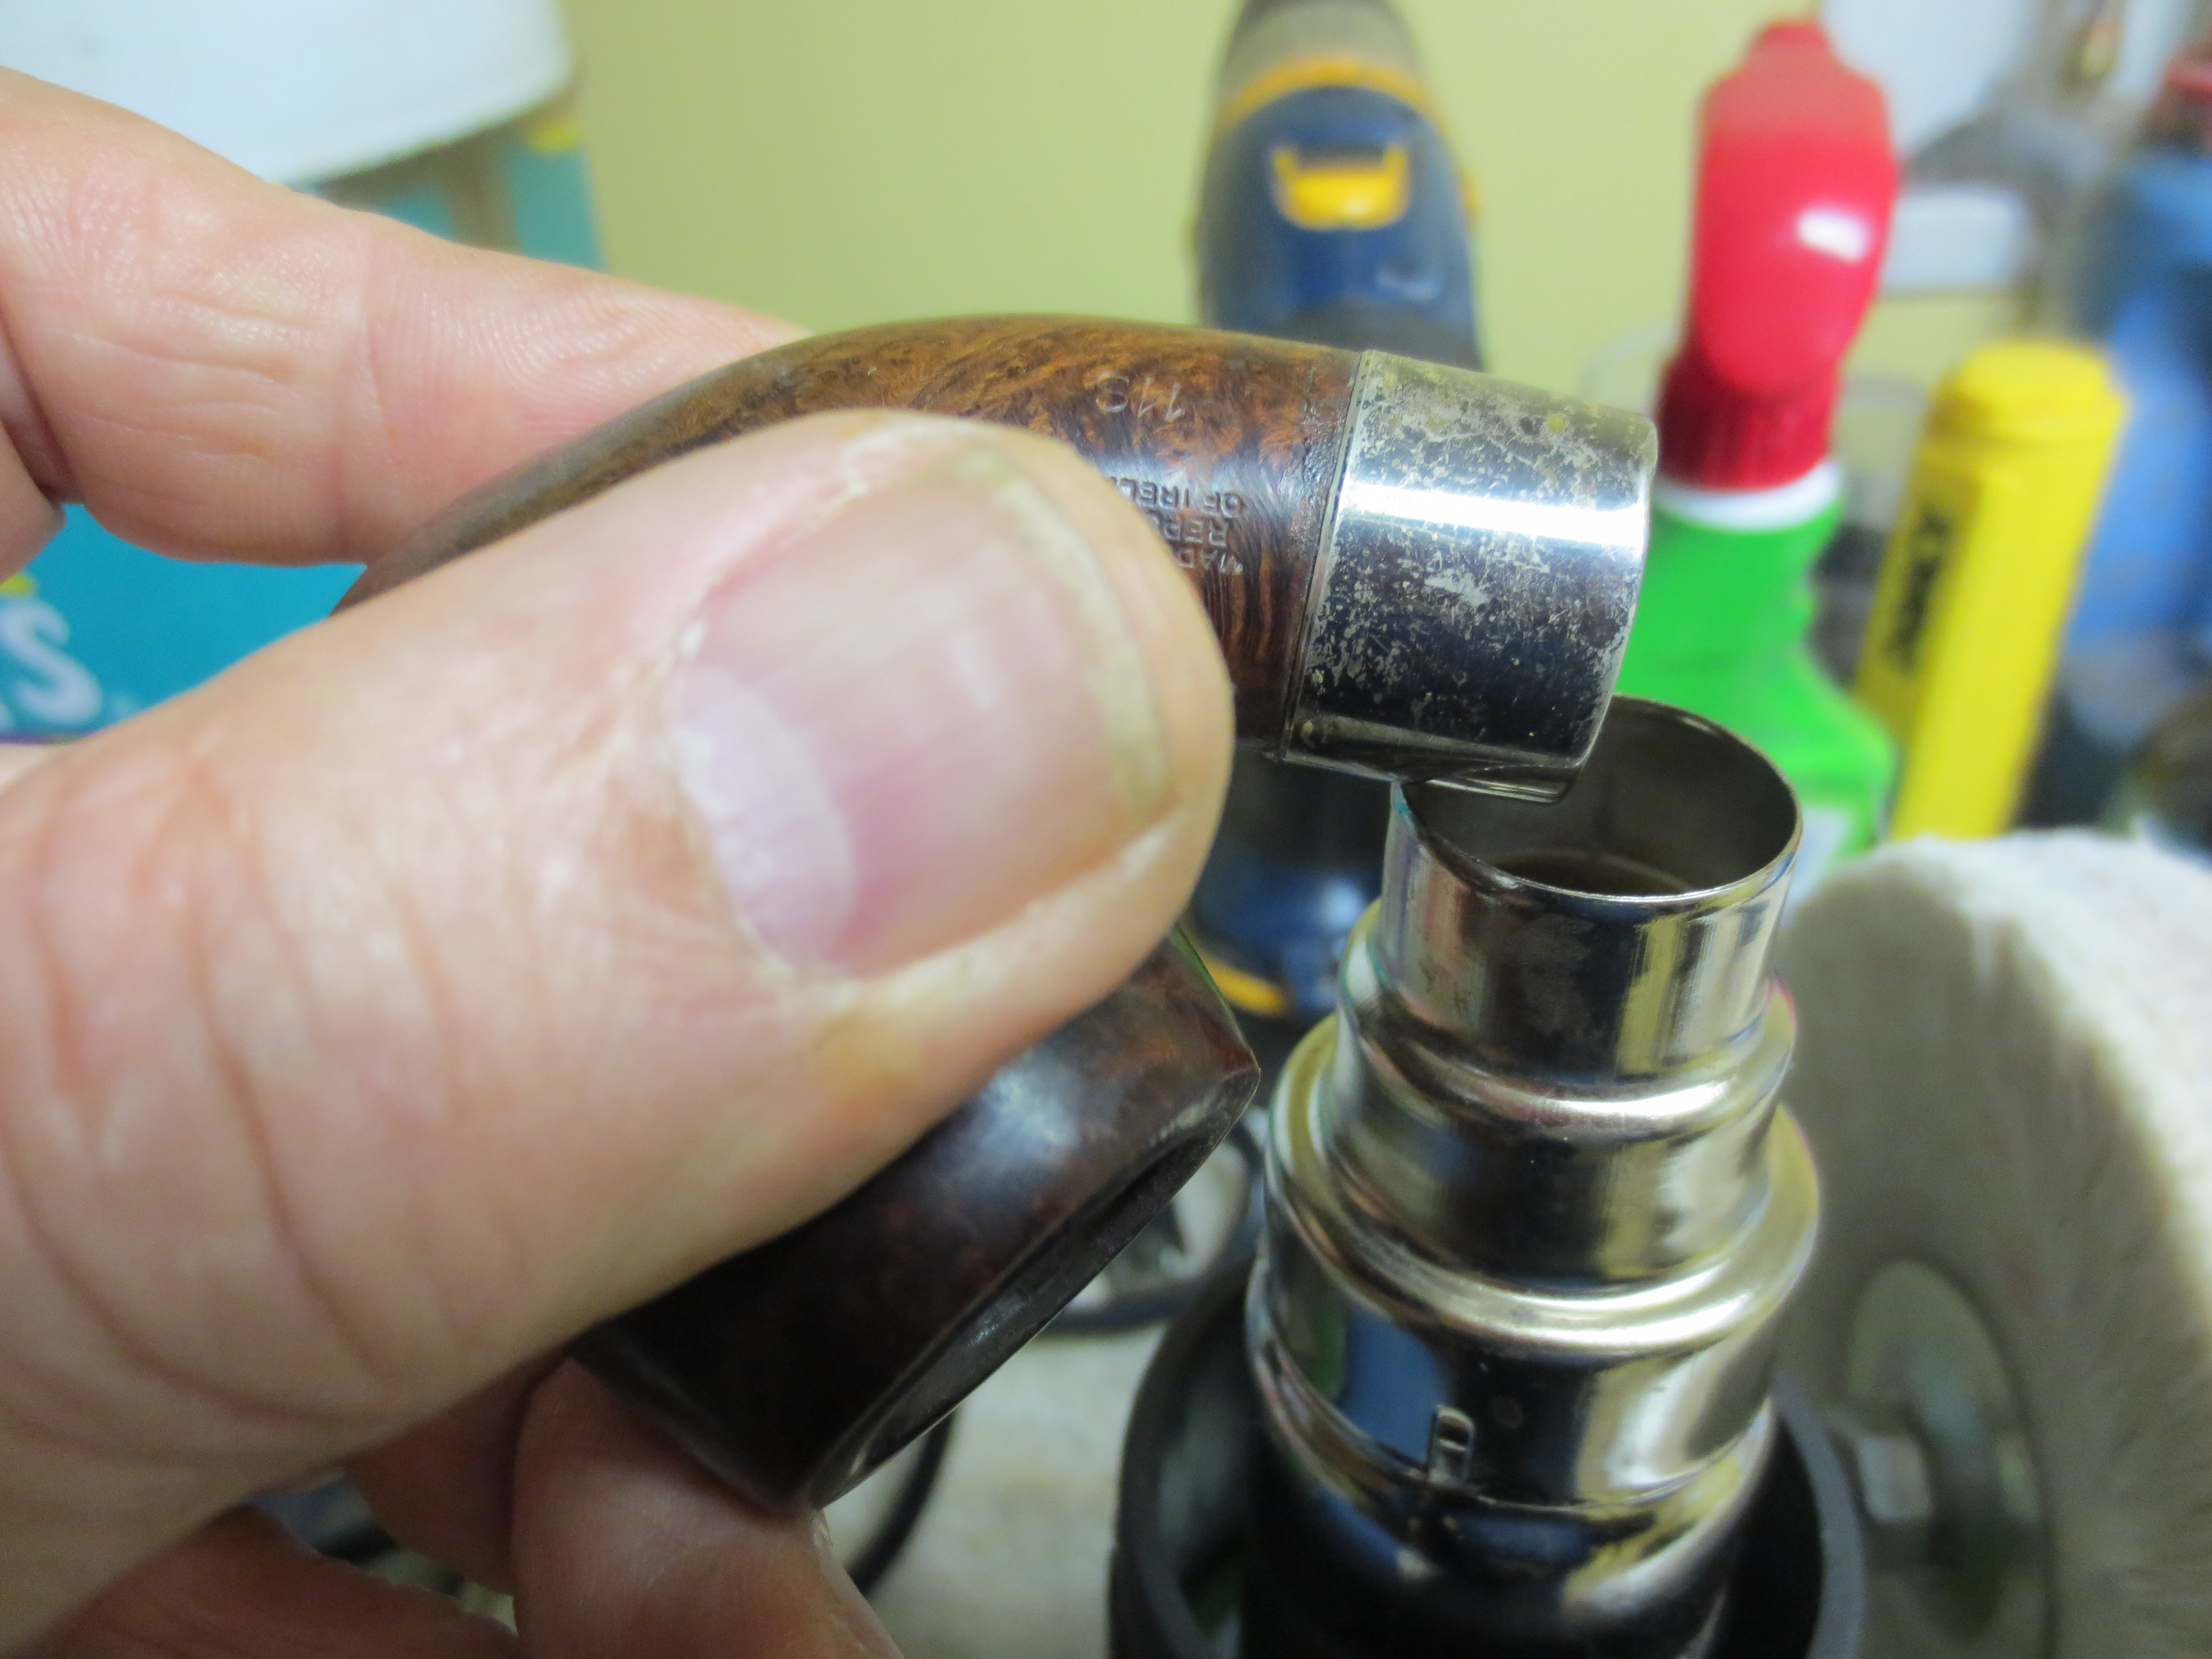
I was gifted three old pipes by a friend on Smokers Forums. The first that caught my attention was an older Byford Prince. It was pretty worn but the wood was in good shape under the wear and tear. The stem was shot. It had a split along the stop side and was missing a few pieces. When I removed it I found that it was quite brittle. Once I took the stem off I found the most interesting system inside. The shank had an aluminum attachment which held two metal tubes inside of it. On the inside of the broken stem was a third metal tube. These formed three concentric, nested circles which wicked out the moisture of the smoke while not hampering the flow of air in the pipe from bowl to button. The photo below shows magnified picture of the interior of the stem and shank.

Byford Pipes

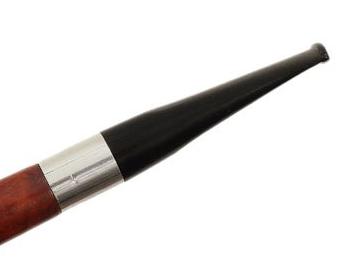
The stem was so broken and damaged that I was not sure how the flow of the angles on the taper was supposed to look. I did not know what the button and the stem were supposed to be like. I did a search on the internet and found this photo of a Byford stem that showed the proper angles on the stem. I used the stem in the photo as a template for my replacement stem. I made one modification which I will speak about in the explanation of the restemming below.

Byford stem

The next photo shows the interior of the stem and shank – the system part of the pipe. The tube in the stem sits between the other two tubes in the shank creating three rings on the inside of the shank and stem. It looked like this stem apparatus would be a bear to clean up. I would have to used cotton swabs, folded pipe cleaners and whatever I could to get in between the layers.

Byford2

The bowl was badly caked with a broken cake. It was soft rather than hard. There was also a buildup of some blue substance on the bowl. I am not sure what it was but it smelled suspiciously like a mold. The stem as you can see in the poor quality pictures below was damaged beyond repair. The aluminum band or shank end was oxidized and rough. Underneath all of the grime it was a beautiful piece of briar. The shape is a well executed prince. The old stem seemed a bit long to my liking so the new one would be slightly shorter and accommodate the lines of the one in the photo.

IMG_1012

IMG_1013

IMG_1014

I removed the old stem and went through my box of stem and found what I was looking for. The drilling on this had to be very wide to accommodate the apparatus on the system of the Byford pictured above. This older style stem had exactly the right fit. It slipped into place and looked good. It was a bit flared on each side and on the top and bottom so that would need to be sanded back to a flush angle. In the photo below you can see the fit of the new stem before I did any shaping on it. You can also see the blue/green substance on the bowl.

IMG_1019

I used a Dremel with a sanding drum to remove the excess vulcanite and shape the stem to the proper angles. I reamed the bowl with a PipNet reamer starting with the smallest head and working up to the third head which took the cake back to bare wood. I wanted to remove the cake and whatever the buildup on the bowl and rim that was there.

IMG_1024

IMG_1025

IMG_1026

After reaming the bowl back I sanded the rim and inner edge with a fine grit sanding sponge to remove the remaining blue/green substance. I also sanded the inside of the bowl smooth to remove any thing that was buildup on the inside edges. I sanded the stem with 220 grit sandpaper to remove the scratches caused by the Dremel and sanding drum. I sanded the exterior of the bowl and the oxidized aluminum on the shank end with the fine grit sanding sponge as well. The next three photos below show the state of the bowl and stem at this point in the process.

IMG_1031

IMG_1032

IMG_1033

I wiped the bowl down with an acetone wetted cotton pad to remove the grime and the old finish. The next two photos show the bowl at this point. The cotton pad is below the bowl to show the amount of finish and grime that came off. I find that the acetone will even out the finish and clean up any remaining grime.

IMG_1034

IMG_1035

I continued to sand the stem with 220 grit sandpaper and also cleaned out the shank apparatus with Everclear and cotton swabs. That was a challenge! The grime that built up in the concentric tubes took some bends and twists of cotton swabs and pipe cleaners to remove from the shank. I also scrubbed down the interior of the bowl with Everclear on the cotton swabs and then scoured it out with 0000 steel wool. I did not want any remnants of the blue/green stuff. While the bowl was wet with the alcohol I also flamed the inside with a lighter. The alcohol burns quickly and should destroy whatever remnants of the sludge that may have been resident in the briar. I sanded the aluminum with 1500 grit micromesh sanding pads to remove the oxidation and crust that had built up at the junction of the aluminum and the briar.

IMG_1036

IMG_1037

The next two photos show the stem after the pipe and stem have been cleaned and after I had finished shaping the stem with the 220 grit and 340 grit sandpaper. The angles matched the photo above that I was trying to duplicate.

IMG_1038

IMG_1039

At this point it was time to sand with the micromesh sanding pads. The next series of five photos show the progressive shine that comes through the micromesh. I wet sanded with 1500 and 1800 grit micromesh to remove the scratches and begin to give the stem a polish. I also sanded the bowl with these two grits as well. I followed up by dry sanding with the remaining grits of micromesh from 2400-12,000. I sanded the bowl, the aluminum shank end and the stem.

IMG_1040

IMG_1041

IMG_1042

IMG_1043

IMG_1044

Upon completing the sanding and polishing with the micromesh pads I took the pipe to the buffer and buffed the stem and bowl with White Diamond on the wheel. It brought out the shine and help highlight the grain. I wiped down the stem with Obsidian Oil to protect it and then gave the entire pipe several coats of carnauba wax and buffed it to a shine. The last series of four photos show the finished pipe.

IMG_1045

IMG_1046

IMG_1047

IMG_1048

ADDENDUM 03/07/15
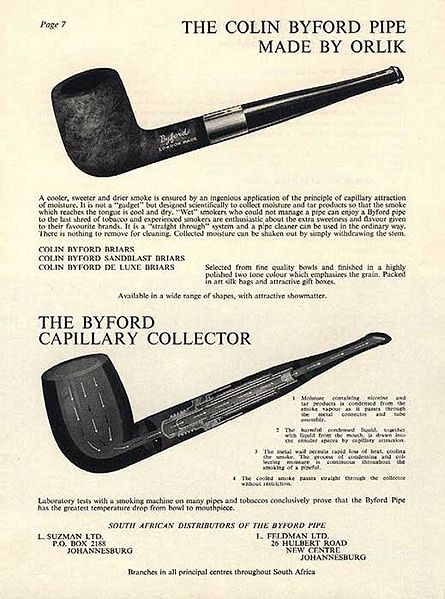
Just recently I discovered this interesting piece on the Byford pipes. They were originally made by Orlik. Here is a page from their catalogue.
445px-Orlik_70S07

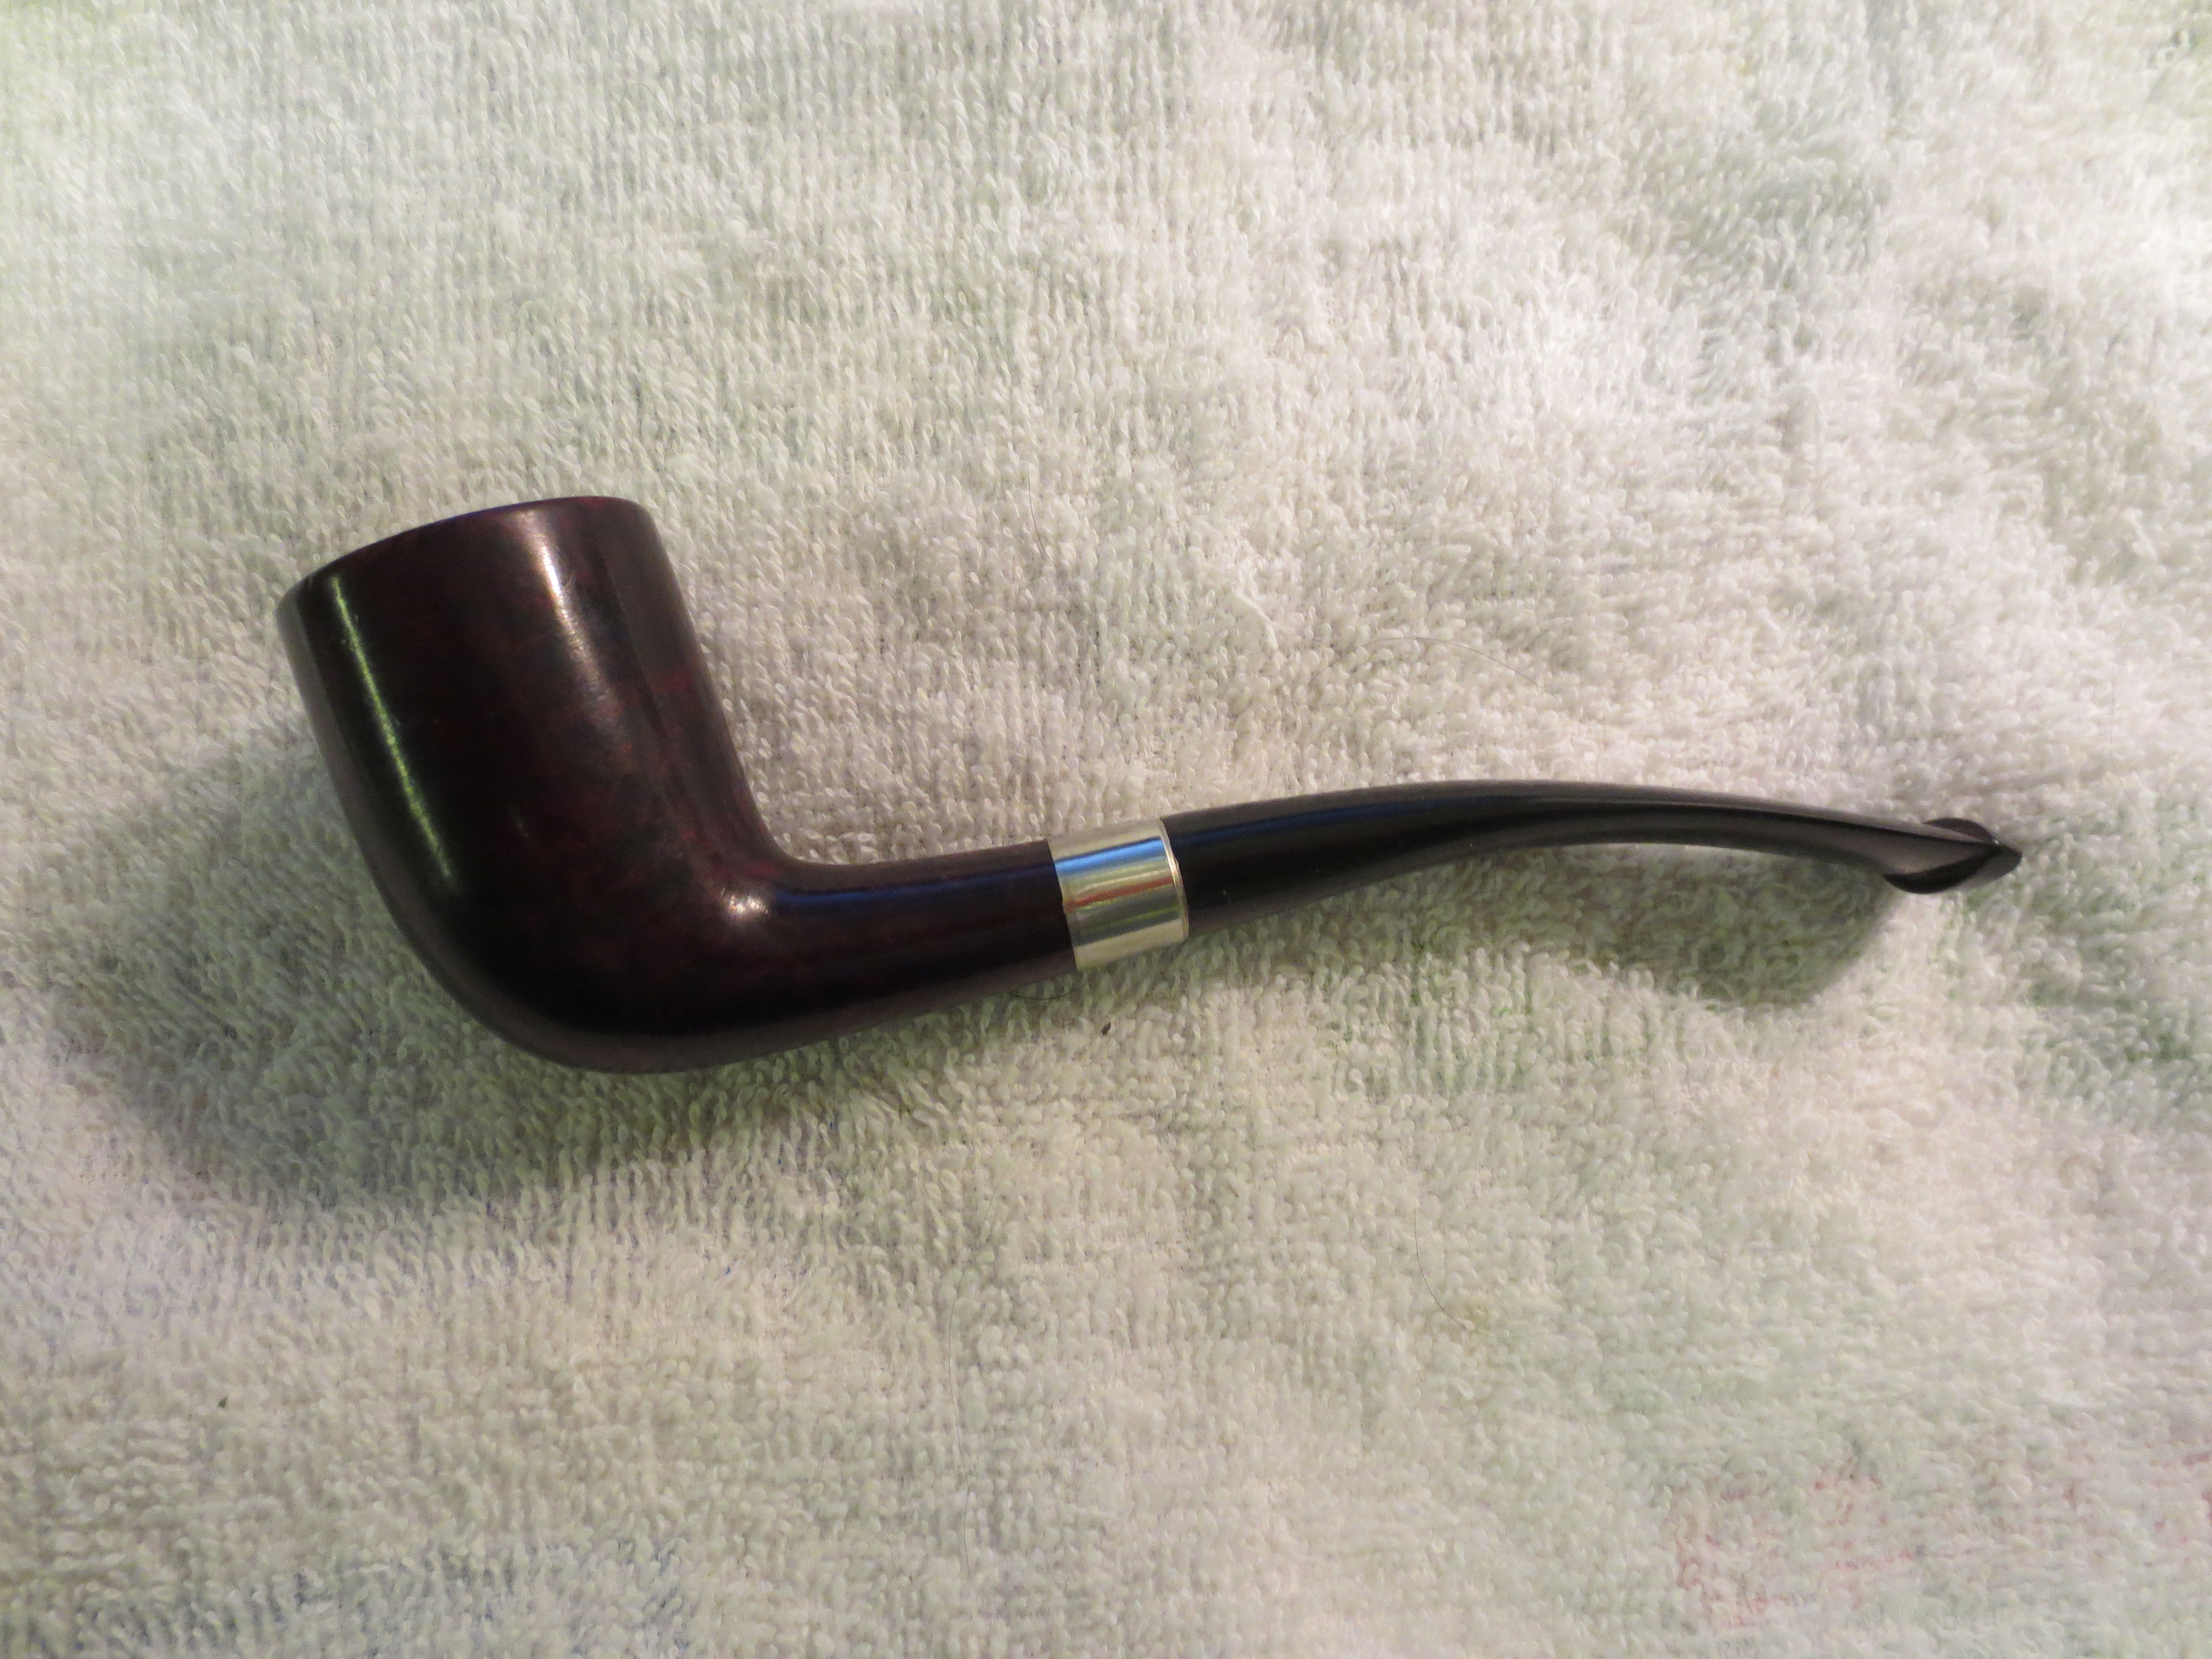
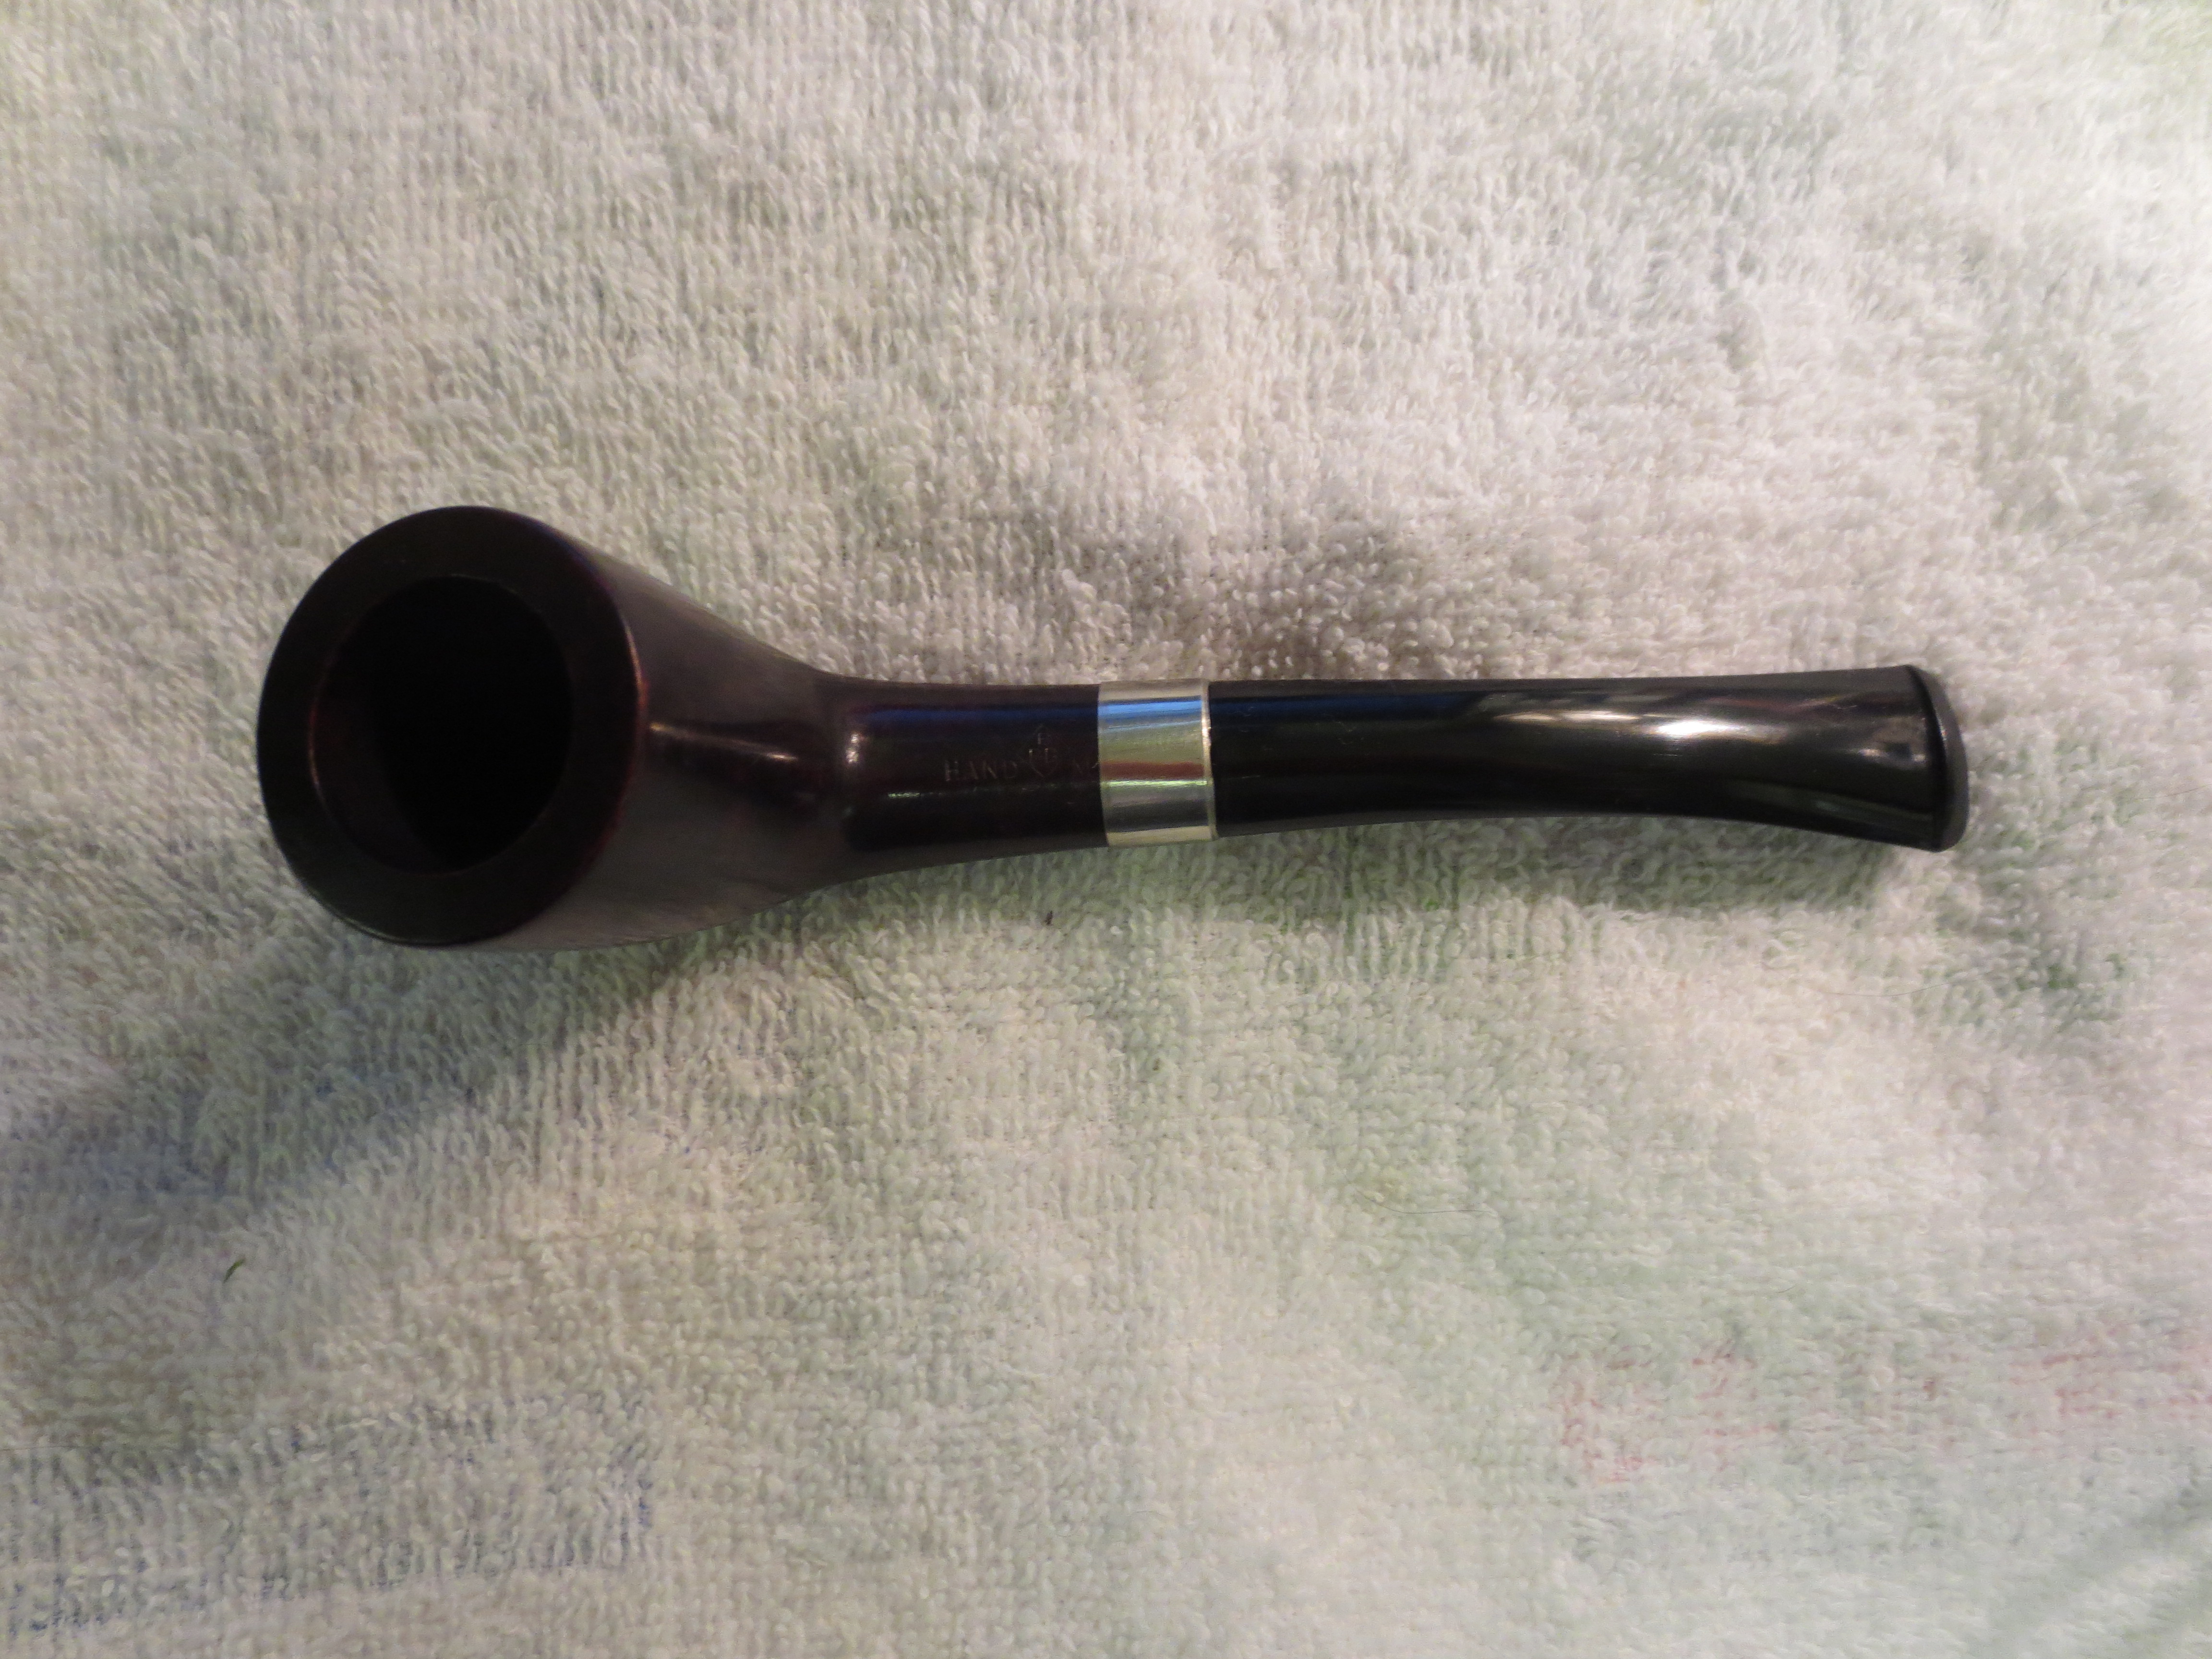
Restemming and Reclaiming a BBB Hand Made Unsmoked Bowl


Blog by Steve Laug

This is the third unsmoked New Old Stock pipe bowl I picked up on EBay. It is stamped BBB in a diamond with Hand Made split by the Diamond on the top of the shank. The finish was very good and the bowl absolutely clean. Again it had no stem. I talked with a friend on the forums and he is sending some stems that may work. But, I decided to give it a go with fitting a stem blank while I was waiting. Sometimes the old impatience can be productive! The first series of four photos are from the EBay seller and show the condition of the bowl.

BBB1

BBB4

BBB3

BBB2

I sorted through my box of stems and chose an oval stem that looked to be the right length and close to the diameter that I needed. I used the PIMO tenon turning tool on my cordless drill to cut the tenon close to the diameter I was looking for. One issue with the turning tool is the inability to get accurate cuts so over time I have learned to take it very close and then finish the fit by hand. The first photo below shows the stem on the turning tool. Prior to putting it on the turner I had to drill out the airway to the same size as the stabilizing pin on the tool.

IMG_0958

The next photo shows the tenon after turning it on the tool. I needed to sand it by hand to get a proper fit in the mortise. I use medium grit emery paper to sand the tenon down and then 220 grit sandpaper to smooth it out.

IMG_0959

After sanding the tenon the fit is perfect. The next two photos show the stem in place. There are still casting marks on the sides of the stem and the diameter of the stem needs to be trimmed to match the diameter of the shank. I use a Dremel with a sanding drum to bring the stem diameter down close to the shank size. I am careful to not trim to close to the shank as I do not want to inadvertently scratch the shank and cause more work. I also run the Dremel the length of the stem to take down the casting marks and excess vulcanite. I use it the same way on the end of the button to remove excess and also clean up the marks from the cast.

IMG_0960

IMG_0961

After removing the excess material from the stem as close as I can to the shank using the Dremel the rest is handwork. I begin with medium grit emery paper to quickly remove more material. This is by far the most labour intensive part of the work. There is no way to rush it as it just takes patience to keep sanding until the fit is correct. I work it on the shank and off the shank. Photos one and two below show the results after the stem has been sanded with the emery paper. The diameter is getting close. Photos three, four and five below show the next progress of the shaping. For that I used 220 grit sandpaper. I cut it into squares and fold it so that I can get in close to the button and also close to the shank without scratching the shank. I also used a heat gun to bend the stem. This was done in several installments before I actually got it the way I wanted. The bend in the early photos below is a bit abrupt and too close to the button. I reheated and rebent the stem over a wooden rolling pin that I appropriated for this purpose.

IMG_1301

IMG_1302

IMG_1303

IMG_1304

IMG_1305

I continued sanding the stem to get the fit right with 340 grit sandpaper and then a fine grit sanding sponge. You can see from the photos that the shank stem junction is well fitted. There is no gap at the joint. The next two photos show the progress of the shaping after I used the sanding sponge. They also show the stem after it was rebent to the angle I wanted for this pipe.

IMG_1306

IMG_1307

Though the fit was good and the pipe looked and the stem was getting smoother, it just seemed bland to me. There was something missing to the look that would dress up this pipe and take it beyond just a well fit stem and a darkly stained bowl. I decided to shape and press on a nickel band to dress up the shank. The band was not necessary as the shank and stem union was perfect and the shank was uncracked. It was solely done for decorative purposes – to add a bit of bling to the shank of the pipe and dress it up (in my opinion!). The next three photos show the newly banded shank and the fit and look of the stem in place. The delicate bend of the stem, the flow of the bowl and the band all work together to give this pipe a touch of elegance.

IMG_1308

IMG_1309

IMG_1310

The next series of six photos show the progressive polishing of the new stem with micromesh sanding pads from 1500-12,000 grit. Each successive grit of micromesh sanding pad gives a deeper and more polished shine to the stem. It always amazes me to see the difference between the stem before the last three grits of micromesh (6000, 8000, 12000) and the previous grits.

IMG_1311

IMG_1312

IMG_1313

IMG_1314

IMG_1315

IMG_1316

Once I finished with the micromesh pads I took it to the buffer and buffed the bowl and stem with White Diamond polish on the wheel. The next two photos show the pipe after the buff. The shine is almost glass like by this point in the process. All that remains is to buff on several coats of carnauba wax and polish the metal band with metal polish.

IMG_1317

IMG_1318

The next four photos show the finished pipe. To me it has a gentle elegance to the shape and the bend. The slender stem and the bend make the pipe sit well in the mouth. The light weight makes this a likely clencher. The deep shine in the bowl and stem give it the look of a new pipe – which for all intents and purposes it is. This Hand Made BBB has come back to life to fulfill the purposes for which it was originally made.

IMG_1319

IMG_1320

IMG_1321

IMG_1322

Restemming and Reclaiming an Old, Unsmoked Rex Bulldog


This is the second of the old unsmoked pipe bowls I picked up on EBay. It is one that I can find absolutely no information on anywhere. Some have thought it was a Barclay Rex but I can find nothing that would link it to that shop in NYC. It is stamped Rex in cursive script on the right side of the shank and also stamped Rex over Sterling on the band. It has the look and feel of an older English-made pipe. But I am not sure. The seller said it was from the late 1800’s but all attempts to contact them on the source of that information have remained unanswered. So it remains a bit of a mystery to me. It is one though that I will continue to hunt down until I can come up with something. This shape is what is called in some of the older catalogues a Bulldog. I personally am not sure what to call it. It has the shape of a bulldog on the bowl and the double ring separating the bottom of the bowl from the cap. The shank however, is oval. It has a factory installed band on it that is also stamped Rex. The script on the shank is in gold leaf. The bowl is very clean. There was a small crack in the shank on the shank at about one o’clock looking toward the bowl. This may have been the reason for the band or the band may have been decorative. There was no stem with this pipe so I was not sure of the length of the stem to make for it. The drilling is very interesting. It is drilled like some of the calabash bowls or bowls that were screwed onto Bakelite shank and bases in the late 1800s. It is directly in the bottom of the bowl and seems to have a small hollow chamber under the hole. The airway meets it directly underneath. I have not seen this drilling on briar pipes of newer eras. The bowl is smooth inside and almost polished. The briar is quite nice and sports mixed grains from cross grain to birdseye to flame around the bowl. The double cut rings are clean and are not clogged with wax or dirt. There appears to be a thin coat of shellac on the outside of the bowl to give it a shine as it shines with or without the application of wax. The silver band is interestingly shaped as well. It is somewhat conical – wider toward the bowl side and narrower on the stem side. There is also a stepped down lip on both sides of the band. Where it is on the bowl is stepped down to a small ring around the shank. On the stem side it is also stepped down. This would make fitting a stem to the shank a challenge. It was not too badly oxidized so it would clean up very easily. The first series of five photos are those taken by the Ebay seller and give a good idea of the look and condition of the pipe. The one thing not clear to me was the size of the pipe. I took a chance on it as the apparent age and the assumed age stated by the seller made the likelihood of it being smaller was very high. When it arrived it was indeed quite small. The bowl and shank are roughly 3 inches long without the stem. The height of the bowl is 1 5/8 inches. The inside diameter of the bowl is ¾ inches and the outside diameter is 1 ¼ inches.

Rex1

Rex2

Rex3

Rex4

Rex5

Once I started working on it the first decision that needed to be made was on the type and length of the stem to be used. I fitted several oval stems to the bowl – a standard length billiard type stem, a thicker and a thinner oval Canadian stem and a Lovat style saddle stem. The longer stem did not work well with the longer shank on the pipe. The thicker Canadian stem also made the stem look quite chunky and large as did the saddle stem of the Lovat. The stem I settled on was the thinner Canadian oval. Even this one would require considerable thinning to make for a proper fit against the bevel of the band. The first photo below shows the two Canadian taper style oval stems. I chose the bottom stem in the photo.

IMG_0968

I used the PIMO tenon turning tool to turn the tenon so that it would fit in the shank. The next three photos show the initial fit of the stem. You will note in the photos the gap where the bevel of the band lies. I had to make a decision to either leave the gap or work on the stem size so that it fit against the bevel and thus was slightly thinner than the shank prior to the band.

IMG_0969

IMG_0970

IMG_0971

I decided to thin the stem to fit against the bevel. I used the Dremel with a sanding drum to bring it close to the finished size. I then sanded it with medium grit emery paper to smooth out the scratches and grooves from the Dremel. Once I had most of the scratches removed I sanded it with a medium grit sanding sponge to further shape the stem and remove excess material. The next series of three photos show the fit of the stem after it was sanded with the sanding sponge (pink square in the photos).

IMG_0997

IMG_0998

IMG_0999

At this point in the process I had to take it back and sand off some more material with 340 grit sandpaper. It still was too thick to fit well. I also had to finesse the fit against the band with needle files as in some places it was not quite straight. When I had it fitting well I moved on to sanding with a 1500 grit micromesh sanding pad (the next two photos). I also did a small repair on the crack in the top of the shank. I pried it open slightly and dripped some clear super glue into the crack. It did not go all the way through into the shank which was interesting. It seemed to be a surface crack. The repair worked well. I polished that portion of the shank with the 1500 grit micromesh sanding pad as well to remove the slight excess of glue left behind (third photo below).

IMG_1000

IMG_1001

IMG_1002

After the repair I continued sanding and polishing the stem with 1800-12,000 grit micromesh sanding pads. The next four photos highlight the sanding/polishing process. Notice the slight hip on the stem at the band edge. In the photos this appears to be more drastic than it is in actual life. The fit is more of a pinched look.

IMG_1003

IMG_1004

IMG_1005

IMG_1006

The final series of four photos show the finished pipe. I buffed it with White Diamond and then gave it multiple coats of carnauba wax. I really like the stem and fit against this long shanked “Bulldog” bowl. The pipe glows with an age and patina that calls out to be smoked. This is yet another who will soon fulfill the purpose for which it was made.

IMG_1297

IMG_1298

IMG_1299

IMG_1300

Restemming and Reclaiming an Older, Unsmoked GFB Briar Calabash


Blog by Steve Laug

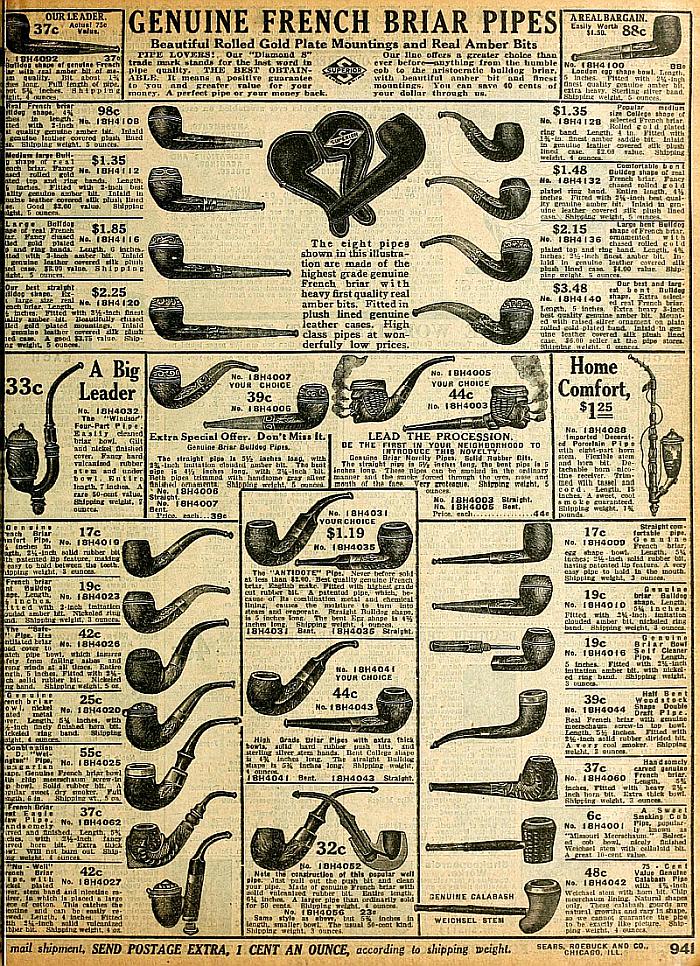
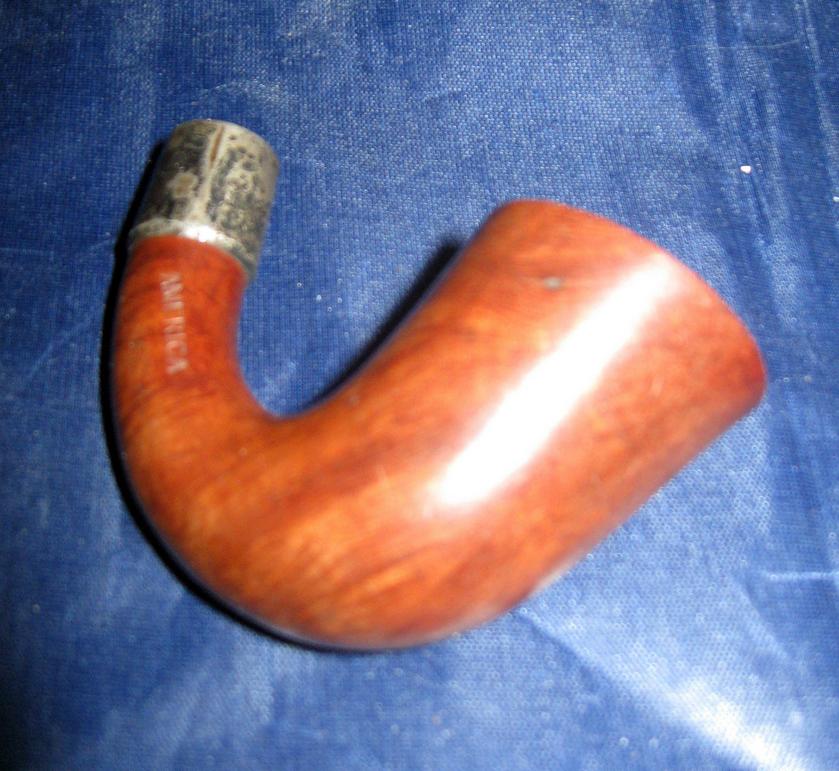
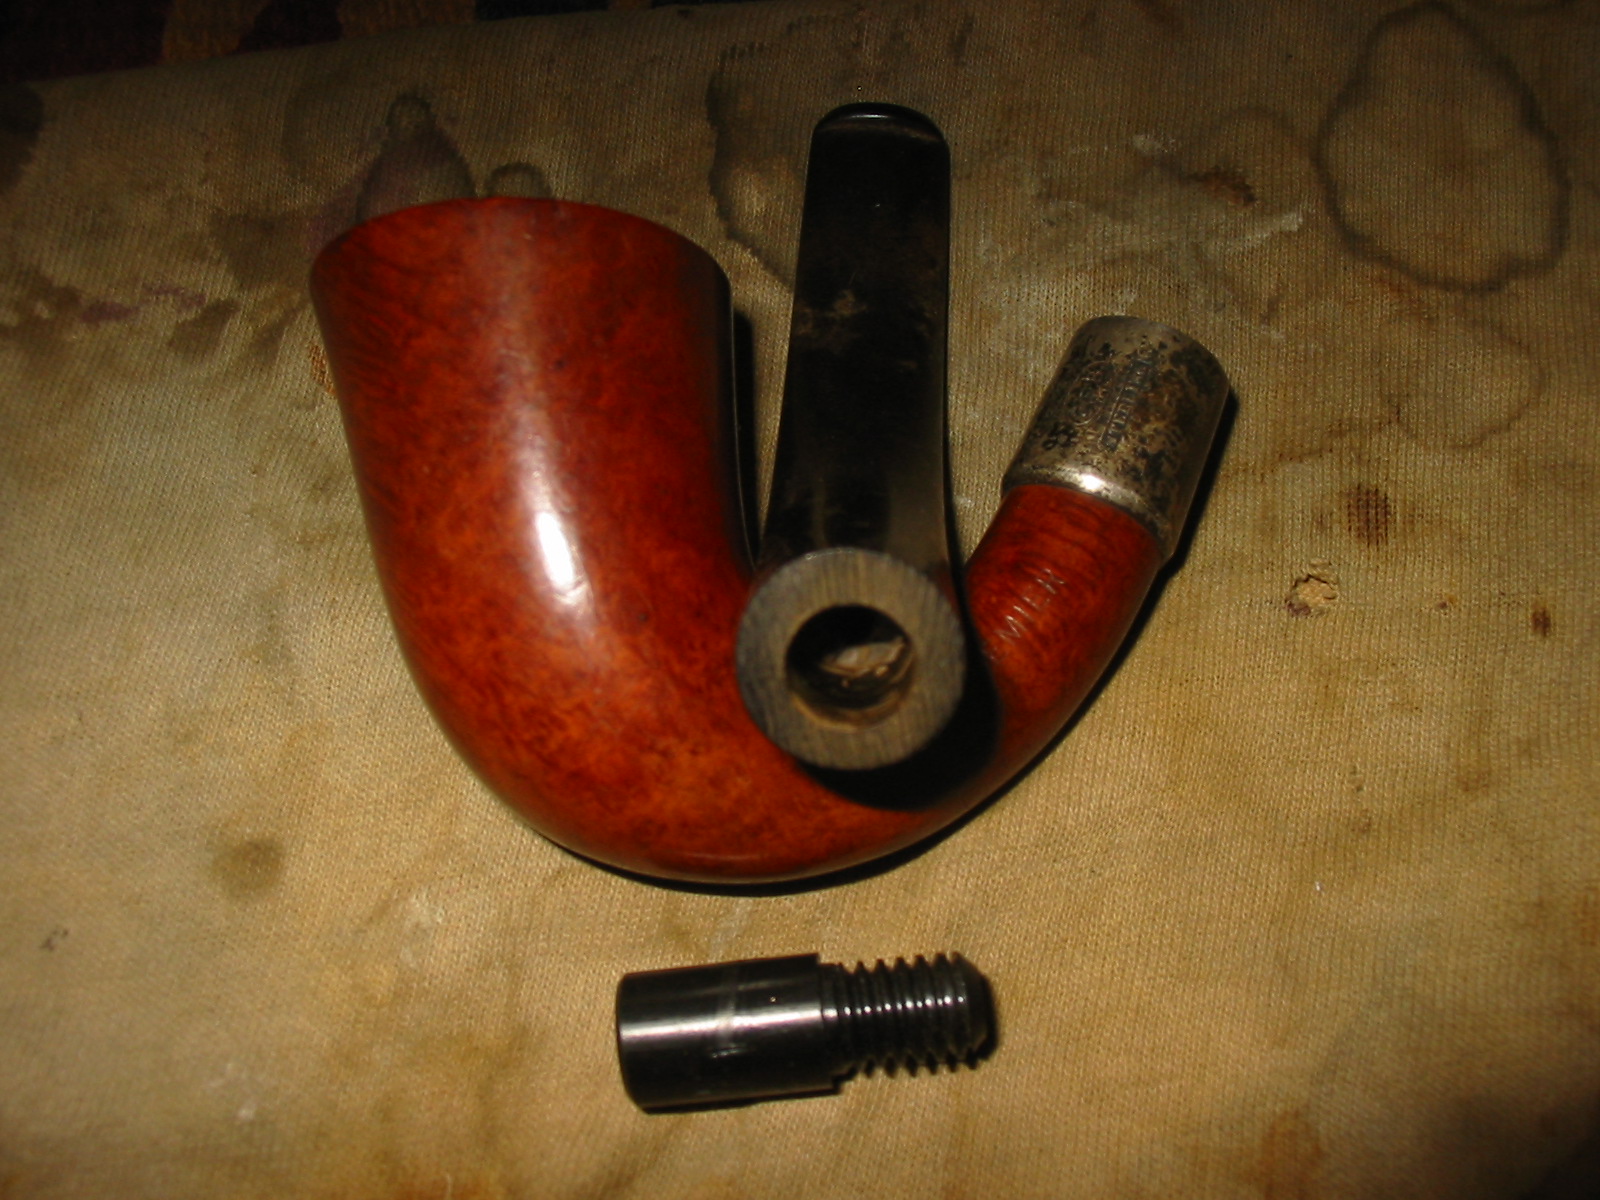
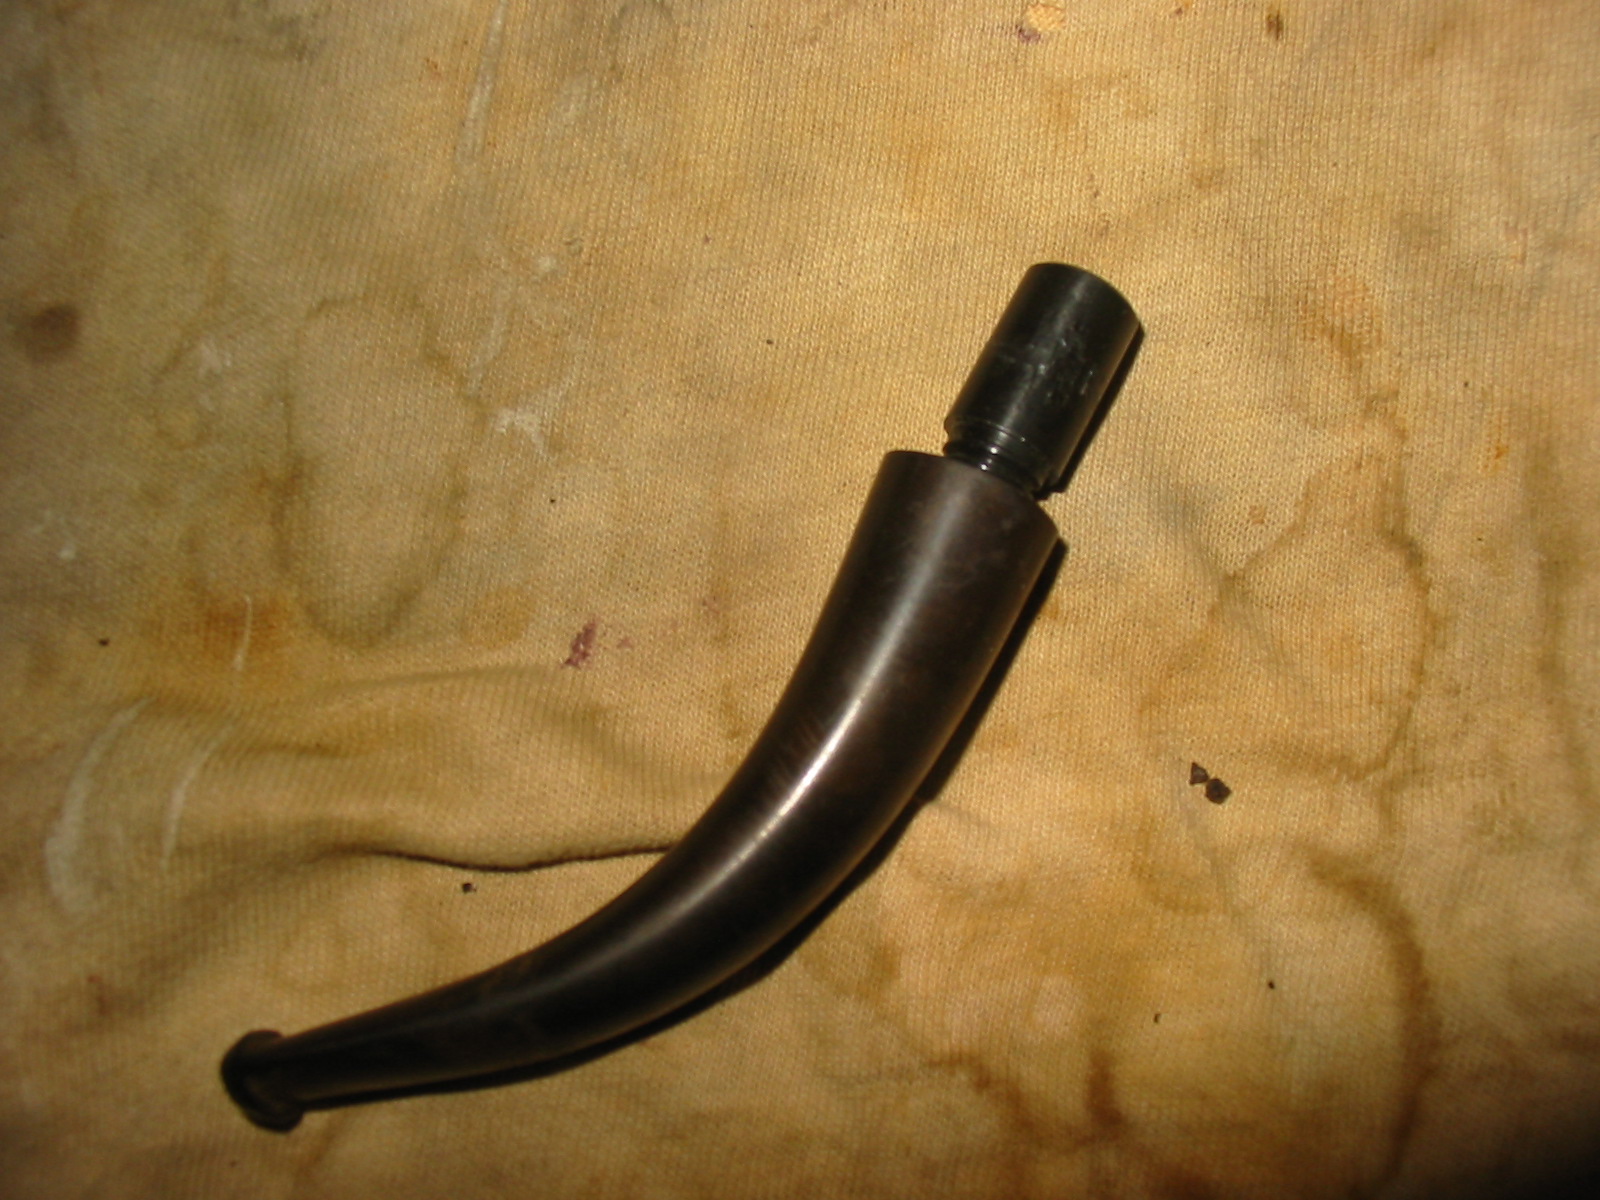
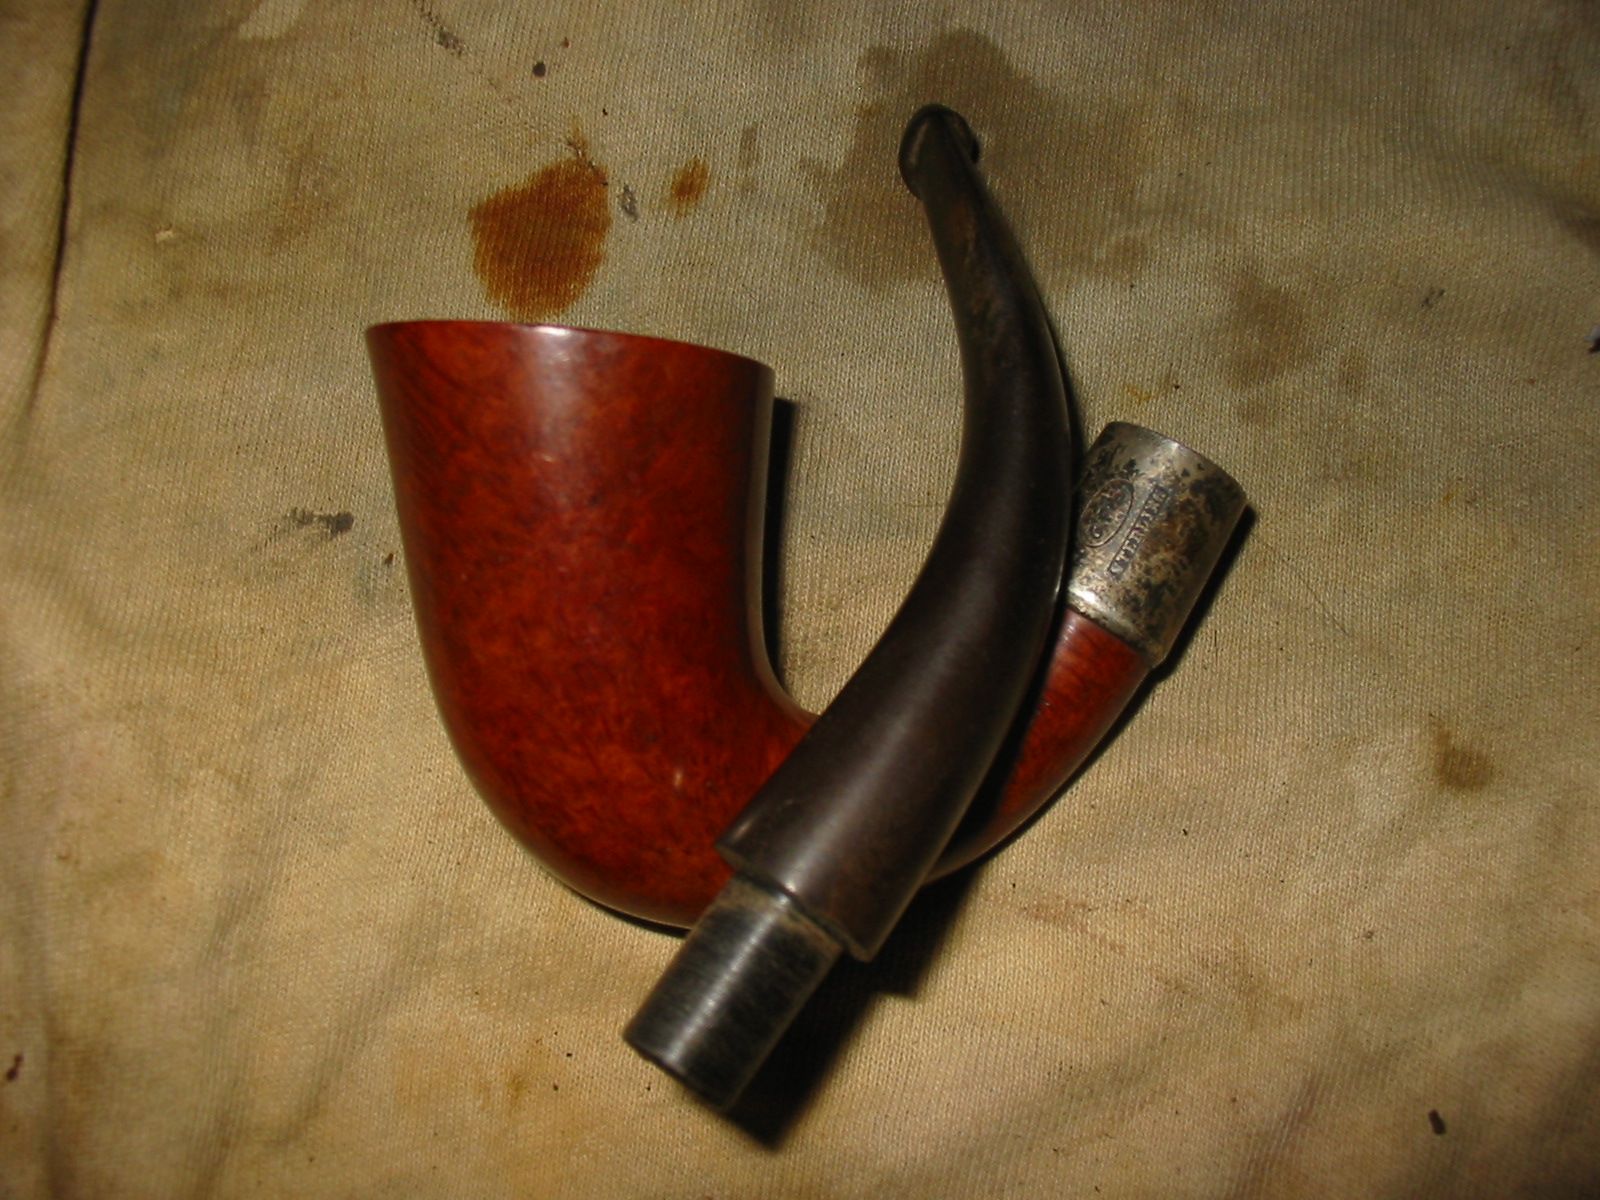
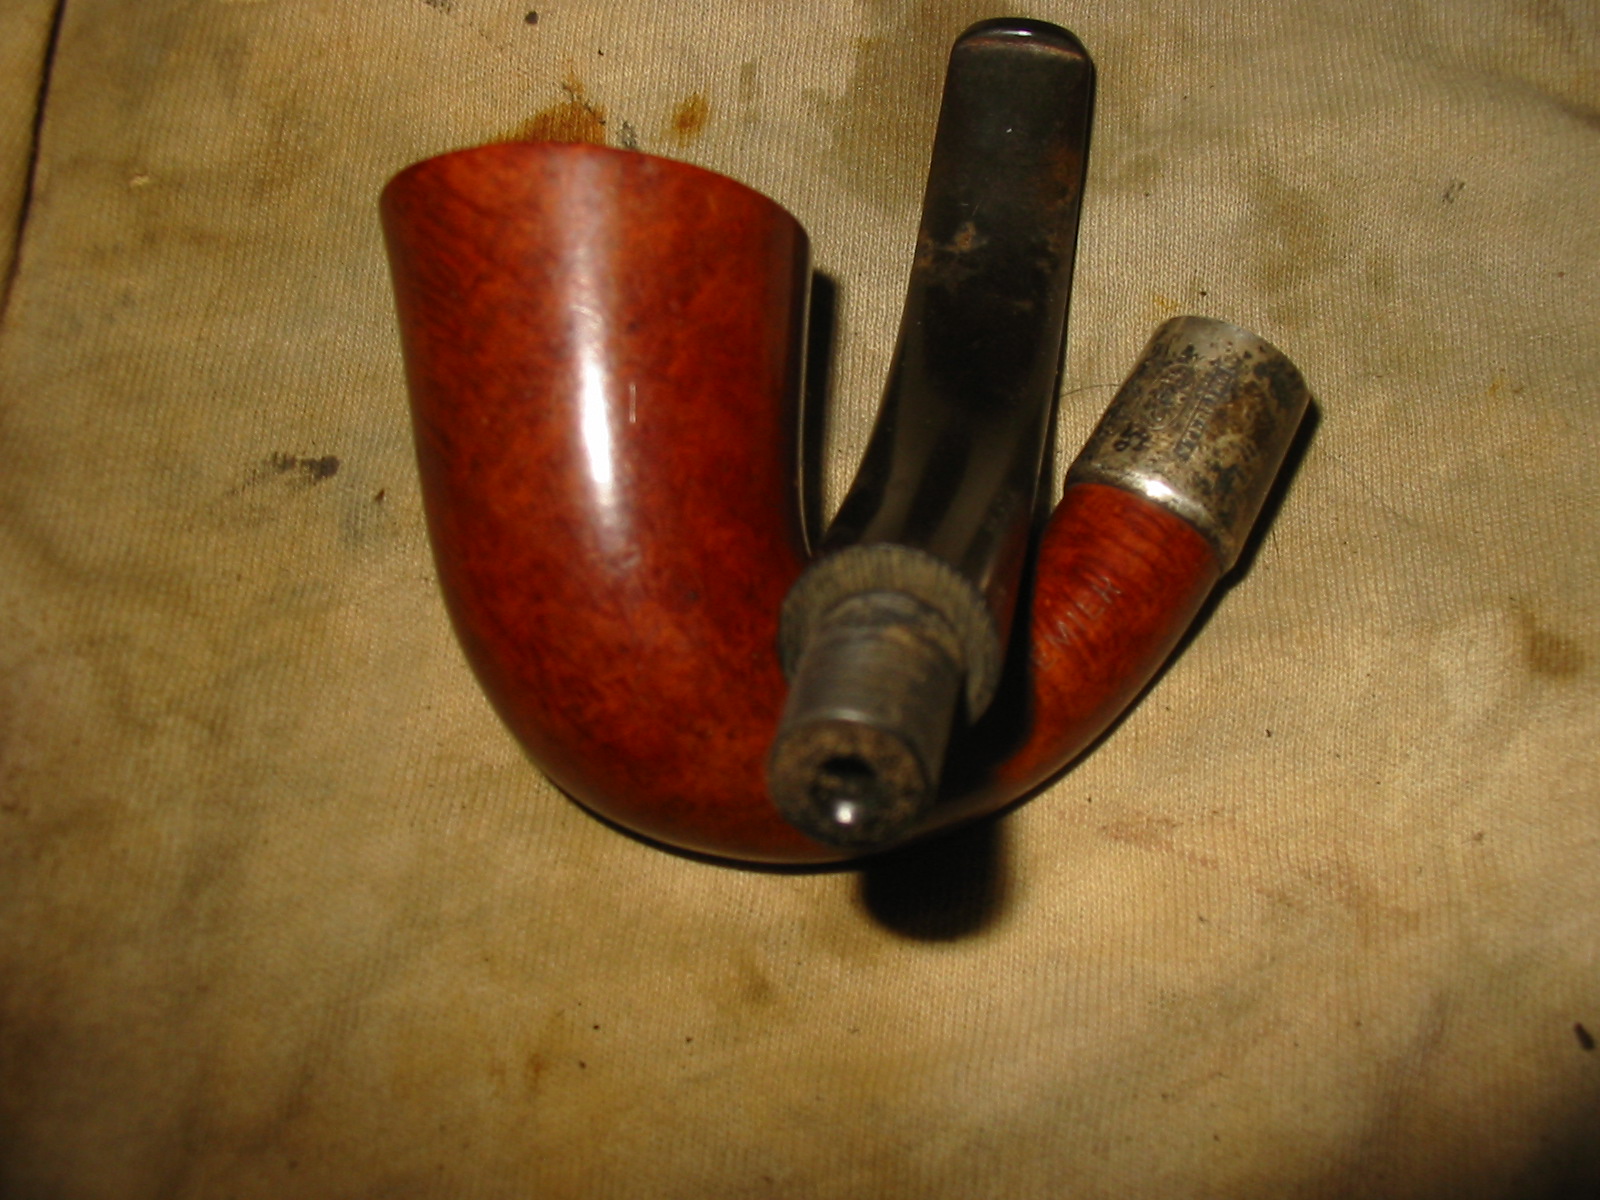
I bought three unsmoked pipe bowls from the same seller on EBay. One of them was a GFB calabash. With the first of this brand I bought a while back I did some digging on the web and found very little information. So this time I did a bit more searching and I was able to get some information on the brand. Many of the links I found through Google took me to others who were looking for information on the brand. I came across one that gave the information that the GFB brand was an older French Trademark and that it came from Saint Claude, France. With that information I did a more focused search for GFB French Briar Pipes and came across a post that said GFB stood for Great French Briar – that seemed a little farfetched to me so I continued to look and finally came across the following advertisement from a Sears Catalogue. It shows a full page of GFB pipes and the header says GENUINE FRENCH BRIAR. That made much more sense to me and the pipes in the catalogue matched the ones that I have in my collection and the ones that I have seen. For me that gives a better picture into the meaning of the brand letters.

Genuine-French-Briar-Pipes-On-Parade

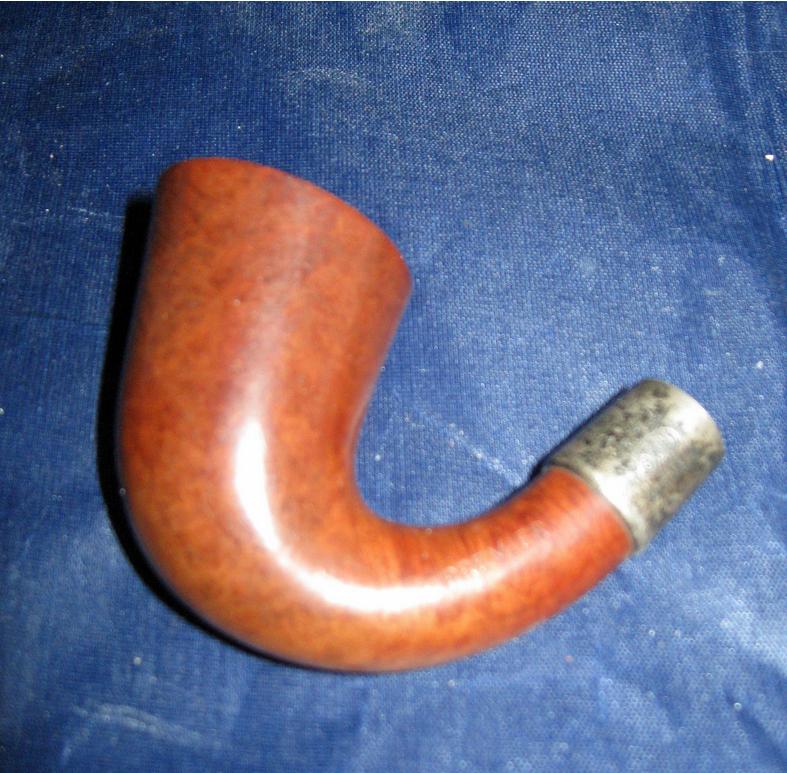
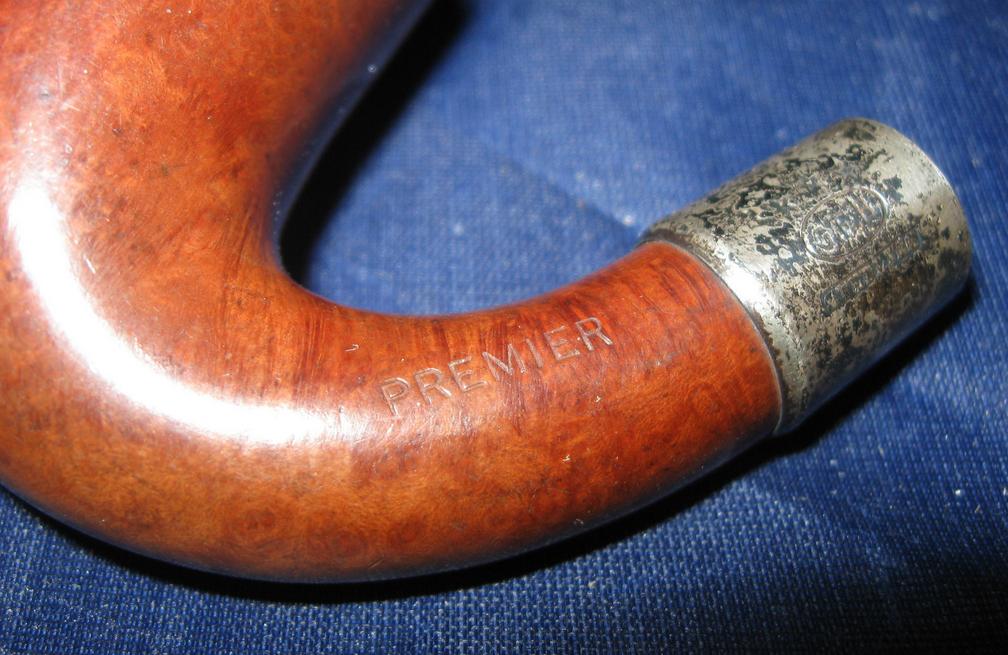
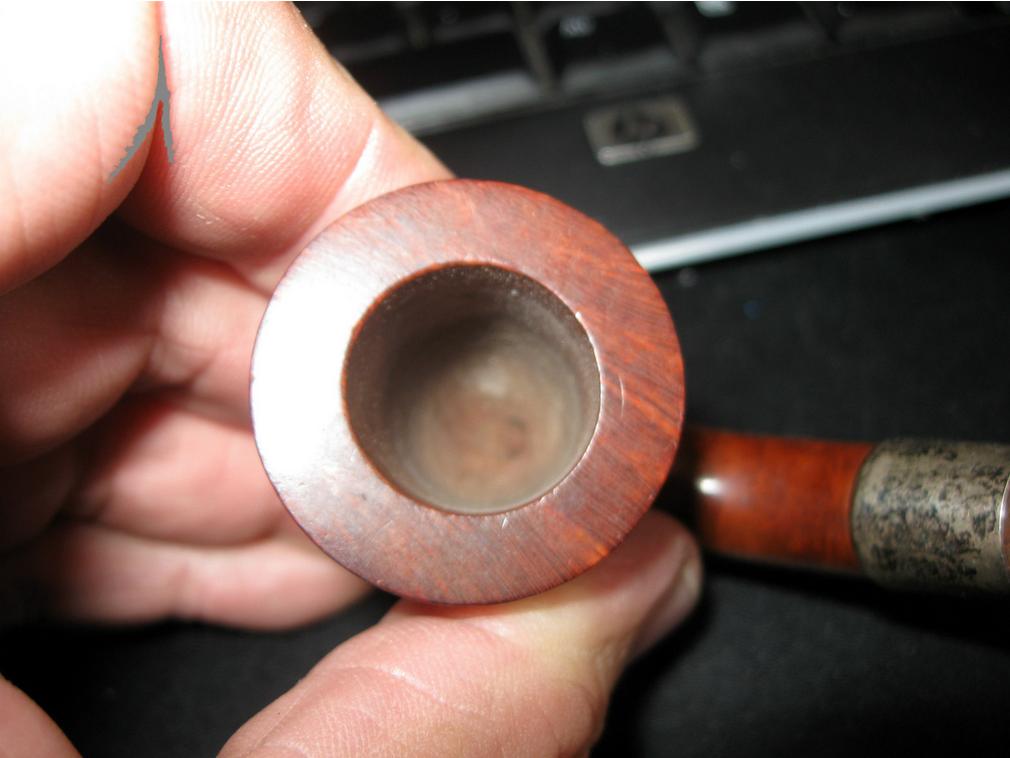
Armed with this new information I went to work on the GFB Calabash pipe bowl that I purchased. The bowl itself was in astonishingly great shape for being over 100 years old. The pipe was unsmoked – new condition. The bowl was dusty but raw briar. The shank was clean and also pristine. This was an unsmoked – new old stock pipe bowl. The silver band was very tarnished and loose. There was no stem to be found. I wrote to the seller and asked what had happened to the stems for this old timer and two others I purchased from them. I did not receive an answer. The first four photos below are the seller’s photos as the pipe appeared on EBay. The first two are out of focus but give an idea of the bowl shape. The last two give close up photos of the stamping and the clean bowl. It was pretty hard to know the size of the pipe from their information. But it looked to be of similar age as an older 1912 BBB Calabash I have so I put in a bid and won.

GFB1

GFB2

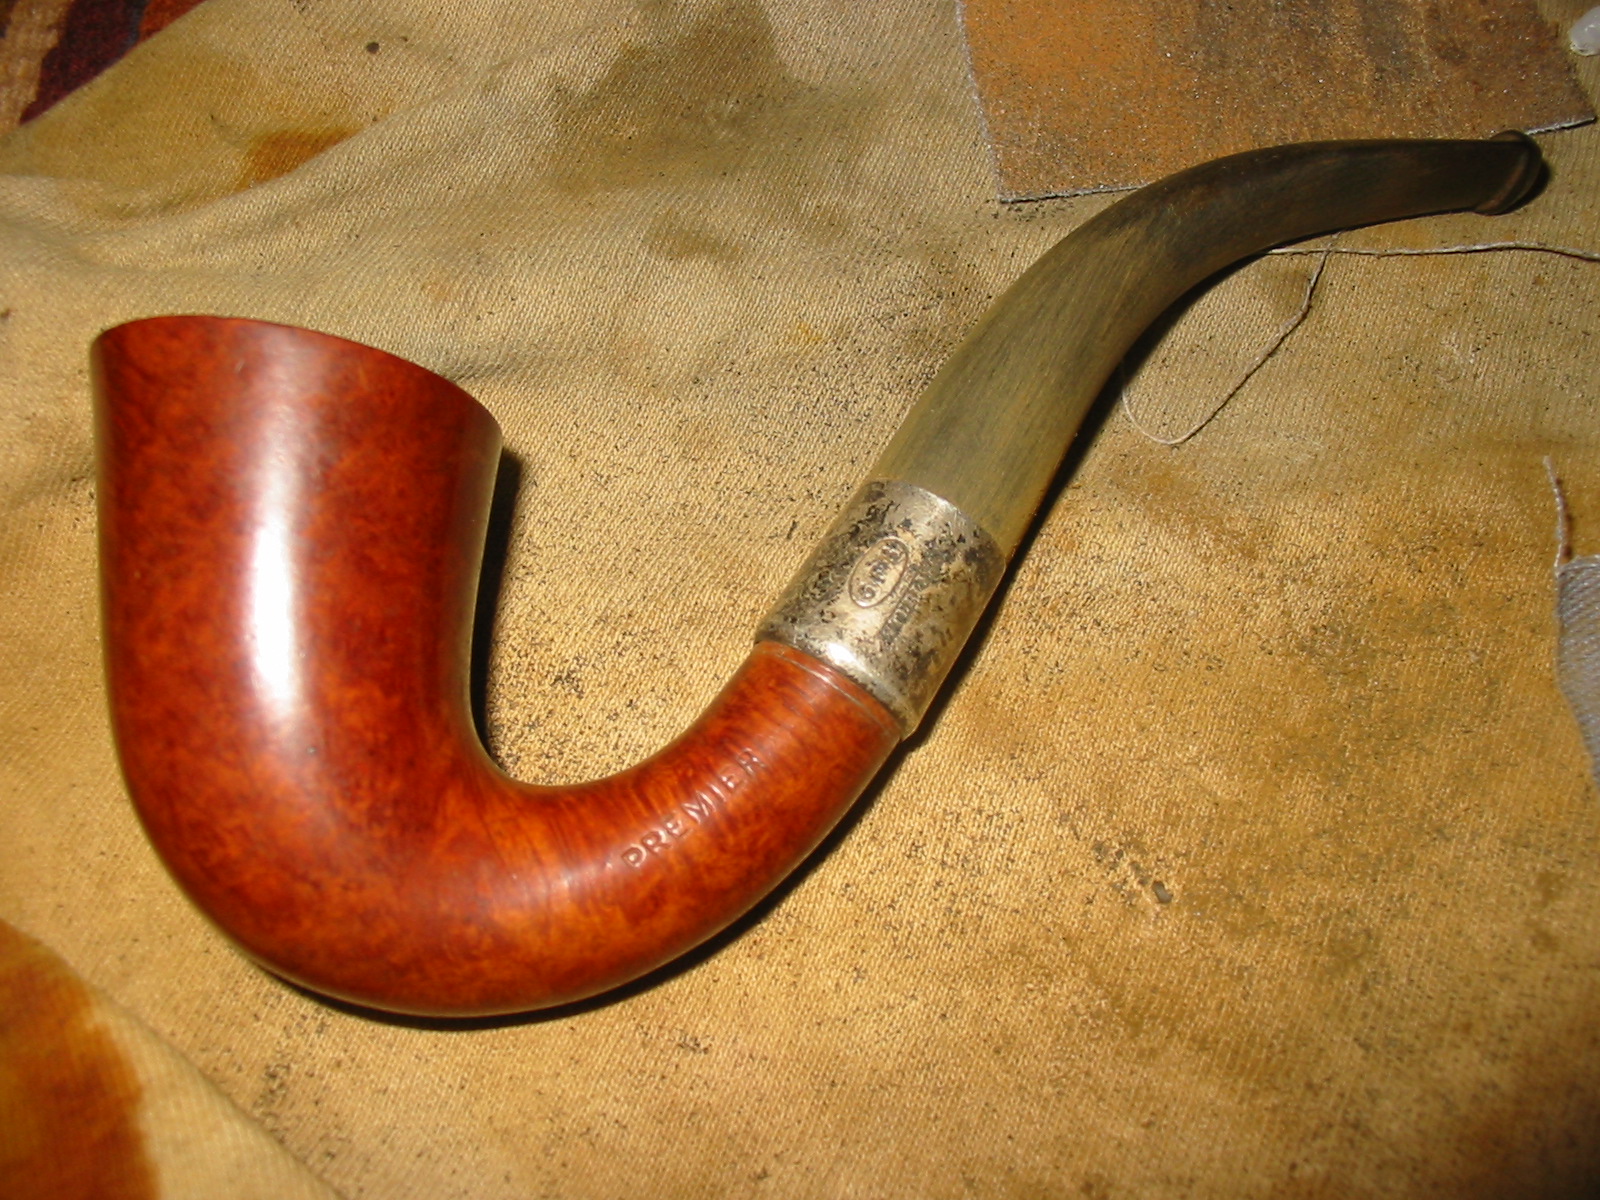
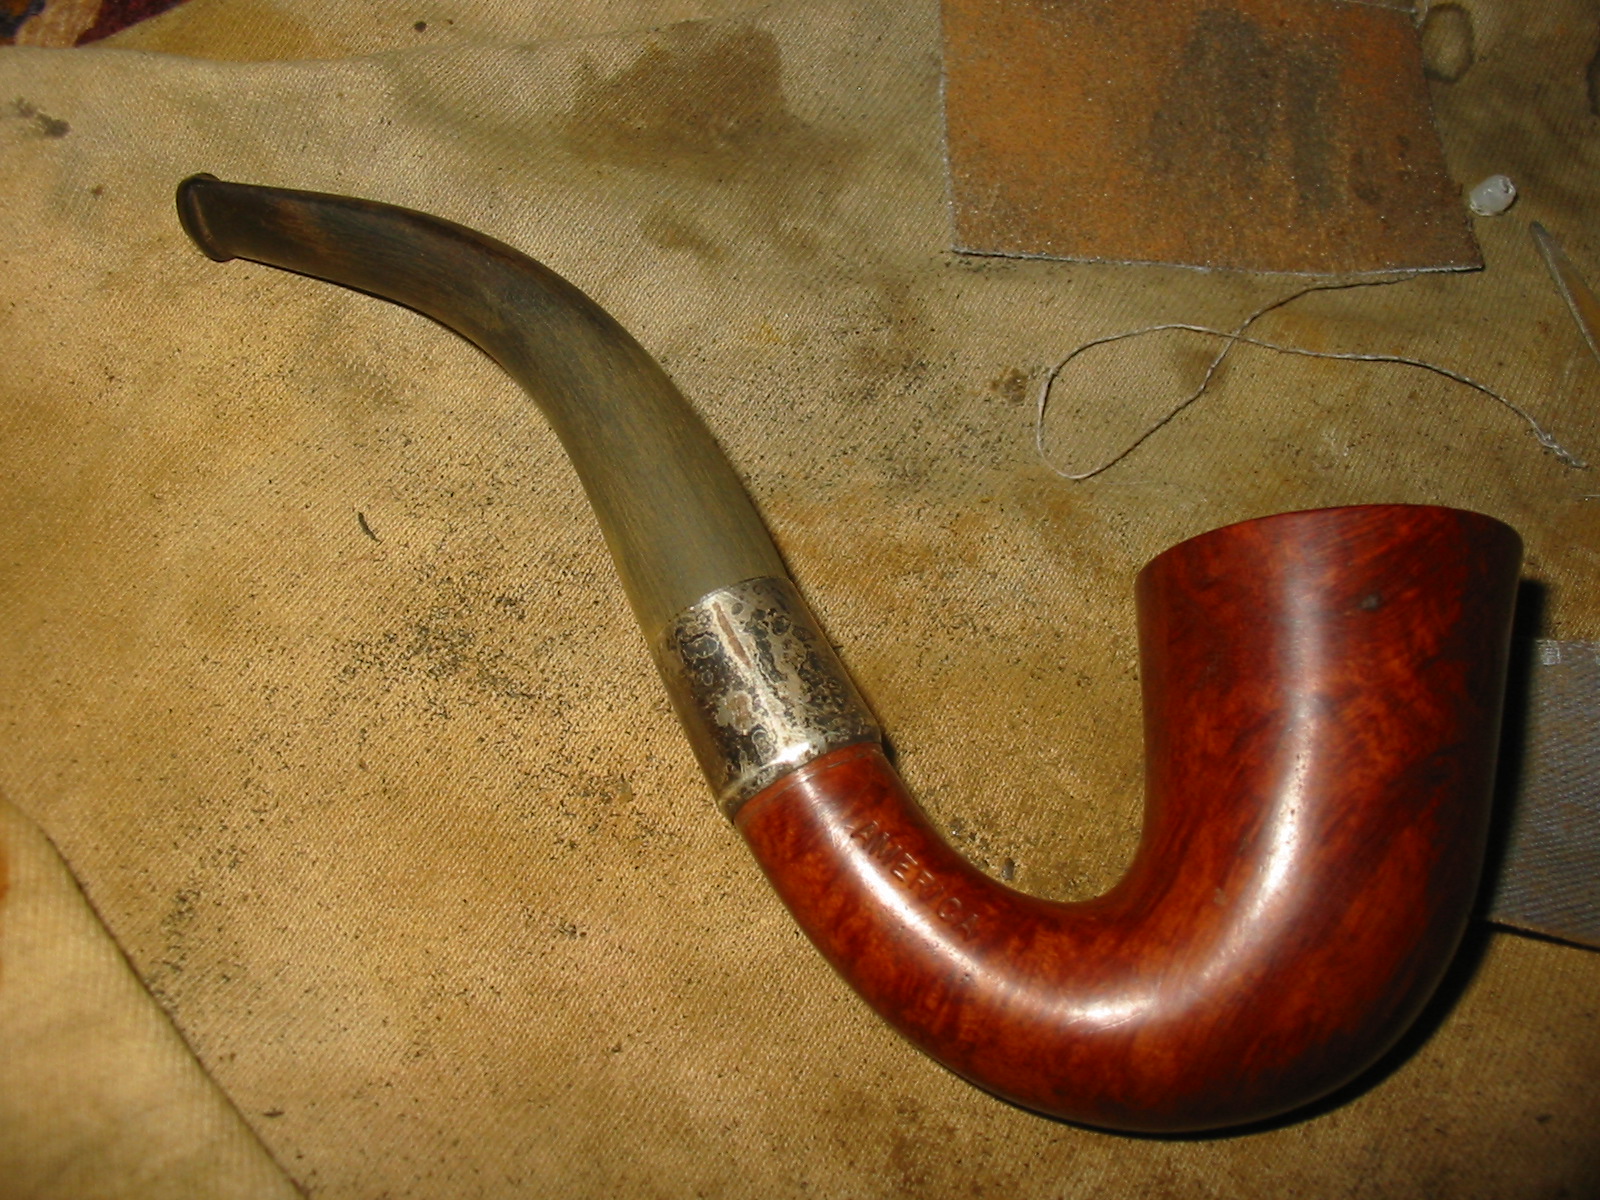
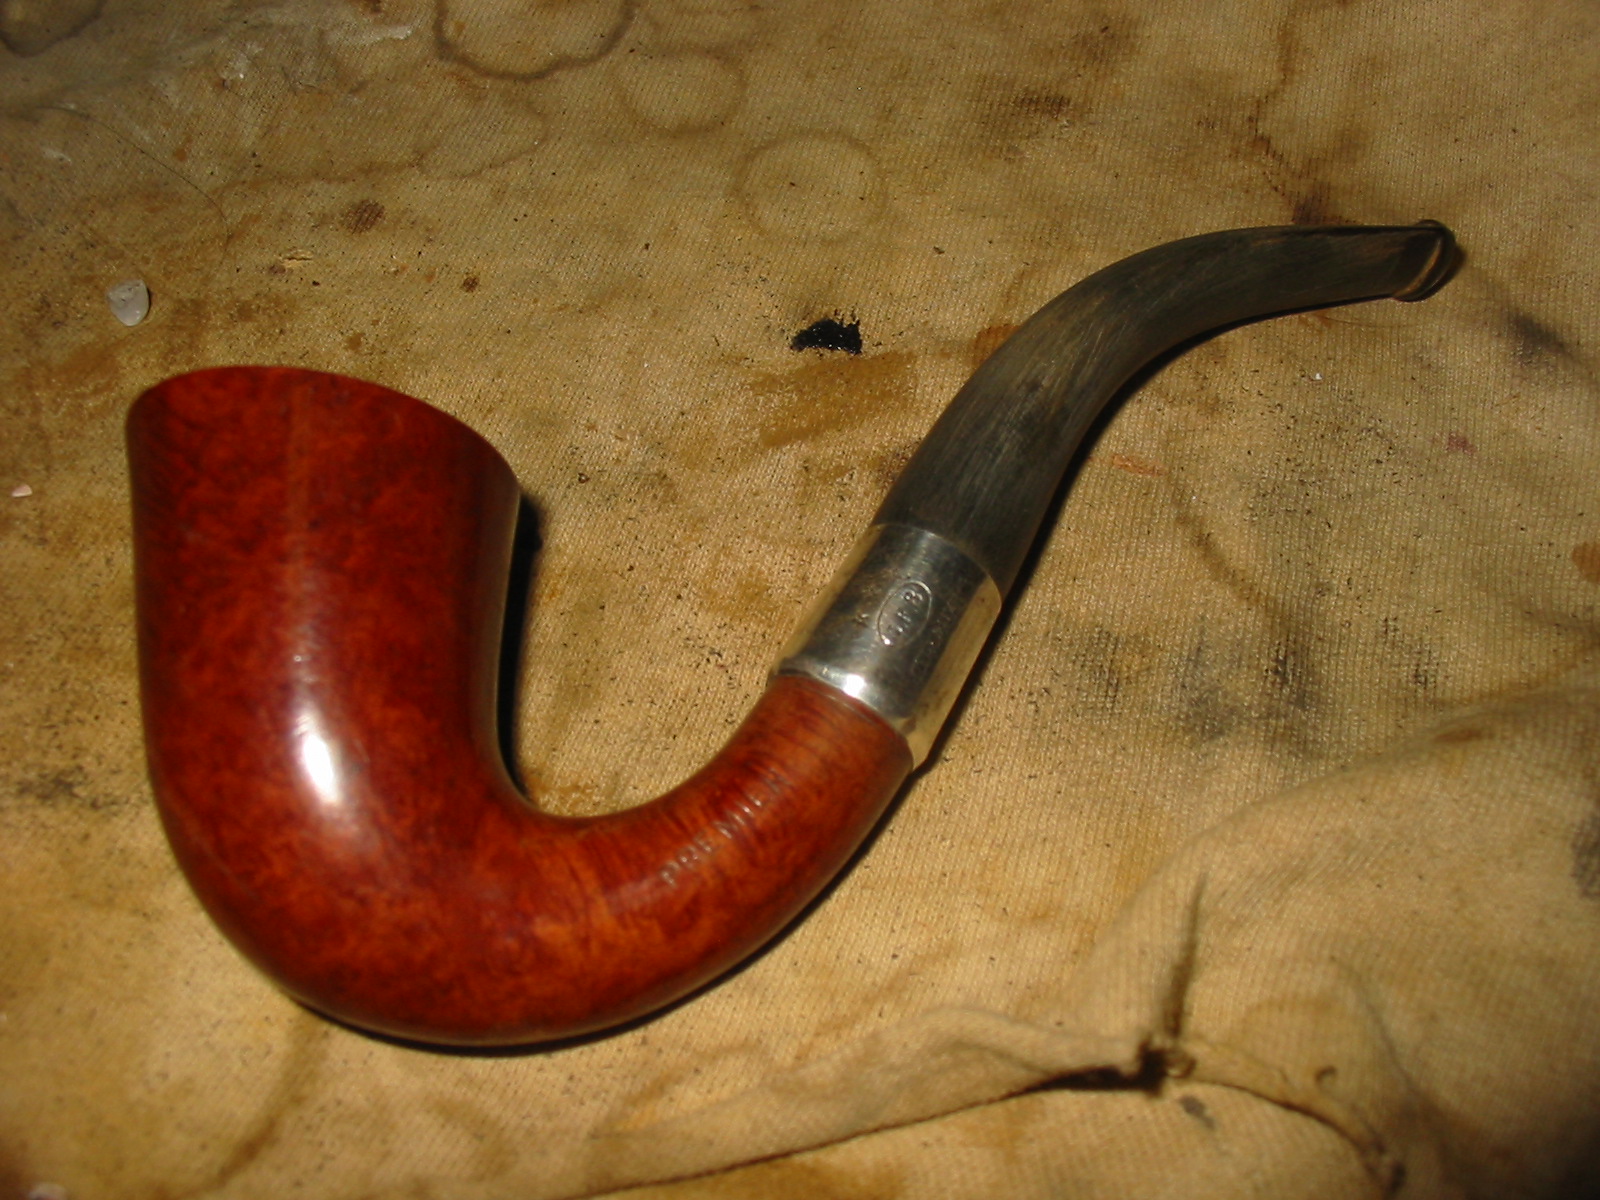
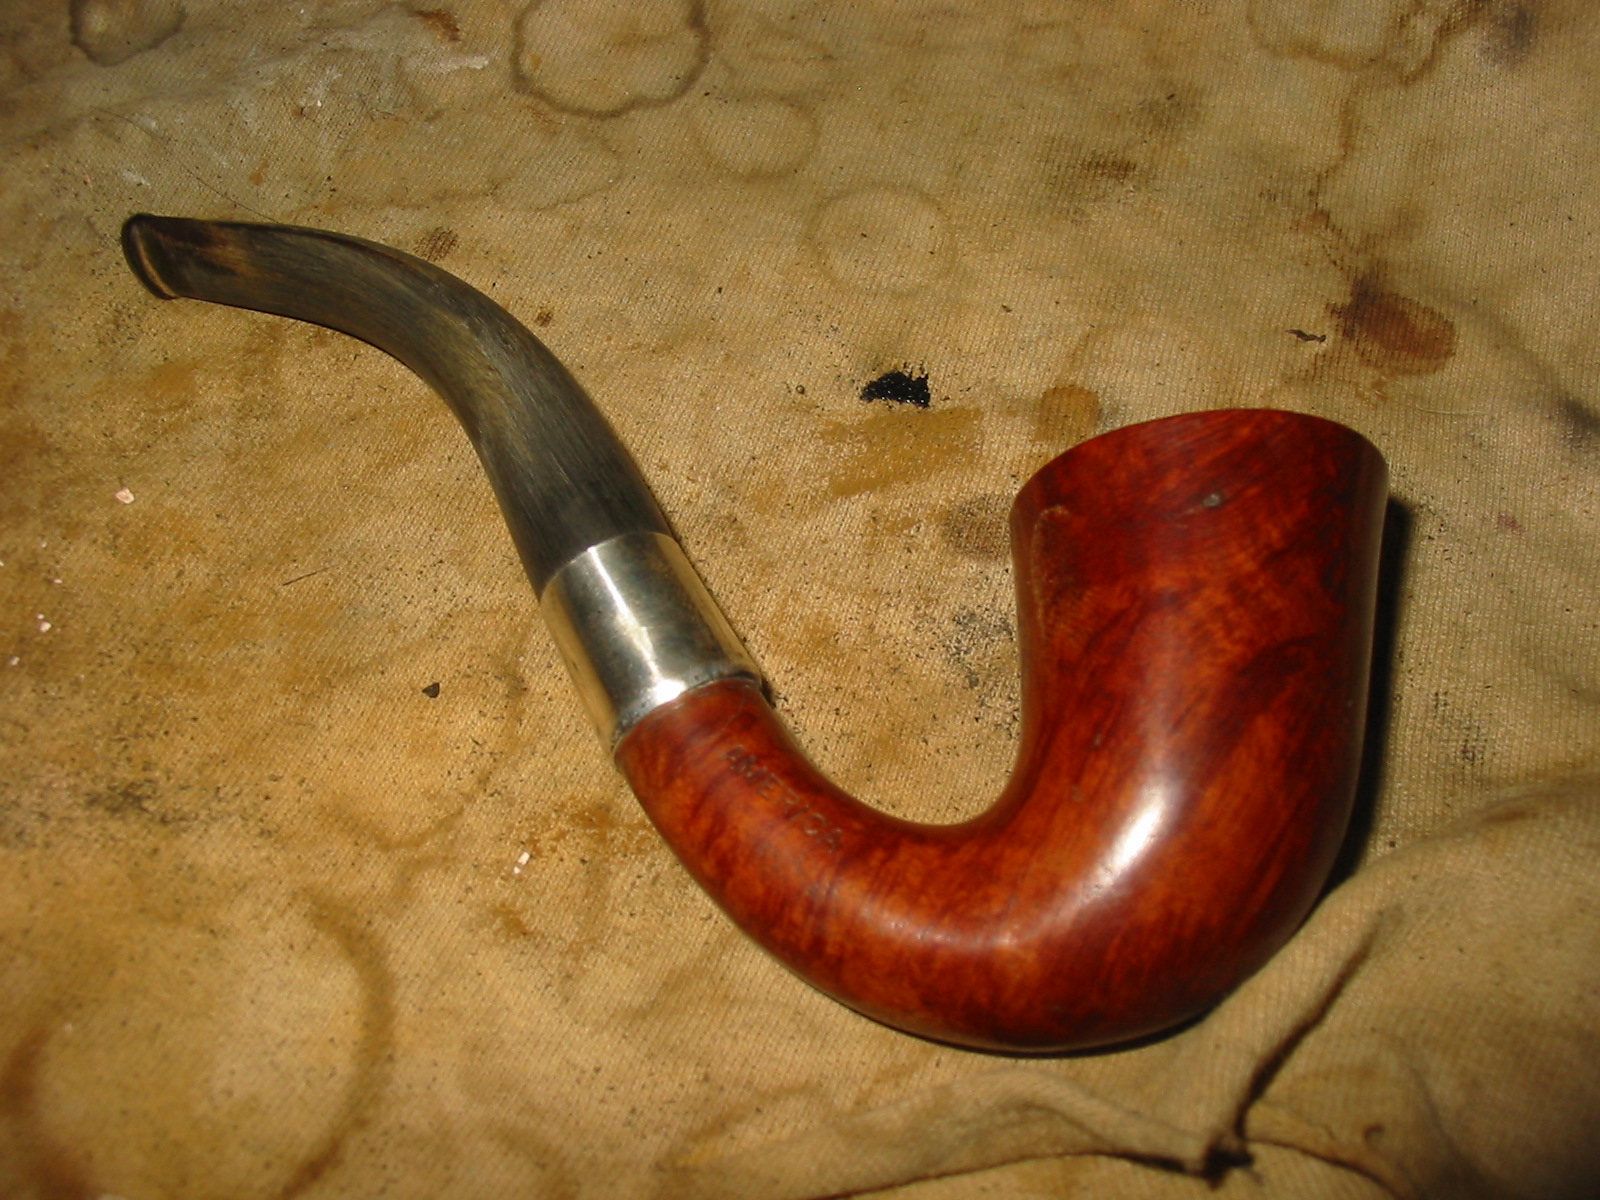
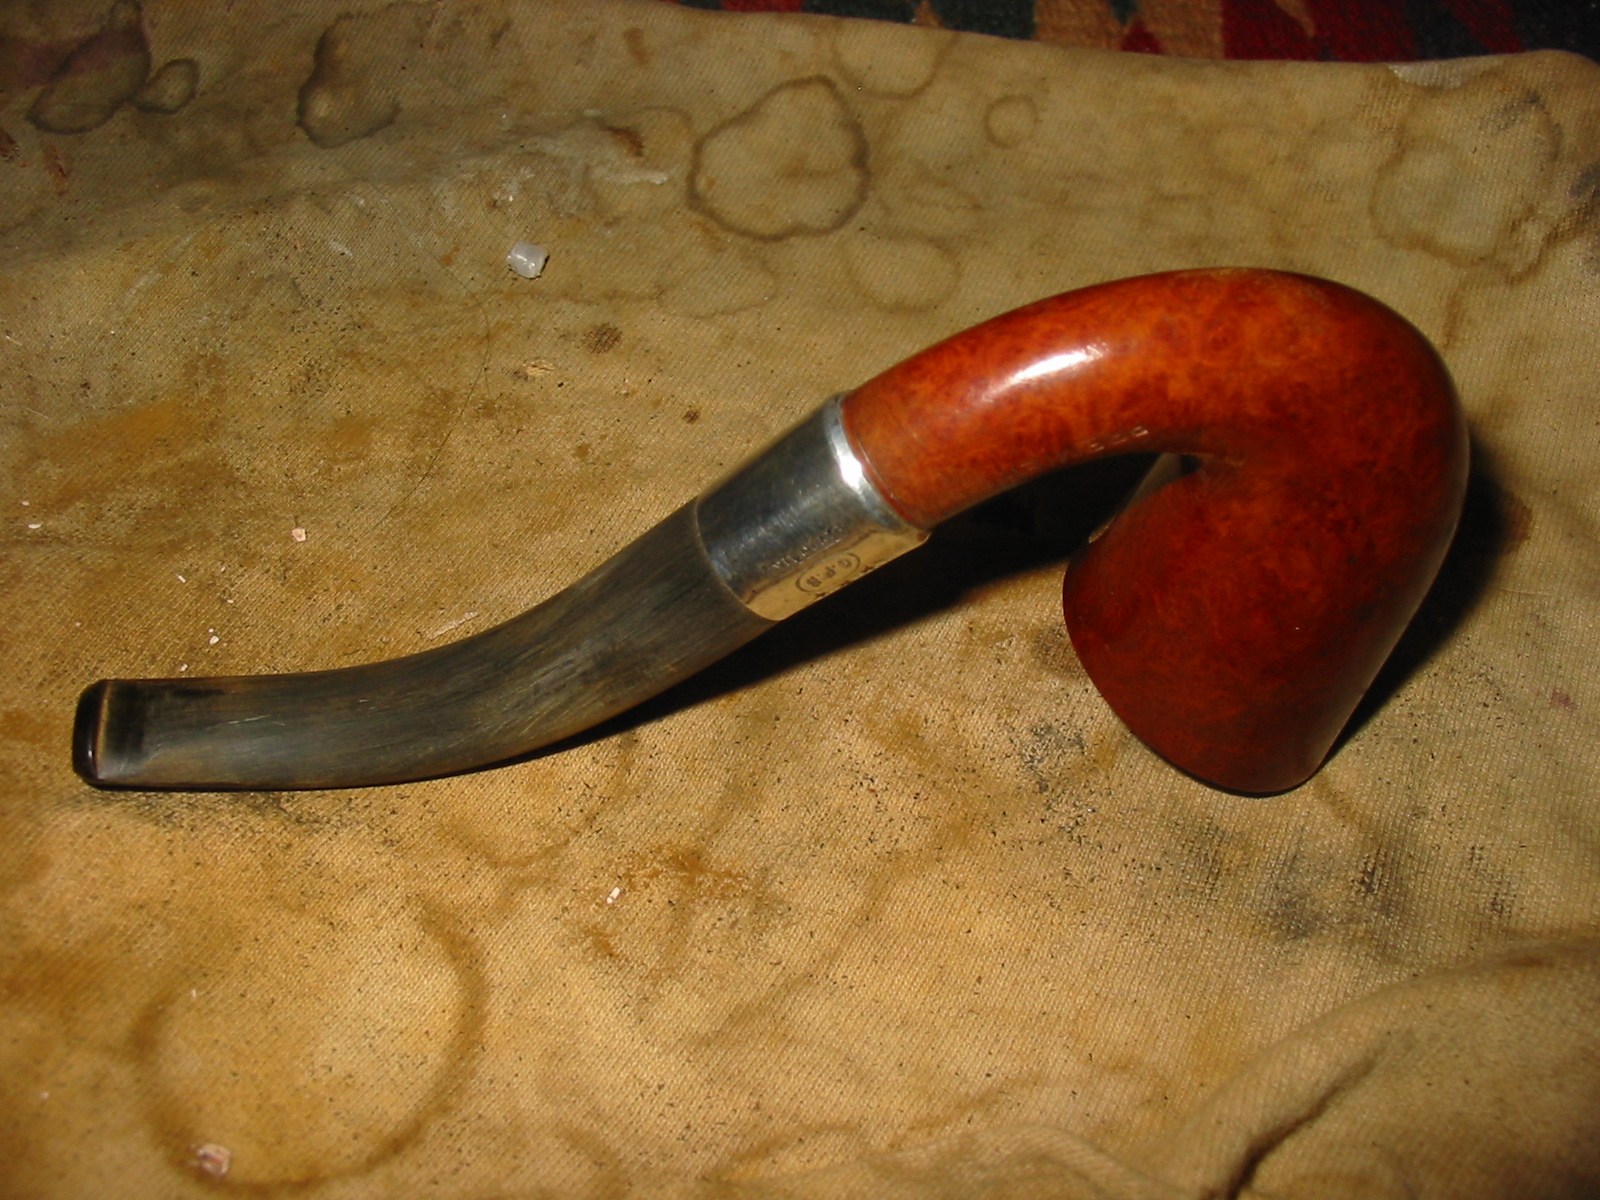
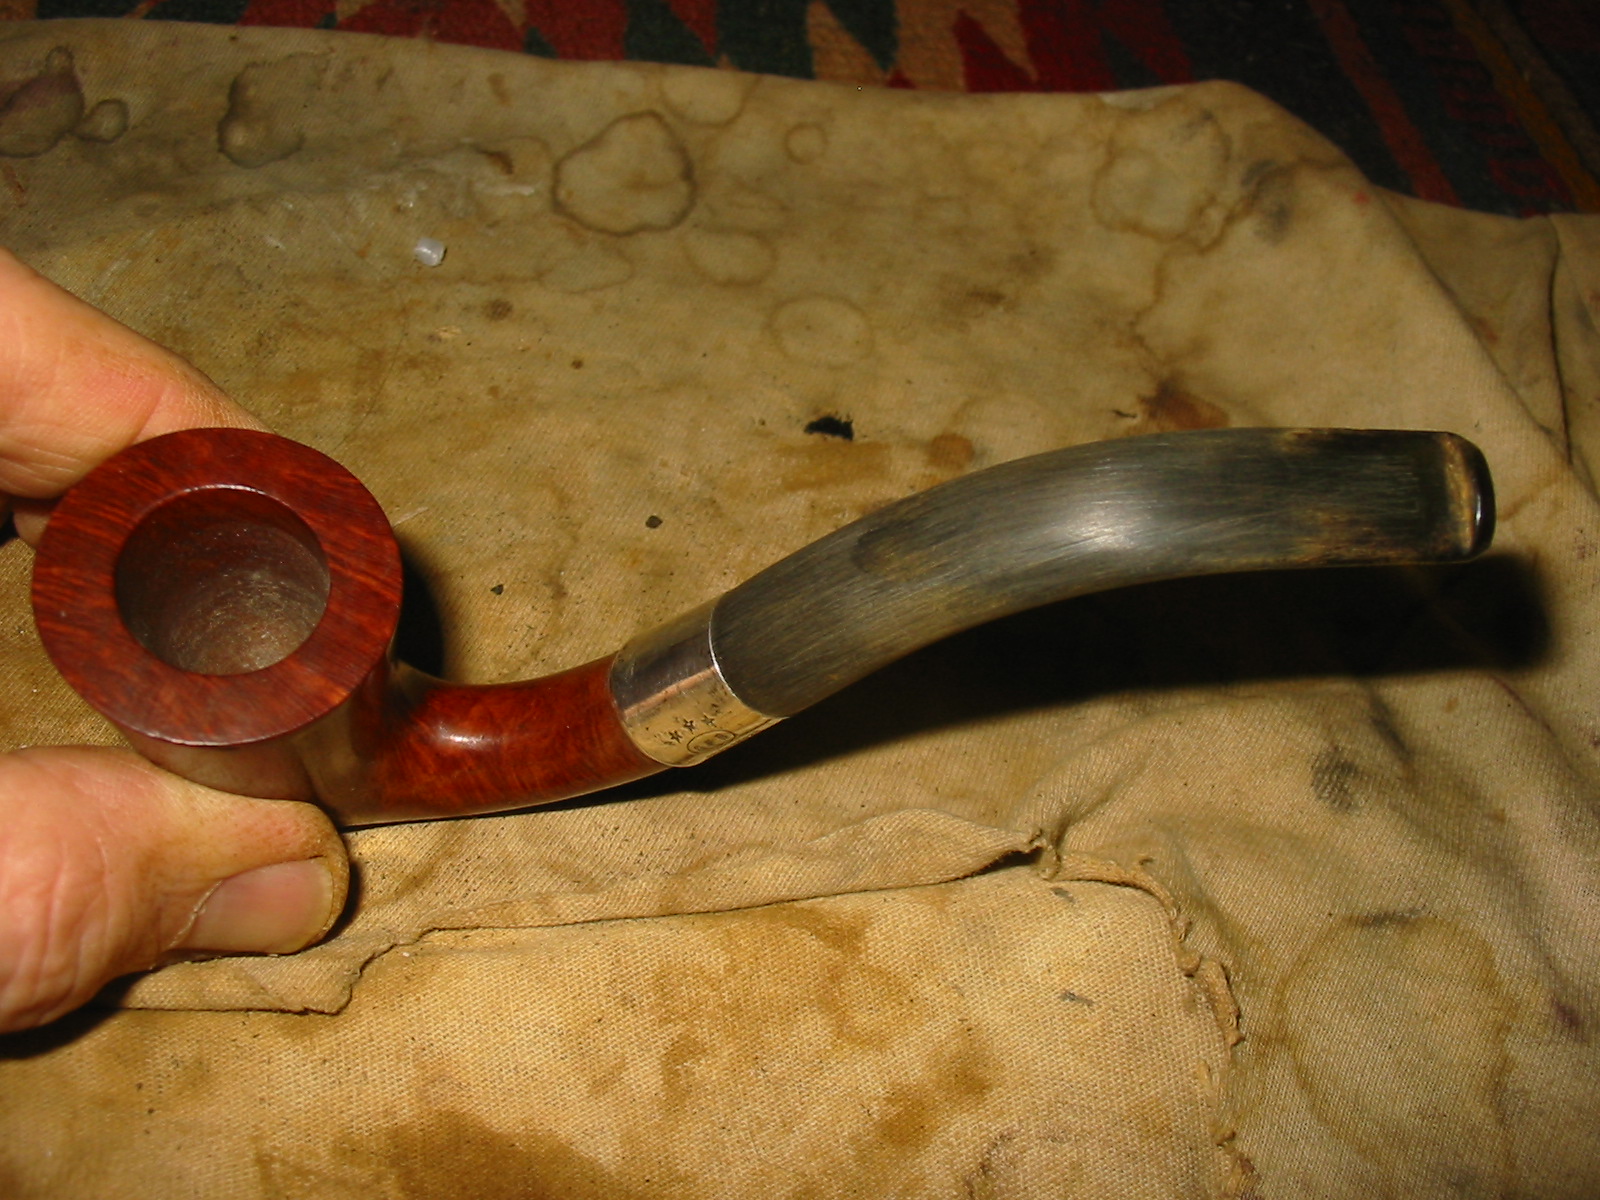
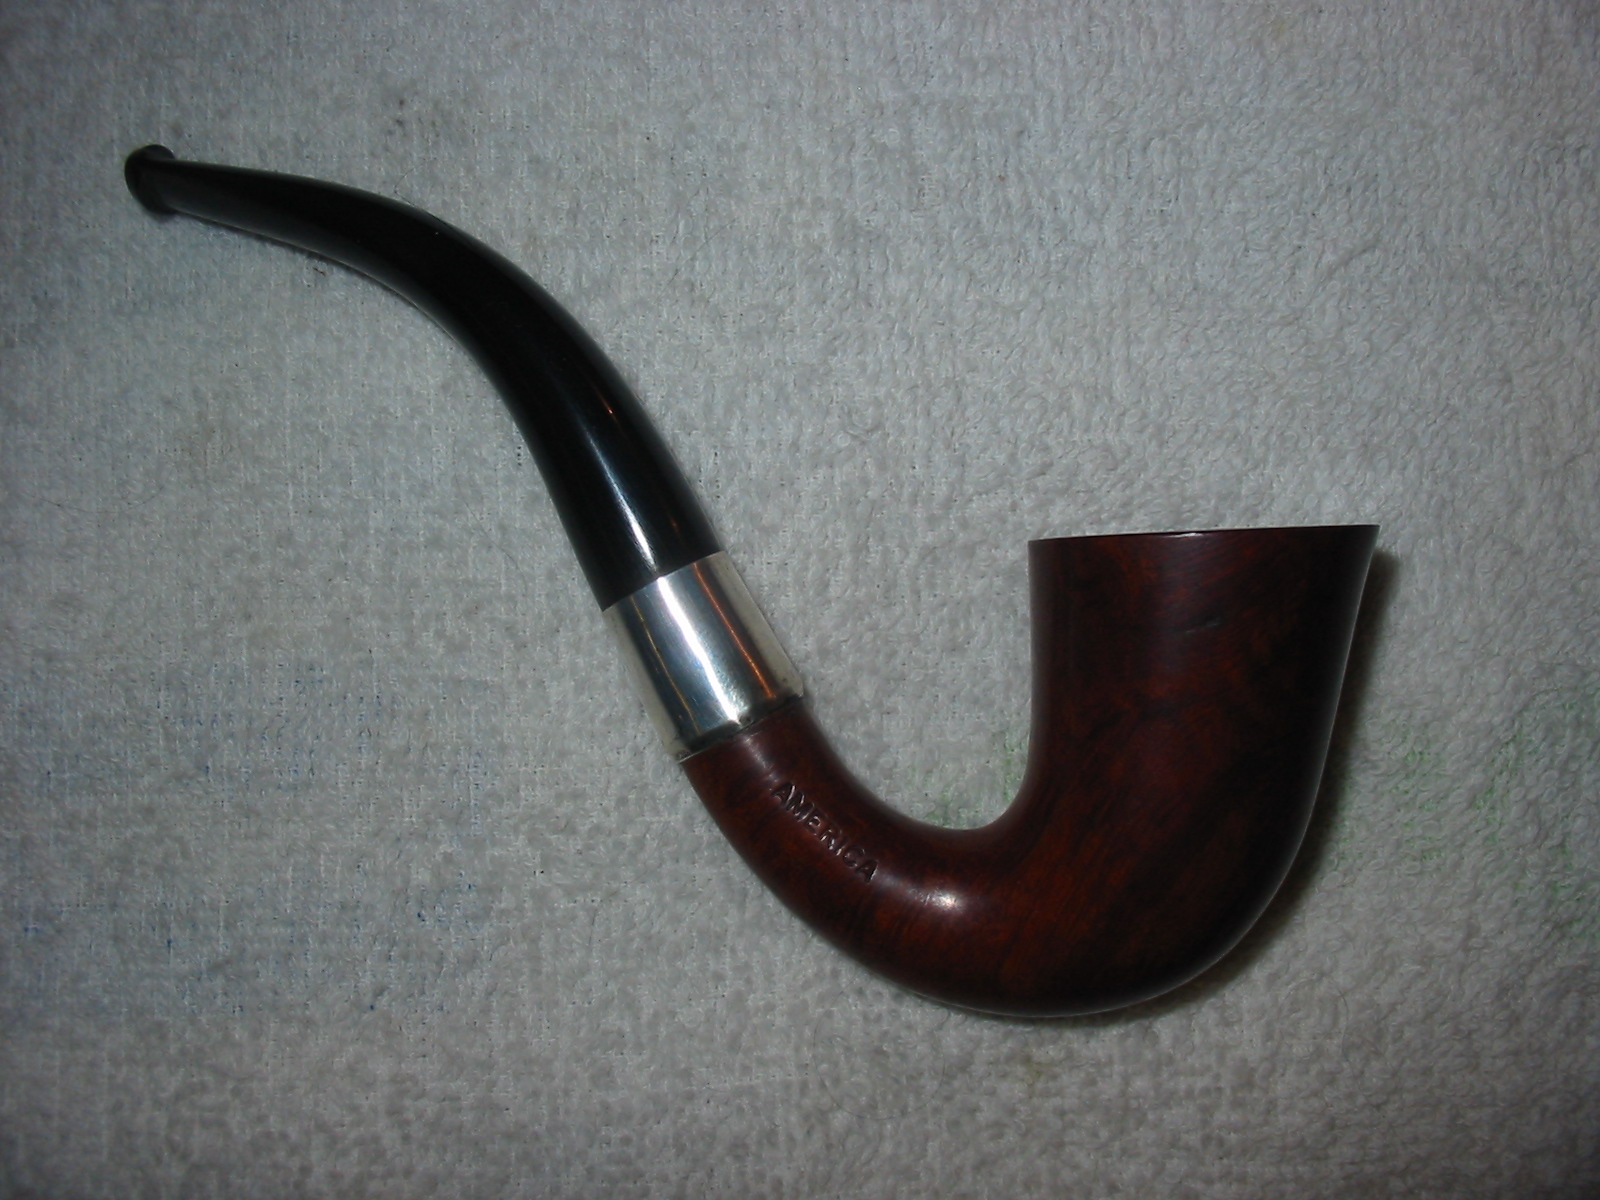
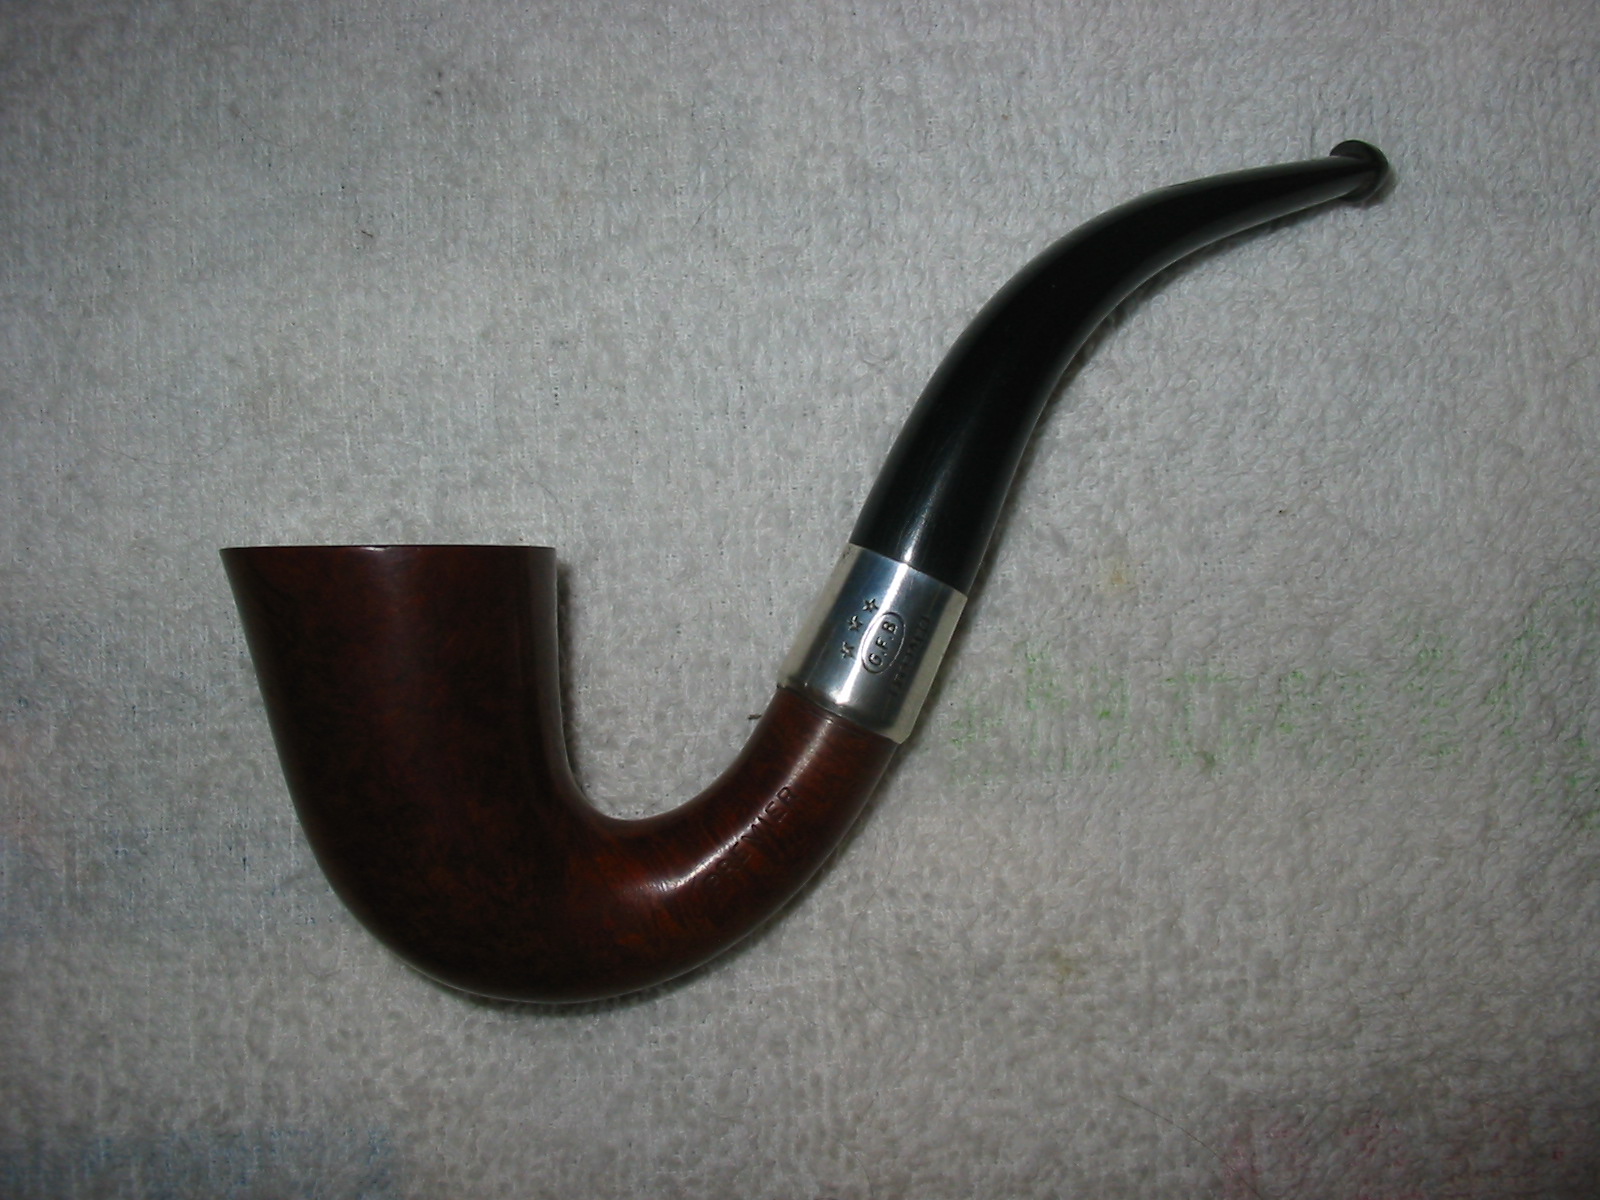
The right side of the shank is stamped America and the left side is stamped Premier. The band has three stars *** over the GFB in an oval and under that is the Sterling stamp. The stamping led me to assume incorrectly that this was an older American made pipe. I was wrong. The stamping America obviously is the name of the pipe.

GFB3

GFB4

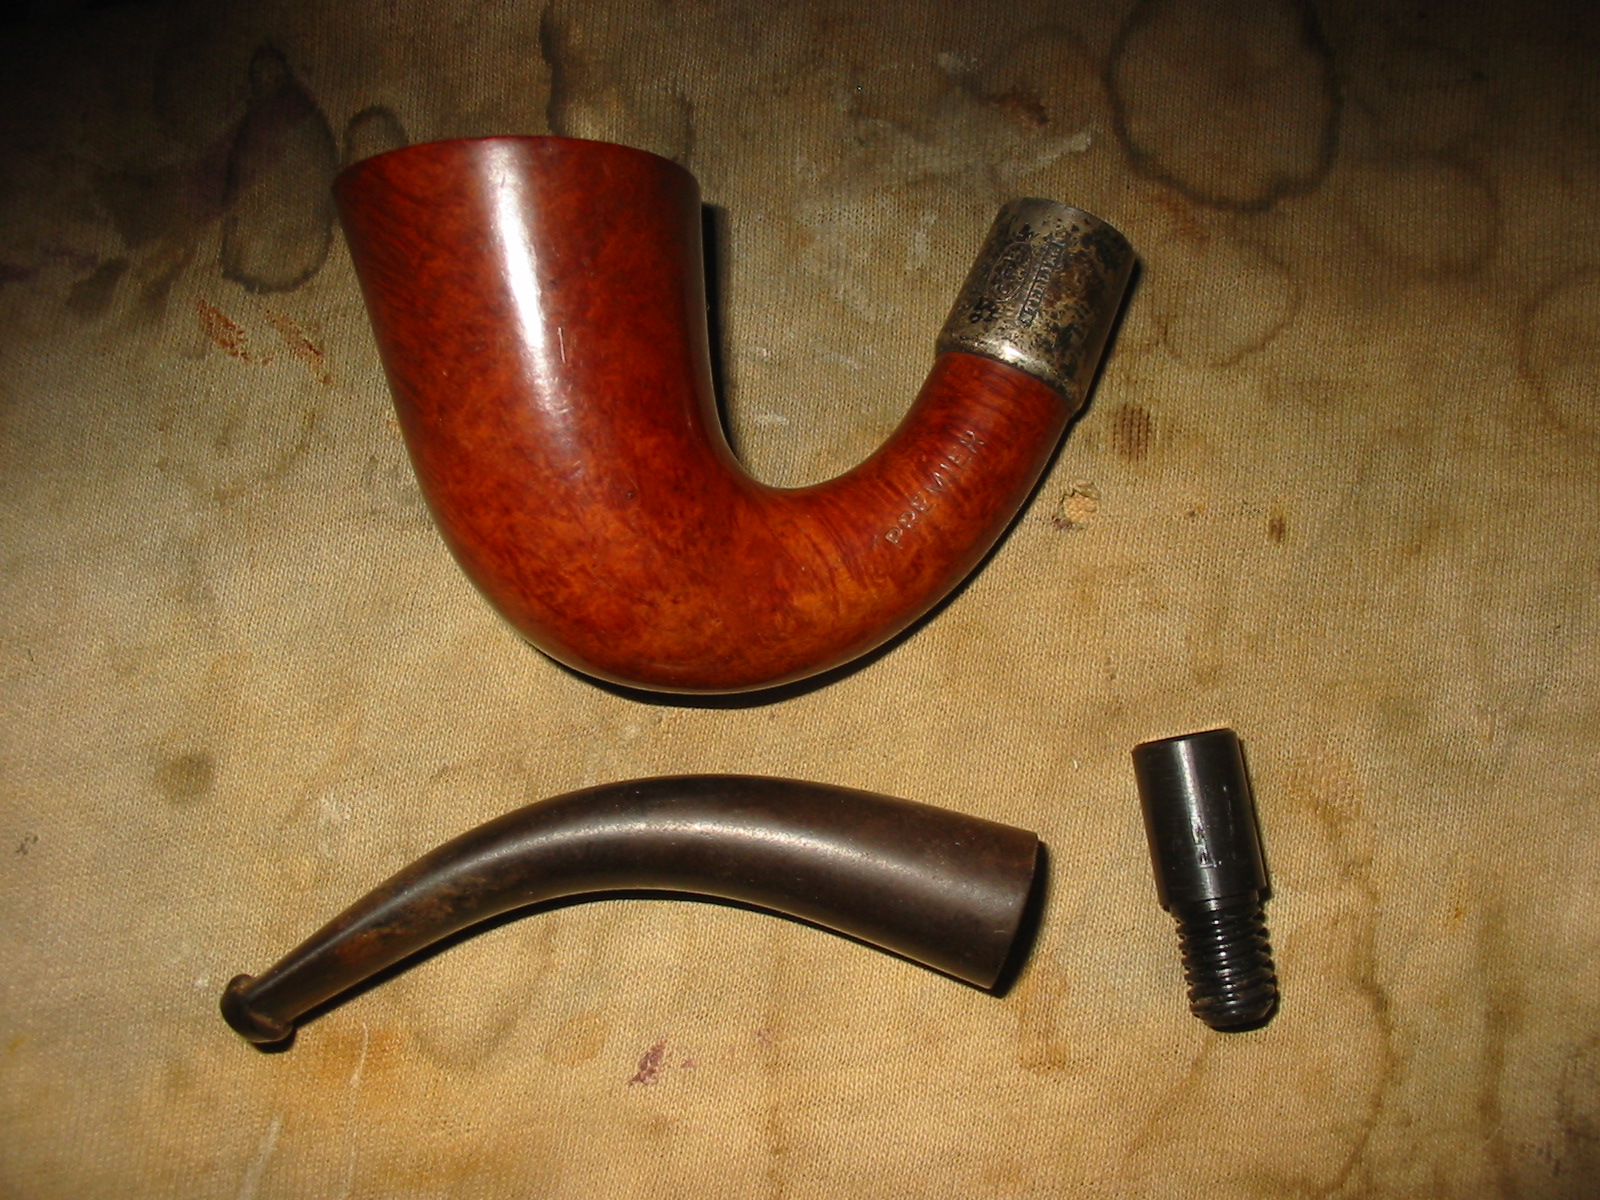
I looked through my box of old stems to find one that would be not just a proper fit but of an age that was appropriate to this old pipe. I found one that did not have a tenon, it had either broken or fallen out somewhere along its journey. I have a bag of Delrin threaded tenons that I use regularly for replacing broken tenons. I chose the smallest one as it would fit the mortise with a little bit of work. The stem was oxidized but in good shape with no tooth marks or dents. The button was a slight slot and the stem was quite narrow at the button end. It would look perfect on the pipe once I had the tenon replaced.

IMG_0962

I drilled out the stem so that the threaded tenon would fit into it. I used a tap to thread the stem. The first photo below shows the drilled and tapped stem ready to receive the new tenon. I coated the threads with some black super glue and threaded it into the stem (second photo). The third and fourth photos below shows the tenon screwed into place. The tenon is now repaired. I needed to remove some of the Delrin to reduce the diameter of the tenon to get a good fit on the shank. I used my Pimo Tenon turner to do this. It was a little tricky in that the stem was bent but I proceeded slowly to turn it down until it was close. I finished reducing it by hand until it fit snugly in the mortise.

IMG_0964

IMG_0965

IMG_0966

IMG_0967

Once the stem fit snugly in the shank I needed to reduce the diameter of the stem in order to get a good match with the band on the shank. I sanded it with medium grit emery paper to bring it down to size. The next two photos show the stem in place. At this point the band had not been glued into place. It was still loose, so I removed the stem and used Weldbond white carpenters glue (which is non-toxic) to glue the band in place. I cleaned up the old glue lines on the shank with micromesh sanding pads.

IMG_0972

IMG_0973

The next four photos show the silver band after it had been glued in place and cleaned and polished with some Hagerty Tarnish Preventive Silver Polish. I have used this bottle for years and it works extremely well. I purchased it at a jewelry shop along with a polishing cloth that I used on the band as well. Once the band was polished the hallmarks were very visible. I have described the stamping on the band above. After shining they stood out clearly. I am not able to ascertain a date from the stamping as there are no date stamps. I also polished the bowl with a quick buff of White Diamond on the buffer and then I gave it multiple coats of carnauba wax.

IMG_0975

IMG_0976

IMG_0977

IMG_0978

With the bowl and band finished it was time to work on the stem. I sanded it with 220 and 340 grit sandpaper followed by sanding with a medium grit sanding sponge and then a fine grit sanding sponge. This series of sandpapers and sanding sponges has worked well for me in removing the scratches left by the emery paper as well as the remaining oxidation on the stem. I then sanded the stem with micromesh sanding pads from 1500-12,000 grit to bring out the sheen on the stem and polish it. Between the 4000 and the 6000 grit I polished the stem with Maguiar’s Scratch X2.0 plastic polish. I finished with the last grits of micromesh sanding pads. The next series of six photos show the progressive shine on the stem with the various grits of micromesh.

IMG_0983

IMG_0984

IMG_0985

IMG_0986

IMG_0987

IMG_0988

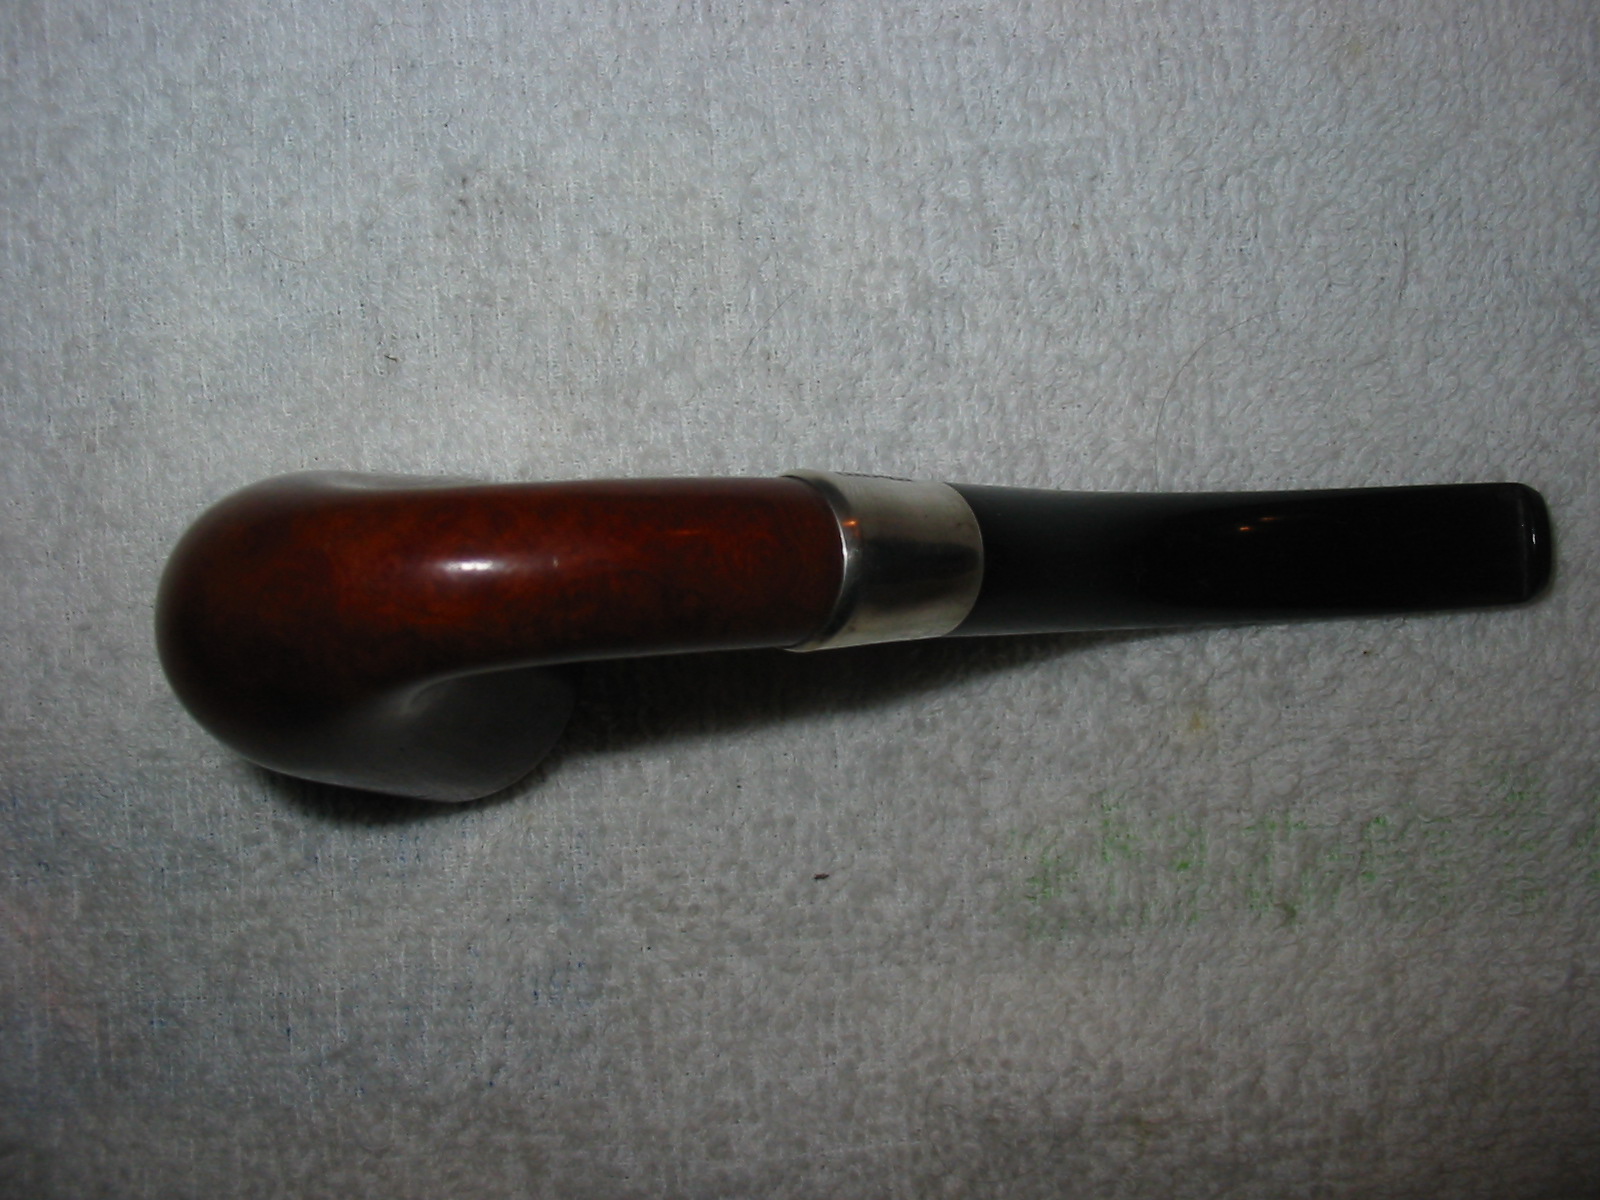
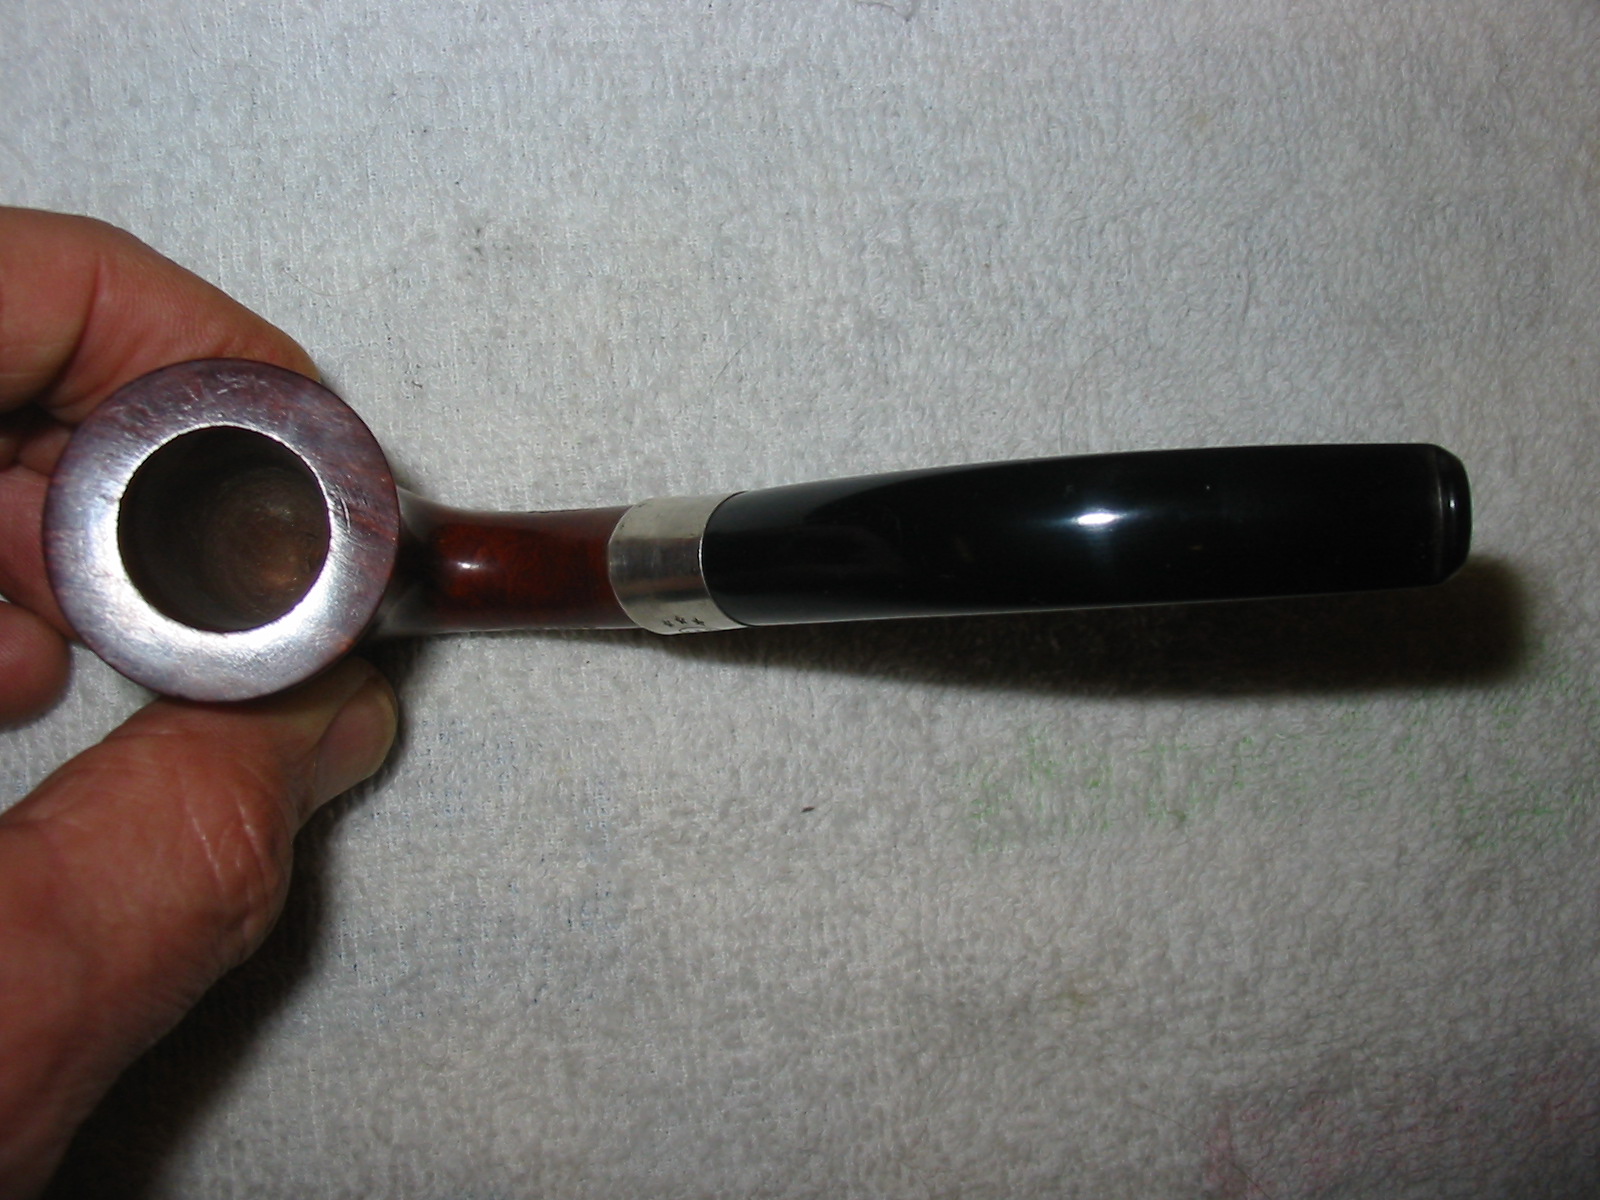
I buffed the stem and bowl with White Diamond and then gave the pipe several coats of carnauba wax. The finished pipe is pictured below in the last series of four photos. It is amazing that this old pipe has existed this long since it was made and has not been smoked. That will change soon!

IMG_0990

IMG_0991

IMG_0992

IMG_0993

Breathing New Life into a Dr. Grabow Riviera


Blog by Steve Laug

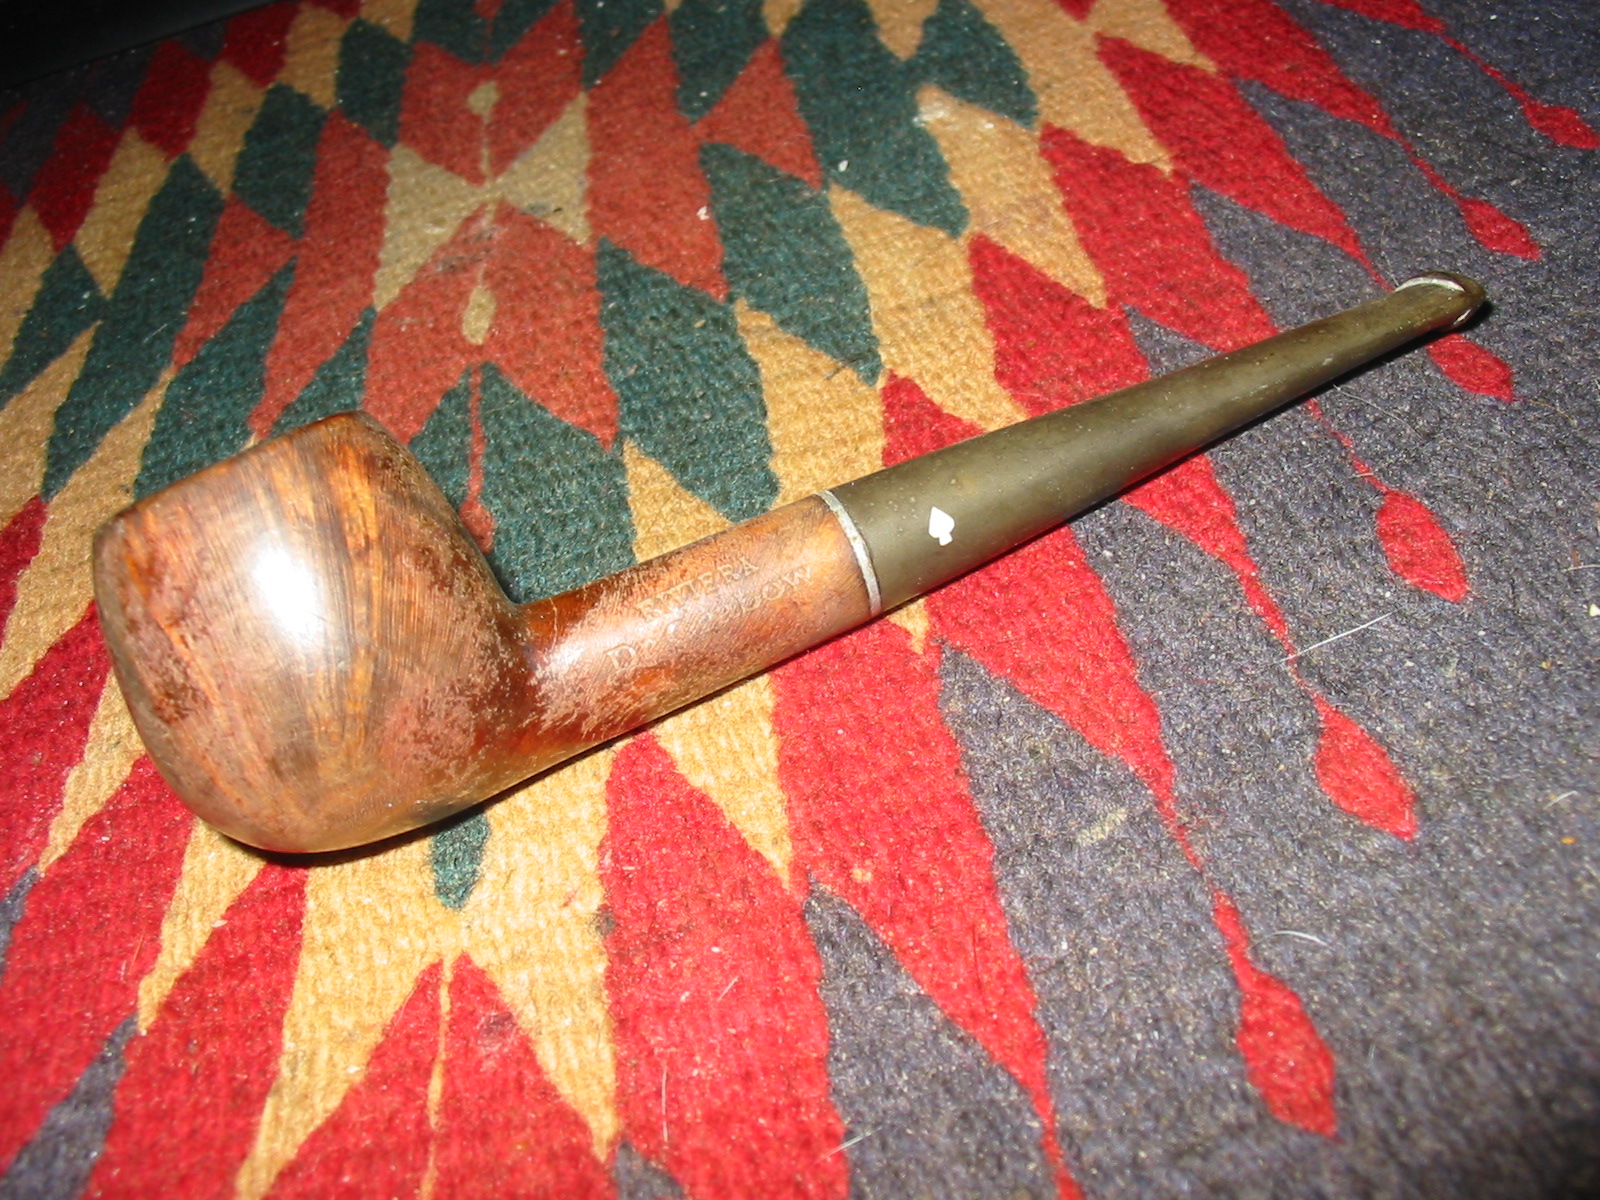
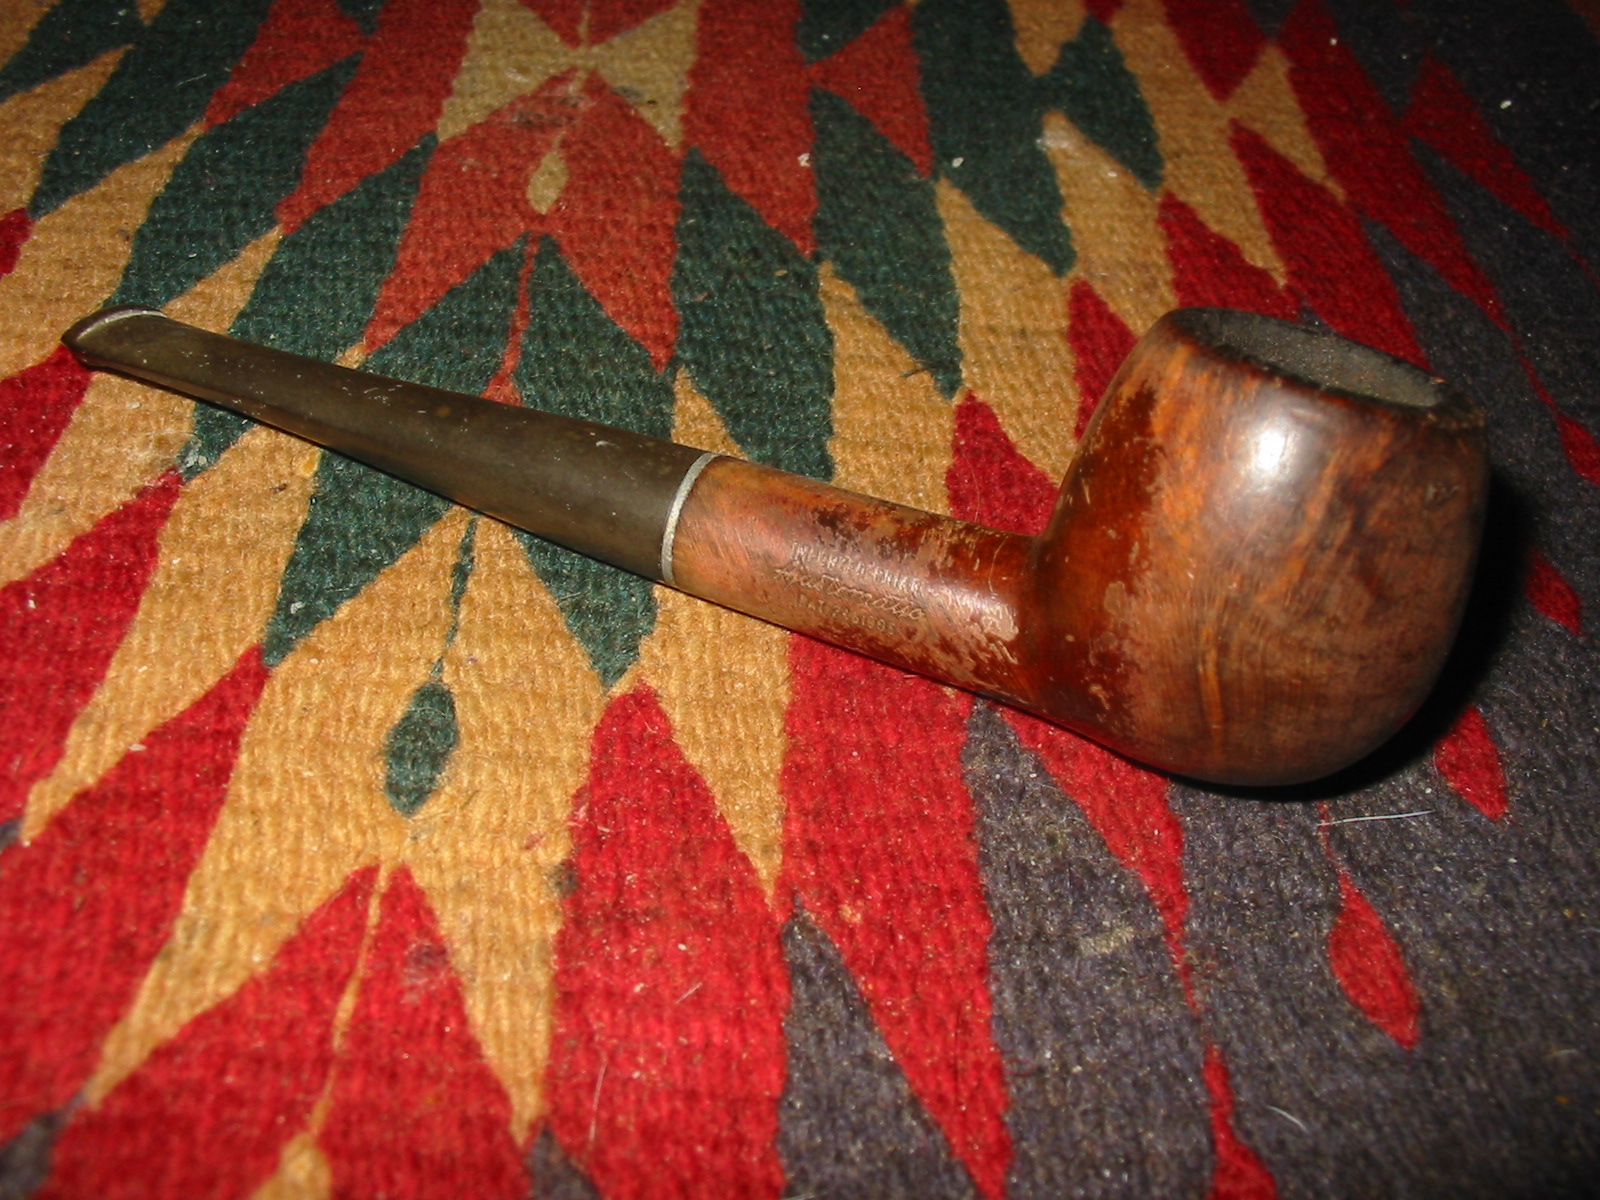
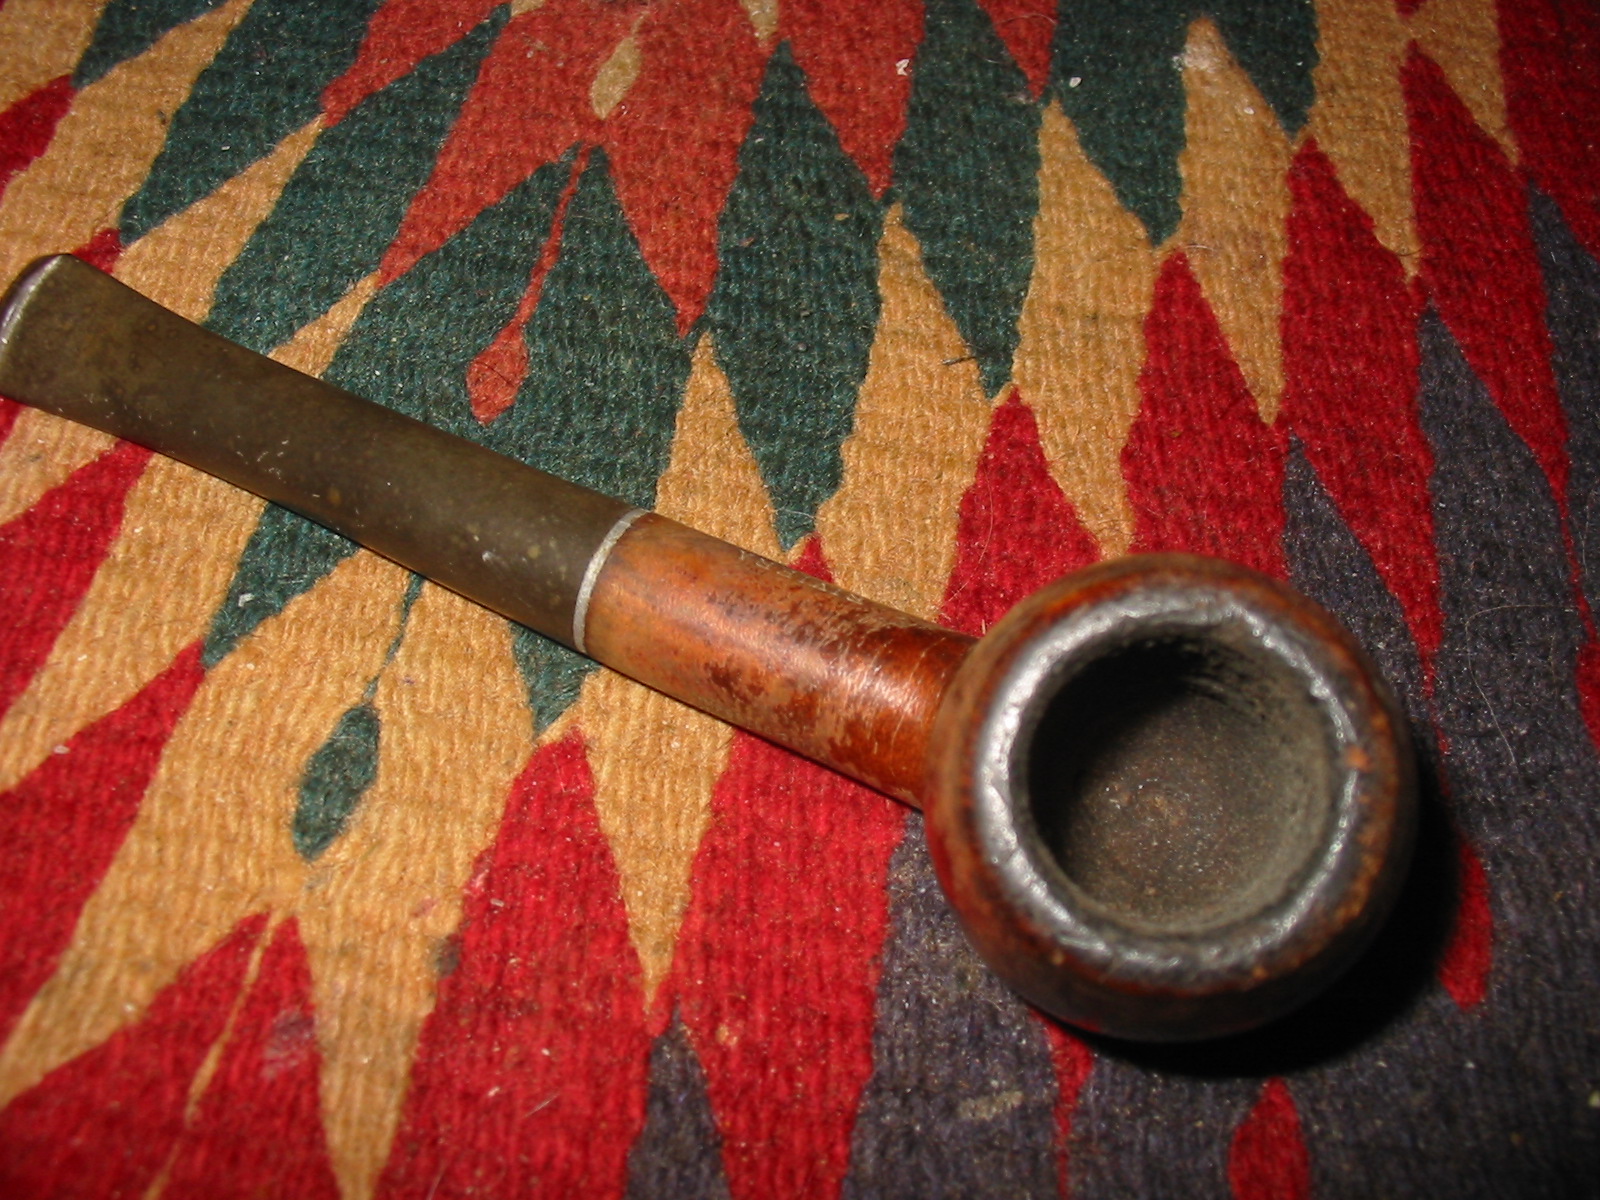
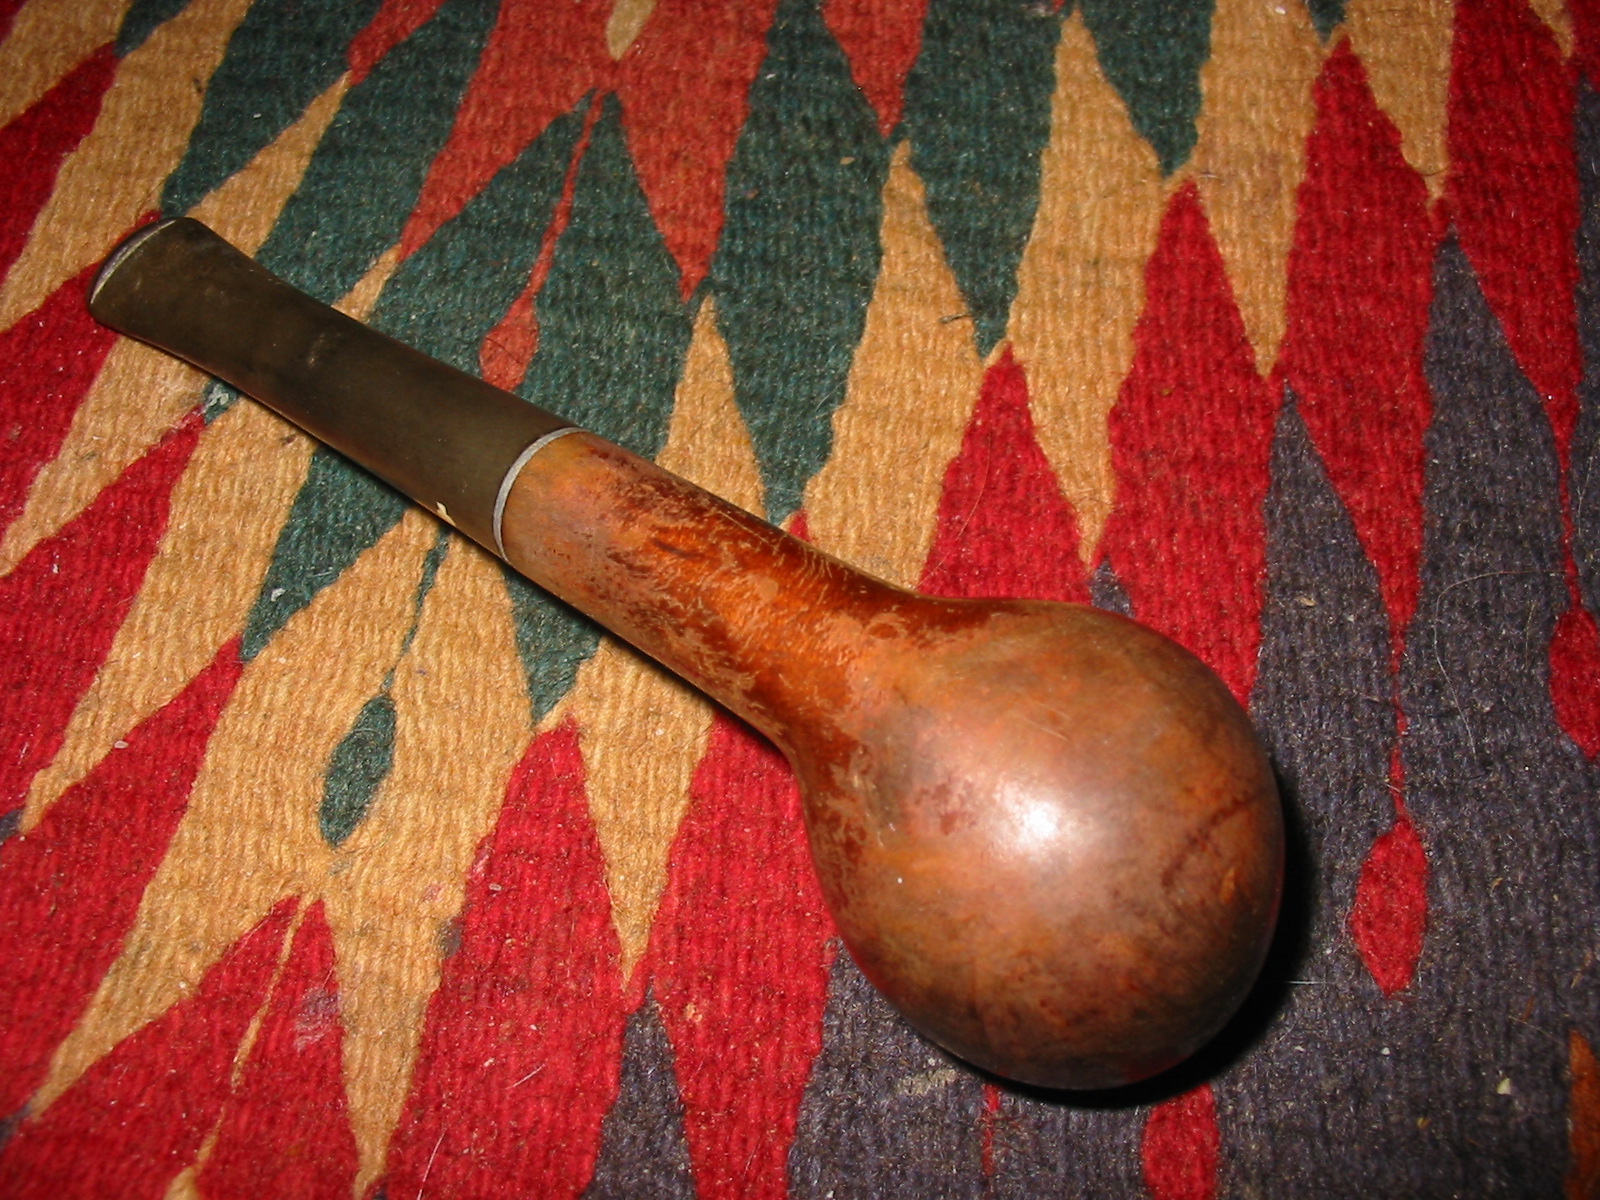
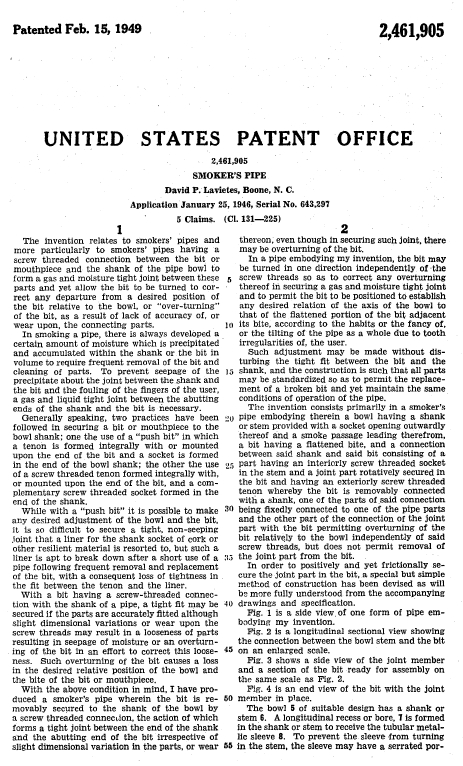
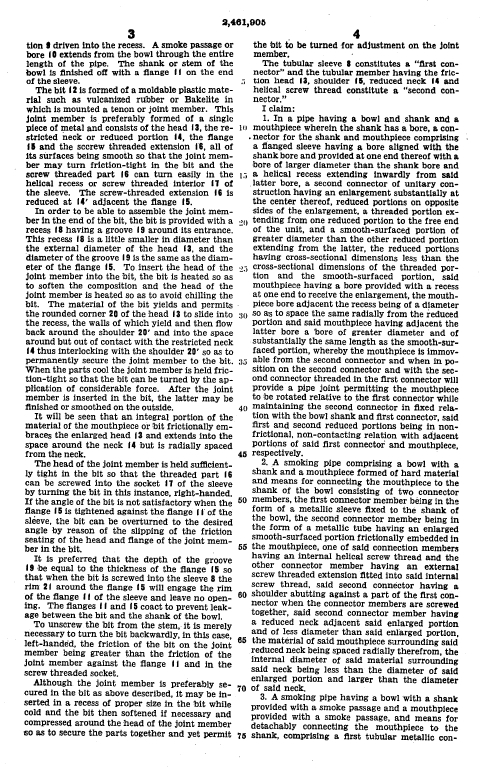
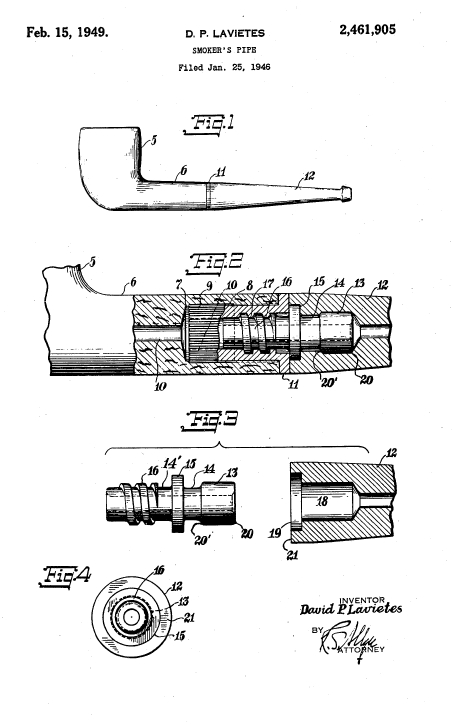
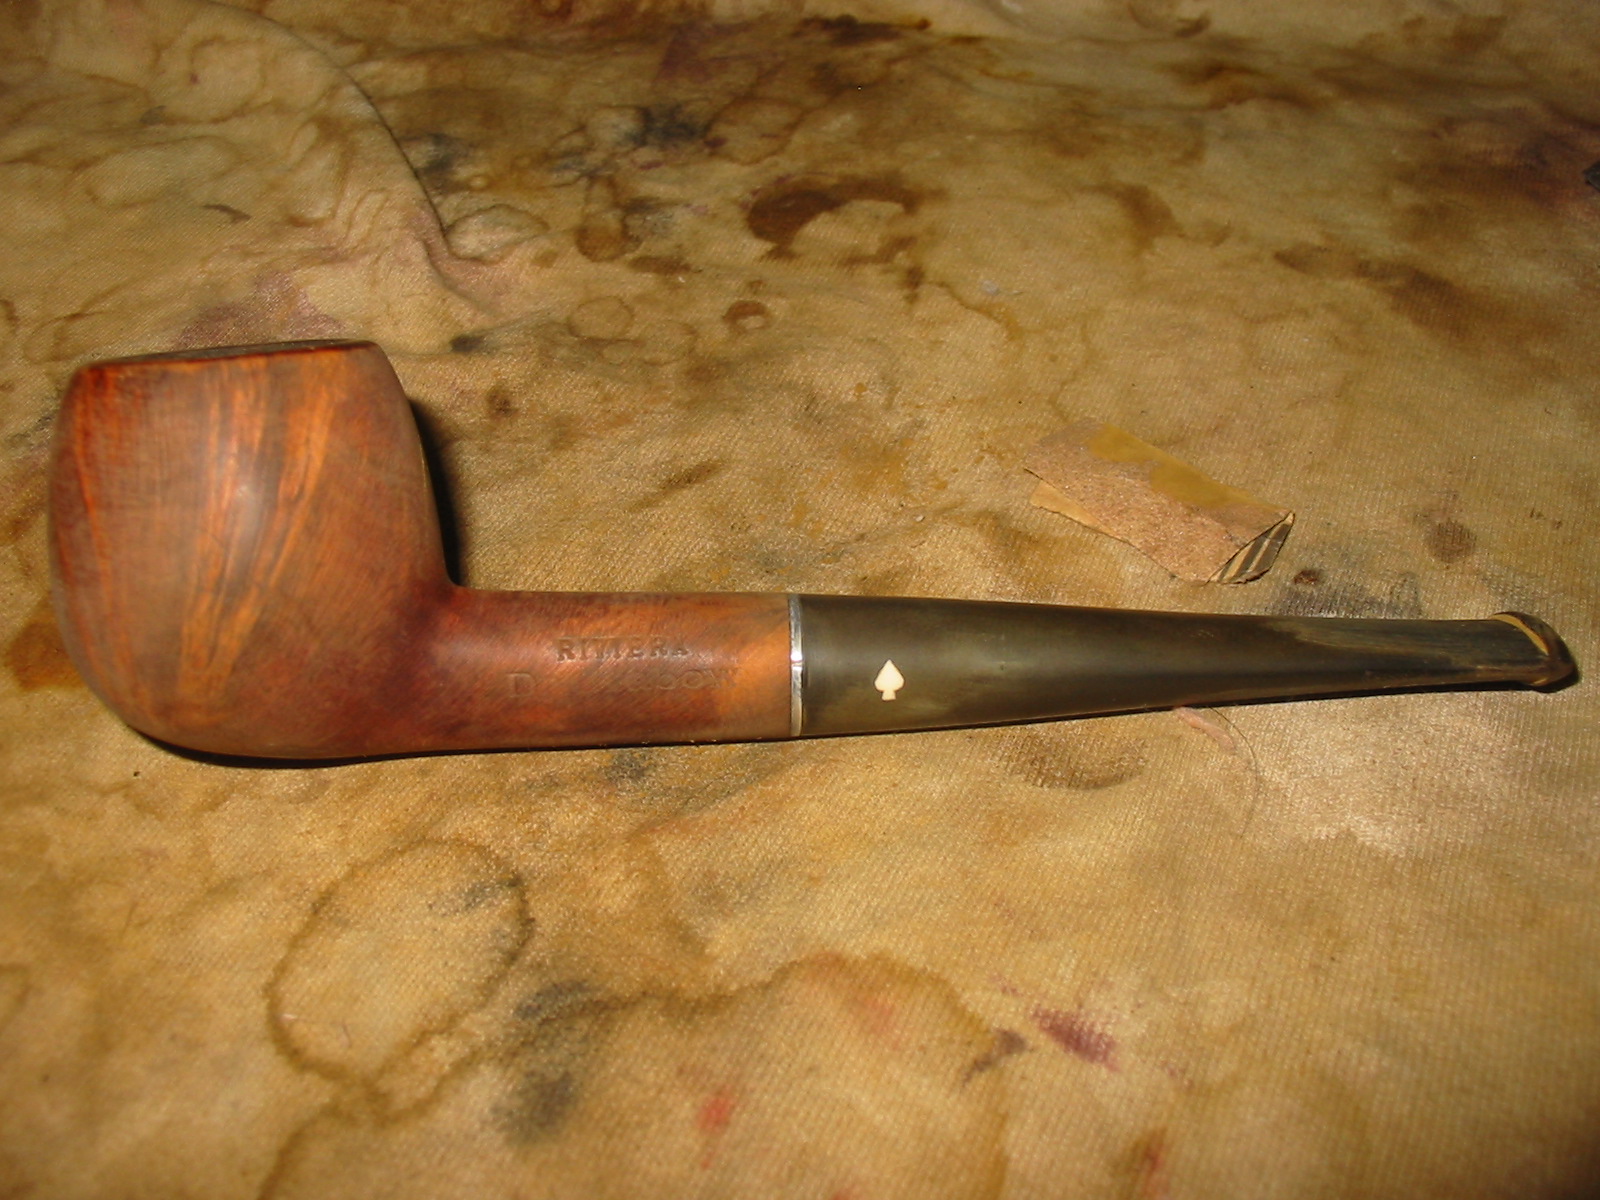
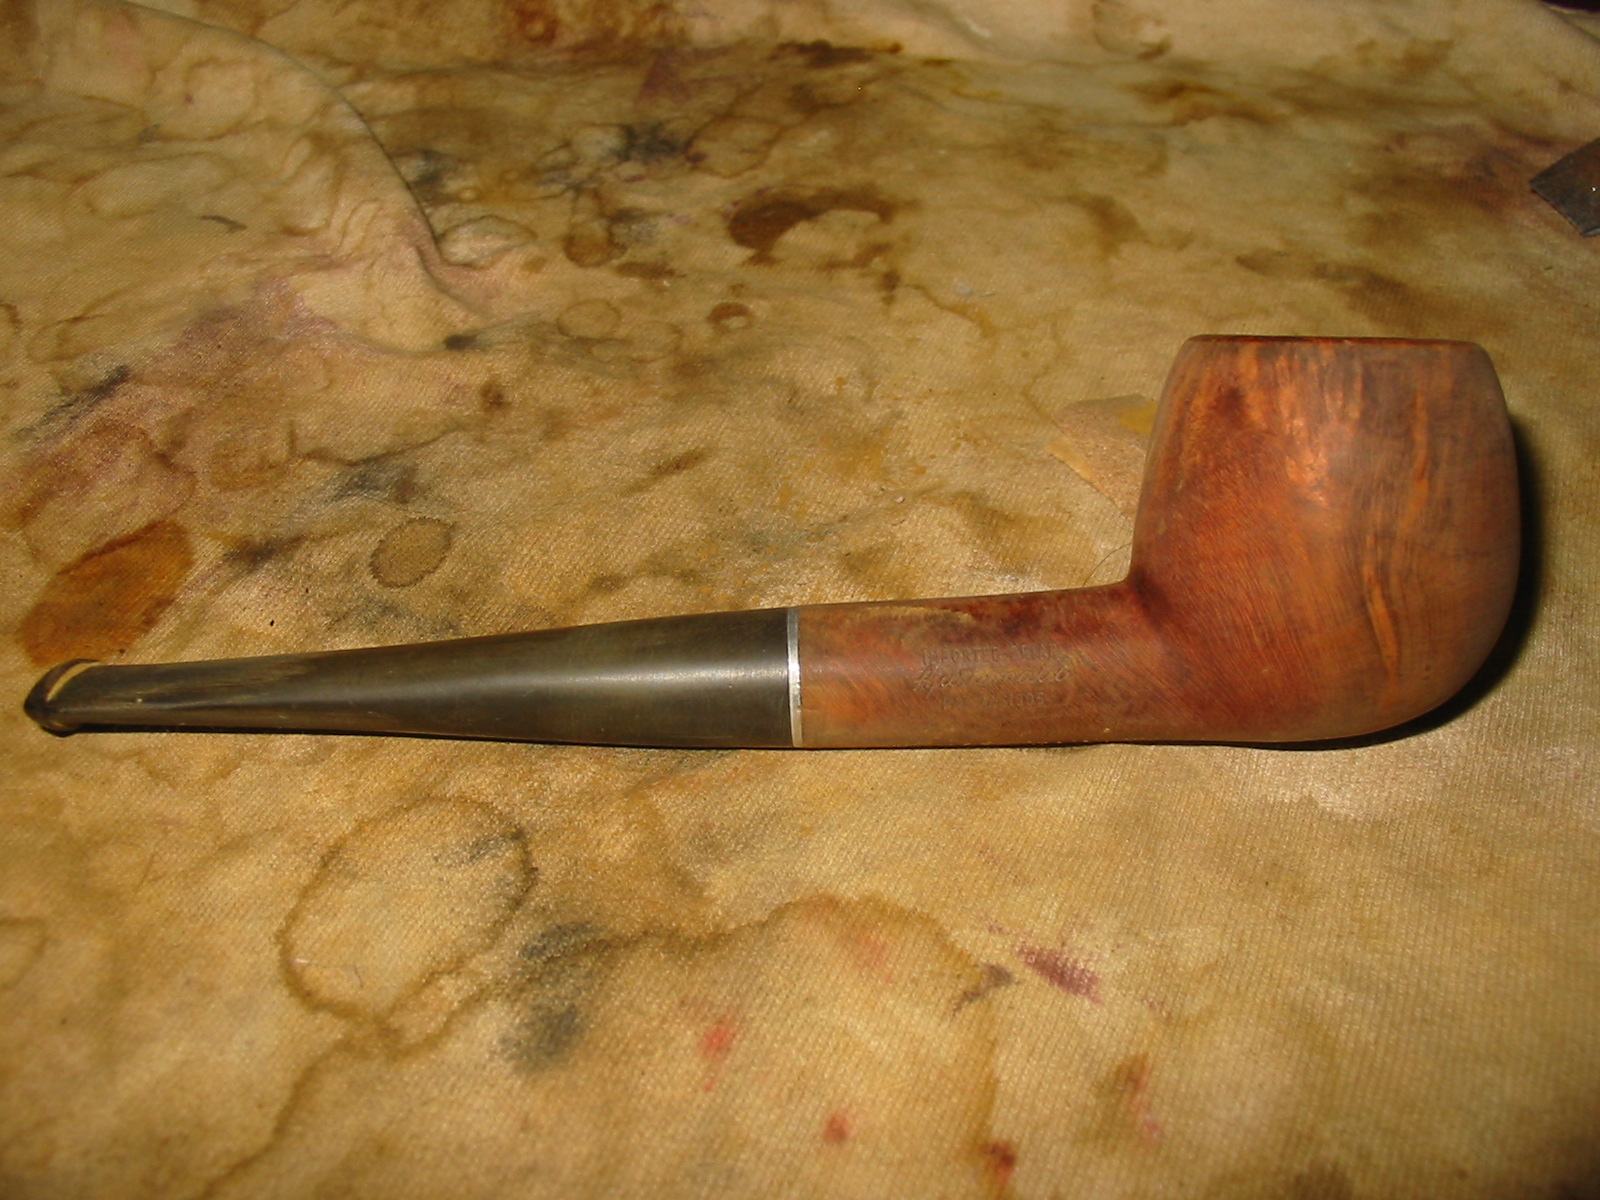
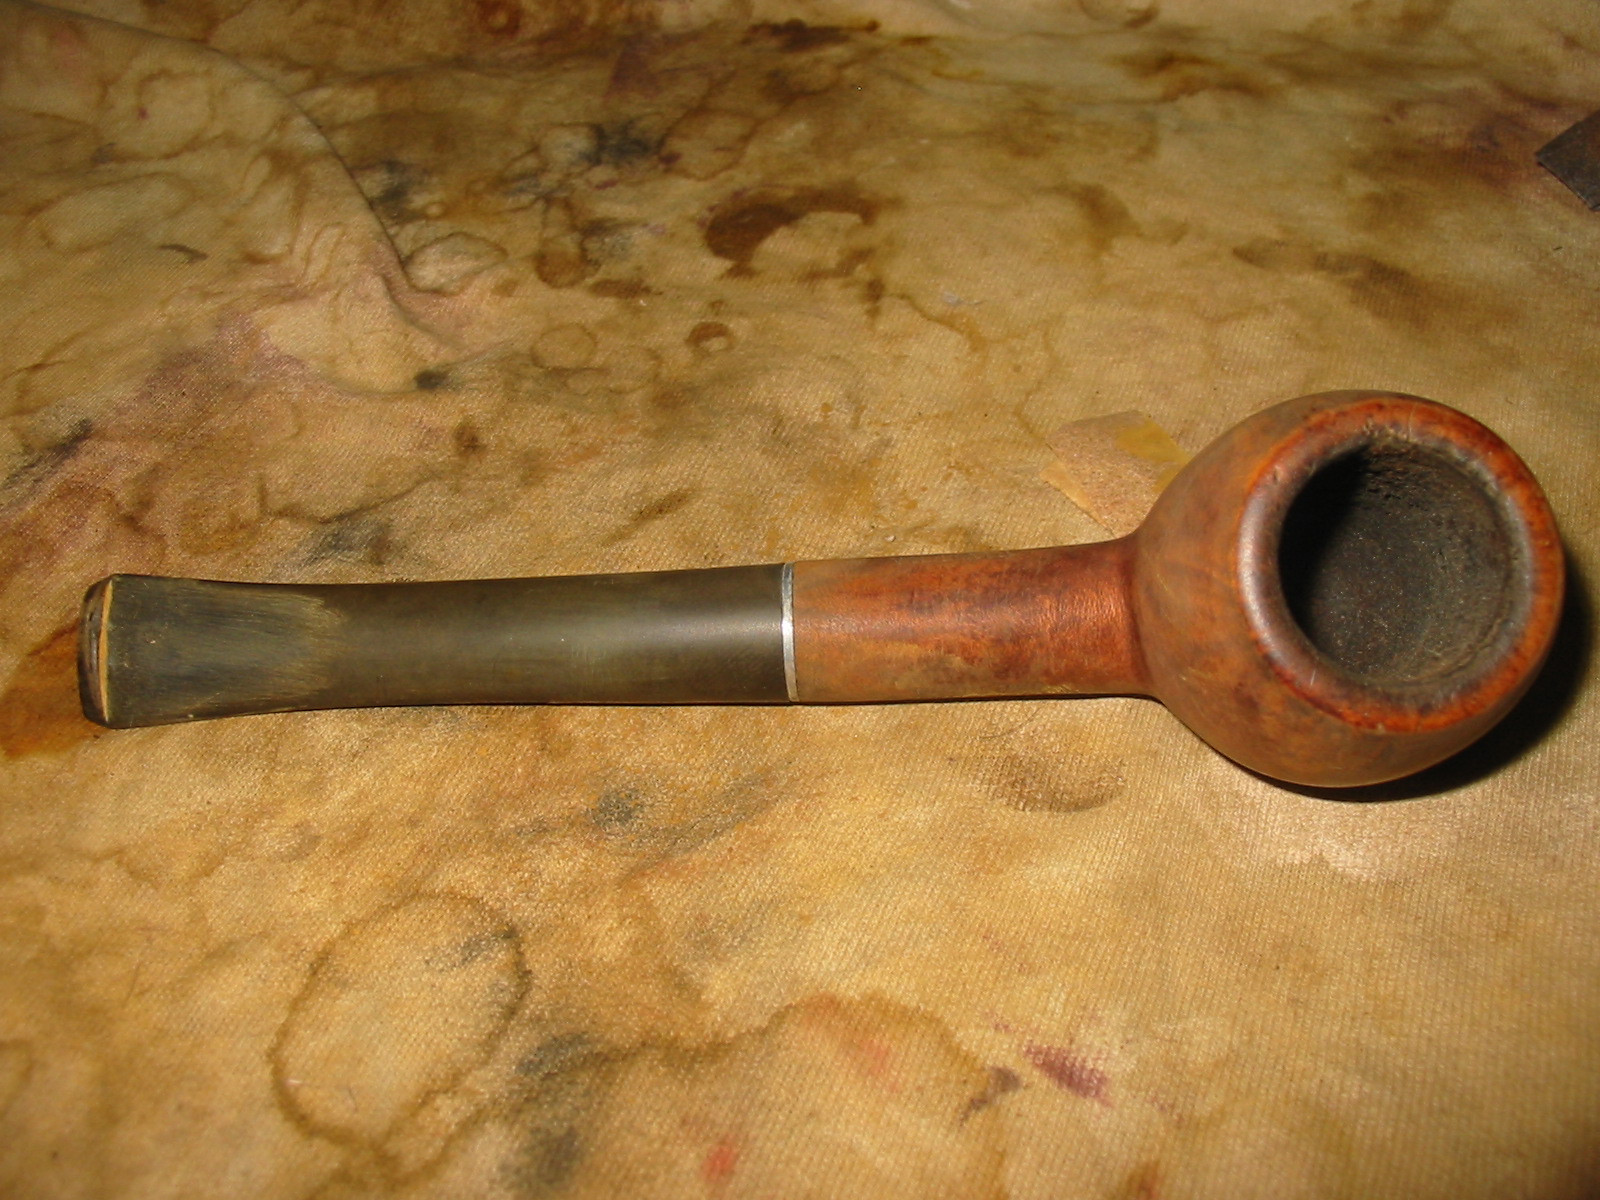
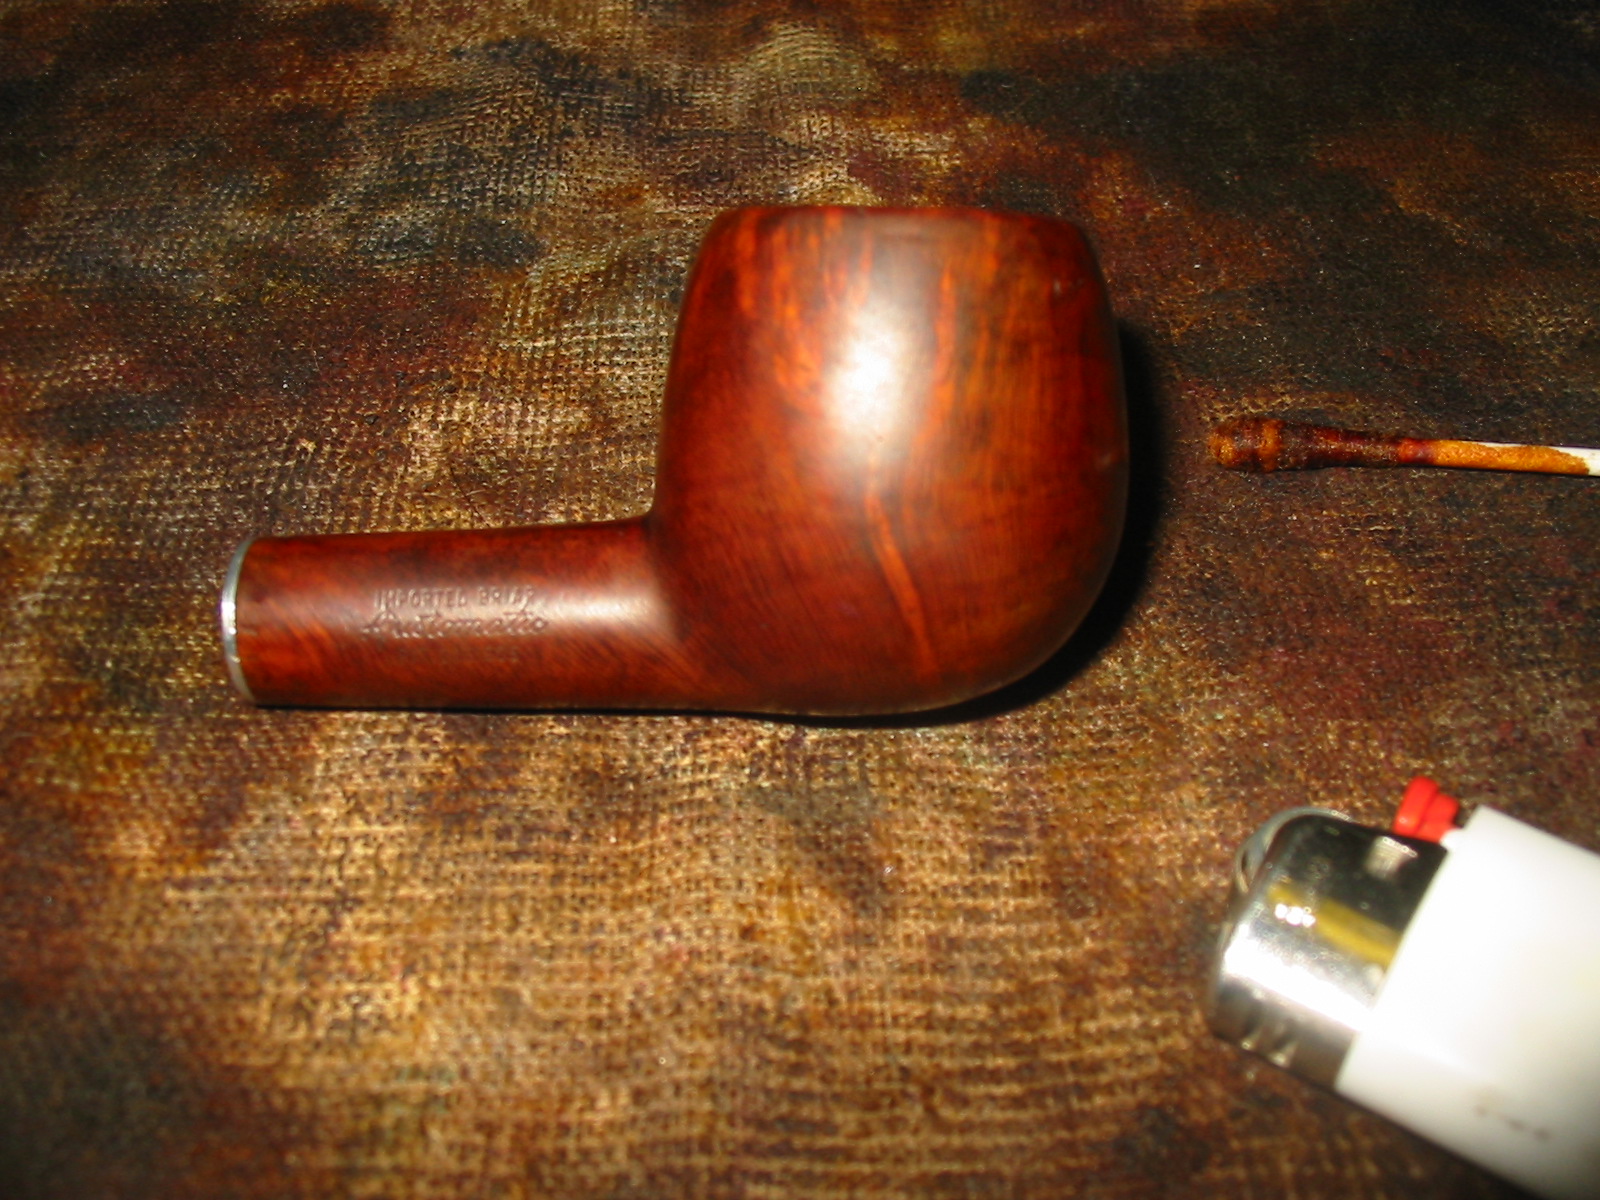
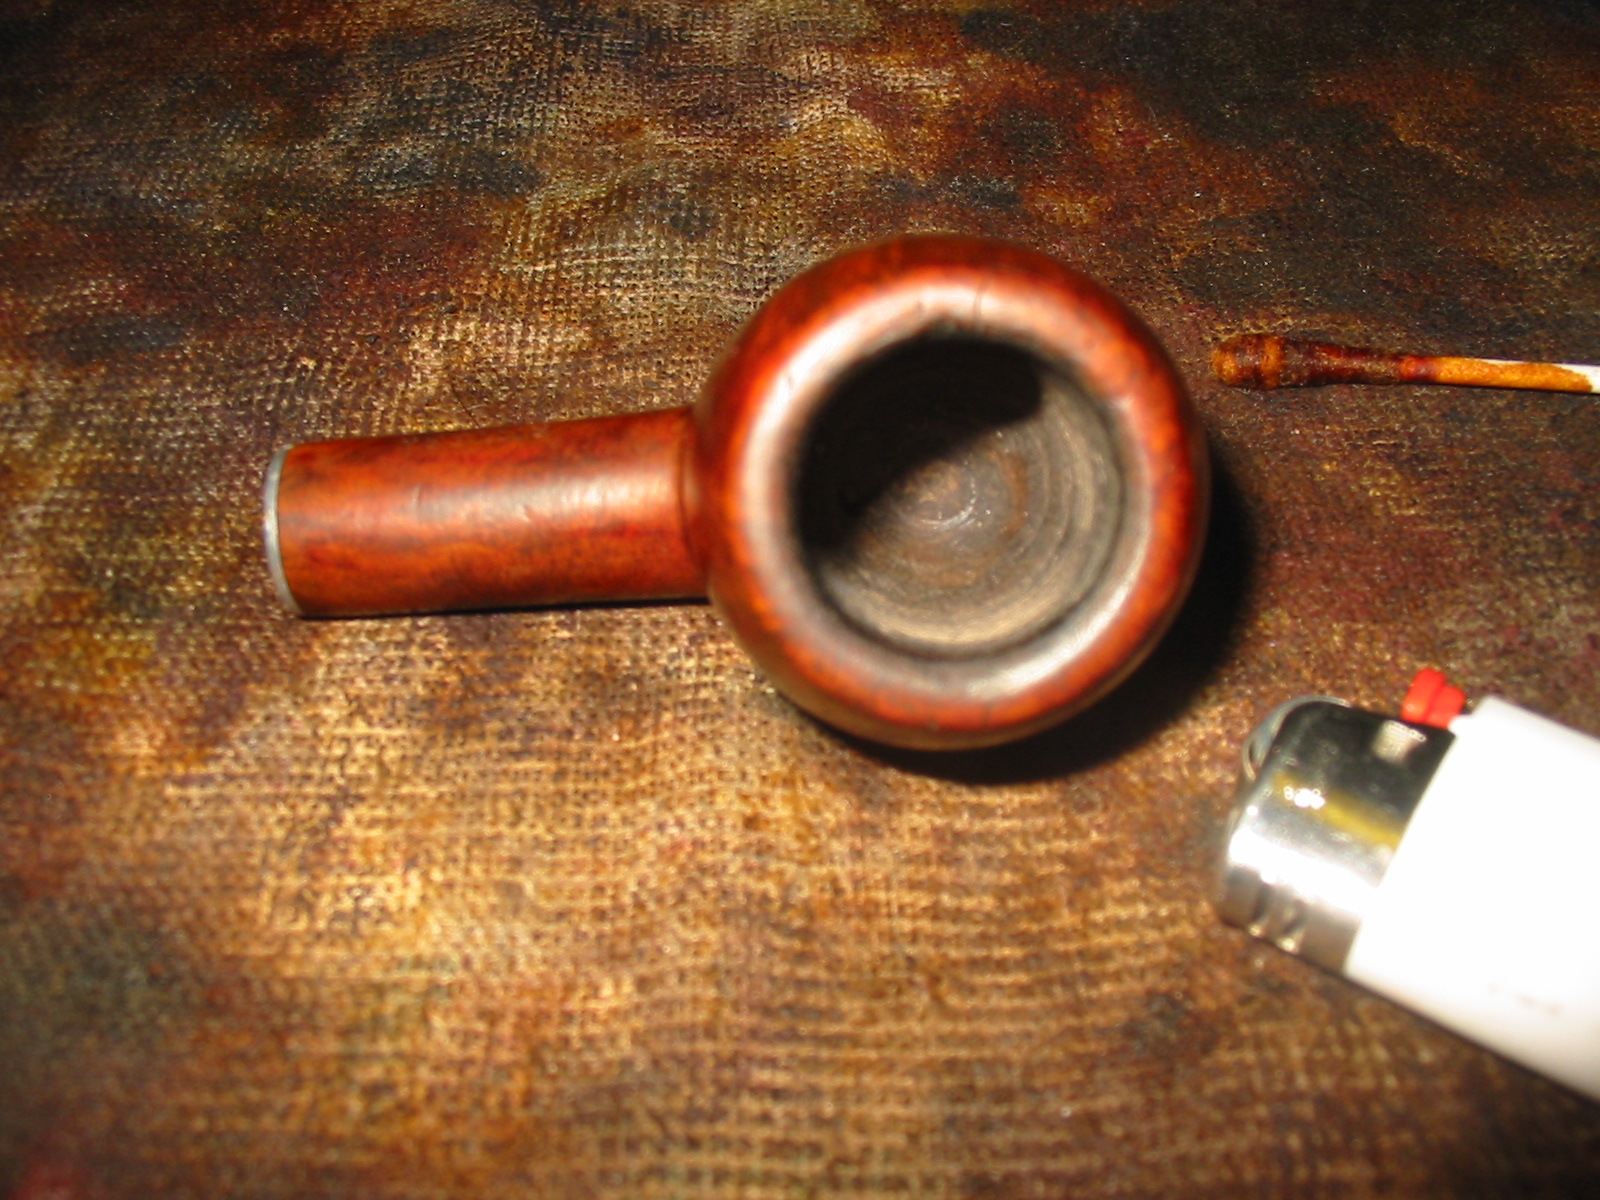
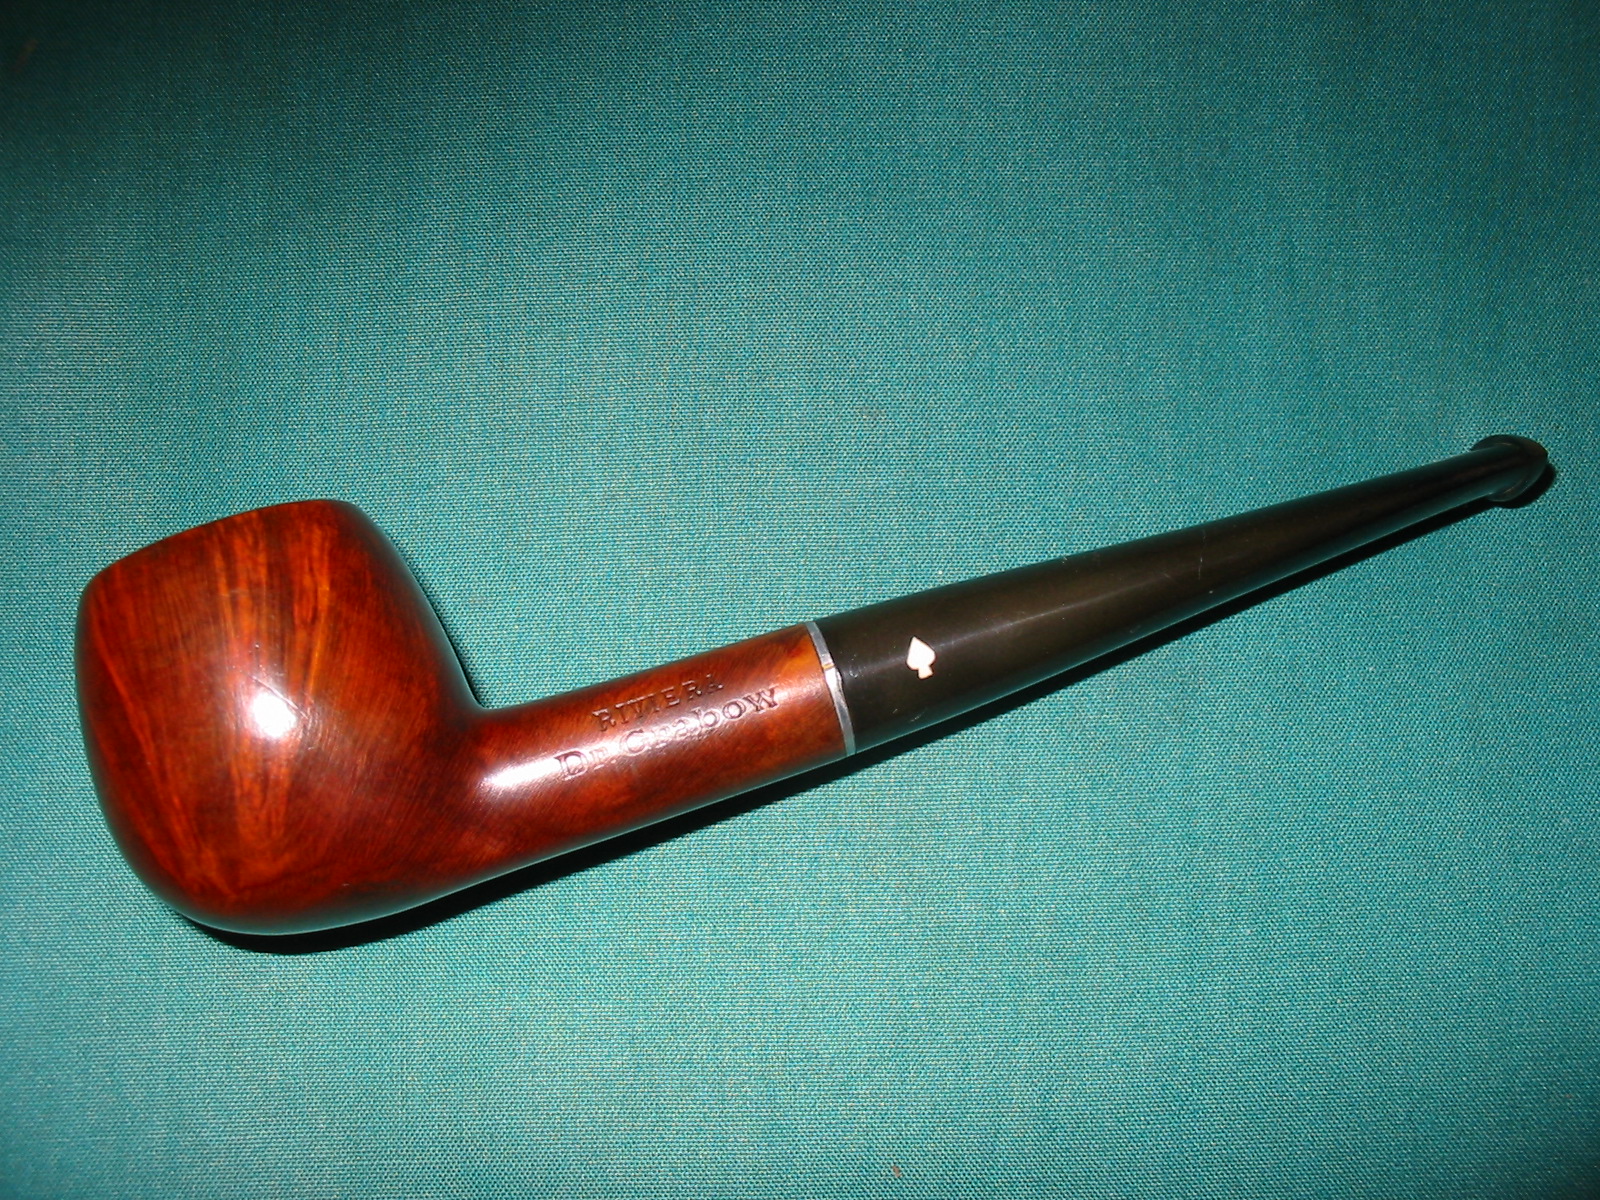
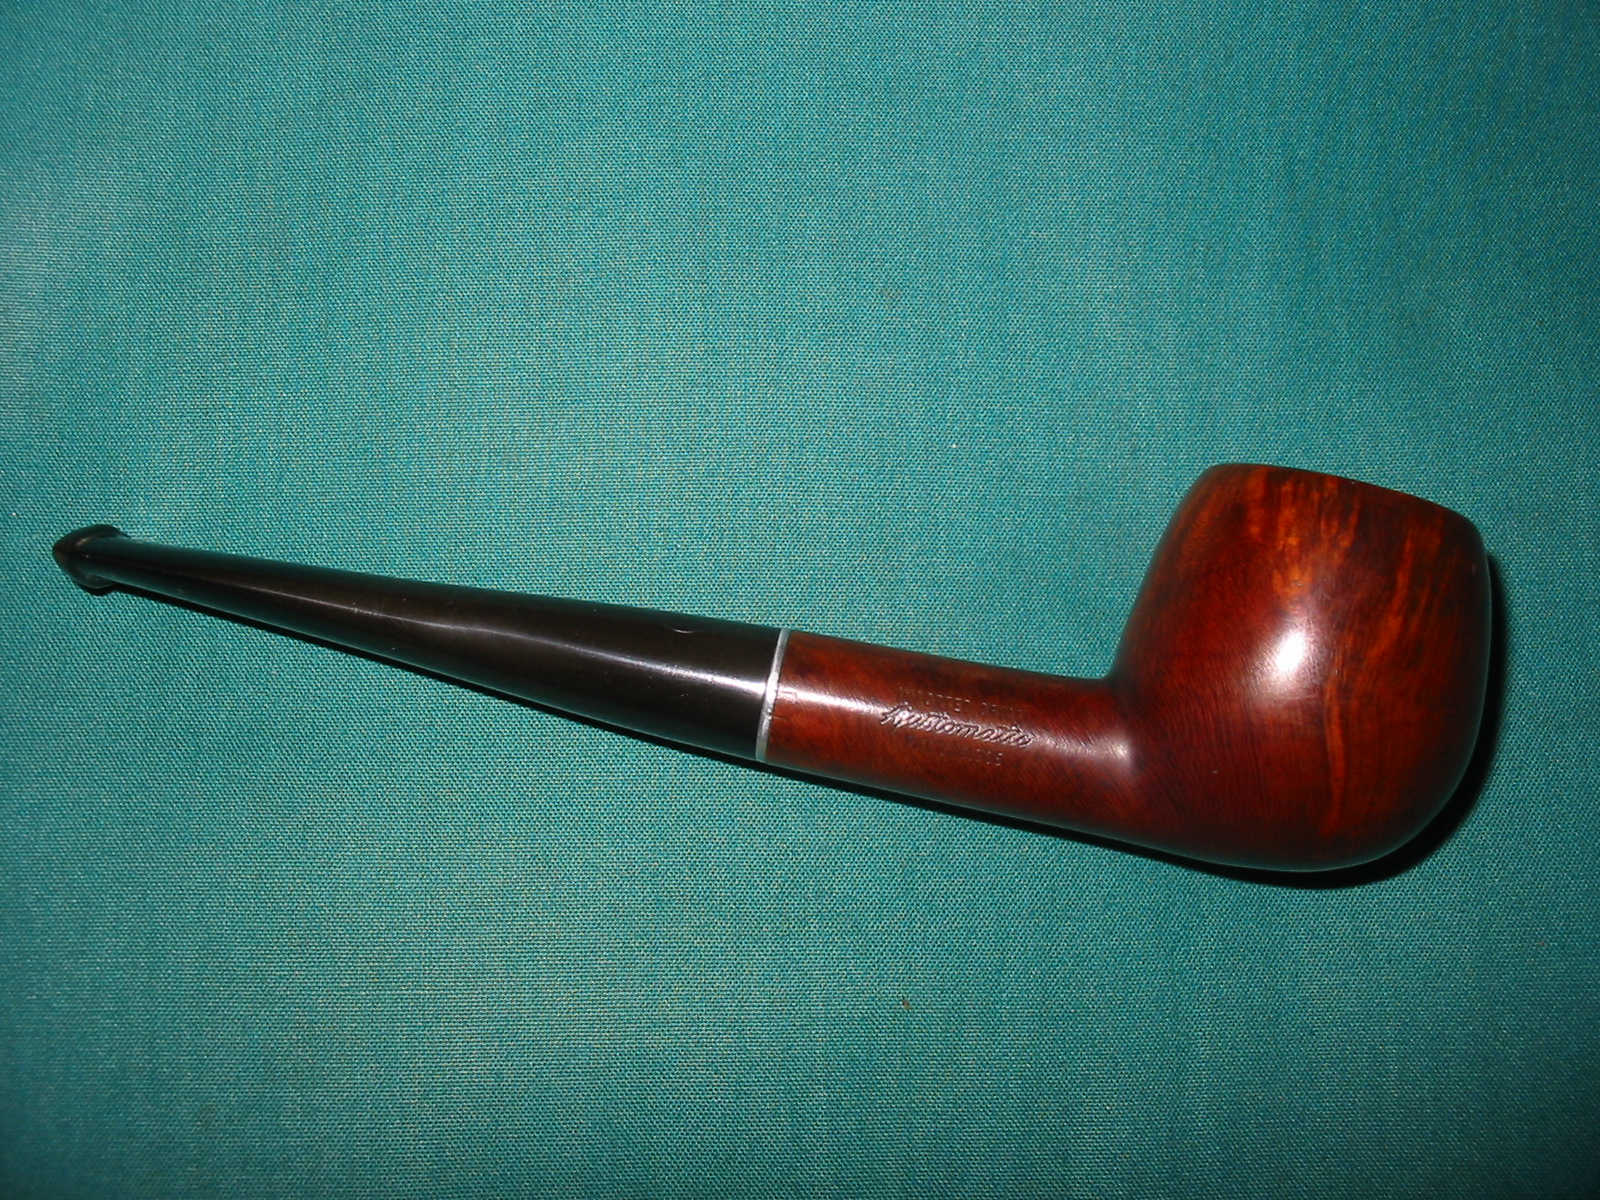
When I am refurbishing pipes I take the same care on older factory made pipes as I do on the more collectible ones. To me this is part of the stewardship of refurbishing. It does not matter what the original price of the pipe was – it is worth redeeming and bringing back to life. The refurbishing of the next pipe is one of those. It is an older Dr. Grabow Riviera. It was given to me by a good friend in Ponoka, Alberta. He gave it to me as a gift when I visited him recently. It is stamped Riviera over Dr. Grabow on the left side of the shank and Imported Briar over Adjustomatic over a patent number – PAT. 2461905 on the right side of the shank. The stinger apparatus in this one is an insert into the metal tenon. It is tube with a scooped portion on top that has a hole in the bottom of the scoop. The air/smoke circulates in the shank and is drawn into the stem by the smoker. The surface area of the apparatus acts as a condenser and filter. The beauty of this design is that it can be removed. The stem was badly oxidized and also had tooth dents on the top and bottom near the button. The finish was shot and the varnish was peeling from the bowl and shank. The rim was darkened and dirty and had a small crack on the top left side. The four photos below show the state of the pipe when I brought it home.

IMG_0846

IMG_0847

IMG_0848

IMG_0849

I love doing research on old patents and with US made pipes it is very simple. The following website is a simple way to find data and diagrams. http://patft.uspto.gov/netahtml/PTO/srchnum.htm In the search parameters you enter the patent number from the pipe and click on the search button. Generally, these older patents have been made into PDF files that can be downloaded. Here is a copy of the information I found there. It is a patent for the Adjustomatic connector. I always find reading through these patent application documents gives me a feel for why the designer came up with invention. This proved true of this application as well.

Grabow Patent1

Grabow Patent2

Grabow Patent3

Grabow Patent4

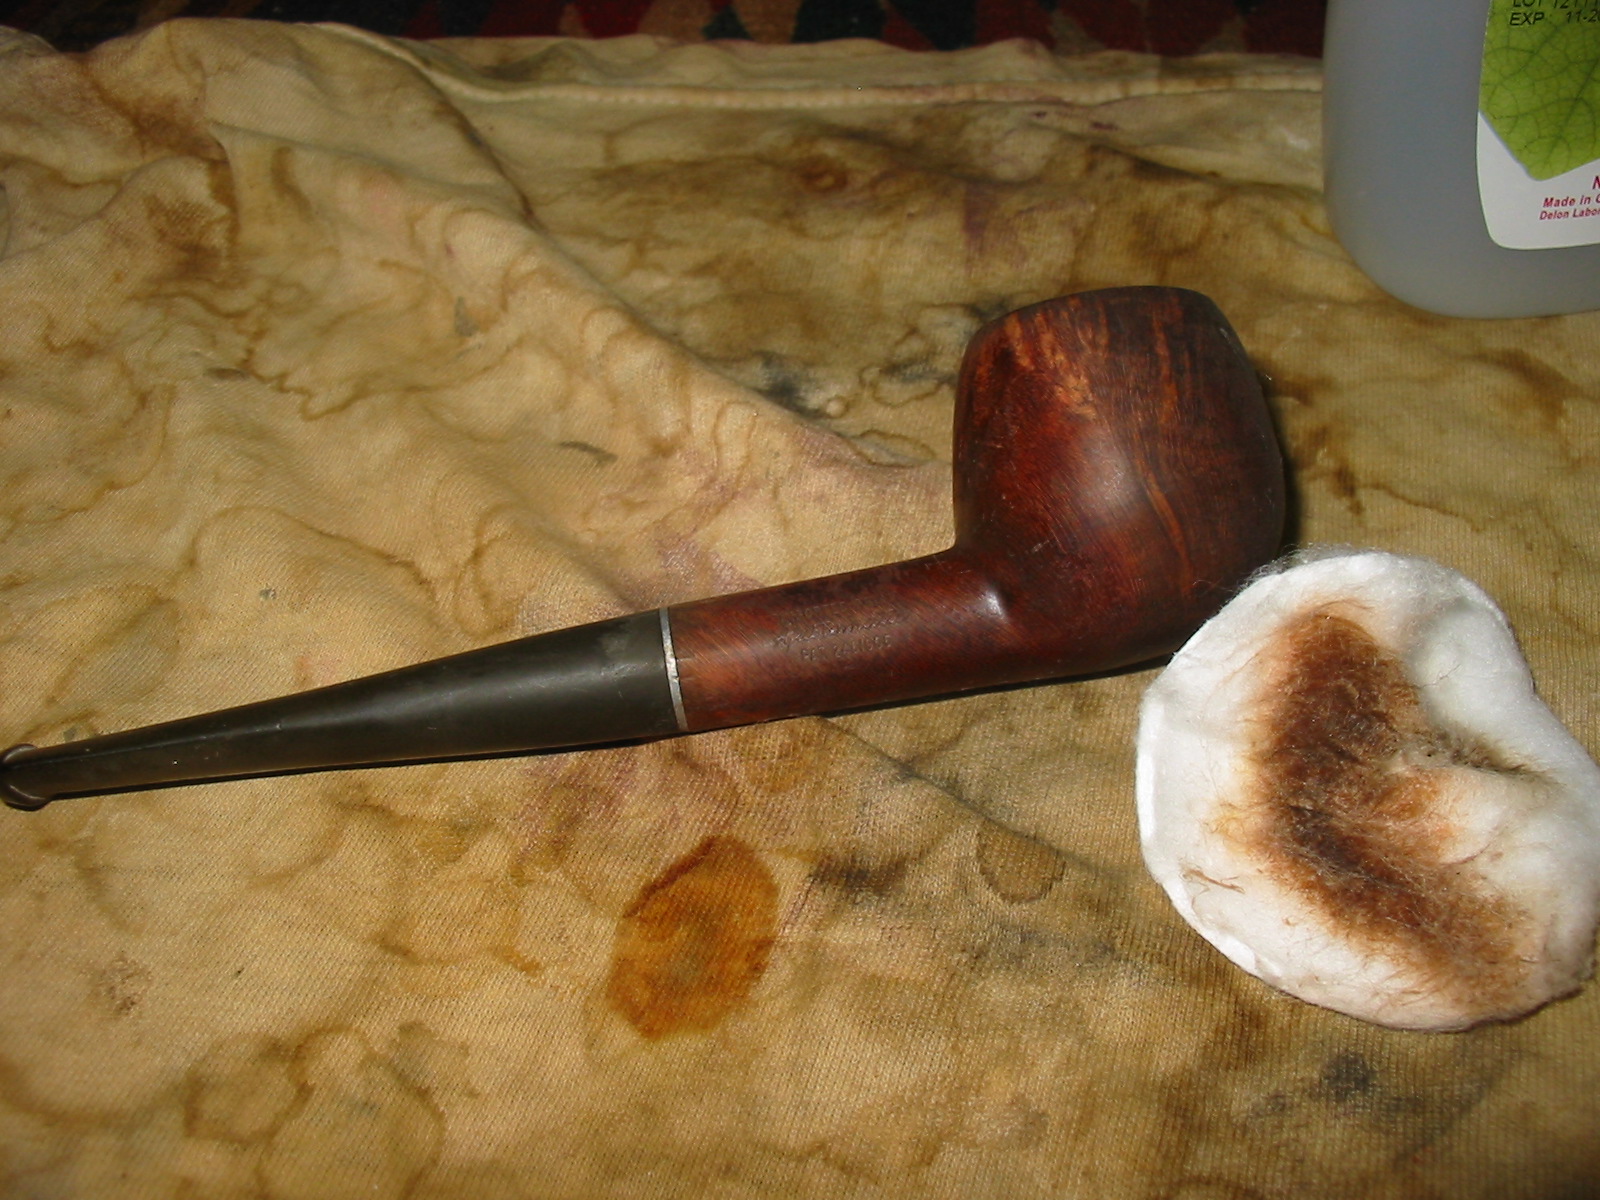
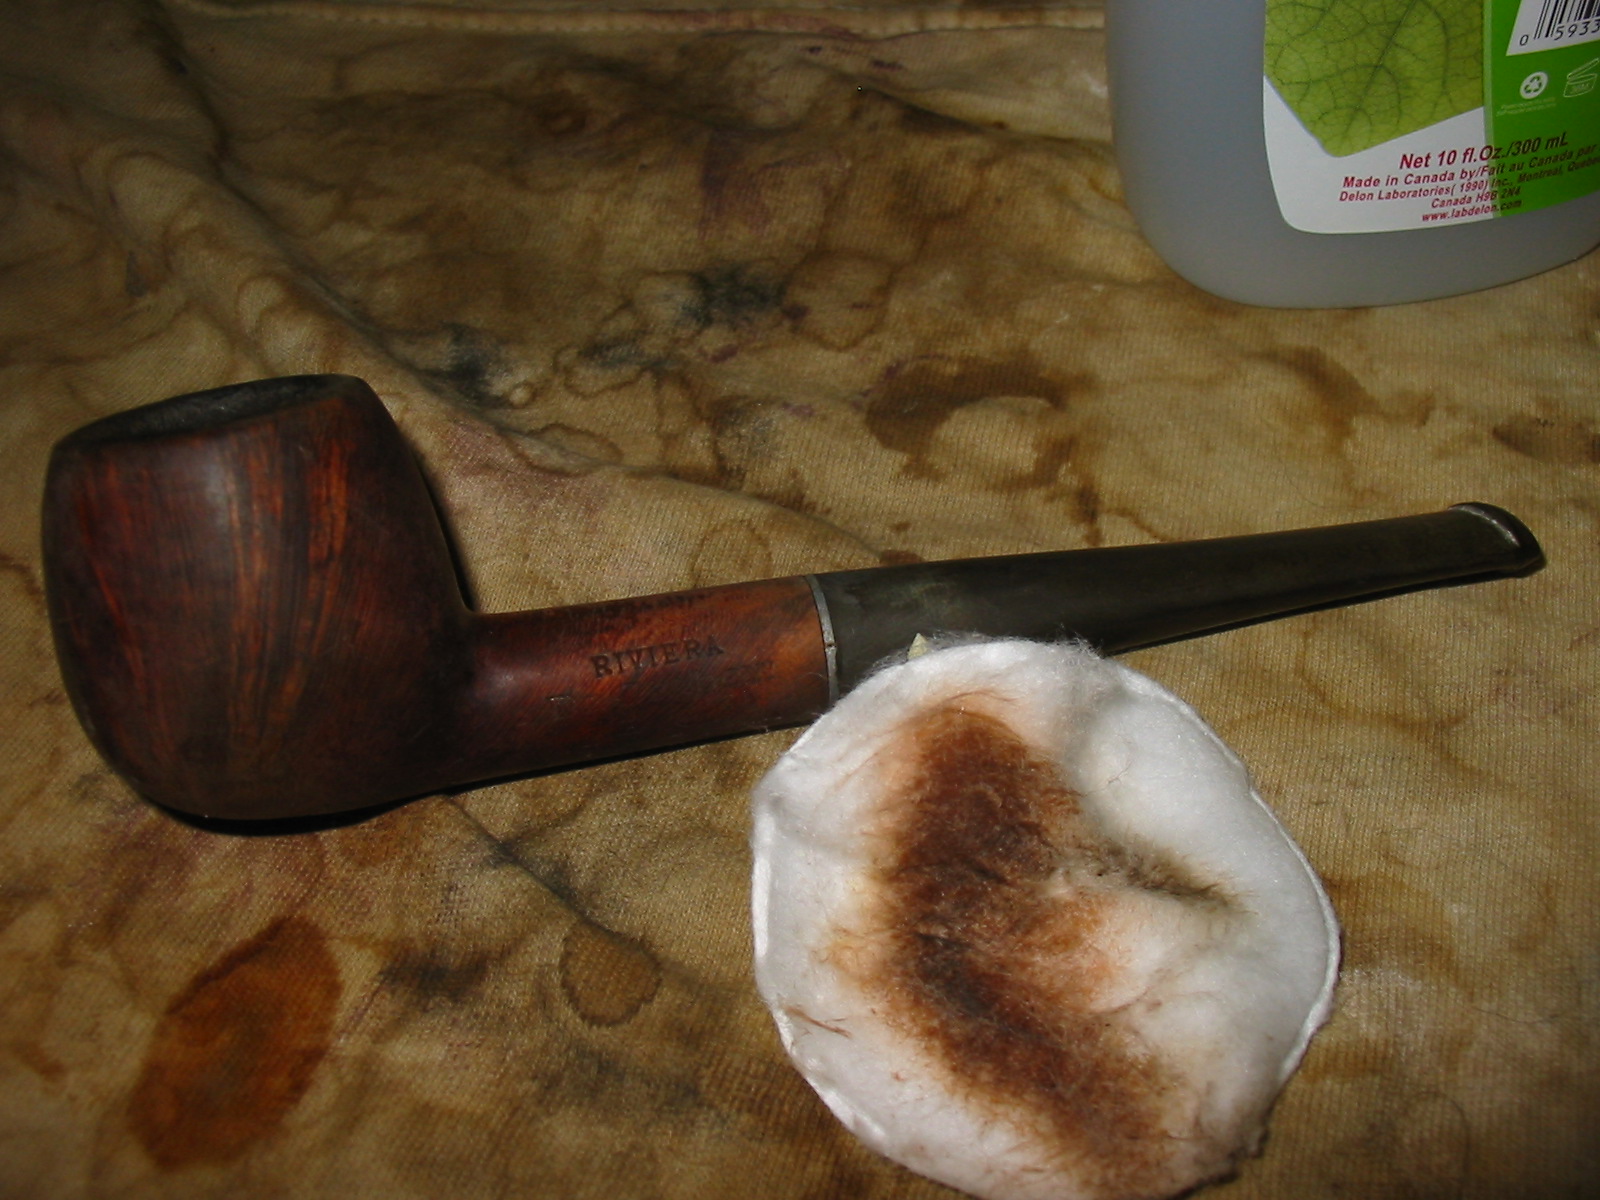
After reading through the patent information I was ready to restore this old pipe. It appeared to be made somewhere around the time of the Patent as it had the patent number stamped on it. That dated it somewhere around 1949 after the patent was given. I began by reaming the bowl with the PipNet reaming set to clear up the uneven and broken cake. I decided to work on the externals first. I wiped down the bowl and shank with acetone on a cotton makeup pad to remove the finish. There was some very nice grain poking through the mottled finish and very few tiny fills that made it even more attractive to me. The acetone removed the varnish very well and also took away the dirt and filth on the exterior. The first two photos below show the process of wiping down the bowl. The old finish is visible on the cotton pad.

IMG_0850

IMG_0851

Once the finish was removed from the bowl as much as possible with the acetone, I sanded it down with 340 grit sandpaper and a fine grit sanding sponge to further remove the finish. The next series of four photos show the bowl after the acetone wash and the sanding. The grain on this one is very nice. The inner rim would need to have some attention to smooth out the rough edges and the darkening.

IMG_0852

IMG_0853

IMG_0854

IMG_0855

I sanded the metal shank band as it had some deep scratches and gouges in it. I could not remove the damage but I minimized its look. I worked on the tooth marks in the topside and the underside of the stem surface. I heated the stem with a Bic lighter – passing the flame over the tooth marks to lift them to the surface. I then sanded the stem with 220 grit sandpaper to remove the remaining marks that were present (Photos 1 – 4 below). I followed that by sanding with a fine grit sanding sponge to remove the scratches left behind by the 220 grit sandpaper (Photos 5 – 6 below).

IMG_0856

IMG_0857

IMG_0859

IMG_0860

IMG_0861

IMG_0862

I sanded the entire stem with the sanding sponge to remove the oxidation from the vulcanite. I took the pipe apart and cleaned the stinger apparatus with a cotton swab and alcohol. The next two photos show that design of the stinger. It is a two part piece and the extended tube can be removed from the screw in metal tenon. I cleaned the inside of the stem and also the inside of the stinger to remove the buildup of tars and oils inside.

IMG_0863

IMG_0864

I sanded the bowl with 1500 – 12,000 grit micromesh sanding pads, being careful around the stamping on the shank. Once the scratches were removed and the bowl was smooth I restained it with a dark brown aniline stain thinned 2:1 with isopropyl alcohol. Doing this makes the stain less opaque and also several shades lighter. I wanted to highlight the grain not hide it so this was the perfect mix to do that. I applied the stain with a cotton swab, flamed it with a lighter to set the stain and then repeated the process a second time. The next three photos show that process. You will note that I also cleaned up the inner edge of the rim with the sanding process noted above. Most of the roughness is removed. A small crack remains on the top of the left side of the bowl rim.

IMG_0948

IMG_0949

IMG_0950

I set the bowl aside and worked on finishing the stem. I sanded it with 1500 – 12,000 grit micromesh sanding pads until it was smooth and finished. I rubbed down the stem with Obsidian Oil to protect and remove the oxidation. I reattached it to the bowl and buffed the stem and bowl with White Diamond on the buffer. I gave the entirety several coats of carnauba wax to bring out the shine and protect it. The final four photos show the finished pipe – cleaned, restored and ready to smoke. The photos show tinges of brown/oxidation still remaining in the stem under the flash of the camera. To deal with that I polished the stem some more and gave it another coat of Obsidian Oil and let it soak in. Upon finishing I buffed it again with carnauba.

IMG_0951

IMG_0952

IMG_0953

IMG_0954

Repairing and Repositioning a Sterling Silver Band on a Peterson Deluxe


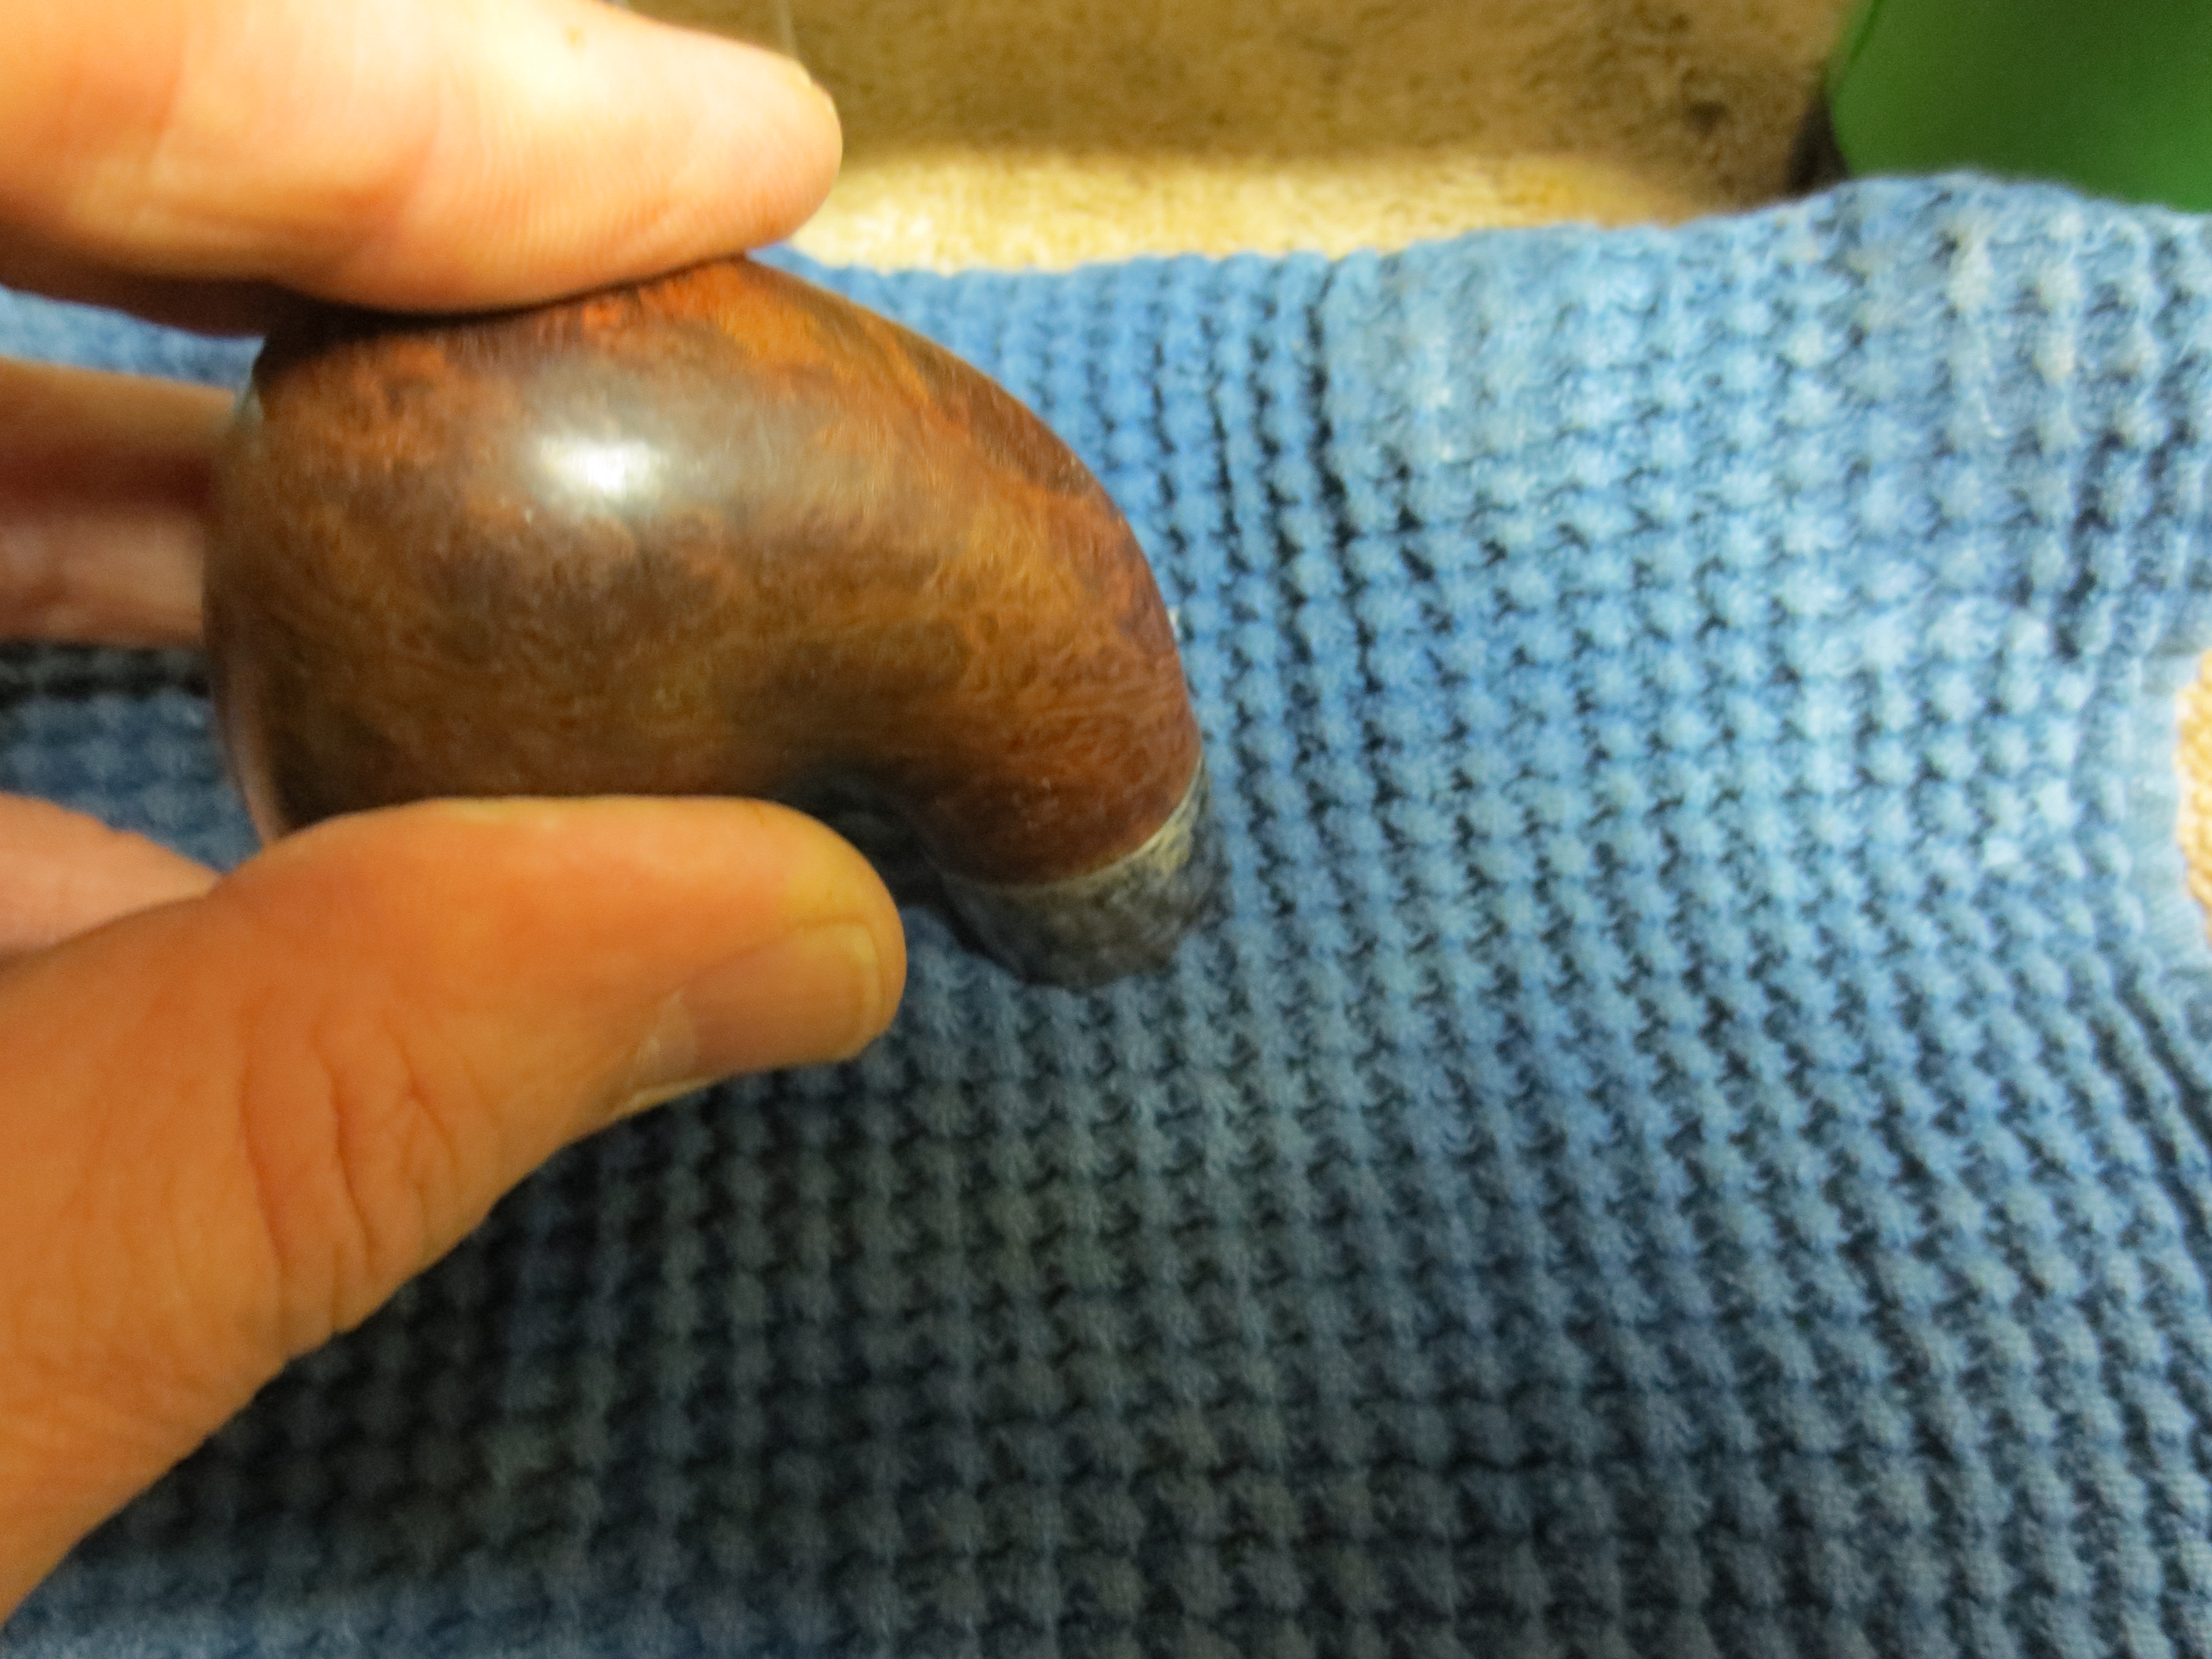
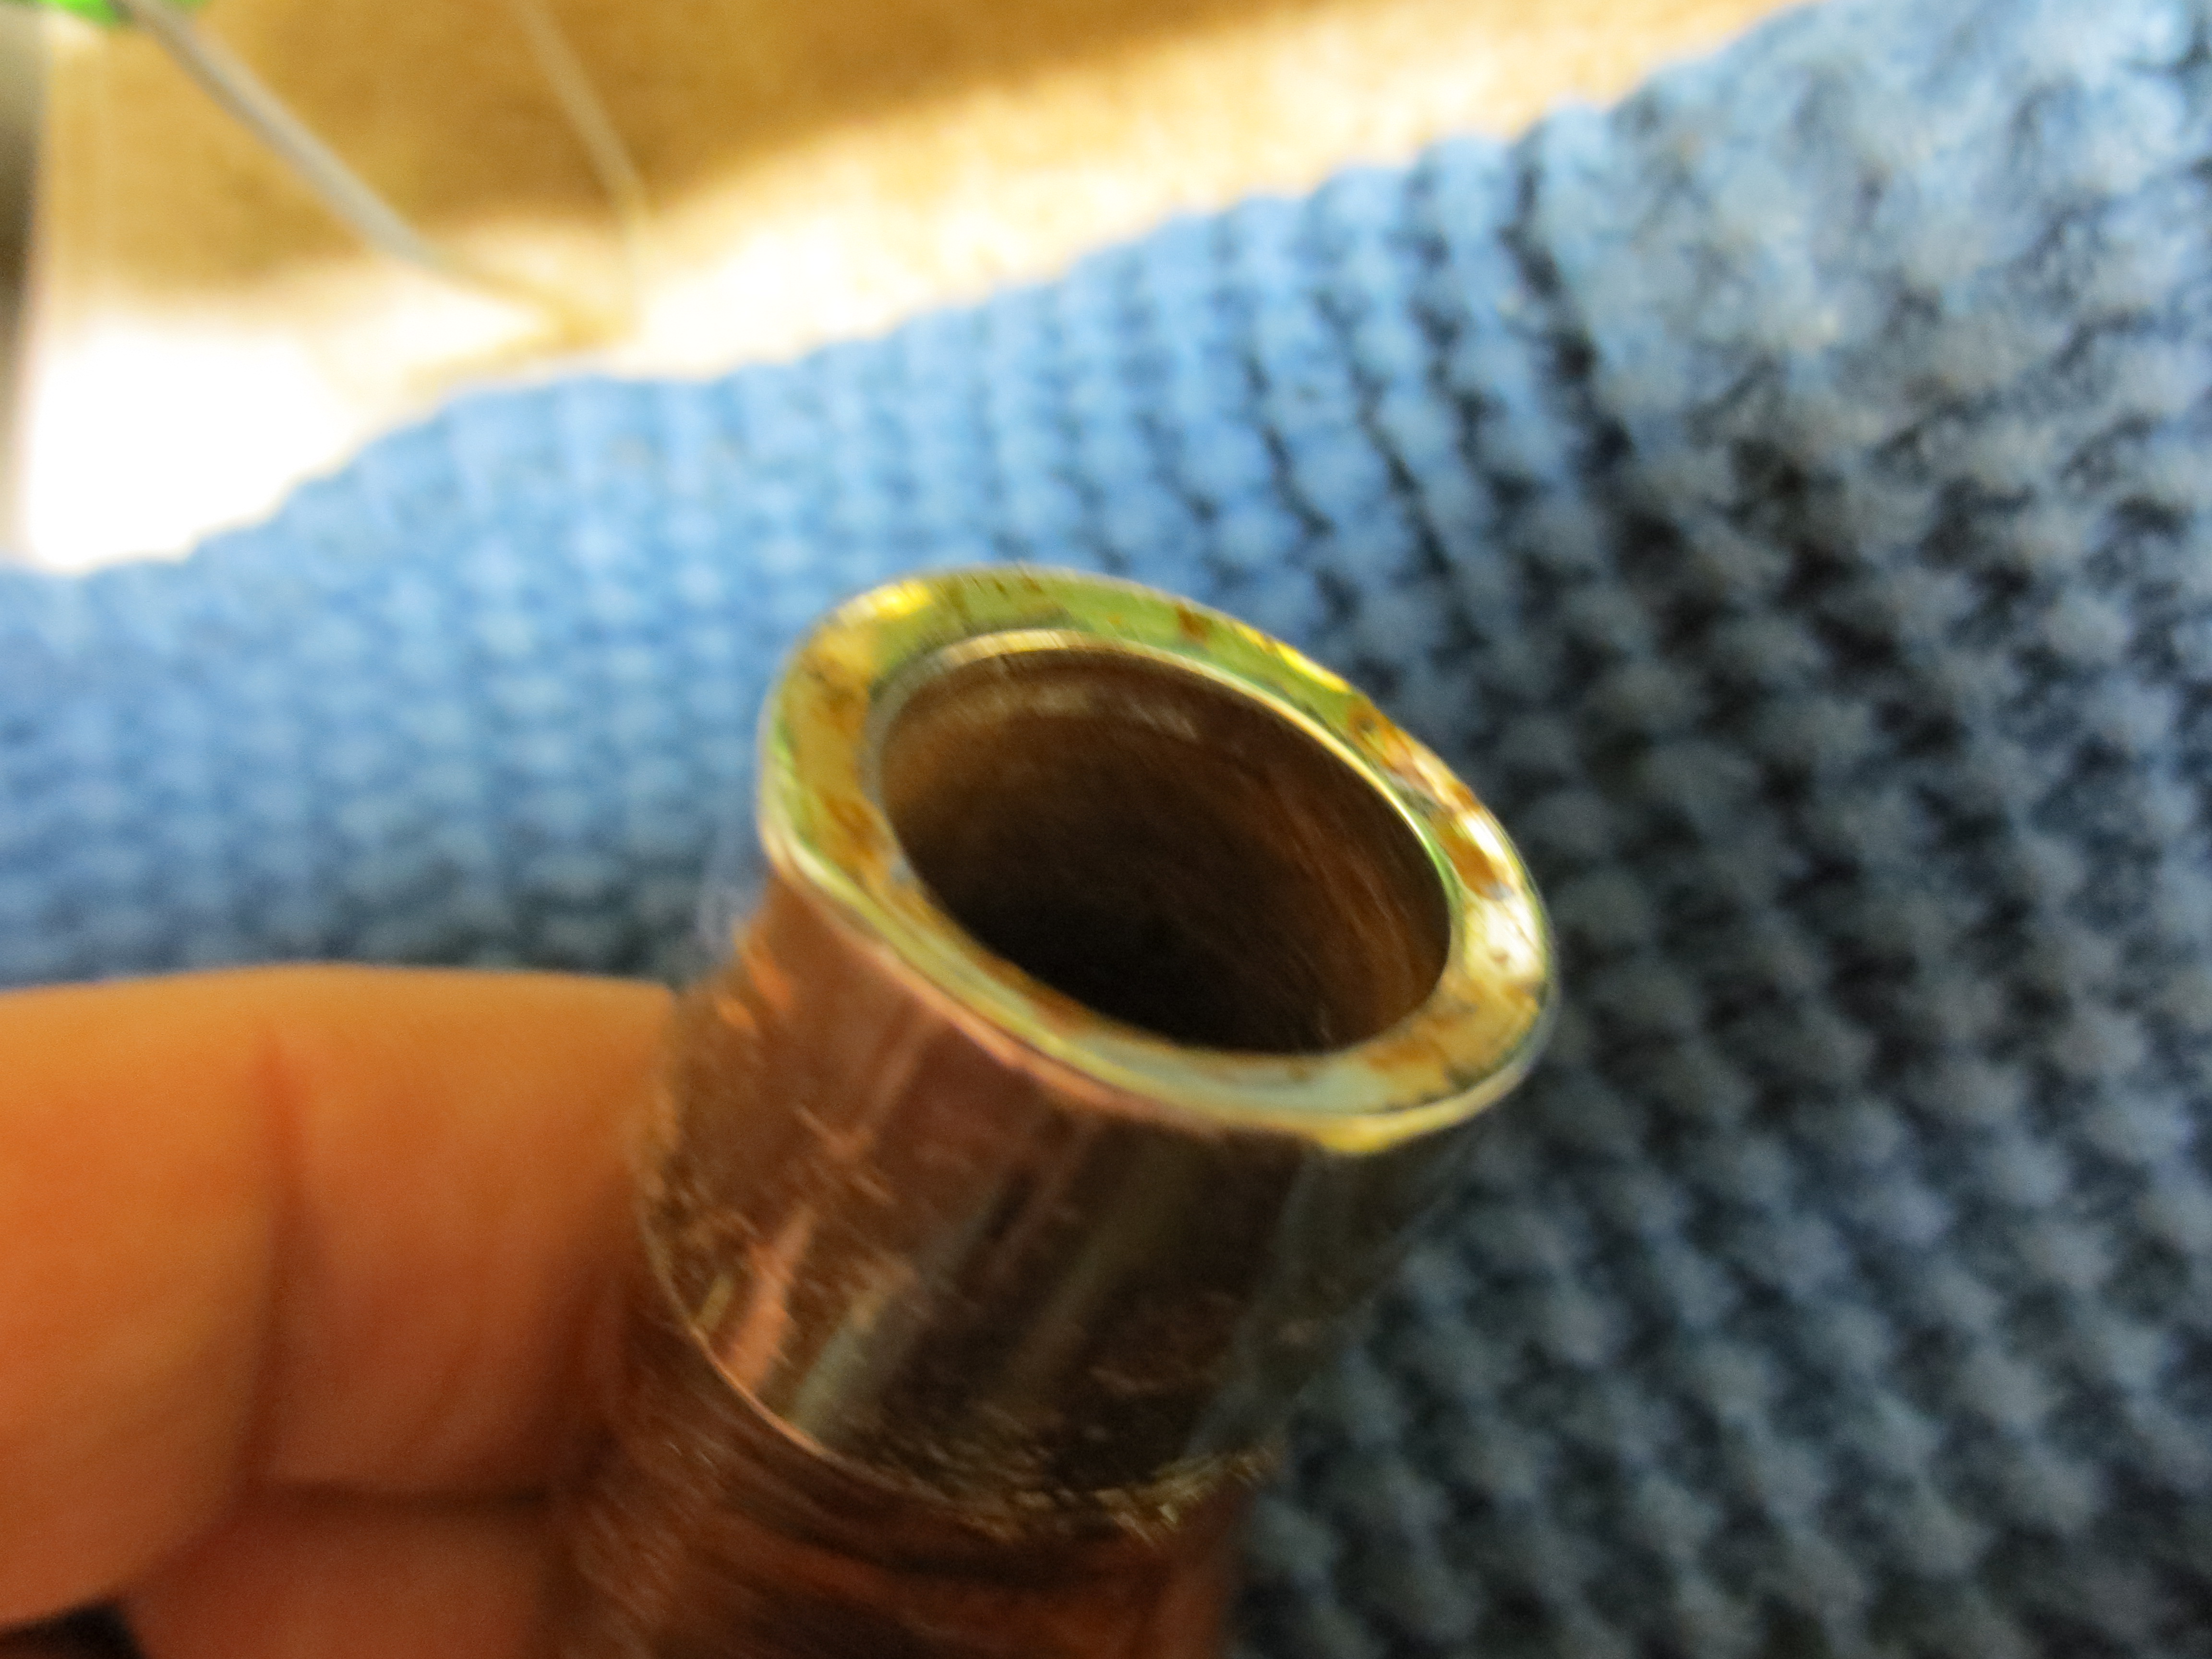
I received this older Peterson Deluxe 11S to refurbish for a project that I am involved in and in the process of going over the pipe noting the things that needed to be repaired. I got to the shank end and noted the 1/8 inch gap between the chamfered edge of the band and the end of the shank (Photo 1). From the marks on the shank it was obvious that the band had been removed and glued with the gap. It then had been chamfered inward toward the shank to give it a dish effect and allowing the stem on the Deluxe to sit closer to the shank. It was not too badly done though it obviously had been modified and there were some dents in the surface of the edge.

IMG_1201

I decided to return it to its original position on the shank. I cleaned off the band with silver cleaner and cleaned out the shank (Photo 2). I wanted the surface to be smooth so that when I heated it I could press it into place on the shank. To return it to that place would be a two-step process, if I was to do it without damaging the surface of the band. The first step in the repair was to bring the band back to a position where the gap was gone. The second step would be to press down on the chamfered edge and flatten it into place.

Photo 2 Side view of the chamfered top of the band

Photo 2 Side view of the chamfered top of the band

I heated the band with my heat gun to warm the glue and also the band (Photos 3 – 4). The heat would loosen the glue and allow me to adjust the band on the shank so that the stamping was in place and I could easily press it into place. For this first stage in the process I was only interested in getting the gap between the band and the top of the shank closed (Photos 5 – 6).

Photo 3 Heating the band

Photo 3 Heating the band

Photo 4 Heating the band

Photo 4 Heating the band

Photo 5 Pressing the band into place

Photo 5 Pressing the band into place

Photo 6 Closer view of the chamfered band pressed into the shank

Photo 6 Closer view of the chamferred band pressed into the shank

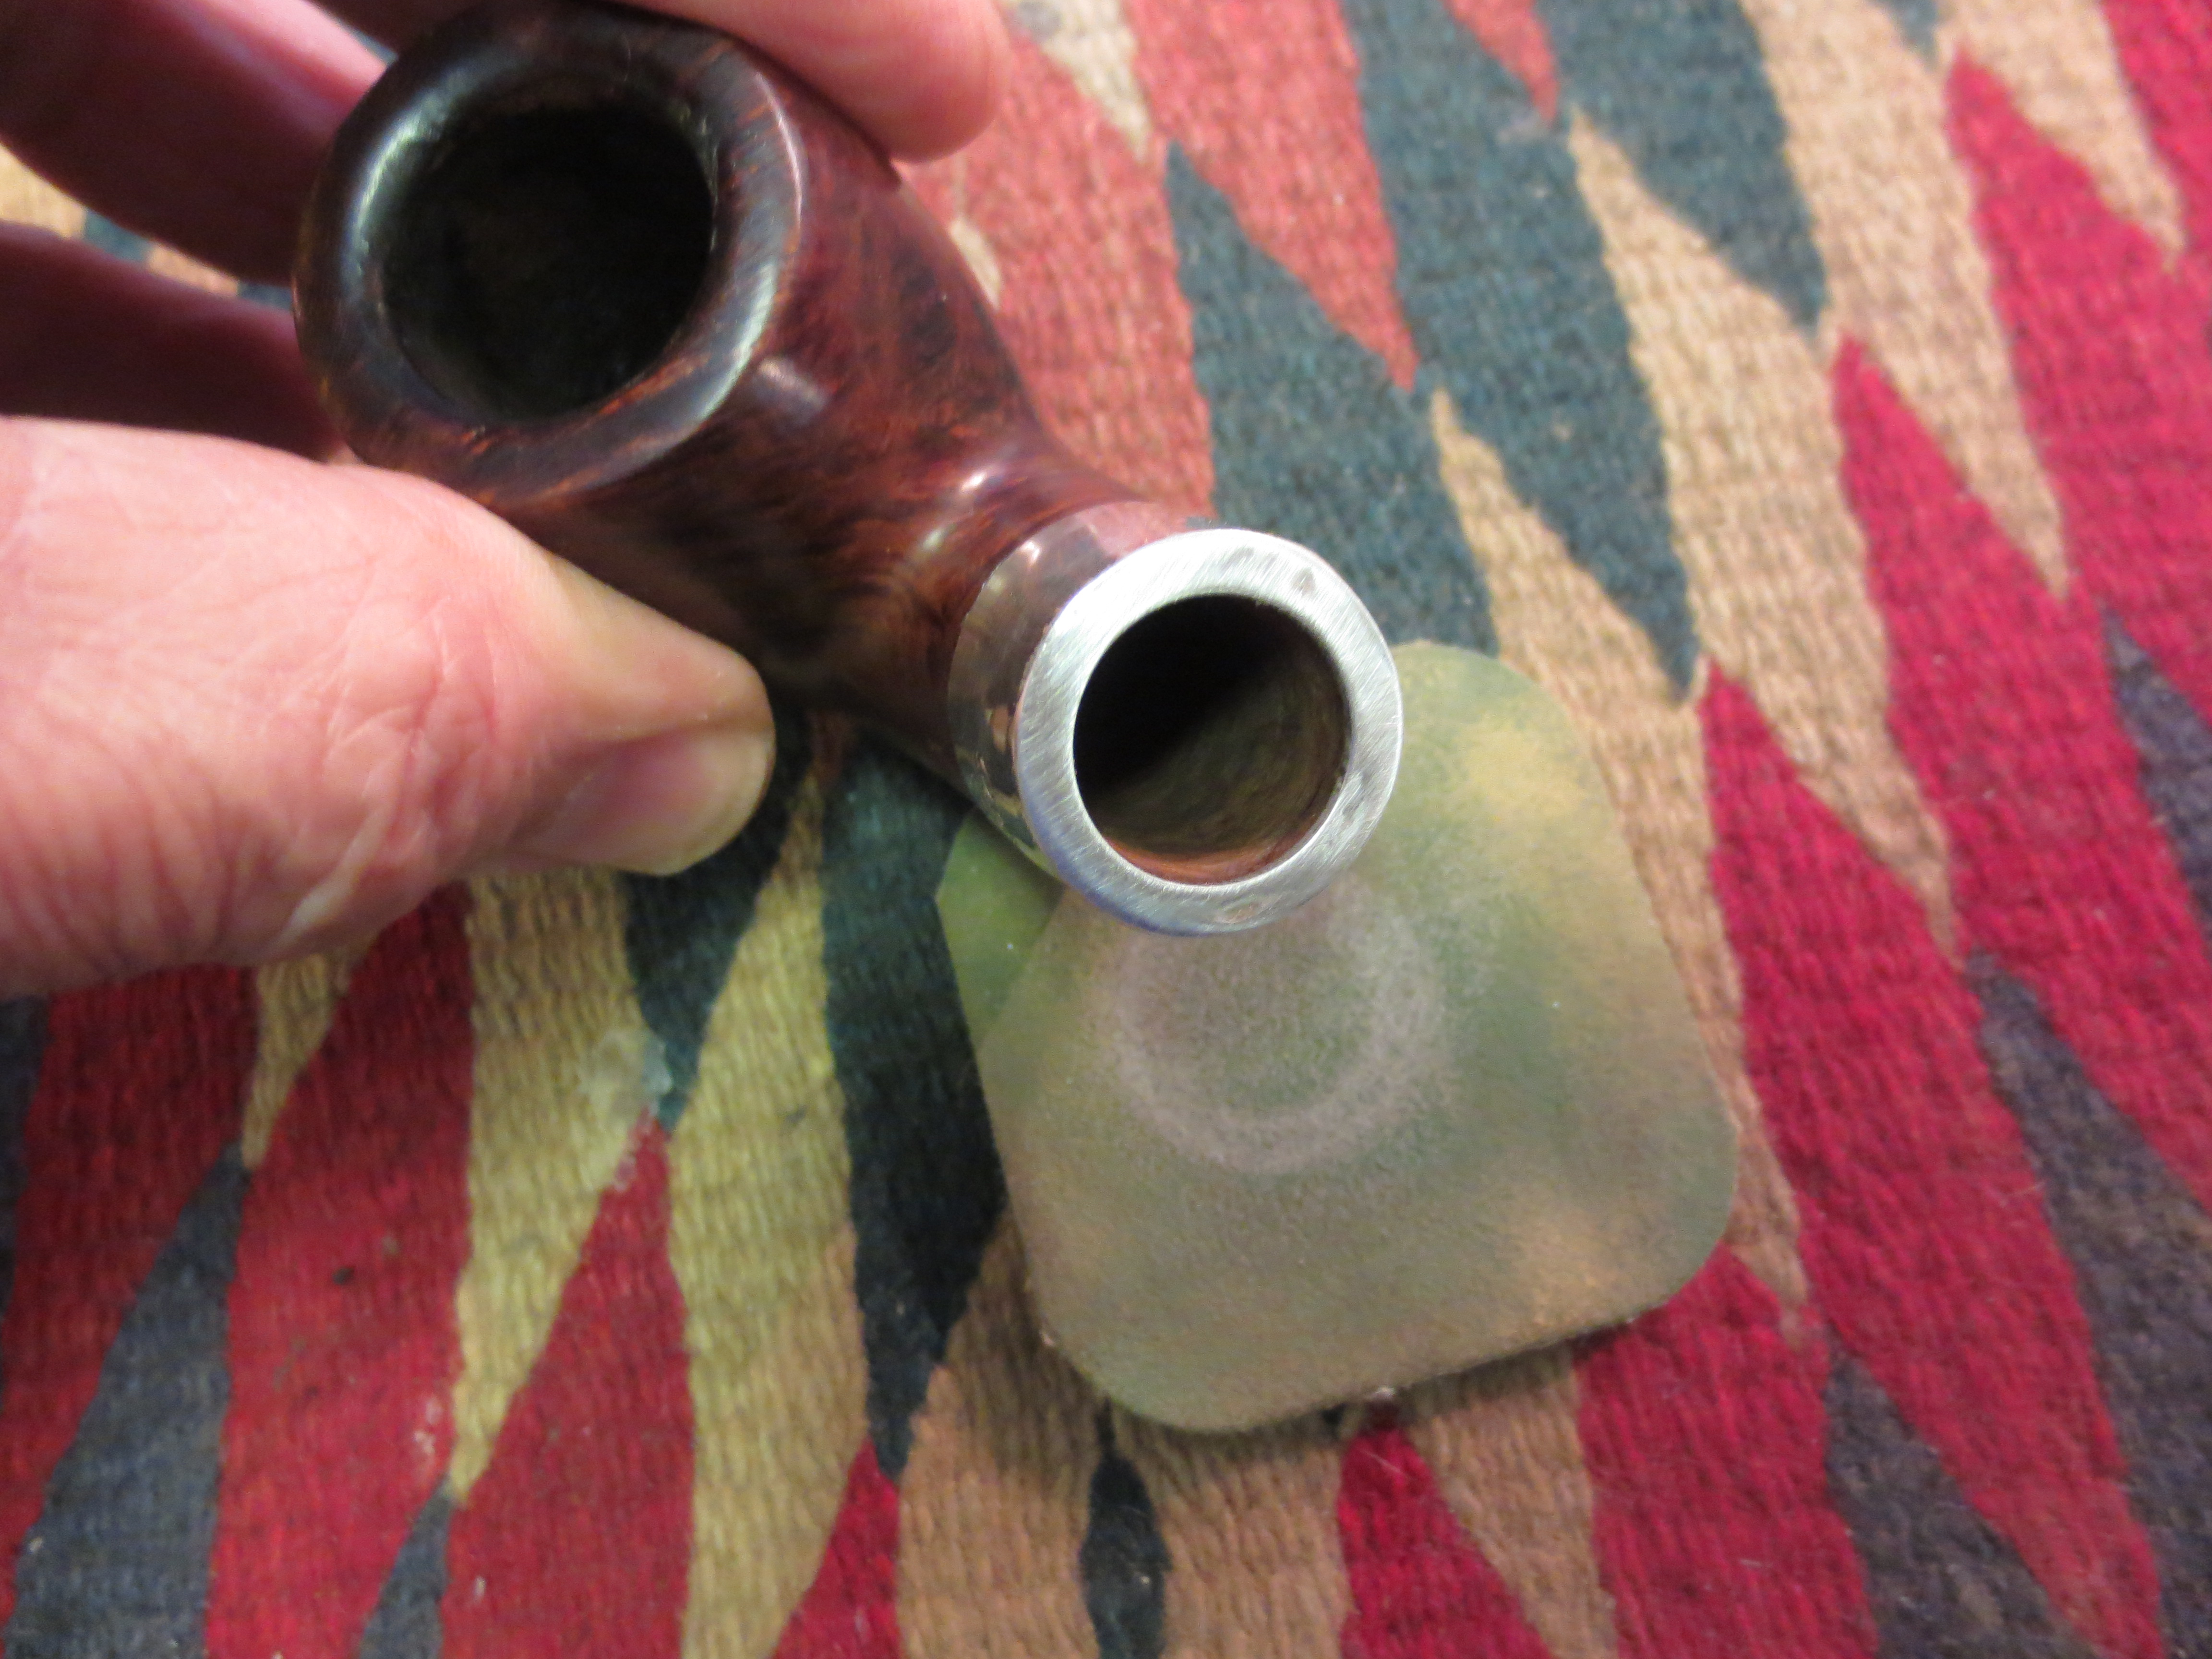
To flatten the chamfered surface of the band would take a slightly different approach. I reheated the end of the shank band with my heat gun. I used the lower heat setting as I was holding the bowl with the shank down over the heat and did not want to get burned. I heated it for as long as I could hold it in place and then took it to the work table. Once there I pressed it down onto a metal plate that I use for pressure fitting bands on shanks. I repeated this process until I had pressed the band flat and removed the chamfering (Photos 7 – 8).

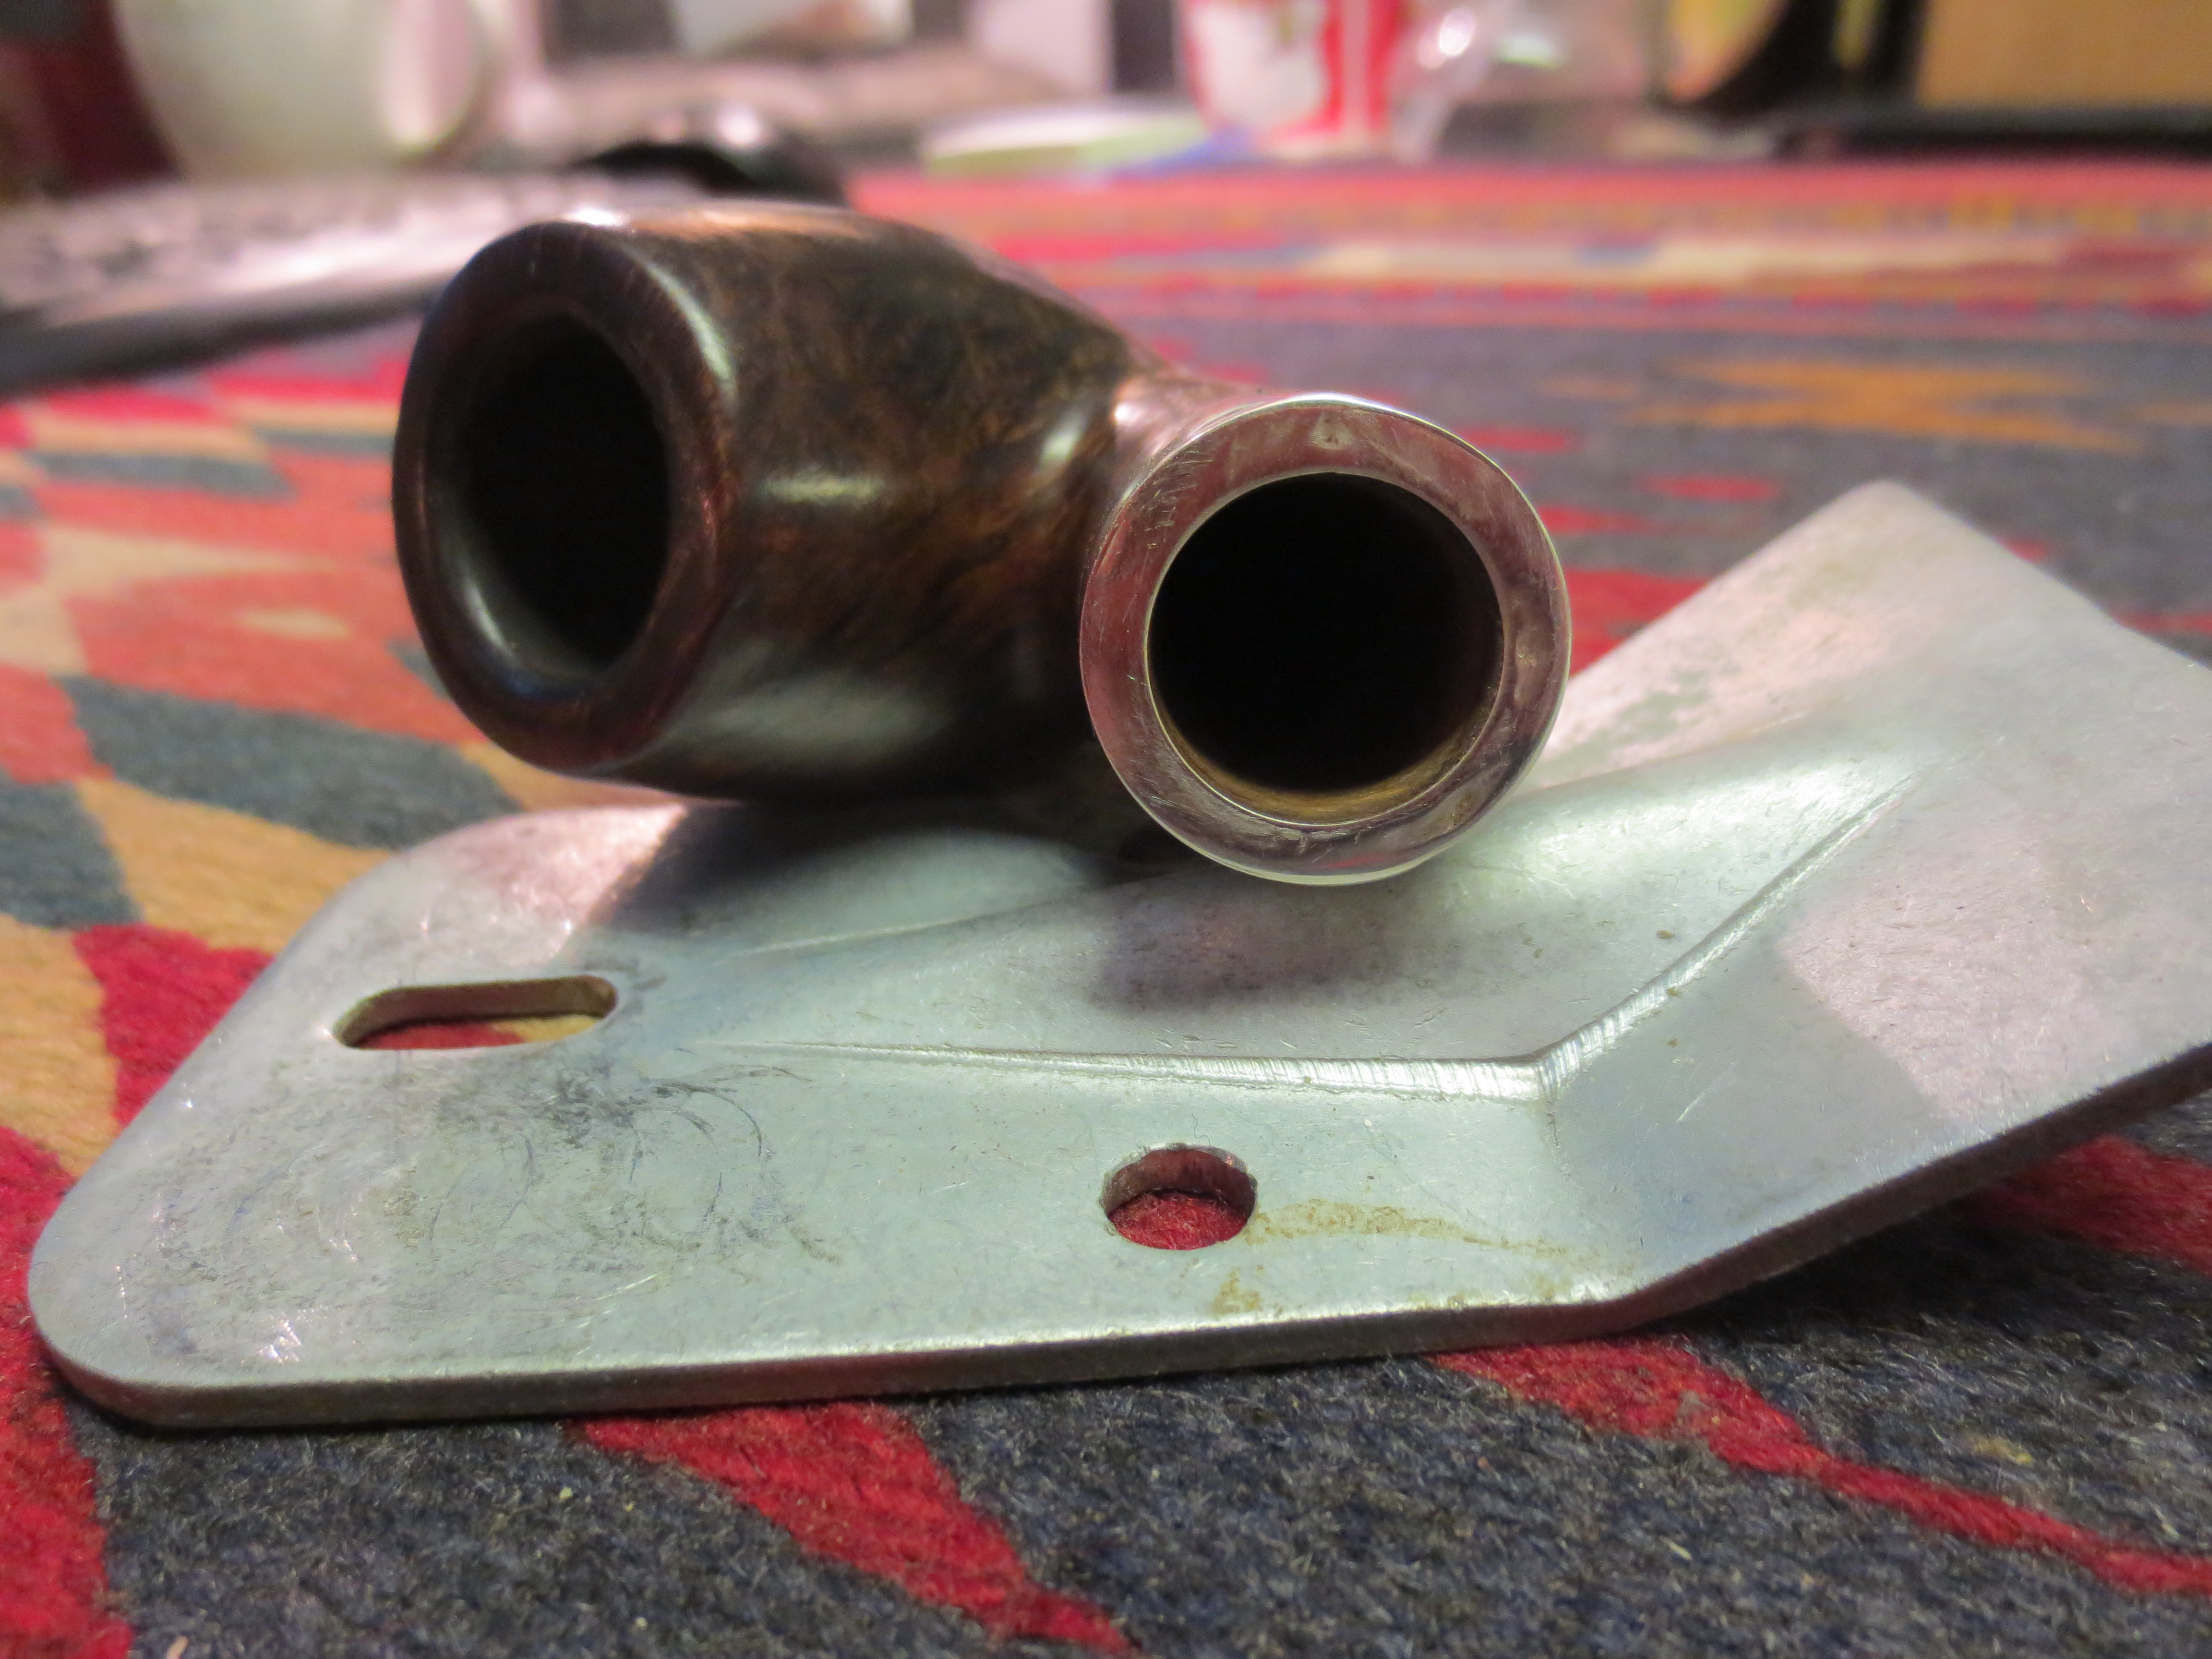
After it was pressed flat I used the micromesh sanding pads from 1500-12,000 grit to repolish the silver end cap. I pressed it downward into the pad and twisted it and also ran it across the pad to remove the scratches from the metal plate. With that finished the end is flush against the shank and there are just three small dents that I was unable to remove. The band is in place as it was when it left Peterson’s Factory (Photo 9).

Photo 7 Heating the band to flatten the chamfering

Photo 7 Heating the band to flatten the chamferring

Photo 8 Pressing the face of the band onto a flat metal plate

Photo 8 Pressing the face of the band onto a flat metal plate

Photo 9 The face of the band after flattening

Photo 9 The face of the band after flattening

To finish the band after sanding it, I wiped the entire band down with a jeweler’s cloth and polished it until it shined like new (Photos 10 – 12). The band was back in its correct place and ready for the stem once it was repaired.

Photo 10 Sanding the flattened surface with micromesh sanding pads

Photo 10 Sanding the flattened surface with micromesh sanding pads

Photo 11 After sanding

Photo 11 After sanding

Photo 12 After polishing

Photo 12 After polishing

Crafting a Briar Calabash Sitter


Blog by Steve Laug

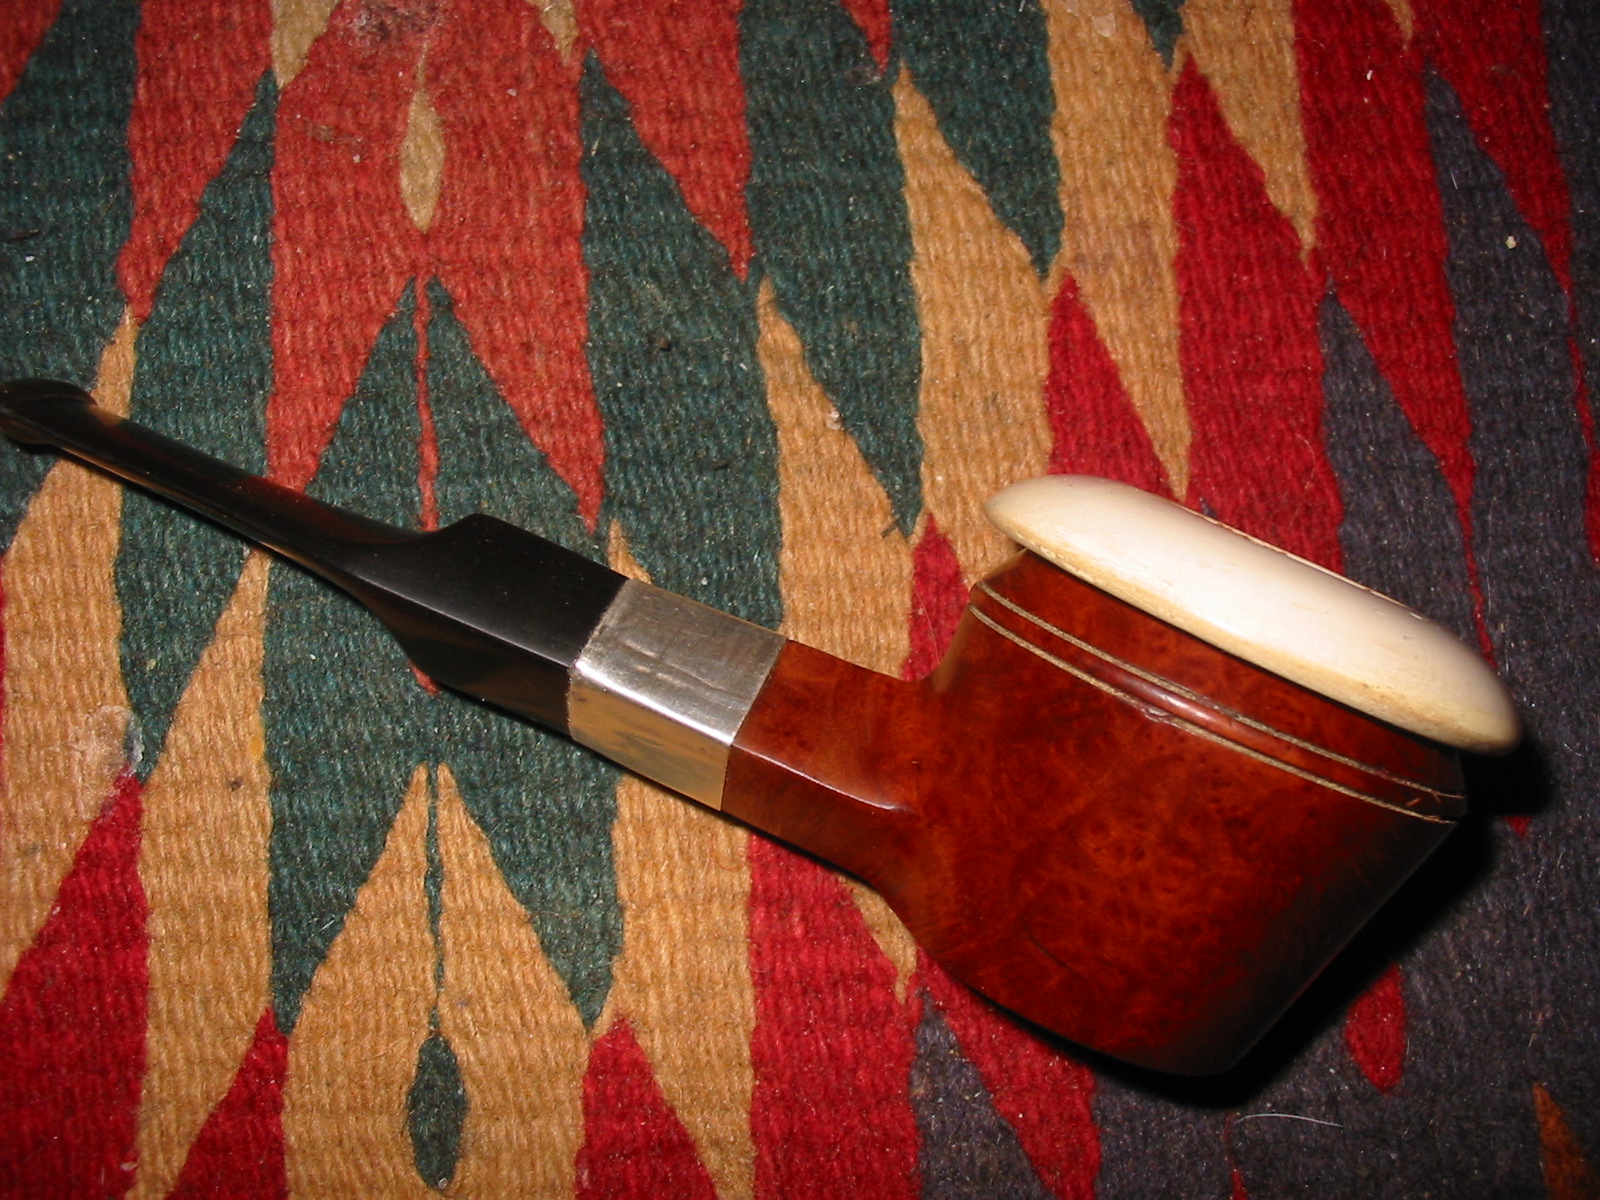
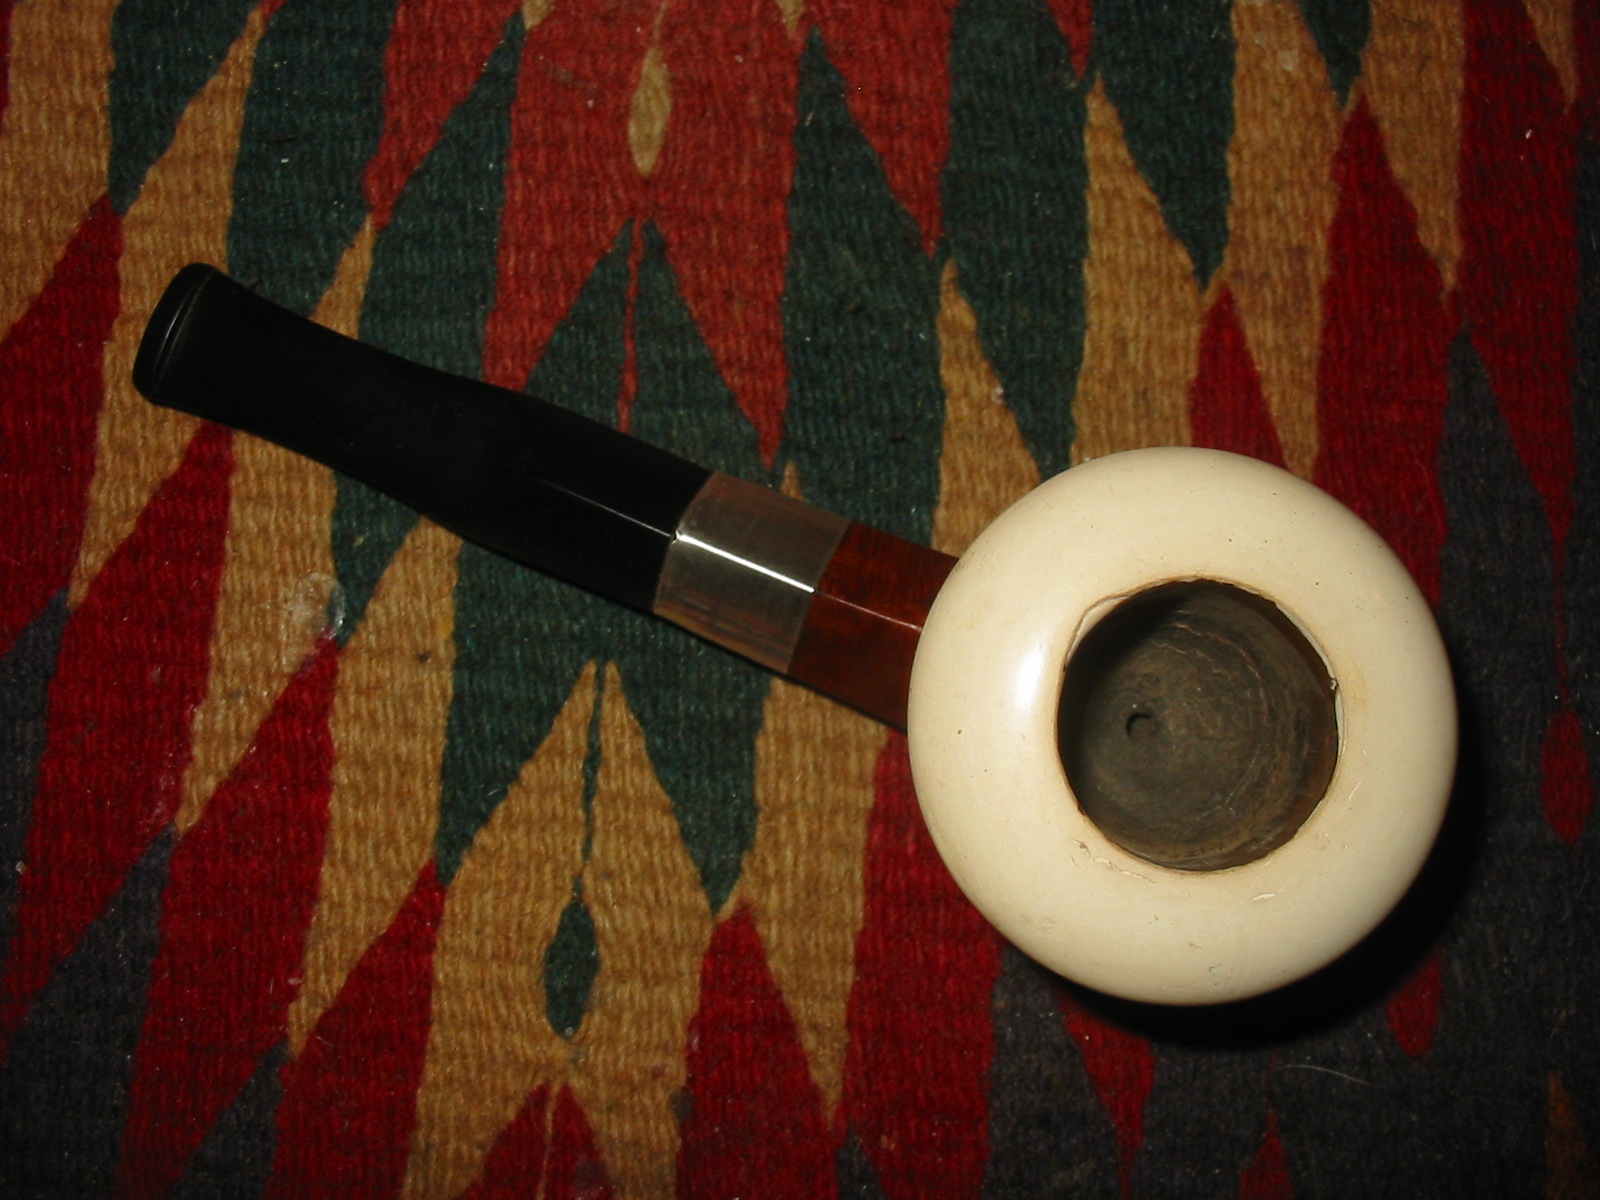
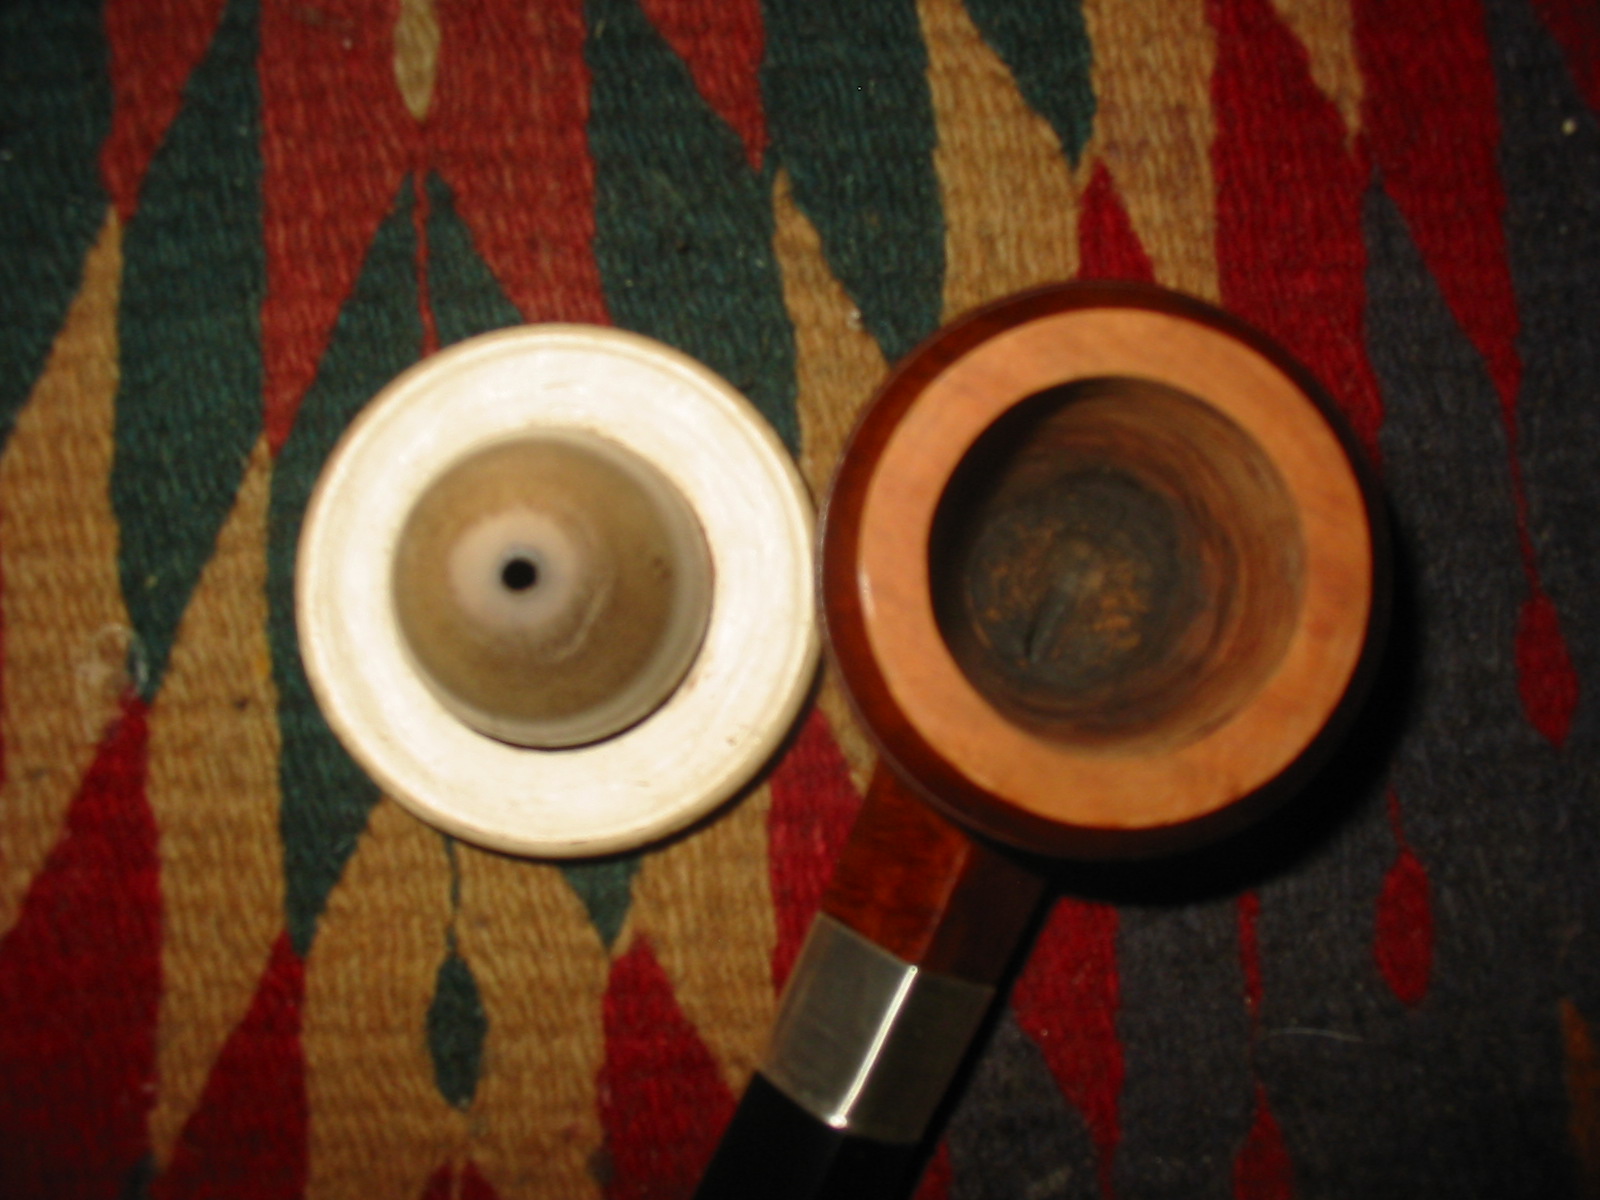
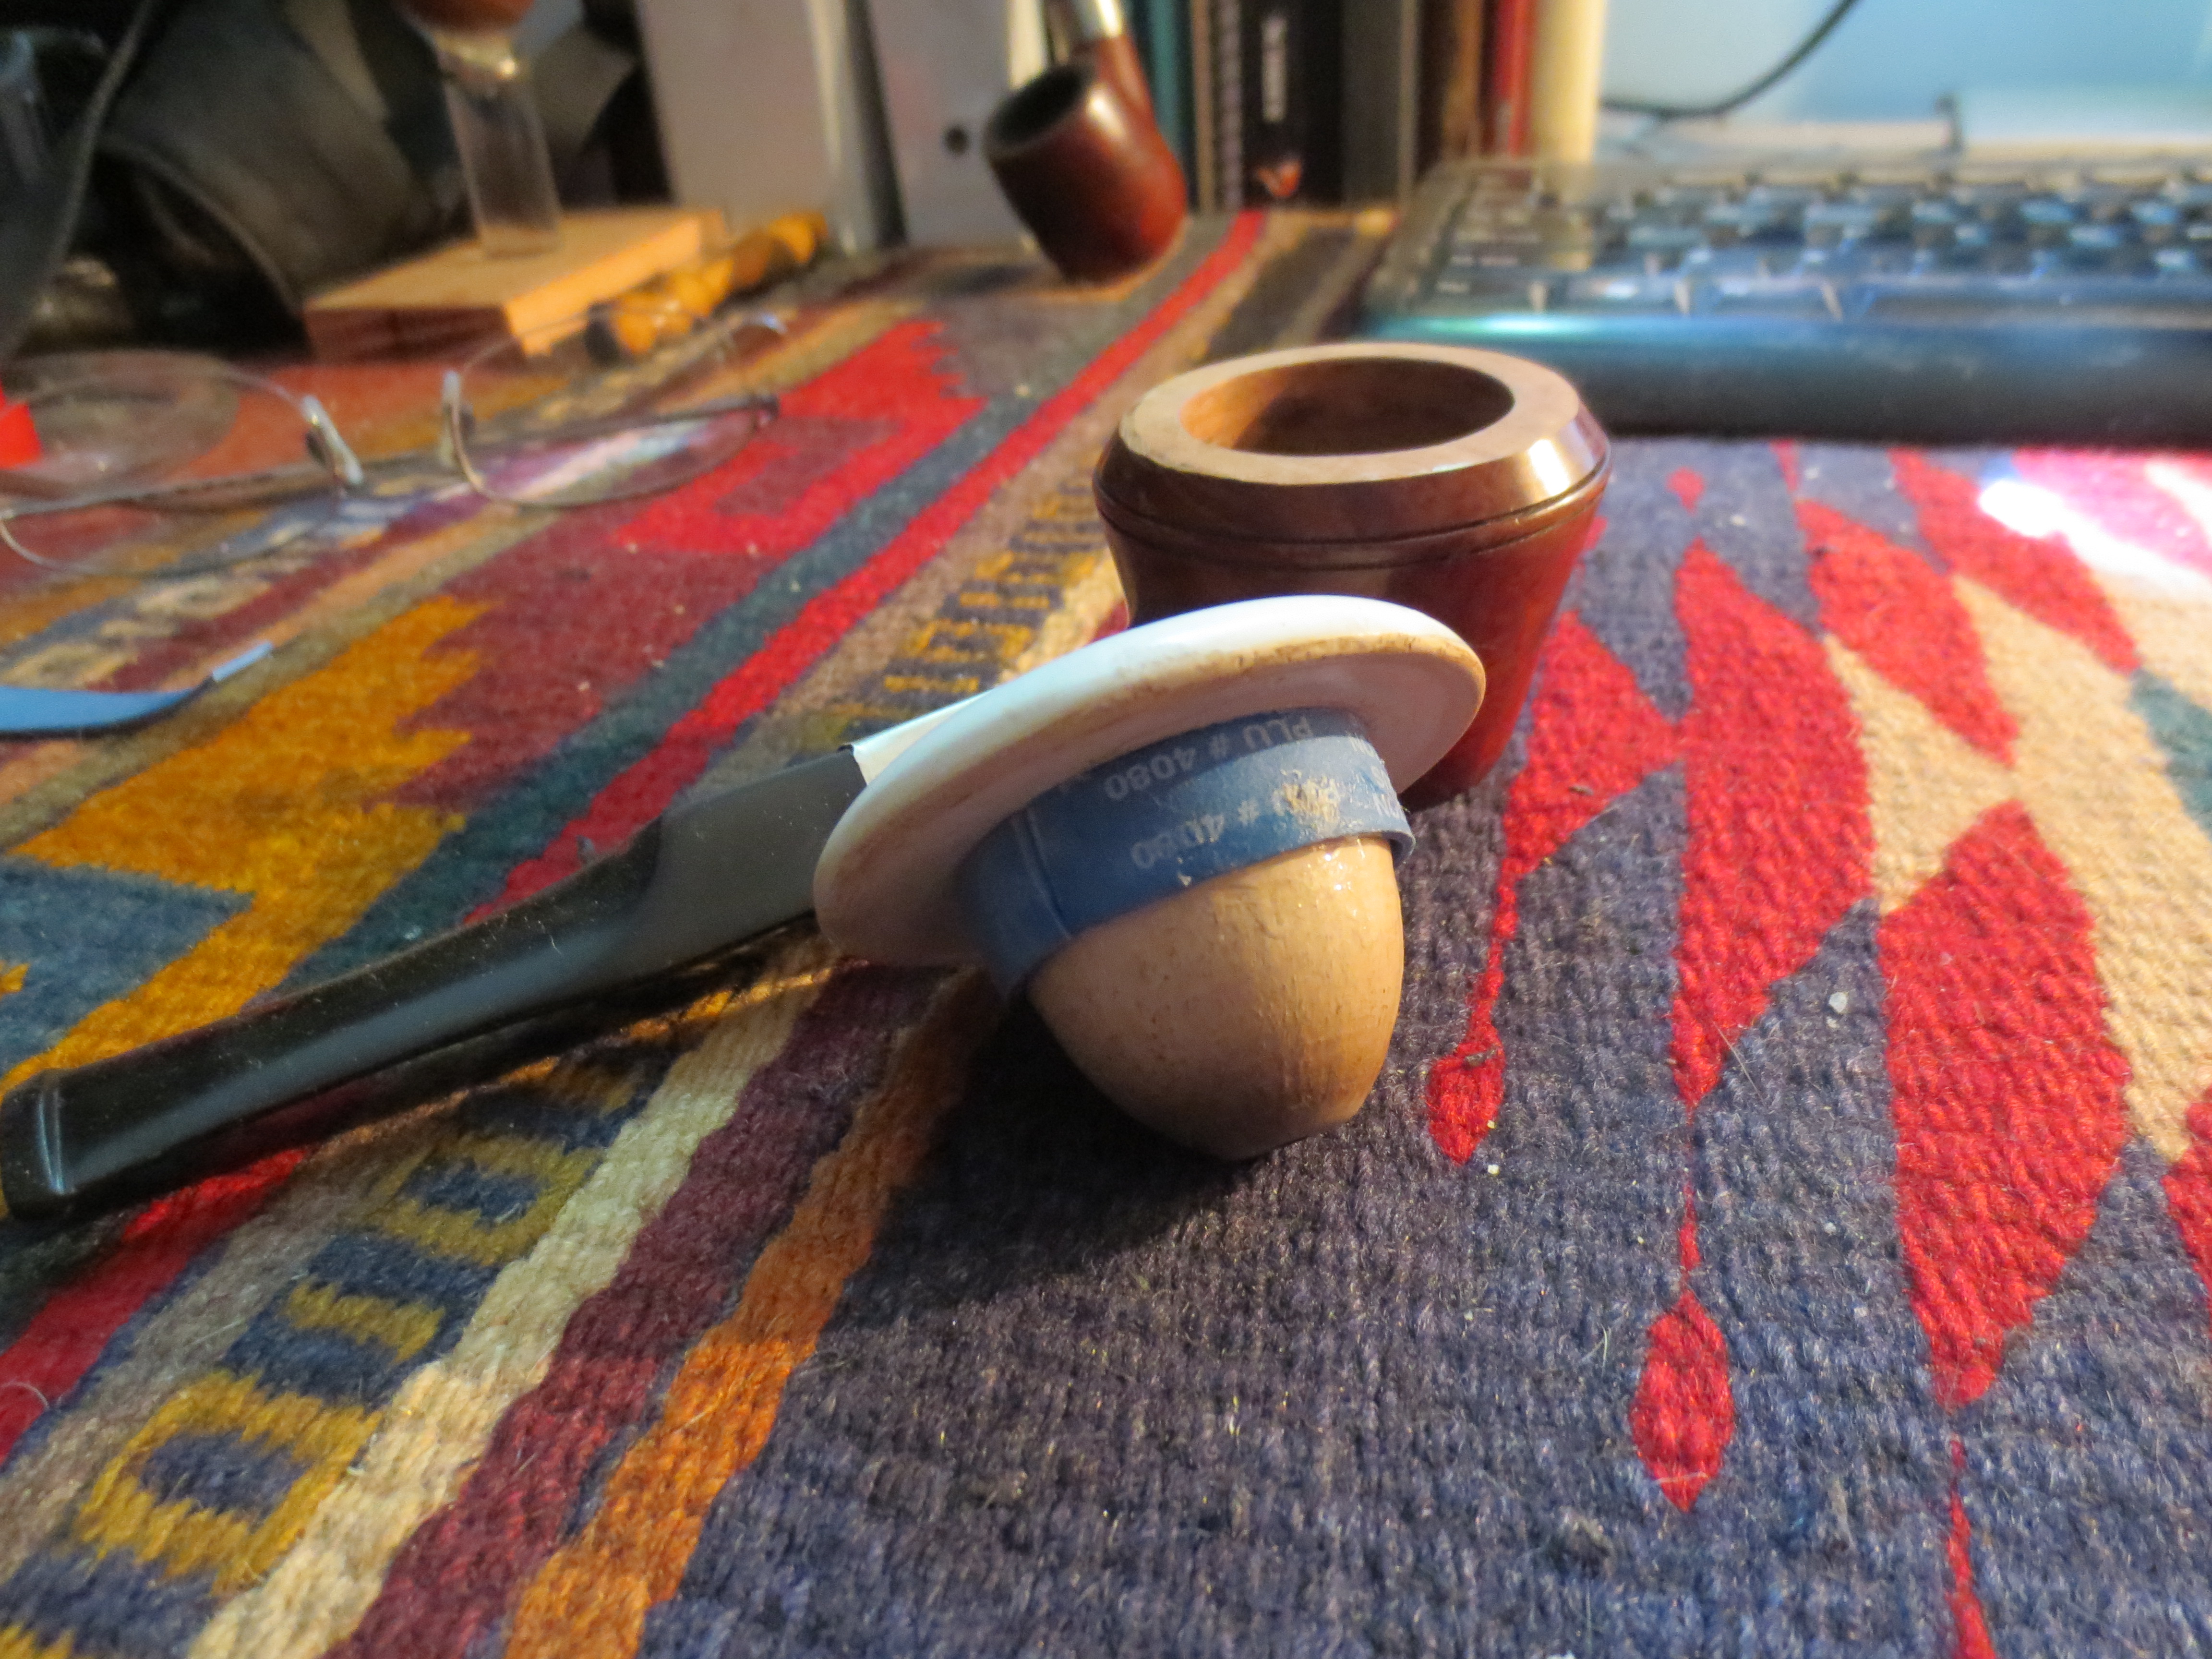
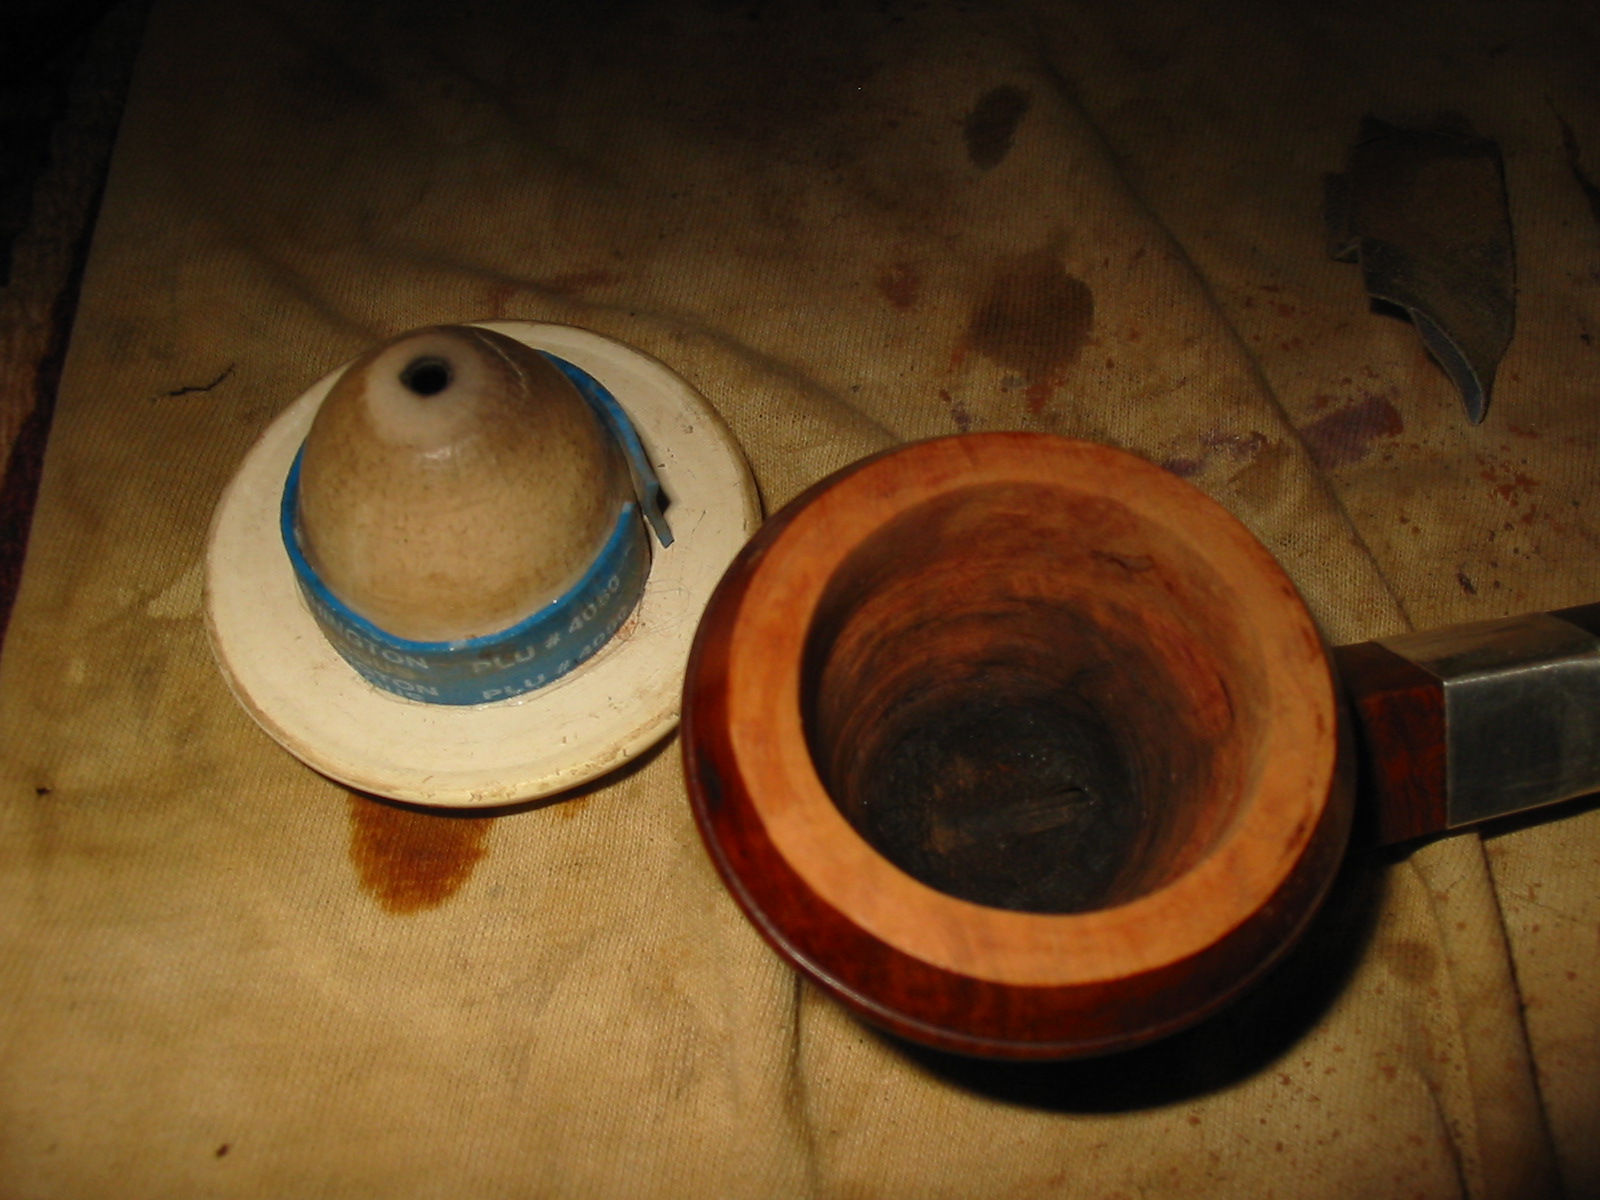
After reading Sid Stavros’ blog, http://pipe-smoke.blogspot.ca/ describing his process of converting older briars into meerschaum calabash pipes I decided on this rainy Saturday it was time for me to work on one. I had an old briar pipe bowl here that was a strangely shaped briar pot shaped sitter with a bit of a Rhodesian like top. It was in rough shape and was stemless so I restemmed it a while back. It has a pretty rough band on it so I am still undecided what to do with that. I also had a meerschaum bowl from an EBay group I picked up. It was without a gourd bowl so I just cleaned up the bowl and decided to set it aside until such a time I knew what I wanted to do with it. So on this rainy Vancouver Saturday afternoon I took the pipe bowl out and the meerschaum bowl out and put them side by side. I did some measurements in terms of the depth of both and the diameter of the inside of the briar and the outside of the meer cup to see if it would even be feasible. The measurements said it would work. So taking a deep breath I got out my Dremel and set up the parts for the “new” re-envisioned pipe.

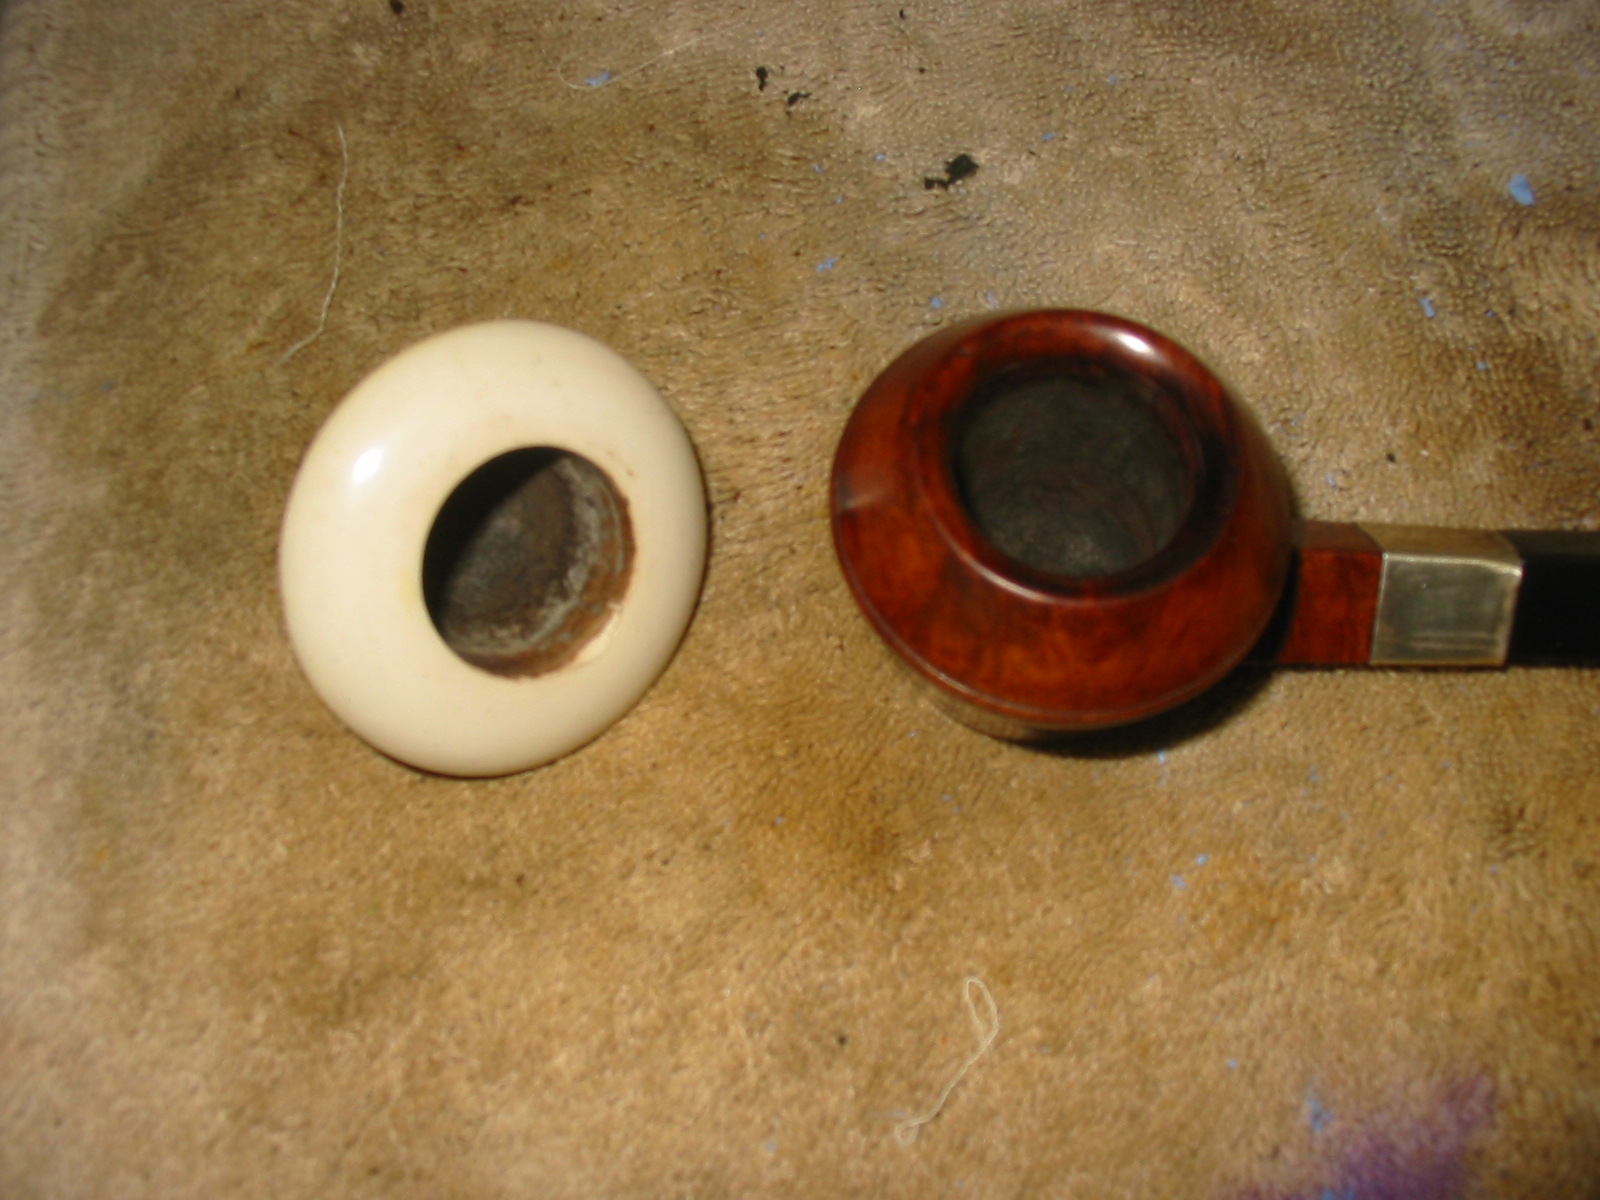
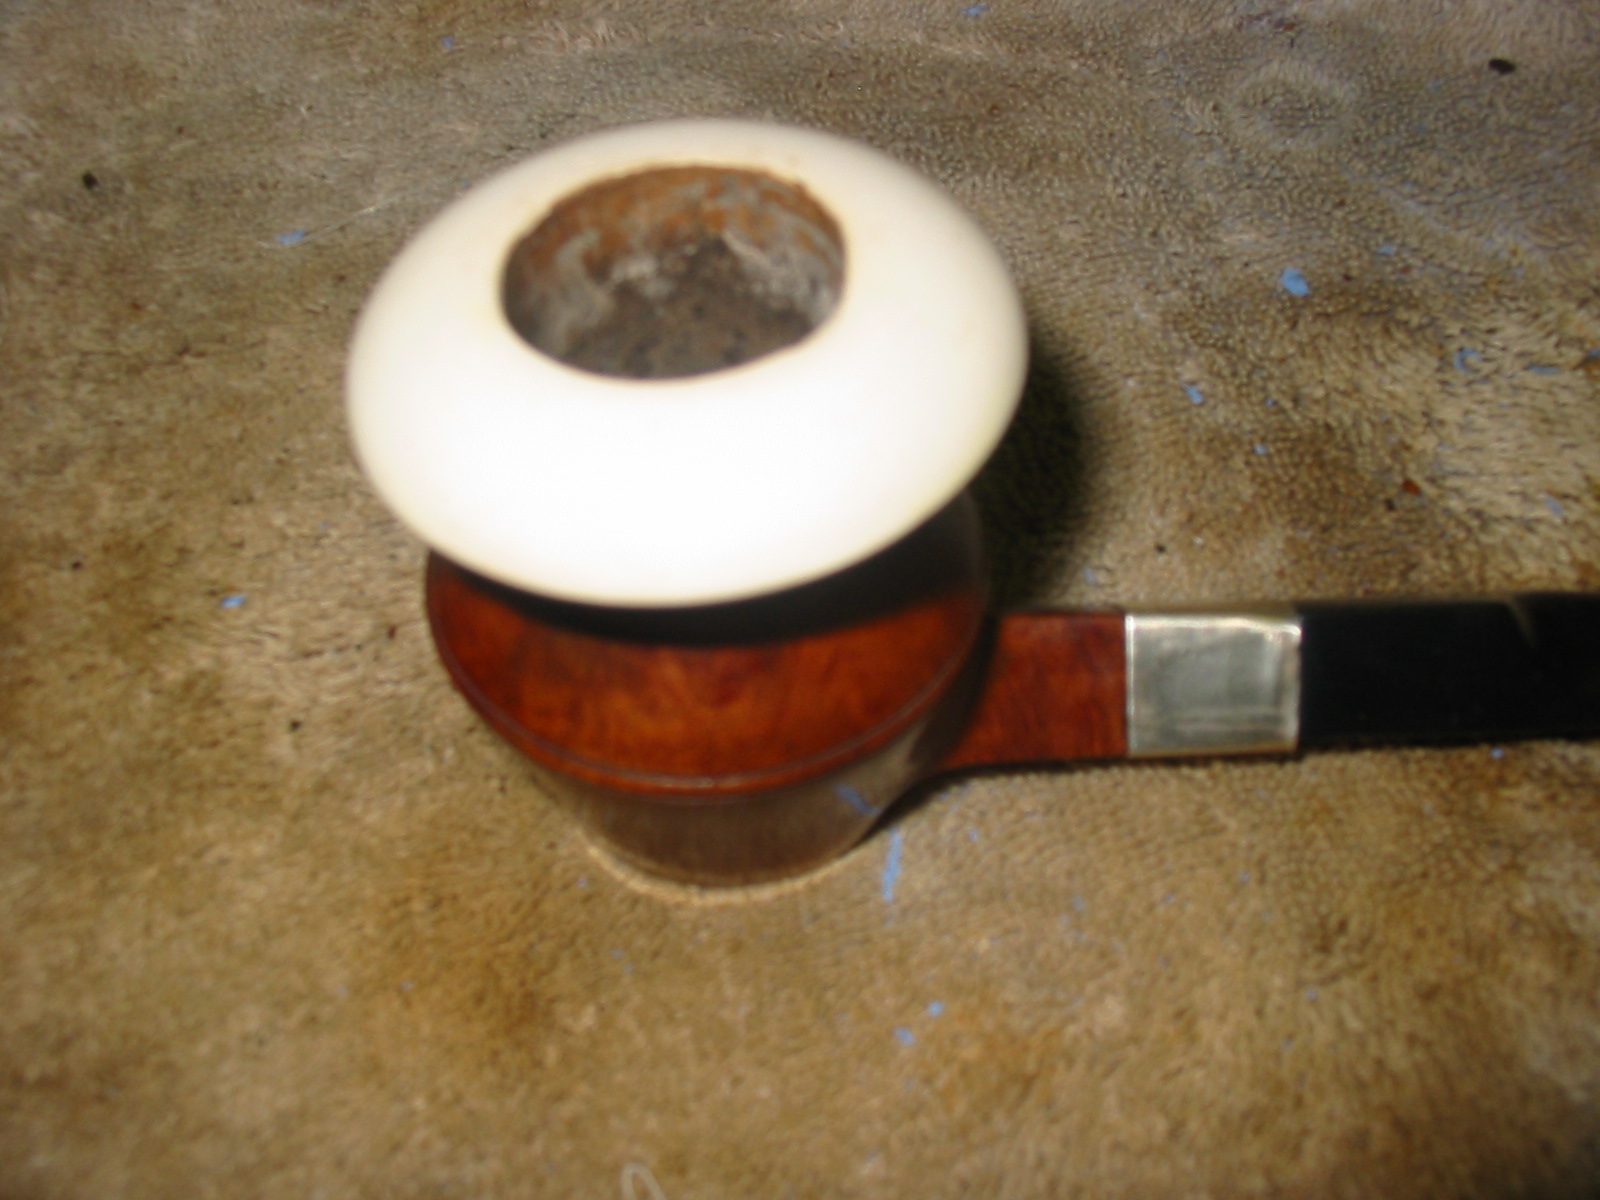
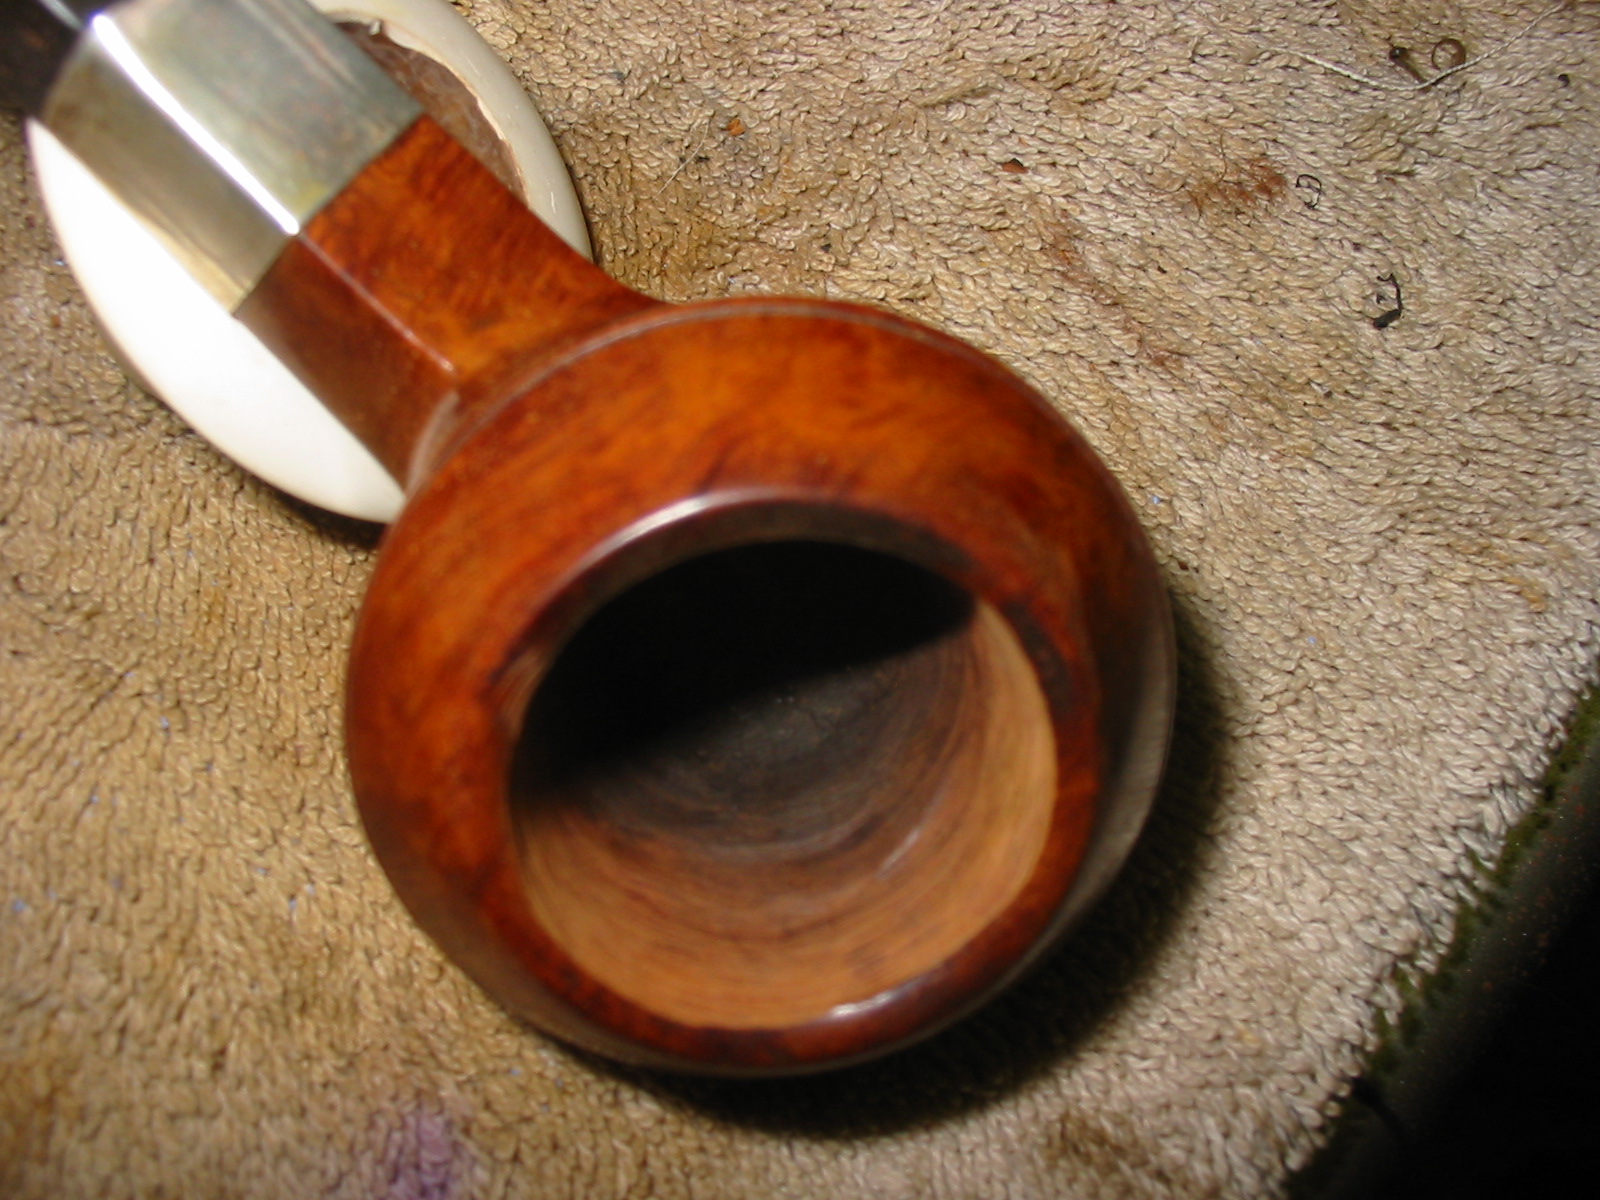
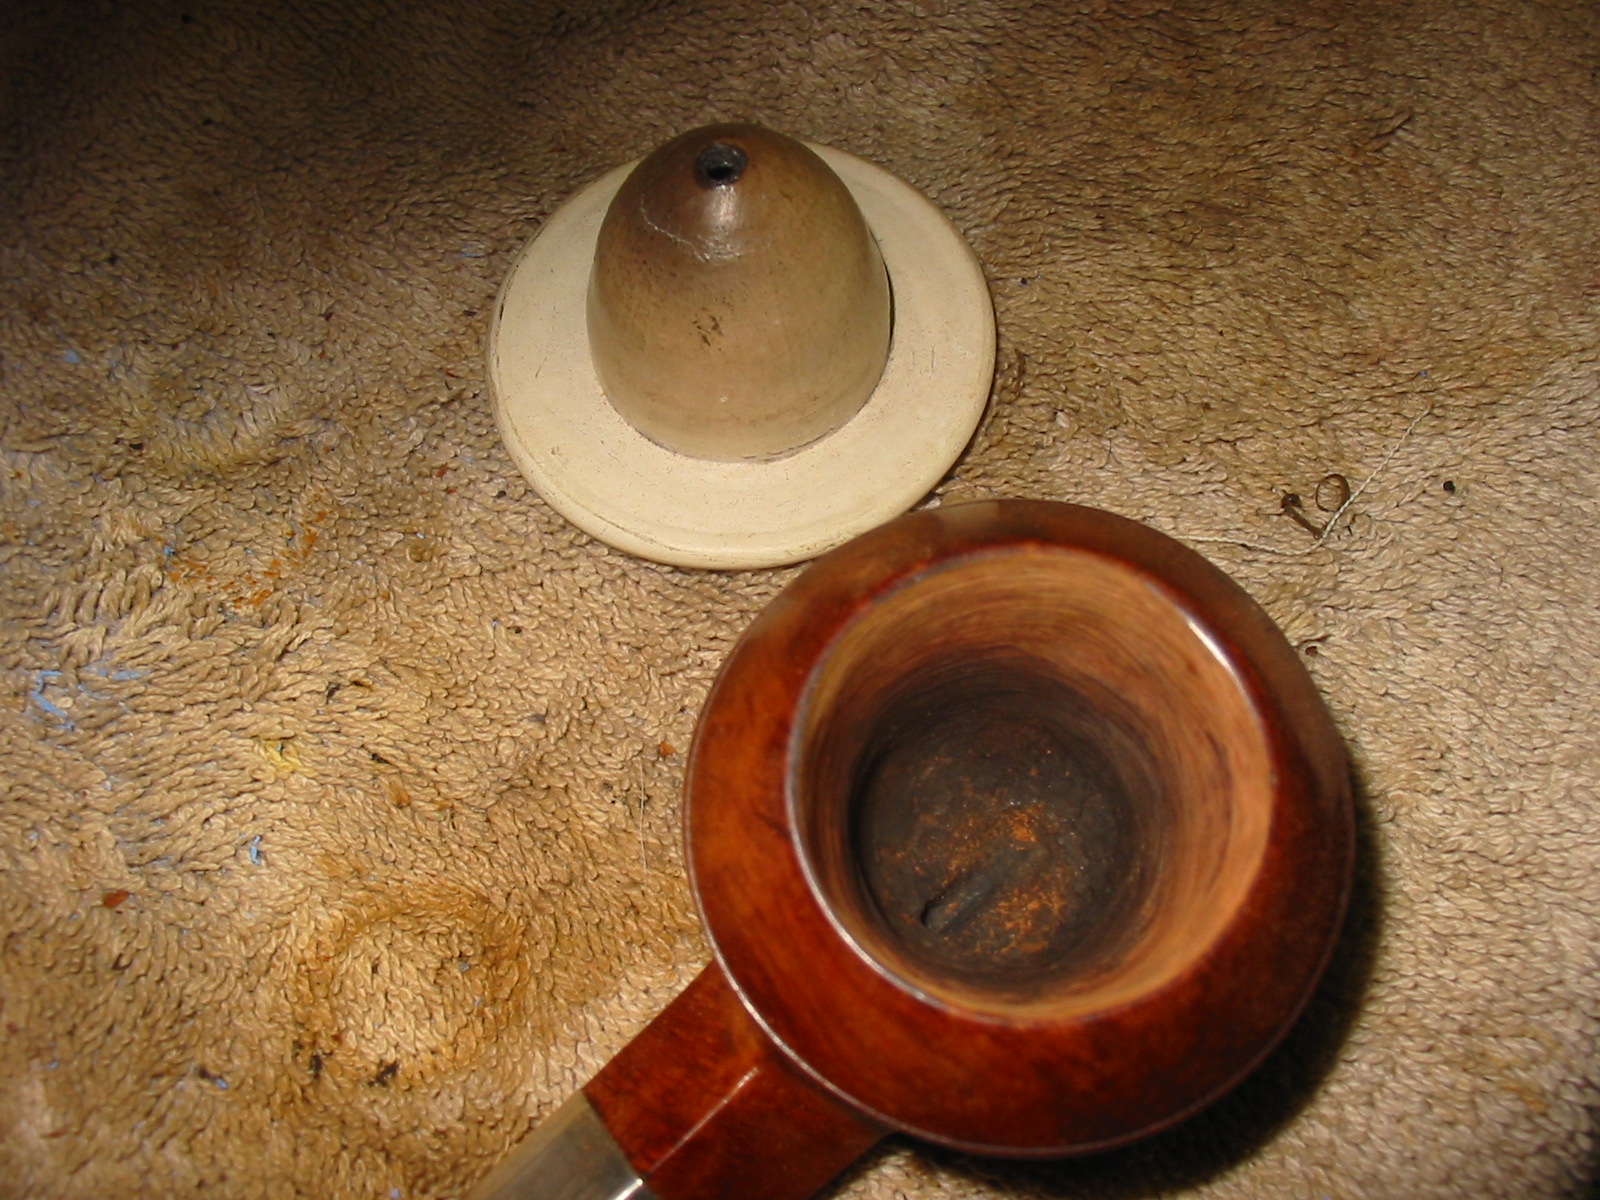
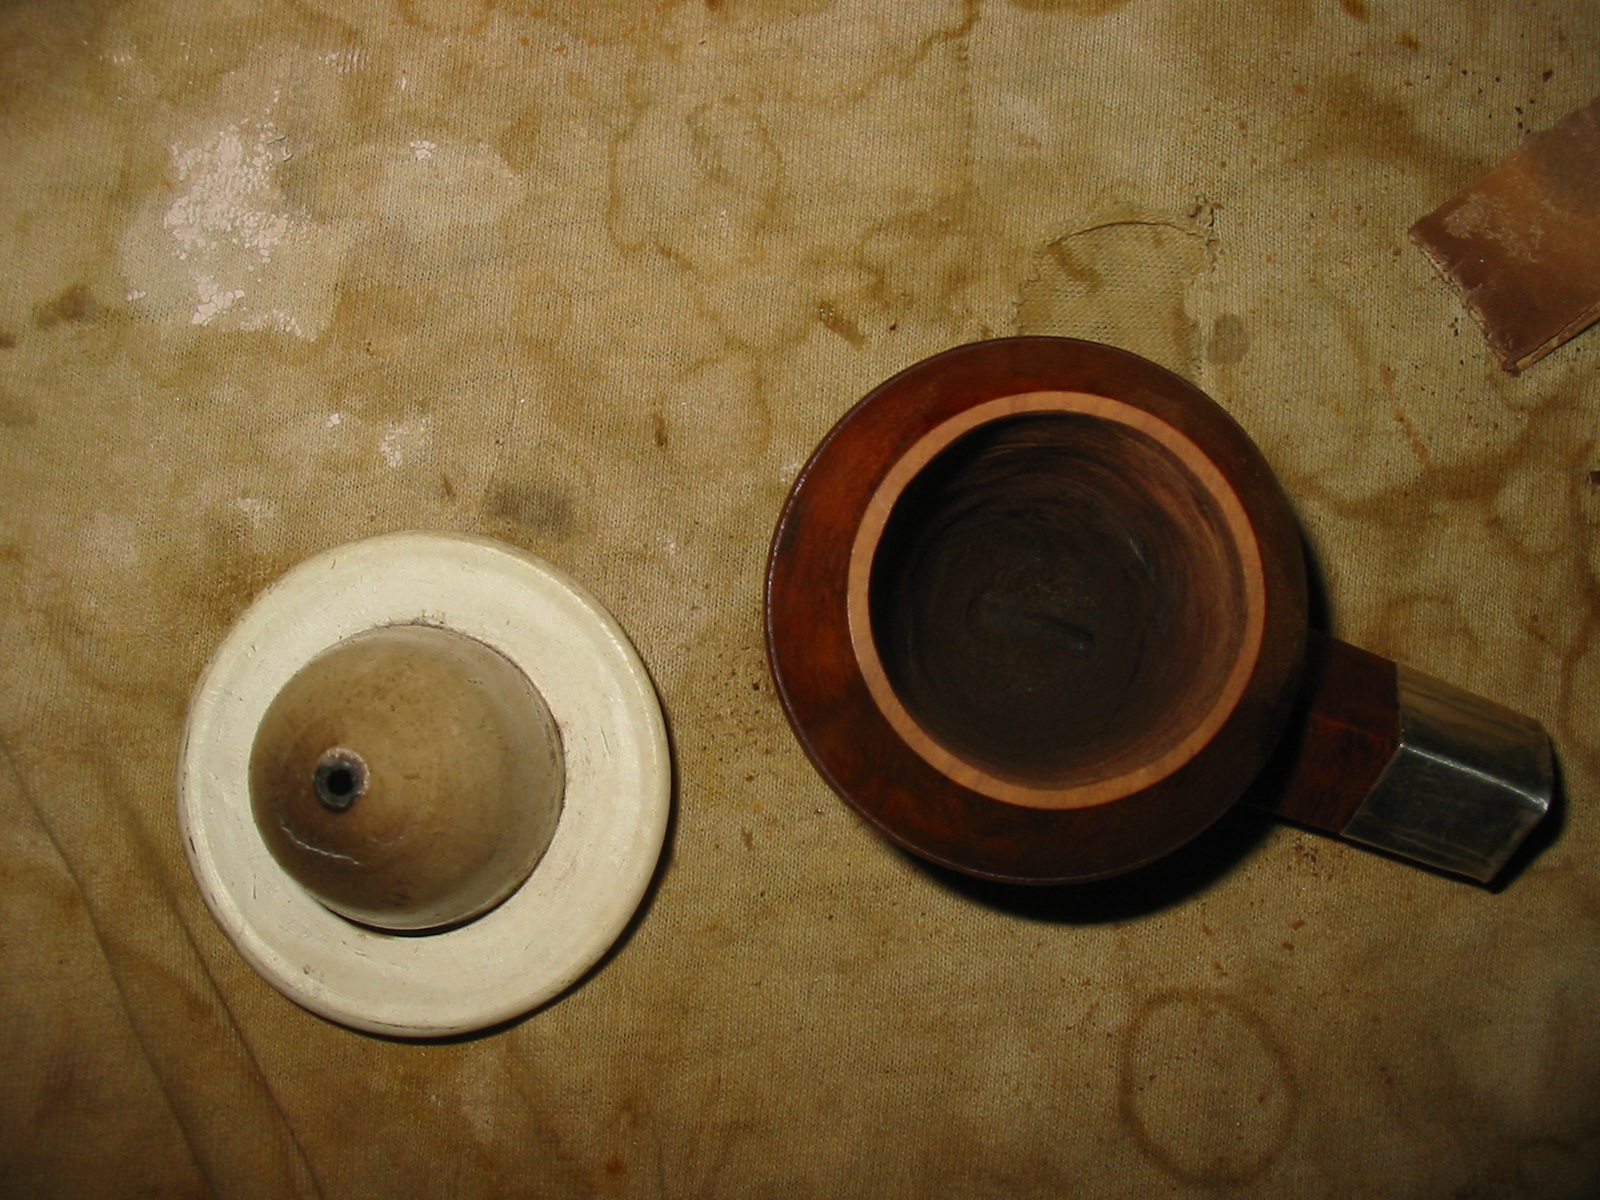
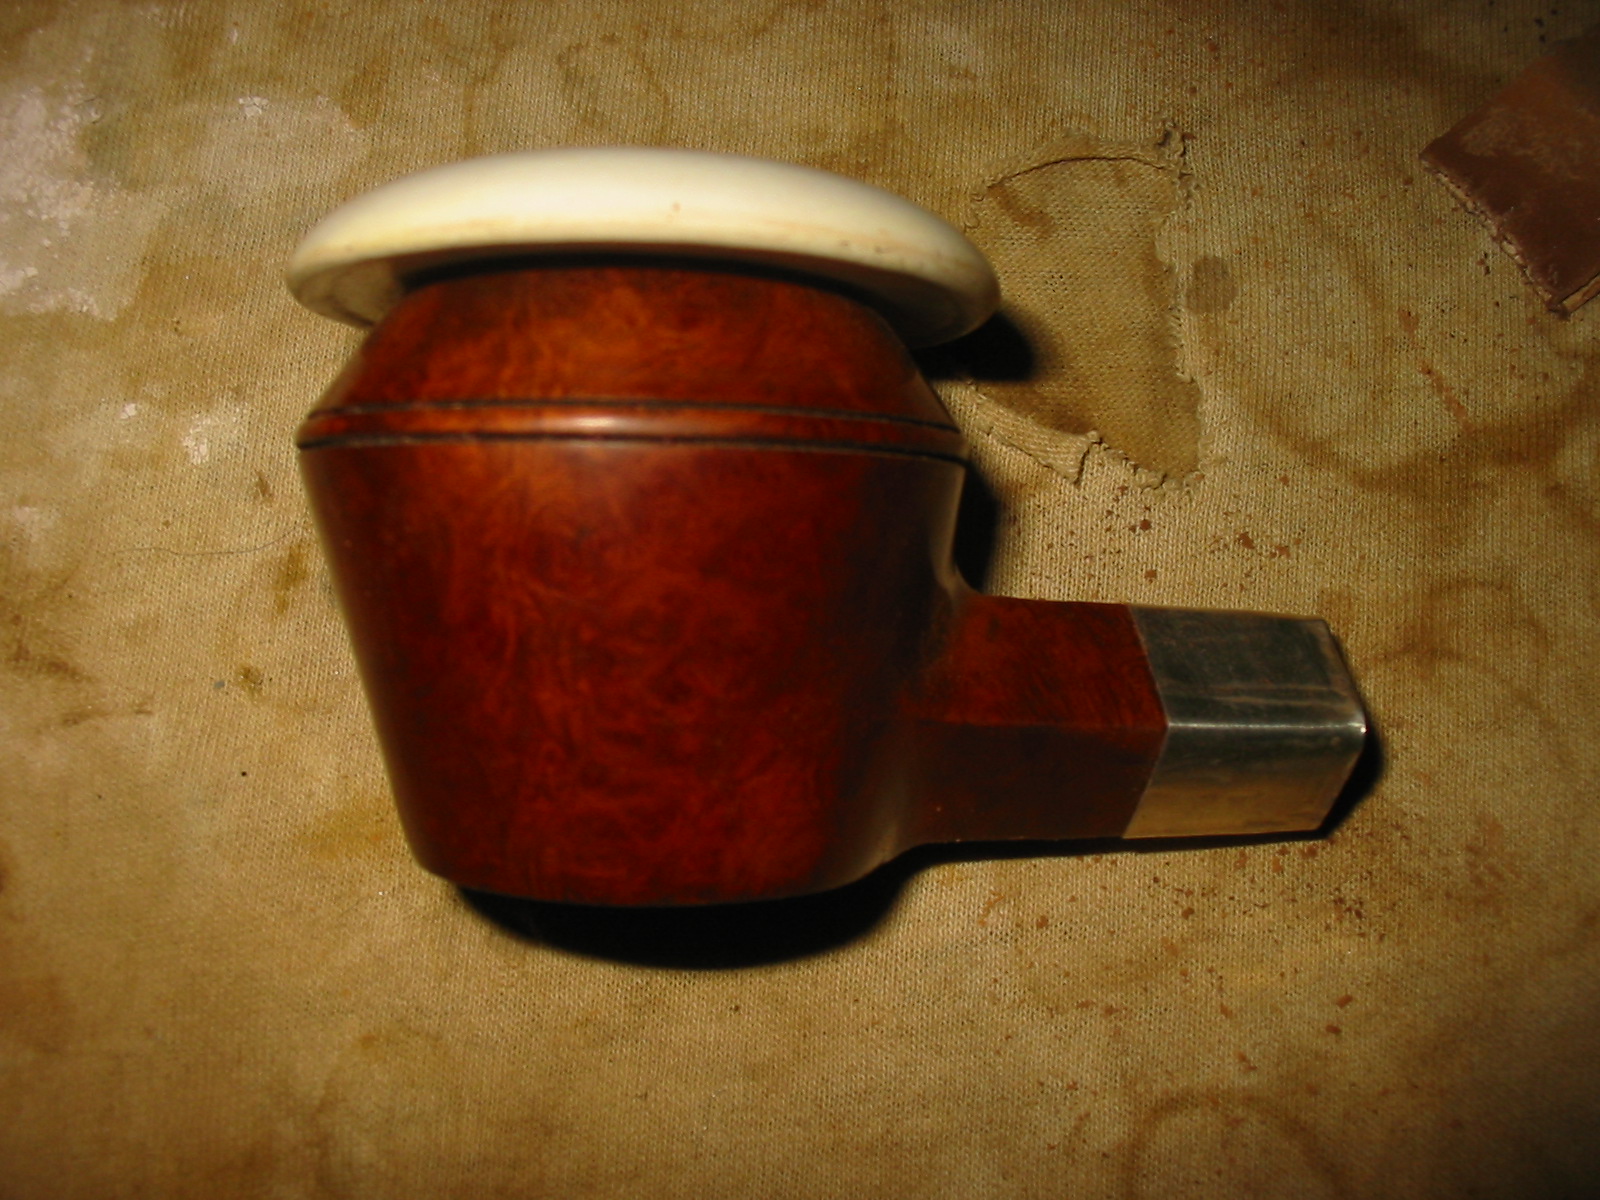
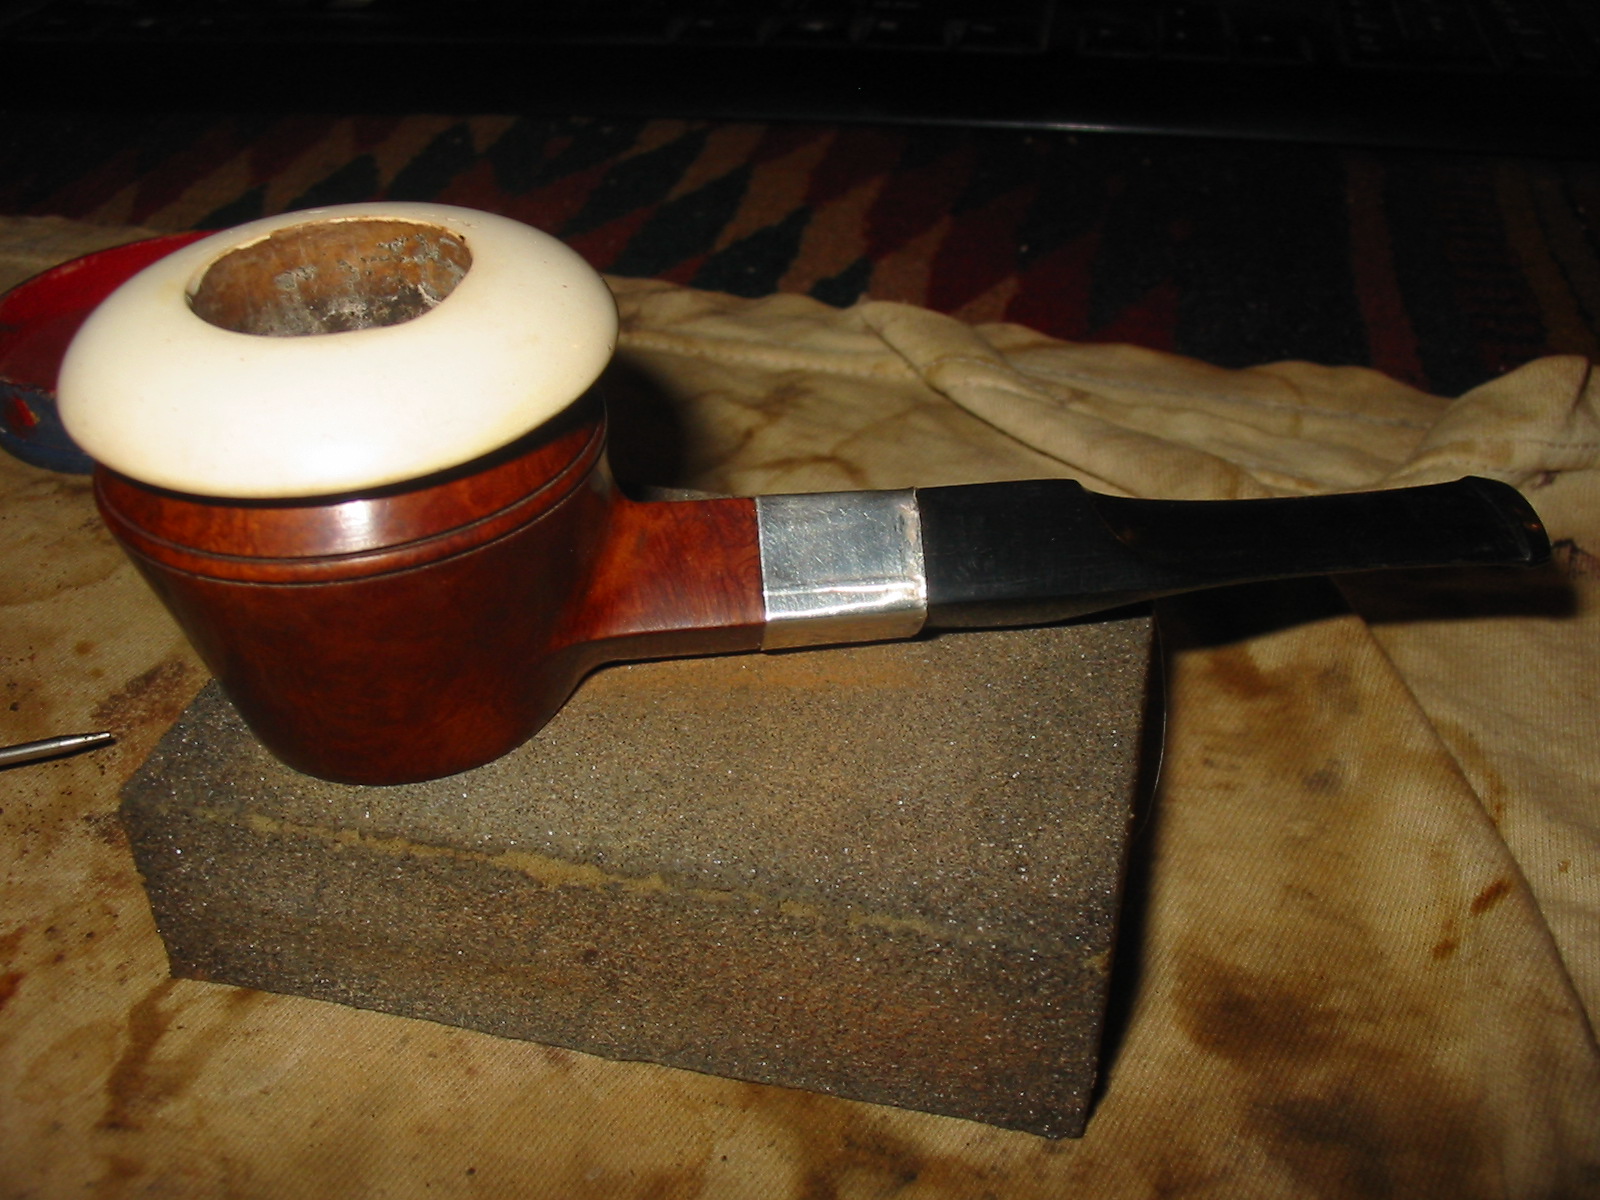
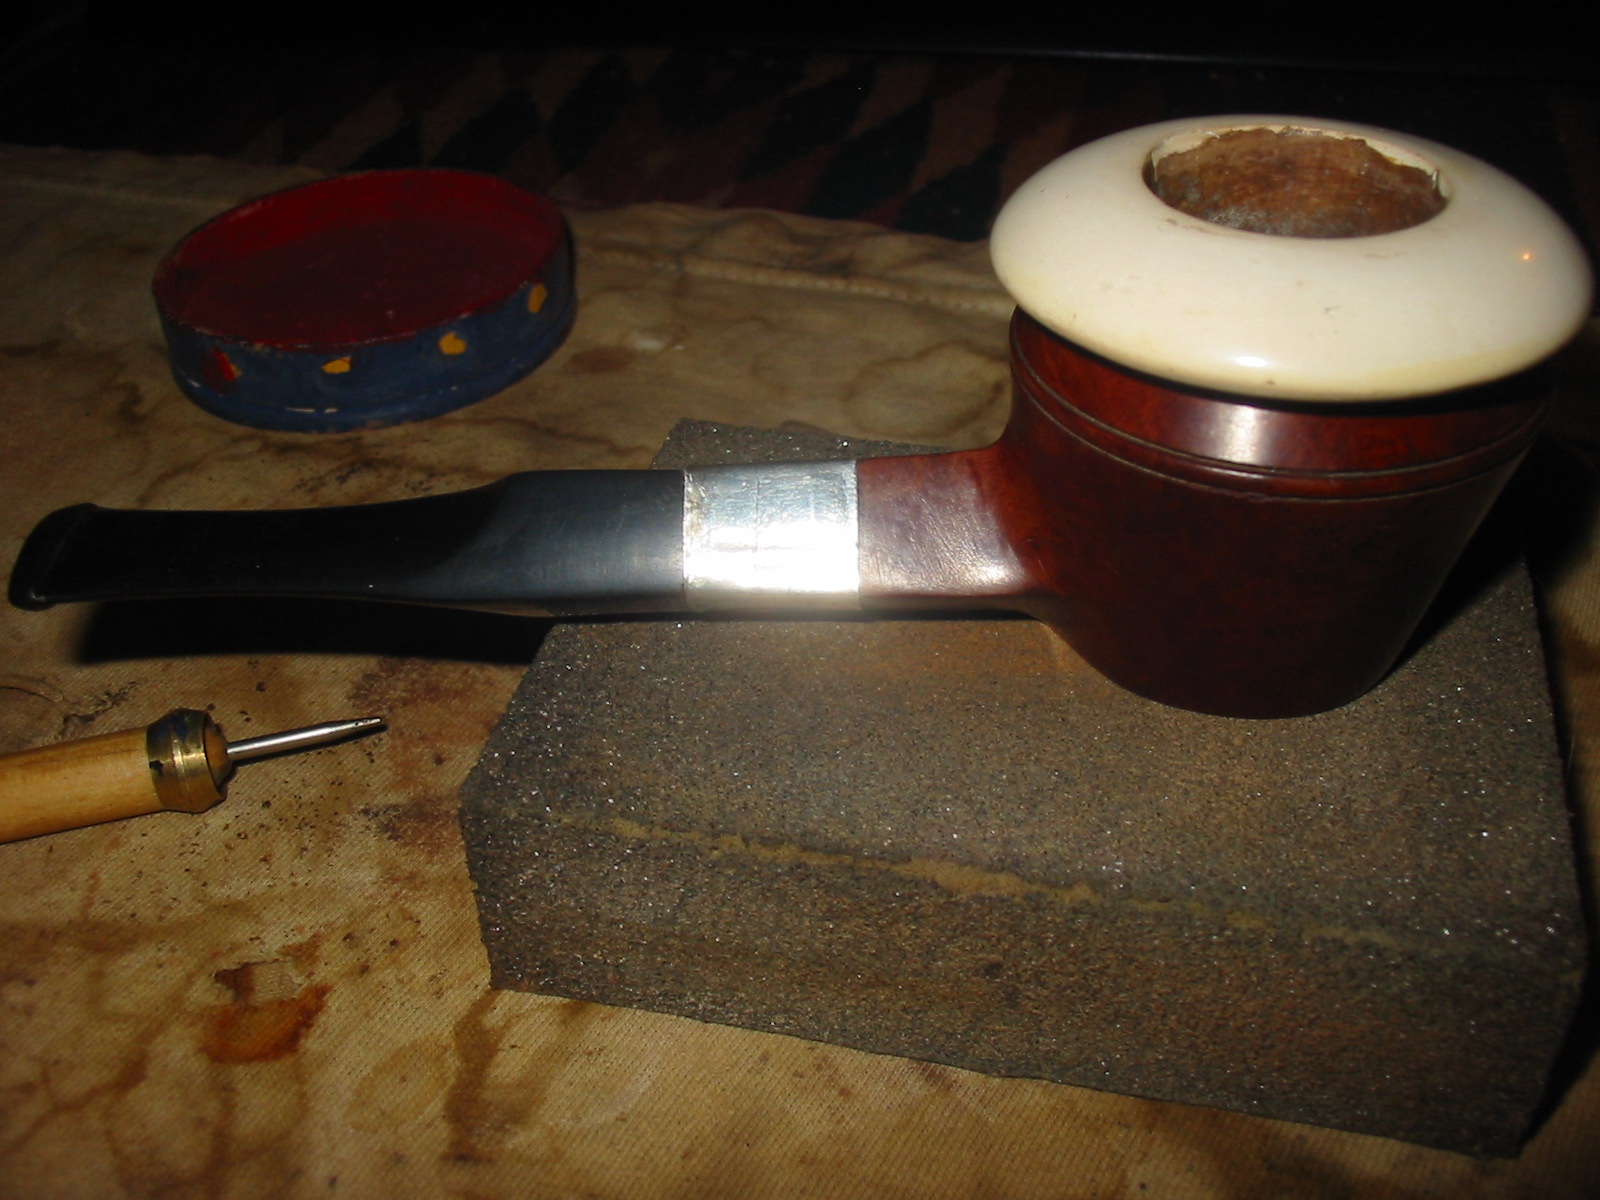
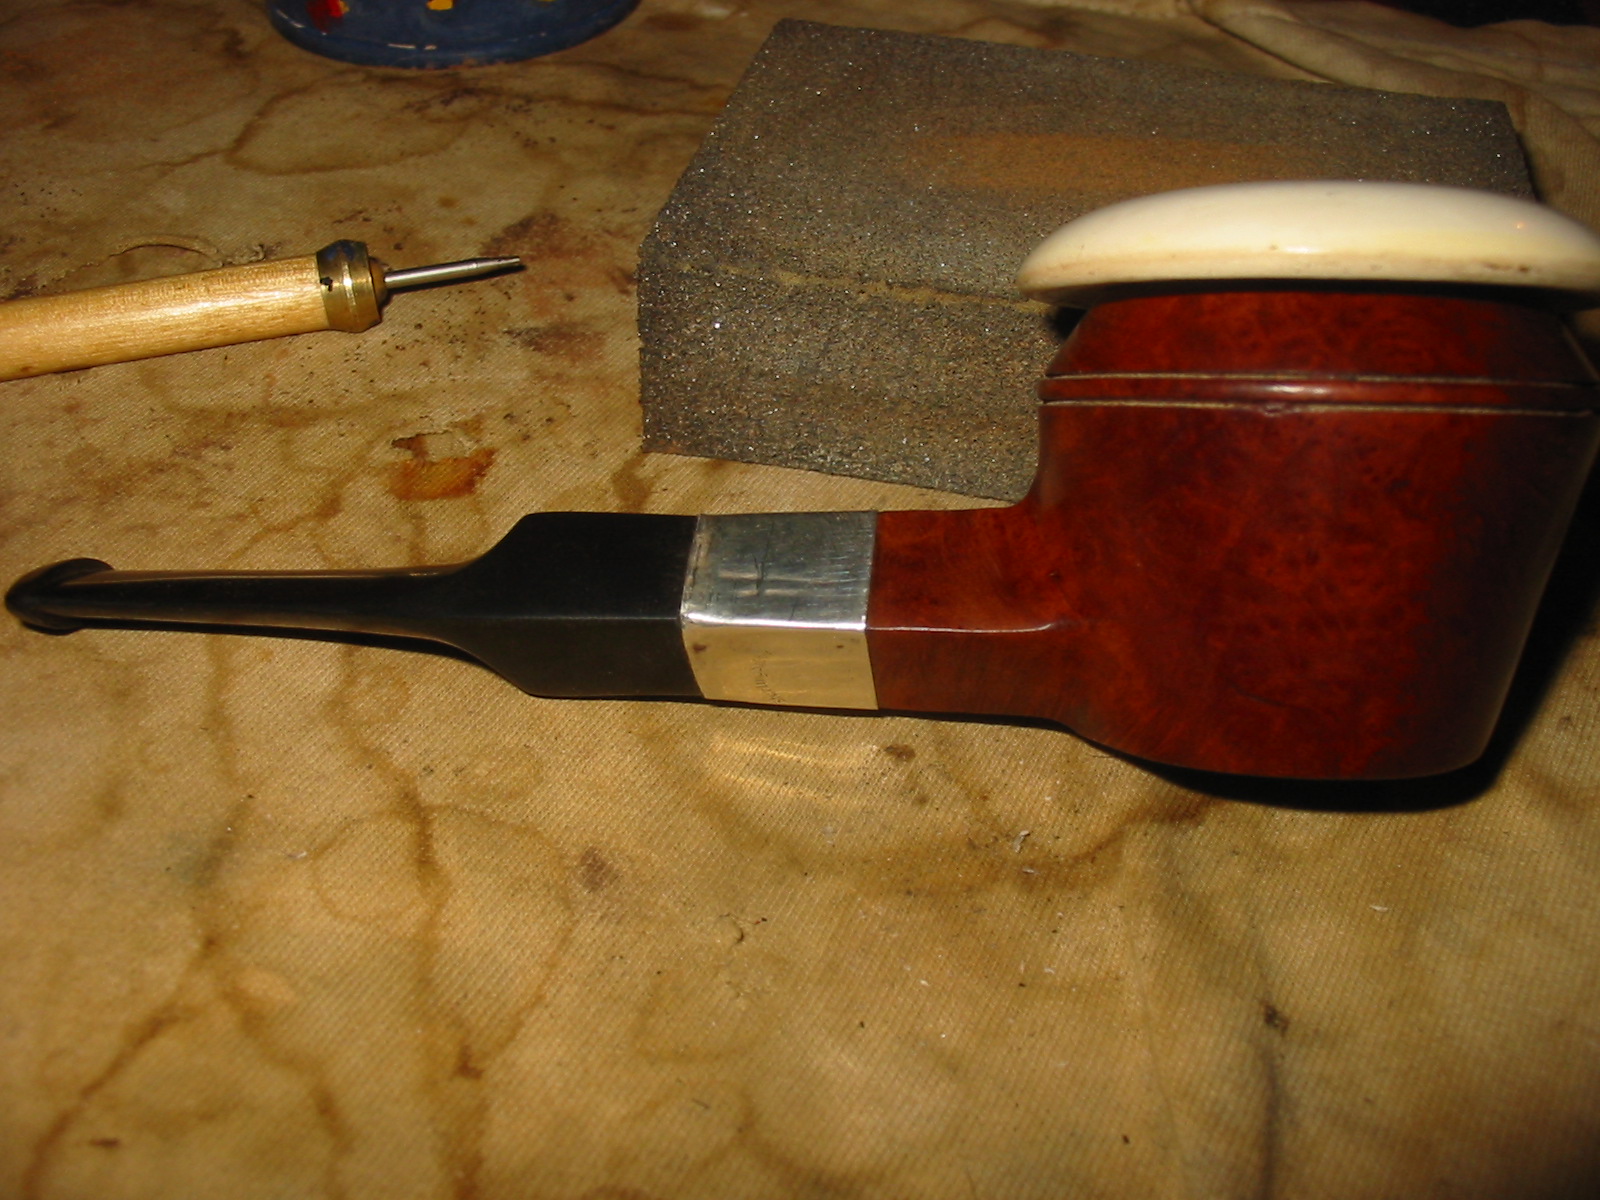
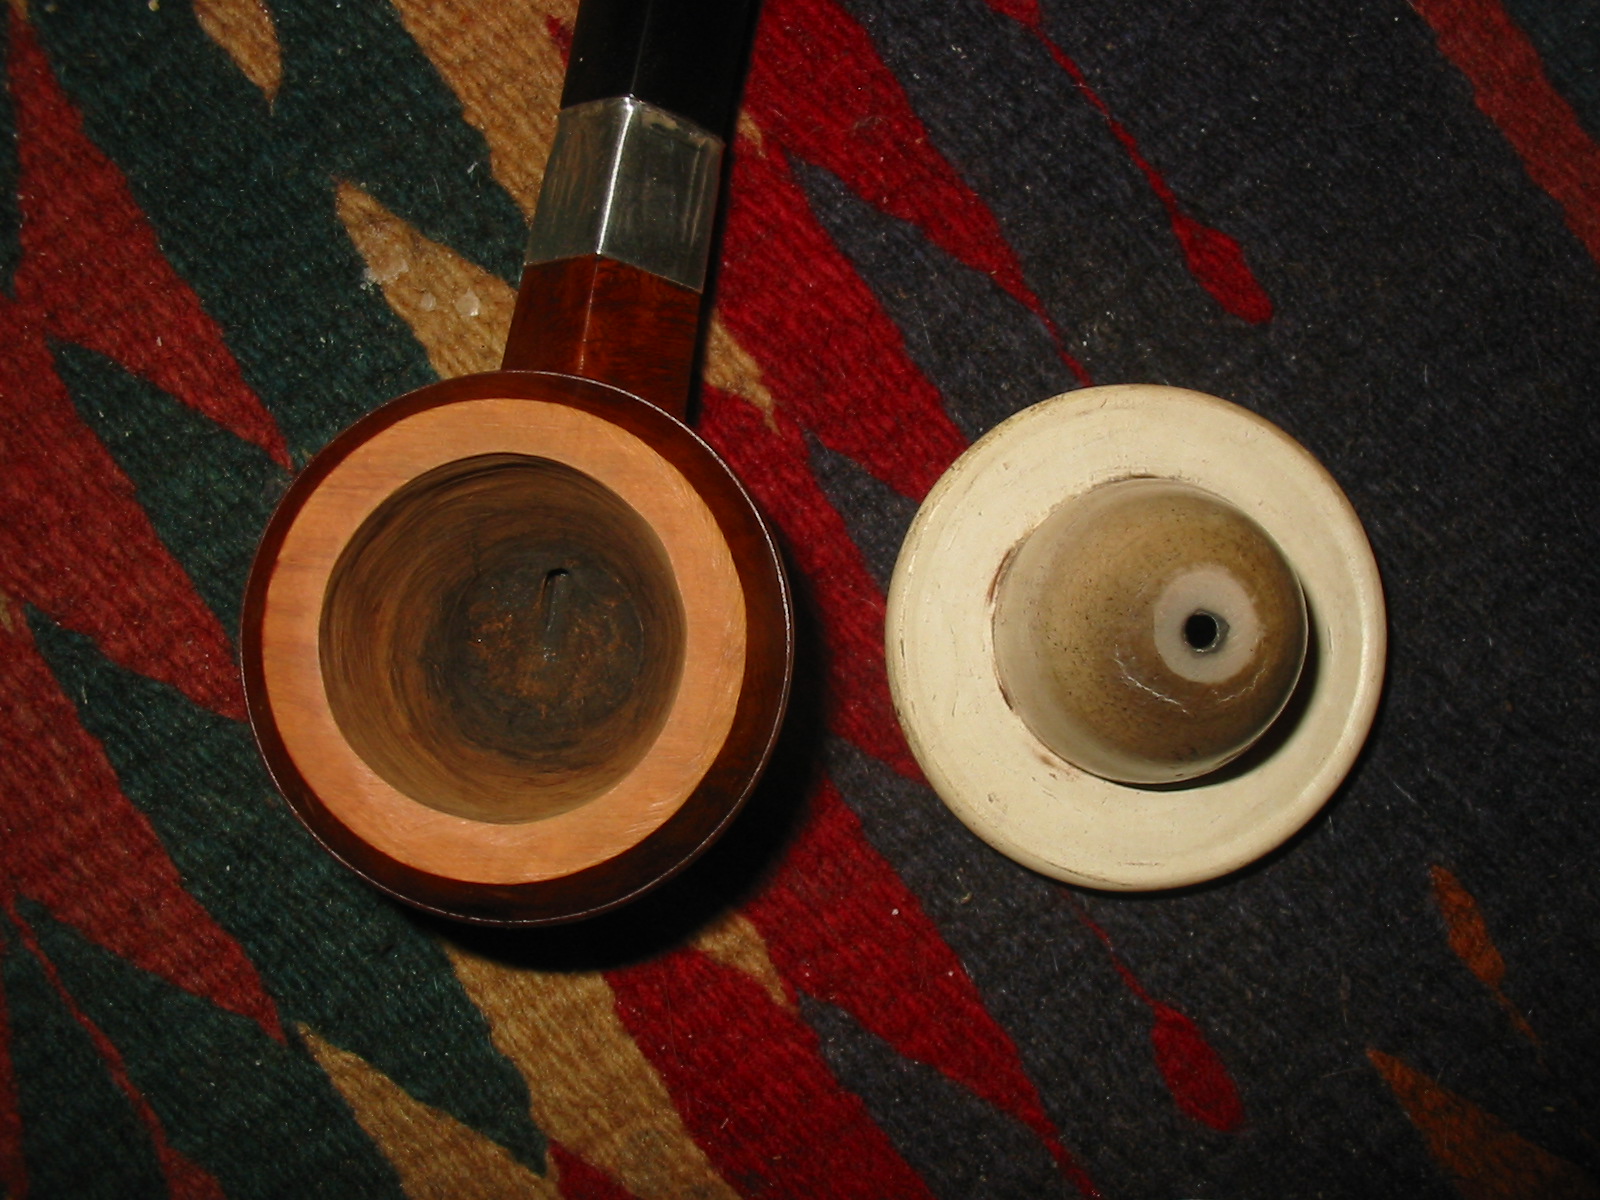
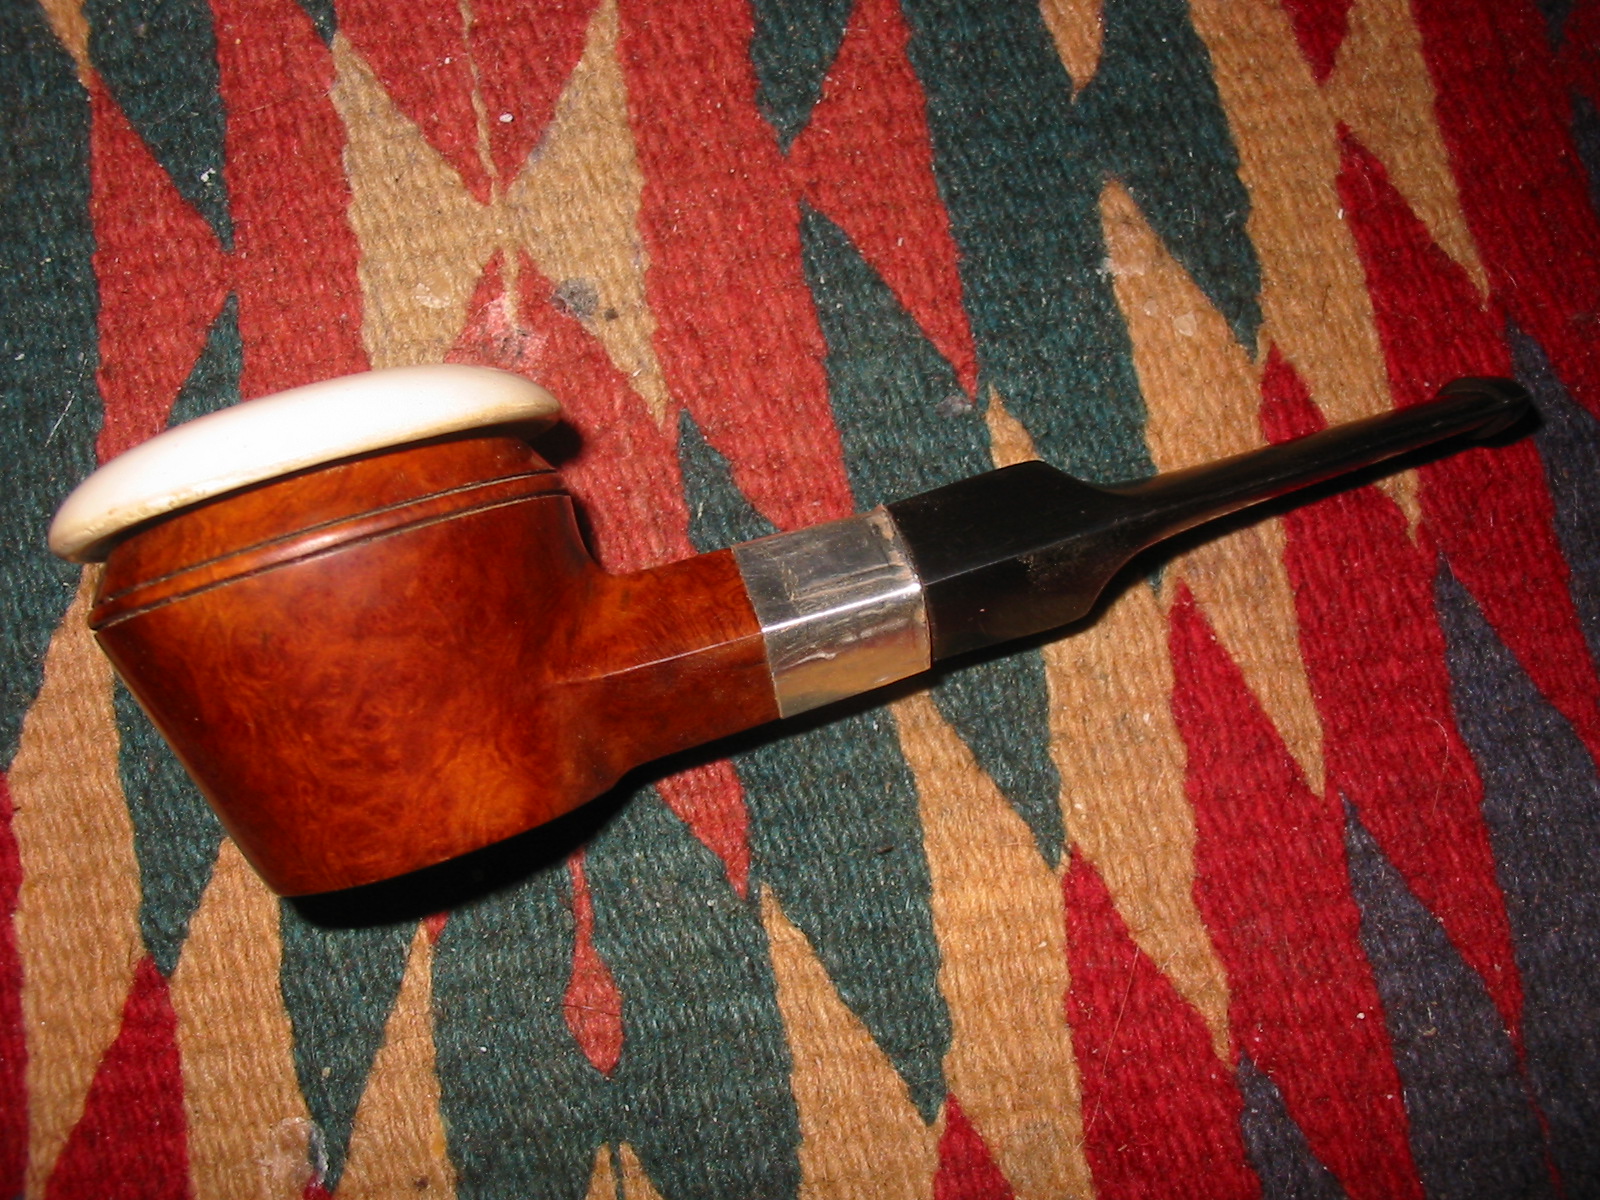
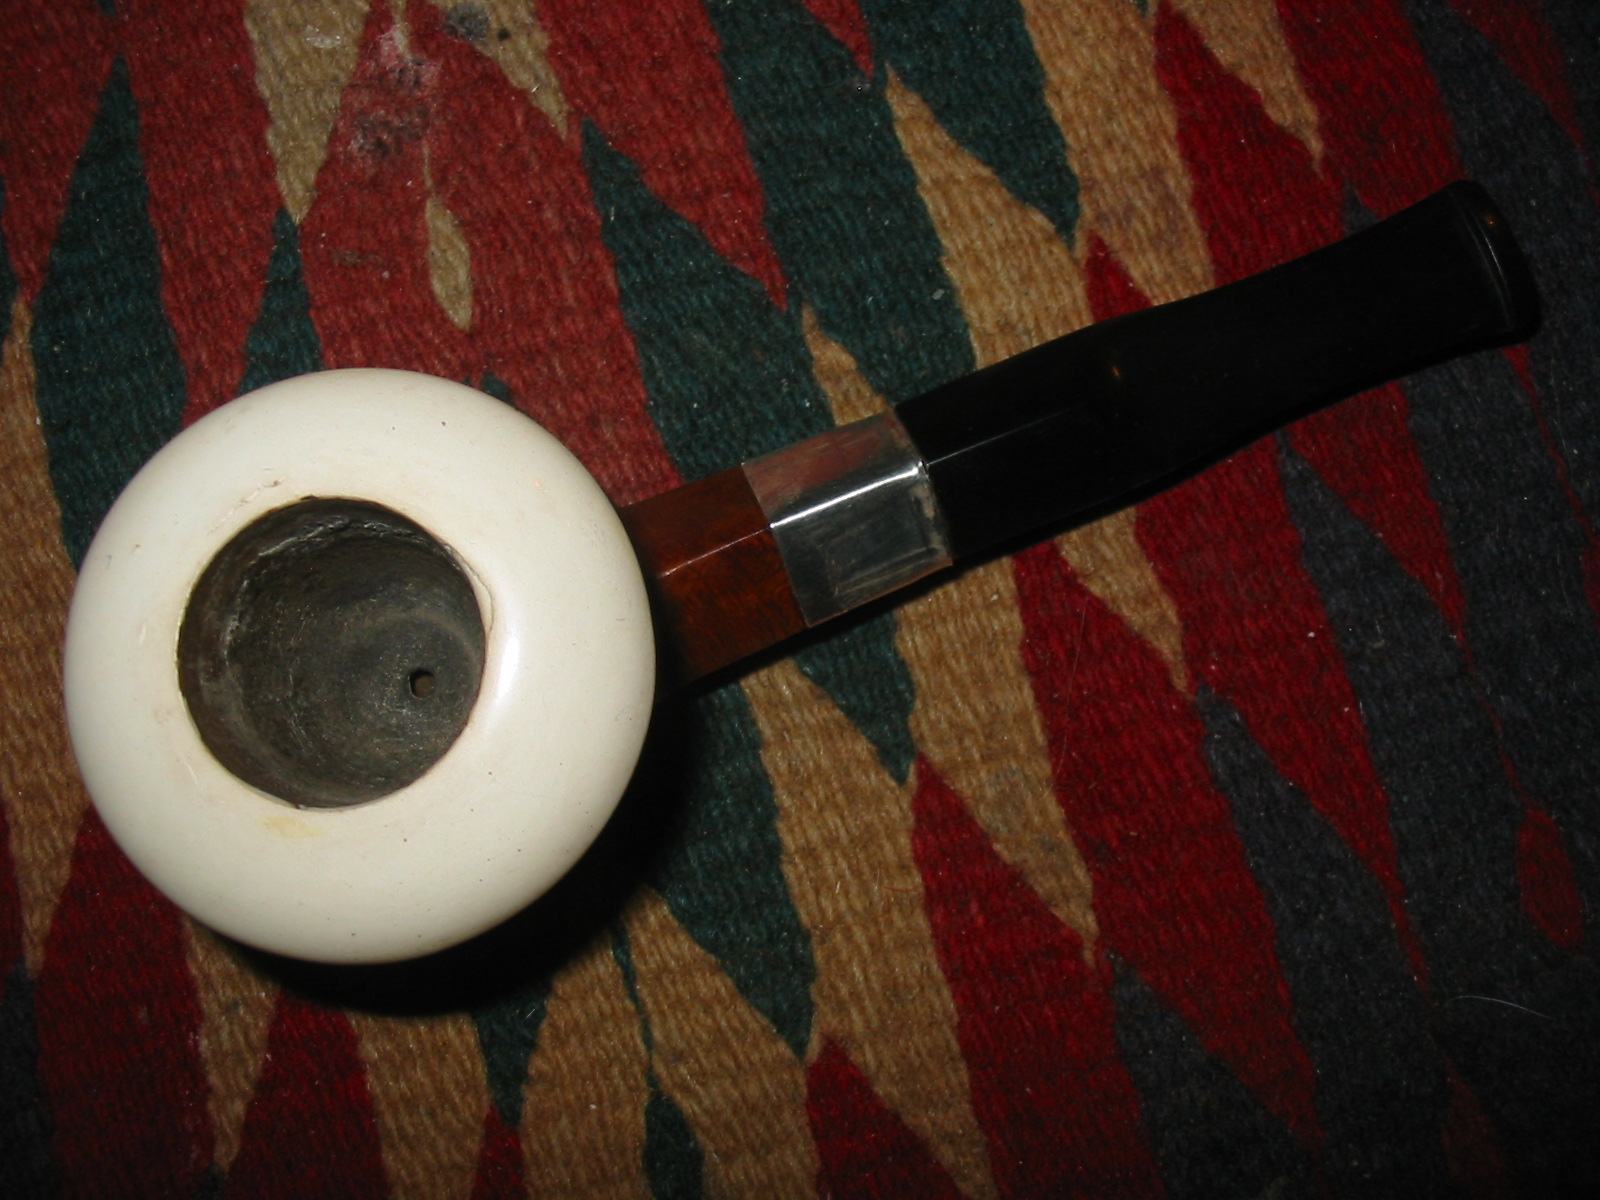
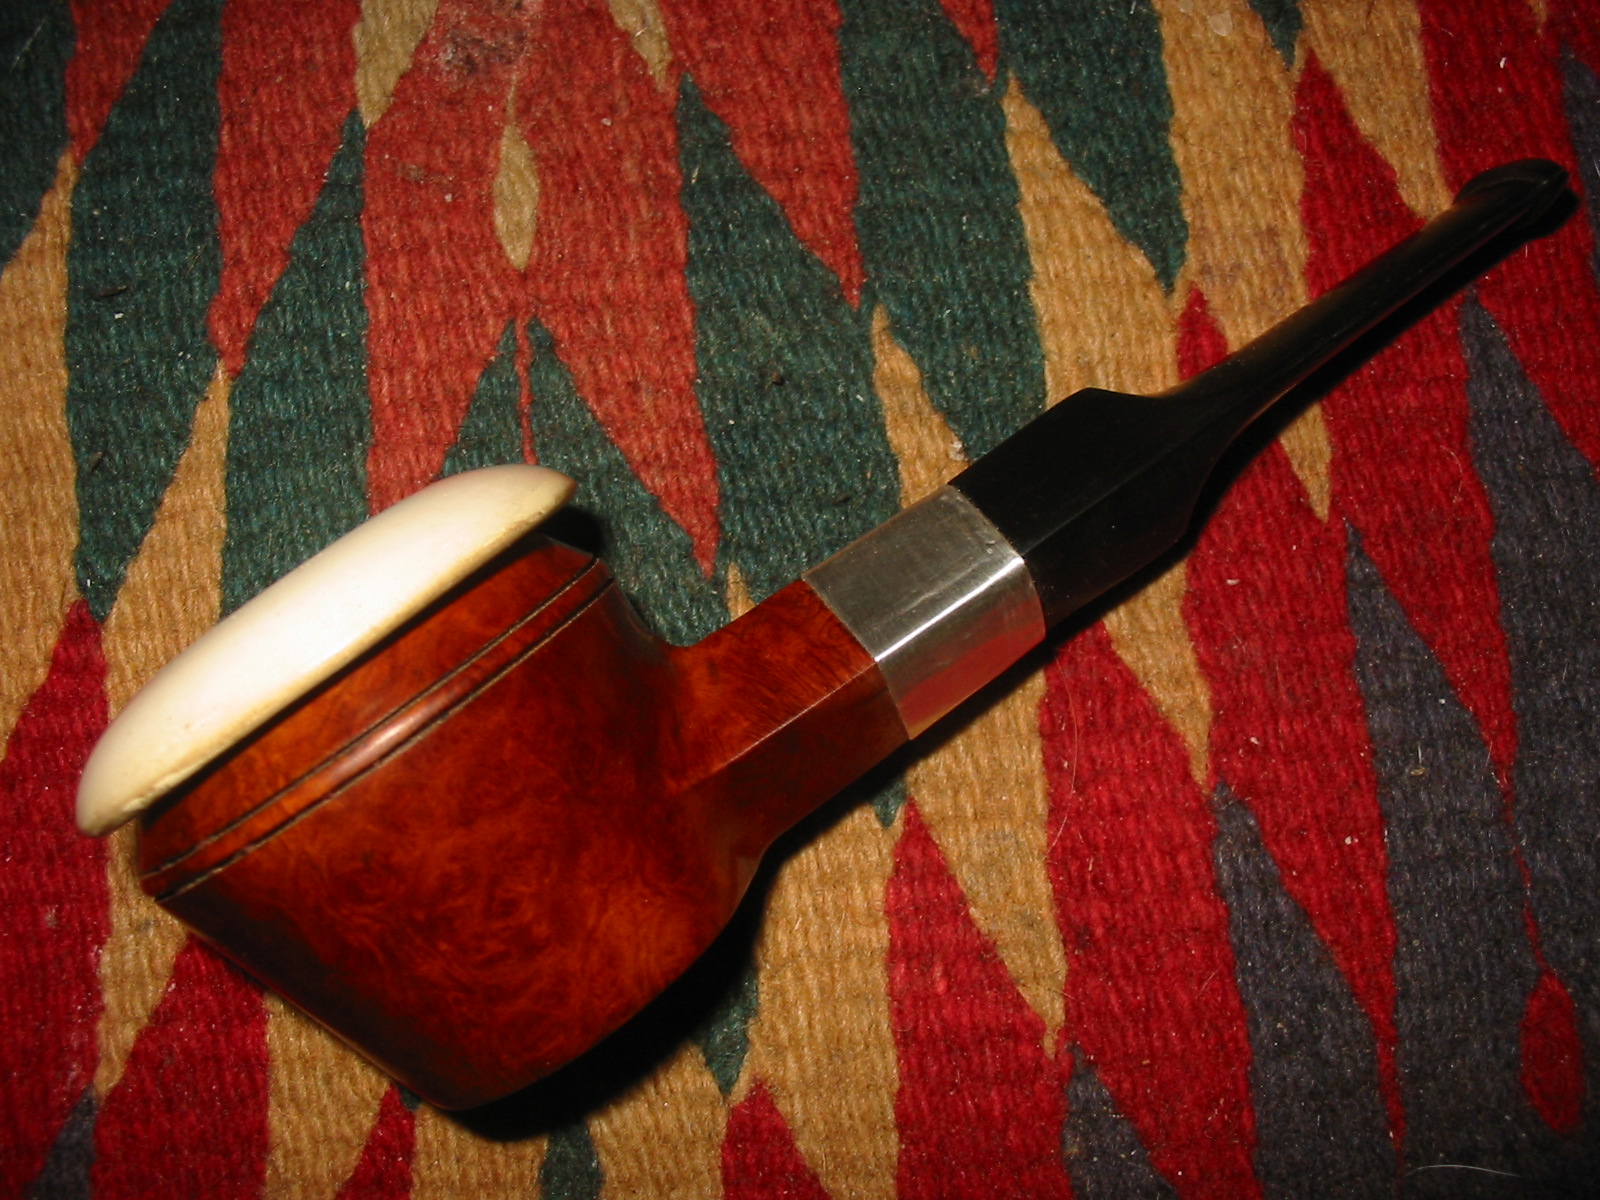
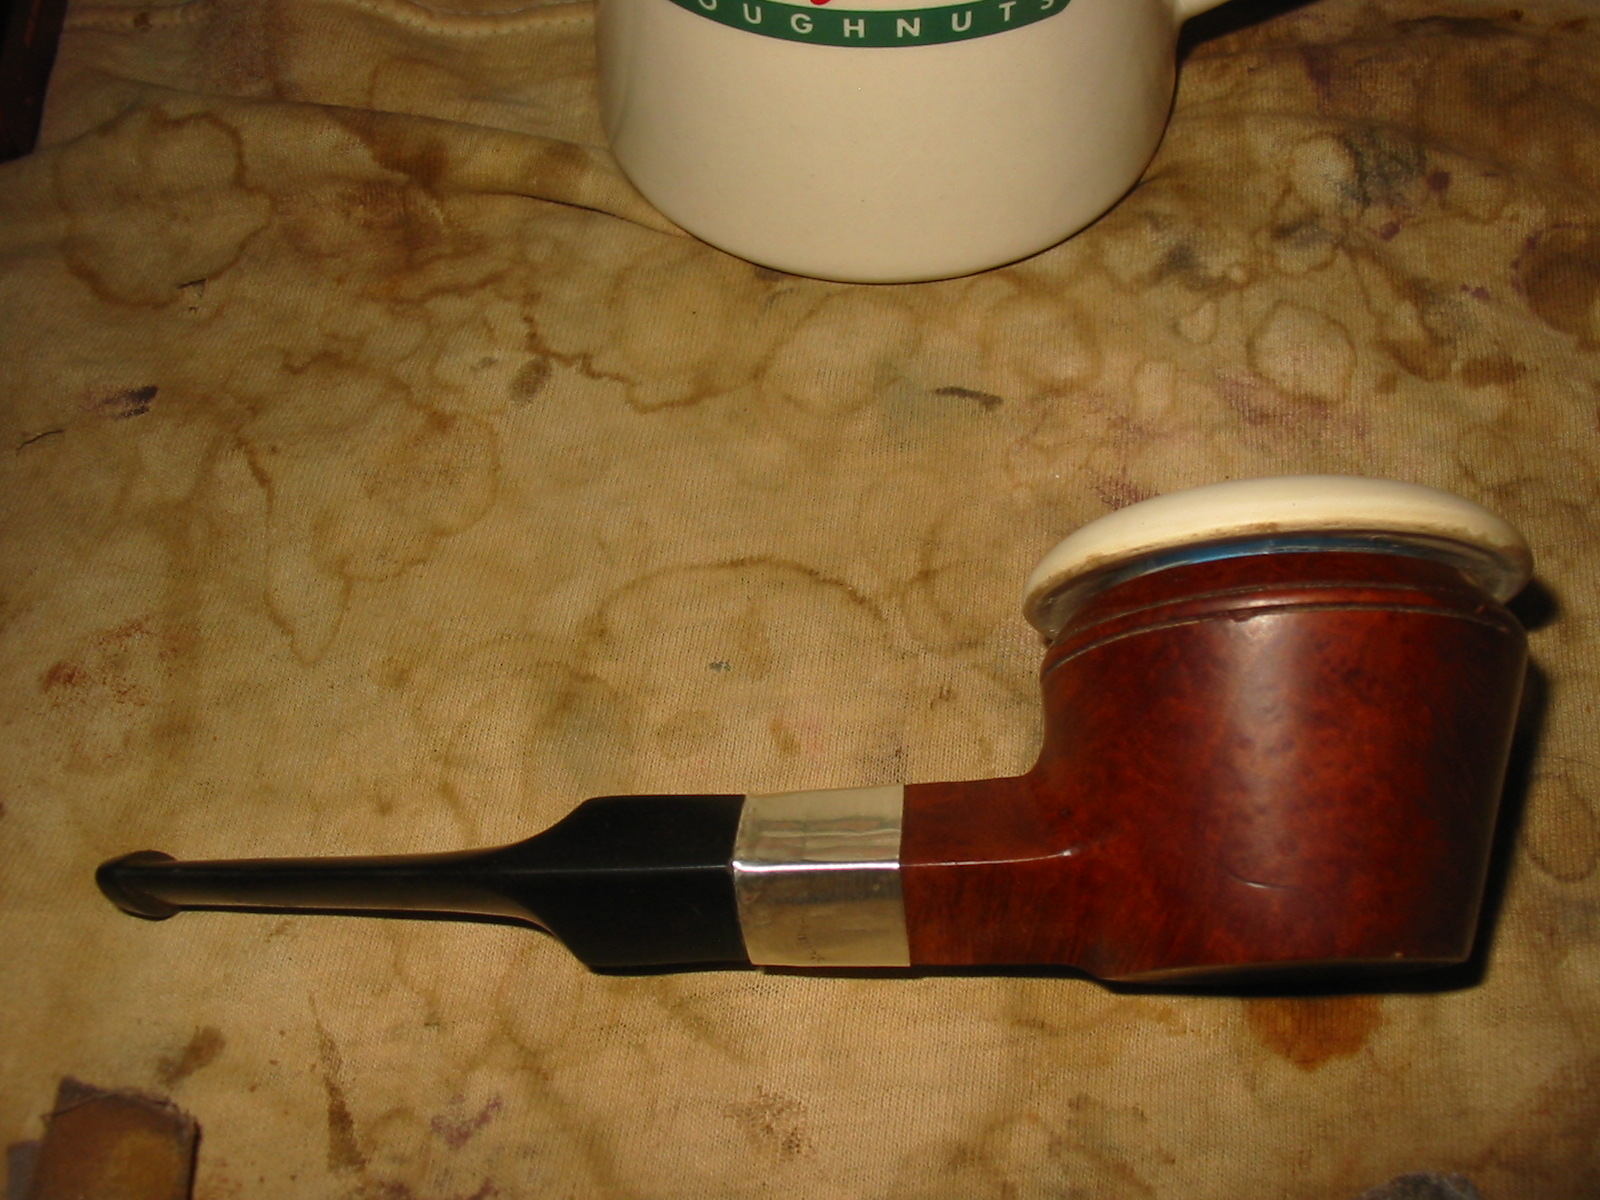
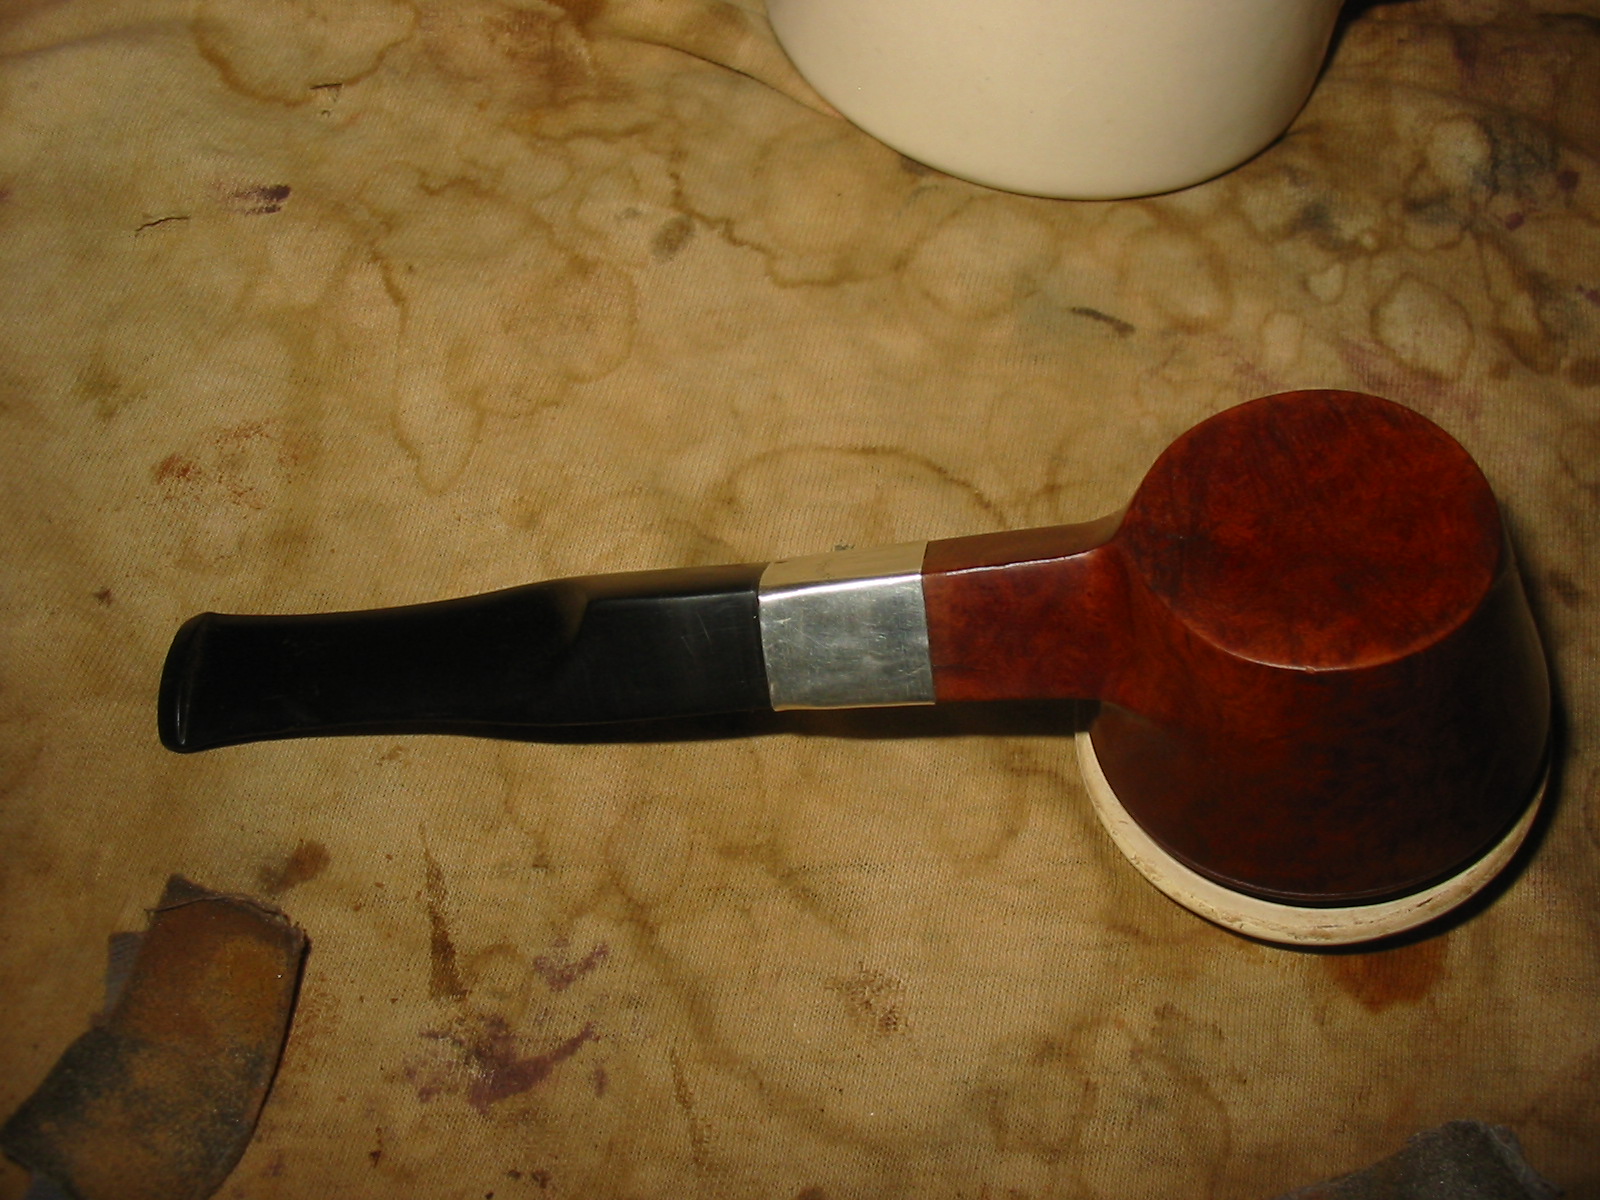
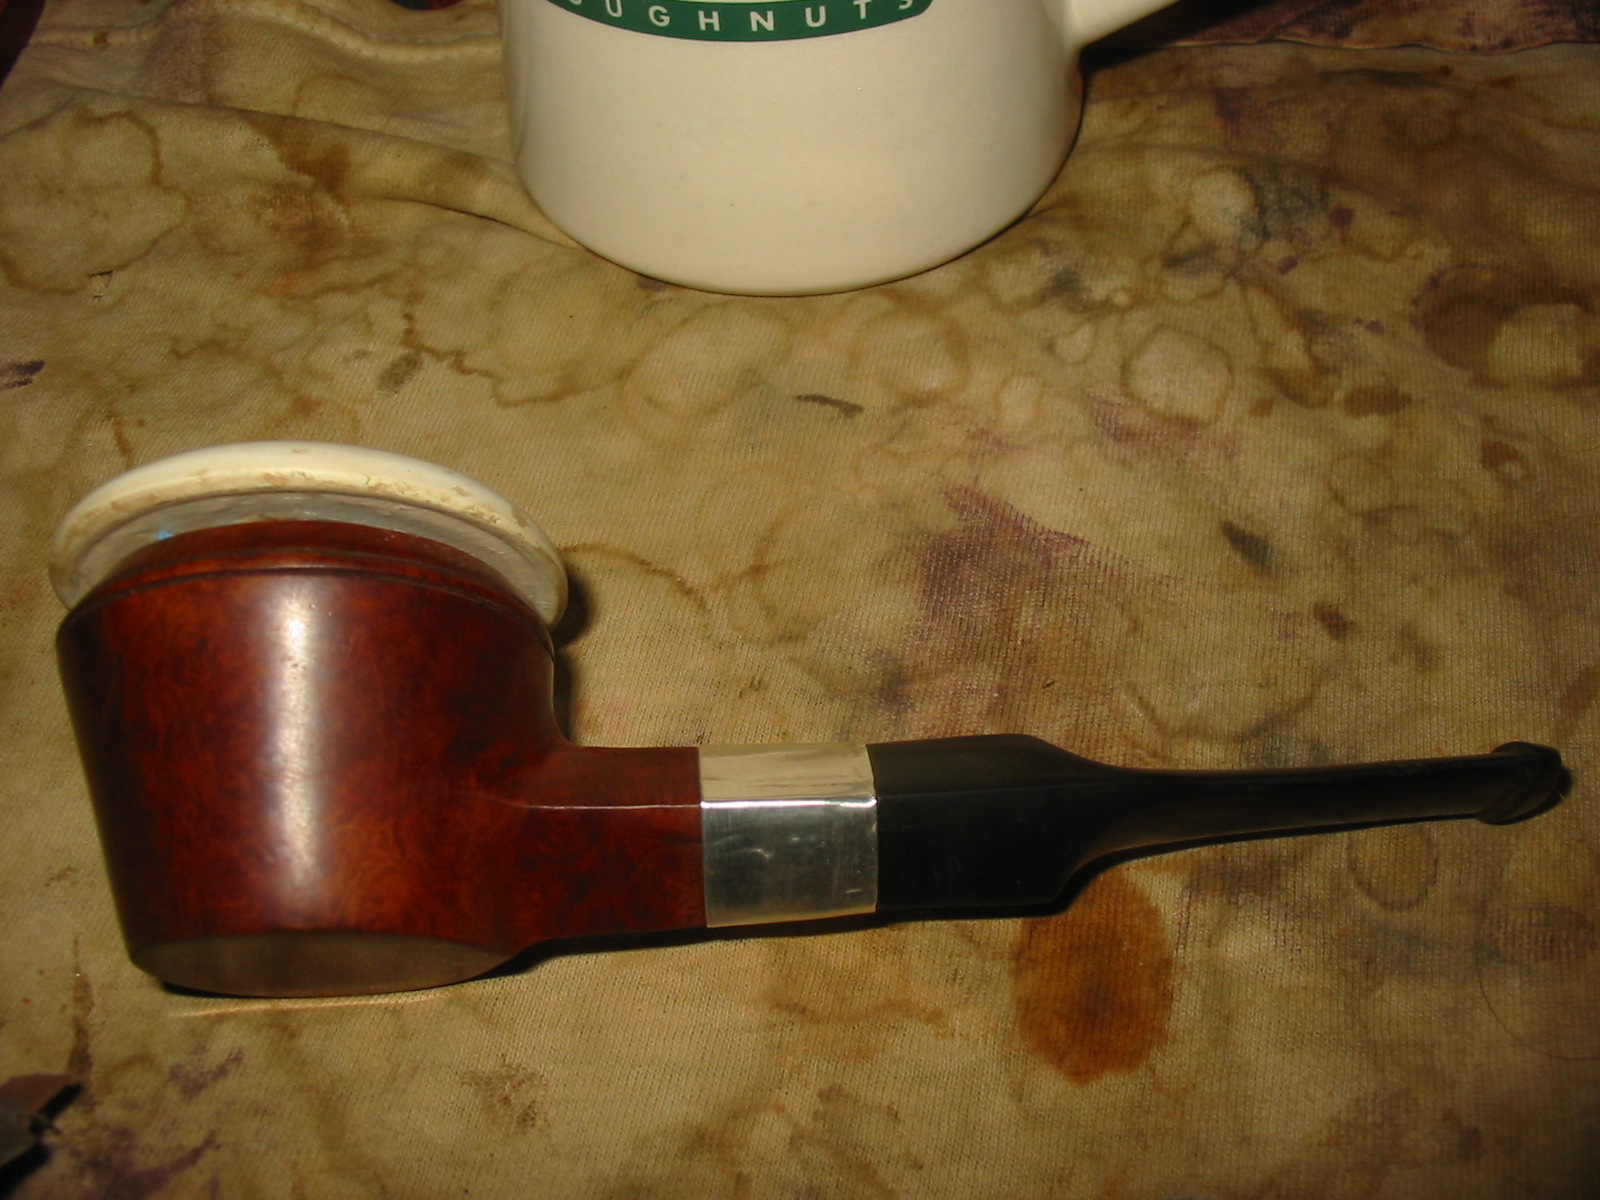
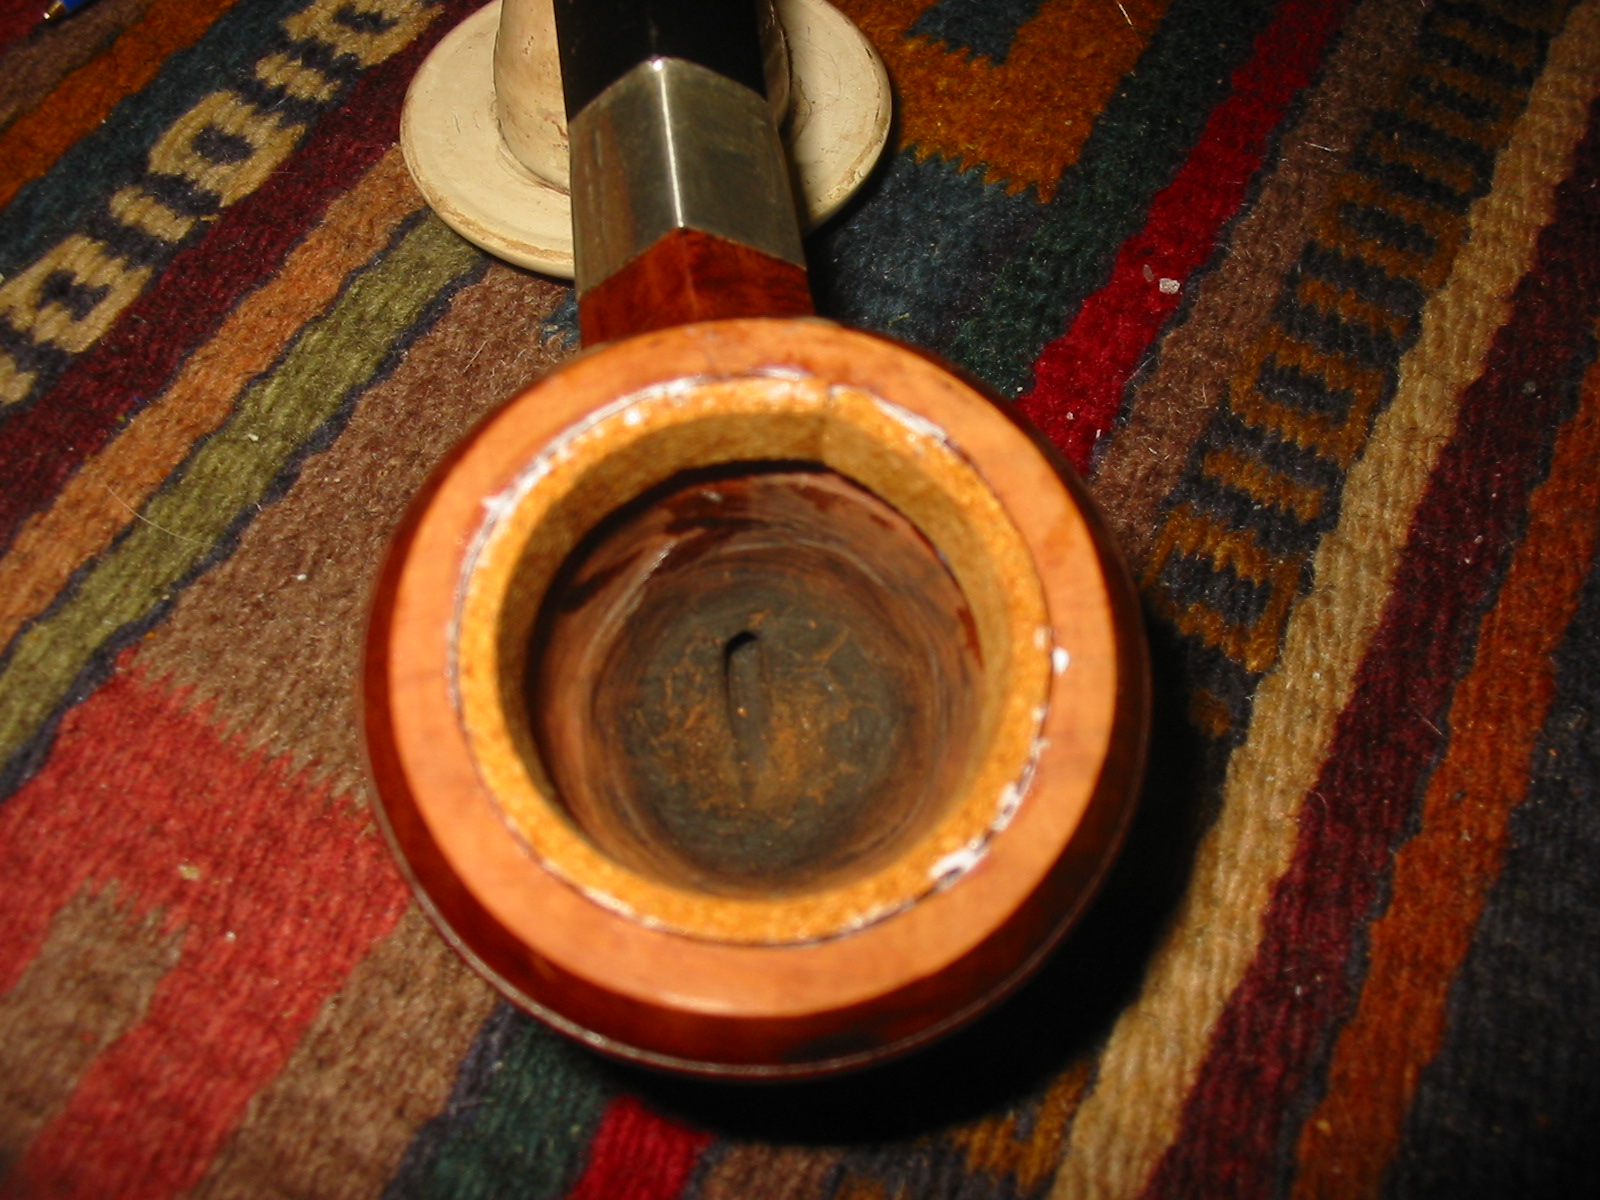
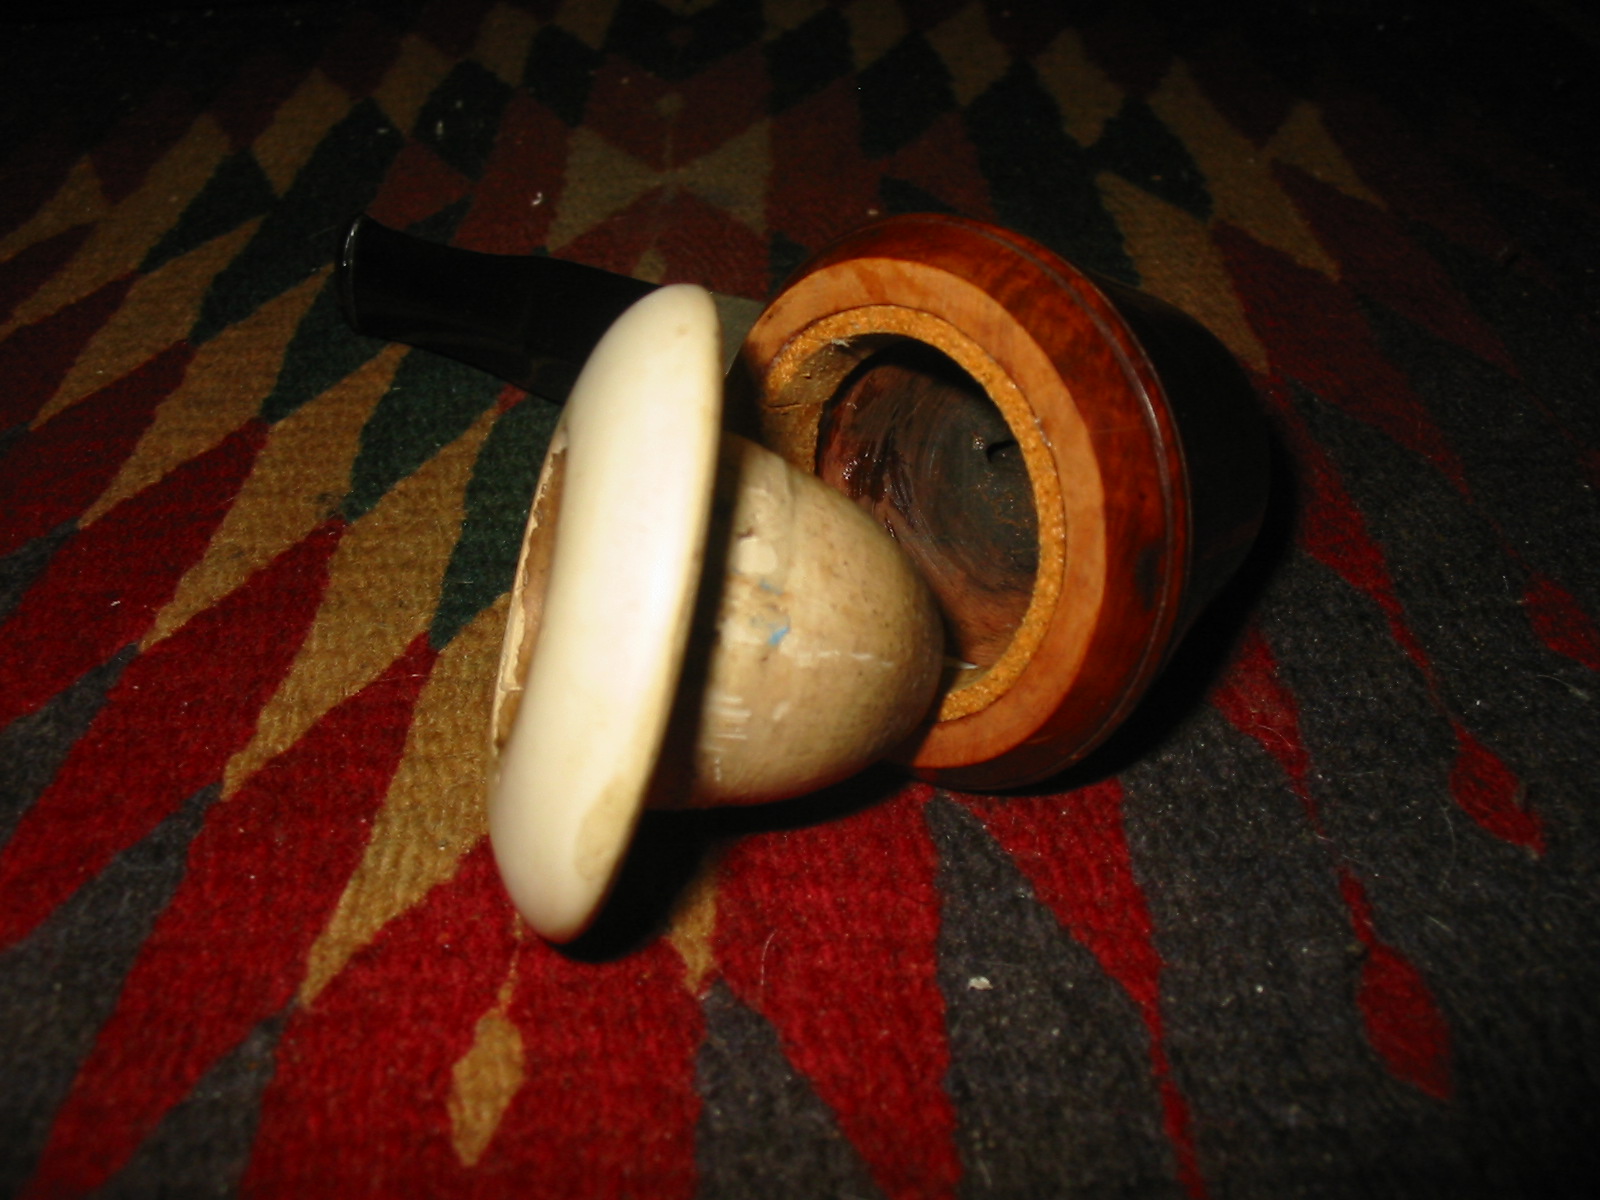
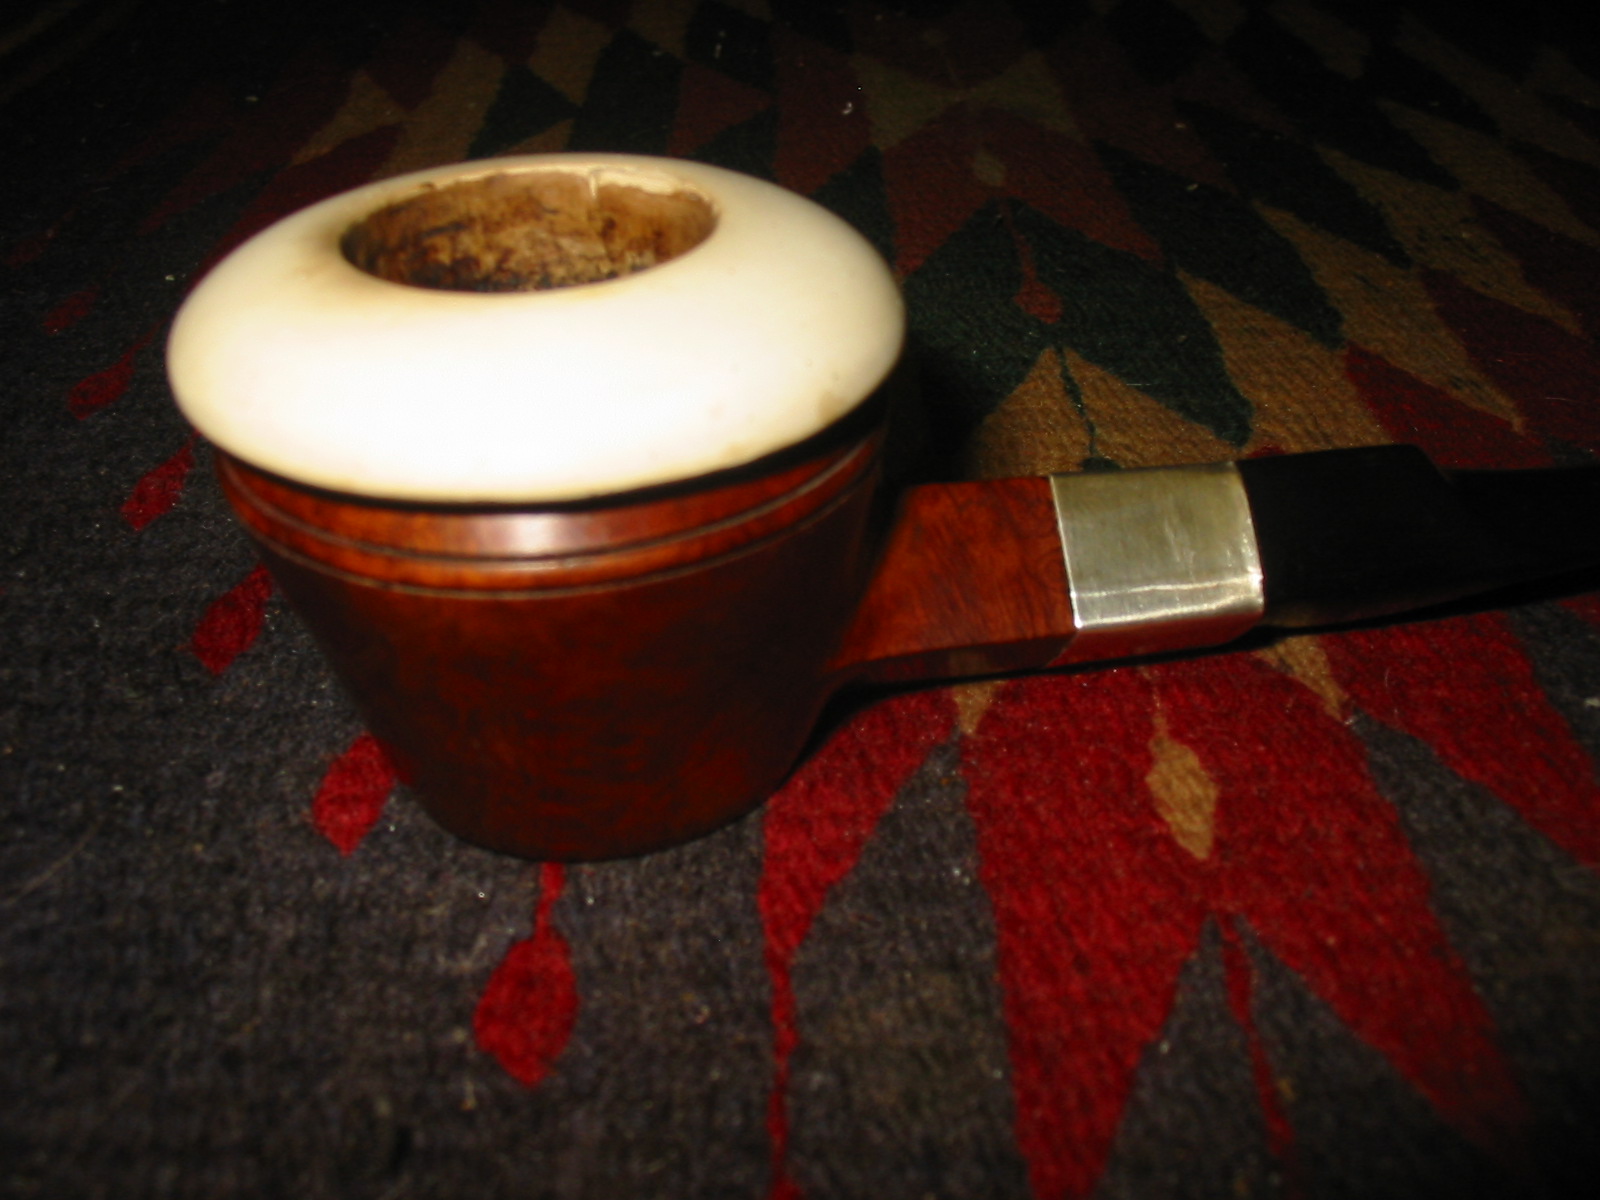
The first two photos show the meerschaum cup when I received it and after I had finished cleaning and polishing it. The third and fourth photos show the briar pipe that I chose to be the calabash for this cup. For the fourth photo I placed the cup on top of the bowl to give an idea of what I was aiming for.

IMG_0501

IMG_0584

IMG_0825

IMG_0826

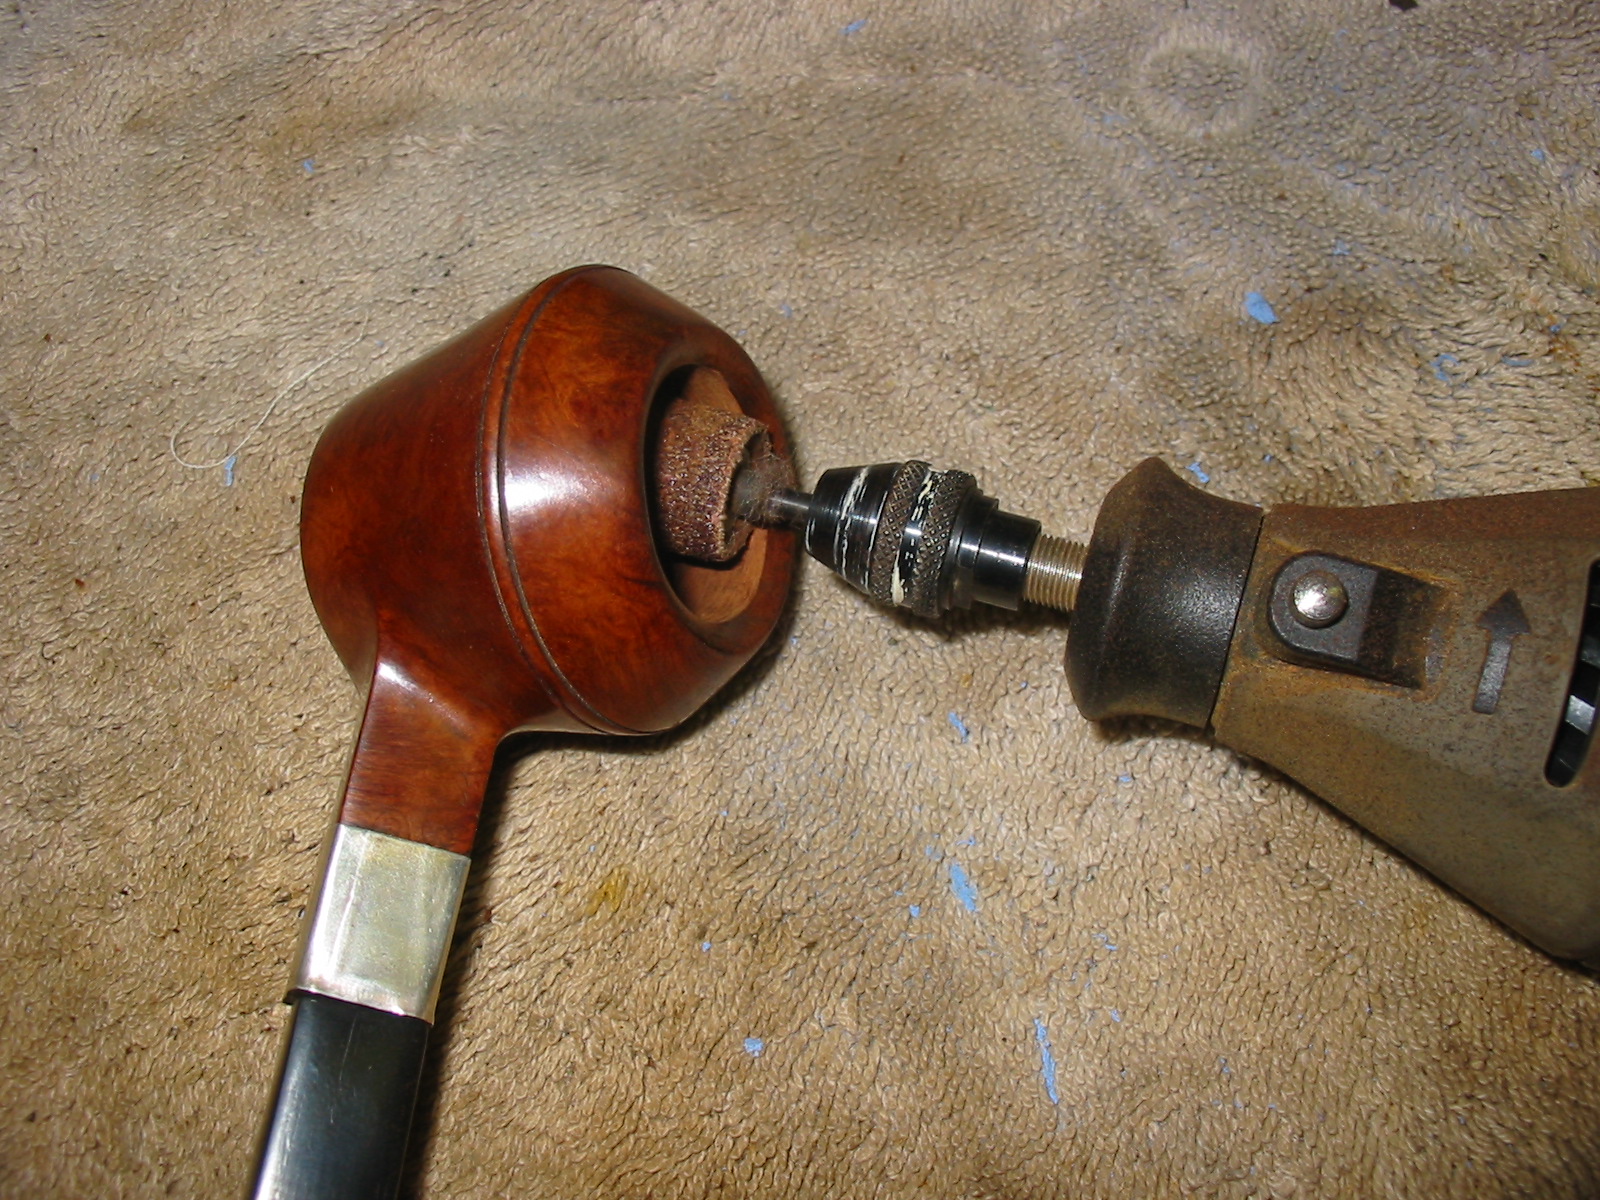
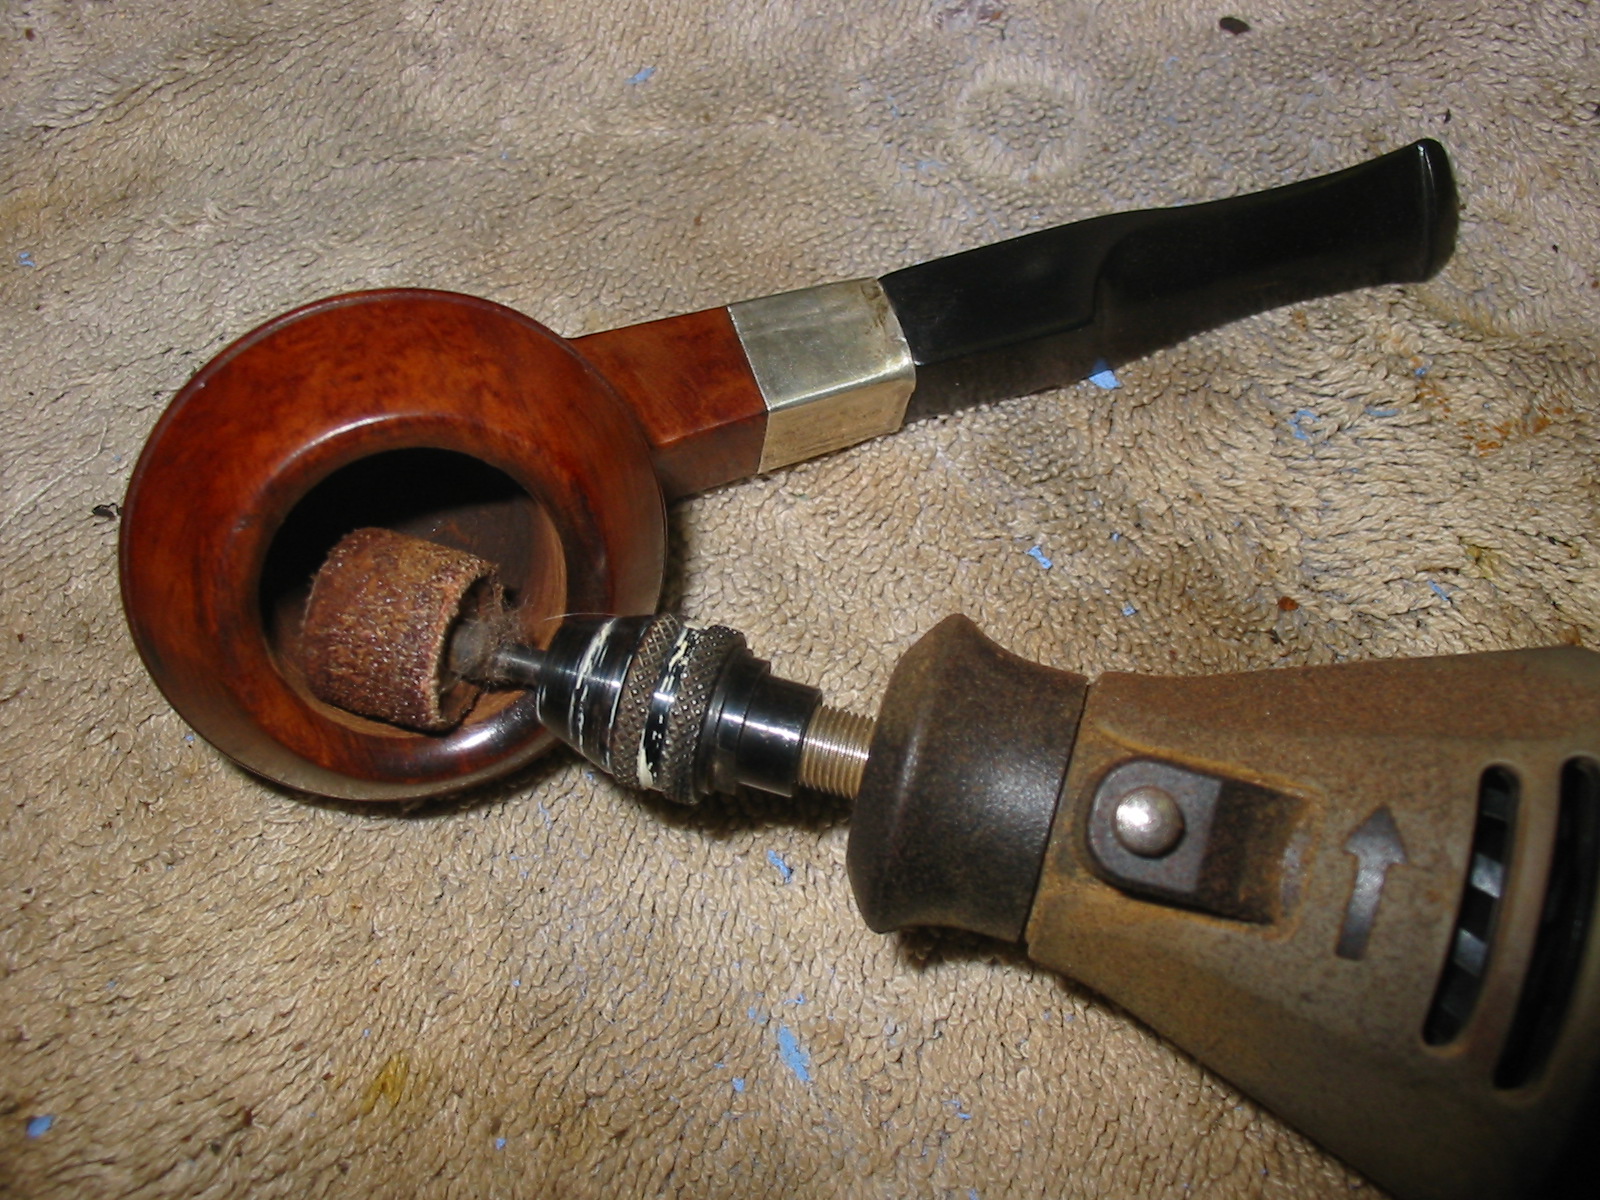
I used the Dremel with a sanding drum on it to open the bowl of the briar. I had to open the bowl quite a bit in order for the meer cup to fit in the bowl. I also had to top the bowl considerably to allow the bowl to sit properly. I sanded the inside of the bowl until the cup fit snuggly. I also had to reshape the bowl in order for a proper seat for the cup. Once I had the bowl opening fit to size with the Dremel I sanded it with 340 grit sandpaper to smooth out the inside walls of the bowl. I had sanded carefully with the sanding drum to maintain the roundness of the bowl. I did not want the cup to sit to one side or toward the front or back. I wanted it centered in the bowl. This took some careful and slow sanding with the sanding drum.

IMG_0827

IMG_0828

IMG_0829

IMG_0830

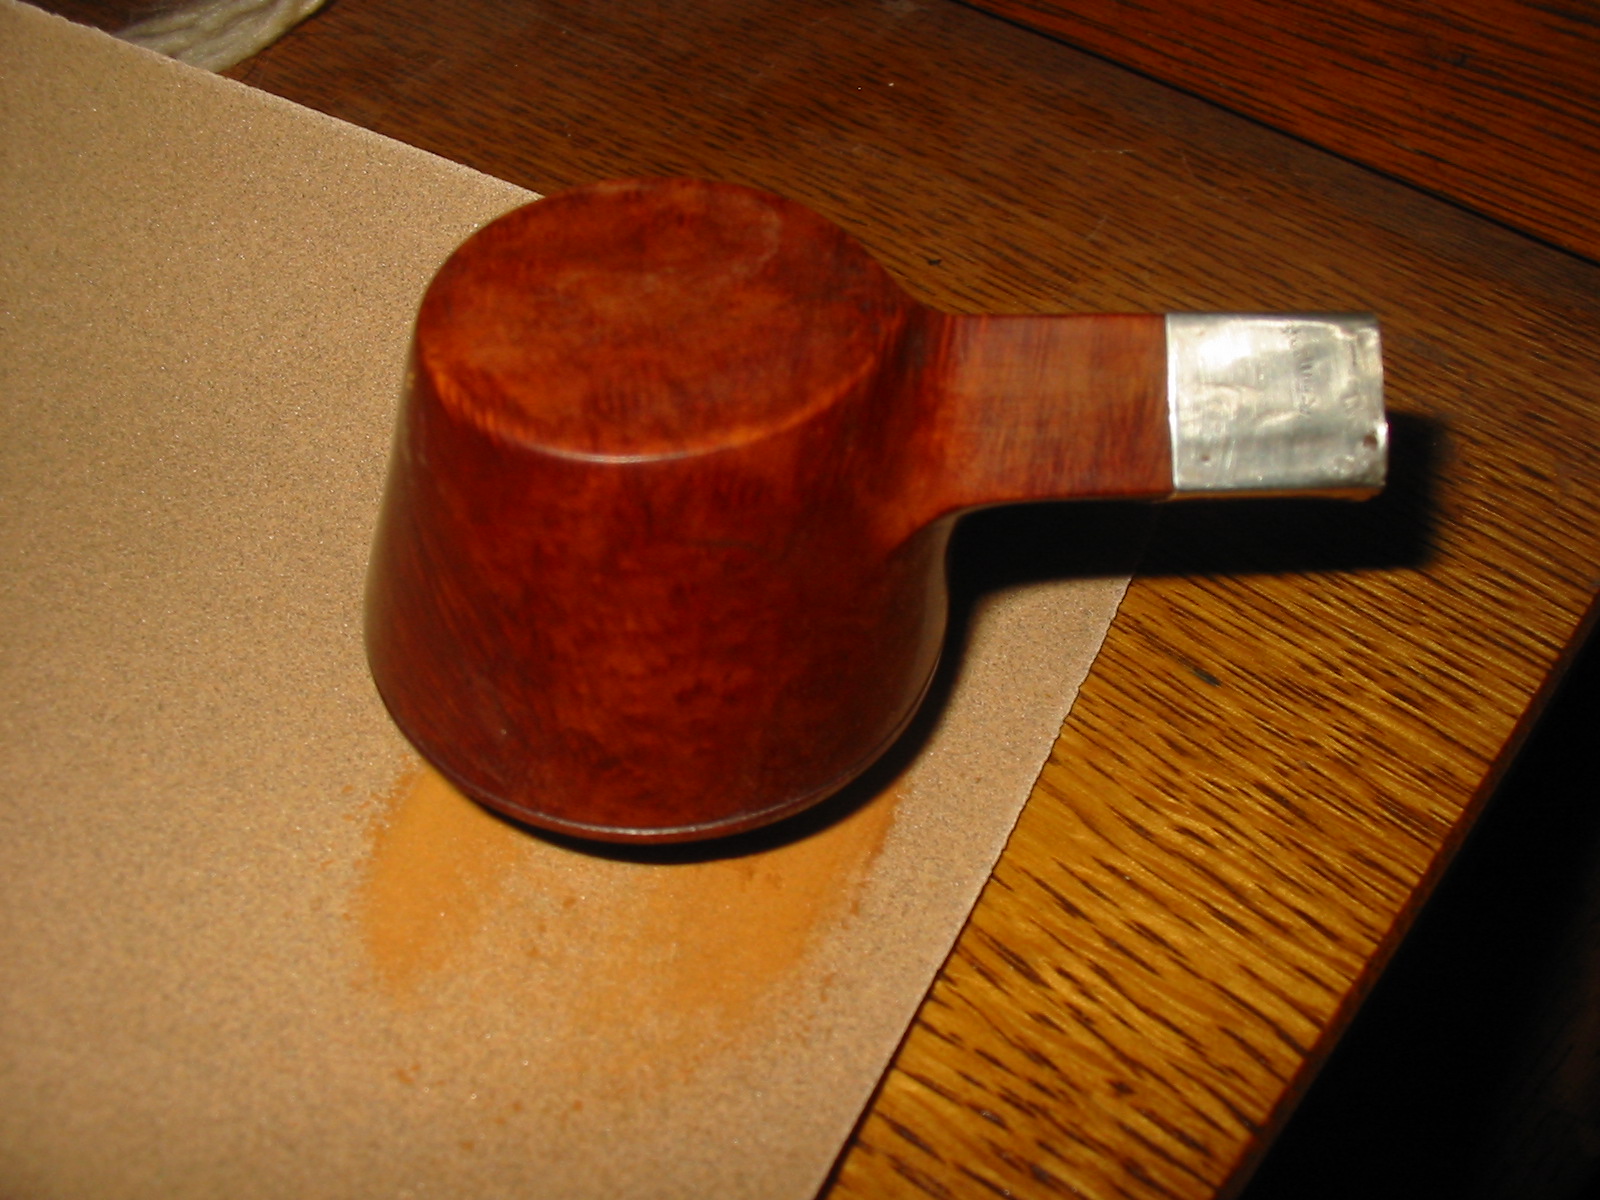
I sanded the bottom of the cup to flatten it rather than leave it in a point. This would also buy me some depth in the bowl and allow me to shorten the height of the bowl. I used the sanding drum to remove ¼ inch of the height of the bowl. I proceeded slowly to keep the top as flat as possible. Once I had removed the amount I wanted I topped it on with my normal topping procedure – sandpaper anchored on a flat board. I used the Dremel to remove a bit more of the height and then topped it a second time.

IMG_0831

IMG_0832

IMG_0833

IMG_0834

IMG_0835

IMG_0836

With the topping I also had to open the bowl a bit wider. I used the Dremel to open the bowl and resanded the inside. I measured the height of the cup and the depth of the bowl and determined I could take it down until there was a ¼ inch of briar between the top ring and the rim. I sanded it to meet that measurement with the Dremel and then topped it again to even out the rim surface. I sanded it with a fine grit sanding sponge. The cup fit nicely in the bowl. The angled crown of the Rhodesian style top actually looks good with the flat edge of the bottom of the cup.

IMG_0837

IMG_0838

IMG_0839

I still had room at the bottom of the bowl so I took some more of the briar off of the top of the bowl to bring the flat bottom edge of the meer bowl closer to the rings on the briar. I used the Dremel to remove the briar and then topped it on the board. I also opened the bowl a bit more as each time I remove from the top of the briar I had to open the diameter of the bowl to accommodate the change. The next series of photos show the pipe as it stands at the moment.

IMG_0842

IMG_0843

IMG_0844

IMG_0845

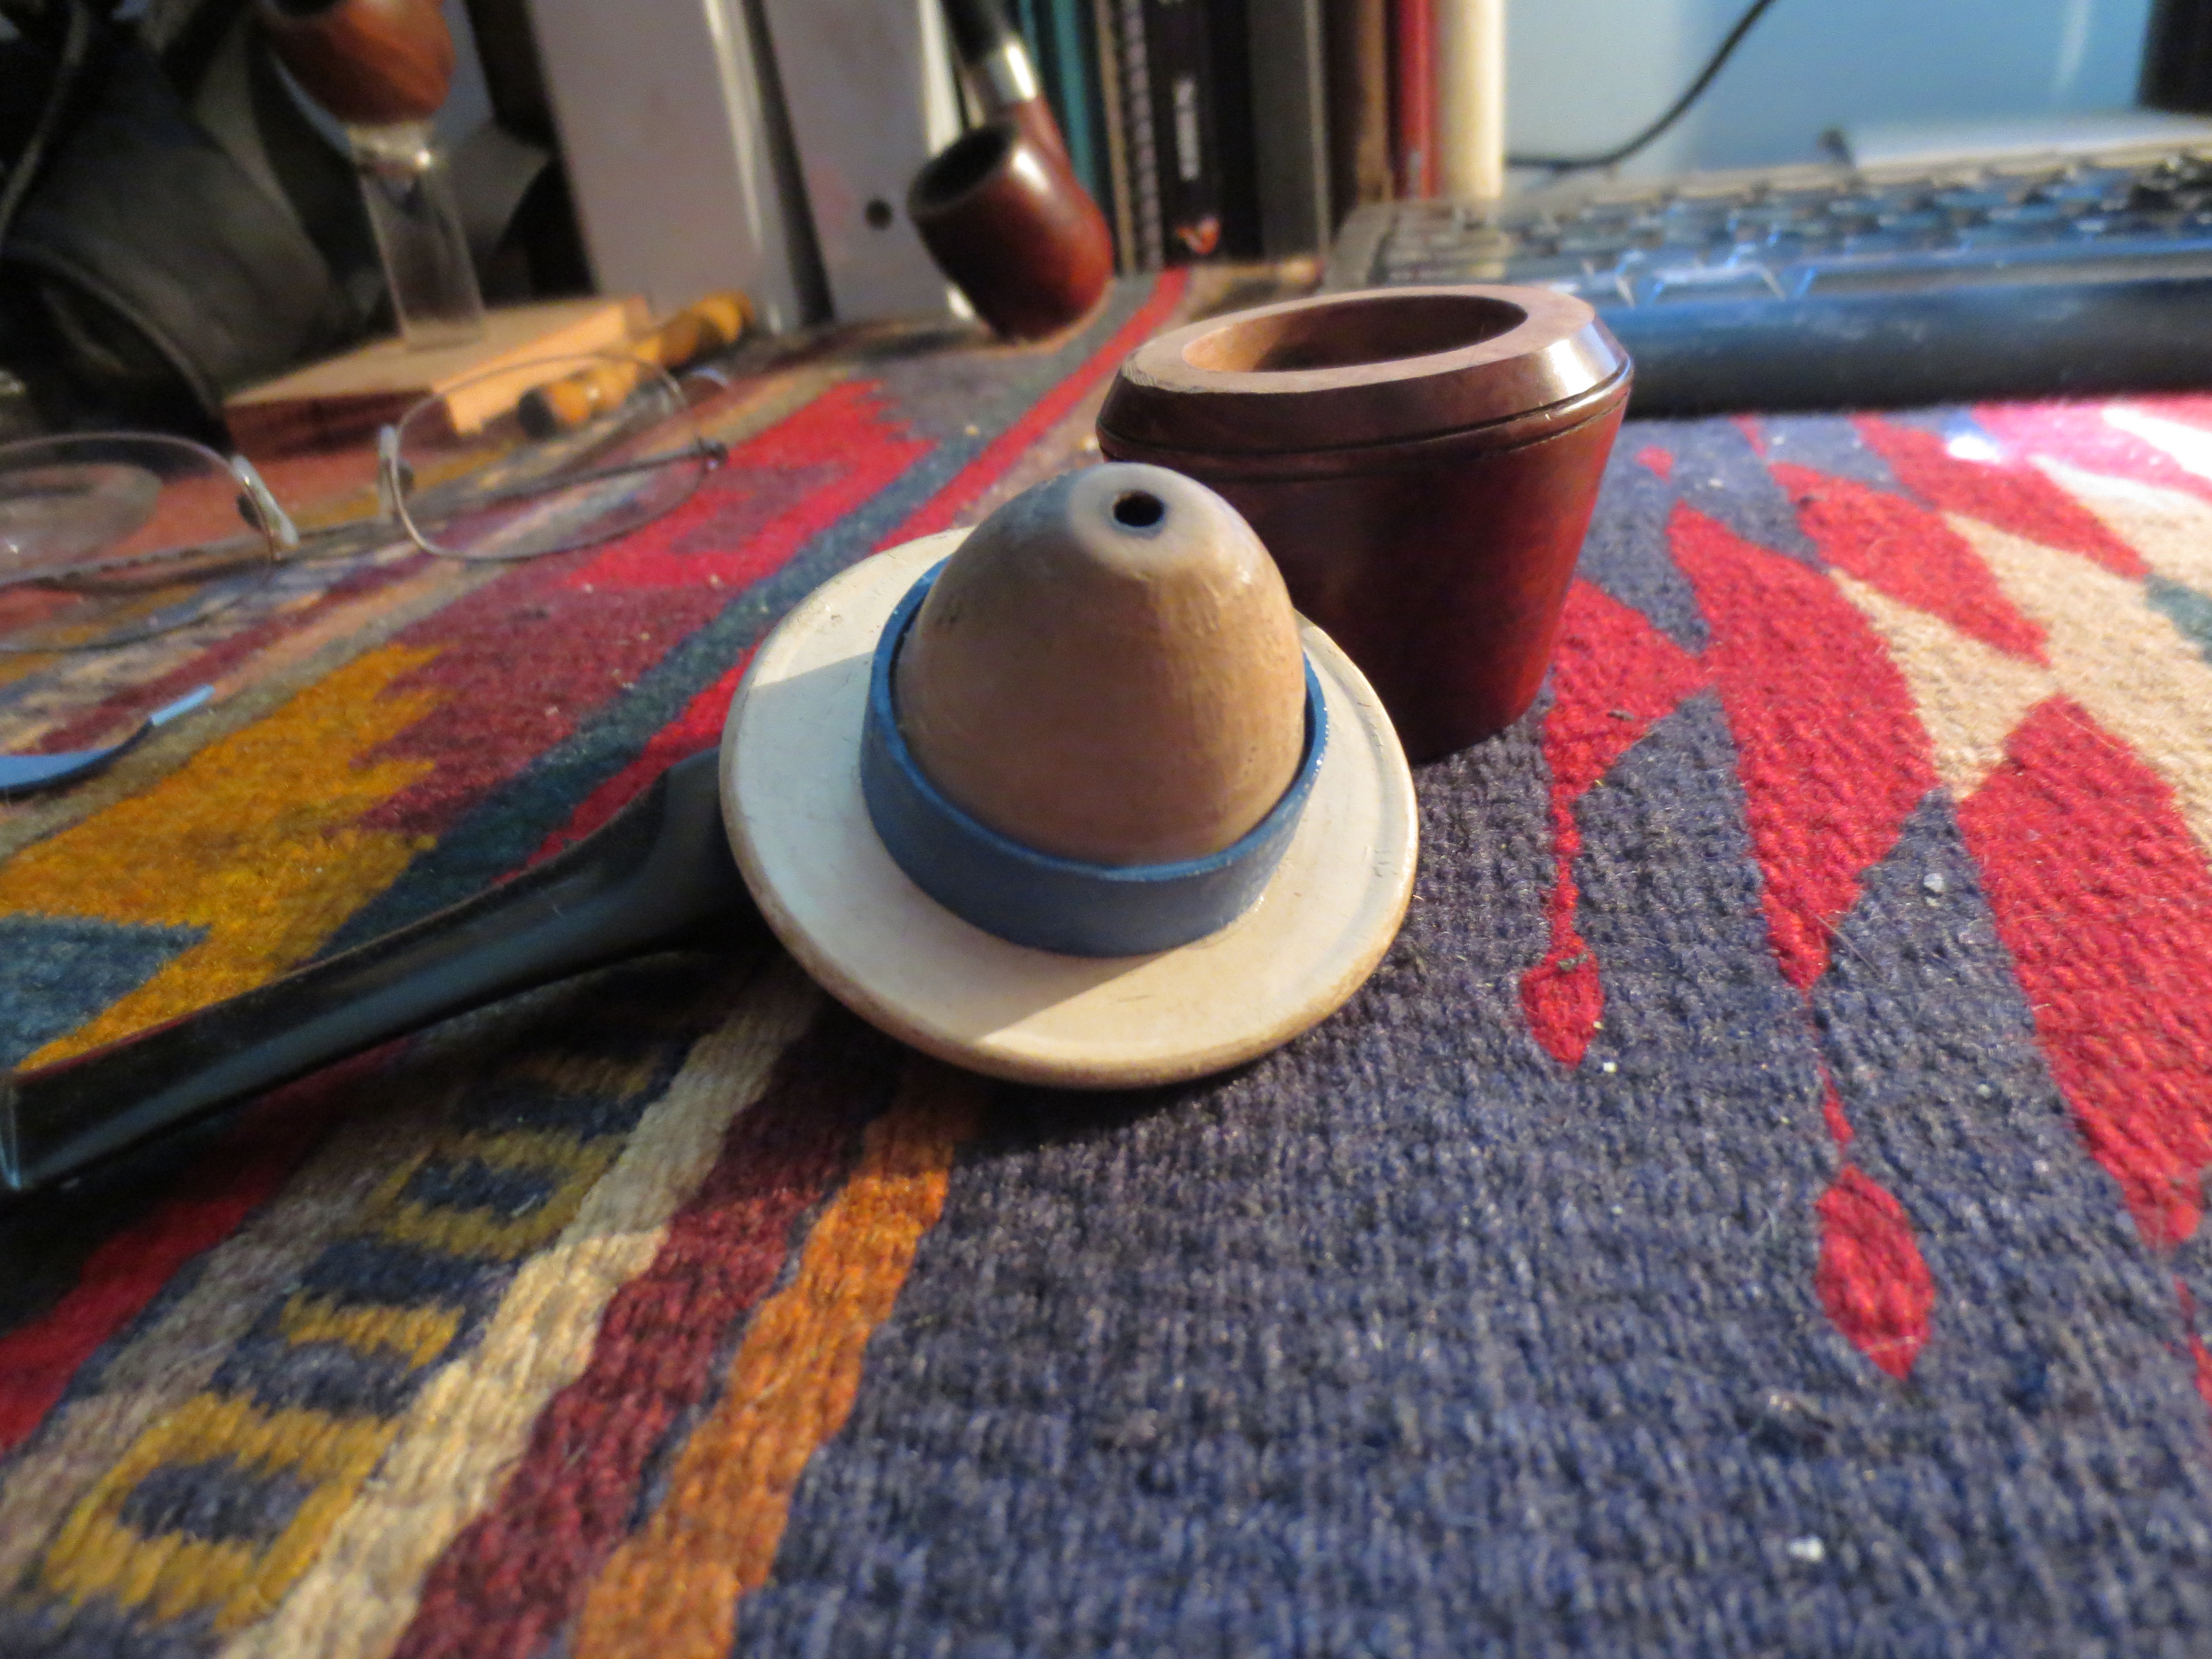
Once the bowl of the briar was clean and smooth I pressed the meerschaum cup into the briar. It was a perfect pressure fit. In talking with Sid via email, he suggested that I add rubber gasket between the meerschaum and the briar to separate the two materials. I removed it from the bowl and cut a rubber gasket from a piece of large/thick rubber band that I bought for the purpose. I glued it to the meerschaum bowl and set it aside to dry.

IMG_1235

IMG_1236

I measured the new diameter of the meerschaum bowl with the gasket and used my Dremel with a sanding drum to sand the briar bowl to match that new diameter. I sanded with the Dremel, checked the fit, sanded some more and check until I had removed enough of the diameter of the briar to make a good snug fit.

IMG_1241

Once the bowl fit well, I took the pipe back to my work table and sanded the inside of the bowl to smooth out the ridges left by the sanding drum. I wiped down the inside of the bowl with Everclear to remove the sanding dust from and make sure the fit of the gasket against the briar was smooth and unimpaired.

IMG_0919

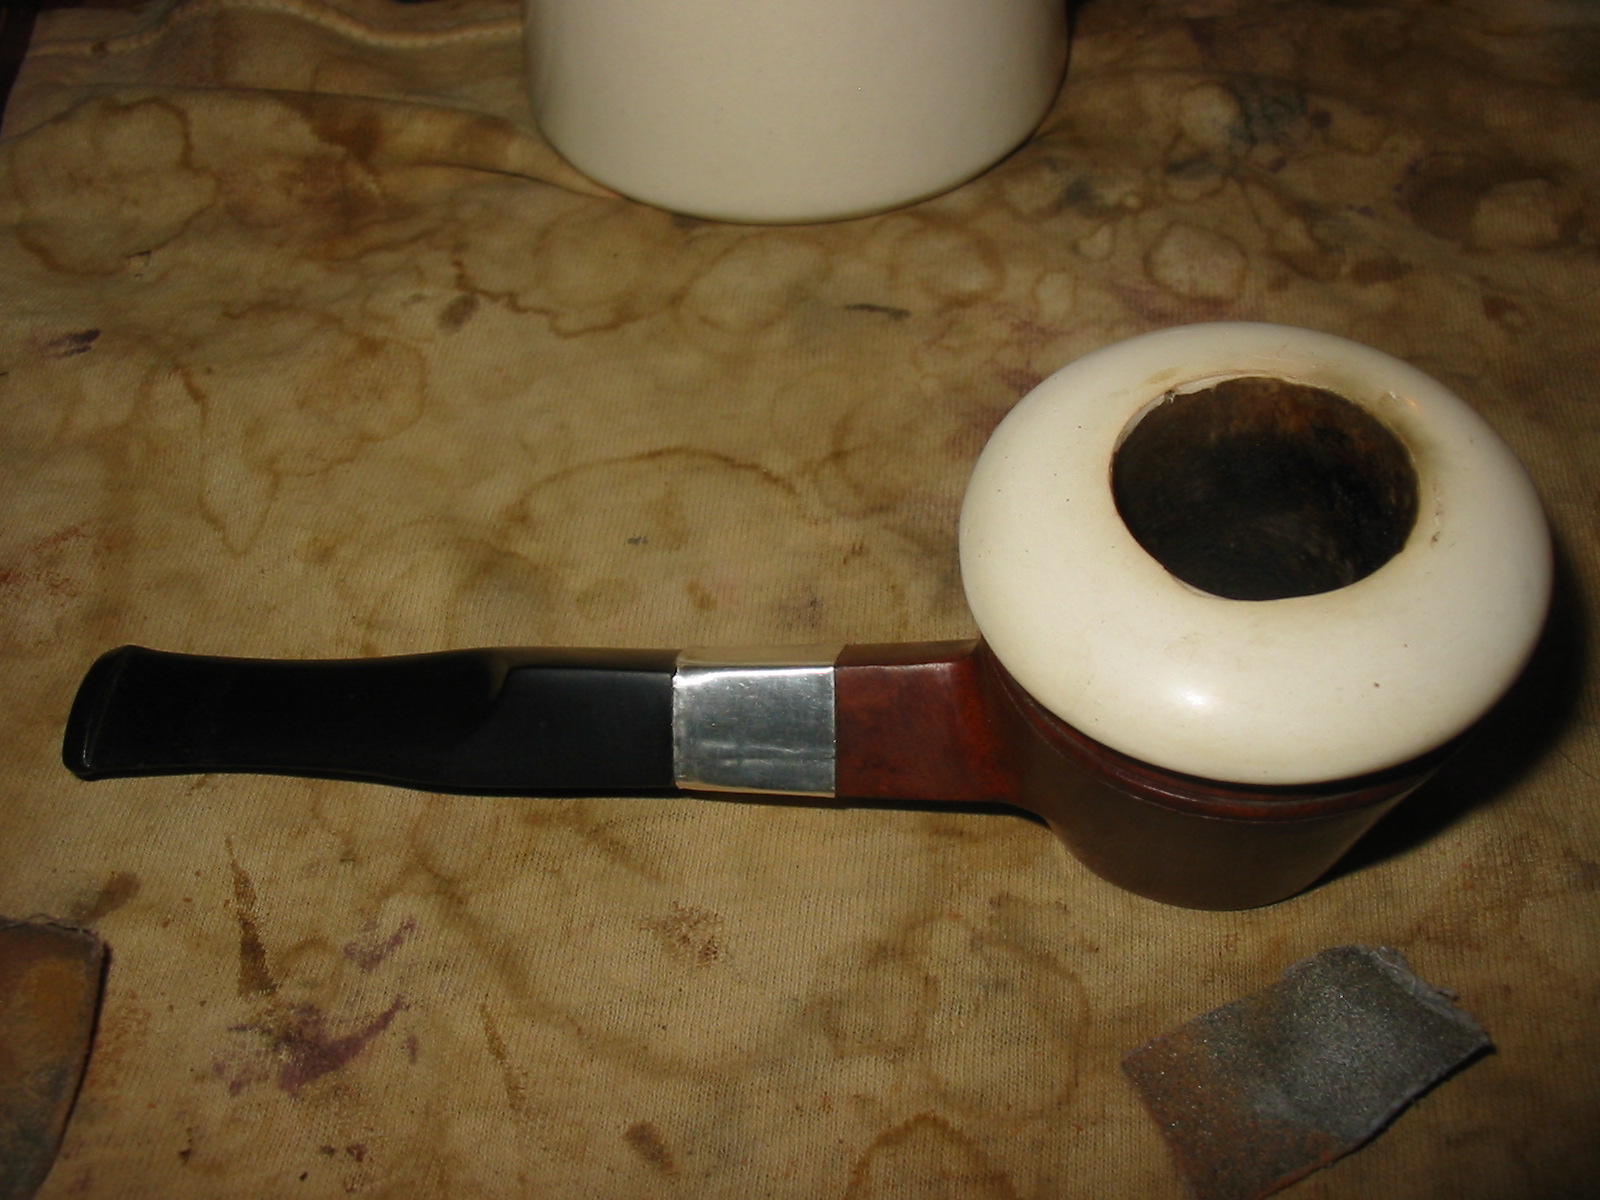
A part of the gasket came loose from the work so I reglued it and once it was dry pressed it into the briar bowl. The next five photos show the fitted meerschaum bowl in place in the briar cup. The pipe is now ready to smoke. The draught is good and open. The newly fit stem works well with the combination. I polished the briar and the meerschaum bowl and loaded a bowl and fired it up. It is a great smoking machine delivering a cool and dry smoke with a clean tobacco taste.

IMG_0920

IMG_0921

IMG_0922

IMG_0923

IMG_0924

Still a little work to do polish the meerschaum bowl but the idea is clear in the photos. I will polish it with micromesh sanding pads and then use beeswax to wax the bowl for enhancing the colouration of the bowl.

ADDENDUM:
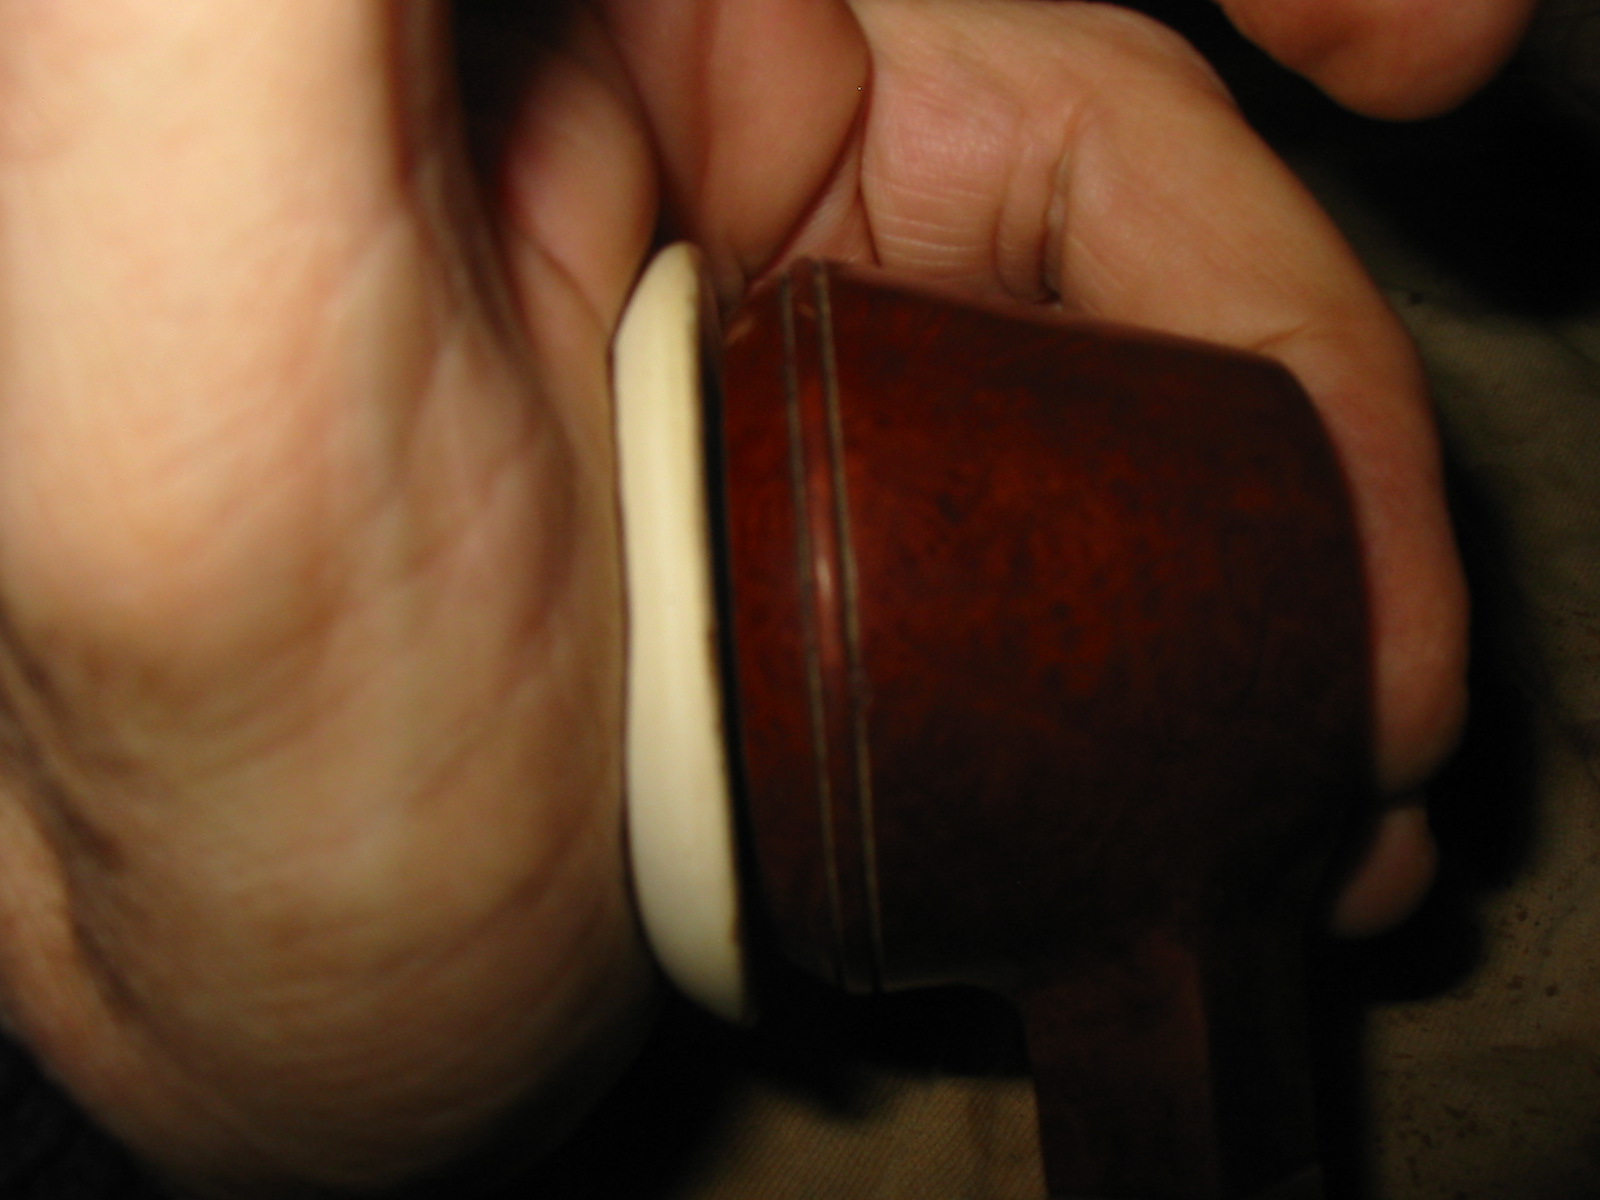
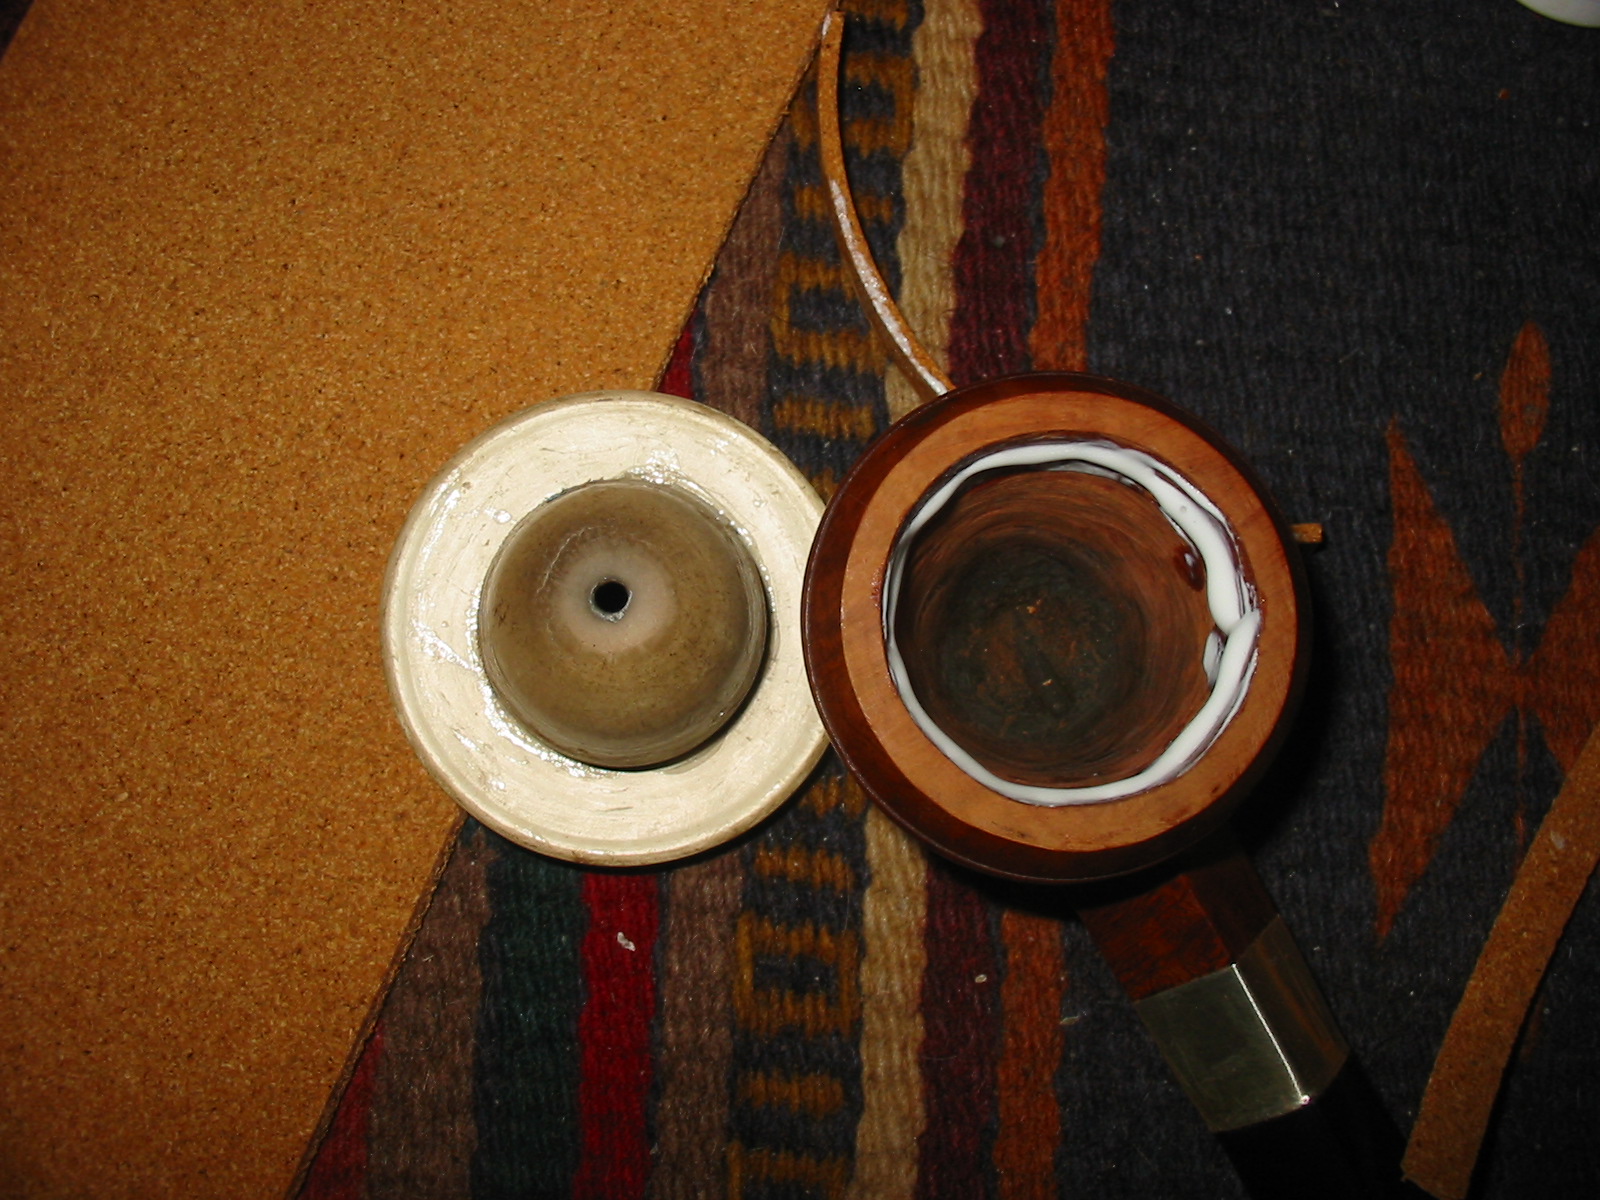
The look of this one still bugged me and I was not happy with the bowl fit. I also did not like the rubber gasket I formed as it did not really give a snug fit. A friend gave me a sheet of thin cork so I cut a piece of cork to use as a gasket. To accommodate the cork and still give the bowl a fit I needed to remove more of the briar in the bowl of the pipe. I used a Dremel with the sanding drum and took the bowl down enough to accommodate the cork and the pressed in meerschaum bowl. I glued the band of cork around the inner edge of the briar bowl and when it had dried I pressed the bowl into place. Here are a few photos of the renovation.

The cork gasket glued into the bowl with carpenters white glue

The cork gasket glued into the bowl with carpenters white glue

The gasket in place with the glue drying

The gasket in place with the glue drying

The gasket it dry and the bowl is ready to press in place

The gasket it dry and the bowl is ready to press in place

The bowl is in place and the pipe is much more fit looking to me!

The bowl is in place and the pipe is much more fit looking to me!

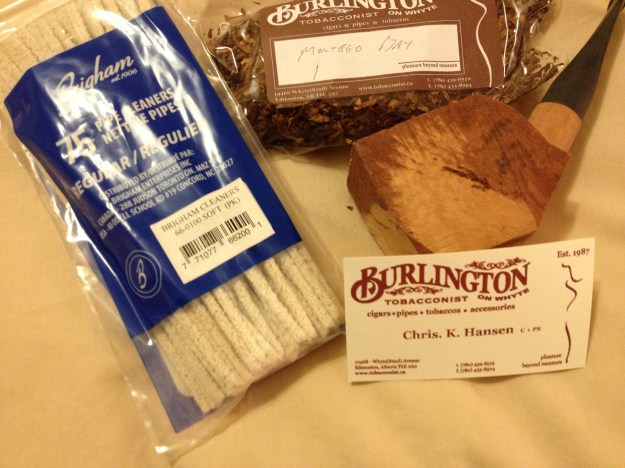
A New Pipe Born from a Pre-drilled Block


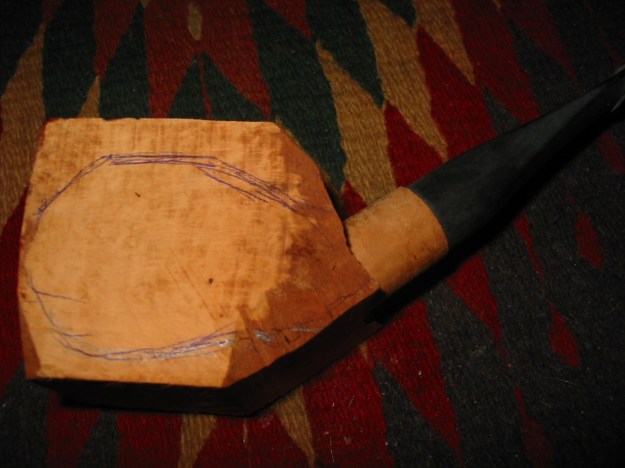
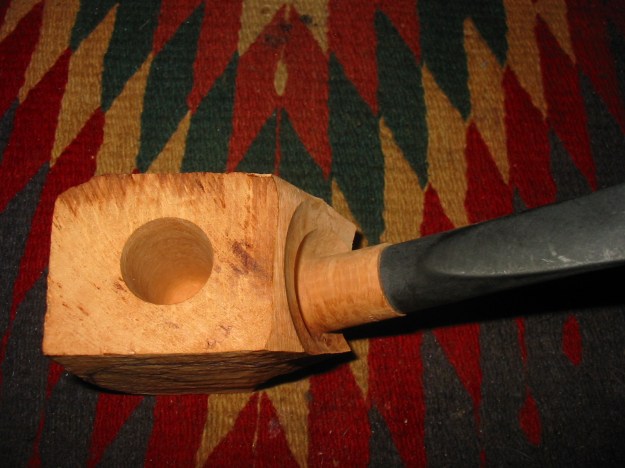
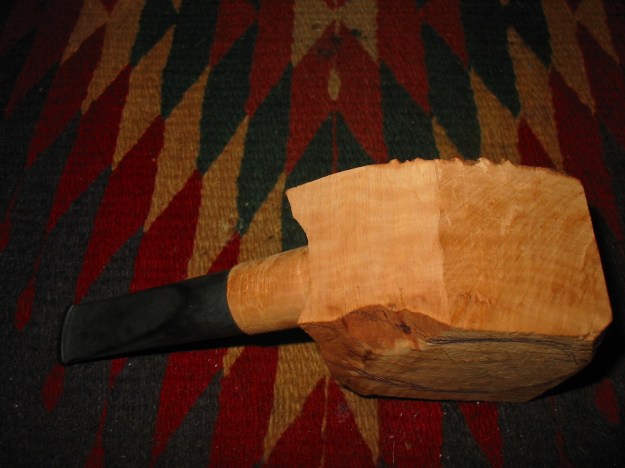
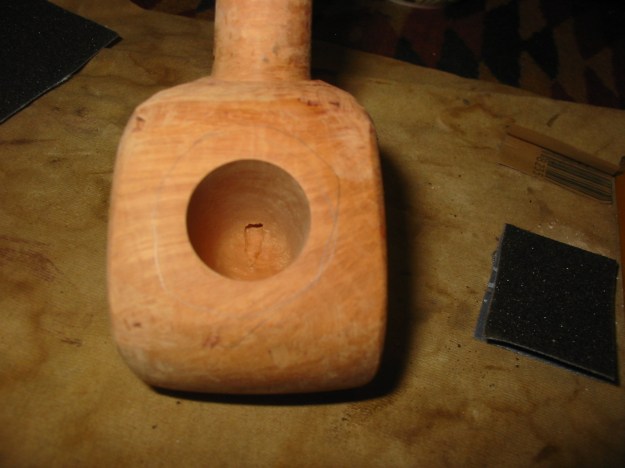
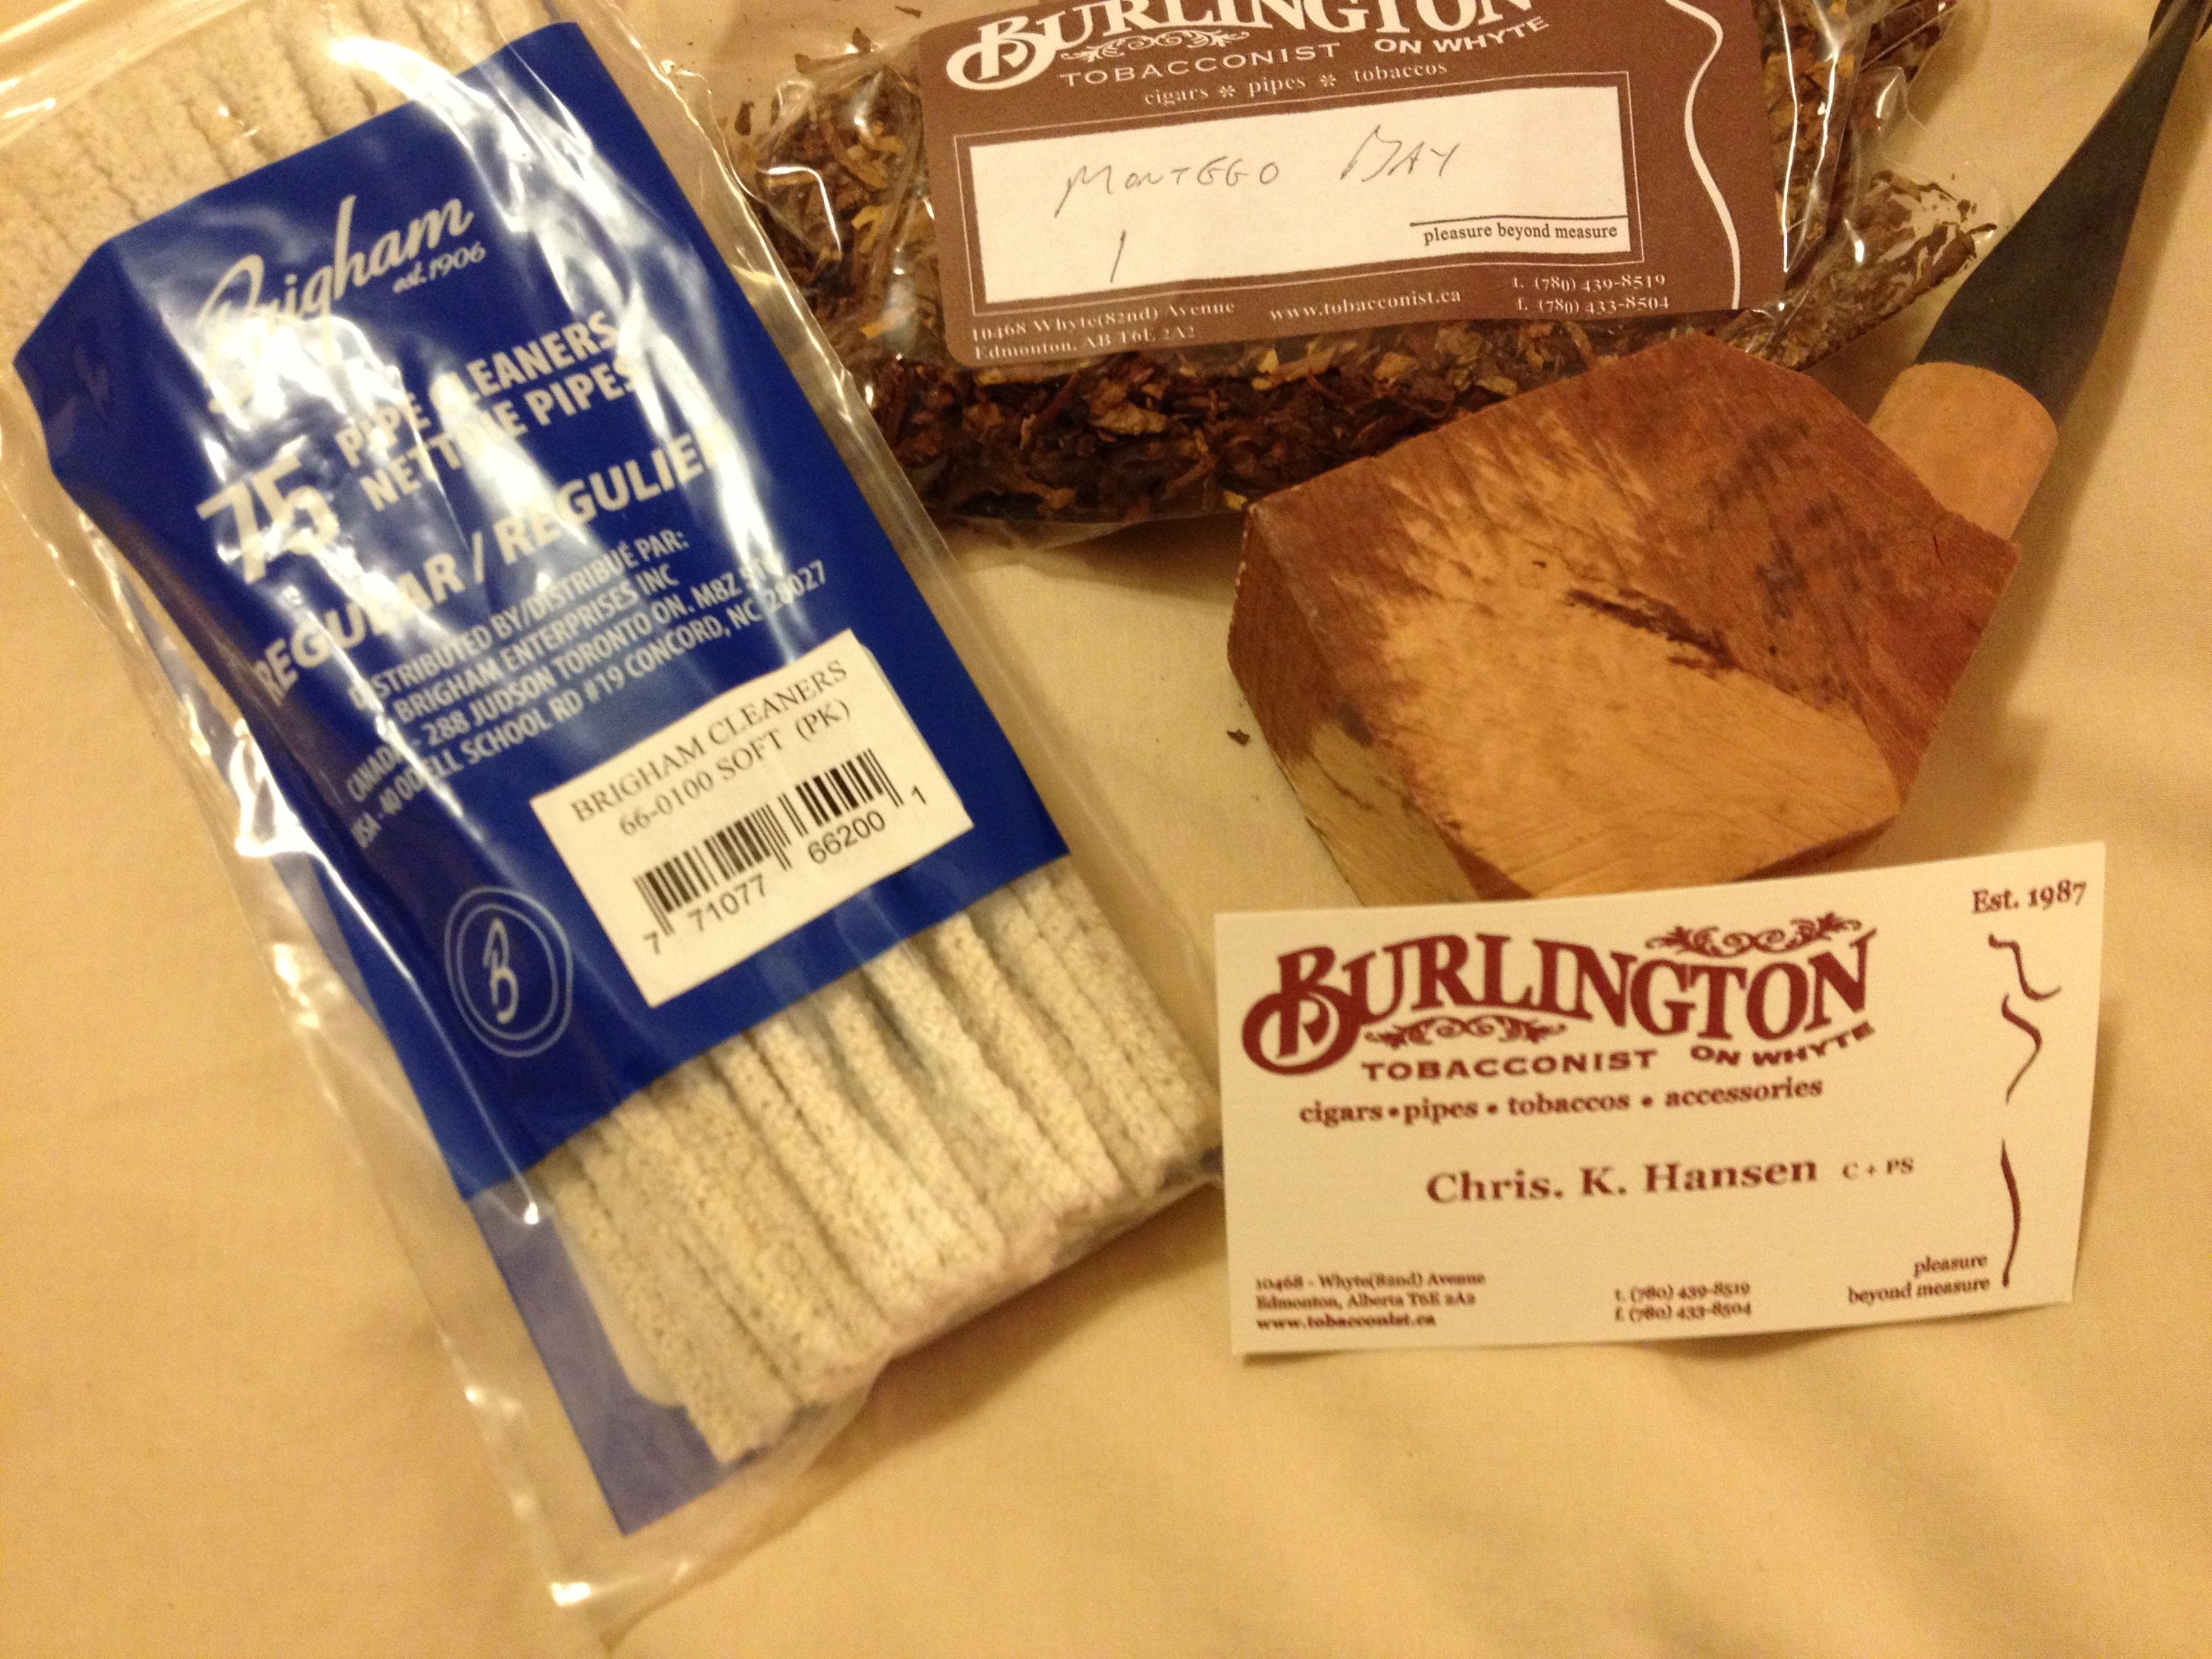
I purchased a pre-drilled block of briar with a Lucite stem from Burlington on Whyte Tobacconist in Edmonton a few weeks ago. I sorted through the box of blocks they had at the shop and chose this one. It showed some interesting birdseye grain on the sides and some straight grain on the front and back. I also like the angle of the stem on it and figured it might be an interesting project to work on between some of the refurbs that I have going all the time. I put it on my desk in my basement office next to the computer keyboard and looked at pretty much daily trying to figure out a shape that would fit the grain and the angles of the block. I used pencil and scribbled a lot of them on the block, erasing and reshaping the image repeatedly until I finally saw a shape that I kind of liked and figured I could carve it easily enough.
IMG_0301

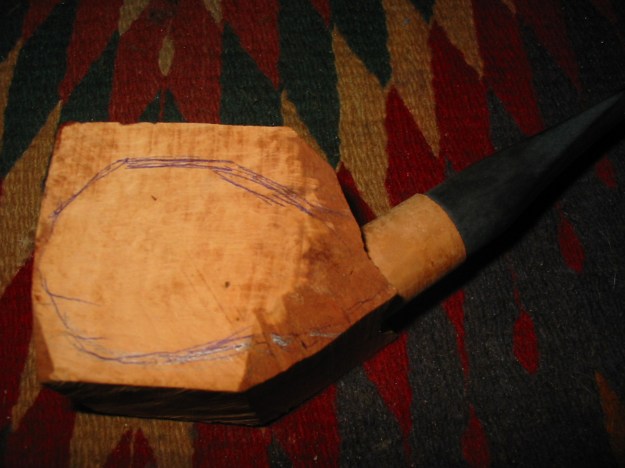
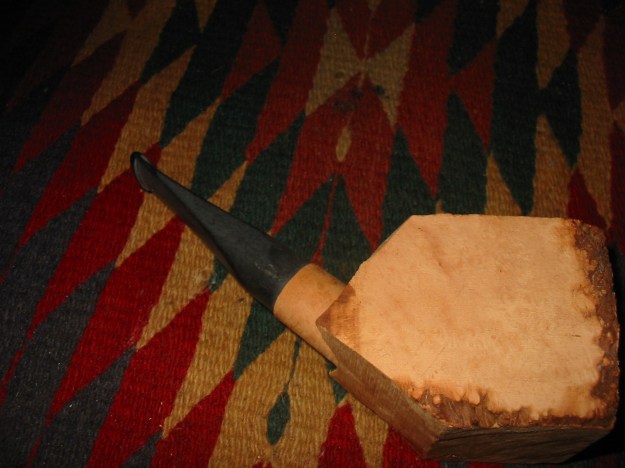
I used a blunt pencil and sketched the rough idea on the block. I have carved enough to know that what the original sketch looked like may be far removed from the finished pipe. As the excess briar was removed there would likely be flaws that would change the shape of the finished pipe until it became quite different from the original concept in my mind. Also I have learned that the height of the bowl can also dramatically change as I carve into the block. But at least I had an idea and was ready to begin the carving. The next series of five photos show the block after I removed the surface material to get a look at the grain. After sketching the drawing on the block I took it into the back yard and began to remove briar from the block with my Dremel and a large sanding drum.
IMG_0865

IMG_0866

IMG_0867

IMG_0868

IMG_0869

The next four photos show the block after the initial work with the sanding drum. I removed all of the square edges and the excess height of the block and began the rough shaping of the new pipe concept. The grain is actually going to be quite nice as far as I can see at this point. There were also some flaws showing up in the block on the left side near the shank bowl junction and also on the bottom edge of the left side of the bowl. These are visible in the first photo and look like a line across the bottom edge. At this point I brought the block inside and took the photos below before taking it back out to work on rounding out the edges of the bowl and shank.
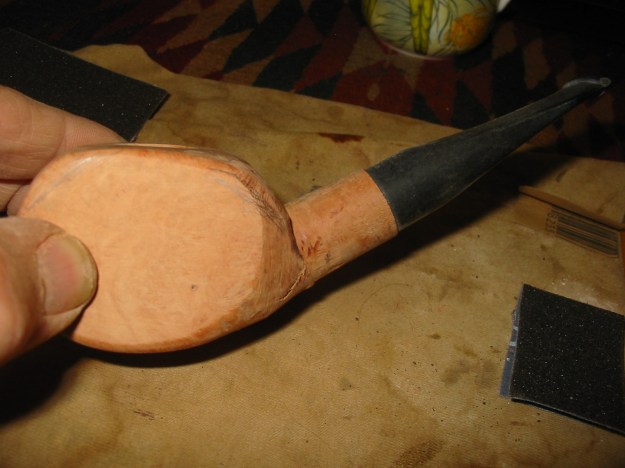
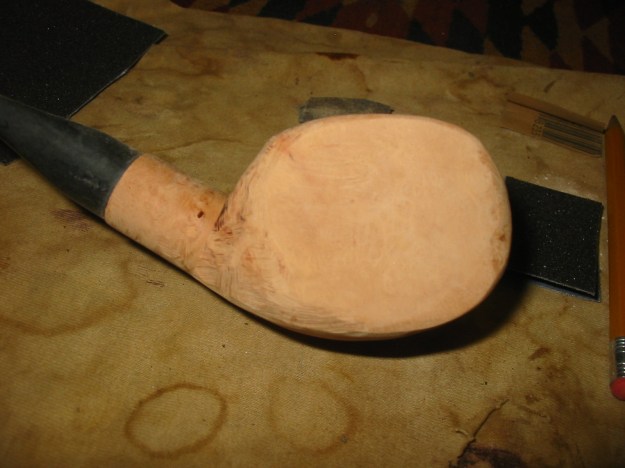
IMG_0870

IMG_0871

IMG_0872

IMG_0873

I took it back outside and used the Dremel and sanding drum to remove the edges and begin to round out the bowl shape. At this point I was not aiming for smoothness only rough shape. The next three photos show the bowl after this shaping was completed. You will note that the inside edge of the shank bowl junction is quite rough. I took a lot of briar off at this point to lengthen the shank and to clean up that junction. A lot more work would have to be done but the shape was beginning to show more clearly. The flaw at the bottom of the left side of the bowl and shank was actually becoming bigger and are visible in the first picture as a darkened line at the bottom of the bowl and shank. I apologize for the lack of clarity in these photos but it was late evening at this point and I did a poor job of focusing.
IMG_0874

IMG_0875

IMG_0876

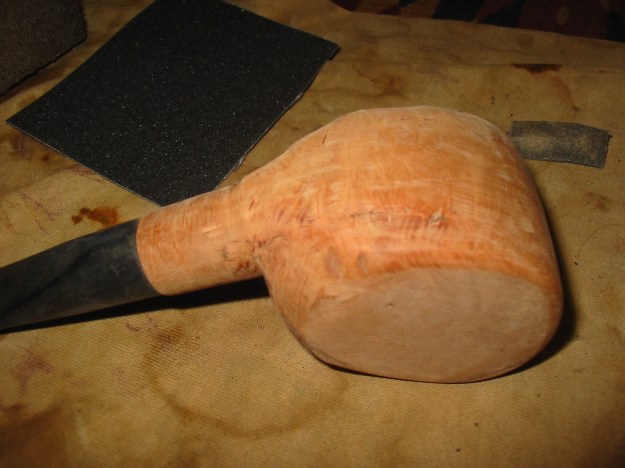
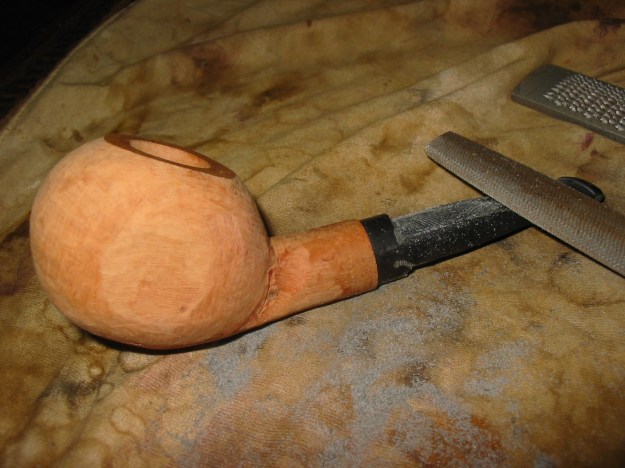
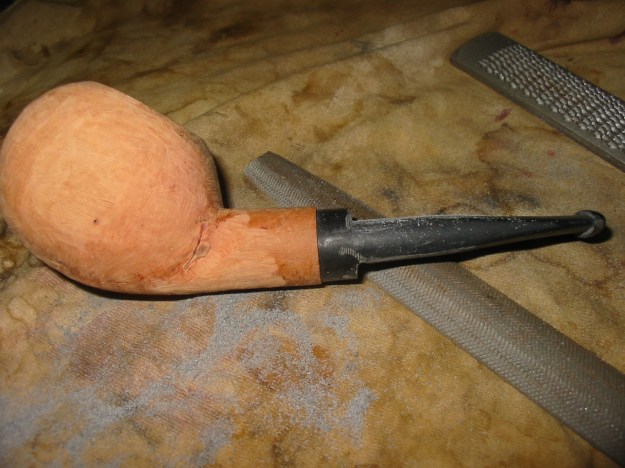
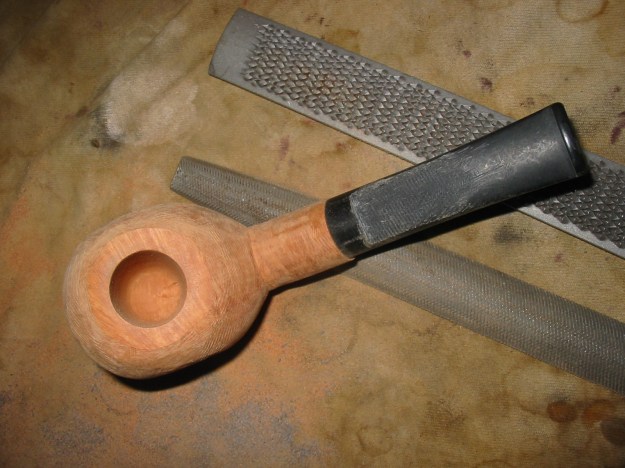
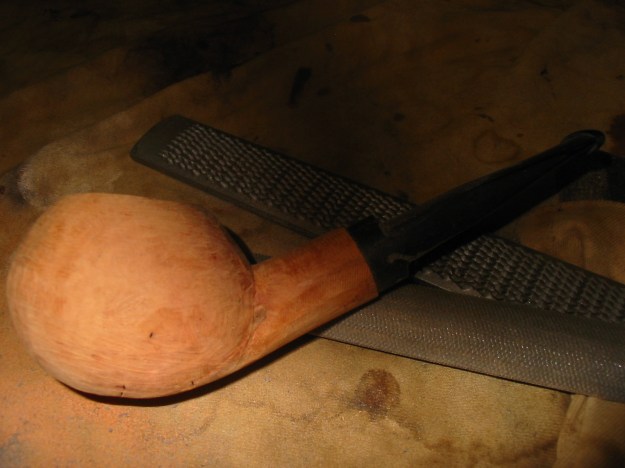
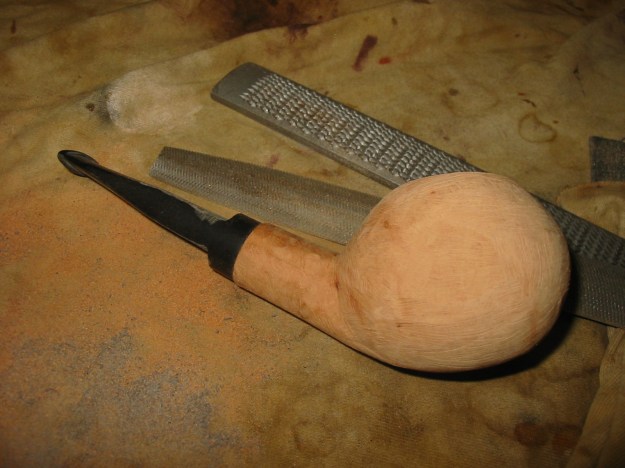
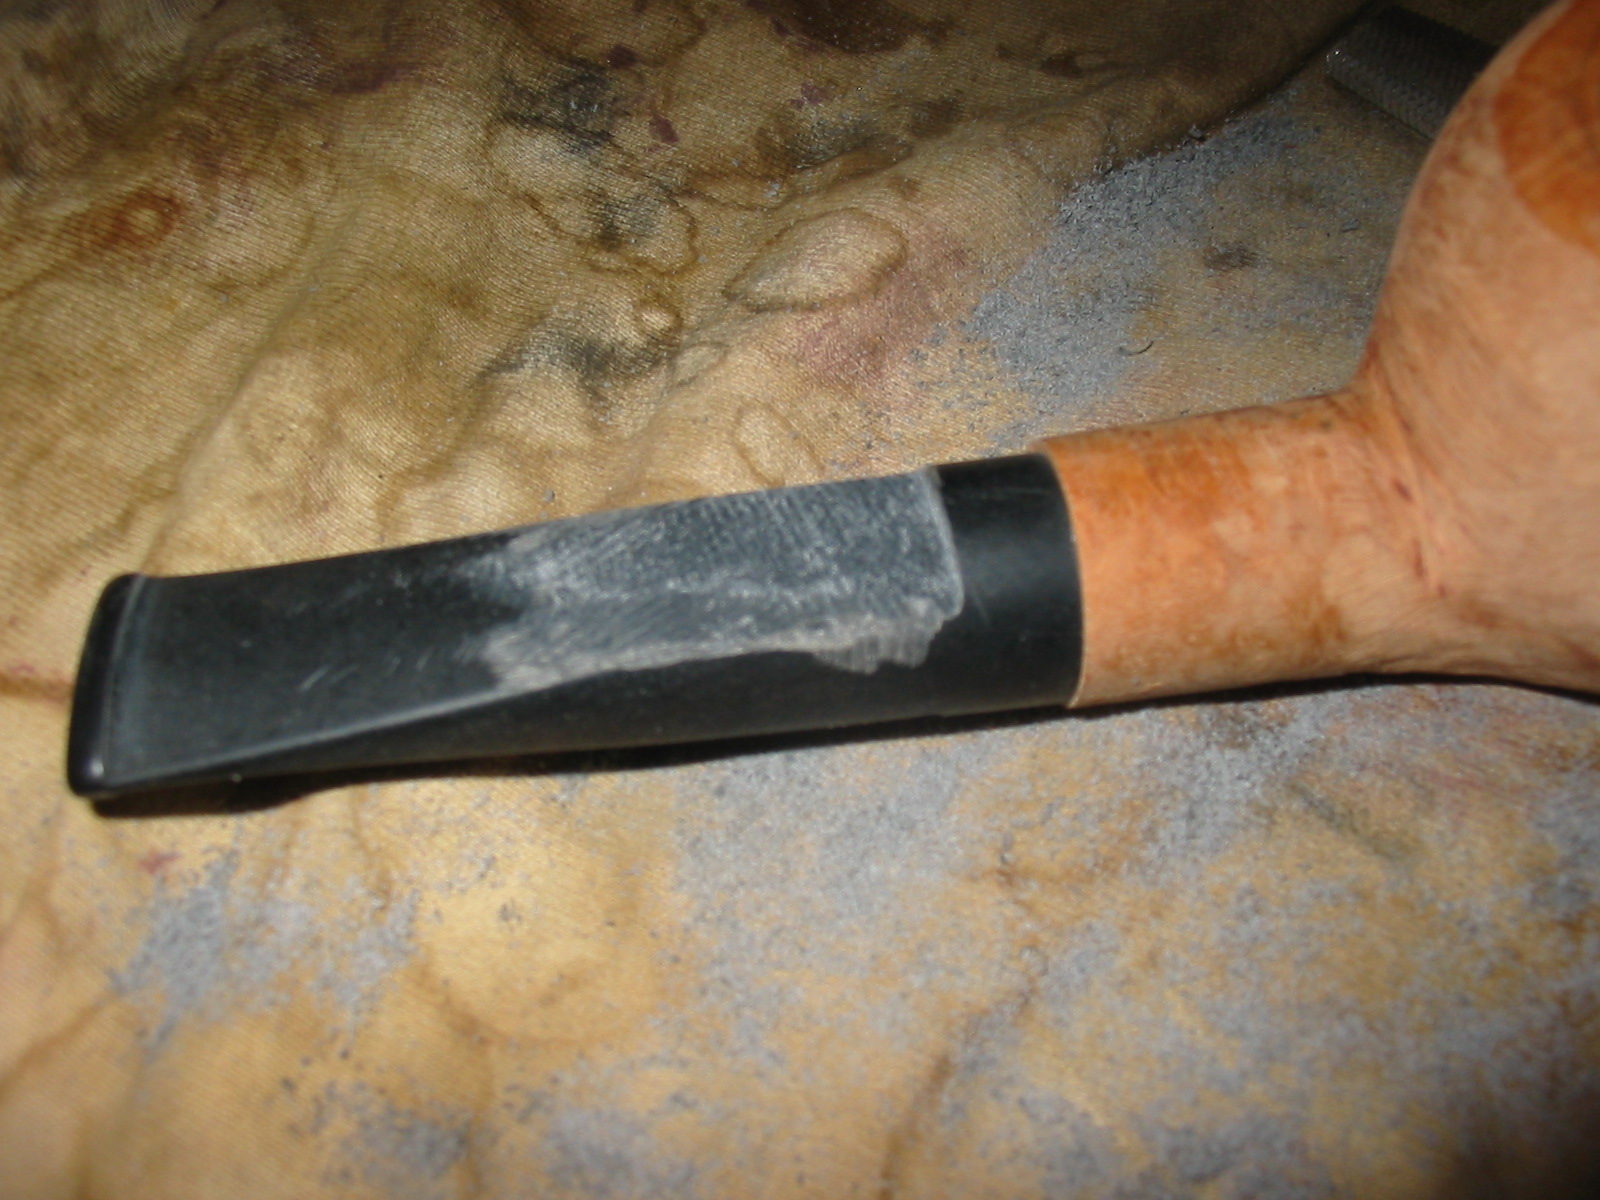
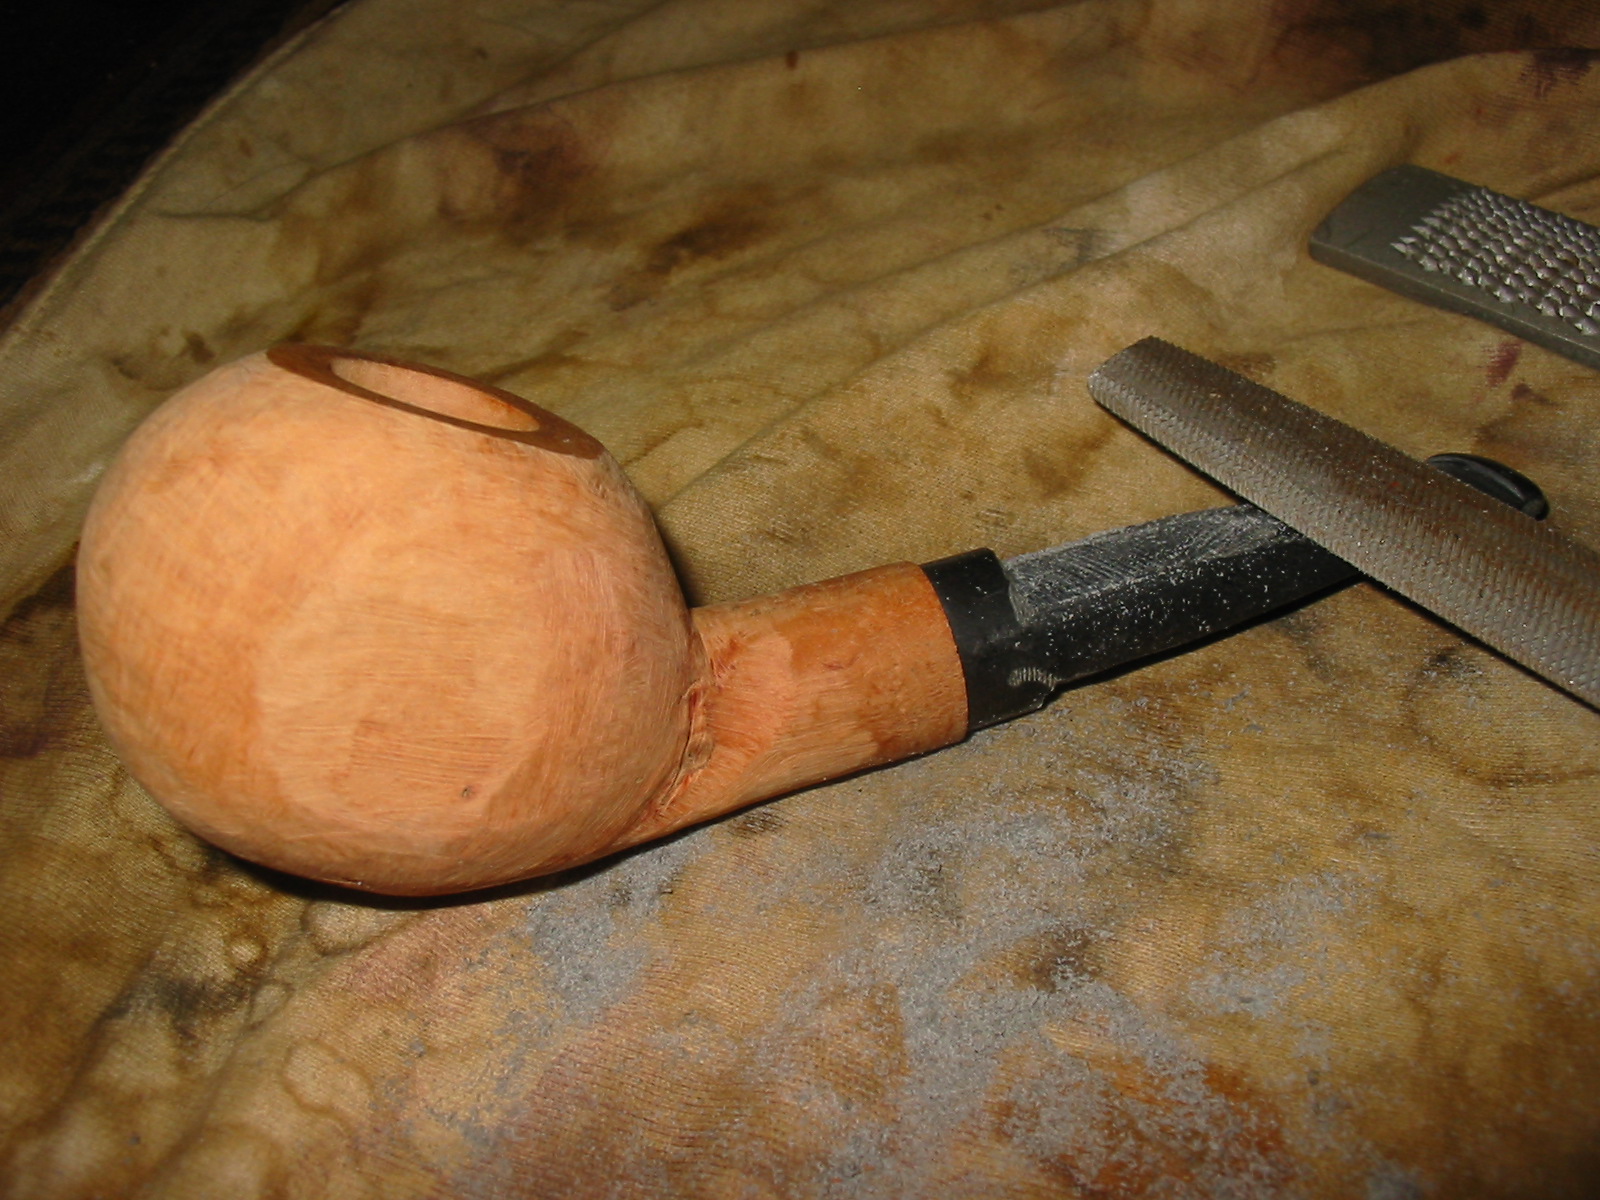
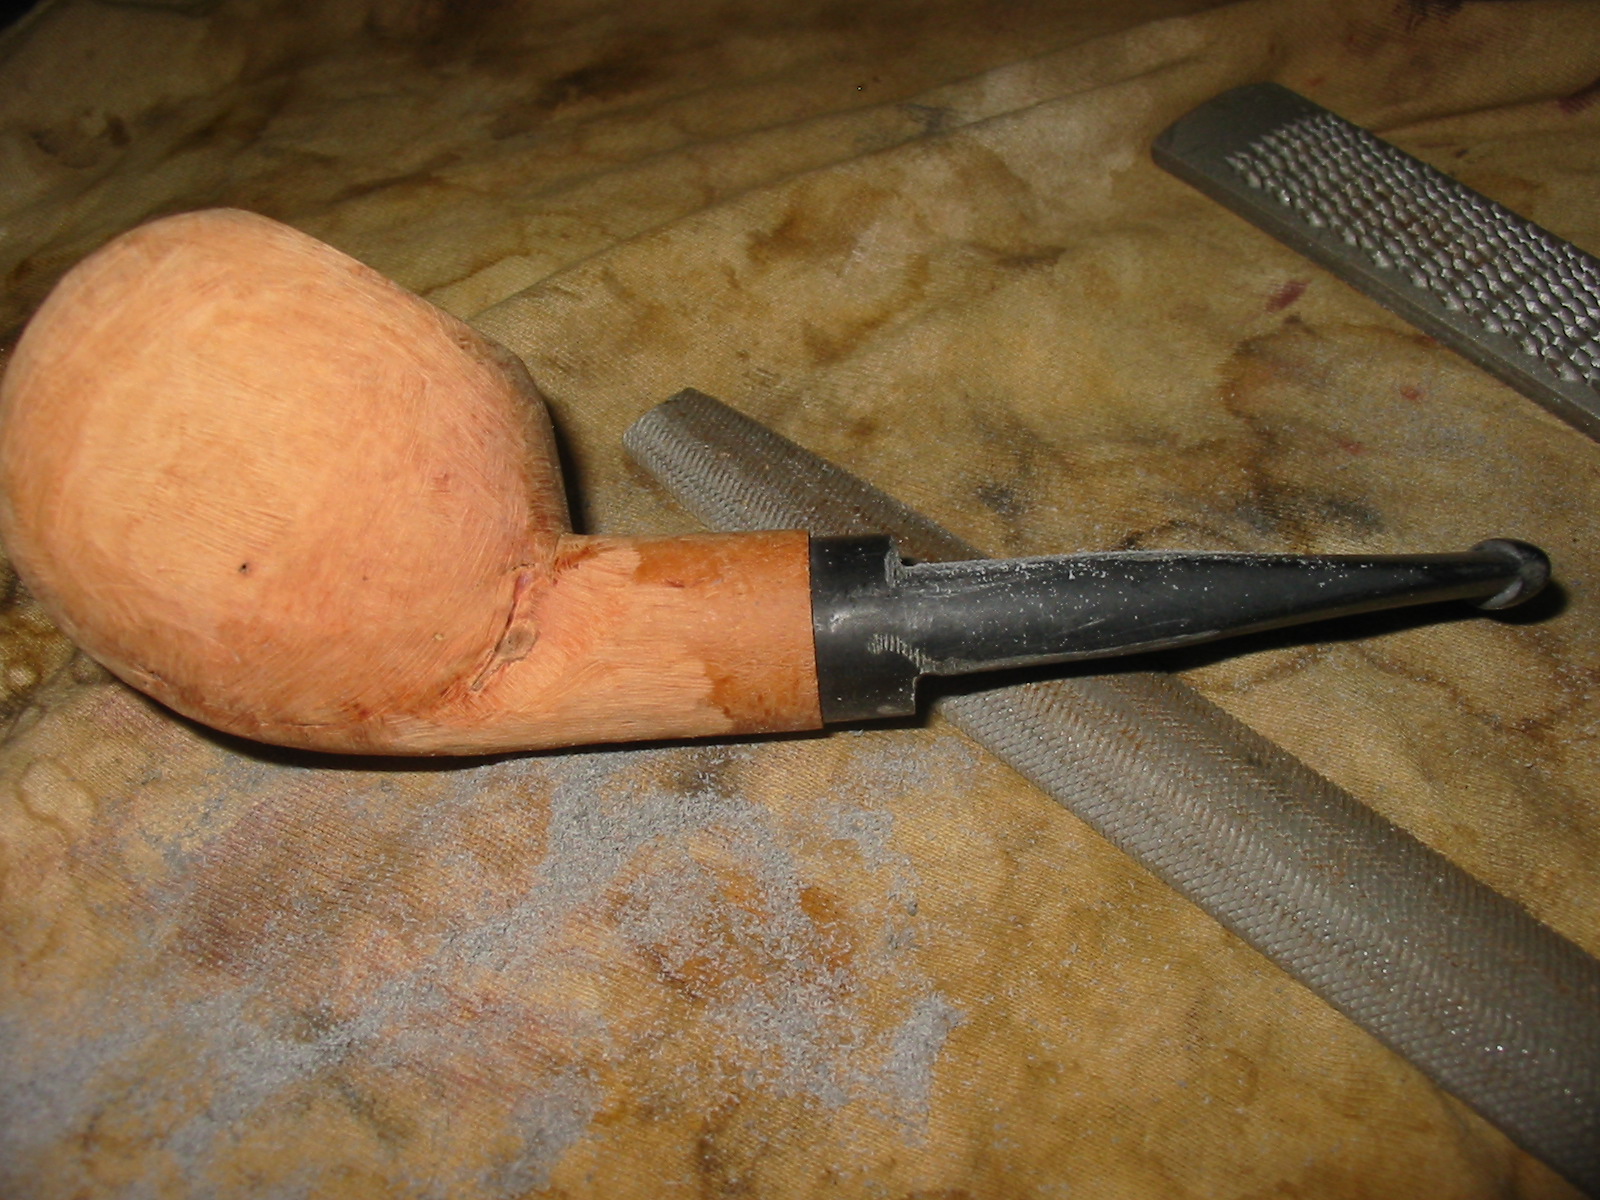
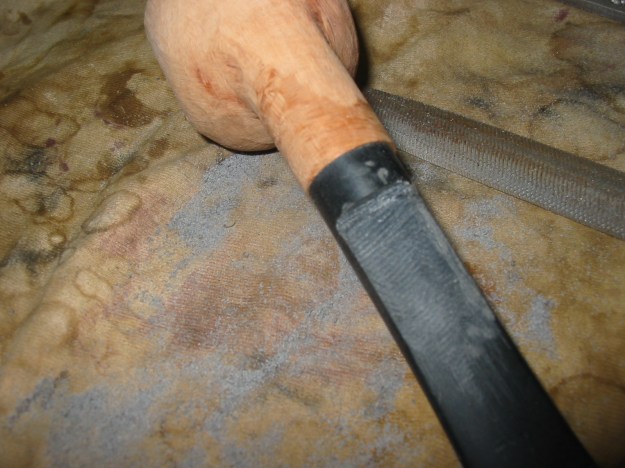
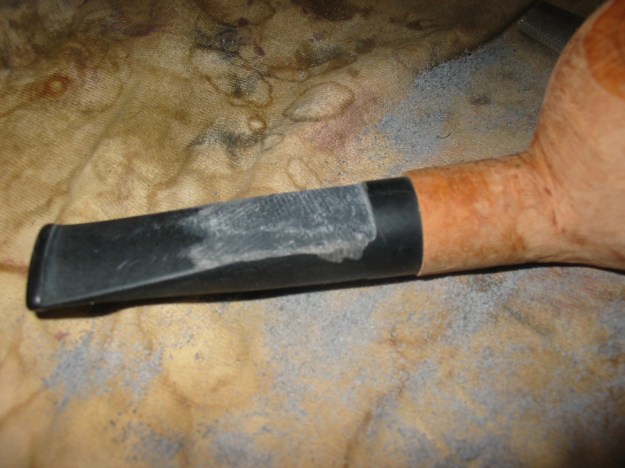
From this point in the process I used files and wood rasps to remove more of the briar and to refine the shape of the bowl. I also decided to cut the stem into a saddle bit as I thought that look would go well with the shape I was working on. The pipe was becoming a modified egg shape. Where it would go from here would be worked out with the files and the work at removing the flaws in the briar as much as possible. The next four photos show the shaping of the saddle stem with the wrasp and files.
IMG_0879

IMG_0880

IMG_0877

IMG_0878

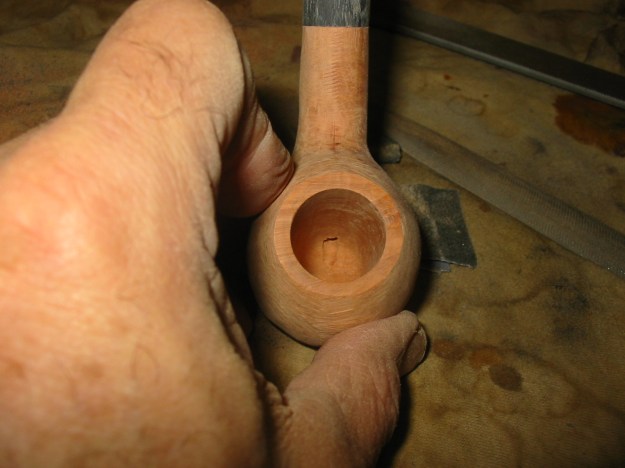
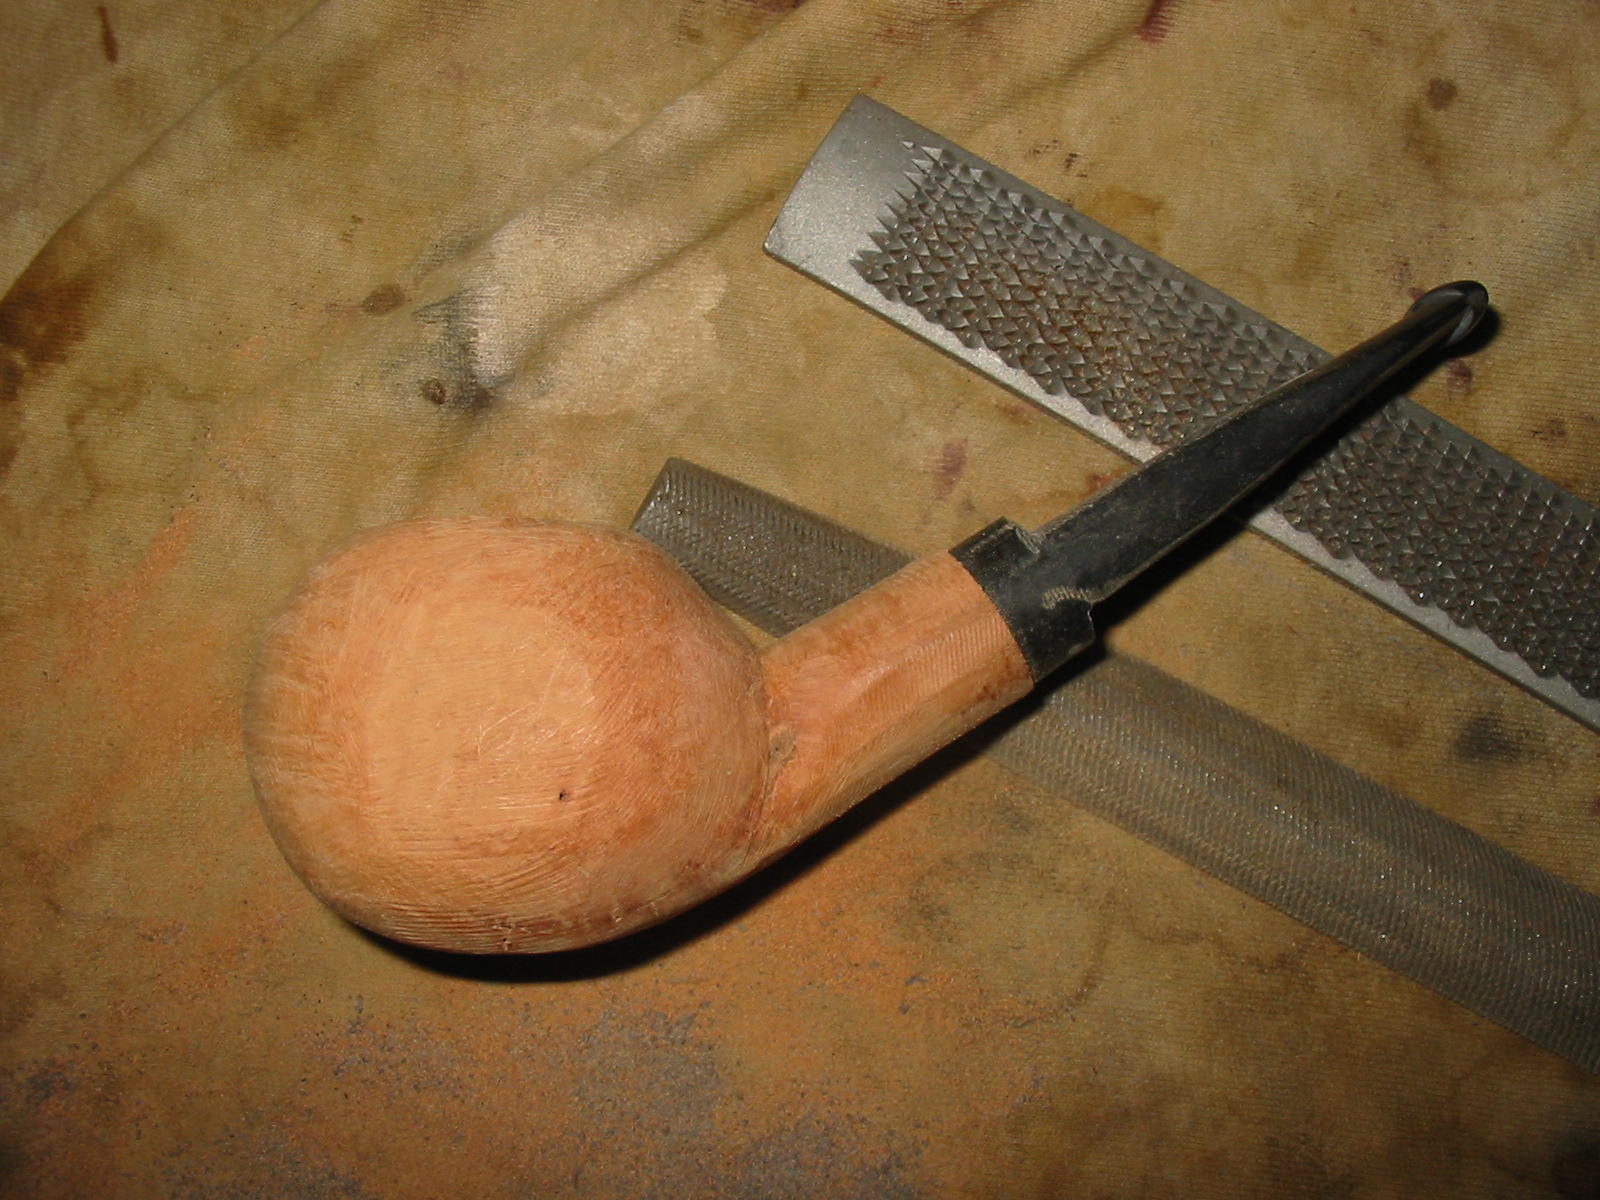
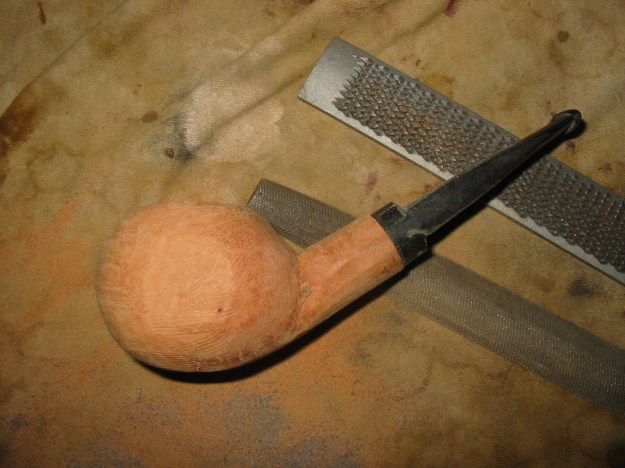
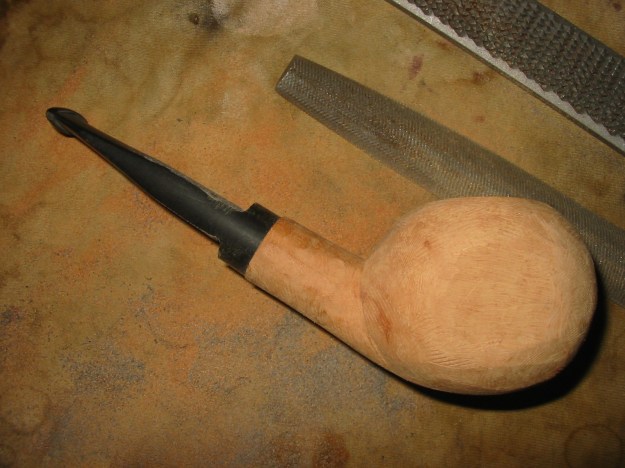
Once I had the rough shape on the stem I used the files and rasp on the bowl of the pipe. I filed away the briar to further round out the shape of the bowl and shank. The flaw in the shank and bowl bottom on the left was still an issue that would take a lot more work to see if I could remedy it or work around it. The next five photos show the rounding of the bowl after working it over with the files and rasp.
IMG_0881

IMG_0882

IMG_0883

IMG_0884

IMG_0885

After using the files I sanded the bowl with coarse grit emery paper to further shape the bowl, shank and stem. I worked on the shank to round it out and match the diameter of the stem. The next four photos show how far the shape has come to this point. The flaw is also very visible in the first and the fourth photos below. It is very deep at some points and on the surface in others. It does not go into the interior of the bowl or shank so there will be a lot more sanding to see if I can rid the block of the flaws. To me this is always one of the surprises that lie within a block of briar. They never become visible until a lot of work has been done in shaping. At this point I was wondering if I would need to rusticate the bowl or possibly figure out another option or shape to deal with the flaw.
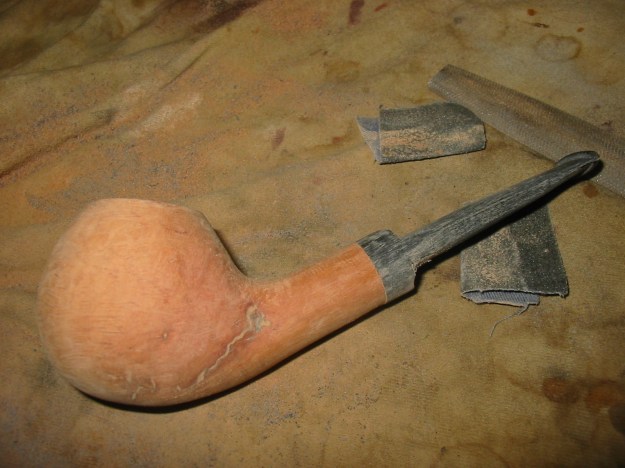
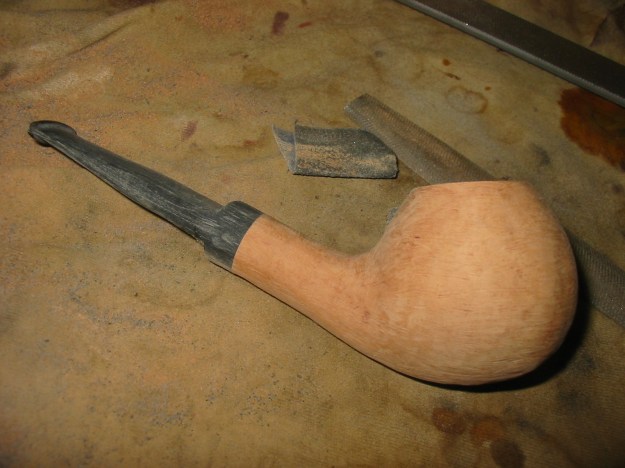
IMG_0886

IMG_0887

IMG_0888

IMG_0889

I continued sanding the bowl with the emery paper and then switched to a coarse grit sanding sponge. At this point I was not worried about scratches that would come later. I only wanted to remove more of the briar. I also heated the stem with my heat gun and bent it to shape. I still needed to clean up the junction of the shank and bowl. It needed a little less slope in my opinion. The next three photos show where things were at this point in the process. The pipe is beginning to take shape. I have also removed quite a bit of the briar around the flaws on the bottom edge. The change can be seen in the first photo below.
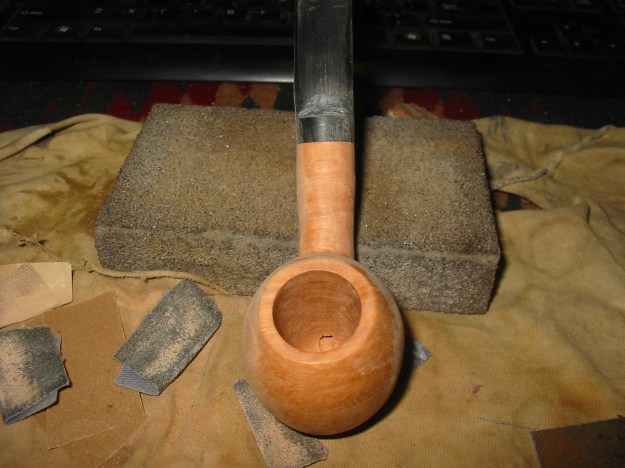
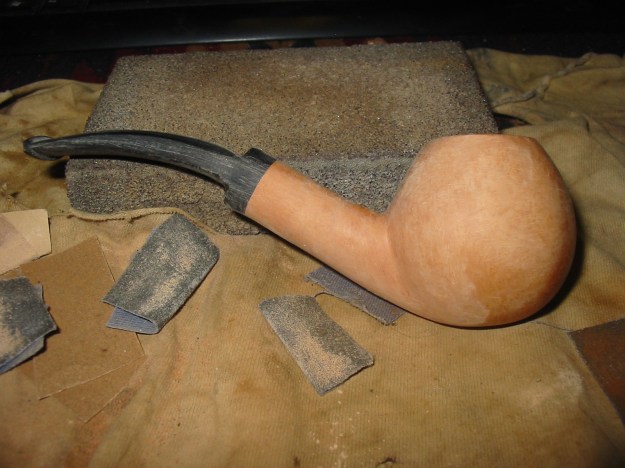
IMG_0895

IMG_0894

IMG_0893

I used the files and rasp to remove more of the slope on the back side of the bowl and make the angle more in tune with the front slope of the bowl. Once I had removed what I wanted I used my sanding sponge and the emery paper to remove the marks of the files. With removing more of the slope I also decided to define the curve of the back side of the bowl along the shank and make the angle there more obvious and distinct. I used the Dremel with the sanding drum to shape this portion of the bowl on both sides. The beauty of this decision is that it removed a fair piece of the flaw in the shank and bowl. The next three photos show the shape after I worked on defining the angles more clearly. The question in my mind at this point was whether I would be able to make the stem as thin as I would like due to the deeply set tenon in the stem. Nonetheless the finished shape of the pipe emerging from the briar.
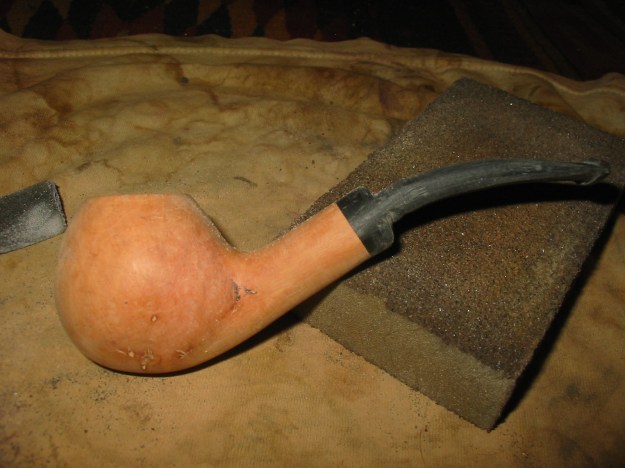
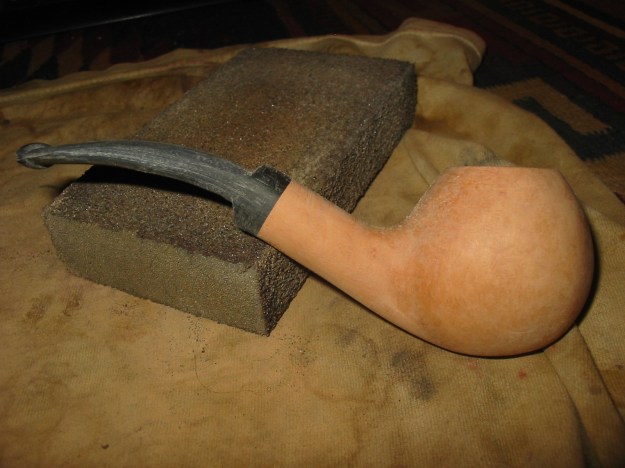
IMG_0890

IMG_0891

IMG_0892

The next series of three photos show the bowl after I had sanded it with 220 grit sandpaper. I gave it a quick coat of medium brown aniline stain and flamed it. I buffed it with White Diamond to see where things stood at this point. The grain was very clear on the sides – some nice birdseye on the right side of the bowl, cross grain on the front and back of the bowl and on the top and bottom of the shank. The left side of the bowl was mixed grain toward the bottom and the flaws were glaring. The top half of the left side was covered in birdseye. The top of the rim was cross grain that matched the top of the shank. The stem was bothering me at this point so after taking the photos below I fit a vulcanite stem to the shank. I like the flow and the thinness of the stem. I made the decision to keep the vulcanite stem and put aside the Lucite one.
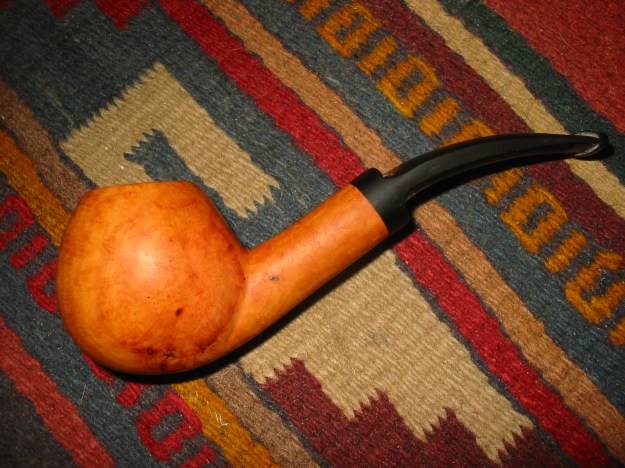
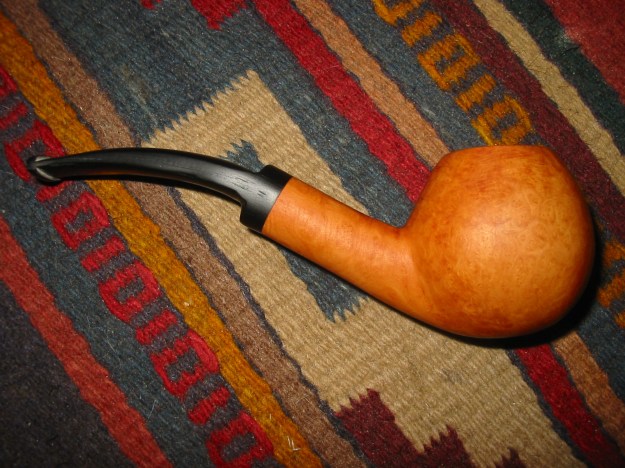
IMG_0896

IMG_0897

IMG_0898

With the new stem in place I sanded the shank and stem to match cleanly. I also continued to sand the bowl and shank with 220 grit and 340 grit sandpaper. I also used a fine grit sanding sponge on the bowl. Once the visible scratches were gone I took it outside into natural light to inspect for further scratches. I took it back to the work table and wet sanded it with 1500 and 1800 grit micromesh sanding pads. I continued sanding the bowl and shank with 2400-12,000 grit micromesh until the bowl was smooth. I examined it under a bright light and reworked the places where there were still minute scratches. Once that was done I decided to stain the bowl.

I wanted to try something different with the staining process this time around so I first gave it a coat of black aniline stain and flamed it. Once it was dry I sanded and buffed the bowl with Tripoli to remove the stain from the surface. My purpose was to highlight the grain in the briar and make it more visible. The black was to be the first undercoat of stain that I would use on this pipe. The next three photos show the black stain after much of it has been removed. The grain is very visible in the photos. The birdseye and cross grain really stand out. After these photos I wiped the bowl down with a cotton pad wet in Everclear to remove more of the surface stain and prepare the surface for the next coat of stain.
IMG_0899

IMG_0900

IMG_0901

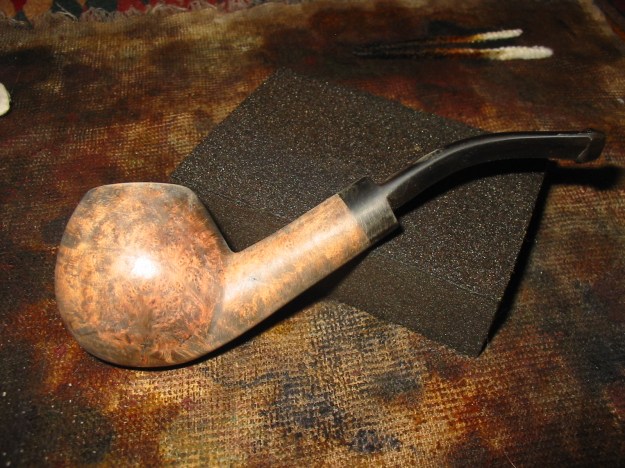
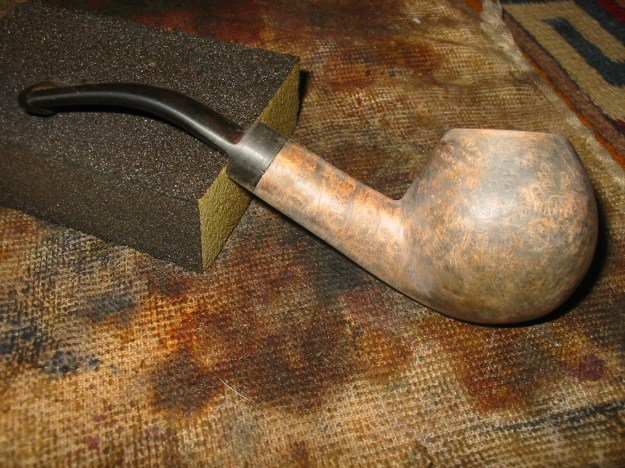
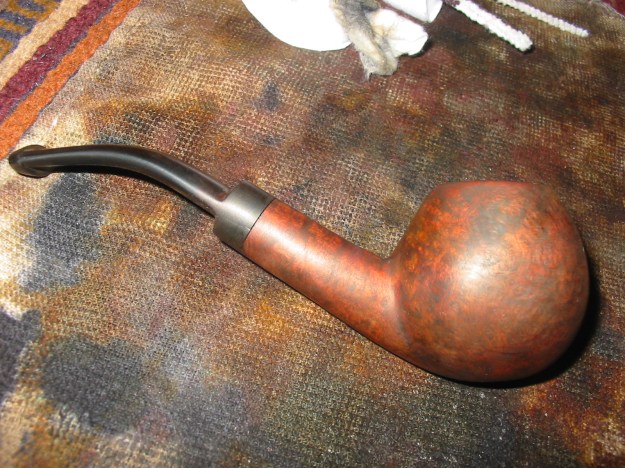
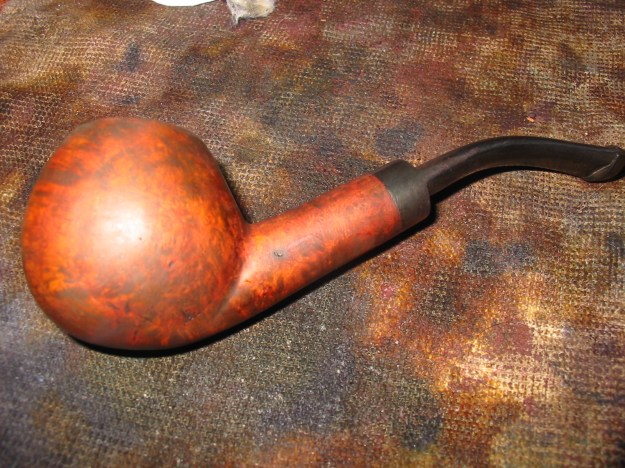
The second coat of stain that I used was an oxblood stain. I applied it with a bent pipe cleaner, flamed it. Once it was dry I polished it by hand with a terry cloth to even out the finish and make sure it would be ready for the next coat of stain (photos 1 and 2 below). I took it to the buffer and buffed it with White Diamond and then gave it a coat of Dark Brown aniline stain thinned 2:1 with Isopropyl alcohol. I flamed the stain and then buffed it again with White Diamond. Photos 3 and 4 show the pipe after that work. The grain is really standing out now and I am pleased with the finished colour of the pipe. It is a rich reddish brown in colour and will deepen once I have waxed it and polished it. The beauty of this combination of stains is that it really served well to blend in the flaws in the briar on the bottom left side. They are still there but are less glaring.
IMG_0902

IMG_0903

IMG_0904

IMG_0905

With the staining finished it was time to do more work on the stem. I sanded out the scratches that remain with 340 grit sandpaper and then a fine grit sanding sponge. I worked on the angles of the saddle with the sandpaper and sponge to clean up the cut marks in the vulcanite. I continued wet sanding the stem with 1500-2400 grit micromesh sanding pads and then polished it with Scratch X plastic polish to remove the remaining scratches. The next series of nine photos shows the bowl finish after 4 coats of carnauba wax and a buff with a soft flannel buffing pad. The finish is actually quite amazing and the grain made this work keeping smooth even with the visible flaws in the briar. The stain masks the flaws and blends them into the black of the grain well and though they are present they are not glaring. The stem still needs more work at the point of these photos but it is beginning to take on a shine.
IMG_0906

IMG_0907

IMG_0908

IMG_0909

IMG_0910

IMG_0911

IMG_0912

IMG_0913

IMG_0914

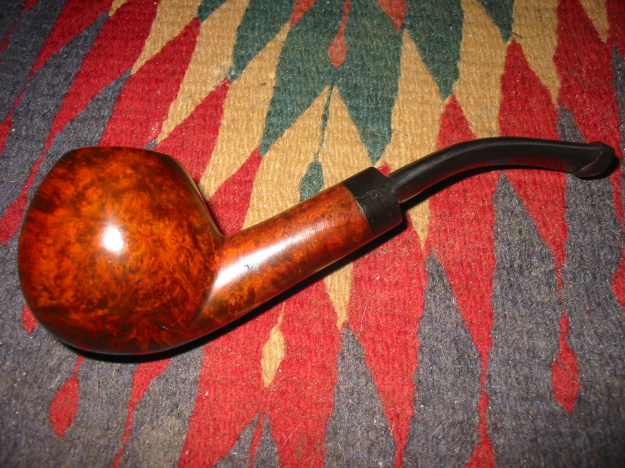
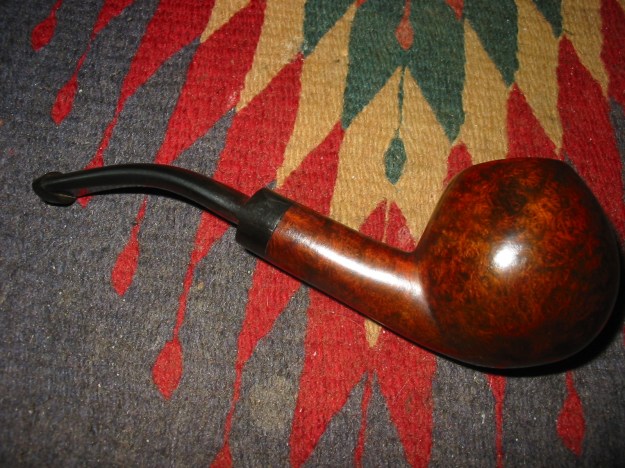
The final four photos show the finished pipe. I continued to wet sand the stem with the 1500-1800 grit micromesh sanding pads until the scratches and rough areas were clean and black. I then dry sanded with the remaining grits of micromesh from 2400-12,000 to polish the stem and give it a mirror like finish. Once that was finished I waxed the pipe and stem several more times with carnauba wax. All that remains is for the pipe to be christened with its first bowl!
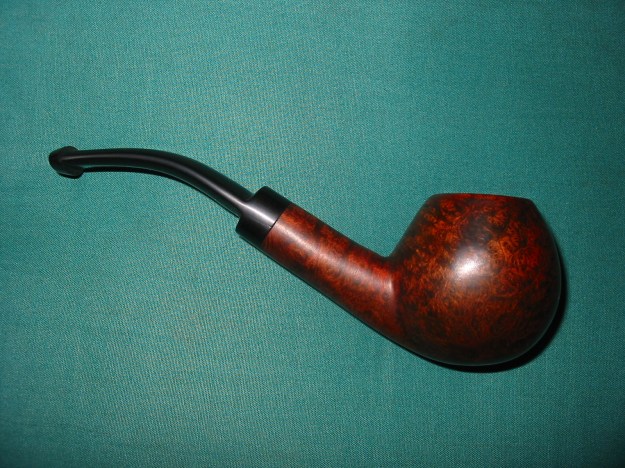
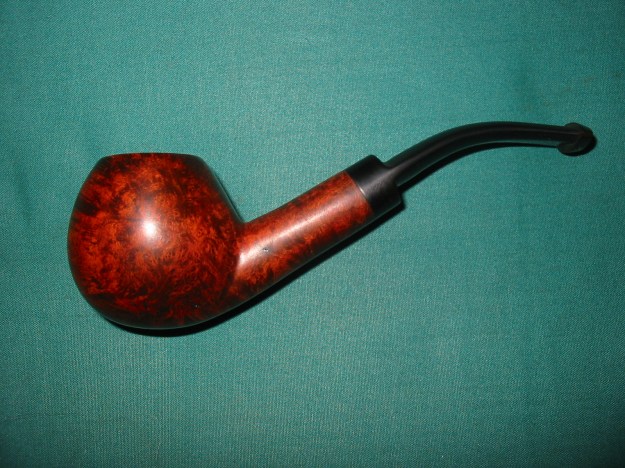
IMG_0915

IMG_0916

IMG_0917

IMG_0918

An Amphora Extra Saddle Billiard Reborn


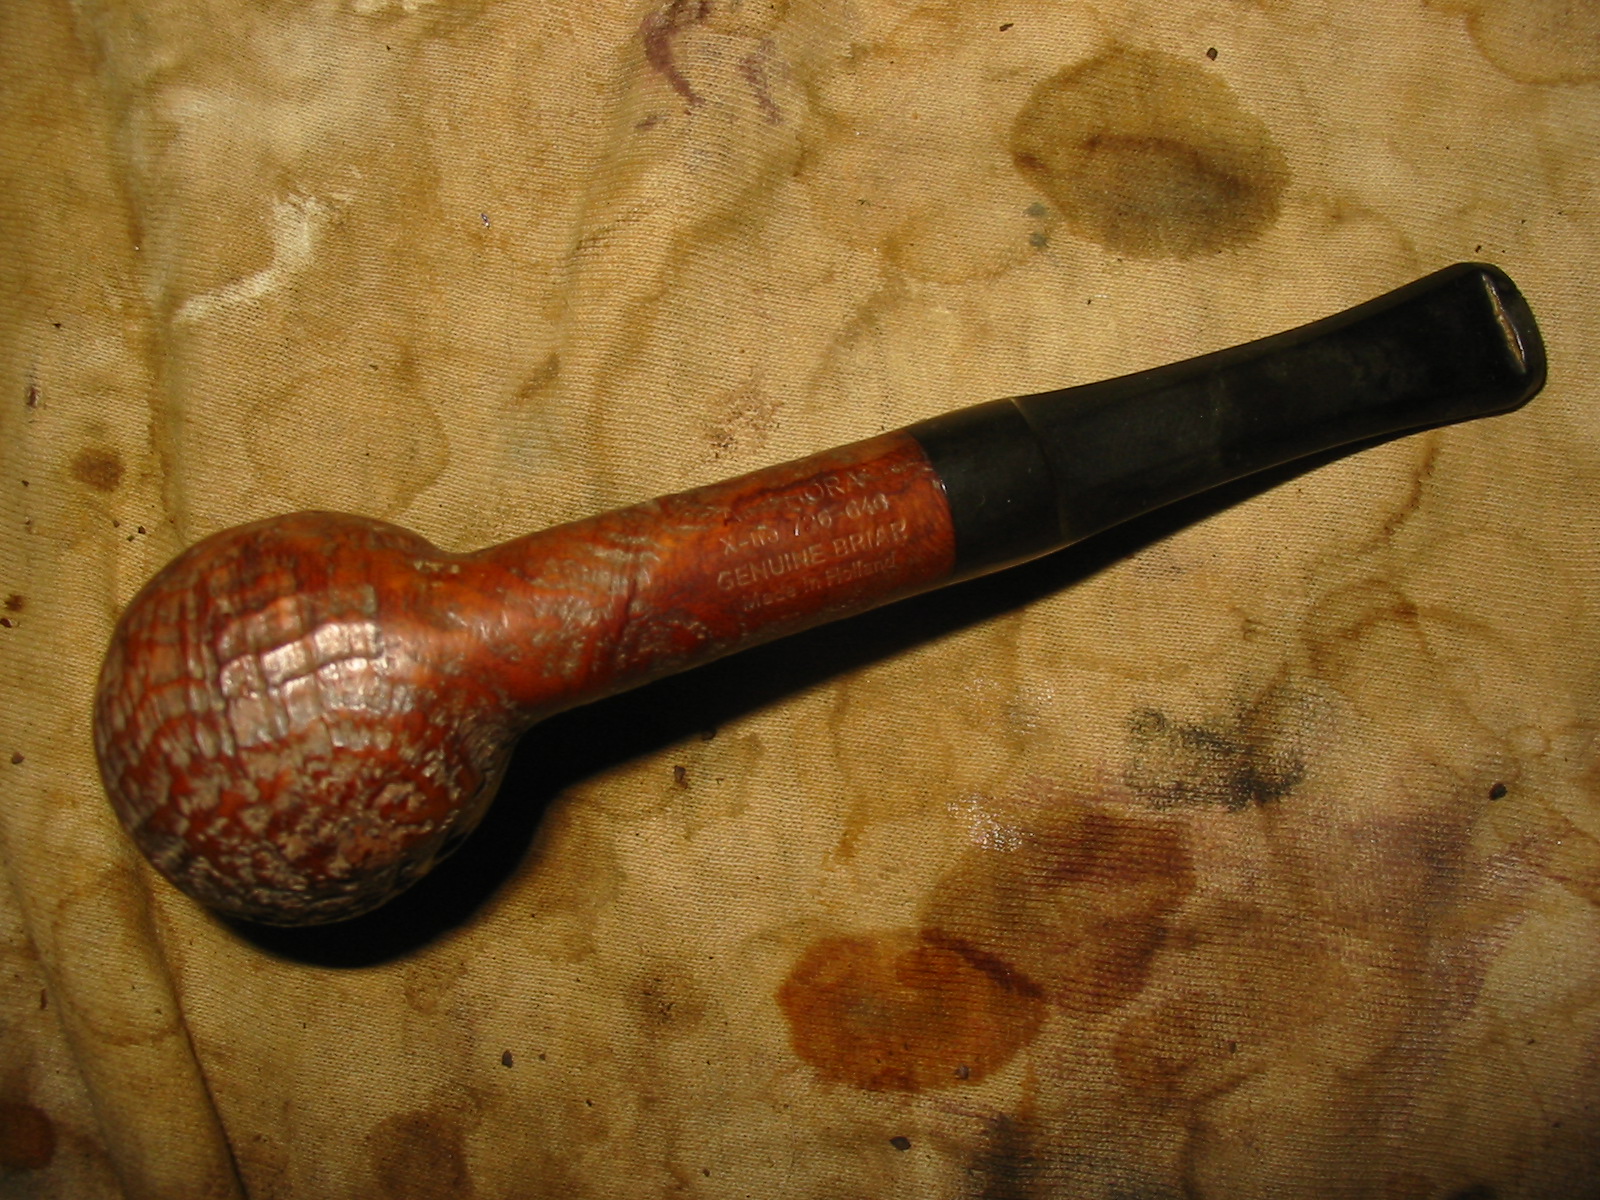
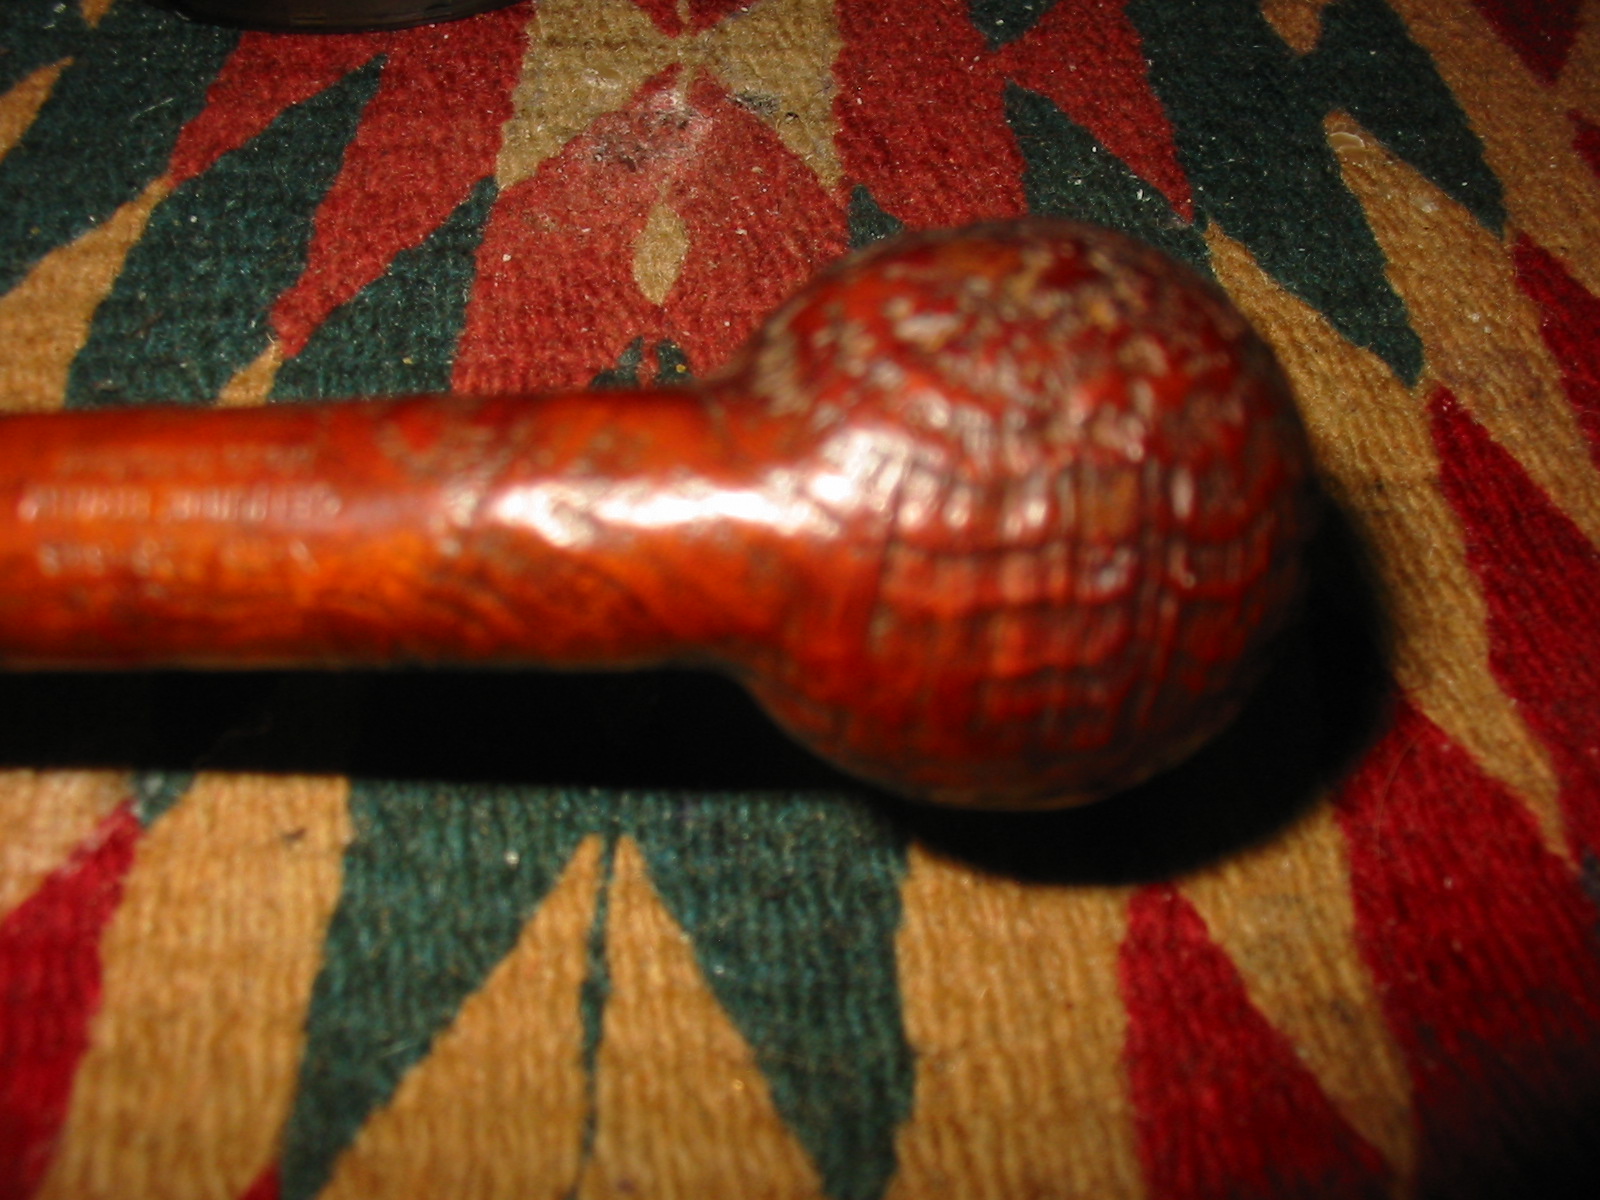
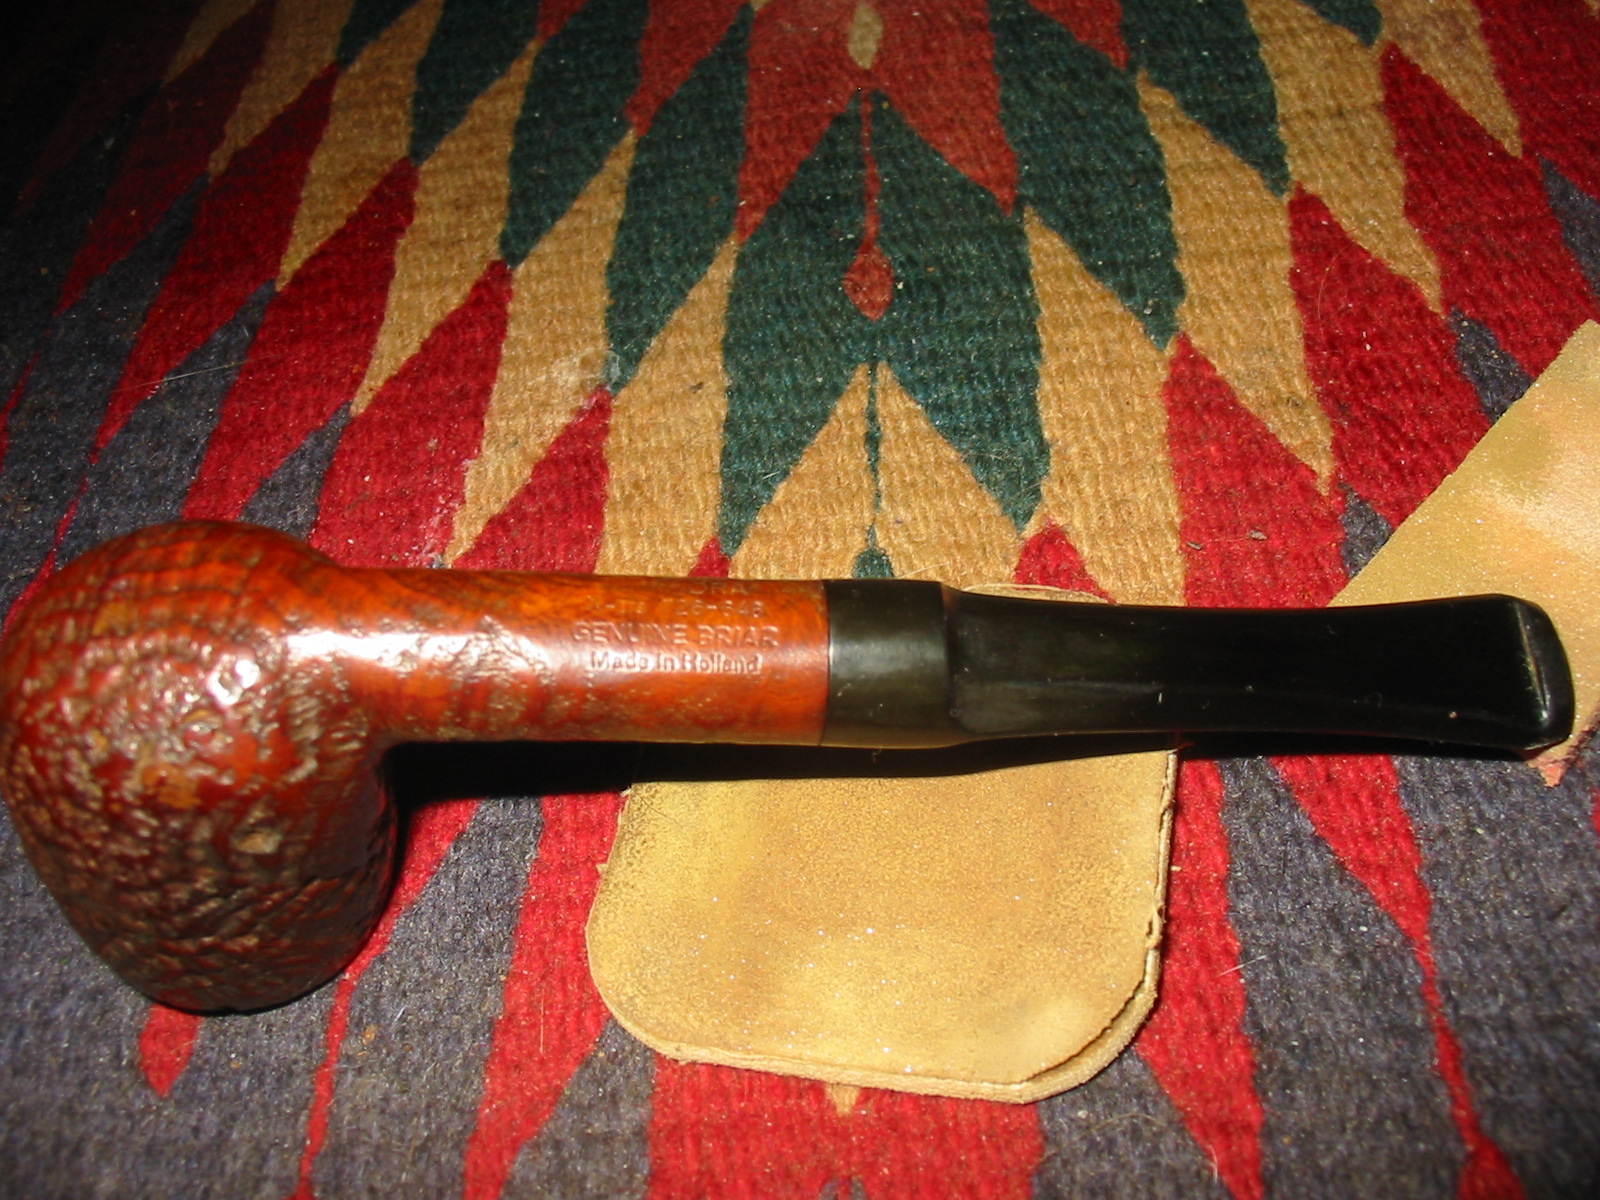
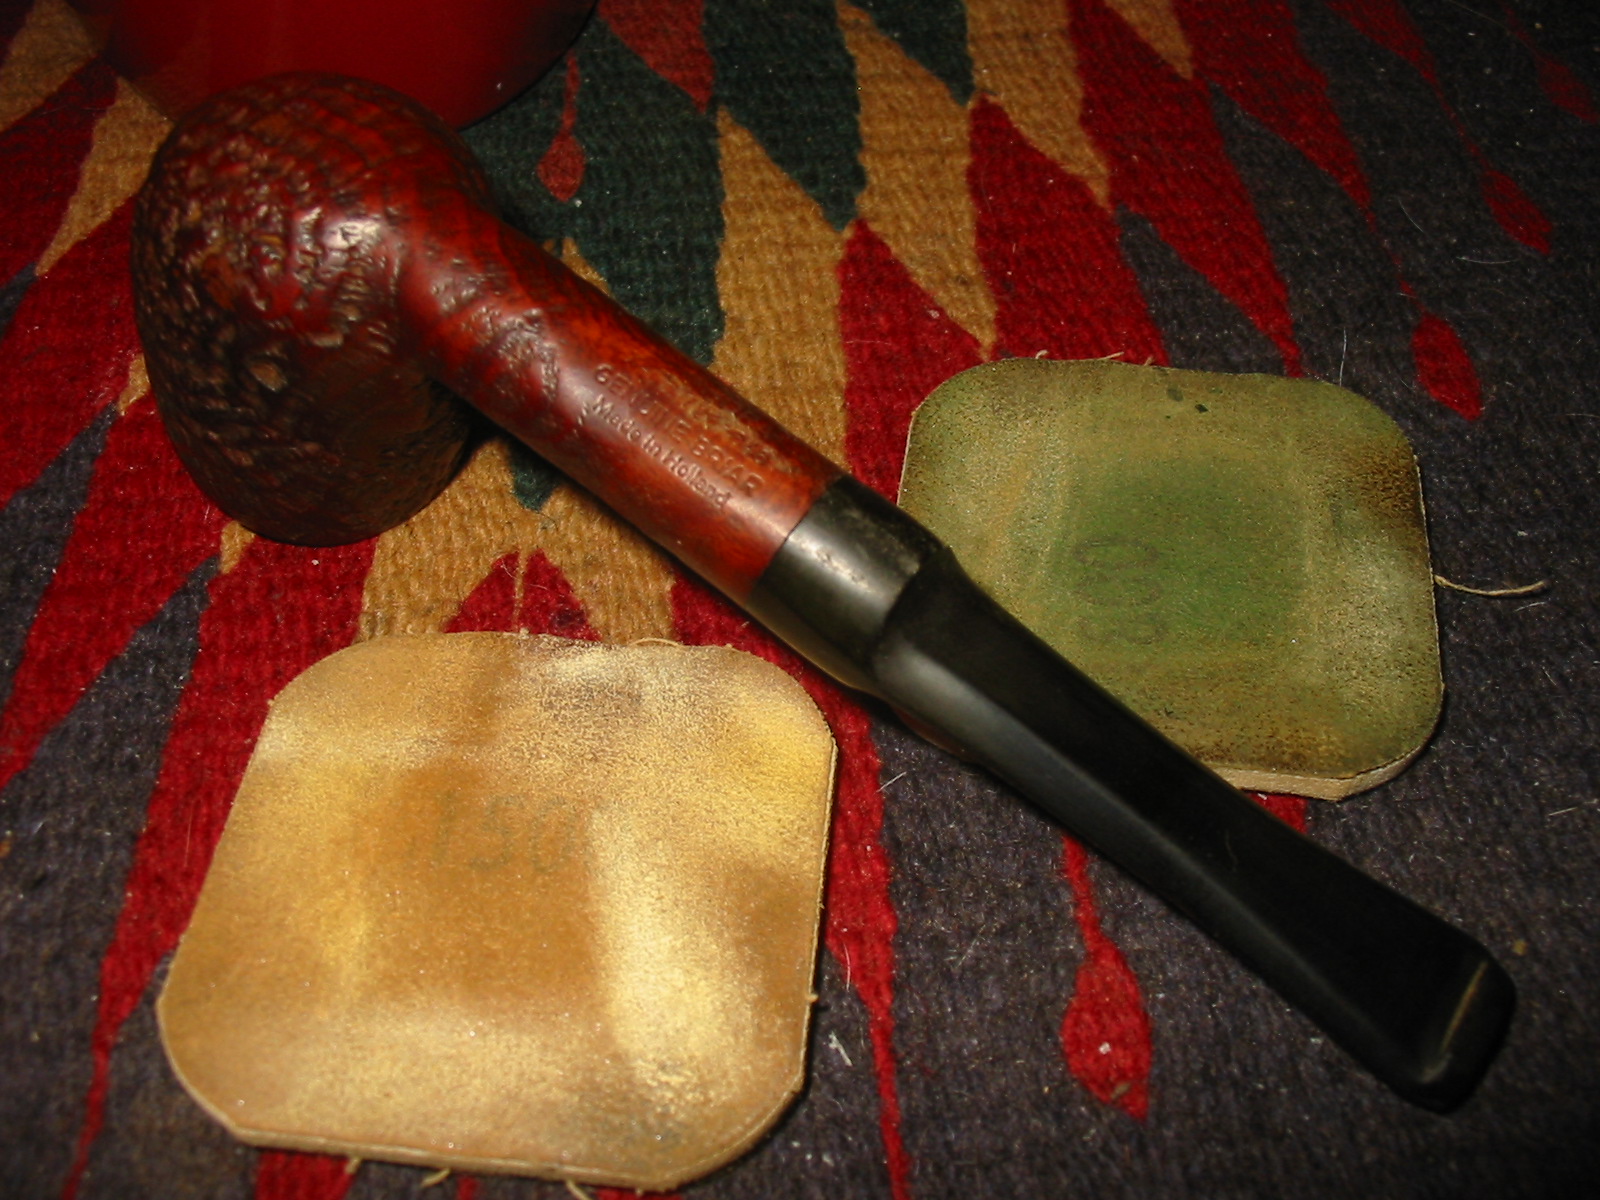
This one is the third of the three I bought at an antique mall in Edmonton, Alberta on a recent trip. It is stamped on the bottom of the shank as follows:
AMPHORA
X-tra 726-649
GENUINE BRIAR
Made in Holland

IMG_0302

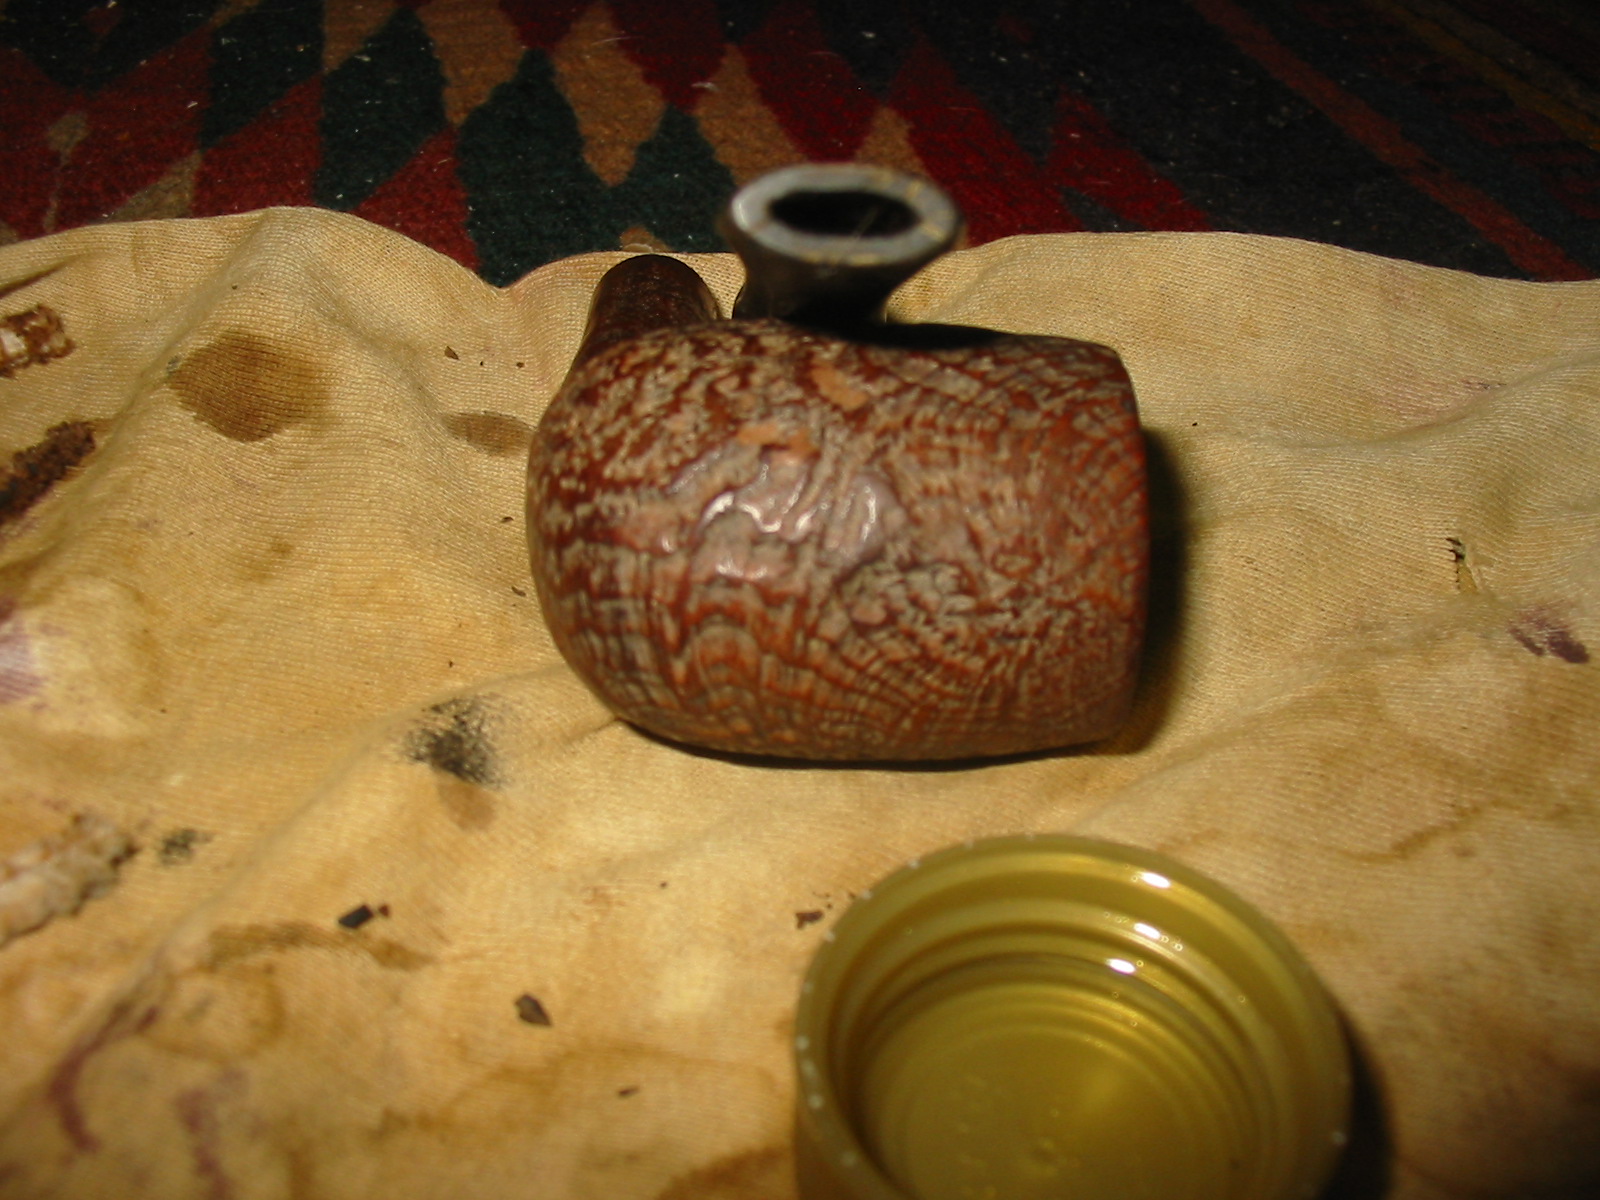
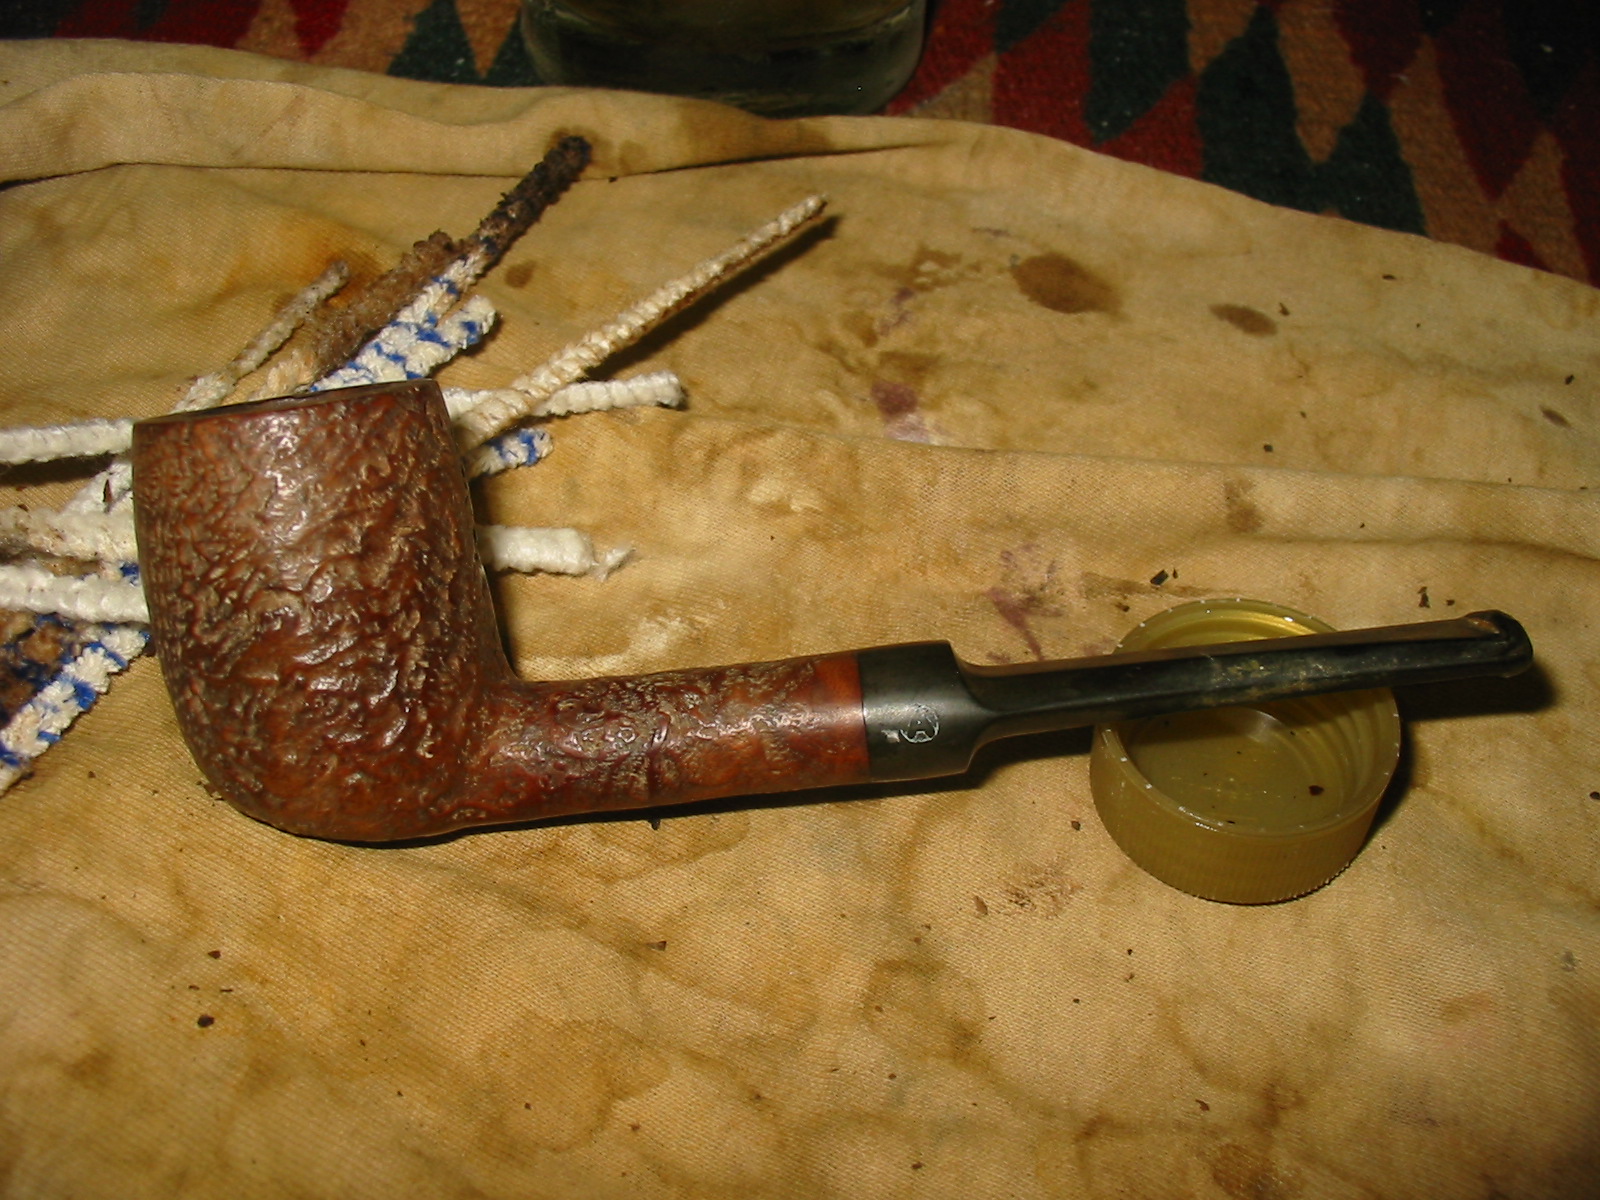
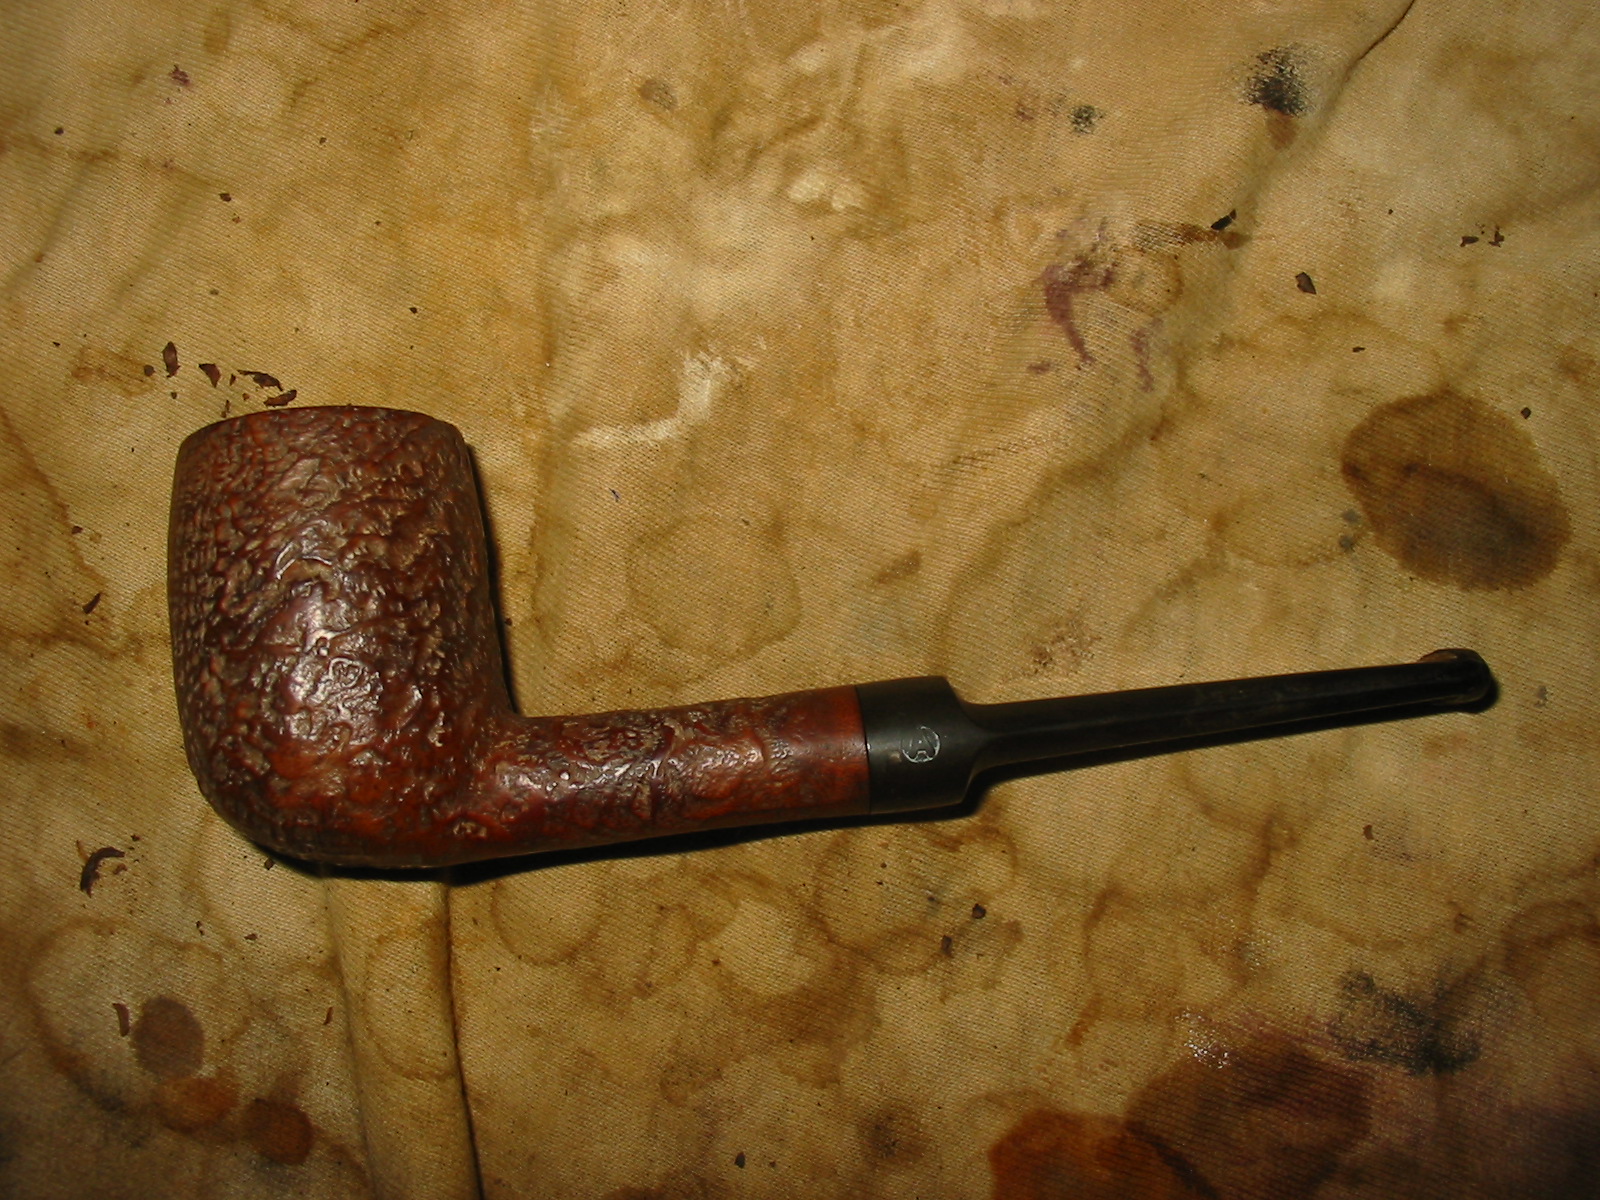
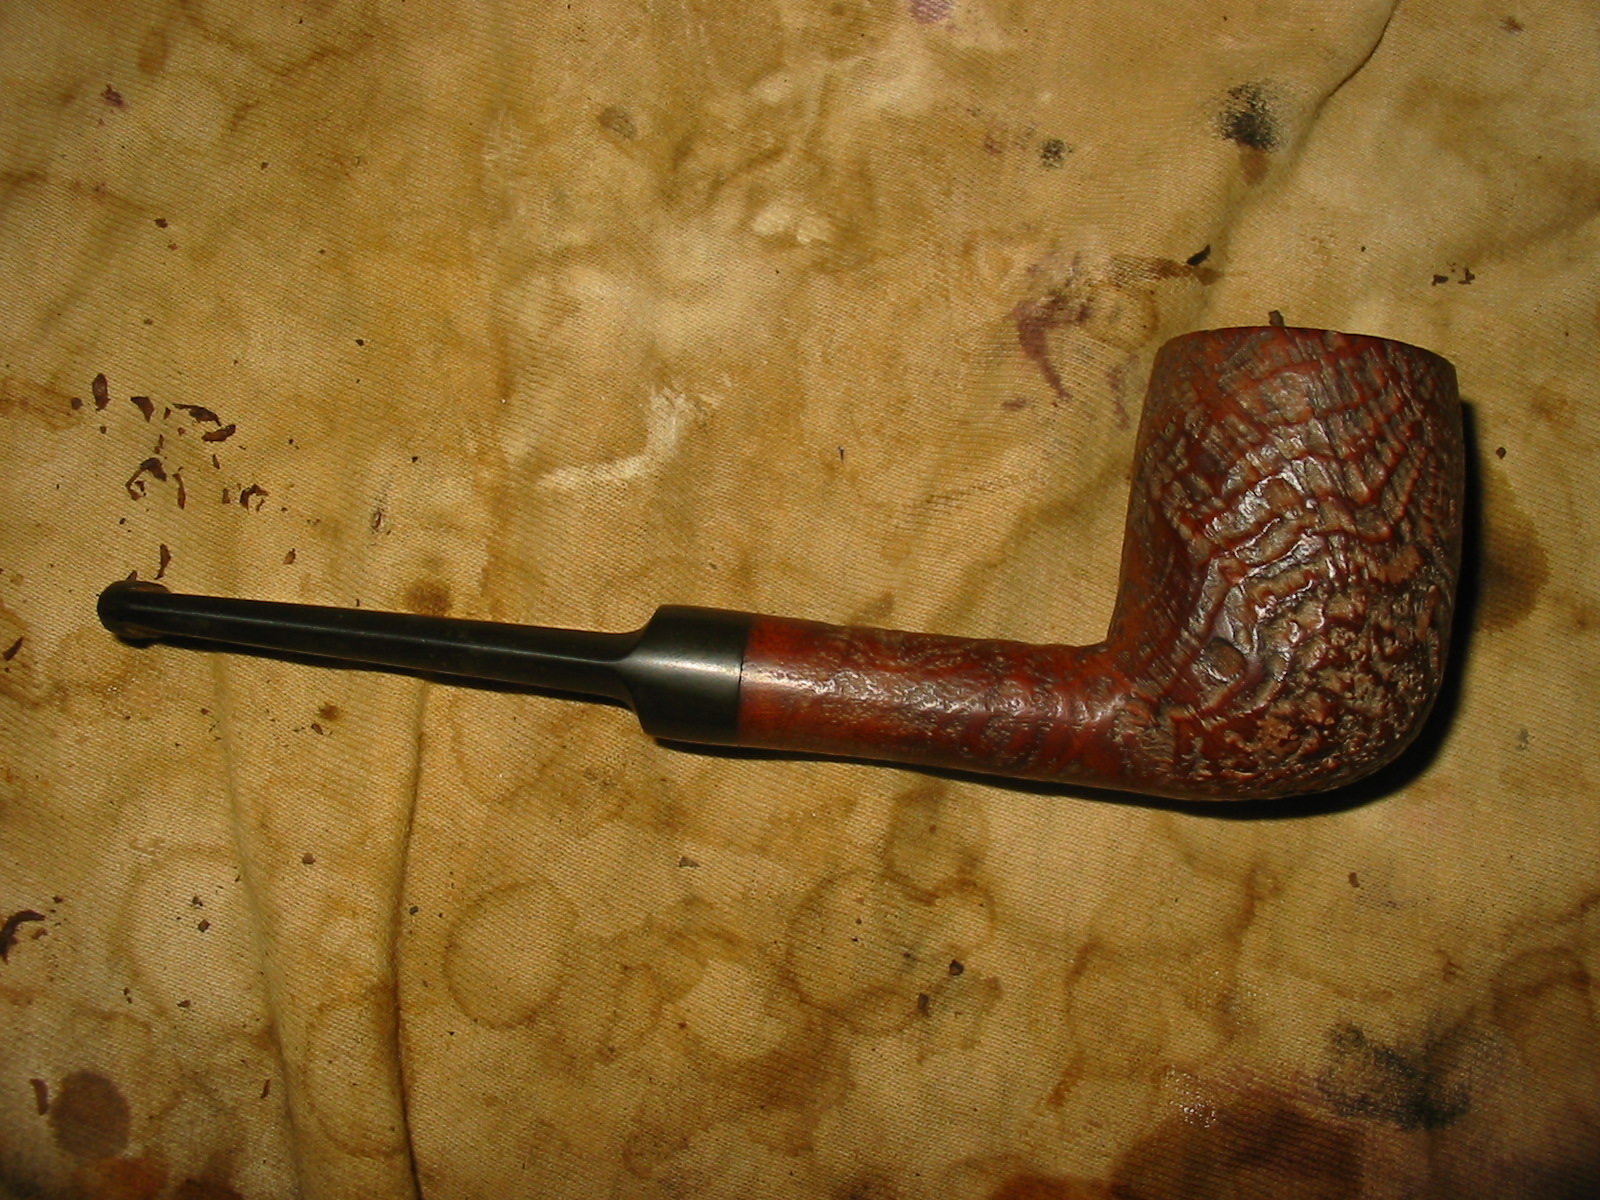
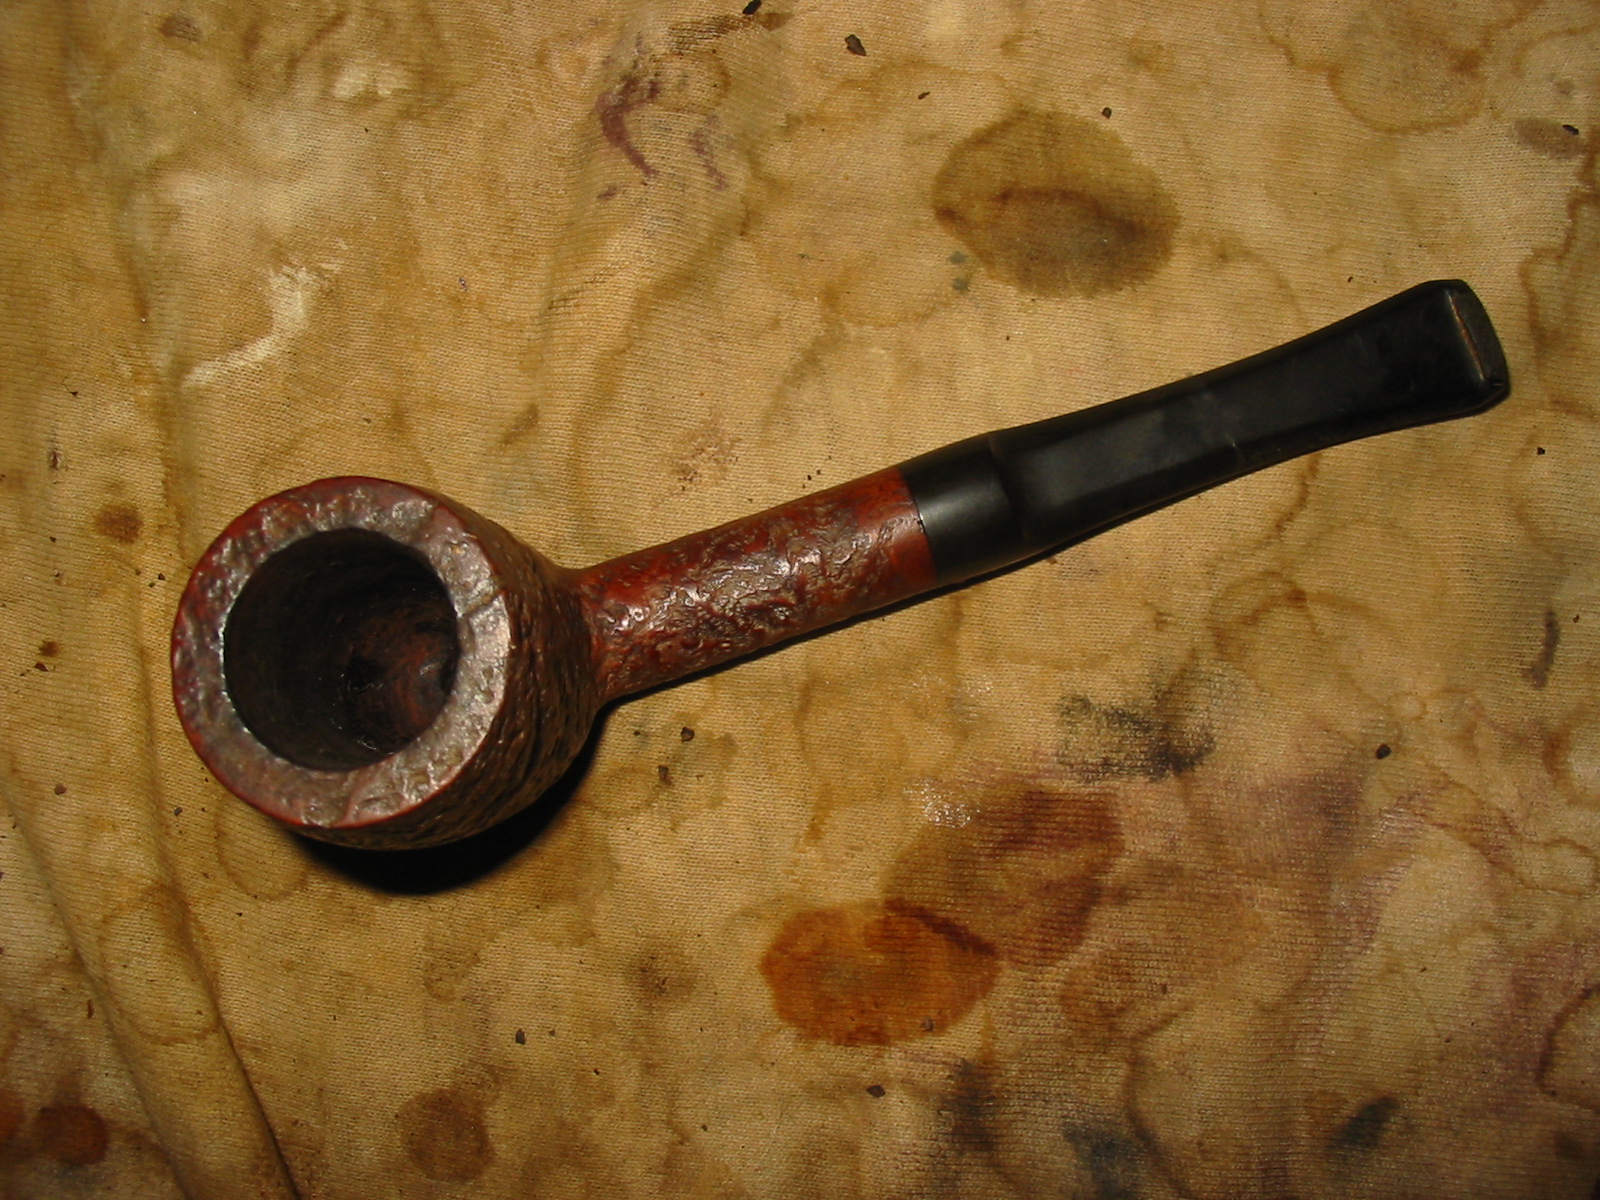
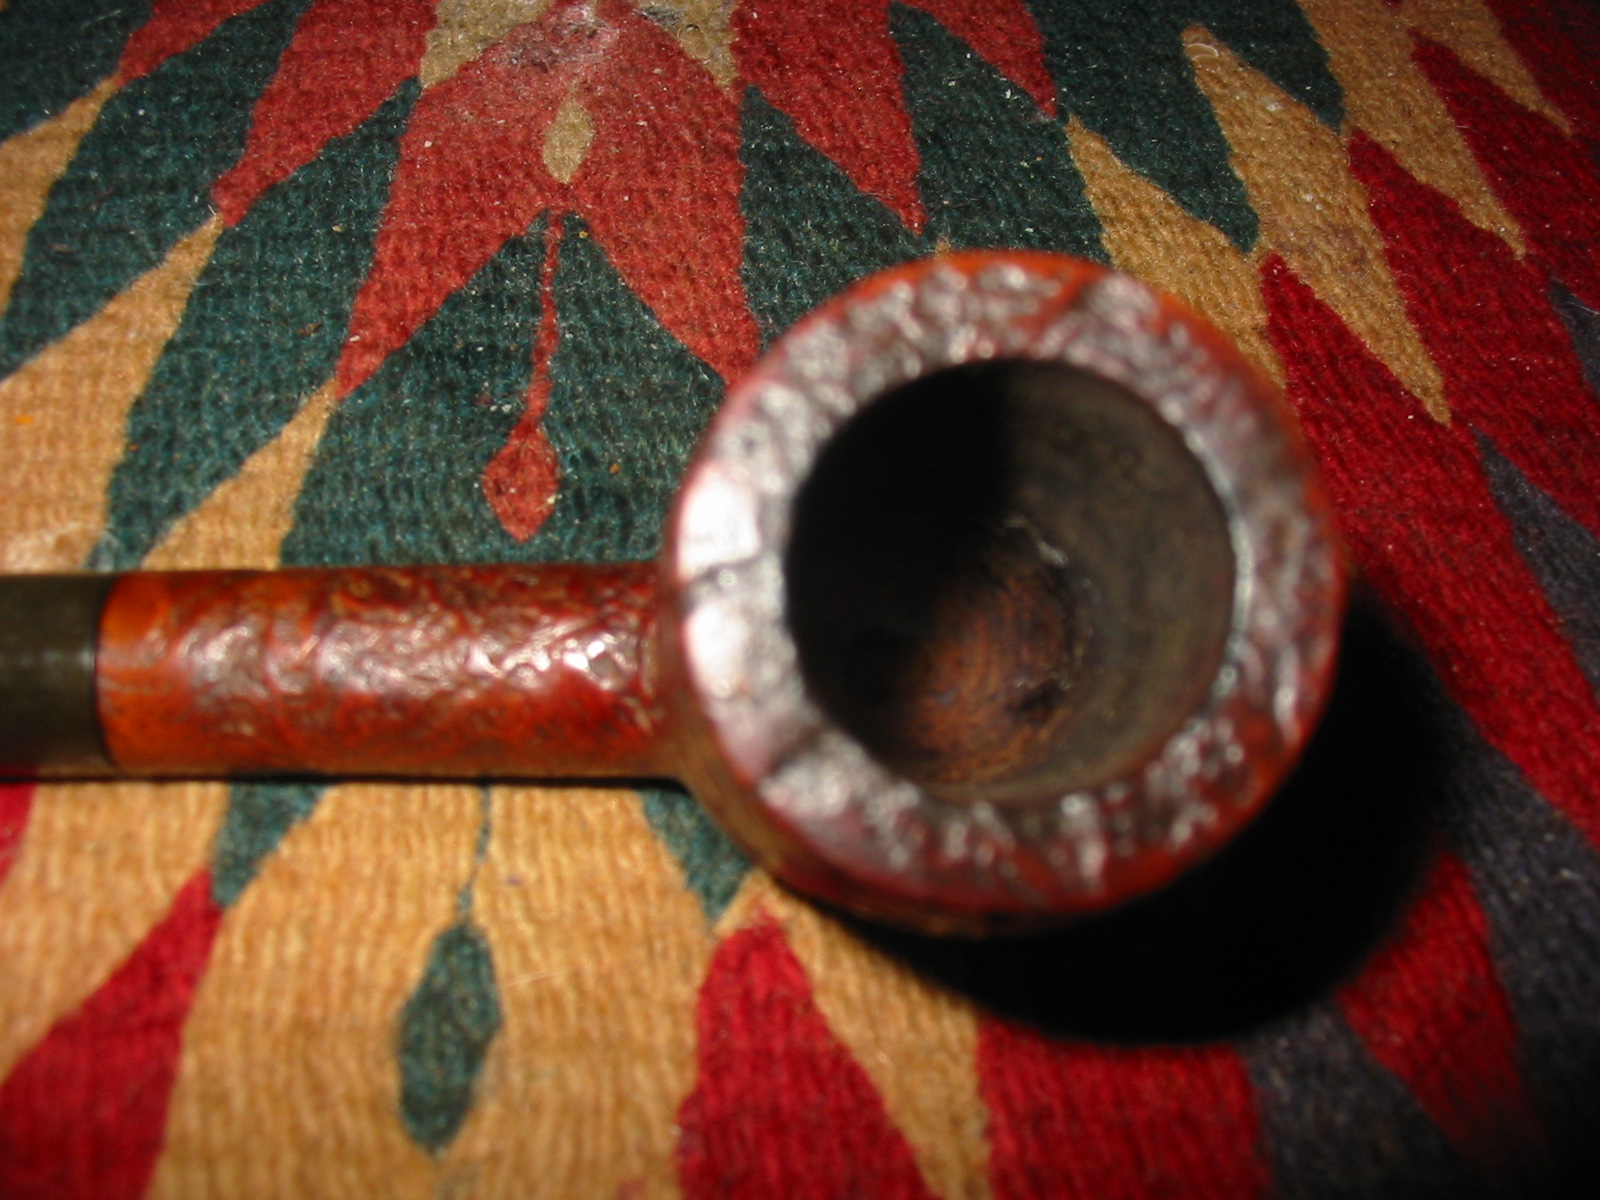
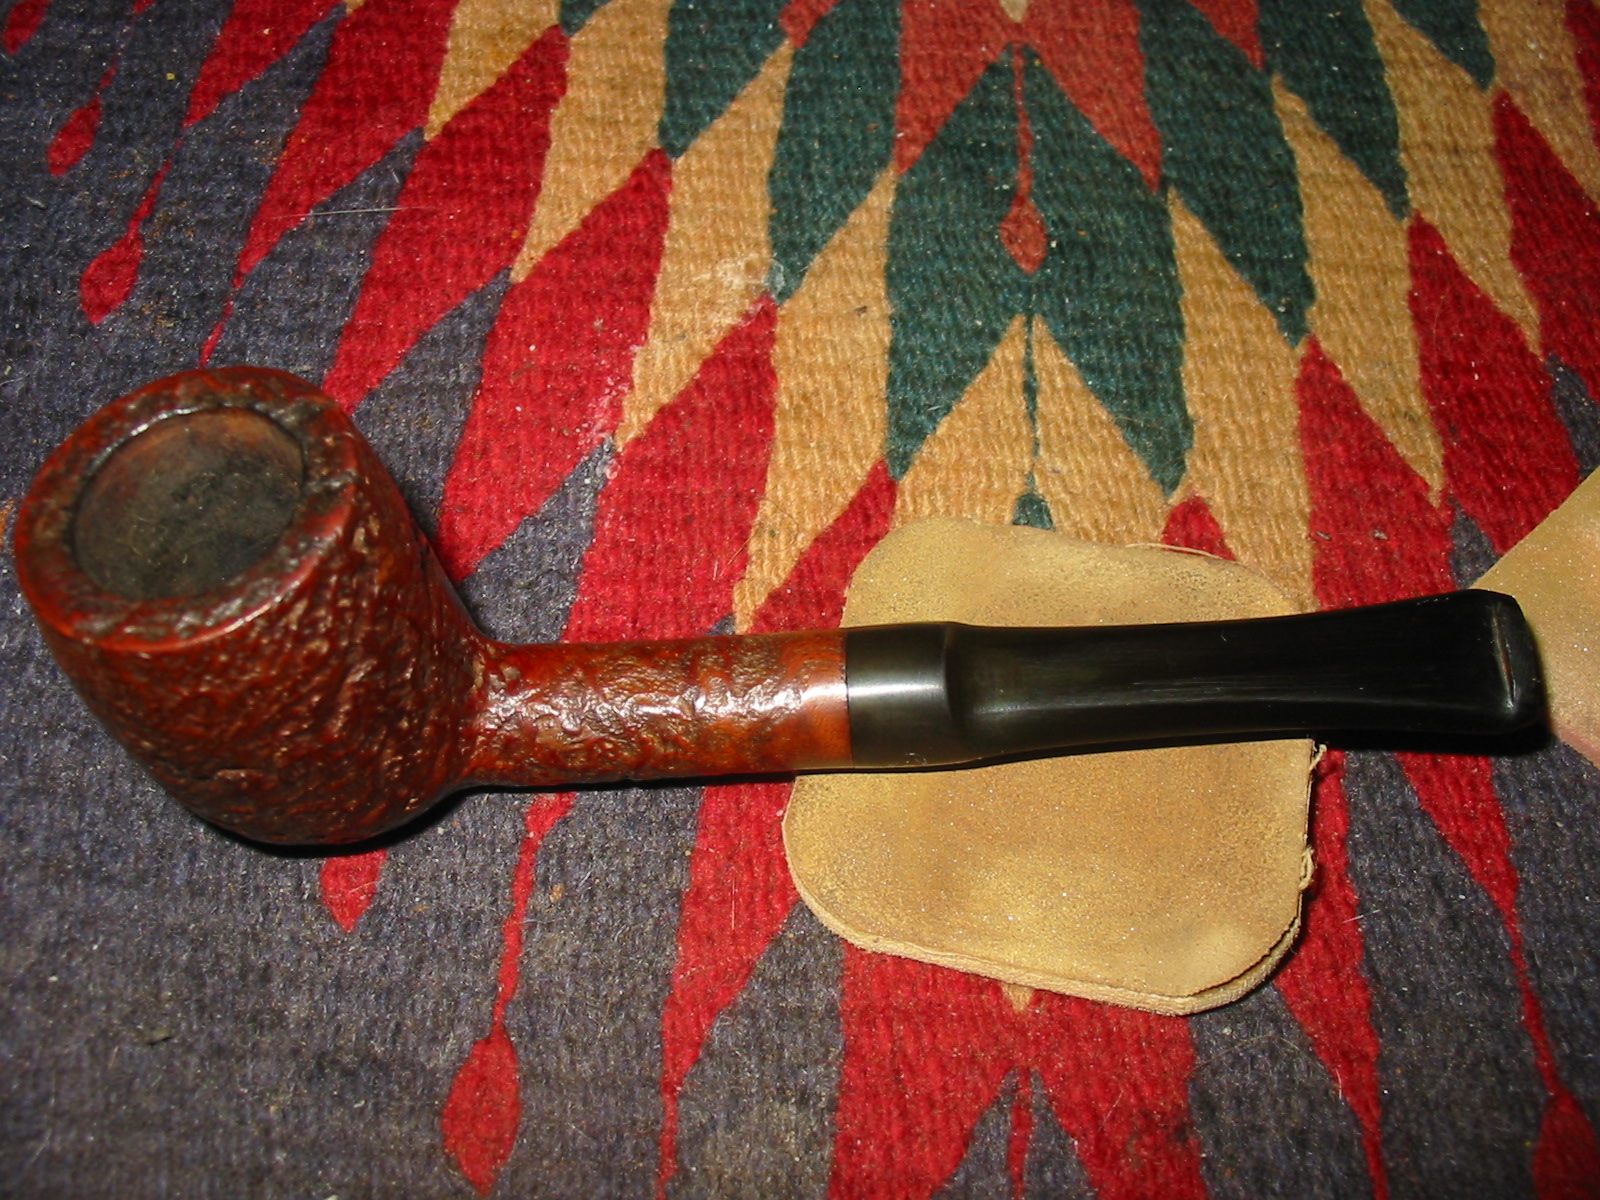
It has a deep craggy blast that attracted me to the pipe in the first place. The briar was dirty and the finish was gone. The remaining stain was very spotty and dirty. The grime of many dirty hands had ground into the blast leaving dark spots all around the bowl and shank. The state of the finish can be seen in the photo below. The bowl was dirty and had a slight cake with dottle still in the bowl. The rim had some darkening from the lighter and there was lava on the surface hiding most of the blast. The beauty was that the bowl did not have any damage from tapping it out or burning on the edges. It would clean up very nicely. The stem was slightly oxidized and had a calcified buildup in several spots. It also had a few faint tooth marks about a ¼ inch back from the button. The button itself had several dents in it as well. The slot in the button was too tight to even take a thin pipe cleaner. The inside of the shank was thick with a tarry buildup and the stem was clogged with buildup as well. I am pretty sure the stem had never been cleaned out as a pipe cleaner would not pass through the slot.

IMG_0305

I removed the stem from the bowl and dipped the bowl in an alcohol bath and scrubbed it with a brass tire brush to remove the grit and grime in the blast. I then dropped it into the bath to soak overnight. In the morning I removed it from the bath and gave it another quick scrub with the tire brush. I flamed the alcohol in the bowl to dry it before I cleaned it. This is a simple process of lighting the alcohol on fire with a lighter. It burns blue and burns fast. No harm is done to the briar. I then cleaned the bowl and shank with pipe cleaners to remove as much of the tars and oils as I could before I used the retort to give it a final cleaning.

IMG_0782

IMG_0783

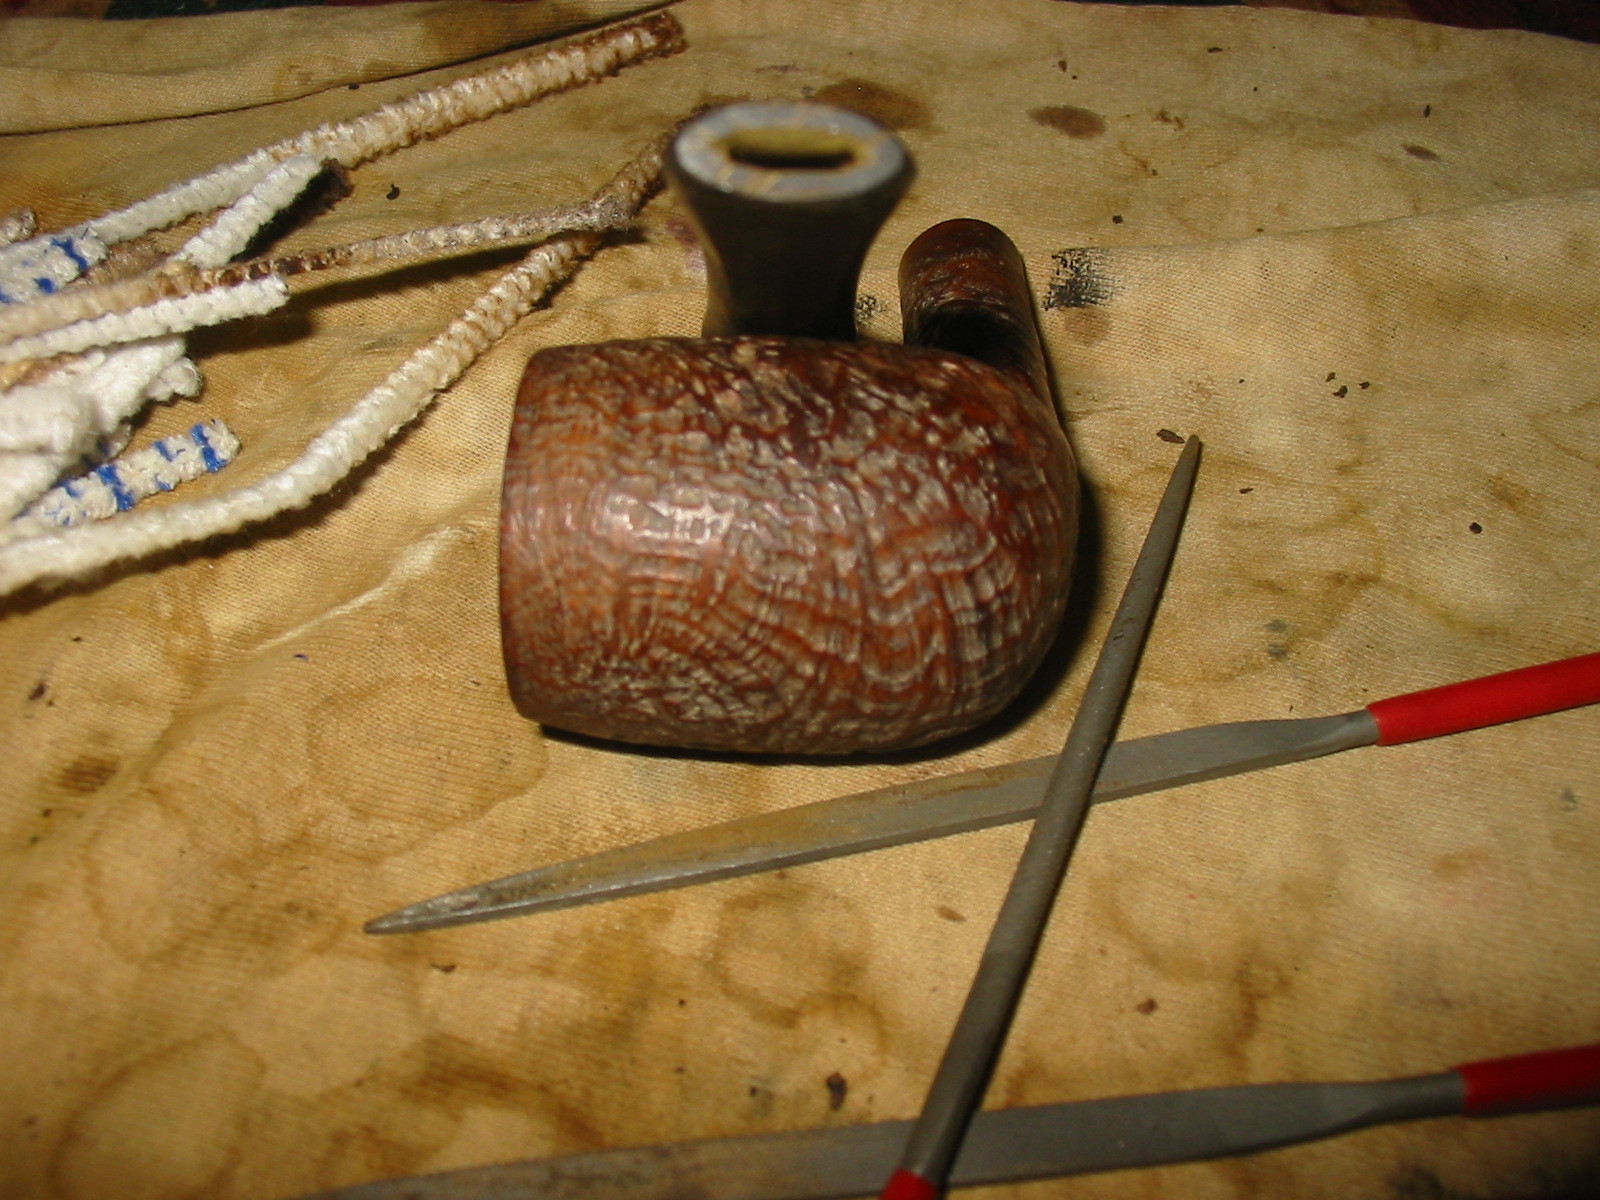
I decided to open up the button with needle files before I used the retort on the pipe. I was unable to run a pipe cleaner through the stem so I wanted to be able to remove some of the grit before I hooked up the retort. I used three different needle files to open the slot. The next four photos show the opening of the slot from start to finish. When I was done a pipe cleaner went through very easily and I was able to remove much of the tars and oils from the stem.

IMG_0791

IMG_0792

IMG_0793

IMG_0794

To finish the reformed slot I used some folded medium grit emery paper and then 340 grit sandpaper to smooth out the new edges and give it a finished look. I also sanded the surface of the button to remove the scratches from the files. Once that was done put the stem back on the pipe and ran a few more pipe cleaners dipped in Everclear through to clean out the airway. The next two photos show the pipe at this stage in the cleanup.

IMG_0784

IMG_0785

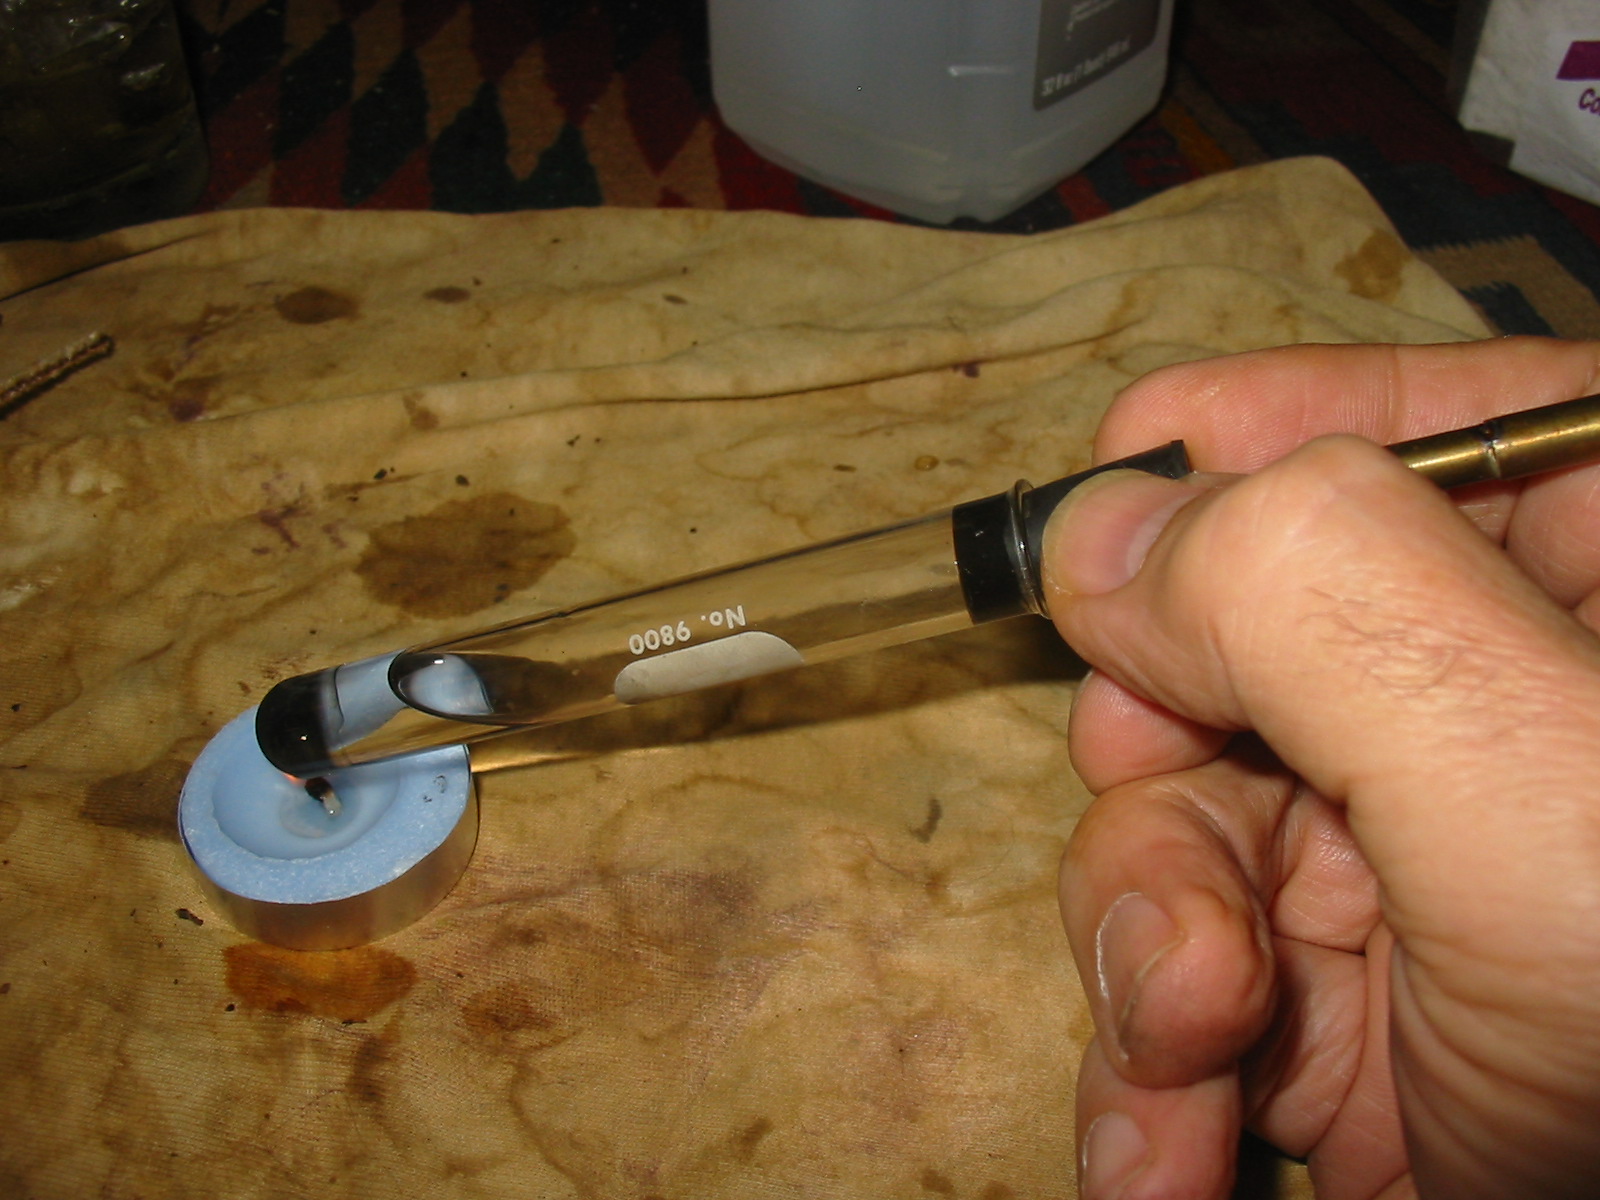
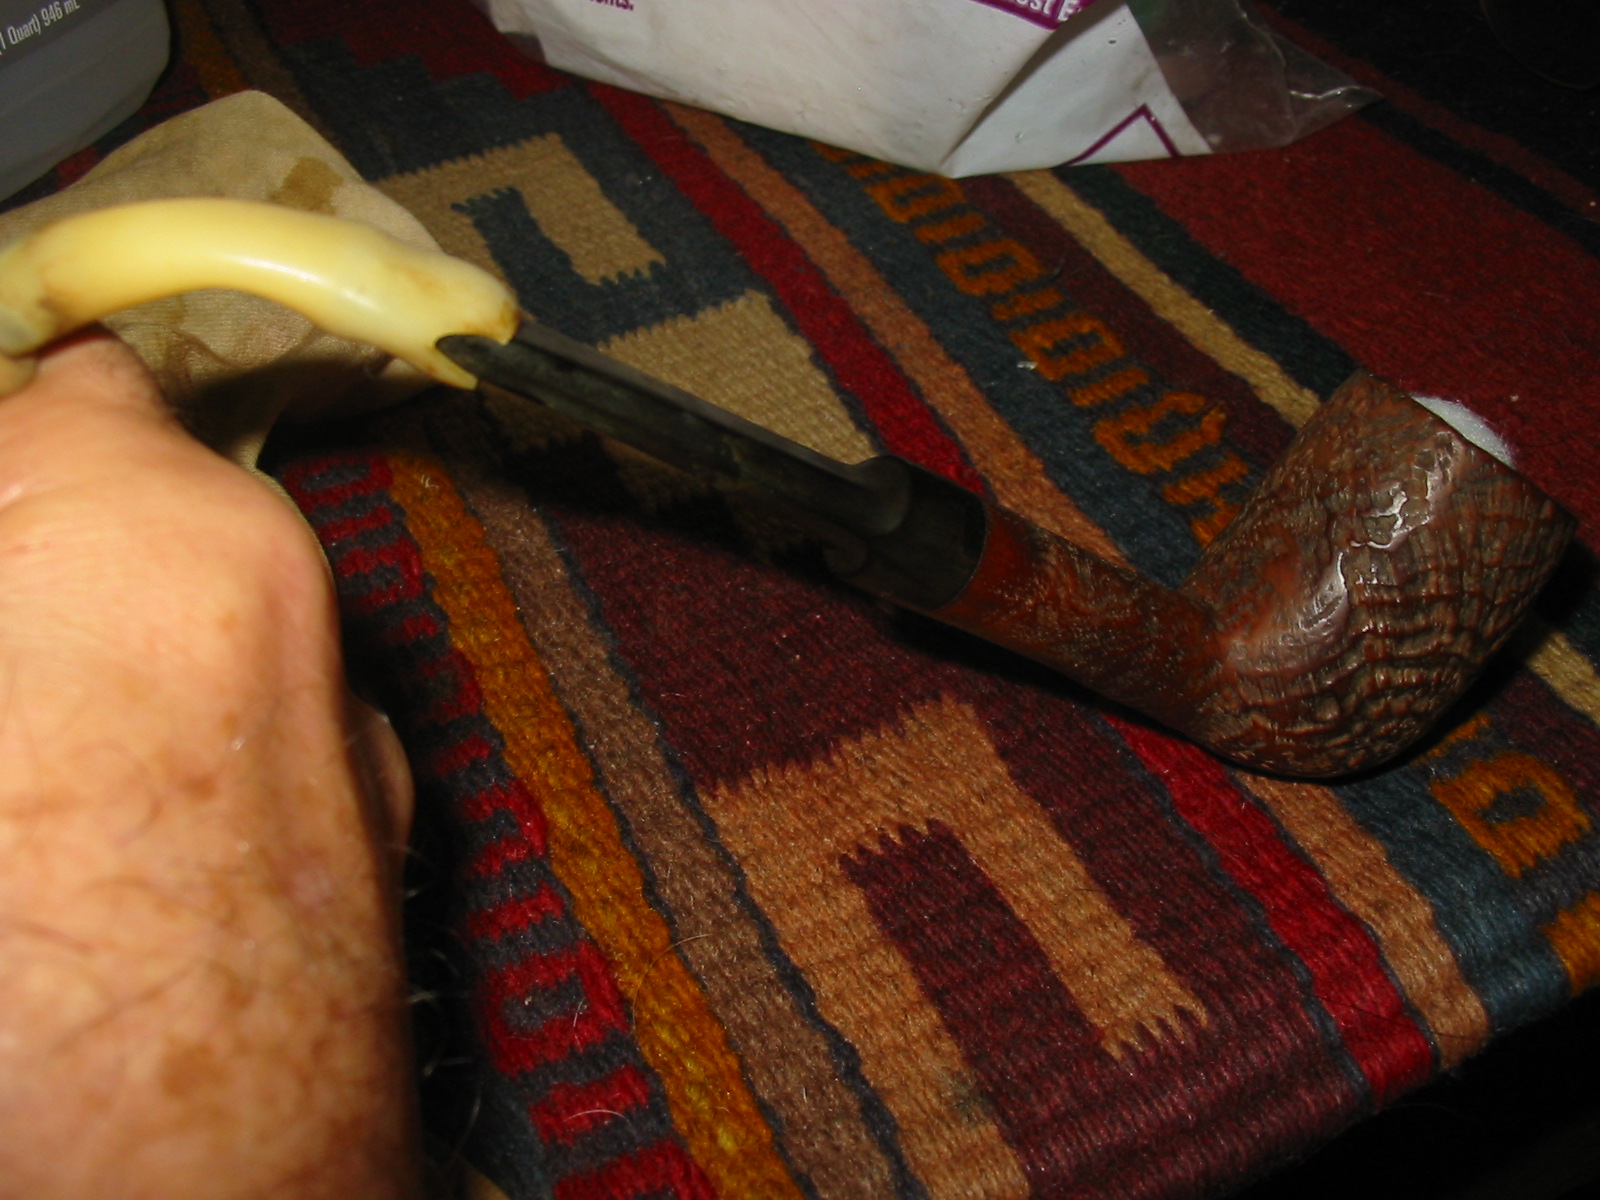
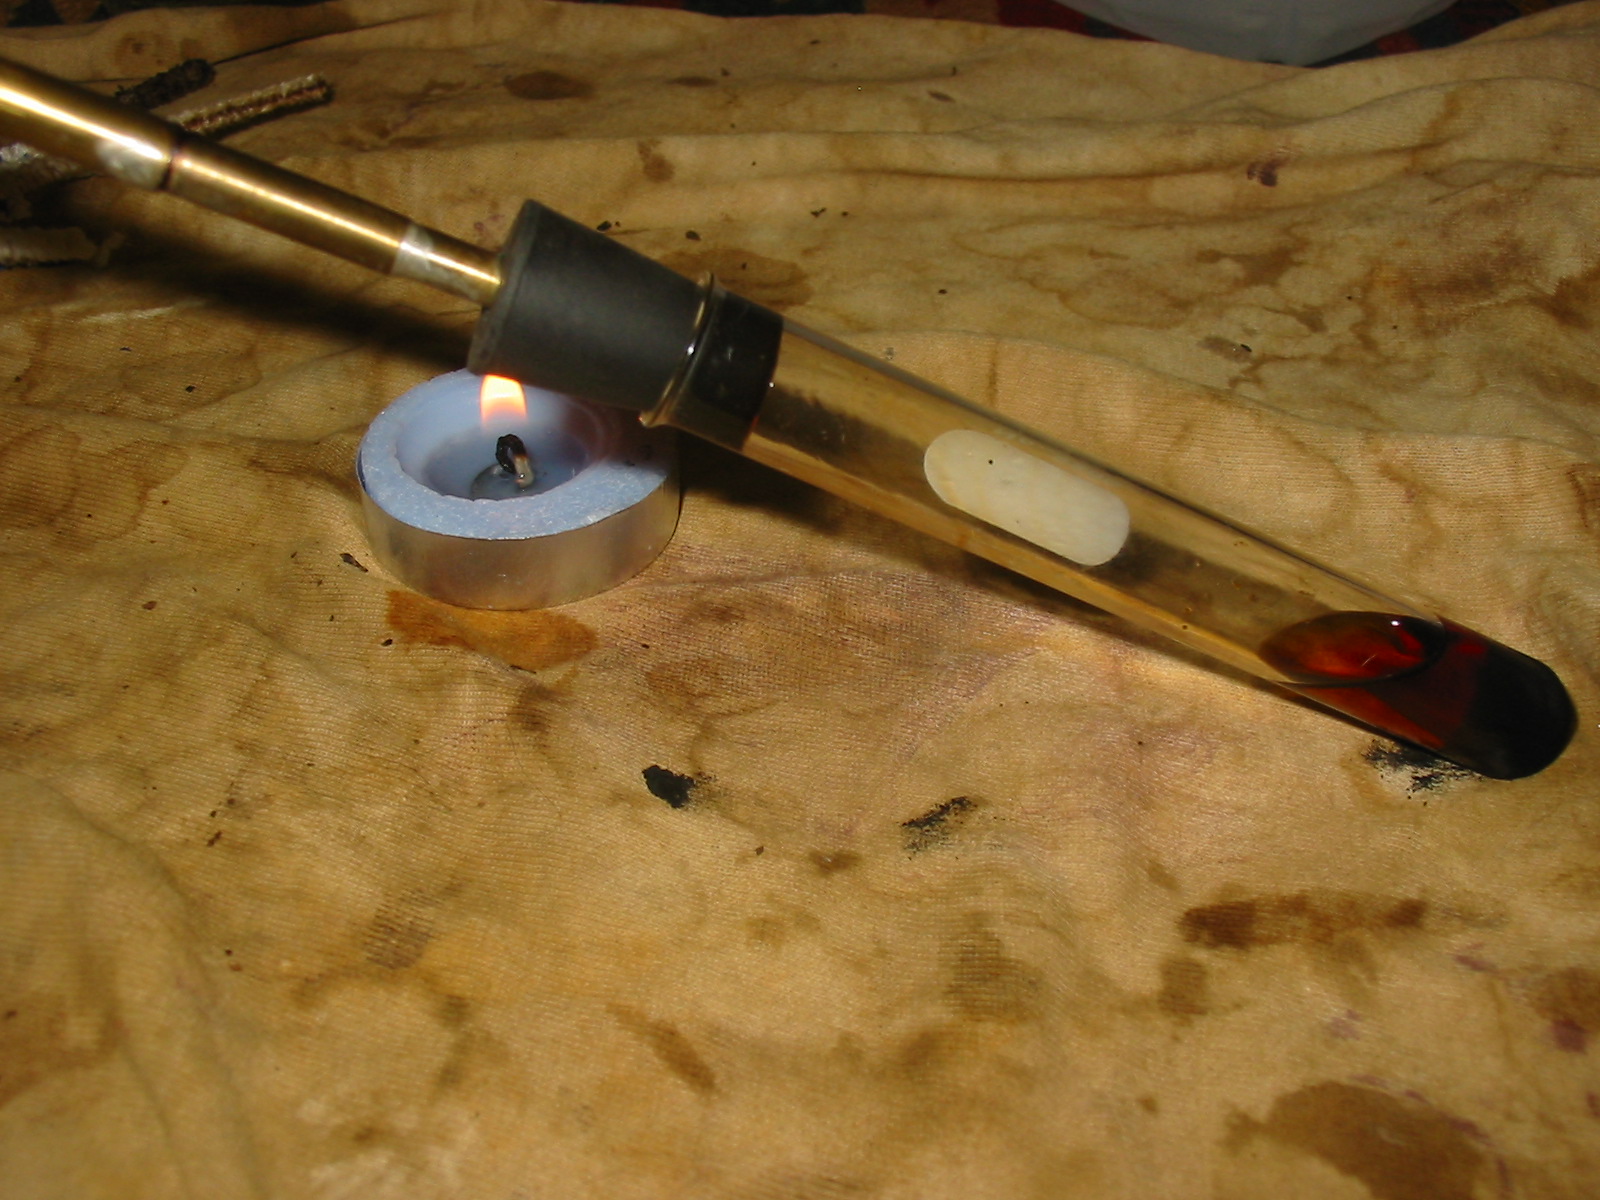
With the slot opened and the interior surface cleaned it was time to set up the retort. I placed a cotton boll in the bowl to keep the boiling alcohol from coming out the top of the bowl. I slid the rubber surgical tubing over the end of the stem and slid it on about ½ an inch. I want a good tight seal at this point because as the alcohol boils it can bubble out the sides of the stem and give a good burn while you are holding the stem. I put about 1 inch of 99% isopropyl in the test tube and put the rubber stopper in place in the mouth of the tube. I lit a small tea light and held the bottom of the test tube over the flame. The alcohol has a low boiling point so it does not take long for it to boil and the gaseous alcohol migrates up the surgical tubing and into the stem, shank and bowl. It is great to feel the shank warm up as the alcohol moves into the shank. I remove it from the flame after several minutes and let it cool off. As the alcohol cools it runs back into the test tube and cools. The next series of three photos show the heating and boiling process.

IMG_0786

IMG_0787

IMG_0788

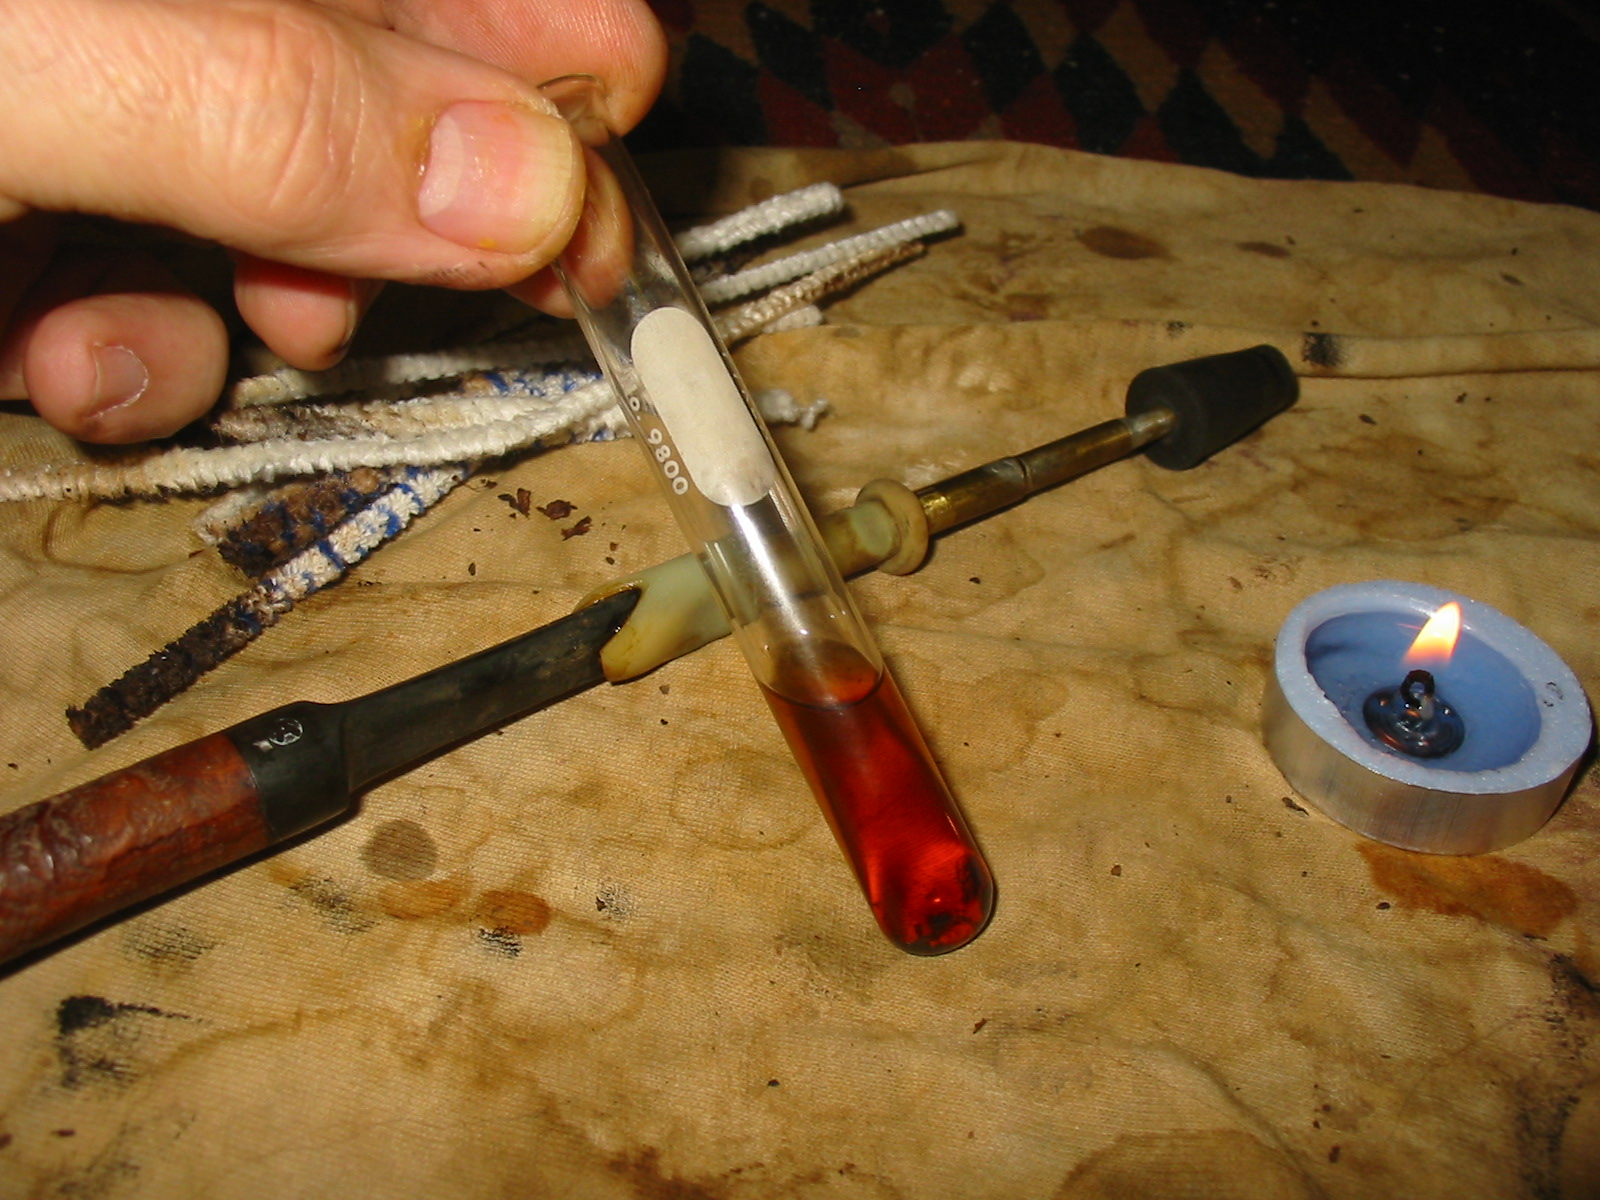
As it cools the alcohol migrates back into the tube. It is generally a very dark amber colour – like nice amber ale! In the first photo below show the tube removed from the flame and the alcohol beginning to refill the tube. The flame is actually behind the stopper not under it – lest anyone wonder about that. I blew out the candle at this point and continued to let the alcohol cool and drain. I then poured out the dirty alcohol, rinsed the tube with warm water, dried it out and refilled it. I reattached the apparatus and used the retort a second and third time until the alcohol came out as clean as when I started using it.

IMG_0789

IMG_0790

Once the insides were clean I used a soft bristle tooth brush and some isopropyl to scrub down the exterior of the bowl to prepare it for restaining. The next four photos show the scrubbed and prepared bowl.

IMG_0795

IMG_0796

IMG_0797

IMG_0798

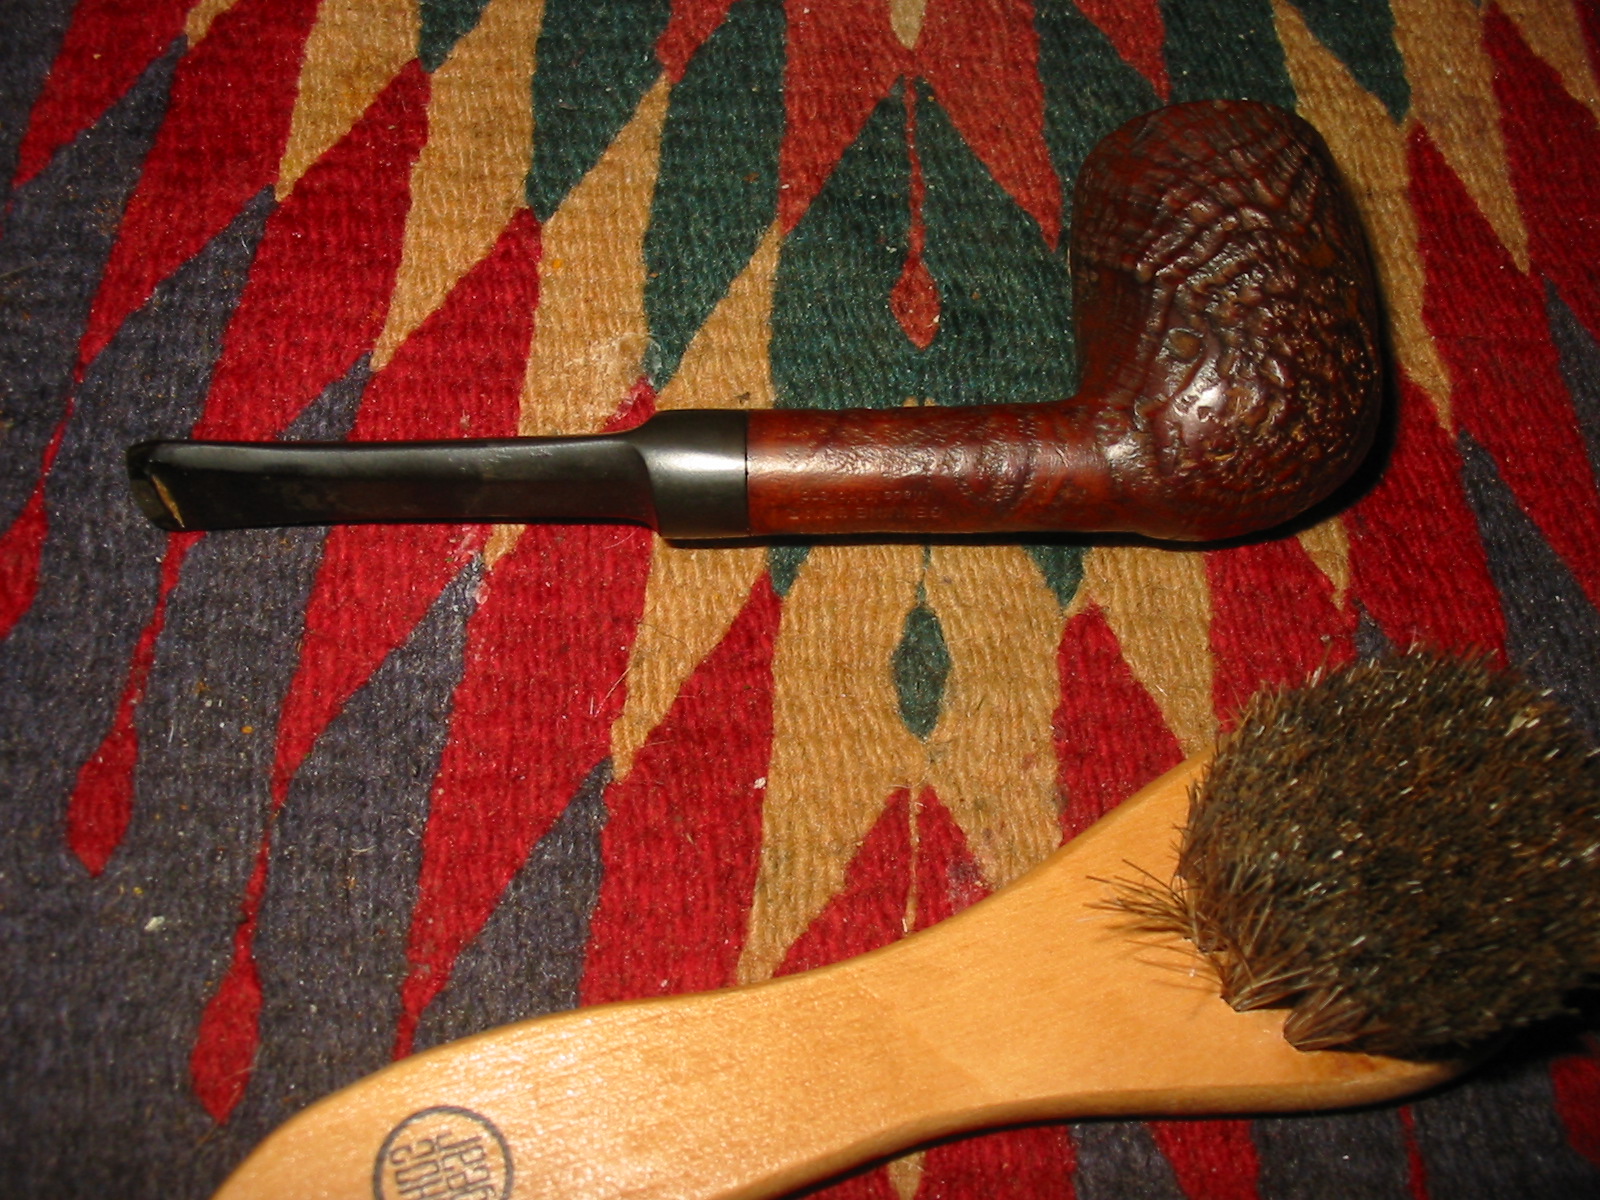
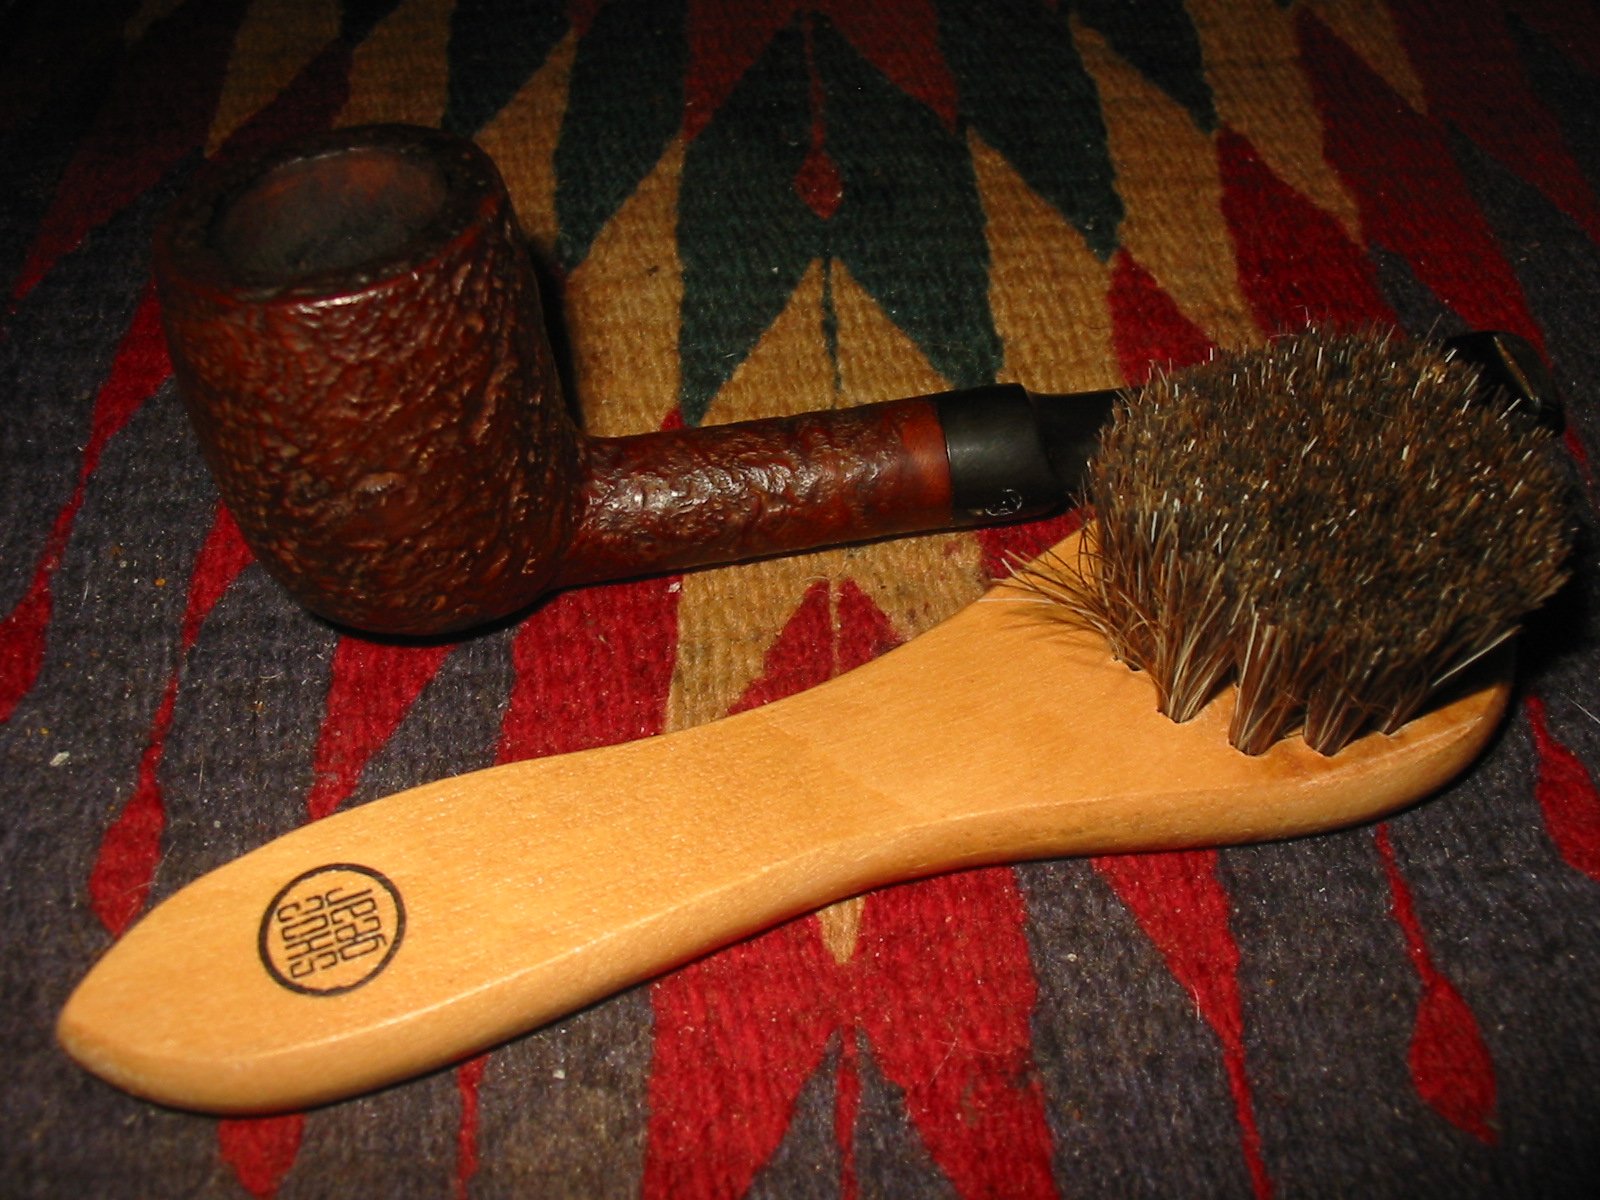
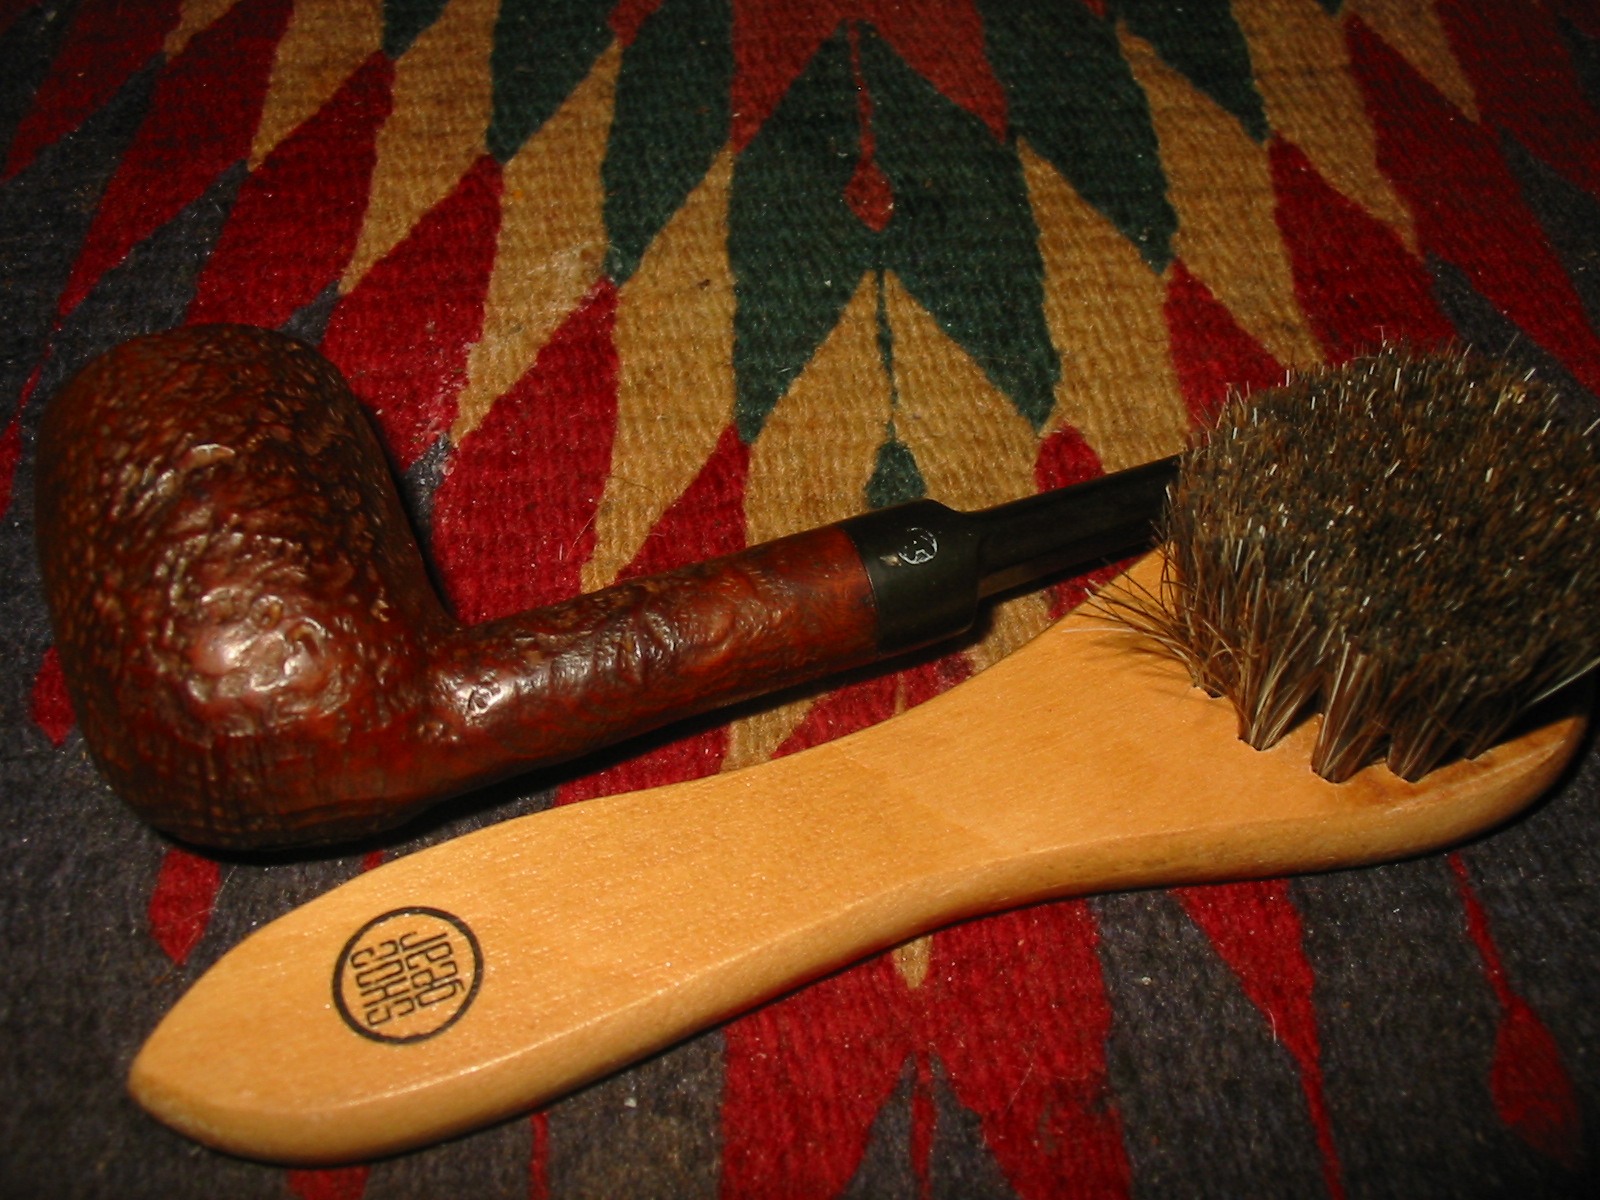
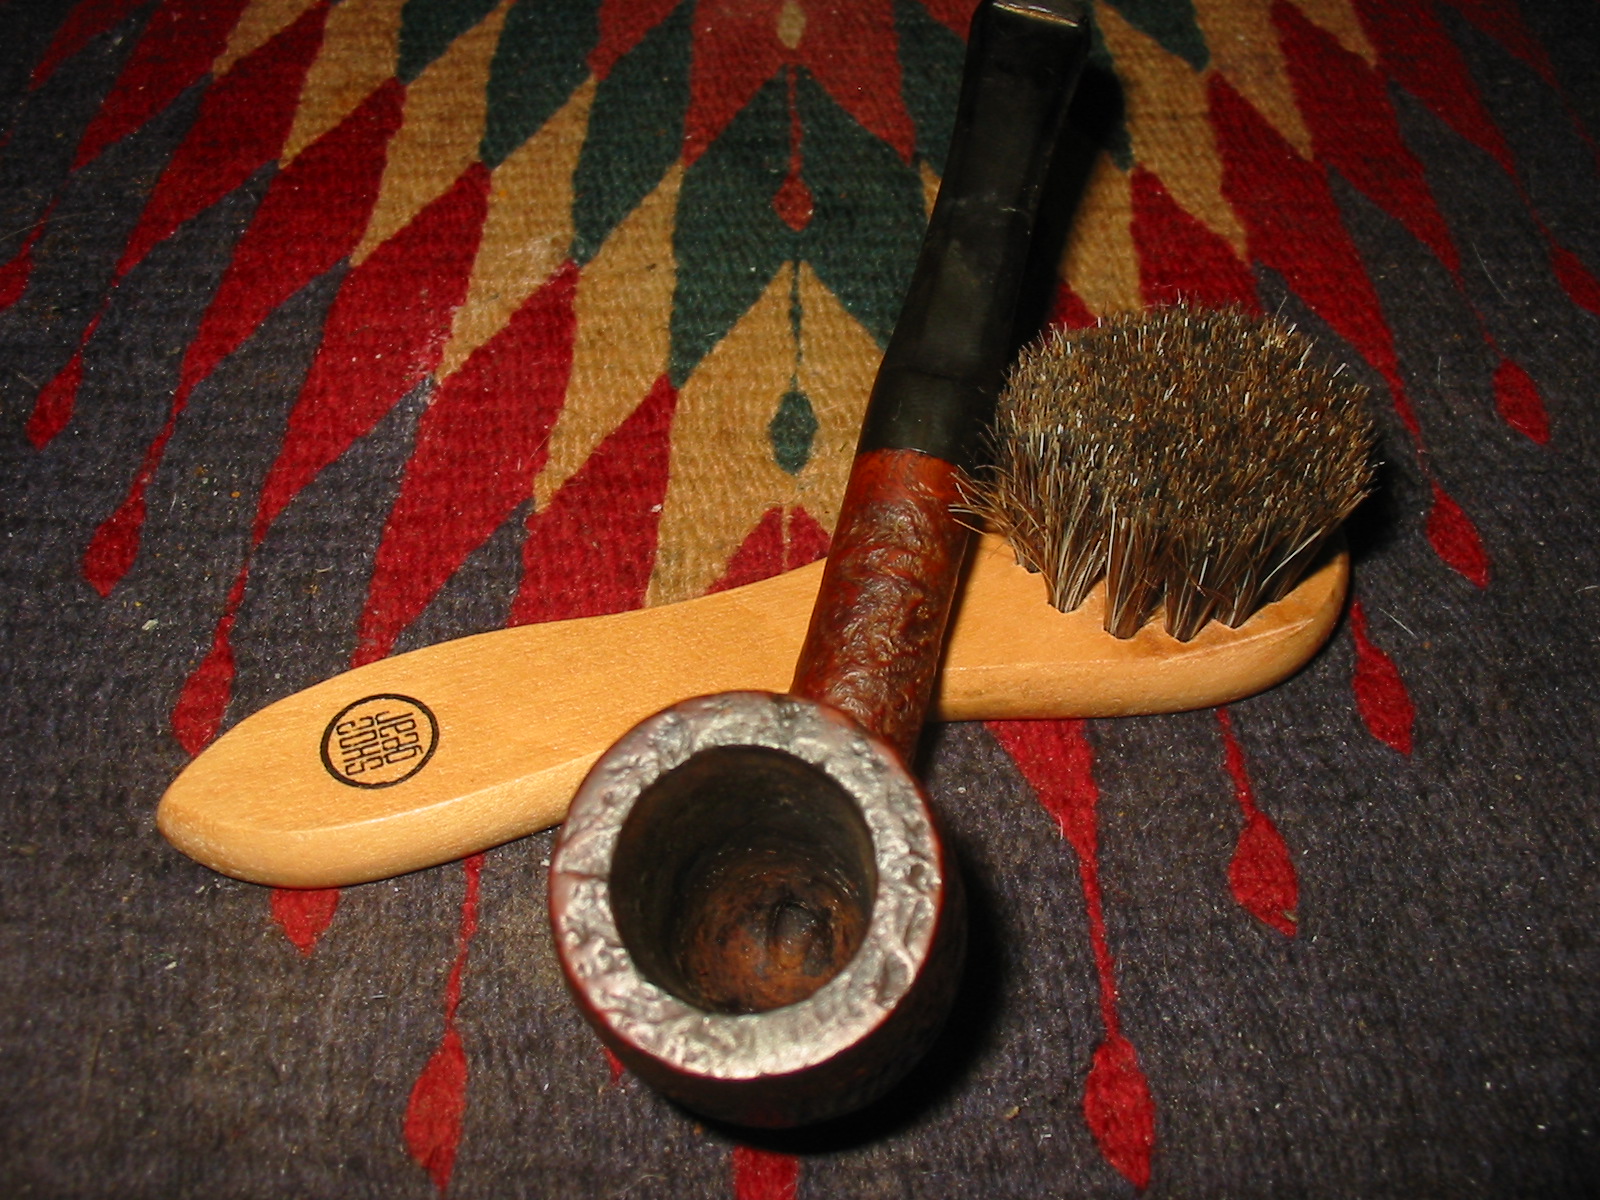
I chose to restain the bowl with a dark brown aniline stain that I thinned 2:1 with isopropyl alcohol. I applied the stain heavily to the pipe with a folded pipe cleaner to make sure I got it into the nooks and crannies of the sandblasted surface. Once it was covered I flamed it with a lighter to set the stain. I gave it a second coat of stain and flamed it a second time. Once it was dry I buffed it with a shoe brush to get a soft shine on it. The next series of four photos show the restained bowl after the buffing with the show brush. I find that the bristles on the shoe brush work really well to buff sand blasted and rusticated pipes. I used to use my buffer and keep a light touch on the wheel because I did not want to soften the ridges of the blast. I have since resorted to using the shoe shine brush instead.

IMG_0799

IMG_0800

IMG_0801

IMG_0802

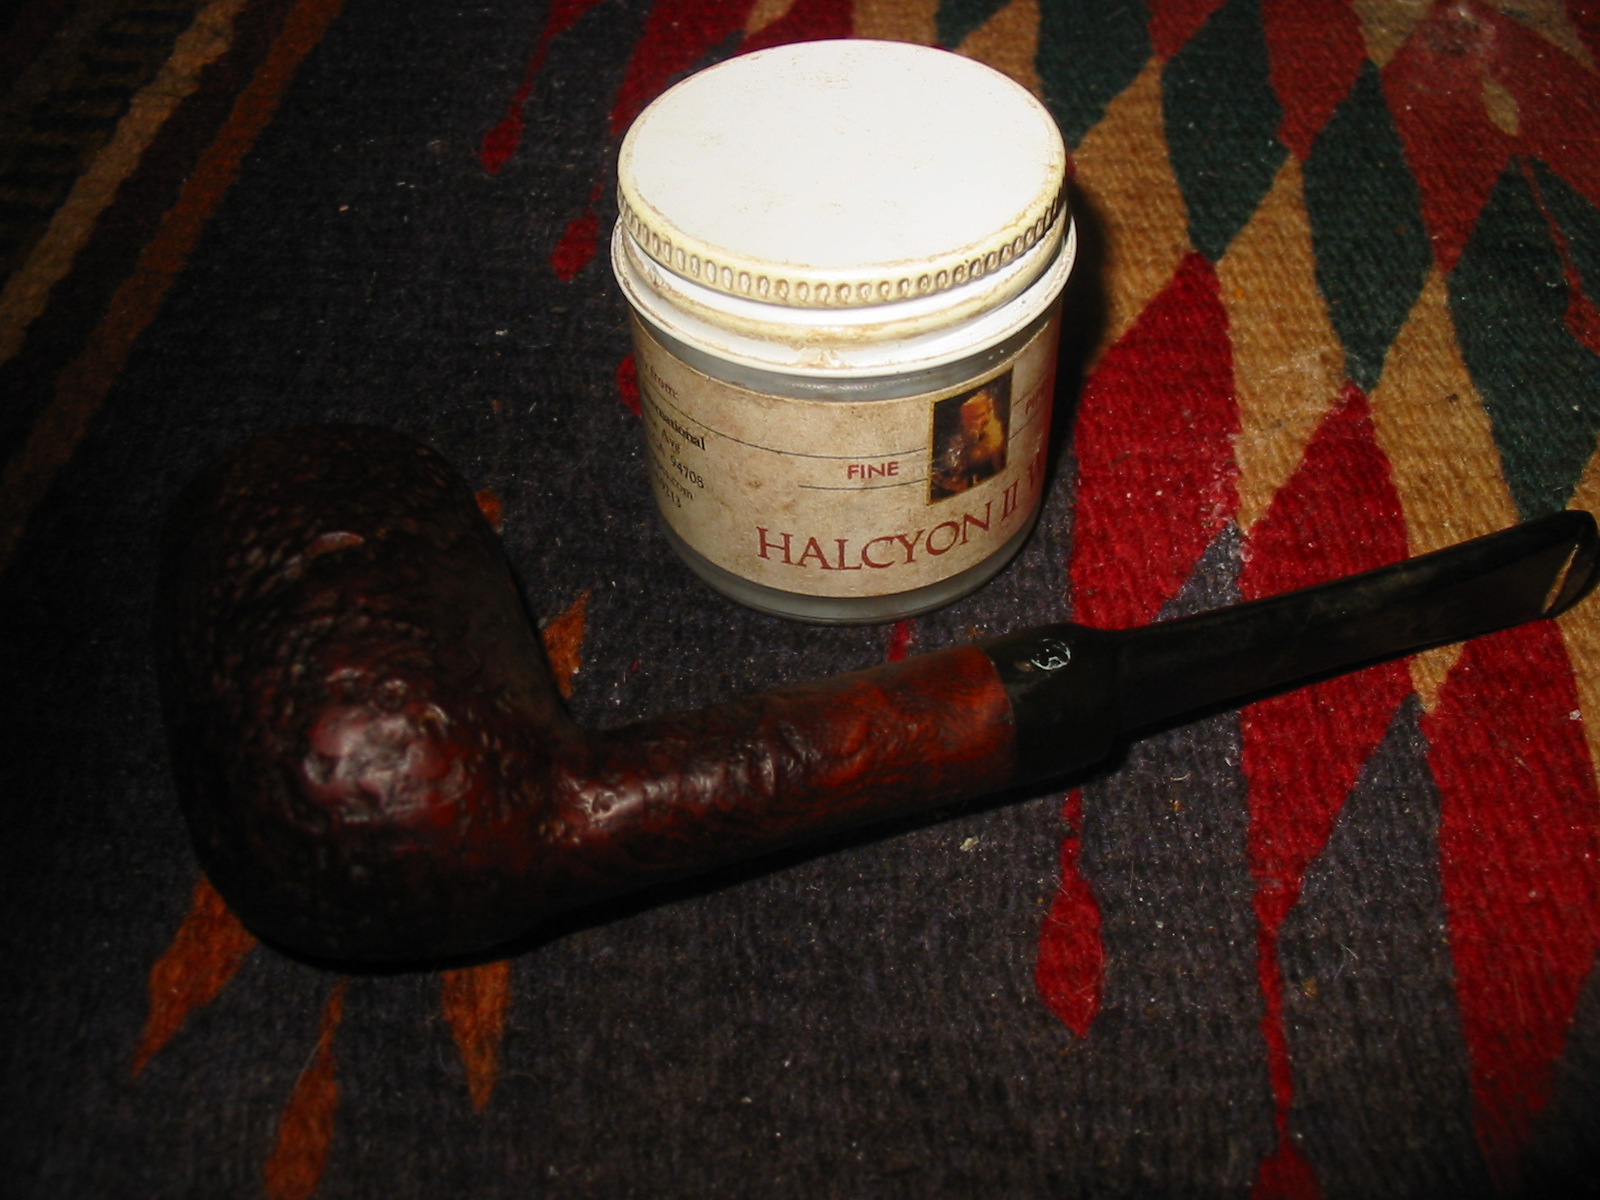
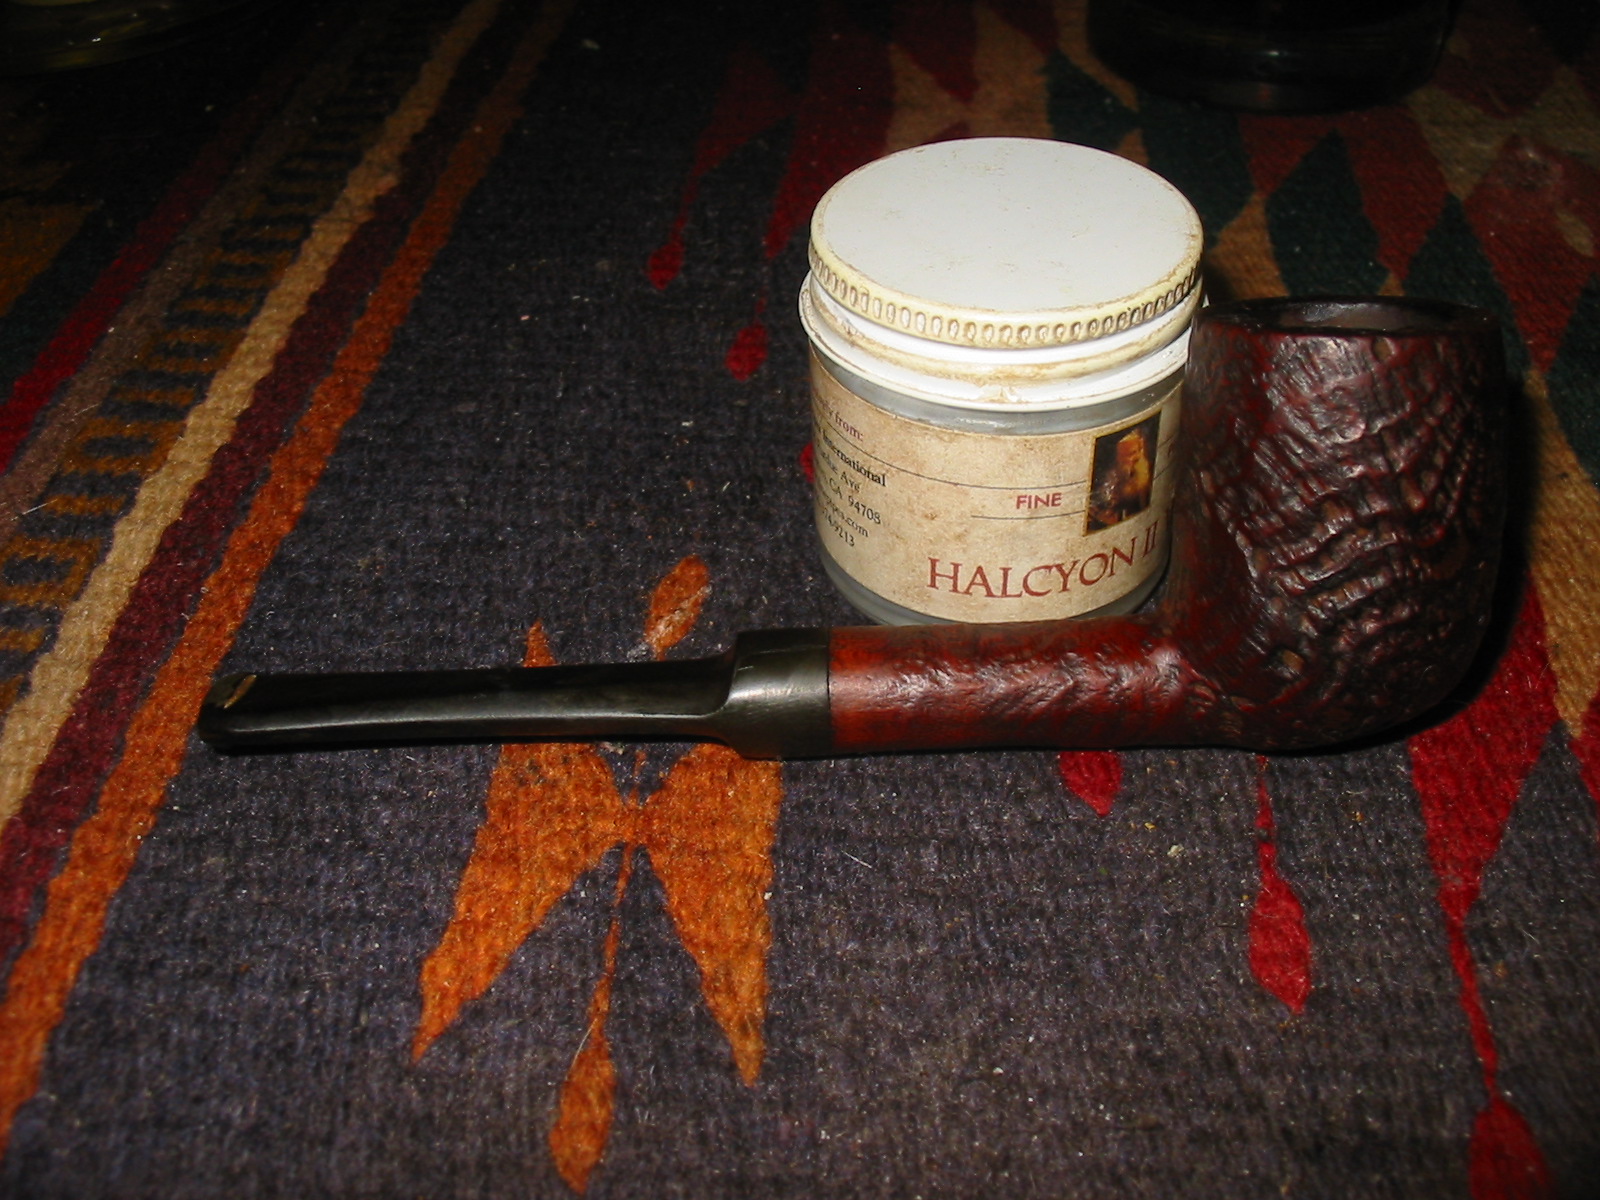
I hand applied some Halcyon II wax to the bowl and shank and buffed it a second time with the shoe brush to give it a shine. The next series of six photos show the bowl and shank during and after the shine with Halcyon II and the shoe brush buffing.

IMG_0803

IMG_0804

IMG_0805

IMG_0806

IMG_0807

IMG_0808

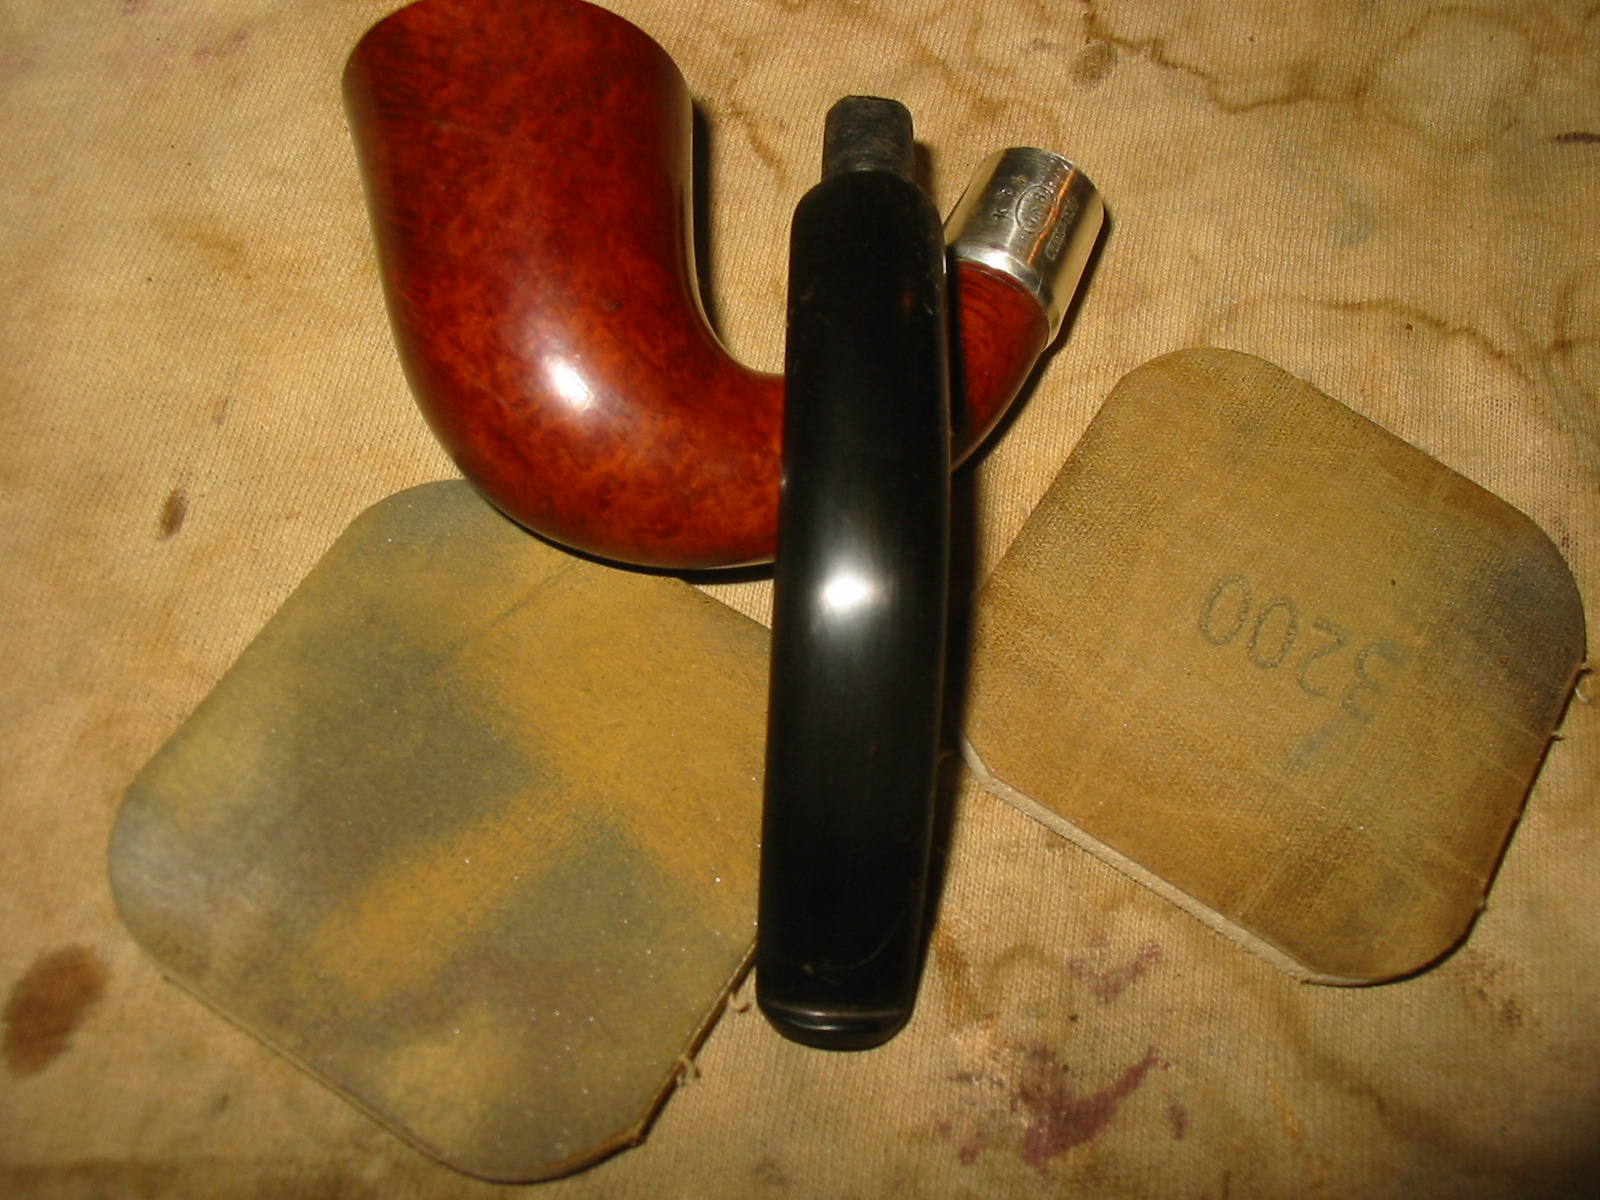
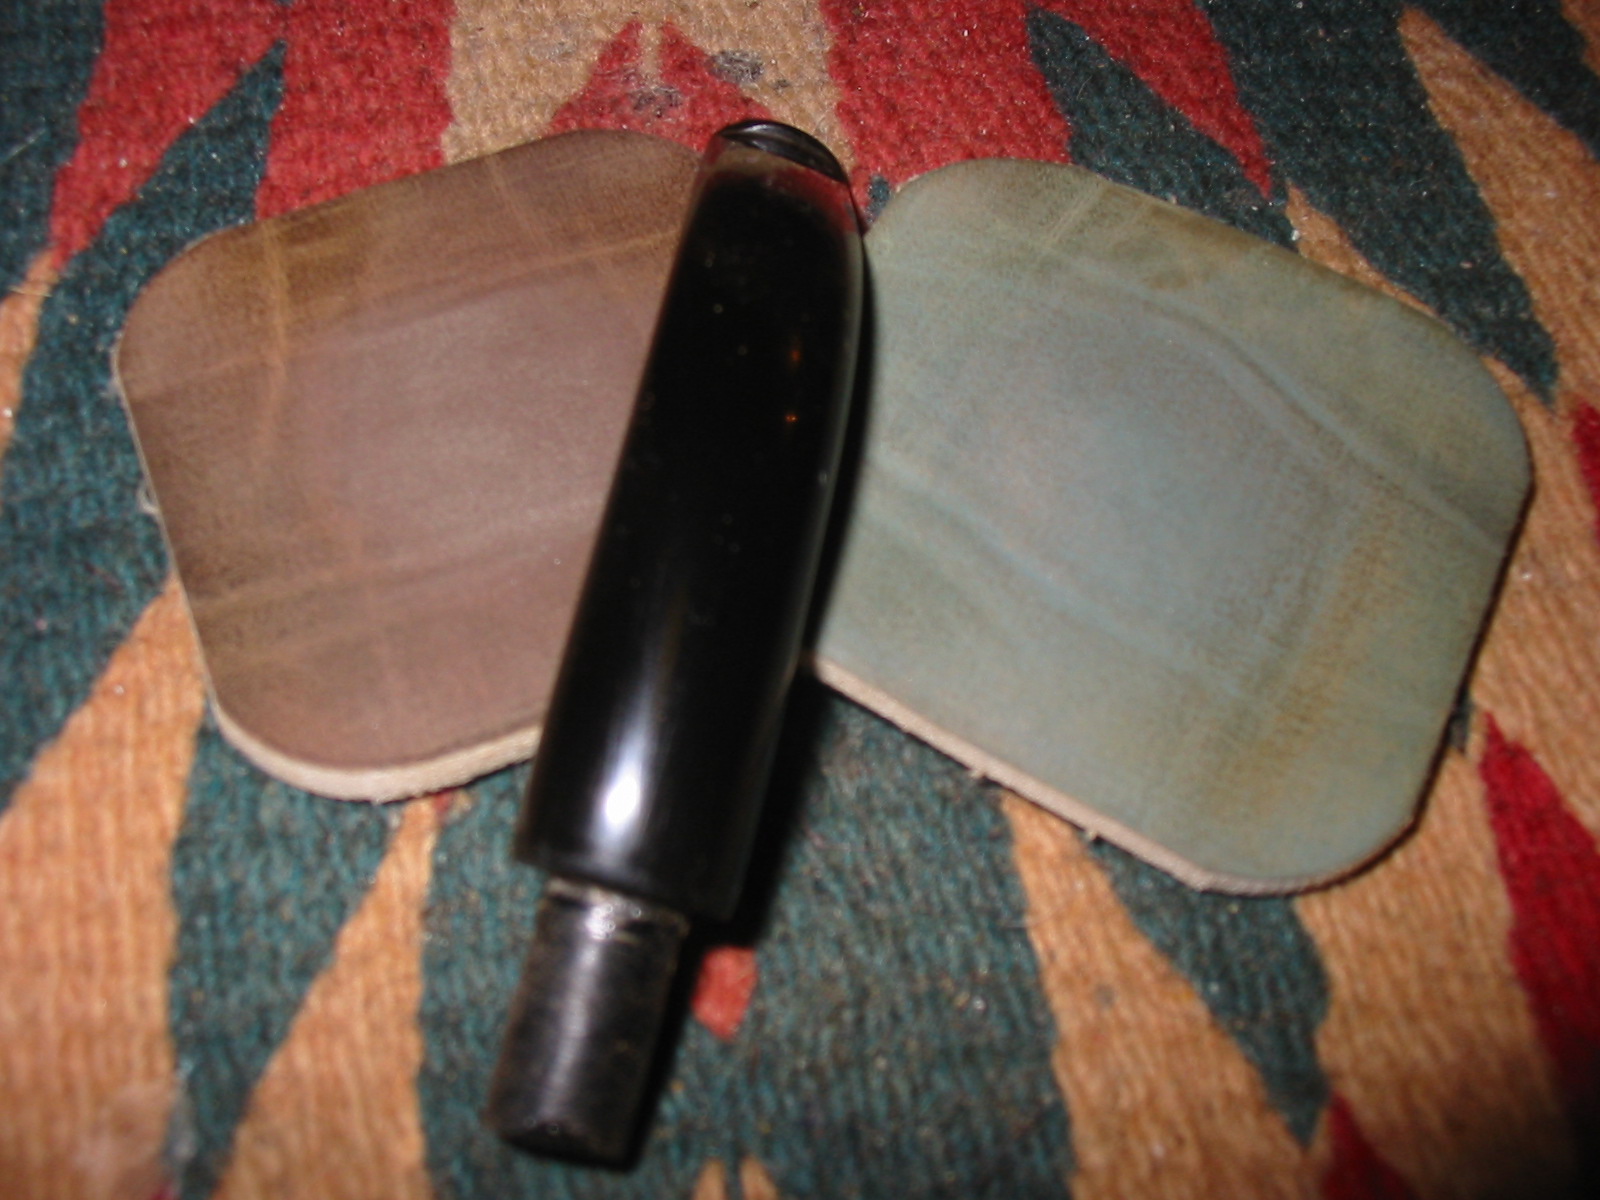
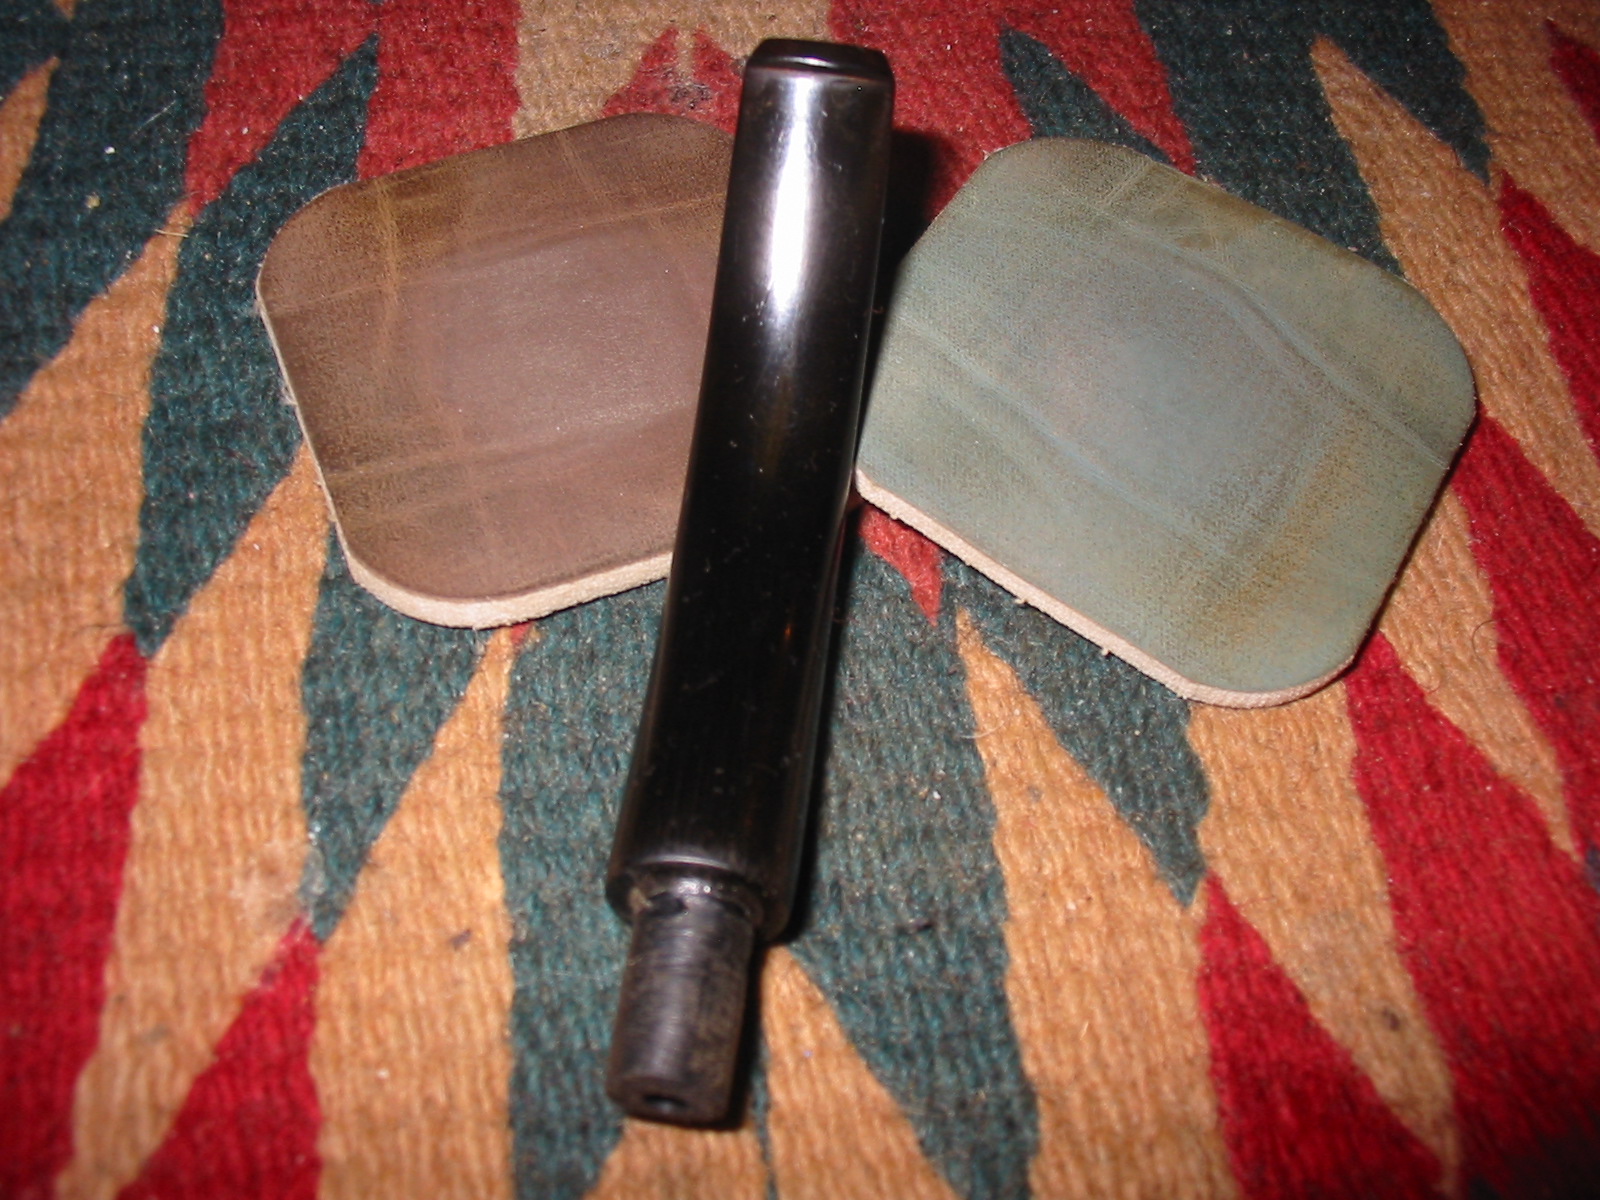
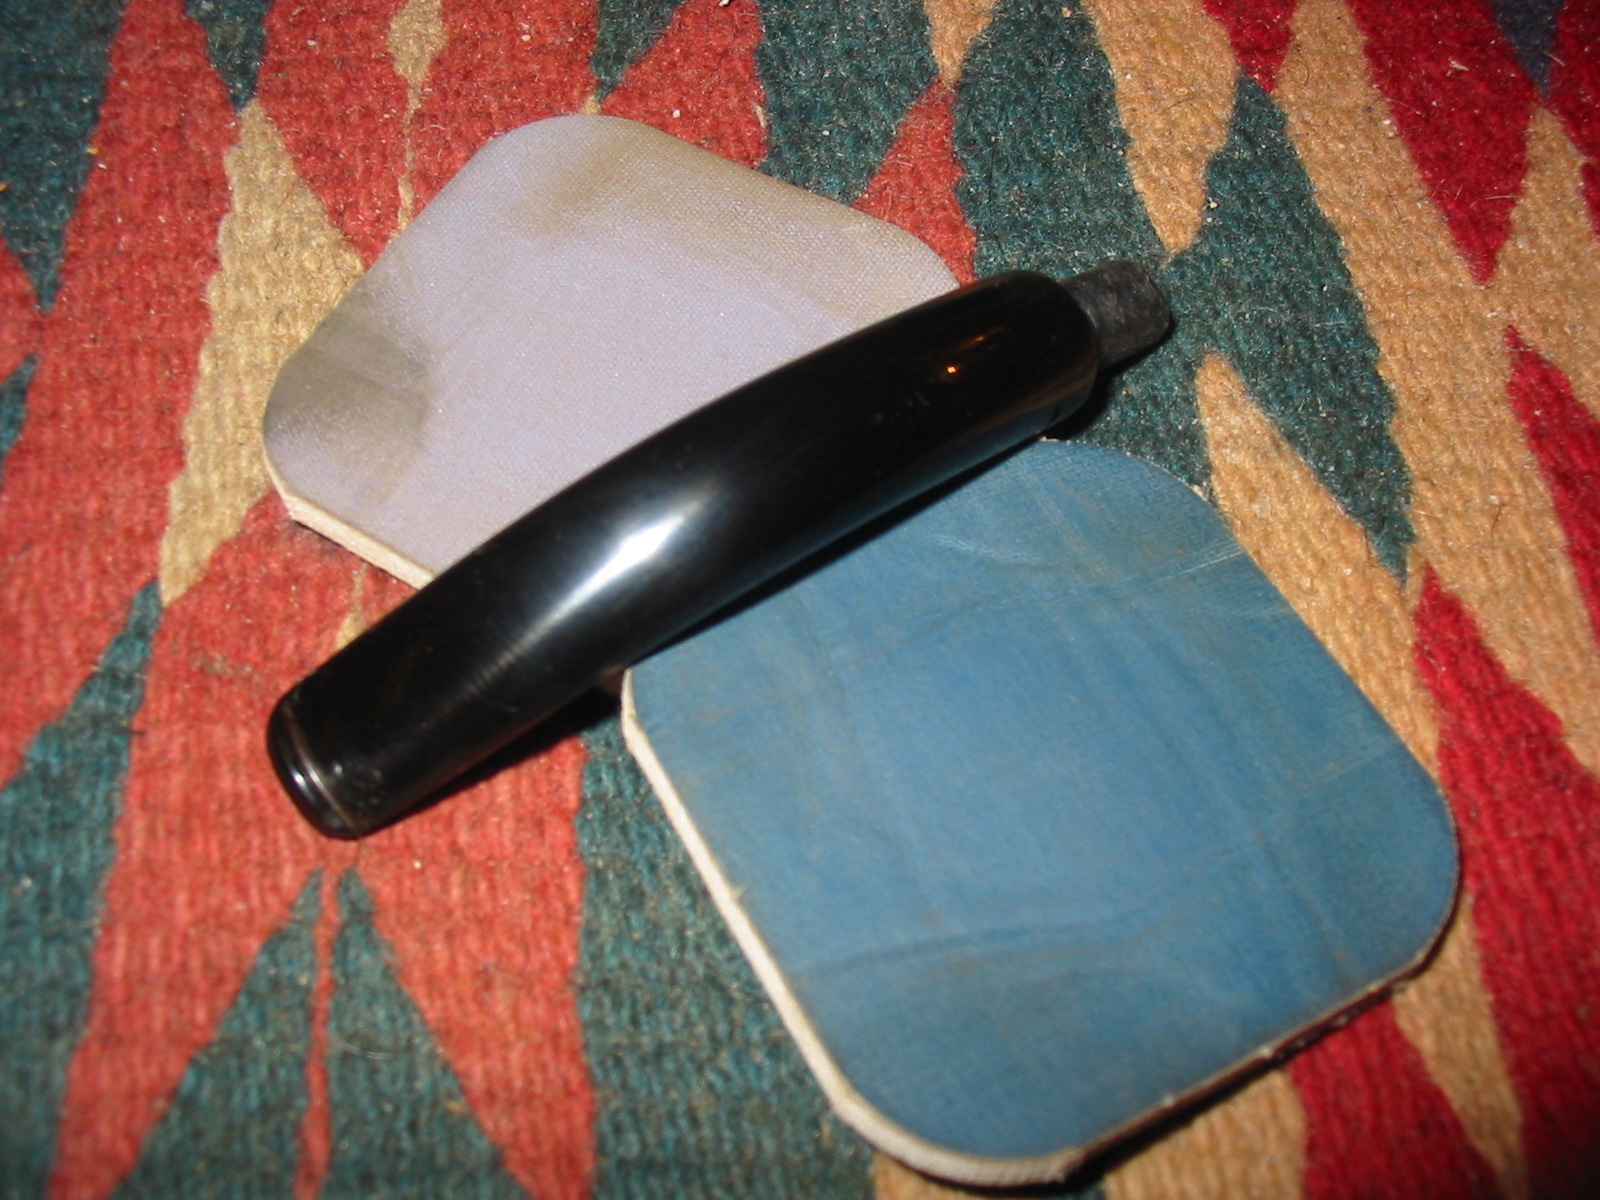
After finishing the bowl it was time to work on the stem. I sanded the blade area where the tooth marks were to cause them to stand out a bit more clearly. I used a fine grit sanding sponge first. I then heated the slight tooth dents with a Bic lighter to lift them. I find that this works very well for light dents in vulcanite. I do not leave the flame in one place but move it quickly across the surface of the dent and it literally lifts with the heat. I then wet sanded the stem with 1500-2400 grit micromesh sanding pads and followed that by dry sanding with 3200 and 3600 grit micromesh pads. The next series of eight photos gives you a look at the progress of the sanding.

IMG_0811

IMG_0816

IMG_0812

IMG_0813

IMG_0809

IMG_0814

IMG_0810

IMG_0815

At this point in the process I wiped down the stem with Obsidian Oil and rubbed it into the vulcanite. I wanted to see where the remaining oxidation was so that I could do some more work on those areas.

IMG_0817

I continued sanding the stem with 4000, 6000, 8000 and 12,000 grit micromesh sanding pads. The next three photos show the progress of the shine on the stem. There was still some deep seated oxidation on the stem. I used a Bic lighter and went over the surface of the stem to burn off the oxidation. I wiped it down with a soft cloth and repeat the process until the stem was a shiny black and the oxidation was gone.

IMG_0818

IMG_0819

IMG_0820

The final series of four photos show the finished pipe. I gave the stem a final rub down with Obsidian Oil and I buffed the stem on my buffing wheel (attached to the bowl) using White Diamond. I did not buff the bowl. I gave the stem several coats of carnauba wax and then buffed it with soft flannel buffs. I also rebuffed the bowl by hand with the shoe brush. The pipe smells fresh and clean. It is ready to smoke.

IMG_0821

IMG_0822

IMG_0823

IMG_0824