Blog by Kenneth Lieblich
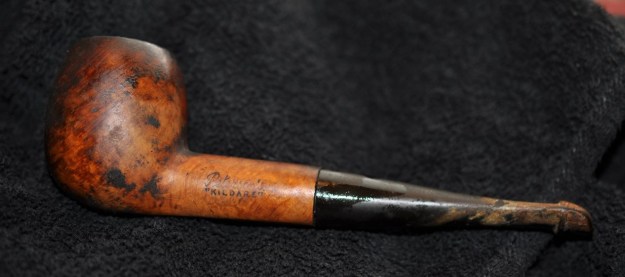
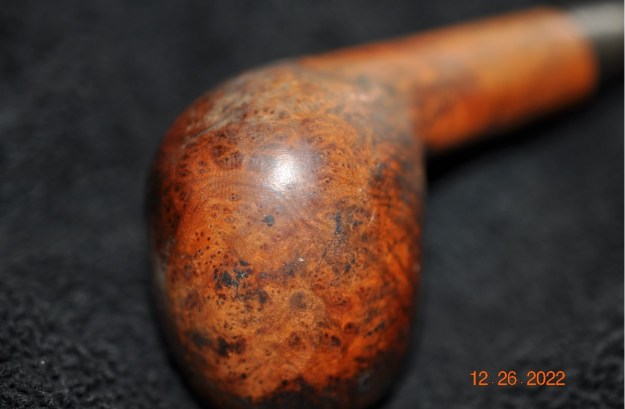
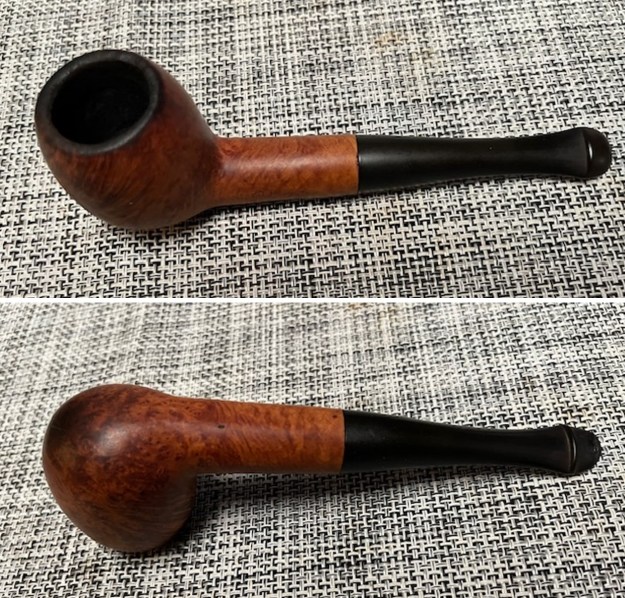
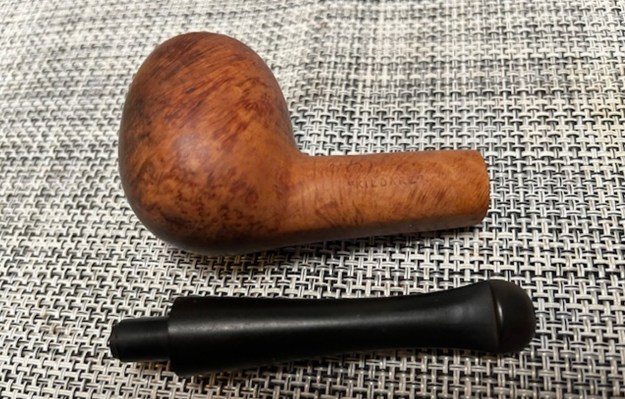
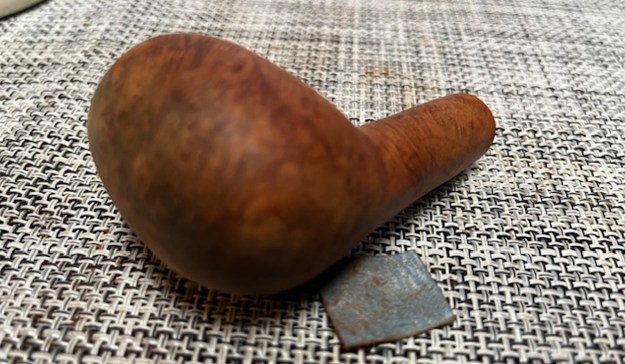
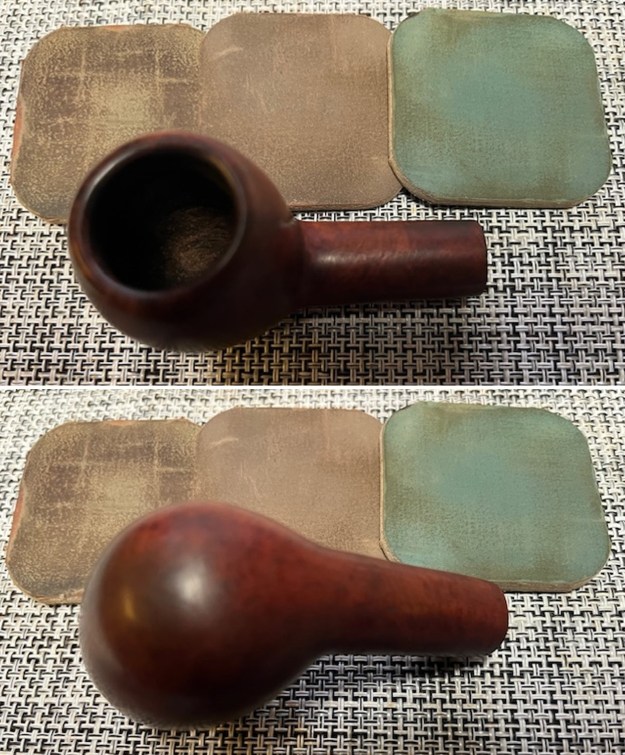
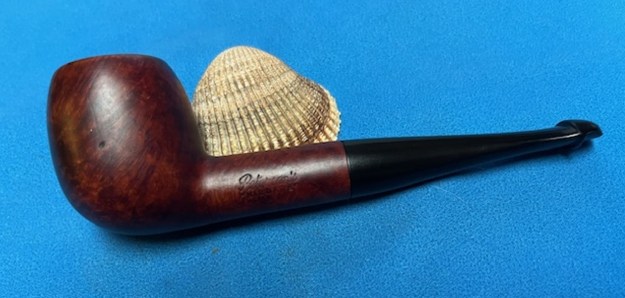
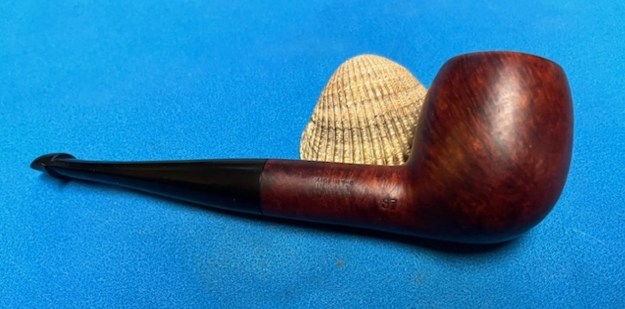
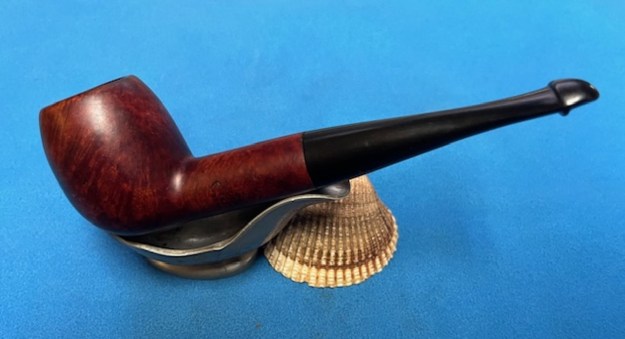
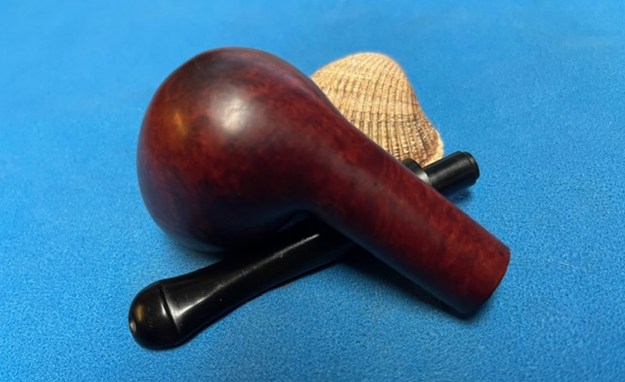
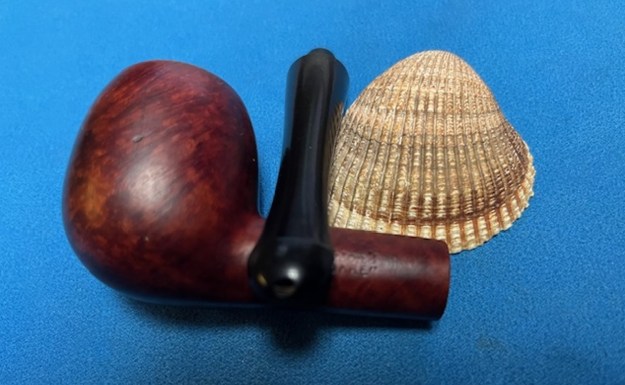
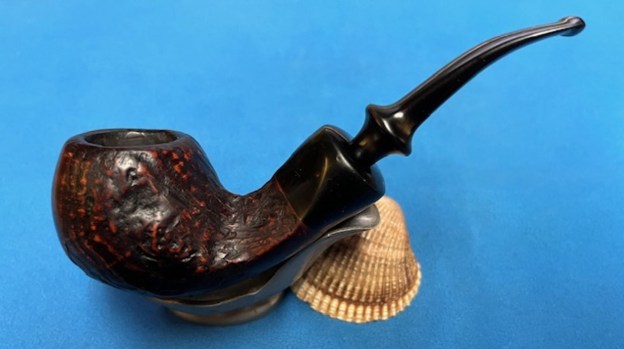
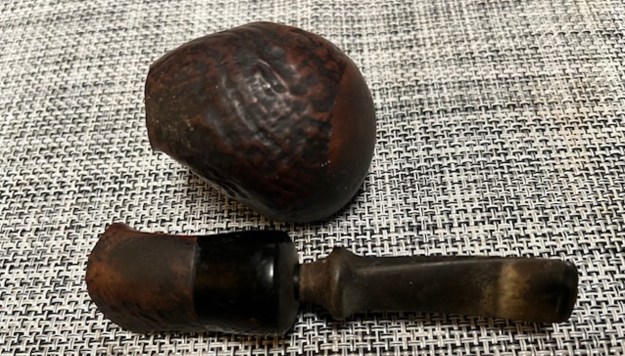
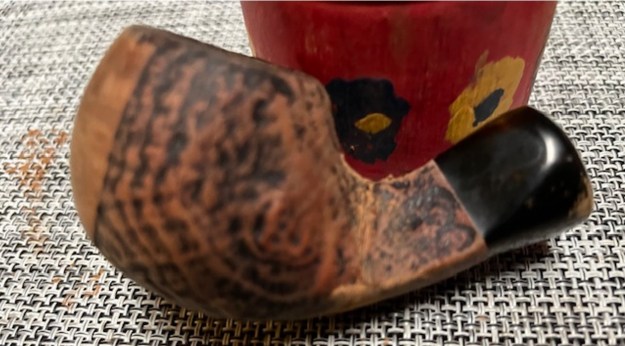
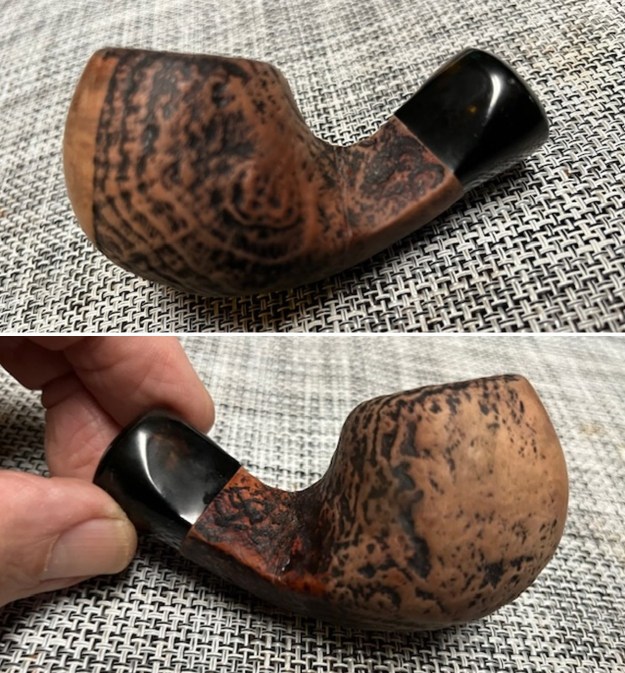
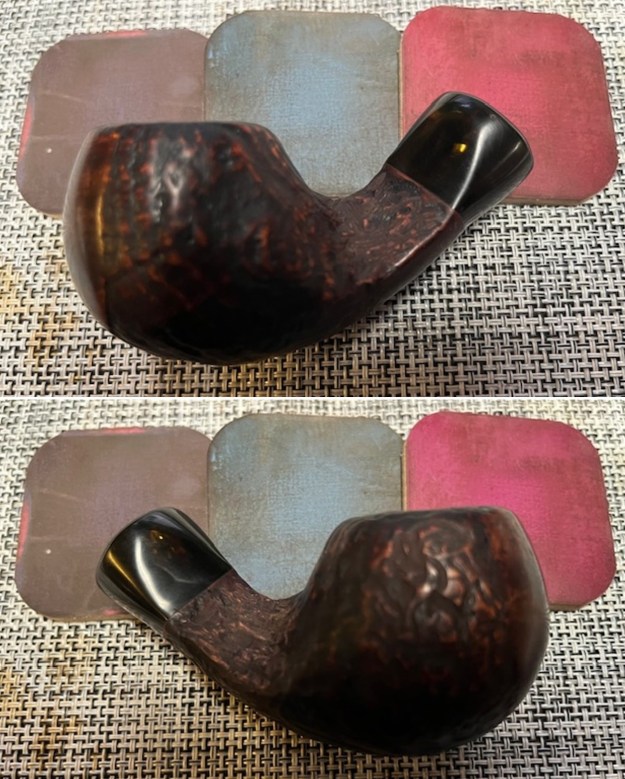
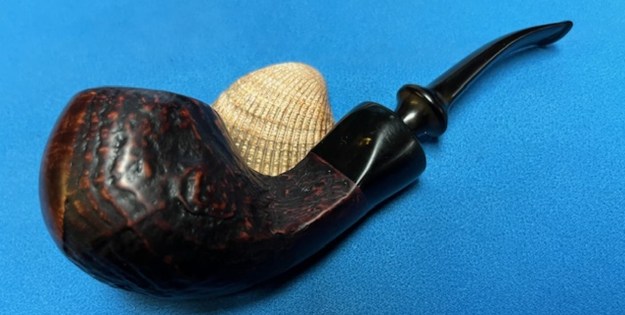
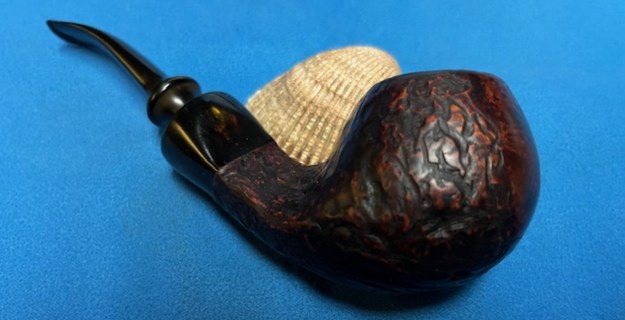
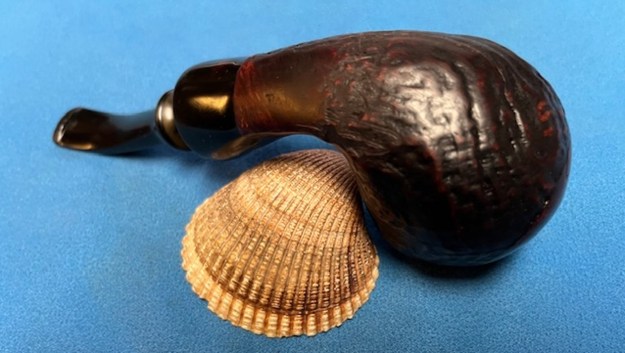
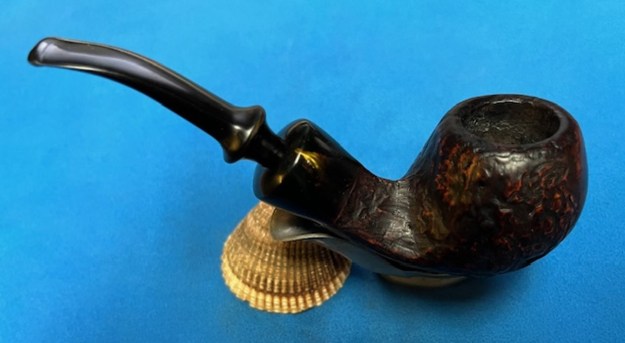
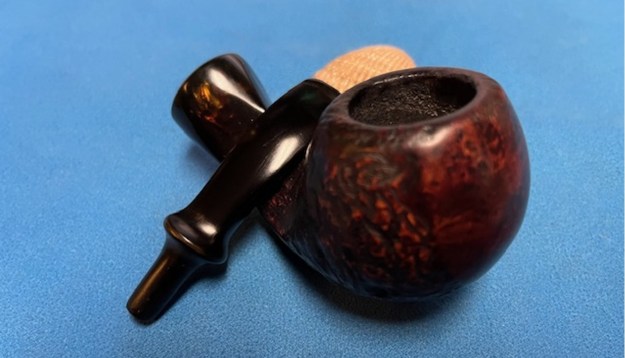
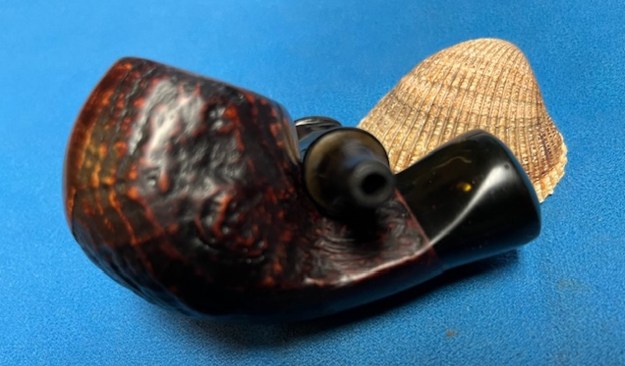
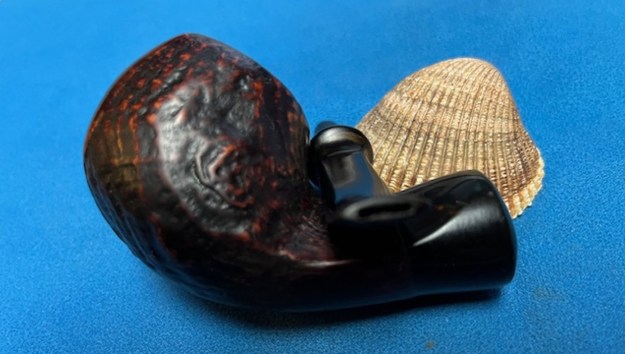
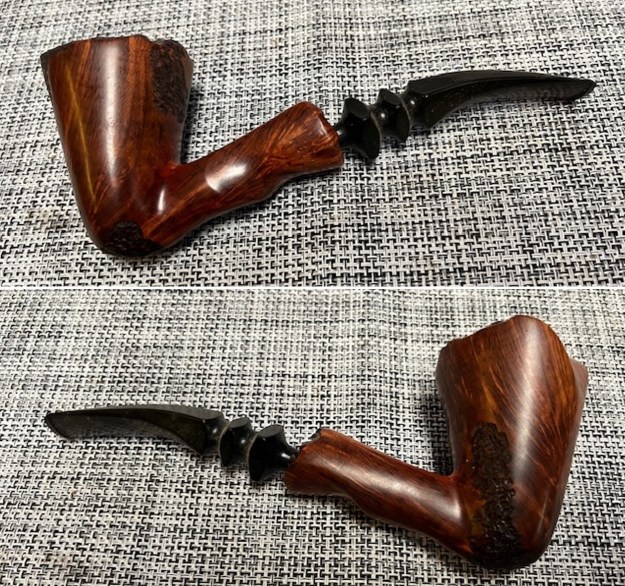
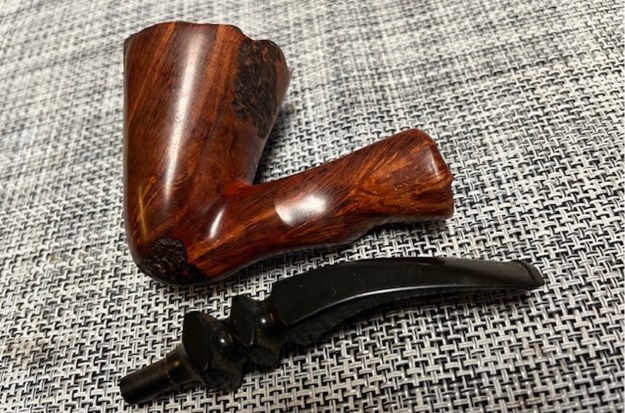
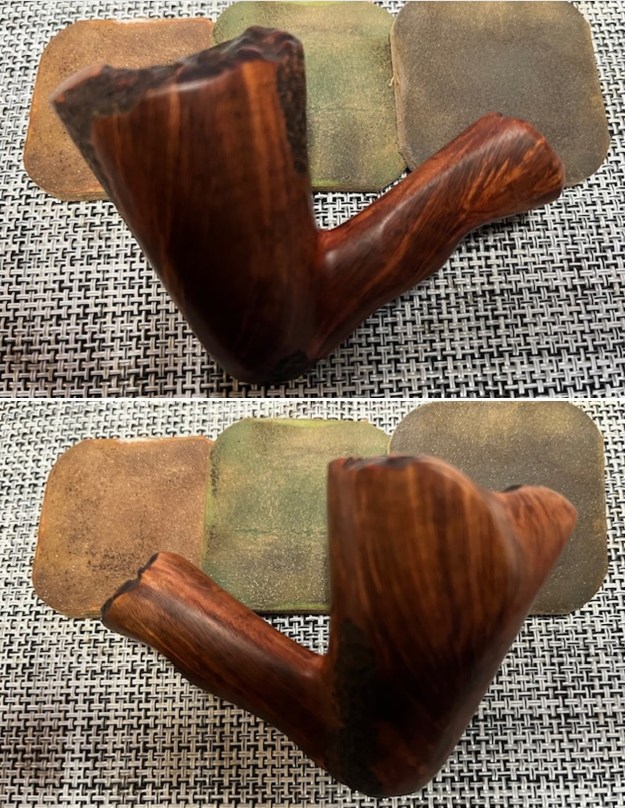
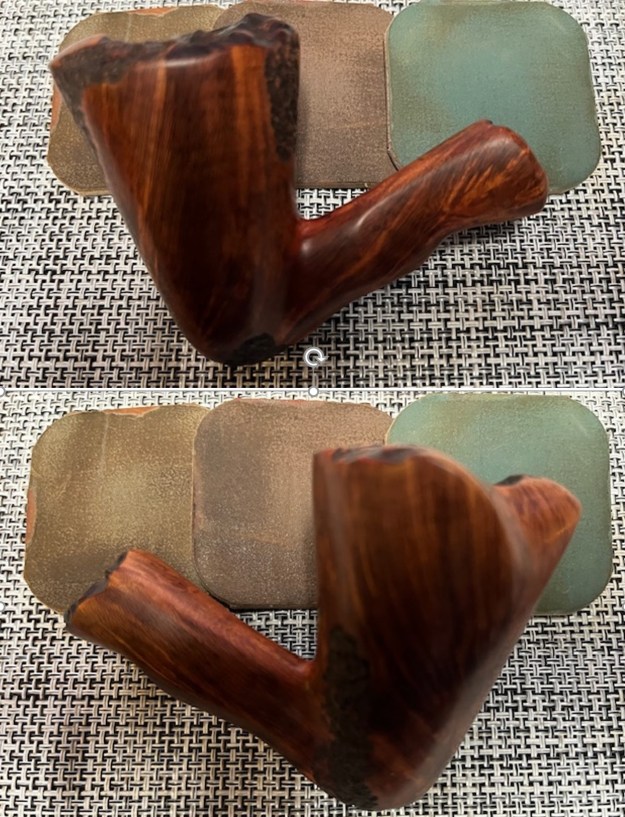
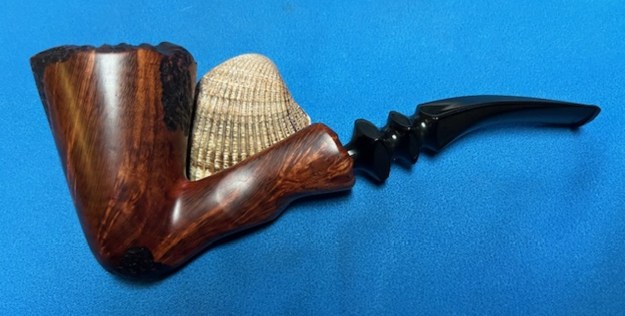
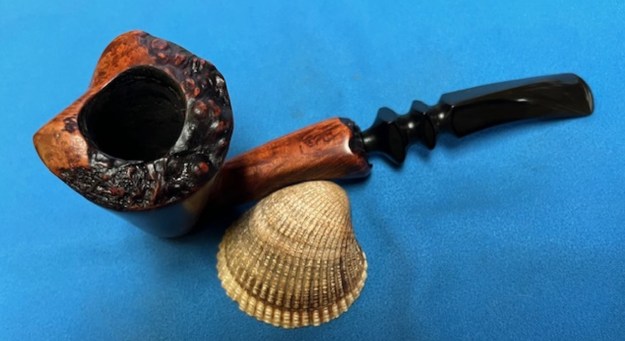
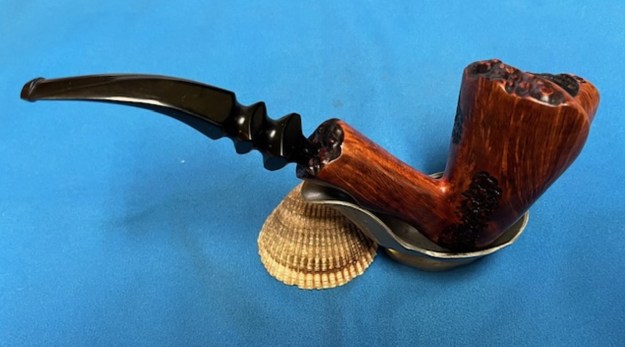
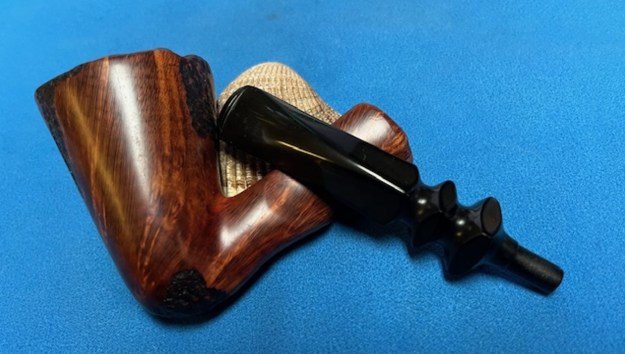
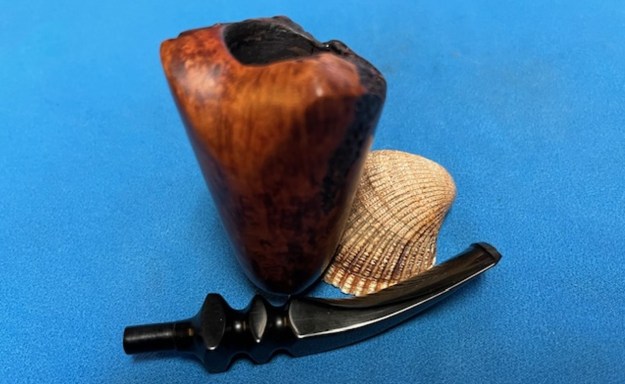
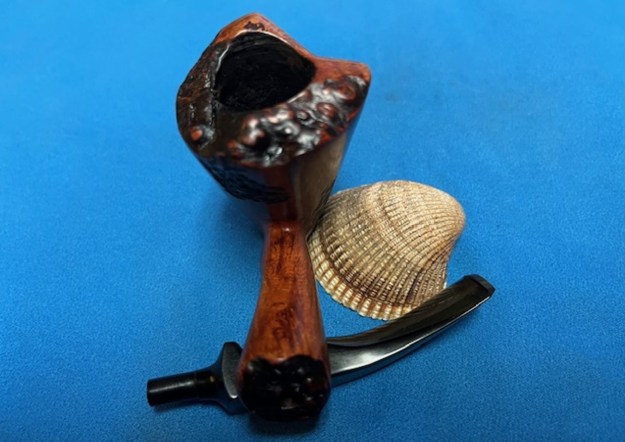
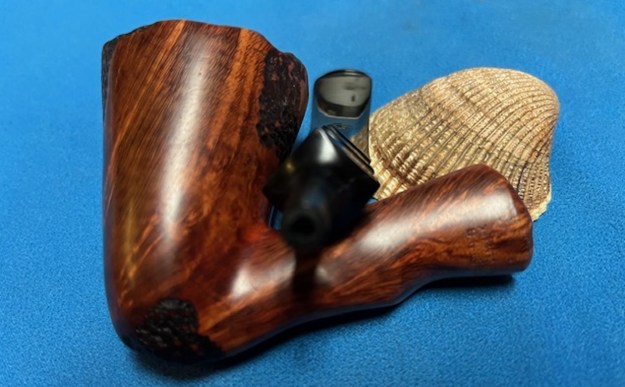
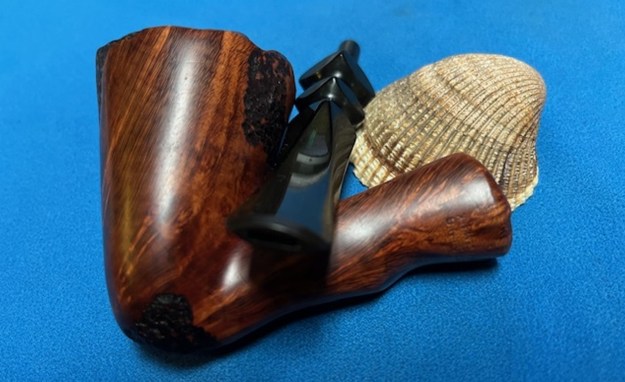
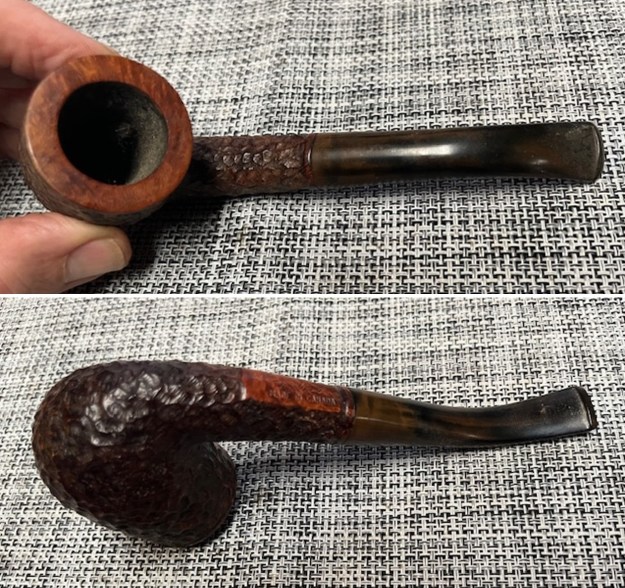
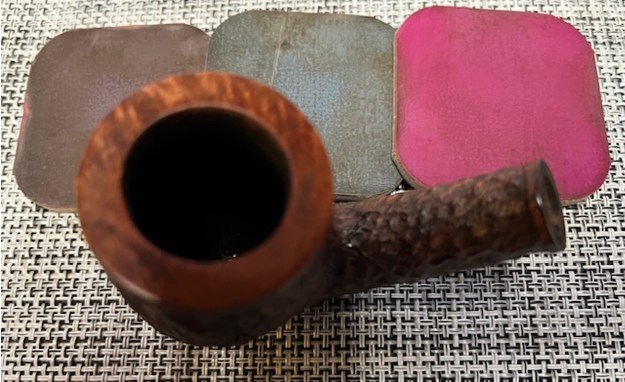
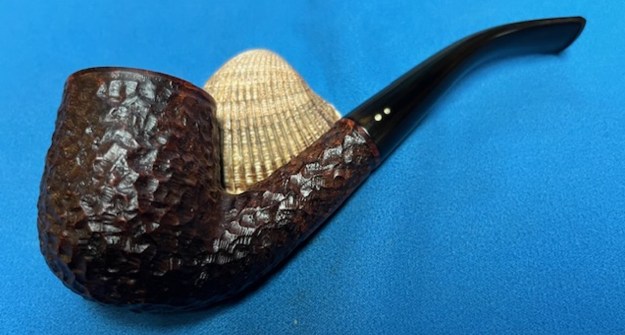
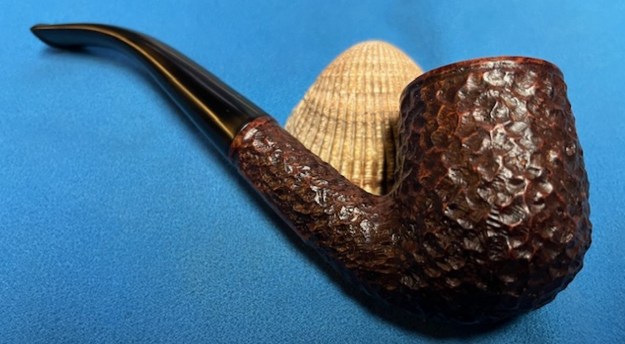
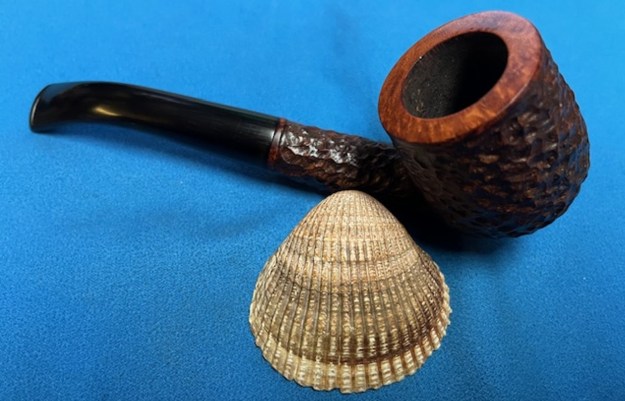
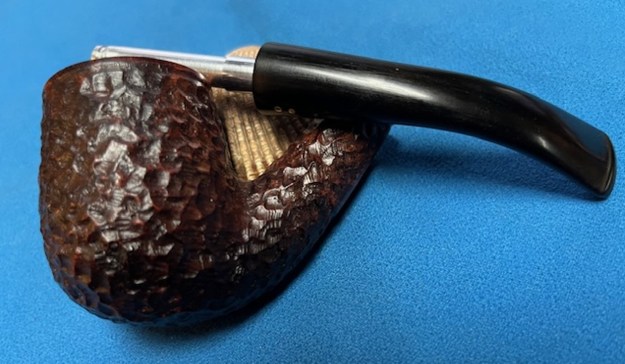
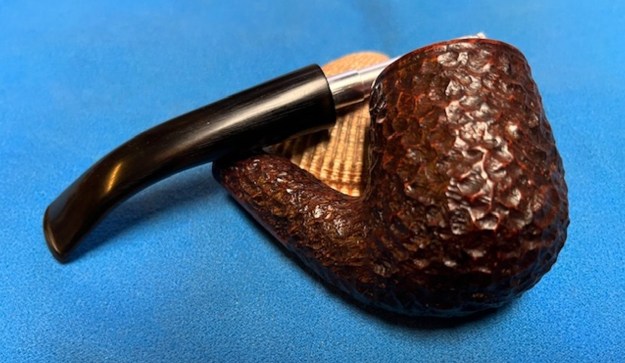
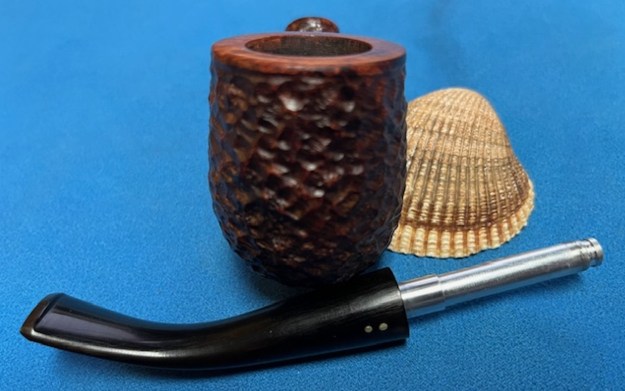
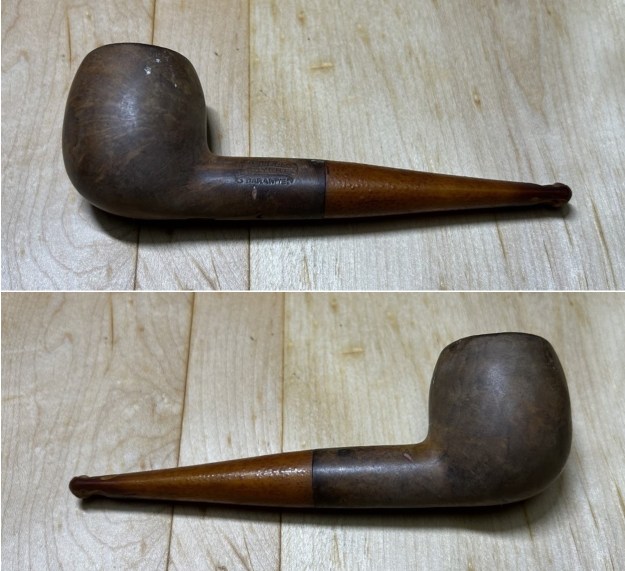
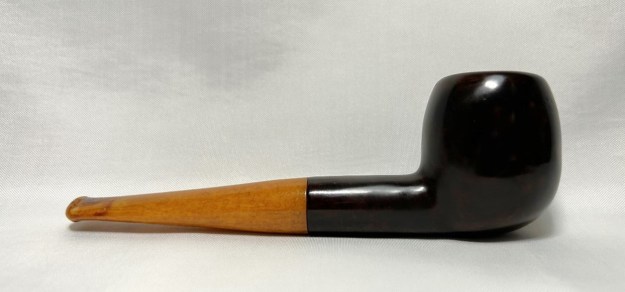
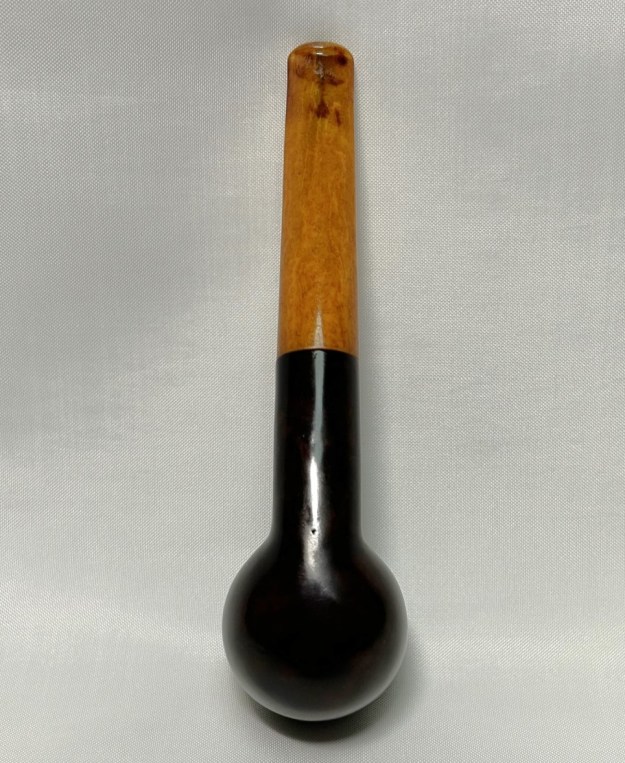
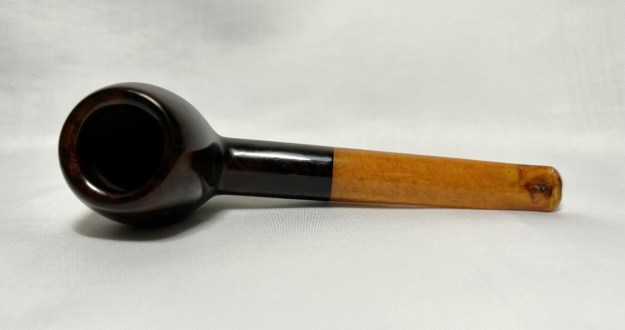
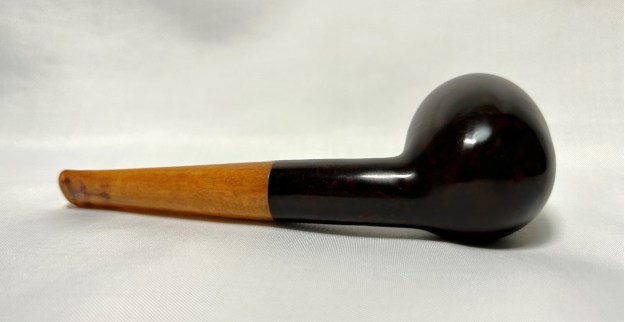
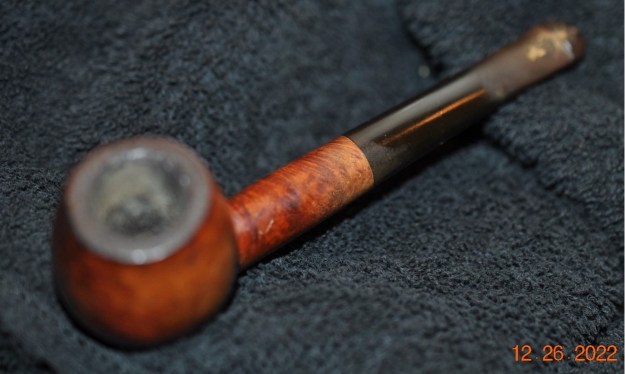
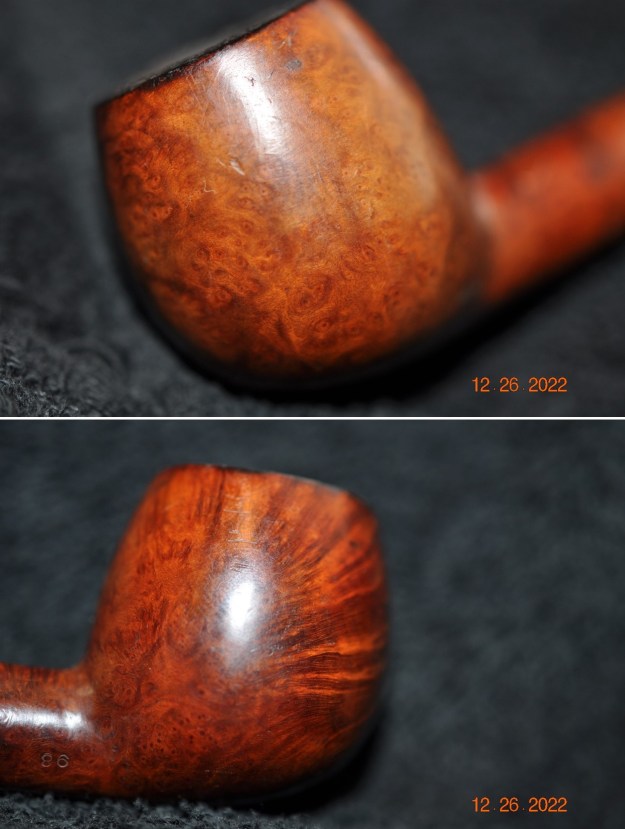
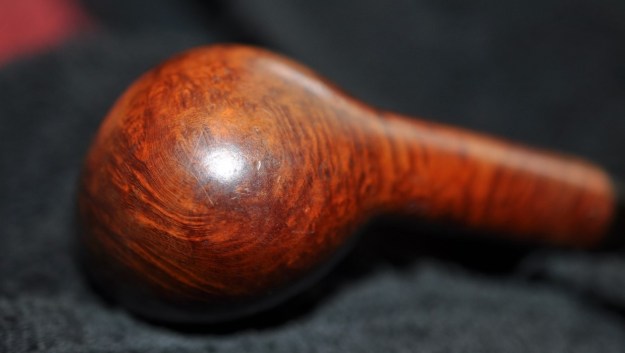
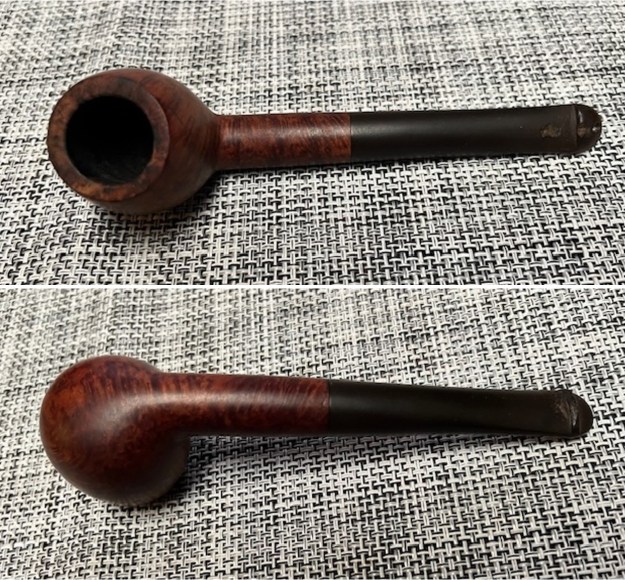
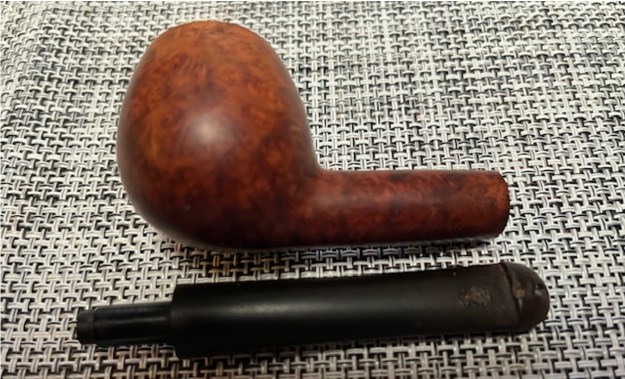
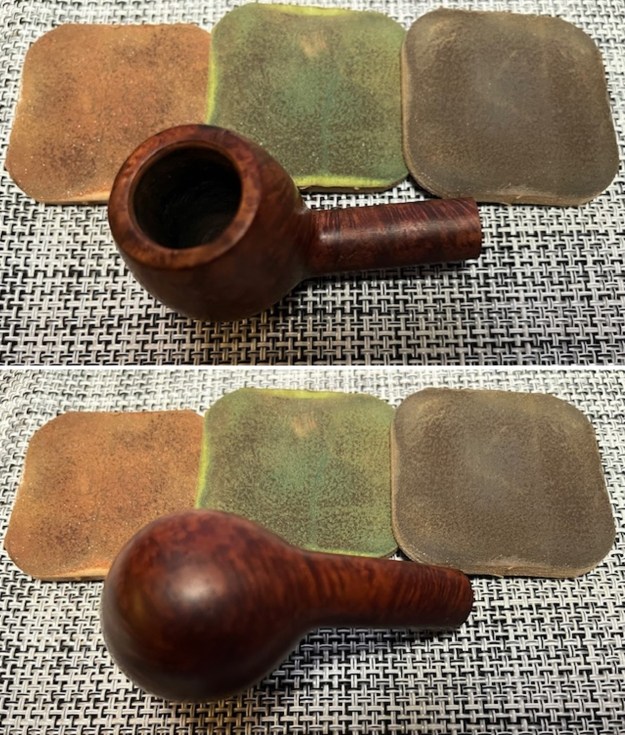
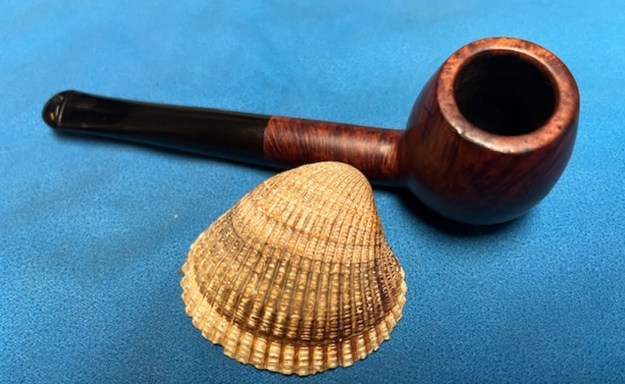
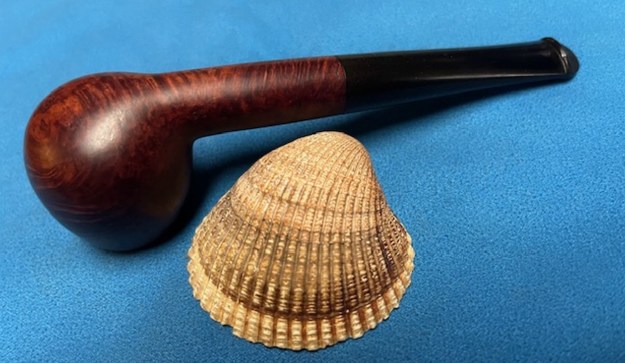
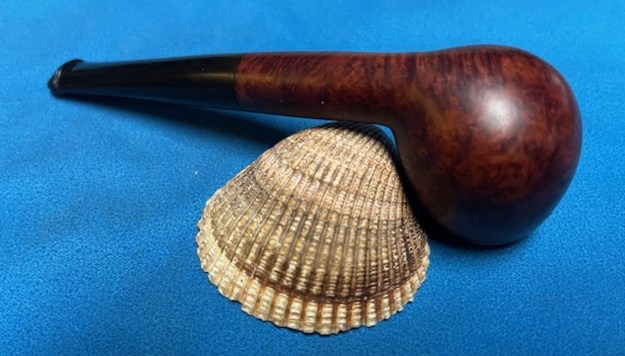
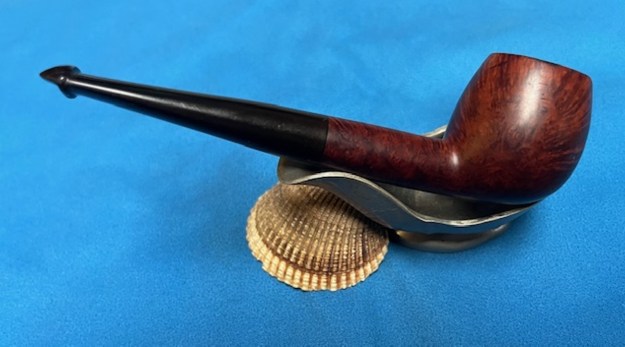
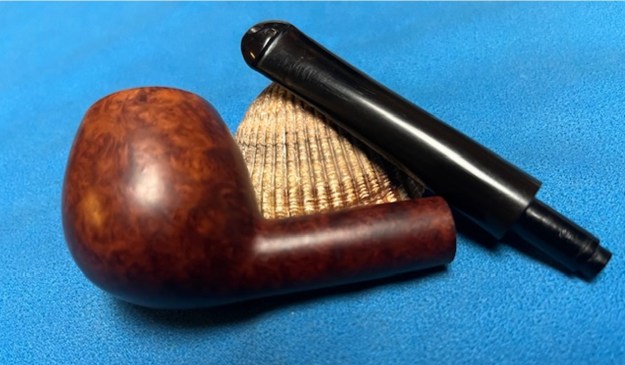
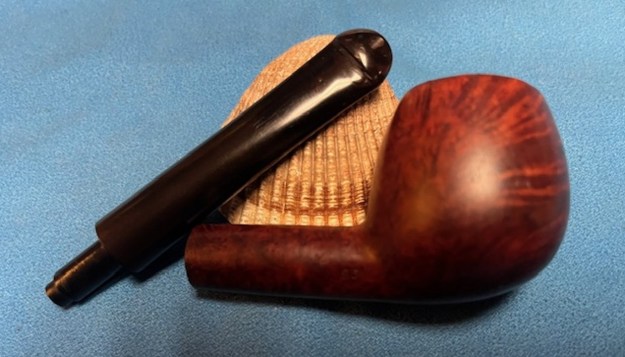
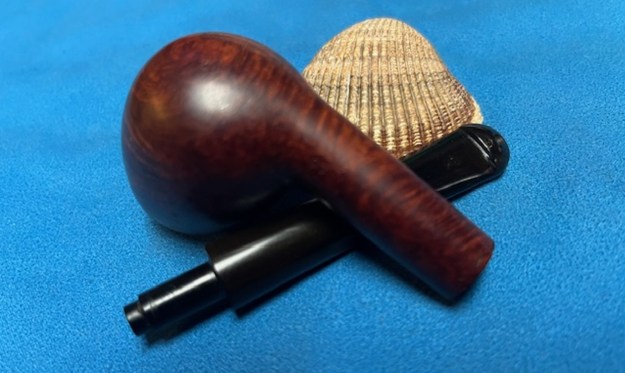
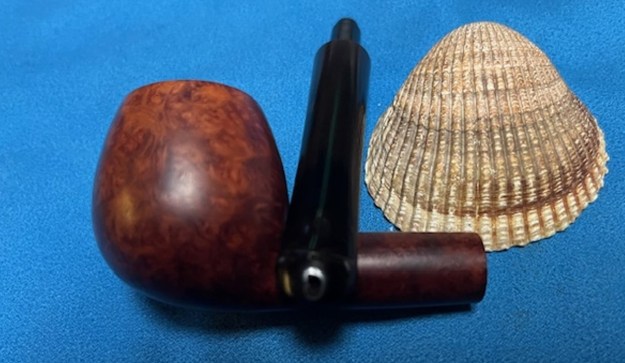
Next on the chopping block is a Lumberman-shaped Charatan, from the family of a local gentleman who had passed away. It’s great-looking pipe, with a large bowl and a long, lovely shank. The stem is a handsome saddle – not the “double comfort” version. I’m looking forward to getting this one fixed up and available for sale.
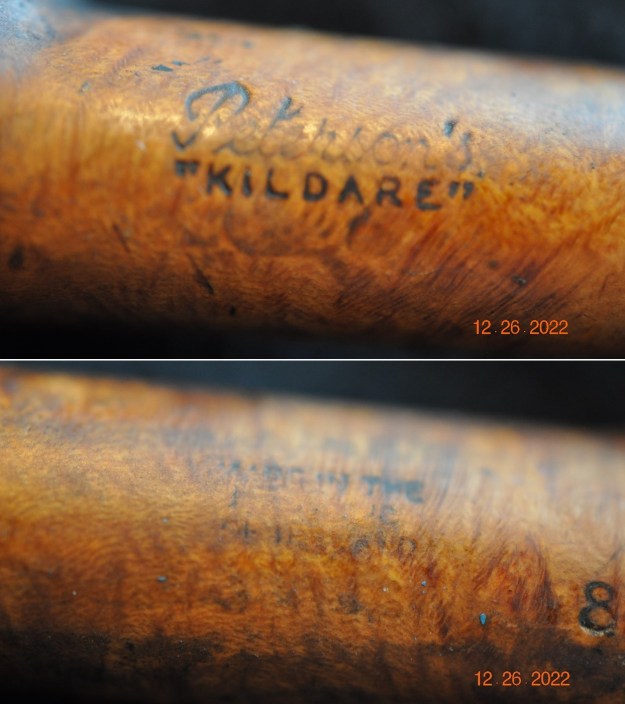
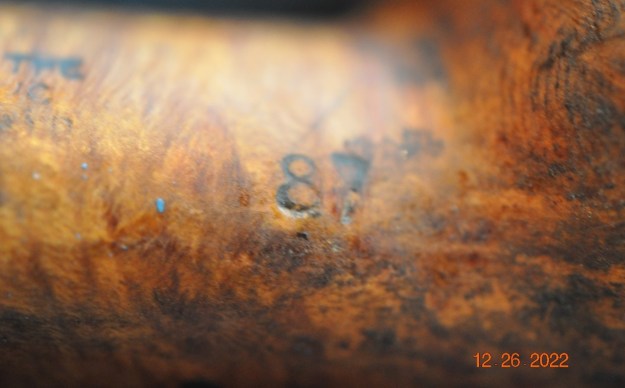
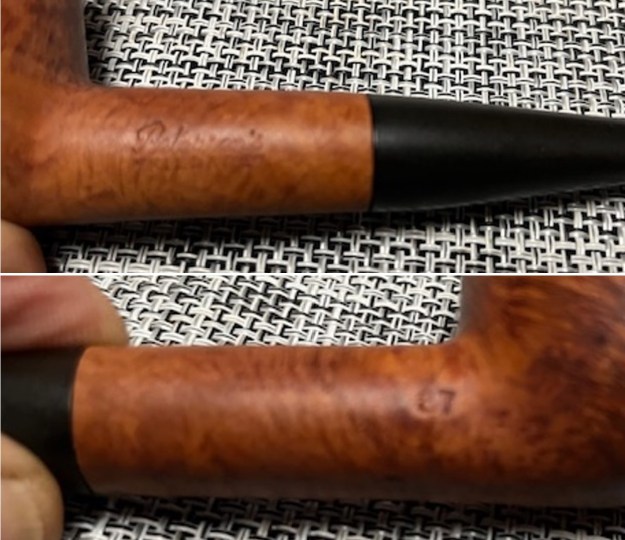
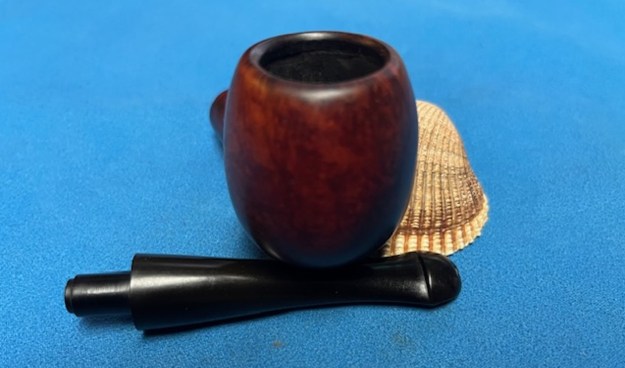
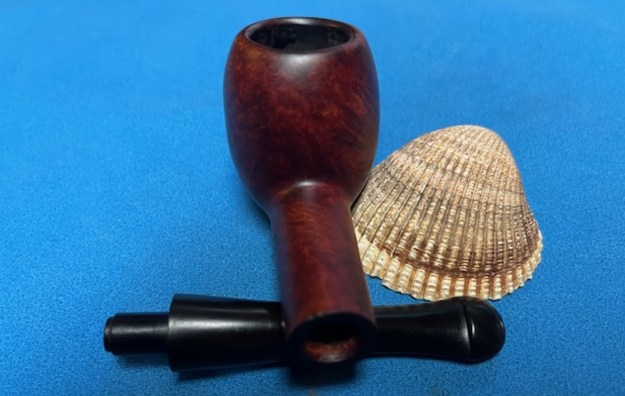
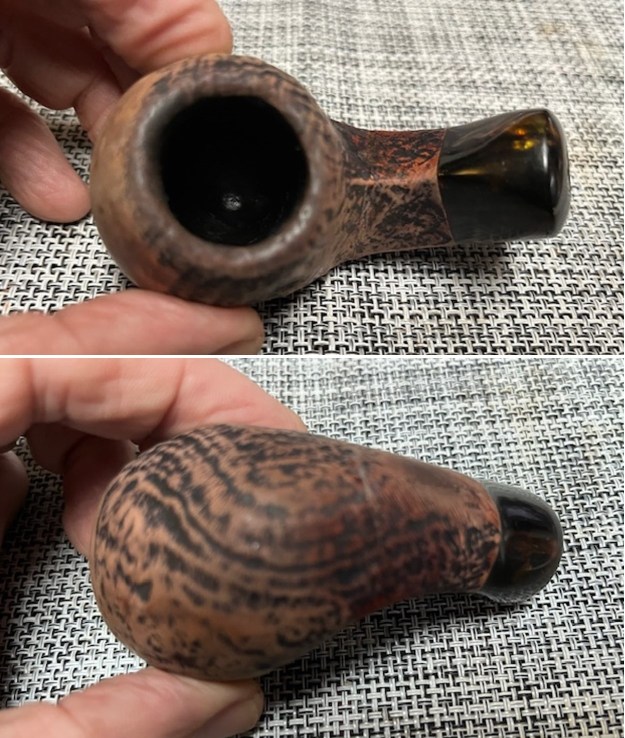
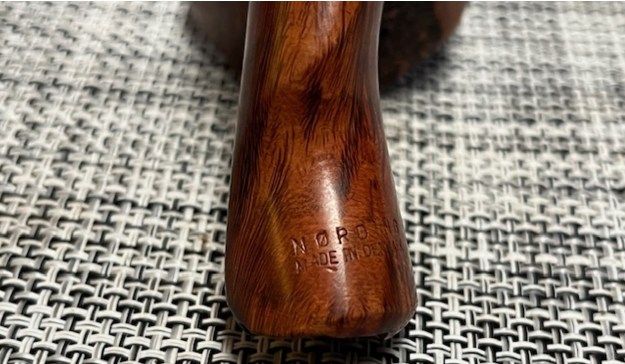
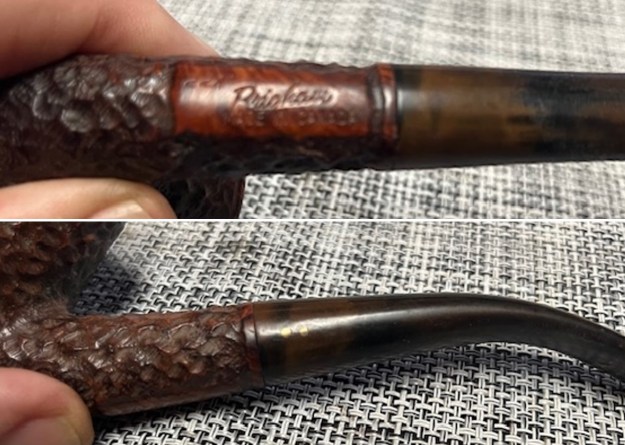
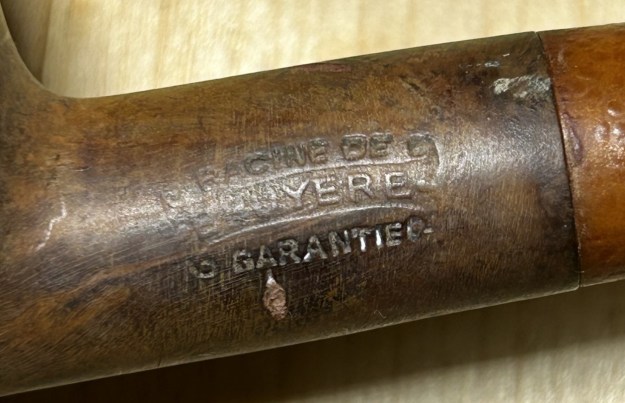
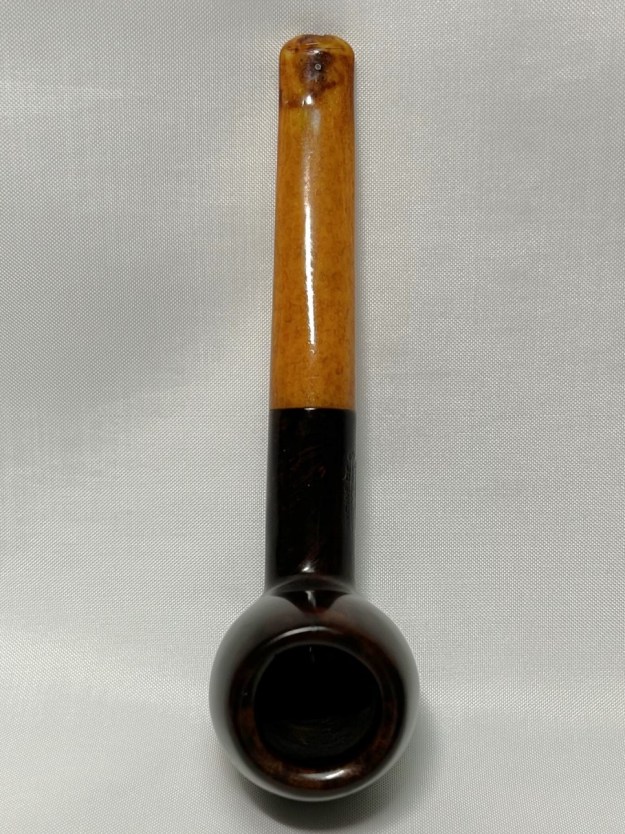
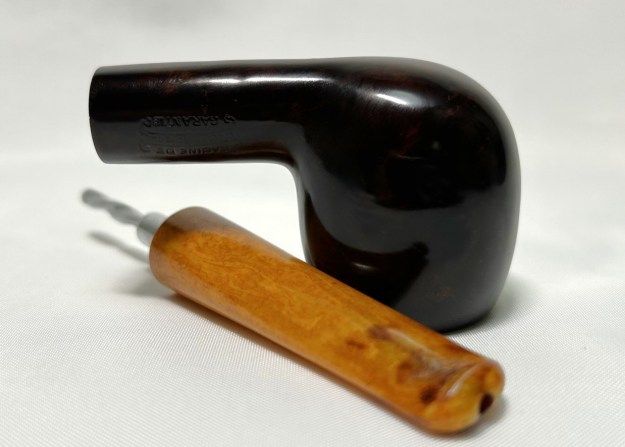
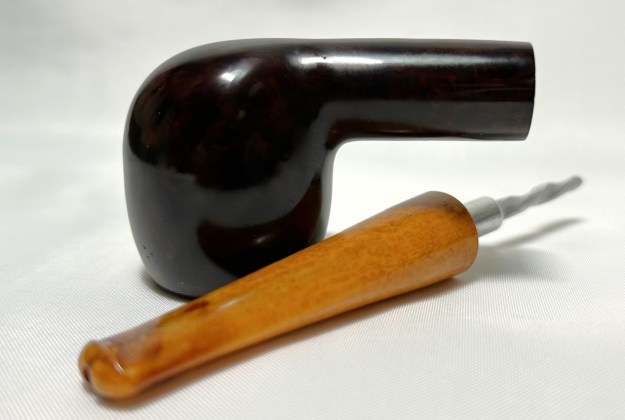
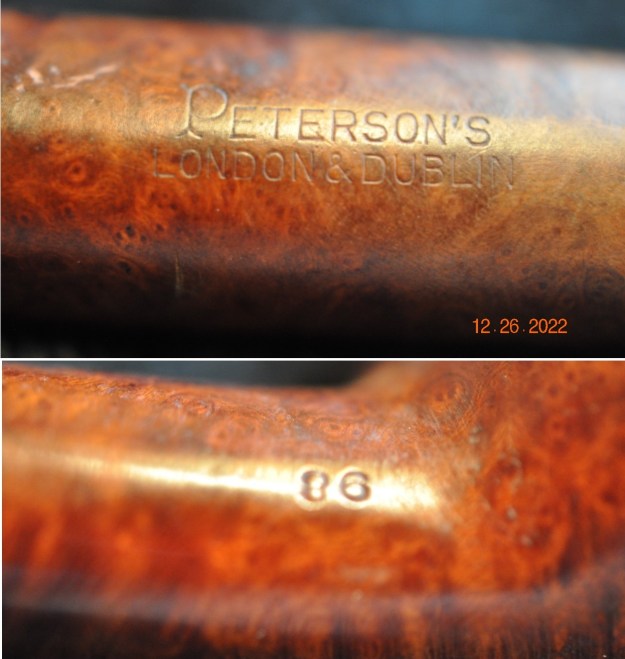
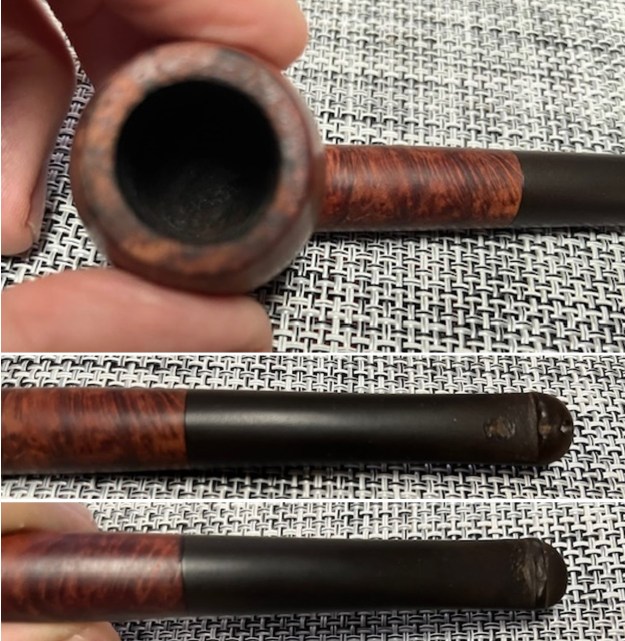
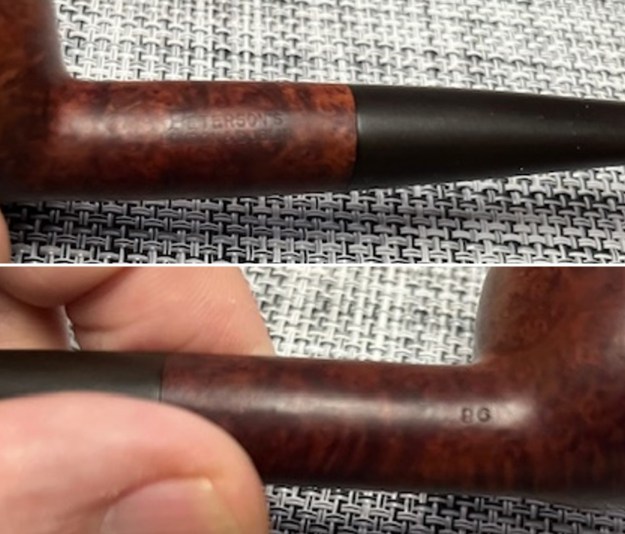
 On the top of the shank, it says “Charatan’s Make [over] London, England [over] Special”. Nothing on the left side of the shank, but on the right side it reads the shape number “4402 X”. On the stem, there was the traditional “CP” of the Charatan company. The Lumberman is a member of the Canadian family of pipe shapes, and this one is a real beauty.
 Let’s do some research and see what we find. First of all, a search of Charatan shape numbers provides this nugget:
“402 Outsize Lumberman”
And that fits this pipe to a T. Now let’s see if we can date this pipe. I went to Pipedia and found an excellent article on dating Charatans. Here are some relevant quotations for this pipe:
“From 1863 to 1960 the mouthpieces have a normal shape, saddle or tapered. From 1961 they use the ‘Double Comfort’ style still used today. By the way there are some saddle bits (without the double comfort) used in pipes that date after 1960 but these models are always characterized by a X (in the place of the DC) engraved after the shape number on the shank. This means that if a pipe has a tapered mouthpiece instead of a double comfort one, it is definitely a pre-Lane pipe before 1960. While if a pipe has a normal saddle bit stem, it could belong to every era. Nevertheless the pipe is pre 1961 if the shape code does not include an X, and is a pipe from after 1960 if the X is engraved.”
So this tells us that this pipe dates from after 1960. But there’s more!
“The CP logo on the stem is stamped in a different shape according the era it was used. Some differences are less obvious than others, however the glaring differences are detectable in 4 phases…. From 1961 to 1977 the CP logo is more pronounced and the C penetrates the P.”
So this tells us that this pipe dates from after 1960, but before 1977. And, again, there’s even more!
“Presence of the writing “CHARATAN’S MAKE LONDON ENGLAND” on 2 lines.”
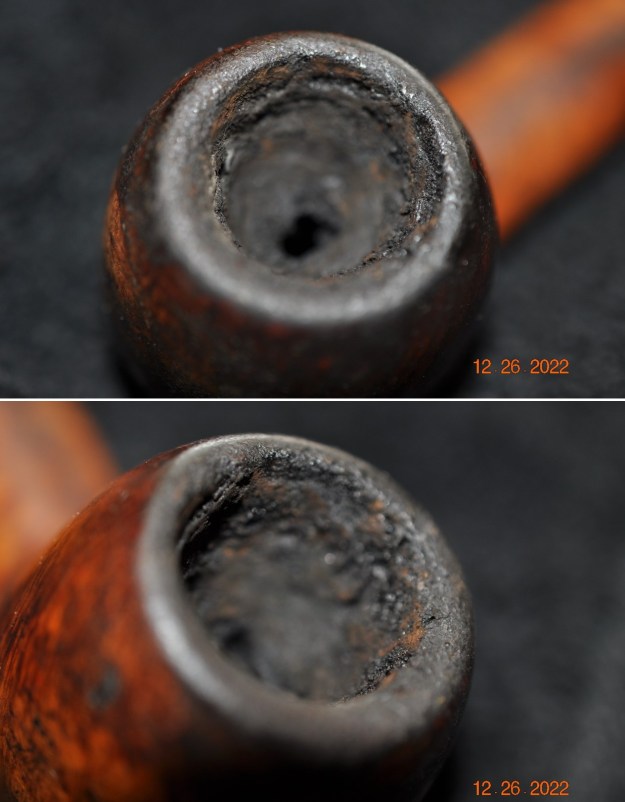
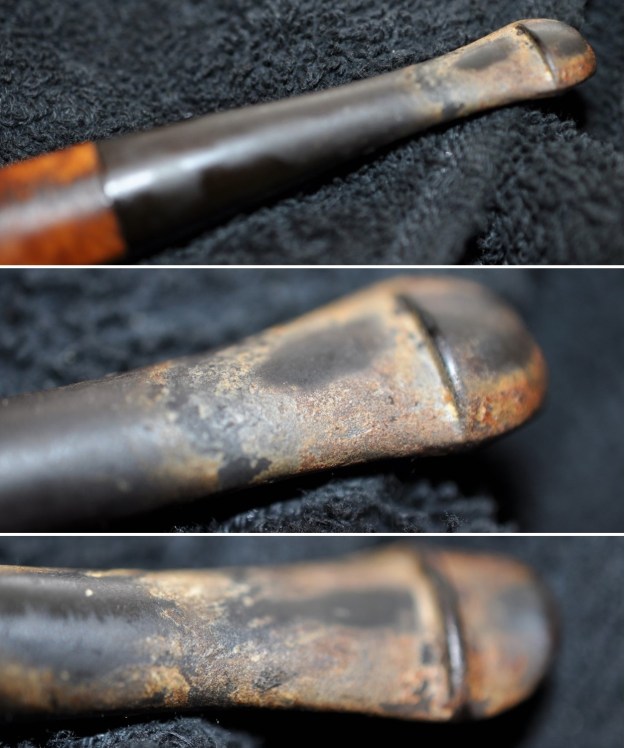
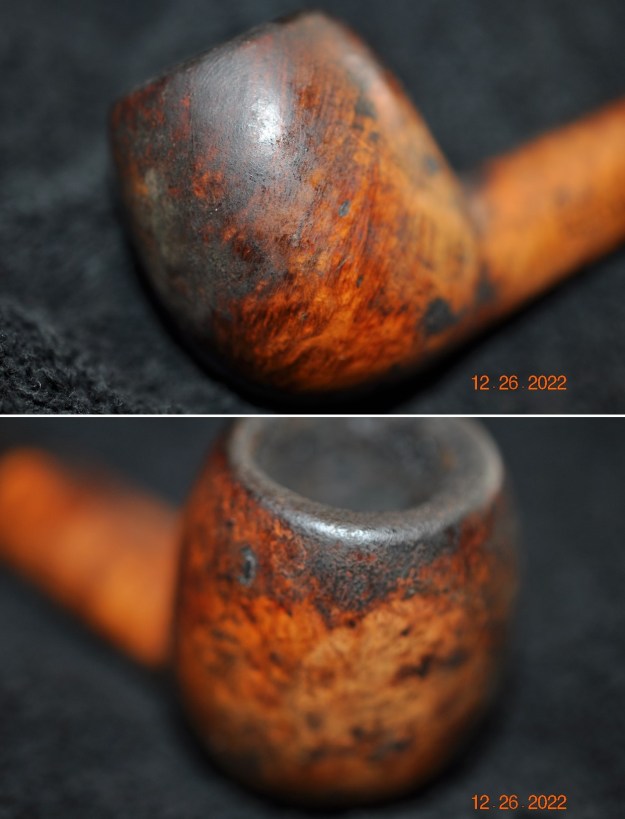
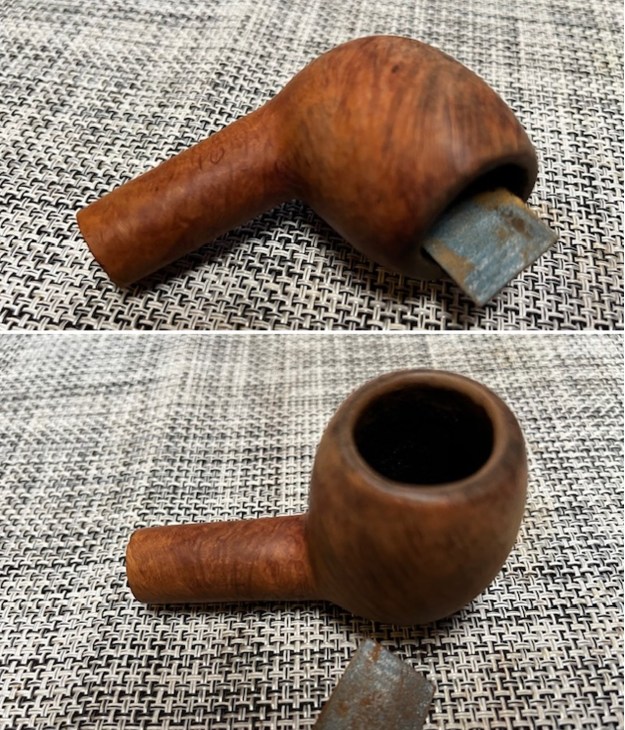
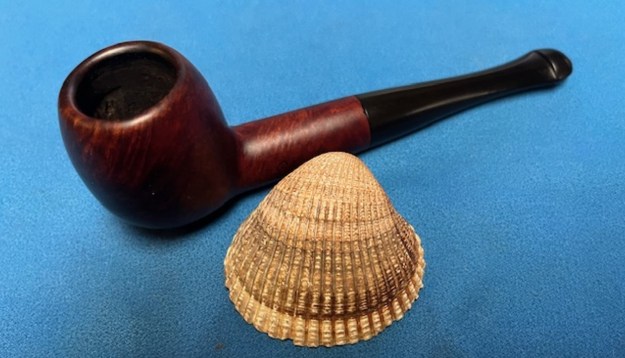
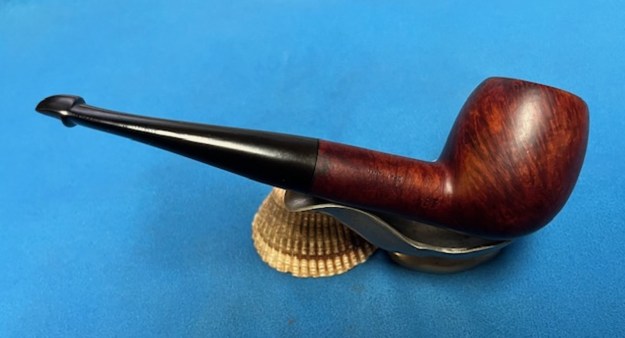
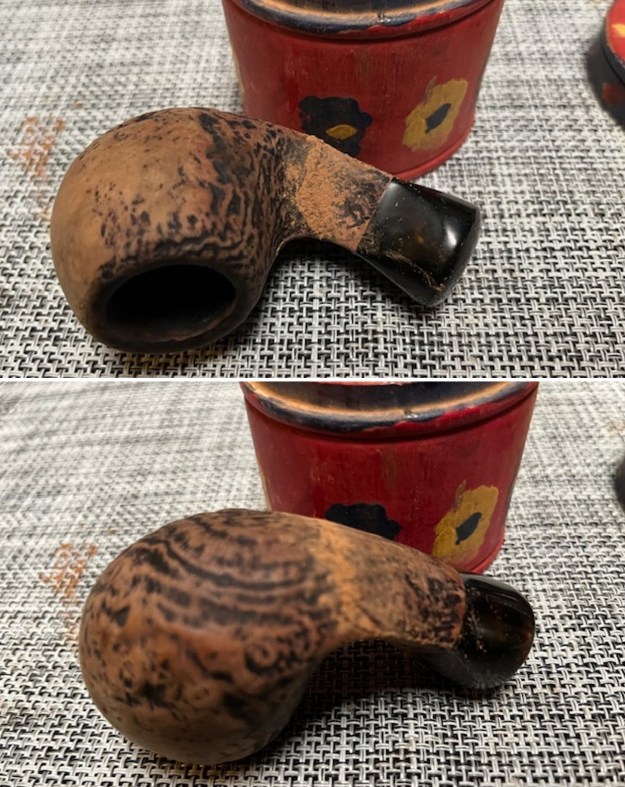
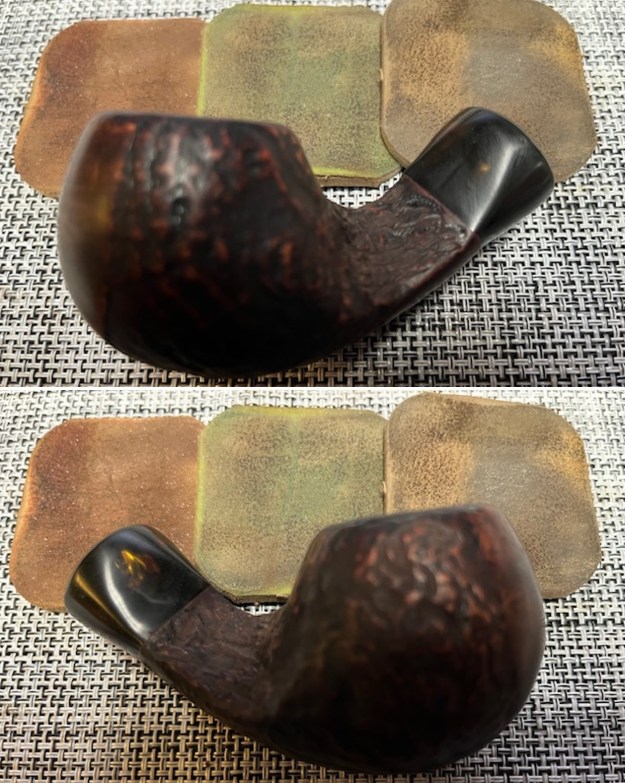
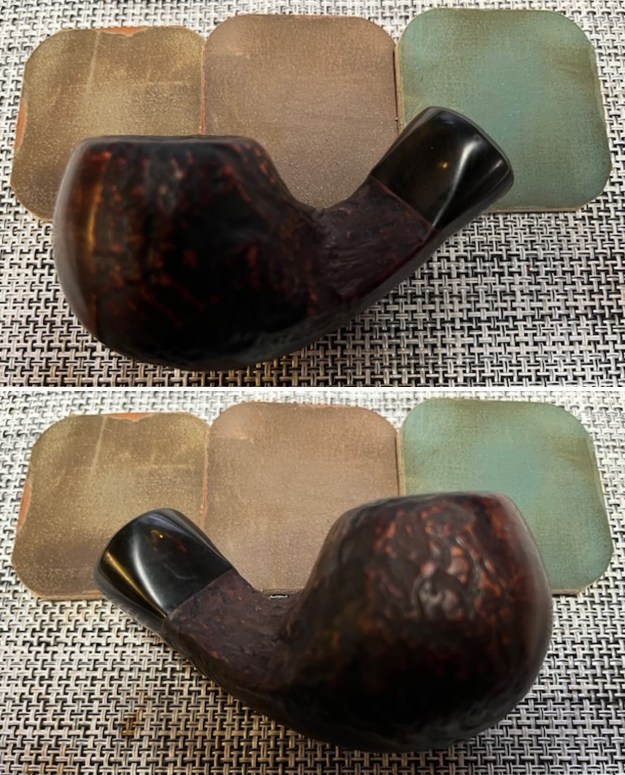
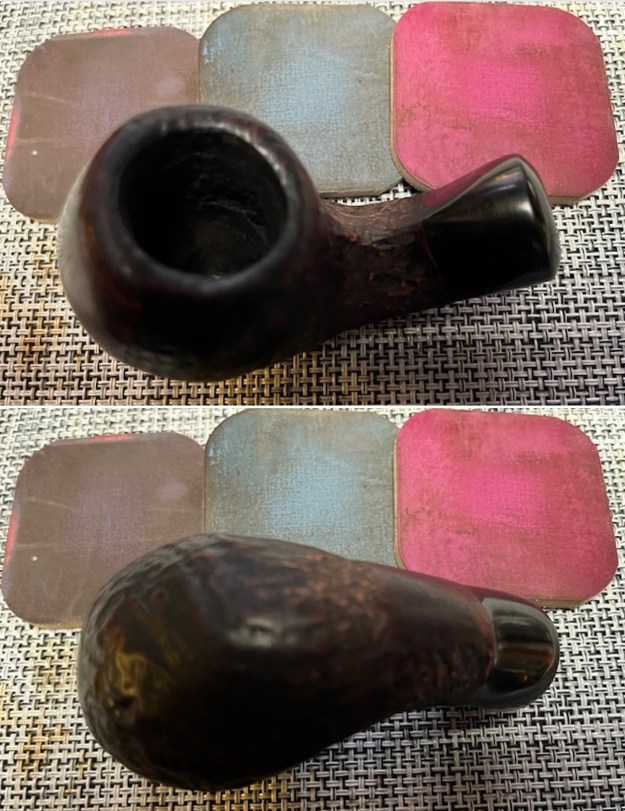
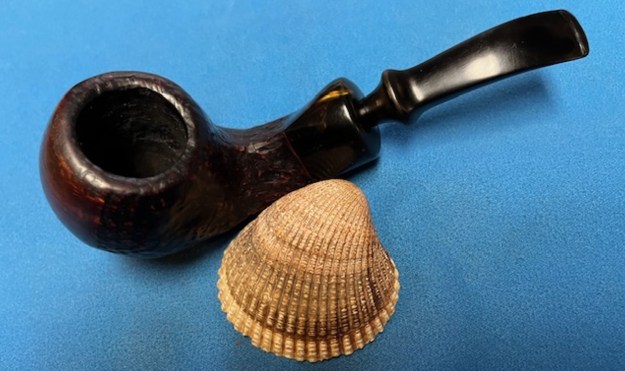
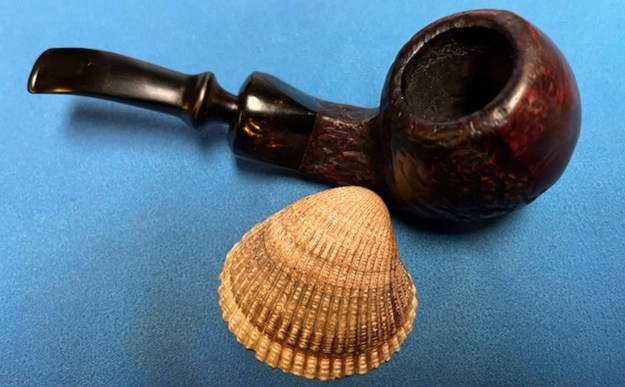
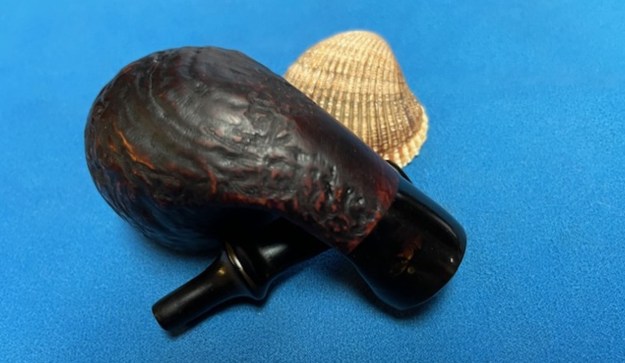
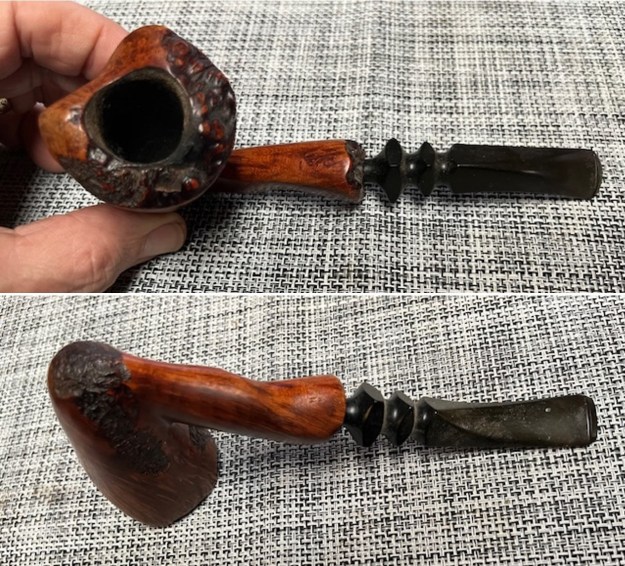
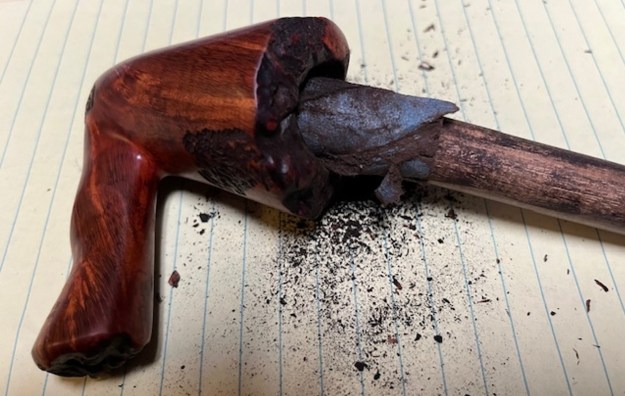
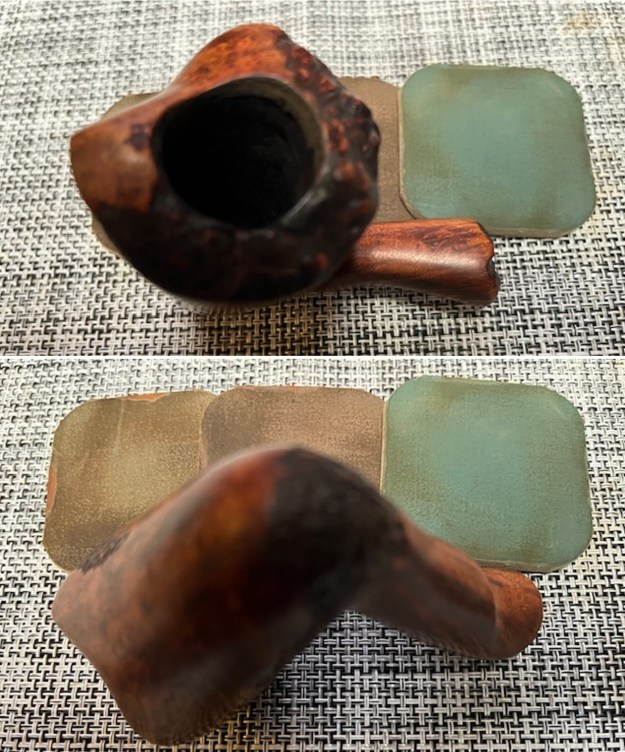
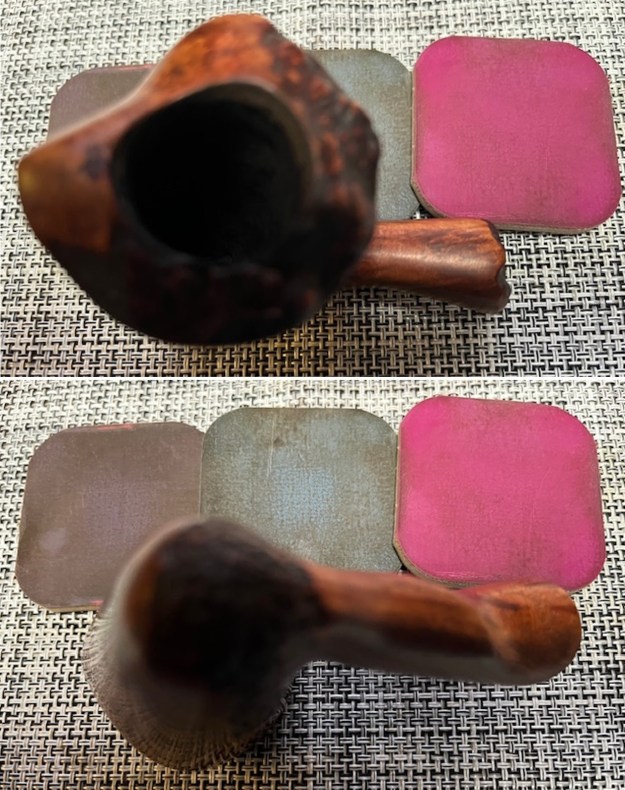
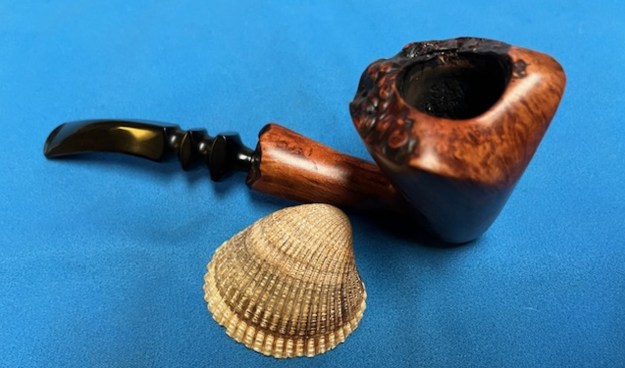
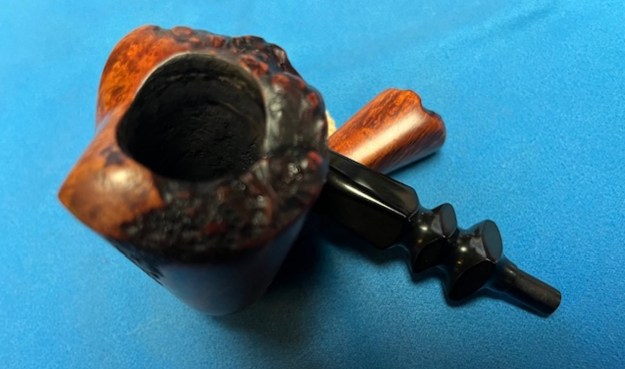
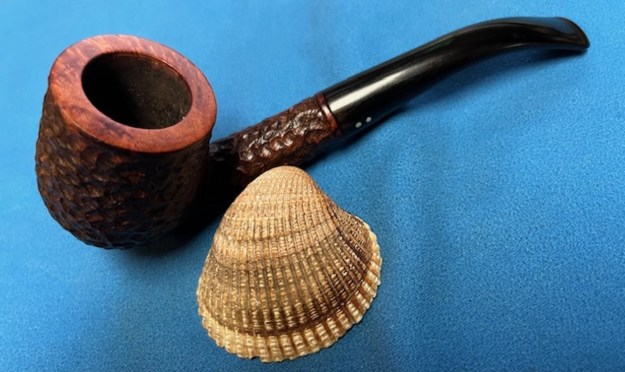
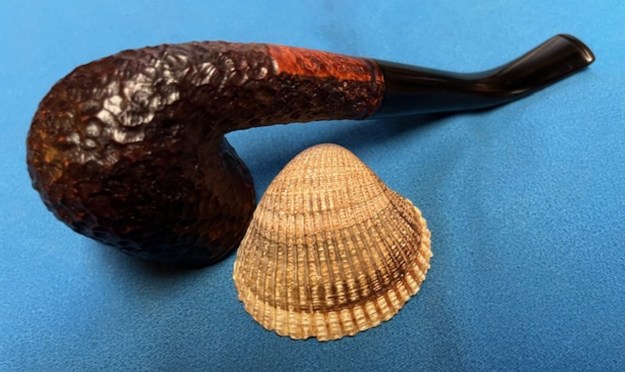
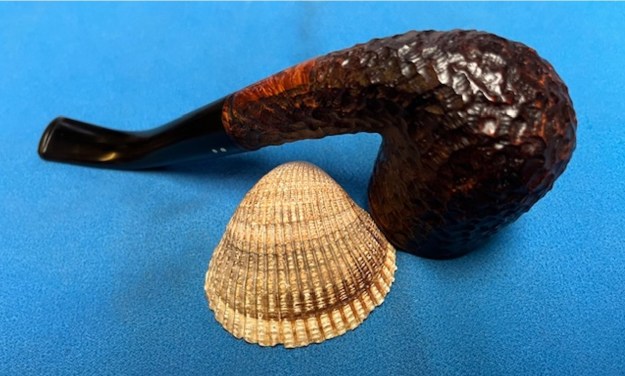
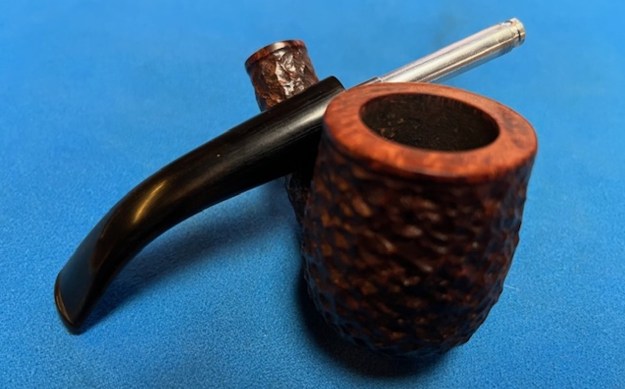
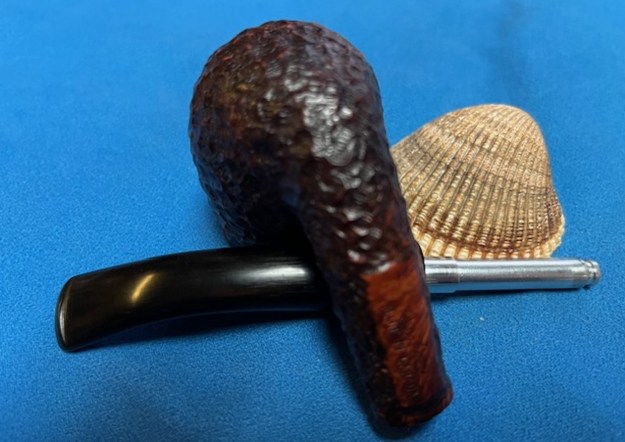
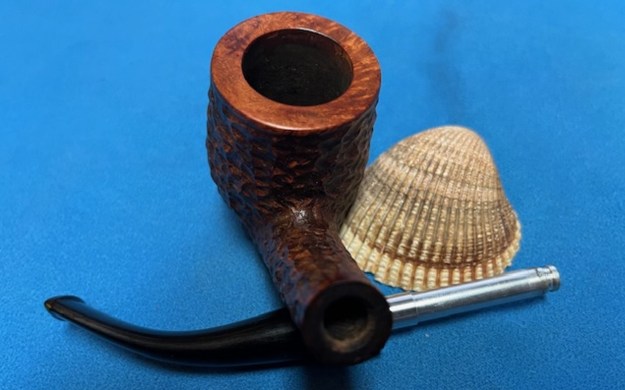
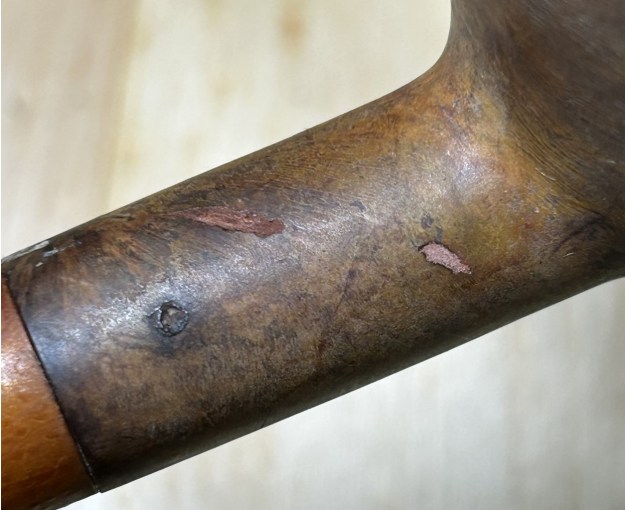
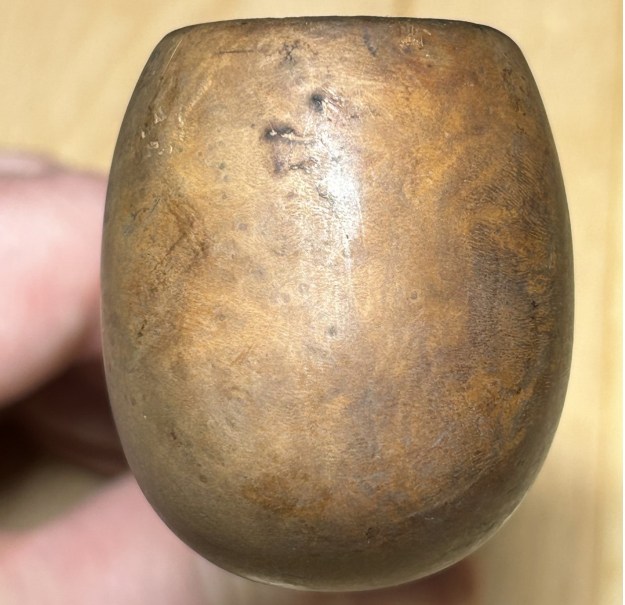
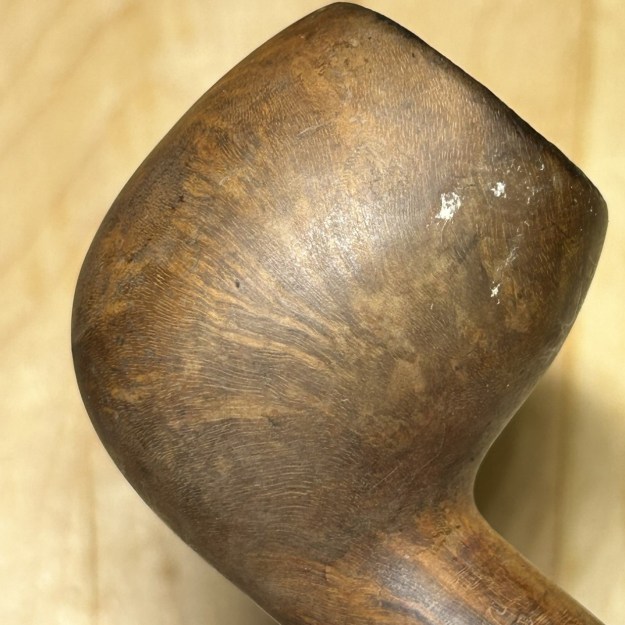
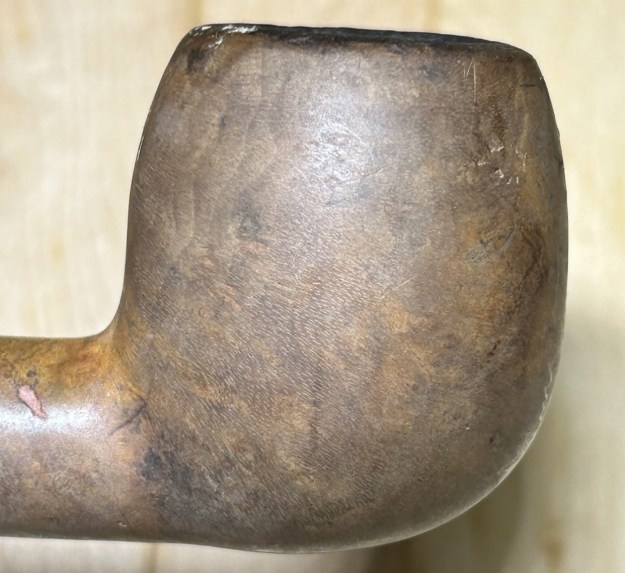
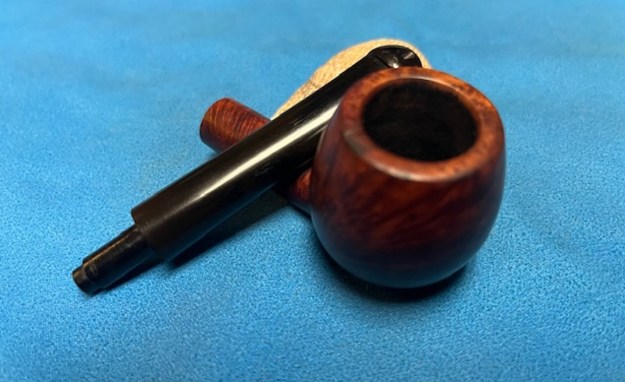
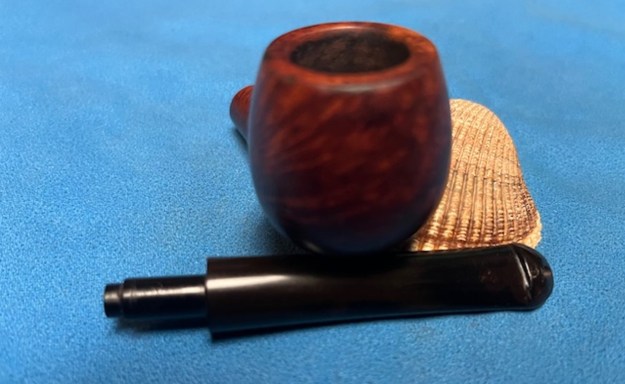
This is the clincher. It confirms that this comes from the “First Lane era, 1961-1965”. After this date, that specific writing on the shank changes from 2 to 3 lines. So this pipe dates from approximately 60 years ago. One important note: from 1955 all the pipes imported into the USA (and presumably Canada?) by Lane has a stylized “L” (to indicate Lane’s proprietorship). This pipe does not have the stylized “L”, so was likely acquired in England. Here’s an image of the pipe in question, from a 1964 catalogue:  On to the pipe itself. It arrived in fairly good shape – no major problems to report. Just needs some TLC and it will look fantastic. The stem has a few minor bite marks and a good bit of oxidation, but nothing serious. The stummel had a few very minor nicks on the bowl, plus there was a good amount of lava on the rim and some charring. Most of the stummel, however, was in excellent condition – especially for 60 years old.
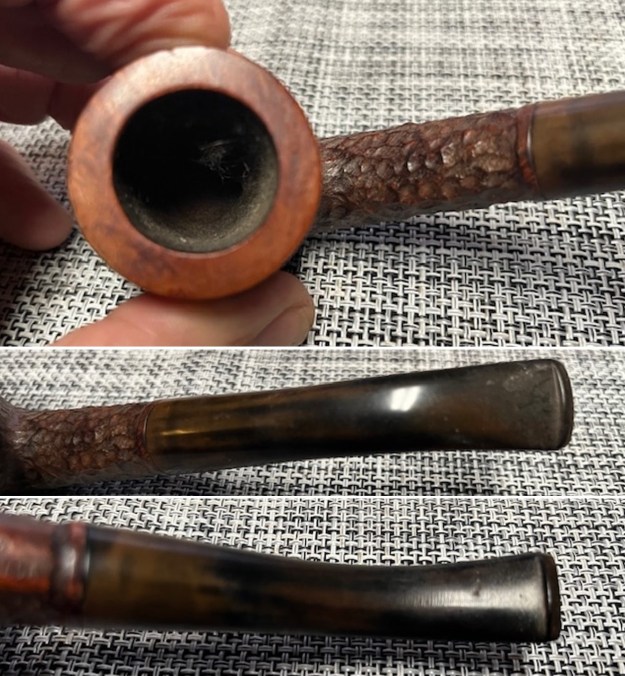
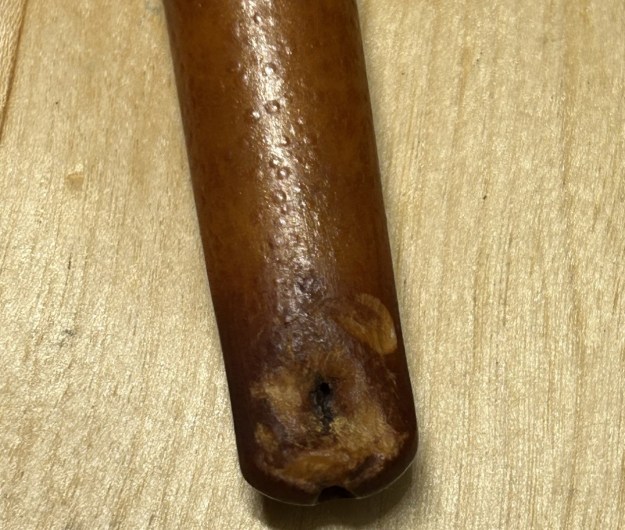
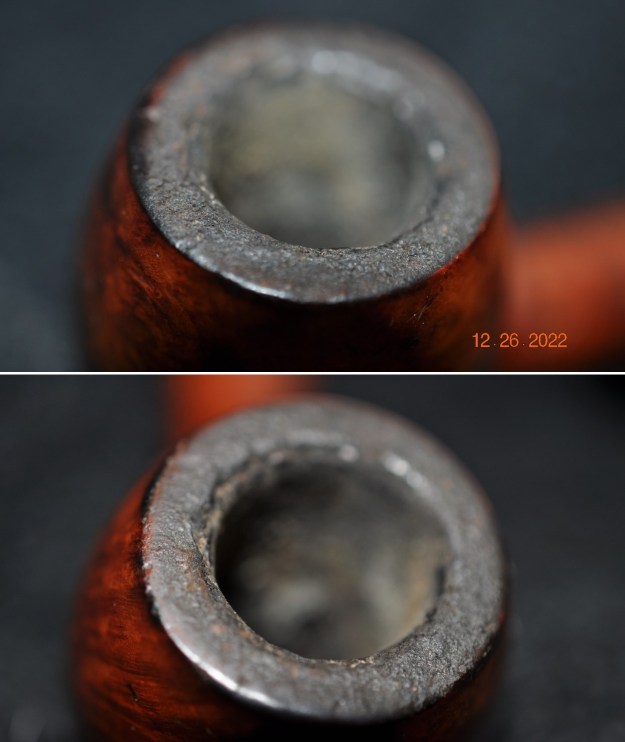
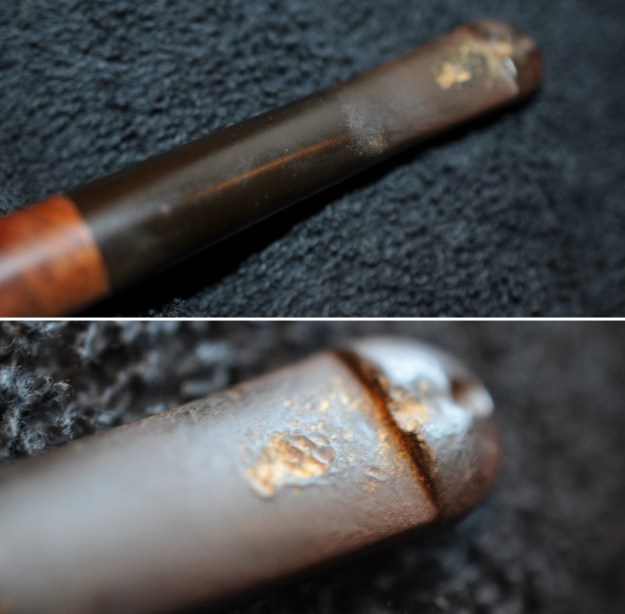
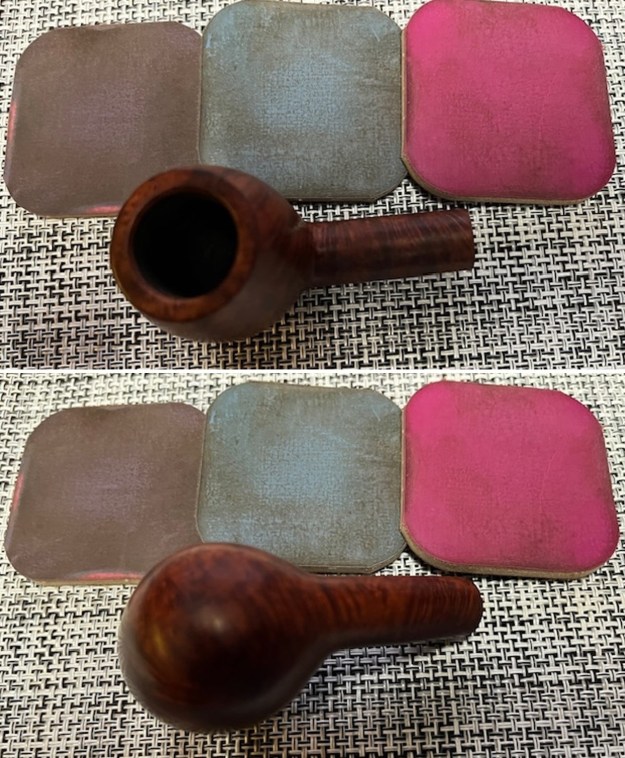
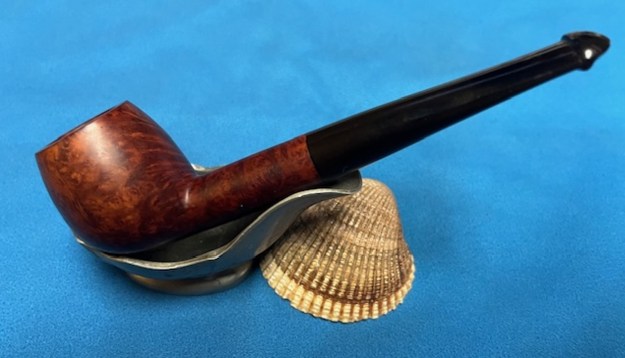

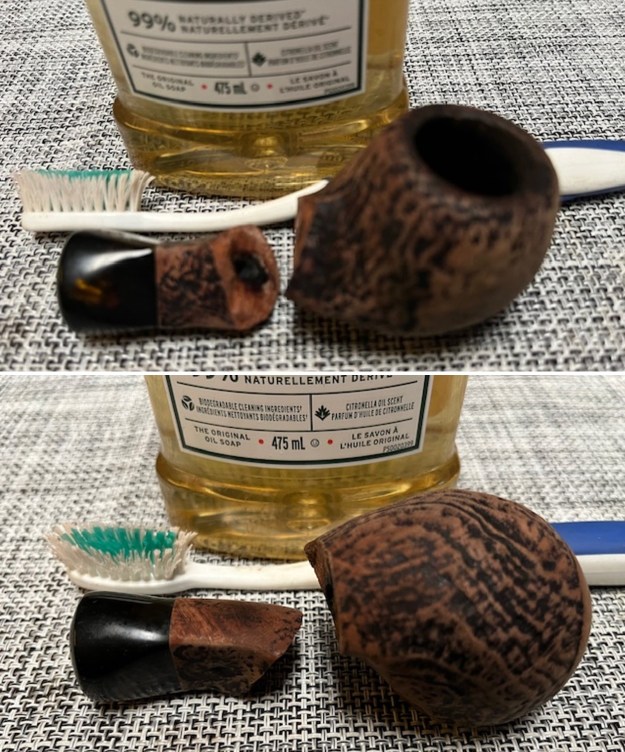
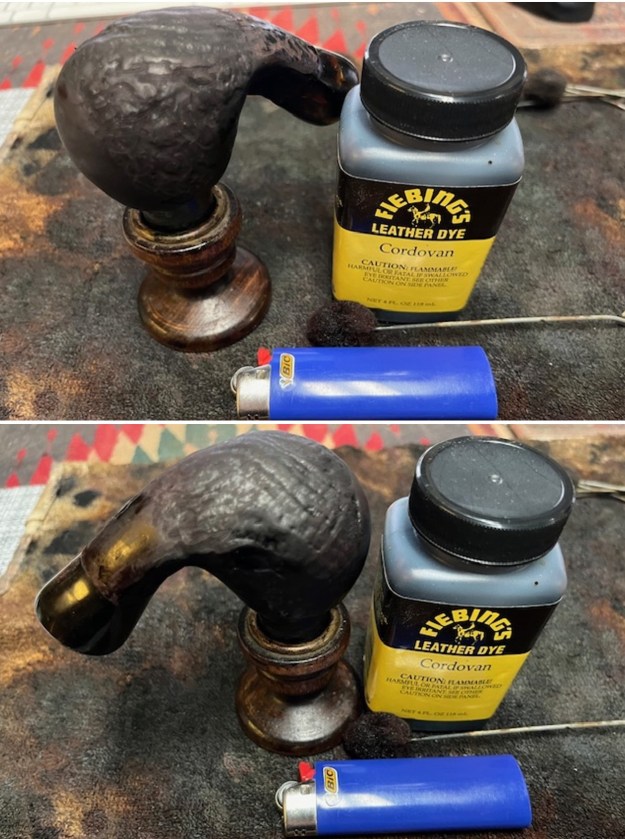
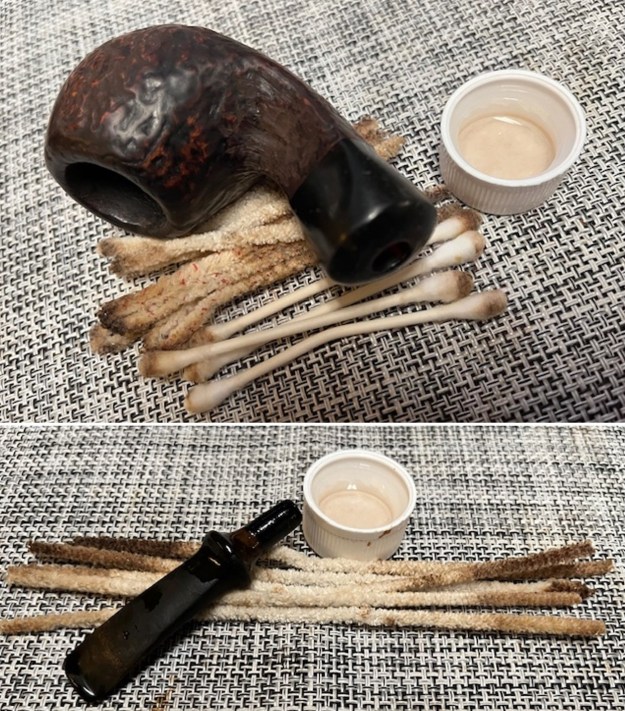
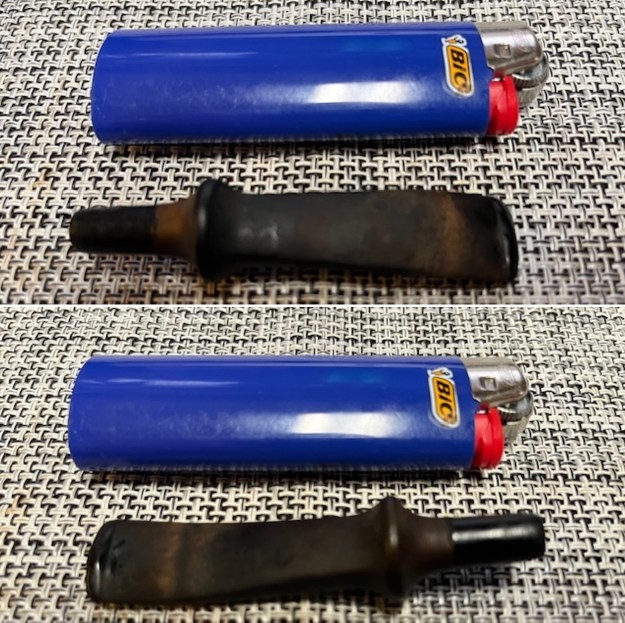
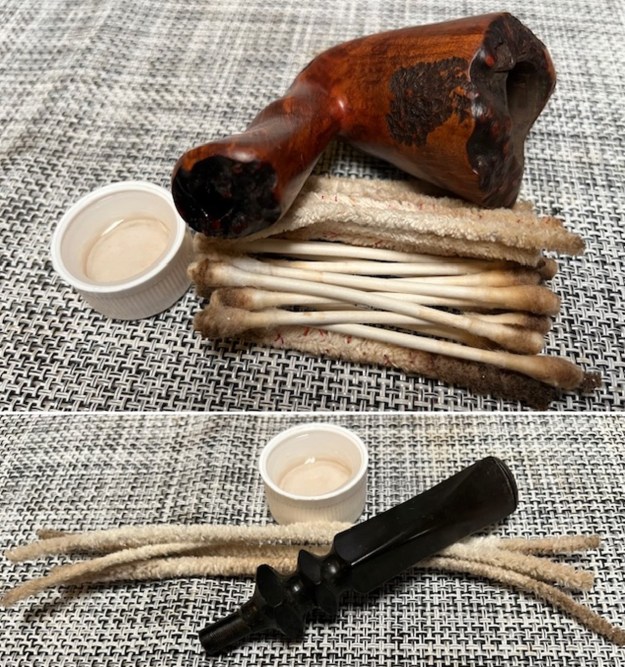
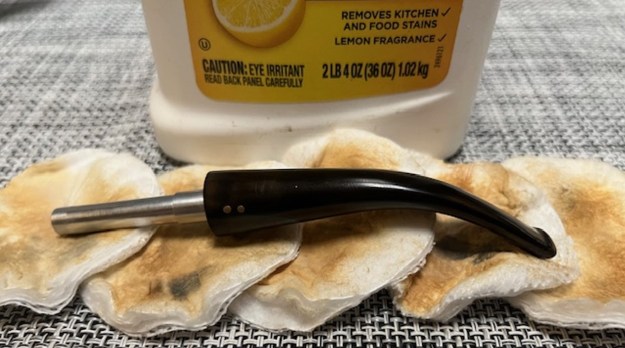
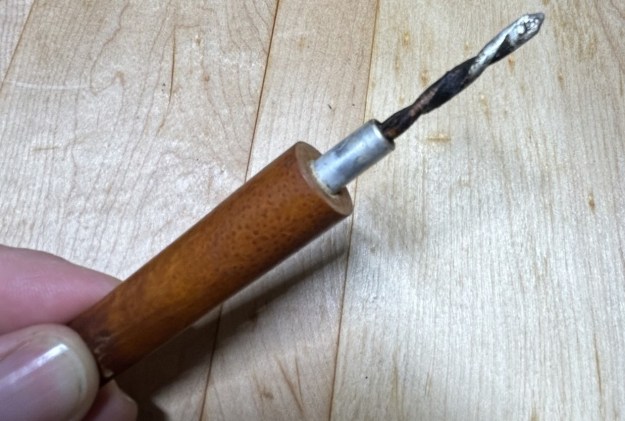
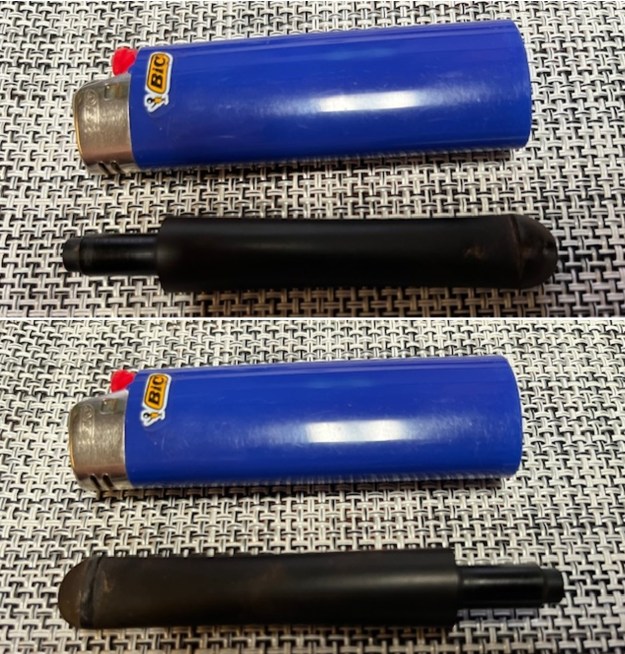
 Time to get to work! The stem was first on my list. I wiped the outside down with Murphy’s Oil Soap on some cotton pads. I also took a BIC lighter and ‘painted’ the stem with its flame to lift the few bite marks and dents. Then I cleaned out the inside with pipe cleaners and isopropyl alcohol. It was minorly dirty and I only went through a few pipe cleaners.
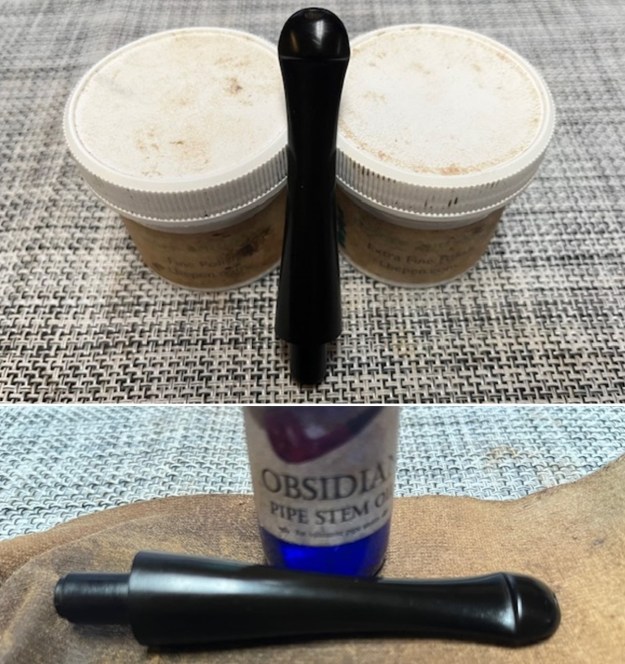
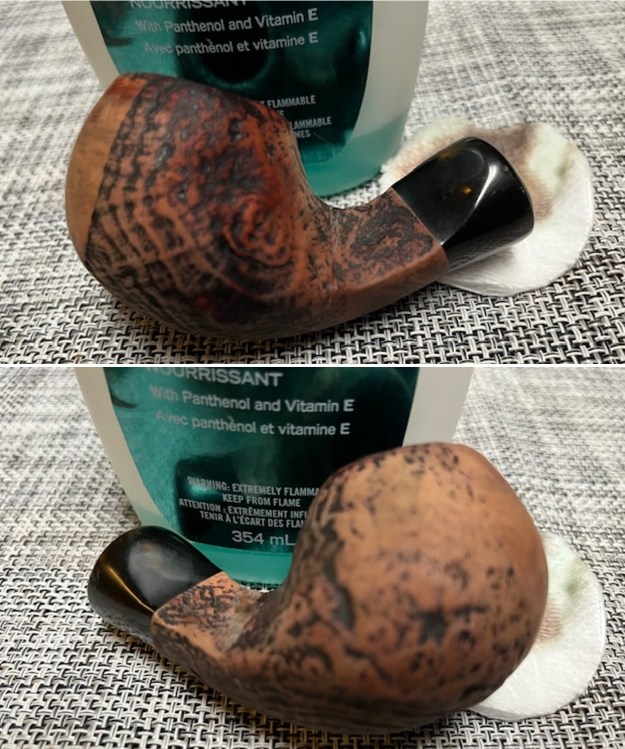
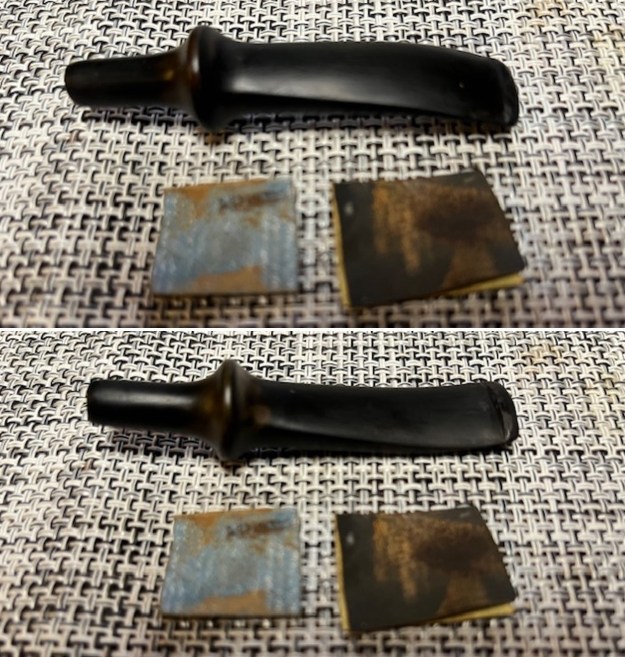
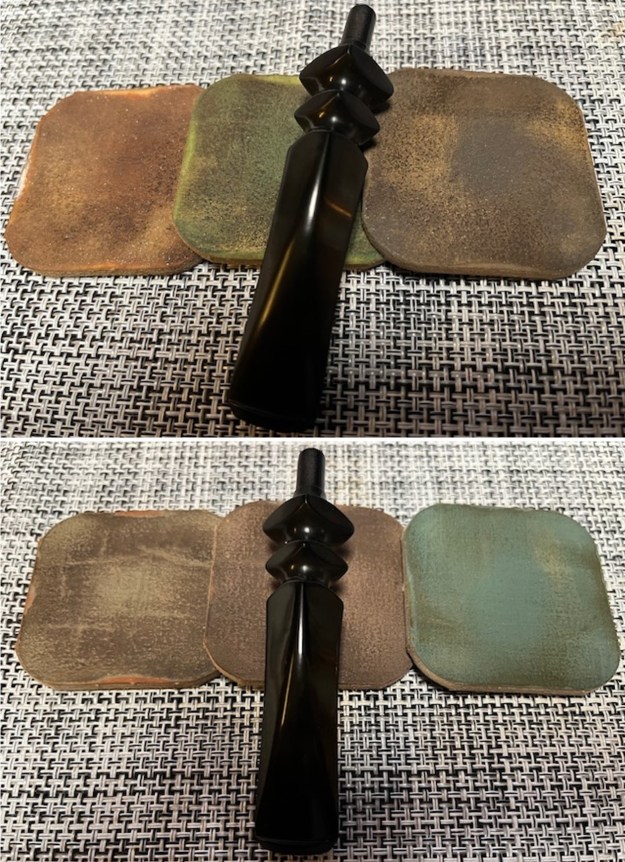
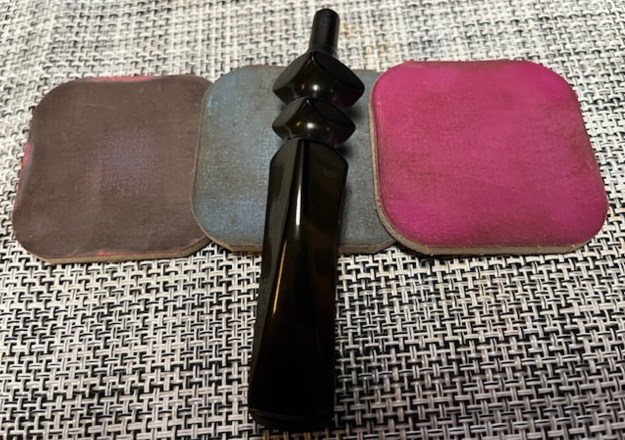
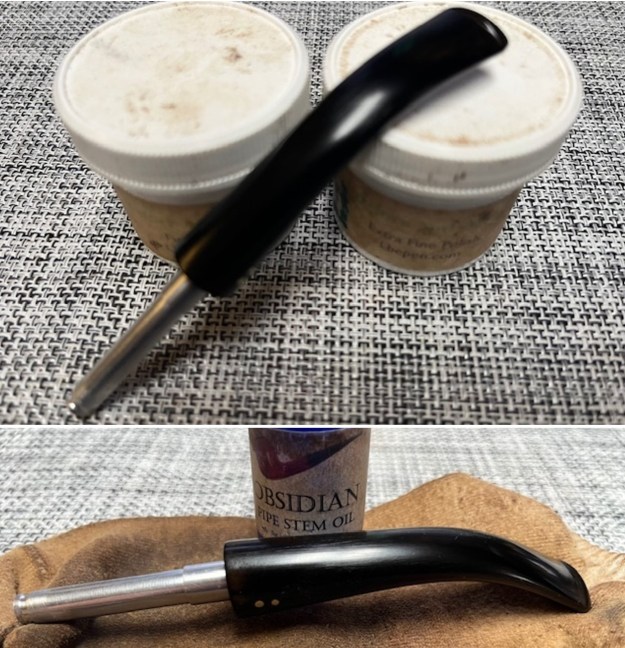
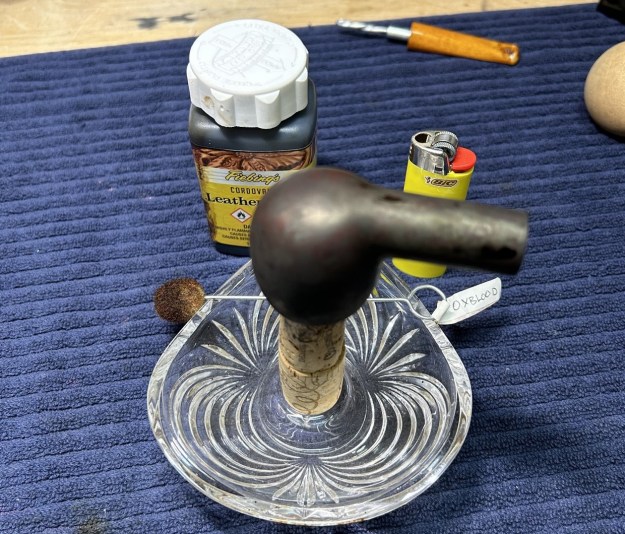
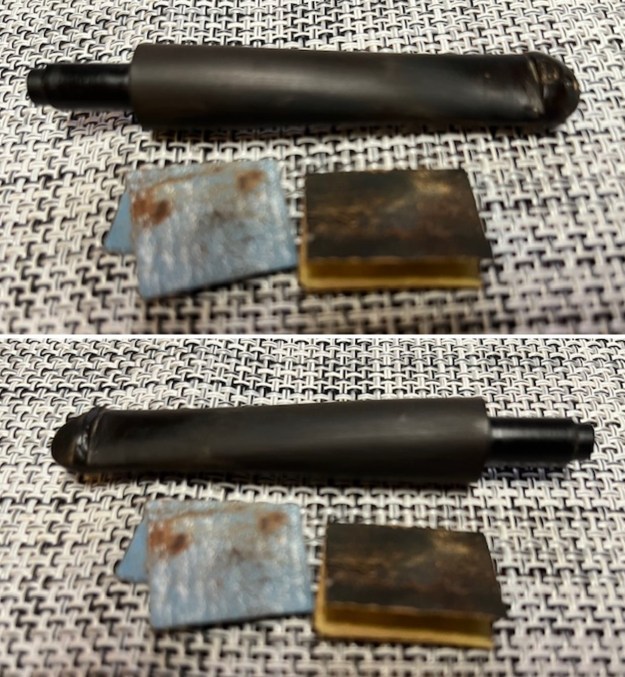
 I then wiped down the stem with SoftScrub cleaner to remove surface oxidation. Once this process was done, the stem went for an overnight soak in the Pipe Stem Oxidation Remover. This allows me to clean the oxidation off in a couple of ways: by applying a mild cleaner to the surface and sanding the stem. The next day, I used SoftScrub again with some cotton rounds.
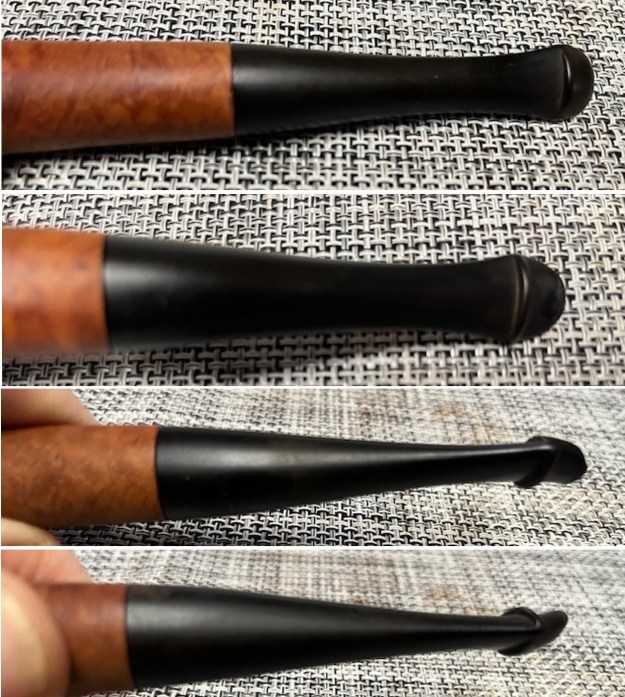
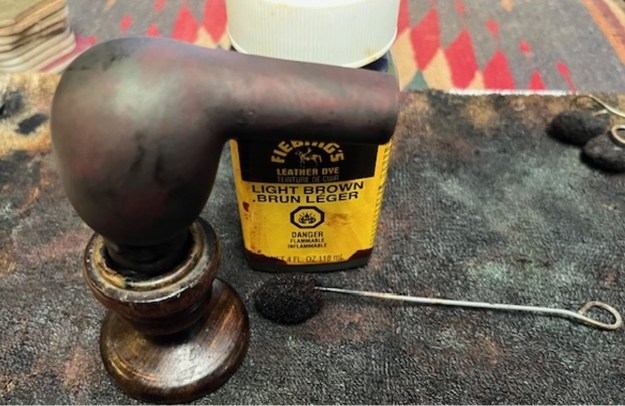
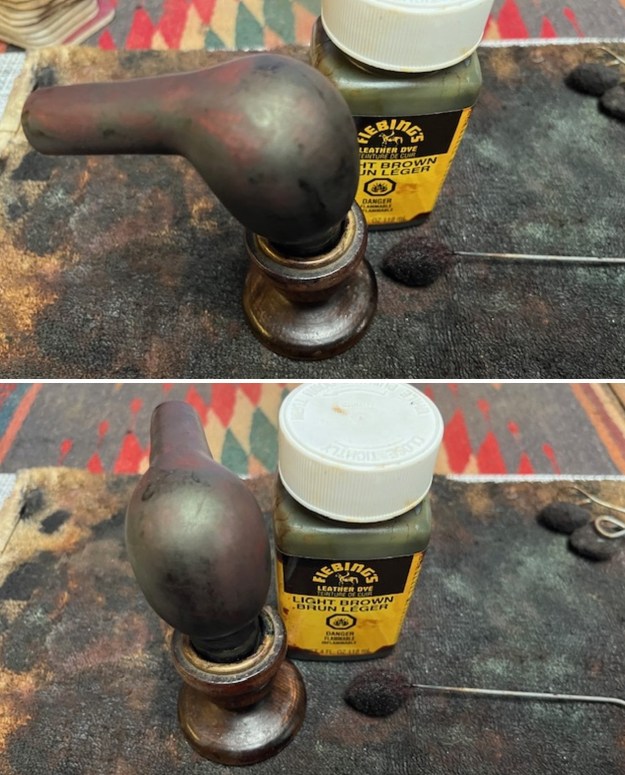
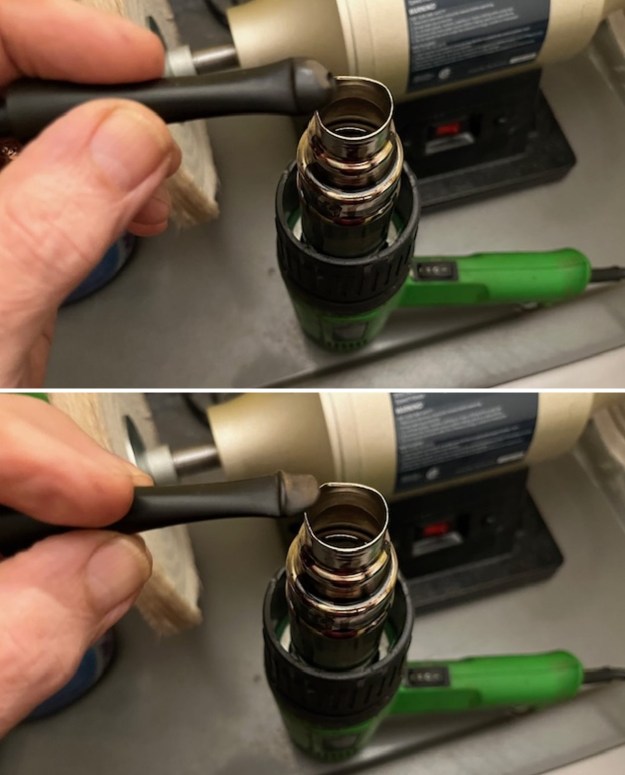
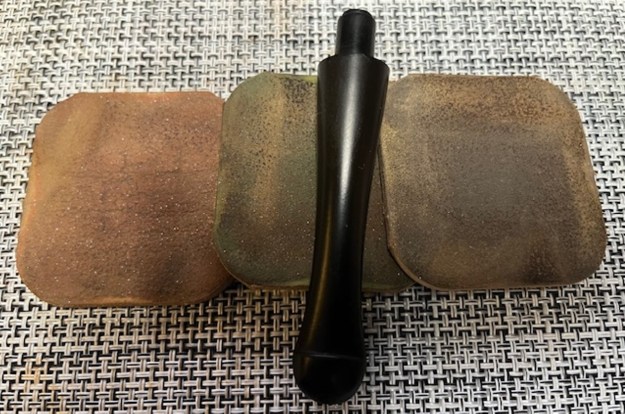
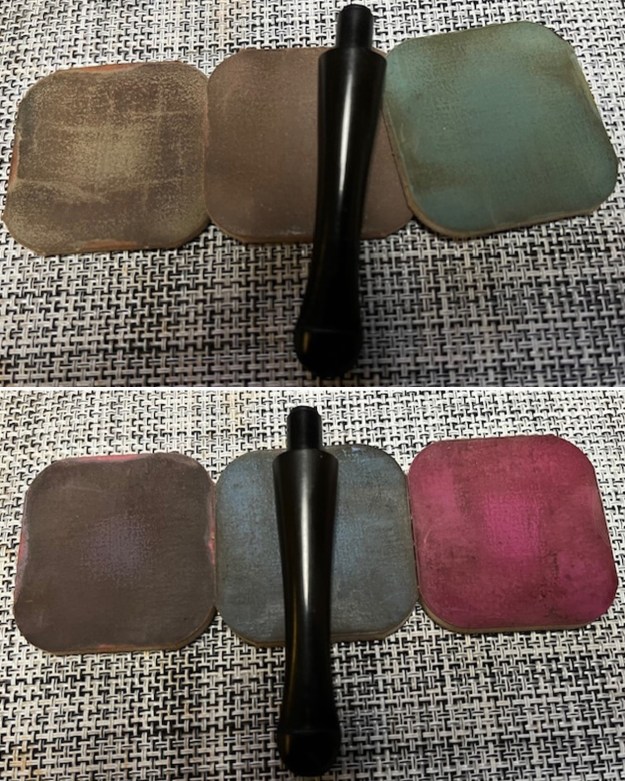
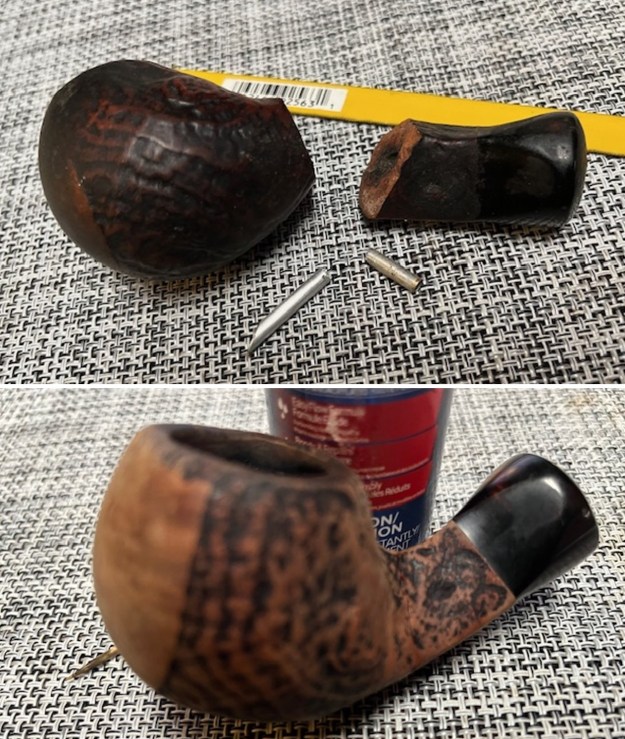
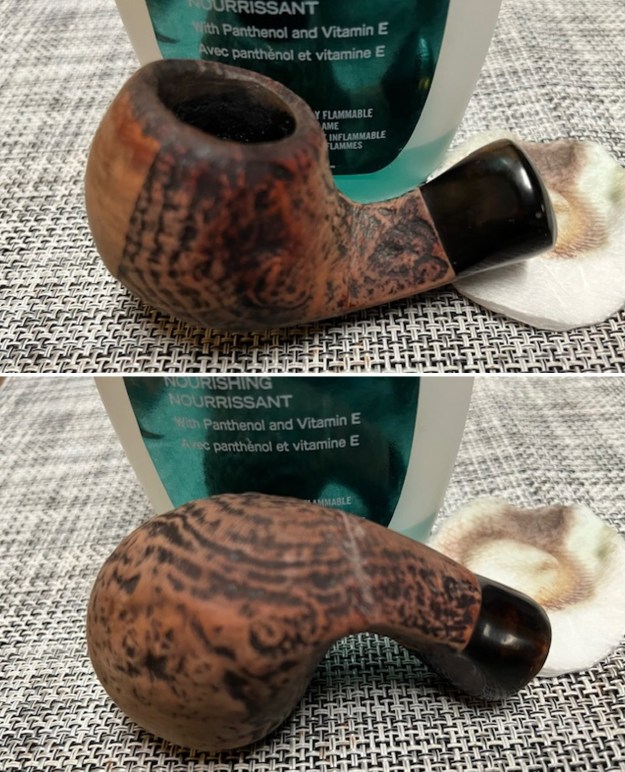
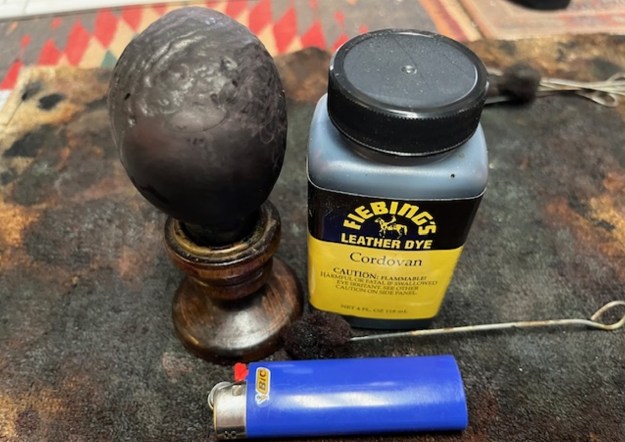
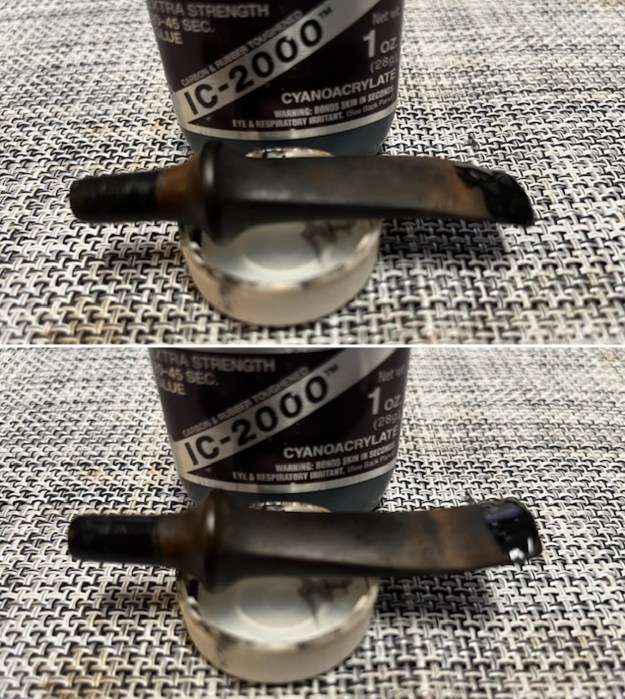
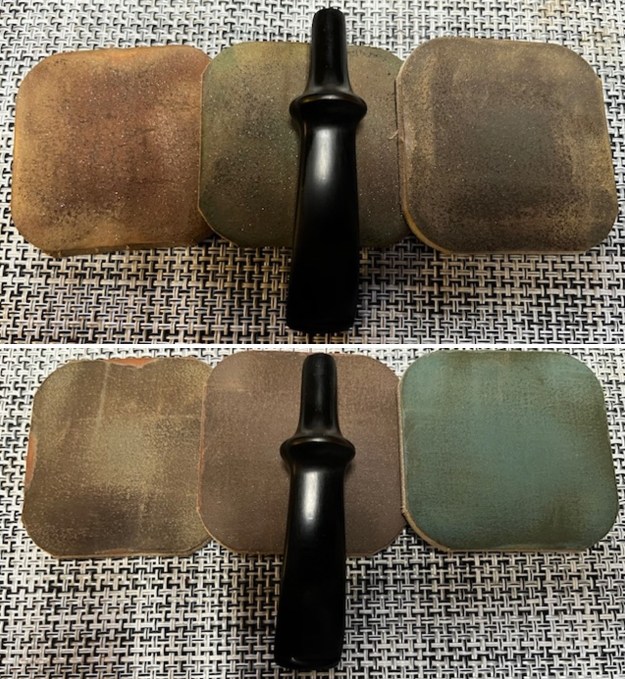
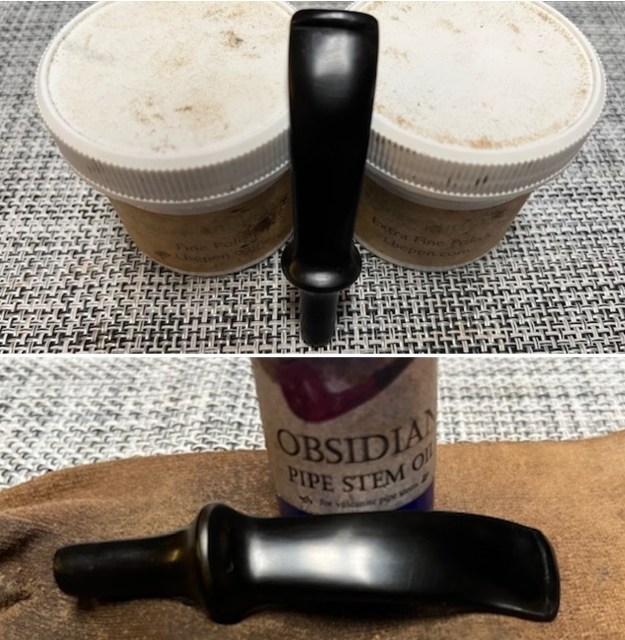
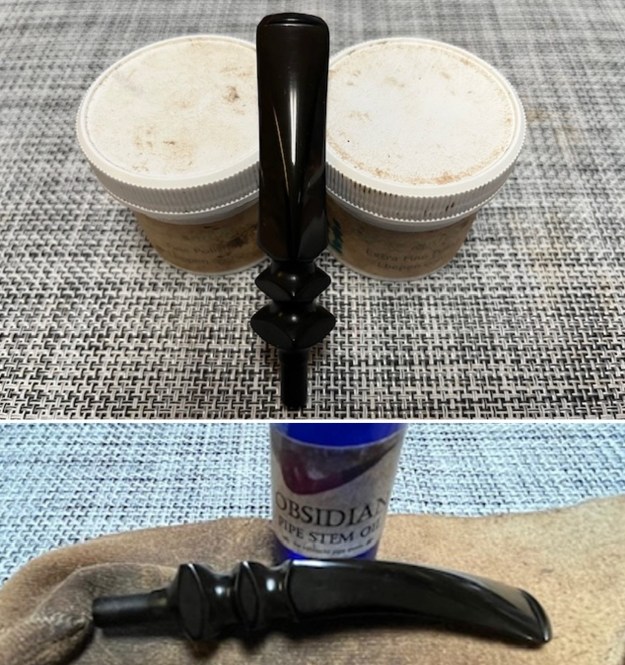
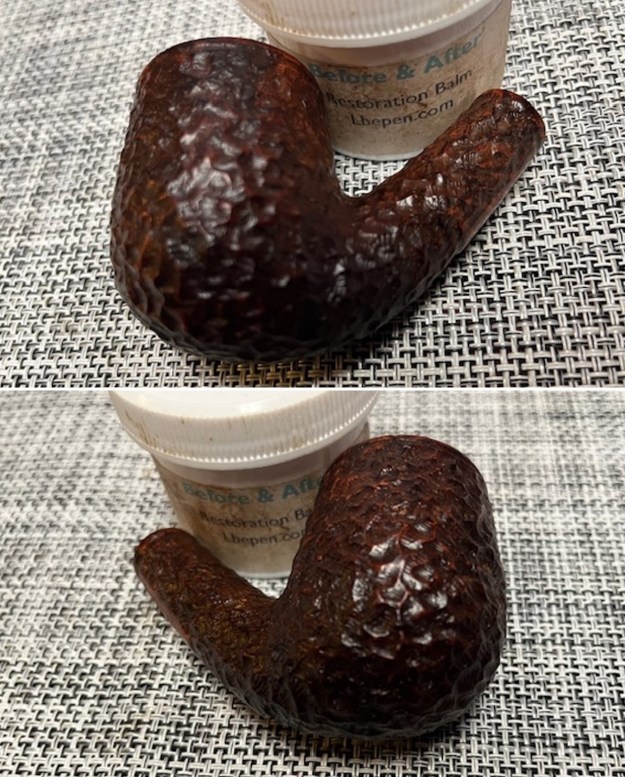
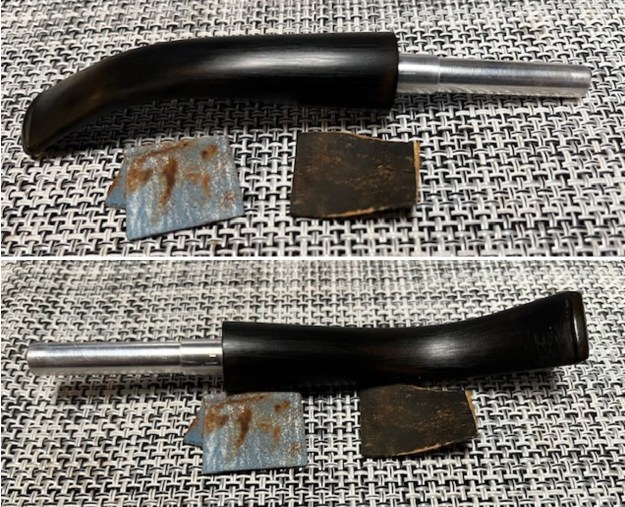
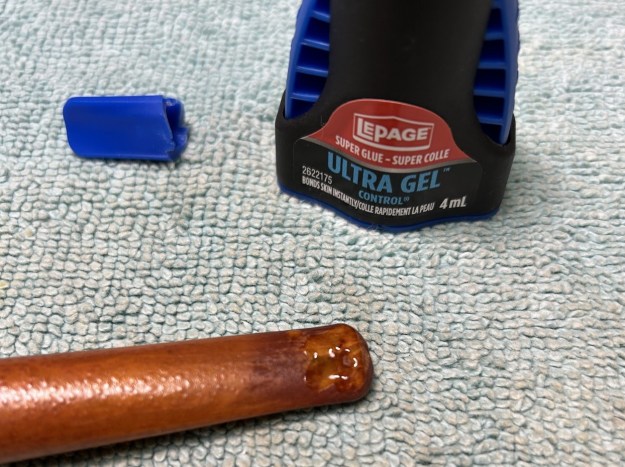
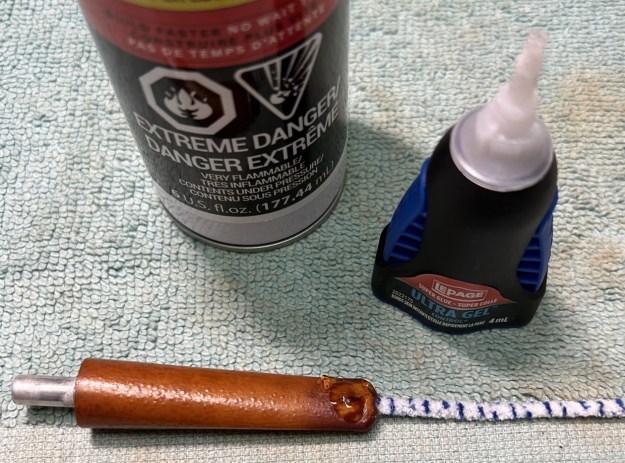
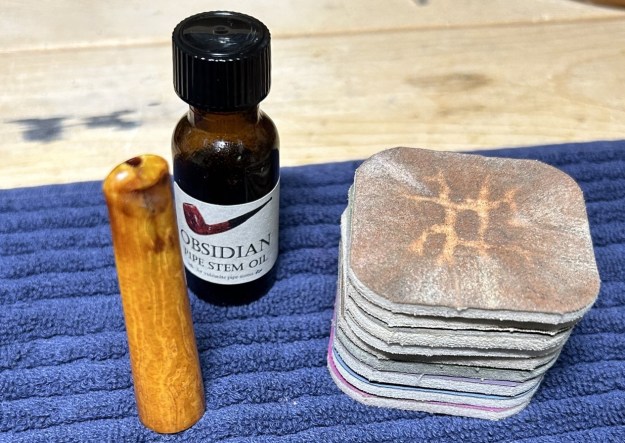
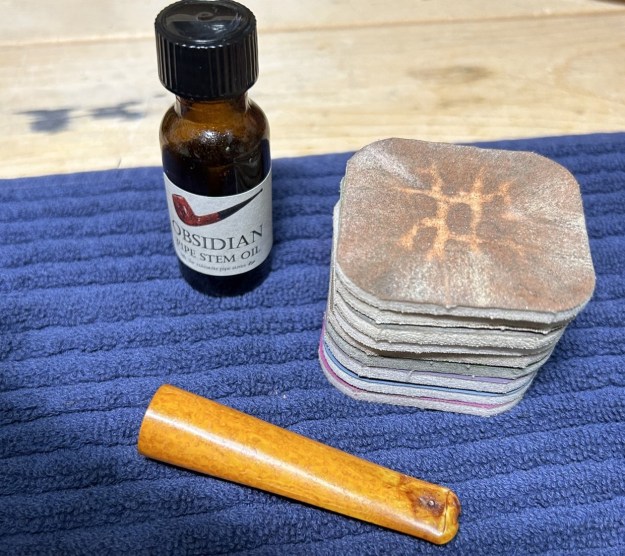
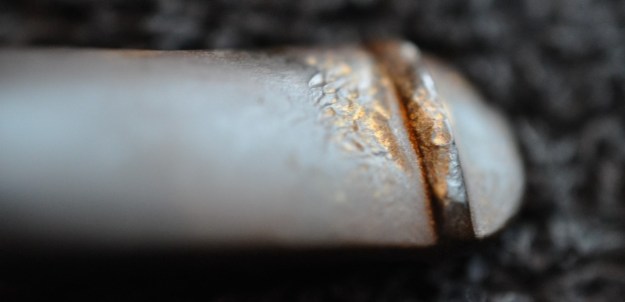
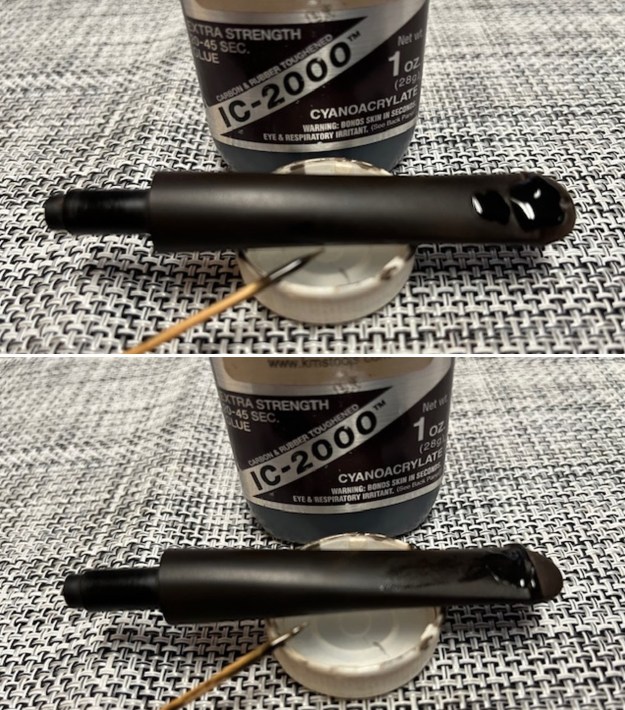
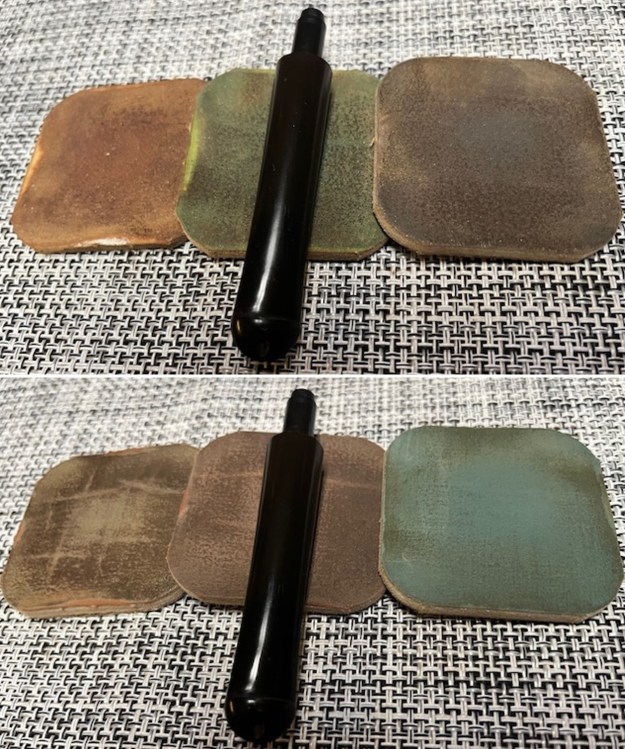
 After this, I used some acrylic paint to restore the logo on the stem. I painted the area carefully and let it fully set before proceeding. I built up the dents on the stem with black cyanoacrylate adhesive and let them fully cure. I then sanded the adhesive down with 220- and 400-grit sandpapers to meld seamlessly into the stem. I then used all nine Micromesh pads (1,500 through 12,000 grit) to bring out the stem’s lovely black lustre. I also used Obsidian Pipe Stem Oil in between each pad scrubbing.
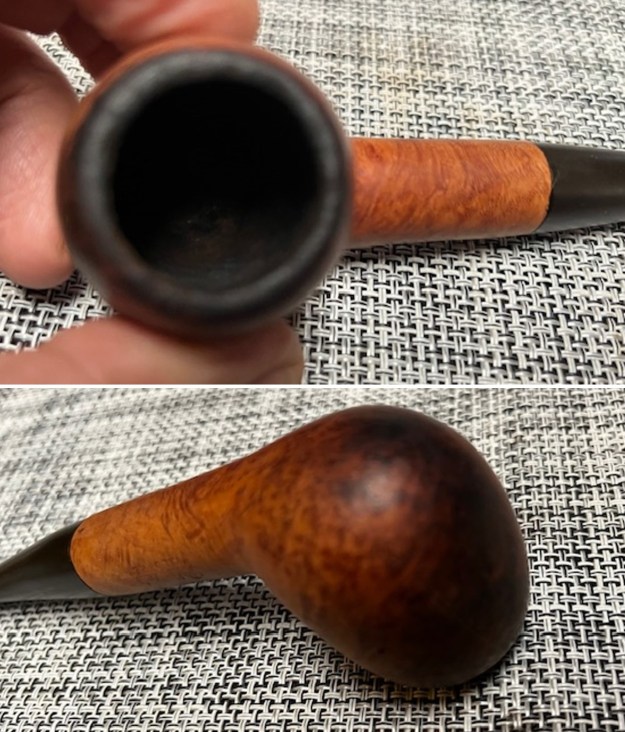
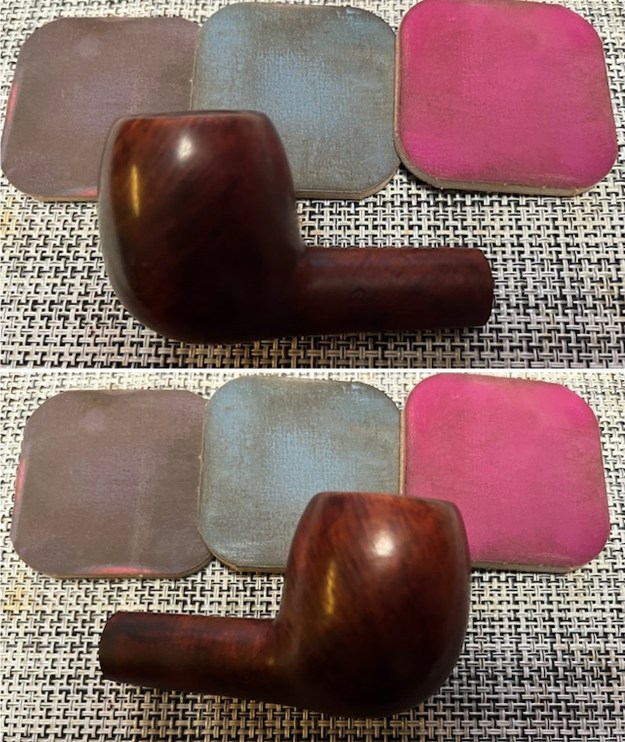
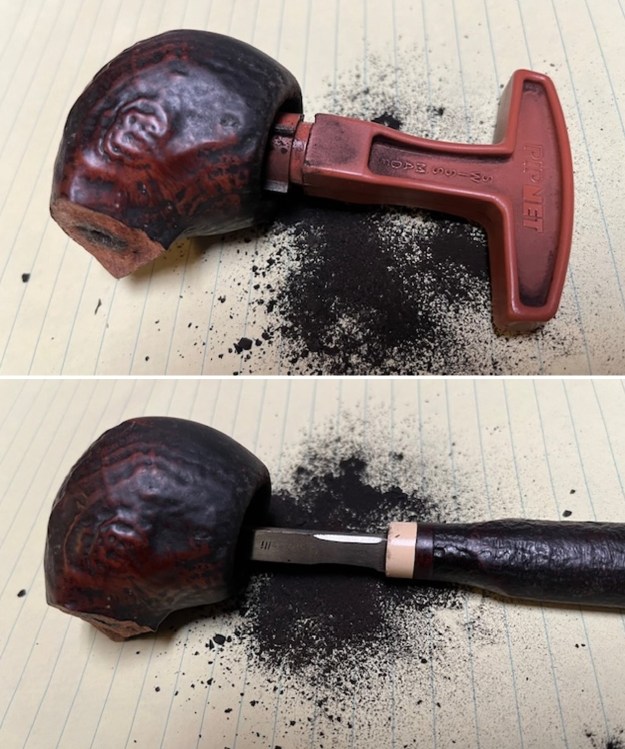
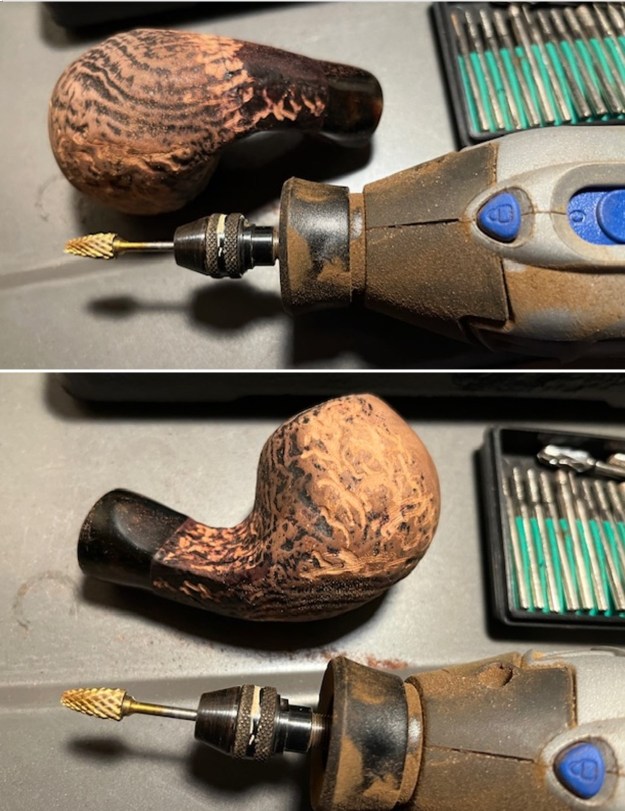
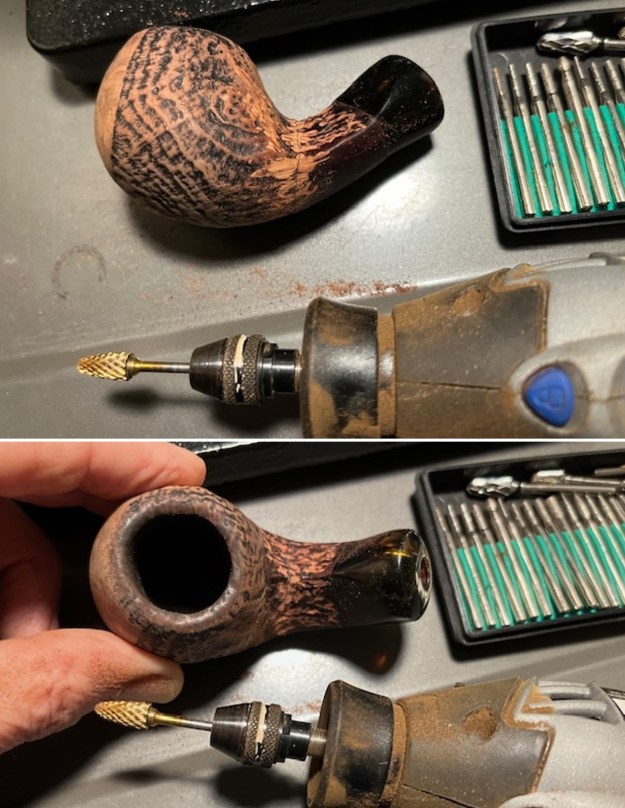
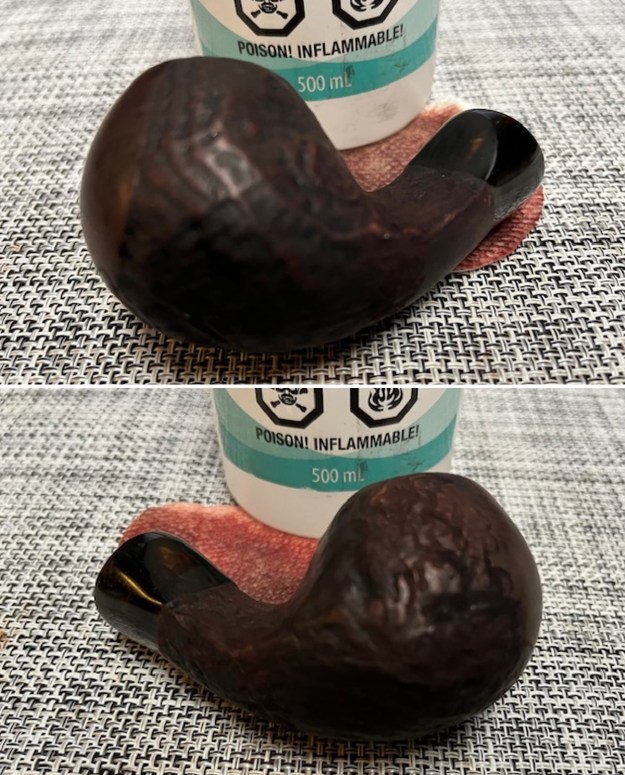
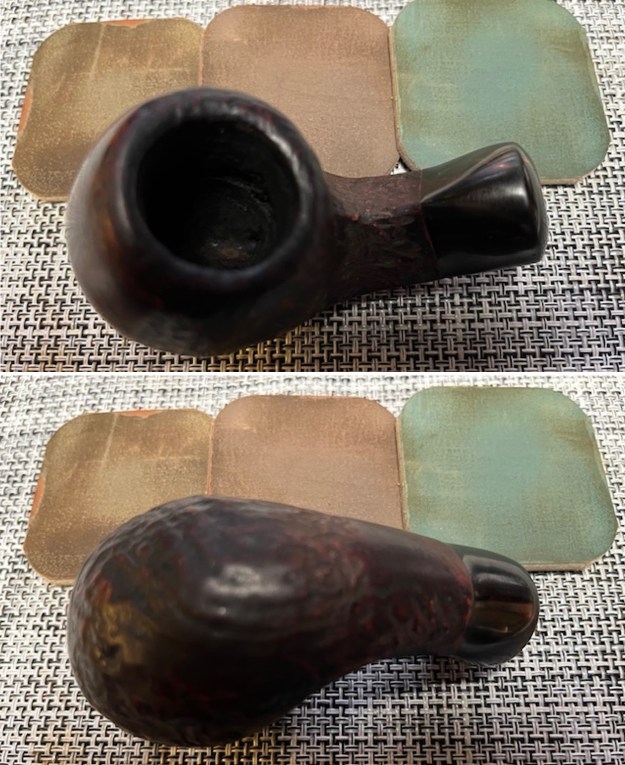
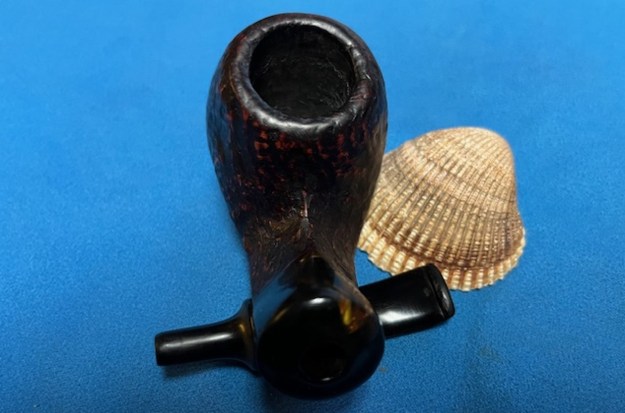
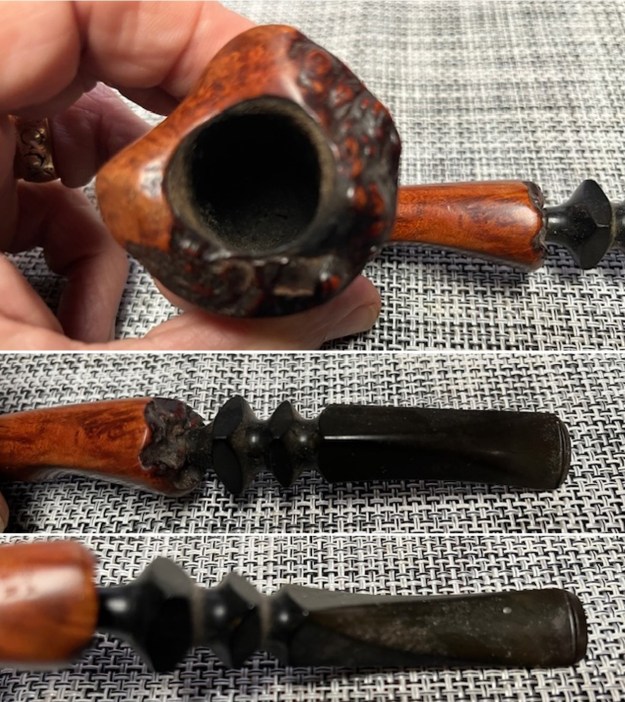
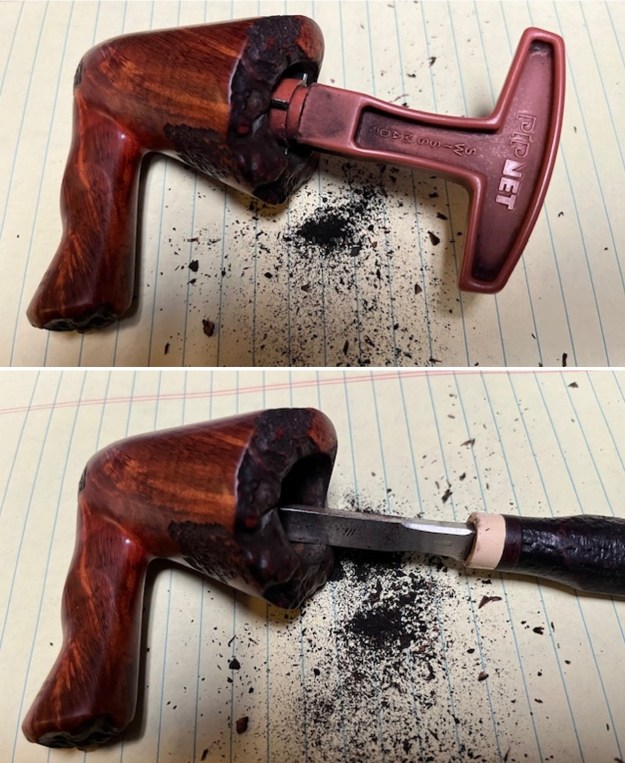
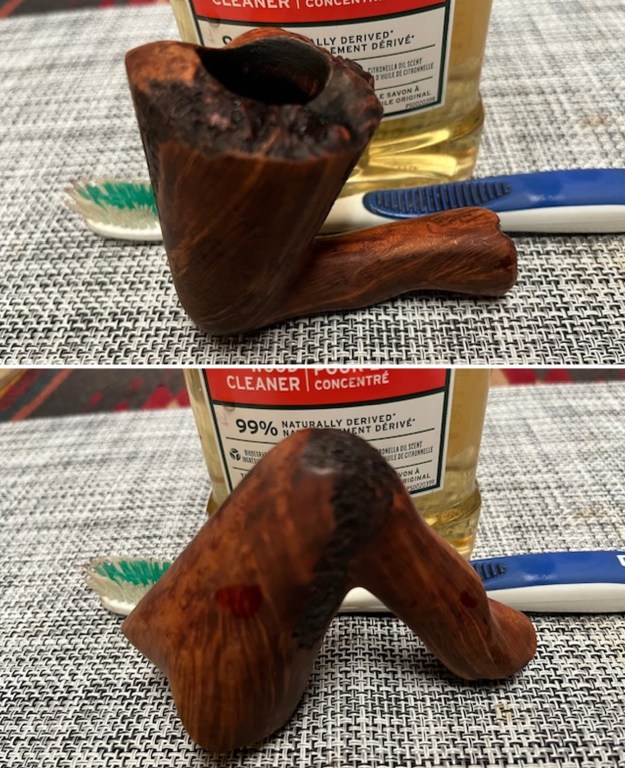
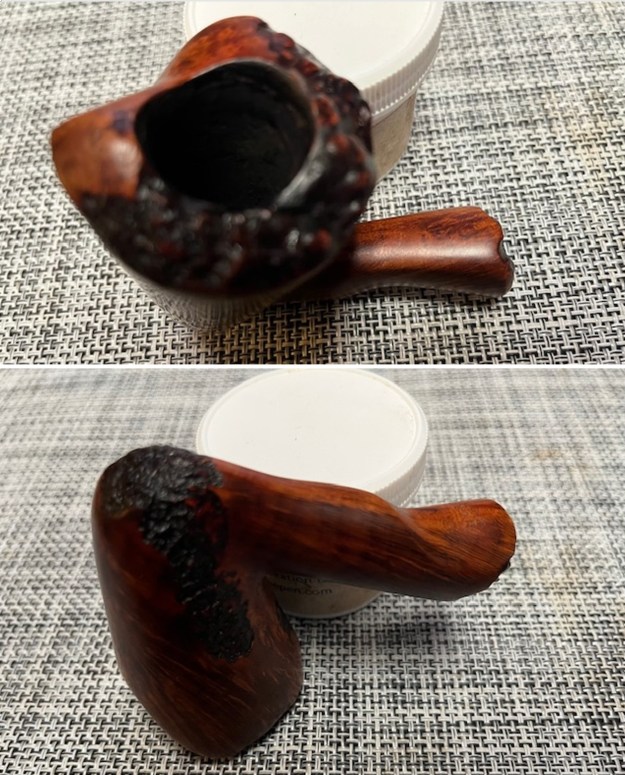
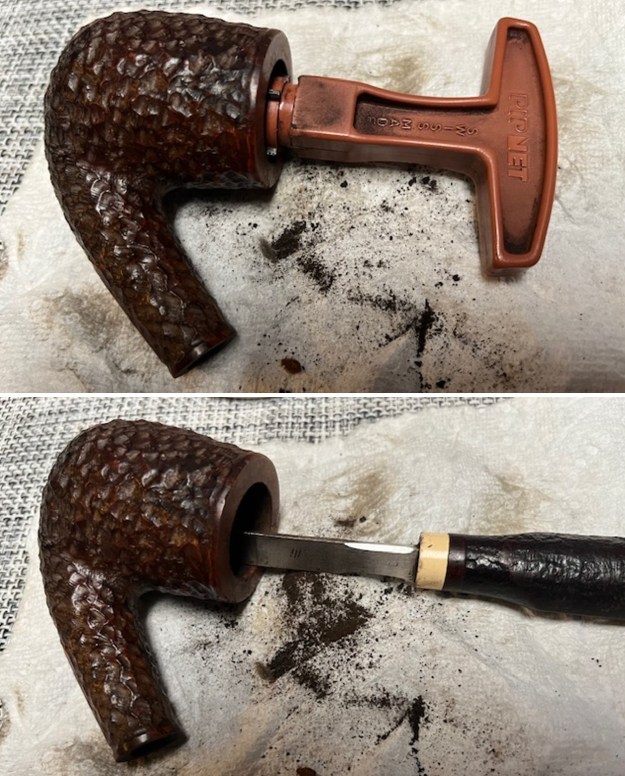
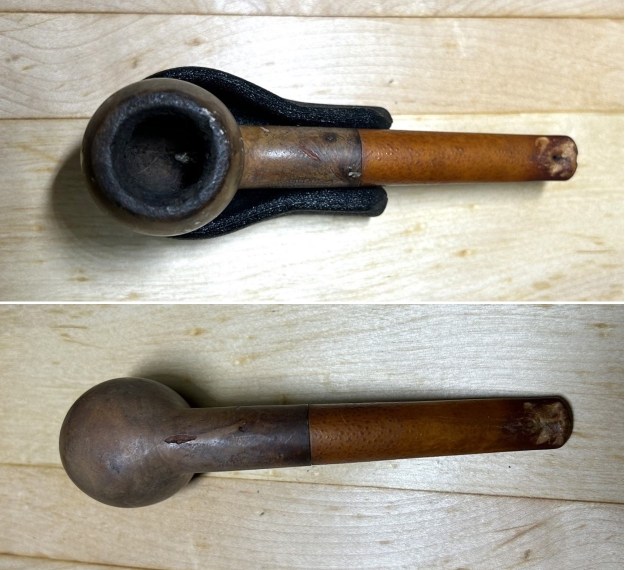
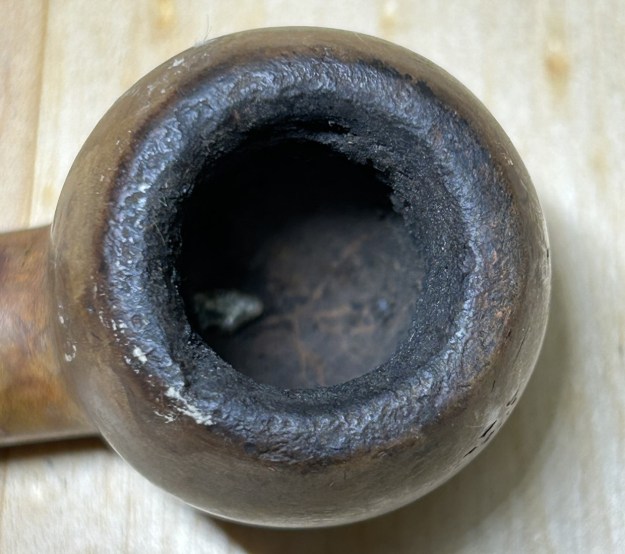
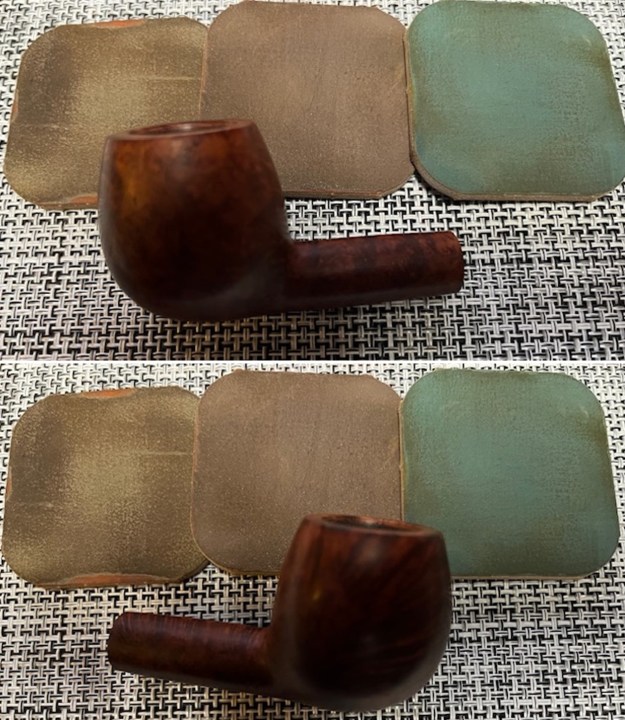
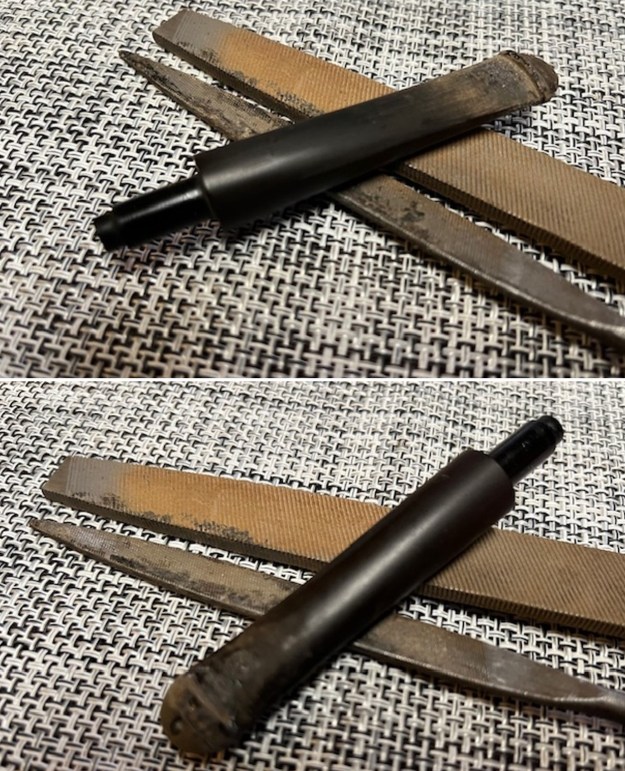
 With the stem shiny and clean, I set it aside and moved on to the stummel. Firstly, I decided to ream out the bowl. I used the PipNet Reamer to remove the built-up cake and followed that with 220-grit sandpaper taped to a dowel to eliminate as much as I could. I took the chamber down to bare briar, as I wanted to ensure there were no hidden flaws in the wall. There were a few thin, wispy heat fissures inside the bowl, but nothing serious. That’s easily dealt with – later.
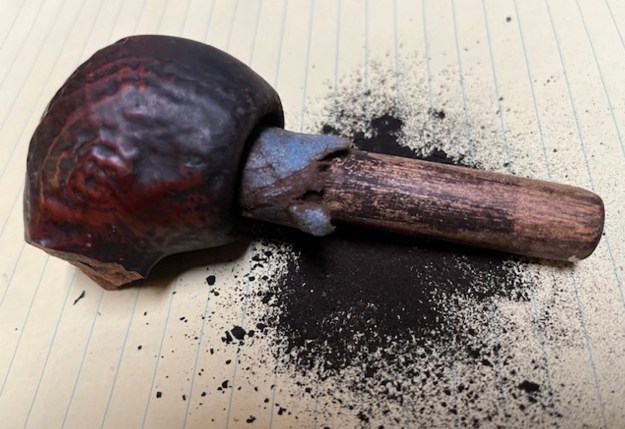
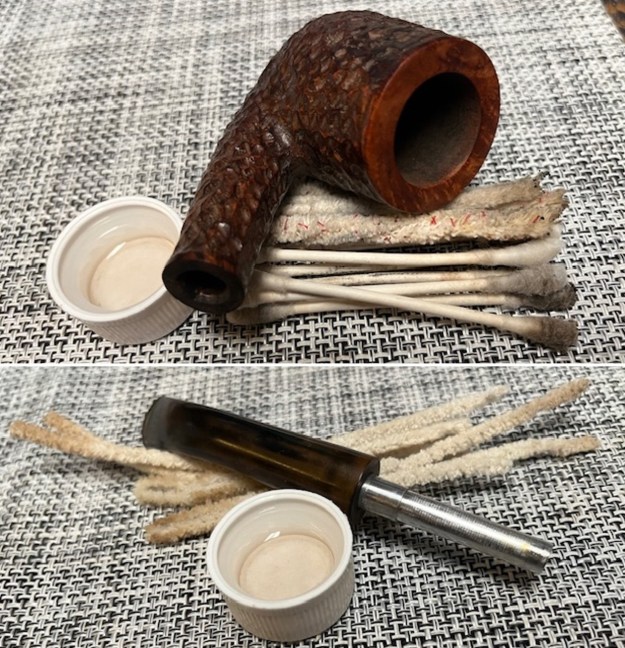
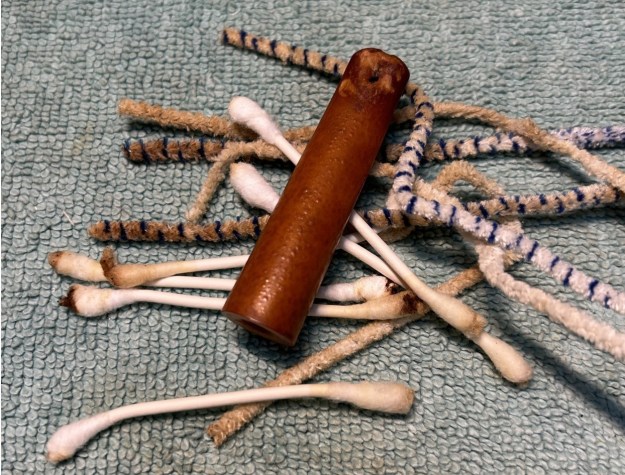
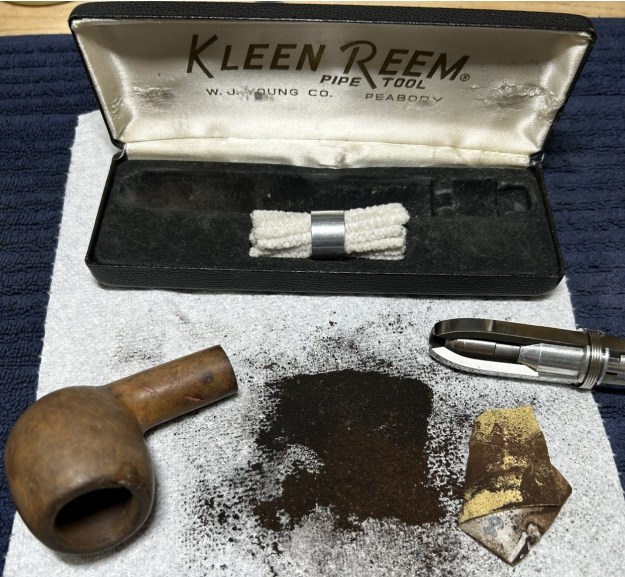
  I then proceeded to clean out the insides of the shank with Q-tips, pipe cleaners, and lemon-infused isopropyl alcohol. There was a bit of filth inside this stummel and it took a fair amount of cotton to get it clean. I followed that up by cleaning the insides with some dish soap and tube brushes.
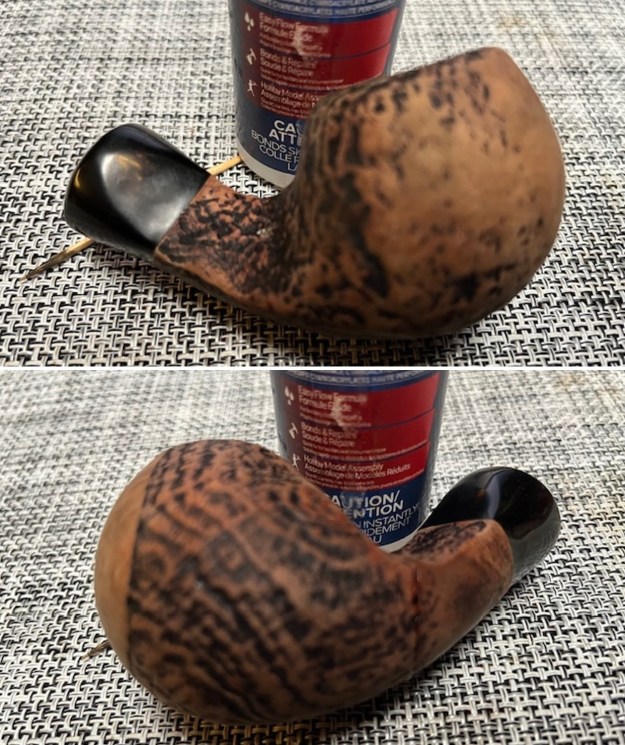
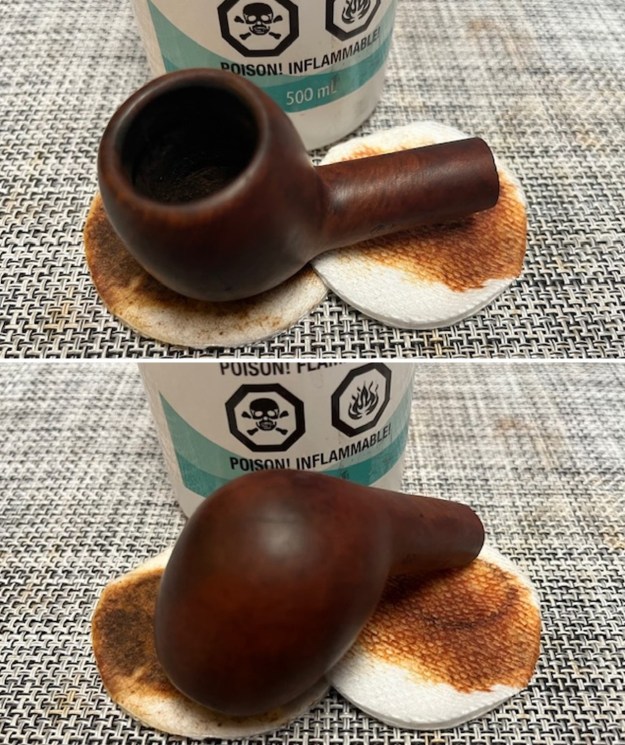
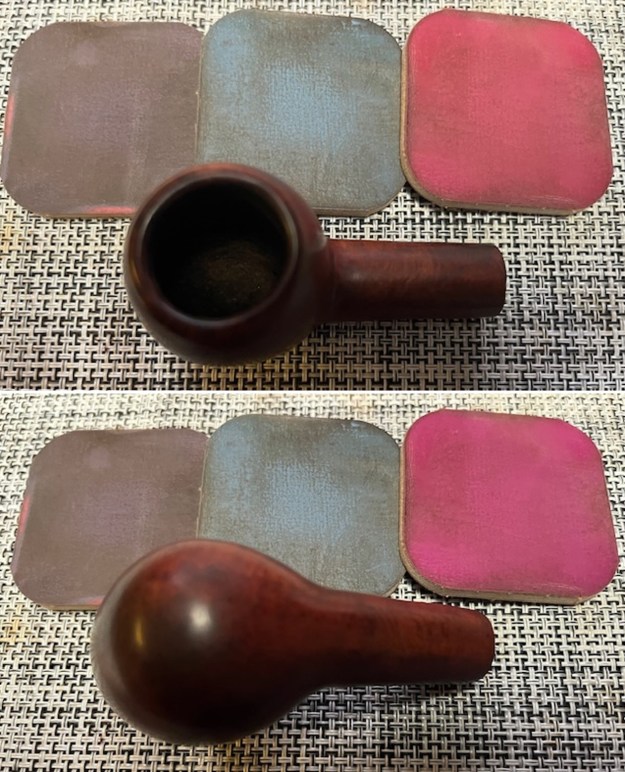
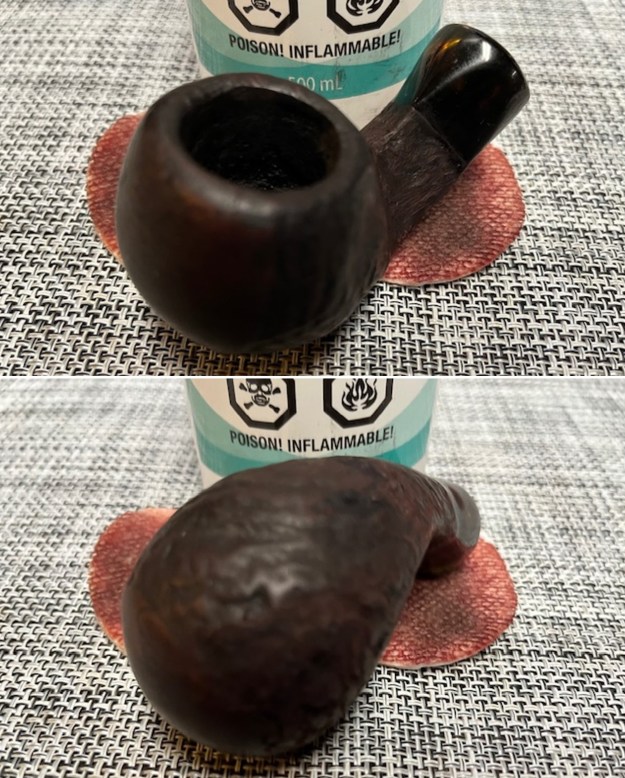
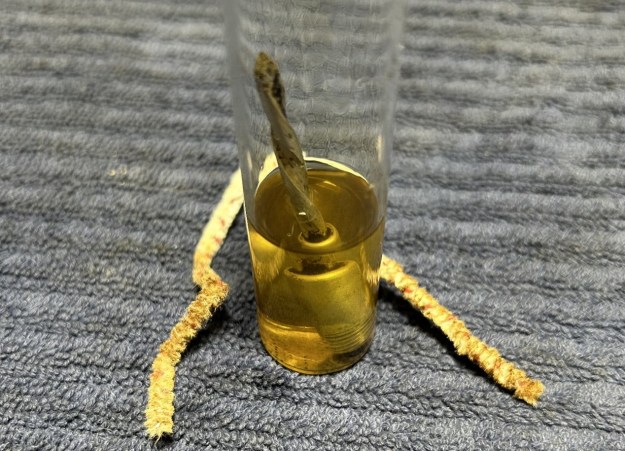
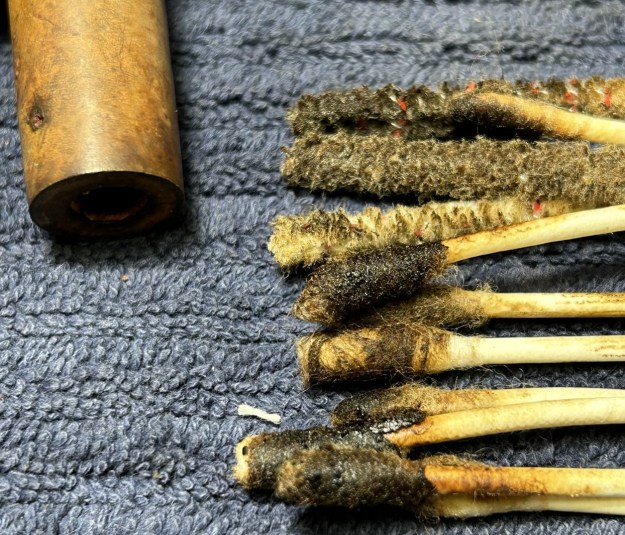
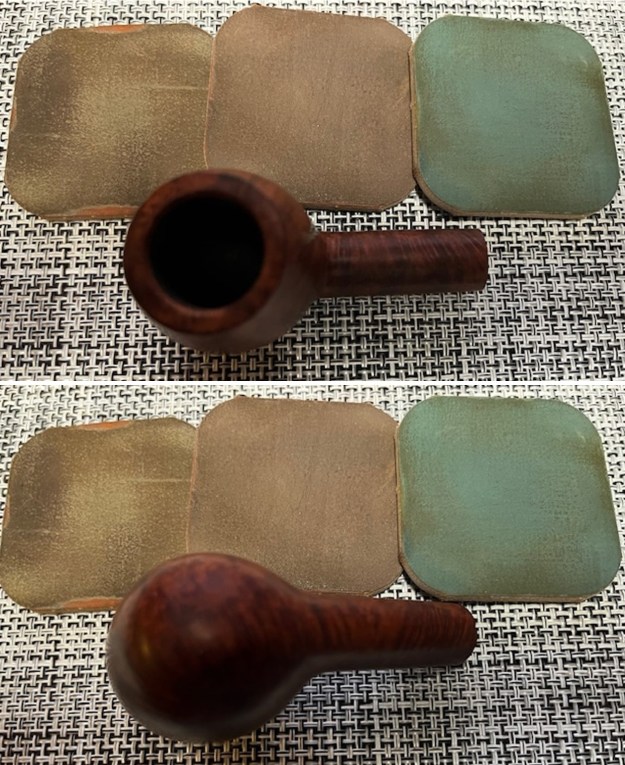
 I decided to de-ghost the pipe to remove any lingering smells of the past. I thrust cotton balls into the bowl and the shank and saturated them with 99% isopropyl alcohol. I let the stummel sit overnight. This caused any remaining oils, tars and smells to leach out into the cotton. The bowl was nice and clean after this.
 Even though the nicks on the stummel were slight, I dug out my iron and a damp cloth to try to raise them. The hot and moist steam can often cause the wood to swell slightly and return to shape. This worked quite well, but alas, I forgot to take pictures.
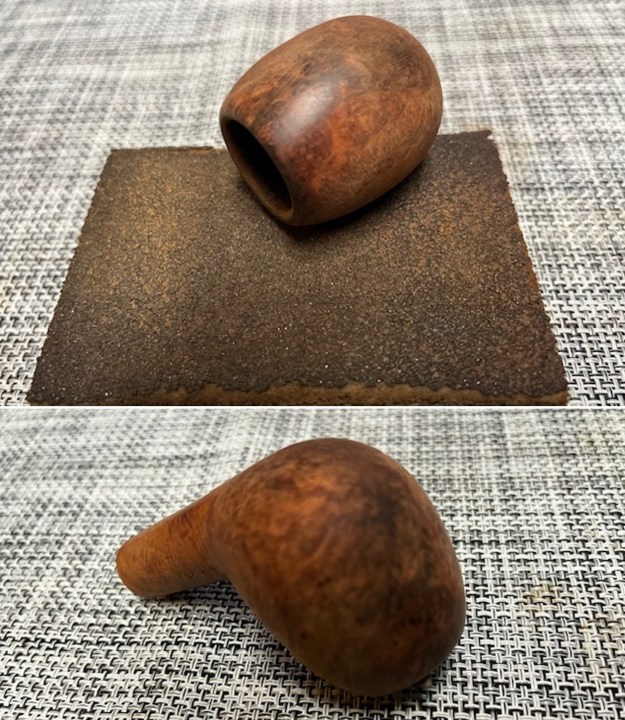
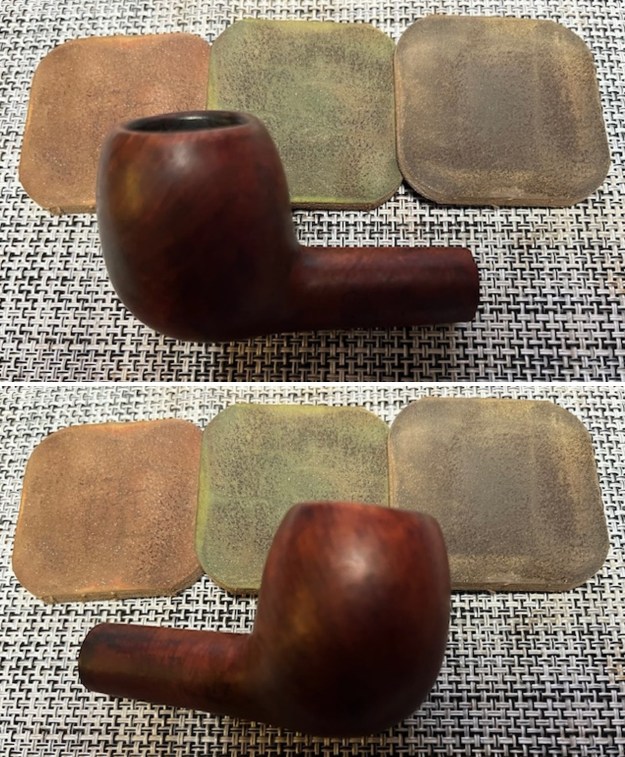
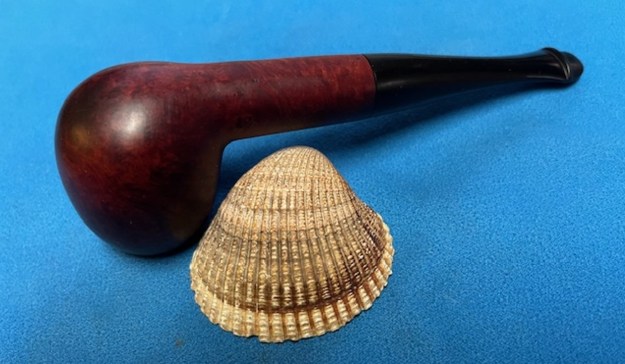
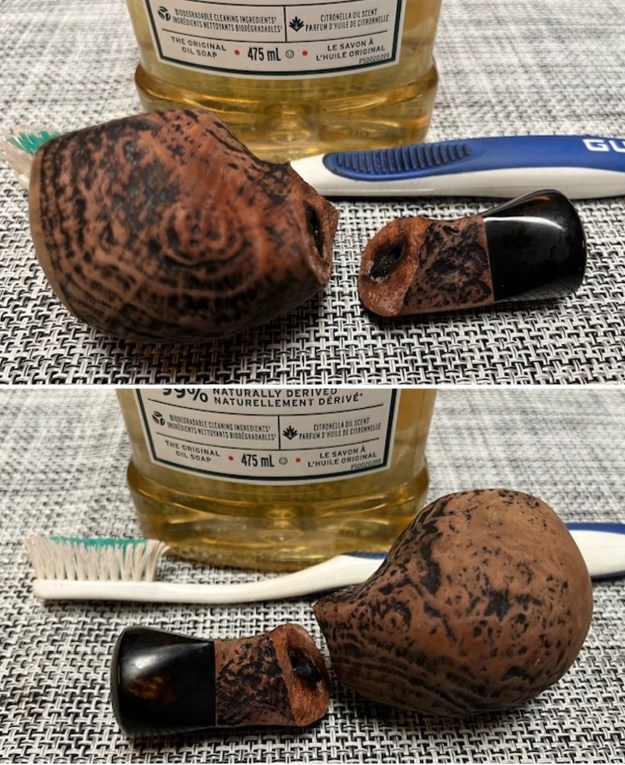
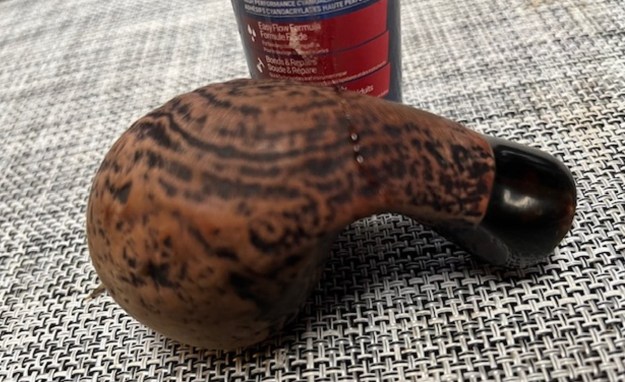
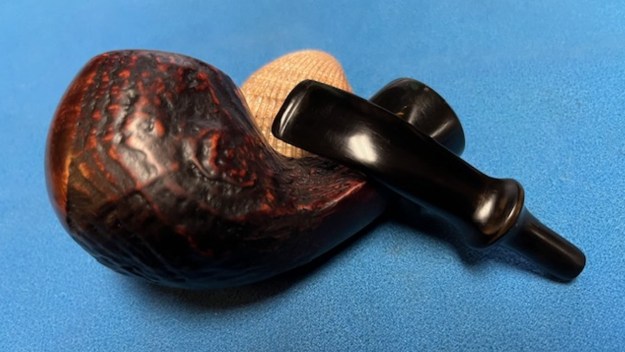
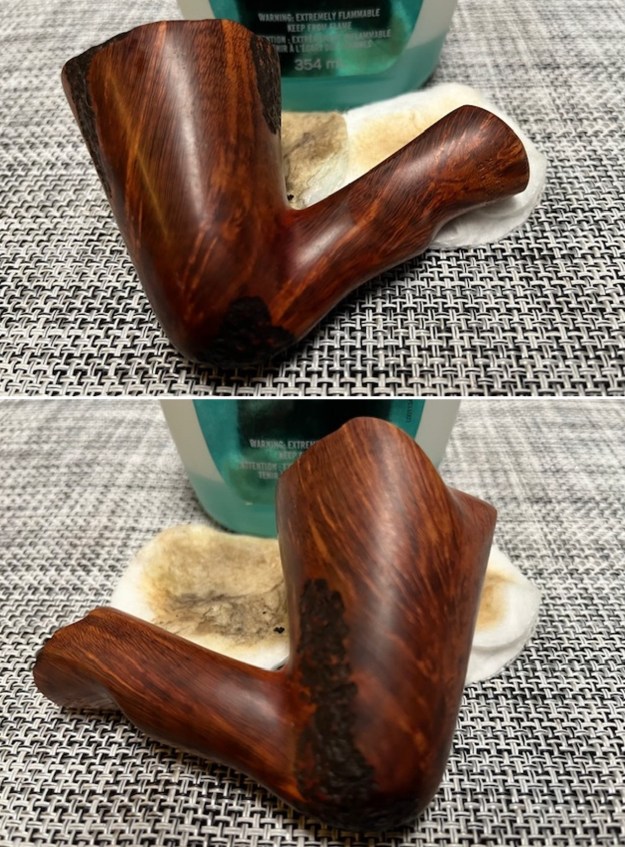
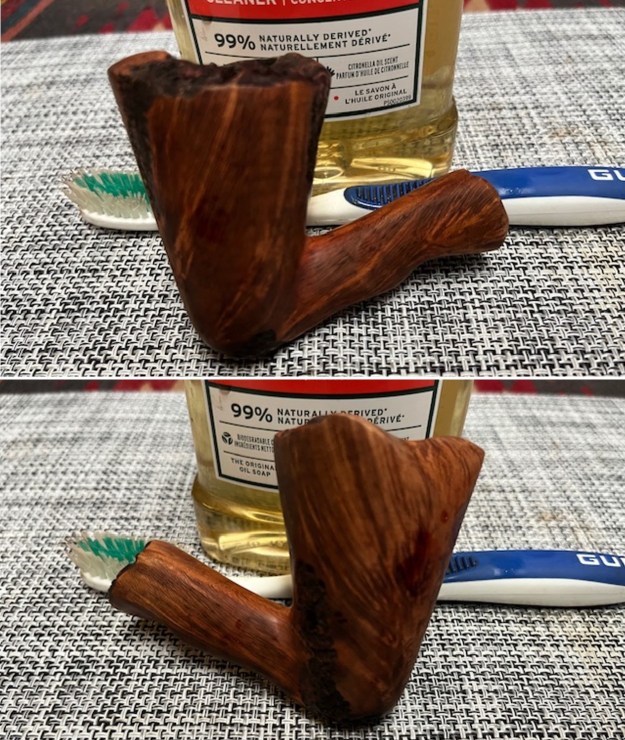
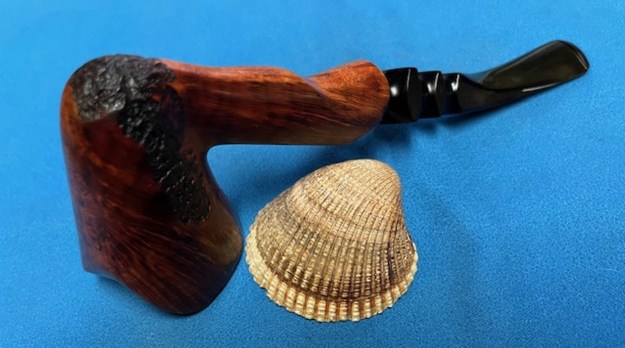
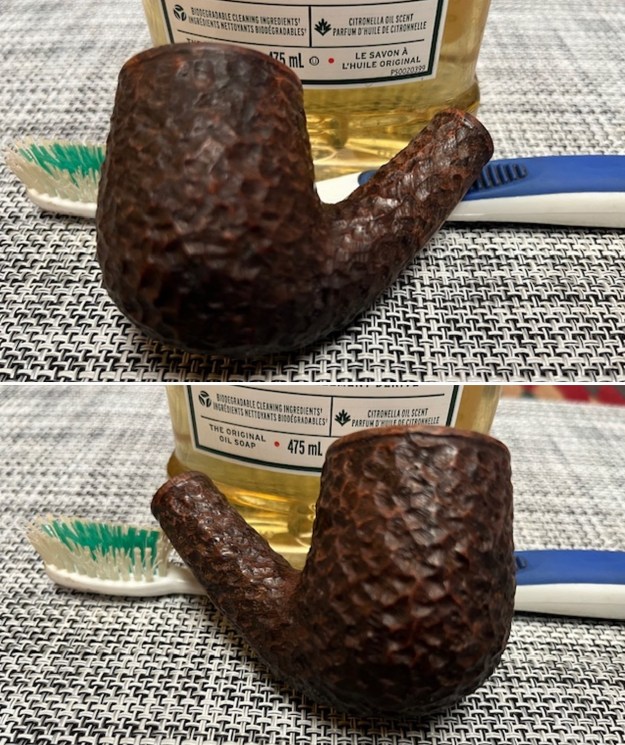
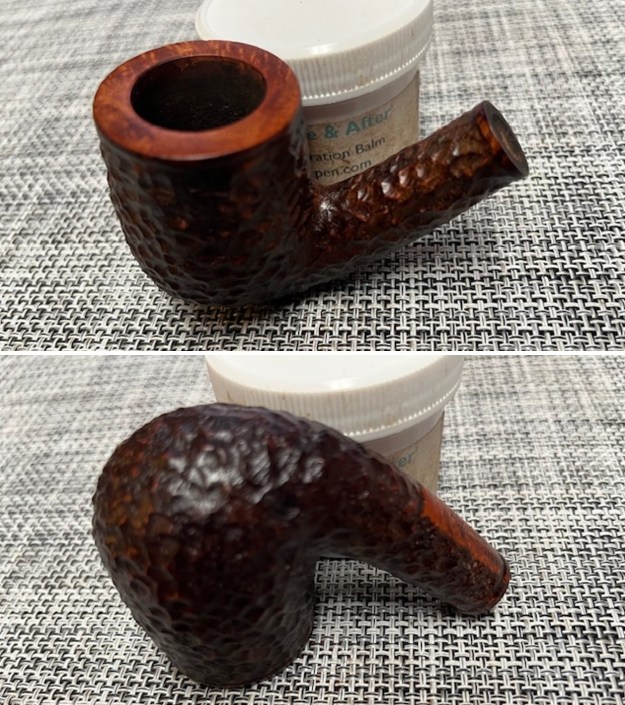
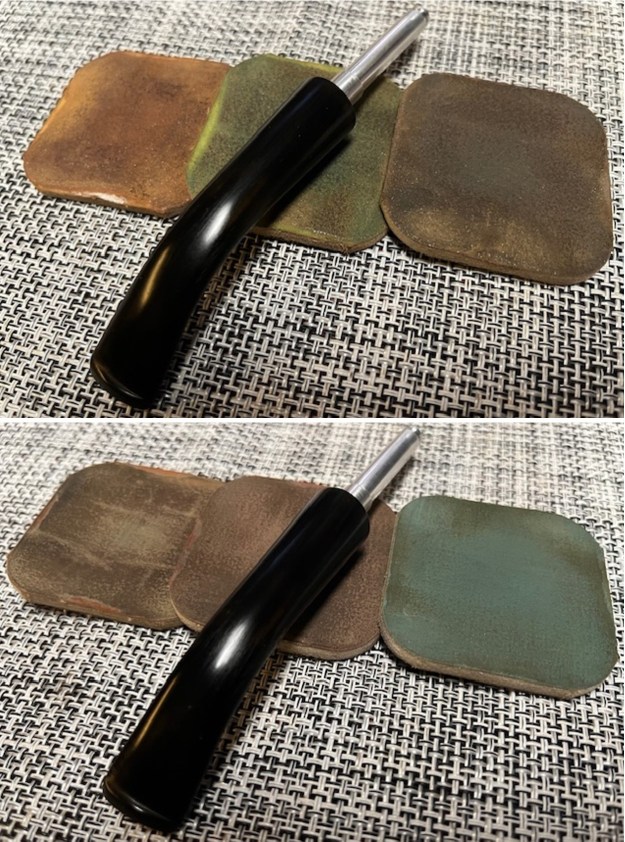
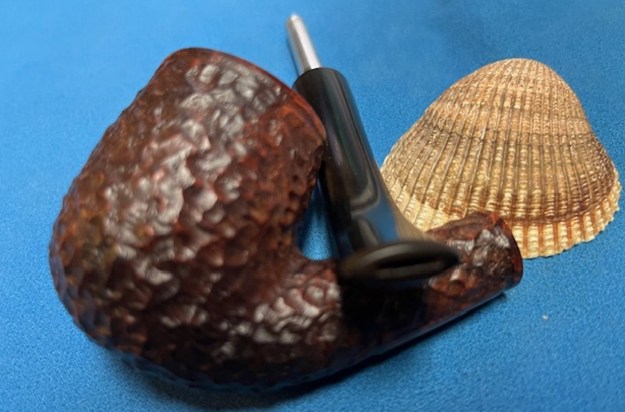
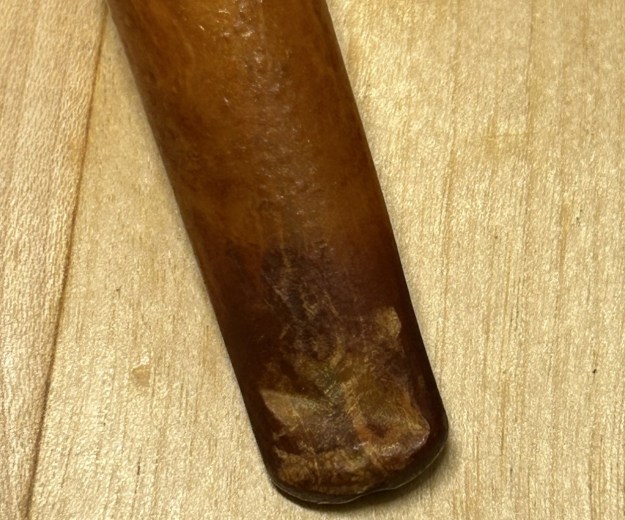
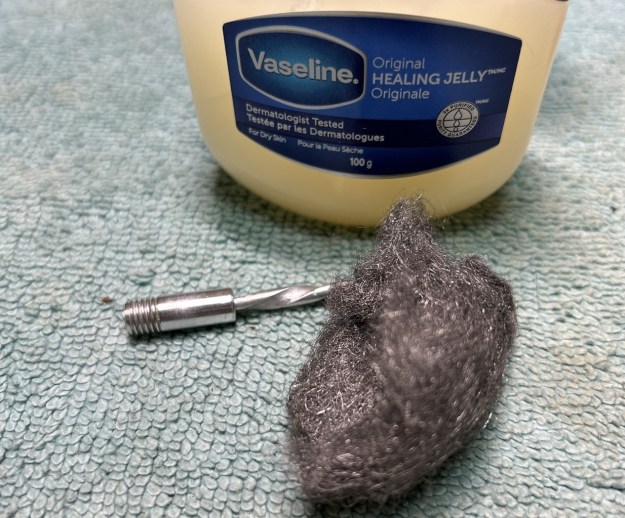
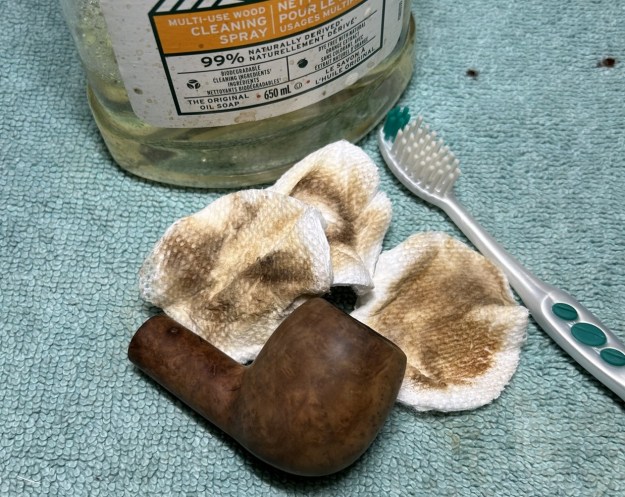
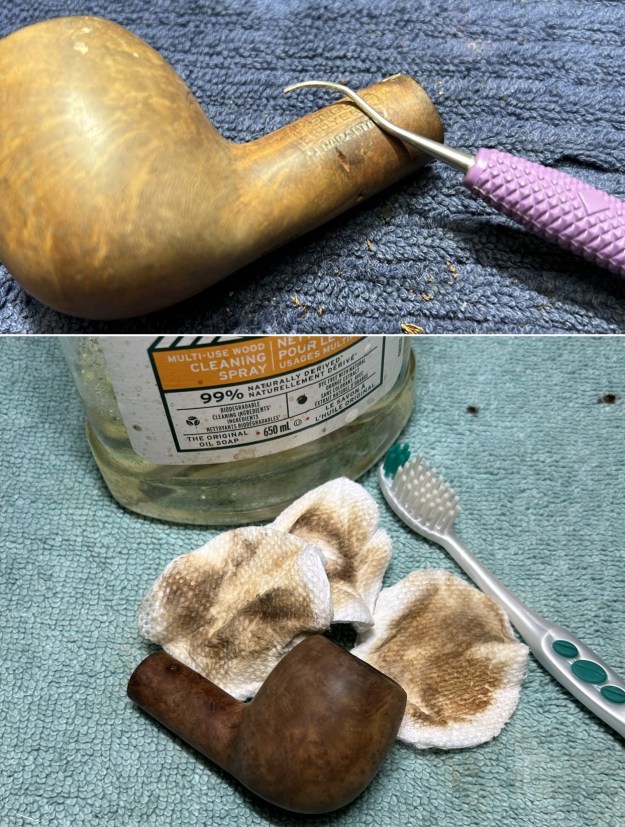
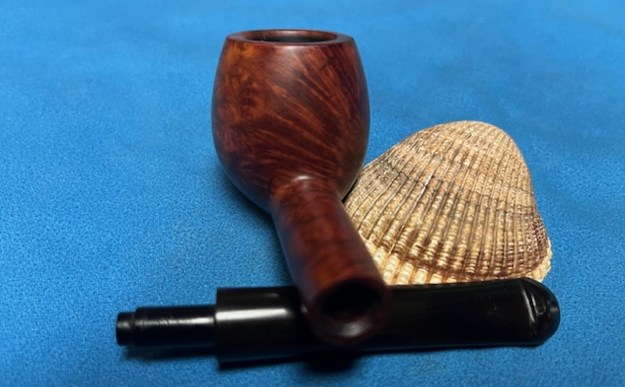
I used cotton rounds and some Murphy’s Oil Soap to scrub the outside of the stummel. I decided it wasn’t necessary to top this pipe. I felt that I could remove the charring without removing any patina. I used a piece of machine steel to gently and carefully scrape away the lava on the rim, before using a toothbrush with Murphy’s to get rid of the rest. So, I opted for just the Micromesh pads to finish things up. Since the pipe was in such good condition, I only used the 3200-grit and up. I addressed the small fissures in the bowl, by coating the entire inside of the bowl with a mixture of activated charcoal and my wife’s homemade yoghurt. Once hardened, this provided a good, slightly rough surface for a new cake to build.
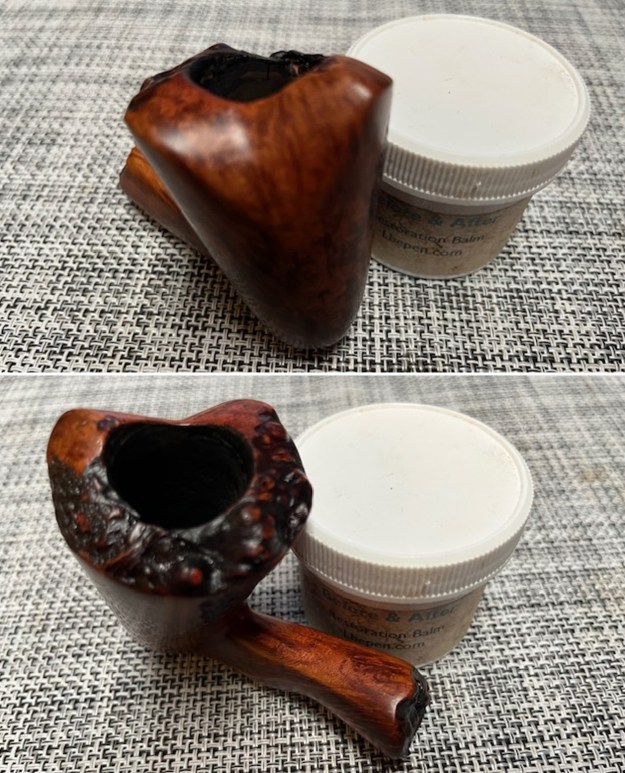
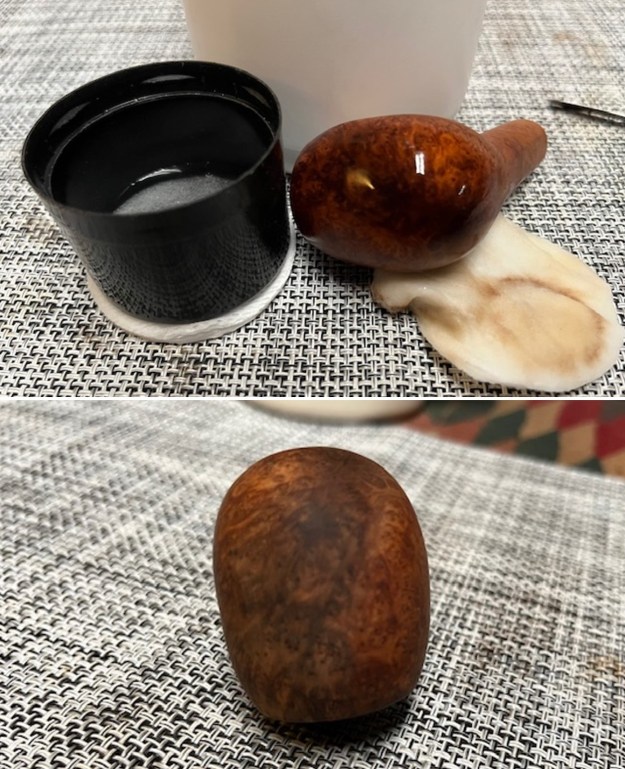
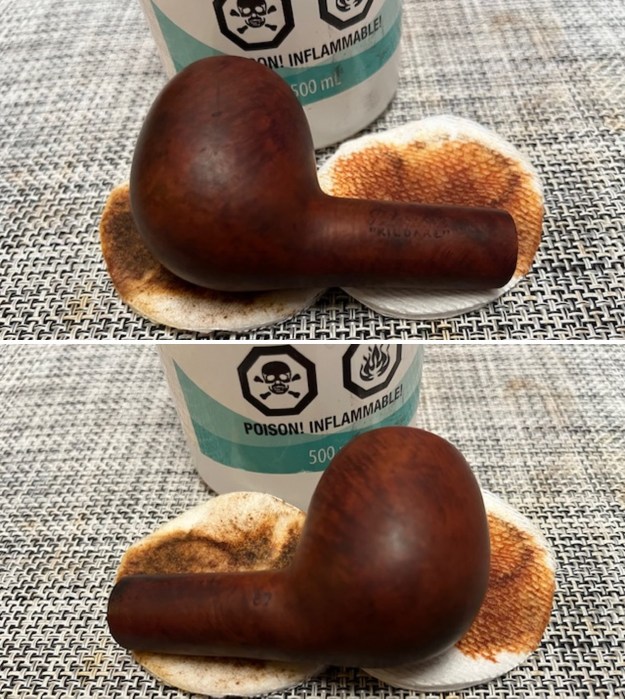
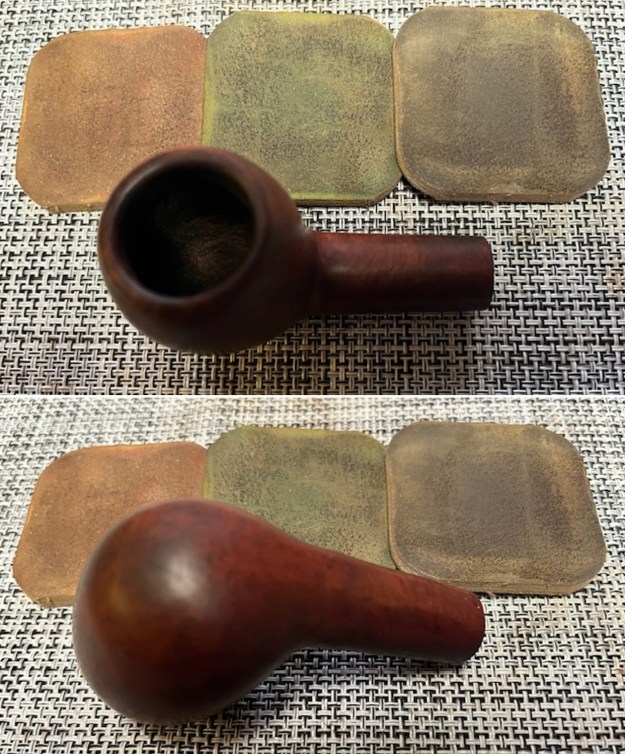
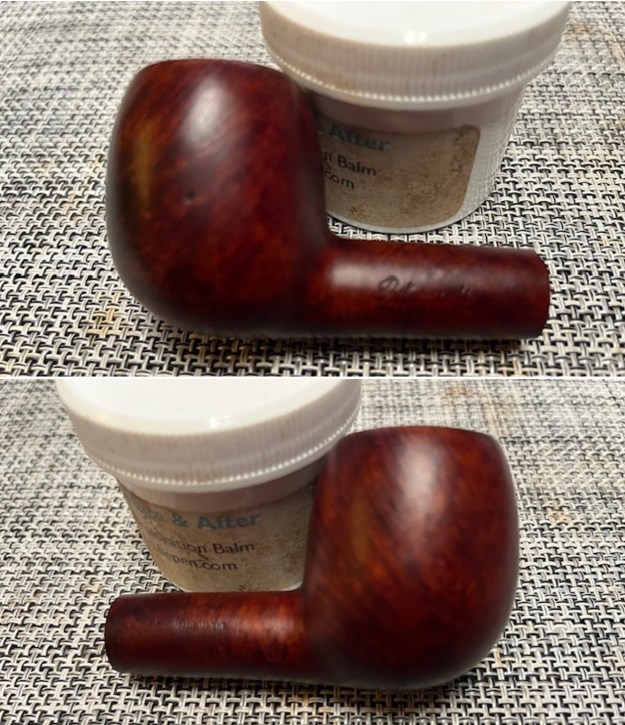
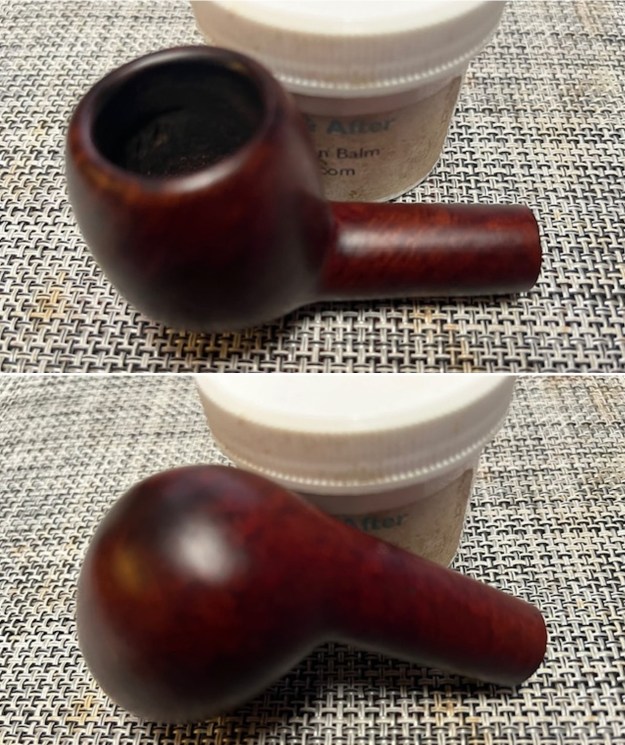
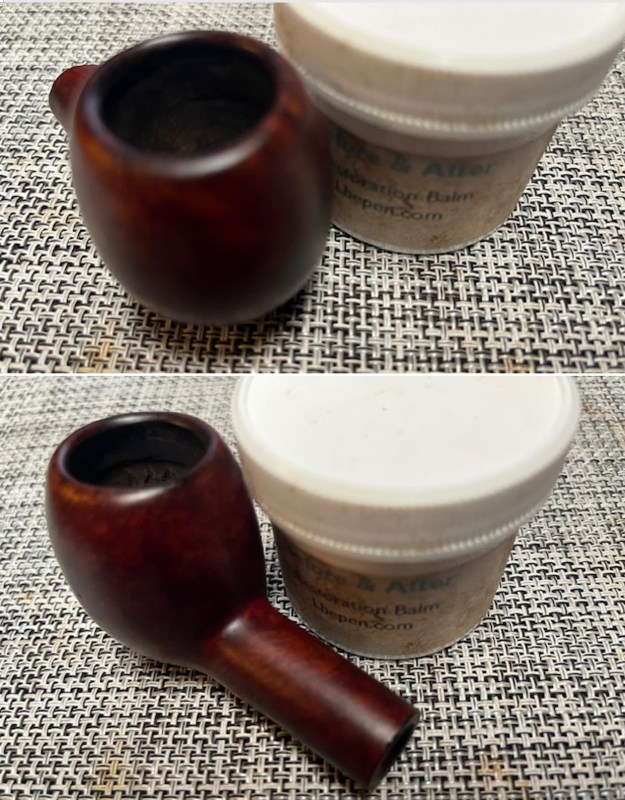
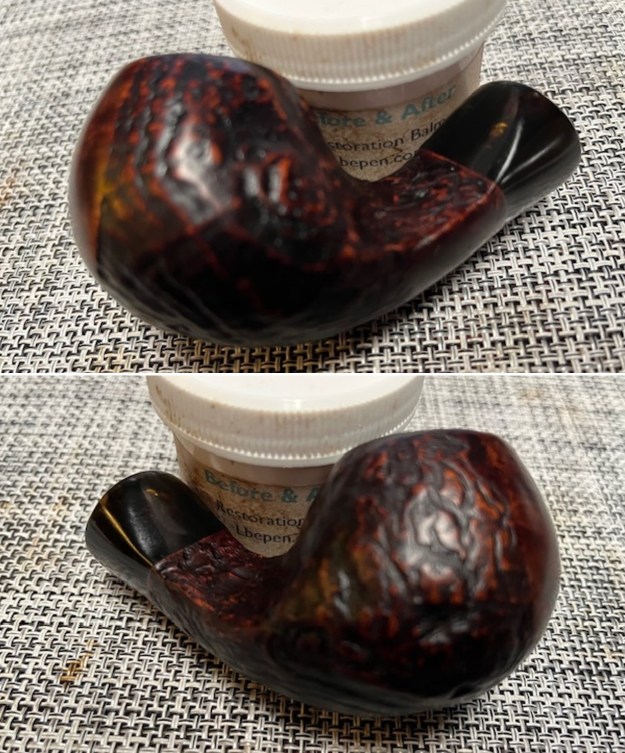
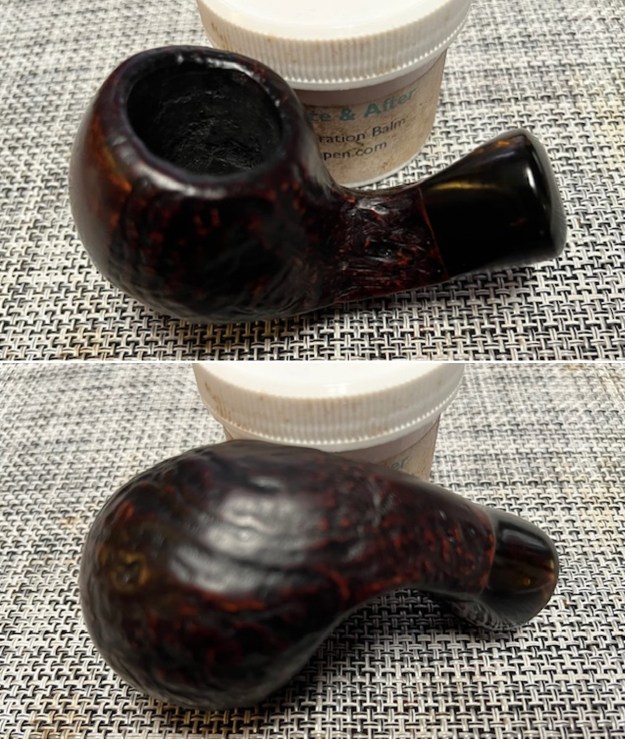
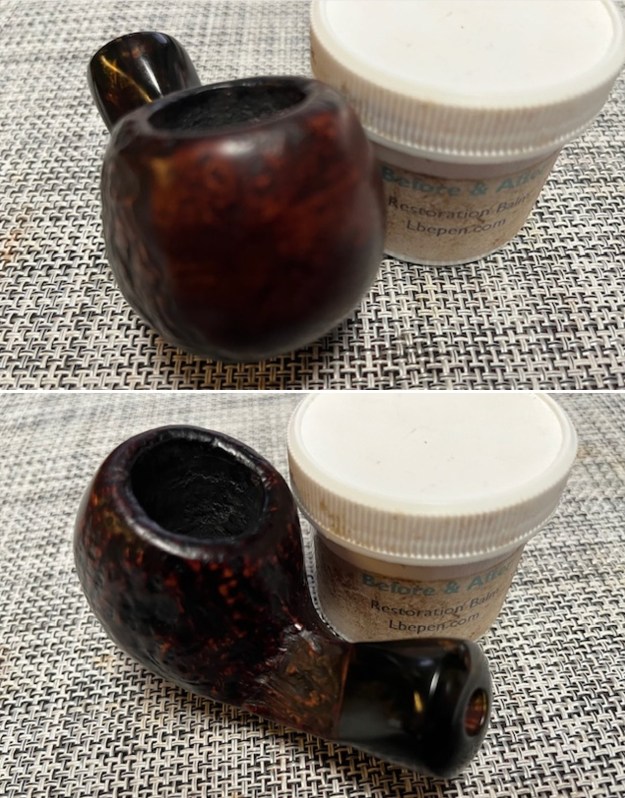
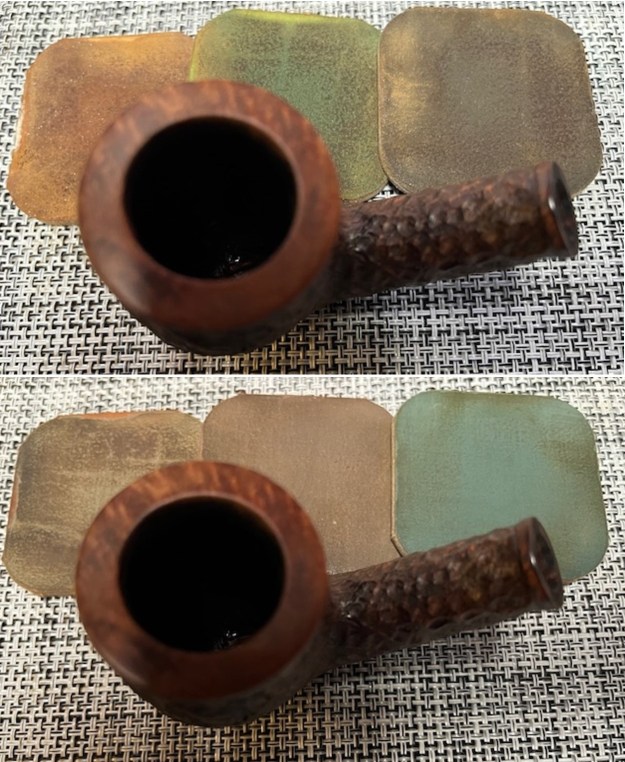
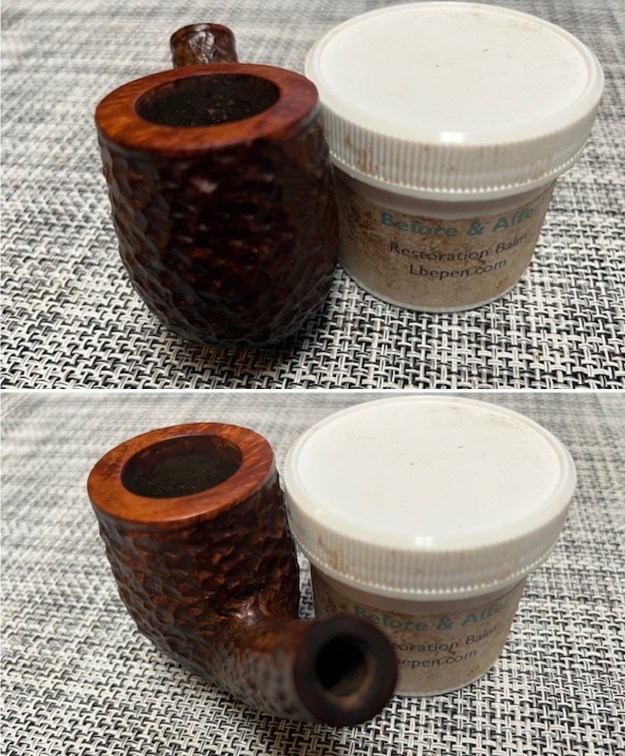
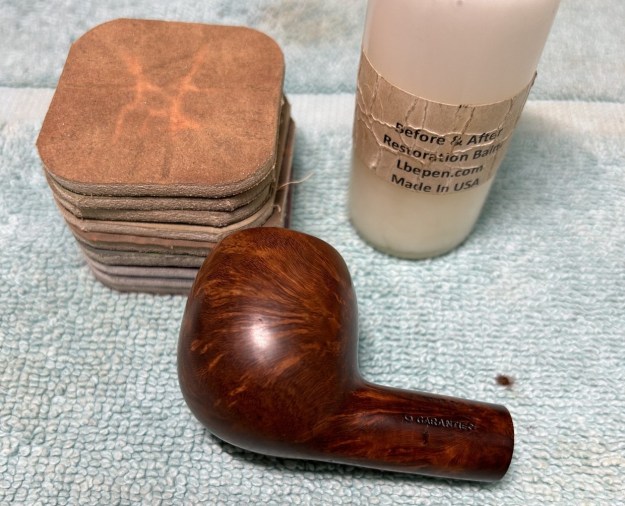
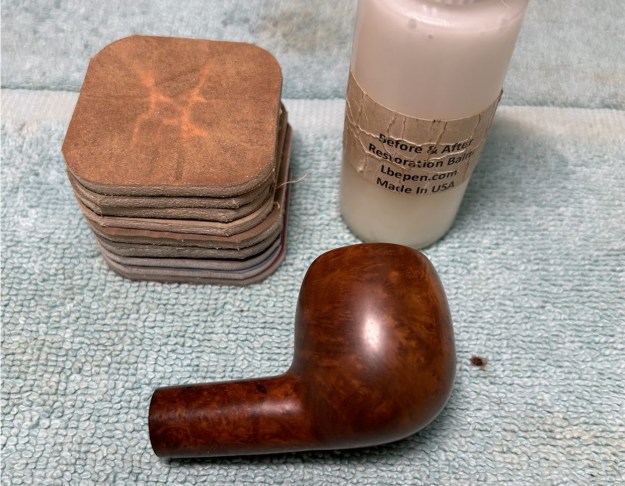
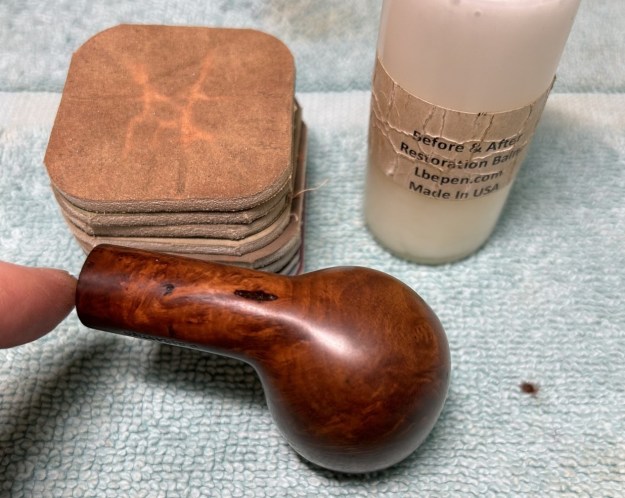
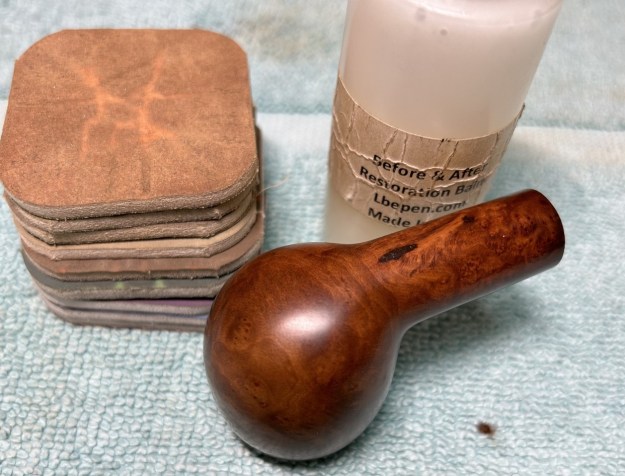
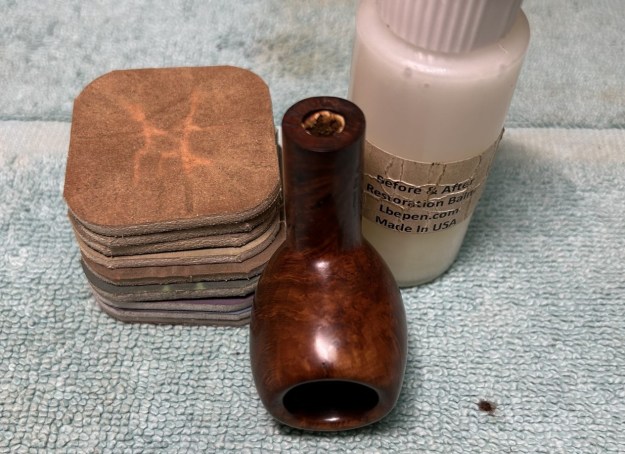
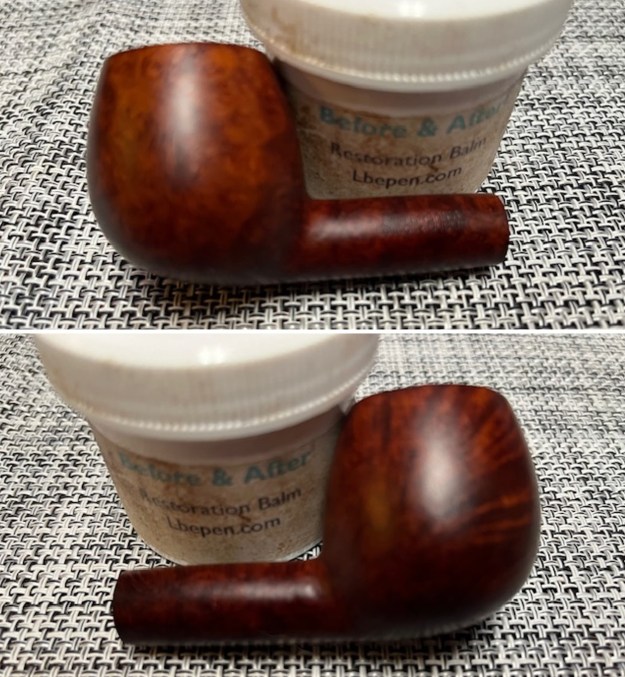
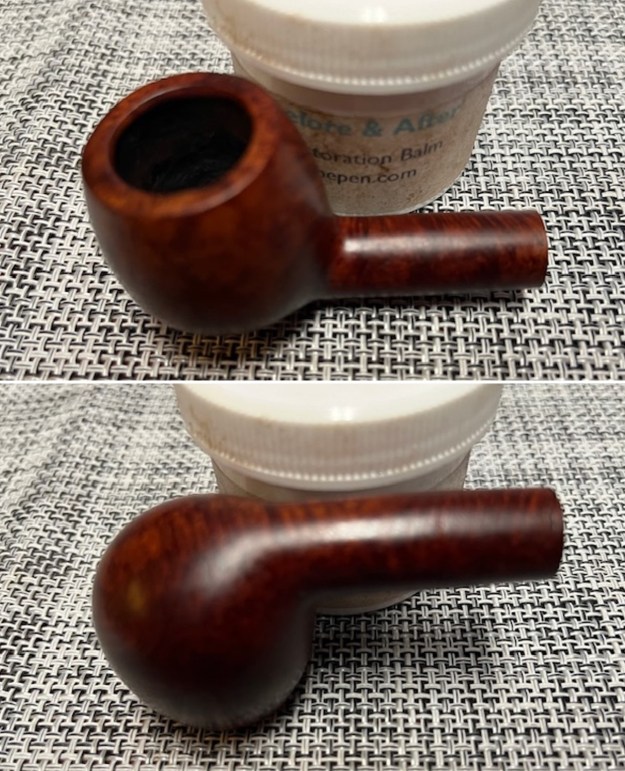
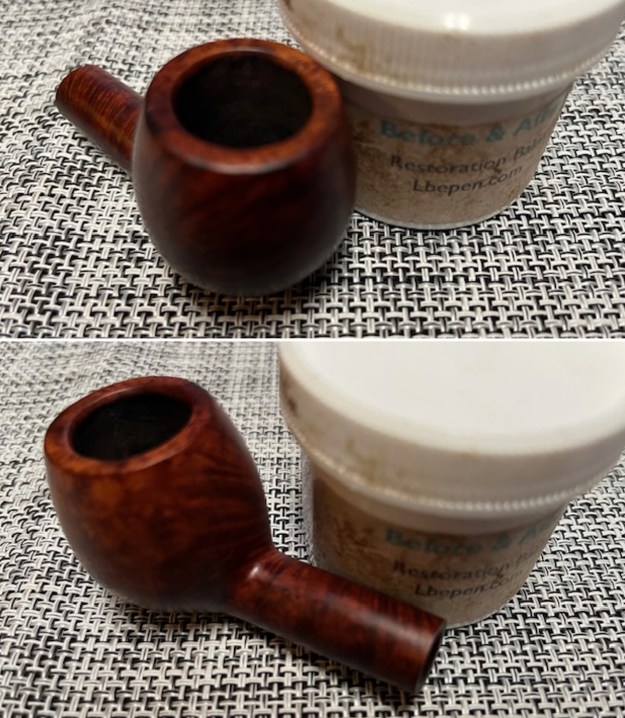
 I applied a light application of Before & After Restoration Balm. This stuff works wonders in bringing out the beauty of wood. I make use of the stuff in every restoration.


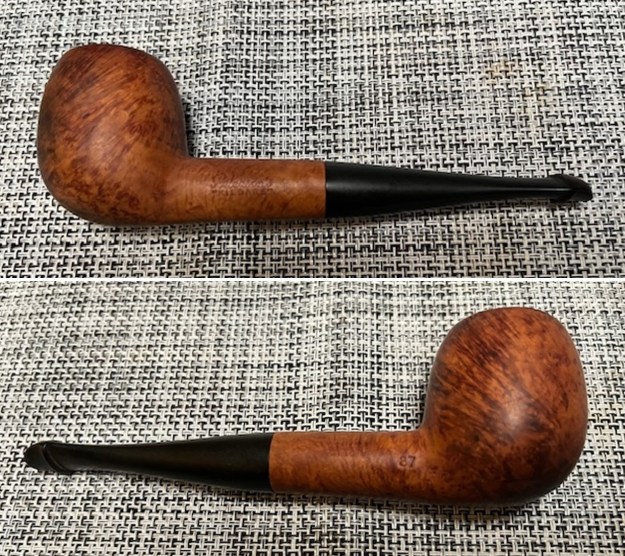
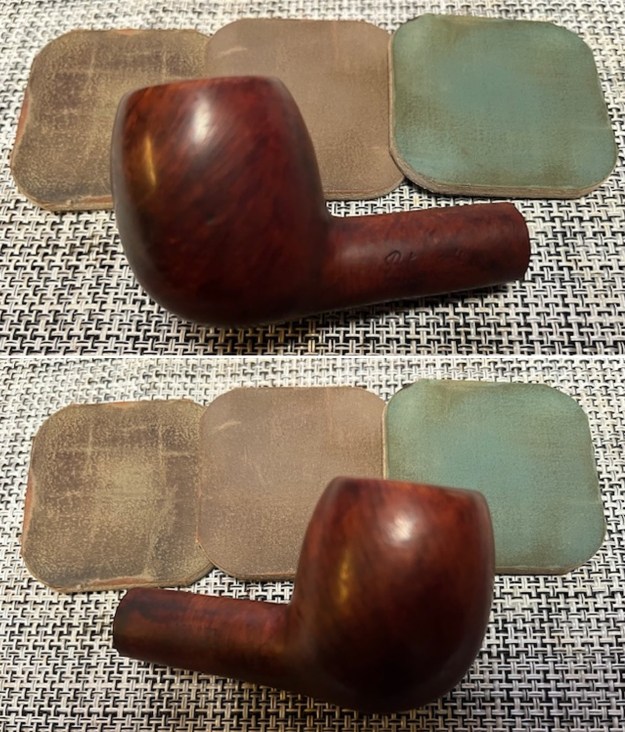
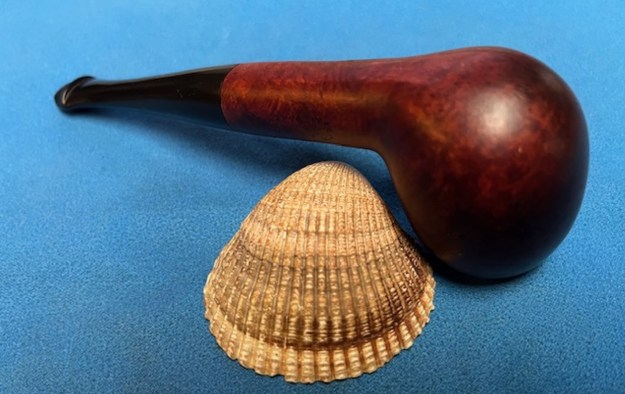
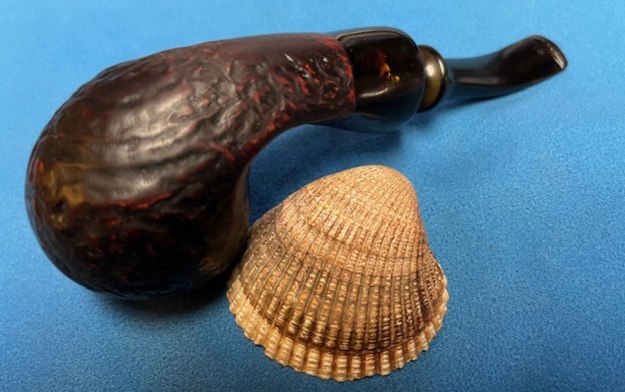
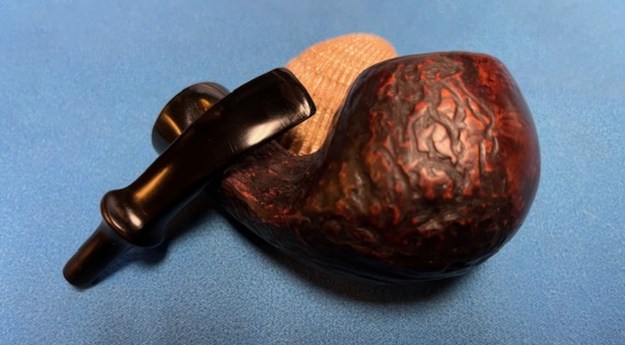
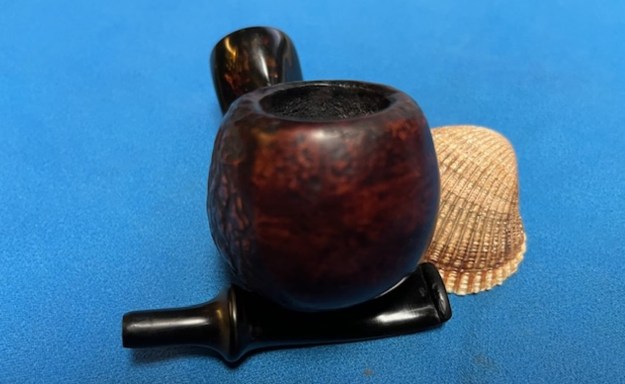
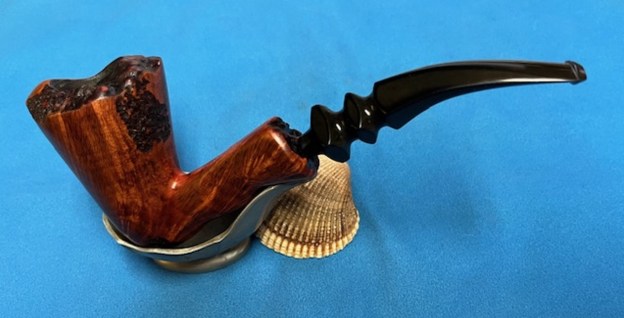
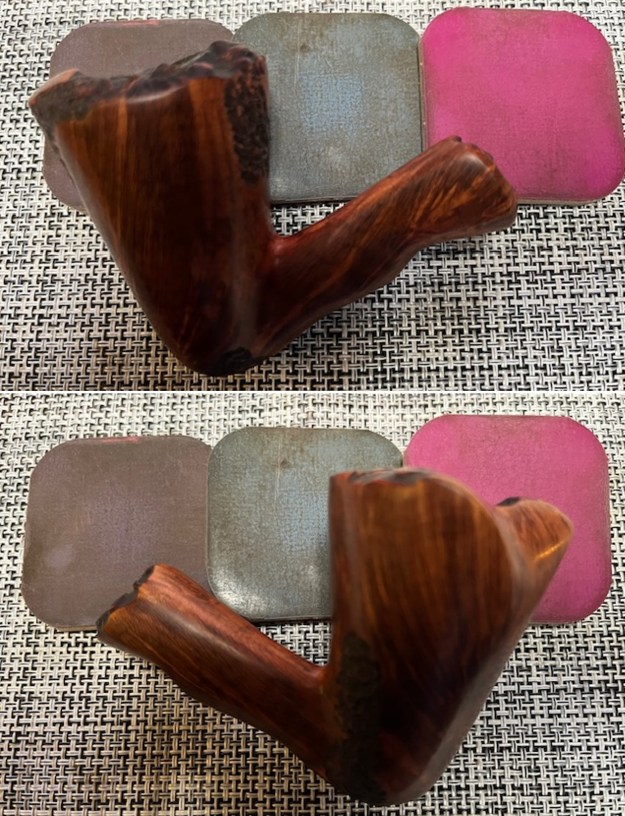
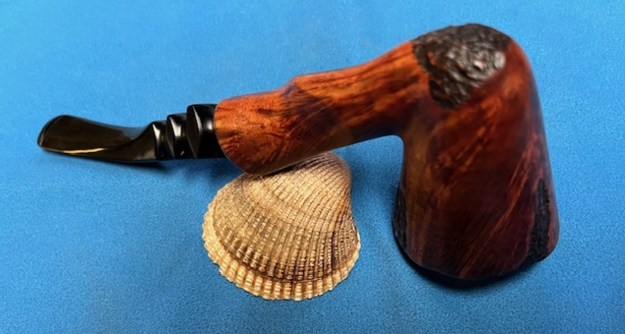
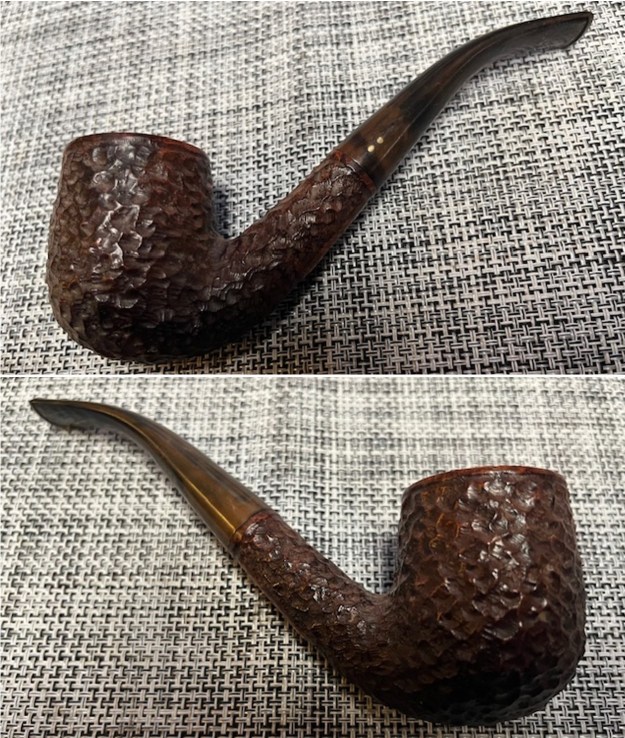
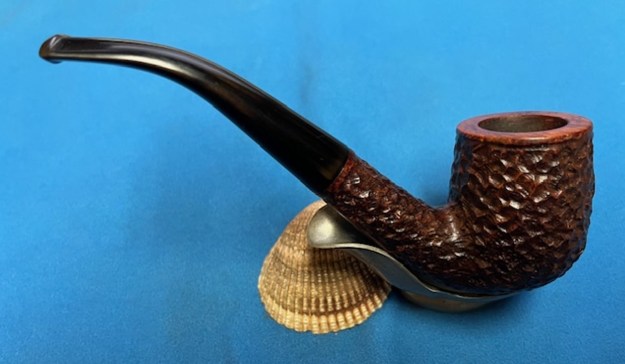
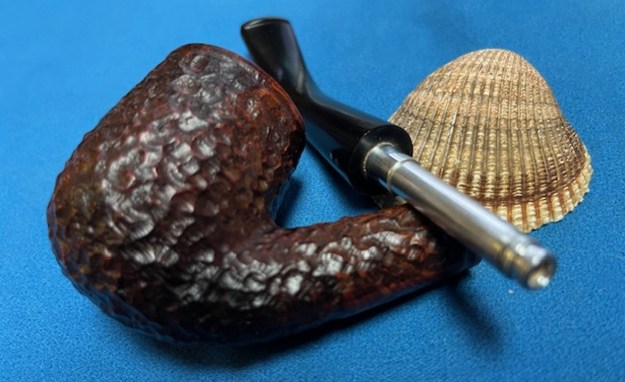
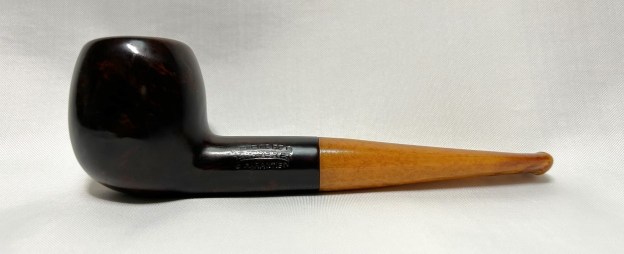
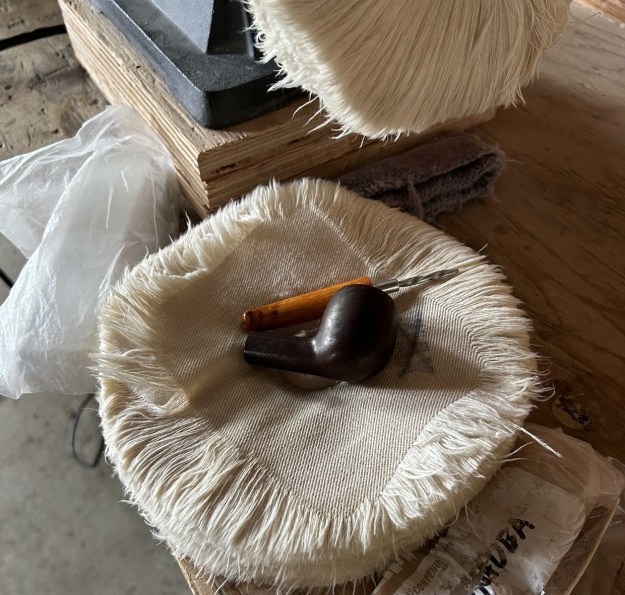
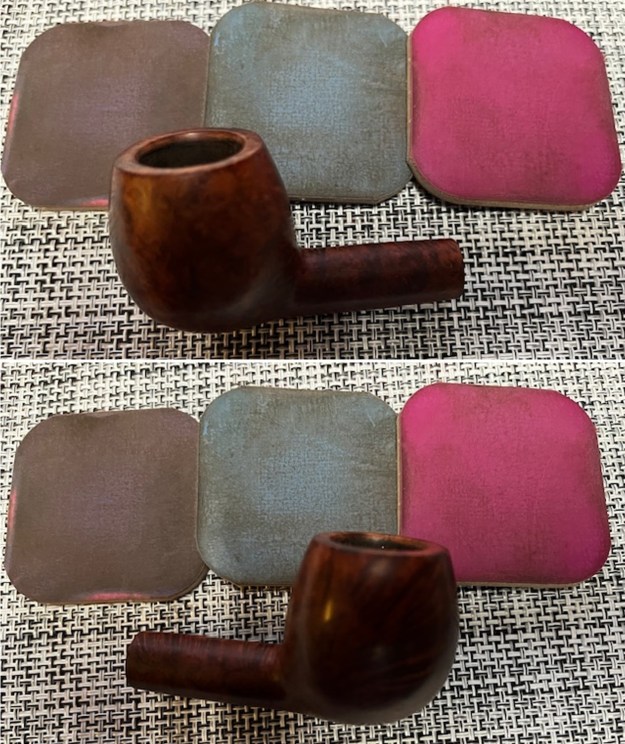
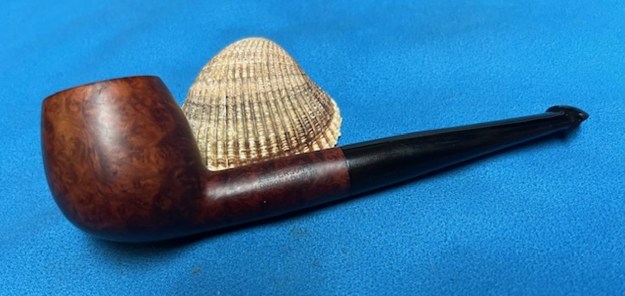
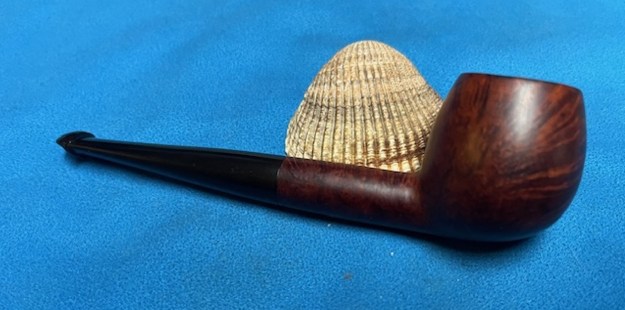
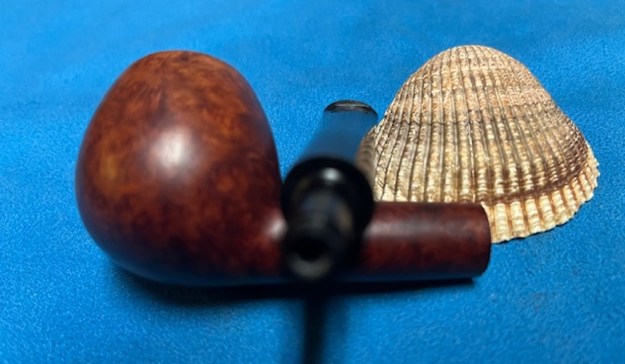
 Then it was off to the buffer. I used White Diamond and carnauba wax to make this pipe super spiffy.
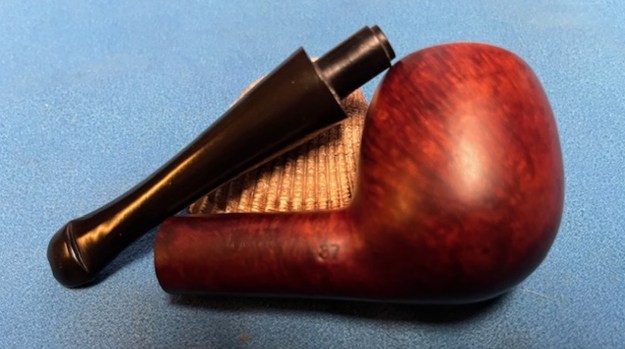
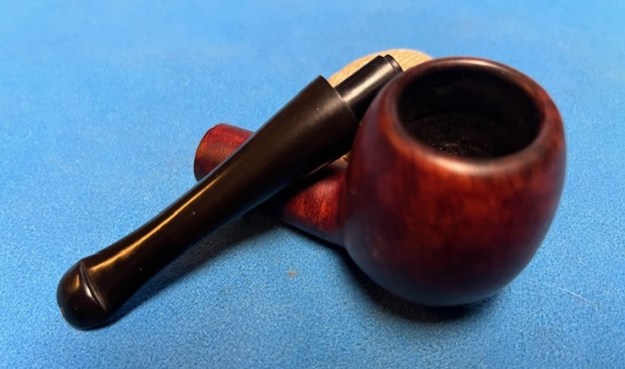
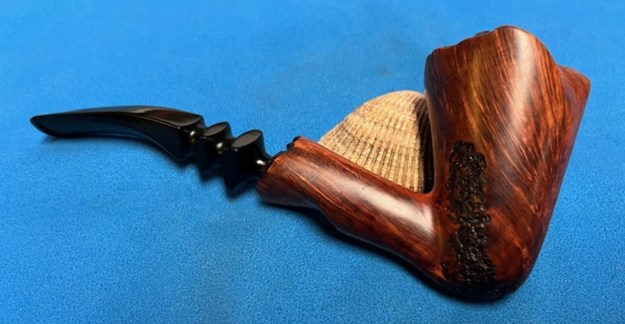
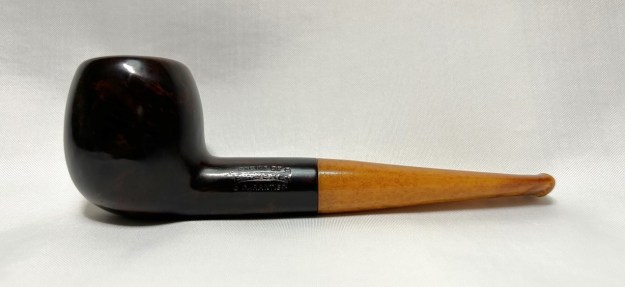
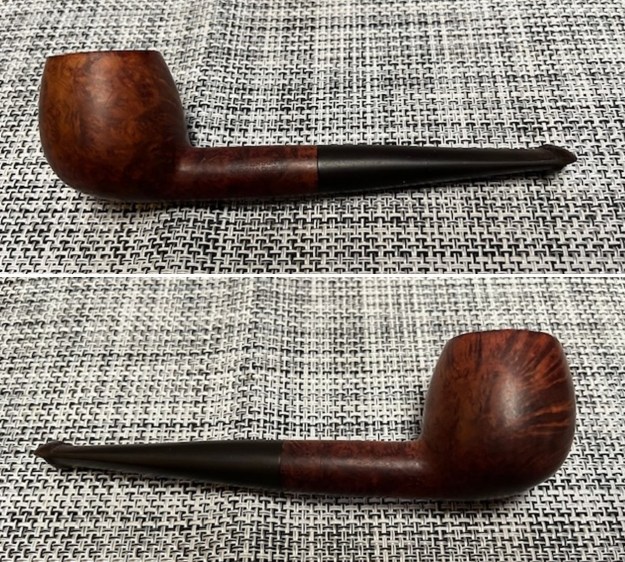
 This Charatan looks amazing and is ready to be enjoyed by the next owner! I am pleased to announce that this pipe is for sale! If you are interested in acquiring it for your collection, please have a look in the British Pipemakers section of the store here on Steve’s website. You can also email me directly at kenneth@knightsofthepipe.com. The approximate dimensions of the pipe are as follows: length 6¼ in. (160 mm); height 2 in. (53 mm); bowl diameter 1⅝ in. (42 mm); chamber diameter 1 in. (24 mm). The weight of the pipe is 1¾ oz. (52 g). I hope you enjoyed reading the story of this pipe’s restoration as much as I did restoring it. If you are interested in more of my work, please follow me here on Steve’s website or send me an email. Thank you very much for reading and, as always, I welcome and encourage your comments.