by Steve Laug
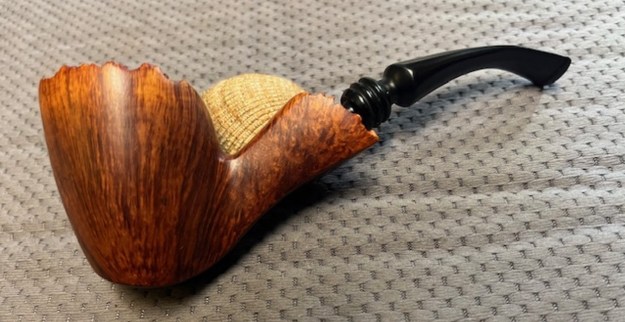
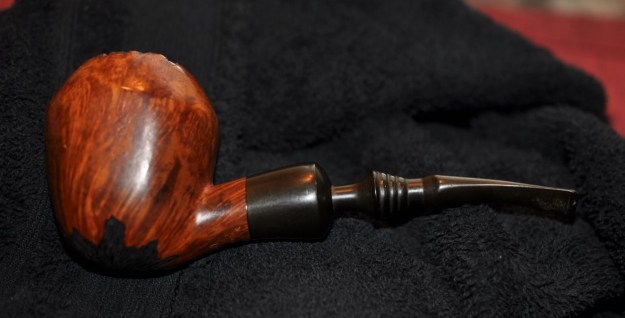
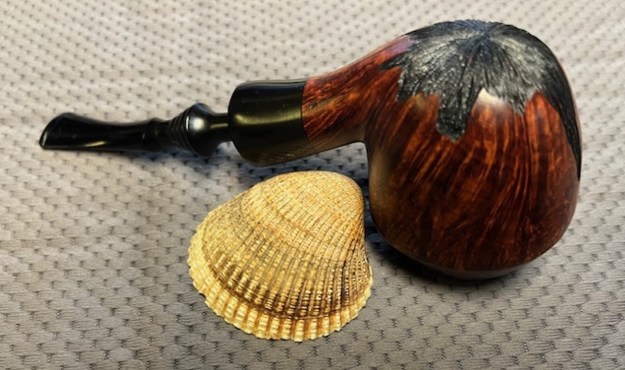
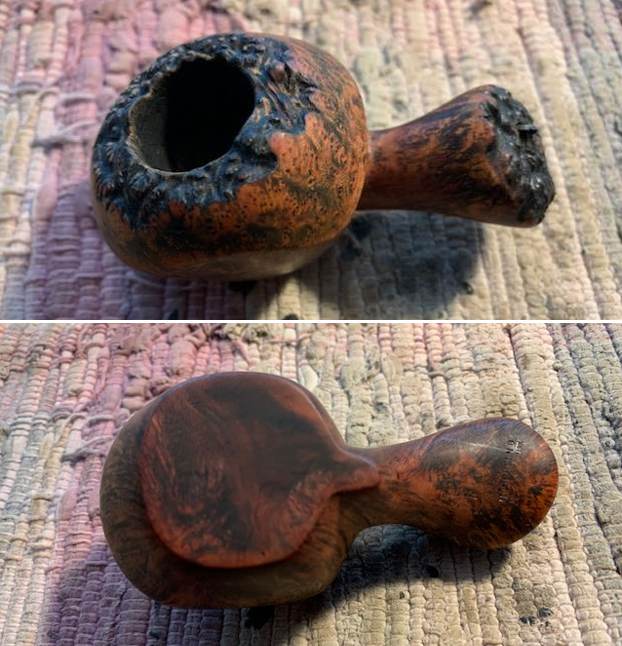
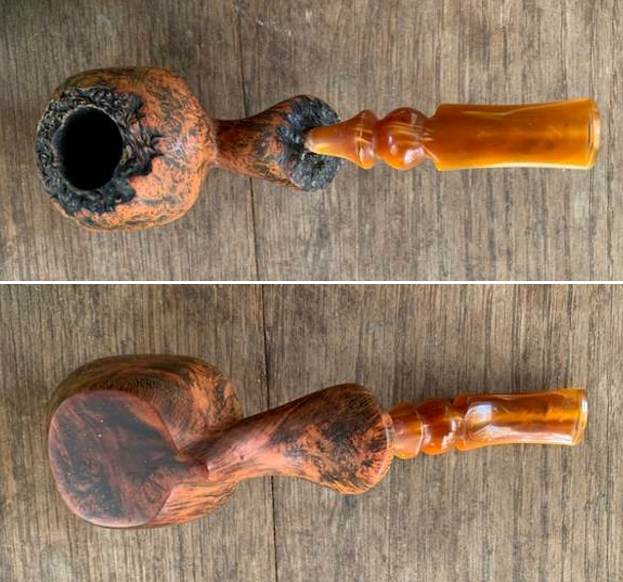
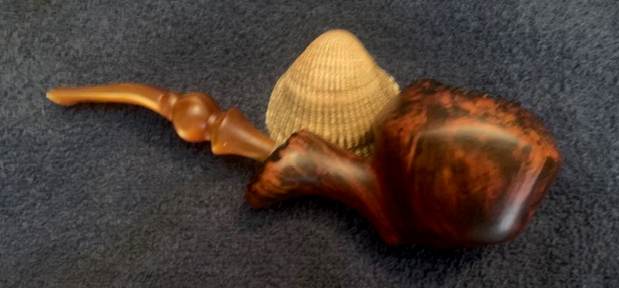
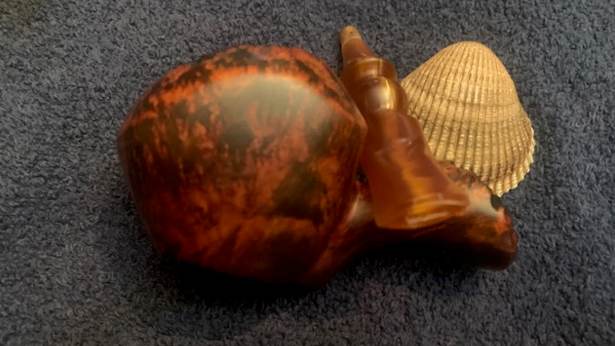
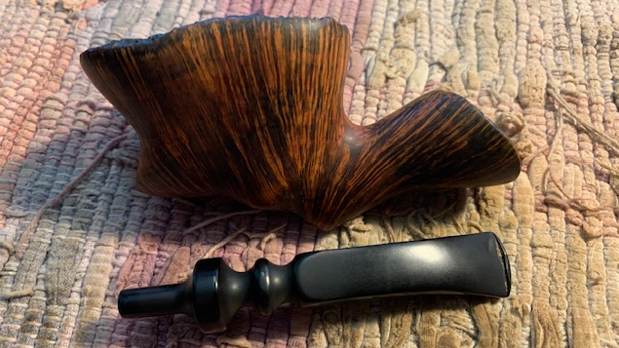
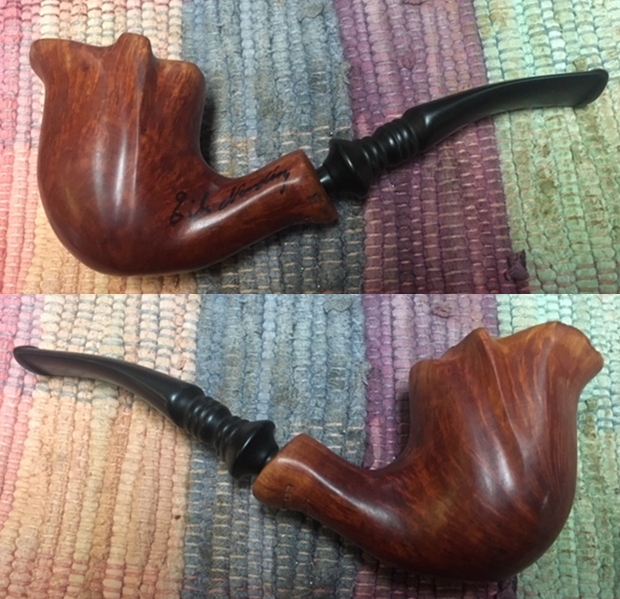
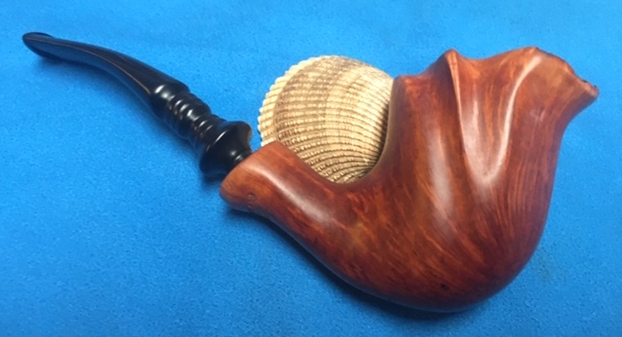
The next pipe I have chosen is a medium sized Freehand. The pipe has a fancy, turned vulcanite saddle stem. We purchased it from the seller on 04/1/2020 in Columbus, Missouri, USA. The contrast of the brown stains on this pipe makes the grain stand out. The plateau briar on the rim top is natural and worked well with the stain on the sides. The pipe is stamped underside of the shank and reads F [over] Nording [over] Danmark. The bowl was heavily caked and there was lava on the plateau rim top and inner edge. The condition of the rim and top looks good. The black vulcanite saddle stem was in good condition other than being dirty and having light tooth marks and chatter on both sides of the stem ahead of the button. There were no stampings or logo on the stem itself though it is certainly the original. It was well fit but never bore any identifying marks on the surface. Jeff took photos of the pipe before his cleanup work. They tell the story and give a glimpse of the pipe.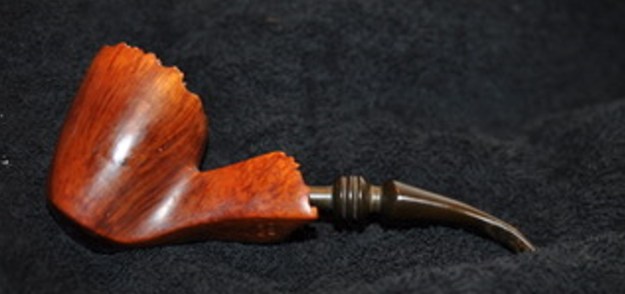
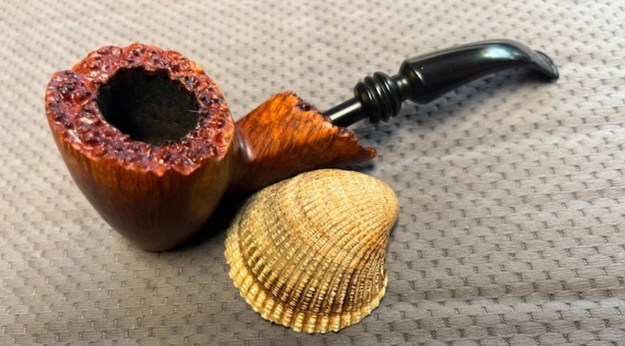
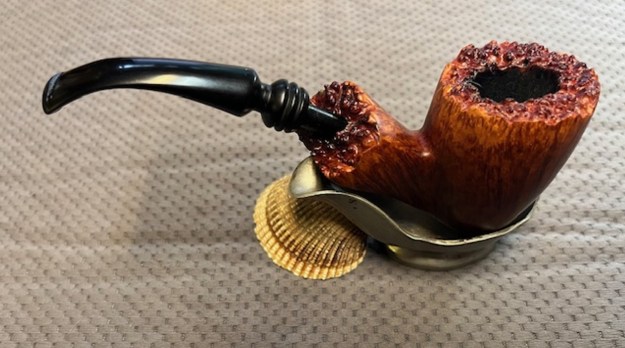
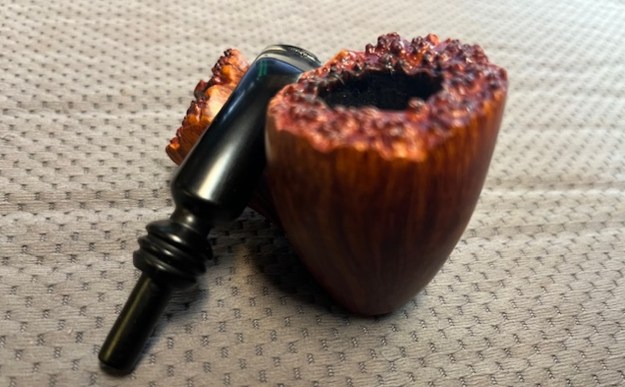
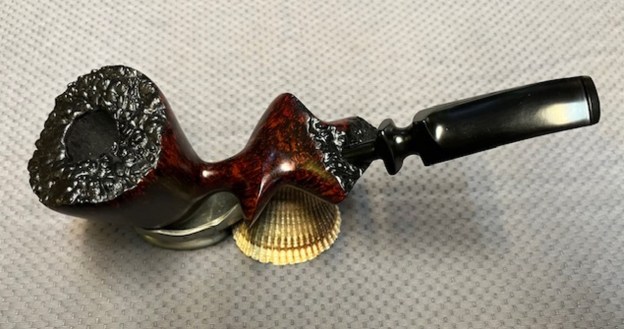
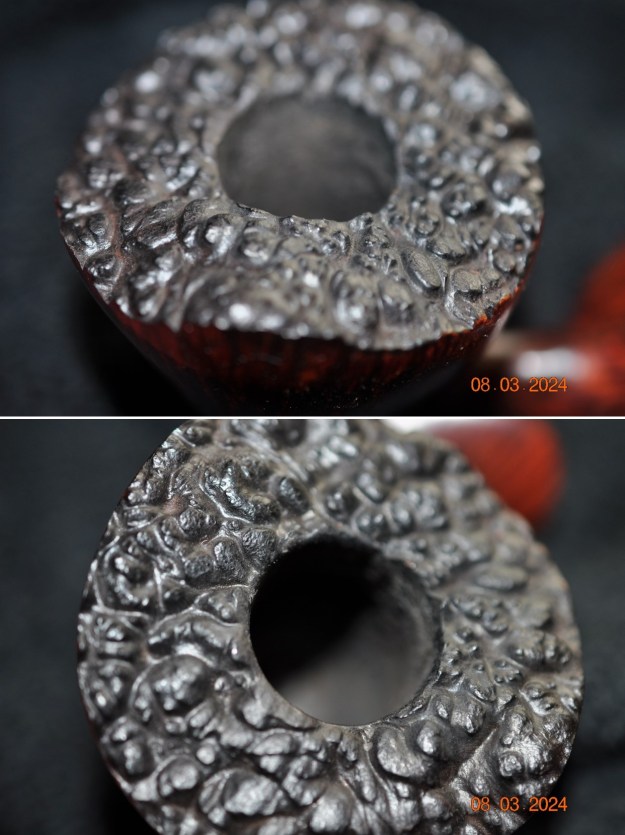
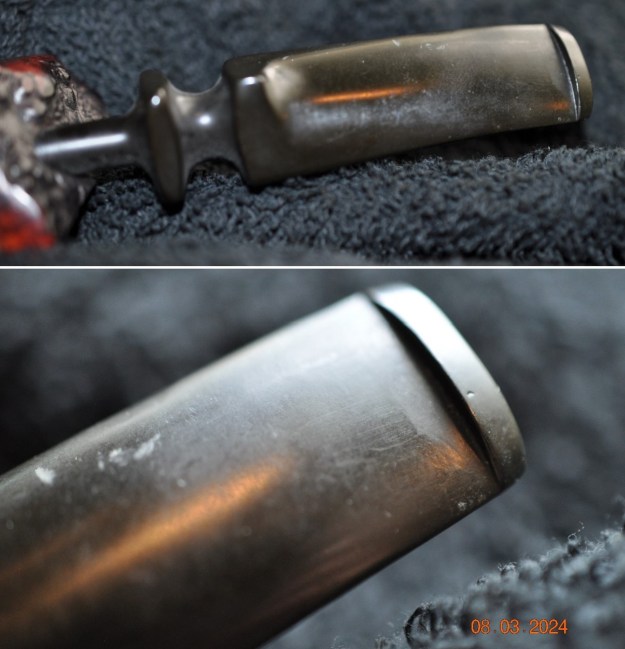
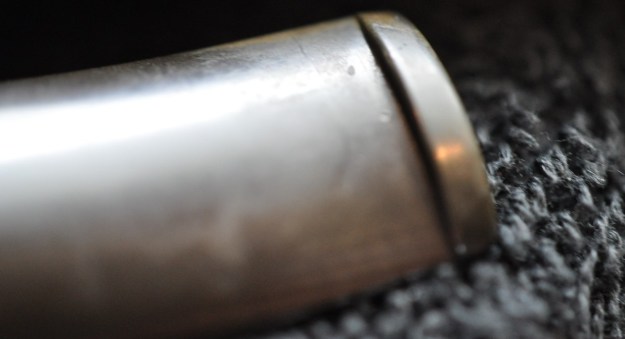
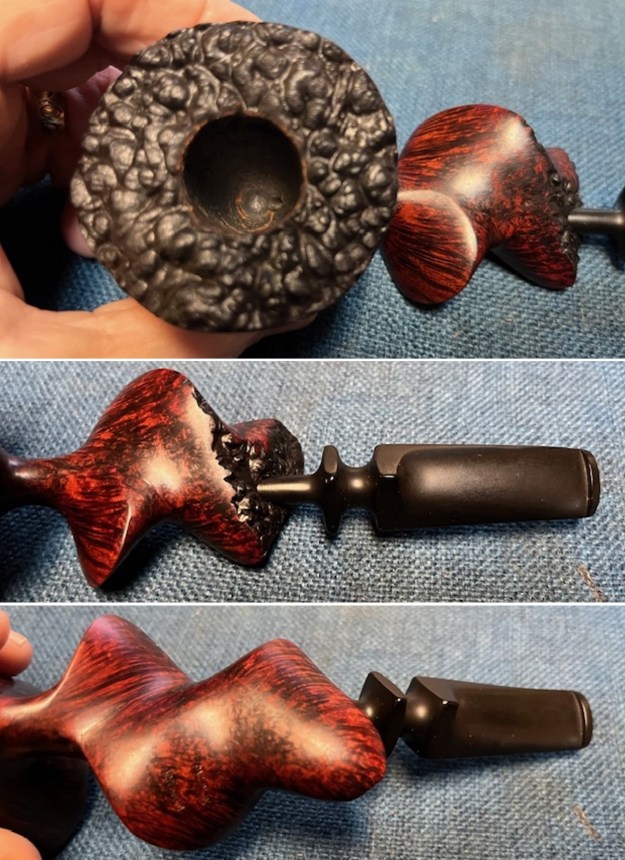
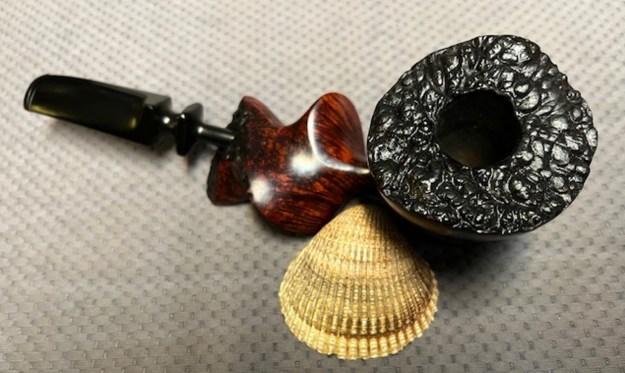
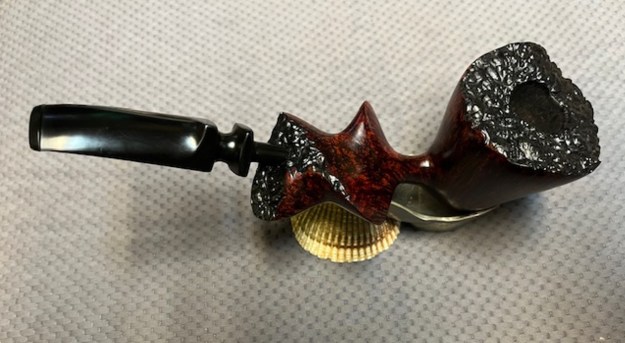
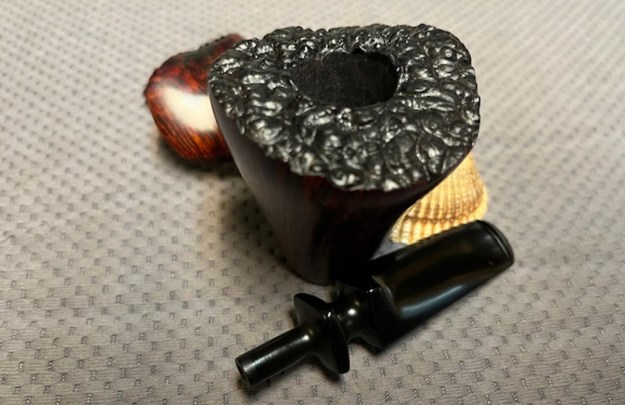
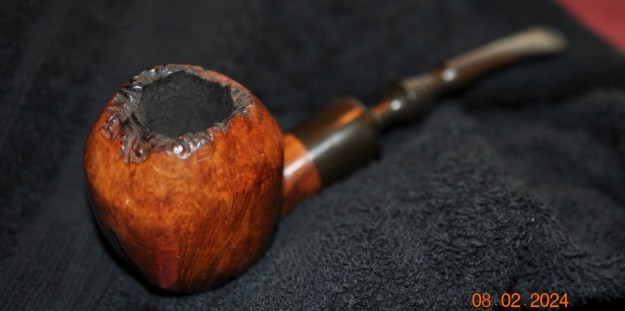
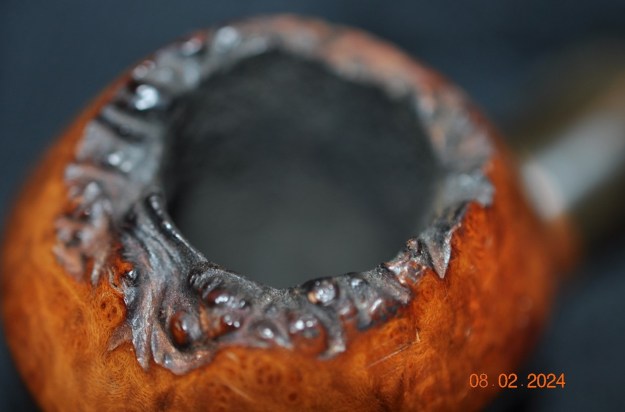
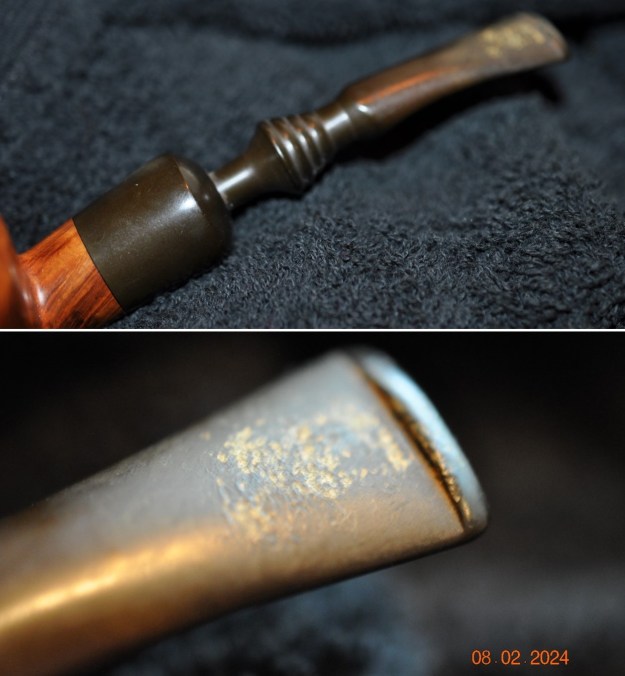
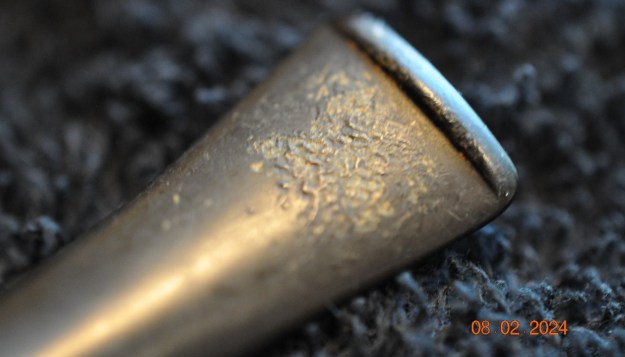
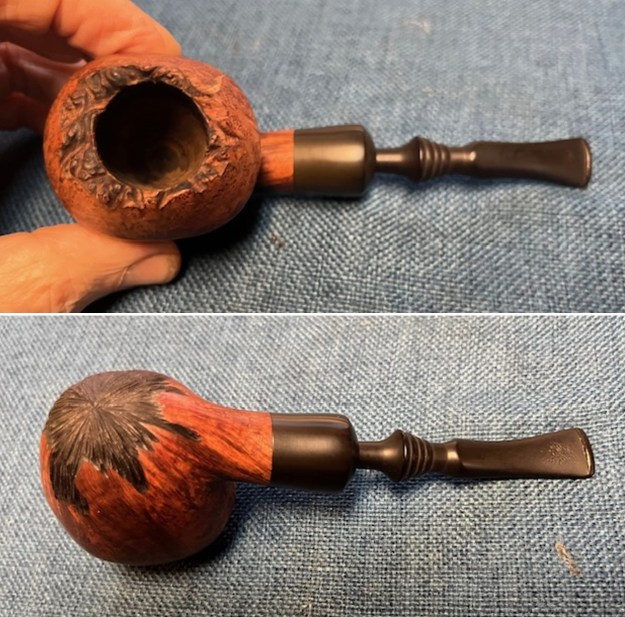
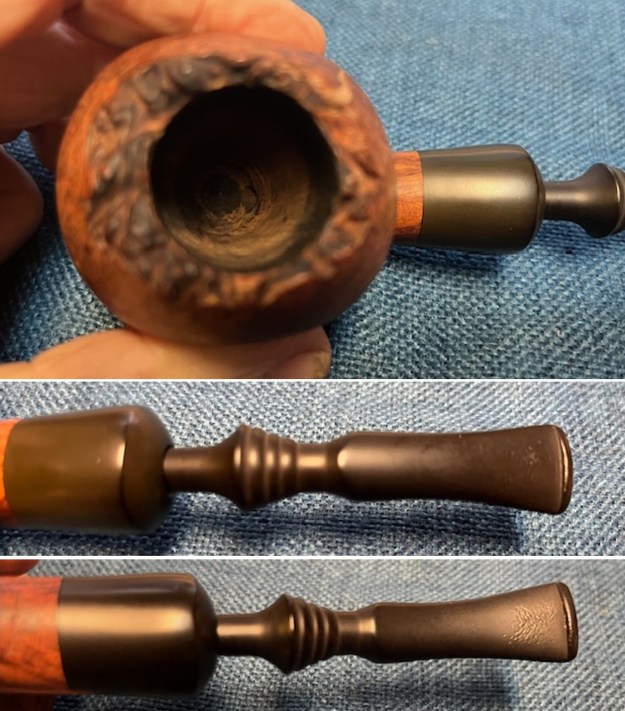
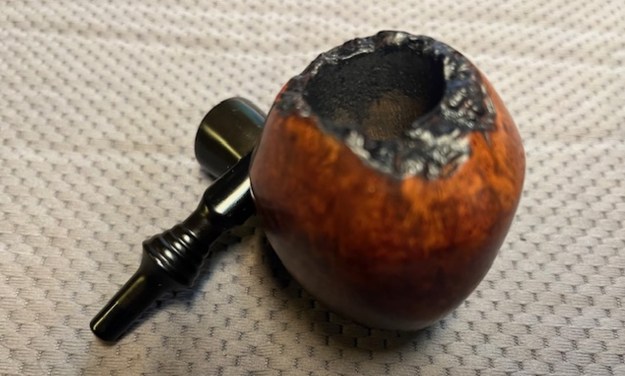
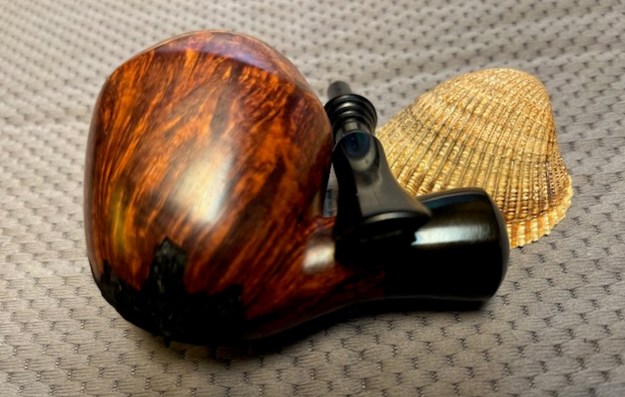
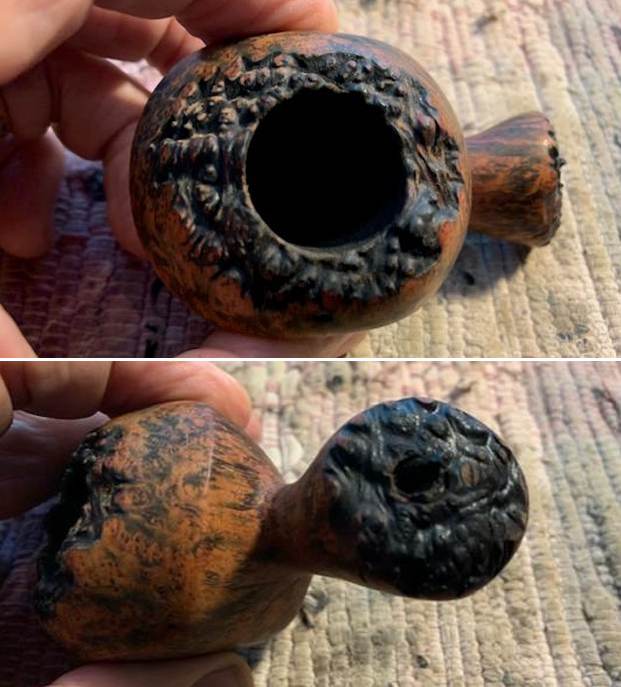
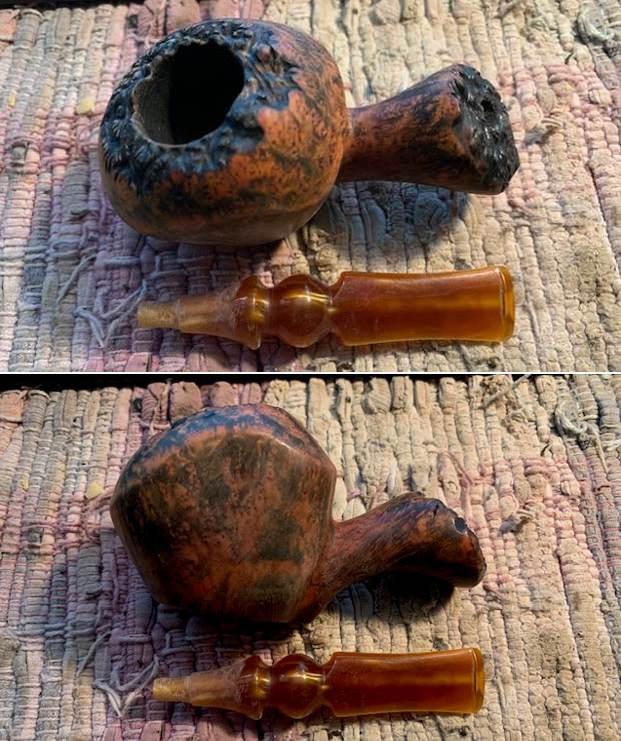
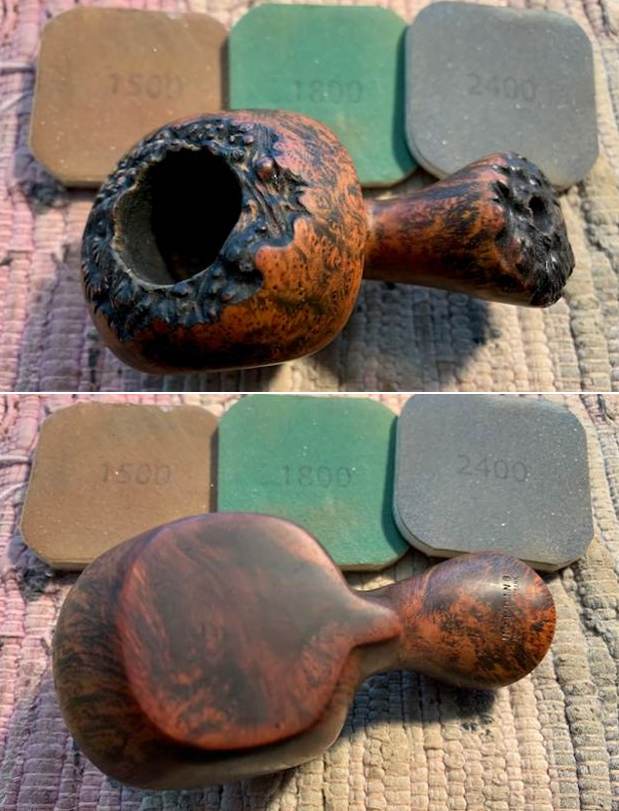
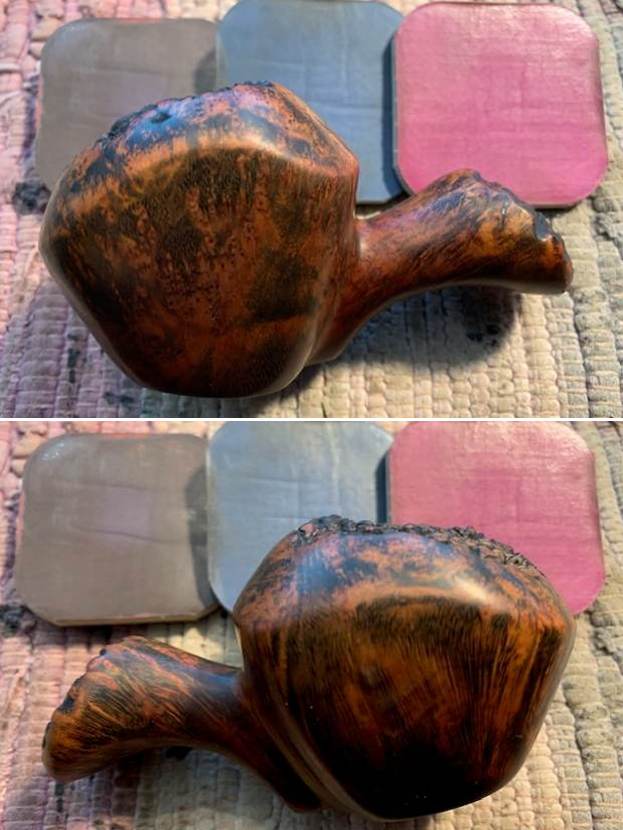
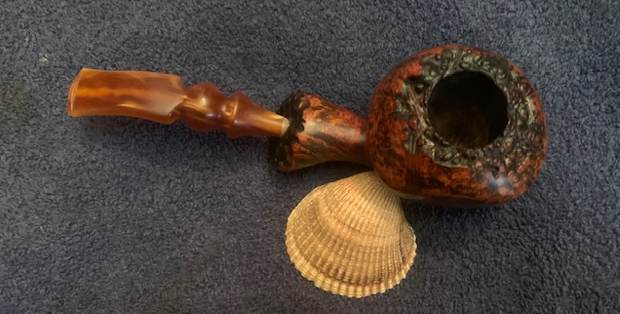
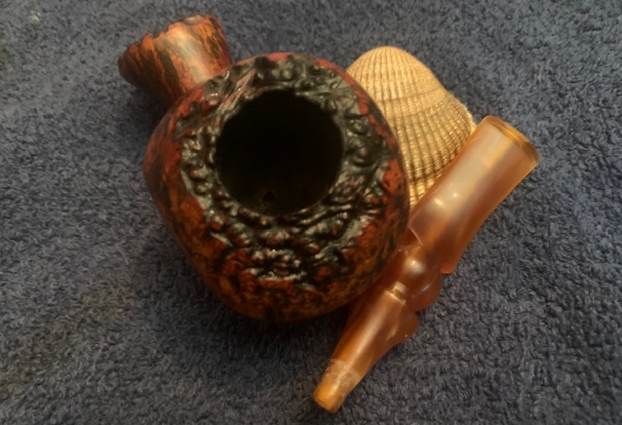
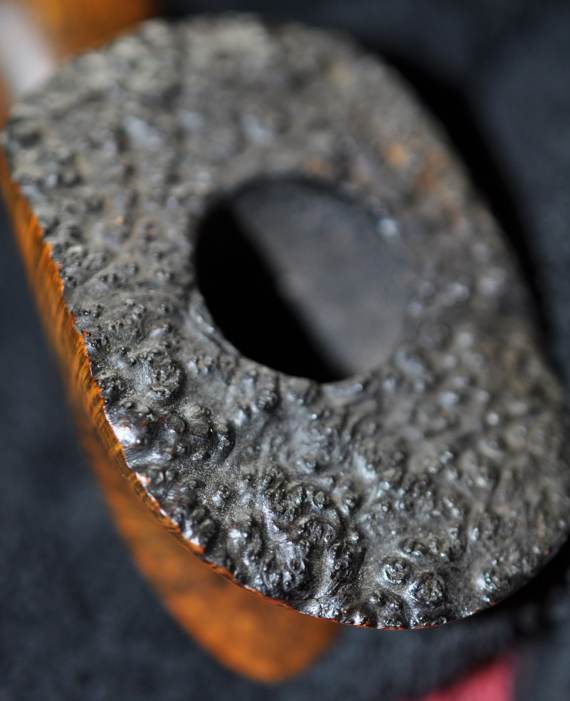
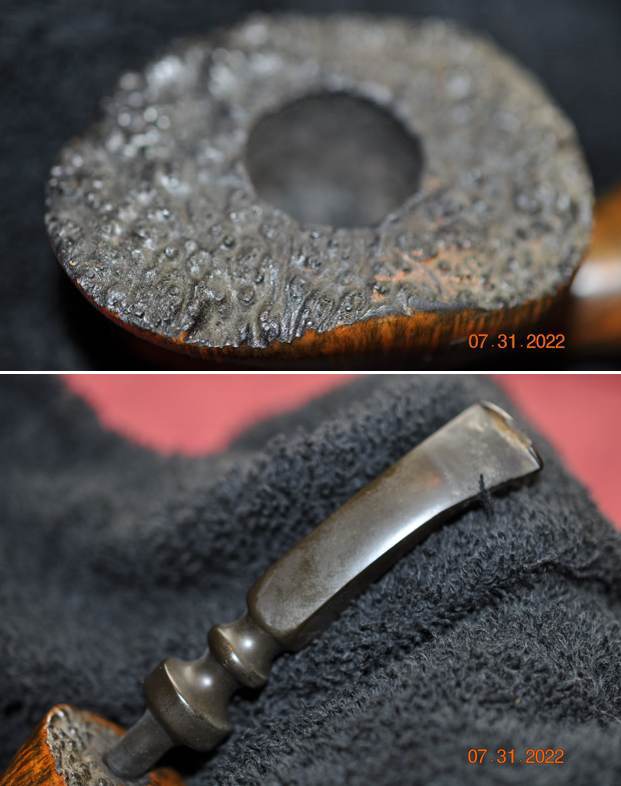
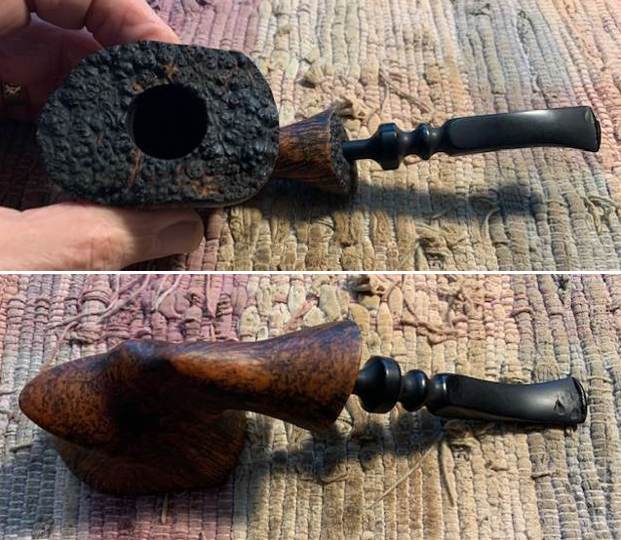
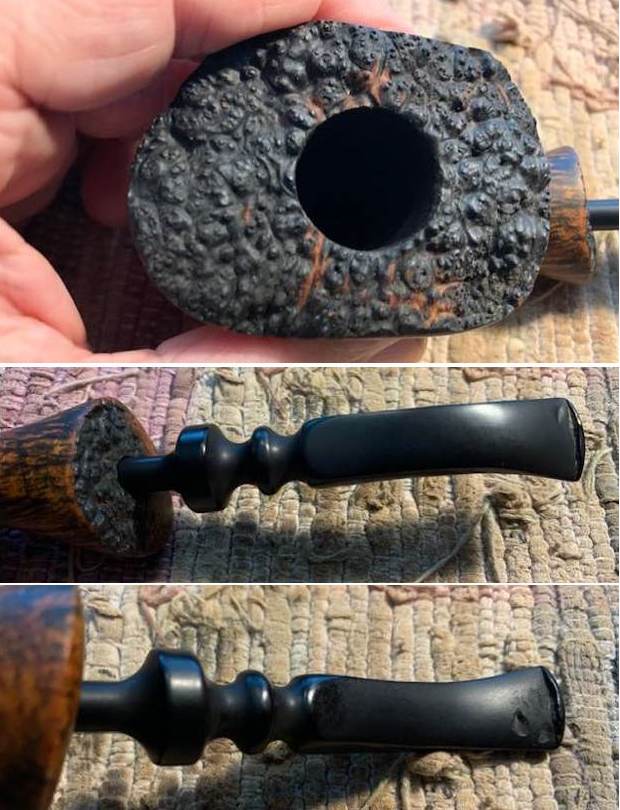
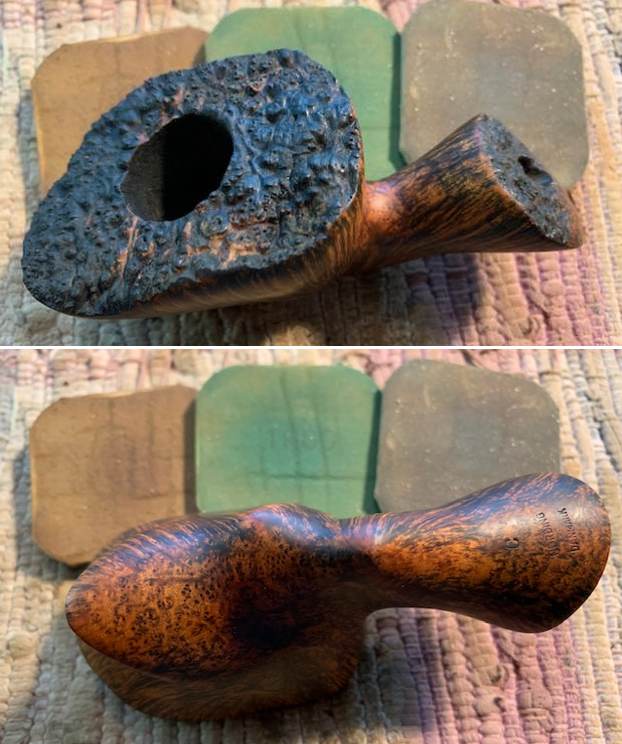
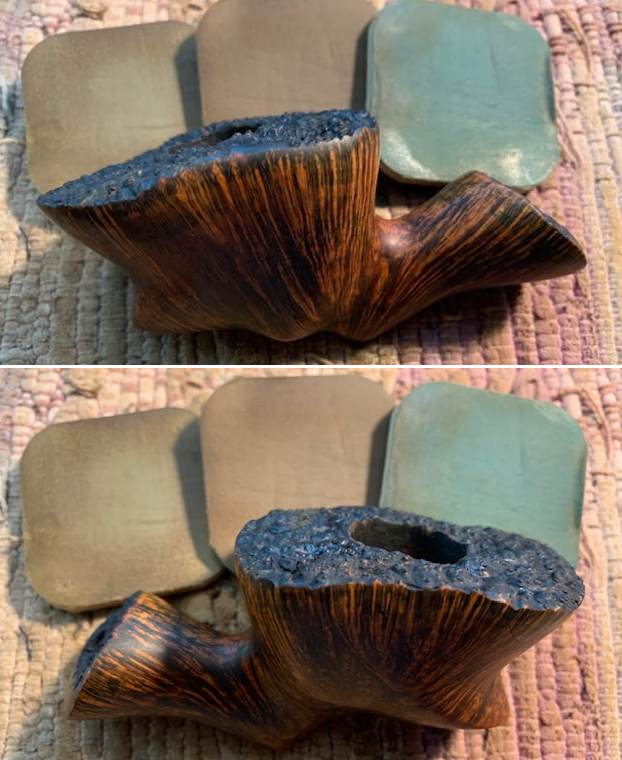
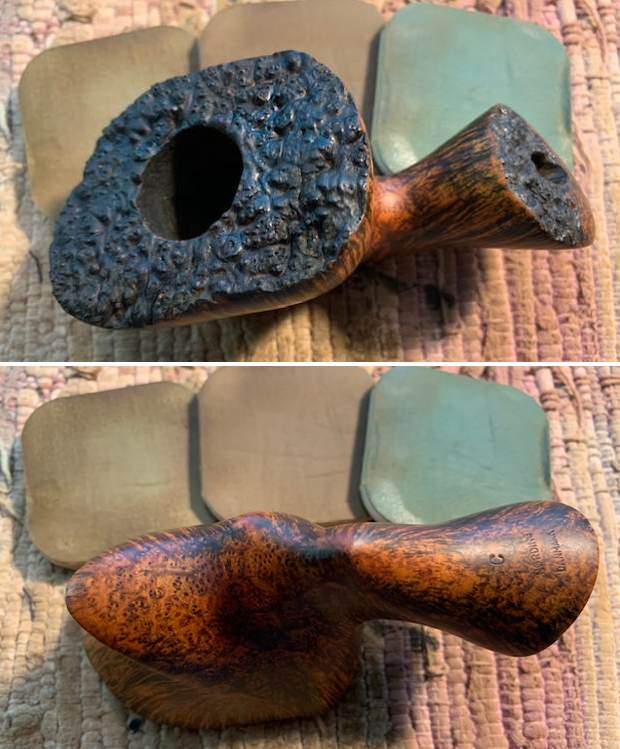
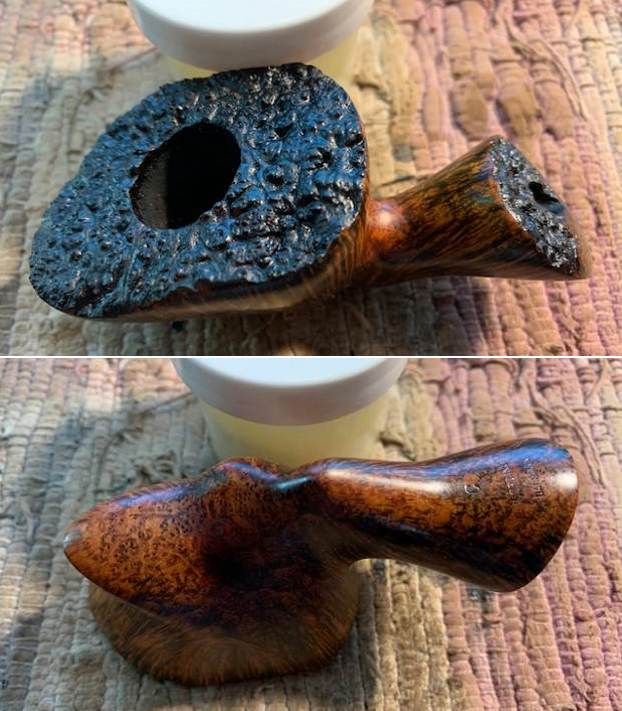
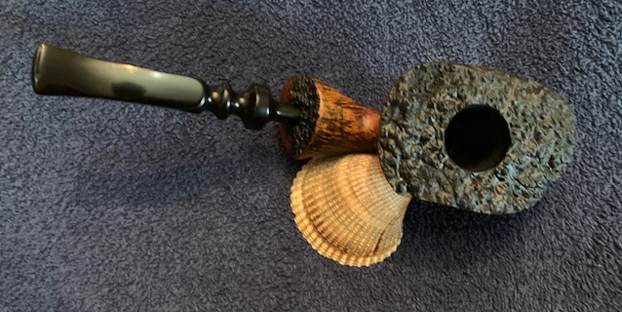
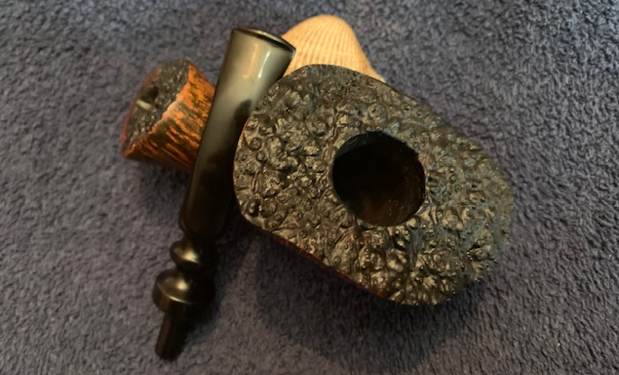
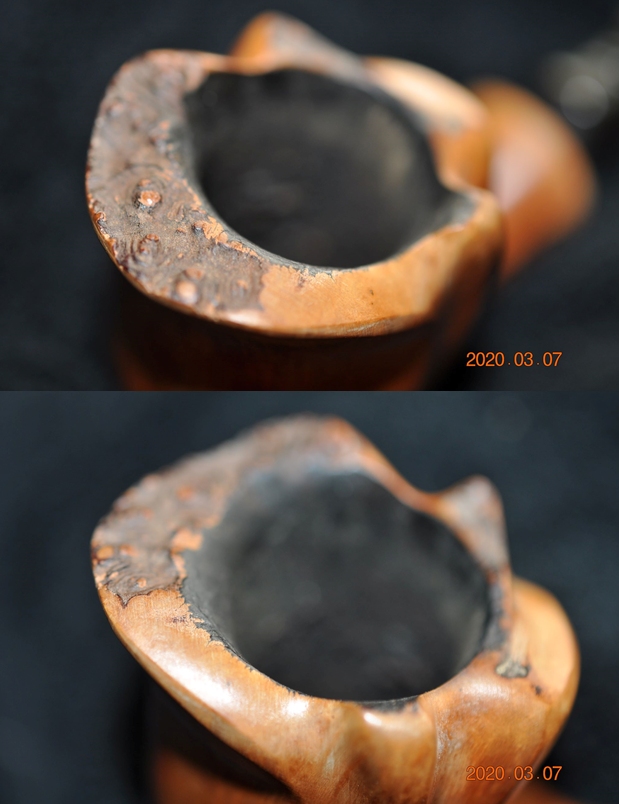
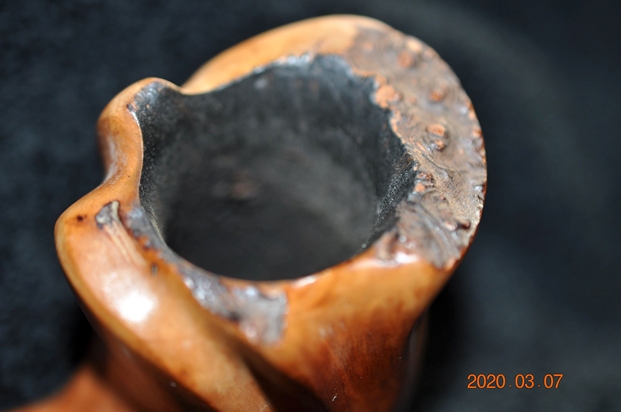
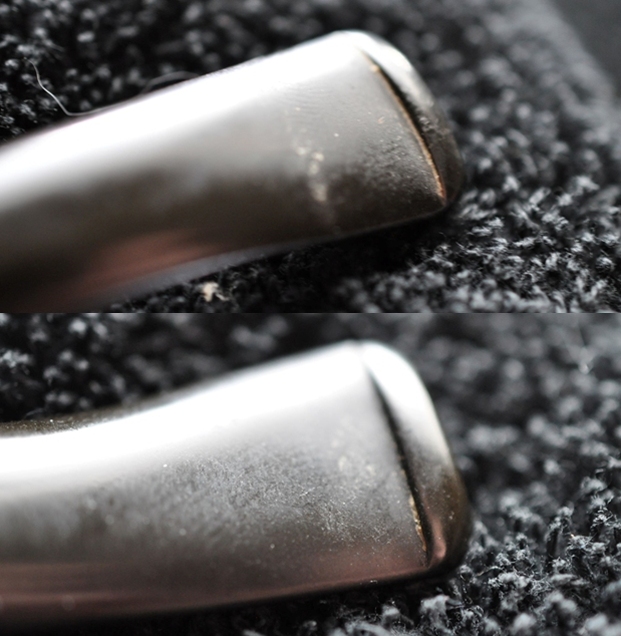
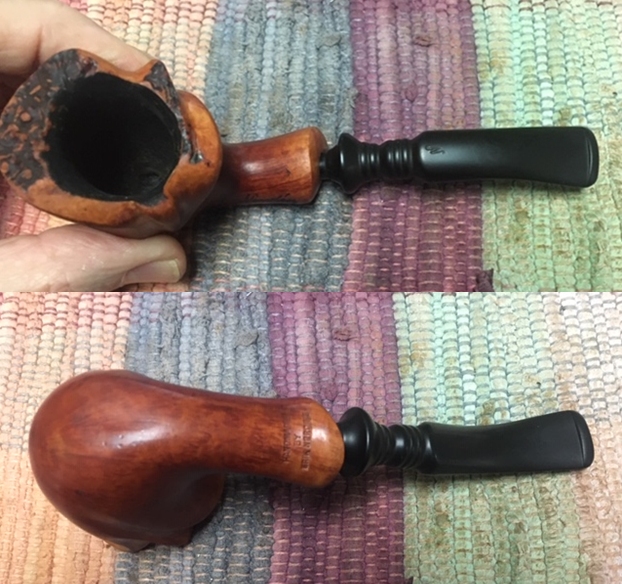
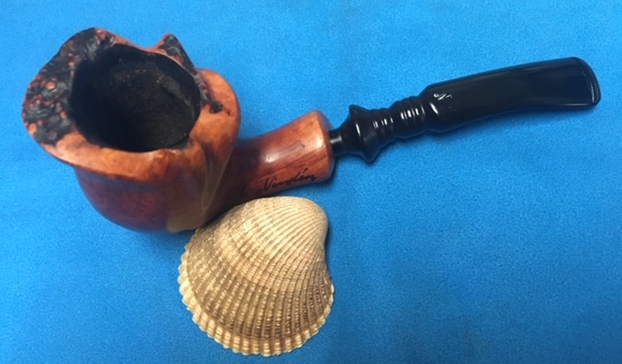
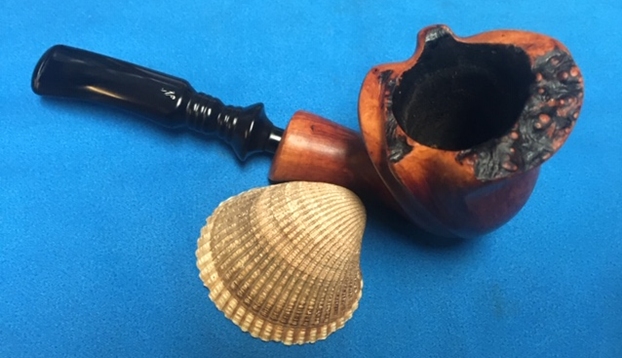
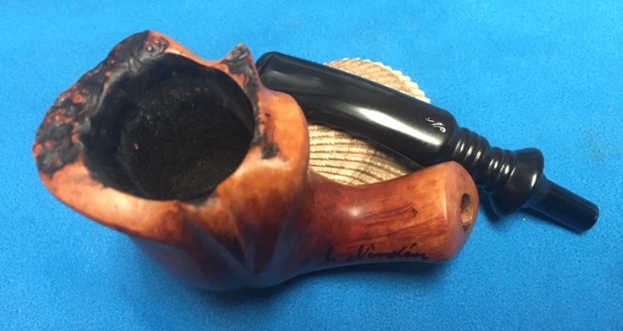
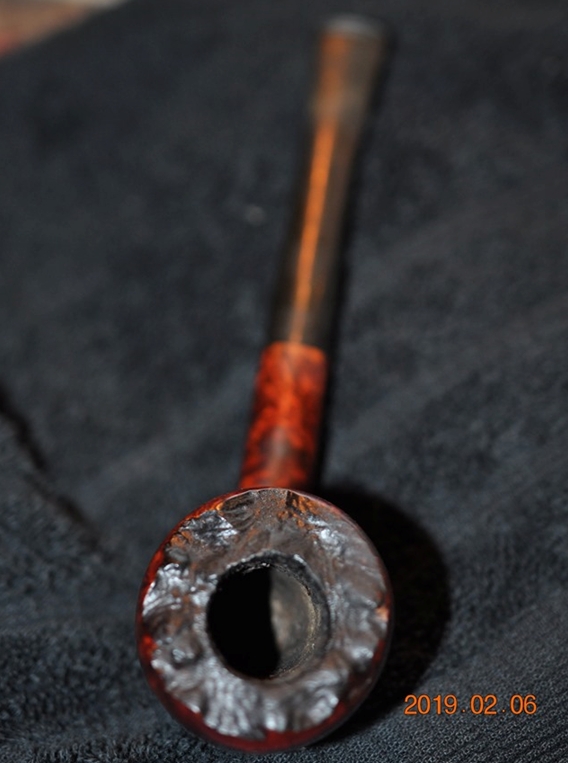
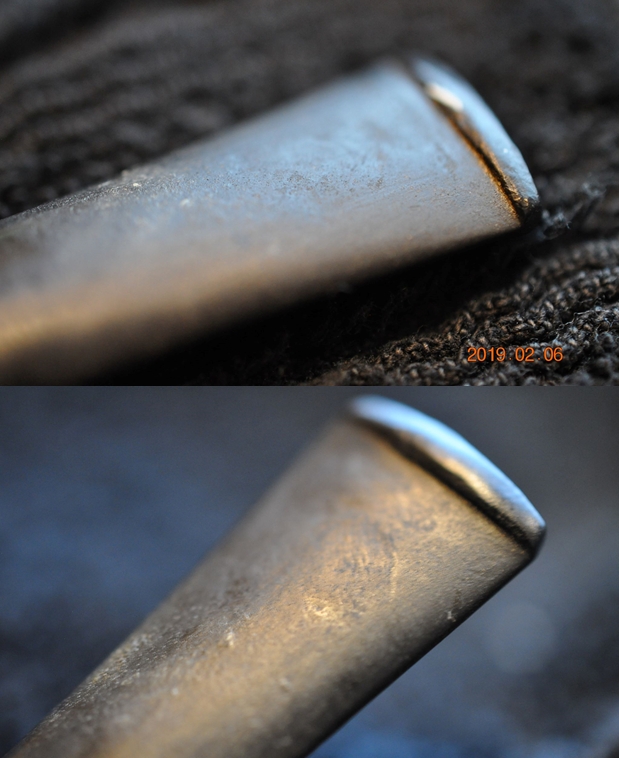
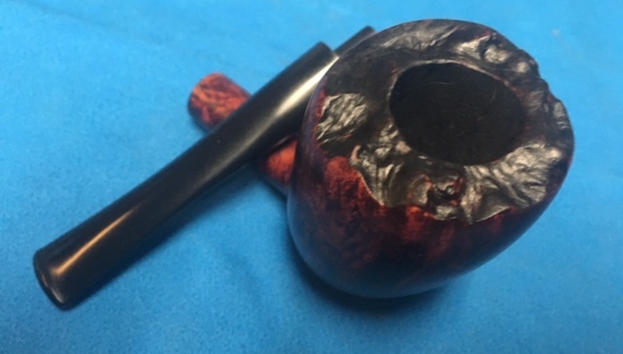
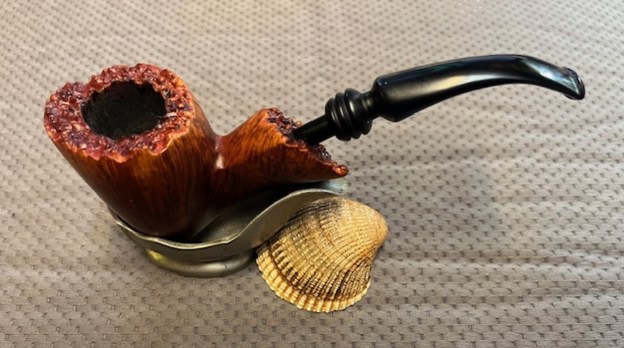
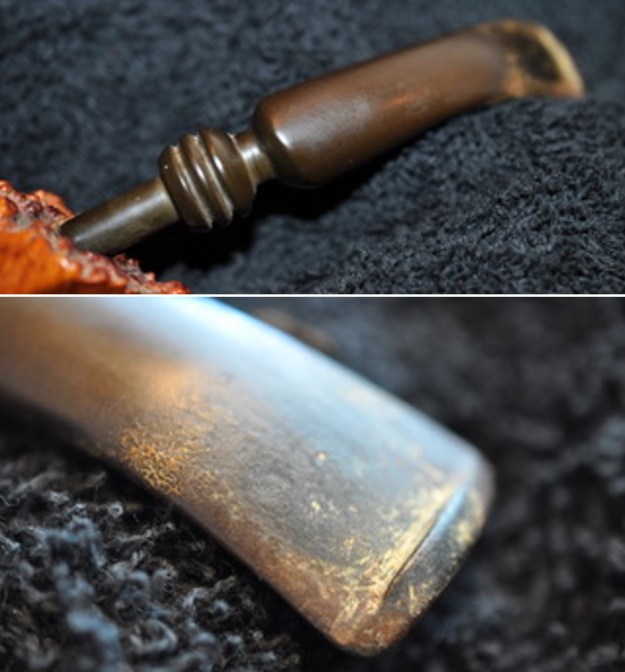
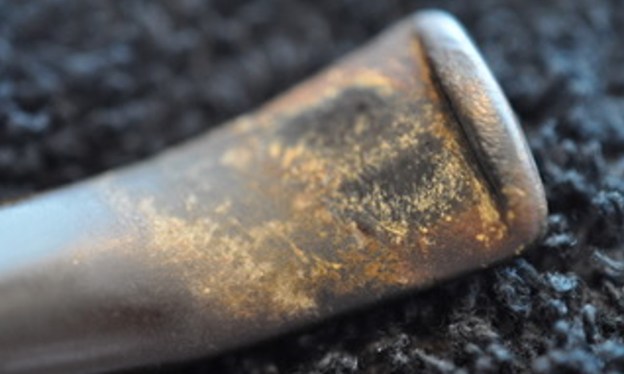
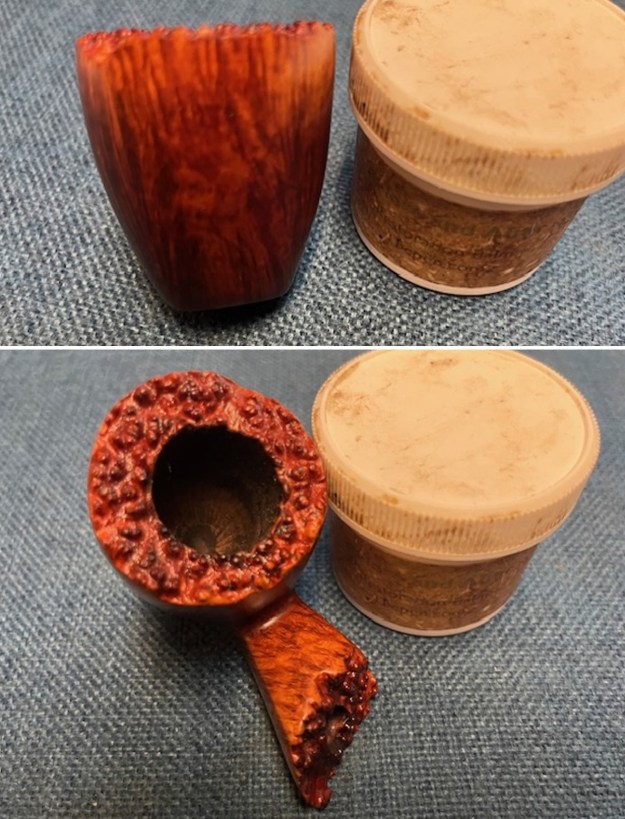
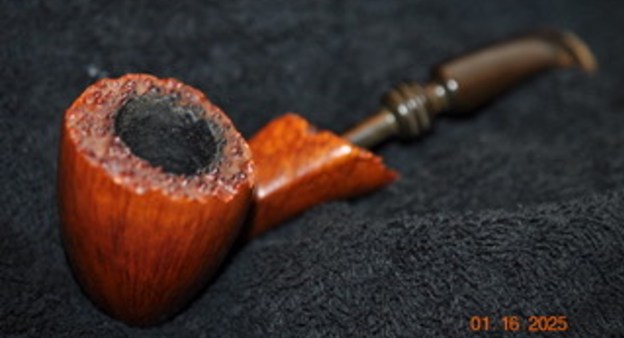 Jeff took close up photos of the bowl and rim to capture the condition of the pipe before he started his cleanup work. The moderate/heavy cake in the bowl and the lava on the edges and plateau rim top are visible. The next photos show the stem surface. There is oxidation, calcification and light tooth marks and chatter on both sides near the button and wear on the button surface and edges.
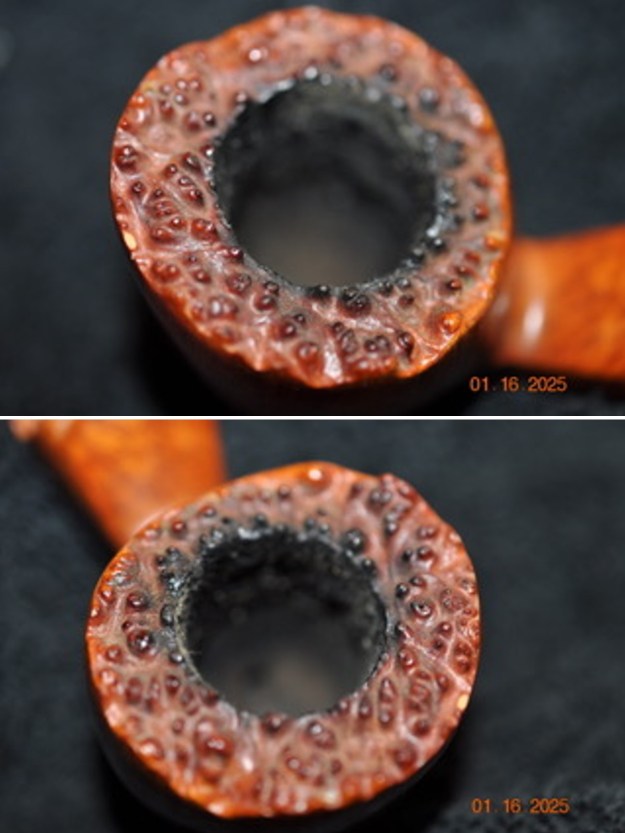
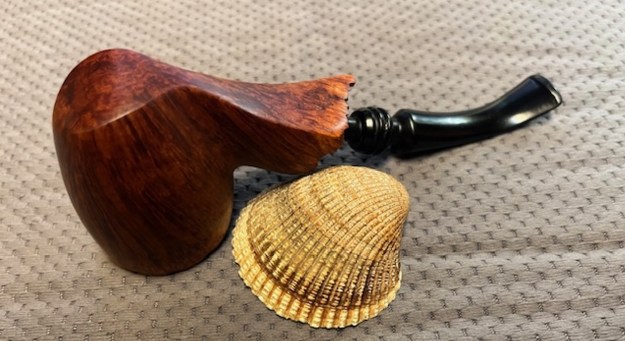
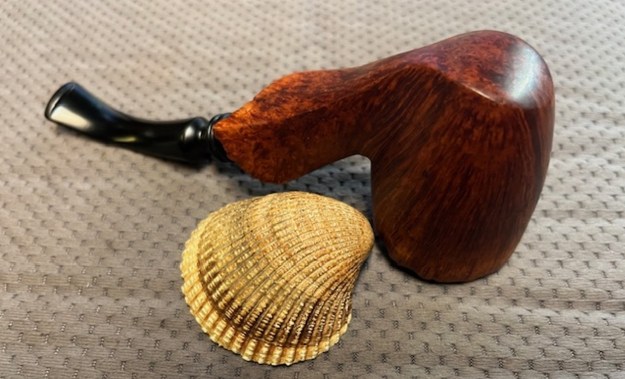
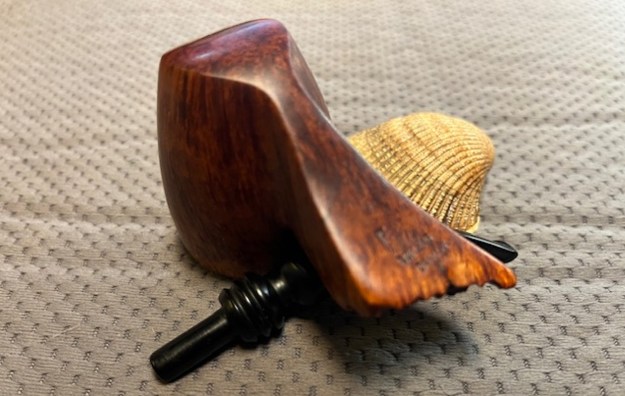
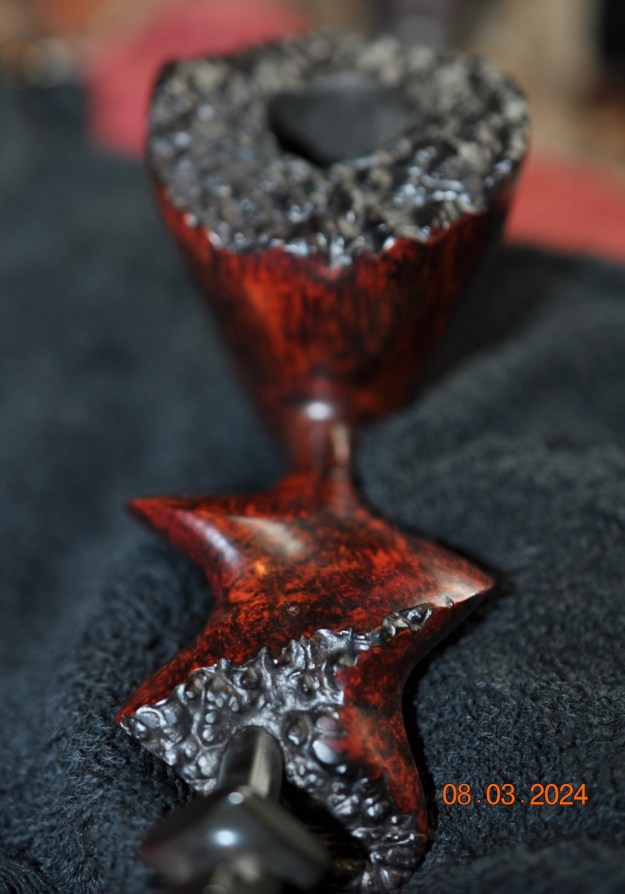
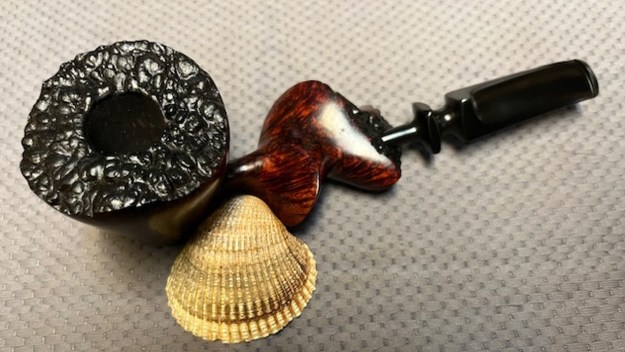
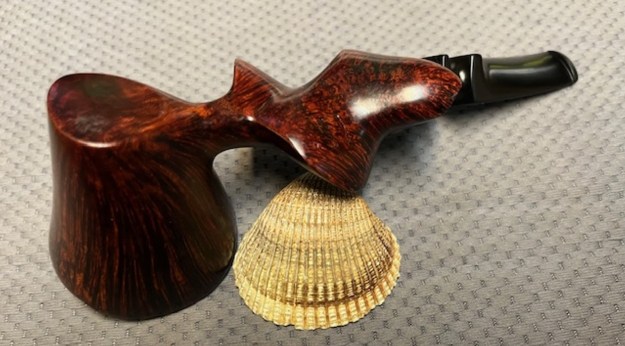
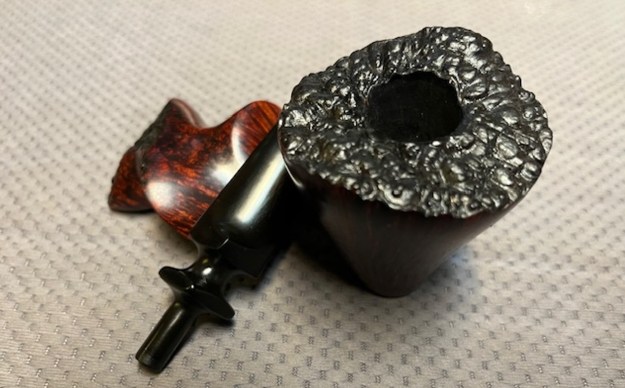
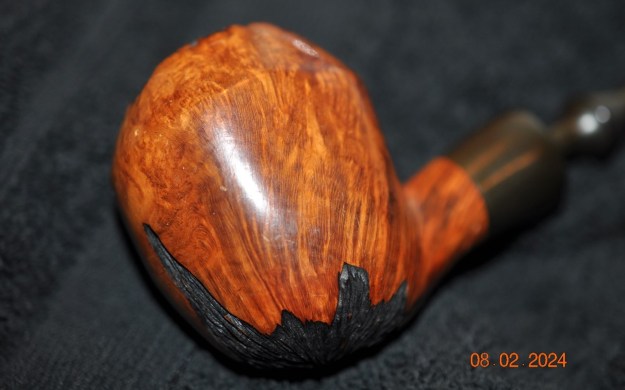
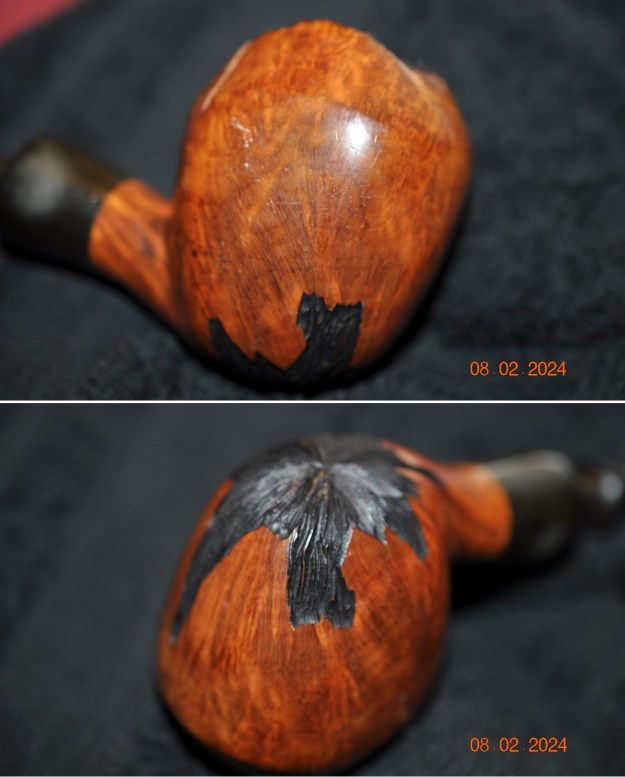
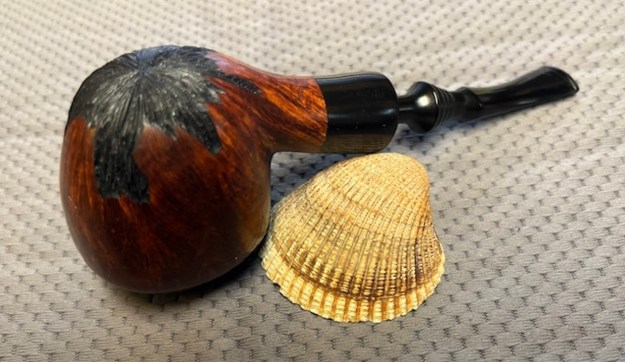
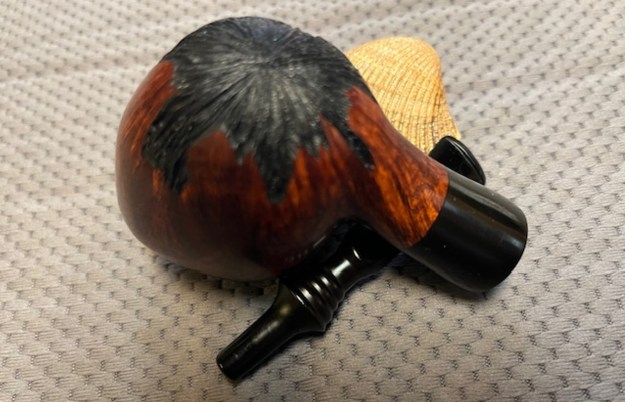
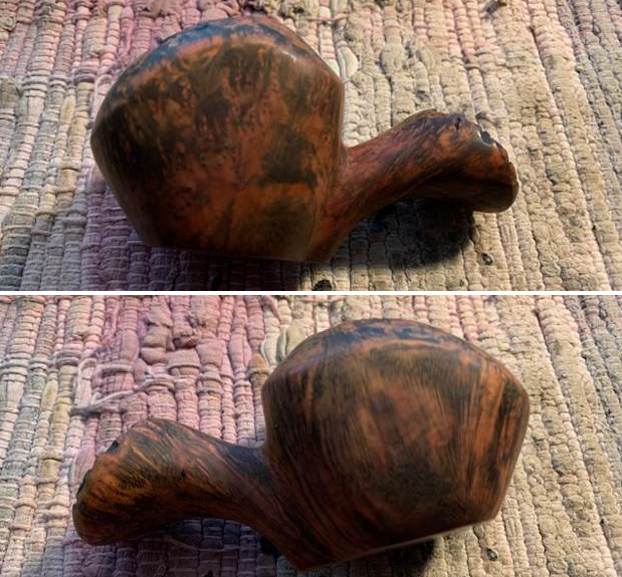
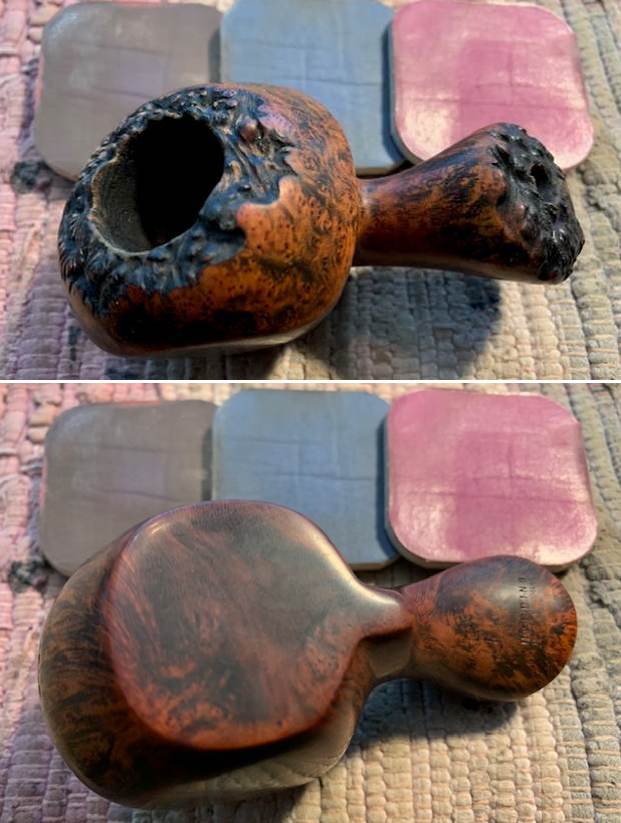
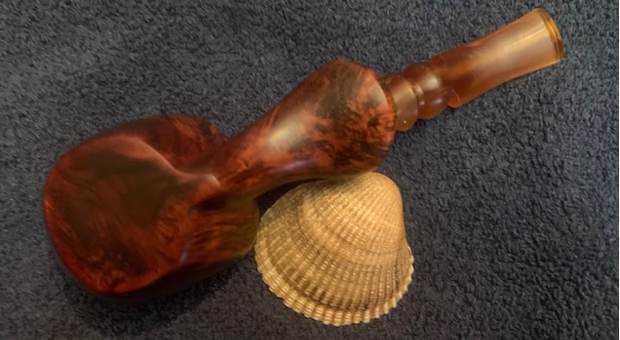
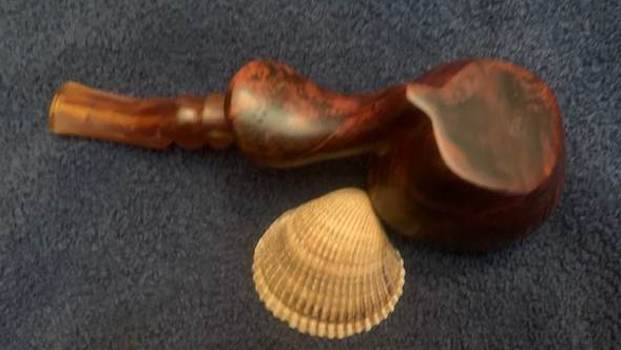
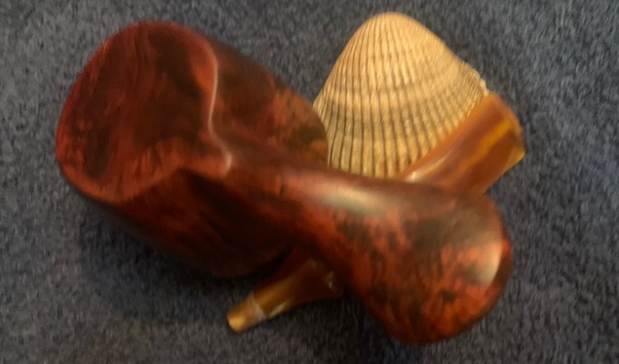
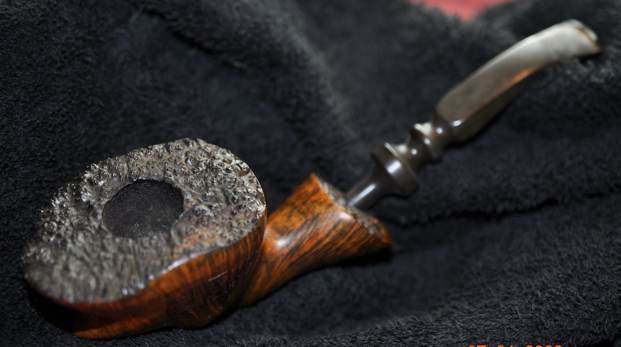
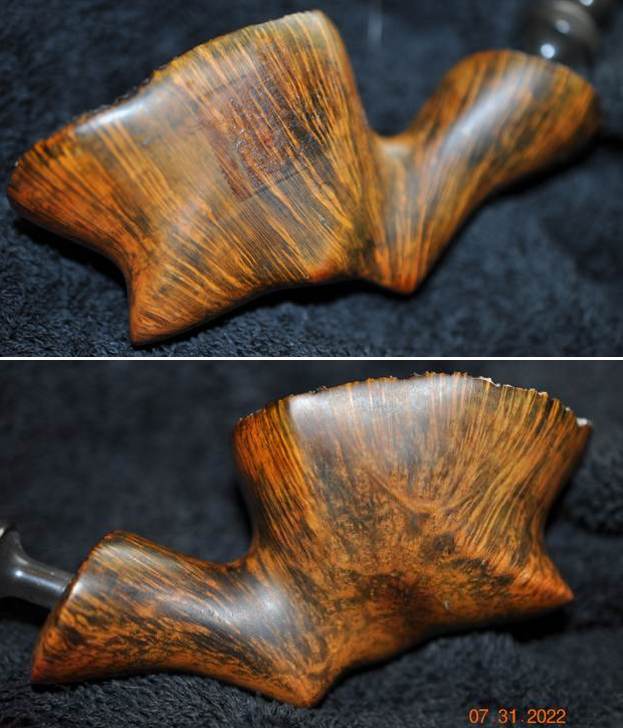
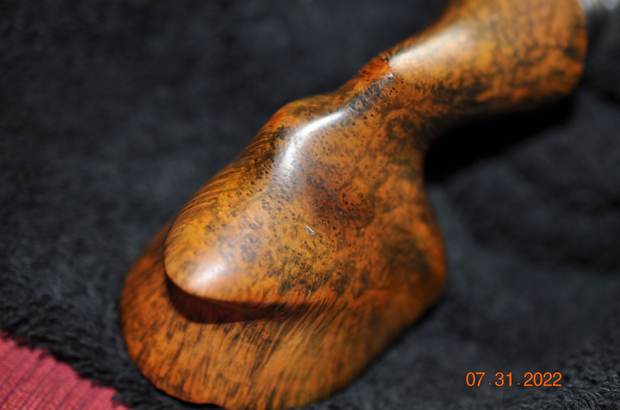
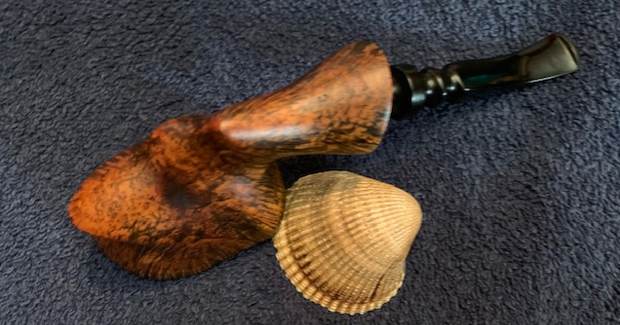
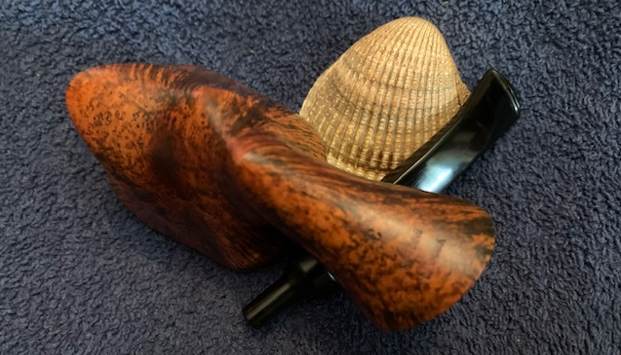
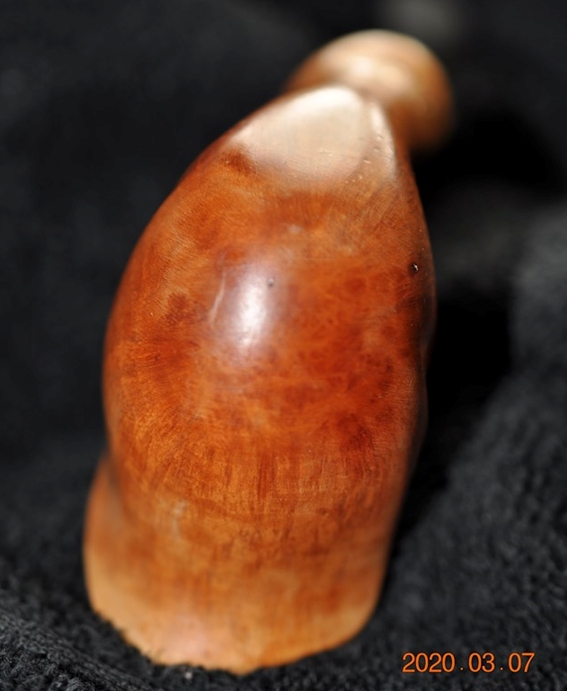
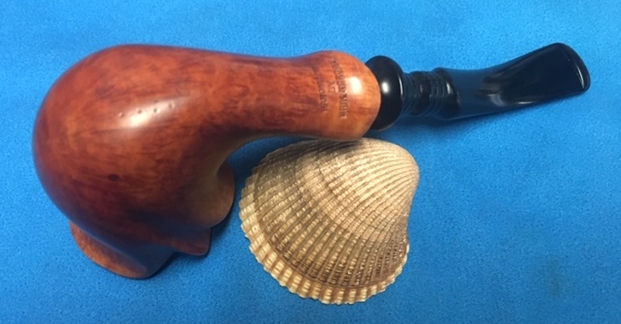
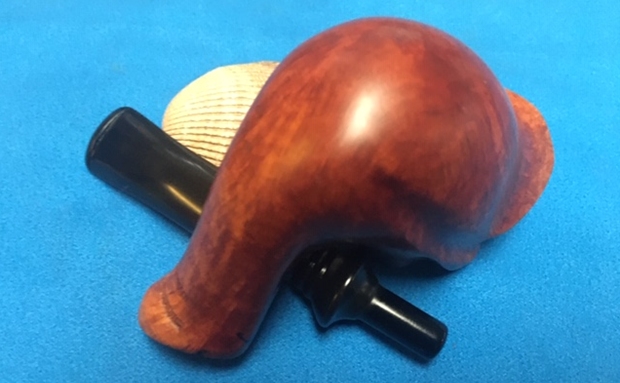
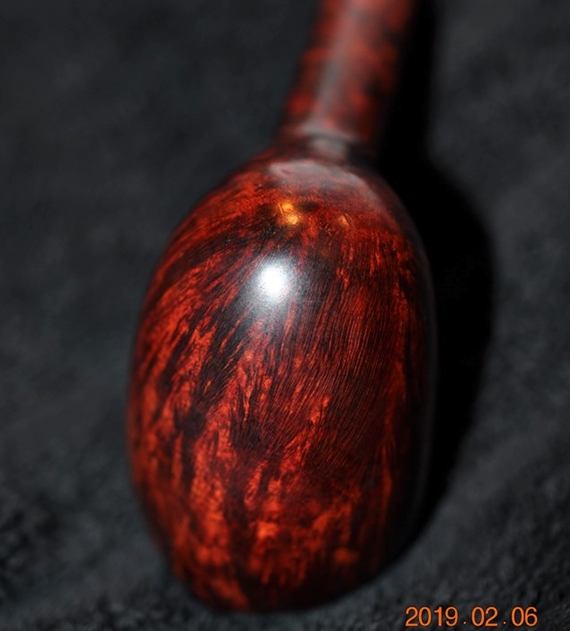
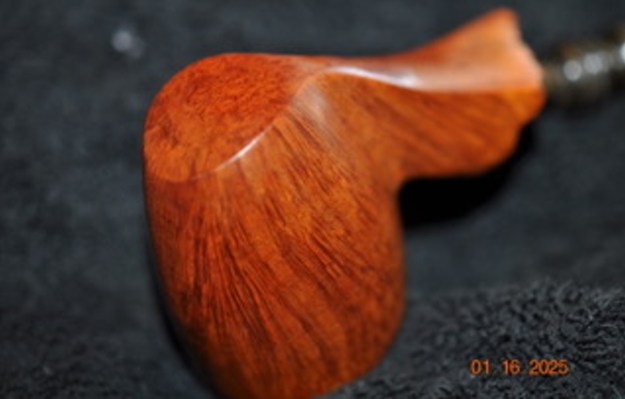
 He also took a photo of the bottom of the bowl and shank to show the beautiful grain around the bowl and the ruggedness of the plateau edges. It is very dirty but this is another beautiful pipe.
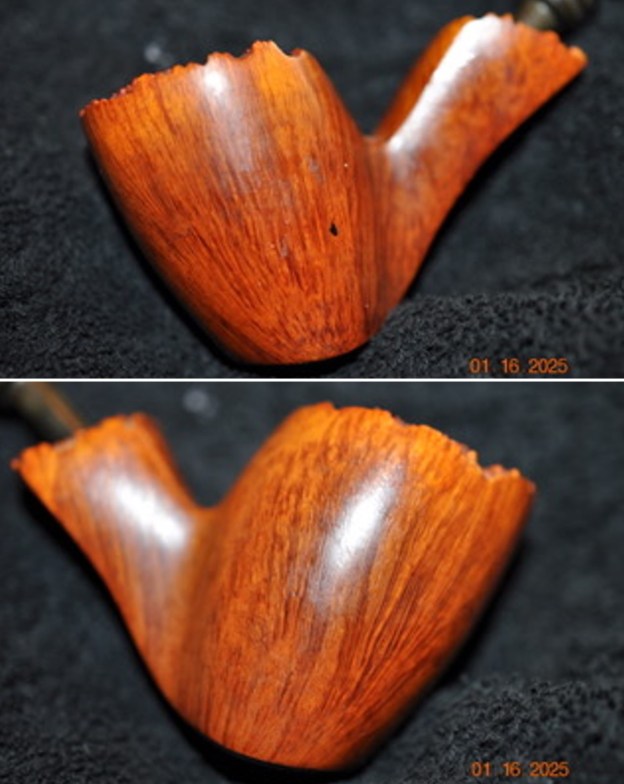
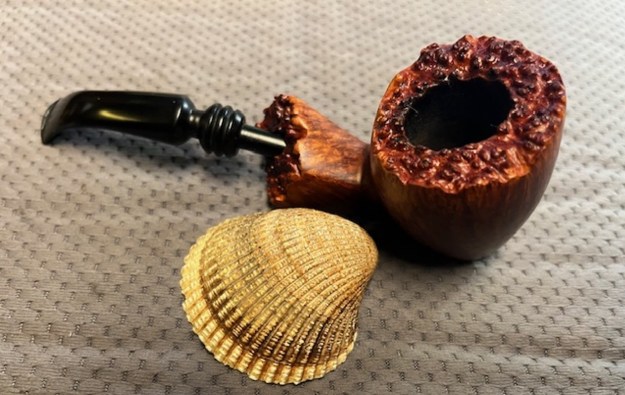
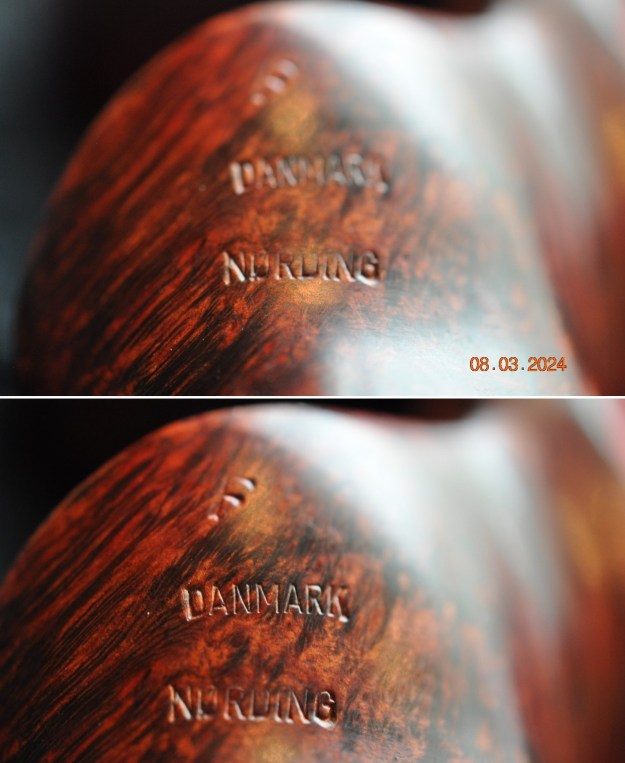
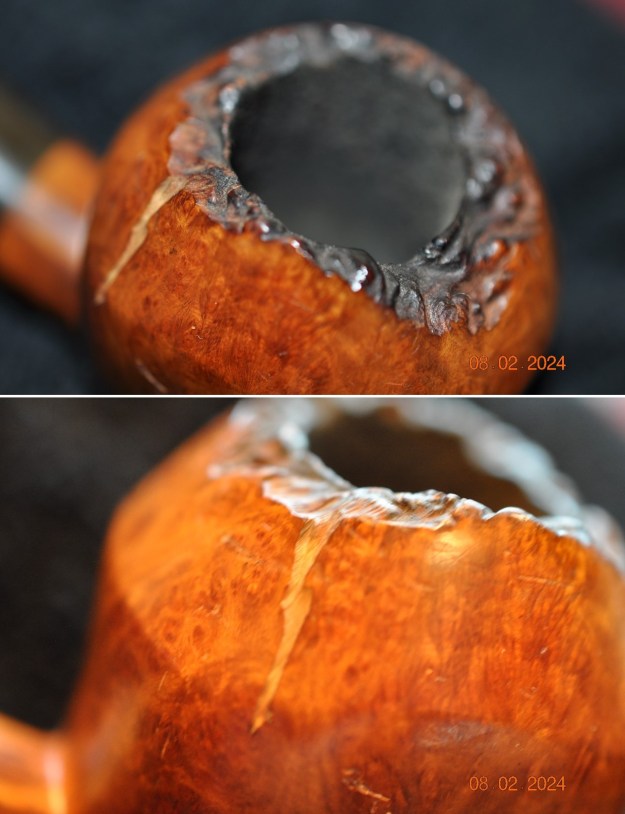
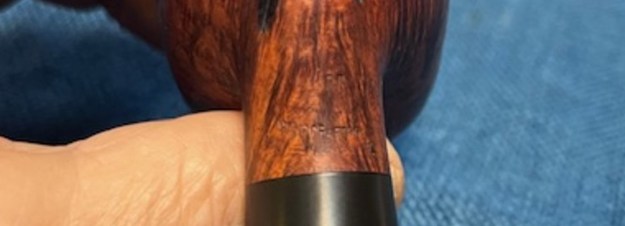
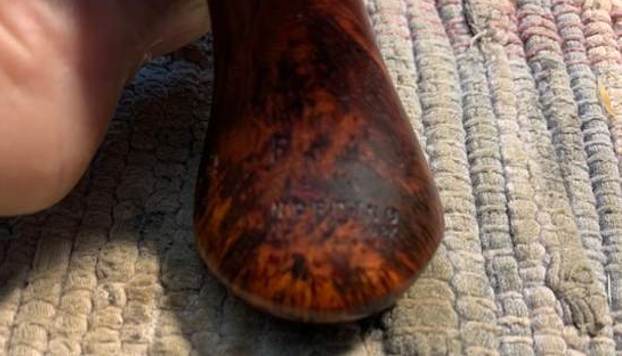
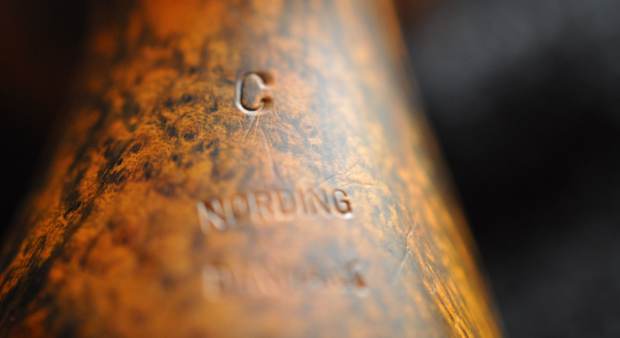
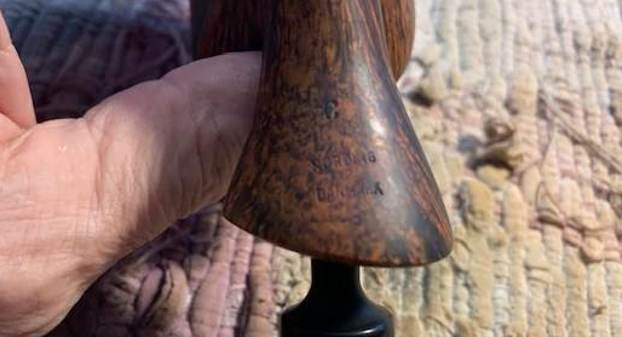
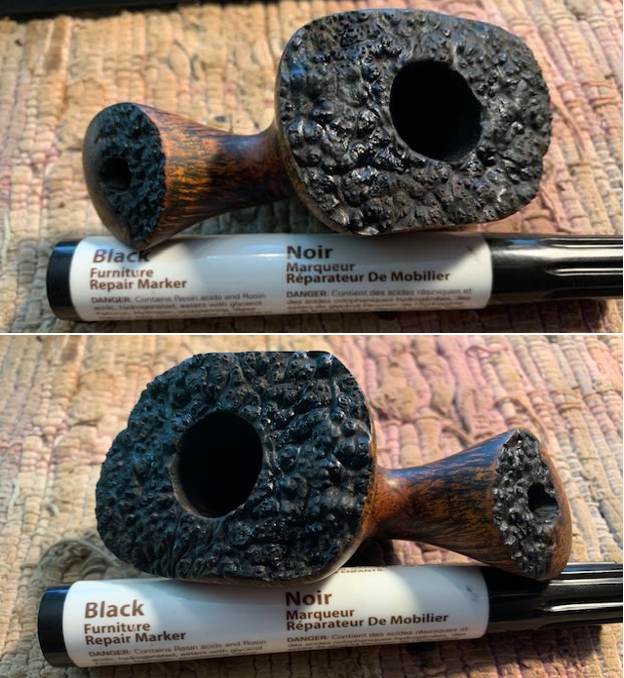
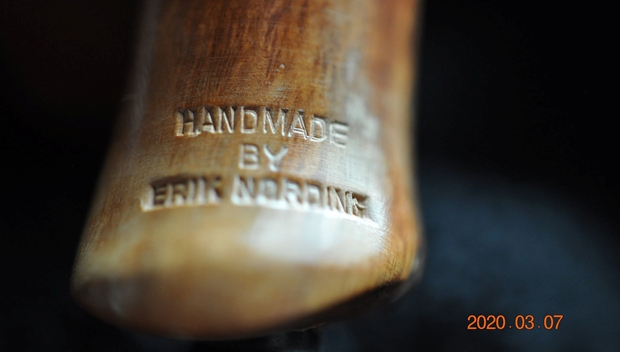
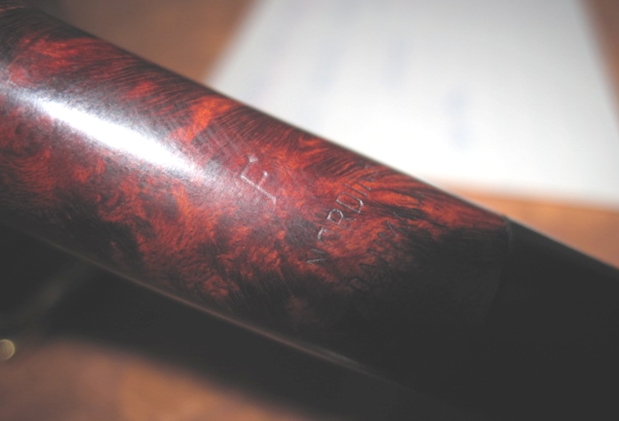
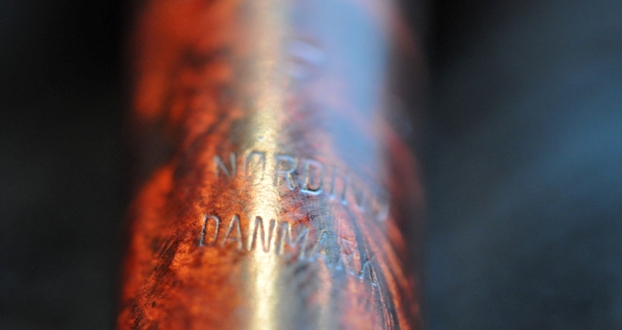
 He took a photo of the stamping on the underside of the shank. It is clear and readable as noted above. It appears there is a flaw on the shank end ending between the N and M of Danmark. I will need to check it out further.
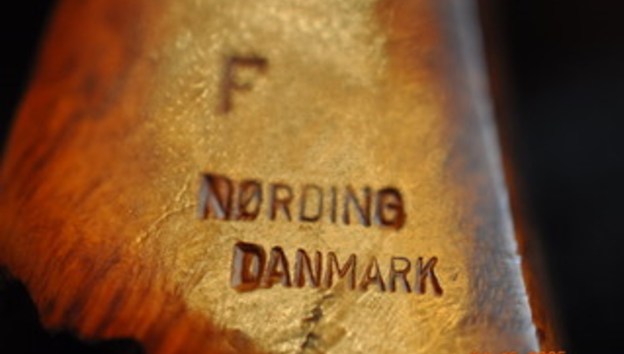 Before I started my work on the pipe I wanted to learn more about where this pipe fit into the Nording lines so I turned to the first of two sites that I always check to gather information on a brand. I turned first to Pipedia (https://pipedia.org/wiki/N%C3%B8rding). Nording’s were exclusively freehand shapes, graded from A, B, C, D, up to its highest grade, extra. Later an “F” grade was added—less expensive than the “A.”
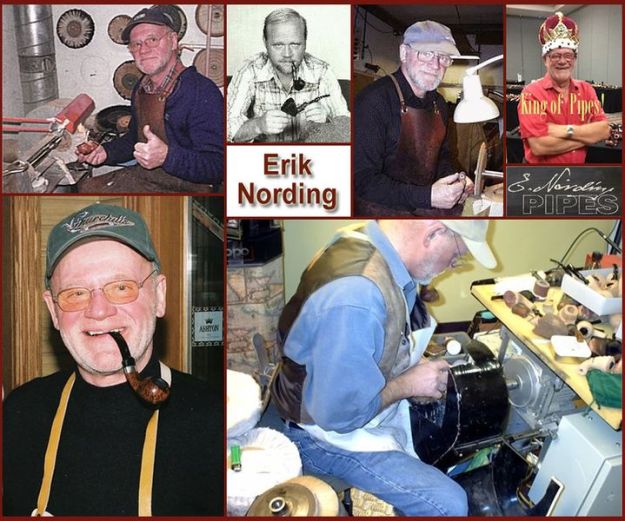
I did find a great collage of photos of Erik Nording. I turned to the second information site – Pipephil’s (http://www.pipephil.eu/logos/en/logo-n2.html) did not find any more helpful information on the Nording Danmark stamp.
Armed with the information on the F stamp being added at a later time I knew a bit about the pipe at hand though there were no solid dates. I turned to address the pipe itself. Jeff cleaned up the pipe for me. He reamed the bowl with a PipNet pipe reamer and cleaned it up with a Savinelli Fitsall Pipe Knife. He scrubbed the exterior with Murphy’s Oil Soap and a tooth brush to clean off the grime off the finish and the heavy overflow of lava on the rim top. He cleaned up the internals of the shank, mortise and stem with pipe cleaners, cotton swabs and alcohol to remove all of the oils and tars in the pipe. He soaked the stem in Briarville’s Pipe Stem Deoxidizer and was able to remove much of the oxidation. When it arrived here in Vancouver it was a clean pipe and I knew what I had to work with. I took photos of it before I started my part of the restoration.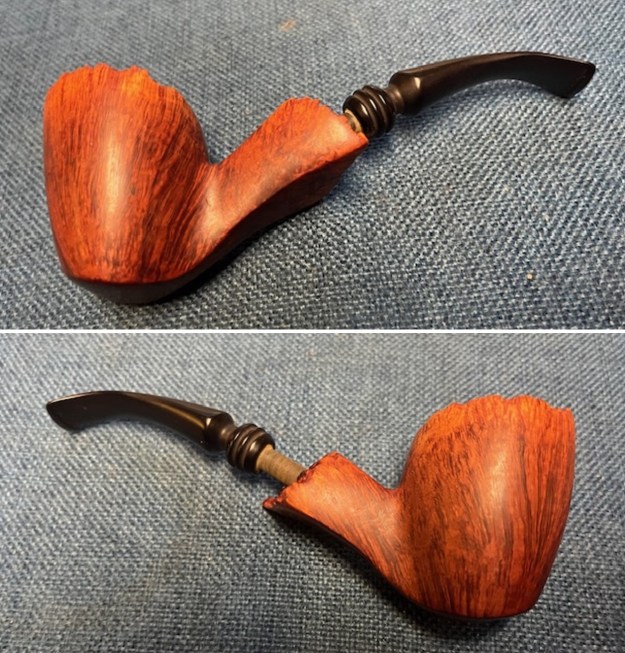
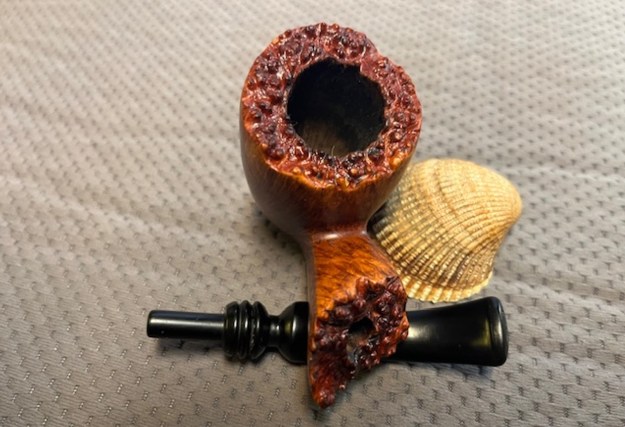
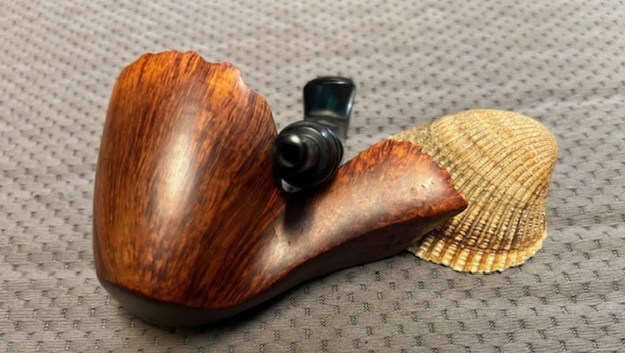
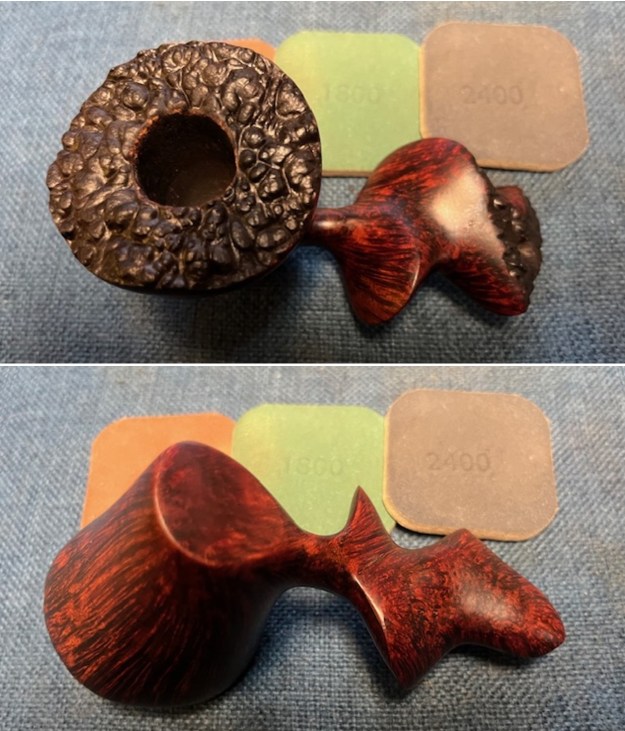
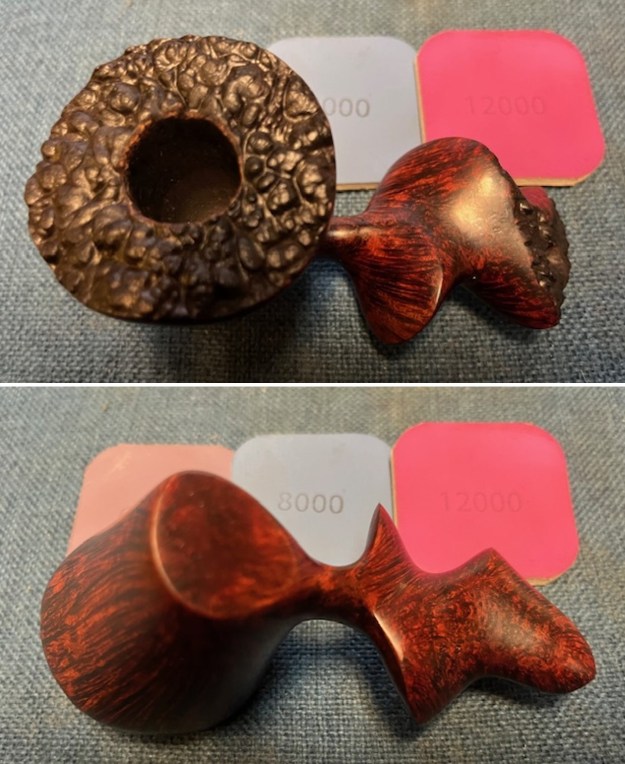
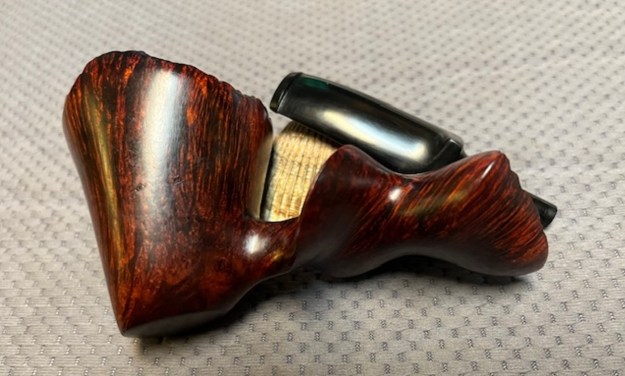
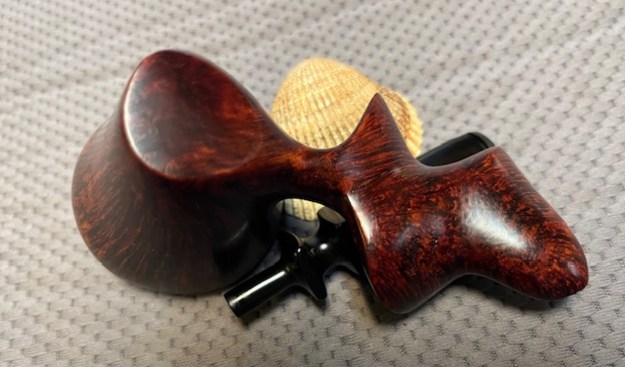
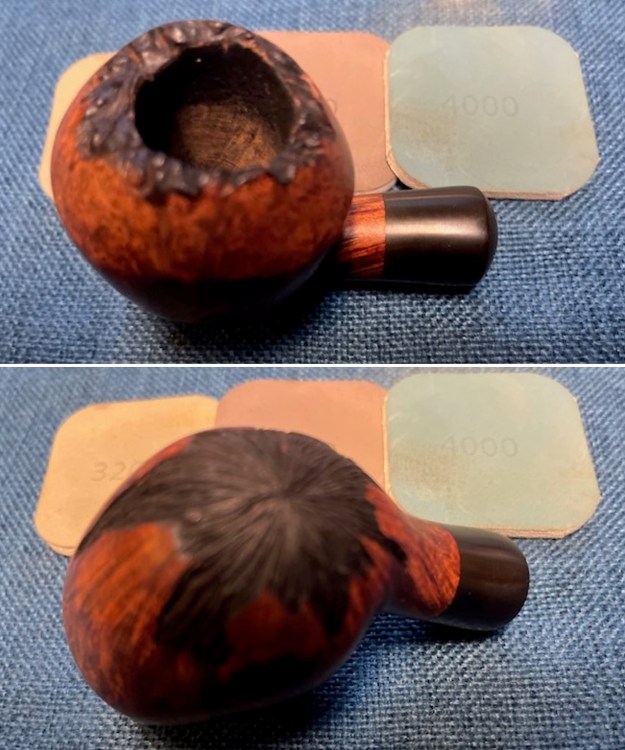
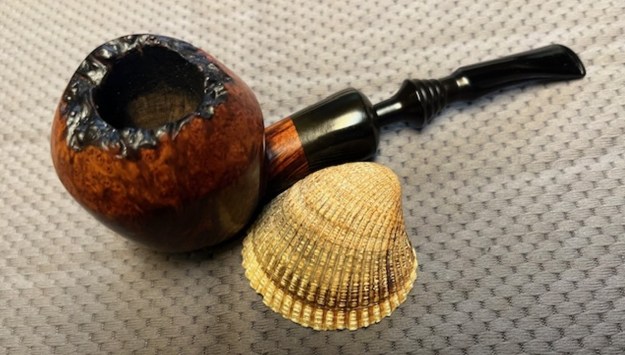
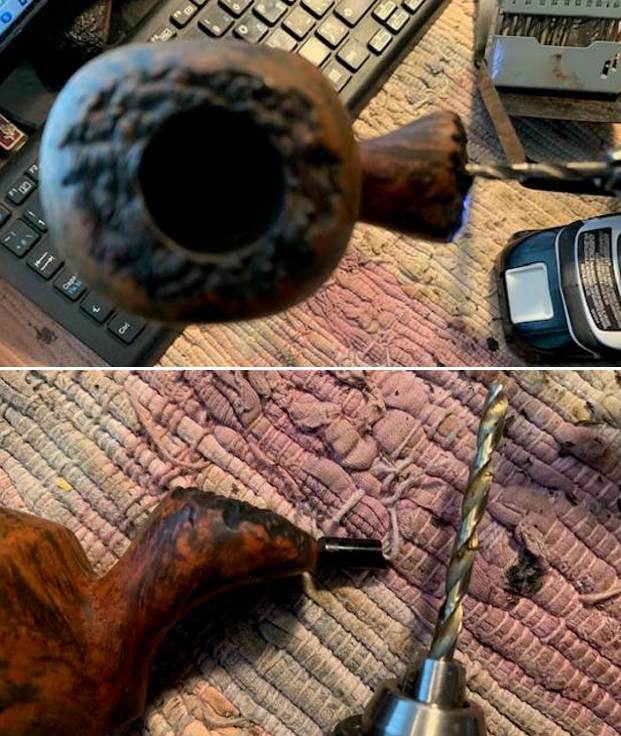
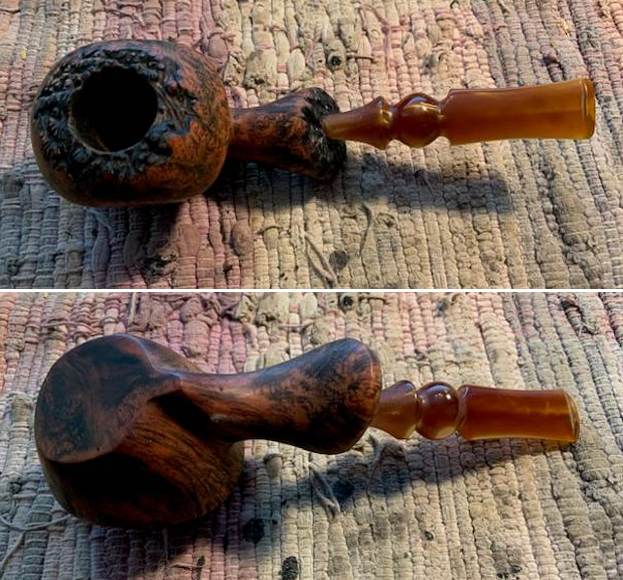
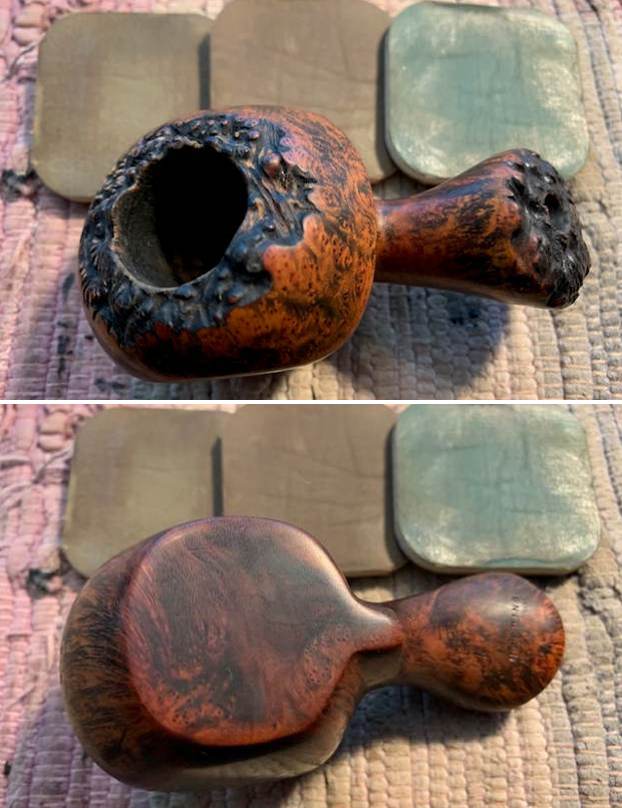
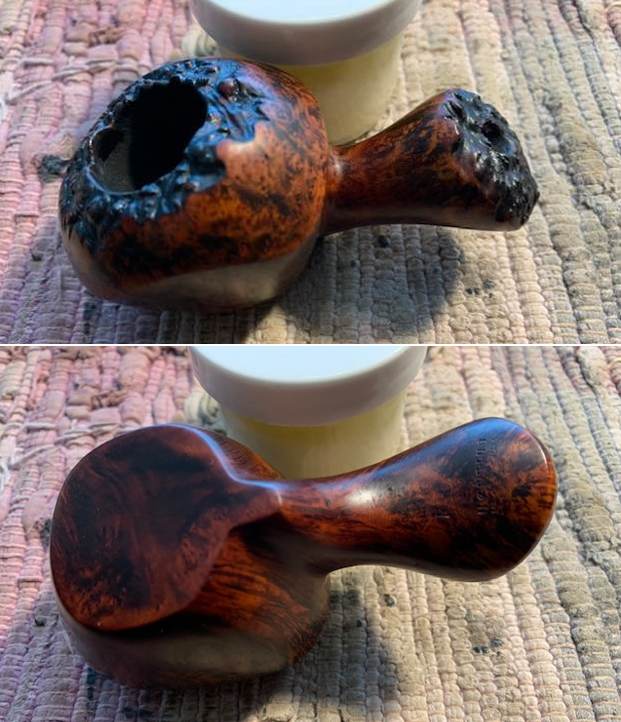
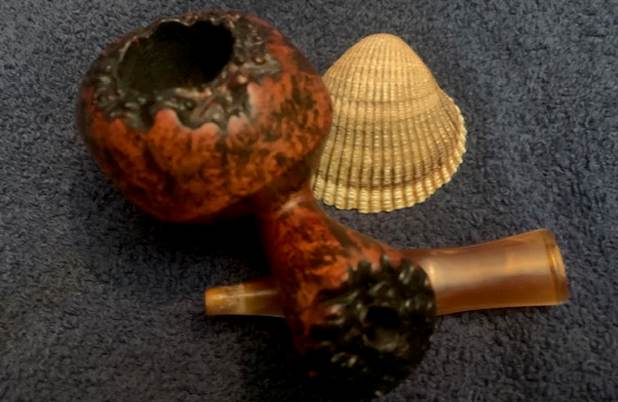
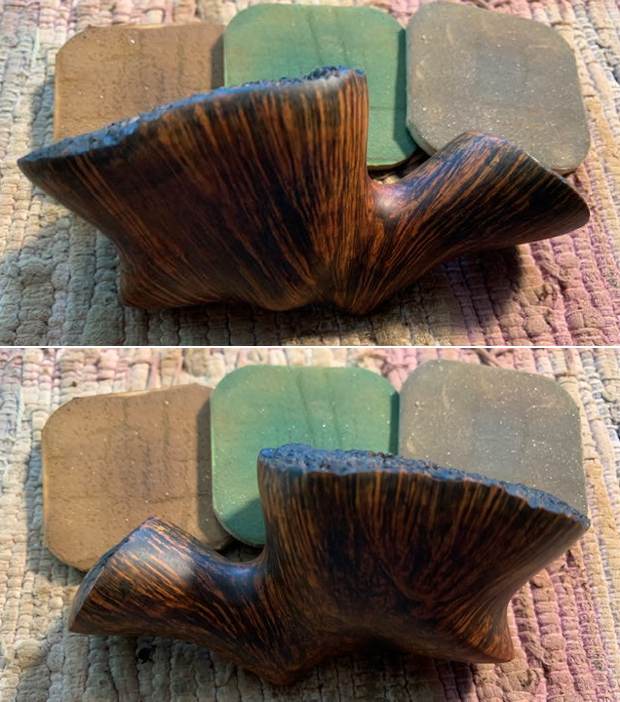
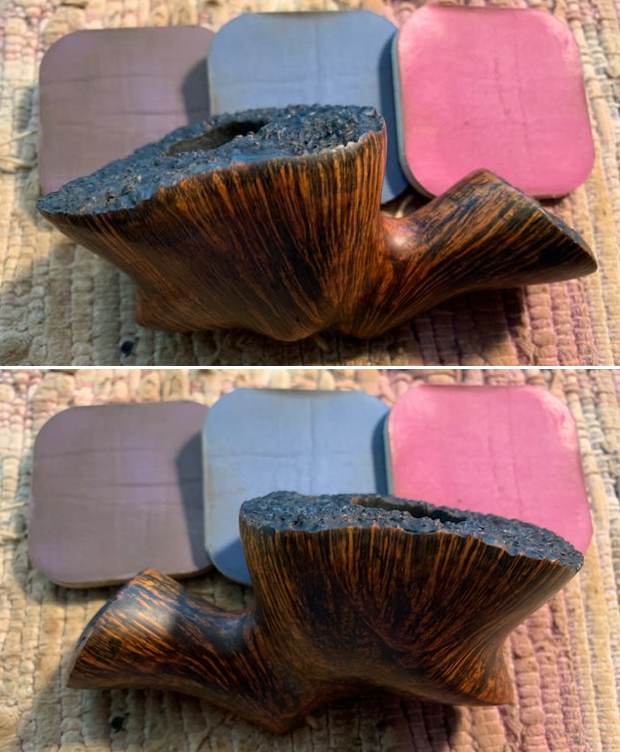
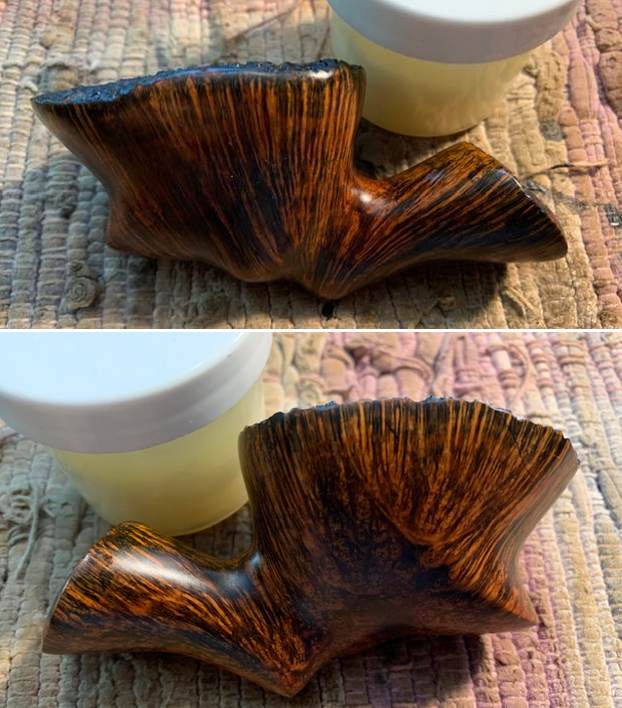
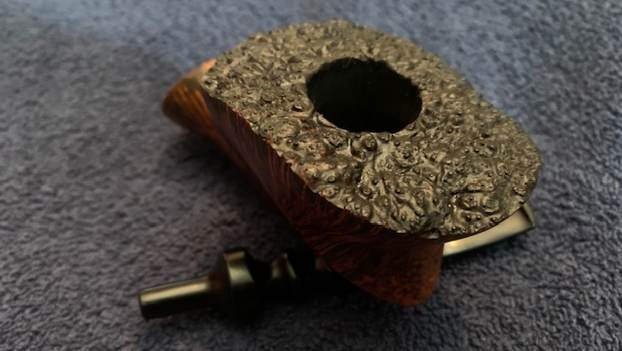
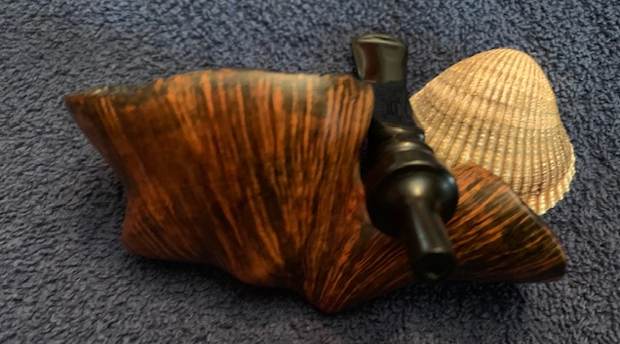
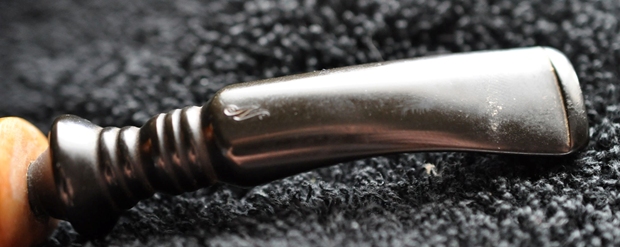
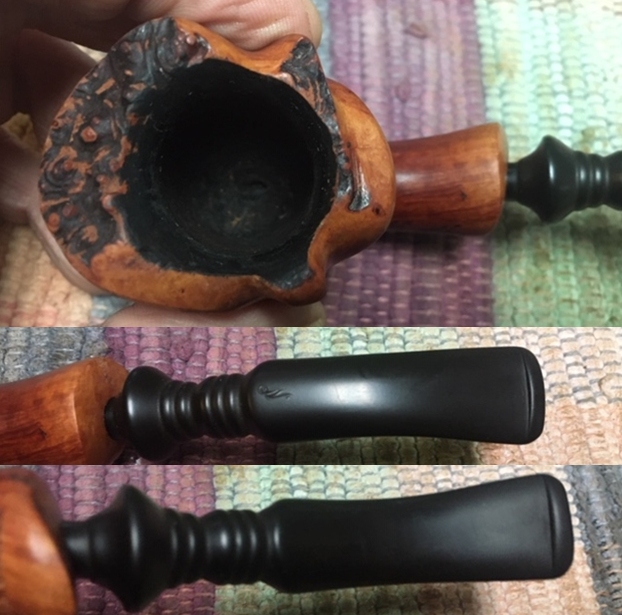
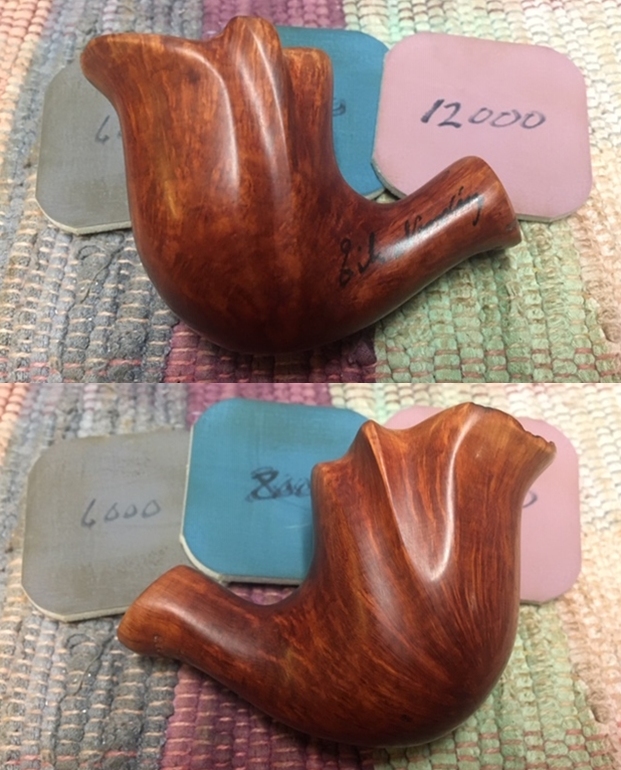
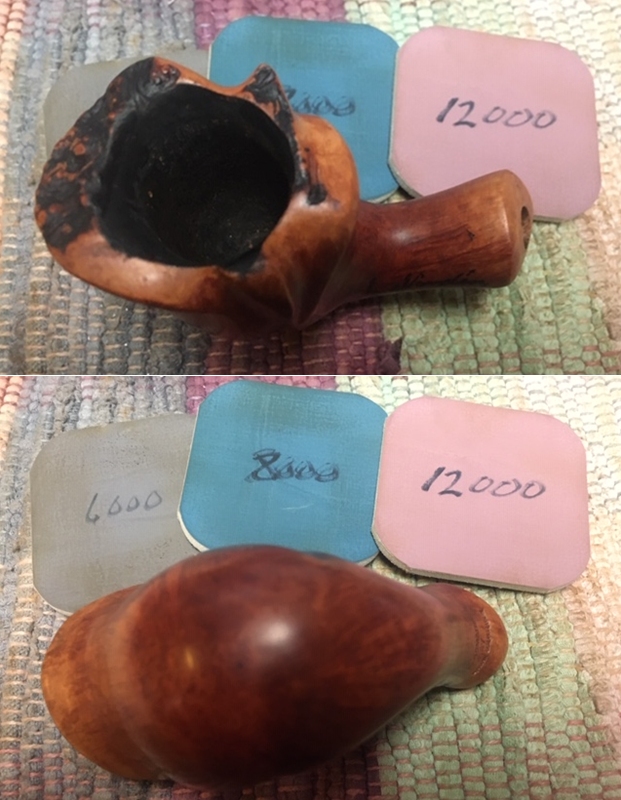
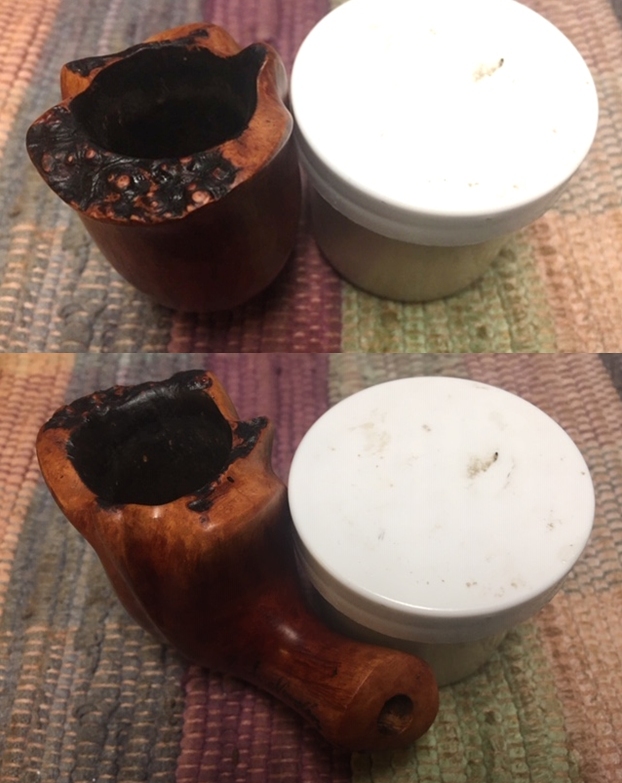
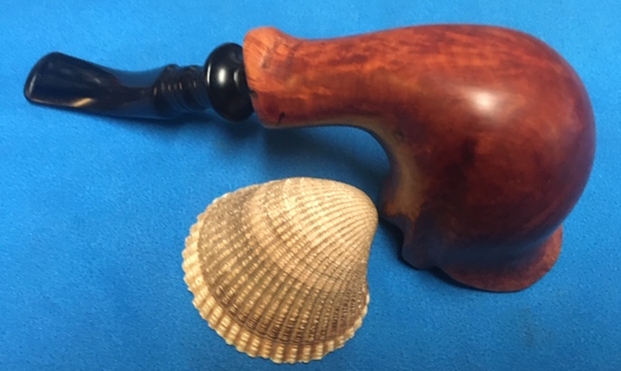
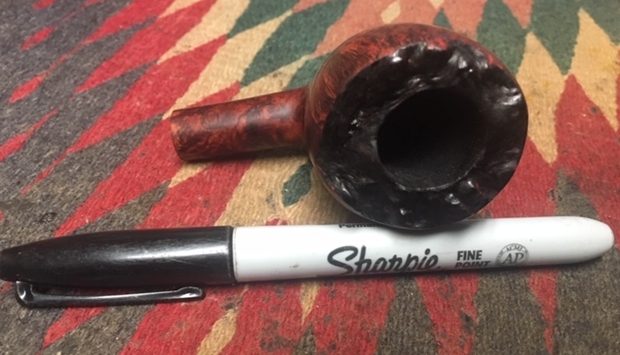
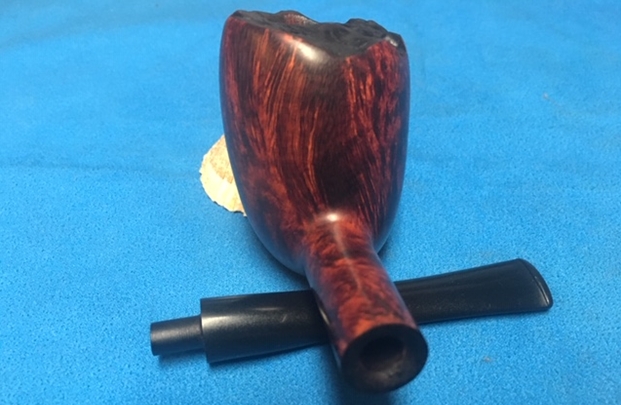
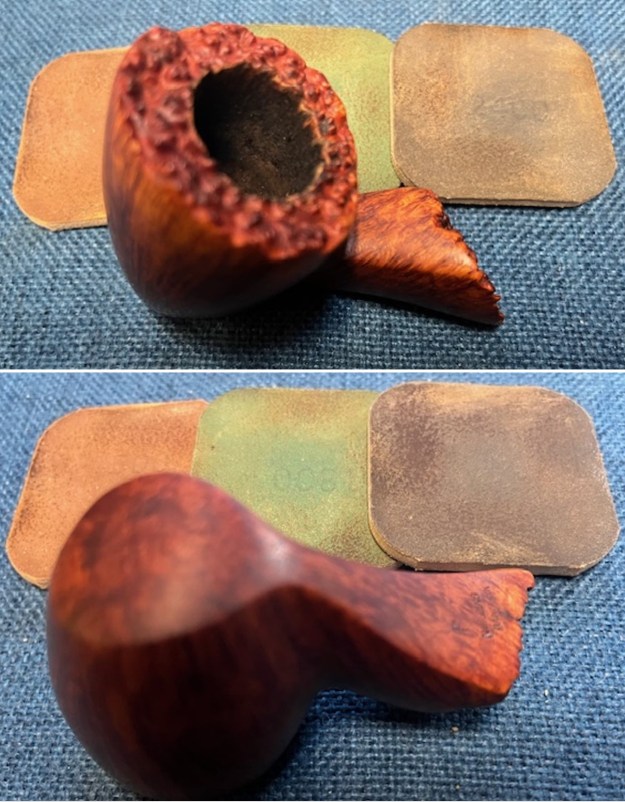
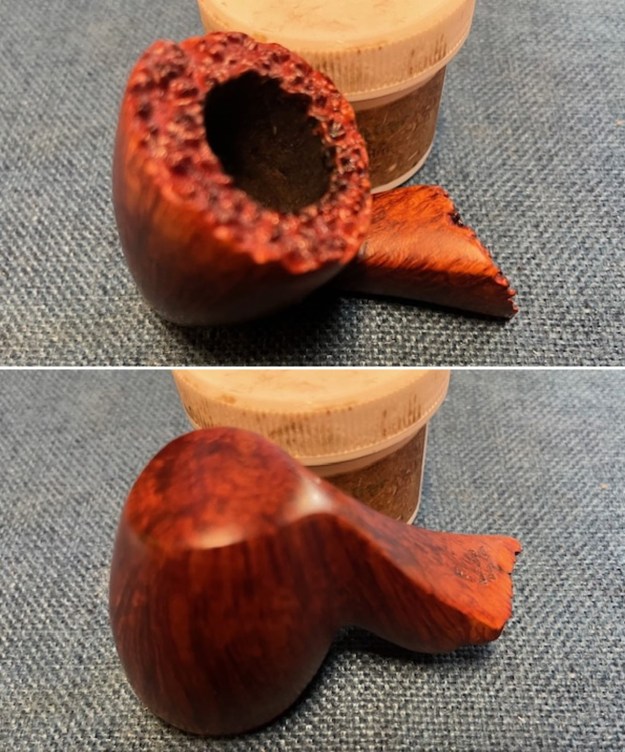
 I took photos of the rim top and the stem to show their condition once it arrived in Canada. Jeff was able to clean up the incredibly thick cake and lava overflow that was shown in the rim and bowl photos above. He was also able to get rid of the grime and grit in the surface of the briar. The inner edge of the bowl was in very good condition and was smooth to the touch. The rim top and edges looked very good. The stem looked very good and was much cleaner. There were light tooth marks and chatter on both sides near the button.
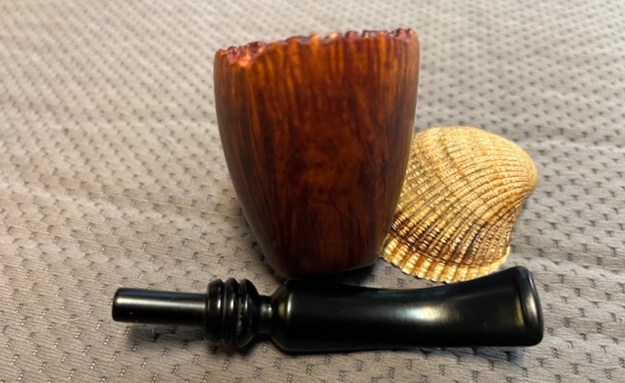
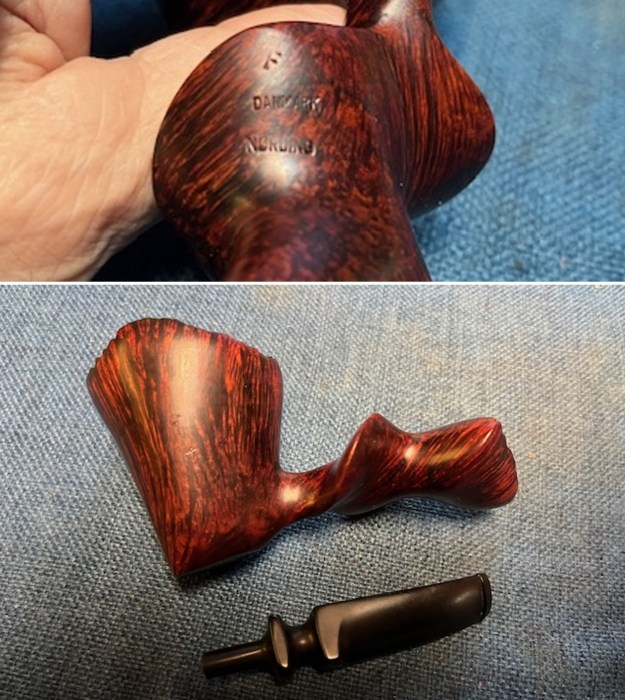
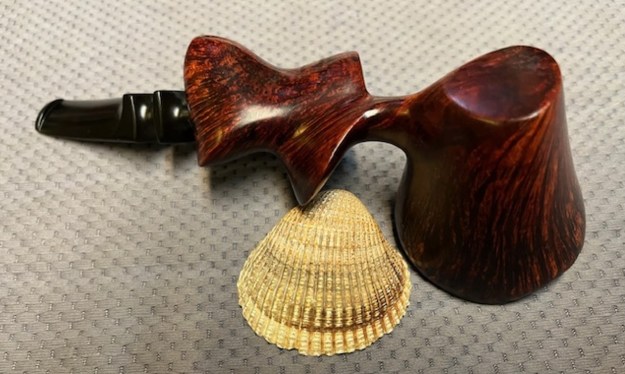
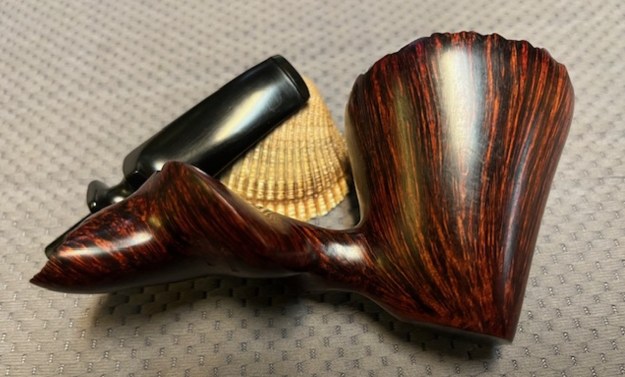
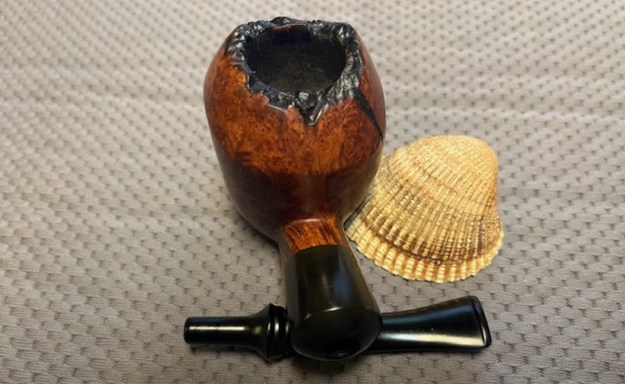
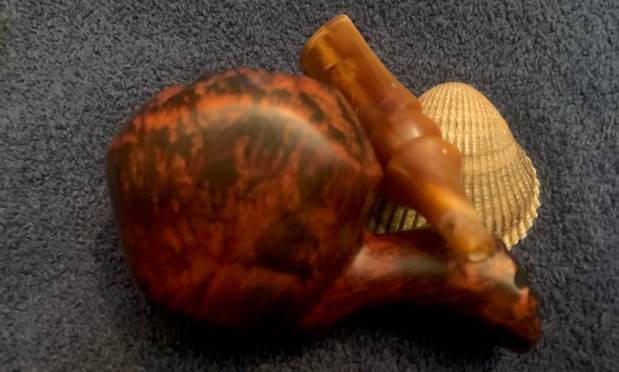
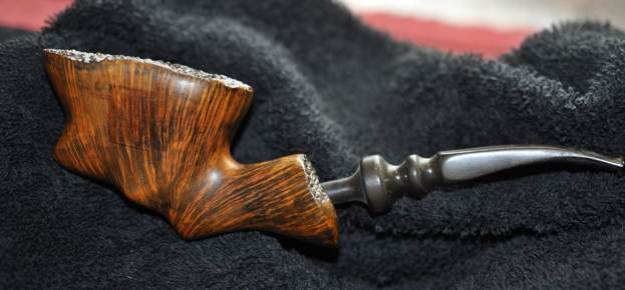
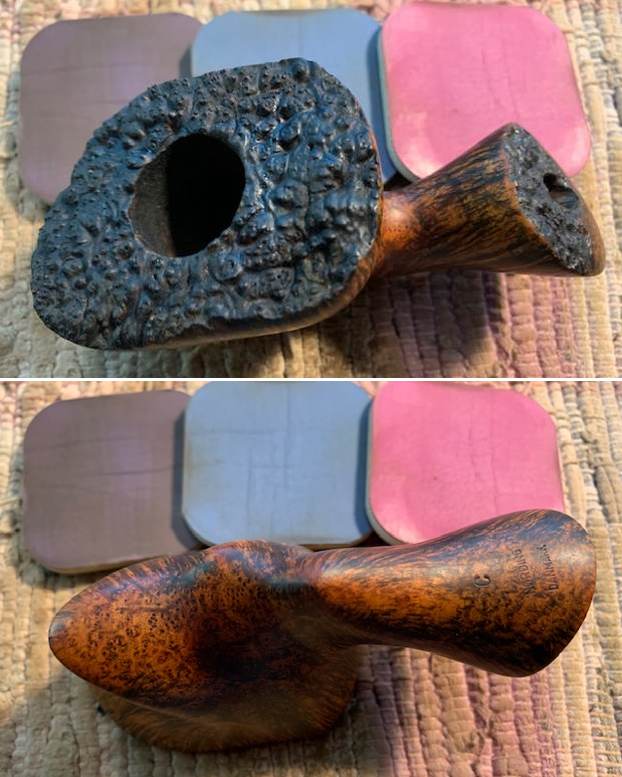
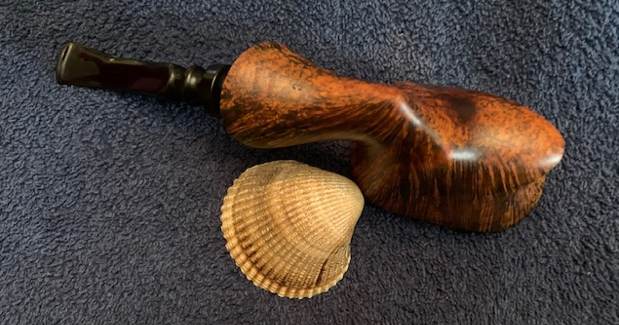
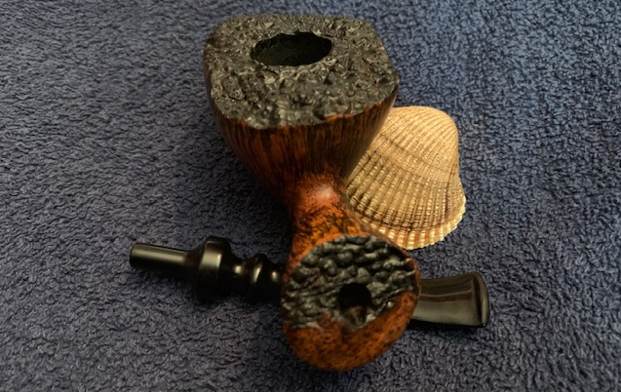
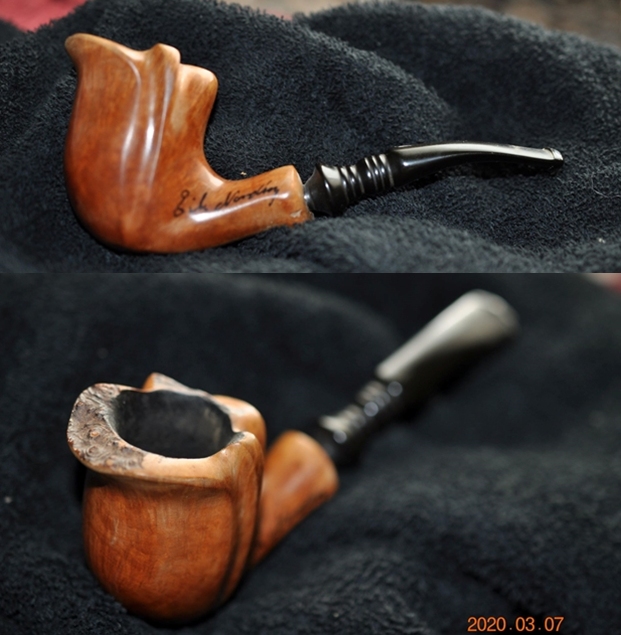
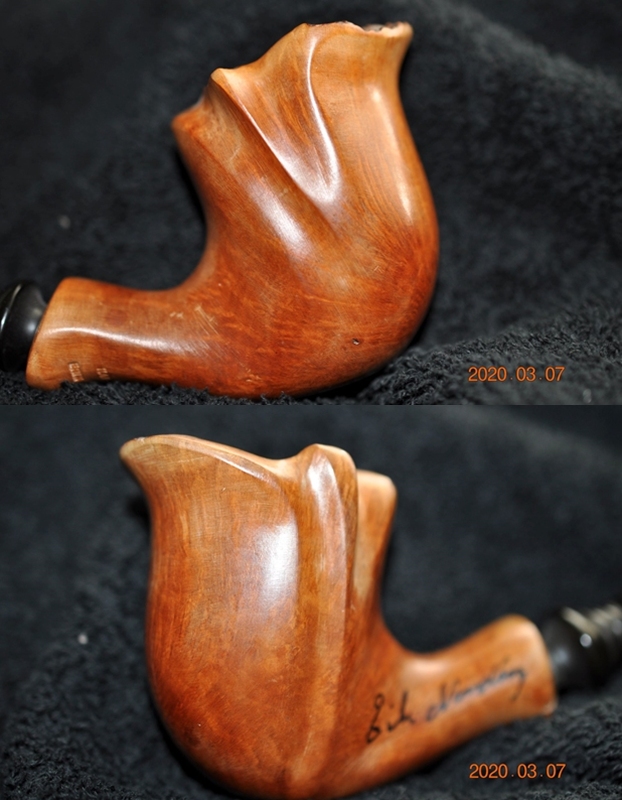
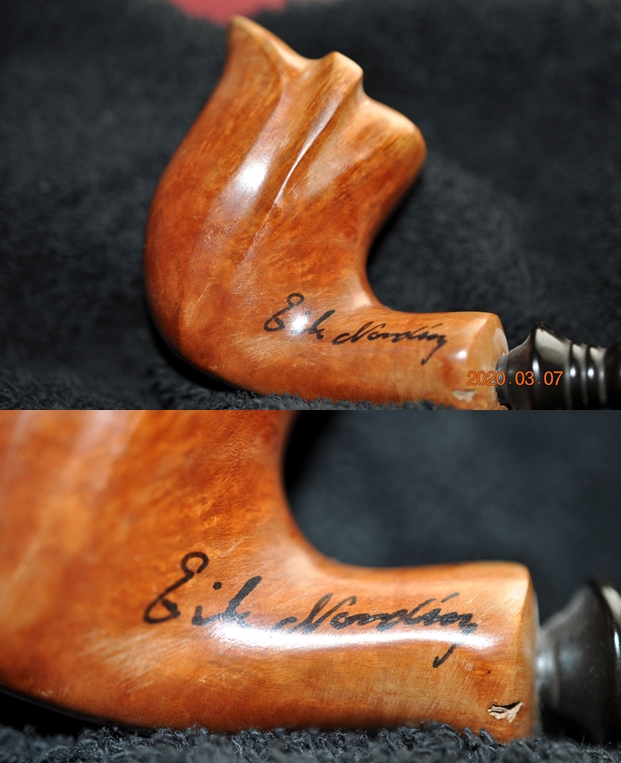
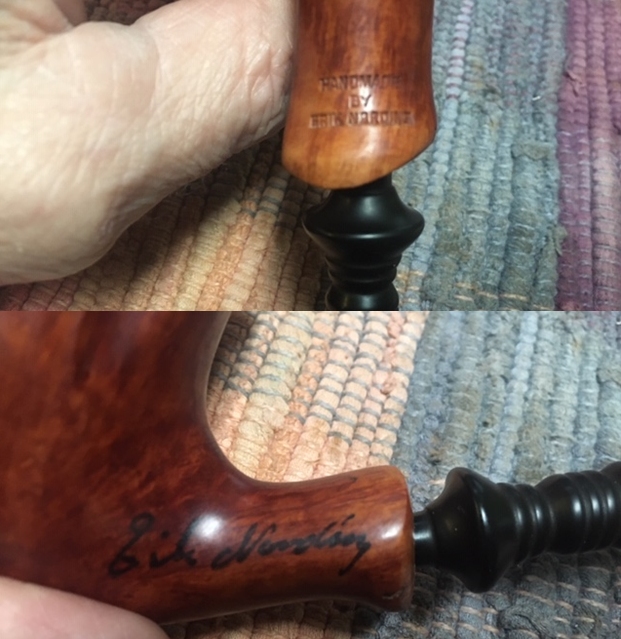
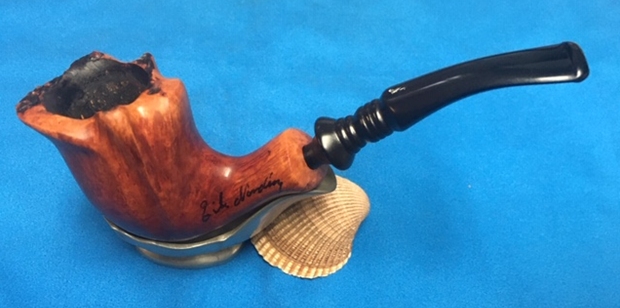
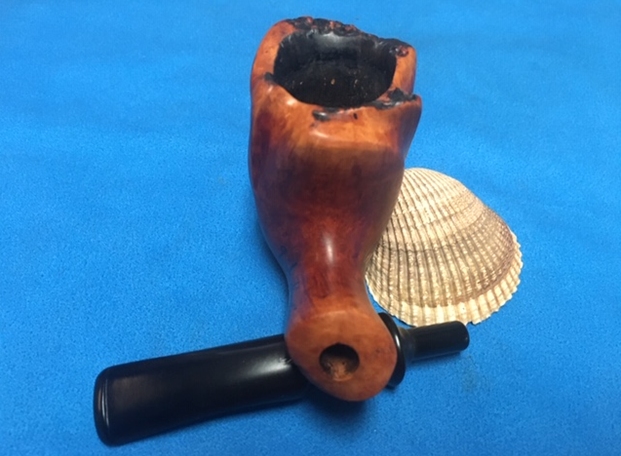
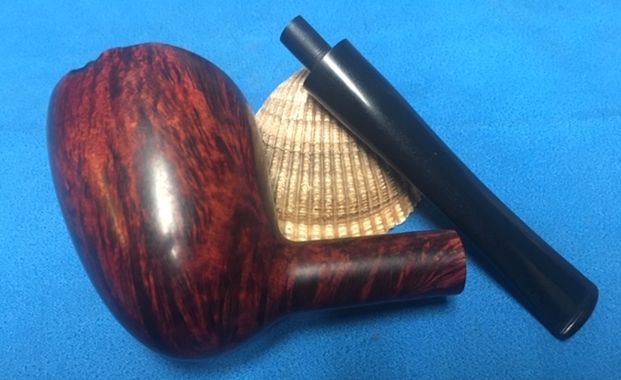
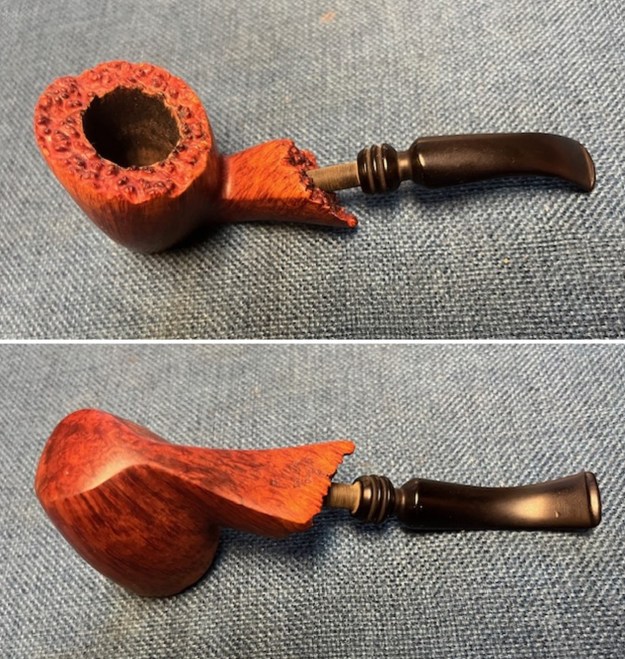
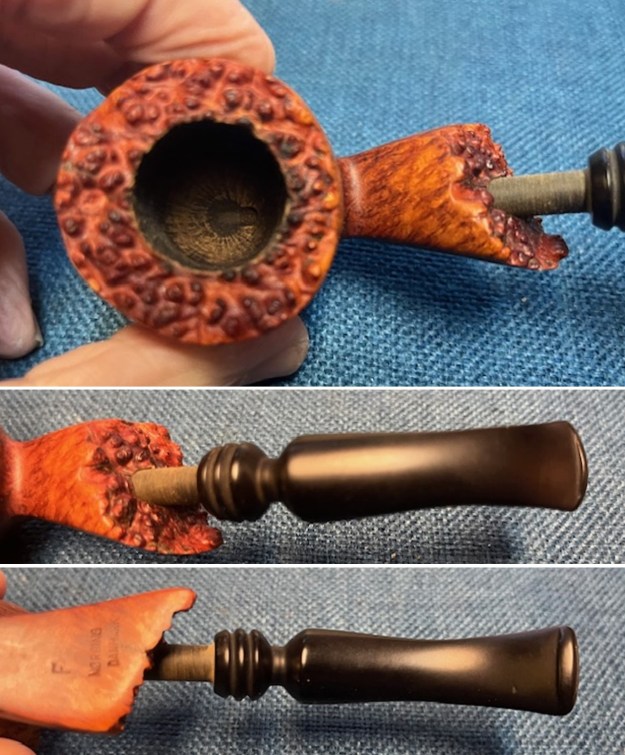 I took a photo to try and capture the stamping on the shank side. It was faint but readable. I also removed the stem and took a photo of the pipe sans stem to show the proportions of this unique beauty. There also appears to be a small flaw/crack just below the NM of Danmark. I will need to check that out.
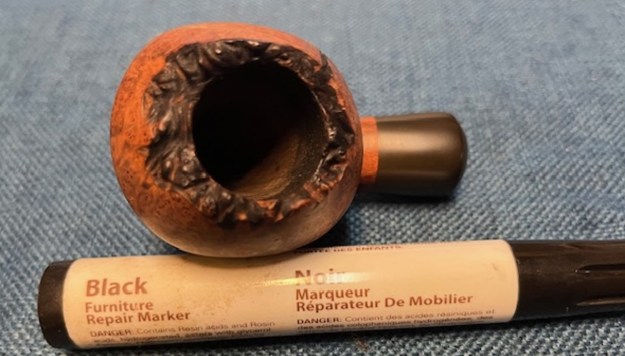
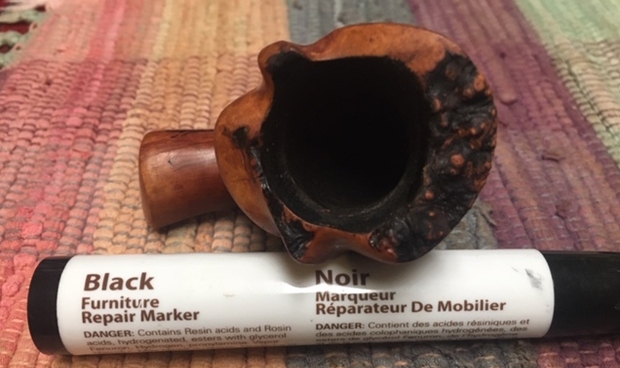
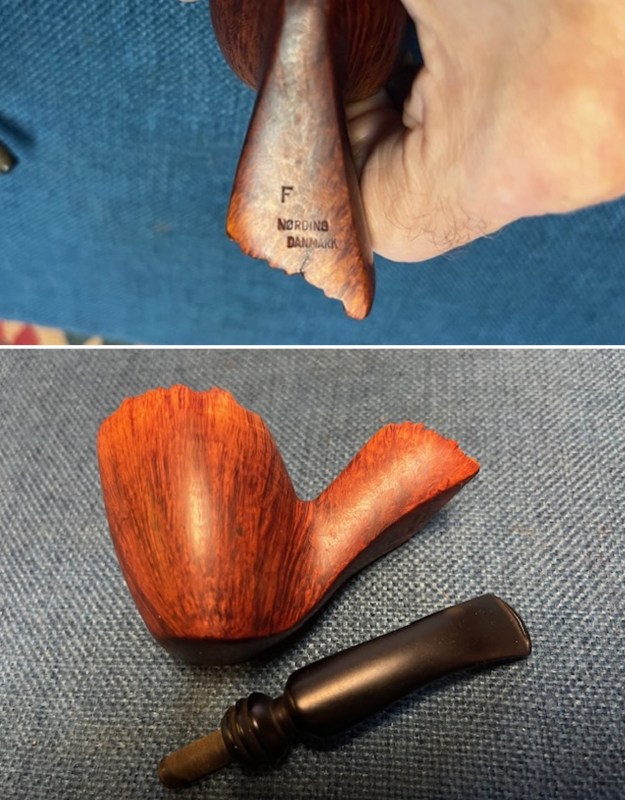 I decided to start with examining the pipe for any issues in the briar. I found a small flaw in the shank come from the plateau end up to the N and M in Danmark. I filled it in with CA glue carefully applied with a tooth pick I sanded it smooth with 220 grit sandpaper and then with 1500-2400 grit micromesh. I restained the area with a Cherry stain pen to match the surrounding area. It looked much better.
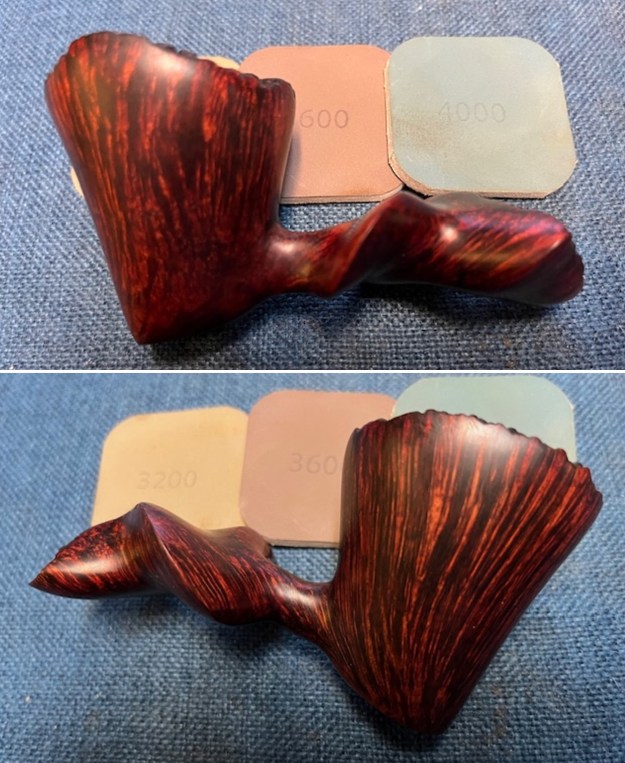
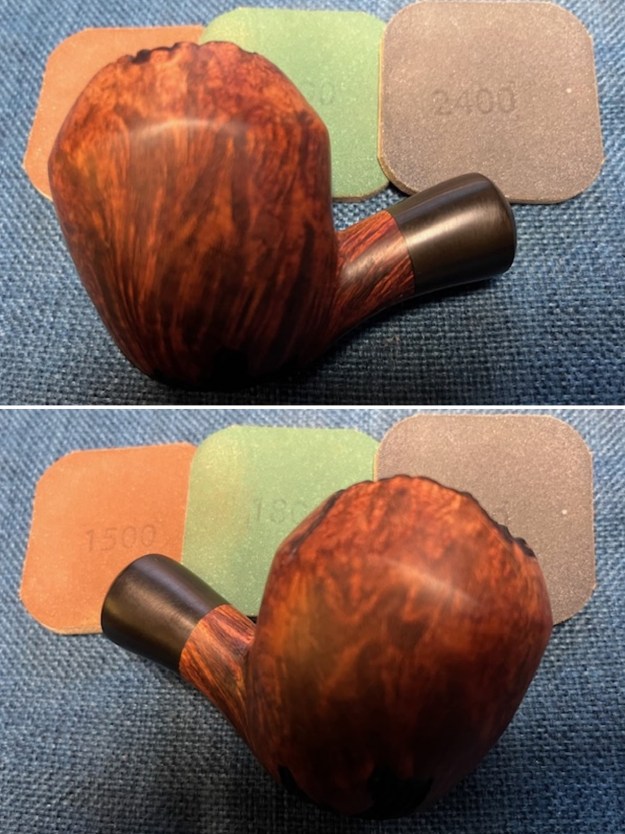
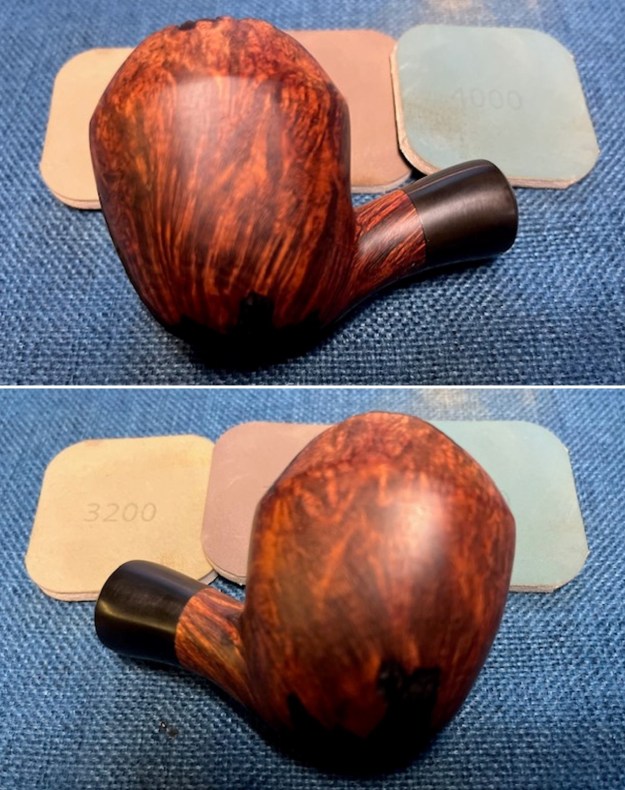
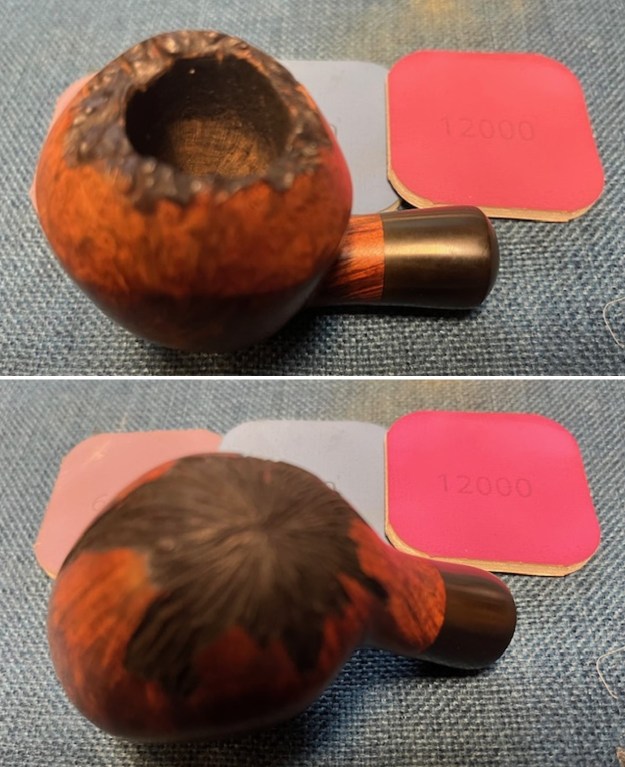
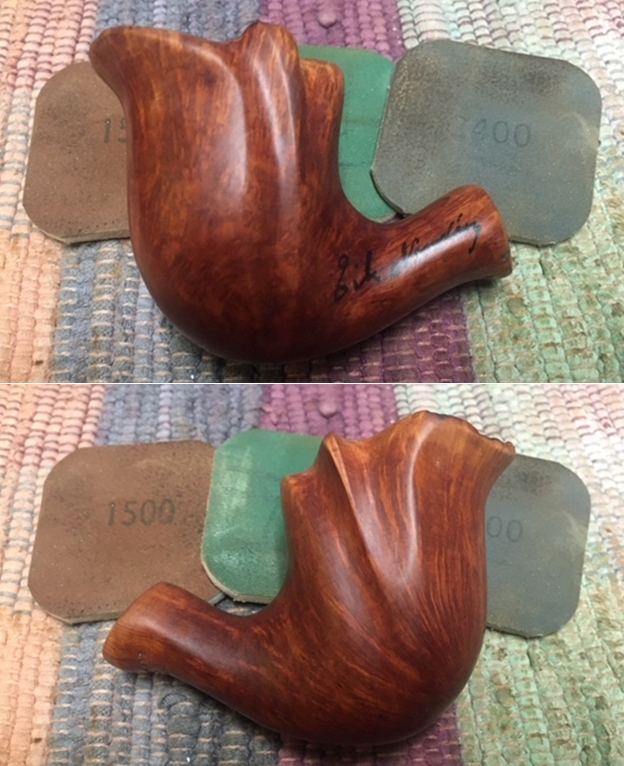
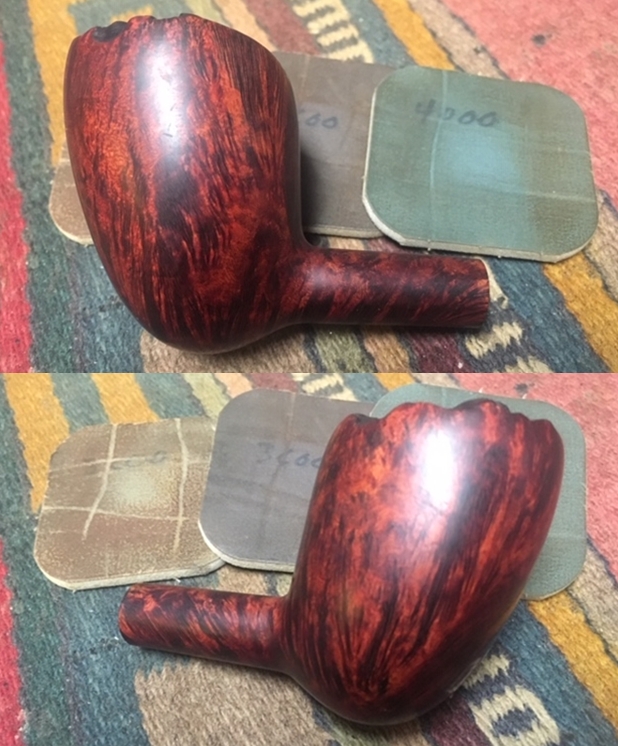
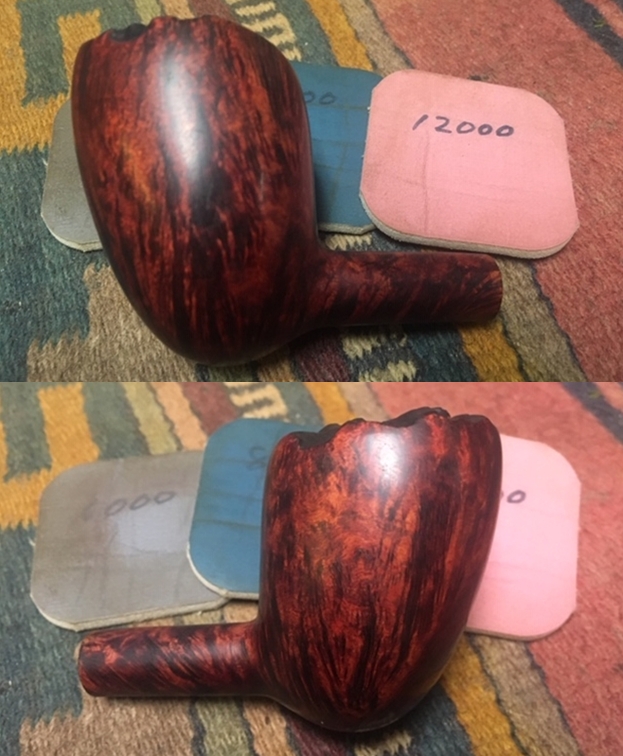
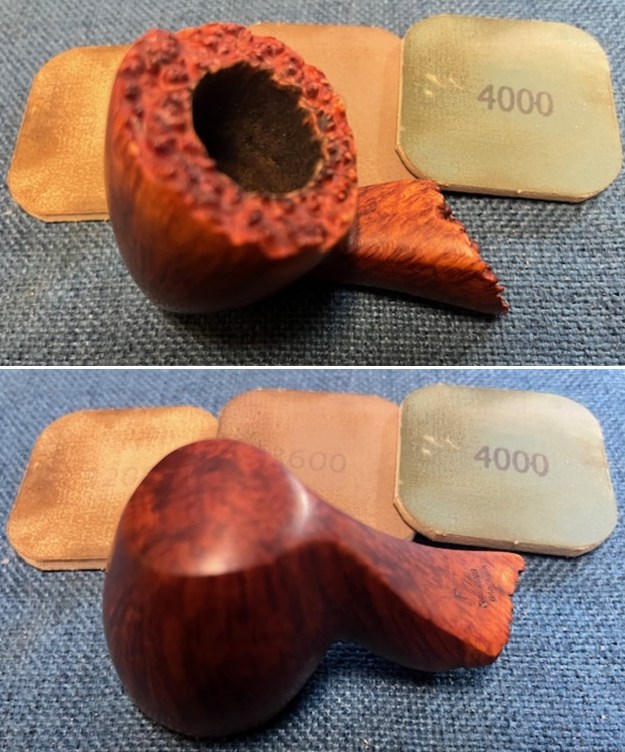
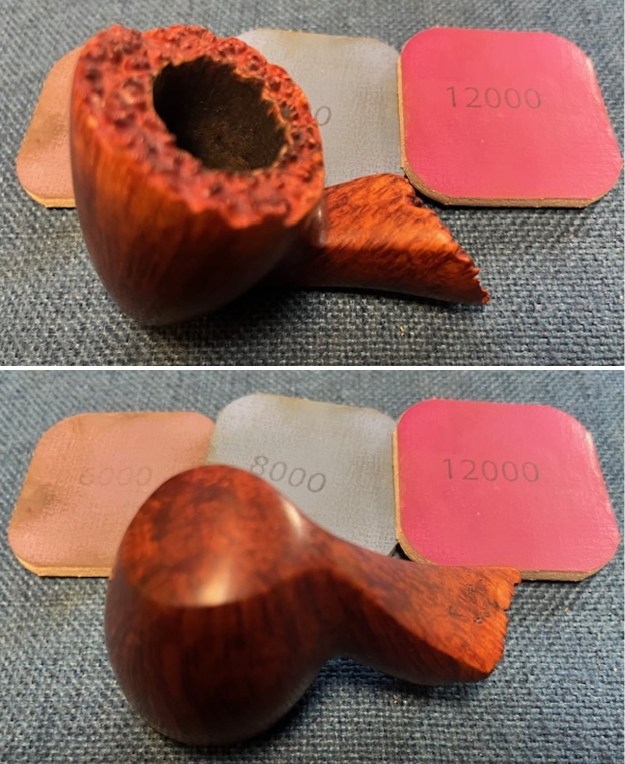
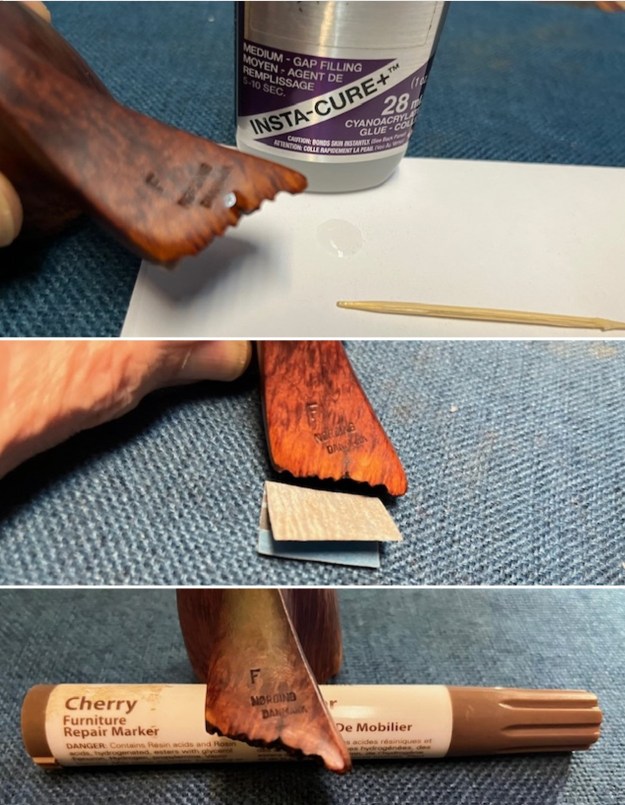 I polished the briar with micromesh sanding pads. I dry sanded it with 1500-12000 grit pads. I wiped the bowl down after each pad with a damp cloth. The bowl began to take on a rich shine and grain was beginning to stand out.
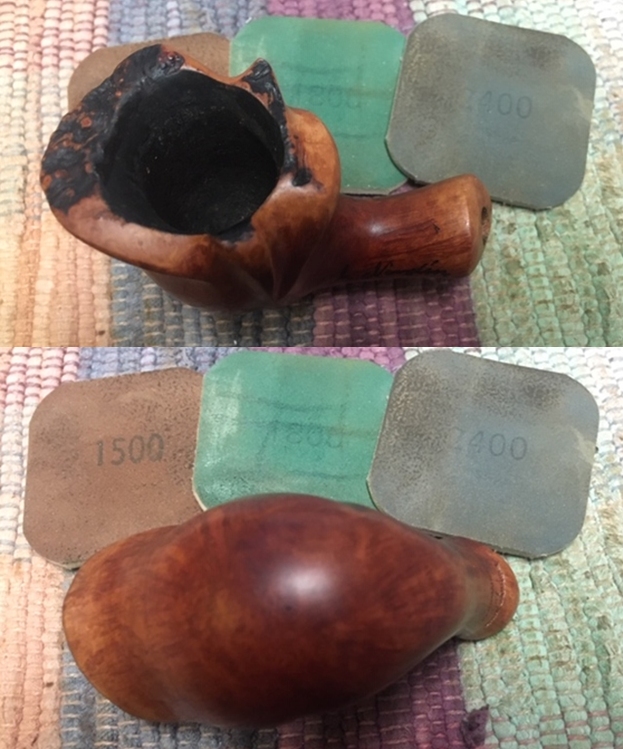
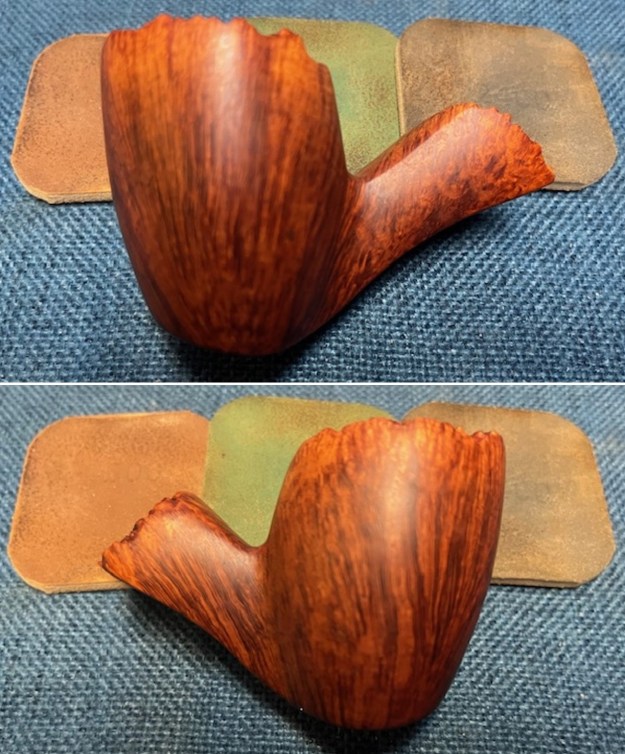
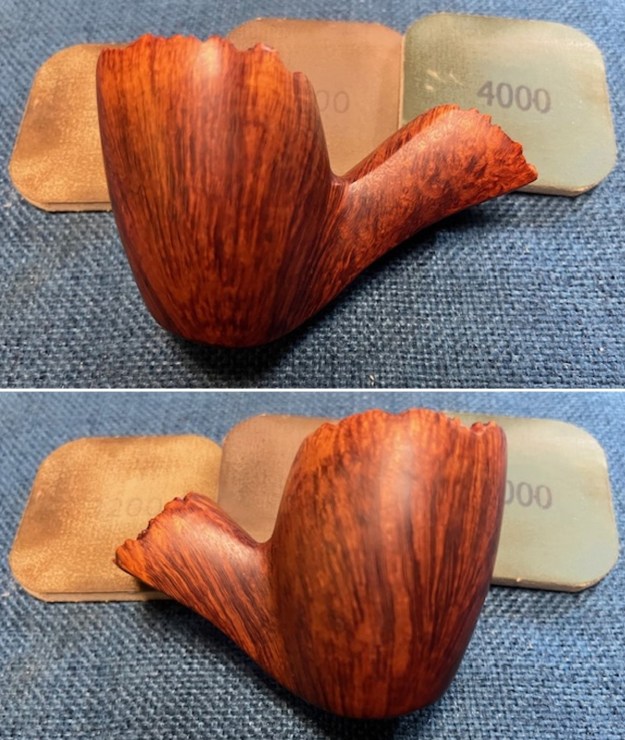
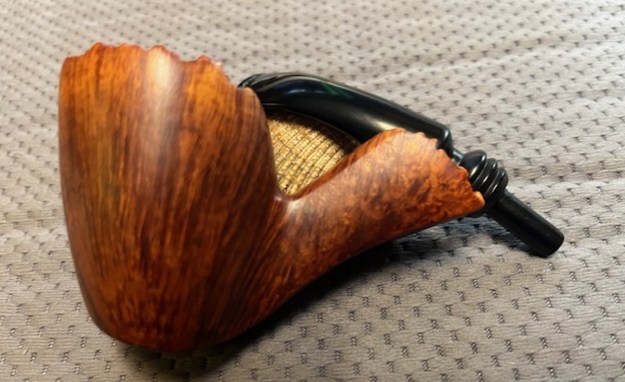
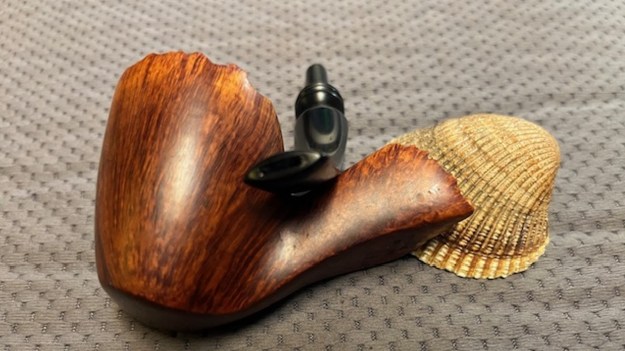
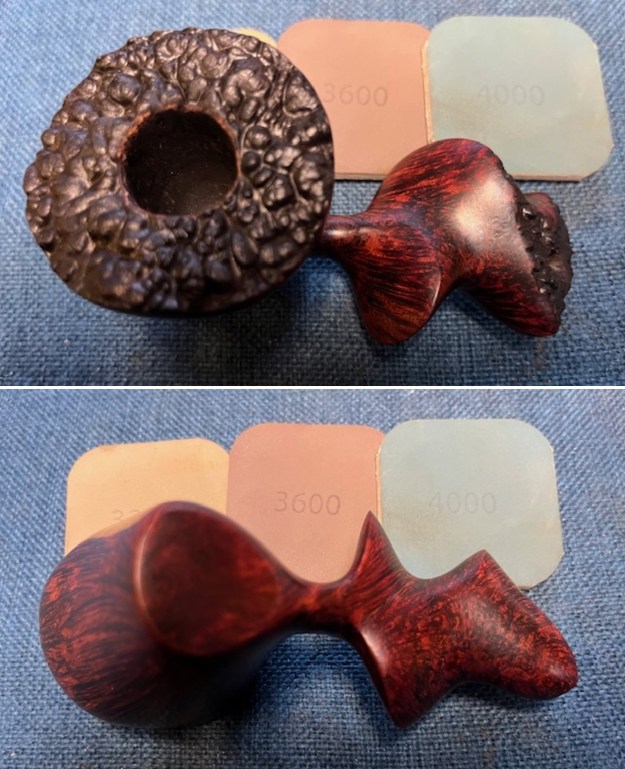
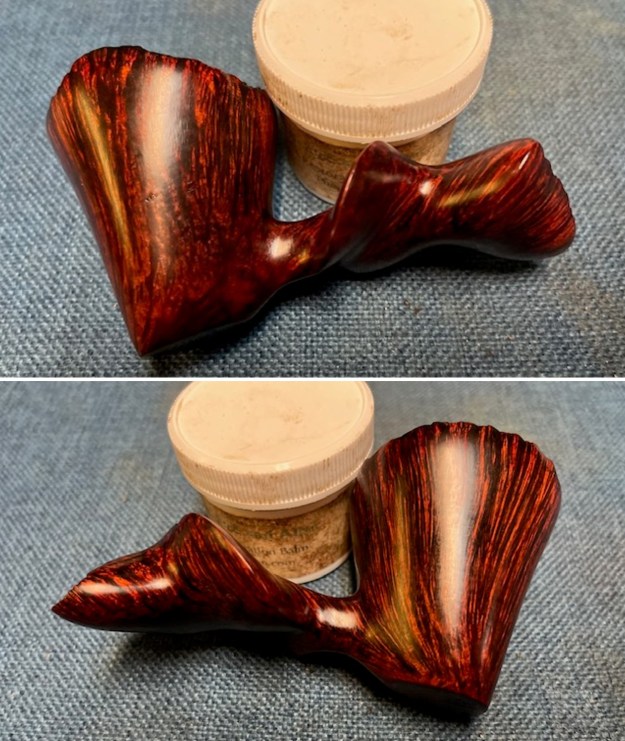
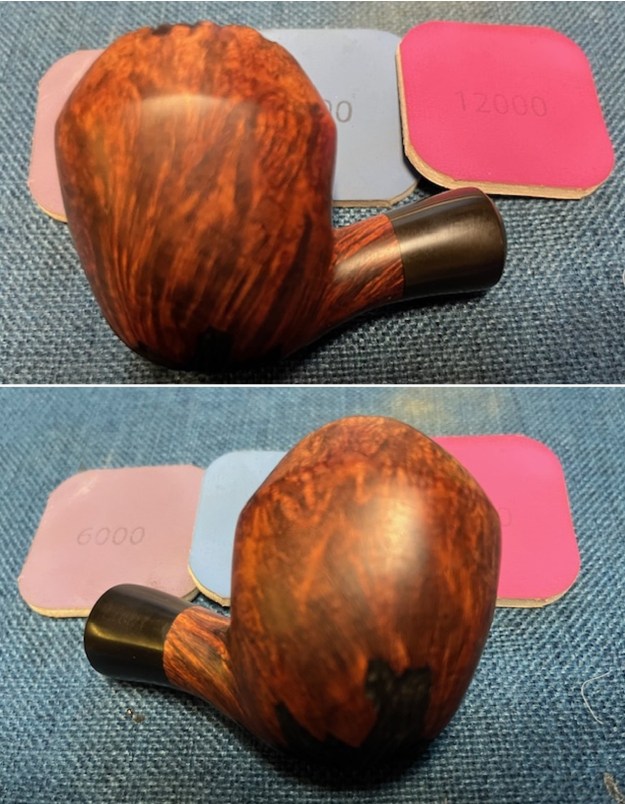
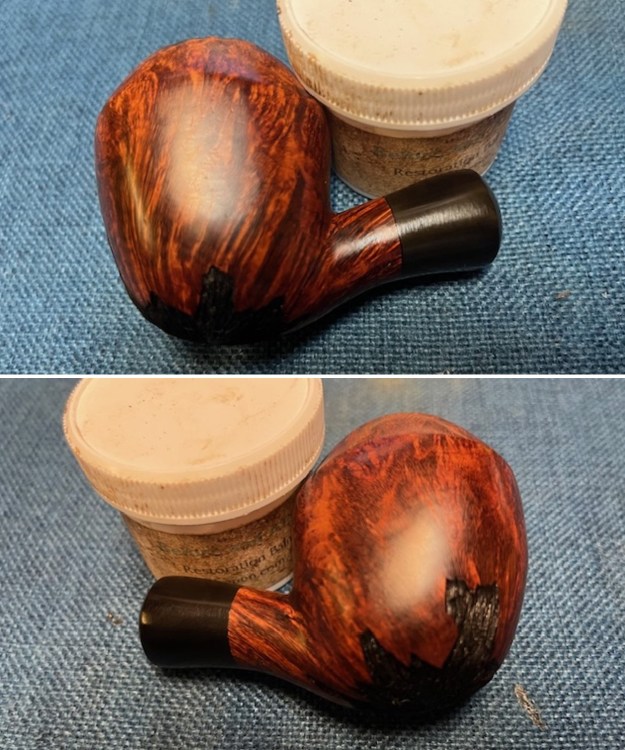
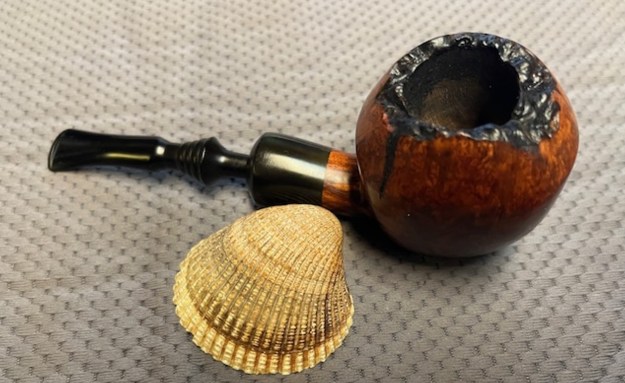
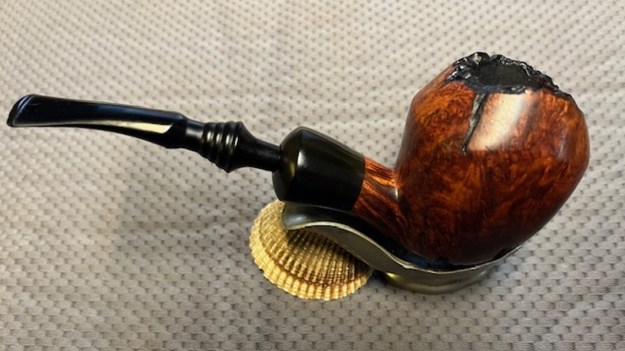
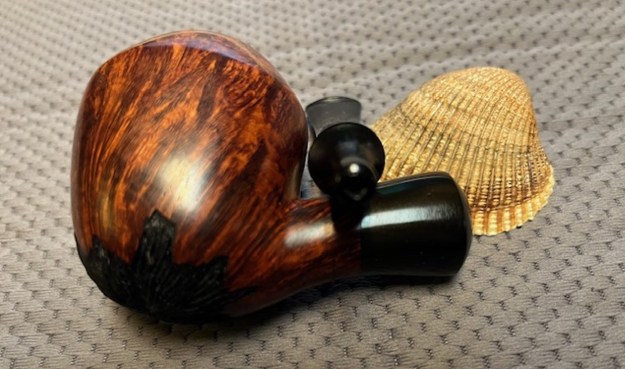
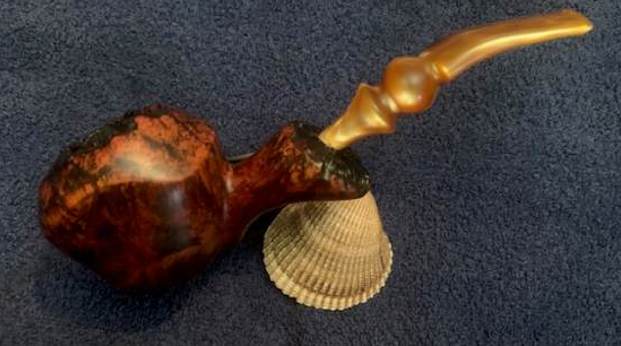
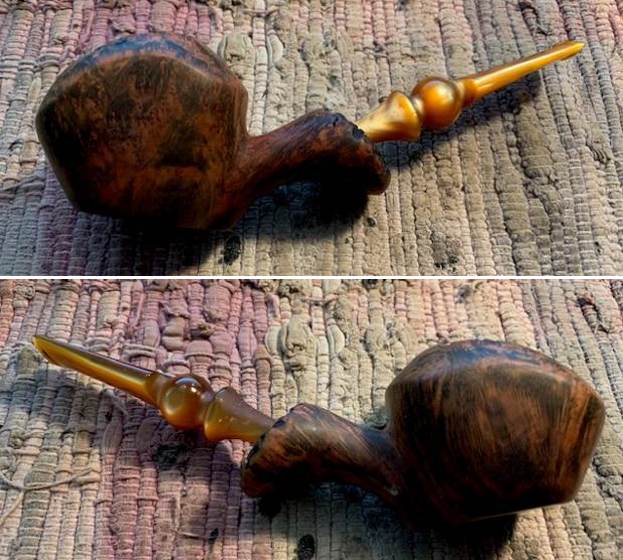
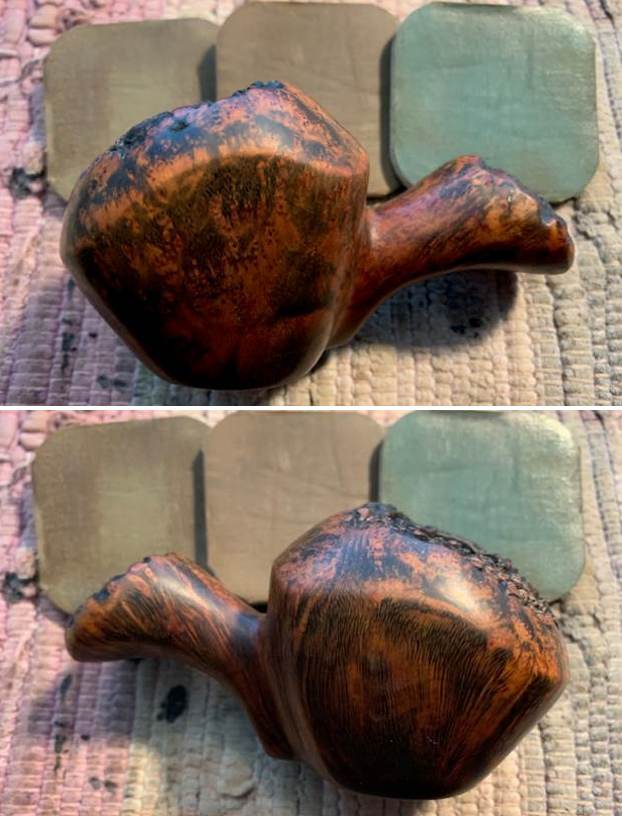
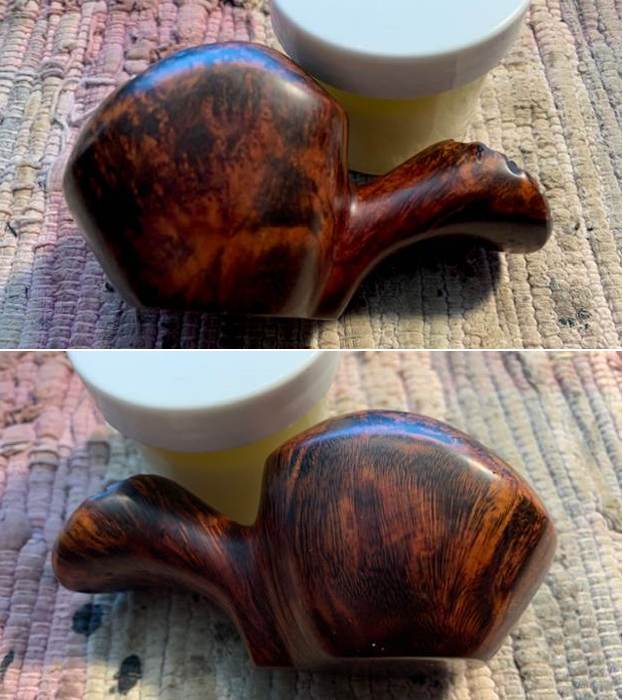
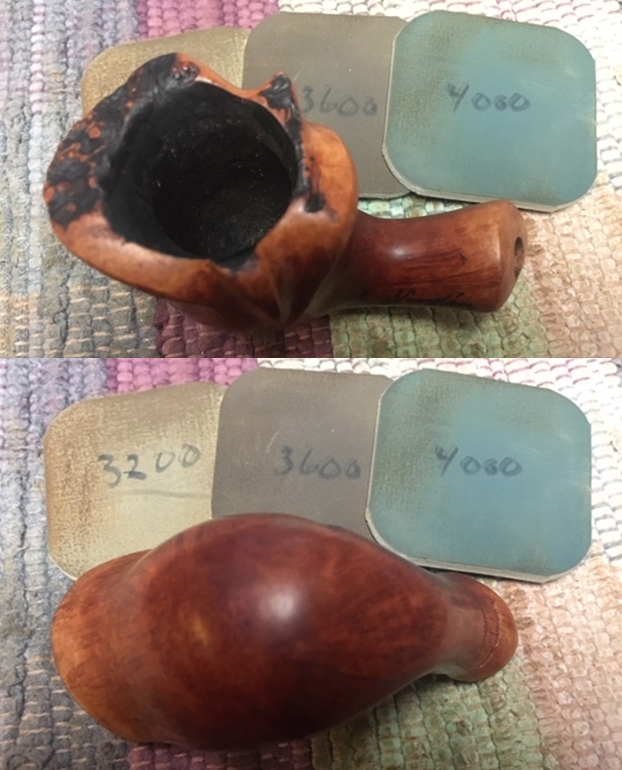
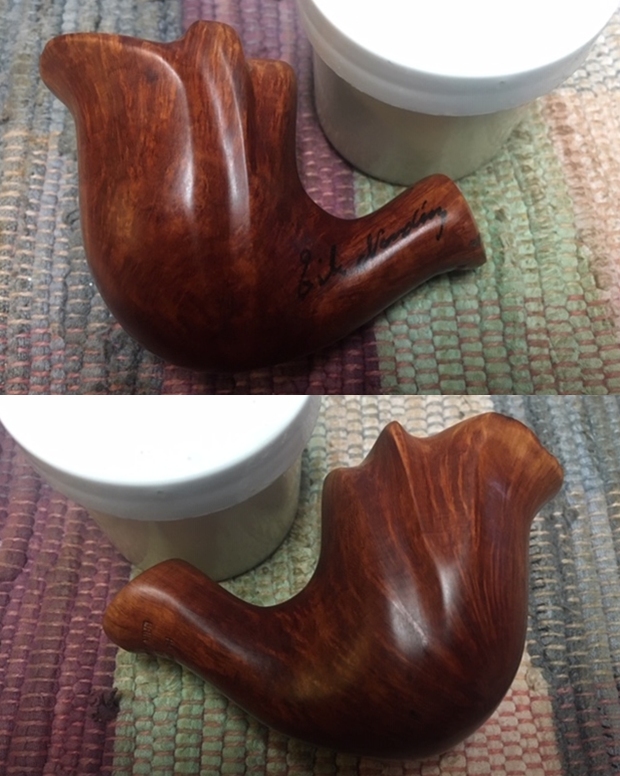
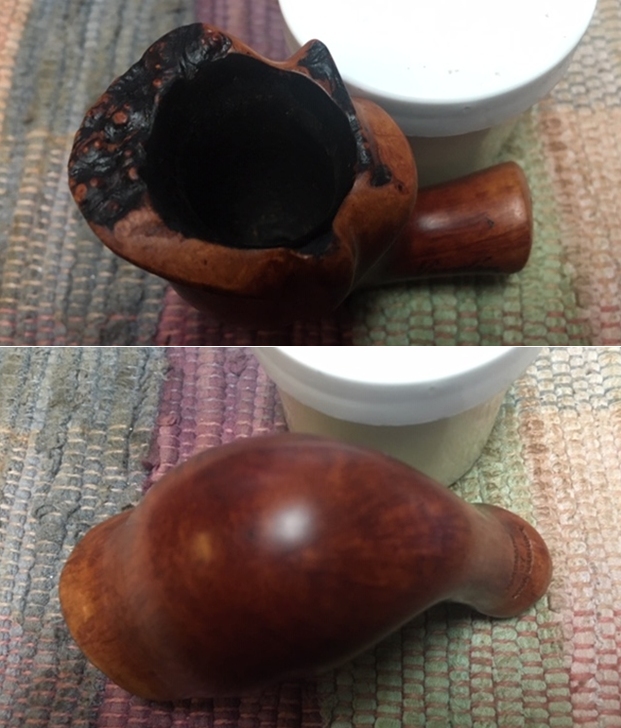
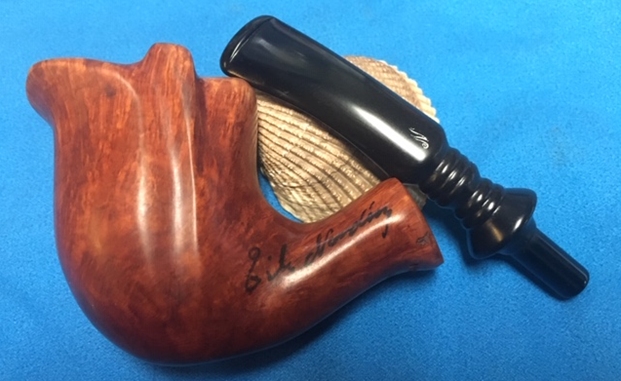
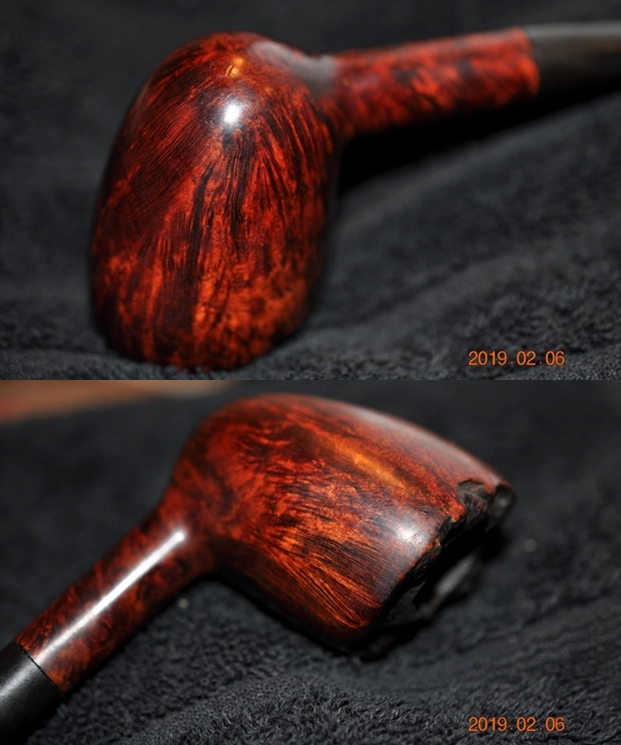
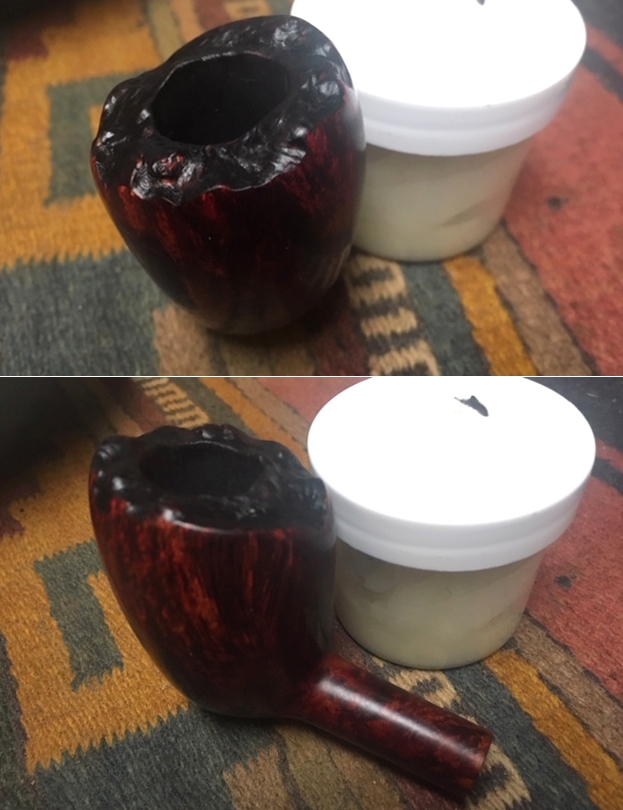
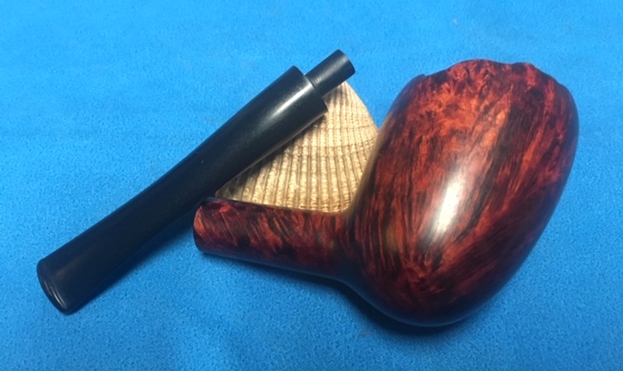
 I rubbed the bowl and shank down with Before & After Restoration Balm to deep clean the finish on the bowl and shank. The product works to clean, enliven and protect the briar. I worked it in with my fingers to get it into the briar. I used a horsehair shoe brush to work it into the plateau top. After it sat for a little while I wiped it off and buffed it with a soft cloth. The briar really began to have a rich shine. I took some photos of the bowl at this point to mark the progress in the restoration.
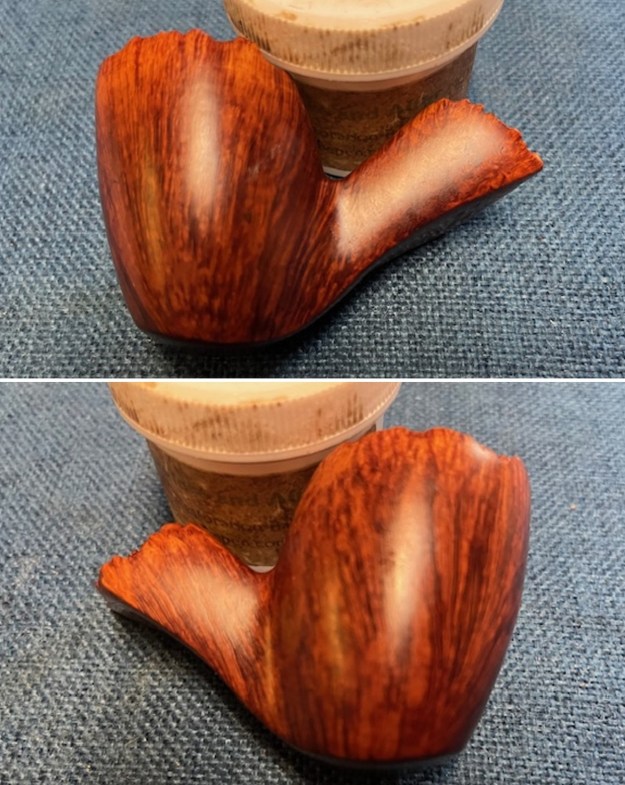
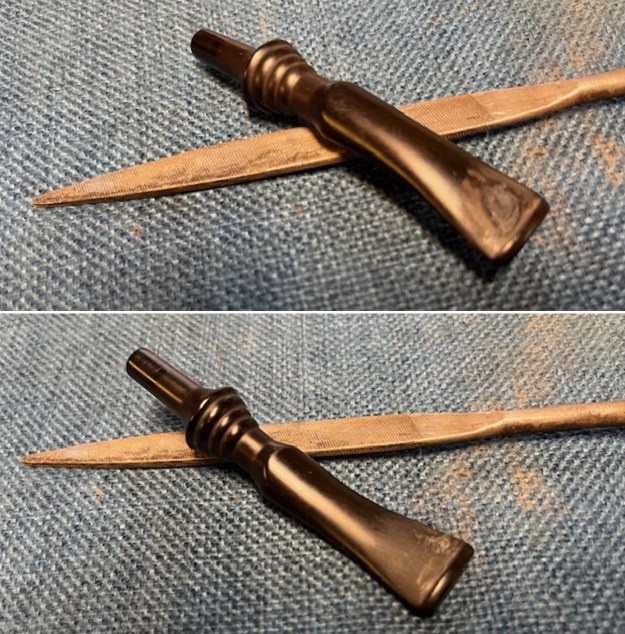
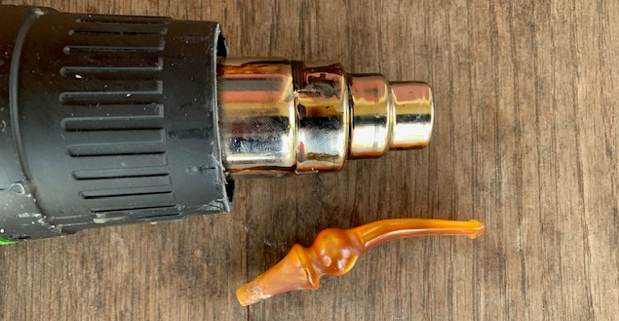
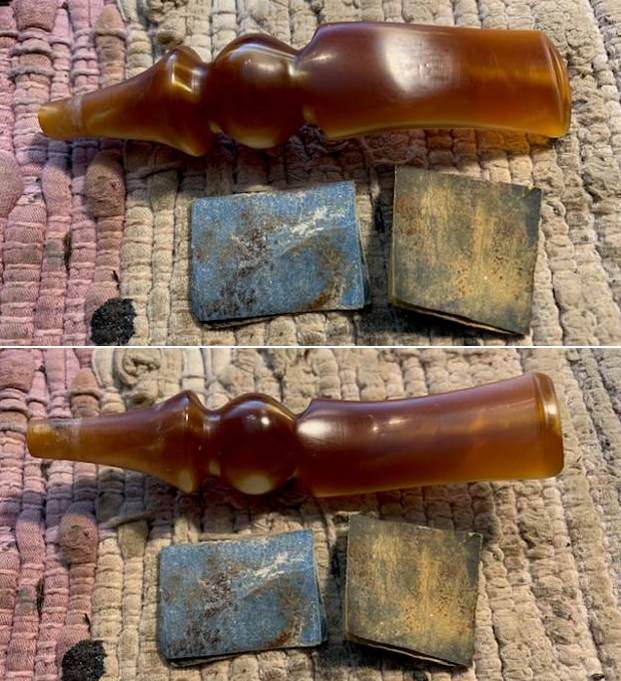
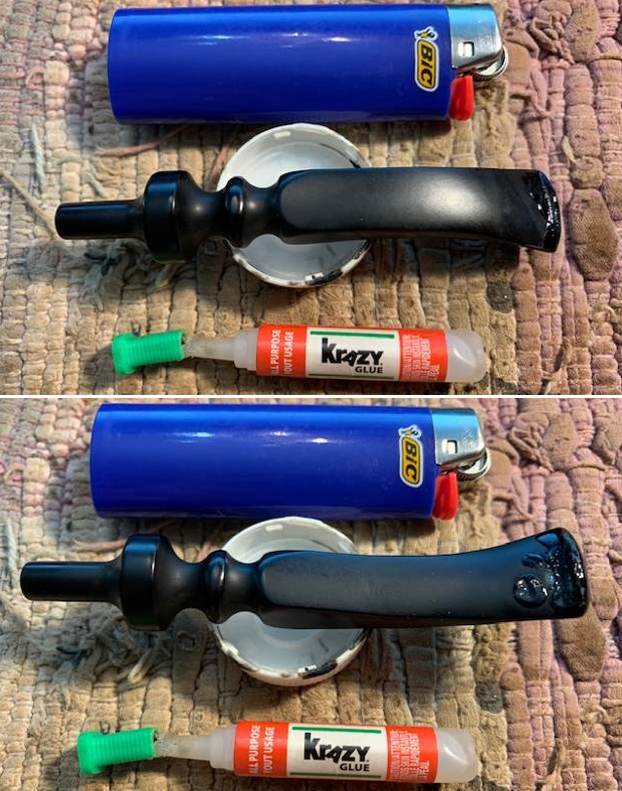
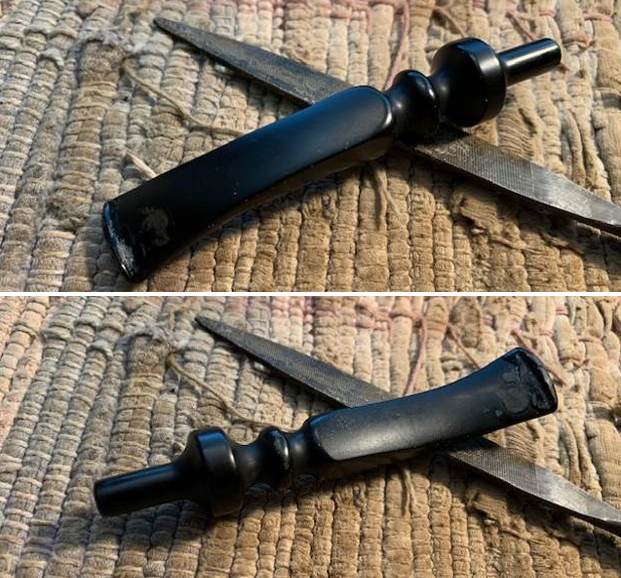
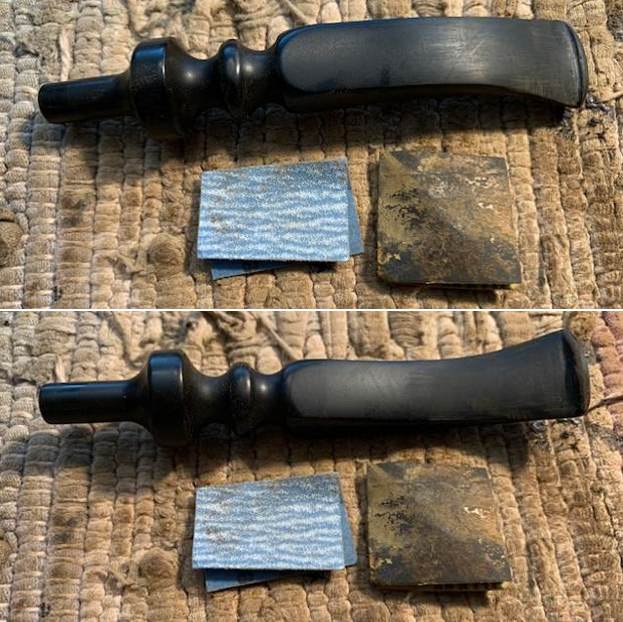
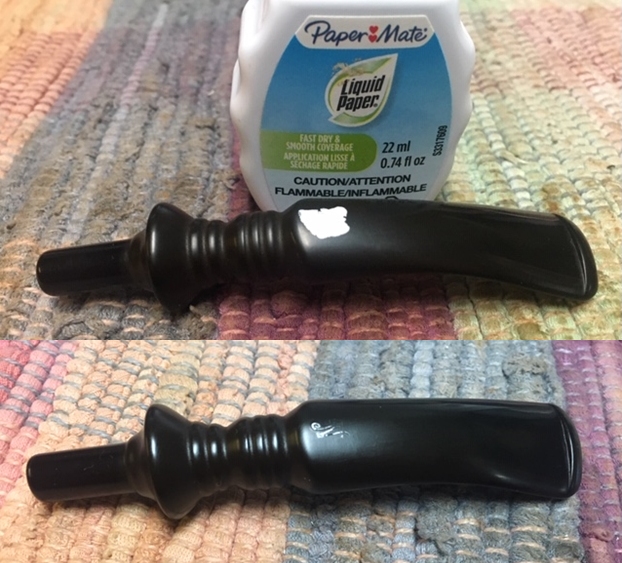
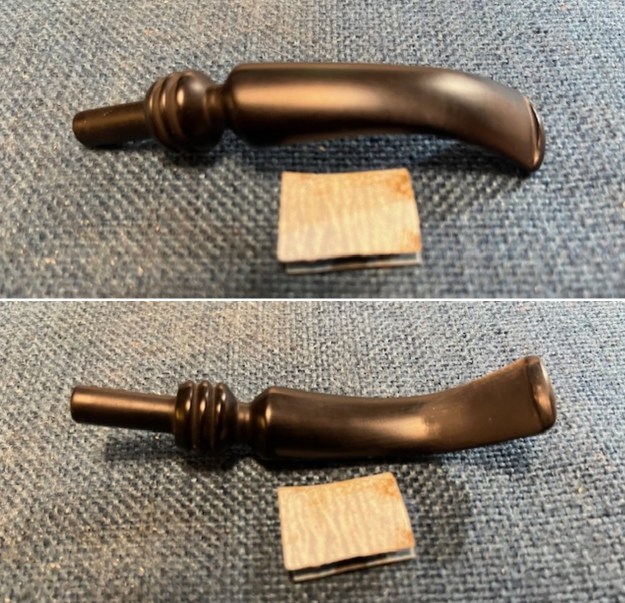
 I set the bowl aside and worked on the stem at this point in the process. The tooth chatter had a couple of deeper marks on the underside that would not lift with heat. I cleaned the areas and filled in the spots with some clear CA glue. Once it cured I used the file to flatten the repair and sanded it with a piece of 220 grit sandpaper.
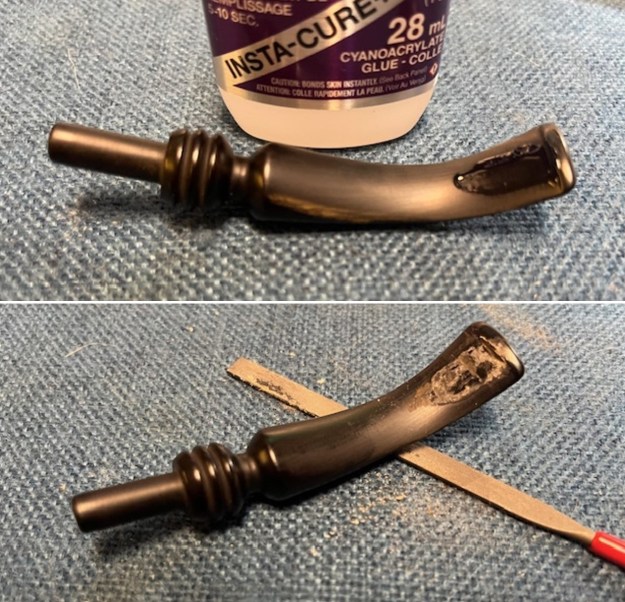
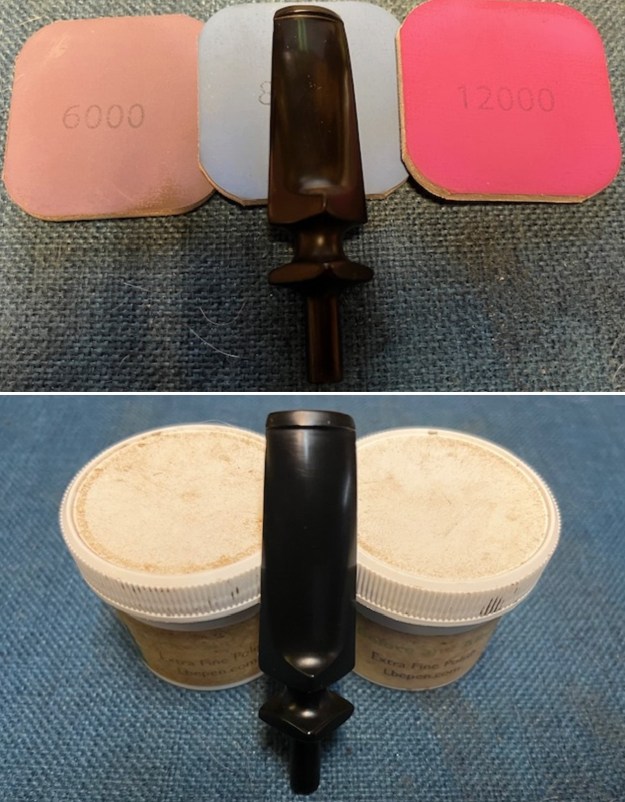
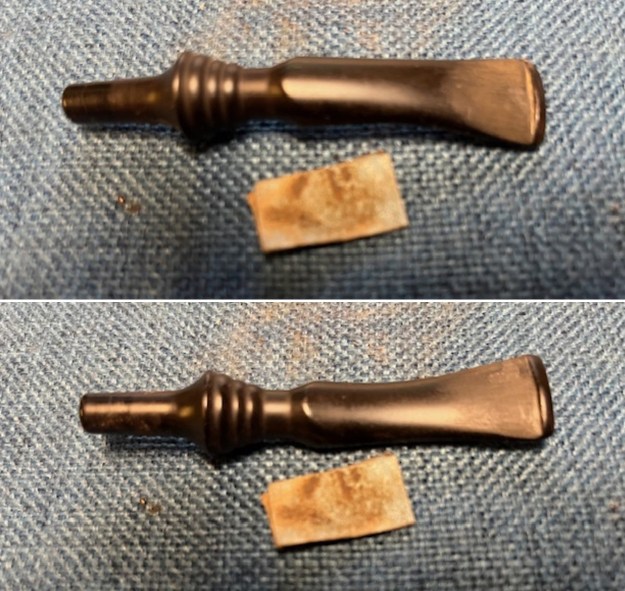
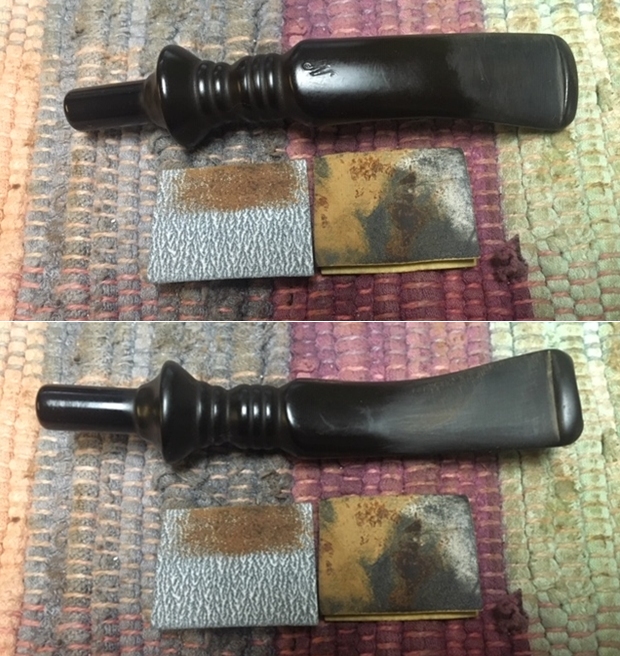
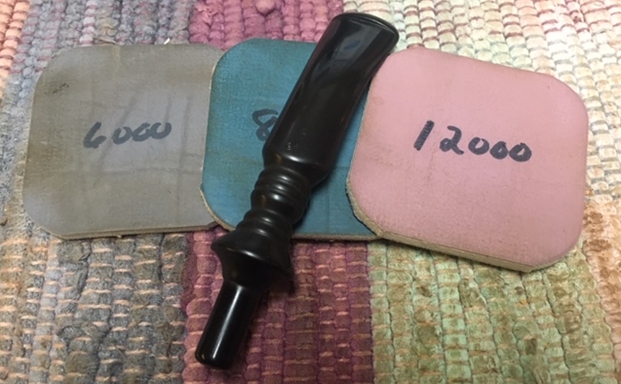
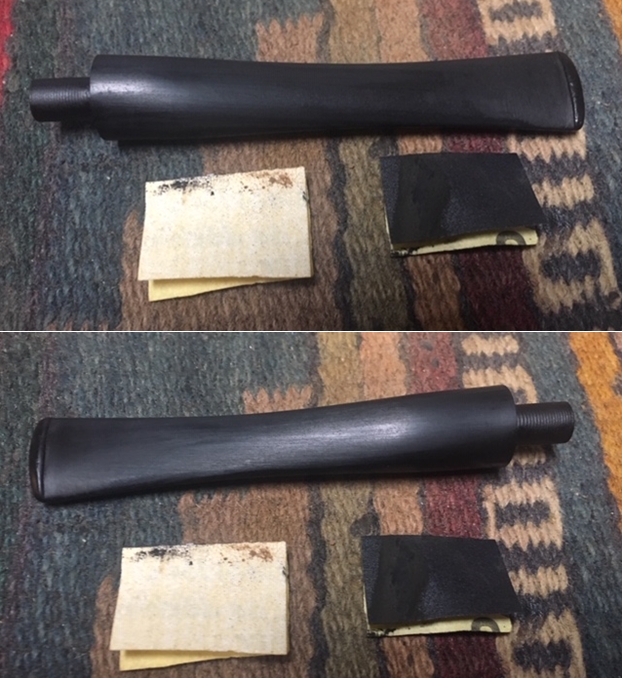
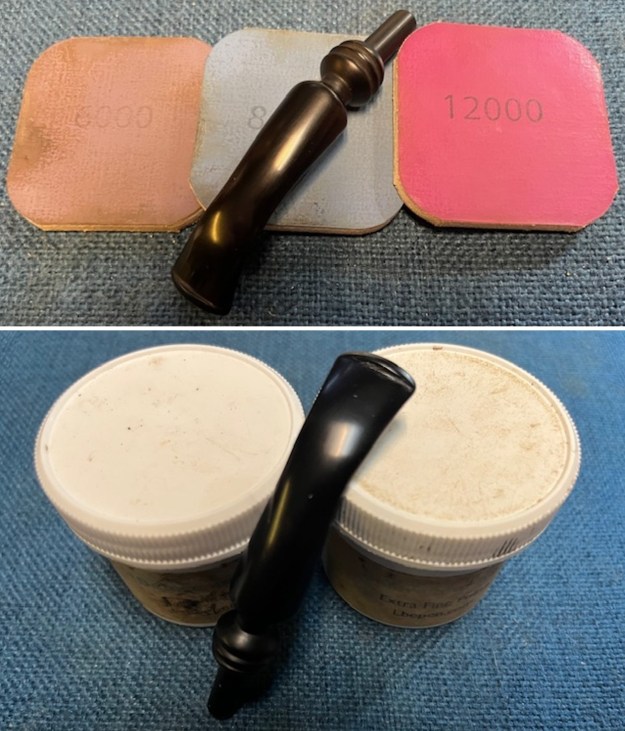
 I sanded the stem further with 320-3500 grit 2 x 2 inch sanding pads. I wiped the stem down after each pad with some Obsidian Oil. It began to take on a rich look.
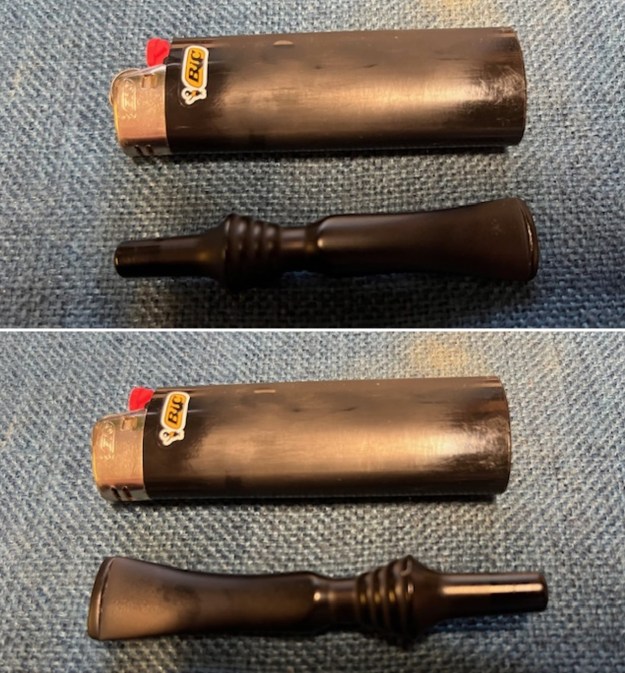
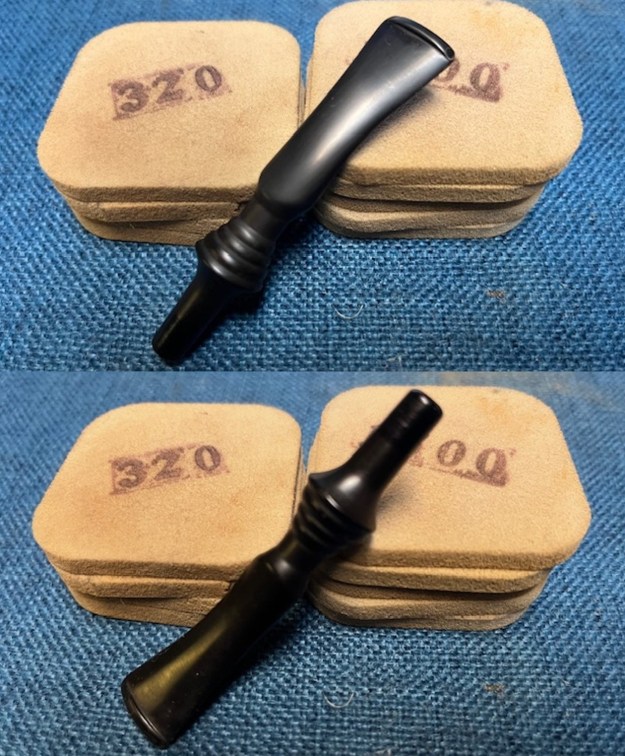
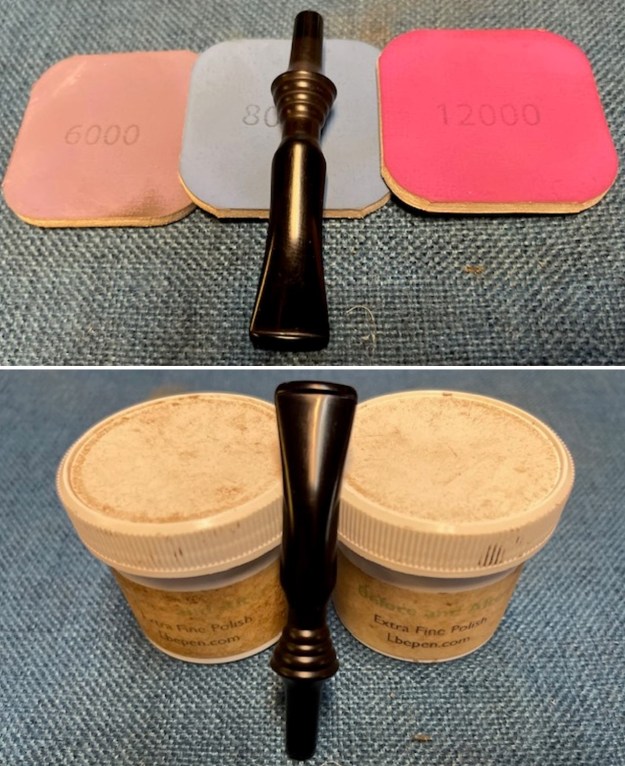
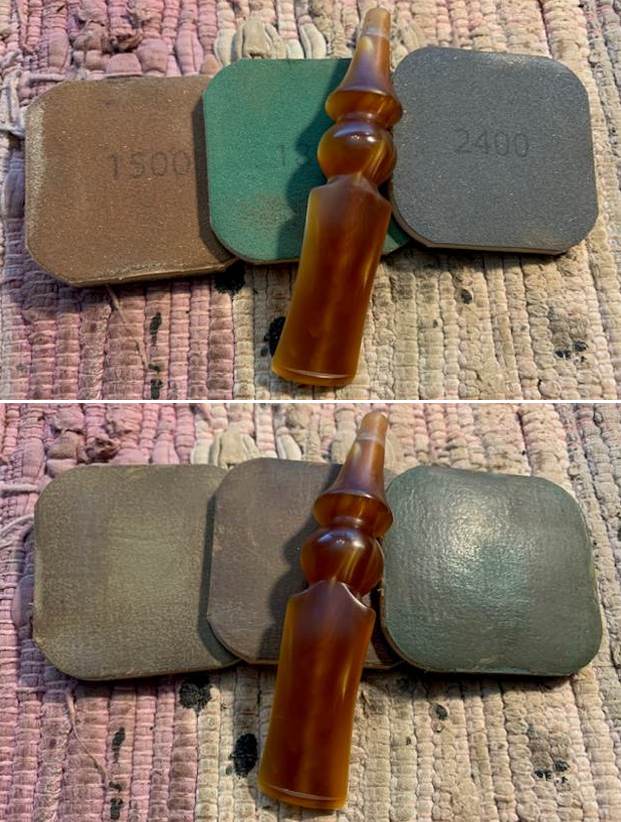
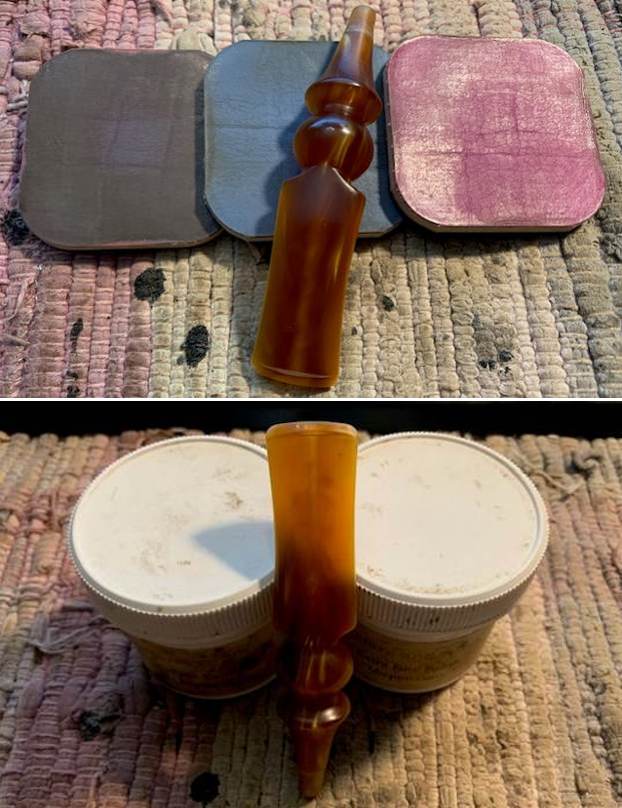
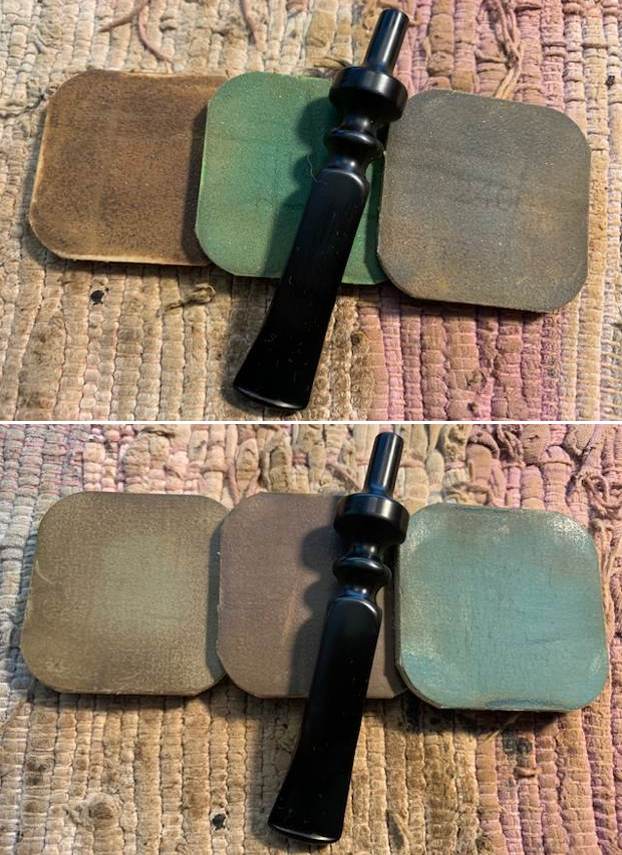
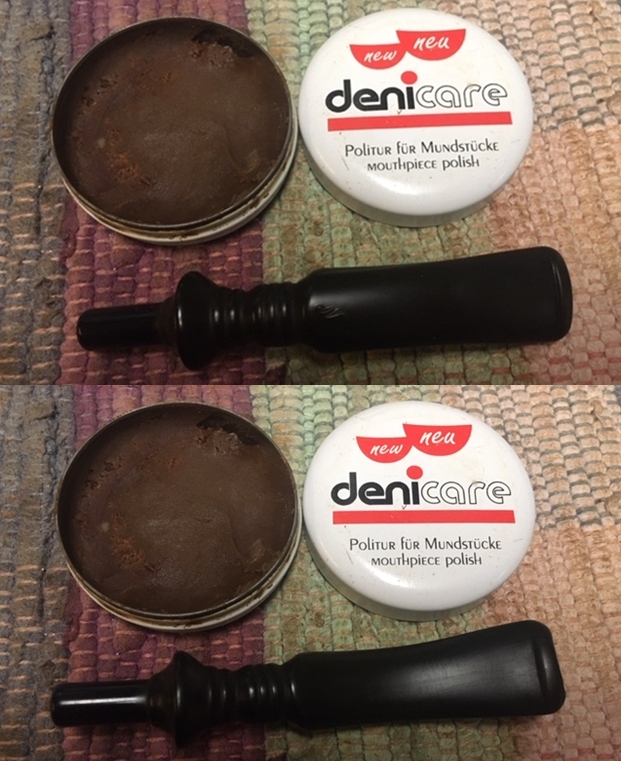
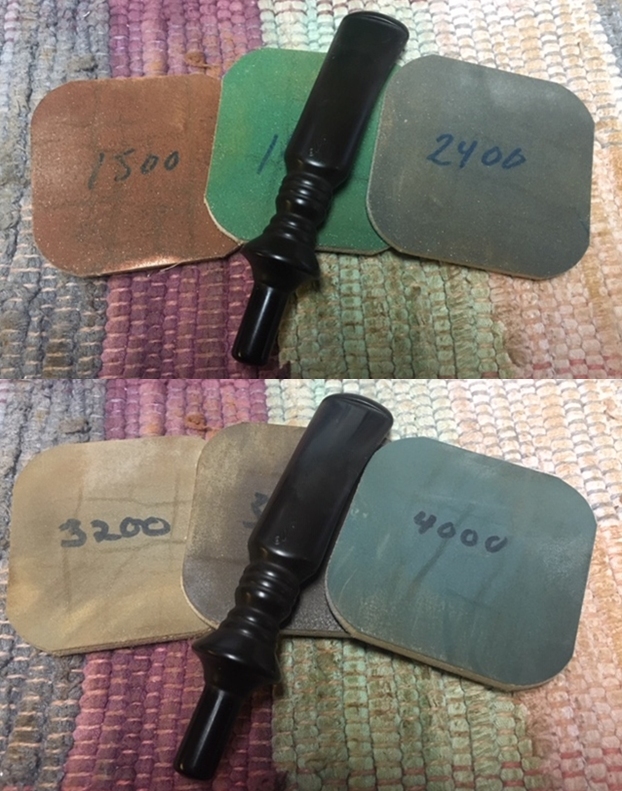
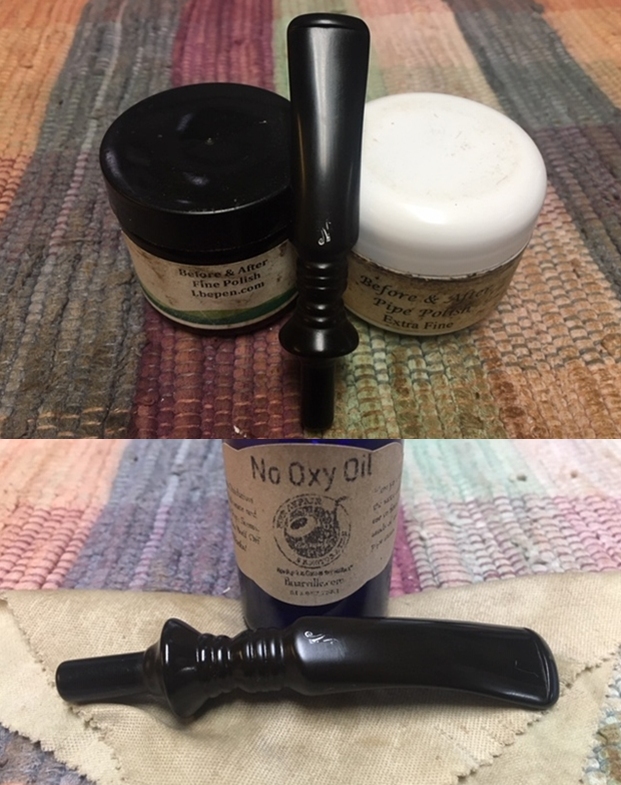
 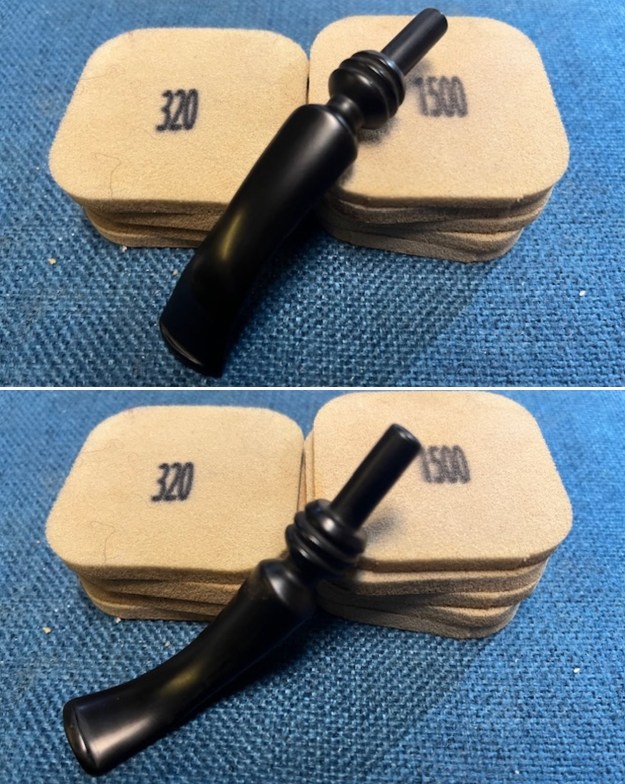 I polished the stem with micromesh sanding pads – dry sanding with 1500-12000 grit pads. I wiped the stem down after each pad with a damp cloth to remove the sanding dust. I used the Before & After Pipe Polish to remove the small minute scratches left in the vulcanite even after the micromesh regimen. I finished by wiping the stem down with a final coat of Obsidian Oil and set it aside to dry.
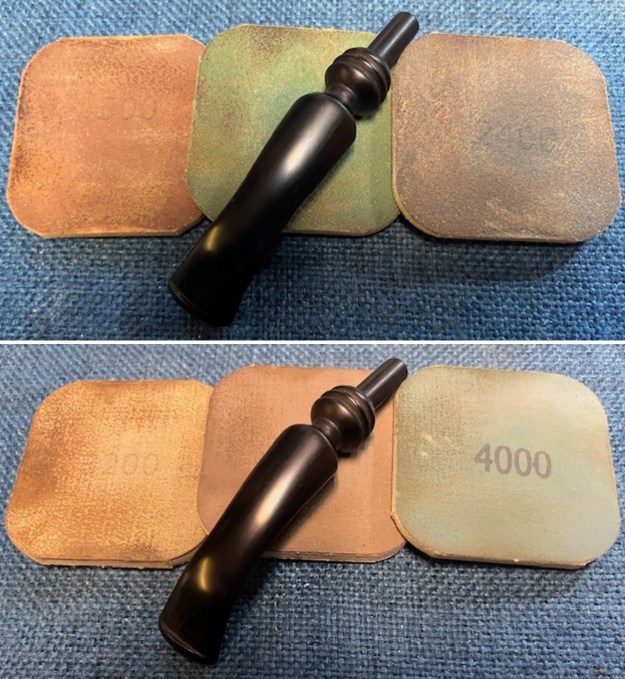
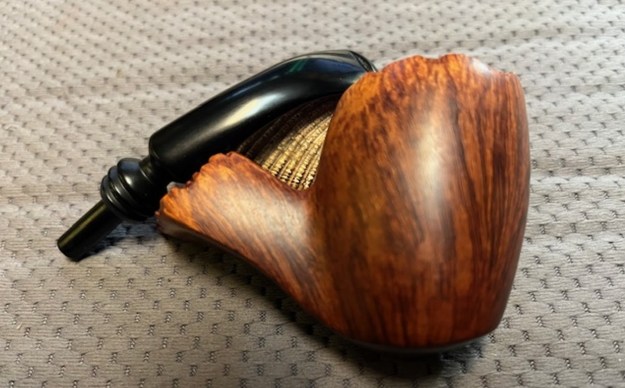
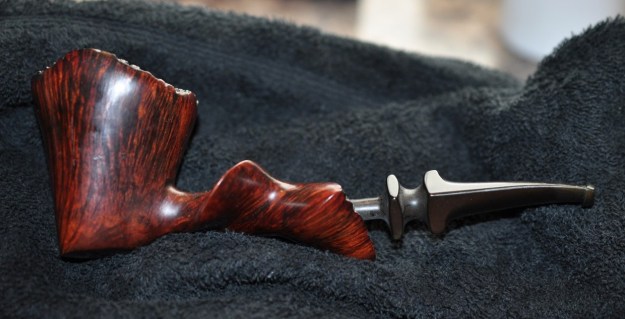
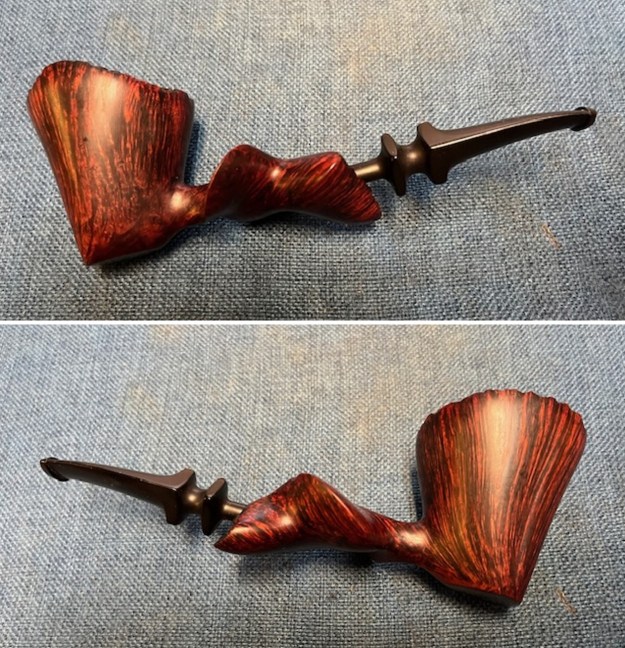
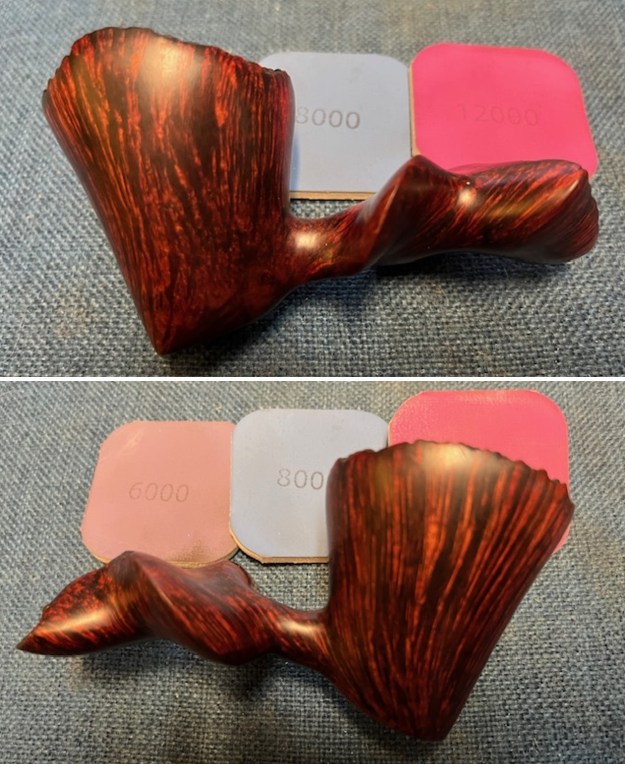
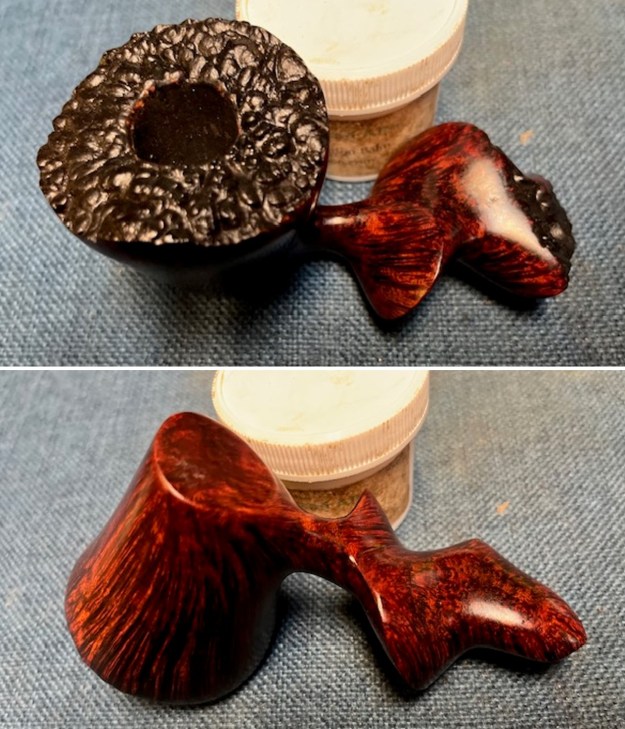
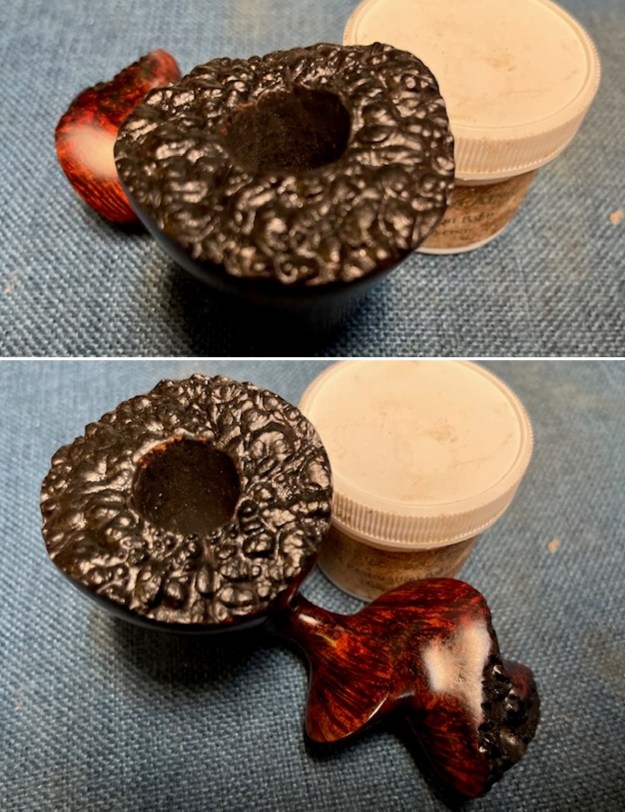
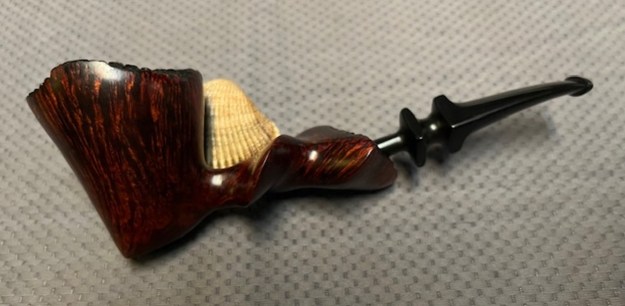
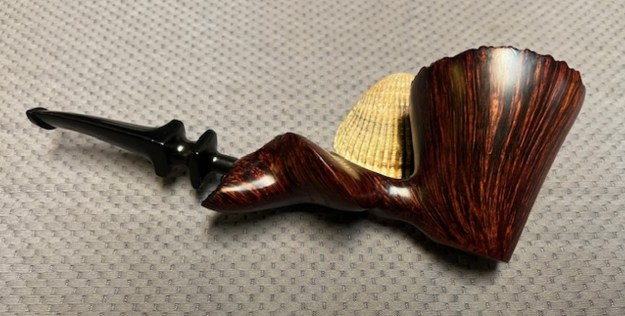
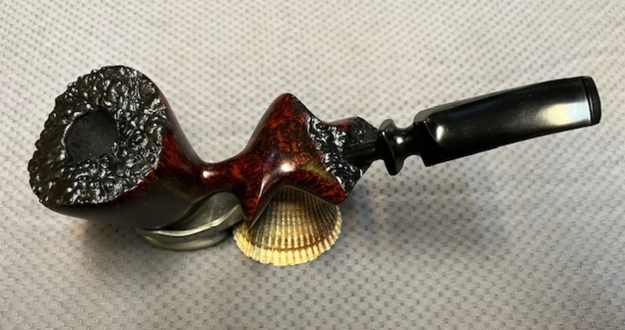
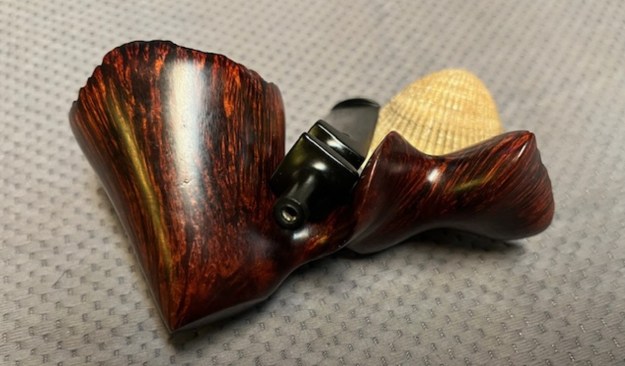
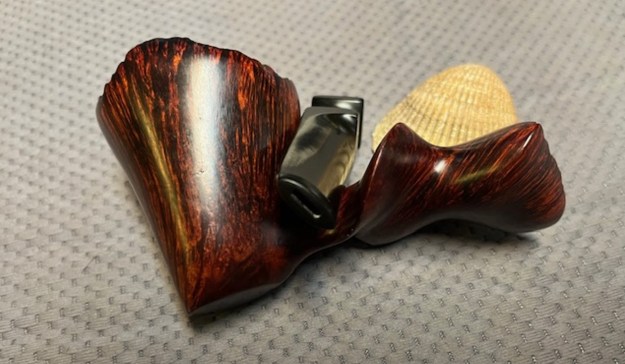
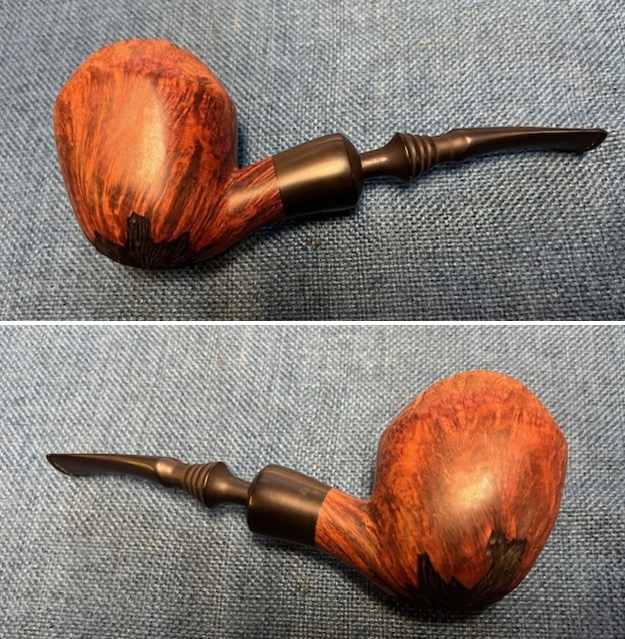
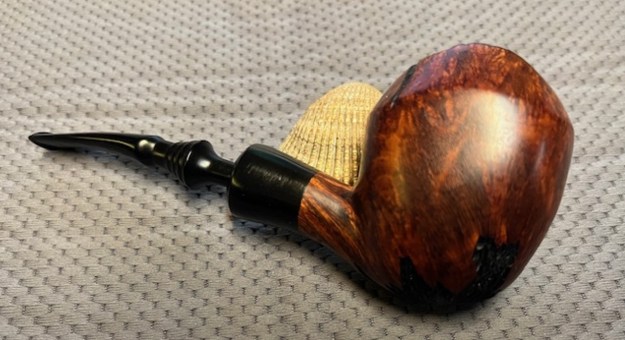
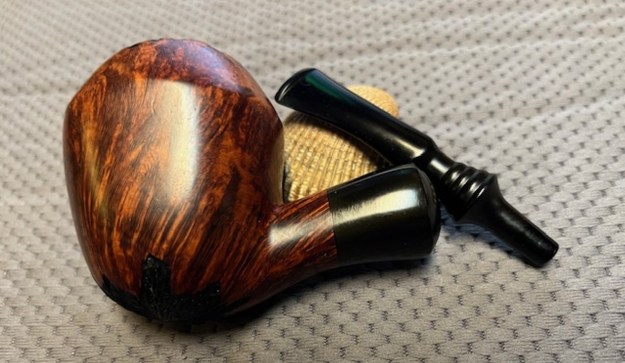
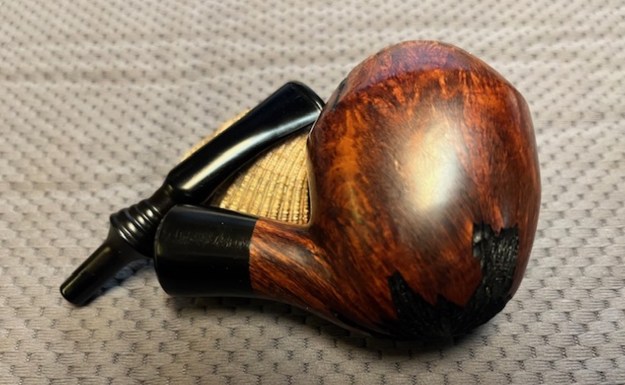
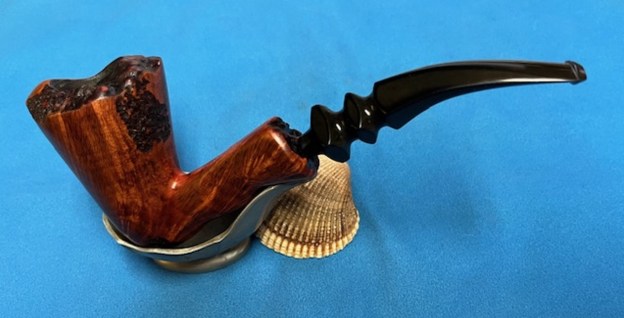
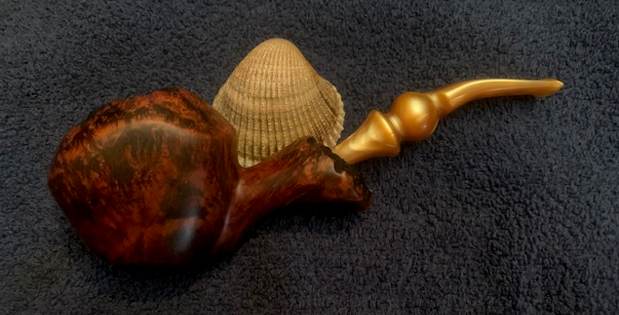
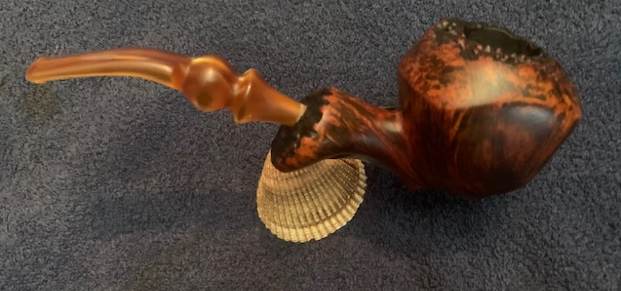
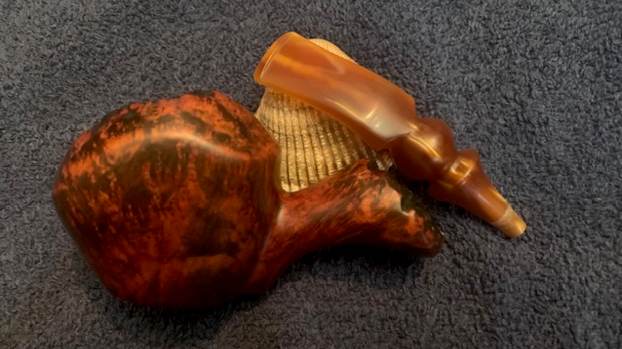
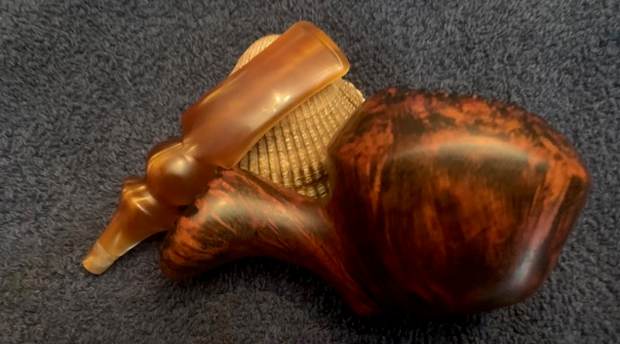
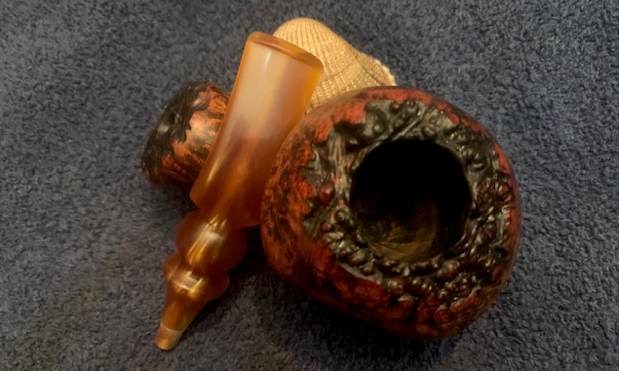
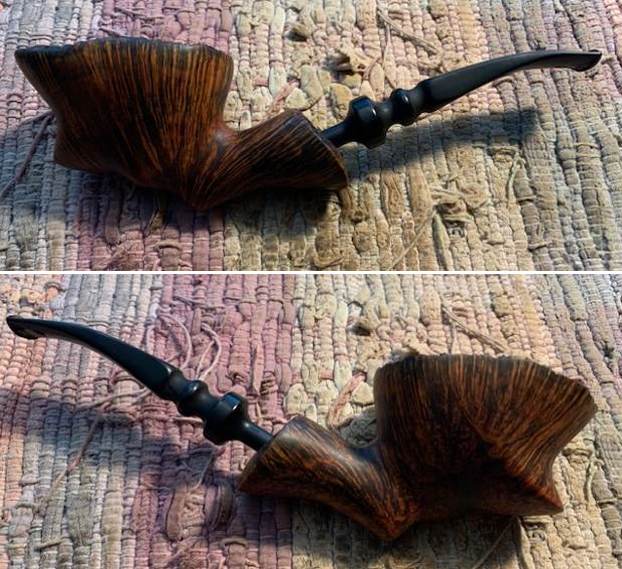
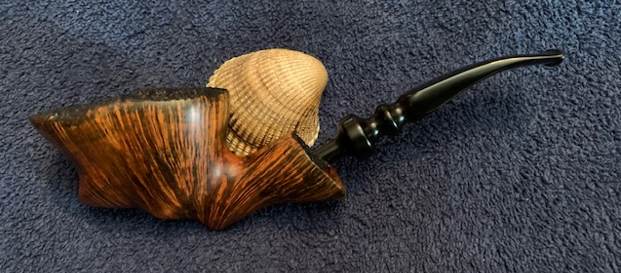
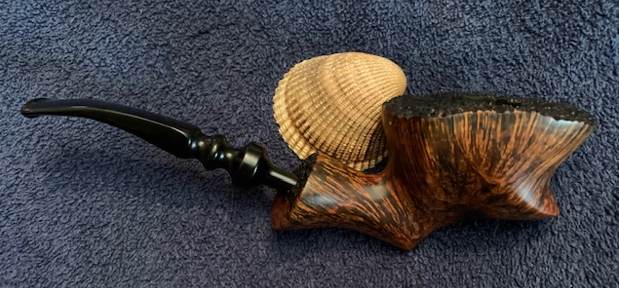
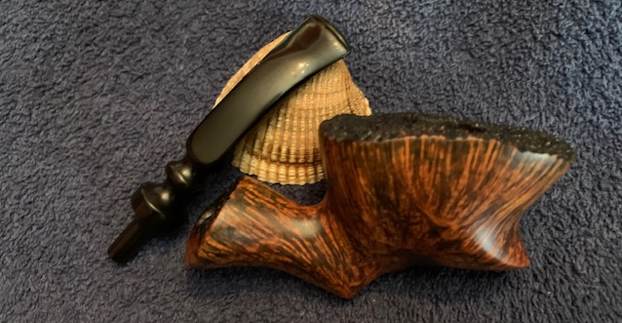
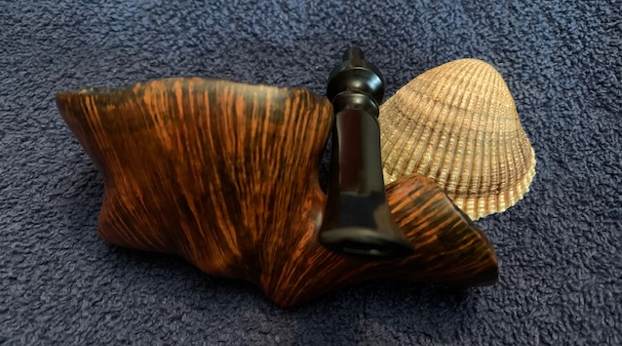
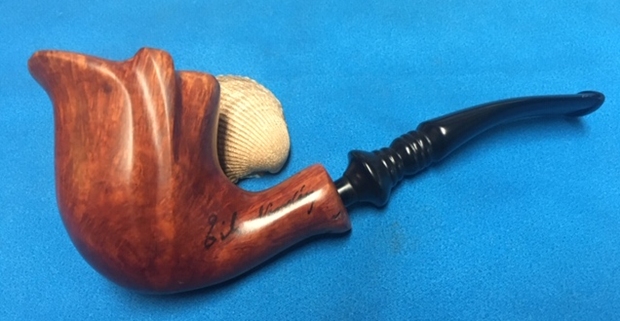
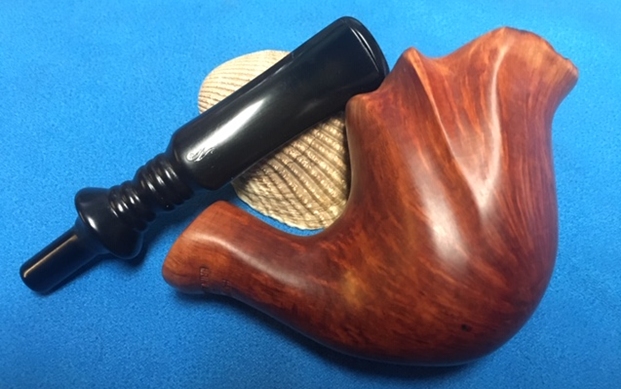
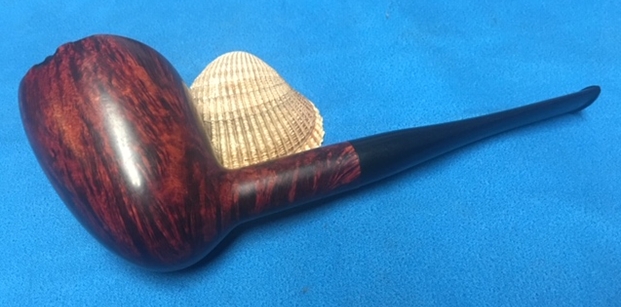
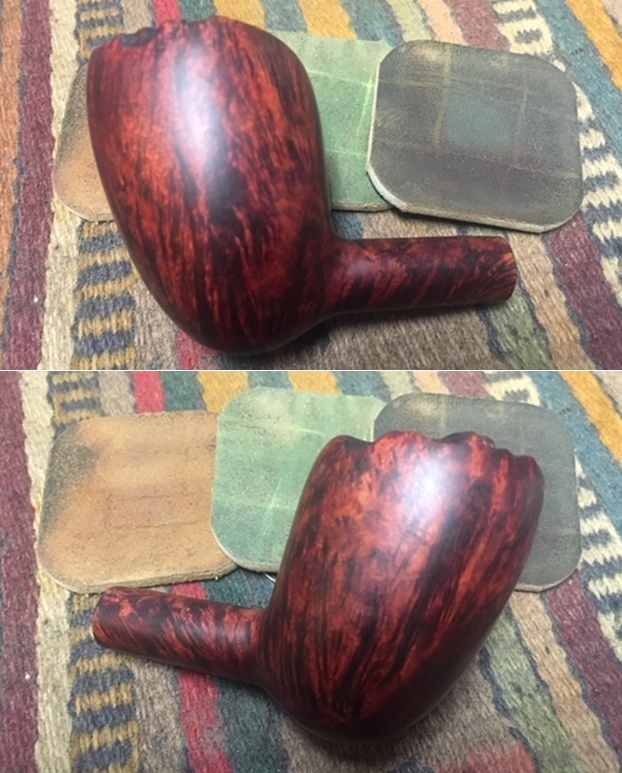
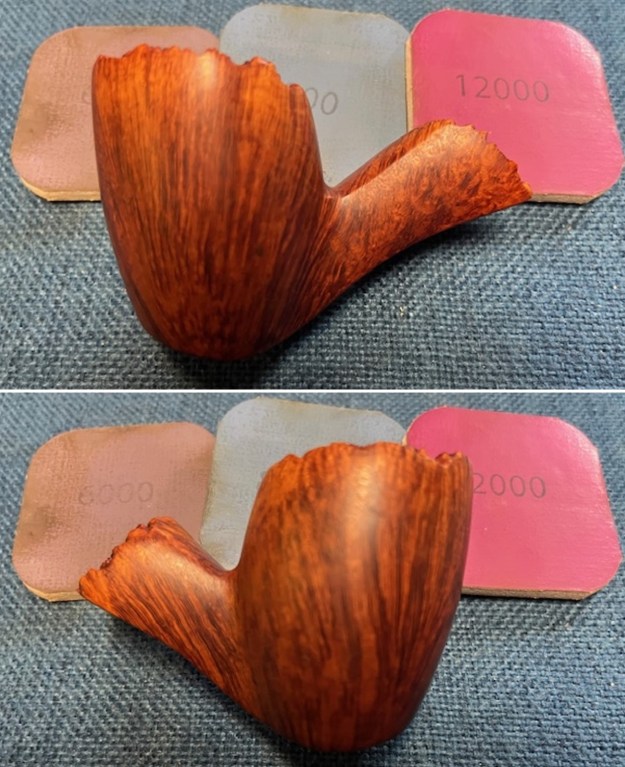
 I put the stem back on the Nording F Danmark Freehand and took the pipe to the buffer. I carefully buffed the bowl and stem with Blue Diamond to polish the briar and the vulcanite. Blue Diamond does a great job on the smaller scratches that remain in both. I gave the bowl and the stem several coats of carnauba wax and buffed the pipe with a clean buffing pad to raise the shine. I hand buffed it with a microfiber cloth to deepen the shine. The pipe polished up really nicely with a great contrasting stain look to the briar. The finished pipe is shown in the photos below. This is a unique Nording F Freehand – the turned saddle stem gives the pipe a great look. The polished black vulcanite stem looks really good with the reds and blacks standing out in the grain. The dimensions of the pipe are Length: 5 ½ inches, Height: 2 inches, Outside diameter of the bowl: 1 5/8 inches, Chamber diameter: ¾ of an inch. The weight of the pipe is 1.90 ounces/55 grams. This is another pipe that I will be putting it on the rebornpipes online store in the Danish Pipe Makers Section shortly, if you are interested in adding it to your collection. Thanks for walking through the restoration with me on this beauty!