Monthly Archives: March 2014

Reflecting on My Collection of John Calich Pipes


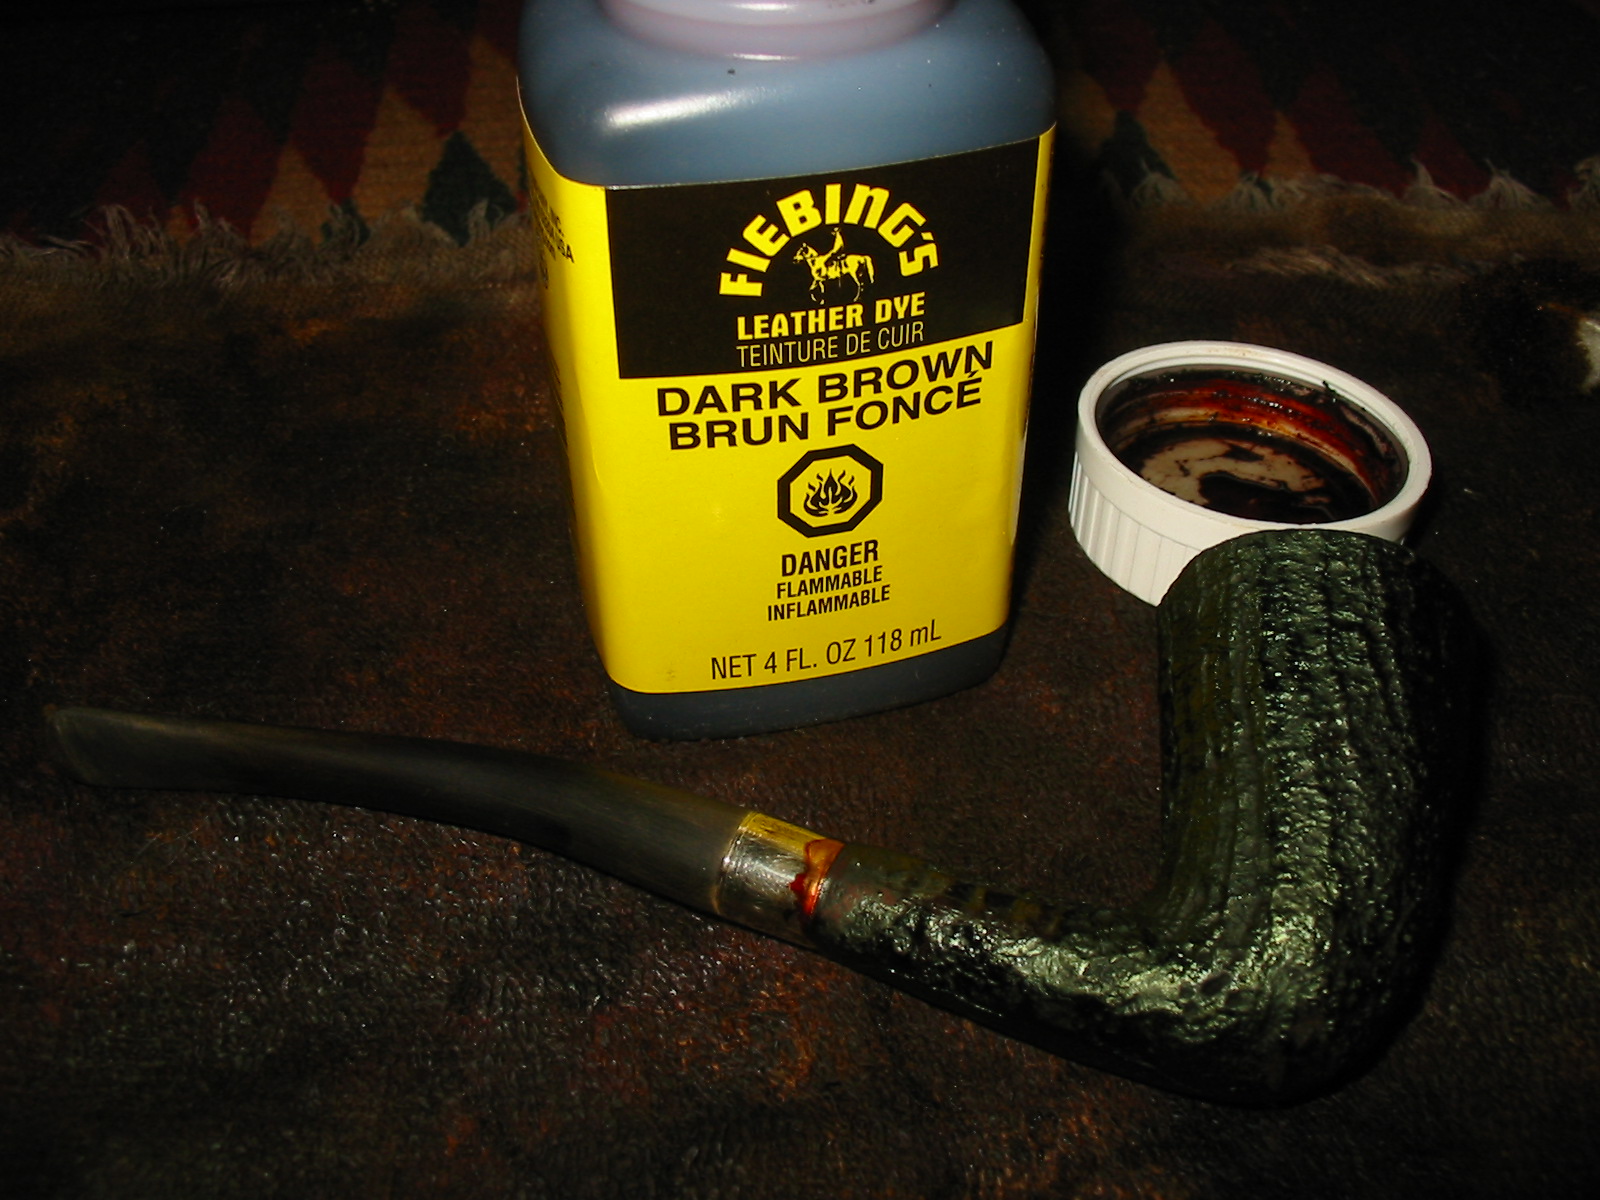
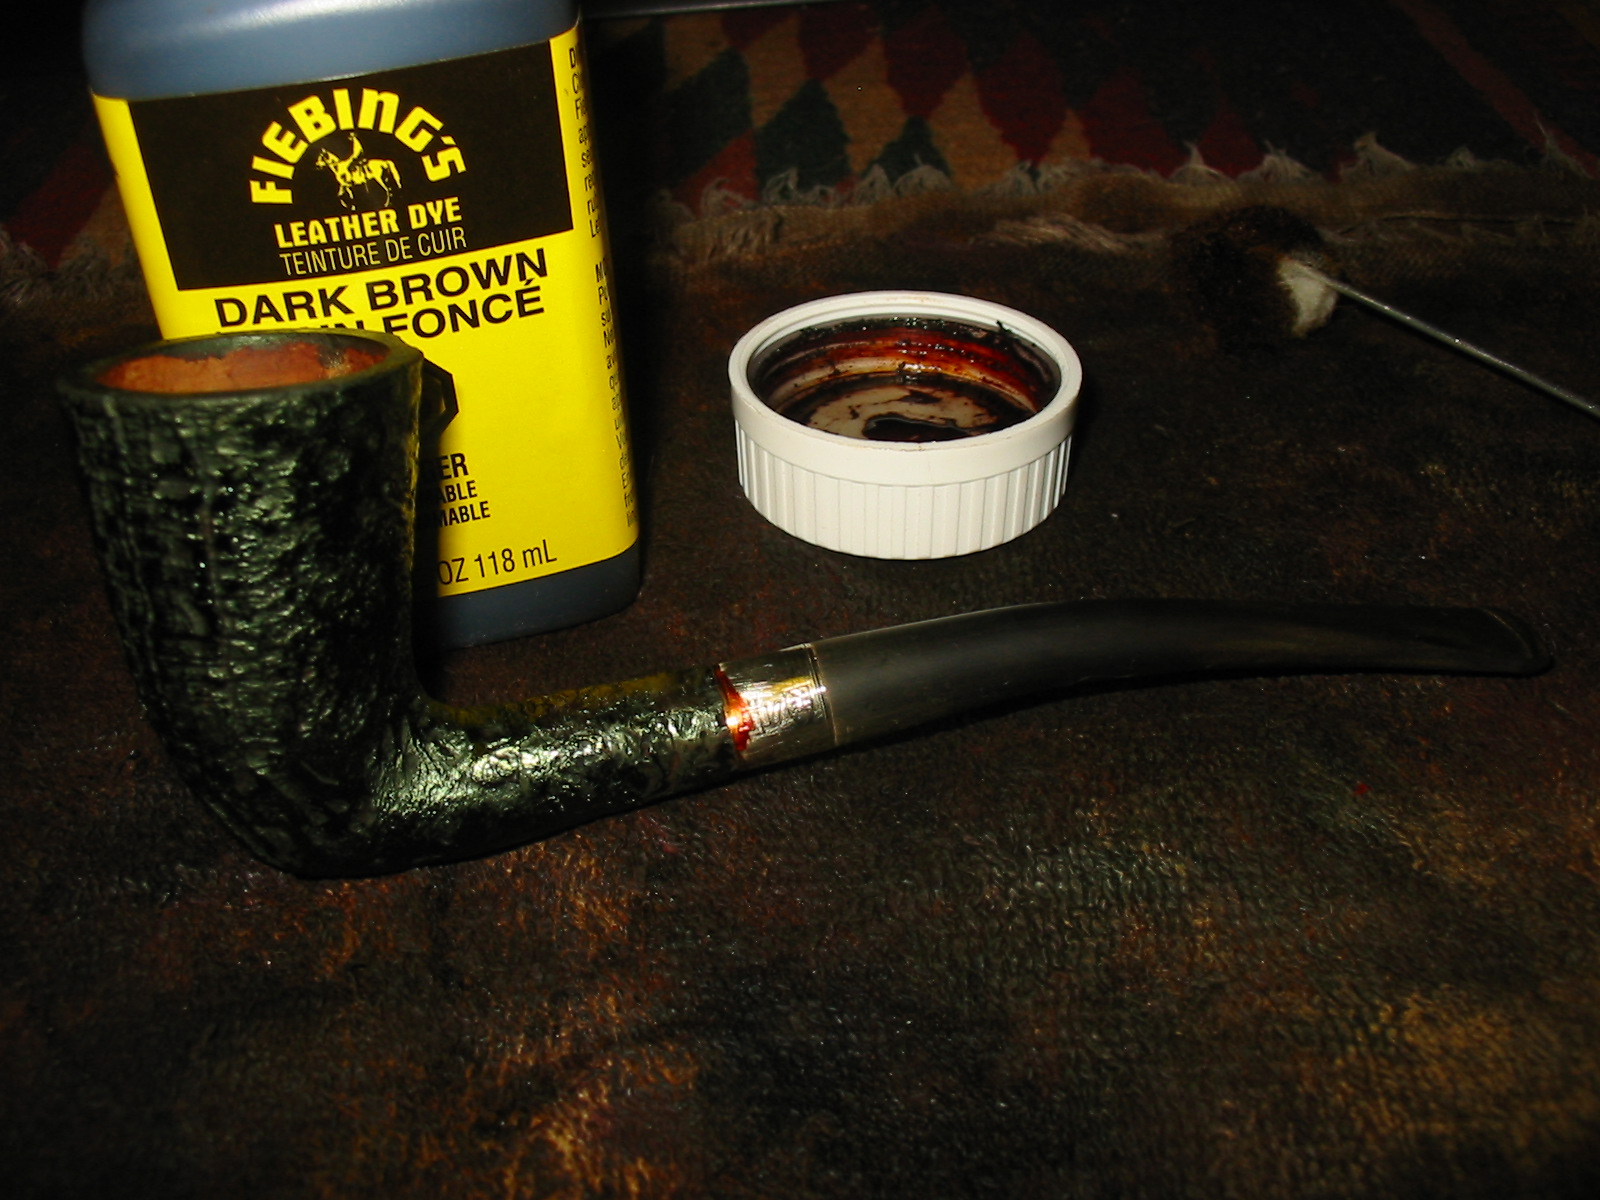
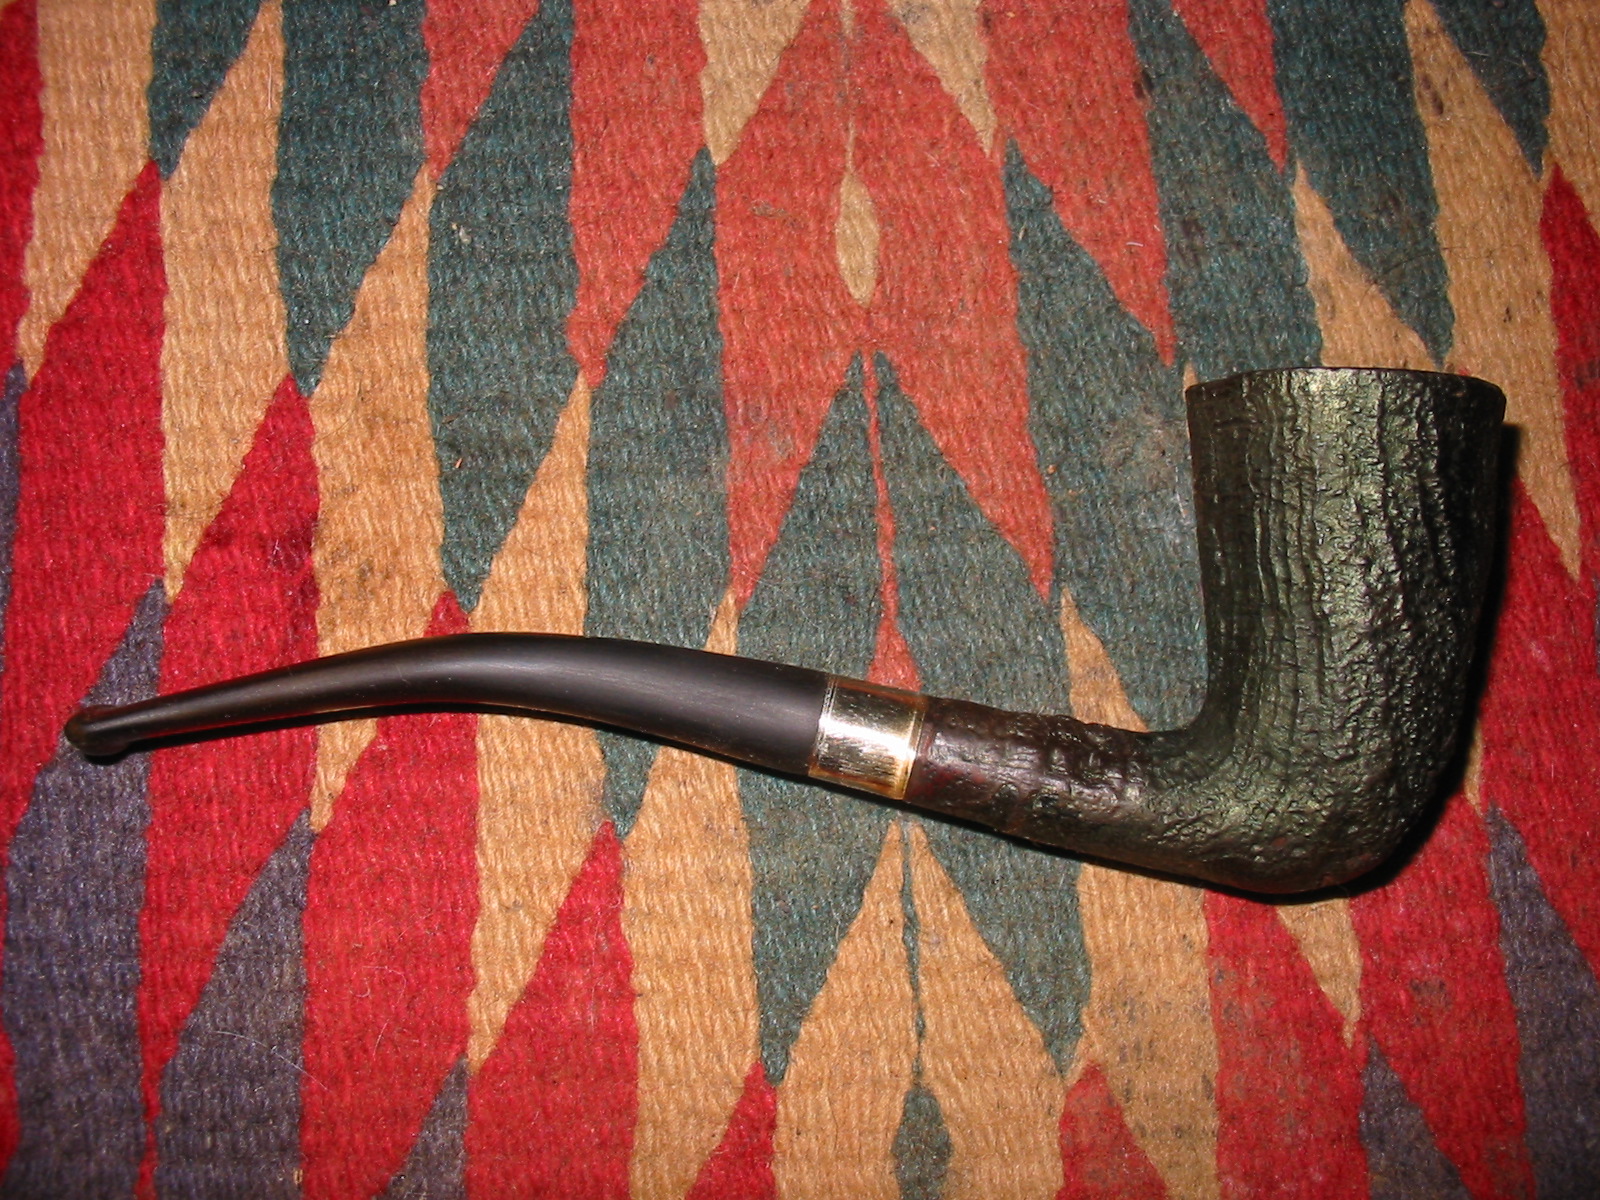
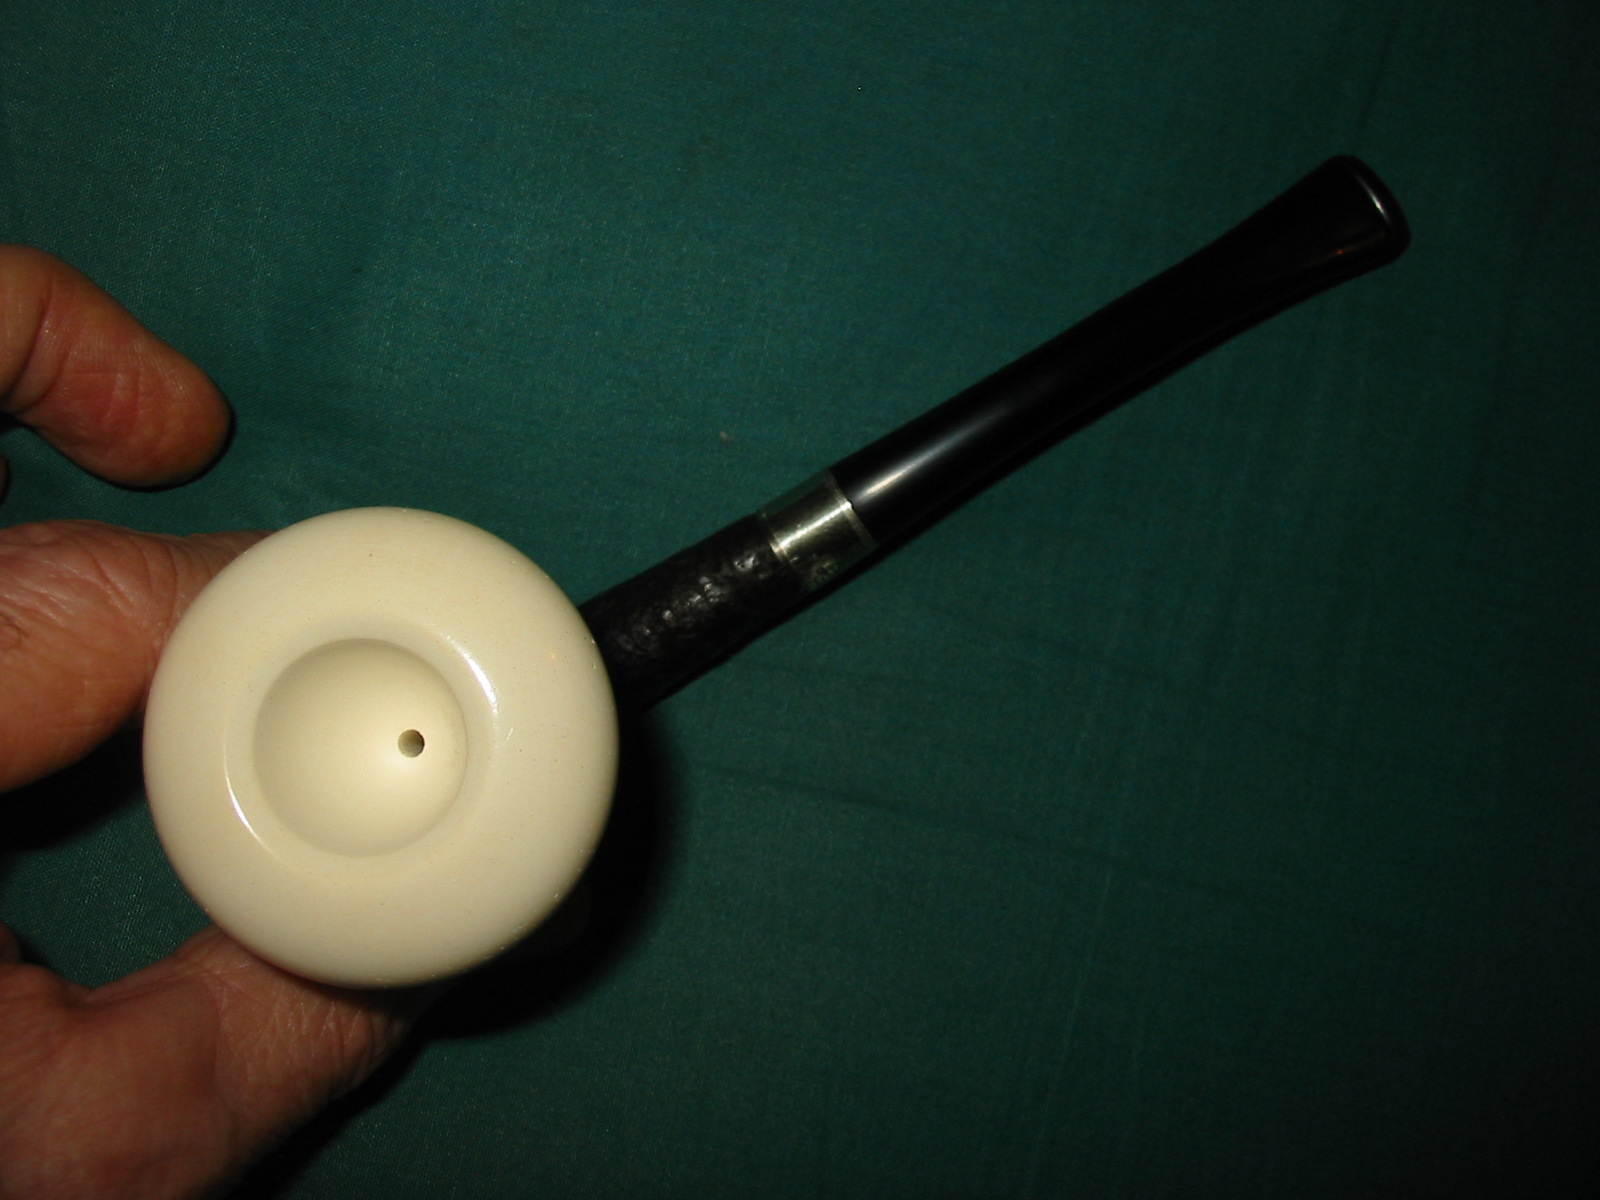
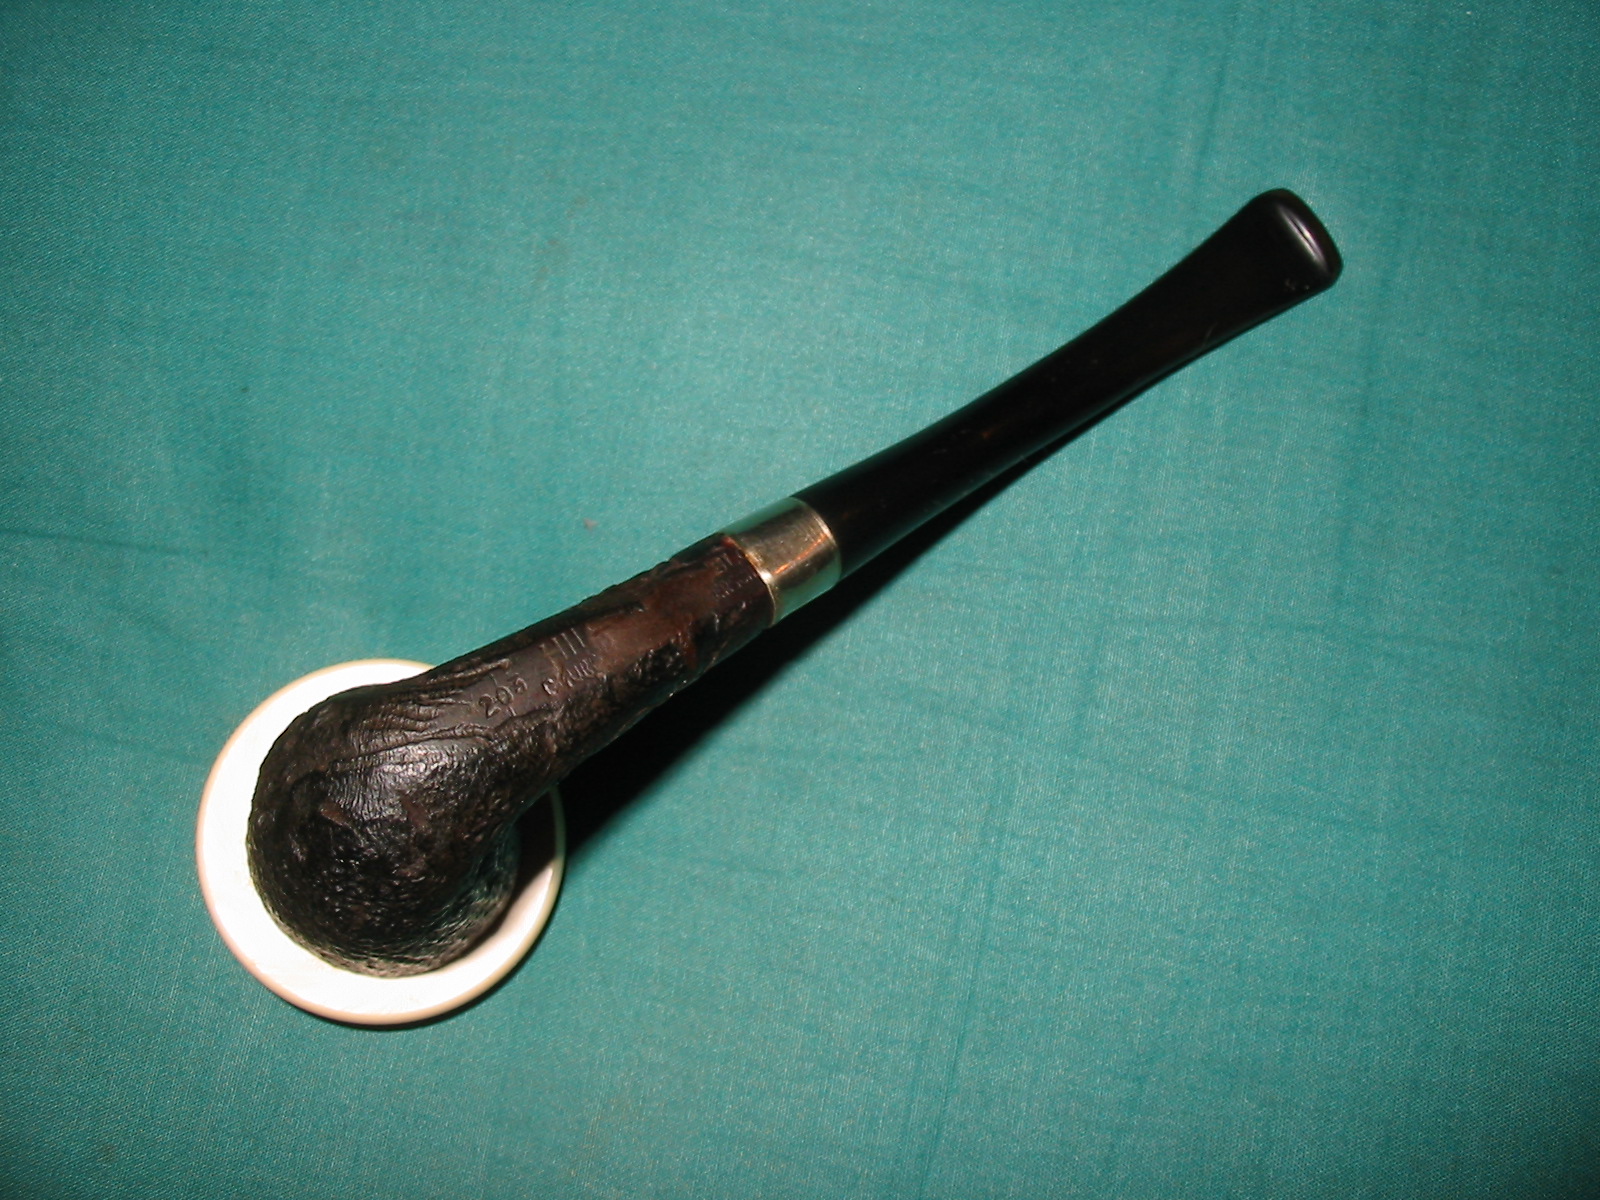
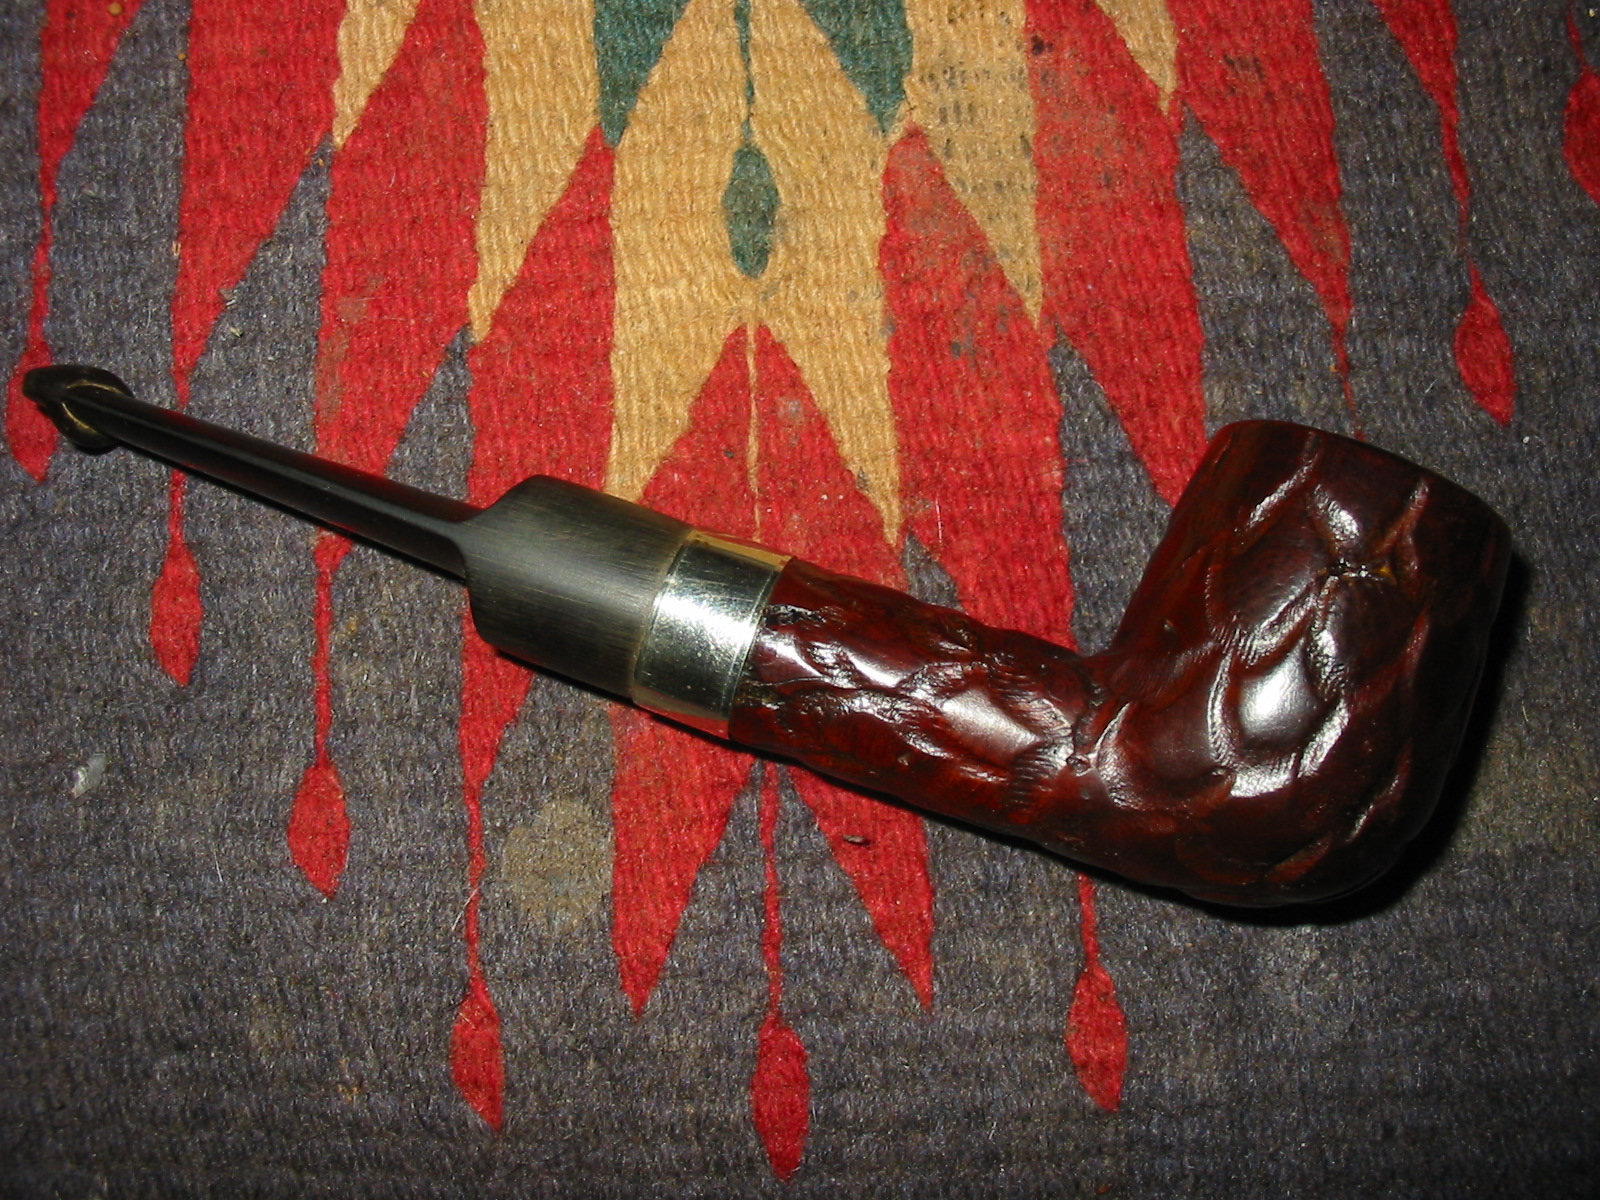
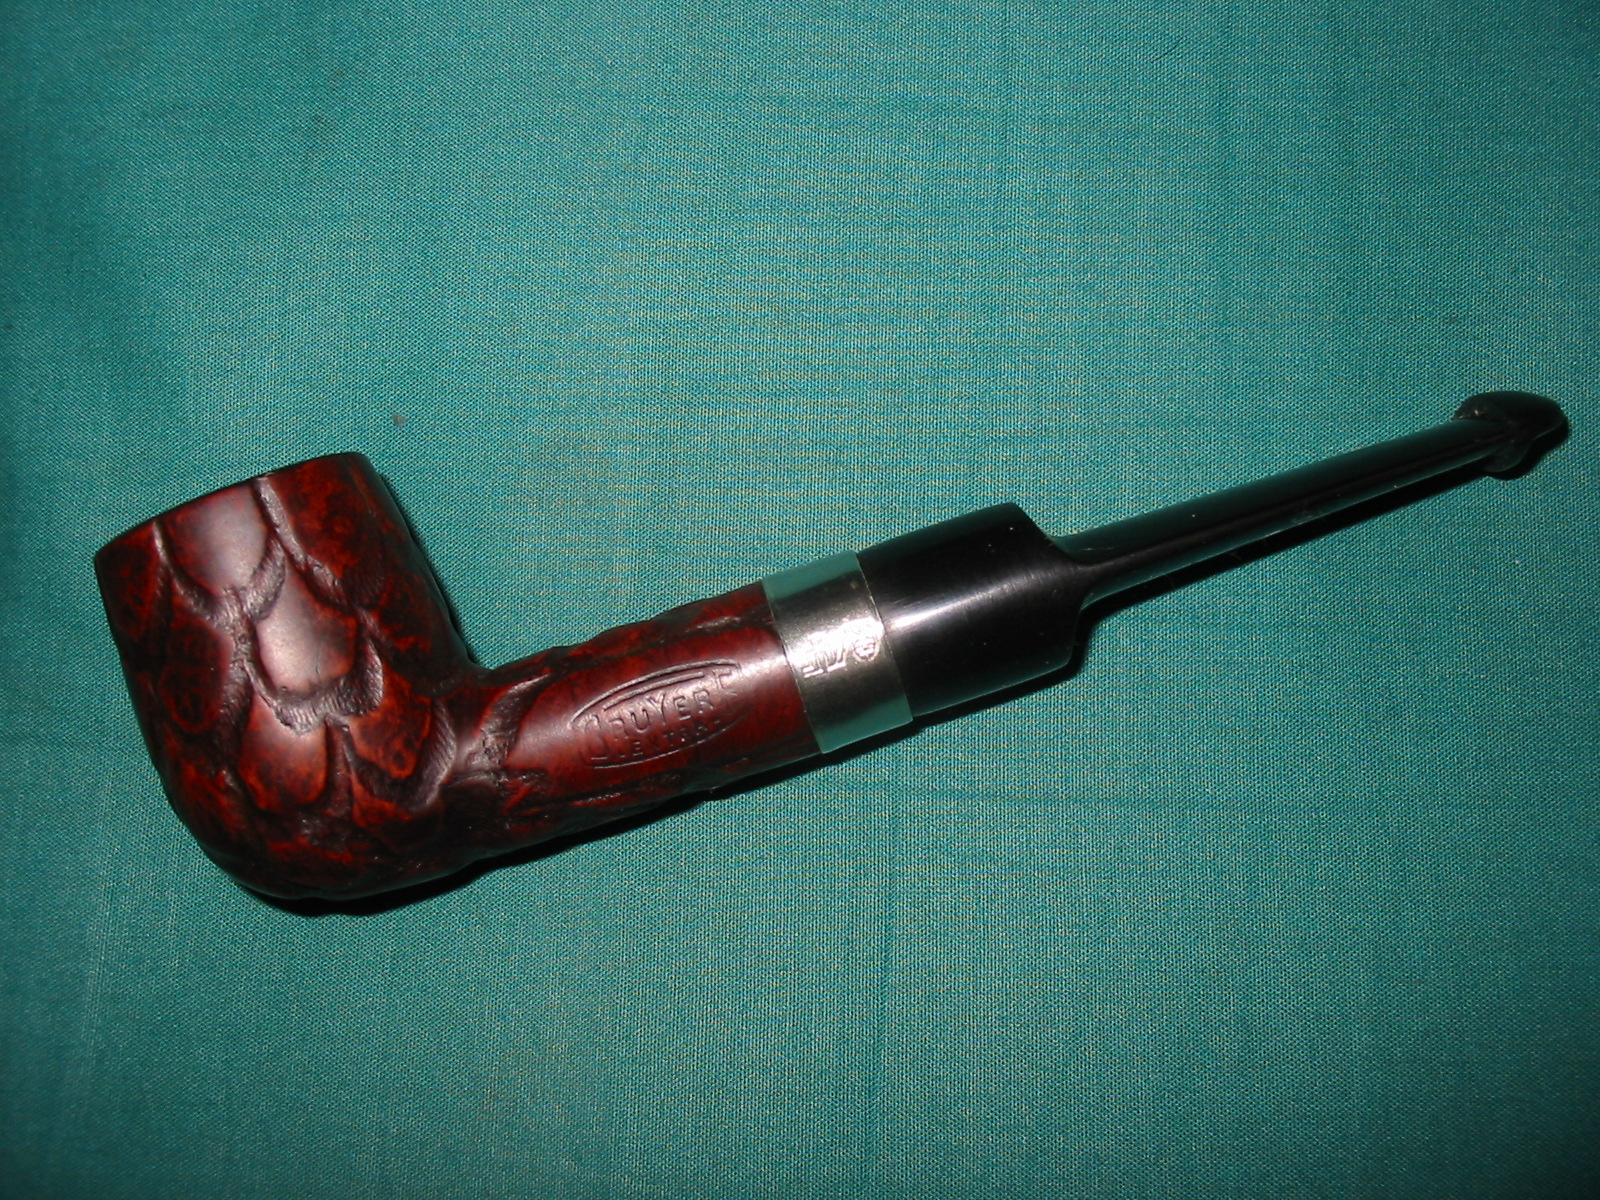
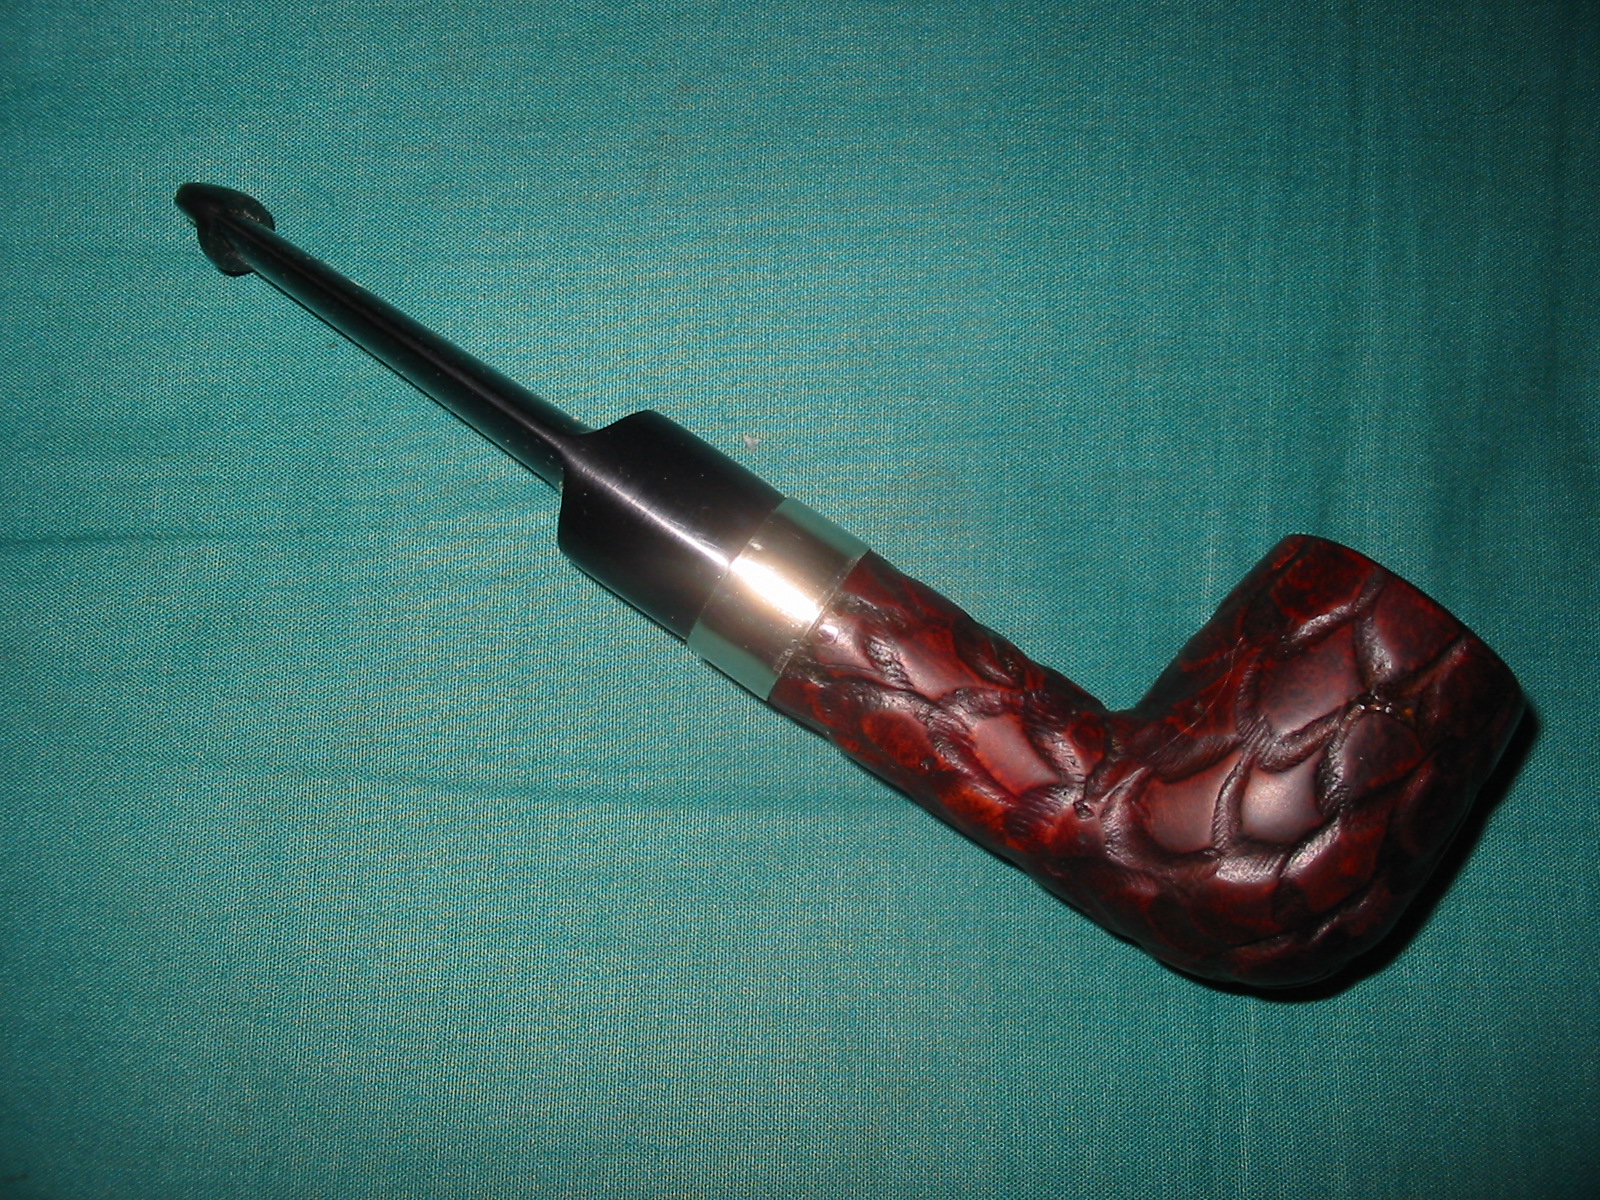
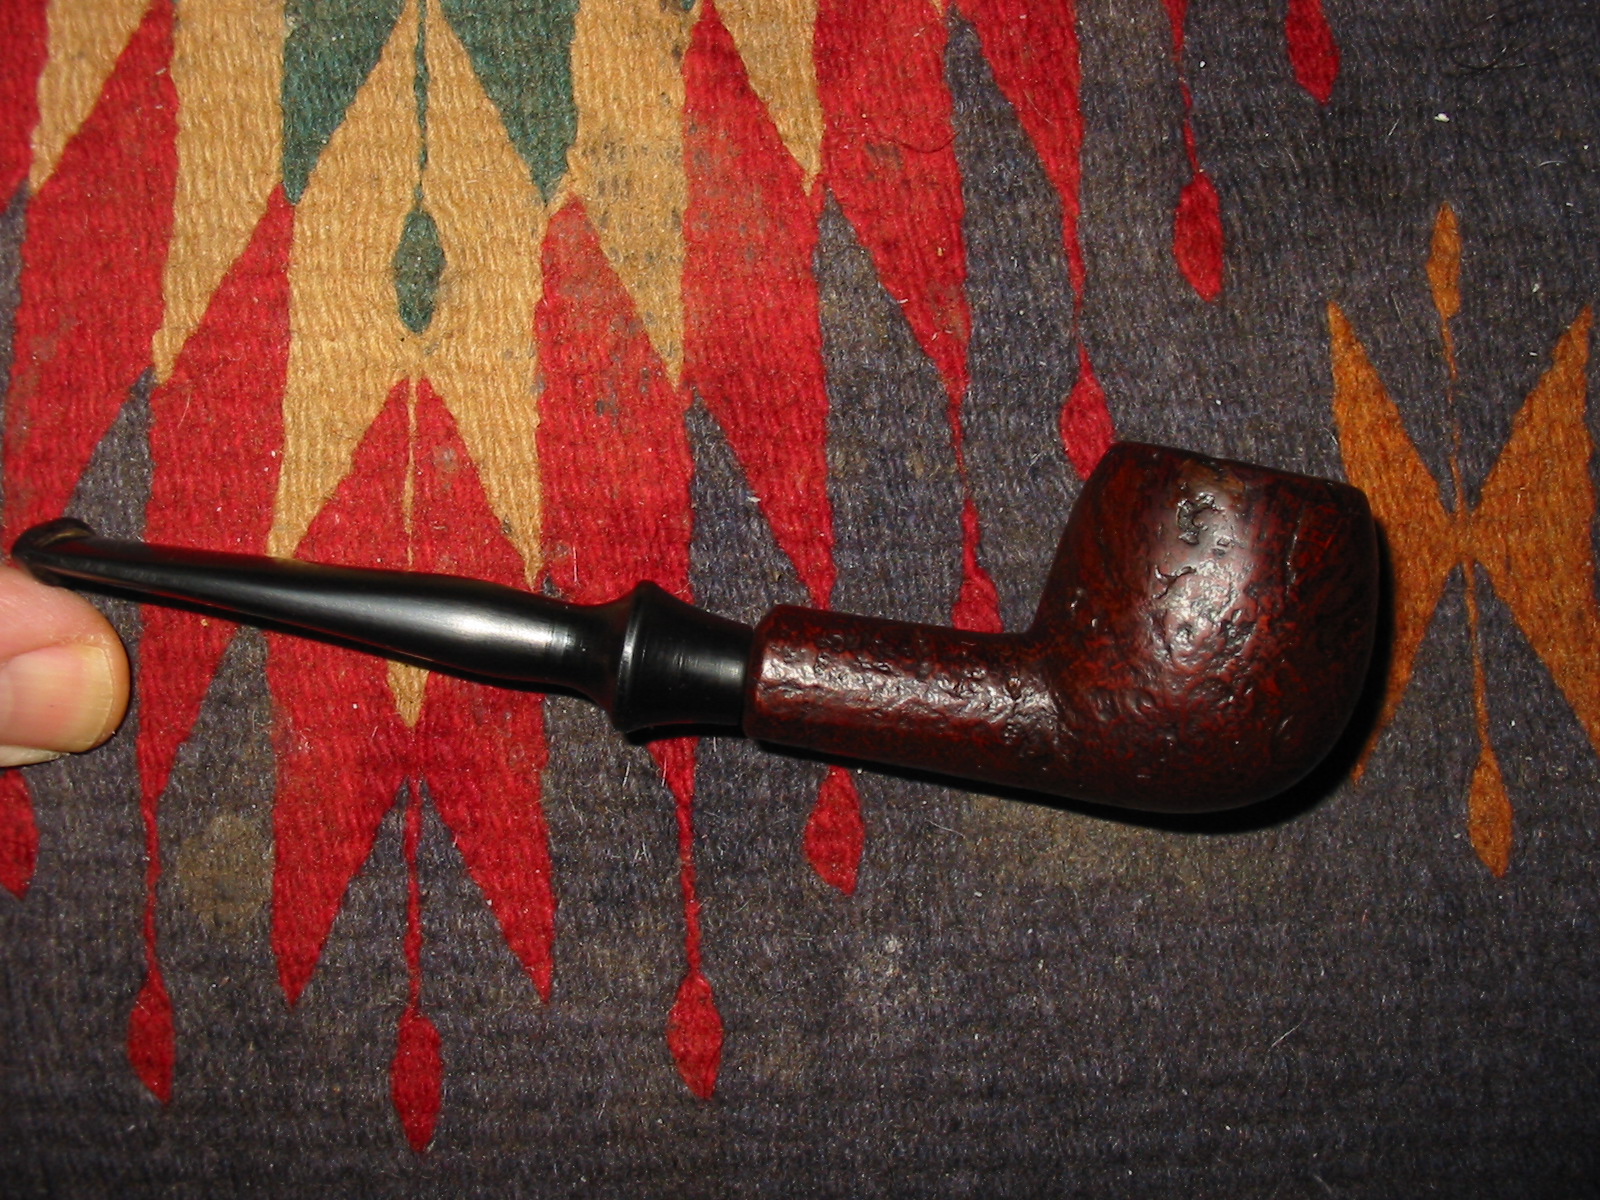
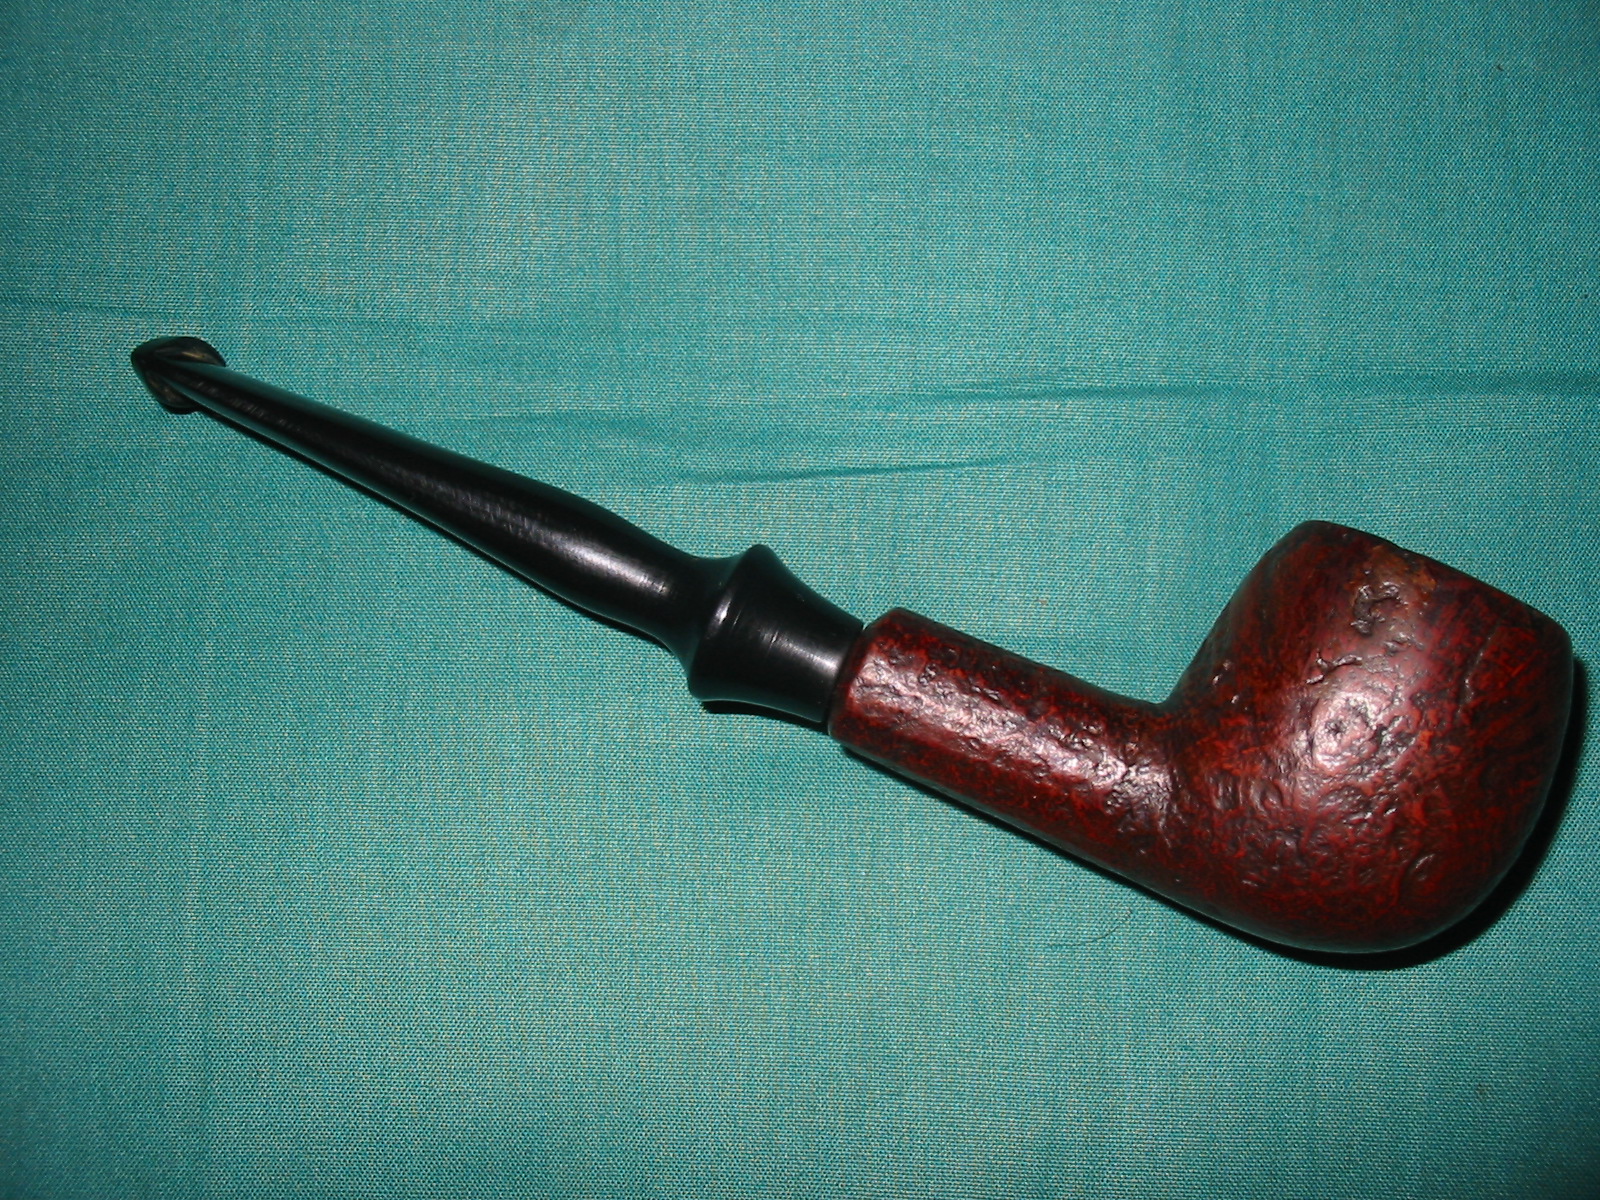
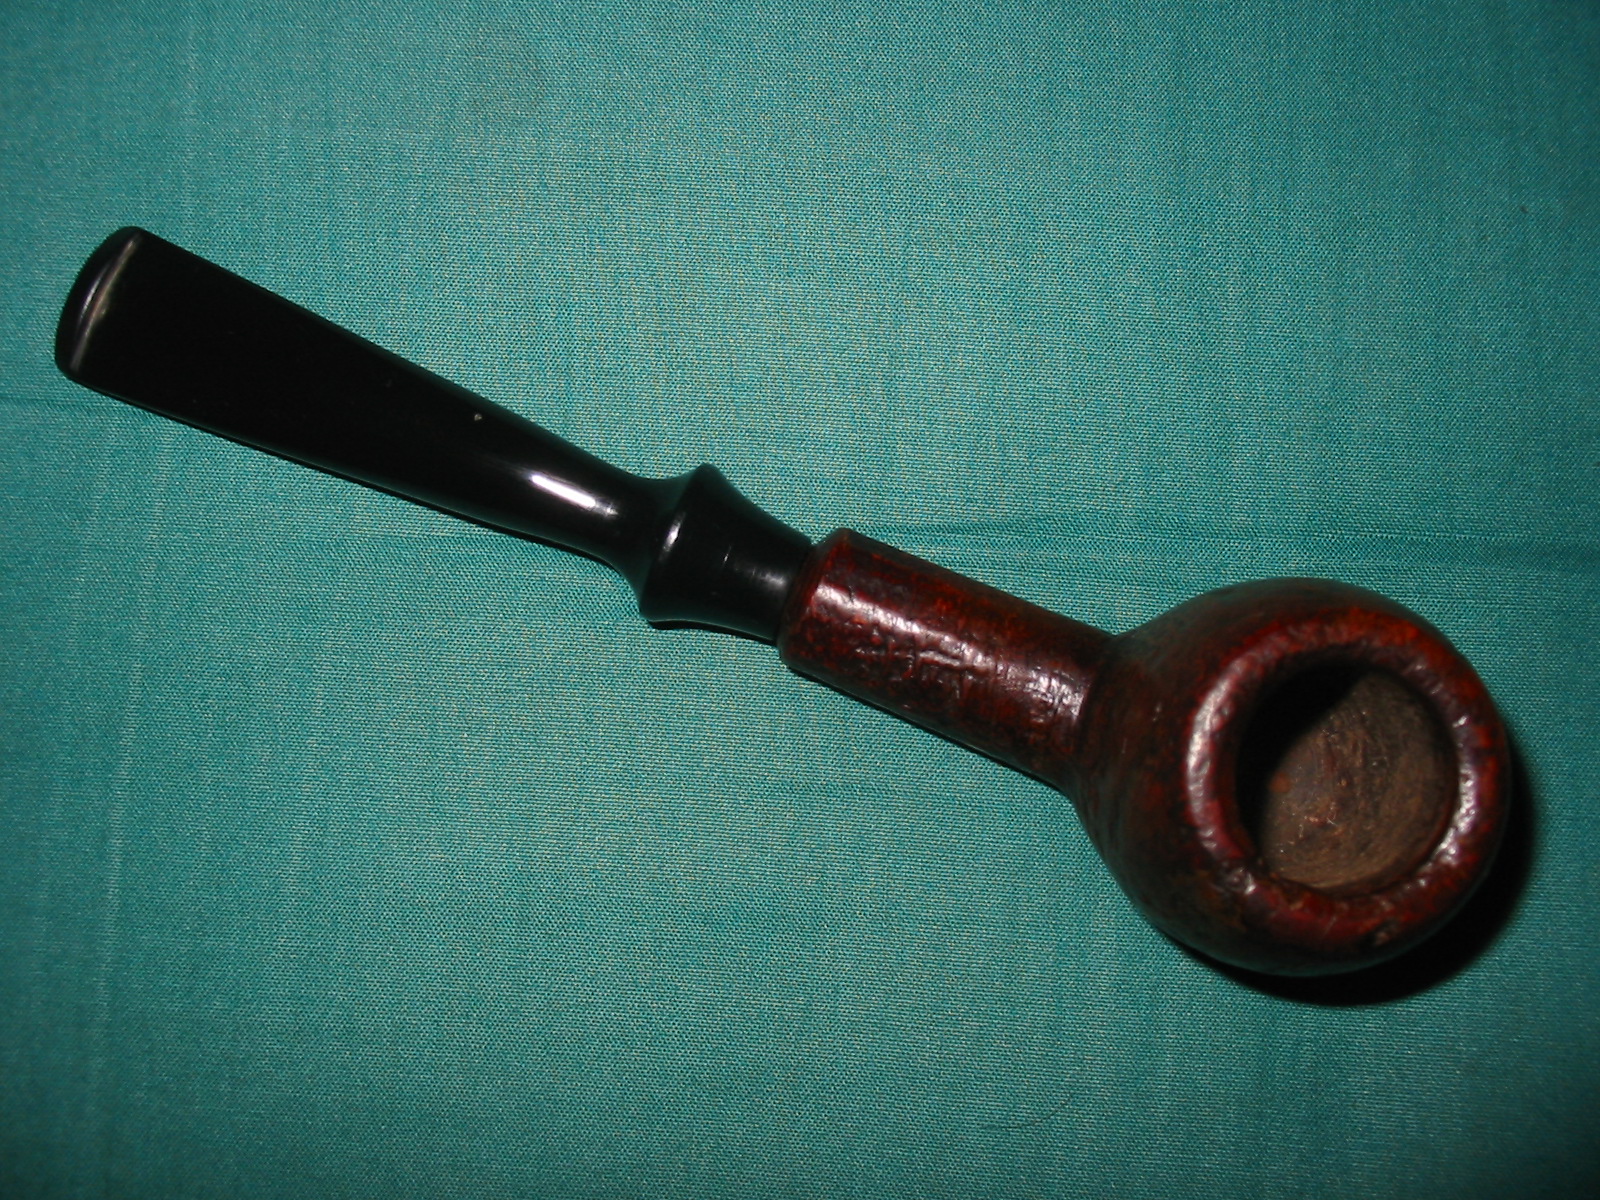
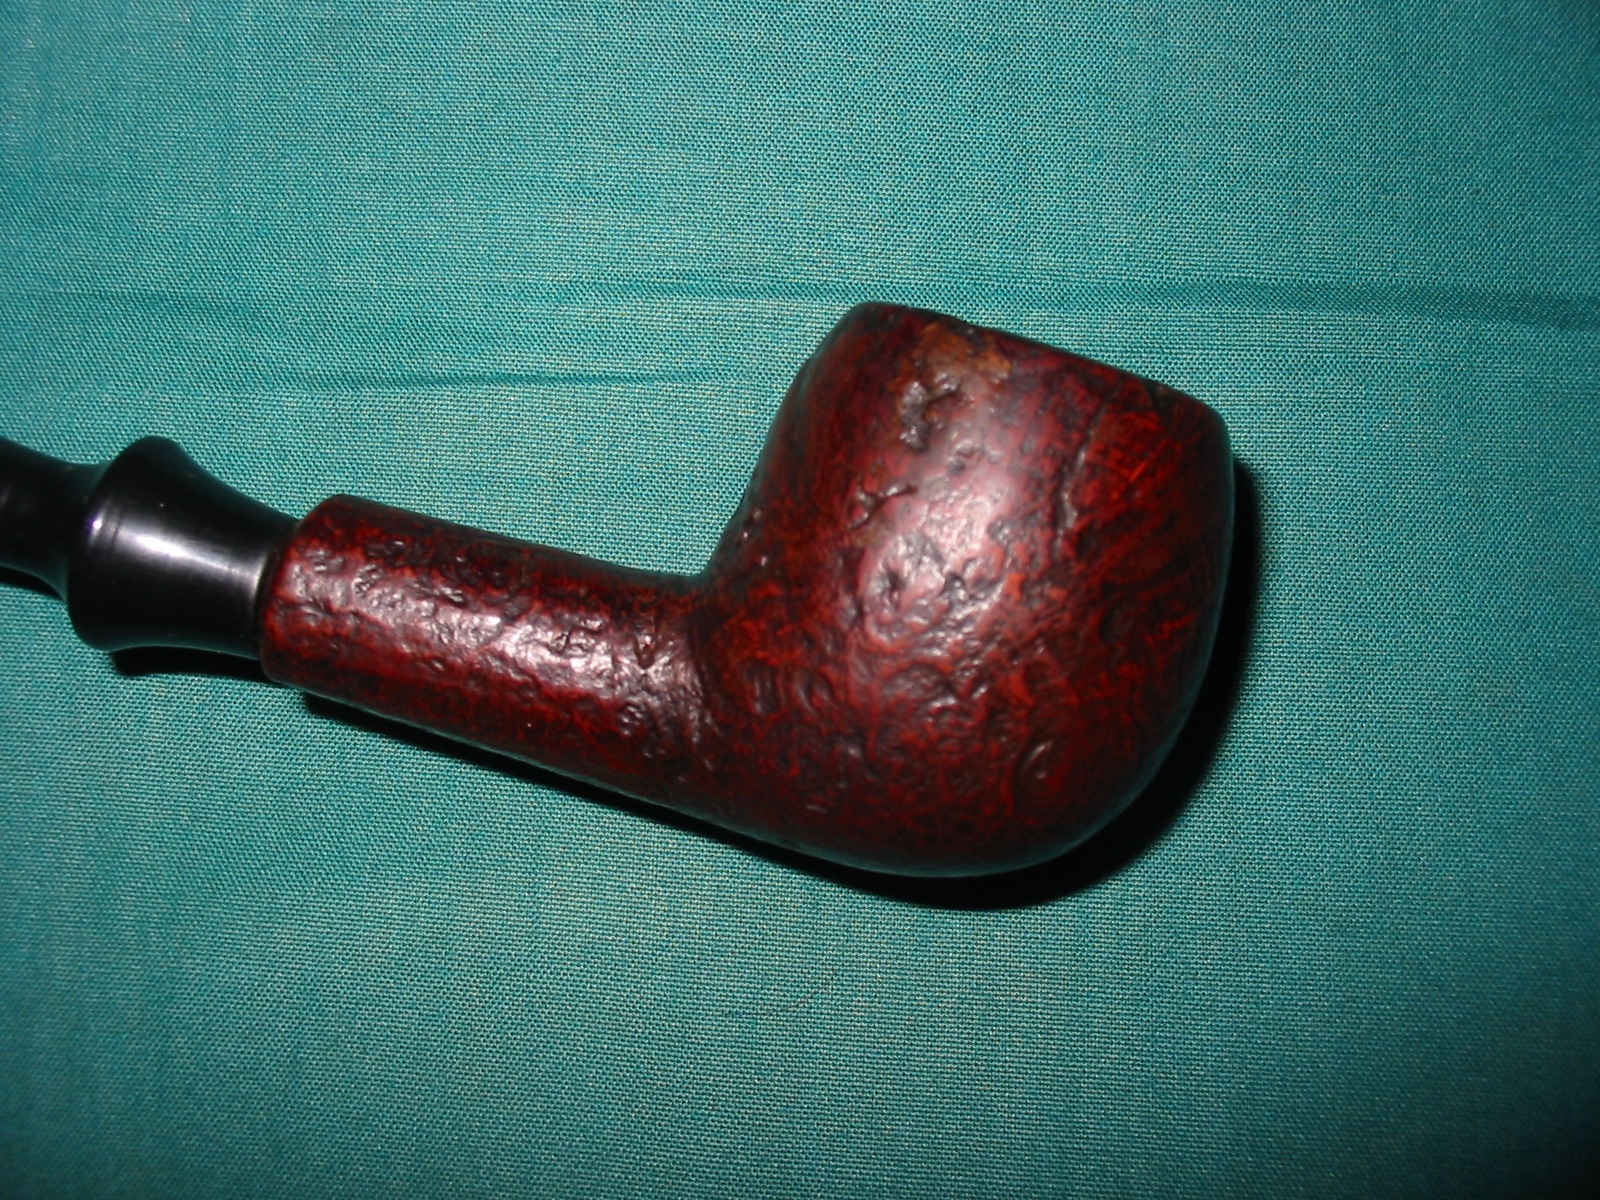
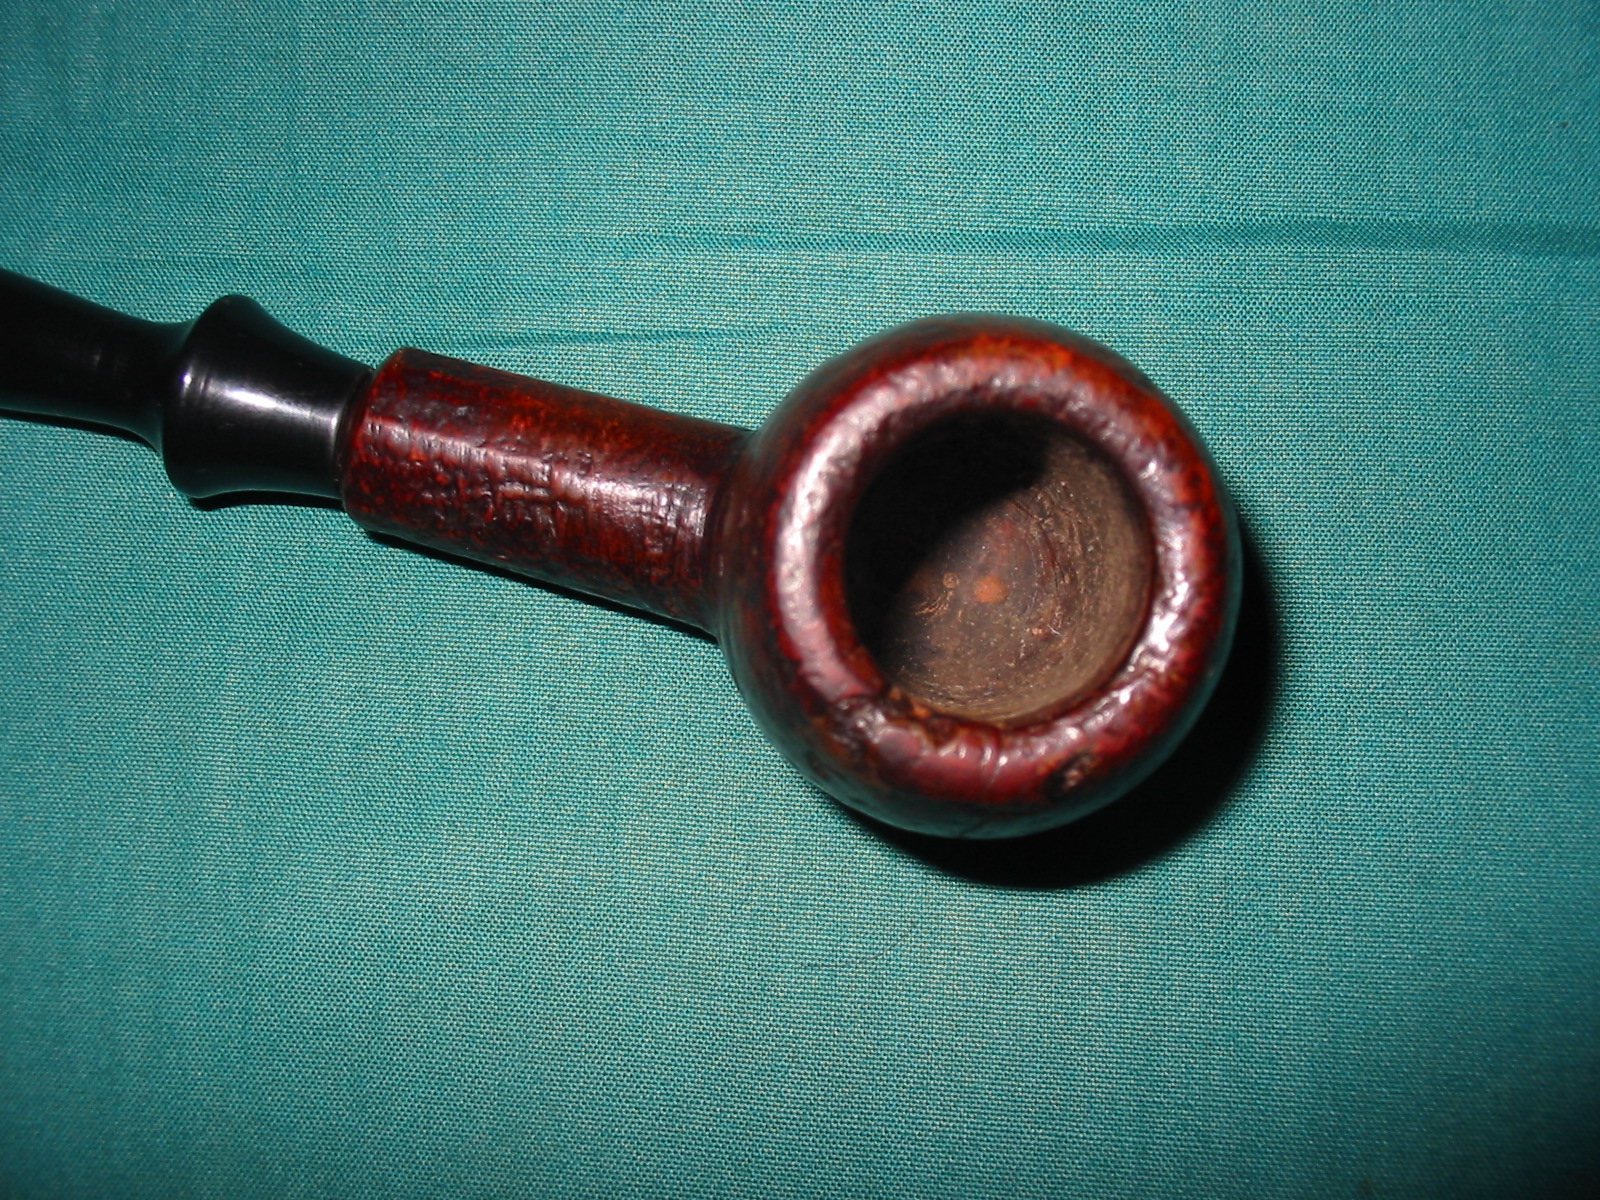
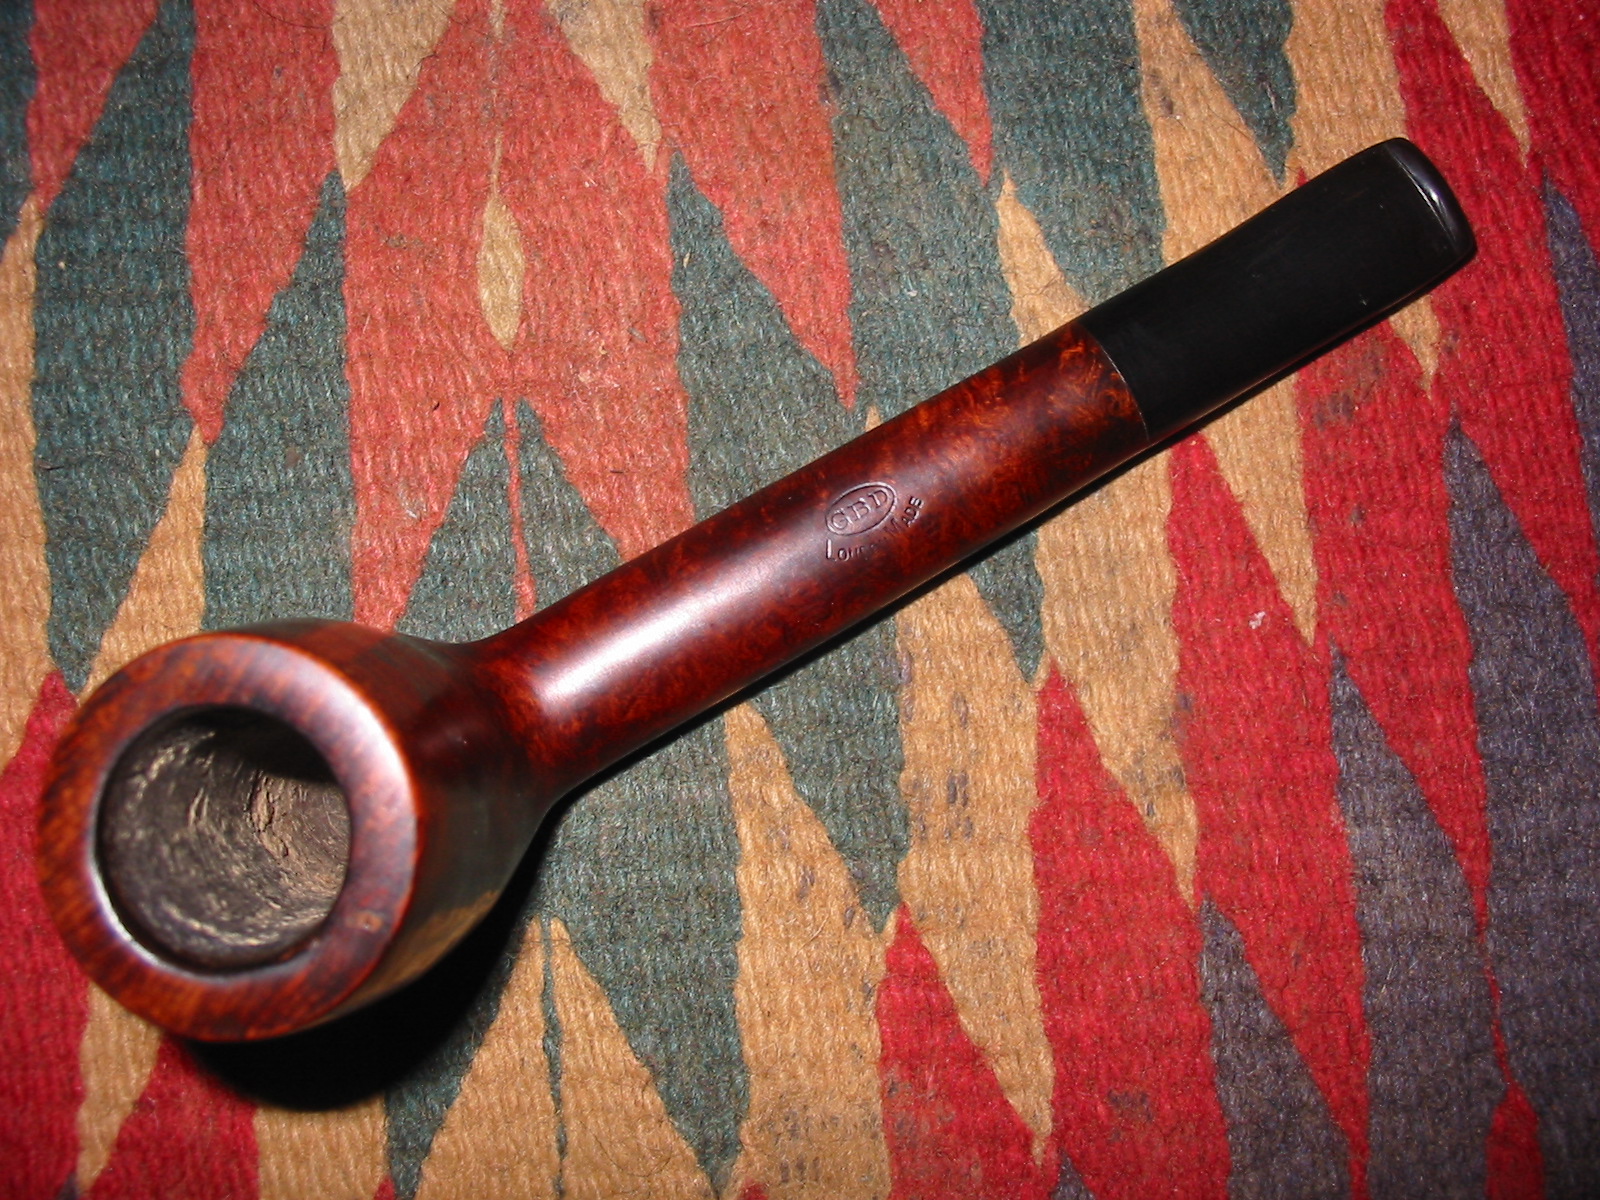
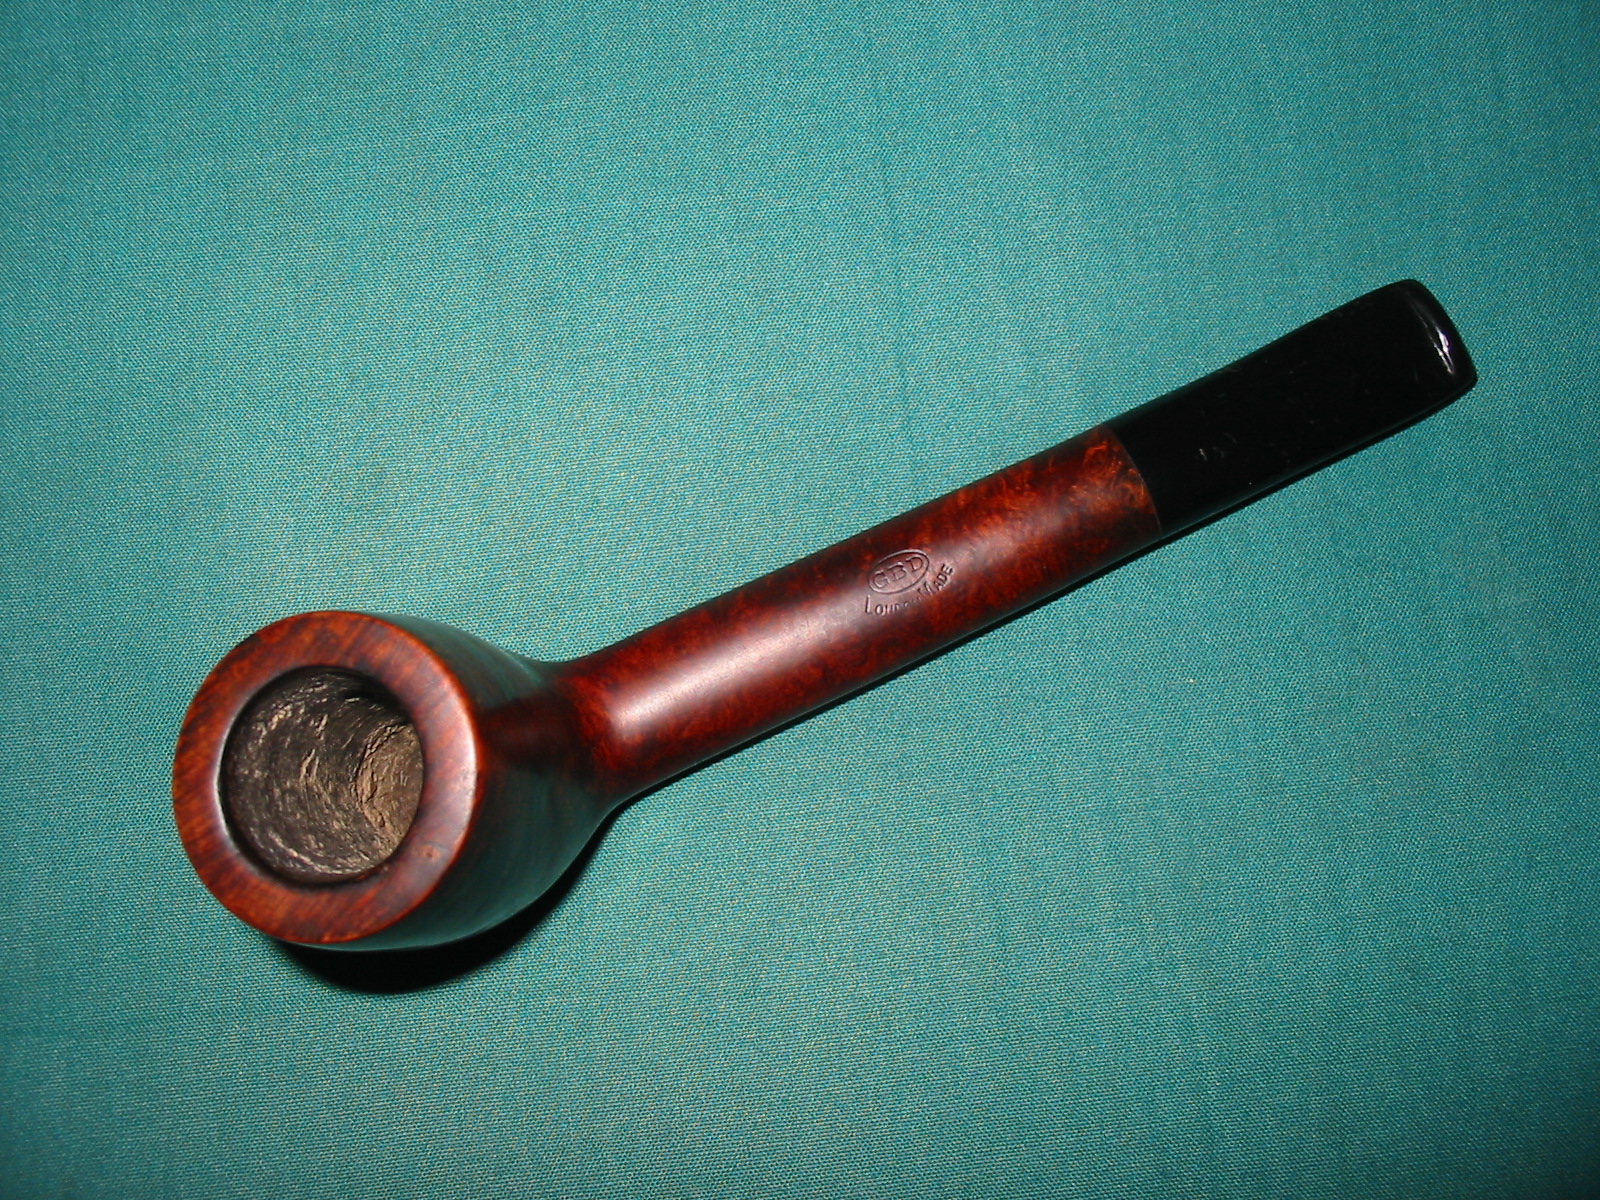
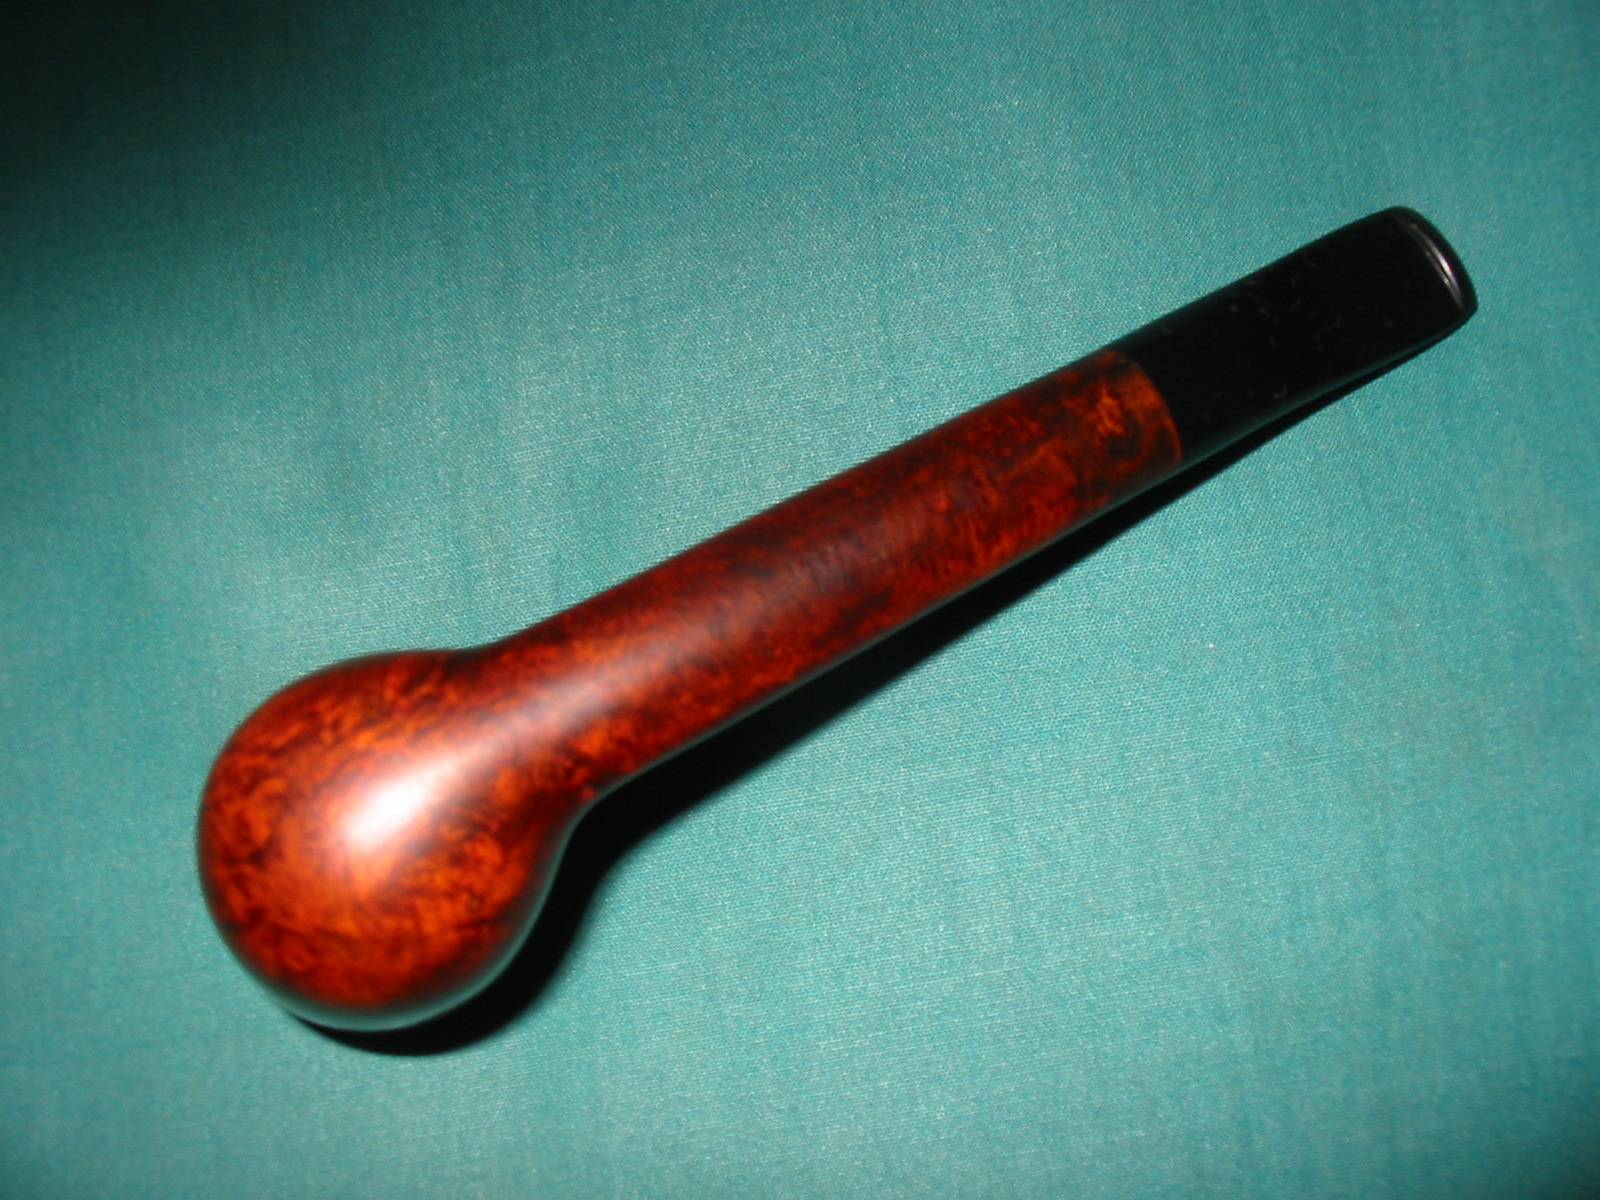
I don’t remember when I first became familiar with Calich pipes. They were not a brand that I had heard of or seen. I do remember that the first time I saw one of his pipes was when I was visiting Mike Glukler of Briar Blues and he had a John Calich pipe for sale. It had to have been before 2003 because of health issues that tied me up from 03-04. I know that I was immediately drawn to the rusticated finish it had and the two tone stain that Calich had used to accent the rustication and the smooth portions of the pipe. He used a dark brown stain as an under stain with an oxblood top stain. The contrast was well done. The pipe was a large Lumberman shape. The stem was vulcanite with a small tooth mark on the top of the stem. It was stamped CALICH 02 over Hand Made 4E over Made in Canada. I had no idea of the age of the pipe or the meaning of the stampings but I paid for it and it became mine. It smoked very well so I began to keep an eye open for John’s pipes.
Calichstack
From my research I found that John’s pipes are graded 3E – 8E. Retail prices range from$ 145.00 to $ 500.00. Each pipe is stamped “CALICH” and the E grade. His earlier pipes were graded from 3-14, and a single, tiny silver dot is applied to the top of the stem. http://pipedia.org/wiki/Calich Armed with that information I found that the first pipe I purchased was a newer pipe of John’s and was stamped 4E which made it a mid-grade pipe.

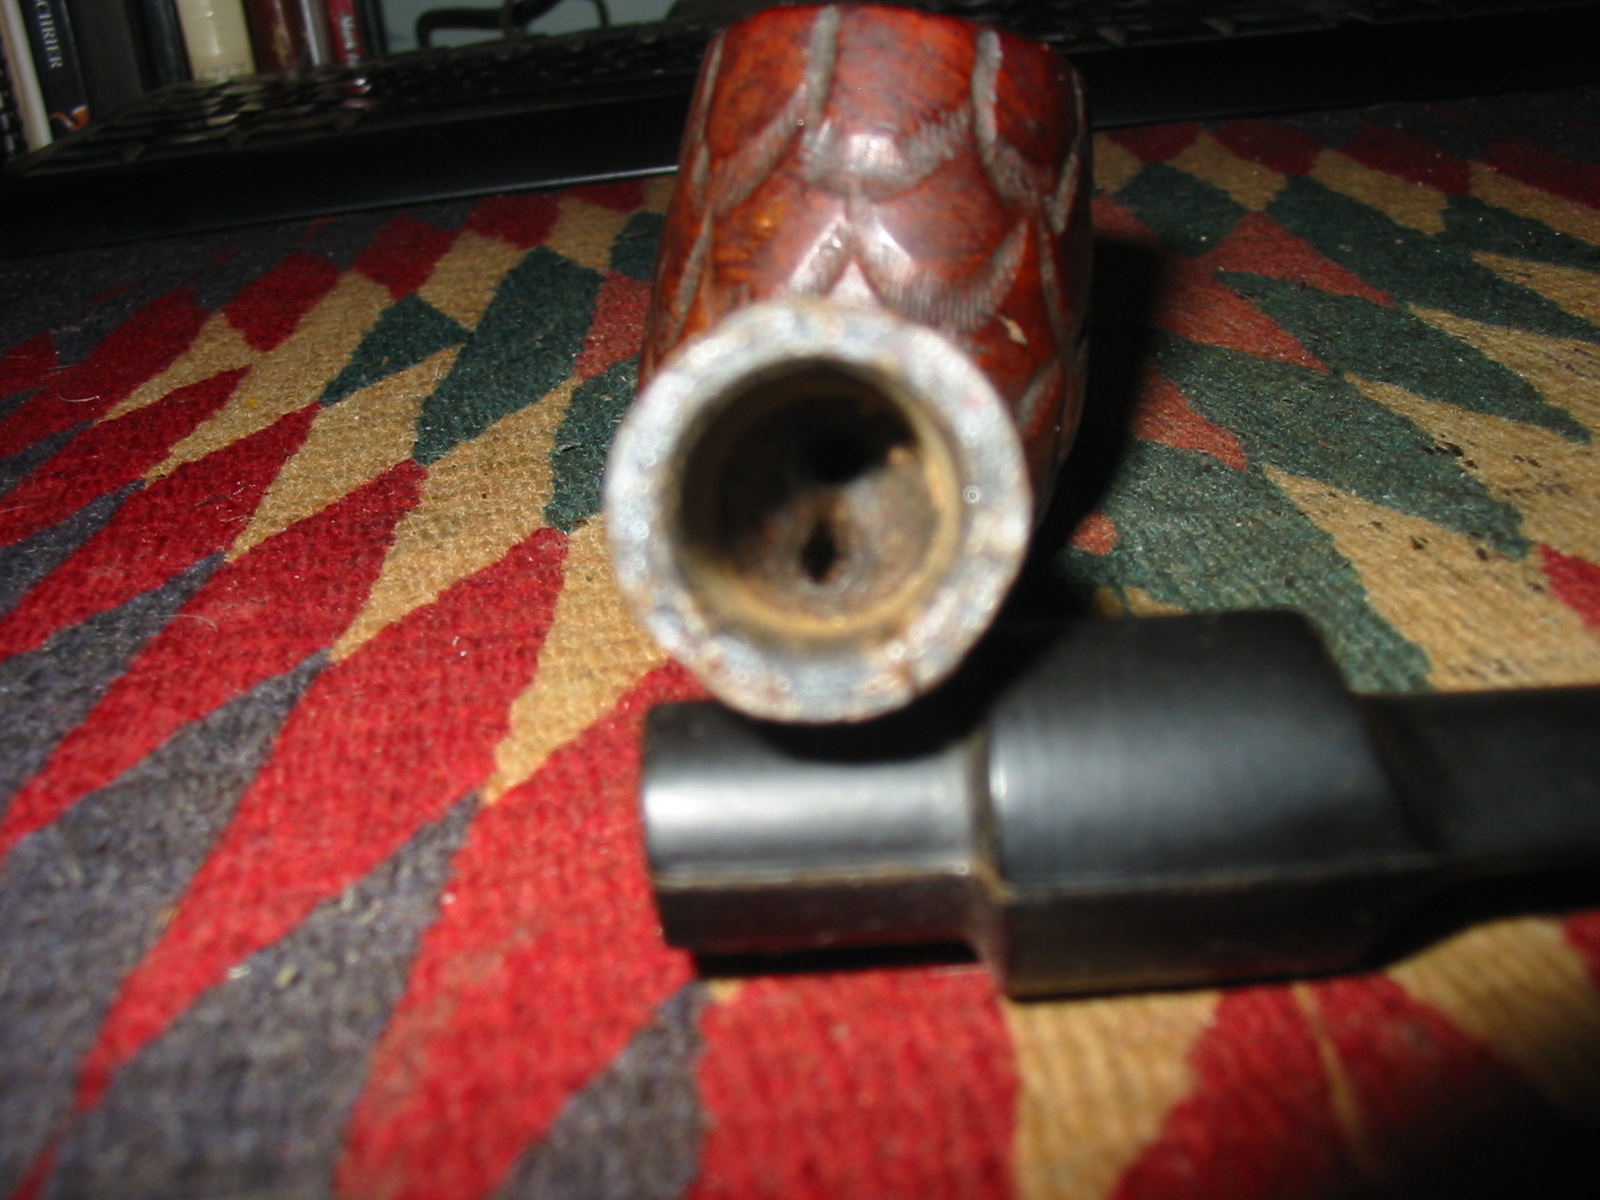
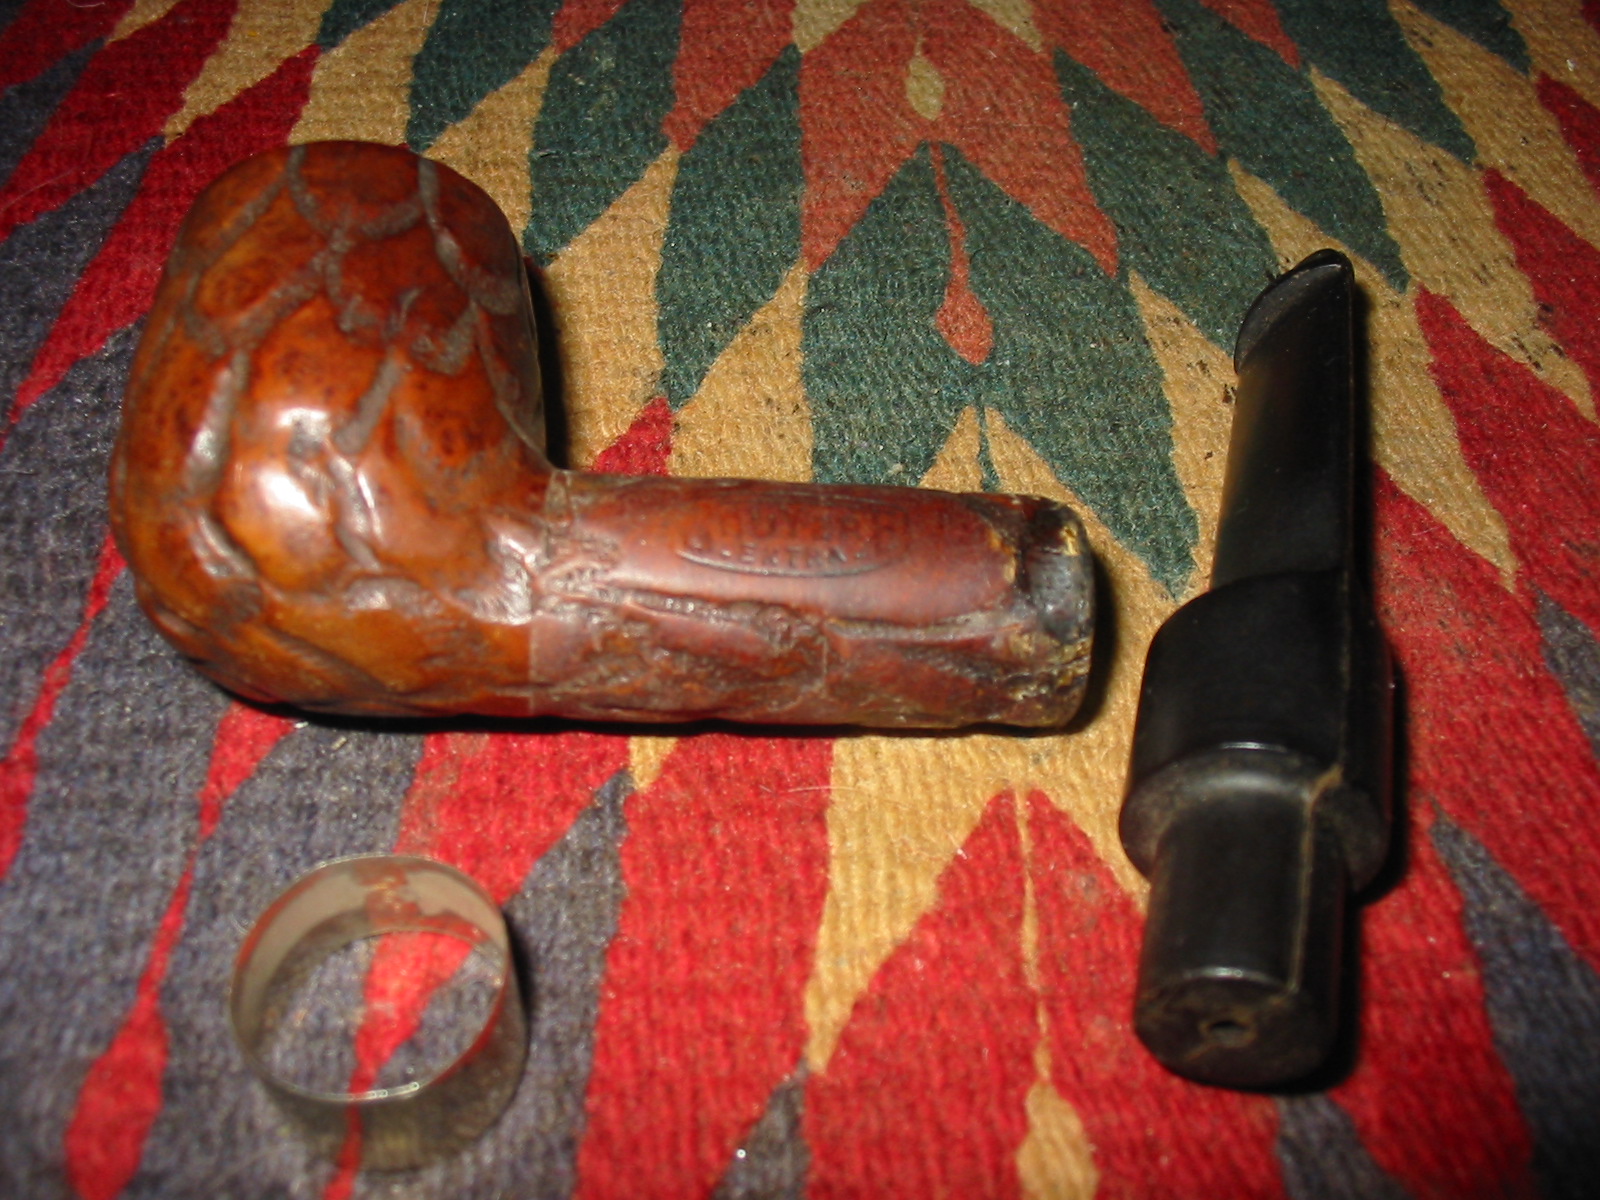
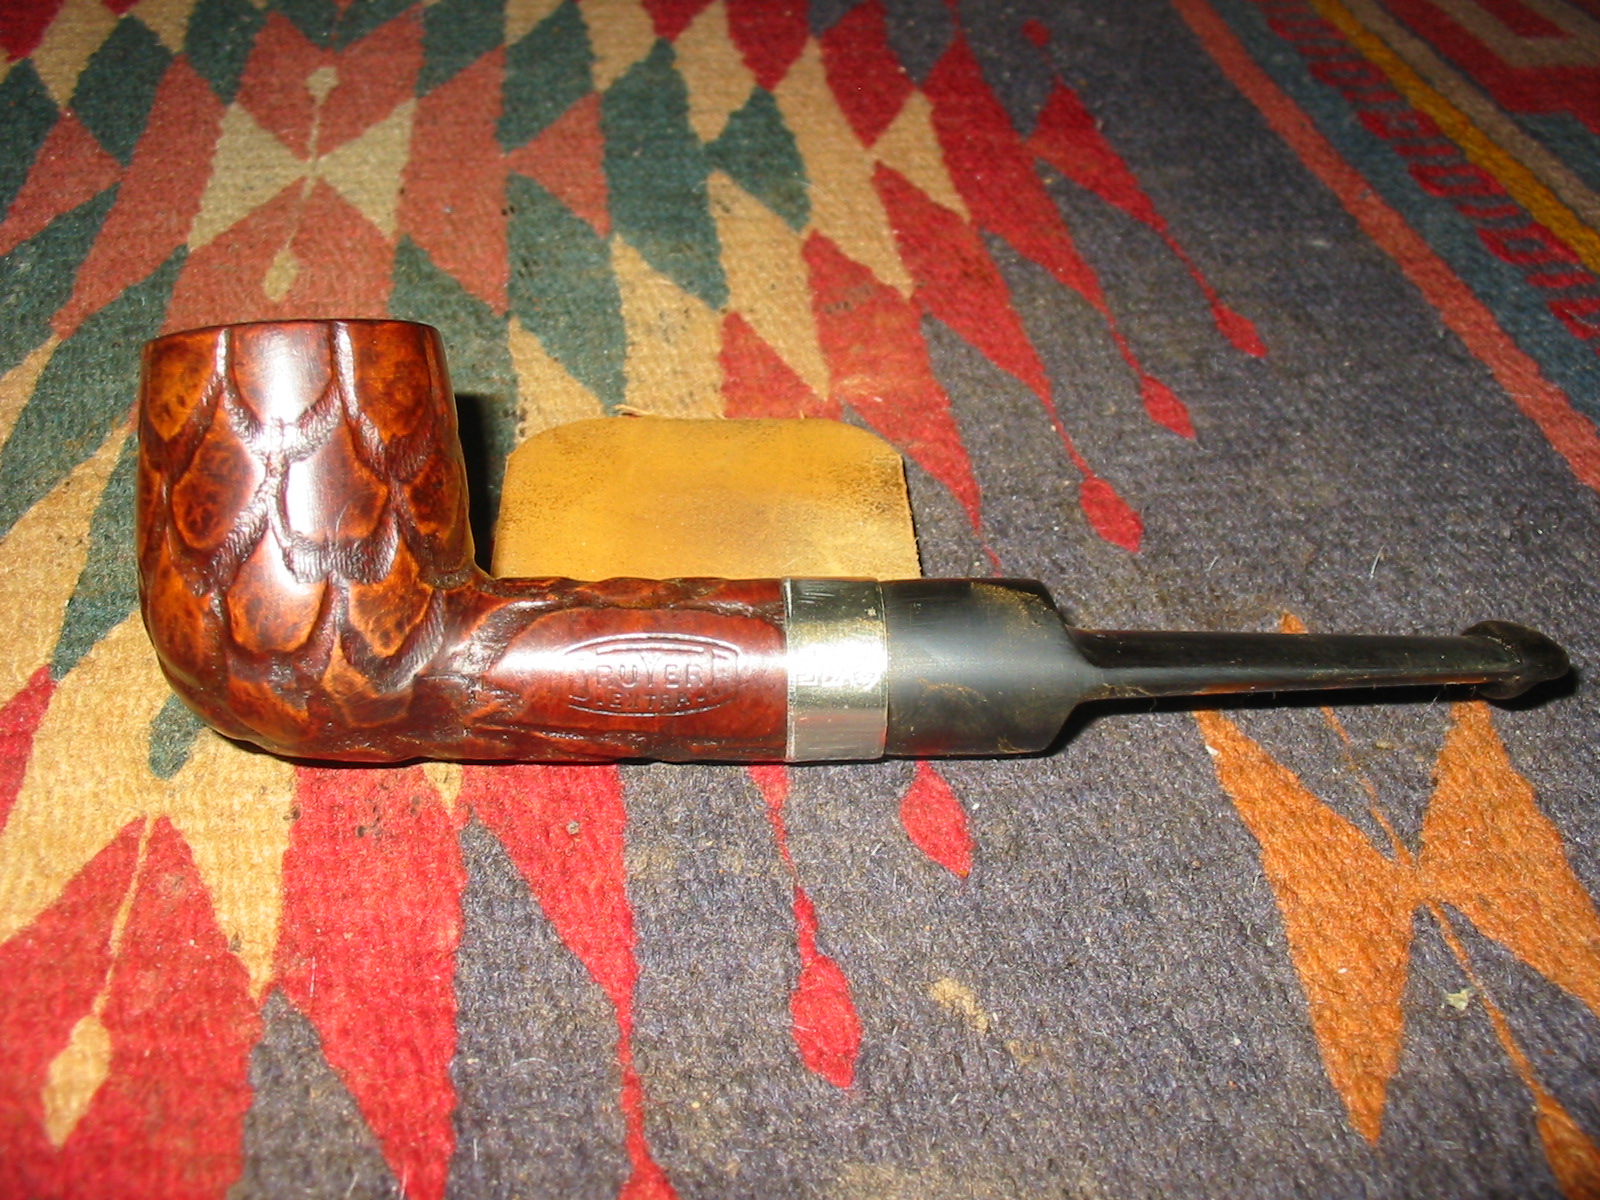
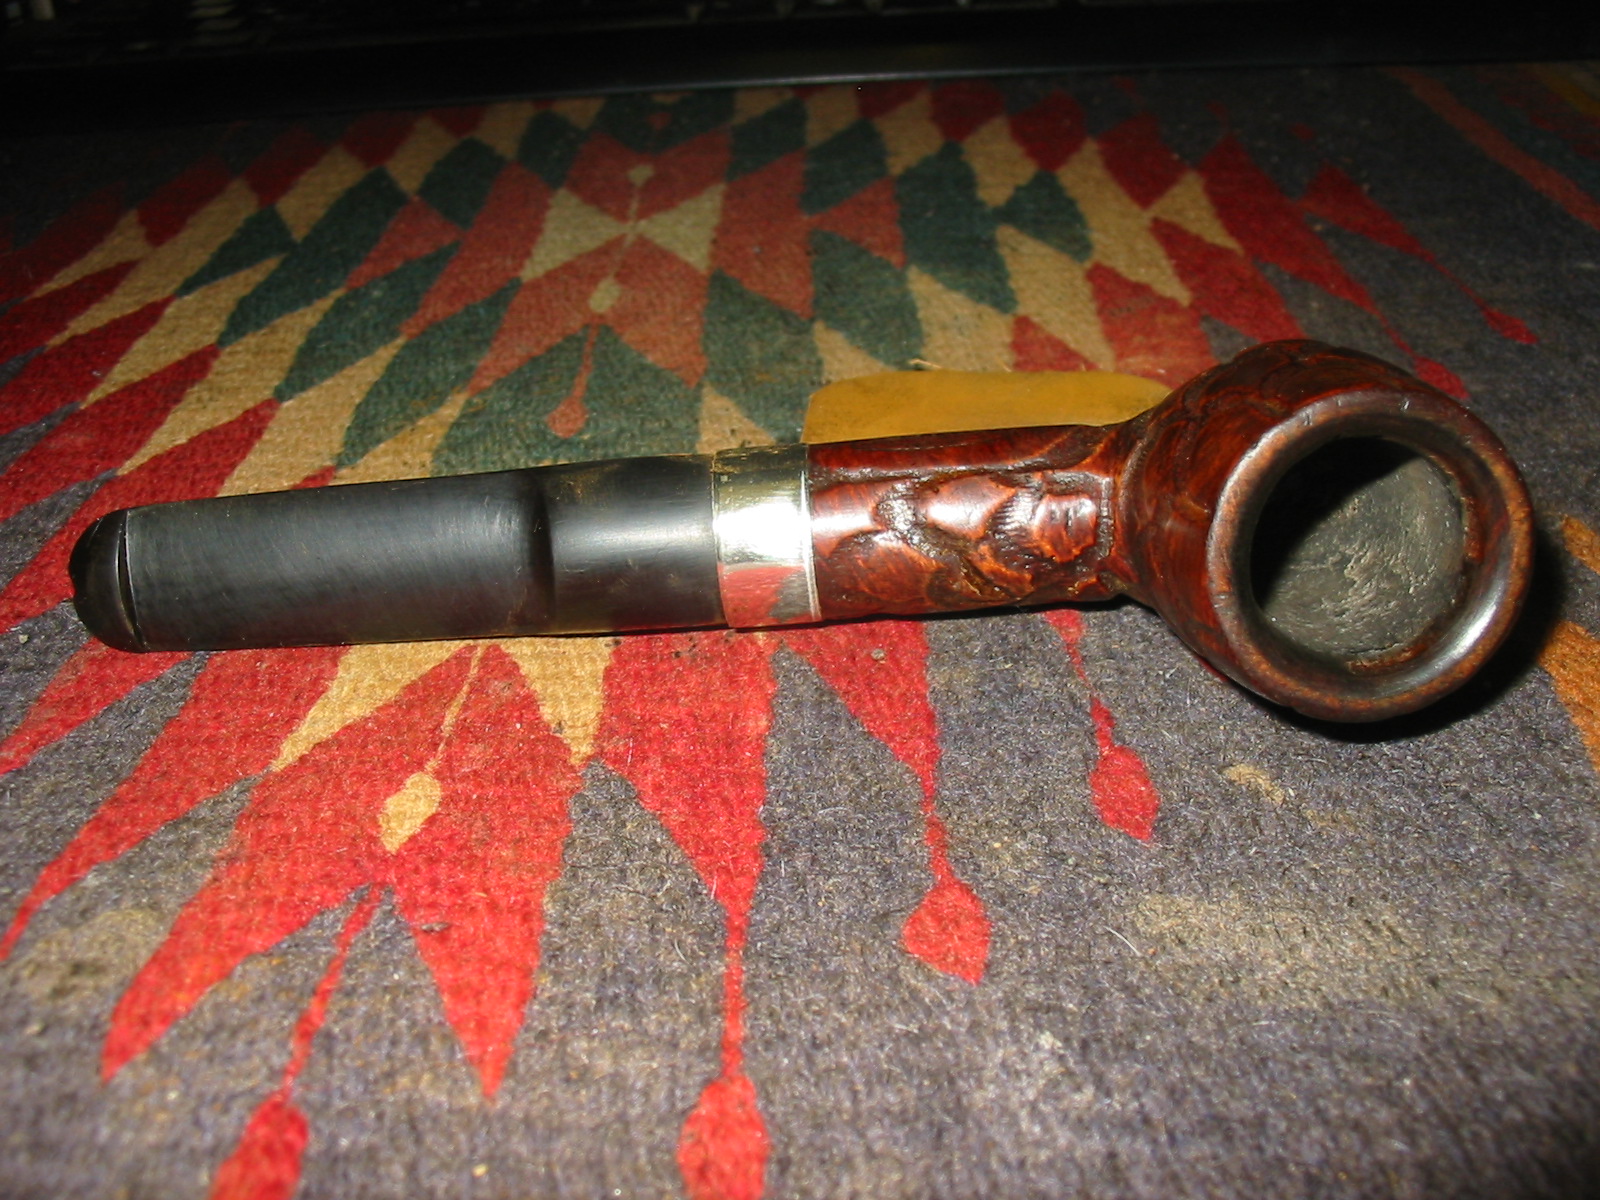
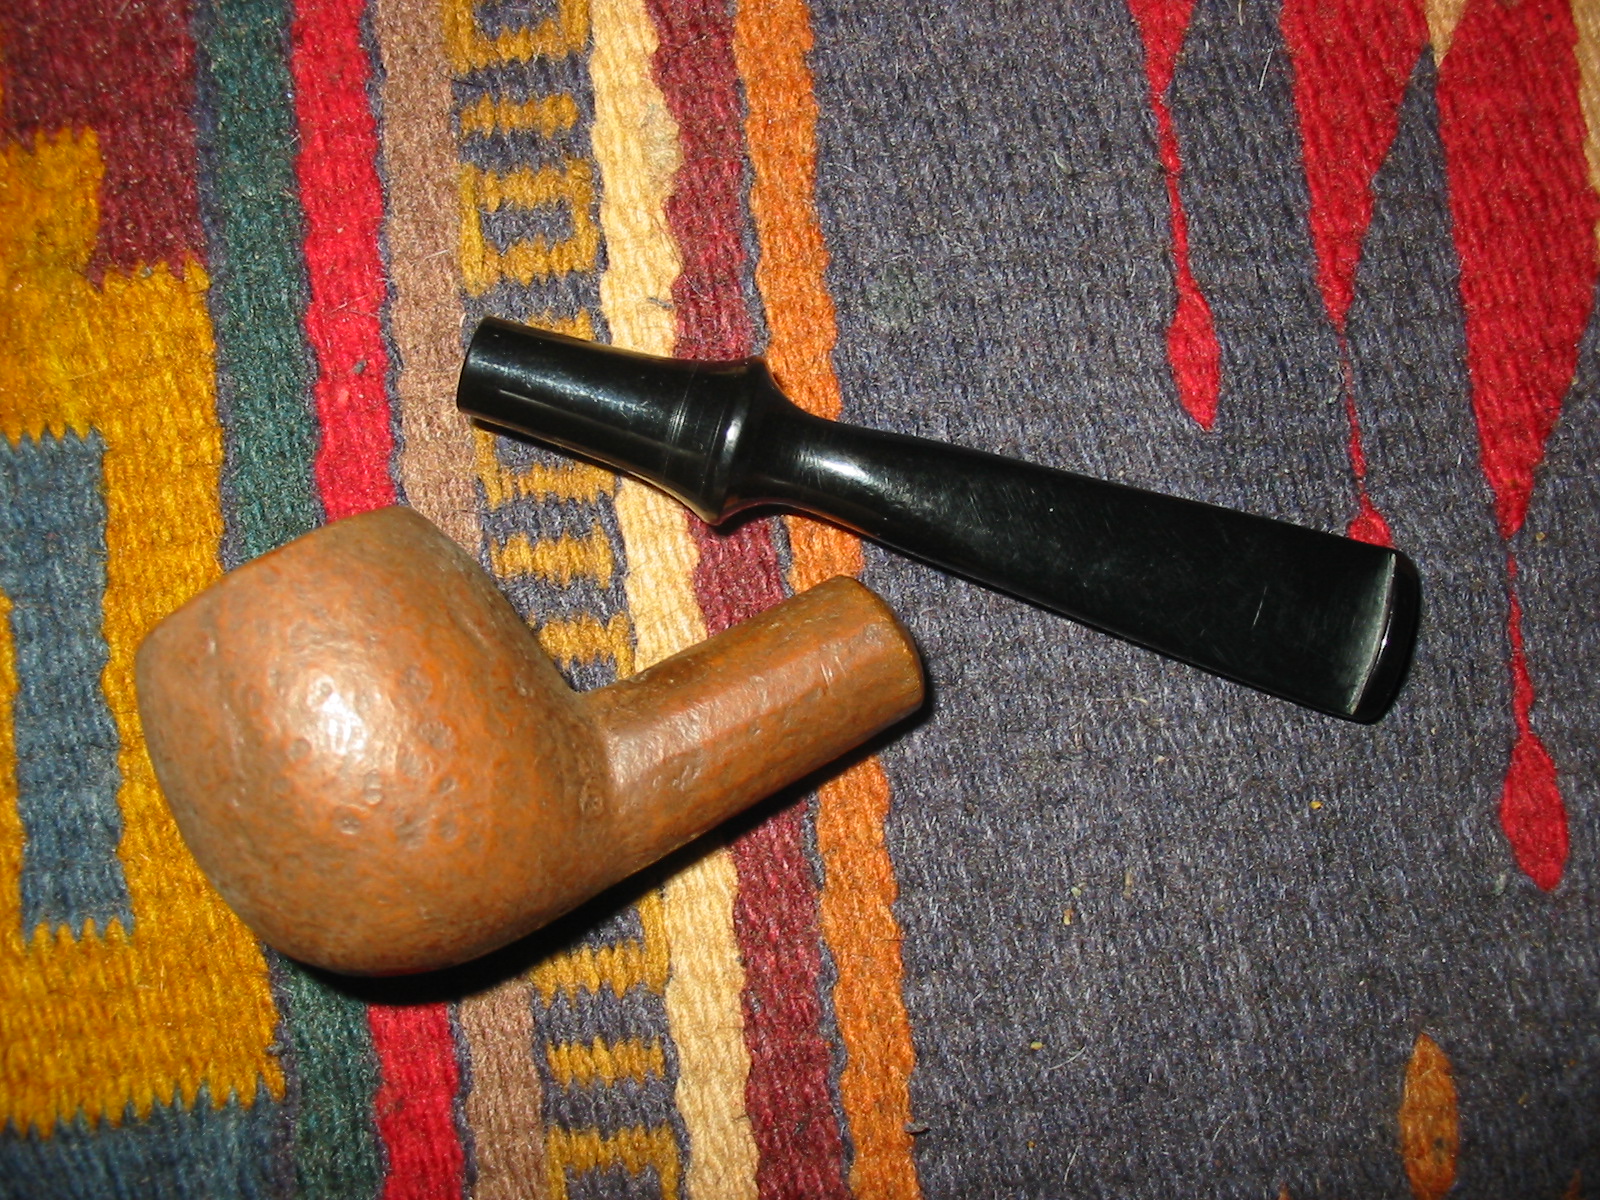
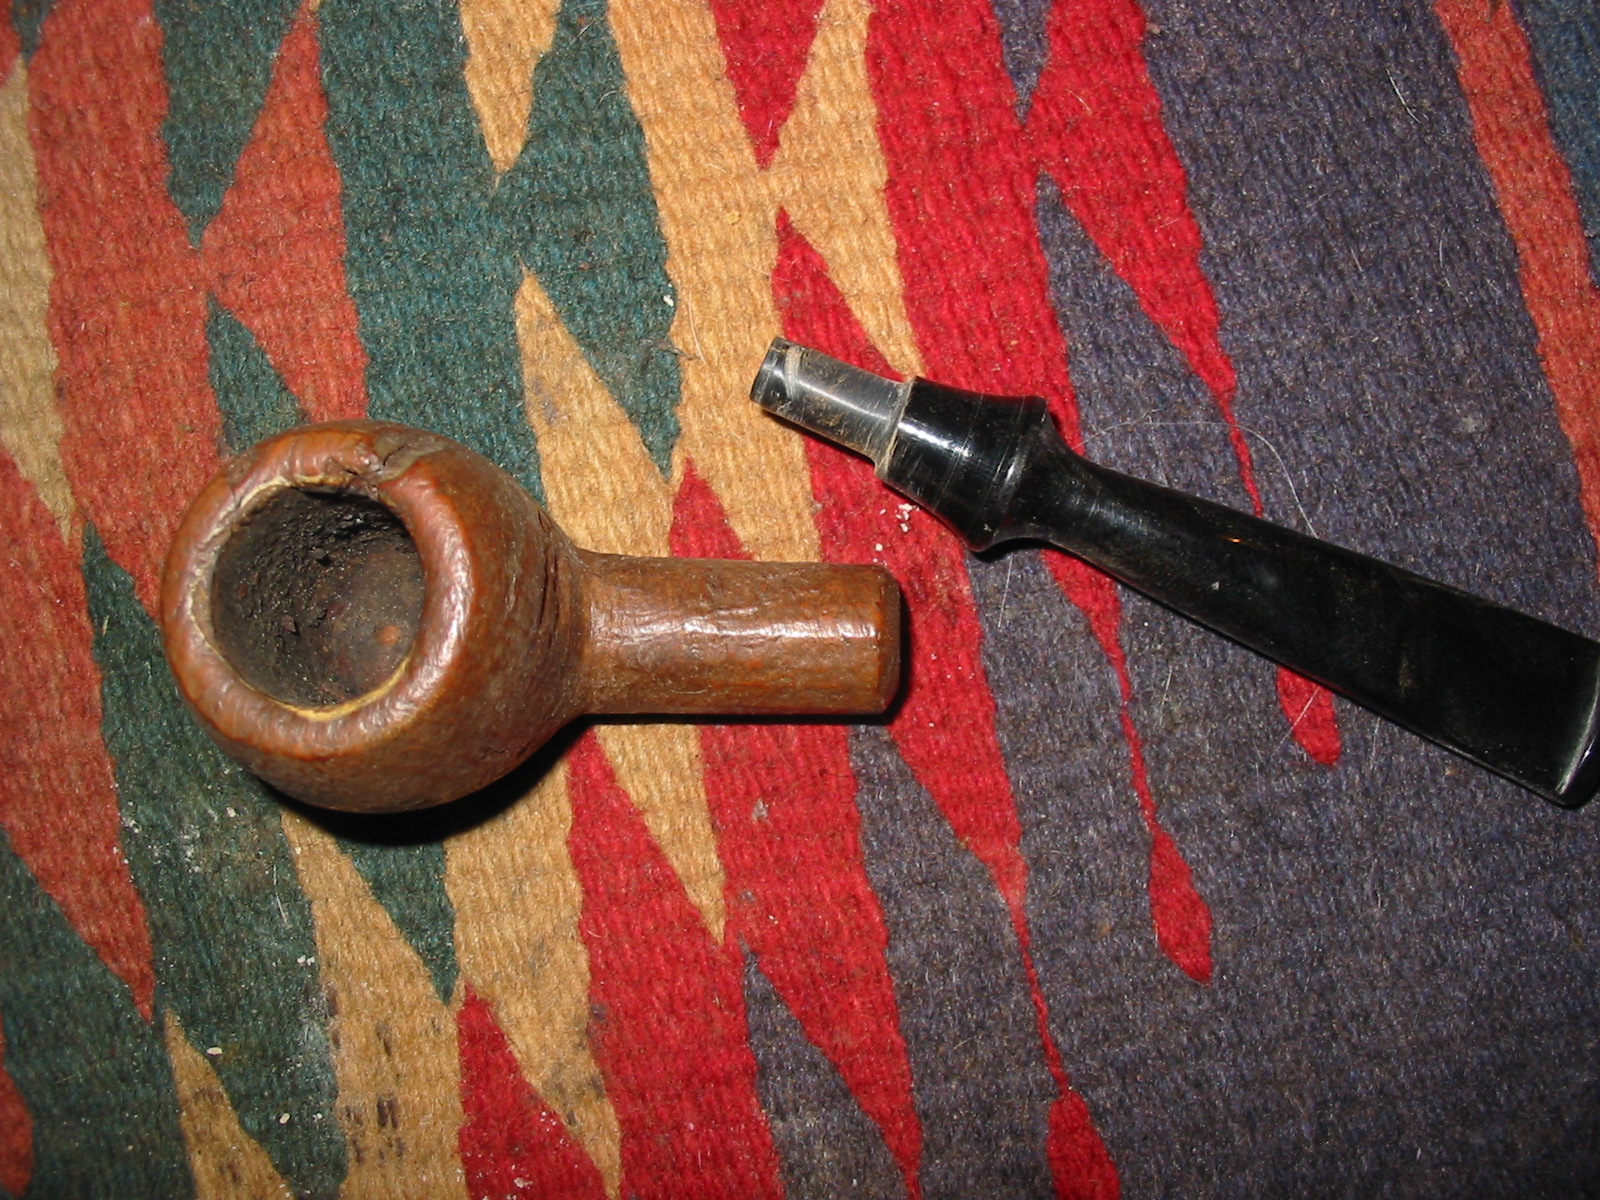
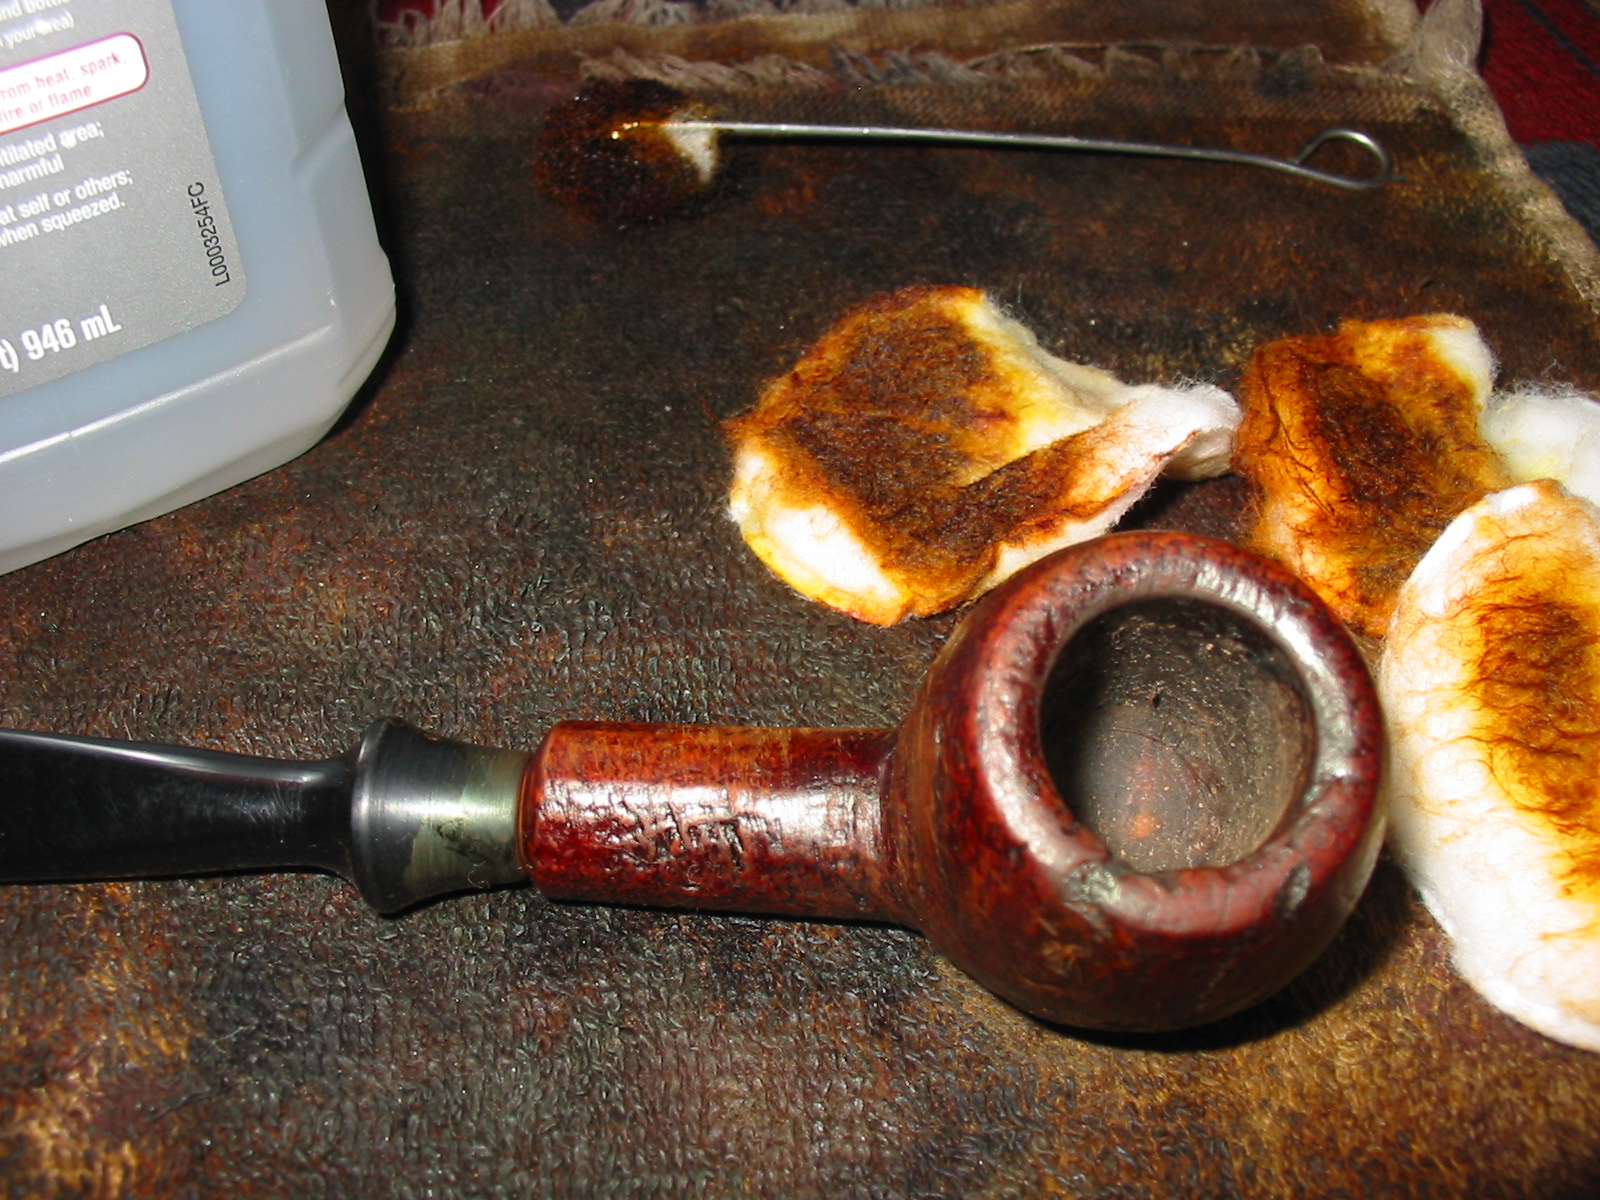
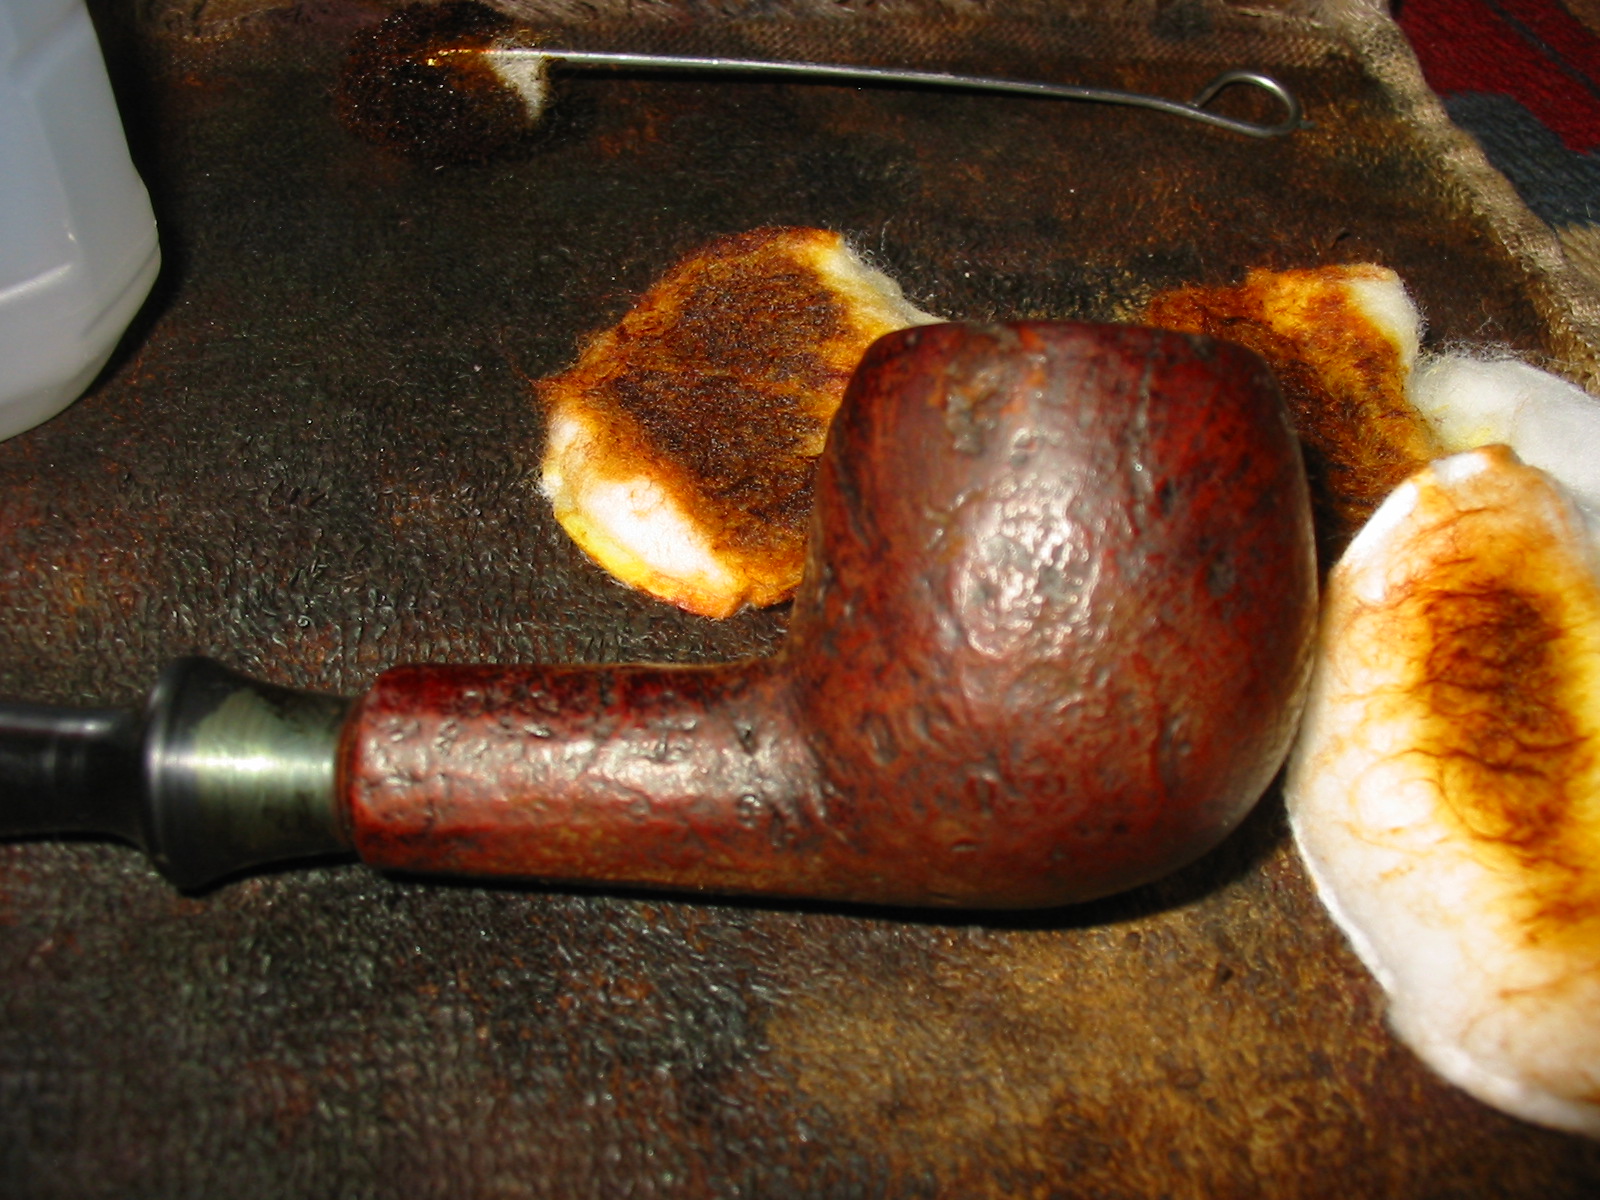
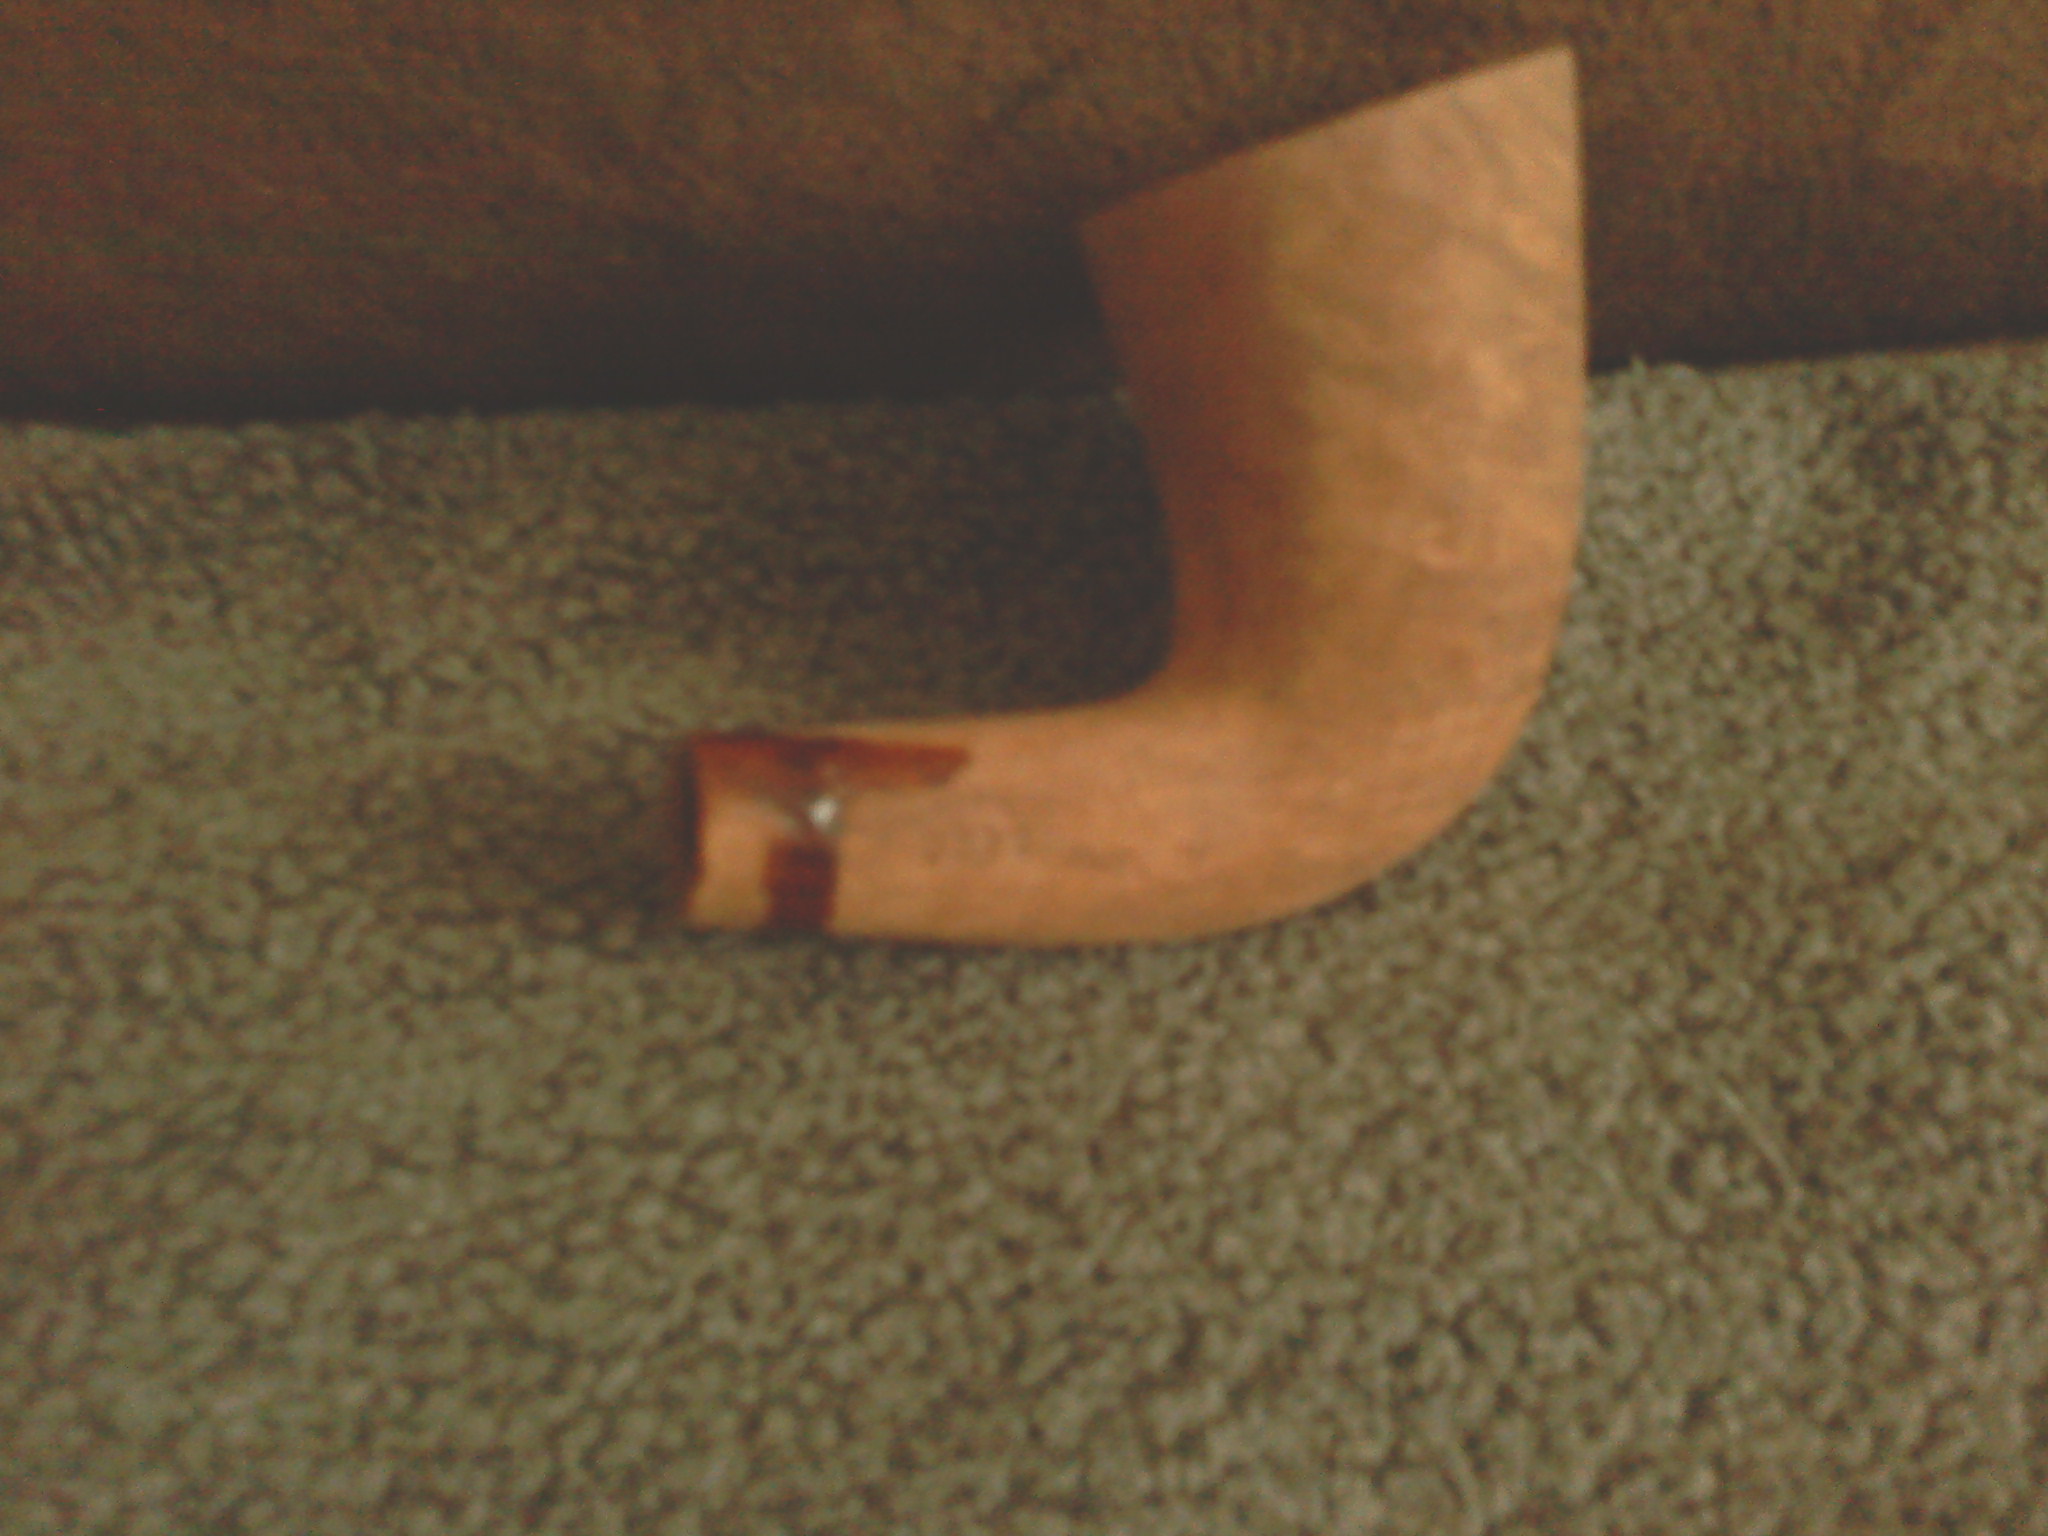
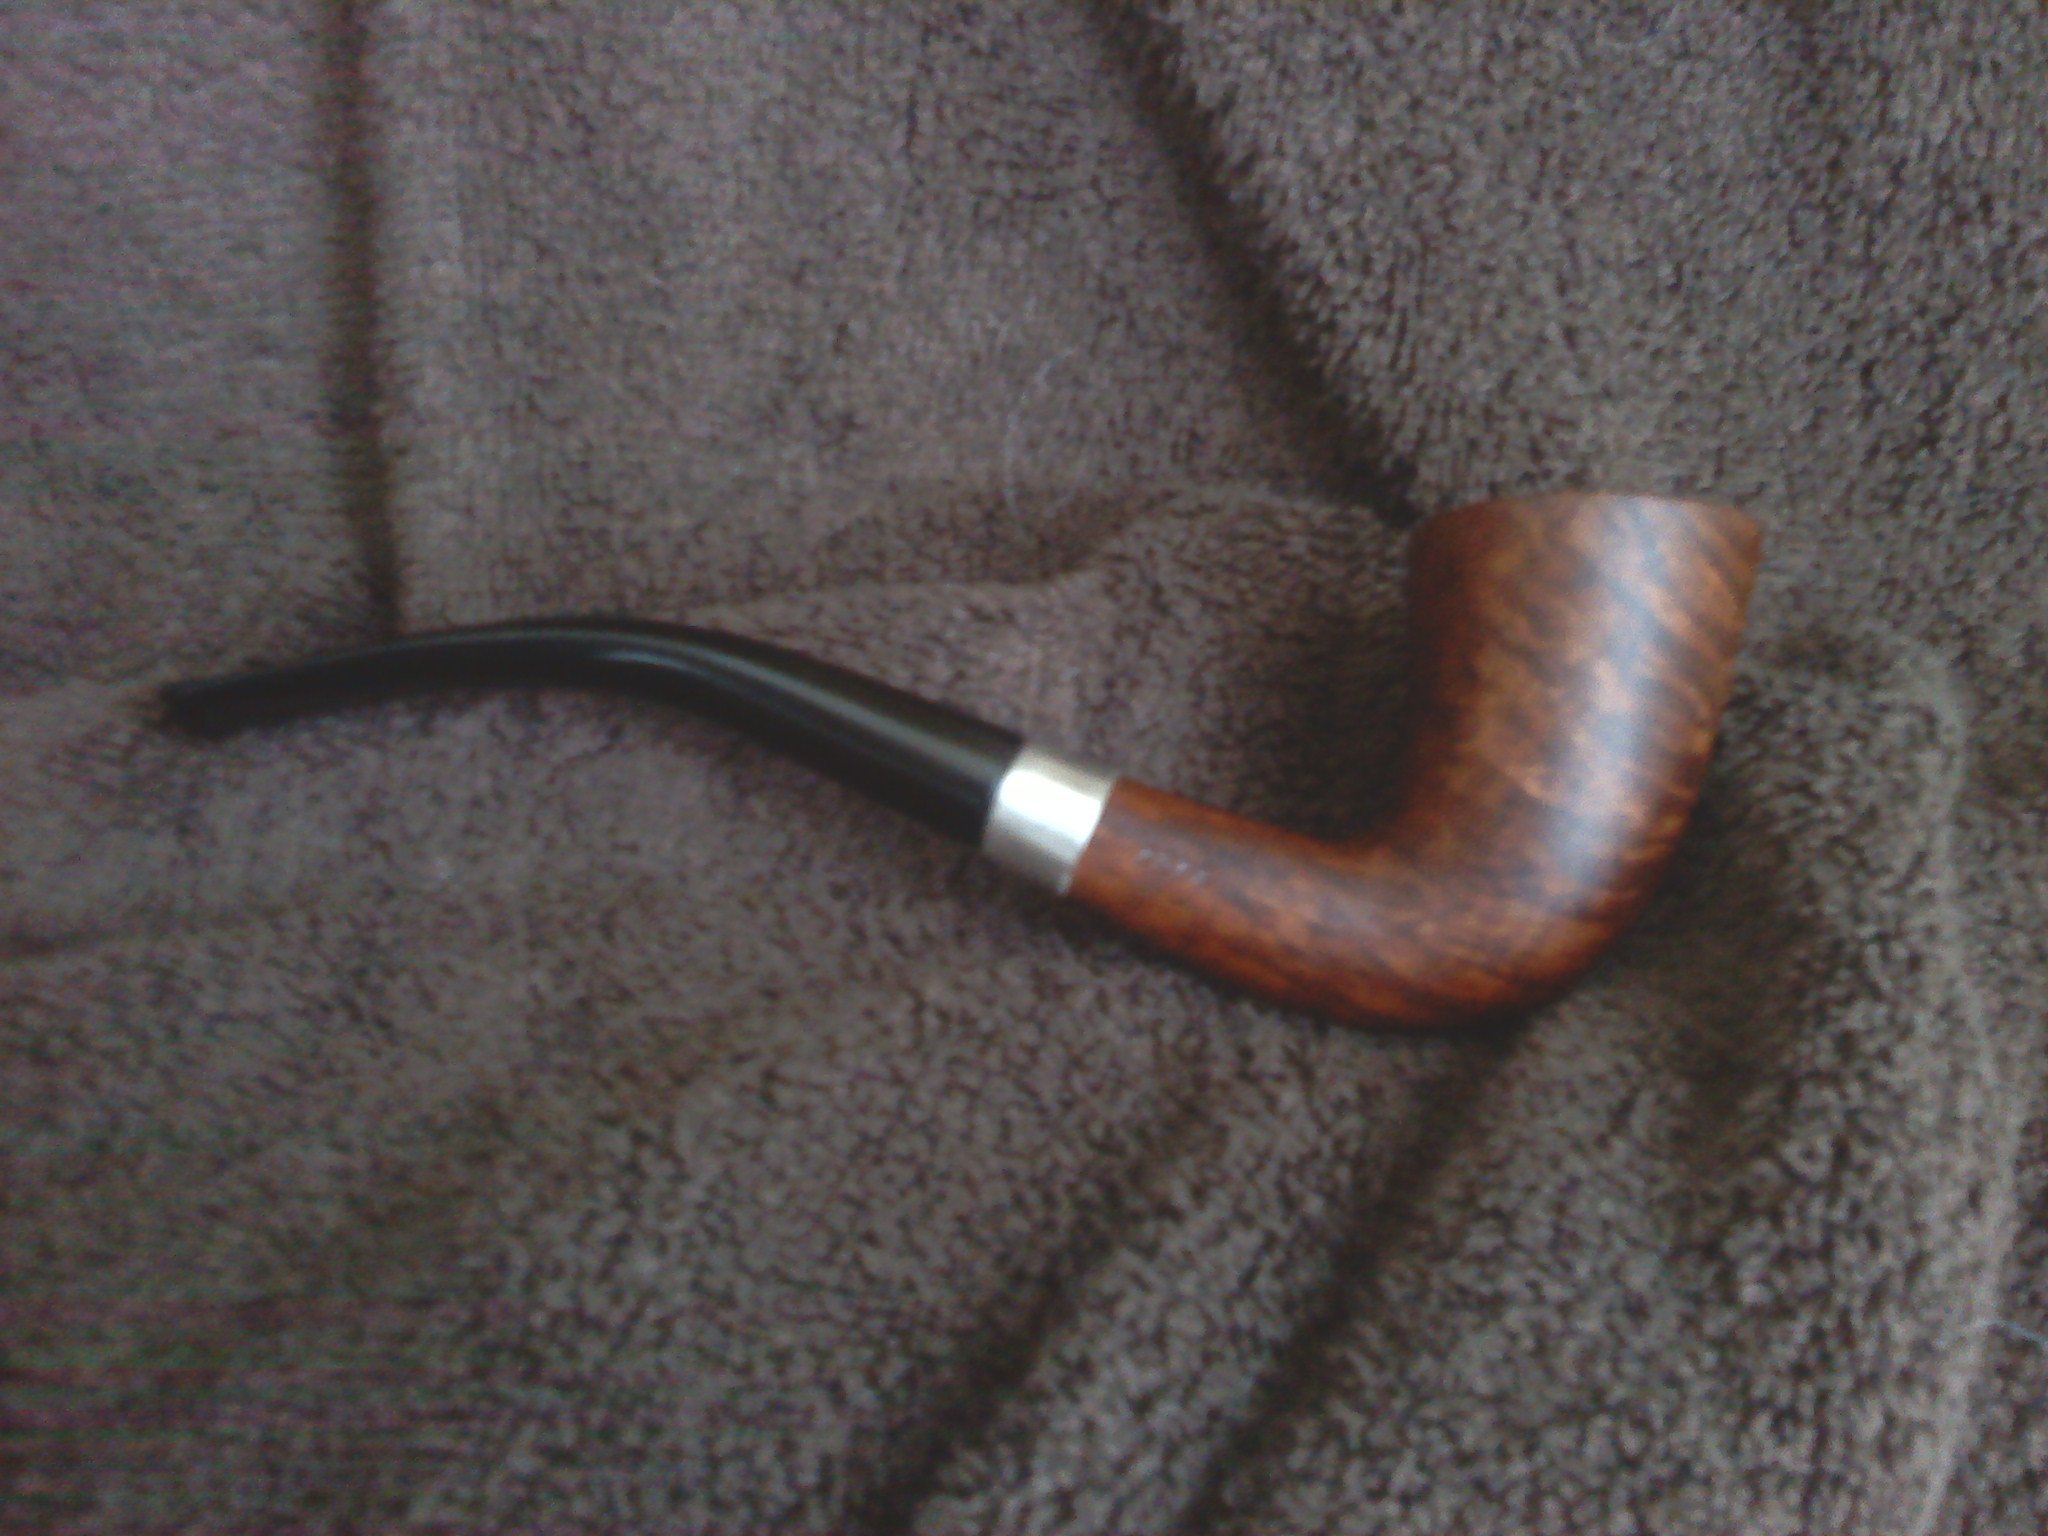
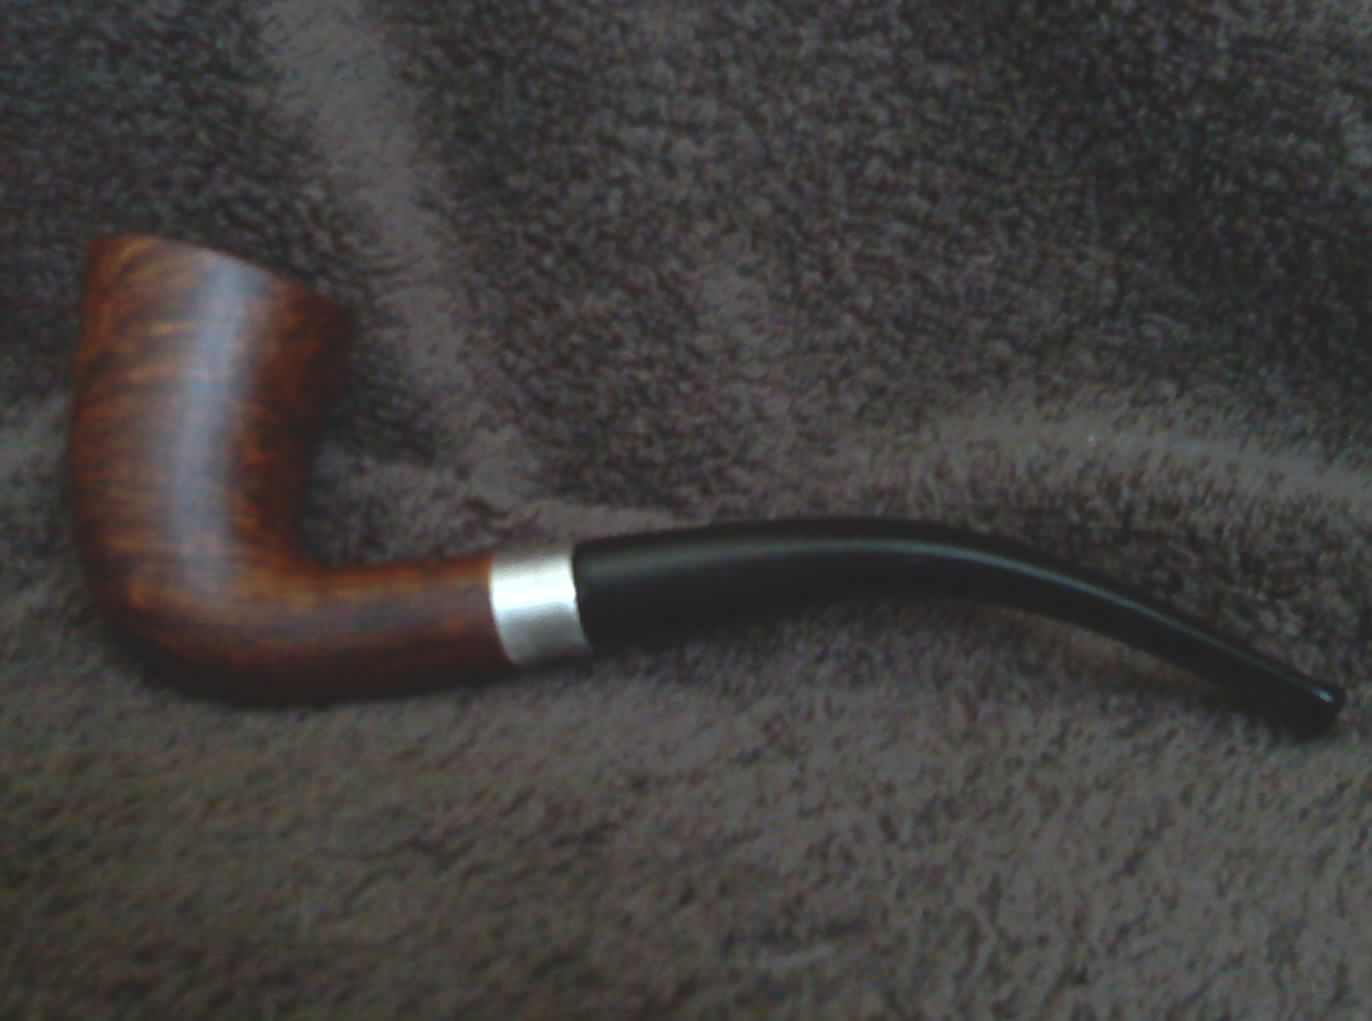
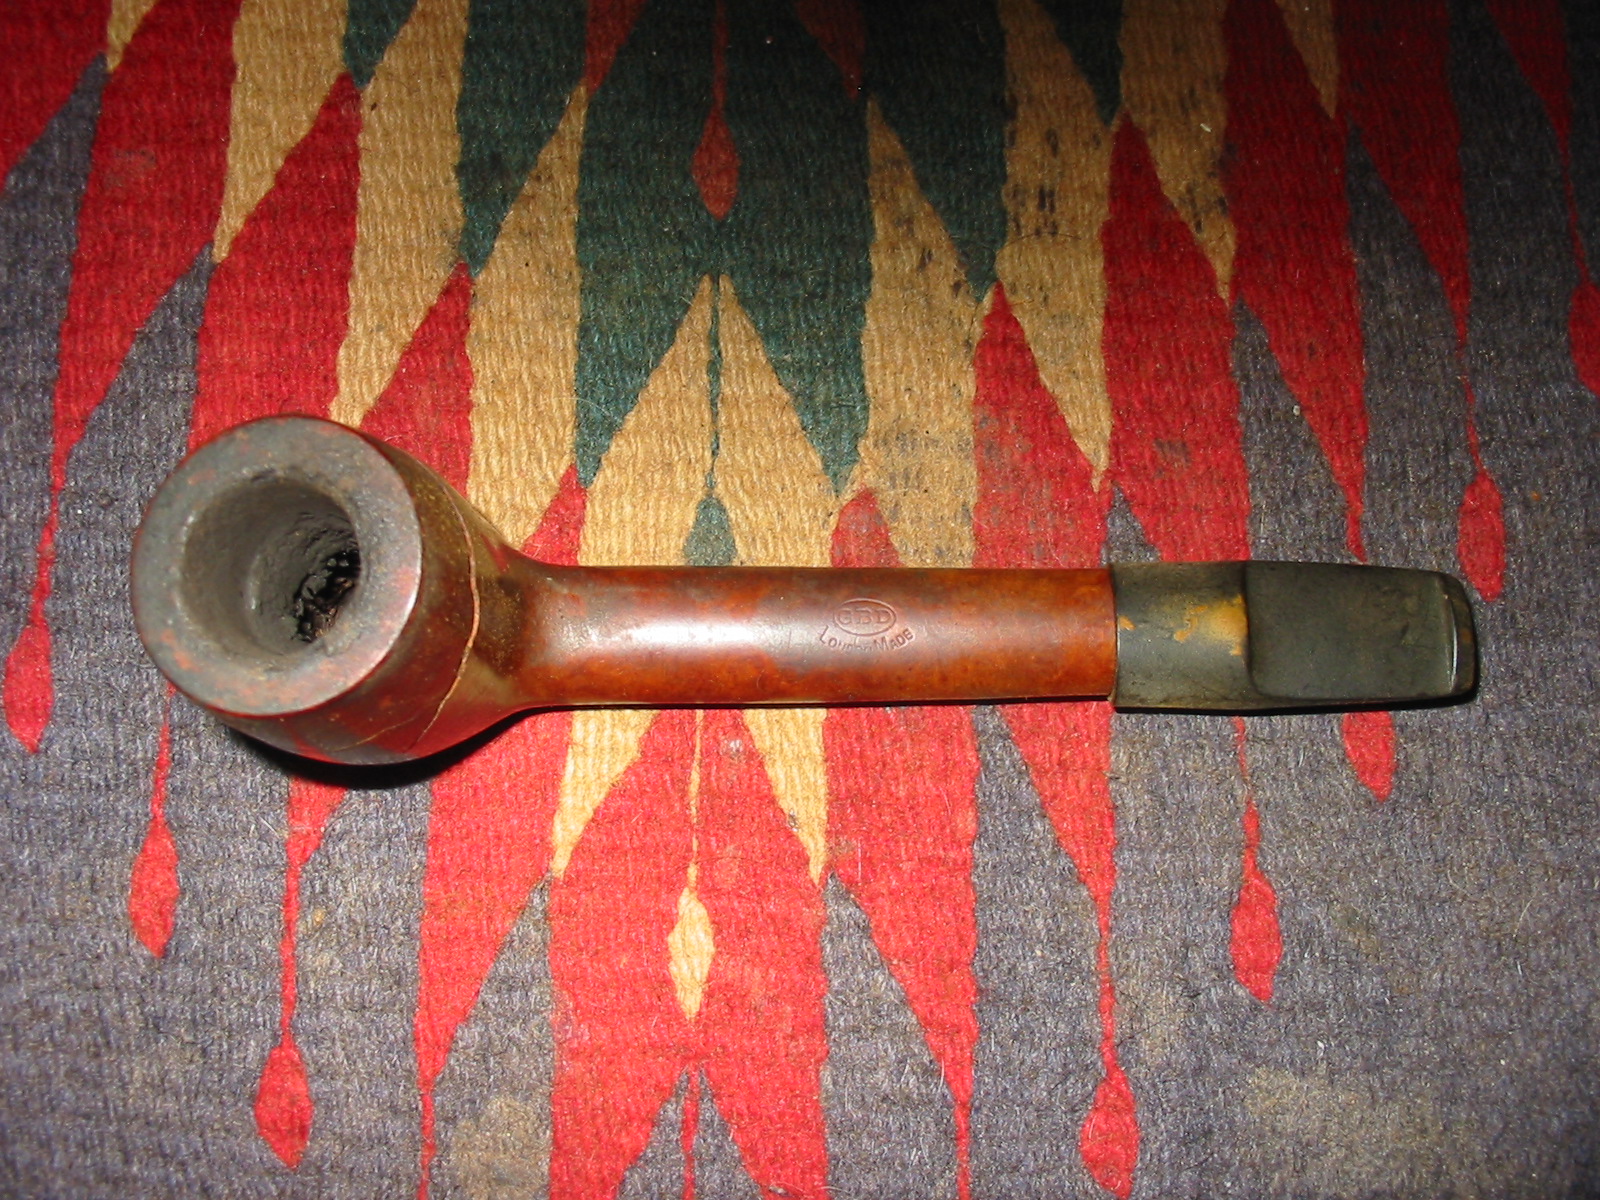
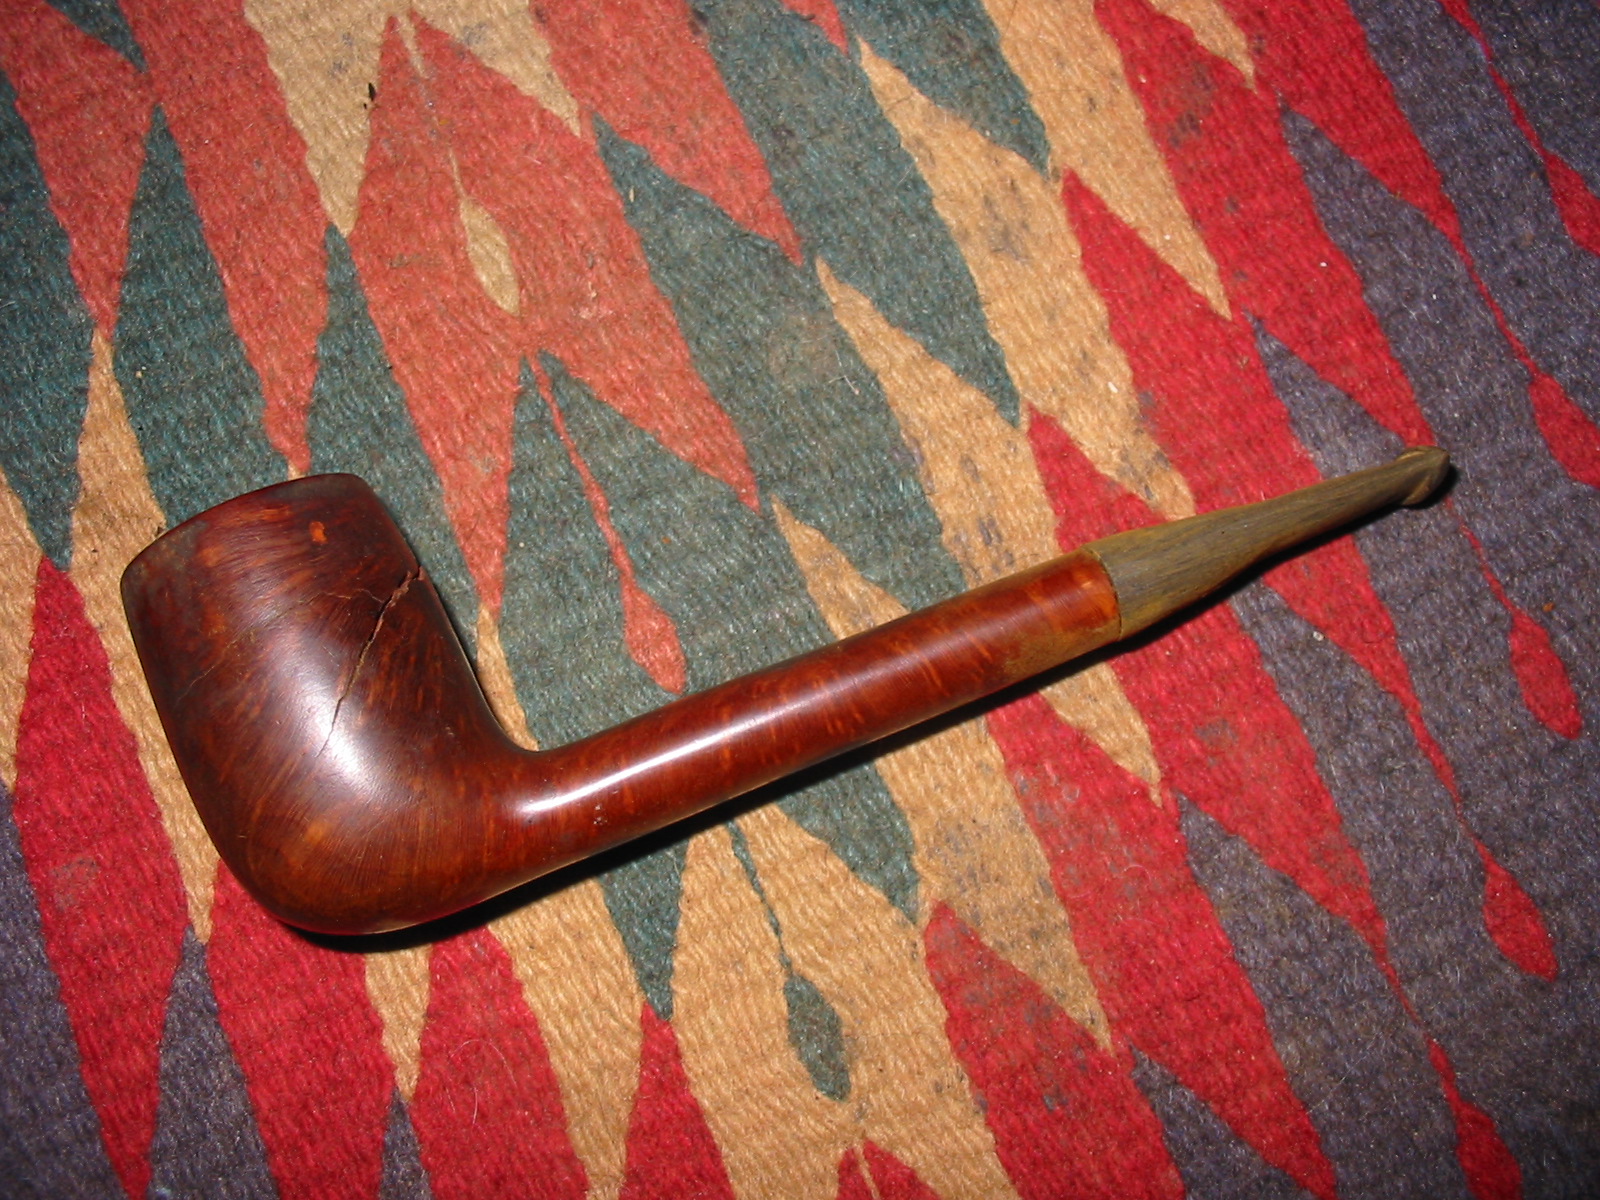
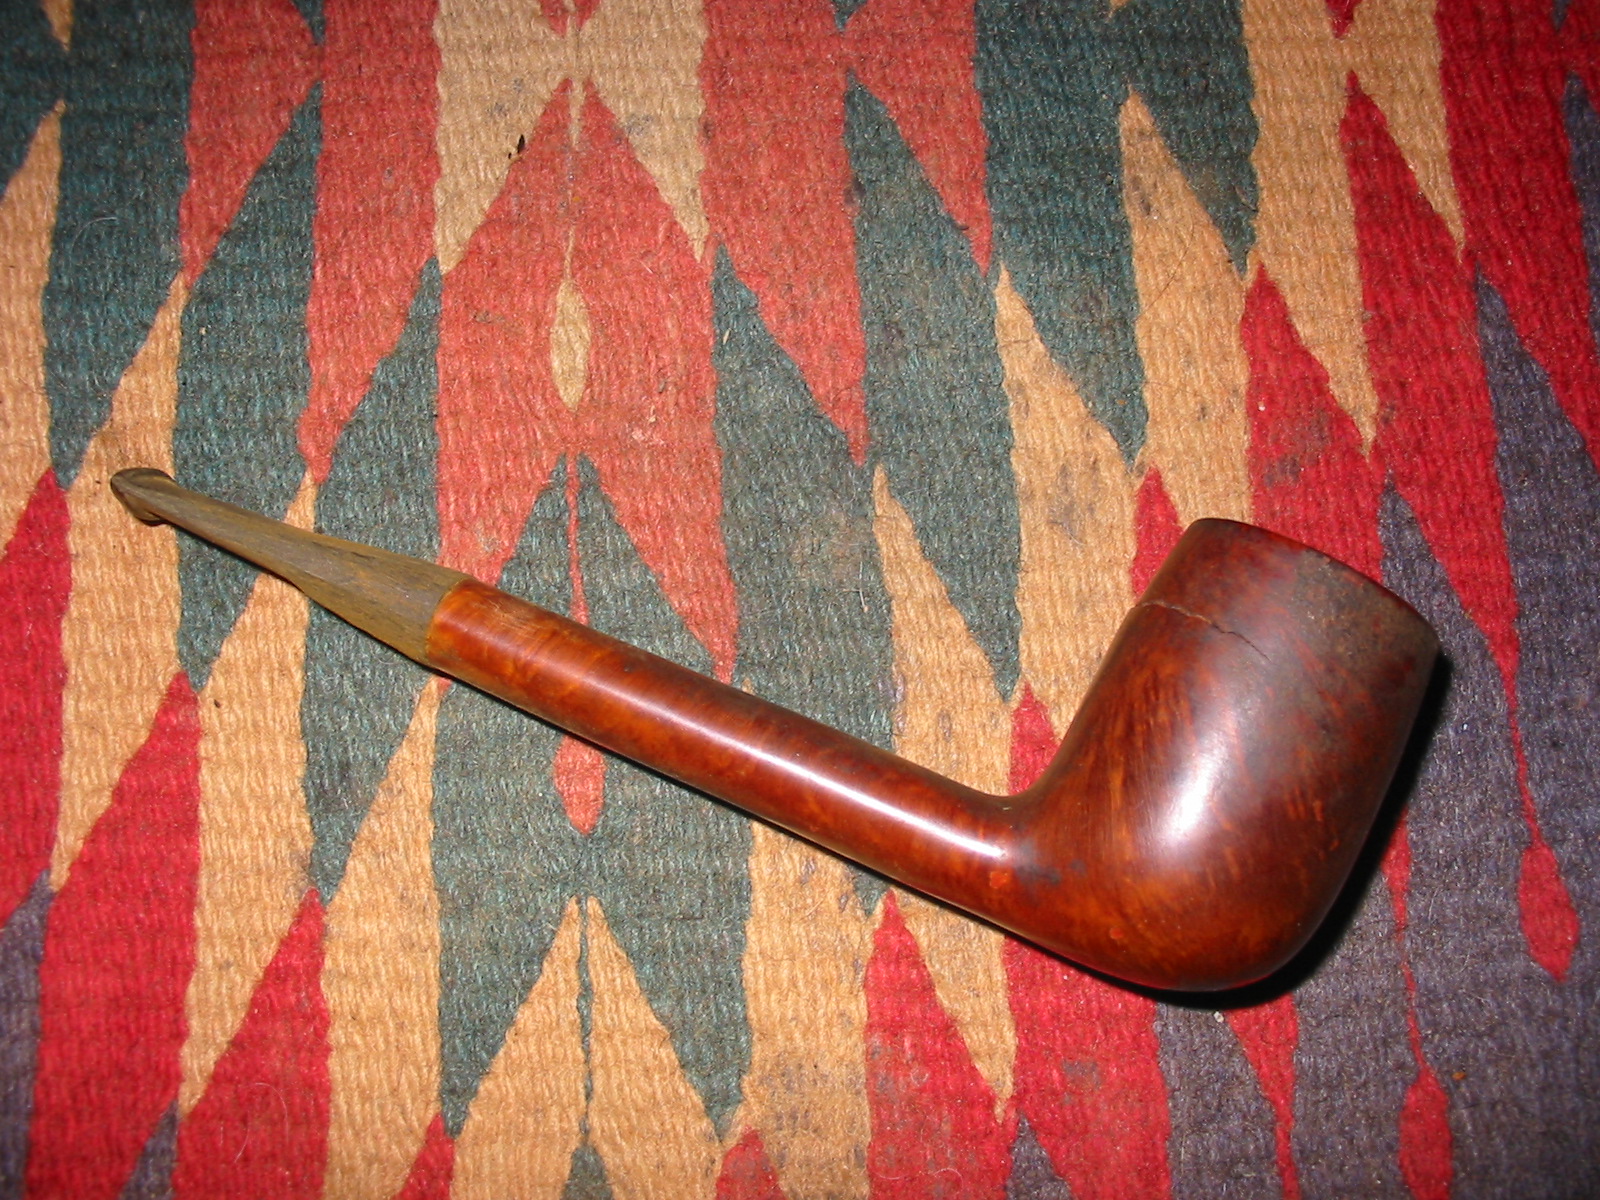
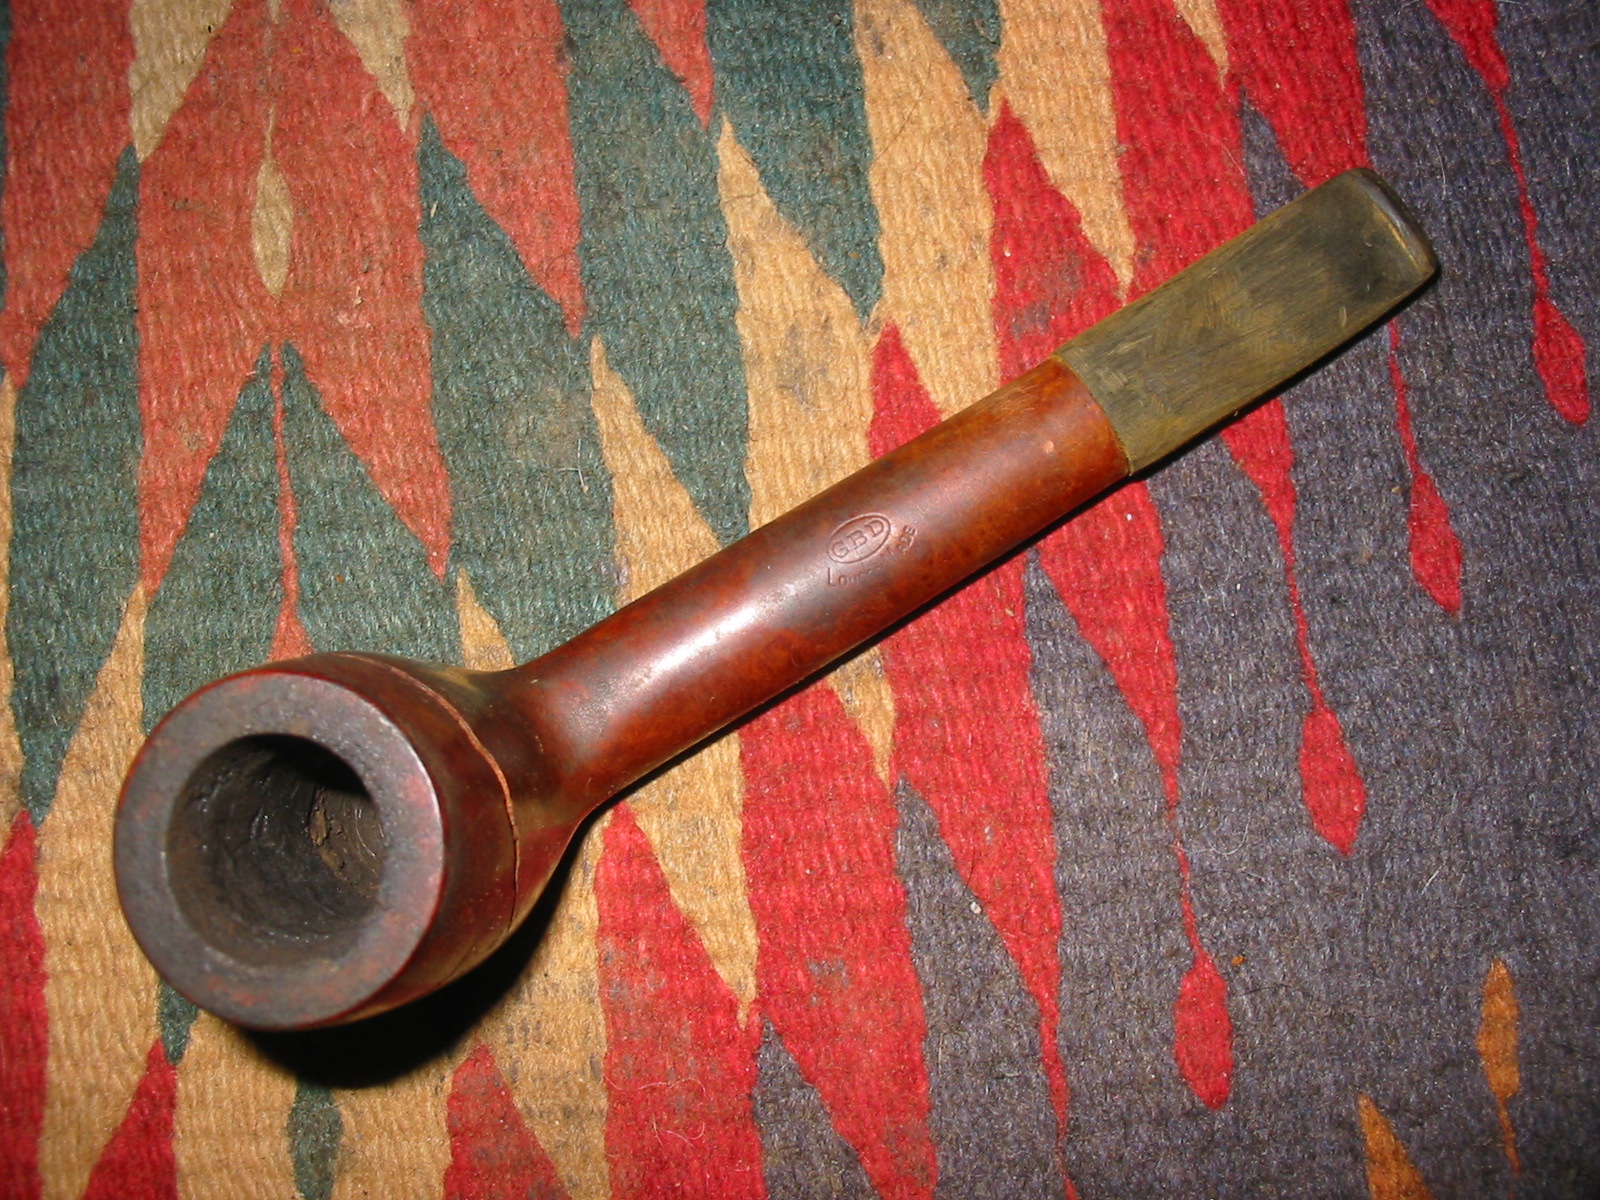
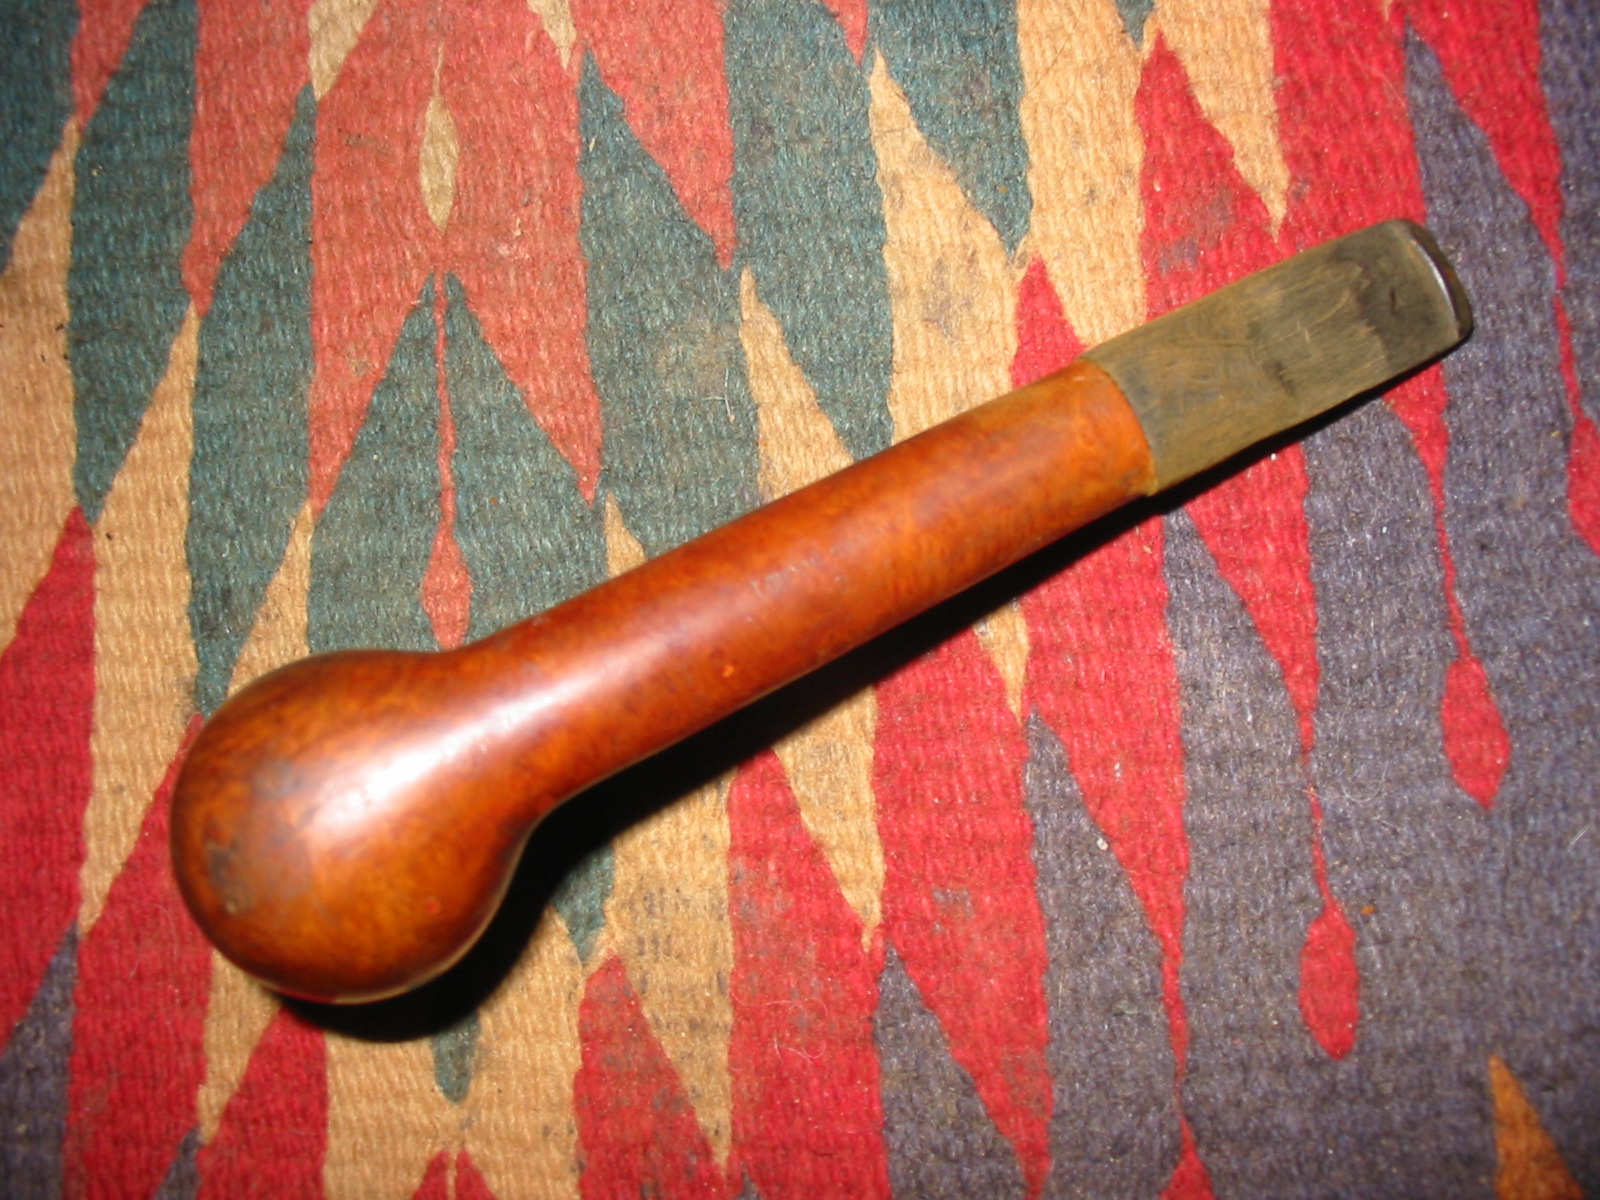
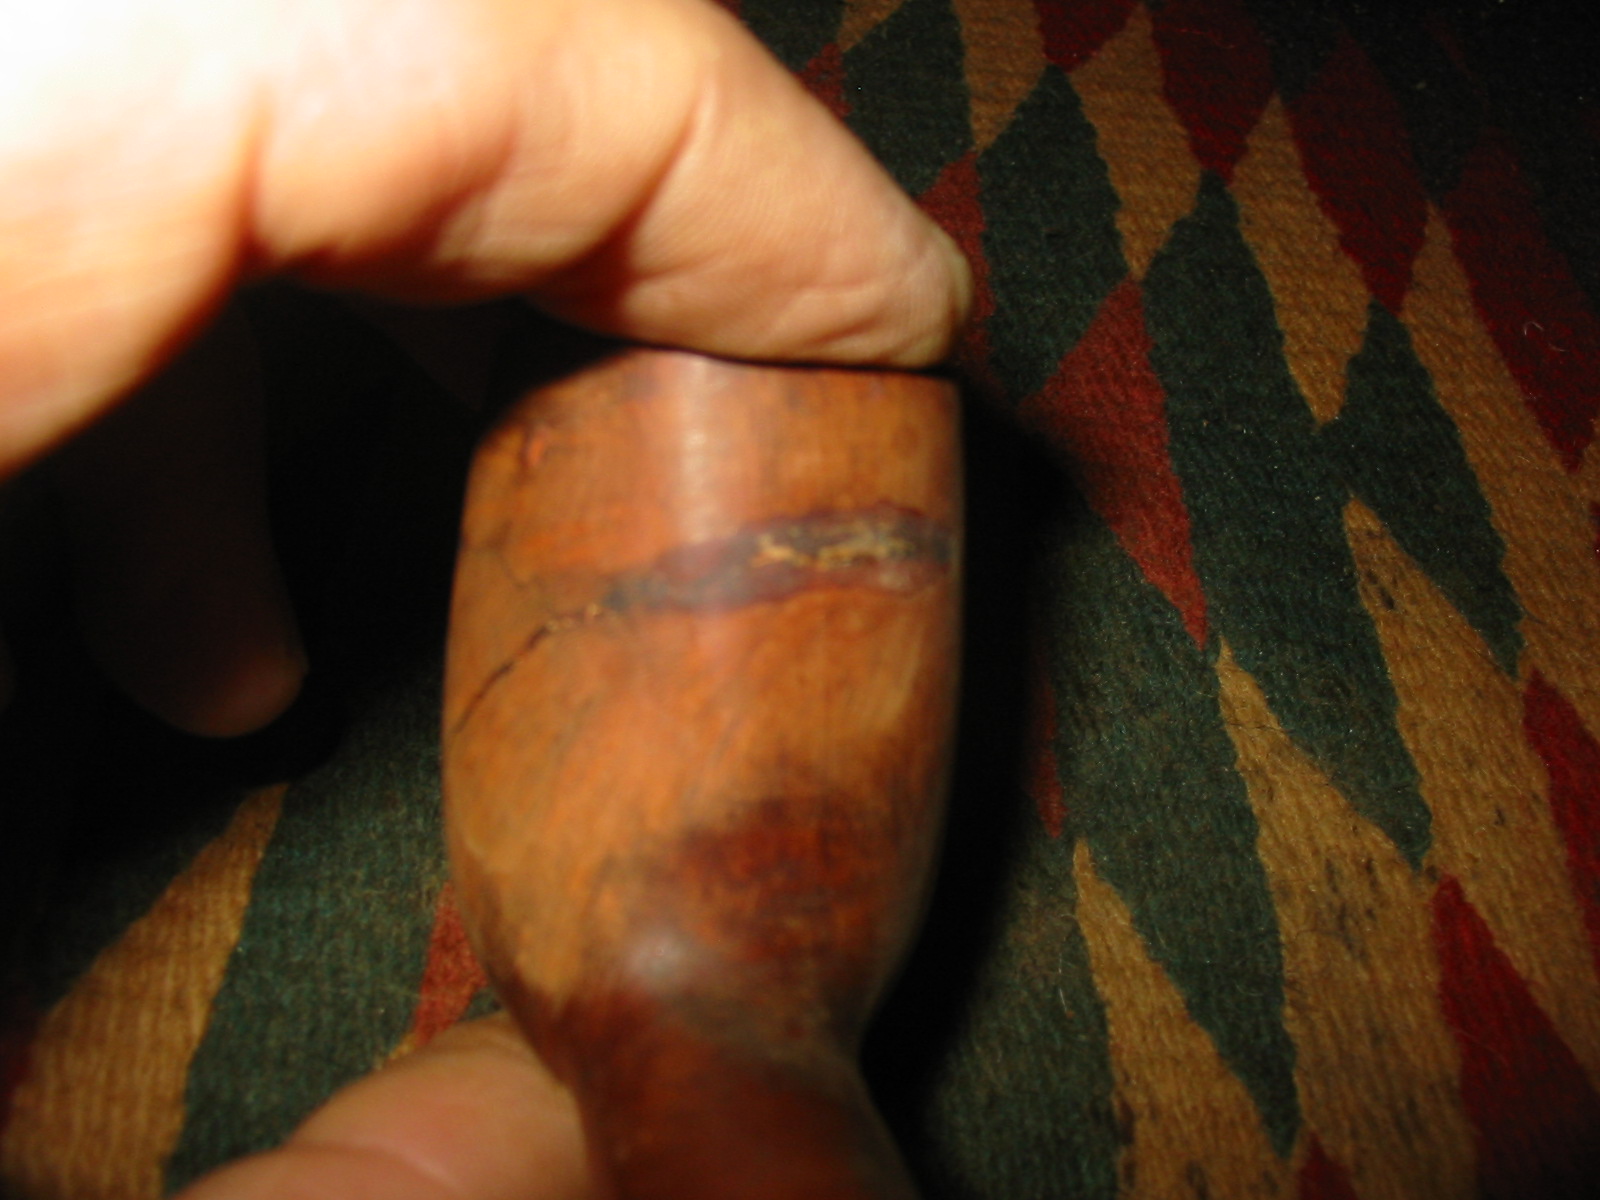
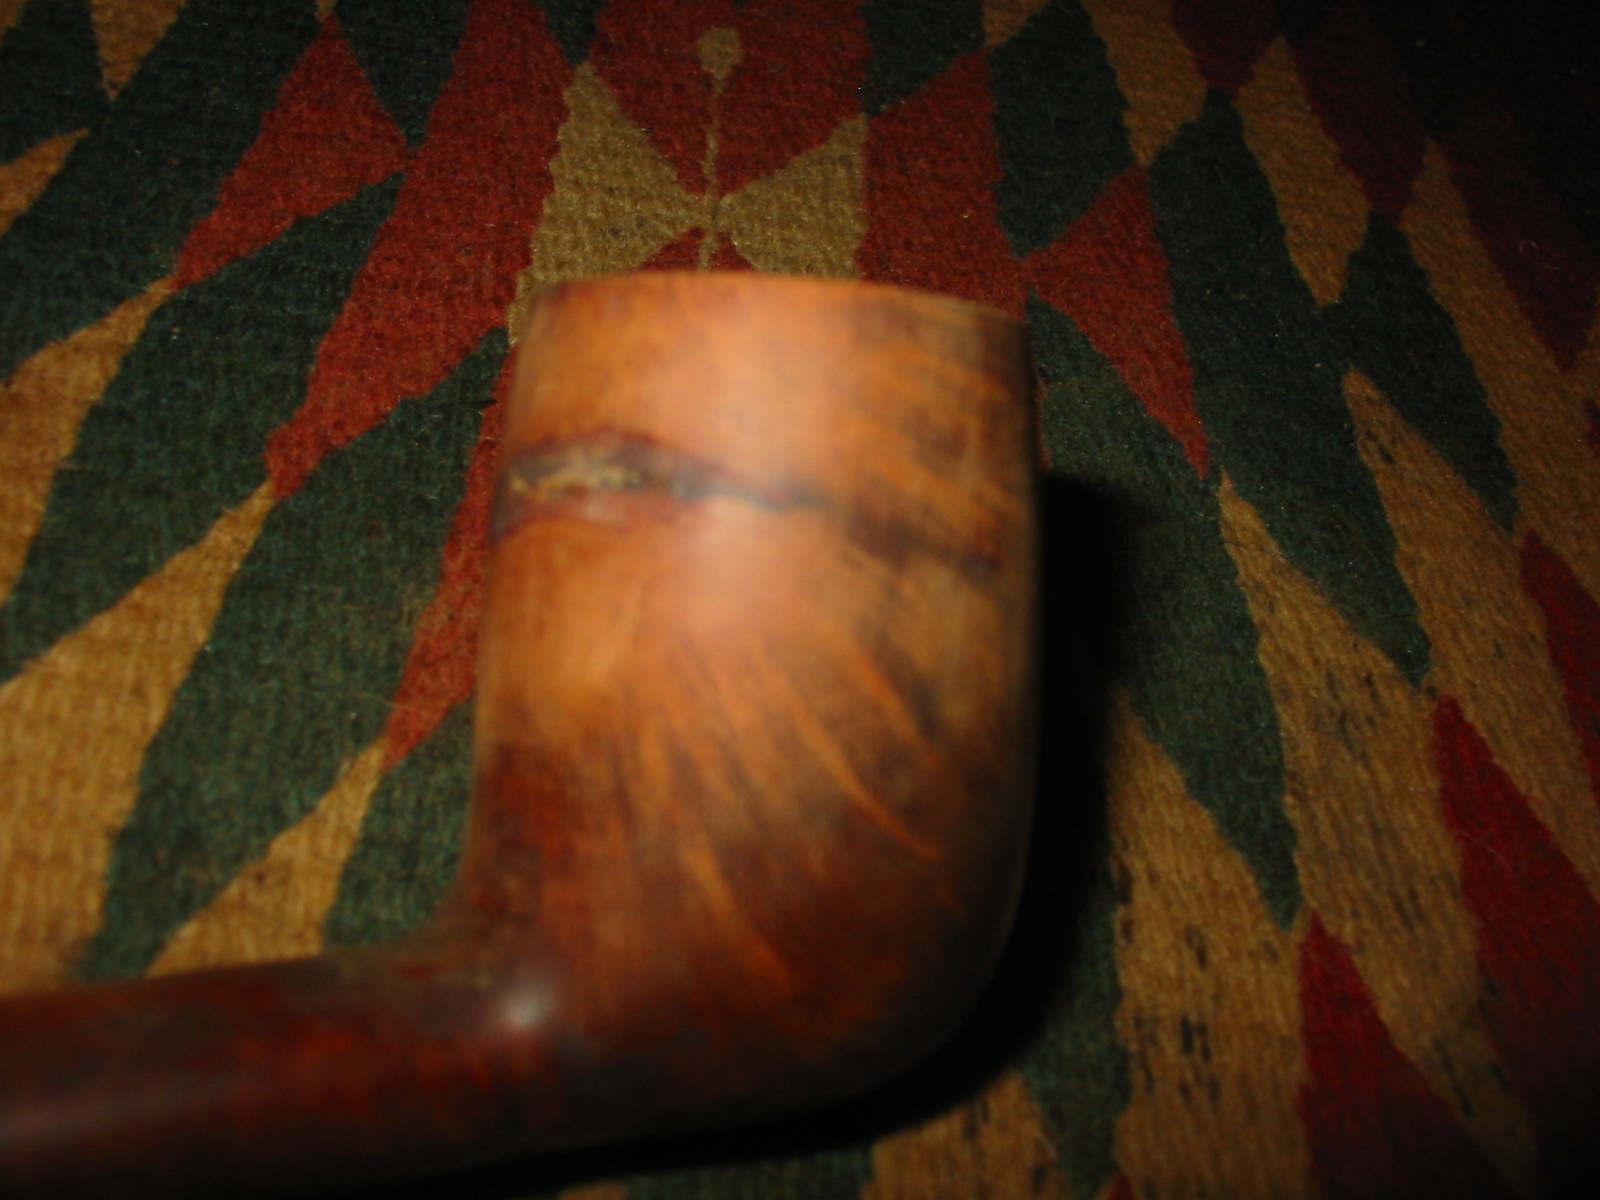
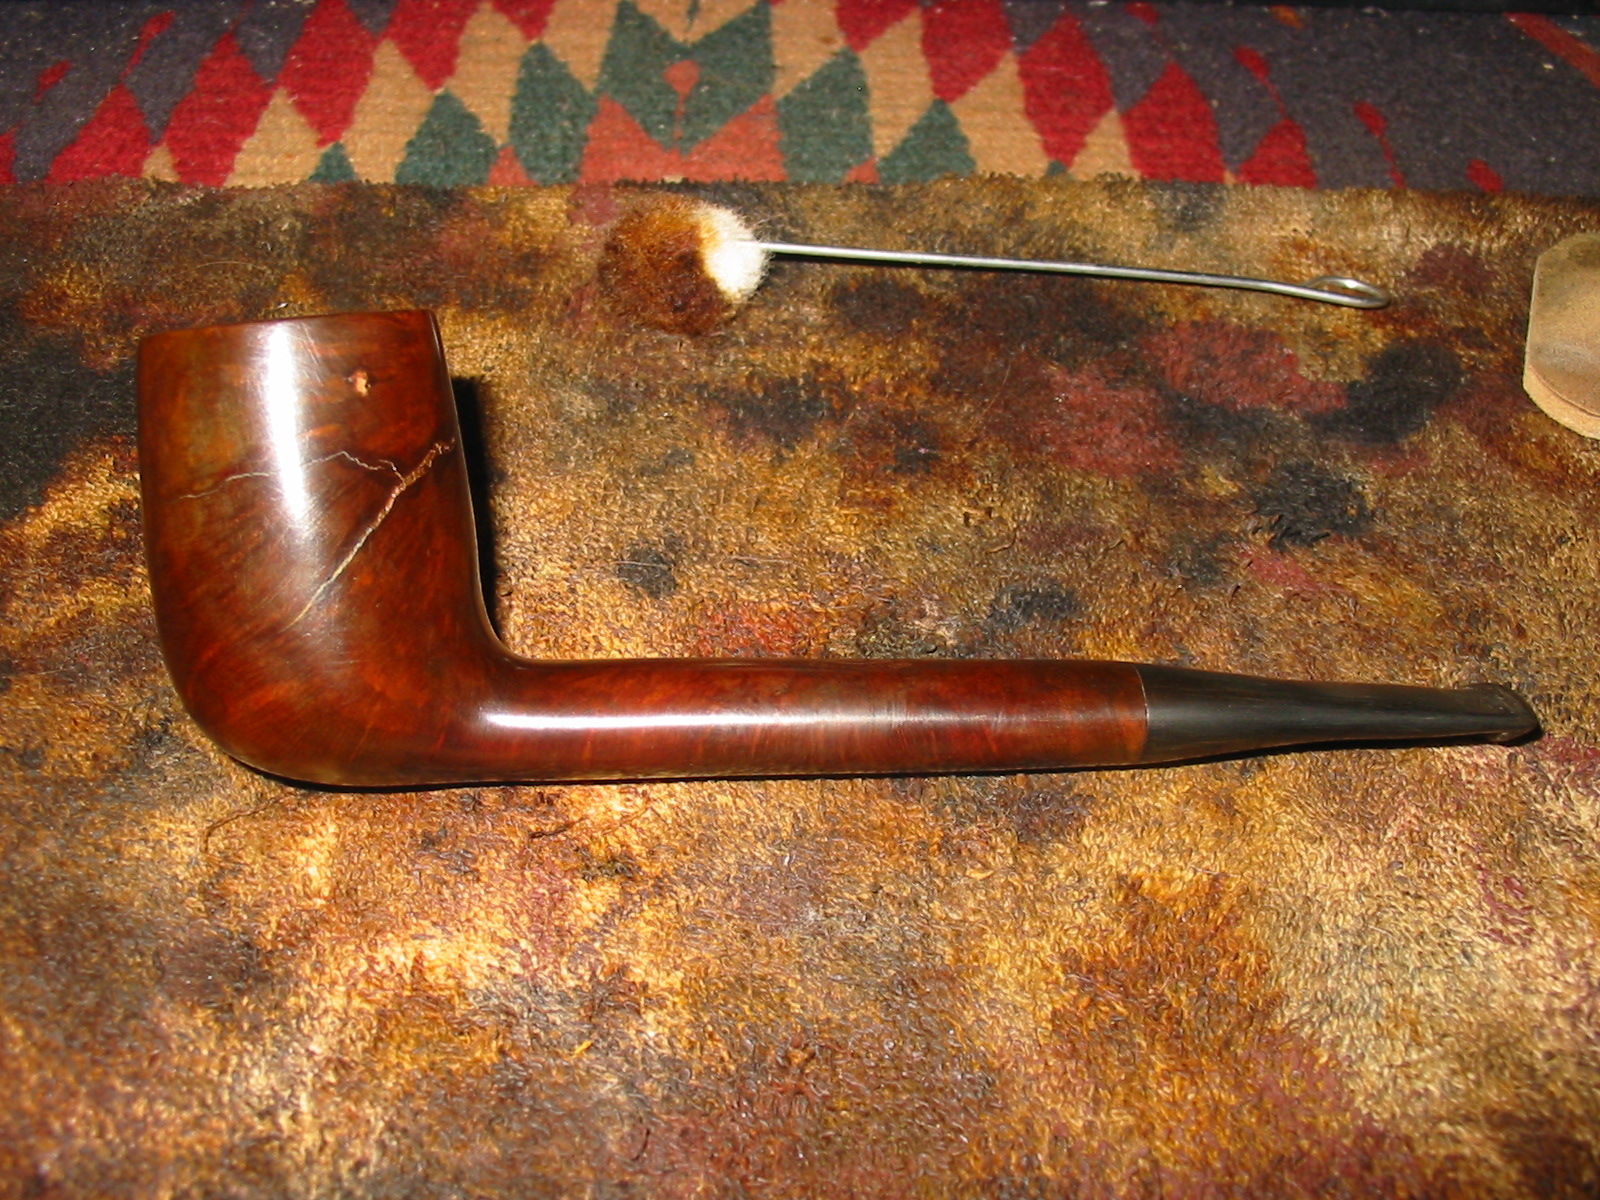
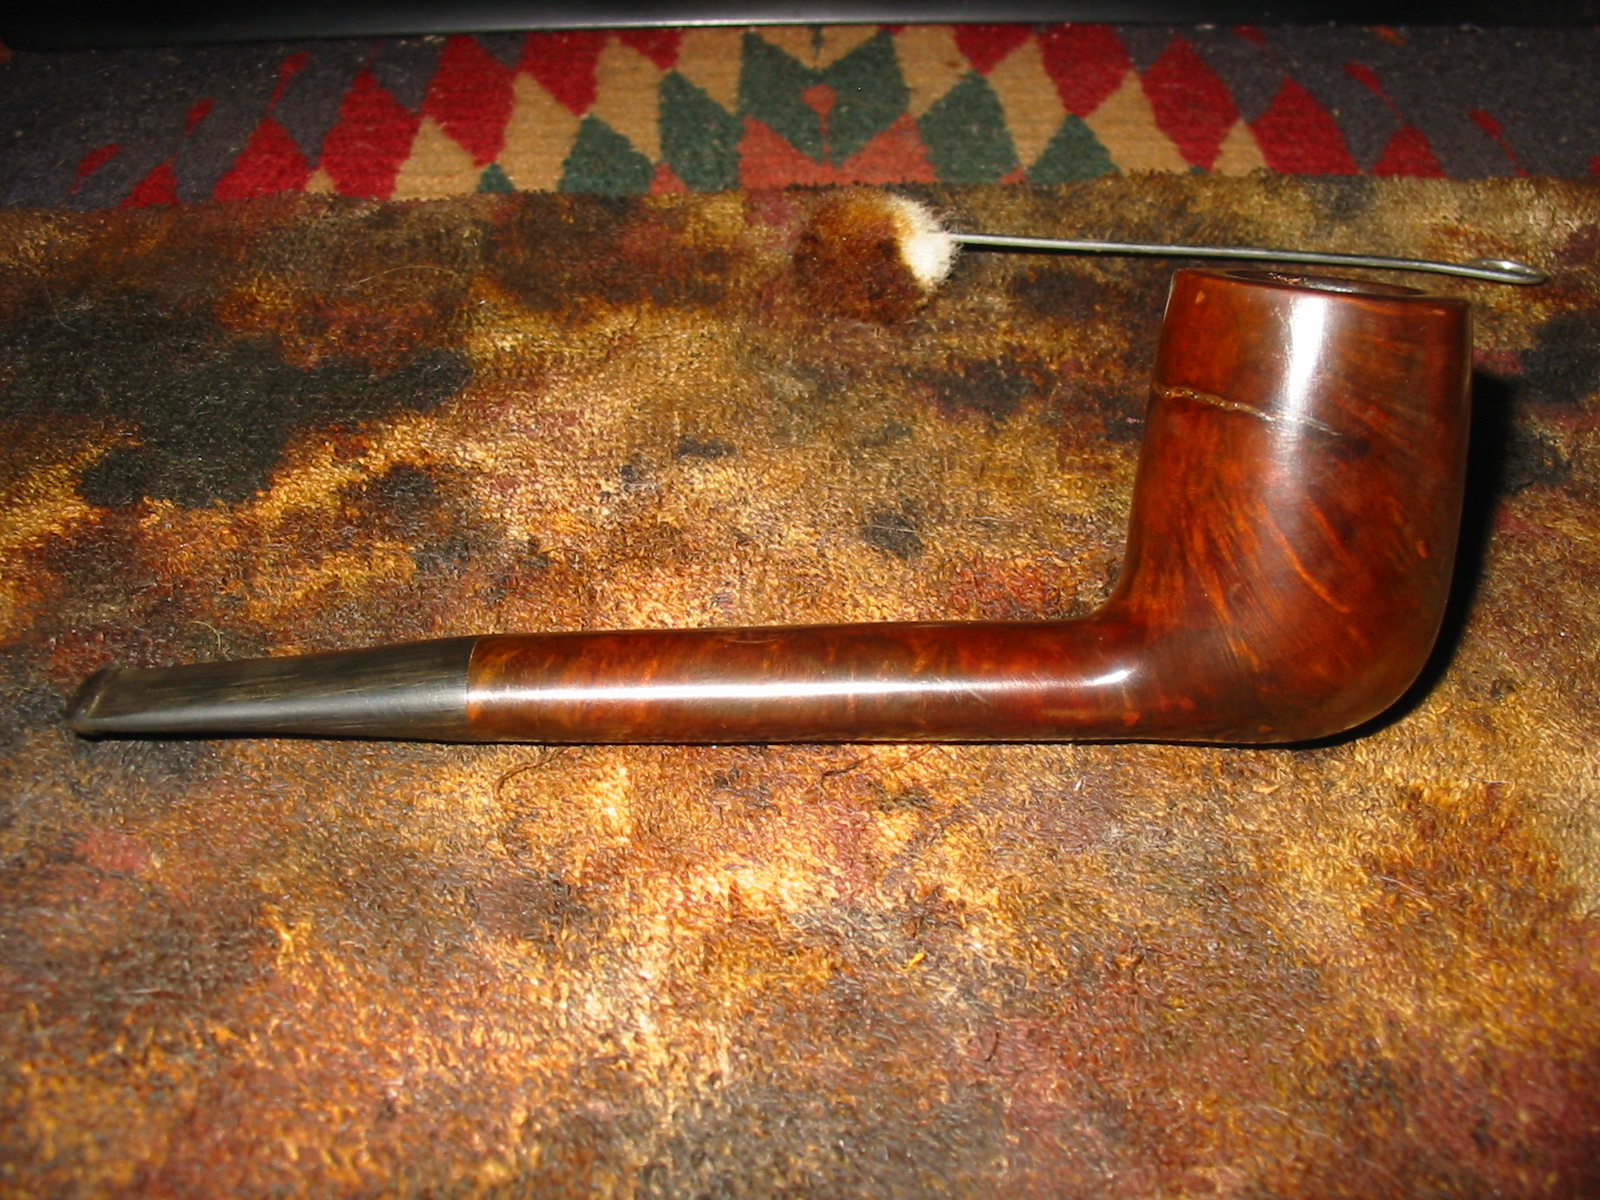
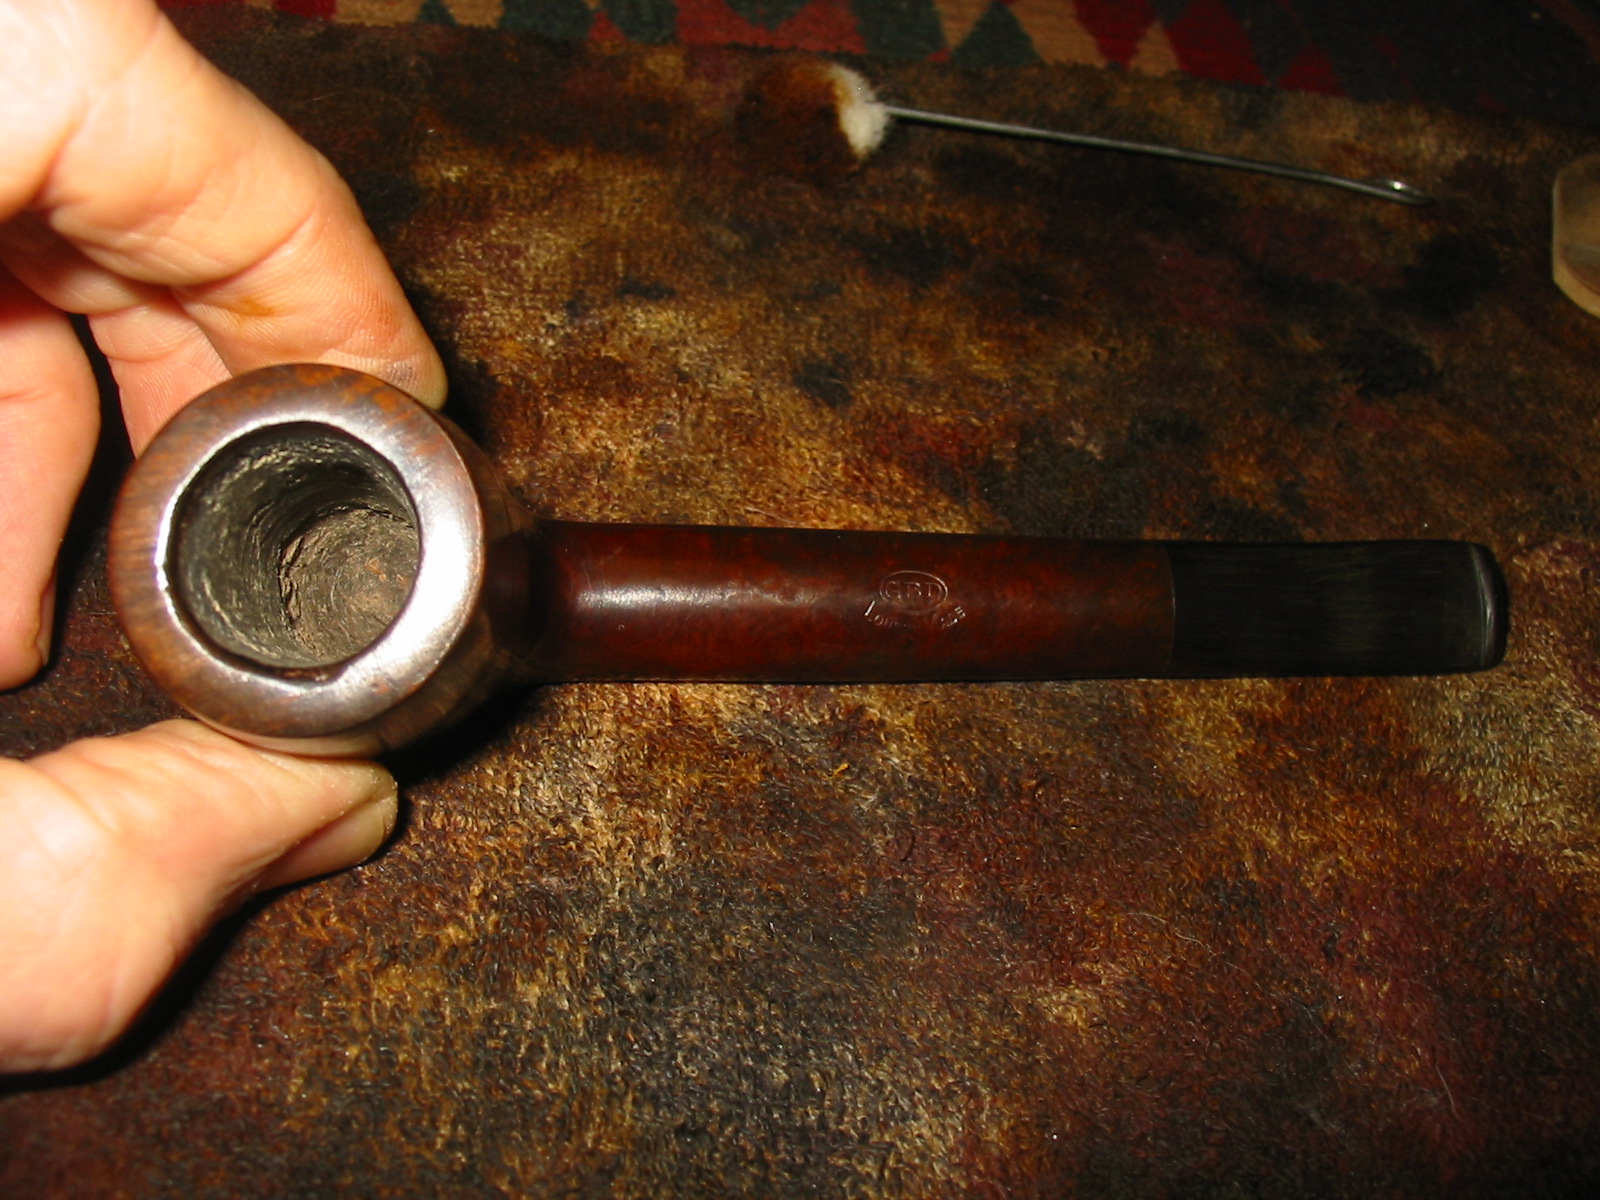
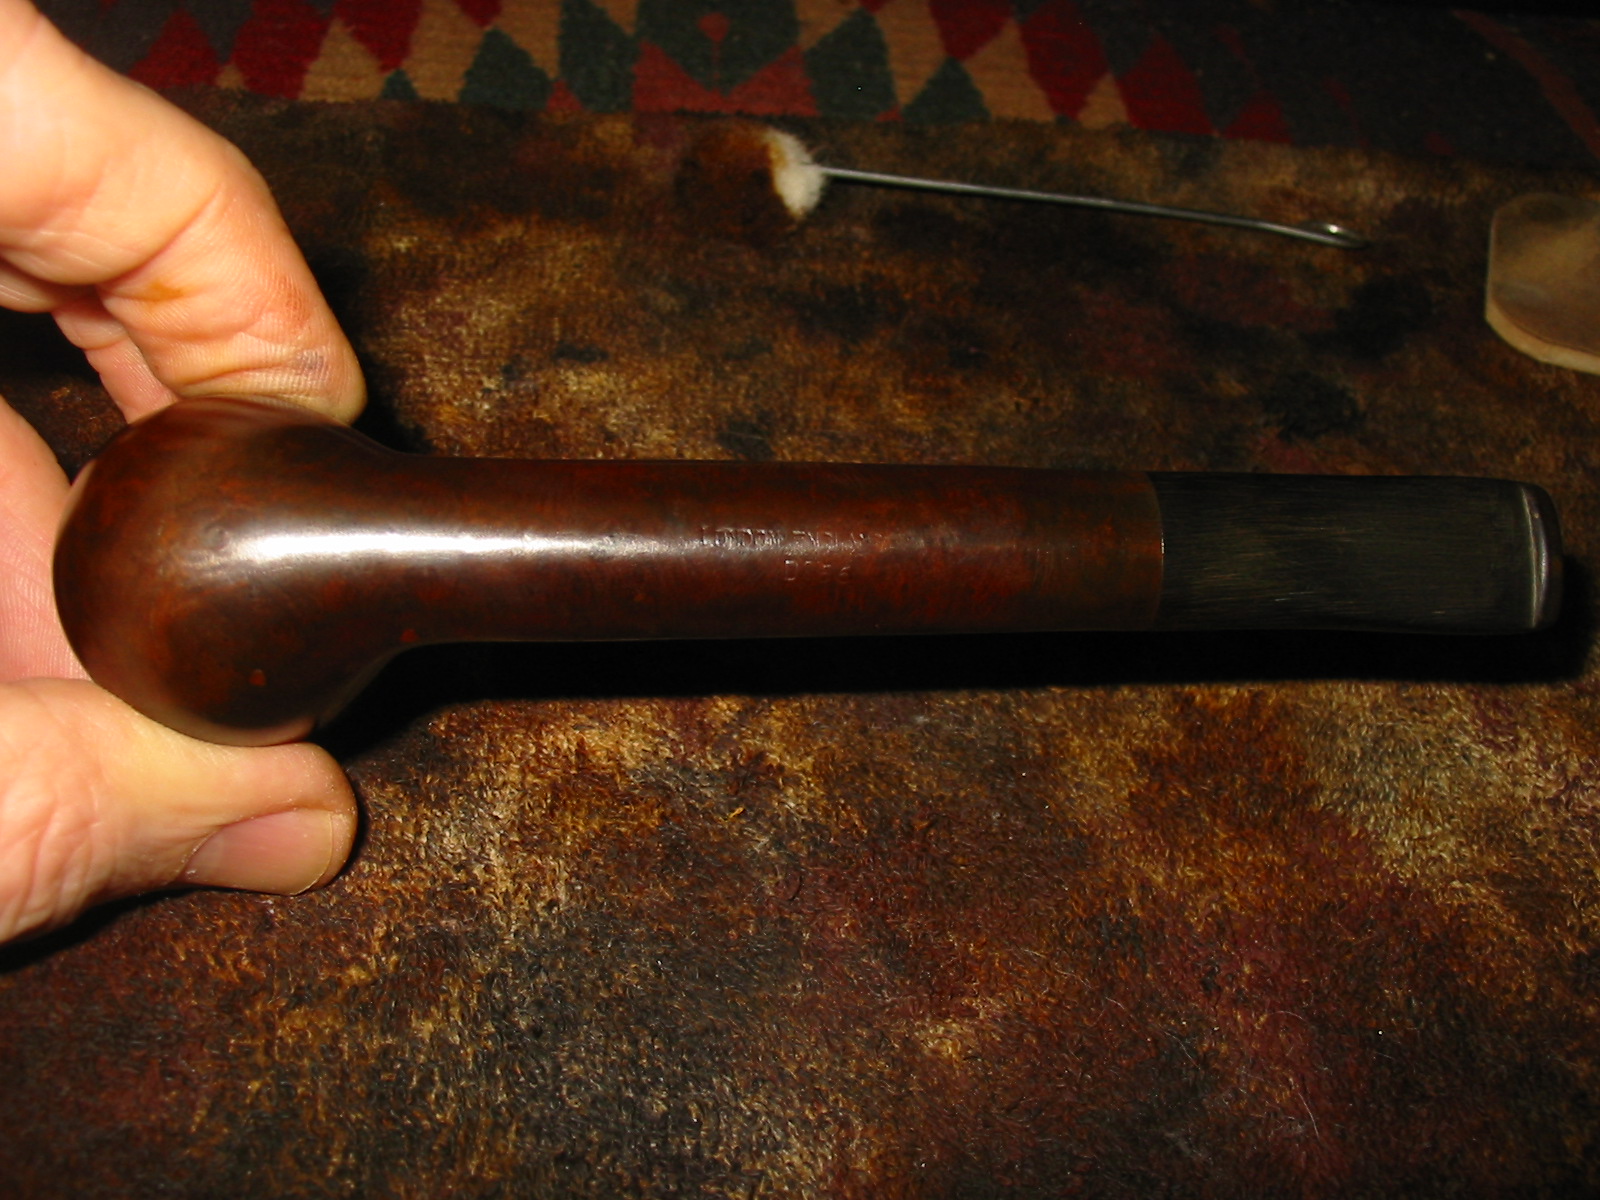
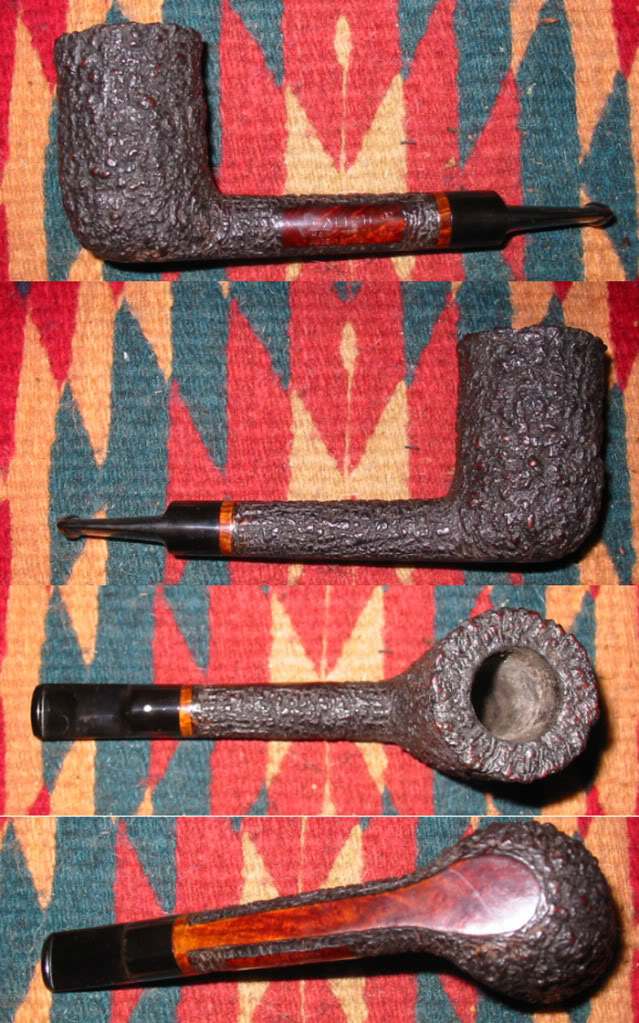
Soon after that I found two more of his pipes on EBay. This was a time when you could still pick up good deals on relatively unknown pipe makers. The first pipe I picked up was a nice billiard that obviously had seen some use and had a replacement stem. The fit of the stem was poor and the gap and space between stem and shank was large. The scratches in the vulcanite made the stem a real mess. The pipe had beautiful grain under the grime and was stamped CALICH EE over Hand Made. I bid on it and won. The EE stamping did not fit the grading information that I had found on the internet.

I wanted the seller to send it directly to John for a new stem. This put a bit of hurry into the equation so I hunted down John’s number to see if he would be willing to make a replacement stem for this pipe. I called him and we had a great conversation on the phone. We talked about all things pipe and pipe making. It was delightful to talk together and we did so for quite a while before I got around to asking him if he would make a stem for the old billiard.

I still remember the conversation. He asked about the stamping on the pipe and within a short few moments he told me when he had carved the pipe. For the life of me I wish I had written it down because today I cannot remember what he said. He said to go ahead and have the pipe sent to him and he would make a new stem for it. I emailed the EBay Seller and asked him to send it directly to John Calich in Mississauga, Ontario. He gladly did so and the pipe was on its way to John.

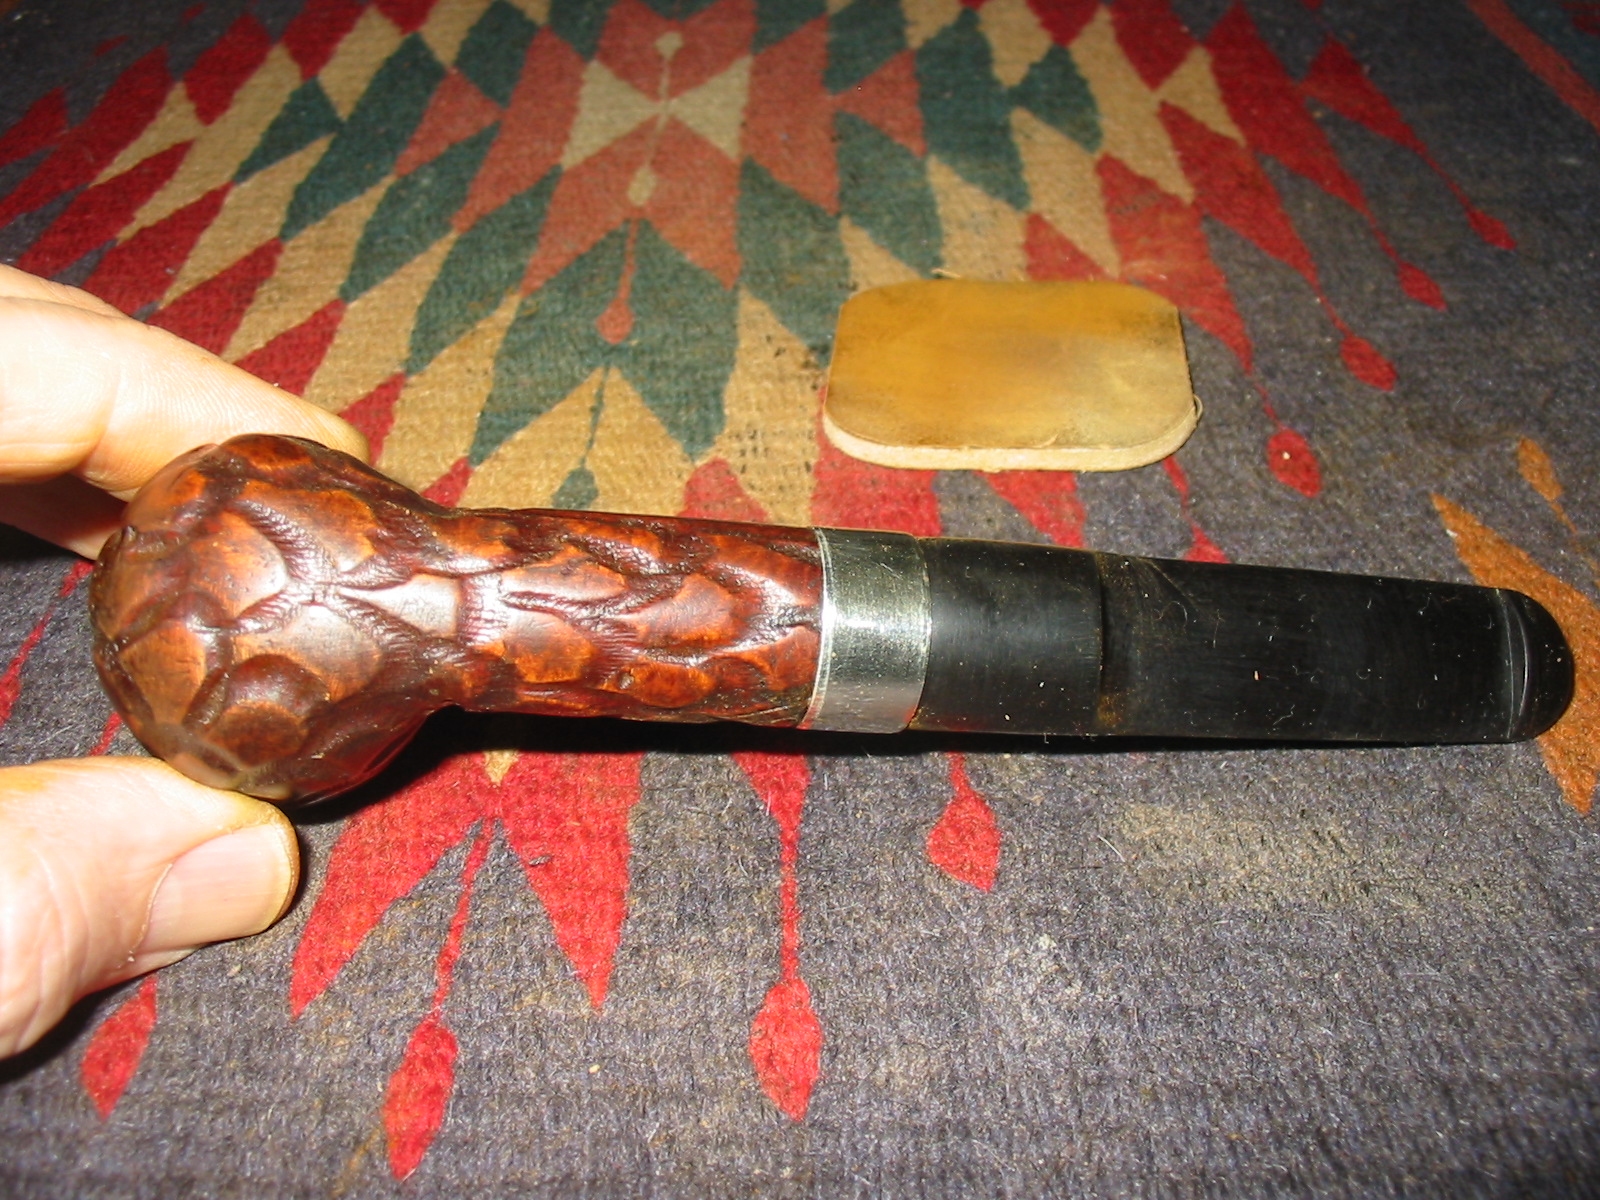
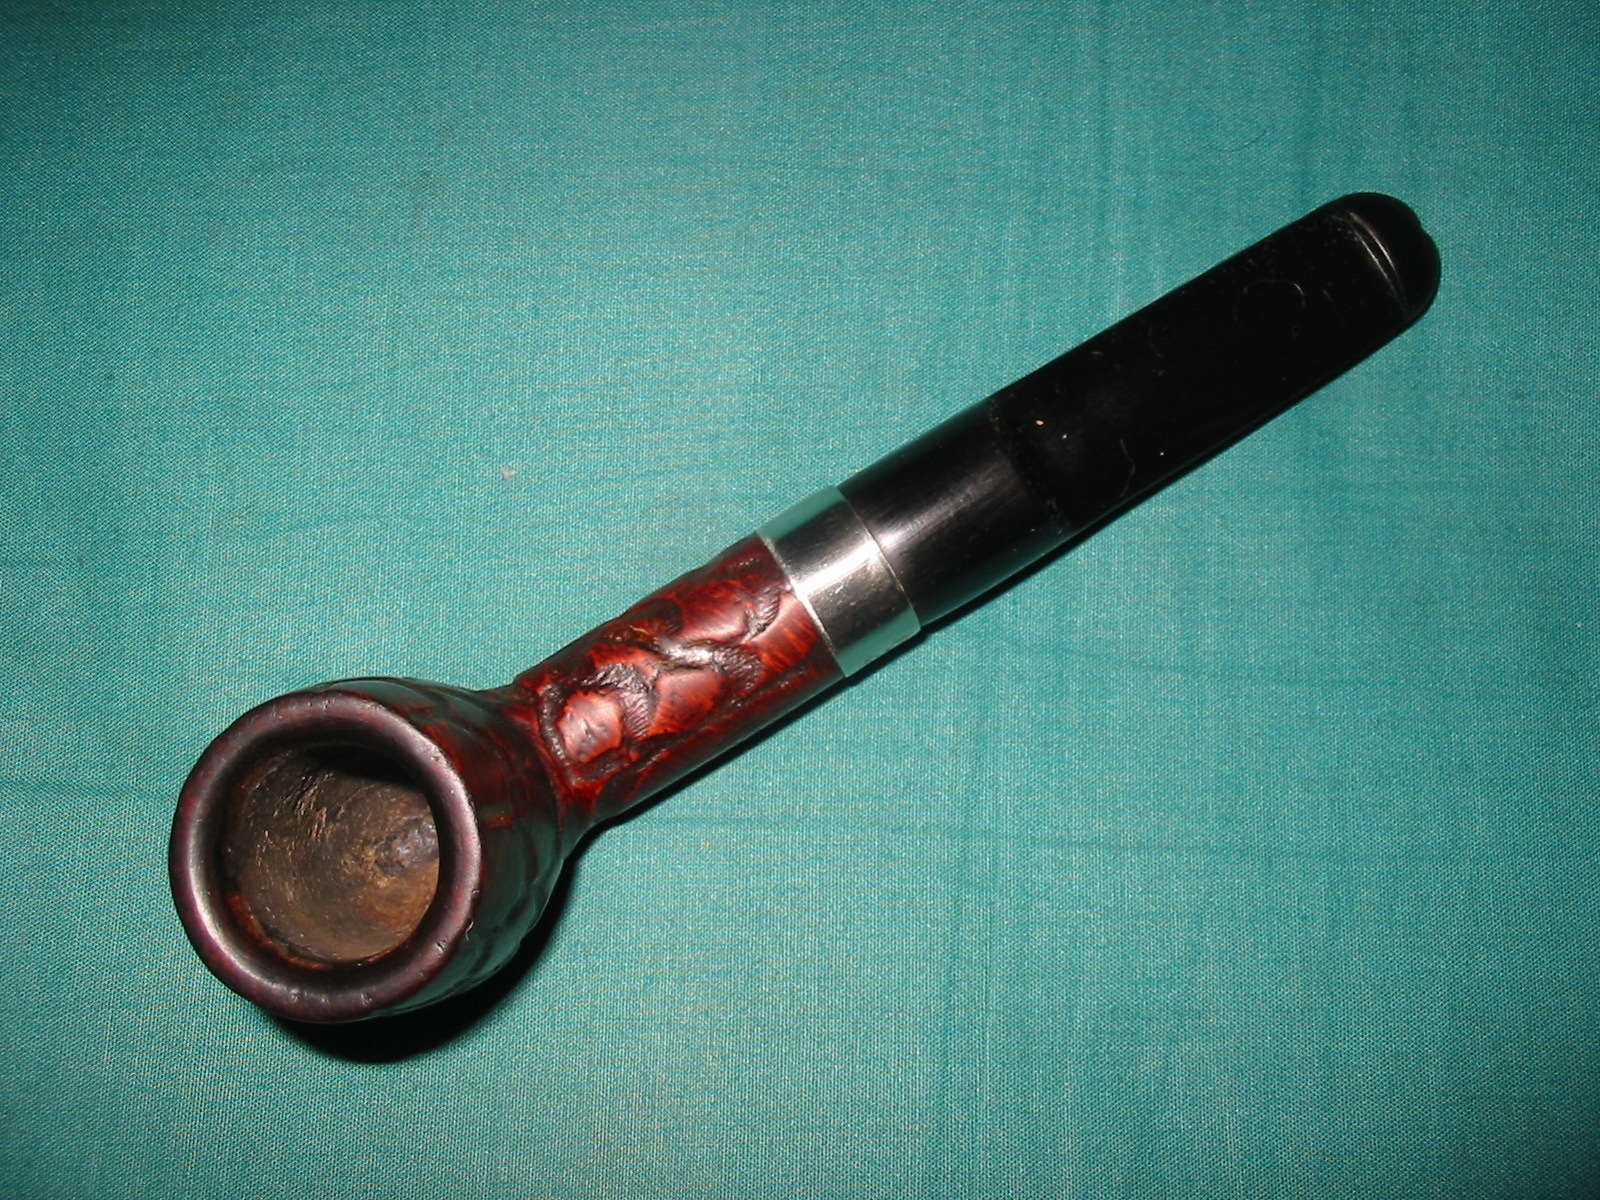
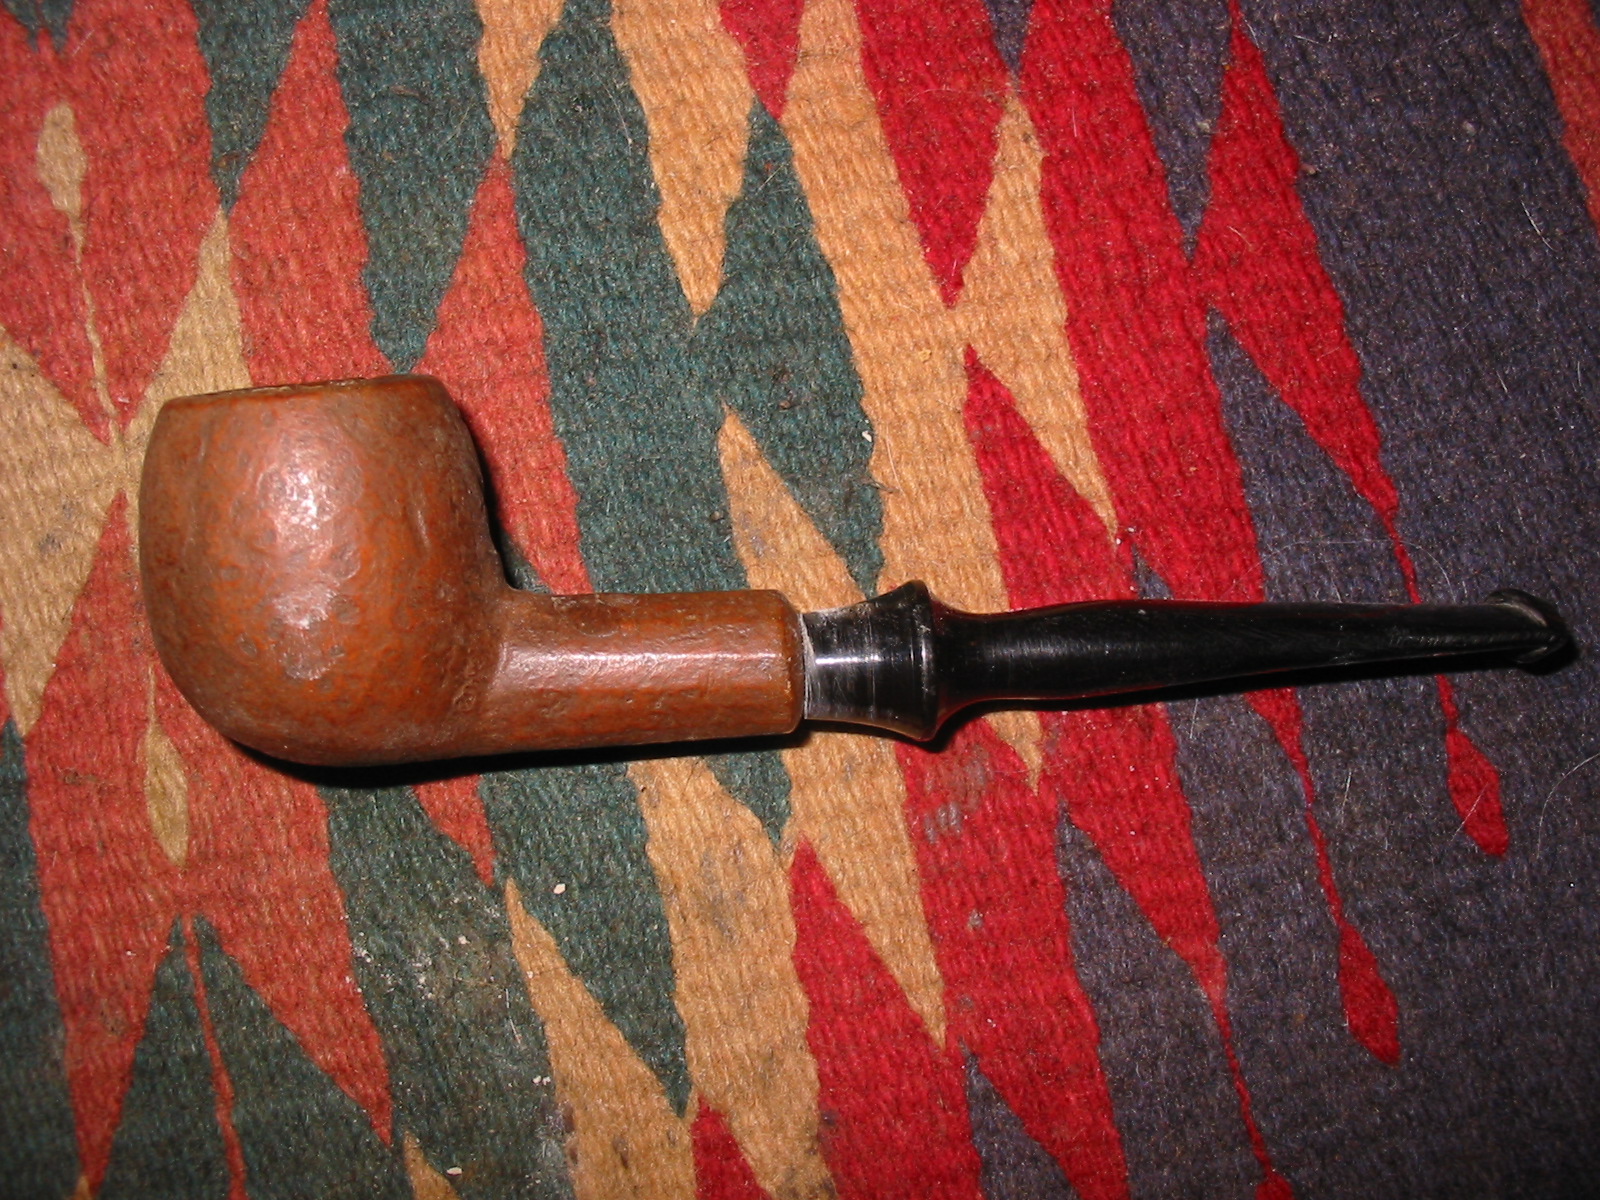
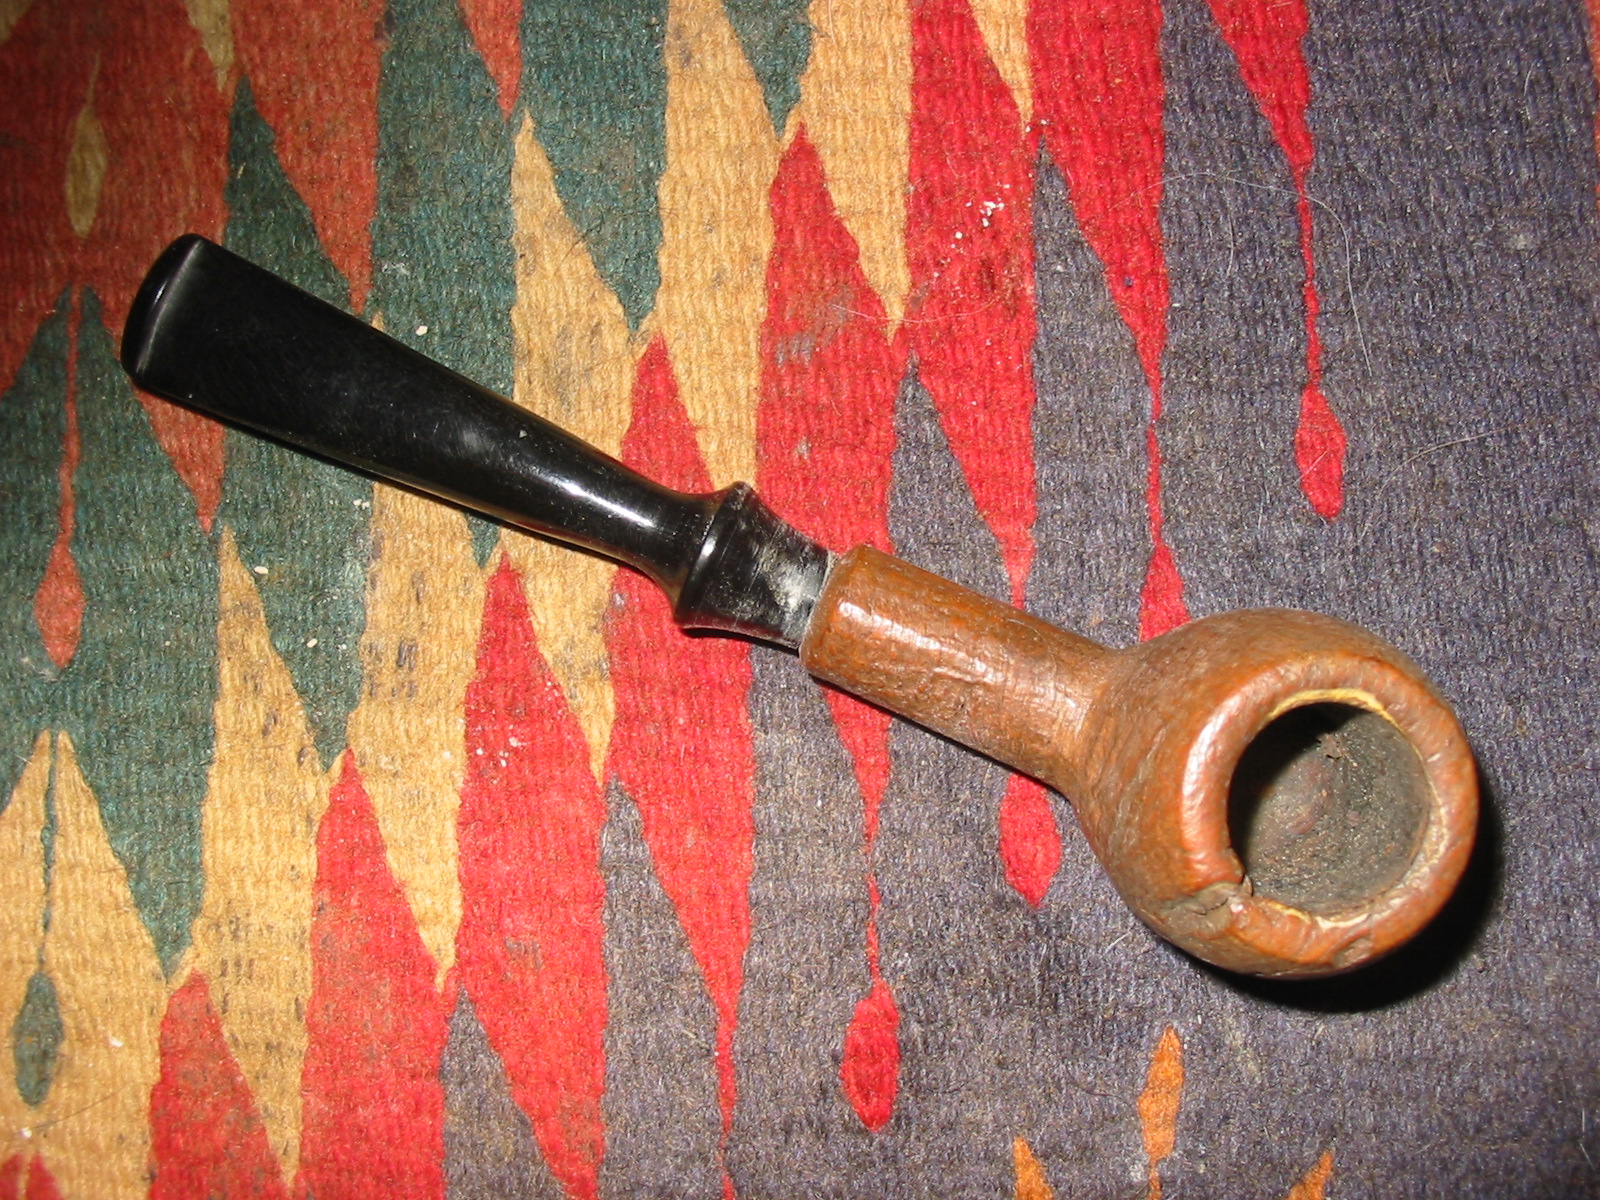
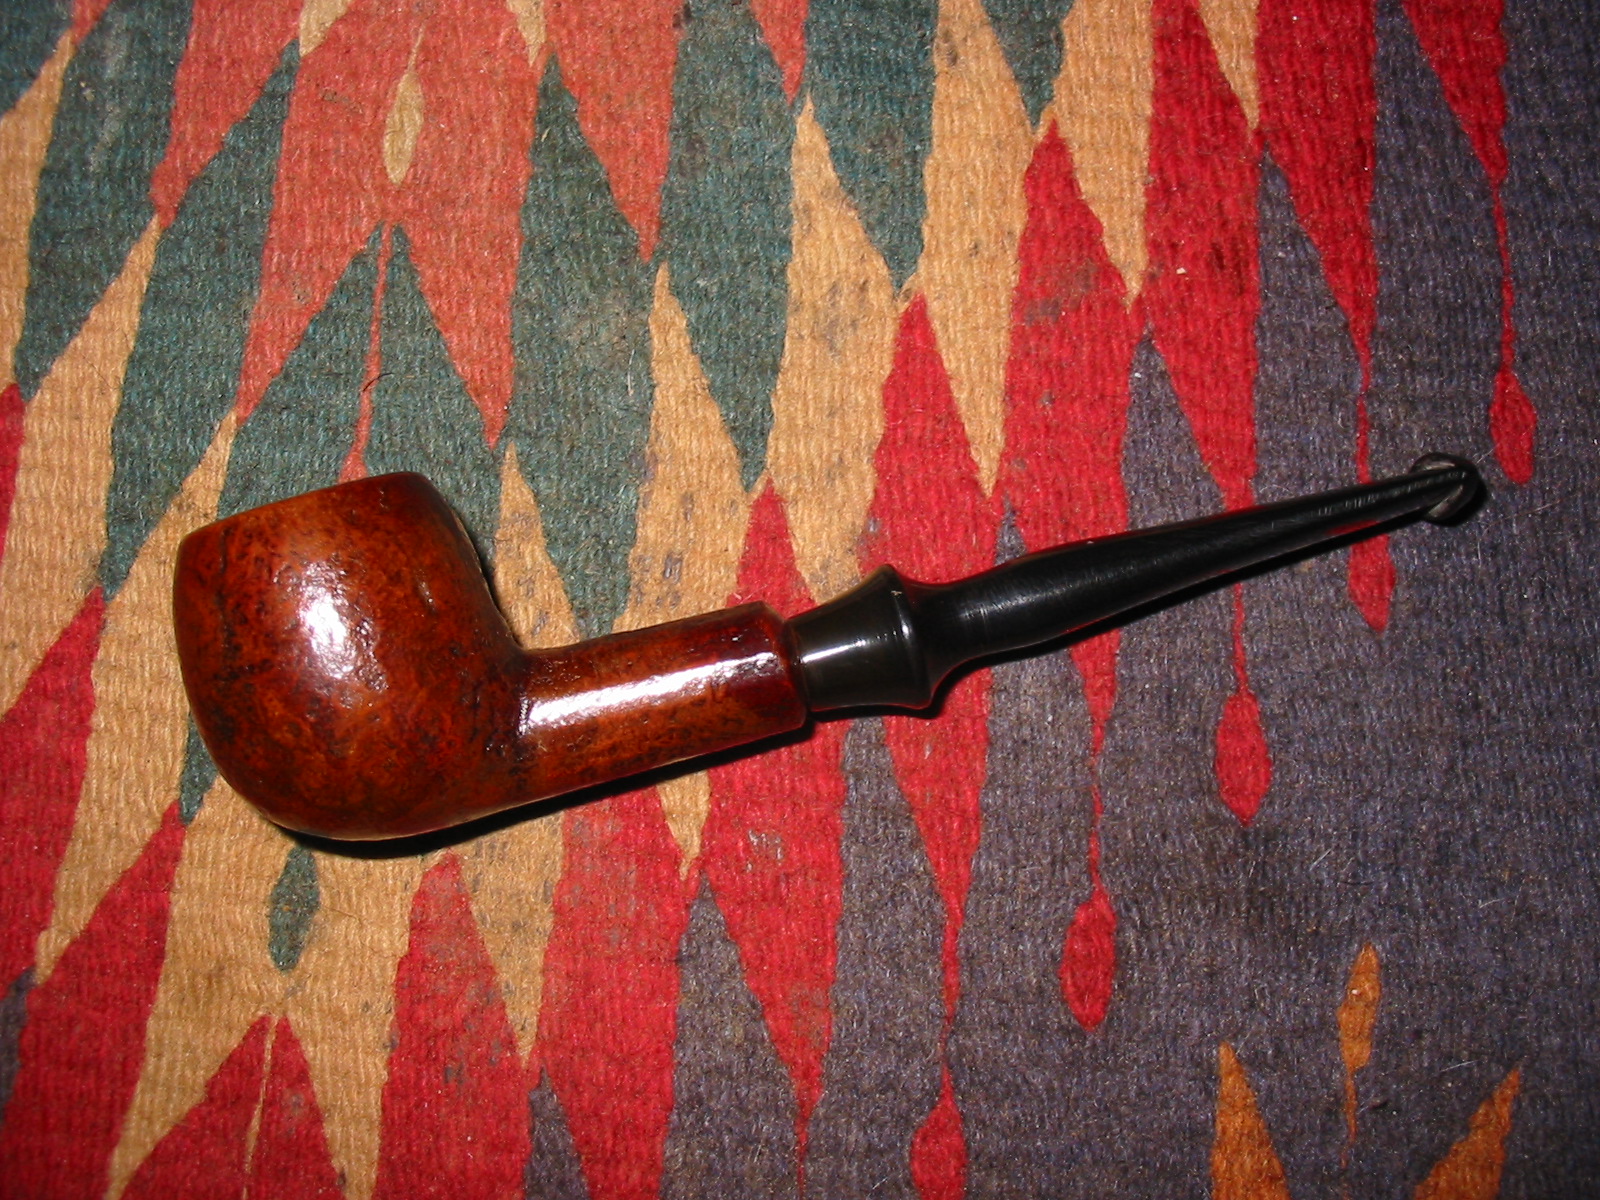
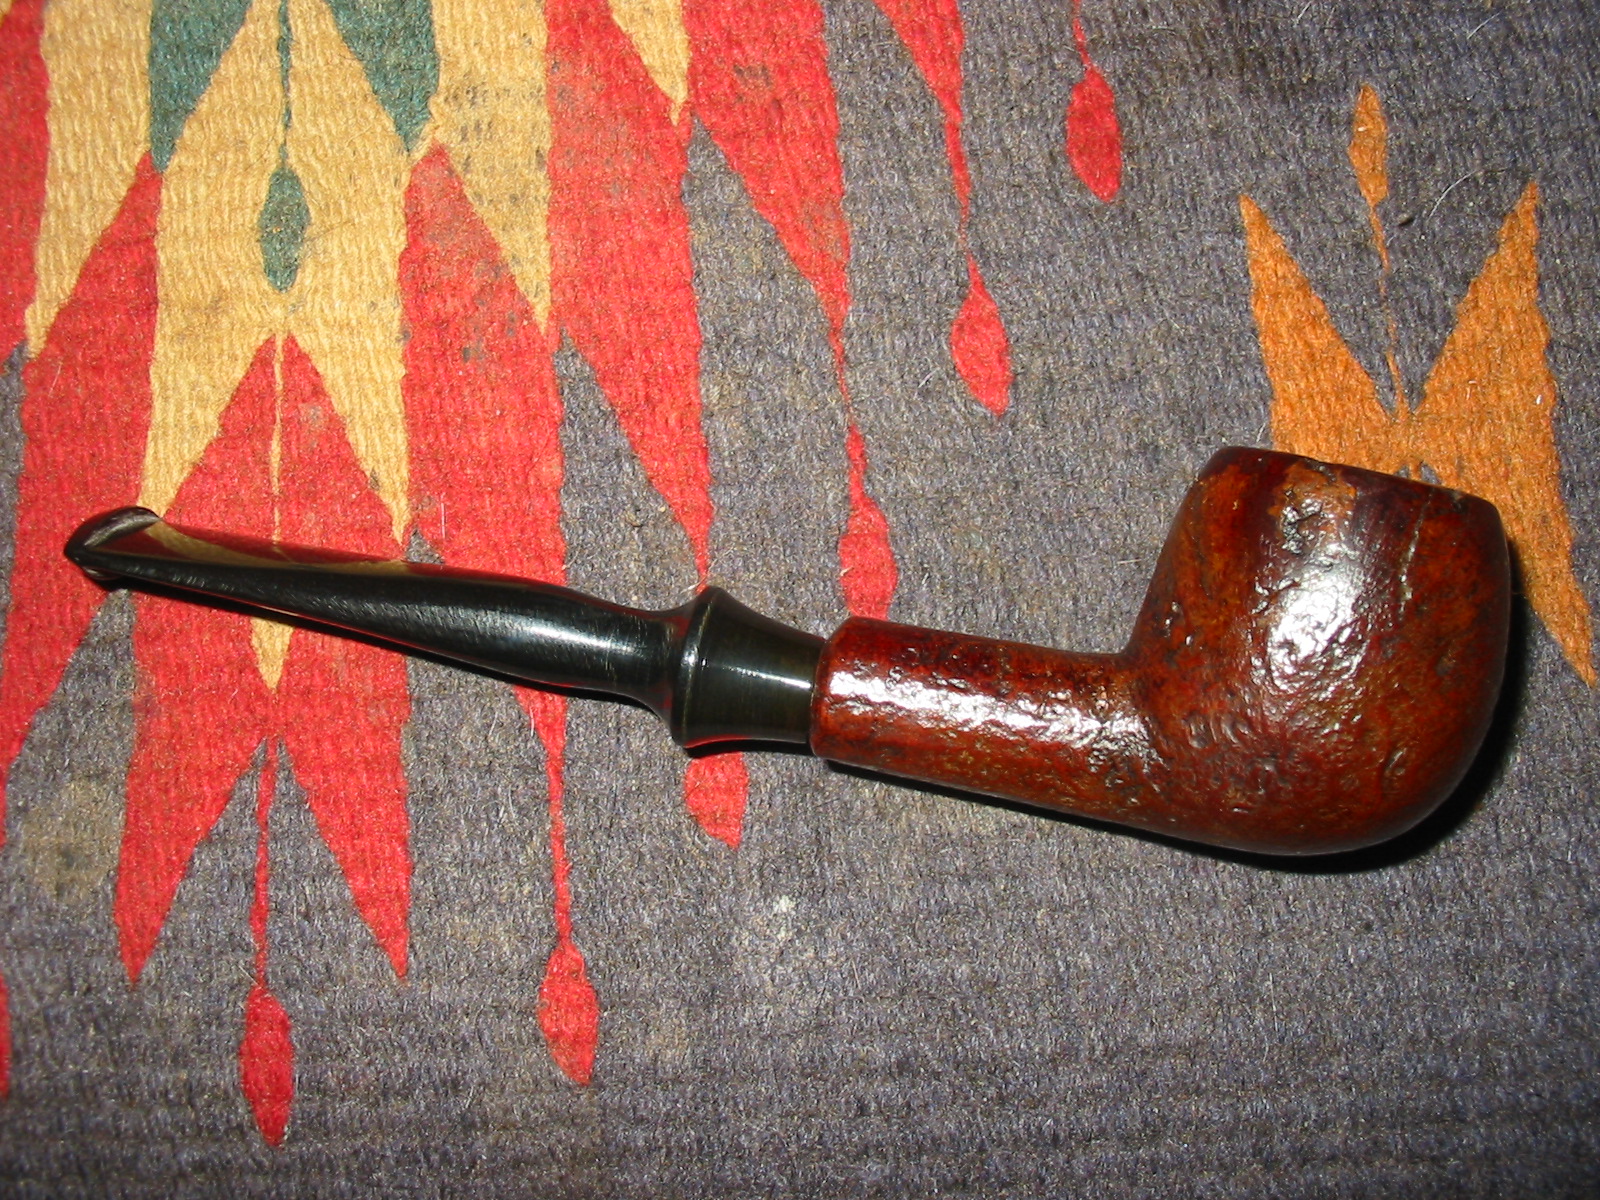
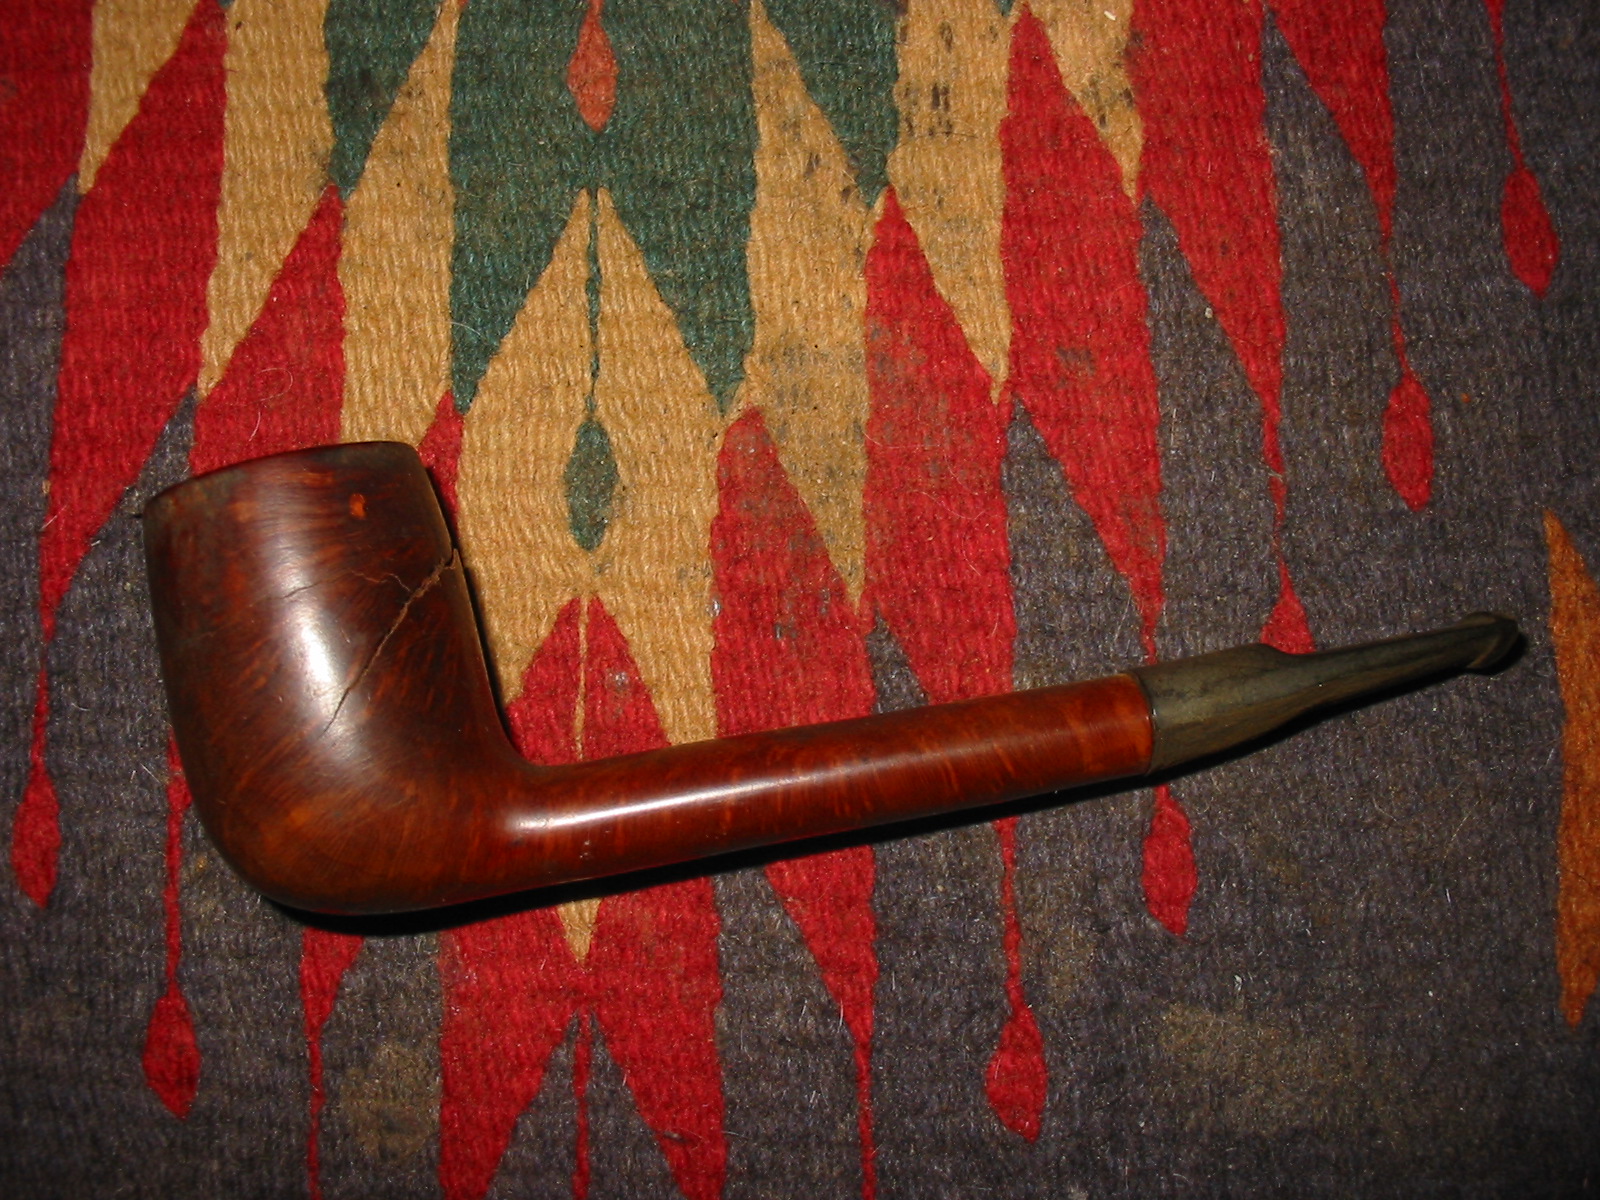
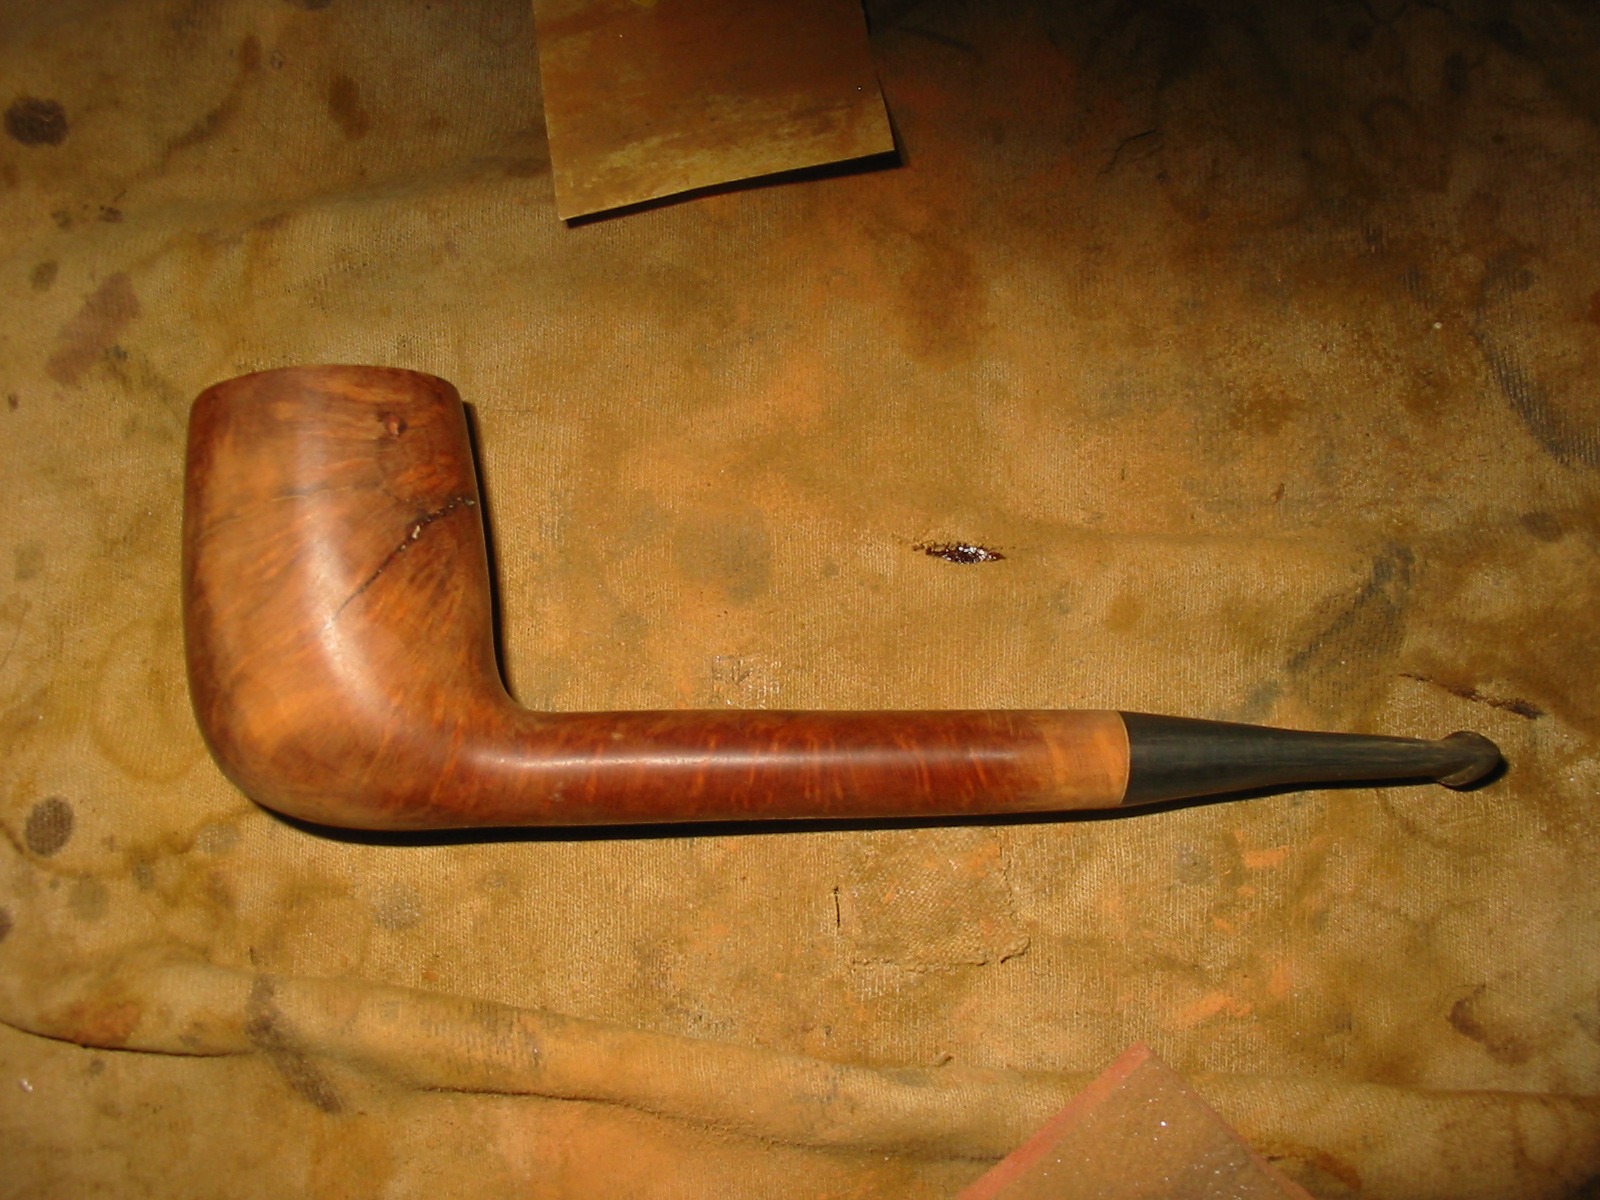
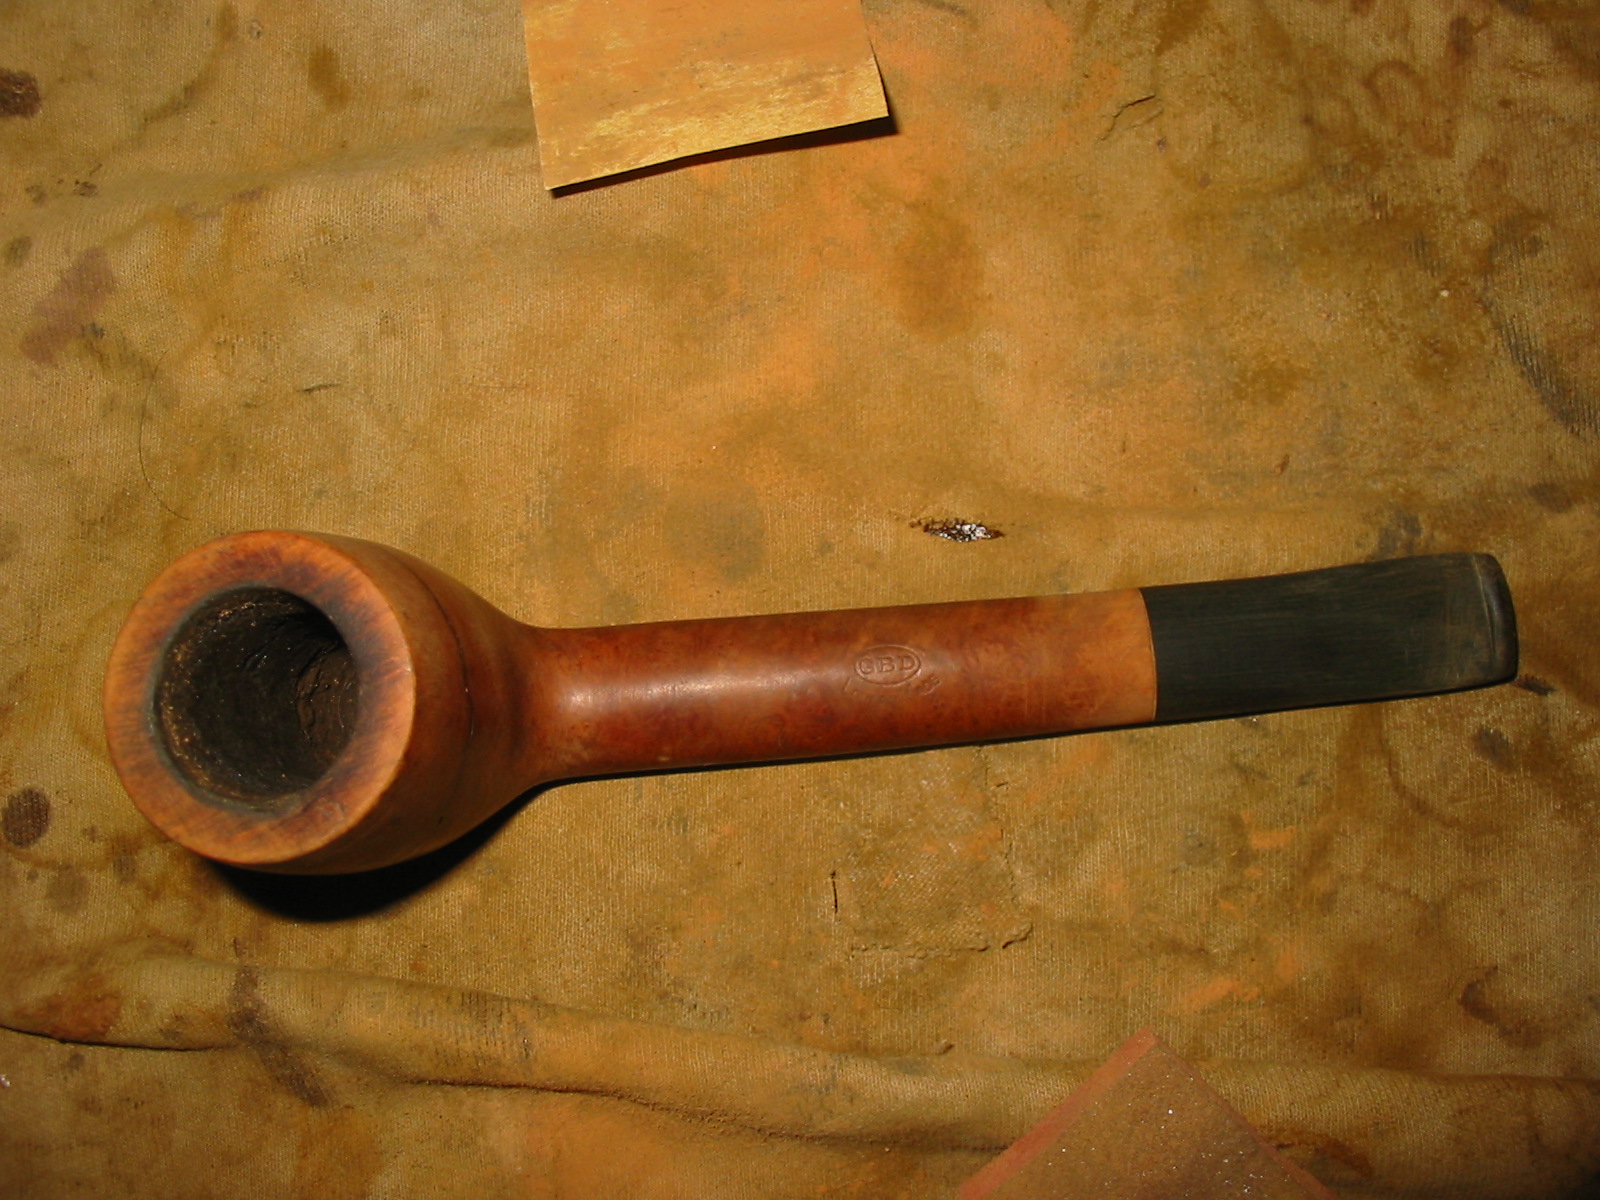
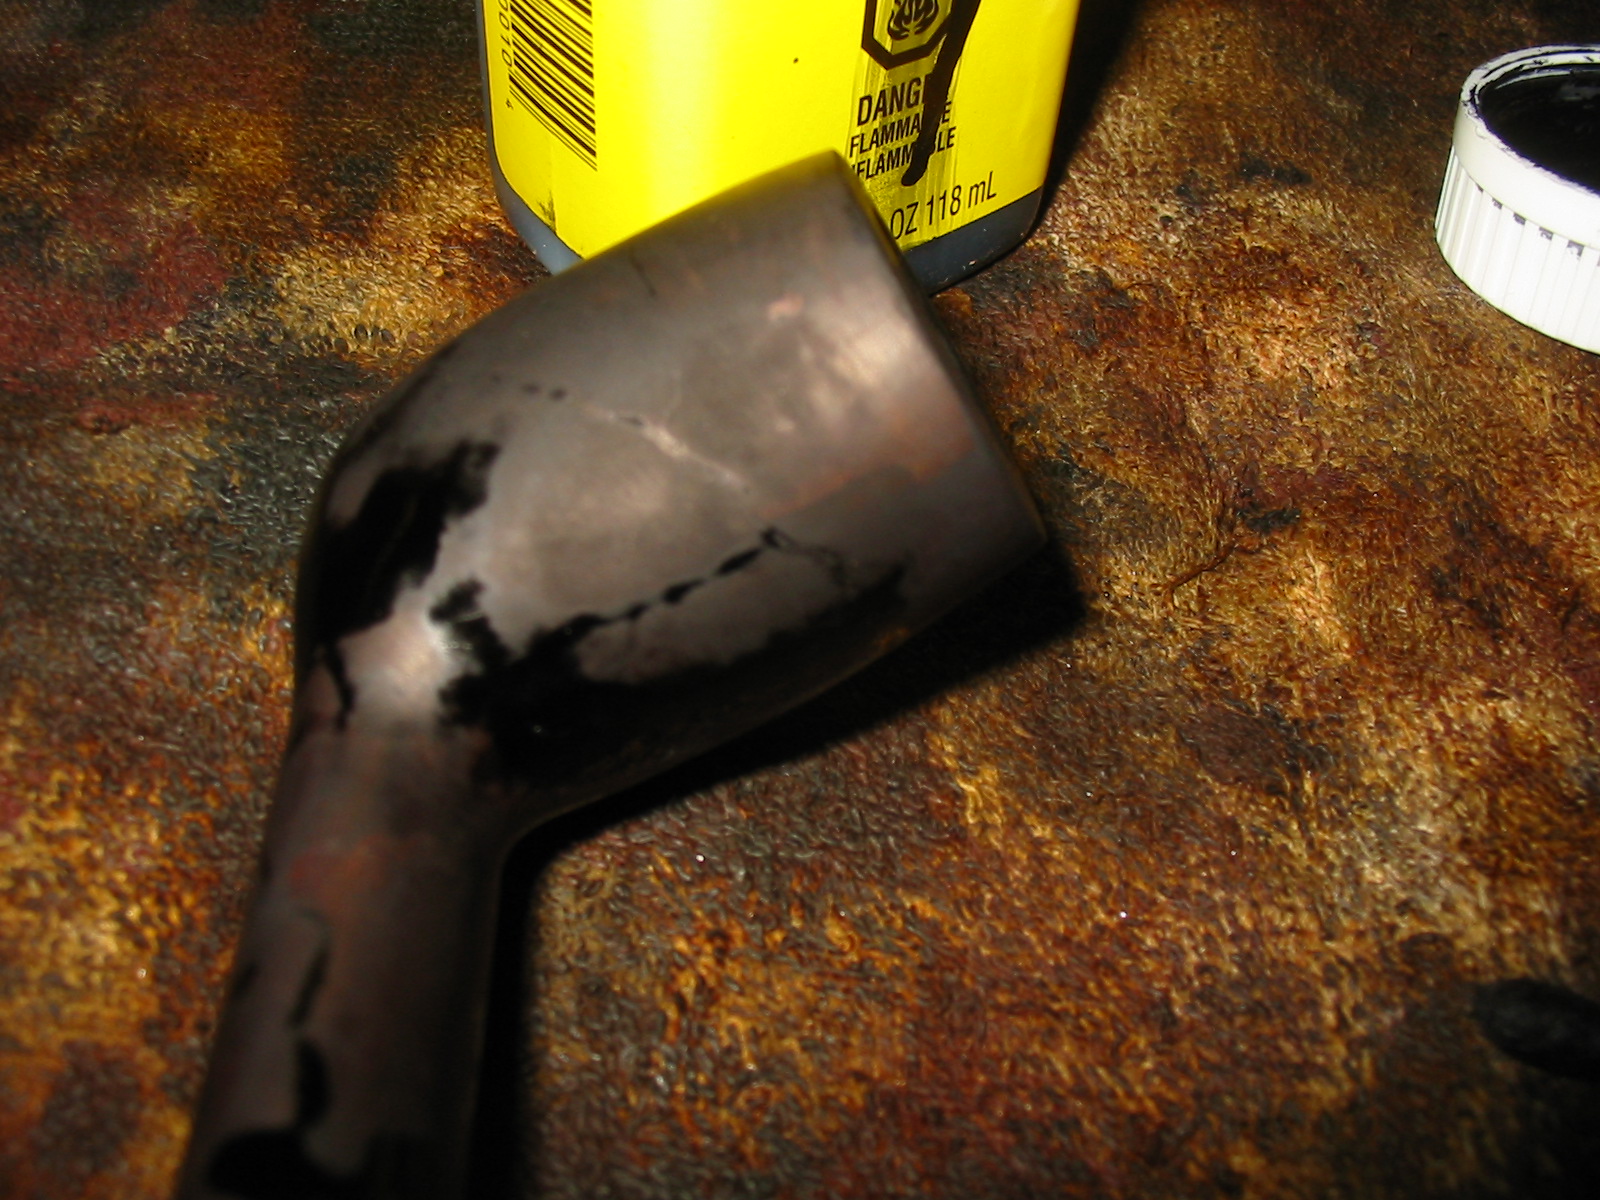
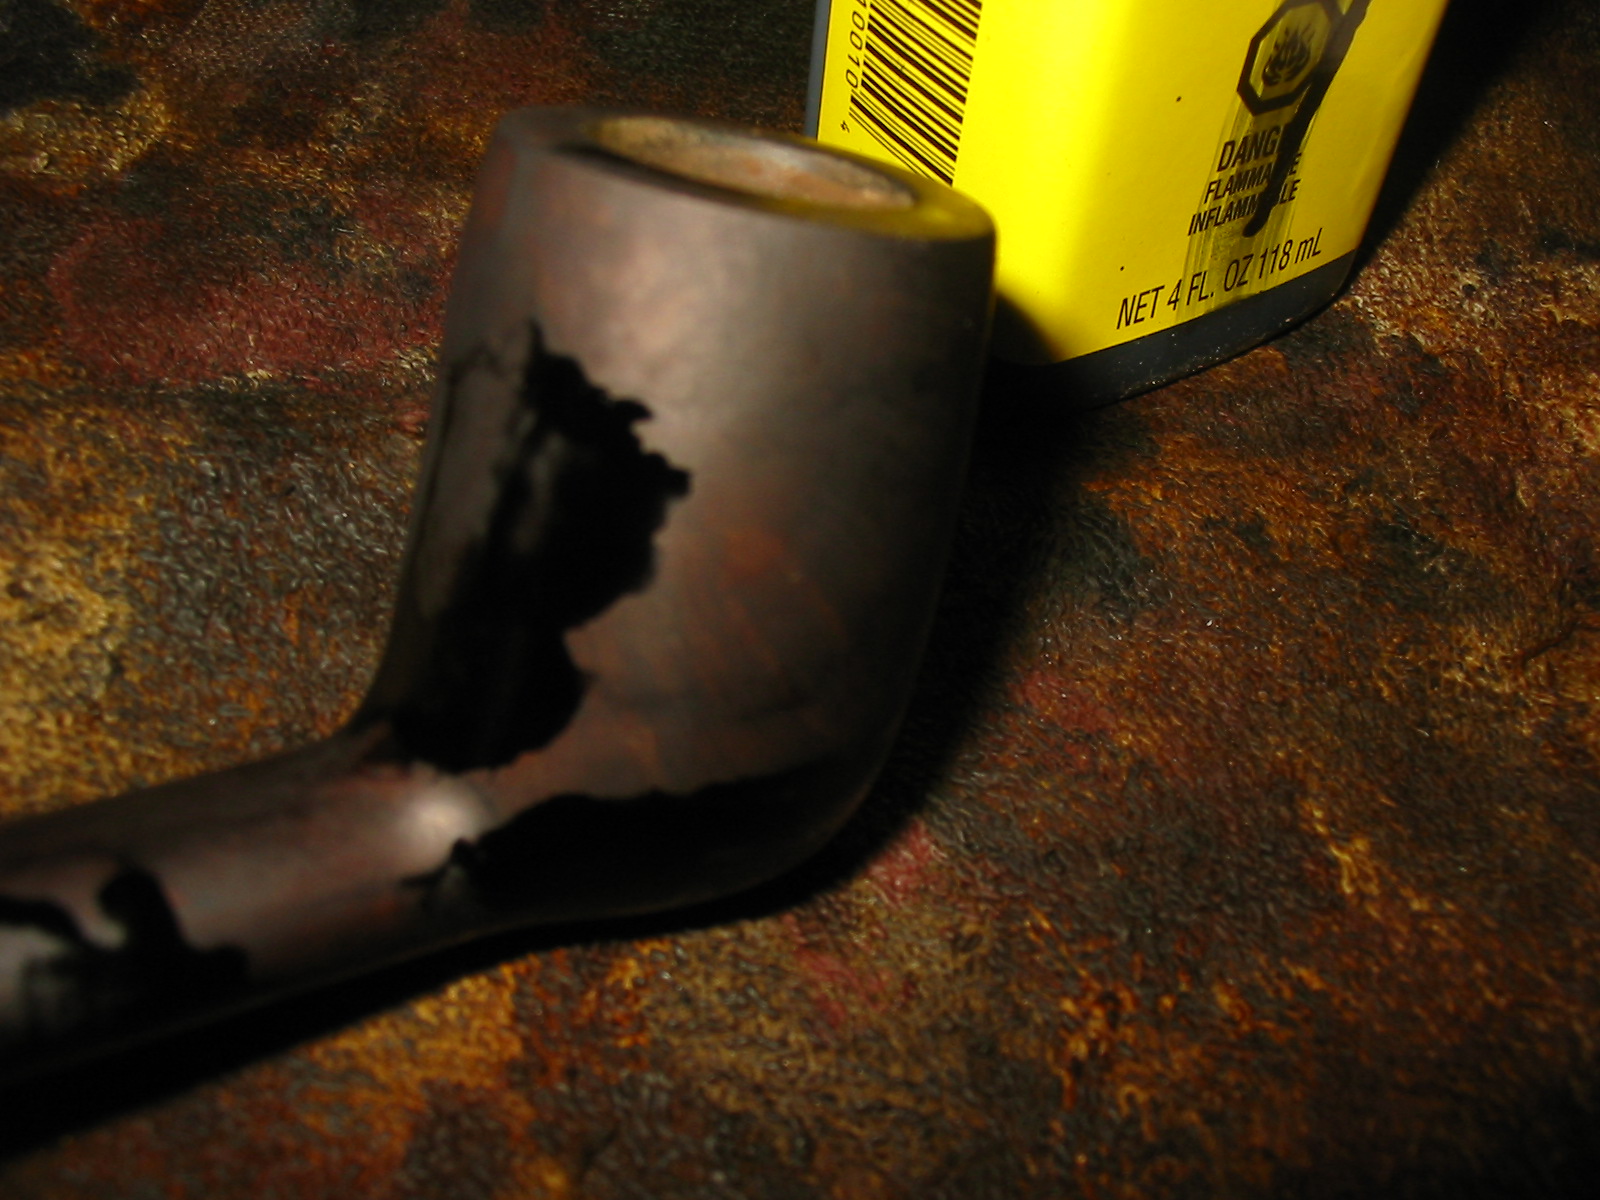
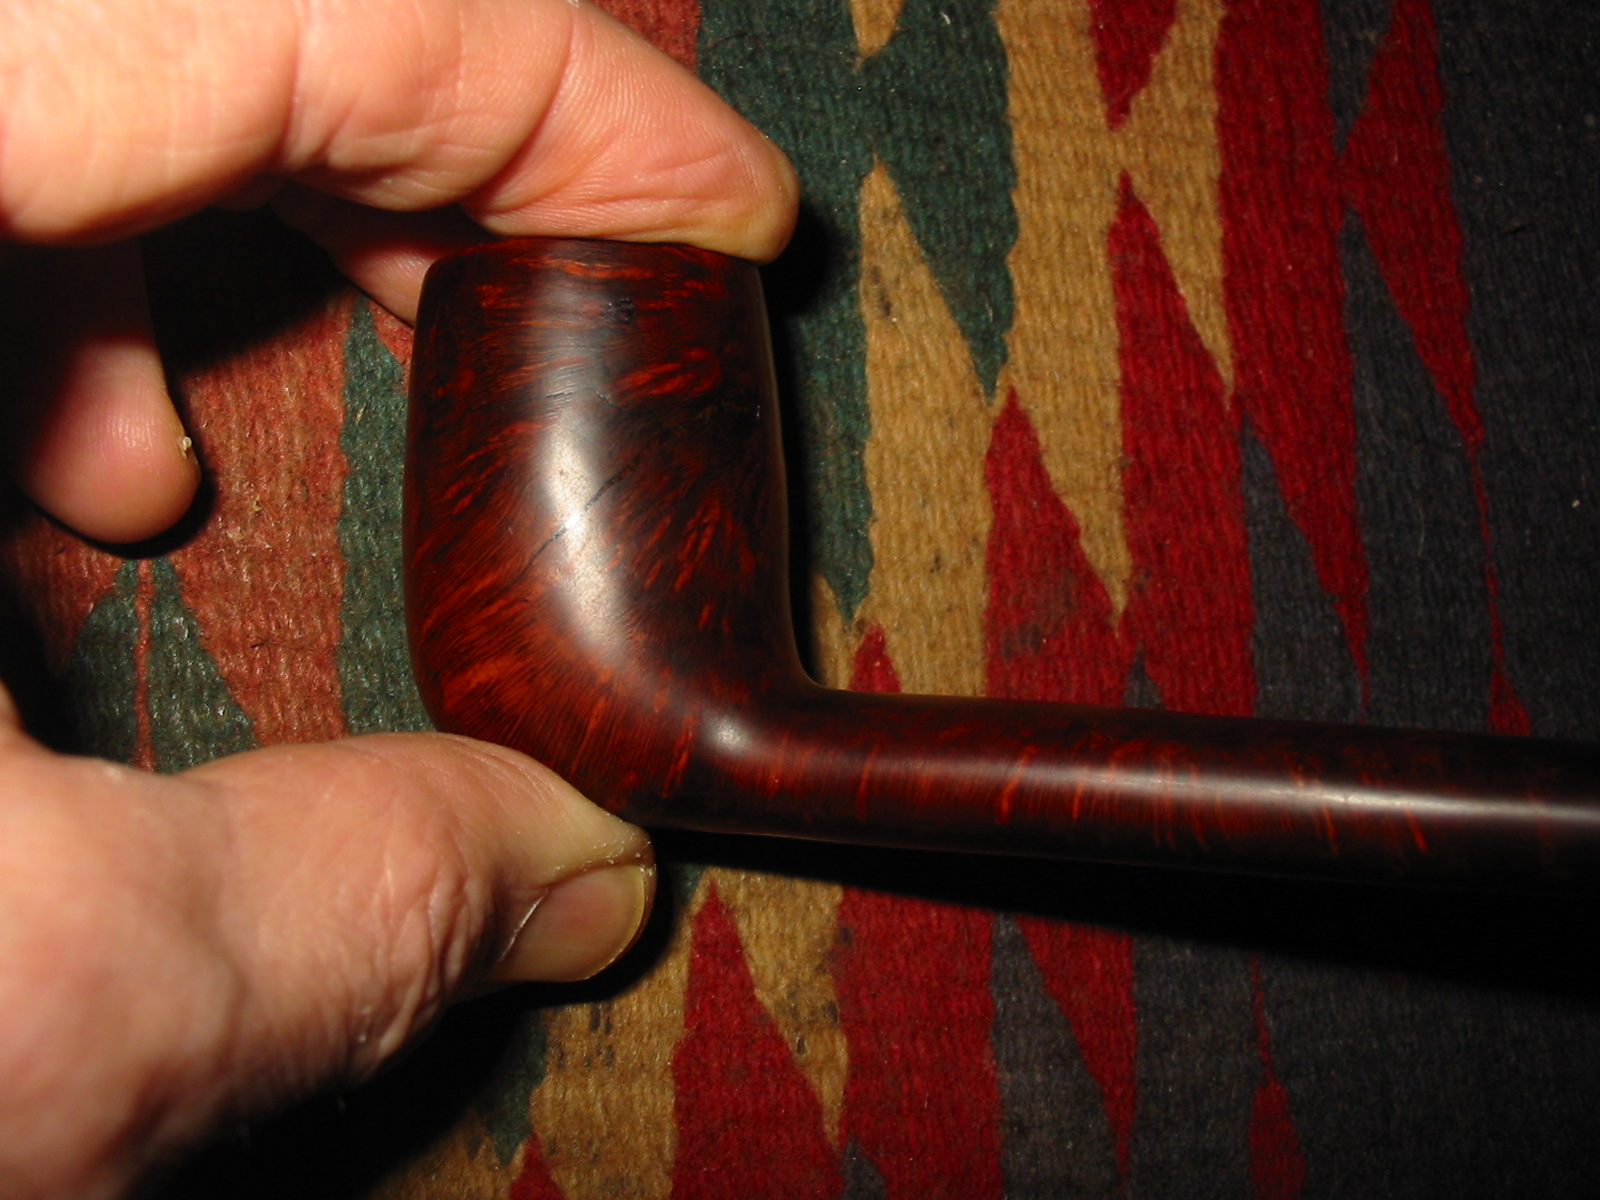
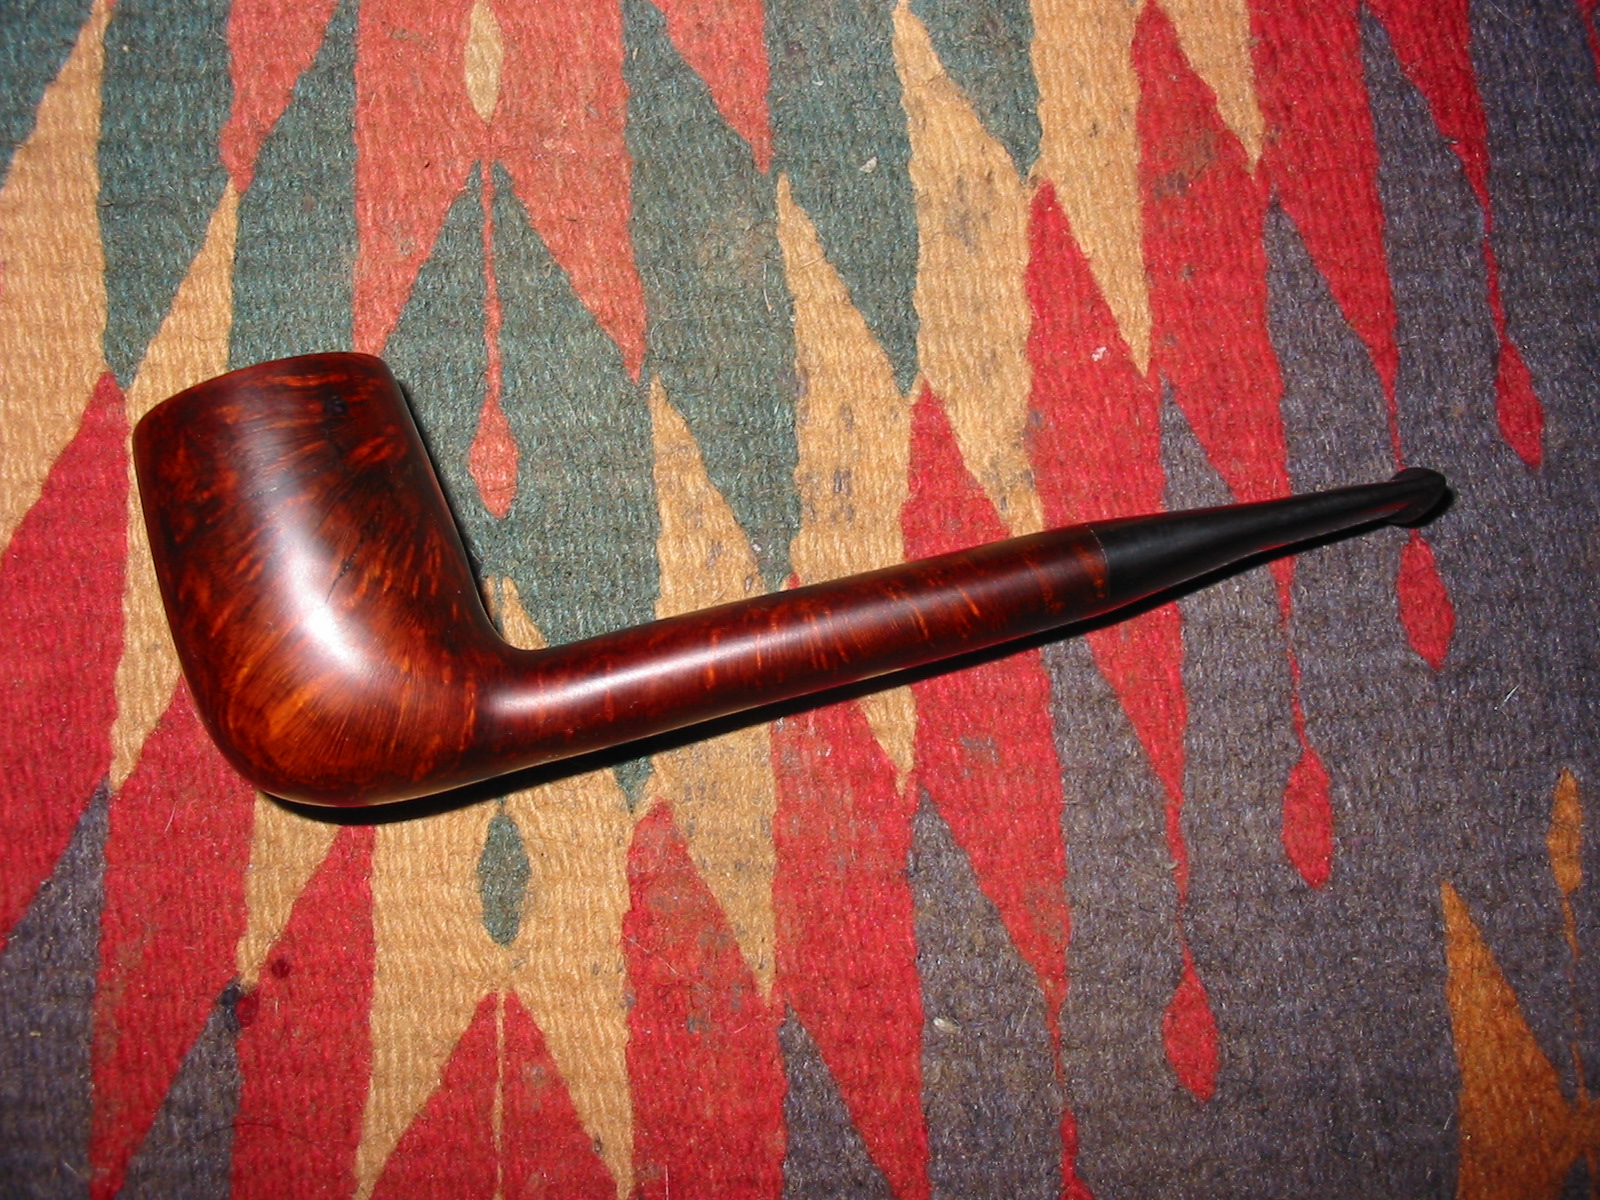
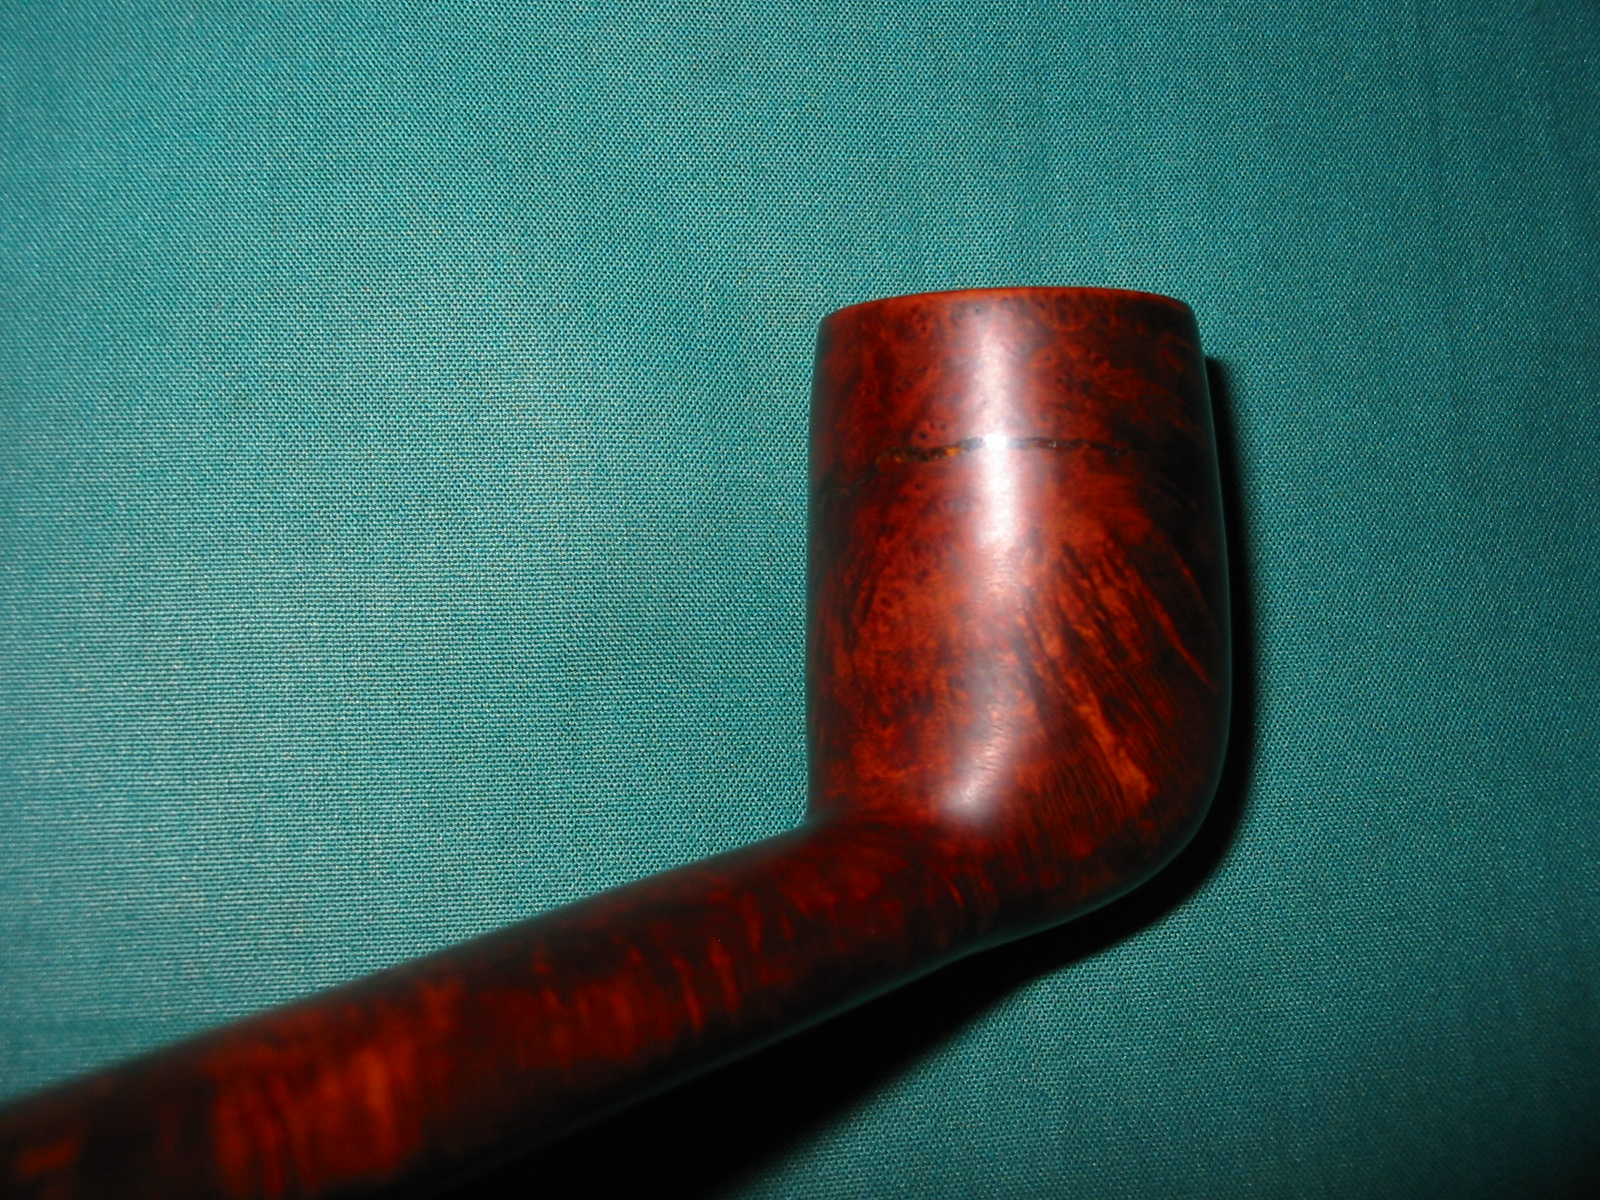
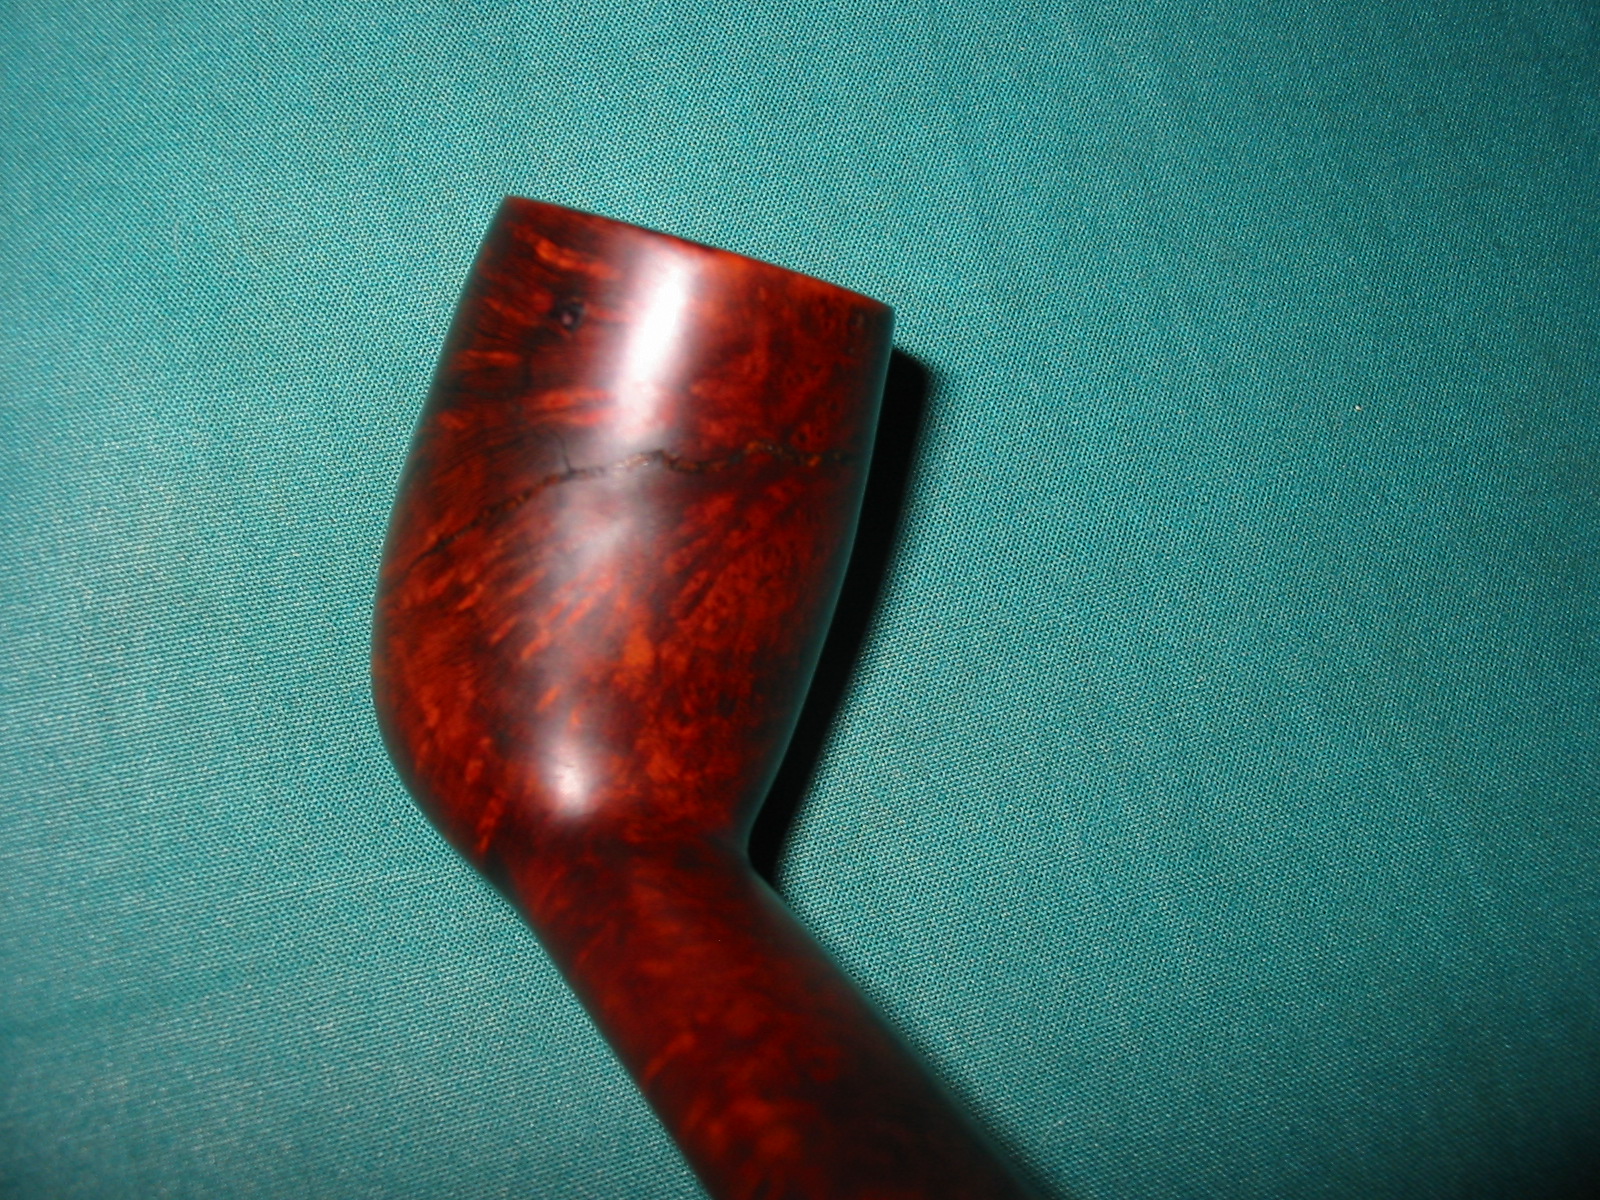
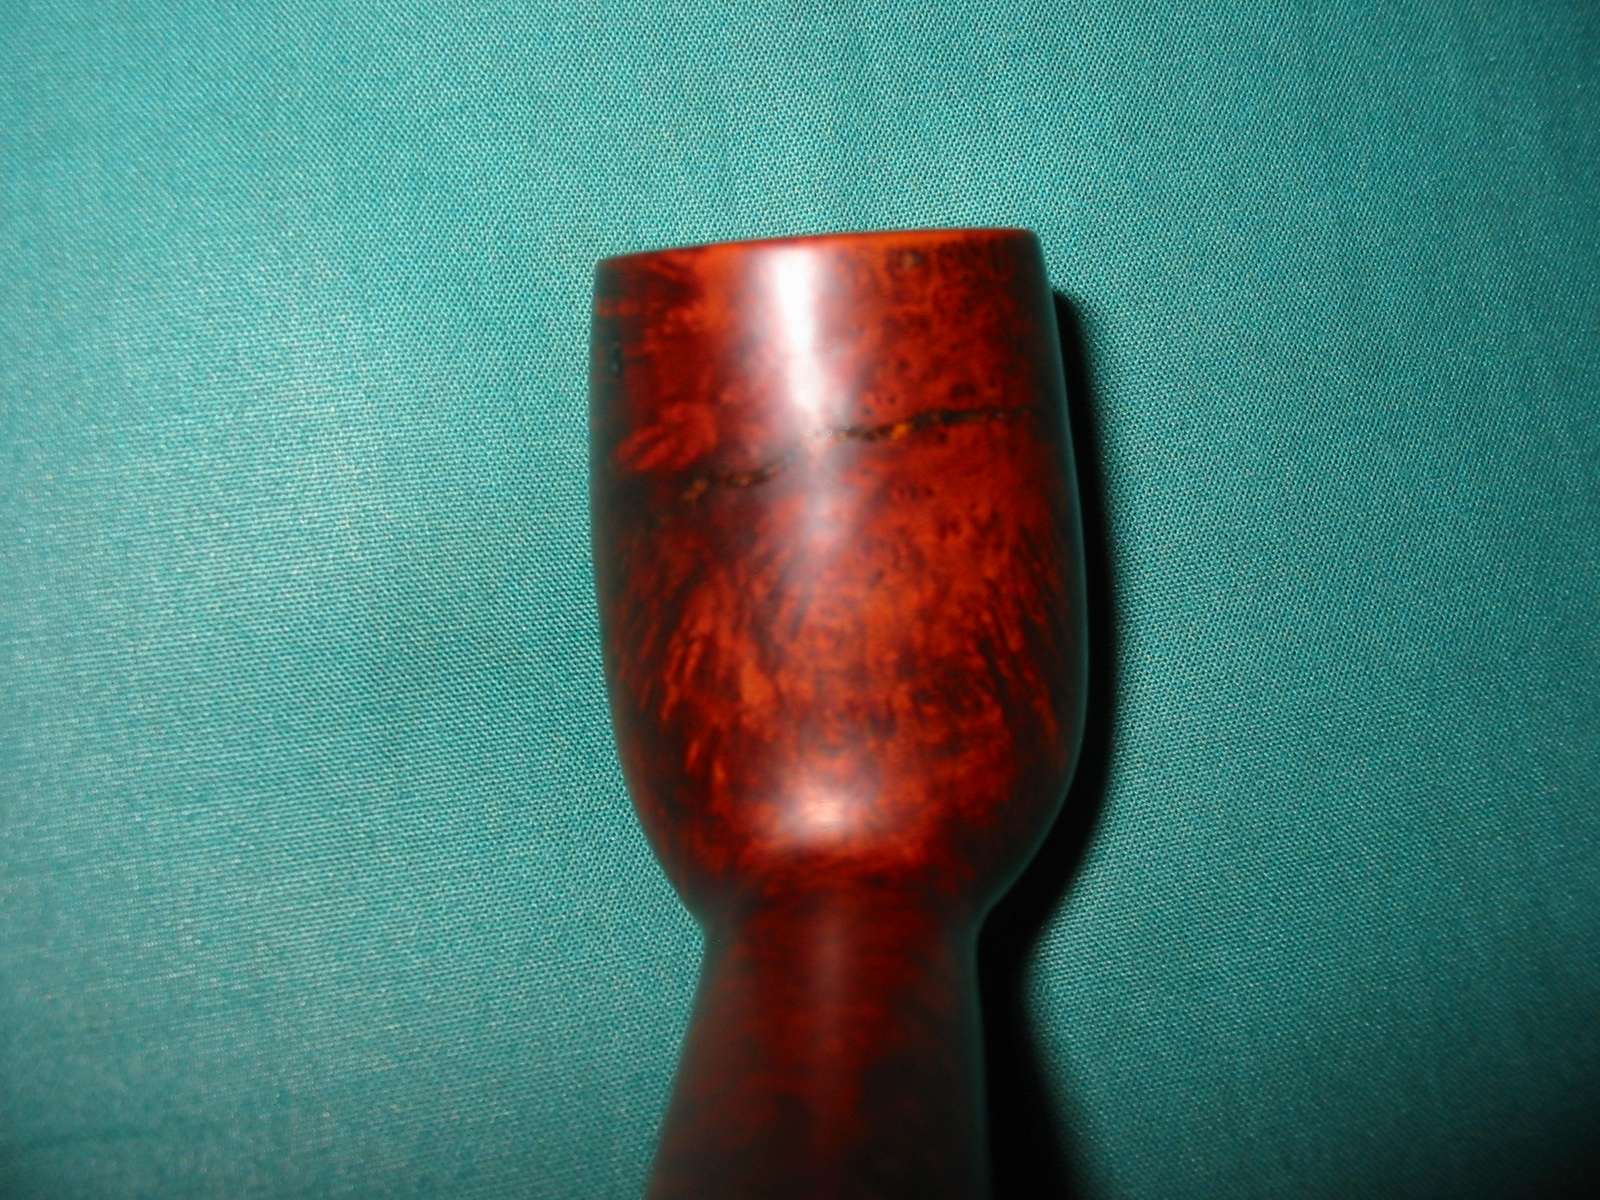
It was not too long before John called me and told me the pipe was finished. He packed it up and sent it to me. I was excited because I had not even seen the pipe in person yet. I had no idea about the real size of the pipe or the actual condition though it looked a bit rough in the photos. I couldn’t wait to see it. When it arrived in the mail I opened the package and unwrapped the pipe. John had not only restemmed the billiard but he had cleaned it up and polished it so that it shone like new. It did not even look like the same pipe. It was a cross cut piece of briar with stunning birdseye on the sides of the bowl and shank with cross grain on the front and the back of the bowl.

I did a bit more digging on the internet to find out some information on the dating of Calich pipes as the information on Pipedia was not complete. What I found was very helpful. His early pipes were graded with numbers from 3 – 14. By the late 1980’s Calich introduced 15, 16, and even one 17. In the mid-90’s the grade system changed employing a number of E’s. The more EE’s the higher the grade. This helped me understand the stamping on the billiard. Thus the pipe was a double EE grade and was made in the mid-90’s.

The last gradings that were used on the pipes were a number and an E. For example the stamping went 3E – 7E (10E was the top level but levels exceeding 7E or 8E seemed never to have been used). This information came from http://www.pipephil.eu/logos/en/logo-c1.html and has been edited for my use.
CalichBilliard
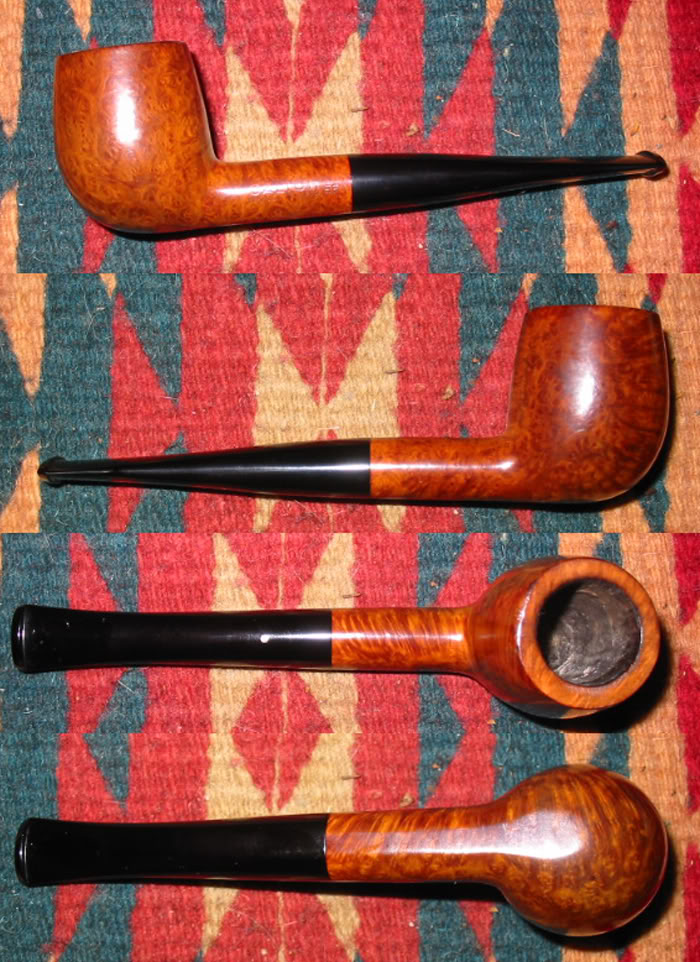
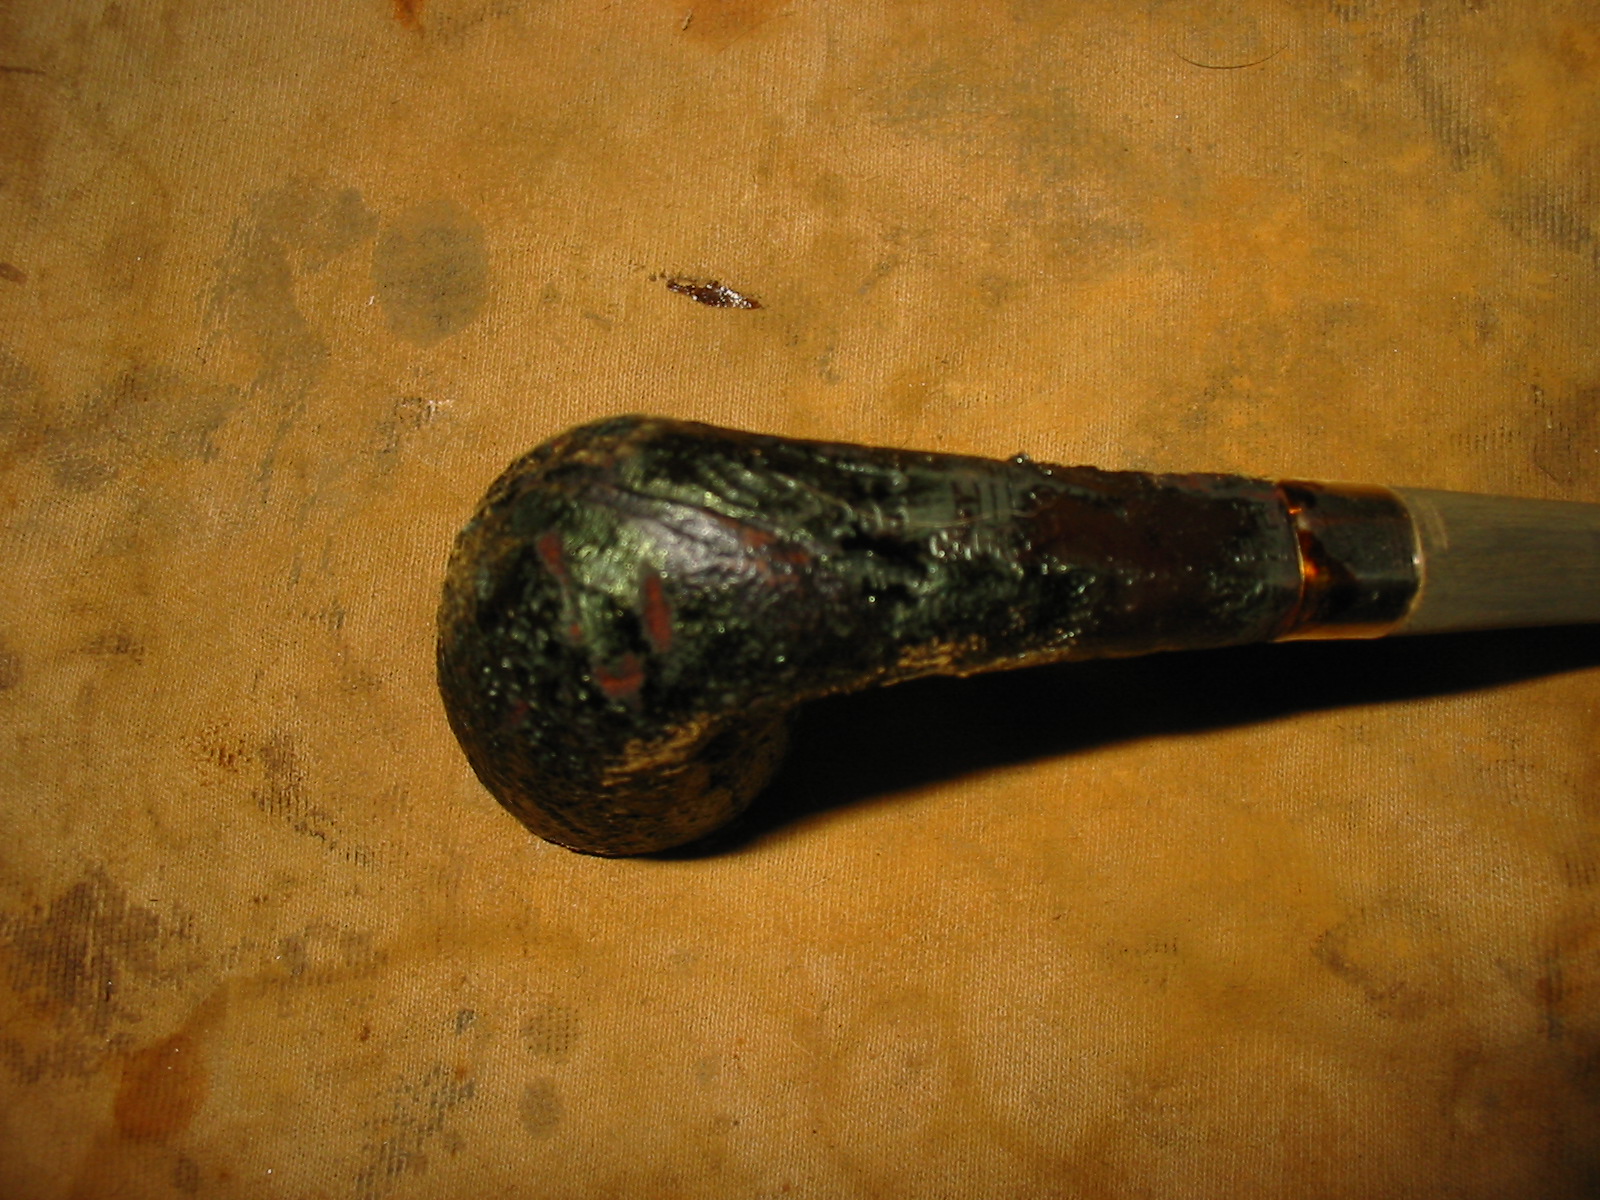
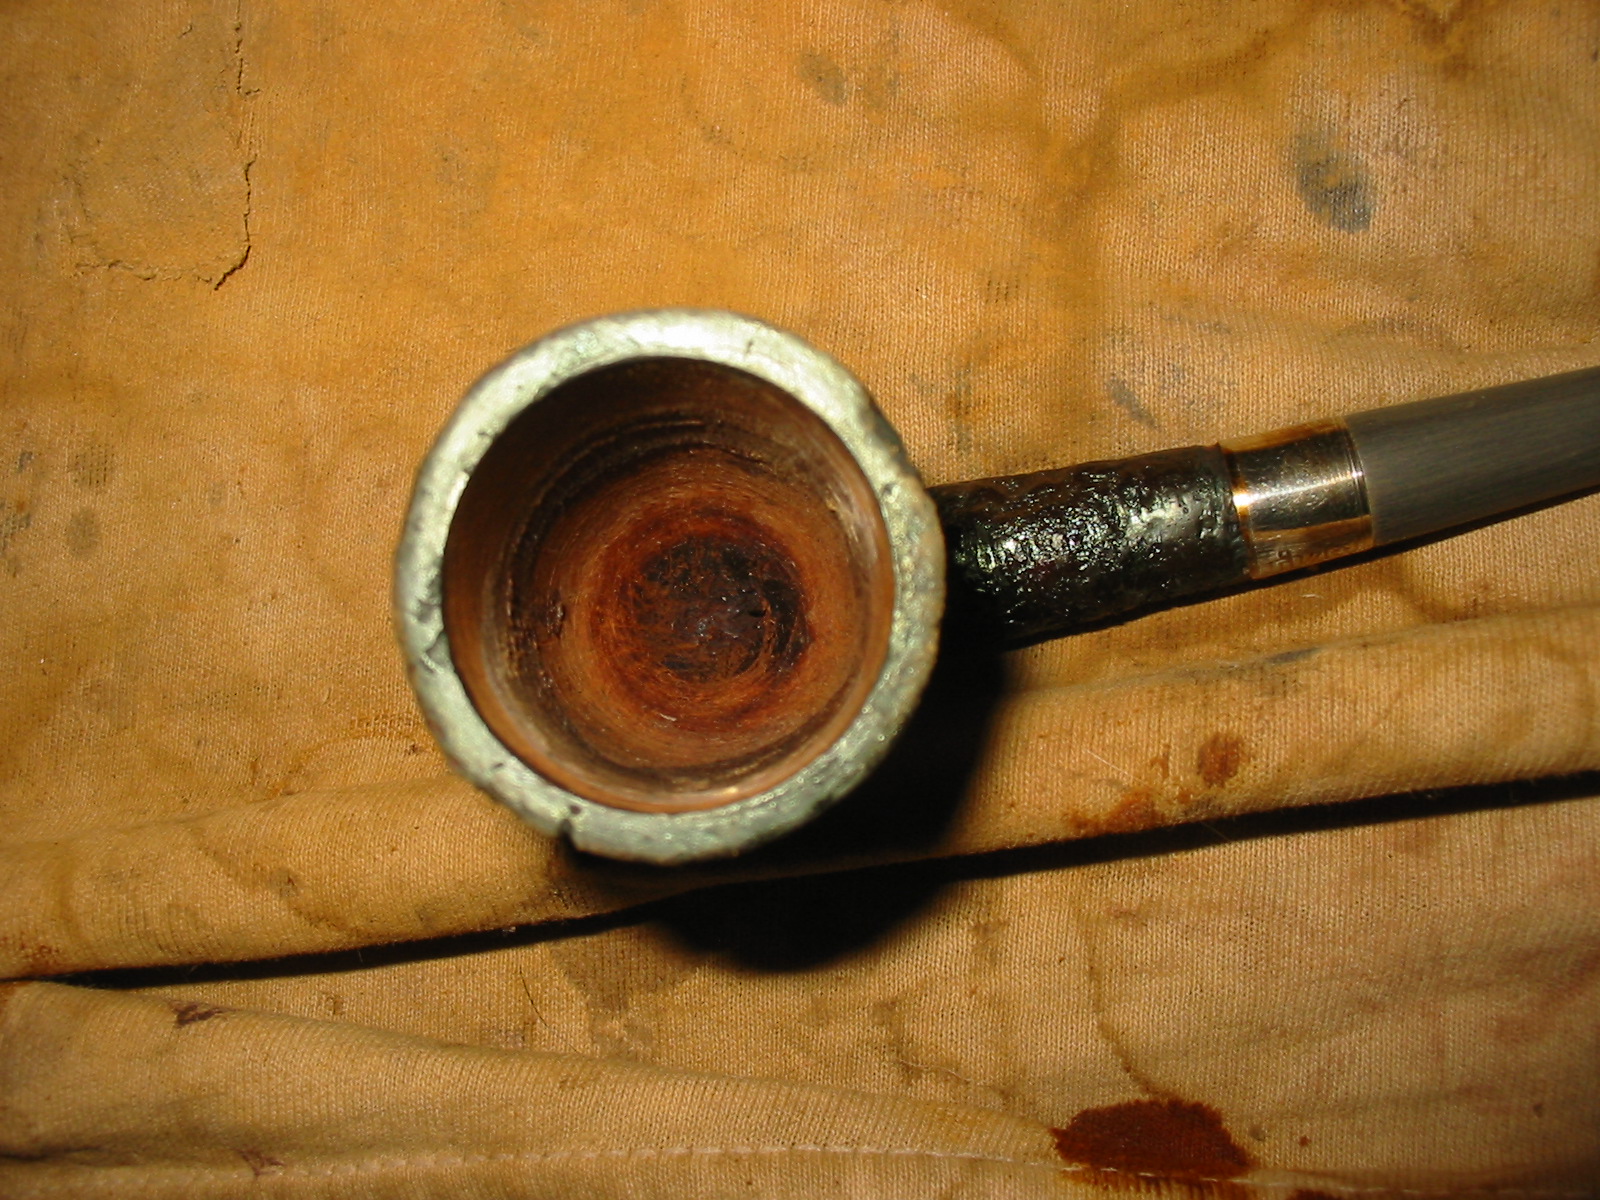
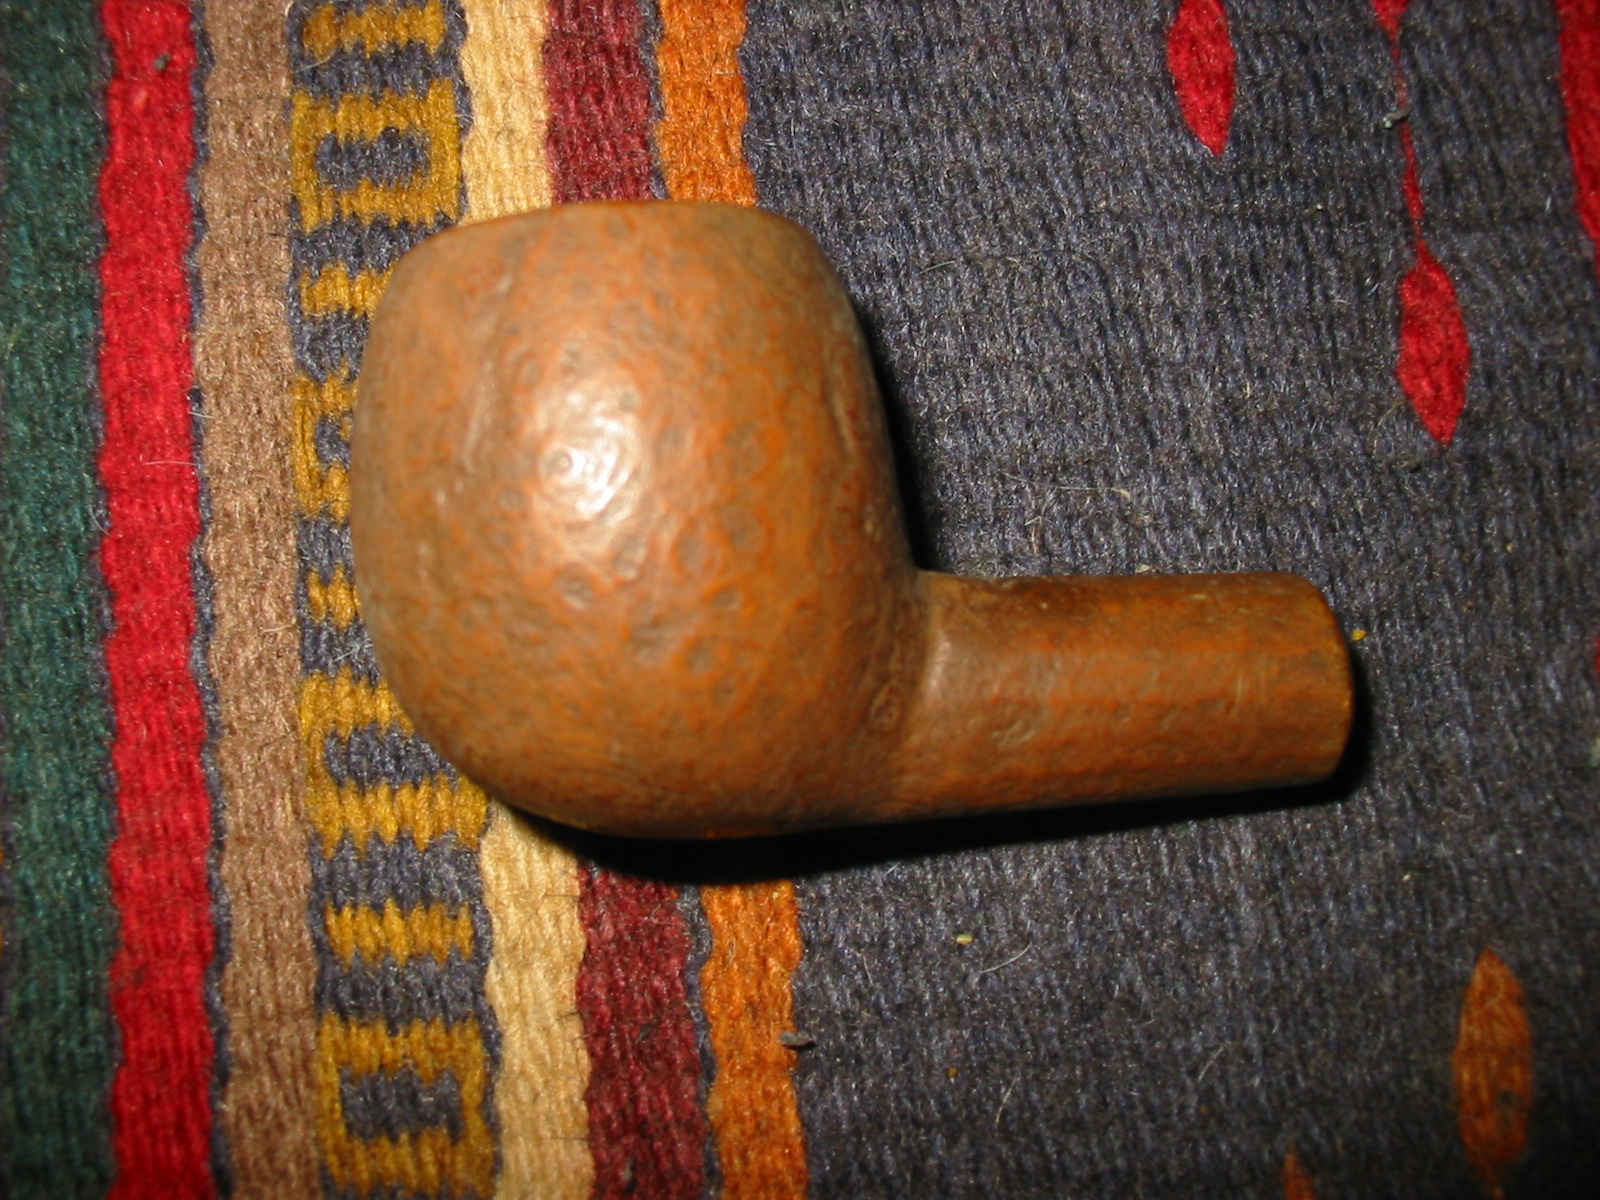
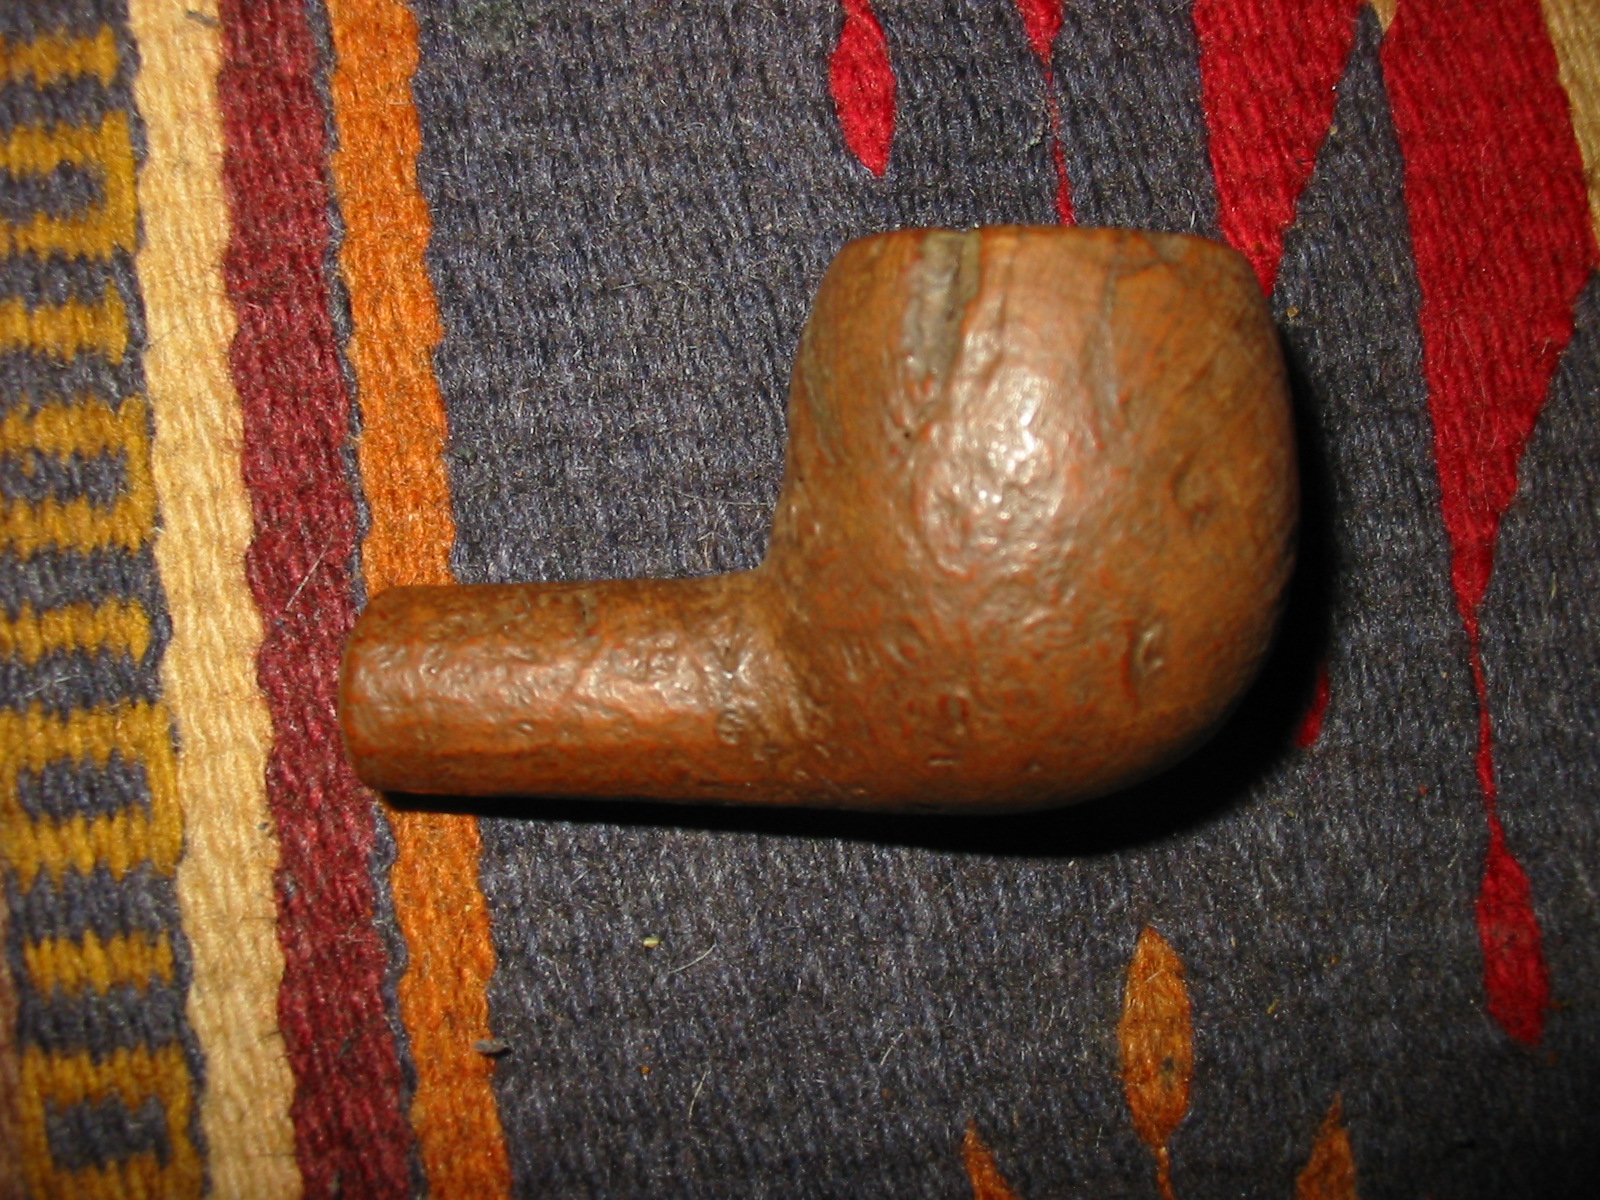
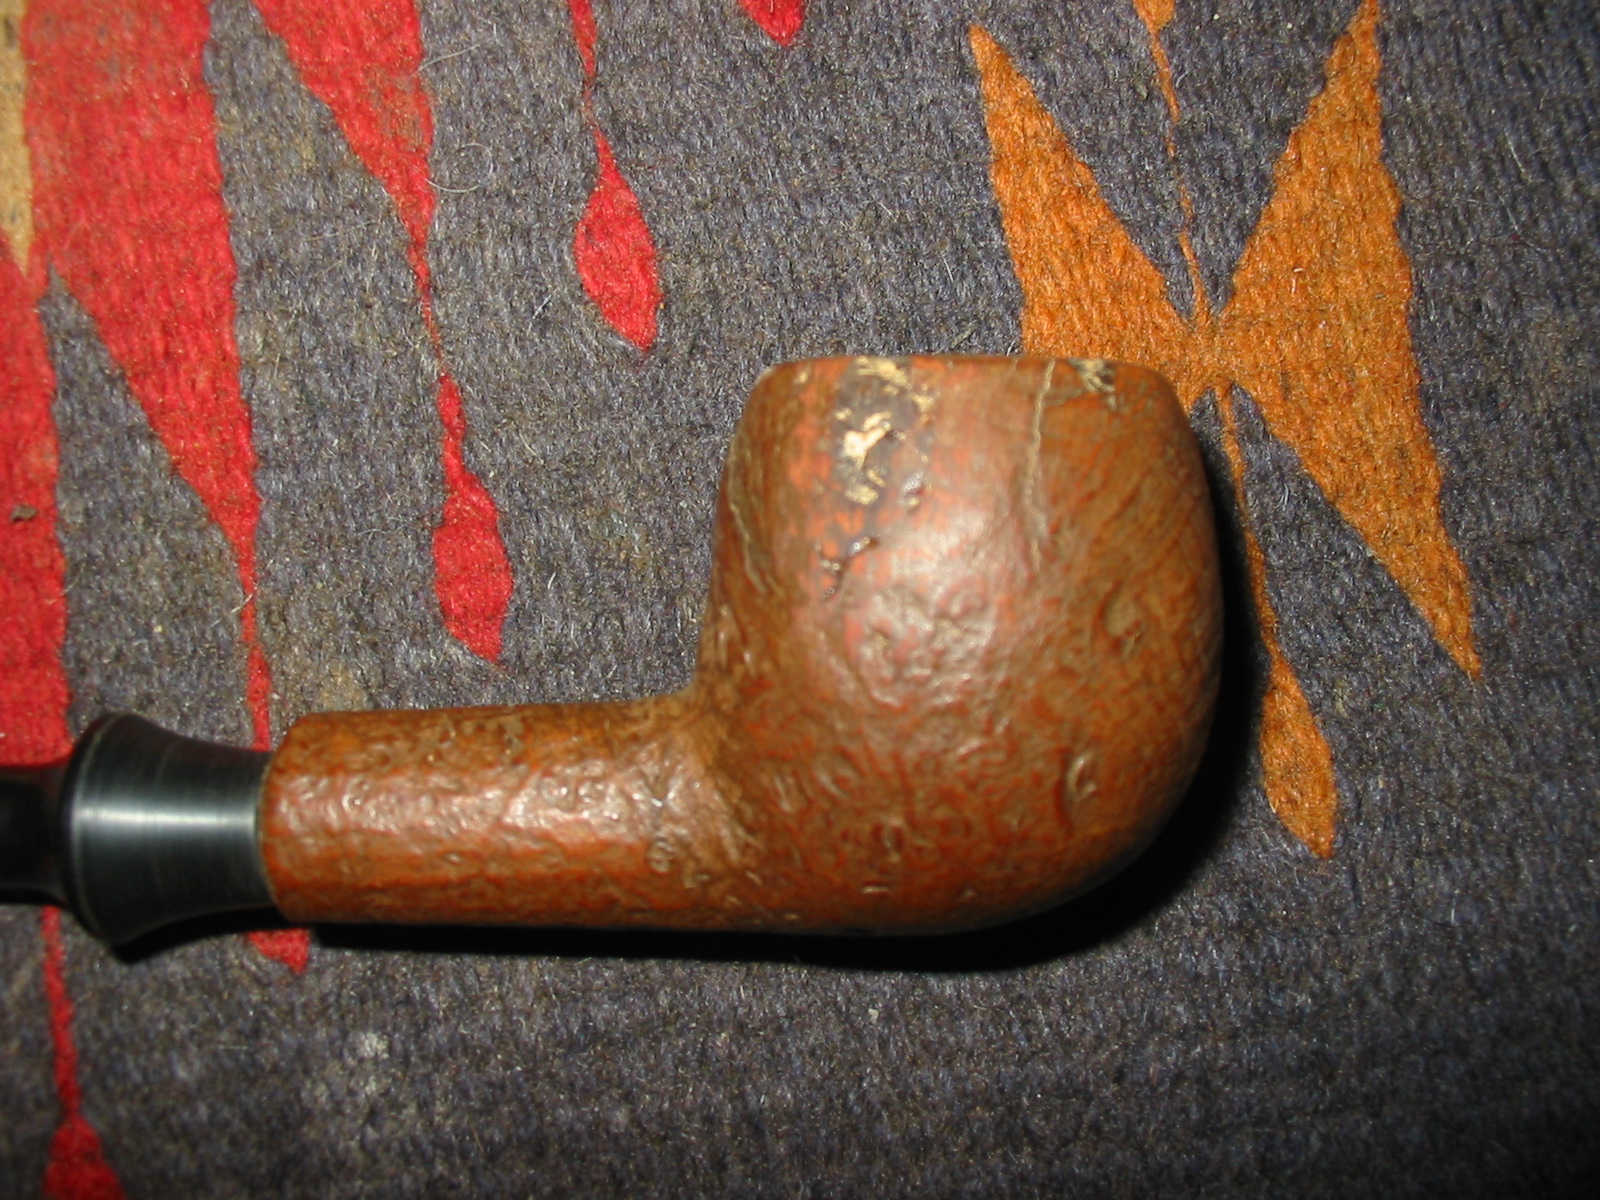
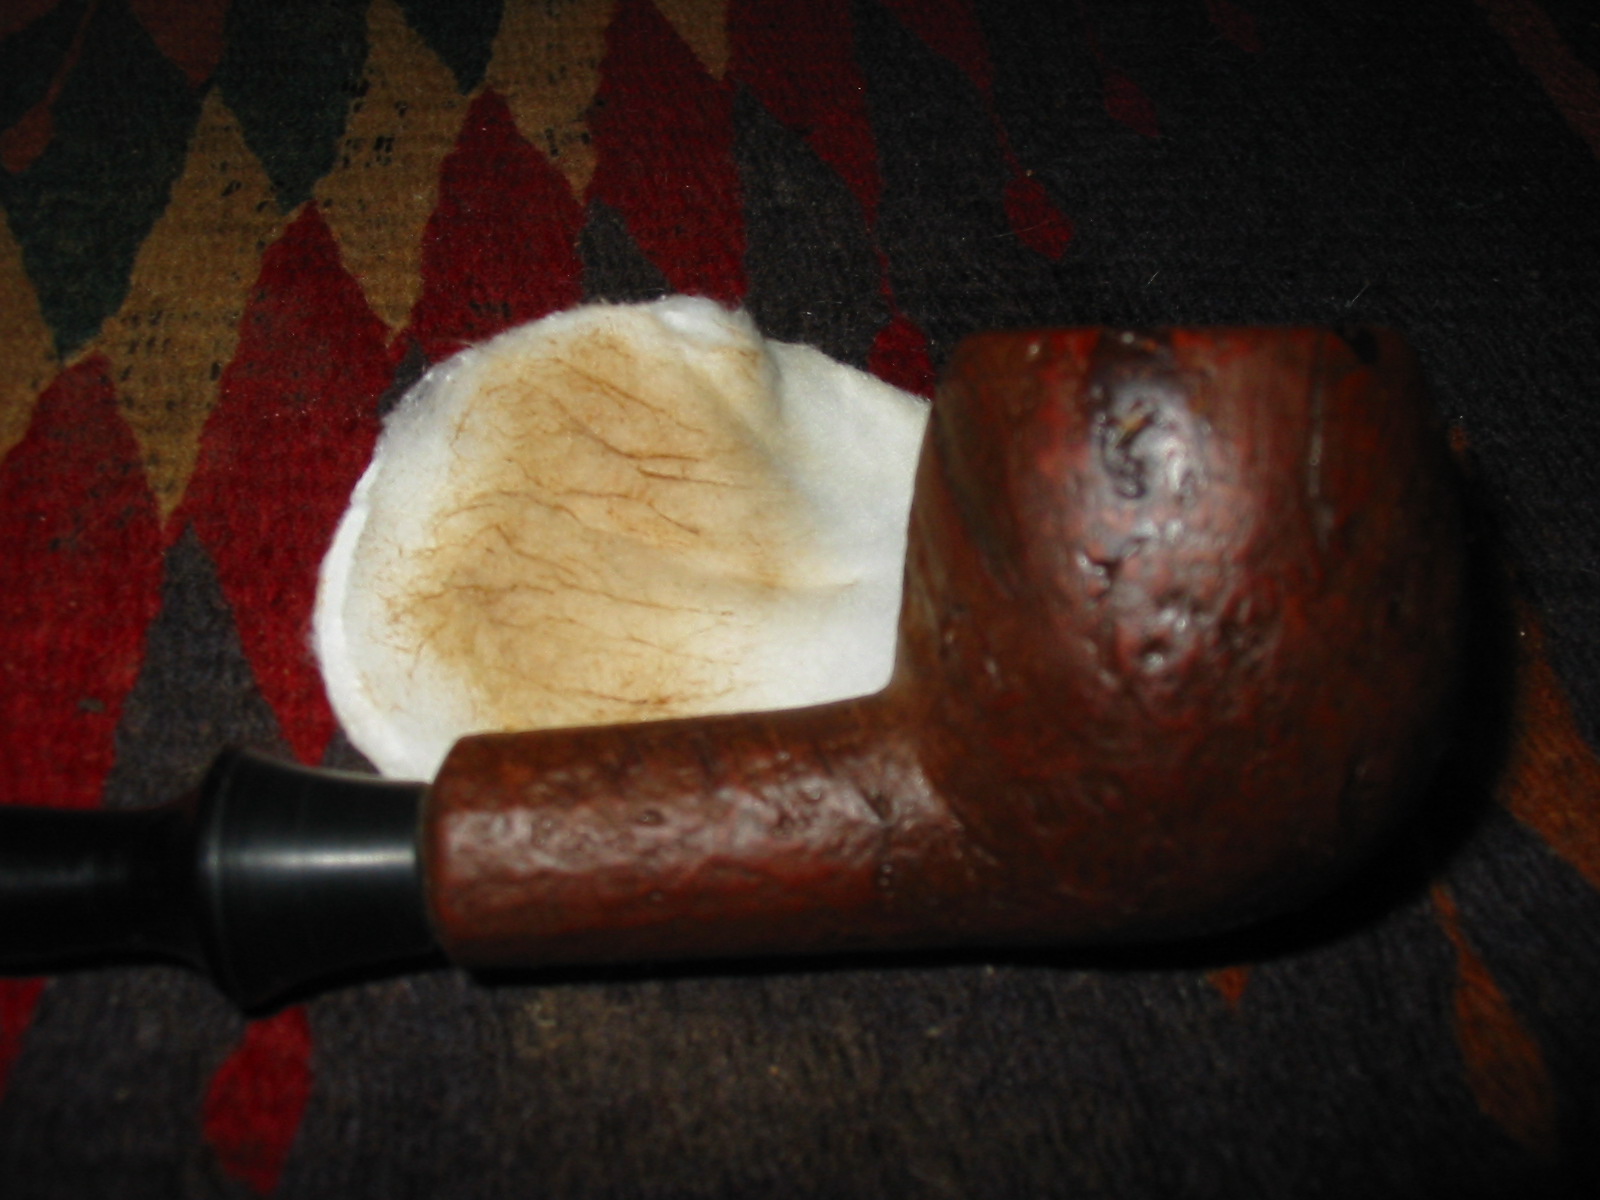
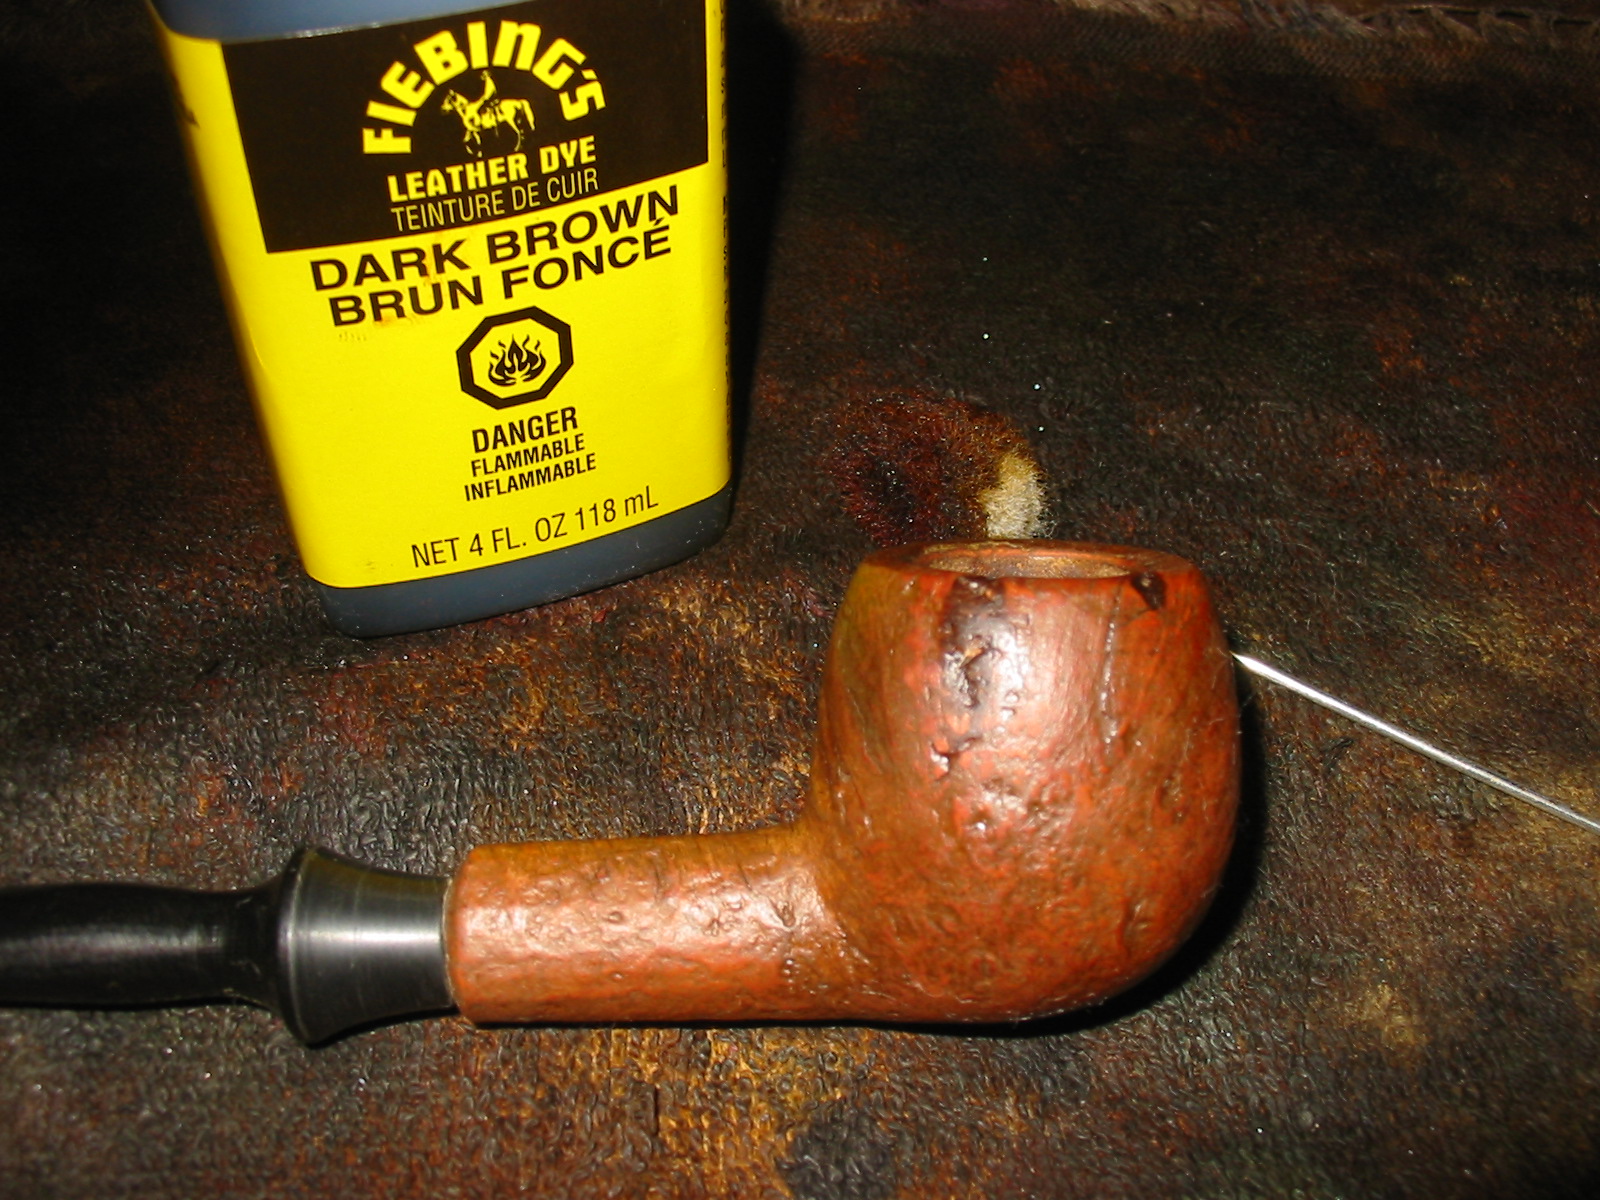
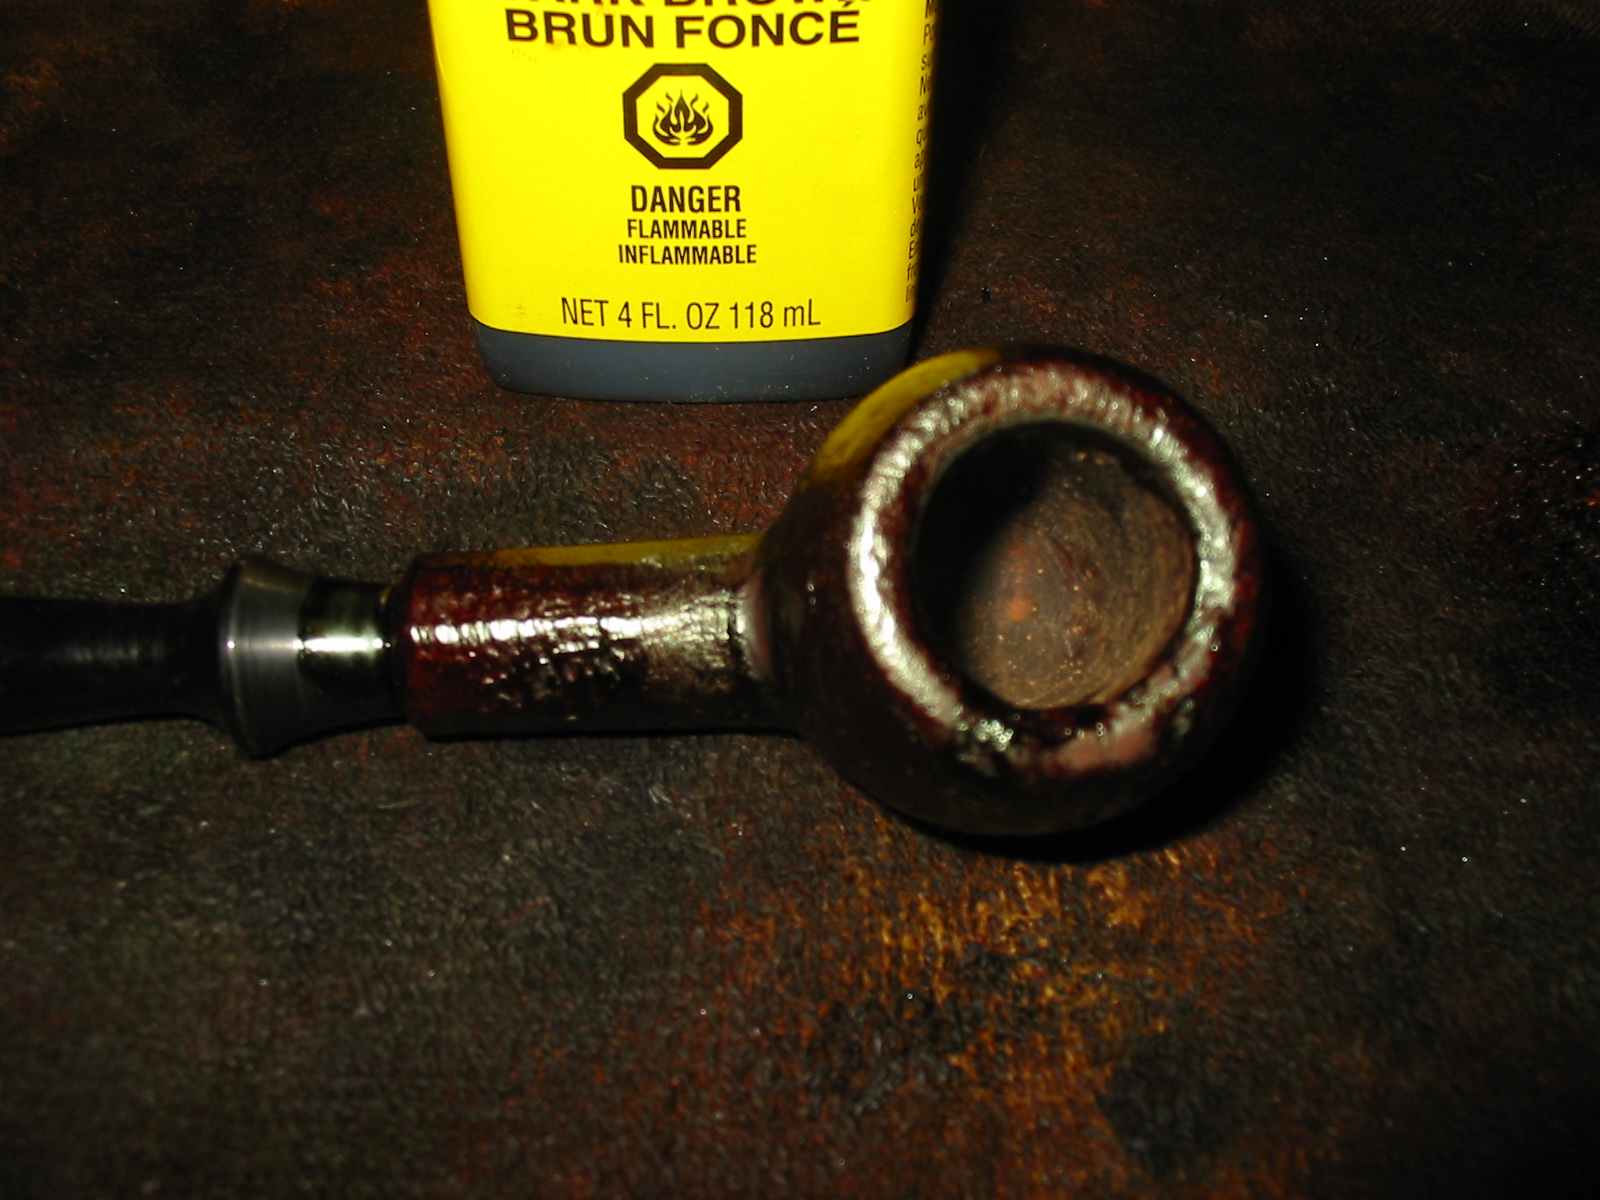
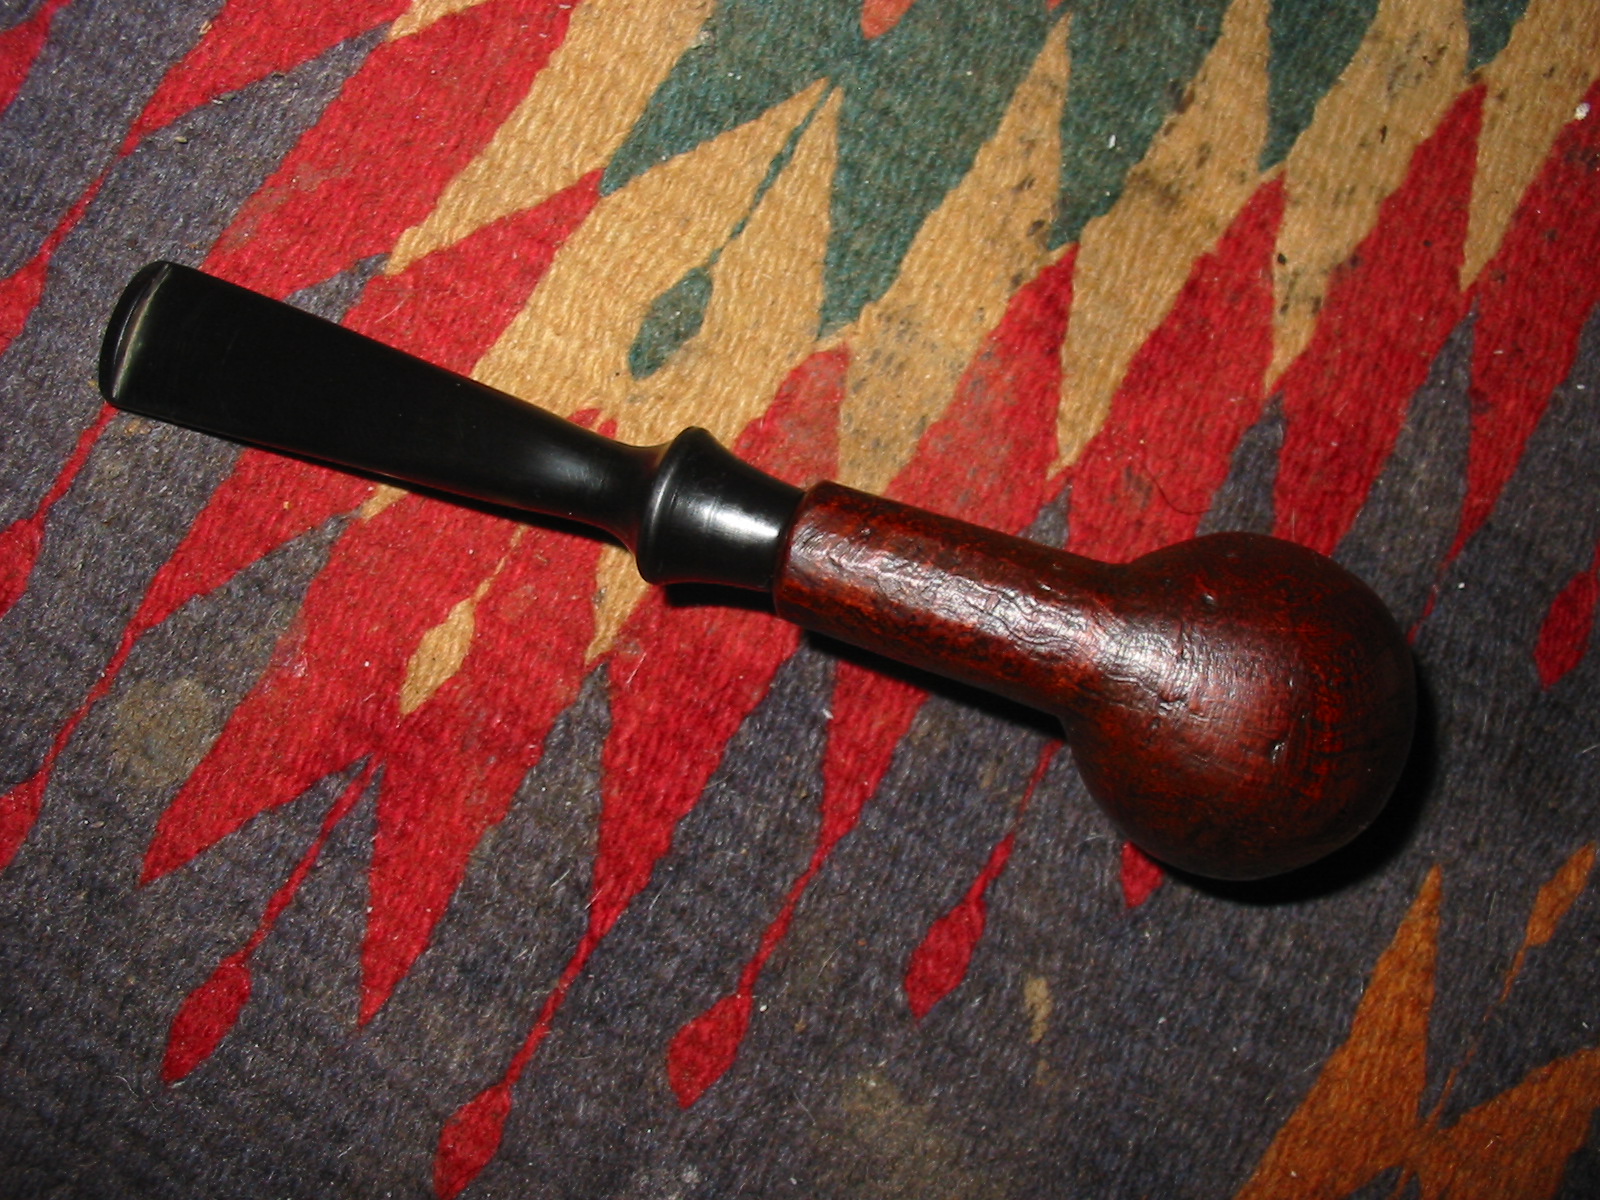
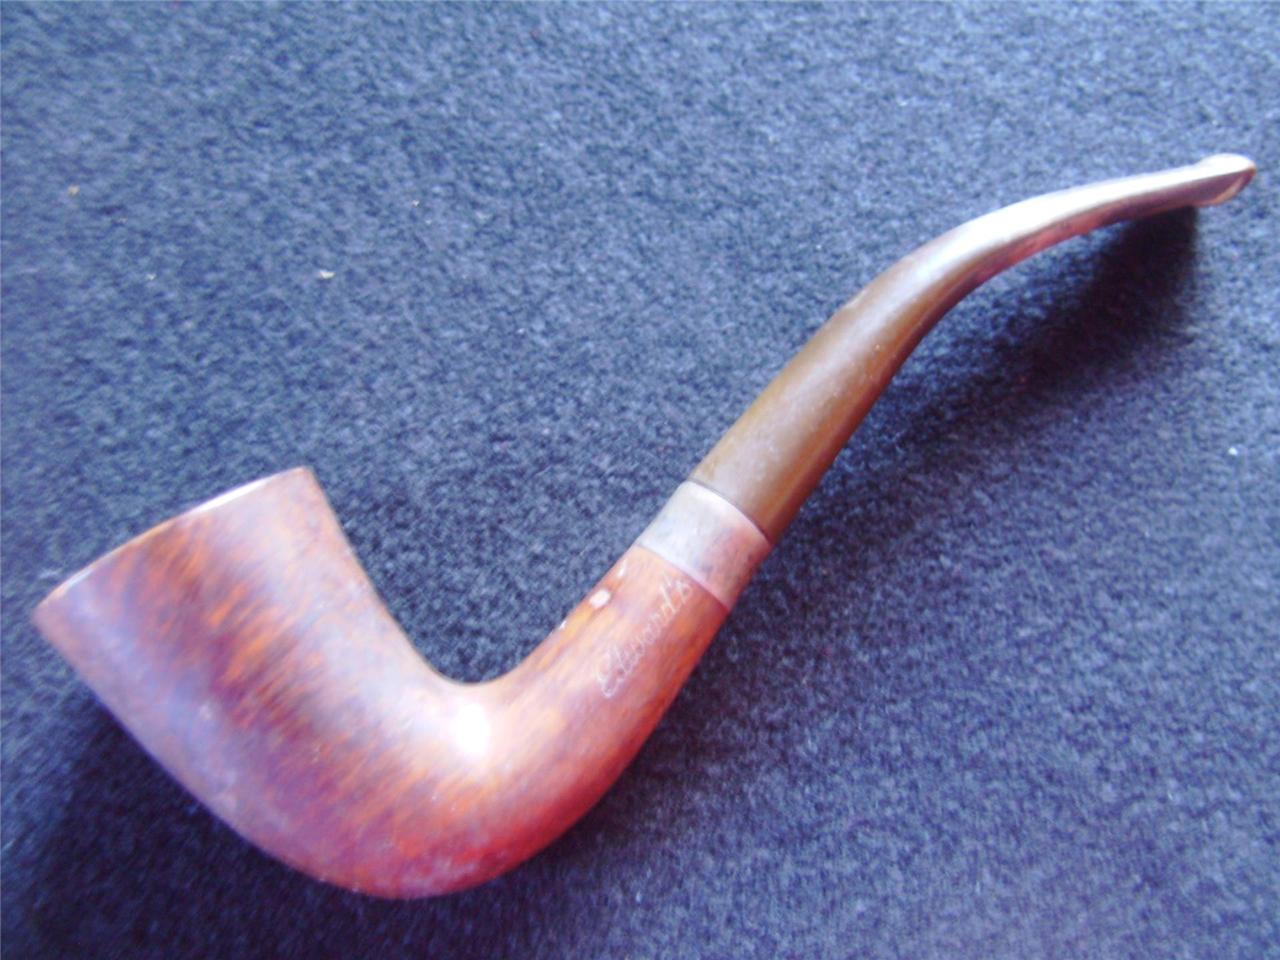
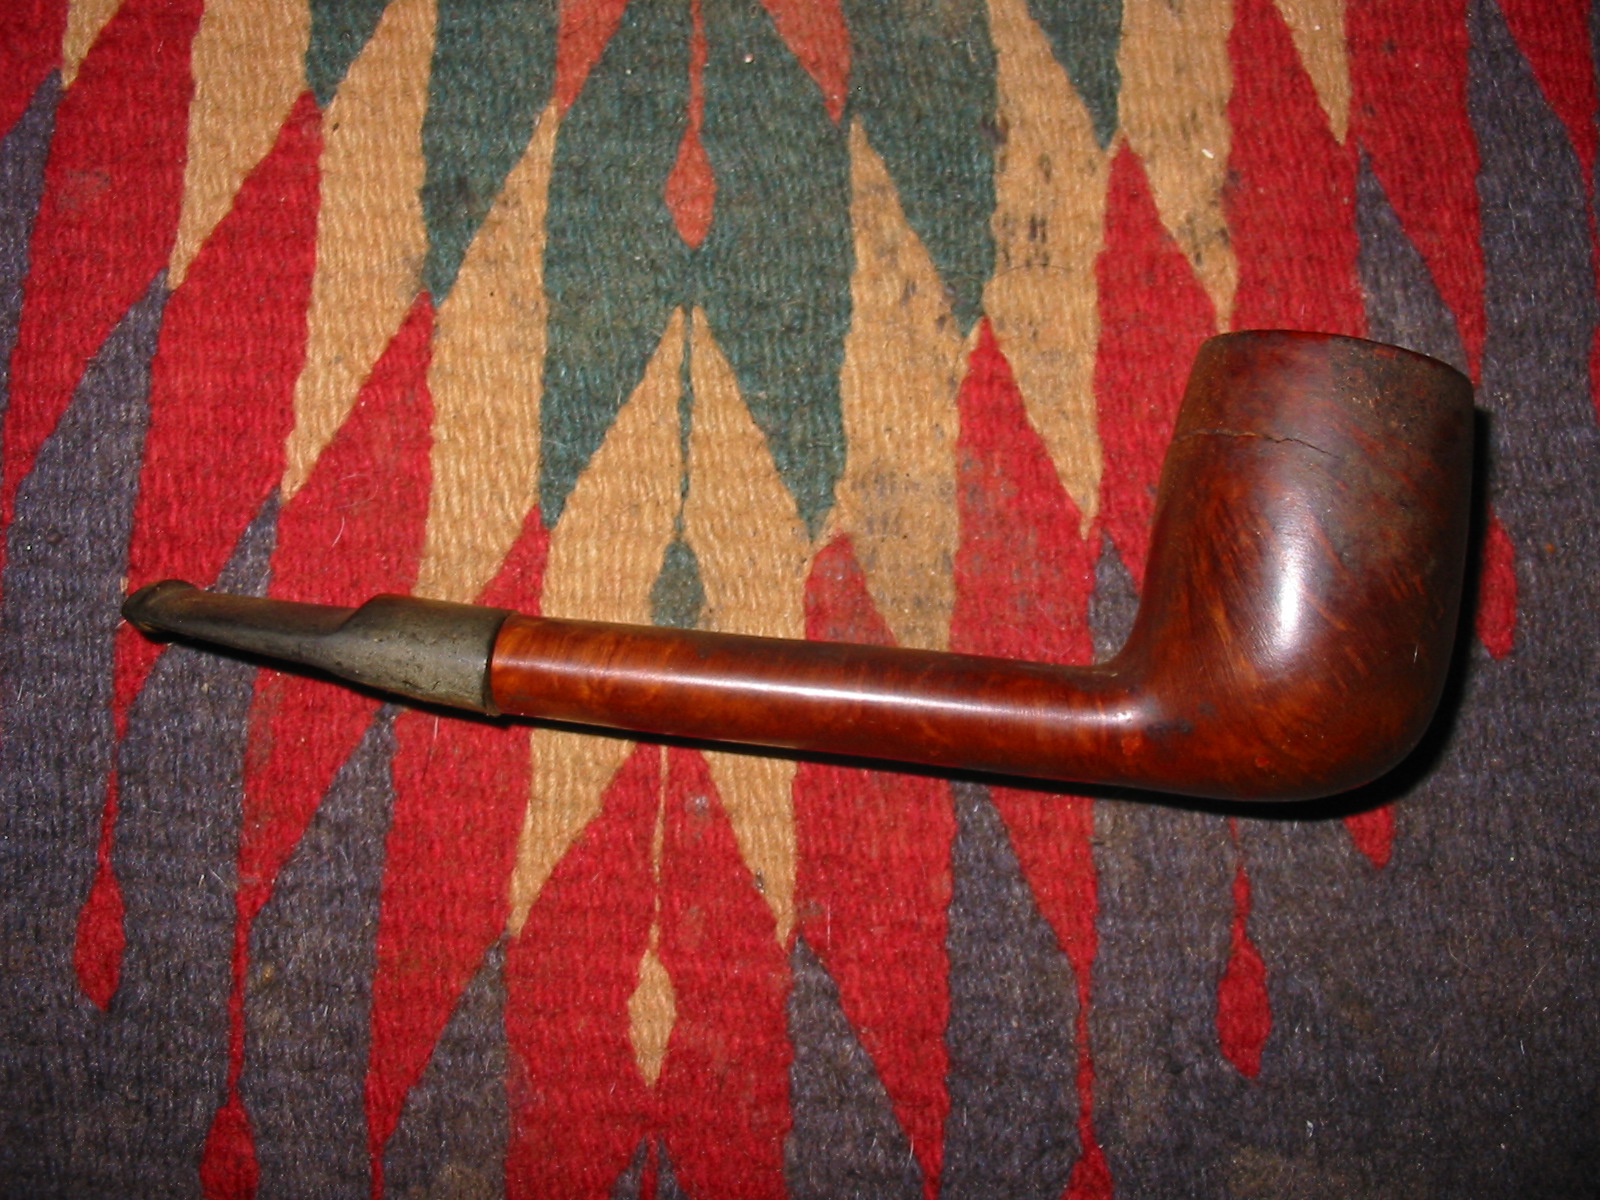
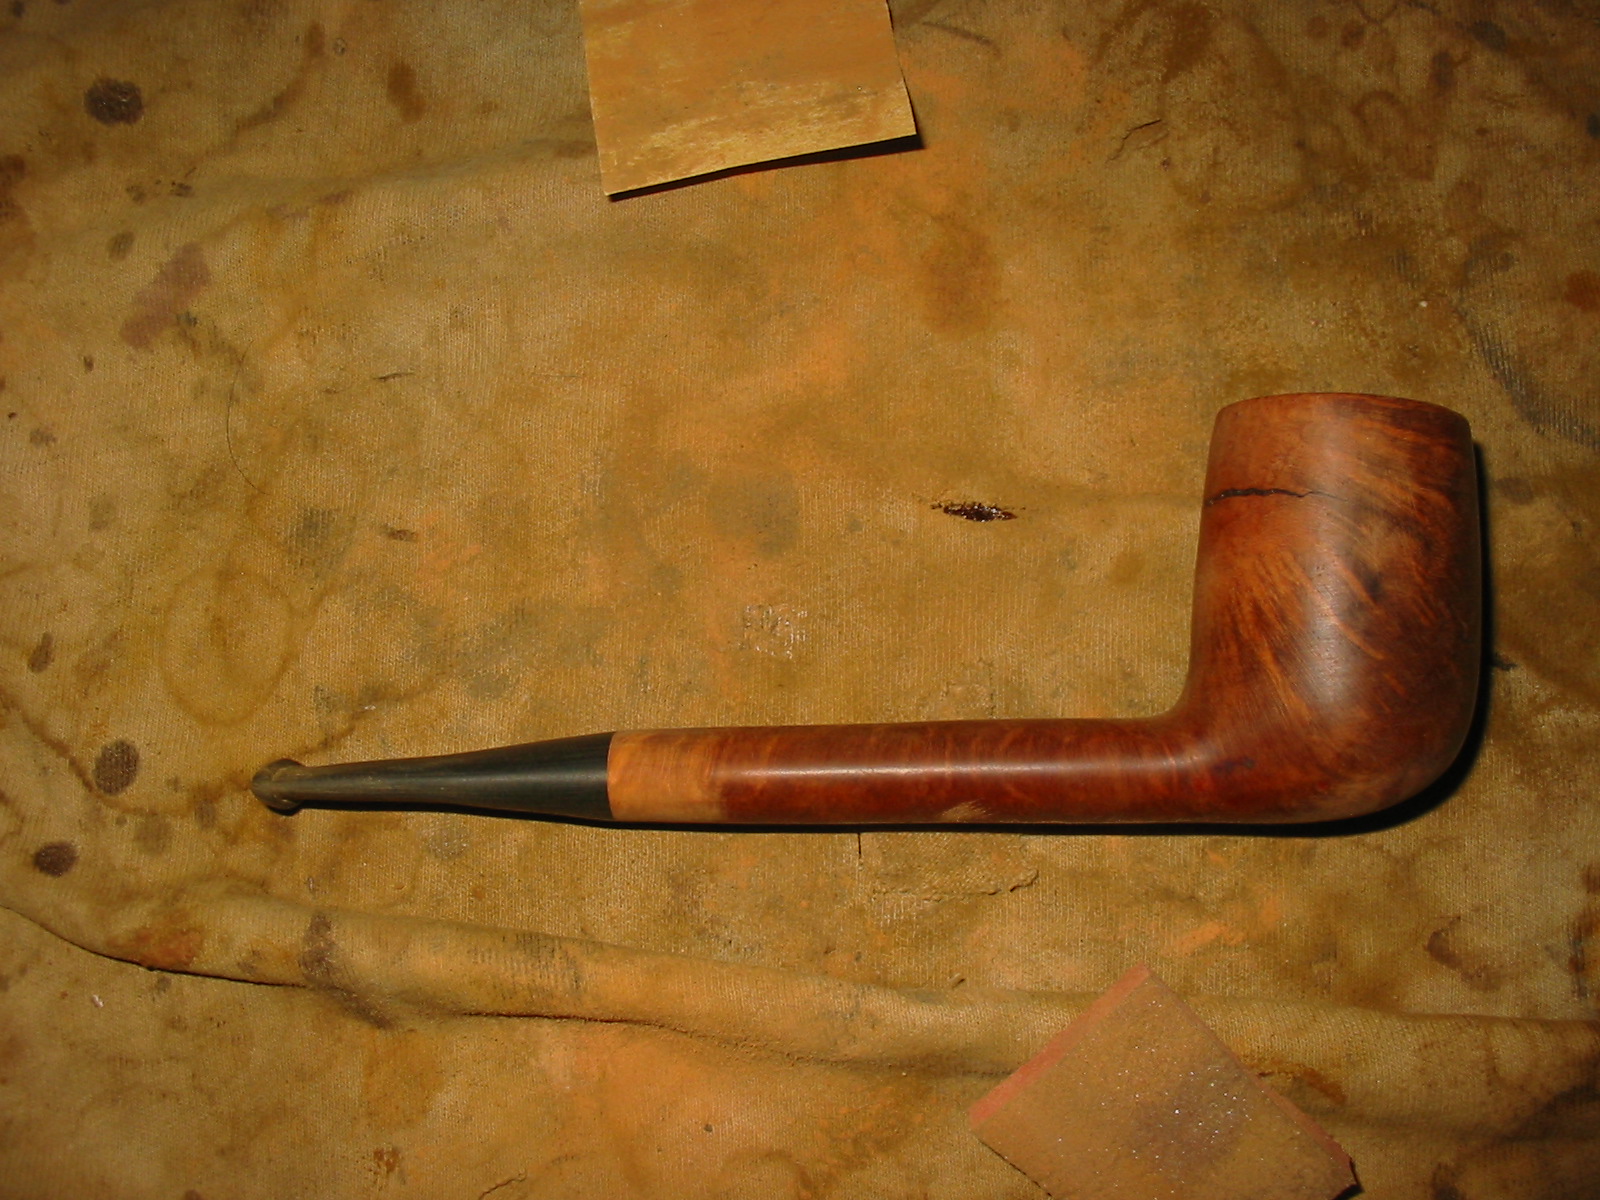
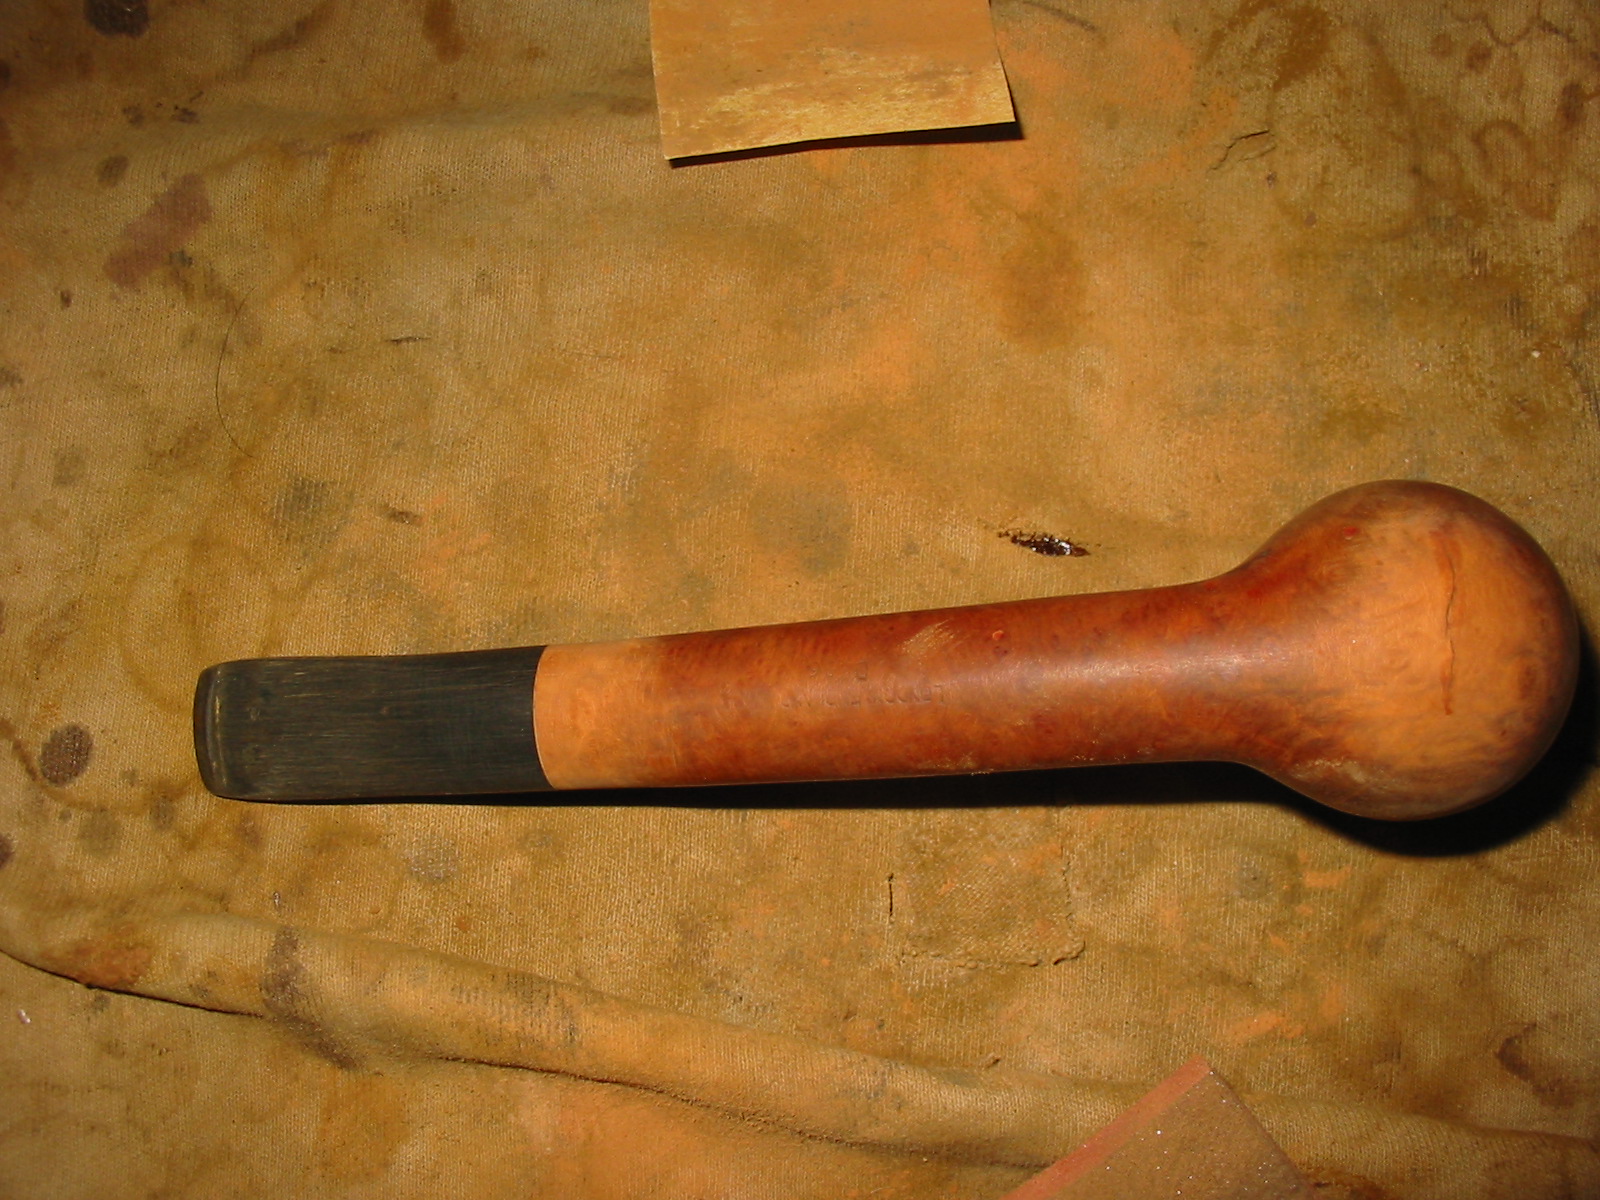
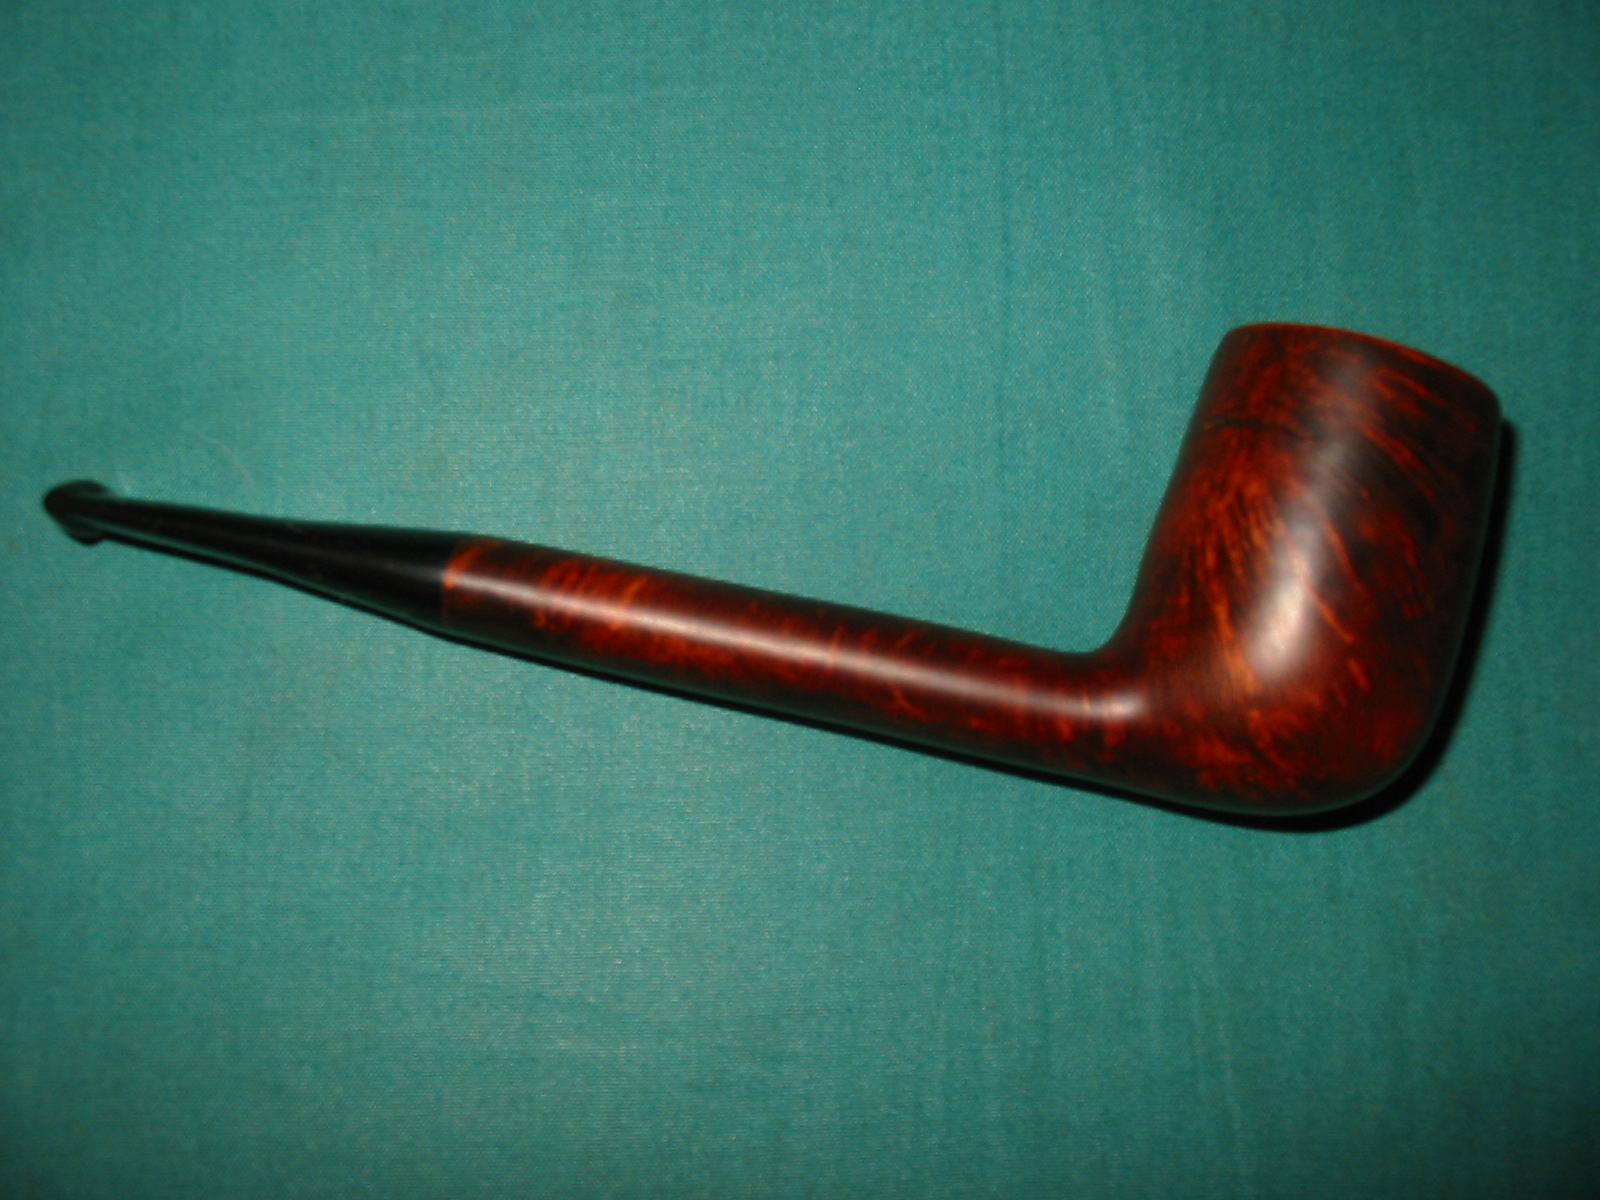
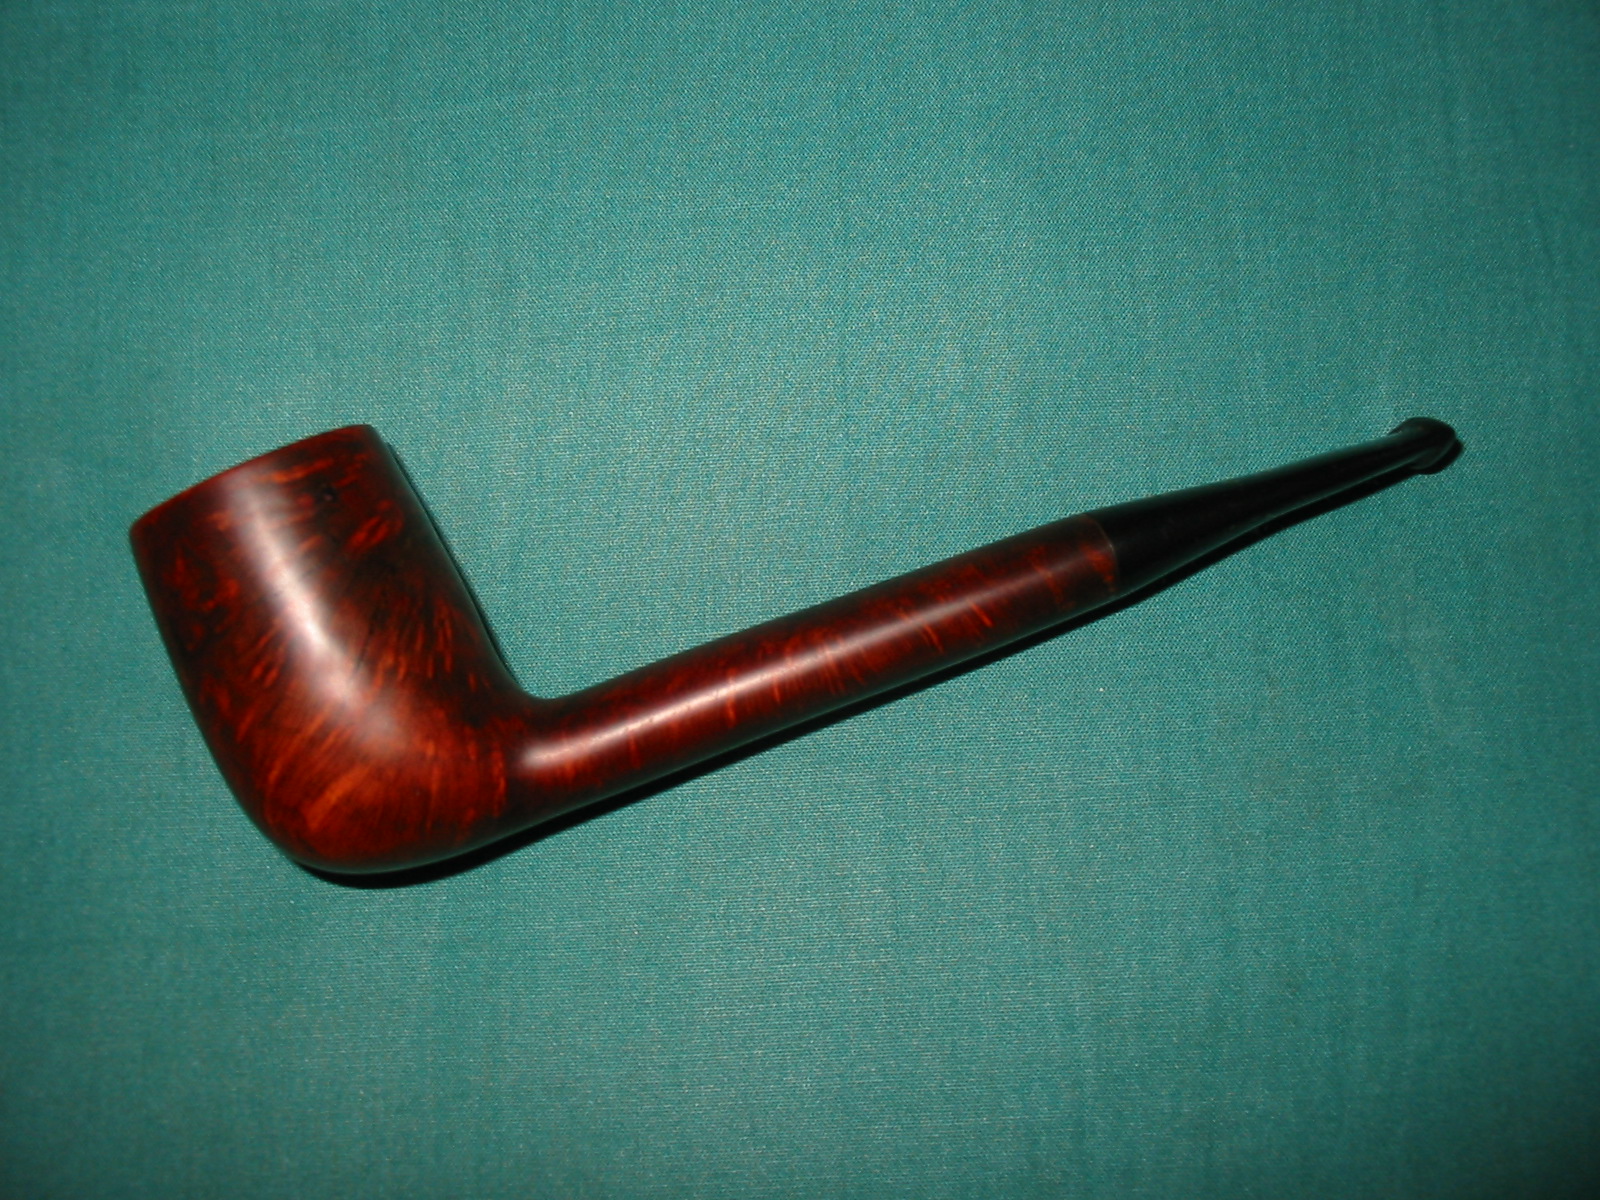
The third Calich I bought was also on EBay. It is a Liverpool with a very nice flame grained tall bowl. This one is stamped CALICH 83 over Hand Made 10. It was dirty and the bowl was caked and the rim covered with tar and oils. The stem was original, bearing the silver dot on top. The vulcanite was oxidized and had small tooth marks on the top and underside of the stem. It cleaned up very nicely and is a great smoking pipe. From the information above it is clear that the pipe stamping means that the pipe is the earliest one I have – made in 1983 and a grade 10 pipe.
Calichlum
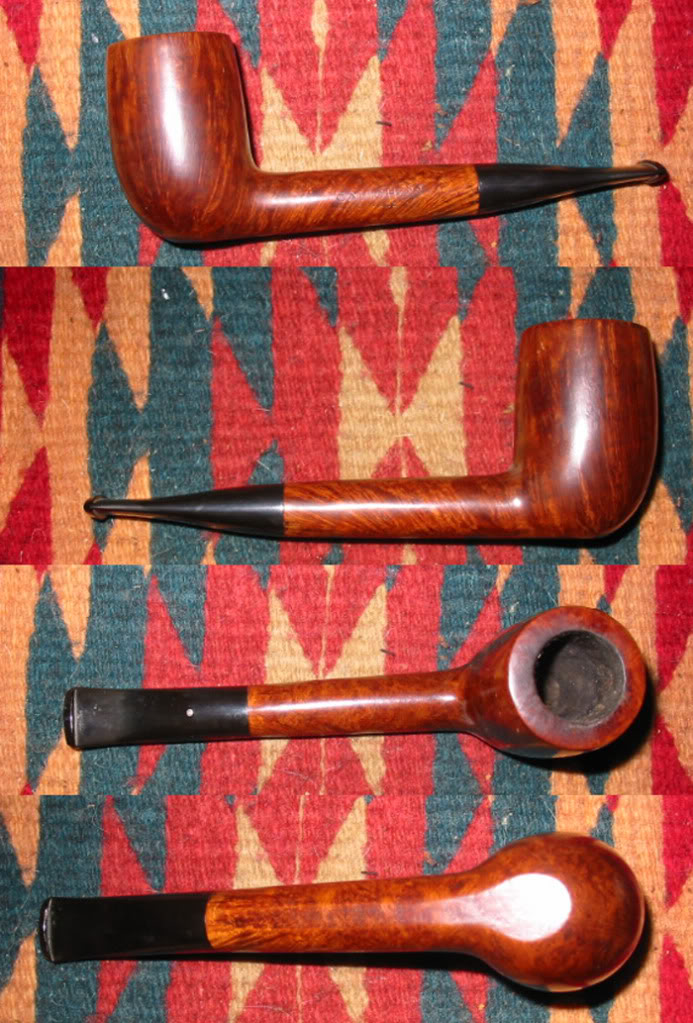
Thus the three pipes I have in my collection by John Calich come from the three different periods of his carving. The first I purchased, the Lumberman 4E, was the latest Calich. It was made in the third period of his classification numbers. The second one, the Billiard EE was from the middle period where the classifications were multiple E’s. The third pipe, the Liverpool 10 is the oldest pipe from the first period of stamping when Calich used just numbers 3-14. I had not realized that my pipes covered most of the years that he was carving.

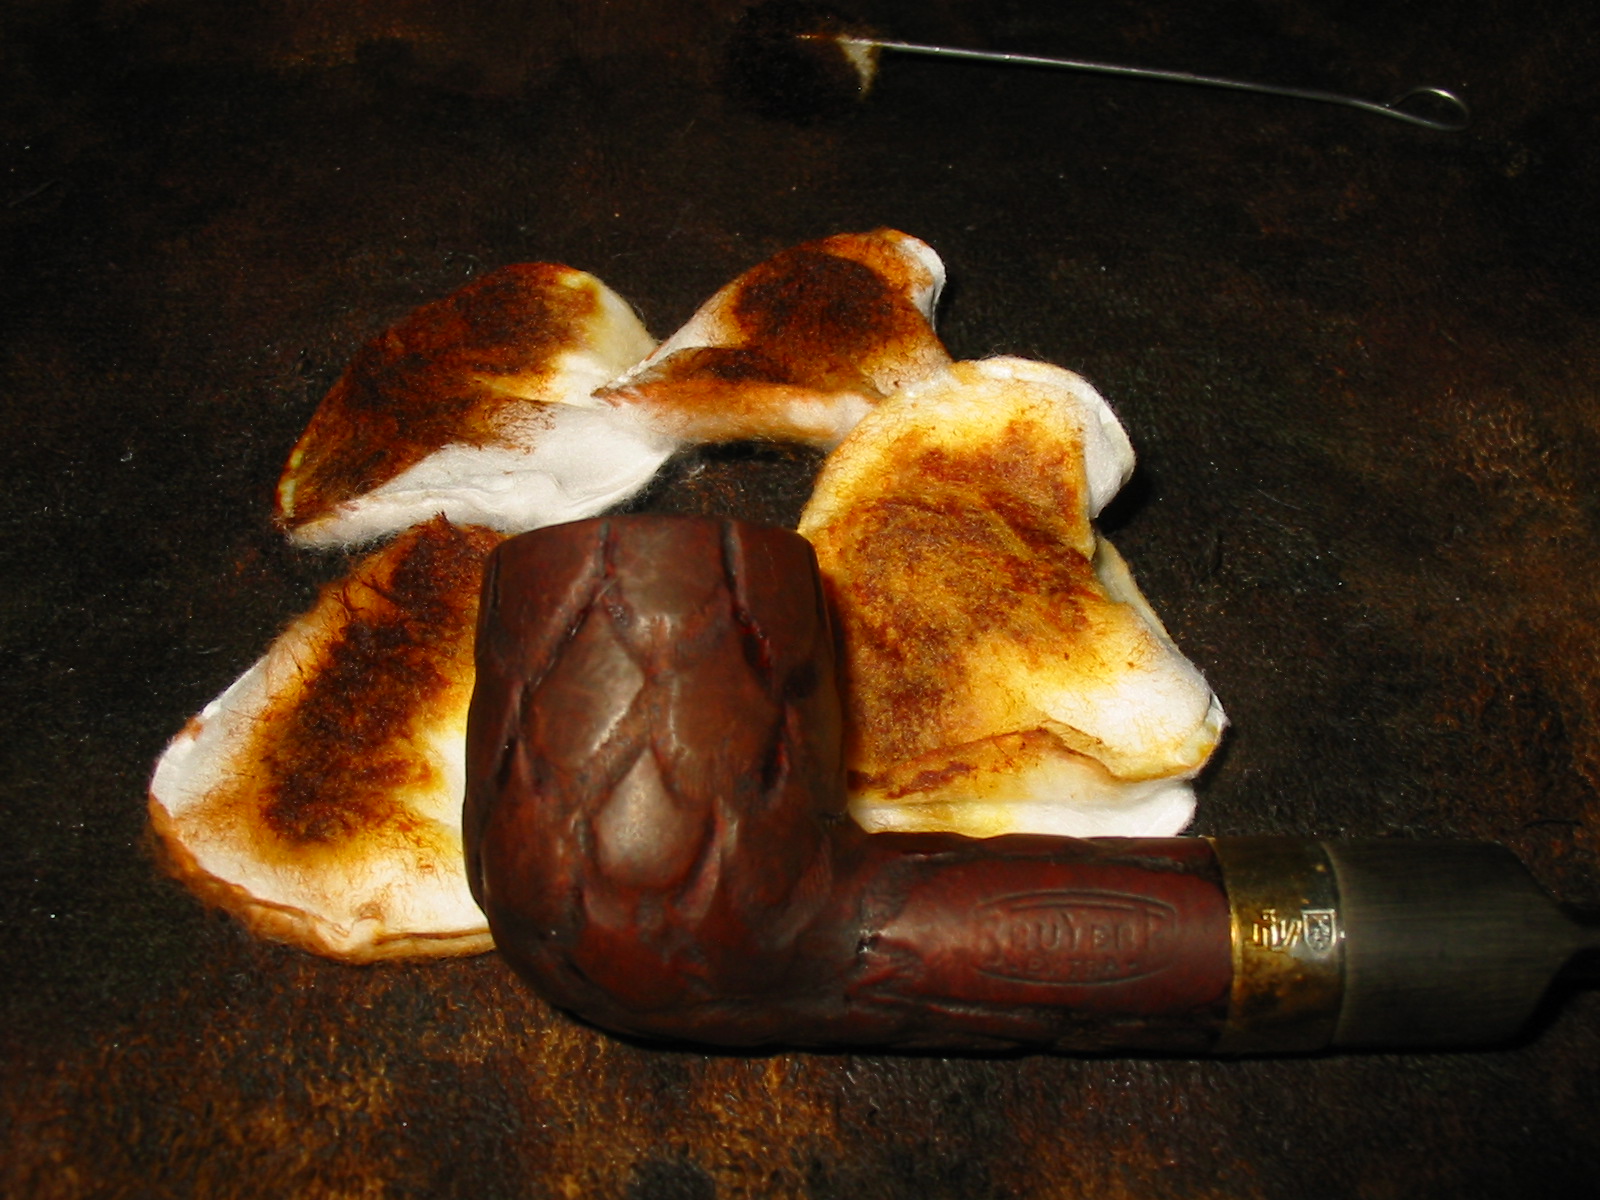
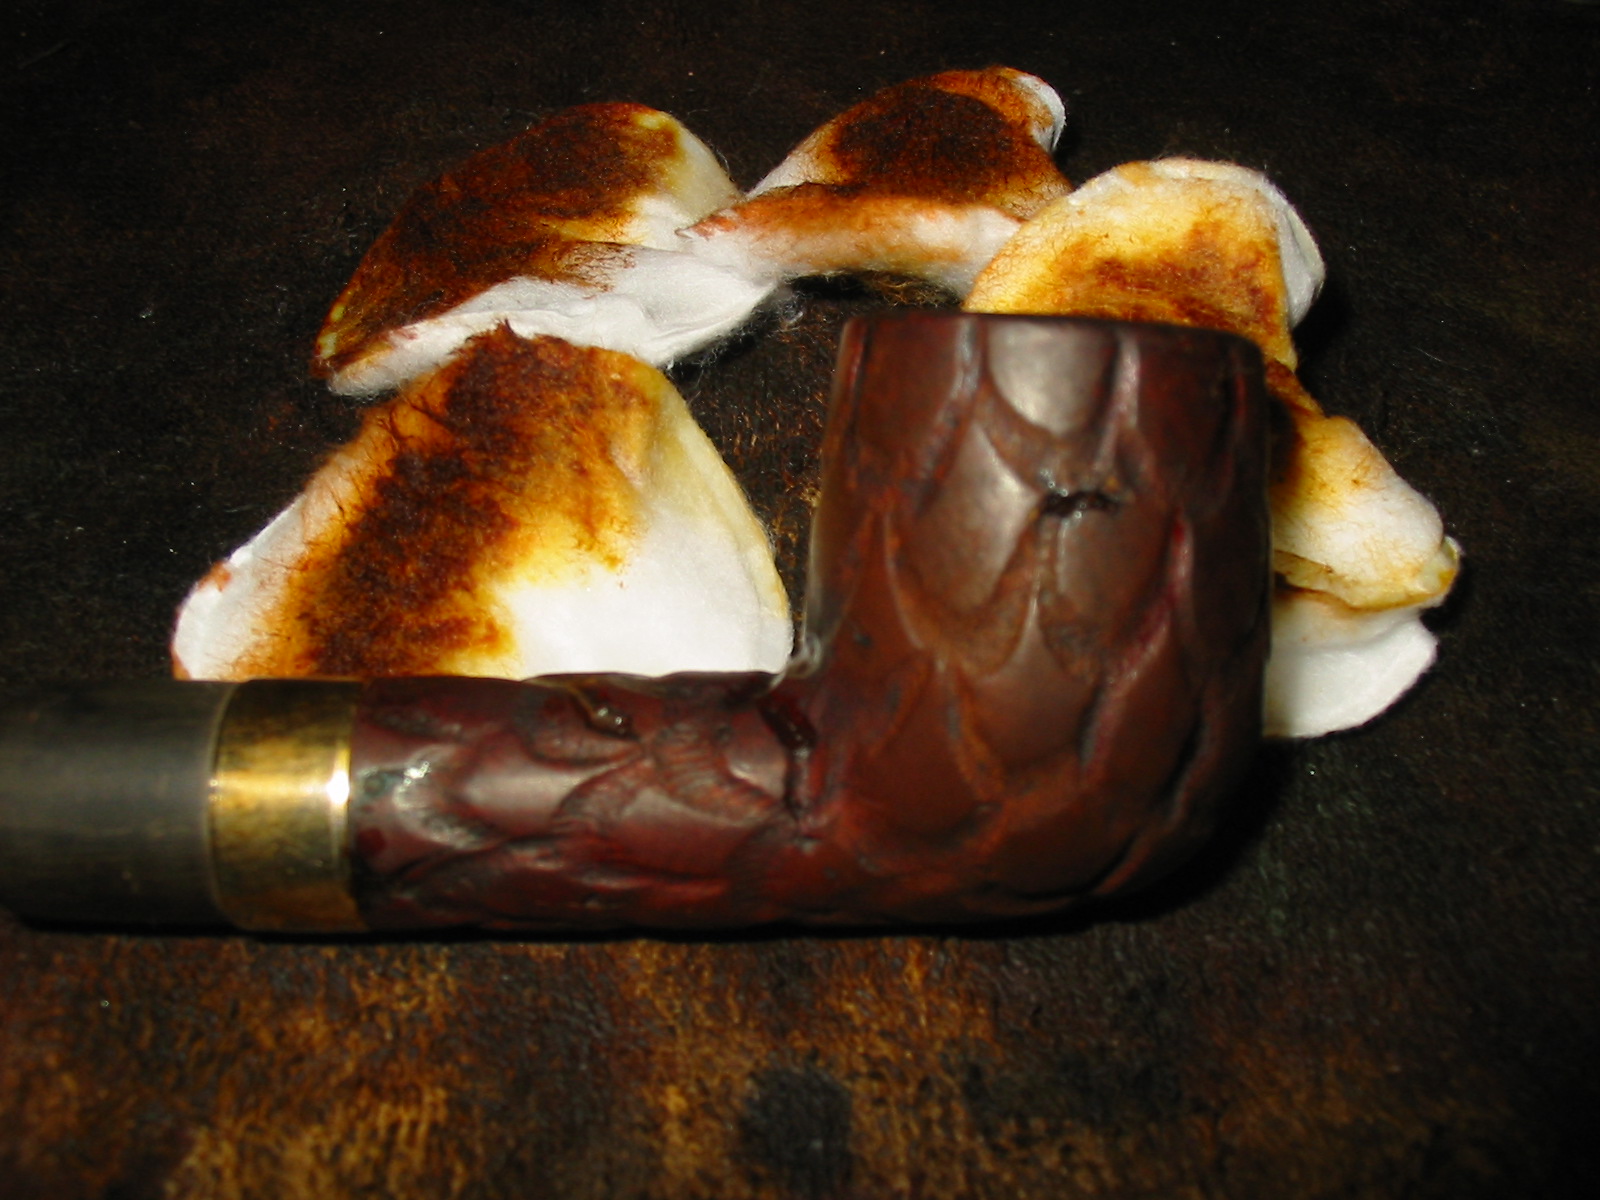
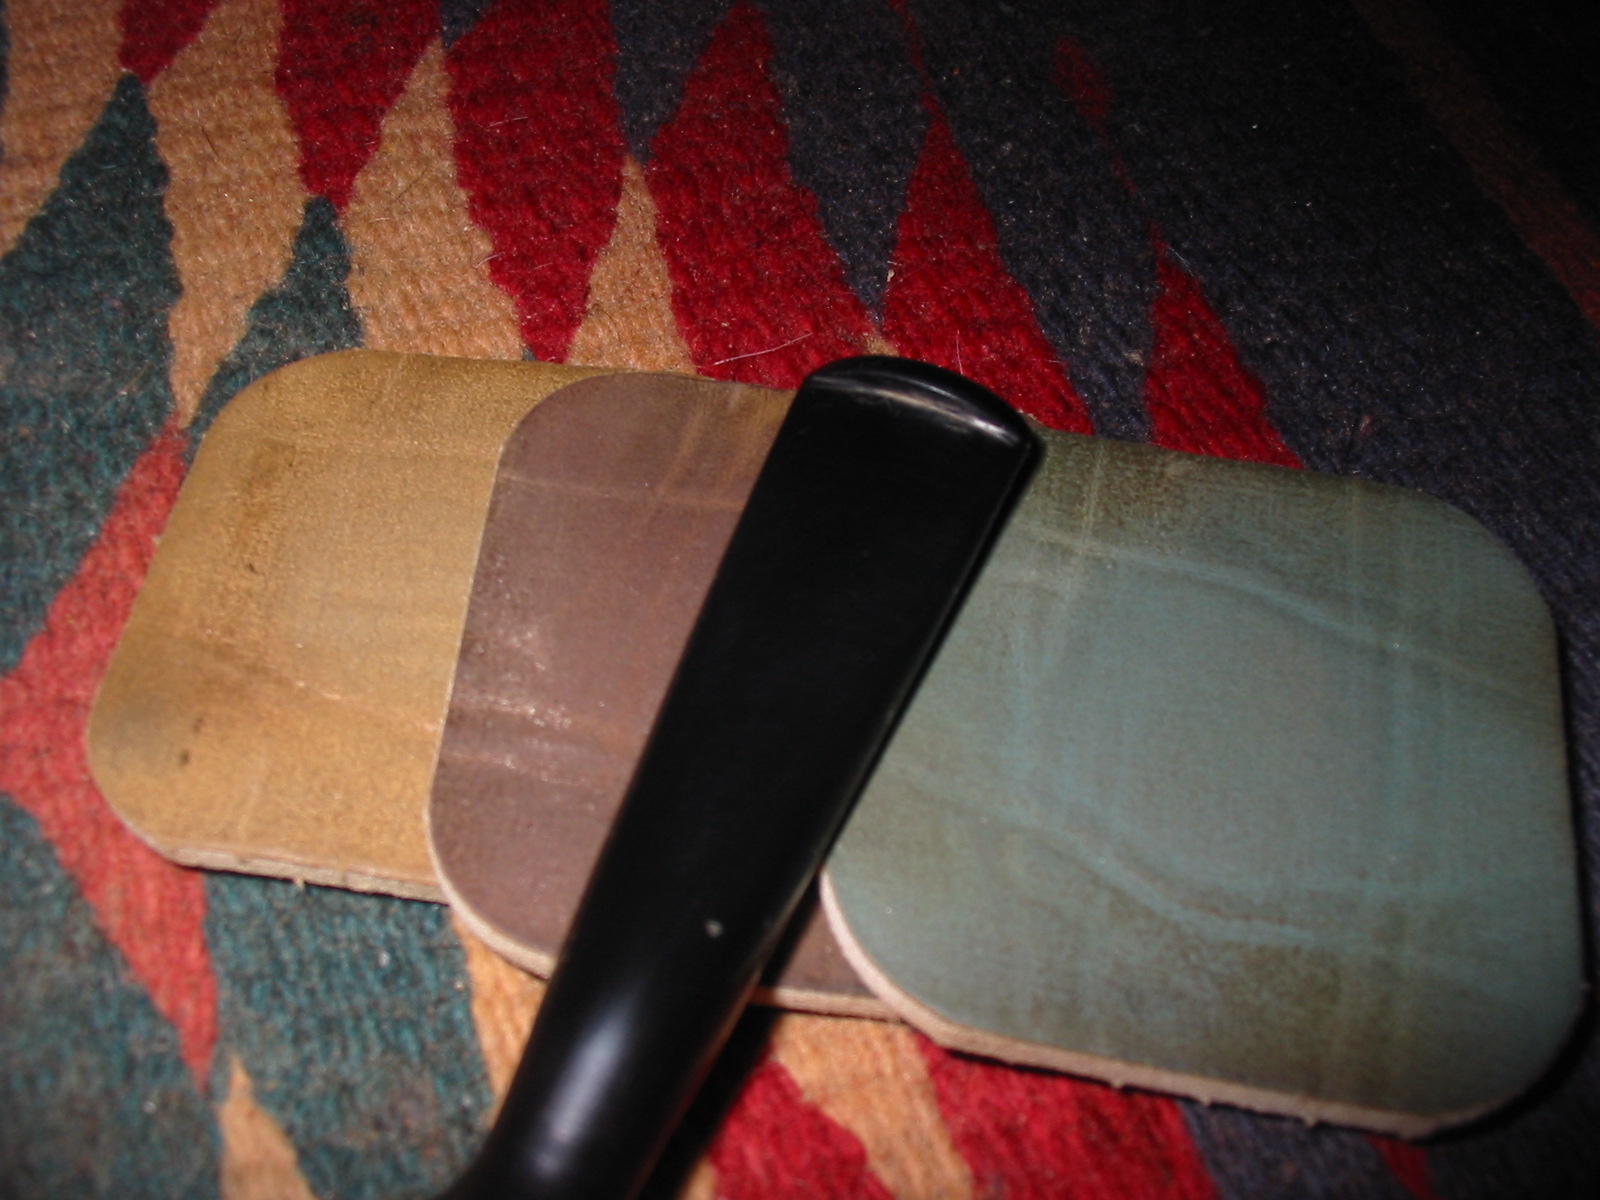
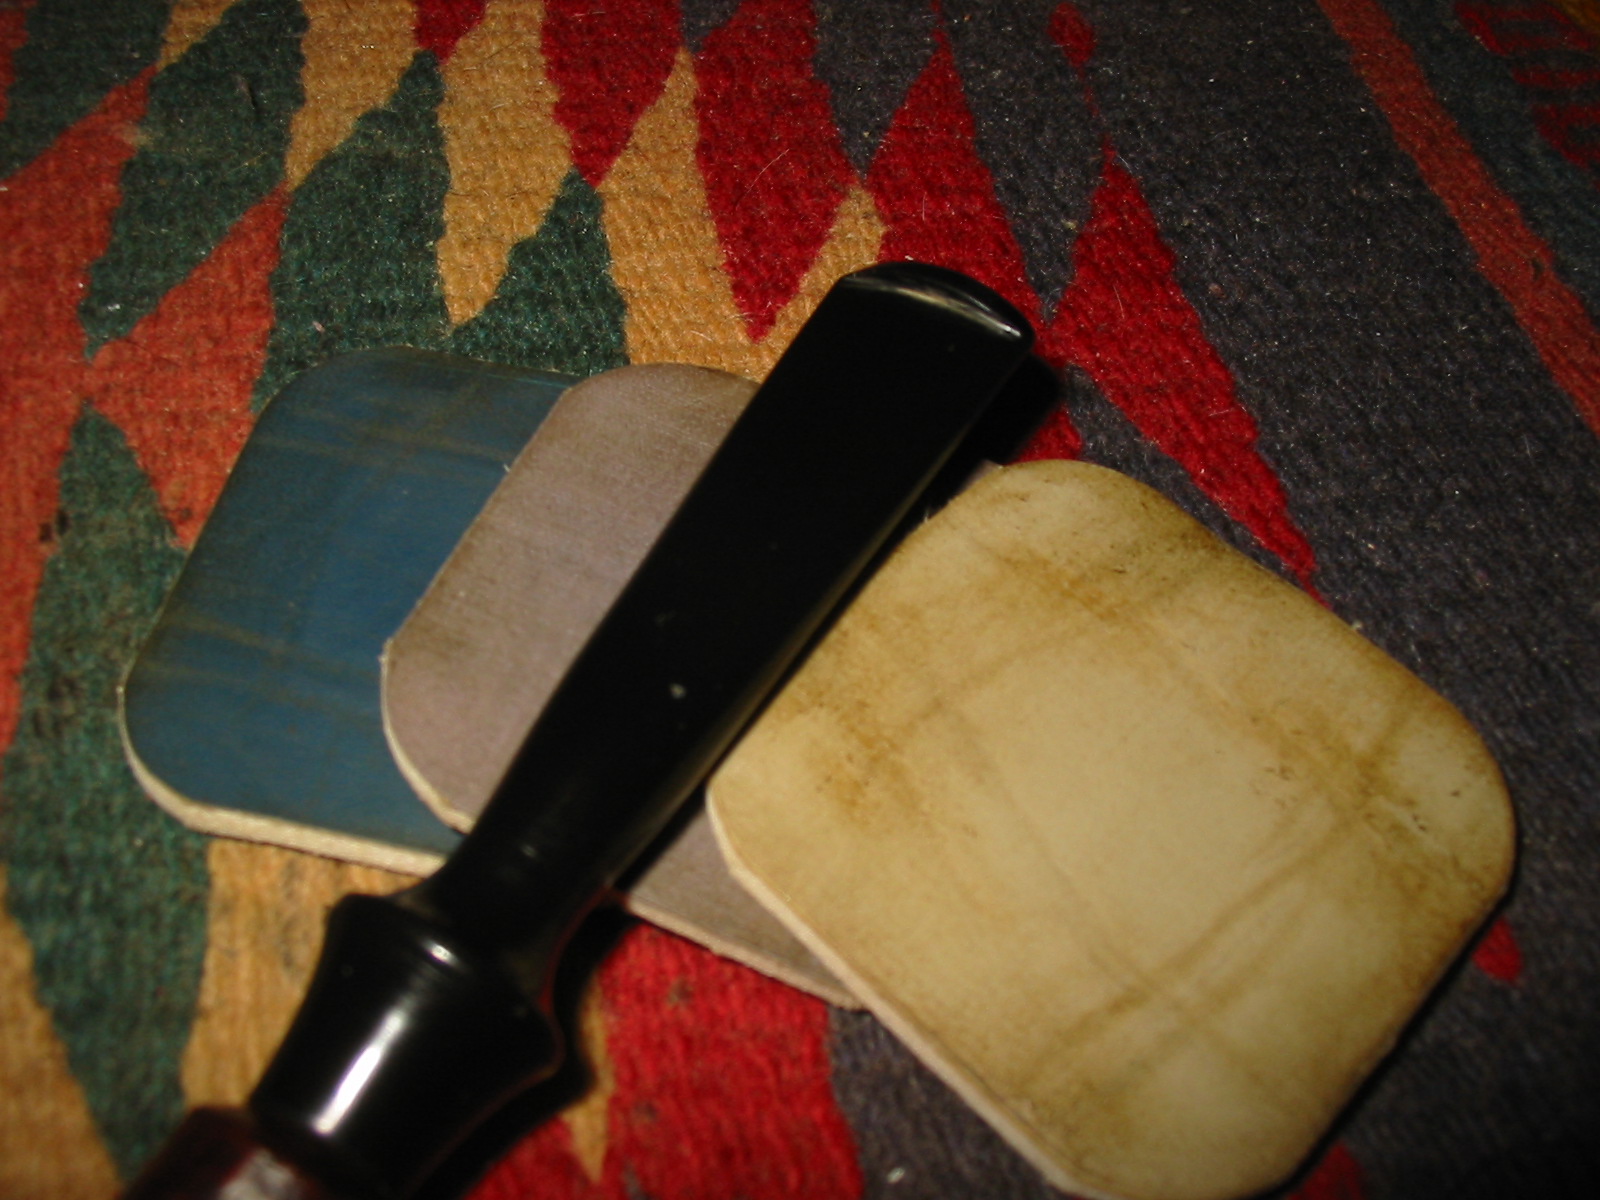
Here are two photos of the threesome together. I took these photos to give an idea of what the size of the pipes were in comparison to one another.
IMG_5512

IMG_5513
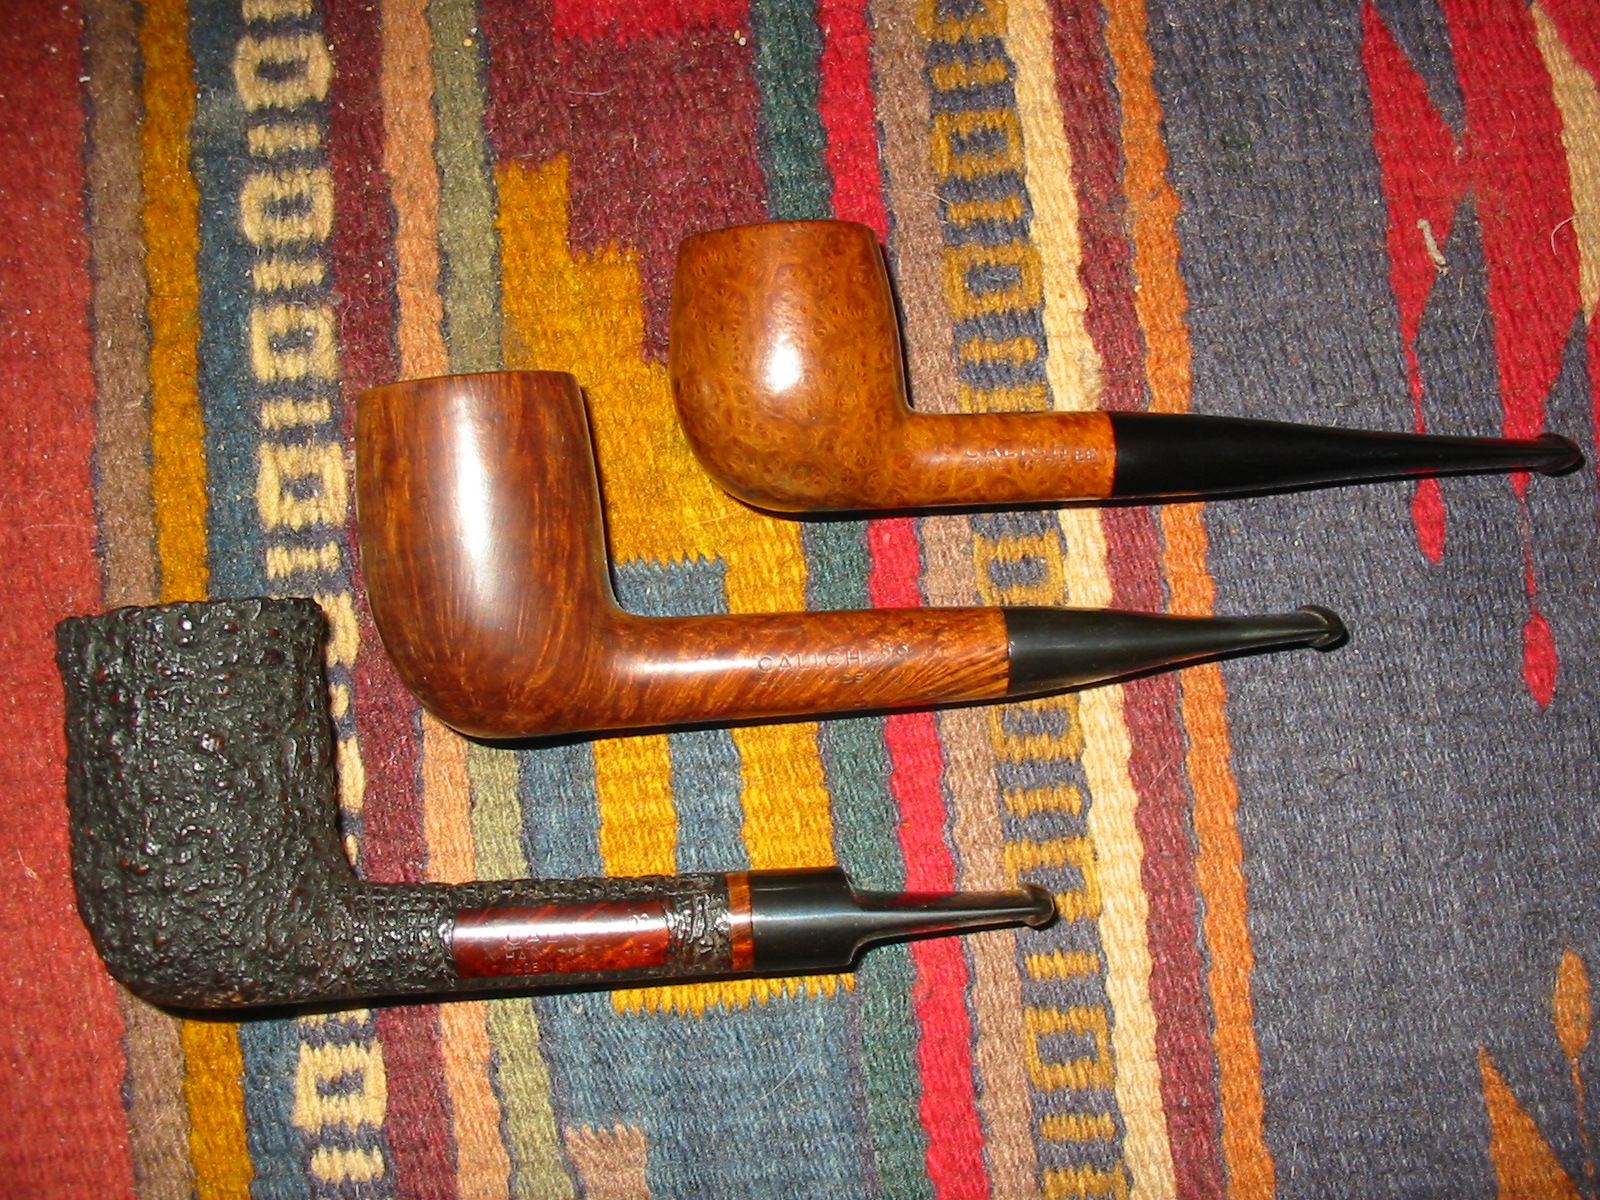
I learned from my reading that John was a full time pipe maker for over 40 years. His pipes were mostly traditional shapes. His signature style was rustication and smooth on the same pipe along with a unique skill to stain a pipe in contrasting colors. He used only top quality Grecian and Calabrian briar. The mouthpieces are hand finished Vulcanite “A”. Each pipe was entirely made by hand. John Calich was featured in the summer 2005 issue of Pipes & Tobacco.

John Calich died in 2008. From my limited exposure to John I have to say that he was a gentleman and a great pipe maker. He was known as one of Canada’s finest carvers. I conclude this article about John’s pipes with a tribute written by Maxim Engle on John’s passing in 2008. Maxim says it very well in my opinion and his words match the various interactions I had with John over the phone.

John Calich – Pipemaker 1928-2008.

John passed away late last week as a result of cancer and heart failure. His cancer was caused by exposure to asbestos many years ago. John originally worked in the sheet metal and the air balance industries. In his early forties, he decided to become a pipe maker. He was largely self taught and developed his unique two tone staining on his own. He travelled widely in the US and Canada seeking pipe knowledge. He went to New Orleans to find out about the manufacture of Perique. He drove on his motorcycle to visit JT Cooke in Vermont. There his bike fell over in slow motion as the asphalt melted under the stand on a hot summers afternoon as he and Jim looked on and laughed. He continued to drive his bike into his late 60’s.

John shared his knowledge and enthusiasm with colleagues and member of the Burlington and Toronto pipe clubs. He was always encouraging to younger pipe makers and new pipe smokers. John’s pipes were mostly sold in and around Toronto. I was privileged to have been able to give John’s pipes a wider audience through the web site and always sold all he could supply me with. His pipes were extremely popular in Japan.

I will miss smoking a pipe with him in his workshop while he either showed some me restoration technique or we just sat and talked. During his brief illness, before he passed away, many of you conveyed to him your best; I knew he really appreciated that. The pipe smoking community will miss him.

If you own one of his pipes light it up with your favorite tobacco in memoriam. He would like that.
Be Well, Smoke Well
Maxim
http://www.pipes2smoke.com/

A Hilson Meerlined Tall Dublin Reborn into a Briar Calabash


Blog by Steve Laug

I received this old briar bowl from a friend and decided to see what I could do with it. It was in pretty rough shape. The shank had been damaged and repaired with some kind of epoxy as the gel surface of the crack was hard as rock. The repair was actual the most substantial part of the bowl. The bowl had an amazing deep and craggy blast to it but the finish itself was worn. Fortunately the wear was not deep and the cragginess was not too badly affected. The rim was smooth but the edges were slightly worn. The bottom of the exterior of the bowl showed the most nicks and damage to the finish. There were marks from looked to be a band on the shank. The inside of the bowl was quite clean. Originally it looked as if it had a meerschaum lining and the glue that had held that bowl in place was gone and just a small remnant of the glue was on the interior walls of the bowl. The bottom of the bowl was stained with tobacco so evidently the meerschaum lining must have crack and seepage darkened the bottom of the bowl.
IMG_5393

IMG_5394

IMG_5395

IMG_5396

I cleaned out the inside of the bowl with cotton swabs and isopropyl alcohol. Once I had it clean I worked on the resin on the shank repair. I sanded it until it was flush with the surface of the rest of the shank so that it did not bulge. I continually checked to see if I was weakening the repair but the shank was solid. I used the dental pick and my modified Philips screwdriver rusticator to rusticate the area around the resin repair. I also found a band in my box that fit the shank perfectly and pressed it into place. The band was more for bling than as the shank was not cracked or damaged. I also went through my stem can and found a stem that fit the diameter of the shank, turned it with the PIMO tenon turning tool and fit is in place. It would need to be reduced slightly in diameter to fit well with the band. I wiped down the bowl and shank with isopropyl alcohol on a cotton pad. I did not want to chance acetone as I was worried about it dissolving the resin on the shank repair. As I did not know what was used in the repair I did not want to chance further damage.
IMG_5397

I stained the bowl with a dark brown aniline stain. I applied it, flamed it, applied it again and flamed it again. To get an even coverage on the sandblast finish it would take more than three applications and flamings to make the stain even. The photos below show the bowl after three coats of the stain. It would need to be repeated later in the process to get the rough places stained.
IMG_5398

IMG_5399

IMG_5400

IMG_5401

I sanded the stem with 220 grit sandpaper and with a medium and fine grit sanding sponge to make the fit against the band work well. Once the shape and the fit of the stem were correct I used a heat gun to bend the stem to an angle that worked well with the look of this pipe. For the angle I used the curve of my buffer to press the softened stem over. When I had it bent I held it as it cooled and then set the bend with cool water.
IMG_5402

IMG_5403

IMG_5404

IMG_5406

IMG_5407

After bending I resanded the stem with the sandpaper and sanding sponges. Once the majority of the scratches were gone it would need to be sanded with the micromesh sanding pads but I wanted to do some more work on the bowl and shank before finishing the stem.
IMG_5408

IMG_5409

IMG_5410

IMG_5411

I roughened the shank some more to give it a closer look to the sandblast of the bowl. I heated the bowl with the heat gun to warm up the briar before giving the bowl and shank yet another coat of the aniline stain. I gave it the fourth coat of the stain, flamed it and the coverage was finally what I was looking for on the pipe. The shank and the bowl bottom took the stain this time and matched the rest of the bowl.
IMG_5412

IMG_5413

I hand buffed the bowl with a shoe brush and then gave it a light buff with White Diamond on the buffing wheel. I took it back to the work table and gave it several coats of Halcyon II wax which works well on sandblast and rusticated finishes. I buffed it with the shoe brush to bring up the shine. The next three photos below show the bowl after the final stain and light buff.
IMG_5415

IMG_5416

IMG_5417

At this point in the process I used a cotton swab dipped in stain to touch stain the places on the shank the underside of the bowl that were lighter than the rest of the bowl. I let it dry completely over night and then hand buffed the bowl.

In a phone call with Tim West of J.H. Lowe Pipe Repairs I discussed the possibility of making this pipe a Briar Calabash. I gave Tim the dimensions of the bowl and he happened to have a bowl that was originally made for Pioneer Calabash pipes that was the correct dimensions. He sent along several strips of cork that would be used for making a gasket to give the meerschaum cup a snug fit in the briar bowl.
IMG_5501

I cut a strip of cork and glued it to the bowl with super glue. I used a small piece of the cork to fill the gap between the ends of the strip. Once the glue dried I sanded the cork gasket until it was the proper diameter for the briar bowl.
IMG_5502

IMG_5507

I used some Vaseline and lubricated the cork gasket and then used my finger to coat the inside edge of the briar bowl where the cork would sit. I then pressed the meerschaum cup into place in the briar bowl. The finished Briar Calabash pipe is shown in the photos below. The polished gloss of the white meerschaum bowl looks great against the sandblast dark brown briar bowl. The silver band gives a bit of contrast to the pipe. The draught on the pipe is perfect and the feel of the new Calabash in the hand is great. The pipe is still light in weight and the thin pencil shank and stem work well. Now all that remains is to load it up and have the inaugural smoke.
IMG_5508

IMG_5509

IMG_5510

IMG_5511

Restoring an old Bruyere Extra Chubby Billiard


Yet another gift pipe is on the worktable. It is an interesting bowl. The exterior is carved with what looked like scales. There were several sandpits in the trails surrounding the scales. The shank had several cracks and looked as if it had previously sported a band. By appearances the band that was missing looked like it had been original rather than an addition for repairs. But the repairs were there nonetheless. The bowl was caked and the finish very dirty. It was worn away to a large degree. The fascinating part of the bowl was the drilling of the airway. The end of the mortise, which is quite large, is concave. At the end of the concave mortise there are two holes drilled looking like a colon “:”. The top hole is the airway leading into the bowl and the bottom hole is about a ½ inch deep and ends. With a stem in place the mortise looks to serve as a second chamber for cooling the smoke. The shank is stamped Bruyere over Extra in and oval with the ends flattened. There is no other stamping on the shank.
IMG_5462

IMG_5463

I went through my box of bands and found one that would work well on the cracked and repaired shank of the pipe. I also found a stem in my can of stems that would work well with this pipe. The tenon needed to be quite large in diameter to fit the large mortise. The stem I had was a faux Peterson stem. The airway was directly in the end of the button not on the top. Thus the look was Peterson like but the stem was actually a straight airway from tenon to button.
IMG_5460

IMG_5461

IMG_5464

I added some wood glue to the area of the shank that the band would be pressed on and then heated the band and pressed it onto the shank. I reamed the bowl with a PipNet reamer to take the cake back to bare wood. I also scrubbed the rim down as it had a chamfered inner edge around the bowl.
IMG_5466

IMG_5467

I wiped down the bowl with acetone on cotton pads to remove the remnants of the finish and to clean up the debris and dust in the carved trails between the scales on the bowl and shank. I picked out the debris in the flaws in the trails, scratched the surface surrounding the flawed areas and then packed in briar dust with a dental pick and dripped superglue into the dust. I lightly sanded the areas of the fills and wiped the bowl down again with acetone on the cotton pads.
IMG_5468

IMG_5474

IMG_5476

IMG_5477

IMG_5478

With the repairs completed, the band in place and the stem fitted to the shank it was time to stain the bowl. I wiped it down a final time to remove any remaining dust and debris before staining. I decided to use a dark brown aniline stain and applied it with the dauber that comes with the Feibings Shoe Dyes. The dauber works well on the wider grooves between the carved scales on the finish. I applied the stain, flamed the finish, reapplied the stain and flamed it again until the coverage of the stain was even.
IMG_5479

IMG_5480

I wanted a contrast to the finish – dark stain in the grooves of the trails and a bit more opaque stain on the surface of the scales so I wiped the bowl down with isopropyl alcohol to reduce the stain colour on the smooth surfaces of the finish.
IMG_5481

IMG_5483

IMG_5484

IMG_5485

I buffed the bowl with Red Tripoli and White Diamond on the buffing wheels to polish the bowl and give me an idea of the look of the finish once polished.
IMG_5486

IMG_5487

IMG_5488

IMG_5489

I sanded the smooth surfaces of the bowl with a 1500 grit micromesh sanding pad to further lighten the stain and allow the grain to pop through. The smooth surfaces had birdseye on most of them and I wanted that to stand out on the pipe.
IMG_5490

IMG_5491

IMG_5492

IMG_5493

I sanded the stem with 220 grit sandpaper to make the fit the shank even around the circumference of the saddle portion of the stem. I sanded it with medium and fine grit sanding sponges to remove the deeper scratches on the stem. I then used my normal line of micromesh sanding pads – wet sanding with 1500-2400 grit pads and dry sanding with 3200-12,000 grit pads. I also sanded the nickel band to polish it and remove the small scratches that were present in the finish.
IMG_5494

IMG_5495

IMG_5496

I rubbed the stem down with Obsidian Oil and once it was dry buffed the bowl and stem with White Diamond. I gave the pipe and stem multiple coats of carnauba wax and polished it with a clean flannel buff to finish the process. The old pipe has a new look and a great feel. I look forward to giving it a try to see how the second chamber – the reverse calabash actually works on this pipe. The photos below show the finished pipe ready to use!
IMG_5497

IMG_5498

IMG_5499

IMG_5500

Giving New Life to a no-name Sandblast Apple


I was gifted this old apple bowl. It was a nicely shaped apple with a light sandblast finish. There were some significant problems with flaws and crevices in the bowl. The major flaw was on the right side of the bowl toward the top and on the top of the rim itself. It extended into the bowl for about a ¼ inch. There was no cake or build up and the bowl seemed clean and lightly smoked if smoked at all. It had a rounded shank so it was clear that the original stem had been a stick bit of some sort – though sadly it was lost. I had it sitting in my box of pipes to be refurbed for awhile while I worked on other pipes. Its turn finally came up.
IMG_5419

IMG_5422

IMG_5421

IMG_5420

I went through my can of stems and found the kind of stick bit free hand style stem I thought would look good on this pipe.
IMG_5418

I turned the tenon end of the stem with a PIMO tenon turning tool and then used the Dremel and sanding drum and finally some hand sanding with 220 grit sandpaper to get the stem to fit well in the mortise of the shank. With the fit nice and snug I would need to sand the saddle area and clean up the tenon to make it shine.
IMG_5426

IMG_5427

IMG_5428

IMG_5429

IMG_5430

I cleaned up the crevices with a cotton swab and dental pick and isopropyl alcohol. I then packed some briar dust into the filled crevices and dripped super glue into the briar dust. I repeated the process until the flaws were filled and the surface of the bowl and rim bulged slightly. I sanded the rim and the fill on the side with 220 grit sandpaper to remove the excess fill. I scratched the surface with the dental pick to give it a similar texture to the surround sandblasted bowl. I sanded the saddle on the stem at the same time with 220 grit sandpaper. I finished the repair and the saddle area with a medium and a fine grit sanding sponge.
IMG_5431

IMG_5432

IMG_5433

Once the area was filled and the texture finished it was time to stain the pipe. I decided to use a dark brown aniline stain that I would later wipe down with alcohol to give more transparency and aid in a contrast on the surface of the bowl. I wiped down the surface of the bowl with isopropyl alcohol before staining the bowl to remove the dust. I applied the stain and flamed the bowl and repeated the process until the coverage was even.
IMG_5434

IMG_5435

IMG_5436

IMG_5437

I wiped the bowl down with isopropyl alcohol on cotton pads to give the stain some more transparency and to lighten it.
IMG_5440

IMG_5441

IMG_5442

I buffed the bowl with a light touch on the buffer using White Diamond. I took it back to the work table and hand buffed it with a shoe brush to give it a shine. There were spots on the shank and the bowl where I would need to touch up the stain as it was too light and shiny.
IMG_5443

IMG_5444

IMG_5445

IMG_5446

Once the coverage looked good I gave the bowl a coat of oxblood aniline stain to build a contrast. In the photos below you can see the way it worked to highlight the blast and show the grain. The birdseye grain under the blast on the left side of the bowl showed up with a nice contrast look.
IMG_5447

IMG_5448

IMG_5449

IMG_5450

I worked over the stem with micromesh sanding pads using the 1500-2400 grit pads to sand the surface of the bowl and give it more contrast with the crevices in the blast. I polished the stem with my usual pattern of micromesh pads – wet sanding with the 1500-2400 grit pads and dry sanding with the 3200-12,000 grit pads. I rubbed the stem down with Obsidian Oil and let it soak in. When it had dried I hand buffed the stem.
IMG_5451

IMG_5452

IMG_5453

I buffed the pipe and the stem with White Diamond and then gave it multiple coats of carnauba wax. I buffed it with a clean flannel buff to raise the shine on the bowl. The finished pipe is shown in the photos below.
IMG_5454

IMG_5455

IMG_5456

IMG_5457

In closing I include two photos of the repaired areas of the bowl to show the finished repair. The super glue and briar dust repair worked well and is quite hidden by the stain and finish work. The trick was not to overfill the areas surrounding the crevice so that the filled area would blend into the texture of the bowl. I am pleased with the finished product.
IMG_5458

IMG_5459

Kaywoodie Ruf-Tone


I thought I would share this post on a blog I follow by reserected pipes. In it he comments on using a grinding tip on his Dremel to remove a heavy finish on the old KW spiral. He did a great job on it and I want to direct you to have a look at his work. Thanks.

ReserectedPipes's avatarReserectedPipes

I found this Kaywoodie on eBay a couple of months ago and have been trying to decide what to do with it. It showed OK in the pictures and when I received it it had showed promise.

You can see by the shape of it, the thread style, that it had several different layers of finish on it. The cake in the bowl was irregular but not too bad. The rim is tarred and looked like it had been scraped.

The  first thing I did was to remove the cake and use salt and alcohol to clean it. The rim needed a lot of attention so I sanded it on a table top with 320 grit sand paper.

Next, I took the bowl and soaked it in an alcohol bath to loosen the finish.

Once it came  out of the bath I had to use various means to get the…

View original post 228 more words

An Edwards 7377 Pipe Cleaned & Repaired


I first talked with Morty from Ontario on Pipe Smokers Unlimited online forums (PSU). She had found an old Altesse Briar with an Amber stem and found that I had the same pipe. In fact from what we could find and the responses we got we had the only two around! We exchanged quite a few emails and I did a few repairs and some stems for her. She has caught the refurbishing bug and has posted quite a few pictures of her work on the PSU Pipe Restoration Forum. She has been smoking a pipe off and on most of her adult life. She enjoys buying old estate pipes and cleaning them up and refurbishing them. She says that she has learned much from the blog and from other members on PSU. I have enjoyed seeing her work and have asked her to write-up some of her work and post it on rebornpipes for others to enjoy. Thanks Morty for being willing to do this for us. Enjoy this first post she has provided. I love the lines of this old pipe and the grain. Morty did a great job on restoring it. Without further introduction I give you Morty’s own words regarding this refurb.

I bought this Edward 7377 Long Bent Stem Pipe that was in bad condition and needed quite a bit of TLC.
morty1

I first reamed the bowl, did an alcohol and salt treatment. The bowl shank had a crack that was mostly covered by the silver band. I sanded the bowl with 100 grit, 220 grit sandpaper, and used medium and fine grit sanding sponges. I also topped the bowl as it had some slight char and some nicks that the topping easily dealt with.

I continued sanding the bowl with very fine grit sand paper before I dealt with the crack.
The crack in parts went right through, I wiped down the bowl with acetone to remove any remaining dirt and dust. I super glued the crack. allowing some to soak through to the inside.
I left this to set overnight.
morty2

I soaked the stem in Oxy Clean overnight as well. The next day I first removed most of the raised oxidation by scrubbing it down with a Magic Eraser, I find this makes the next steps easier and go much more quickly. The Magic Eraser removed most of the oxidation, I wet sanded with 1500 – 2400 grit, dry sanding with 3200 – 12,000 grit micromesh pads. Cleaned the inside of the stem with a test tube brush, and with many soft and bristle pipe cleaners, making sure the button is also spotless. Finally when the pipe cleaners come out spotless I will run a soft pipe cleaner through with Rum 151, this not only sanitizes the stem it can also grab any missed gunk.

I cleaned the silver band with fine steel wool. The next day I worked on the crack that was set now with the super glue. I sanded this down carefully and replaced the now clean silver band. The bowl cleaned up well as did the stem. I decided to use Olive Oil to bring out the grain, but also to darken the bowl a bit. Following Coastie’s (John William’s) method, I applied a small amount, rubbed it in with my hands, removed any excess and let it sit overnight. The next day buffed with a micro fiber cloth, and wow. !!! This had really brought the grain out and left a nice rich color to the bowl. I polished the bowl with Paragon Wax. I am pleased with the results on this very nice old Edwards Pipe.
Morty3

morty4

morty5

A Danish Pipe Magazine STOP – articles provided by Jacek A. Rochacki


In correspondence with Jacek he spoke to me about a magazine that he had in his possession called STOP. It is a Danish Pipe Magazine with what sounded like some exceedingly interesting articles. It is written in Danish and I would love to have some of our Danish readers translate some of the articles that are included in these scans that Jacek sent.

Here is part of the email Jacek sent me with the magazine portions attached. In it he spells out what he included in his scans of the magazine pages.

I acquired this free copy No 31, April 1970, 7th year of existence of the STOP in late summer 1970 in Copenhagen, if I remember correctly in famous Pipe House W. Ø. Larsen, where I was a frequent, and I think welcome visitor during my trips to Denmark. I scanned at the best of my present technical possibilities 9 pictures. First two show front cover and next/following two pages. Then on pages 21 and 22 there is text on Anne Julie. Then at page 24 begins text on once famous Lillehammer pipes – G. Larsen – founded by Gudbrand Larsen in town Lillehammer in Norway. In July 1970 I received as gift of friendship in Uppsala, Sweden, the G.L. Lillehammer Best Make, Topper shape that I have kept up to now. The Lillehammer and Norway story continues on the next pages. At the end, after page 46 I enclose picture/scan of the back cover. If you think that despite Danish language it may be of interest to friends on your blog, then please make choice of what I am sending or publish all these documents. I hope that this email letter with attachments is not “too heavy” and will not block your inbox.
STOP front cover

STOP page 3

STOP page 46

STOP pages 20, 21

STOP pages 22,23

STOP pages 24,25

STOP pages 26, 27

STOP pages 28,29

STOP back cover

Again, if any of our Danish friends would like to provide a translation of these articles for our non-Danish speaking readers that would be greatly appreciated. Thank you Jacek for providing this great magazine.

An Old envelope – empty, but still full of memories – Jacek A Rochacki


I see, that I have become more and more talkative, maybe it is caused by age, maybe I feel more and more at home with friends… So posting my comment below Steve’s story on the Fairhaven Smoke Shop I mentioned old envelope with address: Mr. Charles Rattray, Tobacco Blender, PERTH, Scotland. Encouraged by kind suggestion by Mark Domingues I am enclosing picture of this envelope.
Rattray envelope
Browsing on Steve’s blog I found with joy the publication of an old Rattray’s Booklet on Tobacco Blending https://rebornpipes.wordpress.com/2012/08/11/charles-rattrays-of-perth-catalogue/ So all the more I would like to continue with following story connected with Rattrays.

Rattray’s is known as a manufacturer of pipe tobaccos, which are now manufactured in Germany, but names of blends like Marlin Flake, Old Gowrie, Hal o’the Wynd remain the same. Beside this “tobacco aspect” Rattray is the family name of an old Scottish historical family, and their house is the Craighall Castle by the town of Blairgowrie, Perthshire, Scotland. The Craighall Castle like many other castles has a big clock in the castle’s tower. The clock demanded regular maintenance. In “my” time there this service was provided by clock and watch specialist – a watchmaker, whom I happen to know.

During one of my visits to Scotland this watch and clock specialist invited me to join him on his next visit to the castle. We entered the hall and I was surprised to see many photos of soldiers in uniforms with well known to me Polish distinctions and badges from the time of WWII. Soon I learned that the Craighall Castle, like many other locations in Scotland, was at the time of WWII converted to a hospital and convalescent centre for the Polish wounded soldiers. Many men in uniforms shown in photos were smoking short pipes – bulldogs or lovats, which, as I remember from stories, were popular with some military formations. On the wall there was a marble plate with the Polish Eagle, badges of some Polish military formations and words of gratitude to the people of Blairgowrie, Rattray and district, in commemoration of their hospitality.

Then our host – the Right Honorable Rattray appeared who, after complimenting my acquaintance for his clock service, kindly offered us a nice cup of tea. I was so surprised by seeing one more sign of Polish presence in Scotland that I simply forgot to ask our host, if his respectable family had any kind of connection with the well known tobacco brand.

A Visit Back in Time – The Fairhaven Smoke Shop, Bellingham, Washington


Fairhaven
I have lived in the Vancouver, British Columbia Region of Canada for over 25 years and early on I used to travel down to the Fairhaven Smoke Shop in Bellingham’s Fairhaven District. The old owner used to be a Viet Nam War Veteran who I enjoyed visiting with and jawing while we smoked a pipe. His shop was crammed to the roof with pipes and tobacco. It was the real deal in terms of old pipe shops. I still remember the first time I walked in the door. The shop is not very big as can be seen in the photos below but it is a pleasure to visit. In those days you could still smoke in shop so the owner would be sitting in a corner near the window at the front puffing away on a pipe with a fog of blue smoke around his head. The Fairhaven Smoke Shop has been open in Bellingham since 1985 so that is about 29 years now – contrary to the website that says it is celebrating its 25th anniversary.
Fairhaven1
I don’t remember when the turn over happened but one day I went in and a new face was behind the counter. The old veteran had sold the shop with all its contents to a young man who wanted to make the business grow. Mike took over and over the years the shop has grown. In fact Mike since then Mike has opened a second shop called the Senate Smoke Shop in Bellingham. I wrote about my visit to the shop and did a brief review of it already on the blog. The Fairhaven Shop was the mother ship. https://rebornpipes.wordpress.com/2013/06/18/a-new-smoke-shop-in-bellingham-washington-the-senate-smoke-shop/

I think that the amazing thing to me is the amount of stock and tobaccos that the small shop packs into such a small space. On the back wall behind the counter and in the display case is a large selection of pipes – briars, meerschaums and corn cobs.
Fairhaven2

Fairhaven3
There is also a large selection of tobaccos that can be purchased – both bulk house blends and tins and pouches. Mike carries some bulk blends that are readily recognizable – McClellands and Stokkebyes as well as some blends that are house blends of both of his shops. I for one love the open jars that are readily accessible for taking a whiff before purchasing. The tins and pouches are not behind locked doors. The shop really has the feel of an old time pipe and tobacco shop. When you have chosen your blend of tobacco you take the jar to the counter and Mike or his staff weighs out the amount you need and bags and labels it.
Fairhaven4
The shop also carries a great selection of cigars. These are stored in humidors lining one side of the shop. Fairhaven is the Alaska cruise ship terminal so many of its customers buy cigars to take on the cruise or to celebrate their return. There are old style shop ladders on the sides to access some of the accessories on the shelves around the ceiling of the shop.
Fairhaven5

Fairhaven6
Over a series of reproduction Van Gogh’s there are shelves of cigarettes, both typical American brands and specialty and European brands as well. On the bottom shelf there is also a large selection of lighters and even Swan Vesta matches for those of us who love using these old English brand matches to light our pipes.
Fairhaven7
Their website states that the goal of the shop is to provide the largest selection of premium tobacco products to its customers. I think if you look through the photos in this article you will agree that they have achieved their goals. In speaking with Mike he stated that he is always on the lookout for new blends to bring into the shop and new pipe brands as well. One of the great things about the shop is that they have a fairly large selection of estate pipes in various degrees of repair. There is something for the hobbyist refurbisher of what ever skill level to choose from and restore. There are great options there for even the person considering trying their hand at cleaning up estate pipes. Just ask Mike or one of his sales staff about them. When I was there they climbed the ladder and brought down several boxes of estate pipes. Well worth asking.
Fairhaven9
It astounds me that in the anti-smoking atmosphere of Washington state that Mike has been able not only to maintain one tobacco shop but to open a second shop in Bellingham’s downtown. If you have never stopped by for a visit I would encourage you to do so. If you have been hankering for a walk down memory lane – memories of old style tobacco shops then visit the Fairhaven Smoke Shop. Say hi to Mike if you do and let him know you read about the shop on rebornpipes!

The hours of operation are Monday – Saturday: 10:00 – 8:00 and Sunday: 11:00 – 7:00. The website gives directions which I have included herein their own words. I love the closing lines of the directions.

“We’re located close to I-5’s Exit 250 (Old Fairhaven Parkway). Travel west on Old Fairhaven Parkway about one mile after the exit. Turn right onto 12th Street. We’re located about two blocks further north on the intersection of 12th & Harris Avenue, look for the large brick building on the southeast corner of the intersection. We’re on the ground floor.

We do not ship tobacco products. It’s illegal in Washington State.

We are a tobacco-only establishment. No herbs, incenses, bath salts, K2, or salvia.”

To contact the shop you can call (360) 647-2379 or email mike@fairhavensmokes.com or you can visit their website http://www.fairhavensmokes.com/index.html. The photos for this article are taken from the site.
fairhaven8

Repairing a Cracked Bowl on a GBD London Made Canadian


Blog by Steve Laug

Andrew sent me this old pipe as a bit of a challenge and I thought I would give it a go. This was a great looking pipe at one point in its life – nice grain. It is stamped GBD in the oval on the top of the shank with LONDON MADE in an arc under the oval. That leads me to believe the line is the LONDON MADE rather than the location. On the underside of the shank it is stamped: LONDON ENGLAND over D256. The 256 is the correct shape for an oval shank Canadian but I had not seen the D stamping before a number on GBD pipes.

The finish was rough and there was split in the back side of the bowl that ran horizontally in an arc across the bowl about ½ inches from the top. It was as if the grain had separated that way across the back of the bowl. It follows the arc of the grain in that part of the briar. From the main split there was a tiny crack branching off into another line of grain on the left side of the bowl. The weird thing about the split is that it was only external. There was no sign of it inside the bowl after removing the thin cake. The stem was not with the pipe so it would need to be restemmed. I found an old saddle stem in my can of stems that would work for this pipe after I modified it.
IMG_5336

IMG_5337

IMG_5338

IMG_5339

In talking on the phone with Tim West last evening while I was ordering parts for repairs I discussed this pipe with him. He said that in his estimation the crack being only on the outside of the bowl suggested that the issue was a moisture problem.

I shaped the stem with a Dremel and a sanding drum. I removed the saddle on the stem and converted it into a taper shape and also narrowed it to fit the dimensions of the oval shank. The next four photos show the newly fit stem and the rough shaping that I did with the Dremel. All that remained in the stem fit was a lot of hand sanding!
IMG_5343

IMG_5344

IMG_5345

IMG_5346

I reamed the bowl with a PipNet reamer to remove the existing cake and to check the interior walls of the bowl. They were not cracked as noted above. I washed down the pipe with acetone on cotton pads to remove the grime and the finish in preparation for doing the repair on the cracks. I picked out the debris in the cracks with a dental pick and cleaned out the sides and interior of the cracks. I washed that part of the bowl down a final time with acetone to clear away any debris left behind by my picking at it.
IMG_5348

IMG_5349

I packed briar dust into the cracks with a dental pick and then dripped super glue on top of the briar dust to bond it and make a fill for the crack. The next series of photos show the repair at this point from various angles.
IMG_5350

IMG_5351

IMG_5352

Once the glue was dry and the patches were solid I sanded the patch with 220 grit sandpaper to smooth it out to match the surface of the bowl. I sanded it with medium and fine grit sanding sponges afterward to smooth it out further. The next photos show the initial sanding of the patches. There was still much sanding to do and some more filling in spots that were low.
IMG_5353

IMG_5354

IMG_5355

IMG_5356

I sanded the bowl and the new stem further with 220 grit sandpaper to remove the finish and smooth out the transitions. On the crack repair I wanted to even out the transition between the fill and the surrounding briar. On the new stem shank union I wanted to make that transition between the briar and the vulcanite stem seamless.
IMG_5357

IMG_5358

IMG_5359

IMG_5360

The next series of three photos show the newly sanded repair. It looks better but there are still a few areas that will need to be filled and sanded some more.
IMG_5361

IMG_5362

IMG_5363

At this point in the process I was still undecided as to whether I would stain the repaired bowl or rusticate it. I posted on an online forum to see what others thought and the audience was split. I decided to stain it and see how the repair looked. If I changed my mind I could rusticate it later. I wanted to use a contrast stain on the bowl to minimize the look of the crack so I used a black aniline stain to do the undercoat. It would also highlight any areas on the repair that needed more attention. I applied the stain, flamed it and did the same again until the coverage I was looking for was achieved.
IMG_5364

IMG_5365

I took three photos of the repair after staining to show what the repair looked like at this point.
IMG_5366

IMG_5367

IMG_5368

When the stain was dry I wiped it down with isopropyl alcohol to lighten it and bring out the grain. I wanted the black stain to settle into the grain and highlight the stripes. I wiped it down with acetone as well to further lighten the stain. I buffed the pipe with red Tripoli and White Diamond to further lighten the black undercoat. I stained it with a top coat of dark brown aniline stain, flamed and restained it for the coverage I wanted. It must be remembered at this point that this was not the finish coat but merely the way in which the repair is highlighted and makes it clear where I still need to do some work on the fills. The photos below show the repair and make it very clear where there was still work to do. This meant more filling of the crack with briar dust and superglue and more sanding. It also meant that I would need to restain that particular area of the pipe
IMG_5369

IMG_5370

IMG_5371

IMG_5372

Once the pipe was at this point several things stood out to me. I really like the grain patterns on the bowl and shank and I need to continue to work on the patch until it was well blended. So I took it to the buffer and buffed it with White Diamond and then took it back to the work table to do some more work on the patch.I sanded down the area around the repair with 220 grit sandpaper and then packed in more briar dust with the dental pick. I added more superglue until the repair was mounded slightly. While this would take more work in terms of sanding, I knew it would make the patch as perfect as possible.

Once I had the patch sanded back to match the surface of the surrounding briar with the 220 grit sandpaper, I sanded it further with medium and fine grit sanding sponges and then with 1500-2400 grit micromesh sanding pads. The scrathes left behind by the sandpapers disappeared with the micromesh sanding. I restained the area with the black undercoat, sanded it again and then gave it a topcoat of dark brown aniline stain a second time. I did not bother sanding and restaining the whole pipe as my plan was to sand the entire bowl to create the contrast I wanted with the two stains. I sanded the pipe with 1500-2400 grit micromesh sanding pads to blend in the freshly stained portion of the pipe with the rest. The next three photos show the status of the repair at this point.
IMG_5377

IMG_5378

IMG_5379

I continued to sand the bowl and shank being careful around the stamping on the top and bottom of the shank with the micromesh sanding pads until the top stain was almost translucent. I wanted the top coat to be there but I wanted the grain to pop through it. I also wanted the colour to blend in such a way that the dark repair would not be hidden completely but would be minimized. The next four photos show the pipe after all of the sanding and a buff with White Diamond to enhance the shine.
IMG_5373

IMG_5374

IMG_5375

IMG_5376

I worked on the stem to remove several small tooth marks on the underside and one on the topside of the stem. I then sanded the stem with 220 grit sandpaper to further shape it and get the flow of the taper just right. I sanded it with medium and fine grit sanding sponges and then used my normal range of micromesh sanding pads to finish the work. I wet sanded with 1500-2400 grit and then dry sanded with 3200-12,000 grit pads. I rubbed the stem down with Obsidian Oil and let it soak into the vulcanite.
IMG_5382

IMG_5383

IMG_5384

I did some more sanding with micromesh sanding pads on the stem to remove some of the light scratching that showed up under the flash and then buffed the stem and bowl with White Diamond. I gave them both multiple coats of carnauba wax to protect and give it a shine. The first three photos below show the repair as it stands now. The surface of the bowl is smooth to the touch. The light and the dark spots on the repair are some of the briar dust in the patchwork. Some takes the stain and is dark and there seem to always be light spots as well. This old pipe has come a long way since I received it in the mail.
IMG_5389

IMG_5390

IMG_5392

The finished pipe is shown in the next series of four photos. The stem fit came out nicely. The change from a saddle to a taper style worked well. The contrast stain looks great on the pipe. Over all I am well pleased that I decided to stain it and not rusticate it. I look forward to loading up a bowl and enjoying the “new” pipe.
IMG_5385

IMG_5386

IMG_5387

IMG_5388