Blog by Steve Laug
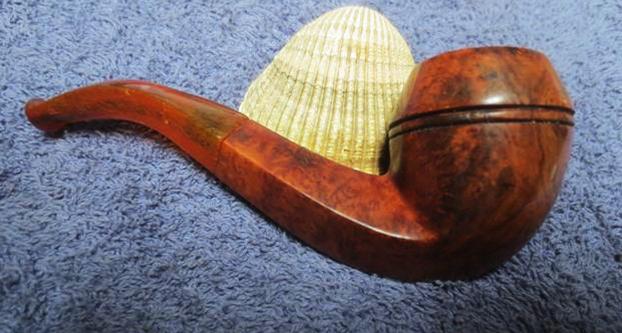
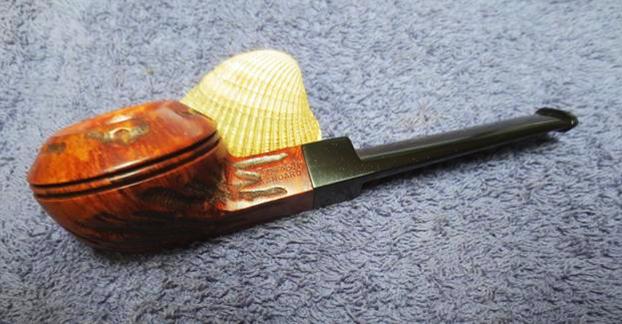
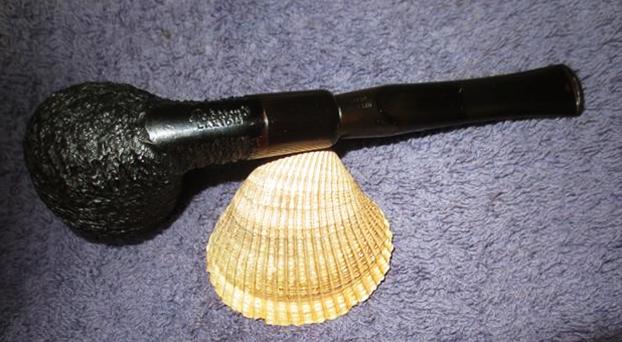
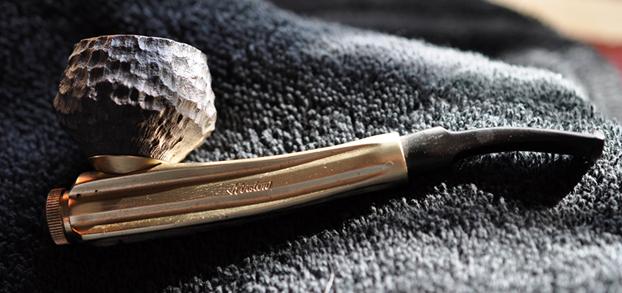
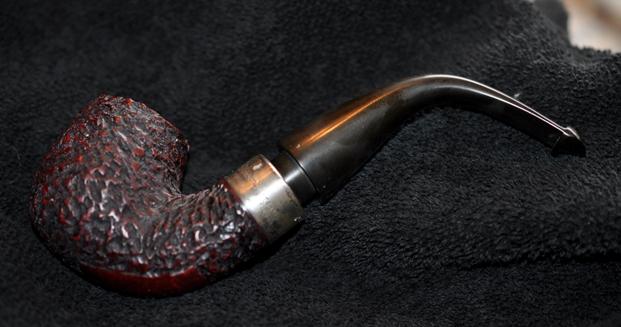
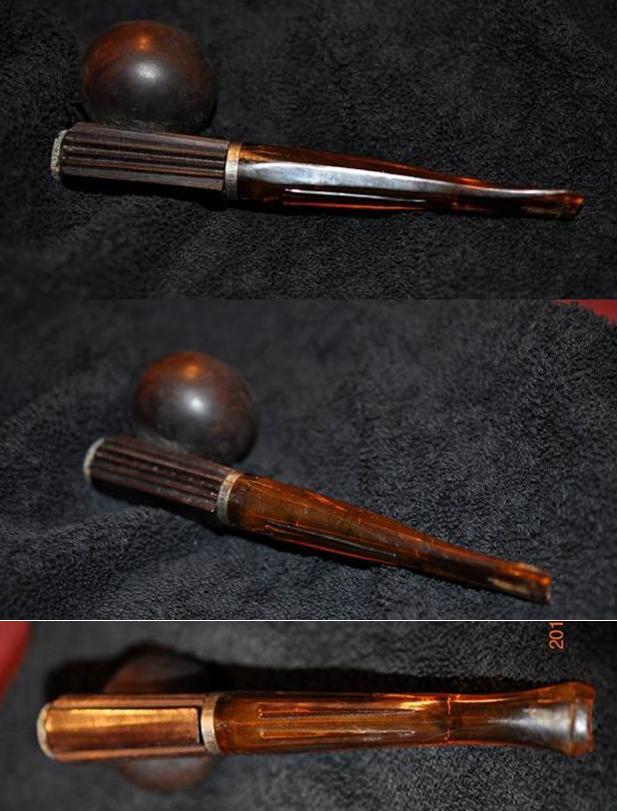
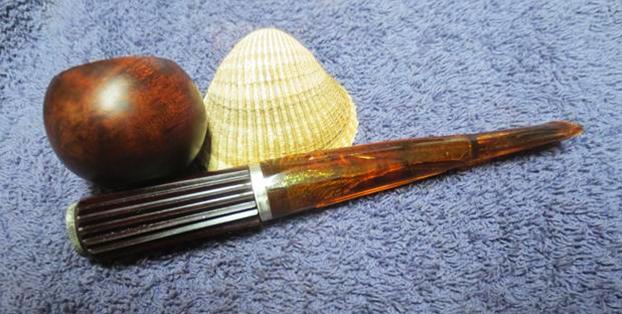
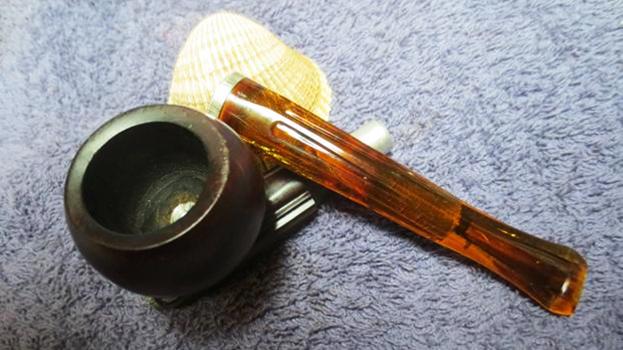
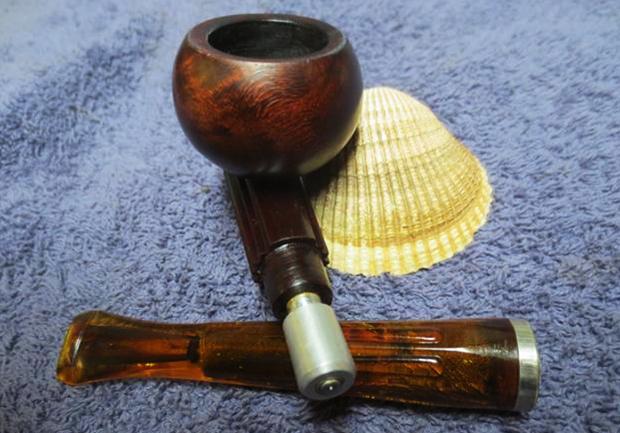
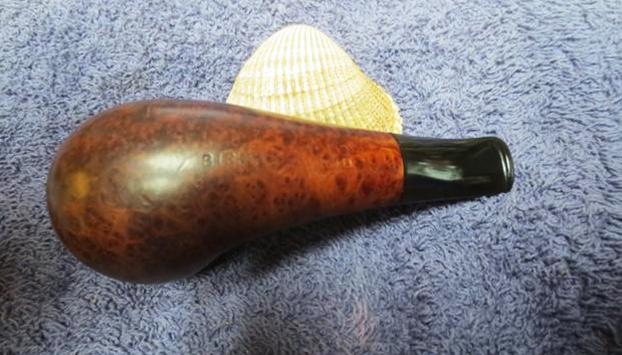
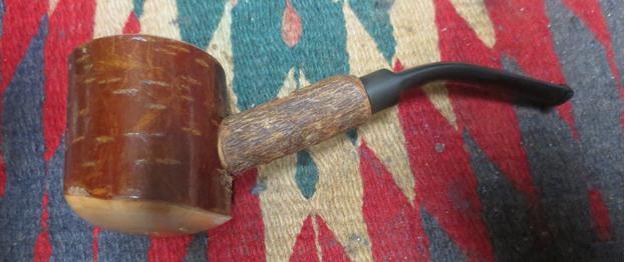
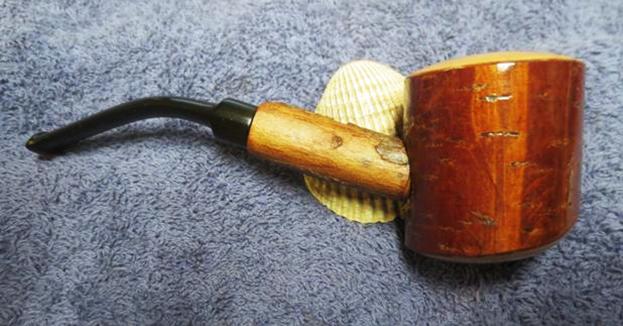
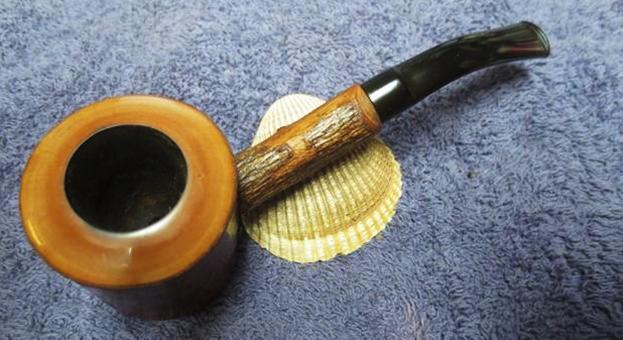
I have worked on three older GFB pipes over the past 4 years. One was an unsmoked briar calabash, one a military mount bent billiard and the final one a horn stemmed bulldog. All had the same stamping as the pipe I am working on now. All were made of a nice piece of briar and all had the same classic shape to them. When I saw this old pipe on eBay I wanted to add it to the collection. It was similar in shape to the little GFB horn stemmed bulldog though the stem was shorter. The first photo below shows the horn stemmed GFB and the second one was photo that the seller included in the eBay advertisement. The stem on the second one is a Bakelite amberoid stem. The finish on both pipes appeared to be similar. The shape is identical. The stamping on the top pipe was GFB in an oval with three stars over the oval. The second pipe has the same GFB oval but it did not have the stars on it. I am including the link to the previous blog. https://rebornpipes.com/2013/11/21/restoring-an-older-gfb-three-star-horn-stem-bent-bulldog/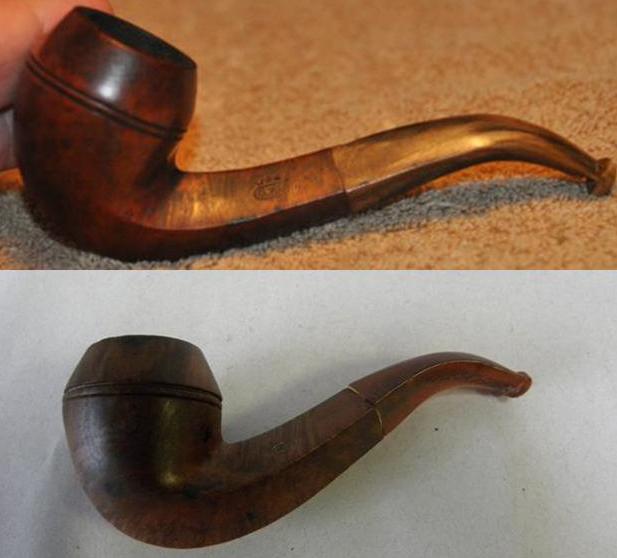 I am including the rest of the photos that seller attached to the item. They give a pretty good picture of what I saw when I was hooked by the pipe. The finish was very worn. The stem was the same size as the shank and lined up straight on all angles. The stem appears to have a paper washer between the shank and the stem to help keep things straight. It appears that there is a small gap between the shank and the stem but I would not know for sure until I saw it. It is a small pipe – just 4 inches long and 1 ¾ inches tall.
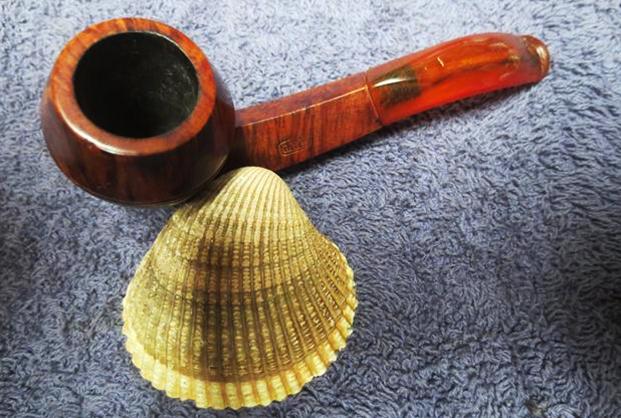
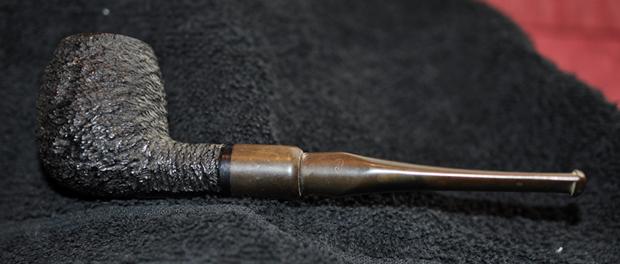
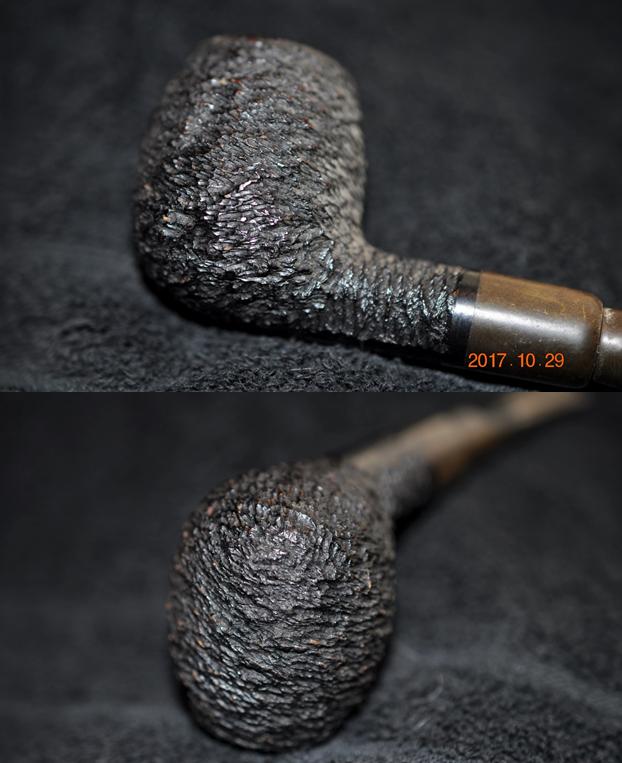
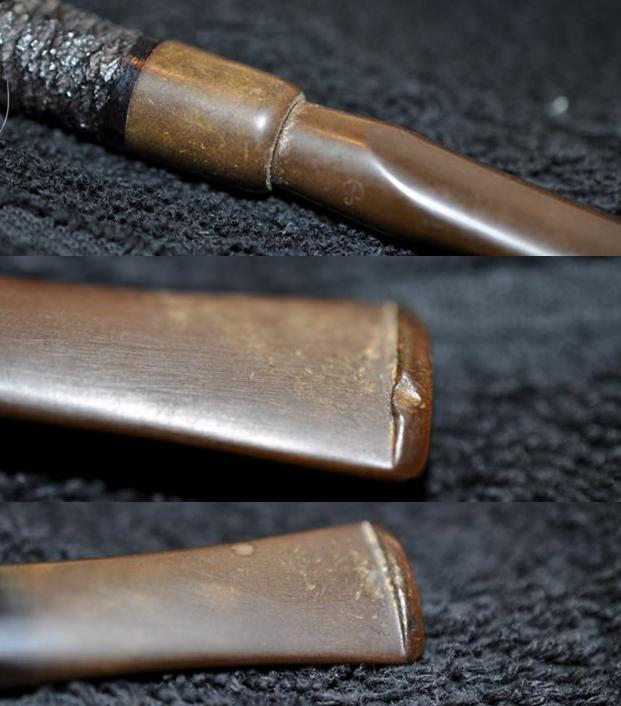
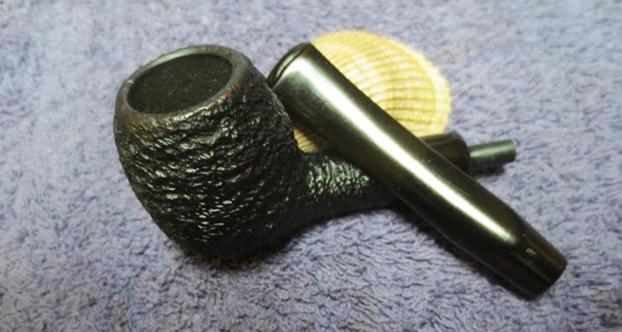
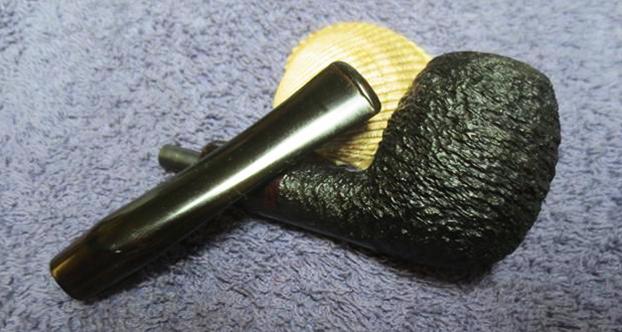
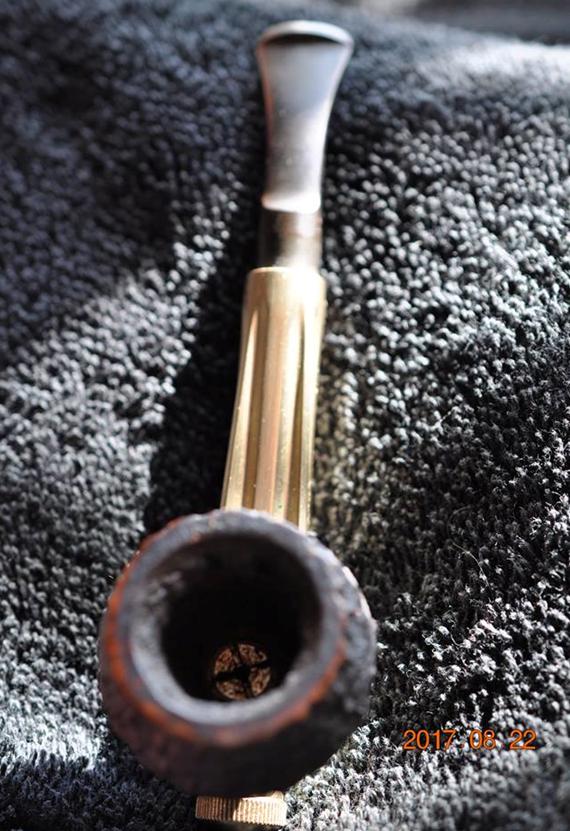
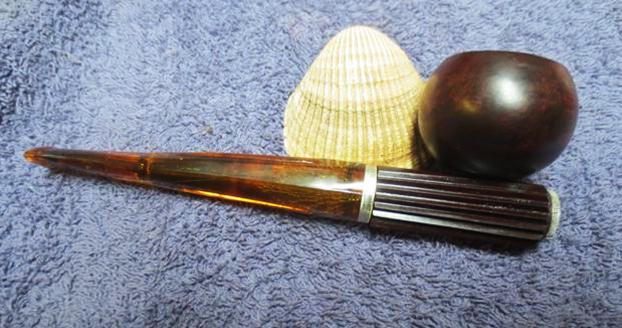
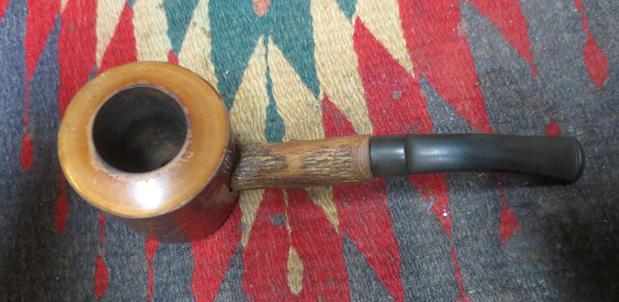
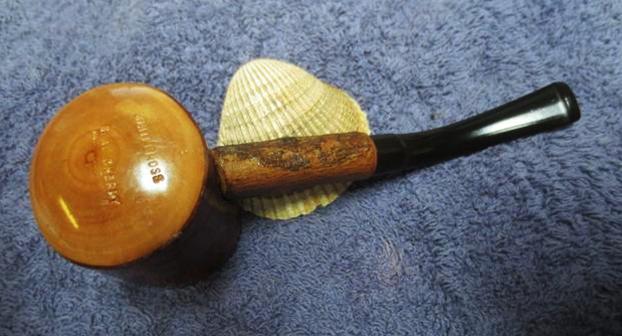
 The rim top looked to be darkened and possibly burnt in the next two photos but it is hard to tell by the dark quality of the photos. The stem shows some damage on the edge at the joint with the shank. The photos show that the pipe is clearly stamped with the GFB in an oval logo.
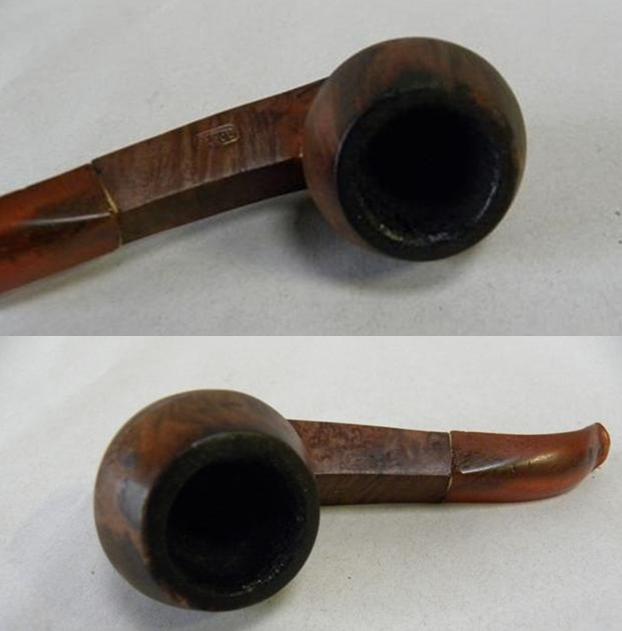
 In the article I noted above on the other GFB bulldog I found some interesting information that I have included here for ease of reference.
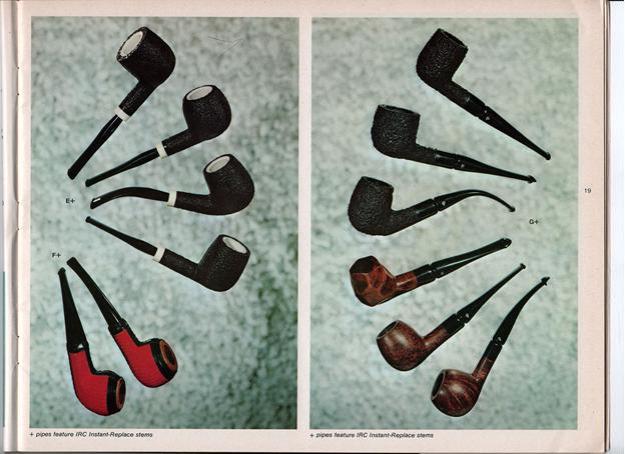
The first thing I found was information that the GFB brand was an older French Trademark and that it came from Saint Claude, France. A more focused search for GFB French Briar Pipes led to information that the stamping GFB stood for Great French Briar – something about that did not seem right to me so I continued to look and finally came across the following advertisement from a Sears Catalogue. It shows a full page of GFB pipes and the header says GENUINE FRENCH BRIAR. That made much more sense to me, and all three of my GFB pipes match the pipes in the catalogue. It was good to be reminded of the old brand. I am pretty sure that all three of my GFB pipes come from either the late 1890’s or the early 1900’s. 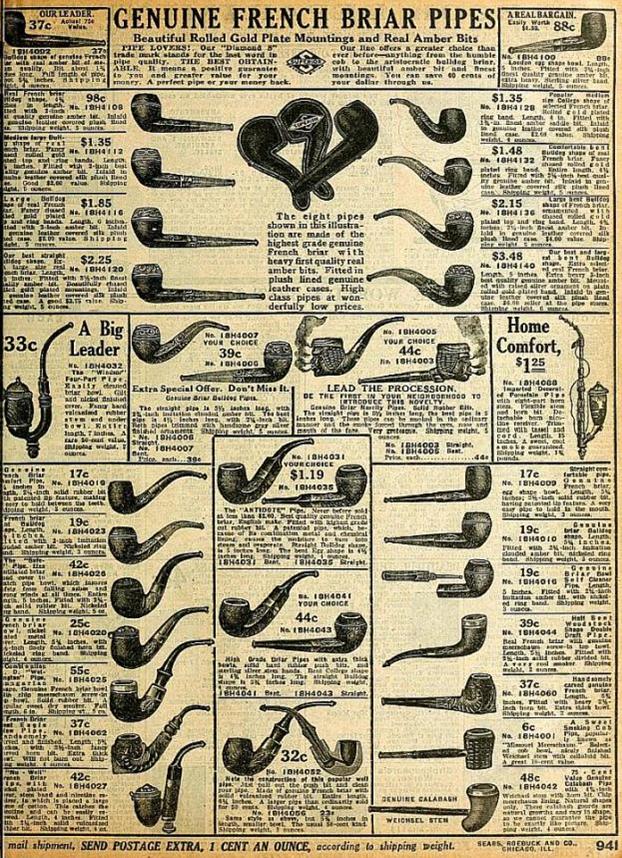 Here are links to the other two GFB pipes that I restored and restemmed if you are interested in some further reading on the brand.
https://rebornpipes.com/2013/06/07/restemming-and-reclaiming-an-older-unsmoked-gfb-briar-calabash/
https://rebornpipes.com/2013/04/01/restoring-a-gfb-bent-billiard-another-reclamation-project/
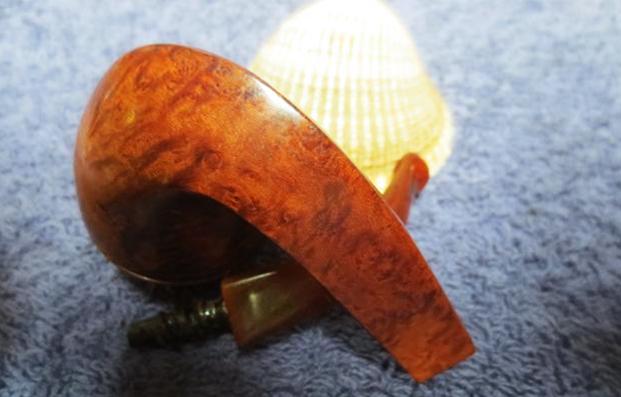
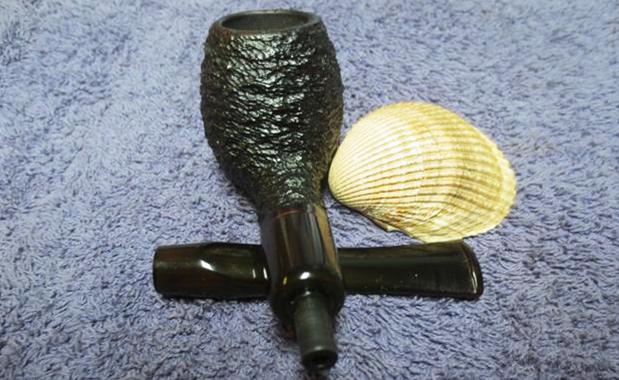
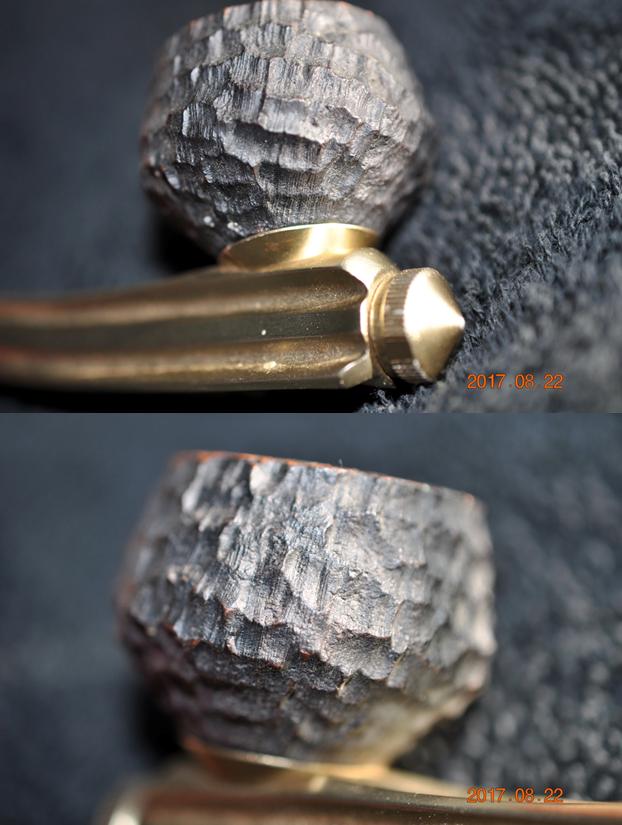
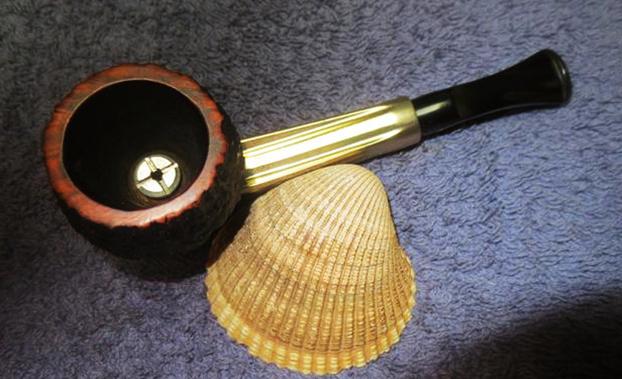
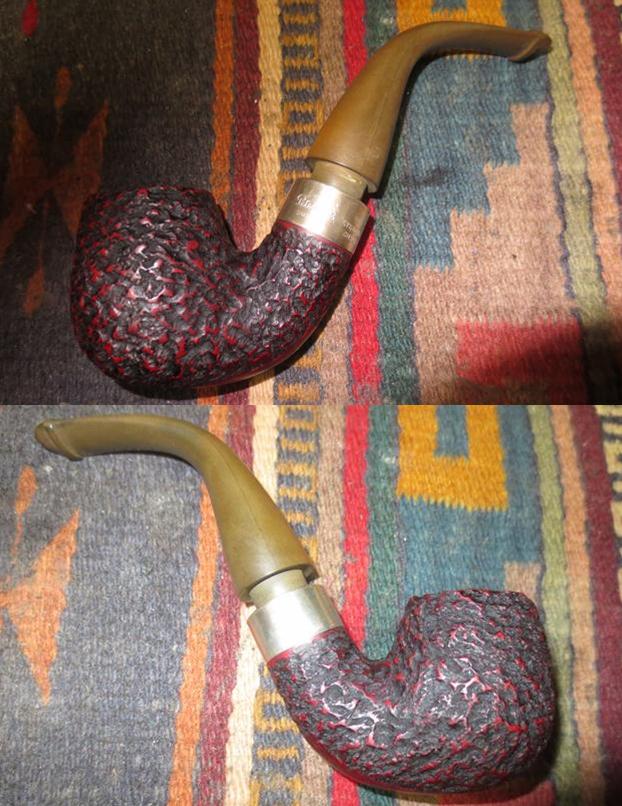
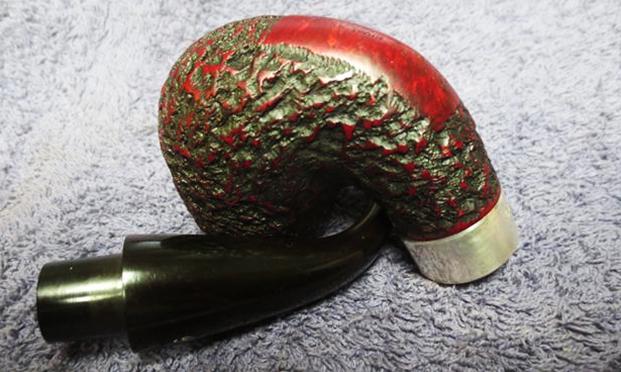
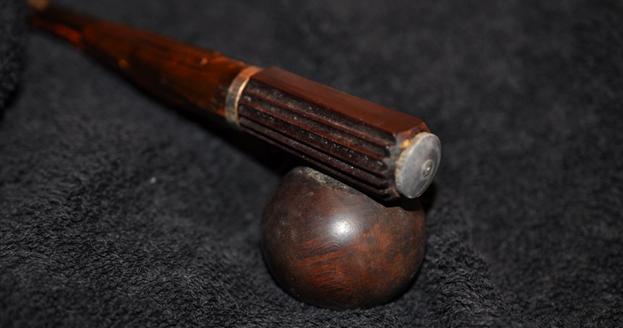
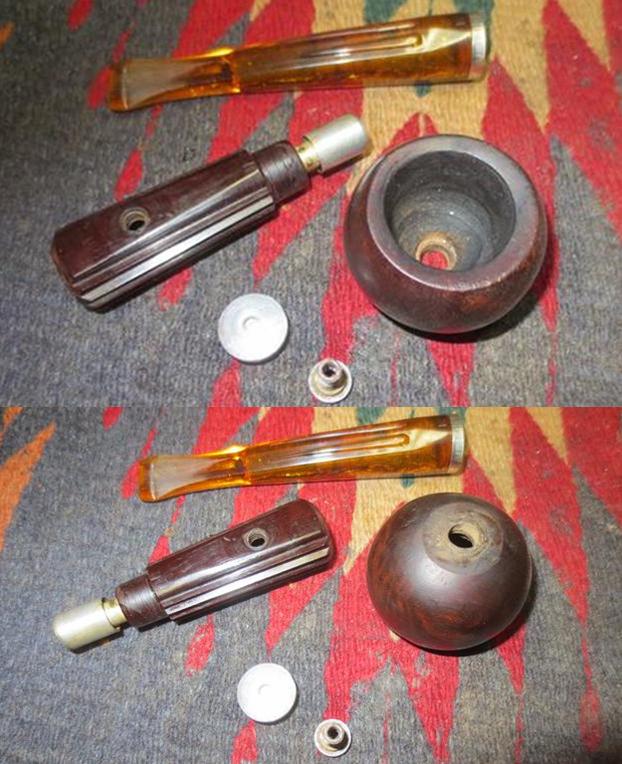
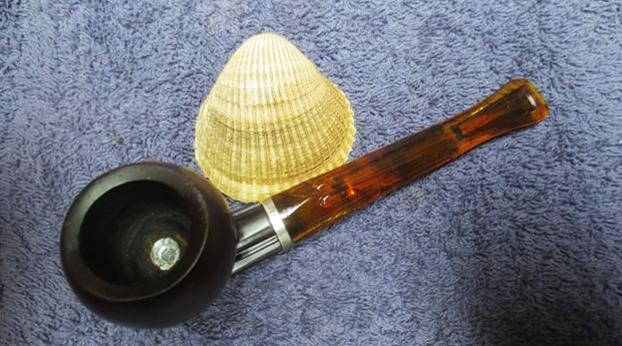
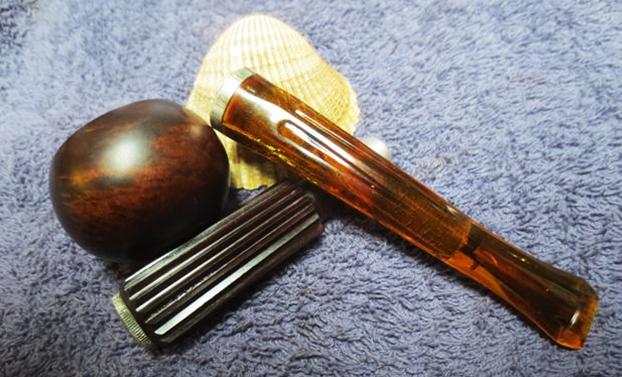
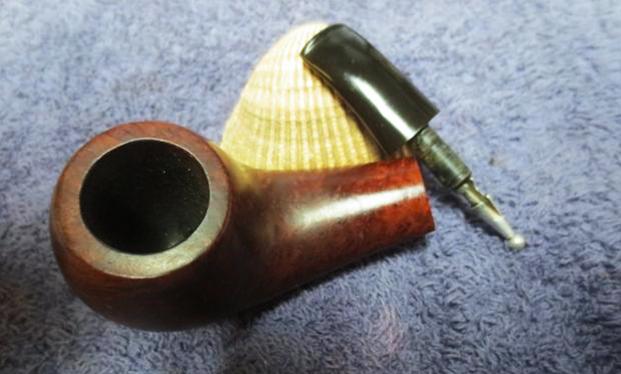
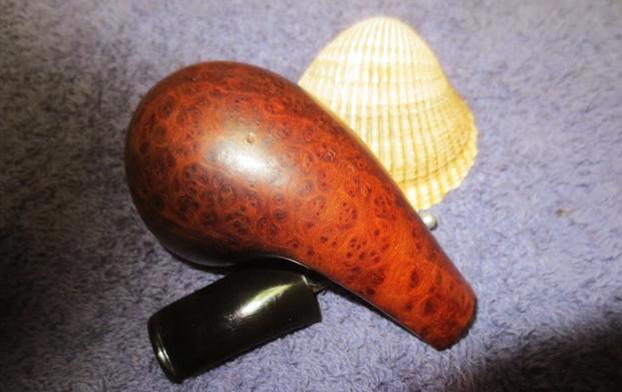
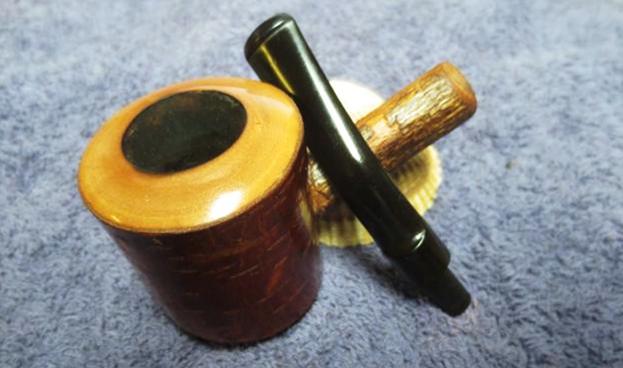
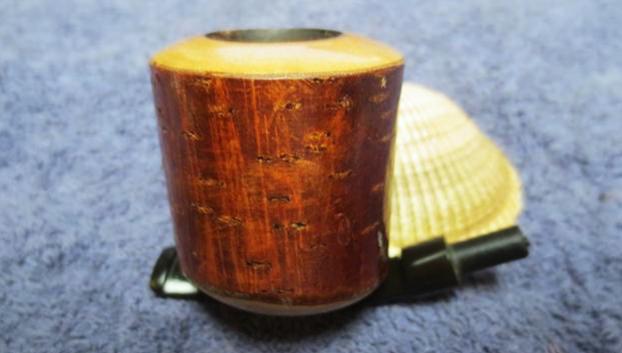
When the pipe arrived in Idaho, Jeff took photos of it. His photos gave a more accurate look at the condition of the pipe before he cleaned it up. The bowl had a lot of black spots all around the sides of the bowl and the shank. The paper washer can be seen between the stem and the shank. It almost looks like a spacer. The Bowl had a thick cake that had overflowed onto the rim top and hardened like lava. The finish on the bowl was worn and tired but the original reddish brown stain still looked good underneath the grime. The rim top was so covered it was hard to know if the inner or outer edge had damage. The stem had tooth marks on both the top and the underside near the button itself was worn as was the slot in the end. The stem material was amberlike but was not amber. There was some crazing in the stem material on both sides of the stem.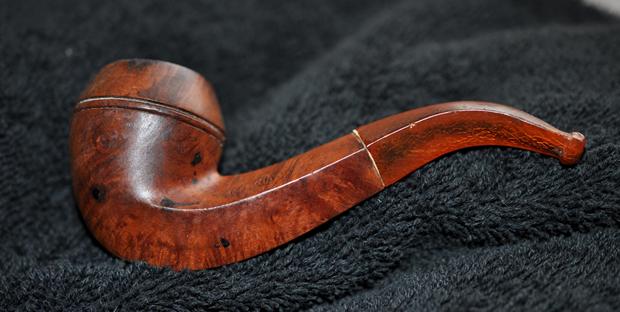
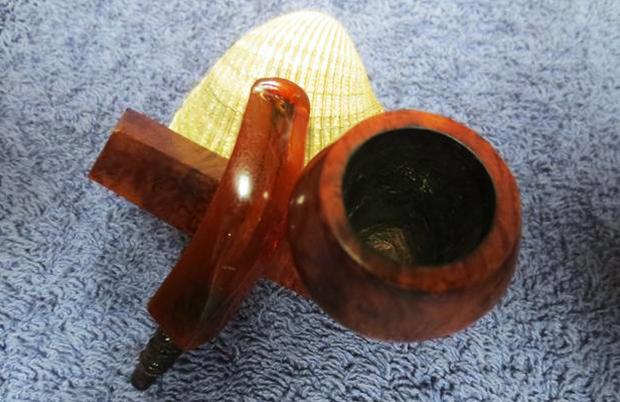
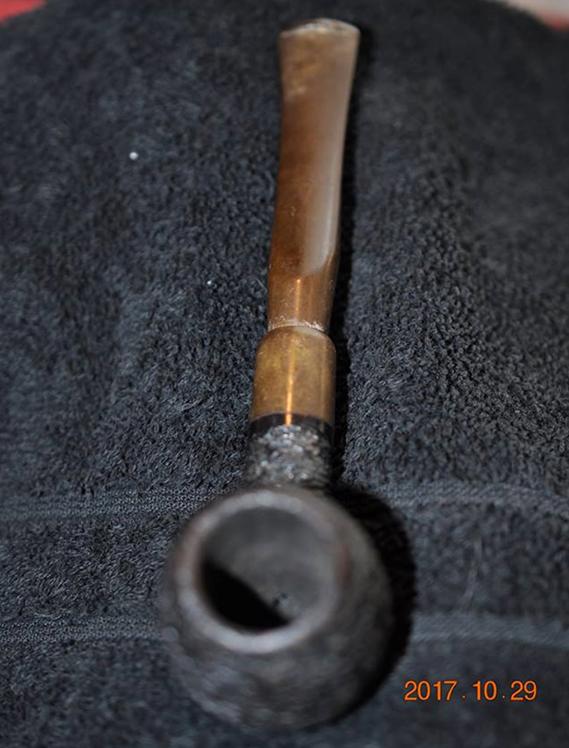
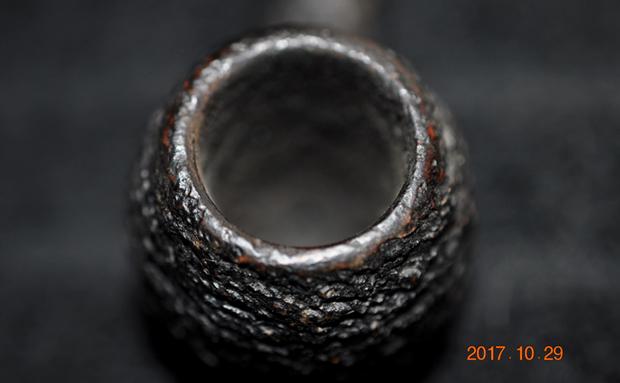
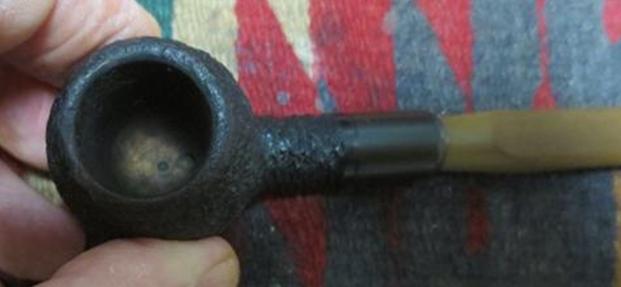
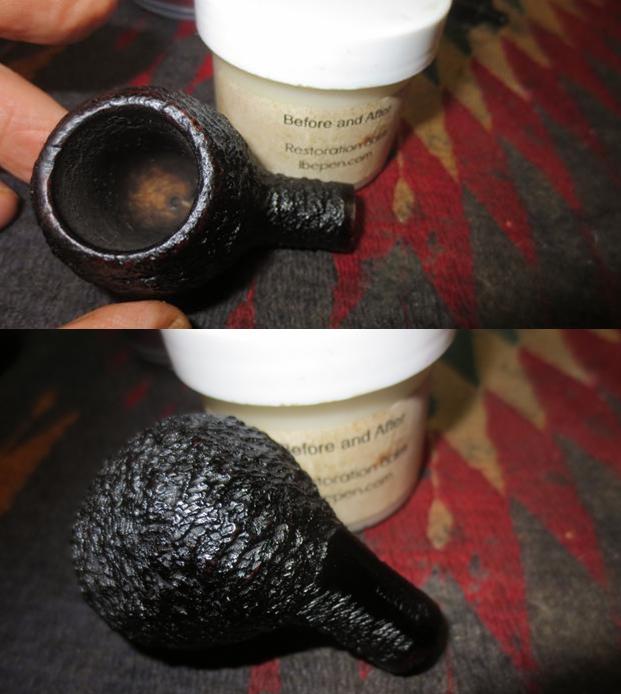
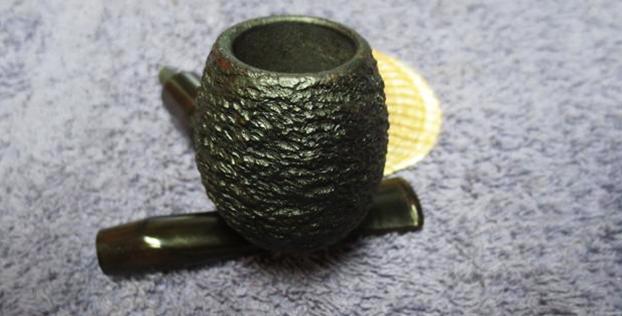
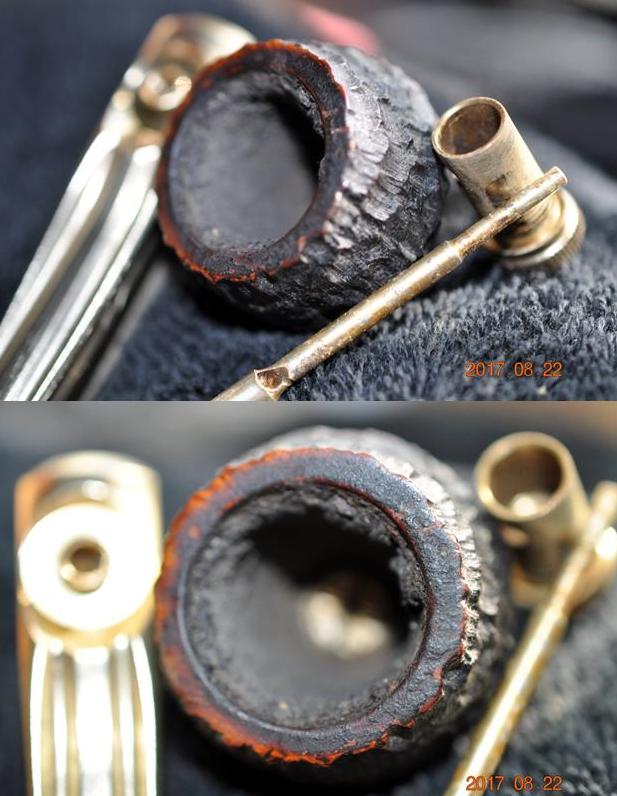
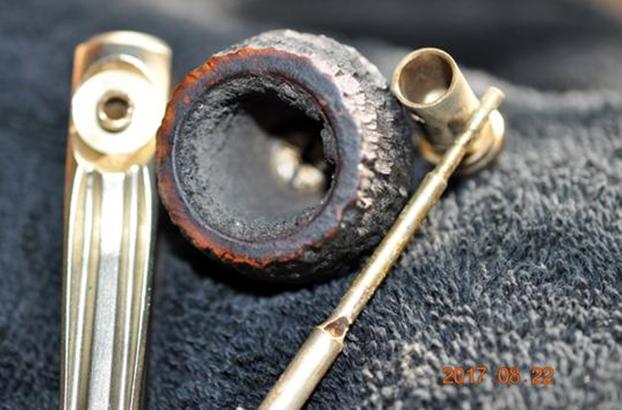
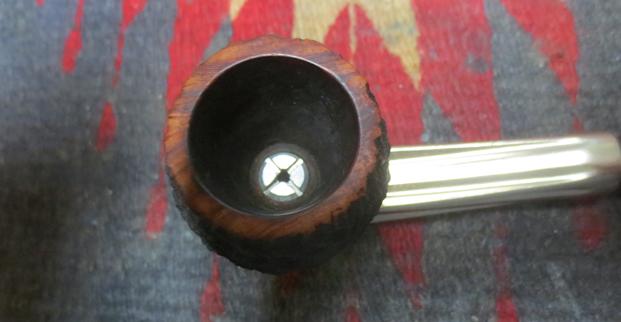
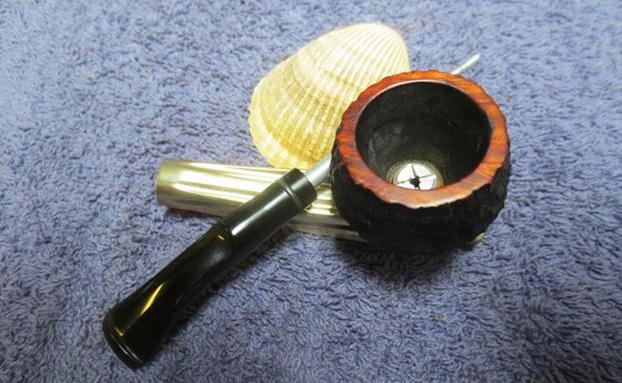
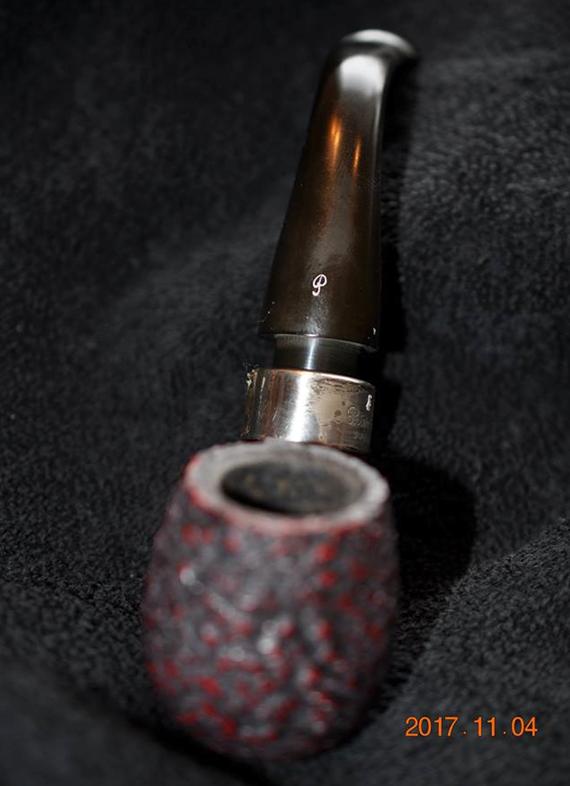
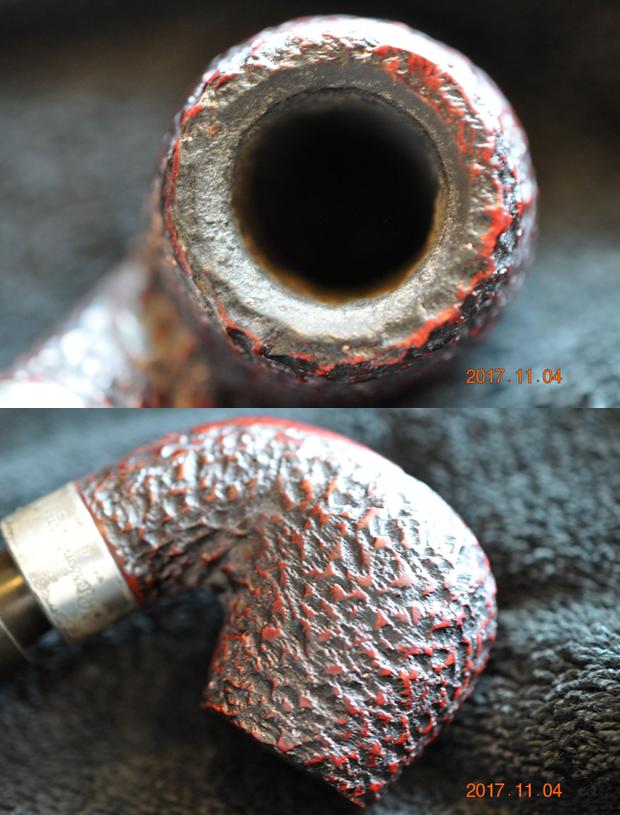
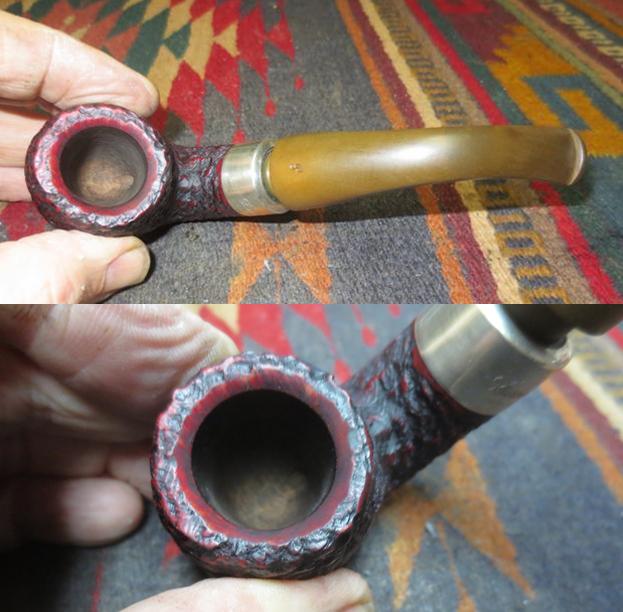
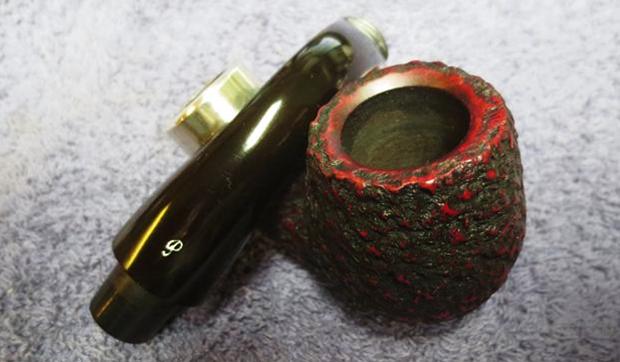
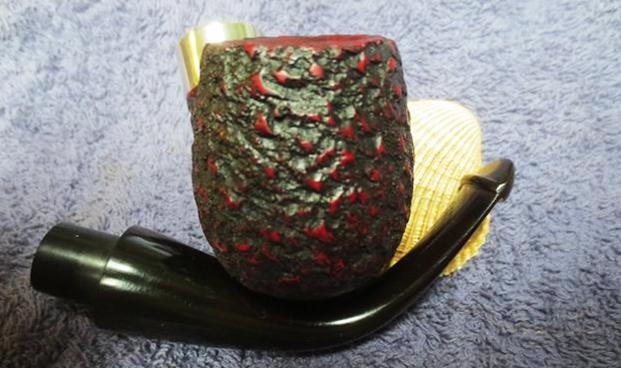
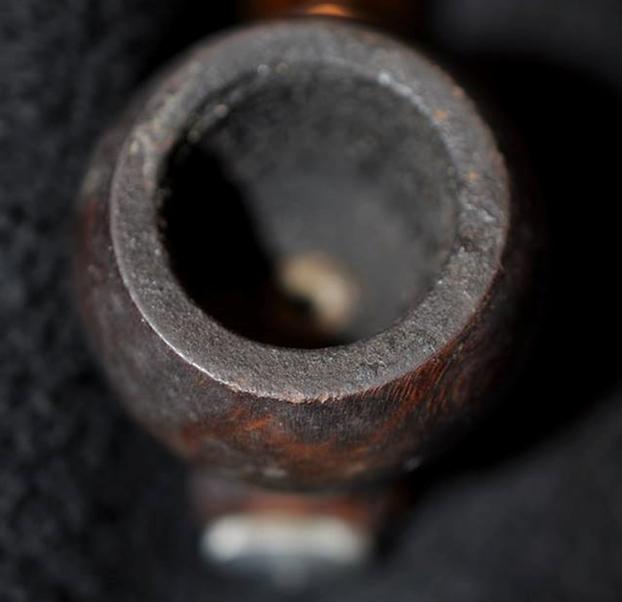
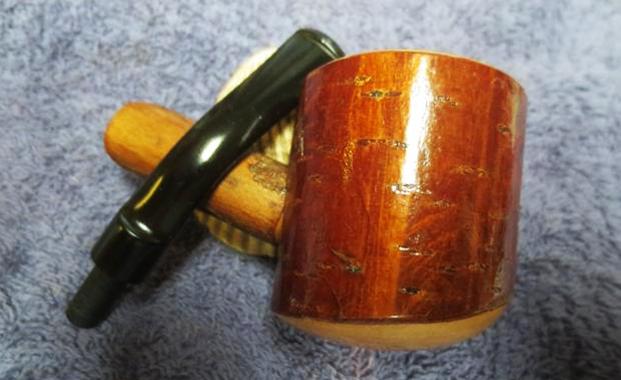
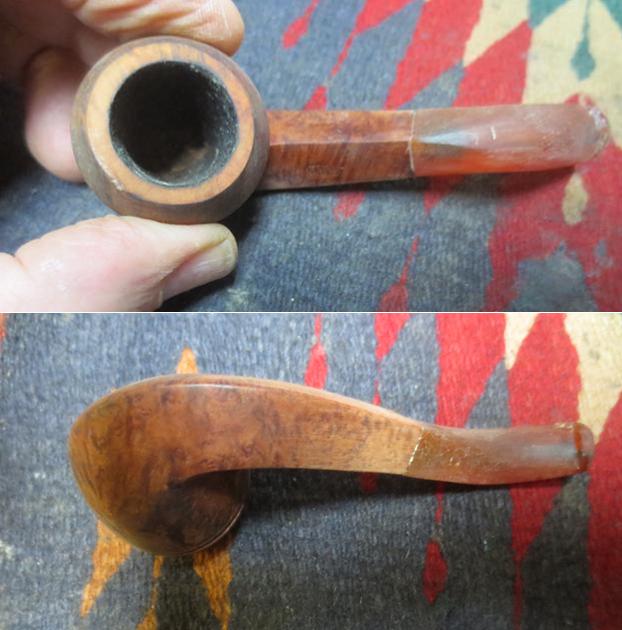
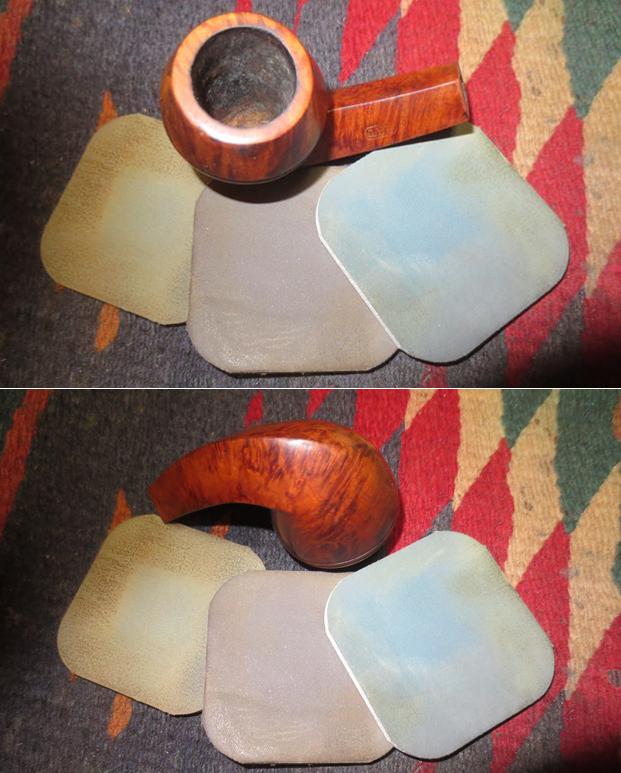
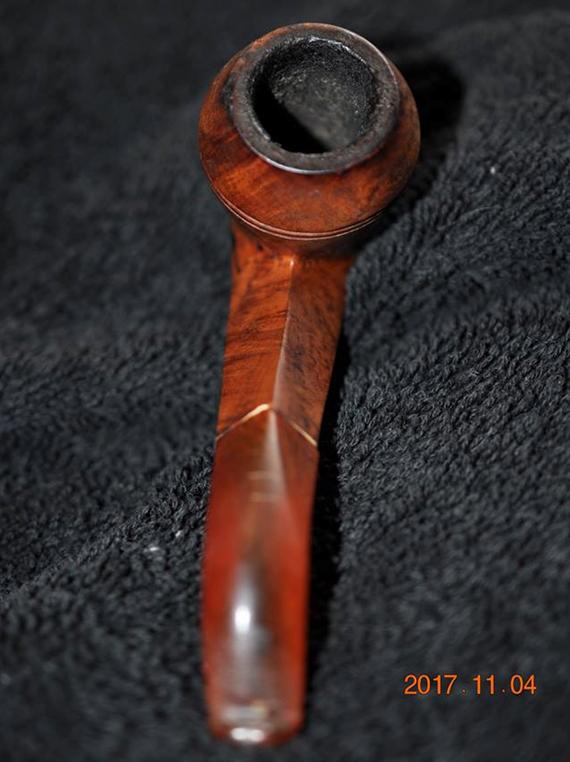 Jeff took a close up photo of the stem to show the condition of the bowl and the rim top. You can see the thick cake in the bowl and it appears that there may be a little damage on the front right side of the inner edge of the bowl. He also included a picture of the left side of the bowl with the black spots on the finish – it almost looked like tar.
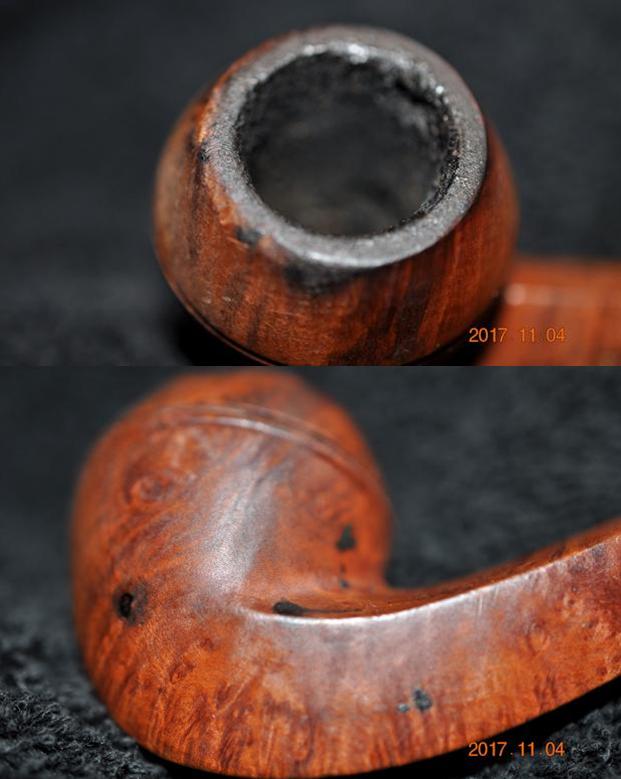
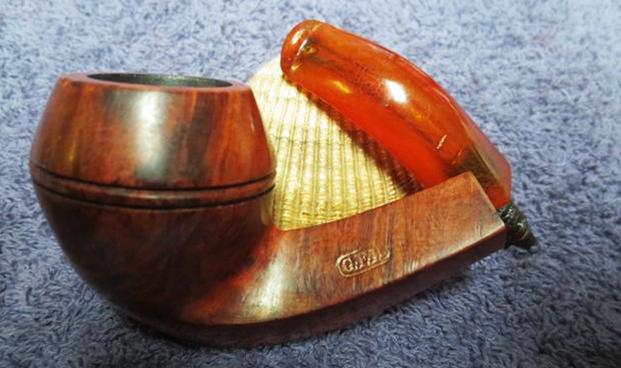
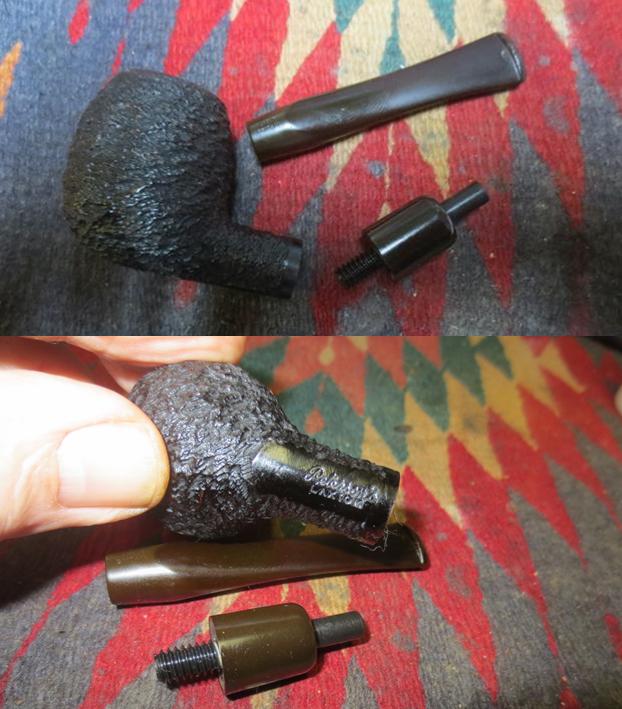
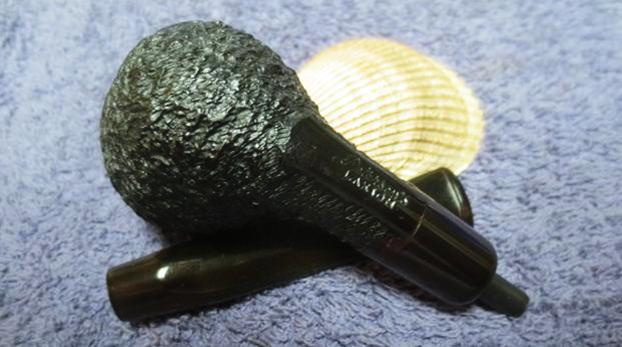
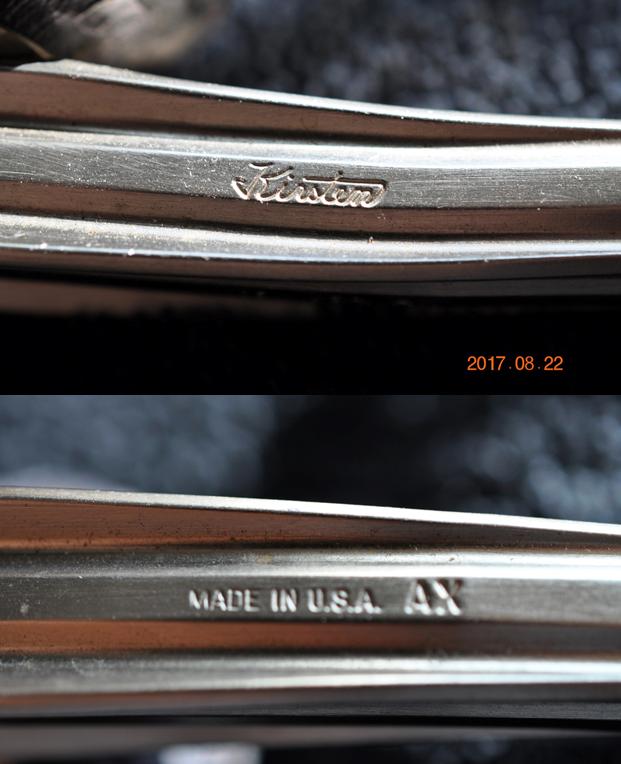
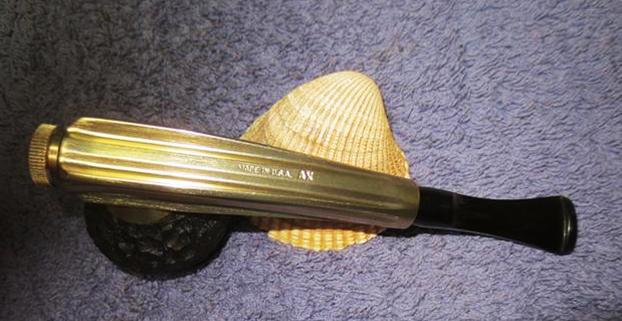
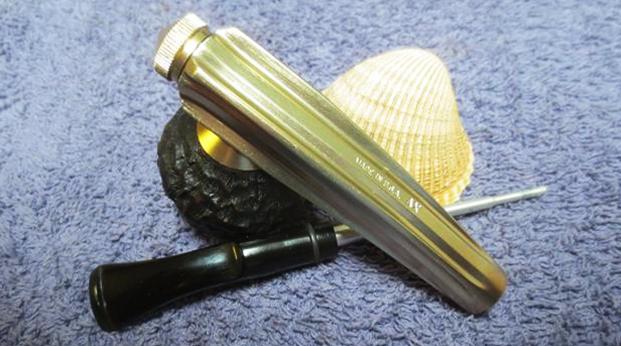
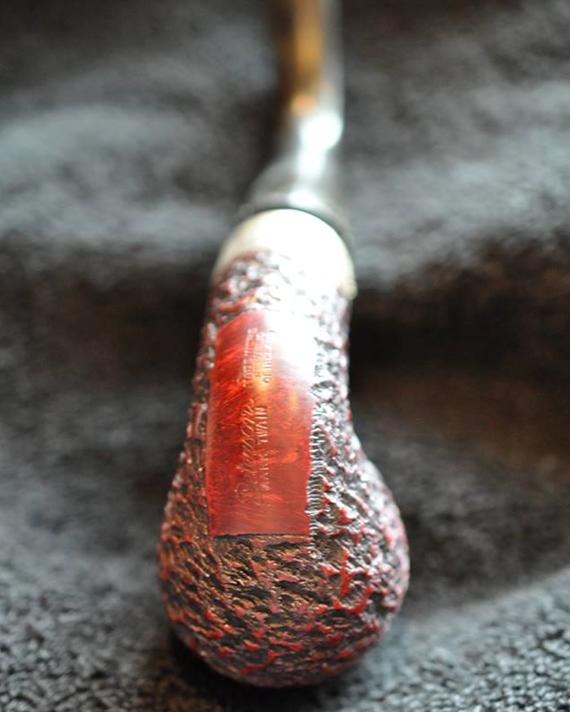
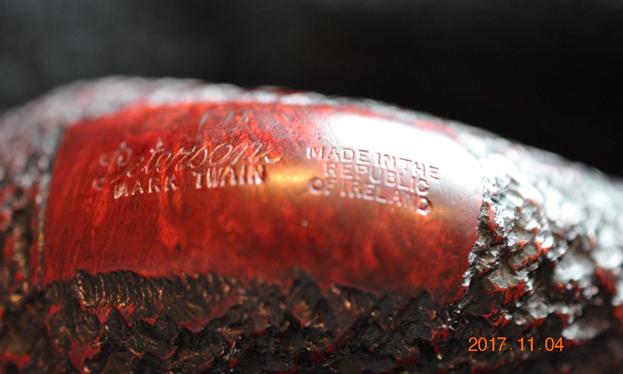
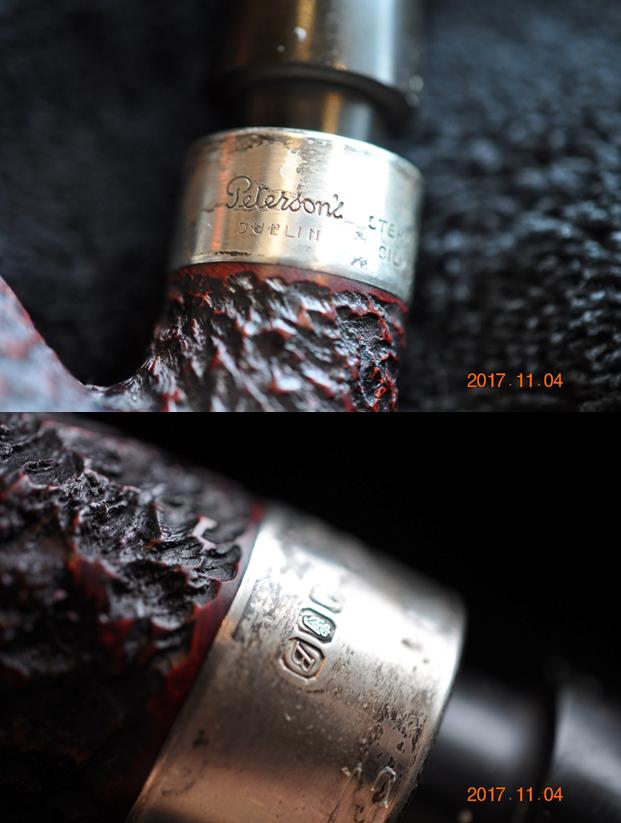
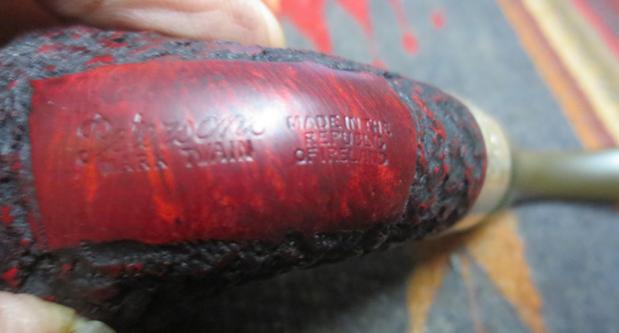
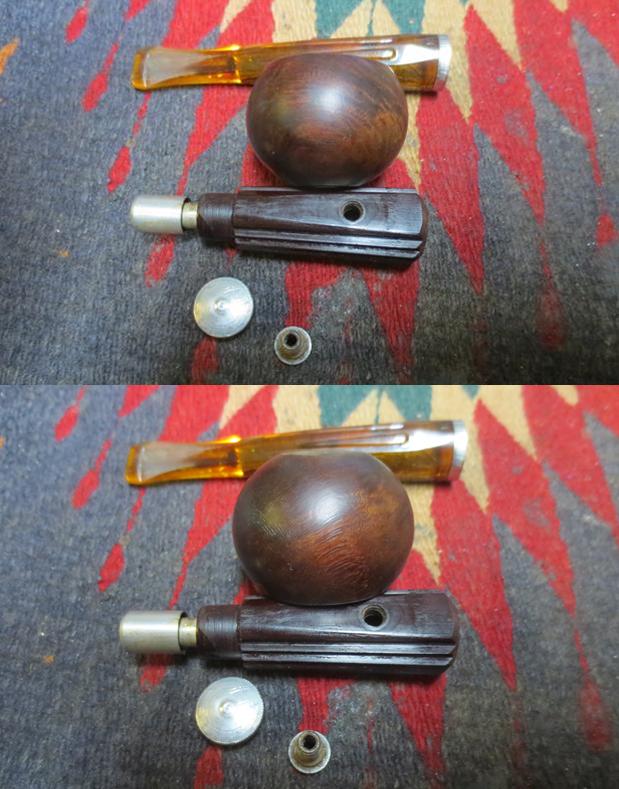
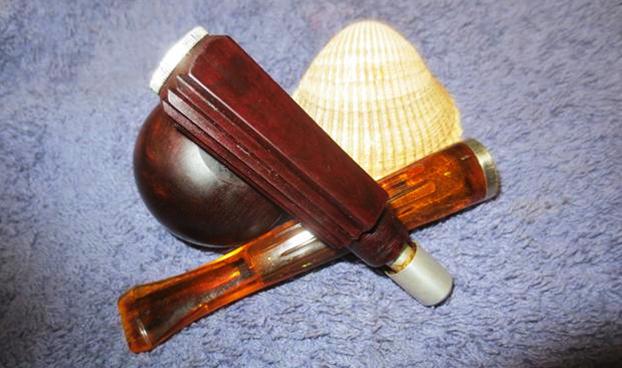
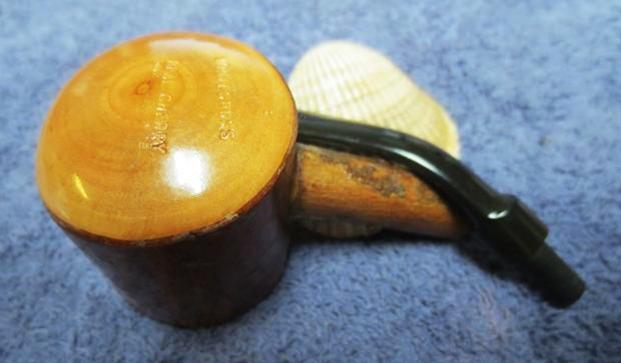
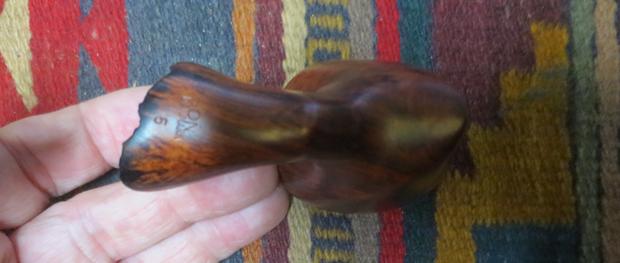
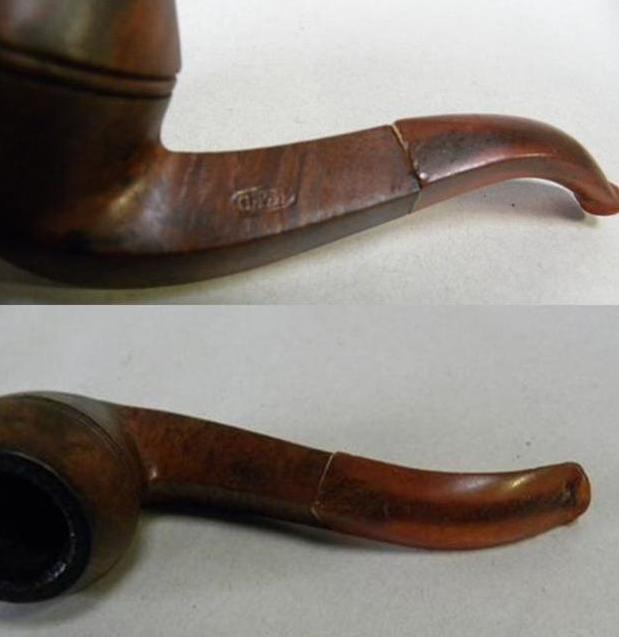
 The next two photos show the stamping on the left side of the shank. It shows the GFB in an oval logo. It is slightly worn but still showed signs of the gold leaf that is stamped inside the logo.
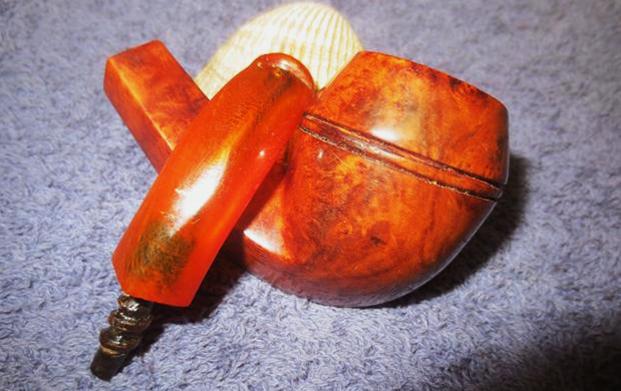
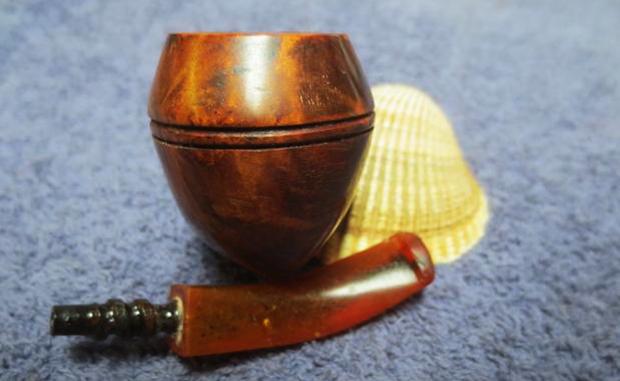
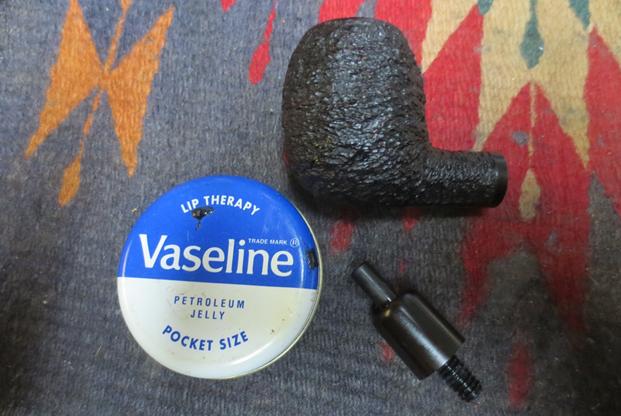
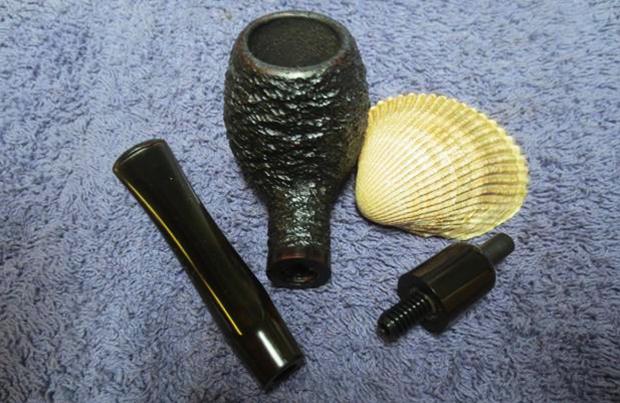
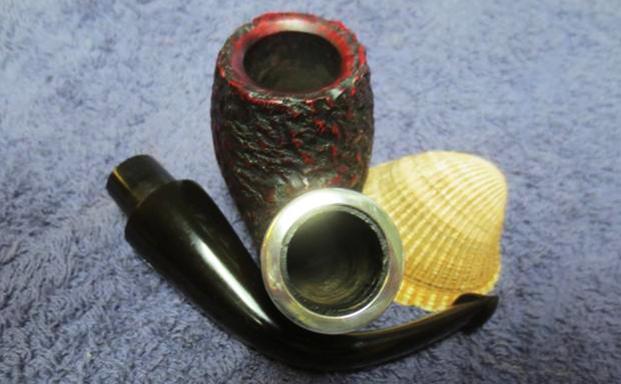
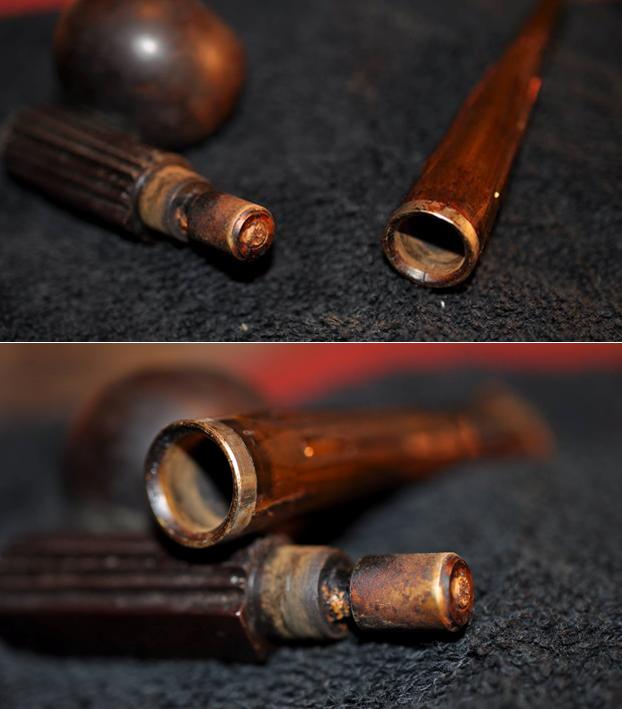
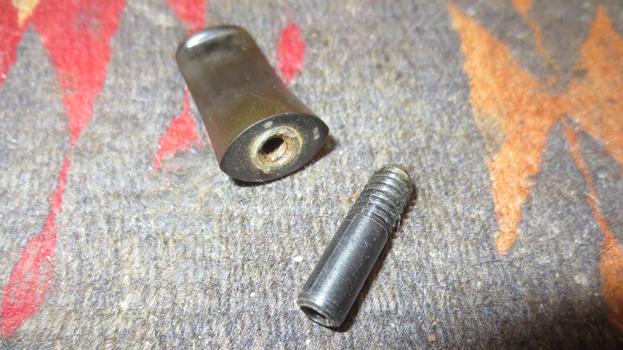
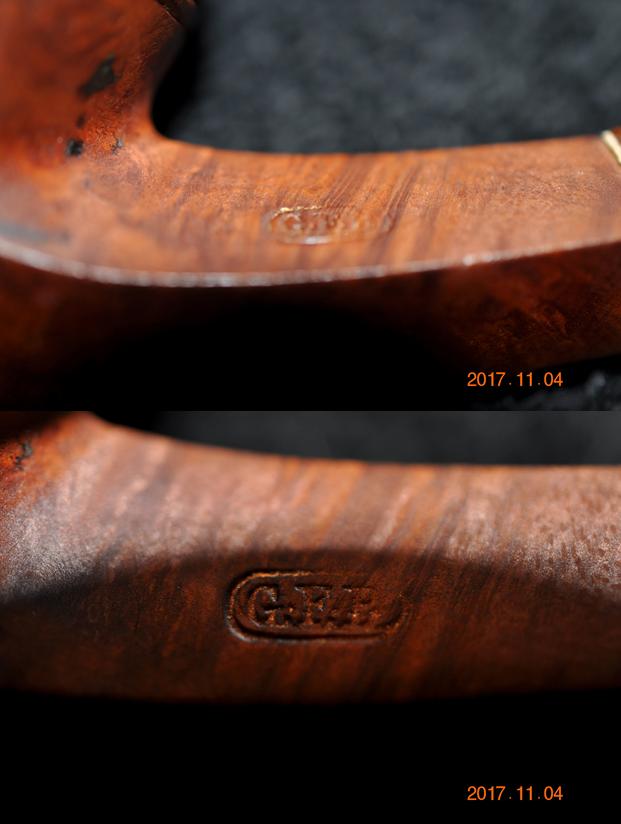 Jeff unscrewed the stem from the shank. In the next photos you can see the buildup of tars and oils on the bone tenon and the wear on it as well. The paper washer was torn and when he removed it off the tenon it fell apart.
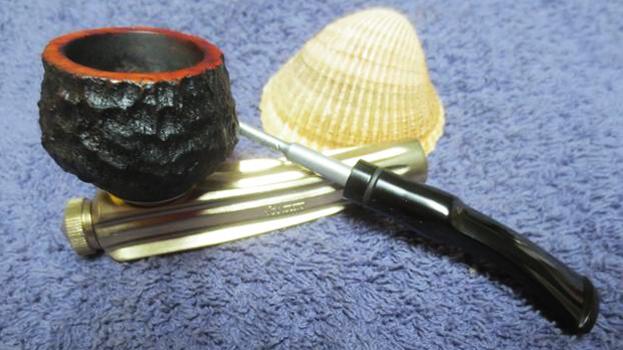
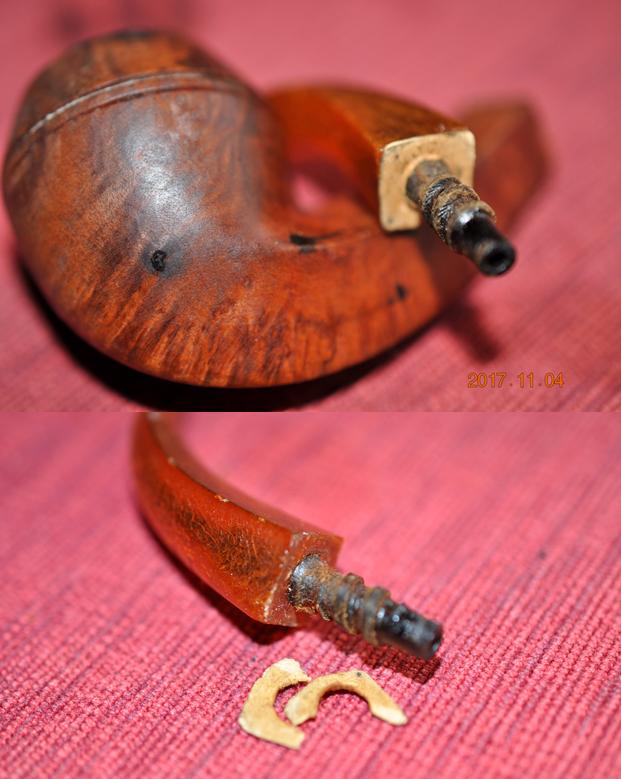 The next photos show the crazing in the stem and a few cut marks on the top side. The stem was worn, dirty and the sharp edge of the button had smoothed out and was worn into the surface.
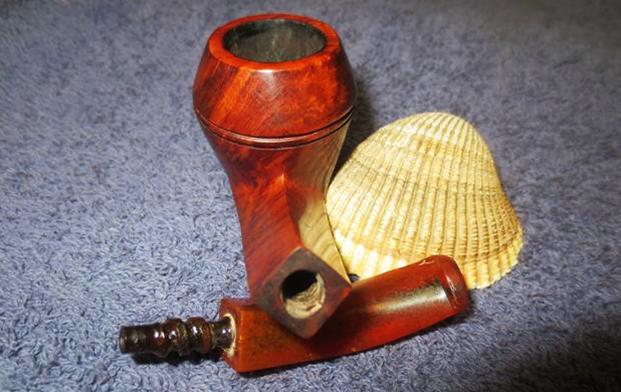
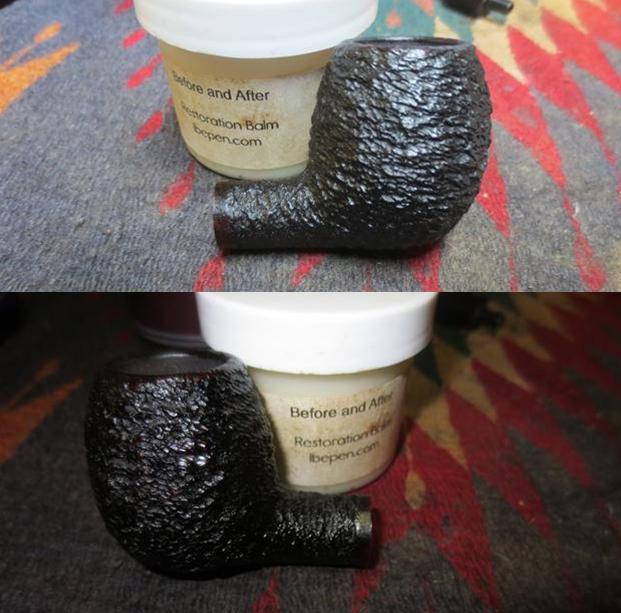
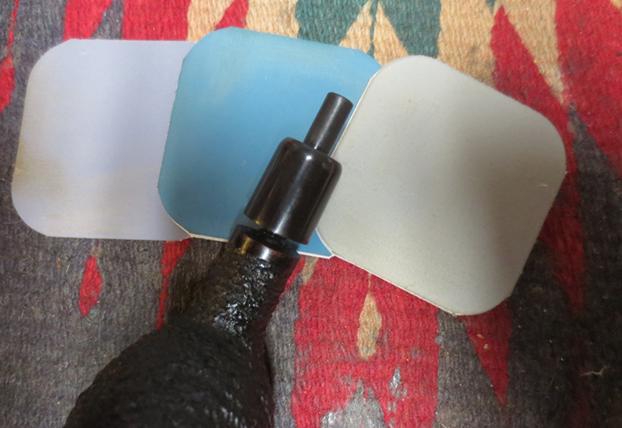
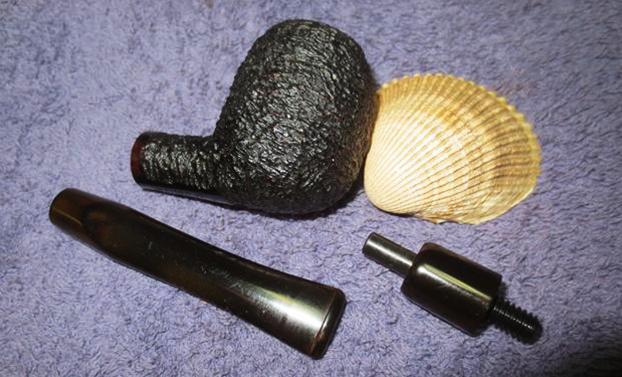
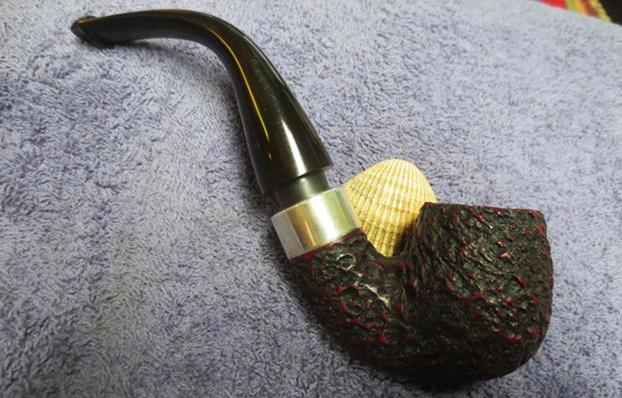
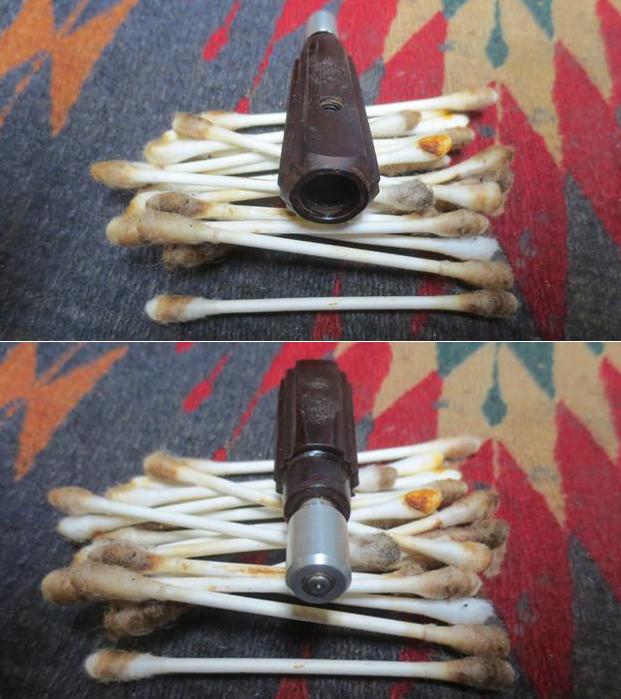
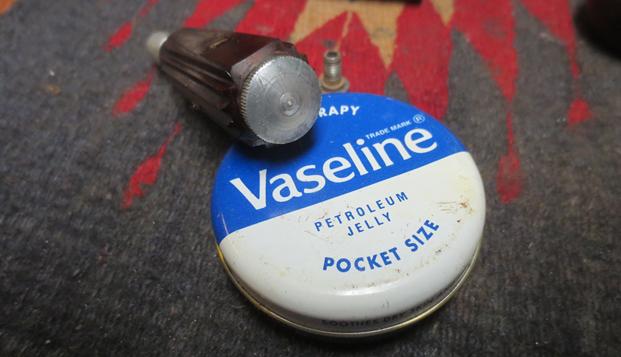
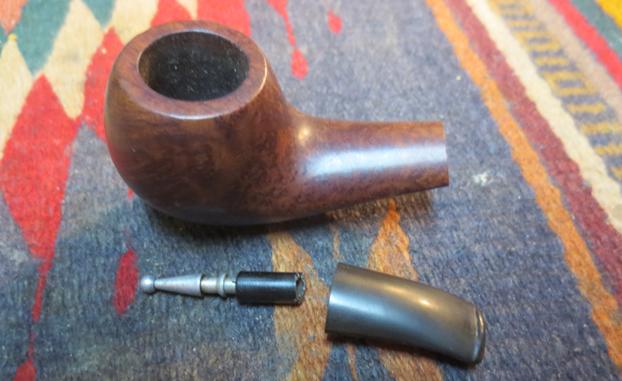
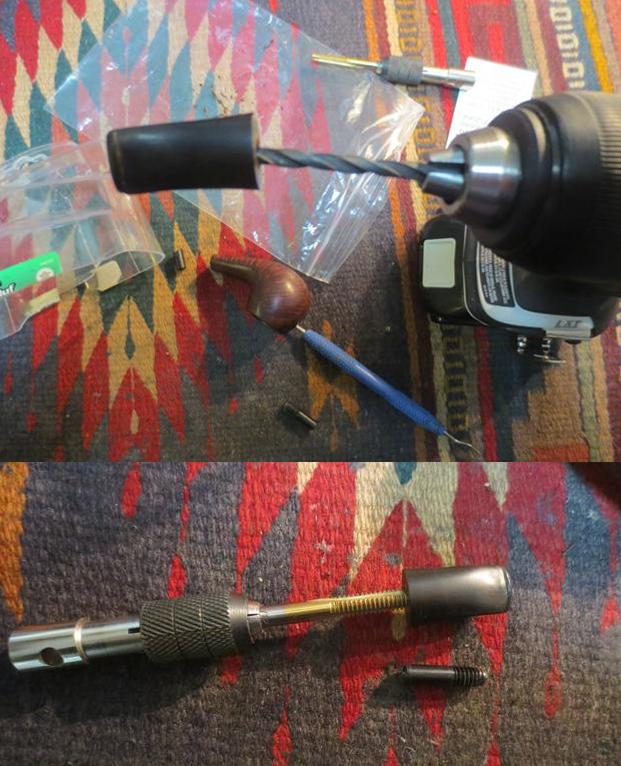
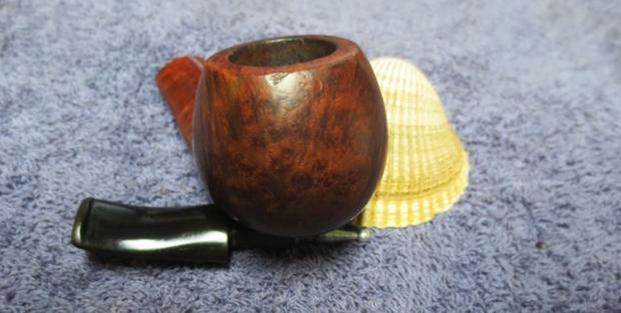
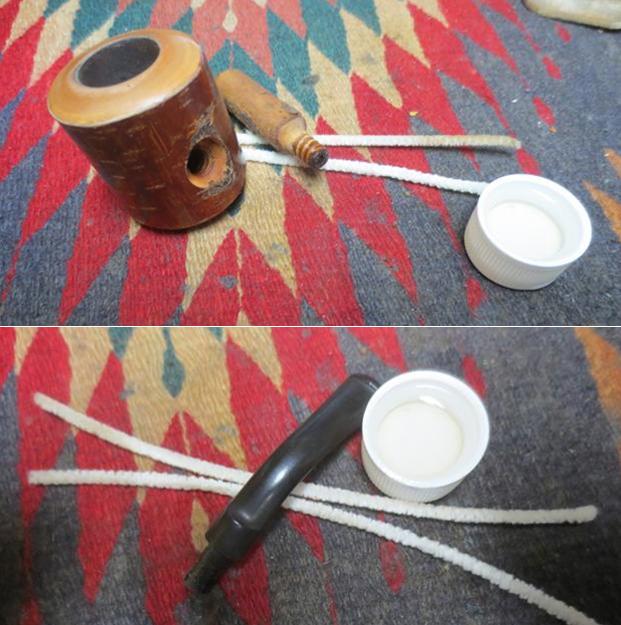
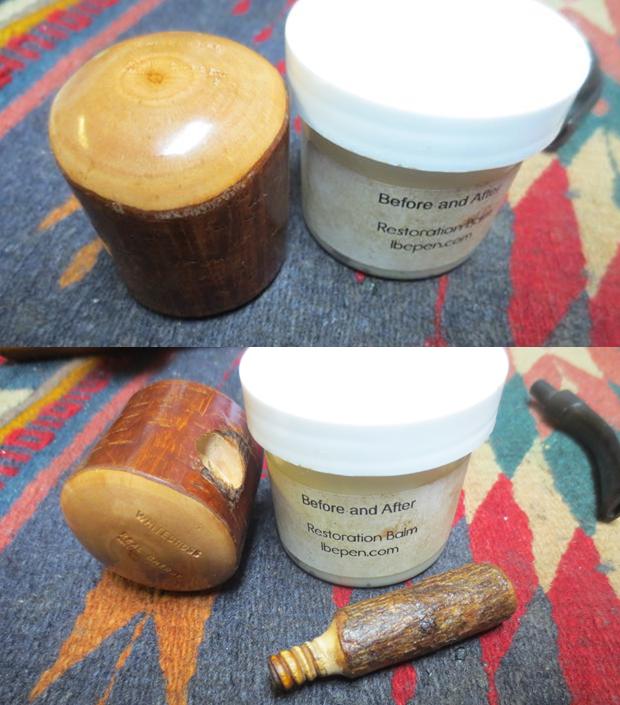
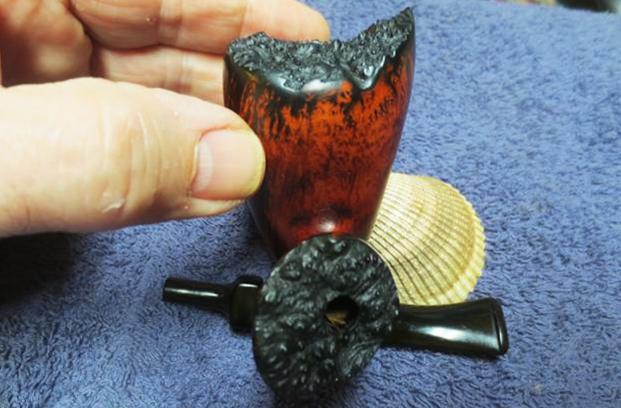
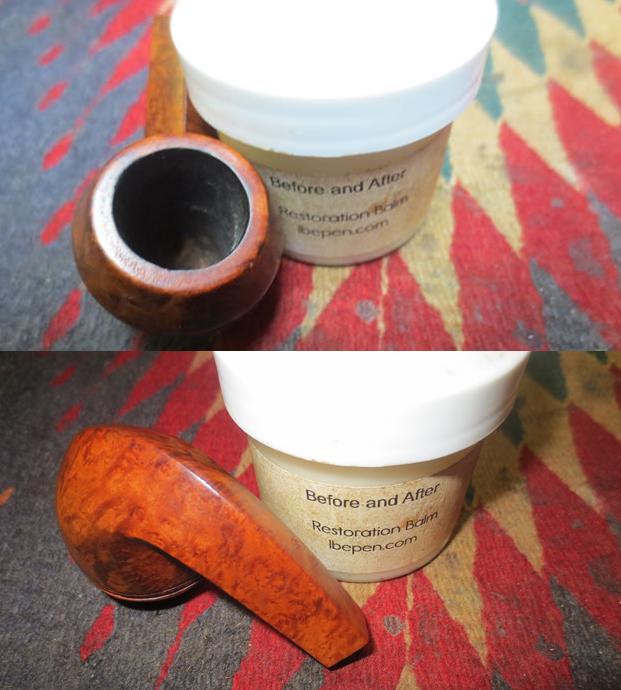
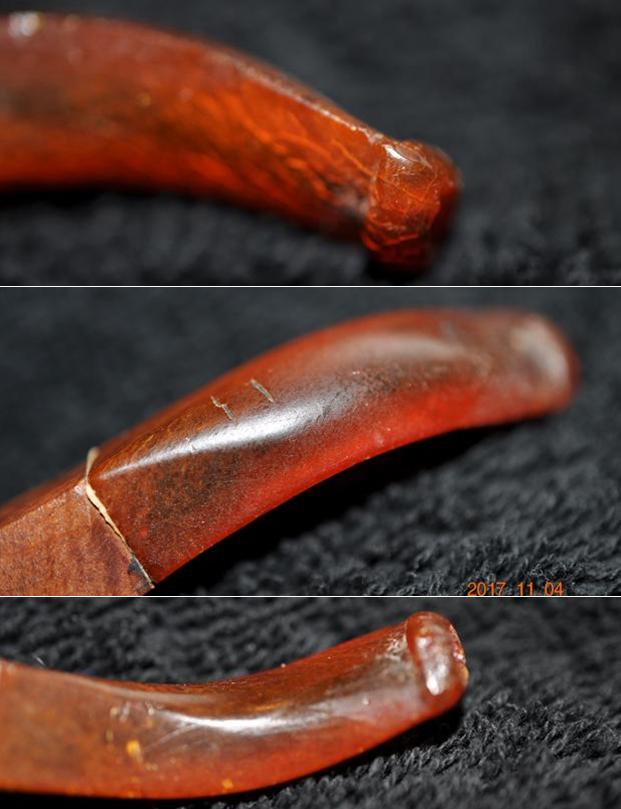 Jeff did a thorough cleanup on the bowl and stem. He reamed the bowl back to bare briar with a PipNet pipe reamer and cleaned up the remnants with a Savinelli Fitsall reamer. He cleaned the internals with alcohol, pipe cleaners and cotton swabs – scrubbing out the mortise as it was very dirty. He scrubbed the exterior of the pipe with Murphy’s Oil soap and a tooth brush and was able to remove all of the tars and oils built up on the briar. He was able to remove all of the tars and lava on the rim top and left it looking very clean. The damage on the rim top and outer edge was clean and visible. He cleaned the stem with warm soapy water and rinsed it with clean water to remove the soap in the airway. When it arrived I forgot to take photos of the pipe. I started to work on it before I took the photos. I remembered after I had topped the bowl and also started to sand the stem and fit it to the shank. I painted the worn tenon with clear fingernail polish to build it up. Then fit it to the shank and took some photos of it to show how it looked before I continued on the restoration.
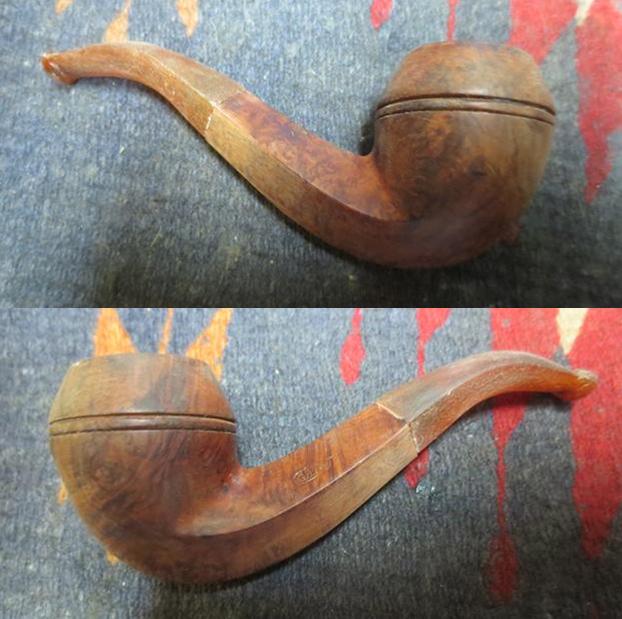
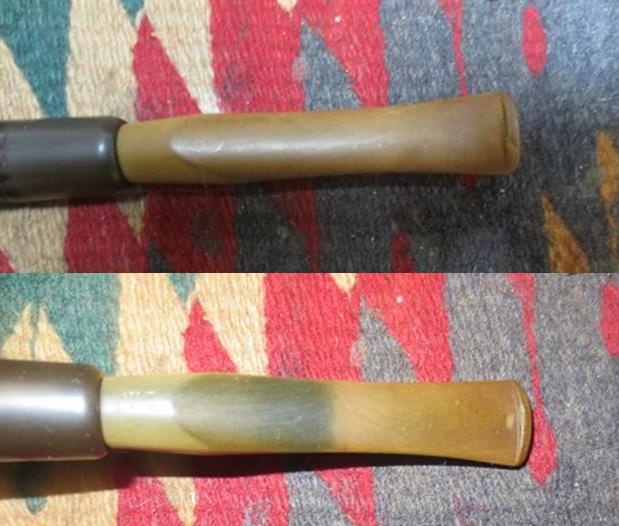
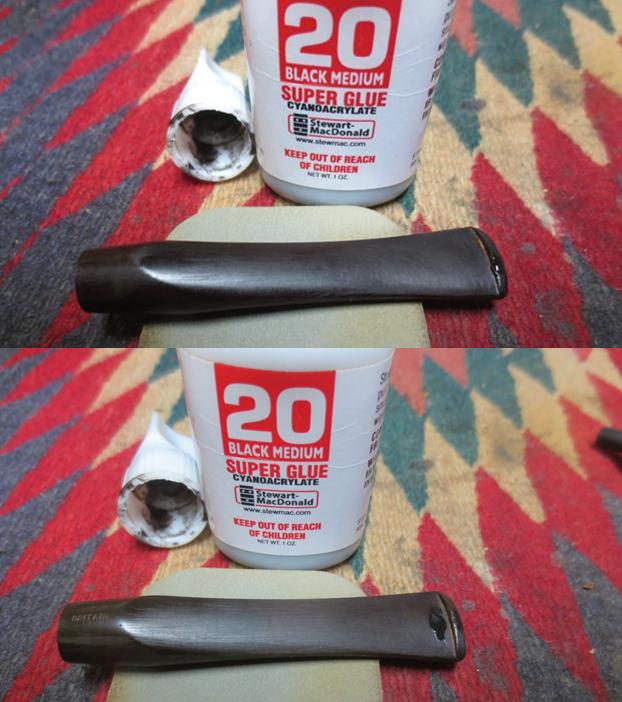
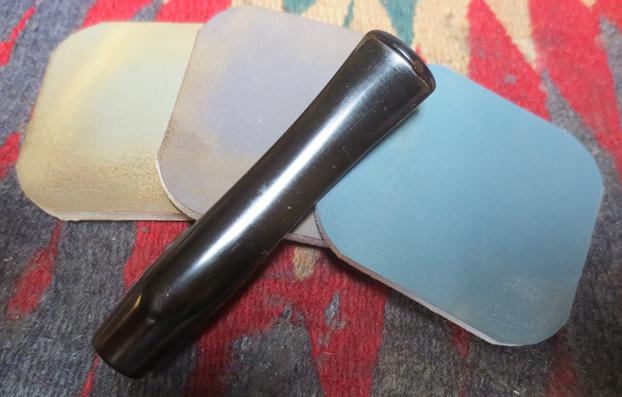
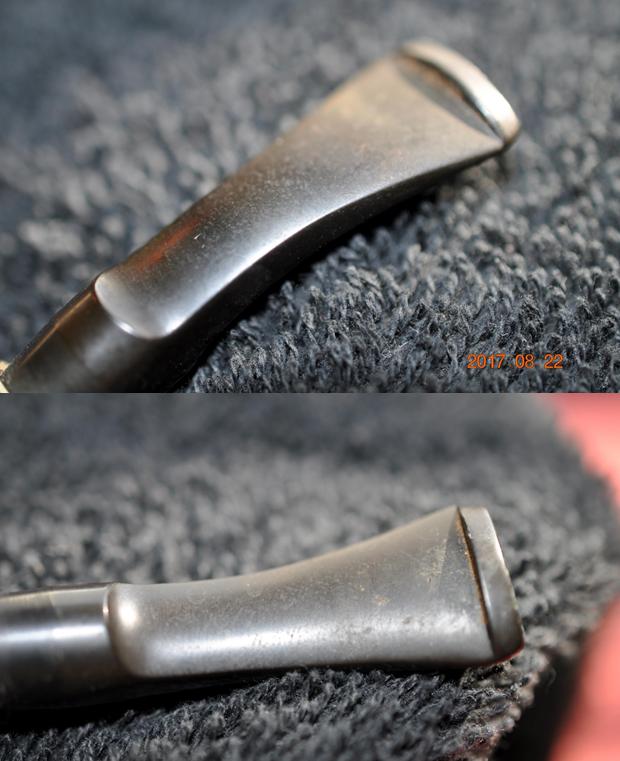
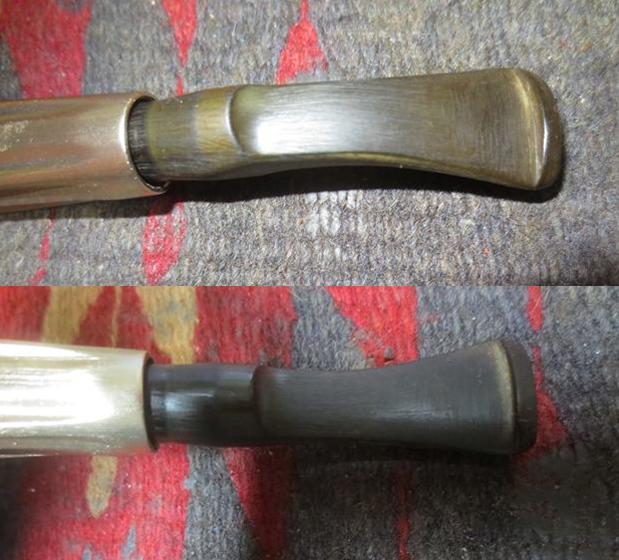
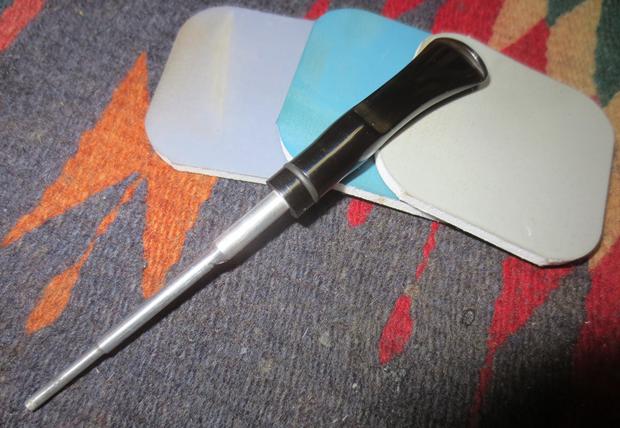
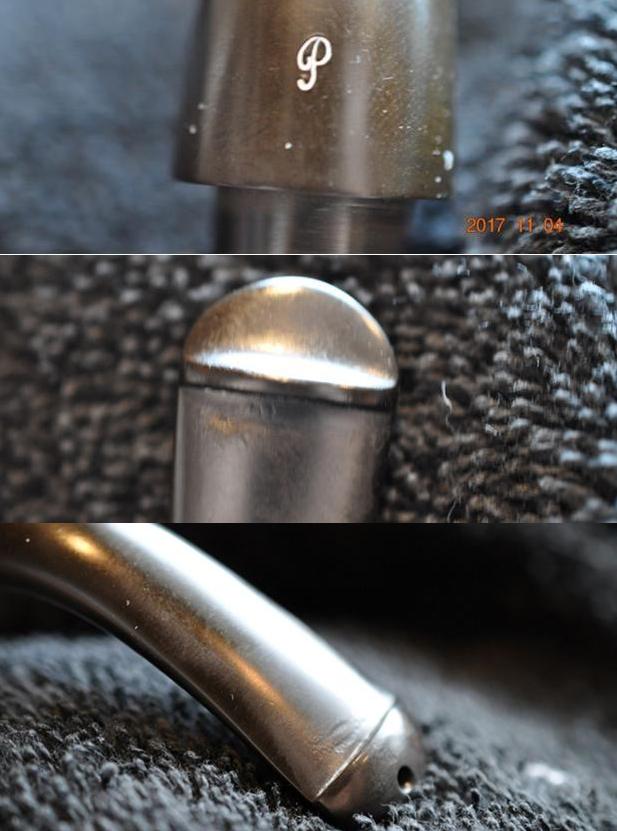
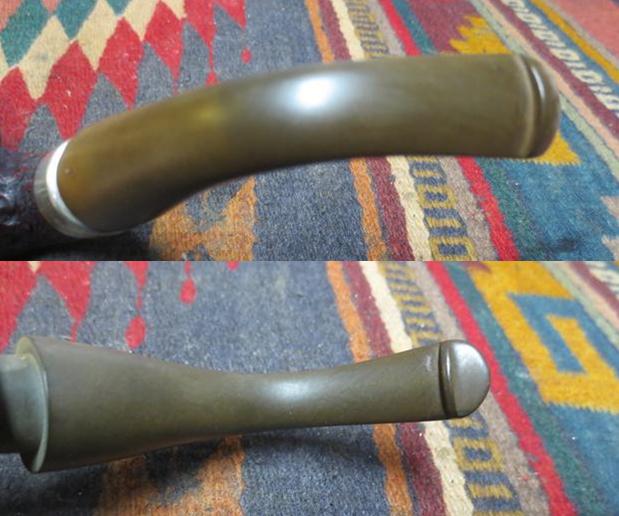
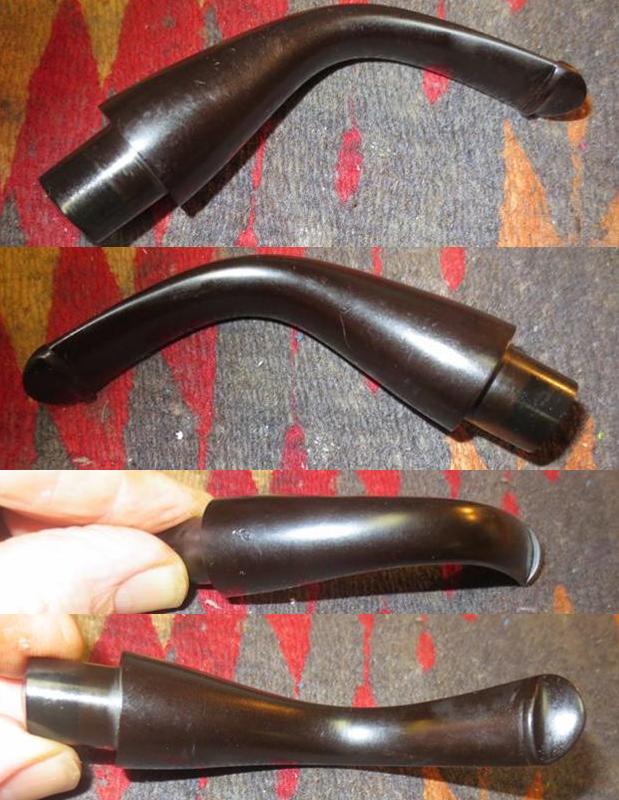
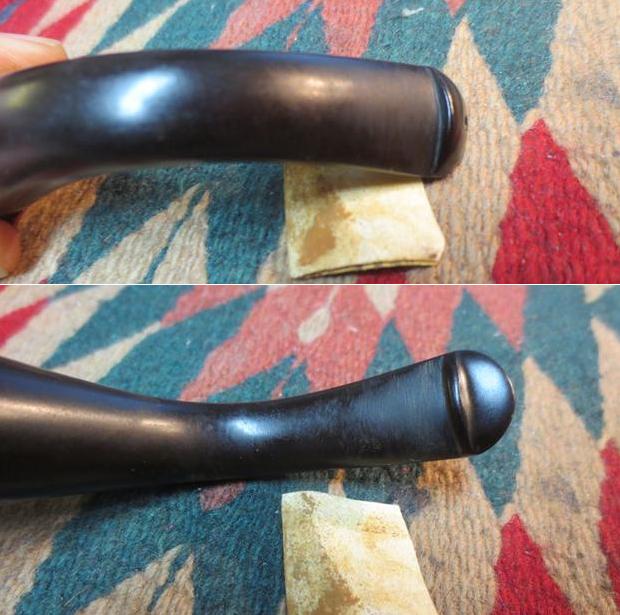
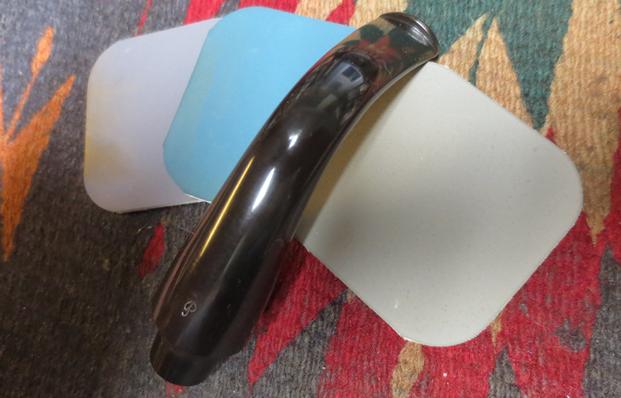
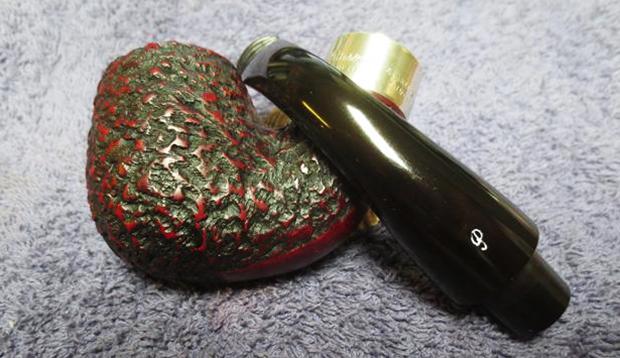
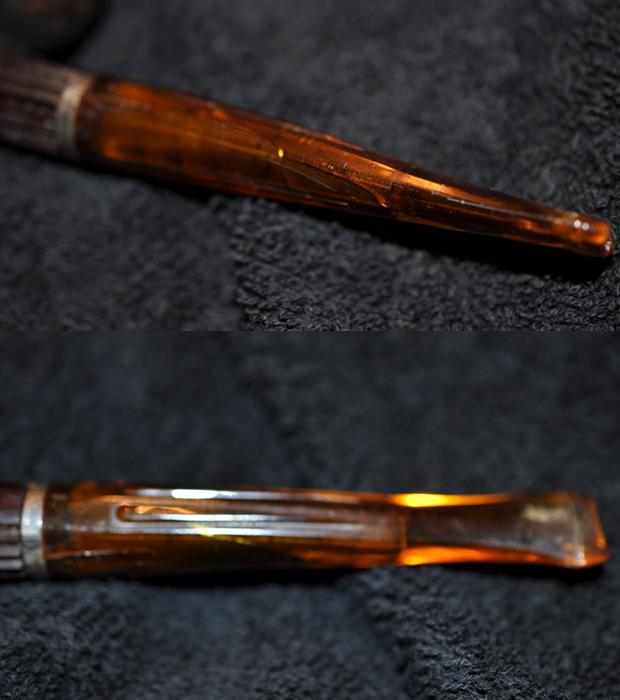
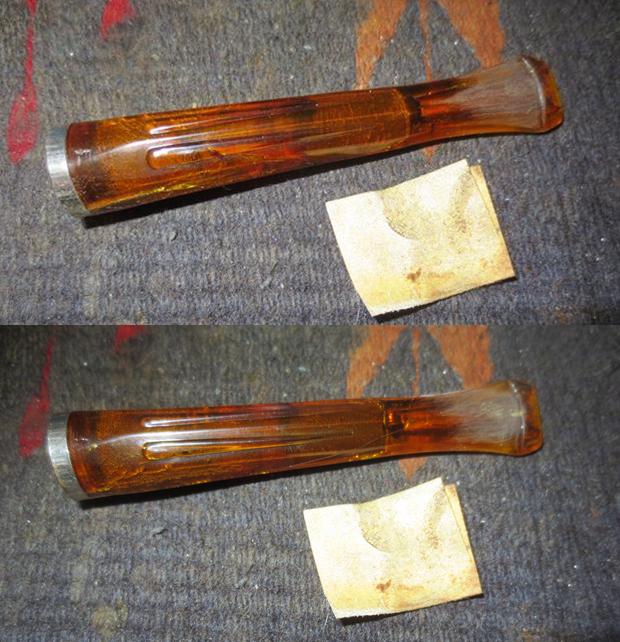
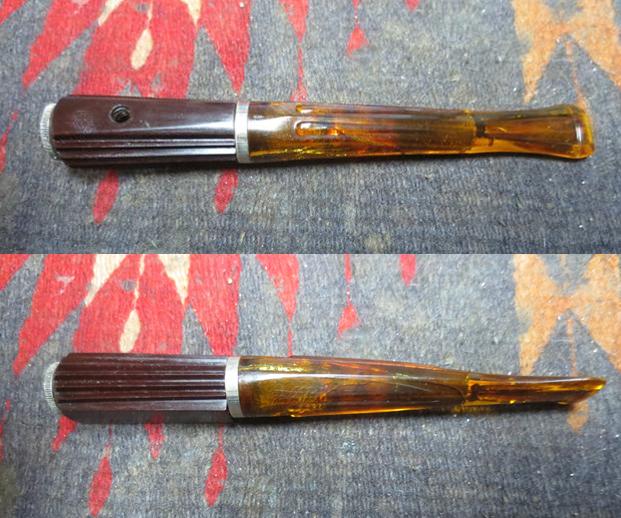
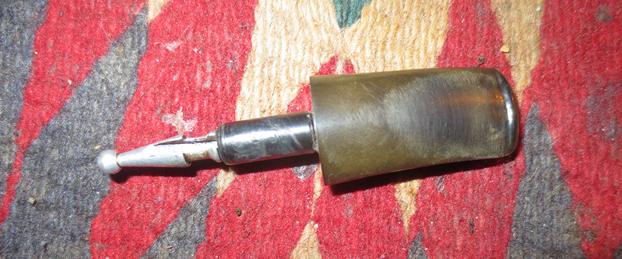
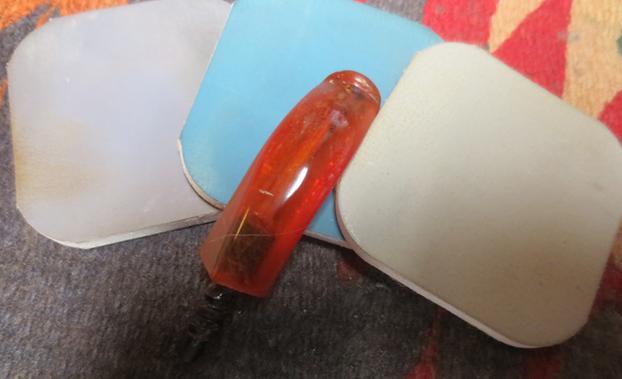
 I took photos of the stem to show the crazing in the Bakelite and some of the damaged areas on the top and underside.
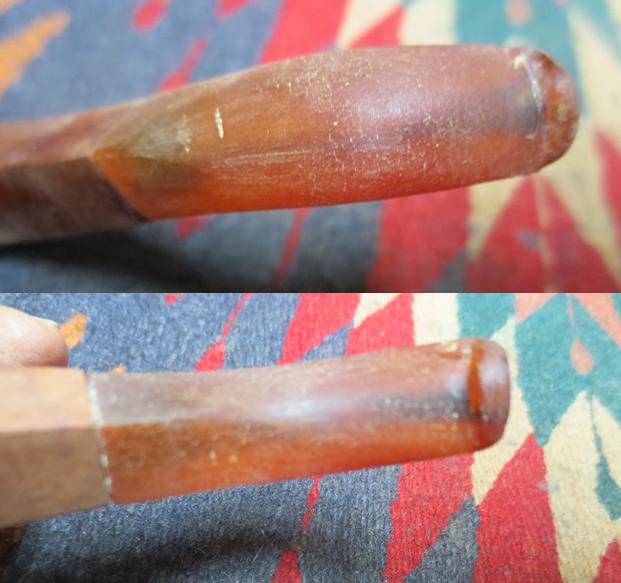 I took some photos of the topping process on the bowl. I did not have to remove too much of the rim surface to get rid of the damage to that area. I used 220 grit sandpaper on the topping board and carefully worked on the rim top until it was smooth and the damaged removed.
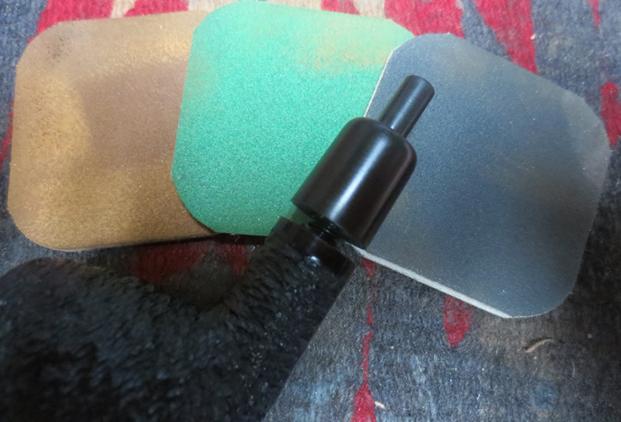
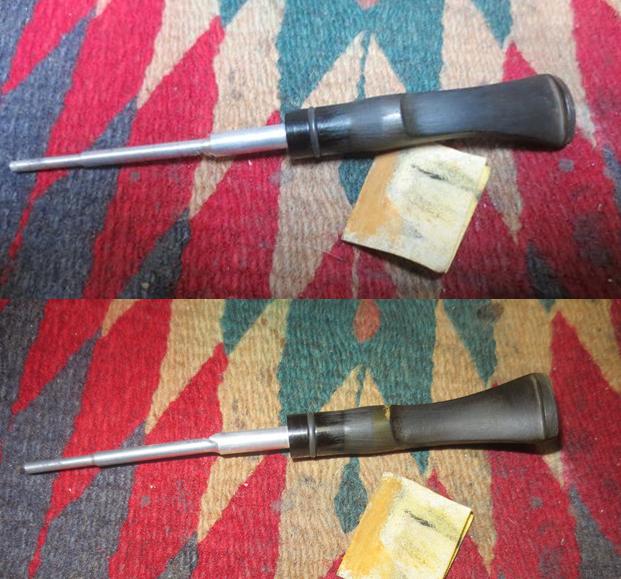
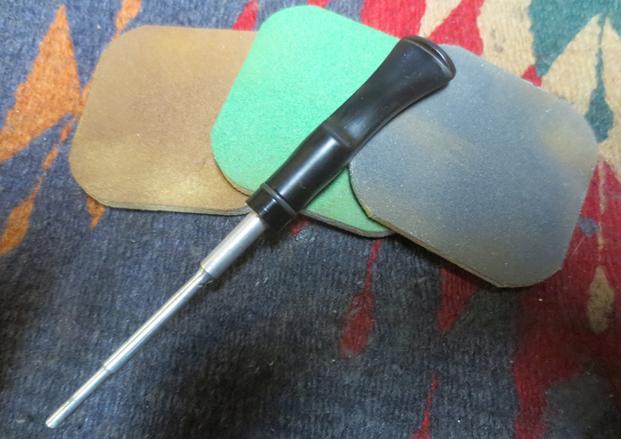
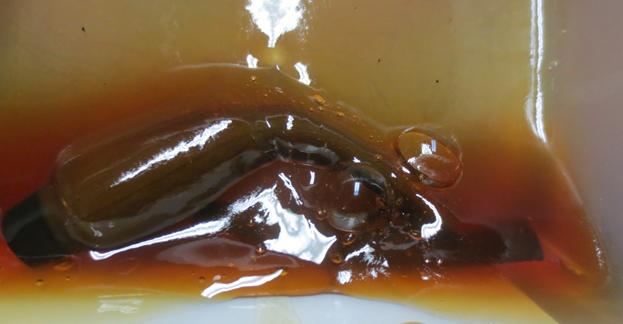
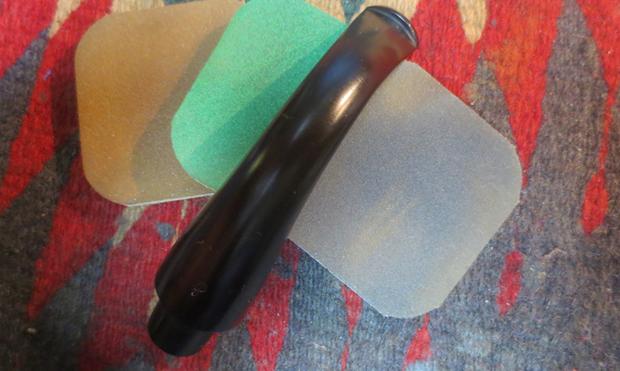
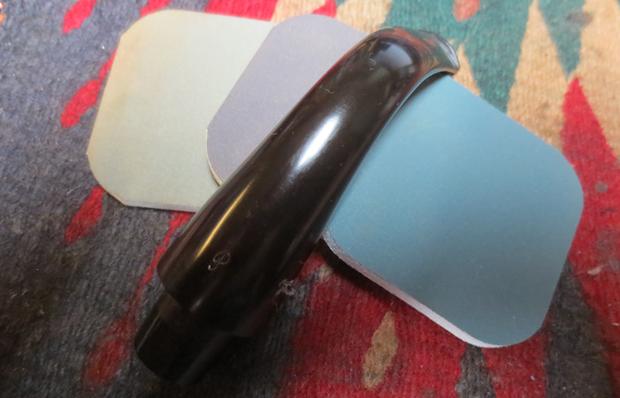
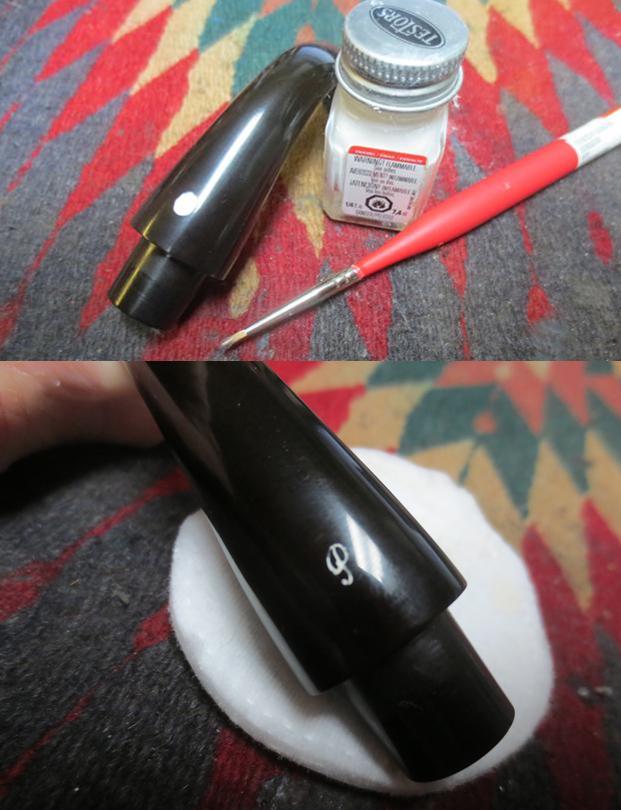
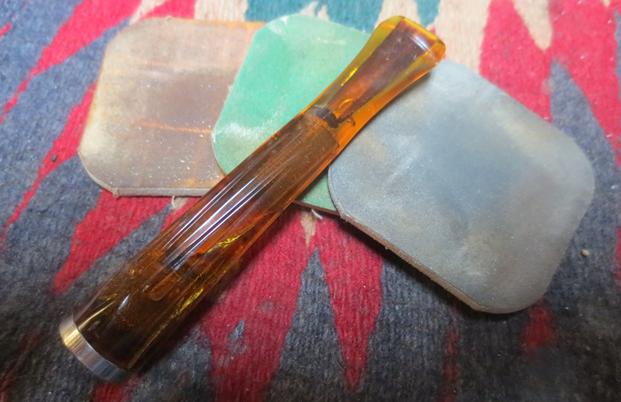
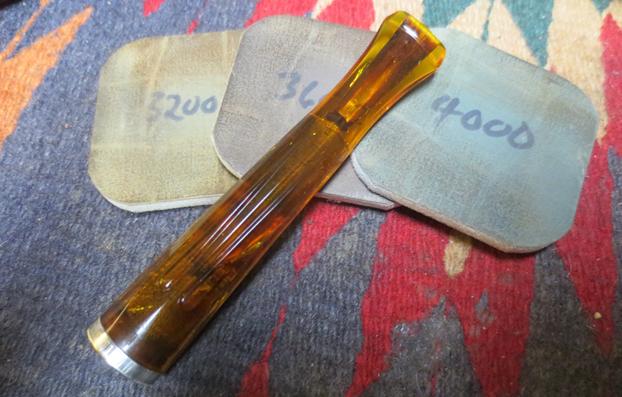
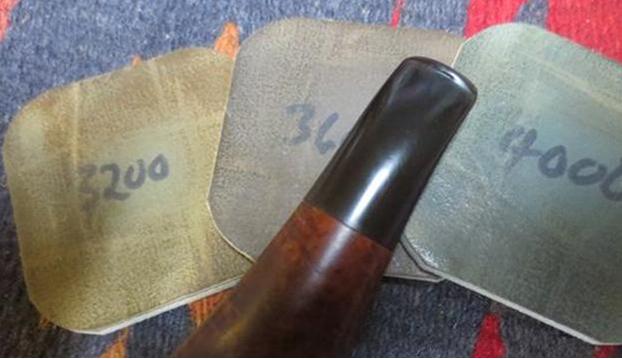
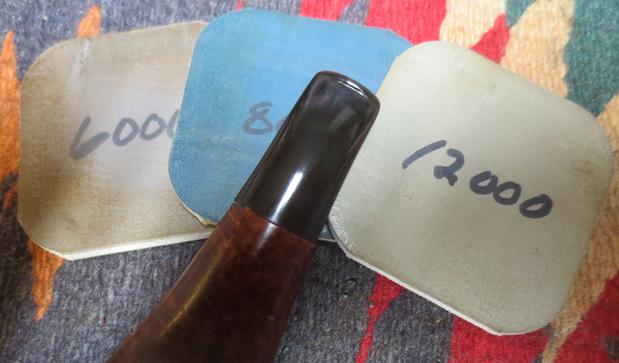
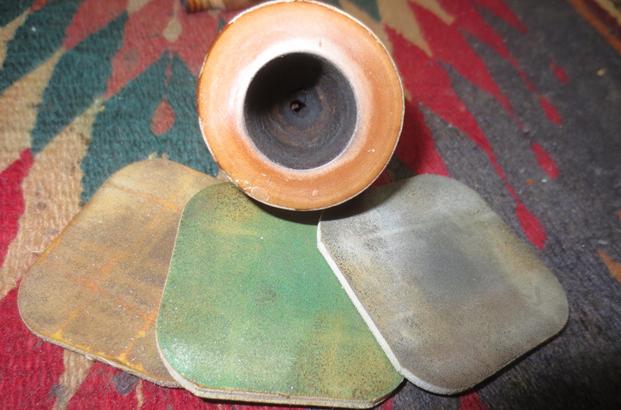
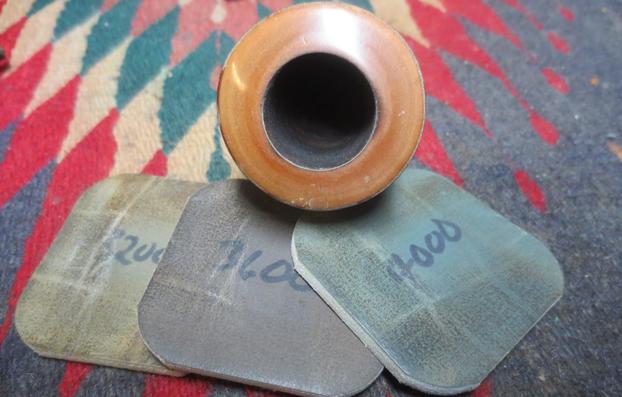
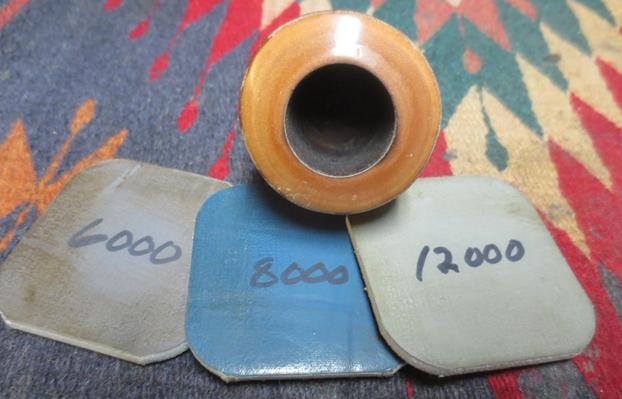
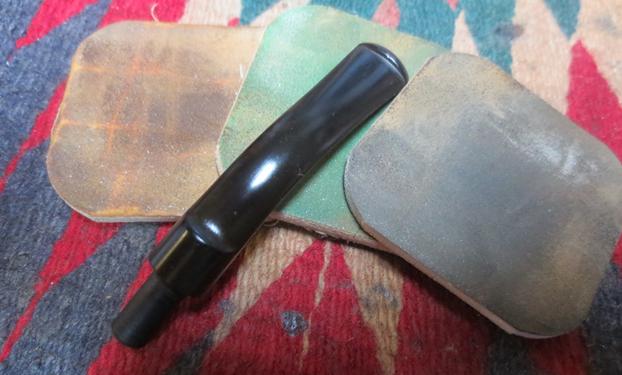
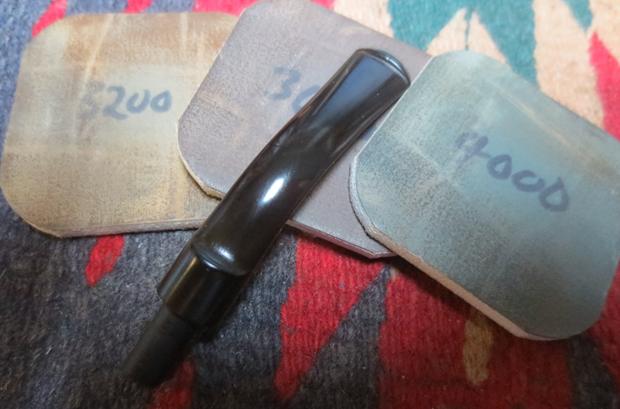
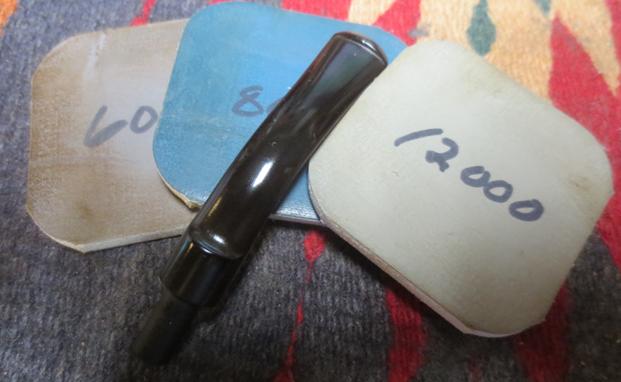
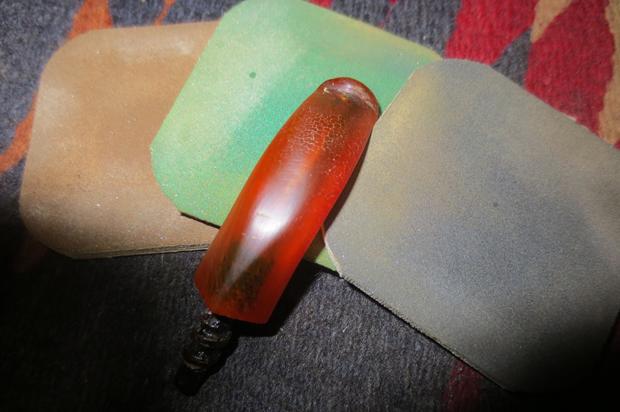
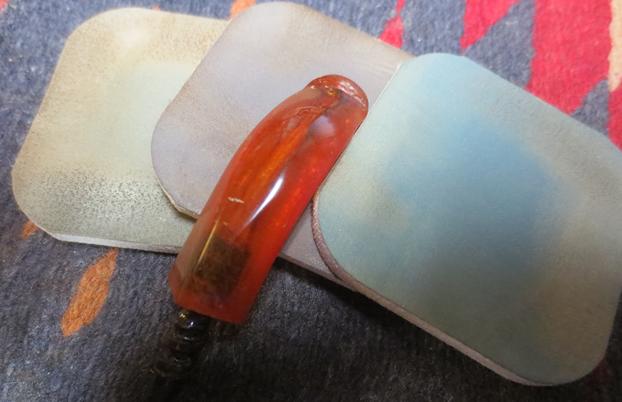
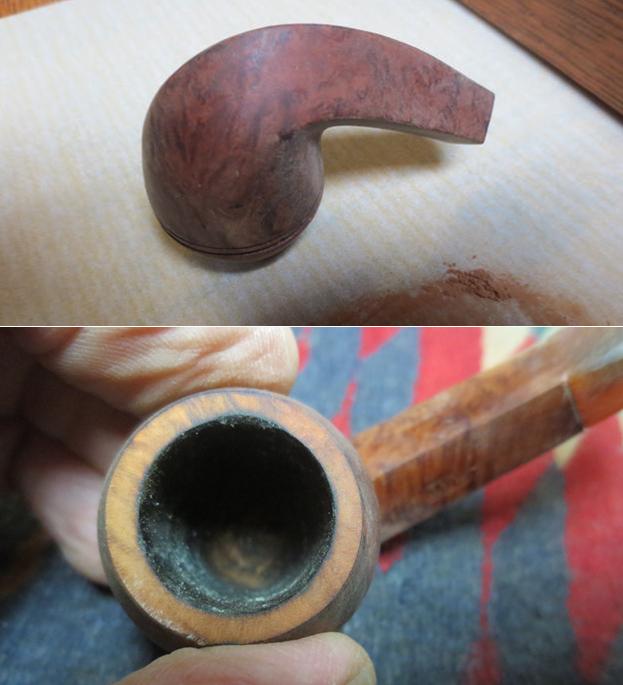 I set the bowl aside and turned my attention to the stem. I filled in the deep gouges on the top of the stem with amber super glue. I sprayed it with accelerator and when it dried I sanded out the repairs with 220 grit sandpaper to blend them into the surface. I polished out the sanding scratches and marks in the Bakelite with micromesh sanding pads – wet sanding it with 1500-2400 grit pads and dry sanding it with 3200-4000 grit pads. I wiped the stem down with Obsidian Oil after each sanding pad. I carefully buffed the stem with Blue Diamond on the buffing wheel so as not to let it get too hot and damage the material. I brought it back to the table and sanded it with the final three 6000-12000 grit pads. After the final pad I gave it a final coat of oil and set it aside to dry.
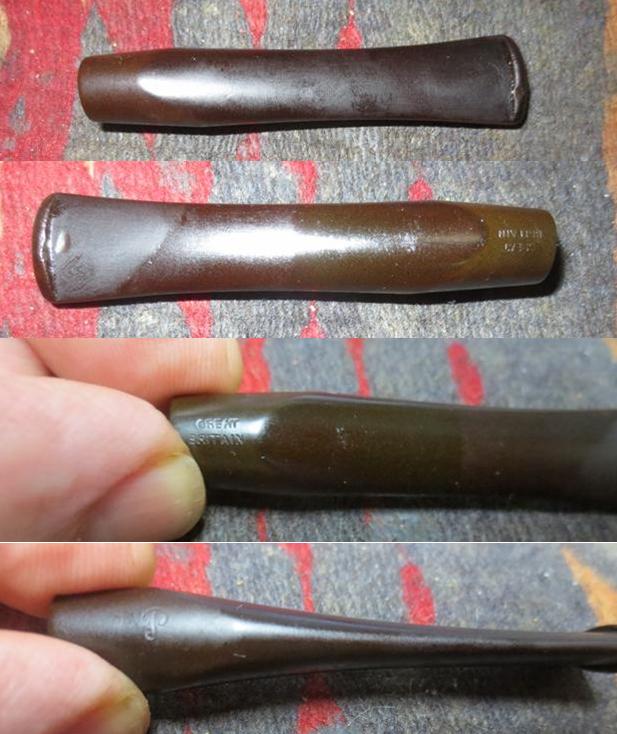
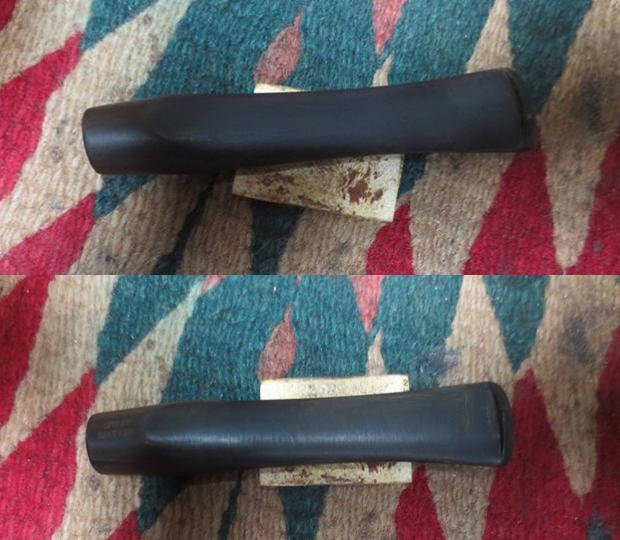
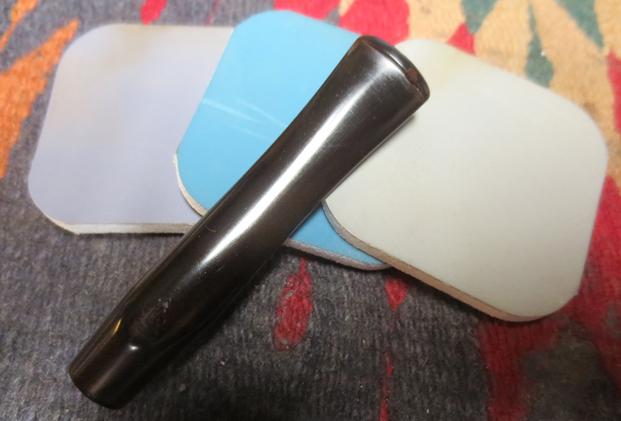
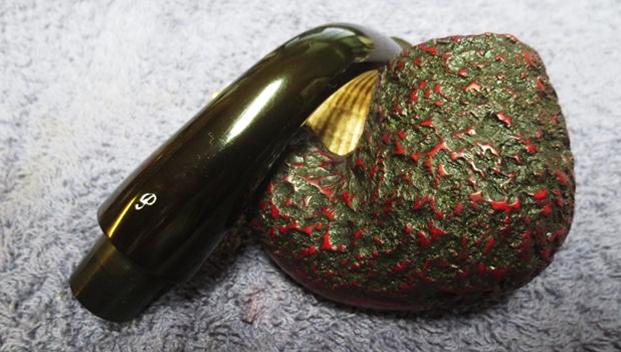
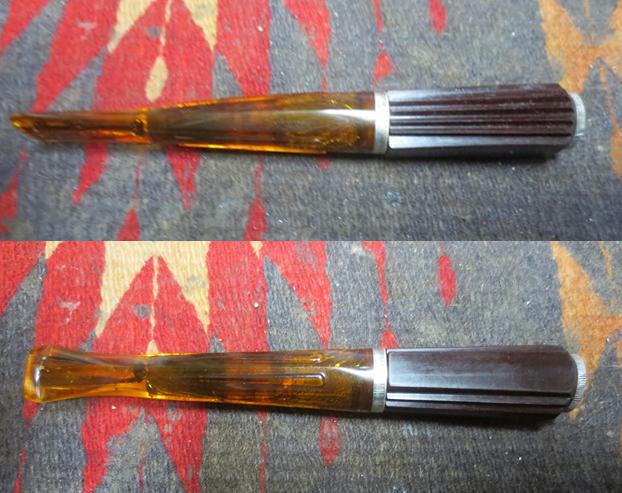
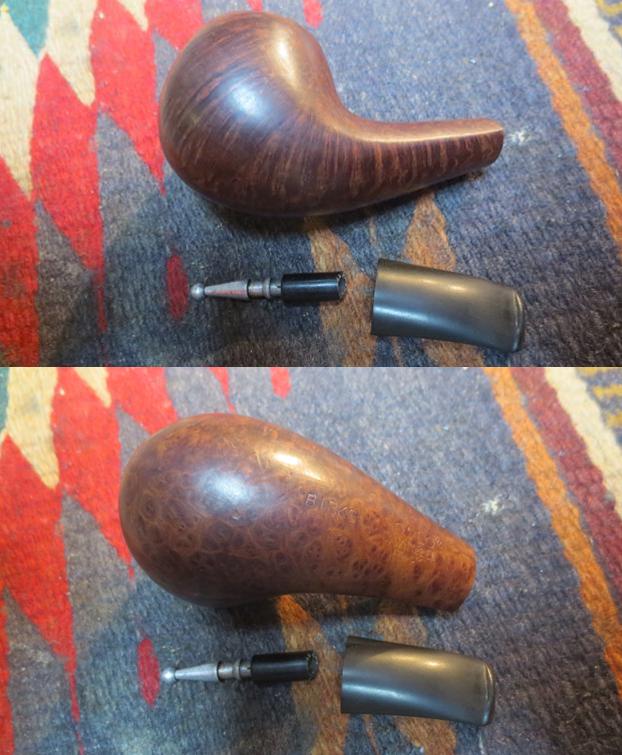
 I was able to polish out much of the damage to the stem. Most of crazing was on the surface so most of it is gone as well. The amber Bakelite polished up really well and almost glowed. That part of the restoration went well and the stem looked new and would look good on the finished pipe bowl.
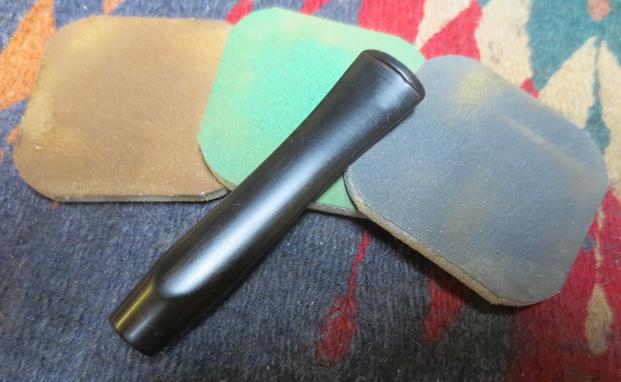
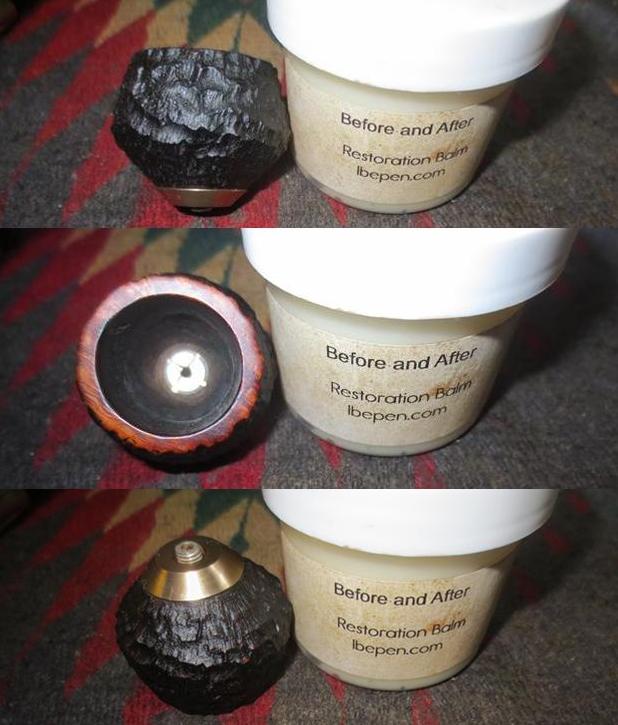
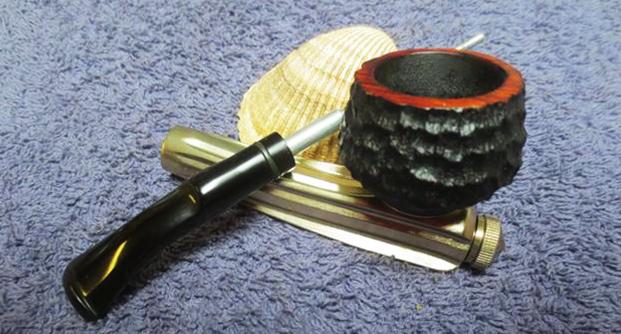
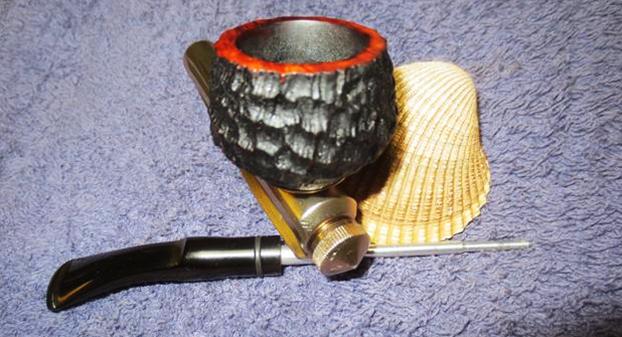
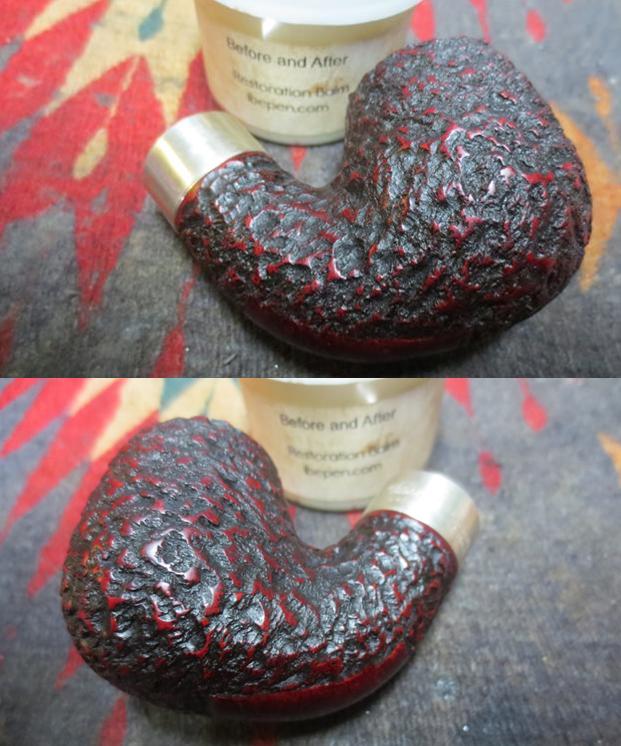
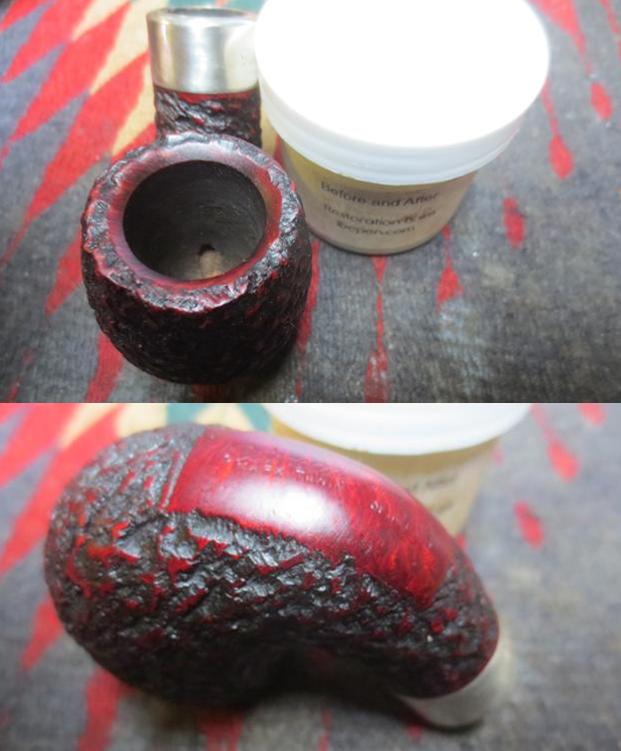
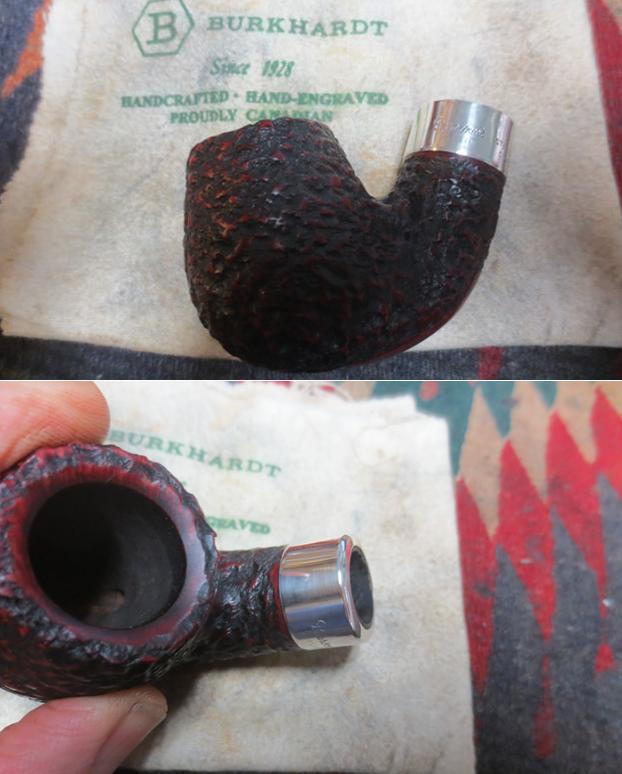
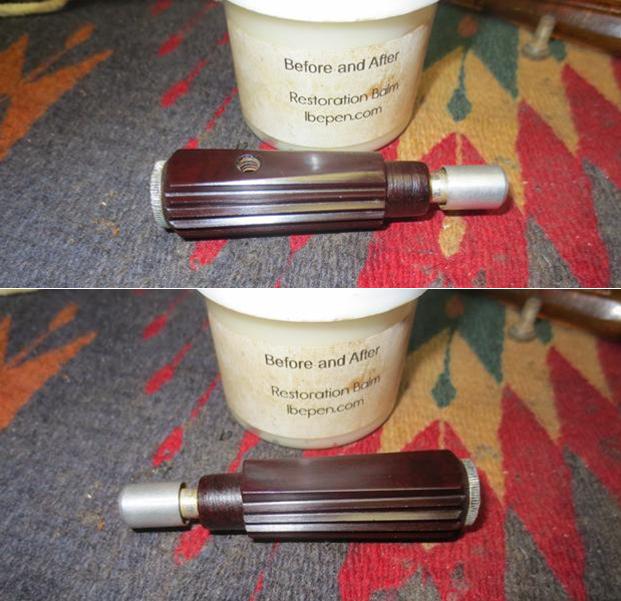
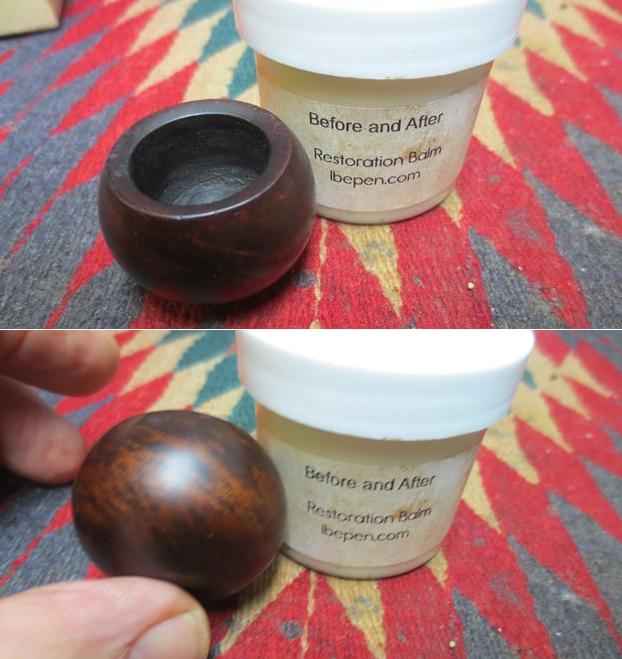
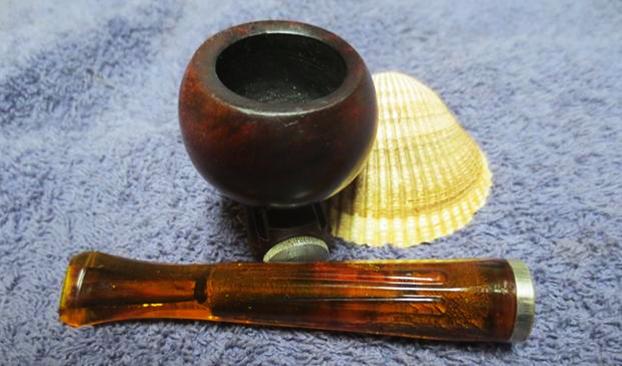
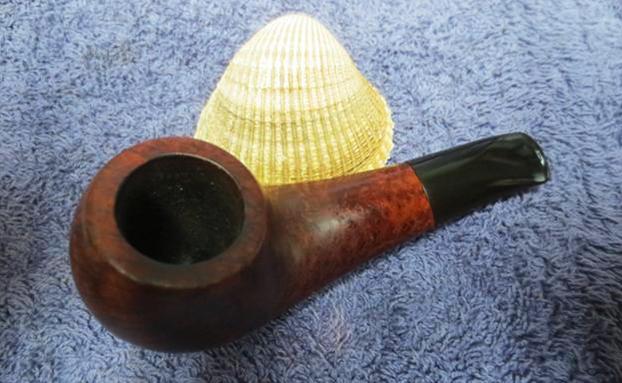
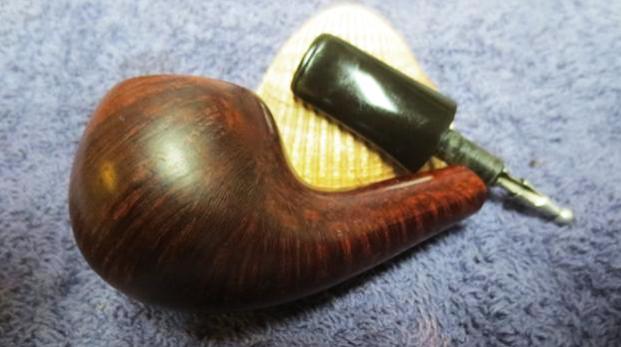
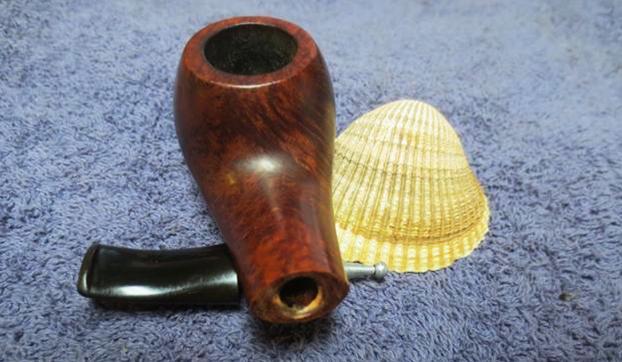
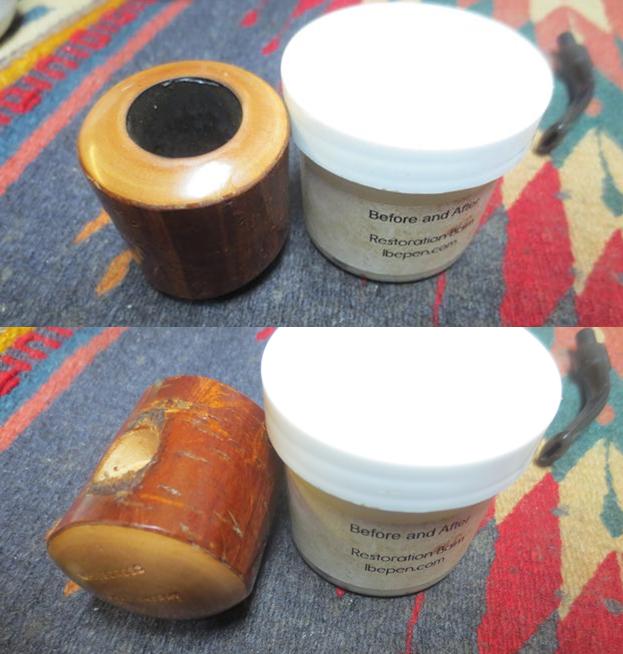
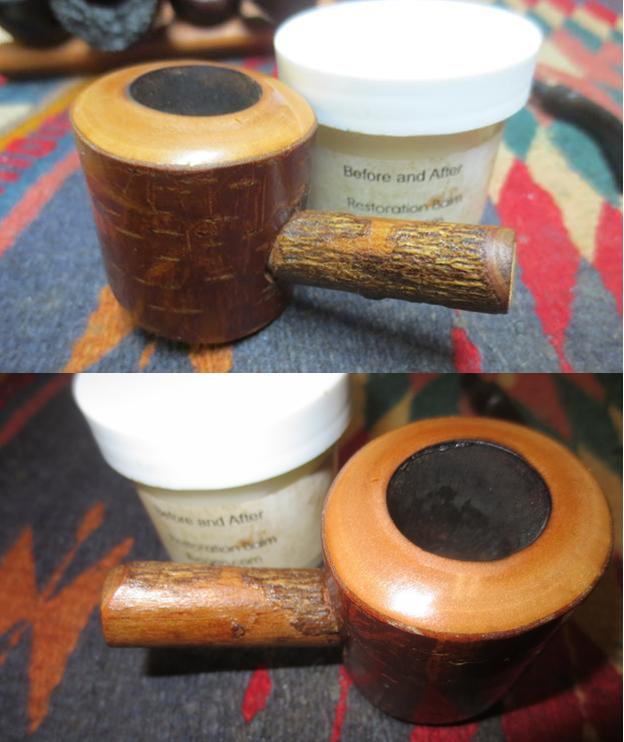
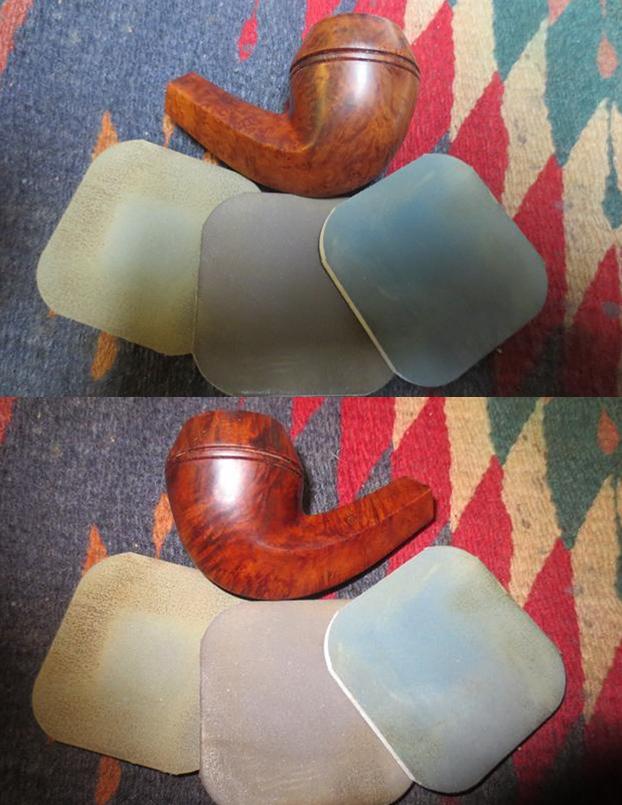
I set the stem aside and rubbed the briar down with Before & After Restoration Balm to deep clean the smooth finish, enliven and protect the briar. I hand rubbed it with my fingers and wiped it off with a soft cloth. I buffed the bowl with Blue Diamond on the wheel to polish it. It really began to have a deep shine in the briar. The rich reds in the briar and the brown stain really looked good at this point in the process. I took some photos of the bowl to mark the progress in the restoration. I decided to leave the small nicks in the bowl surface as marks of character rather than damage the original finish by sanding them all out. 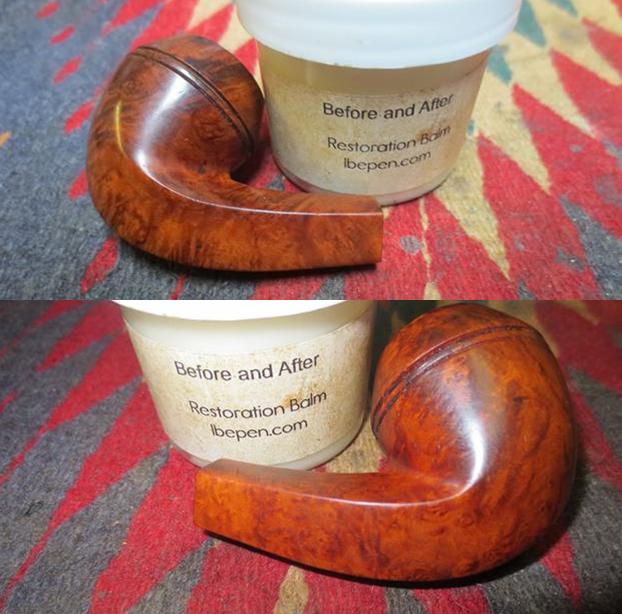
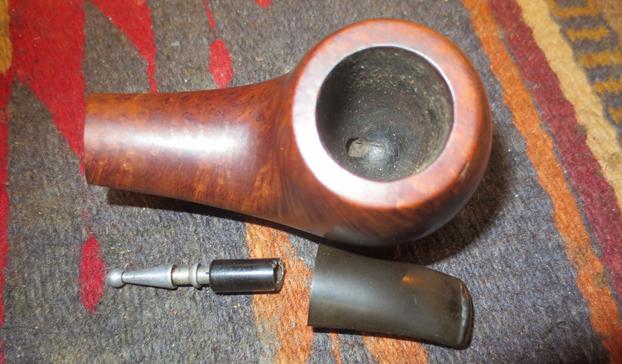
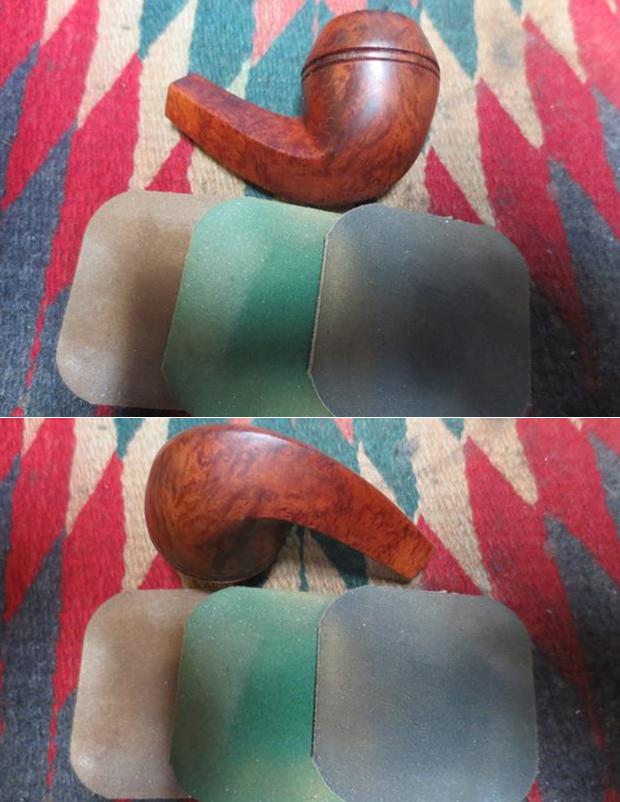
 I polished the bowl and rim top using the micromesh sanding pads – wet sanding with 1500-2400 grit pads and dry sanding with 3200-12000 grit pads. I wiped the rim down after each pad with a damp cotton pad. When I finished the polishing I wiped it down a final time.
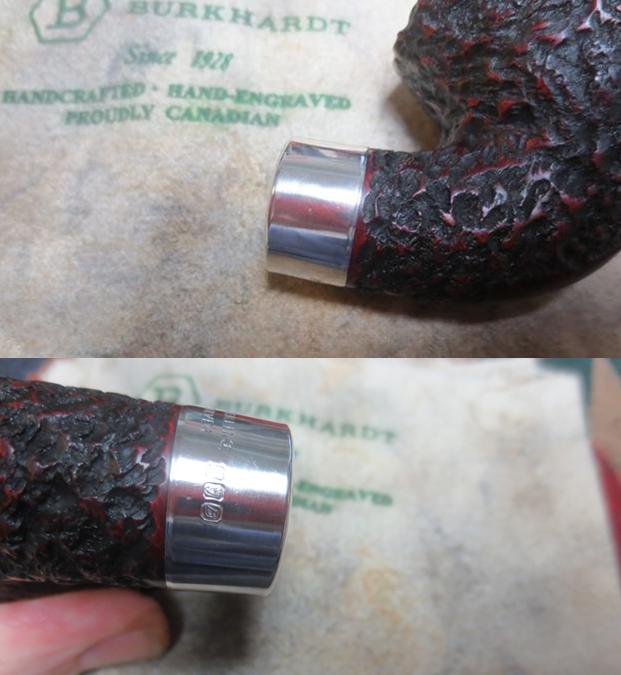
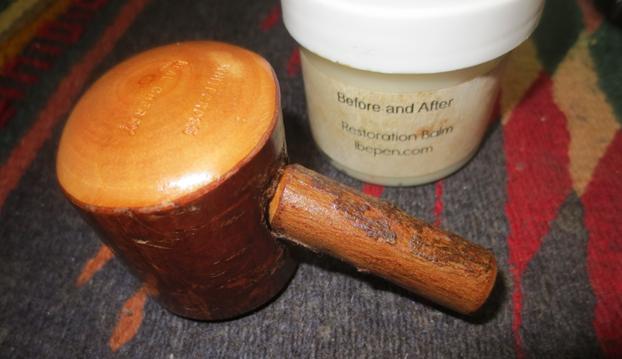
 I used some Rub’n Buff European Gold to touch up the GFB stamp on the left side of the shank. I applied it to the stamp with a cotton swab and worked it into the stamp. I repeated the process until the coverage was good. I wiped it off and buffed the shank with a cotton pad.
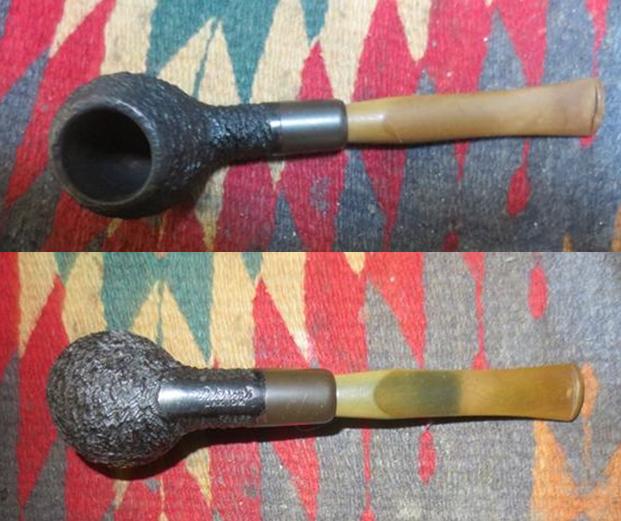
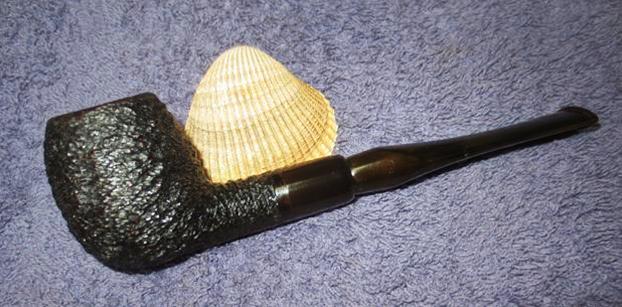
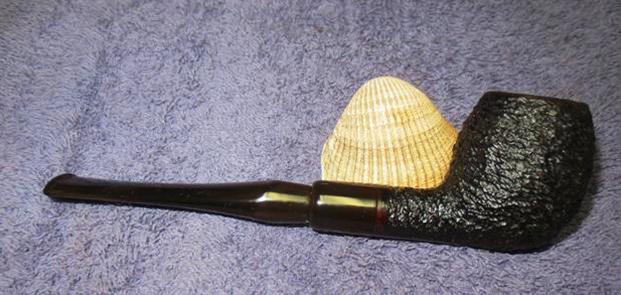
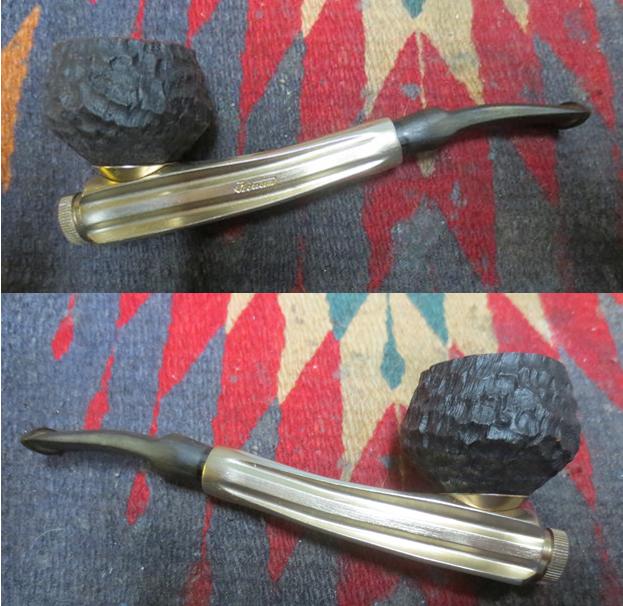
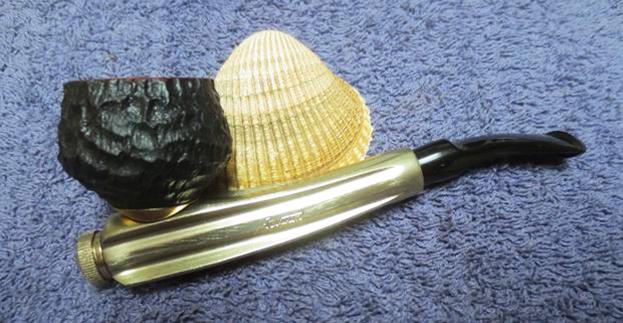
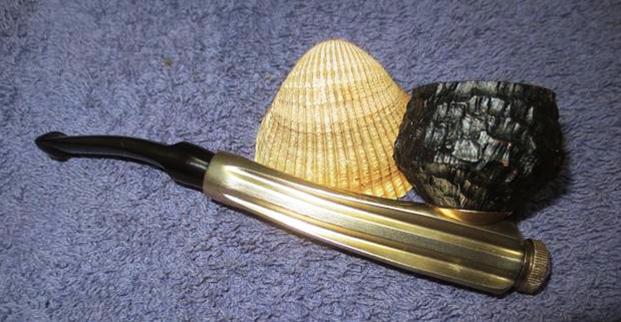
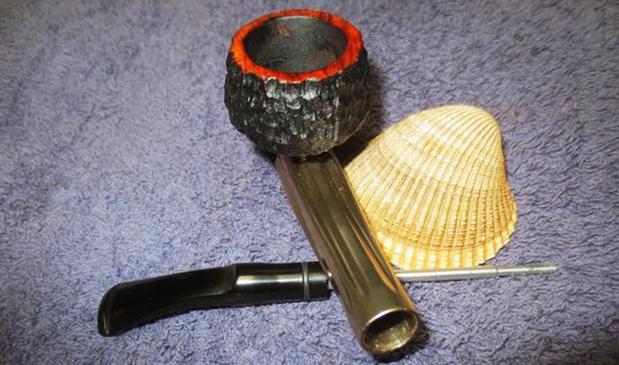
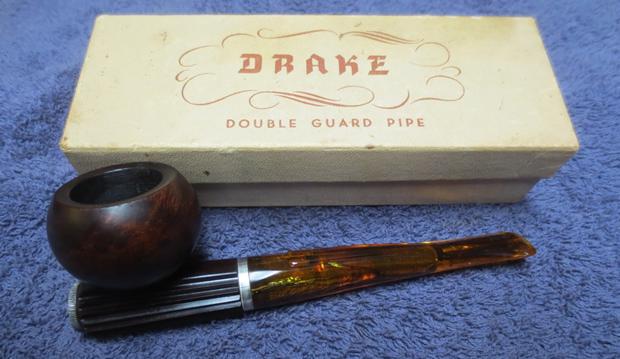
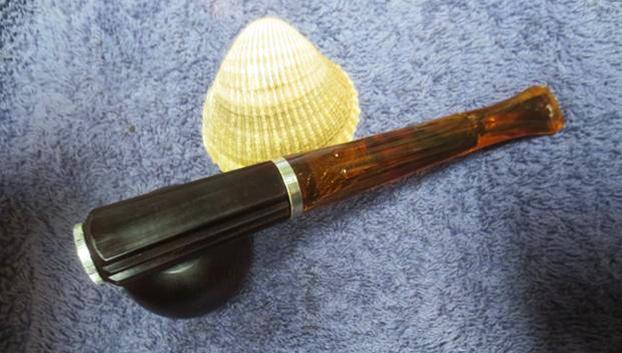
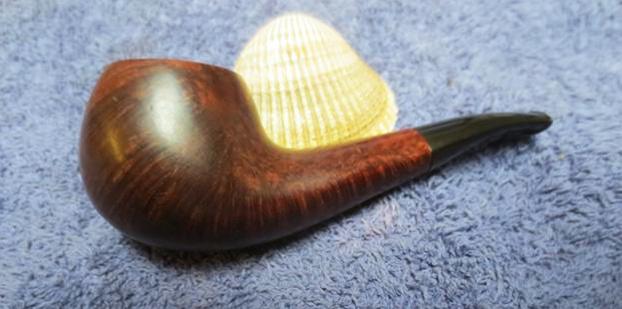
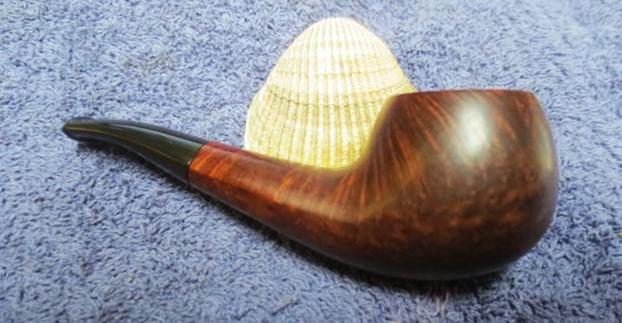
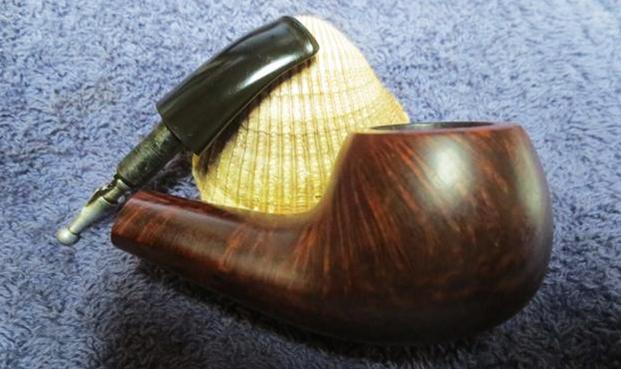
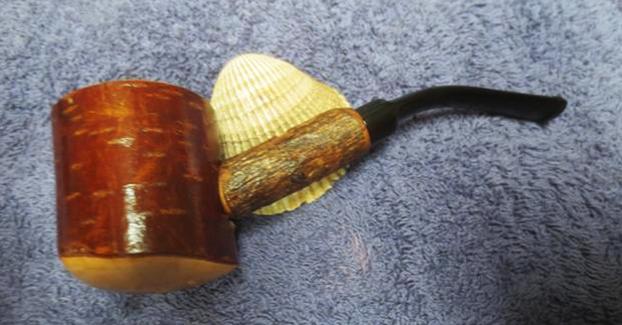
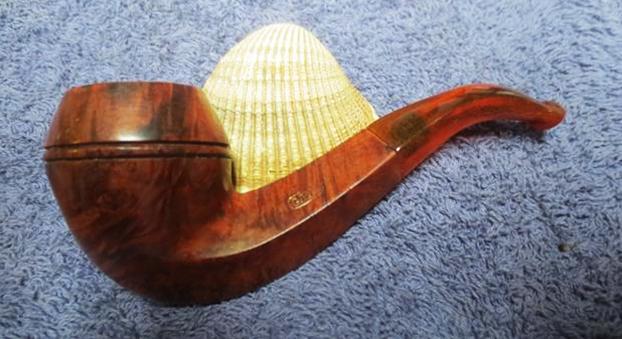
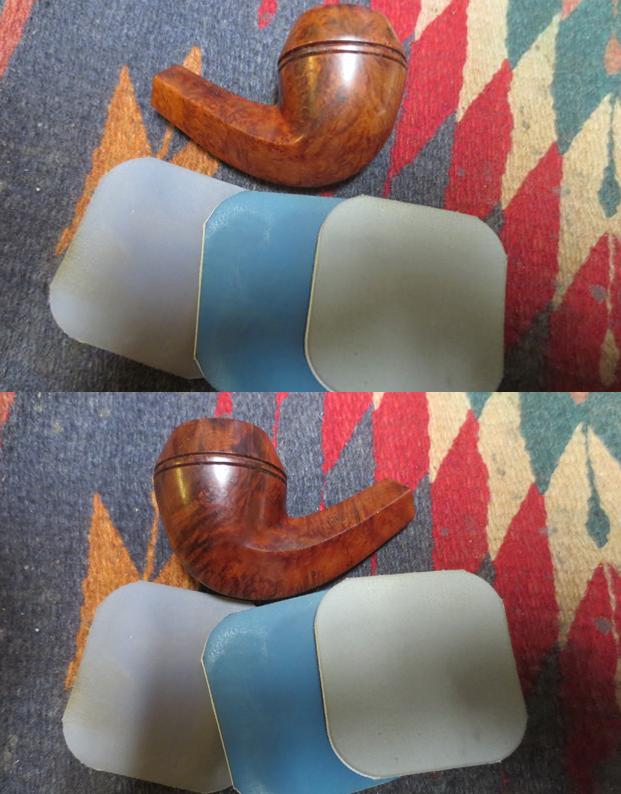
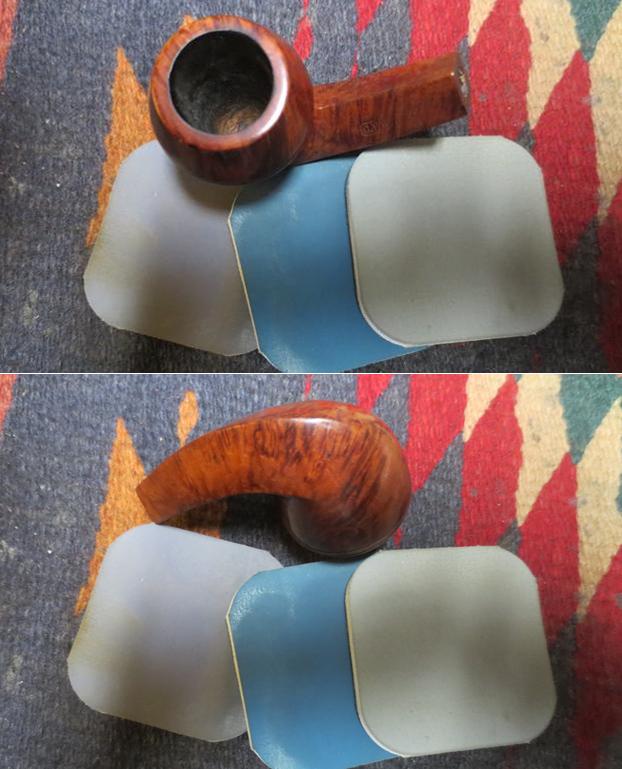
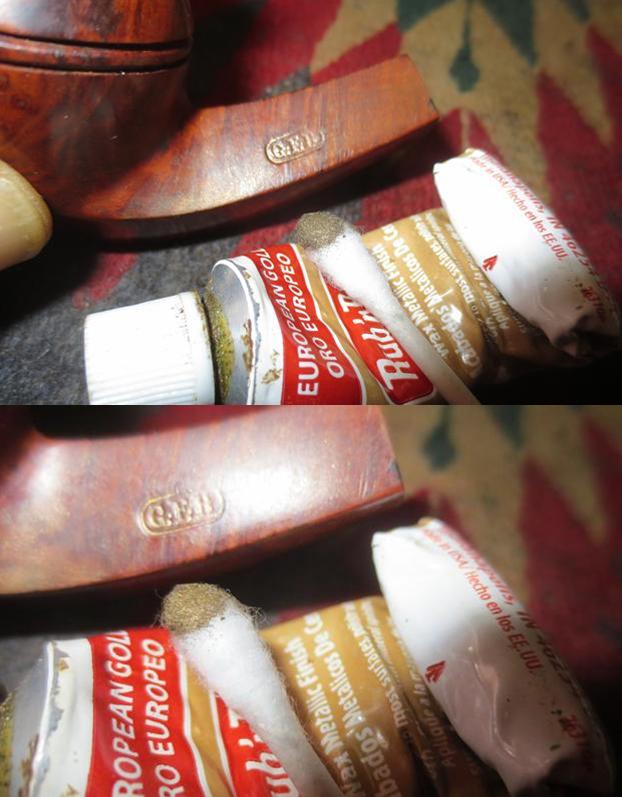 I put the stem back on the bowl and worked the pipe over on the buffing wheel using Blue Diamond to polish the bowl and shank. I lightly buffed the stem to raise the gloss on the Bakelite. I gave the bowl multiple coats of carnauba wax and the stem multiple coats of Conservator’s Wax. I buffed the entire pipe with a clean buffing pad to raise the shine. I hand buffed it with a microfiber cloth to deepen the shine. The finished pipe is shown in the photos below. The rich reddish brown stain on the bulldog shaped bowl works well with the amber gloss of the Baklite stem. This old GFB pipe has a nice mix of grain and now that it is restored it has lots of life in it. It is pipes like this that I wish could speak and tell their story. I would love to know the length and breadth of its journey around the world from France to the US and now to Canada. I guess though I will have to be happy adding my own story to the ongoing saga of this old pipe. Thanks for looking.