Tag Archives: waxing a stem

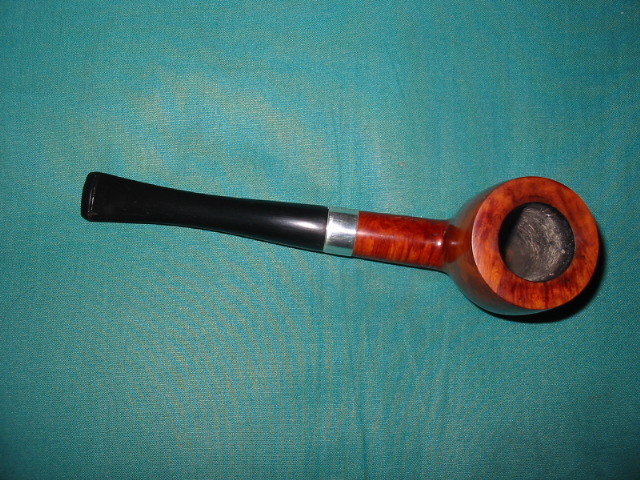
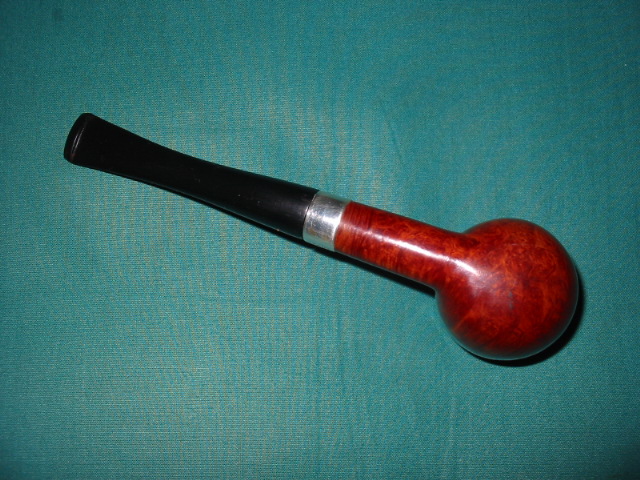
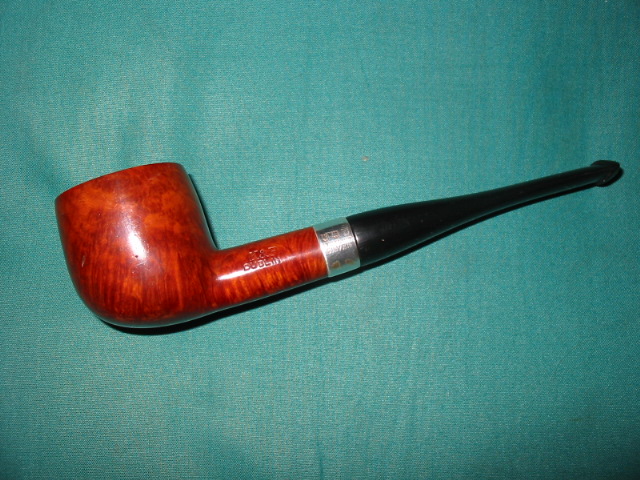
Restored a Comoy’s Tradition from the 50’s


I have been looking for a Comoy’s pipe in the higher grades since I read a thread on Smokers Forums on the various grades of Comoy’s. On my anniversary trip to the States I came across a nice Tradition at an antique store. With a little bit of haggling the pipe and three others became mine (in the picture below the top pipe is an older Edwards that I picked up the next day at a different shop).
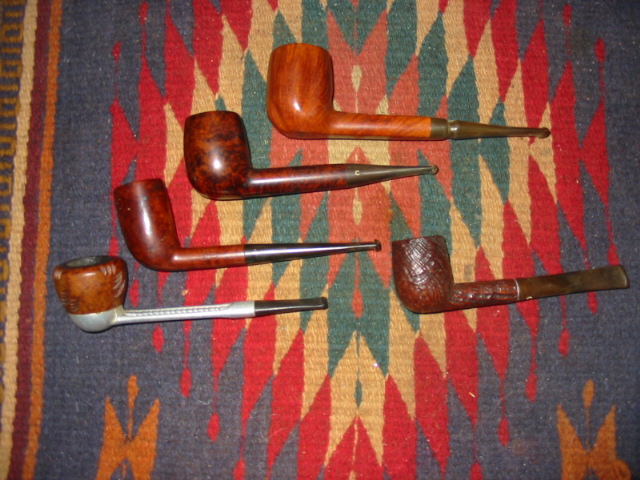
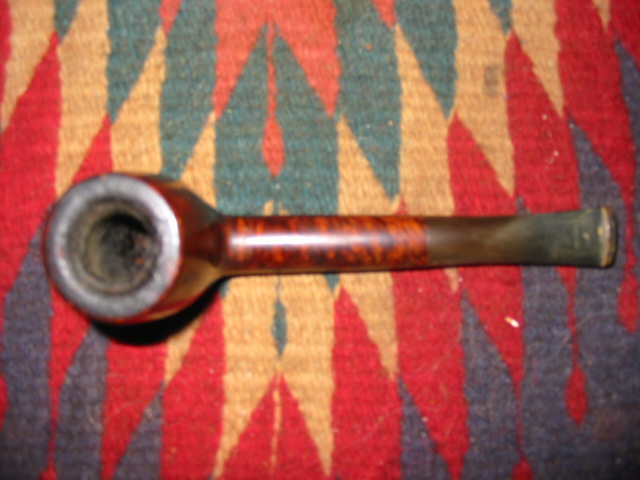
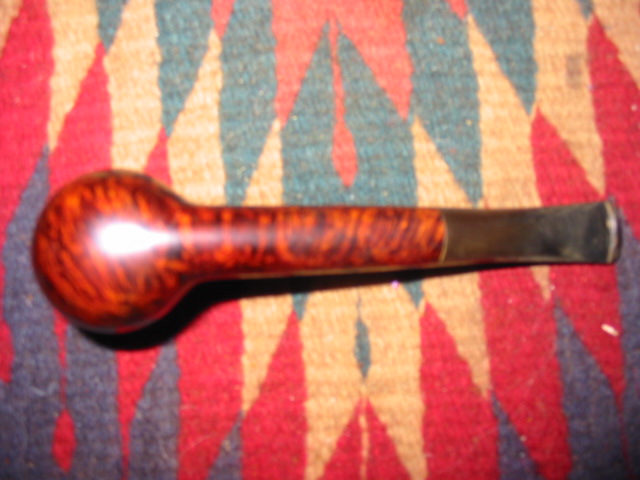
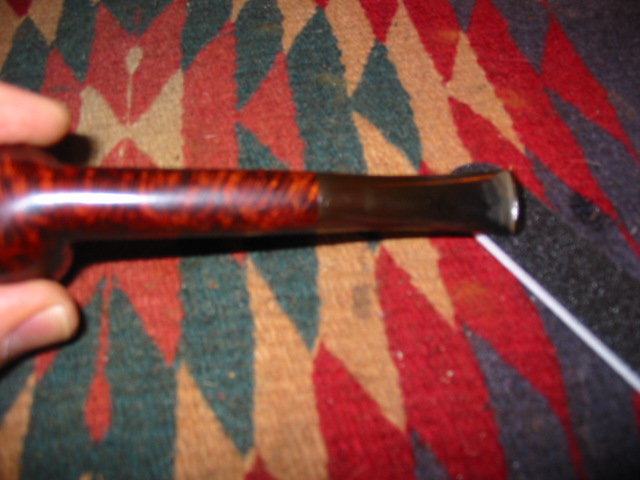
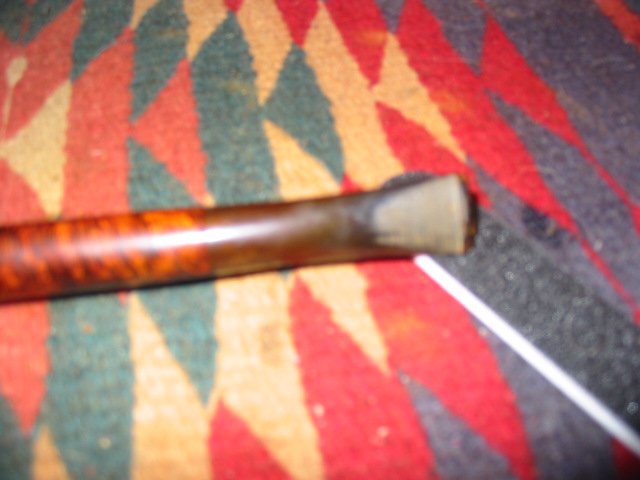
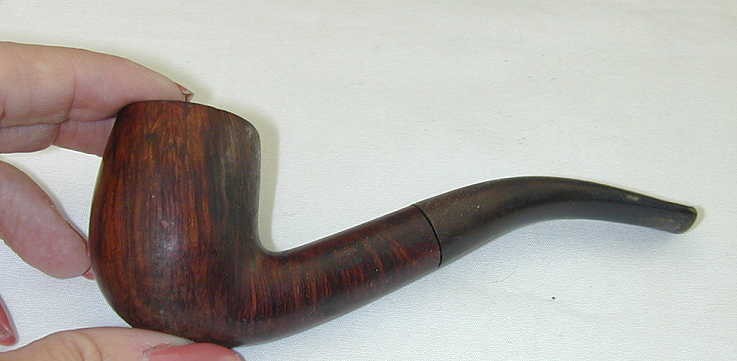
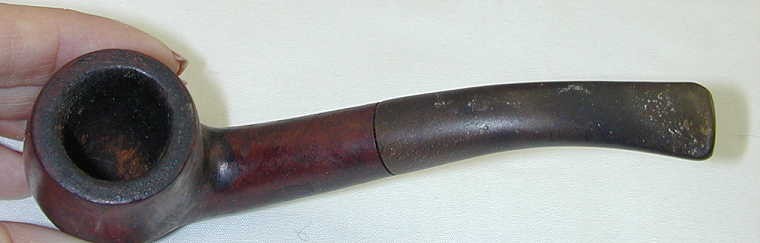
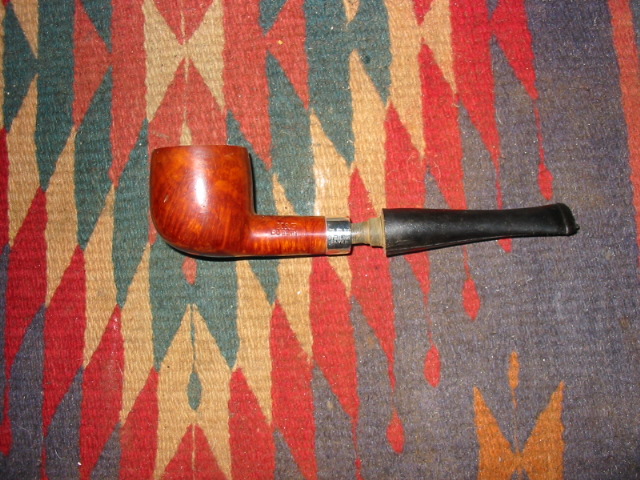
Please forgive the blurry pictures in the next foursome, I was too hurried to get at the clean up and restoration and did not focus them well. They are clear enough to see that the finish was in pretty good shape. The bowl was thickly caked and the rim was gummed up and looked to be dented. The stem was clean but oxidized and had tooth marks on the top of the stem near the button and on the underside in a matching pattern. I did a bit of field dressing to the pipe last evening while we were at the hotel, cleaned the stem and the inside of the shank with Isopropyl alcohol and also sanded the stem with a piece of 240 grit sand paper and some micromesh pads I had in my bag. (I know – it was my anniversary but I had thrown my book bag in from work and when I opened it I found the sanding disks. I have them in the bag when I have a break at work and want to get outside and have a pipe and work on one I have with me.) My wife was occupied with talking to the kids on the phone and looking through her purchases from the days shopping. So I had about an hour to do a bit of work!
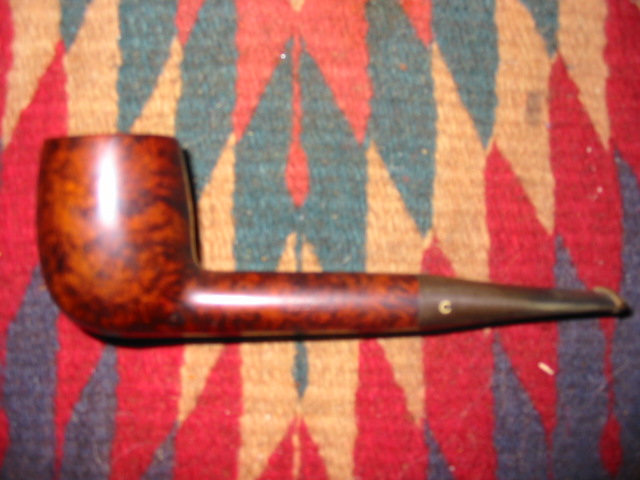
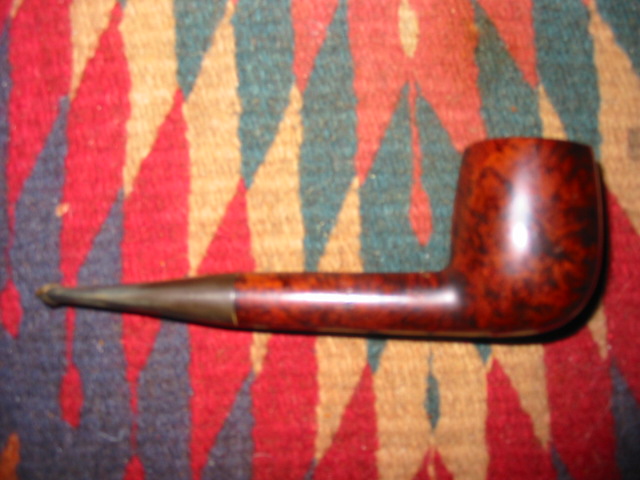
I wiped down the top of the bowl with some Murphy’s Oil Soap (undiluted) on a cotton facial cleansing pad I picked up in the US. I had read about that on a post by Alan (Castana on SF) and they work very well. I applied the soap and removed it three times to soften and remove the grime. Once it was gone I found that the rim itself was pretty pristine. Just a little bit of wear on the chamfering on the right front. I reamed and cleaned the bowl and shank. I also used the micromesh pads (1500 and 1800 grit) on the rim and then restained the rim only with a dark brown aniline stain, wiped on and buffed off to match the bowl.

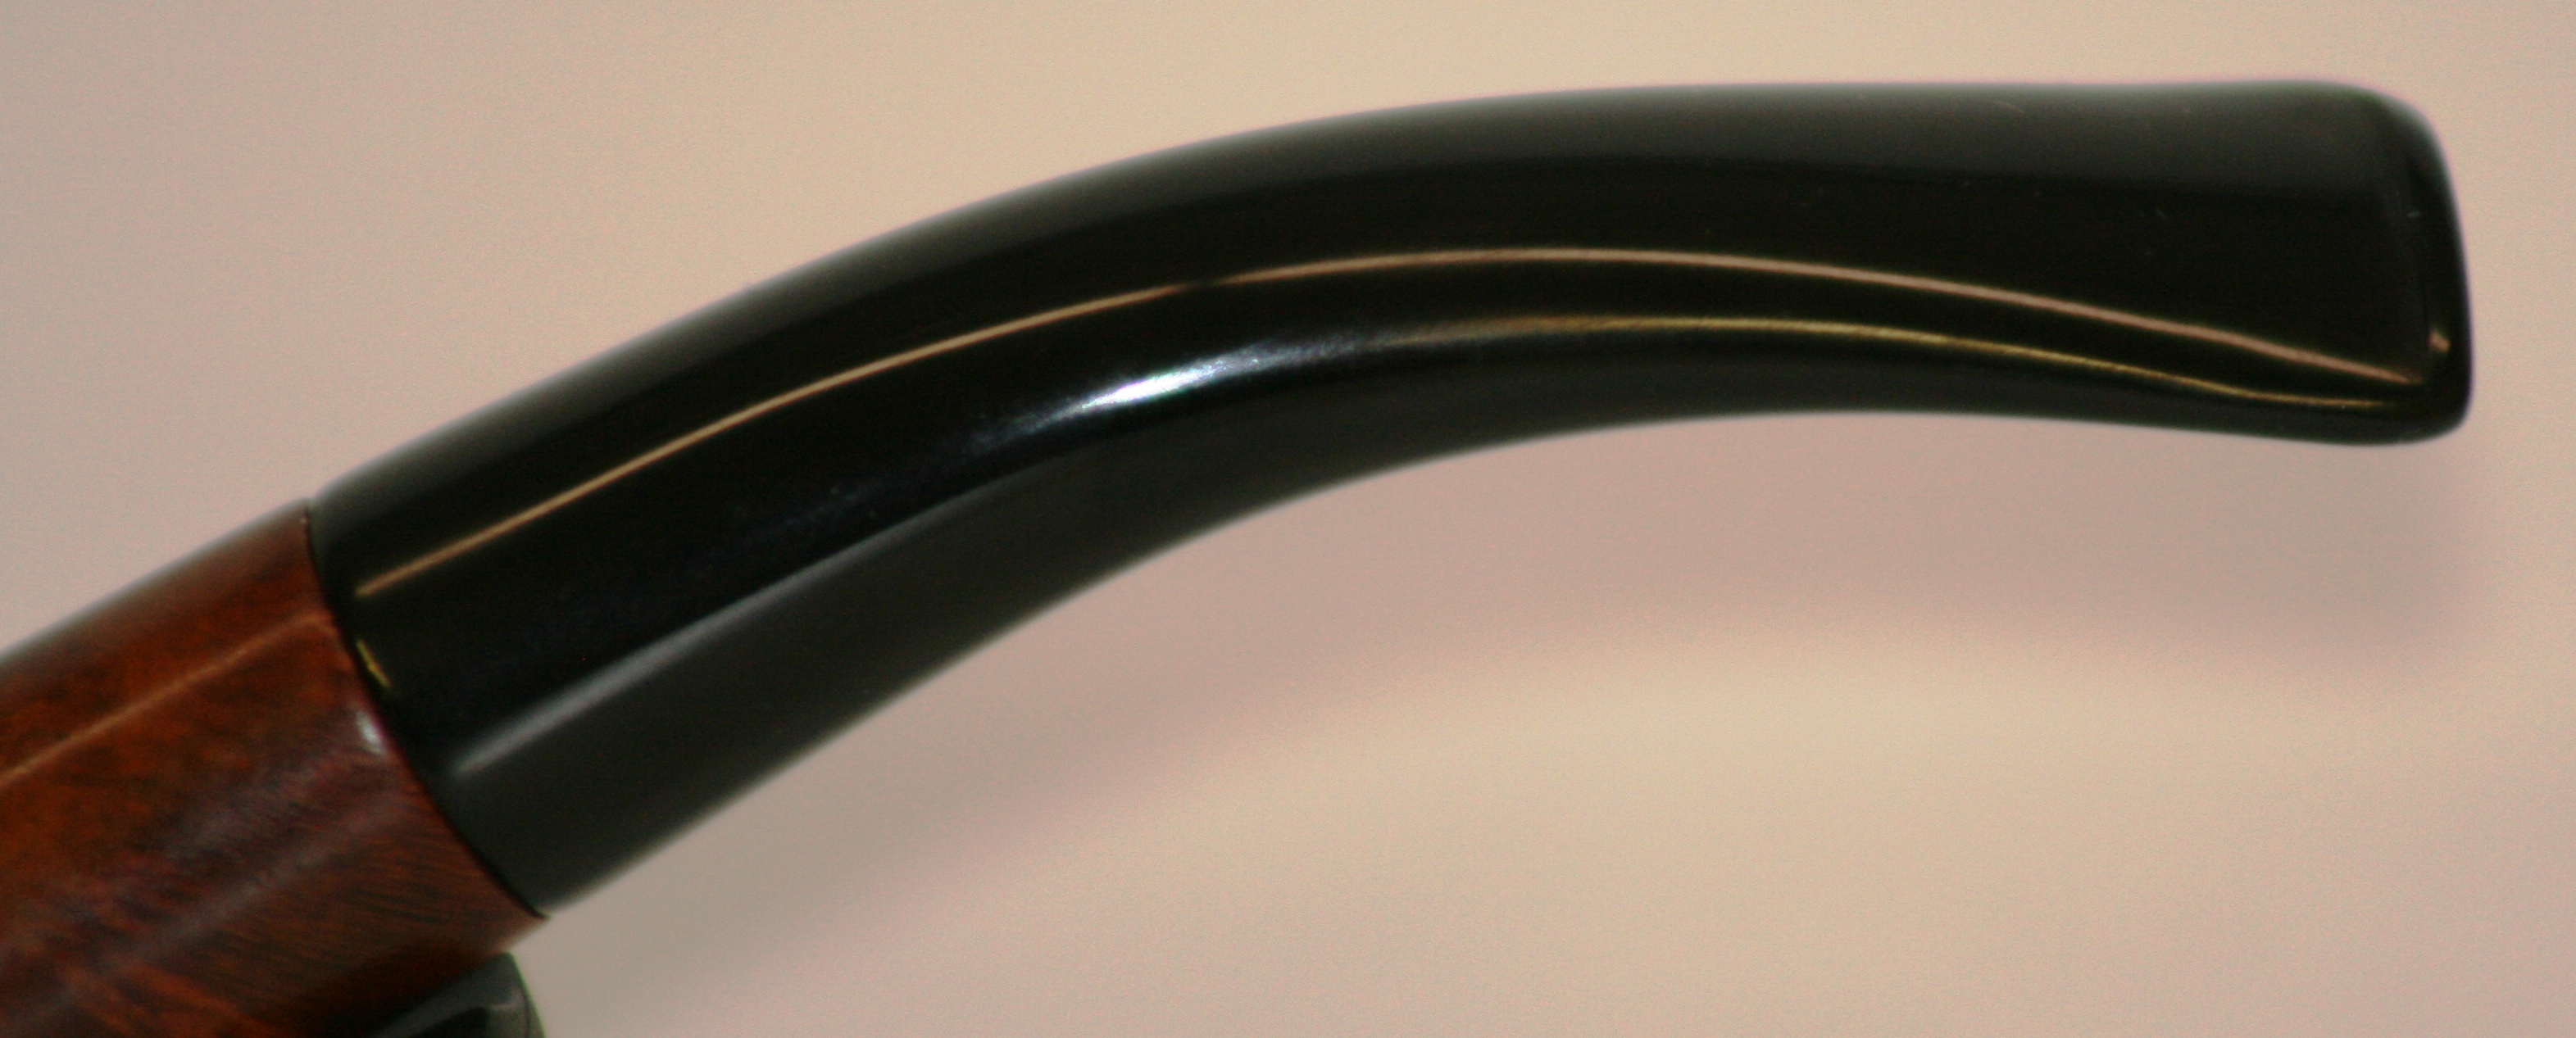
I worked on the stem next. It had bite marks on the top and bottom side near the button. I heated the stem and raised them as far as I could with heat then sanded out the remaining marks. To sand them I used 240 grit sandpaper first then used a fingernail sanding board that I picked up at Walmart this afternoon before coming home. It is pictured below in several of the pictures with the stem. It worked extremely well to remove the remaining tooth marks in the stem. I cleaned the oxidation with micromesh pads (1500-6000 grit) and put it back on the pipe to give it a buff with some Tripoli before returning to finish the polishing with the micromesh pads. I gave the stem a coat of Obsidian Oil and let it soak in before taking the whole pipe to the buffer to buff it lightly with White Diamond and several coats of carnauba wax.
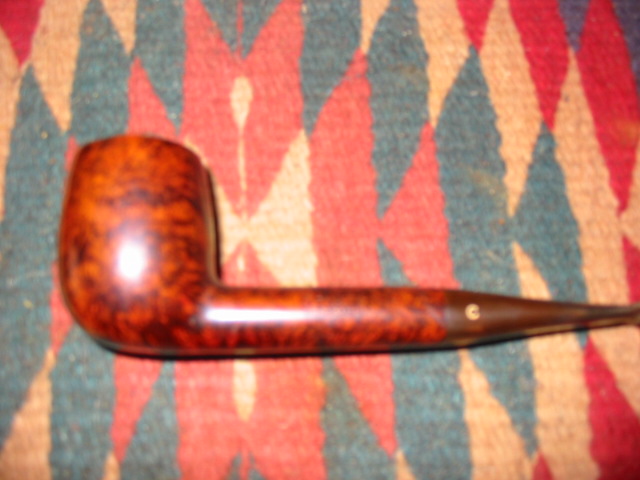
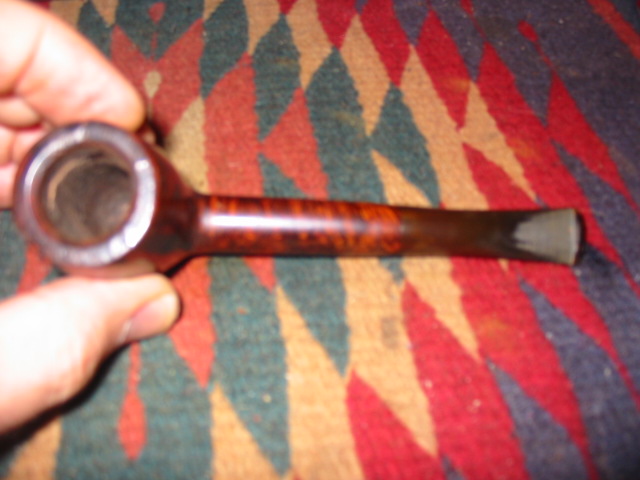
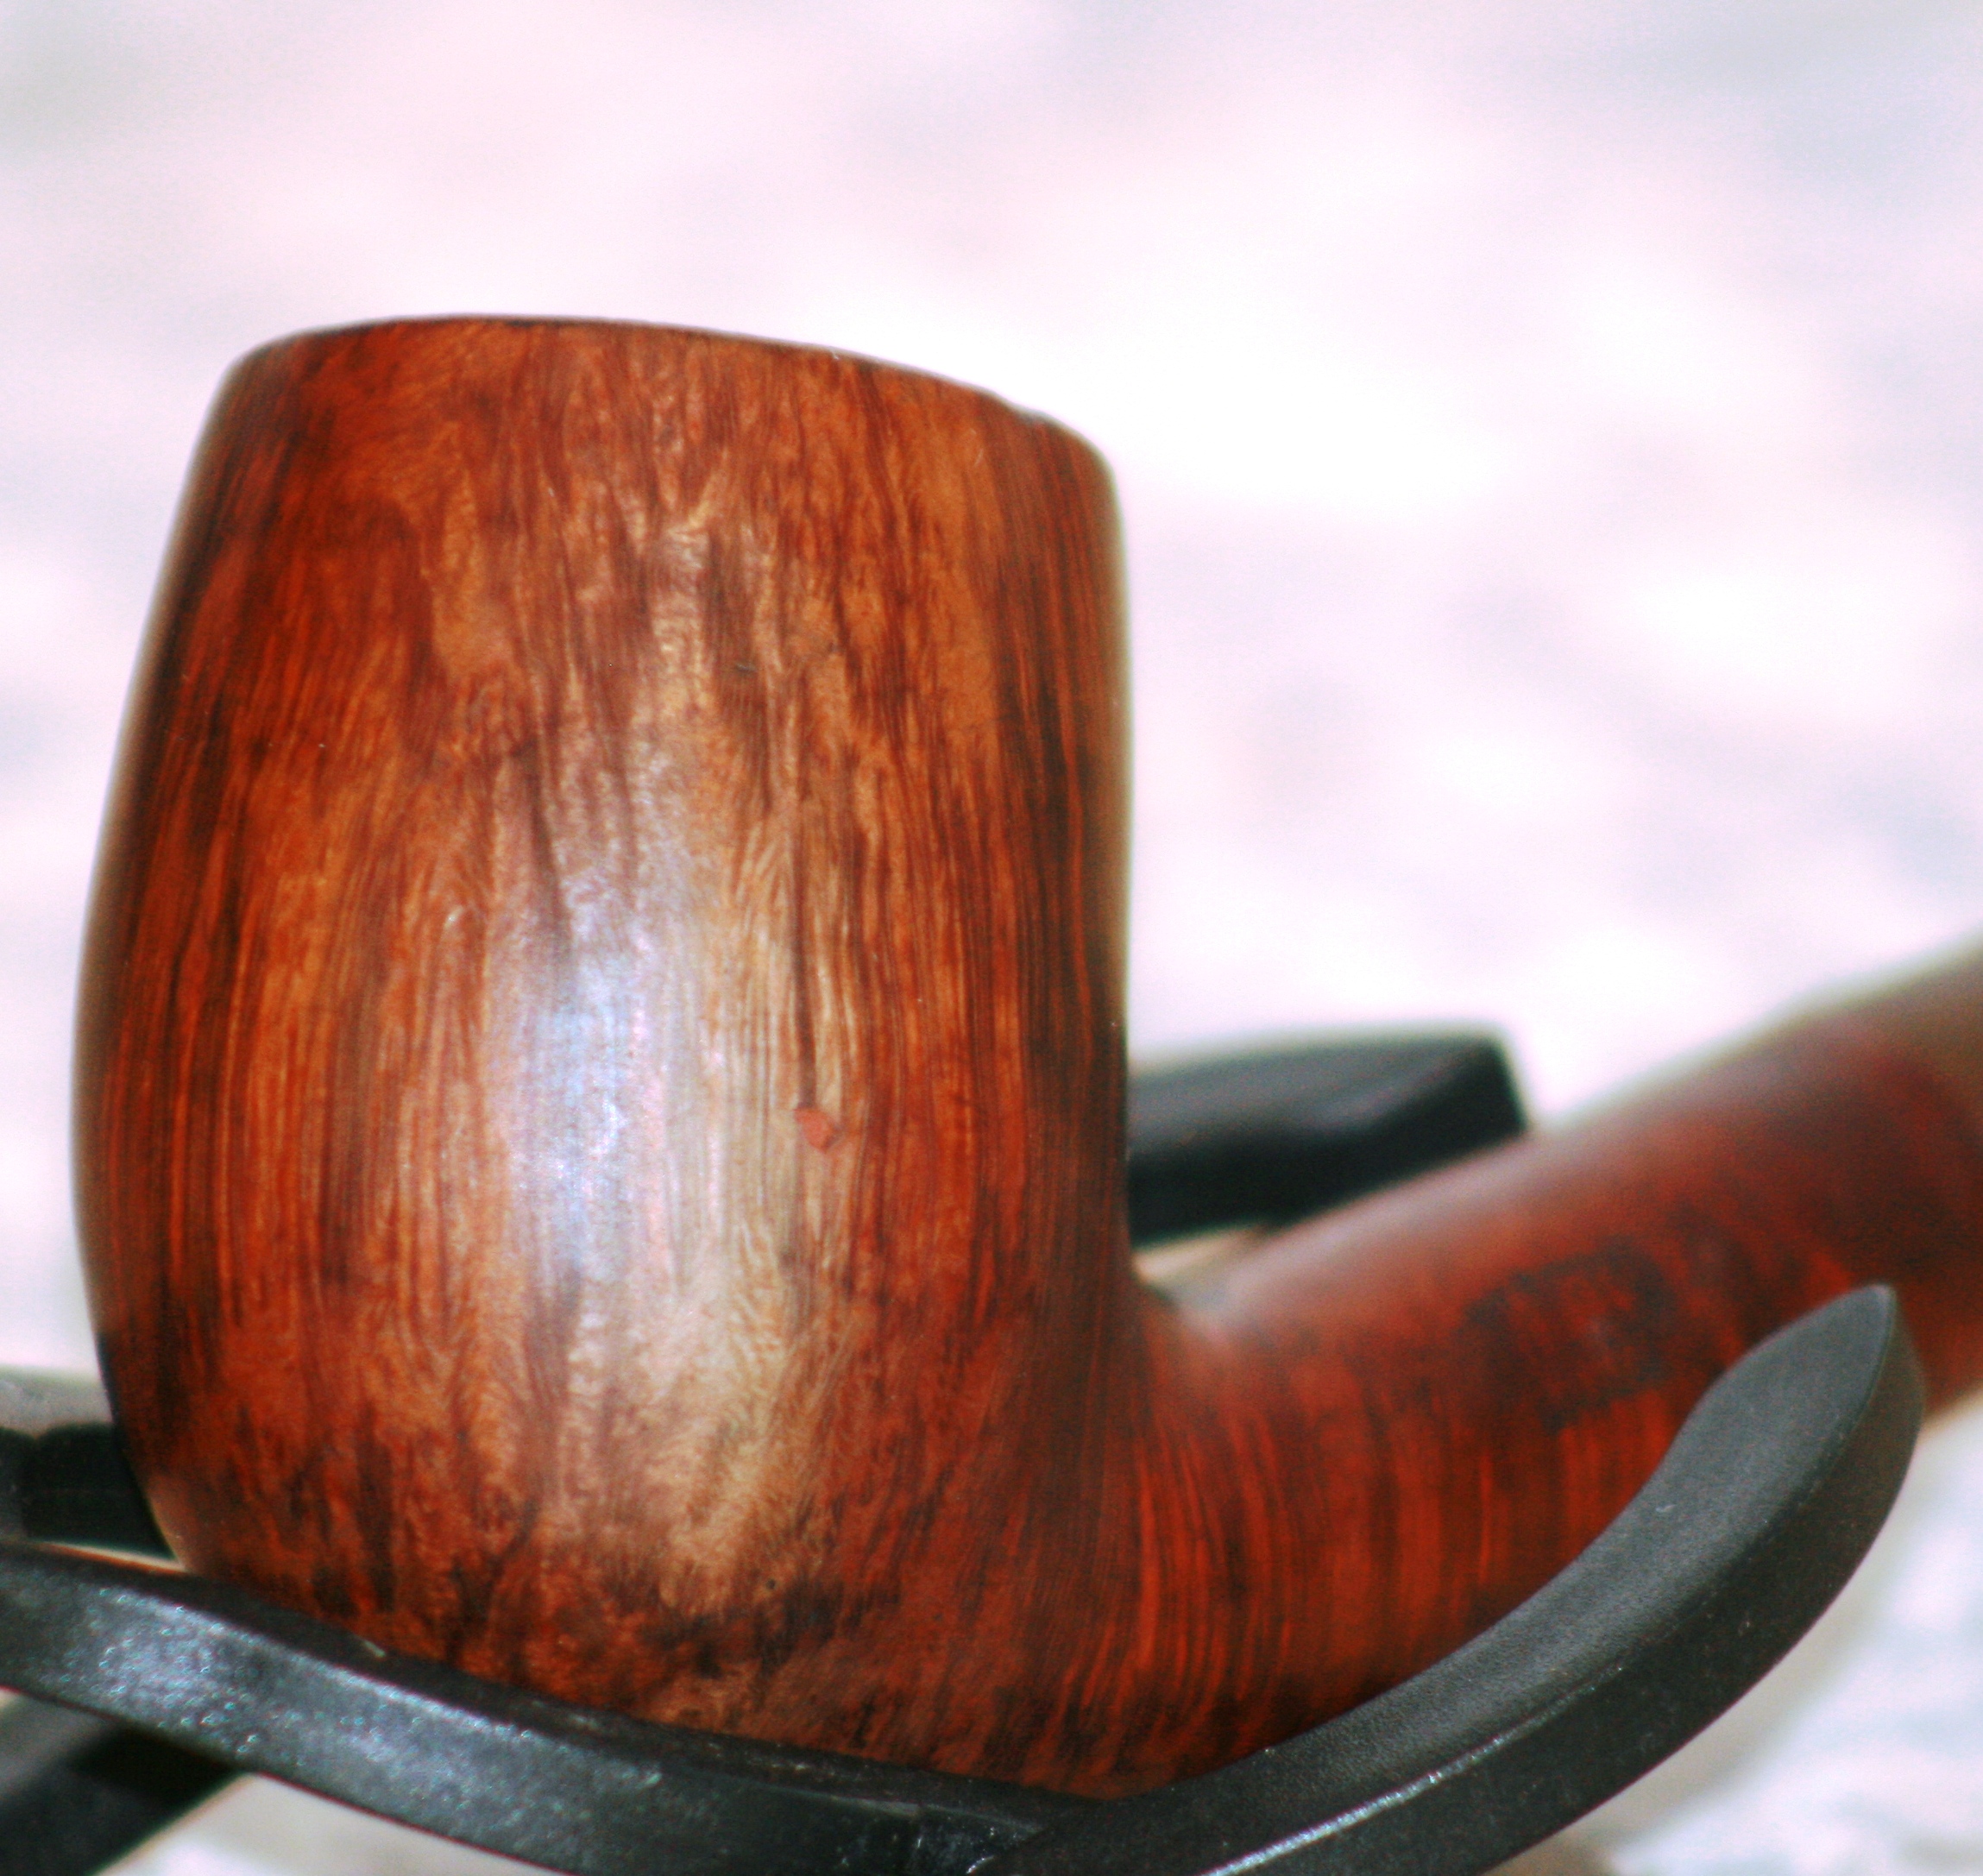
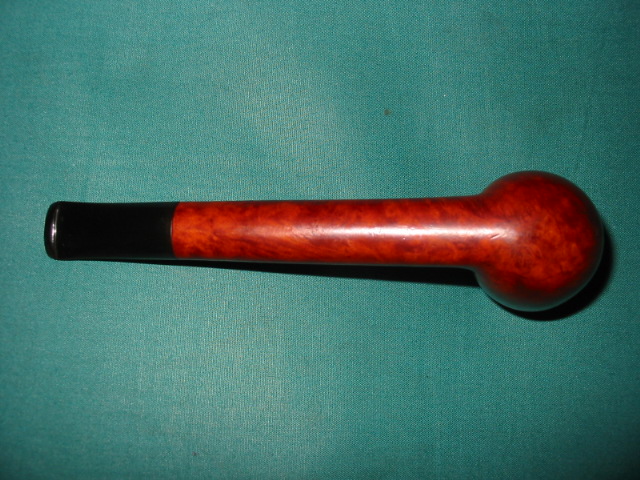
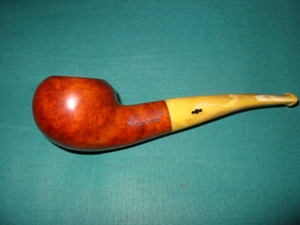
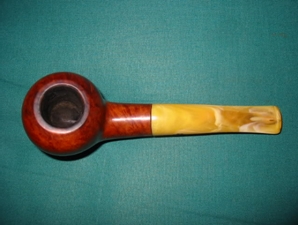
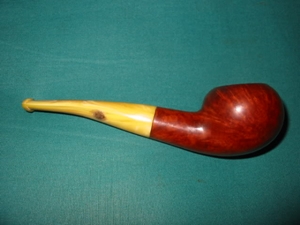
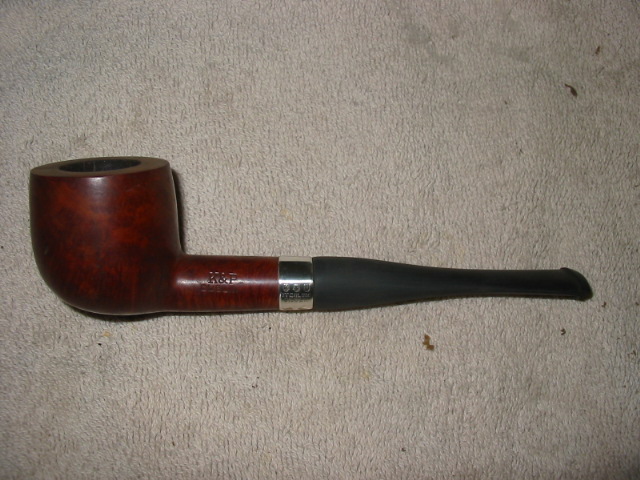
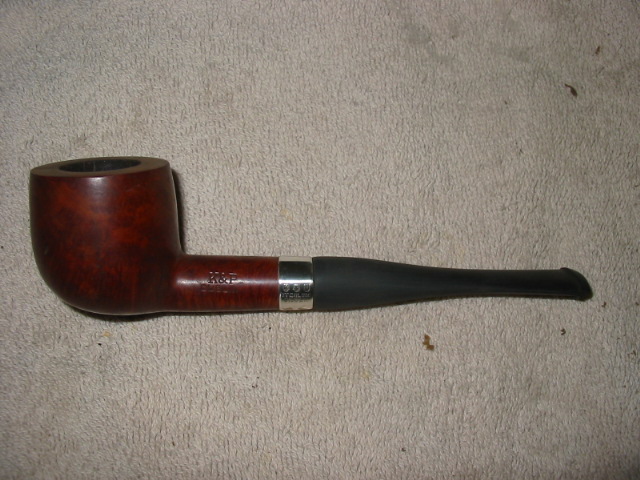
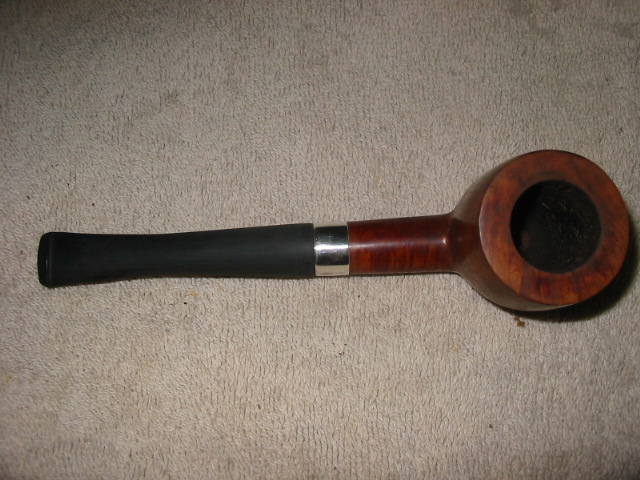
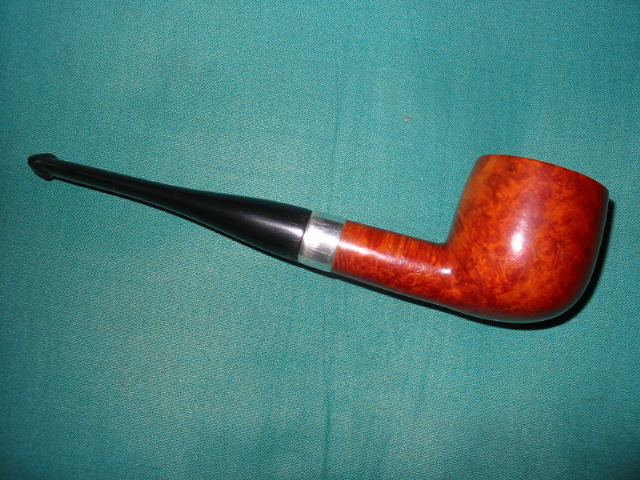
Here is the finished pipe. I have been researching the stamping on this one. I found out that the stamping dates it to the early 1950’s. It is stamped in a circle with “Made” at the top, “In” in the middle and “London” at the bottom with “England in a straight line beneath. From the Derek Green’s History of Comoy’s Article I quote: “I believe this stamp was first used in the export drive in the early 1950’s and I have not seen any pre WW11 Comoy’s stamped in this way”.
http://www.derek-green.com/comoy_history03.htm
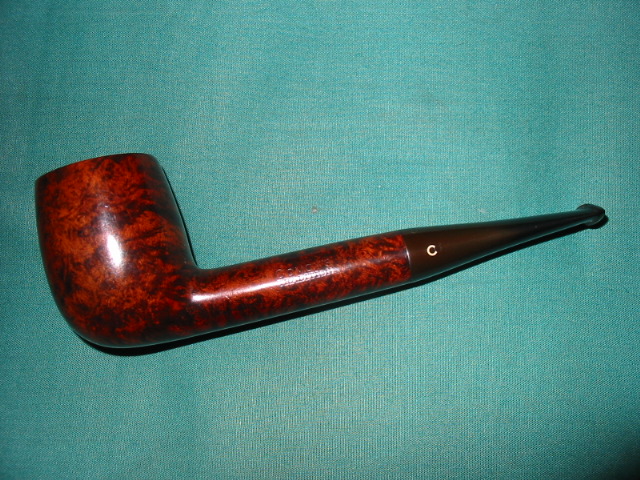
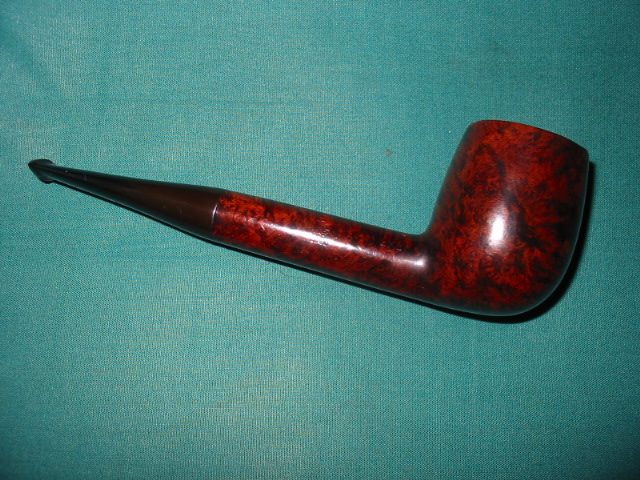
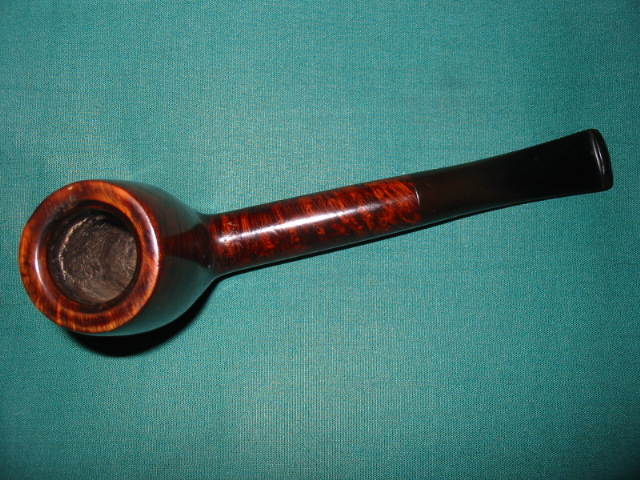
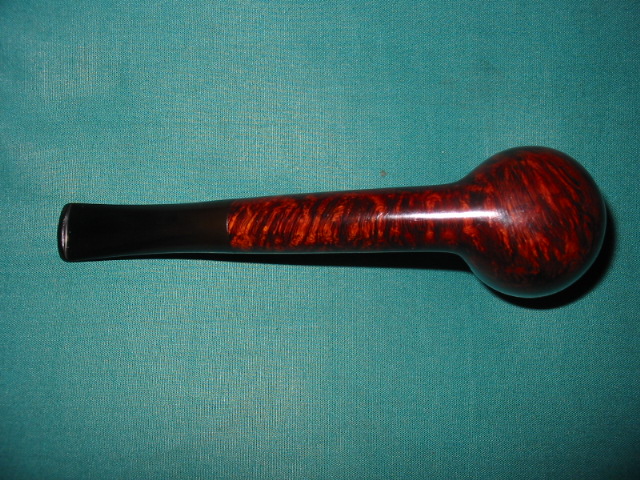
Dr. Plumb Bulldog Restoration


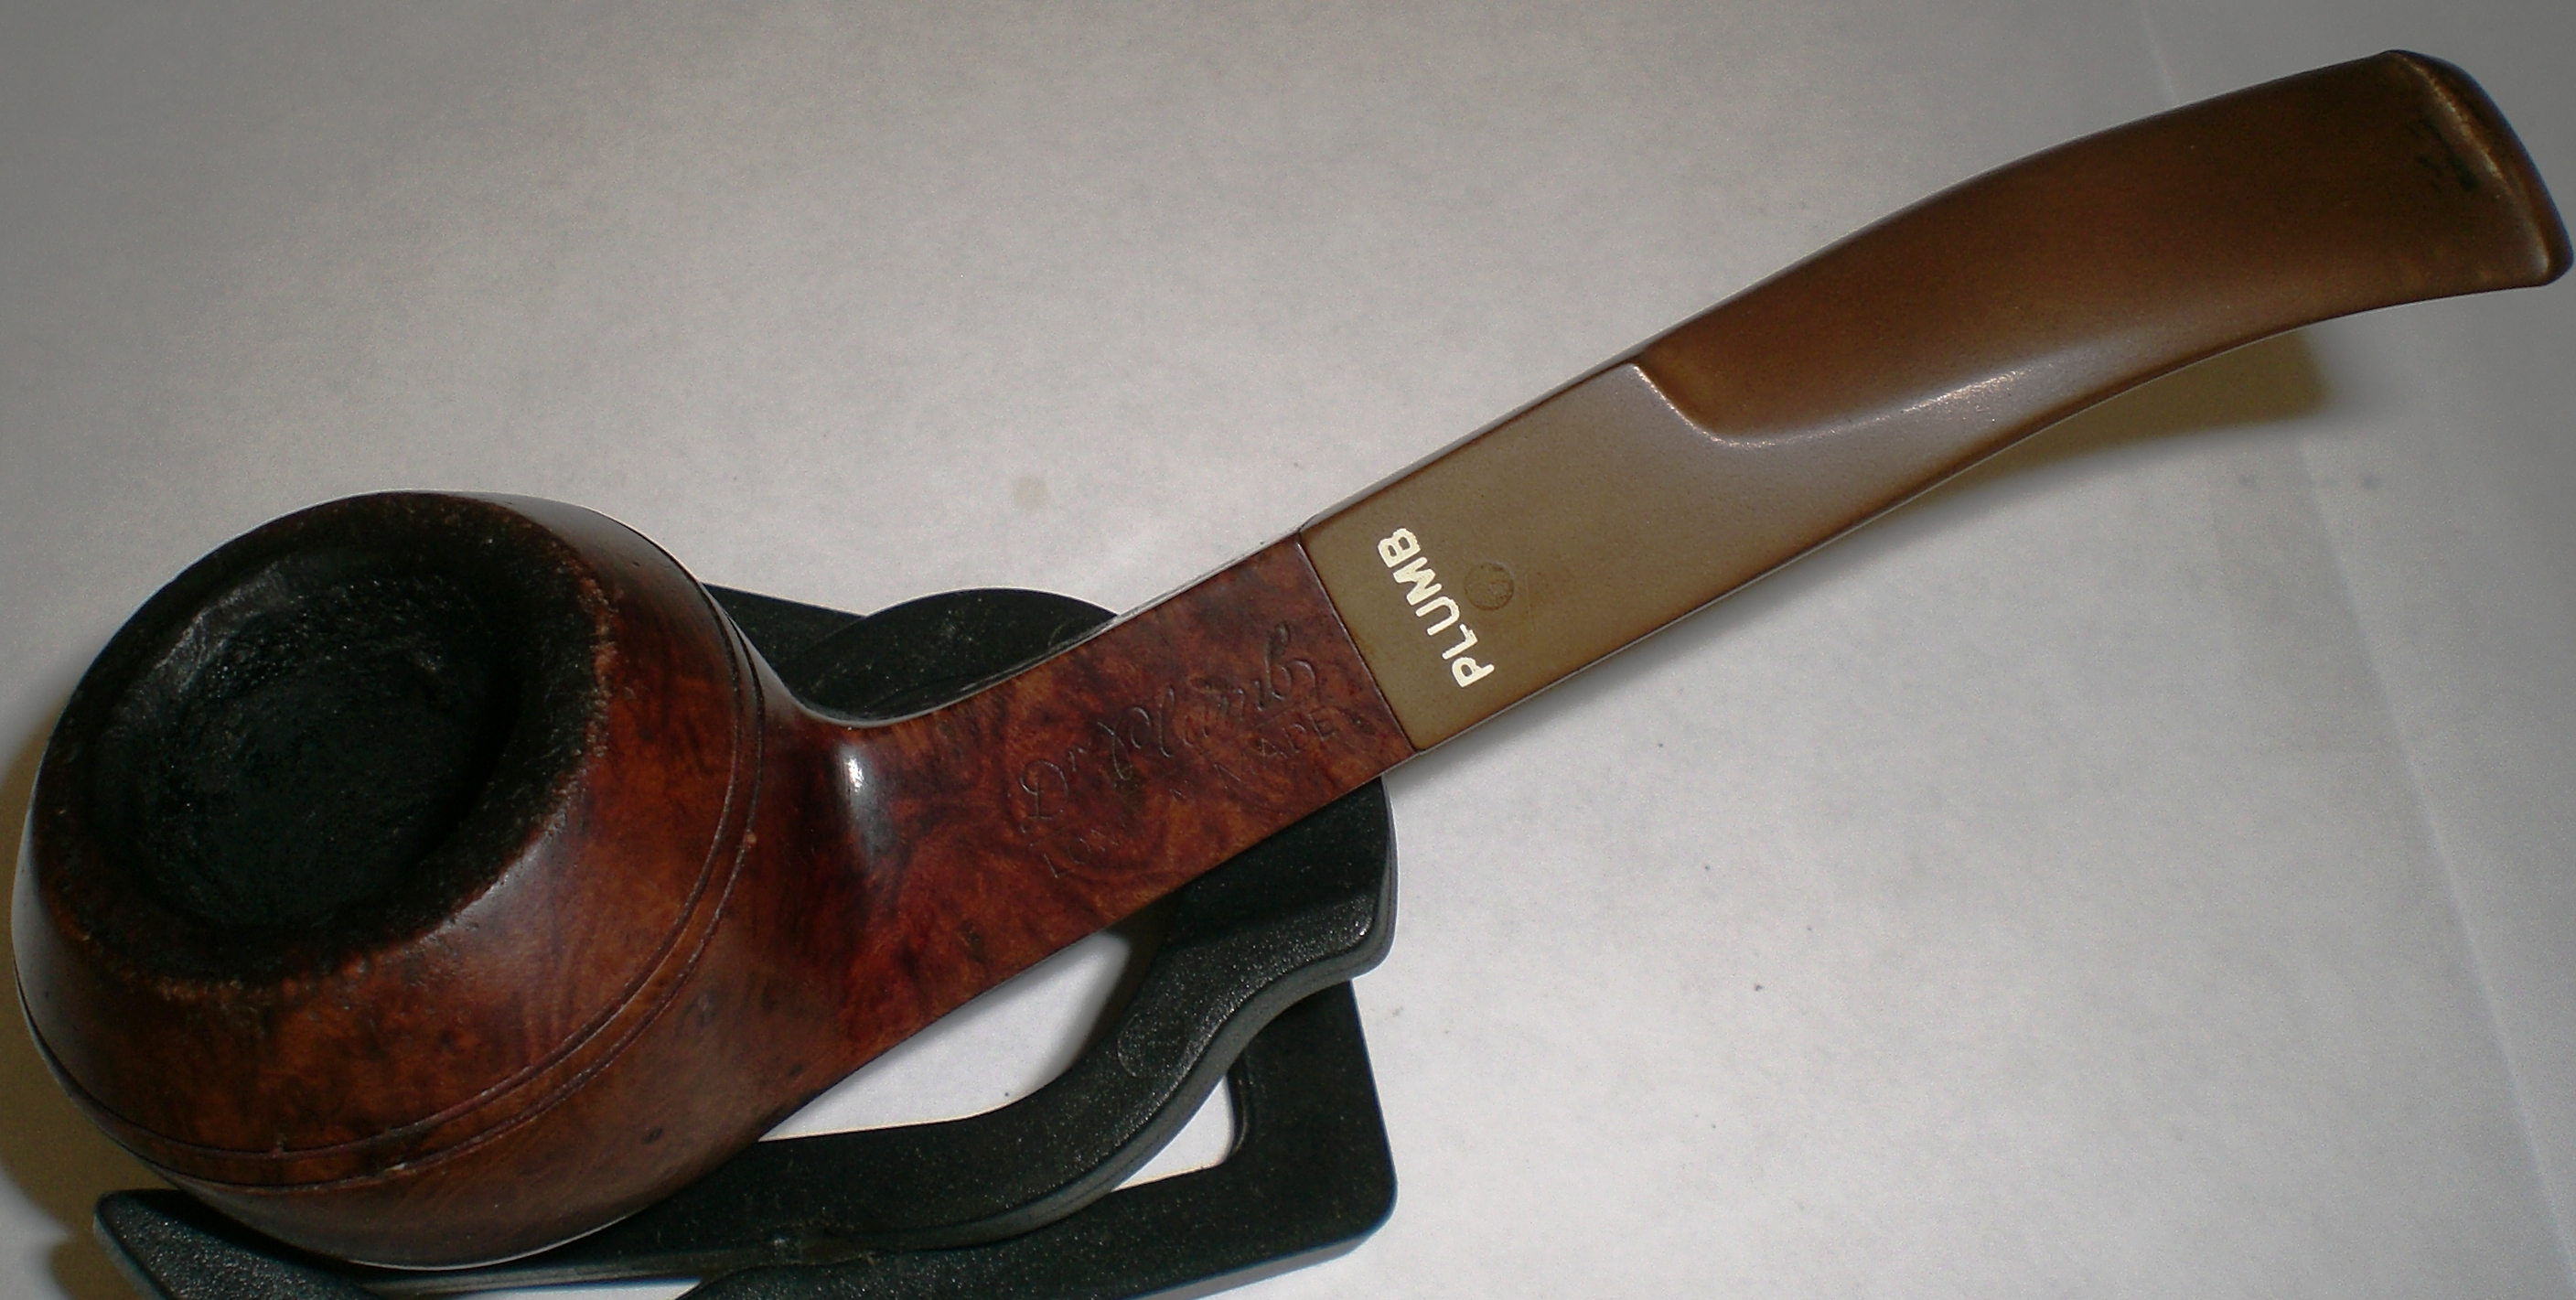
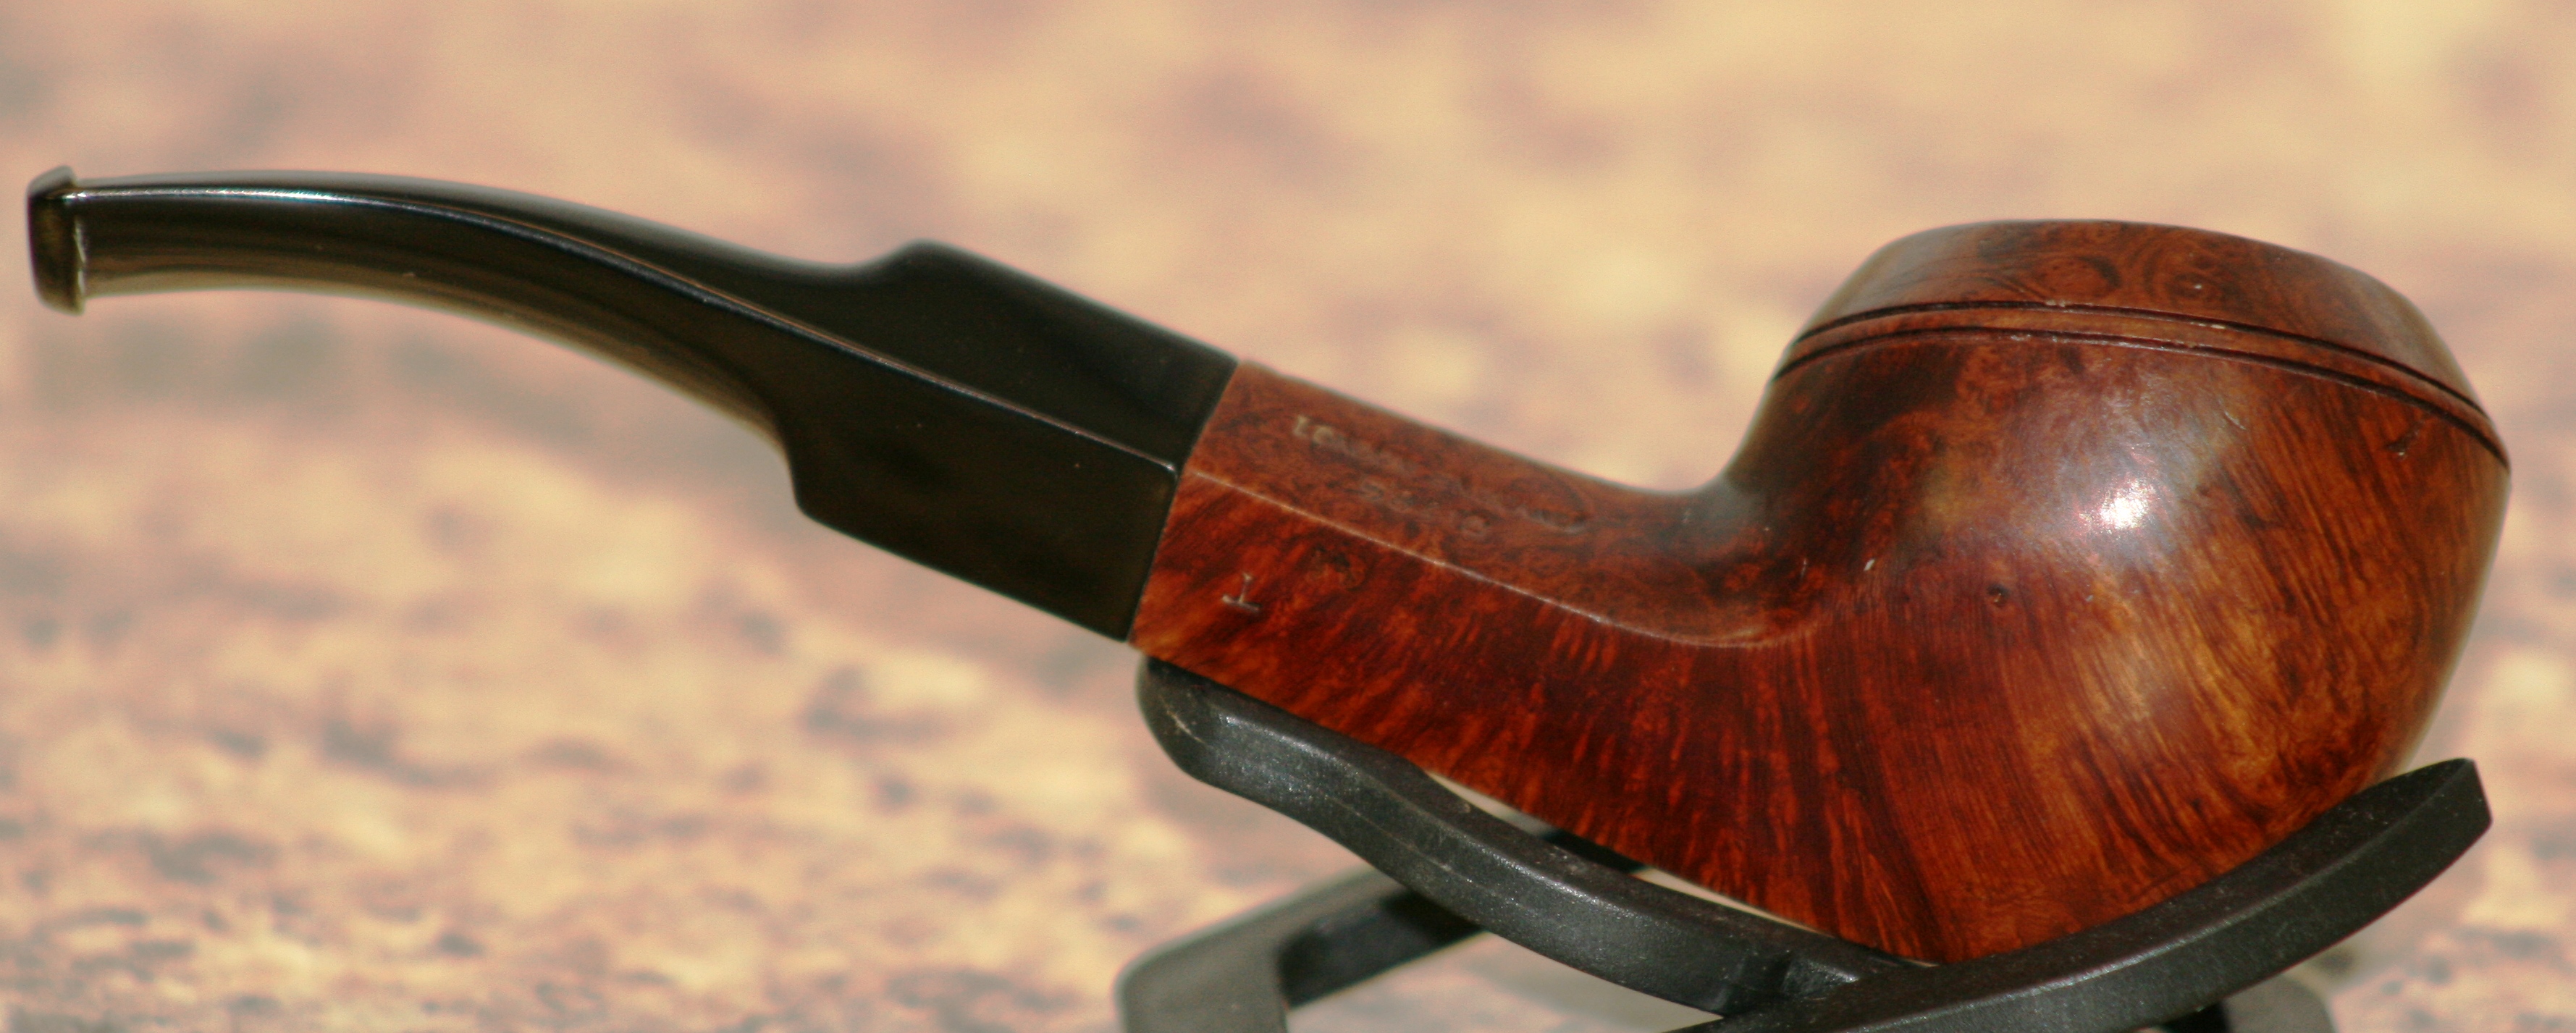
My daughter’s boyfriend found this neat little Dr. Plumb bulldog at a New Orleans shop and sent it to me for restoration. I thought Dr. Plumb had a connection to GBD and I believe they are now owned by the Cadogan group. The stem was in terrific shape, save for a heavy coat of oxidation. The top of the bowl was scorched and it had some dents and scratches.

Before:

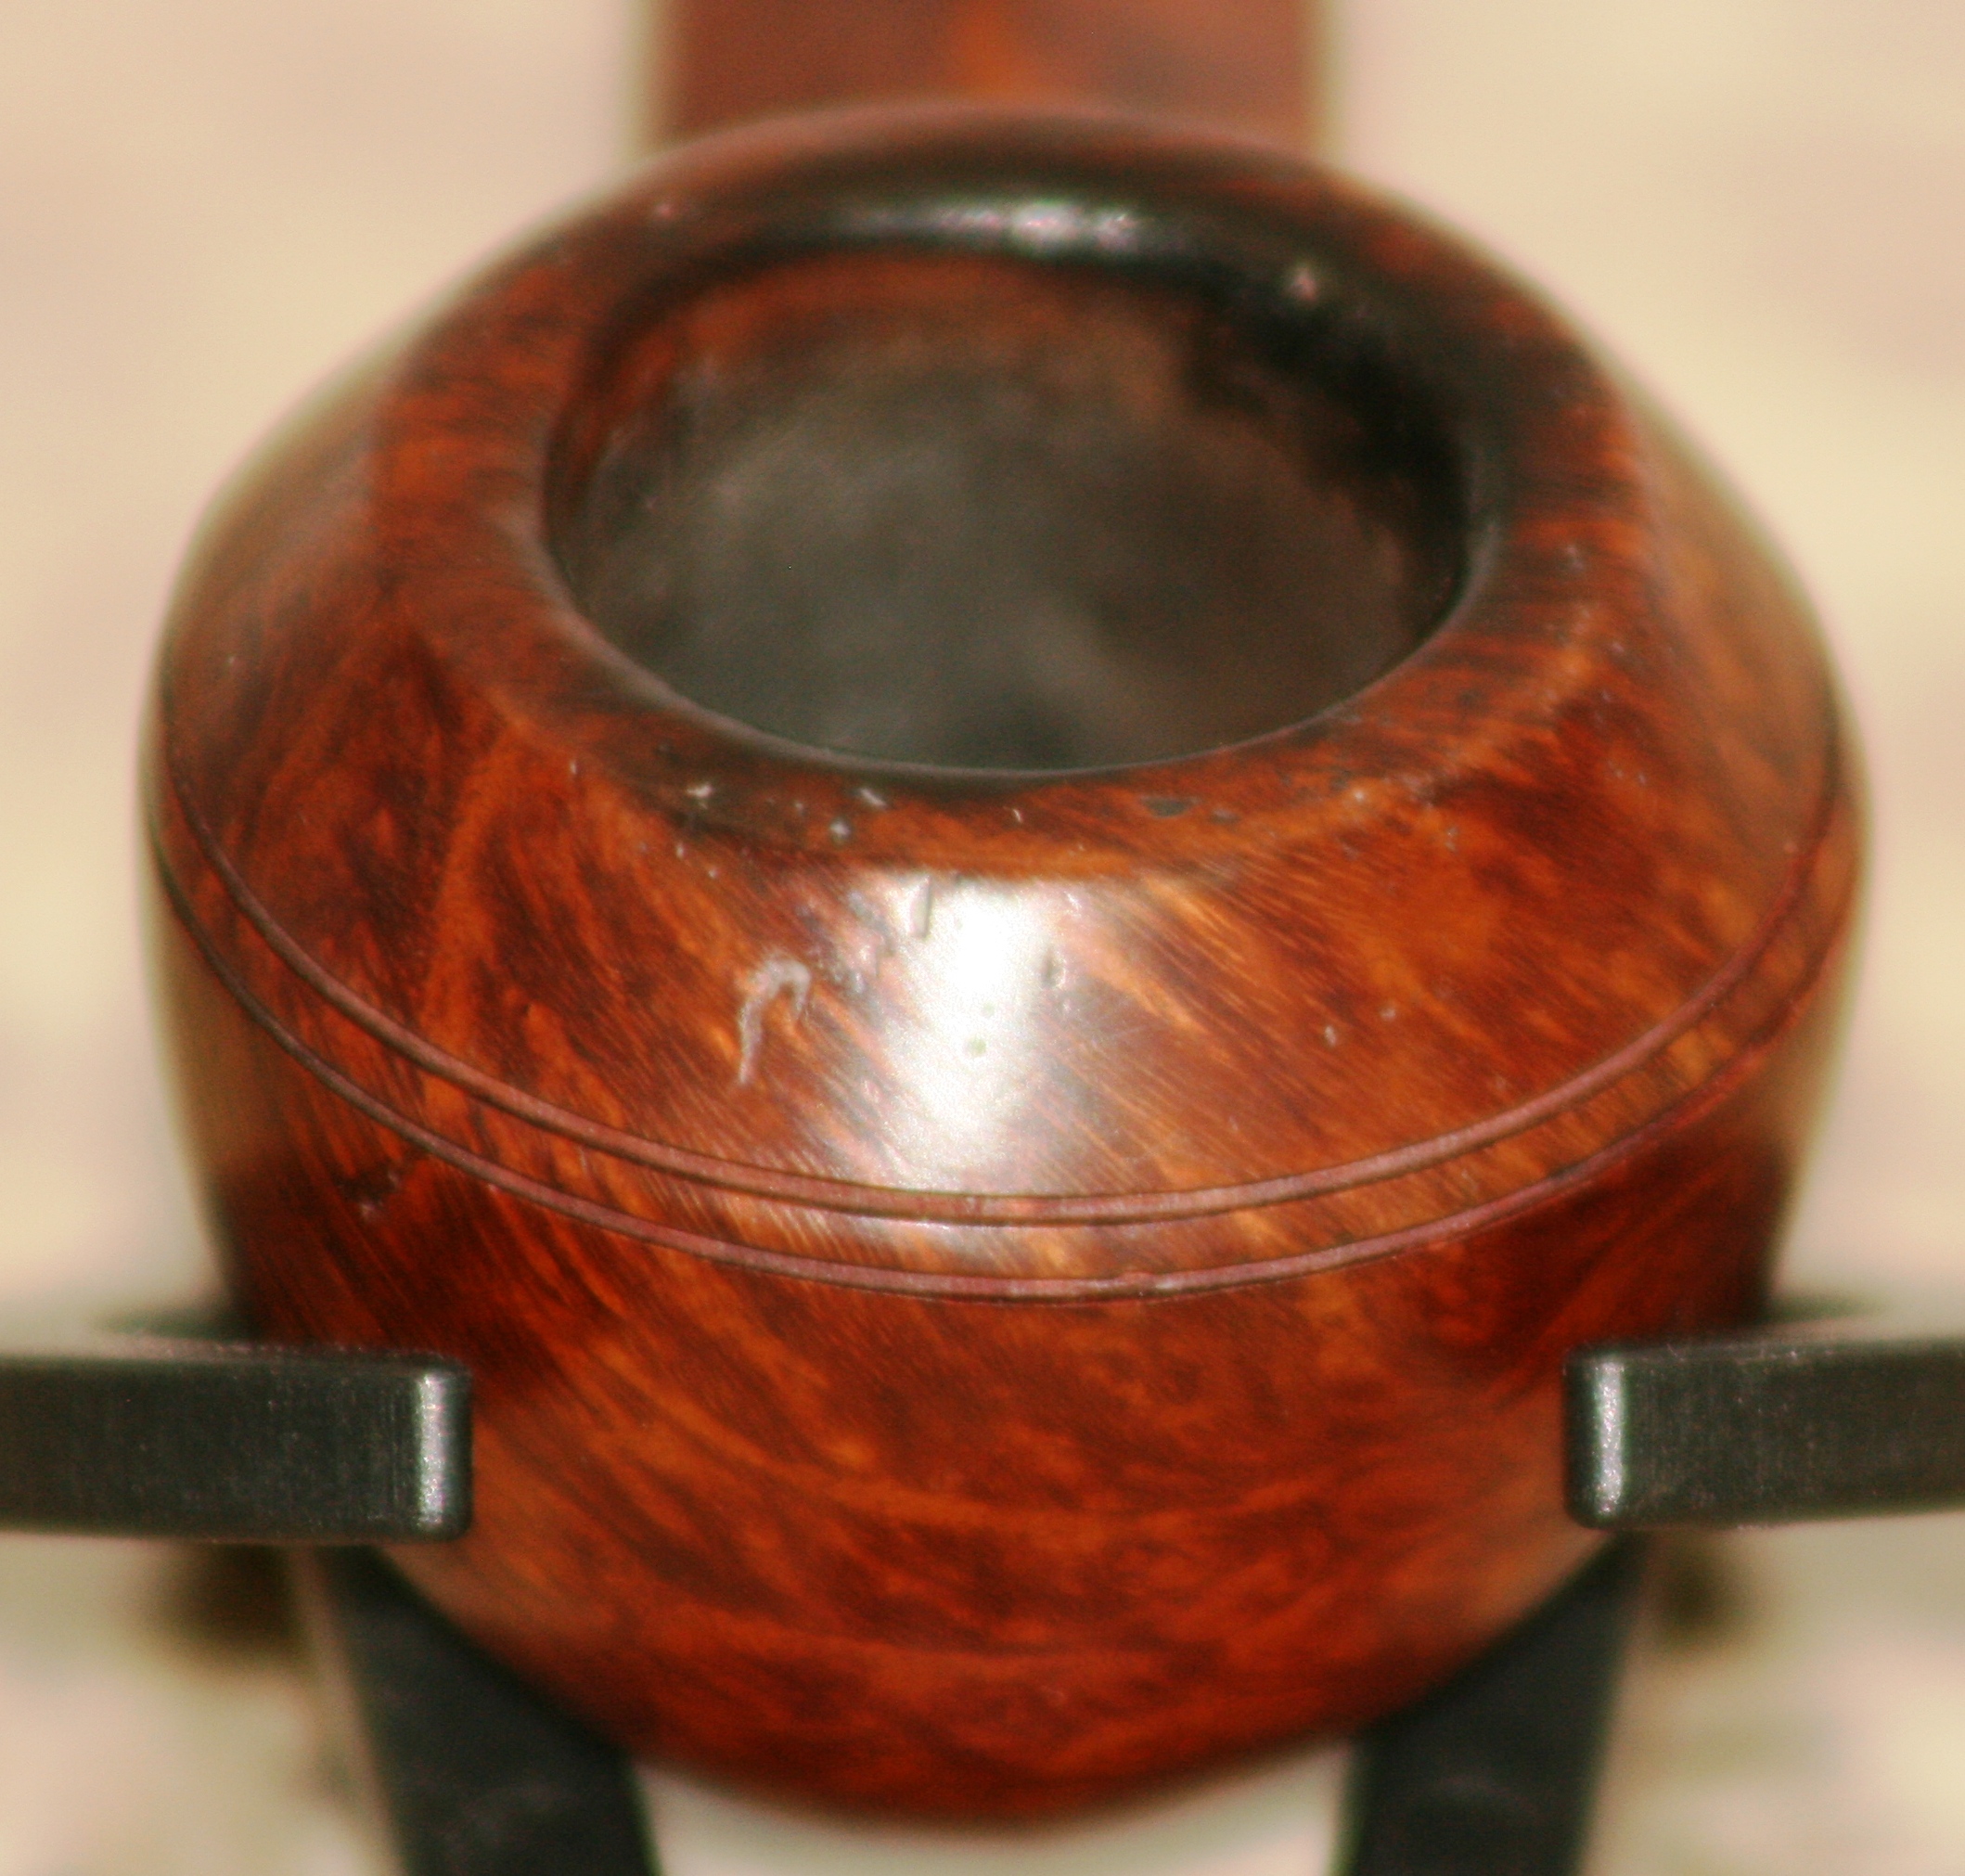
I reamed the bowl with both my Castleford and Senor reamers. Someone in the pipes past had reamed it a little out of round, but it wasn’t too bad. I removed some of the dents with a knife heated by a flame and a wet towel. Most of the major ones popped back out nicely. The bowl has some fills, but they are hidden well by the factory finish. In order to remove the scorched top, it would have required a restain. I was afraid with the numerous fills, it would look better with the factory finish. “Character” as they say. I buffed the bowl with some Tripoli, White diamond and with a final buff using Carnuba. The stamping is very legible.

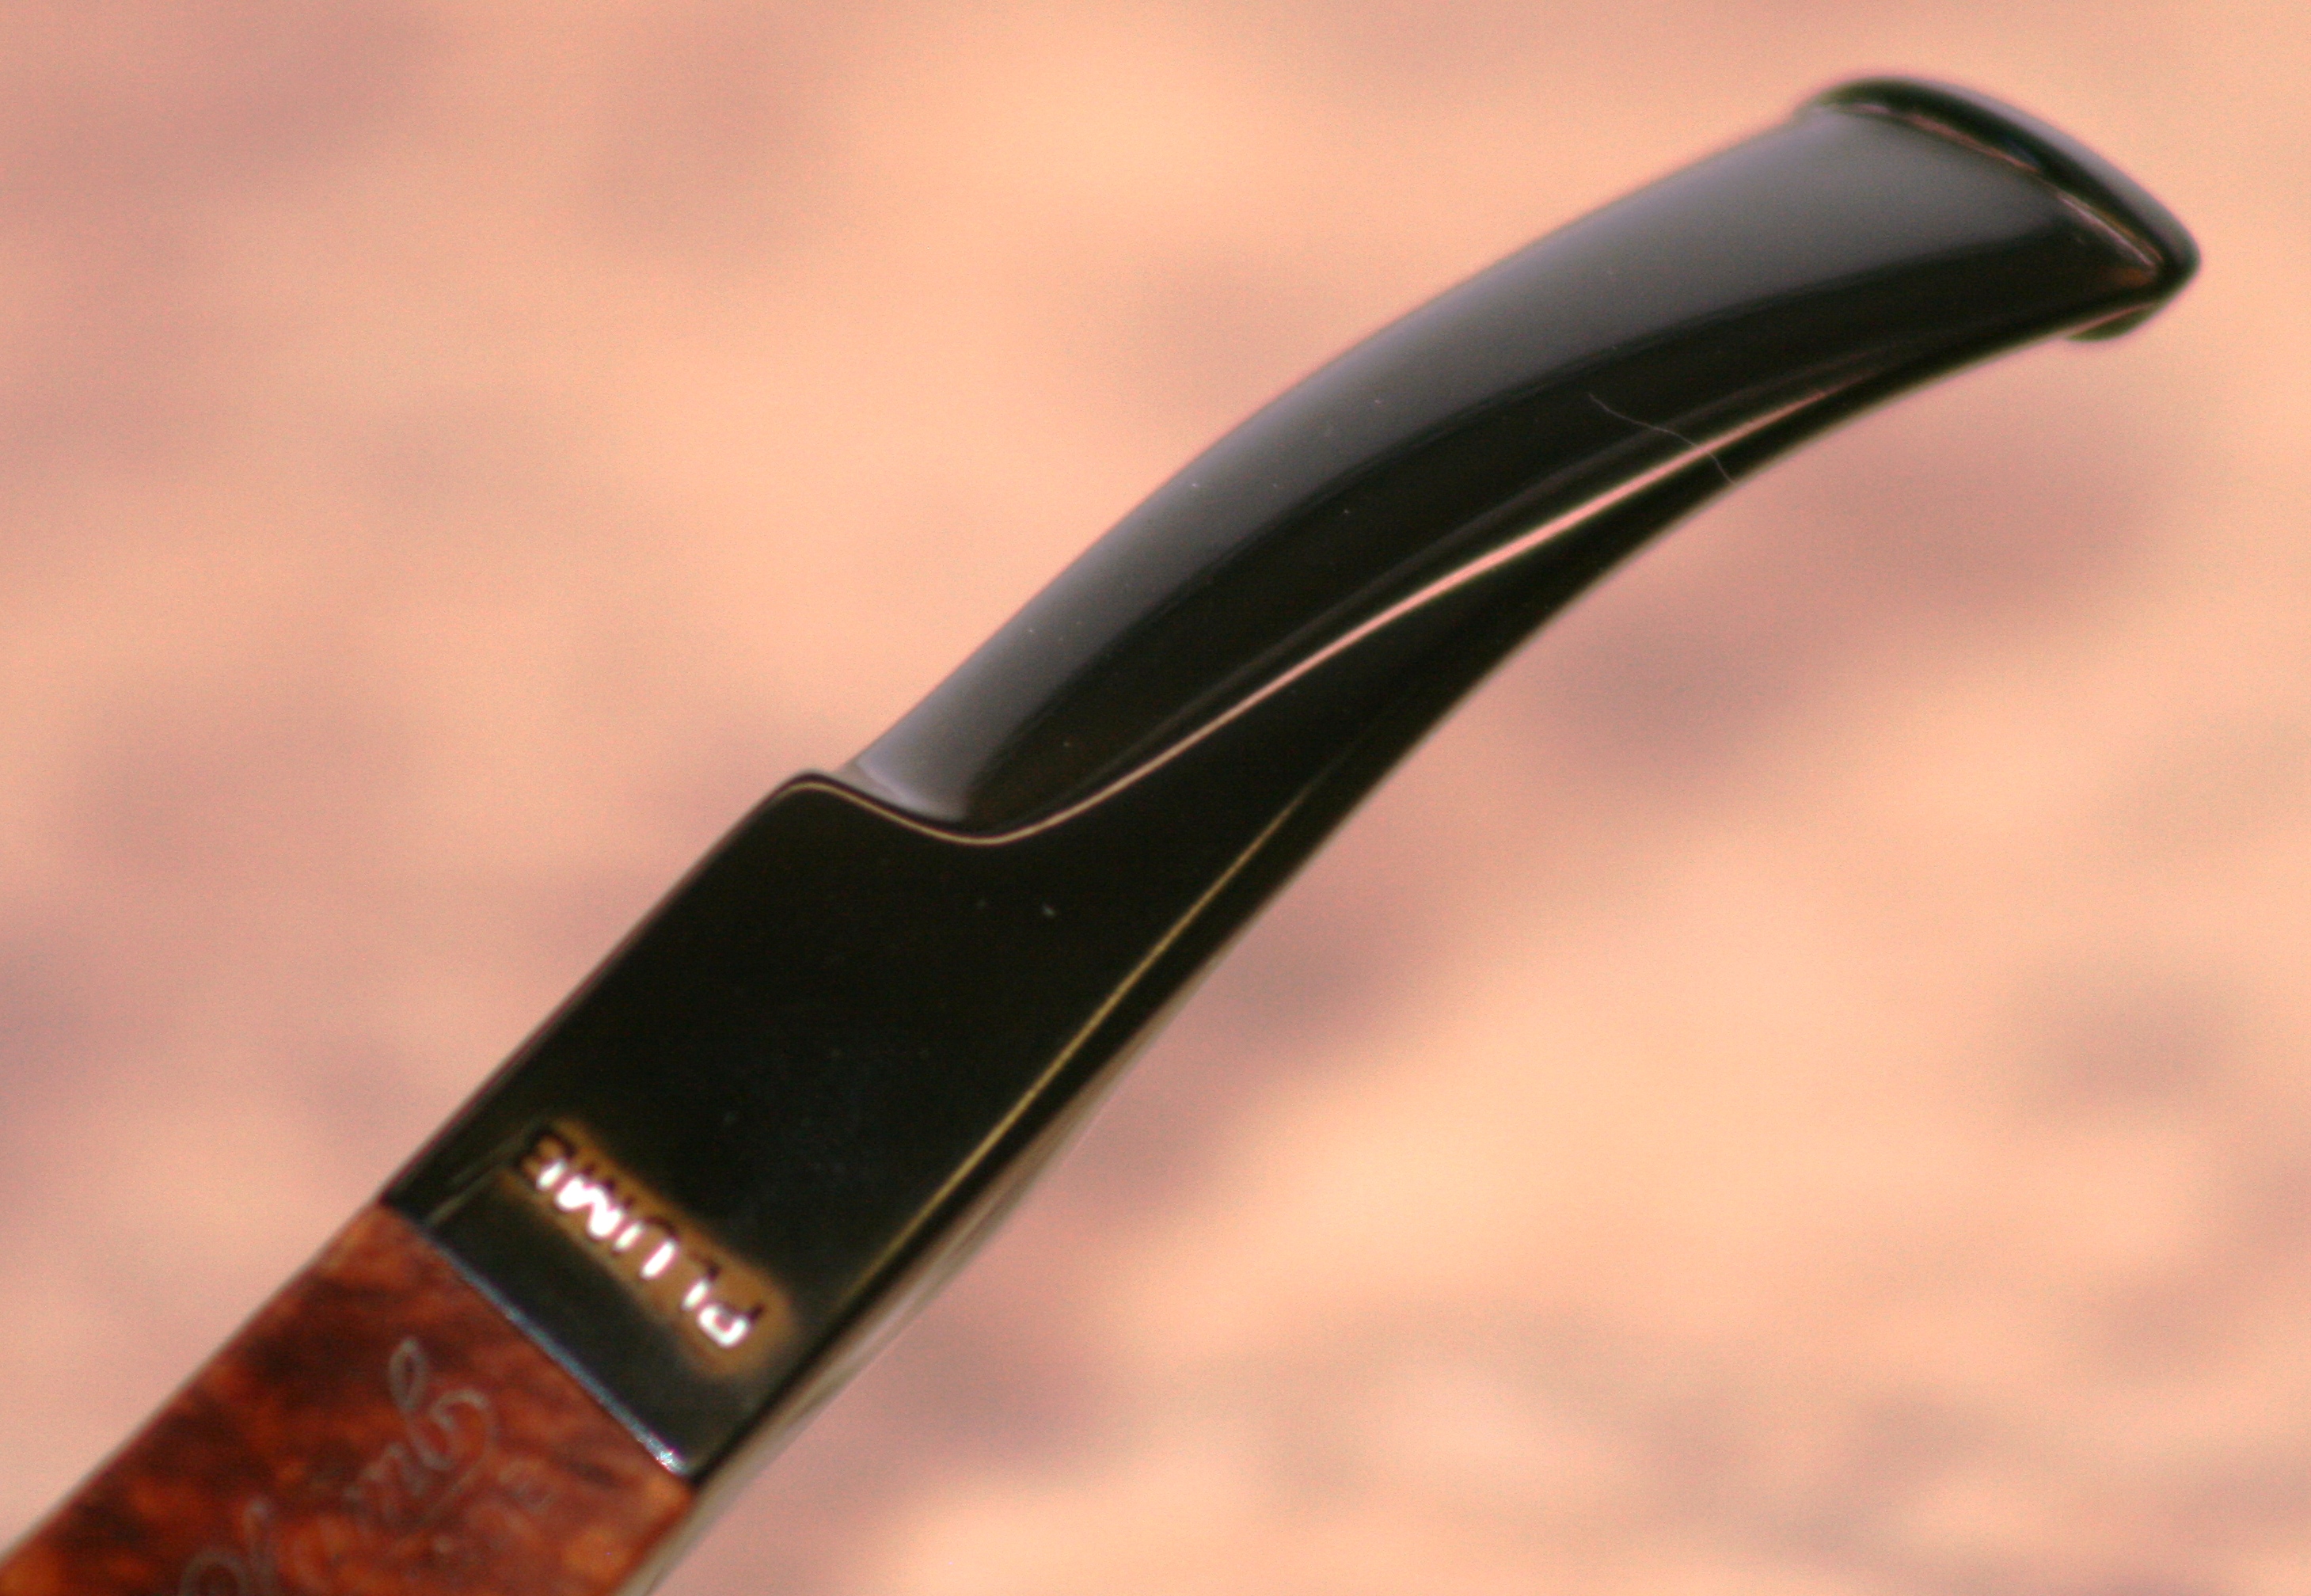
The stem was soaked in an Oxyclean solution overnight to soften the brown coating. Unfortunately, the stem logo proved very problematic. I could not get the oxidation off this part of the stem without removing the logo. The owner opted for me to leave the logo and brown patch.

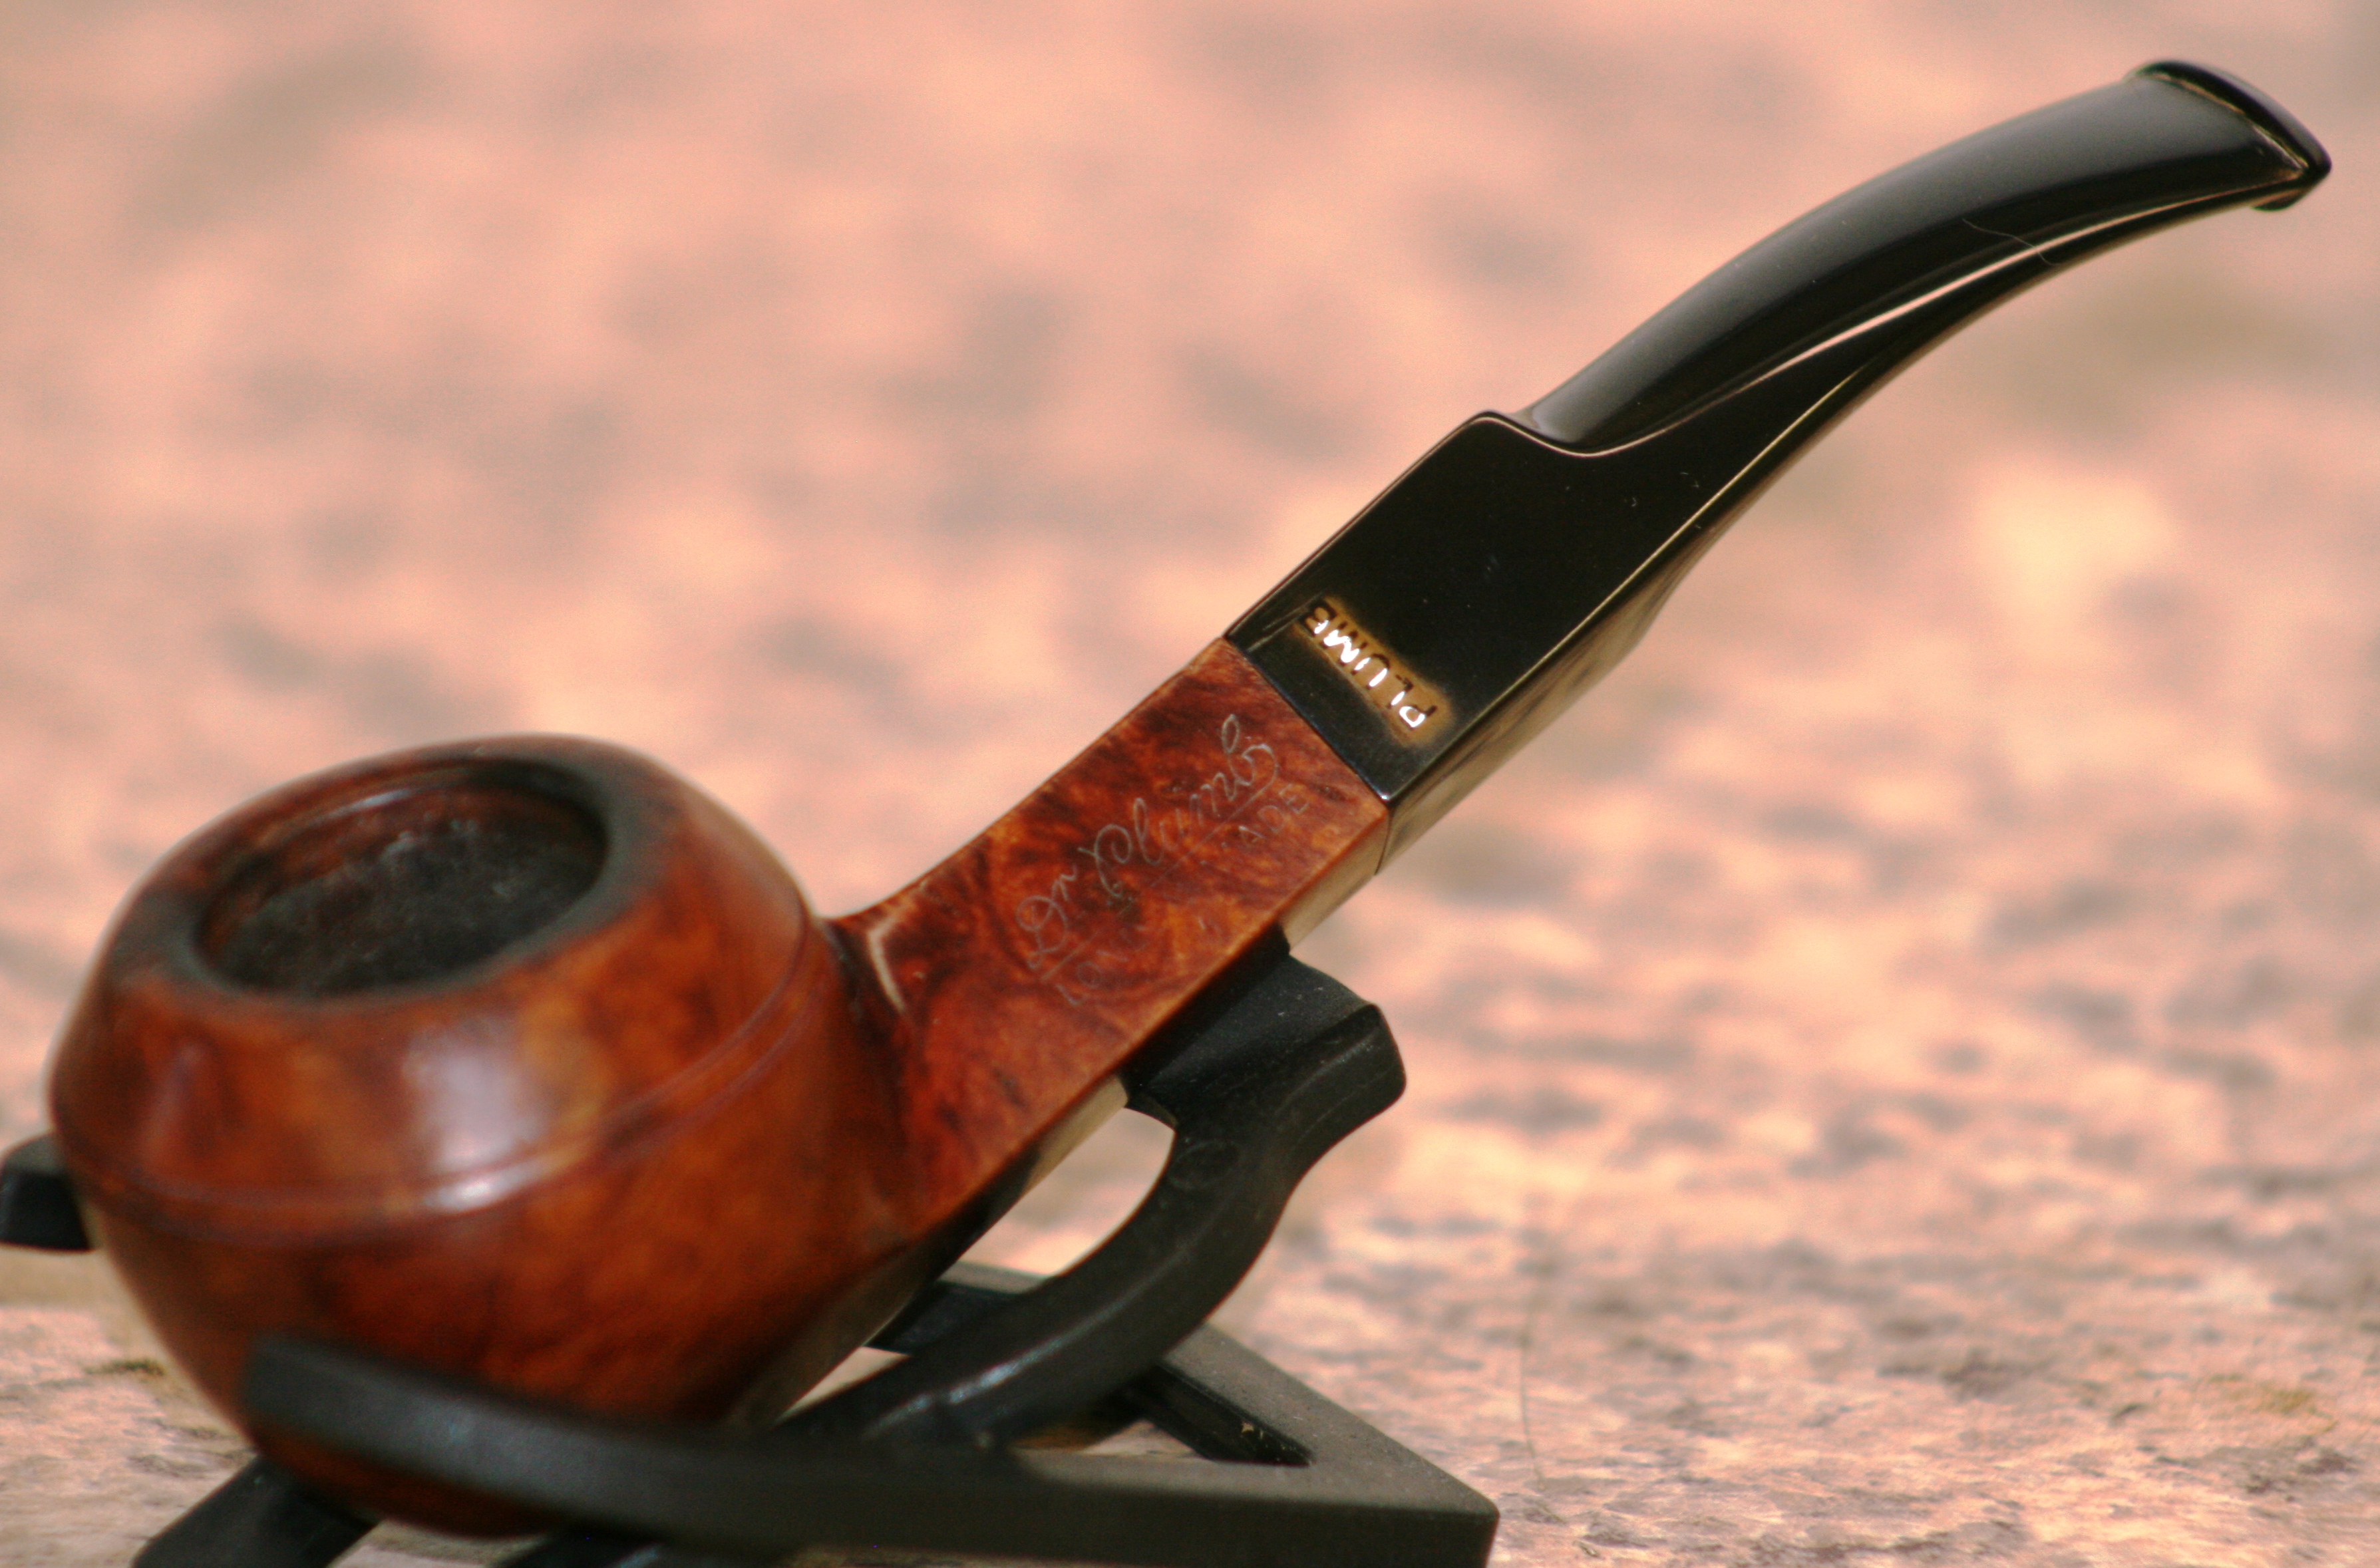
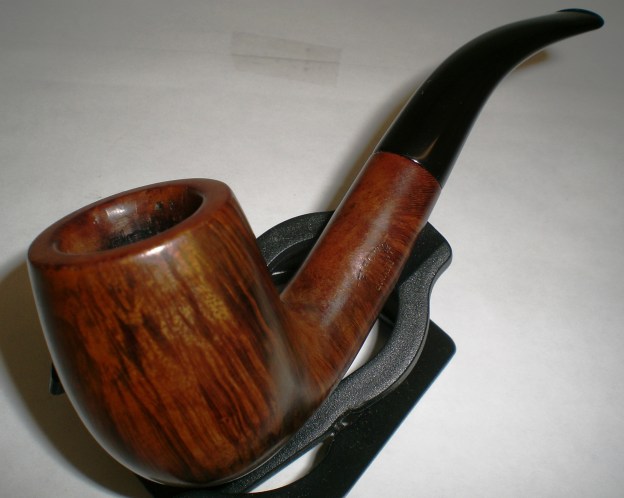
Here is the finished product.

The pipe sure looks like it would be a good smoking piece and I hope the young man enjoys it for many years.

Selected Straight Grain (Comoys) Restoration


By Al Jones

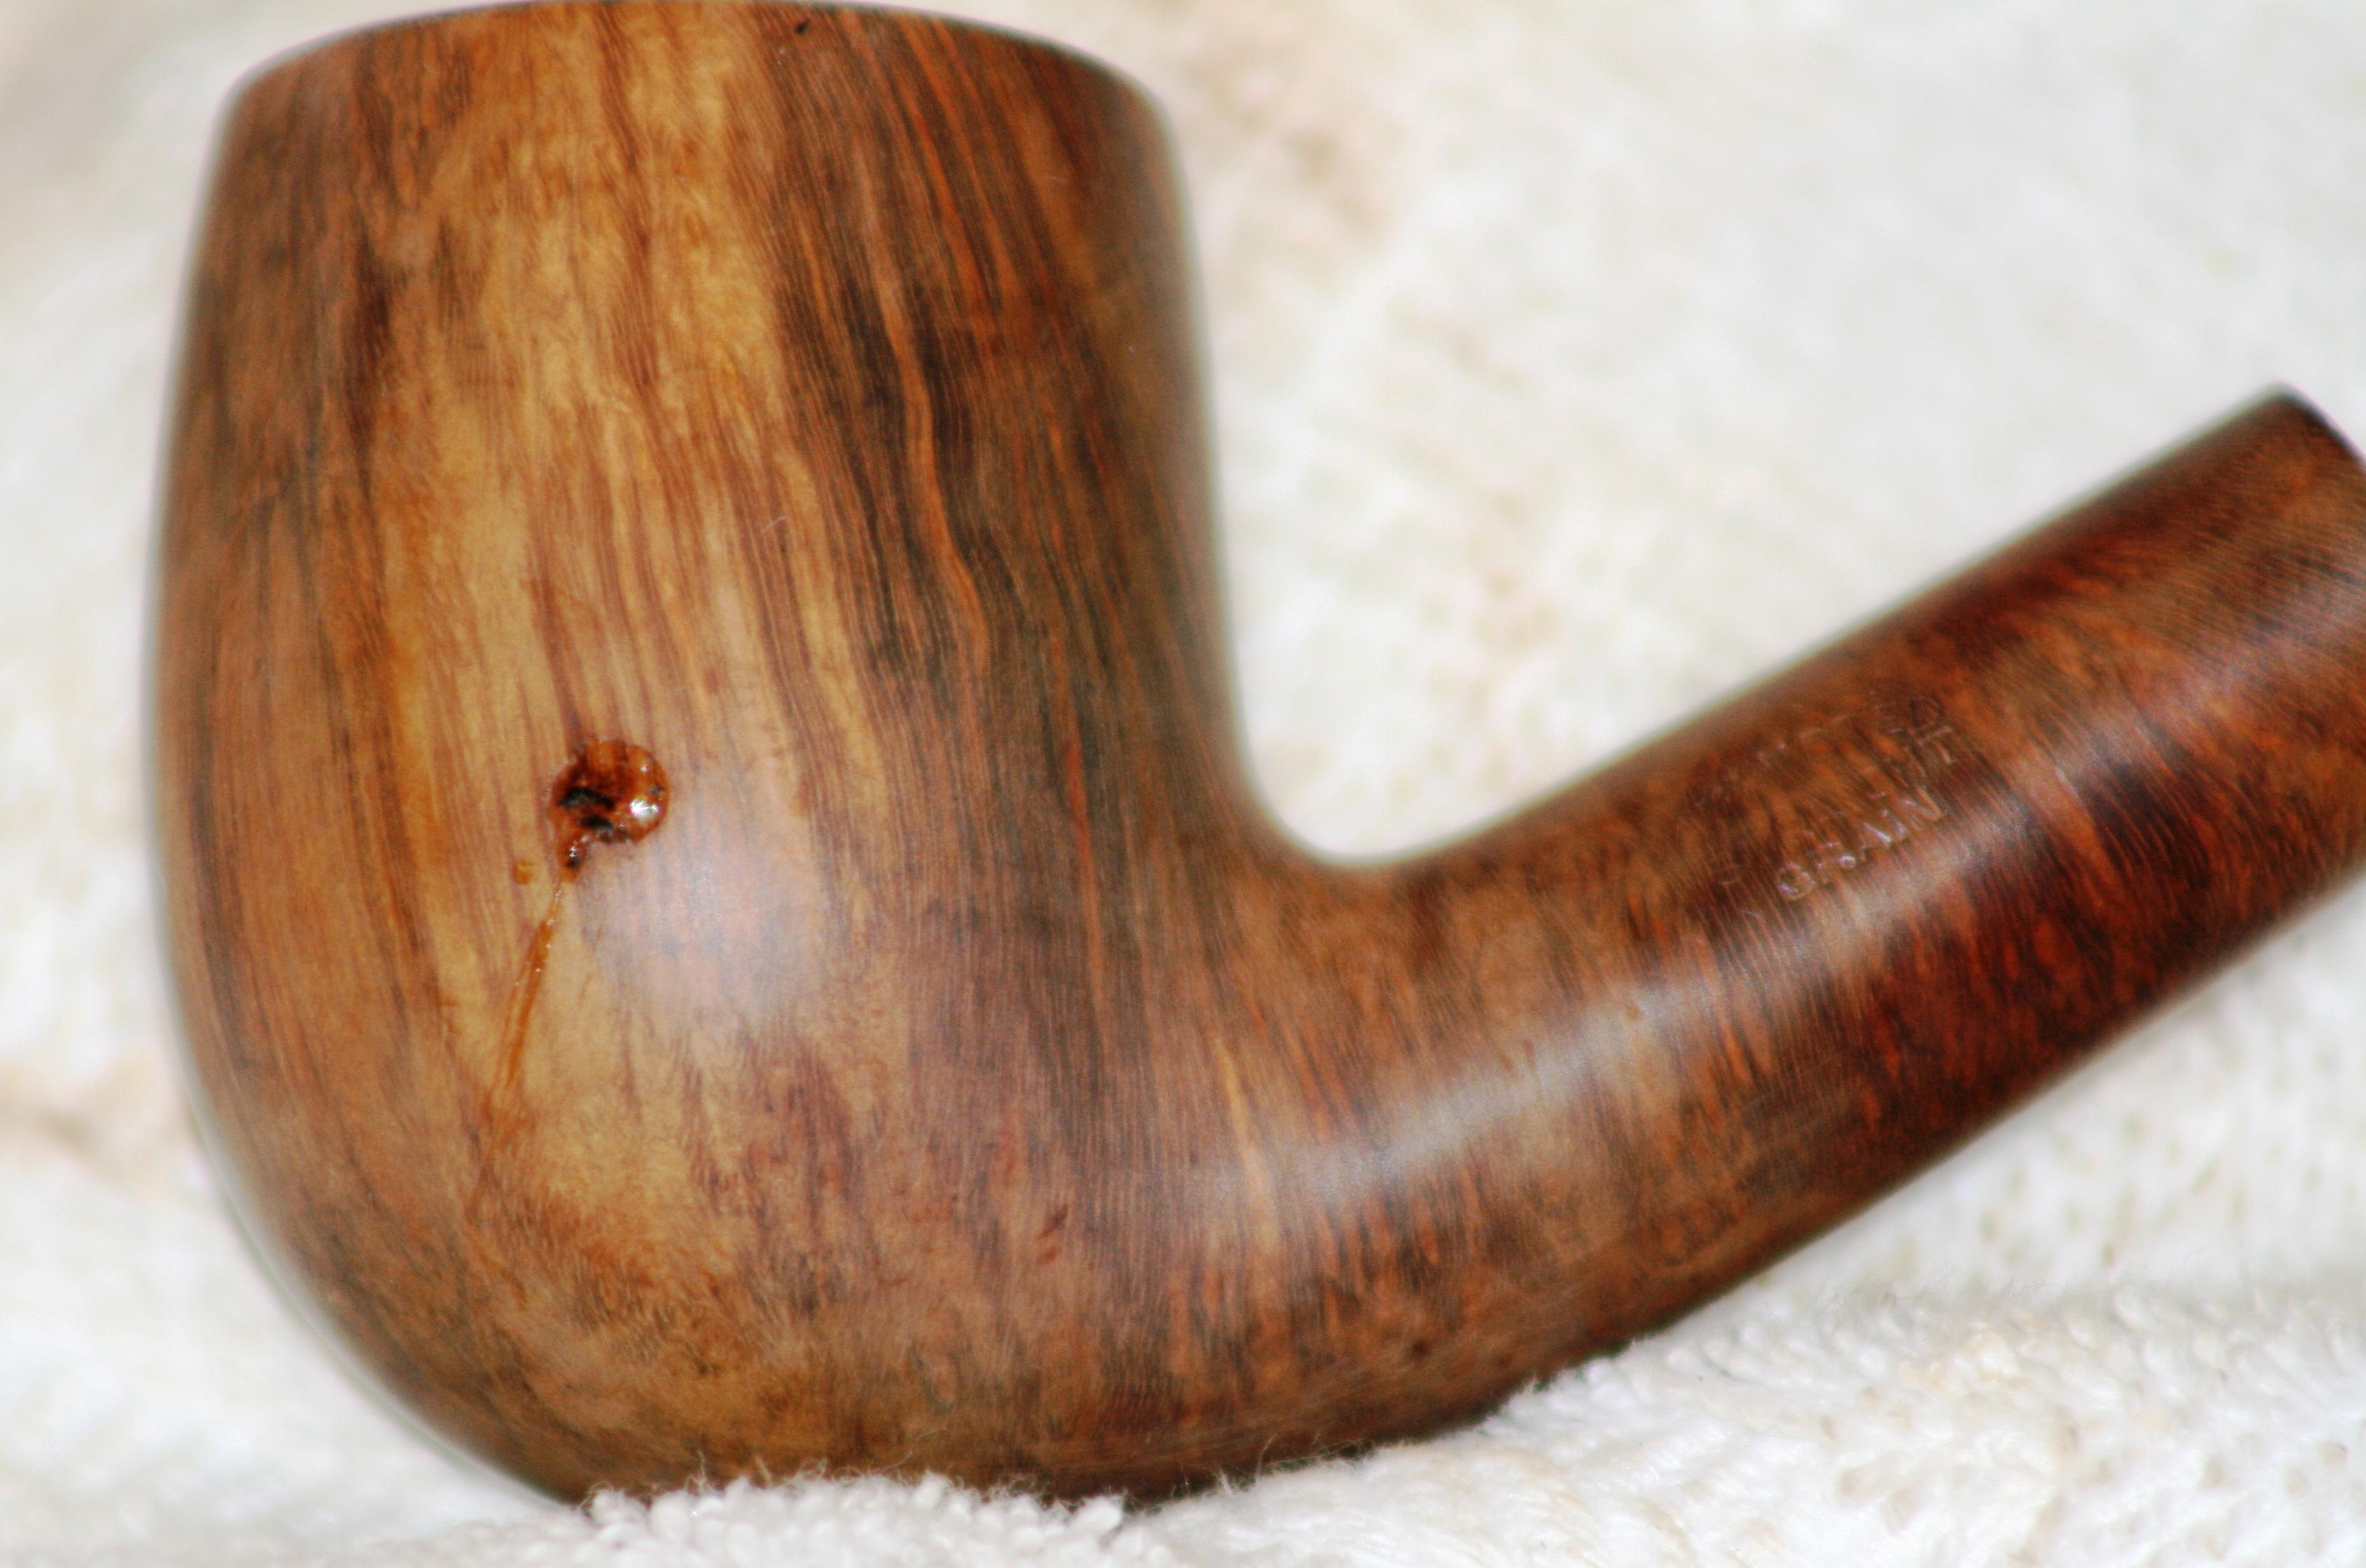
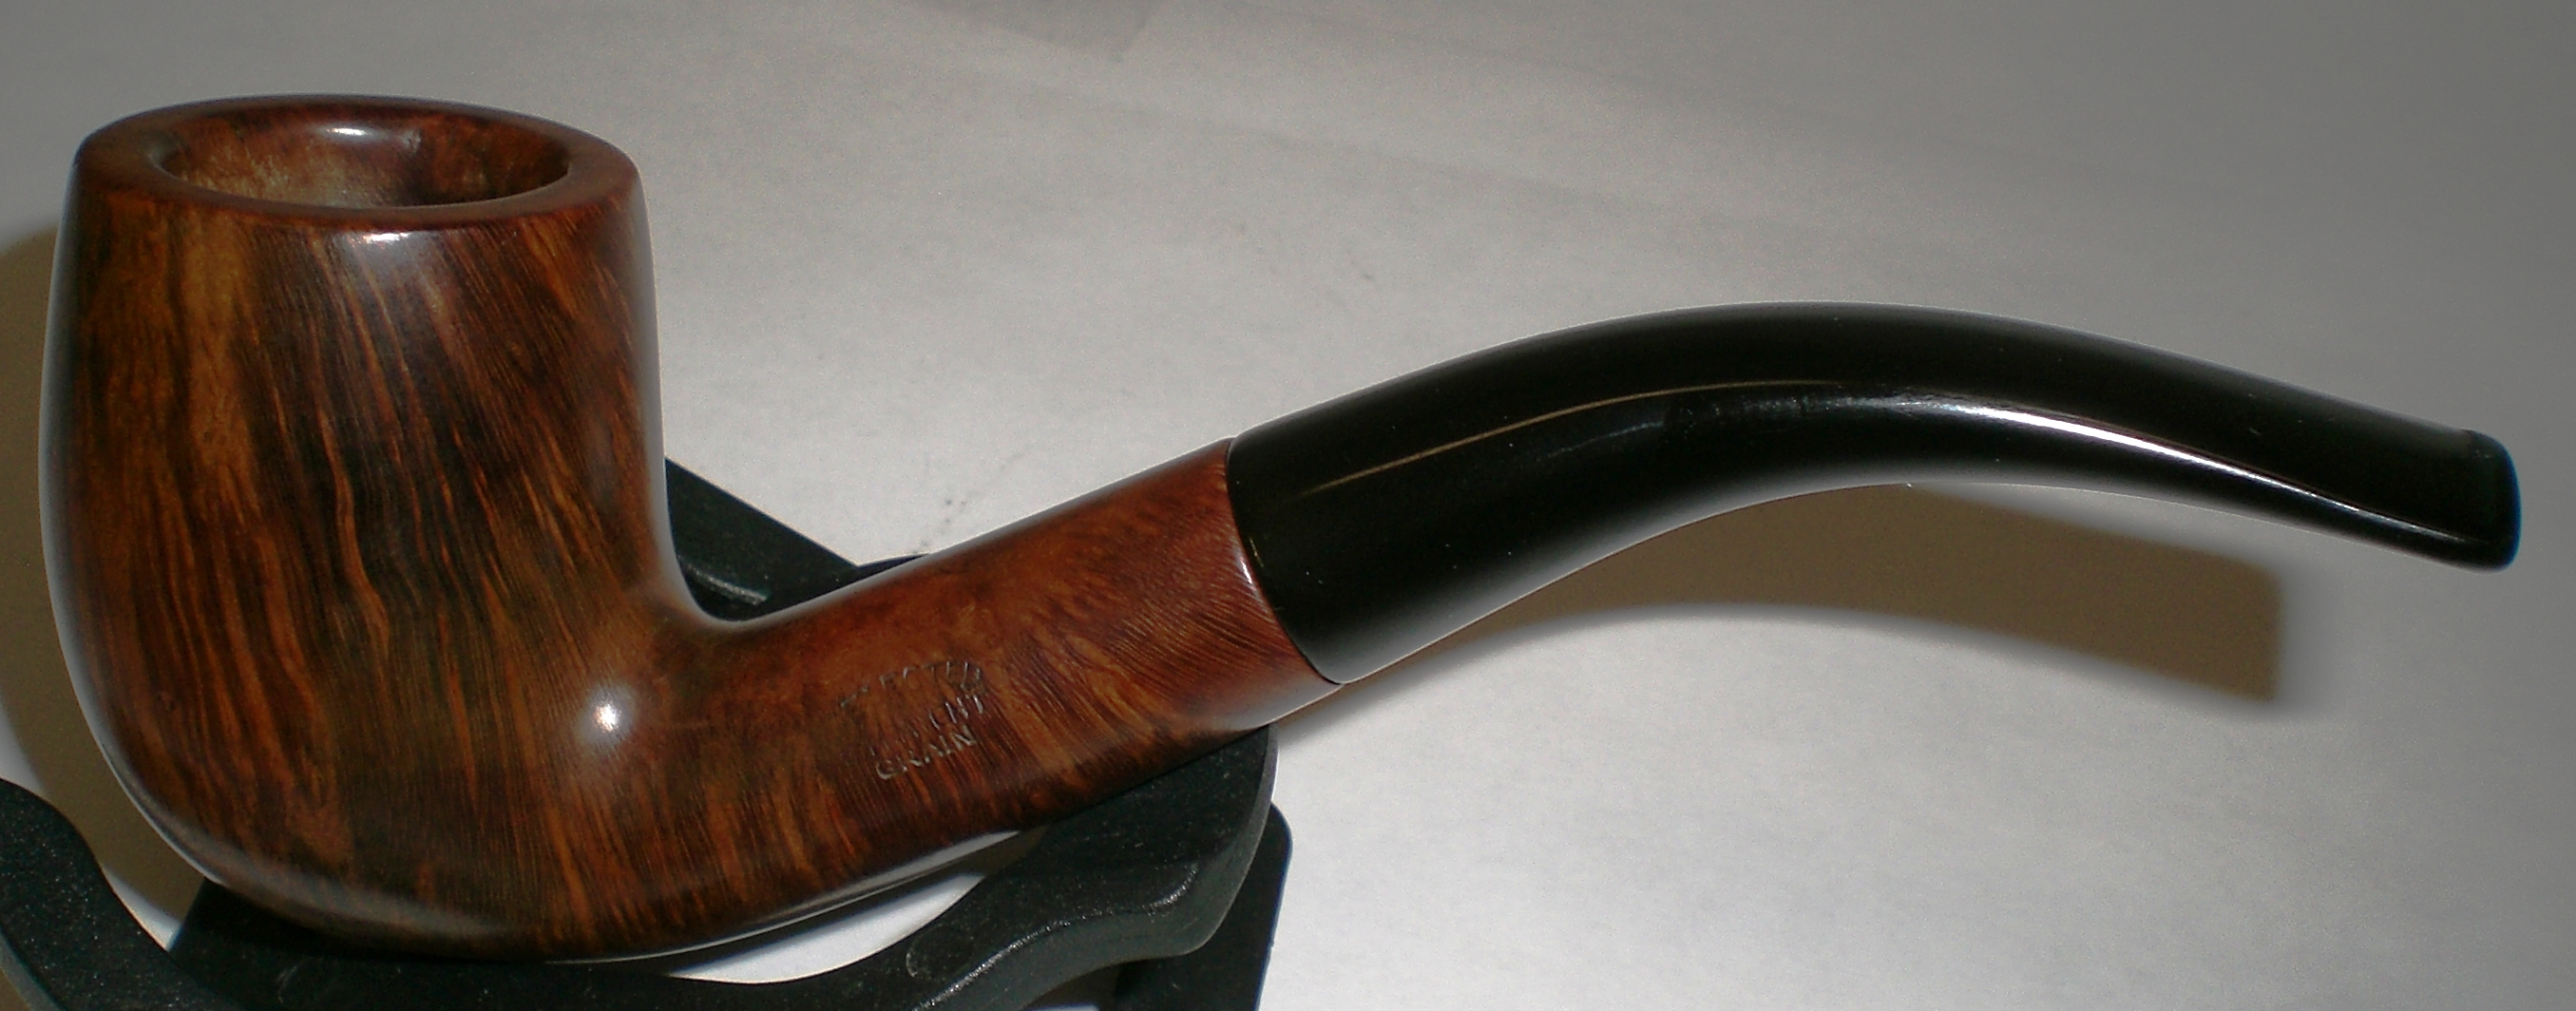
Several months ago, a thread on the SmokersForum.uk about the Comoys “Selected Straight Grain” pipes piqued my interest. Member Dirigo (Tom) was kind enough to share with me how to identify these interesting pipes. I was able to grab this Shape 13 via Ebay last week, which corresponds with the Comoys shape chart. That shape looked to be in decent shape, with the exception of one putty fill. I assume this flaw made the pipe unworthy of the Comoys stamping. There were only the slightest tooth marks and no pesky stem logo to worry about.

From the Ebay picture, you can see the ugly fill.

There was only minimal cake inside the bowl so it was lightly reamed and soaked with Everclear and sea salt. The top of the bowl was scarred, so that was going to take some work.

While the bowl was soaking, I started on the stem, which had been soaking in a Oxyclean solution. I went thru my usual 1500/2000 grit wet paper that onto the final four micromesh grades. The stem was then buffed with white diamond and a final plastic polish. Removing the light chatter was pretty straight forward. The button was worn, so I used a needle file to slightly reform the edges.  Unfortunately, I was unable to remove the oxidation without making the edge of stem slightly rounded.  I need to learn how to avoid this issue.

Once the bowl was done soaking it was moved to an alcohol bath to remove the stain. I spoke to Steve prior to this step and he recommended the fill be corrected using the superglue & briar technique he recently posted on Reborn Pipes. That solution worked well and I used two steps to fill in the pit. After restaining, the fill is just slightly visible, a big improvement from the factories solution using the bubble-gum putty.
The Super-Glue and briar dust patch.

I used a two-step stain process to highlight the grain, also a recommendation from Steve. First I “painted” on some black stain, after the bowl was warmed to open the grain. Then, the bowl was sanded with micromesh and a very diluted application of Medium Brown stain was applied. The bowl was than buffed with Tripoli and white diamond, followed by a final buff with Carnuba wax. I was careful on all steps not to diminish the stamping, which is quite legible.

Thanks to Steven Laug for his help with this one and Tom for information on this interesting Comoys niche.

New Life for a Yello Bole Canadian


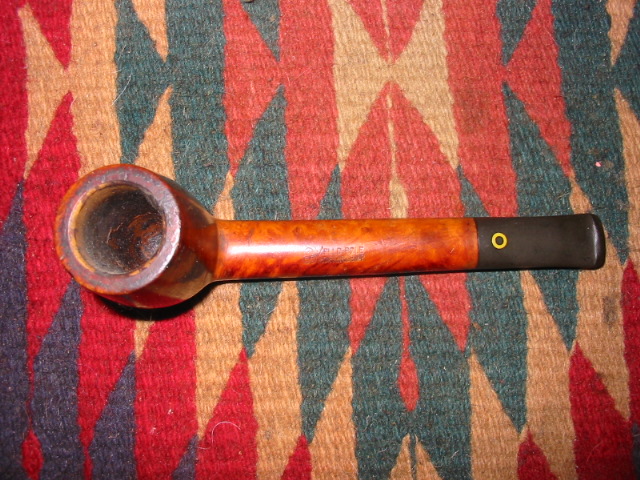
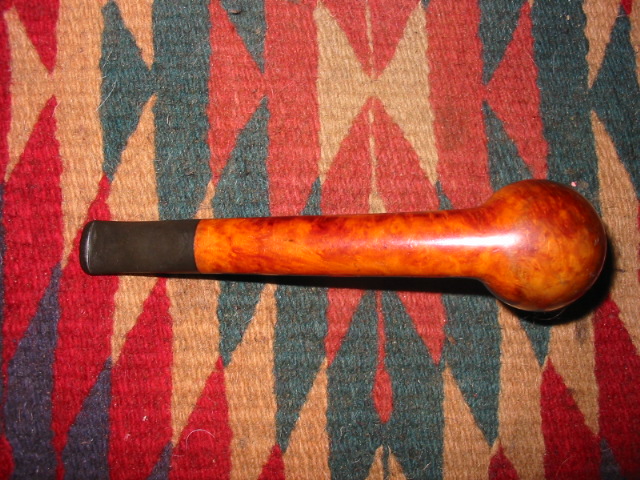
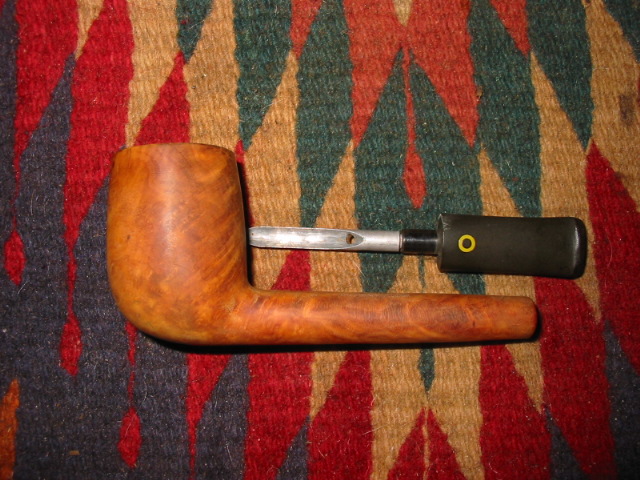
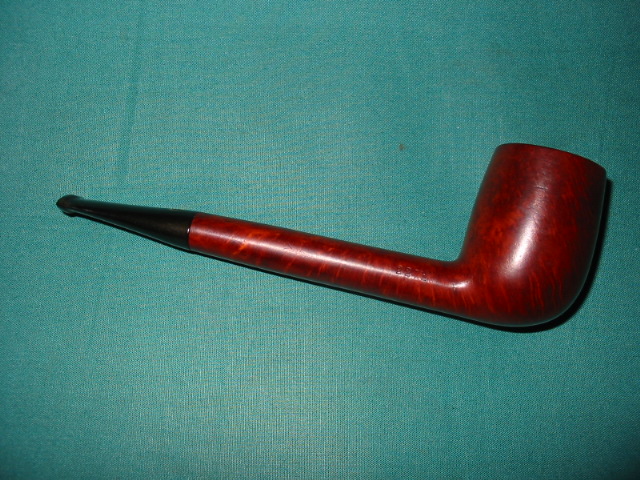
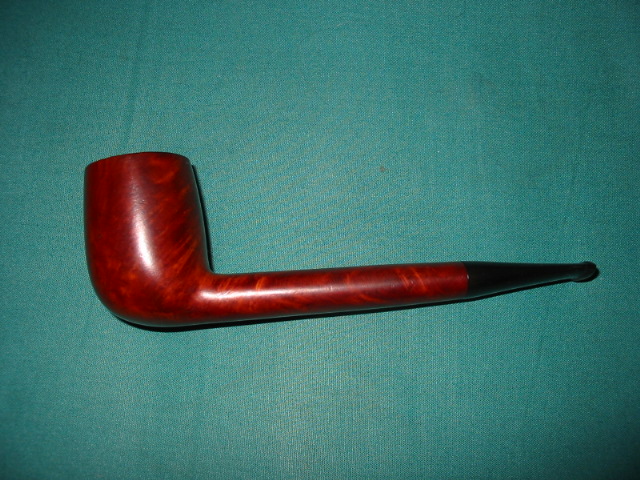
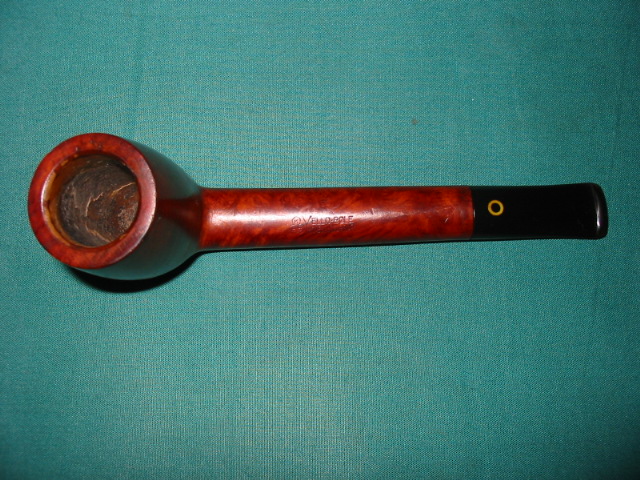
On a recent trip to the US to visit my parents I also visited several antique malls in their city. I have three that I usually have on my list when I go there. The one I want to focus on in this post is in an old grain elevator and has three floors of many “antiques” which always surprise me because many are the same age as I am!  Anyway, on the second floor I found a booth with two pipe racks containing over a dozen older pipes. Most were junk in that they had cracked bowls and broken shanks etc. But also in the midst of it was this old Yello Bole Canadian. It had some beautiful briar in it. Yello Bole is the grade down the line for KayWoodie, or so I am told. Pipes that don’t make the grade for KW will often be stamped with the Yello Bole brand. This one was stamped KBB in a cloverleaf on the top of the shank and next to it Yello Bole over honey cured, over imported briar. The stem has the yellow circle inlaid in the vulcanite. If memory serves me correctly this is one of the older pipes in the line.

ImageImage

The bowl was in pretty clean shape. The yellow coating was still visible in the bowl and the bottom half of the bowl was very clean with just a bit of darkening to the yellow coating. The rim was dirty and dented. There were tars on the rim and some deep scratches to go along with the dents. The bowl however, was still round, it had not been ruined by a reamer going a muck. The stem was oxidized and was slightly brown. There was light tooth chatter but no dents on the surface of the stem. The overall finish of the pipe had light spots and dark spots where the finish seems to have been exposed to light or was wiped down and finish removed. There was no over coat of varnish or of lacquer just solid clean briar with a spotty stain.

ImageImage

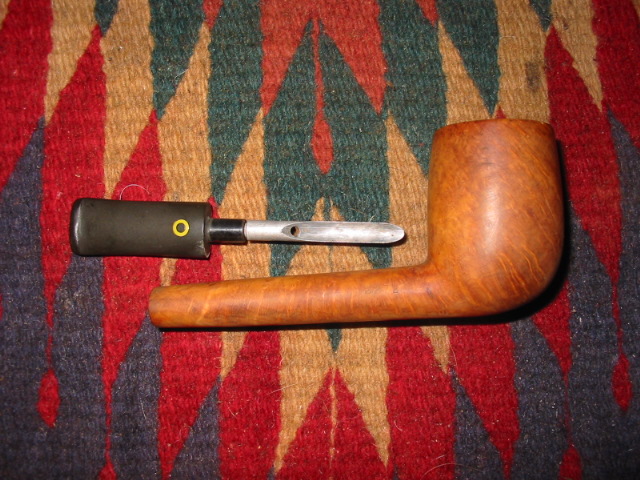
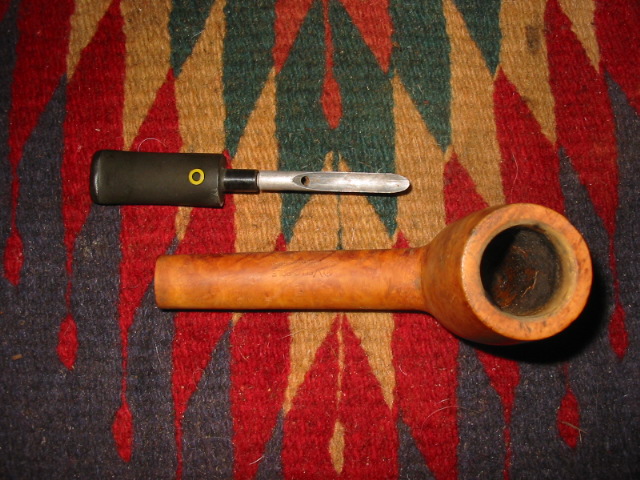
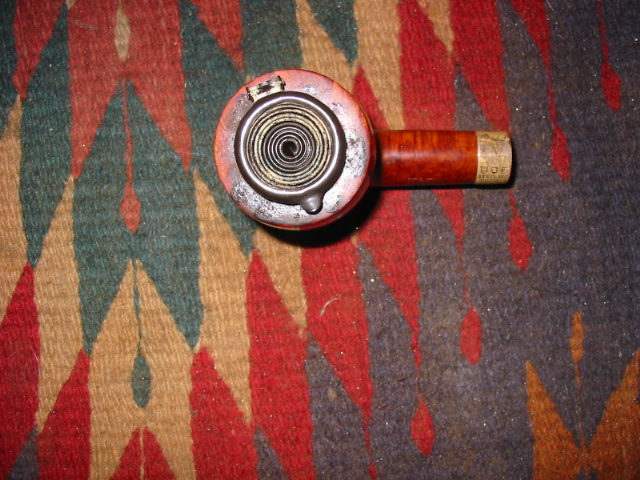
I broke the pipe down as seen in the pictures below. The stinger apparatus can be seen in the pictures. It is an aluminum shovel like contraption with the hole near the tenon and a long shovel like extension that extends through most of the shank. I cleaned out the bowl with an alcohol scrub on cotton swabs and cleaned out the shank with a shank brush, bristle pipe cleaners and fluffy pipe cleaners and alcohol. When they came out clean I worked on the outside of the bowl. I used cotton balls and acetone to wipe down the outside of the bowl and shank. I wanted to remove the rest of the finish so that I could prepare it for restaining. I applied the acetone until the bowl was free of the stain and finish. The pictures below show the cleaned surface of the bowl. I also used the acetone and some 400 and 600 wet dry sandpaper to clean the top of the bowl and rim. A folded piece of sand paper was used on the inner edge of the rim to clean the beveled edge. Before I stained the pipe I decided to clean and polish the stem. I used the Bic lighter method mentioned in an earlier blog post to get rid of the oxidation. In the pictures below the stem has the majority of the oxidation removed using that method. I then used 400 and 600 grit wet dry sandpaper with water and my usual list of micromesh pads from 1500-6000 grit to polish the stem.

ImageImageImage

Once the stem was cleaned and polished by hand I inserted it into the bowl and used it to hold the pipe while I restained it. I used a medium brown aniline stain on this pipe to approximate the original stain and to highlight the grain. I applied it with the dauber that came with the stain and then flamed it to set the stain. I then took it to the buffer and buffed it with Tripoli to remove some of the opacity of the medium brown stain and bring the grain to life. Once that was done it was buffed with White Diamond. Both the stem and the bowl were buffed. Care should be exercised in the buffing process to not obliterate the stamping. I use a light touch when buffing around the stamping. The four pictures below show the finished pipe – ready to load with a favourite tobacco and enjoy!

ImageImageImageImage


Barling Garnet Grain Small Bent Billiard 2034 Given New Life


Blog by Steve Laug

I picked up this little Barling (transition era pipe so the Barling stamping is missing the “s” and is a script) in a lot I bought on EBay. It had a broken stem that was also chewed through on the end and not repairable. The tenon was still in the shank and was exceptionally tight. I put the bowl in the freezer for about 30 minutes and then used a screw to remove the broken piece from the shank. The key here is to not screw in the screw too much or you can crack the shank. I was able to easily pull it out as can be seen in picture 3. The finish on the bowl was rough on the top with tars and some denting. The sides of the bowl also had some denting. I cleaned the top of the bowl and removed the tars. I steamed the dents out of the top and bowl sides.

ImageImageImage

I wiped down the bowl with acetone to remove the grime and the waxes that were on the finish. When I had finished I inspected the shank area because the drilling was off a bit in the shank and the walls were thin near the top left. There were small hairline cracks that went through several places and spidered up to about a 1/8 inch into the length of the shank. I glued those and pressure fit a nickel band on the shank.

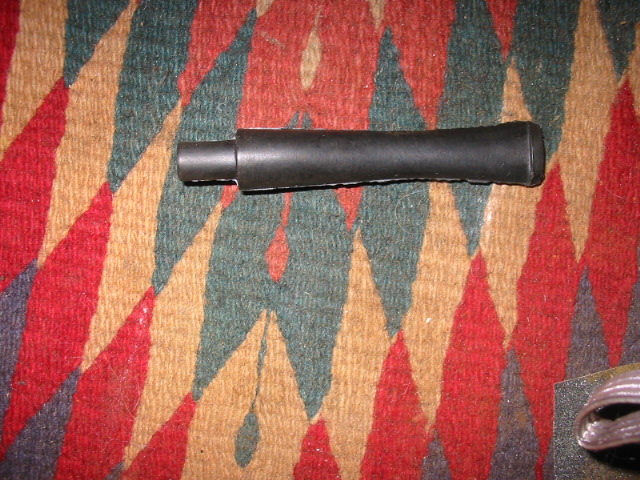
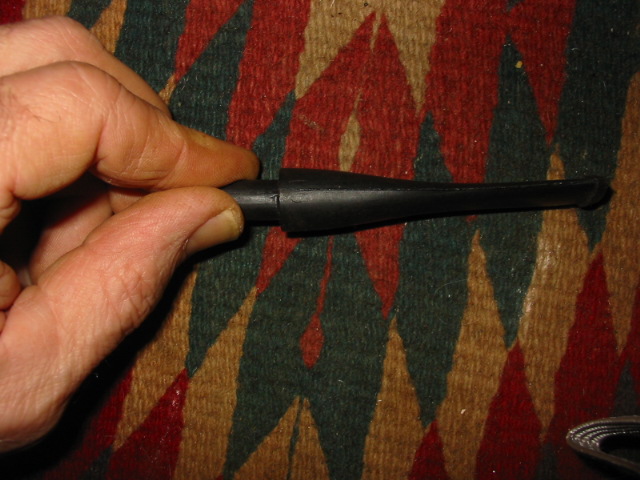
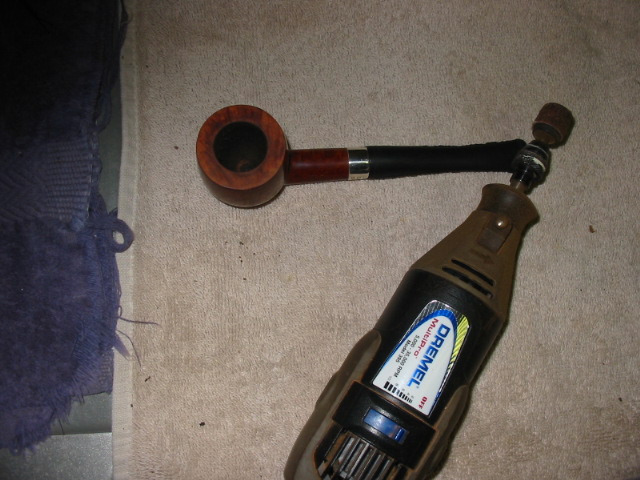
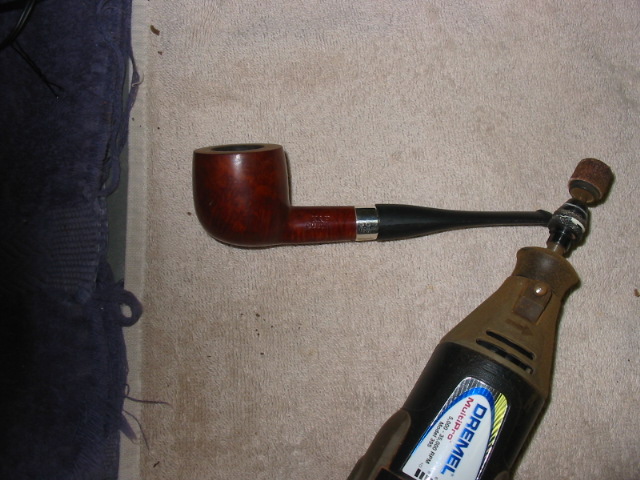
I turned the tenon on a recycled stem I had here and fit it on the pipe. I used my Dremel to remove the excess material where the diameter of the stem was greater than that of the pipe. I kept the broken stem near at hand to match the diameter, the flow of the stem and the shape. I used it as a bit of a template to shape the new stem. The three pictures below show the process of shaping the stem from Dremel to hand sanding with 240 grit sandpaper.

ImageImageImage

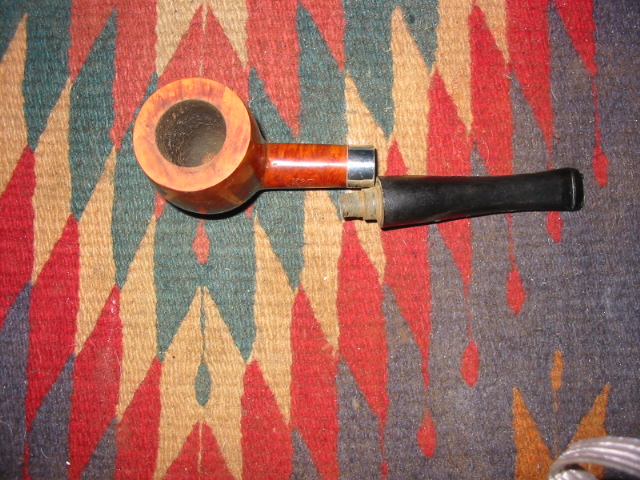
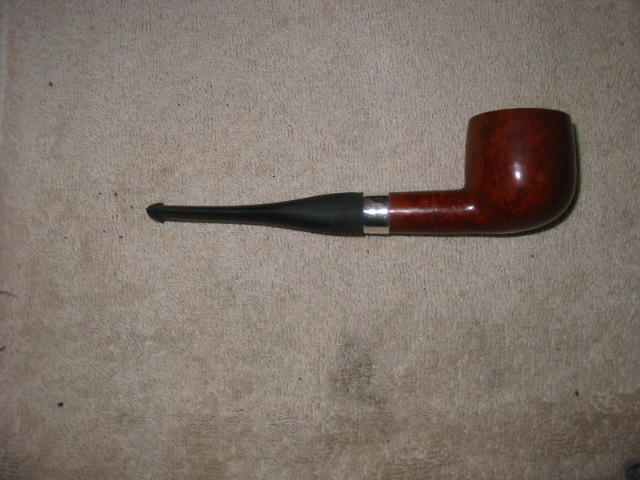
In the picture below I have finished the initial shaping with the sandpaper and have a good fit. You will notice the lightening of the shank below the band – that is part of the process of sanding to fit the band to the shank. I place the original stem below the pipe in the picture for comparison sake. It is a bit thinner in profile than the new one in this photo. I continued to sand the stem with 400 and 600 grit wet dry sandpaper and water to remove the remaining scratches and grooves that the 240 grit sandpaper left. Once I had them removed I proceeded to use the micromesh pads – 1500, 1800 and 2400 grit to sand the stem smooth. When I finished with those I buffed the stem with Tripoli and White Diamond and finished by returning to the micromesh pads -3200, 4000 and 6000 to polish it. One more trip to the buffer with White Diamond finished the polishing. I gave the stem a coat of Obsidian Oil and removed it and set it aside. It was time to work on the finish of the bowl.

Image

I used an oxblood aniline stain to match the stain to the original Garnet Grain colour. I have done this in the past and compared it to a very nice original Garnet Grain and the colour is a perfect match. Before staining I polished the bowl with the 3200 and 4000 micromesh pads avoiding the stamping on the pipe. I applied the stain with a cotton swab and then wiped it off, applied and wiped it off until I got the colour I wanted. I then flamed it and set it aside to dry. Once it was dry I put the stem on it and took it to the buffer and gave it a buff with White Diamond and carnauba wax.

In the first picture below I put the original stem in to show the damage to the underside near the button. I also put a 1 cent piece, a penny in to give perspective on the size of this diminutive billiard. I am very pleased with the overall look of the pipe. The finish came out as a perfect match to the original Garnet Grain colour.

ImageImageImageImage

Correcting an overturn on a stem with a bone tenon


Blog by Steve Laug

I started this process of correction with tried and true information and experience gained from working on older stems with metal tenons. I had developed a process and perfected it for my use in correcting an overturned stem by heating the tenon in the stem to loosen the glue. Once the glue is softened with the heat then the stem can be screwed on to the shank and turned to the proper position and left to cool. Care should be taken in aligning the stem and shank to the correct position. If it cools before it is straight, it can be reheated to align it correctly. I have used this procedure for a long time and it works perfectly each time I have used it. I am sure I will refine it but it works!

With that background and a couple of older stems on meerschaum and briar pipes with bone screw tenons that were overturned I put the following question out on the various online pipe forums that I am a part of.

“Does anyone know how to correct over turned bone tenons? I have a couple old timers that are over turned I am looking for a corrective…Help!”

I did not receive any response to my query so I decided to try the method I had used with metal tenons and see what happened. I chose a pipe to experiment with that would no be a loss if it did not work. The stem was made of Bakelite and the tenon was a bone screw. I put a cup of water in the microwave and stood the stem in it tenon down and set the timer for two minutes (time to boil a cup of water in my microwave). I took it out at a minute and gave it a try and it was better. I put it back in the water and let the two minutes finish. I then dried it off with a towel and turned it into the shank and was able to turn it until it was aligned. There was no damage done to the tenon or the stem in the process. The alignment on the stem was perfect and once the pipe cooled it remained aligned.

My two concerns with the use of the boiling water were first, would there be any integral damage to the bone tenon from the heat moving from the inside out and second, would the heat cause any damage to the Bakelite. I did not want it to become brittle from the boiling water process. I have learned on the metal screw tenons that I could put the entirety (stem and tenon) into the microwave with the water and leave it there through the heating cycle on the microwave. I had done the same with a Bakelite stem and metal tenon and it worked well to insert the stem and tenon while the water heated in the microwave. I decided to do that as well with the screw bone tenon and Bakelite stem. There does not seem to be any increased brittleness or crackling of the stem or bone – all is well.

KBB Yello-Bole Premier – Stem repair and refurbishing


Just received that old propeller KBB Yello Bole pipe that I picked up off ebay. The bowl is in better shape than the pictures on ebay showed it. The burned spot on the Bakelite stem on the right side bottom was actually very deep. I cleaned it with alcohol and a dental pick to take out the affected material. It was a sizeable dent. I then cleaned and dried it and used a clear epoxy to build it back up. I am sanding it now to make sure the transition is smooth but at least it is gone. The hole is filed and a bit dark but the stem has black/grey streaks in it anyway so it is functional. Here are the photos from ebay showing the before.

ImageImage

In examining the pipe it is clear that it is an old timer – propeller logo on the stem, bakelite stem, and the stamping. It is stamped KBB in a clover and Yello-Bole Honey Cured Premier over Imported Briar. Once I had repaired the stem with the epoxy as described above I scrubbed the top to remove the tars and grime. The shank and inside the stem was clogged with tars and took a lot of bristle cleaners and alcohol to get it to come out clear. The finished stem came out smooth and solid. It still shows some of the shape of the burn but the affected part was removed. The bowl was cleaned with oil soap and then hit with a quick coat of medium brown stain, polished and waxed. This time I did it all by hand without a buffer. I used the micromesh pads and I really love the way they work.

Along with the pictures above here are some shots that show the state of the bowl before cleaning.

ImageImage

Here are pictures of the finished pipe in all of its beauty.

ImageImageImage


Fitting a pipe with a new stem – photo essay


Blog by Steve Laug

I picked up this pipe bowl – a Pete 207 – an early Peterson from the late 40s. It was in need of a stem. I have a couple of cans of stems that are precast blanks. They need to have the tenons turned to make them fit correctly.

ImageImage

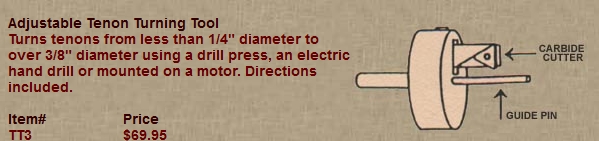
I have a PIMO tenon turning tool like the one pictured in the diagram below. I have to drill the stems to fit the guide pin as they are generally very small. Once that is done with a bit on my cordless drill I then put it on the tenon tool and adjust the carbide cutter to the diameter tenon I want to cut. I always start large and work my way down. I have found that trying to cut too much off at once causes the tenon to chip or break. So I start large and work my way down until it fits the mortise. I found this YouTube link that gives a video presentation of the process so I have included that as well for your information http://www.youtube.com/watch?v=drKxzteEEPk A quick look at the video will show you the process I use in turning the tenons. I generally turn the tenon until it is close to fitting and then finish the fit by hand. I have found it is better to proceed by hand from that point so as I don’t take off too much of the vulcanite and have a loose fit on the tenon. I will show that process from the point the tenon has been fit in this pictorial essay.

Image

Below is a stem blank that I picked up online from Pipe Makers Emporium. I have several coffee cans full of different sizes of blanks. I sort through them to find one that is close to the outside diameter of the shank. I find that it is not too difficult to get the two to match with a lot of sanding and fine work.

ImageImage

Below is a picture of the bowl prepped and ready for the new stem. I cleaned the top and polished the silver band as I want nothing in the way of a tight fit for the stem. You will also notice in the photo that the tenon is partially turned for a fit. I stopped at this point to show the process. The large portion still remaining on the tenon shows the first turn of the tool to take off the first portion of vulcanite. I keep the tool turning so that the carbide blade removes the face of the stem as well so that the seat will be straight and flush at the union of stem and shank. I find that when I do this at the beginning of the turn it give a good clean finish. The step down in the tenon shows the next portion removed. I have adjusted the tool to take off that portion. After this photo I finished turning the tenon.

ImageImage

The PIMO tenon tool took a bit of work for me to figure out the adjustments as I purchased the tool second hand without the instructions. The fellow I bought it from gave me some quick lessons on how to adjust it. He even threw in the hex keys!! So needless to say, I learned by trial and error how to adjust the cutting head and keep it straight for a straight cylinder cut on the tenon. Since then I have it has been pointed out to me that Kurt Huhn of Pipe Makers Forums has noted the tricks I learned the hard way.

ImageImage

I will try to capture the trick in my own words, combining what I have learned the hard way with Kurt’s recommendations. The first step in the process is to adjust the cutting head. Start by removing small portions at a time. To deep a cut makes the cutter wobble and give an uneven tenon. To adjust the cutting head insert the adjustment hex key (larger hex screw on the tool) and the lock key (smaller hex screw) into their set screws. Do not turn them, just insert them. Push in lightly on the adjusting key and pull up slightly. Loosen the lock key a quarter or half turn. While maintaining the up and in pressure on the adjusting key turn it in increments of a half turn (think half hour on a clock). With steady pressure on it by pulling it up, the arm with the carbide cutting head is not loose and wiggling as it is adjusted. If it is loose while adjusting it, you will get non-cylindrical tenons regardless of the number of turns from zero. Do not let go of the adjusting key, tighten the lock key while the pressure remains on the adjusting key. Pull the adjusting key straight out, being careful not to turn or press down on it. Trim the stem and repeat as you need to get a good tight fit on the tenon.

The next sequence of photos shows the tenon finished and the fit clean and tight. I hold it up to the light to make sure that there is no light showing between the stem and shank. Also note the Dremel with the sanding drum in the photo. I use that to bring the outside diameter of the stem to a close match to the shank. I run the Dremel at the middle speed to allow me more control of the tip as I take off material. If I run it too fast I find that it takes off too much. Too slow and it leaves a chunky beat up finish that takes a lot of sanding to smooth out. As can be seen from the photos there is not much material that needs to be removed for a smooth fit.

ImageImage

In the photos above I have used the Dremel and removed material to the point that the stem and the shank are almost level. I did it in stages with the stem on the shank and rotating the pipe to keep the perspective round and even. Once I got it to the stage above I move to my table and continue the rest of the work by hand. Sand paper in a variety of grades starting with 180 allows me to work the remainder of the material off and to get the scratches and grooves from the Dremel worked out of the stem.

Each of the next seven photos shows the progress of the stem toward the finished product with the different sand papers. Once I have removed the majority of scratches and grooves left by the Dremel with the 180 grit (pictures 1 &2) I move on to using 220 grit and 240 grit to take down more material. Care must be exercised to not scratch the band or the shank. The idea is to leave the shank exactly like it was without scratches or marks (pictures 3,4,5).
ImageImageImageImageImage

Pictures 6, 7 & 8 show the stem after using 1600 grit wet dry sandpaper. Each sanding step removes more material and evens the flow of the stem to shank. It also removes scratches and prepares the stem for the finish sanding.

ImageImageImage

The last four pictures show the pipe after sanding with micromesh pads – 1800, 2400 and 4000 grit. Generally each of the pads progressively polishes the stem. Any places that still show scratches send the stem back to the 600 wet dry sanding or even further depending on the depth of the scratches. When the polish is clean and smooth I take the stems to my buffer and buff with white diamond that raises a deep reflective finish on the stems.

ImageImageImageImage