Blog by Steve Laug
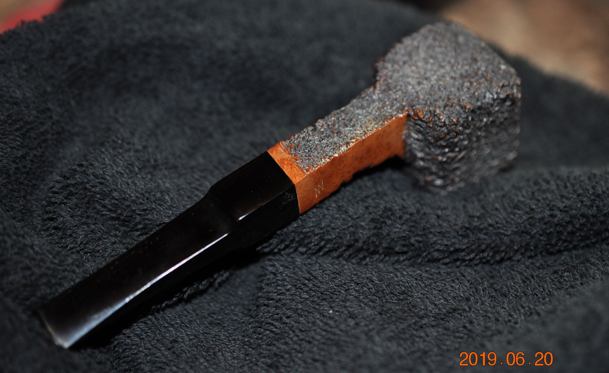
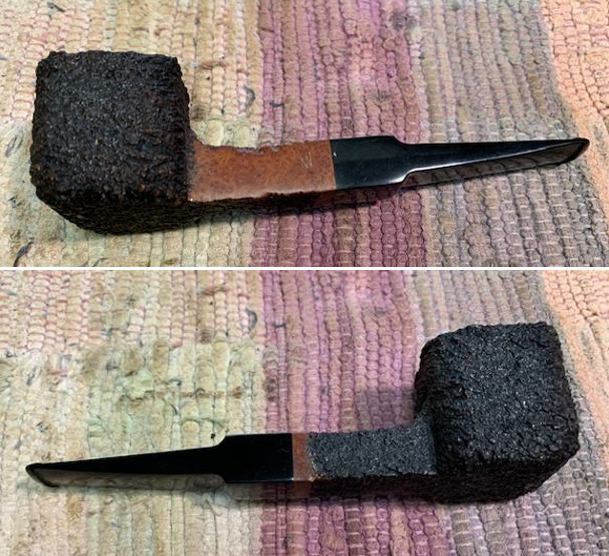
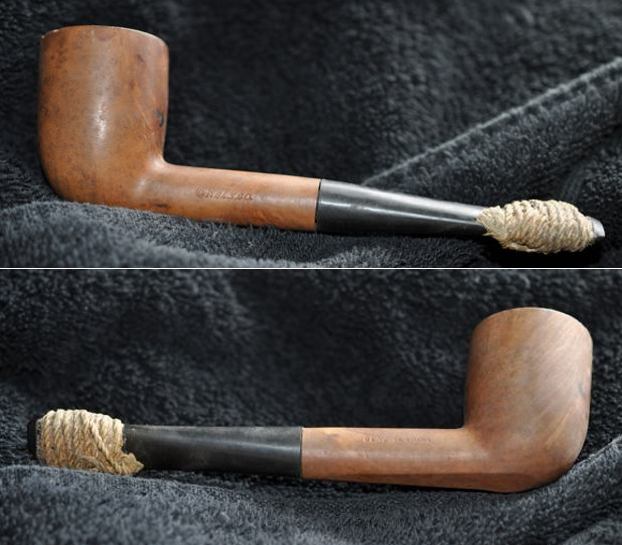
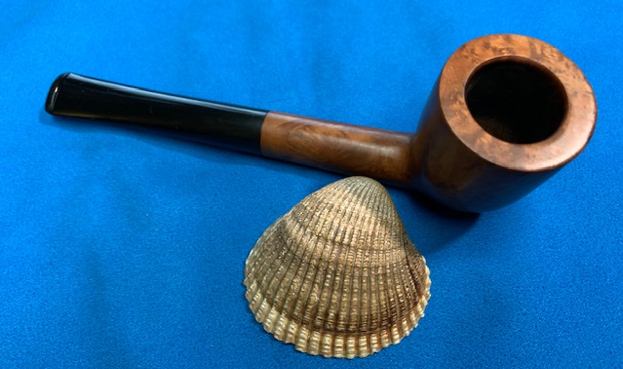
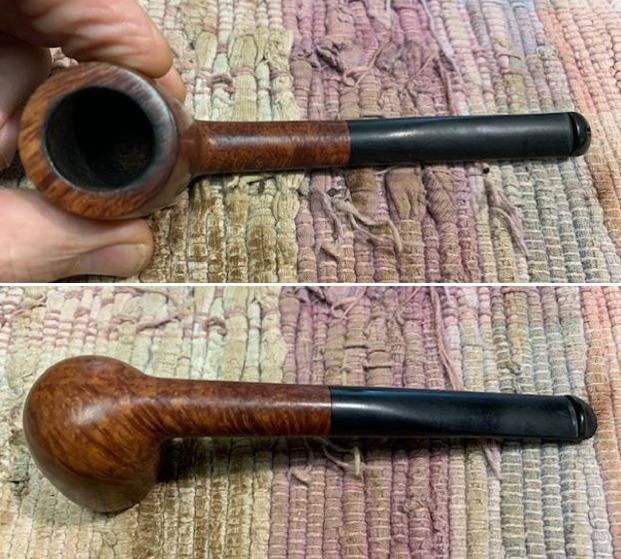
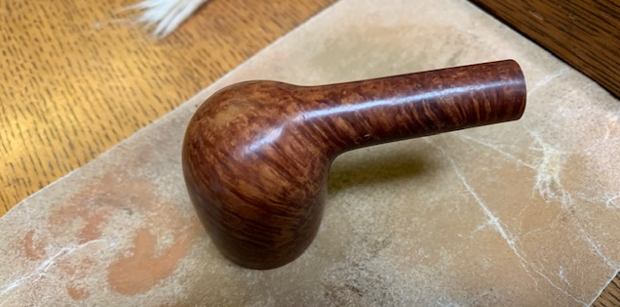
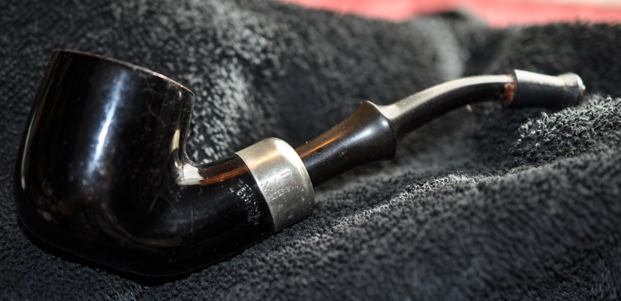
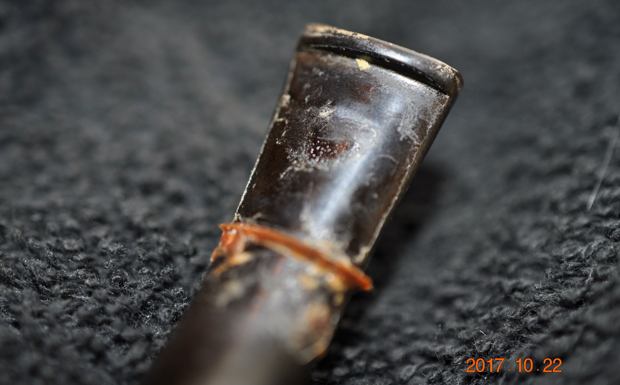
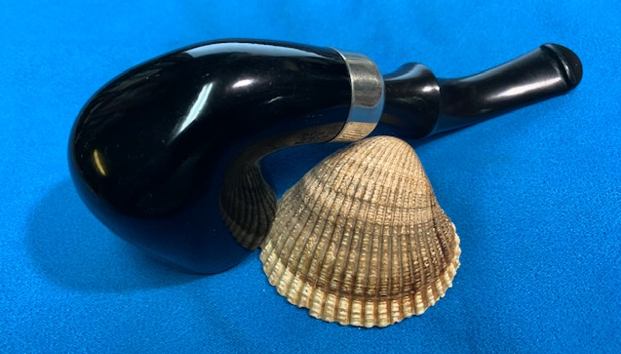
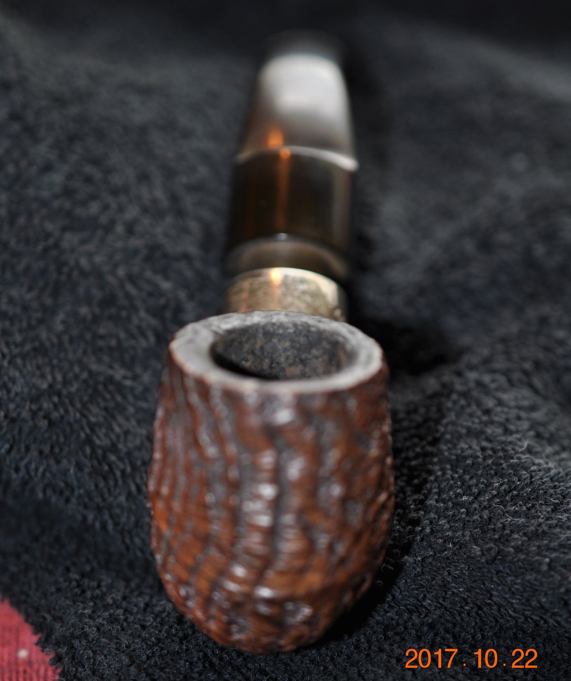
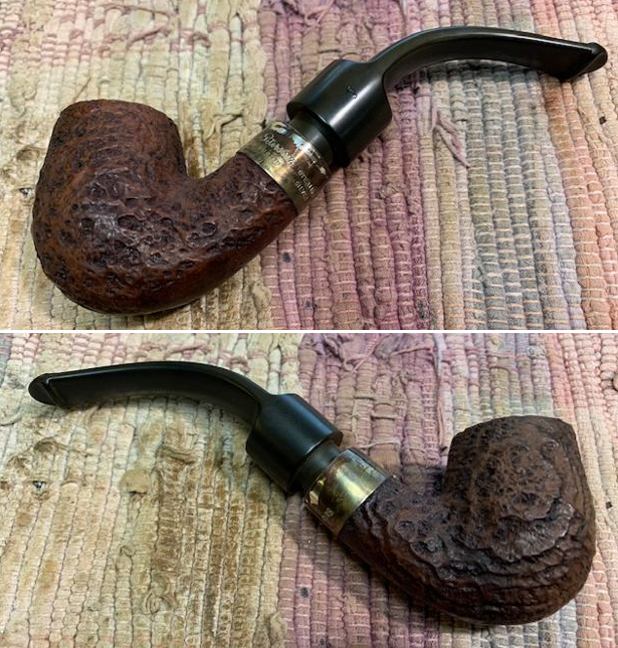
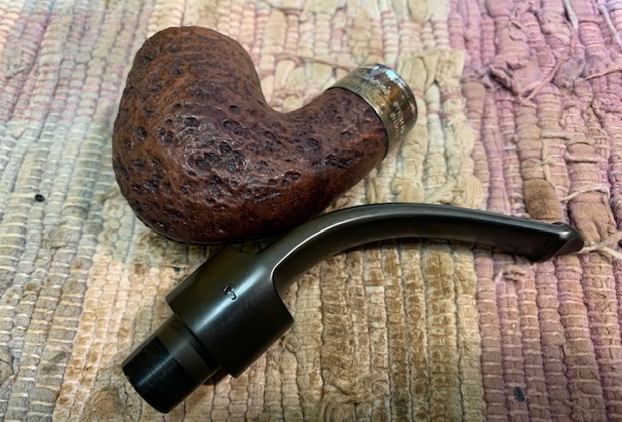
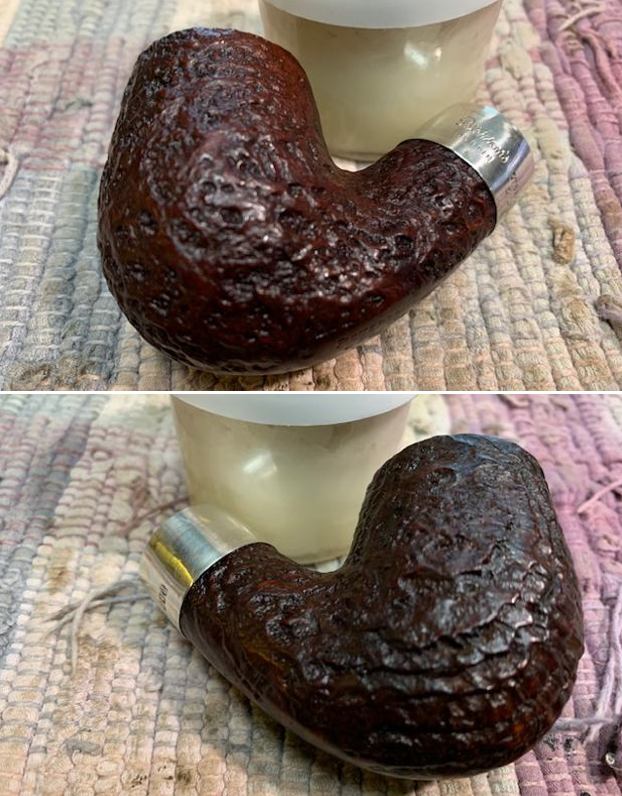
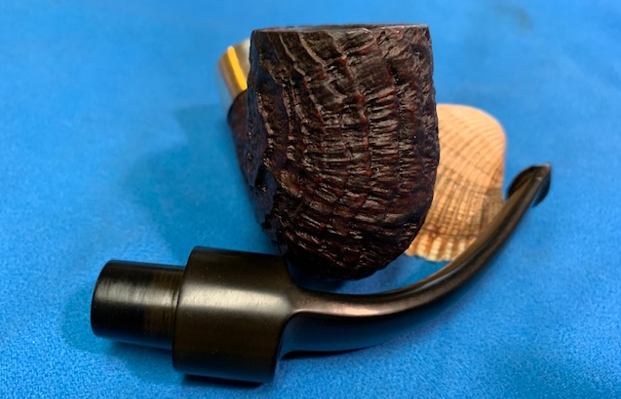
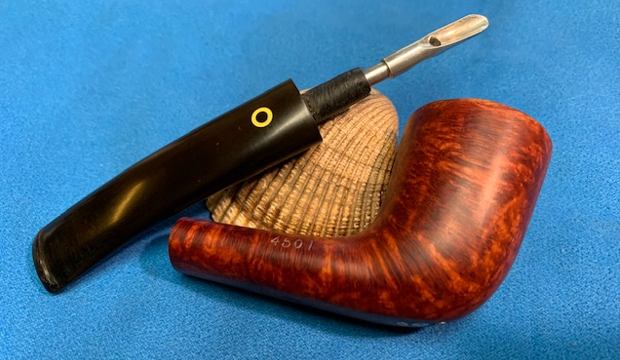
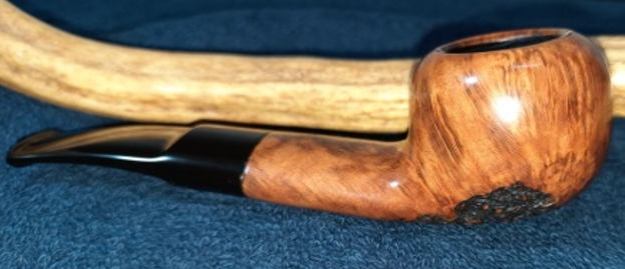
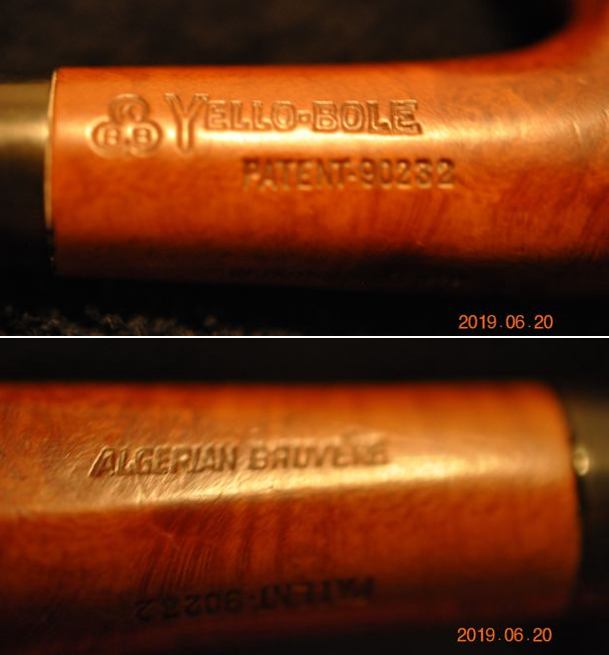
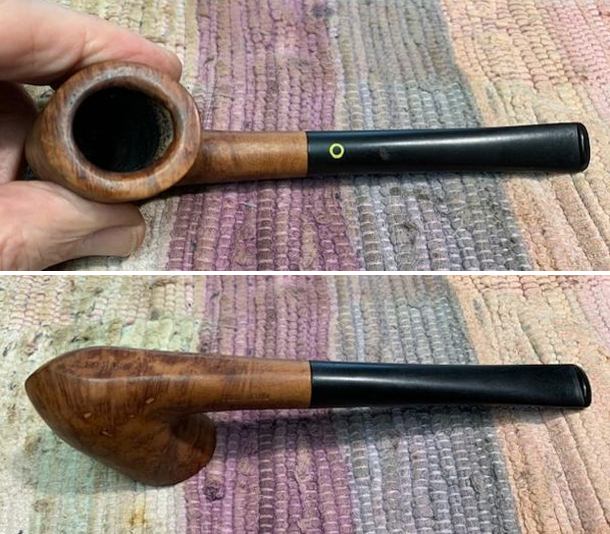
This pipe was purchased from an antique mall on 04/28/19 in Ogden, Utah, USA. Jeff picked it up because it was such a unique shape. It seems to somehow combine parts of the Skater shape and the Bullmoose’s protruding chin. The grain was nice and it had some fills on the sides of the bowl but not too obvious or obnoxious. The pipe is stamped President on the left side of the shank and KBB in a cloverleaf followed by Yello-Bole [over] Patent – 90232 on the right side of the shank. On the underside at the heel it is stamped with the shape number 2198L and mid shank reads Algerian Bruyere. The bowl had a moderate cake but you could see the yellow Honey Coating that Yello-Bole draw their name from. The finish was dirty and had a lot of nicks and scratches on the rim top and around the bowl sides. The base of the bowl and shank had been flattened to make the pipe a sitter. It had a vulcanite push stem and no stinger apparatus in the tenon or shank and there was no evidence that their ever had been one. The stem was lightly oxidized. There are a burn mark on the top side near the yellow O logo. There were tooth marks and chatter on both sides ahead of the button. Jeff took some photos of the pipe before he started his clean up work.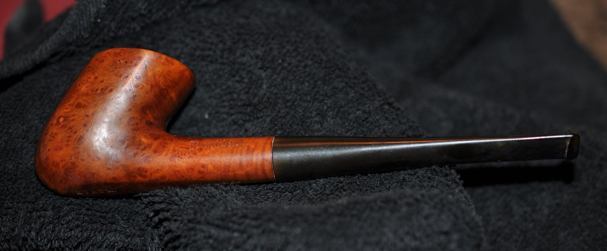
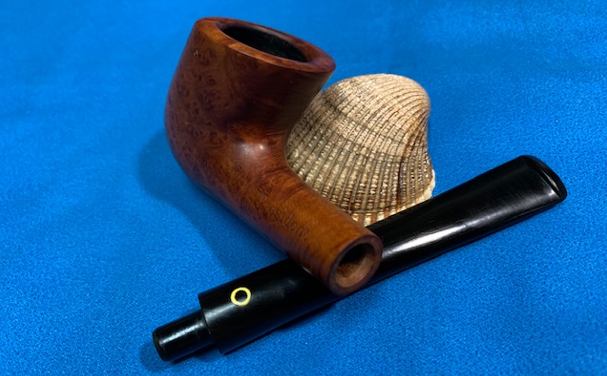
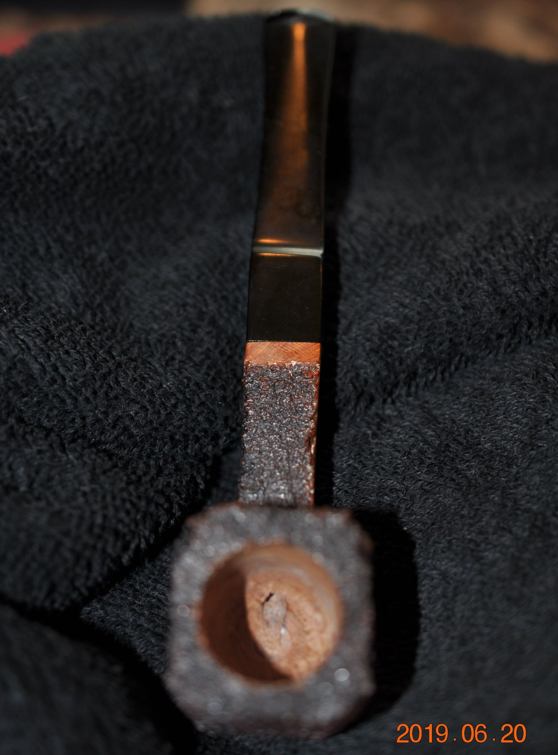
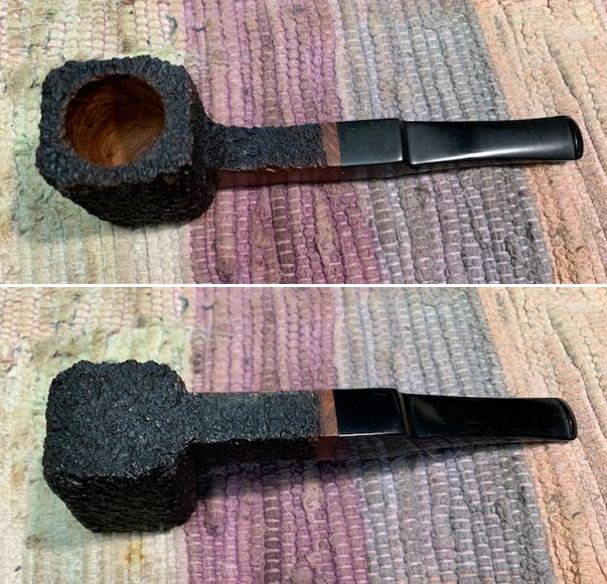
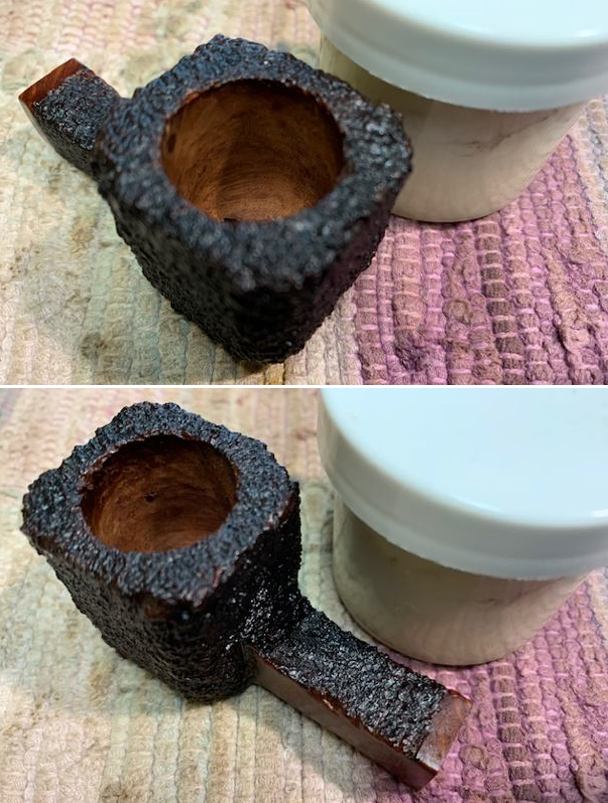
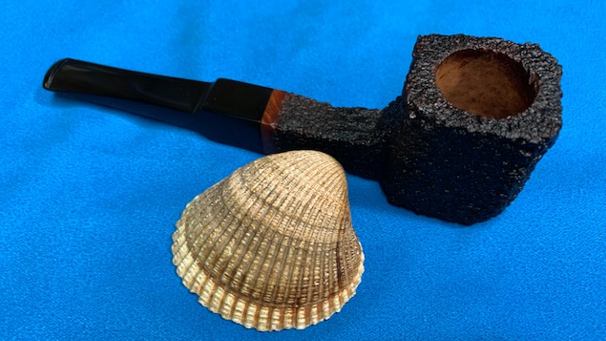
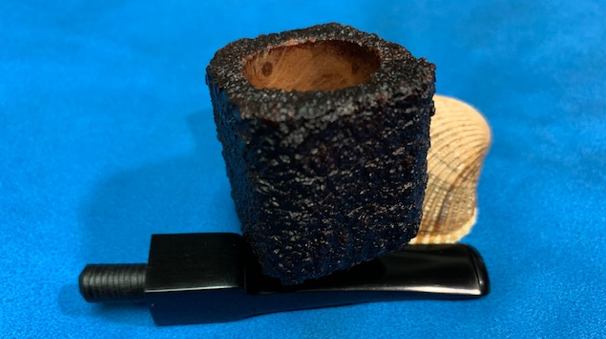
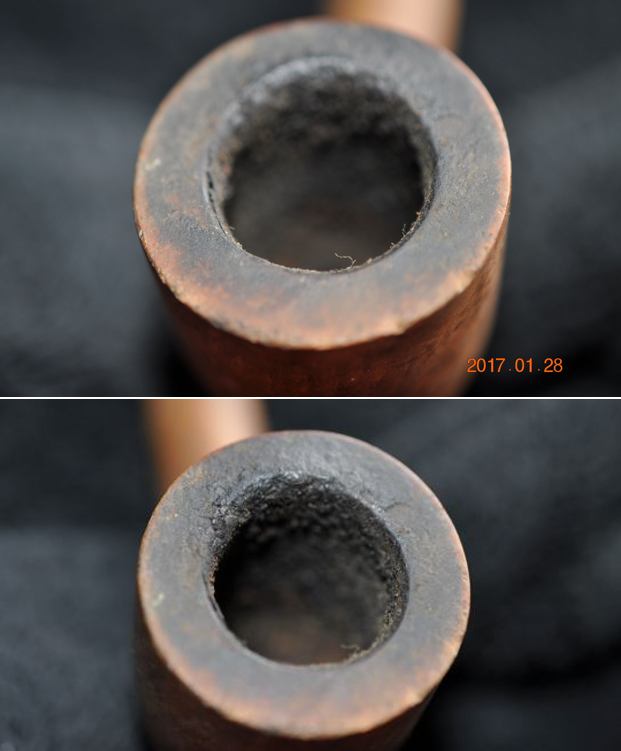
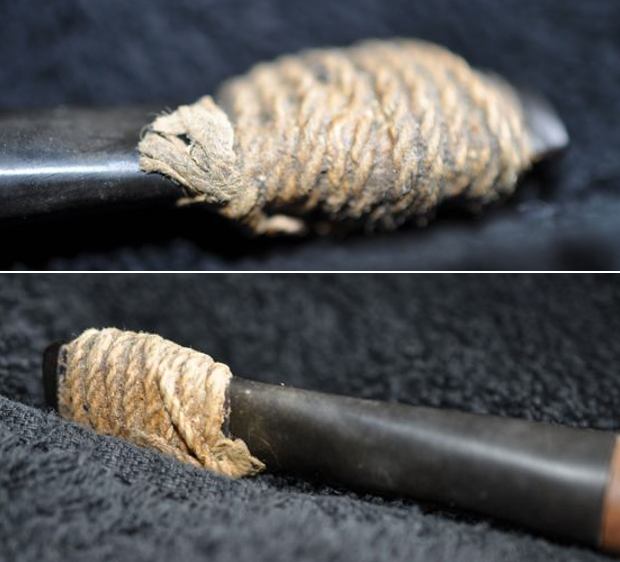
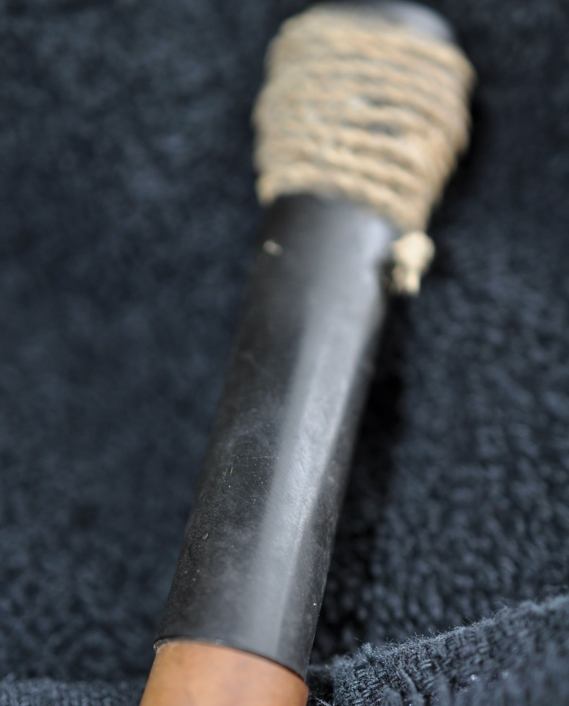
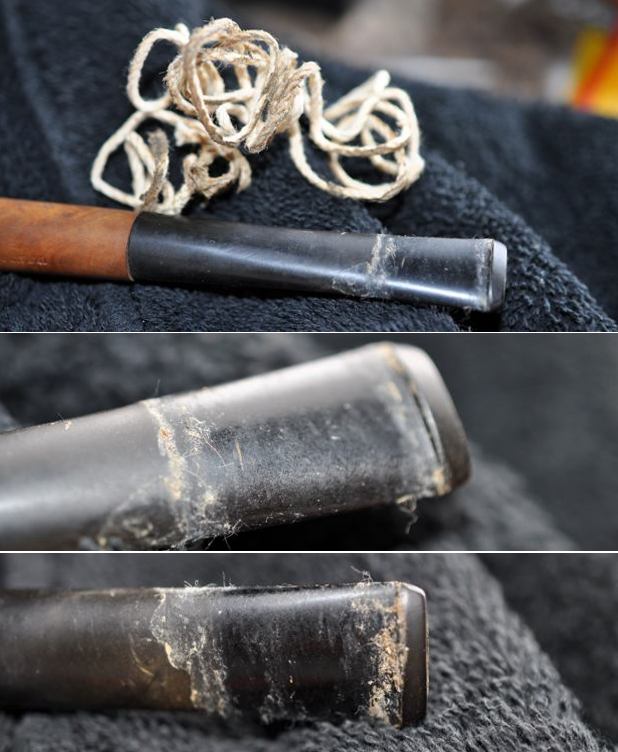
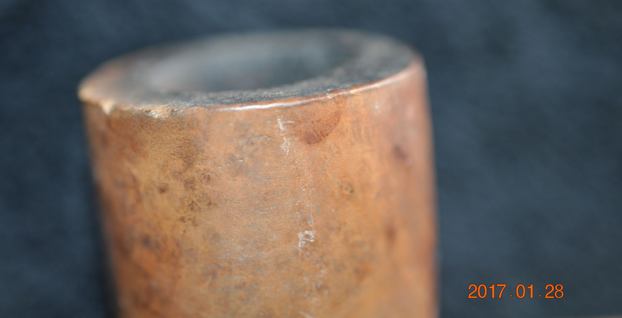
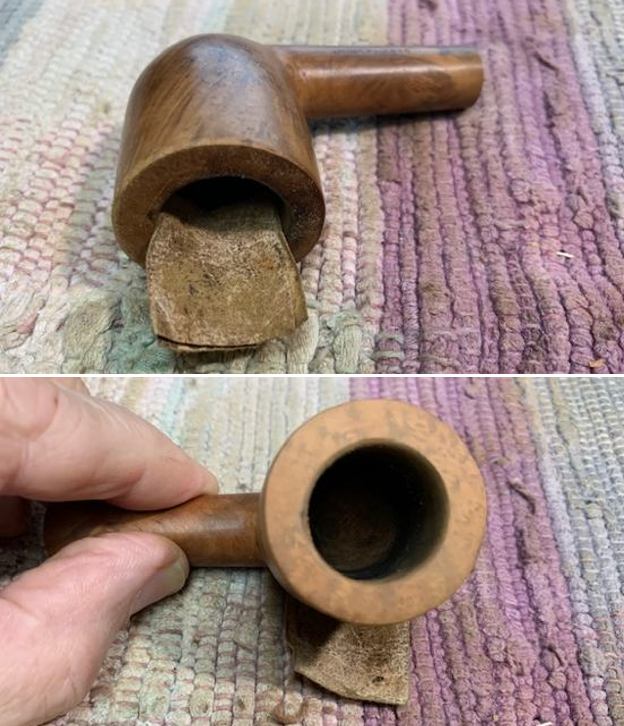
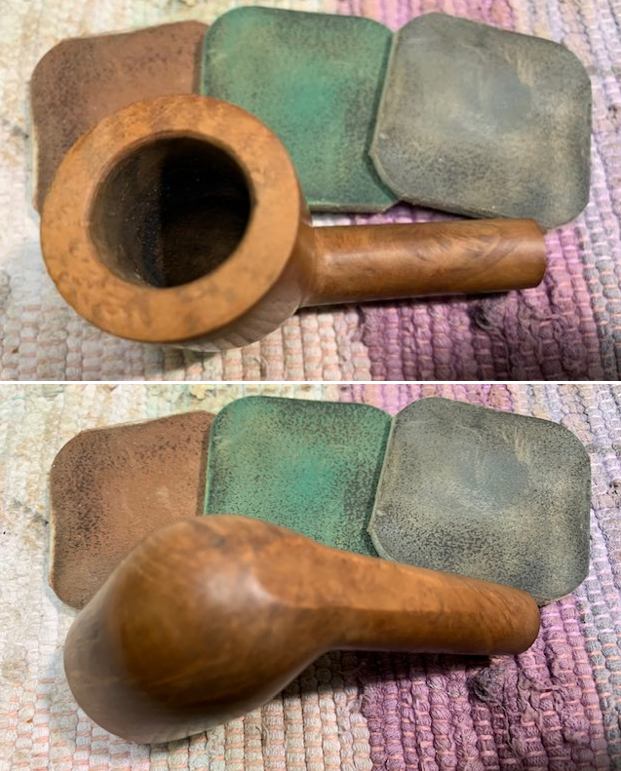
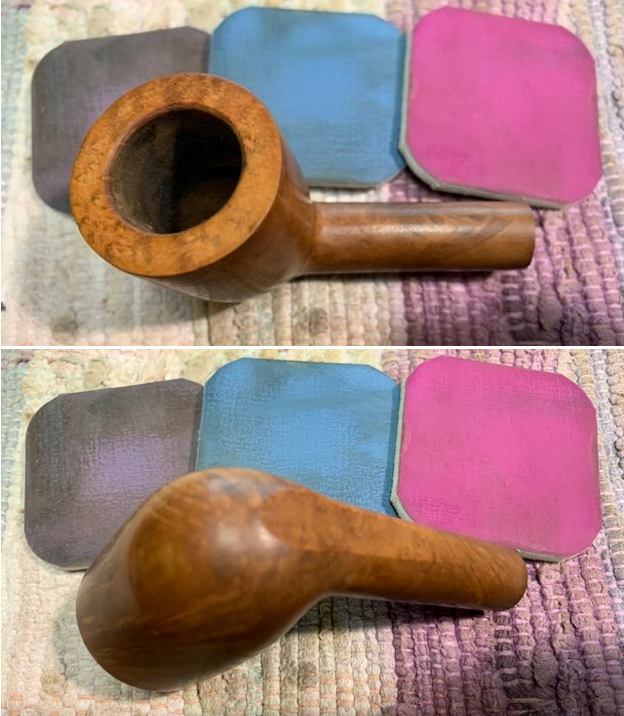
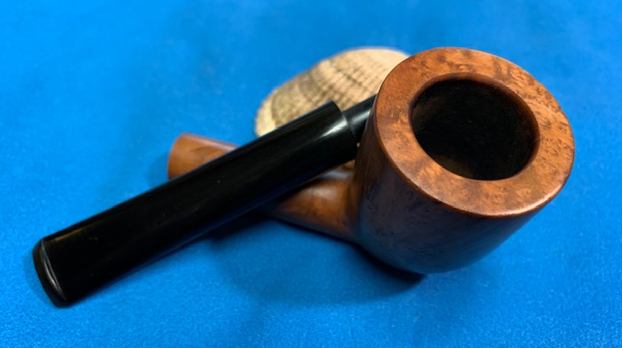
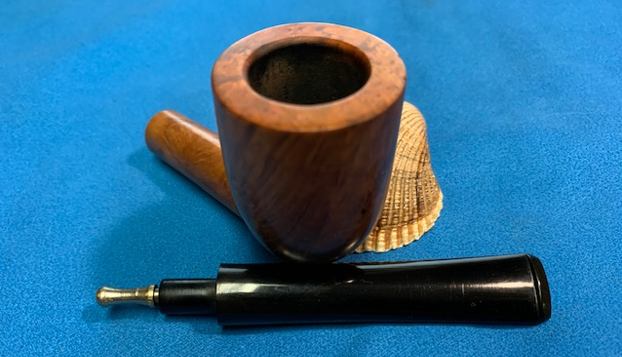
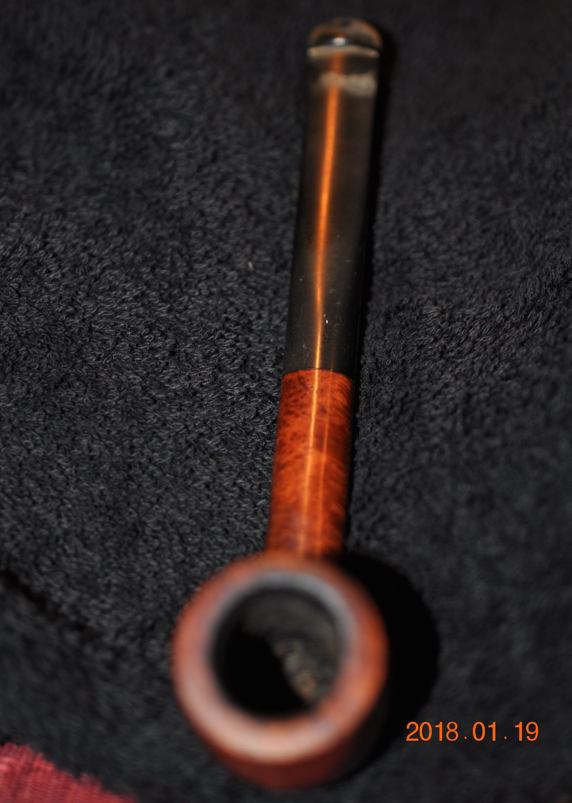
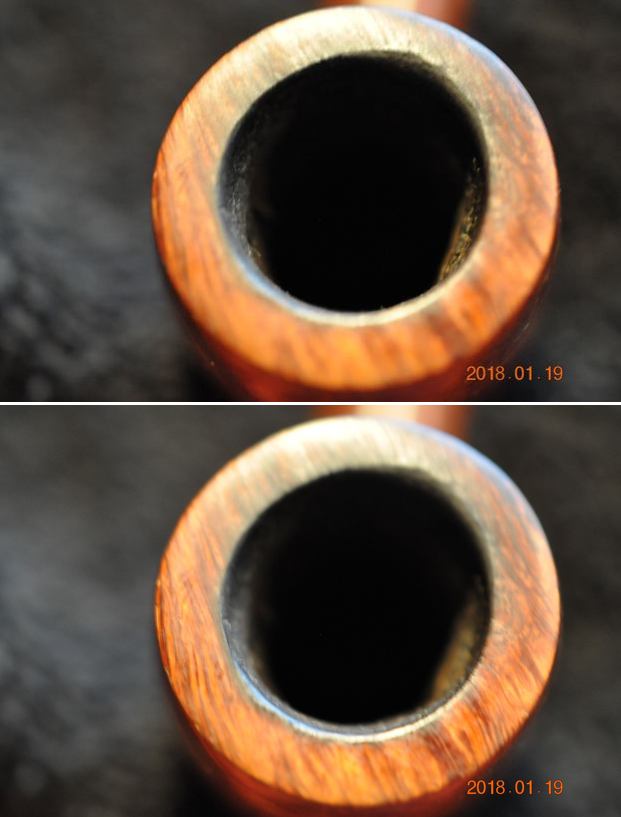
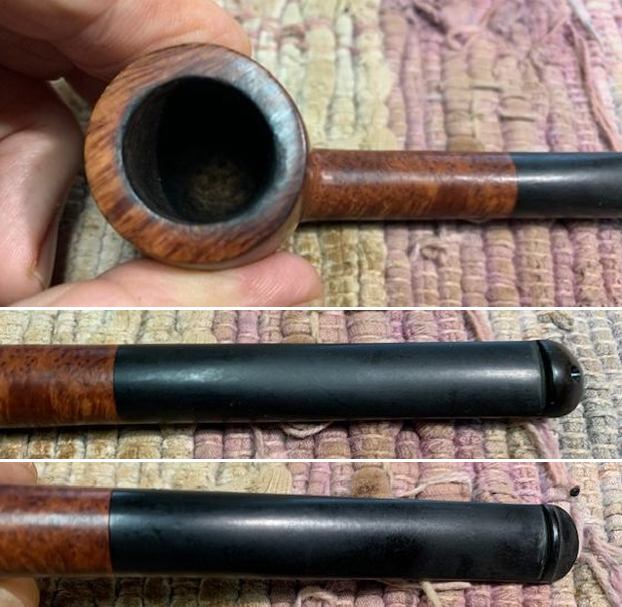
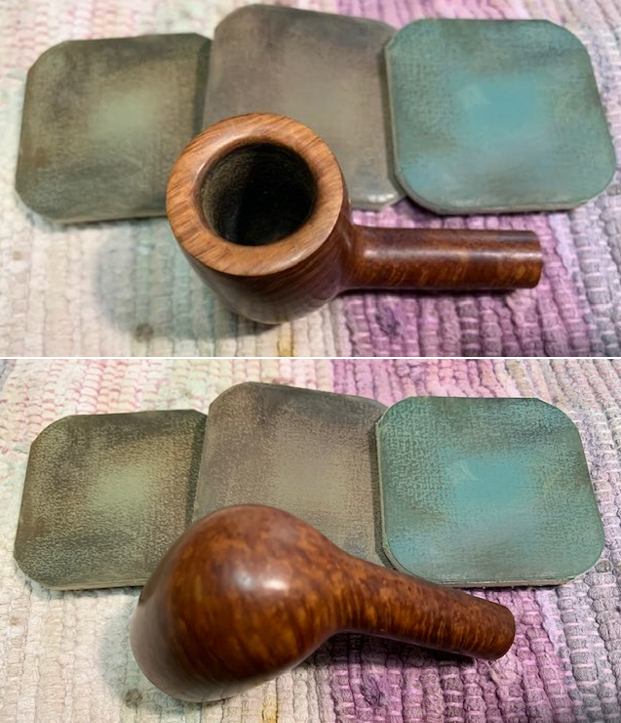
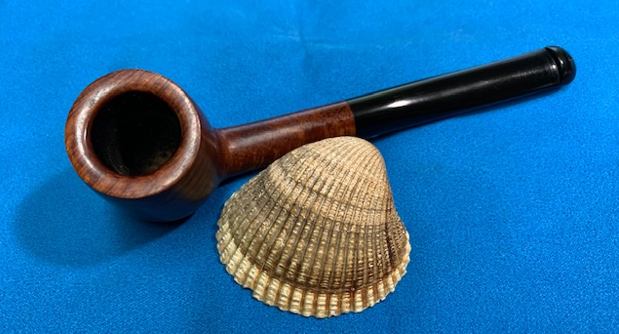
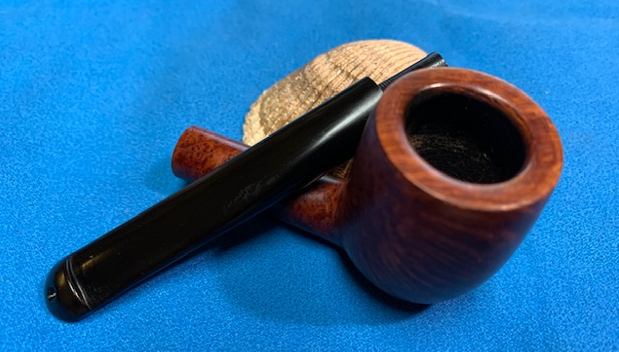
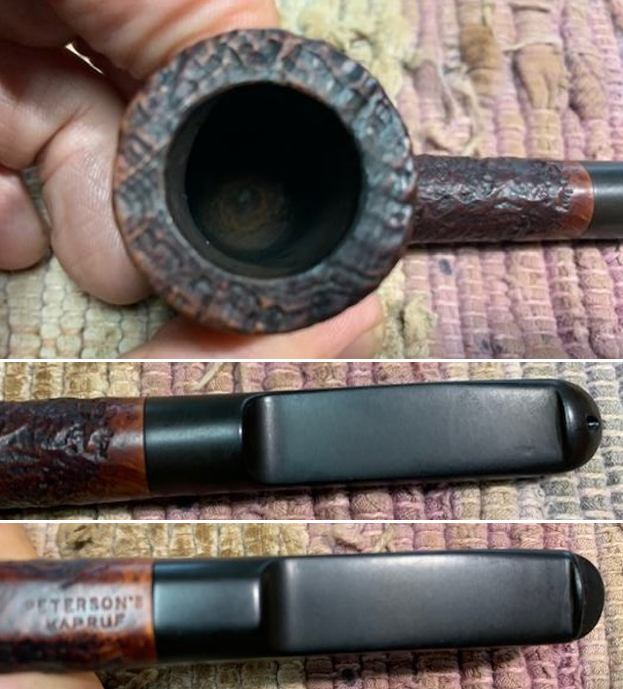
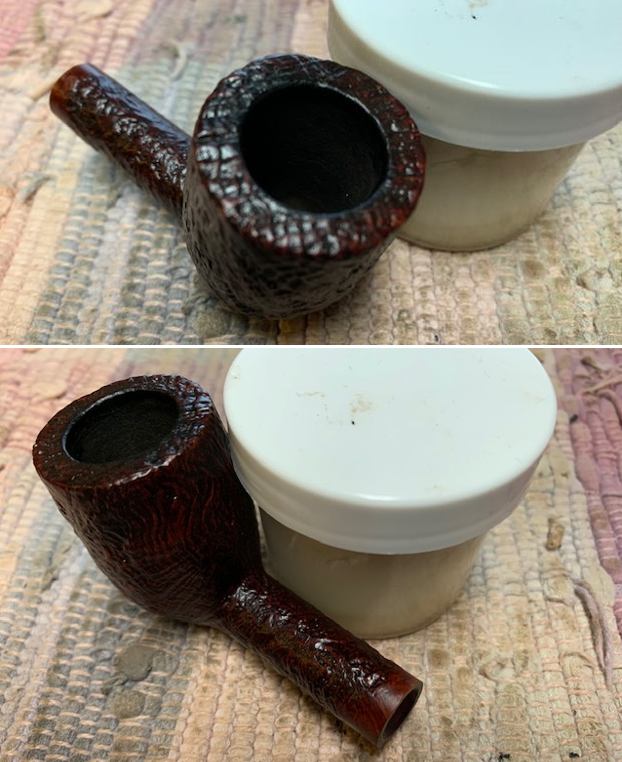
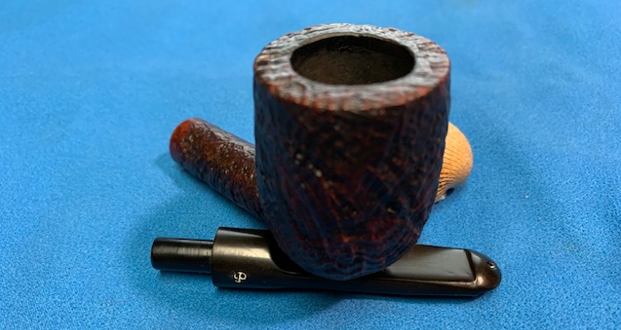
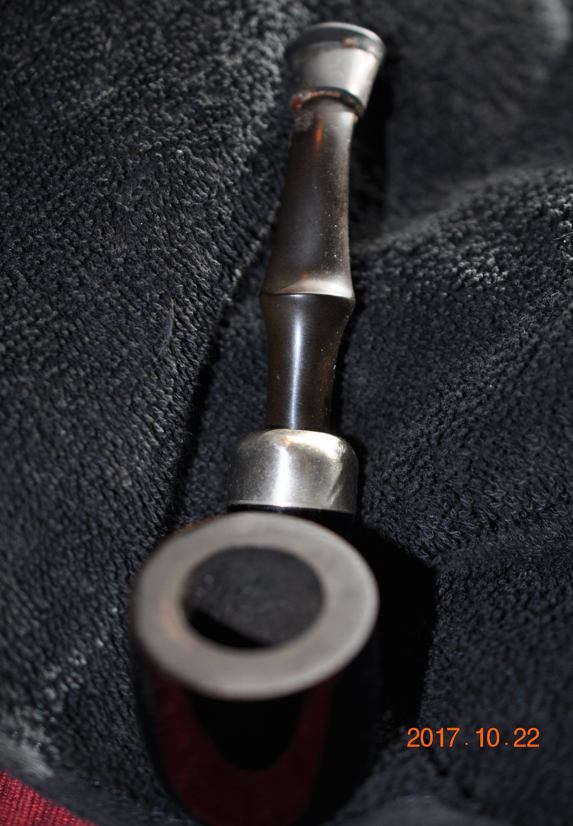
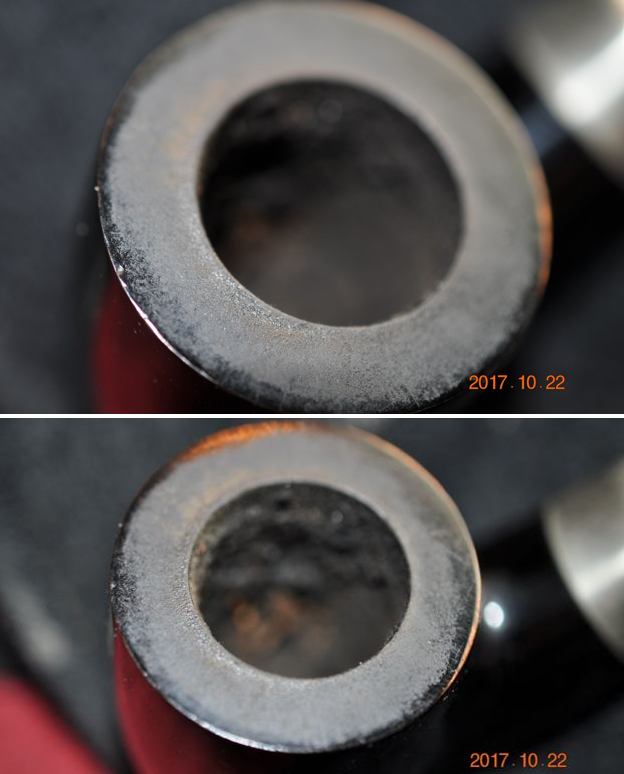
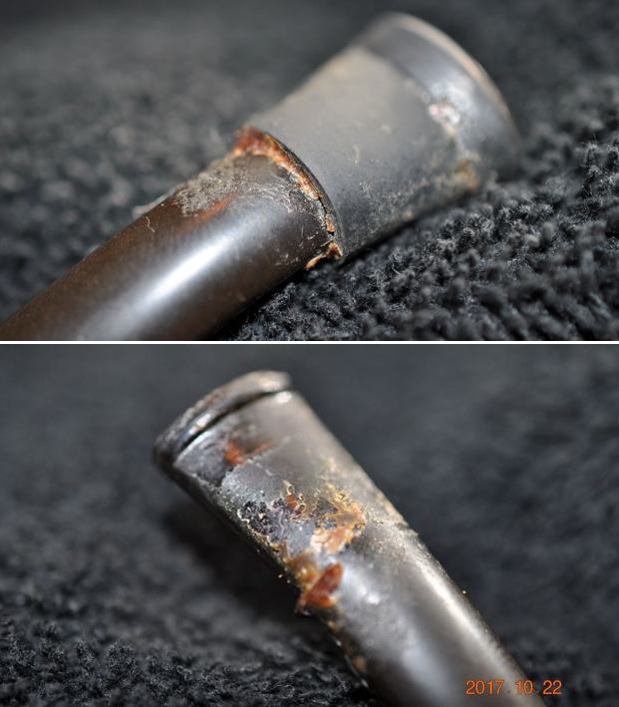
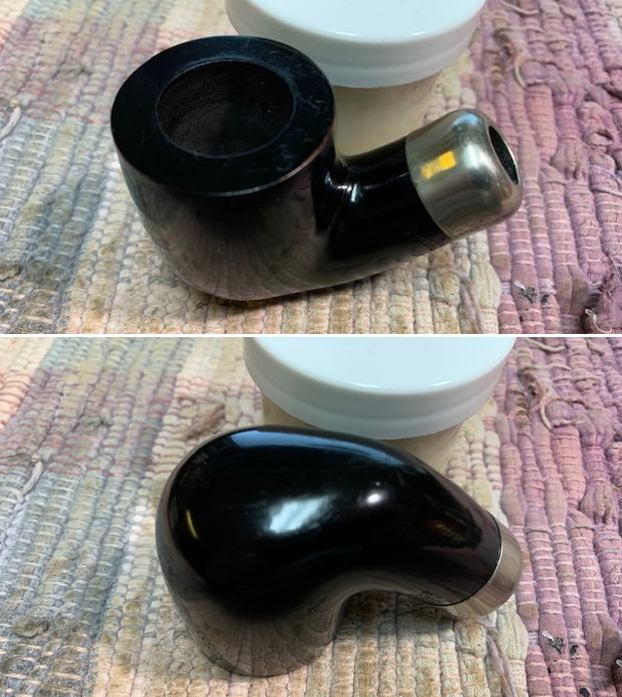
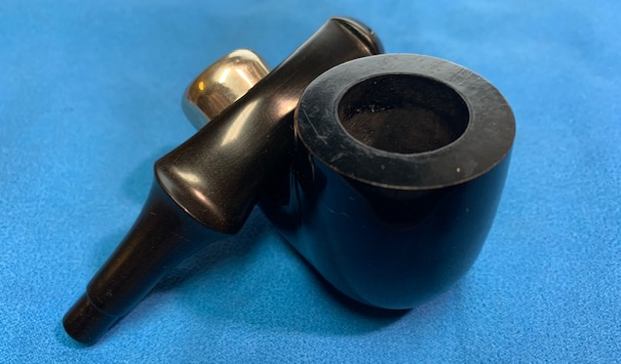
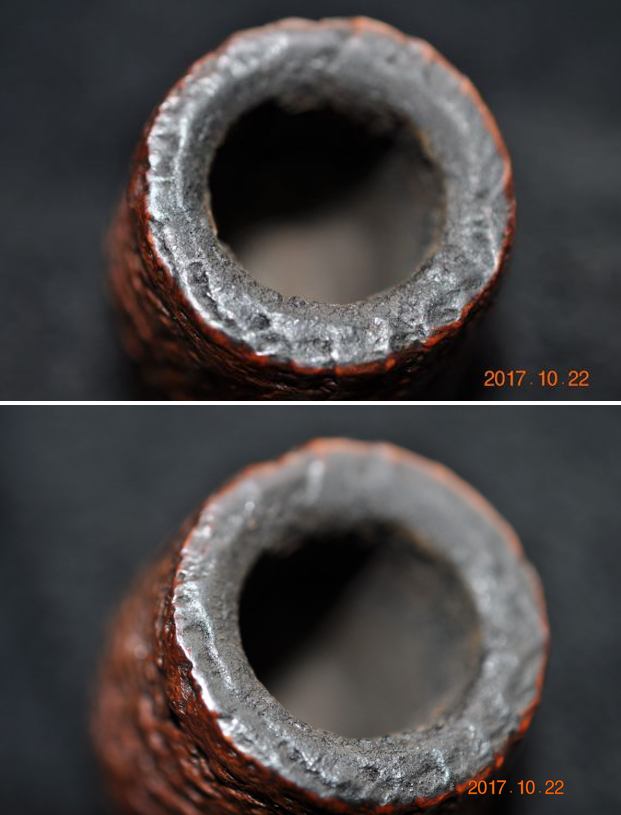
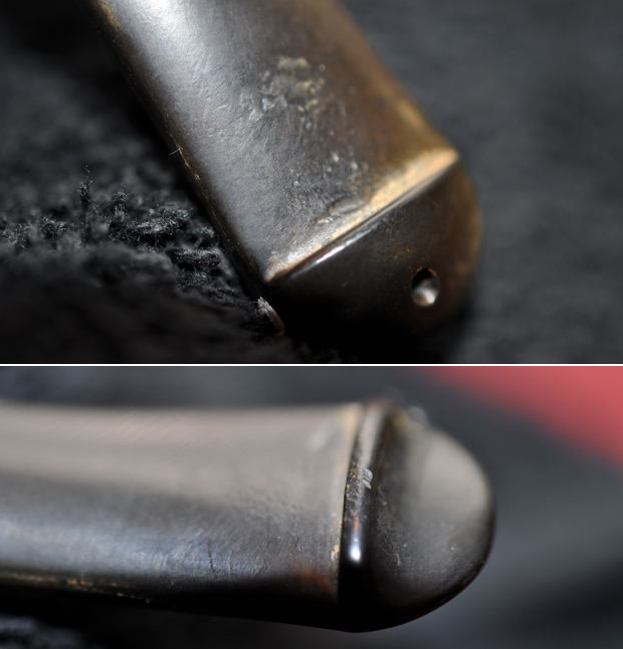
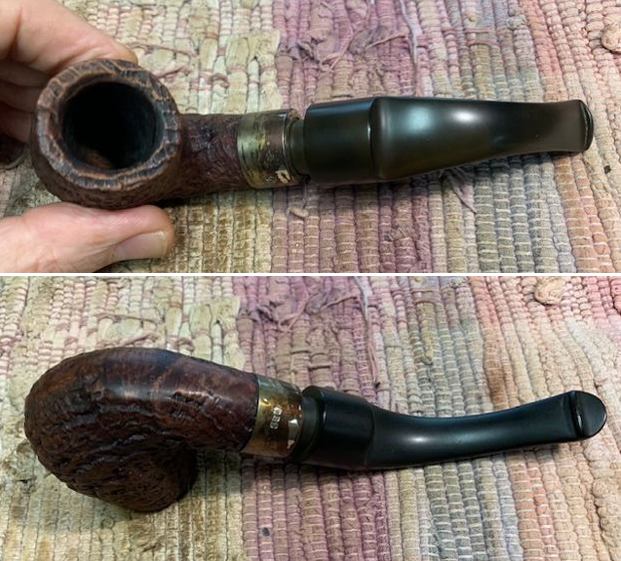
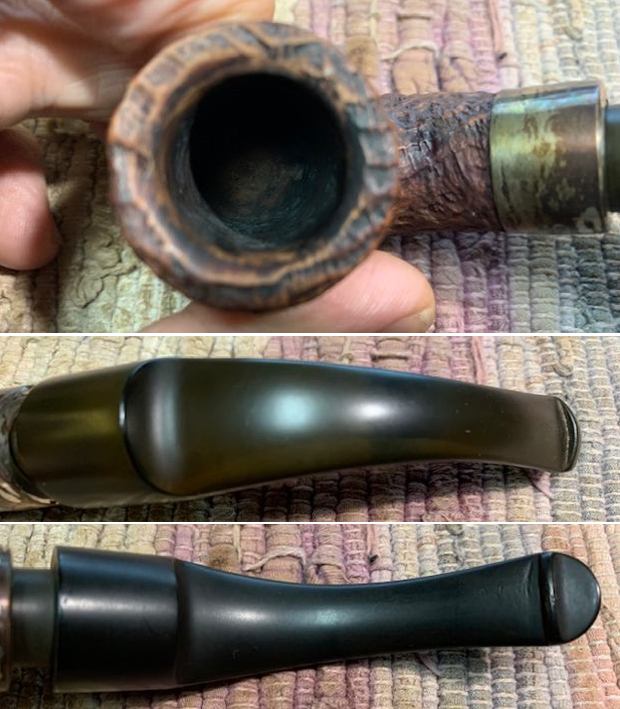
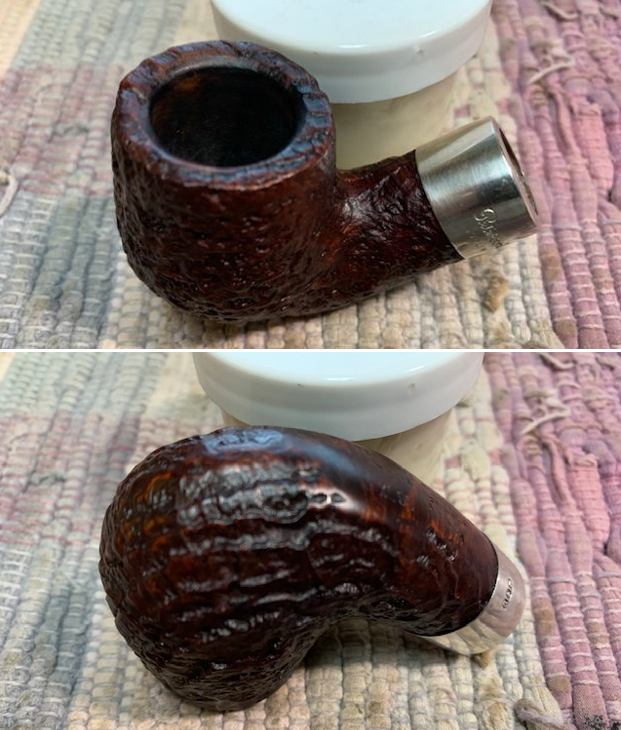
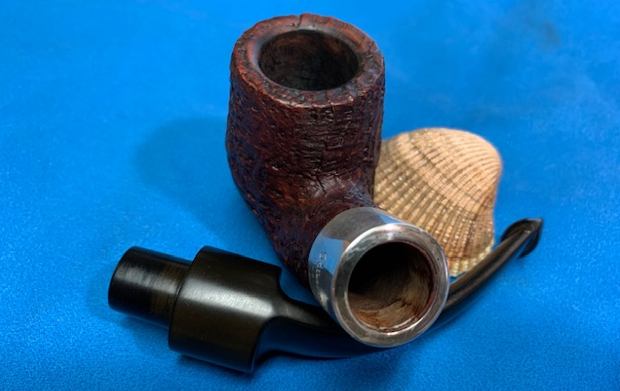
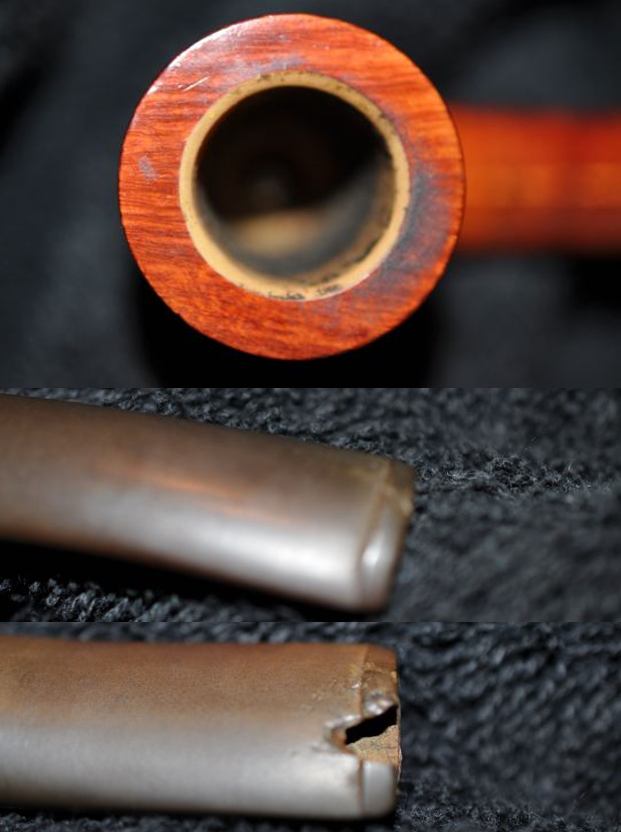
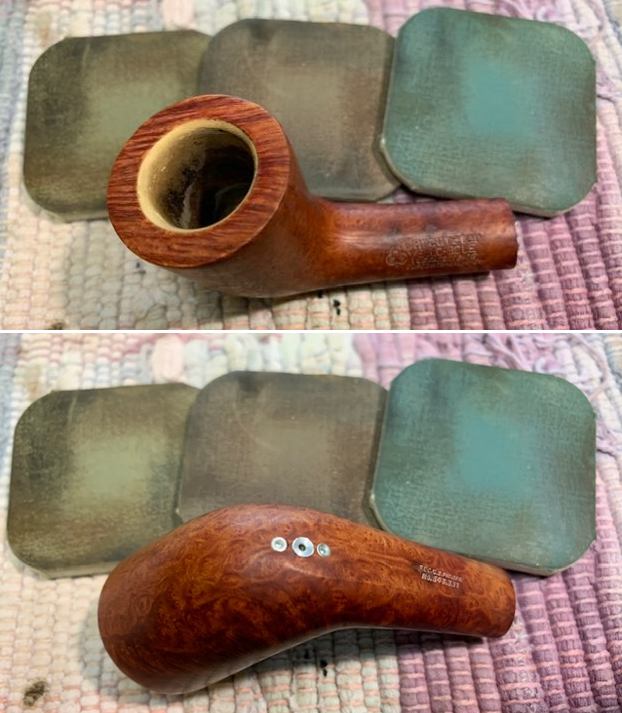
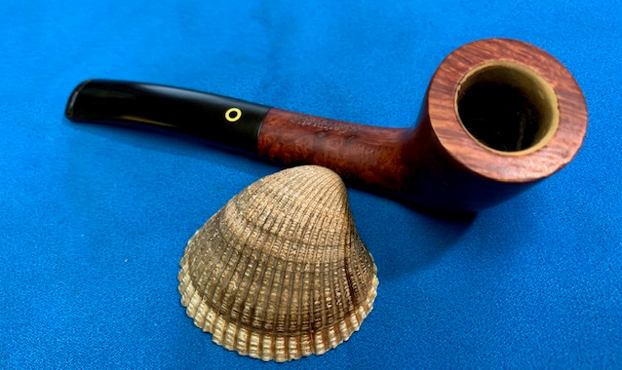
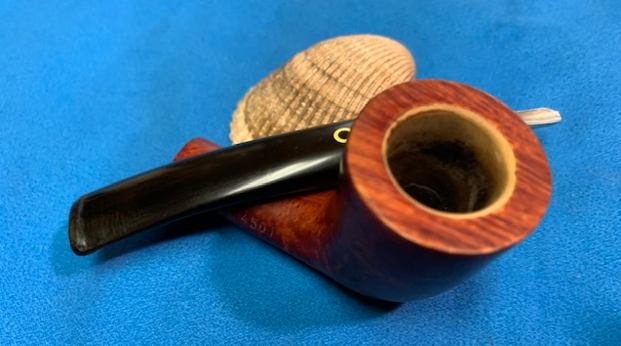
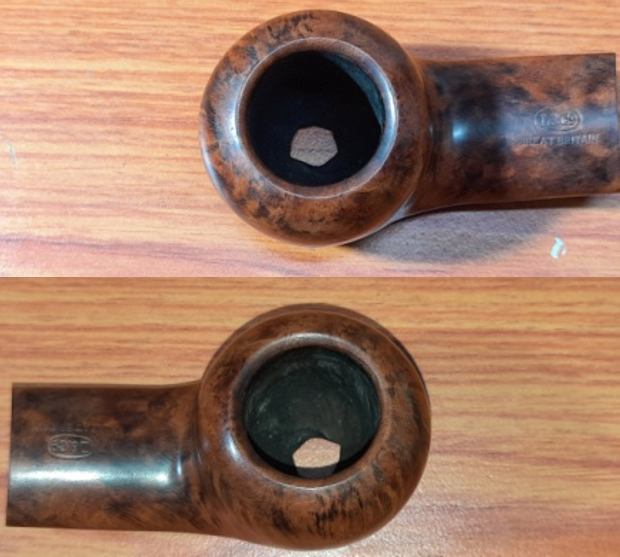
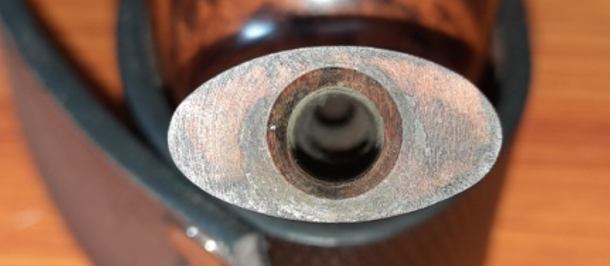
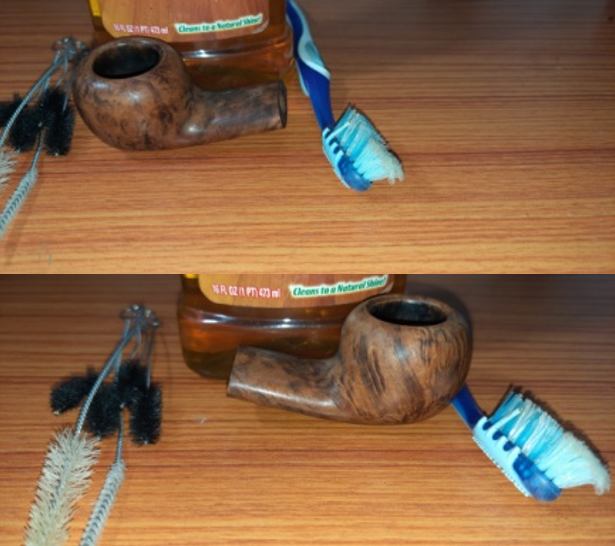
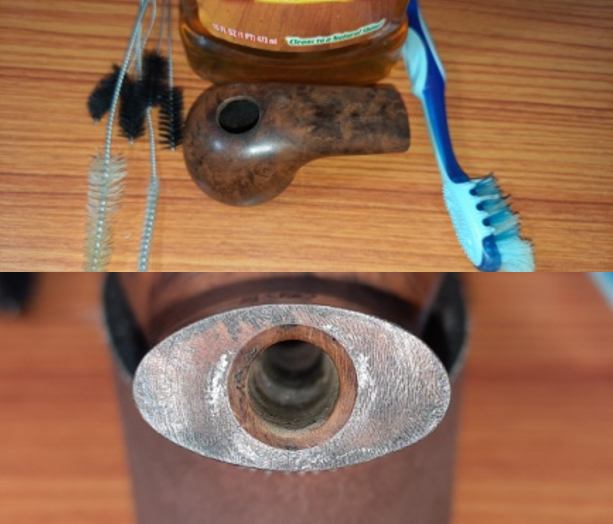
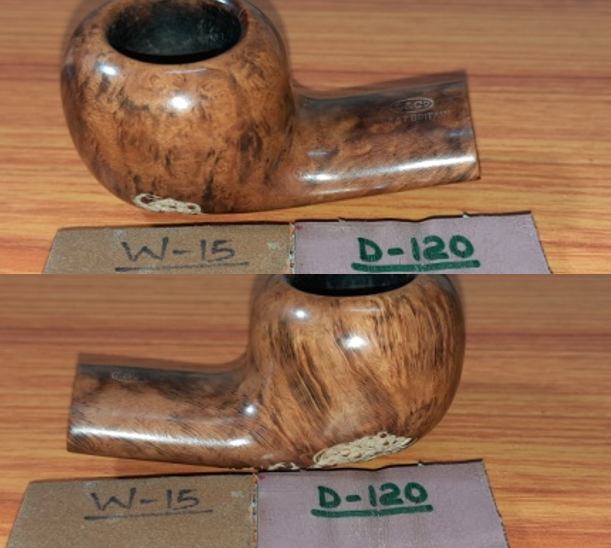
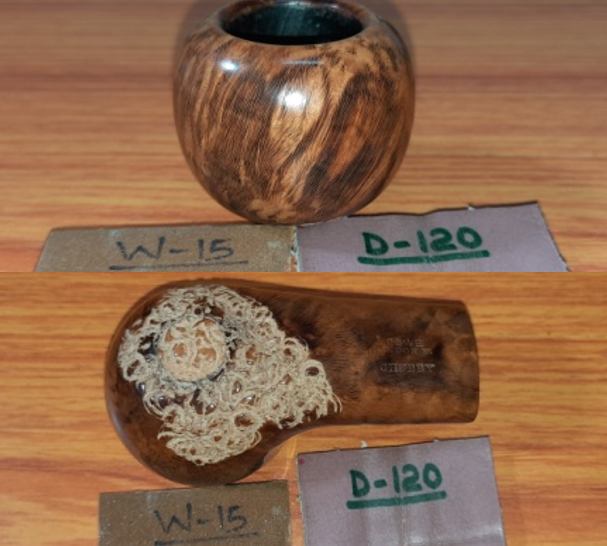
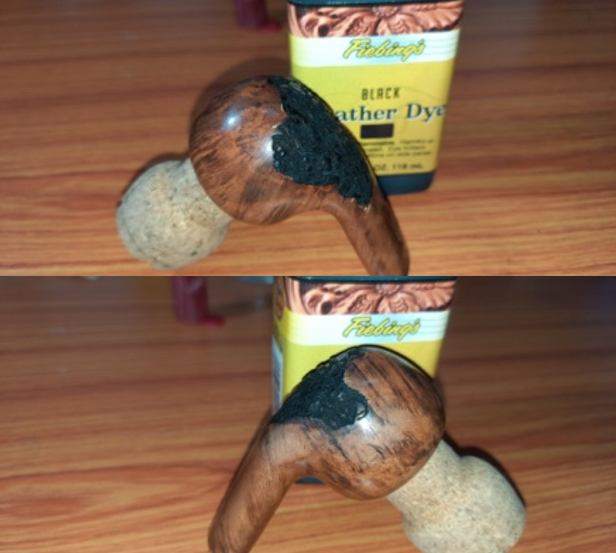
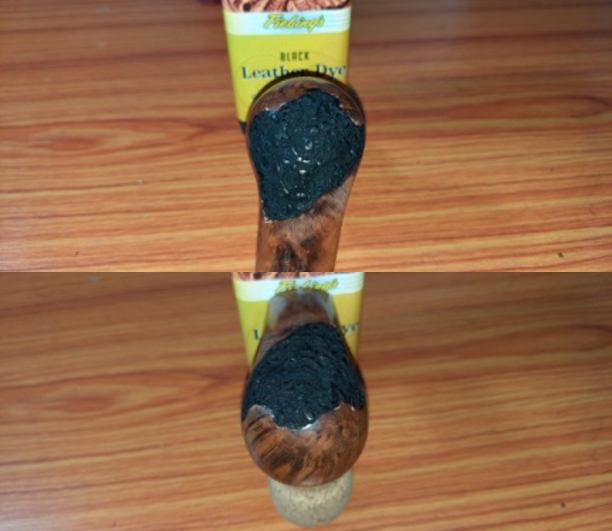
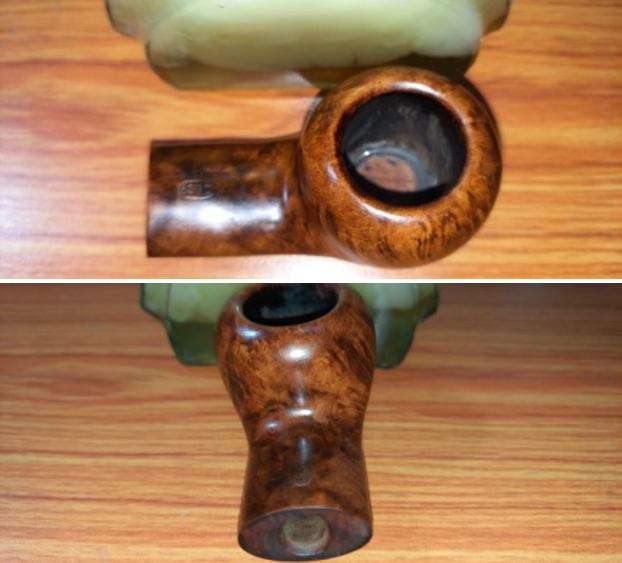
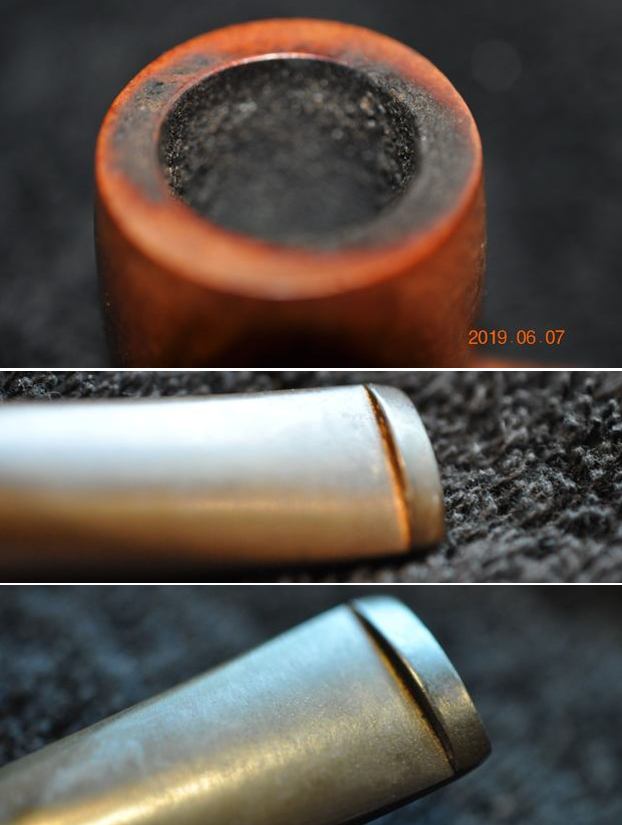
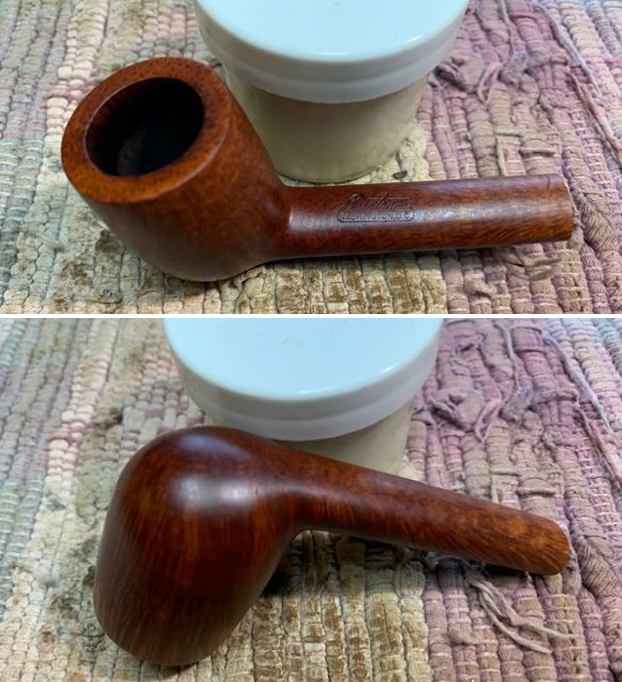
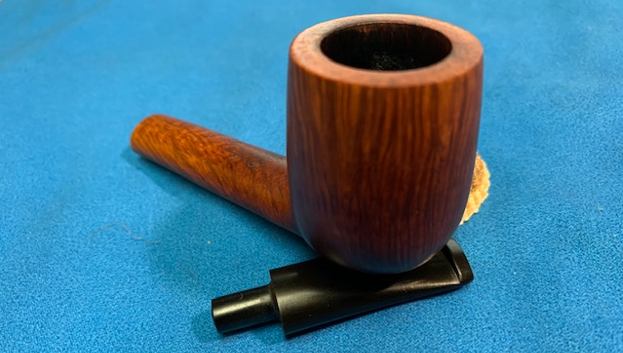
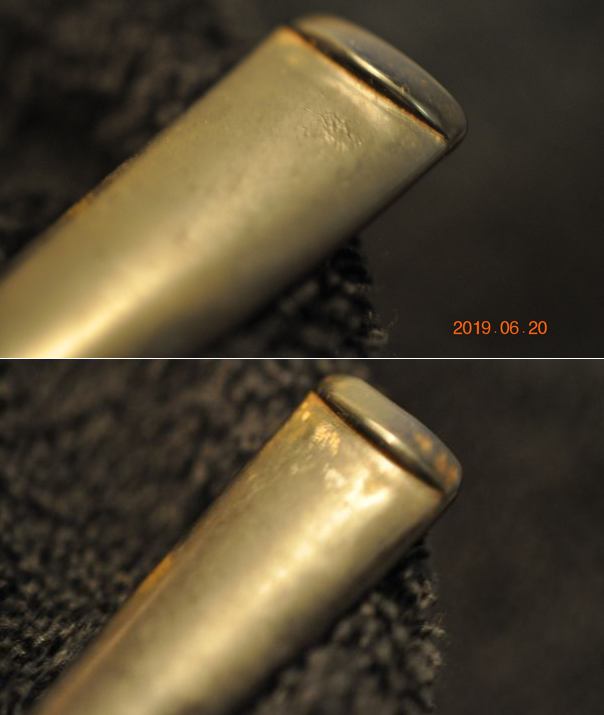
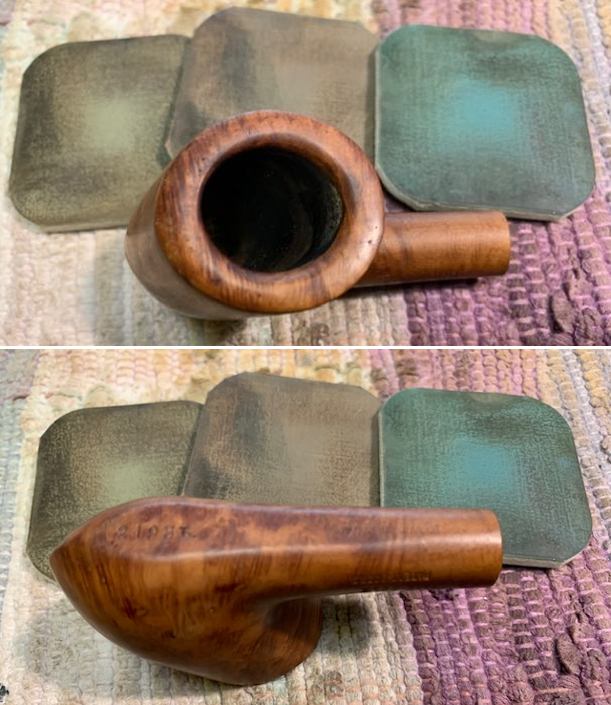
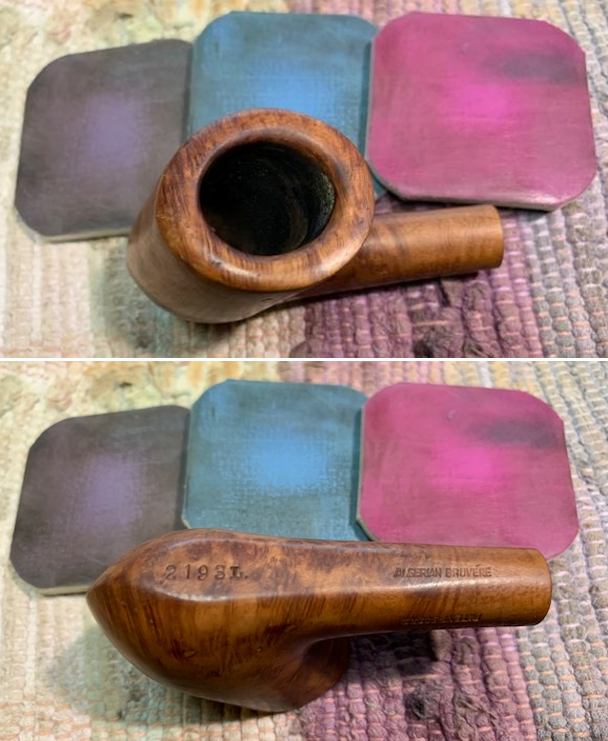
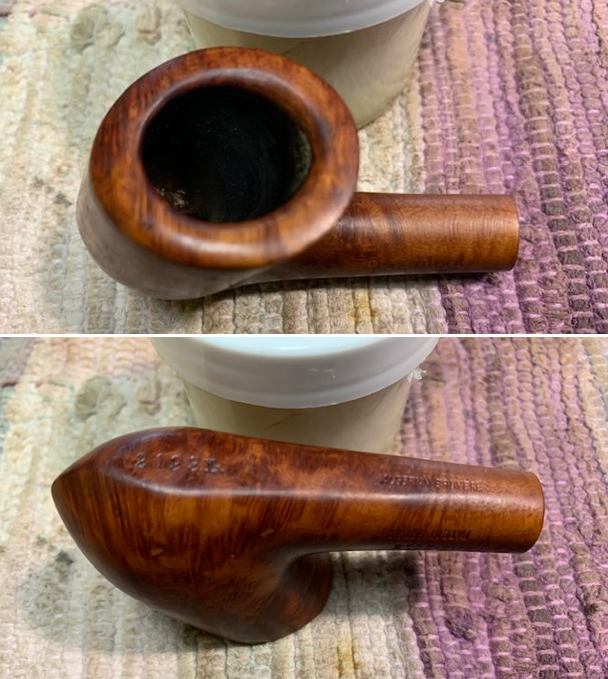
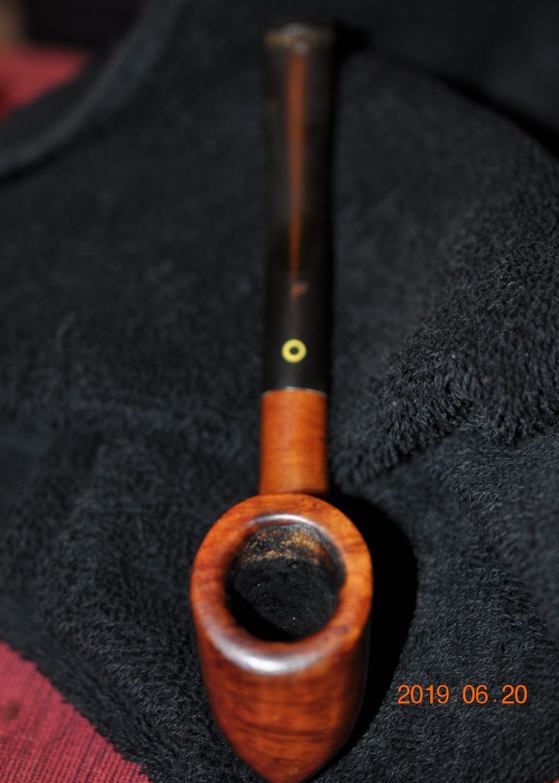 The photos of the rim top show the nicks and scratch on the top and the darkening on the inner edge of the bowl. You can also see the yellow bowl coating on the back side near the top of the bowl above and surrounded by the cake. The photos of the stem show the oxidation and tooth marks and chatter on both sides. They do not show the damage on the top of the stem near the O stamp.
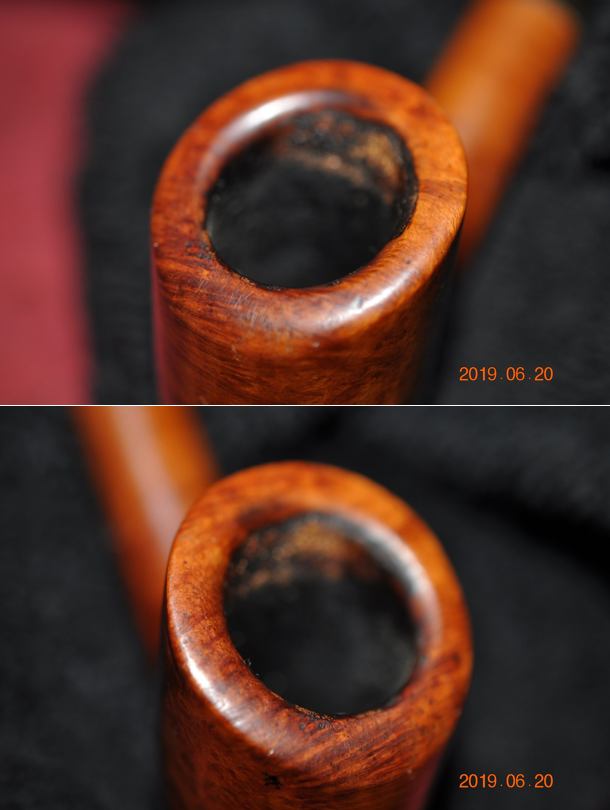
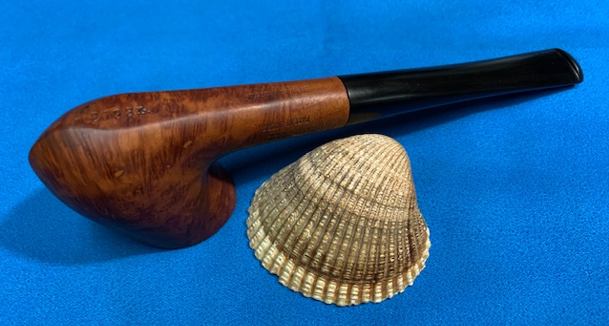
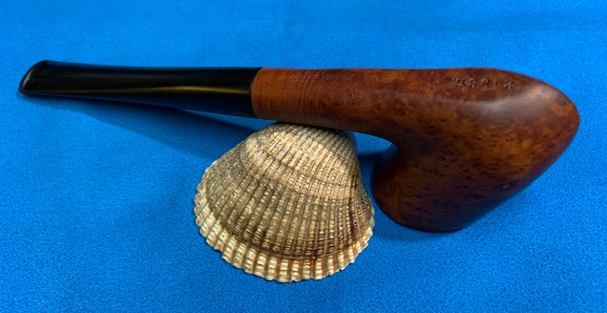
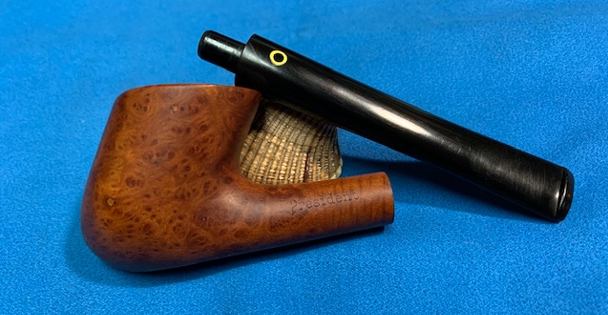
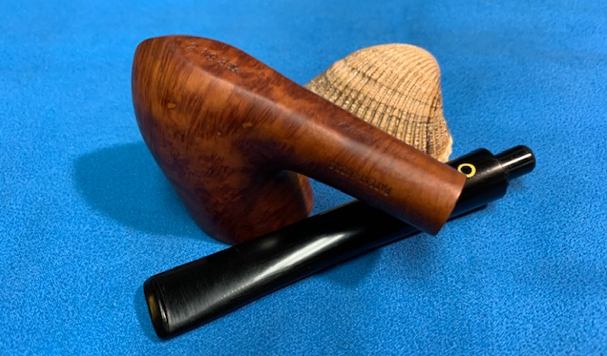
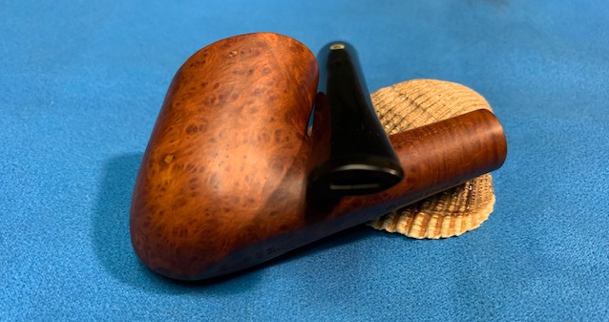
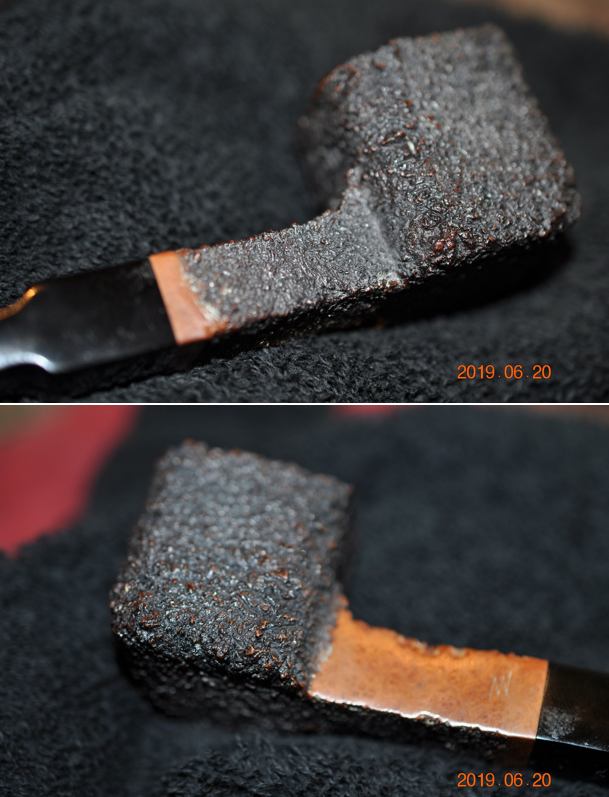
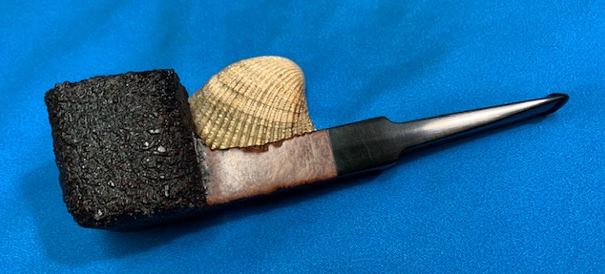
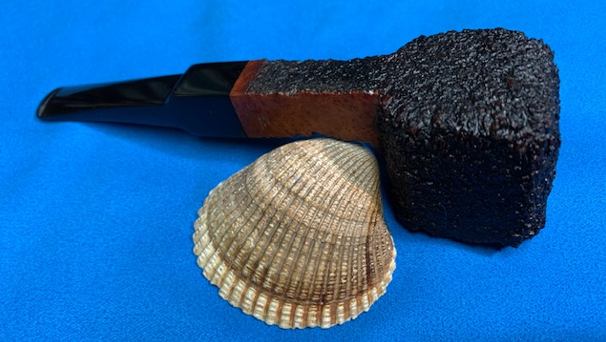
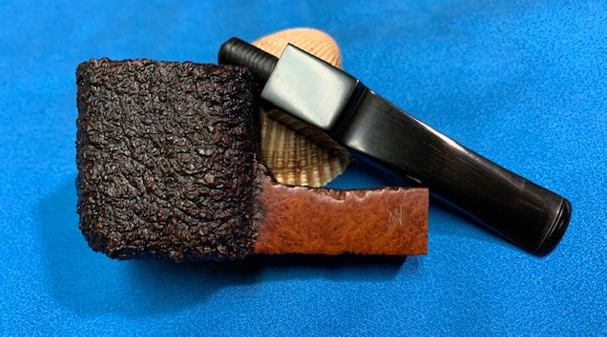
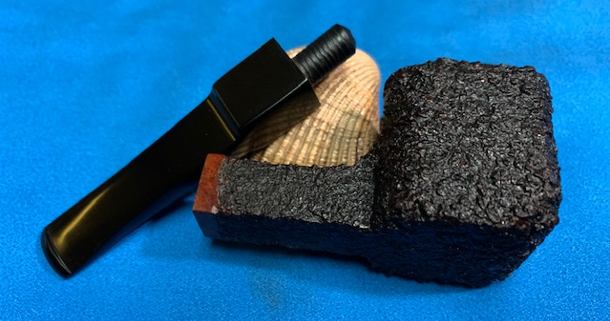
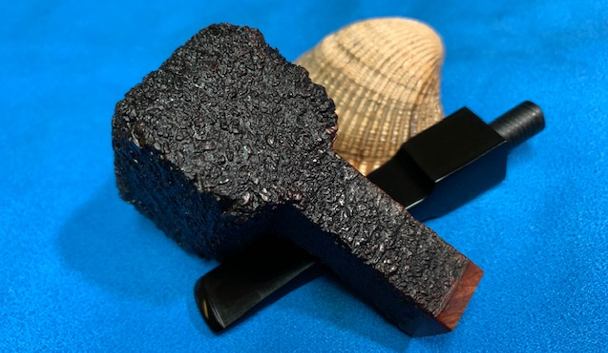
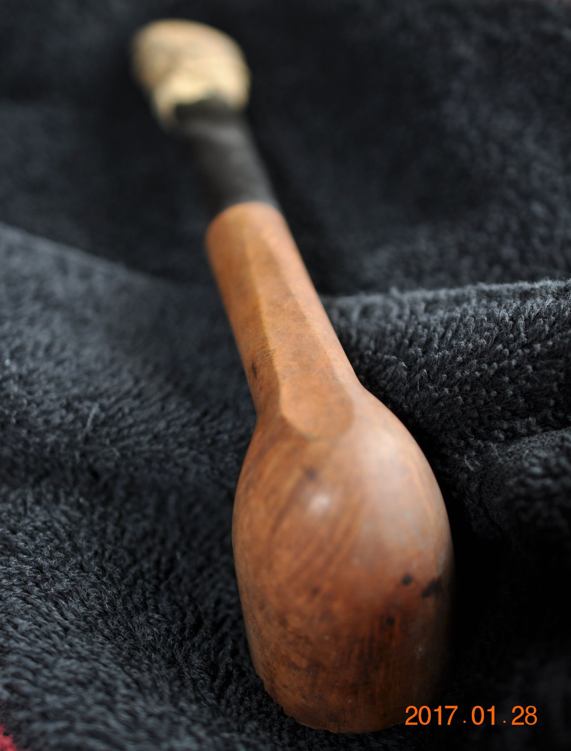
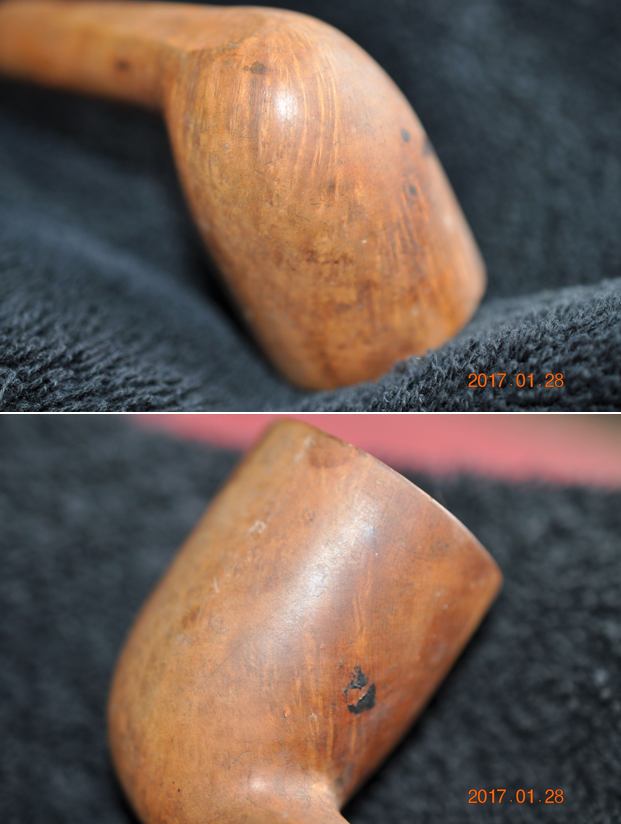
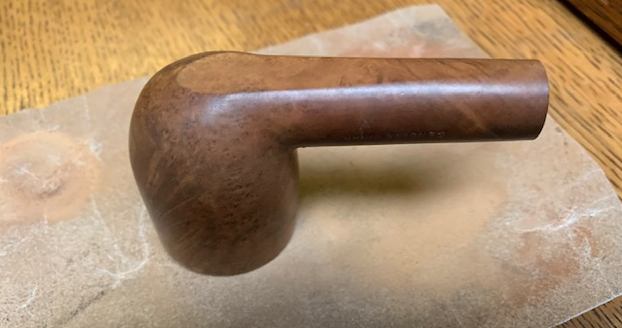
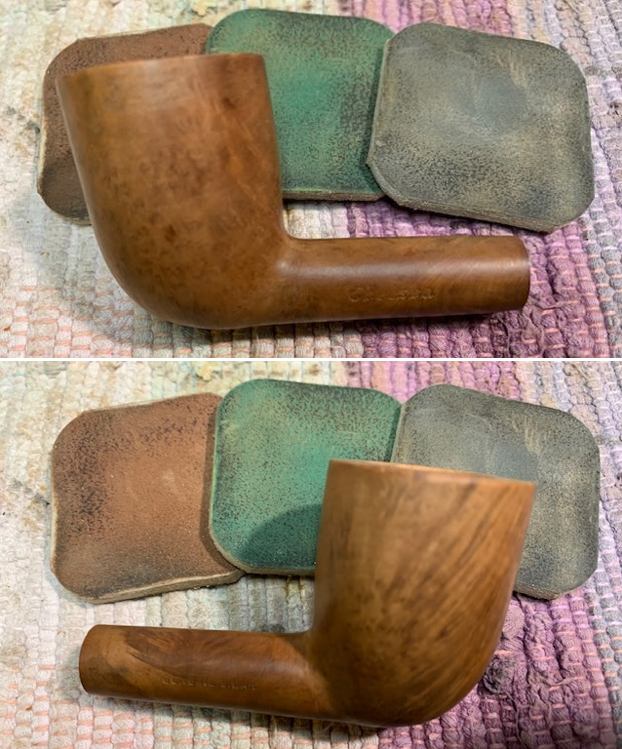
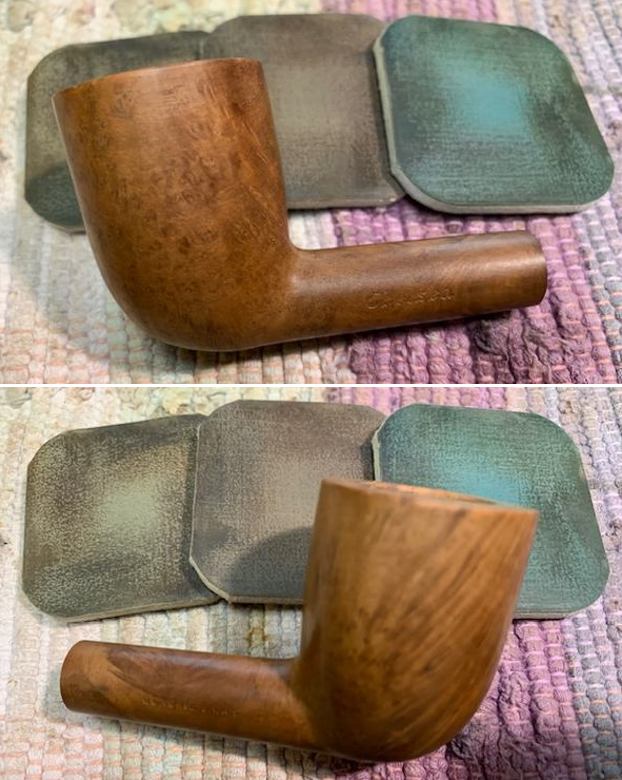
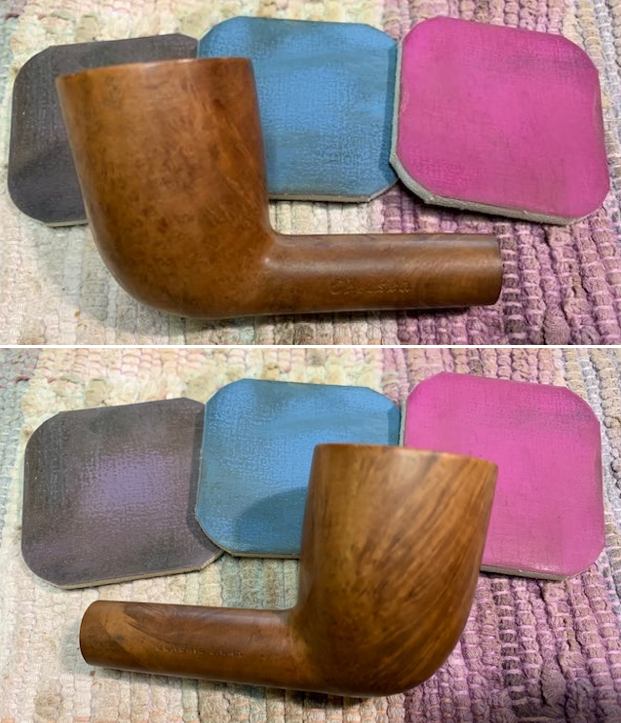
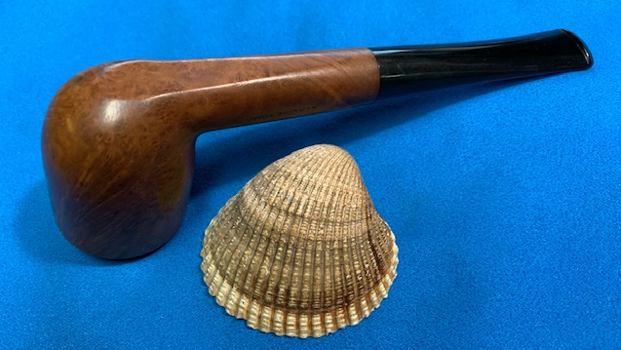
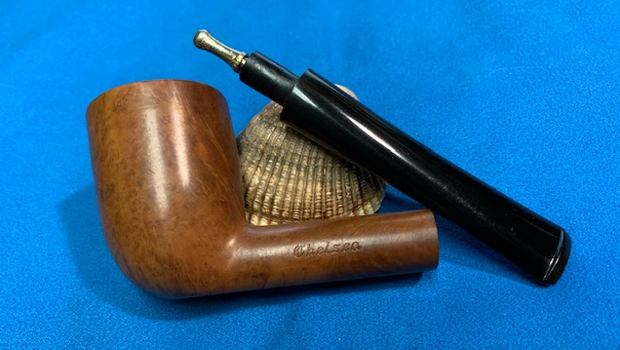
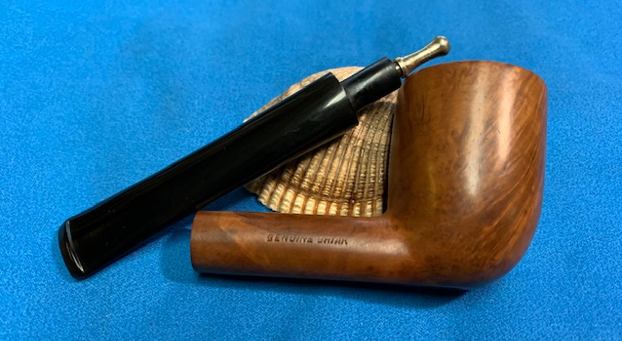
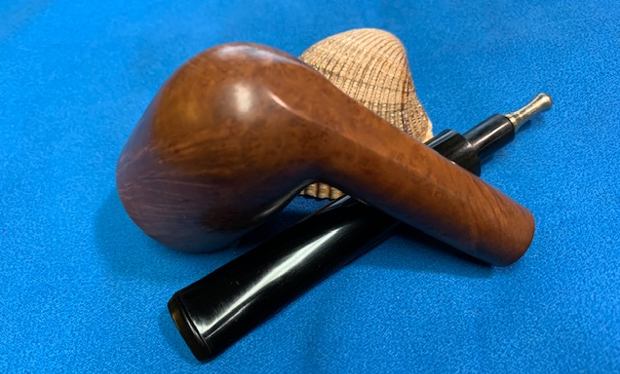
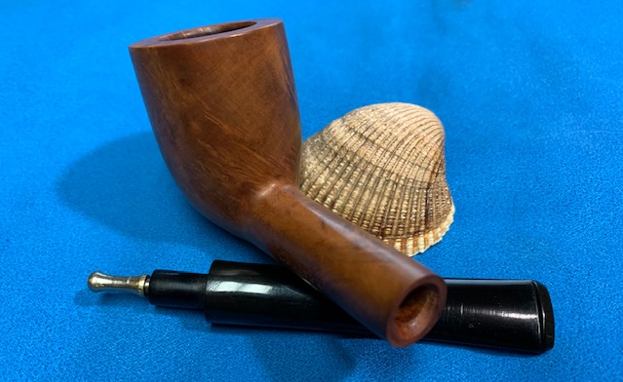
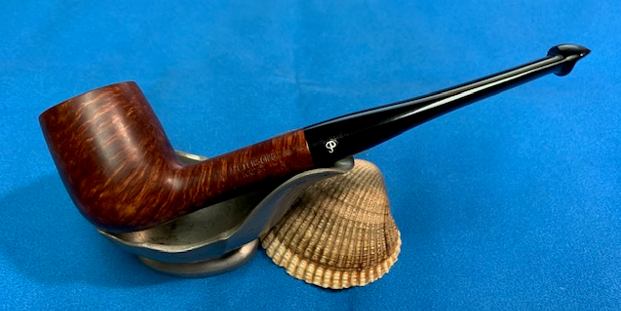
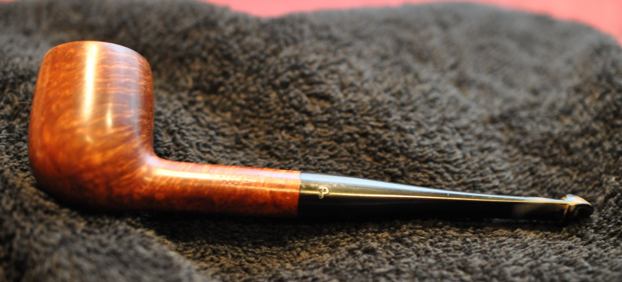
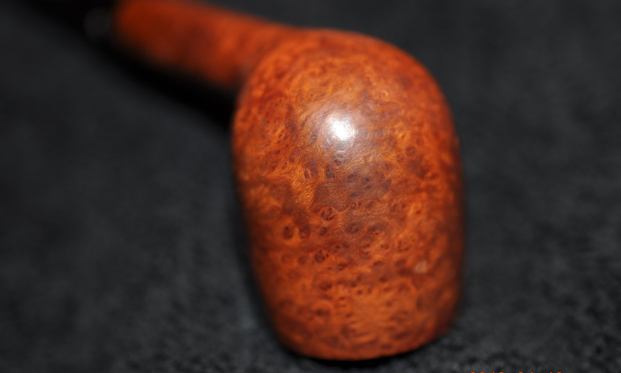
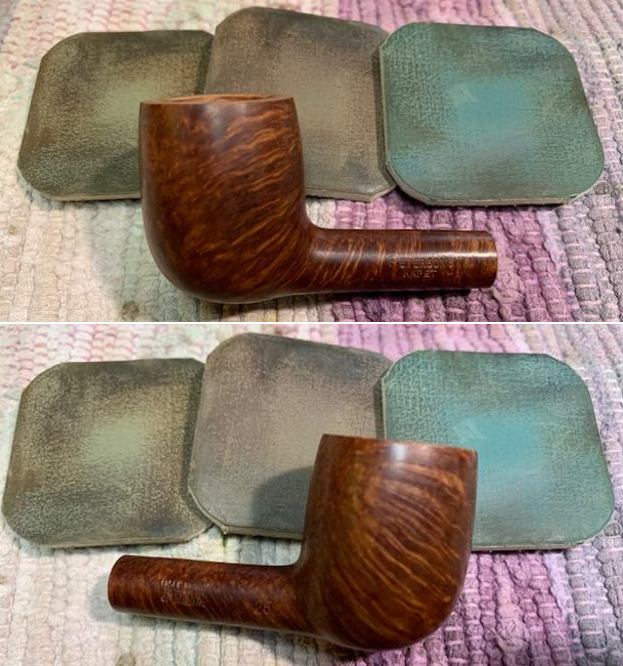
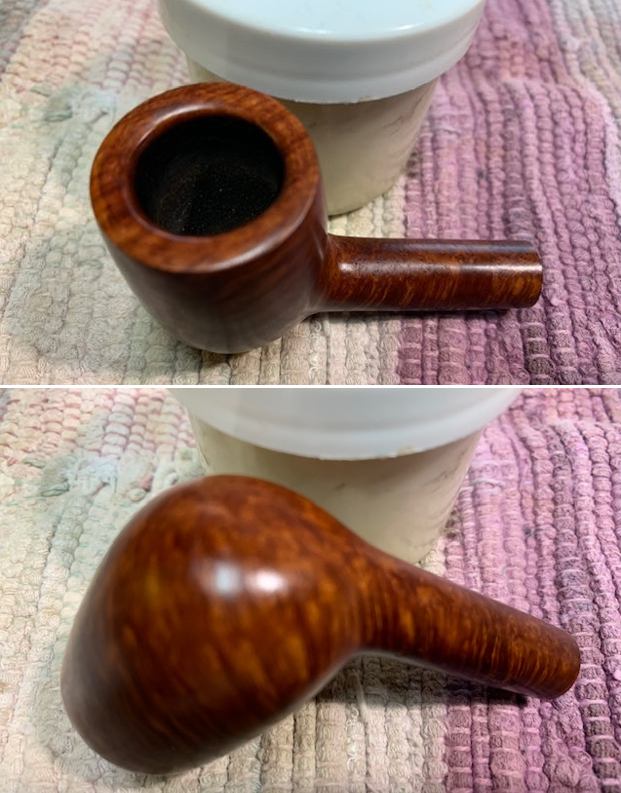
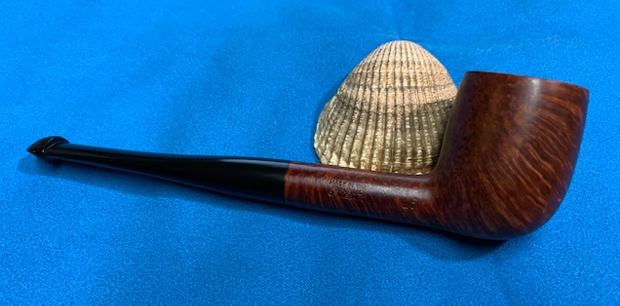
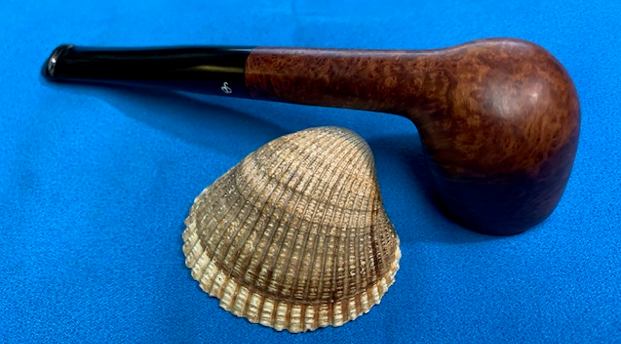
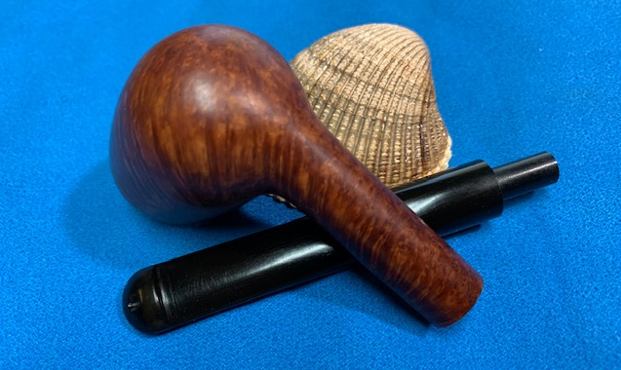
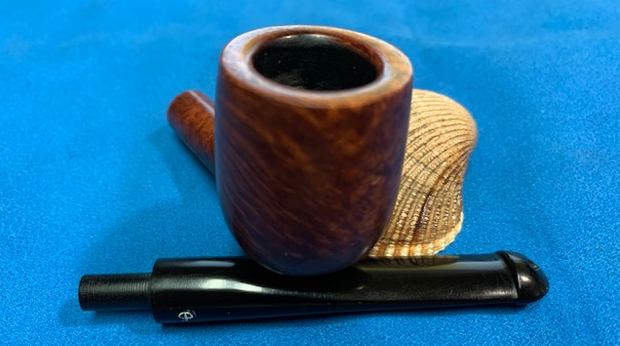
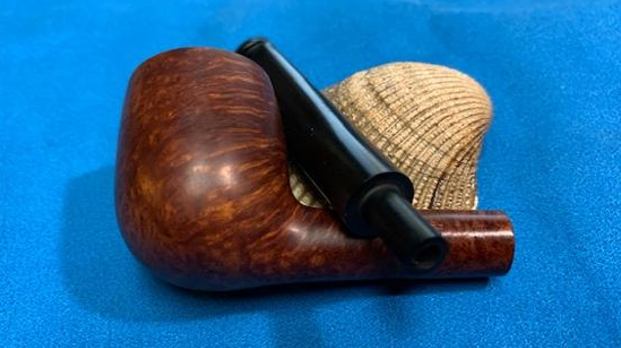
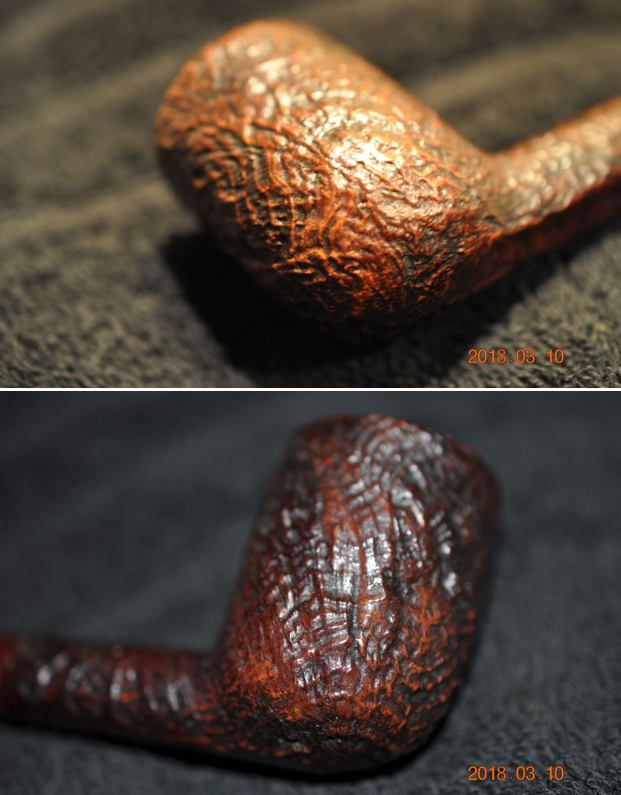
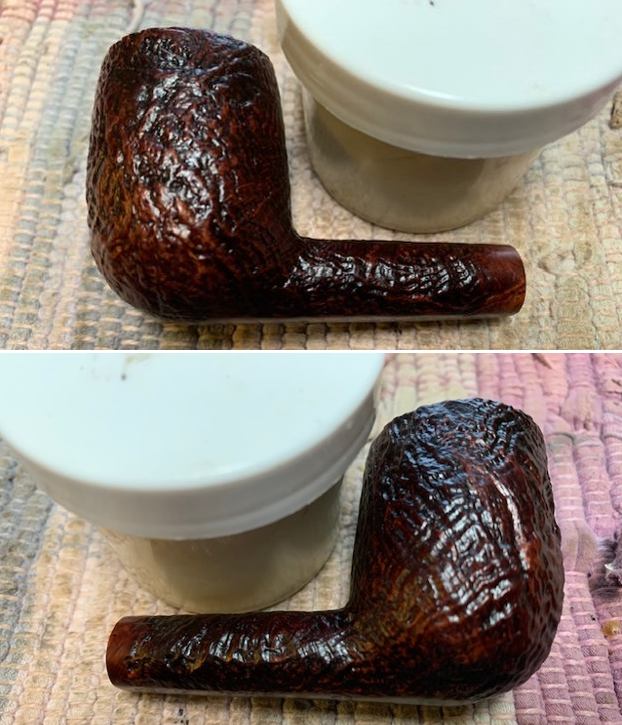
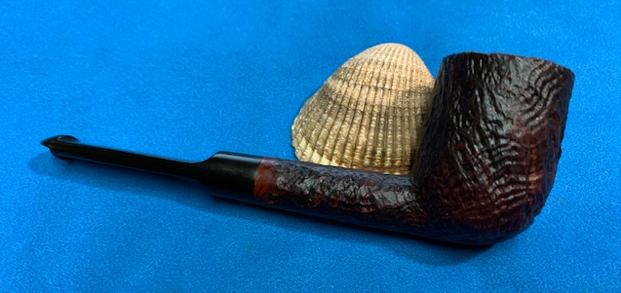
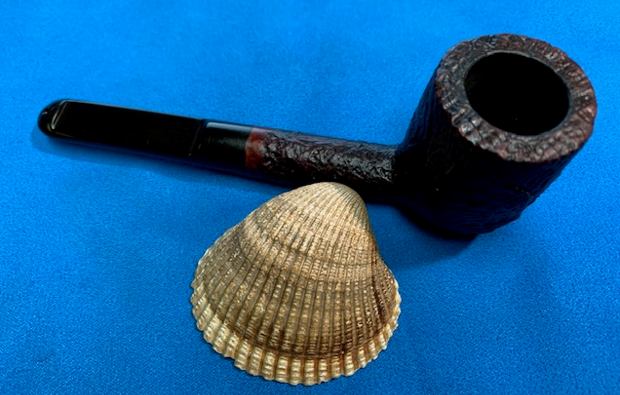
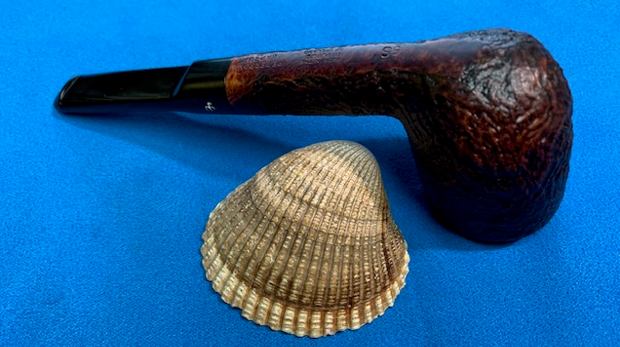
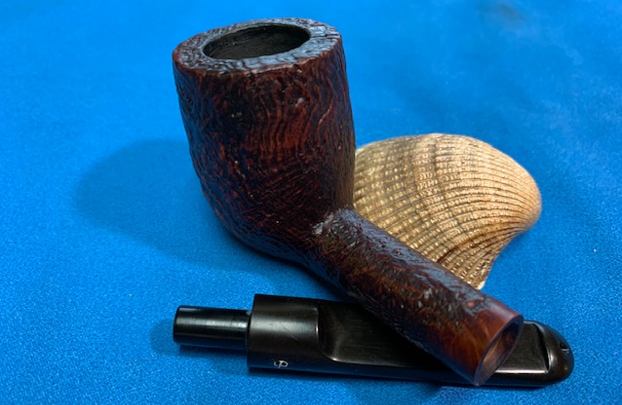
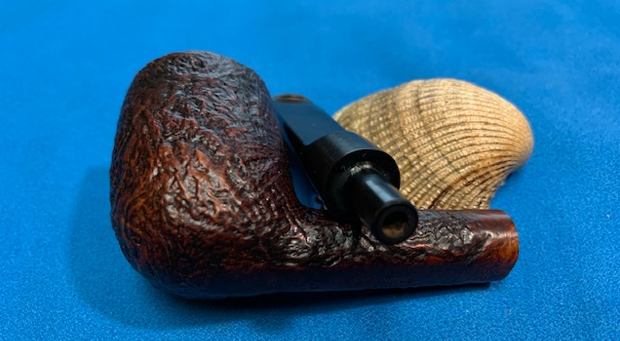
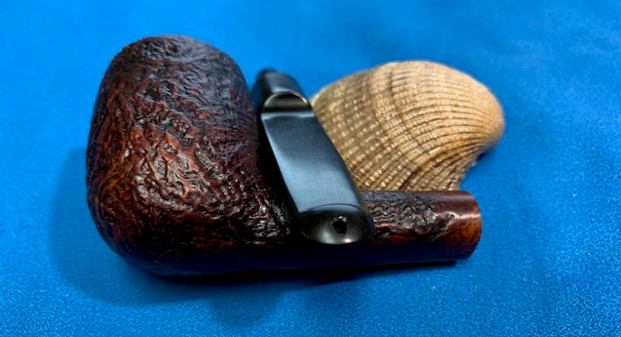
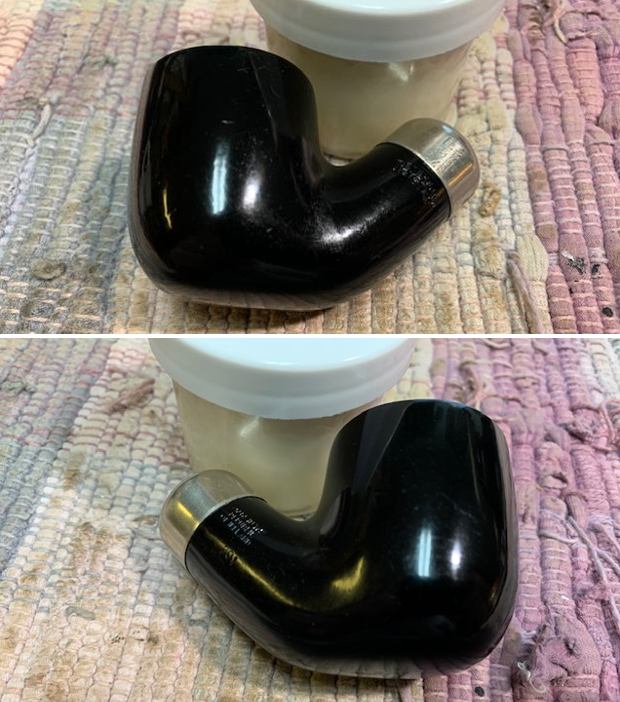
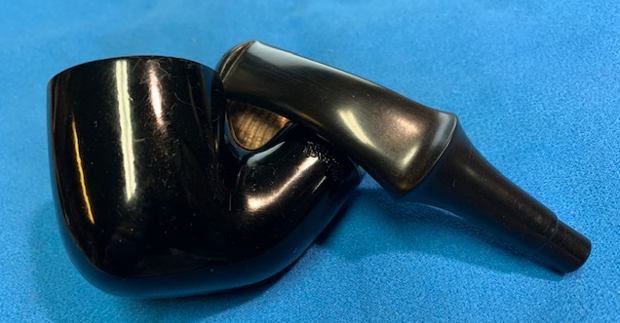
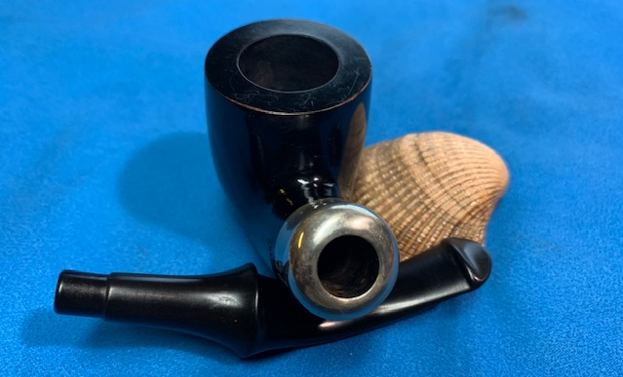
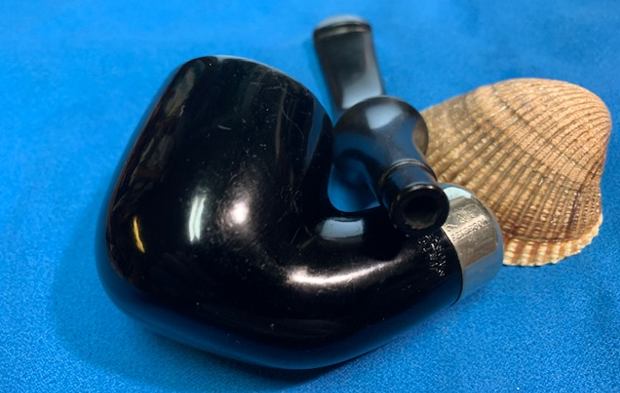
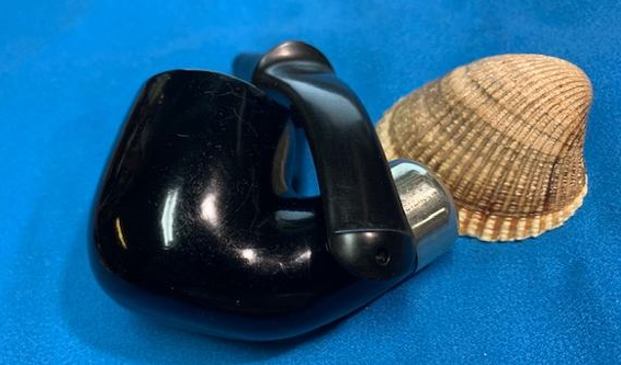
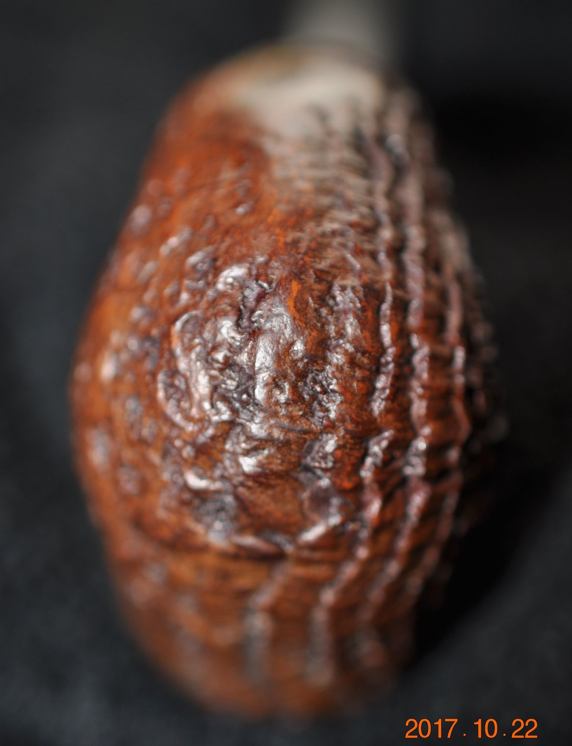
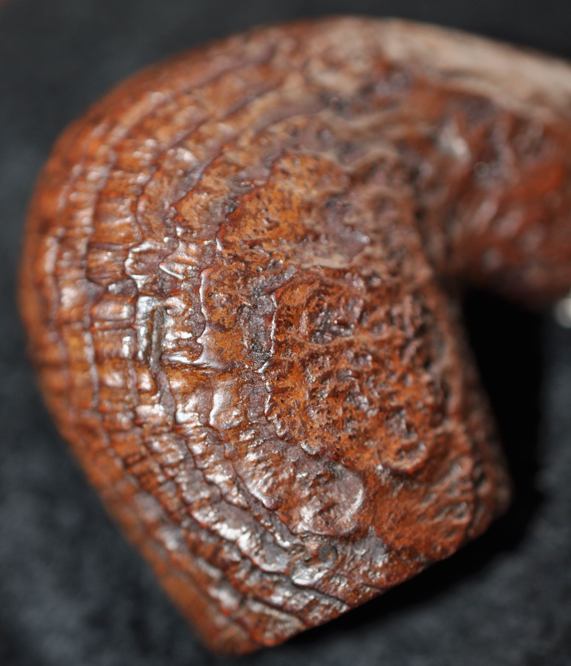
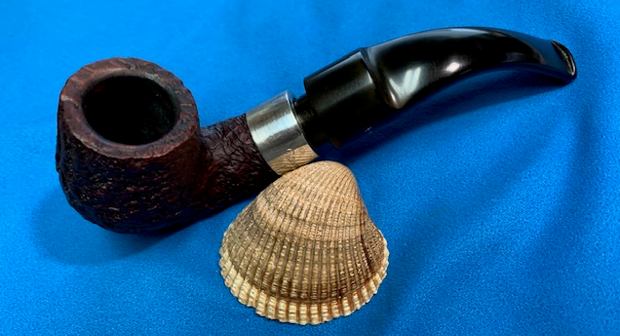
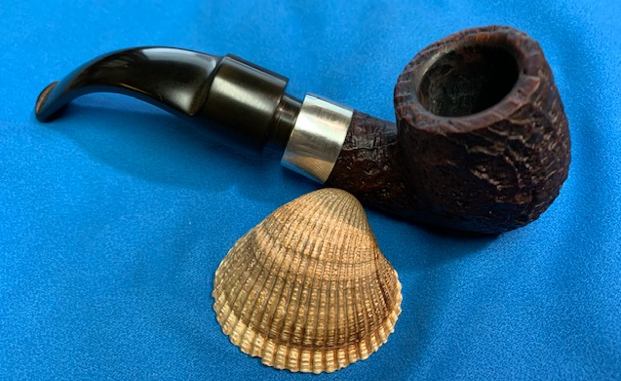
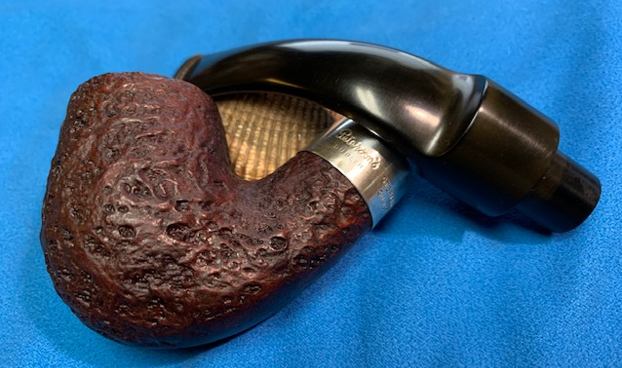
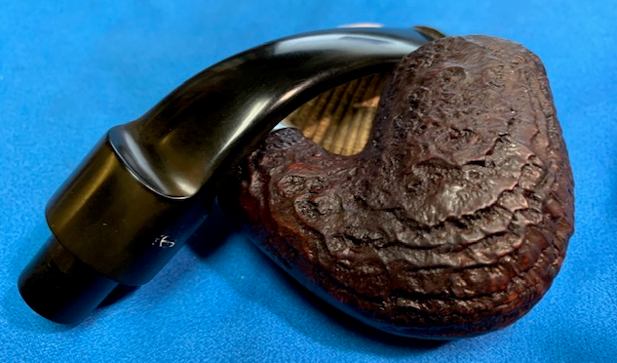
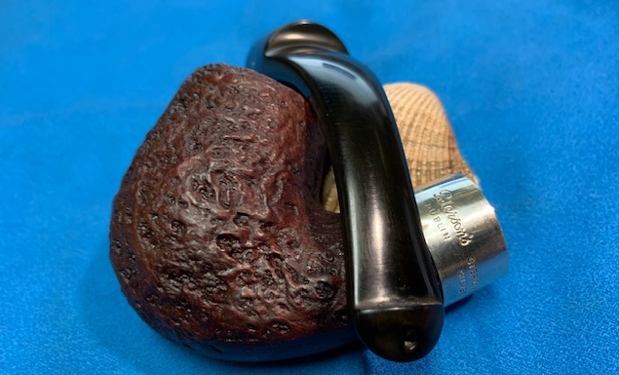
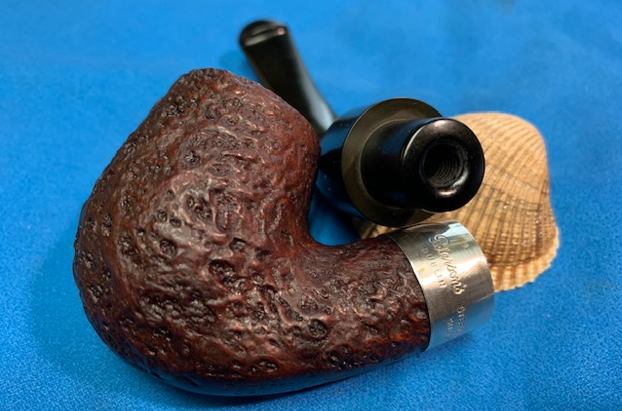
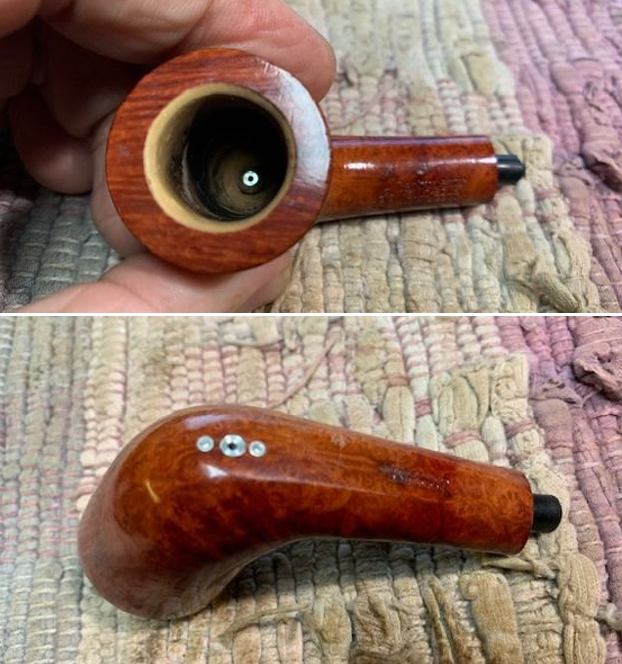
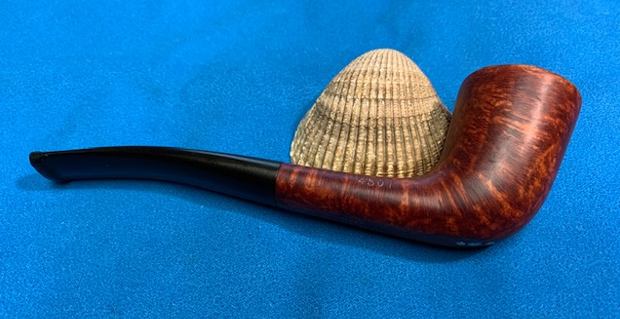
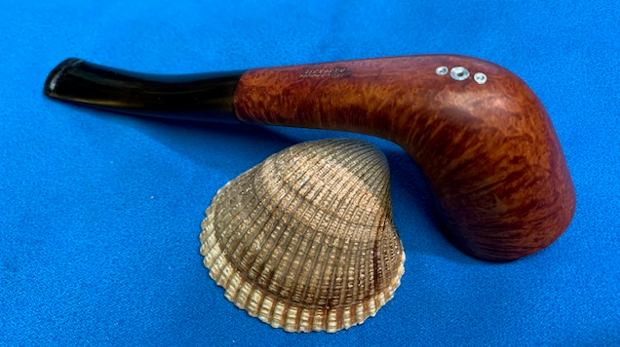
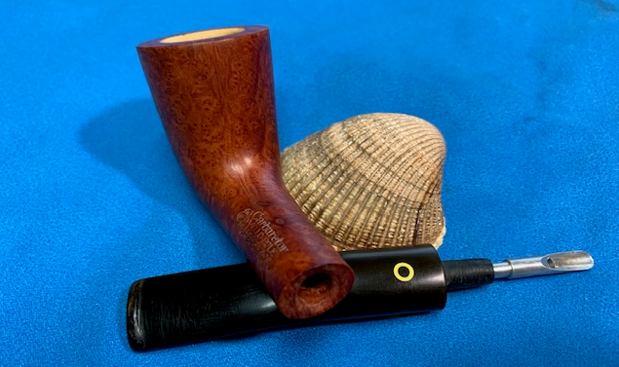
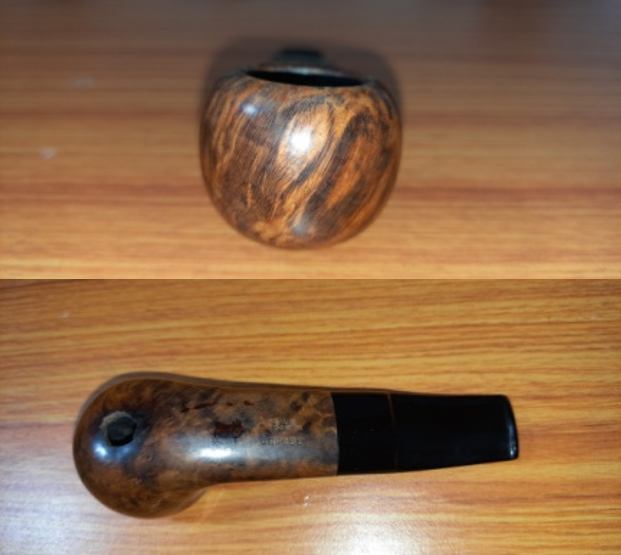
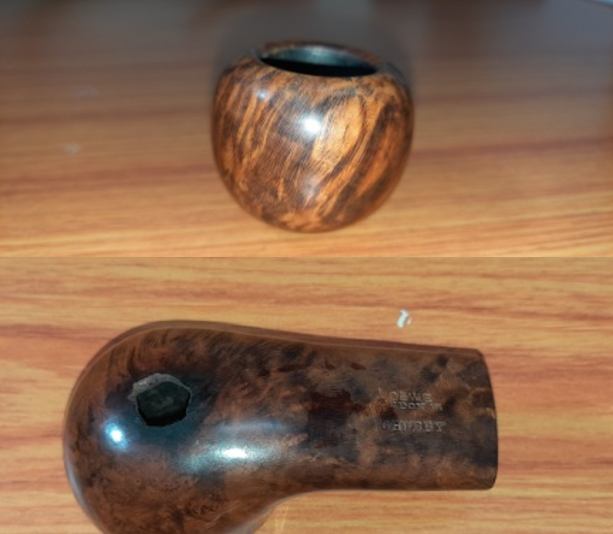
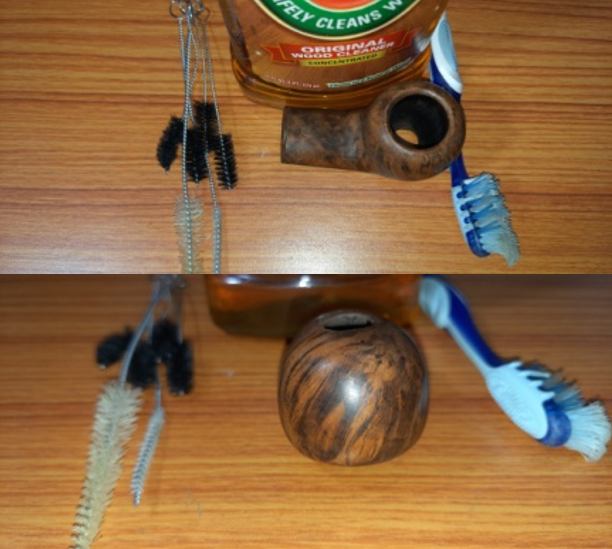
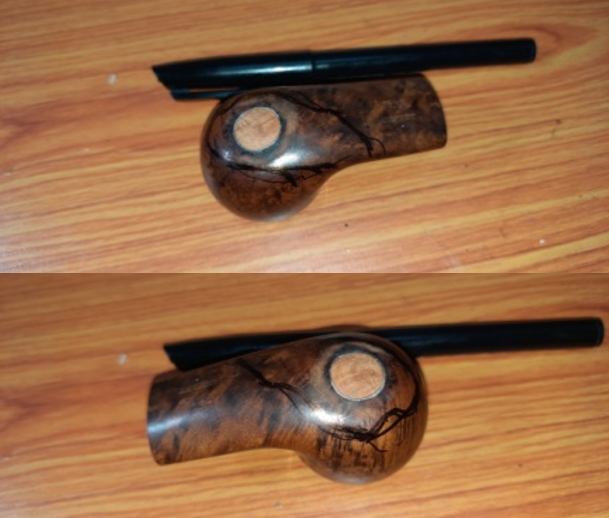
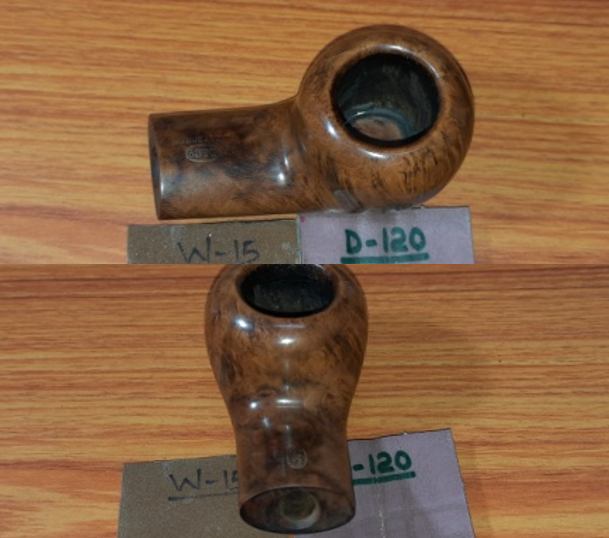
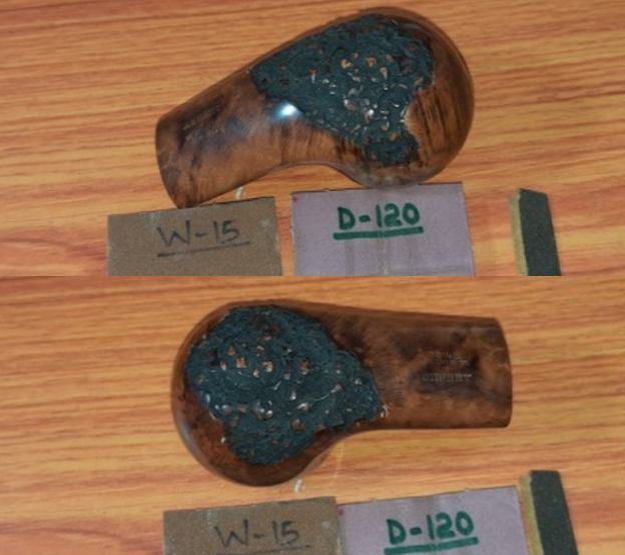
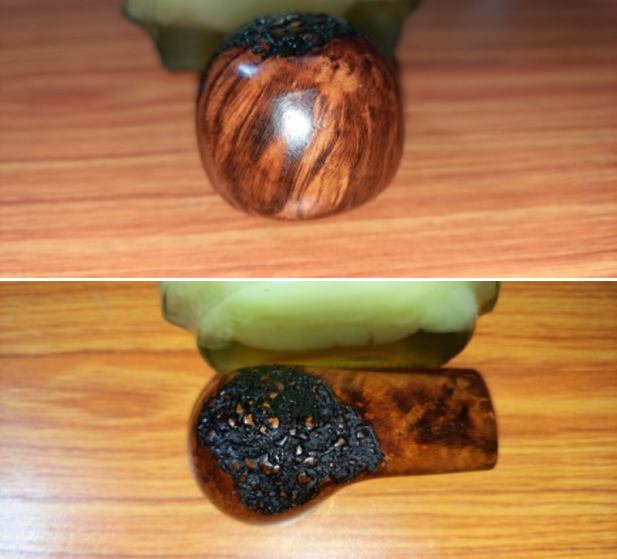
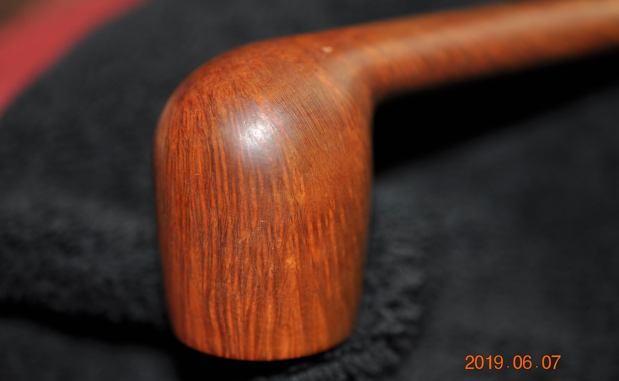
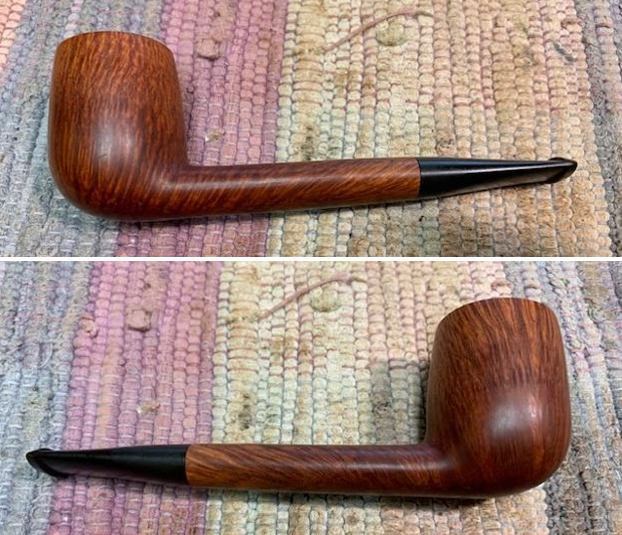
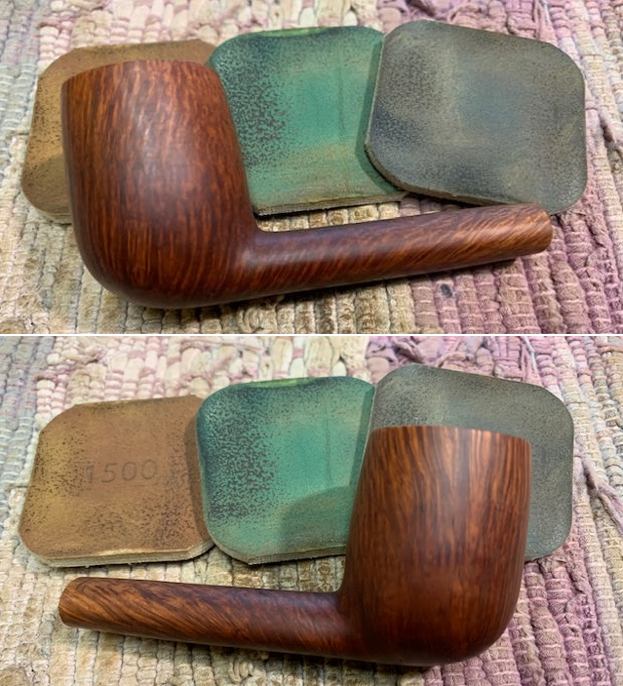
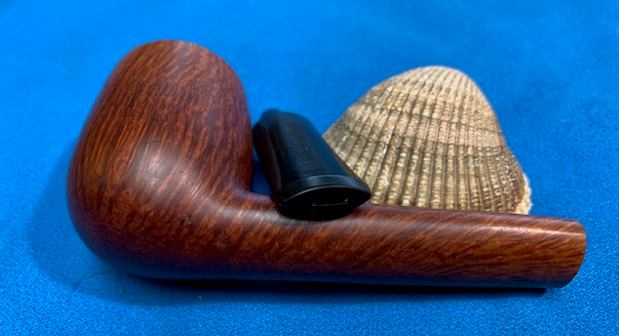
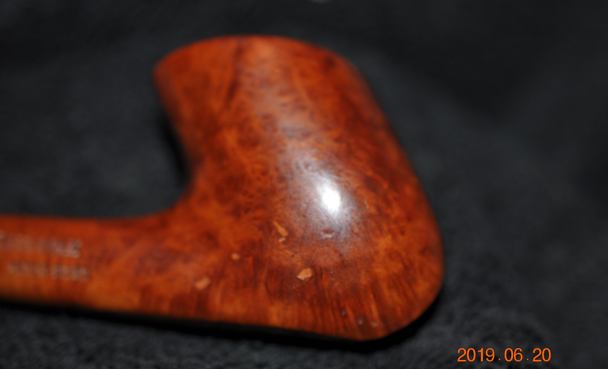
 The next three photos show the grain around the sides of the bowl and heel as well as the placement of the fills on the sides of the bowl. It is a pretty neat looking pipe.
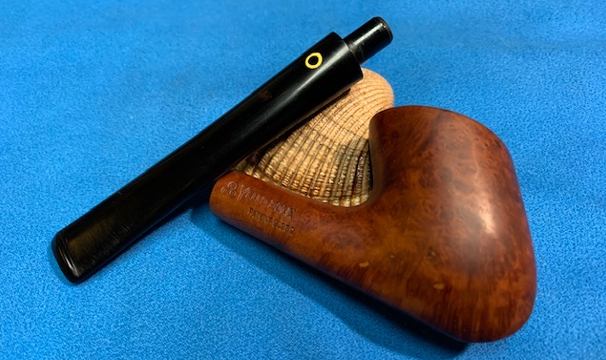
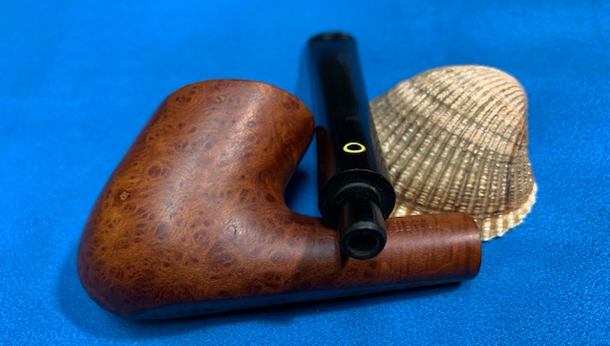
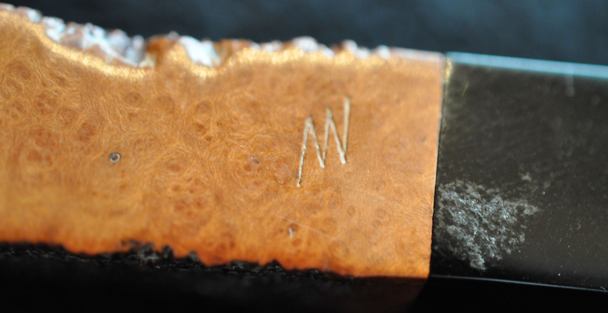
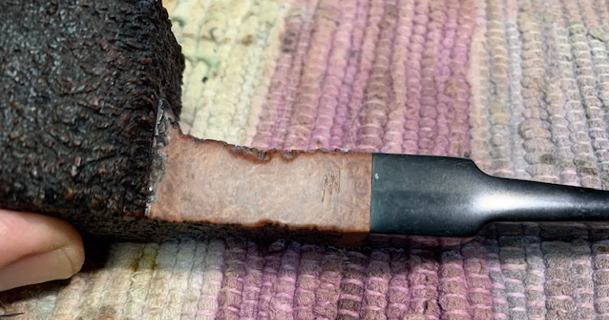
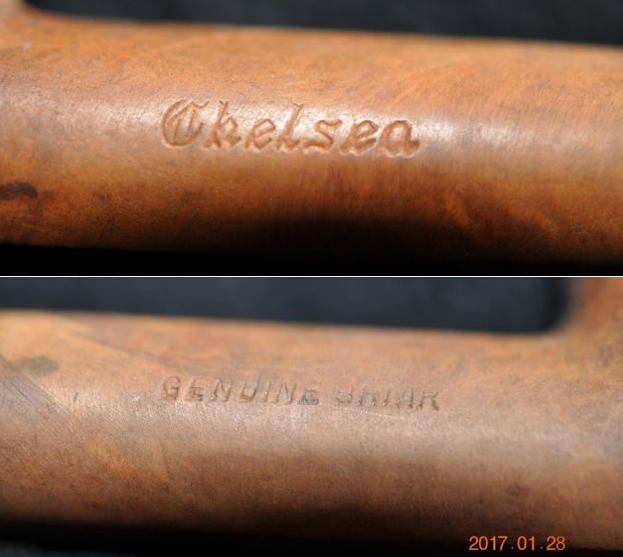
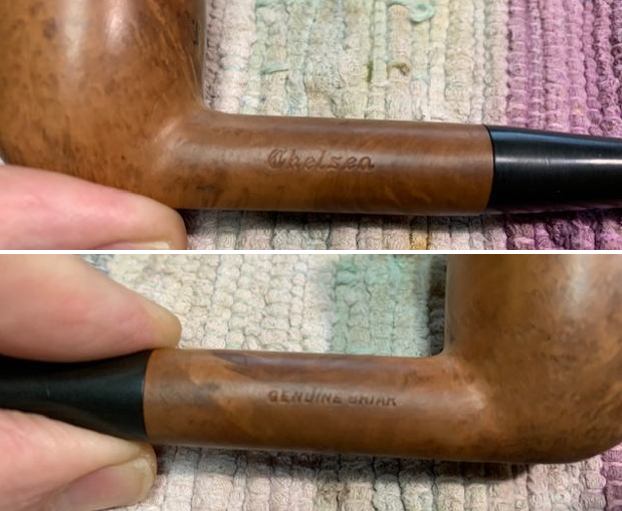
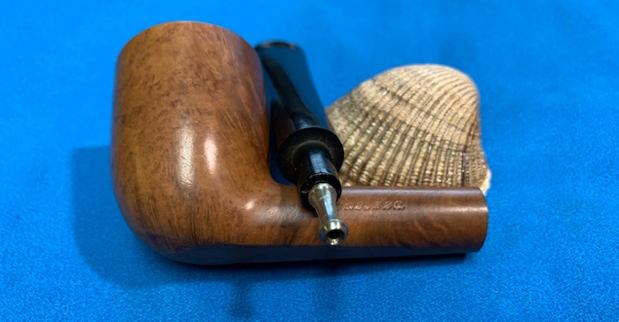
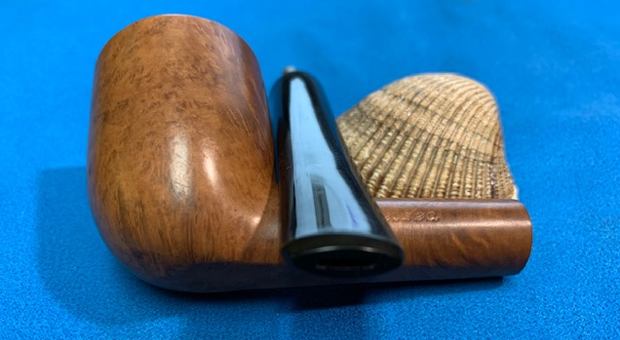
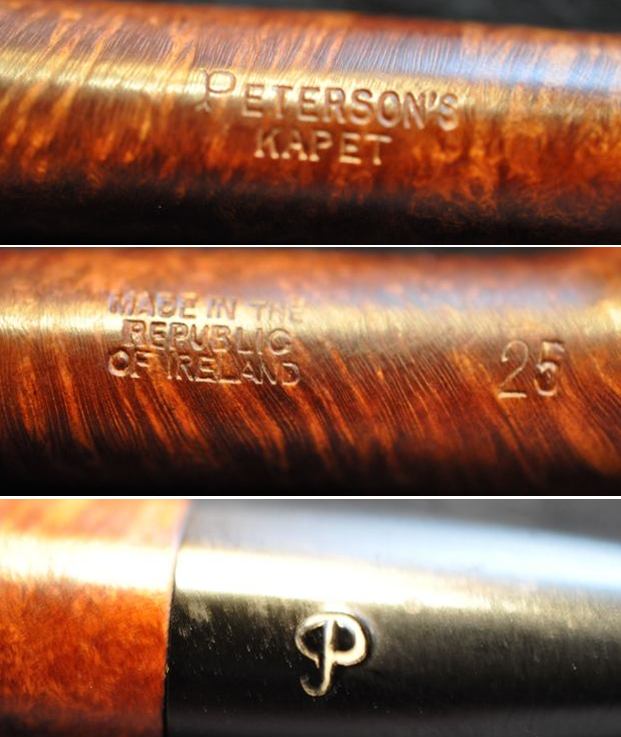
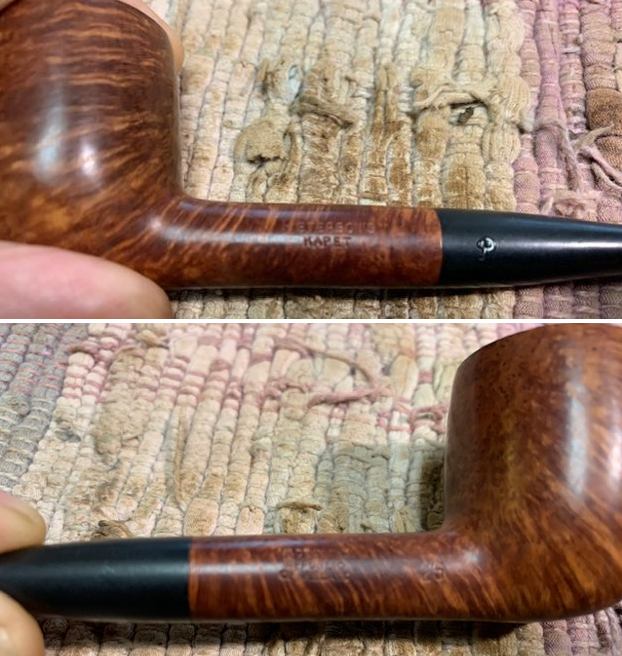
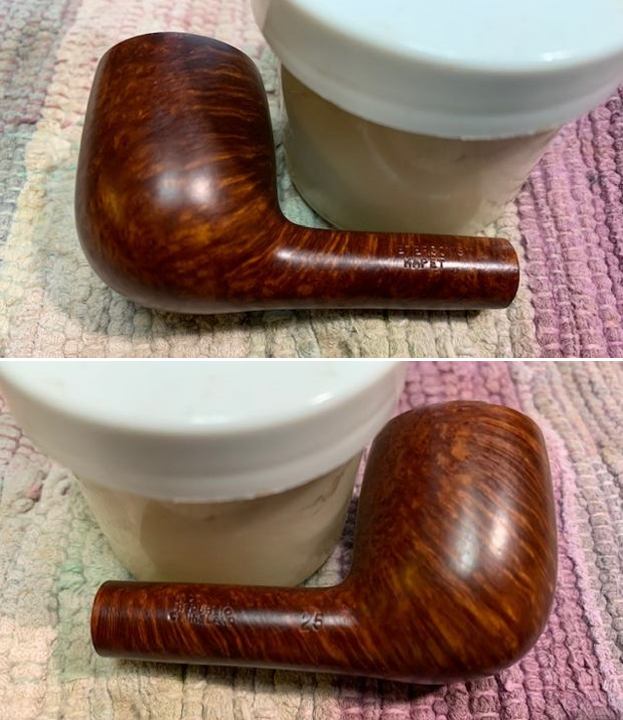
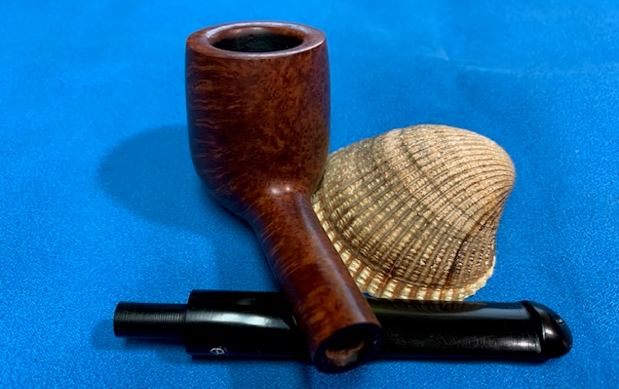
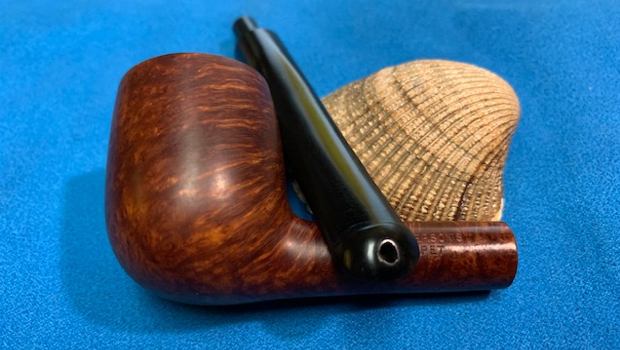
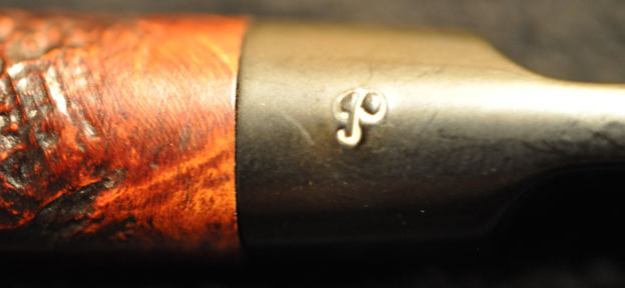
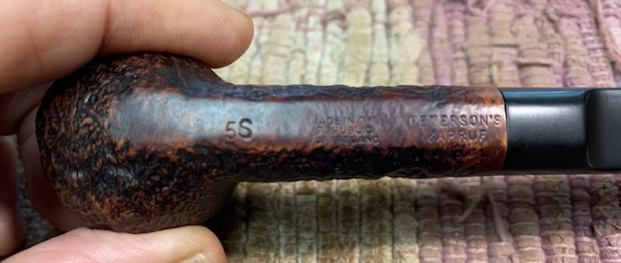
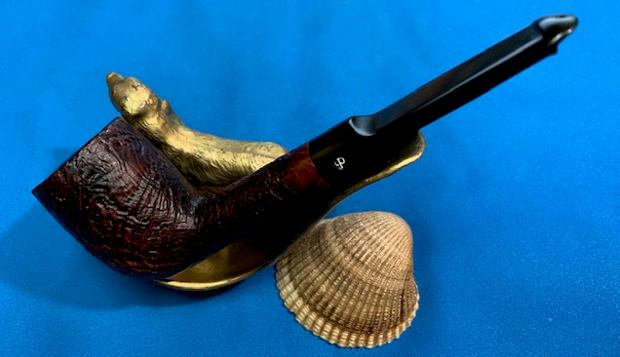
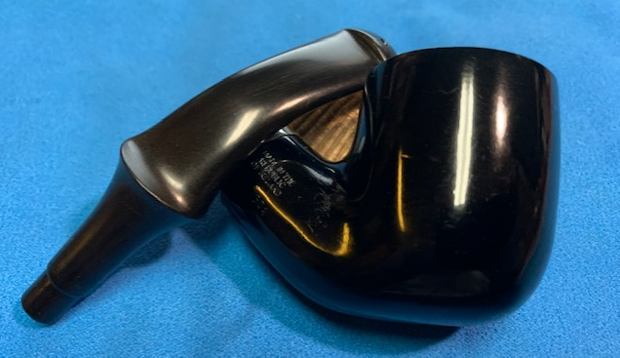
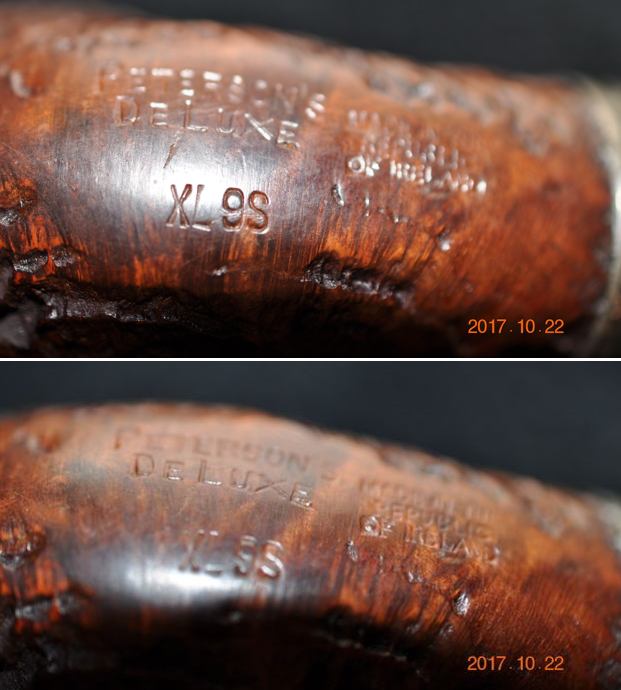
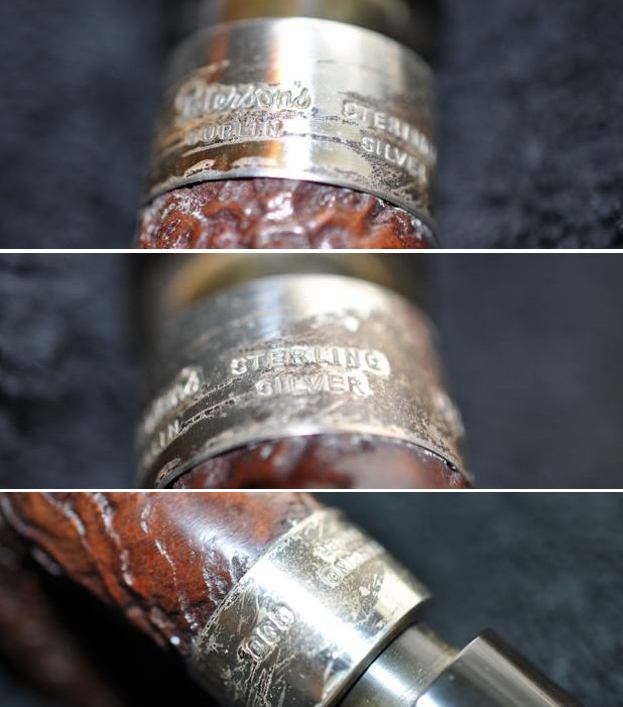
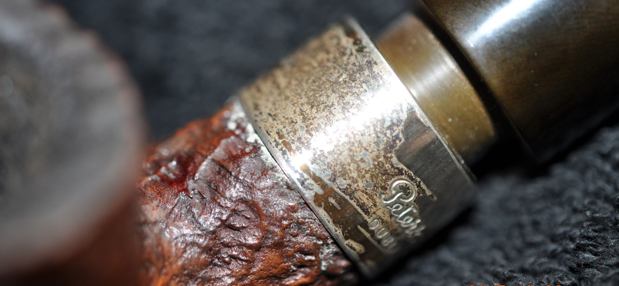
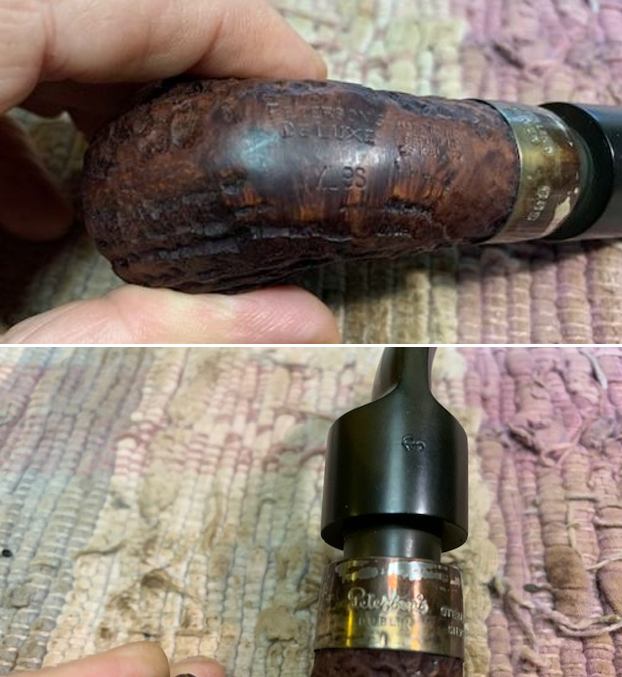
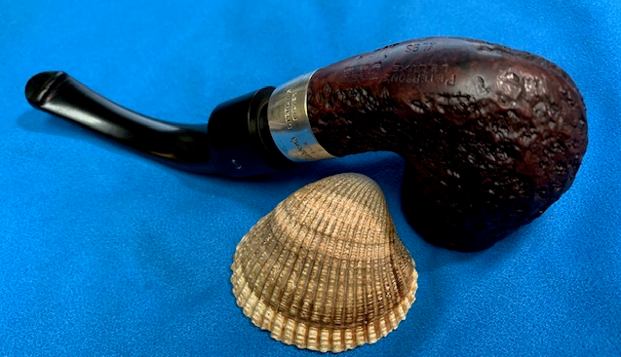
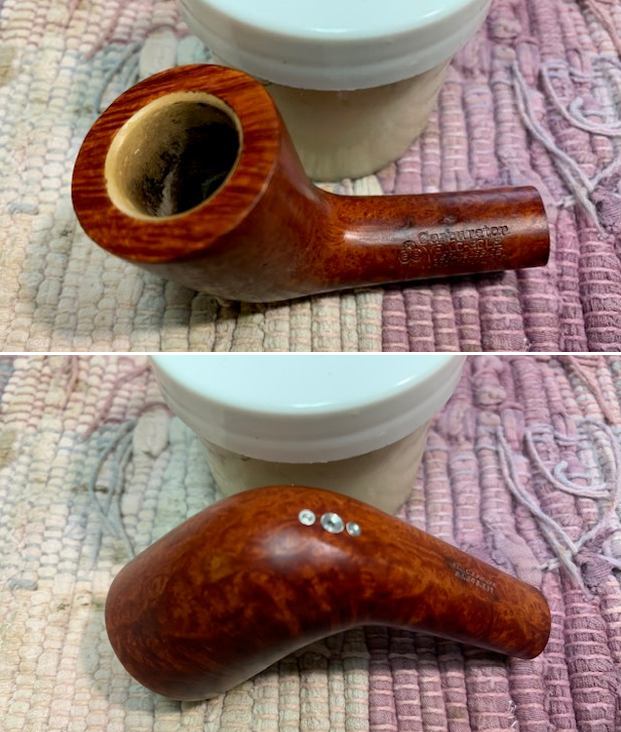
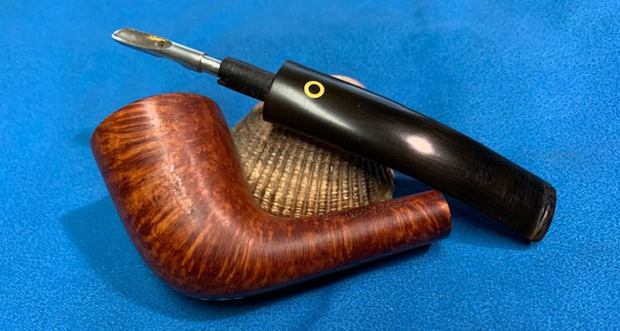
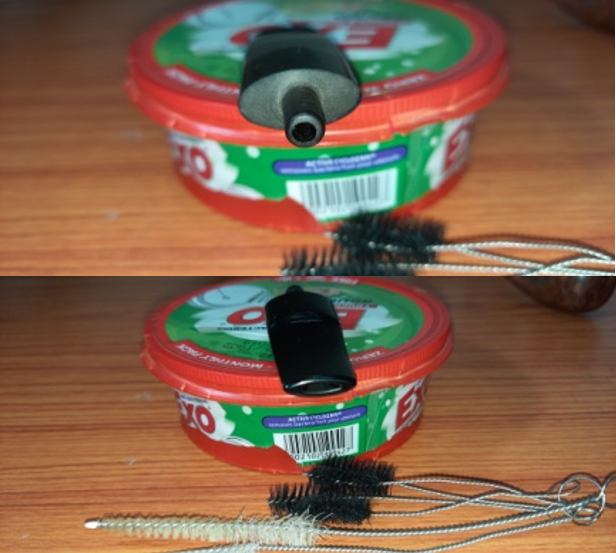
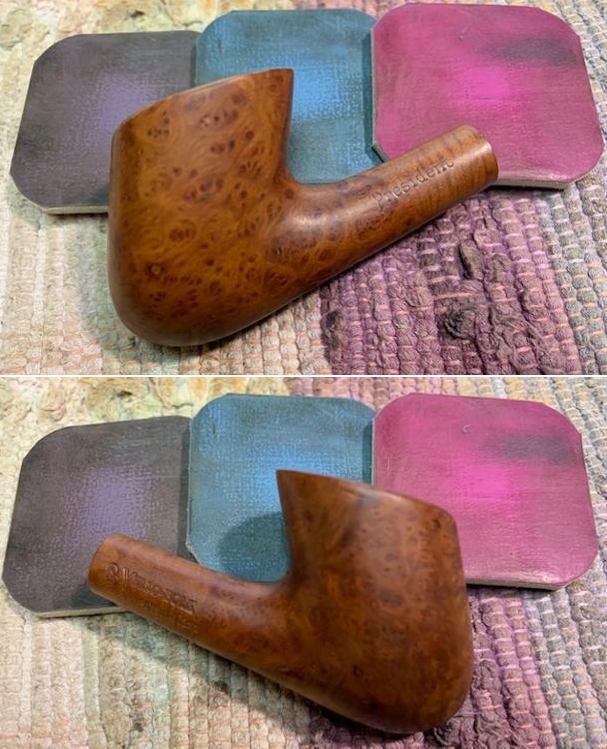
 The next series of photos show the stamping on the shank sides and the O logo stamp on the stem top. You can also see the burn mark on the stem top in the photo of the logo. The stamping is clear and readable as noted above.
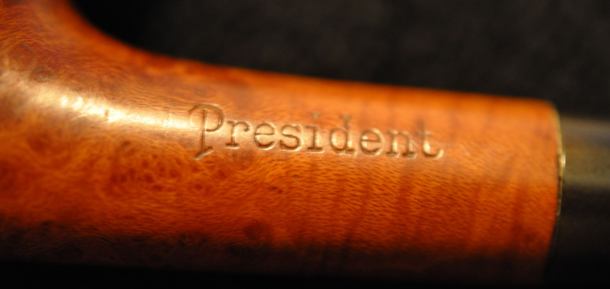
 Before I started my work on the pipe I decided to do a bit of work on the Patent Number and the shape number on the heel of the bowl. I remembered that Troy Wilburn, one of our blog writers and good friend of rebornpipes sent me a shape number list for old Kaywoodie and Yello-Bole pipes that is on the blog. I found it very useful and typed it into a chart format. Troy said that he got the data for this from the Kaywoodie Forums. If you have not visited the forums here is the link: http://kaywoodie.myfreeforum.org/ . I decided to post the chart on the blog for easy access. Thank you to the KW forum for the information. Here is the link to the full shape chart information that I have on the site (https://rebornpipes.com/2016/05/07/kaywoodie-yello-bole-shape-numbers/).
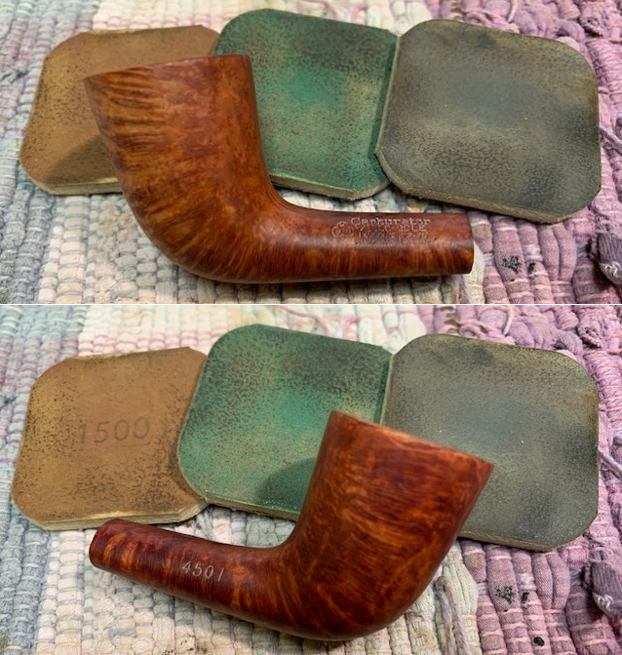
I also have included the pertinent sections of the chart on this particular 2193 shape. I remembered that the last two numbers and letter on heel of the bowl were the shape of the pipe. In this case the 93L referred to a shape that KBB called a Large President. I have drawn a box around that stamp number. The 93 is thus the President shape and the L identifies it as a large version of the pipe. Note also that the pipe was only made between 1936-1937 so it is an old timer.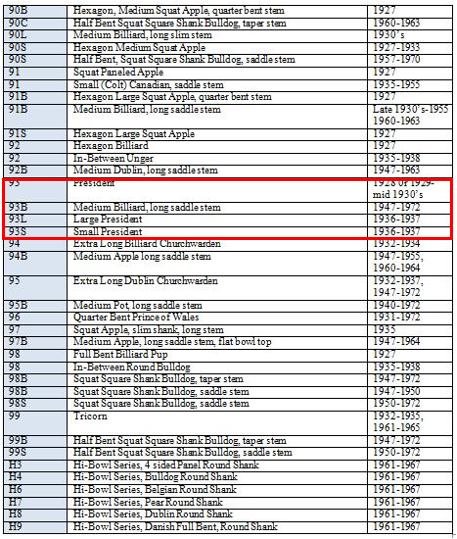 Troy also included the following information on the first two digits of the shape number. I quote in full regarding that below.
2-digit prefixes for 4-digit pipes – you might find an odd ball or a rare one that is not on the list.
From the time of the first Kaywoodie until 1938 for Kaywoodie and for Yello-Bole, Kaufmann Brothers & Bondy used a 4-digit number system (plus a letter sometimes) to identify the line and shape number. The 4-digits were not used after 1938. The first two, which we’ll call the prefix, referred to the finish and the second two, the suffix numbers referred to the shape number.
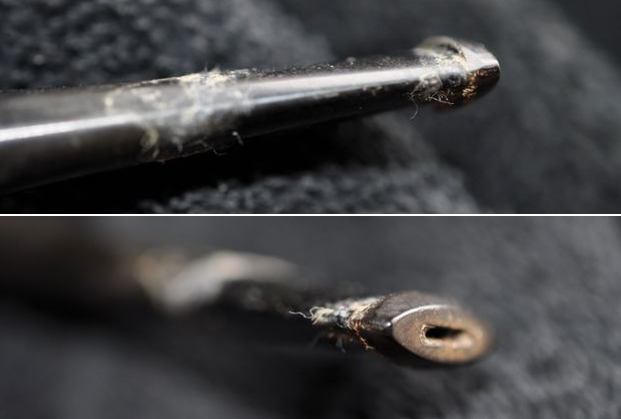
I have identified the section on the chart where this pipe stands. Note that the 21 prefix is missing but the description of the 20 and 22 is identical to the information on this pipe. From that I know that the pipe I am working on should have a push tenon, vulcanite stem. The good news is that I have the original stem.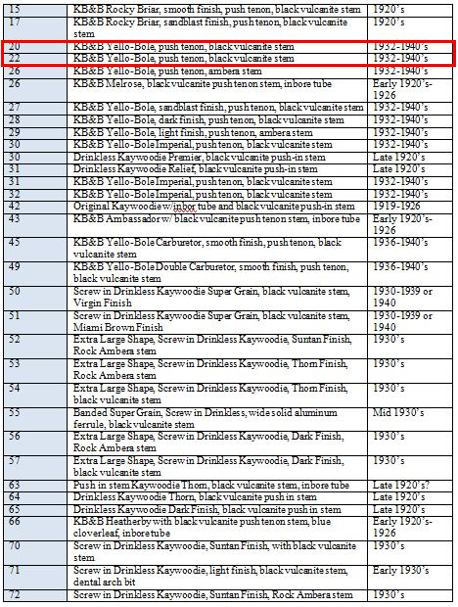 Now it was time to see if I could find anything out about the Patent number. I am assuming it is a US Patent as the pipe is an American brand. The number on the right side of the bowl reads as follows: Patent – 90232. I turned to the US Patent search site to see what I could find out there. Here is the link to the site: https://patft.uspto.gov/netahtml/PTO/patimg.htm . Unfortunately that patent number takes me to a series of drawings of a new plowshare. At this point the Patent information is a dead end.
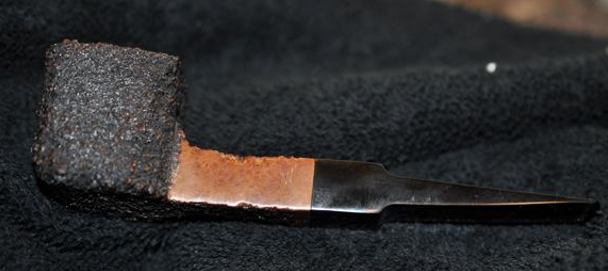
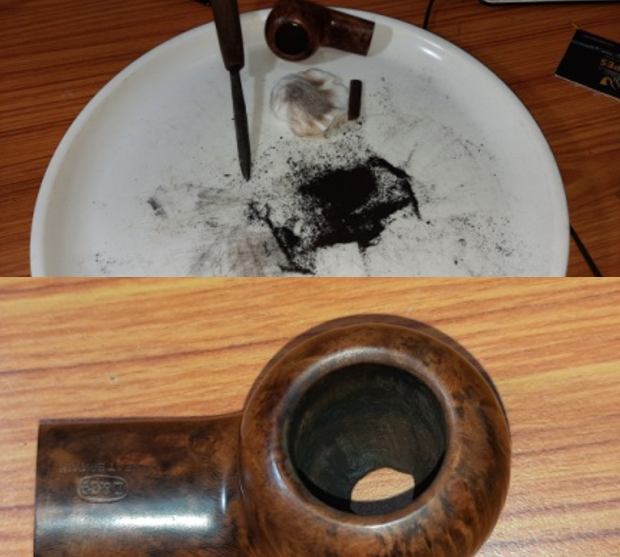
It may seem that I praise Jeff’s work in cleaning up the pipes I work on a lot! I know I do but he is an indispensable part of the restoration work for me. He has developed a system of cleaning that is quite remarkable and leaves the pipes very clean. It saves me a lot of time so I have no issues saying that! Jeff did a great job cleaning up the pipe as usual. He reamed the pipe with a PipNet reamer and cut back the cake back to the bare briar. He cleaned up the walls with a Savinelli Fitsall Pipe Knife. He scrubbed the interior of the bowl and shank with pipe cleaners, cotton swabs and alcohol to remove the tars and oils. He scrubbed the exterior of the pipe with Murphy’s Oil Soap and a tooth brush to remove the grime from the finish. He worked on the rim top lava and darkening with the soap and tooth brush. He scrubbed the inside of the stem with alcohol and pipe cleaners. He scrubbed the exterior with Soft Scrub and then soaked it in Before & After Deoxidizer. He washed it off with warm water to remove the Deoxidizer. The pipe looked far better when it arrived. 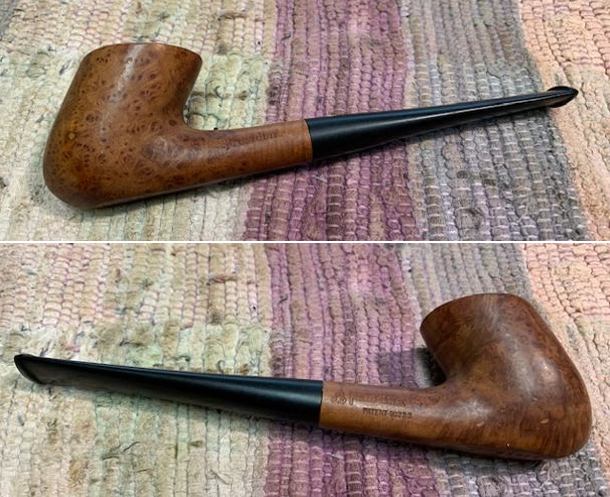
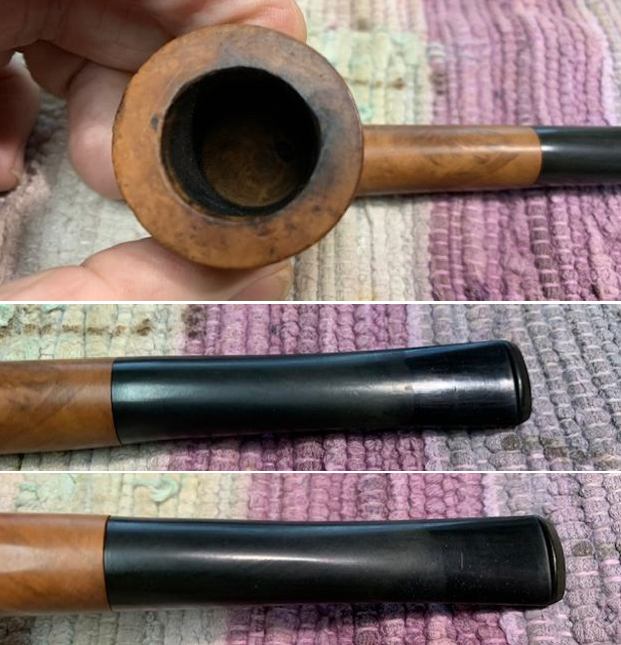
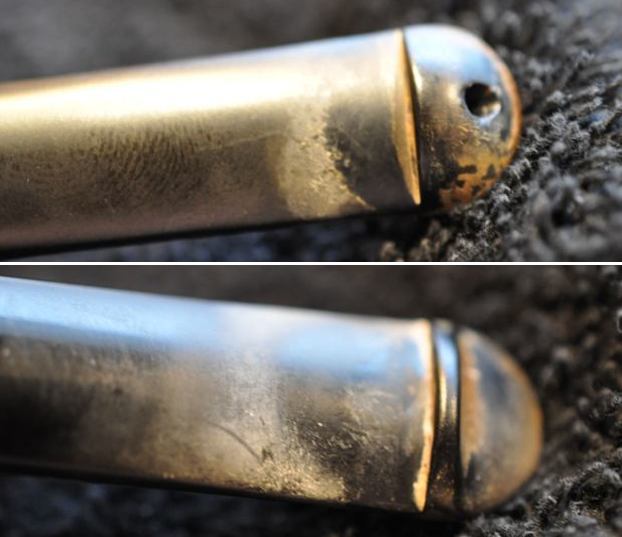
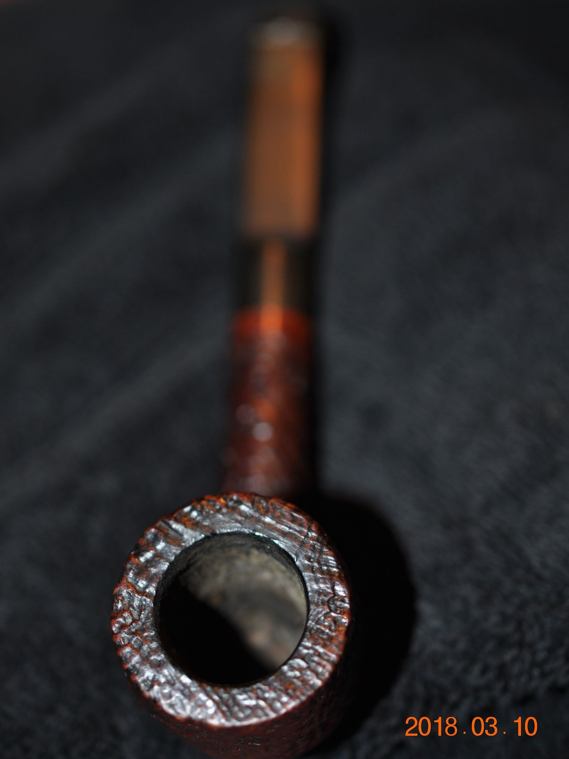
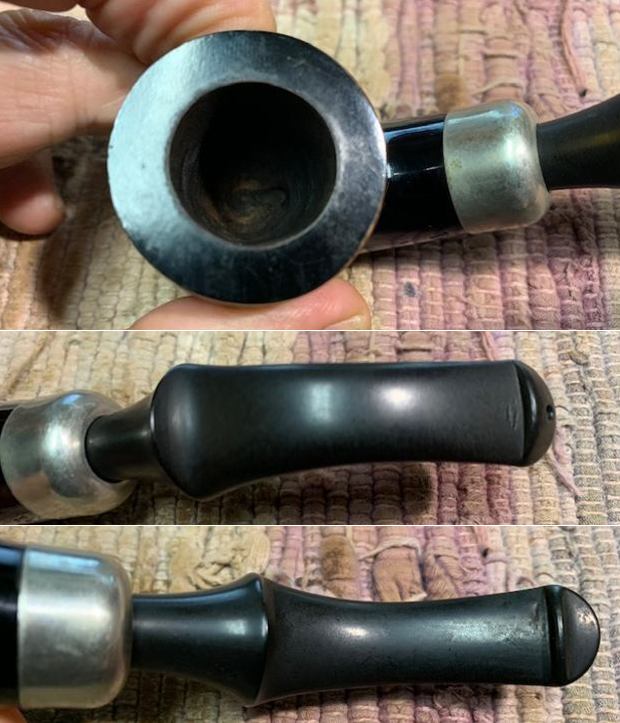
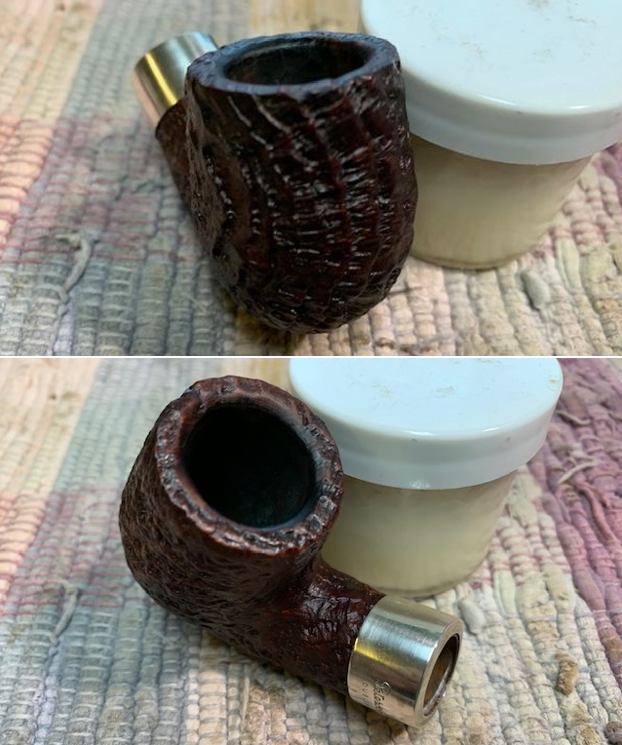
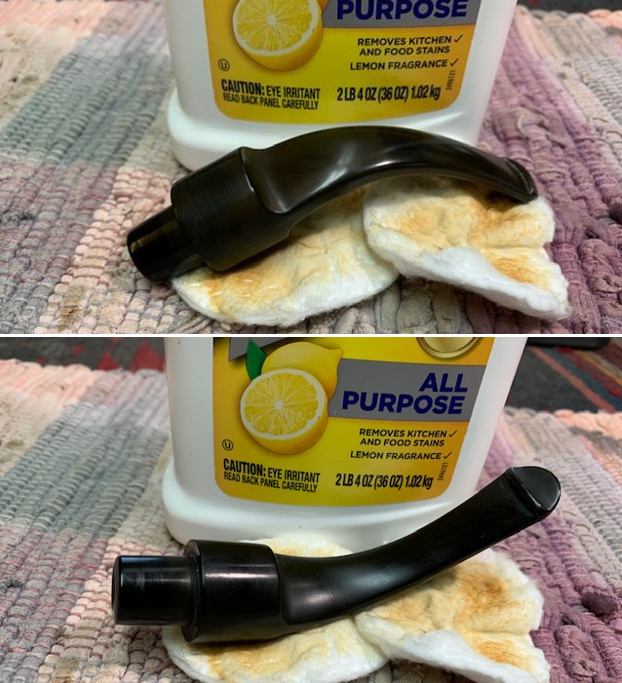
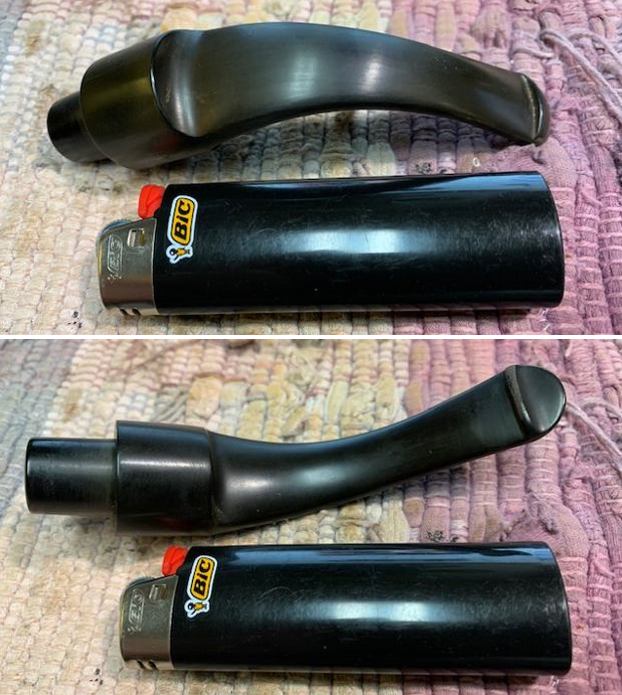
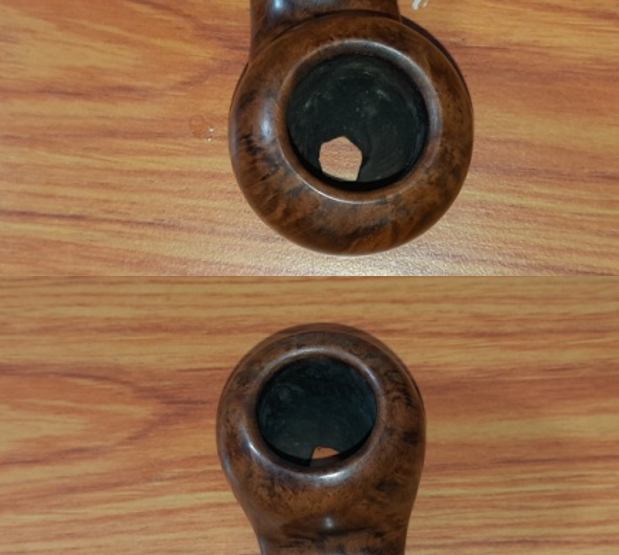
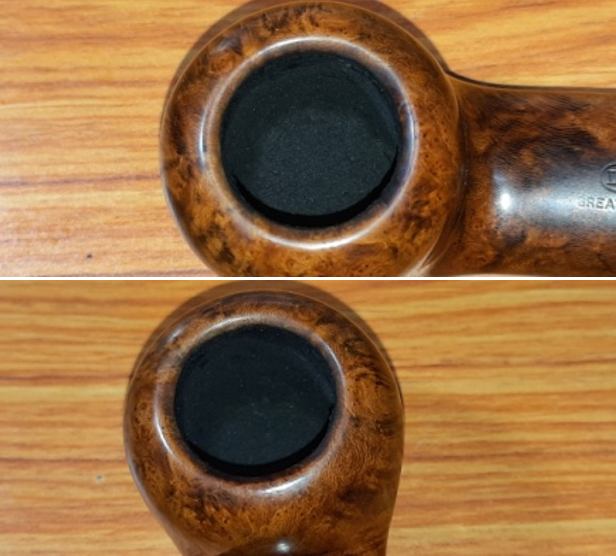
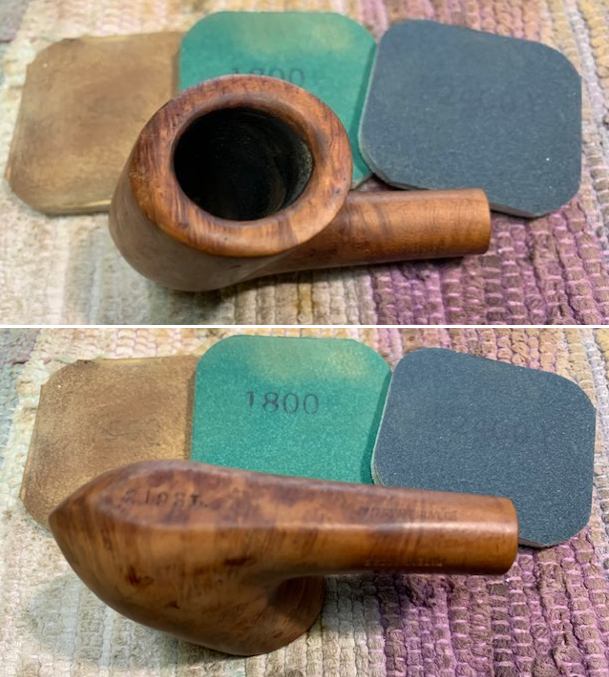
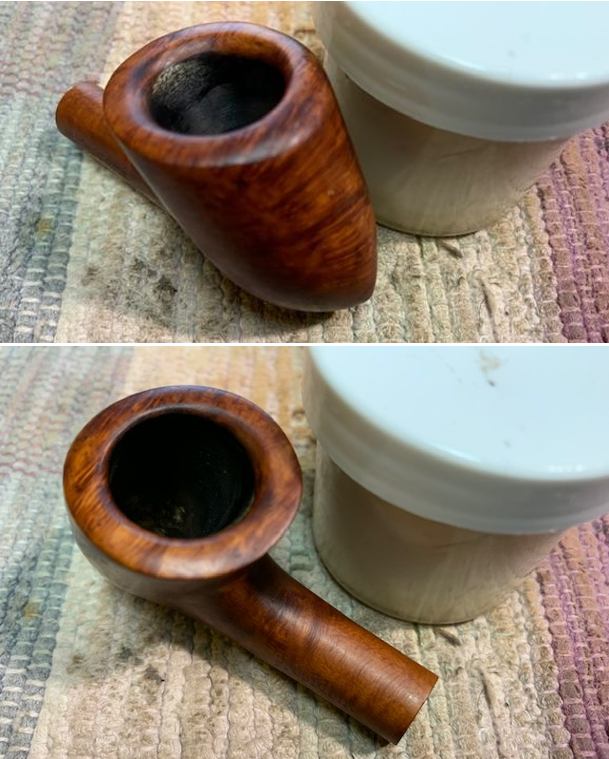
 I took some close up photos of the rim top and also of the stem surface. I wanted to show how well it had cleaned up. The rim top photo looks good but there are some nicks and scratches on the top and the beveled inner rim edge. I also took close up photos of the stem to show the light tooth marks and chatter on the surface near the button and the burn mark on the top near the O logo.
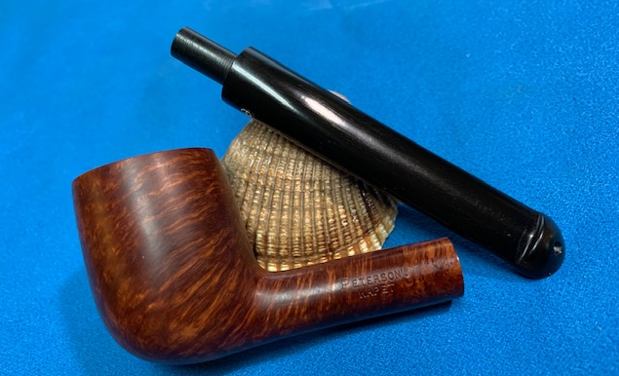
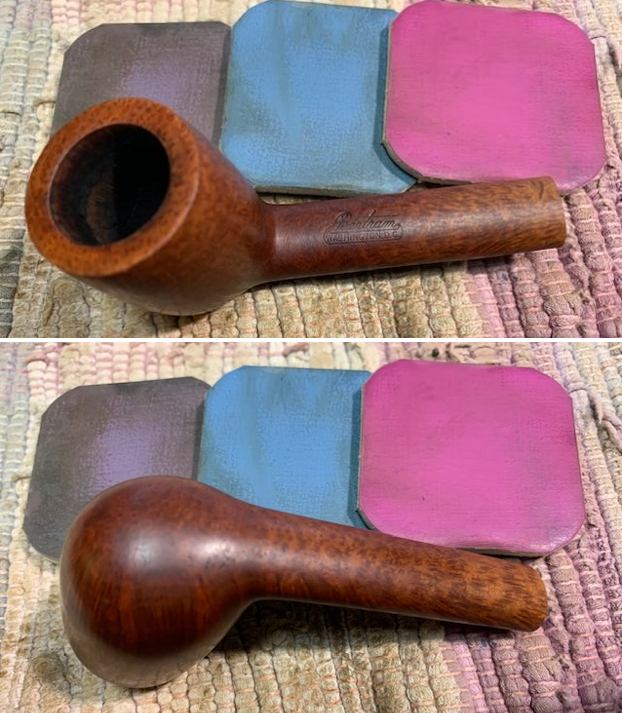
 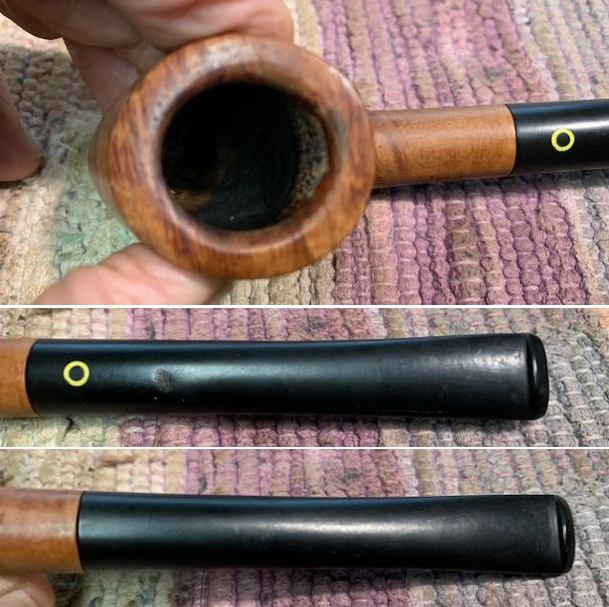 I took photos of the stamping on the sides of the shank. You can see that it is stamped as noted above. It is clear and readable.
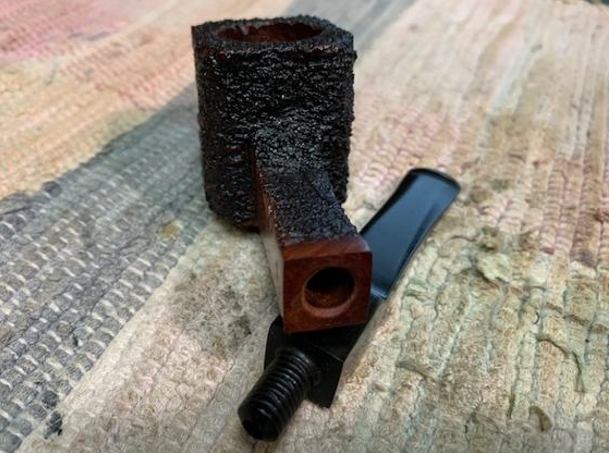
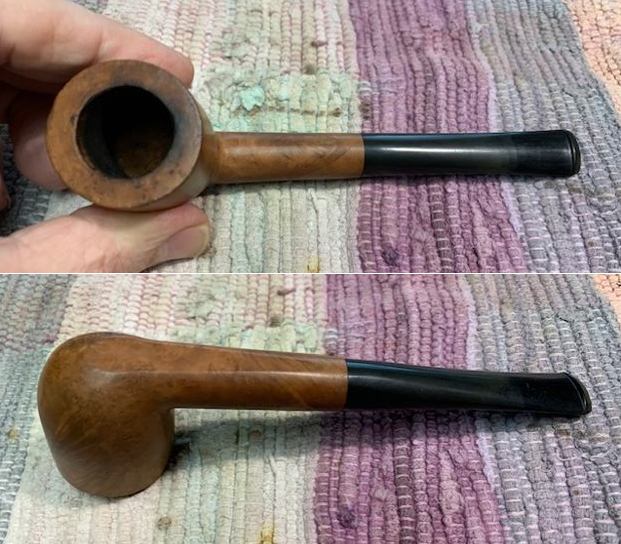
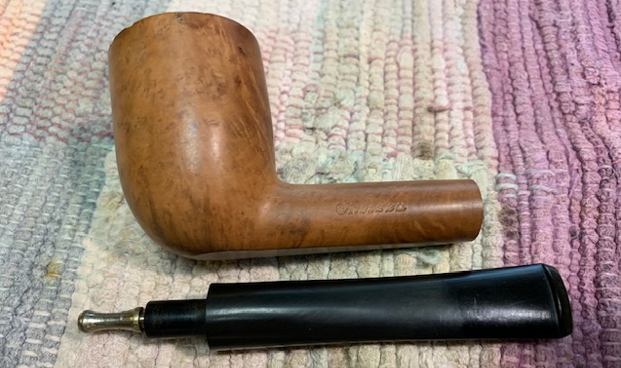
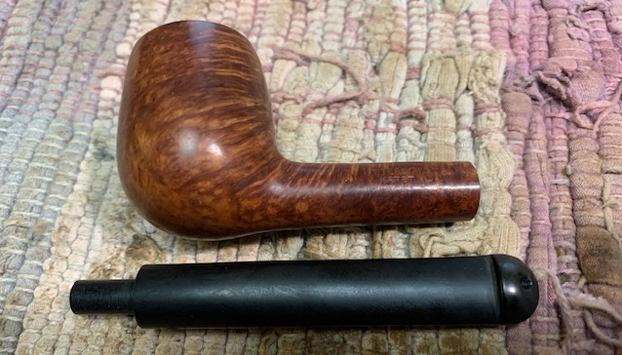
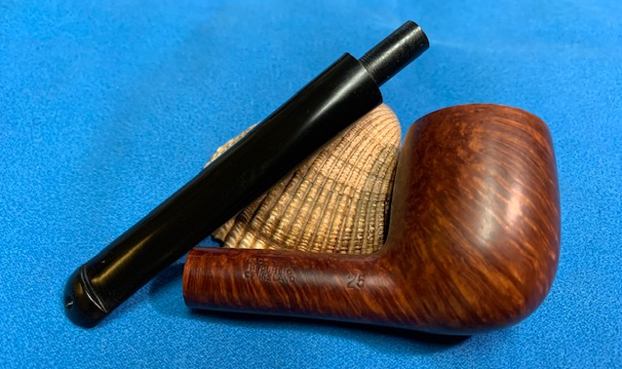
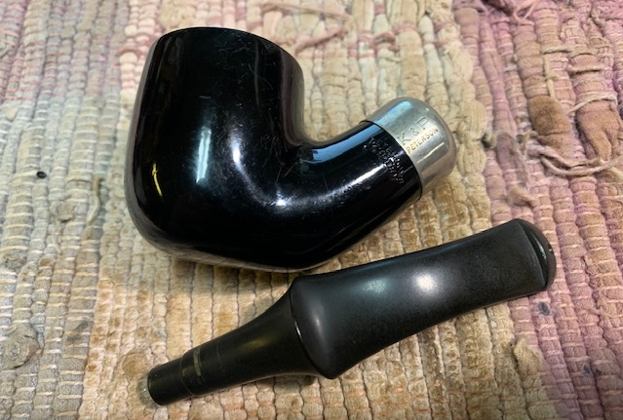
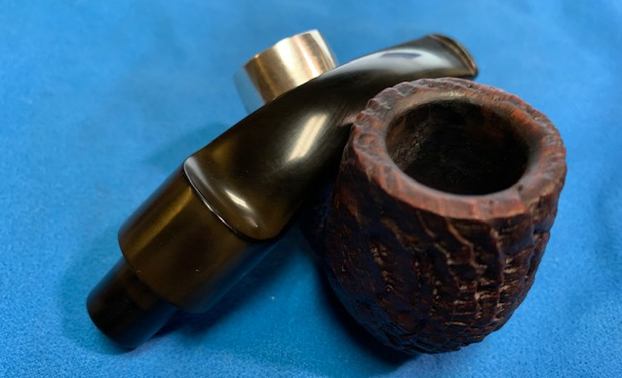
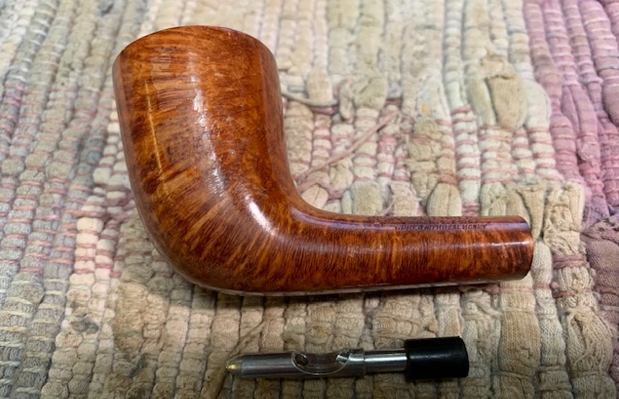
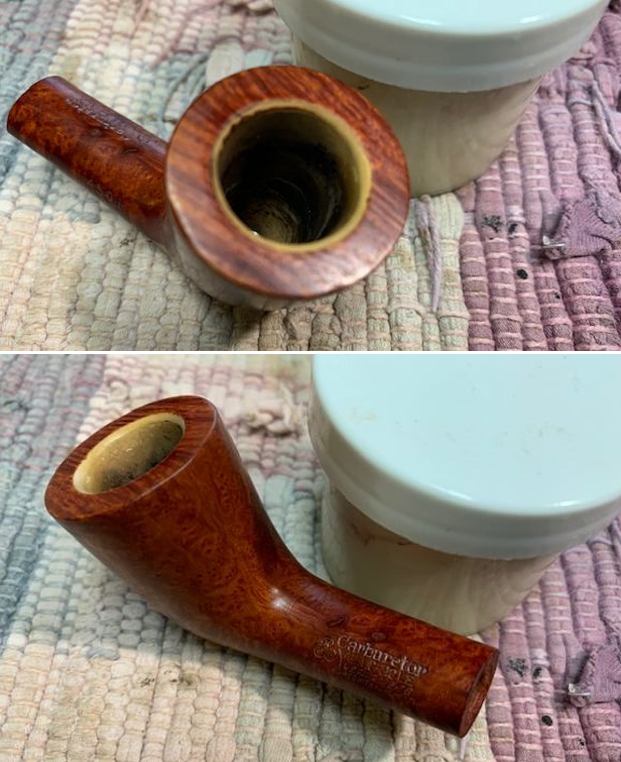
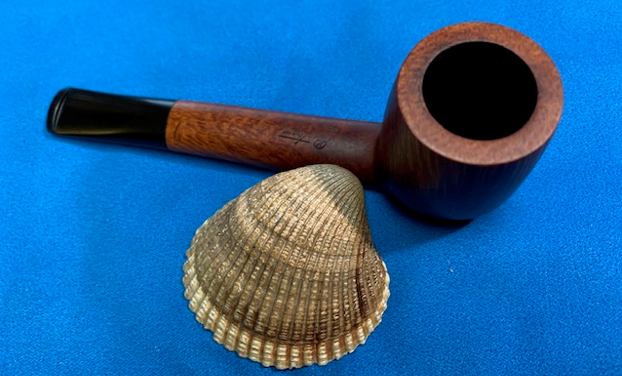
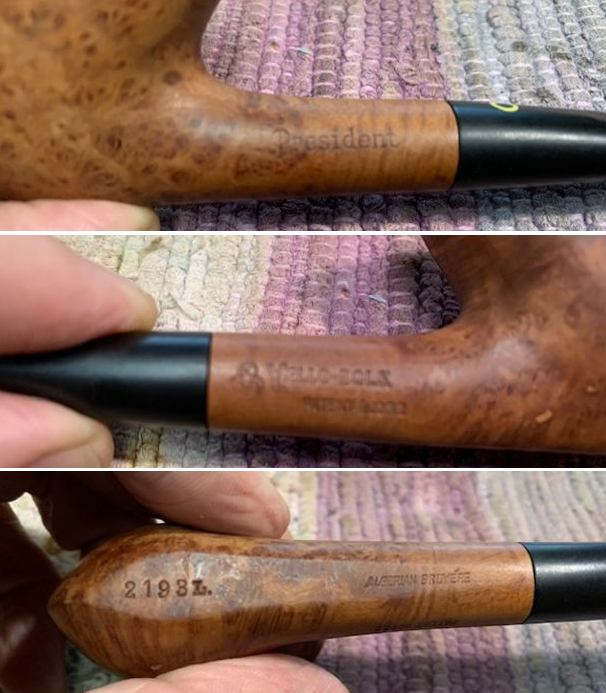 I took the pipe apart and took a photo of the pipe. It is a good looking pipe and has some great grain on the side of the bowl.
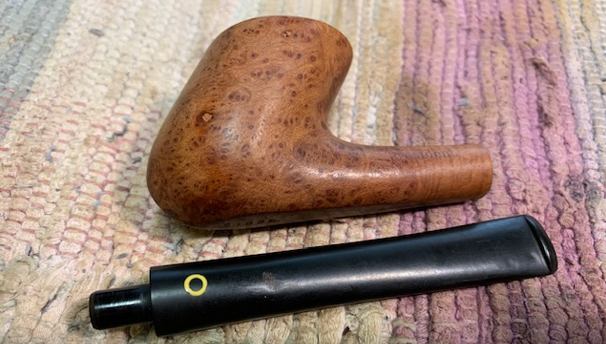 I decided to address the rim top damage first. I used a folded piece of 220 grit sandpaper to the beveled inner edge to minimize the damage to the rim. I think that it is definitely better once I finished. I would polish the flat top of the rim with micromesh and try to minimize the scratching there. The angle of the stem makes topping the bowl seem impractical.
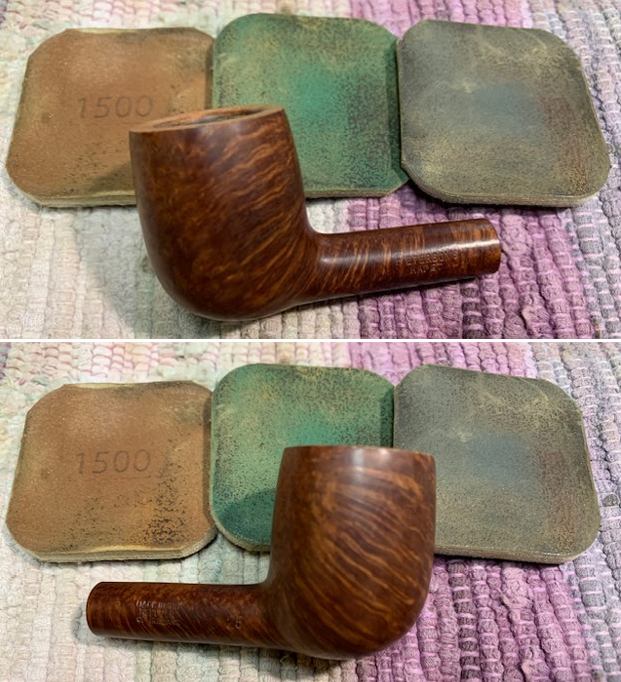
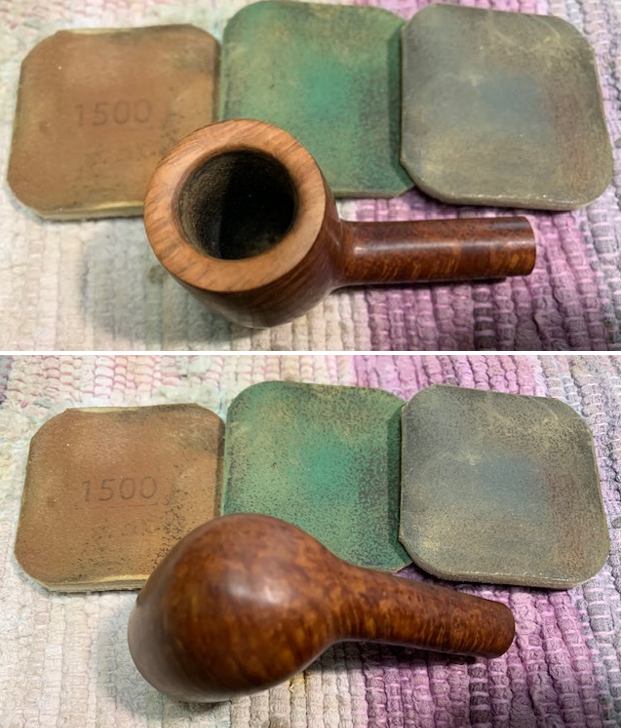
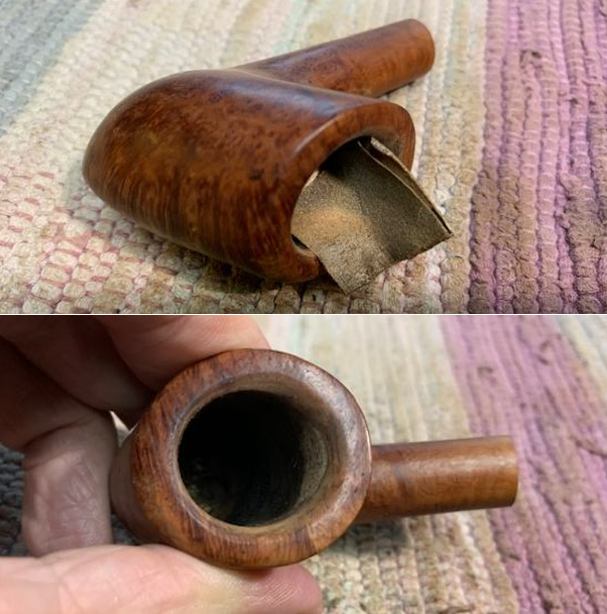 I polished the briar rim top and edges along with the rest of the briar with micromesh sanding pads –dry sanding with 1500-12000 grit pads and using a damp cloth after each pad.
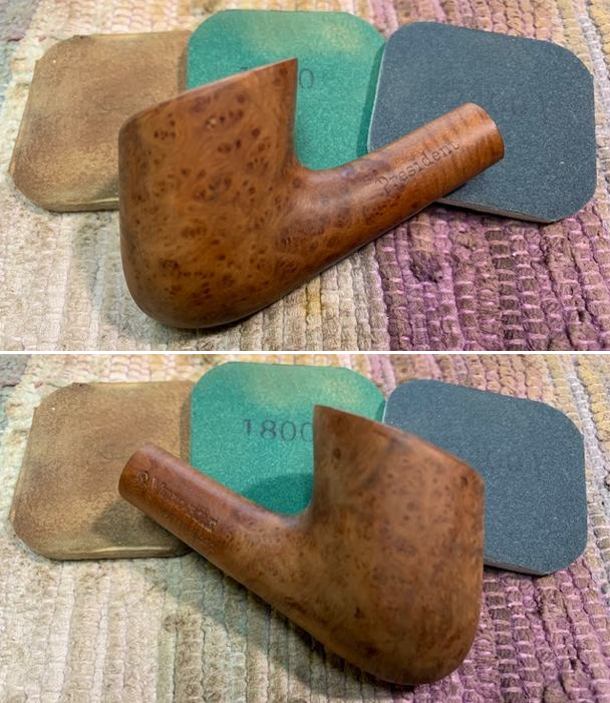
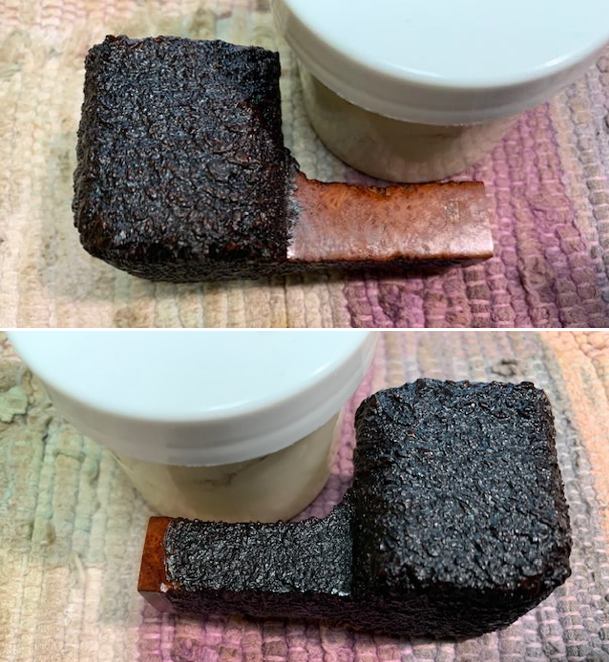
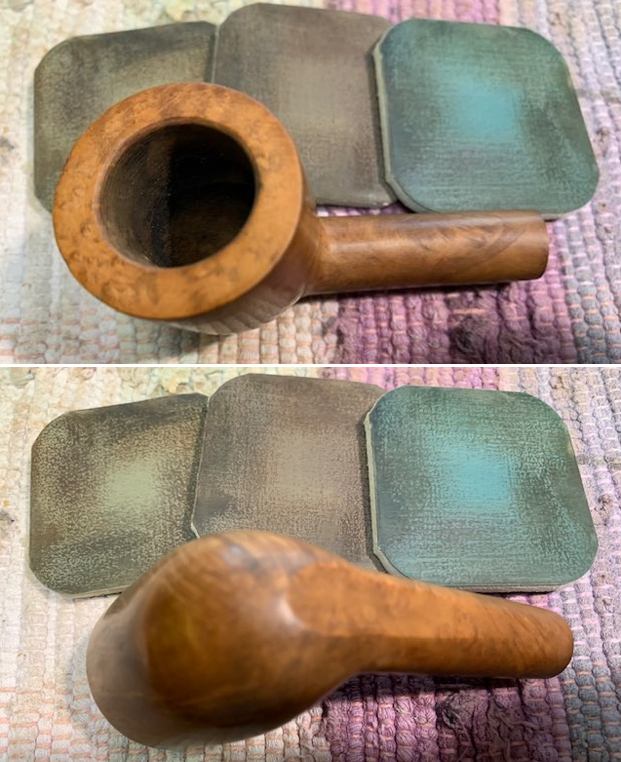
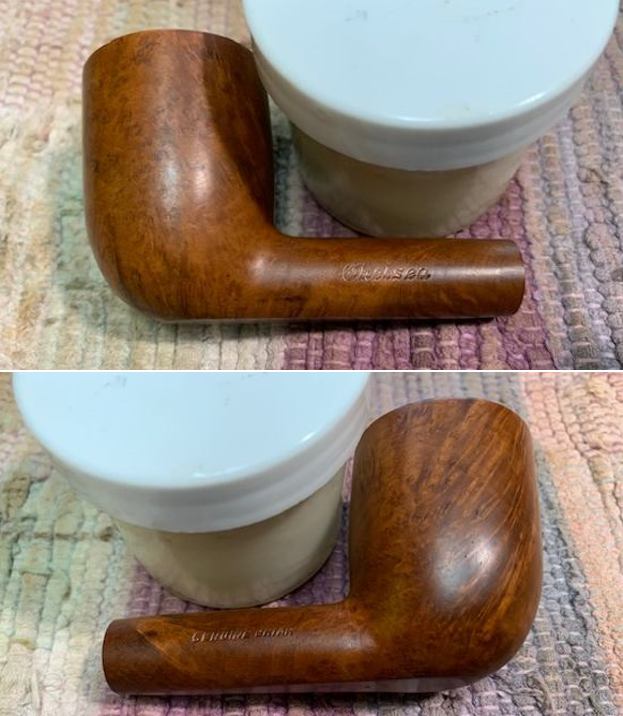
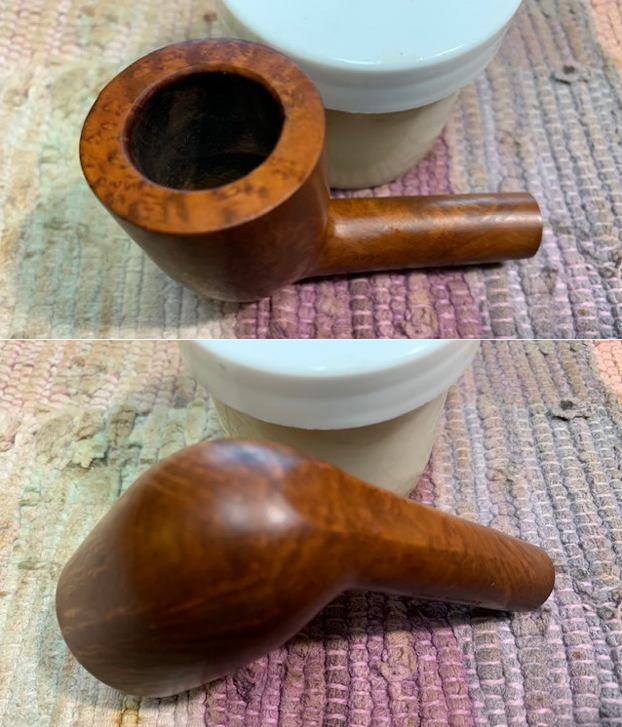
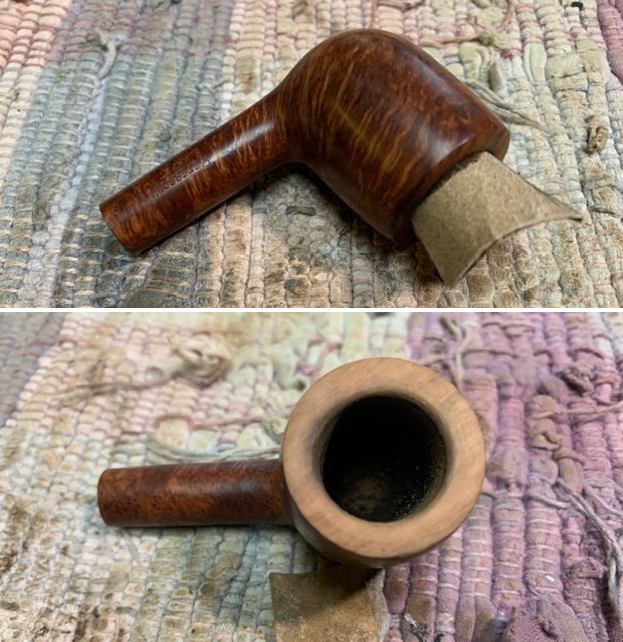
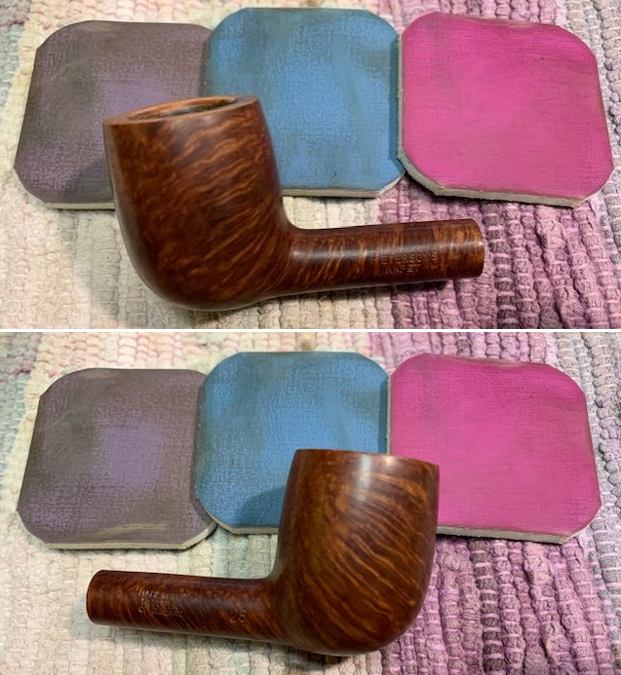
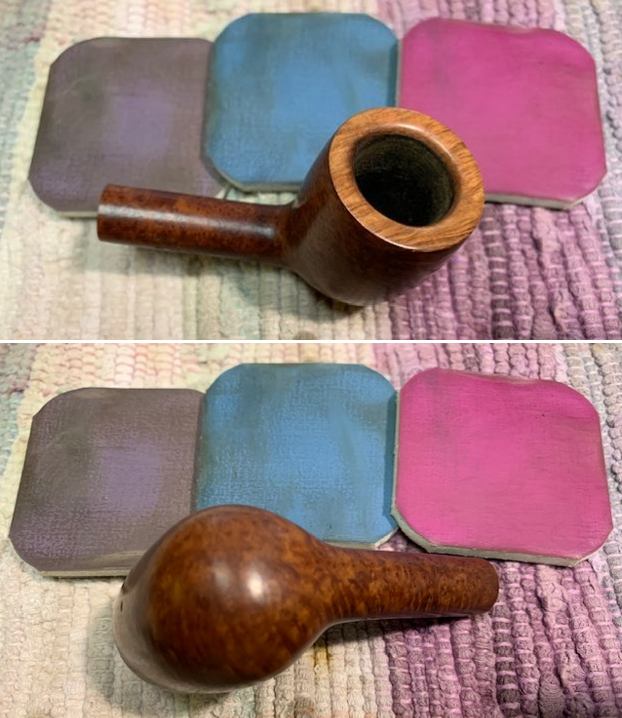
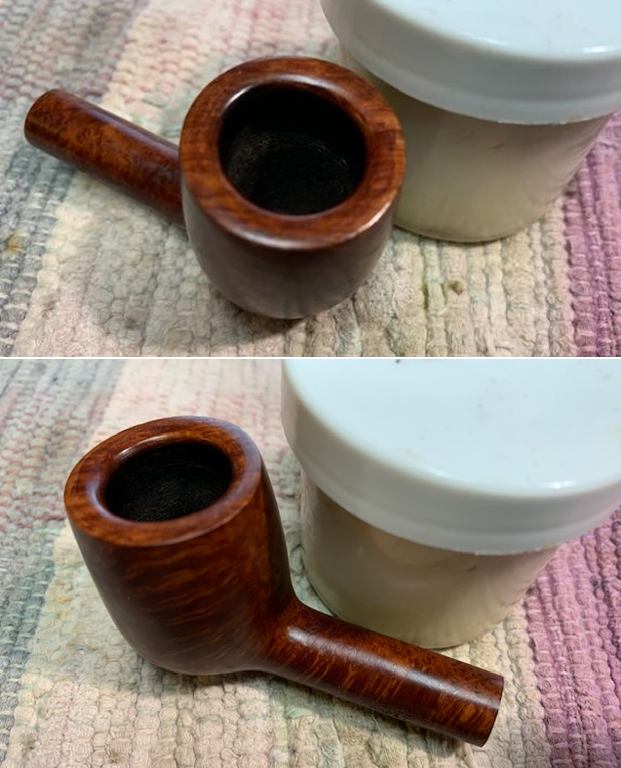
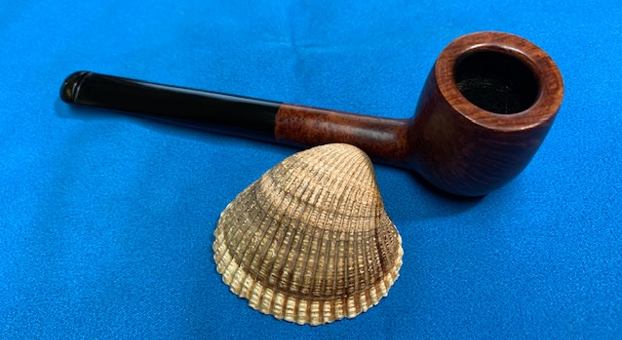
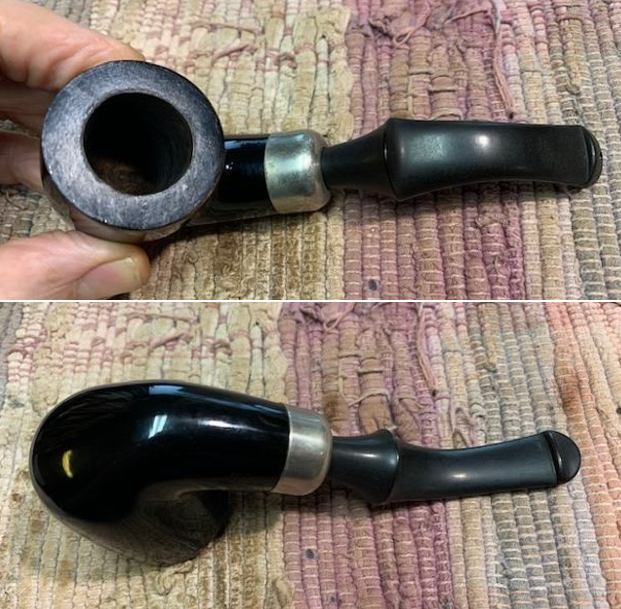
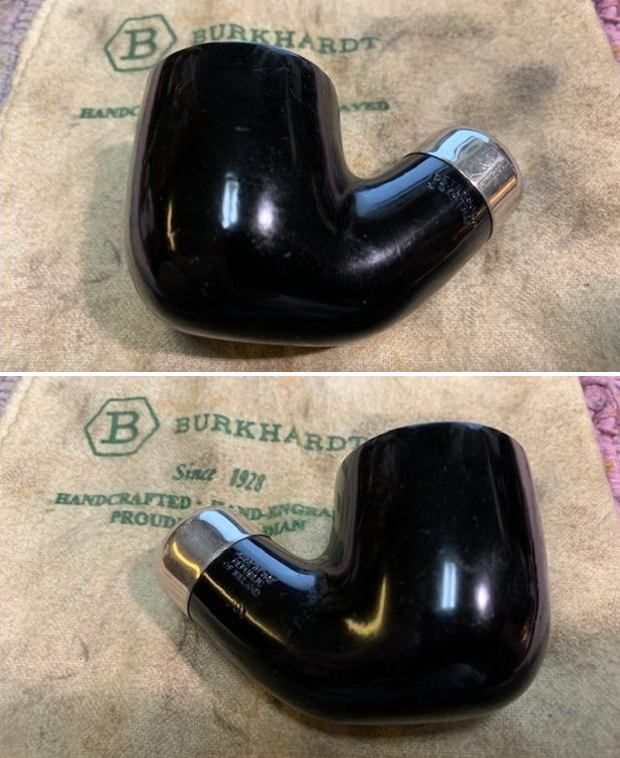
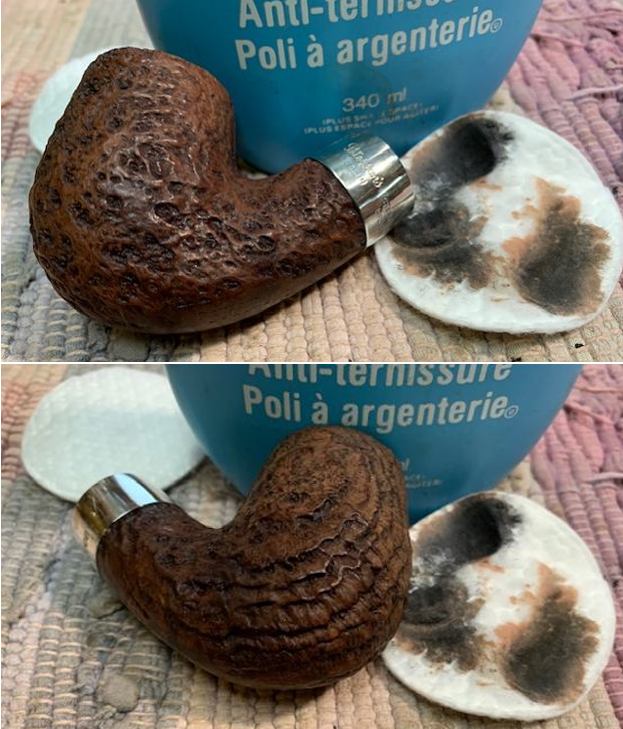
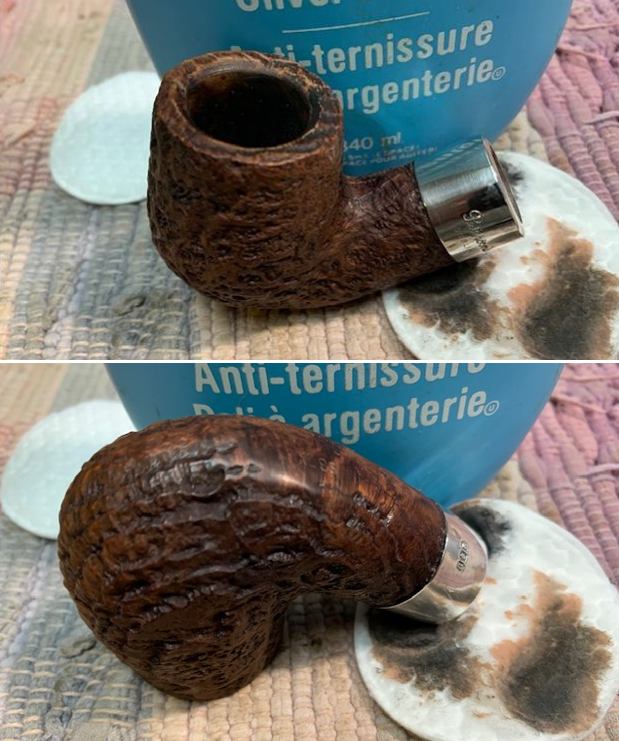
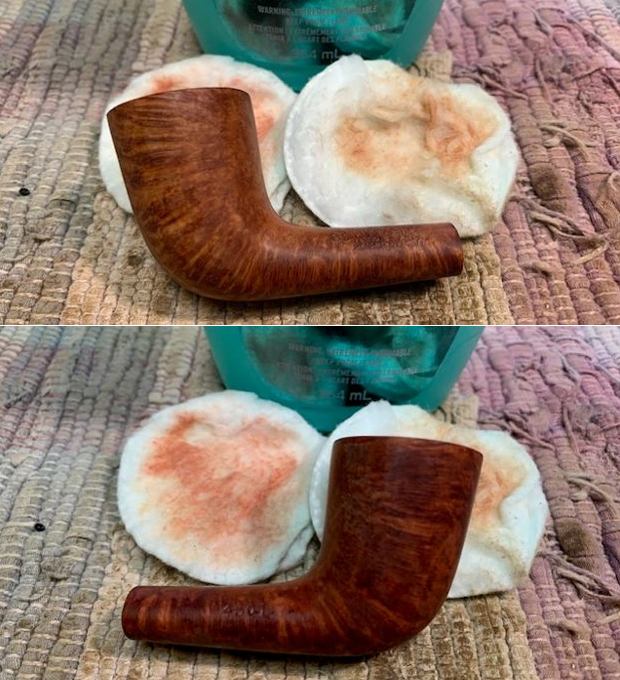
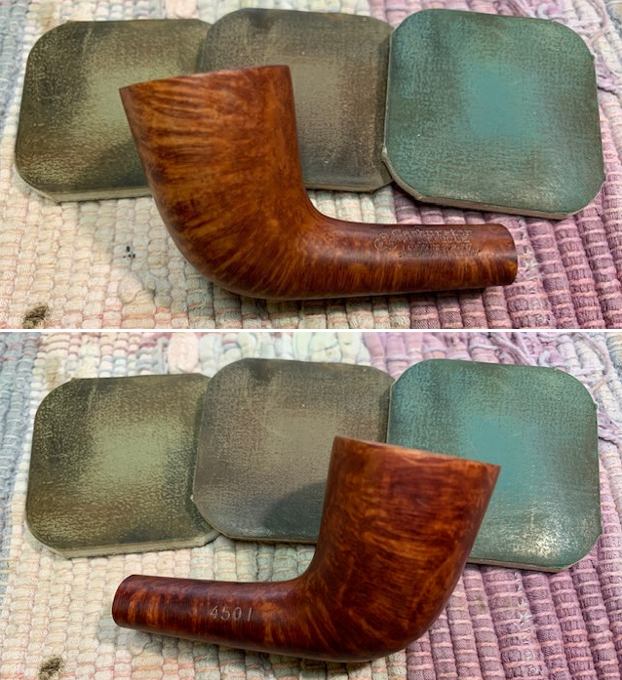
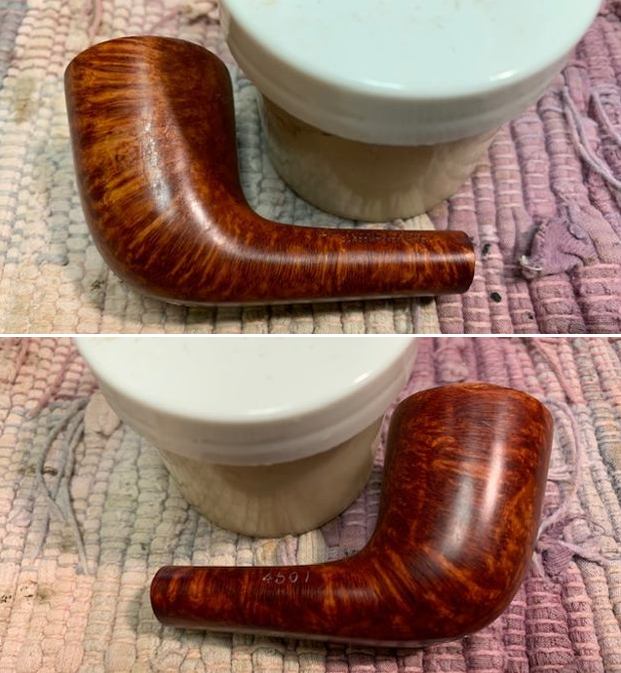
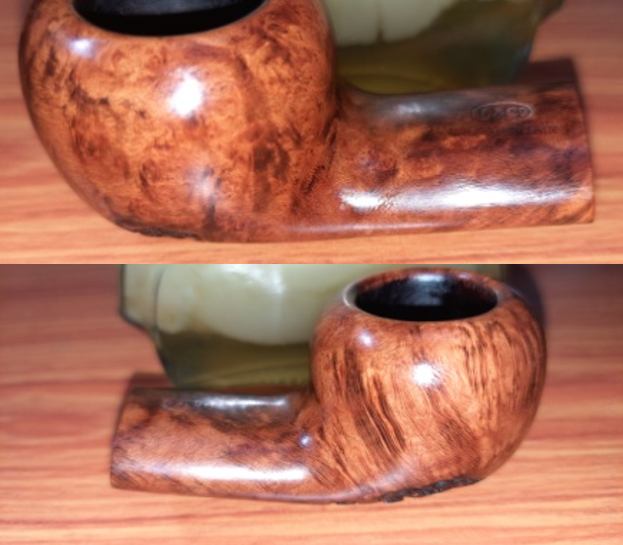
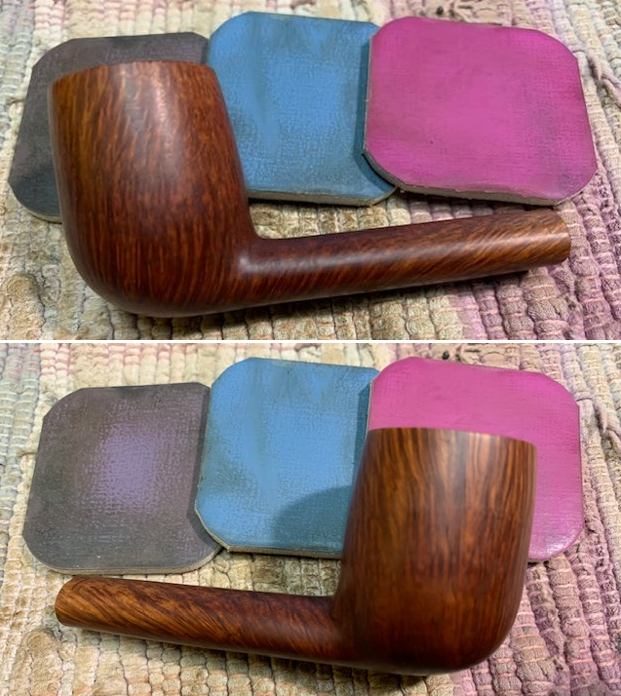
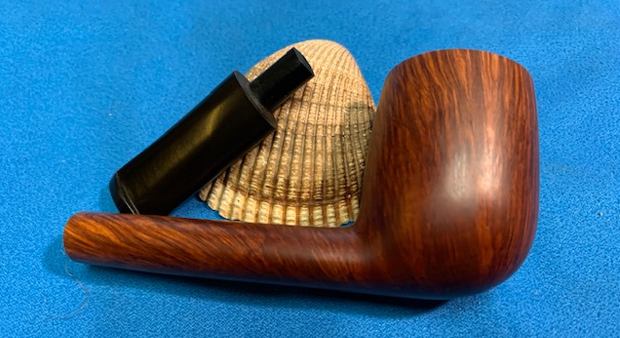
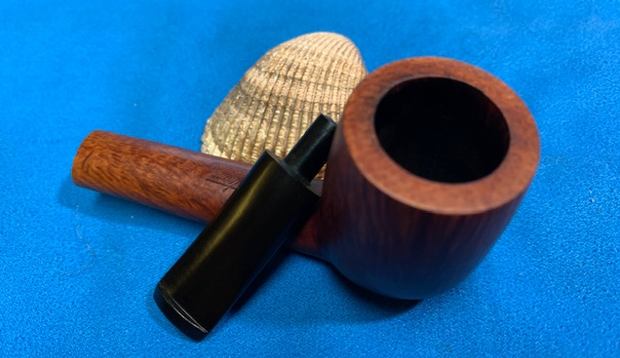
 I worked some Before & After Restoration Balm into the surface of the briar with my fingertips to clean, enliven and protect the briar. I let the balm sit for 15 minutes and then buffed with a cotton cloth to raise the shine. The photos show the bowl at this point in the restoration process.
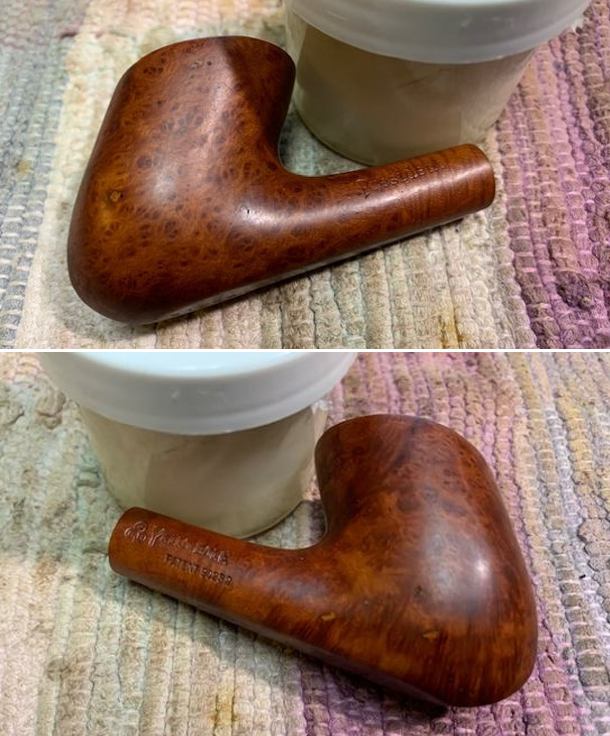
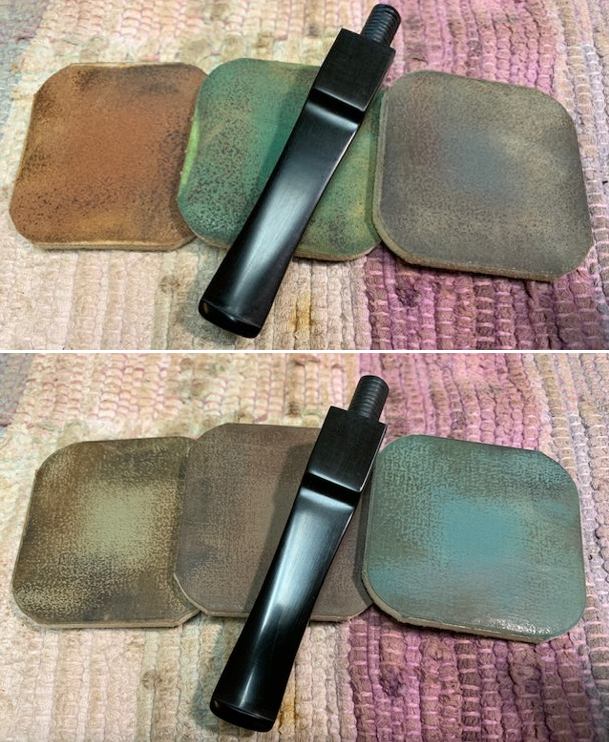
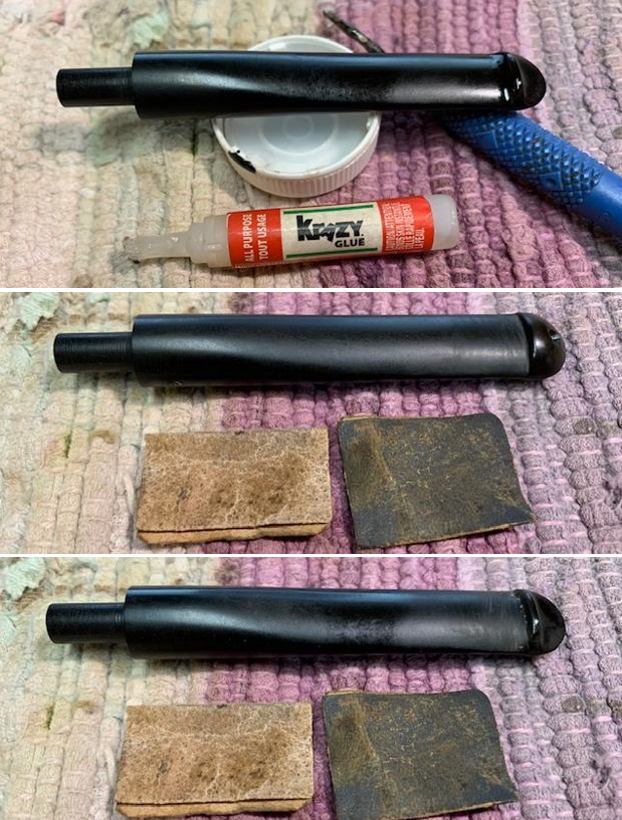
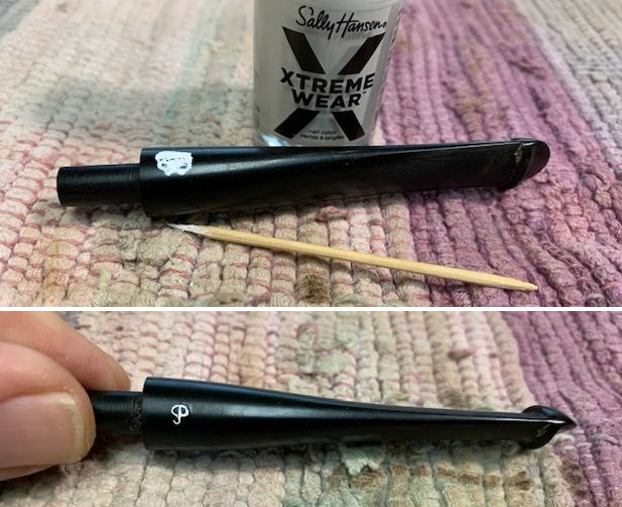
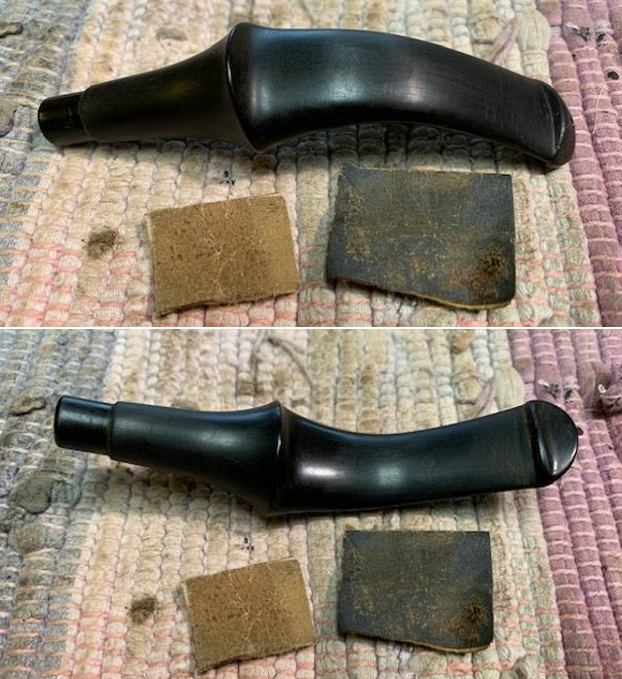
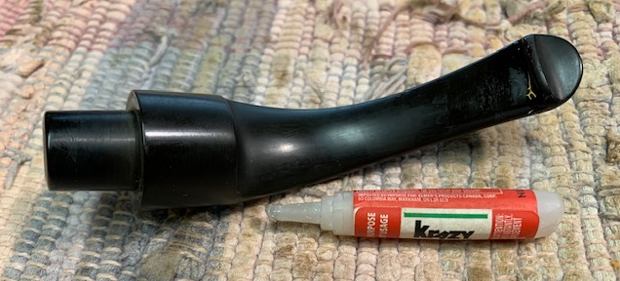
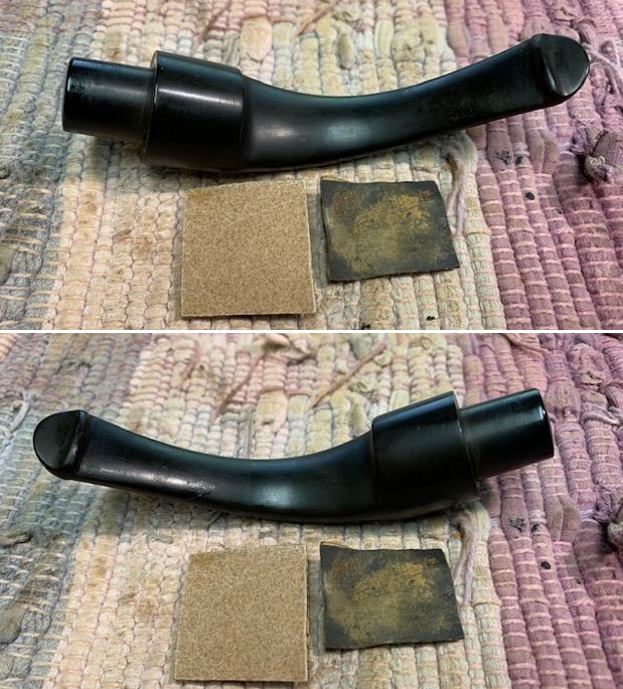
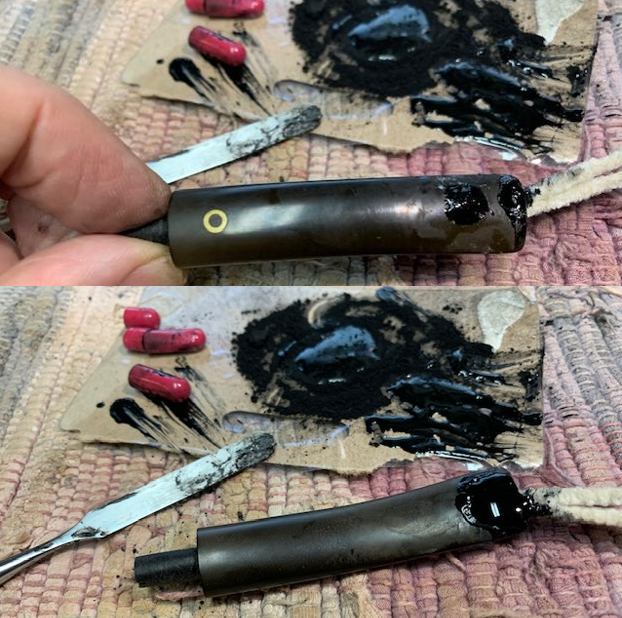
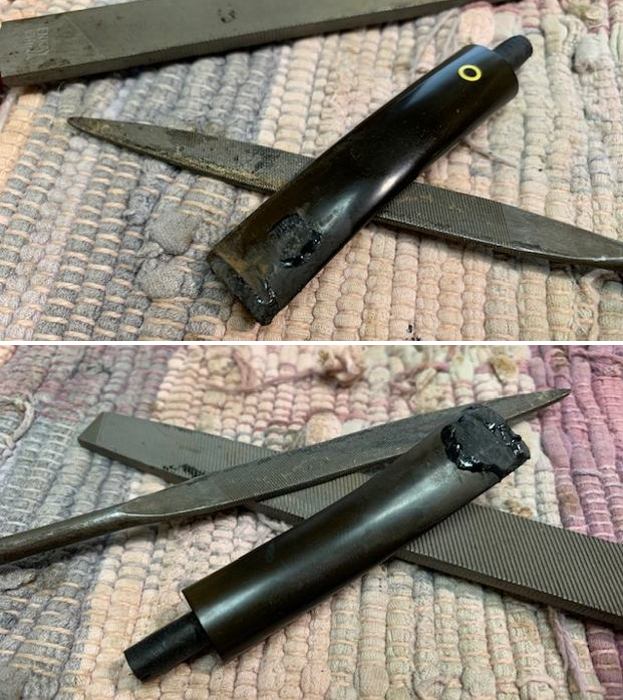
 I set the bowl aside and turned my attention to the stem. I filled in the burn mark on the top and the tooth marks on the top and underside of the stem with clear super glue. I let the repairs cure. Once they had cured I sanded the repairs on the underside and the chatter on the topside with 220 grit sandpaper. I started the polishing with 400 grit wet dry sandpaper. I wiped it down with some Obsidian Oil.
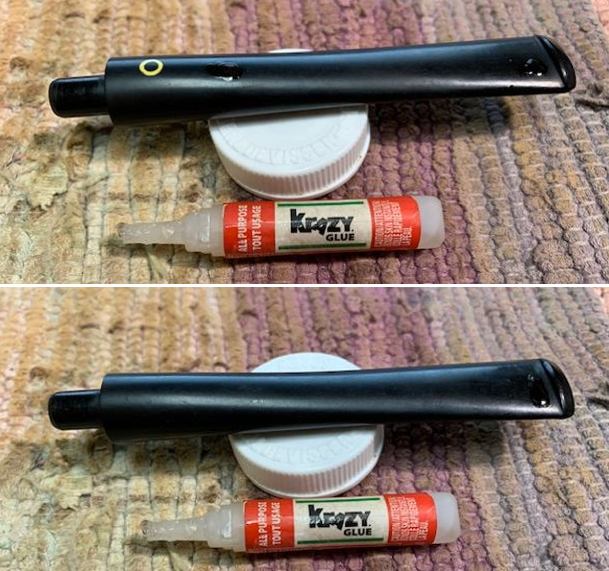
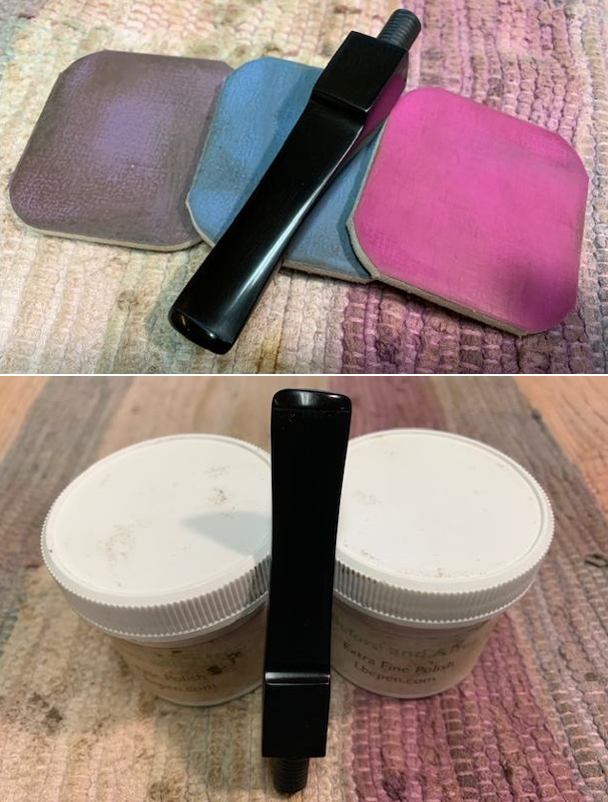
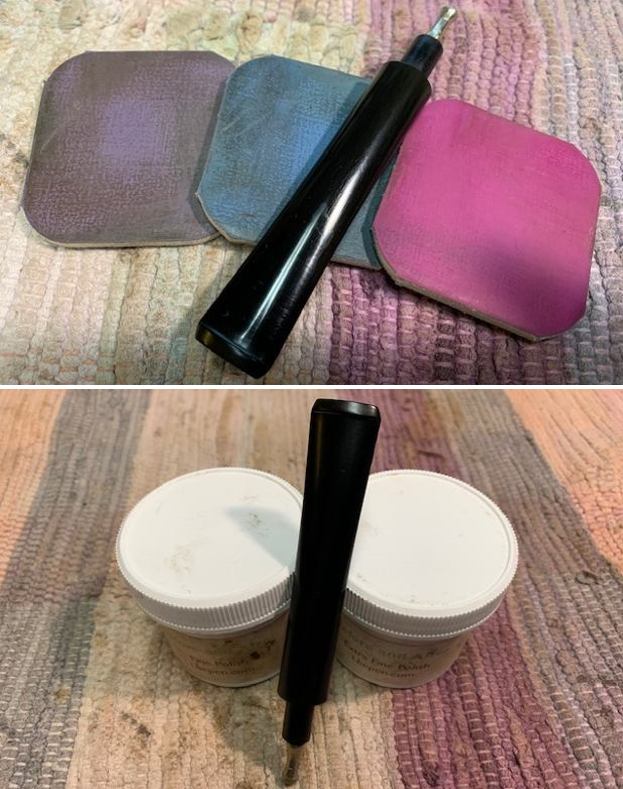
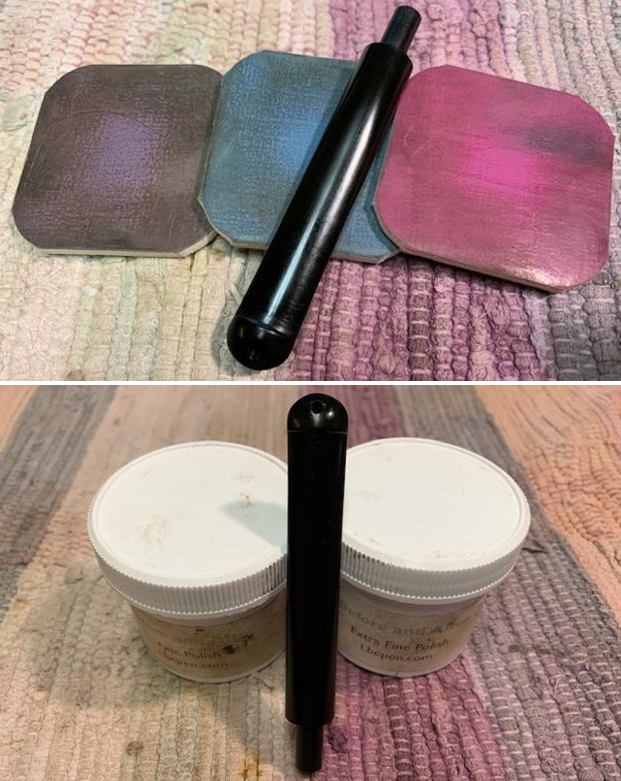
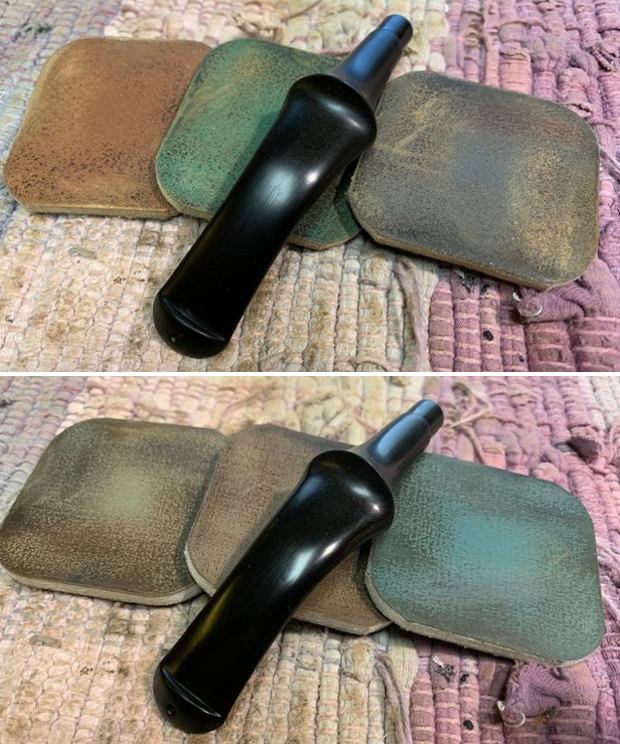
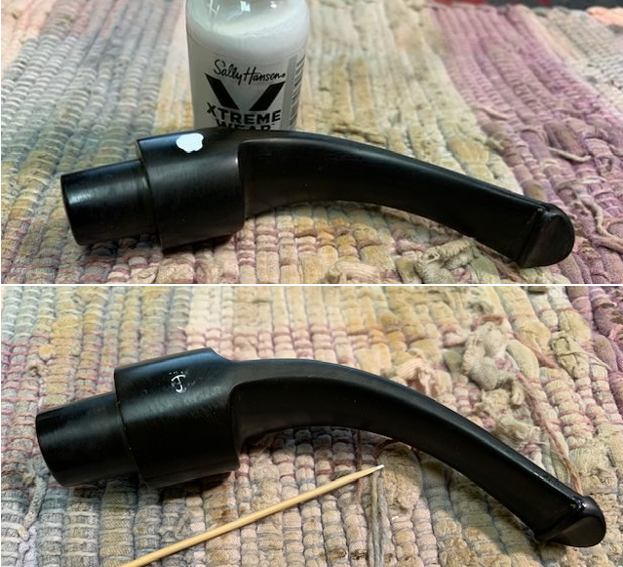
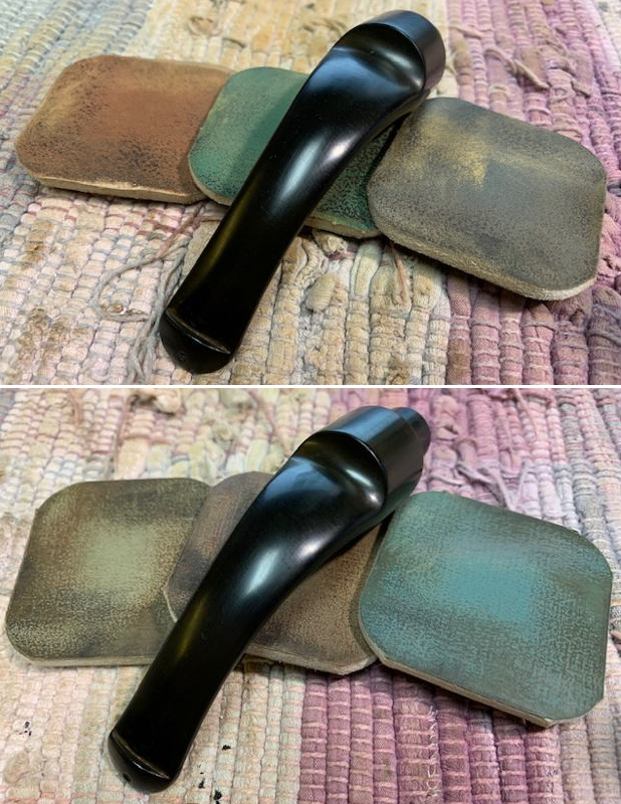
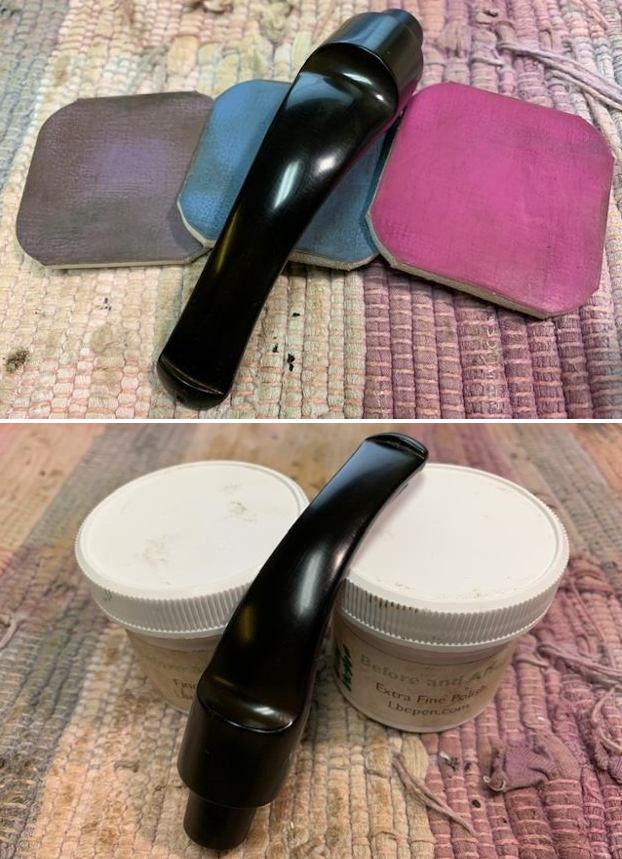
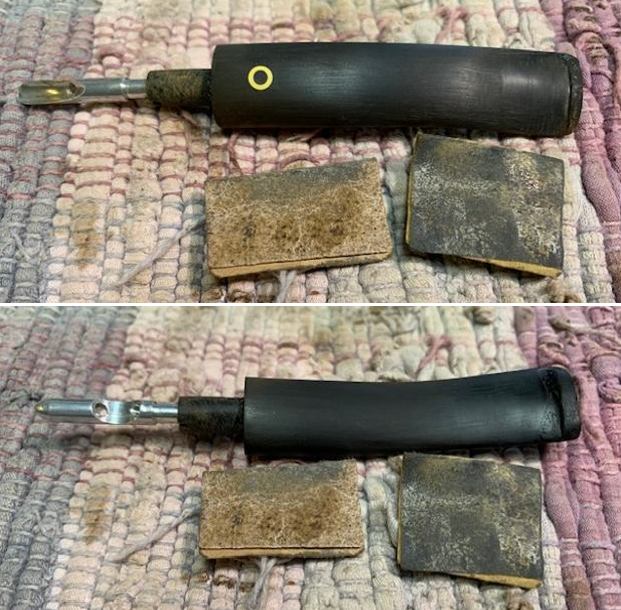
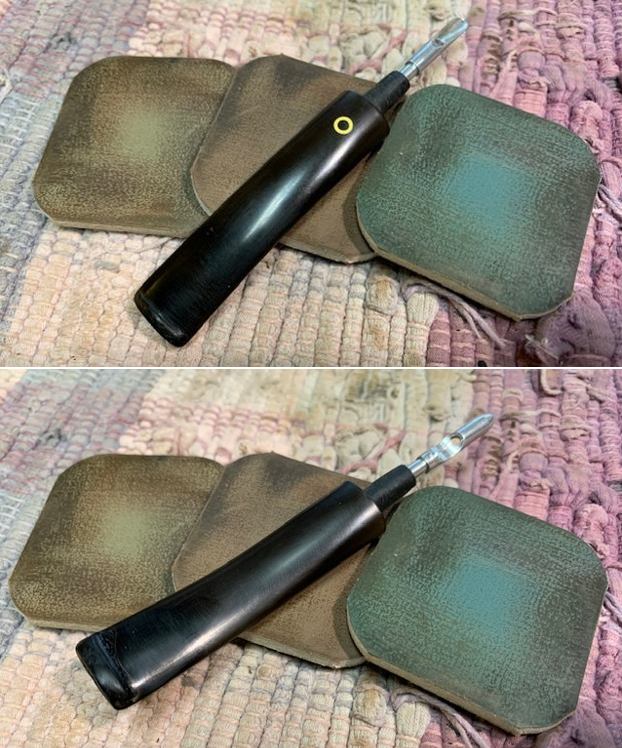
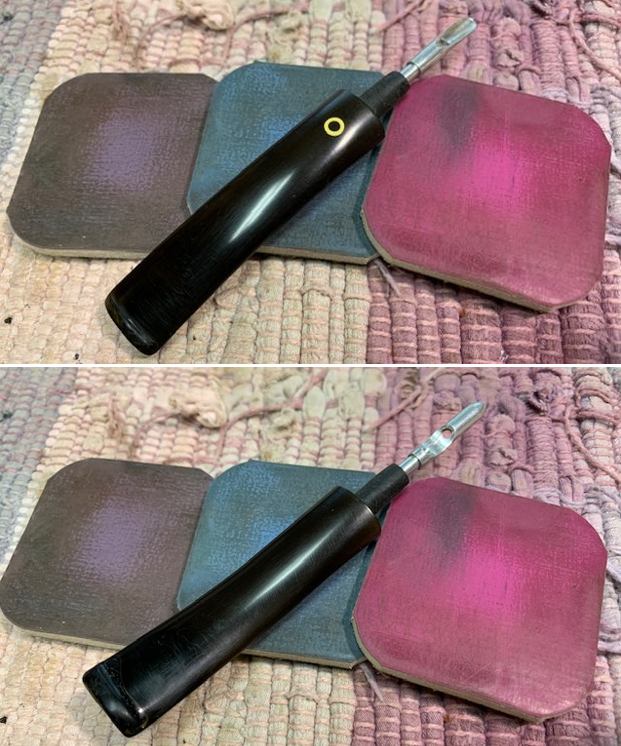
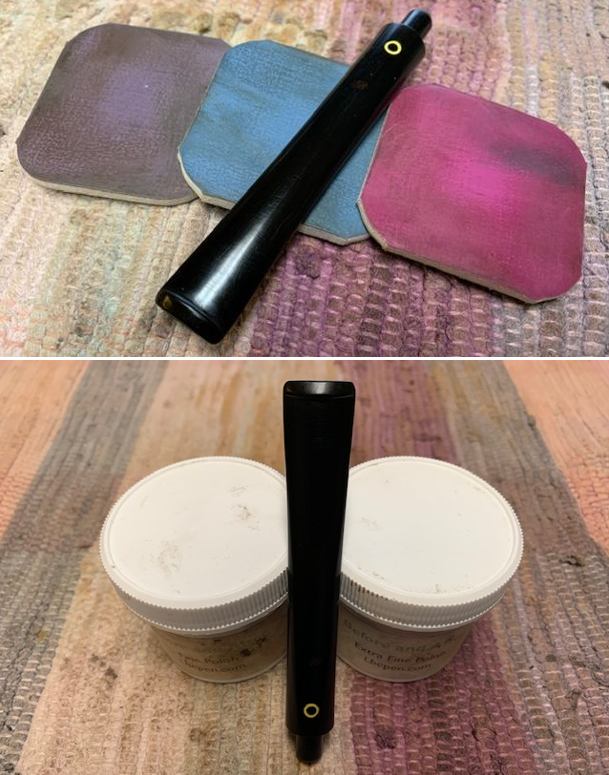
 I polished the stem with micromesh sanding pads – wet sanding with 1500-12000 grit sanding pads. I wiped it down after each sanding pad with Obsidian Oil. I polished it with Before & After Pipe Stem Polish – both Fine and Extra Fine. Afterwards I rubbed it down with another coat of Obsidian Oil and let it dry.
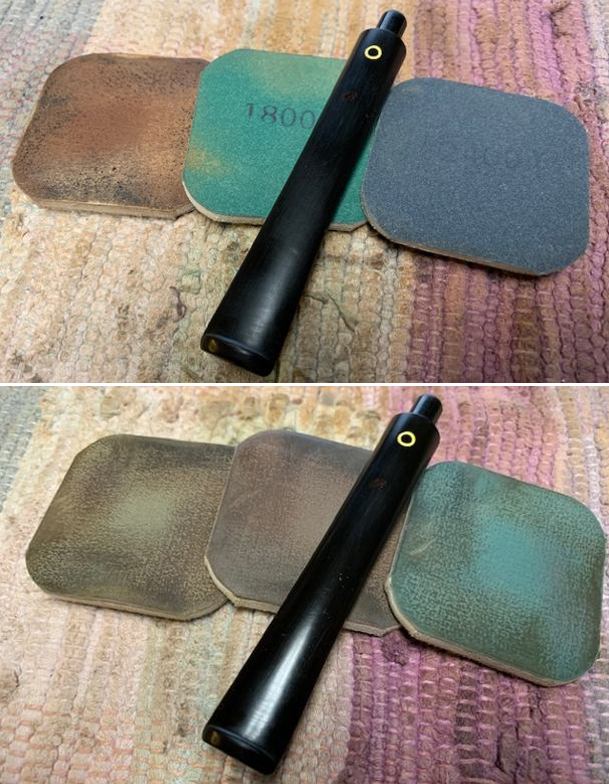
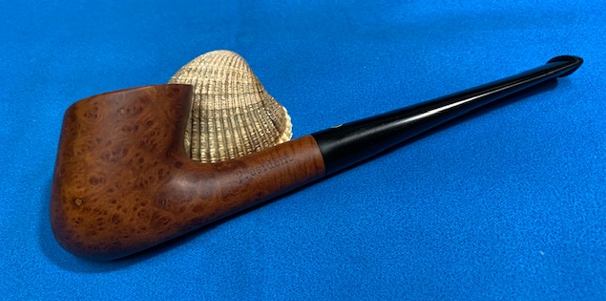
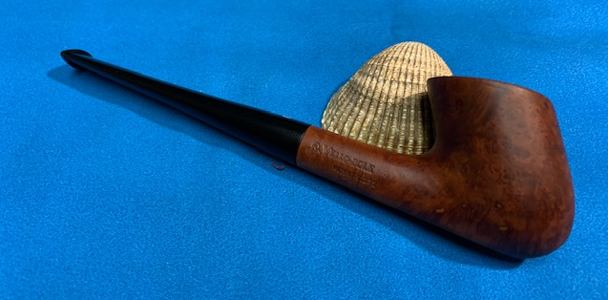
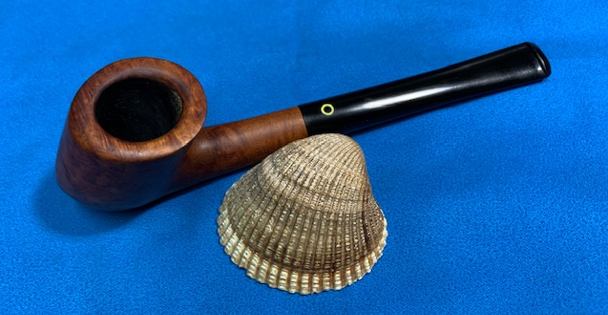
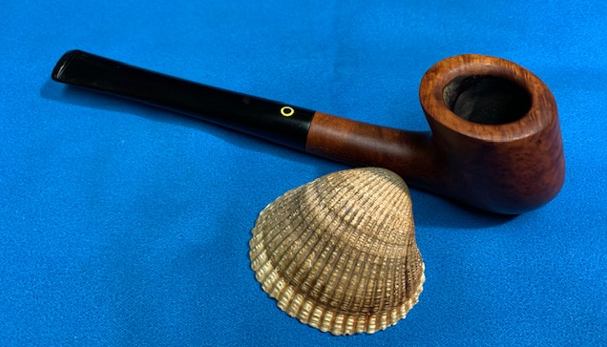
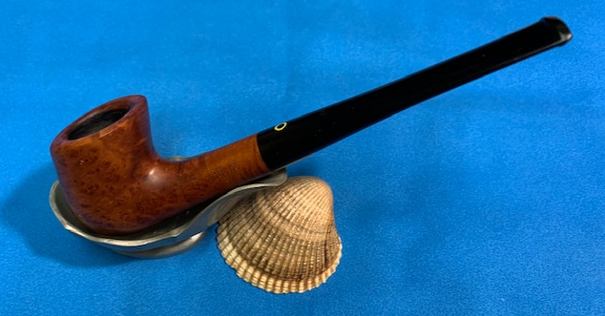
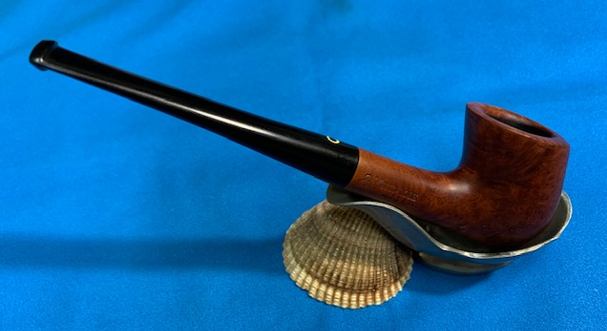
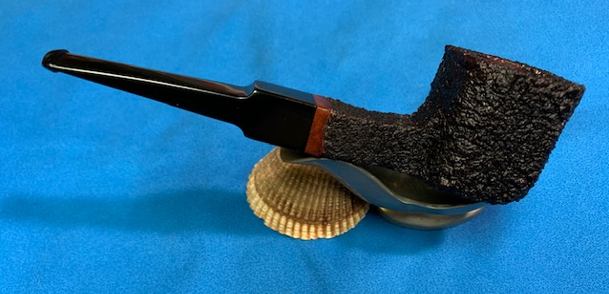
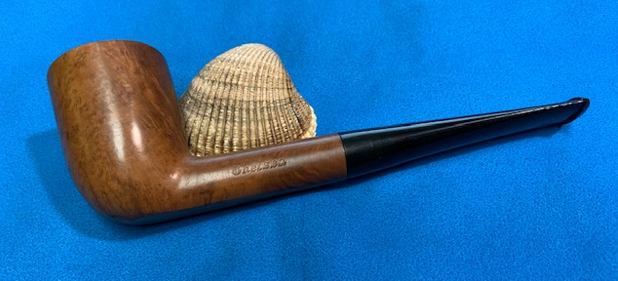
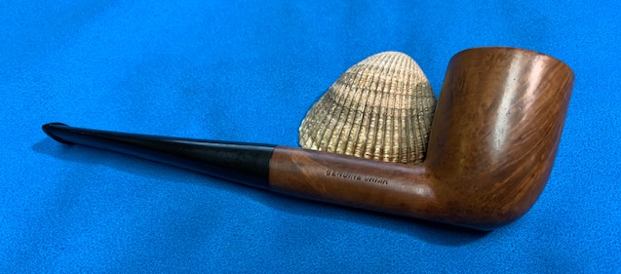
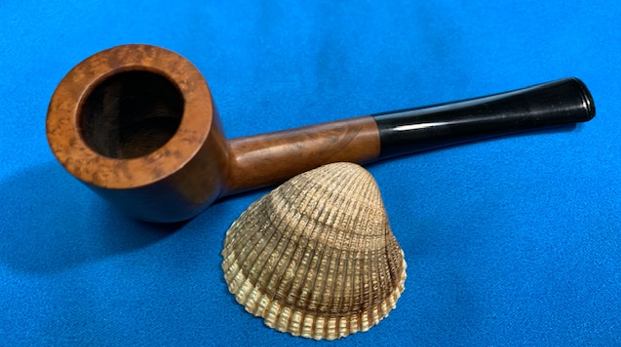
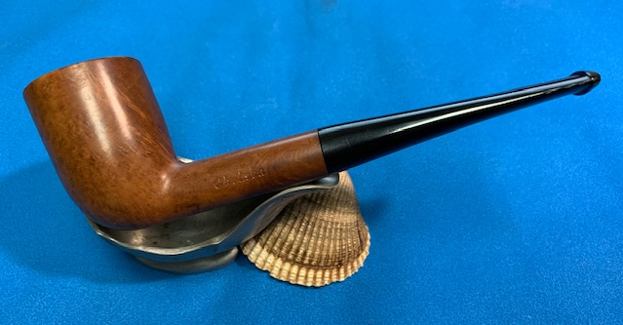
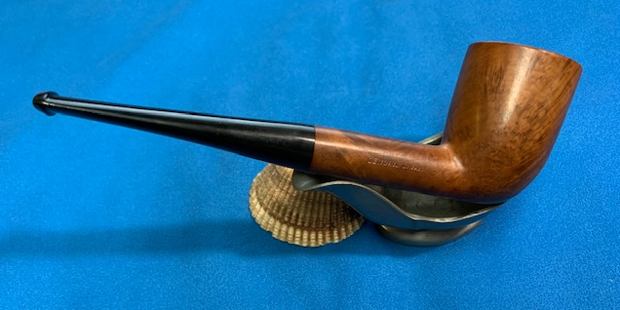
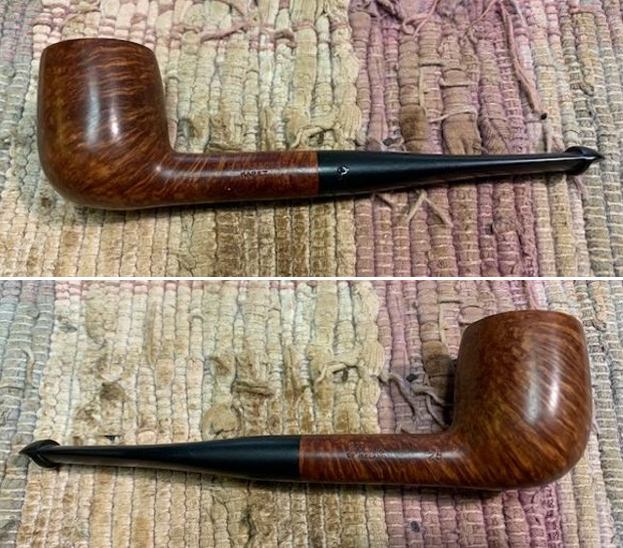
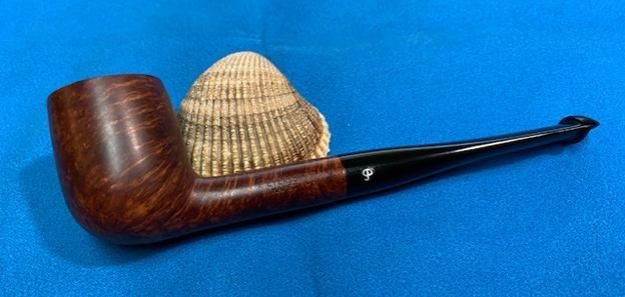
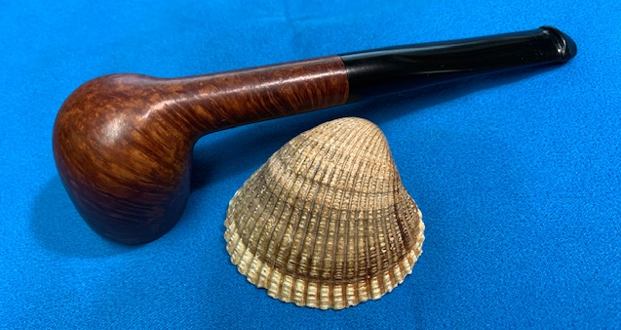
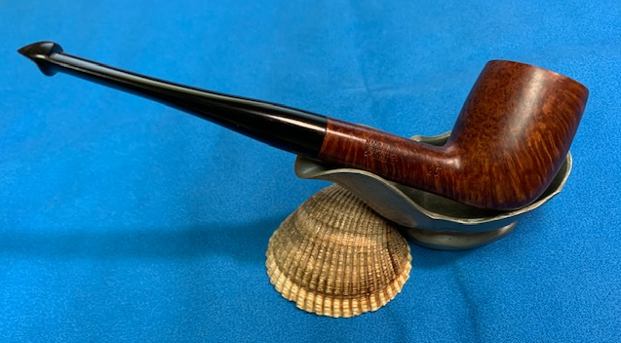
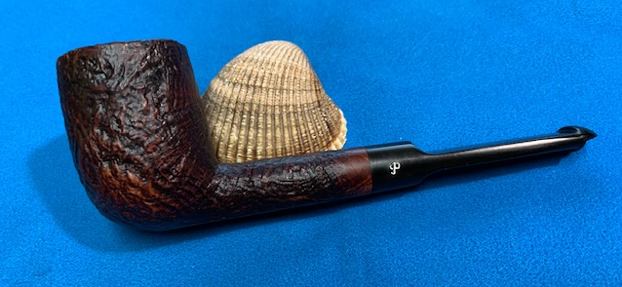
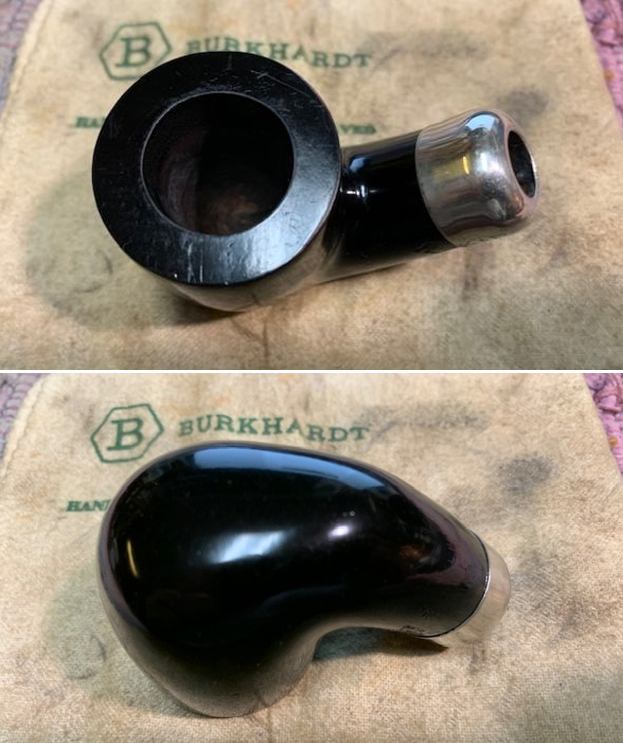
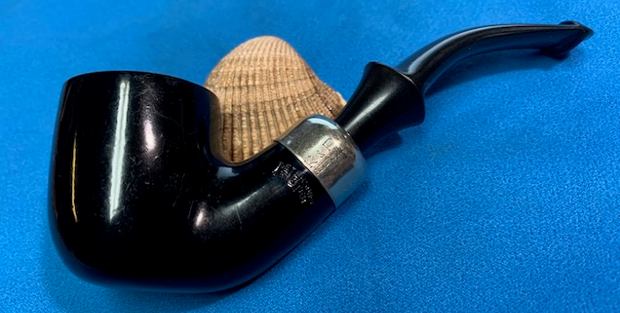
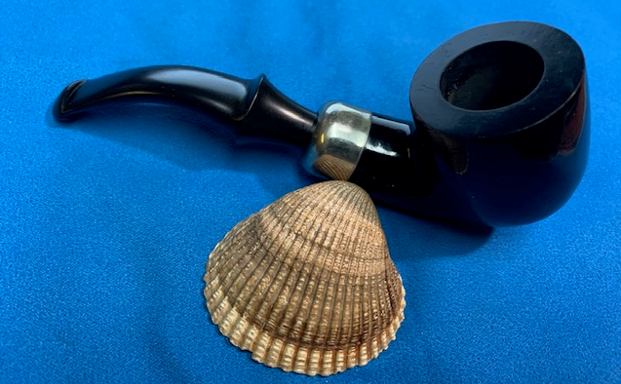
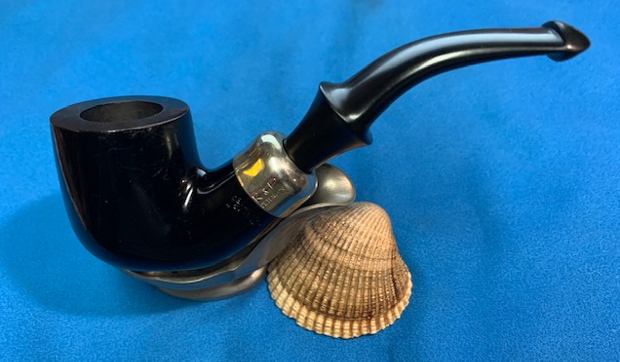
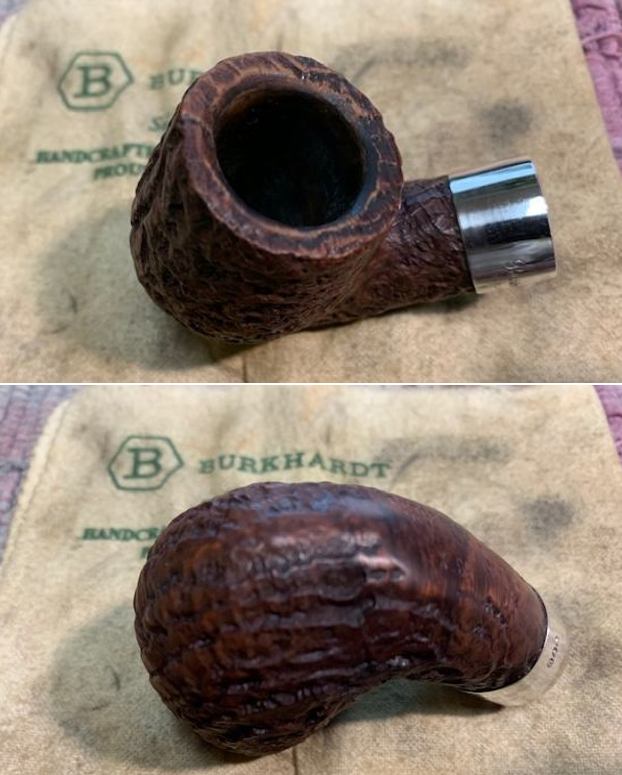
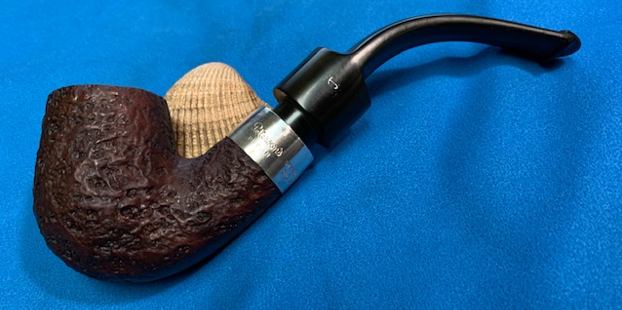
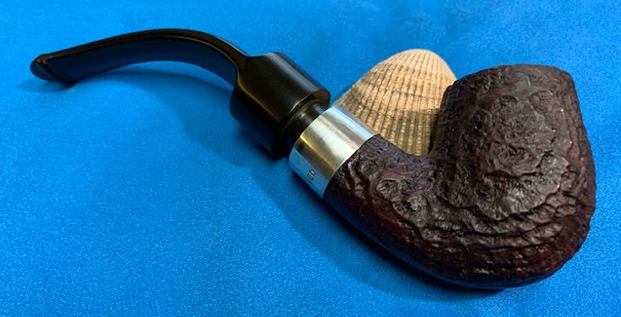
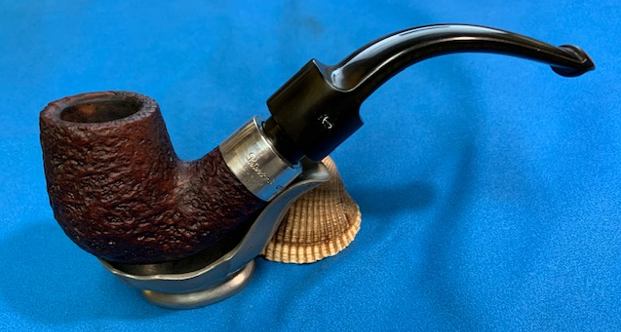
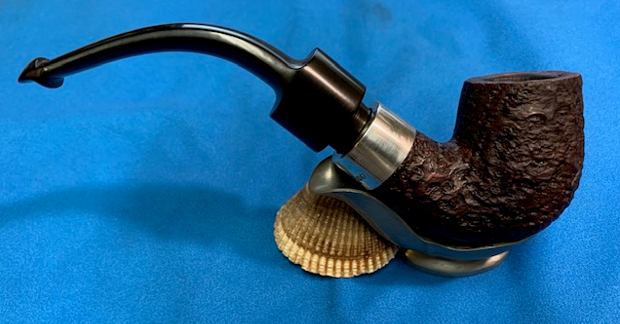
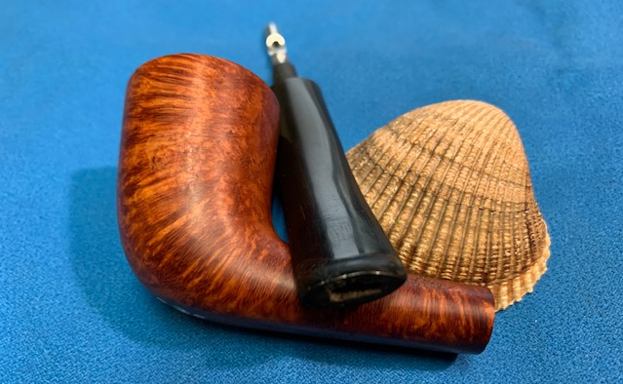
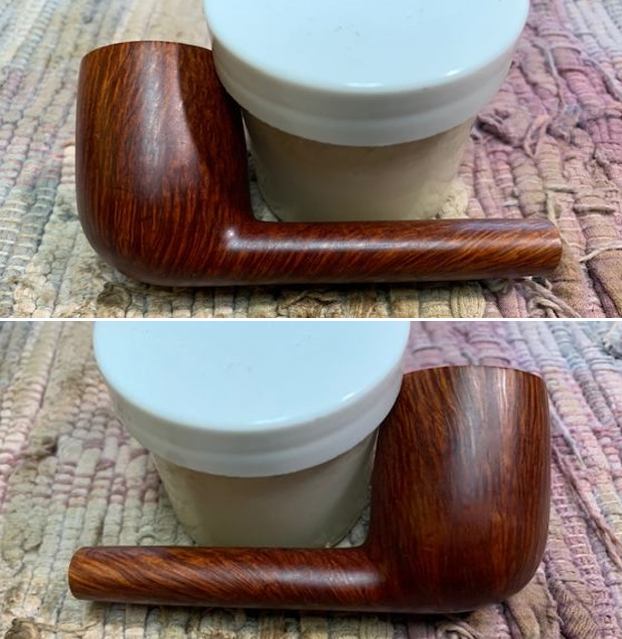
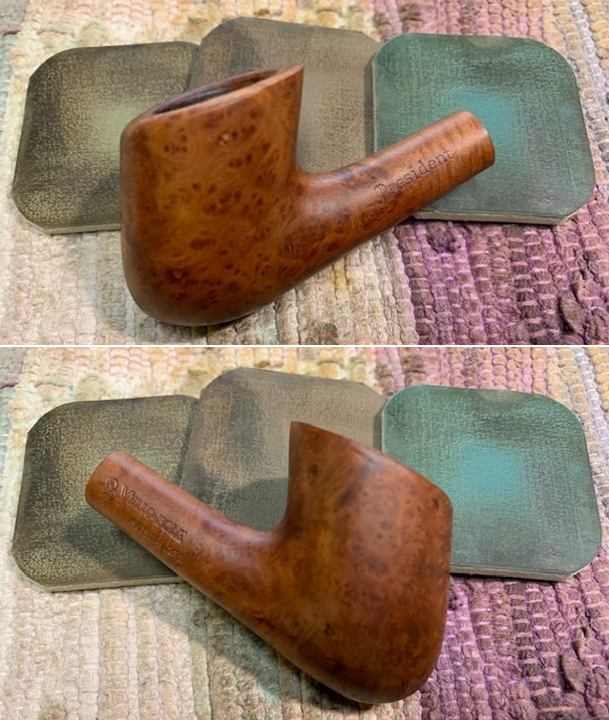
 I am excited to finish restoration of this older KBB Yello-Bole President 2193L pipe. I put the pipe back together and buffed it with Blue Diamond on the buffing wheel. I gave the bowl and stem multiple coats of carnauba wax. I buffed the pipe with a clean buffing pad to raise the shine and hand buffed it with a microfibre cloth to deepen the shine. It is fun to see what the polished bowl looks like with the polished black vulcanite stem. This unique looking KBB Yello-Bole President actually feels great in my hand. It is light and well balanced. Have a look at it with the photos below. The dimensions are Length: 6 ½ inches, Height: 1 ¾ inches, Outside diameter of the bowl: 1 ¼ inches, Chamber diameter: ¾ of an inch. The weight of the pipe is 32 grams/ 1.16 oz. It is a beautiful pipe and one that will be on the American Pipe Makers section of the rebornpipes store soon. If you are interested in adding it to your collection let me know. Thanks for walking through the restoration with me as I worked over this pipe. Thanks to each of you who are reading this blog.