Blog by Steve Laug
To be honest I think the only reason we picked up this pipe is because the way it was when saw it on Ebay back in 2017. It came from a seller who was in La Mesa, California, USA. It came in a nice blue box with a linen coloured satiny lining. The box was in okay condition and read Chelsea Selected Briar on the cover. The pipe itself was the oddity. The previous owner had wrapped the stem end with string and built his/her own bit protector. The wrapping was quite thick so it looked utterly uncomfortable. It made me wonder if he/she did not have teeth and this was the way the made the pipe a dental bit. LOL! I suppose that we will never know for sure but it is certainly one of the strangest looking ones that we have picked up.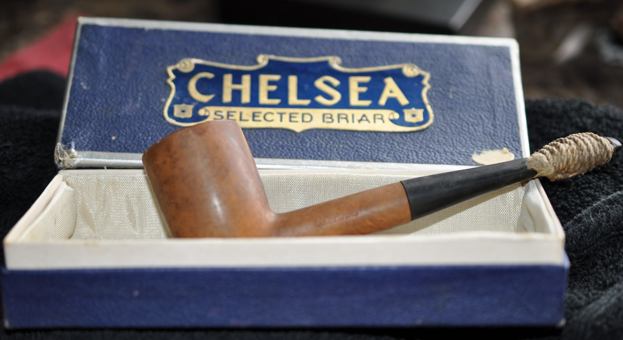 Jeff took quite a few pictures of the pipe in the box to give an idea of what the box looked like inside and out. Each of the photos showed the odd string wrapping around the stem. It really made us wonder what was hidden under the string.
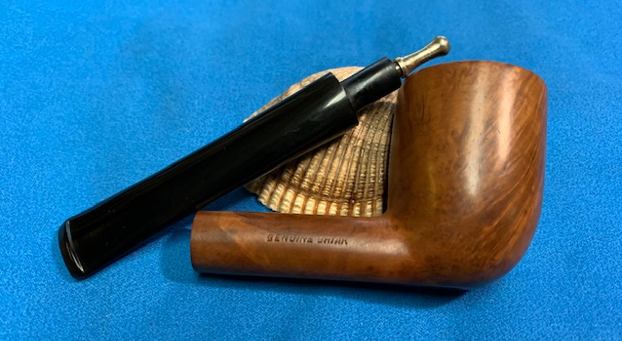
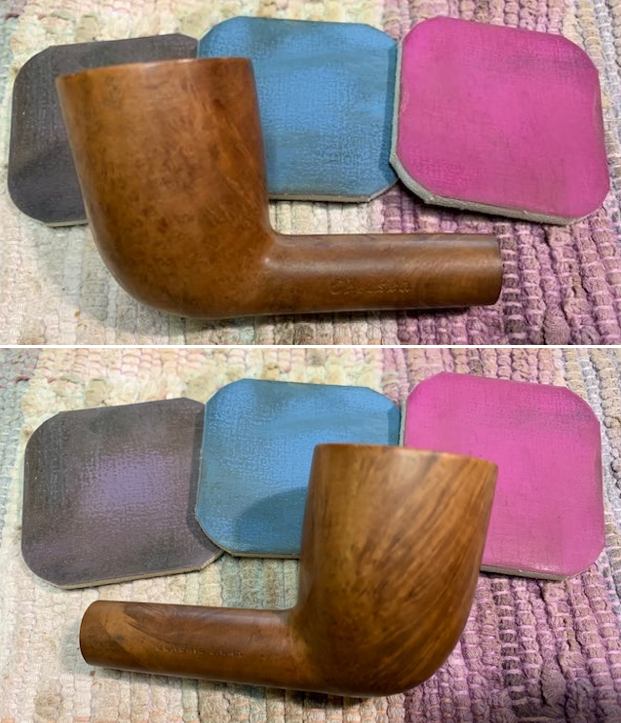
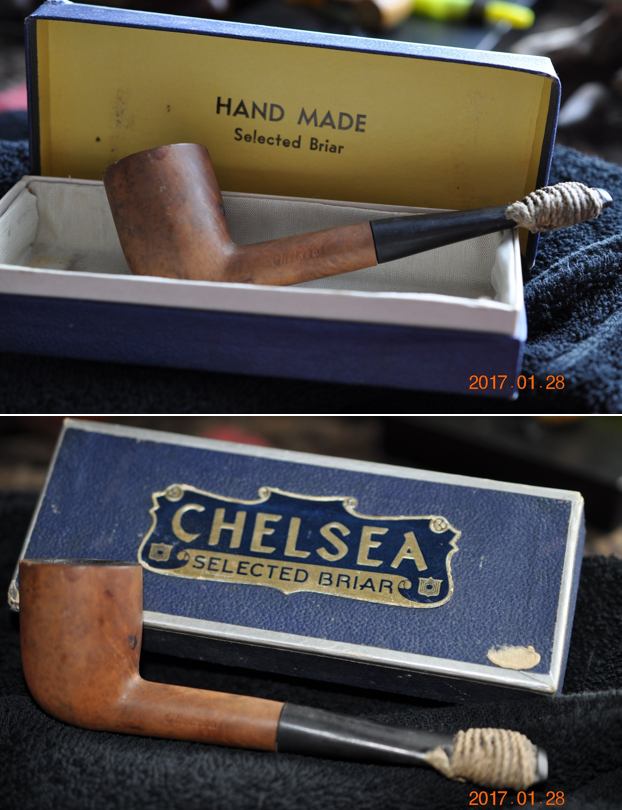 He took the pipe out of the box to take photos of it to show the condition of the bowl and stem. The briar has natural finish and was stained and very dirty. There were dark spots on the sides of the bowl. The pipe was stamped on the left side of shank and read CHELSEA in an italic script. On right side it read Genuine Briar. It had a great shape to it. The stem did not fit against the shank very well probably because it was dirty inside as well. The bowl was thickly caked and there was a thick lava coat on the rim top. It looked like there was some burn damage on the inner back edge of the bowl but it would become clear once it was cleaned. The stem is dirty and you can see the thickness of the string wrap on the end. I am amazed at how thick it is and to me how uncomfortable!
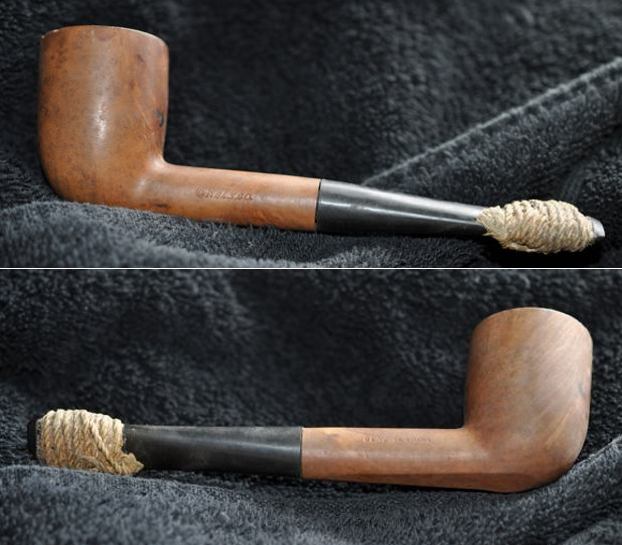

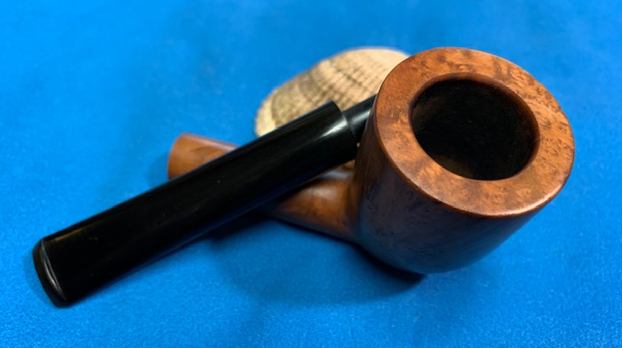
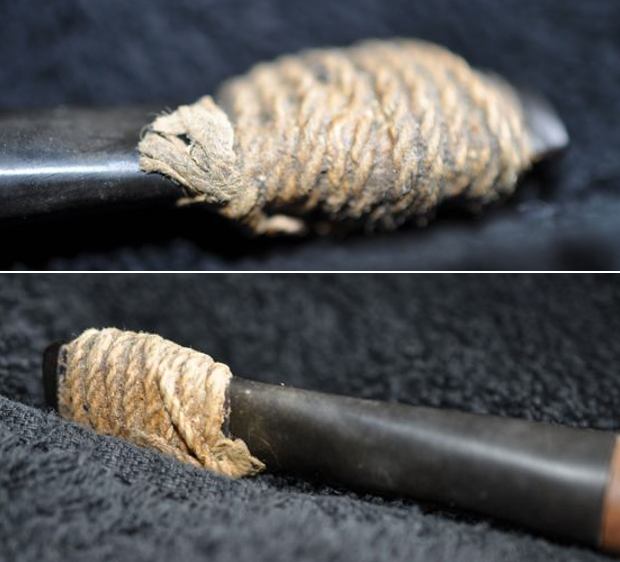
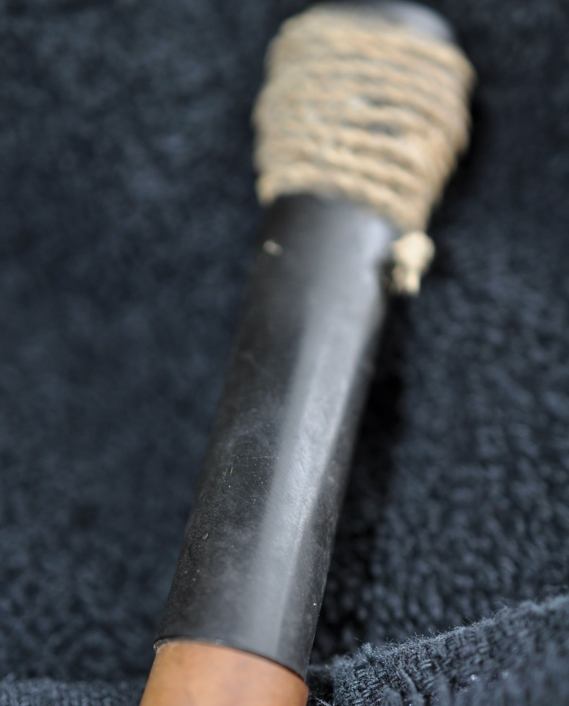
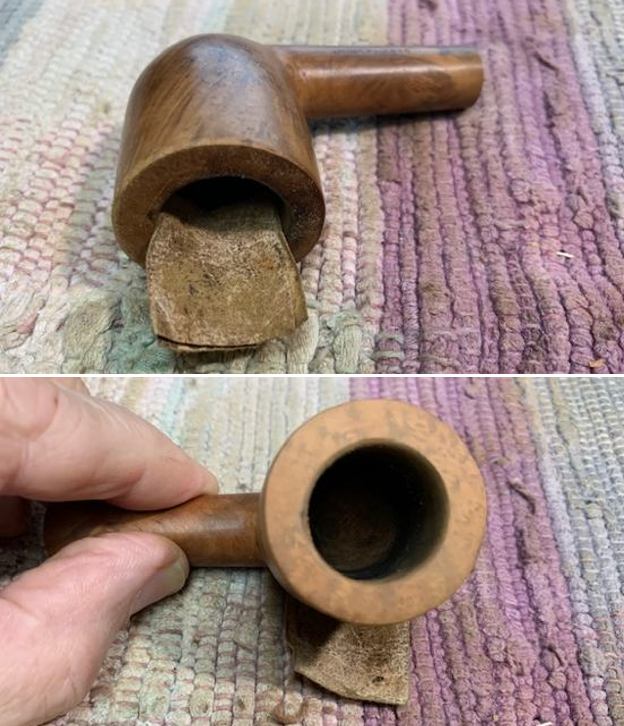
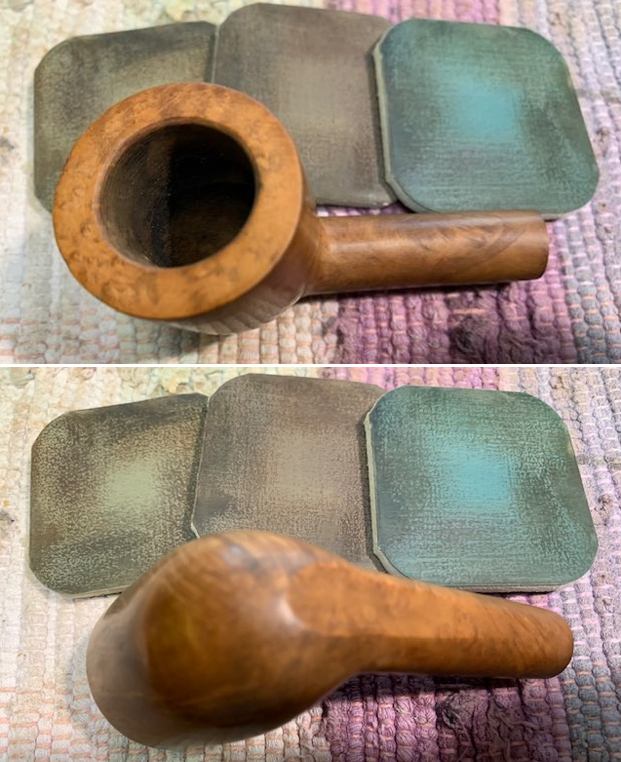
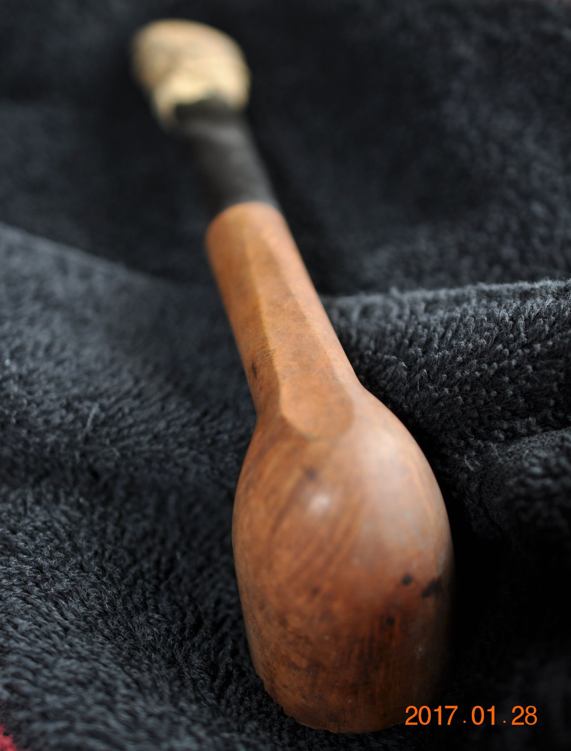 Jeff took some close up photos of the bowl and rim to give a clear picture of the thickness of the cake and the lava overflow on the rim top. You can also see the nicks in the outer edge of the bowl in the photos below. He also took photos of the string wrap to show how rough and thick it really is. I really want to know what is underneath it!
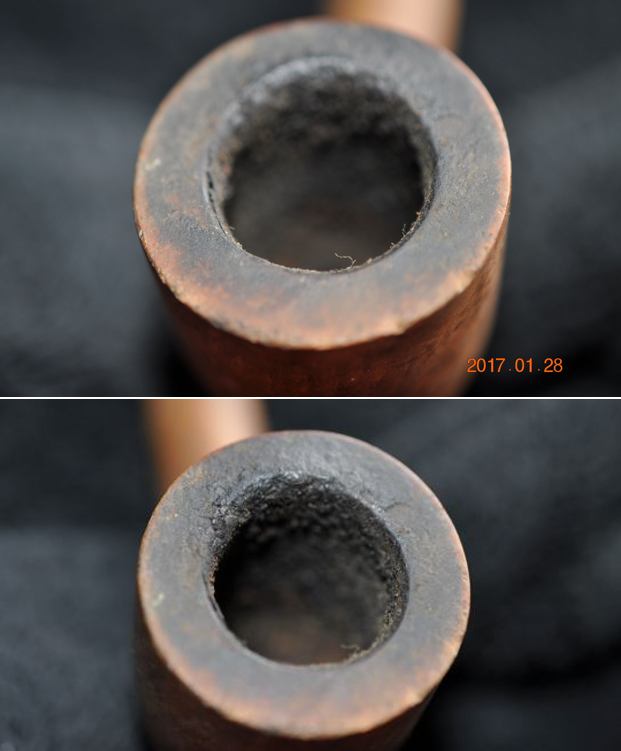
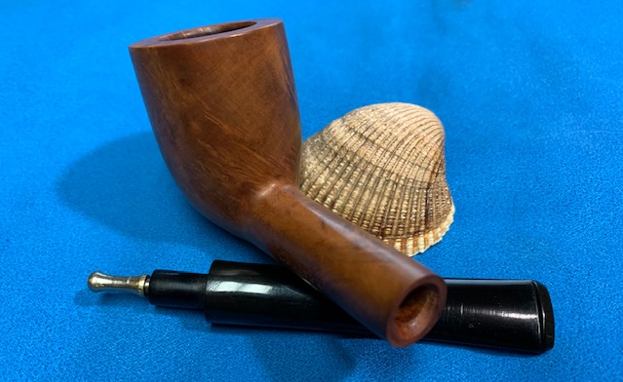
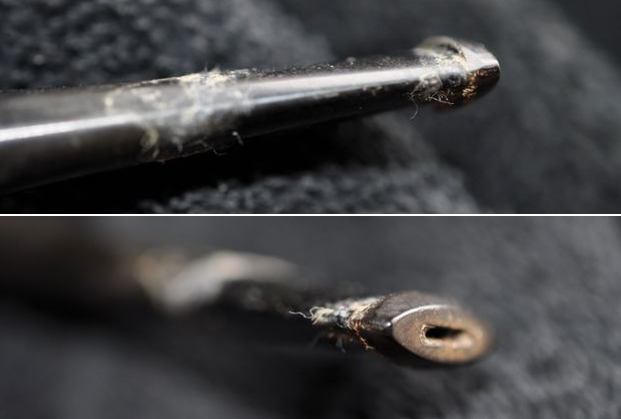
 The time for the unwrapping was at hand. Jeff cut the string and untwisted it. To our surprise the stem was in perfect condition. There were no tooth marks and no chatter. The only thing on it was debris and a bit of calcification . It would clean up well. It was also obvious that the stem was on the shank upside down.
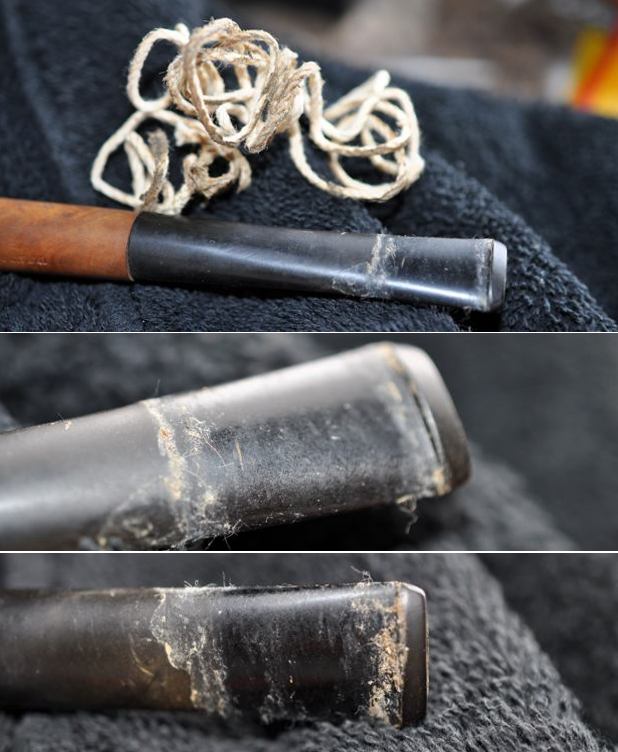
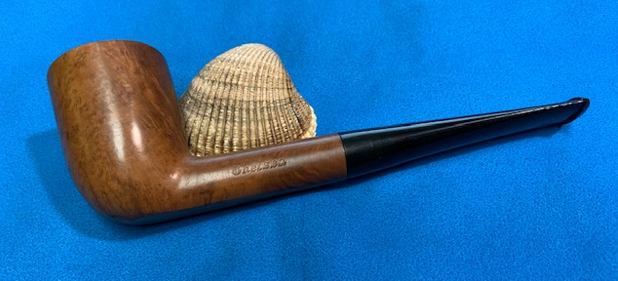
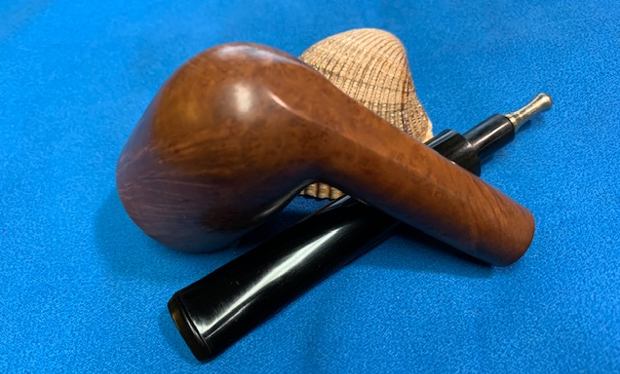
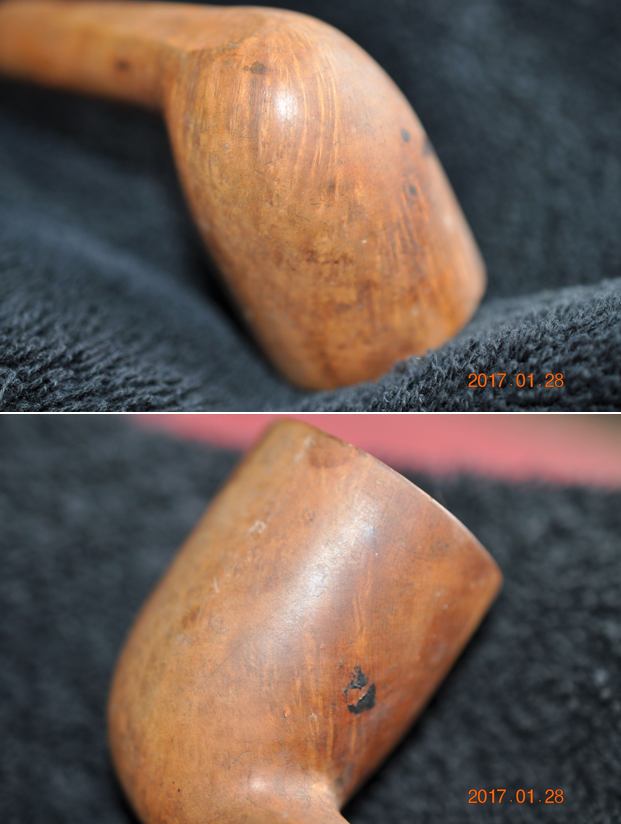
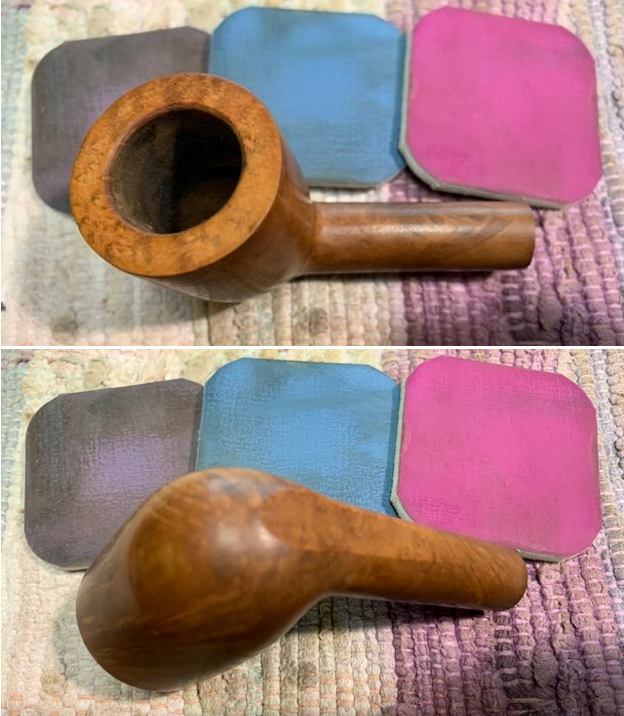
 He took some photos of the sides and heel of the bowl. While dirty and nicked the pipe has some great grain.
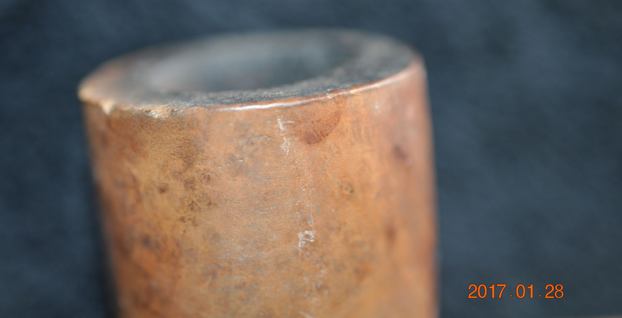
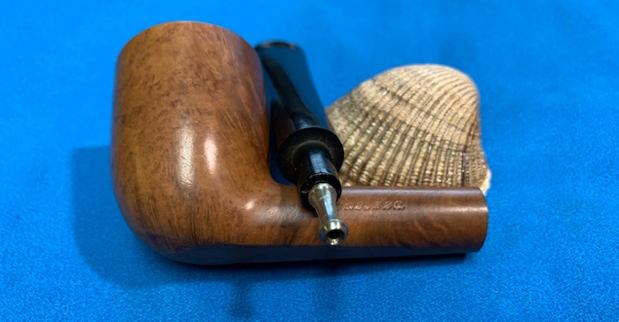
 The stamping on the sides of the shank were clear and readable as noted above.
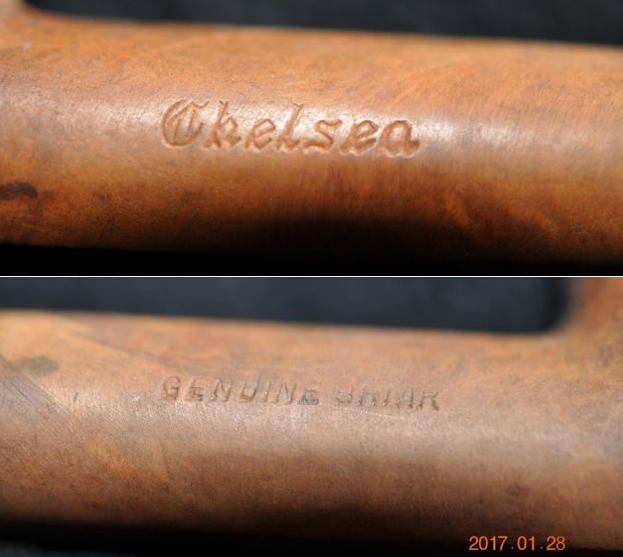 The stamping on the pipe pointed me to either an American Made pipe of one Made for Import into the American market. I did a Google search and found other pipes with the same Chelsea stamp and several were made in Italy. Several others said Imported Briar and had what appeared to be Comoy’s shape numbers. I remembered that late in Comoy’s history there had been a link between Lorenzo pipes and them so it could be true that the pipes were made for or by Comoy’s.
I turned to Pipedia and came up empty handed. There was nothing on the brand nor was there anything linking them to Comoy’s. I turned then to Pipephil (http://pipephil.eu/logos/en/logo-c4.html) and the site made a link to Comoy’s on a pipe made for the 1933 Chicago World’s Fair. While it is not definitive, there is a tie it seems. However, there is still a part of me after working on this pipe that will always think that it is American made. The look and feel of it reminds of Bertrams pipes from Washington DC.
Jeff had done a great job cleaning up the pipe as usual. He reamed the pipe with a PipNet reamer and cut back the cake back to the bare briar. He cleaned up the walls with a Savinelli Fitsall Pipe Knife. He scrubbed the interior of the bowl and shank with pipe cleaners, cotton swabs and alcohol to remove the tars and oils. He scrubbed the exterior of the pipe with Murphy’s Oil Soap and a tooth brush to remove the grime from the finish. He worked on the rim top lava and darkening with the soap and tooth brush. He scrubbed the inside of the stem with alcohol and pipe cleaners. He scrubbed the exterior with Soft Scrub and then soaked it in Before & After Deoxidizer. He washed it off with warm water to remove the Deoxidizer. When I finally took it out of the box four years later I was surprised at how good the pipe looked. It was a nice looking pipe now. 
 I took some close up photos of the rim top and also of the stem surface. I wanted to show how well it had cleaned up. The rim top photo looks good but there is some burn damage on the inner edge at the back of the bowl and all around the inner edge there is darkening. There are some rough areas on the outer edge of the rim all the way around the bowl. I also took close up photos of the stem to show how almost pristine it was thanks to the string wrap it had worn. There were some scratches but they would clean up quite easily.
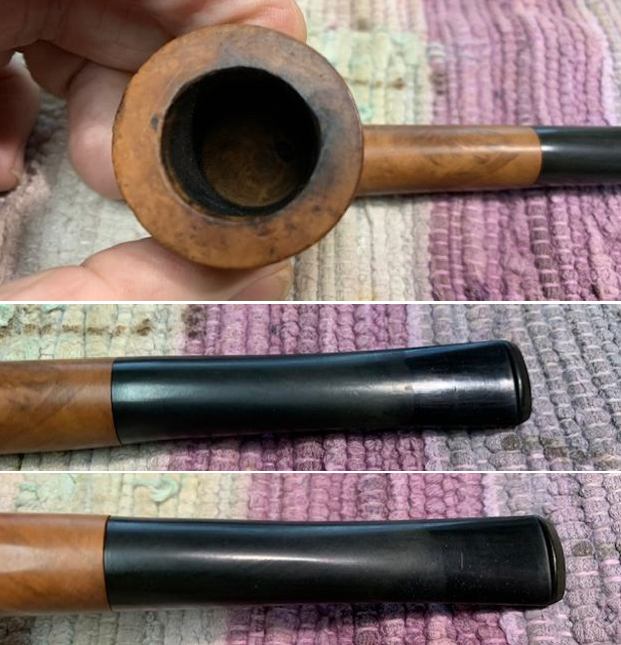 I took photos of the stamping on the sides of the shank. You can see that it is stamped as noted above. It is clear and readable.
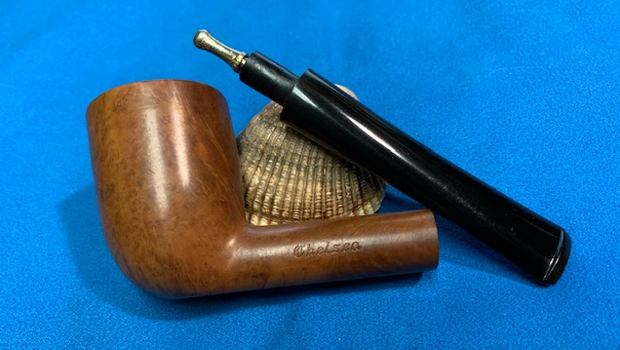
 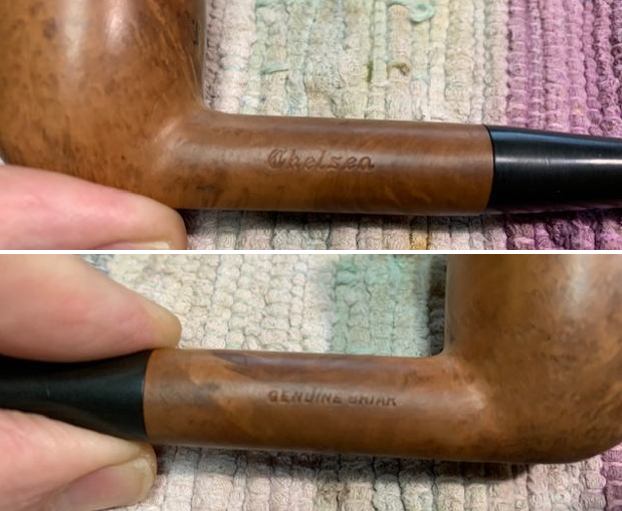 I took the pipe apart and took a photo of the parts. It is a good looking pipe and has some great mixed grain on the sides of the bowl.
 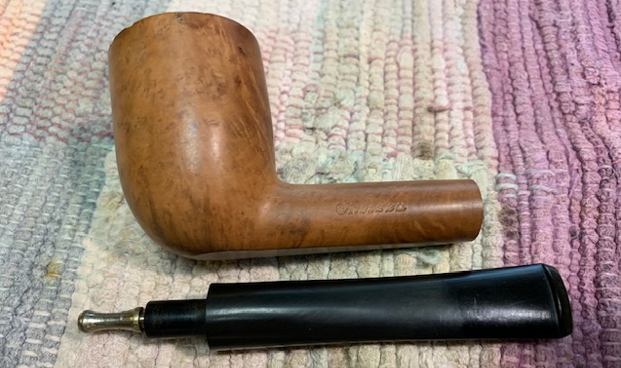 I decided to address the rim top damage first. I lightly topped the bowl on a topping board with 220 grit sandpaper to minimize the damage to the top and inner edge of the bowl. I then used a folded piece of 220 grit sandpaper to give the edge a slight bevel to further minimize the damage to the rim. I think that it is definitely better once I finished.
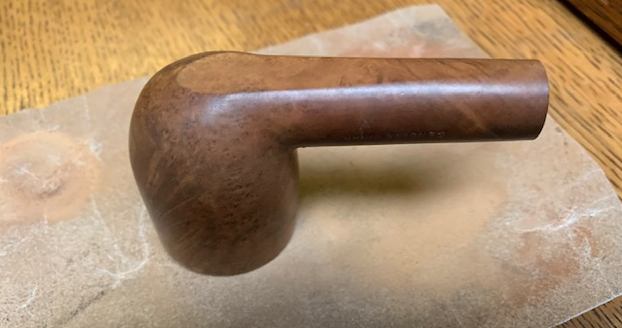
 I polished the briar rim top and edges along with the rest of the briar with micromesh sanding pads –dry sanding with 1500-12000 grit pads and using a damp cloth after each pad.
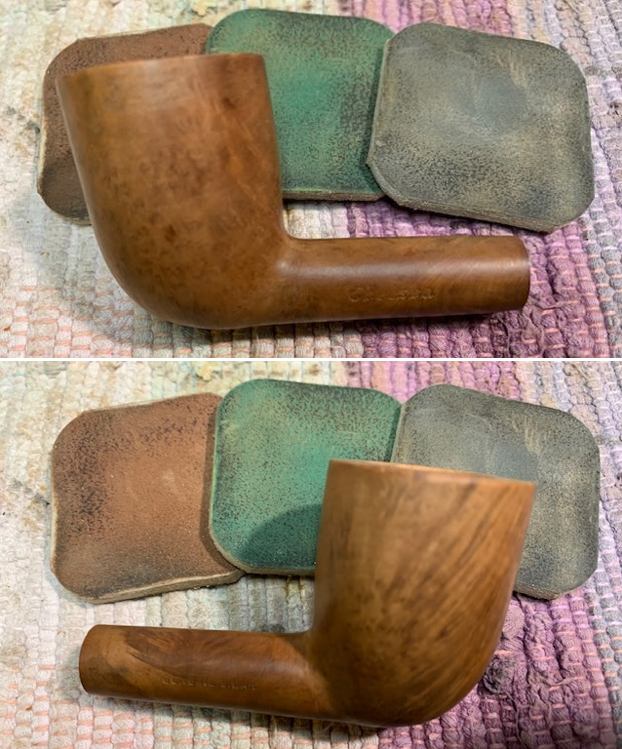
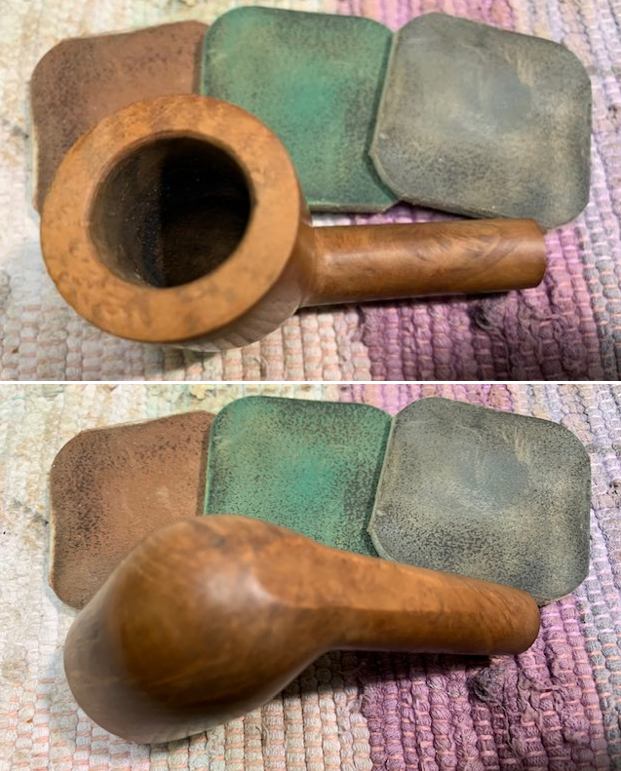
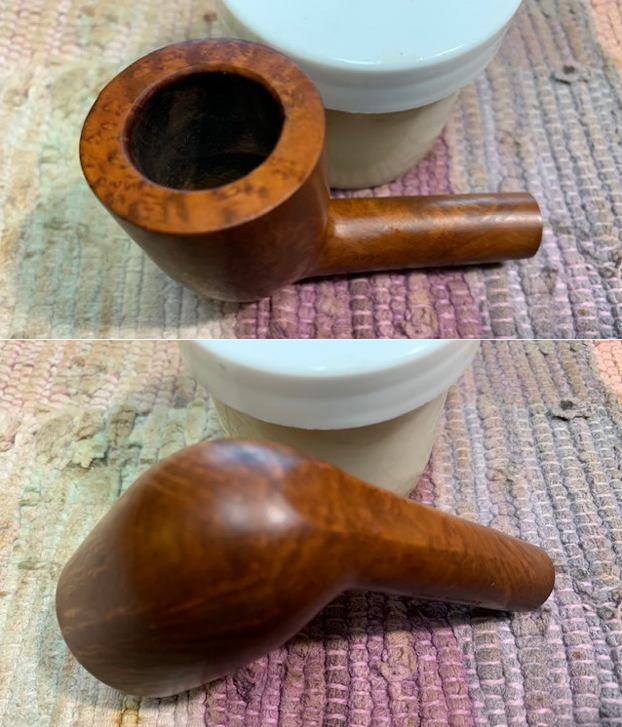
 I worked some Before & After Restoration Balm into the surface of the briar with my fingertips to clean, enliven and protect the briar. I let the balm sit for 15 minutes and then buffed with a cotton cloth to raise the shine. The photos show the bowl at this point in the restoration process.
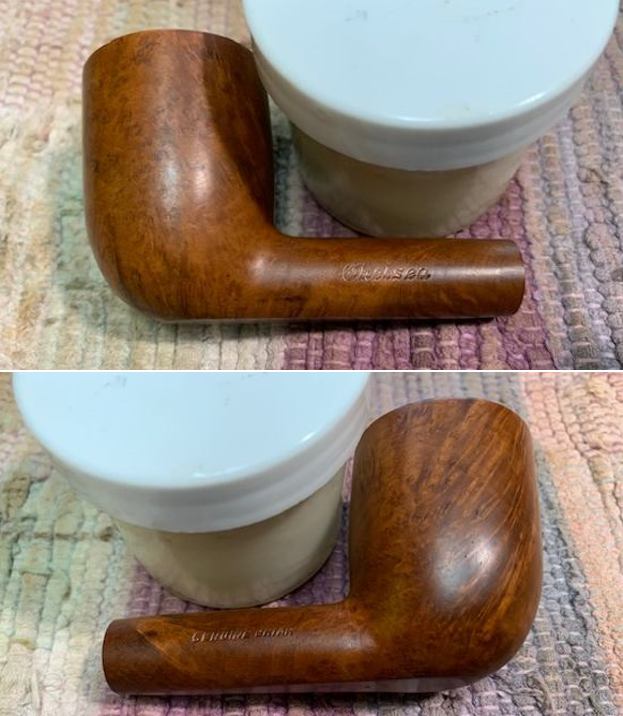
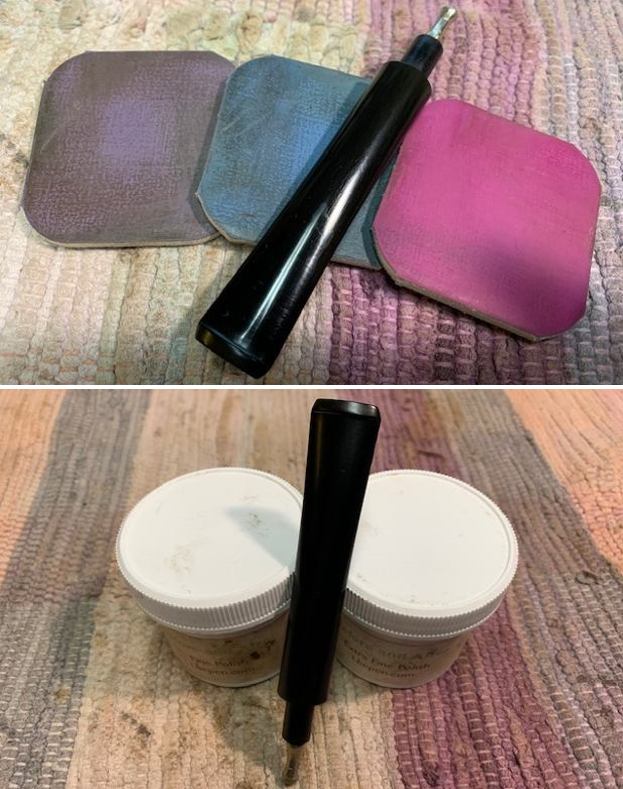
 I set the bowl aside and turned my attention to the stem. It was in such great condition that I polished it with micromesh sanding pads – wet sanding with 1500-12000 grit sanding pads. I wiped it down after each sanding pad with Obsidian Oil. I polished it with Before & After Pipe Stem Polish – both Fine and Extra Fine.
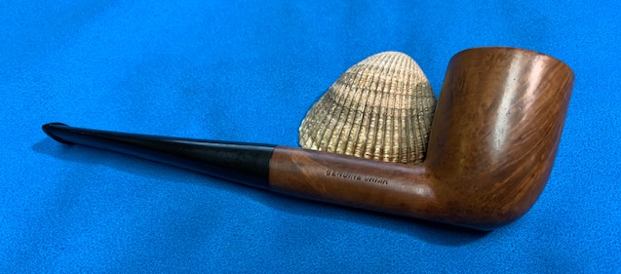
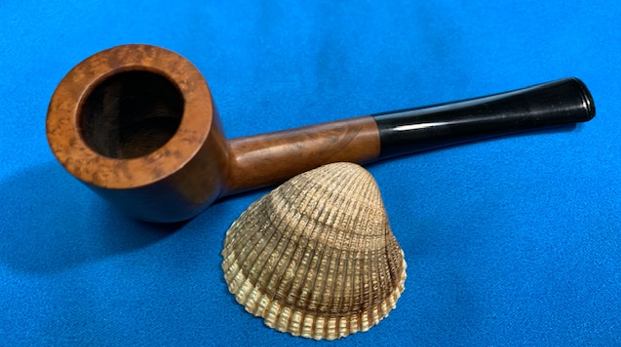
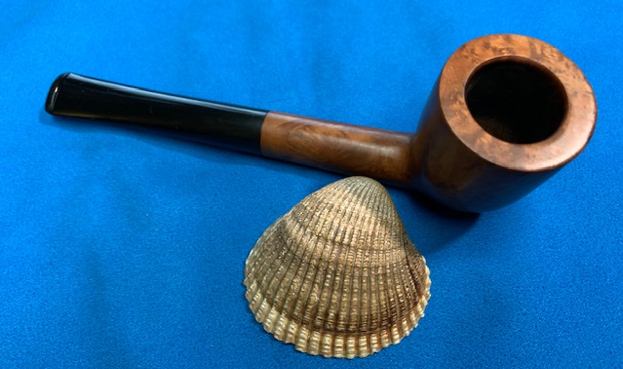
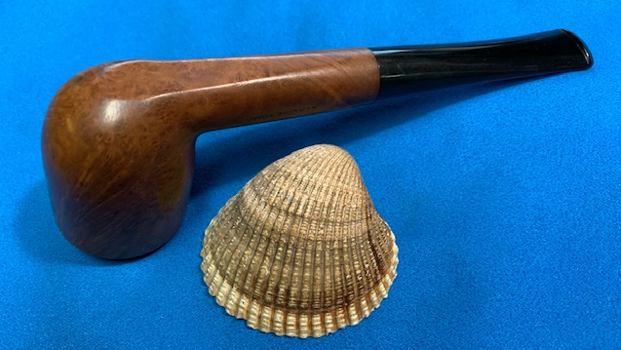
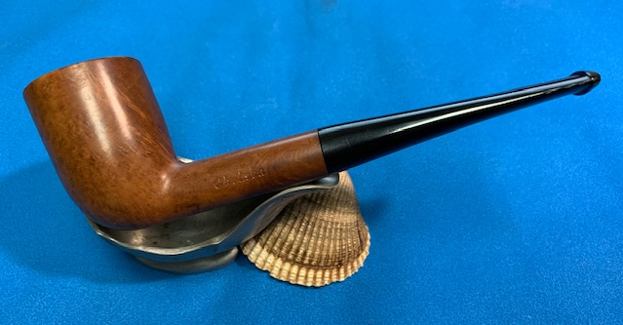
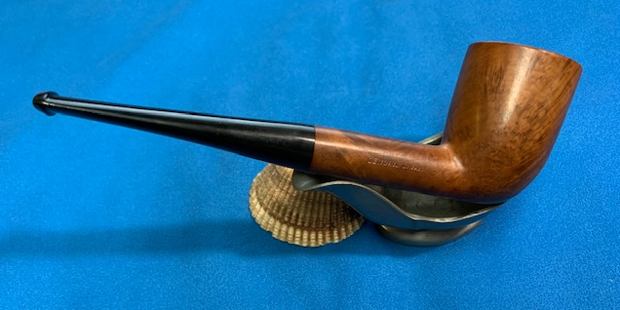
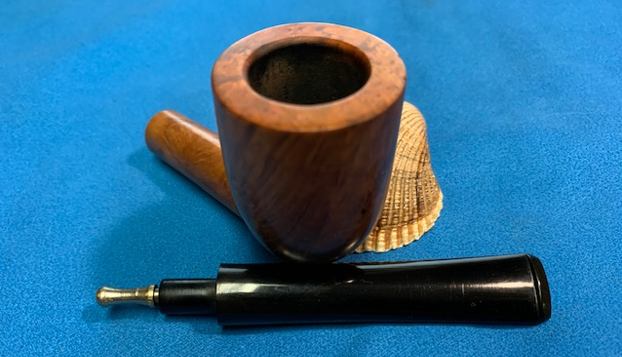
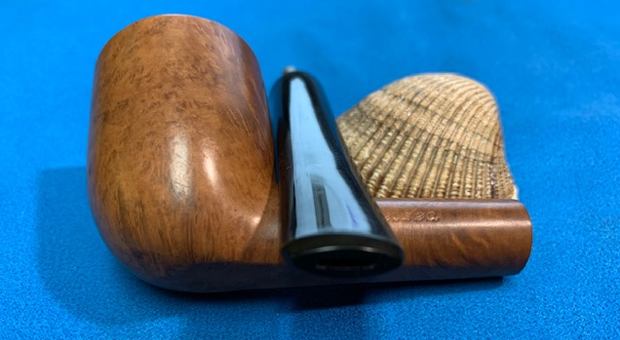
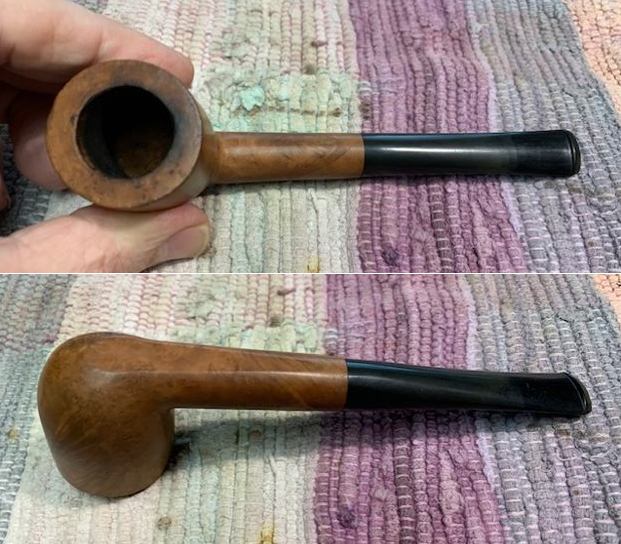
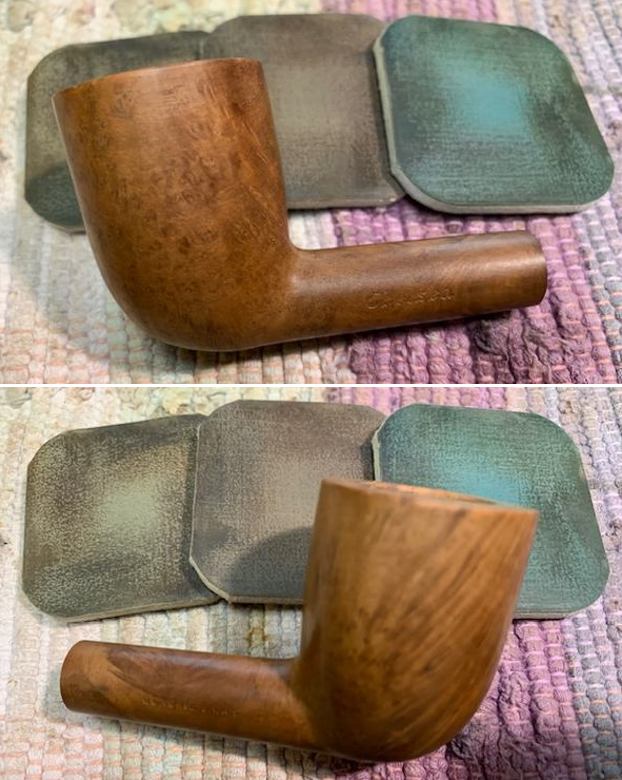
 This Chelsea Selected Briar Natural Billiard turned out to be a more beautiful pipe than I had expected. The natural finish on the briar is beautiful and the grain pops. I put the pipe back together and buffed it with Blue Diamond on the buffing wheel. I gave the bowl and stem multiple coats of carnauba wax. I hand buffed the pipe with a clean buffing pad to raise the shine and hand buffed it with a microfibre cloth to deepen the shine. It is fun to see what the polished bowl looks like with the polished black vulcanite stem. This classic looking Chelsea Billiard feels great in my hand. It is light and well balanced. Have a look at it with the photos below. The dimensions are Length: 6 inches, Height: 1 ¾ inches, Outside diameter of the bowl: 1 ¼ inches, Chamber diameter: ¾ of an inch. The weight of the pipe is 33 grams/1.16 oz. It is a beautiful pipe and one that will be on the American Pipe Makers section of the rebornpipes store soon. If you are interested in adding it to your collection let me know. Thanks for walking through the restoration with me as I worked over this pipe. Thanks to each of you who are reading this blog.