Tag Archives: Trypis Pipes

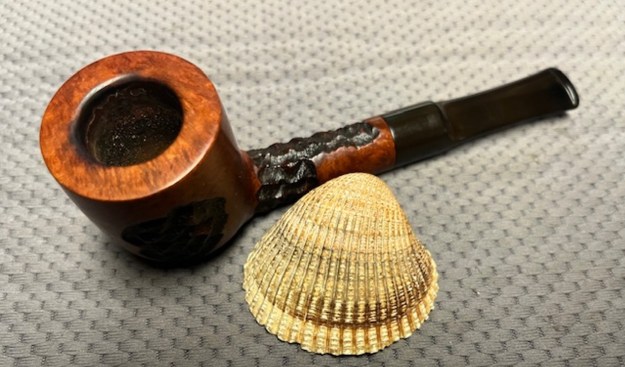
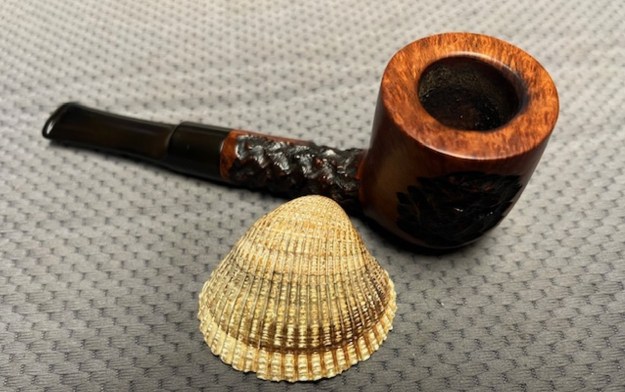
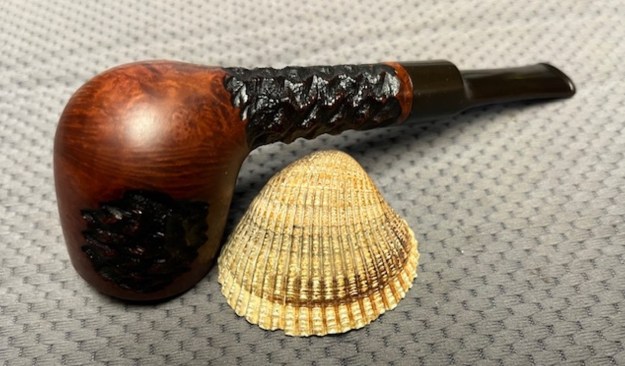
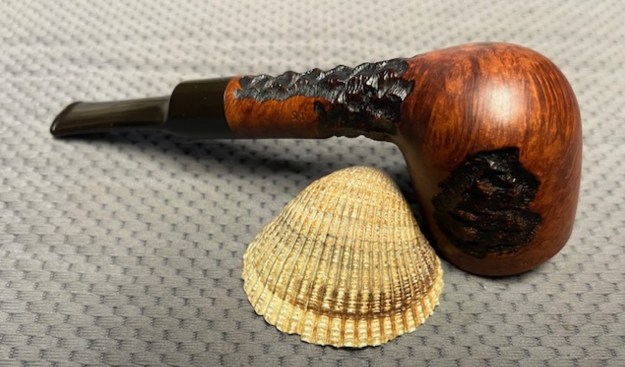
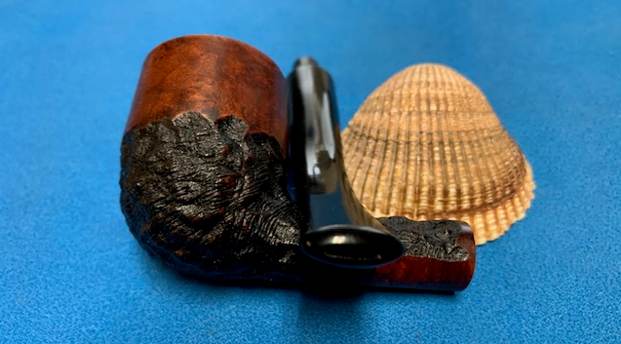
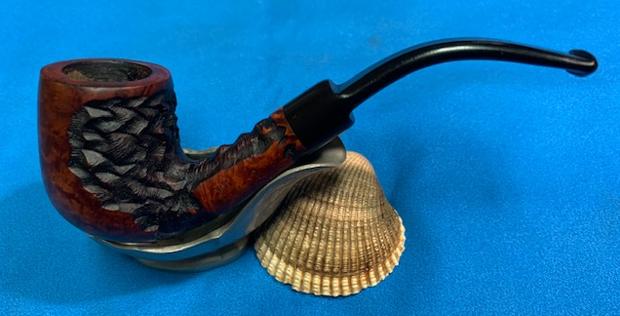
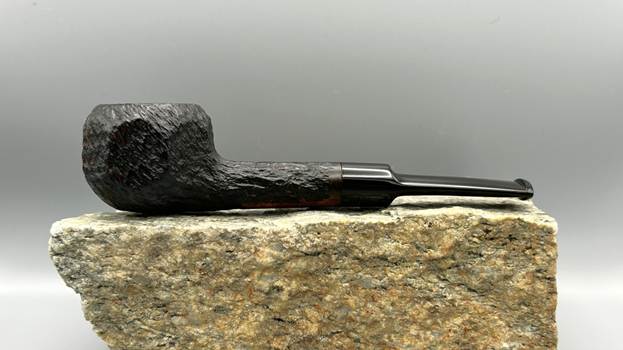
Restoring a Handsome Trypis 637 Rusticated Panel Pot


by Kenneth Lieblich

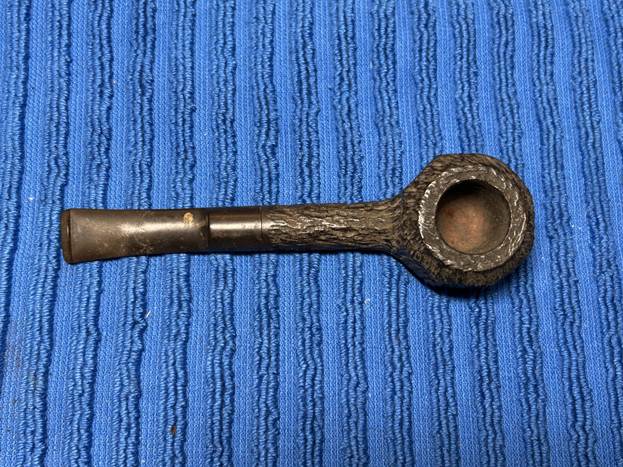
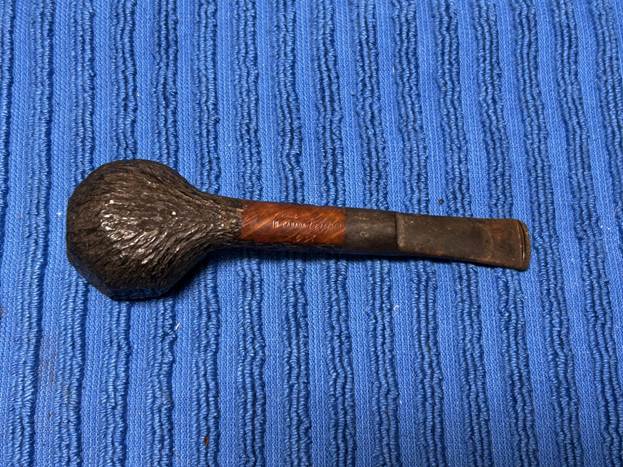
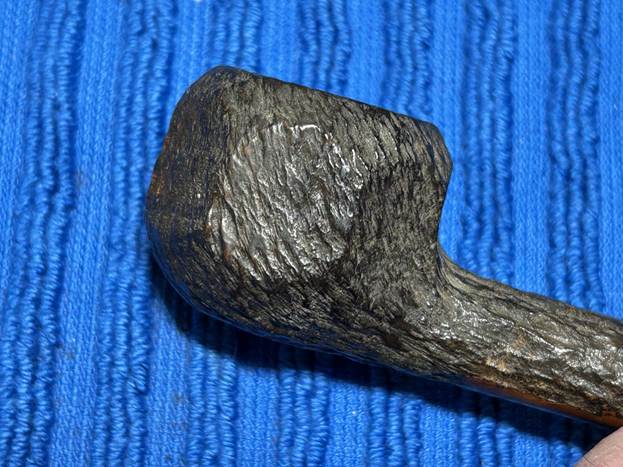
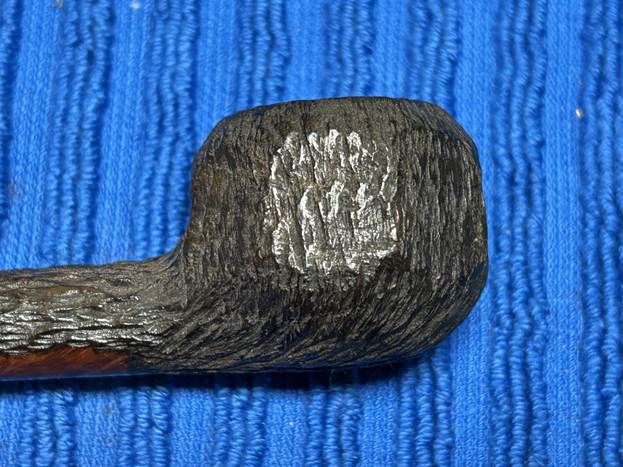
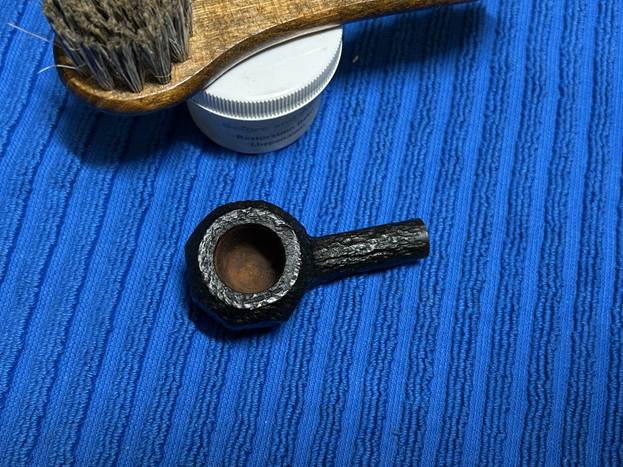
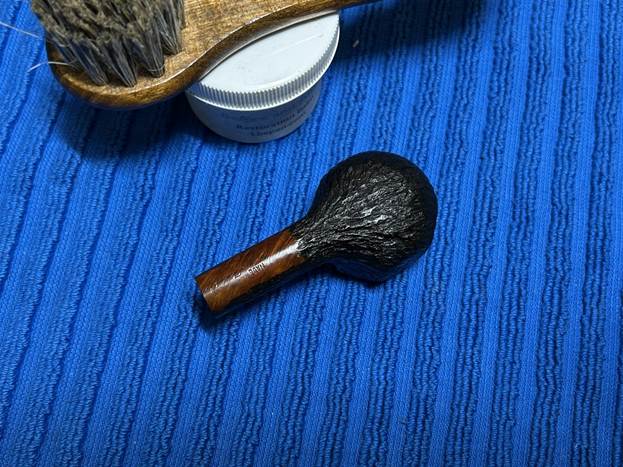
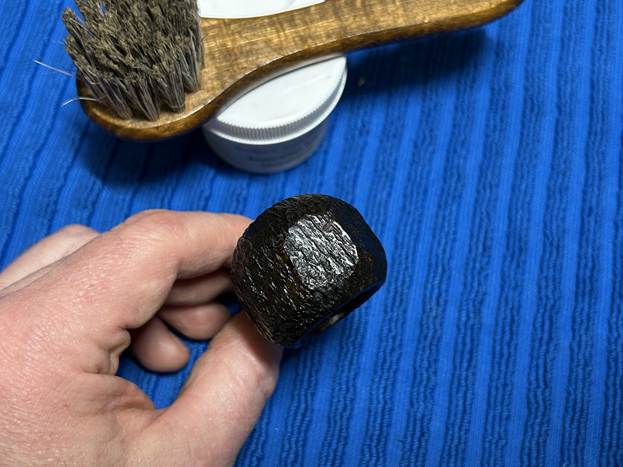
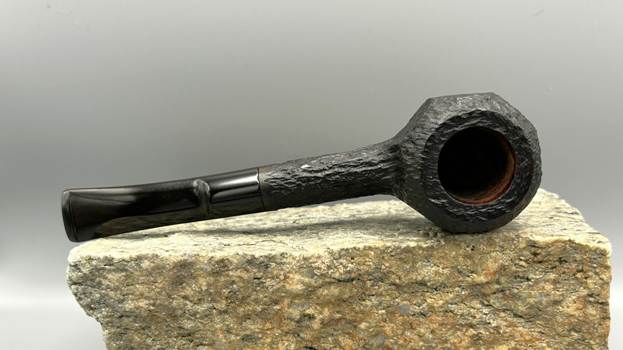
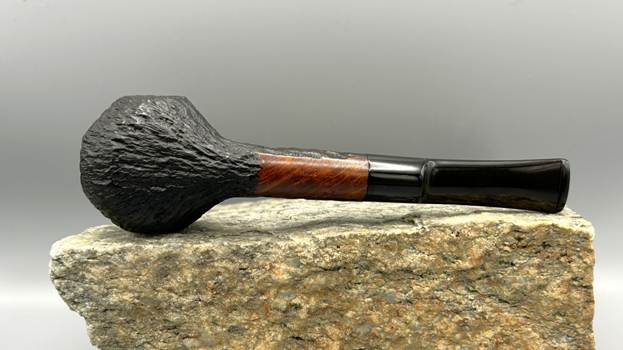
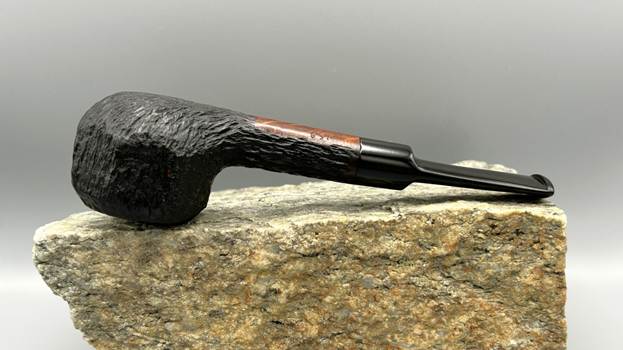
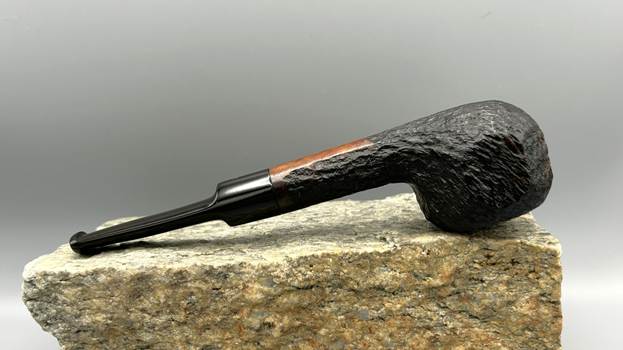
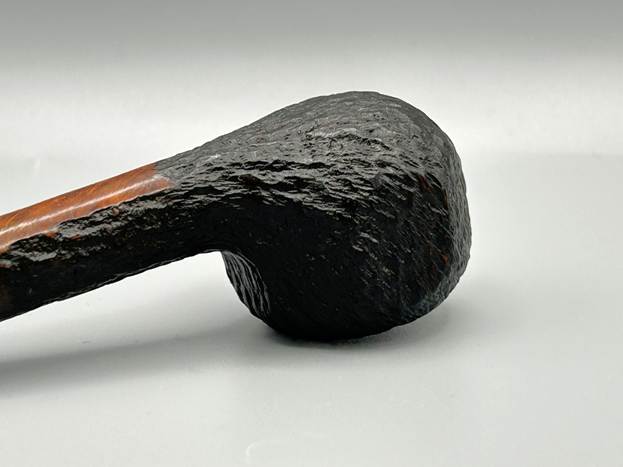
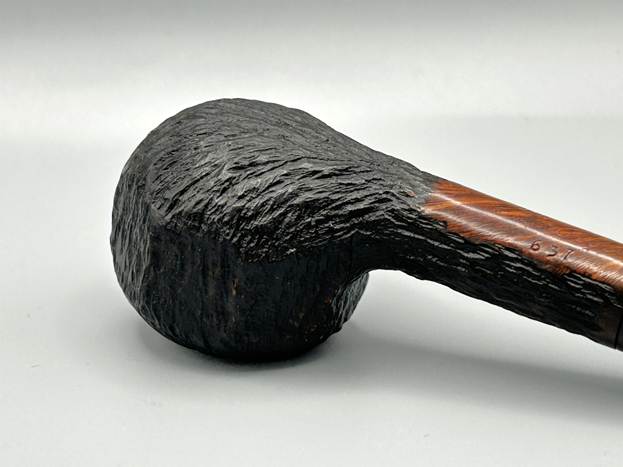
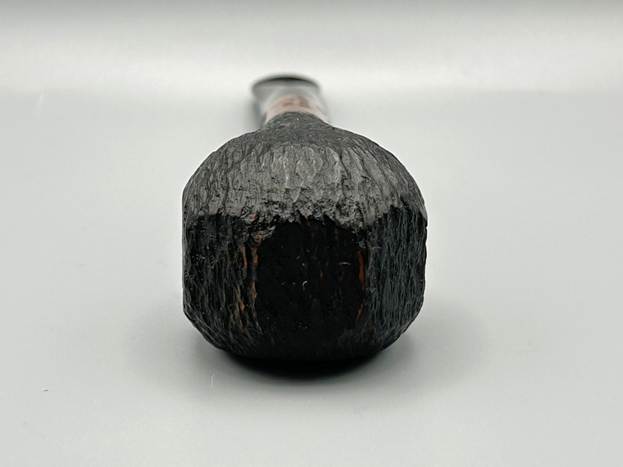
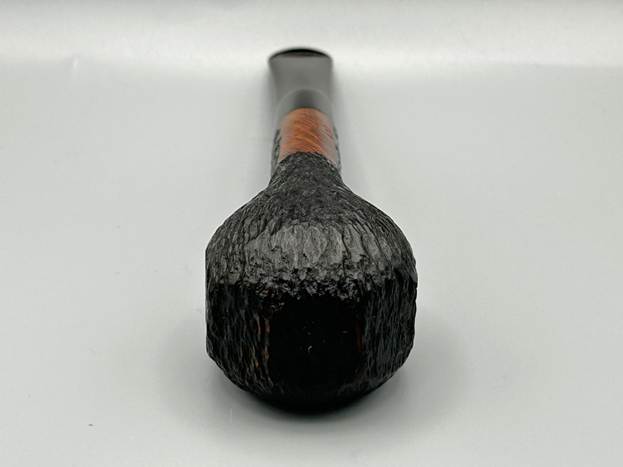
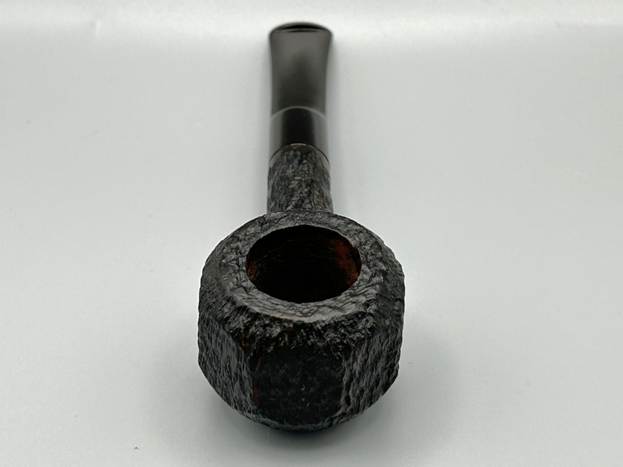
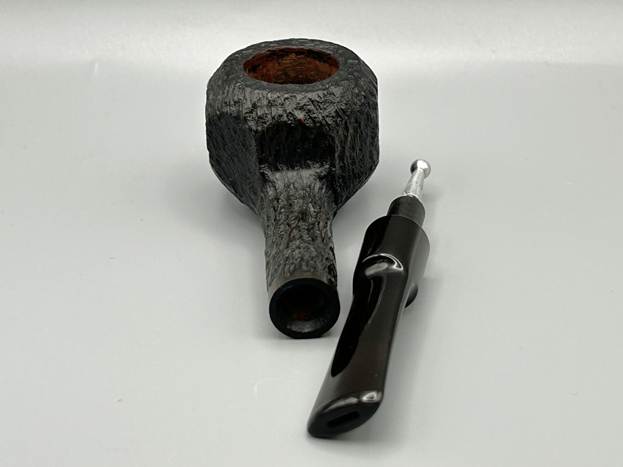
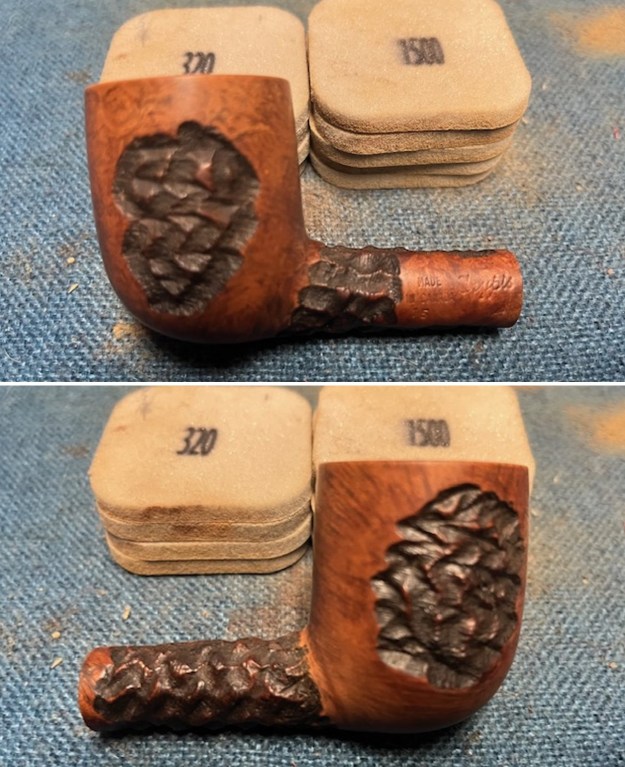
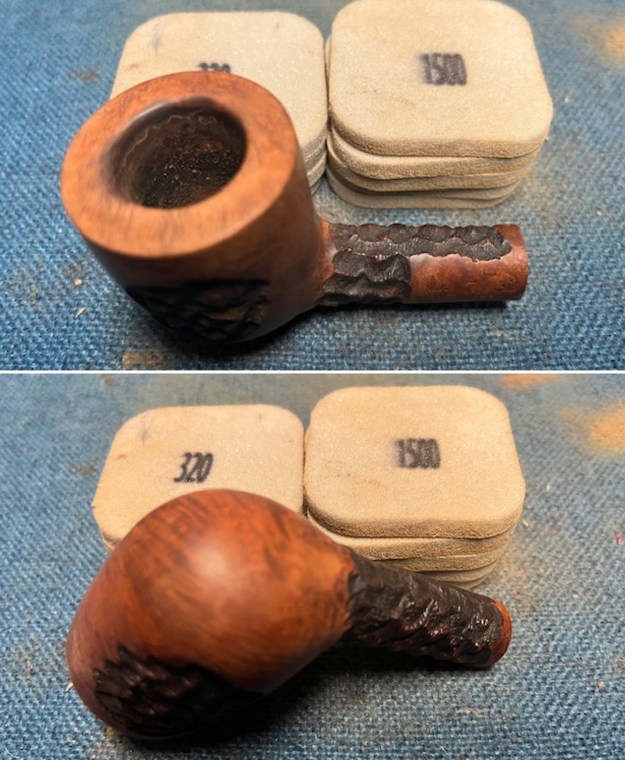
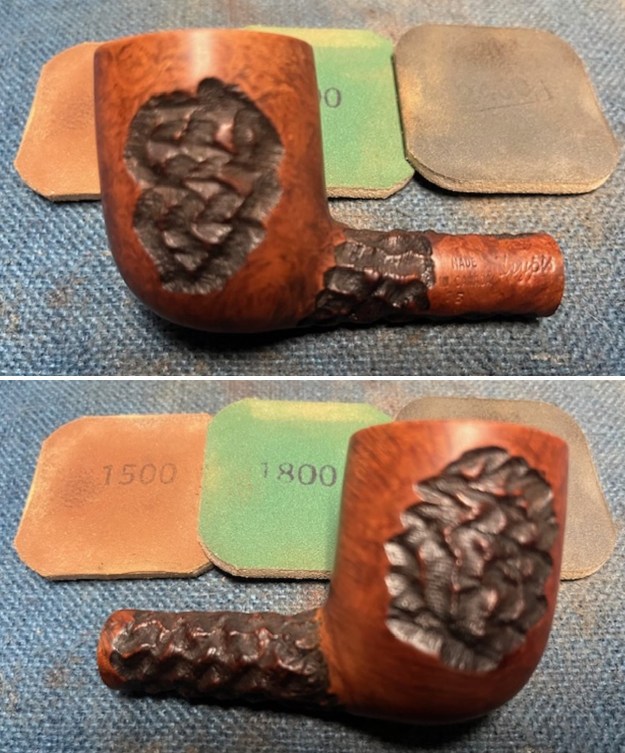
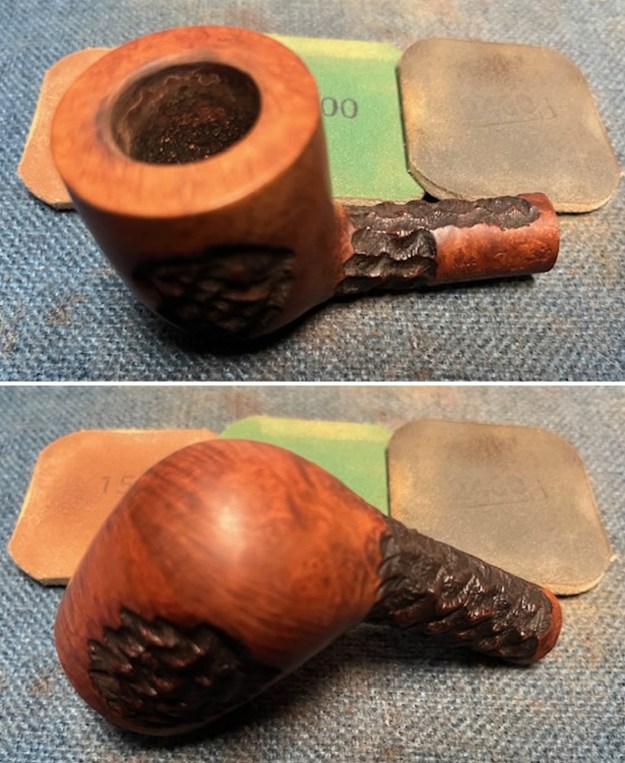
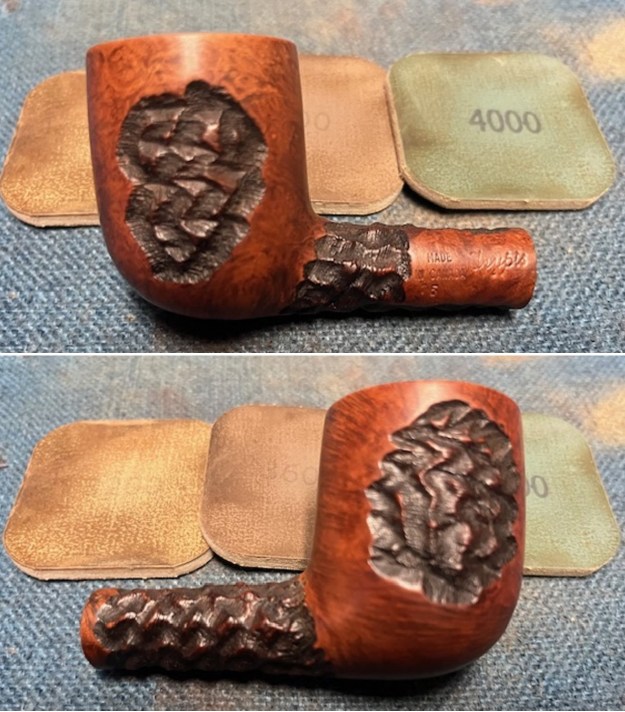
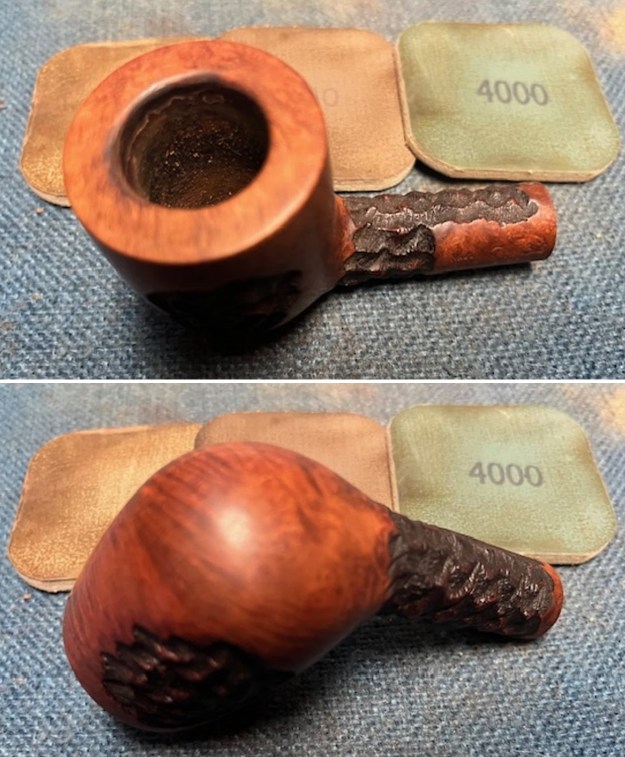
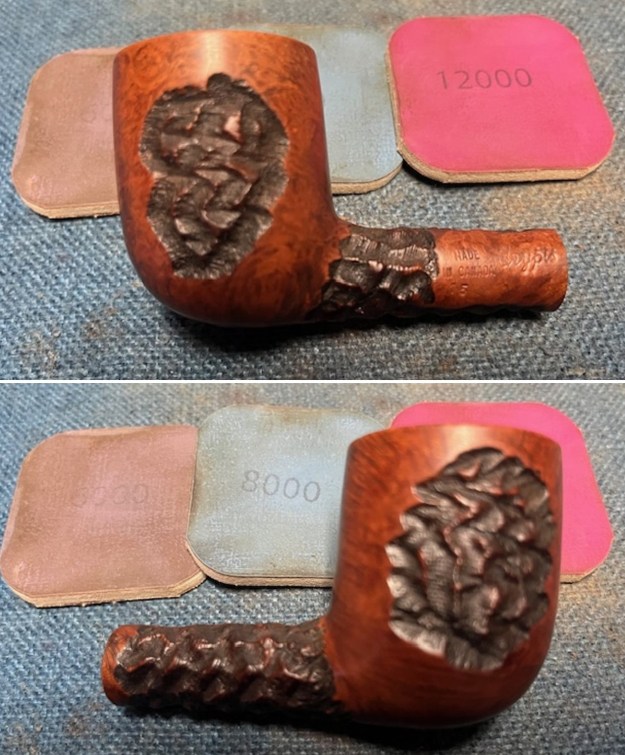
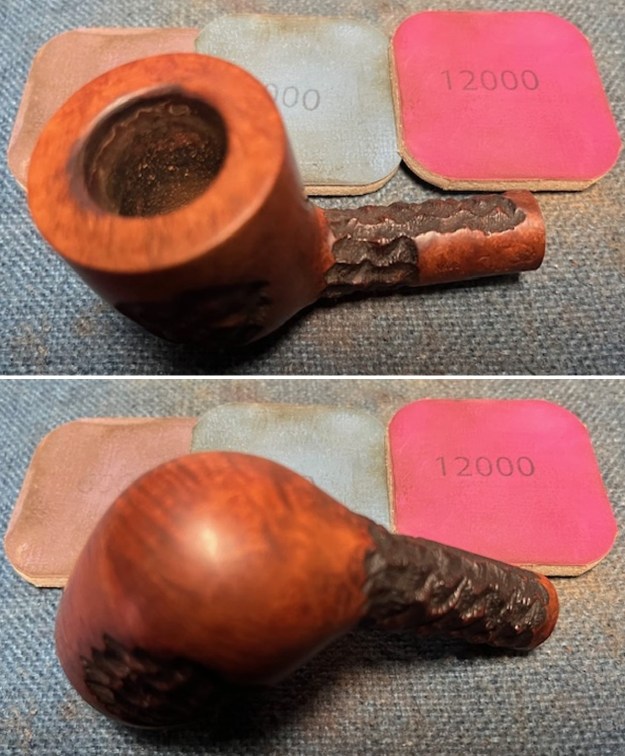
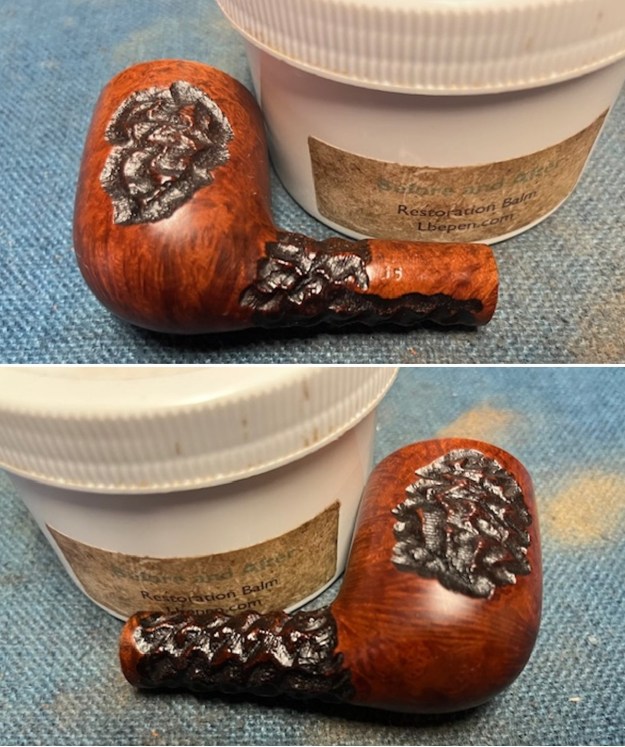
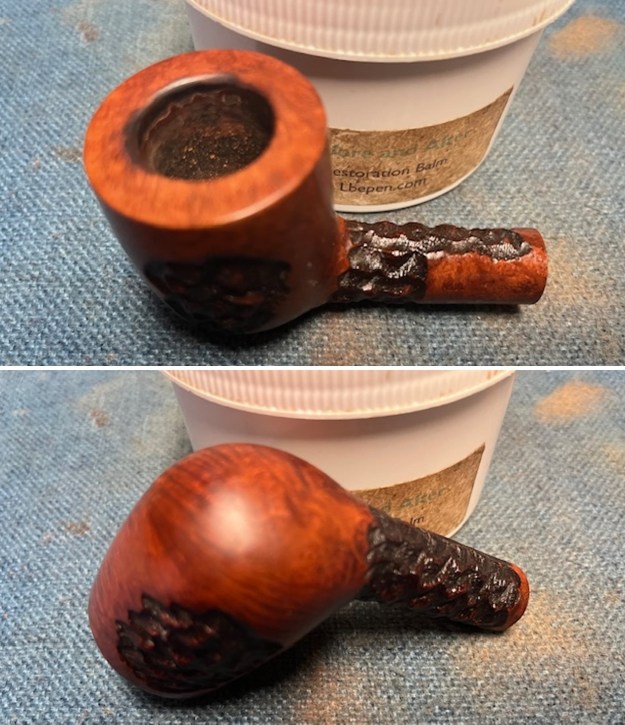
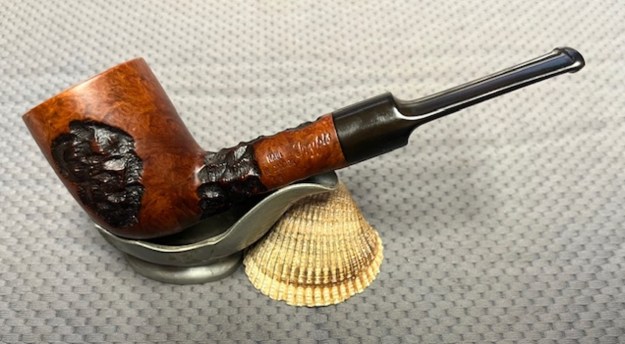
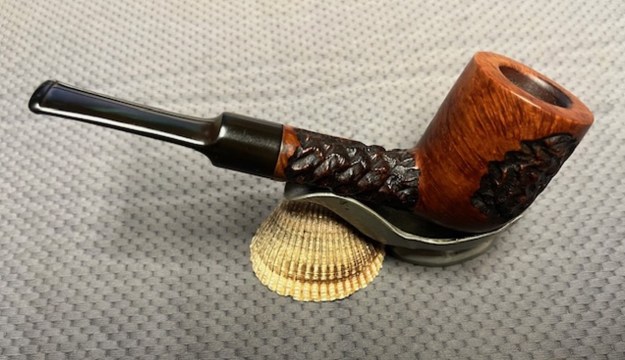
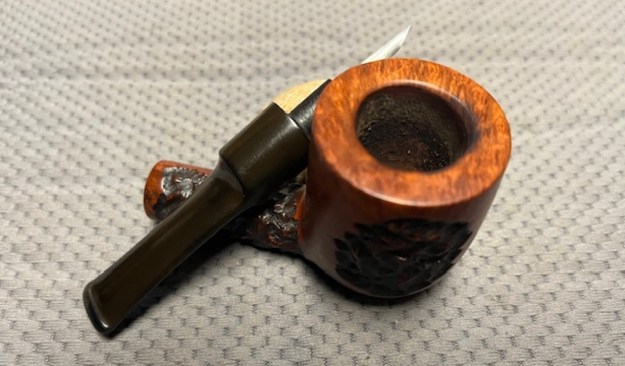
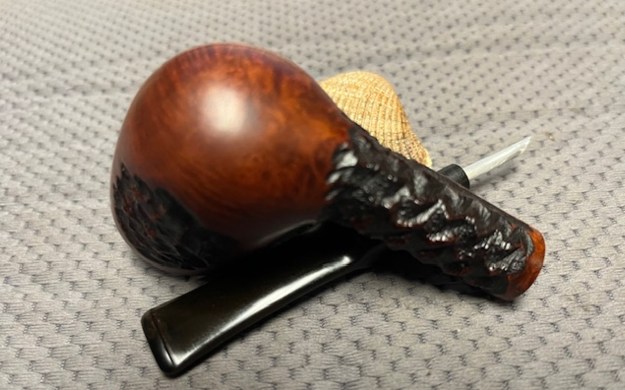
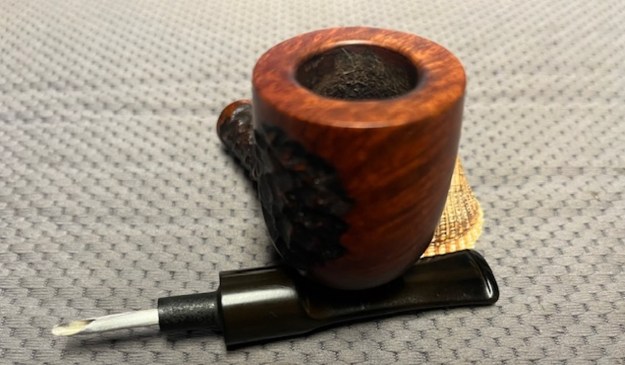
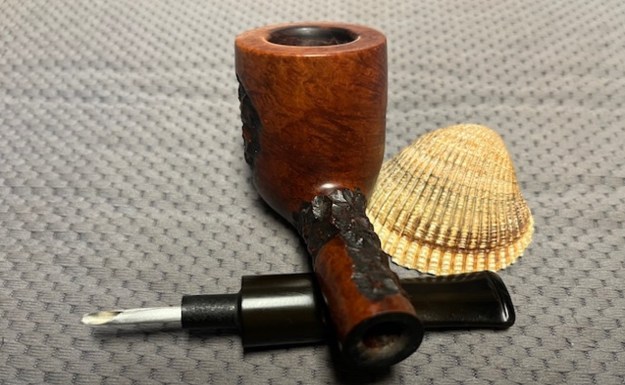
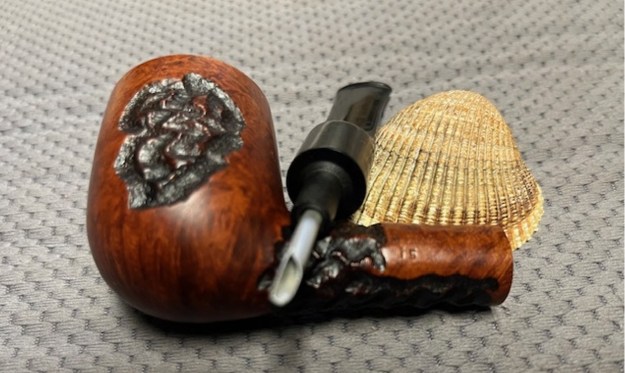
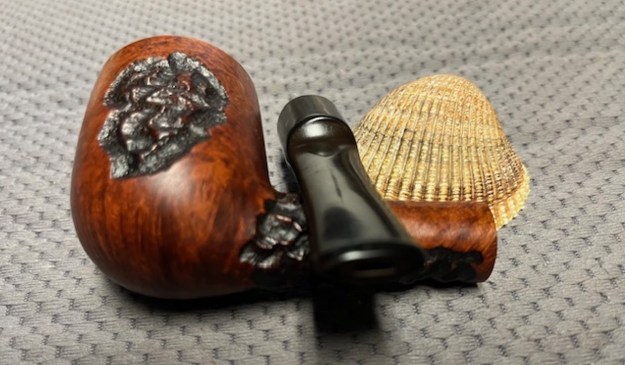
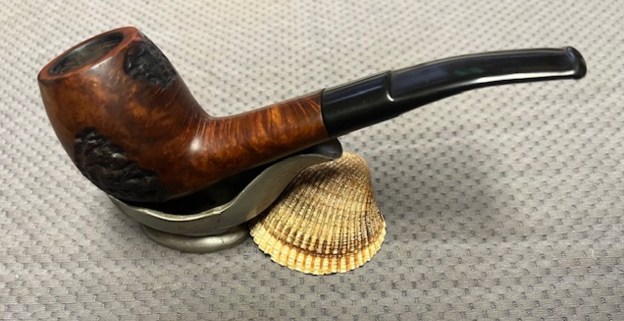
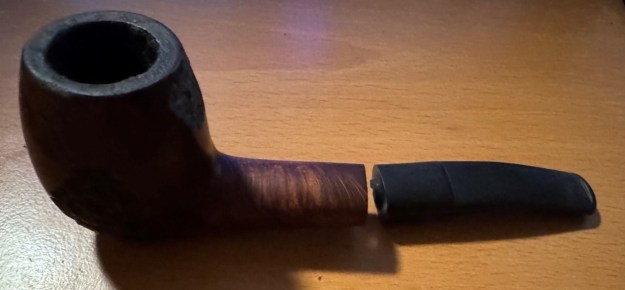
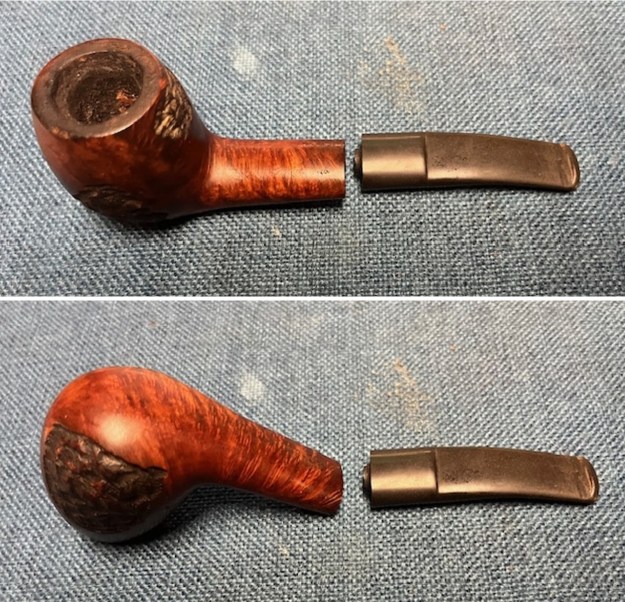
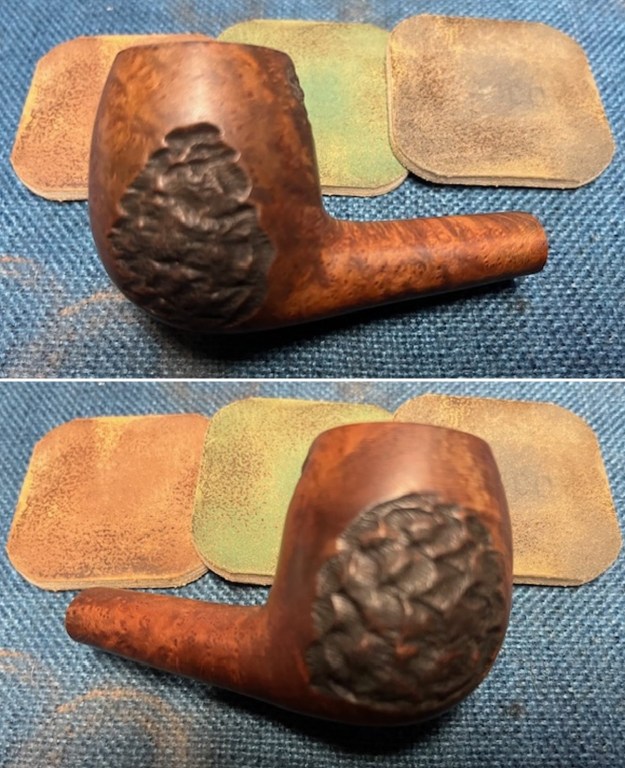
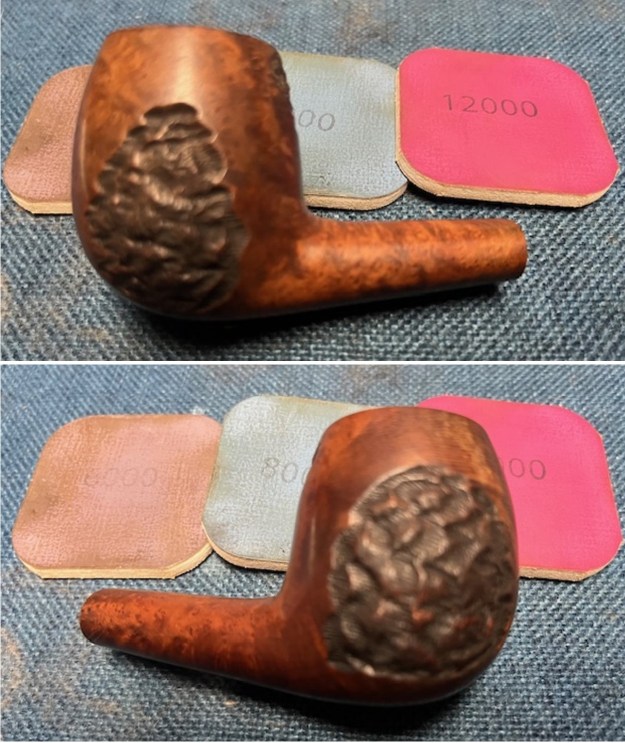
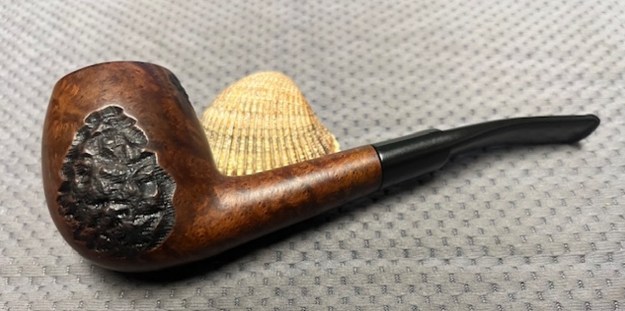
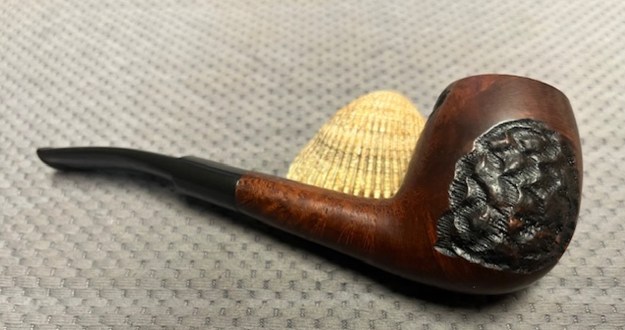
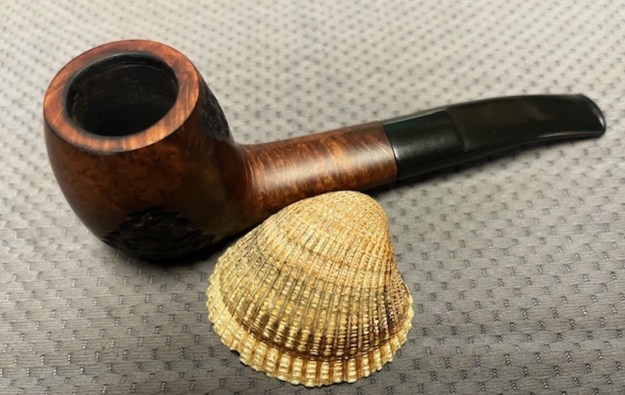
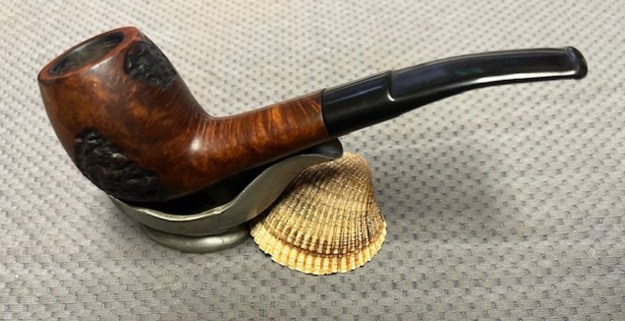
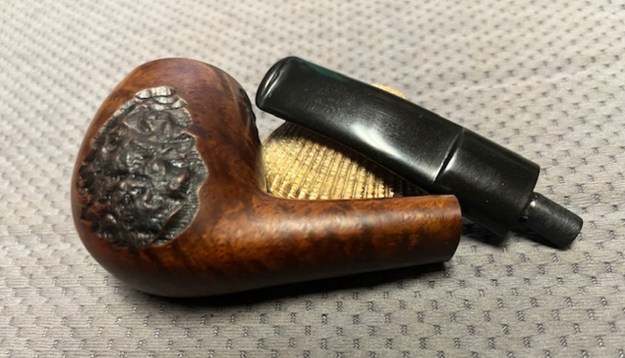
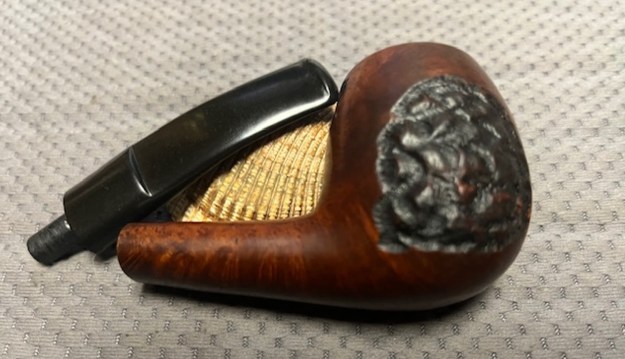
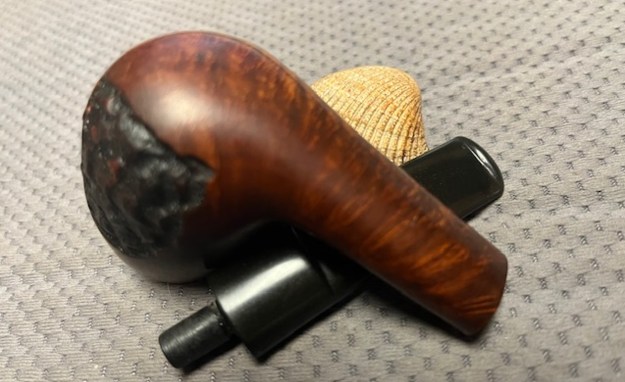
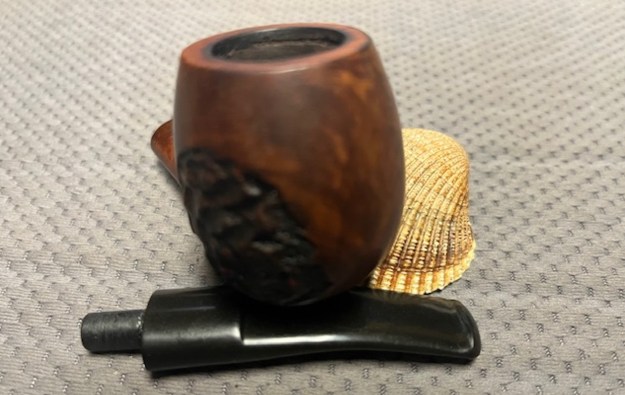
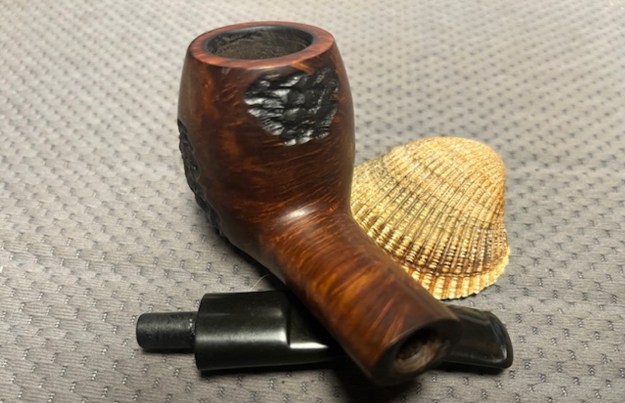
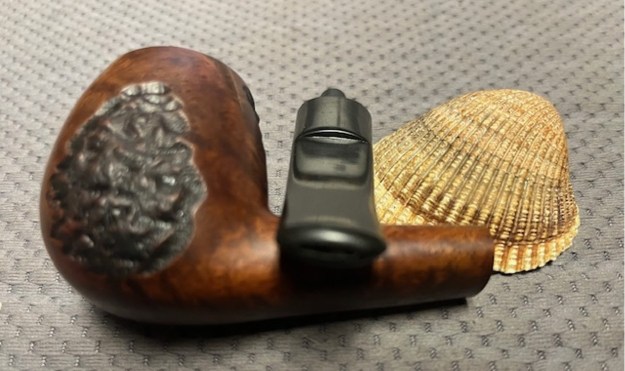
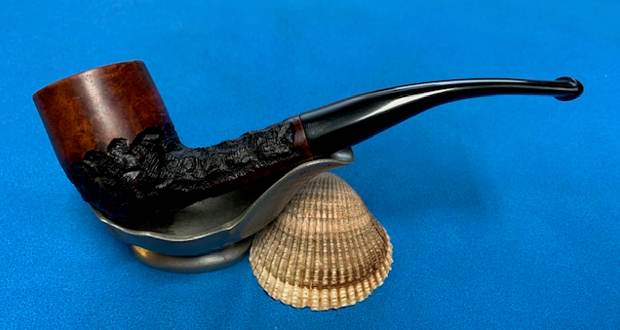
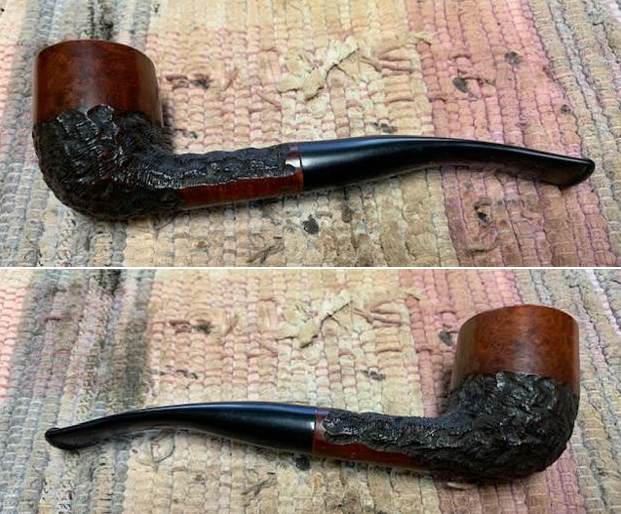
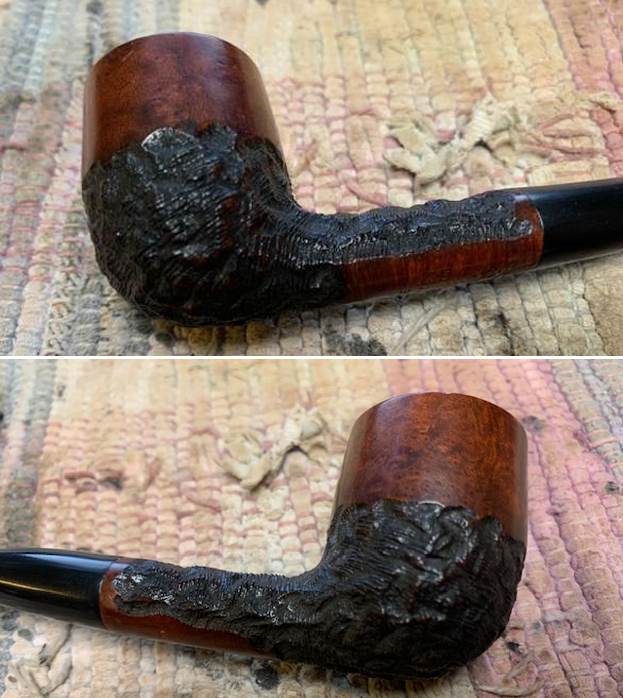
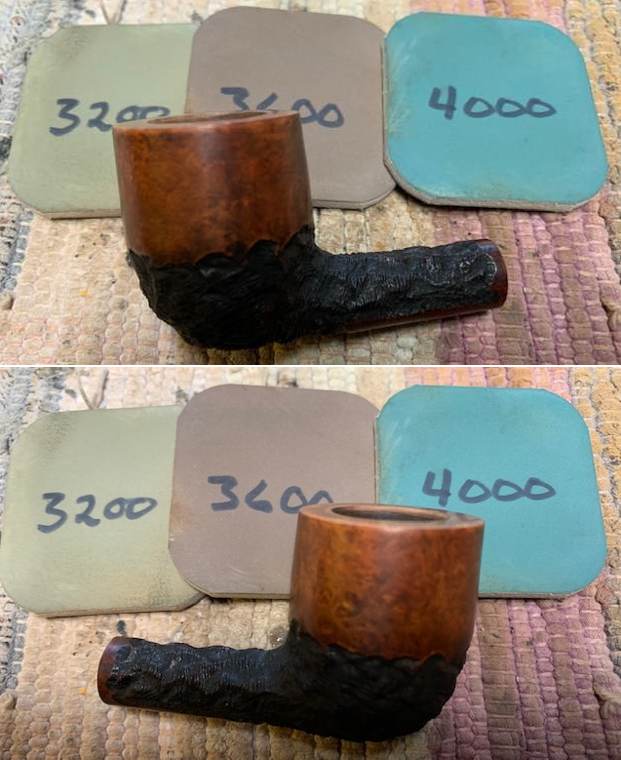
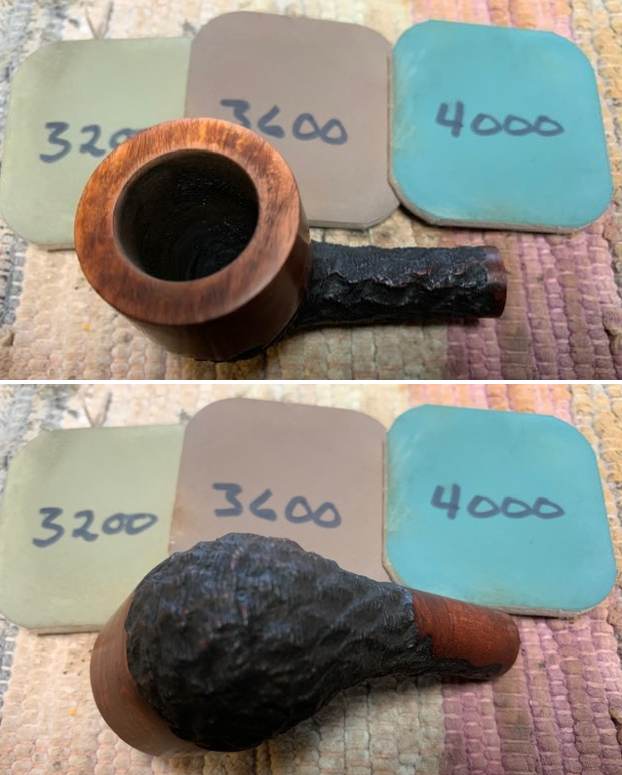
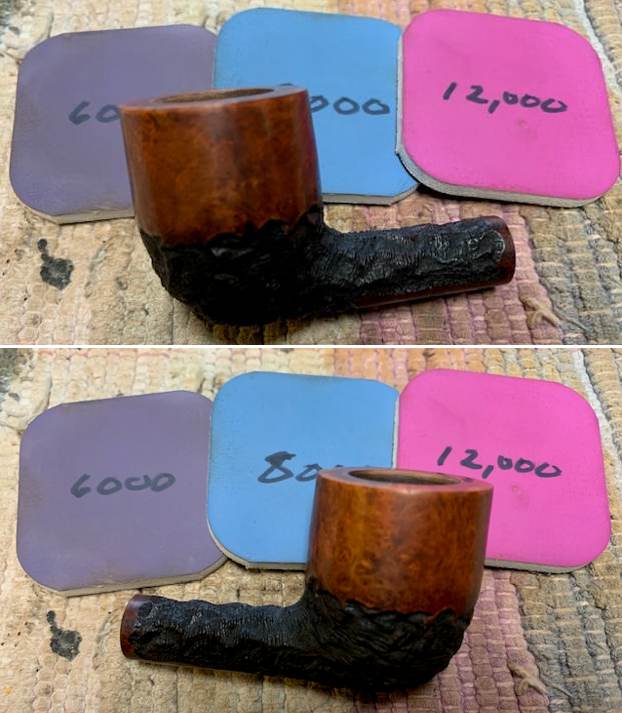
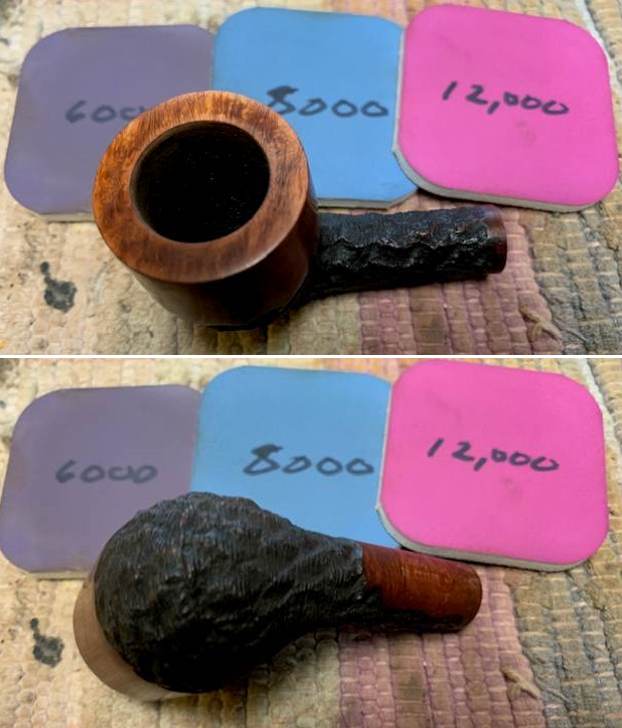
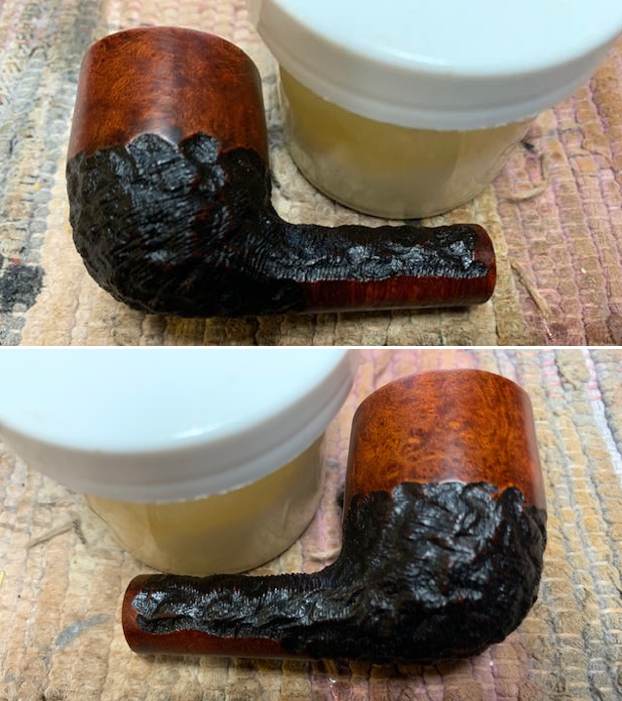
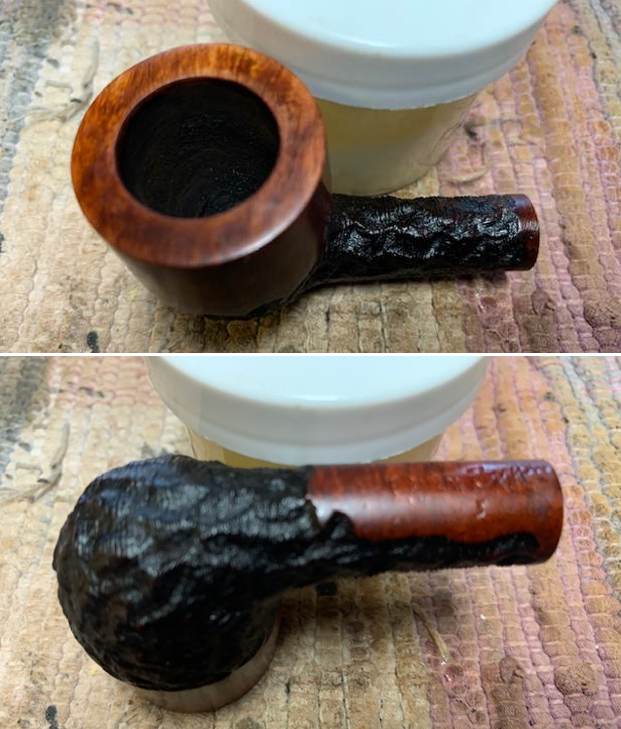
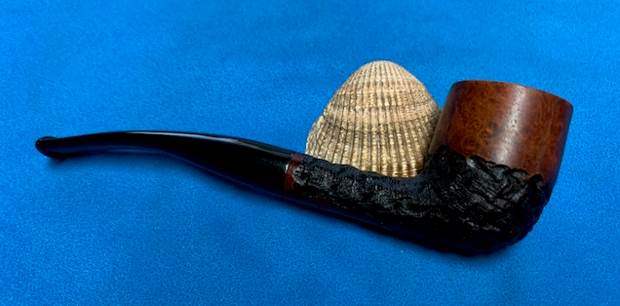
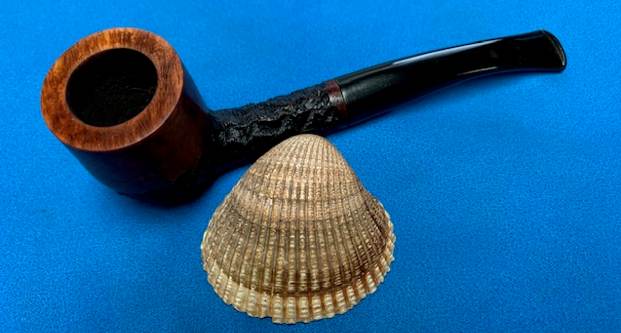
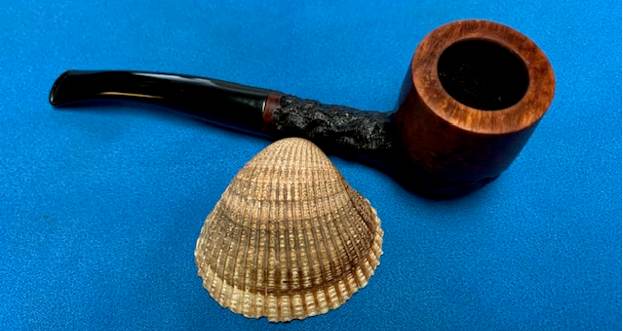
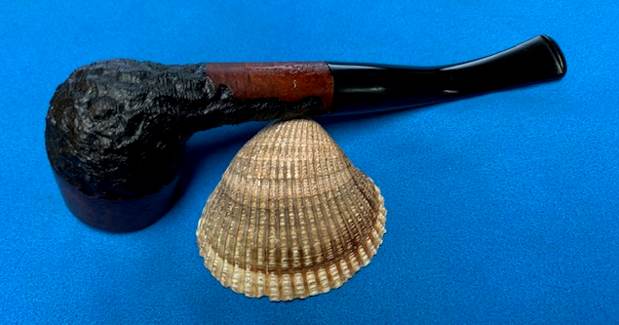
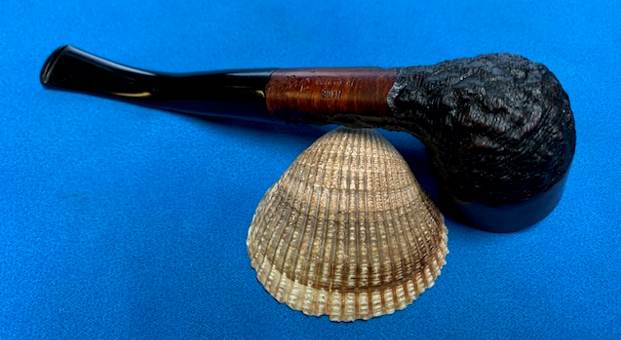
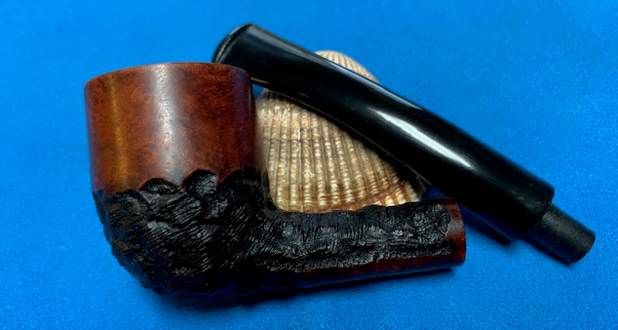
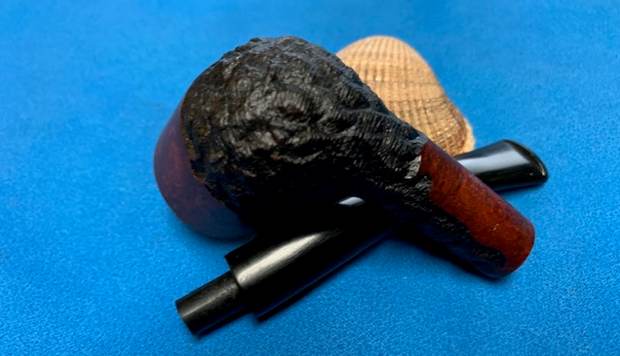
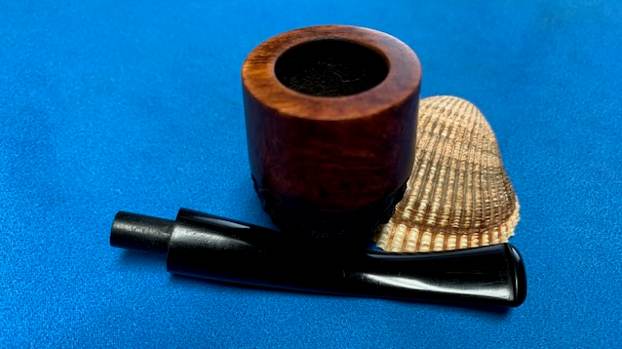
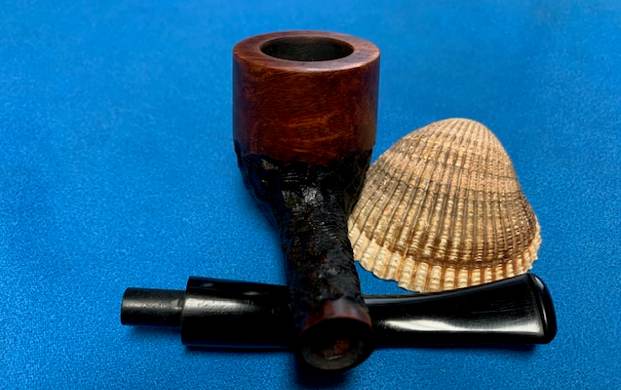
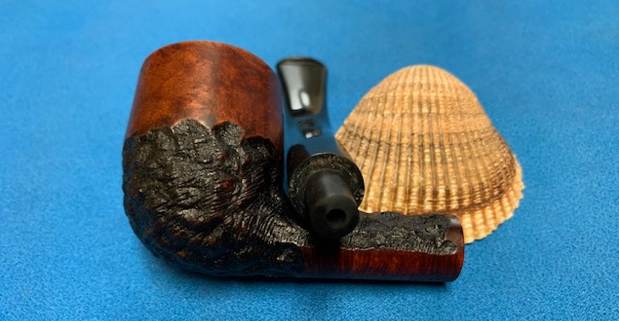
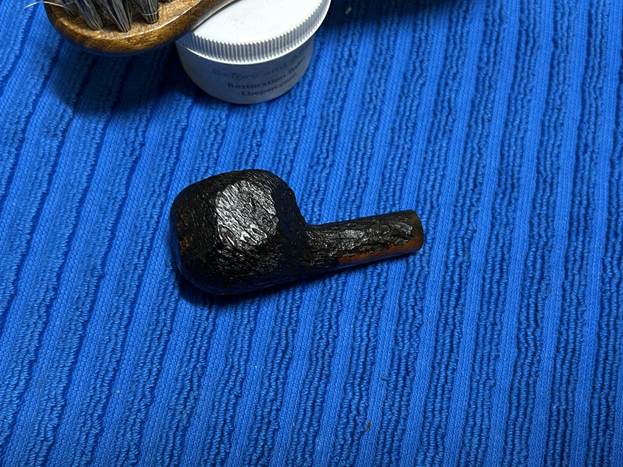
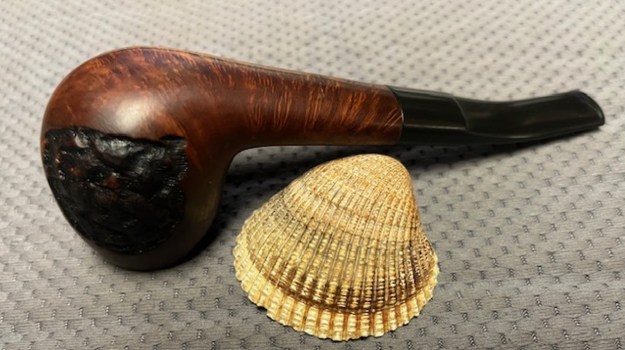
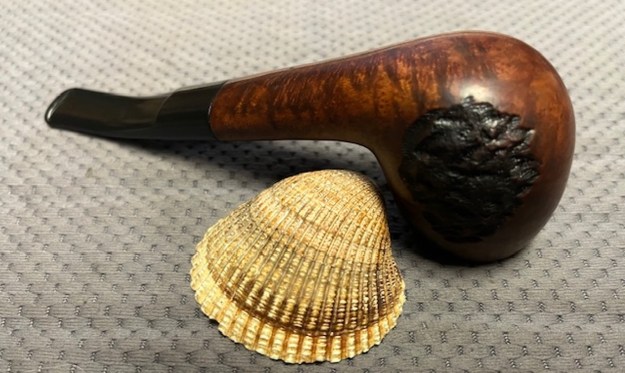
My next pipe restoration is a Trypis 637 rusticated panel pot, with an ever-so-slightly bent vulcanite saddle stem. What a nifty pipe this is: the rustication gives the bowl a rugged, tactile finish. Trypis Pipes are the creation of Phillip Trypis, a pipemaker from Canada (now deceased, sadly). His pipes are not common and are well regarded. Fortunately, I only had to give this one a thorough cleaning – it had no major issues. This pipe was seldom smoked by its previous owner, carefully restored by me, and is now ready for a new life – maybe in your hand!
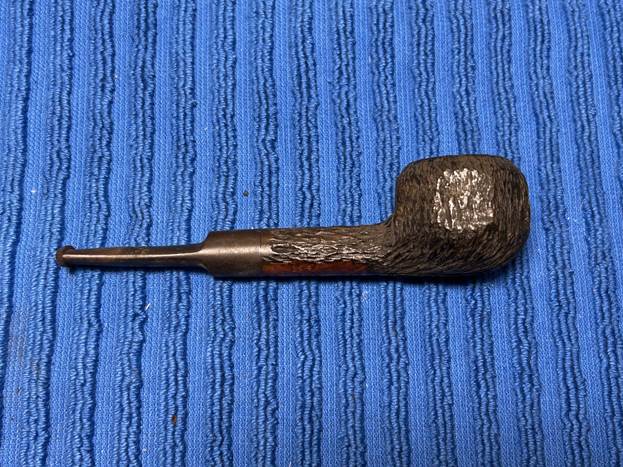
Pipe Markings

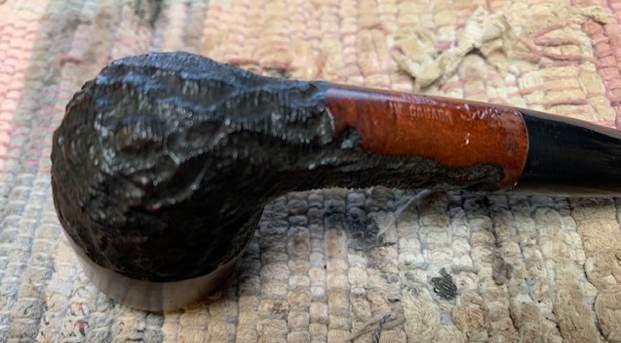
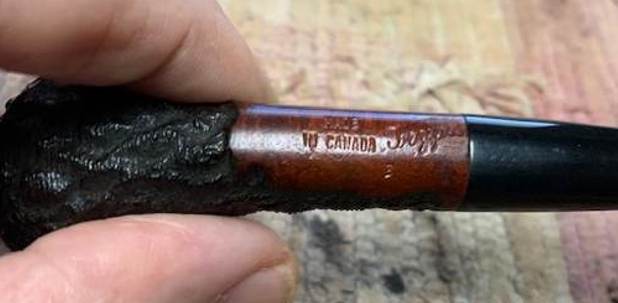
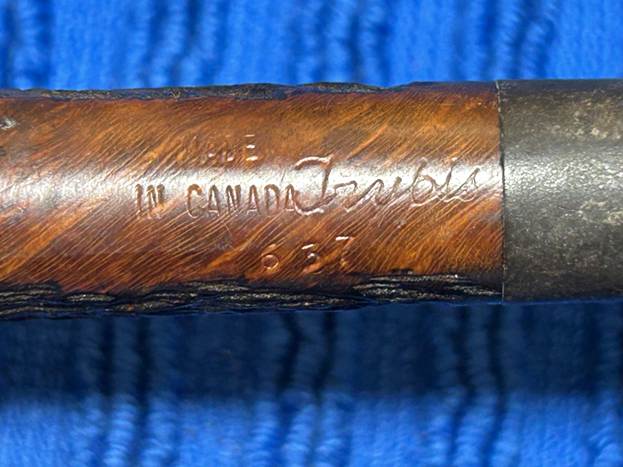
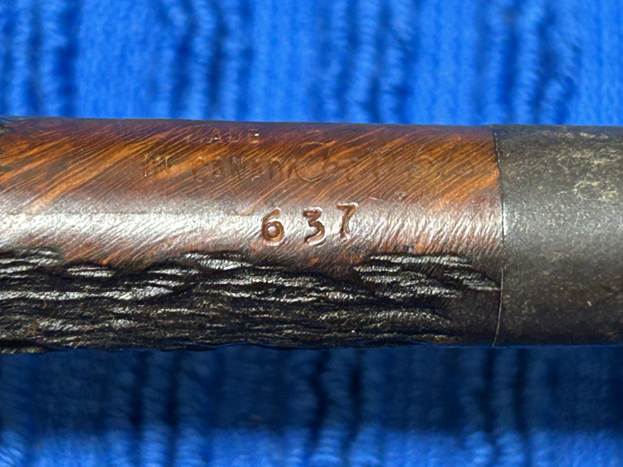
On the underside of the shank, we can see the markings of this pipe. First, we see Made [over] in Canada. Immediately to the right we see the brand name: Trypis. Underneath these, we see the shape number: 637. There are no markings on the stem.
Background on Trypis Pipes

Oddly, Pipedia has two entries for Trypis and they cover the same material. The main article quotes pipemaker Stephen Seles talking about Phillip Trypis:

Phillip Trypis has been a pipe maker in Canada for well over 40 years. Originally from Greece, his experience ranges from cutting burls in a briar mill to making literally thousands of pipes out of his home in the hamlet of Oakwood, Ontario. Brigham pipes benefitted from Phillip’s skills where he worked for a number of years. There he directed the pipe production of the company when it was producing over 50,000 a year. Even though he left to start his own pipe shop, he still imported briar and turned tens of thousands of bowls for Brigham not to mention produce a large number of his own branded pipes…. The prices are excellent, especially given the age and quality of the briar used. In fact, I would venture to say that these pipes have no peers, especially below the $100.00 price. You must be the judge. Many of the styles are traditional in form although Phillip has a number of freehand styles that are both familiar and off the beaten path. The vast majority of the higher priced pipes are very large pieces to be sure.
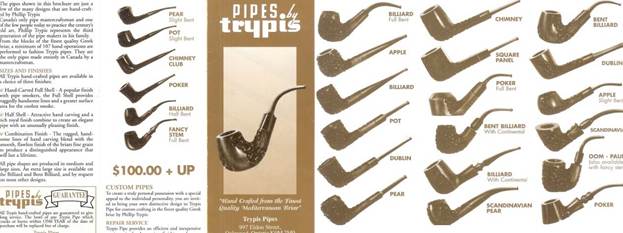
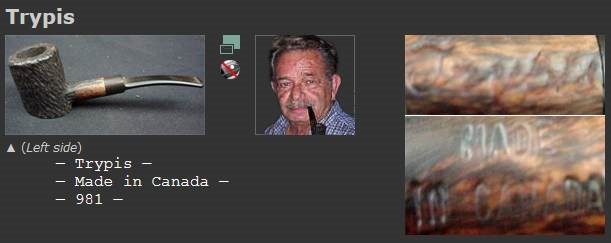
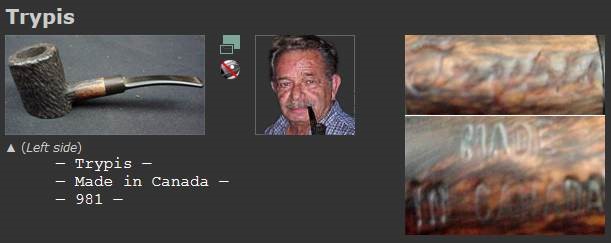
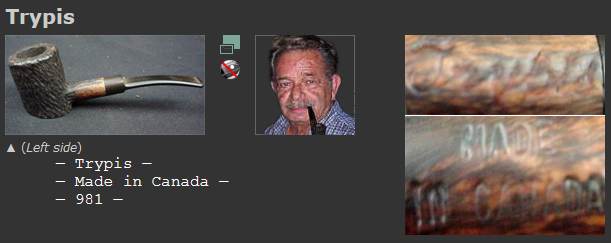
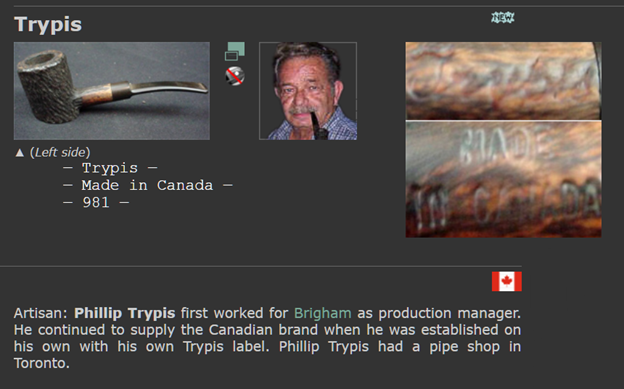
Pipephil only includes elementary information, but I have taken a screenshot for you:
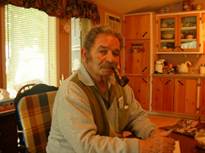
Meanwhile, there is a lovely recollection of Mr Trypis on the Brothers of Briar website. I encourage you to read it here.
Examining the Pipe

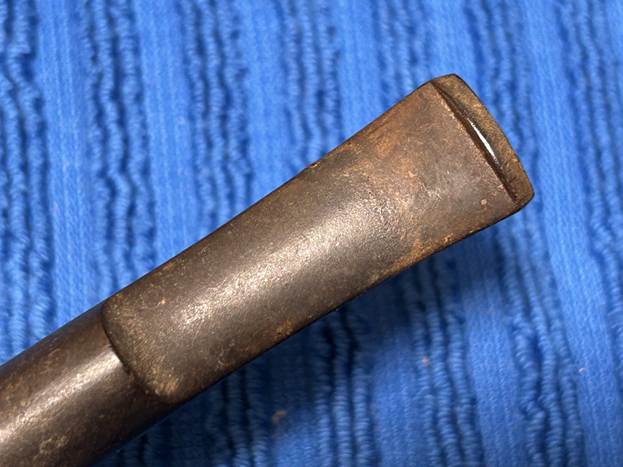
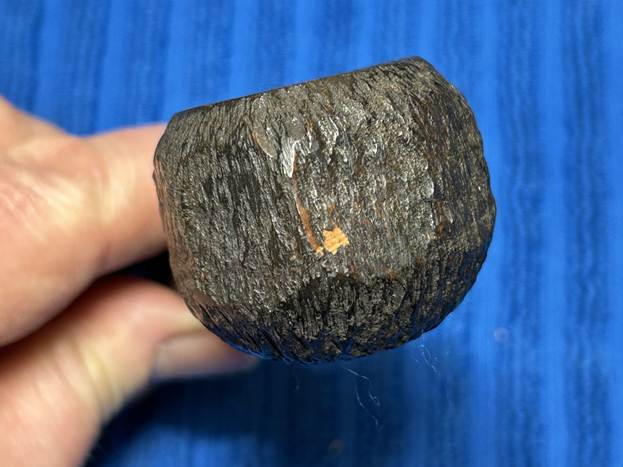
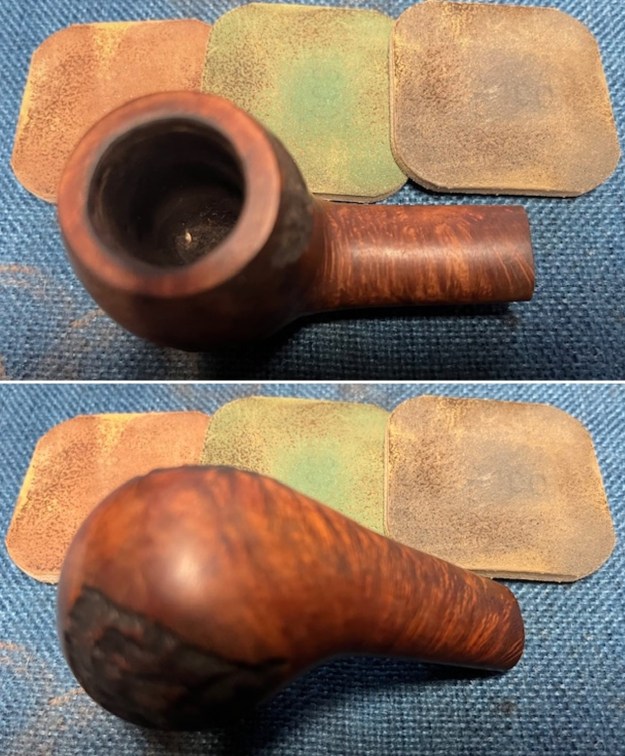
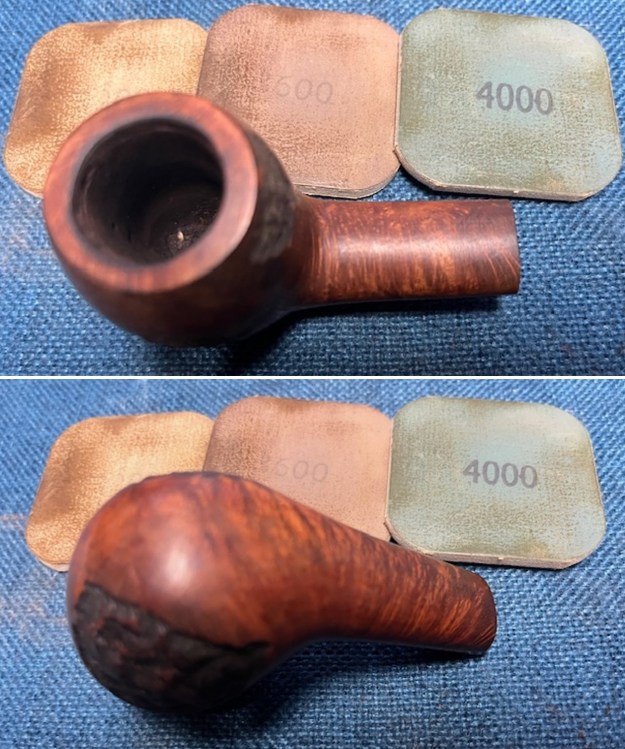
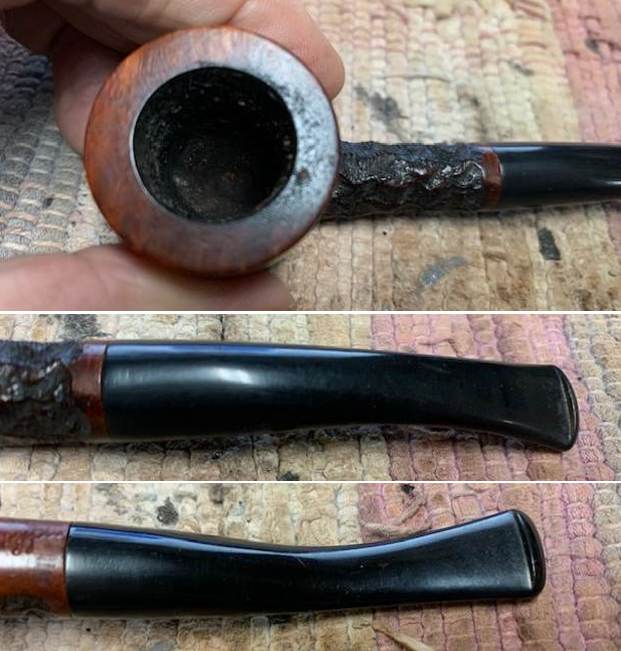
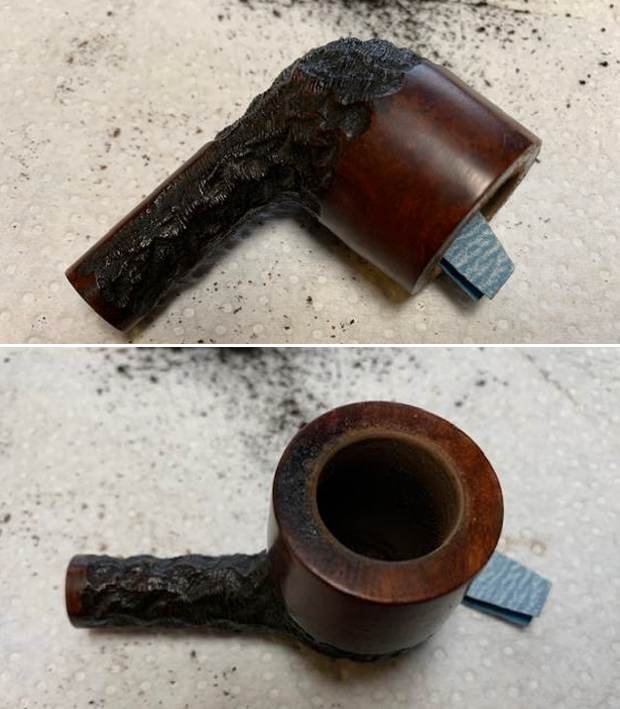
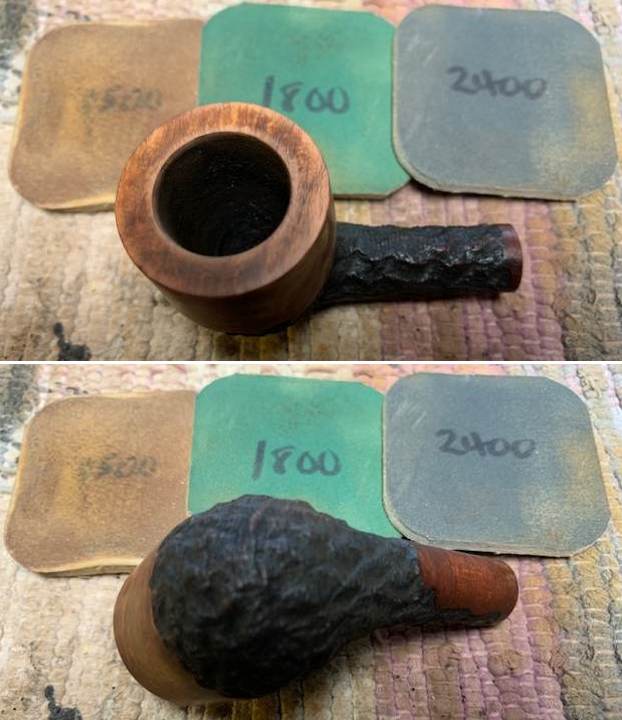
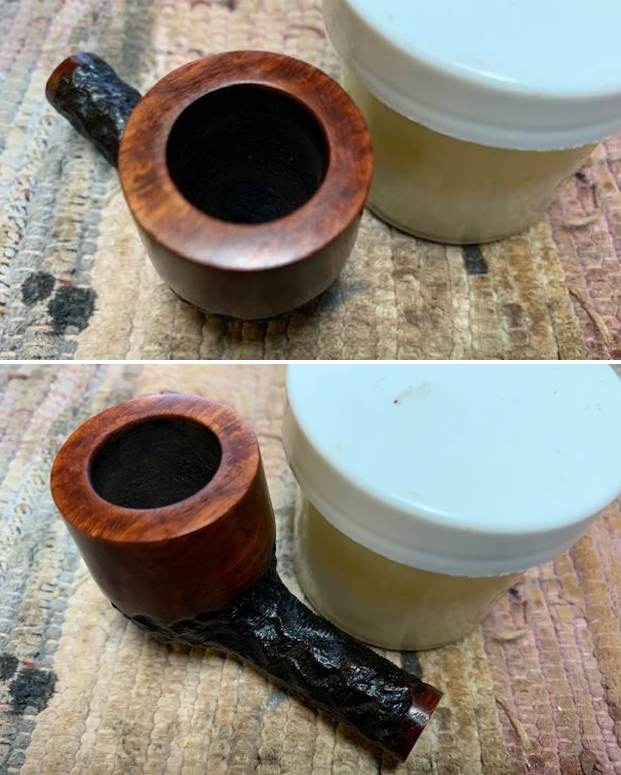
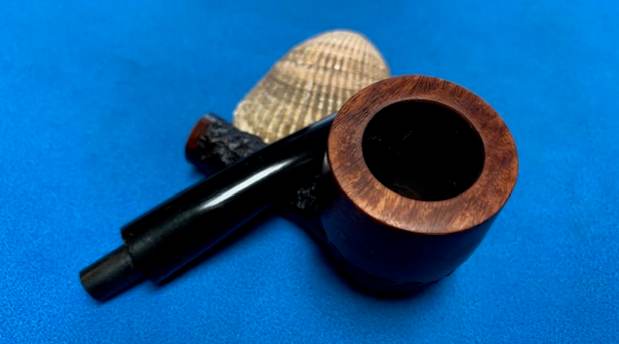
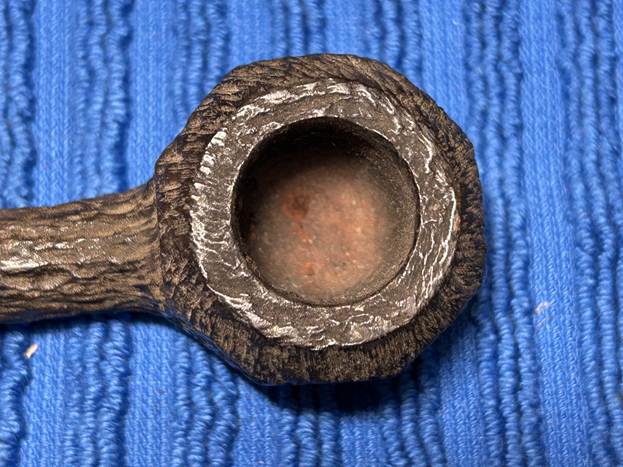
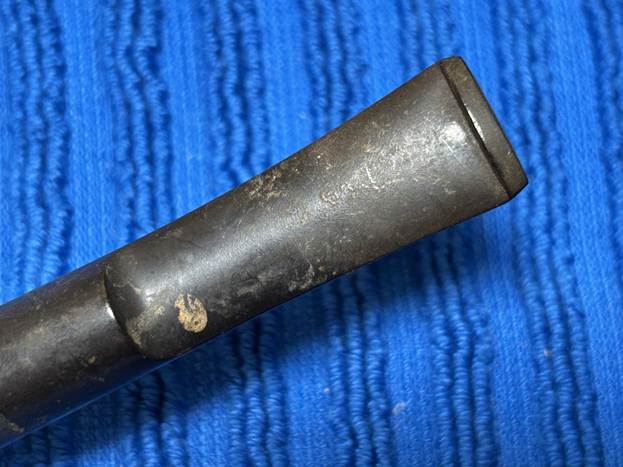
Let’s take a closer look. The stem is oxidized, calcified, and quite dirty. Happily, there is no actual damage to the stem. The bowl is also in excellent condition. There is some minor wear to the rustication, but this is easily fixed. It has been seldom used, so there is hardly any cake and no lava on the rim. In fact, there are trace amounts of the original clay coating that Trypis used on his pipes.
Cleaning the Stinger

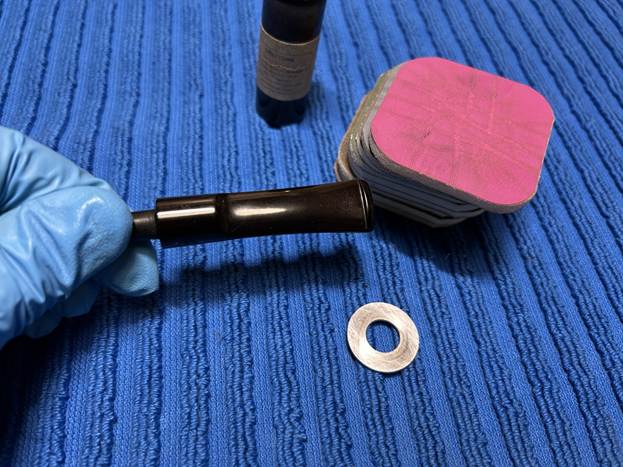
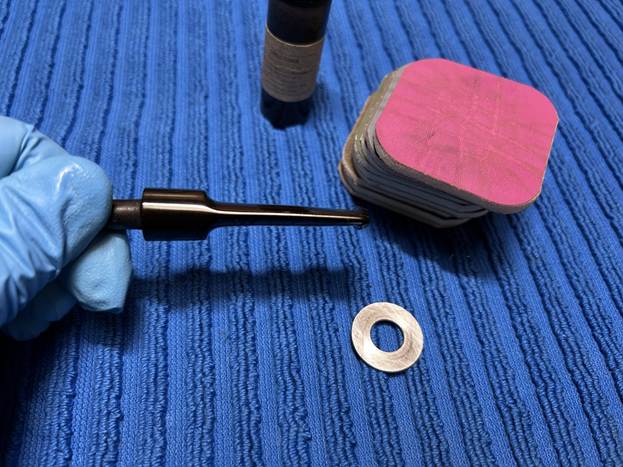
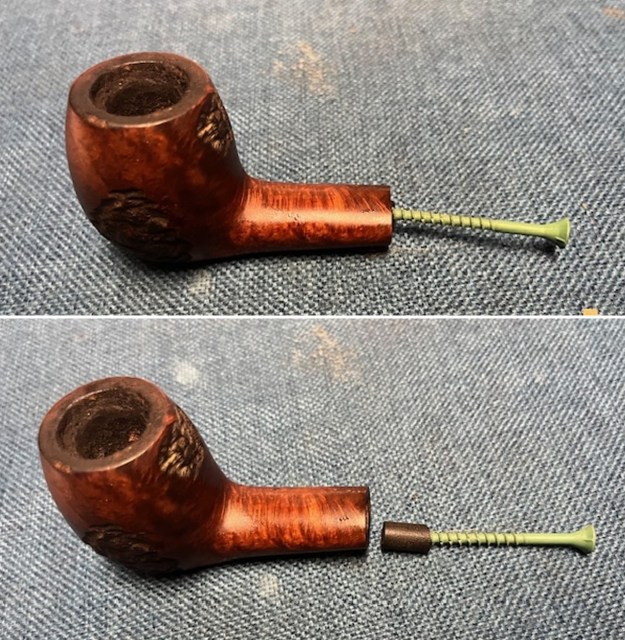
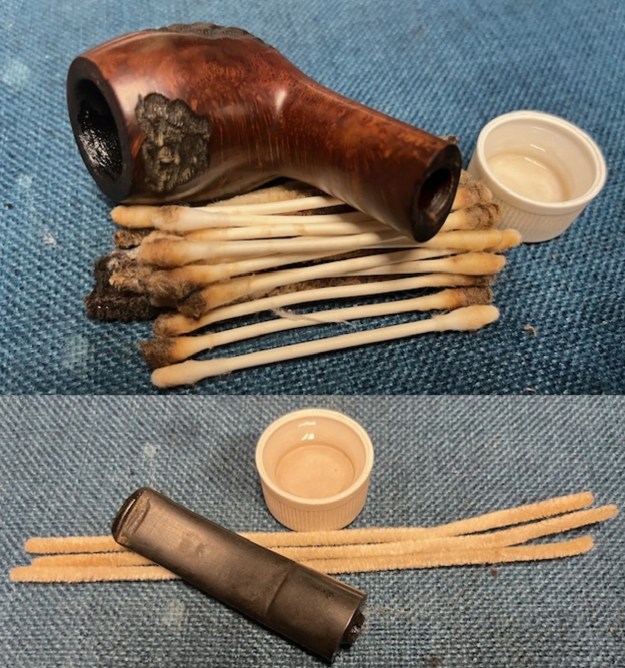
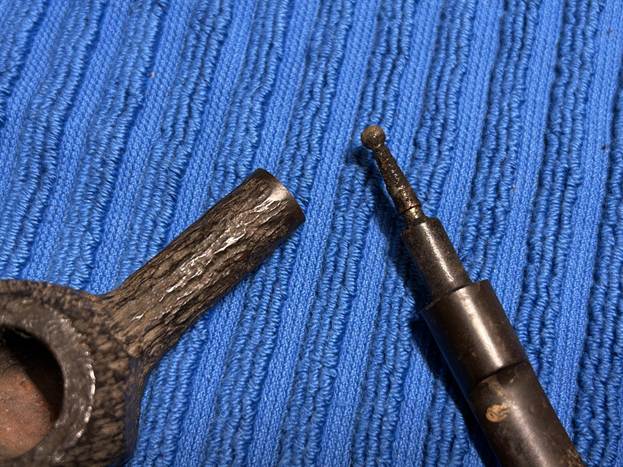
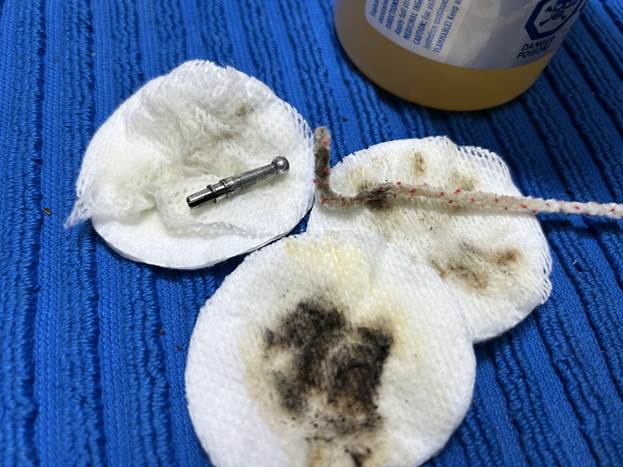
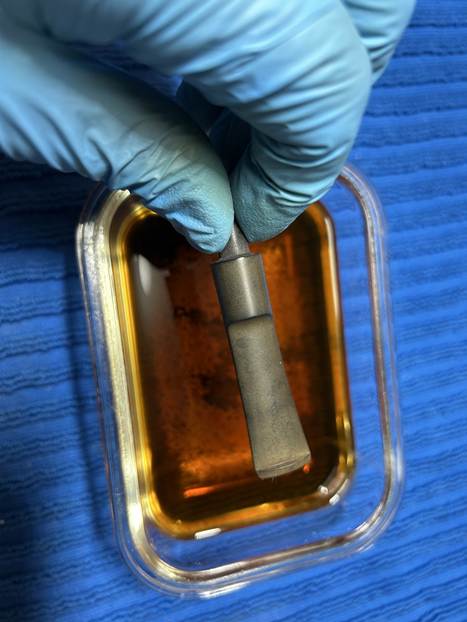
This stem had a stinger in it – and it was being quite stubborn about coming out of the tenon! I opted to warm the stem and stinger with my heat gun and this provided just enough softening of the internal goo to allow me to extract it. It then went for a soak in some lemon-infused 99% isopropyl alcohol. I let it sit for several hours and then cleaned it off and it looked much improved.
Cleaning the Stem

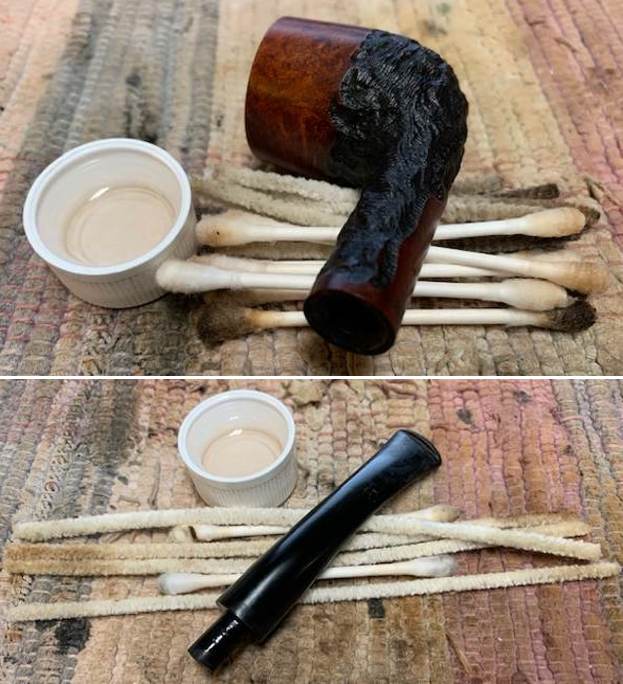
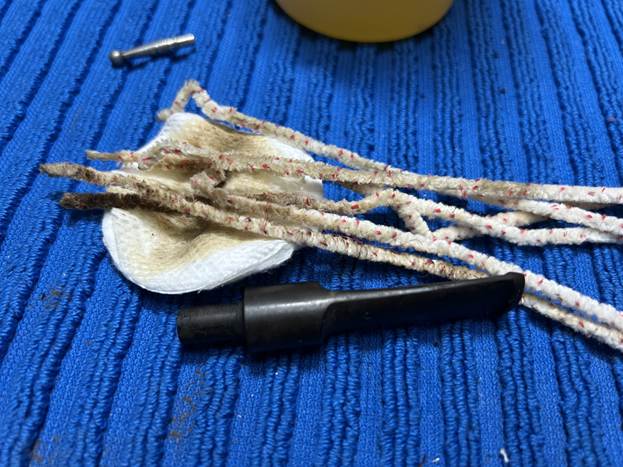
I used isopropyl alcohol on a few cotton rounds and wiped down the stem to provide an initial cleaning of filth before moving on to the next steps. The primary cleaning came next. I disinfected the inside of the stem with both pipe cleaners and cotton swabs dipped in lemon-infused 99% isopropyl alcohol. I scrubbed thoroughly to make sure the interior was very clean.
Removing Stem Oxidation

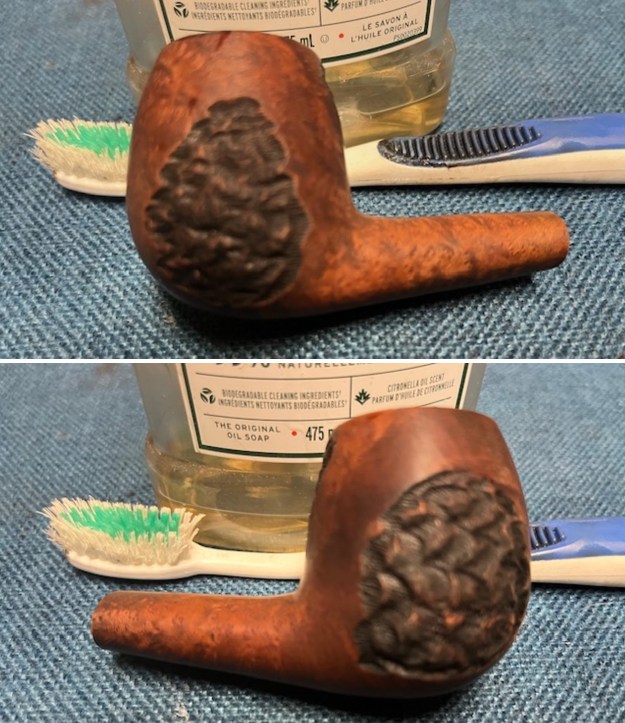
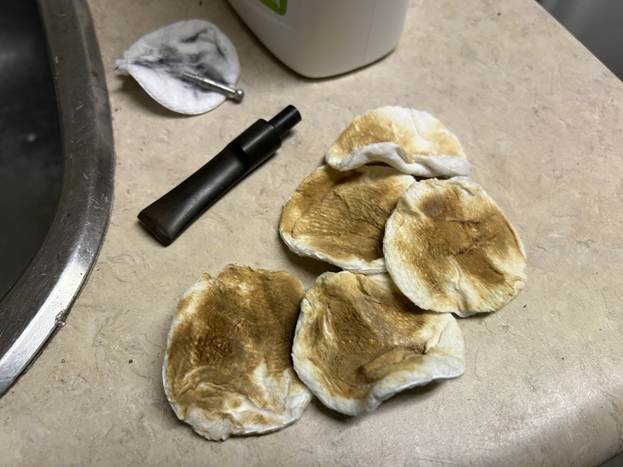
The goal of the next step is the removal (or minimization) of oxidation. Going to my sink, I used cream cleanser, cotton rounds, and a toothbrush, and scoured the stem to remove as much surface oxidation as possible. As the photos show, the result was a hideous, ochre-coloured mess – but better off the stem than on it.
Once the stem was reasonably clean, I soaked it overnight in some Briarville Stem Oxidation Remover. This solution works to draw oxidation in the stem to the surface of the vulcanite. This is a major aid and an important step in ensuring a well-restored stem. The following day, I drew out the stem from its bath and scrubbed the lingering fluid with a toothbrush.
Polishing the Stem

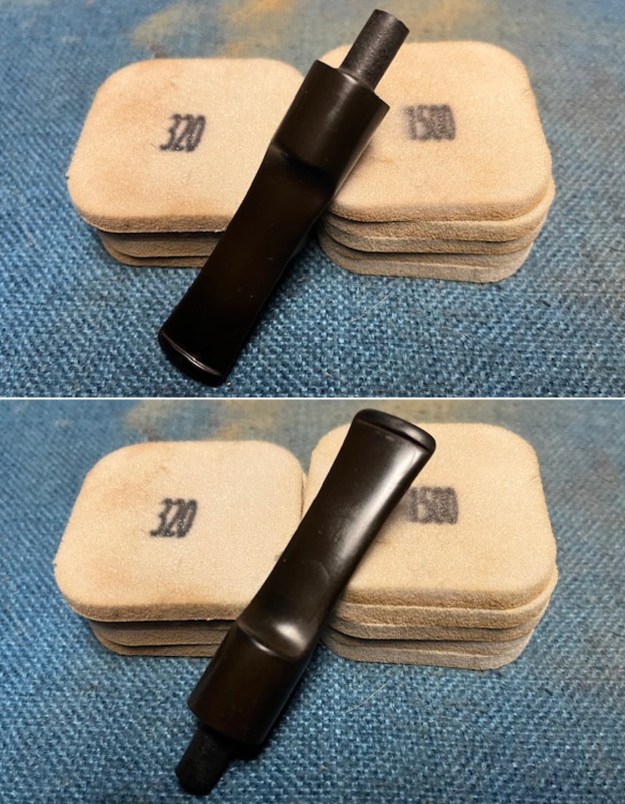
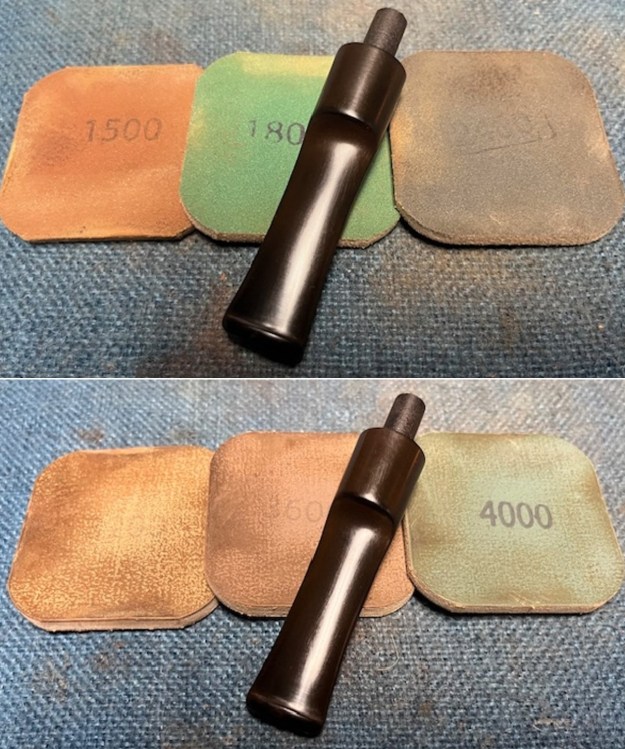
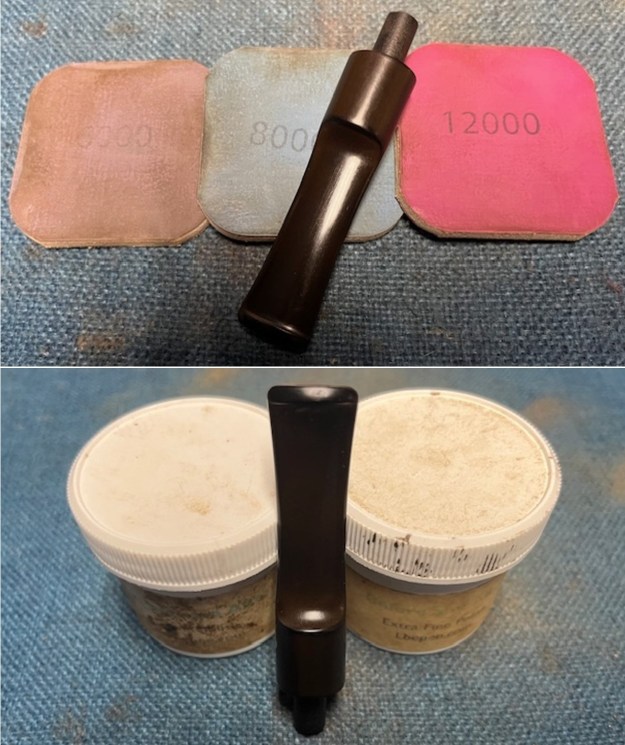
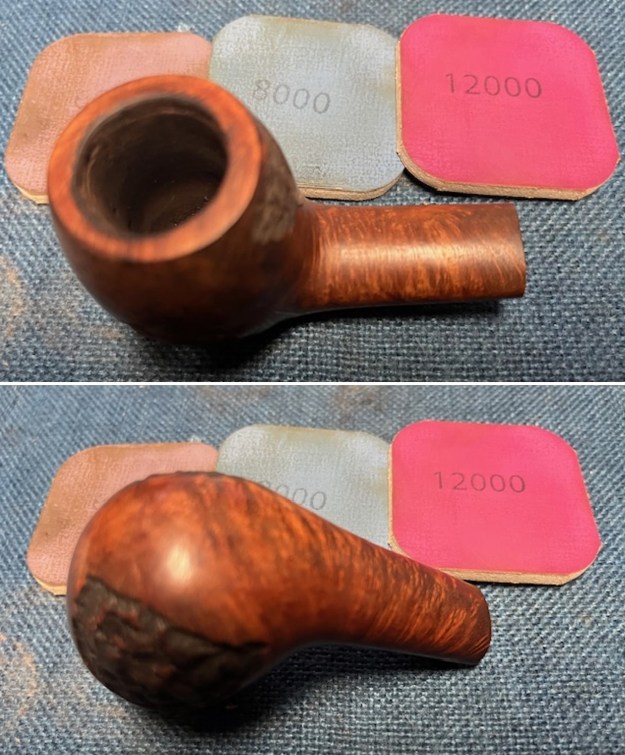
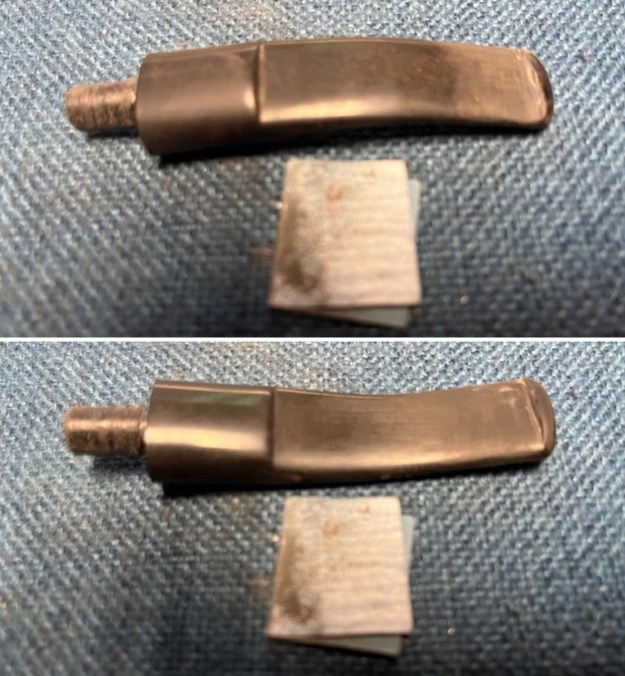
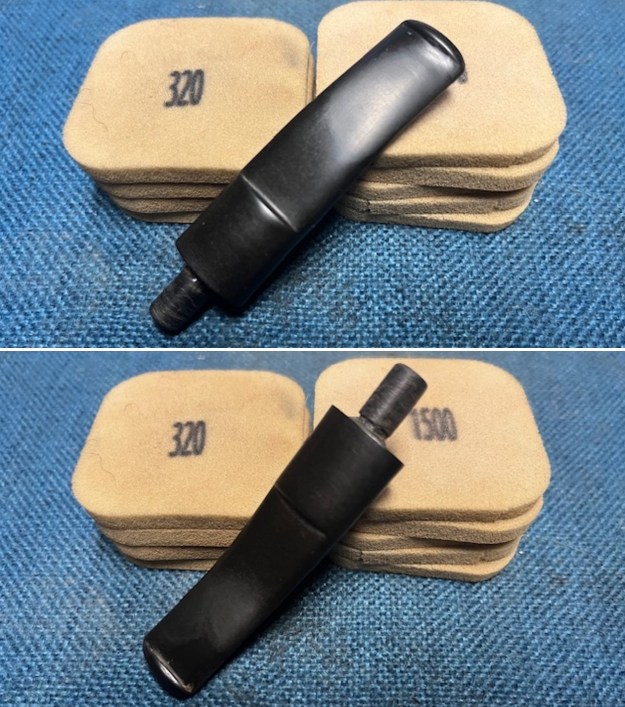
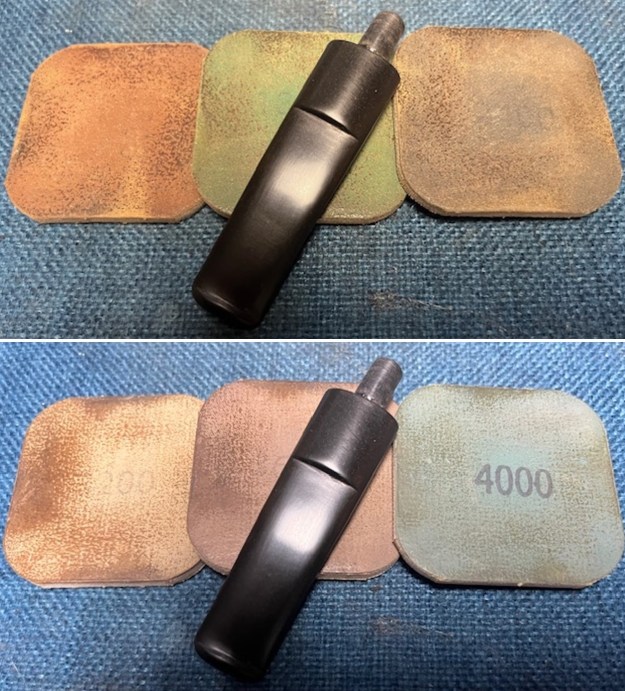
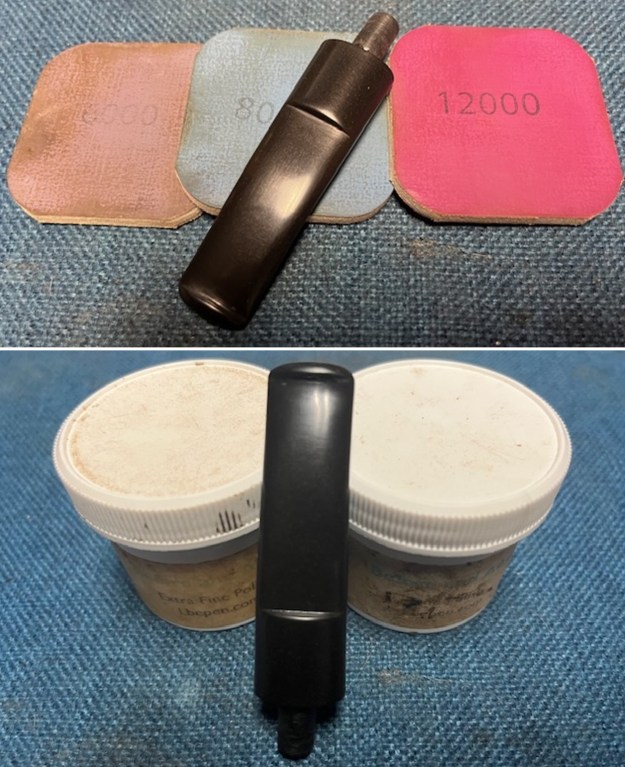
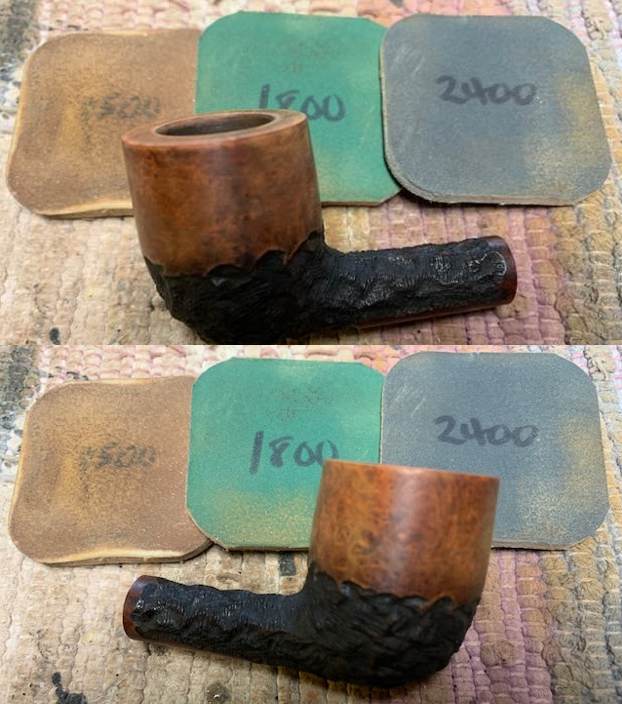
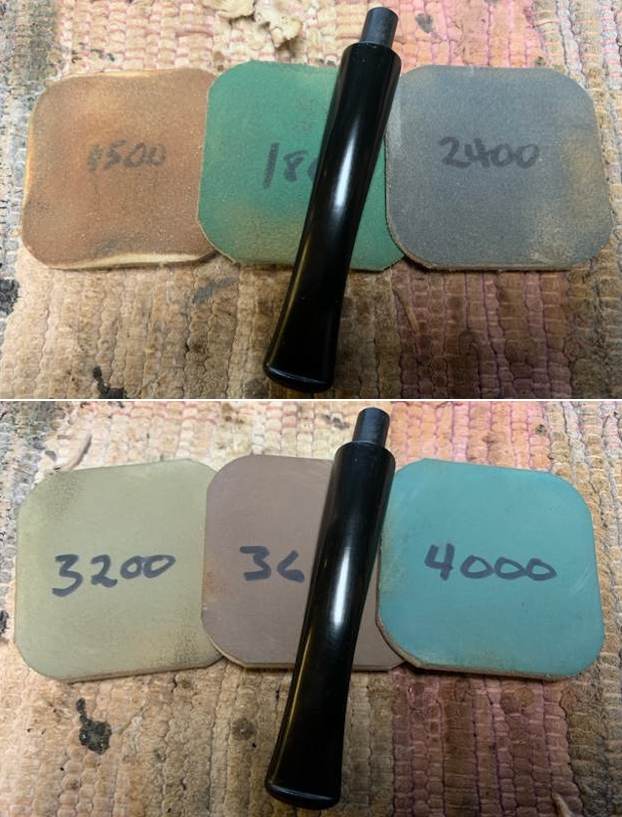
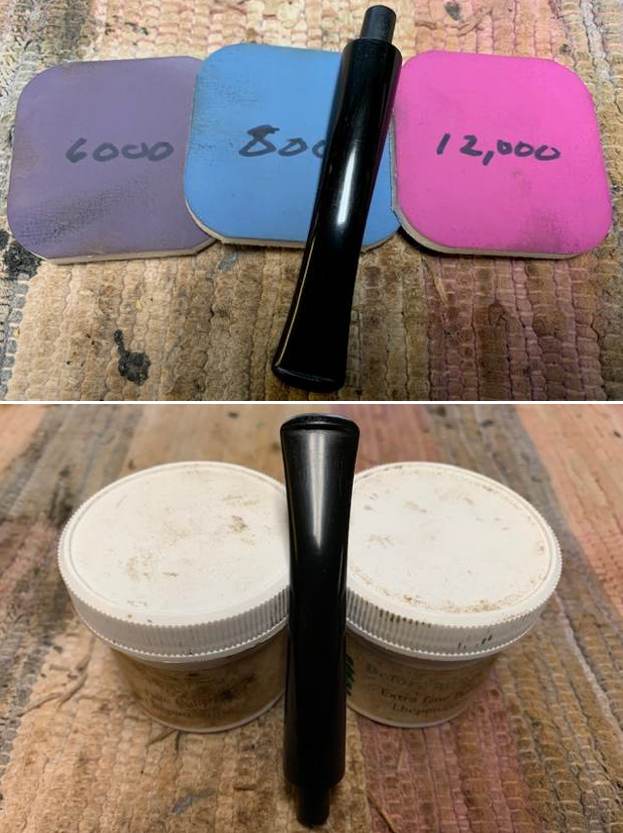
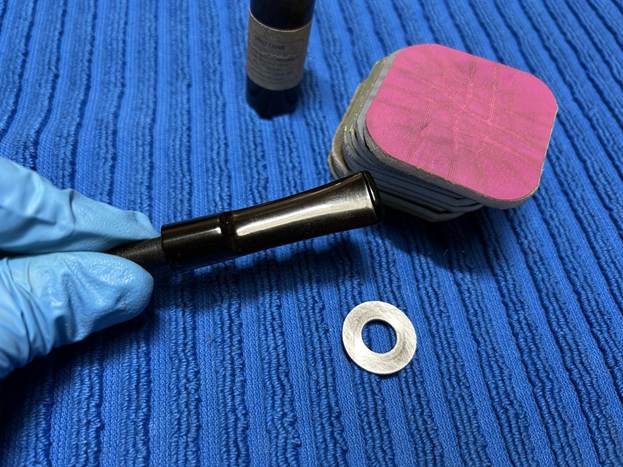
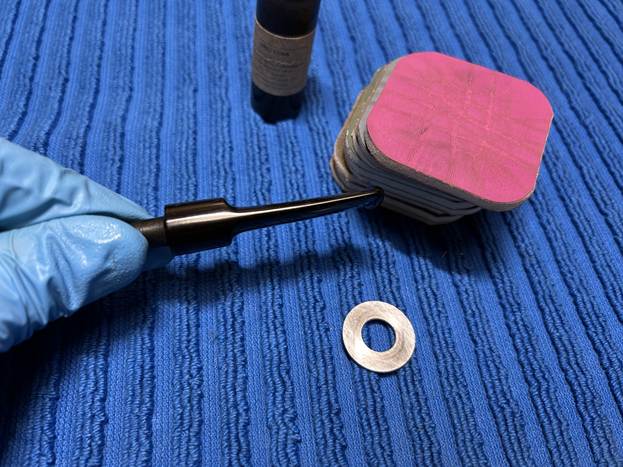
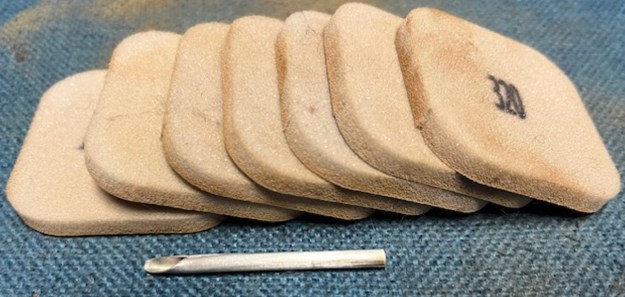
The penultimate step for the stem is sanding. First, with my set of needle files, I reduced the bulk of the cyanoacrylate repairs. I removed the excess adhesive as near to the surface as possible, without cutting into the vulcanite. Following that, I used all nine of the micromesh sanding pads (1,500 through 12,000 grit) to sand out flaws, even out the vulcanite, and provide gentle polishing of the finished surface. I also applied pipe-stem oil while using the last five micromesh pads. There was a wonderful, deep black shine to the stem when I was done.
Reaming the Bowl

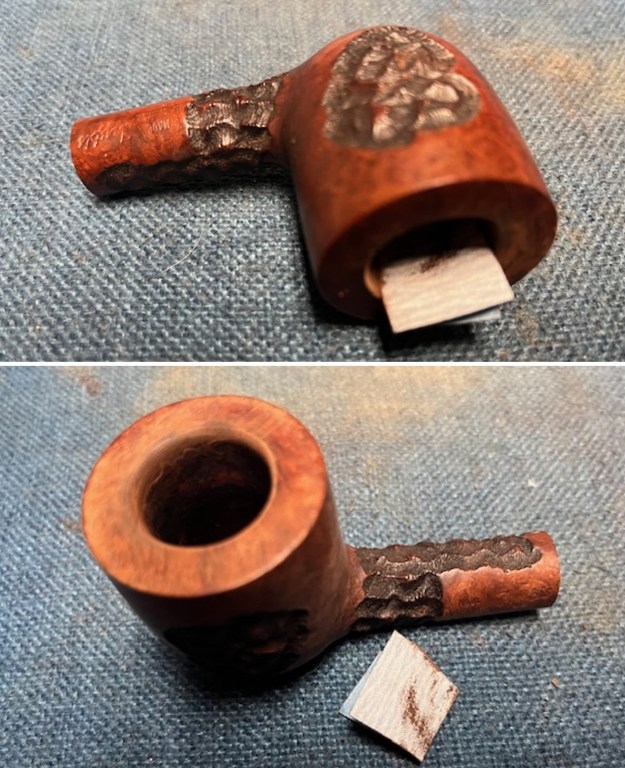
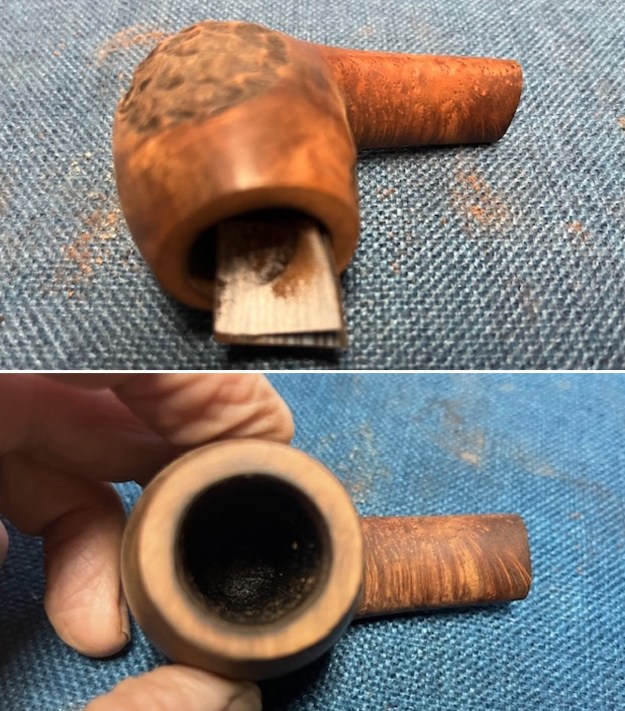
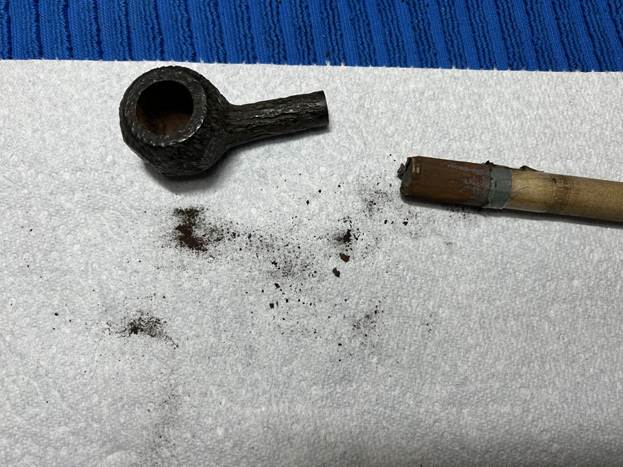
As the stem was (nearly) complete, I moved on to the stummel. The first step was to ream out the bowl – that is to say, remove all the cake inside the bowl. However, there was so little in the bowl that I only needed a piece of sandpaper taped to a wooden dowel. Collectively, these ensured that all the debris was removed – there wasn’t much, as you can see.
Cleaning the Bowl

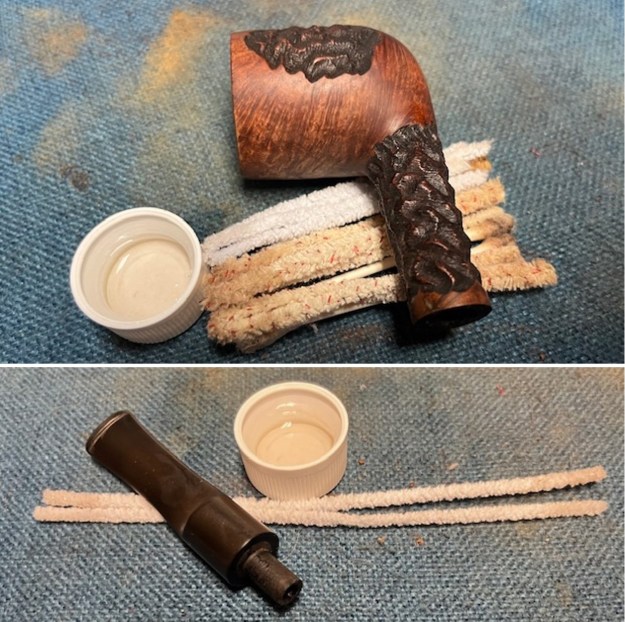
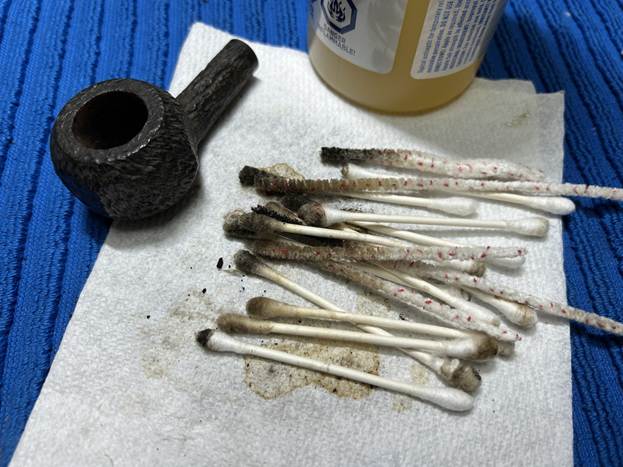
Similar to the stem, I then cleaned the stummel with both pipe cleaners and cotton swabs dipped in lemon-infused 99% isopropyl alcohol. With a pipe this dirty, it took quite a while and much cotton to clean.
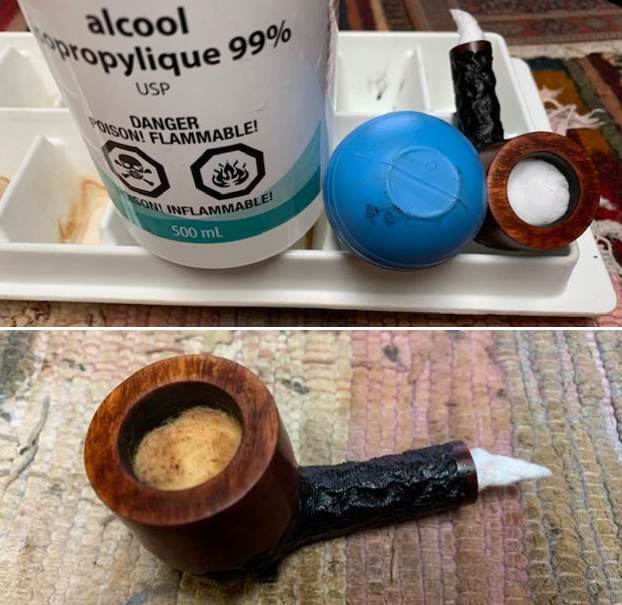
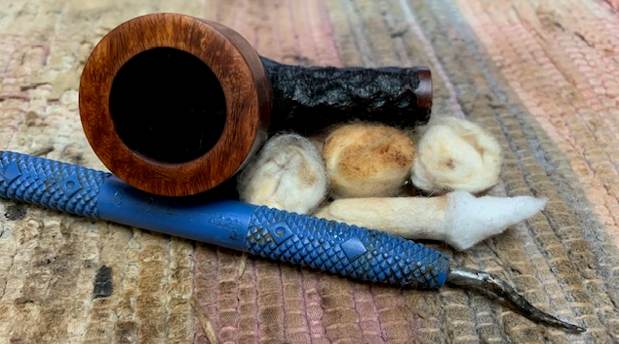
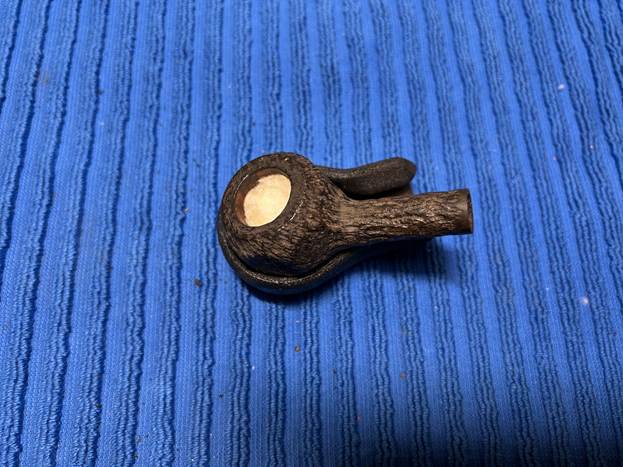
I then decided to ‘de-ghost’ the pipe – which means to exorcize the remaining filth from the briar. I filled the bowl and the shank with cotton balls, then saturated them with 99% isopropyl alcohol. I let the stummel sit overnight. This caused the remaining oils, tars and smells to leach out into the cotton.
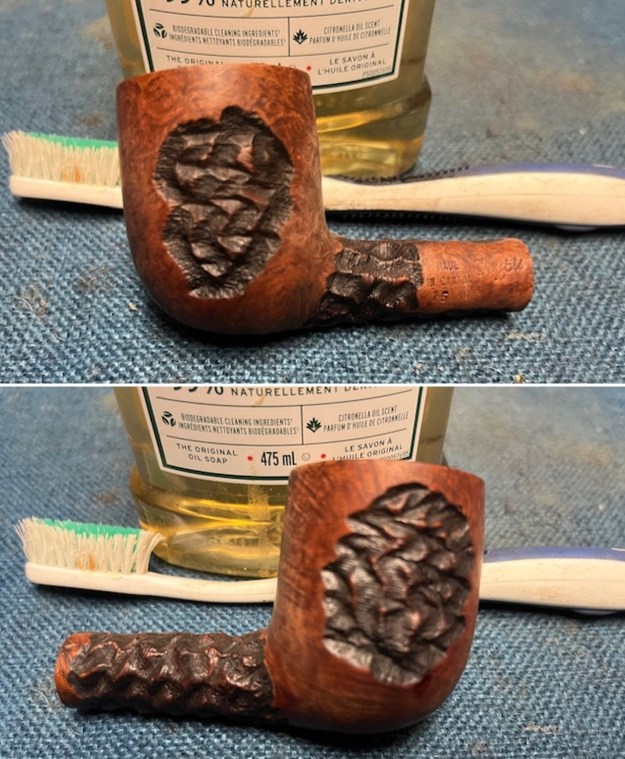
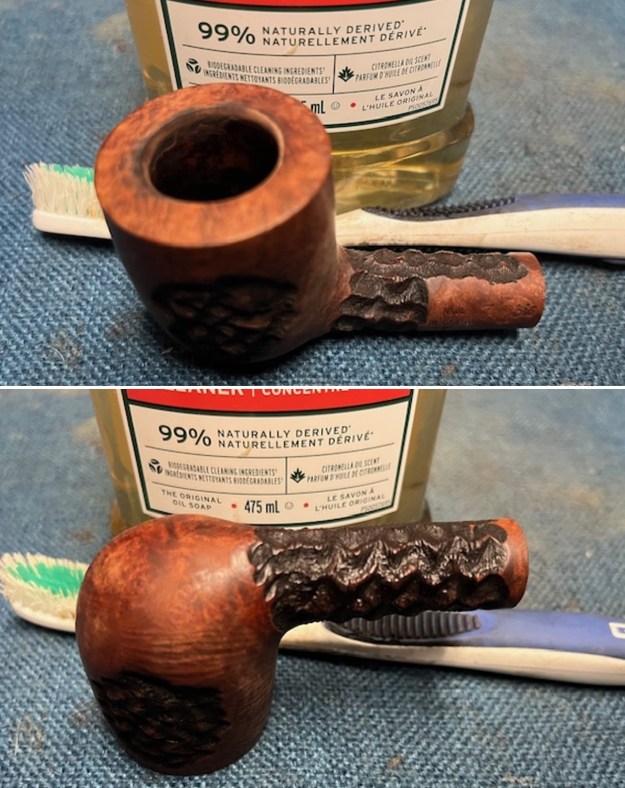
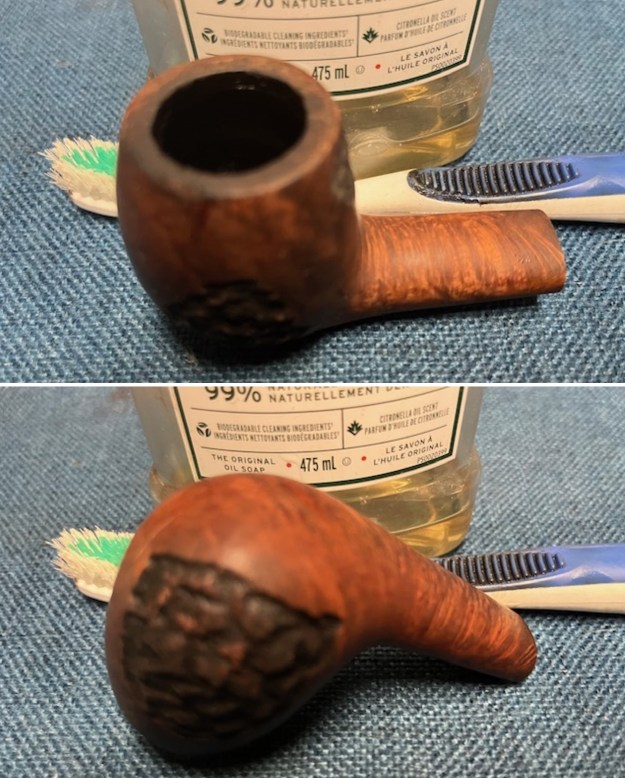
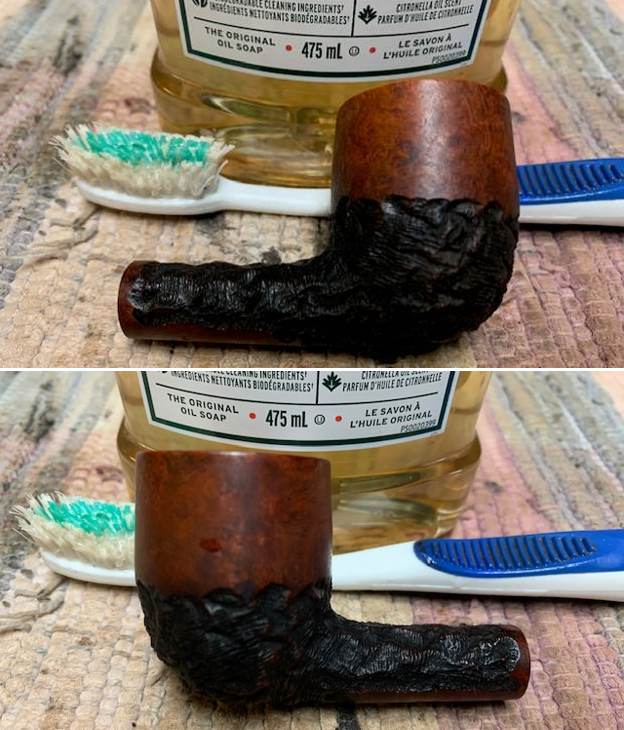
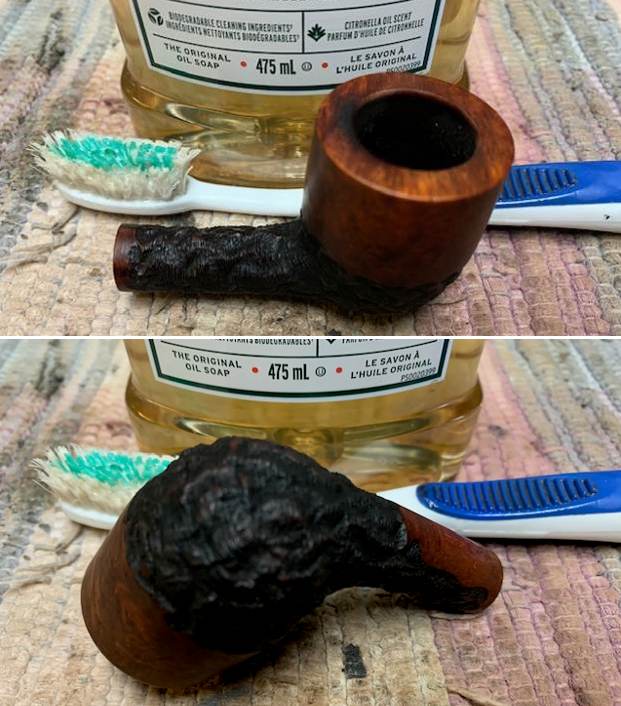
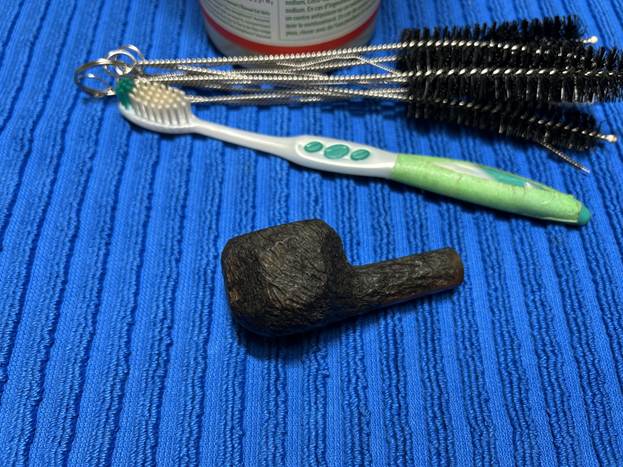
To tidy up the briar, I wiped down the outside, using a solution of a pH-neutral detergent and some distilled water, with cotton rounds. I also used a toothbrush in the crevices. This did a good job of cleaning any latent dirt on the surface of the briar. The last step of the cleaning process was to scour the inside of the stummel with the same mild detergent and tube brushes. This was the culmination of a lot of hard work in getting the pipe clean.
Finishing the Stummel

After that, a couple of spots of wood needed to be tinted in the same colour as the rest of the stummel. I used some of my furniture pens (which is simply dye in pen form) to match the colours. Worked perfectly.

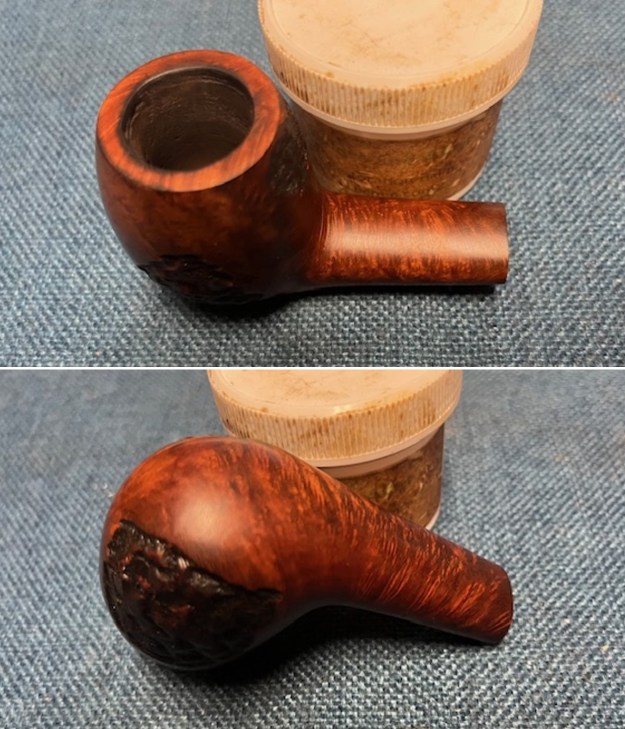
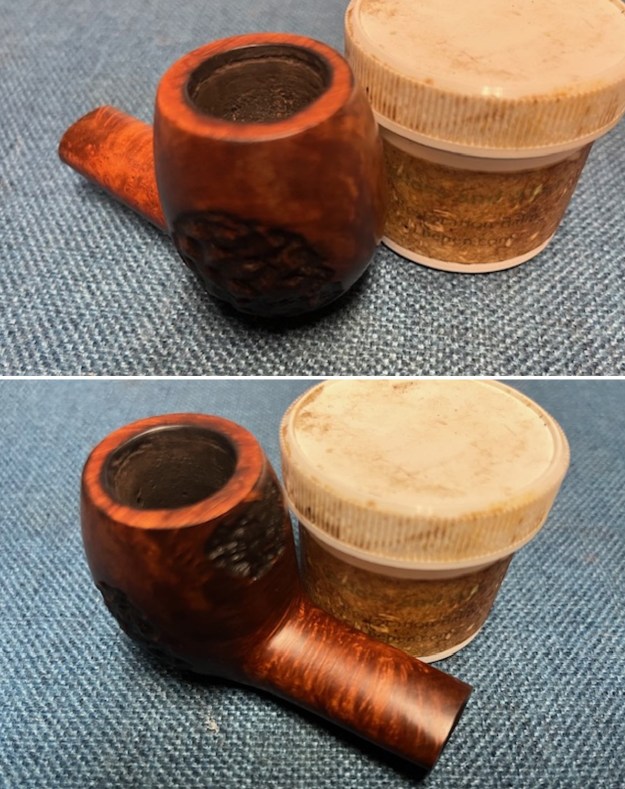
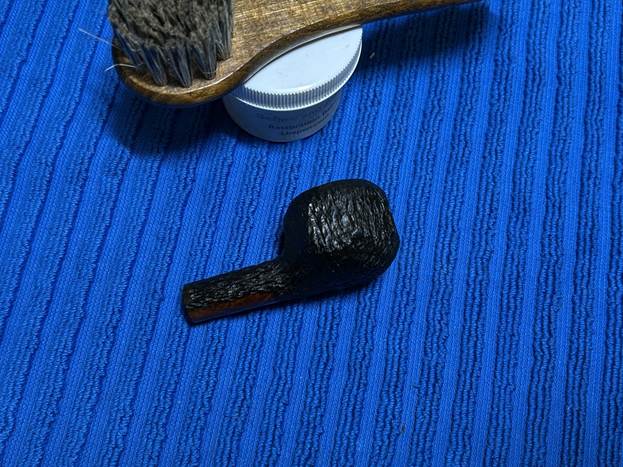
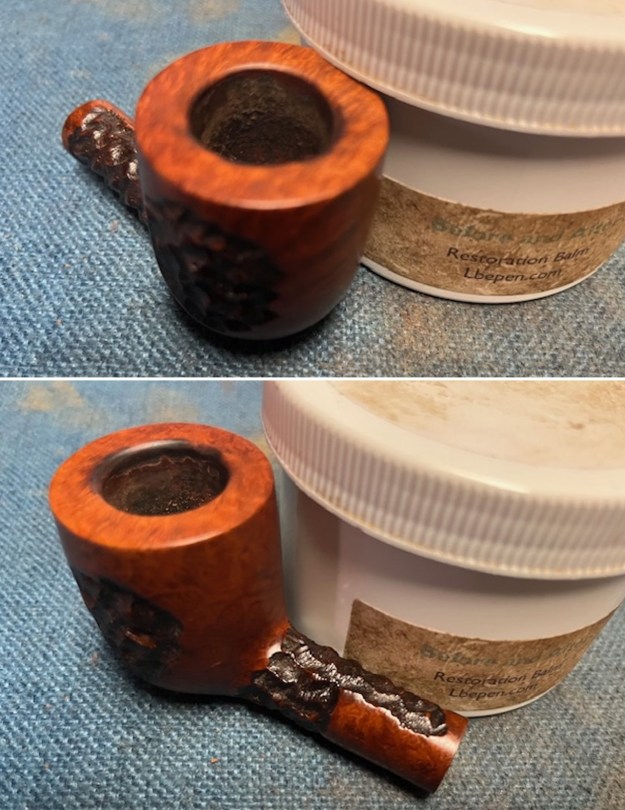
I rubbed some LBE Before & After Restoration Balm into the briar and let it sit for an hour or so. The balm moisturizes the wood and gives a beautiful depth to the briar. I then buffed the stummel with a microfibre cloth.
Polishing the Pipe

For the final step, I took the pipe to my bench polisher and carefully buffed it – first with a blue diamond compound on the stem, then with some conservator’s wax on the stummel. With the buffing done, the stummel looks warm and satisfying, and the stem has a rich, deep black lustre.

All done! This Trypis 637 rusticated panel pot looks fantastic again and is ready to be enjoyed by its next owner. I am pleased to announce that this pipe is for sale! If you are interested in acquiring it for your collection, please have a look in the Canadian section of the store here on Steve’s website, or you can email me directly at kenneth@knightsofthepipe.com. Here are the dimensions:

Length: 5⅓ in. (136 mm)

Height: 1⅓ in. (33 mm)

Bowl diameter: 1½ in. (38 mm)

Chamber diameter: ¾ in. (20 mm)

Weight: 1 oz. (31 g)

I hope you enjoyed reading the story of this pipe’s restoration as much as I enjoyed restoring it. If you are interested in more of my work, please follow me here on Steve’s website or send me an email. Thank you very much for reading and, as always, I welcome and encourage your comments.
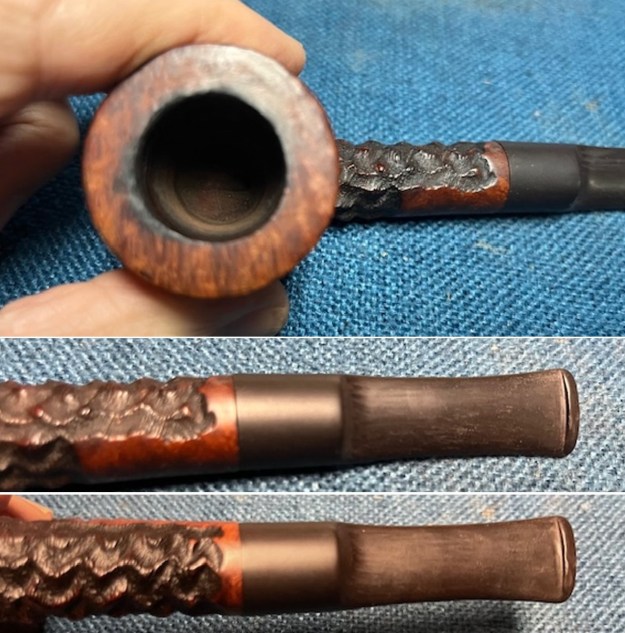
Breathing Fresh Life into a Phillip Trypis Made in Canada Mixed Finish 15 Billiard


by Steve Laug

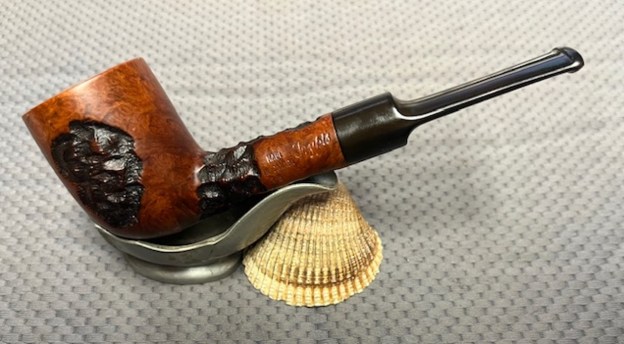
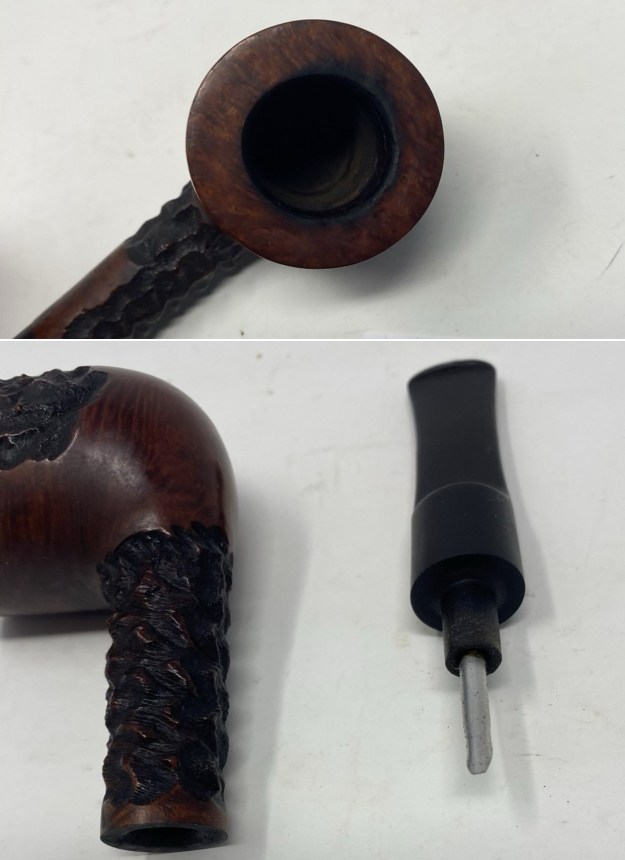
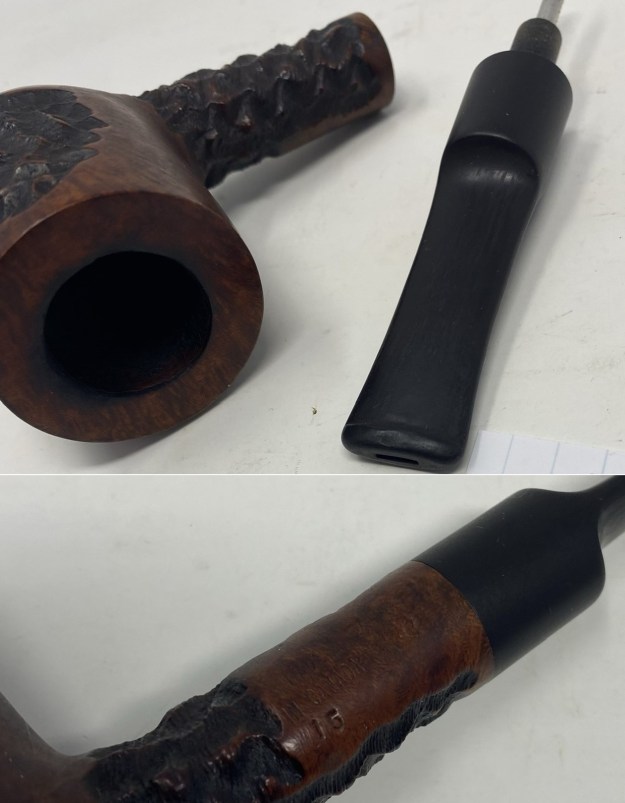
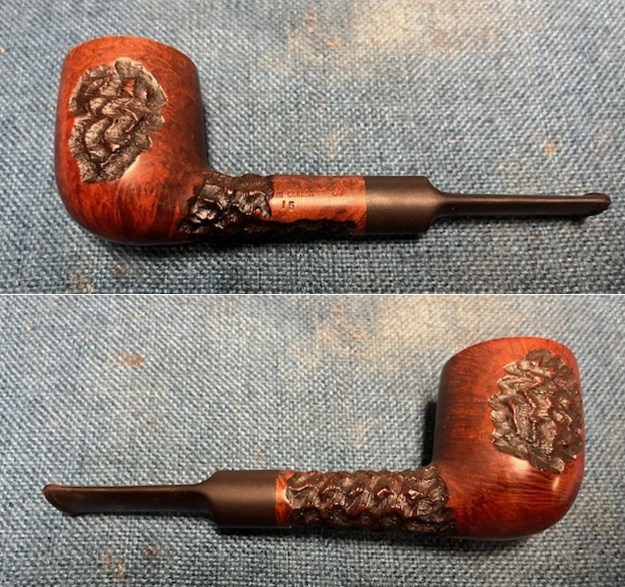
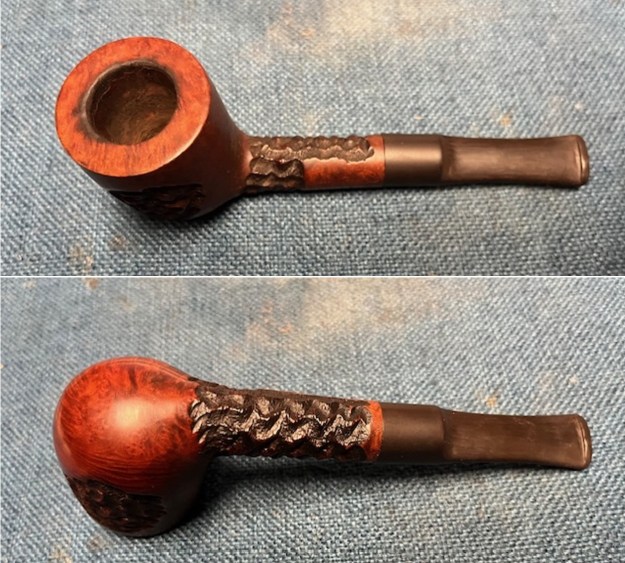
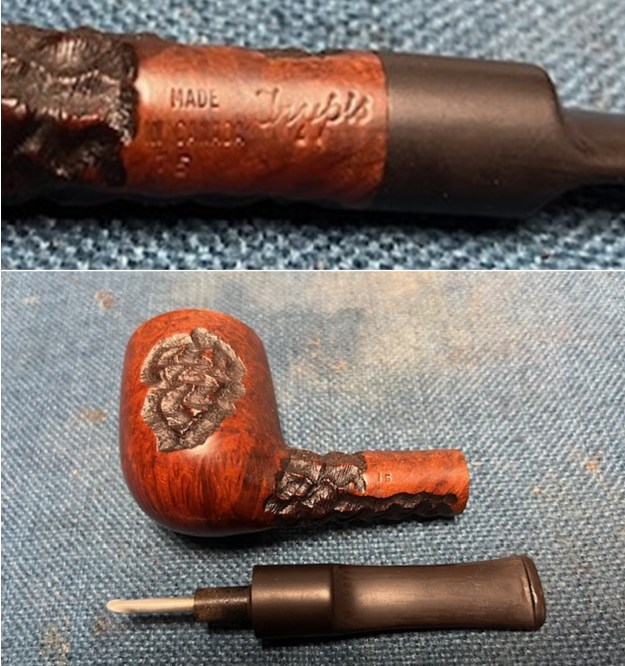
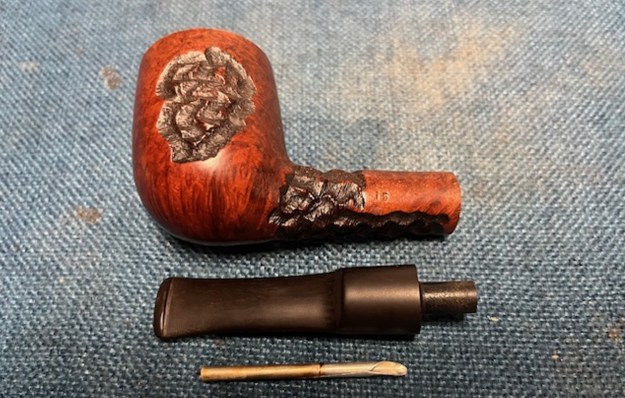
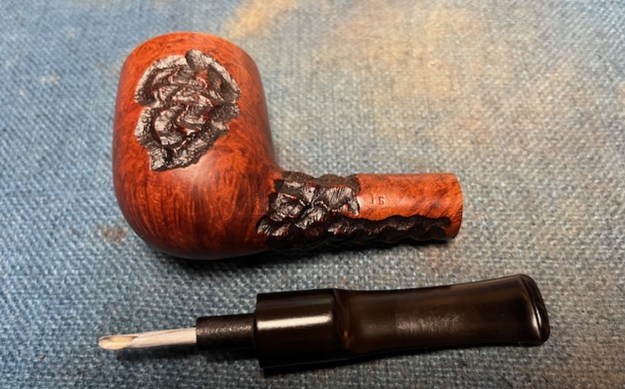
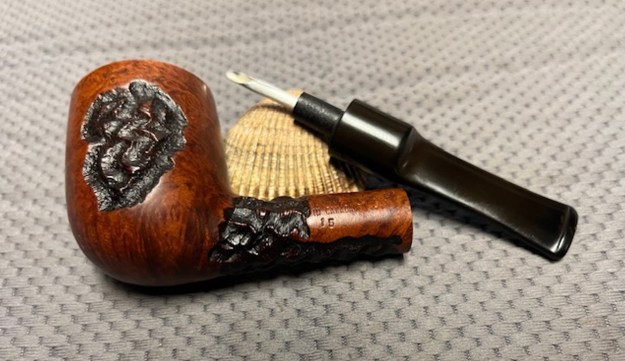
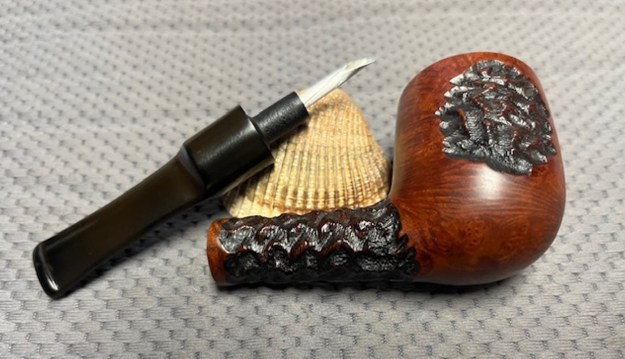
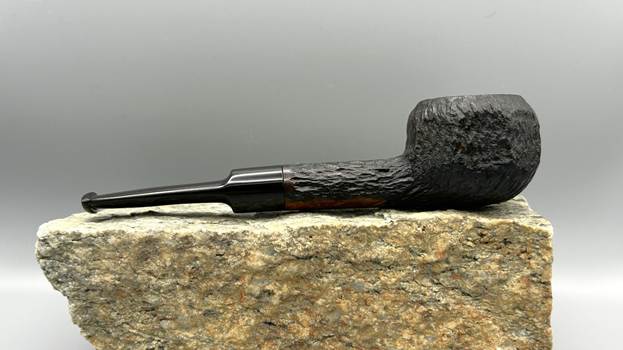
The next pipe I have chosen to work on is one I picked up on eBay a couple of weeks ago. It is an interesting mixed finish saddle stem Billiard. It has rusticated panels on the sides of the bowl and the shank. The finish is in good condition with the bowl stained in brown and the rusticated portions are stained black. The contrast is quite beautiful. The rim top is smooth and has some darkening and damage on the inner edge of the bowl. It looks like the damage was caused by the reaming. The bowl is clean and from mid bowl down it was raw briar. All that tells me that the pipe is lightly smoked. I saved the photos that the seller in Eastern Canada included in the sales listing. The photos I have included below are the photos included by the seller. The pipe arrived in Vancouver on the weekend and I unpacked it. I took photos of the pipe after I opened it. It is in good condition. The finish is lightly dirty and the rim top has some burn damage on the inner edge. There was grime on the rim top and bowl sides. The stem was lightly oxidized with light tooth marks on both sides ahead of the button. I took photos of the bowl and rim top and stem surfaces. The rim top and inner edge of the bowl is very clear. The inner edge shows damage and burn damage and reaming damage. The stem surfaces show oxidation and some tooth marks on both sides ahead of the button.I took a photo of stamping on the left side of the shank. It read Made [over] in Canada [over] shape number 15. That is followed by Trypis in cursive. It is clear and readable. I took a photo of the bowl with the stem removed. The first photo I took below show the aluminum inner tube in the tenon. The second photo shows the inner tube removed. I turned to Pipephil to confirm what I remembered about Trypis. I wanted to read a bit of the history (http://pipephil.eu/logos/en/logo-t8.html). I have included a screen capture of information on the site below. I have also included information from the sidebar below the screen capture.Artisan: Phillip Trypis first worked for Brigham as production manager. He continued to supply the Canadian brand when he was established on his own with his own Trypis label. Phillip Trypis had a pipe shop in Toronto.
I turned to the section on Pipedia about Trypis Pipes (https://pipedia.org/wiki/Trypis_Pipes). I quote below.

Quoting Stefan Seles: “Phillip Trypis has been a pipe maker in Canada for well over 40 years. Originally from Greece, his experience ranges from cutting burls in a briar mill to making literally thousands of pipes out of his home in the hamlet of Oakwood, Ontario. Brigham pipes benefited from Phillip’s skills where he worked for a number of years. There he directed the pipe production of the company when it was producing over 50,000 a year. Even though he left to start his own pipe shop, he still imported briar and turned tens of thousands of bowls for Brigham not to mention produce a large number of his own branded pipes.

Just over a year ago, Phillip had a serious fall and although he is back making pipes, he is unable to travel around to sell them as he once did. He has asked me to help him in that effort.

The pipes listed below are some of his best work made from decades old MF and R ebuchauns as well as some recently purchased Italian plateau. The prices are excellent, especially given the age and quality of the briar used. In fact, I would venture to say that these pipes have no peers, especially below the $100.00 price. You must be the judge.

Many of the styles are traditional in form although Phillip has a number of freehand styles that are both familiar and off the beaten path. The vast majority of the higher priced pipes are very large pieces to be sure.”

I have worked on quite a few of Phillip’s pipes through the years and it is always a pleasure as they are well engineered and crafted.

I decided to start my work on the pipe by cleaning up the rim top and inner edge of the bowl with a folded piece of 220 grit sandpaper. I removed the damage on the inner edge and top. The rim looked significantly better.I scrubbed the surface of the briar with Murphy’s Oil Soap and a tooth brush. I worked the soap into the rustication and on the rim top and edges with the brush. I rinsed it off with warm water and dried it off with a soft cloth. I cleaned out the mortise and airway in the shank and stem with cotton swabs, regular and bristle pipe cleaners and isopropyl alcohol. It came out looking and smelling very clean.I sanded the bowl and shank with 320-3500 grit 2 x2 inch sanding pad. I wiped the bowl down after each sanding pad with a damp cloth. The grain can be seen through the finish. I polished the briar with micromesh sanding pads – dry sanding it with 1500-12000 grit sanding pads. I wiped it down with a damp cloth after each sanding pad to remove the dust. The briar was really shining by the final pad. I rubbed the bowl and rim down with Before & After Restoration Balm. I worked it into the surface of the briar with my fingertips and a shoe brush to clean, enliven and protect it. I let the balm sit for 10 minutes and then buffed with a cotton cloth to raise the shine. I really like watching the Balm do its magic and bring the briar alive. I sanded the tobacco juice lacquer to remove it from the aluminum tube. I used 320-3500 grit sanding pads and wiped it down after each sanding pad. It looked very good at this point. I set the bowl and the inner tube aside and turned my attention to the stem. I sanded the stem with 320-3500 grit 2×2 inch sanding pads. I wiped the stem down after each sanding pad with Obsidian Oil. I blended in the tooth marks and chatter in the surface and after the final pad a deep shine began to develop.I polished the stem with 1500-12000 grit micromesh sanding pads. I wiped the stem down after each sanding pad with Obsidian Oil. I polished it with Before & After Pipe Stem Polish – both Fine and Extra Fine. I gave it a coat of Obsidian Pipe Stem Oil. It works to protect the stem from oxidizing. I set it aside to dry. I put the inner tube back in the tenon on the stem and took a photo of the pipe and stem.It was great to finish the tenon replacement and the restoration of this Mixed Finish Trypis 15 Billiard. I put the pipe back together and buffed it with Blue Diamond on the buffing wheel. I gave the rusticated patches on the bowl multiple coats of Conservator’s Wax and the smooth portions and the stem multiple coats of carnauba wax. I buffed the pipe with a clean buffing pad to raise the shine. I hand buffed the pipe with a microfiber cloth to deepen the shine. It is fun to see what the polished bowl looks like with deep sandblast all around it. Added to that the polished black, vulcanite, saddle stem was beautiful. This Trypis 15 Billiard is great looking and the pipe feels great in my hand. It is light and well balanced. Have a look at it with the photos below. The dimensions are Length: 5 ¾ inches, Height: 2 inches, Outside diameter of the bowl: 1 ½ inches, Chamber diameter: ¾ of an inch. The weight of the pipe is 47 grams/ 1.66 ounces. It is a beautiful pipe and one that I will soon be adding to the rebornpipes store in the Pipes Made by Canadian Pipemakers Section if you are interested in adding it to your colleciton. Thanks for walking through the restoration with me as I worked over this pipe. Thanks to each of you who are reading this blog.

As always, I encourage your questions and comments as you read the blog. Thanks to each of you who are reading this blog. Remember we are not pipe owners; we are pipe men and women who hold our pipes in trust until they pass on into the trust of those who follow us.

Fitting a new tenon and restoring a Trypis Oval Shank Apple


by Steve Laug

While I was travelling in Europe I received and email from James regarding a pipe repair that he had. He was referred to me by the local pipe shop. I have included his email below.

Hello,

My name is James and I have been informed of the excellent work you do restoring pipes to working condition. I’ve attached a few pics of a recent acquisition of mine…

As you can see there has been a tragic incident involving mine, the stem snapped and now it’s stuck like this. I’m not sure of the brand or make (bought it second hand) and it’s quite old, uses a filter less vulcanite stem material.

Do you think this is recoverable? The guy at the tobacco store (city cigar) spoke very highly of your ability and experience. Please let me know what you think, and whether you can help.

Thank you for your time

James

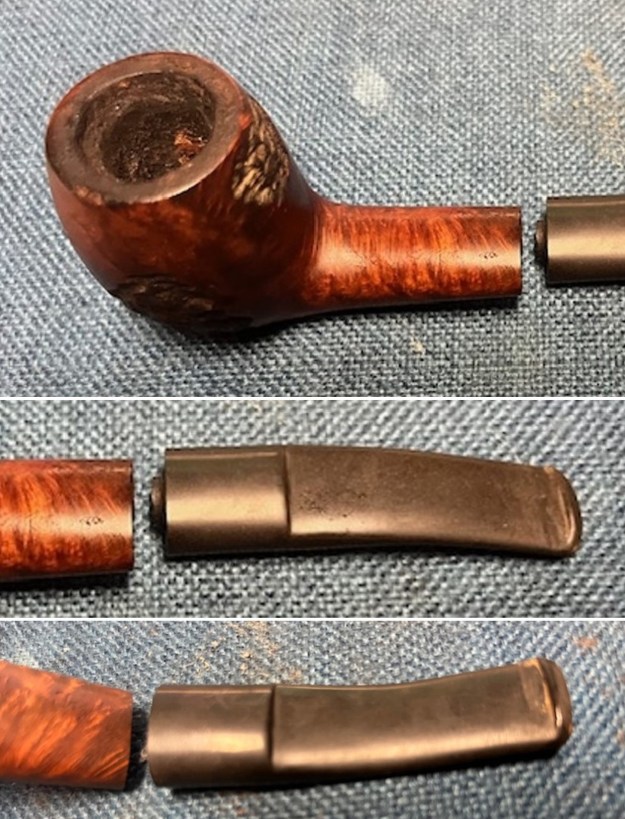
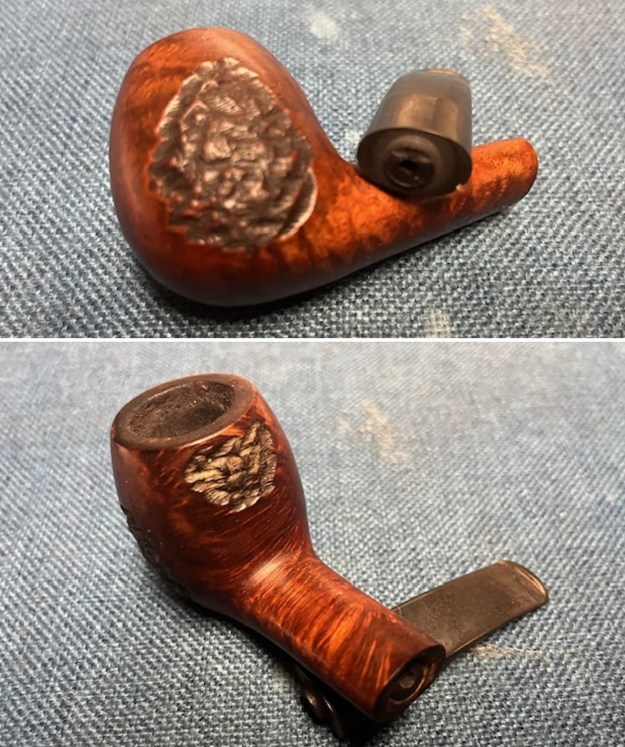
He included the following photos of the pipe he wanted worked on. It was a nice looking oval shank Apple with a snapped tenon. The pipe appears to have some nice grain from the photos. The stamping on the underside of the shank reads Made in Canada Trypis. I wrote James back and told him I could repair the pipe. James stopped by yesterday and dropped the pipe off for me. This is what I saw. It was stamped on the underside of the shank and read Made [over] In Canada [followed by] Trypis. The bowl was smooth with a rusticated patch on each side and one on the backside of the bowl toward the top. The rustication is very reminiscent of the rustication on Brigham pipes. The finish was dirty and had some grime ground into the valleys of the rustication and on the smooth part of the bowl but still looked to be in good condition. The bowl was thickly caked with some light lava on the top at the back and some darkening on the top and the inner edge of the rim. The saddle stem had some light tooth chatter on the top and underside near the button. It had promise but it was dirty. I took some photos of the pipe before I started my cleanup work. I took photos of the rim top and bowl to give a clear picture of the thickness of the cake and the overflow of lava on the rim top and inner edge. I also took photos of the top and underside of the stem to show the chatter and tooth marks.I took some photos of the stem end and the tenon in the shank. The tenon snapped almost smoothly against the stem surface. It was stuck in the shank but was certainly removable. I turned to Pipephil to confirm what I remembered about Trypis. I wanted to read a bit of the history (http://pipephil.eu/logos/en/logo-t8.html). I have included a screen capture of information on the site below. I have also included information from the sidebar below the screen capture.Artisan: Phillip Trypis first worked for Brigham as production manager. He continued to supply the Canadian brand when he was established on his own with his own Trypis label. Phillip Trypis had a pipe shop in Toronto.

I turned to the section on Pipedia about Trypis Pipes (https://pipedia.org/wiki/Trypis_Pipes). I quote below.

Quoting Stefan Seles: “Phillip Trypis has been a pipe maker in Canada for well over 40 years. Originally from Greece, his experience ranges from cutting burls in a briar mill to making literally thousands of pipes out of his home in the hamlet of Oakwood, Ontario. Brigham pipes benefited from Phillip’s skills where he worked for a number of years. There he directed the pipe production of the company when it was producing over 50,000 a year. Even though he left to start his own pipe shop, he still imported briar and turned tens of thousands of bowls for Brigham not to mention produce a large number of his own branded pipes.

Just over a year ago, Phillip had a serious fall and although he is back making pipes, he is unable to travel around to sell them as he once did. He has asked me to help him in that effort.

The pipes listed below are some of his best work made from decades old MF and R ebuchauns as well as some recently purchased Italian plateau. The prices are excellent, especially given the age and quality of the briar used. In fact, I would venture to say that these pipes have no peers, especially below the $100.00 price. You must be the judge.

Many of the styles are traditional in form although Phillip has a number of freehand styles that are both familiar and off the beaten path. The vast majority of the higher priced pipes are very large pieces to be sure.”

I have worked on quite a few of Phillip’s pipes through the years and it is always a pleasure as they are well engineered and crafted.

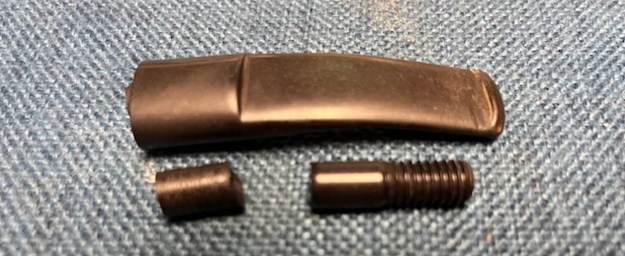
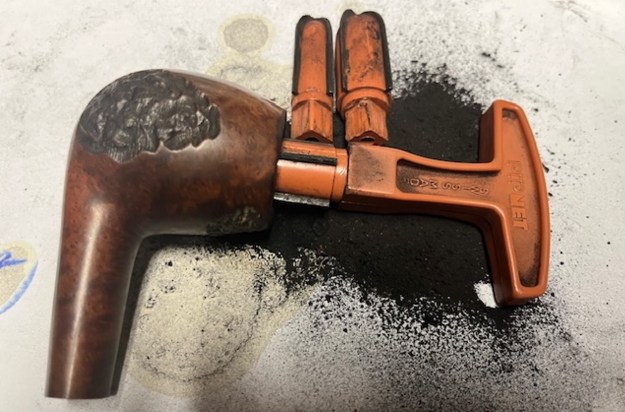
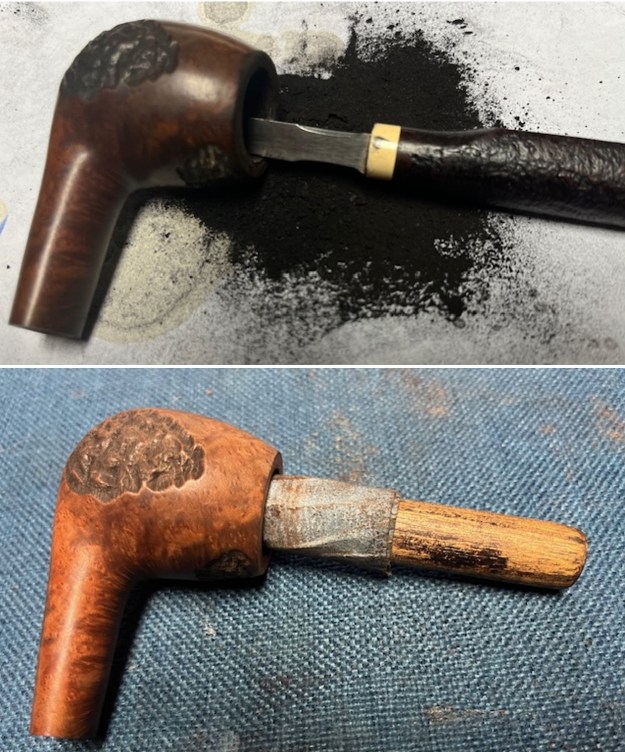
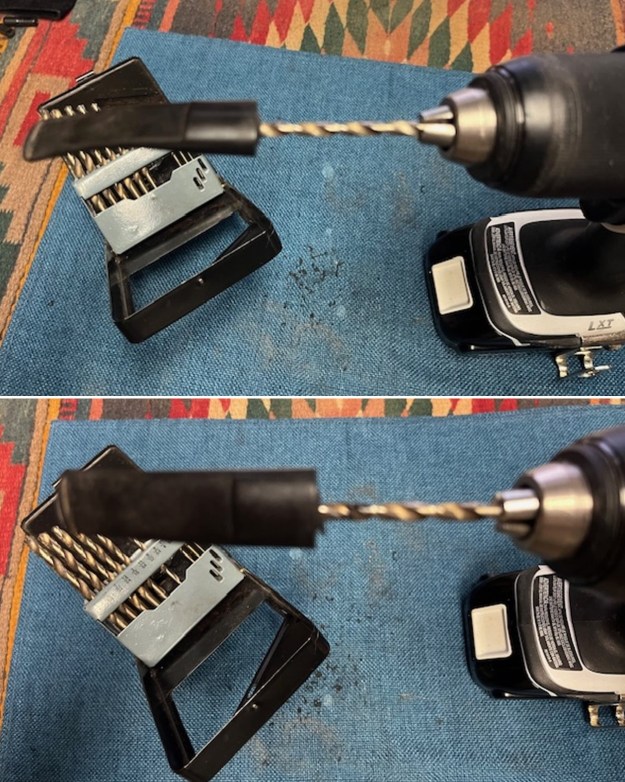
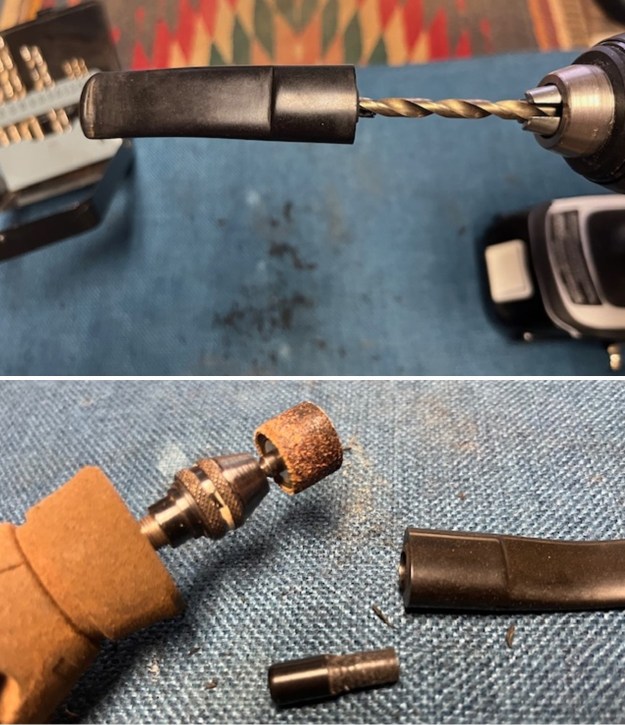
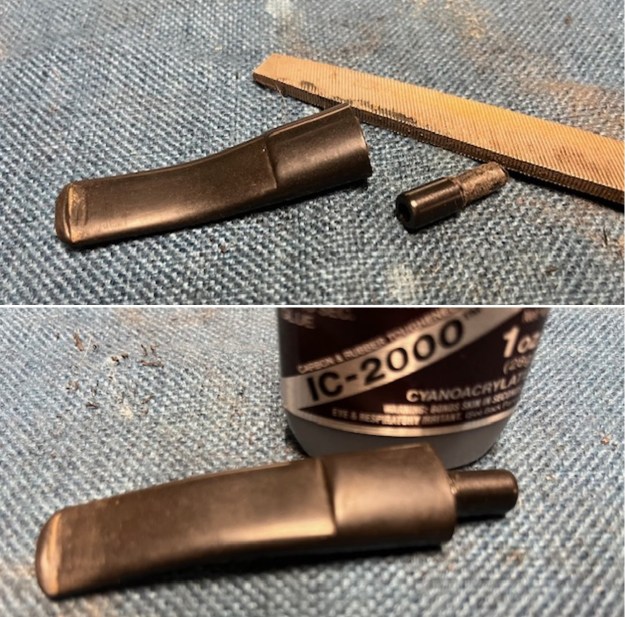
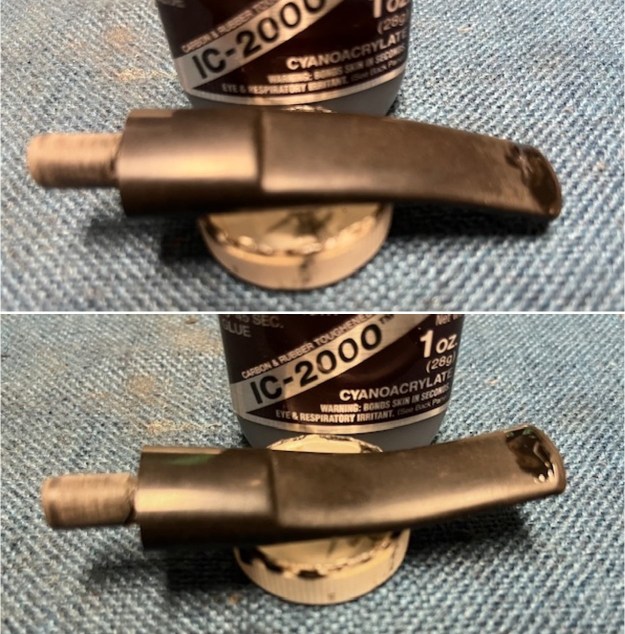
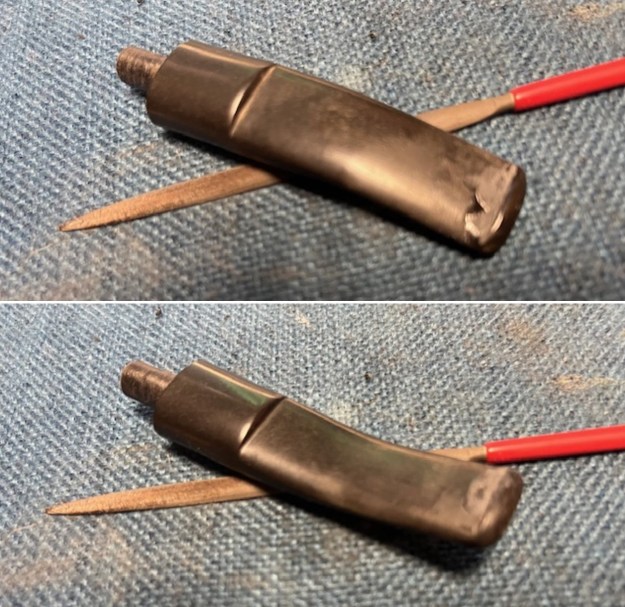
I started my work on the pipe by pulling the broken tenon in the shank. I put the bowl in the freezer for a short time to loosen the fit in the shank. I used a screw that I turned into the airway to pull out the snapped tenon. I went through my tenons and found a match that I would use to replace the broken tenon. I began my work by reaming the bowl. It had a very thick hard cake that was like rock. I started with a PipNet Pipe Reamer using the first, second and third cutting heads to remove all of the cake. I cleaned up the remnants of the cake on the walls with a Savinelli Fitsall Pipe Knife. I finished by sanding the bowl walls smooth with 220 grit sandpaper wrapped around a piece of dowel. I cleaned out the inside of the mortise, shank and the airway in the stem with isopropyl alcohol, cotton swabs and pipe cleaners.I scrubbed the externals of the pipe with undiluted Murphy’s Oil Soap with a tooth brush. I rinsed it under running warm water to remove the soap and grime. The bowl and rim top cleaned up really well with the lava coat removed. The inner edge of the rim was in good condition. I used a folded piece of 220 grit sandpaper to smooth out the damage on the rim top and the inner edge of the bowl. I wiped it down with a damp cloth to remove the sanding debris. It looked much better once I had finished.I polished the rim top and the smooth briar with micromesh sanding pads – dry sanding with 1500-12000 grit pads and wiped it down with a damp cloth after each sanding pad. By the end of the last set of three the bowl took on a rich shine. I worked some Before & After Restoration Balm into the surface of the briar with my fingertips to clean, enliven and protect the briar. I let the balm sit for 15 minutes and then buffed with a cotton cloth to raise the shine. The photos show the bowl at this point in the restoration process. I set the bowl aside and turned my attention to the stem. I flattened out the broken tenon on the stem surface with my Dremel and sanding drum. I then drilled the airway open with several drill bits to open the airway to receive the new tenon end. I used the Dremel and sanding drum as well as a flat file to reduce the threaded end of the tenon replacement until the fit was snug in the opened airway. I glued it in place in the stem with black rubberized CA glue and set it aside to cure. I filled in the deep tooth troughs ahead of the button on both sides with the rubberized CA glue I had used on the tenon fit. I set it aside to cure. Once they cured I flattened the repairs ahead of the button area with a flat file to begin blending them into the surface of the stem. I followed that by sanding them with a folded piece of 220 grit sandpaper. I further sanded the stem with 320-3500 grit 2×2 inch sanding pads. The repairs blended in very well and I was able to remove all of the oxidation on the surface at the same time.I polished the vulcanite stem with micromesh sanding pads – 1500-12000 grit pads. I wiped the stem down with Obsidian Oil after each sanding pad. I polished the stem with Before and After Stem Polish – both Fine and Extra Fine. I rubbed it down with some more Obsidian Oil. It was great to finish the tenon replacement and the restoration of this Smooth Oval Shank Trypis Apple. I put the pipe back together and buffed it with Blue Diamond on the buffing wheel. I gave the rusticated patches on the bowl multiple coats of Conservator’s Wax and the smooth portions and the stem multiple coats of carnauba wax. I buffed the pipe with a clean buffing pad to raise the shine. I hand buffed the pipe with a microfiber cloth to deepen the shine. It is fun to see what the polished bowl looks like with deep sandblast all around it. Added to that the polished black, vulcanite, saddle stem was beautiful. This Trypis Apple is great looking and the pipe feels great in my hand. It is light and well balanced. Have a look at it with the photos below. The dimensions are Length: 6 inches, Height: 2 inches, Outside diameter of the bowl: 1 ¼ inches, Chamber diameter: ¾ of an inch. The weight of the pipe is 52 grams/ 1.83 ounces. It is a beautiful pipe and one that James will soon pick up. I think he will enjoy smoking this beauty. Thanks for walking through the restoration with me as I worked over this pipe. Thanks to each of you who are reading this blog.

New Life for a Made in Canada Trypis 3 Billiard with a slight bend in the stem


Blog by Steve Laug

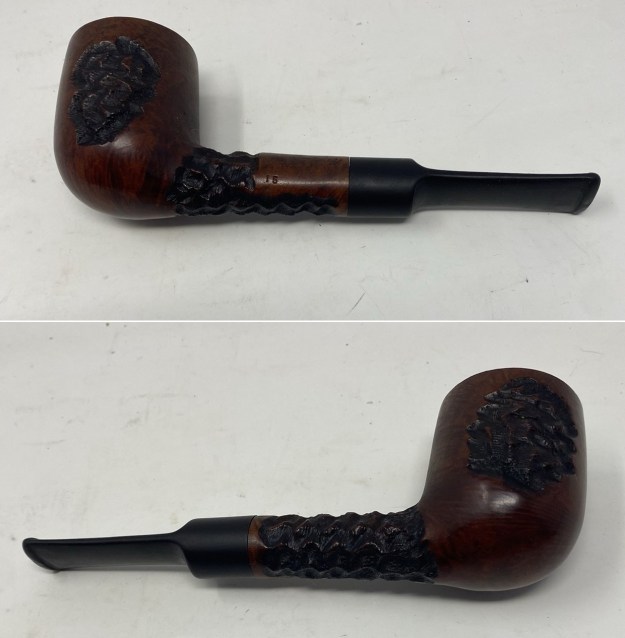
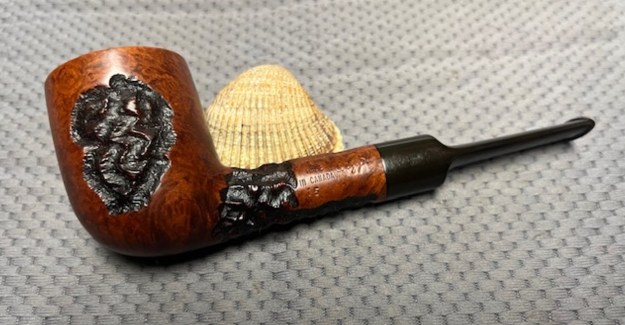
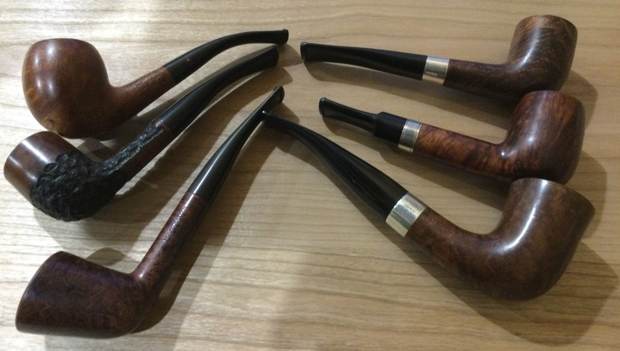
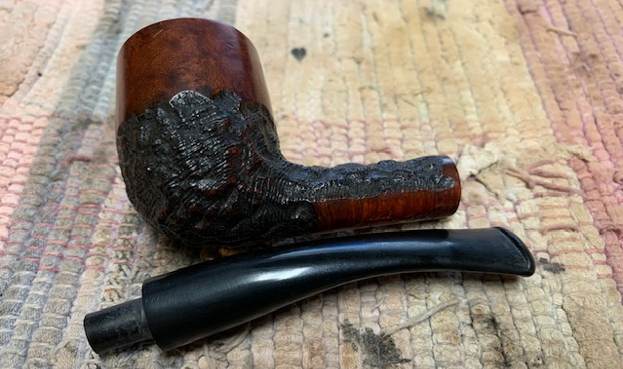
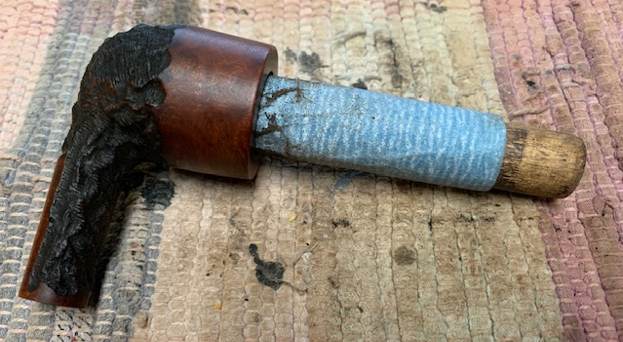
The next pipe on the work table came to me in a group of six pipes I bought from a fellow in Eastern Canada. It included two Canadian made pipes – a Blatter of Montreal and a Trypis. In the mix was an English made Charatan second stamped Mountbatten and two Peterson’s and an Irish Second. The pipes were well used and all had been smoked. The seller sent me a photo of the pipes so that I could see what he was selling. We discussed some options together and arrived at an agreement and the pipes were on their way to me in Vancouver.The next pipe that grabbed my attention was a semi-rusticated billiard with a slightly bent stem. This is what I saw. The bottom half of the bowl and the shank are rusticated with a heavy rustication. The top half of the bowl and the rim top are smooth. The rustication is very reminiscent of the rustication on Brigham. The pipe is stamped on the underside of the shank and reads Made [over] in Canada. That is followed by Trypis in script [over] 3. The finish had some grime ground into the valleys of the rustication and on the smooth part of the bowl but still looked to be in good condition. The bowl was thickly caked with some light lava on the top at the back and some darkening on the top and the inner edge of the rim. The taper stem had some light tooth chatter on the top and underside near the button. It had promise but it was dirty. I took some photos of the pipe before I started my cleanup work. I took photos of the rim top and bowl to give a clear picture of the thickness of the cake and the overflow of lava on the back rim top and inner edge. I also took photos of the top and underside of the stem to show the chatter and tooth marks. I took photos of the sides and heel of the bowl to give a picture of what the smooth and rusticated briar around the pipe looked like. There is some stunning grain under the grime.  I took photos of the stamping on the underside of the shank. It reads as noted above and is clear and readable. I removed the stem from the shank and took a photo of the pipe to give a sense of the proportion of this Billiard and the slightly bent stem.I turned to Pipephil to confirm what I remembered about Trypis. I wanted to read a bit of the history (http://pipephil.eu/logos/en/logo-t8.html). I have included a screen capture of information on the site below. I have also included information from the sidebar below the screen capture.Artisan: Phillip Trypis first worked for Brigham as production manager. He continued to supply the Canadian brand when he was established on his own with his own Trypis label. Phillip Trypis had a pipe shop in Toronto.

I turned to the section on Pipedia about Trypis Pipes (https://pipedia.org/wiki/Trypis_Pipes). I quote below.

Quoting Stefan Seles: “Phillip Trypis has been a pipe maker in Canada for well over 40 years. Originally from Greece, his experience ranges from cutting burls in a briar mill to making literally thousands of pipes out of his home in the hamlet of Oakwood, Ontario. Brigham pipes benefited from Phillip’s skills where he worked for a number of years. There he directed the pipe production of the company when it was producing over 50,000 a year. Even though he left to start his own pipe shop, he still imported briar and turned tens of thousands of bowls for Brigham not to mention produce a large number of his own branded pipes.

Just over a year ago, Phillip had a serious fall and although he is back making pipes, he is unable to travel around to sell them as he once did. He has asked me to help him in that effort.

The pipes listed below are some of his best work made from decades old MF and R ebuchauns as well as some recently purchased Italian plateau. The prices are excellent, especially given the age and quality of the briar used. In fact, I would venture to say that these pipes have no peers, especially below the $100.00 price. You must be the judge.

Many of the styles are traditional in form although Phillip has a number of freehand styles that are both familiar and off the beaten path. The vast majority of the higher priced pipes are very large pieces to be sure.”

I have worked on quite a few of Phillip’s pipes through the years and it is always a pleasure as they are well engineered and made.

I started my work on the pipe by reaming the bowl of the pipe with a PipNet Pipe Reamer using the first and second cutting heads to remove all of the cake. I cleaned up the remnants of the cake on the walls with a Savinelli Fitsall Pipe Knife. I finished by sanding the bowl walls smooth with 220 grit sandpaper wrapped around a piece of dowel. I cleaned up the inner edge of the rim with a folded piece of 220 grit sandpaper. I was able to remove almost all of the darkening with the sandpaper. I scrubbed the externals of the pipe with undiluted Murphy’s Oil Soap with a tooth brush. I rinsed it under running warm water to remove the soap and grime. The bowl and rim top cleaned up really well with the lava coat removed. The inner edge of the rim was in good condition.  I cleaned out the inside of the mortise, shank and the airway in the stem with isopropyl alcohol, cotton swabs and pipe cleaners. The pipe had a strong latakia smell very different from the three Petersons and the Mountbatten I completed. It had a heavy smoky smell that needed to be deghosted. I filled the bowl with cotton boles and twisted a plug into the shank end. I used and ear syringe to fill the bowl with alcohol. The alcohol will eventually evaporate from the bowl wicking out the oils and tars in the briar into the cotton. I let it sit over night and in the morning pulled it out and took photos of the cotton at that point. I polished the smooth briar with micromesh sanding pads – dry sanding with 1500-12000 grit pads and wiped it down with a damp cloth after each sanding pad. By the end of the last set of three the bowl took on a rich shine. I worked some Before & After Restoration Balm into the surface of the briar with my fingertips to clean, enliven and protect the briar. I let the balm sit for 15 minutes and then buffed with a cotton cloth to raise the shine. The photos show the bowl at this point in the restoration process. I set the bowl aside and turned my attention to the stem. I sanded out the tooth marks and chatter with a folded piece of 220 grit sandpaper. The quality of the vulcanite was very high and did not show oxidation. I started the polishing of the stem with 400 grit wet dry sandpaper. I polished the vulcanite stem with micromesh sanding pads – 1500-12000 grit pads. I wiped the stem down with Obsidian Oil after each sanding pad. I polished the stem with Before and After Stem Polish – both Fine and Extra Fine. I rubbed it down with some more Obsidian Oil. It was great to finish this Semi Rusticated Trypis Billiard 3. I put the pipe back together and buffed it with Blue Diamond on the buffing wheel. I gave the rusticated portion of the bowl multiple coats of Conservator’s Wax and the smooth portions and the stem multiple coats of carnauba wax. I buffed the pipe with a clean buffing pad to raise the shine. I hand buffed the pipe with a microfiber cloth to deepen the shine. It is fun to see what the polished bowl looks like with deep sandblast all around it. Added to that the polished black, vulcanite, fishtail stem was beautiful. This Trypis Billiard is great looking and the pipe feels great in my hand. It is light and well balanced. Have a look at it with the photos below. The dimensions are Length: 5 ½ inches, Height: 1 ½ inches, Outside diameter of the bowl: 1 ¼ inches, Chamber diameter: ¾ of an inch. The weight of the pipe is 31 grams/ 1.06 ounces. It is a beautiful pipe and one that will soon be on the rebornpipes store in the Canadian Pipe Makers Section of the store. If you want to add it to your collection let me know. Thanks for walking through the restoration with me as I worked over this pipe. Thanks to each of you who are reading this blog.

Working on a Trypis Bent Billiard with a Saddle Stem


Blog by Steve Laug

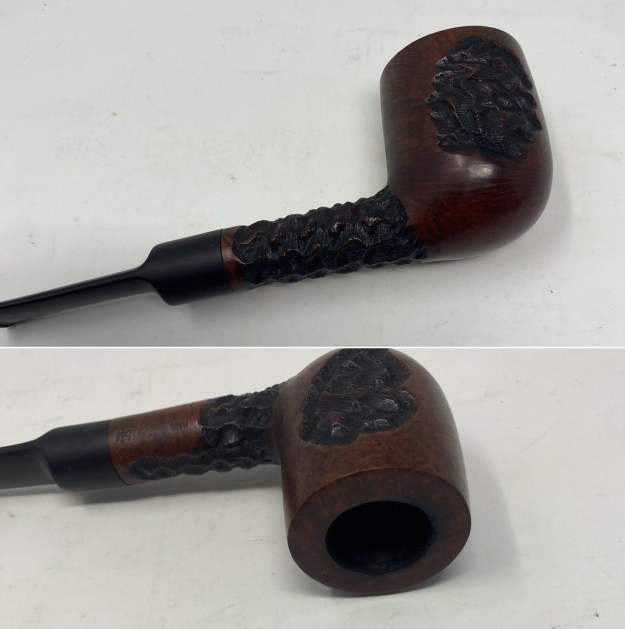
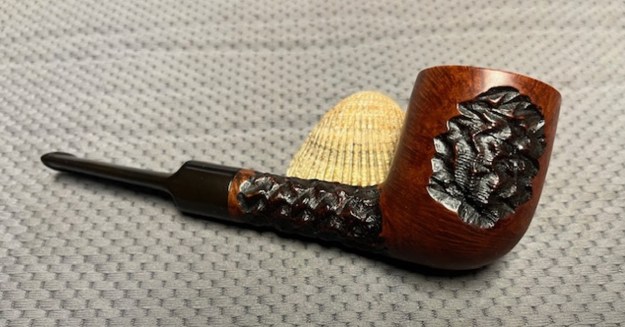
I finished the Brigham pipes and have one more Canadian Made pipe to work on. This one is a partially rusticated bent Billiard, stamped on a smooth panel on the left side of the shank with that reads Made in Canada next to the bowl and that is followed by Trypis. There is no shape number stamped on the pipe. There was a thick cake in the bowl with remnants of tobacco stuck on the walls. There was a lava overflow on the rim. The smooth rim top and edges appear to have some damage on the right side. It looks like the pipe had been dropped and the outer edge of the bowl was out of round. The smooth finish looks great but is dull with grime ground into the surface. The rustication is rugged and unique to Trypis pipes and while similar to Brigham Pipes it is uniquely his design. There was a beautiful pipe underneath all of the buildup of years of use. The thin saddle stem was oxidized and calcified toward the end with some tooth marks and chatter on both sides ahead of the button. Jeff took photos of the pipe before he started his cleanup work on it. Jeff took photos of the bowl and rim top to show the cake in the bowl. The smooth rim top showed some darkening and damage as did the inner and outer edges of the bowl. He took photos of the top and underside of the stem showing the tooth chatter, scratching and oxidation on the stem surface and wear on the edges of the button.   Jeff took a photo of the side and heel of the bowl to show the condition of the finish. You can see the well done and rugged rustication that I have seen on other Trypis pipes. Even under the dirt and debris of the years it looked very good. You can see the damage on the outer edge of the rim on the right side in the first photo below. The stamping is clear and readable as noted above. The flow of the stem is well done but there is no identifying marks on the stem side.I turned to Pipephil and looked up the brand for a quick summary of the detail on the brand (http://pipephil.eu/logos/en/logo-t8.html). I have included a photo of Phillip Trypis and a short summary of what was written in the side bar of the section. I quote in full below.

Phillip Trypis first worked for Brigham as production manager. He continued to supply the Canadian brand when he was established on his own with his own Trypis label. Phillip Trypis had a pipe shop in Toronto.

I then turned to Pipedia for more information (https://pipedia.org/wiki/Trypis_Pipes). There was a great quote from Stefan Seles. I have included that in full below.

“Phillip Trypis has been a pipe maker in Canada for well over 40 years. Originally from Greece, his experience ranges from cutting burls in a briar mill to making literally thousands of pipes out of his home in the hamlet of Oakwood, Ontario. Brigham pipes benefited from Phillip’s skills where he worked for a number of years. There he directed the pipe production of the company when it was producing over 50,000 a year. Even though he left to start his own pipe shop, he still imported briar and turned tens of thousands of bowls for Brigham not to mention produce a large number of his own branded pipes.

Just over a year ago, Phillip had a serious fall and although he is back making pipes, he is unable to travel around to sell them as he once did. He has asked me to help him in that effort.

The pipes listed below are some of his best work made from decades old MF and R ebuchauns as well as some recently purchased Italian plateau. The prices are excellent, especially given the age and quality of the briar used. In fact, I would venture to say that these pipes have no peers, especially below the $100.00 price. You must be the judge.

Many of the styles are traditional in form although Phillip has a number of freehand styles that are both familiar and off the beaten path. The vast majority of the higher priced pipes are very large pieces to be sure.”

With the information from the two sites I had the background on the pipe maker that I really enjoy to know when working on the pipe. This was a beauty and though I did not have any idea of when it was made it was a beauty. Now it was time to work on the pipe.

I am really happy to have Jeff’s help on cleaning up the pipes that we pick up along the way. He cleaned this filthy pipe with his usual penchant for thoroughness that I really appreciate. This one was a real mess and I did not know what to expect when I unwrapped it from his box. He reamed it with a PipNet pipe reamer and cleaned up the reaming with a Savinelli Fitsall Pipe Knife. He scrubbed out the internals with alcohol, pipe cleaners and cotton swabs until the pipe was clean. He scrubbed the exterior of the bowl with Murphy’s Oil Soap and a tooth brush to remove the grime and grit on the briar and the lava on the rim top. The finish looks much better and the great rustication on the bowl and shank had greatly improved. The rim top still was a mess. Jeff soaked the stem in Before & After Deoxidizer to remove the oxidation on the rubber. He scrubbed it with Soft Scrub All Purpose Cleaner to remove the majority of the oxidation. When the pipe arrived here in Vancouver for the second stop of its restoration tour I was amazed it looked so good. I took some close up photos of the rim top and the stem surface. The rim top had a large chip out of the right outer edge that affected the look of the bowl. I would need to work on that edge of the bowl to bring it back to round. I took close up photos of the stem to show the condition of the surface and button. I took a photo of the stamping on the left side of the shank. You can see that it is stamped as noted above. It is faint but readable.  I took the pipe apart and took a photo of the pipe. It is a good looking pipe and has some great looking rustication on the bowl and shank. I decided to start my restoration work on this one by dealing with the damaged rim top and edges. I topped the bowl on a topping board with 220 grit sandpaper to remove the darkening and damage. I filled in the damaged right outer edge of the rim with briar dust and clear super glue to bring it back to round. I topped the bowl once again to smooth out the repair and blend it into the rim top of the bowl. It looked a lot better than when I started.    I polished the smooth rim top and sides of the bowl with micromesh sanding pads – wet sanding it with 1500-12000 grit pads. After each pad I wiped the briar down with a damp cloth.   I stained the rim top with a combination of Cherry and Walnut stain pens. With that combination I was able to match the colour on the rest of the bowl.I worked some Before & After Restoration Balm into the surface of the briar with my fingertips and a horsehair shoe brush on the rustication to clean, enliven and protect the briar. I let the balm sit for 15 minutes and then buffed with a cotton cloth to raise the shine. The photos show the bowl at this point in the restoration process.    With that done the bowl was finished other than the final buffing. I set it aside and turned my attention to the stem. I “painted” the surface of the vulcanite with the flame of a lighter to lift the tooth marks. While some of them came out nicely there were several against the edge of the button that would not life. I filled them in with clear super glue. Once the repairs cured I used a file to flatten them out and then sanded the stem with 220 grit sandpaper. I started the polishing with 400 grit wet dry sandpaper.       I polished the stem with micromesh sanding pads – wet sanding with 1500-12000 grit sanding pads. I wiped it down after each sanding pad with Obsidian Oil. I polished it with Before & After Pipe Stem Polish – both Fine and Extra Fine. I am excited to finish this Trypis Bent Billiard as it is the last of Canadian Made pipes that I had in my to do box. It turned out to be a nice looking Bent Billiard. It has a combined finish with a smooth rim top and sides with a deep rustication on the front and back of the bowl and around the shank. I put the pipe back together and buffed it with Blue Diamond on the buffing wheel. I gave the bowl and the stem multiple coats of carnauba wax. I hand buffed the pipe with a clean buffing pad to raise the shine. It is fun to see what the polished bowl looks like with the grain popping through on the rim top, smooth panels and the rustication on the rest of the bowl and shank. Added to that the polished black vulcanite saddle stem was beautiful. This semi-rusticated Bent Billiard is nice looking and the pipe feels great in my hand. It is light and well balanced. Have a look at it with the photos below. The dimensions are Length: 5 ½ inches, Height: 2 inches, Outside diameter of the bowl: 1 ¼ inches, Chamber diameter: ¾ of an inch. The weight of the pipe is 37grams/1.31ounces. It is a beautiful pipe and one that will be on the rebornpipes store soon. If you are interested in adding it to your collection let me know. Thanks for walking through the restoration with me as I worked over this pipe. Thanks to each of you who are reading this blog. Remember we are not pipe owners; we are pipemen and women who hold our pipes in trust until they pass on into the trust of the next pipeman or woman.