by Kenneth Lieblich
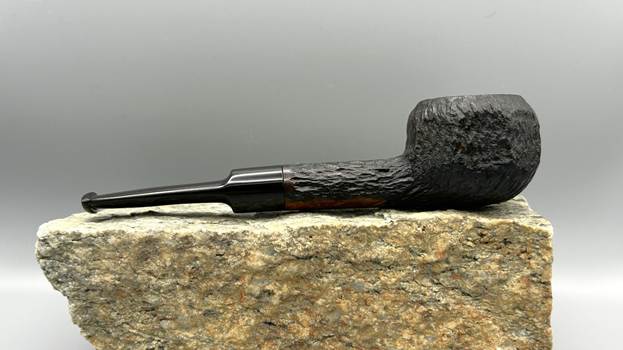
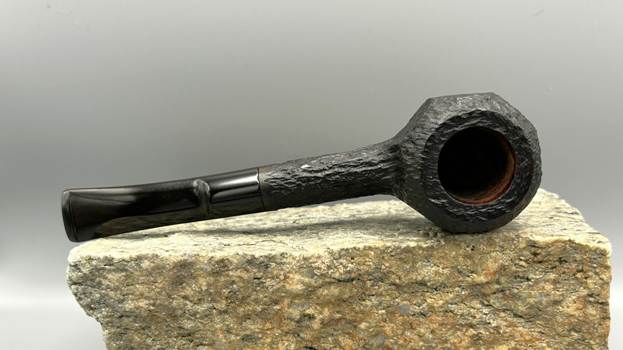
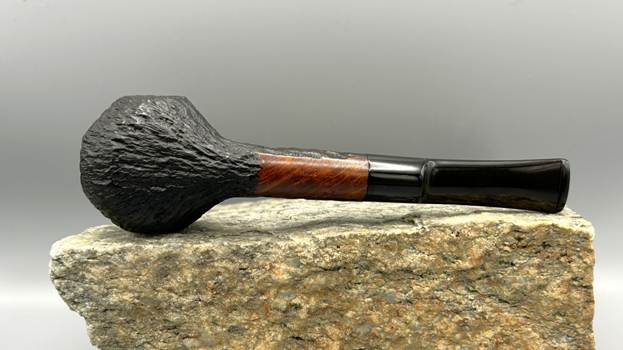
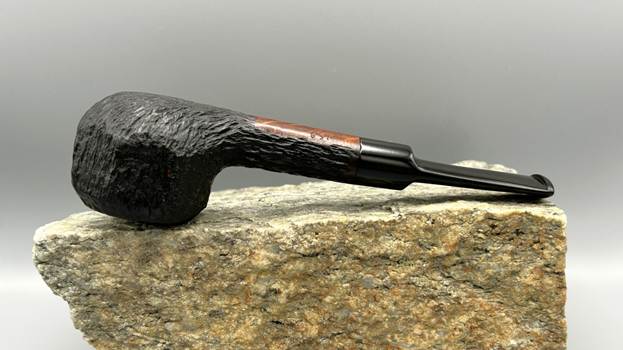
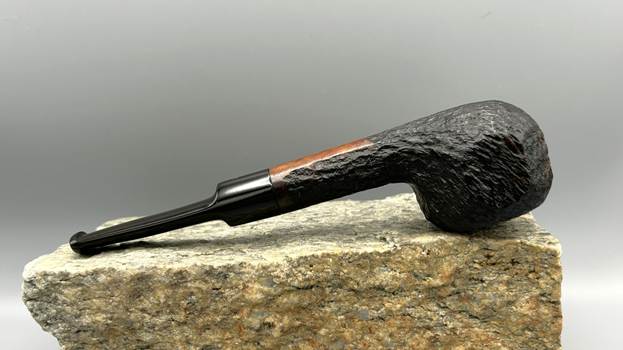
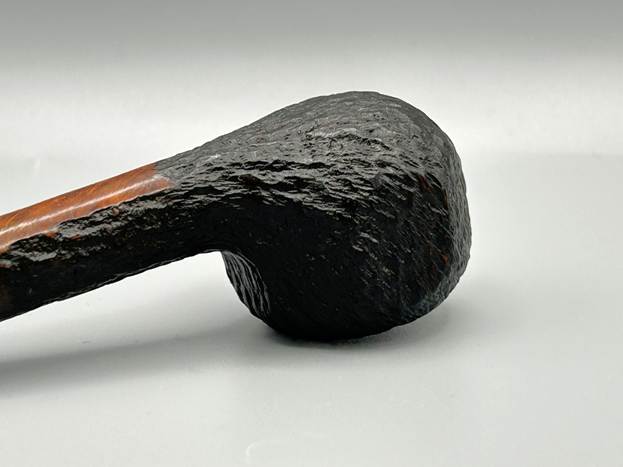
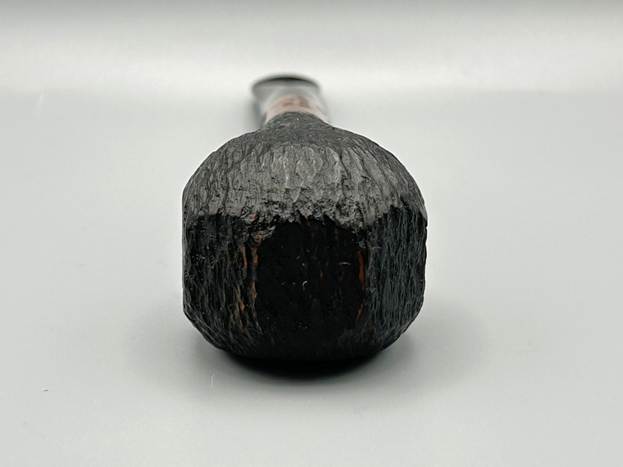
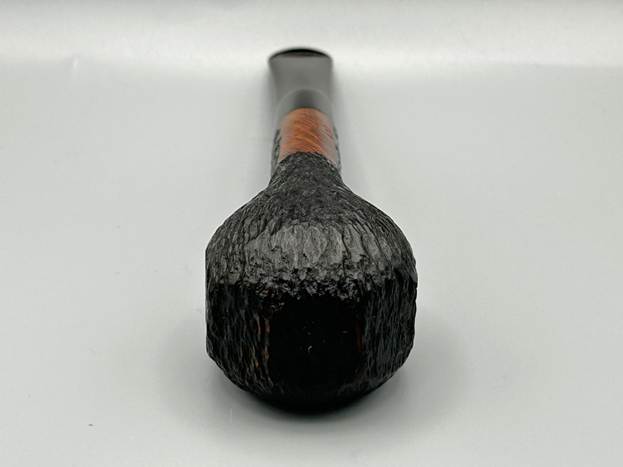
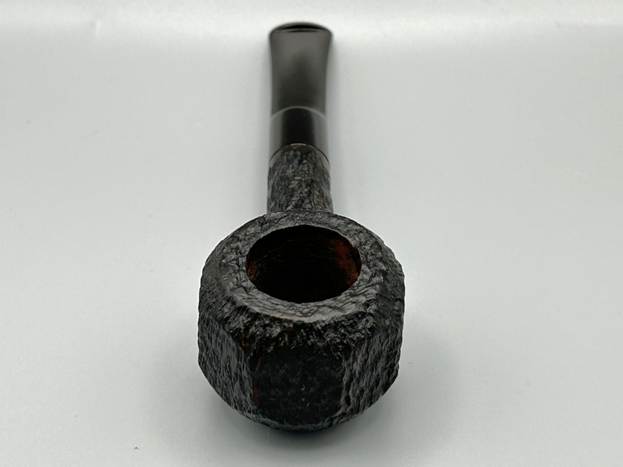
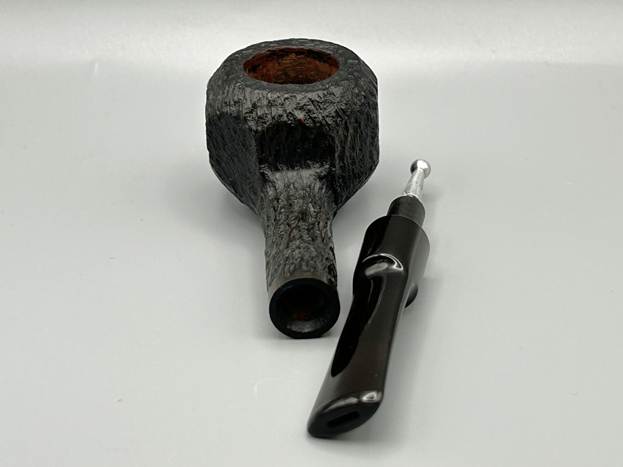
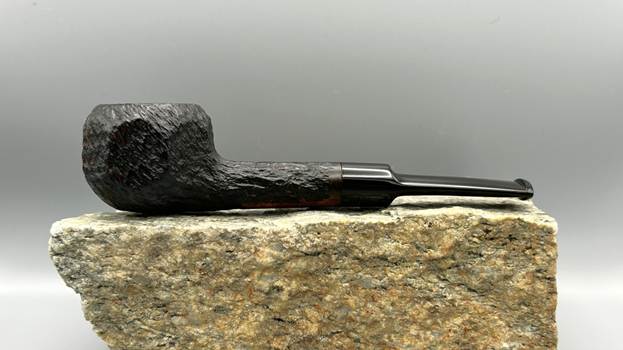
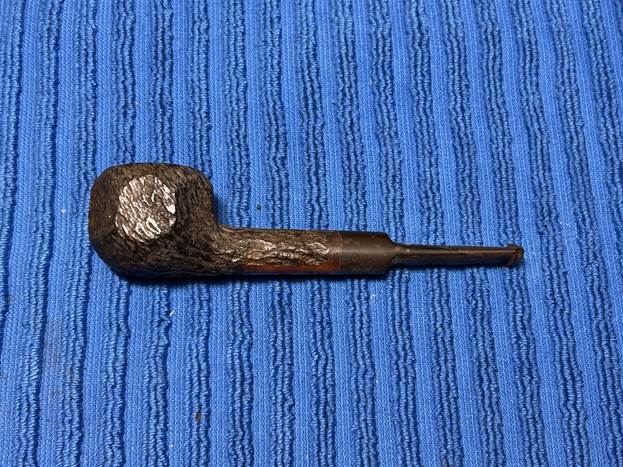
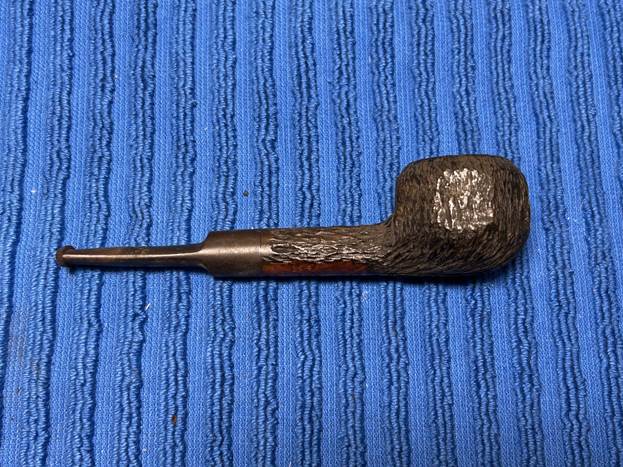
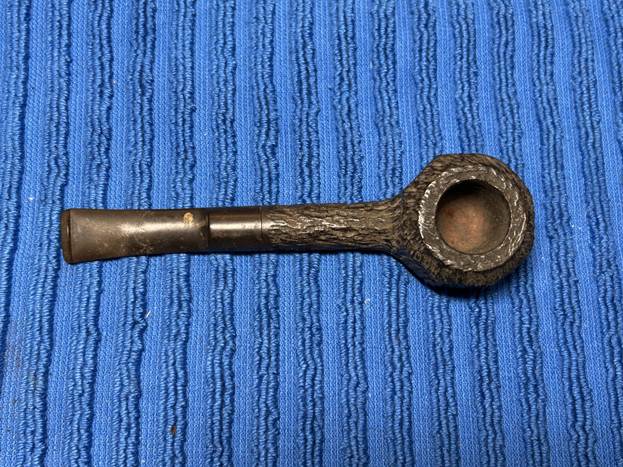
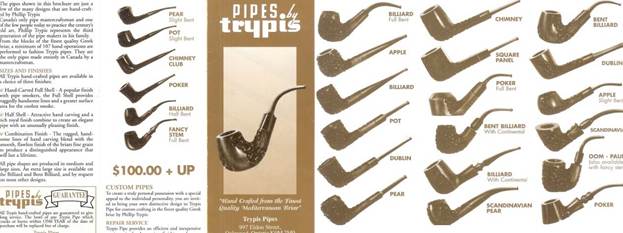
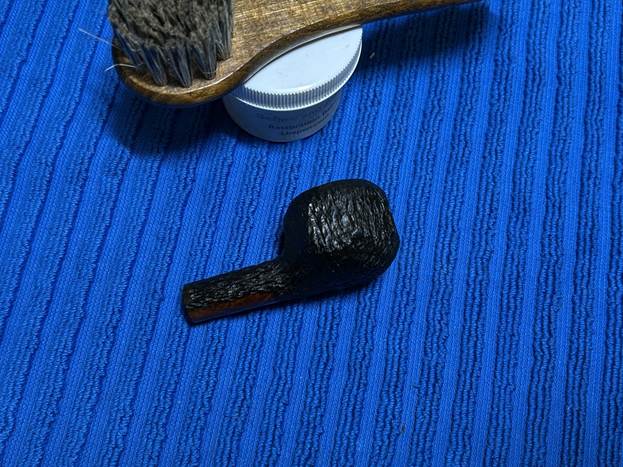
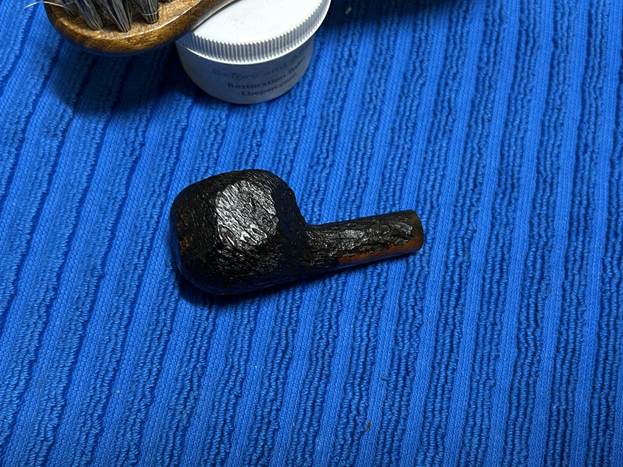
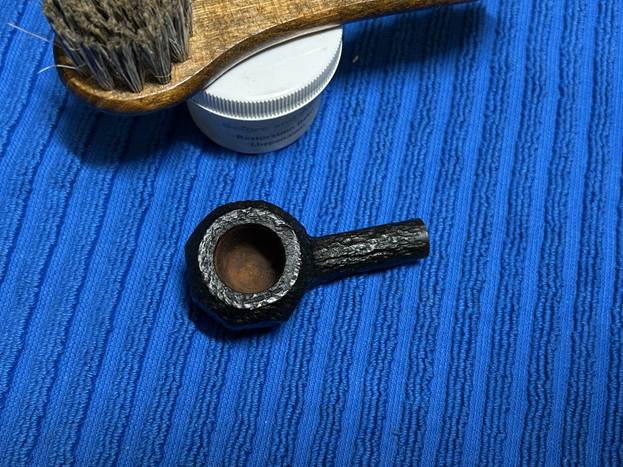
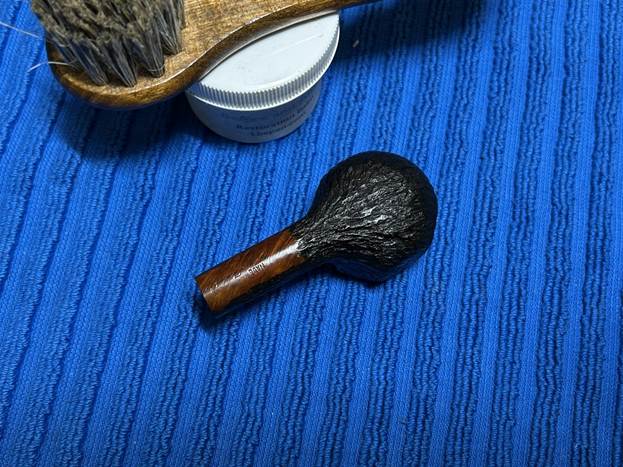
My next pipe restoration is a Trypis 637 rusticated panel pot, with an ever-so-slightly bent vulcanite stem. What a nifty pipe this is: the rustication gives the bowl a rugged, tactile finish. Trypis Pipes are the creation of Phillip Trypis, a pipemaker from Canada (now deceased, sadly). His pipes are not common and are well regarded. Fortunately, I only had to give this one a thorough cleaning – it had no major issues. This pipe was seldom smoked by its previous owner, carefully restored by me, and is now ready for a new life – maybe in your hand!
Pipe Markings
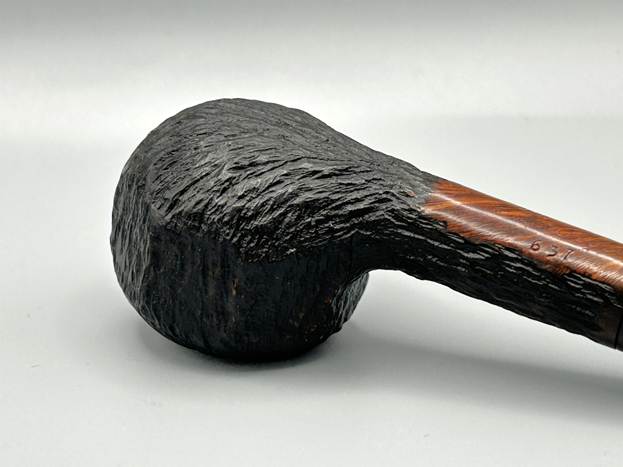
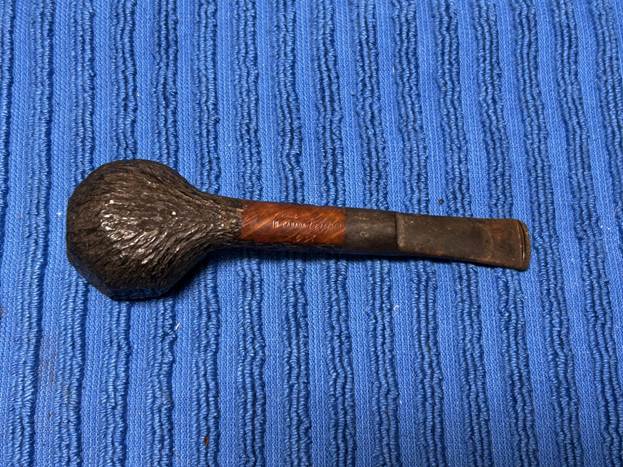
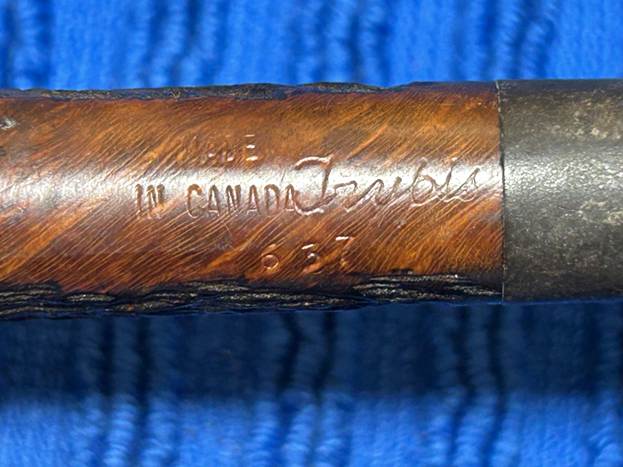
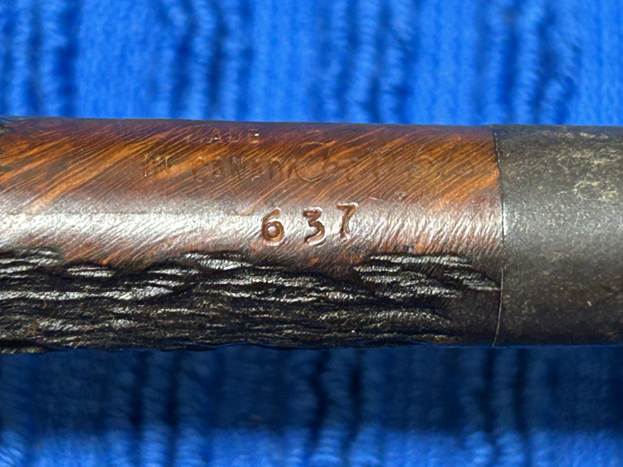
On the underside of the shank, we can see the markings of this pipe. First, we see Made [over] in Canada. Immediately to the right we see the brand name: Trypis. Underneath these, we see the shape number: 637. There are no markings on the stem.
Background on Trypis Pipes
Oddly, Pipedia has two entries for Trypis and they cover the same material. The main article quotes pipemaker Stephen Seles talking about Phillip Trypis:
Phillip Trypis has been a pipe maker in Canada for well over 40 years. Originally from Greece, his experience ranges from cutting burls in a briar mill to making literally thousands of pipes out of his home in the hamlet of Oakwood, Ontario. Brigham pipes benefitted from Phillip’s skills where he worked for a number of years. There he directed the pipe production of the company when it was producing over 50,000 a year. Even though he left to start his own pipe shop, he still imported briar and turned tens of thousands of bowls for Brigham not to mention produce a large number of his own branded pipes…. The prices are excellent, especially given the age and quality of the briar used. In fact, I would venture to say that these pipes have no peers, especially below the $100.00 price. You must be the judge. Many of the styles are traditional in form although Phillip has a number of freehand styles that are both familiar and off the beaten path. The vast majority of the higher priced pipes are very large pieces to be sure.
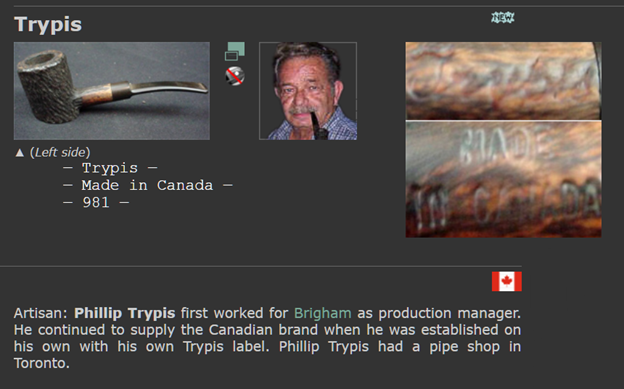
Pipephil only includes elementary information, but I have taken a screenshot for you:
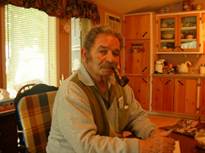
Meanwhile, there is a lovely recollection of Mr Trypis on the Brothers of Briar website. I encourage you to read it here.
Examining the Pipe
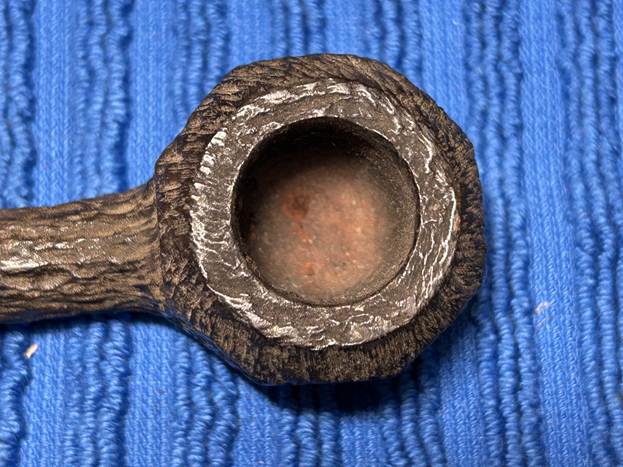
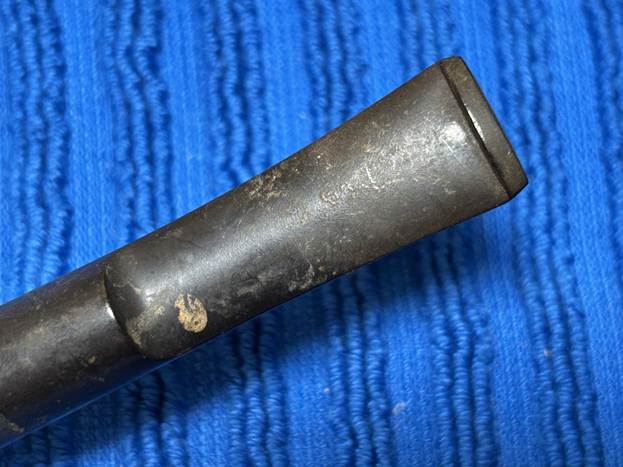
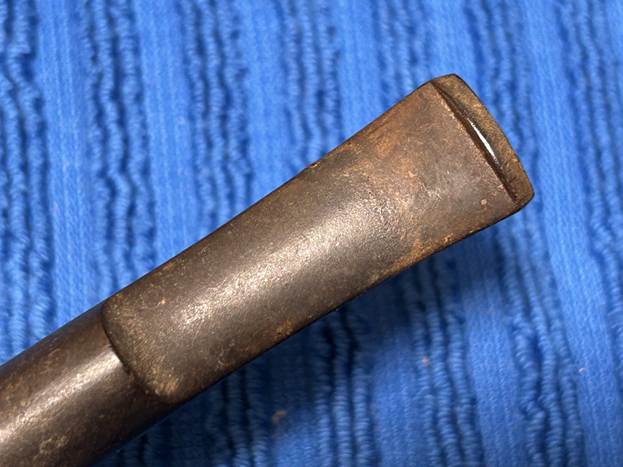
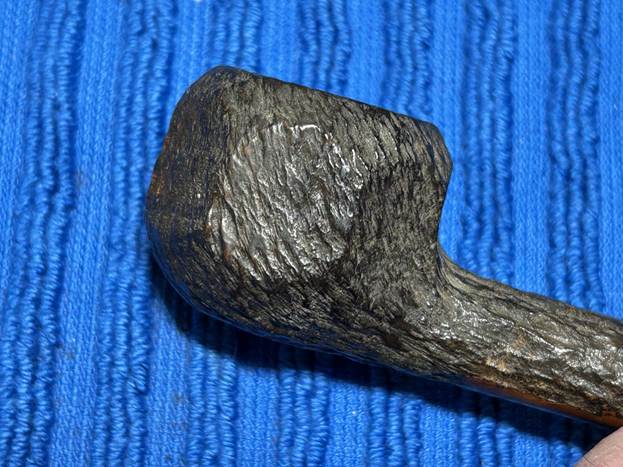
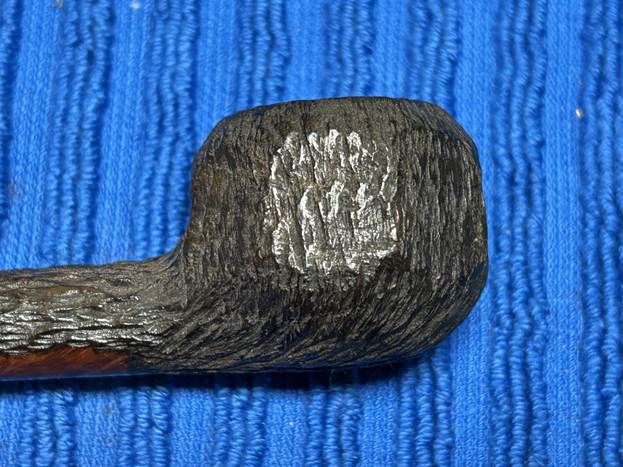
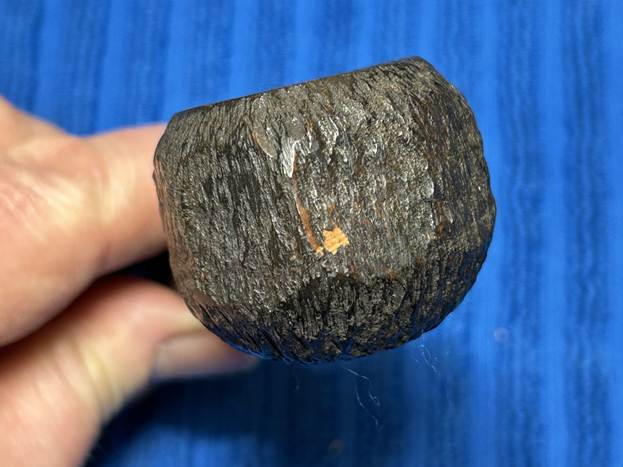
Let’s take a closer look. The stem is oxidized, calcified, and quite dirty. Happily, there is no actual damage to the stem. The bowl is also in excellent condition. There is some minor wear to the rustication, but this is easily fixed. It has been seldom used, so there is hardly any cake and no lava on the rim. In fact, there are trace amounts of the original clay coating that Trypis used on his pipes.
Cleaning the Stinger
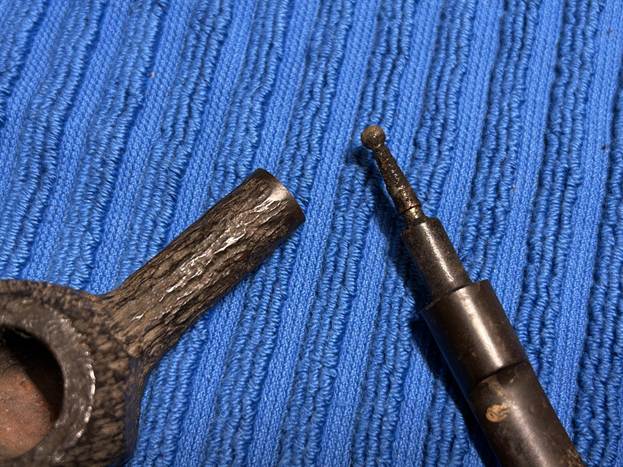
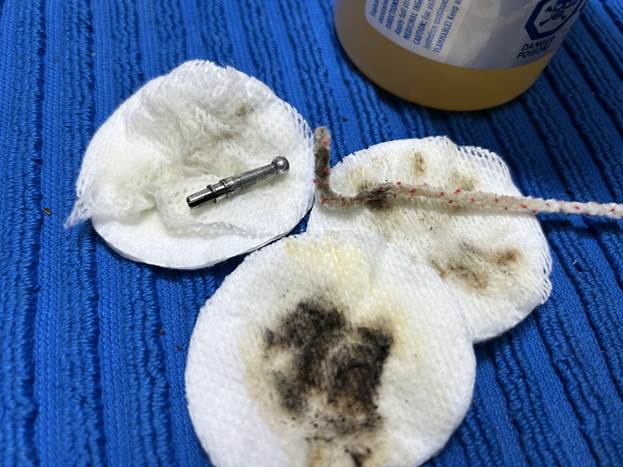
This stem had a stinger in it – and it was being quite stubborn about coming out of the tenon! I opted to warm the stem and stinger with my heat gun and this provided just enough softening of the internal goo to allow me to extract it. It then went for a soak in some lemon-infused 99% isopropyl alcohol. I let it sit for several hours and then cleaned it off and it looked much improved.
Cleaning the Stem
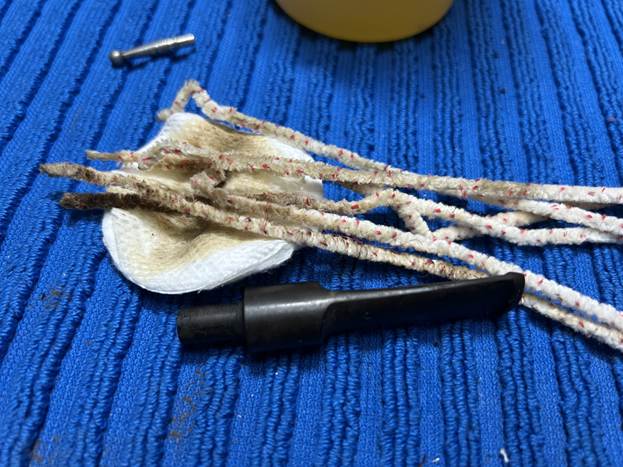
I used isopropyl alcohol on a few cotton rounds and wiped down the stem to provide an initial cleaning of filth before moving on to the next steps. The primary cleaning came next. I disinfected the inside of the stem with both pipe cleaners and cotton swabs dipped in lemon-infused 99% isopropyl alcohol. I scrubbed thoroughly to make sure the interior was very clean.
Removing Stem Oxidation
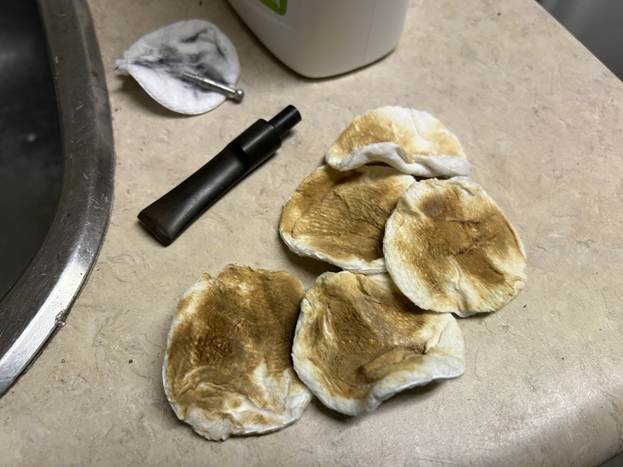
The goal of the next step is the removal (or minimization) of oxidation. Going to my sink, I used cream cleanser, cotton rounds, and a toothbrush, and scoured the stem to remove as much surface oxidation as possible. As the photos show, the result was a hideous, ochre-coloured mess – but better off the stem than on it.
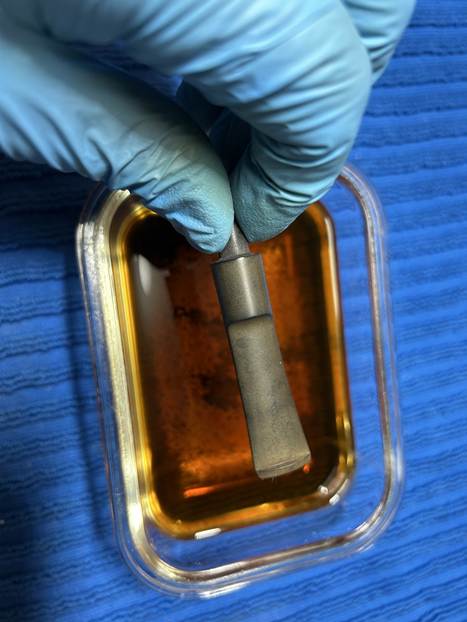
Once the stem was reasonably clean, I soaked it overnight in some Briarville Stem Oxidation Remover. This solution works to draw oxidation in the stem to the surface of the vulcanite. This is a major aid and an important step in ensuring a well-restored stem. The following day, I drew out the stem from its bath and scrubbed the lingering fluid with a toothbrush.
Polishing the Stem
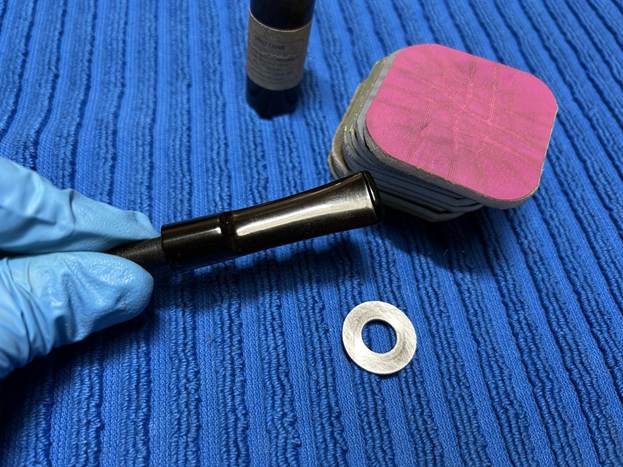
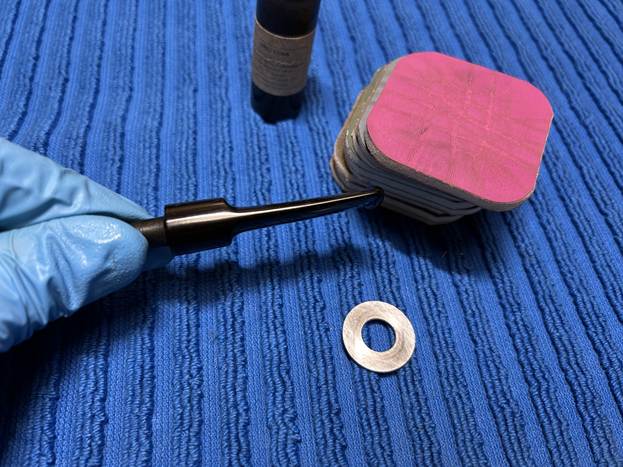
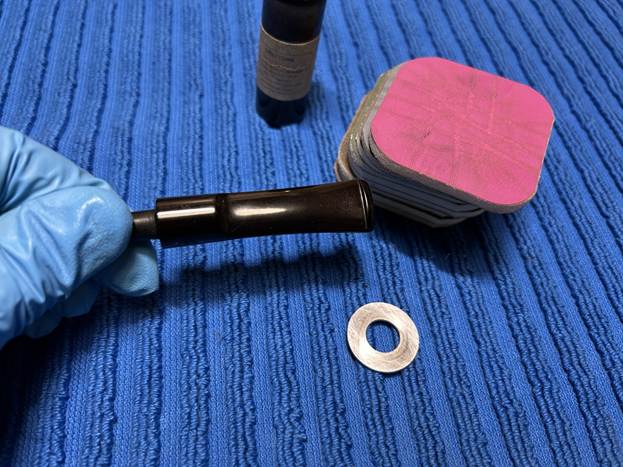
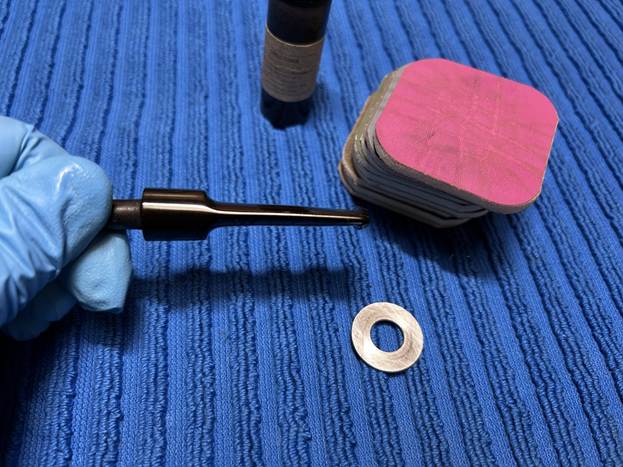
The penultimate step for the stem is sanding. First, with my set of needle files, I reduced the bulk of the cyanoacrylate repairs. I removed the excess adhesive as near to the surface as possible, without cutting into the vulcanite. Following that, I used all nine of the micromesh sanding pads (1,500 through 12,000 grit) to sand out flaws, even out the vulcanite, and provide gentle polishing of the finished surface. I also applied pipe-stem oil while using the last five micromesh pads. There was a wonderful, deep black shine to the stem when I was done.
Reaming the Bowl
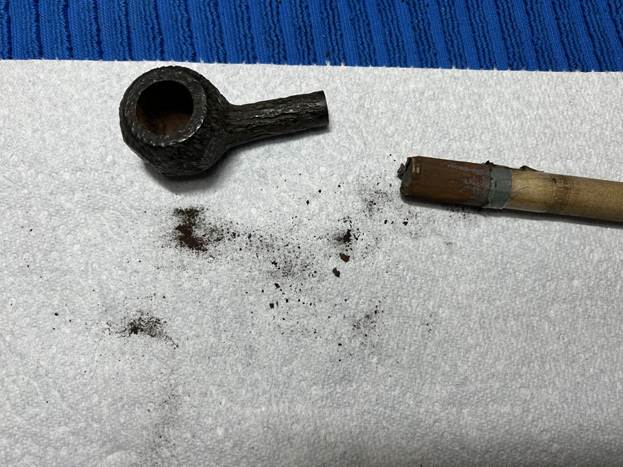
As the stem was (nearly) complete, I moved on to the stummel. The first step was to ream out the bowl – that is to say, remove all the cake inside the bowl. However, there was so little in the bowl that I only needed a piece of sandpaper taped to a wooden dowel. Collectively, these ensured that all the debris was removed – there wasn’t much, as you can see.
Cleaning the Bowl
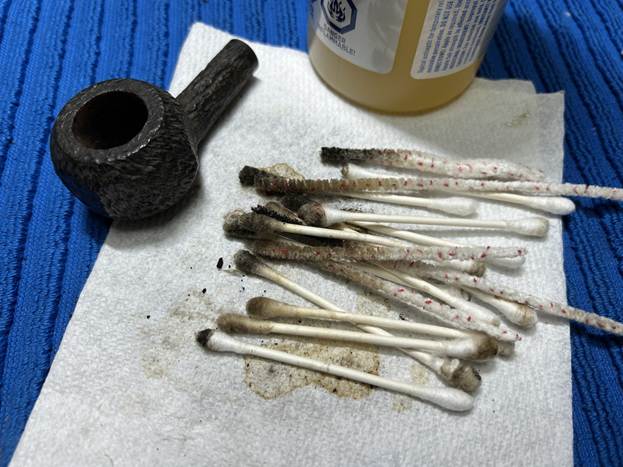
Similar to the stem, I then cleaned the stummel with both pipe cleaners and cotton swabs dipped in lemon-infused 99% isopropyl alcohol. With a pipe this dirty, it took quite a while and much cotton to clean.
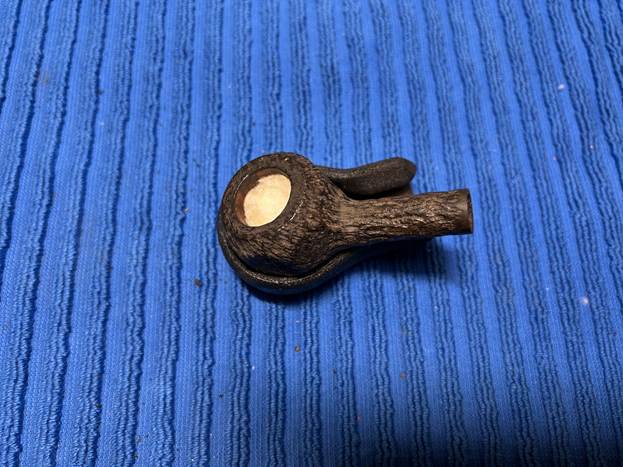
I then decided to ‘de-ghost’ the pipe – which means to exorcize the remaining filth from the briar. I filled the bowl and the shank with cotton balls, then saturated them with 99% isopropyl alcohol. I let the stummel sit overnight. This caused the remaining oils, tars and smells to leach out into the cotton.
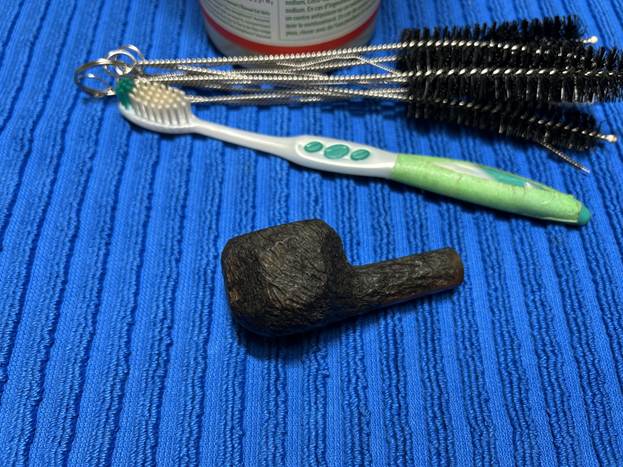
To tidy up the briar, I wiped down the outside, using a solution of a pH-neutral detergent and some distilled water, with cotton rounds. I also used a toothbrush in the crevices. This did a good job of cleaning any latent dirt on the surface of the briar. The last step of the cleaning process was to scour the inside of the stummel with the same mild detergent and tube brushes. This was the culmination of a lot of hard work in getting the pipe clean.
Finishing the Stummel
After that, a couple of spots of wood needed to be tinted in the same colour as the rest of the stummel. I used some of my furniture pens (which is simply dye in pen form) to match the colours. Worked perfectly.
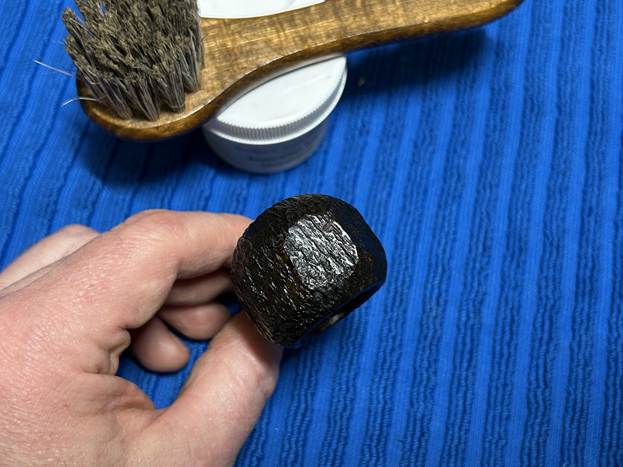
I rubbed some LBE Before & After Restoration Balm into the briar and let it sit for an hour or so. The balm moisturizes the wood and gives a beautiful depth to the briar. I then buffed the stummel with a microfibre cloth.
Polishing the Pipe
For the final step, I took the pipe to my bench polisher and carefully buffed it – first with a blue diamond compound on the stem, then with some conservator’s wax on the stummel. With the buffing done, the stummel looks warm and satisfying, and the stem has a rich, deep black lustre.
All done! This Trypis 637 rusticated panel pot looks fantastic again and is ready to be enjoyed by its next owner. I am pleased to announce that this pipe is for sale! If you are interested in acquiring it for your collection, please have a look in the Canadian section of the store here on Steve’s website, or you can email me directly at kenneth@knightsofthepipe.com. Here are the dimensions:
Length: 5⅓ in. (136 mm)
Height: 1⅓ in. (33 mm)
Bowl diameter: 1½ in. (38 mm)
Chamber diameter: ¾ in. (20 mm)
Weight: 1 oz. (31 g)
I hope you enjoyed reading the story of this pipe’s restoration as much as I enjoyed restoring it. If you are interested in more of my work, please follow me here on Steve’s website or send me an email. Thank you very much for reading and, as always, I welcome and encourage your comments.