
by Kenneth Lieblich
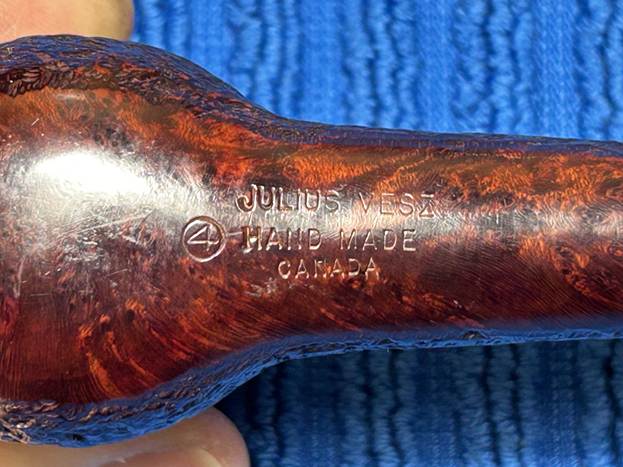
Welcome to another instalment of Kenneth’s Pipe Incident Reports. The idea, in general, is to provide a brief write-up – focusing on a particular pipe-restoration-related issue – rather than an entire restoration story. The pipe in question is a beautiful, rusticated Julius Vesz Hand Made Group 4 pipe. Today’s report highlights the resolution of a very specific pipe repair – a badly burned (and out-of-round) rim. I hope this blog post will be useful for those undertaking a similar repair.
Assessing the Damage
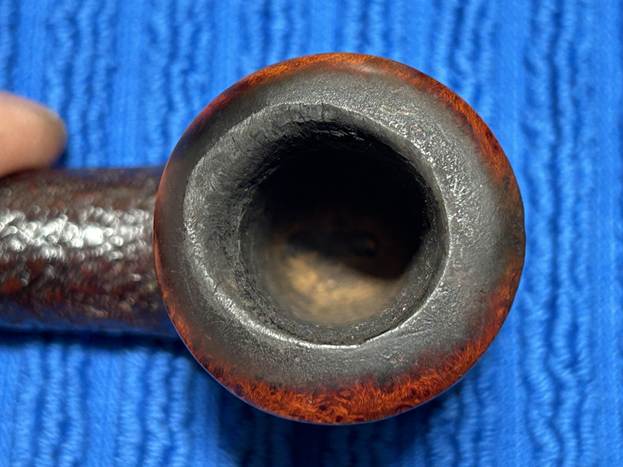
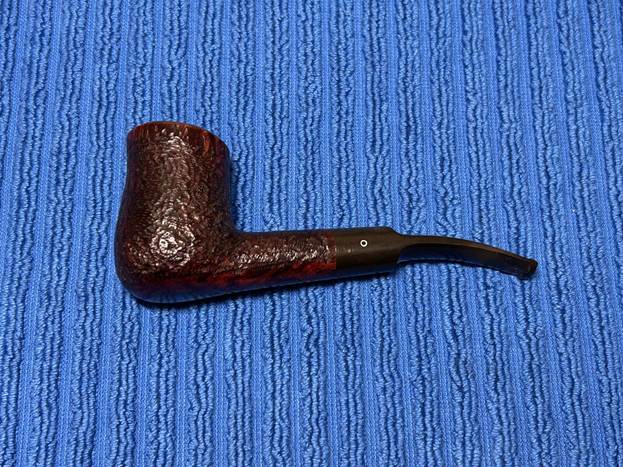
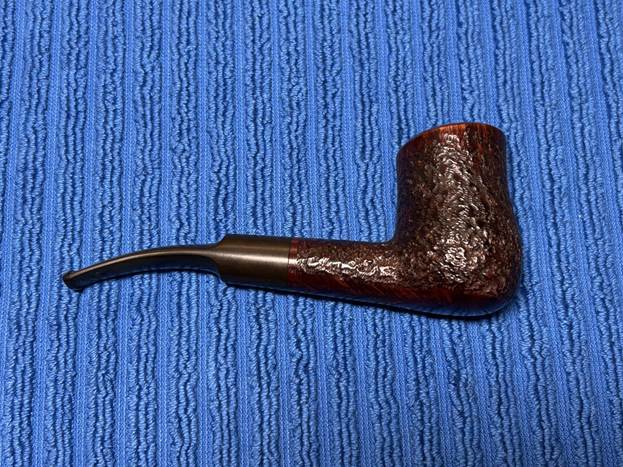
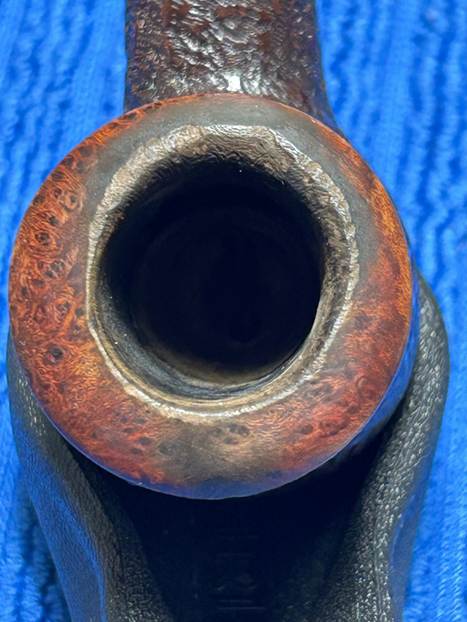
A gentleman from my local pipe club contacted me about restoring a second-hand Julius Vesz Hand Made he had recently acquired. The pipe actually had several important issues, but this report will just hone in on the rim. The damage was serious and required some significant work – but that’s what I’m here for! Let’s take a look. The photos below show how the pipe presented to me. A quick look shows the problem: the pipe was poorly maintained and, most especially, the rim had been badly charred – possibly with a cigar torch lighter. Given the severity of the burning – as evidenced by the missing section of briar on the rim – it would be essential to determine how extensive the damage was (i.e. how much of the circumference of the rim was burned).
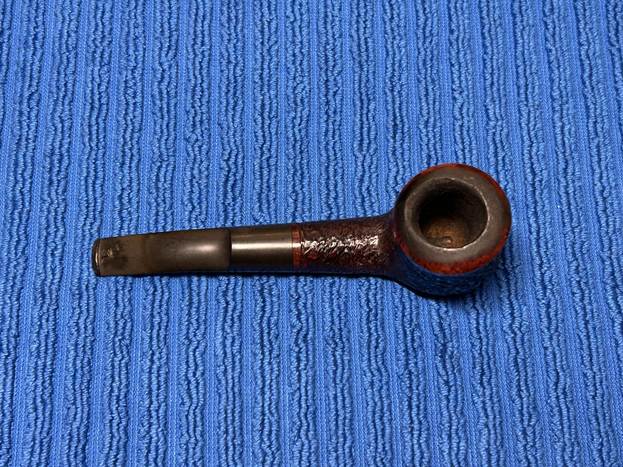
My customer wanted to have a pipe that he could smoke. With damage as thorough as this, the uncomfortable question is always how far to go in repairing things. We can choose to do nothing, but at the cost of incurring further damage to the pipe, thereby making it unusable. Alternately, it is possible to remove every trace of the damage to the pipe, but at the cost of betraying the pipe maker’s work and dramatically altering the look of the pipe. The answer is usually found somewhere in between. But first things first: we need a clean pipe to give a proper assessment and prognosis.
Reaming the Cake Inside the Bowl
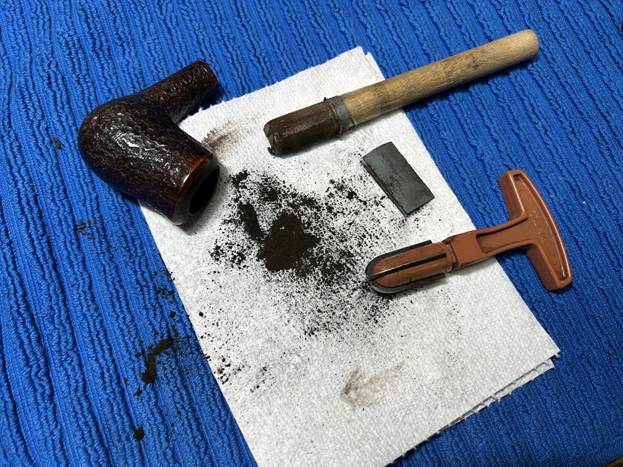
There is lava on the rim and cake in the bowl. The first step was to ream it out – that is to say, remove all the cake inside the bowl. This accomplished a couple of things. First (and most obviously), it cleaned the bowl and provided a refurbished chamber for future smoking. Second, when the old cake was removed, I could inspect the interior walls of the bowl and determine if there was damage or not. I used a reamer, a pipe knife, and a piece of sandpaper taped to a wooden dowel. Collectively, these ensured that all the debris was removed. Mercifully, the interior walls were sound.
Cleaning the Stummel
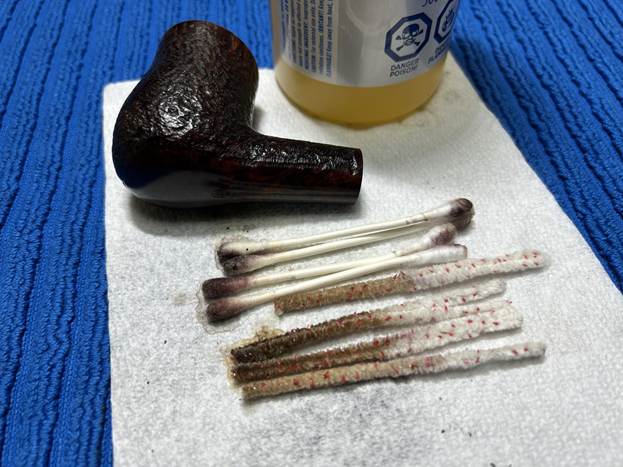
I then cleaned the stummel with both pipe cleaners and cotton swabs dipped in lemon-infused 99% isopropyl alcohol. With a pipe this dirty, it took quite a while and much cotton to clean. I then decided to ‘de-ghost’ the pipe – which means to exorcize the remaining filth from the briar. I filled the bowl and the shank with cotton balls, then saturated them with 99% isopropyl alcohol. I let the stummel sit overnight. This caused the remaining oils, tars, and smells to leach out into the cotton.
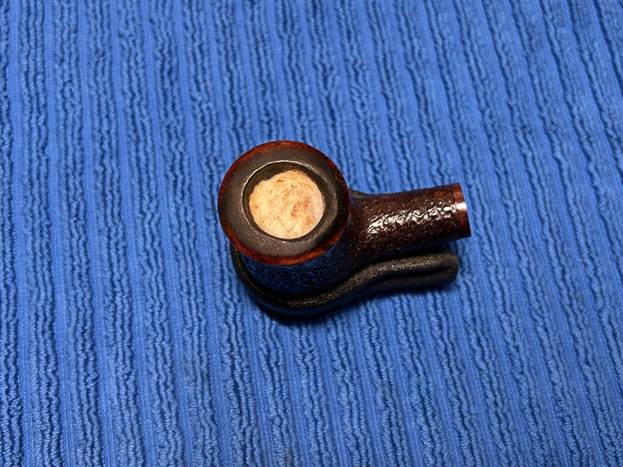
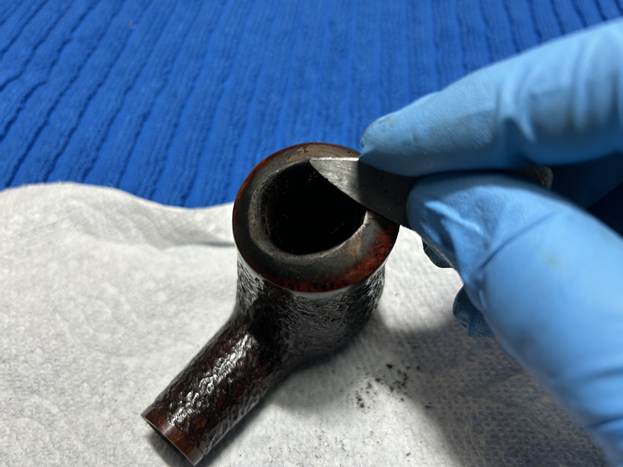
My next step was to remove the lava on the rim. For this, I took a piece of machine steel and gently scraped the lava away. The metal’s edge is sharp enough to remove what I need, but not so sharp that it causes even more damage to the rim. This work revealed exactly what I had feared: the burn damage was extensive.
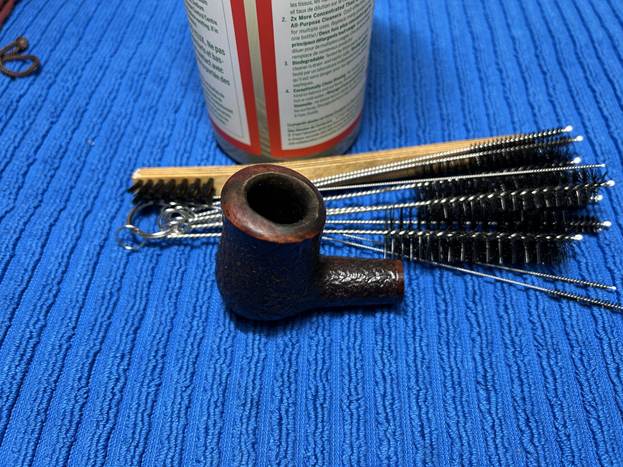
To tidy up the briar, I wiped down the whole thing, using a solution of a pH-neutral detergent and some distilled water, with cotton rounds. I also used a toothbrush in the crevices. This did a good job of cleaning any latent dirt on the surface of the briar. The last step of the cleaning process was to scour the inside of the stummel with the same mild detergent and tube brushes.
A Cleaner and Closer Look
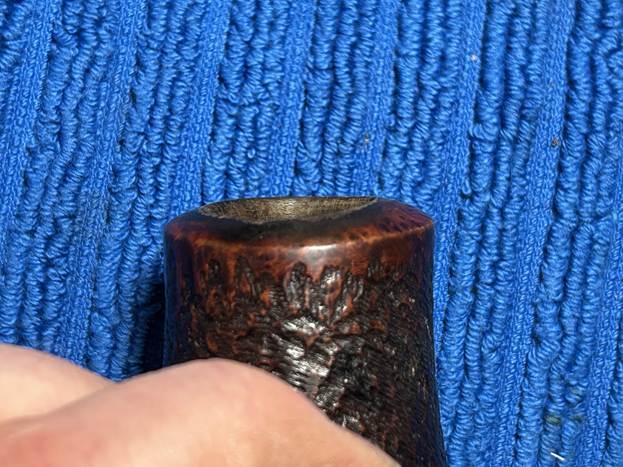
After all that hard work in getting the pipe clean, here is what the rim looks like. Remember: this is clean! Aside from the ugliness of the main burn area, a profile view shows just how much wood has been lost. A sad sight.
Sanding and Finishing the Rim
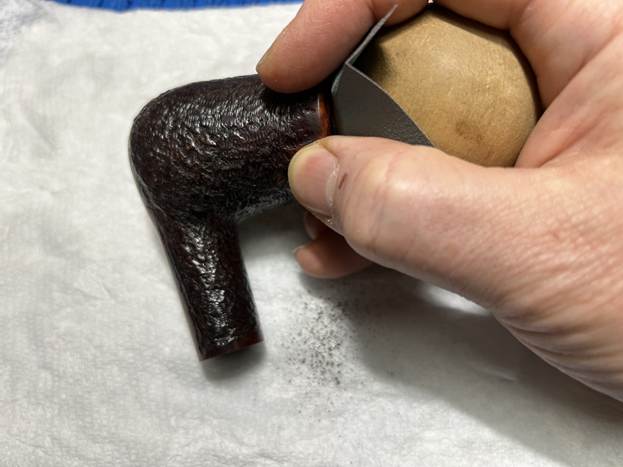
In order to lessen the significant burns on the rim, I took a solid wooden sphere, wrapped a piece of 400-grit sandpaper around it, and lightly sanded the inner edge. This achieved two things: first, it removed some of the burn marks; and second, the circular shape and motion of the sphere gradually made the inner edge of the rim somewhat more circular. This will never be perfect – there is simply too much damage – but it is certainly looking better.
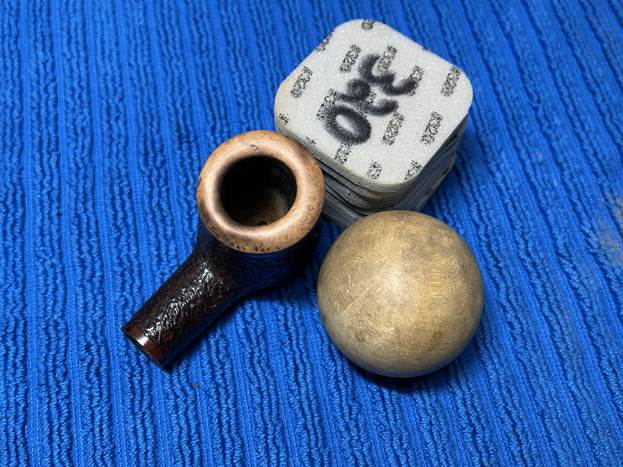
The rounded top of the rim (would you call that a bullnose?) needed to be stripped back and evened out. So, in addition to the wooden sphere, I also used some micromesh sanding pads to remove damage yet maintain shape.
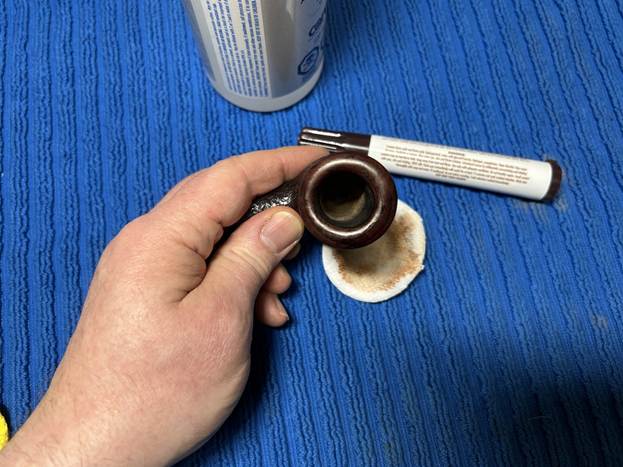
Of course, this work resulted in bare briar and that needed to be tinted in the same colour as the rest of the stummel. I used some of my furniture pens (which is simply dye in pen form) to match the colours. This is always tricky – it is as much art as it is science.
I rubbed some LBE Before & After Restoration Balm into the briar and let it sit for an hour or so. The balm moisturizes the wood and gives a beautiful depth to the briar. I then buffed the stummel with a microfibre cloth.
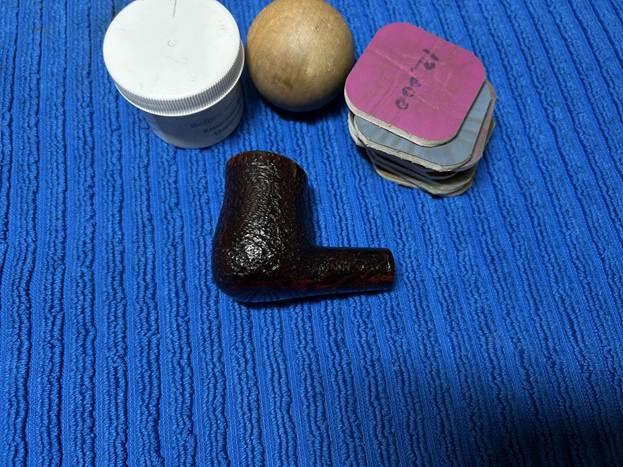
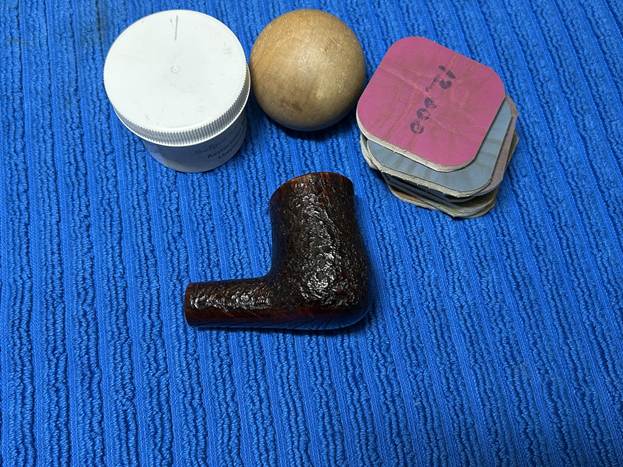
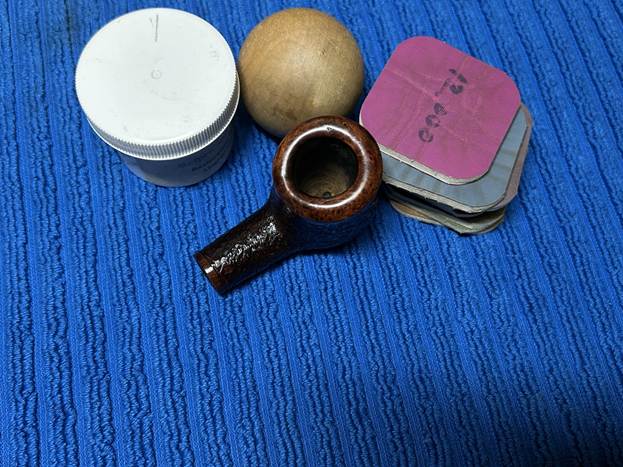
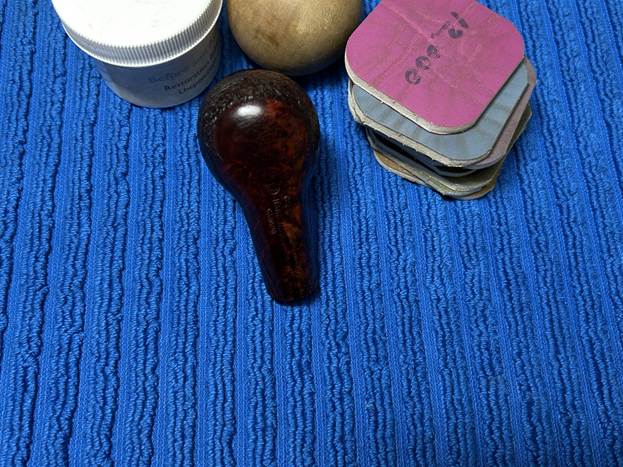
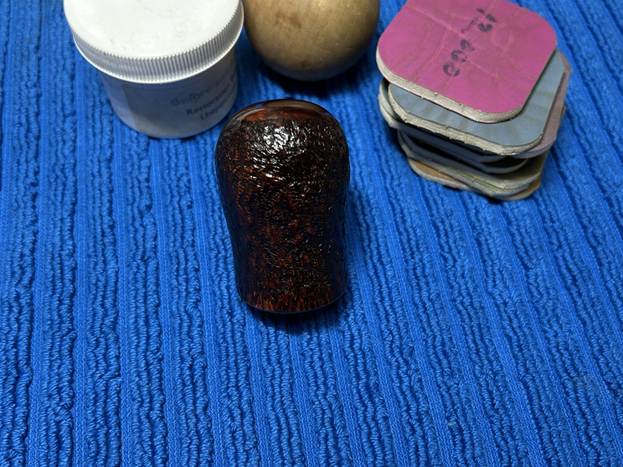
I am very pleased with how the repair turned out and I am sure that there are many years of smoking pleasure to be had from this pipe in the future. As I indicated earlier, the entire pipe required a lot of work, but I am abstracting that from this particular write-up. Thanks so much for joining me on this interesting repair. I hope you enjoyed reading this instalment of my Pipe Incident Reports – I look forward to writing more. If you are interested in my work, please follow me here on Steve’s website or email me directly at kenneth@knightsofthepipe.com. Thank you very much for reading and, as always, I welcome and encourage your comments.

