Tag Archives: topping a bowl

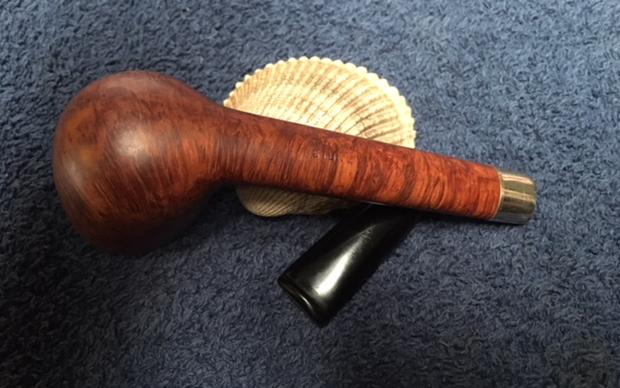
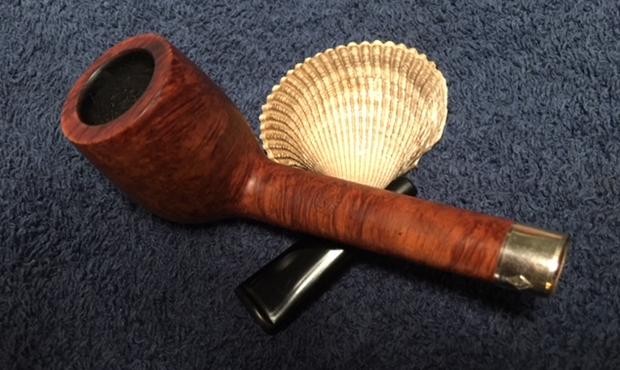
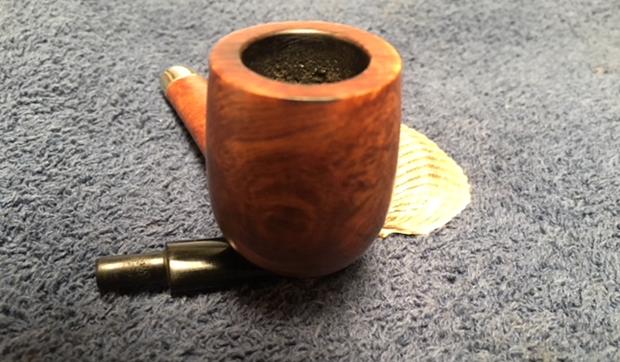
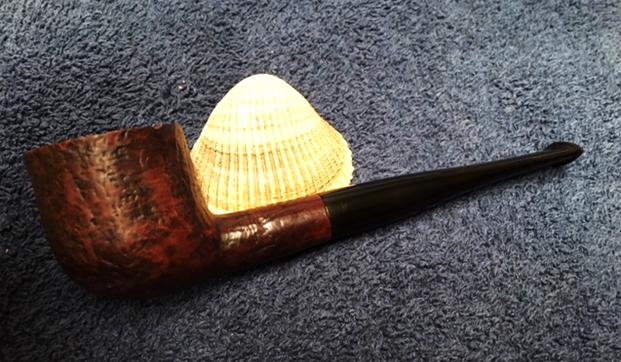
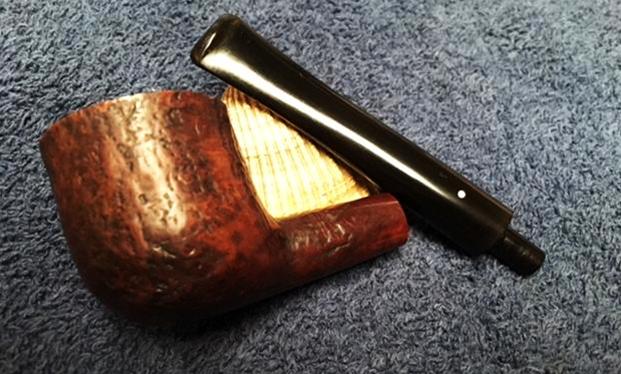
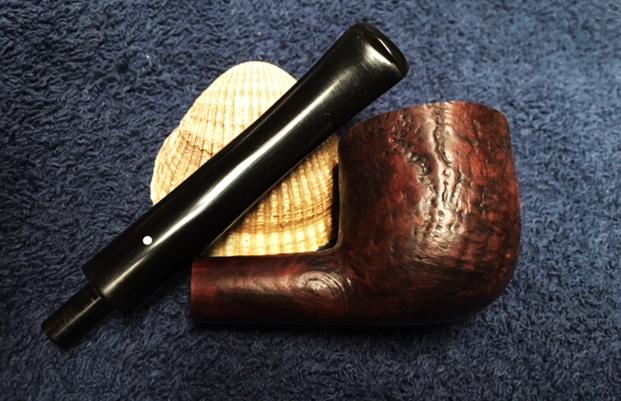
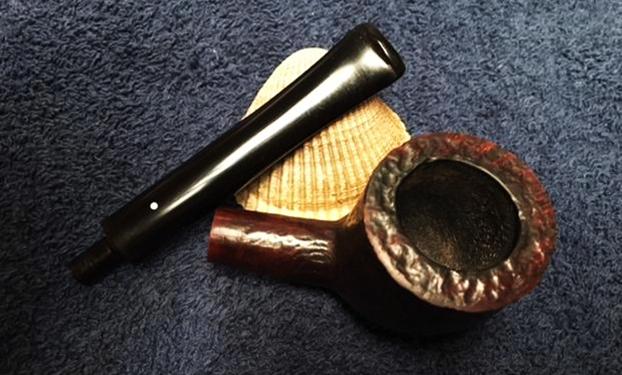
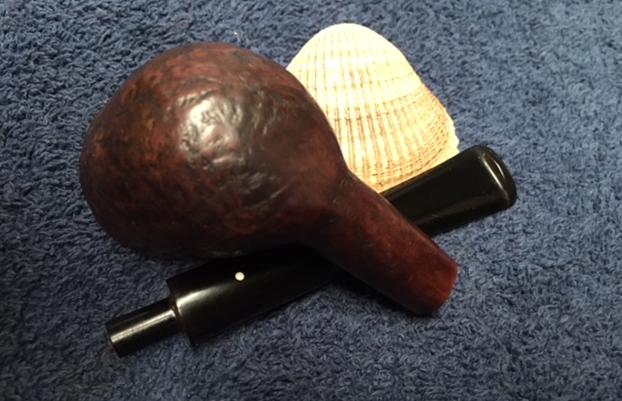
Restoring a Tired House of Robertson Billiard


Blog by Steve Laug

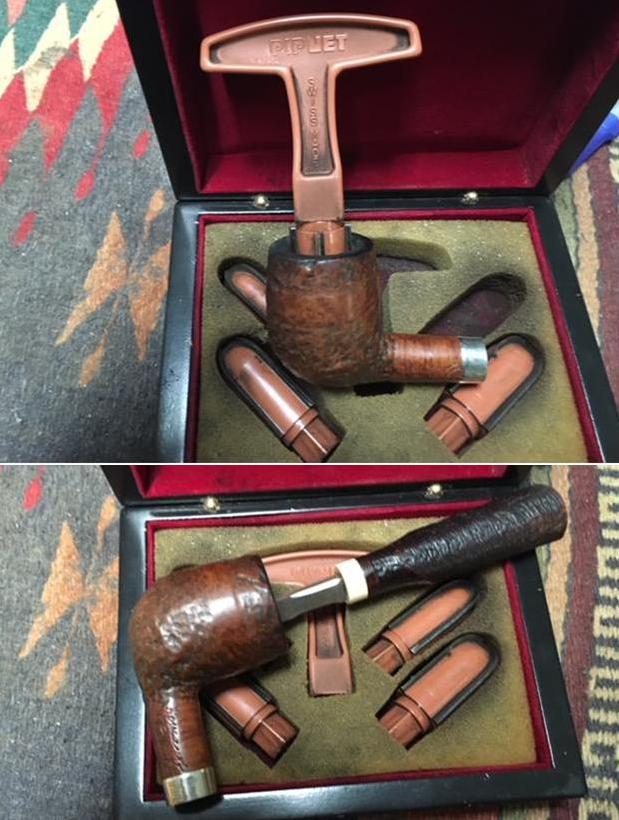
Not too long ago I sold one of the House of Robertson pipes to a fellow named John who collects them and lives in Salt Lake City, Utah. He loved the pipe that I sent him and wrote and asked if I would be willing to clean up and restore his first House of Robertson (HOR) pipe that had been given to him 30+ years ago by his brother. He said it was a billiard with a mixed finish – both rusticated and smooth. He said he had smoked it heavily as it was a favourite of his and it needed some attention. We made our arrangements and he shipped the pipe to me here in Vancouver. I was looking forward to working on it as I have enjoyed the other House of Robertson pipes that I have restored over the past months.

While I waited for its arrival, between working on other pipes I read over the last restoration blog I had written on an HOR pipe. I thought it might be helpful to add the information I had previously found for those of you who have not read those blogs. “House of Robertson” was in business for many years, but alas, closed their doors in 1999. They were located in Boise, Idaho. They are noted for making rather large and interesting pipes. Thayne Robertson… started the shop about 1947 and his son Jon started working there in 1970 when he finished college, along with Thayne’s daughter. Thayne and his son started making the big pipes at that time, and made them together until 1987 when Thayne passed away. Jon kept the store and his sister moved on to other things. The House of Robertson appears to have closed around 1999. https://pipedia.org/wiki/Robertson

I also received an email from Ed Mitchell from the Boise, Idaho area offering to share some of the history of the shop if I was interested. He was a frequent customer and loves the HOR Pipes. I of course was excited to learn more about the brand so I was looking forward to what he would write. It came in today’s email and I thought you might enjoy Ed’s reminiscences. Thanks Ed for sending me this information.

Hi, Steve

…I do not have any memorabilia, other than a box of two, from the House of Robertson shop. When Jon Robertson closed the store, it caught me by surprise. I do have several of Robertson pipes including a couple that need small repairs. Five or six I bought unsmoked from the widow of one of his Boise customers. The husband apparently was one of Thayne’s many friends and had bought pipes in the course of standing around visiting in his shop. One is a beautiful blond horn that I have saved unsmoked.

Thayne was a bear of a man in his 60s when I met him in the mid-1960s, a great raconteur with strong opinions on politics, religion, people and good pipes. For instance, he hated cigarette smoking; people who popped in to ask for cigarettes were shown the door with instructions on how to find the only other tobacco store in downtown Boise, an institution (still in business) that sold all types of tobacco, men’s magazines and pipes Thayne considered unworthy of any discerning smoker.

Another consequence of Thayne’s hatred of cigarettes was that he created a line of pipes sized and decorated (in some examples with inset bits of bling) for female smokers. He did make pipes in conventional shapes and sizes but preferred big freestyles. I can say I do not remember his ever making two pipes exactly alike. A large part of his business involved creating custom pipes on order. He mailed pipes to customers around the country and internationally. I am not sure what portion of his output was sold outside Boise but I had the impression that it was considerable.

The pipes I remember Thayne smoking in the shop were a couple of huge Oom Pauls about a foot long. The big man liked big pipes, usually loaded with strong English-style or oriental blends. He hooked me on my taste for Latakia tobaccos.

The shop was in one of the long, narrow brick storefronts of the old city core. An old-fashioned glass display case for pipes and accessories dominated the front along with shelves and stacks of at least 50 choices of tobaccos. A narrow flight of stairs led to inventory storage above the dusty workshop located in back behind a curtain.

For a one man shop, Thayne’s output was prodigious especially considering that the individual pipes were unique. His daughter Rosie and son Jon did assist in the shop’s latter years. Both were skilled makers but tended to create more conventionally carved and sized pipes. Most of the pipes made there, even after Thayne died and Jon was doing the work, came from a hoard of old Greek briar Thayne found in Holland around 1970. Some of the bold grain pipes from the latter years were as spectacular as smoking instruments can be. One feature I have never seen is a fill in a Robertson pipe. Thayne liked rusticating briar whenever the grain was flawed or just uninteresting.

Steve, I hope this gives you some brief insight into the House of Robertson. If you have questions to stimulate my ancient memory, I will be glad to try to answer. — Ed Mitchell

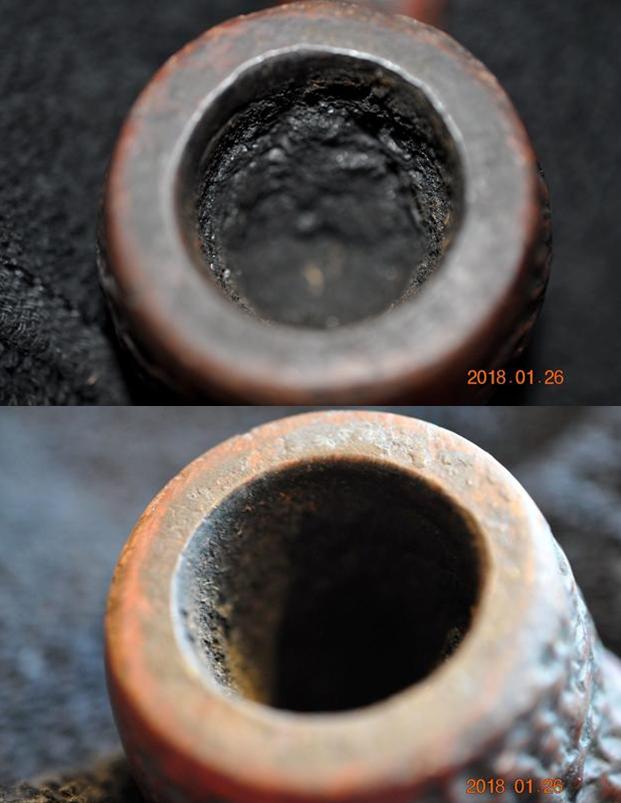
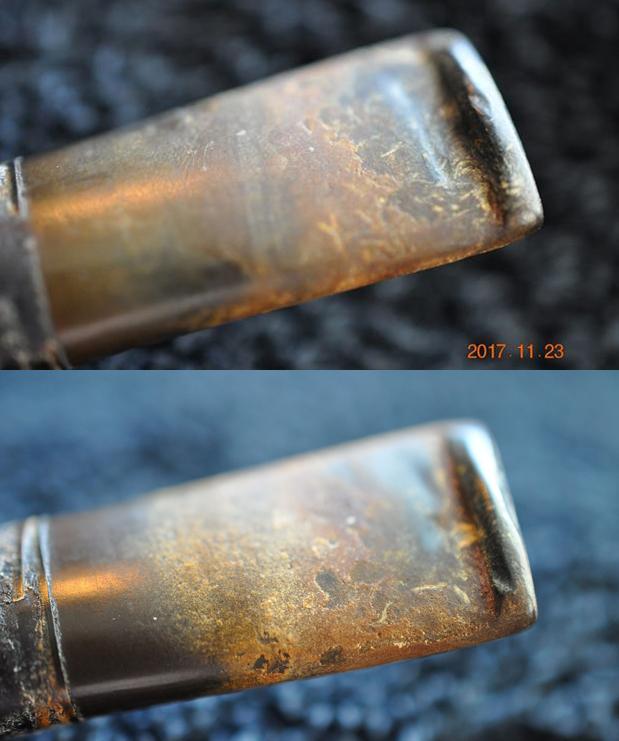
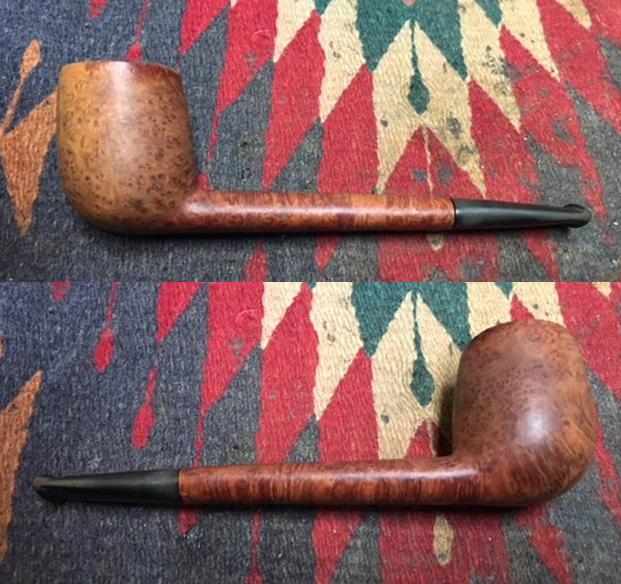
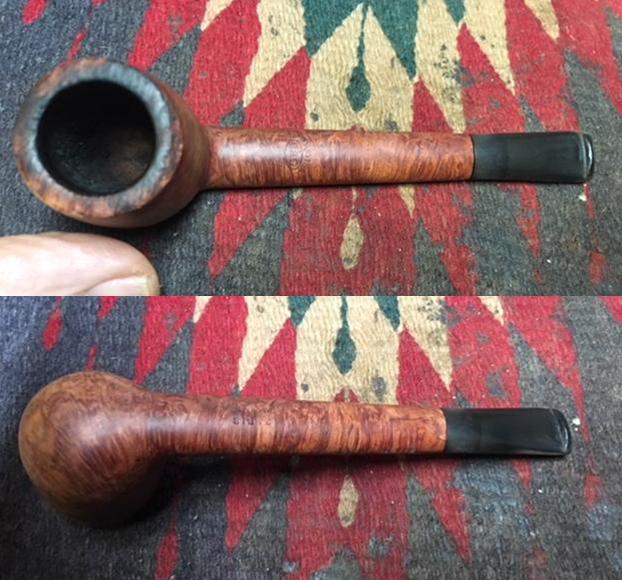
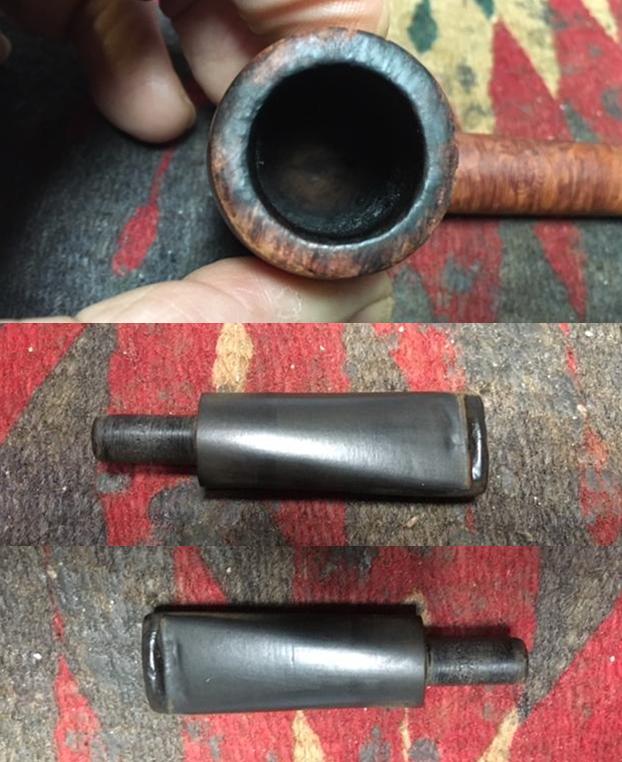
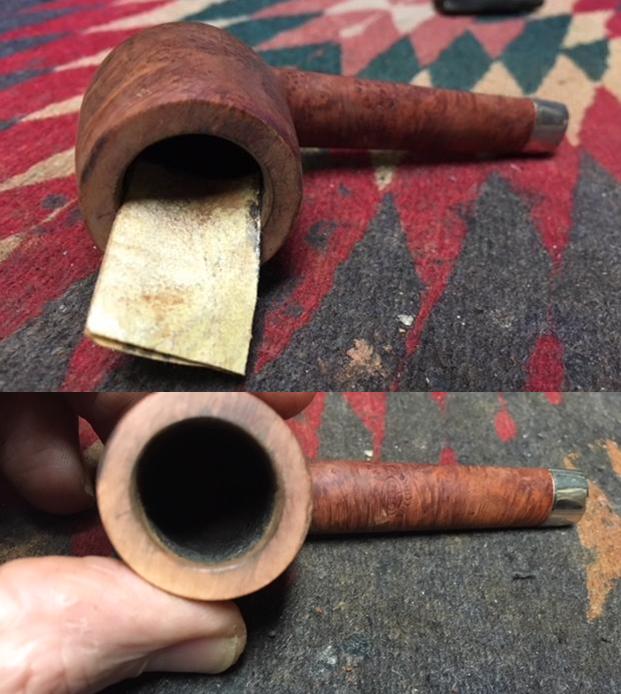
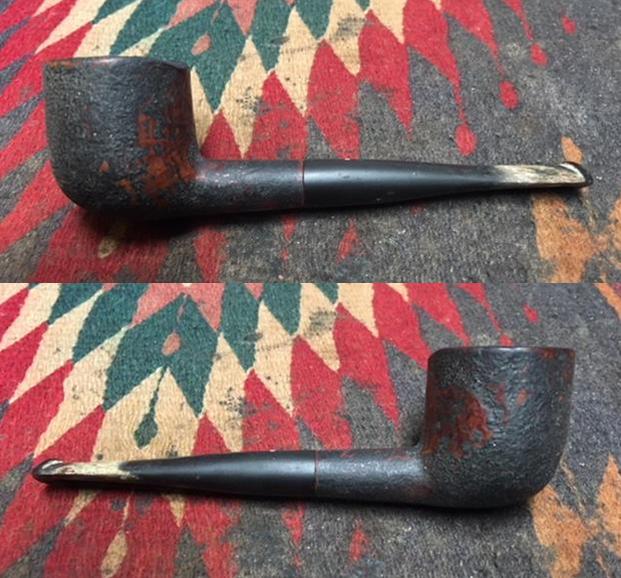
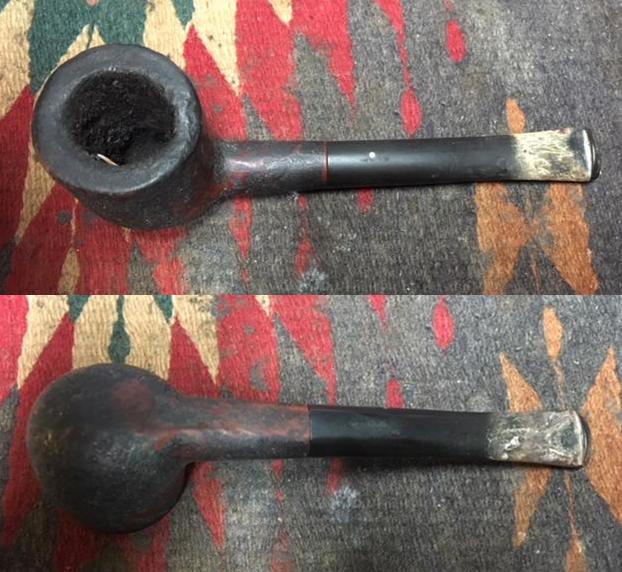
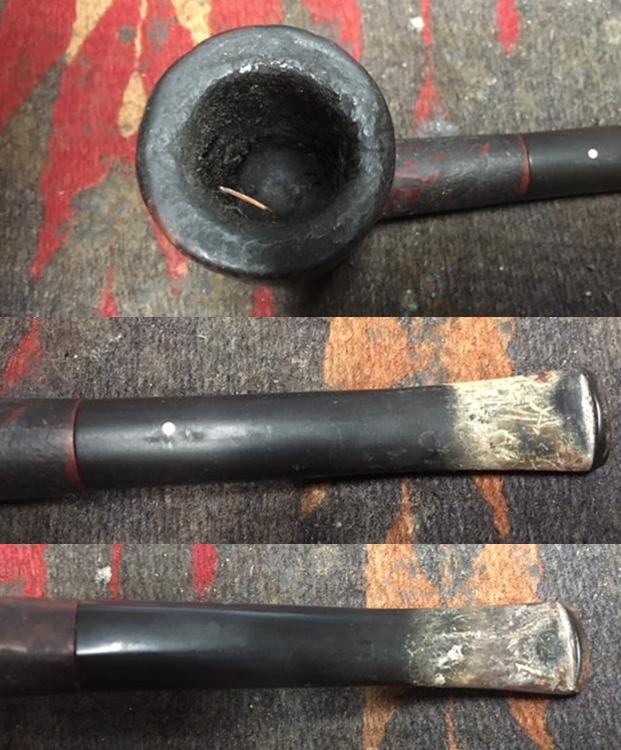
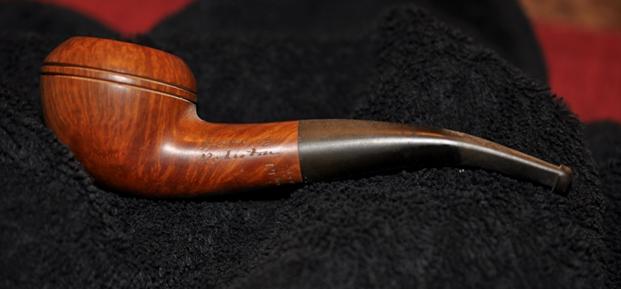
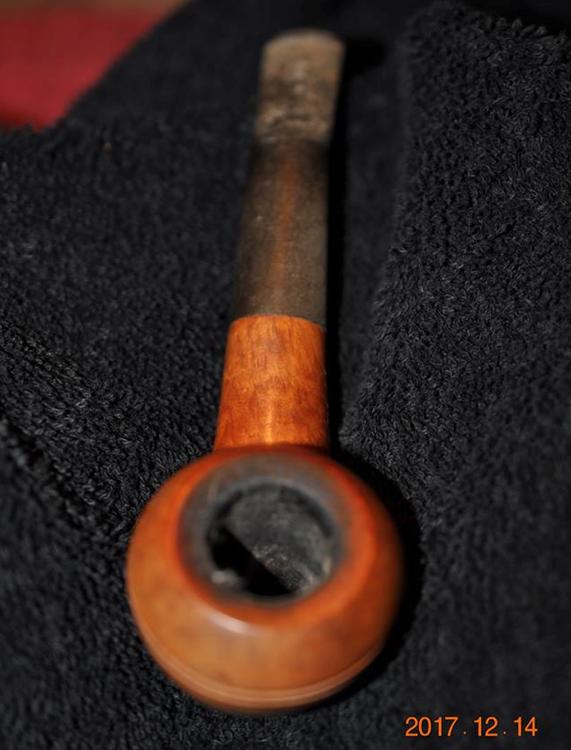
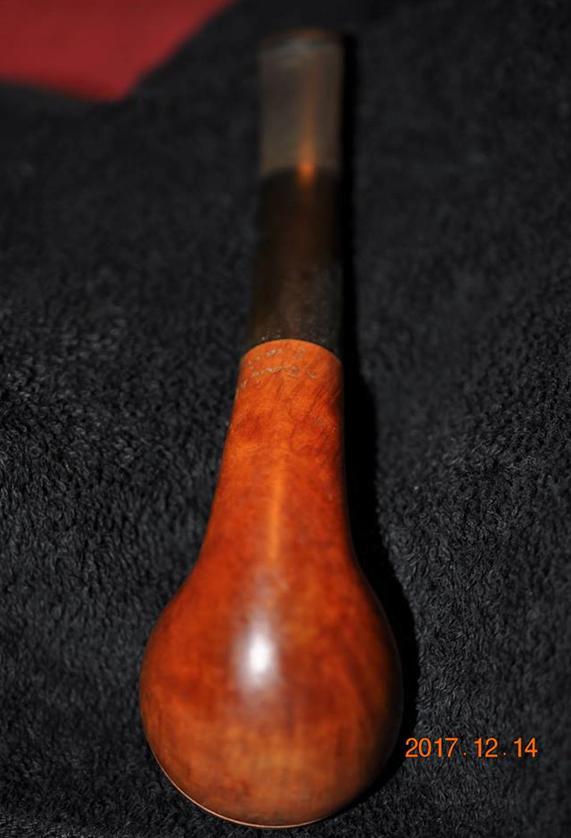
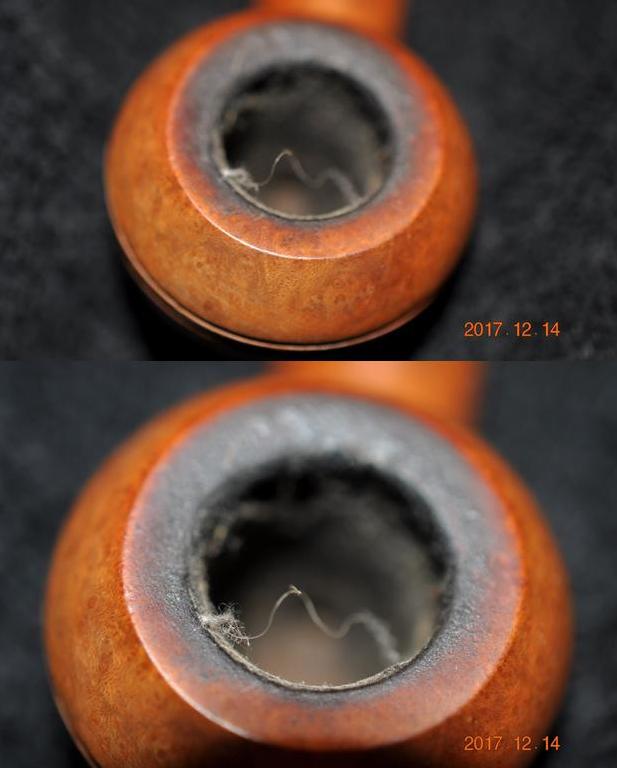
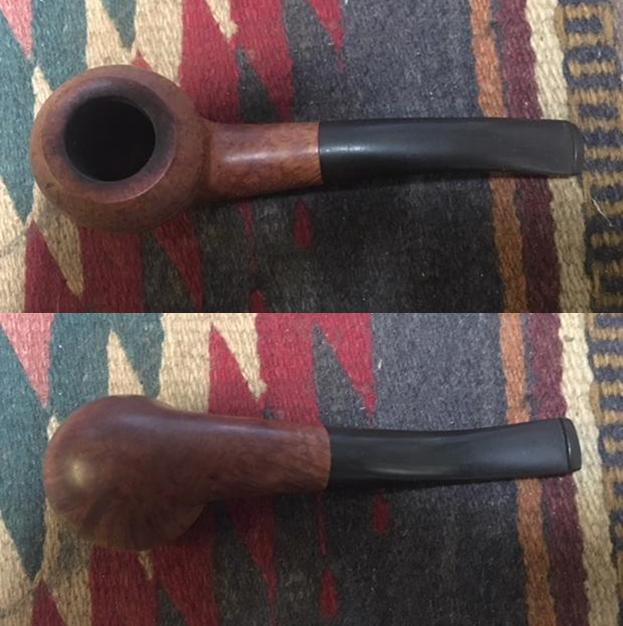
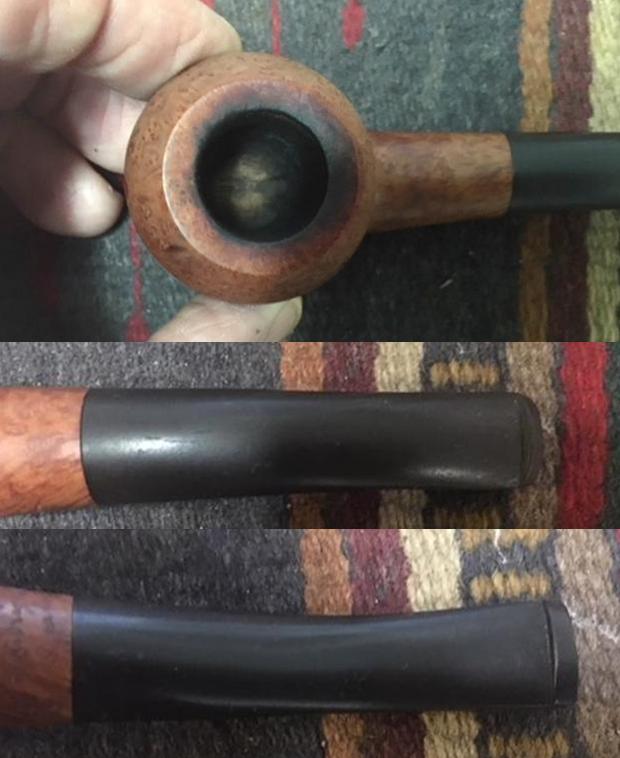
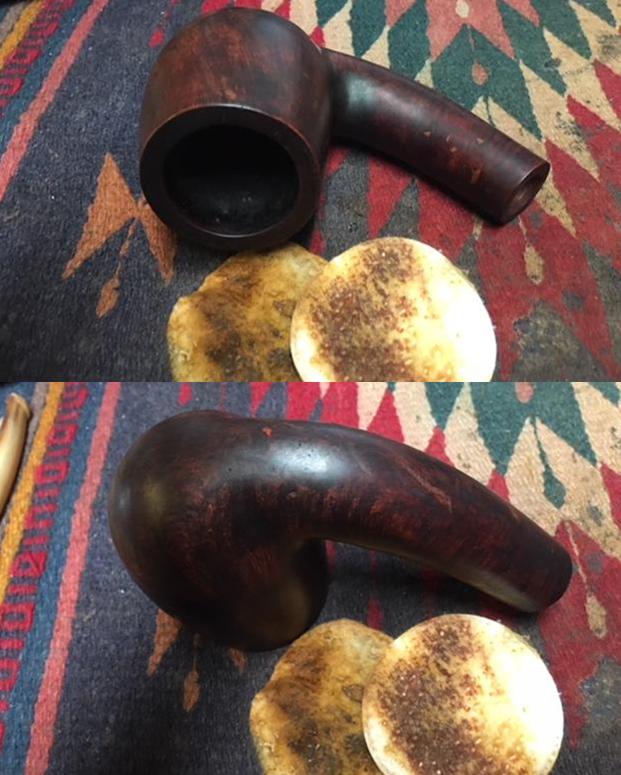
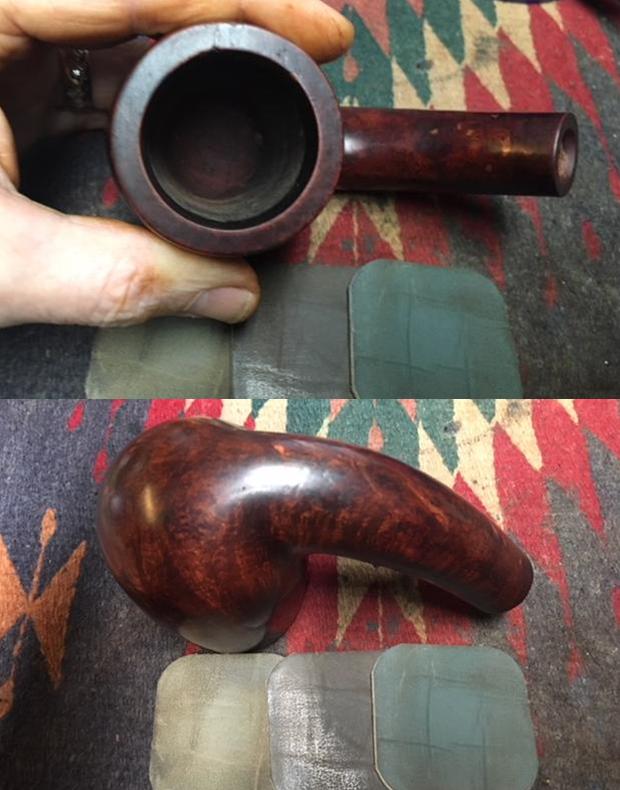
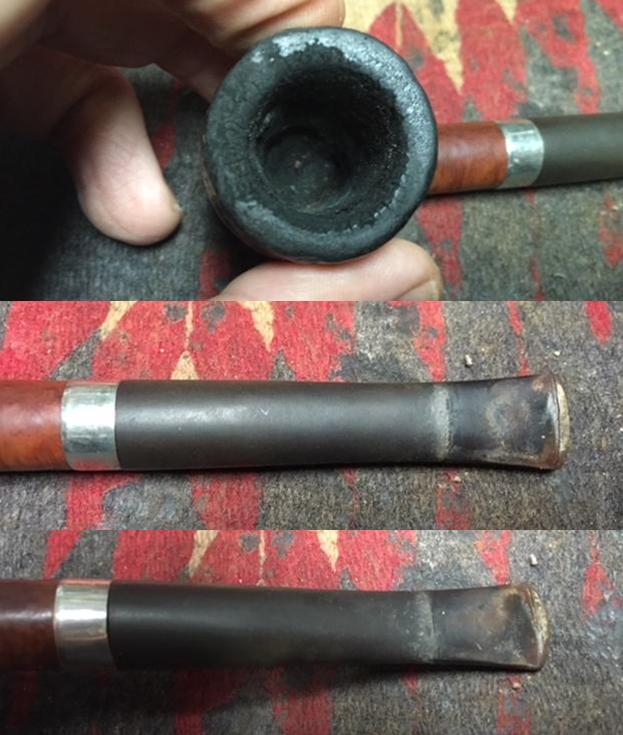
When the pipe arrived I took it out of the box to have a look at it and took some photos of it to show its condition before I began. It had a softee bit on the stem that had slid up about ¼ inch up the stem from the button. The finish was dirty and grimy. The rim top was damaged and the bowl was slightly out of round. There was a thick cake in the bowl and a heavy lava overflow on the top of the rim. There was a burn mark that was on the top of the rim at the front and extended down the bowl about a ½ inch. There was a nickel band on the shank that was a typical repair band that is available through repair suppliers. When I examined around the band on the shank end I could not see any cracks in the shank. The band had been cut off slightly so as not to cover the etched House of Robertson name on the left side of the shank. The stem was an obvious replacement that was slightly larger in diameter than the shank. The pipe definitely needed attention. I took a close up photo of the rim top to show the damage to the front of the bowl and the general condition of the pipe. The bowl is thickly caked and the rim has an overflow of lava on the rim top.  You can see how the bowl is thicker on one side than the other. The front of the bowl looks damaged as the lava on that portion is different in texture than the hard stuff on the rest of the rim top. The stem was in decent condition – some calcification on the top and underside where the rubber softee bit had been. There were some light tooth marks and chatter on both sides. The stem was lightly oxidized.I did a quick assessment of the pipe and wrote John a quick email about what I saw as I looked it over. I sent my questions to him to see if he could shed any light on what I was seeing. I am including both my questions and his response as it helps clarify what I saw when I examined the pipe first hand.
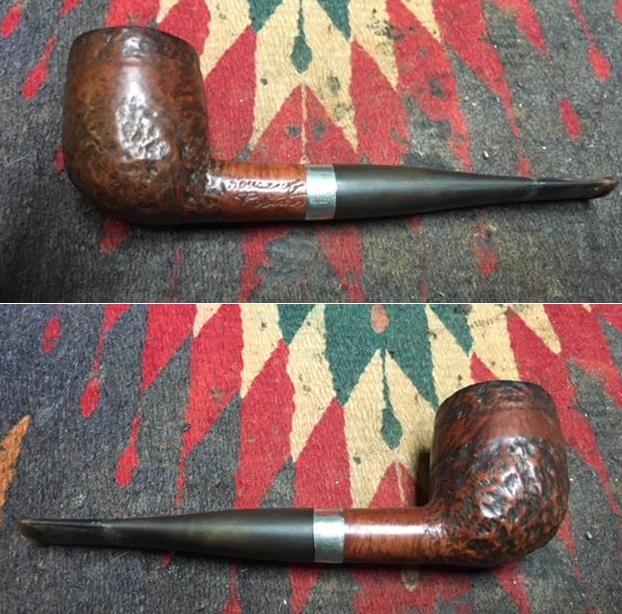
  1. Is the band something that you added? It appears to be cosmetic but it could be a repair band. They are available through online pipe parts guys and are made out of nickel. I think it is a later addition as it covers the N in Robertson. Do you know if the shank was ever cracked?? I will leave it there as it is a touch of bling.
  2. Is the stem a replacement stem? It is wider is in diameter than the shank and appears to be a replacement. The shank was drilled for a filter stem and this one is not the original as far as I can tell. It is well made and will clean up nicely. I took the softee bit off and will clean it up. I will send the softee back with the pipe.
  3. What is the hard substance in the bottom of the bowl? It appears that someone added some fill to the bottom of the bowl (unevenly mind you) to lift the bowl bottom to the level of the entry of the airway into the bowl. Is this something you added or was it there previously? I can leave it be as it is as hard as concrete. I can also smooth it out a bit with a coat of JB Weld (which is what I think is in the bottom of the bowl already).

John replied to my queries and I am including the pertinent parts of his answers:

To my recollection, the pipe is the same un-worked-on one my little brother gave me 38 or so years ago, bought directly from Mr. Robertson at his shop — I’m assuming it was the father and not the son, but I can’t remember when the elder died.

I may have had it worked on — possibly a new stem — at Jeannie’s Smoke Shop (now sold to newcomers since my friend Jeannie died; the shop still retains the name) in Salt Lake City. I do remember taking it, or possibly another pipe, to the craftsman she employed. If that was the pipe I took in, I don’t think he would have filled the bottom of the bowl, but he may have replaced the stem. I smoked that pipe a lot years ago and may have bit the mouth piece off. If you don’t think the current stem is one that Robertson used and feel strongly that it should be changed out with new, proper stem, do it. But you indicate that the stem is fine and you can touch it up and smooth it out, that’s fine, too. Your decision. And do what you suggested with smoothing the bottom of the bowl and adding the JB Weld coat. I have no idea why that would have been filled in.

I don’t recall adding a band. I don’t recall if the shank was cracked years ago and that I may have asked the guy at Jeannie’s to fix that. Please do whatever you need to do with that part. A few weeks ago, I thought I detected a slight crack, or maybe just a dark line along the shank. You don’t seem to think that a new band is necessary. The last Robinson you sold me has a silver band; my other two do not have bands. But I am reasonably sure the nickel band is what Robertson had on it when he sold it to my younger brother ($50 at the time! — a lot of money for a 19-year-old’s gift to his older brother). Possibly the stem got damaged when Robertson was making the pipe, and that’s the way he fixed it…

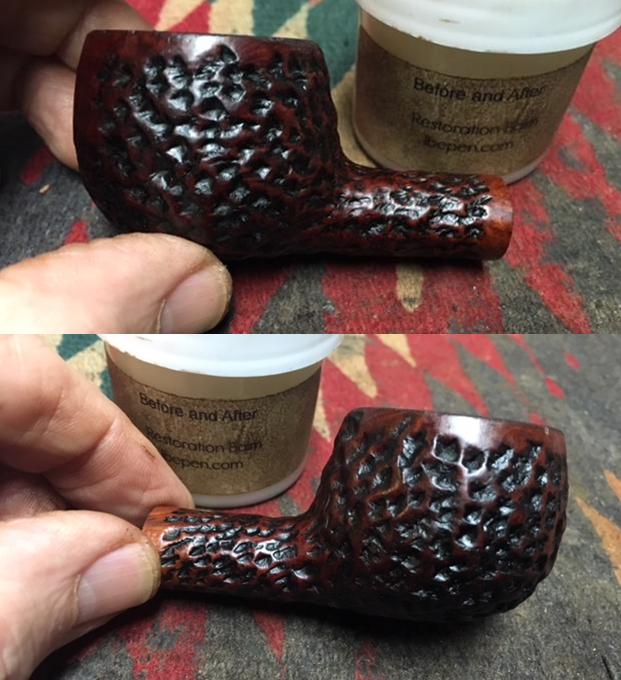
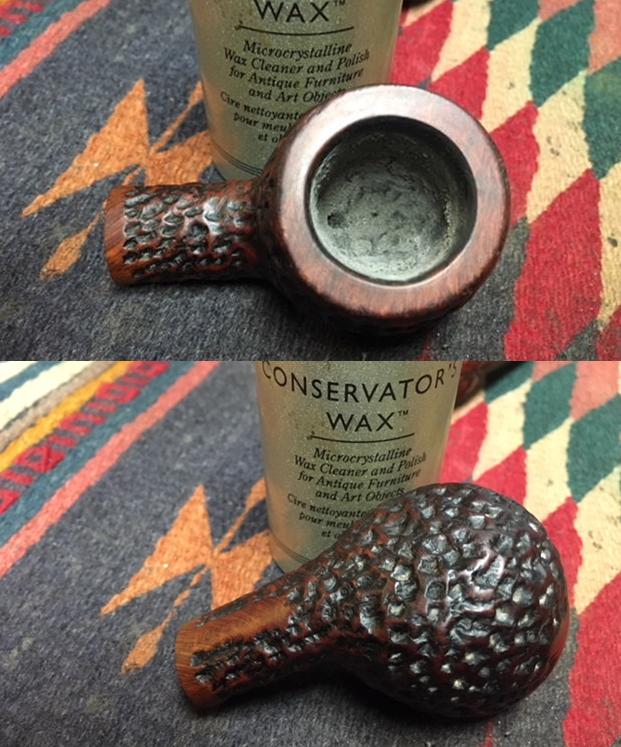
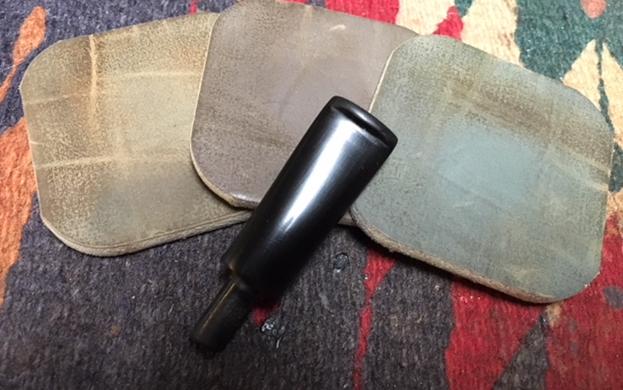
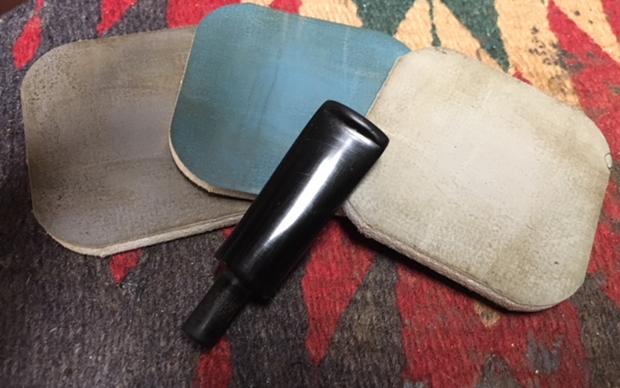
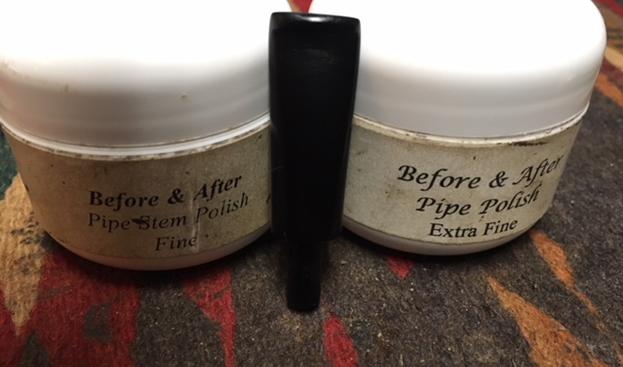
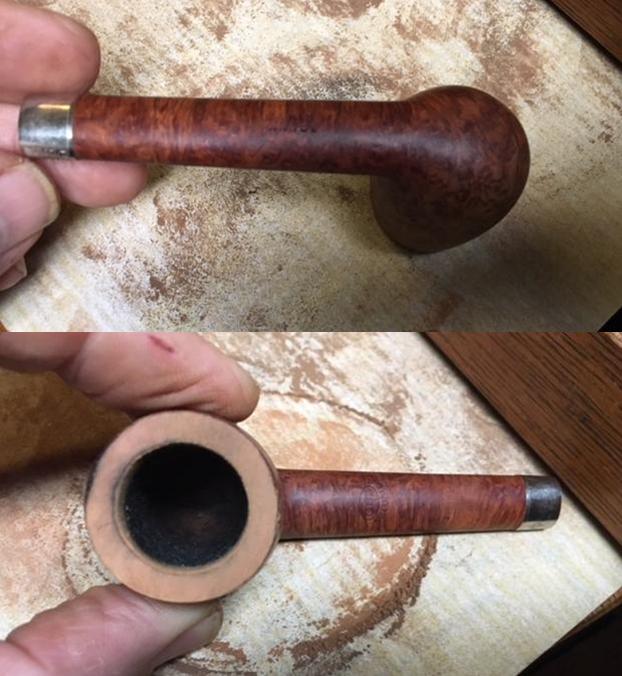
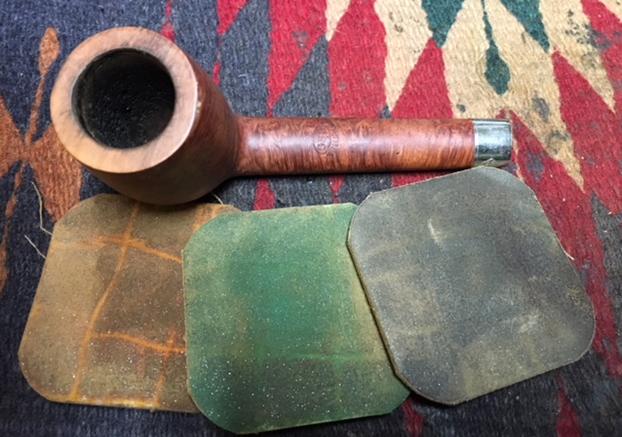
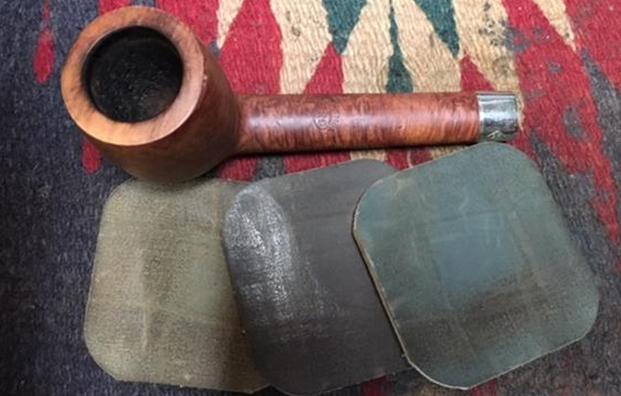
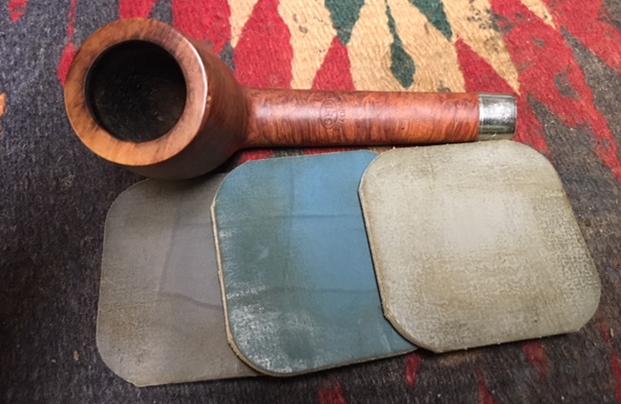
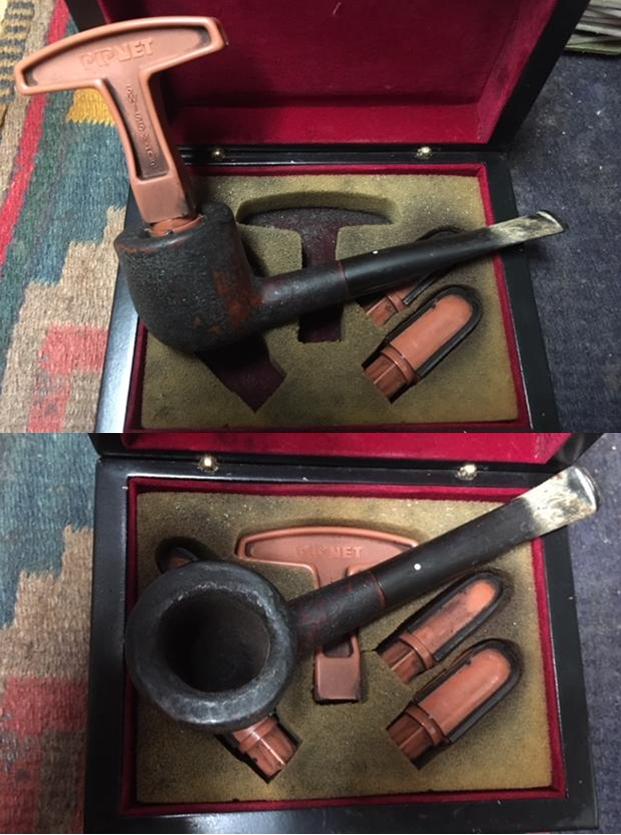
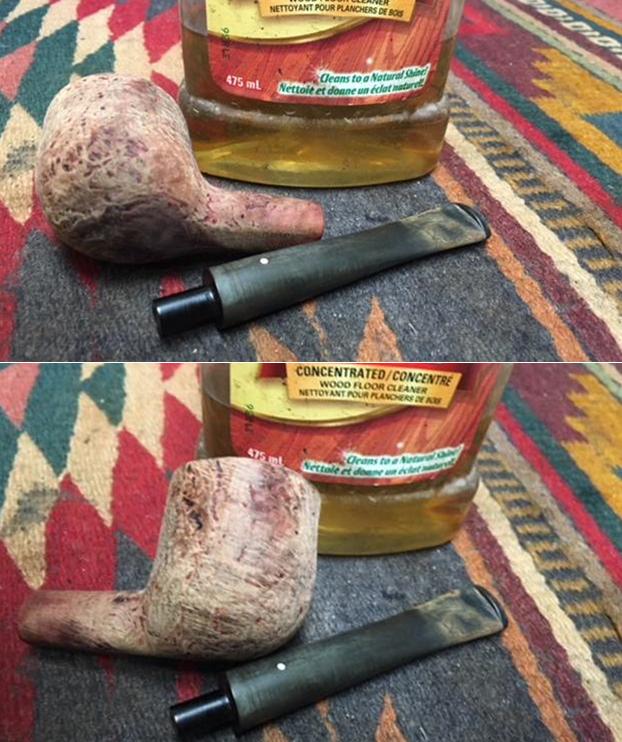
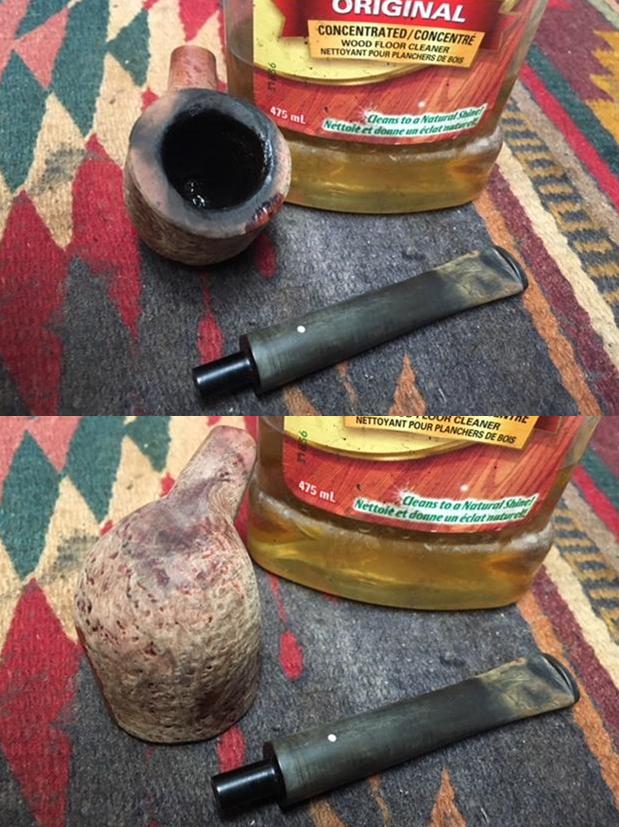
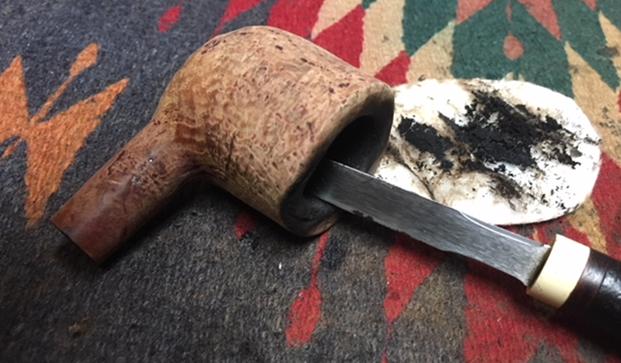
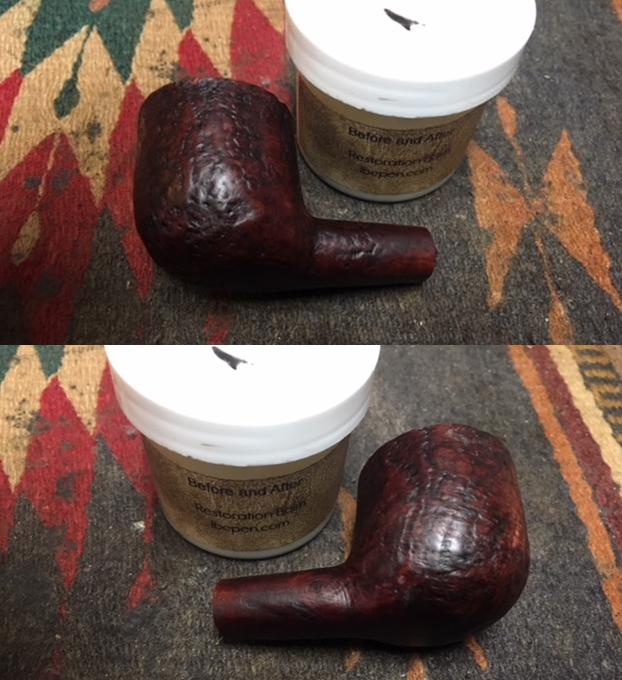
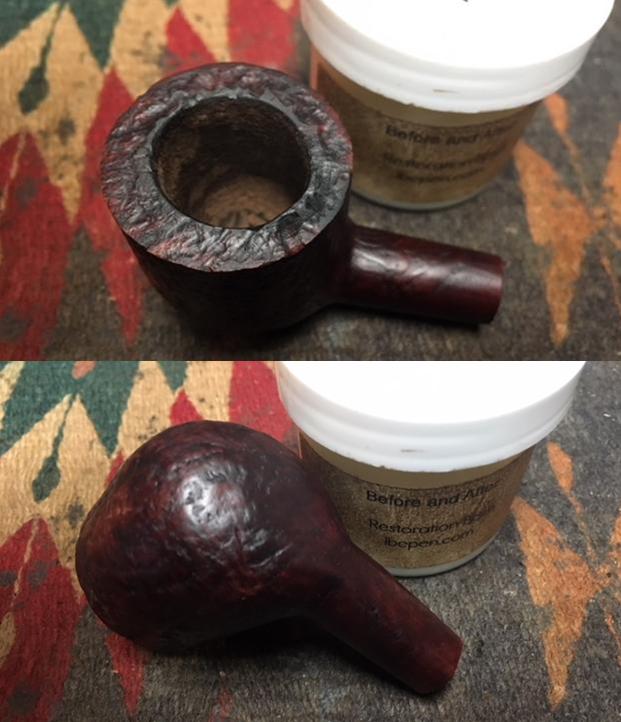
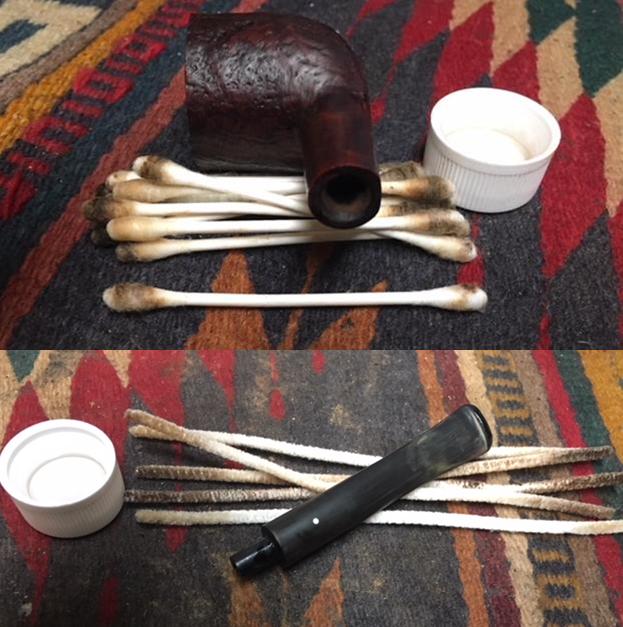
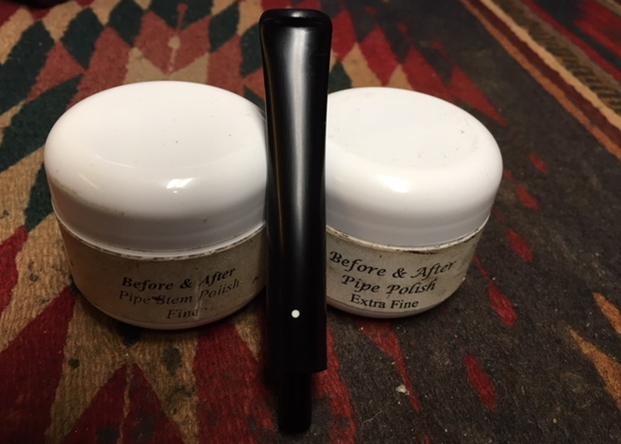
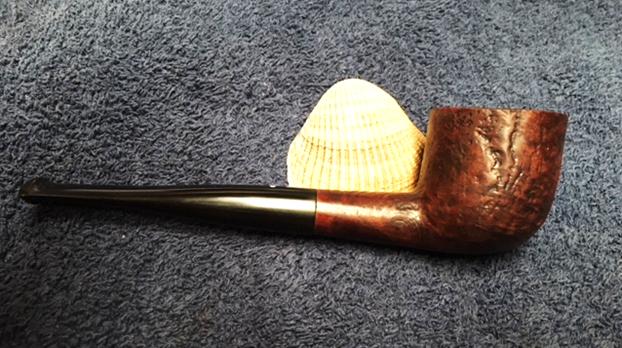
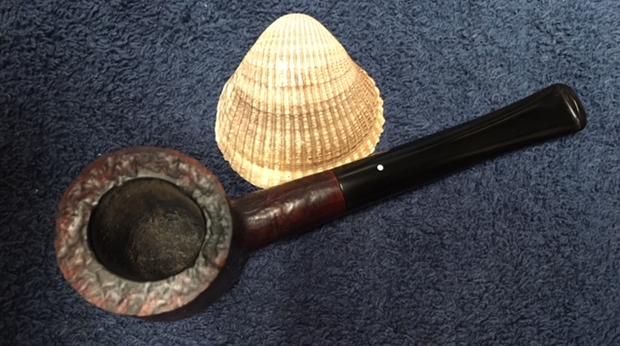
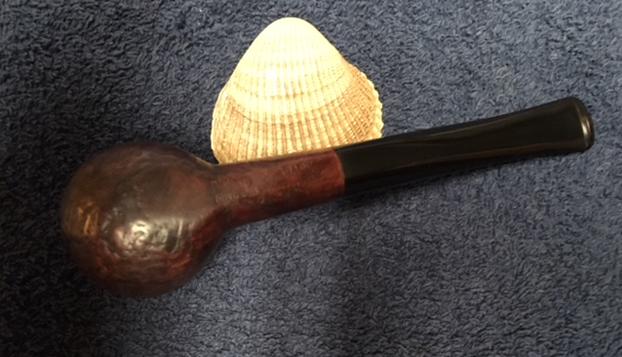
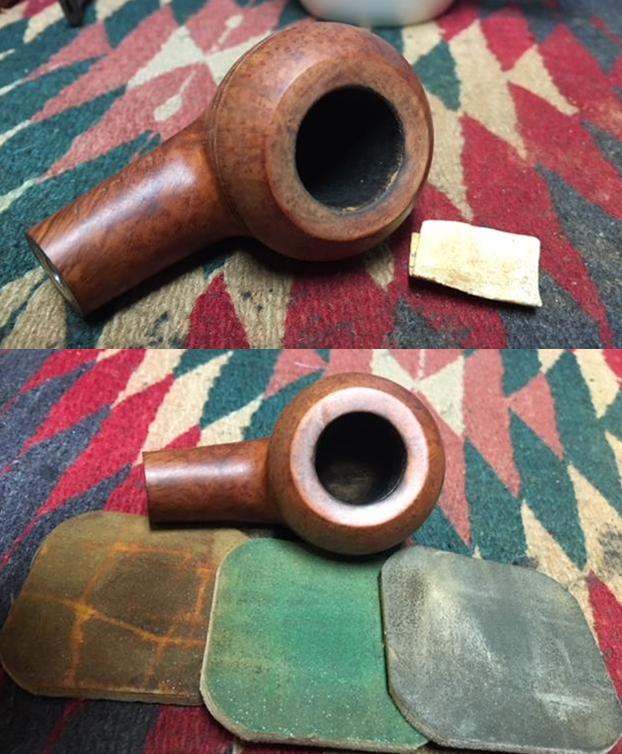
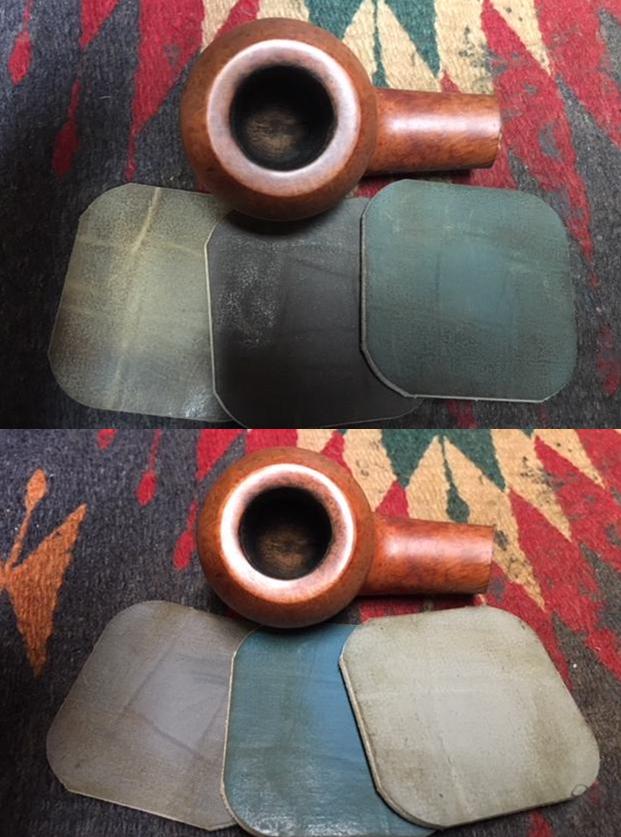
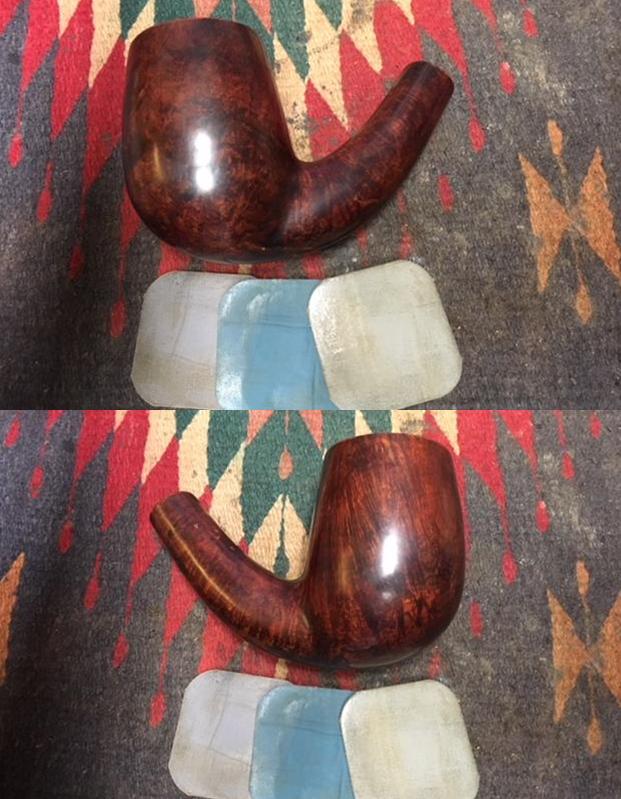
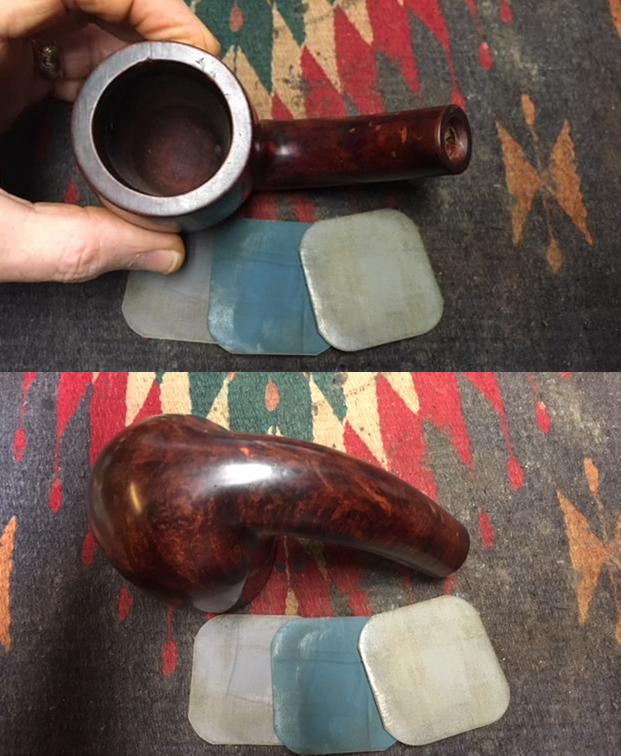
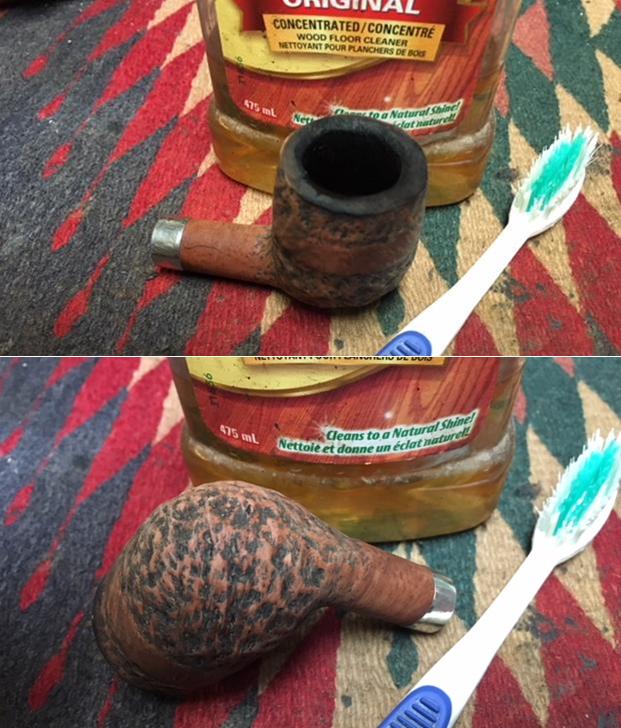
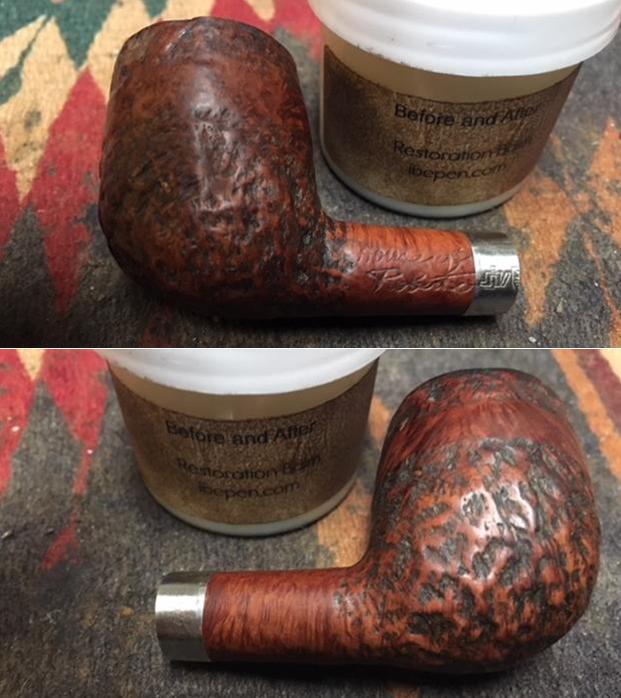
I reamed the bowl with a PipNet pipe reamer – starting with the smallest cutting head and working up to the third one. I cleaned up the remnants with a Savinelli Fitsall Pipe Knife. Surprisingly there was a rock hard substance at the bottom of the bowl – it looked like JB Weld or something like that. It was rock hard and seemed to have been used to bring the bottom of the bowl up to the bottom of the airway’s entrance to the bowl.I scrubbed the exterior of the bowl with Murphy’s Oil Soap and a tooth brush. I worked over the rim top with a brass bristle wire brush to break up the lava flow there. I rinsed the bowl with running water and scrubbed it under the water while it was rinsing. The bowl began to look pretty good at this point. The contrast between the smooth band around the bowl and shank with the rustication above and below the band looked really good. The rim top was so damaged with the burn mark and the nicks around the outer edge that I decided to top the bowl lightly to remove as much of the damage as I could without noticeably changing the profile of the pipe. I worked on the inner edge of the rim and the light bevel with 220 grit sandpaper to clean up the inner edge. I used it to also lightly reshape the outer edge of the bowl. You can see from the photos how out of round the bowl edges are outside and inside. I worked on the bevel to work on it and you can see the result in the third photo.I did not want to add stain to the oil finished bowl so I just rubbed the bowl down with Before & After Restoration Balm to deep clean the rustication on the briar. The rustication was well done and looked almost like a sandblast. I also rubbed it into the smooth portions on the band around the bowl, the rim top and the shank. The product works to clean, enliven and protect the briar. I hand rubbed it with my fingers to work it into the rustication. I wiped it off with a soft cloth. I buffed the bowl with a horsehair shoe brush to polish it. The briar really began to have a rich shine. I took some photos of the bowl at this point to mark the progress in the restoration. I decided to polish the topped rim top once more using micromesh sanding pads as the balm revealed more scratches in the finish. I wet sanded it with 1500-2400 grit pads and dry sanded it with 3200-12000 grit pads. I wiped it down after each pad with a damp cloth. I cleaned out the internals of the mortise and the airway in the shank and the stem with pipe cleaners, cotton swabs and alcohol. (I forgot to take photos of the stem after I cleaned it with alcohol and pipe cleaners).I mixed up a small batch of JB Weld to level the previous repair to the bottom of the bowl. I applied it to the uneven area with the end of a small sanding stick. I pressed it into the indentation and smoothed it out with the tip of my finger.I set the bowl aside and worked on the stem. I sanded out the tooth chatter, tooth marks and oxidation on the button end. I sanded the rest of the stem to remove the oxidation. The diameter of the stem was bigger than that of the shank so I sanded that at the same time to reduce it to the same size as the shank and reshape it at the junction. I polished the stem with micromesh sanding pads – wet sanding it with 1500-2400 grit pads to remove the scratching. I worked on it until the stem surface was smooth and the marks were less visible. I continued to polish it with 3200-12000 grit sanding pads. I wiped it down with Obsidian Oil after each sanding pad. I polished it with Before & After Pipe Stem Polish – both Fine and Extra Fine. I wiped it down a final time with Obsidian Oil. I put the stem back on the bowl and worked the pipe over on the buffing wheel using Blue Diamond to lightly polish both the bowl and the stem. I buffed the bowl and stem to raise the gloss on the briar and the vulcanite. I gave the pipe multiple coats of carnauba wax. I buffed the entire pipe with a clean buffing pad to raise the shine. I hand buffed it with a microfiber cloth to deepen the shine. The finished pipe is shown in the photos below. I don’t think House of Robertson stained the pipes as they have the rich patina of an oil finish. If it had a stain coat it was a tan stain that went well with the rich black of the vulcanite stem. The dimensions of the pipe are: Length: 5 1/2 inches, Height: 1 3/4 inches, Outside Diameter: 1 3/8 inches, Diameter of the chamber: 7/8 inches. This is an interesting piece of briar that shows a mixture of grain on the smooth portions. I really like HOR pipe work the rustication and smooth parts together in unique ways. Once the repair in the bowl cures I will mail it back to John. I know he is looking forward to enjoying it again. Thanks for walking with me through the restoration.
Restoring a Savinelli Churchwarden 3003


Blog by Steve Laug

I finished the restoration work on Mark’s uncle’s pipes and a few of his own and sent them back to him in late January of this year. I wrote a blog on each of the restorations. They were a fun batch of pipes to restore for him. He sent me another package a few weeks ago that had just three pipes in it – A GBD Classic Straight Bulldog, a GBD 9242 Rhodesian (one of my holy grail pipes) and a long Churchwarden pipe that had originally belonged to his uncle. Each pipe had a different set of issues that would provide a variety of challenges. The Bulldog was in excellent condition other than the first ½ inch of the stem missing in chunks. The Churchwarden had a broken tenon that was still stuck in the shank. By far the worst of the lot was the 9242 pipe. When I saw it in the bag I was excited. When I took it out of the bag I was saddened at the condition of the pipe. The bowl was dirty and there was some lava and rim darkening on the top. There were a few nicks in the edges of the bowl. The finish was dirty but the grain on the pipe was really nice. If I had stopped my observation at this point I would have been quite happy.

The second pipe I chose to work on from the batch of pipes was the Churchwarden that had belonged to his uncle. The Prince shaped bowl was in decent condition. The bowl was actually quite clean on the inside but the drilling where the airway entered the bowl was slightly off to the right side of the bowl. Other than having the tenon stuck in it; the shank looked pretty good as well. The rim top was dirty and there was a burn mark on the inner bevel of the left side. The finish was dirty and there were quite a few nicks and dents on the surface of the briar. The shank was stamped on the left side with the words Churchwarden over Aged Briar. On the right side of the shank it is stamped with the shape number 3003 and next to that was the Savinelli S shield. The underside of the shank is stamped Savinelli over Italy. The stem was quite oxidized and pitted. There were tooth marks and chatter on both sides of the stem at the button. The broken tenon remnants were on the end of the stem. It was broken pretty close to the stem/shank junction.

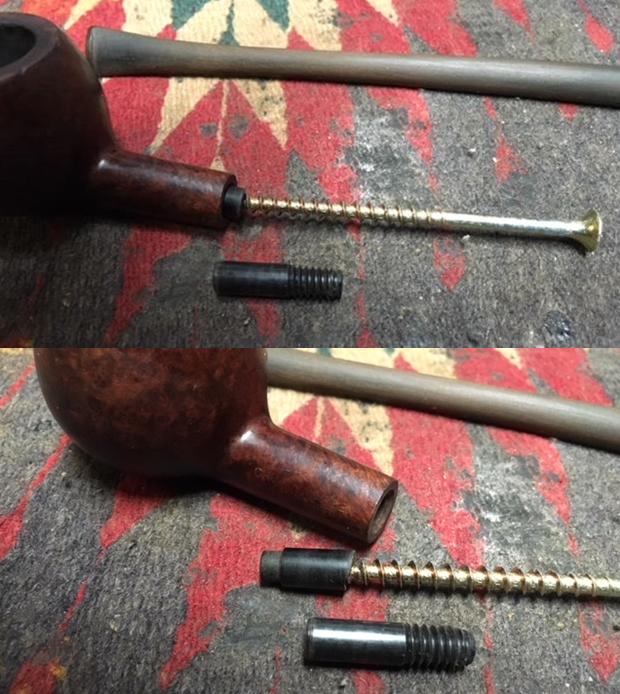
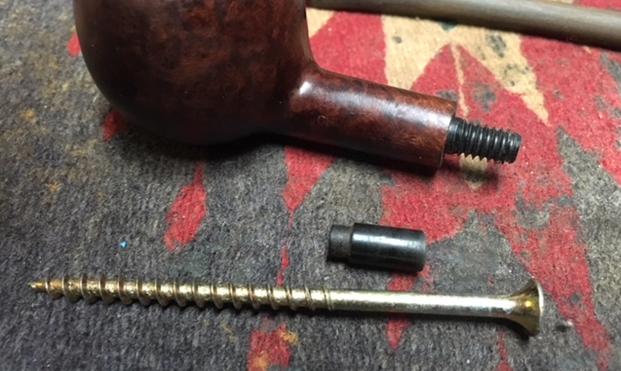
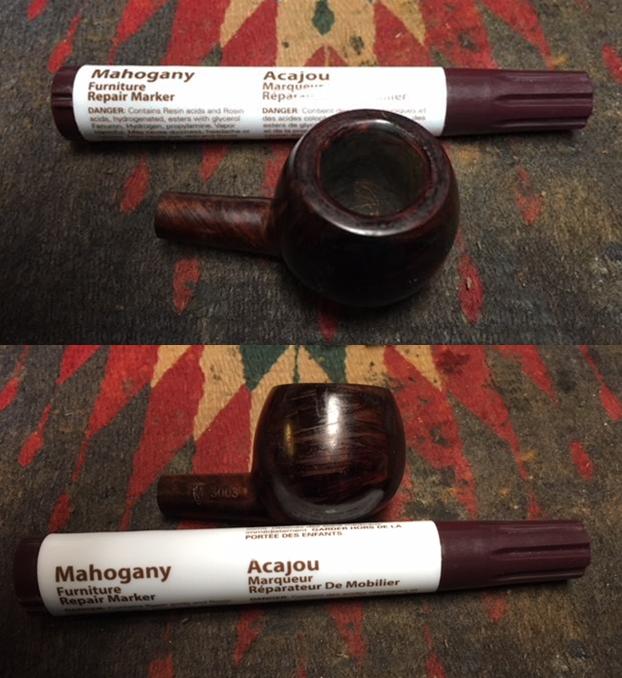
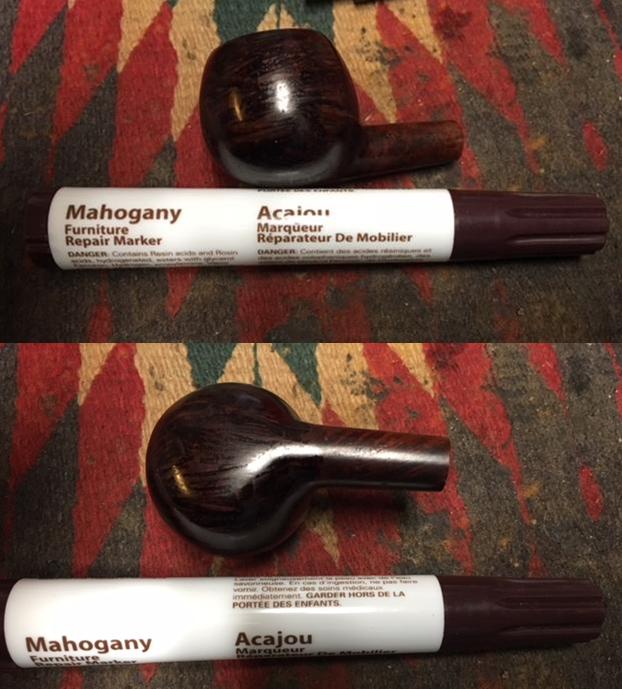
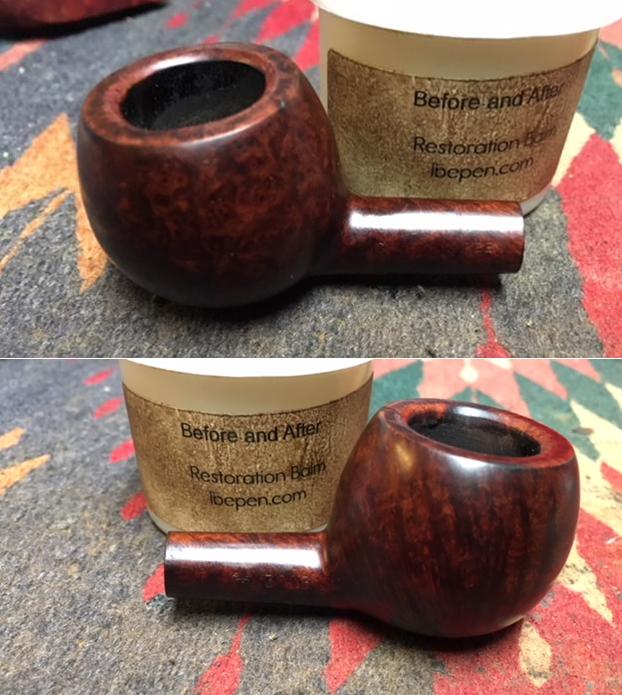
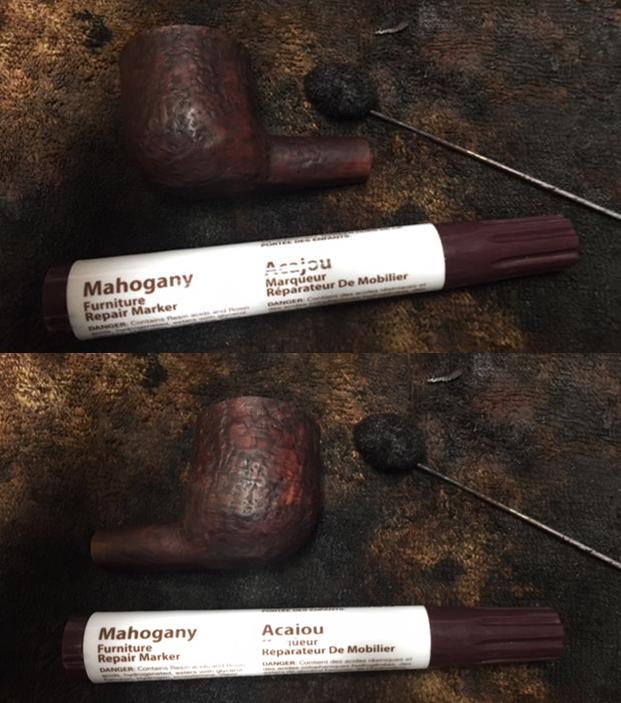
Sooo… here we go on the second of Mark’s restoration projects. I took photos of the pipe to show what it looked like when it arrived in all of its tattered splendour. The bowl had some beautiful grain underneath the grime. The photos show the stem the broken tenon and how close to the shank it was snapped off. The above photo shows the damage on the rim top to the inner edge. It is a burn mark from repeated lighting of the pipe in that spot. The photos below show the chatter and tooth marks on both sides of the stem at the button.The broken tenon was stuck in the shank when I first tried to pull it so I put it in the freezer for 30 minutes. I tried again using a long drywall screw and was able to get it free with the first try. I went through my jar of replacement tenons and found one that I thought would work. It is a threaded Delrin replacement tenon. Once I had the broken tenon out of the shank I compared them and found that the diameter was the same on both.  I tried it in the mortise and found that it was a perfect fit. Even the length was correct. I flattened the broken pieces on the end of the stem with a Dremel and sanding drum and then on the topping board. I wanted a flush surface to mount the new tenon on and also to have a snug fit against the shank. The airway was not centered in the stem so I had to do a bit of fussing with it to get it ready for the new tenon. I used a sharp pen knife to flare the side of the airway that was off to get it more centered before I drilled. Once I had done that I drilled the airway with a bit slightly larger in diameter than the airway and worked to keep it both straight and centered. This is yet another time I wished I had a drill press.I followed that drill bit with one that was the same diameter as the threaded portion of the new tenon. I sanded the threads to slightly reduce the diameter and pressed it into the stem. The fit was very good. I took a photo of the stem  at this point to show the look of the new tenon.I used black super glue that had a medium viscosity so that I had time to align the stem and the shank before the glue set. Once it was aligned I took a few photos of the fit of the stem to the shank. I would need to make a few minor adjustments but considering how off the airway was the fit was quite good. I carefully removed the stem and set it aside to let the glue on the tenon set firmly. I turned my attention to the bowl. The first item of business for me was to work on the rim top. I cleaned up the flat surface of the rim with 1500-2400 micromesh sanding pads and then shaped the inner bevel of the rim with a folded piece of 220 grit sandpaper to minimize the damage on the right inner edge. When I finished it definitely looked better. I would do a bit of finessing it once I worked on it with the micromesh pads.I decided to address the many nicks, scratches and cuts in the surface of the finish by filling them in with clear super glue. The next series of photos show the many spots on the front and bottom of the bowl.Once the repairs had dried I sanded them smooth with 220 grit sandpaper to blend them in with the surface of the bowl. I then wet sanded the entire bowl and rim with 1500-2400 grit micromesh pads and dry sanded it with 3200-12000 grit pads until the rim and the surface of the bowl was smooth and polished. I wiped down the surface of the bowl with a damp cloth to remove the sanding dust between each pad. I decided to highlight the reds in the briar and finish so I stained it with a mahogany stain pen. It looks streaked and poorly applied in the photos but the story is not over yet. I am more interested in getting the bowl covered with a stain that is transparent so when I take the next step the grain will come through the finish. Of course I was in a hurry at this point to call it a night so I forgot to take pictures of the next step. I wiped the bowl down with a cotton pad and isopropyl alcohol to spread the stain and wipe away the excess. When the grain stood out and the repairs remained hidden I rubbed the bowl down with Before & After Restoration Balm. I rubbed it into the finish to clean, enliven and protect the finish. I let it sit for a few moments and buffed it off with a cotton cloth. The photos below show the bowl at this point. Once the bowl was finished I set it aside to work on the stem. I sanded out the tooth marks and chatter on the top and underside of the stem at the button. I sanded the entire stem with 220 grit sandpaper to remove the damage and oxidation.I polished the vulcanite with micromesh sanding pads to remove the scratching and remaining oxidation. I wet sanded it with 1500-2400 grit pads and dry sanded it with 3200-12000 grit pads. I wiped the stem down with Obsidian Oil after each pad to remove the dust. I finished polishing the stem with Before & After Pipe Stem Polish – both Fine and Extra Fine to remove the rest of the scratches in the hard rubber surface. I put the stem back on the bowl and buffed the pipe with Blue Diamond on the buffing wheel. I gave it several coats of carnauba wax and buffed it with a clean buffing pad to raise a shine. I hand buffed it with a microfiber cloth to deepen the shine. The finished pipe is shown in the photos below. The repairs on the finish blend in really well with the overall finish of the pipe. The new tenon on the stem works very well and is a snug fit in the mortise. It really is a nice looking Savinelli Churchwarden. There is some nice grain on the bowl. This is the last of Mark’s uncle’s pipes and it is ready to head back to Mark for his smoking pleasure. I have one more pipe to fix for him then this one and the others will be in the post back to Mark. I think it is better than it was… thanks for looking.


Rejuvenating an Interesting “Malaga” Rusticated Pot


Blog by Steve Laug

The next pipe on the worktable is another “Malaga” – this one is a Pot shaped pipe, or maybe you would call it an author. It is short and rusticated with a smooth rim top, smooth band around the oval shank and a smooth panel on the underside of the shank for the stamp. Jeff has picked up other pipes of this brand since we picked up the ones from Kathy’s Dad’s estate. They are of various shapes and finishes – rusticated, smooth and mixed finish. They are also various sizes from small to very large. They were all made by the Malaga Pipe Shop in Royal Oak, Michigan. They are all from various places around the US. It is interesting to see how far Malaga pipes traveled from one little pipe shop in Michigan. The more I work on the brand the more I am impressed by the quality of the craftsmanship and beauty of the pipes that came from the shop. I wrote a blog to give a little history of the Malaga Brand if you are interested: https://rebornpipes.com/tag/malaga-pipes/. There are also links there to a catalogue and the maker George Khoubesser.)

The bowl is rusticated on the sides, bottom and shank with a pitted pattern in the rustication. The rim top is smooth as is the band around the shank end and the bottom smooth panel where it is stamped. The rim top is smooth but also dirty and damaged. There were nicks in the top of the rim and the outer edges were rough from knocking the bowl out against something hard. There were also some nicks on the inner edge of the rim. The underside of the shank is stamped “Malaga”. The combination of smooth rim and ring along with the rusticated finish around the bowl all work together to create an unusual looking pipe. The bowl had a thick cake and there was a lava overflow on top of the rim. There was some dust and debris in the finish of the bowl and on the top of the rim. The vulcanite stem was oxidized and had tooth chatter and tooth marks on both sides of the stem at the button and on the edges of the button as well. The combination of medium and dark brown stain worked together to create a warm brown finish. Once again it is a light weight pipe for its size. Once more I think it bears testimony to my belief that Malaga pipes were oil cured. Jeff took close up photos of the bowl and rim to show the condition of the pipe before he started to work his magic on it. The bowl had a thick dark cake and some overflow on the rim top. The beveled edge was quite dirty. The inner and outer edges of the bowl showed some damage and nicking. The second photo shows the rim top from a different angle and you can see the tars and oils on the rim top. The third photo shows the underside of the bowl and the rustication. He took a photo of the underside of the shank to show the stamping. The stamping is readable and is the standard “Malaga” stamp with quotation marks on either side of the word. You can see the dust and grime on the finish of the shank.The next photos show that the stem was quite heavily oxidized. There was some light tooth chatter on both surfaces of the stem near the button and on the button edges as well.  Jeff reamed the bowl with a PipNet pipe reamer and followed up with a Savinelli Fitsall pipe knife to remove the cake. He scrubbed out the mortise and the airway in the shank and the stem with alcohol, cotton swabs and pipe cleaners. He scrubbed the exterior of the bowl, rim, shank and stem with a tooth brush and Murphy’s Oil Soap to remove the oils and tars on the bowl, rim and shank. He rinsed it under running water. He dried it off with a soft cloth. Once more he soaked the stem in Before & After Stem Deoxidizer to remove the oxidation. I took photos of the pipe to show its condition before I started my work on it.   I took a photo of the rim top to show the condition it was in after the cleanup. Jeff was able to remove the darkening and tars from the rim top and edges. The grain on the top is very nice and the top is clean. There were dents in the surface of the rim and the outer edge was quite rough on the back side from knocking the pipe out against a hard surface. The inner of the bowl is in good condition. It is a nice looking finish. The stem was clean and you can see that the deoxidizer had done a great job removing the oxidation. There were tooth marks and chatter on both sides of the stem and some slight wear on the edges of the button.Once Jeff had removed the thick cake in the bowl it revealed some fissures in the bottom and part way up the sides of the bowl.I decided to take care of that first as the JB Weld mixture takes time to cure. I mixed the two parts together and pressed the mixture into the fissures in the bowl. I used a dental spatula to spread the mixture into the fissures and around the entry of the airway. It would take time for the mix to cure but I kept working on the bowl.Once the mix had set I topped the bowl on a 220 grit topping board to remove the damage to the surface. It did not take too much to remove the damage to the rim. I cleaned up the inner edge of the rim with a folded piece of 220 grit sandpaper. I polished the rim top with micromesh sanding pads to remove the scratches and marks in the briar. I wet sanded it with 1500-2400 grit pads and dry sanded it with 3200-12000 grit pads. I wiped the rim down after each pad using a damp cotton pad.   I used folded sandpaper and a Dremel and sanding drum to sand out the bowl to remove the excess JB Weld and leave it only in the fissures. Once it was sanded it out I wiped the interior down with a damp cotton pad.I mixed a batch of pipe mud and coated the bowl with that to cover the bowl sides and bottom.I rubbed the bowl down with Before & After Restoration Balm to deep clean the rusticated briar and the smooth rim. The product works to clean, enliven and protect the briar. I hand rubbed it with my fingers and worked it into the rustication with cotton swabs. I wiped it off with a soft cloth. I buffed the bowl with a horsehair shoe brush to polish it. The briar really began to have a rich shine. I took some photos of the bowl at this point to mark the progress in the restoration. I “painted” the tooth marks on the stem and button with the flame of a Bic lighter. I moved the flame quickly across the surface of the stem and repeated it until the tooth marks had lifted.All the tooth marks lifted except one on the underside of the stem. I filled it in with clear super glue. Once it had cured I sanded the repair smooth with 220 grit sandpaper and blended it into the surface of the rest of the stem. I also shaped the surface of the button on the top and the bottom edges to blend in the marks on the surfaces.I polished the stem with micromesh sanding pads – wet sanding with 1500-2400 grit pads and dry sanding with 3200-12000 grit pads. I wiped the stem down after each pad with a damp cloth to remove the sanding dust. I used the Before & After Pipe Polish to remove the small minute scratches left in the vulcanite. I finished by wiping the stem down with a final coat of Obsidian Oil and set it aside to dry. I gave the bowl several coats of Conservator’s Wax and buffed it with a shoe brush to raise the shine. I used a microfiber cloth to raise the shine on the bowl. I put the stem back on the pipe and worked it over with Blue Diamond to polish out the remaining small scratches. I gave the bowl several more coats of Conservator’s Wax and the stem several coats of carnauba wax and buffed the pipe with a clean buffing pad to raise the shine. I hand buffed it with a microfiber cloth to deepen the shine. The pipe polished up pretty nicely. The finished pipe is shown in the photos below. This rusticated “Malaga” has been brought back to life. Still deciding if it is one that I will keep or whether I will sell it on the store. If you are interested let me know and I will keep you in mind. The dimensions of the pipe are Length: 5 1/4 inches, Height: 1 1/2 inches, Outside diameter of the bowl: 1 3/4 inches, Chamber diameter: 1 inches. Thanks for walking through the restoration with me as I worked over this Malaga. I have quite a few more to work on in the days ahead.

Restoring a Smooth House of Robertson Apple


Blog by Steve Laug

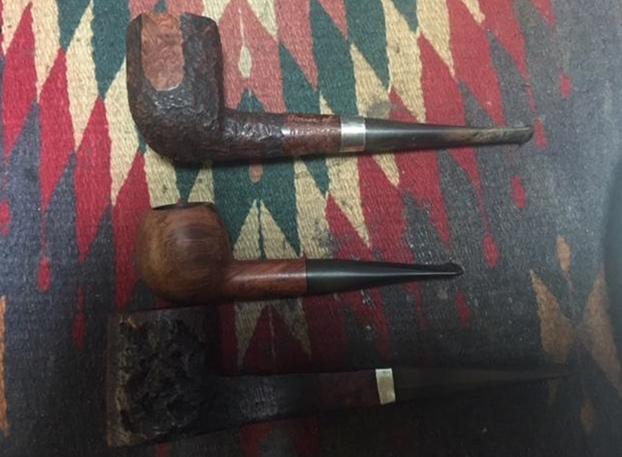
I am working on the last of the House of Robertson pipes that Jeff picked up on his weekly pipe hunts. He found several others that are quite unique in an antique mall near where he lives. There were two large long shanked pipes – one round shanked and one square shanked. The third of the batch that he found is a nice little classic apple shape. It looks tiny with the size of the other two. The two larger pipes are a combination of smooth and rusticated. They both have smooth panels on the sides or front of the pipes. Both of the large ones are banded with a sterling silver band. It seems to me that the bands on both the square shank and the round shank are decorative rather than a repair for a cracked shank. I have restored the larger rusticated pipes already and they have traveled to two House of Robertson collectors – on in Idaho and one in Utah. I am finally getting to the third – the small apple. Like the other two, in fact like all of them the name House of Robertson roughly hand-etched on the side of the shank with an engraving tool. I am including the information that I found when I received my first of the House of Robertson Pipes. I found a link on Pipedia that gave me the only information I could find on the brand. I include that in total as it is interesting to read.

“House of Robertson” was in business for many years, but alas, closed their doors in 1999. They were located in Boise, Idaho. They are noted for making rather large and interesting pipes. Thayne Robertson was a Master Mason, AF & AM, and started the shop about 1947 and his son Jon started working there in 1970 when he finished college, along with Thayne’s daughter. Thayne and his son started making the big pipes at that time, and made them together until 1987 when Thayne passed away. Jon kept the store and his sister moved on to other things. The House of Robertson appears to have closed around 1999. https://pipedia.org/wiki/Robertson

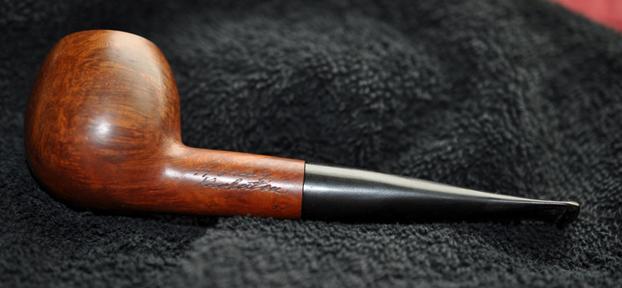
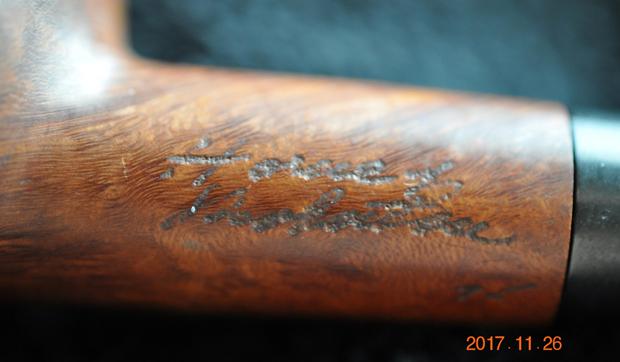
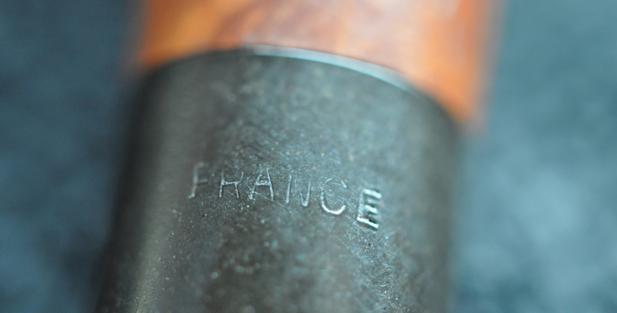
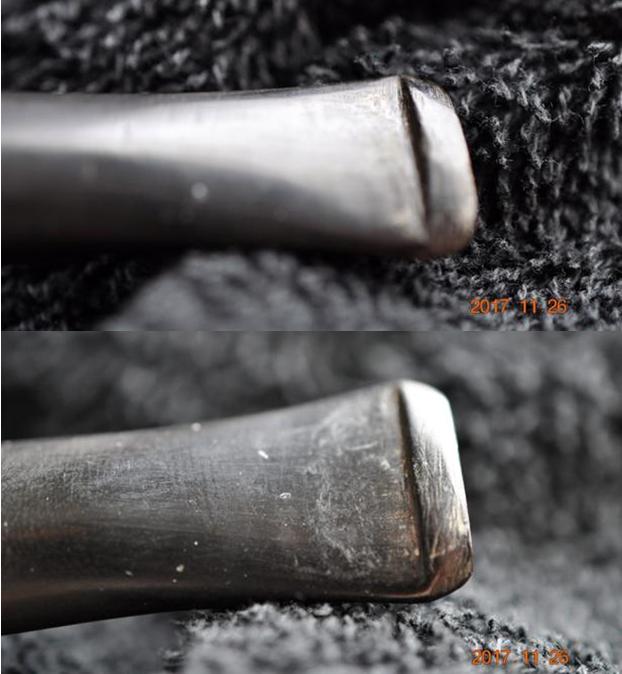
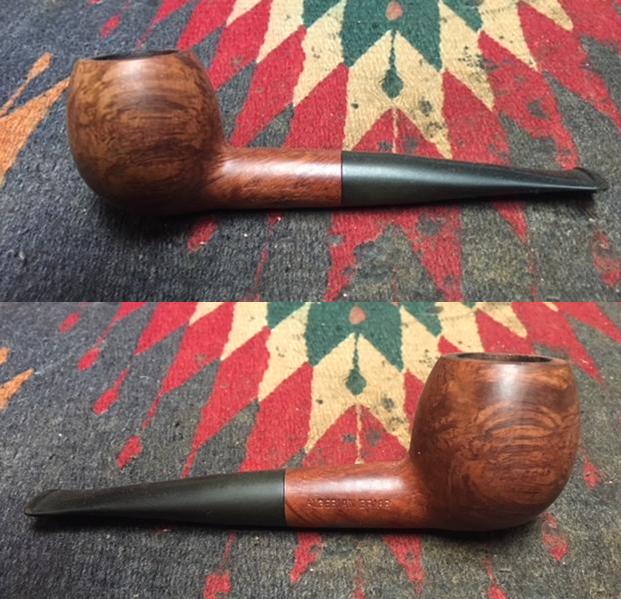
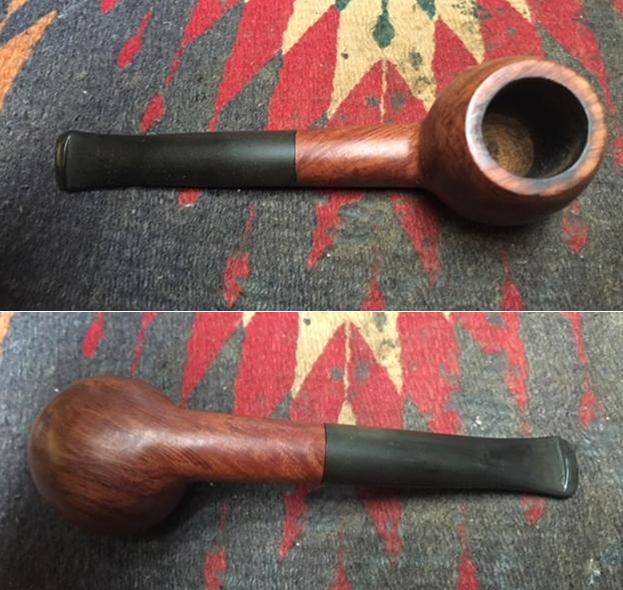
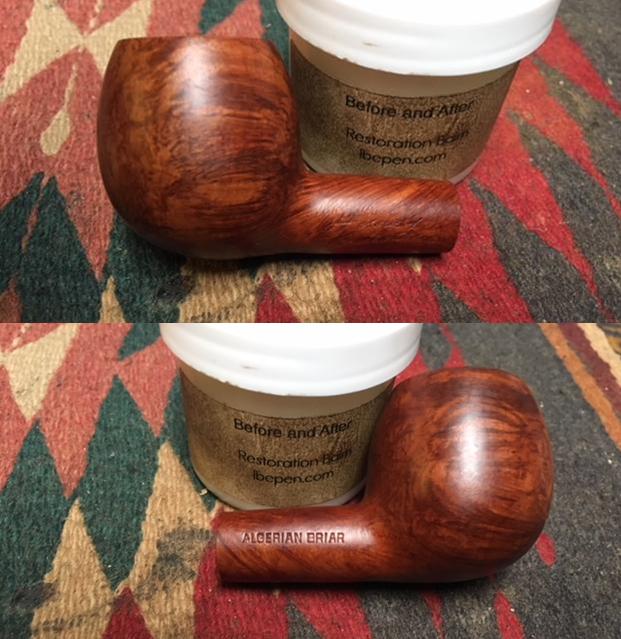
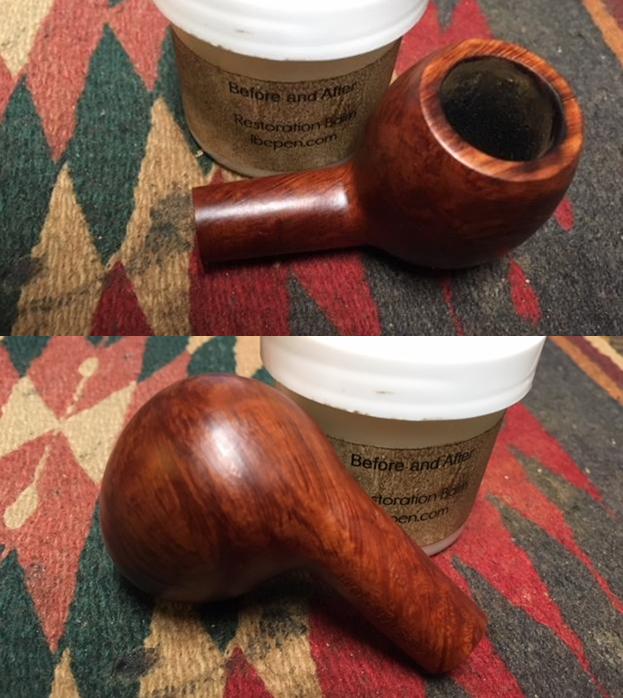
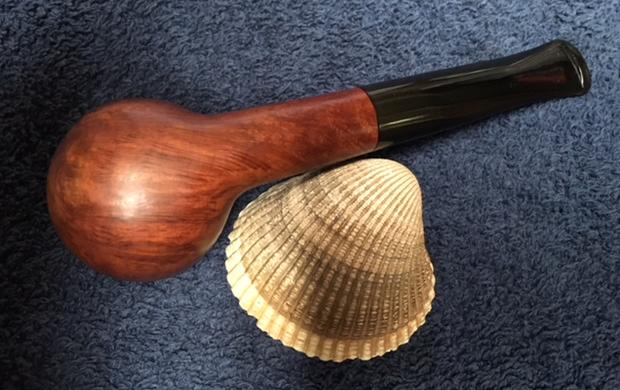
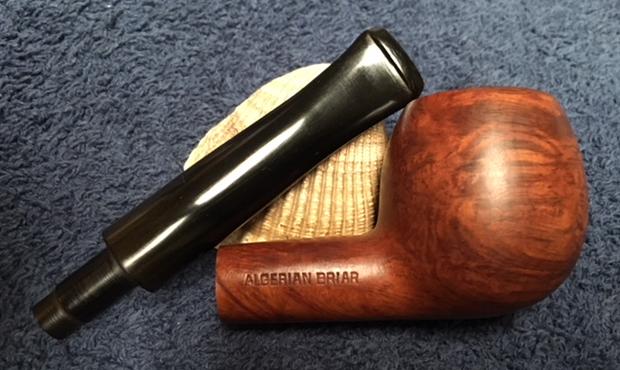
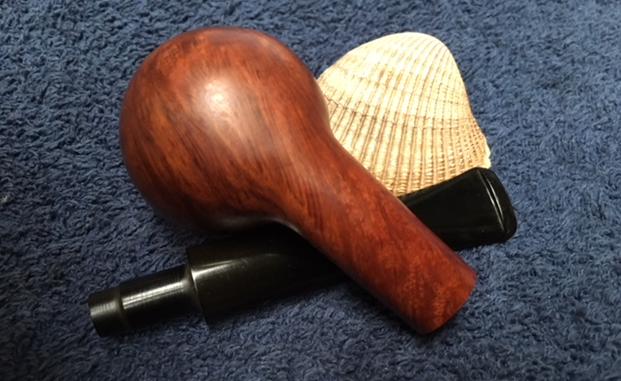
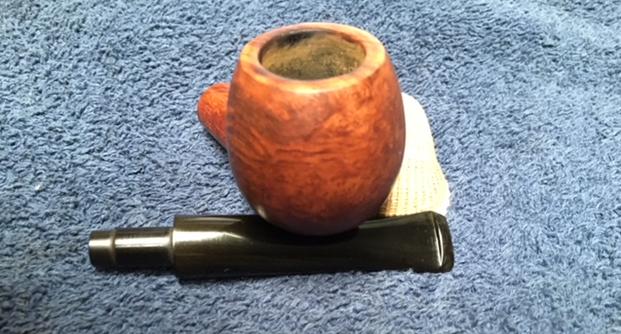
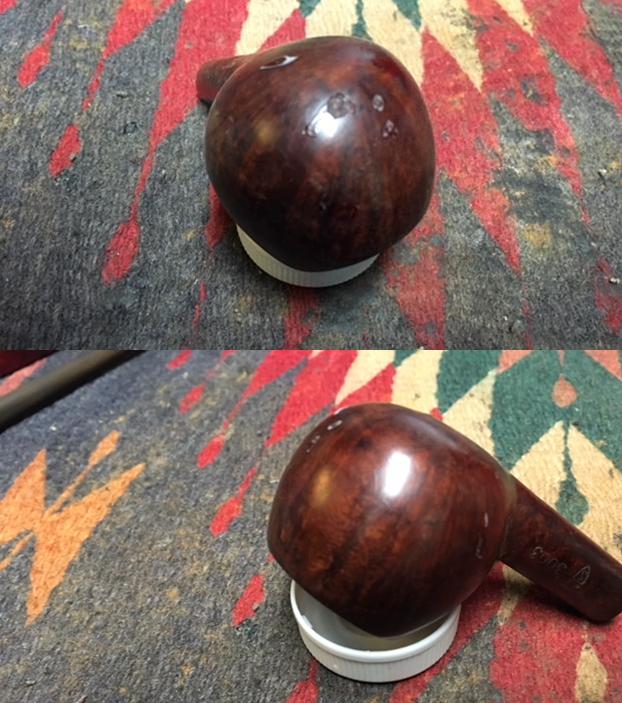
While this pipe looks tiny in the photos above it is really an average sized pipe. The curve of the apple shaped bowl leaves the bottom almost flat and the pipe sits nicely on the desk top like a sitter. It is completely different from the two larger pipes in that it is completely smooth with no rustication. The bowl has some interesting grain on it – almost circles on each side and some flame grain. The bowl is caked with some lava overflow on the rim top. The outer and inner edges of the rim look to be in good condition. It is engraved with the House of Robertson signature on the left side of the shank and on the right side it is stamped Algerian Briar. The pipe was dirty but underneath all of the grime it appears to be in excellent condition. It is definitely an interesting pipe and should clean up very well. The fit of the stem to the shank was good. The stem was lightly oxidized and had some small tooth marks and chatter on both sides near the button. Jeff took photos of the pipe before he started the cleanup. The next two close-up photos show the finish on the top of the bowl and the underside of the bowl. The first photo shows the cake in the bowl and the lava overflowing onto the rim top. The grain on the top of the bowl and the inner and outer edge of the rim looks really good. The finish on the rim top appeared to be in great condition under the lava coat. The second photo shows the front and underside of the pipe. The finish is decent condition under the grime.The next photo shows the etched name on the left side of shank on the shank. It reads House of Robertson. On the right side it is stamped Algerian Briar.The tapered stem was lightly stamped France on the underside near the stem/shank union. It was oxidized and had tooth chatter and marks on both sides of the stem near the button. The edge of the button had some dents in it as well. Jeff did a great job cleaning the pipe on the inside and outside. He reamed the bowl with a PipNet pipe reamer and cleaned up the remnants with the Savinelli Fitsall Pipe Knife. He scrubbed out the mortise and the airway in the shank and stem with alcohol, cotton swabs and pipe cleaners. He scrubbed the exterior of the bowl with a tooth brush and Murphy’s Oil Soap to remove the dust in the rustication on the bowl and shank as well as the smooth portions. He rinsed it under running water. He dried it off with a soft cloth. Once the dust and debris were removed the finish was dull but appeared to be in excellent condition. He soaked the stem in Before & After Pipe Stem Deoxidizer and rinsed it under warm water to remove the deoxidizer gel solution. I took photos of the pipe to show its condition before I started my work on it. I took a photo of the bowl and rim top to show how well it had cleaned up. There is some rim darkening but you can see the interesting grain on the top of the bowl. The stem looks lightly oxidized and the tooth marks and chatter are very light.I worked on the darkening of the inner edge of the rim with a folded piece of 220 grit sandpaper. I smoothed out the inner edge as can be seen in the second photo.I polished the rim top with micromesh sanding pads – wet sanding with 1500-2400 grit pads and dry sanding with 3200-12000 grit pads. I wiped the rim top off with a damp cotton pad after each sanding pad. The surface began to take on a nice shine. I worked Before & After Restoration Balm deep into the smooth finish to clean, enliven and protect the briar. I hand rubbed it with my fingers and worked it into the finish then set it aside to dry for a little while. I wiped it off with a soft cloth. I buffed the bowl with a cotton cloth to polish it. It really began to have a deep shine in the briar. I took some photos of the bowl at this point to mark the progress in the restoration. The grain on the bowl stands out with interesting lines moving across the sides of the bowl and the shank. I looked over the stem a bit before working on it. There was an odd inner tube contraption that stuck out from a deeply funneled tenon. The tube was crooked and slightly bend. I examined it and found that it had a crack in the bottom of the aluminum so a slight movement and it fell off in my hand. I cleaned out the funneled area with cotton swabs and alcohol and ran pipe cleaners and alcohol through the stem quite easily now that the end of the tube was gone.I sanded the stem with 220 grit sandpaper to remove the oxidation on both sides of the tapered stem and remove the tooth marks and chatter on the top and bottom sides at the button.  I polished out the sanding scratches and marks in the vulcanite with micromesh sanding pads – wet sanding it with 1500-2400 grit pads and dry sanding it with 3200-4000 grit pads. I wiped the stem down with Obsidian Oil after each sanding pad. I buffed the stem with Blue Diamond on the buffing wheel. I brought it back to the table and sanded it with the final three 6000-12000 grit pads. I polished it further with Before & After Pipe Polish – using both the Fine and Extra Fine Polishes. I gave it a rubdown with Obsidian Oil one last time and set it aside to dry. I put the stem back on the bowl and worked the pipe over on the buffing wheel using Blue Diamond to lightly polish the stem. I buffed the bowl and stem to raise the gloss on the briar and the vulcanite. I gave the pipe multiple coats of carnauba wax. I buffed the entire pipe with a clean buffing pad to raise the shine. I hand buffed it with a microfiber cloth to deepen the shine. The finished pipe is shown in the photos below. The medium brown stains on the smooth apple shaped bowl works well with the rich black of the vulcanite stem. The dimensions of the pipe are: Length: 5 1/4 inches, Height: 1 5/8 inches, Outside Diameter: 1 1/4 inches, Diameter of the chamber: 3/4 inches. This is an interesting piece of briar, cross grain and birdseye on the bowl and shank. The patterns on the sides are almost circular. I really like how the briar and the vulcanite work well together. This one will soon be on the rebornpipes store. If you are interested in adding a House of Robertson to your collection this may well be the one for you. Thanks for walking with me through the restoration process.
Restoring Barry’s Dad’s Pipes #5 – a French GBD Speciale Canadian


Blog by Steve Laug

I have been including some of the back story in each of the restorations of these pipes because to me the story gives colour to the pipe as I work on it. I am including it once again. Skip over it if you want to. Late in the summer of 2017 I received an email on rebornpipes blog from Barry in Portland, Oregon. He wanted to know if I would be interested in purchasing his Dad’s pipes. I have finished three of them so far, a 1939 Dunhill Patent Shell Bulldog, a Comoy’s Grand Slam Zulu and a Comoy’s London Pride Liverpool. After I finished the second pipe Barry wrote me an email that gave me a little more information on his Dad and incidentally on himself as this pipe was one of his own. Here is what he wrote me.

Steve, — Another great restoration and writing to go with it. I appreciate these pipes more watching the work it takes to get them in good condition.

Your (mine?) floral words about my father are perhaps a little deceptive. Inside that man was a lifelong Bolshevik. Who yearned for the revolution and settled for the party of Roosevelt. His parents were born in the Russian Empire (Ukraine), his father having escaped after brief detention during the 1905 failed uprising and to avoid conscription. His father was gruff, a bit crude and all politics. Given those origins he made the best of himself, had tons of friends and would have been a great social worker.

I misled you on the origin of his pipe conversion. It seems clear based on the 1939 pipe that he smoked a pipe in college, returning to them after the 1964 Surgeon General ‘s report on the danger of cigarettes. After that he only reverted to cigarettes at moments of great stress, a death, business setback or a fight with his wife.

He gave me two pipes in college – the GBD bulldog and a “Parker”. The latter I used to smoke a few times but found I was allergic to it, fortunately. The GBD was to get girls with an MGB, a Harris Tweed sport coat with leather elbow patches and jug wine. Didn’t work. Stanford women were in revolt and saw through the pretense. I put both pipes away for nearly fifty years and now they are in your good hands. — Barry

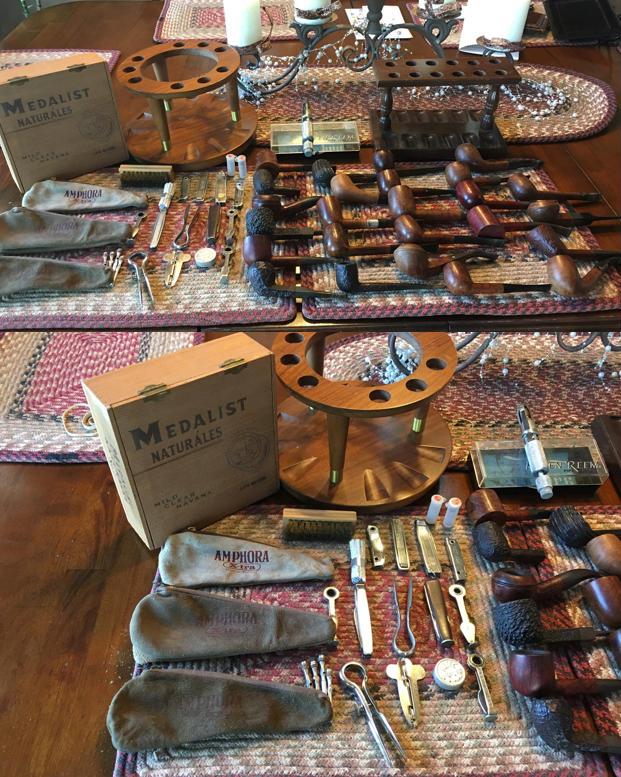
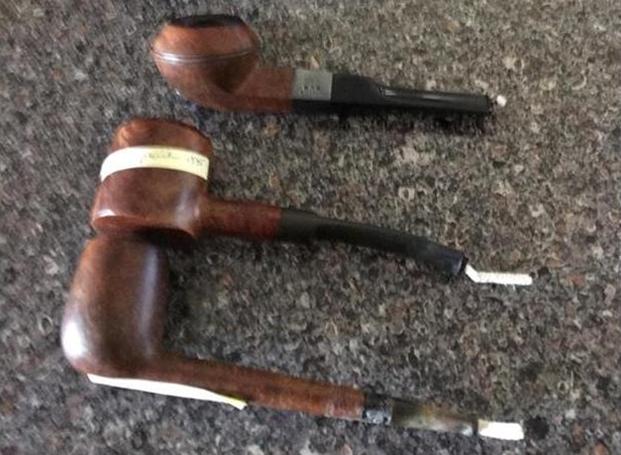
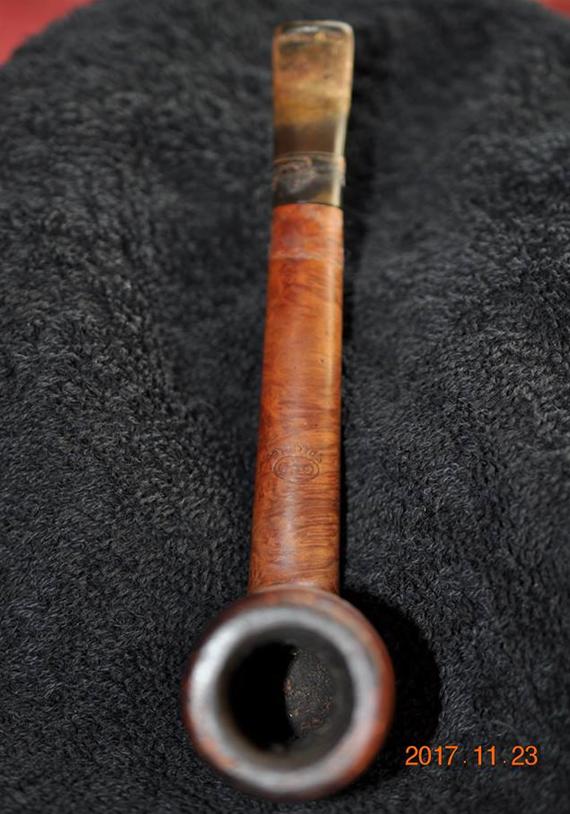
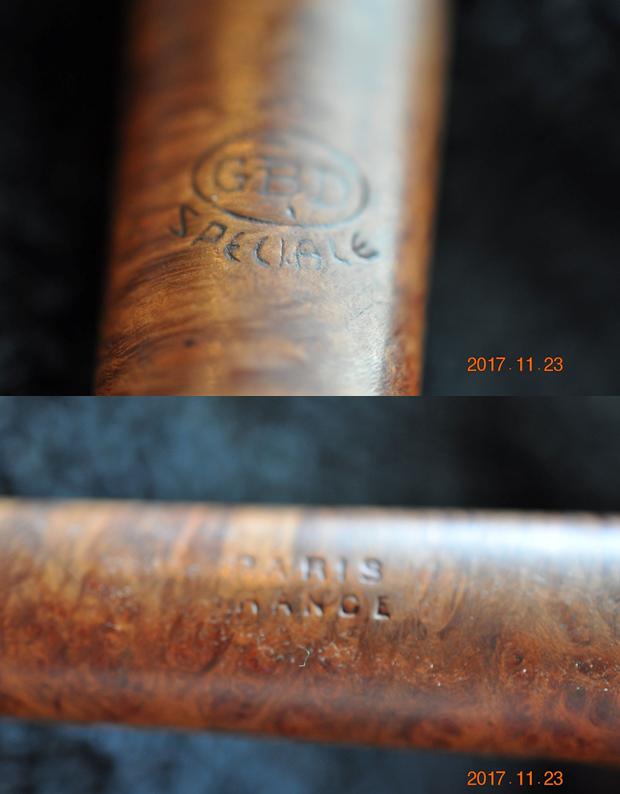
Barry and I corresponded back and forth and concluded our deal. I became the proud owner of his Dad’s pipes. The inventory of the pipes he would be sending included some real beauties – Comoy’s, Parkers, Dunhills and some no name brands. They were beautiful and I could not wait to see them. I had him send them to Jeff where he would clean them up before I received them. Jeff took some photos of the lot as he opened the box. Each pipe was individually wrapped with bubble wrap and taped to protect them. There were 25 bubble wrapped packages and a lot of pipe accessories included – pipe racks, reamers, scrapers and Comoy’s filters and washers. There were pipe pouches and a wooden cigar box that held all of the accessories and reamers. There was a boxed KleenReem pipe reamer that was virtually unused. Jeff unwrapped the pipes and took pictures of the estate showing both the pipes and the accessories. Barry had labeled each pipe with a sticky note. It was an amazing addition to my pipe and tool collection. The next pipe I chose to work on from the collection was GBD Canadian with a cracked shank. The shank had been repaired with a piece of tape. In the photo above it is the pipe on the bottom of the three GBD pipes. I have no idea once again if this is an original stem. I do not think it is as there is no rondel on the stem top. It was stamped on the top side of the shank vertically near the shank bowl union and reads GBD in an oval over Speciale. On the underside of the shank it reads Paris over France. There is no shape number present on this pipe. I was unfamiliar with the  Speciale line and had never seen a GBD stamped in this manner. I looked it up on Pipedia to check out the various GBD Lines and found that it was not listed on the charts that I could access on the web.

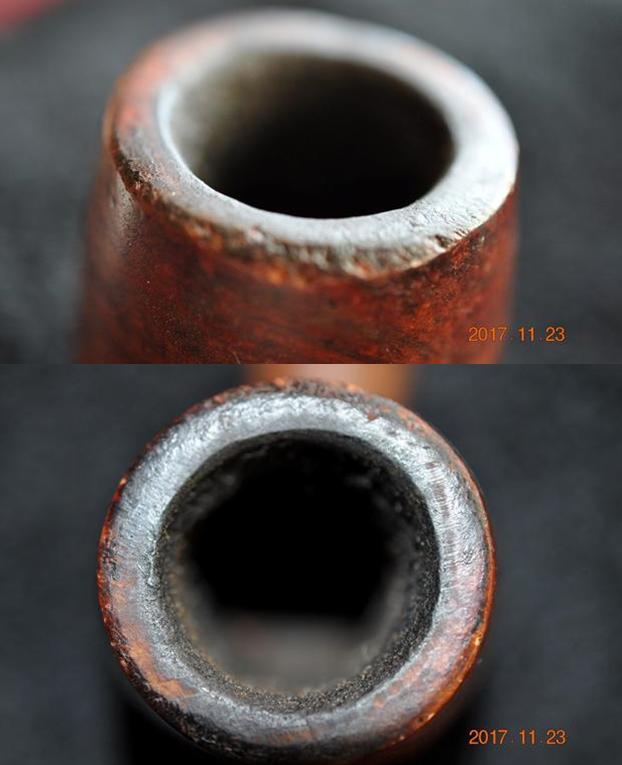
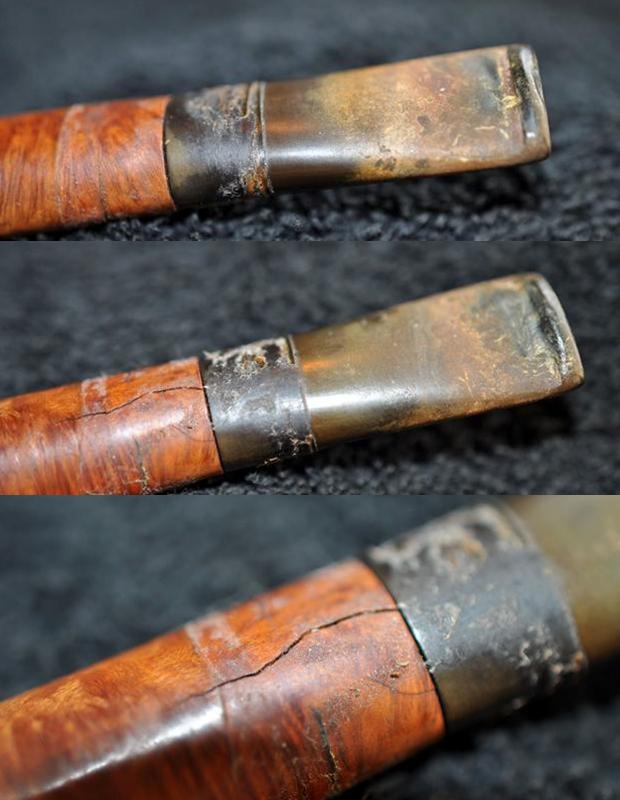
This petite Canadian was interesting to me in that it was a GBD line that I had not seen before and because it had some beautiful grain on the bowl and shank. The shank had two cracks on the underside and the cracks met and a small piece of briar was loose. The classic Canadian shape has an oval shank. The finish was dirty and filled with the detritus of years of use followed by sitting unused. The bowl was thickly caked and had an overflow of lava on the rim top. The outer edges of the rim were rough from knocking the pipe against something hard. There was some burning on the top front of the rim. Even through the grime and grit the amazing birdseye on the sides and cross grain on the front and back of the bowl. The crack in the shank has been glued and taped back together with a piece of black electrical tape. The stem is a short oval shape and fits in the shank very well. It is most likely not the original stem as it does not have a brass rondel on the top side. It could certainly be a well-made replacement stem that his father had paid a great craftsman to make for the pipe as he had for several of his other pipes. It was lightly oxidized and had tooth chatter and deep tooth marks on both sides of the stem at the button. Jeff took photos of the pipe before he cleaned it up. As usual the photos tell the story better than my words can. He took some close up photos of the bowl and rim top to show the cake and the condition. The outer edges of the rim show damage. The top of the rim had some lava build up and had scratches and nicks in the surface. He also took a photo of the underside of the bowl to show the grain. It is a really nice piece of briar and should clean up well. He also photographed the stamping on both sides of the shank to show what it read and the condition of the stamping. The topside of the shank is stamped with the GBD oval over Speciale and on the underside it is stamped Paris over France. Someone had taped the cracked shank and stem together with black electrical tape. Jeff removed the tape and took photos of the shank repair. The stem was made of hard rubber and was oxidized as mentioned above and had tooth chatter and marks. There was also some calcification on the stem surfaces. Jeff took photos of both sides of the stem to capture their condition before he cleaned the pipe.Jeff once again did his usual great job on cleaning this pipe, leaving it pristine and without damage to the finish. He reamed the bowl with a PipNet pipe reamer and cleaned up the remnants with the Savinelli Fitsall Pipe Knife. He scrubbed out the mortise and the airway in the shank and the stem with alcohol, cotton swabs and pipe cleaners. He scrubbed the exterior of the bowl, rim and shank with a tooth brush and Murphy’s Oil Soap to remove the grime of the smooth finish on the bowl and shank. He rinsed it under running water. He dried it off with a soft cloth. Once the dust and debris were removed the finish looked very good.  He soaked the stem in Before & After Pipe Stem Deoxidizer to remove the light oxidation, rinsed it with warm water and dried it off. I took photos of the pipe to show its condition before I started my work on it. I took some close up photos of the bowl, rim top and damaged areas around the outer edge of the bowl. The front edge was rounded over. The bowl was very clean and the rim top had some nicks on both the inner and outer, some scorching and general darkening. Jeff had been able to remove the lava from the finish. The inner edge was in good condition and the roughness of the outer edge was visible. The stem is lightly oxidized as can be seen in the photos and has small tooth marks near the button on both sides.I took some photos of the cracked shank to show the damage. I put the stem back in place to show how the crack opened when the stem was present.I took out the broken chip of briar and glued the edges and pressed in place in the shank. I held it in place until it dried. Once the glue had dried I took a band out of the box that would work on the shank. I pressed it into an oval. I heated it and pressed it onto the shank by pressing it against the desk pad. The photos show the process of banding the shank. I put the stem back in the shank and took photos of the pipe with the stem in place. The band actually looks really good on the pipe and works well with the briar and vulcanite. I took close up photos of the fit of the stem against the band.I started working on the stem next. The photos show the process of the stem work. I used a Bic lighter to “paint” the tooth marks on the surface of the stem to raise the dents in the vulcanite. I was able to raise them quite a bit. I sanded out the tooth chatter and the lighter tooth marks next to the button on both sides with 220 grit sandpaper. I wiped the stem surface clean with a damp cloth. I dried if off and filled in the dents with clear super glue. Once the glue had cured I sanded it with 220 and 400 grit sandpaper to blend the repairs into the surface of the vulcanite. I polished stem with micromesh sanding pads – wet sanding with 1500-2400 grit pads and dry sanding with 3200-12000 grit pads. I wiped the stem down with Obsidian Oil after each pad. I polished it with Before & After Pipe Stem Polish, both Fine and Extra Fine. I gave it a final coat of Obsidian Oil and set it aside to dry. To remove the damage on the rim I decided to top the bowl. I used 220 grit sandpaper on a topping board to remove the damage. I worked on it until the top was smooth and the damage on the outer edge of the bowl was minimized. I used a folded piece of 220 grit sandpaper to smooth out the damages along the outer rim. I used it to also work on the inner edge of the bowl. I gave the inner edge a slight bevel like it original had before I started.I polished the rim with micromesh sanding pads – wet sanding with 1500-2400 grit pads and dry sanding with 3200-12000 grit micromesh sanding pads. I wiped it down after each pad to check on the progress. I worked Before & After Restoration Balm deep into the briar on the smooth finish to clean, enliven and protect it. I wiped it off with a soft cloth. I buffed the bowl with a cotton cloth to polish it. It really began to have a deep shine in the briar. I took some photos of the bowl at this point to mark the progress in the restoration. The grain on the bowl is really beginning to stand out and will only do so more as the pipe is waxed. This GBD Speciale Canadian is a beauty. The grain on the bowl and shank is really stunning. The rim top looks much better. The nickel band works well with the briar and the black vulcanite. I am not sure the stem is original or a replacement but it is definitely older. Once again I would guess that Barry’s Dad replaced the stem somewhere along the journey of its life. I suppose we will never know. The vulcanite is high quality and shined up well. I buffed the bowl and the stem with Blue Diamond polish to raise the shine on the briar and the vulcanite. I was careful to not buff the stamping and damage it. I gave the bowl and stem multiple coats of carnauba wax. I buffed the entire pipe with a clean buffing pad to raise the shine. I hand buffed it with a microfiber cloth to deepen the shine. The finished pipe is shown in the photos below. The rich brown stain allows the grain to really stand out on this little pipe and it works well with the polished nickel band and the rich black of the vulcanite stem. This GBD Speciale Canadian, Paris, France is a beautiful looking pipe. The dimensions of the pipe are: Length: 5 1/2 inches, Height: 1 5/8 inches, Outside Diameter: 1 1/4 inches, Diameter of the chamber: 3/4 inches. This old pipe will fit really well in someone’s collection. The richness of the grain, the band and the polished will stand out as a nice smaller Canadian. There is something about these older GBDs that add a touch of real class to a collection. I will be putting it on the rebornpipes store shortly. Thanks for walking through the restoration with me.
Farida’s Dad’s Pipes #4 – Restoring a Dunhill Red Bark Pot 43061


Blog by Steve Laug

The next collection of pipes that I am working on comes from the estate of an elderly gentleman here in Vancouver. I met with his daughter Farida last summer and we looked at his pipes and talked about them then. Over the Christmas holiday she brought them by for me to work on, restore and then sell for her. There are 10 pipes in all – 7 Dunhills (one of them, a Shell Bulldog, has a burned out bowl), 2 Charatans, and a Savinelli Autograph. His pipes are worn and dirty and for some folks they have a lot of damage and wear that reduce their value. To me each one tells a story. I only wish they could speak and talk about the travels they have had with Farida’s Dad.

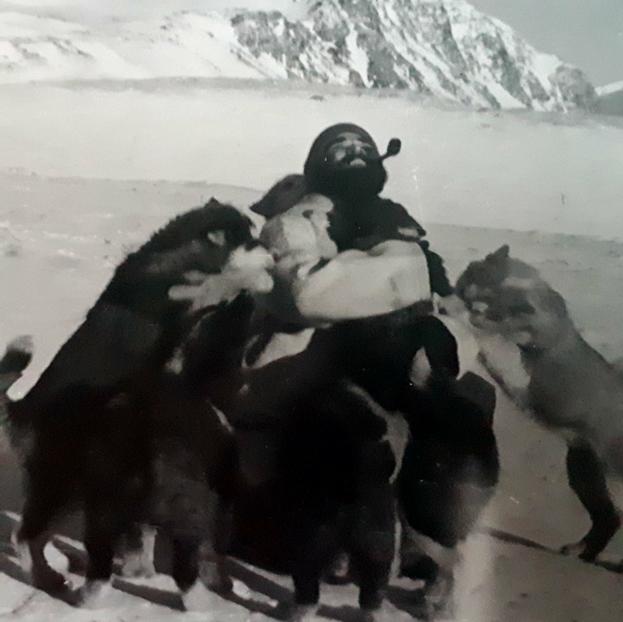
When I wrote the blog on the Classic Series Dunhill and thinking about its travels, Farida sent me an email with a short write up on her Dad. She remembered that I had asked her for it so that I could have a sense of the stories of her Dad’s pipes. Here is what she wrote: My dad, John Barber, loved his pipes. He was a huge fan of Dunhill and his favourite smoke was St. Bruno. No one ever complained of the smell of St. Bruno, we all loved it. I see the bowls and they’re large because he had big hands. When he was finished with his couple of puffs, he would grasp the bowl in the palm of his hand, holding the warmth as the embers faded. The rough bowled pipes were for daytime and especially if he was fixing something. The smooth bowled pipes were for an evening with a glass of brandy and a good movie. In his 20s, he was an adventurer travelling the world on ships as their radio operator. He spent a year in the Antarctic, a year in the Arctic and stopped in most ports in all the other continents. He immigrated to Canada in the mid-fifties, working on the BC Ferries earning money to pay for his education. He graduated from UBC as an engineer and spent the rest of his working life as a consultant, mostly to the mining companies. Whatever he was doing though, his pipe was always close by. 

She sent along this photo of him with his sled dogs in the Antarctic sometime in 1953-1954. It is a fascinating photo showing him with a pipe in his mouth. He is happily rough housing with his dogs. As a true pipeman the cold does not seem to bother him at all.Thank you Farida for sending the photo and the background story on your Dad for me to use on the blog. I find that it really explains a lot about their condition and gives me a sense of who Dad was. If your Dad was rarely without a pipe I can certainly tell which pipes were his favourites. As I looked over the pipes I noted that each of them had extensive rim damage and some had deeply burned gouges in the rim tops. The bowls seemed to have been reamed not too long ago because they did not show the amount of cake I would have expected. The stems were all covered with deep tooth marks and chatter and were oxidized and dirty. The internals of the mortise, the airway in the shank and stem were filled with tars and oils. These were nice looking pipes when her Dad bought them and they would be nice looking one more when I finished.

I finished two of the pipes and have written a blog on each of them. The first one was the Dunhill Shell with the oval shank pot (https://rebornpipes.com/2018/02/04/restoring-a-1983-dunhill-shell-41009-oval-shank-pot/) and the second was the Dunhill Classic Series Shell Billiard (https://rebornpipes.com/2018/02/08/faridas-dads-pipes-2-restoring-a-1990-lbs-classic-series-dunhill-shell-billiard/). The third pipe I restored from the estate was a Savinelli Autograph (https://rebornpipes.com/2018/02/15/faridas-dads-pipes-3-restoring-a-savinelli-autograph-4/).

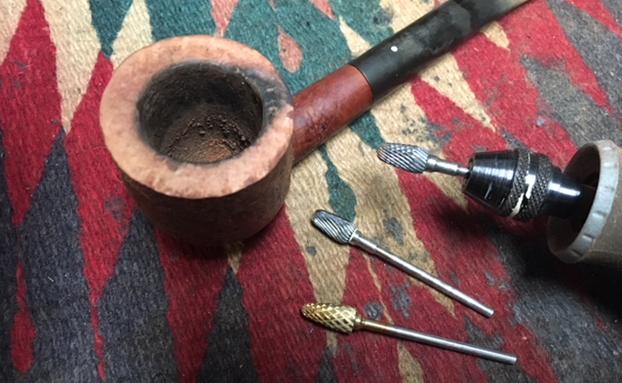
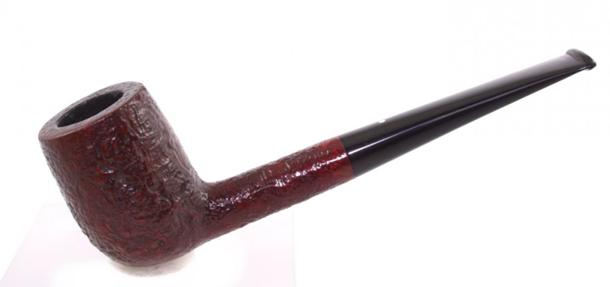
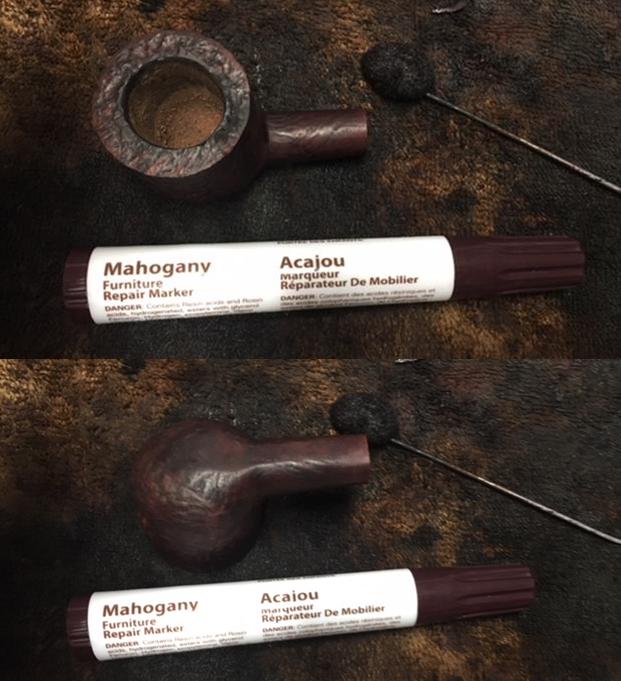
I went back to the Dunhills today so I chose to work on a Dunhill Red Bark 43061 pot. It was so dirty it was hard to tell what it looked like under the thick grime. The blast itself was almost filled in with thick, oily grime. I wiped the grime off the underside of the shank to be able to read the stamping. It was worn but readable. On the bottom of the bowl is the 43061 shape number. Next to that it is stamped Dunhill Red Bark over Made in England 17.  Dating this pipe is a fairly easy proposition. You take the two digits following the D in England and add them to 1960. In this case it is 1960+17= 1977. (Pipephil’s site has a helpful dating tool for Dunhill pipes that I use regularly http://www.pipephil.eu/logos/en/dunhill/redbark1.html). The bowl was thickly caked and the cake had flowed over onto the light sandblast finish on the rim top forming a hard lava that made the top almost smooth. The inner and outer edges of the rim were damaged. On the front of the bowl the rim had been scraped and damaged and then burned. On the back edge there was the same kind of damage that was on the other Dunhill pipes in this estate. This one however was not quite as deep so it would need to be dealt with a bit differently when I got to that point. The stem was oxidized and calcified at the button end. There were tooth marks and chatter on both sides in front of the button. The Dunhill white spot was intact on the top of the stem. I took photos of the pipe to show what it looked like before I started the cleanup work. I took close up photos of the bowl and rim top as well as the stem. You can see the condition of the rim top and bowl in the first photo. The stem has tooth chatter and some deep bite marks on the top edge of the button and a deep tooth mark on the underside of the stem just ahead of the button. There is a lot of calcification and wear on the rest of the stem as well.I reamed the bowl with a PipNet reamer and I had to use three of the four cutting heads to clean out the cake. The bowl thickly caked so I started with the smallest of the three and worked my way up to the third which was about the same size as the bowl diameter. I took back the cake to bare briar. I took a photo of the cleaned bowl. I scrubbed the surface of the sandblast with Murphy’s Oil Soap and a tooth brush to clean out all of the dust. I worked on the top of the rim with a brass bristle wire brush and a brass bristle polishing brush to remove the lava on the rim. I scrubbed the stem with the tooth brush as well to remove the calcification and grime. I rinsed the pipe under warm running water to remove the dirt, grime and soap. I dried off the bowl with a soft rag. The cleaned and scrubbed pipe really made the rim top damage very clear. It looked to me that I would need to top the bowl. I cleaned up the reaming of the bowl with a Savinelli Fitsall Pipe Knife to remove the remaining cake that was on the walls around the airway and the lower part of the bowl.I topped the bowl to remove the damage to the top surface of the rim and clean up the damage to the edges. I did not have to remove a lot and repeatedly checked it to make sure that I had removed enough but not too much.I used a series of dental burrs on the Dremel to etch a pattern into the top of the rim to blend it into the sandblast around the bowl sides. It was not a deep sandblast so the pattern on the rim needed to be random looking and not deep. I wanted it to blend in the damaged area on the back side of the rim. The photo below shows the rusticated rim top and the three burrs that I used to create it.I restained the bowl and rim with a Mahogany stain pen. I wanted to match the colour of the Red Bark shown in the photo below. After I stained the pipe with the Mahogany and I used a red oil based stain. I rubbed it onto the finish and buffed it off with a soft cloth. I rubbed down the briar with Before & After Restoration Balm. I worked it into the nooks and crannies of the sandblast finish to clean, enliven and protect the new finish. It also evened out the stain coat and gave the stain a dimensional feel. I let the balm sit for a little wall and then buffed it with a horsehair shoe brush. I buffed the bowl with a cotton cloth to raise the shine. Once again I have gotten so used to Jeff cleaning the pipes before I got them I just I realized that I had not worked on the internals of the pipe. I looked down the shank and it was filthy as was to be expected. Arghhh. Went back to clean out the shank and airway in the stem and shank. I scraped the hardened tars on the walls of the mortise with a pen knife. I cleaned the mortise and the airway in the shank with pipe cleaners, cotton swabs and alcohol until it was clean. I painted the surface of the stem with the flame of a Bic lighter to lift the tooth dents in the underside of the stem. It took a few swaths of the lighter and the dents lifted. There was only one small pin prick left next to the button that would need to be repaired.  I repaired the remaining deep tooth marks on both sides of the stem with black super glue. Once it dried I sanded the surface of the stem with 220 grit sandpaper to smooth out the repaired tooth marks and chatter and removing the remnants of calcification and oxidation on the stem until the oxidation was removed.I polished the stem with micromesh sanding pads – wet sanding with 1500-2400 grit micromesh sanding pads and dry sanding it with 3200-12000 grit pads. I rubbed the stem down with Obsidian Oil after each pad. I polished it further with Before & After Pipe Polish, using both the Fine and Extra Fine polishes to further protect and polish out the scratches. When I finished with those I gave it a final rub down with the oil and set it aside to dry. With the stem polished I put it back on the pipe and lightly buffed the bowl with Blue Diamond. I buffed the stem with a more aggressive buff of Blue Diamond. I gave the bowl several coats of Conservator’s Wax and the stem several coats of carnauba wax and buffed the pipe with a clean buffing pad to raise the shine. I hand buffed it with a microfiber cloth to deepen the shine. The pipe polished up pretty nicely. The finished pipe is shown in the photos below. This is the fourth of Farida’s Dad’s pipes that I am restoring from his collection. I am looking forward to hearing what Farida thinks once she sees the finished pipe on the blog. I will be posting it on the rebornpipes store very soon. It should make a nice addition to your pipe rack if you have been looking for a reasonably priced Dunhill. When you add it to your collection you carry on the trust from her father. The dimensions are Length: 5 3/4 inches, Height: 1 1/2 inches, Outside diameter of the bowl: 1 1/2 inches, Chamber diameter: ¾ inches. Thanks for walking through the restoration with me as I worked over this estate Autograph. More of his pipes will follow including some Charatans and more Dunhills.

Restoring a Smooth Finished House of Robertson Straight Grain Rhodesian


Blog by Steve Laug

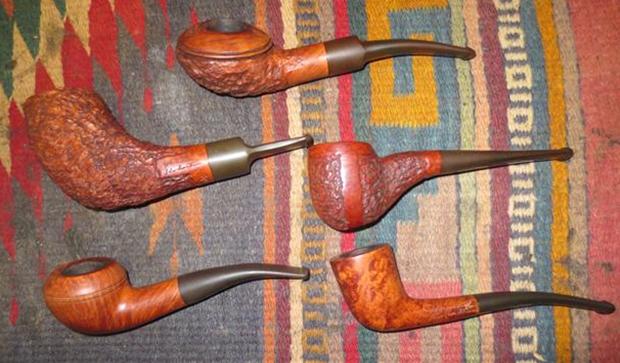
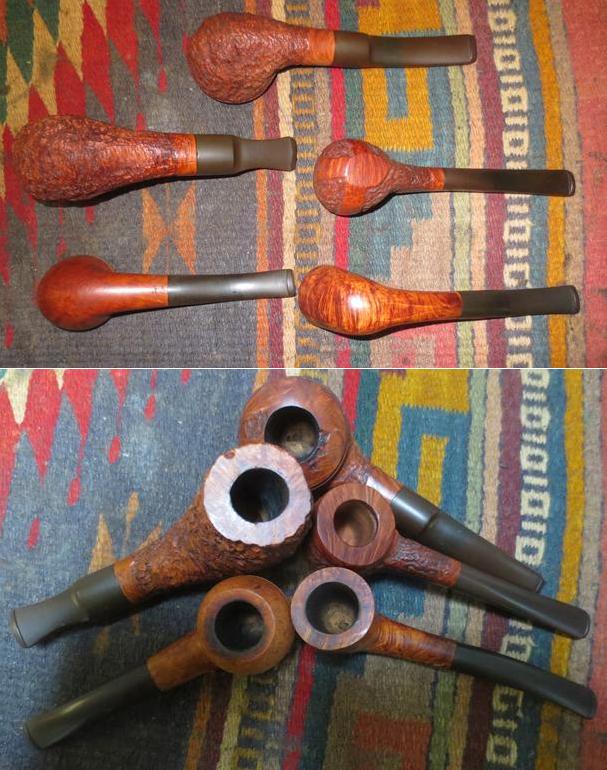
My brother Jeff found an assortment of House of Robertson pipes at an auction in Wilder, Idaho which is an area in the greater Boise, Idaho area. He picked them up for us to restore. I had forgotten that I had mentioned the brand in passing in a blog on Leonard’s Pipe Shop in Portland, Oregon. Here is the link to that blog where I mention it as one of the brands that Leonard’s sold: https://rebornpipes.com/2013/06/06/leonards-pipe-shop-portland-oregon/. It is a fascinating brand that really I had never had the privilege of seeing first hand. He cleaned them all up and on a recent trip to Idaho, I picked them up and brought them back to Canada. I took pictures of the lot of them to show the wide variety of pipes that they made in terms of both size and style. The craftsmanship is very good with the fit of the stem and shank well done and the finish both rusticated and smooth exemplary. Jeff picked up three more of the brand in Pocatello, Idaho so I will be working on more of these pipes in the future. They all have the name House of Robertson roughly hand etched on the side or underside of the shank with an engraving tool. I have posted this information on the brand on the previous House of Robertson pipes that I have worked on but I thought I would add it on this blog as well. There is very little information available and what I found on Pipedia pretty well summarizes all I could find. I include that here.

“House of Robertson” was in business for many years, but alas, closed their doors in 1999. They were located in Boise, Idaho. They are noted for making rather large and interesting pipes. Thayne Robertson was a Master Mason, AF & AM, and started the shop about 1947 and his son Jon started working there in 1970 when he finished college, along with Thayne’s daughter. Thayne and his son started making the big pipes at that time, and made them together until 1987 when Thayne passed away. Jon kept the store and his sister moved on to other things. The House of Robertson appears to have closed around 1999. https://pipedia.org/wiki/Robertson

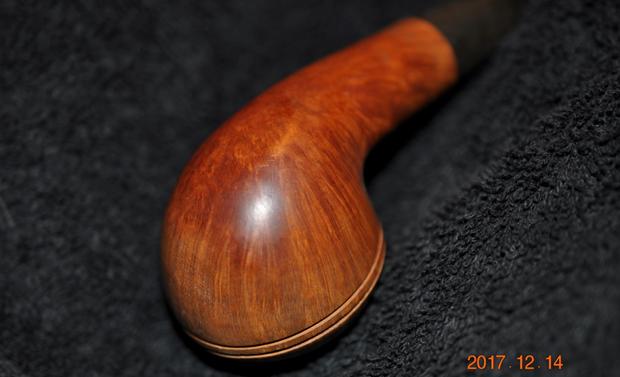
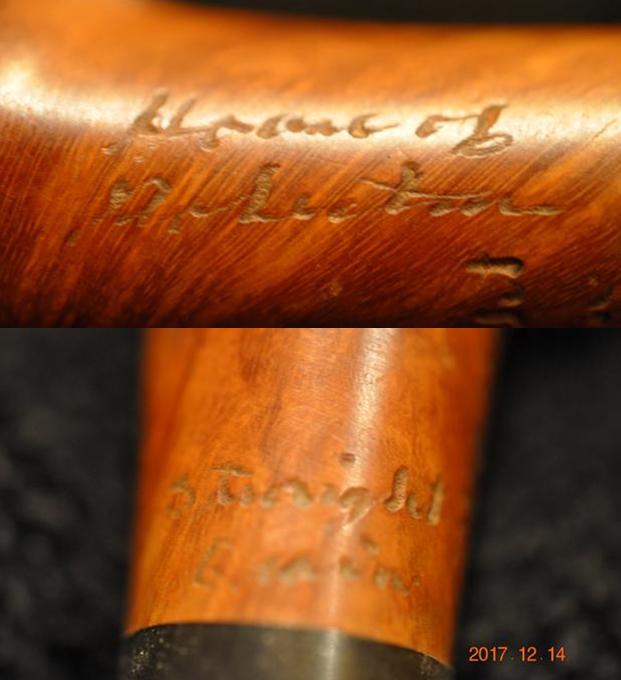
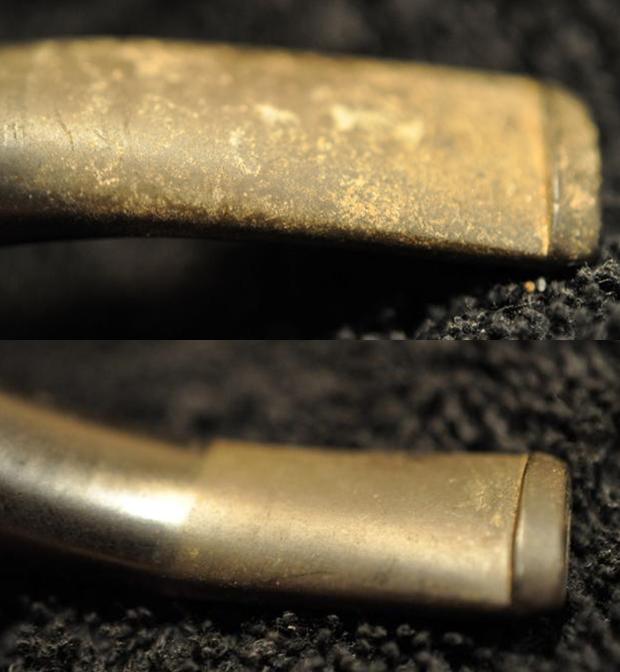
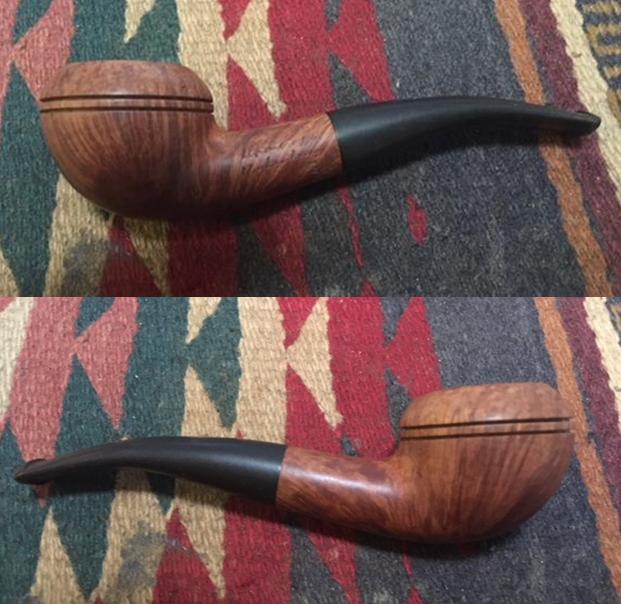
I am restoring the last of the five pipes in this lot – this one a beautiful little Rhodesian Straight Grain. It is the pipe on the lower left in all of the above photos. Like the rest of the pipes in this fivesome this pipe still has raw briar in the bottom third of the bowl and appears to never have been smoked to the bottom of the bowl. It is etched with the House of Robertson signature on a smooth panel on the left side of the oval shank. On the underside of the shank next to the shank/stem union it is etched Straight Grain. The smooth finish on the pipe was dirty but showed some real promise through the grime. There was a light coat of lava that had overflowed from the cake in the bowl over the top of the rim. The cake was quite thick and was hard. Overall the pipe was in excellent condition and had some interesting grain around the bowl. The bottom of the bowl and shank has a flat panel that allows the bowl to sit upright on the desk or table. The stem was lightly oxidized but clean. The oxidation had caused some pitting on the surface. The fit of the stem to the shank was good. The vulcanite appeared to have been a pre-formed stem that was shaped to fit this pipe. Jeff took photos of the pipe before he started the cleanup. The next close-up photos show the finish on the top and the underside of the bowl. The first two photos show the lava on the rim top and the dust bunnies and cake in the bowl. The grain on the top of the bowl and the inner and outer edge of the rim looks really good. The third photo shows the side and underside of the pipe. The next two photos show the etched name on the left side of shank – House of Robertson. On the underside of the shank it reads Straight Grain.The tapered stem surprised me. The pipe etched Straight Grain made me assume it was a higher end House of Robertson. It still may be one but the stem was loose and I really had not taken time to check it out. I tried to pull the loose stem only to find that it had a threaded tenon. I unscrewed it from the shank and was surprised to find that it had a Grabow style threaded metal tenon and a threaded mortise insert. In all of the other House of Robertson that I have worked one I had not ever seen a threaded metal tenon. This was a first. The surface of the vulcanite was oxidized and pitted from the oxidation. There was tooth chatter and some light tooth marks on both sides of the stem at the button.Jeff once again performed his usual stellar clean up job on the pipe leaving it pristine and without damage to the finish. He reamed the bowl with a PipNet pipe reamer and cleaned up the remnants with the Savinelli Fitsall Pipe Knife. He scrubbed out the mortise and the airway in the shank and the stem with alcohol, cotton swabs and pipe cleaners. He scrubbed the exterior of the bowl, rim and shank with a tooth brush and Murphy’s Oil Soap to remove the grime of the smooth finish on the bowl and shank. He rinsed it under running water. He dried it off with a soft cloth. Once the dust and debris were removed the finish looked very good. I took photos of the pipe to show its condition before I started my work on it.   I took a photo of the bowl and rim top to show the condition of the pipe. The bowl was quite clean in the bottom third of the bowl – the briar was not darkened but was still raw briar. The rim itself was very clean with none of the dark lava and very little darkening along the edges. The inner and outer edge of the rim was very clean. The photos of the stem show that it was clean but oxidized on both sides and pitted in the surface of the vulcanite.I worked over the top of the rim with a folded piece of 220 grit sandpaper to remove the darkened areas left behind by repeated lighting of the pipe in that area. I polished the briar with micromesh sanding pads – wet sanding with 1500-2400 grit sanding pads and dry sanding with 3200-12000 grit sanding pads. I wiped the rim down with a damp cloth to remove the sanding dust left behind after each pad. I rubbed the bowl down with Before & After Restoration Balm to deep clean the finish, enliven and protect the briar. I hand rubbed it with my fingers, worked it into the finish with a horsehair shoe brush. I wiped it off with a soft cloth. I buffed the bowl with a horsehair shoe brush to polish it. It really began to have a deep shine in the briar. I took some photos of the bowl at this point to mark the progress in the restoration. The birdseye grain stands out on the two sides and the cross grain stands out on the rim top, the front and back of the bowl and the top and underside of the shank.    I sanded the stem with 220 grit sandpaper to remove the tooth chatter and marks on both sides of the stem near the button.I polished out the sanding scratches and marks in the vulcanite with micromesh sanding pads – wet sanding it with 1500-2400 grit pads and dry sanding it with 3200-4000 grit pads. I wiped the stem down with Obsidian Oil after each sanding pad. I buffed the stem with Blue Diamond on the buffing wheel. I brought it back to the table and sanded it with the final three 6000-12000 grit pads. I polished it further with Before & After Pipe Polish –using both the Fine and Extra Fine Polishes. I gave it a rubdown with Obsidian Oil one last time and set it aside to dry. I put the stem back on the bowl and worked the pipe over on the buffing wheel using Blue Diamond to lightly polish the stem. I buffed the bowl and stem to raise the shine on the briar and on the vulcanite. I gave the bowl and stem multiple coats of carnauba wax. I buffed the entire pipe with a clean buffing pad to raise the shine. I hand buffed it with a microfiber cloth to deepen the shine. The finished pipe is shown in the photos below. The medium brown stain on the smooth finish of the Rhodesian shaped bowl works well with the rich black of the vulcanite stem. The polishing of the stem left this a beautiful and interesting looking pipe. The dimensions of the pipe are: Length: 5 1/2 inches, Height: 1 1/2 inches, Outside Diameter: 1 5/8 inches, Diameter of the chamber: 3/4 inches. Still thinking through whether or not I am going to keep this House of Robertson in my collection or let it go. Keep an eye open for it to appear on the store if decide to pass it on. Thanks for looking.
Resuscitating a Gentle Giant Bent Billiard


Blog by Steve Laug

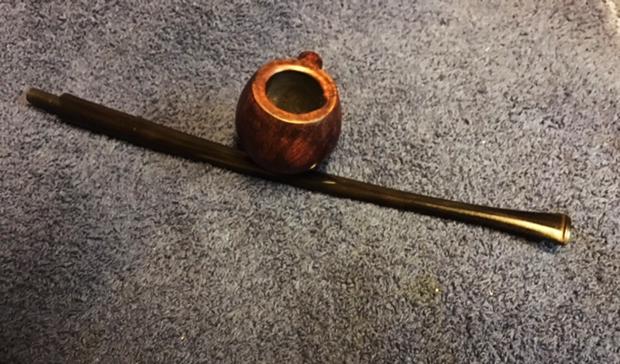
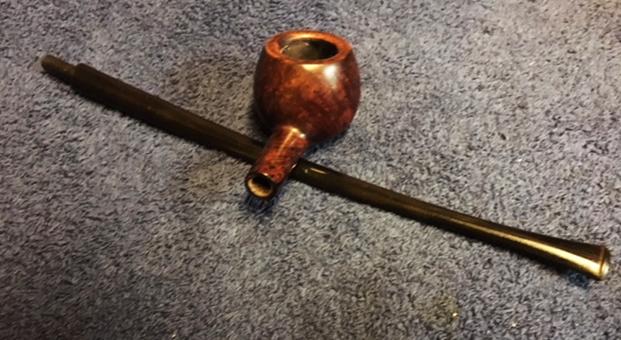
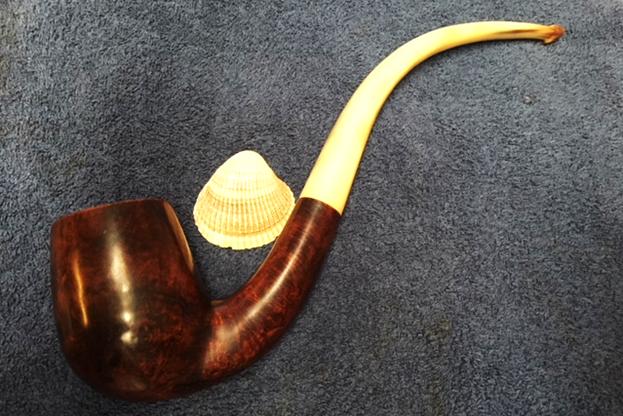
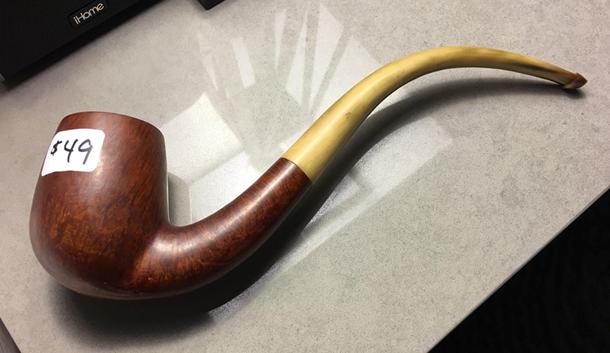
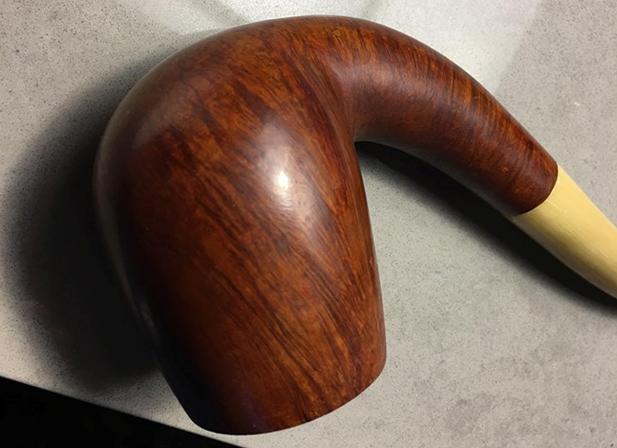
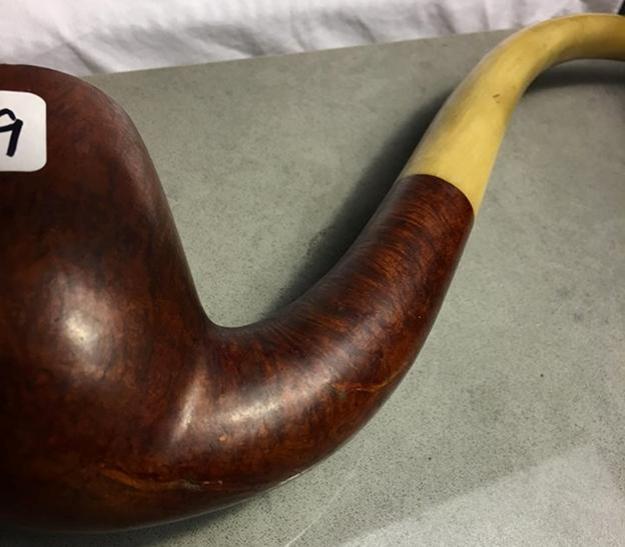
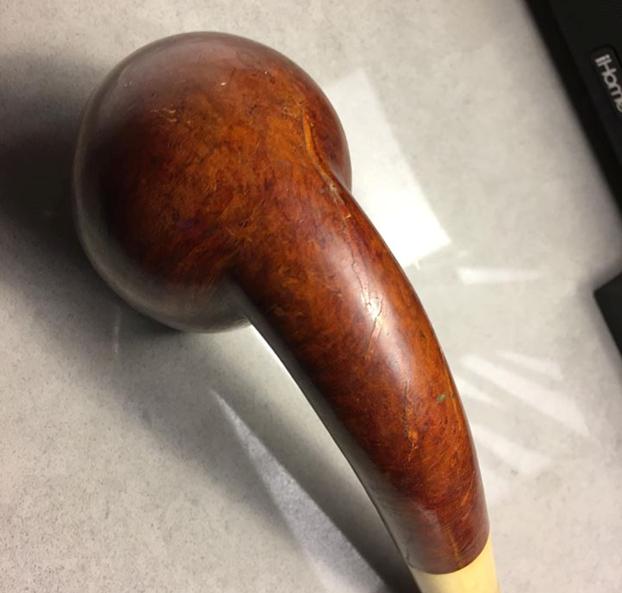
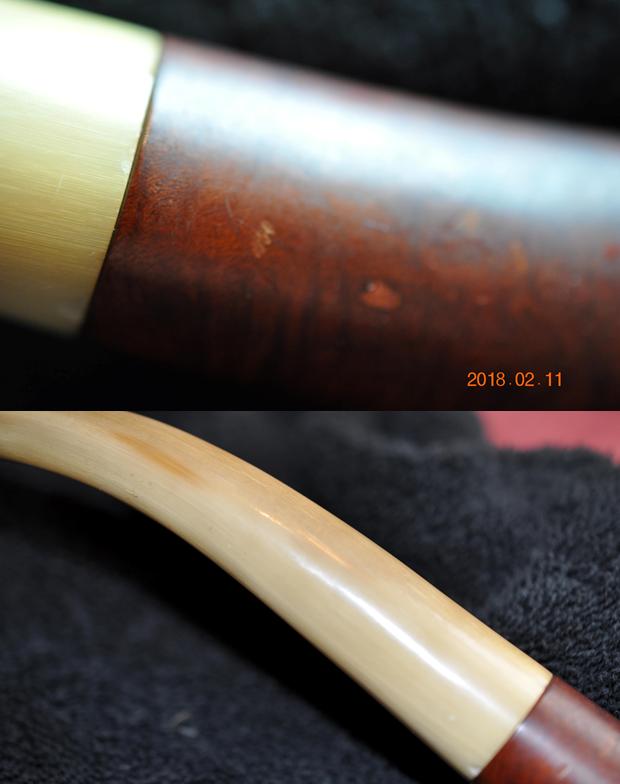
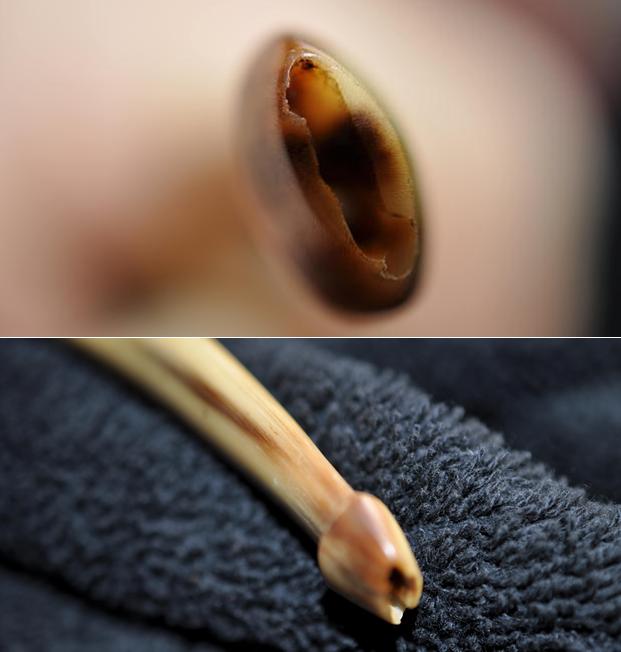
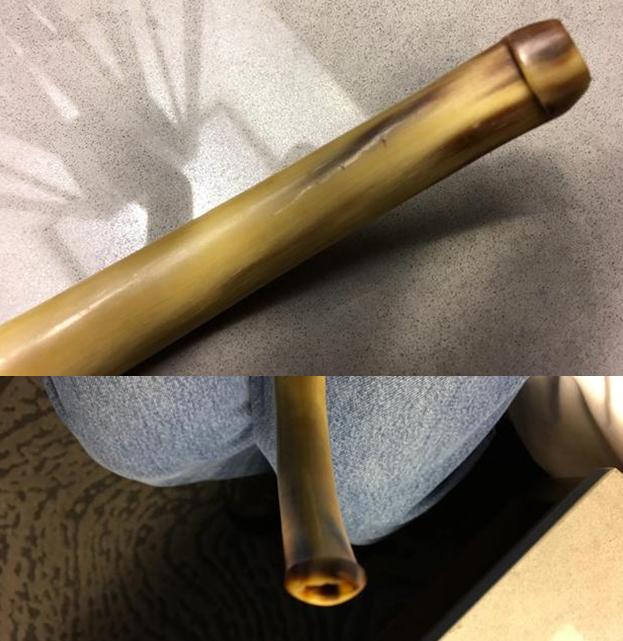
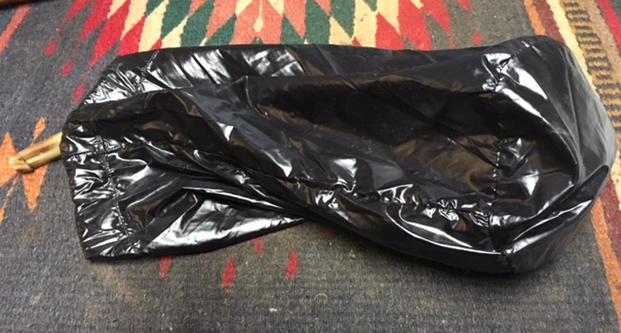
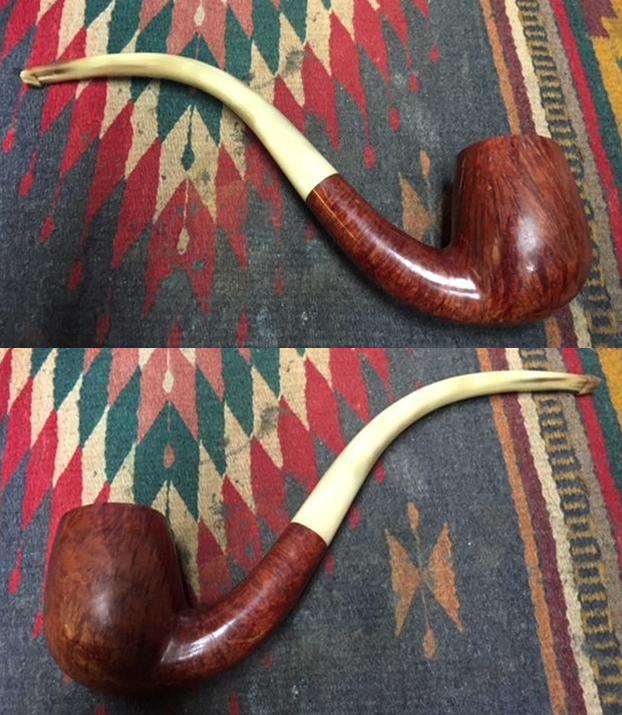
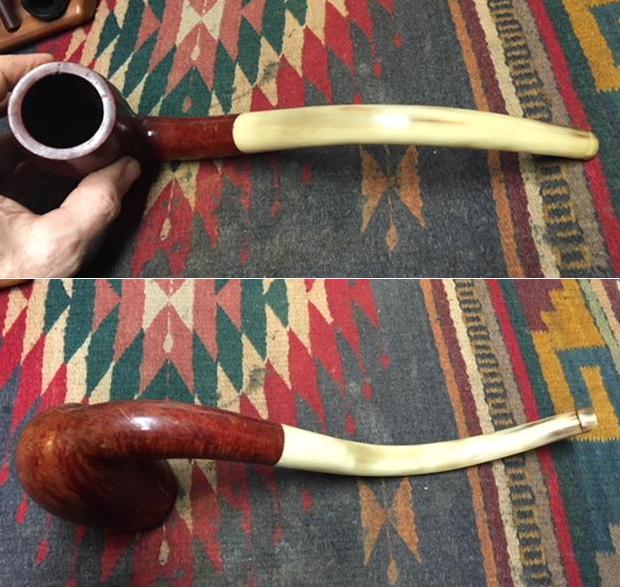
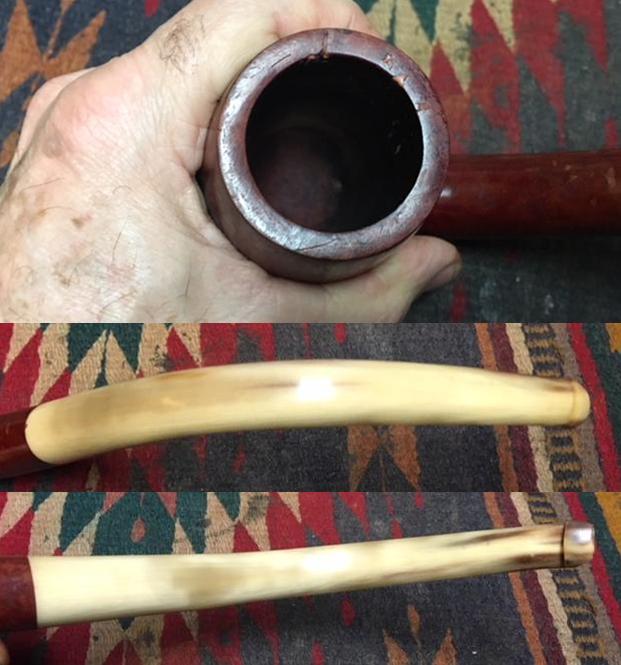
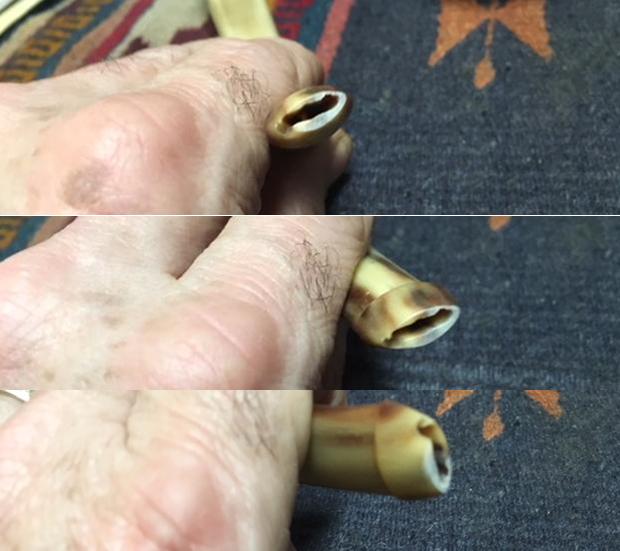
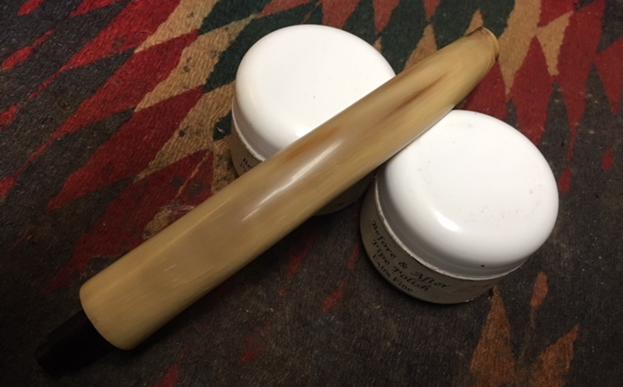
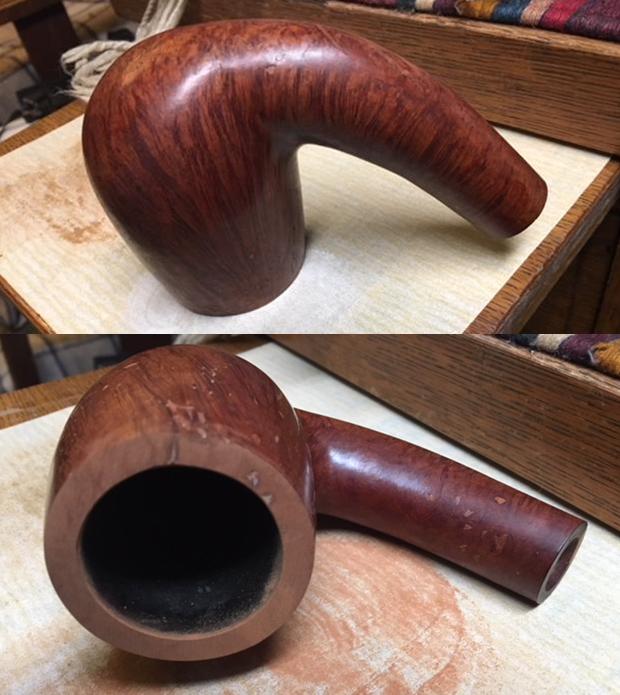
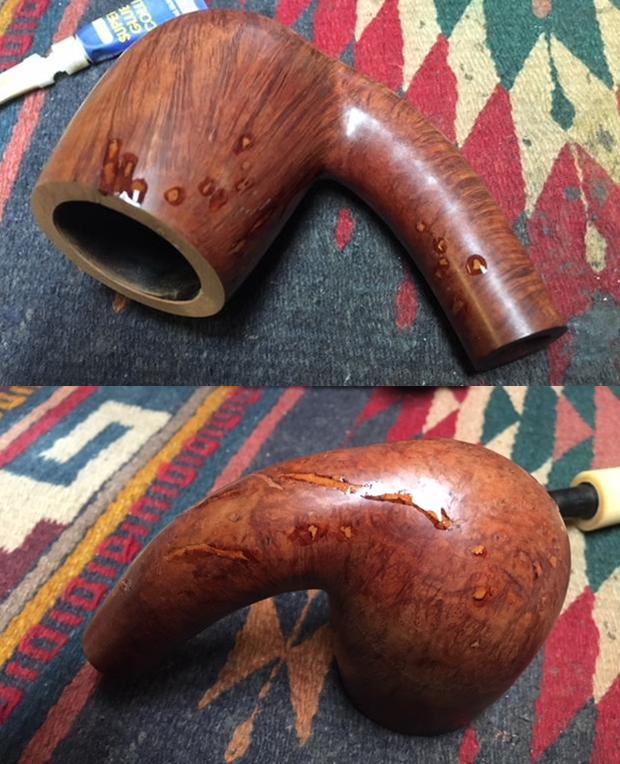
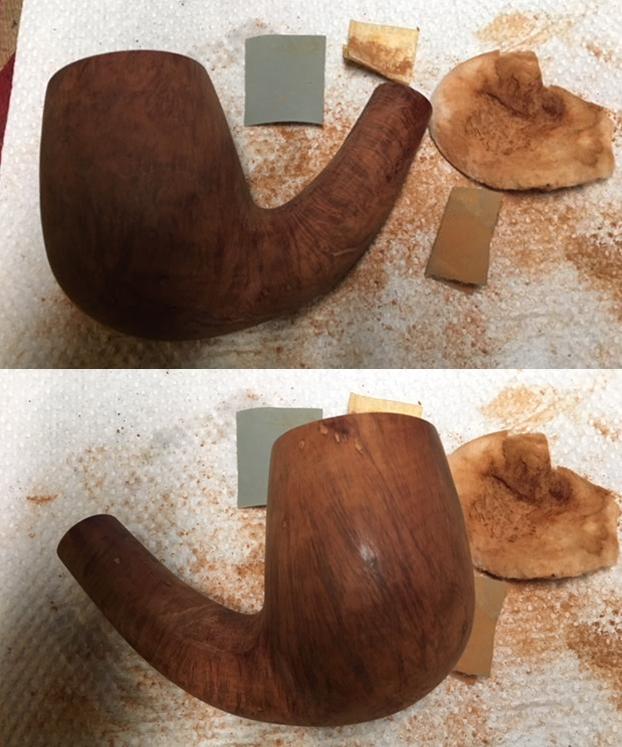
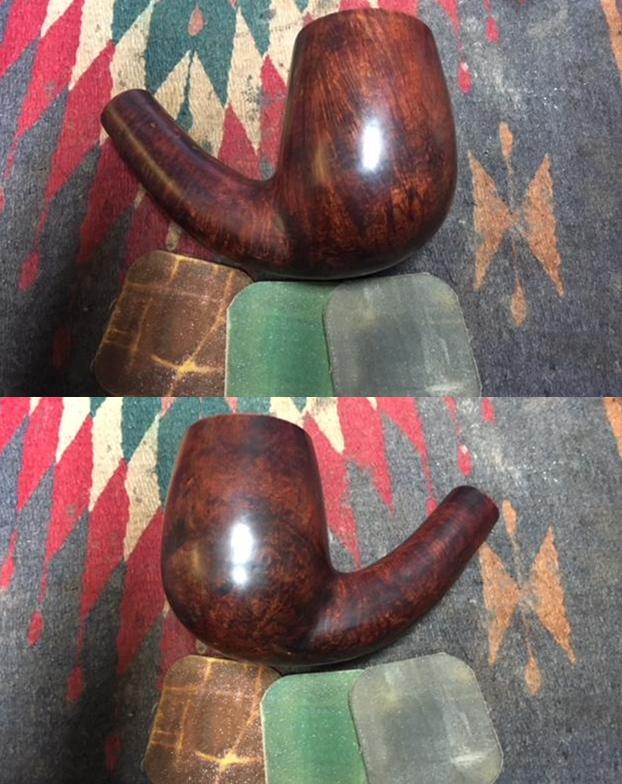
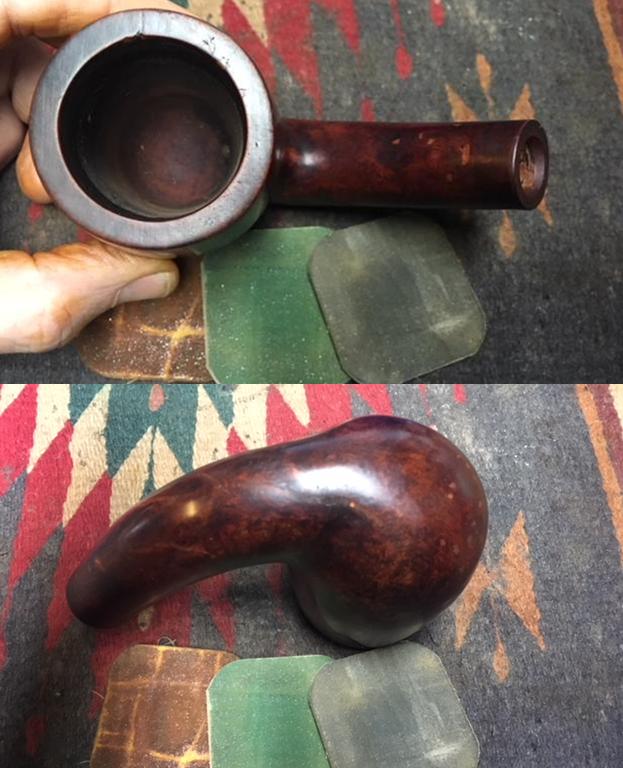
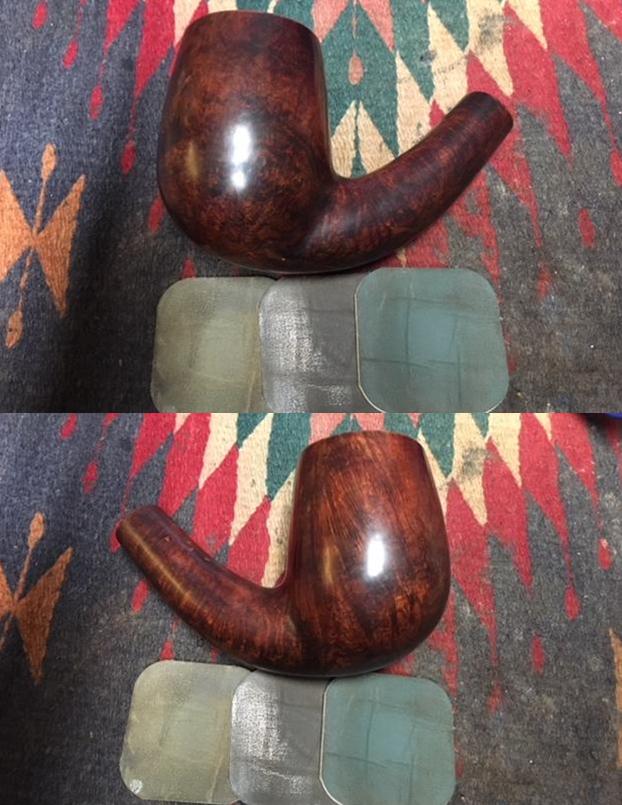
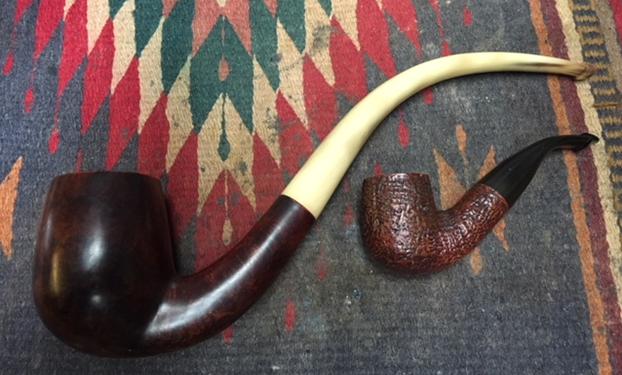
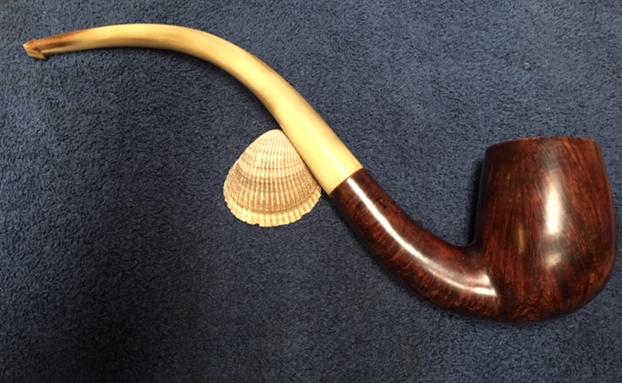
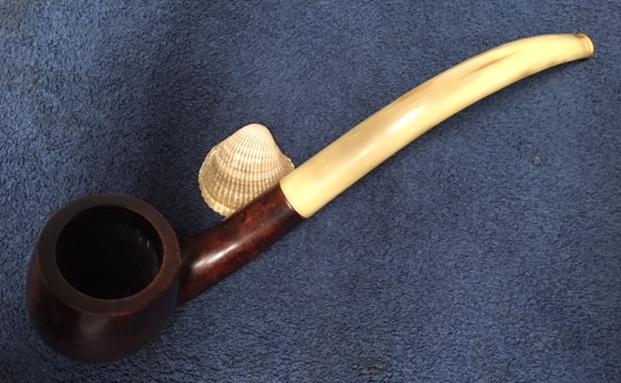
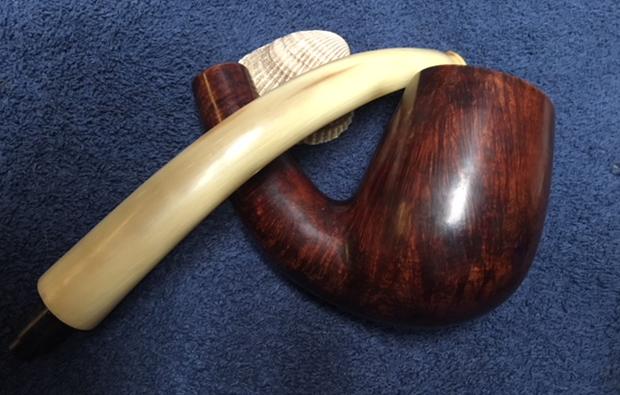
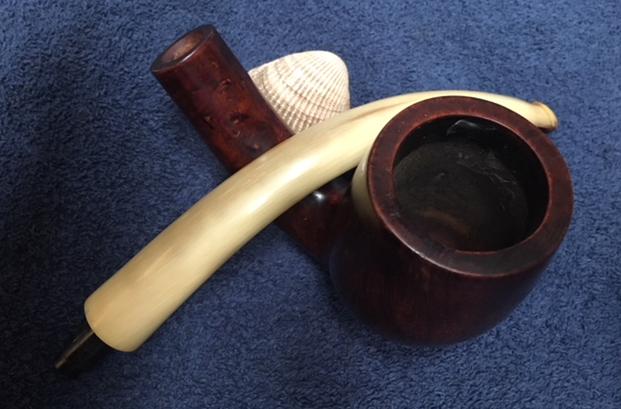
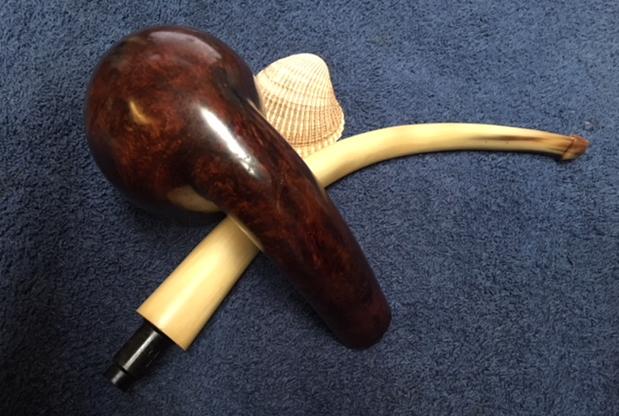
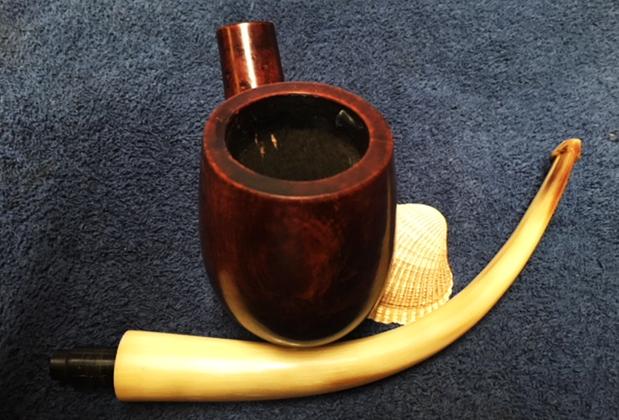
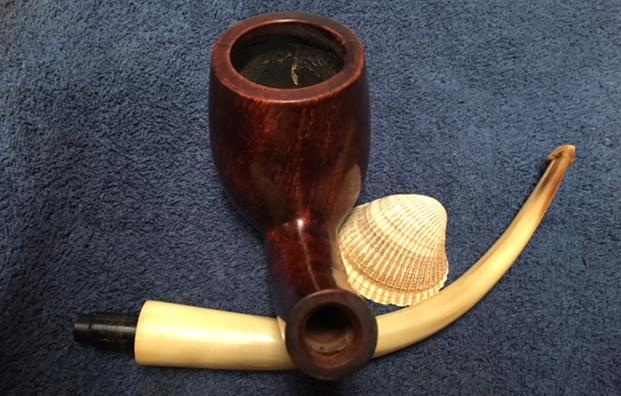
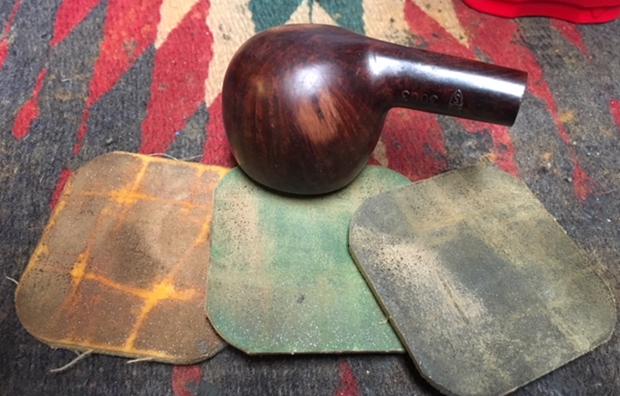
Several weeks ago I got a Facetime call from my brother Jeff. He was in Bozeman, Montana at an antique shop and had found a pipe that intrigued him. The seller wanted $49 for it and it was a large chunk of briar, well carved with a horn stem. He showed me photos on Facetime and it was indeed intriguing. It had gentle curves both from the bend of the shank to the curve of the horn stem. The horn stem appeared to be in good condition overall. The button and slot were damaged but it would not take too much work to clean up the slot and the nicks at stem/shank junction. We decided to pick it up and restore it. I have to tell you I had no idea how big the pipe was.Jeff took some photos of the pipe before he cleaned it up. It was in pretty good condition. The bowl had a light cake but there was no lava overflow on the rim top. The varnish finish on the bowl was peeling and spotty. The grain on the sides of the pipe was really nice. There were a lot of fills on the bottom and back sides of the bowl and all along the sides of the shank. On the underside of the shank and on part of the bottom of the bowl there were some very large fills that were chipped and damaged.The next series of photos show the rim top and the sides and bottom of the bowl. The cake in the bowl is not thick. The rim top is clean and there are fills that are chipped and nicked on the flat surface. The grain on bowl sides is really quite nice. The photo below of the bottom of the bowl and shank show the damaged fills. They are quite long and extend all along the shank bottom. The second and third photos below show the damaged areas of the fills. The fit of the stem to the shank was snug. There were a couple small nicks in the horn stem.The slot in the button end was damaged. On the top and the bottom edges the horn was missing. The second photo gives perspective on the damage along the edges of the button. The good thing was that the button itself was quite deep and I would be able to “top” it and remove much of the damage to the end. Jeff did his usual great job cleaning the pipe before he sent it to me. He reamed the bowl with a Savinelli Fitsall Pipe Knife. He scrubbed out the mortise and the airway in the shank and the stem with alcohol, cotton swabs and pipe cleaners. He scrubbed the exterior of the bowl, rim and shank with a tooth brush and Murphy’s Oil Soap to remove the peeling varnish coat on the bowl and shank. He rinsed it under running water. He dried it off with a soft cloth. Once the peeling varnish debris was removed, the finish was in decent condition. When it arrived it was in a vinyl bag that had been made for it. I had no idea how large the pipe was. I slowly took it out of the bag and took photos of the pipe to show its condition before I started my work on it.It was large enough that I can honestly say I have never seen a pipe this large. To get a better idea of the size I measured it for myself. The dimensions were Length: 12 inches, Height: 3 ½ inches, Outside Diameter of the Bowl: 2 inches, Diameter of the Chamber: 1 ½ inches. Later I will take a photo of the pipe with a regular sized bent billiard. I took some photos of the pipe to show what he had done in the cleanup work. It was a beautiful pipe. I took a close up photo of the rim and bowl to show the condition after the cleanup. You can see the fills on the top and inner edge of the bowl as well as the damage on the front inner edge. The stem itself looks to be in great condition other than several chips around the end next to the shank and the damage to the slot in the button.I took close up photos of the slot in the button to show the damage. In the photos you can see the damage to the edges of the slot on the sides and the top and bottom.Because of the depth of the button, the thickness of the stem end I decided to start on that first. I used the topping board and 220 grit sandpaper and topped the end of the button to remove the damaged areas as much as possible.I filled in the notches in the slot with clear super glue. I worked on them to repair the damages in those areas. I sanded the end of the button and slot to remove the excess and used a needle file to clean up the slot edges.I blew air through the stem and found that the flow was constricted. I pushed a pipe cleaner into the airway from both end and found that it hit a clogged or constriction at the midpoint of the stem. I pushed a flexible wire through the airway and pushed out thick tars and hardened oils from the stem. I used long churchwarden pipe cleaners dipped in alcohol through the airway to clean out the debris. Once I had cleaned it out the flow of air through the stem both ways was unrestricted.I repaired the chipped areas on the tenon end of the stem with clear super glue. Once the glue had cured I sanded the repaired areas to remove the excess and blend it into the surface of the horn. I polished the stem with micromesh sanding pads – wet sanding with 1500-2400 grit pads and dry sanding with 3200-12000 grit pads. I wiped the stem down with Obsidian Oil after each pad. I polished it with Before & After Pipe Polish and rubbed it down with a cotton pad to deeply polish the horn. I set the stem aside and worked on the bowl. I decided to top the bowl to remove the damaged areas from the surface and edges of the rim. I used 220 grit sandpaper to clean it up. I topped it until the rim top was clean.I repaired the fills in the briar with clear super glue. I filled them until they were slightly over filled so that as the glue cured it would not shrink and require a second coat.When the glue dried I sanded the bowl with 220 and 380 grit sandpaper to blend the fills into the surface of the briar. I wiped the sanded briar down with alcohol on a cotton pad. I sanded the bowl with a medium and a fine grit sanding sponge and then stained it with a dark brown stain. I flamed it and repeated the process until the coverage was even. You might wonder why I stained it with such a dark stain… my reason was quite simple. I wanted to mask the fills – particularly the large ones on the underside of the shank. I set the bowl aside to let the stain dry and called it a night. In the morning I wiped it down with alcohol on cotton pads to make the dark brown stain more transparent and allow the grain to pop through the finish. The fills though still present were in better condition and less obvious. I polished the briar with micromesh sanding pads – dry sanding with 1500-12000 grit pads. I wiped the bowl down with an alcohol dampened cotton pad after each grit of micromesh. I put the polished stem back on the shank and took a photo of the pipe next to a Peterson’s London Made Kapruf 9BC to give an idea of the sheer size of this giant pipe. The Peterson is an average sized pipe and it appears almost like a nosewarmer next to this big one.I took the pipe to the buffer and worked it over on the buffing wheel using Blue Diamond to polish it. I buffed the entire pipe to raise the gloss on the briar and really bring shine to the horn. I gave the bowl and stem multiple coats of Carnauba Wax. I buffed the entire pipe with a clean buffing pad to raise the shine. I hand buffed it with a microfiber cloth to deepen the shine. The finished pipe is shown in the photos below. The dark brown stains on the bowl do not hide the grain and the fills though present do not stand out as much. The bowl and the rich striated colours of the horn work really well to create a rich looking pipe. The pipe is so big that I want to once again give you the dimensions; Length: 12 inches, Height: 3 ½ inches, Outside Diameter of the Bowl: 2 inches, Diameter of the Chamber: 1 ½ inches.  This humongous briar and horn stem pipe is truly a beauty. I have never seen a pipe this big before and it makes me wonder if it was not originally made as a display pipe. I don’t think I will ever know for sure but I do know that it was smoked and it is available to anyone who is interested in adding big pipe to their own collection. I would have said rack but it is too big to fit even a large rack. I will be putting it on the rebornpipes store shortly so if you are interested let me know. Thanks for walking through the restoration with me.

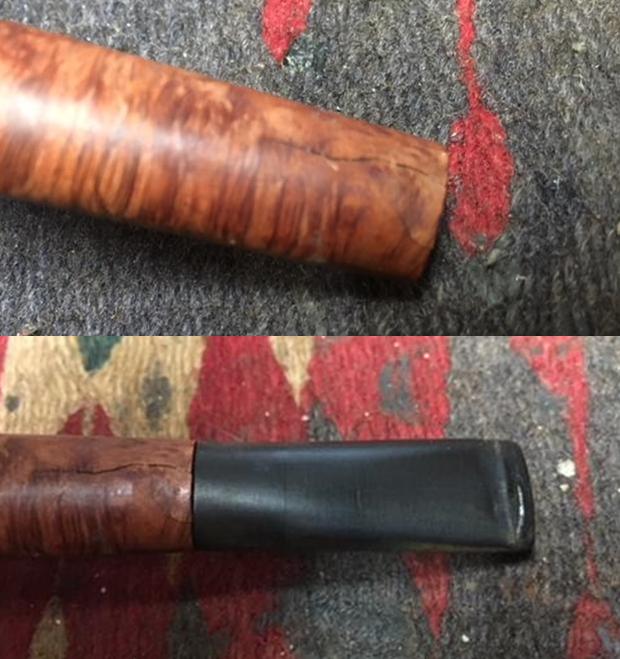
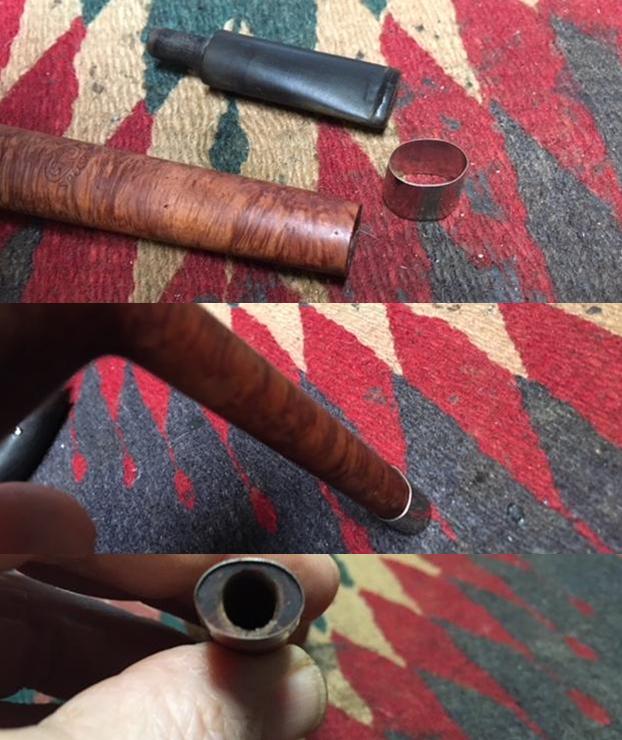
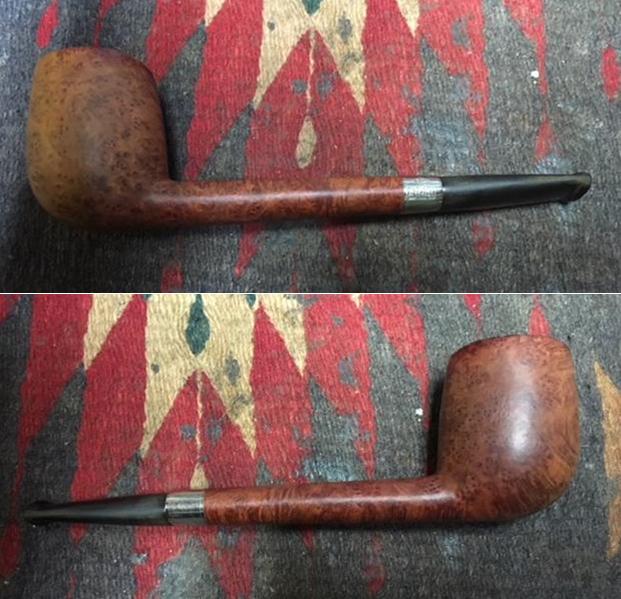
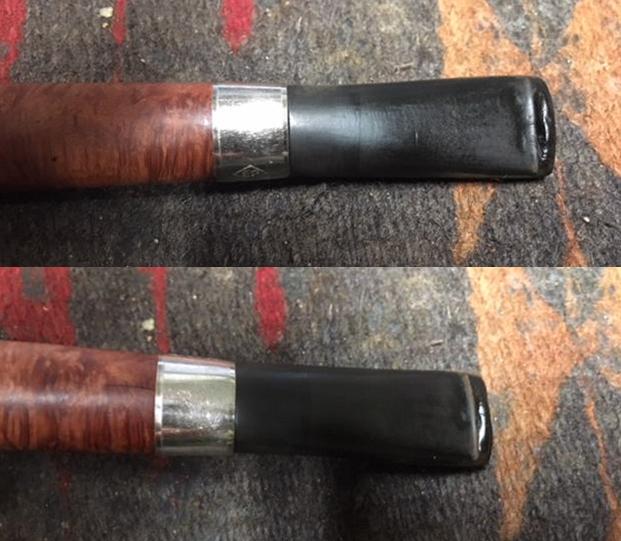
Saving a New Friend


Blog by Dave Weagle

When I saw Dave’s work on this old pipe I knew I wanted to read about the process he used in repairing this old friend. I wrote him a message on the Facebook Tobacco Pipe Restorers Group and asked him if he would be interested in putting together a blog for us here at rebornpipes. He gladly accepted the offer and today he sent along this blog. Welcome to rebornpipes Dave. It is a pleasure to have you show your work and skills here. The invitation is always open to you. With no further intro I will let Dave speak for himself. Enjoy.

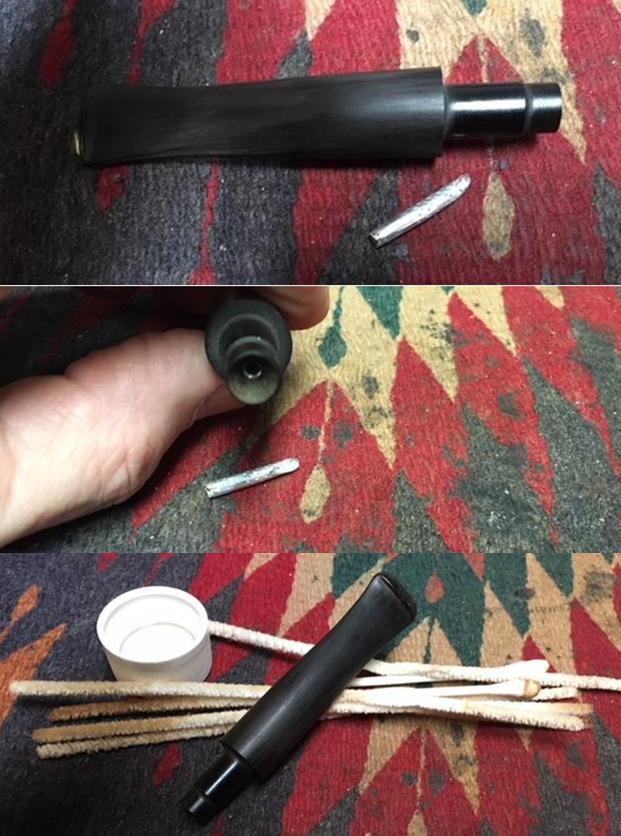
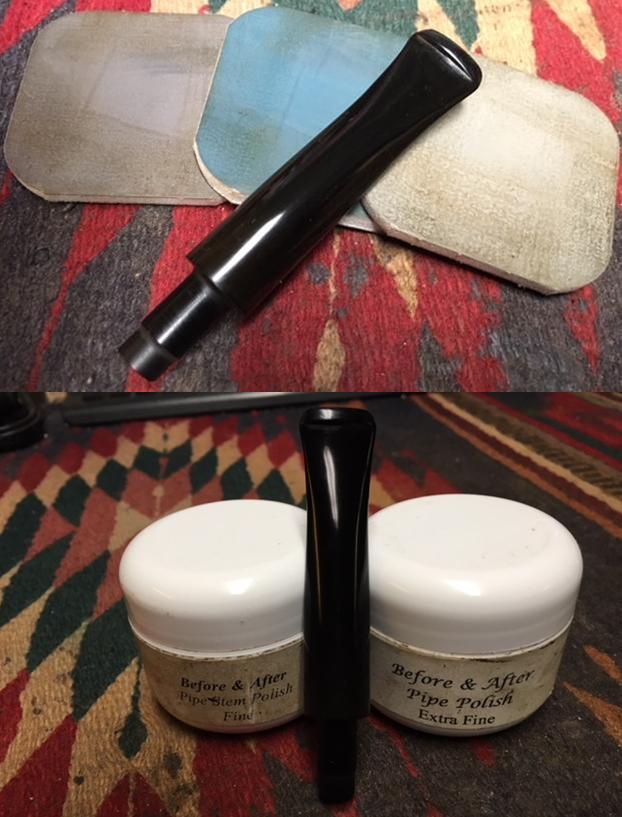
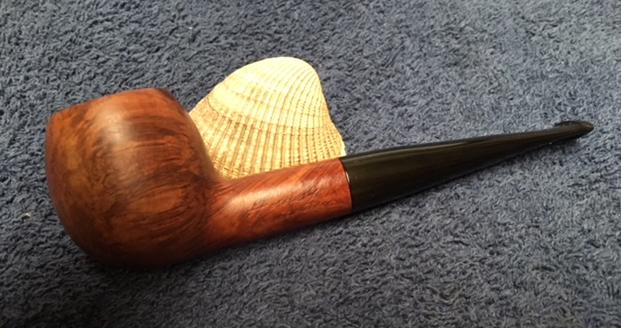
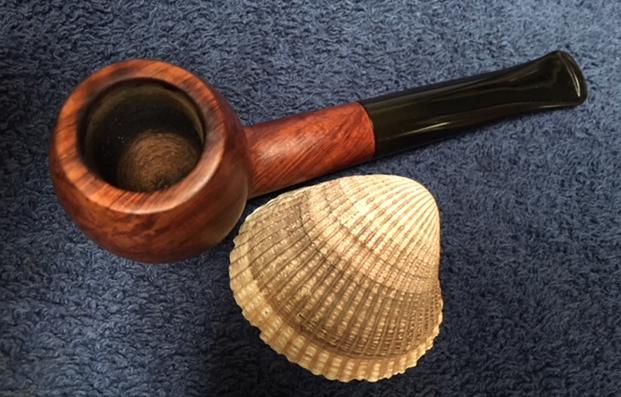
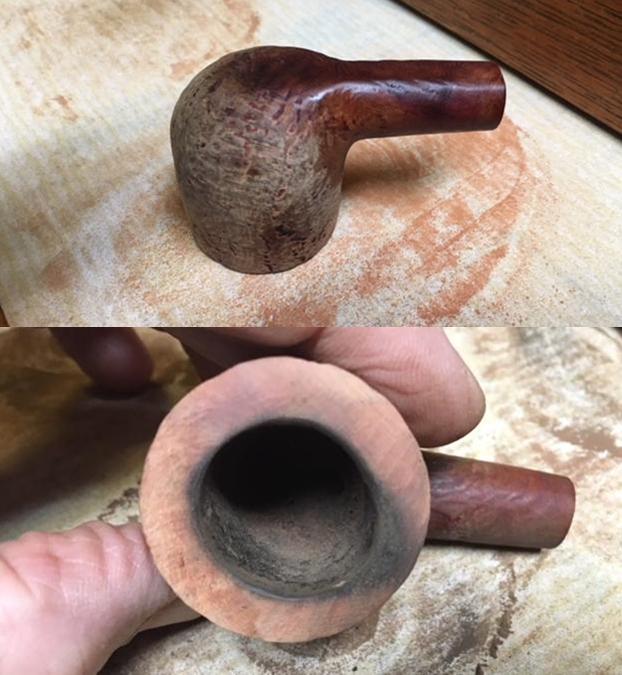
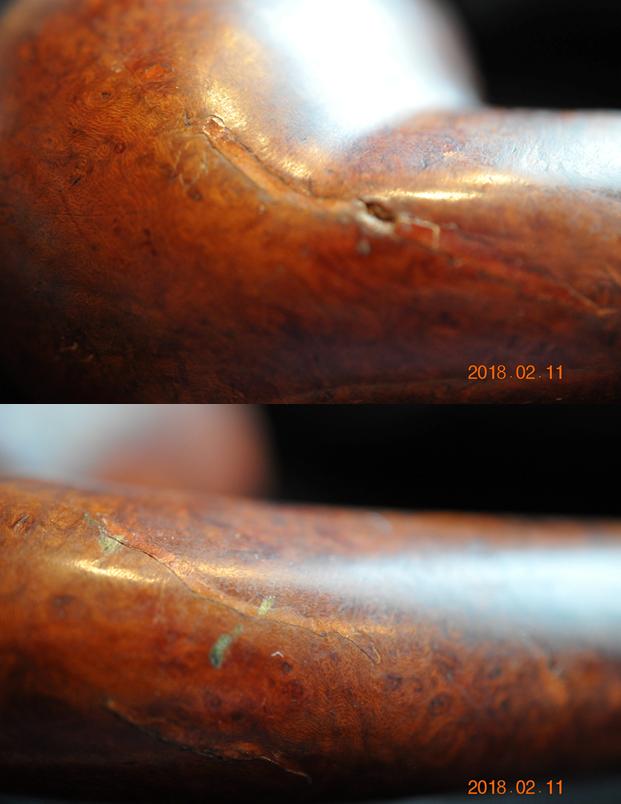
Growing up I always knew that someday I would be a pipe smoker. I remember during an anti smoking discussion in grade 1 at the rip old age of 7, I told the teacher I had no interest in cigarettes but someday I would smoke a pipe. That was 1978.

Over the past 40 years I have had a few passions that have shaped my life. Recently pipe smoking and restoration has been one of them. During the 90’s while working backshifts I discovered old black and white suspense movies from the 1930’s & 1940’s. Of these the Sherlock Holmes movies starring Basil Rathbone became a favorite.

Once I decided I was ready to take up pipe smoking I knew there was one pipe brand I would have to acquire. Peterson. After some research I found that Basil Rathbone smoked a 4ab in the movies produced by Universal. Further research suggested the 4ab shape would become the 309.   I found a Peterson Patent pipe a few years ago hiding in a lot on Ebay with a bunch of old burnt cobs. With a bit of work I had a close copy of a 4ab.

My Peterson Patent pipe with a stem I modified.Now for the back story. 

Now for the back story.  Since March of 2016 I have started chasing pre- republic pipes. This past Christmas (2017) with a little cash burning a hole in my pocket, I went surfing my usual online pipe haunts for older Petes. I found a seller on Etsy that had some interesting older pipes. One was a Pete. There was no shape number in the listing so I emailed the seller. It turned out to be a 313. I have three 313 already, so I thanked the seller but declined the pipe. To my surprise he emailed me back and asked if I’d be interested in some older unrestored Petersons. We emailed back and forth and came up with an arrangement that both were happy with. I bought 8 pipes. A Peterson calabash with a silver hallmark dated 1908 and a S17 sealed the deal (those will be future restorations). The other 6 pipes where all Republic era pipes. My favorite shape 309 was there so I was very pleased with my purchase.

This is where my restoration story begins. When the pipes arrived from England I was surprised to find how well loved the 309 was. The shank was actually worn crooked. The stem was worn and the nickel cap had a crack and 11 dents. I contacted Peterson about getting a new cap on the 309. When I found out how expensive it was I decided this was a lot of money to restore a well used 309. I started looking for a donor 309. It didn’t take long to find a cracked 309 (a cracked Chacom and Nording came with it) which would be a great parts pipe for about half the price of shipping my original 309 back to the factory to be fixed.

The donor 309 came from EBay. It took two weeks for the pipe to travel from California to Nova Scotia. During the two weeks, I kept going back to the original listing and night after night I keep thinking I can’t send this donor 309 to the scrap pile without at least attempting to save it. This is how the pipe arrived.Not sure how to approach this repair I decided to gently ream it to see the extent of the inner bowl damage. I didn’t want to just start filling the crack with CA glue and briar dust. This was the result of reaming. Some people might have been upset by the result but I knew it was a good thing. I now knew the extent of the damage. Also, I could clean up the cracked surfaces to remove any loose char or ash. Using cotton swabs and isopropyl alcohol I cleaned all the damaged area before reattachment. I now had two pieces of the bowl which I glued together and let them set. Once they dried I fit them back in place and set to gluing and pinning.I started by drilling several vertical holes and then drilled the horizontal holes making sure that the two broken pieces were pinned to each other and into the remaining bowl. I used several types of CA glue in this process. I used a thinned glue designed to flow into cracks. The pins were cut to fit and glued with a thicker gap filling gel CA. When it came time to fill the cracks and the drilled holes I used a standard CA and briar dust. I used several coats of glue and dust to fill everything in, brushing the bowl between coats with a brass bristled bush to remove any loose dust and checked each coat with my jeweler’s lope for coverage. Once I was happy with the surface coverage, using my jewelers lope and a rotary tool I tried to copy the rustification as close to the original as possible. I always wear a dust mask when I attempt surface repairs using a jeweler’s lope and a rotary tool. The pipe is right about nose level and the tool blows the dust right in your face.This is the outer surface after about two hours of work. Now it was time to fix up the inner bowl.  After the outer repair was complete it was evident that a burnt out was the cause of the crack.  There was an indent which need to be filled. Usually I use fireplace cement (a paste I make out of hardwood ash that I collect from my woodstove) to patch small burns in a bowl but this was going to be a large patch ,so I wanted something stronger. JB Weld was what I used. After wiping out the bowl with cotton swabs and isopropyl alcohol to remove any loose char and ash I mixed up some JB Weld and applied it to the inner bowl. After let it dry overnight I turned again to my rotary tool with a sanding drum to even out the walls. Again, wear a mask if using when this method because it throws a lot of dust in the air, and you’ll be sneezing for a few days (past experience). With the inner bowl smooth and round it was on to cleaning the draft hole and the shank. Using a 4mm drill bit I redrilled the draft hole. With cotton swabs, isopropyl alcohol and a dental tool I cleaned the shank and draft hole. After cleaning and drilling I didn’t like the depth of the bowl reverses the position of the draft hole so I added a bit more JB Weld to the bottom of the bowl. Using a small piece of 220 grit sand paper I sanded the inner bowl again so there were no rough seams. With the repairs to the bowl it was time to refinish. Using my brass bristle brush and a 3M autobody scuff pad I gently buffed the outer bowl. I carefully polished the stamping using micro mesh pads starting at 3200, finishing with 12000.

When it came to the staining I used Fiebing’s leather dye. USMC black was the base coat and Ox Blood was the finish coat. Both colours where flamed to set the dye into the grain. I then hand buffed the bowl before coating the bowl with Halcyon II wax. Once the wax had dried I hand buffed the bowl again. While staining the bowl I got some red stain on the cap which I removed with Autosol polish (I use it to polish the chrome bumpers on my Dodge Ram) which also cleans up the oxidation. With the outside finished it was time to finish the inside. For this I decided a coating of maple syrup and charcoal would be the best to help rebuild the new cake as the pipe is smoked. With a pipe cleaner placed in the draft hole the inner bowl was lined with maple syrup. Then the bowl was filled with charcoal. I gently tapped the top of the bowl with a spoon to remove any air gaps (not unlike how I may tap a bowl when I fill it with tobacco). I let the bowl dry before removing the excess charcoal. This was the finish of the work on the bowl. All that was left to finish was the stem. The stem was heavily oxidized so a soak in Oxiclean for a few hours. After removing the stem from its Oxi bath I cleaned the inner stem with bristle pipe cleaners and Isopropyl alcohol. There was a lot of chatter on the tip including some dents on the P lip. I heated the stem with a heat gun to raise the dents with some success. A quick sanding with 220 grit sand paper and a wipe with isopropyl alcohol I was ready to repair the dents that didn’t raise. Rubberized CA glue and charcoal powder were mixed and used to patch the dents. With a coarse file I reshaped the P lip. Starting with 220 grit sand paper I dry sanded the stem removing the excess glue. From there I dry sanded the stem with 600 grit. I then changed to wet sanding with 1000, 2000, and 3000 sand paper. I switch to dry sanding with 4000 – 12000 grit micro mesh pads. Once I was happy with the sanding, I polished the stem with blue diamond compound on a buffing wheel. To finish, I applied several coats of carnauba wax on a soft buffing wheel. A hand buff finished the stem work. All that was left was to assemble the stem and the bowl. Here is a shot of the two 309’s involved in this project. The donor being in the front. With guidance from certain pipe repair blogs, I have used their techniques and developed some of my own. A few years ago starting out buying estate pipes I never thought I’d be able to do repair work like this.
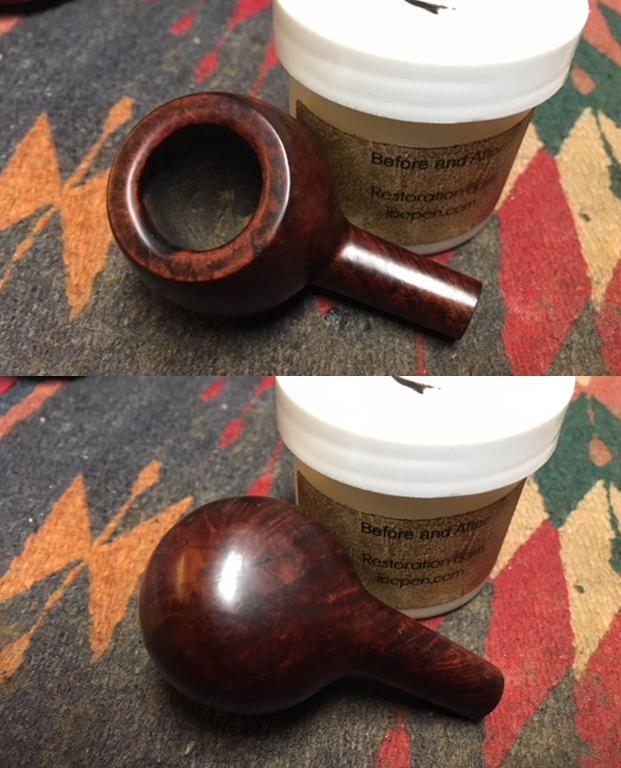
Just for the record, I have decided to just send the other 309 to Peterson to have a new cap installed. My attempt to save money ended up costing me more, but one can never have too many pipes. Right?


ANSWERS TO QUESTIONS: Topping or not topping a bowl – that is the question


Blog by Steve Laug

Often I am asked how I decide whether or not to top a bowl. Like the other questions in this series of Answers to Questions this has a multifaceted answer. I wish sometimes that the answers were black and white – very straightforward. Wouldn’t it be nice to be able to have a template that says when a rim top looks like “this” – top the bowl? Sadly there is no such template. For me the decision is really a process of elimination. I look at the condition of the rim and consider the various options putting them aside one by one until I come to a conclusion. I may use a combination of steaming and topping to bring back the rim top. There are times when I have had to rebuild portions of the rim top to get it level and smooth. Whatever, method I use I spend a fair bit of time examining the pipe before moving forward. Here is my process for deciding to top the bowl or not to top it.
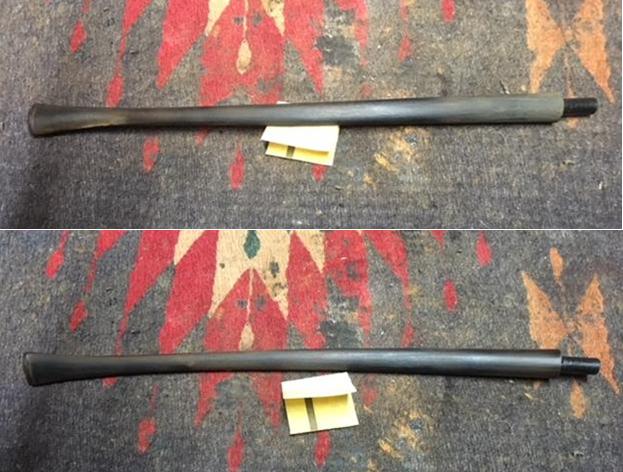
Examine the rim top. The first thing I do when I bring a pipe to the work table is assess the damage to the bowl and shank. Focusing on the rim top, I look for damage to the outer and inner edges of the rim and damage to the rim top itself. At the worst these damages include one or more of the following – deep gouges, marks, burned and charred areas. At the best they may include dings, nicks and dents. Sometimes you can guess at the condition of the rim at this point – you get so you can tell quite quickly over time. Other times the examination has to be done after the initial cleaning of the exterior of the bowl. Generally I can draw my conclusions quite quickly just by looking, the extent of the damage (this is one of the perks of having worked on pipes for over 20+ years).

Dents, nicks and dings. This is the best case scenario in terms of rim damage. If this is what I find then I seek to remove or minimize these issues. Dents and dings can be lifted with steam. I use a wet cloth and hot knife to create steam and lift the dents and dings. I repeat the process until I am happy with the results. Others use an iron and cloth. Choose what you are comfortable with because both work well. For nicks along the edges – inner or outer – I try to steam them to raise them but have found that this is often pretty useless in addressing issues where a nick has a sharp or cut edge. In that case I use a small folded piece of sandpaper to smooth them out. I follow that by polishing the sanded areas with micromesh sanding pads. I rarely top a bowl with this kind of damage to the rim top. I have found that these issues generally can be remedied with steam and little bit of sanding magic.

Nicks, cuts, gouges, road rash. There are definite issues that call for the use of a topping board. For me topping tends to be the last resort after I have tried other means of dealing with the damage on the bowl. But if the following scenarios are true then I top the pipe. If the pipe has been used like a hammer to knock out the dottle and the outer edges of the bowl a broken down or rounded over. If the surface of the edge is very rough with broken fibres of briar. If the inner edge is damaged to a point where a light topping will remove the damage. If the top surface of the rim is gouged, cut or rough to the touch. All of these are signs to me that the bowl should be topped.

Once you have made the decision that the rim needs to be topped then the next question comes into play. How much of the top needs to be removed from the surface of the rim? To me this is as important a decision as that of topping. Once again I am a bit of a minimalist in my approach. I only remove as much as is necessary to reduce the footprint of the damage. In some cases it is very light and I work over the edges of the bowl independently to minimize the damage in those areas and blend the sides into the topped rim. In other cases it requires a bit more work to remove the damage and I have to remove more material. I always keep the idea of minimal in mind as I do the work.

In terms of the actual process, I use a cutting board with a piece of 220 grit sandpaper attached to it. I work the bowl on the sandpaper in a circular motion as I find it makes the scratches in the briar less noticeable that when I work from side to side or front to back. The circular motion sandpaper marks are also more easily removed. I sand and check, sand and recheck, and repeat until I am satisfied with surface of the rim and the edges. Sometimes all of the damage is removed and other times it requires some hand work to fine tune the edges of the bowl. The key to the process is the repeated checking to make sure that you have removed enough of the briar to deal with the damage but not too much to ensure that the profile of the pipe remains the same. . I cannot emphasize enough how important it is to keep the rim top flat against the topping board as it is very easy to give the top an unwanted slant in the process. A good topping job should be unnoticeable. You work to blend the rim top into the flow of the bowl and then match the stain.

My rule of thumb is always to aim for removing the least amount of material from the rim top as possible. I want to minimize the damage and bring the rim back to a “near new” condition. I want the rim to match the normal wear on a pipe of its age. There is nothing worse in my opinion than having crisp edges on a rim top when everything else about the pipe has been softened with time and use. Once the rim is topped and the damage is removed if any dents remain I will steam them out. If you top a sandblast or rusticated rim top then your work just begins with the topping. You will need to decide if you want to leave it smooth as a contrast with the finish around the bowl and shank or work over the rim top with a Dremel and burrs to match the original finish on the rest of the bowl. That of course is a matter of your own comfort with process and your own aesthetic as well.
I think that summarizes my thoughts on the original question. As with most things in our hobby there seems to be questions behind the questions. There are always multiple levels of answers but at the same time it really boils down to what you individually are comfortable with in terms of the topping. Hopefully you have found this blog helpful as you make your own choices. Thanks once more for humouring this old pipeman in his ramblings. Cheers.