by Steve Laug
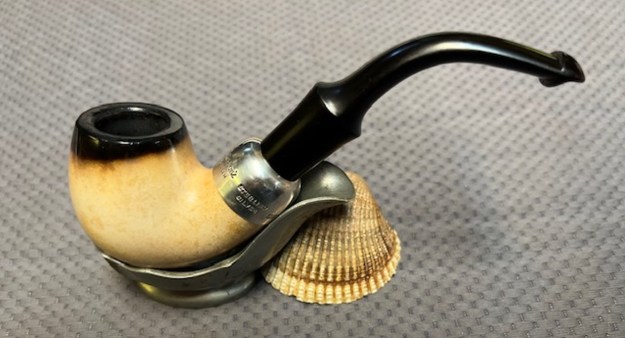
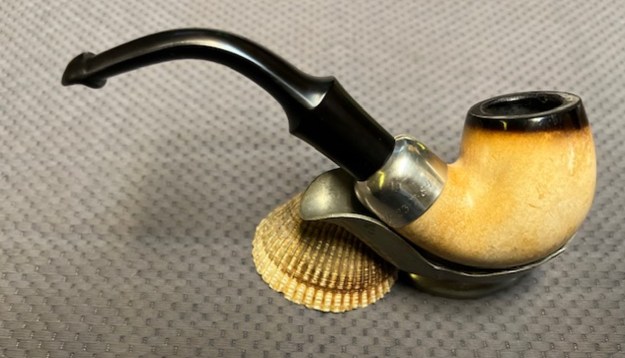
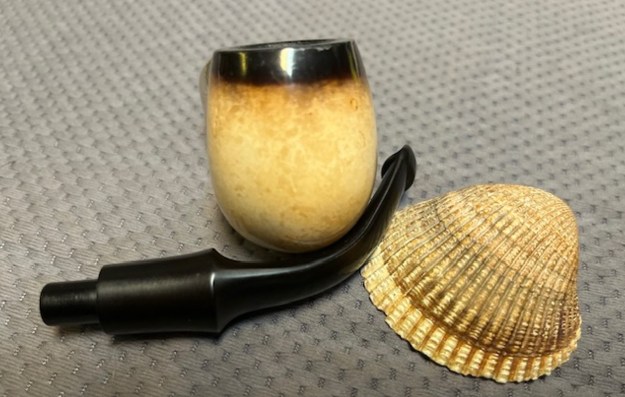
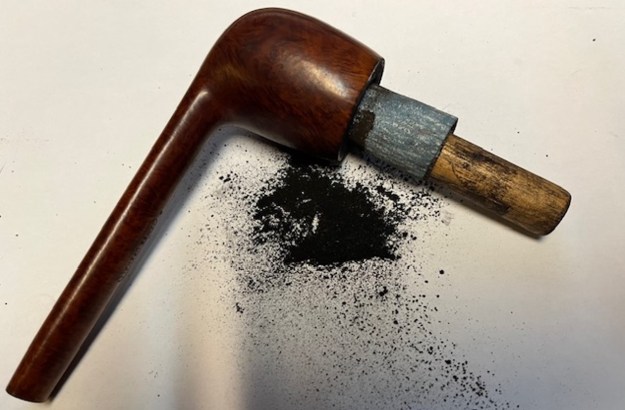
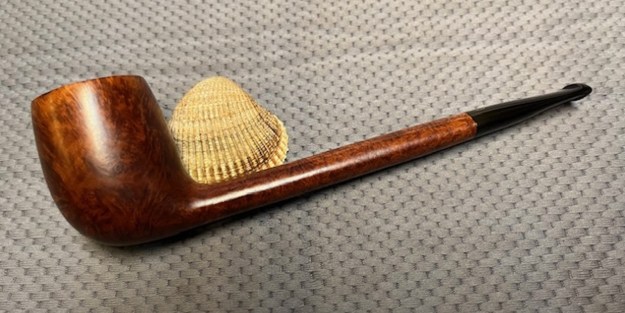
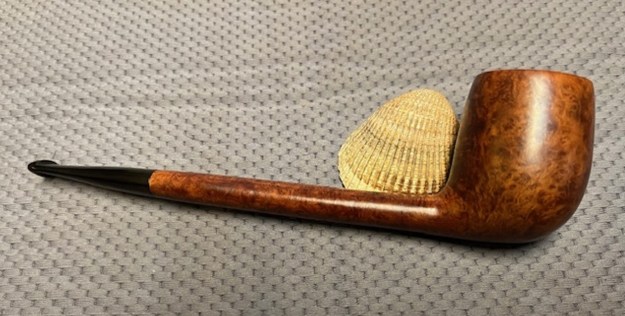
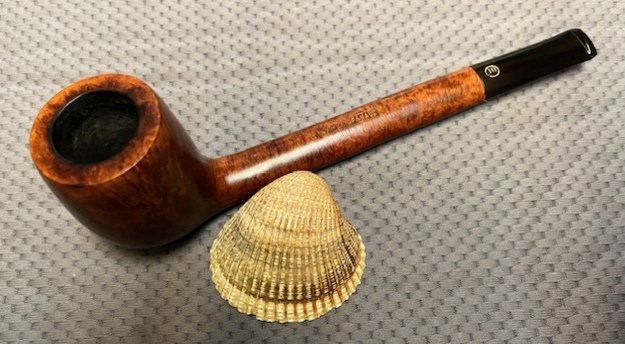
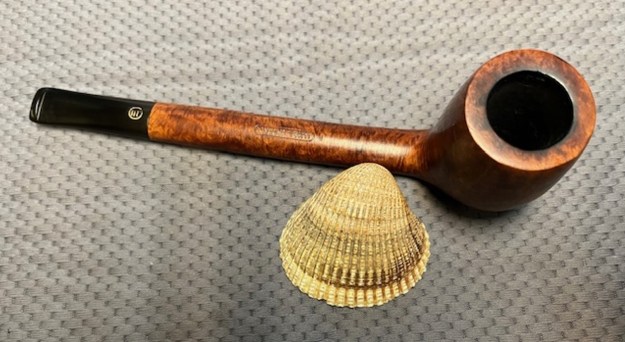
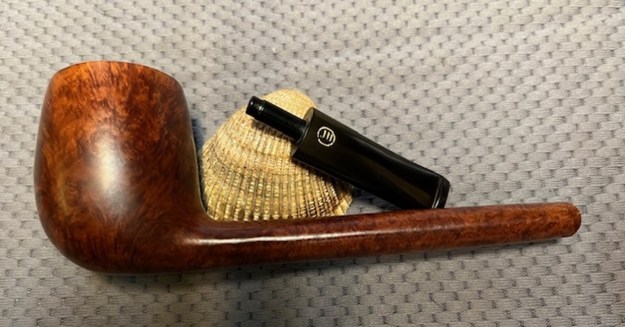
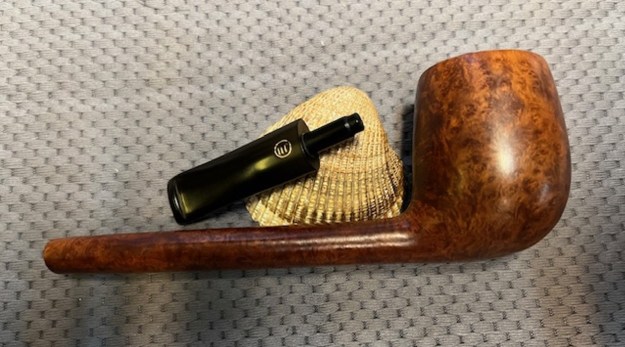
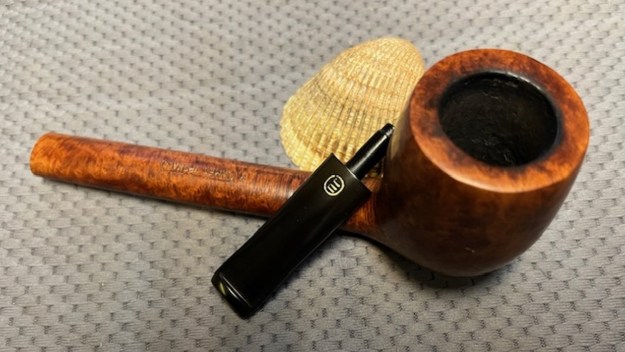
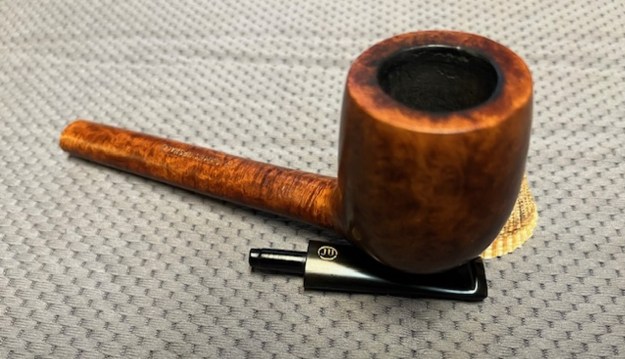
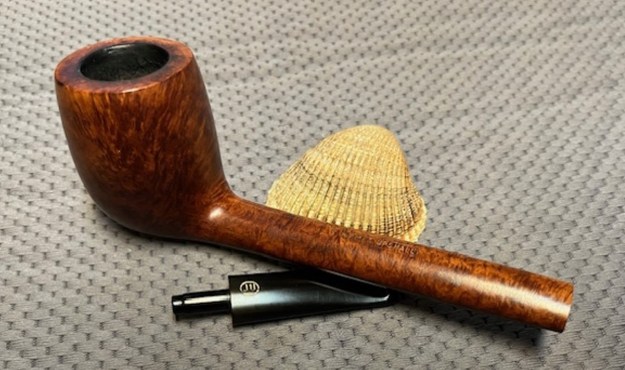
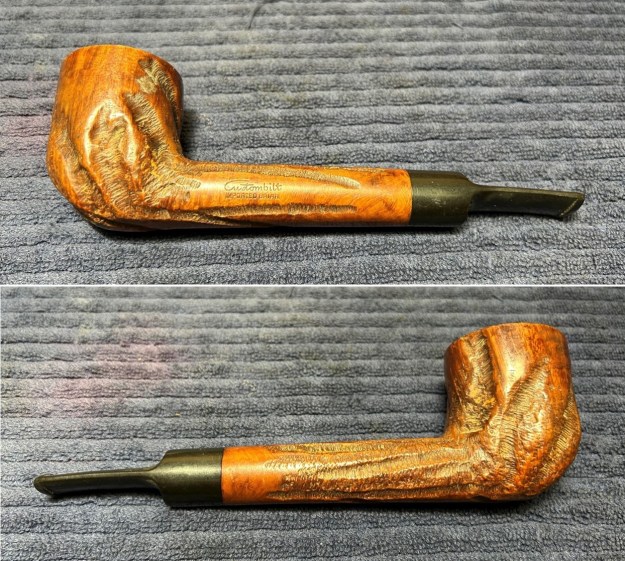
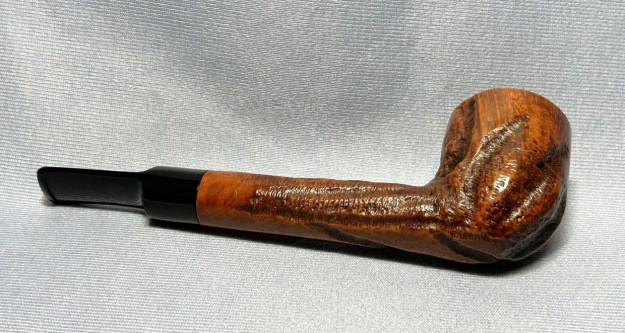
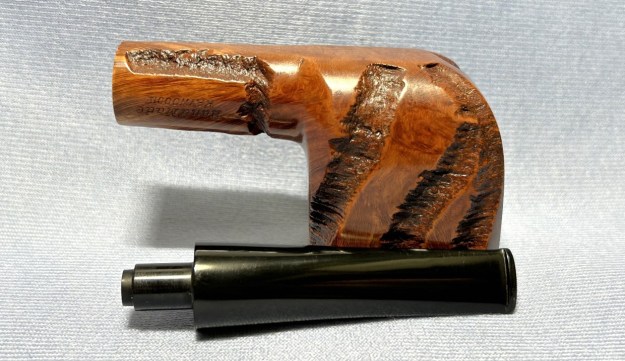
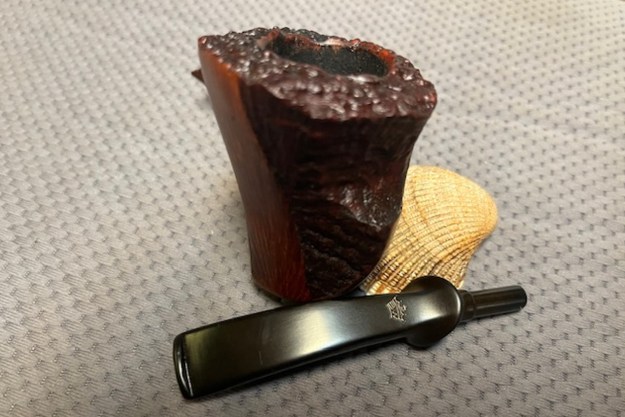
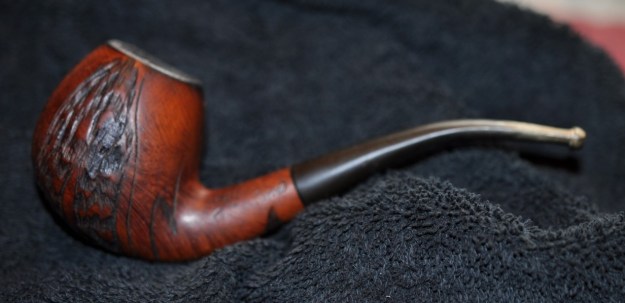
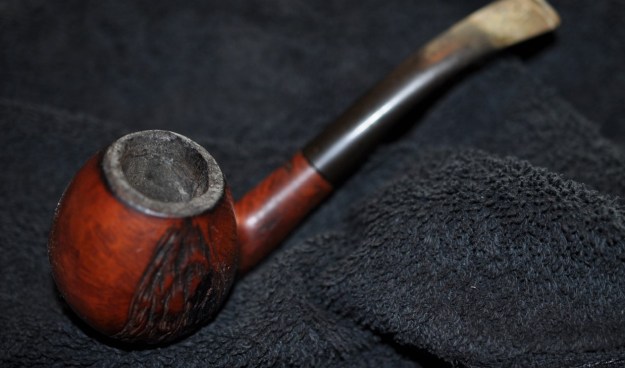
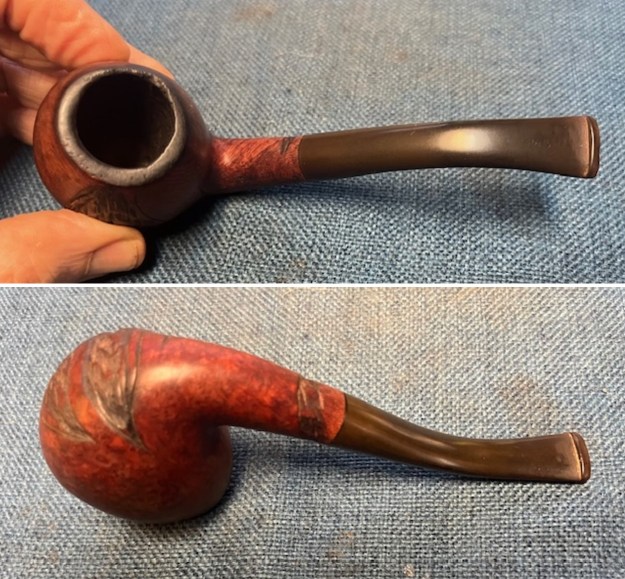
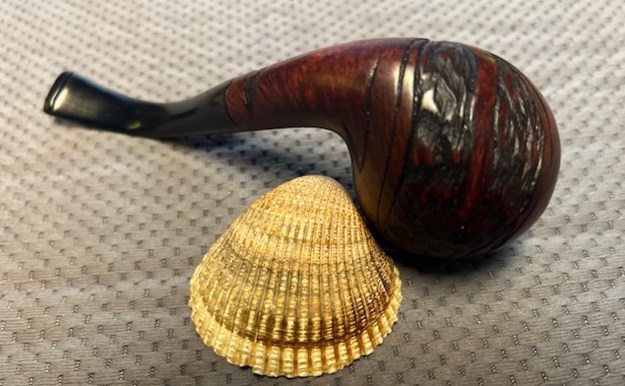
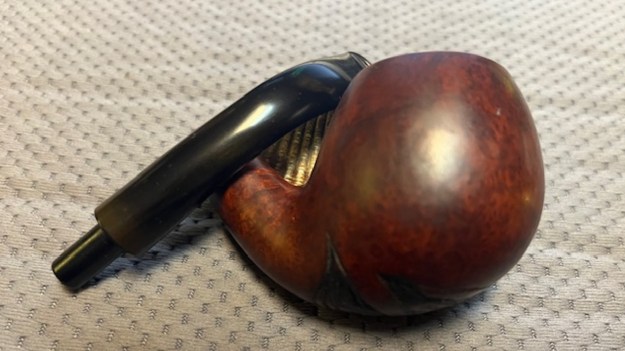
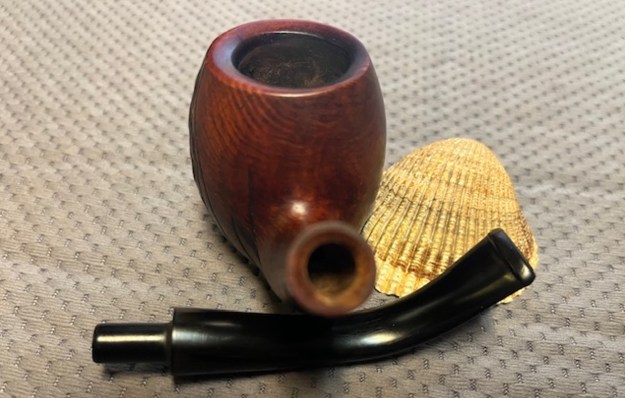
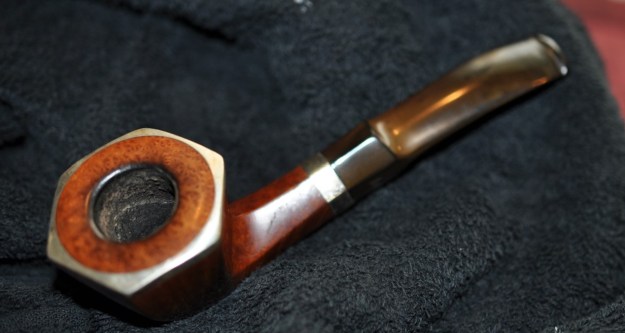
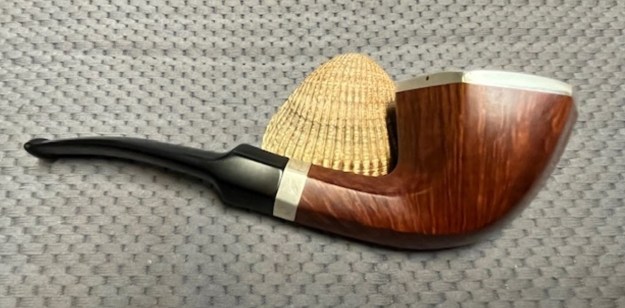
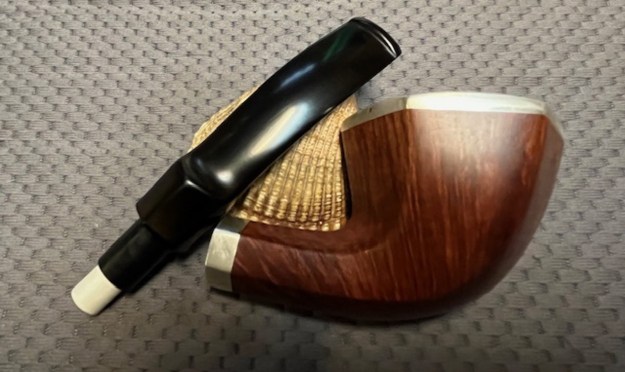
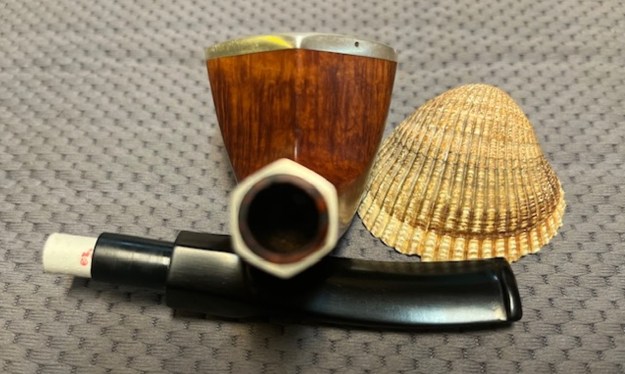
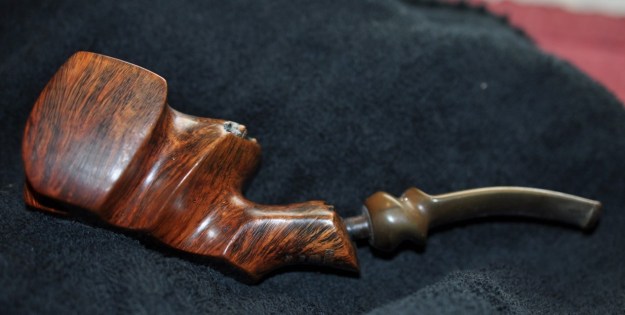
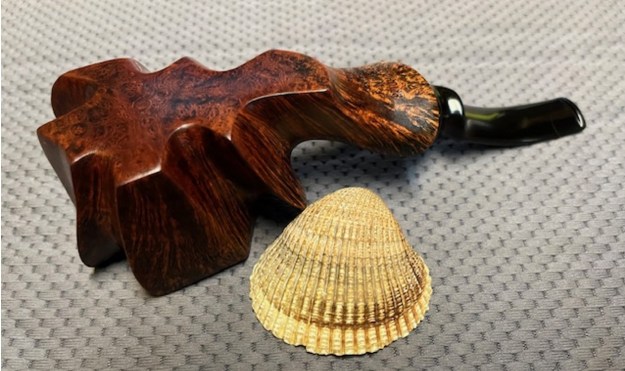
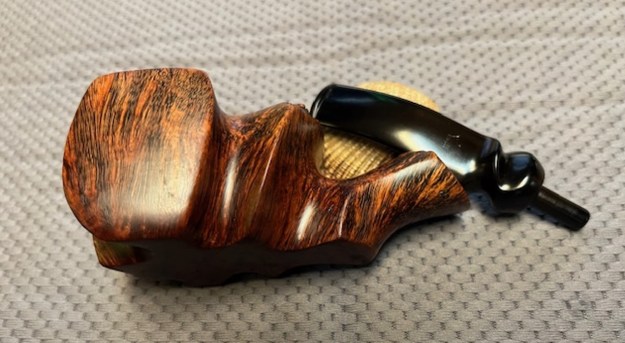
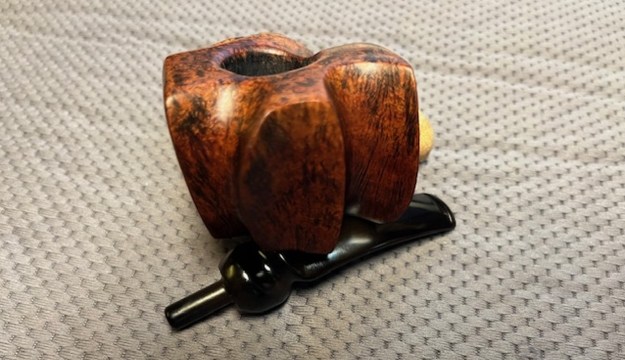
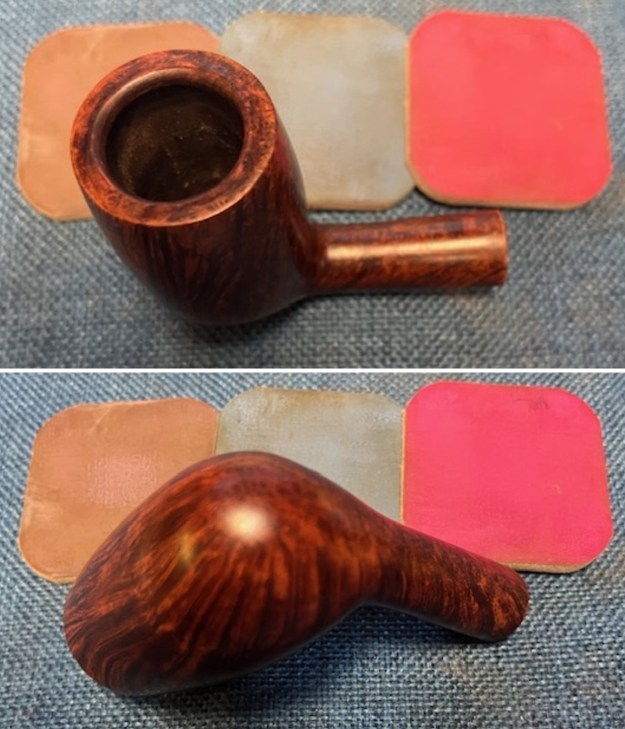
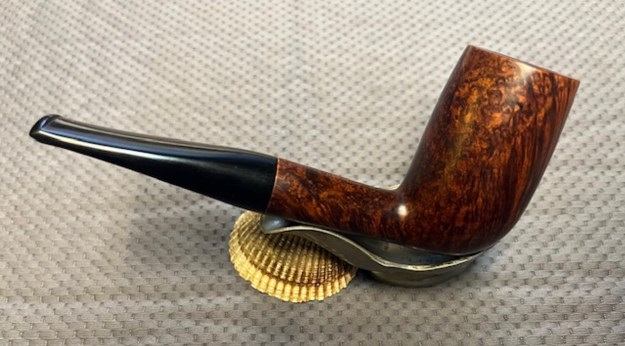
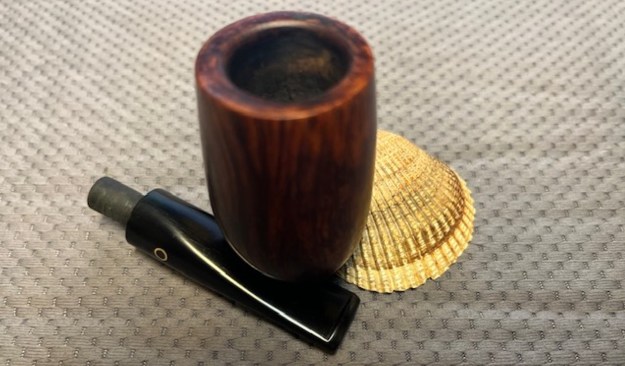
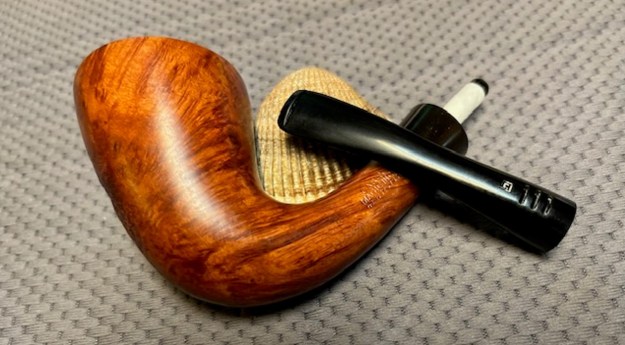
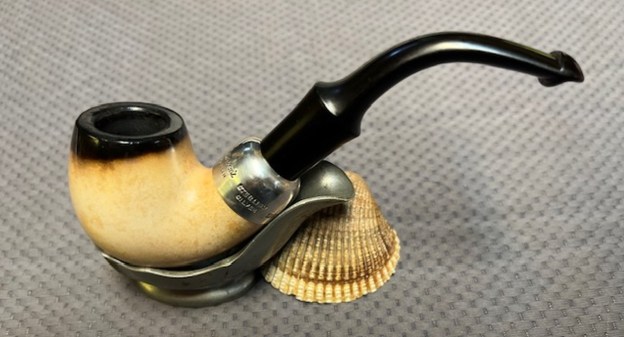
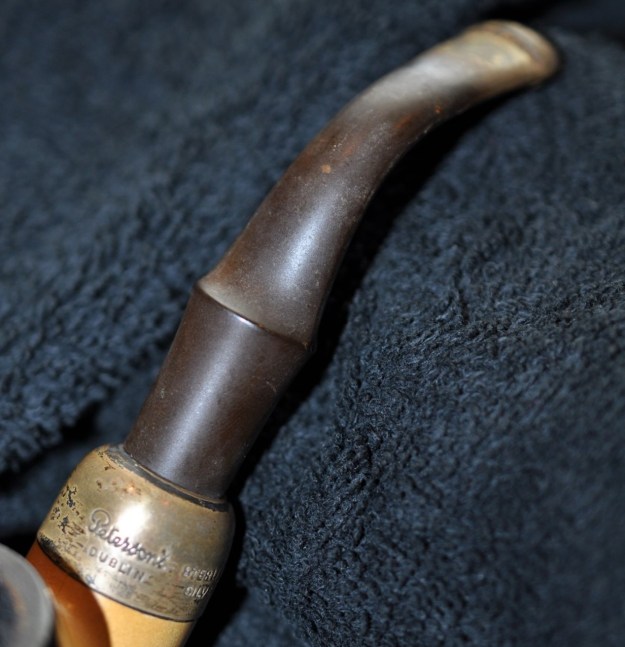
The next pipe on the work table is a white Peterson’s style smooth meerschaum pipe. We purchased it from our contact in Denmark on 04/11/2023. It is a classic Peterson’s 312 shaped bowl and probably made like all their meerschaum by Laxey Pipes Ltd, on the Isle of Man. It has a light patina making it almost golden with a black flume around the bowl and rim top. It is a smooth bowl. The bowl is dirty for sure with grime in the meerschaum. There is a cake in the bowl and a lava overflow in the rustication on the rim top and edges. The pipe has a Sterling Silver ferrule that is stamped Peterson’s [over] Dublin, followed by Sterling [over] Silver, followed by three hallmarks – Hibernia seated for the country of origin (Ireland), Crowned Harp designating the Silver Quality and a Celtic T for the year of manufacture which in this case is 1984. That is followed by the etching Paris 23-7-84. The ferrule has some oxidation and is dull but otherwise undamaged. The stem is lightly oxidized and has tooth chatter and marks on both sides ahead of the P-lip button. Jeff took photos of the pipe before he started his cleanup.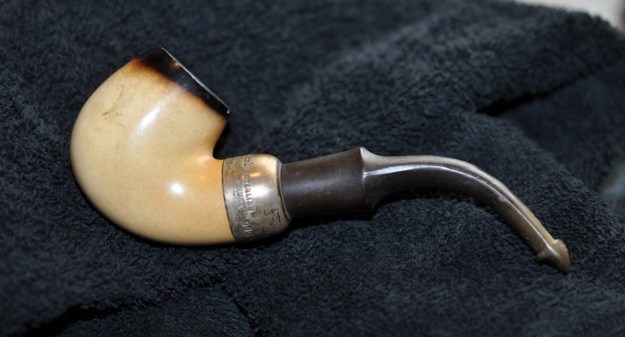
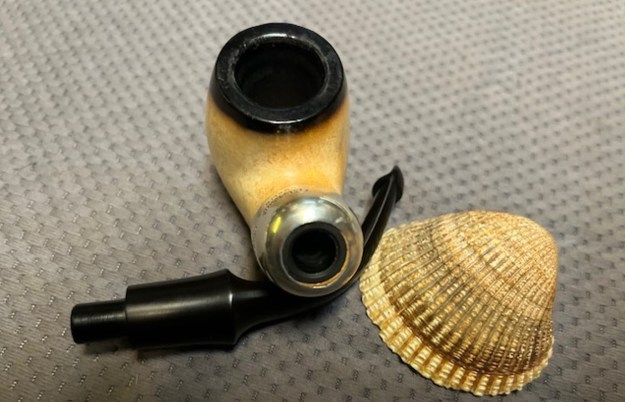
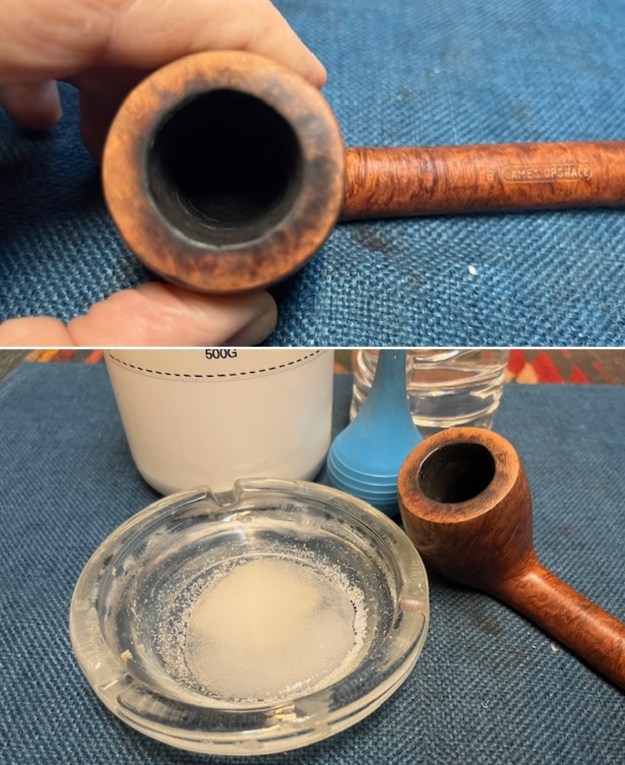
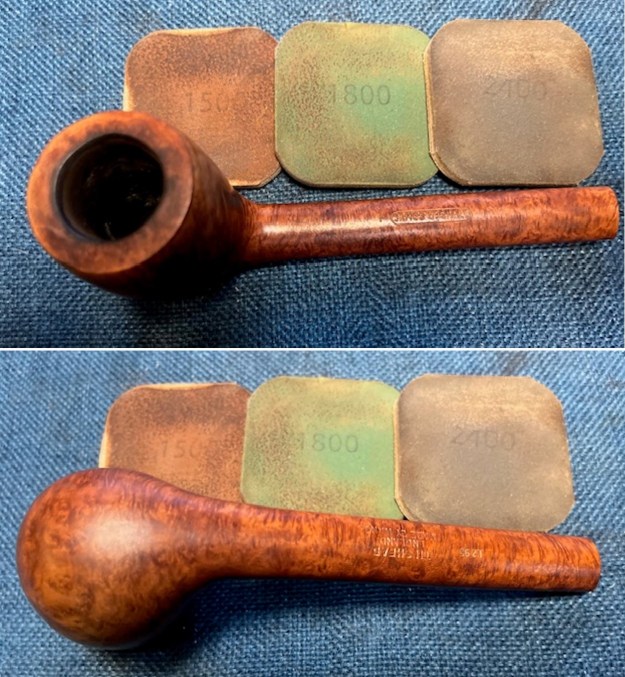
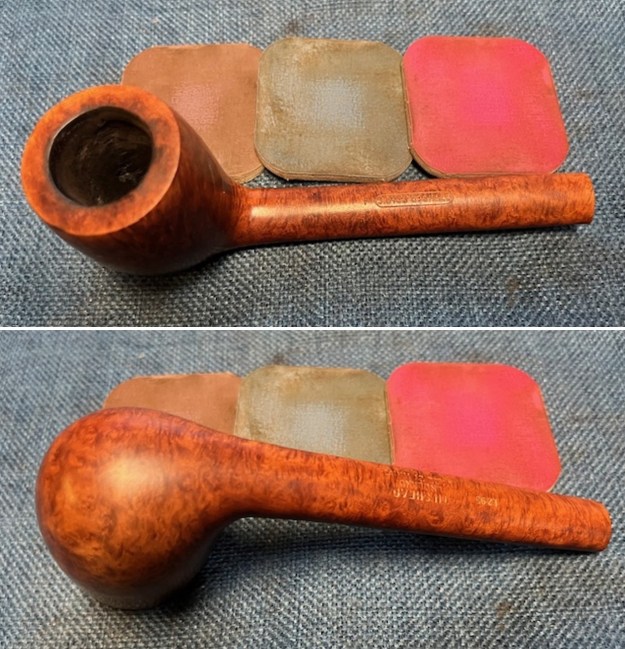
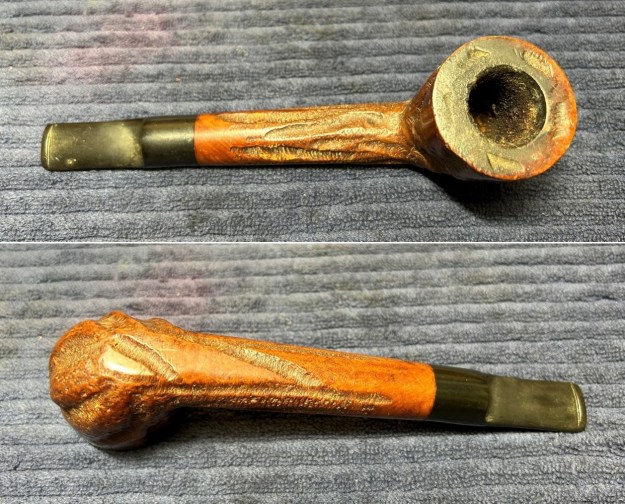
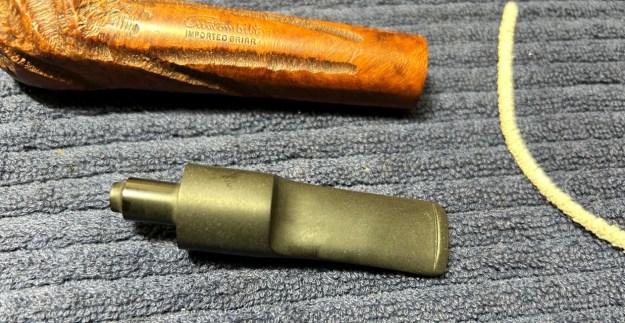
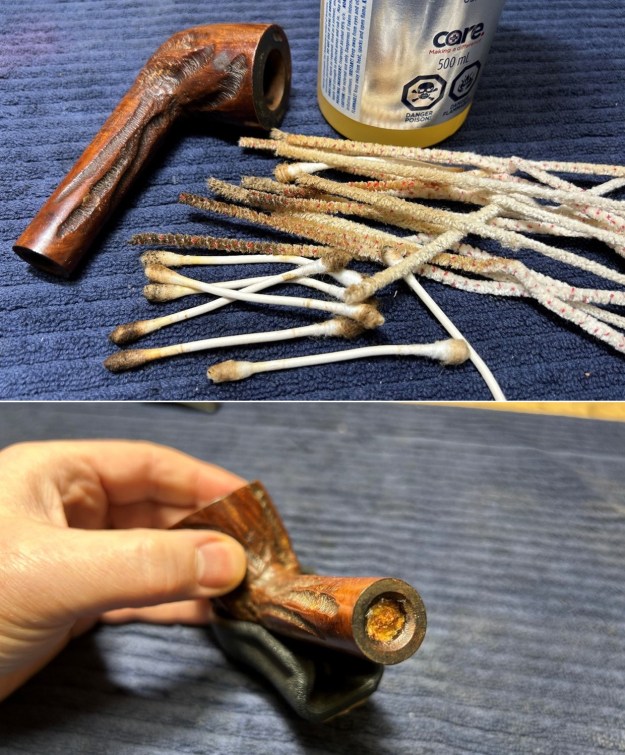
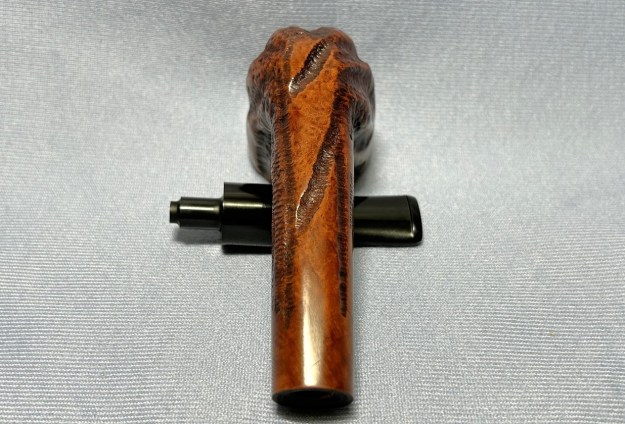
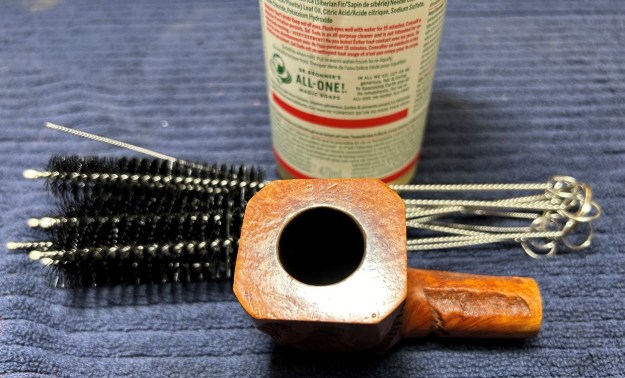
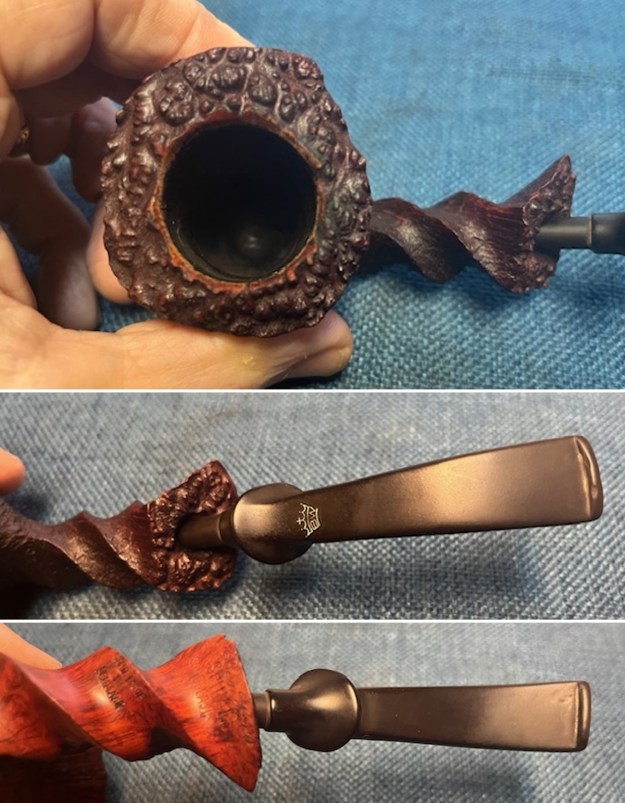
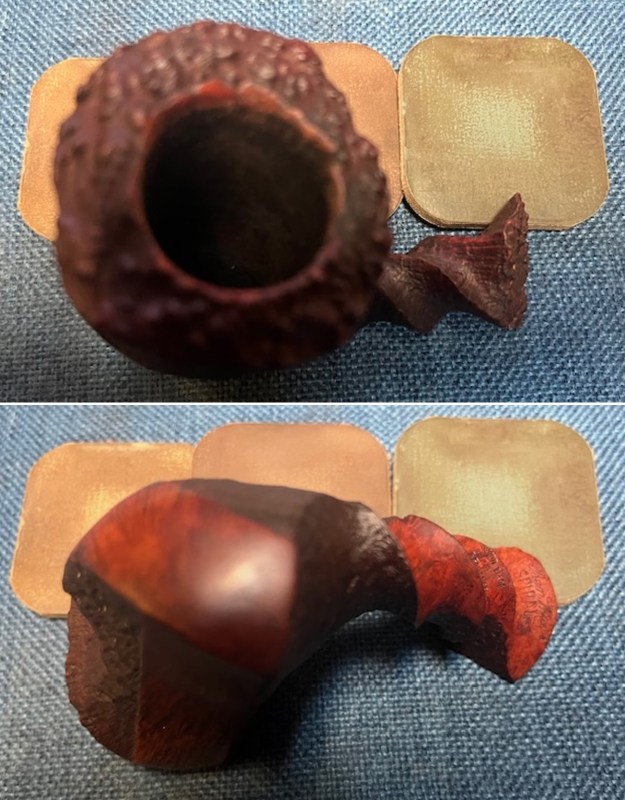
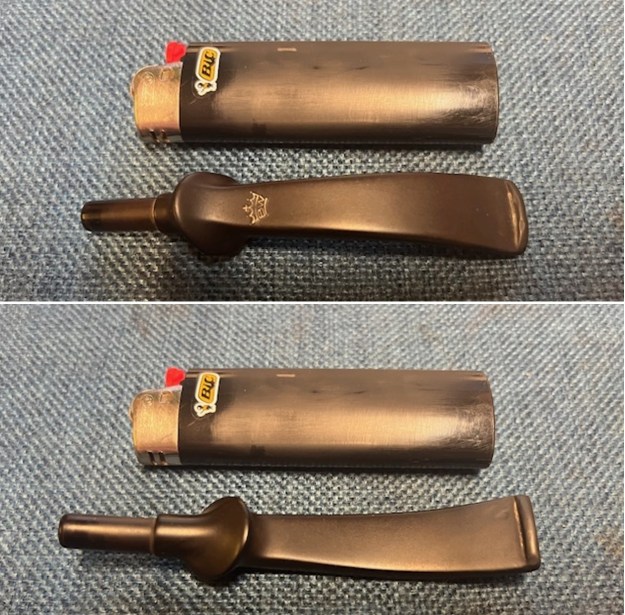
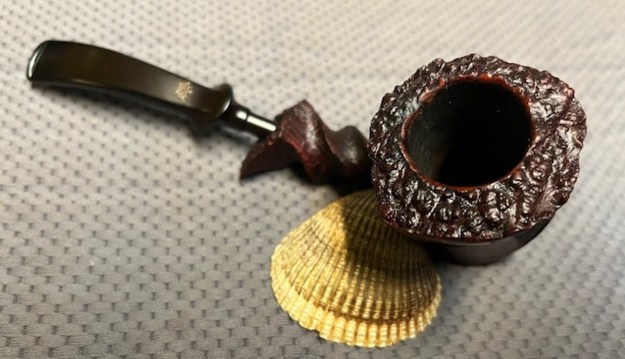
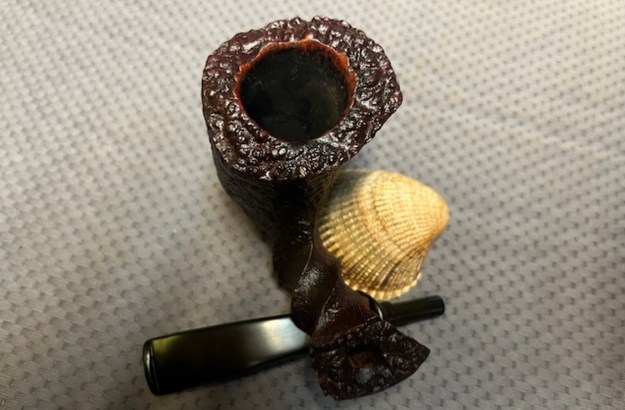
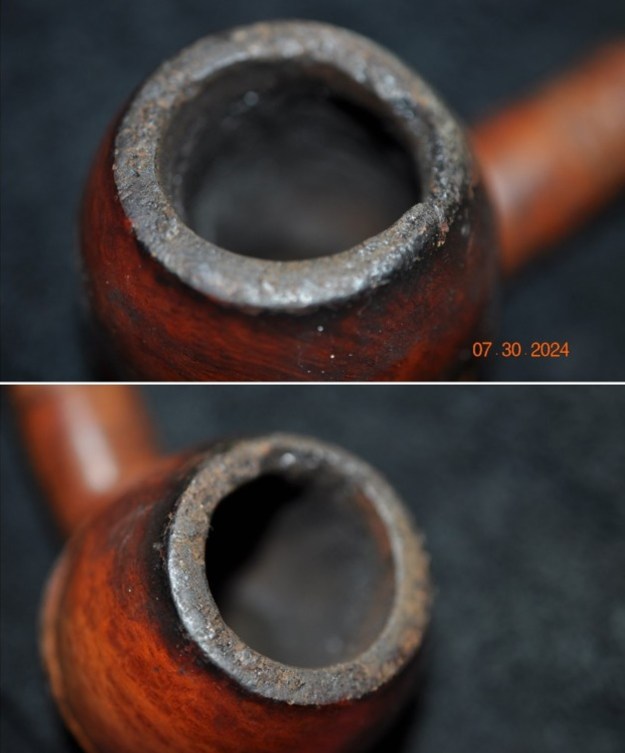
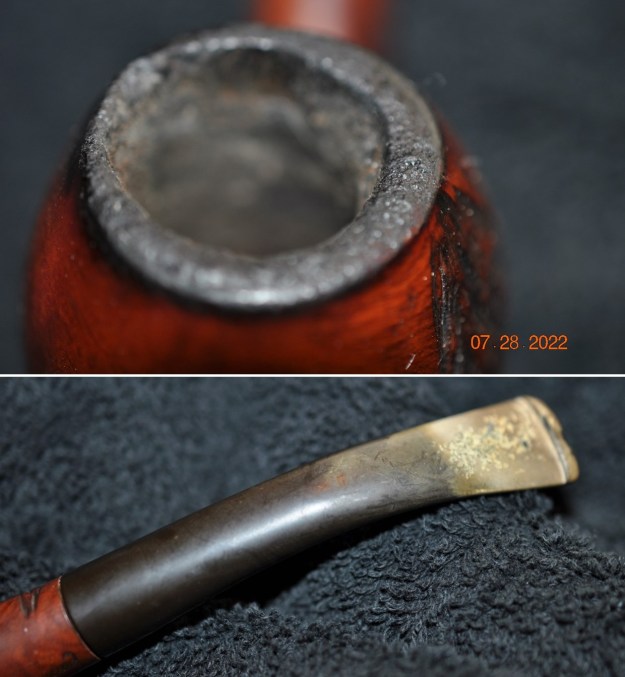
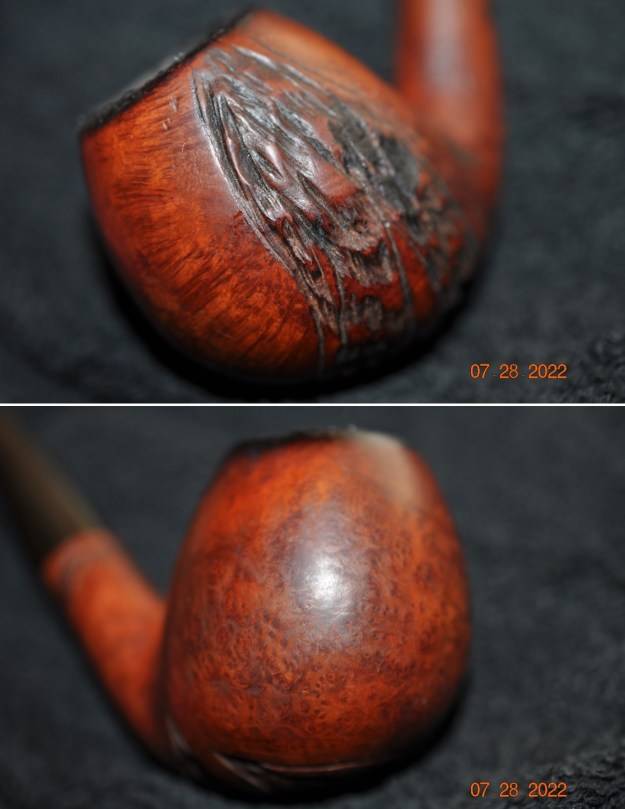
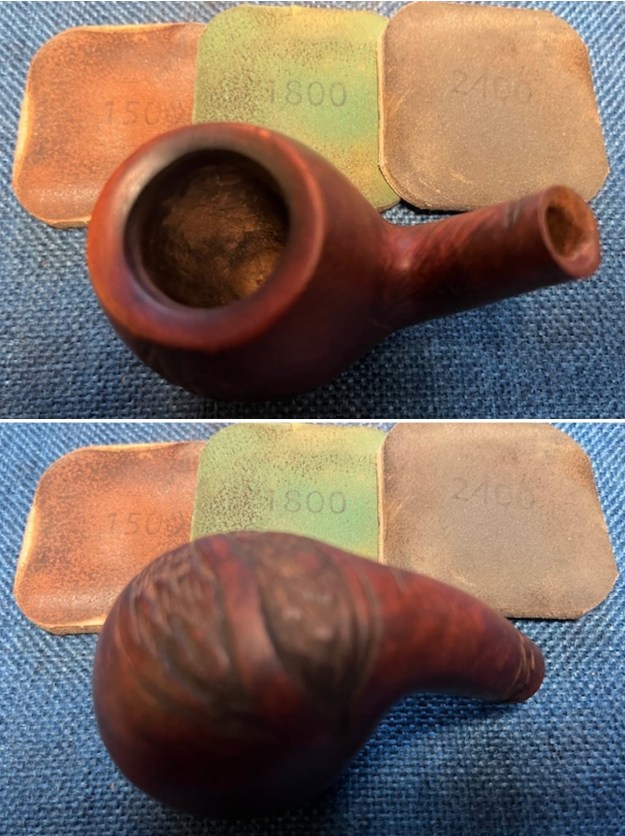
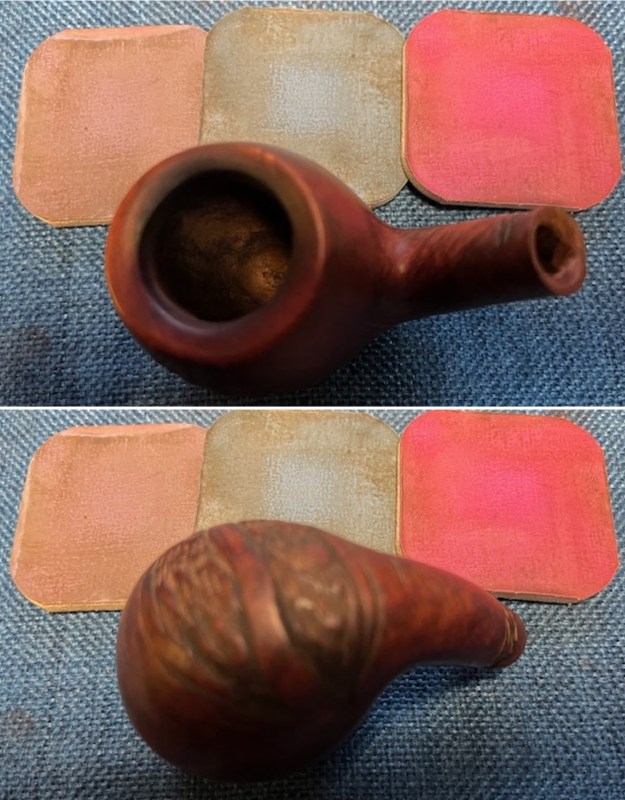
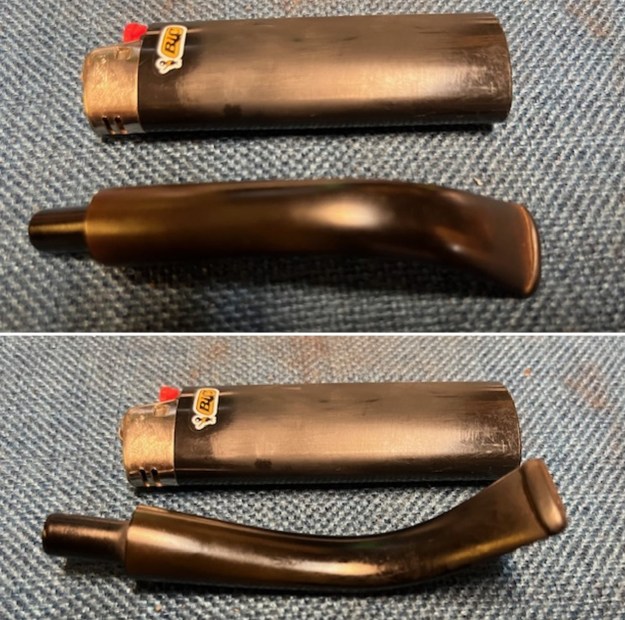
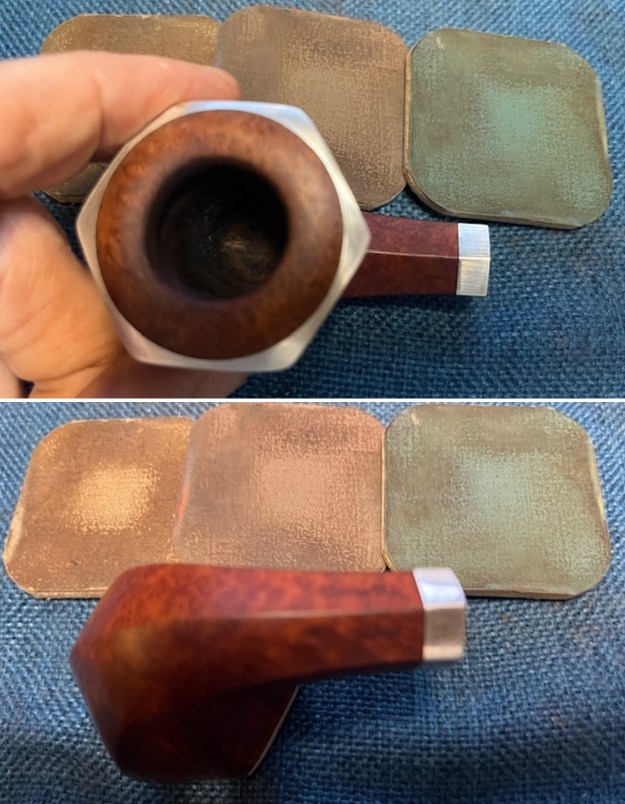
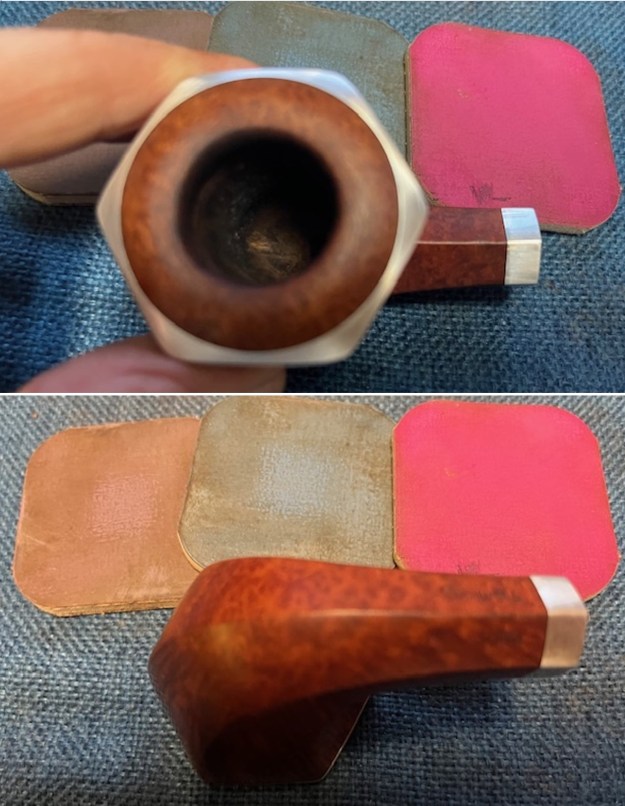
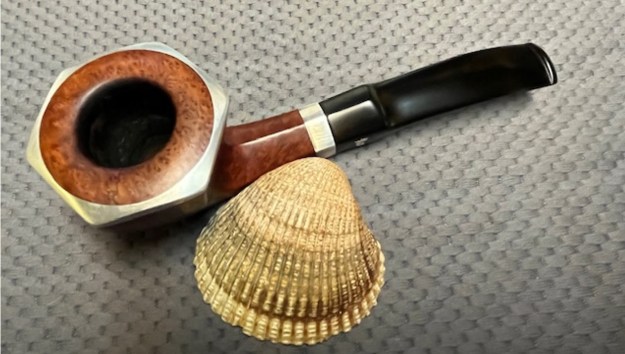
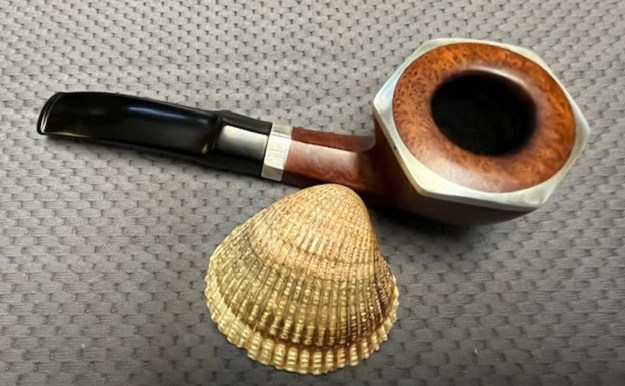
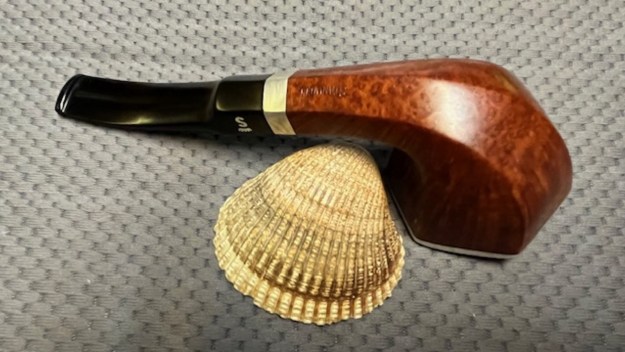
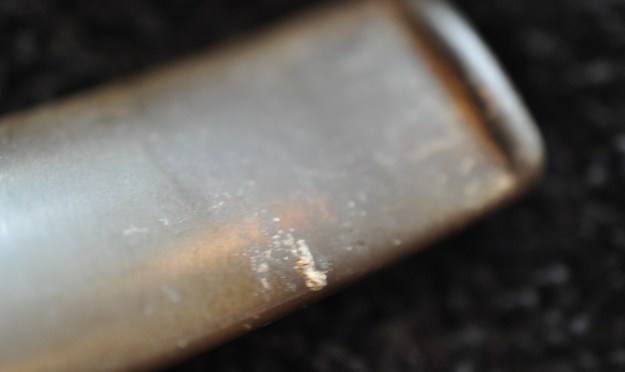
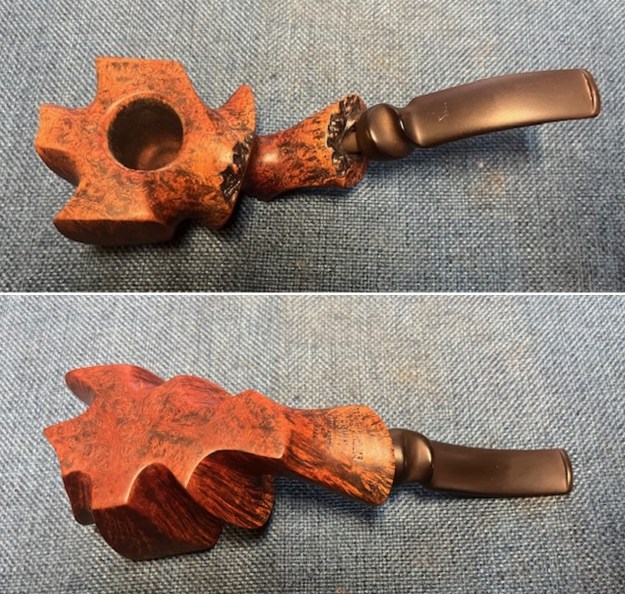
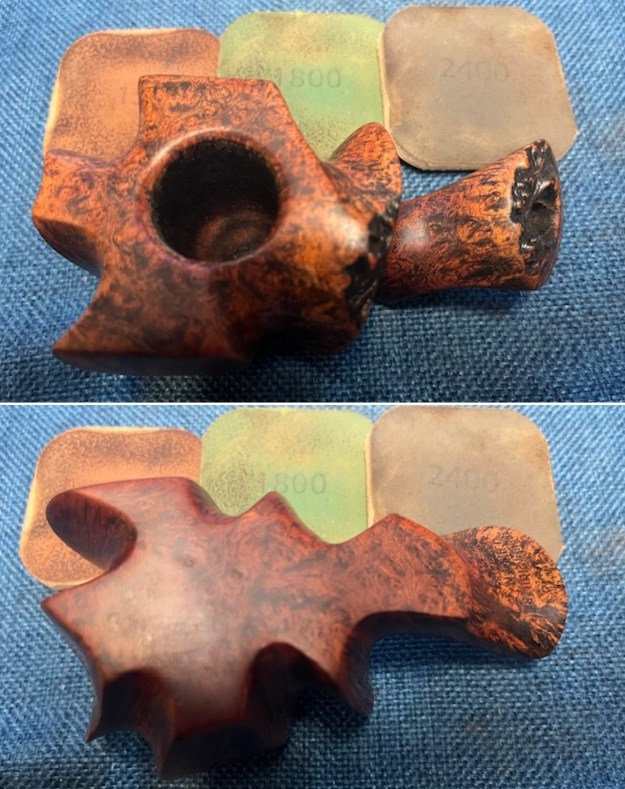
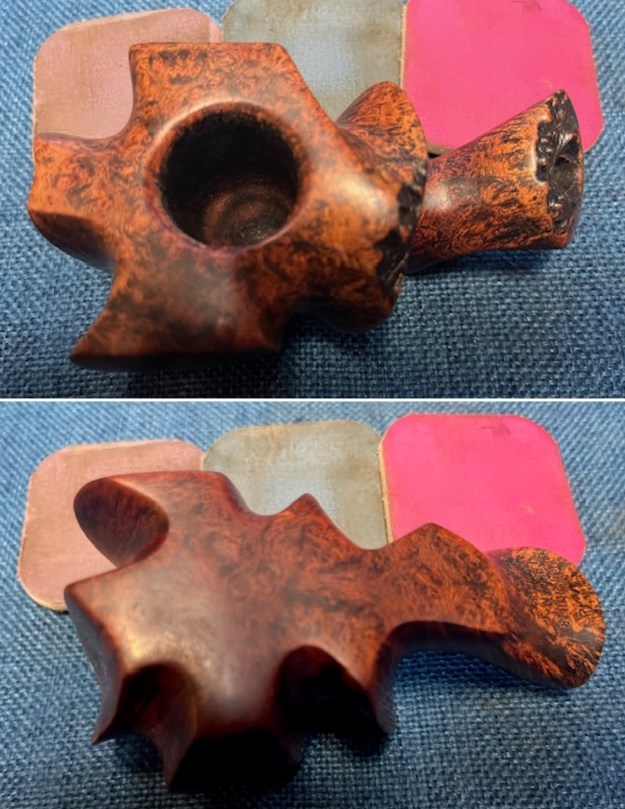
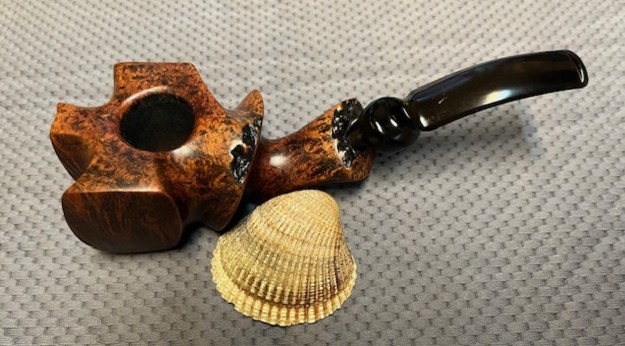
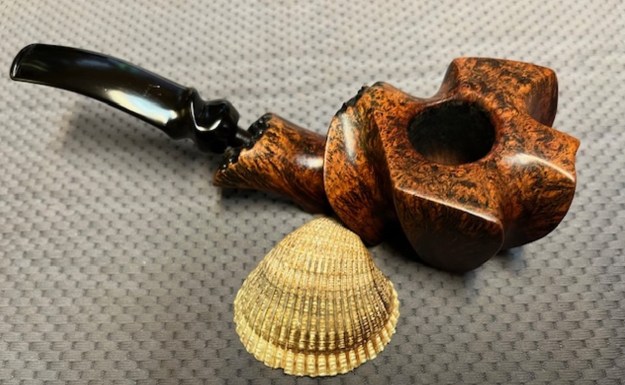
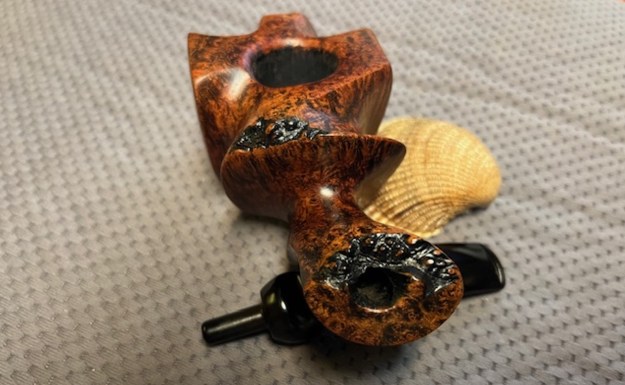
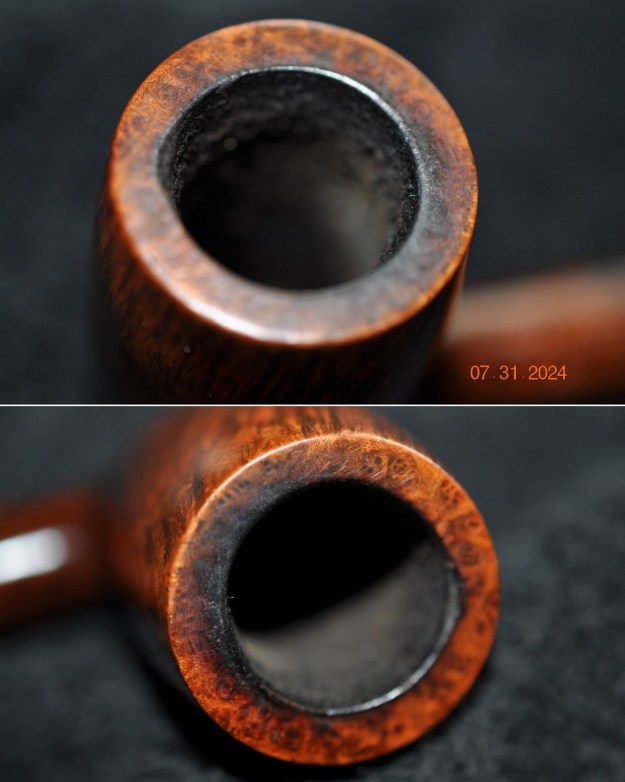
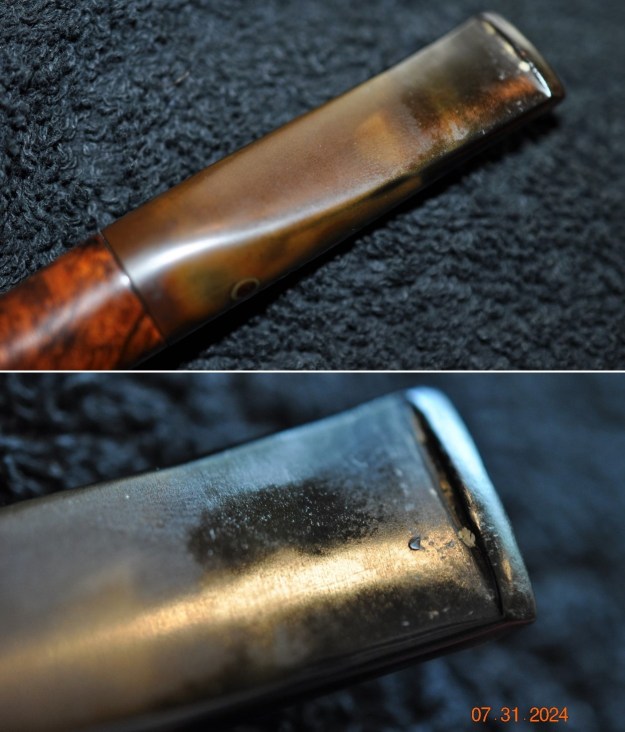
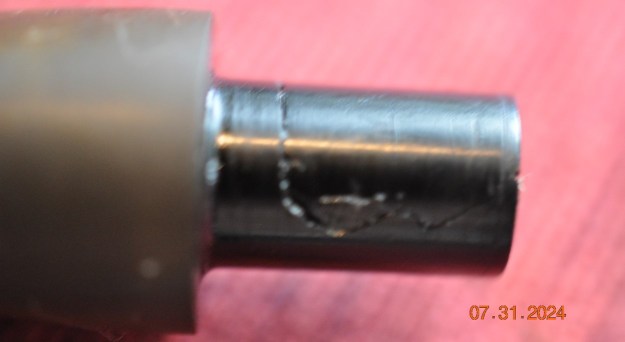
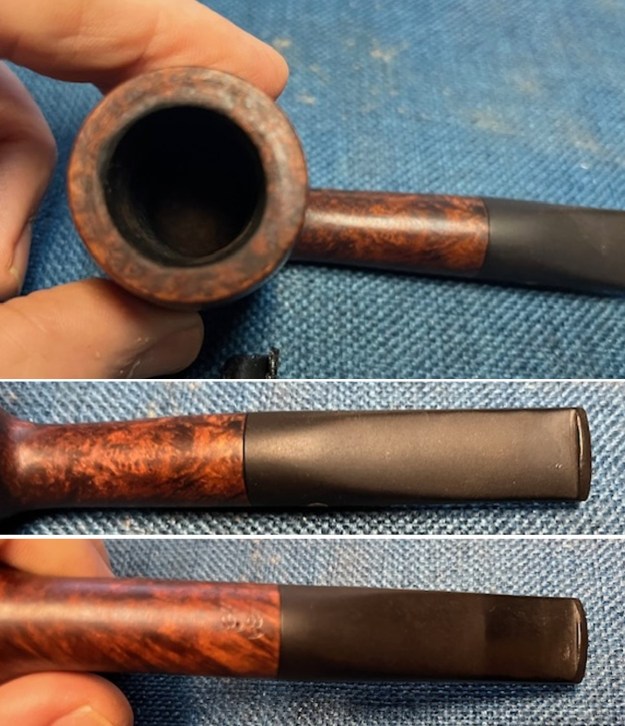
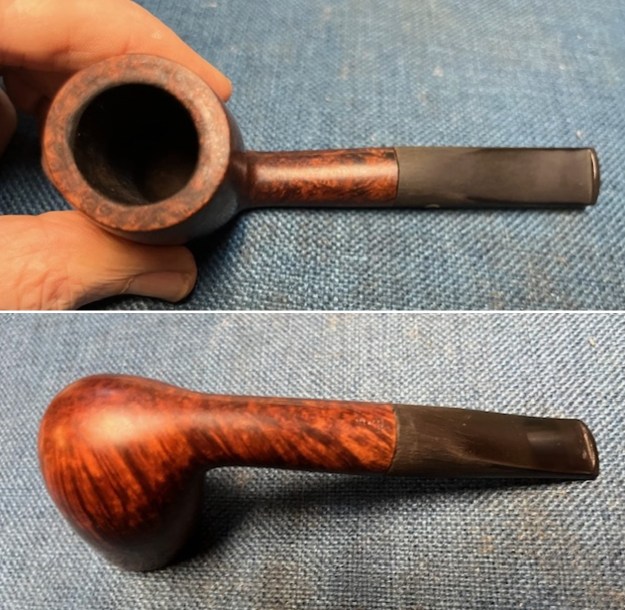
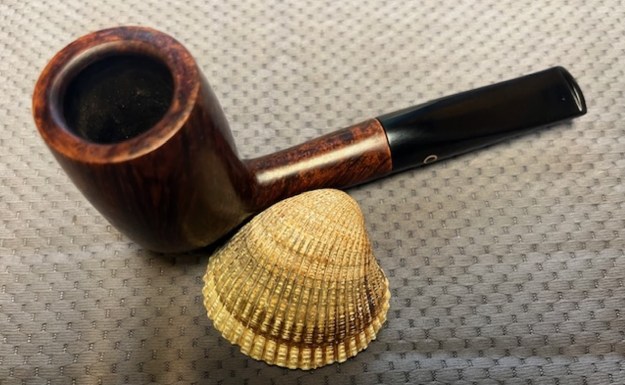
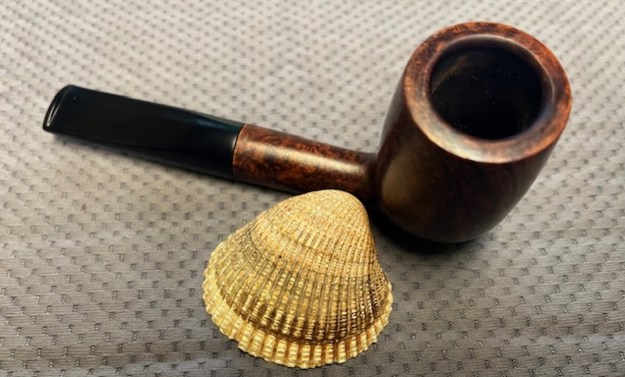
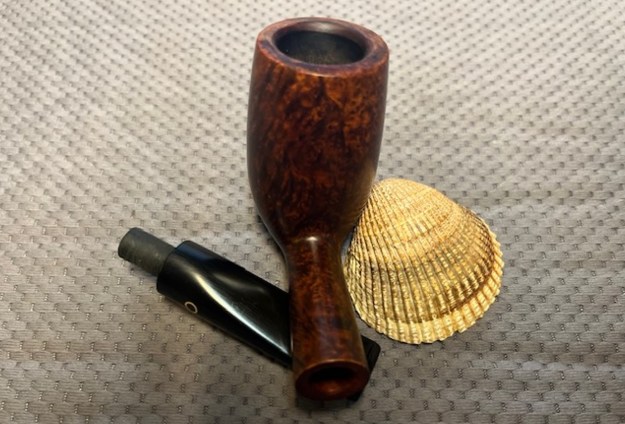
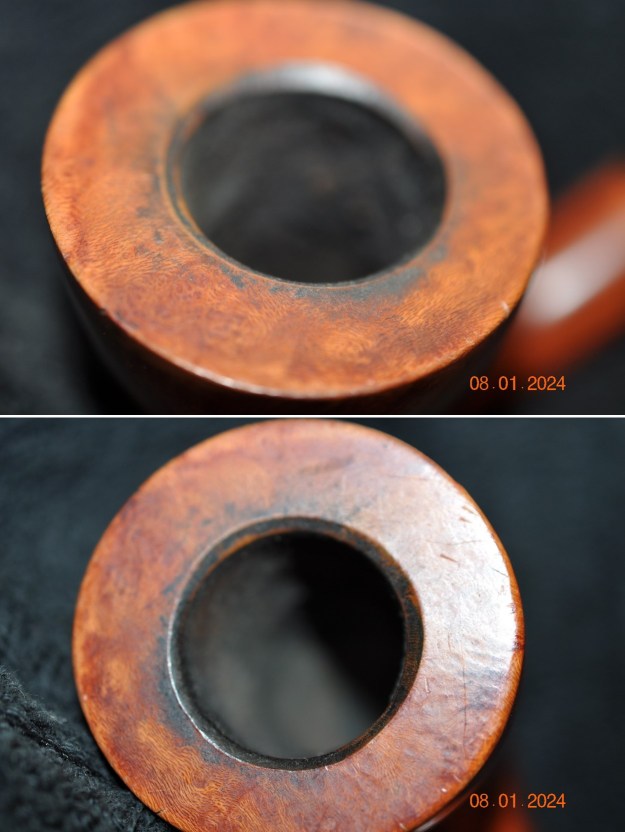
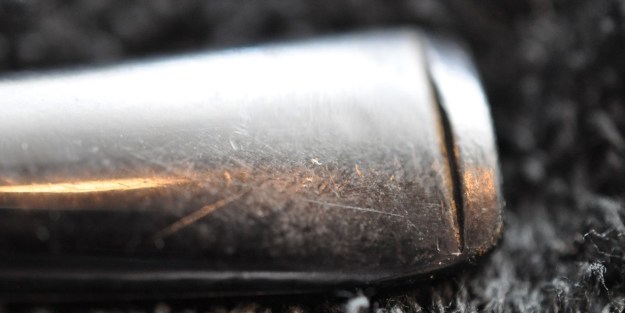
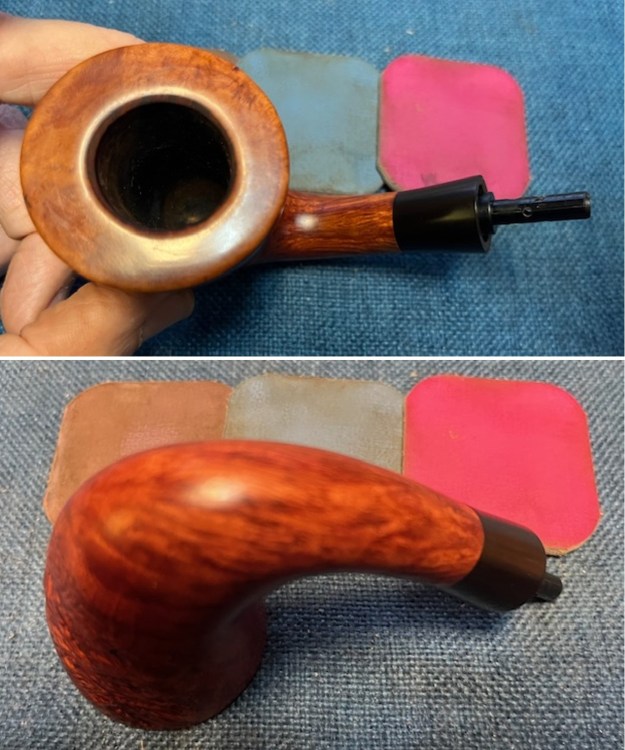
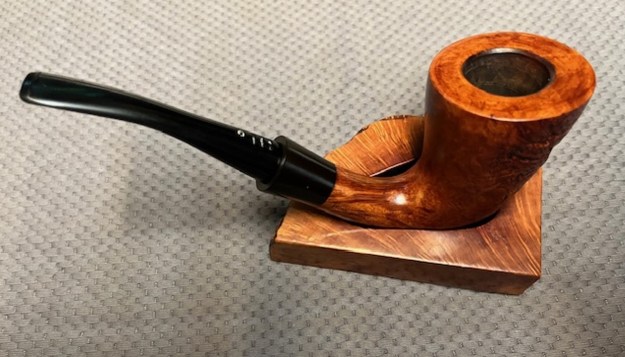
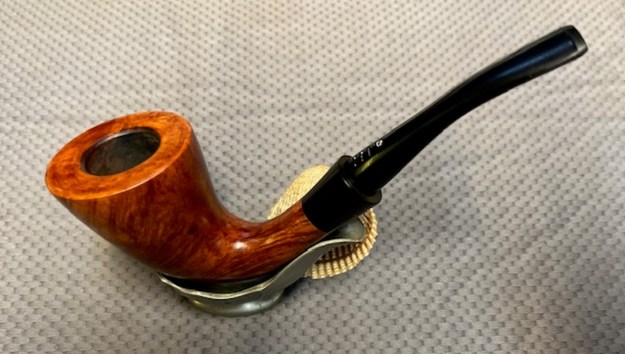
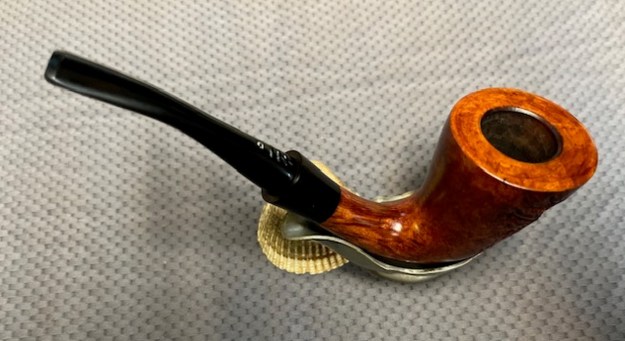
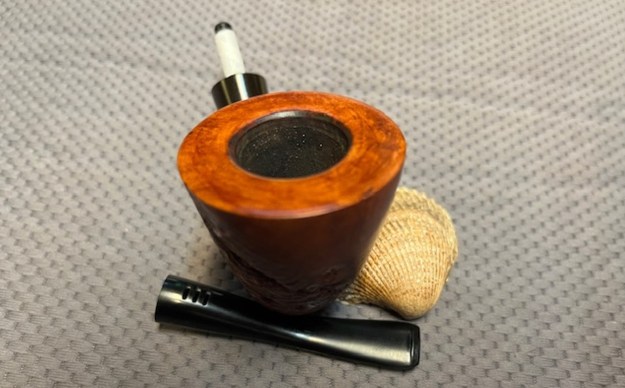
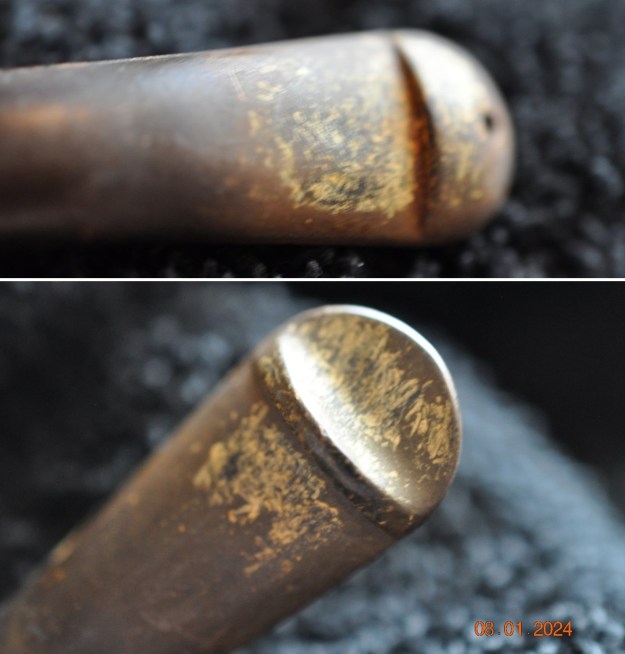
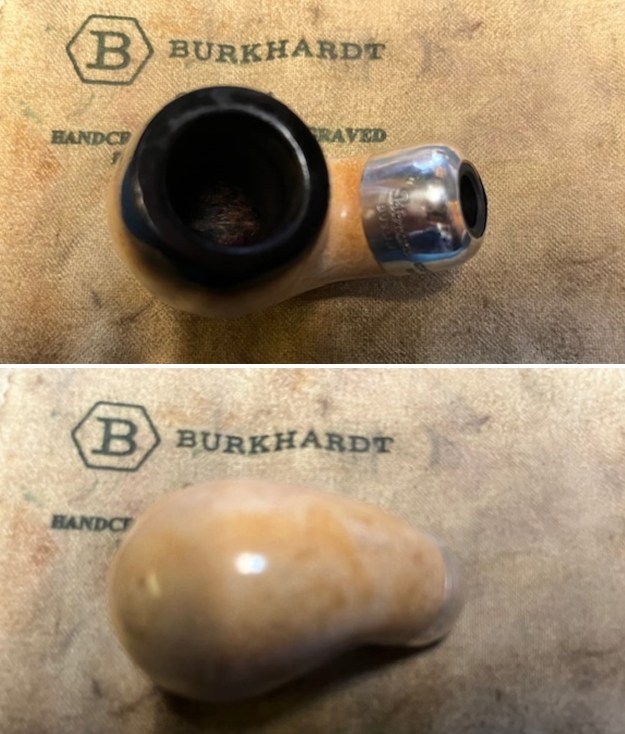
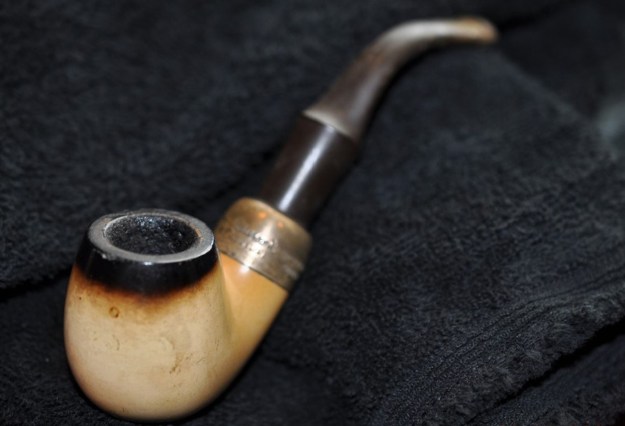 Jeff took photos of the rim top and stem to show the general condition of the pipe. The bowl is heavily caked and the rim top and edges have lava overflowing on to them. The stem is oxidized and has tooth chatter and tooth marks on the top and underside near the button.
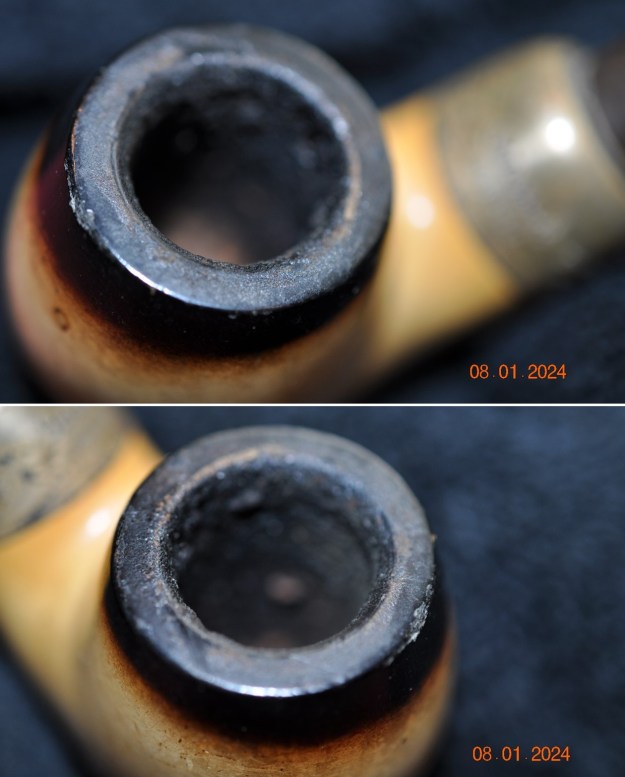
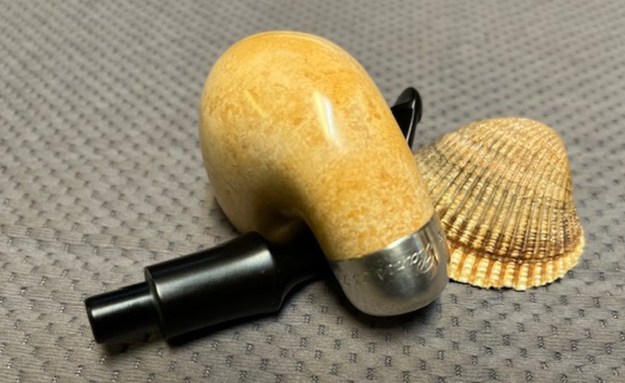
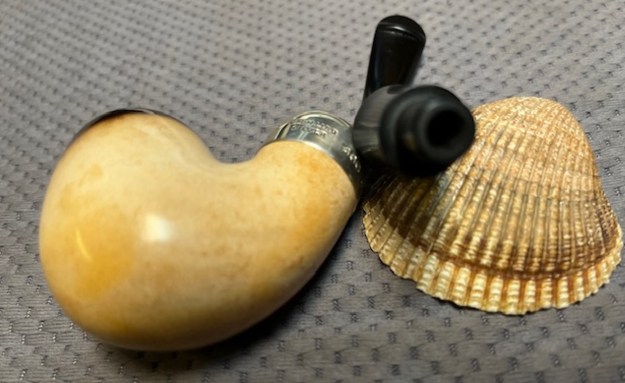
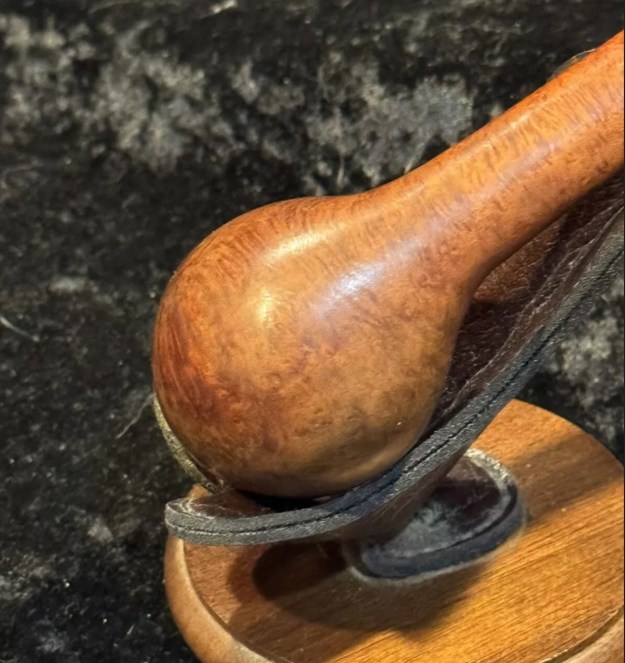
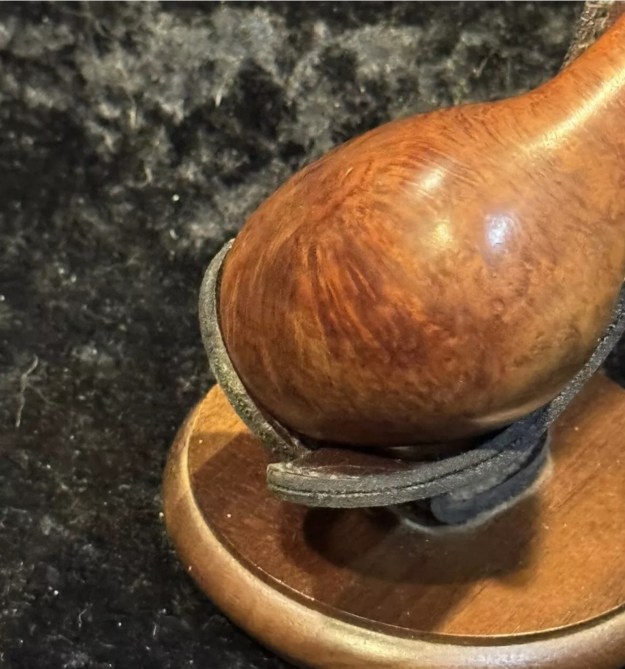
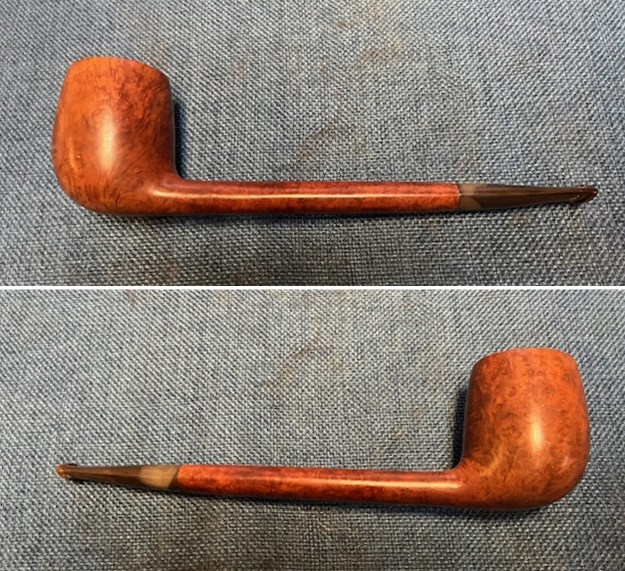
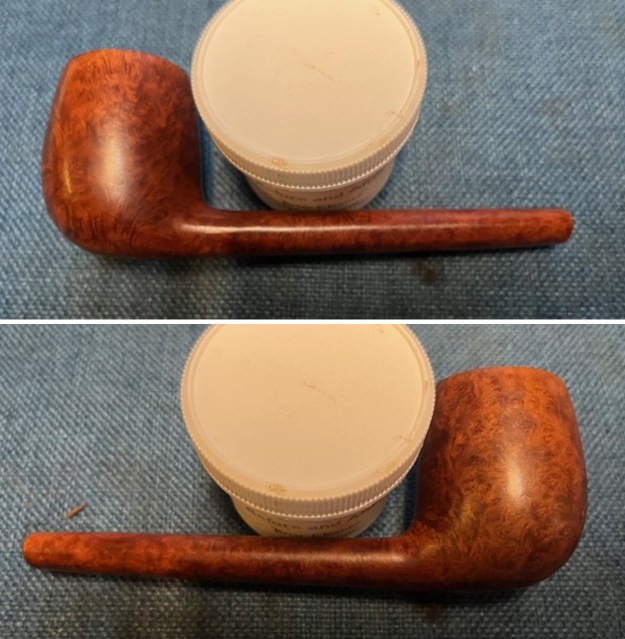
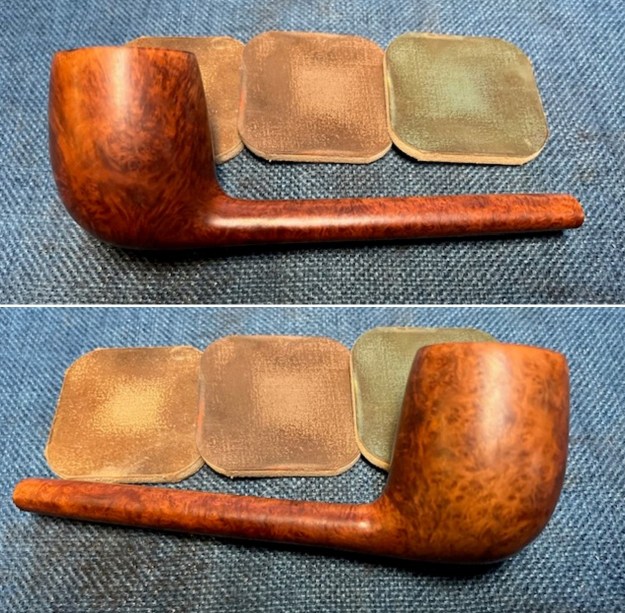
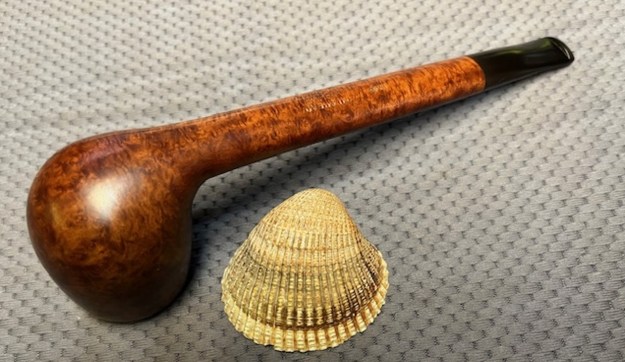
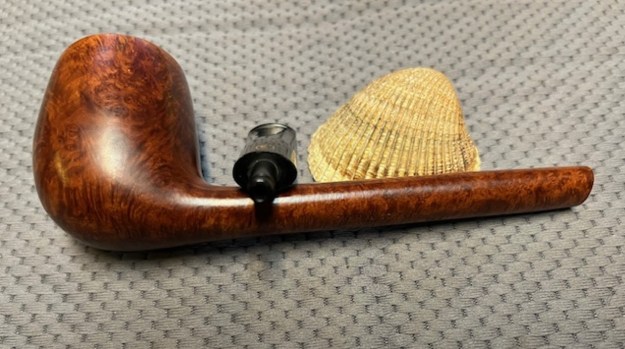
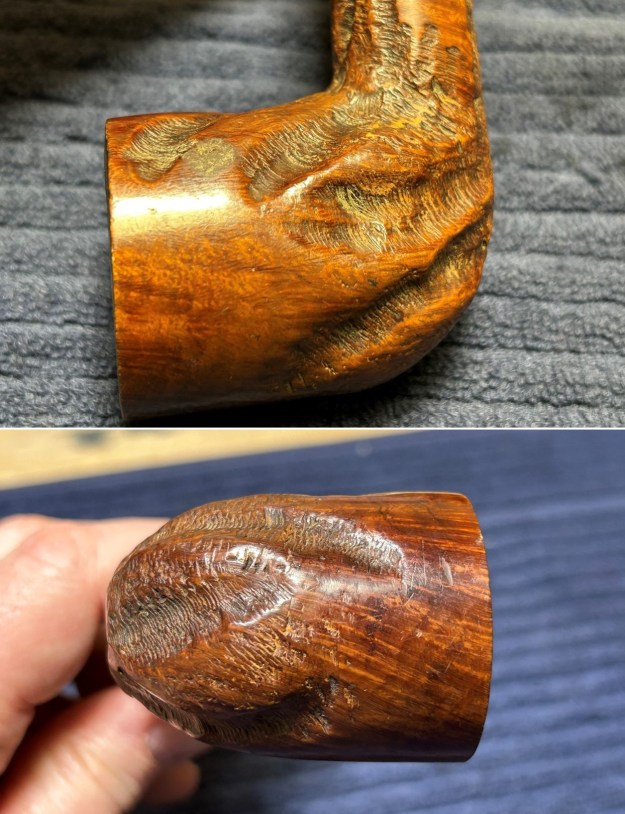
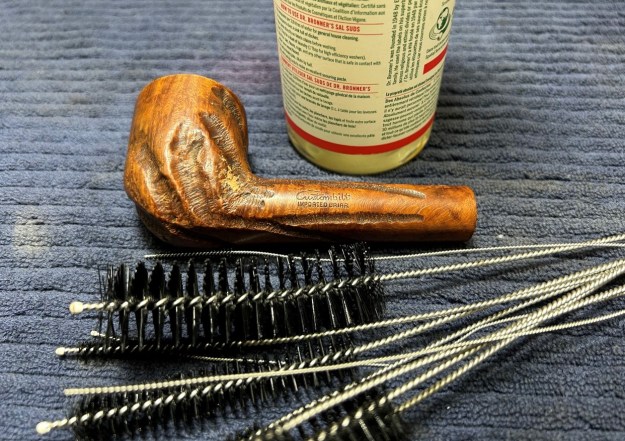
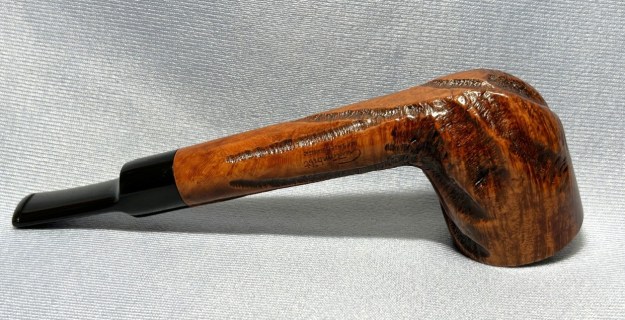
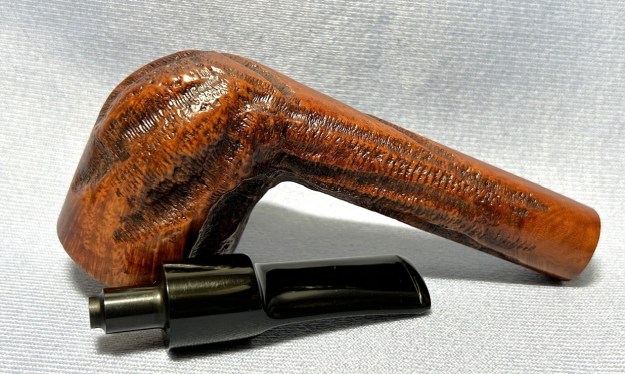
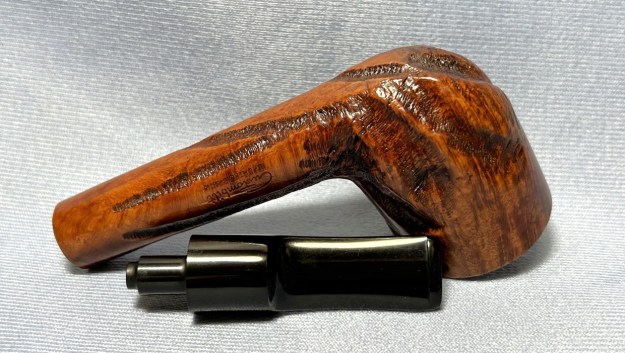
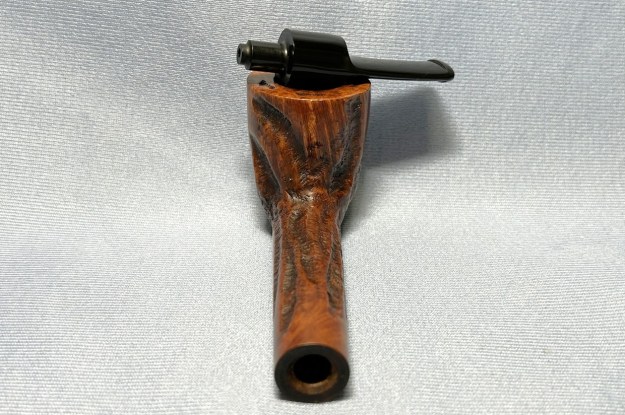
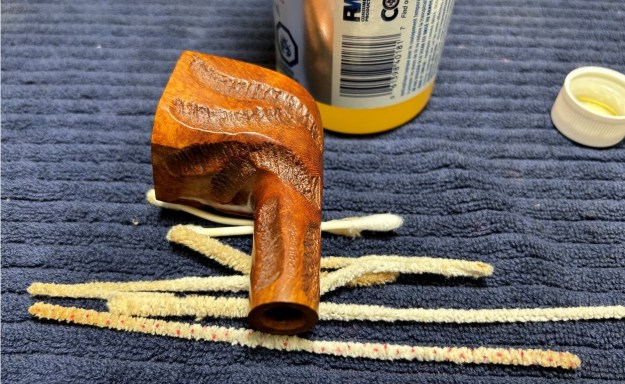
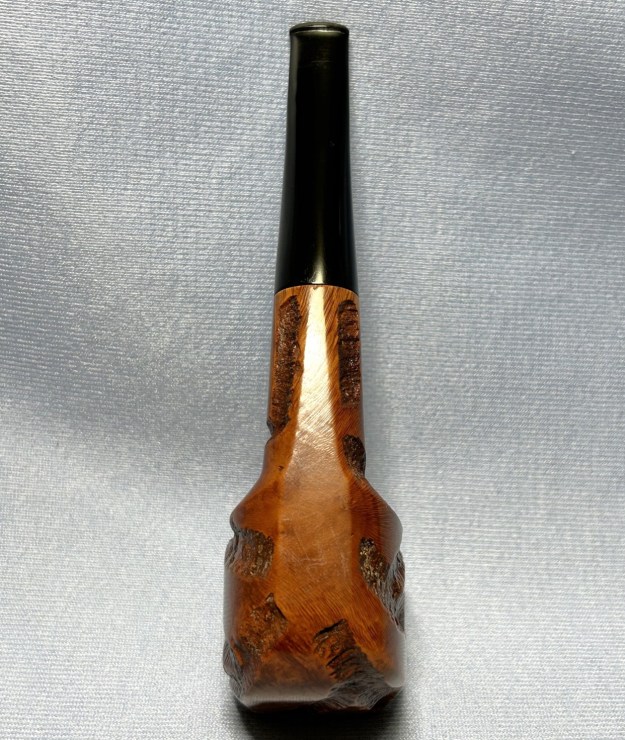
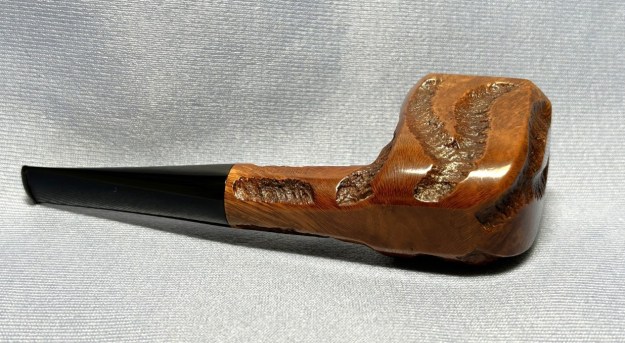
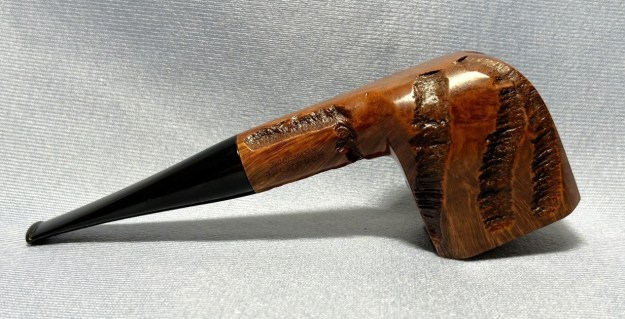
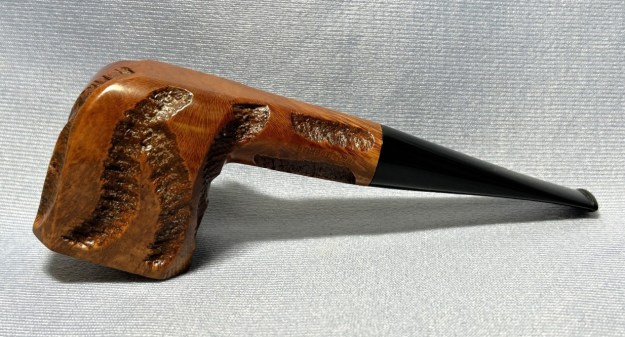
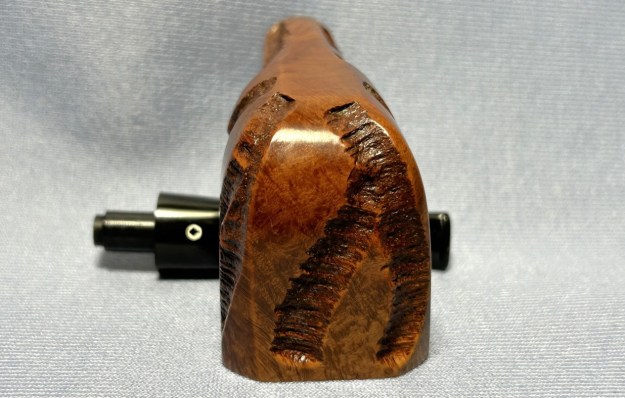
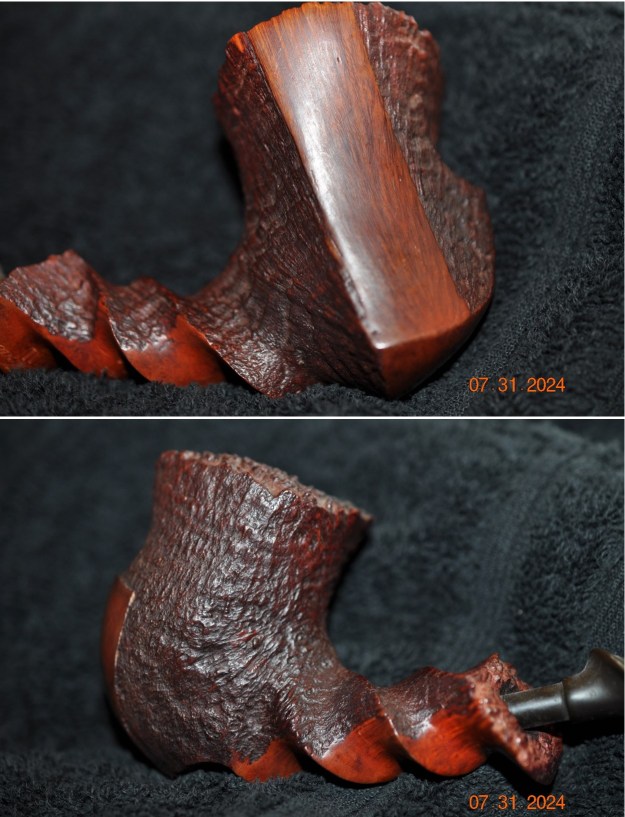
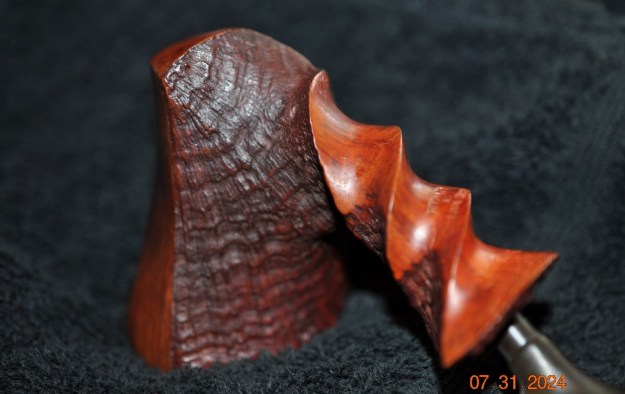
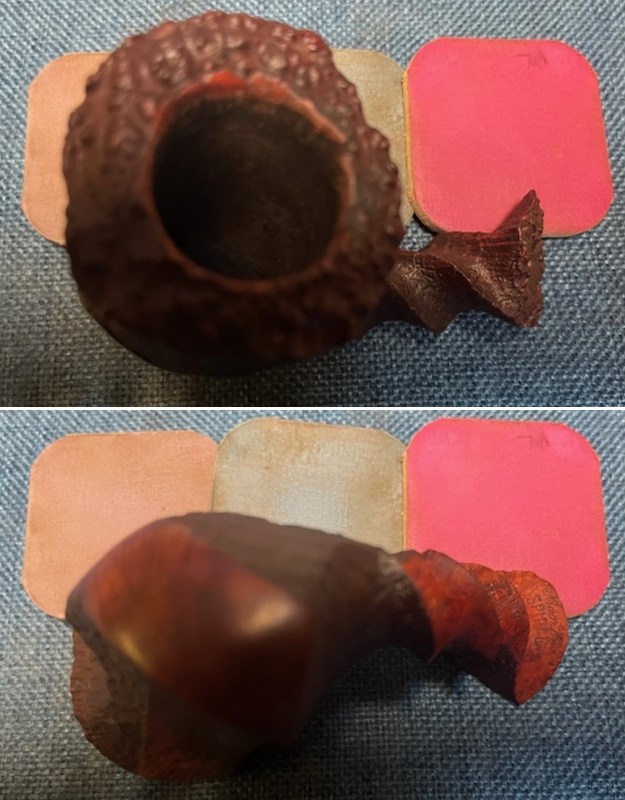
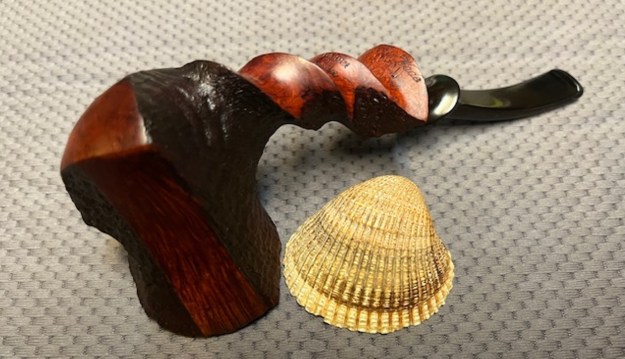
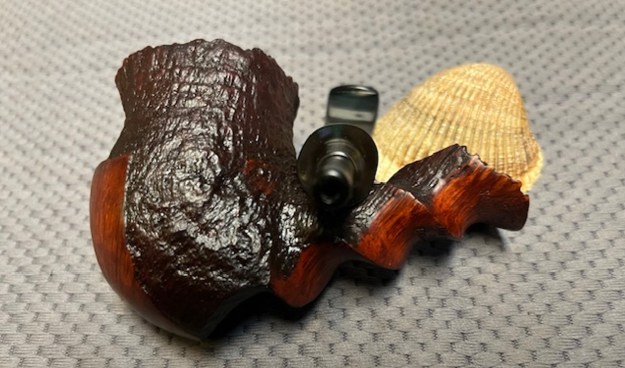
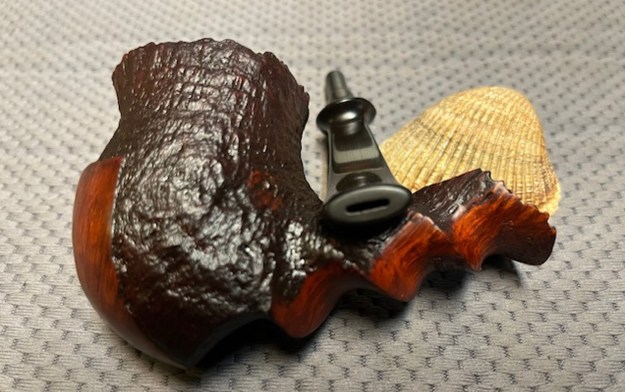
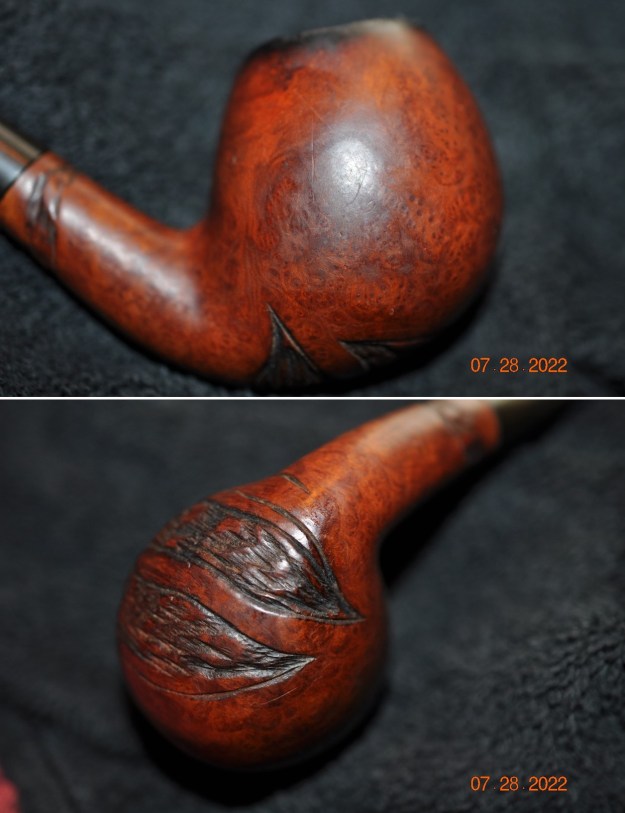
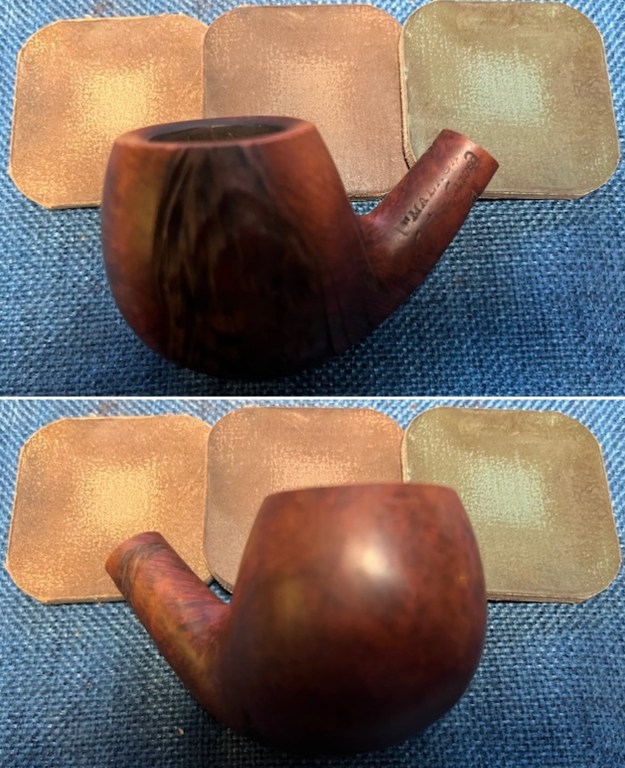
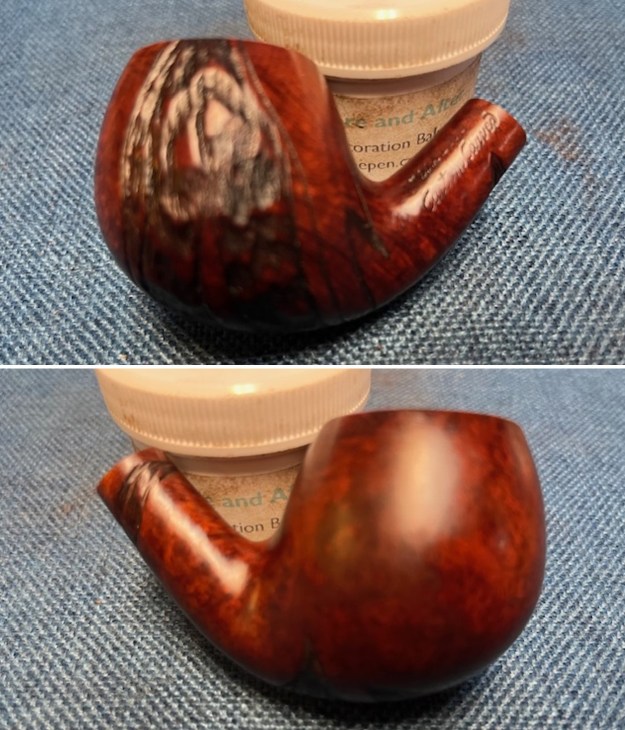
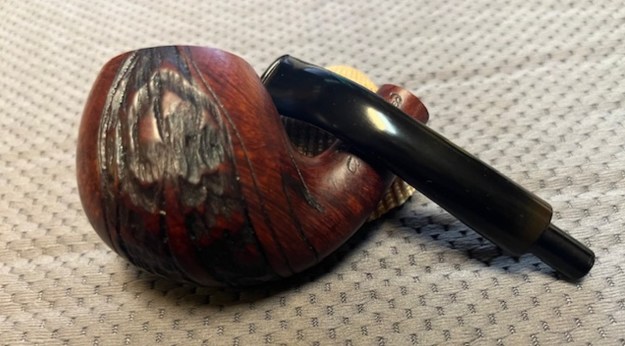
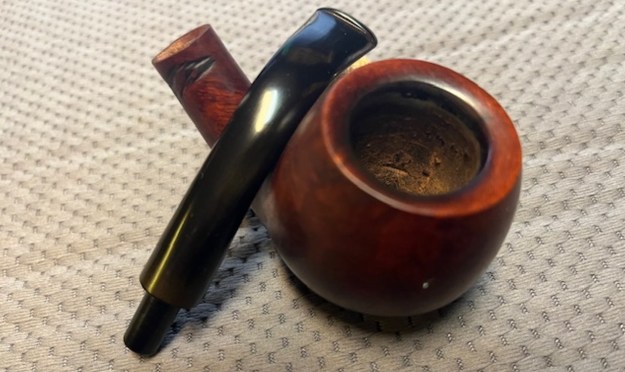
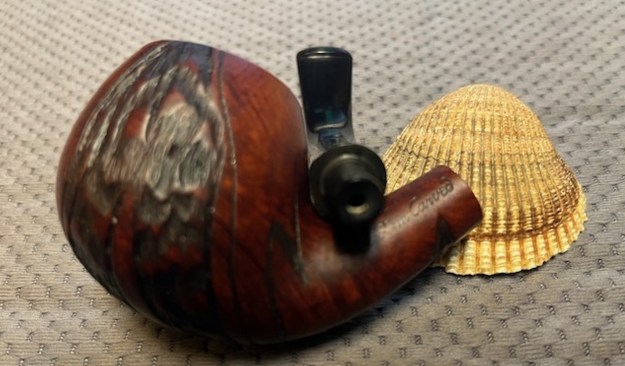
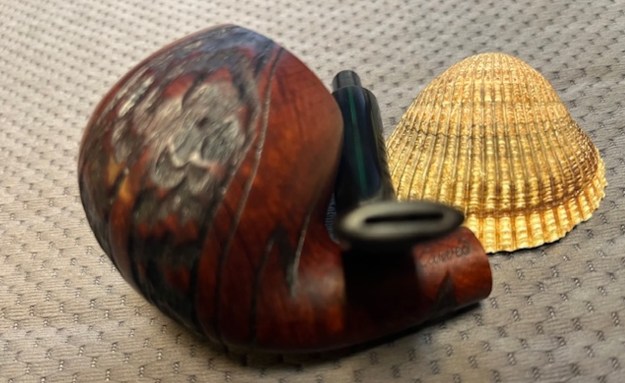
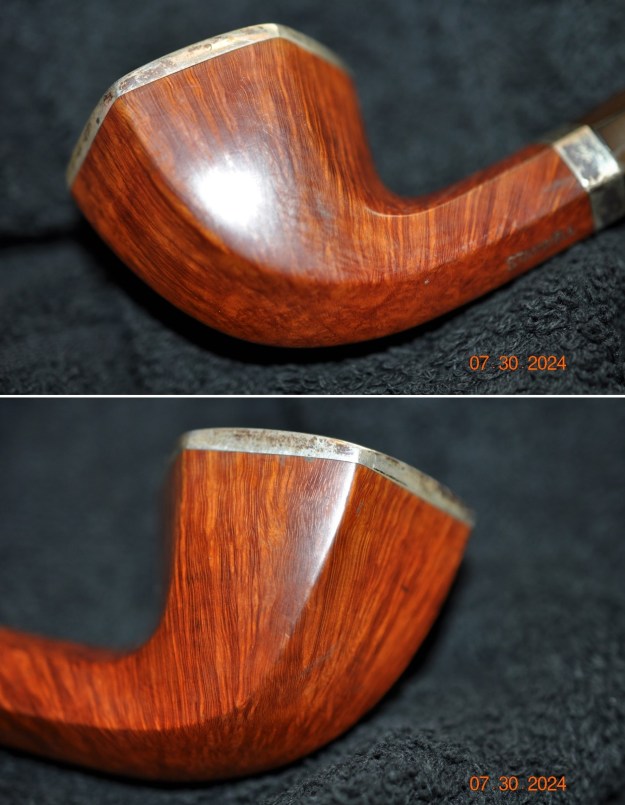
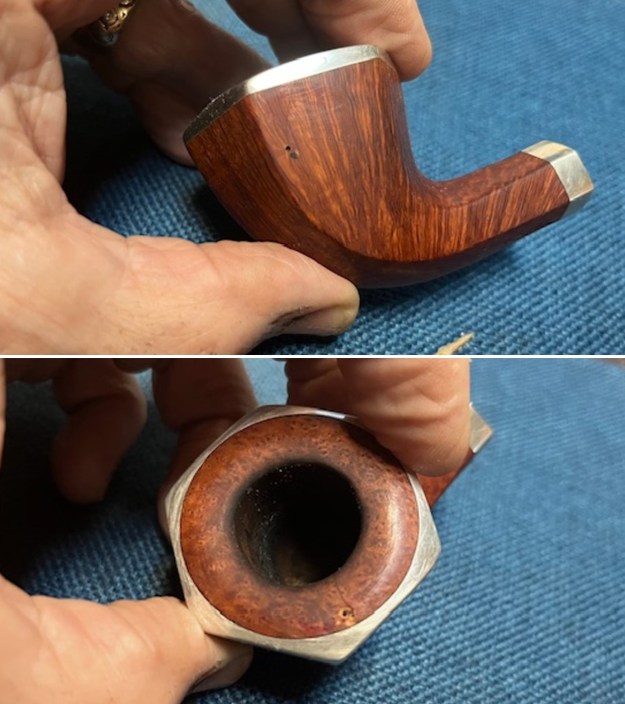
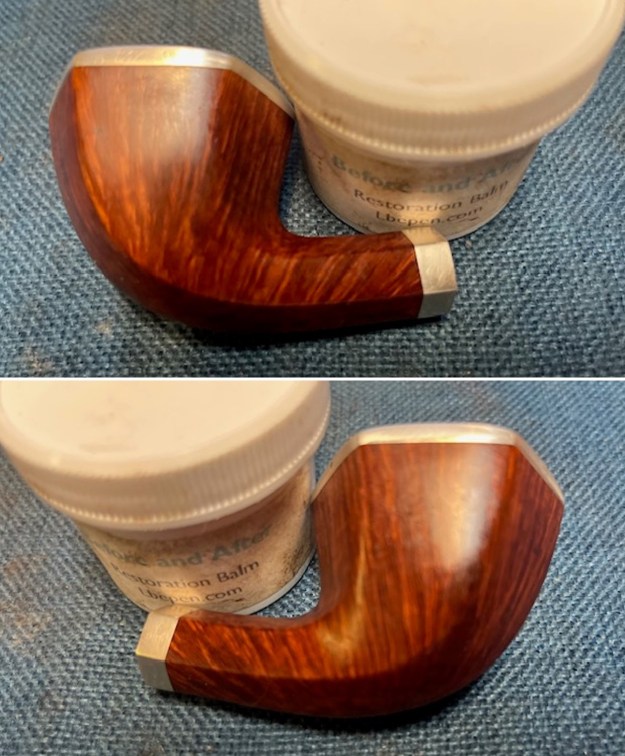
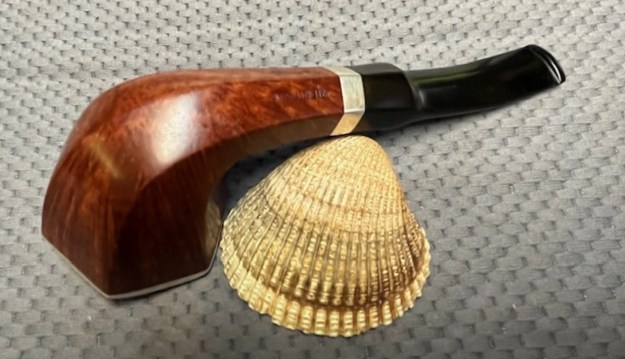
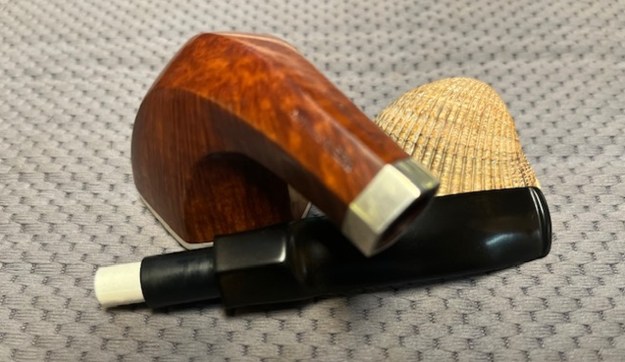
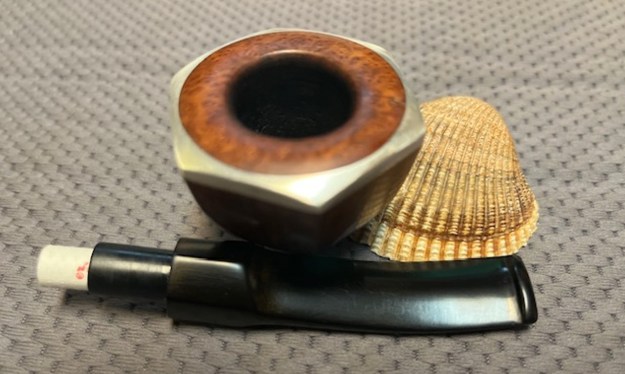
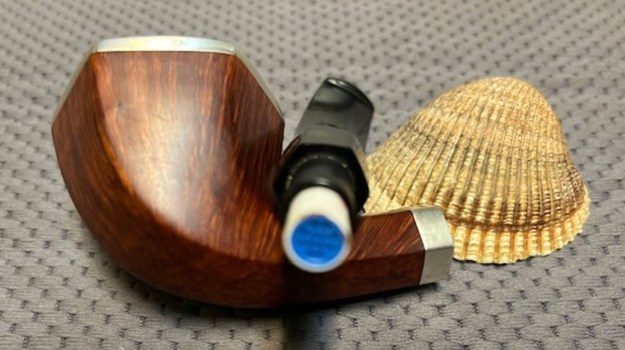
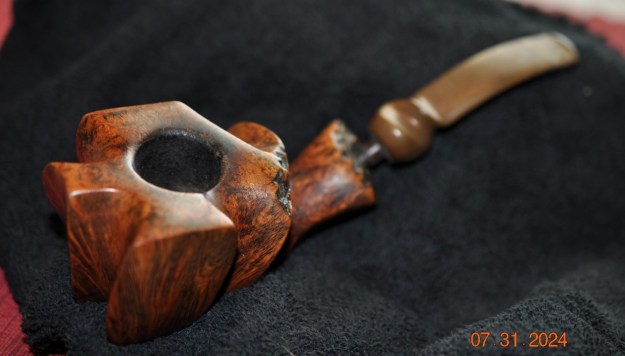
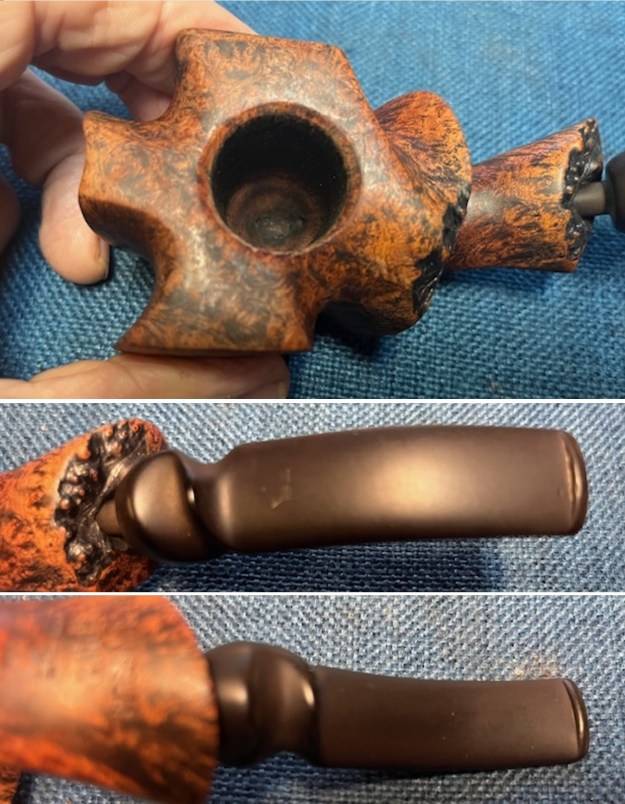
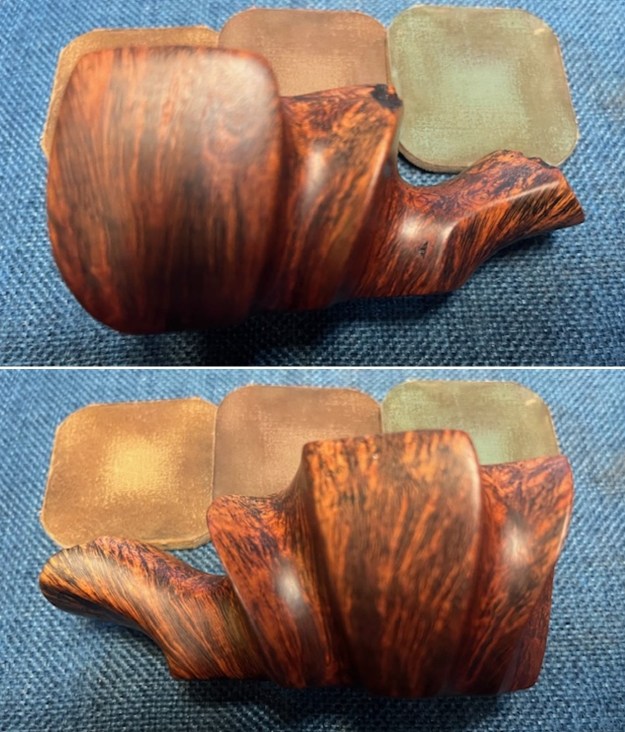
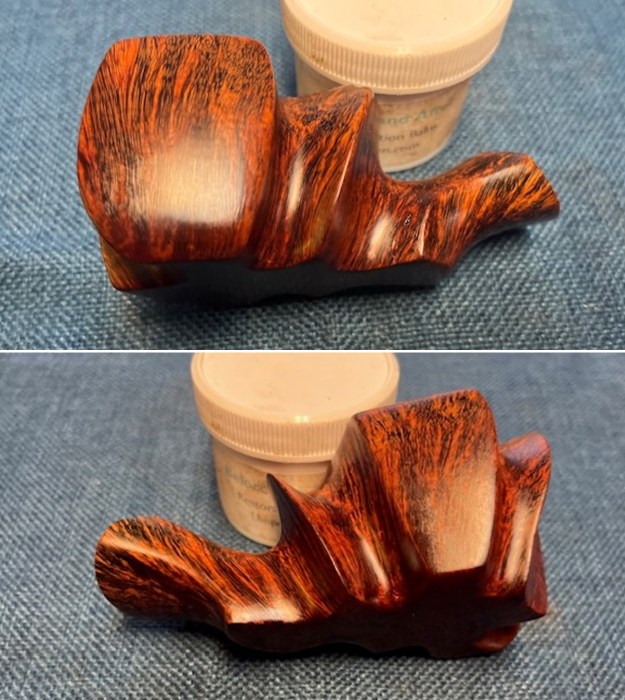
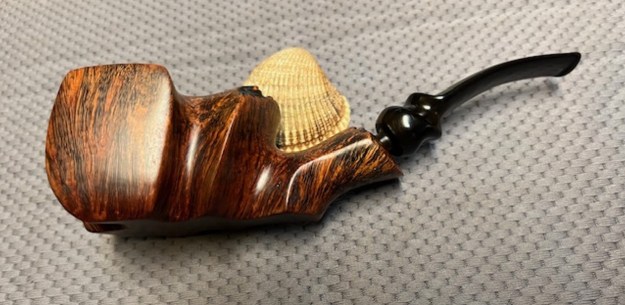
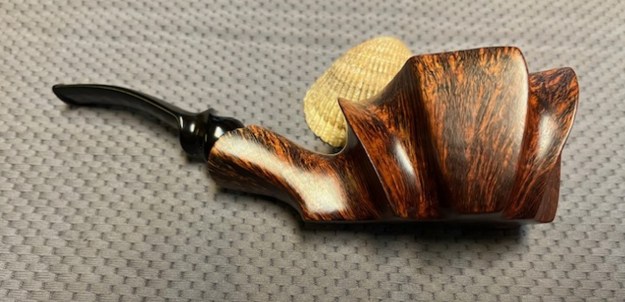
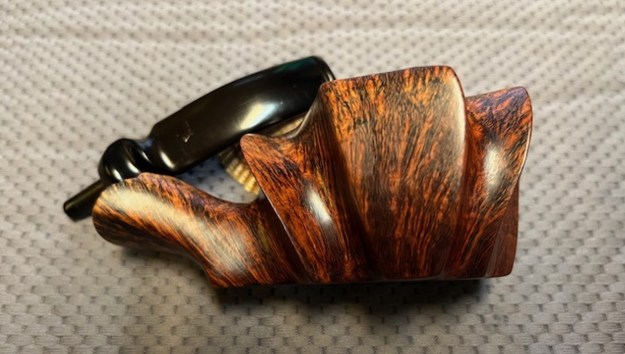
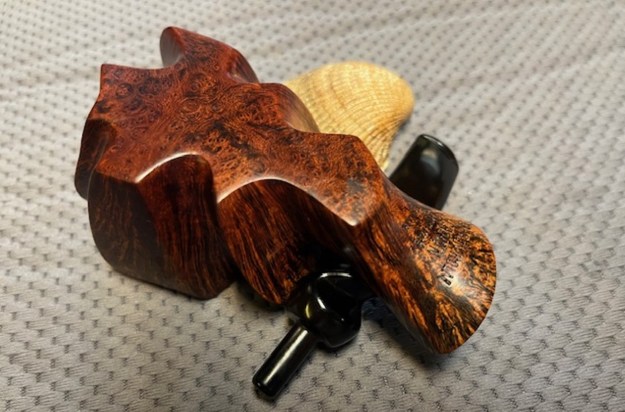
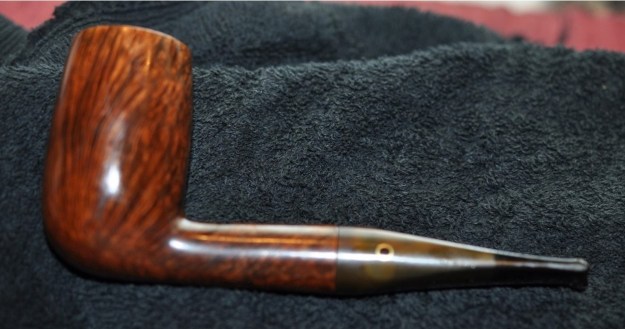
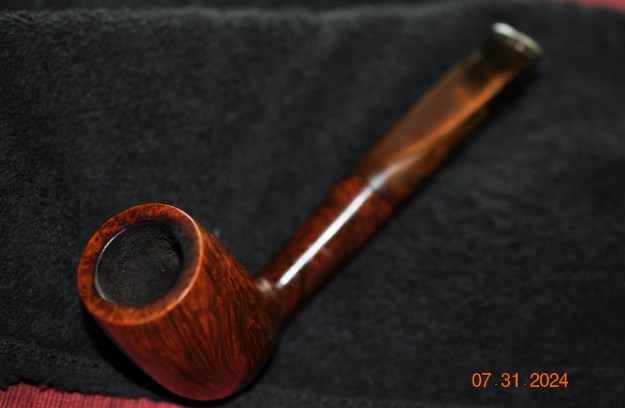
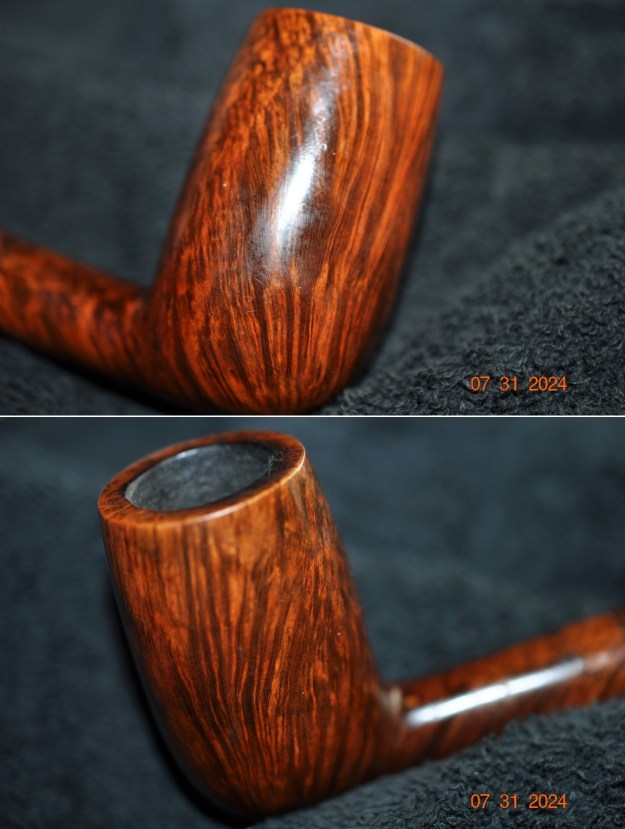
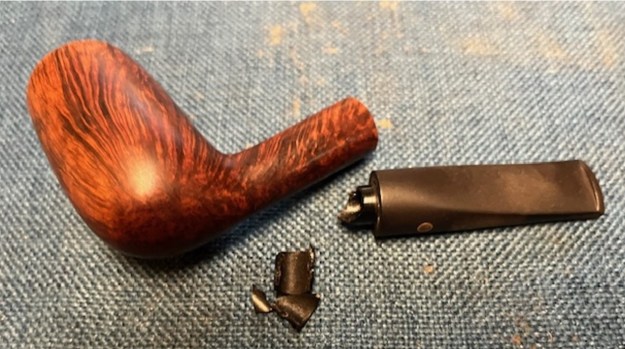
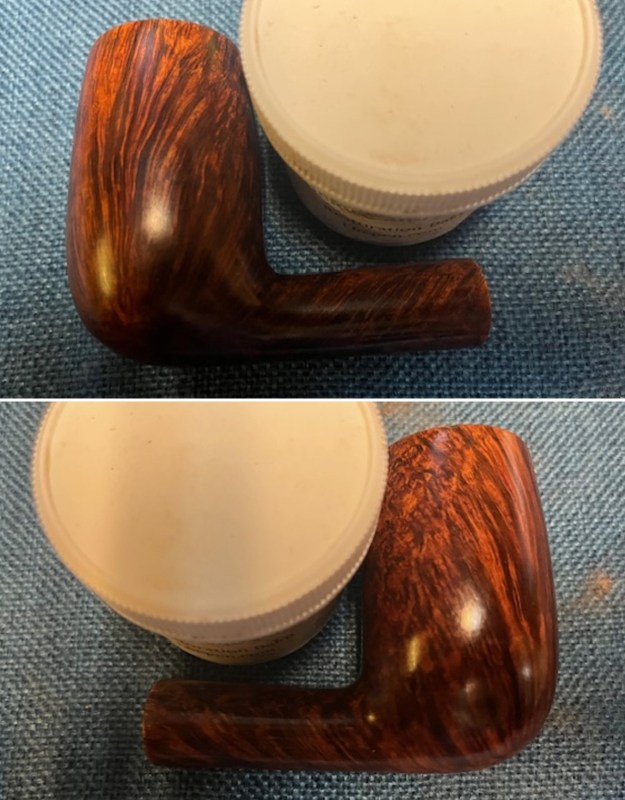
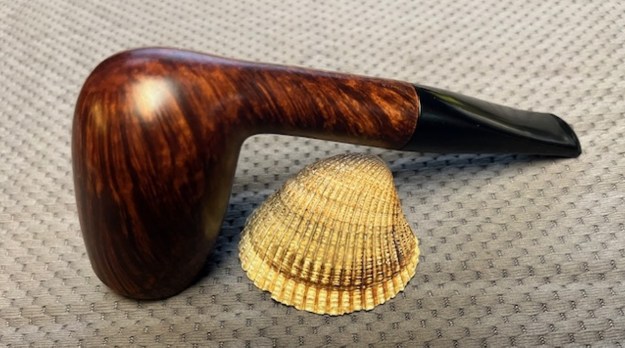
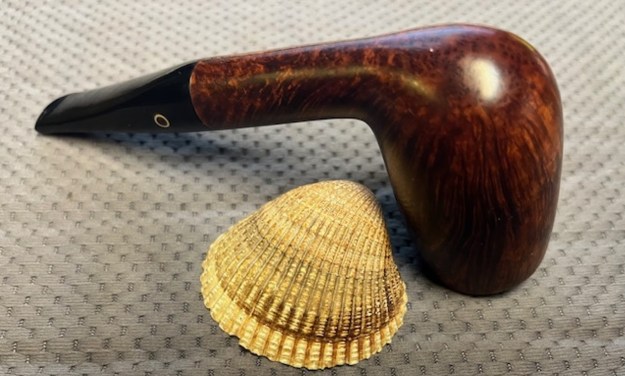
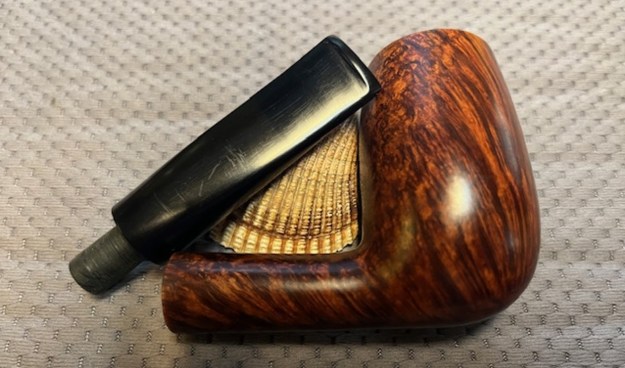
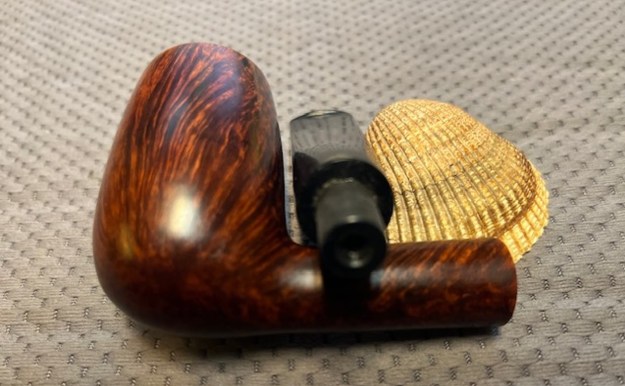
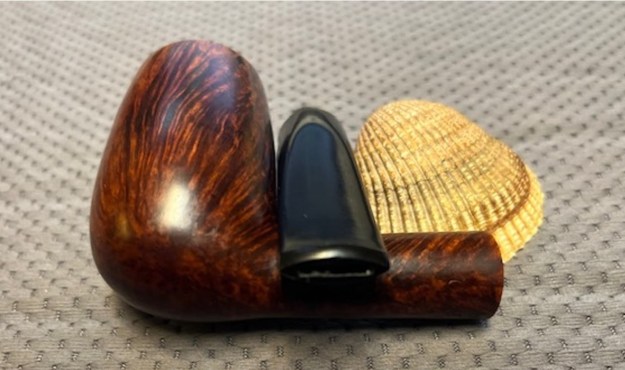
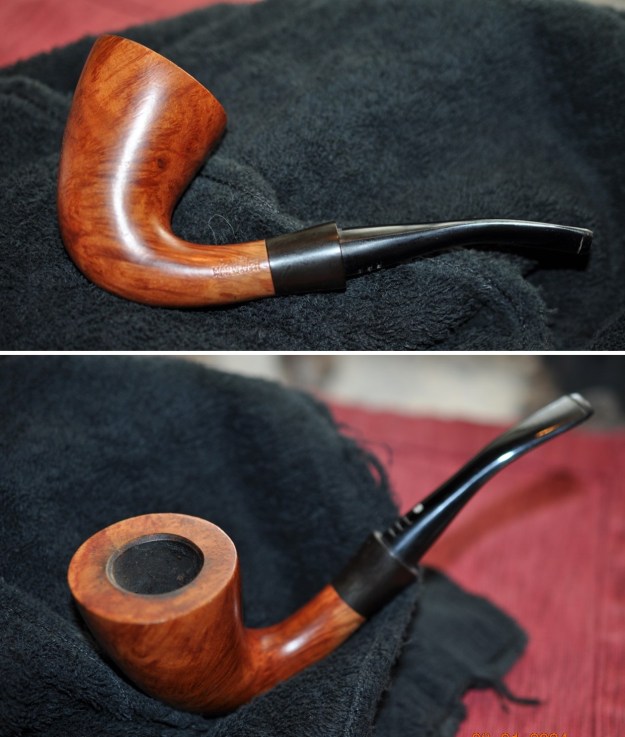
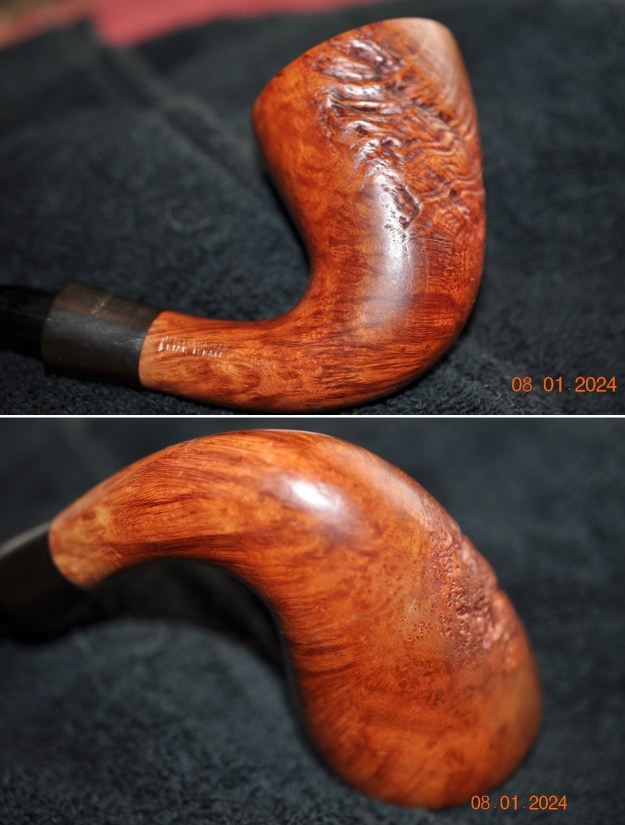
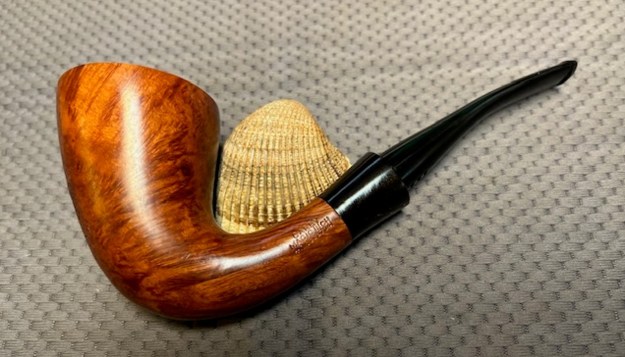
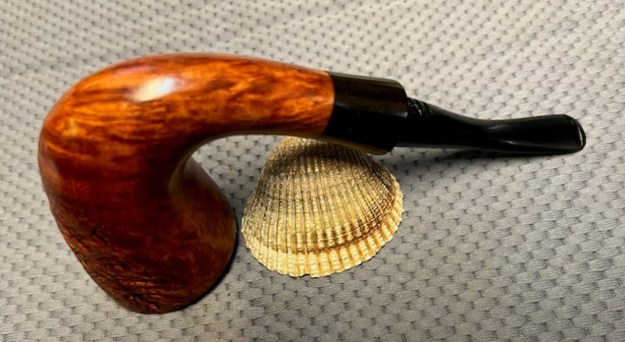
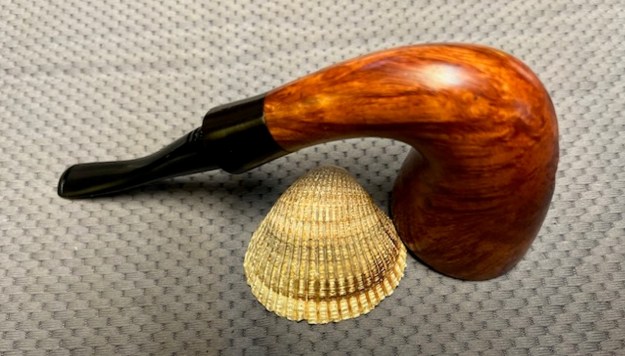
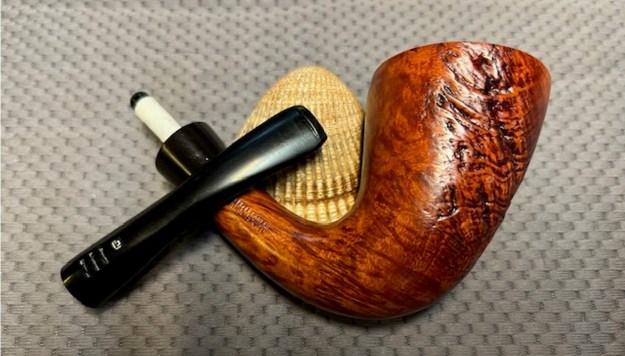
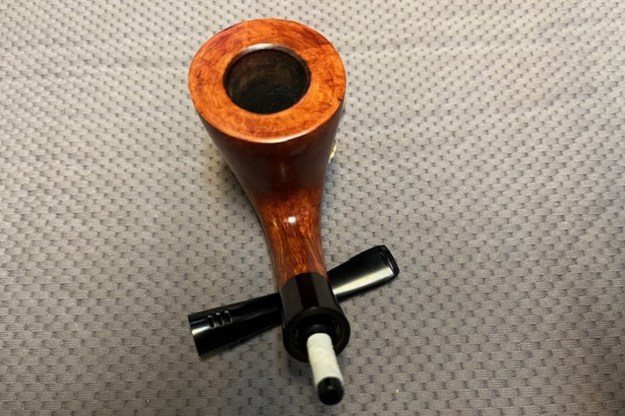
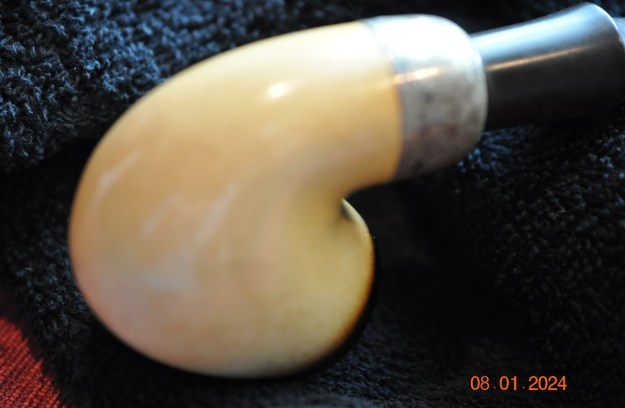
 Jeff took photos of the bowl sides and heel to show the condition of the finish around this bowl. It is a nice looking pipe.
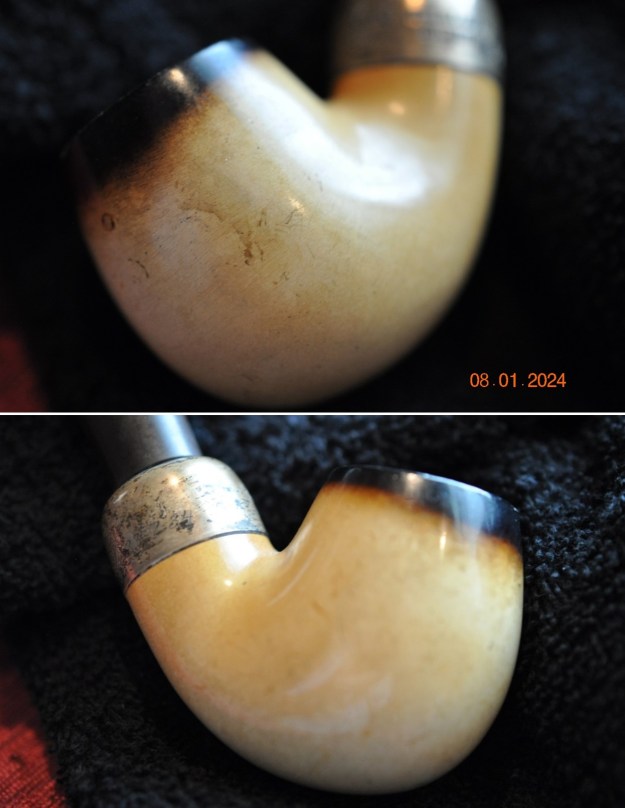
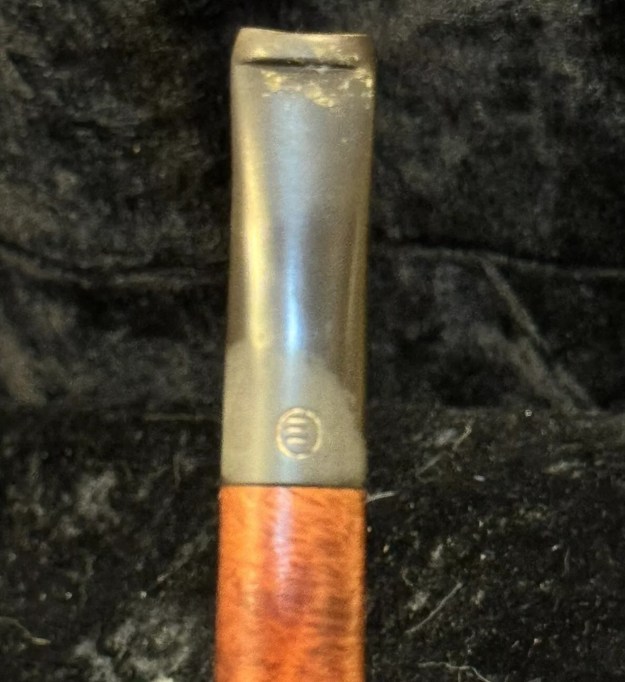
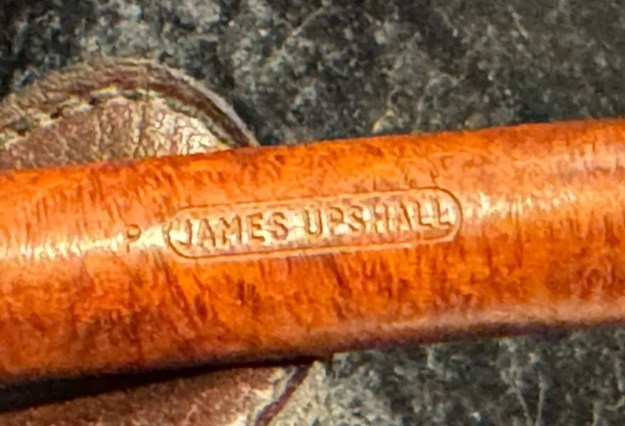
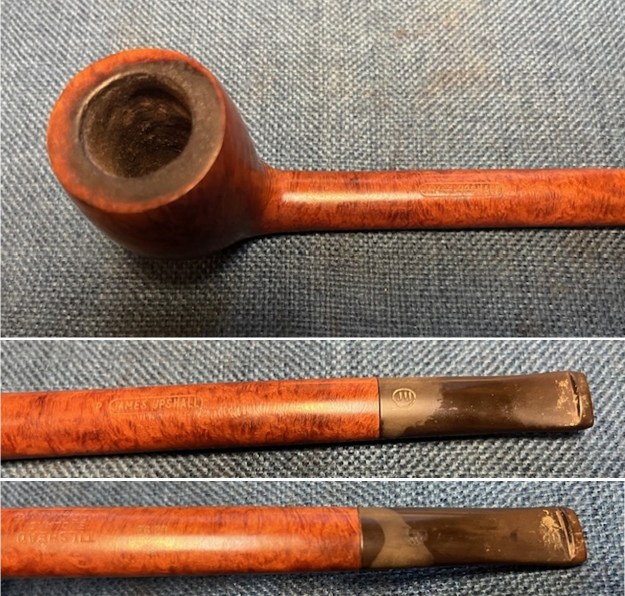
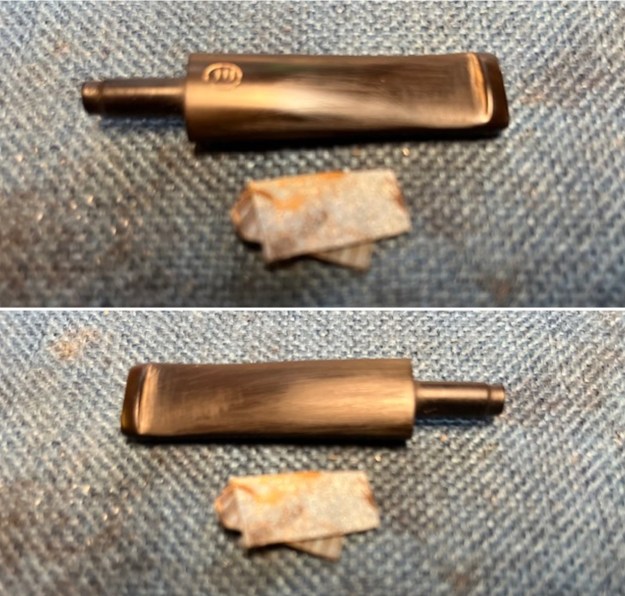
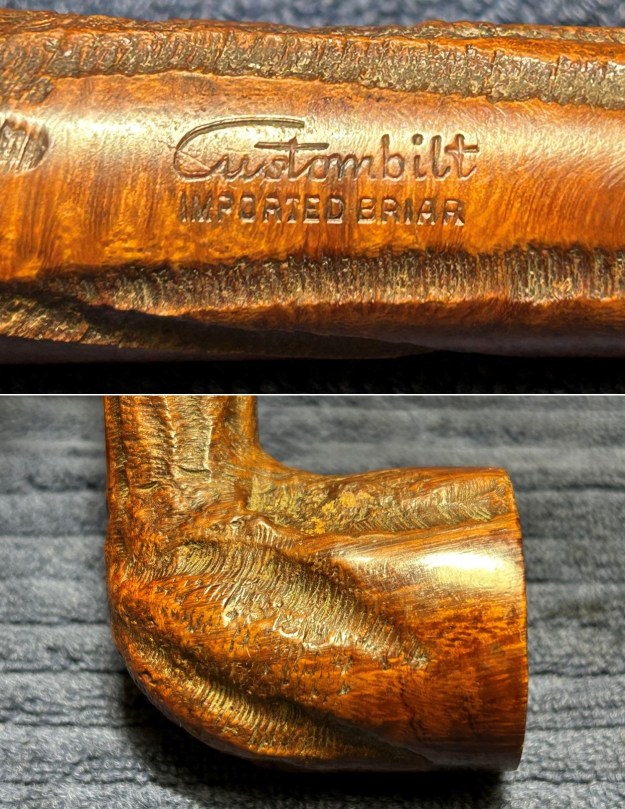
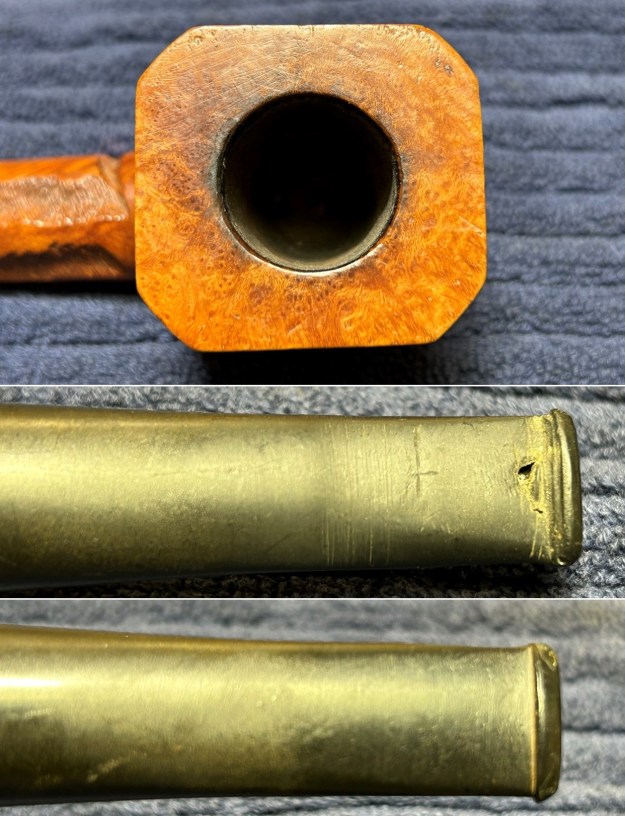
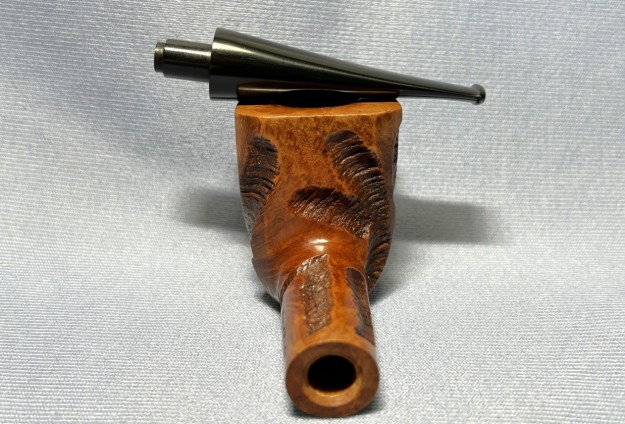
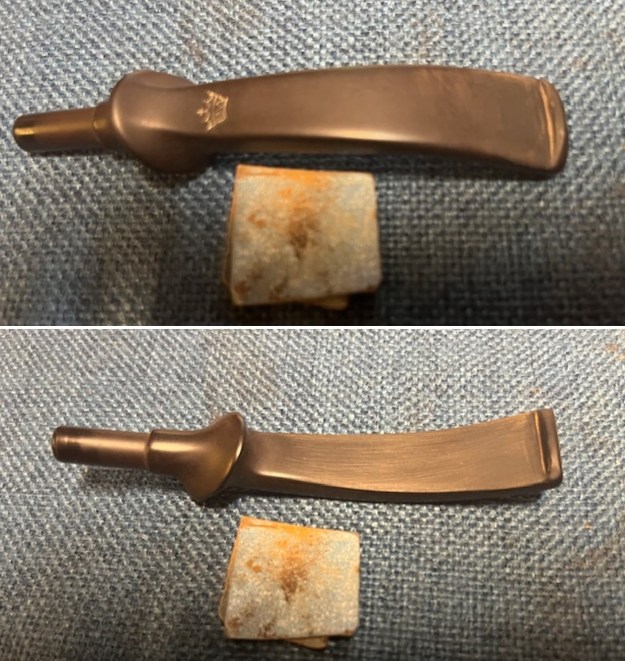
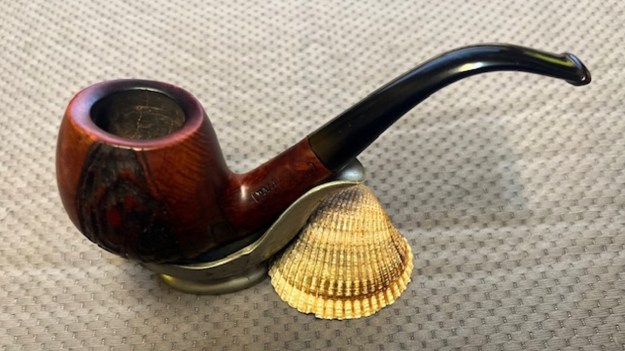
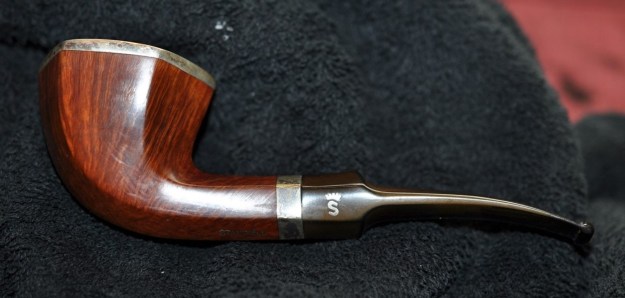
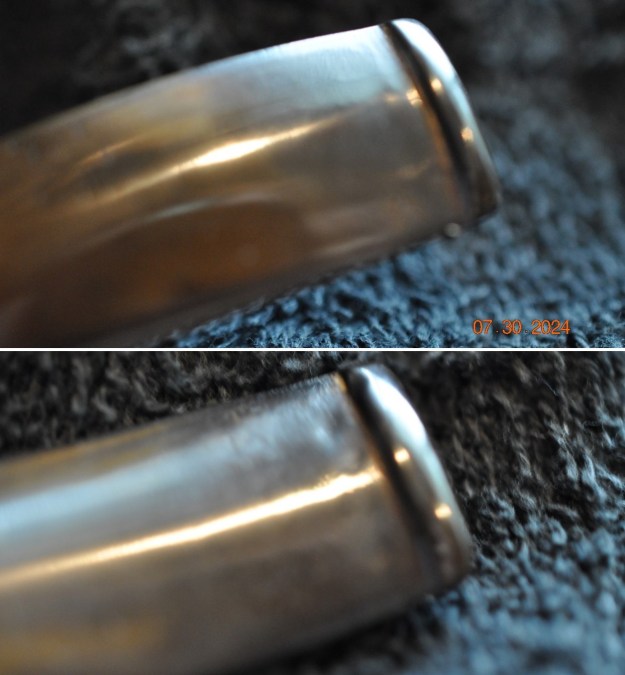
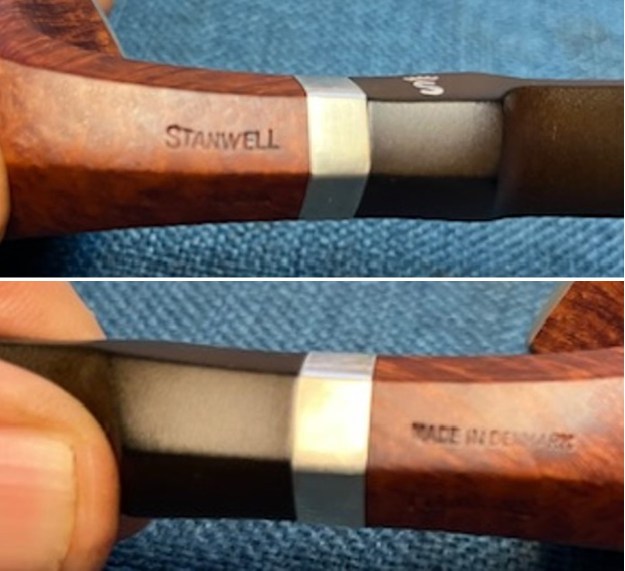
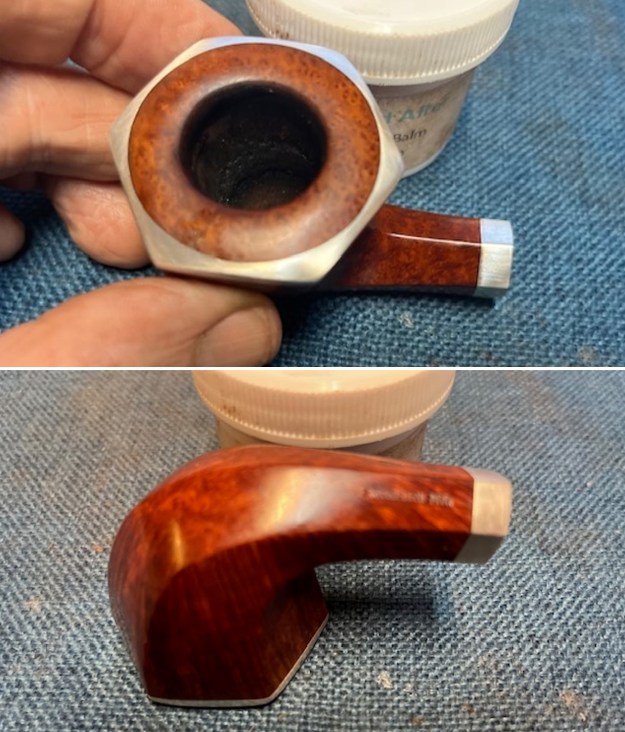
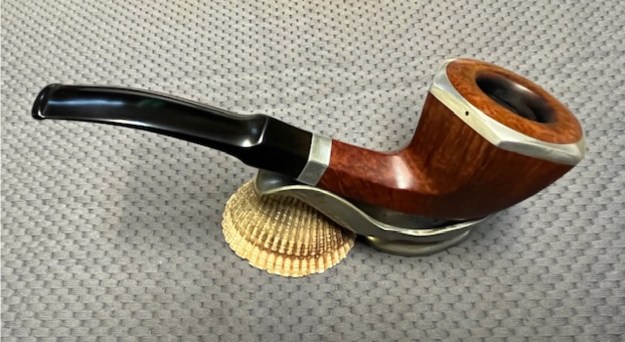
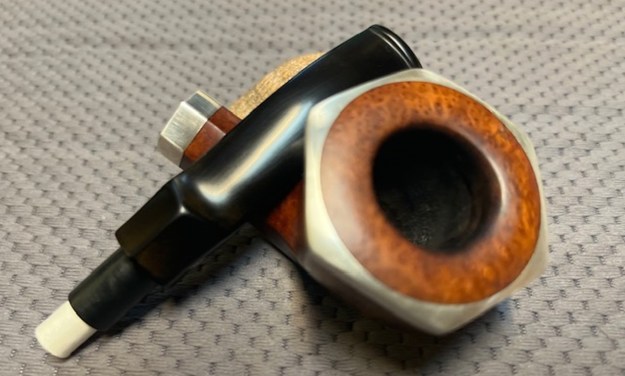
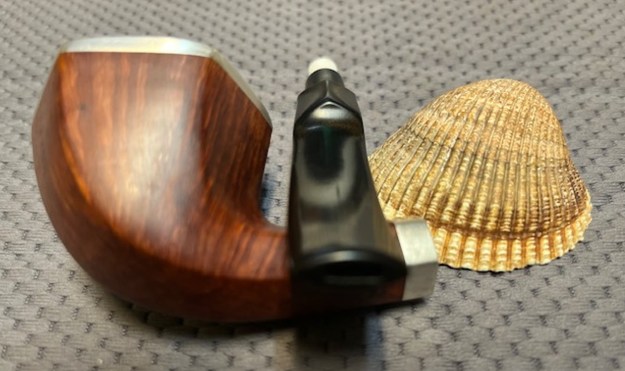
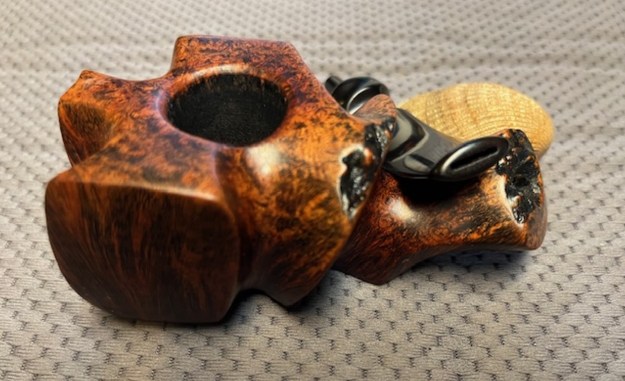
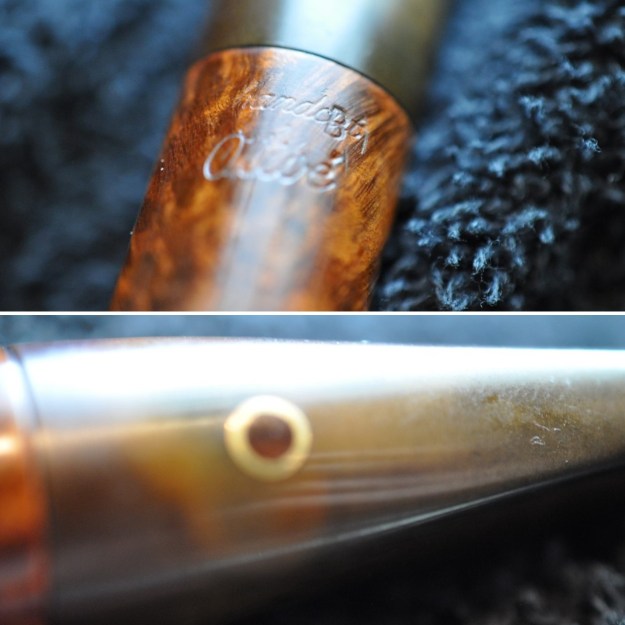
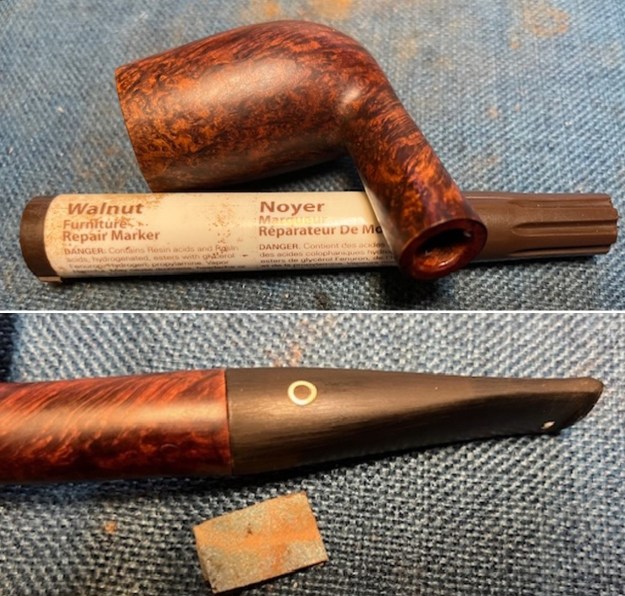
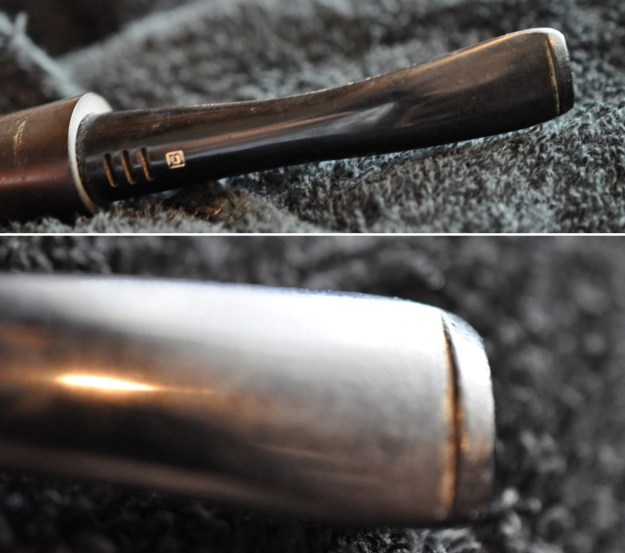
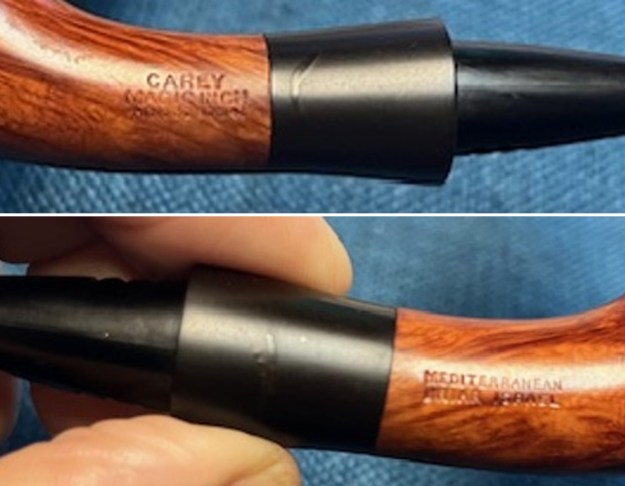
 He took a series of photos of the Sterling Silver ferrule to show the stamping around it. You can see that it reads as noted above.
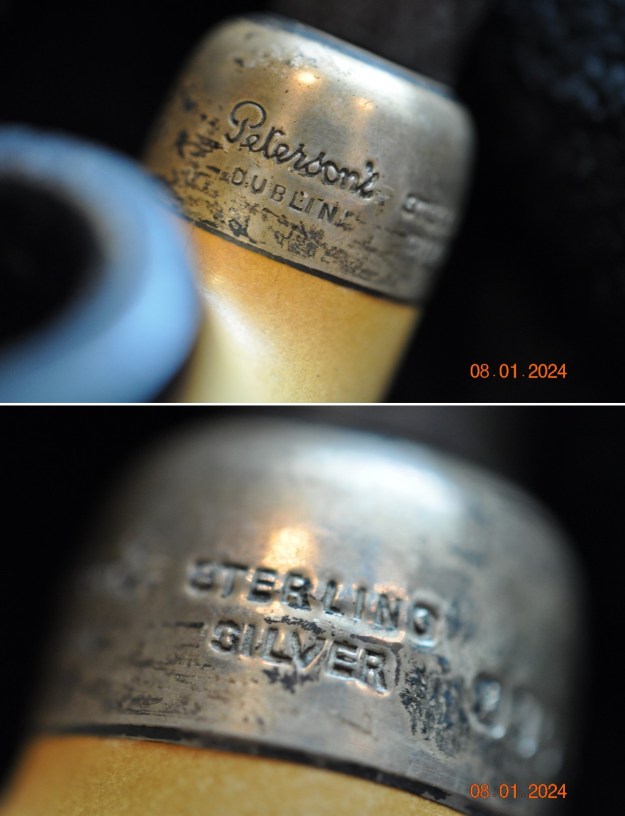
 I took some time to remind myself of the provenance of Peterson’s Dublin Meerschaum pipes. I am pretty sure the pipe was made by the Laxey Pipe Ltd. on the Isle of Man for Peterson’s in Ireland (https://pipedia.org/wiki/Laxey_Pipes_Ltd). I quote from the Pipedia article in full:
Laxey Pipe Ltd. resided in a historical 19th century four-storey Man stone building at The Quay, Old Laxey, Isle of Man, which thankfully has been preserved. The company specialized in the production of Meerschaum Pipes using the Meerschaum mined by the Tanganyika Meerschaum Corporation in the Amboseli basin in Tanganyika (since 1964 part of the United Republic of Tanzania). Please note: you may often find names like “Manx Pipes Ltd.”, “Man Pipe Co.” and others more, but there is no indication of another Isle of Man pipe producer other than Laxey Pipe Ltd. at any time!
Laxey Pipe Ltd. marketed own brands like “Manxpipe”, “Manxman”, “Manxland” e.c. Names like “John Bull”, “White Knight” (unwaxed), “Domino” (black, or lined) indicated some shapes / colours of Laxey’s own series. The stems either showed the astronomical sign for “male” or “man” (circle + arrow), or the crest of the Isle of Man, the 3-legged X in a circle. Manxpipes and Laxey’s other brands were available through pipe retailers in general, but also were sold (mainly) to tourists through their own shop in Laxey.
Furthermore Laxey Pipe Ltd. manufactured the meer bowls for Peterson, Barling, Nørding and others from the later 1960’s until 2001. Man Pipe e.g. was a brand distributed by Comoy’s. The bowls usually showed no nomenclature indicating the orderer. “Genuine Block Meerschaum” was engraved frequently. Often, just the stems were different, while bowls were the same.
Supply of meer from East Africa ran out (Kenya / Tanzania exhausted, Somalia inaccessible), and thus the last Laxey meers were supplied to trade in May, 2001. Laxey Pipe Ltd. tried to survive continuing with briar pipes – mainly in the Danish style, but to no success. It closed down business in July, 2002.
I know that the pipe was made on the Isle of Man by Laxey Pipe Ltd. out of African Meerschaum. It was made for export for Peterson’s of Dublin. The flumed top on the bowl and the smooth finish around the bowl and shank fit the 1984 date indicated by both the silver hallmarks and the Paris 23-7-84 engraving on the band.
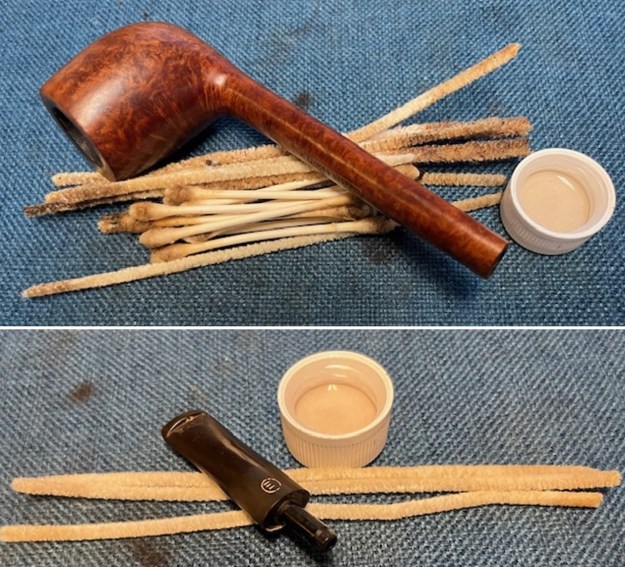
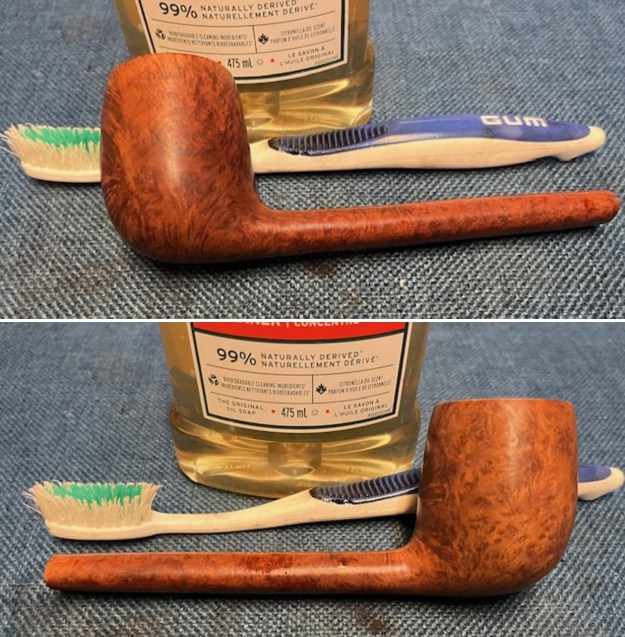
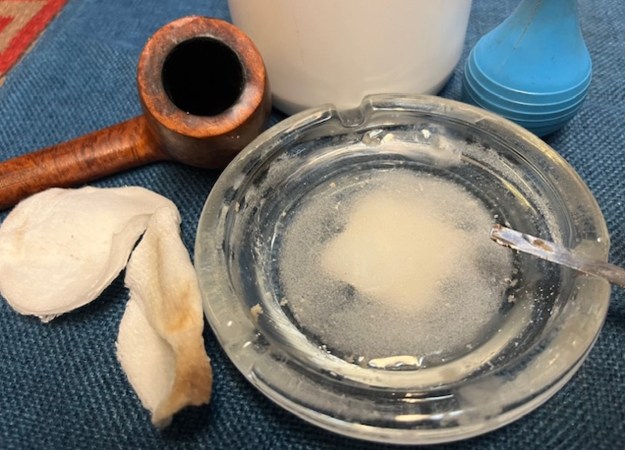
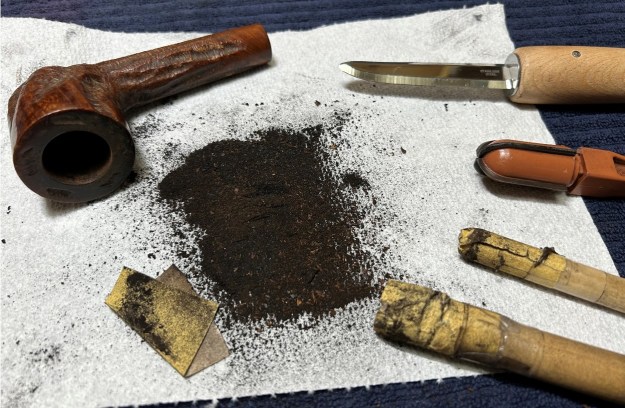
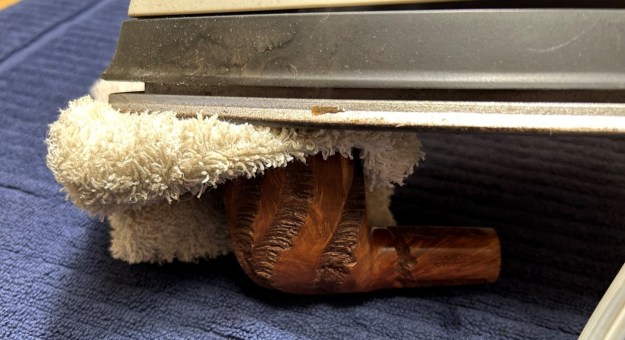
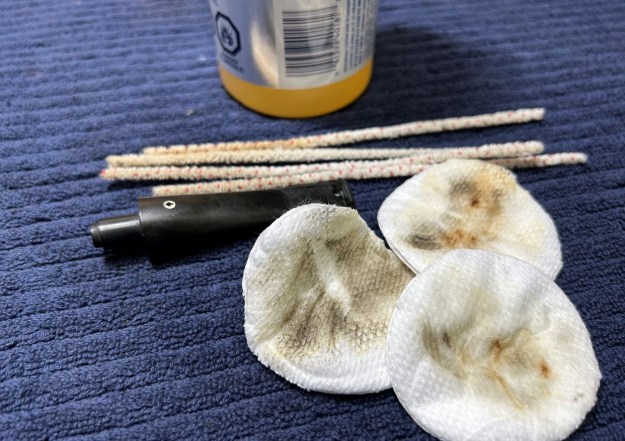
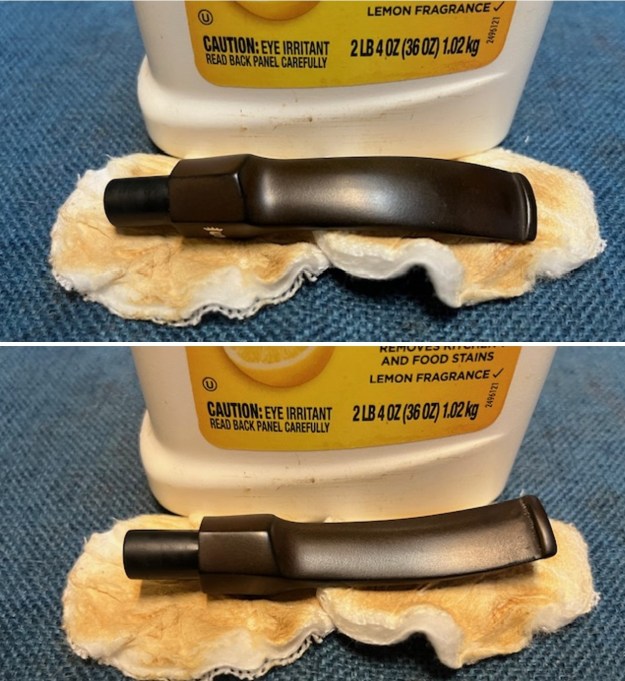
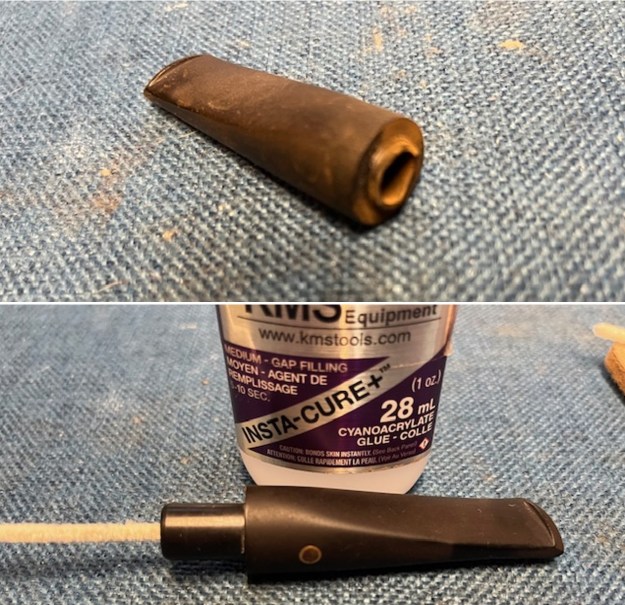
Jeff had done a great job cleaning up the pipe as usual. He reamed the pipe with a PipNet reamer and cut back the cake back to the bare meerschaum. He cleaned up the walls with a Savinelli Fitsall Pipe Knife. He scrubbed the interior of the bowl and shank with pipe cleaners, cotton swabs and alcohol to remove the tars and oils. He scrubbed the exterior of the pipe with Murphy’s Oil Soap and a tooth brush to remove the grime from the finish. He worked on the rim top lava and darkening with the soap and tooth brush. He cleaned up the tarnish on the nickel ferrule. He scrubbed the inside of the stem with alcohol and pipe cleaners. He scrubbed the exterior with Soft Scrub and then soaked it in Before & After Pipe Stem Deoxidizer. He washed it off with warm water to remove the Deoxidizer. The pipe looked very good when it arrived.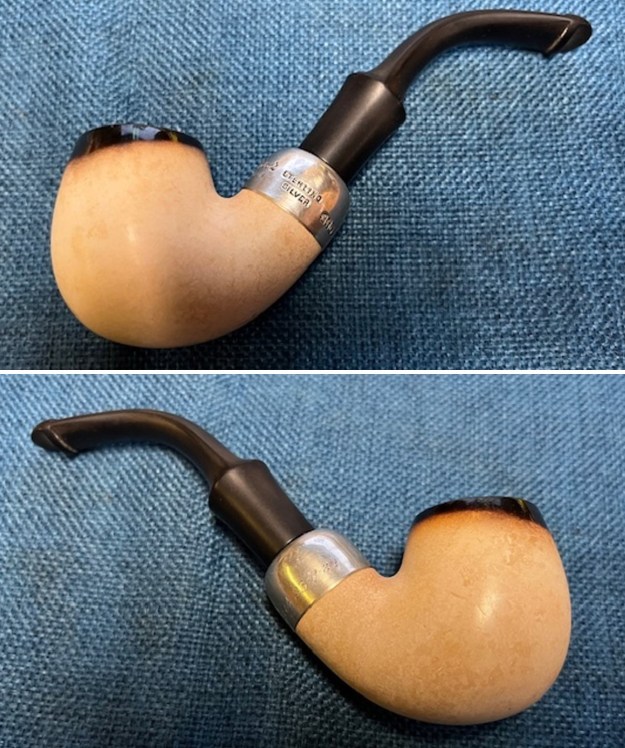
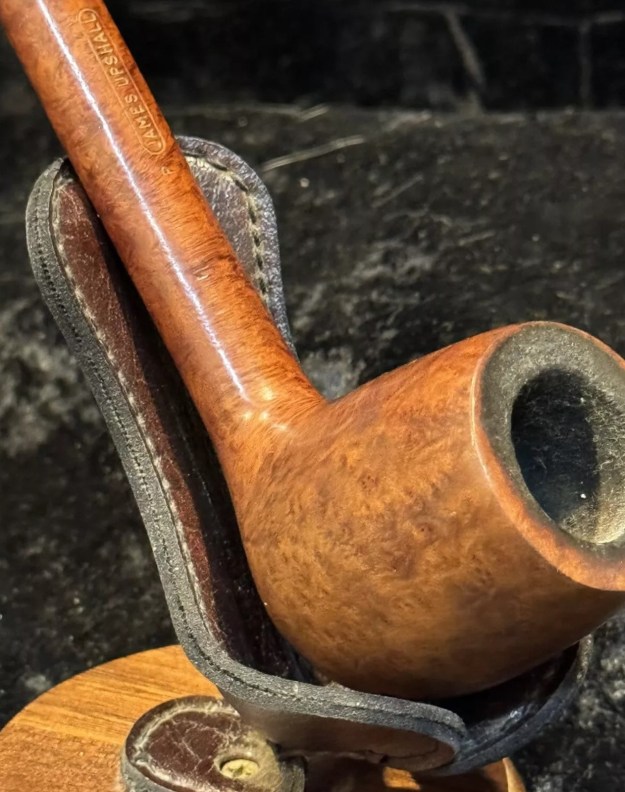
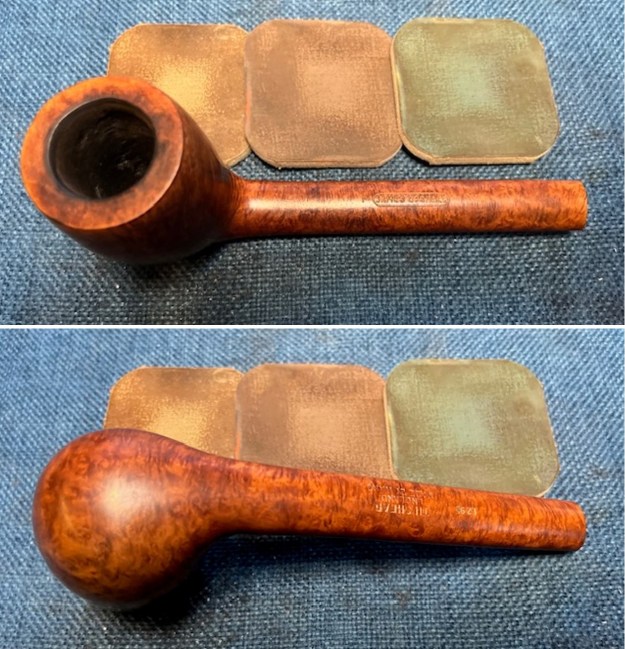
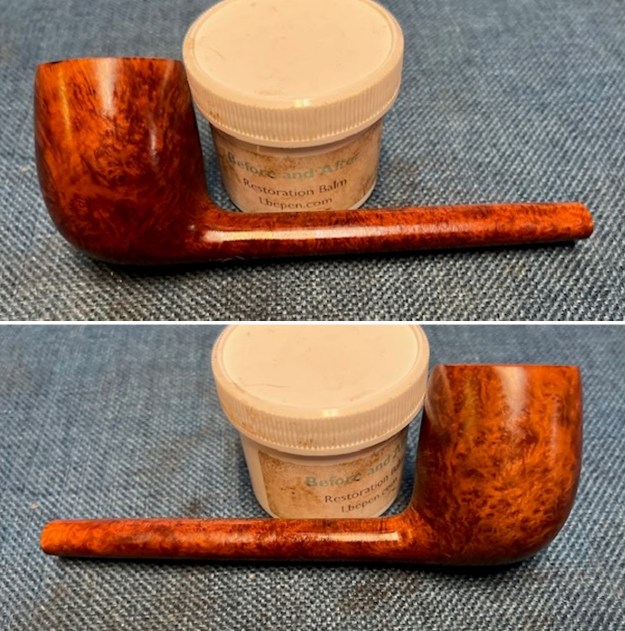
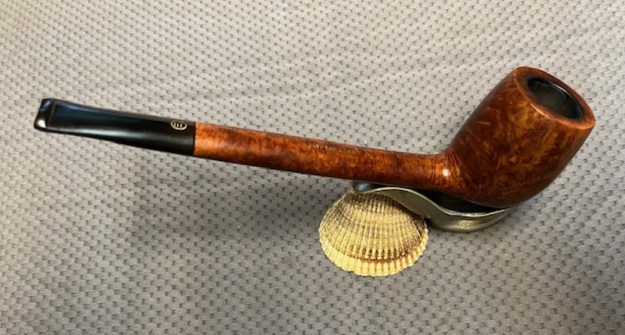
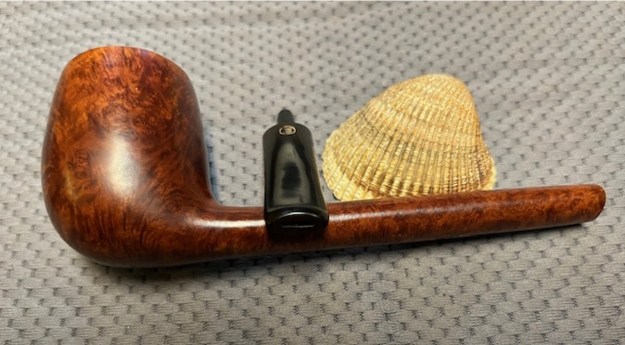
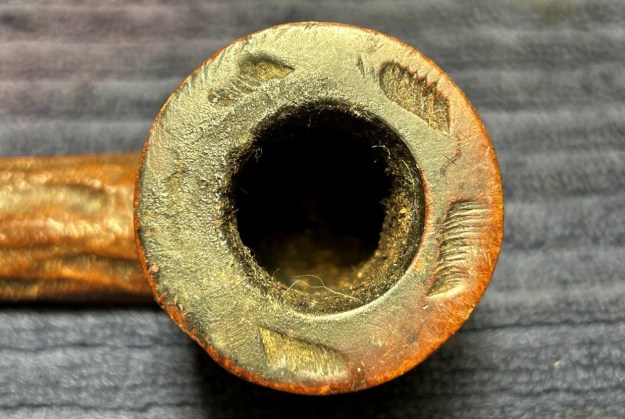
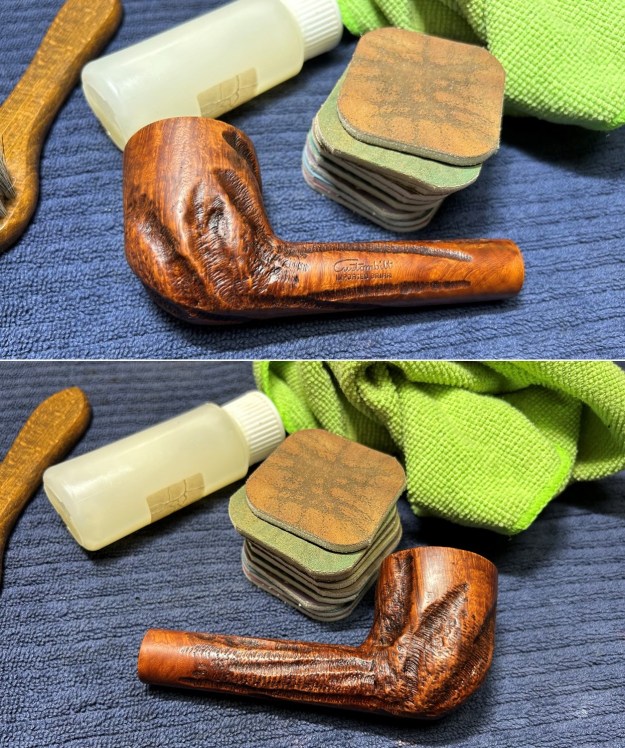
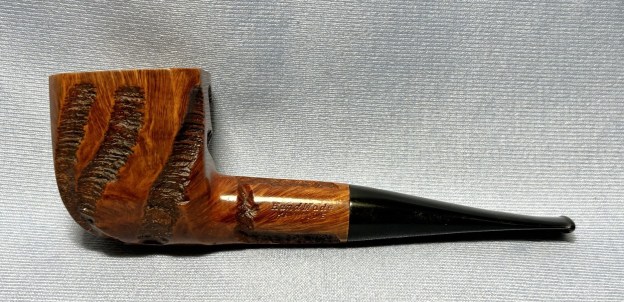
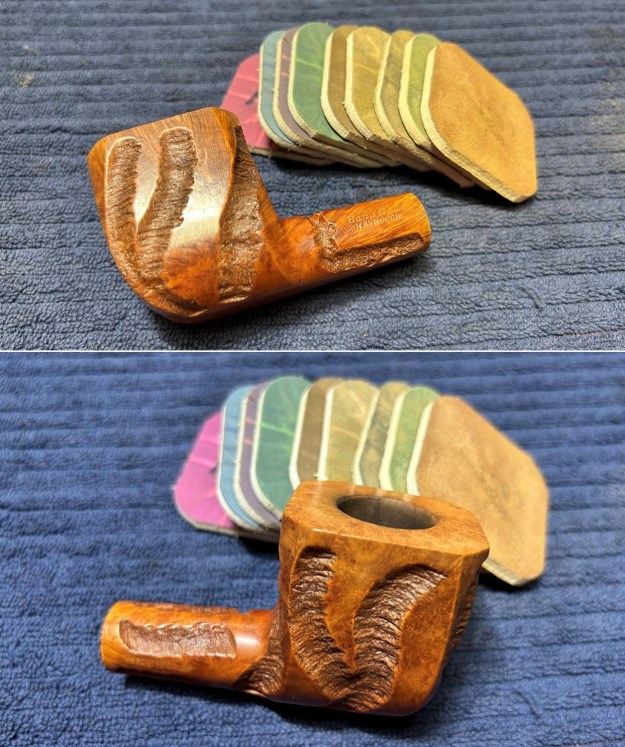
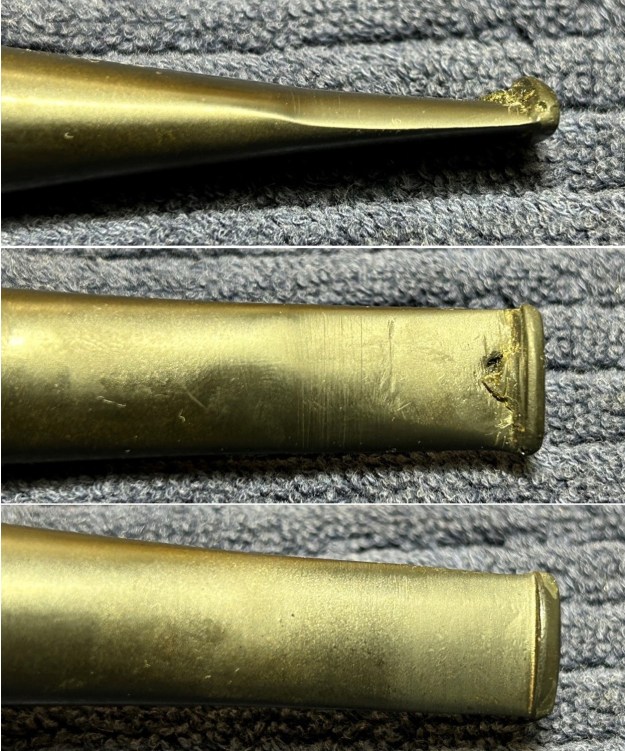
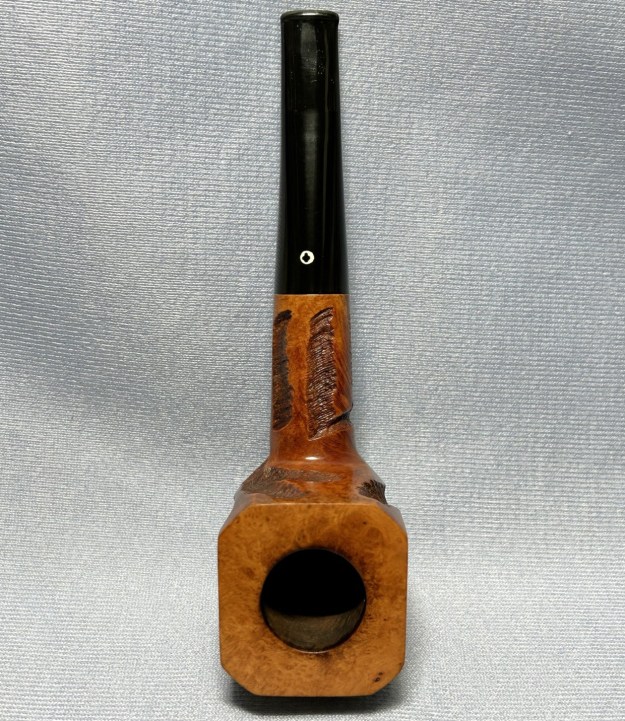
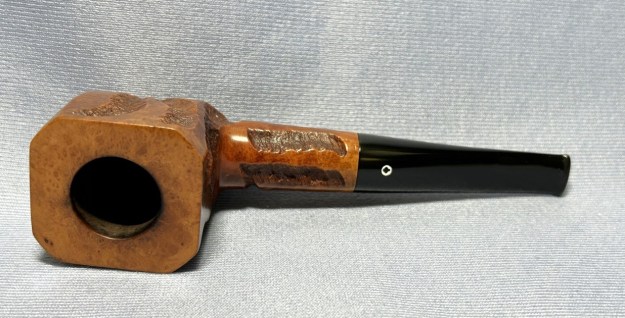
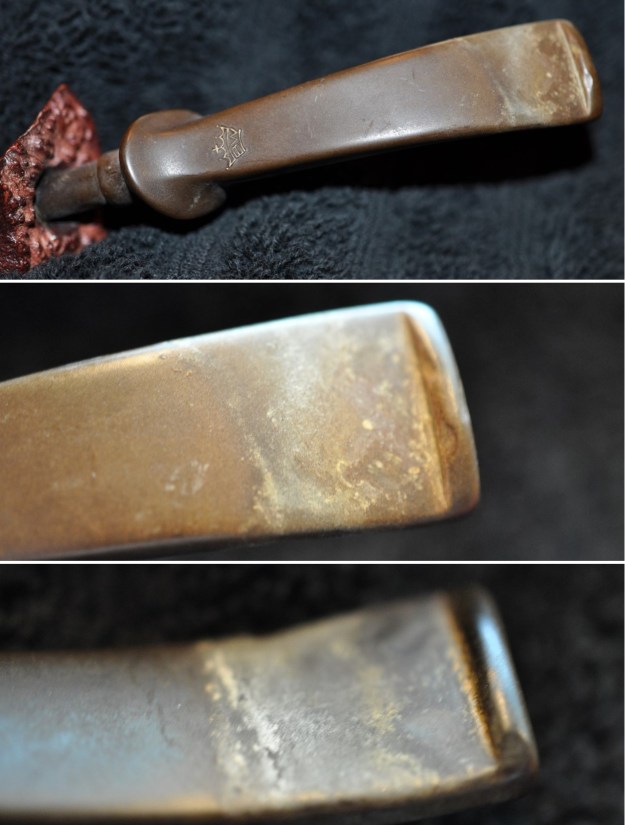
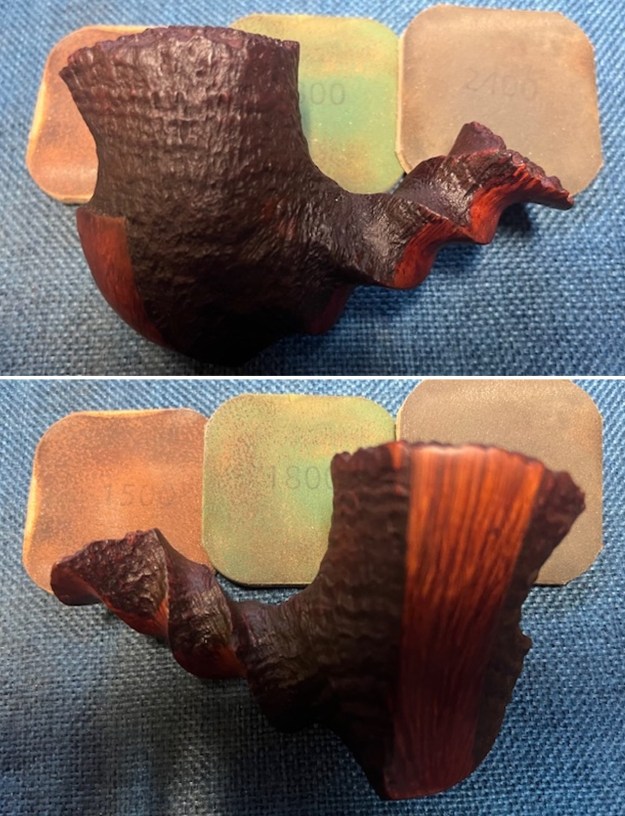
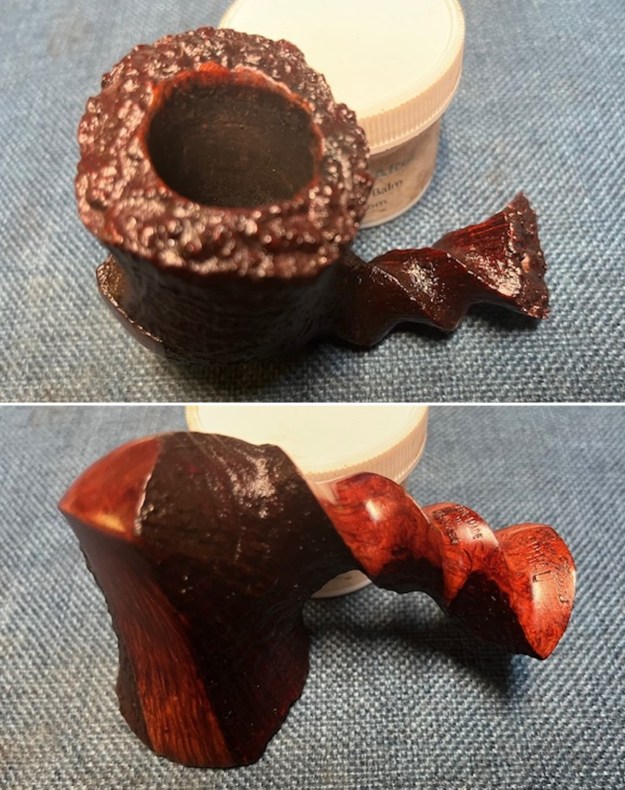
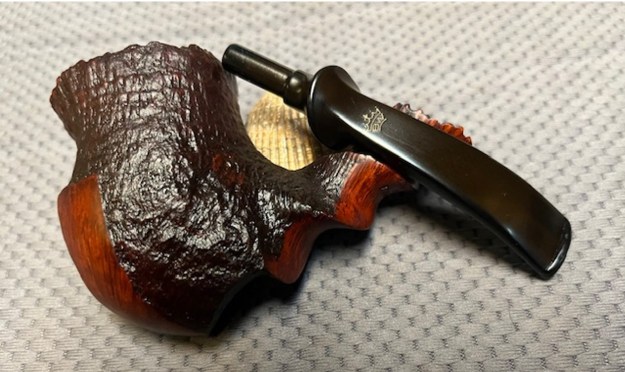
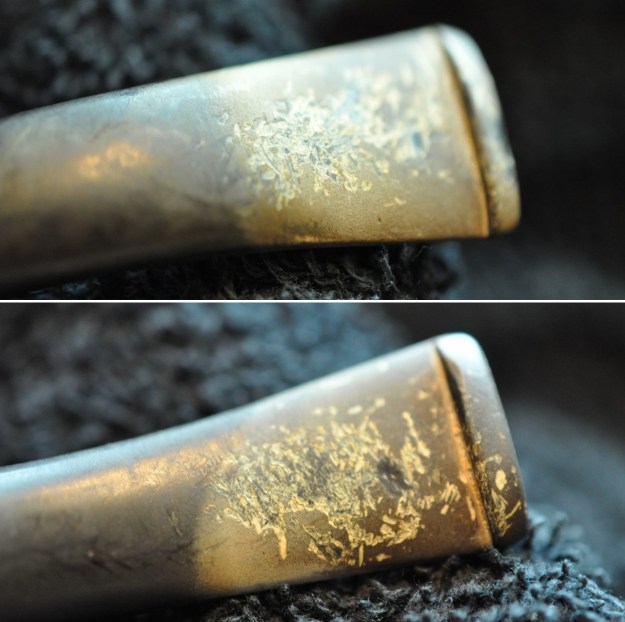
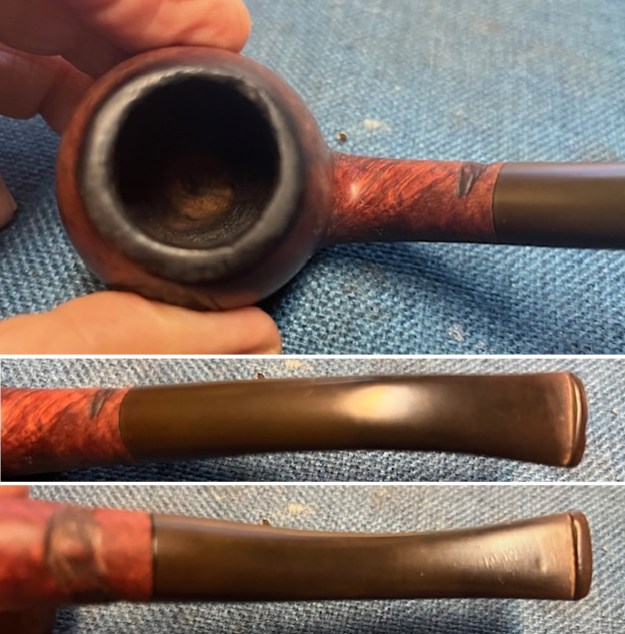
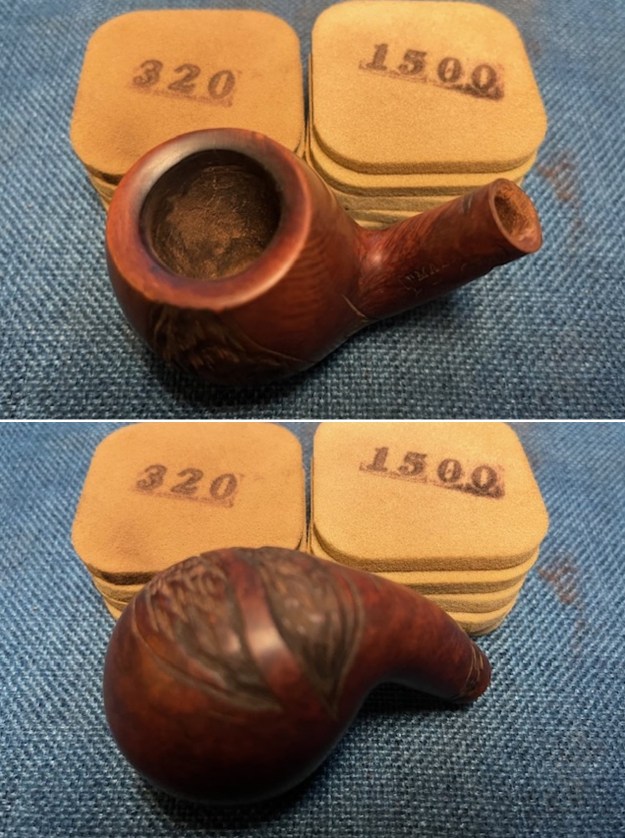
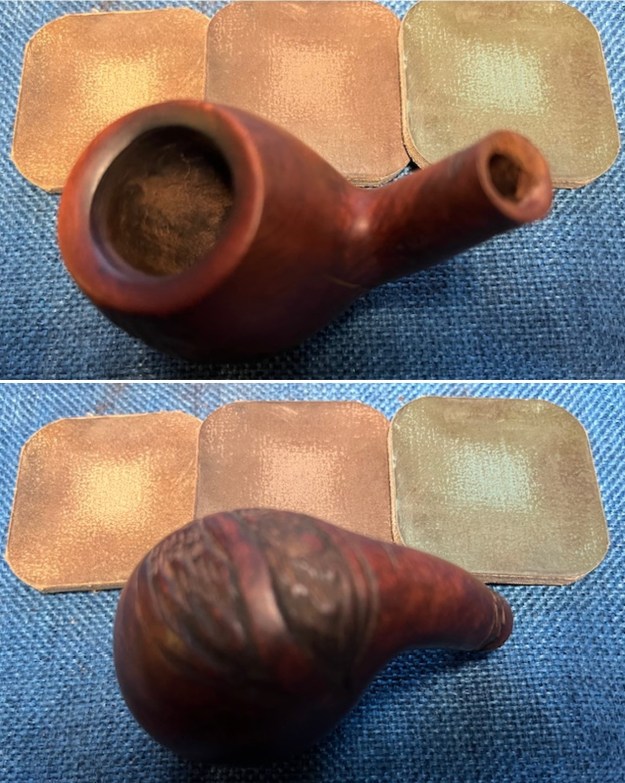
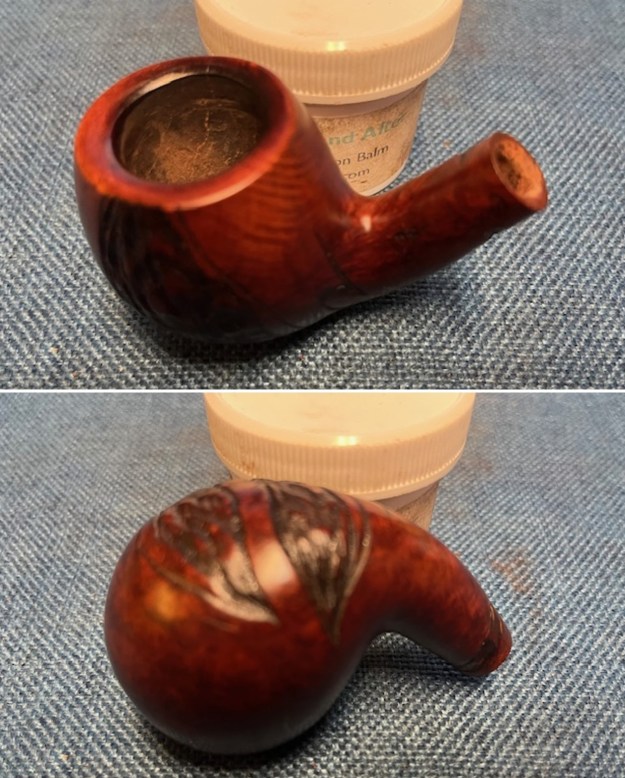
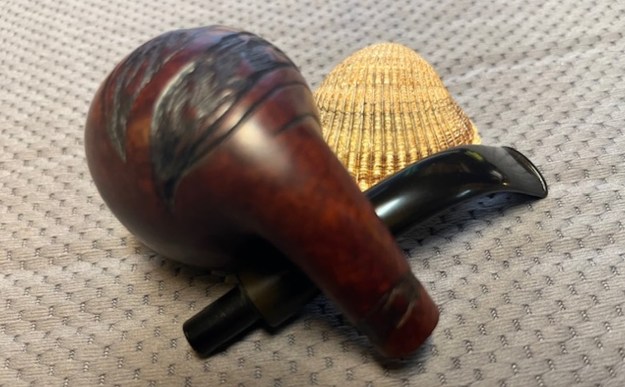
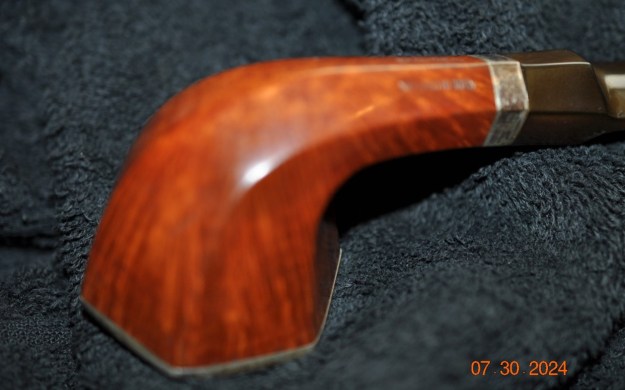
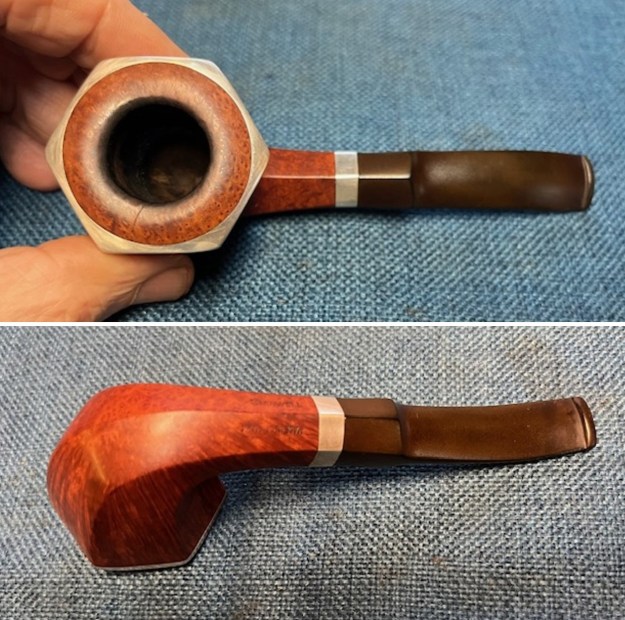
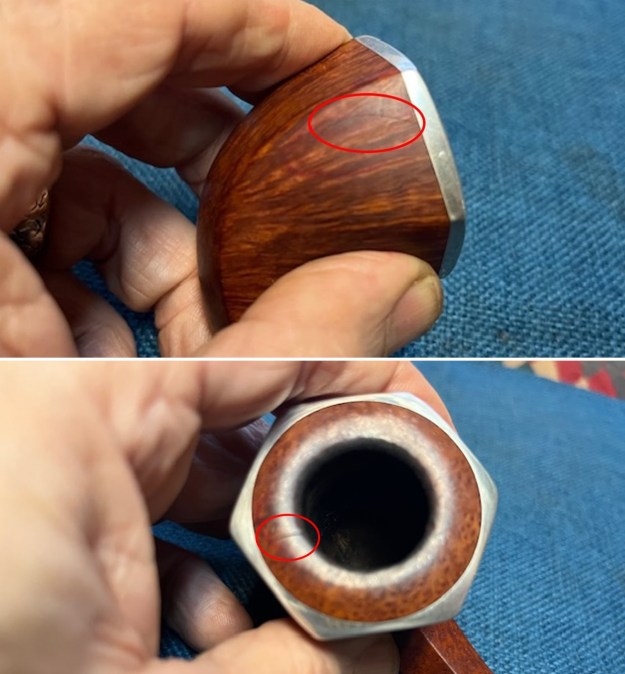
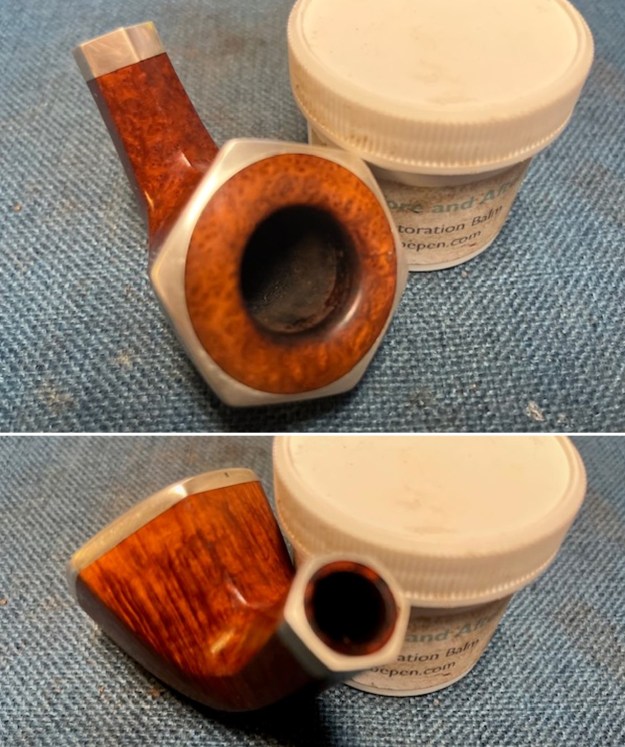
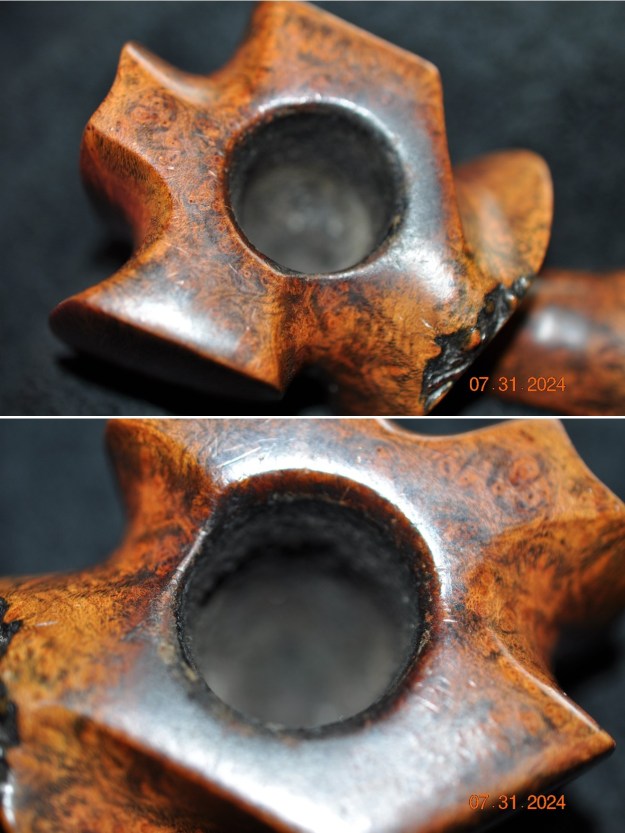
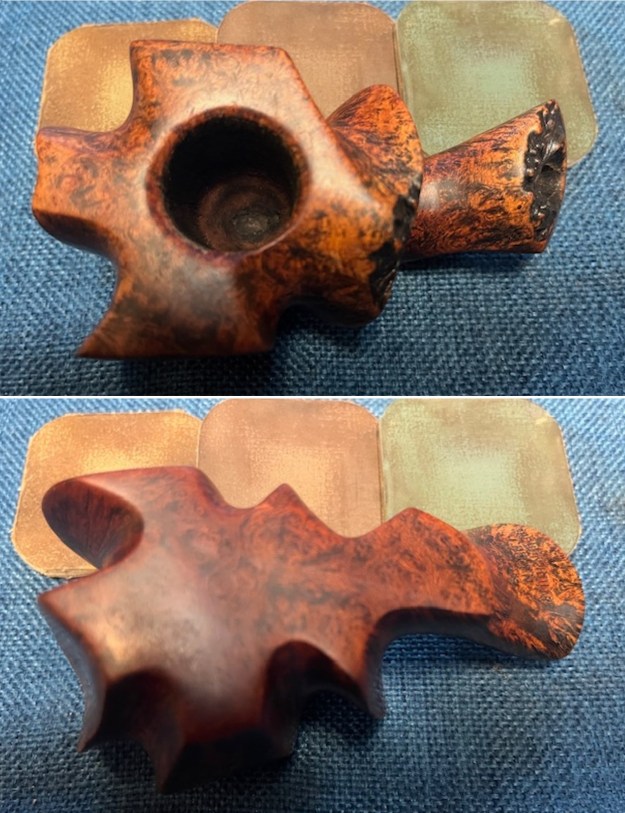
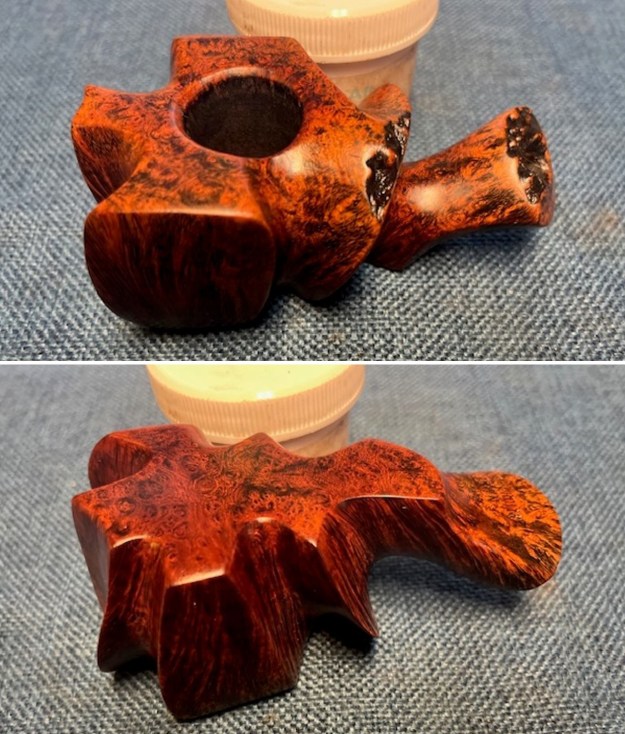
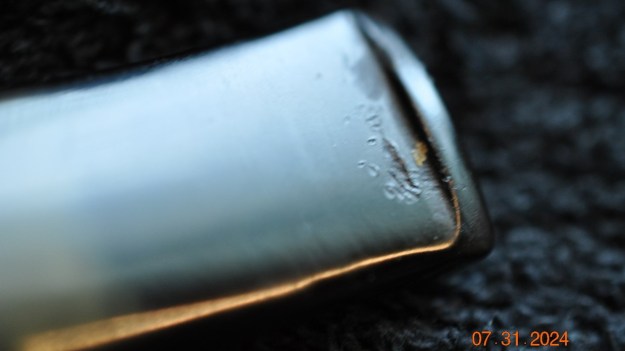
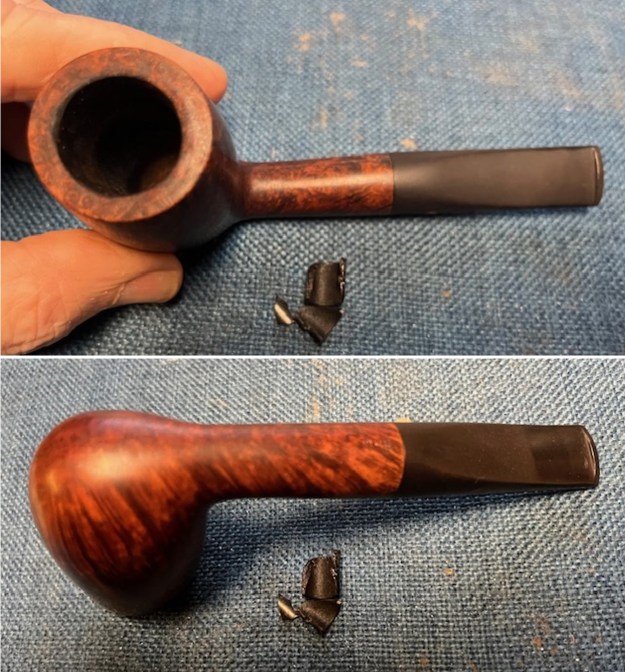
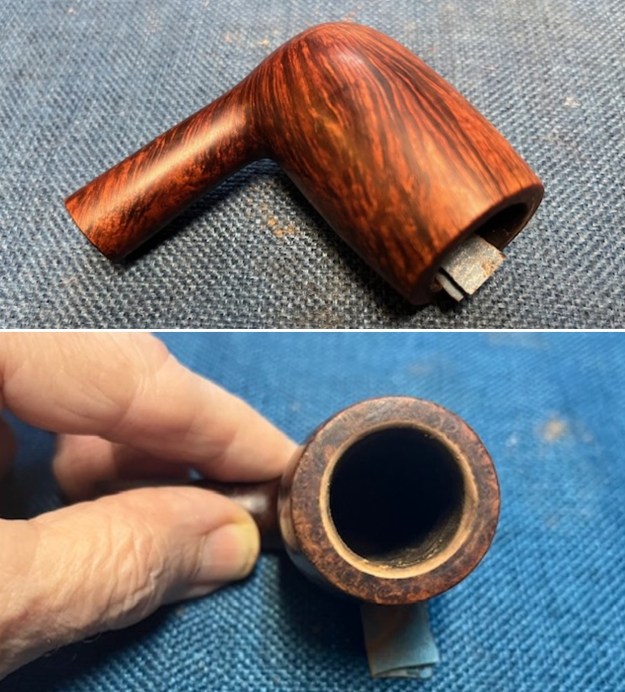
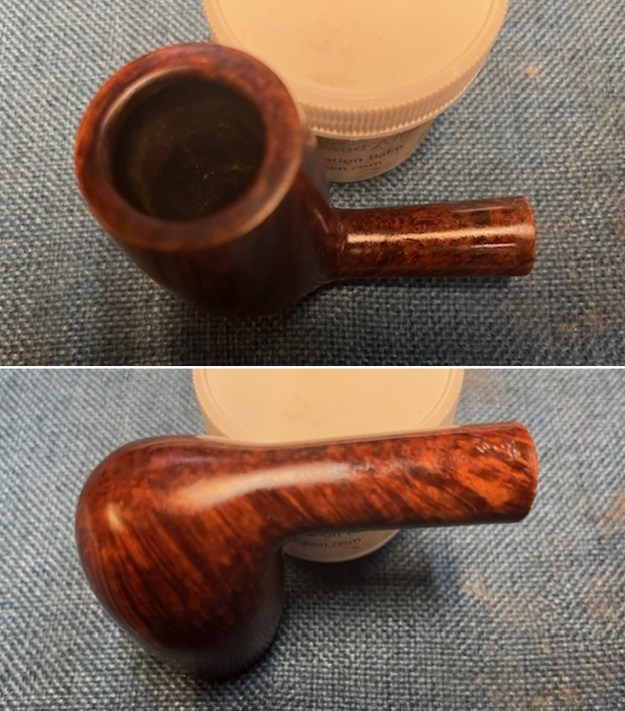
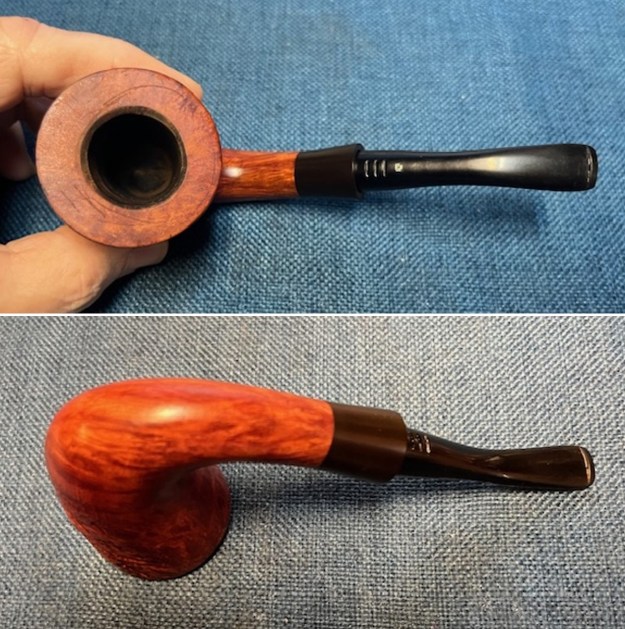
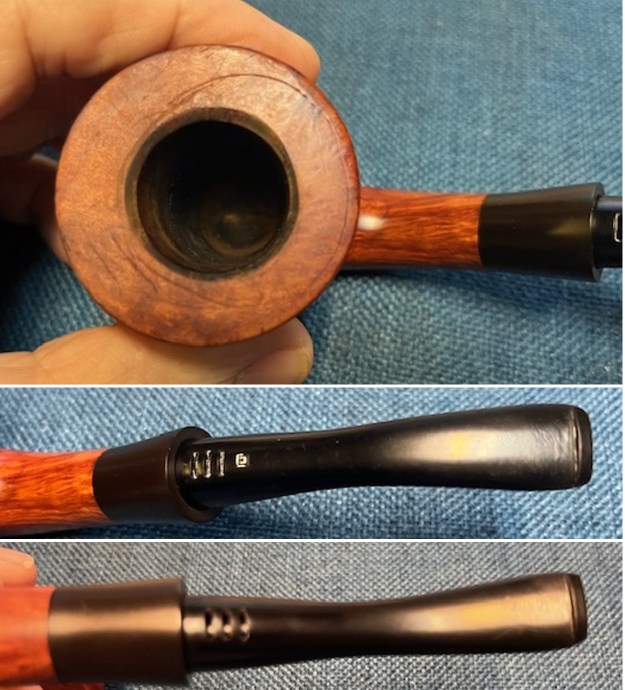
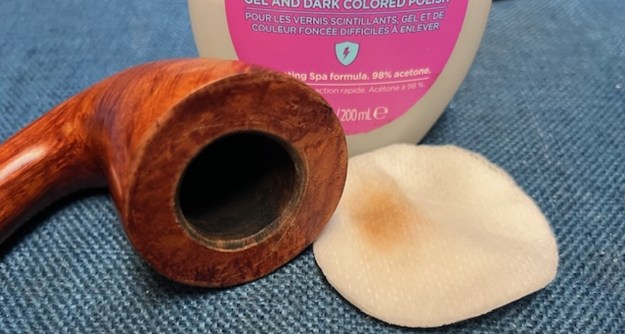
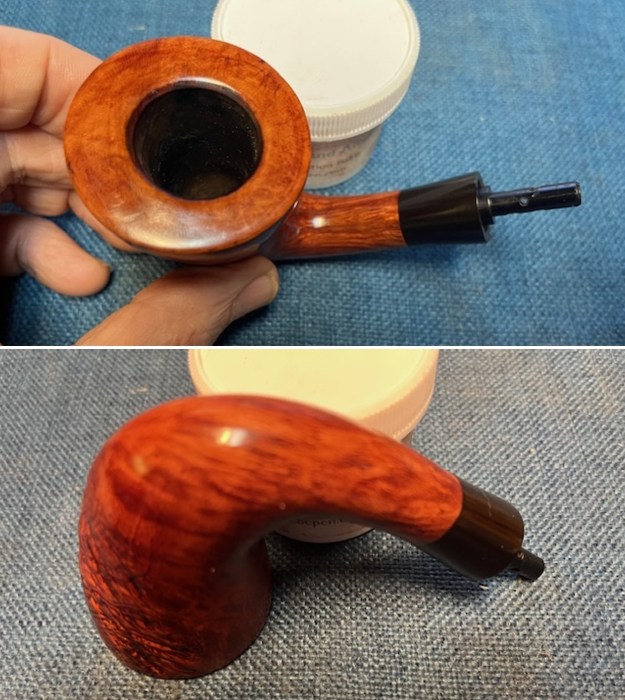
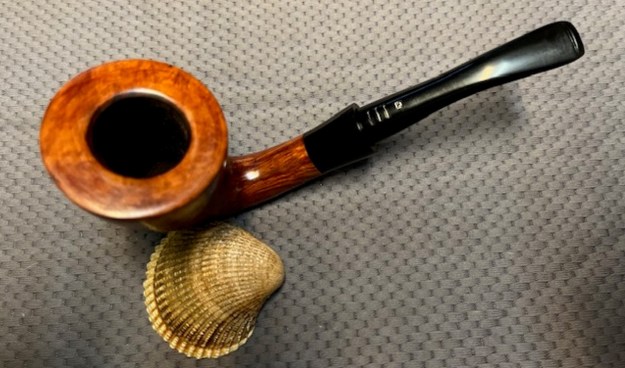
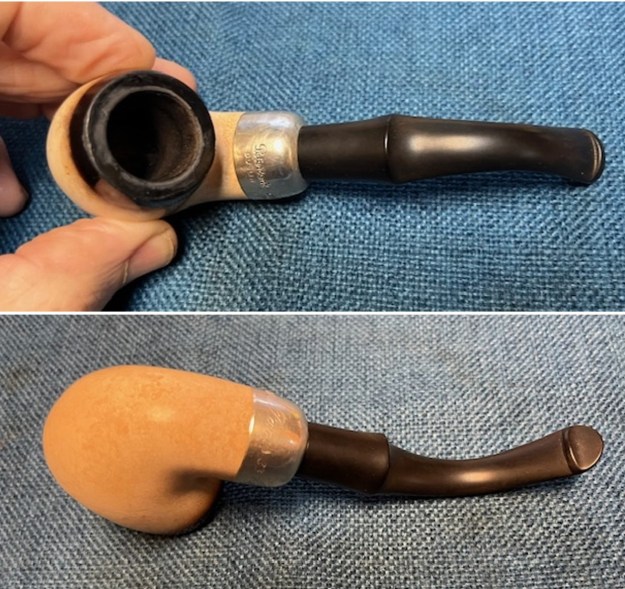 I took some close up photos of the rim top and also of the stem surface. I wanted to show how well it had cleaned up. The rim top and edges looked very good. There was still some lava marks on the rim top that would need to be removed. The stem showed some light tooth marks and chatter on the surface near the button.
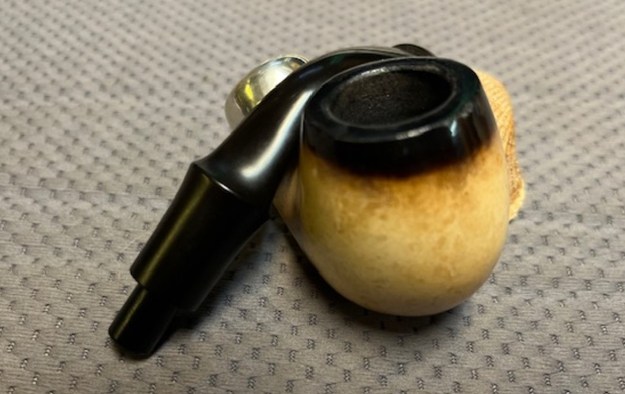
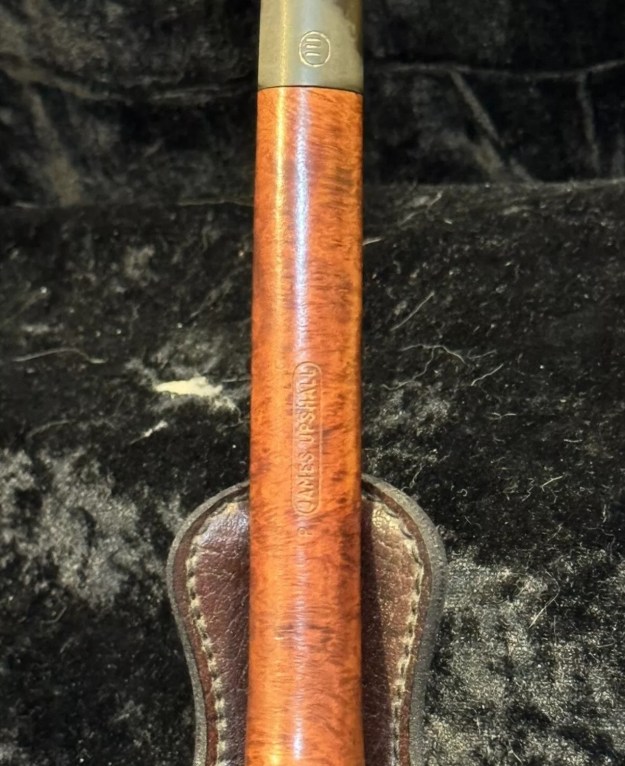
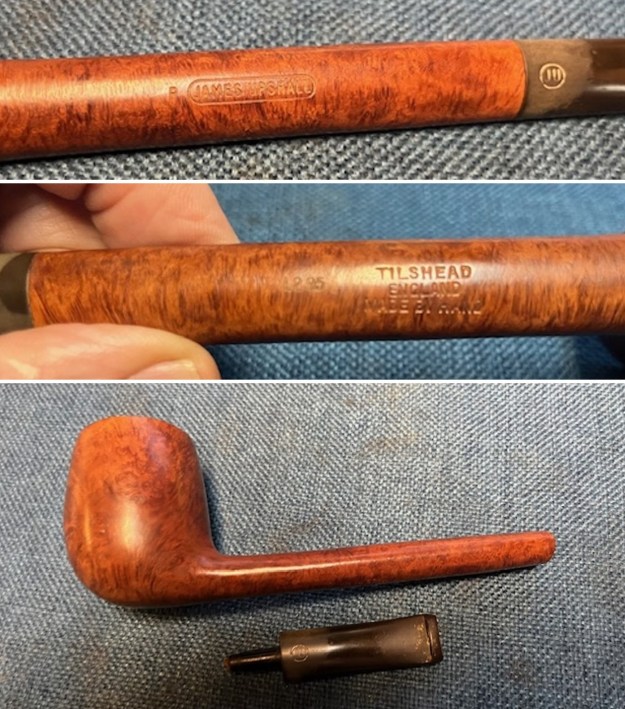
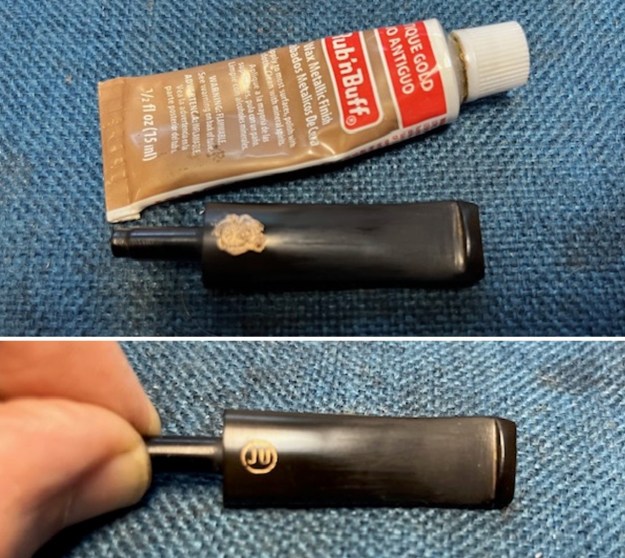
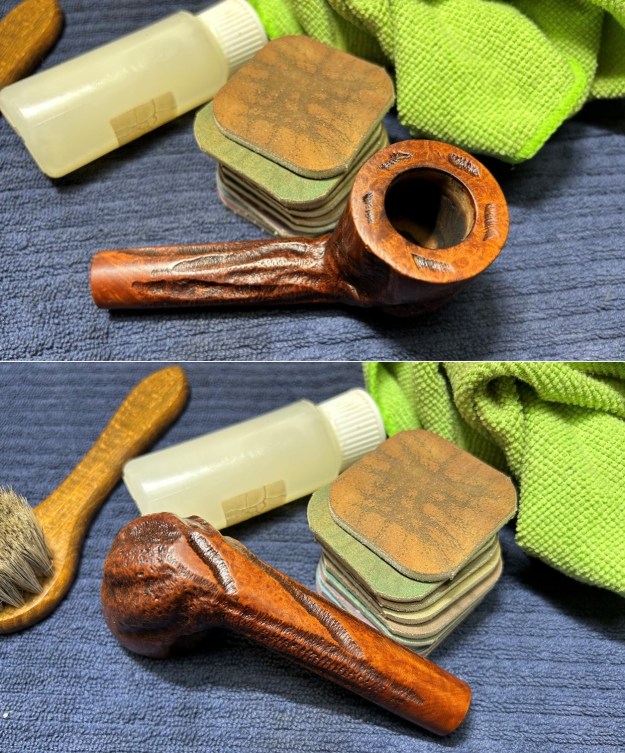
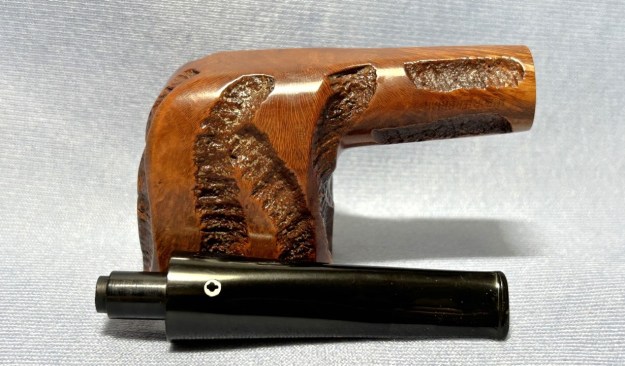
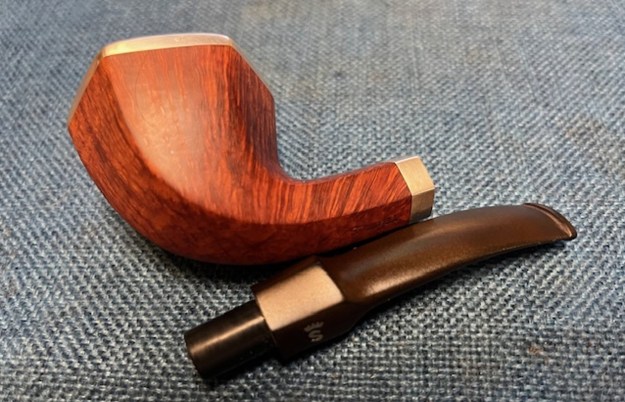
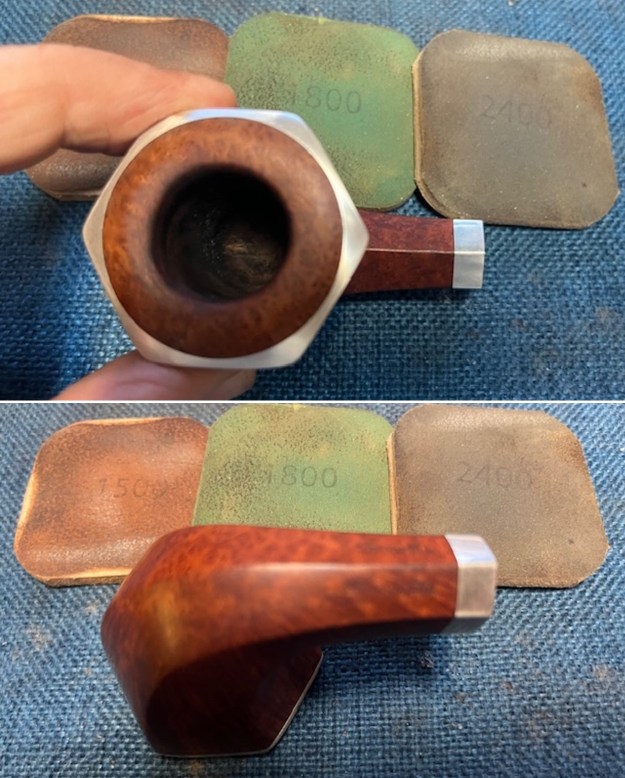
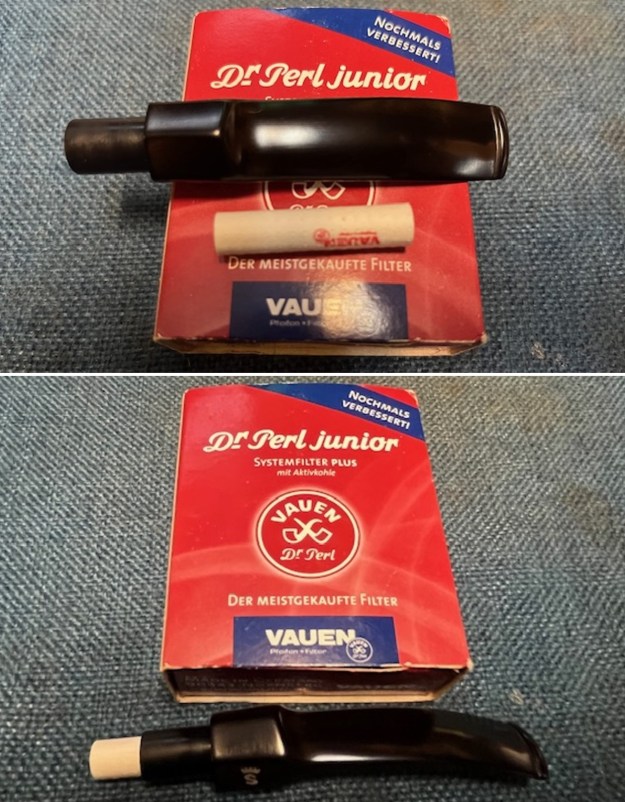
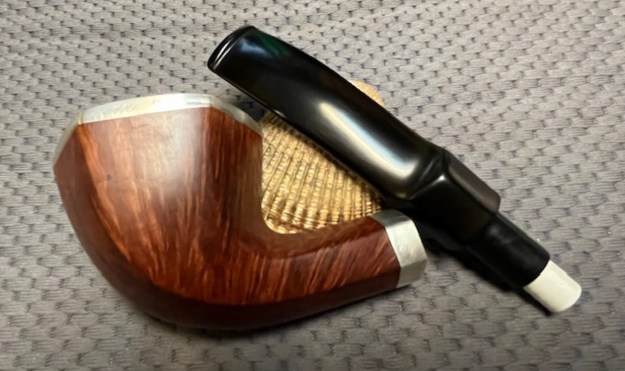
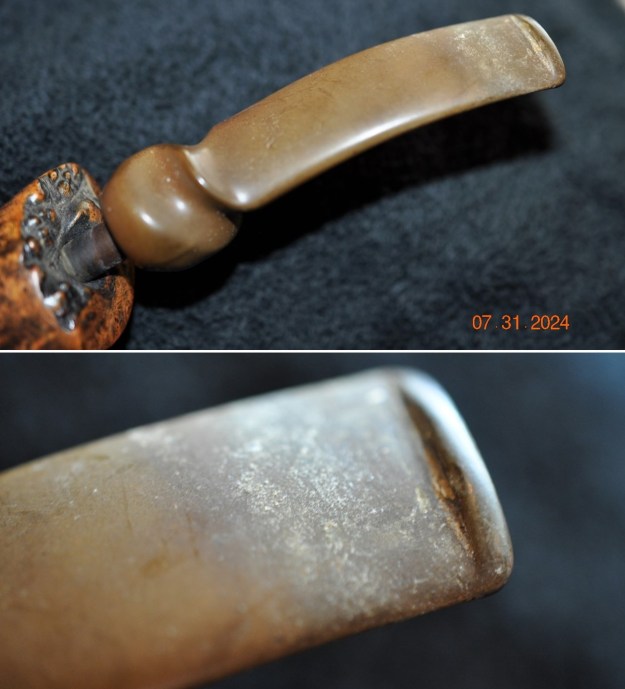
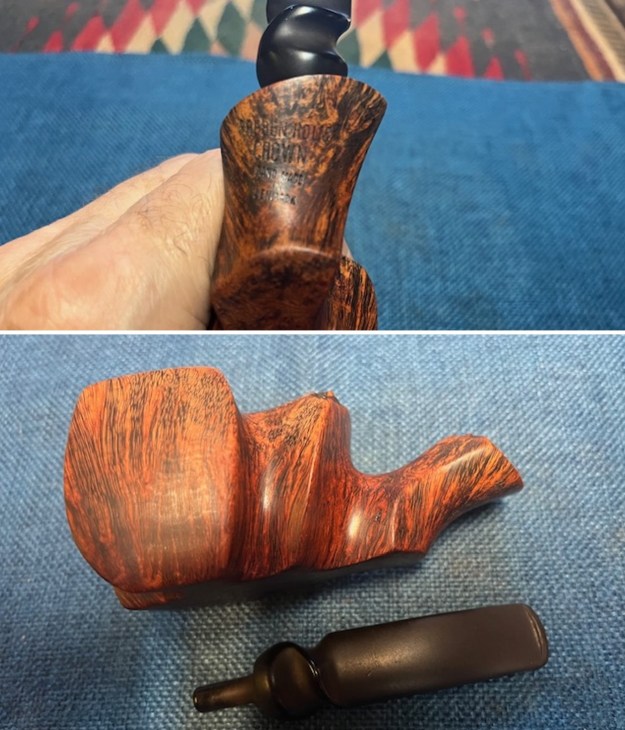
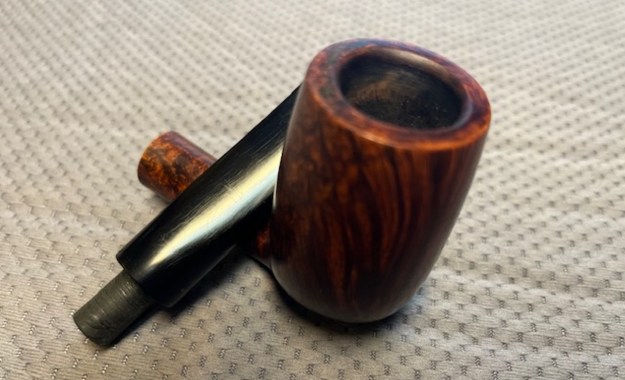
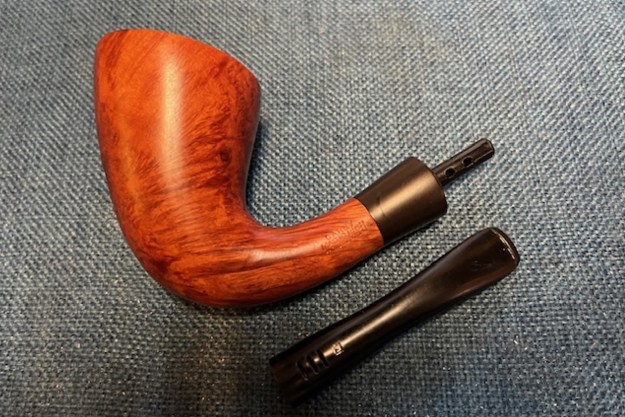
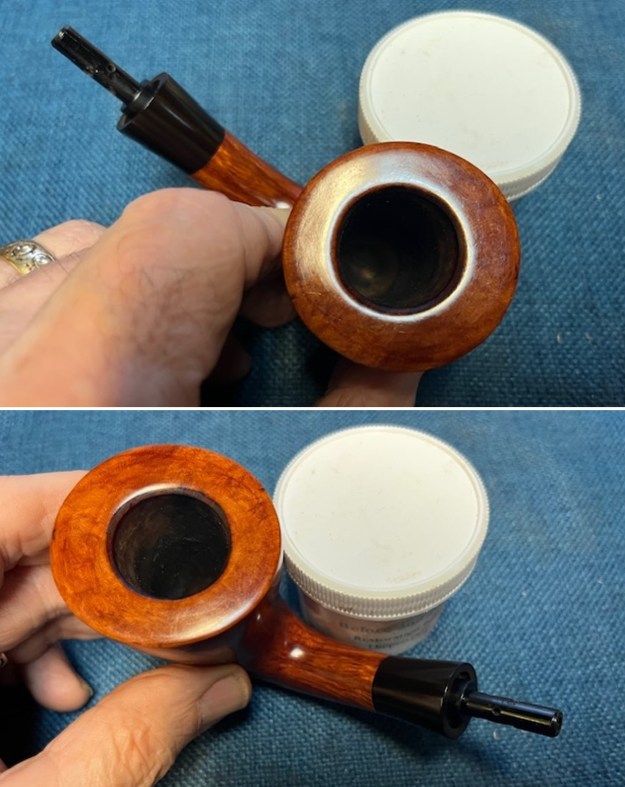
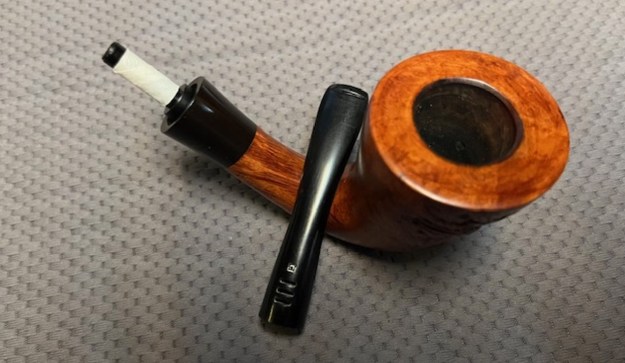
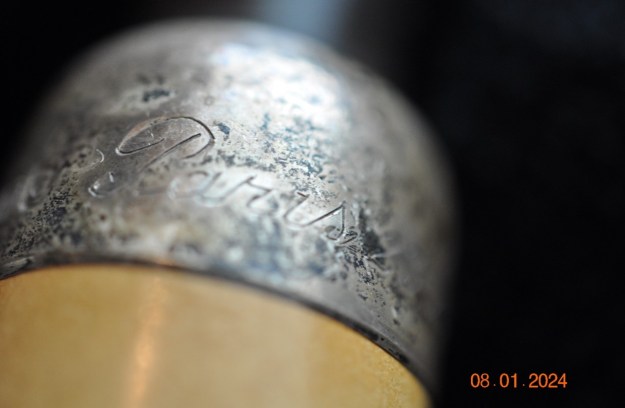
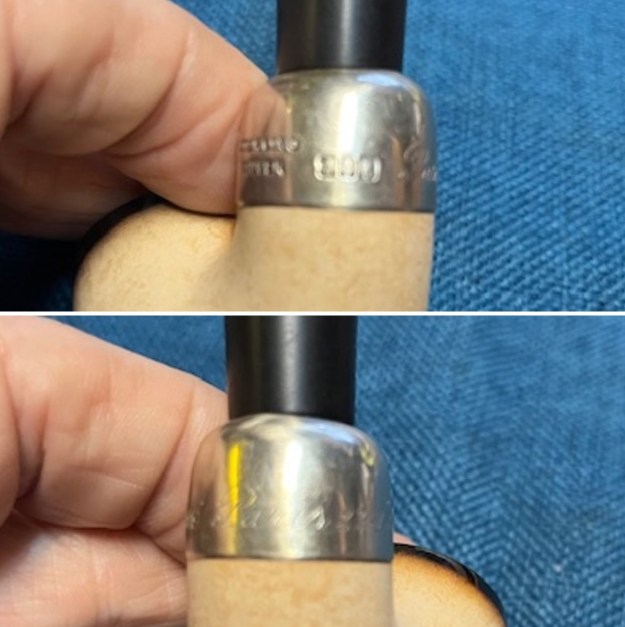
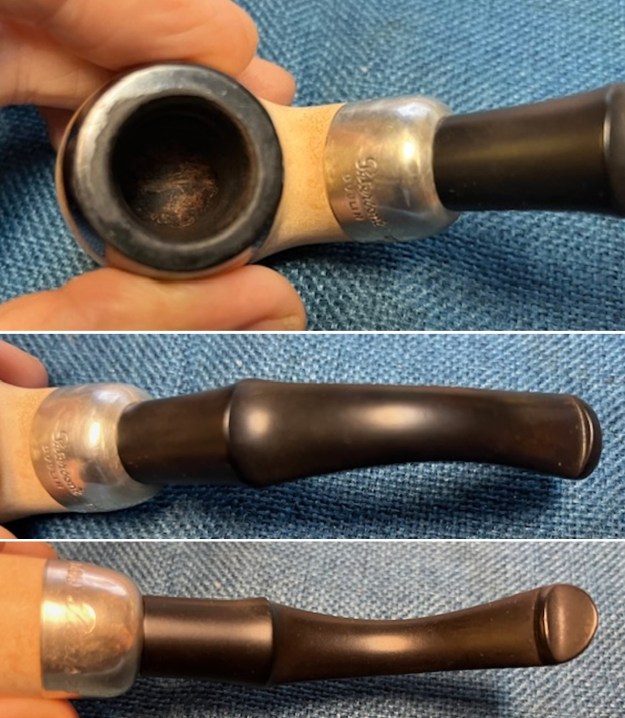 I took a series of photos of the stamping on the Silver ferrule. You can see that once the tarnish was removed it is stamped as noted above. It is clear and readable. I also removed the stem from the shank and took a photo to show the proportions of the pipe. The shank is lined with a Delrin insert.
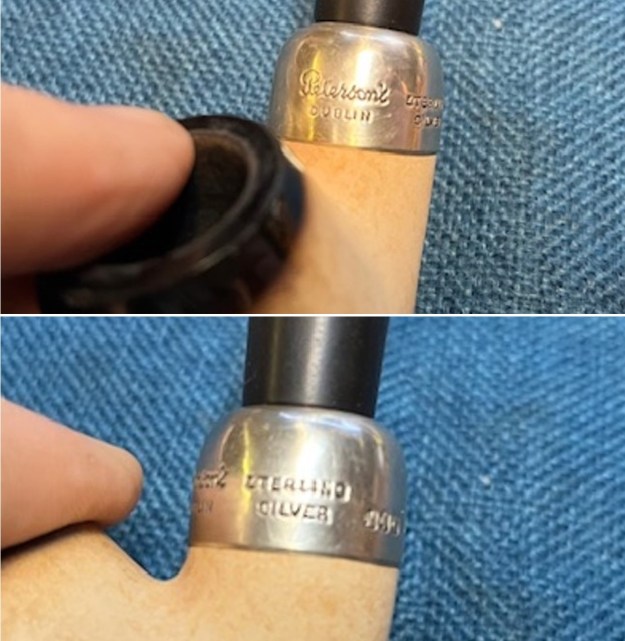
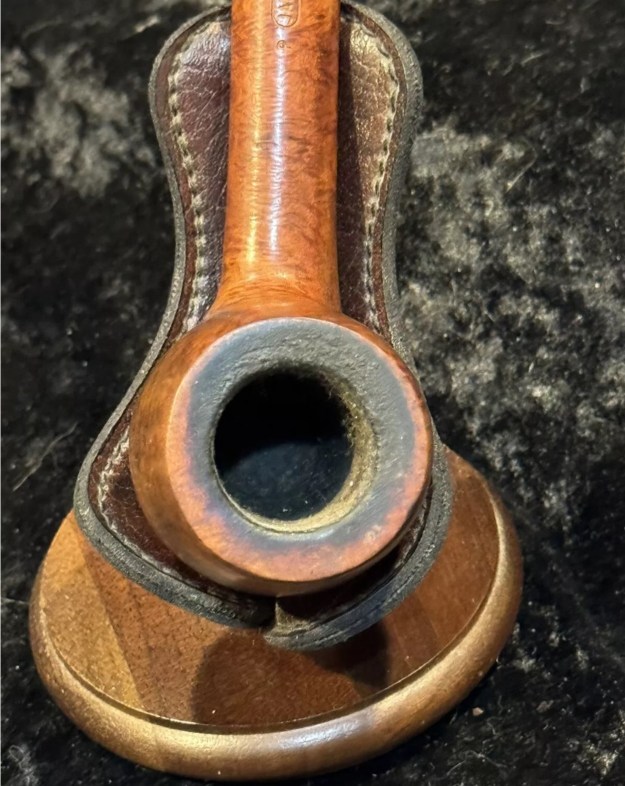
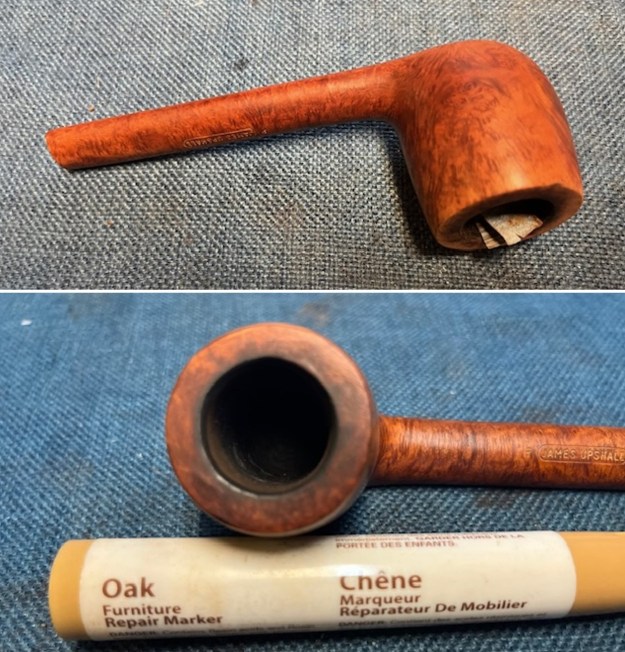
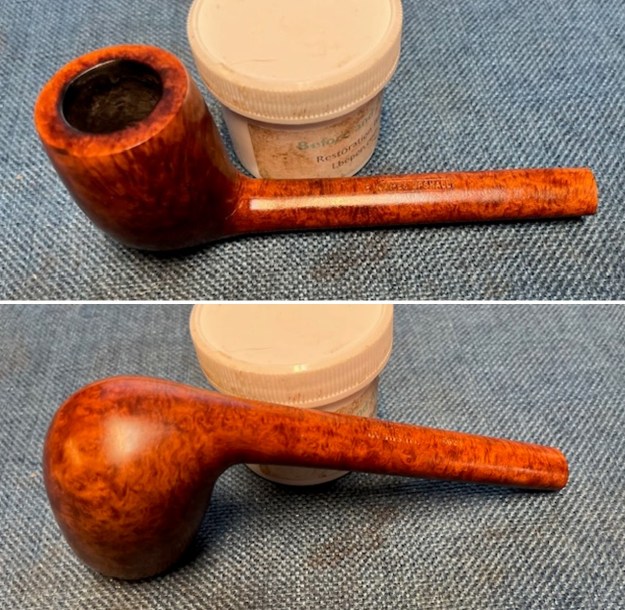
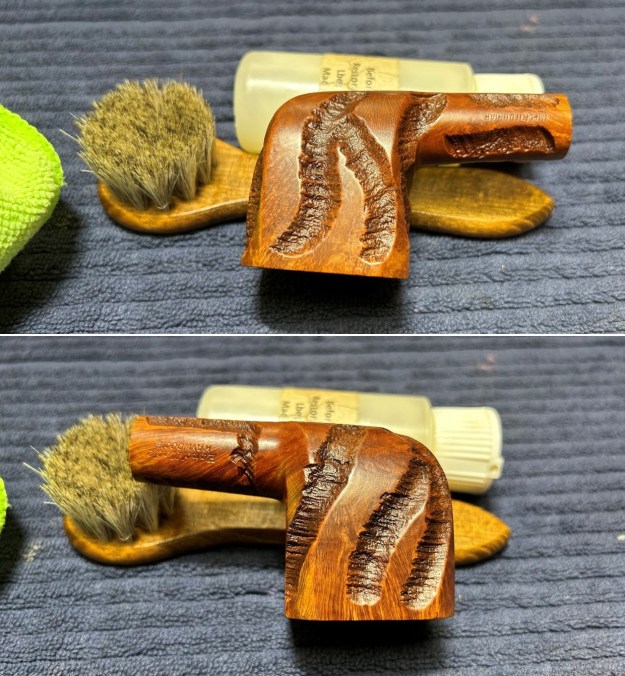
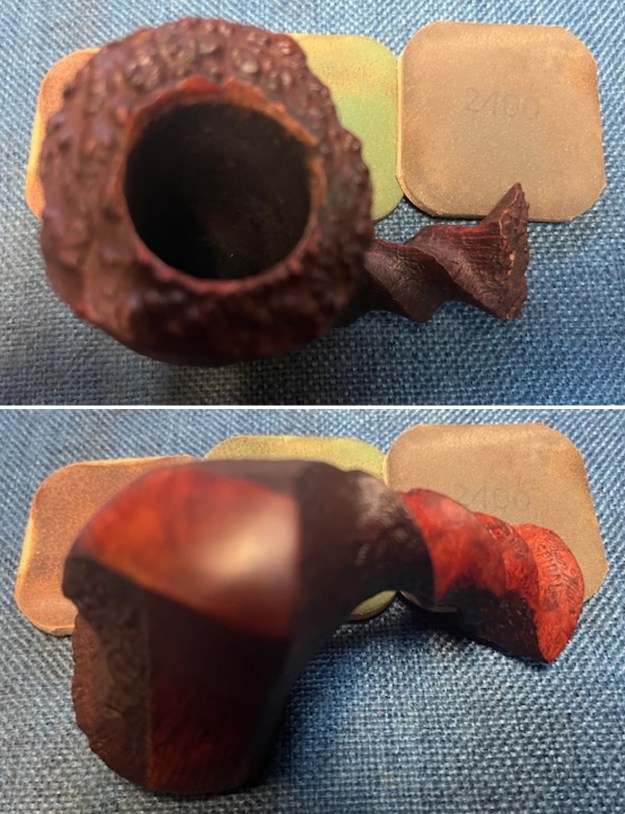
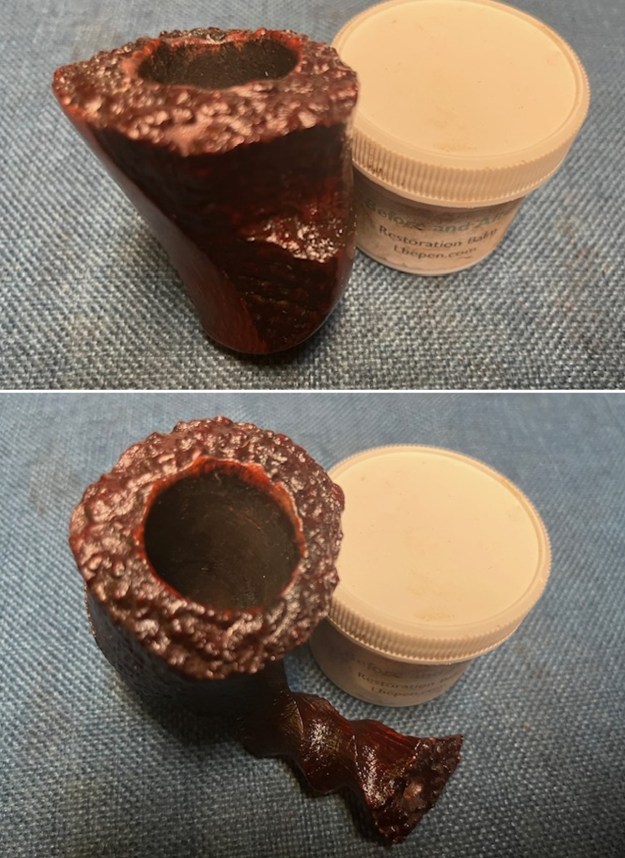
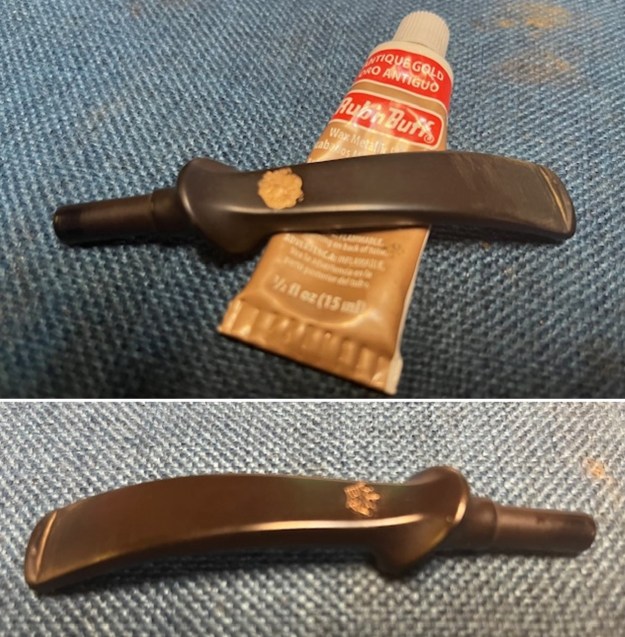
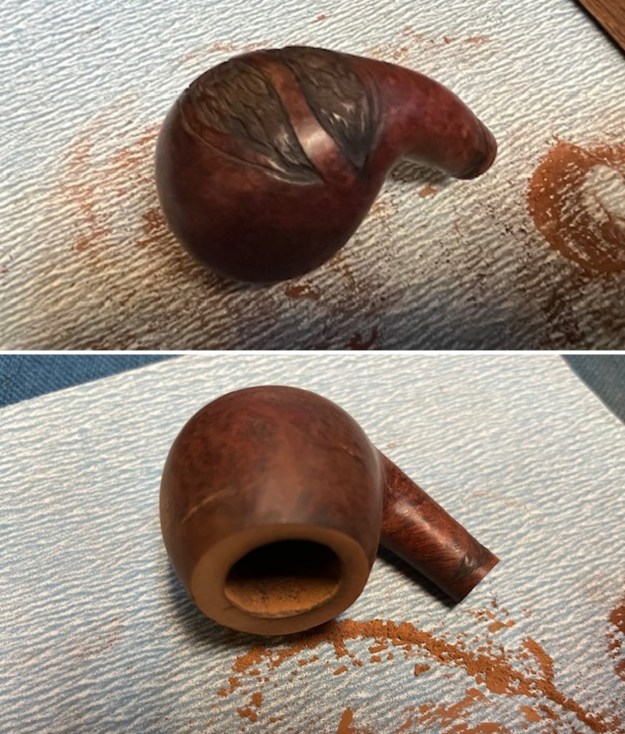
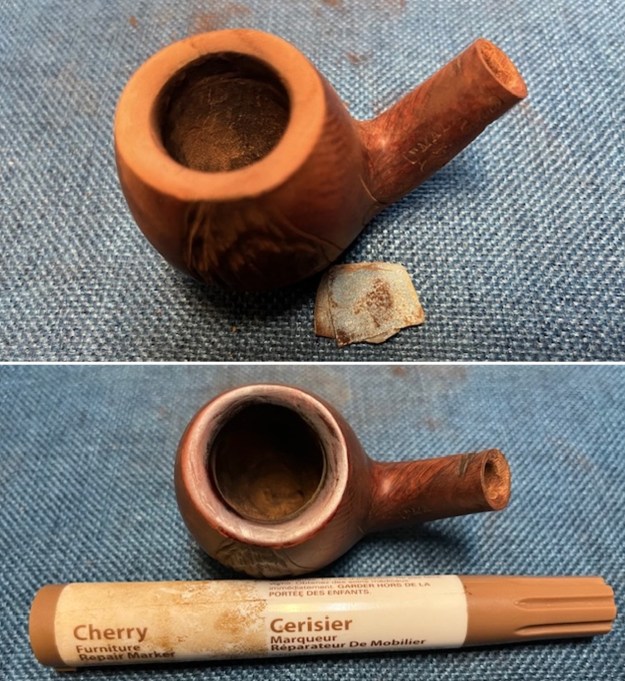
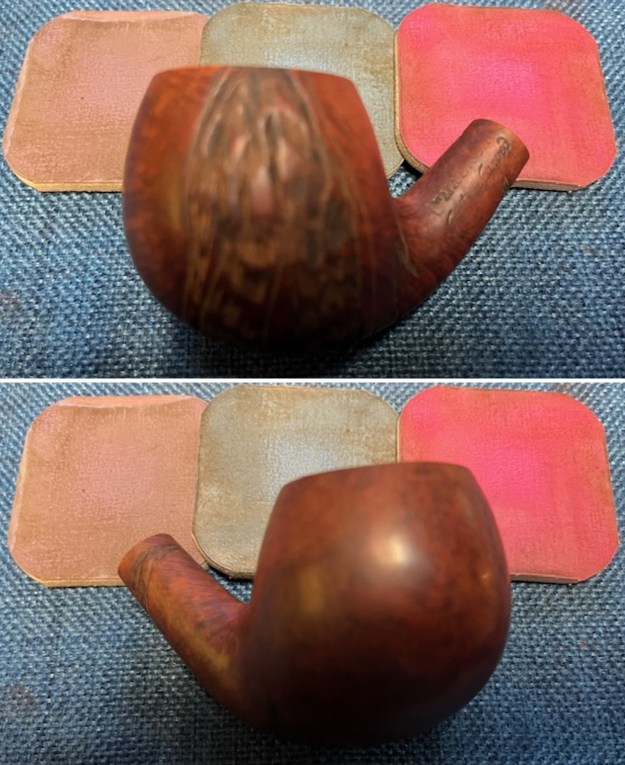
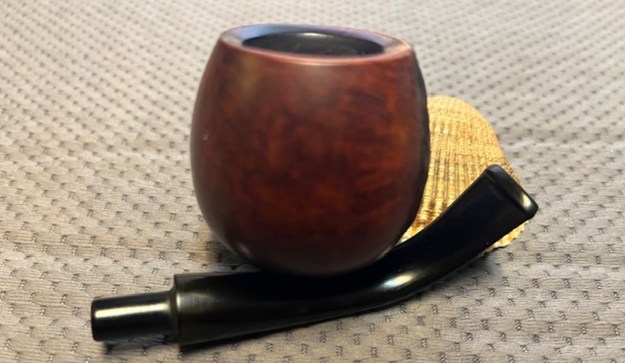
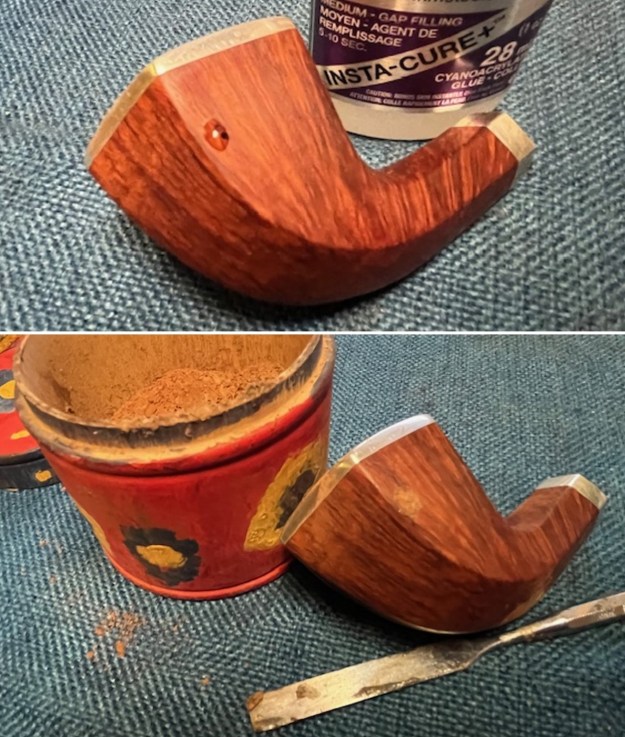
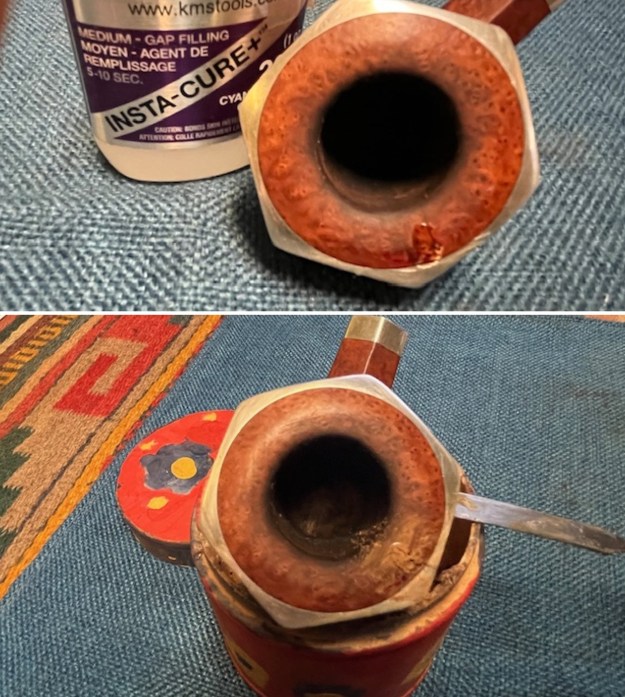
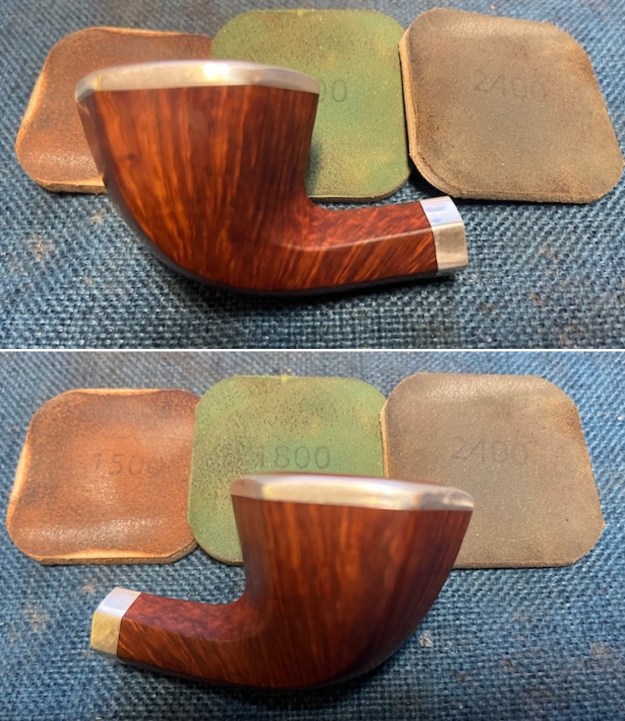
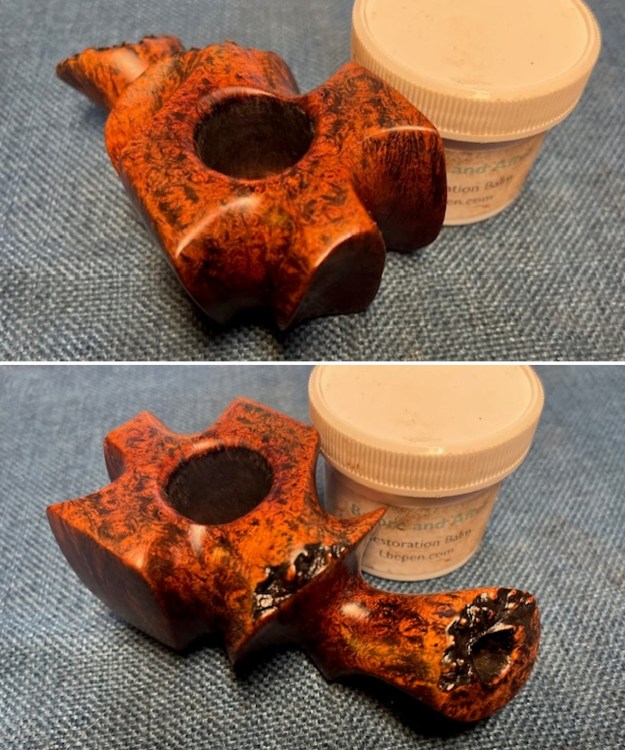
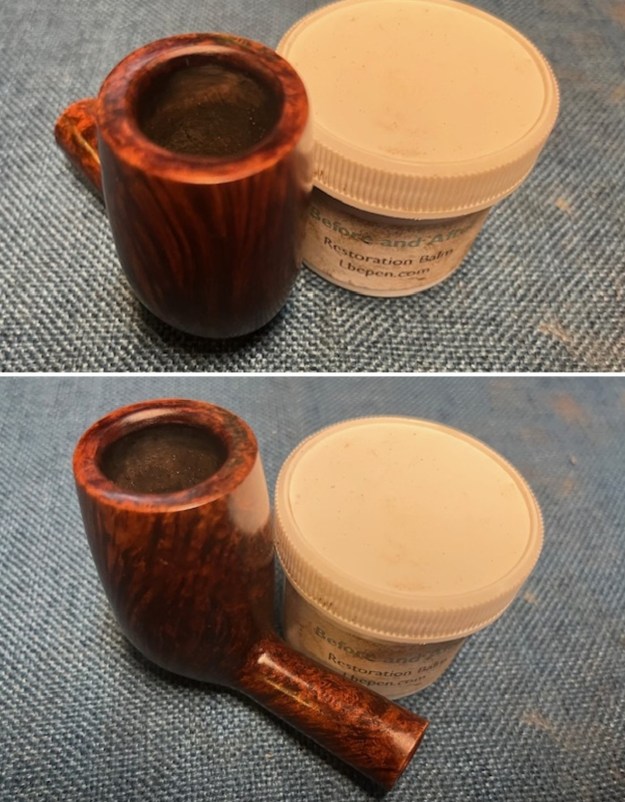
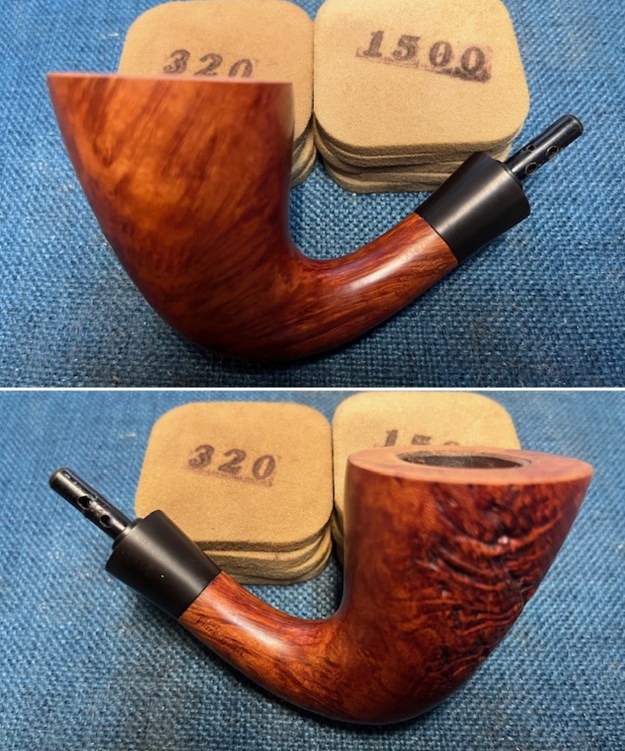
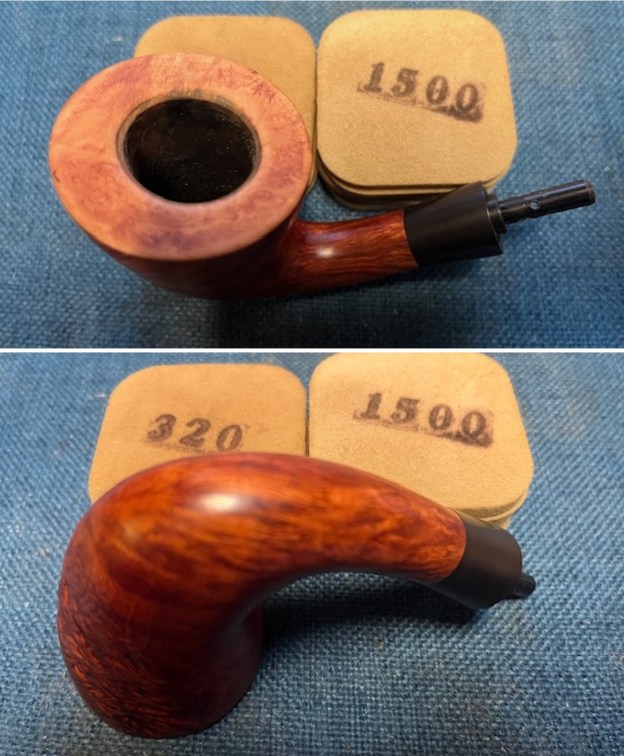
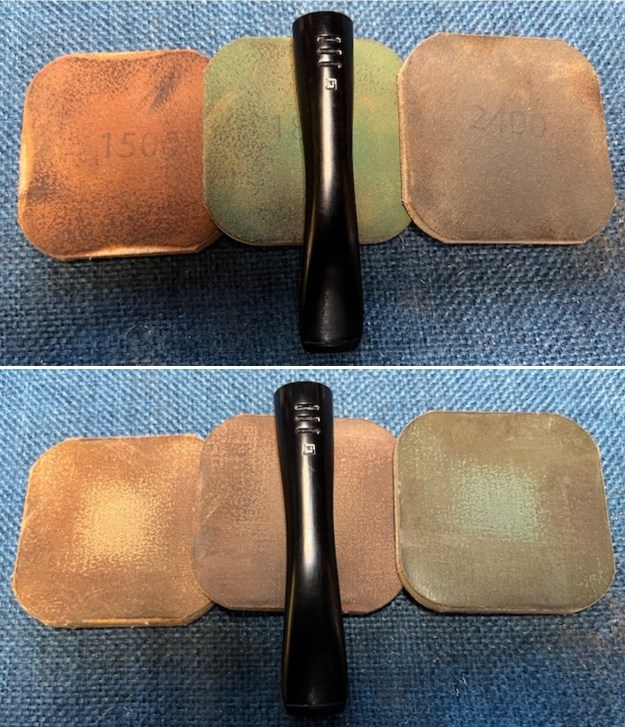
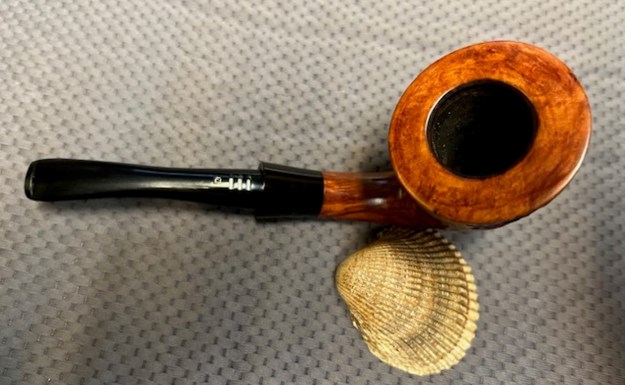
 I cleaned up the debris in the rim top with a worn 1500 grit micromesh sanding pads and was able to remove it all. I touched up the rim top and edges with a Black Sharpie Pen. Once it was finished it looked very good.
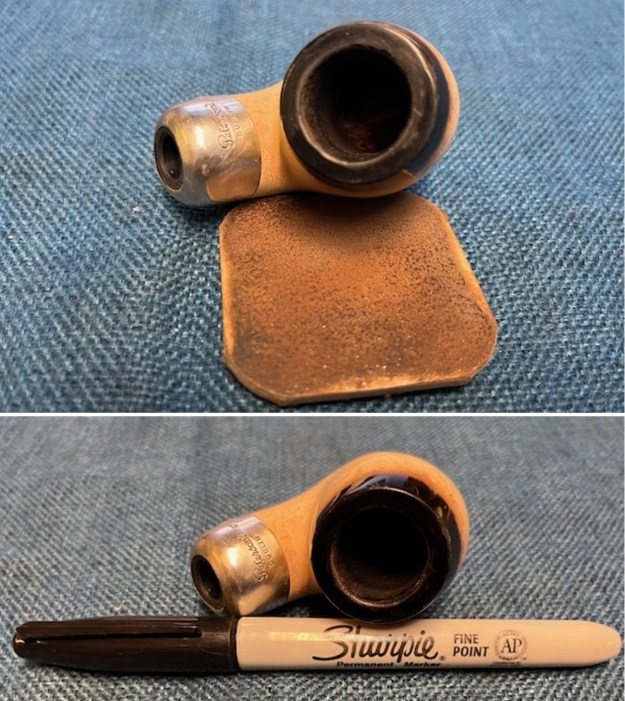 I rubbed the meerschaum down with Clapham’s Beeswax/Carnauba mix. I worked it into the surface of the meerschaum with my fingertips to protect it. I let the wax sit for 15 minutes and then buffed with a cotton cloth to raise the shine.
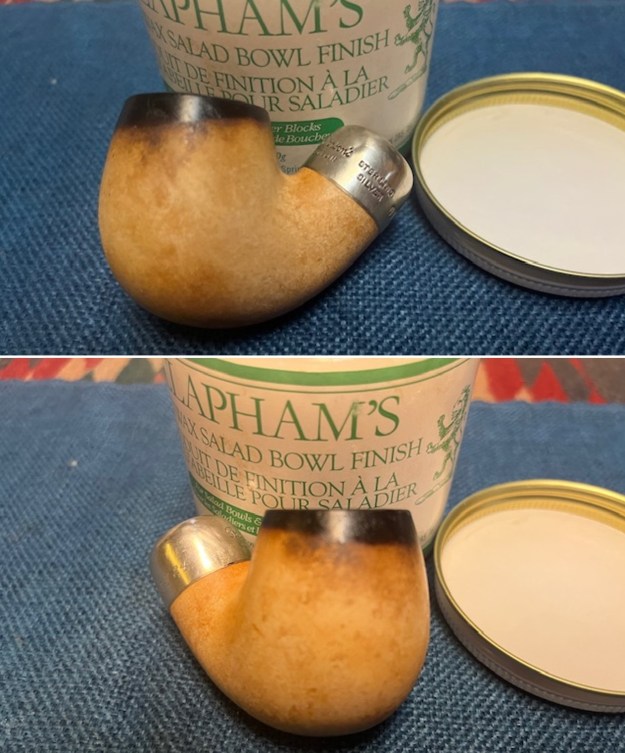
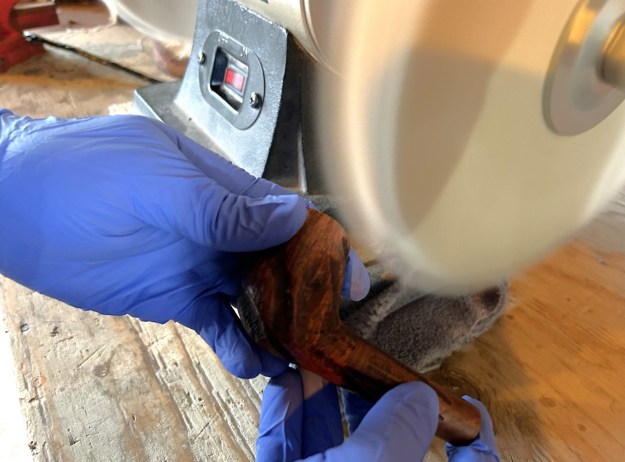
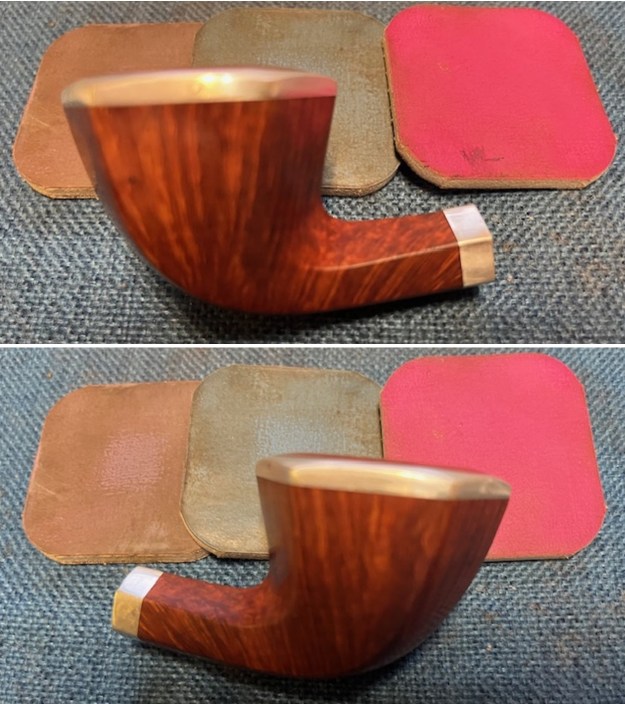
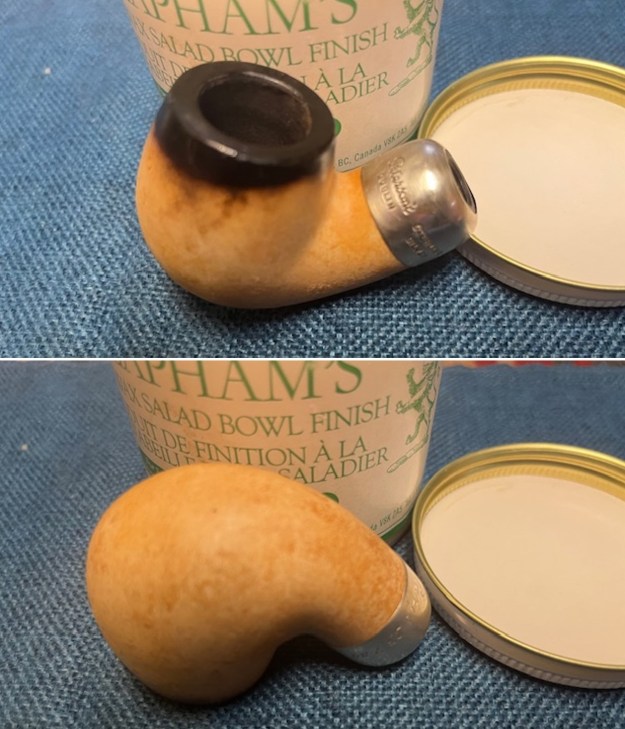 Once the wax had dried on the meer I buffed the bowl on my wheel with a clean buffing pad. It raised the shine and the surface really glowed.
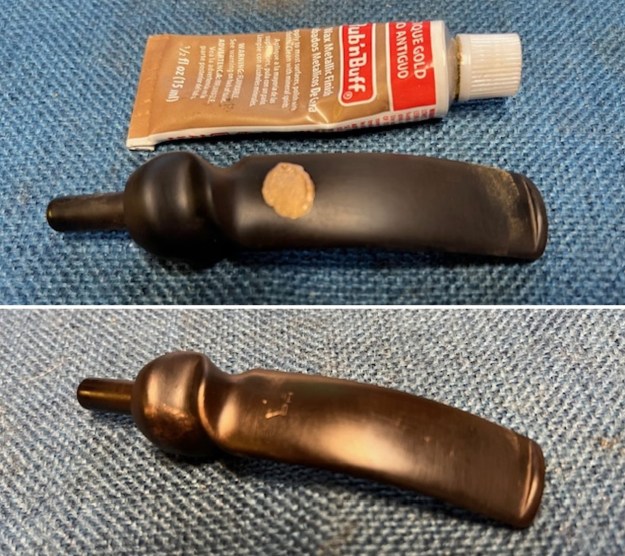
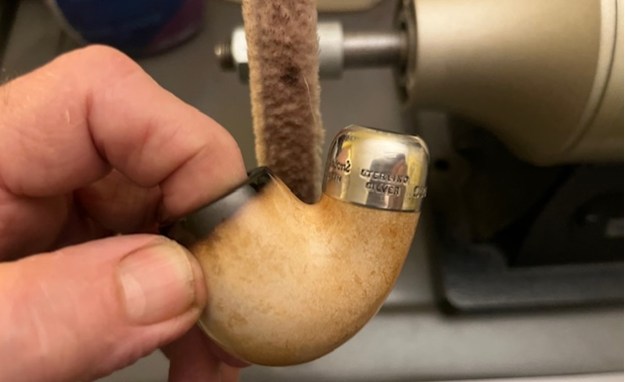 I polished the Sterling Silver ferrule with a jeweller’s cloth to raise the shine and slow down the process of oxidation. The ferrule really looks good.
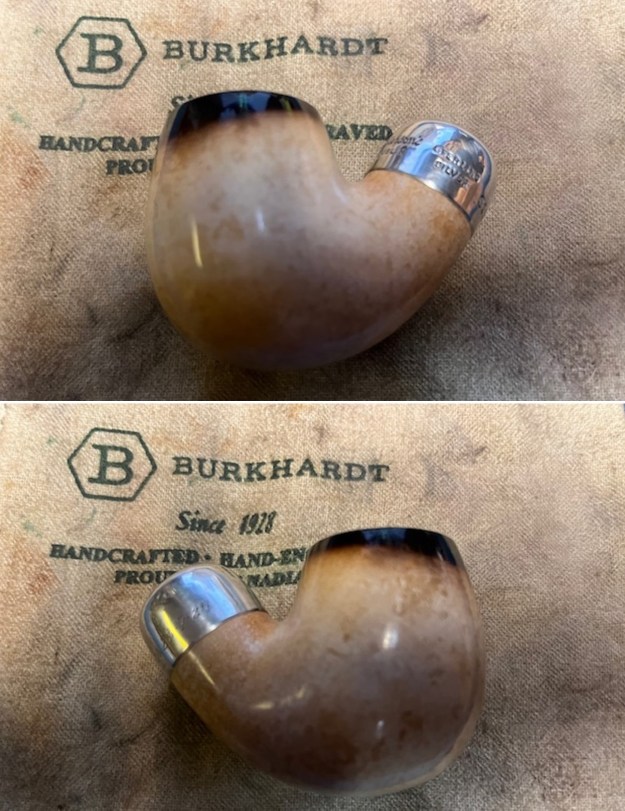
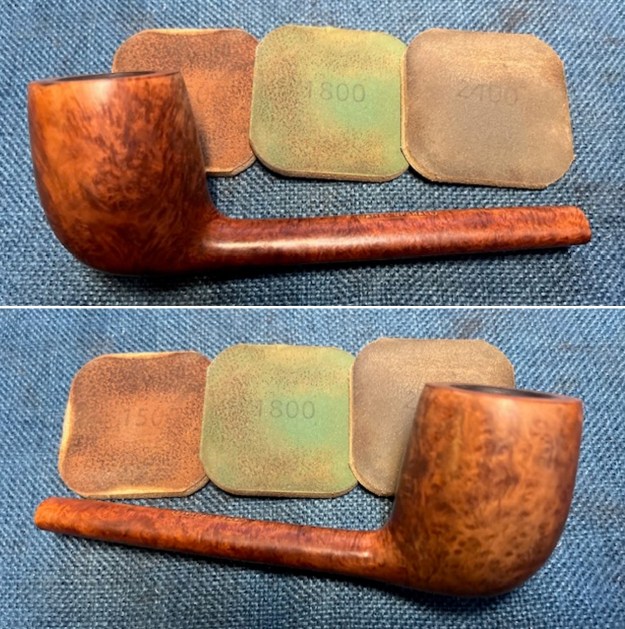
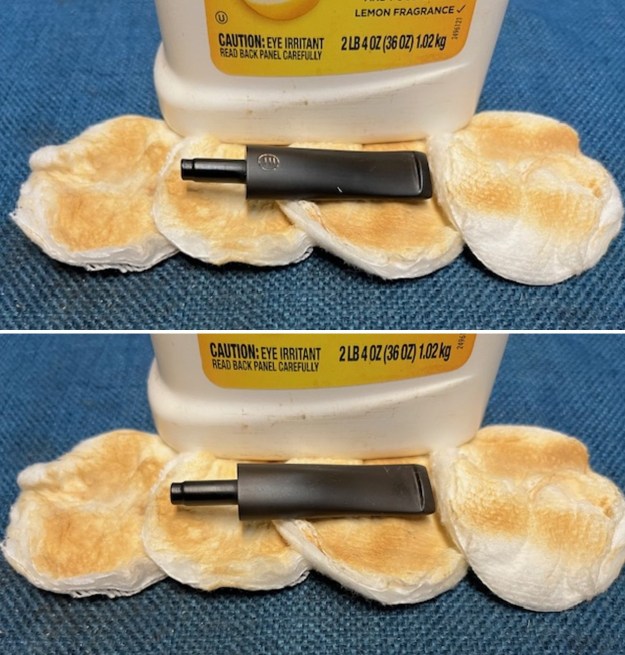
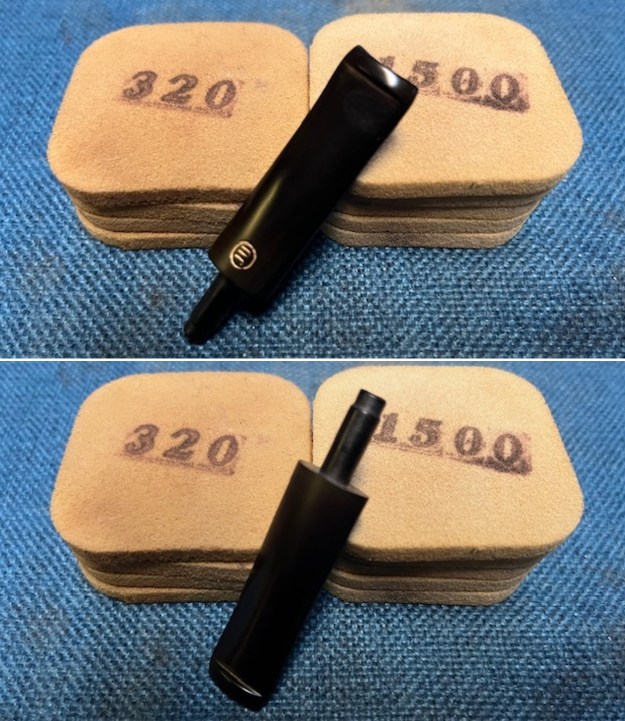
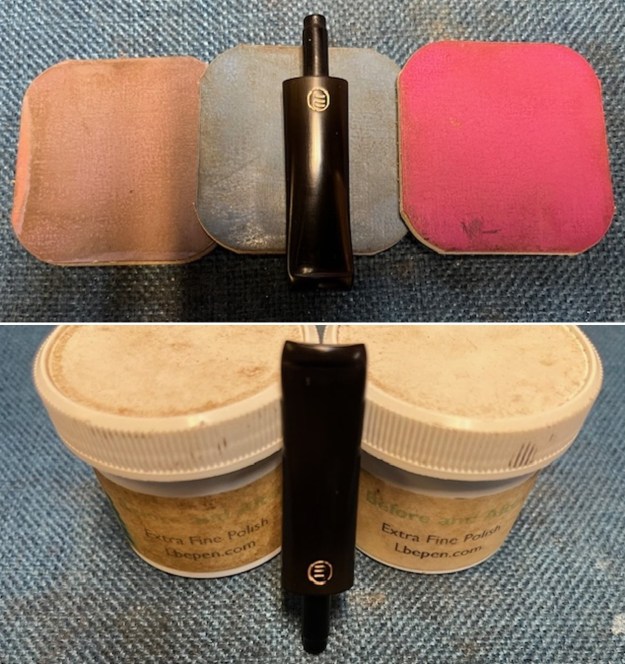
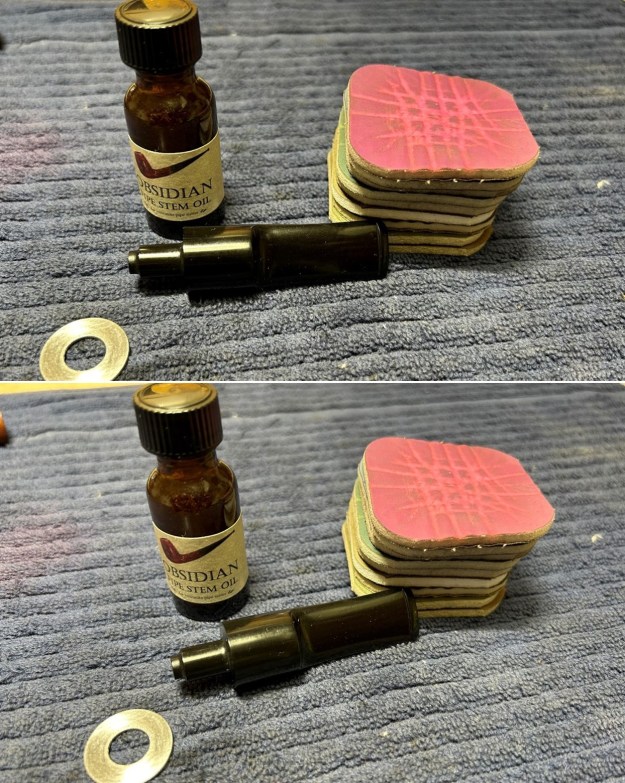
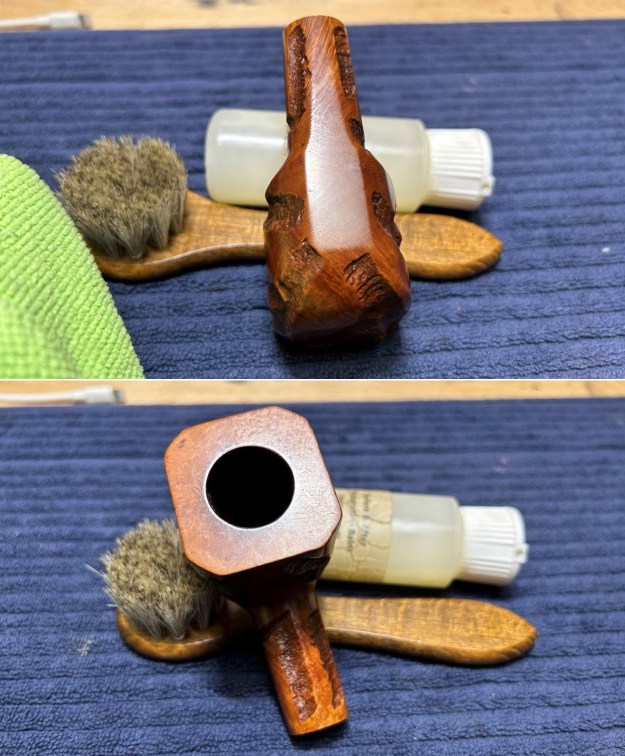
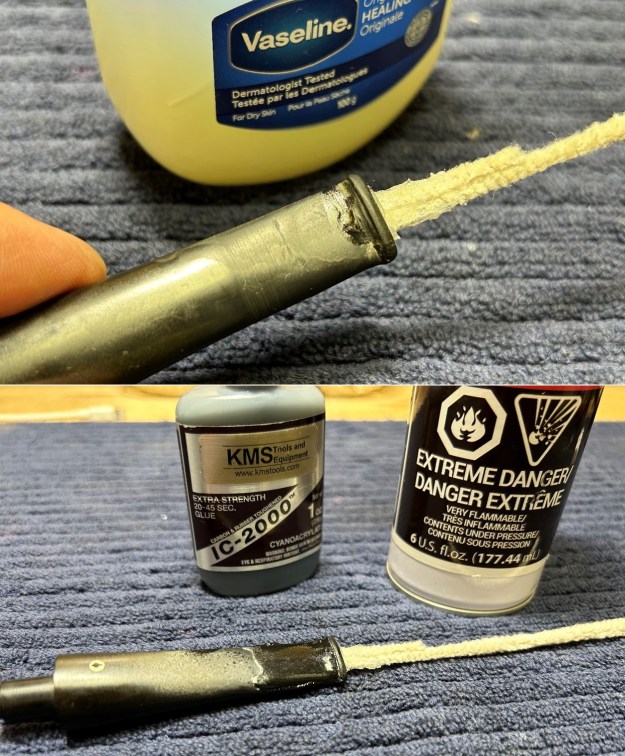
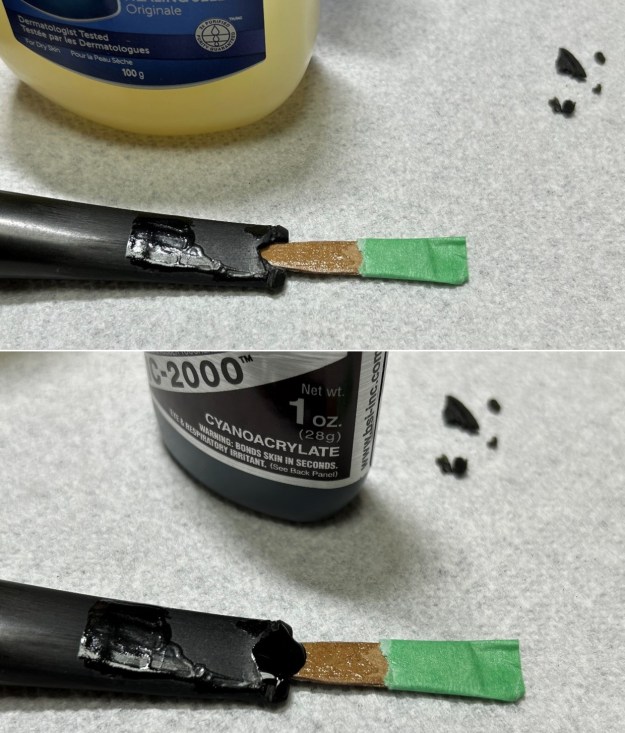
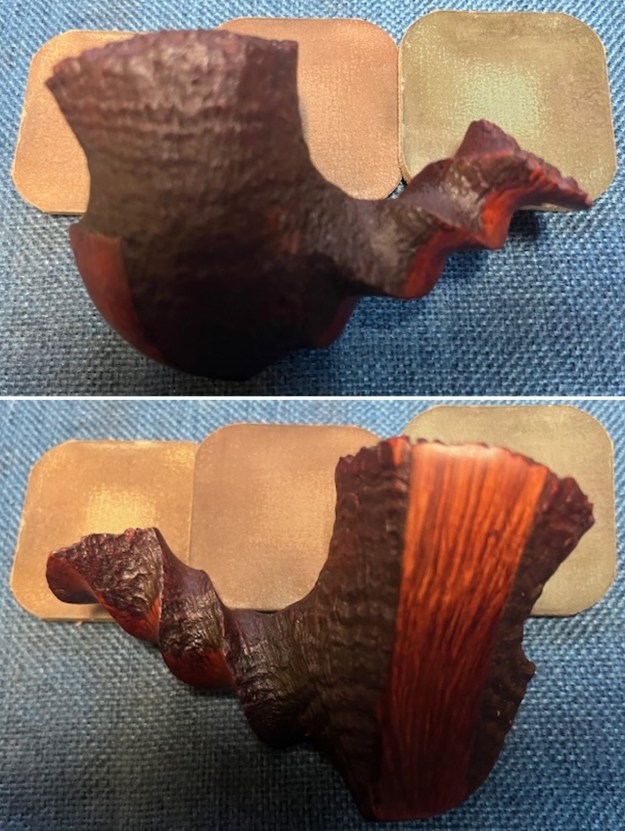
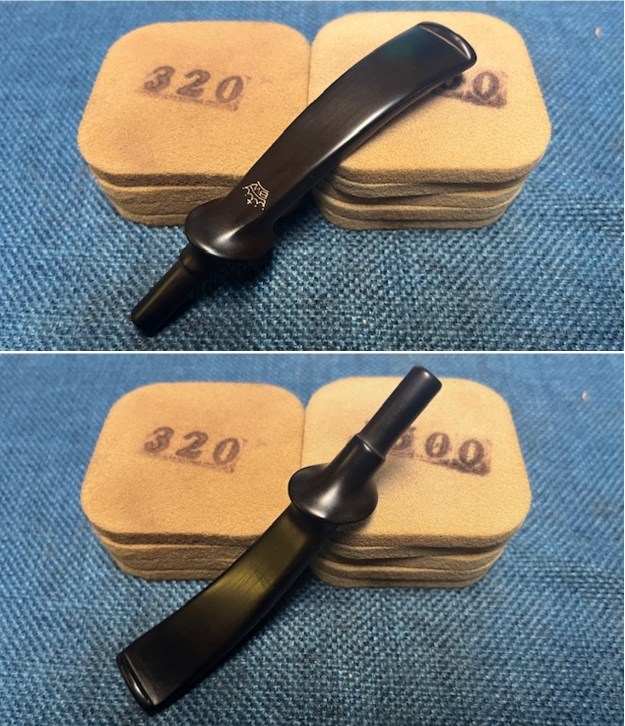
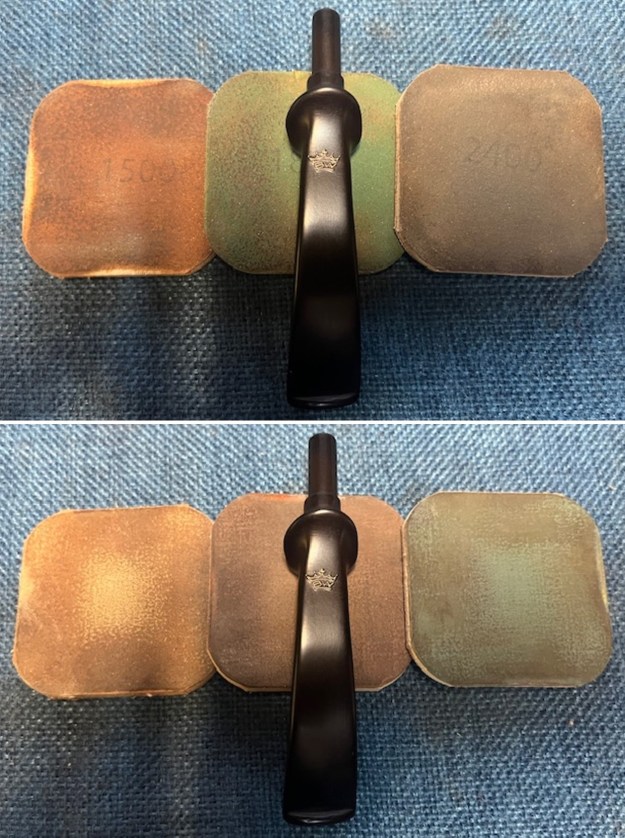
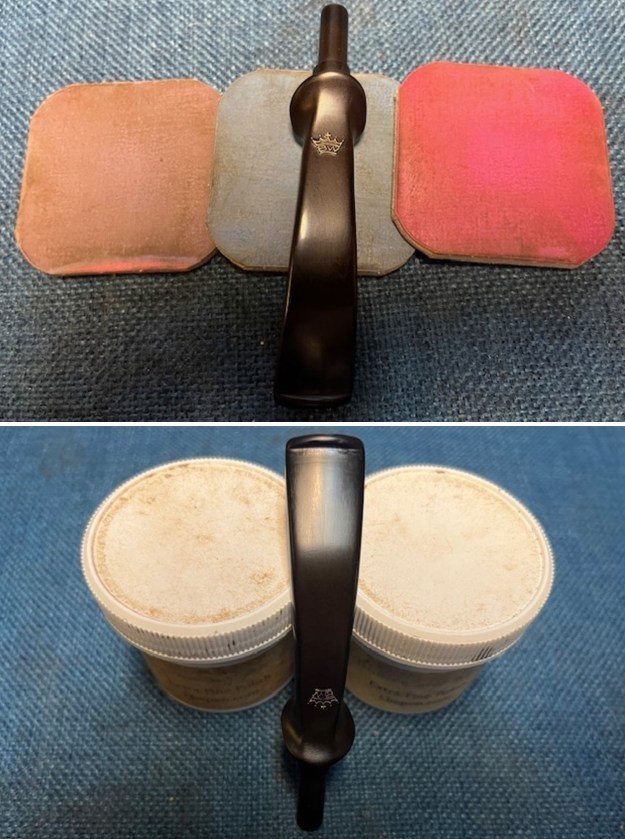
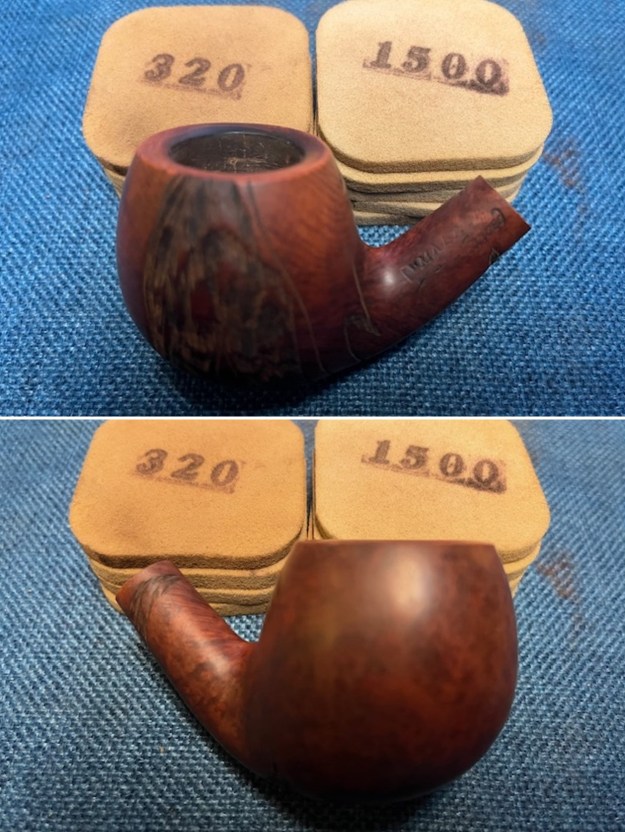
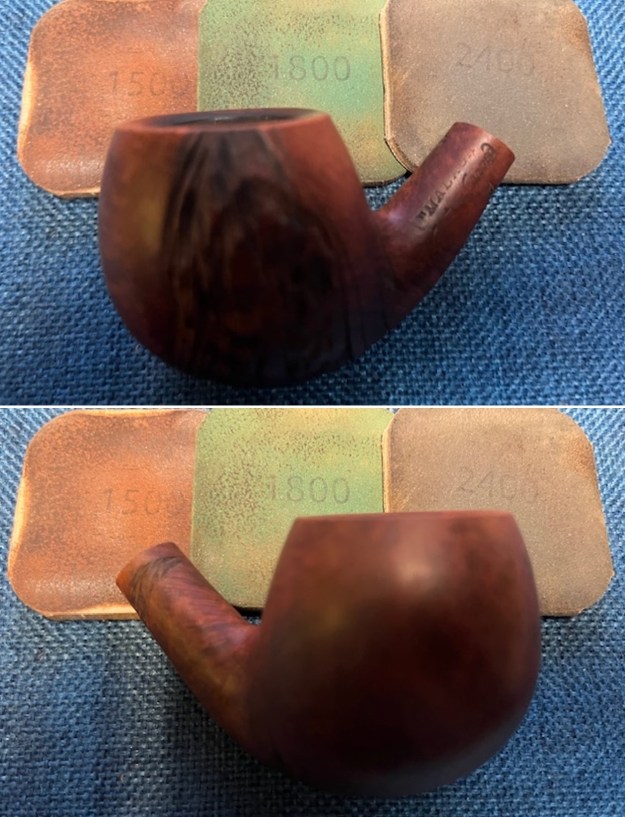
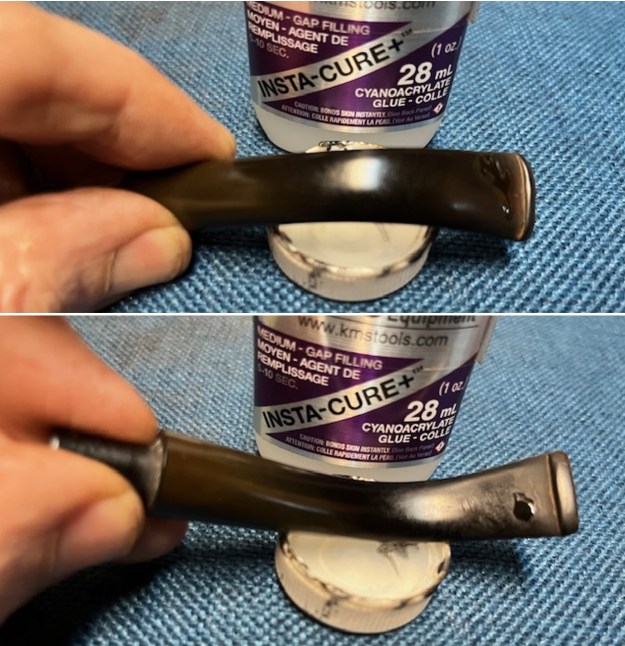
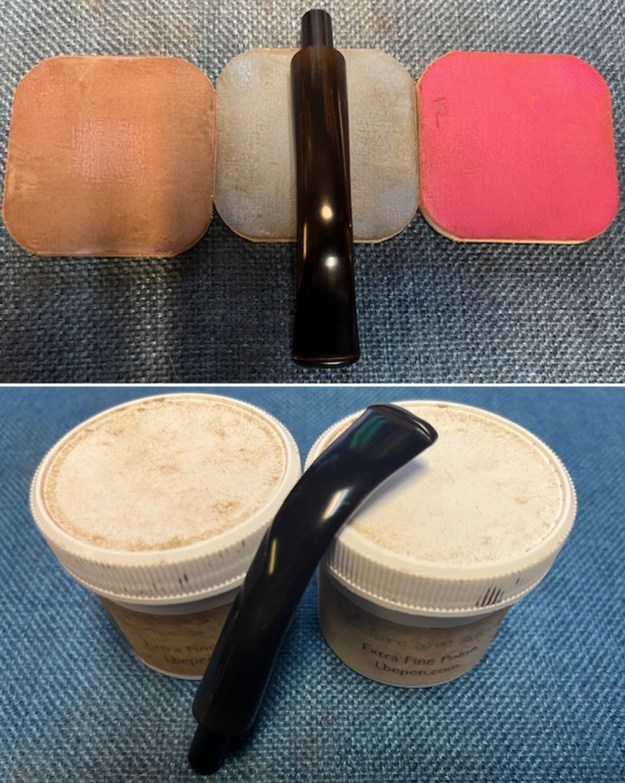
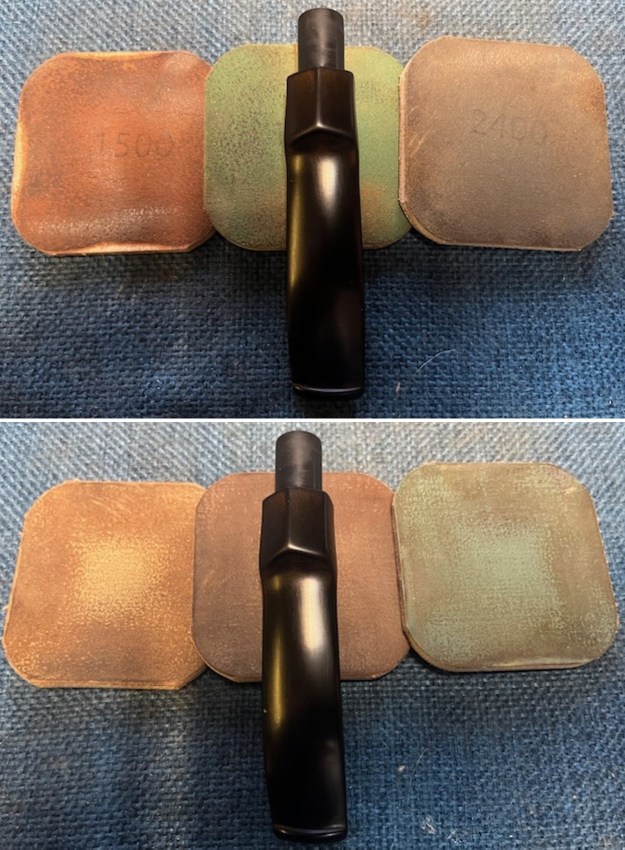
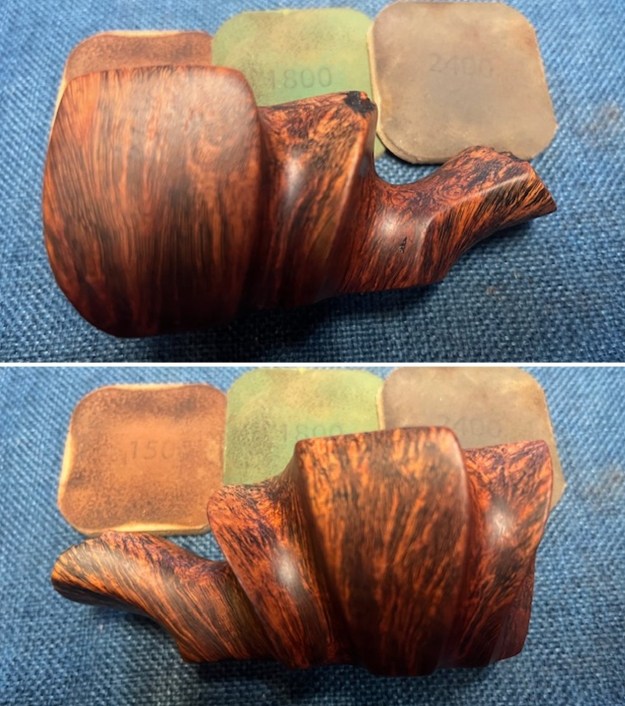
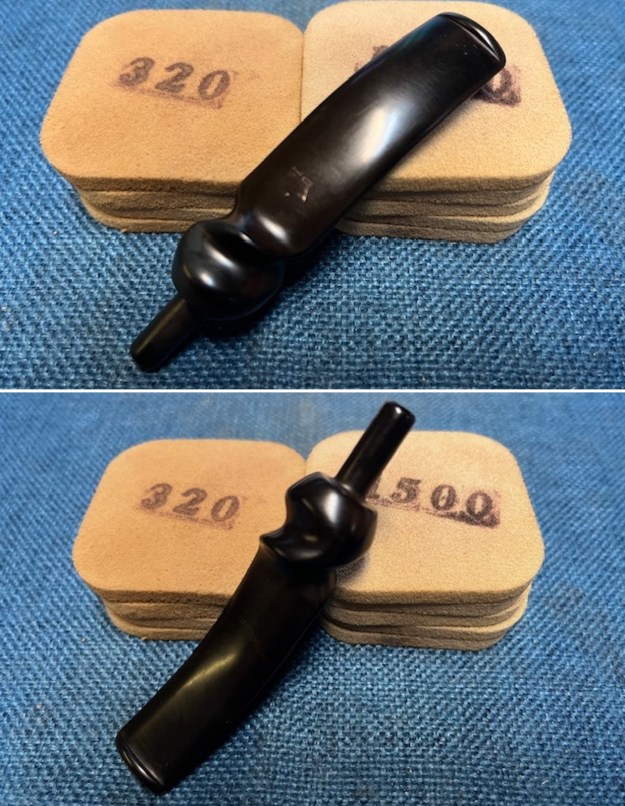
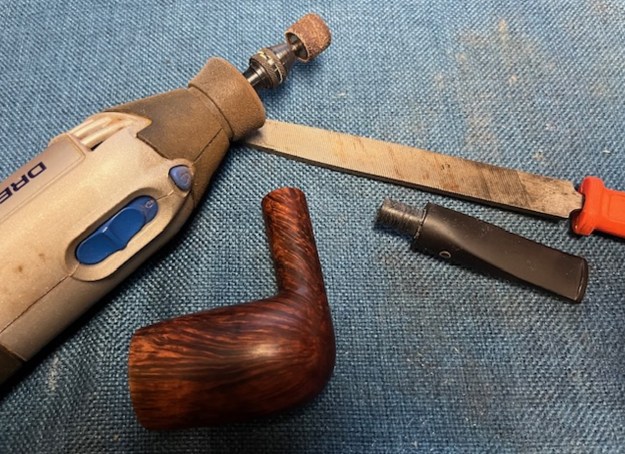
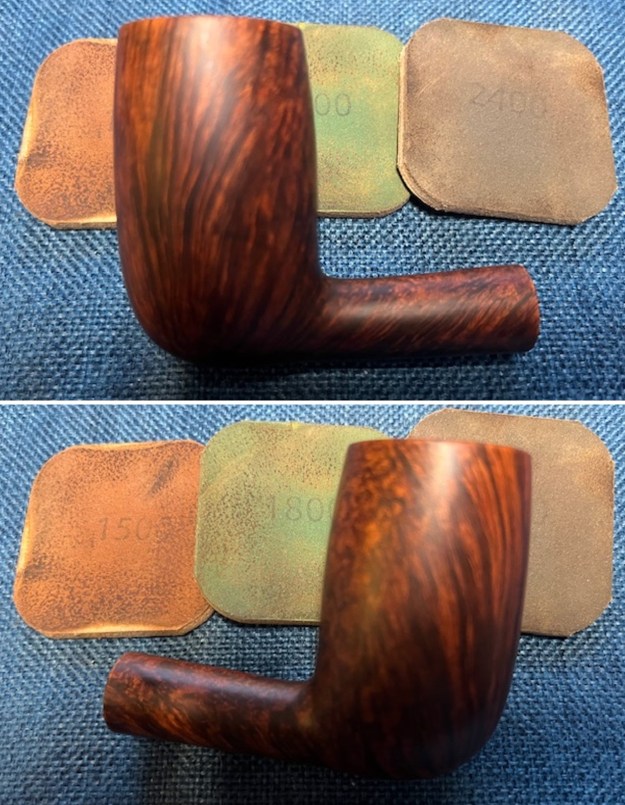
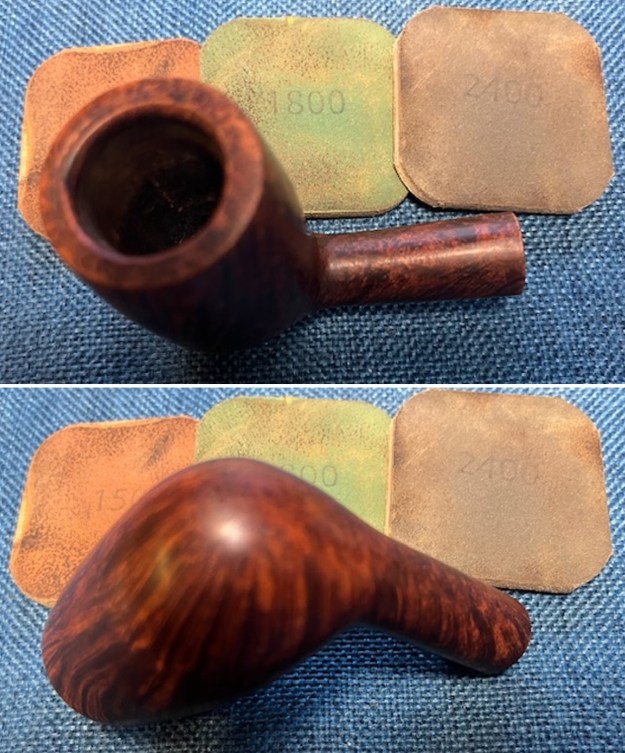
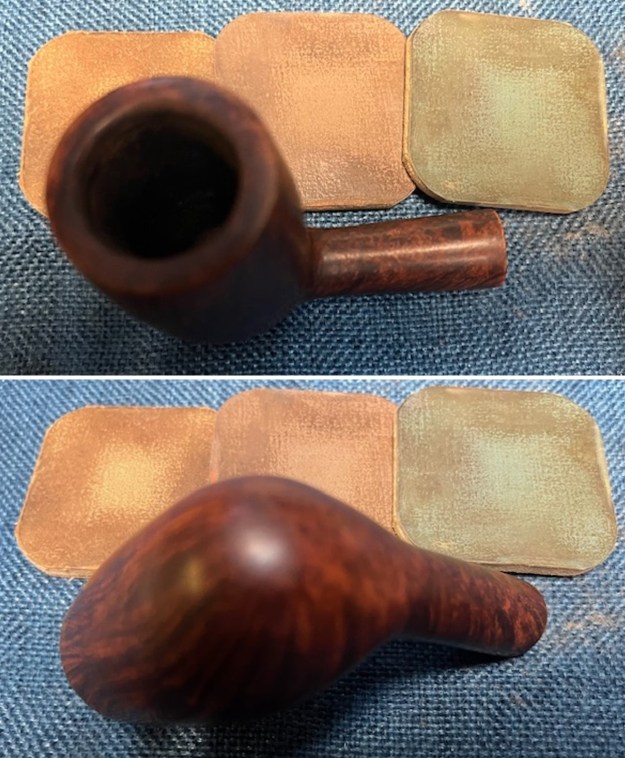
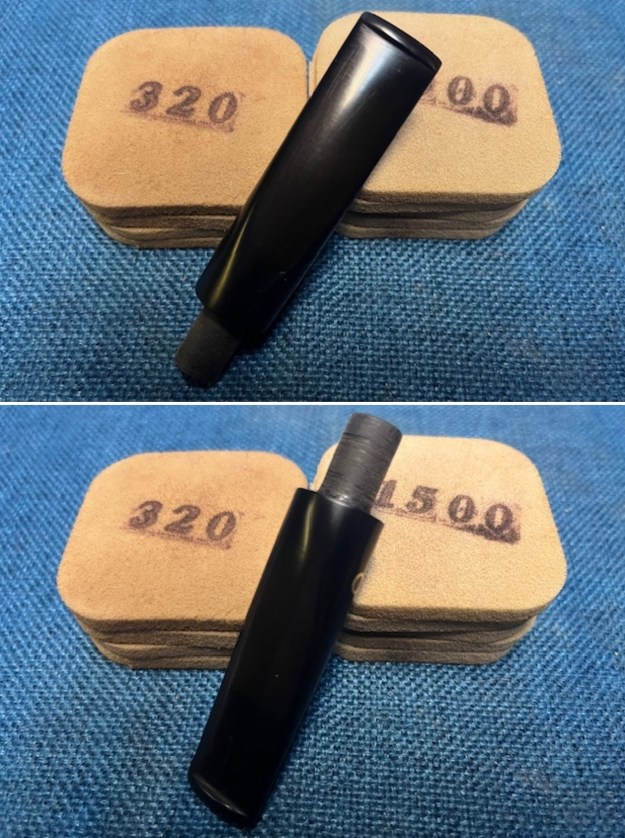
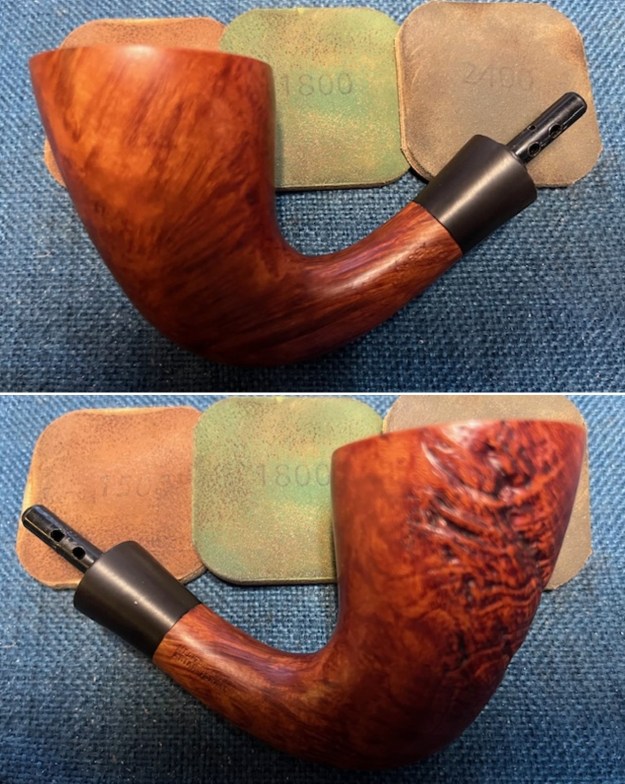
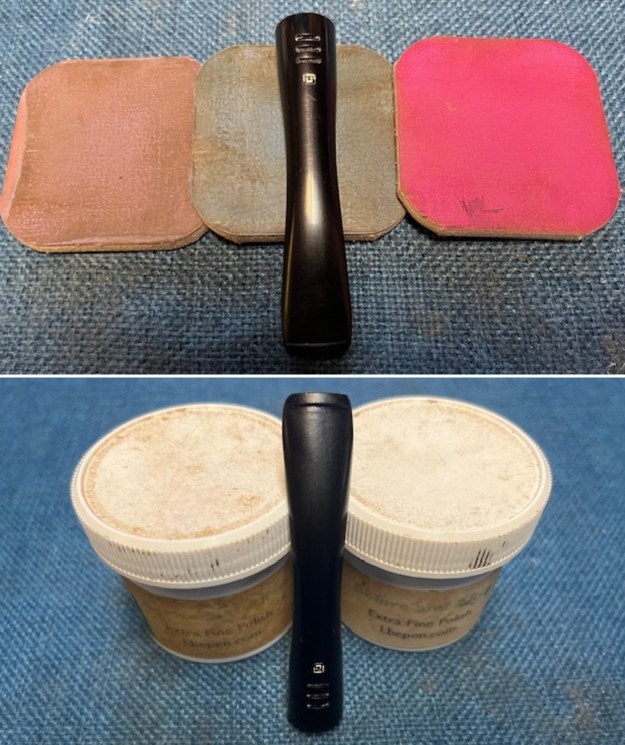
 I set the bowl aside and turned to work on the stem. I sanded out the chatter and tooth marks with 320-3500 grit sanding pads. I wiped it down after each pad with an Obsidian Oil impregnated cloth. It really began to take on a shine.
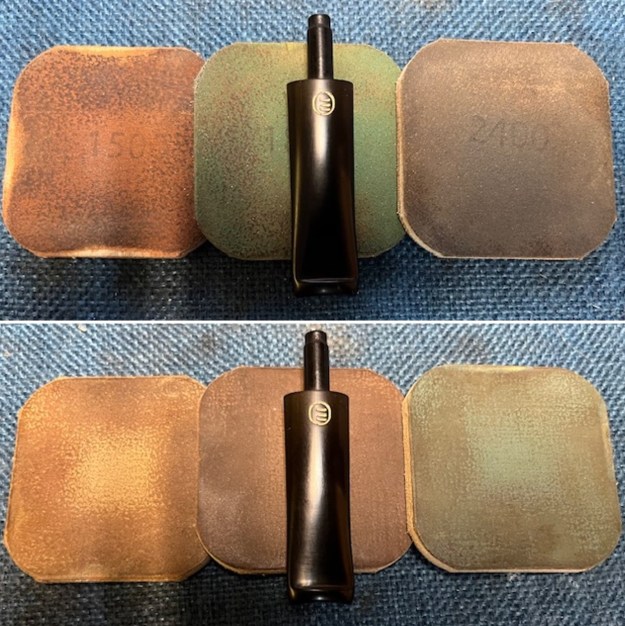
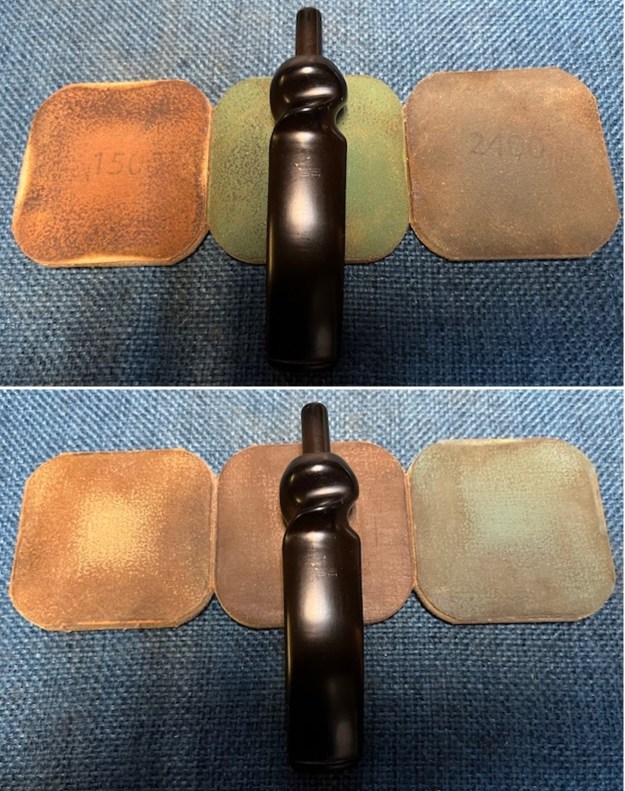
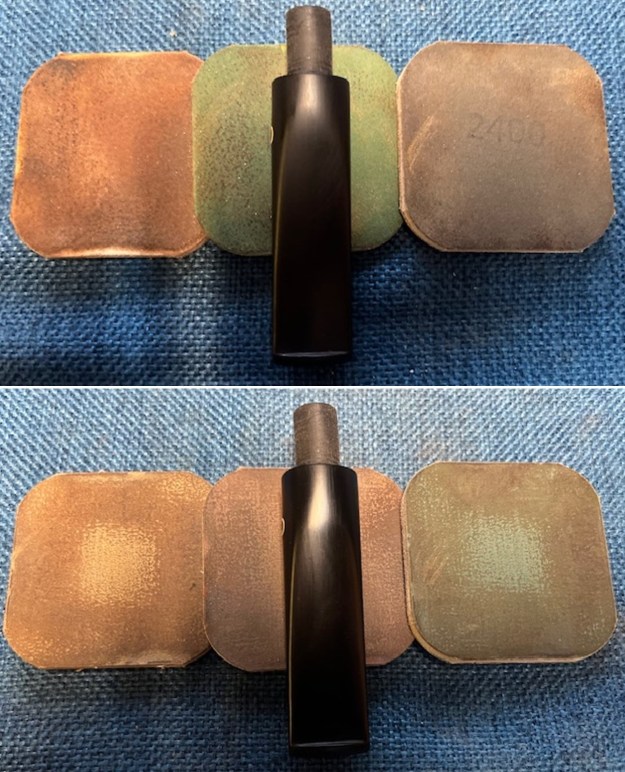
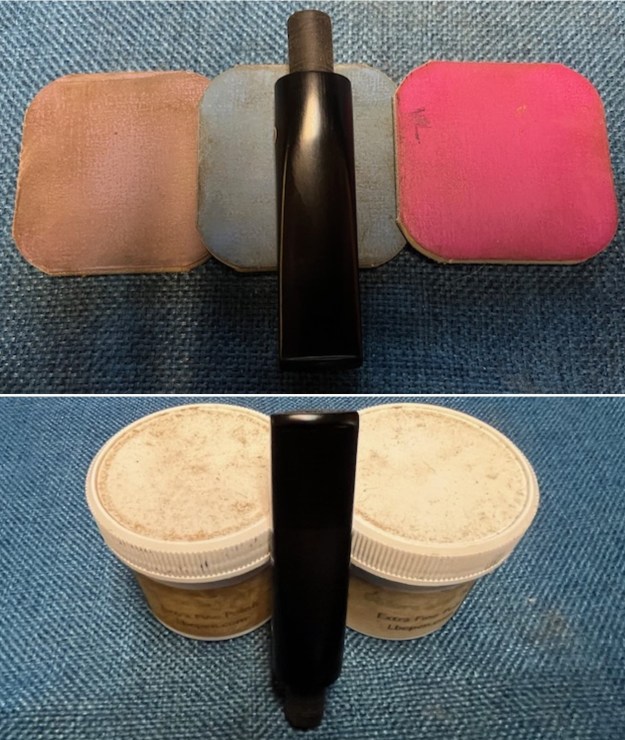
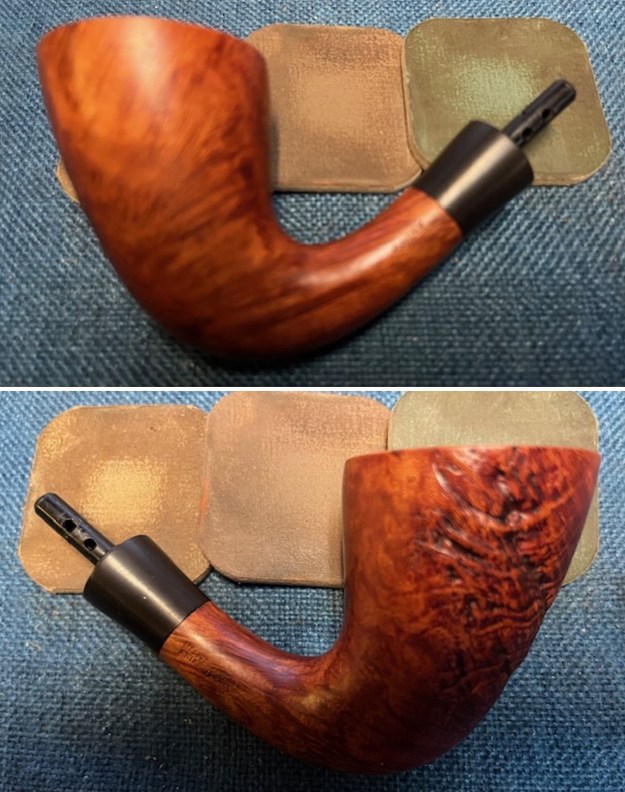
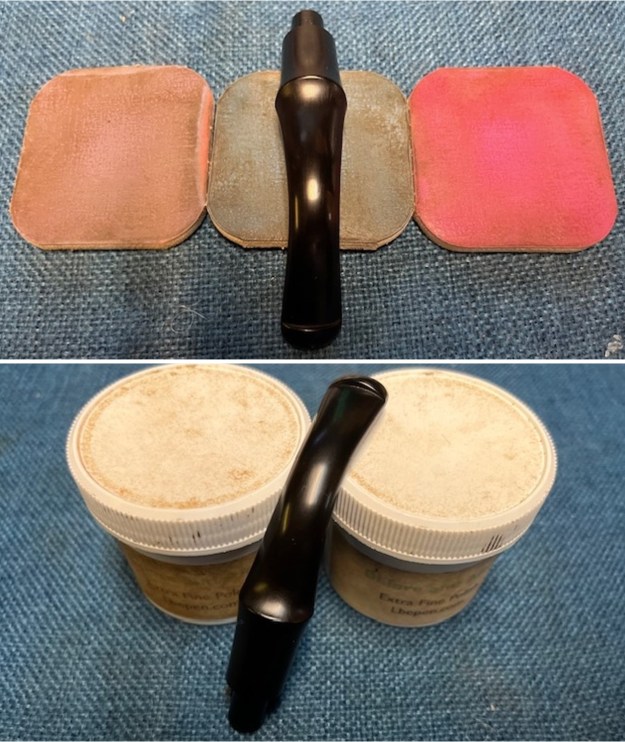
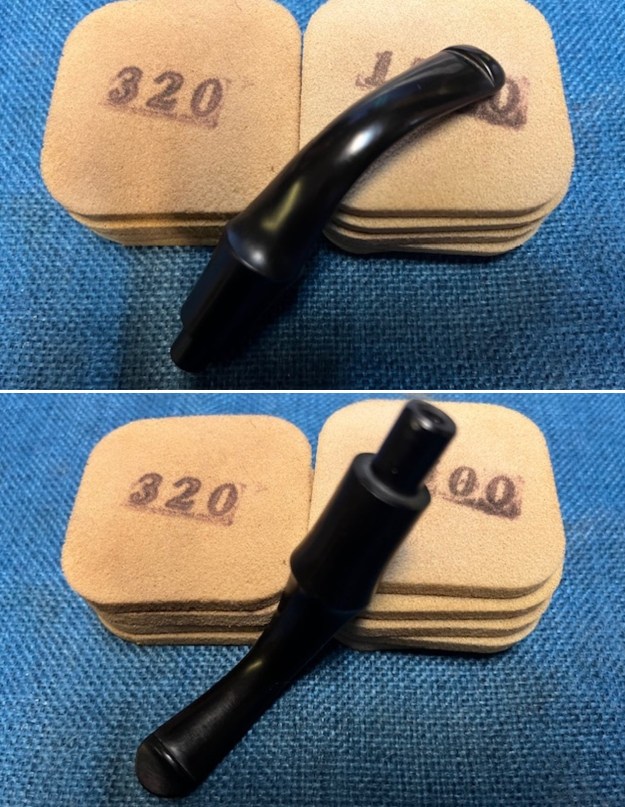 I polished the stem with micromesh sanding pads – wet sanding with 1500-12000 grit sanding pads. I wiped it down after each sanding pad with Obsidian Oil. I polished it with Before & After Pipe Stem Polish – both Fine and Extra Fine.
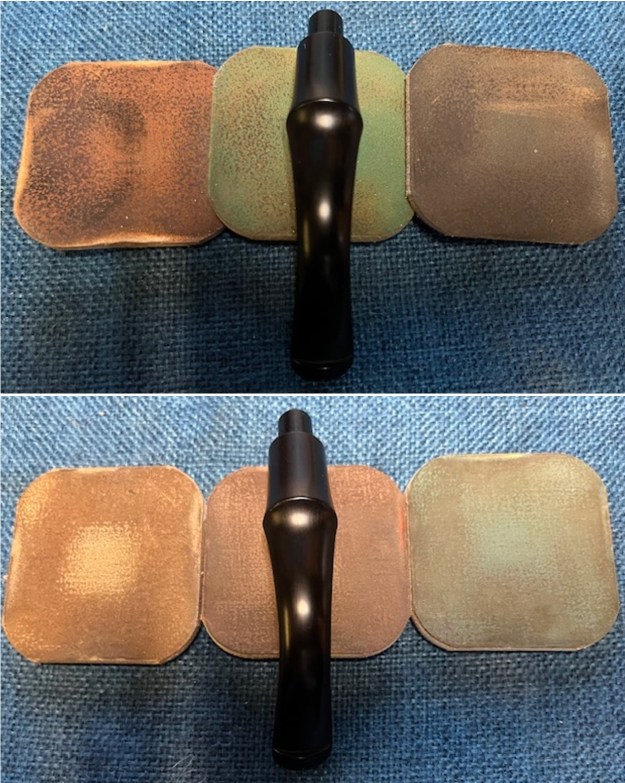
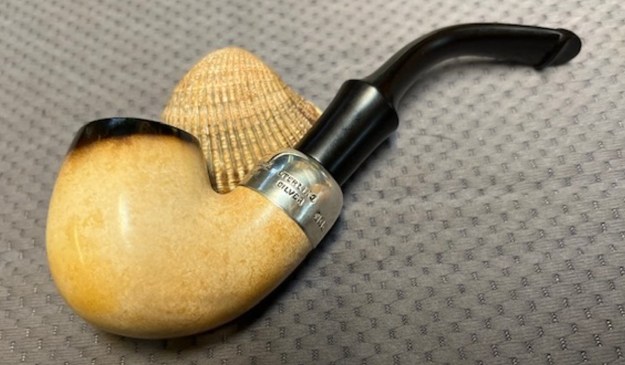
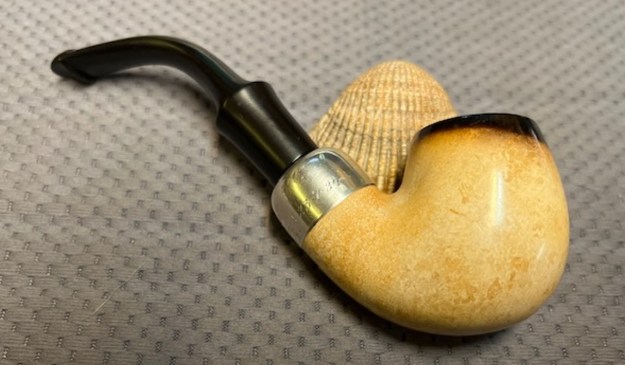
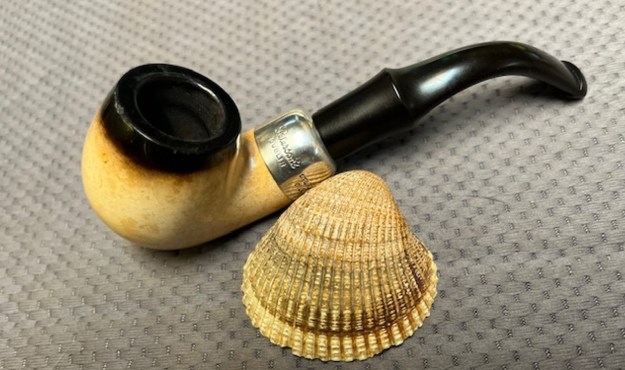
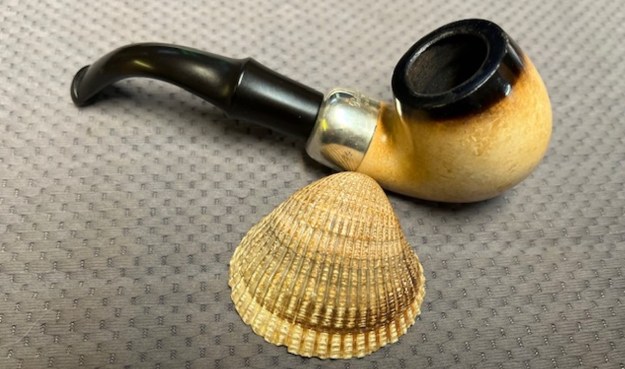
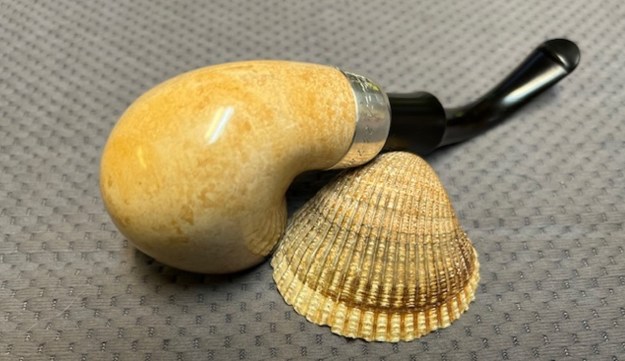
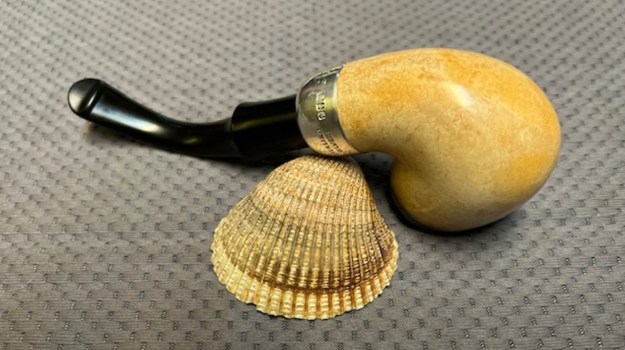
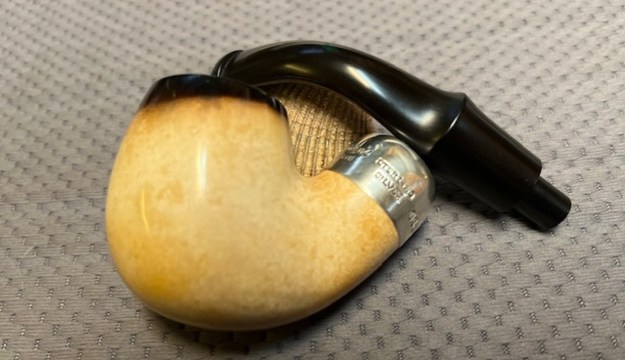
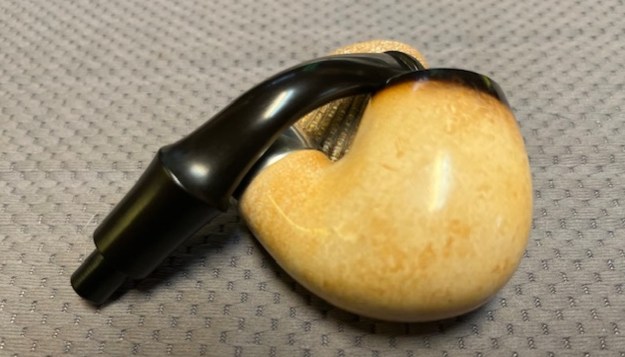
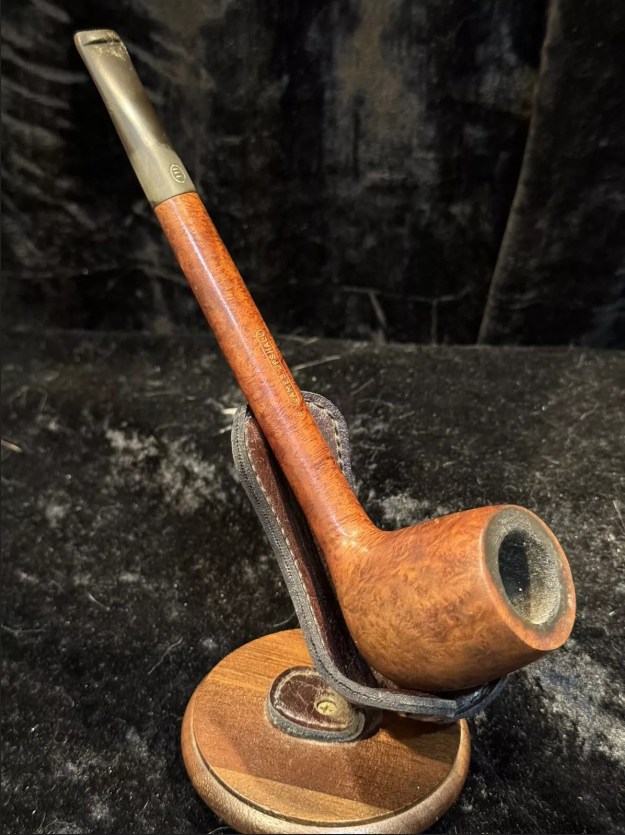
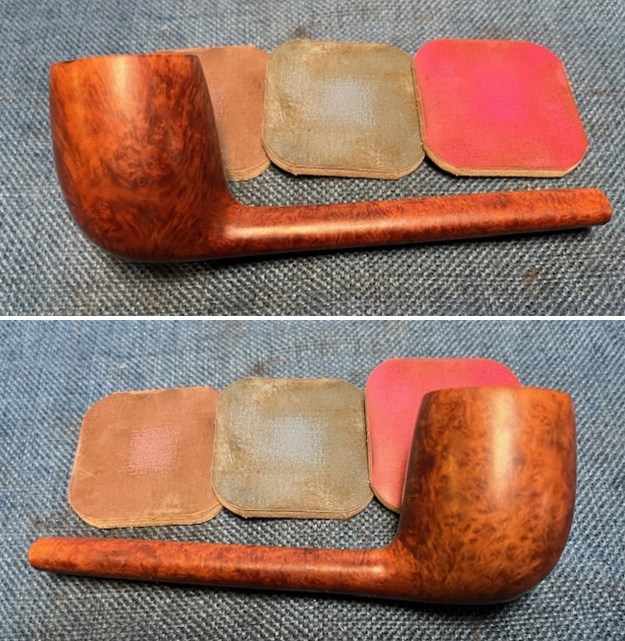
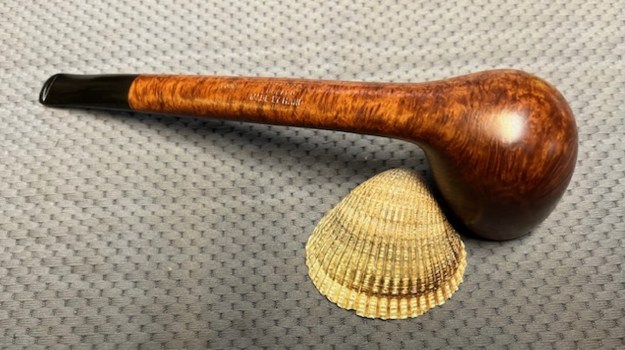
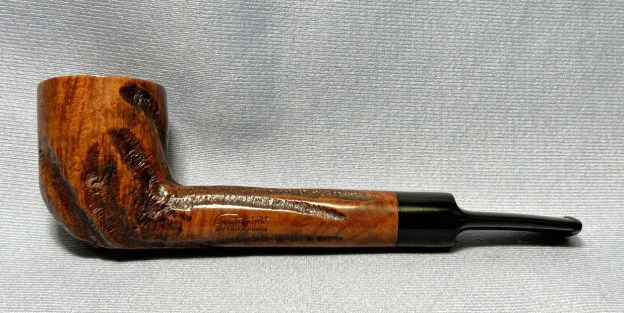
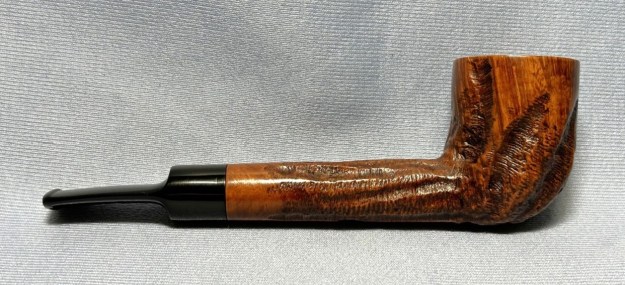
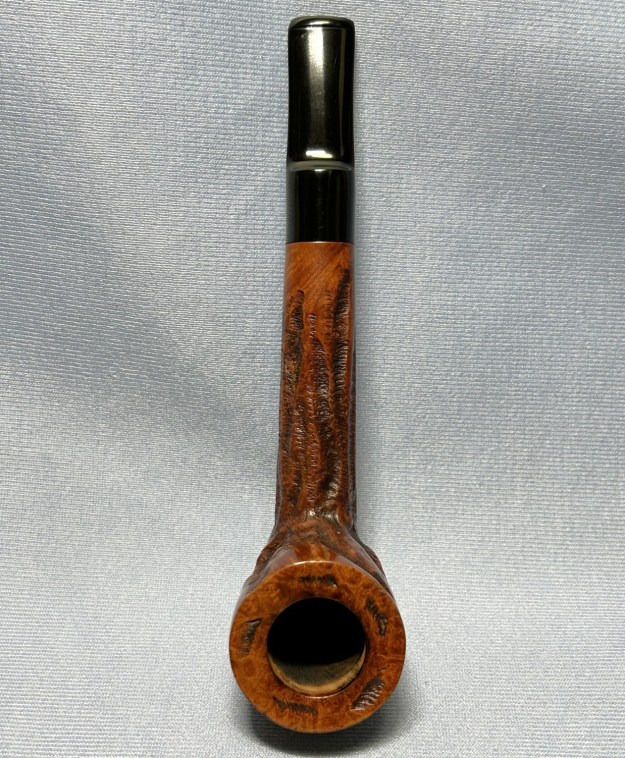
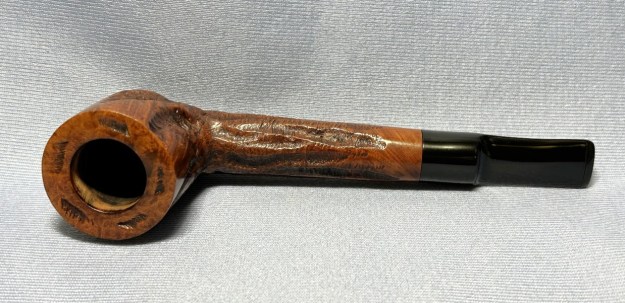
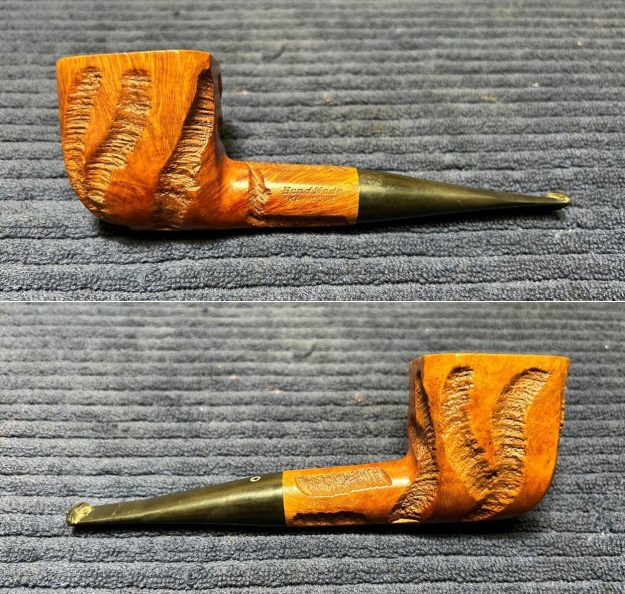
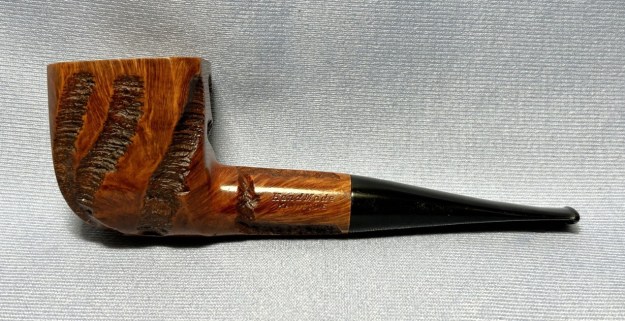
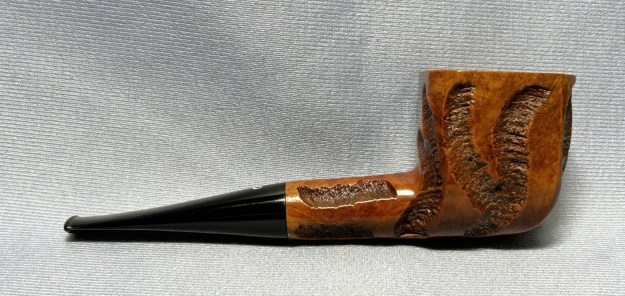
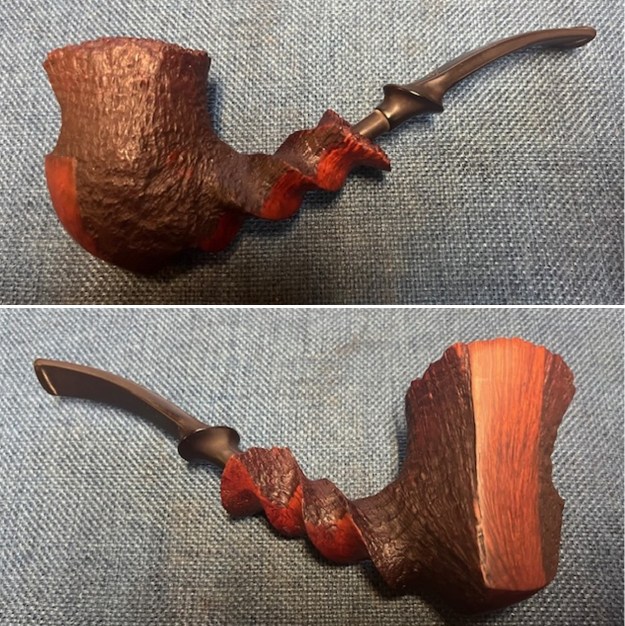
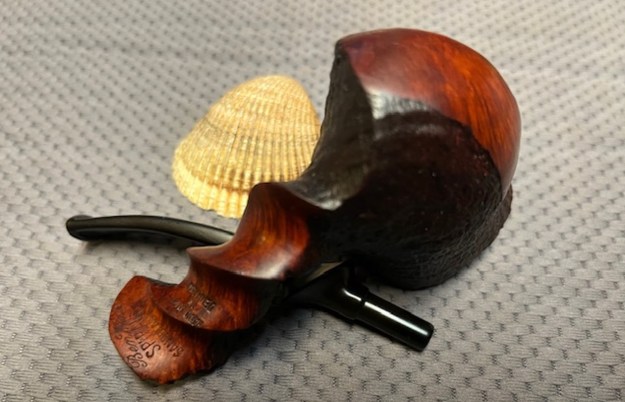
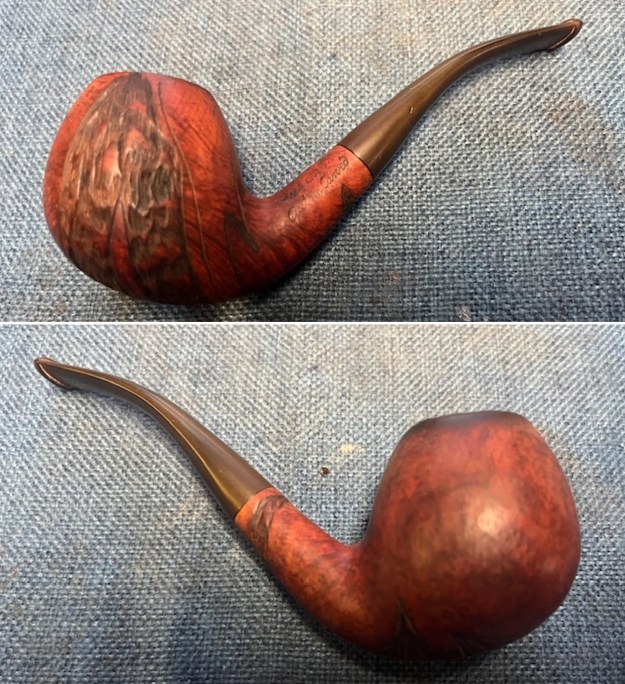
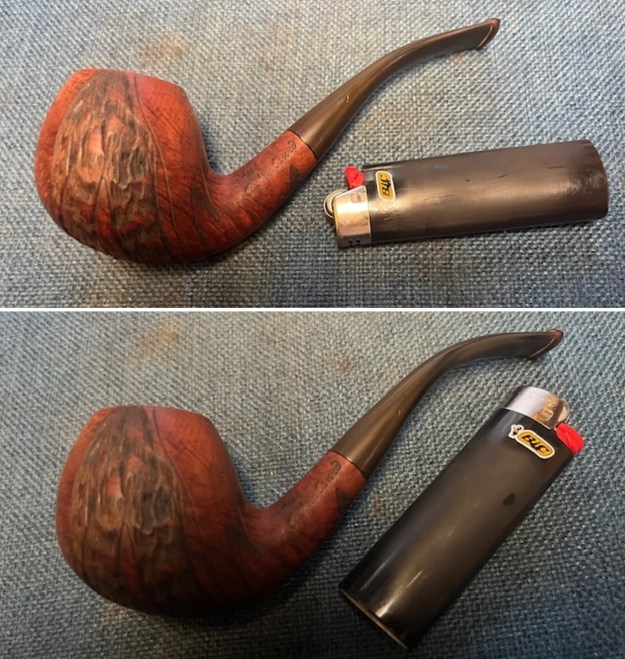
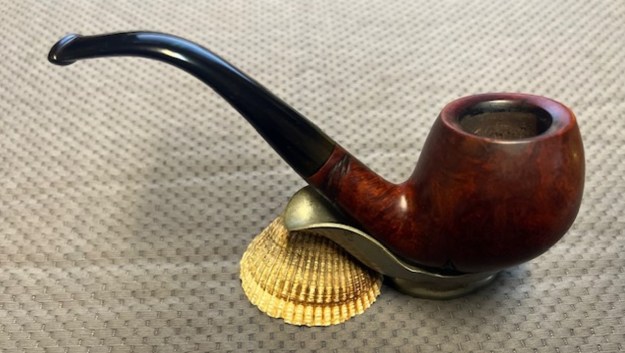
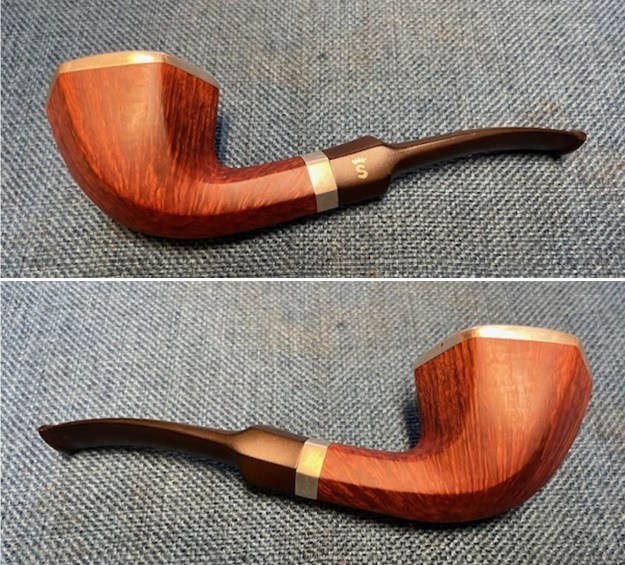
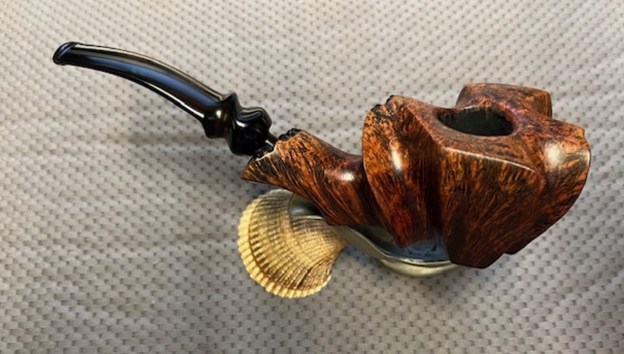
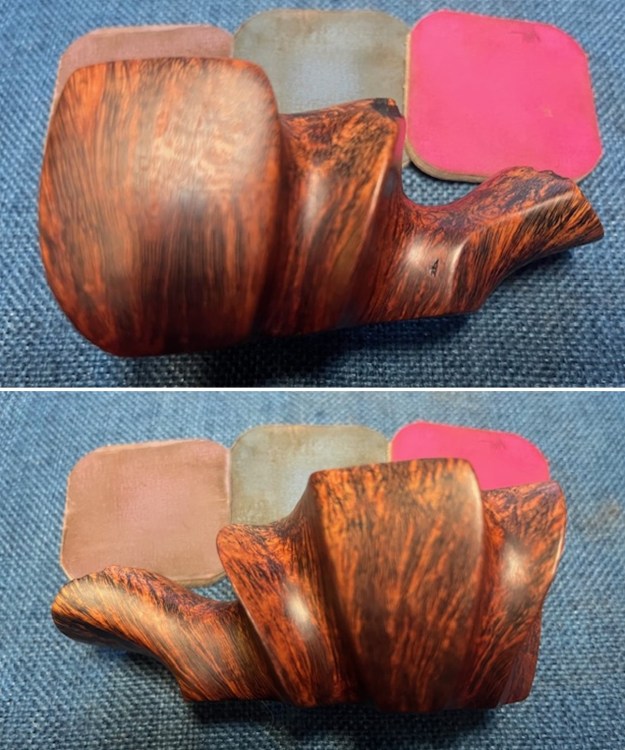
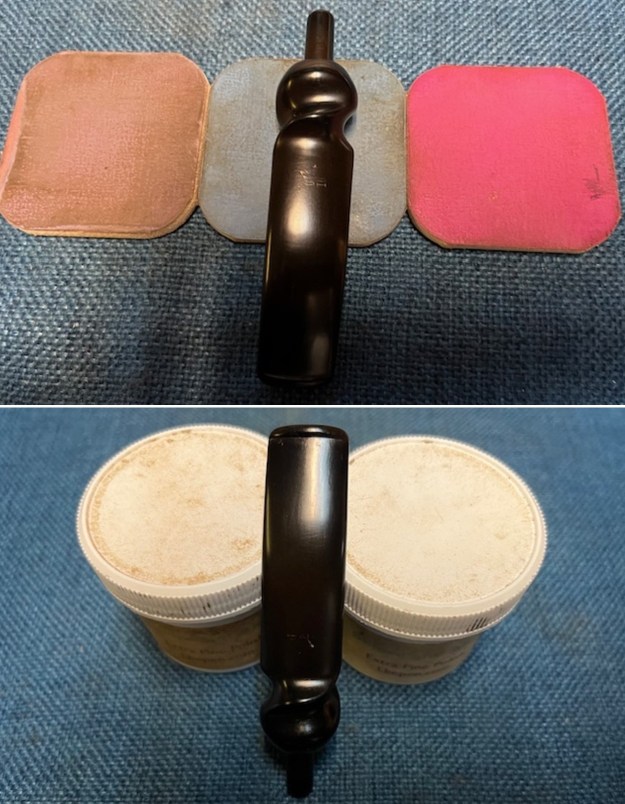
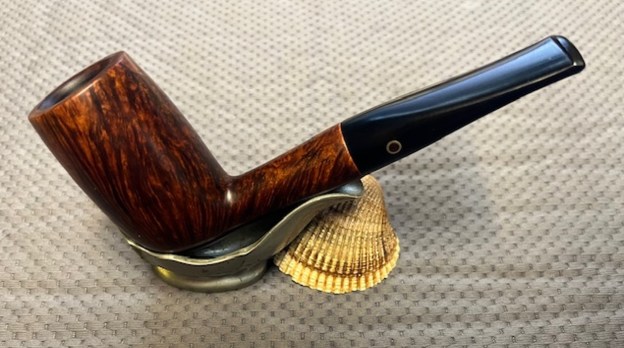
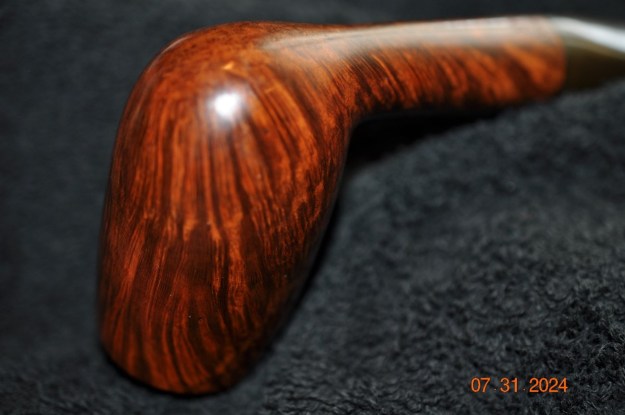
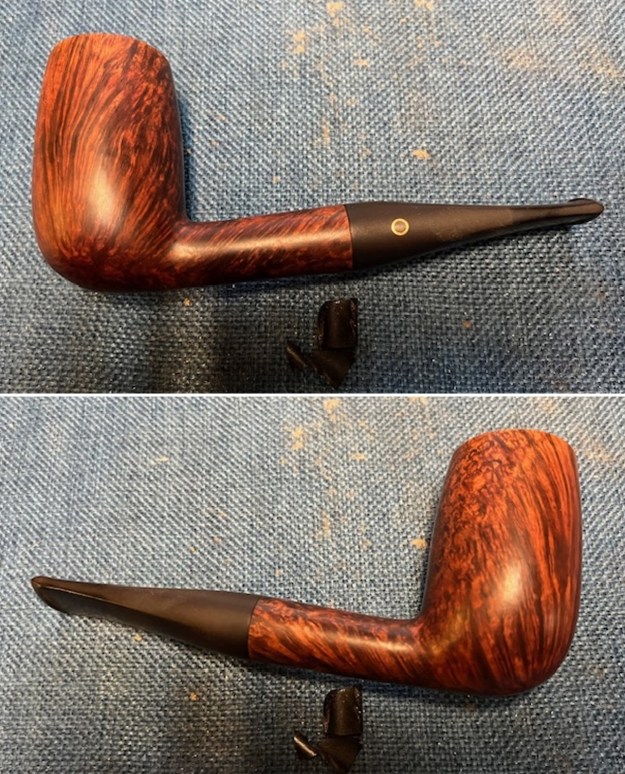
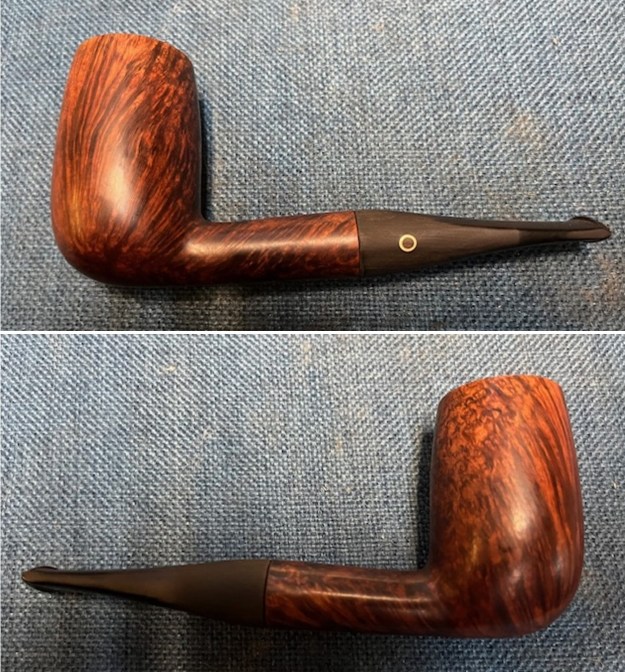
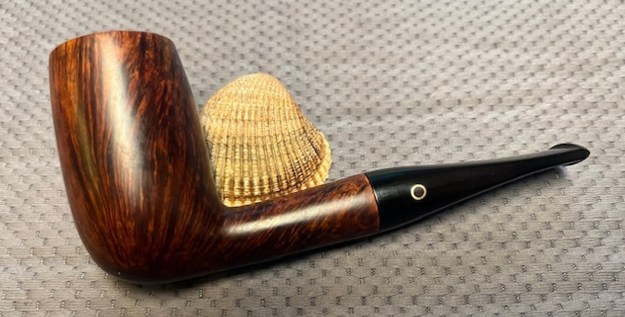
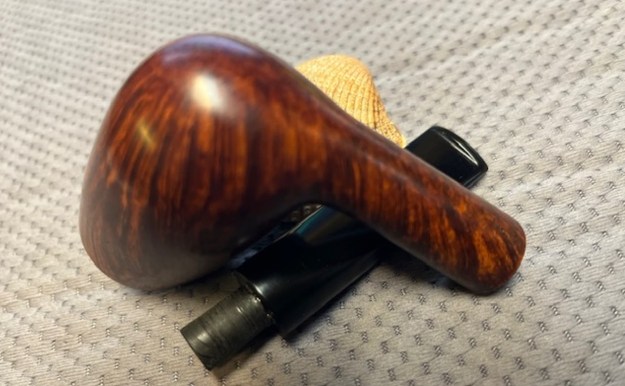
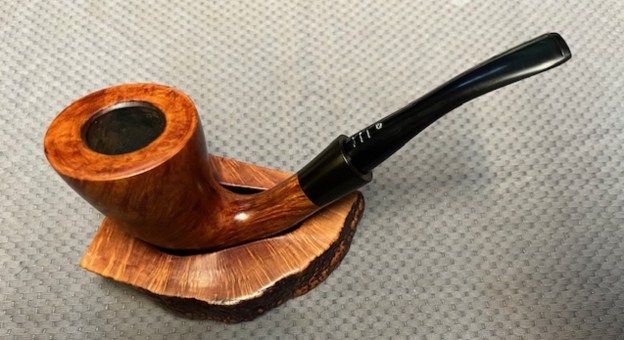
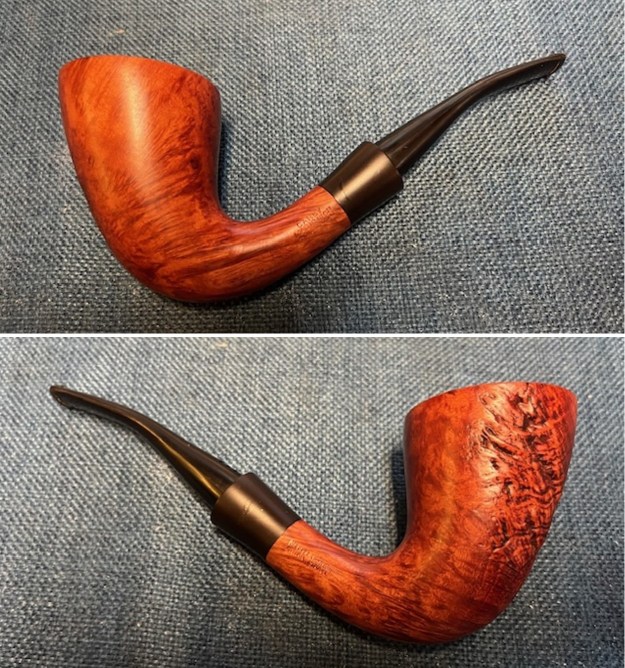
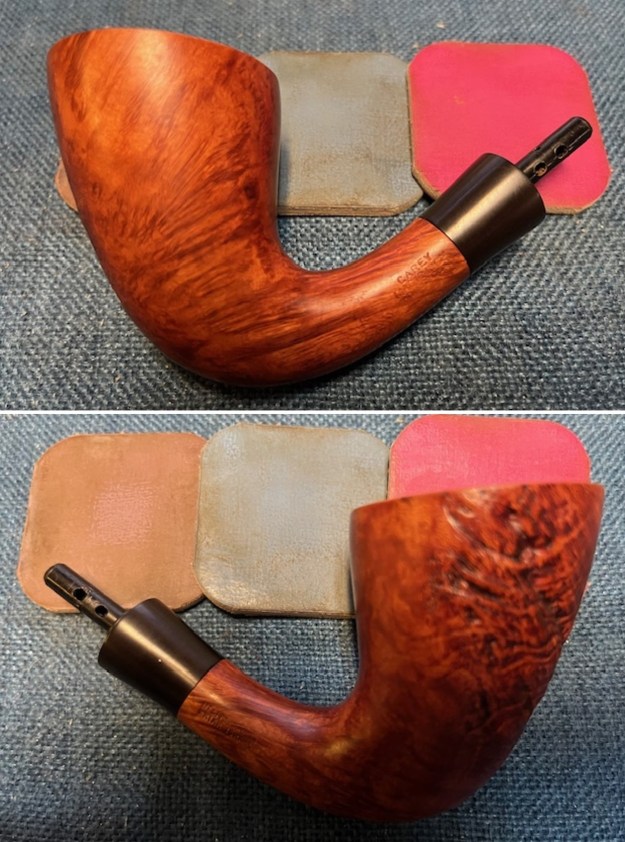
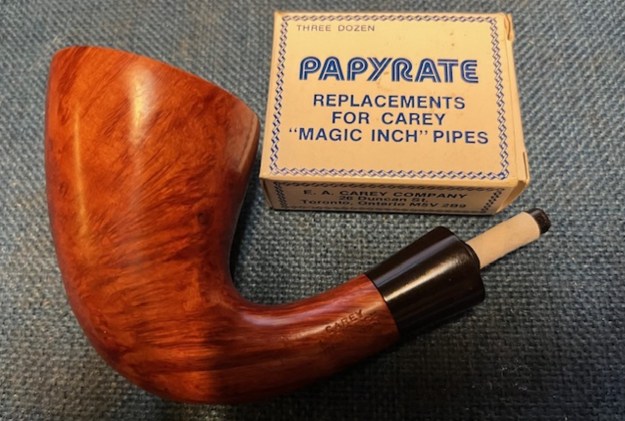
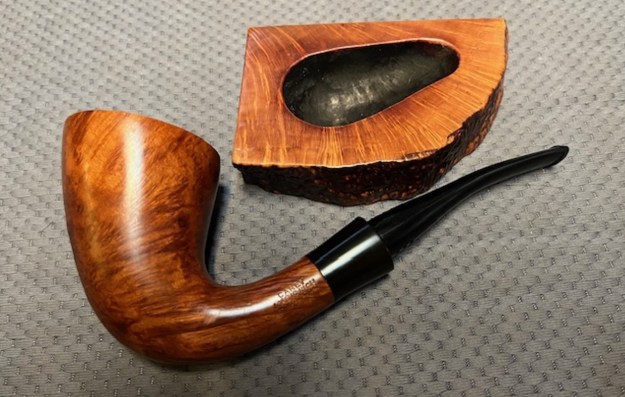
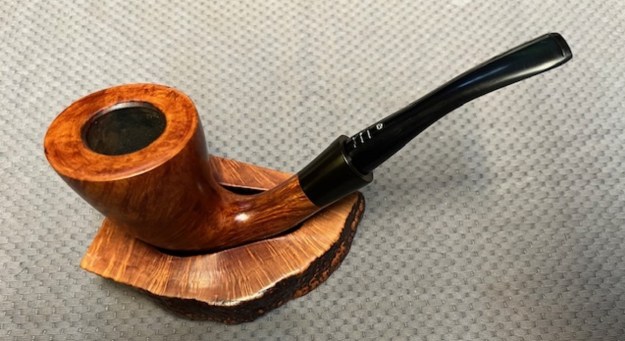
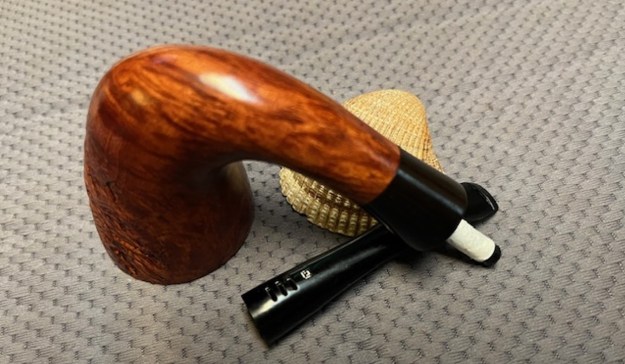
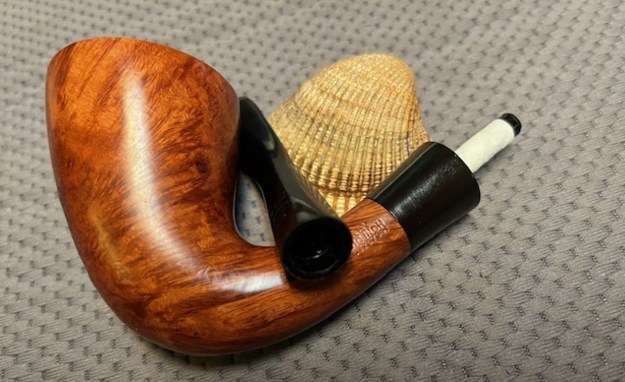
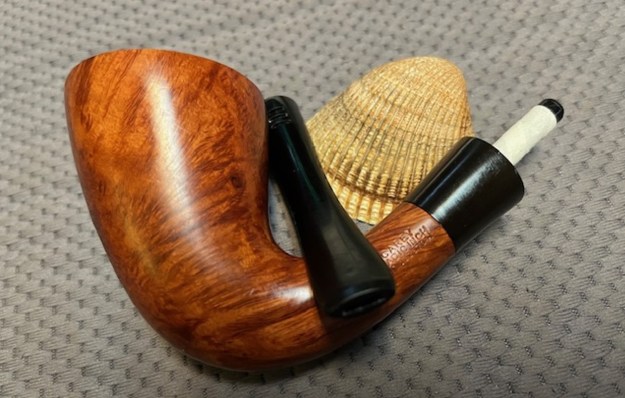
 I enjoy working on these Peterson’s Meerschaum pipes and it is always exciting to be on the homestretch. I put the bowl and stem of this Peterson’s Meerschaum back together. I polished the bowl and stem with Blue Diamond to polish out the scratches in the meerschaum and the vulcanite. I gave the bowl multiple coats of Clapham’s Wax and the stem multiple coats of carnauba wax. I buffed the pipe with a clean buffing pad to raise the shine. I hand buffed it with a microfiber cloth to deepen the shine. The pipe polished up pretty nicely. The meerschaum has a rich glow with the wax and polish. The shiny black vulcanite stem is a beautiful contrast to the rich developing patina of the bowl and the polished Silver ferrule. It really is a stunning pipe whose shape and finish make it stand out. The thick/chubby shank makes it a very comfortable pipe to hold in the hand. The finished pipe is shown in the photos below. The dimensions are Length: 5 inches, Height: 1 ¾ inches, Outside diameter of the bowl: 1 1/8 inches, Chamber diameter: ¾ of an inch. The weight of the pipe is 49 grams/1.73 ounces. It is a beautiful pipe and one that will be on the Irish Pipe Makers Section of the rebornpipes store. If you are interested in adding it to your collection let me know. Thanks for walking through the restoration with me as I worked over this pipe.