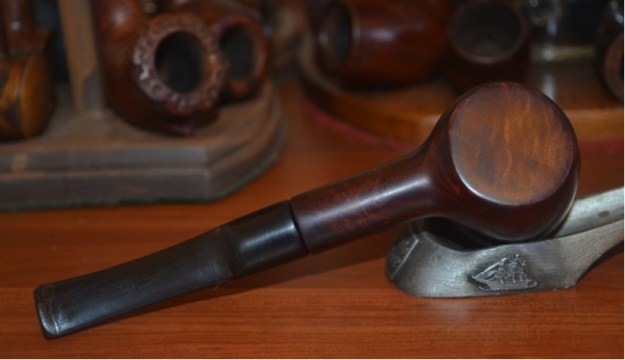
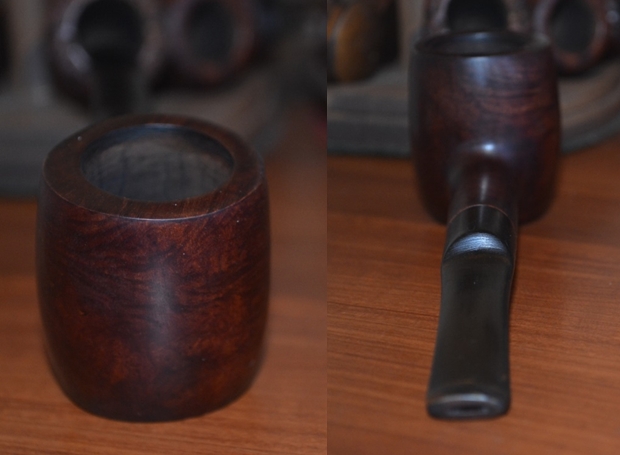
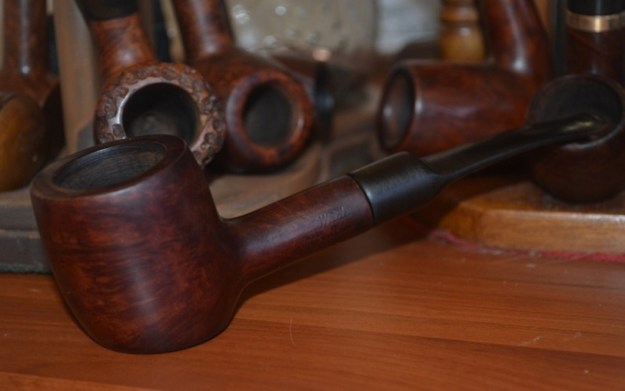
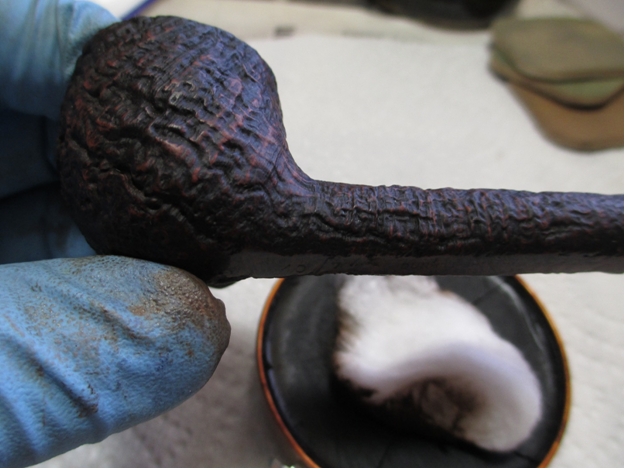
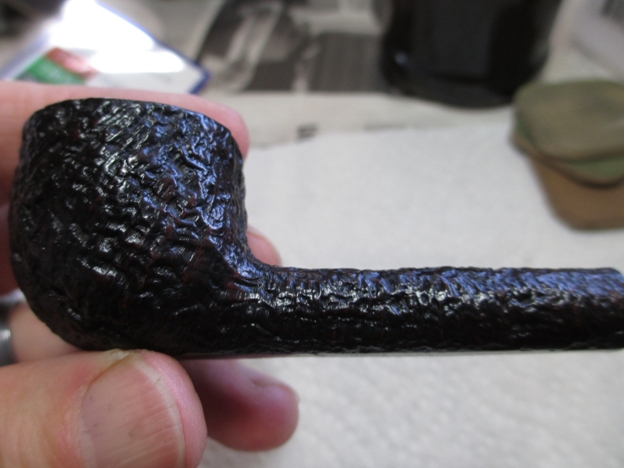
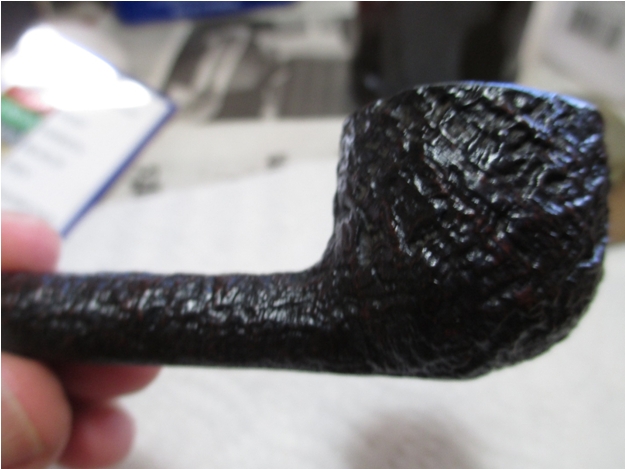
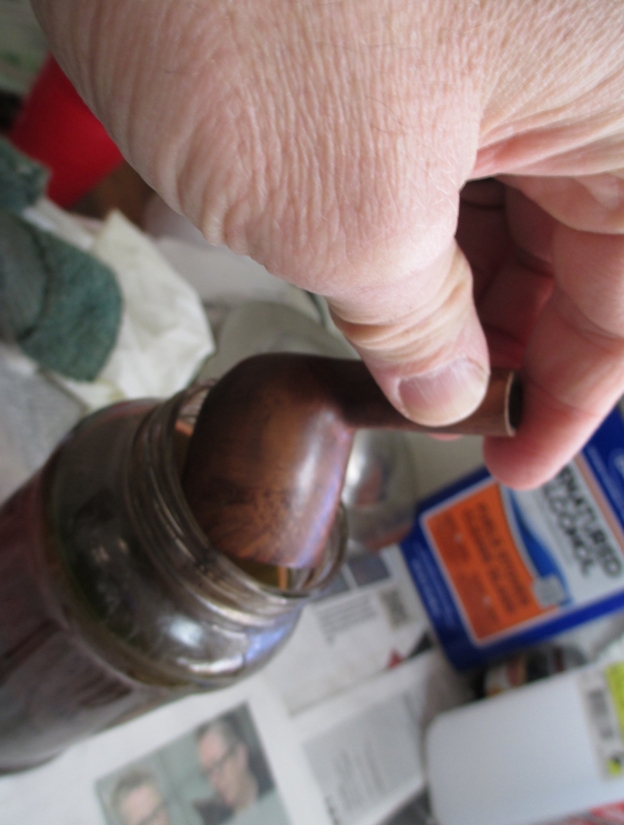
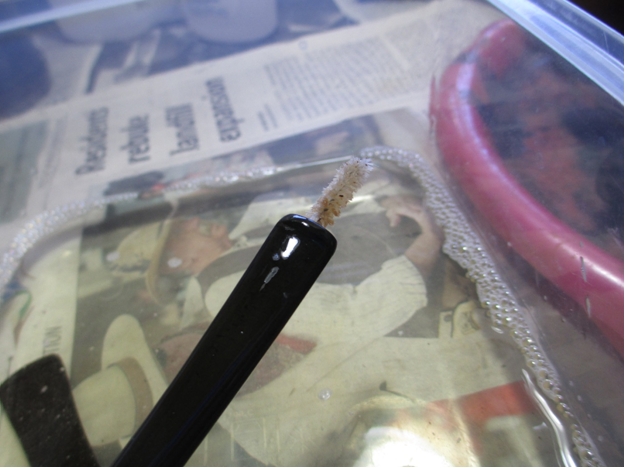
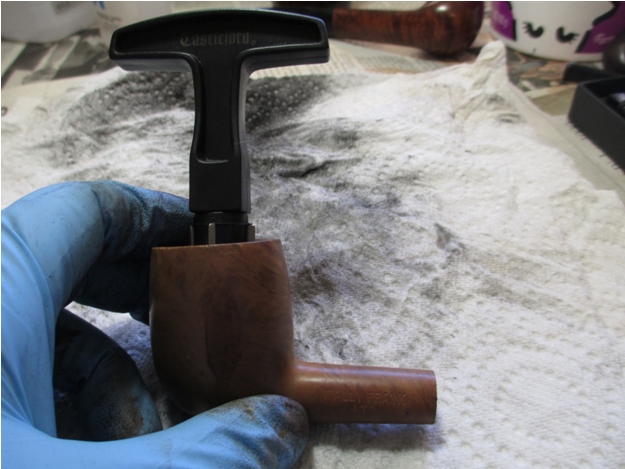
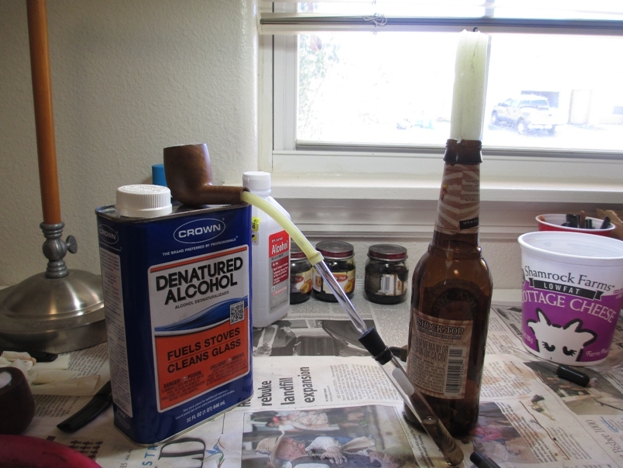
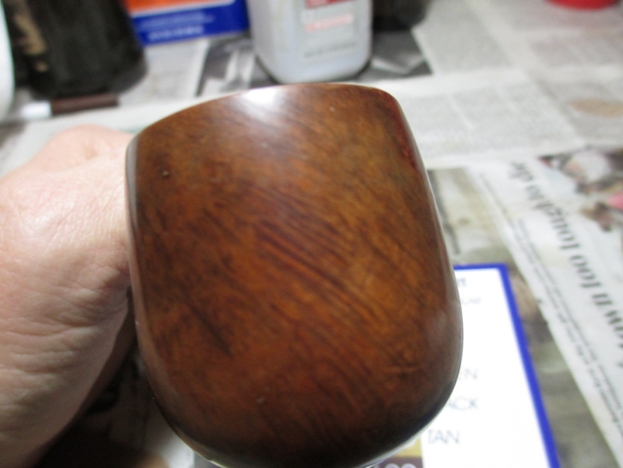
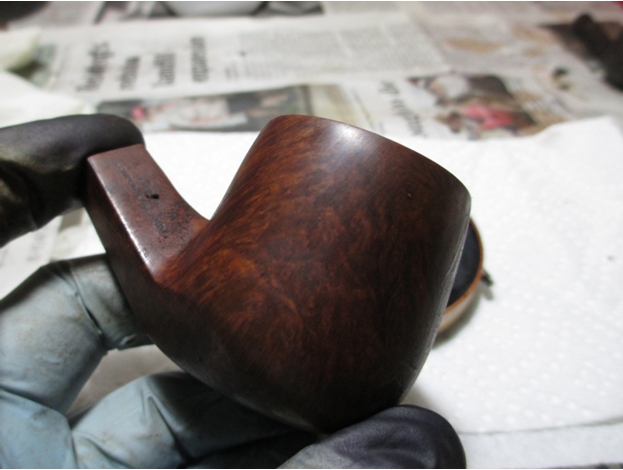
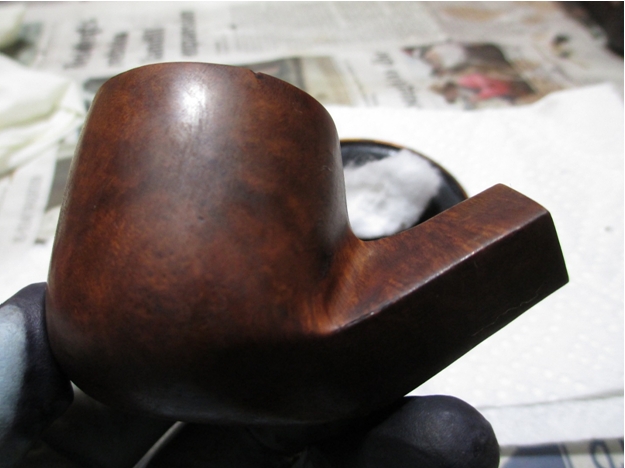
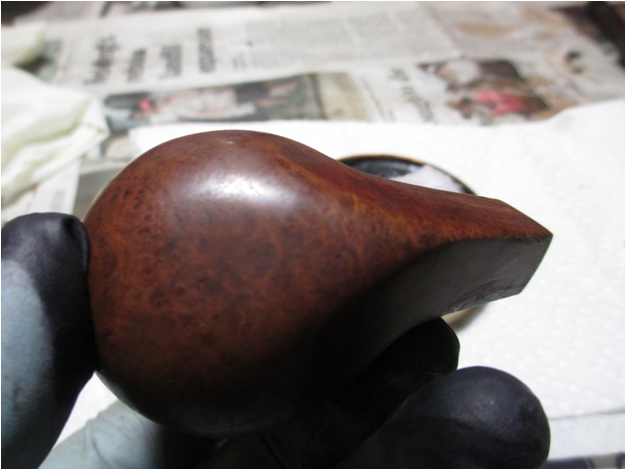
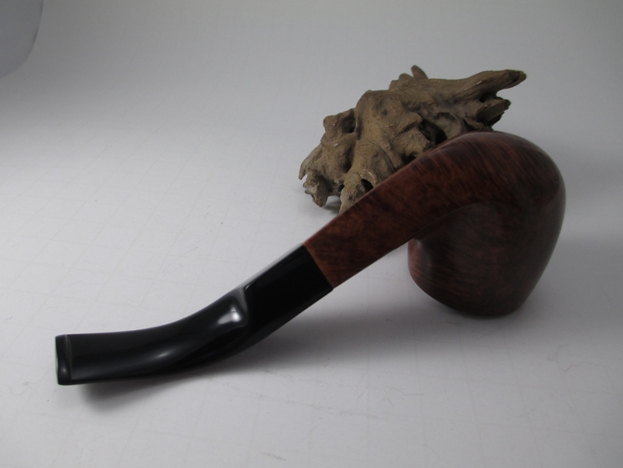
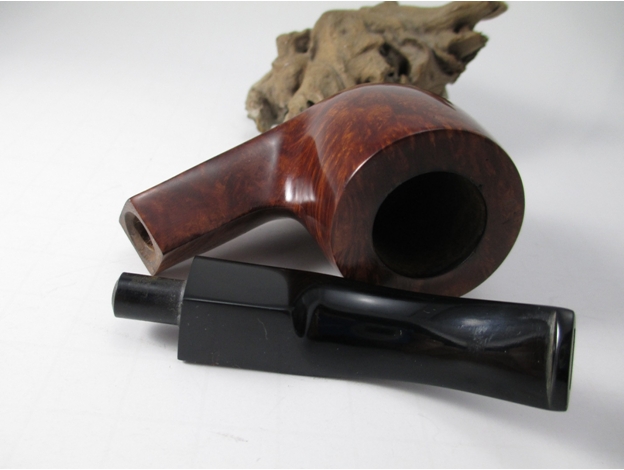
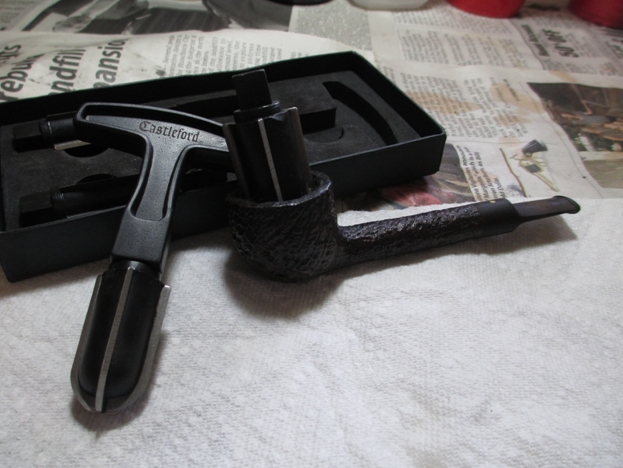
Tag Archives: stem work

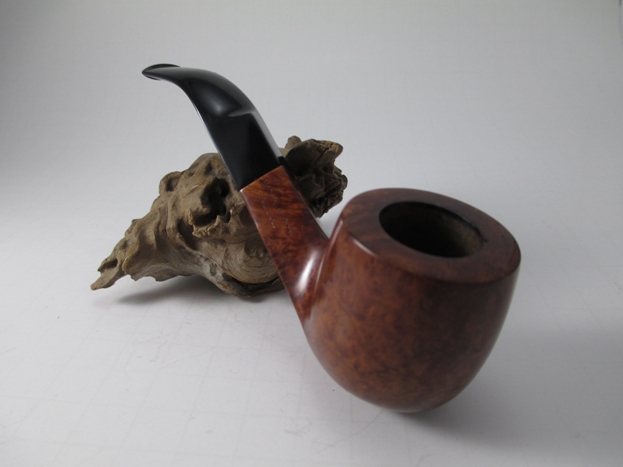
An Old Meerschaum Bowl Restemmed and Reborn


Blog by Greg Wolford

Over the past couple of months I’ve been moving my workshop upstairs to an empty bedroom. With winter’s quick approach, I wanted to be ready for the bone-stiffening cold so I could do more restorations this year. All but the buffer had been moved into its new home and was close to being tidily organized when my plan went south; our son was moving back home and would need my new space back for his room!

It was a rather quick transition so all of my supplies were hastily packed up and moved back to the basement garage. In my rush, I didn’t think to make notes on boxes or anything else to help me sort through it later, I only packed quickly and securely and moved it all out. I felt like I got evicted! (Please note, that is not what happened to my son.) So finding any of the half-dozen projects I had in the works is now a daunting challenge; our garage serves as a catch-all of sorts, with our laundry area, my workshop, my wife’s “over flow” from her antique booth, and all of my son’s extras now piled in there.

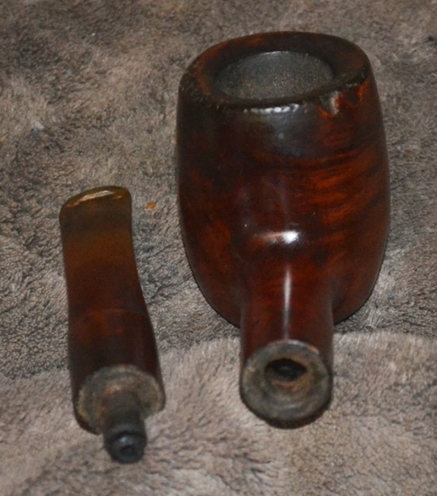
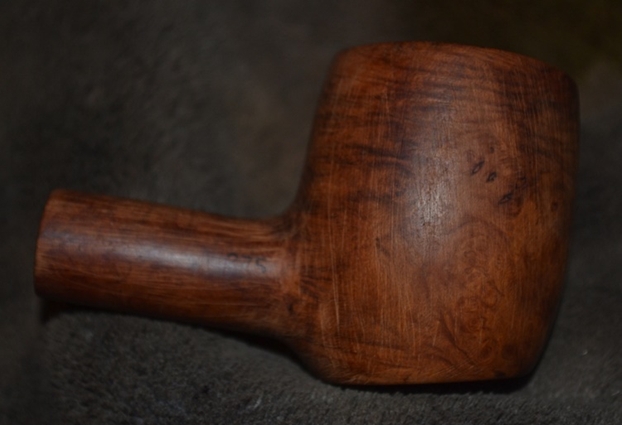
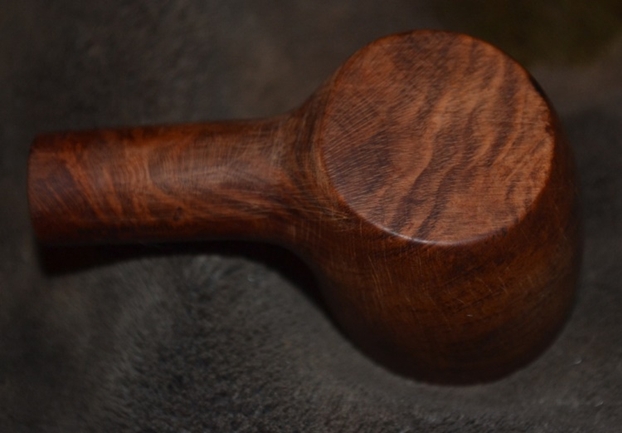
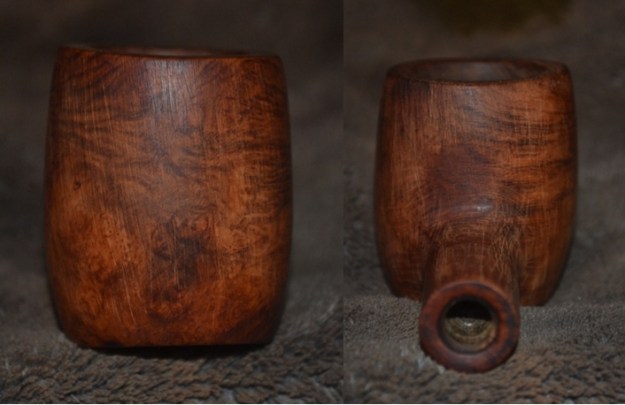
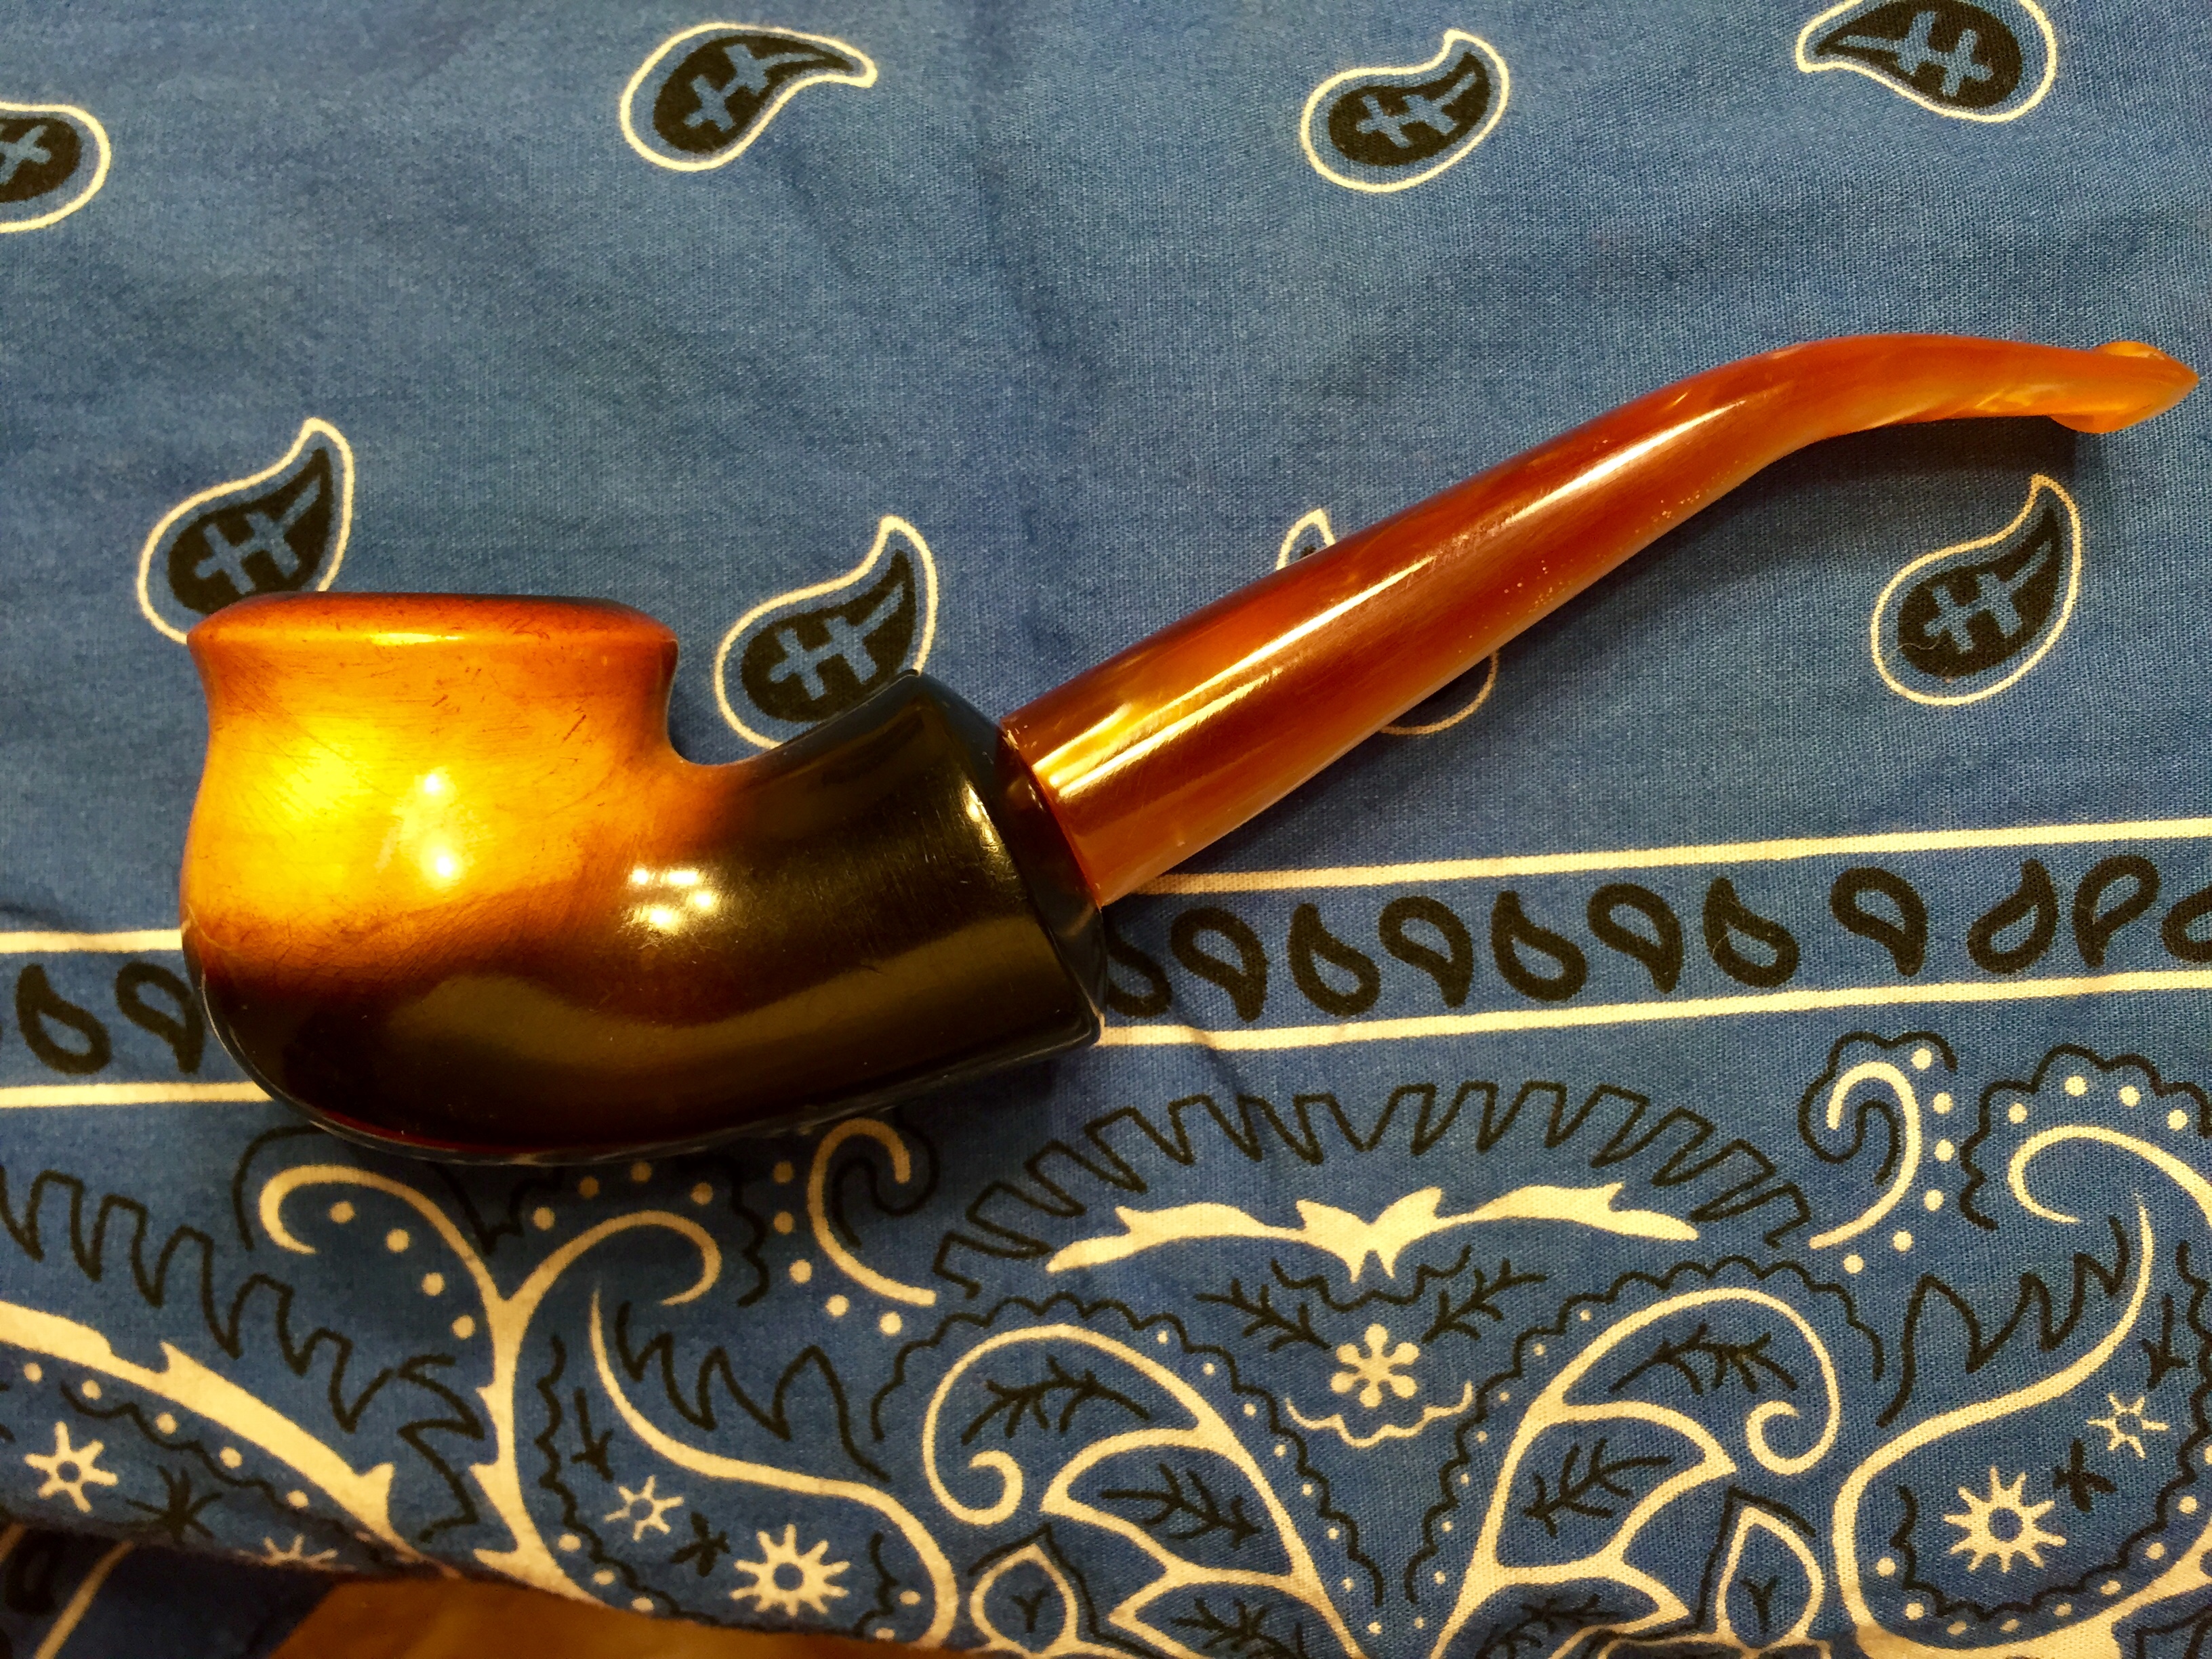
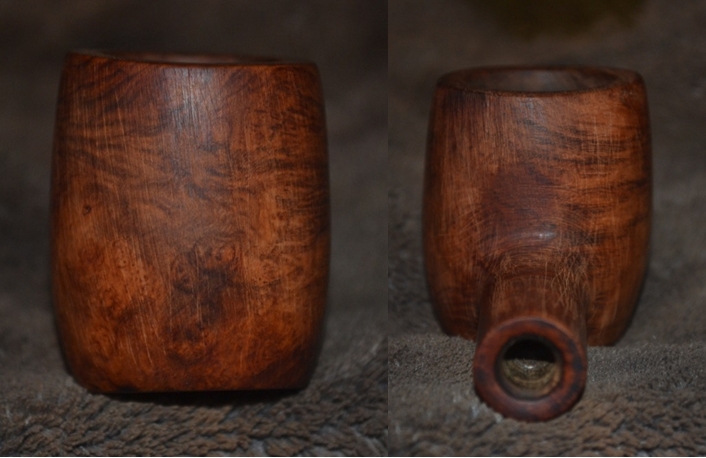
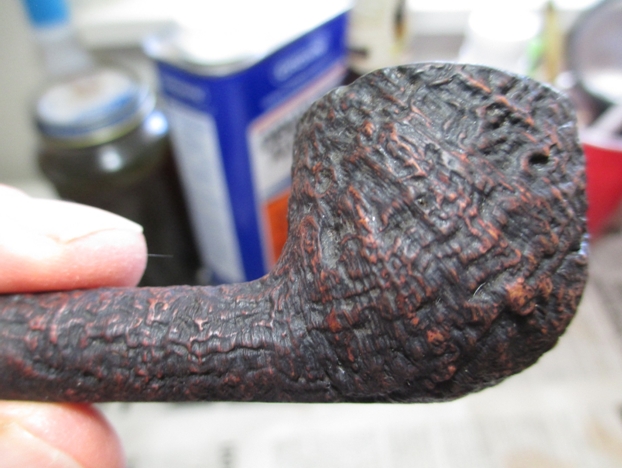
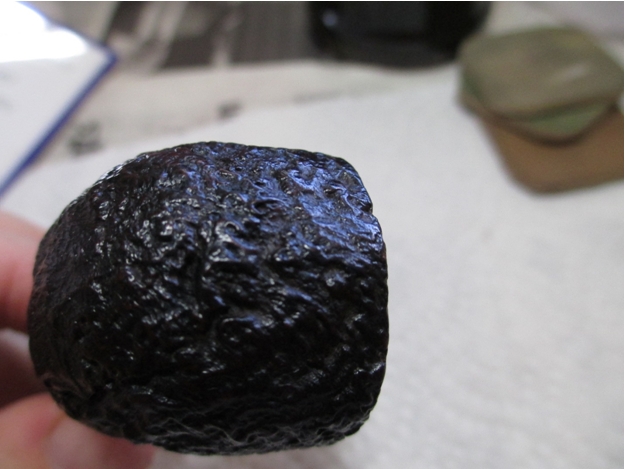
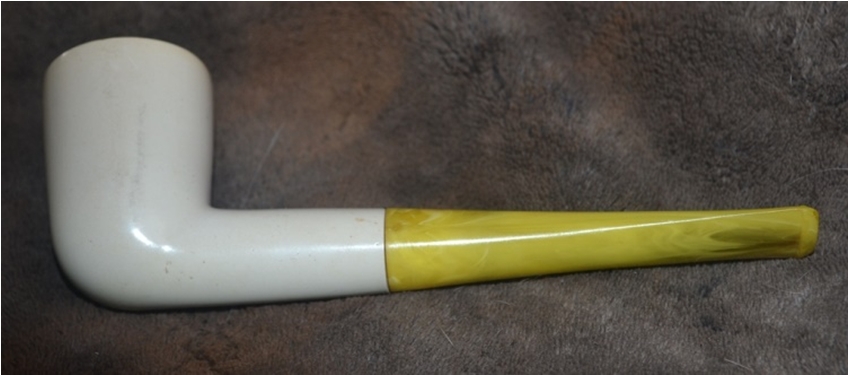
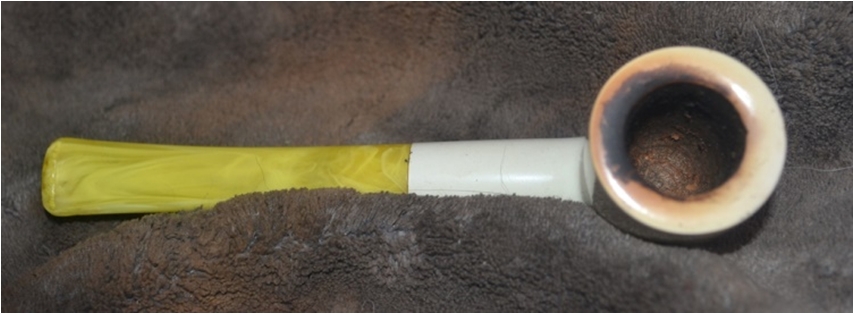
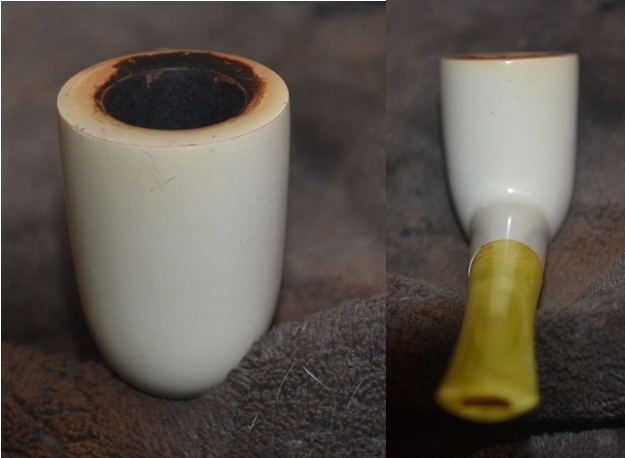
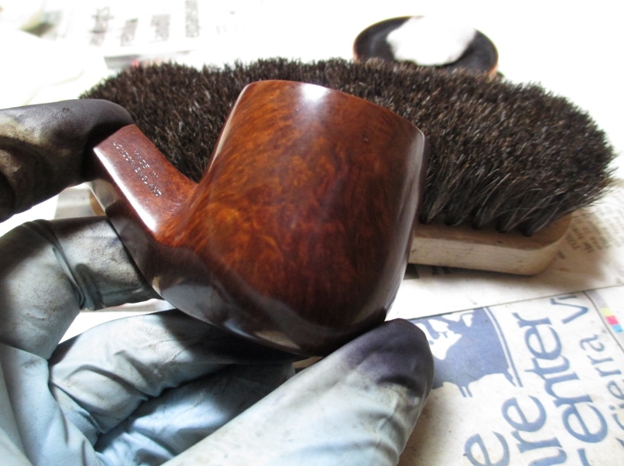
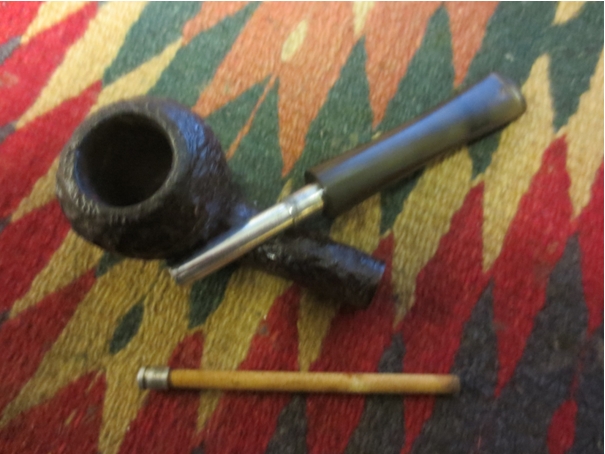
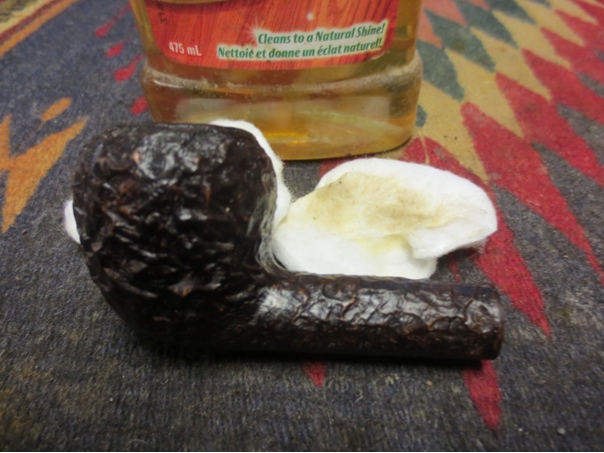
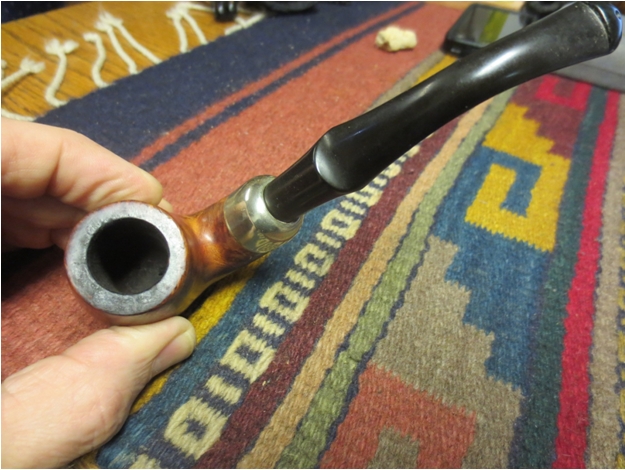
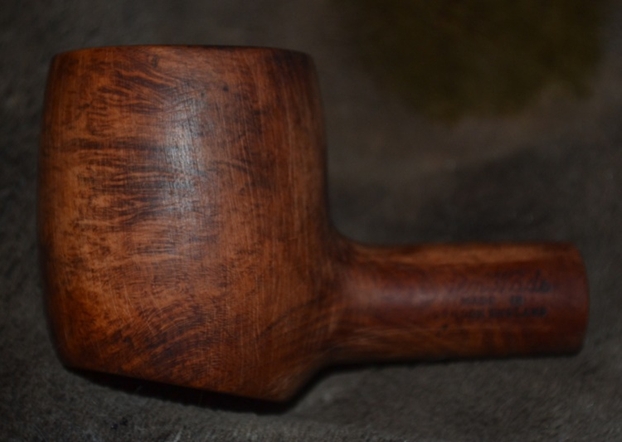
The other day I did manage to find an old meerschaum bowl that I’d began to work on. It came to me in a lot I had gotten a couple of months ago I think, along with another bowl and aOld Meer couple of pipes (this is the only before photo I have).  In fact, this bowl was the main reason I got the lot; it looked old and interesting to me.

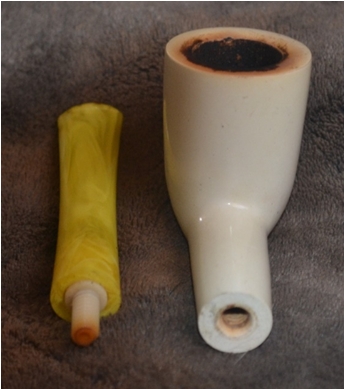
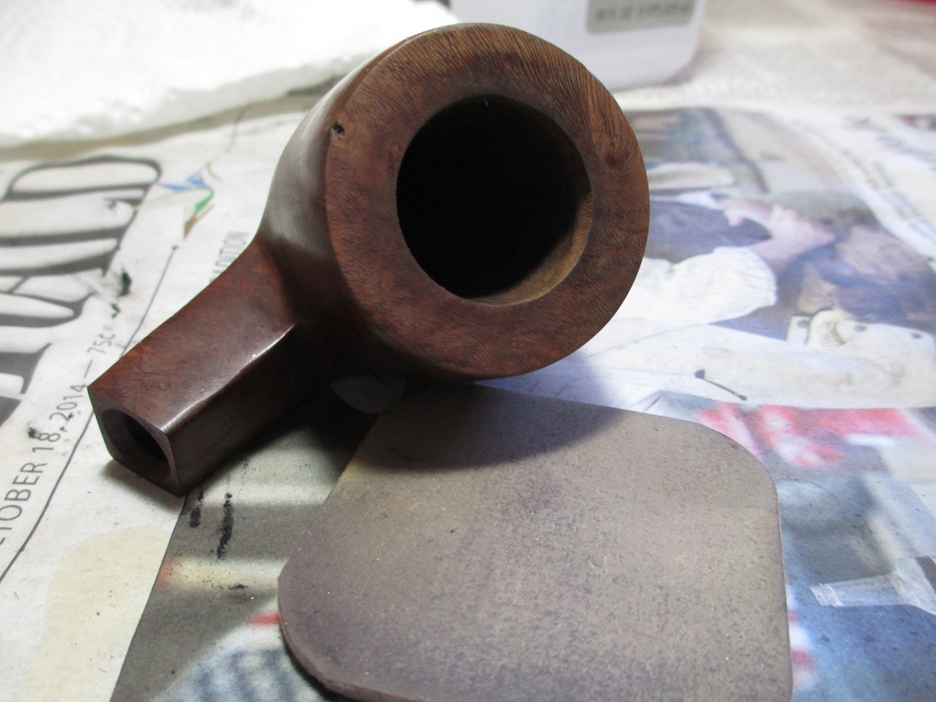
After doing a little research and getting some comments from friends on Instagram and Facebook I think it may be an Austrian meerschaum; I originally thought it was African. If I am correct, this pipe, well, bowl, is probably over 100 years old. It originally had a wooden shank extension which is now long gone. At first I thought of trying to make some sort of extension to replace it but soon decided that was more than I was willing to risk/attempt on this bowl.

(I forgot to take photos along the way; sorry folks.)

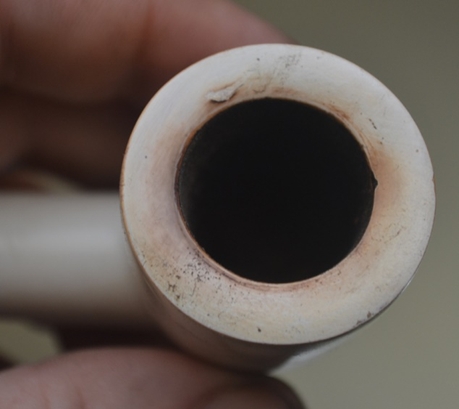
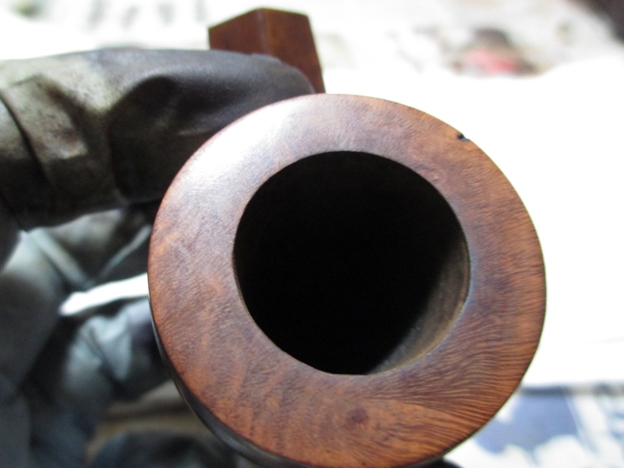
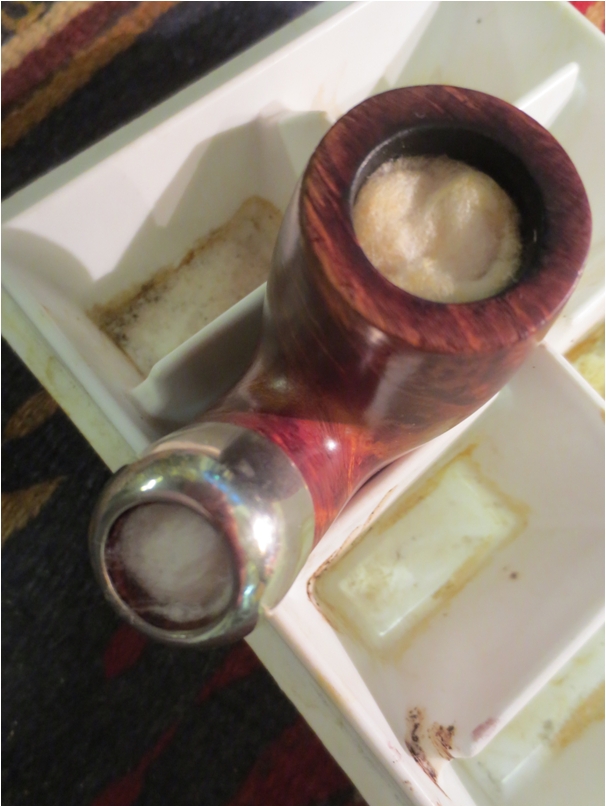
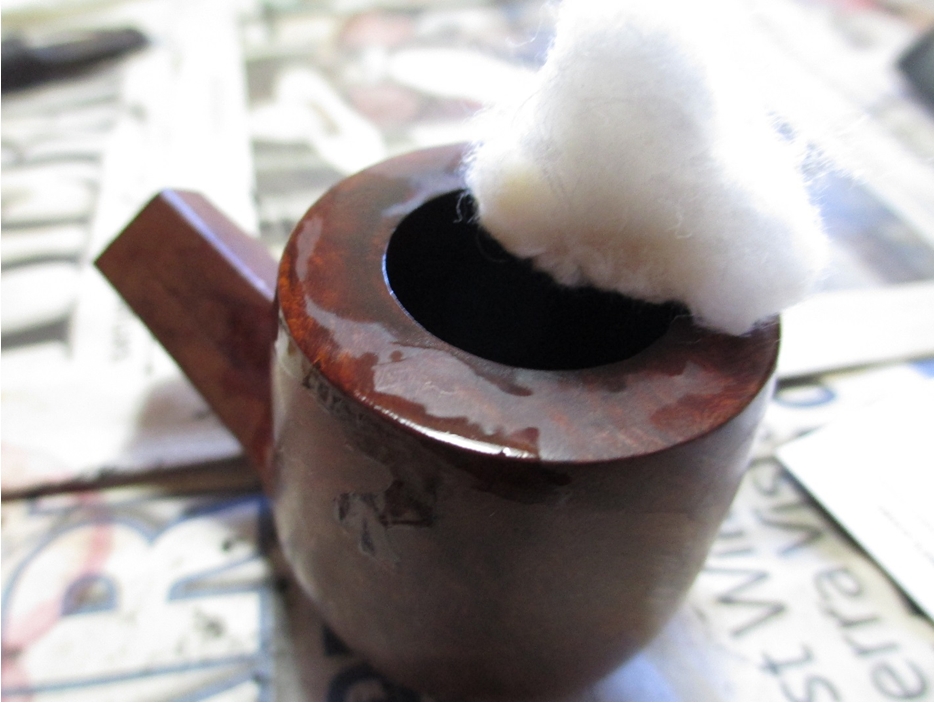
There was a think but soft and crumbly cake in the bowl and lots of oily build up in the shank. I gently reamed the cake back to very close to the meerschaum walls with my Castleford reamer, followed by an old round-ended, dull knife that I use for this purpose. Then I used some 400 grit wet/dry paper to get the last of the cake out and leave a nice, smooth bowl.

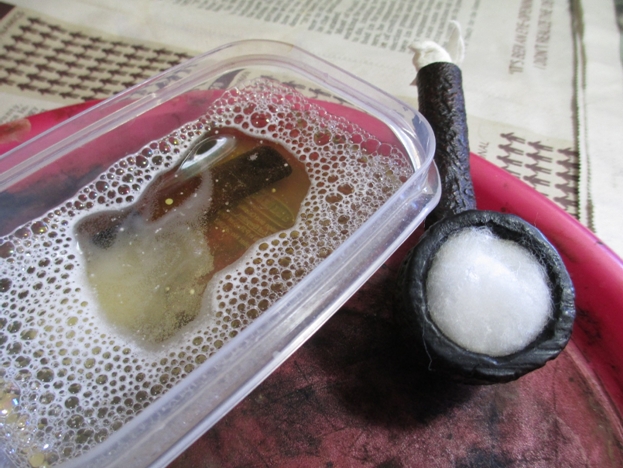
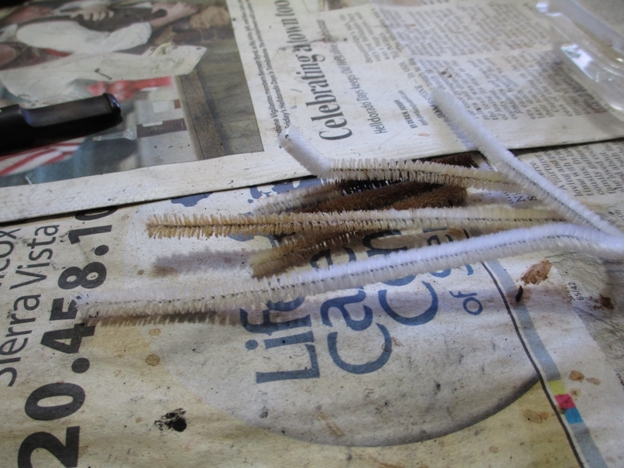
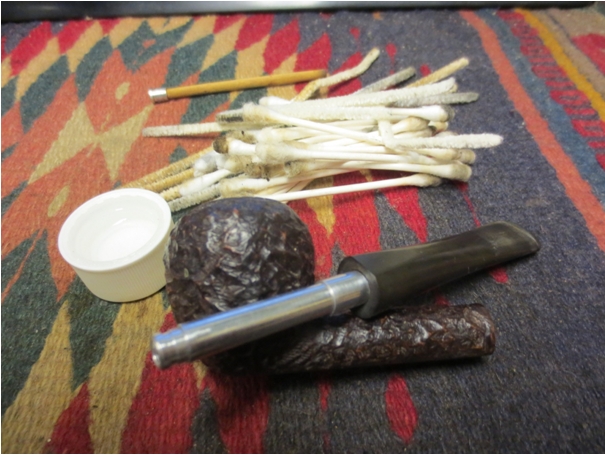
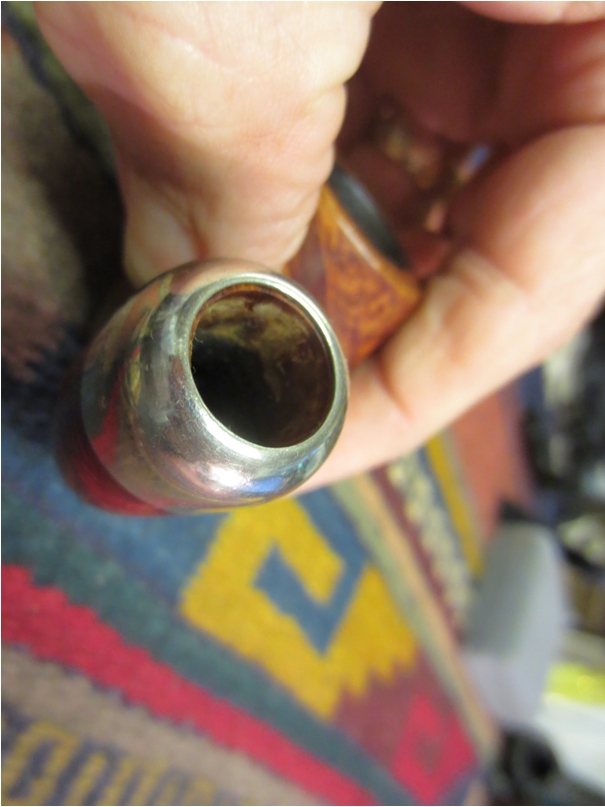
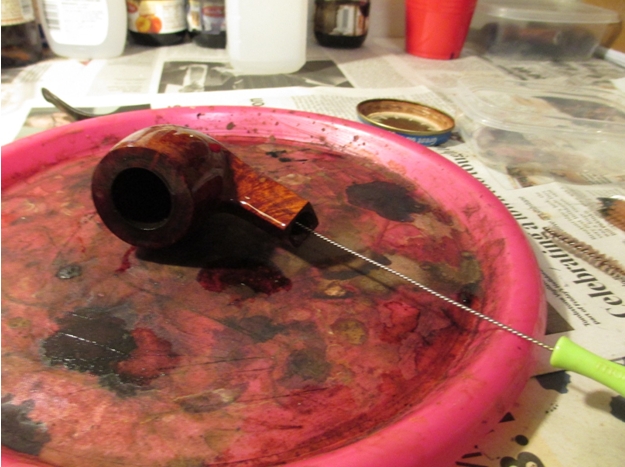
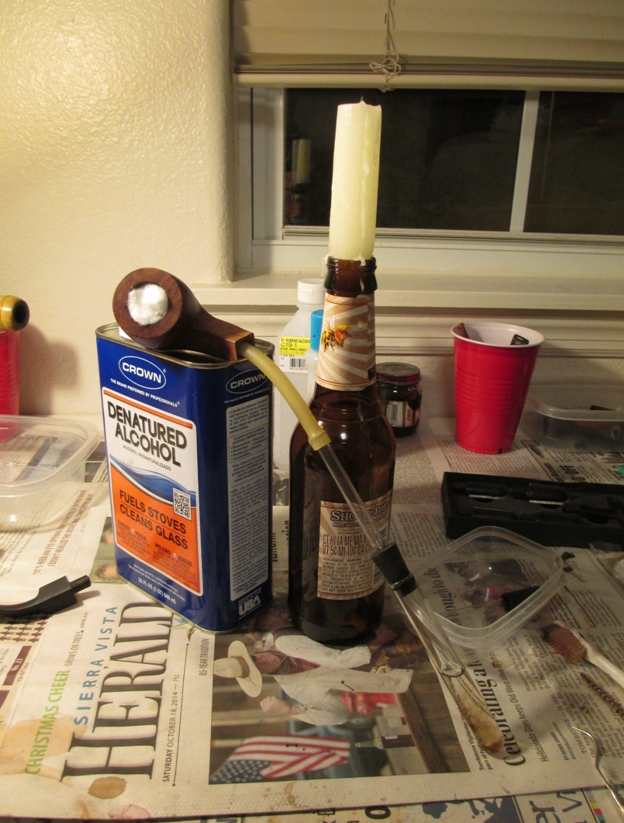
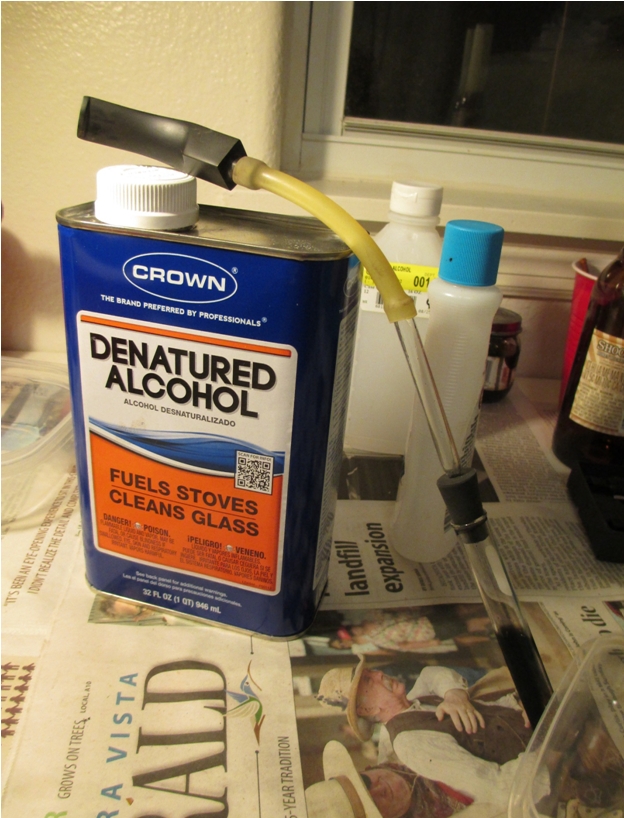
For the shank I stared with the poker-end of a Czech-tool, opening up the airway very gently. Then I moved to pipe cleaners that were dampened with isopropyl alcohol. Then I used alcohol dampened and dry cotton swabs to clean the shank. Do note the term dampened here; you do not want to get the meerschaum too wet. It took some time and many cleaners and cotton swabs to get the shank clean; there were also bits of meerschaum that were loose or came loose in the cleaning process that had to be removed. I also wiped out the bowl with several dampened cotton swabs after cleaning the shank. I also wiped off the outside of the bowl with alcohol dampened cotton balls; other than the rim, the exterior was quite clean. Then I let the pipe rest, to dry, overnight.

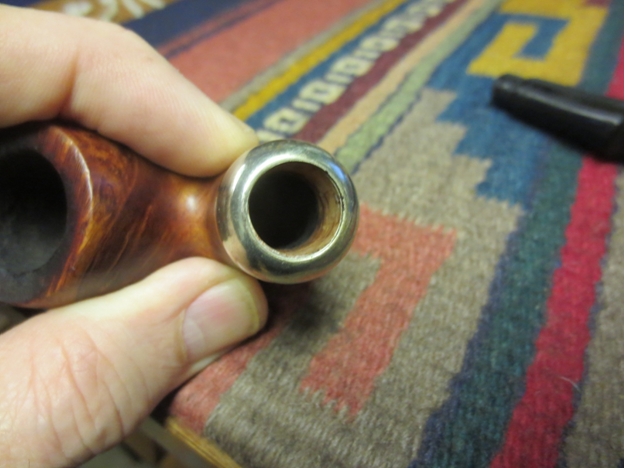
The next morning I examined the shank and found it to be a little rough inside. There was also a small divot in the bottom of the “lip” where the extension was and the new tenon would enter. I took the same dull reaming knife and scraped the mortise very gently to smooth it out; this took only a couple of passes and removed very little material but made a bug difference. I put a drop of amber superglue in the divot and sprayed it lightly with glue accelerator (I used a cloth to cover the pipe from over-spray) and then let it cure for a little while as I piddled with other things in the garage. I repeated this a second time and the result was a nice hard, smooth mortise entrance. Now it was time to decide on a stem.

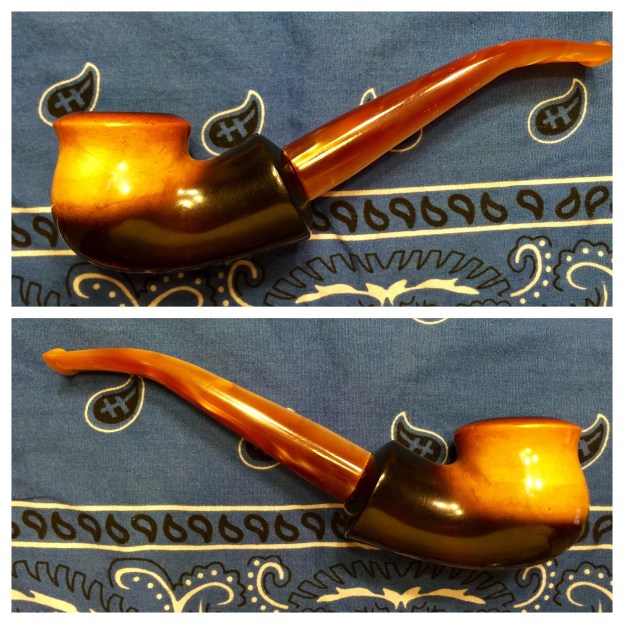
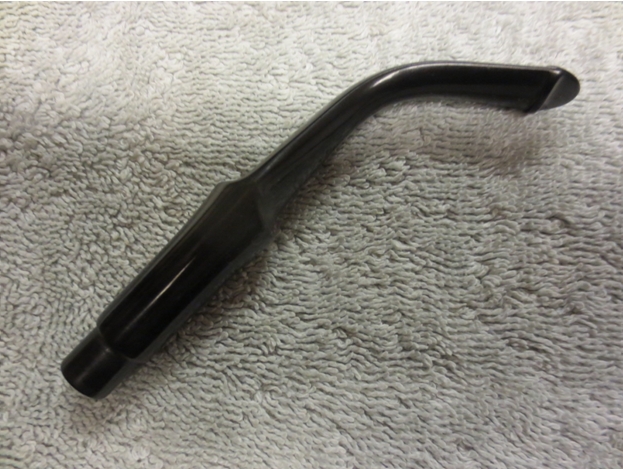
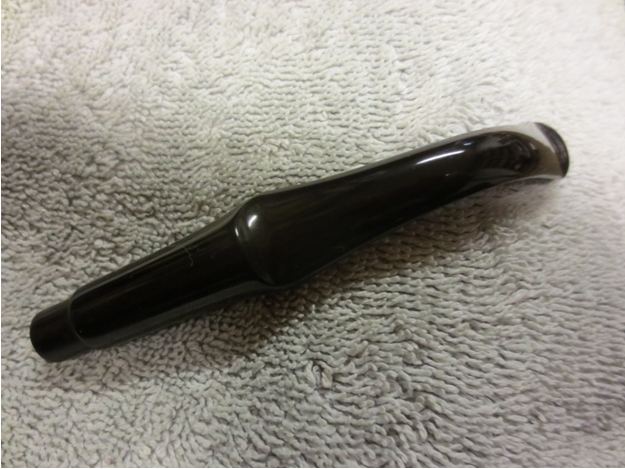
Since the extension was gone, the mortise was very large, which would limit my stem options. I looked through my stems and found two candidates that had tenons large enough to work: a fancy vulcanite one and a long, round tapered acrylic one. It was a pretty easy choice when I put them up to the pipe to compare: acrylic wins by a long shot! The amber/bronze color of the stem just looked “right” with this bowl to my eye so now it was time to fit it.

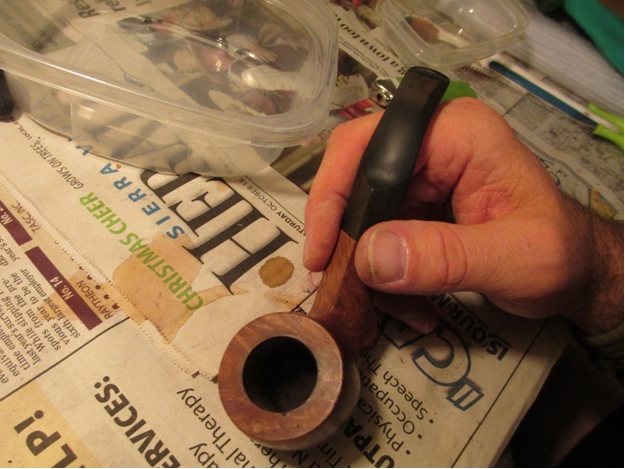
I used my PME tenon turning tool to slowly reduce the size of the tenon.I noticed as I was cleaning the shank that the mortise narrowed a bit, probably from material loss both previously and current, closer to the bowl. So, as I test fit the tenon and found it stopping at the point of the narrowing I began to turn the tenon only about halfway up the total length. By doing this in small increments I was able to tell when the tenon was almost a perfect fit, which is when I switched to 320 grit paper and sanded the tapered tenon smooth and to a very nice fit.

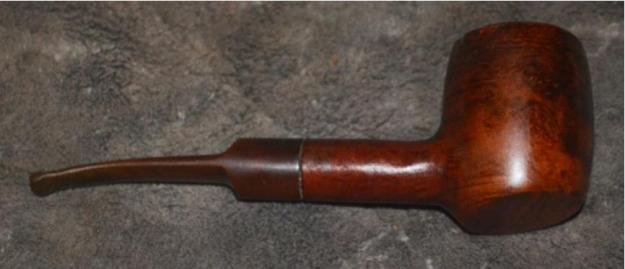
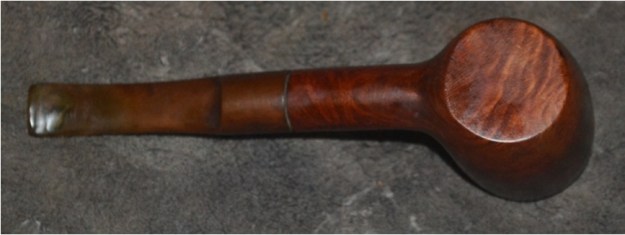
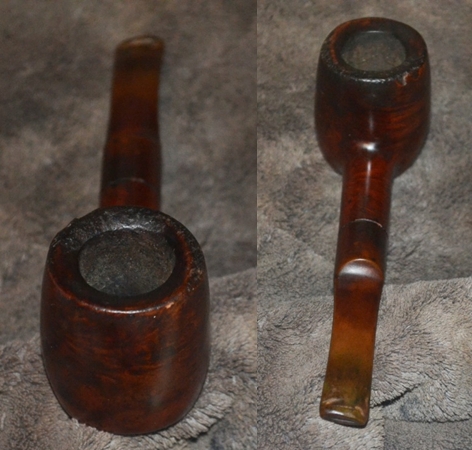
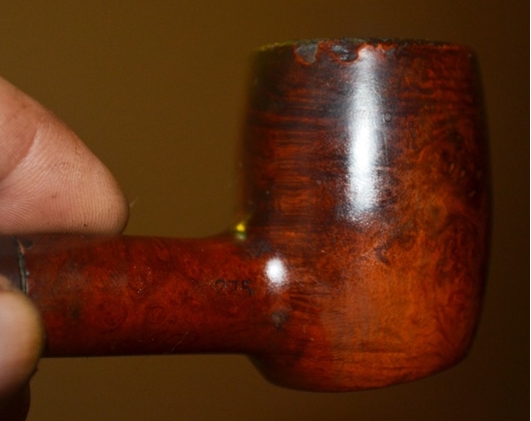
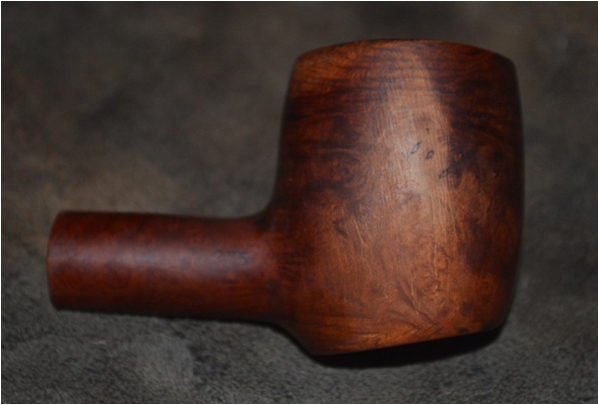
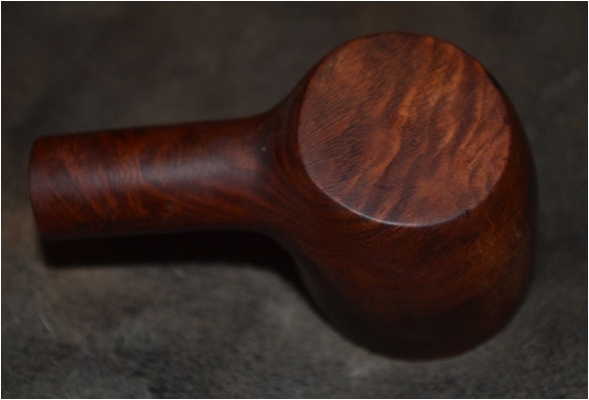
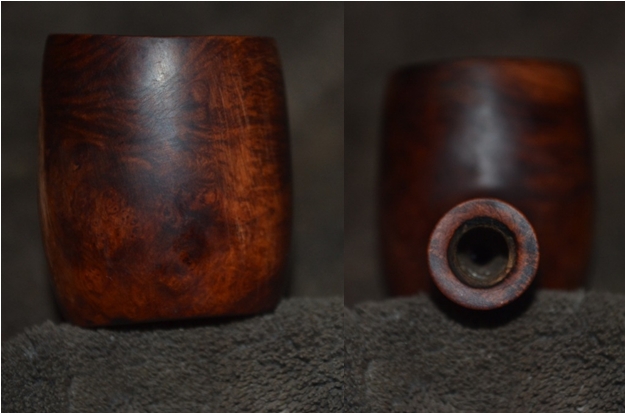
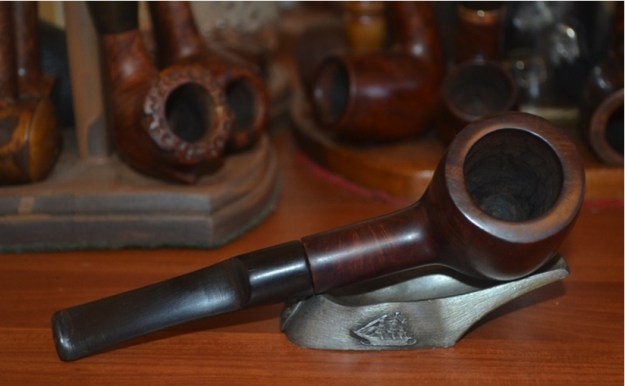
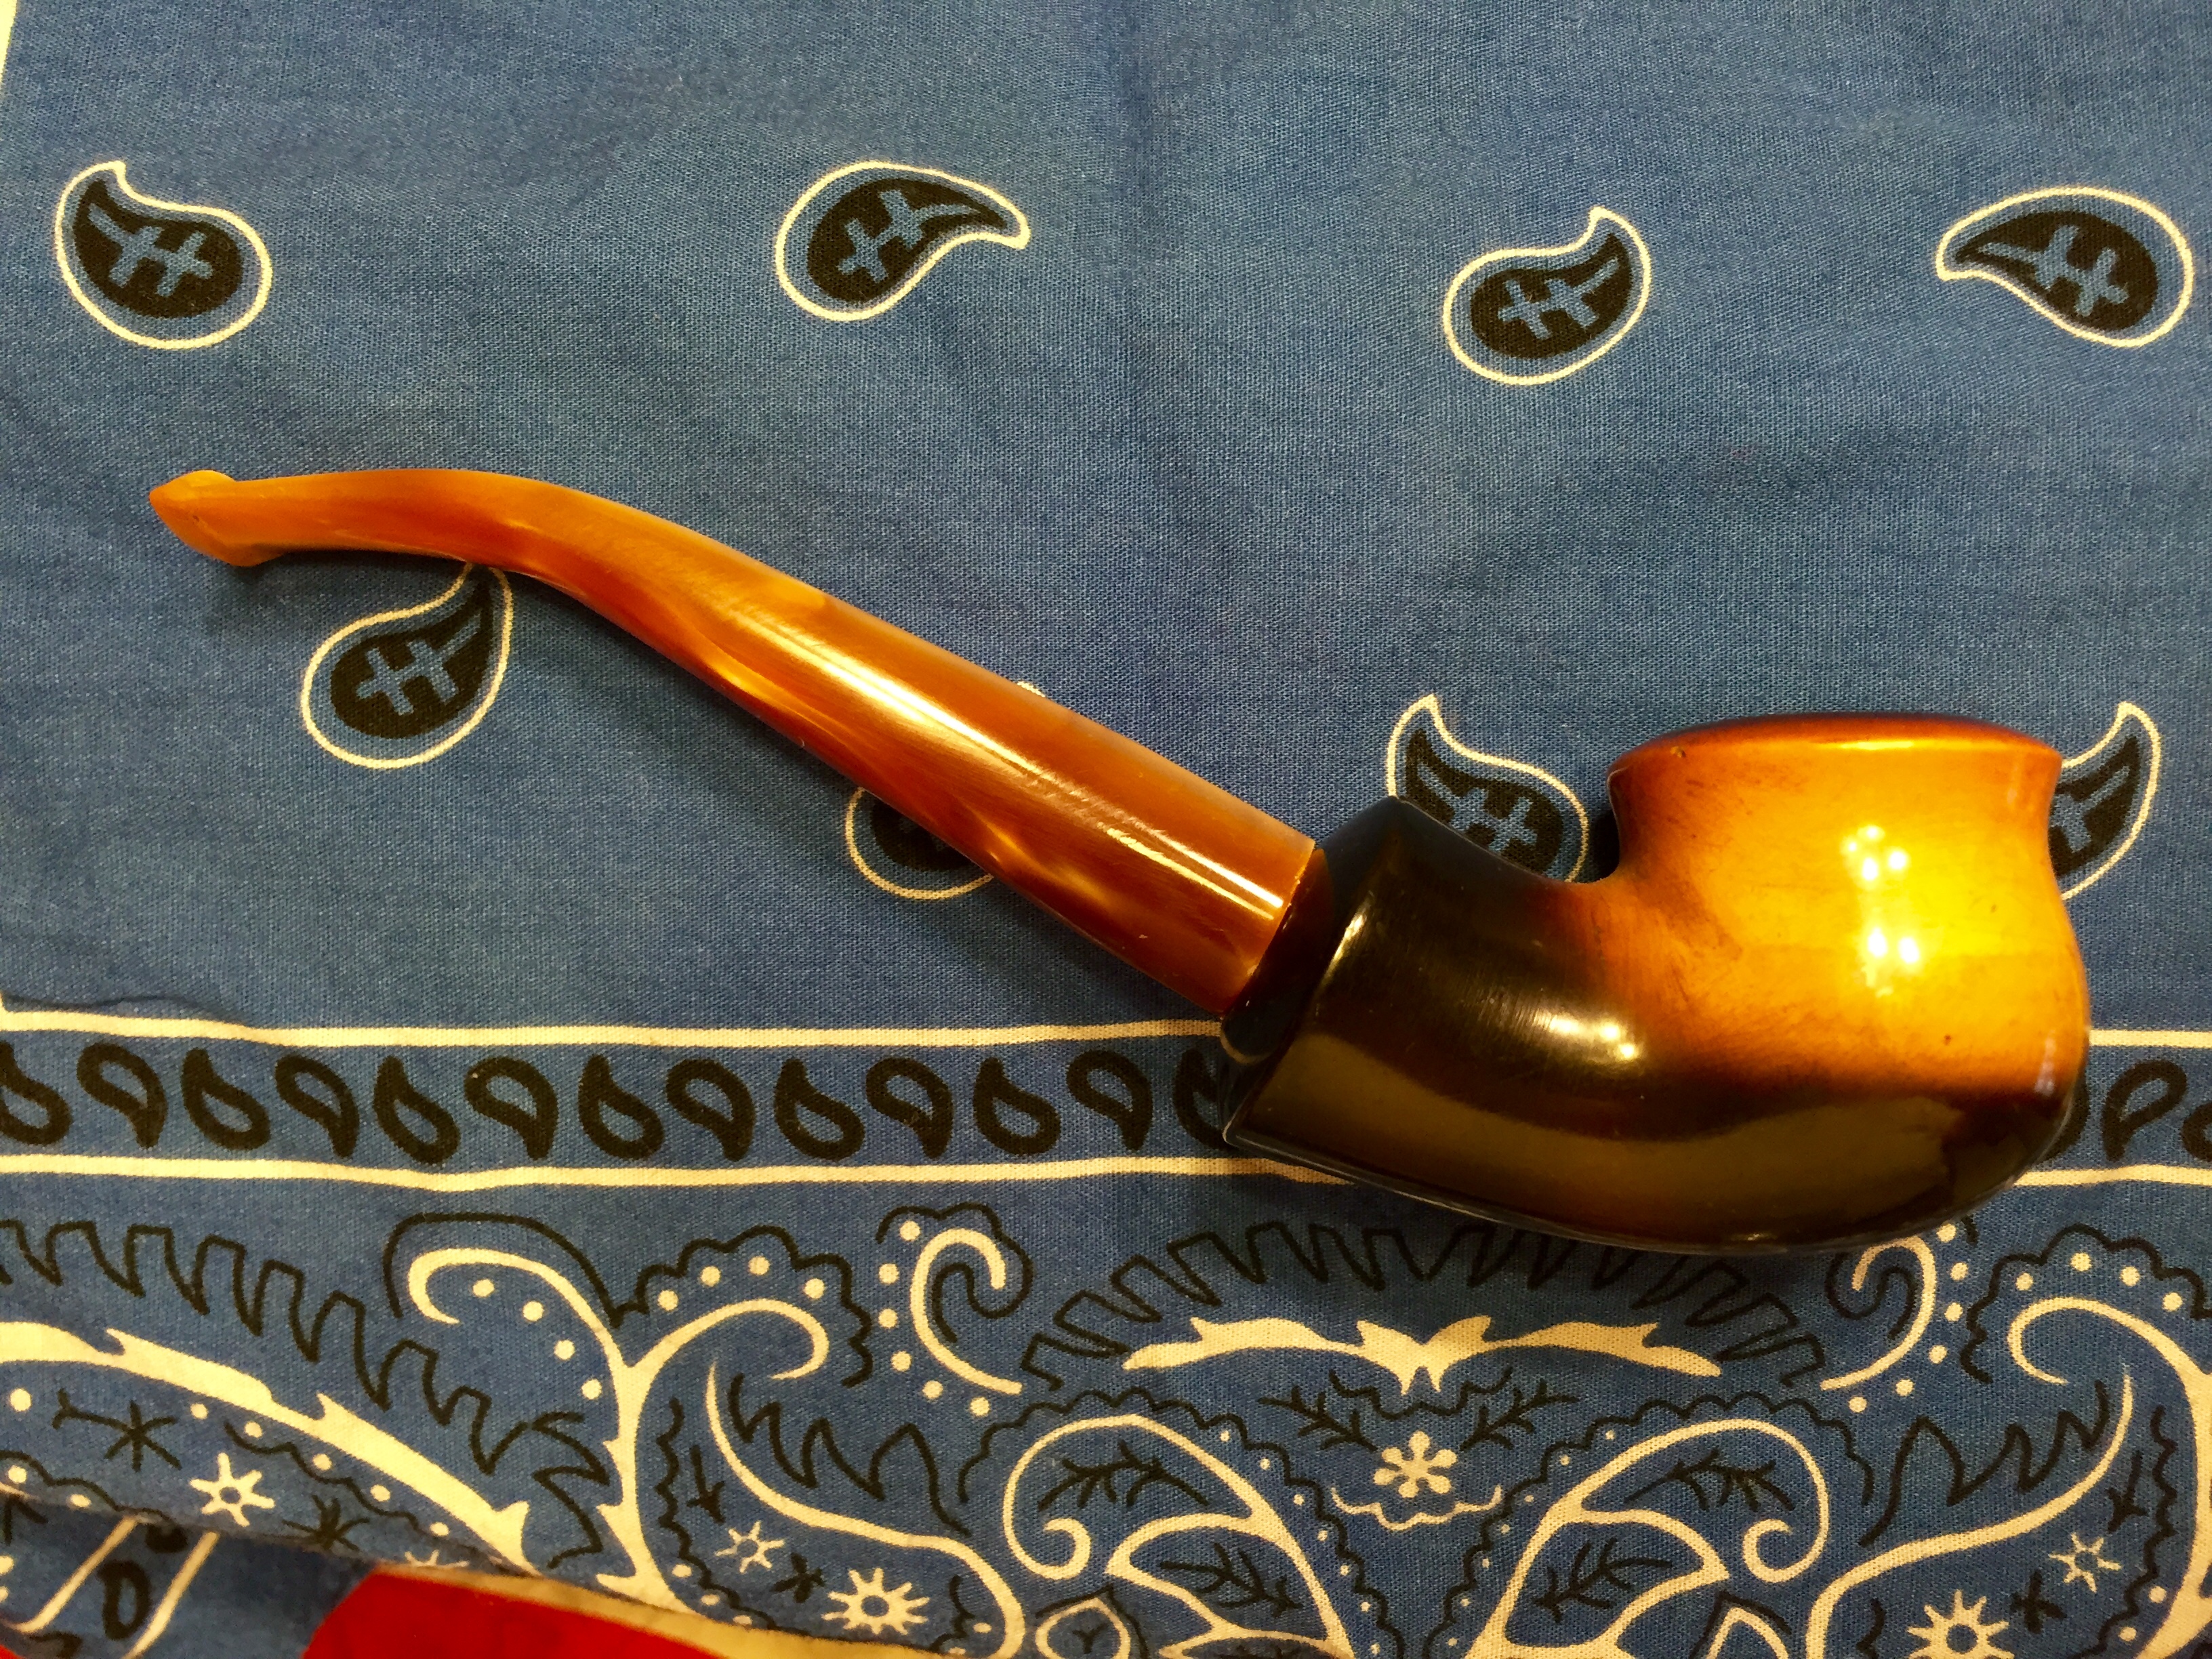
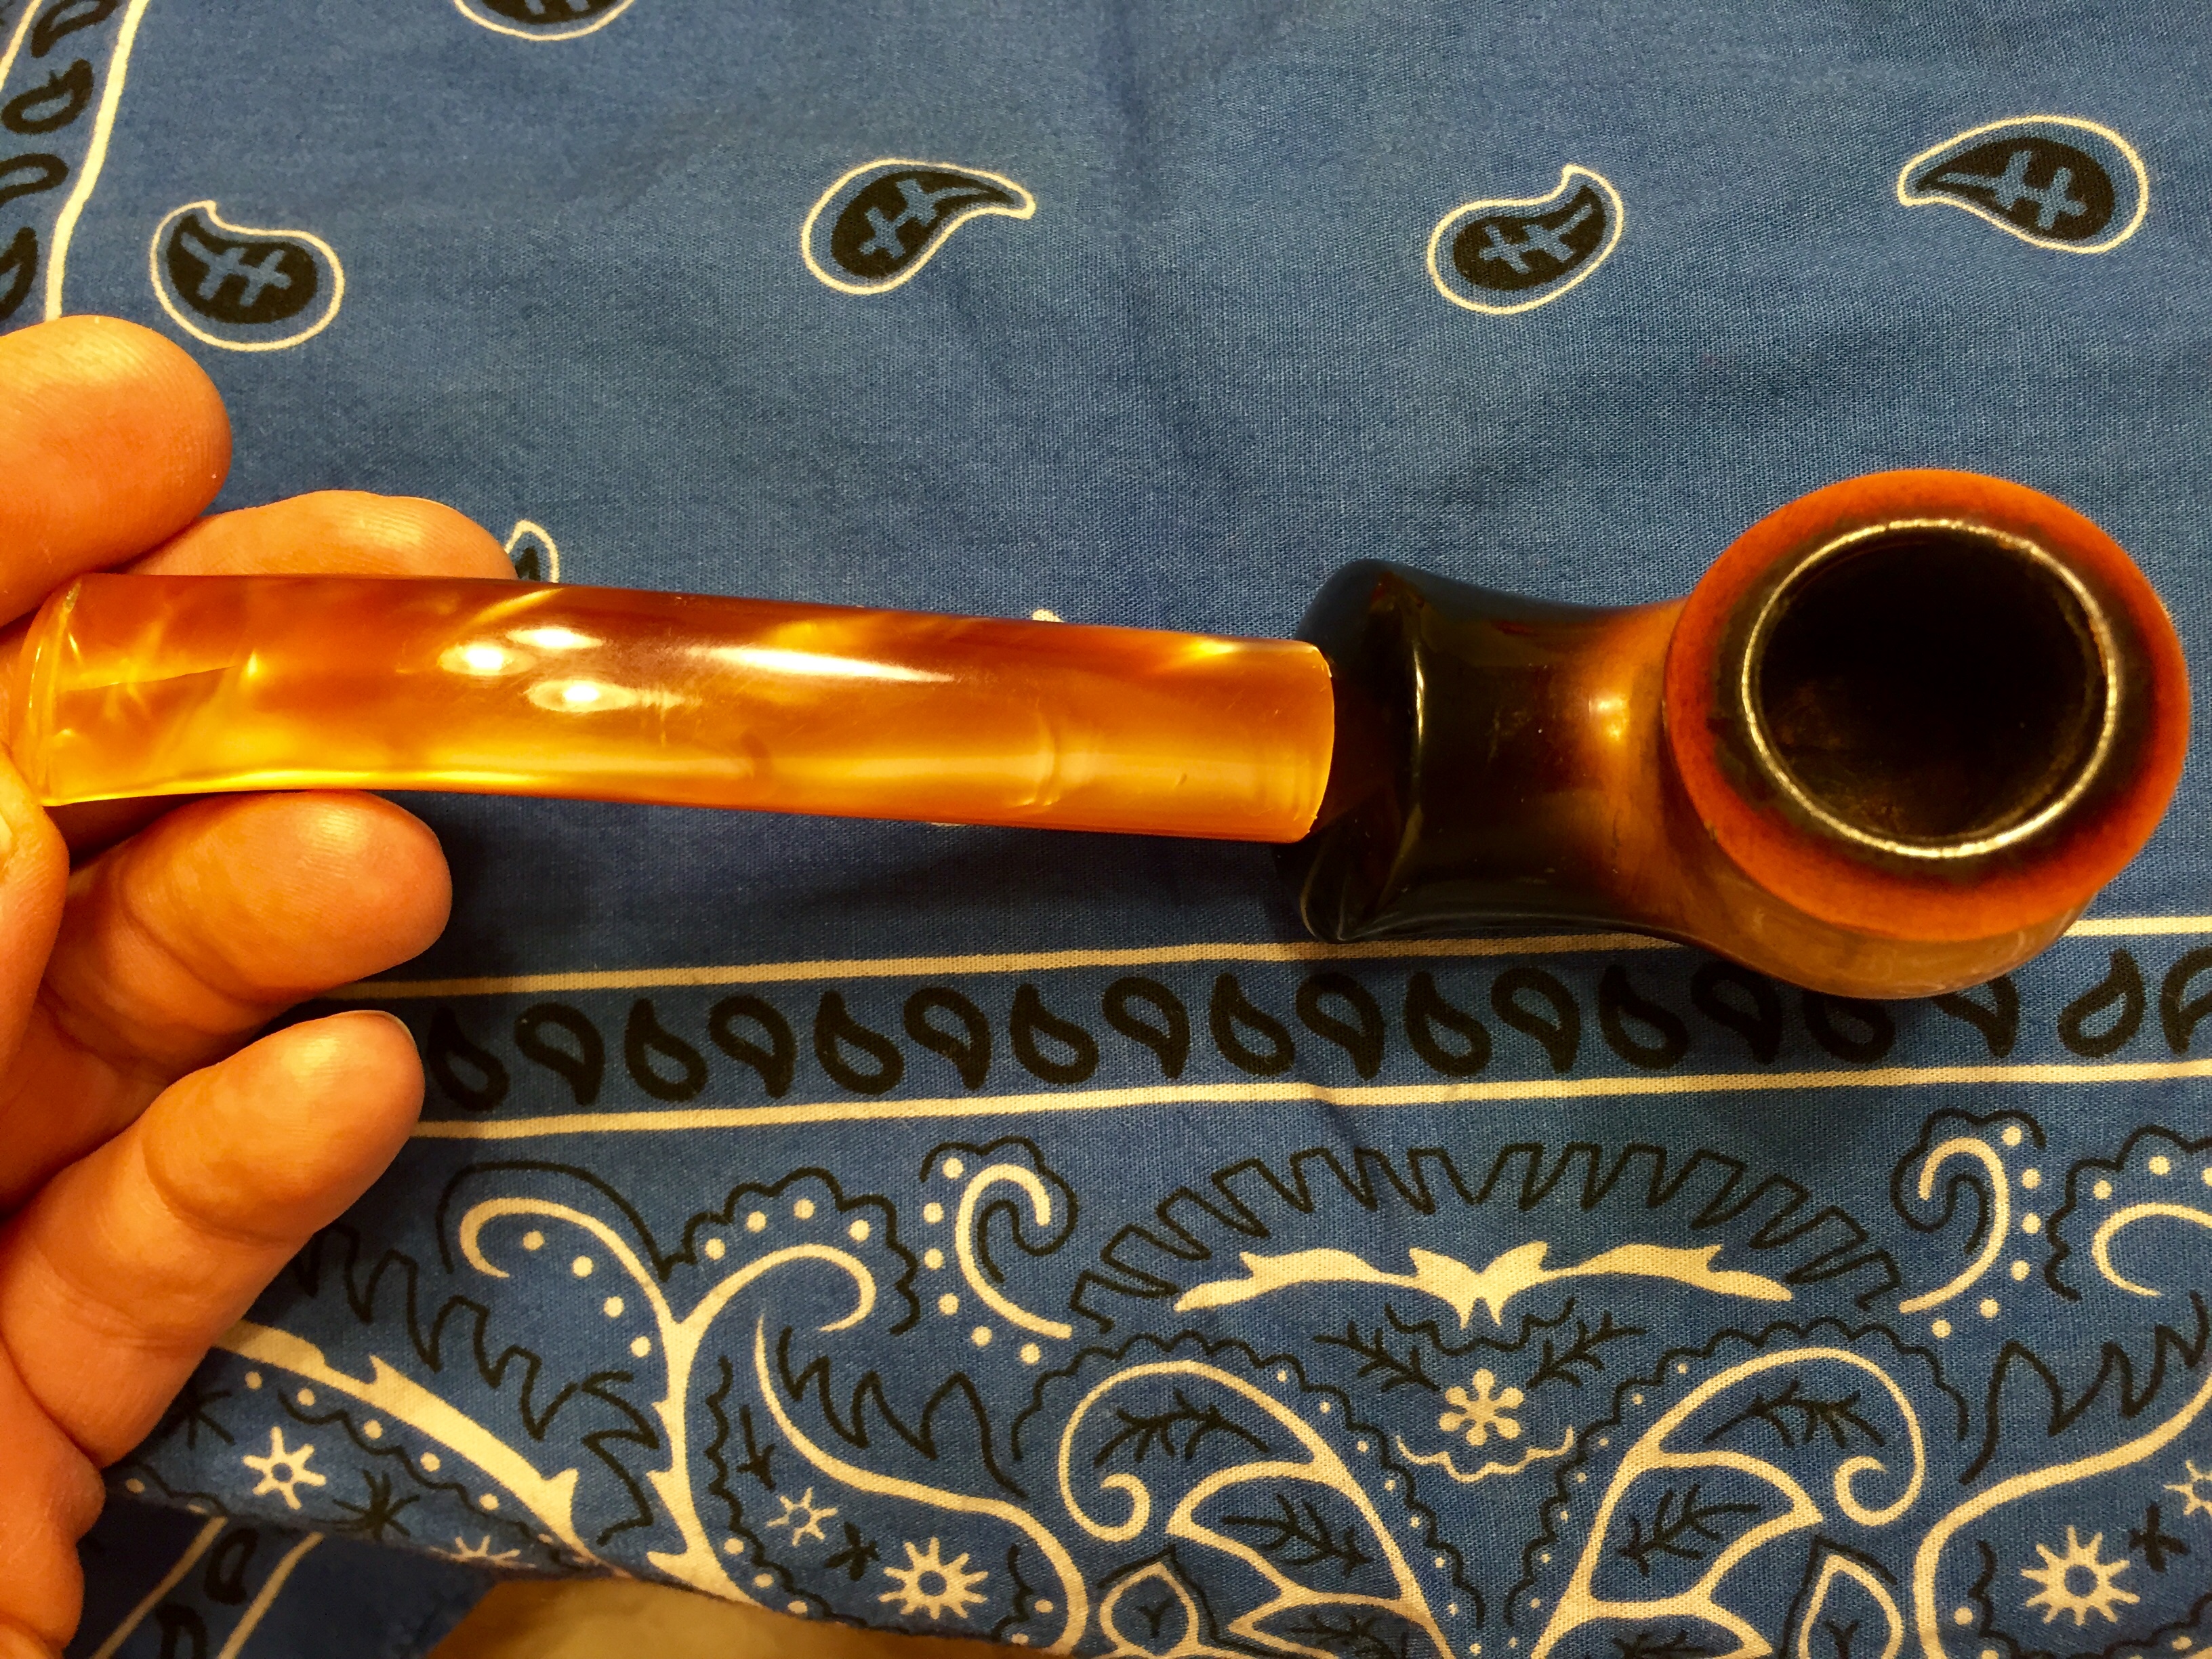
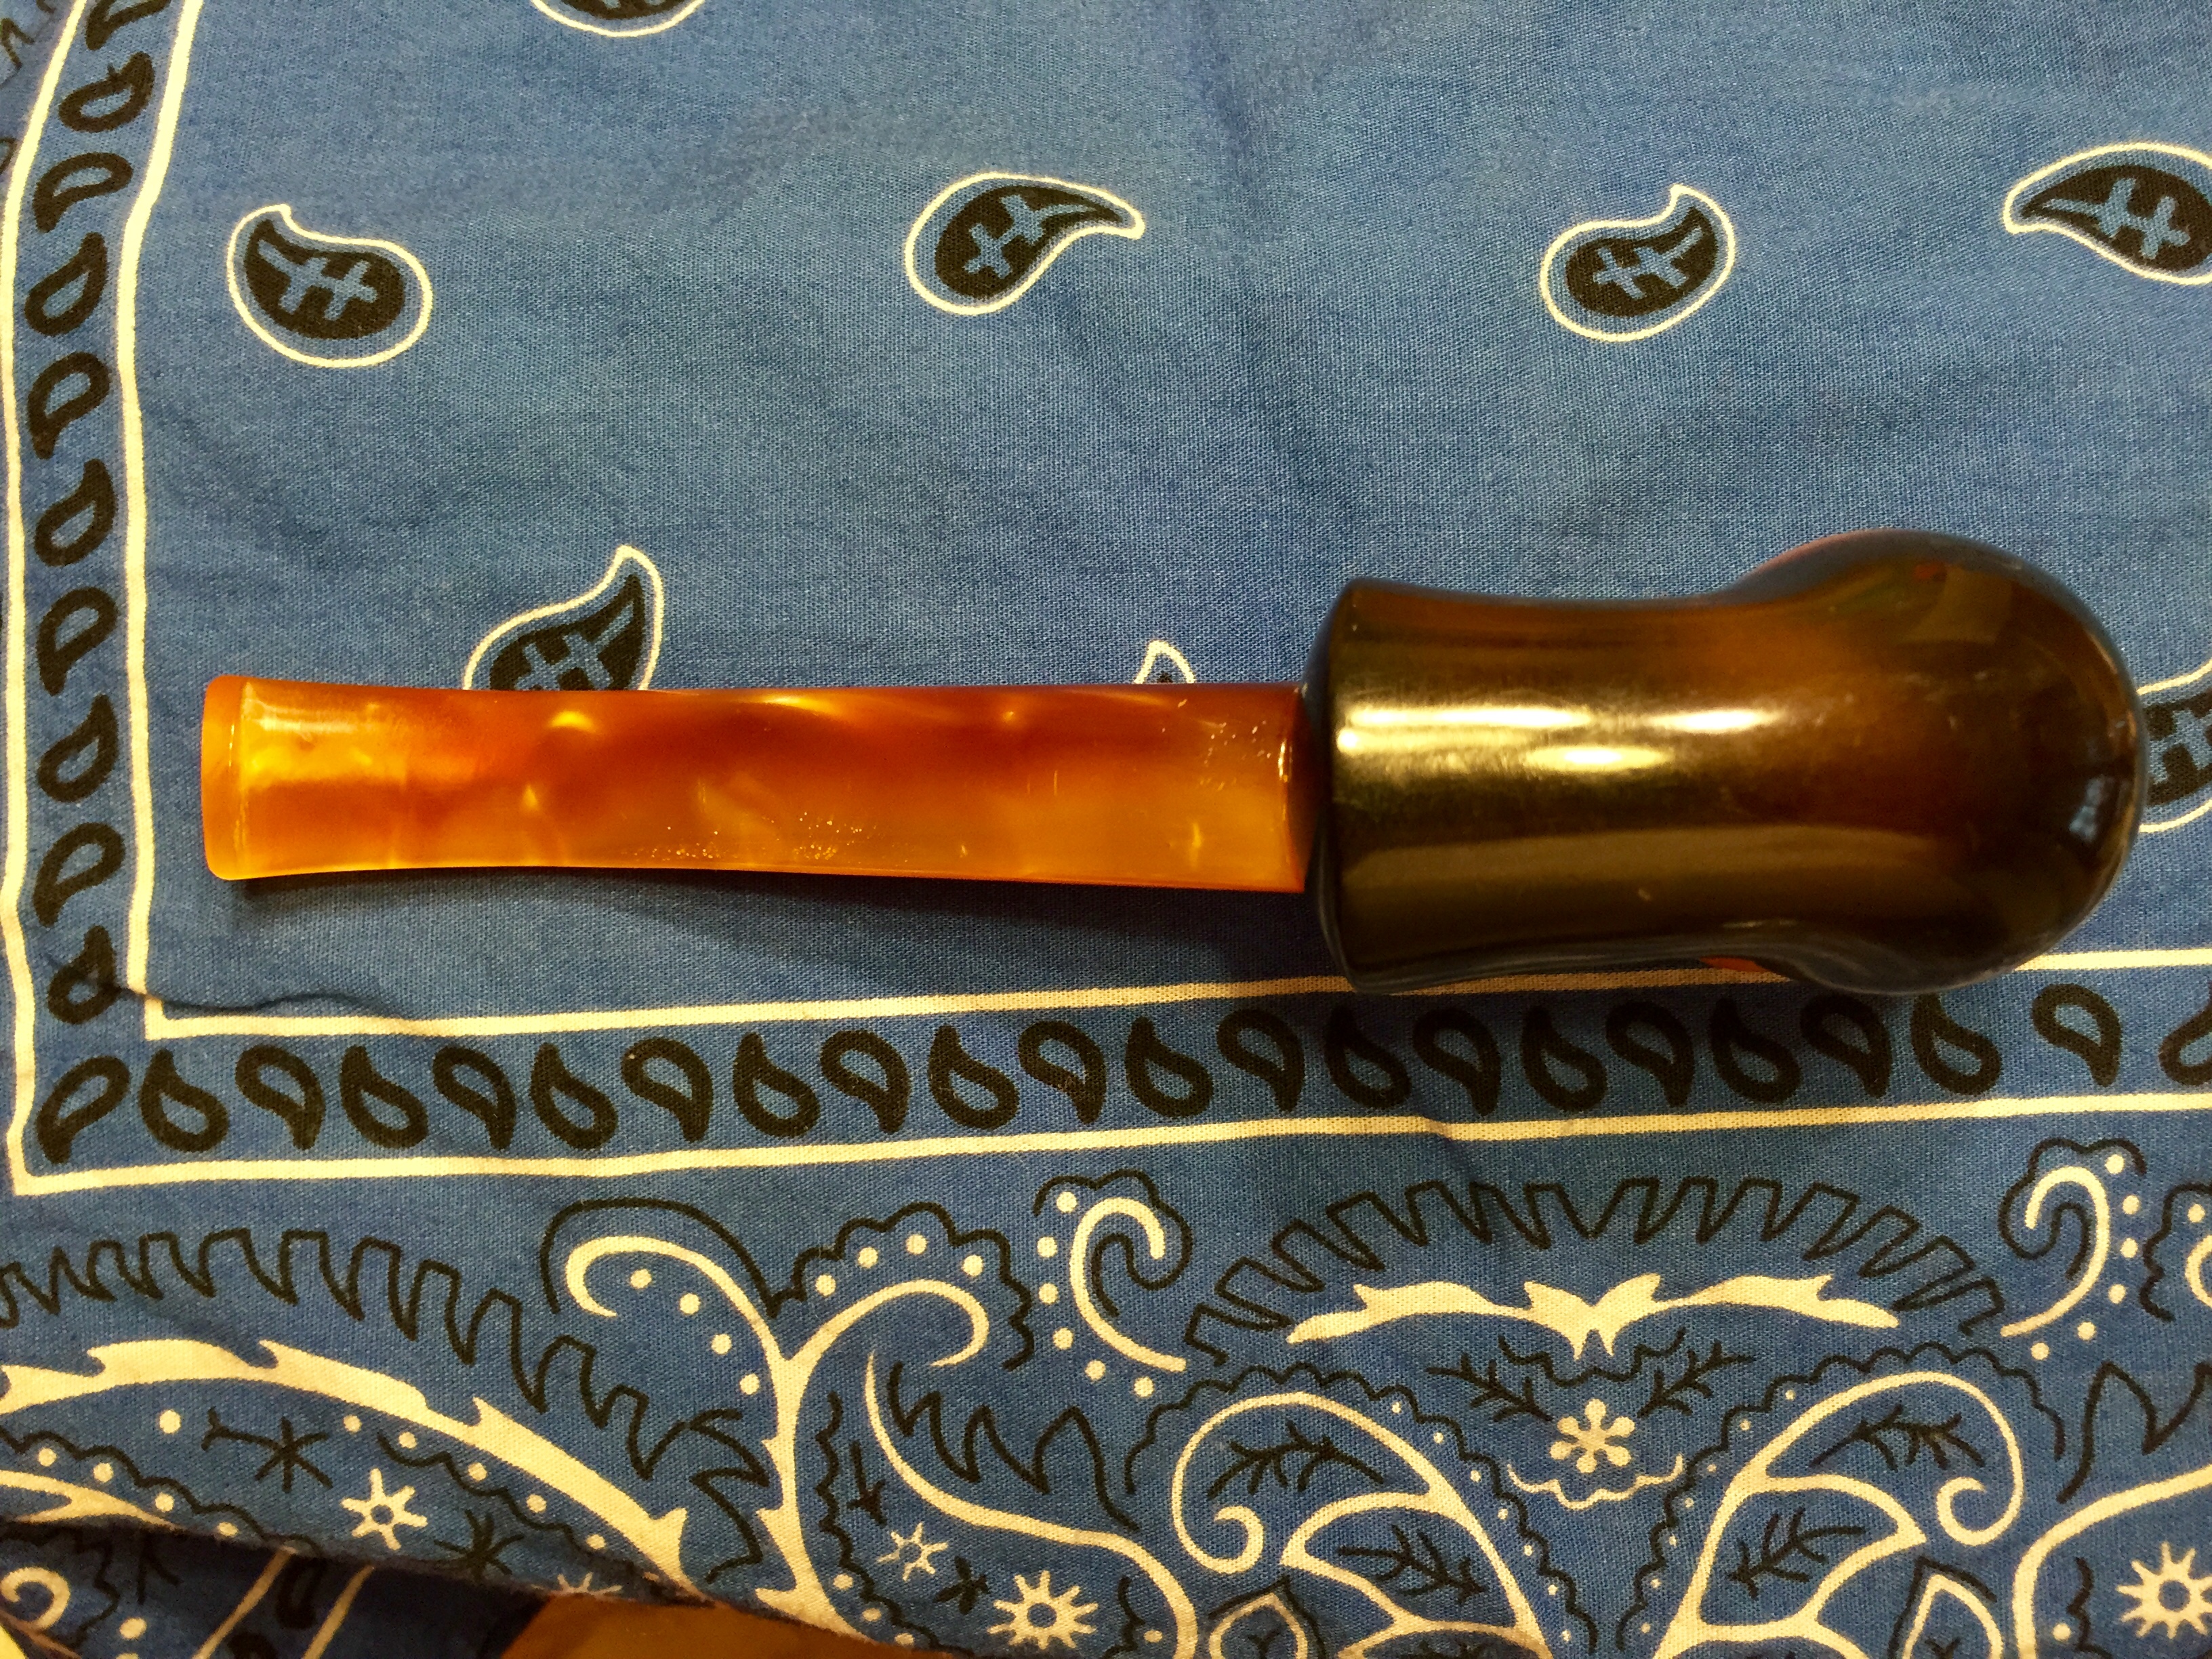
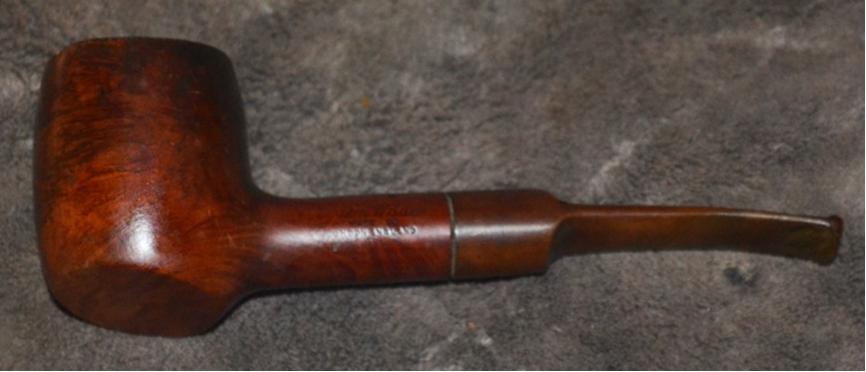
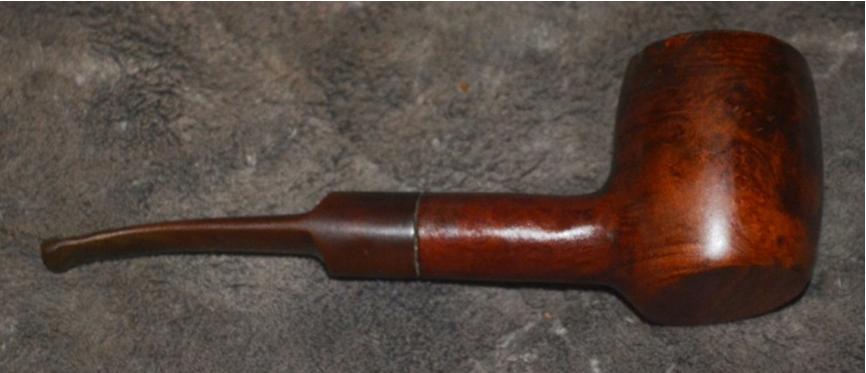
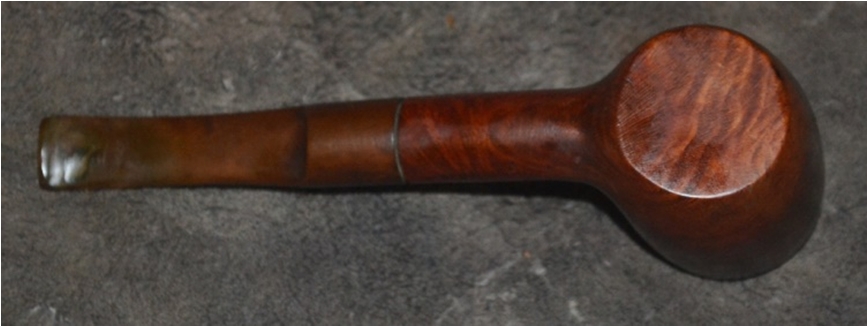
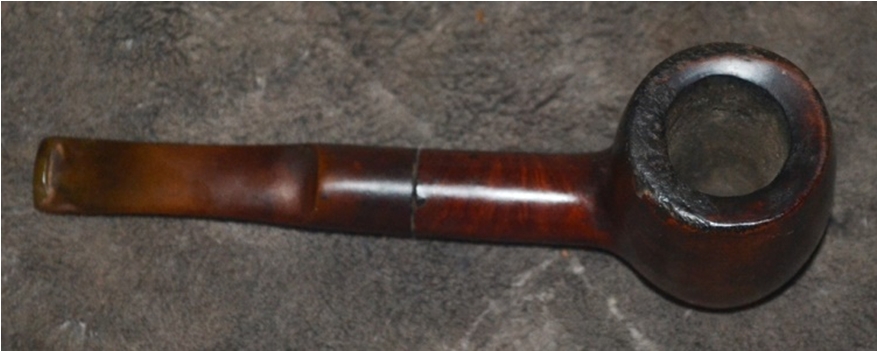
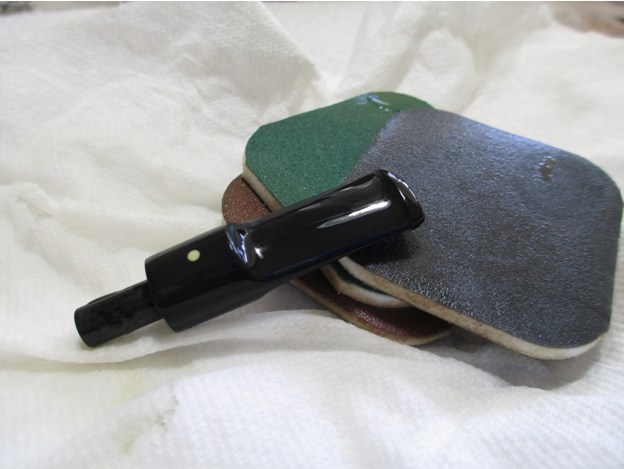
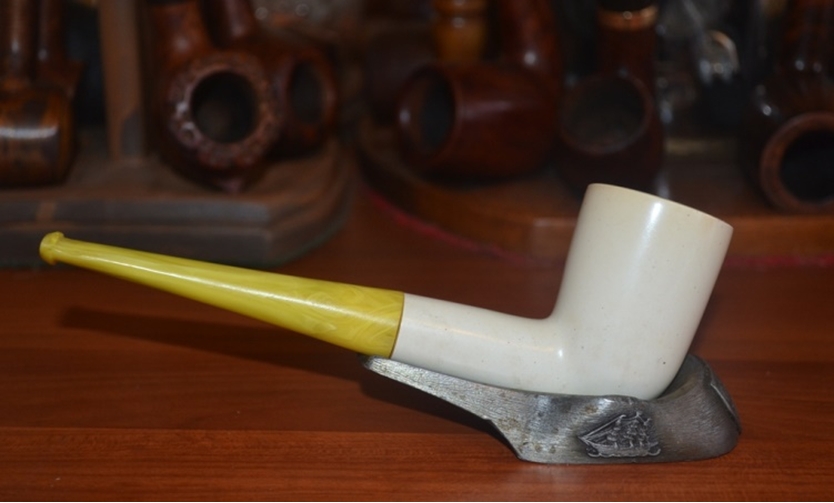
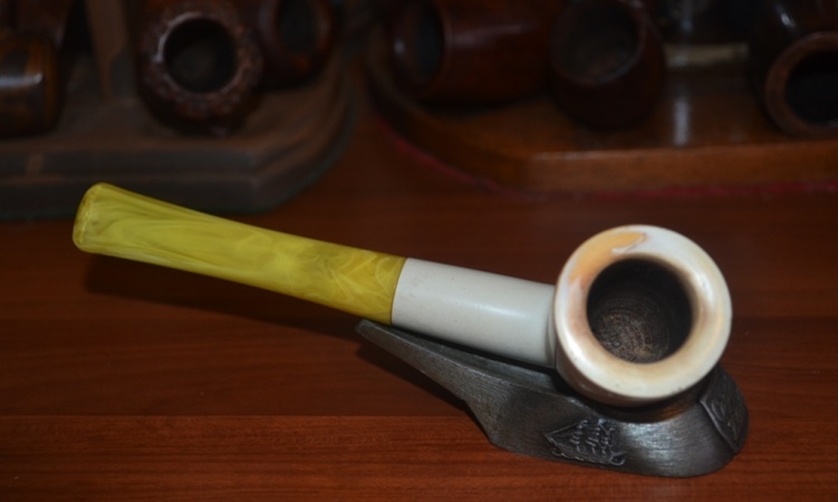
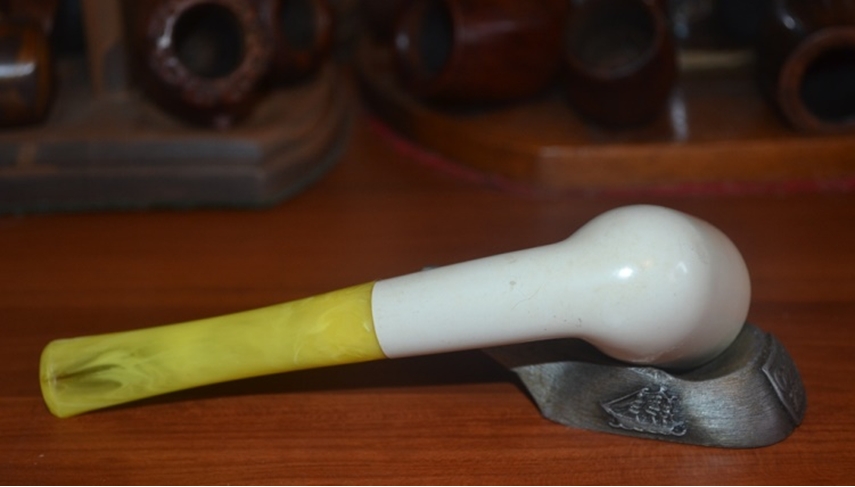
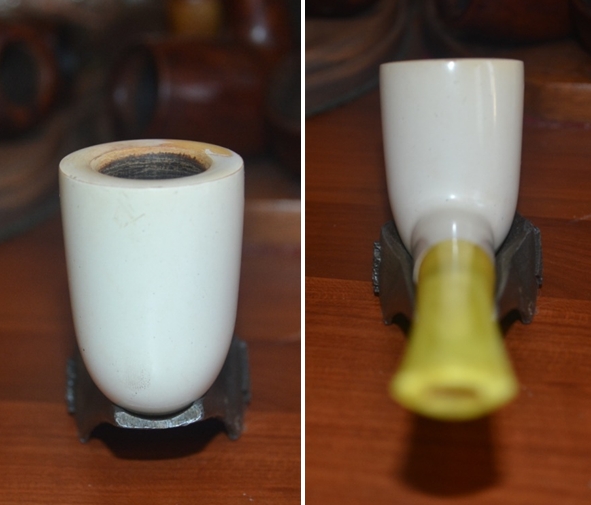
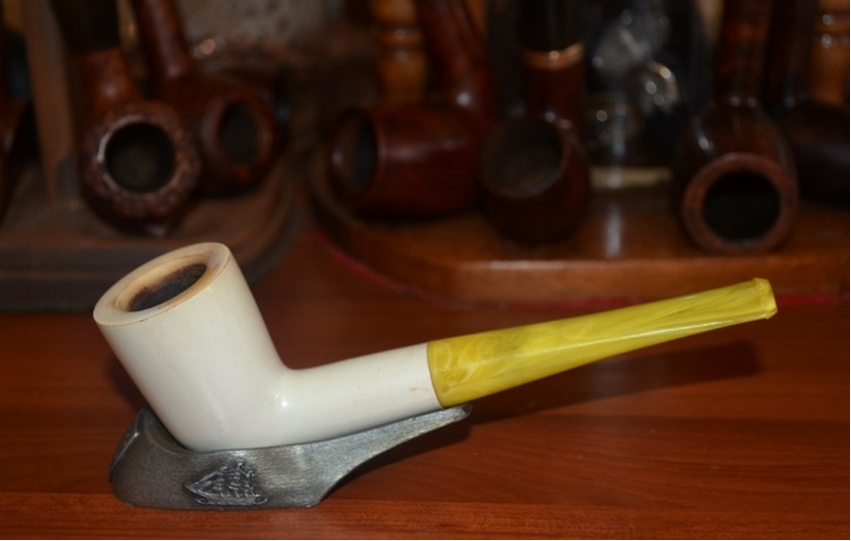
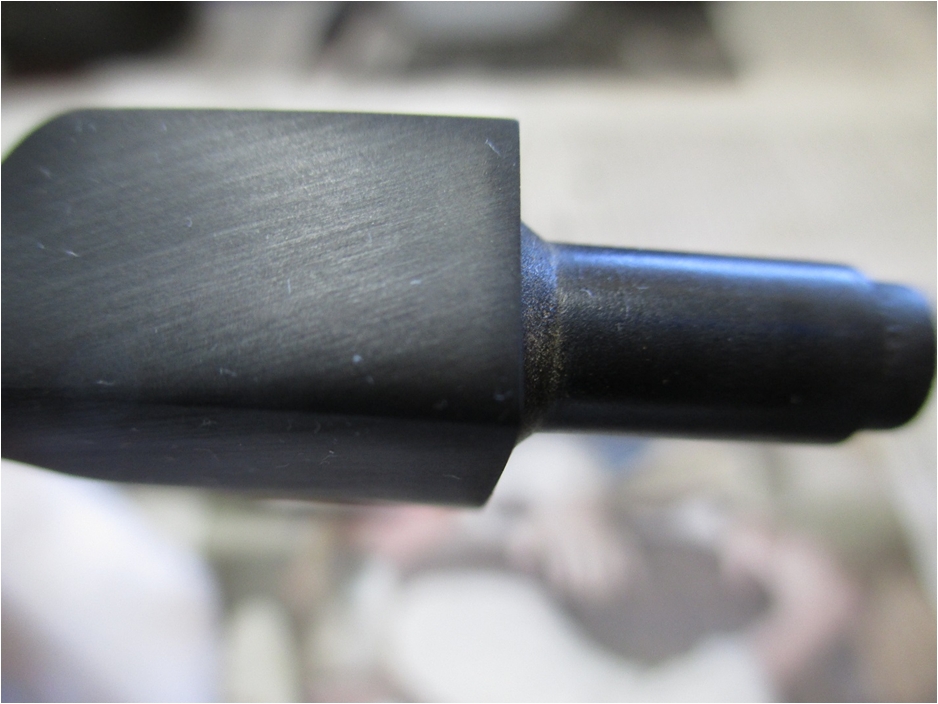
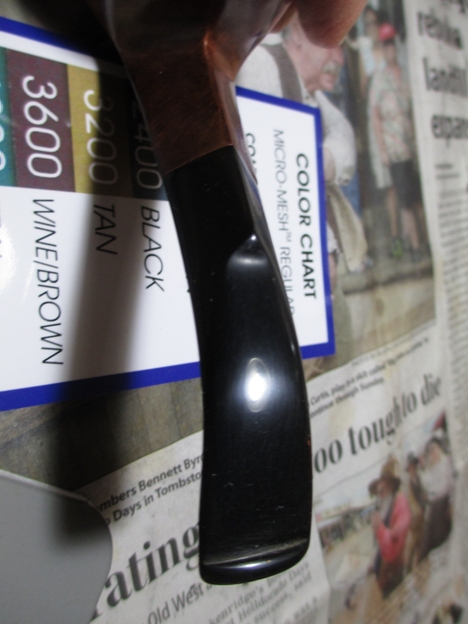
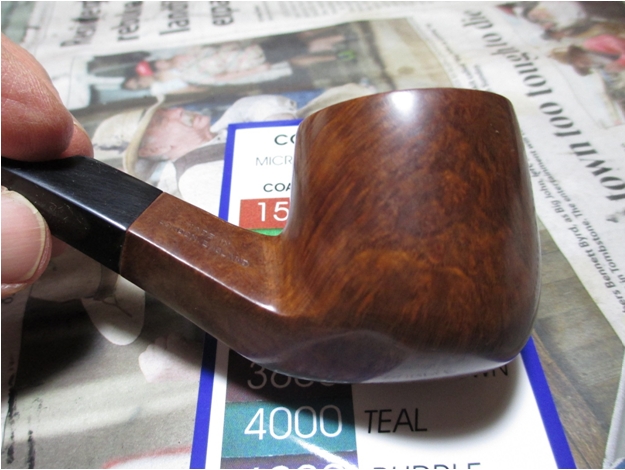
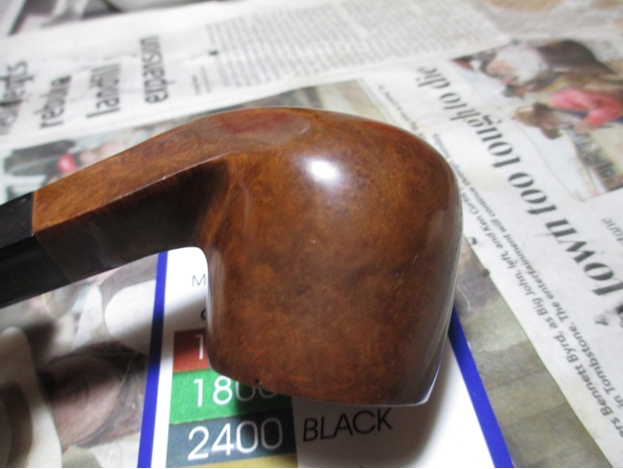
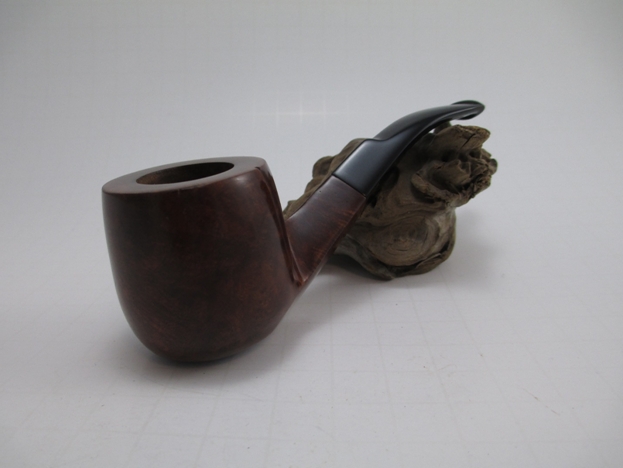
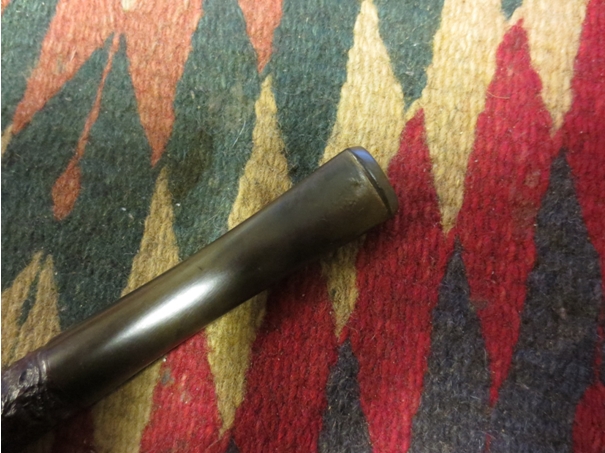
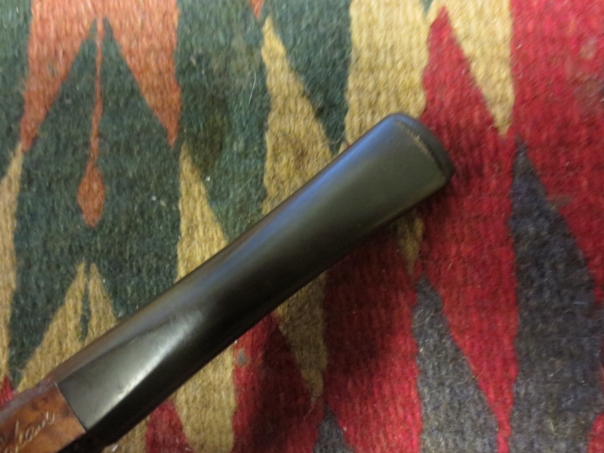
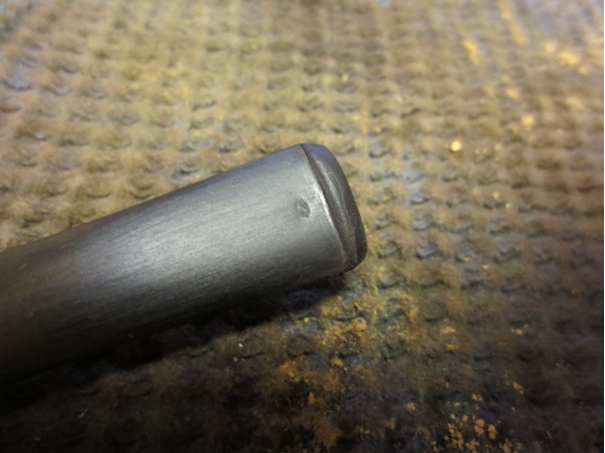
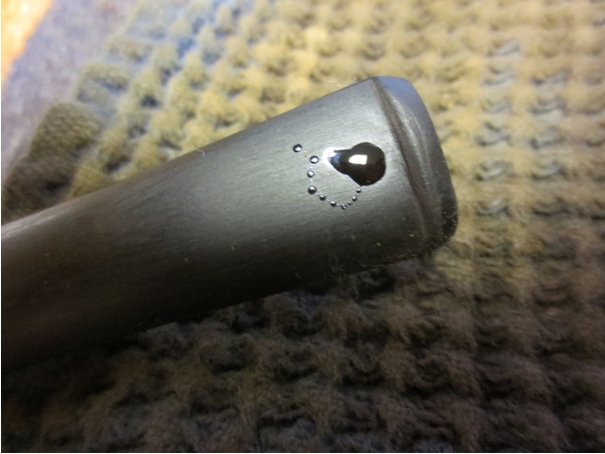
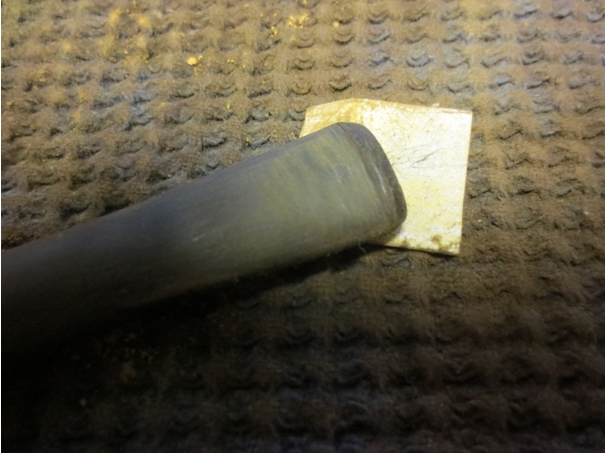
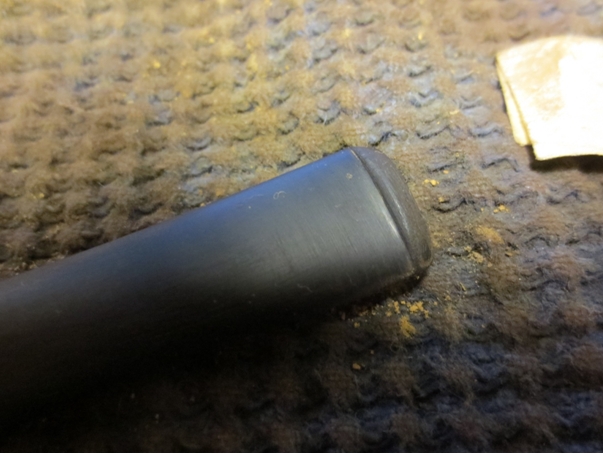
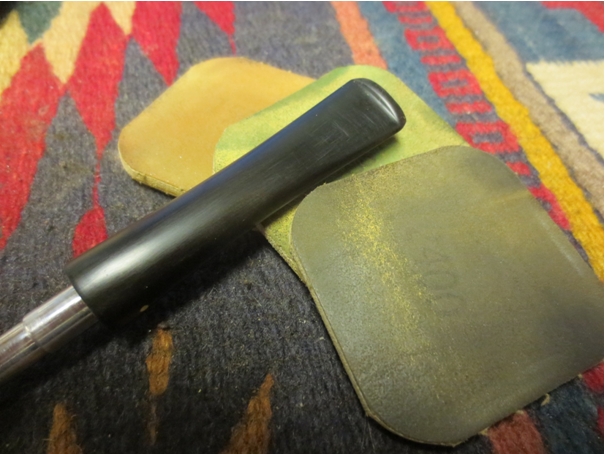
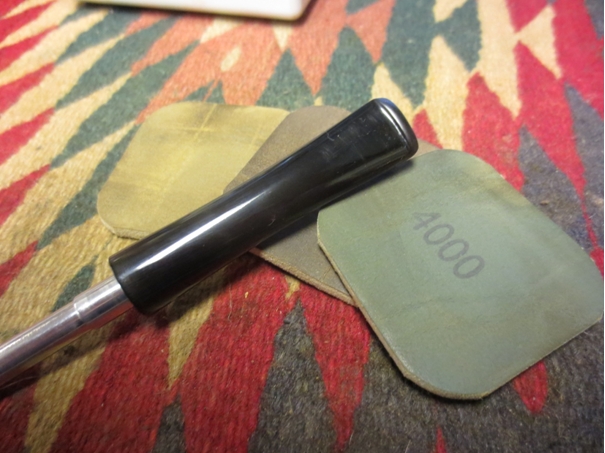
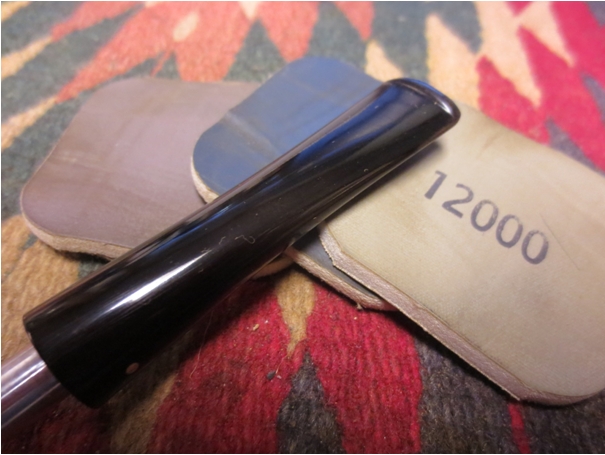
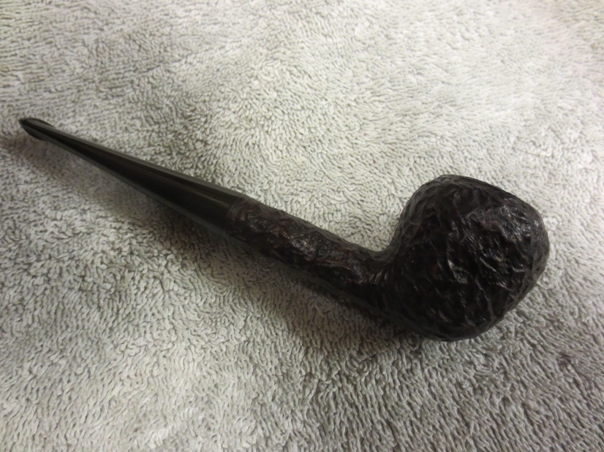
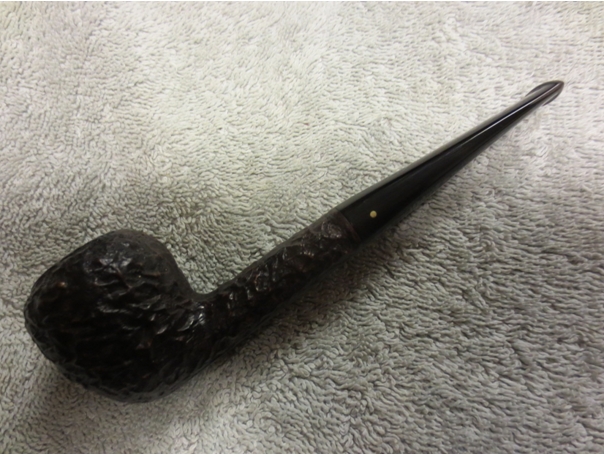
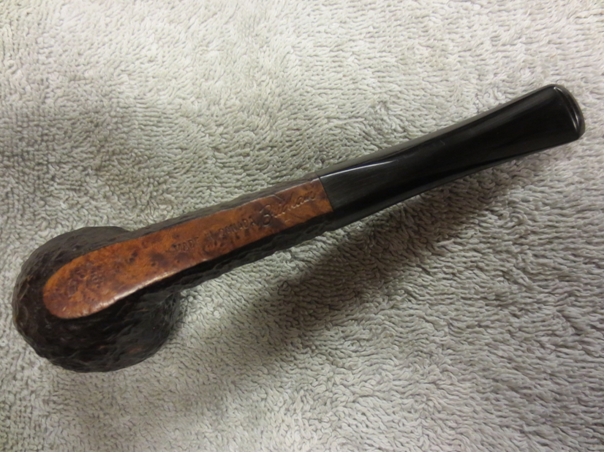
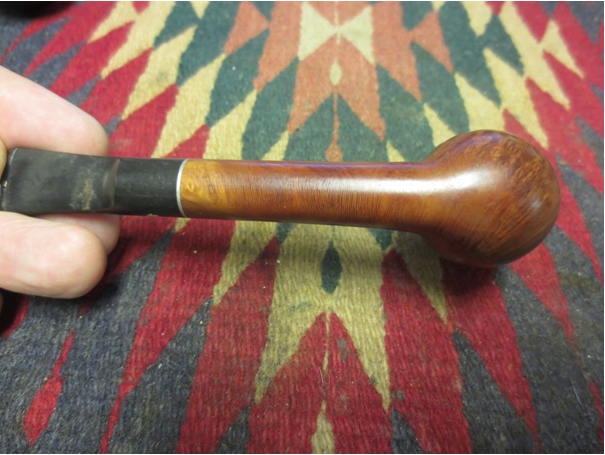
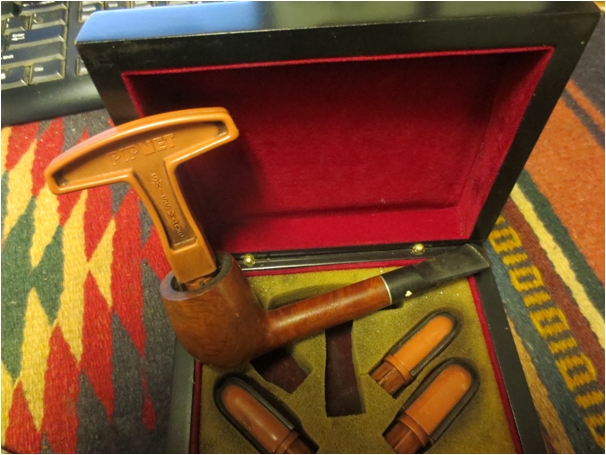
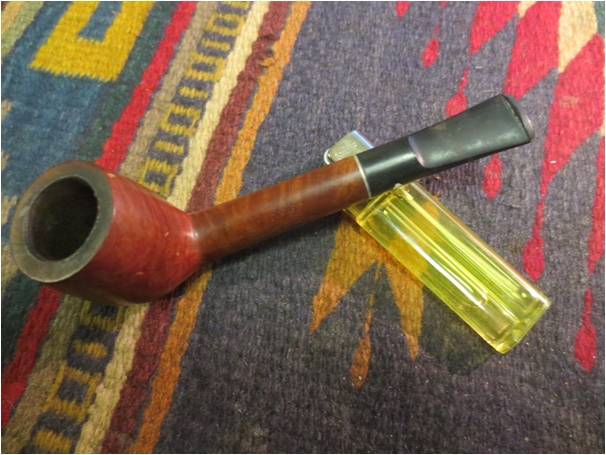
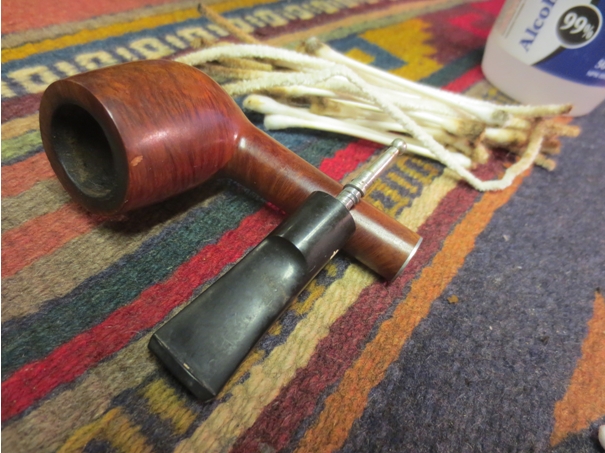
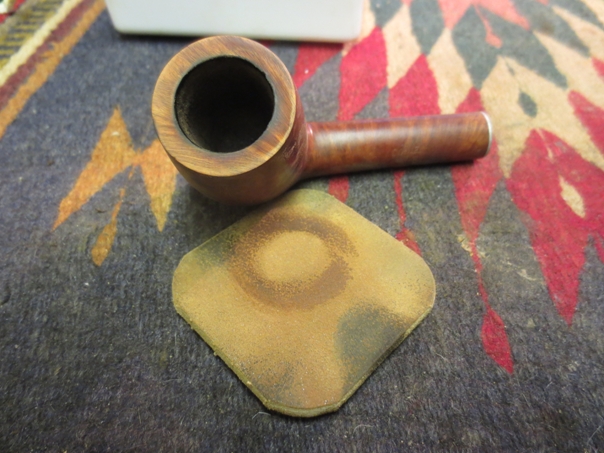
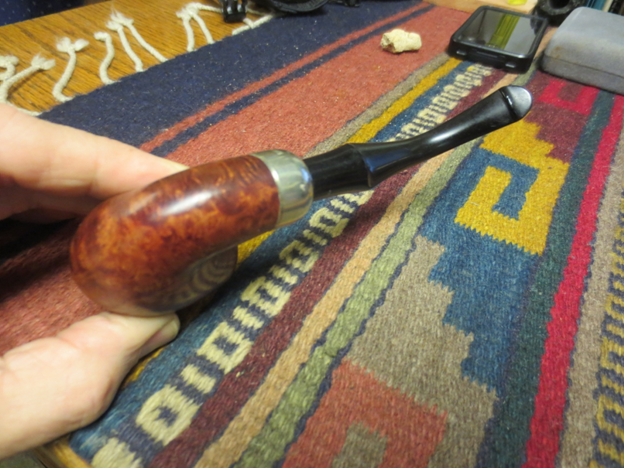
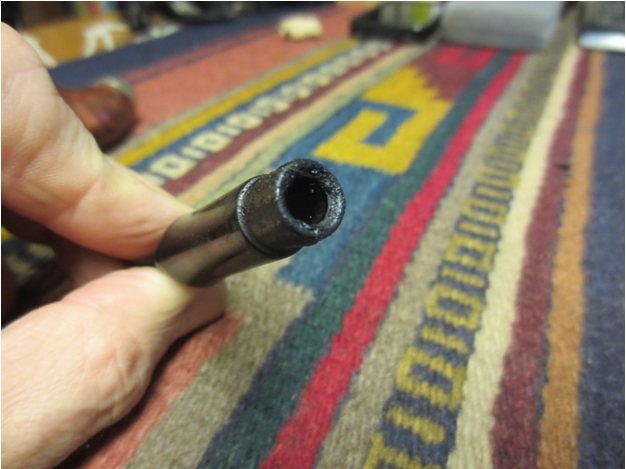
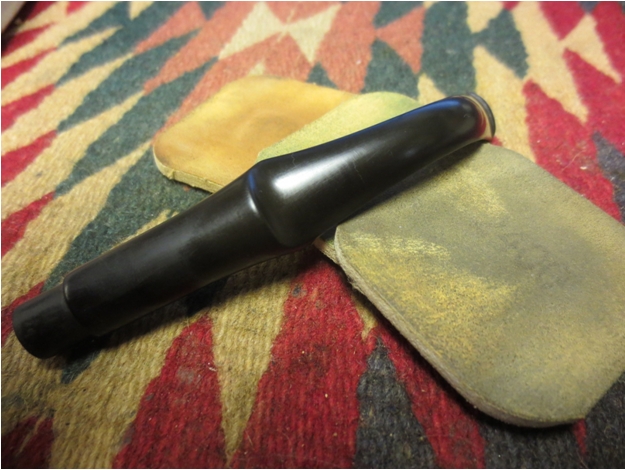
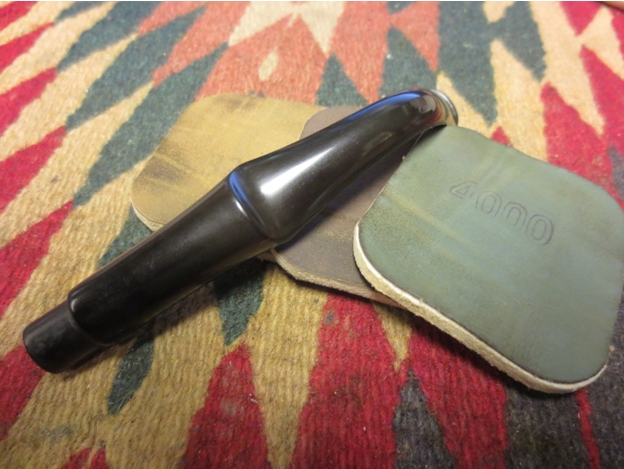
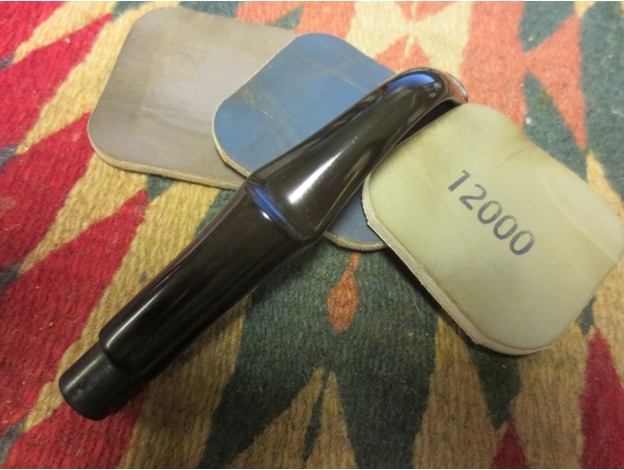
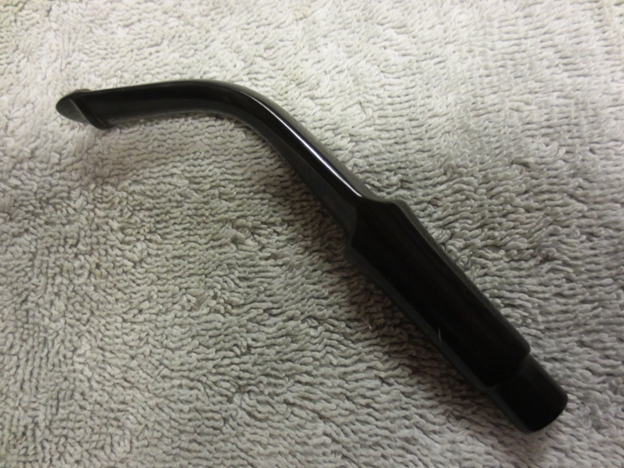
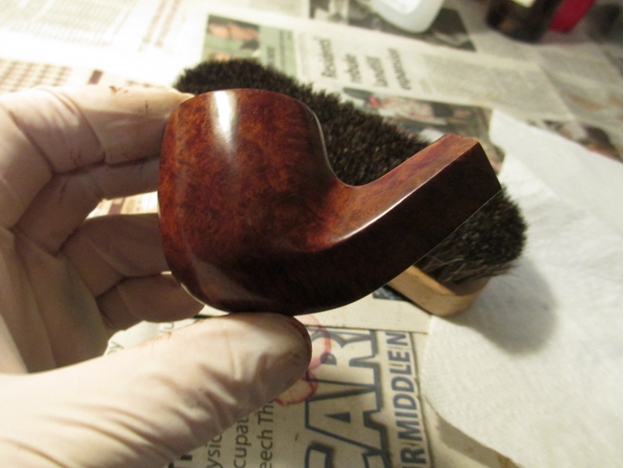
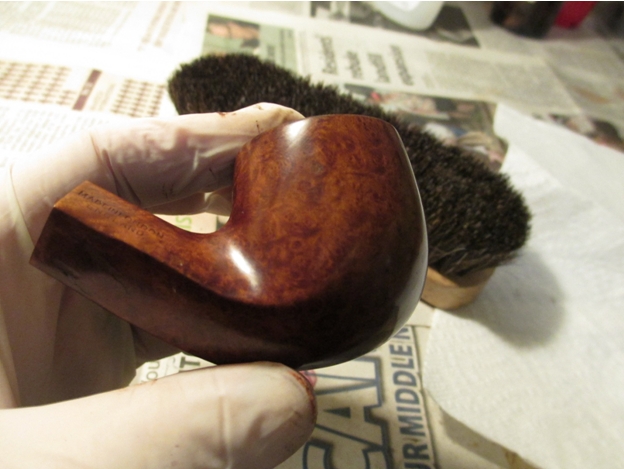
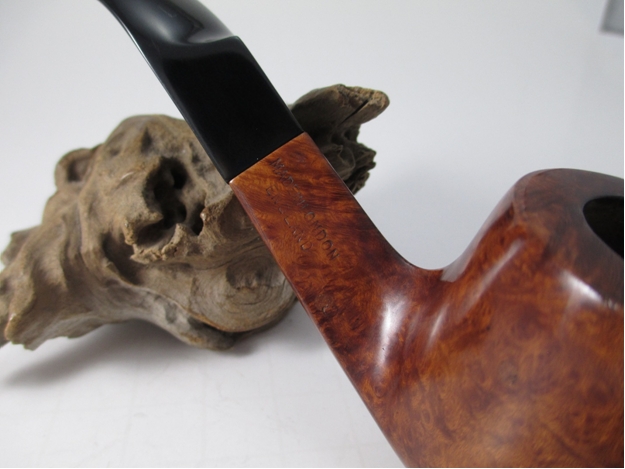
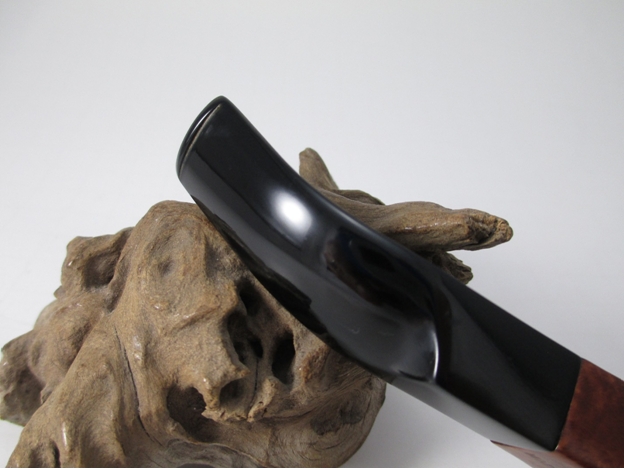
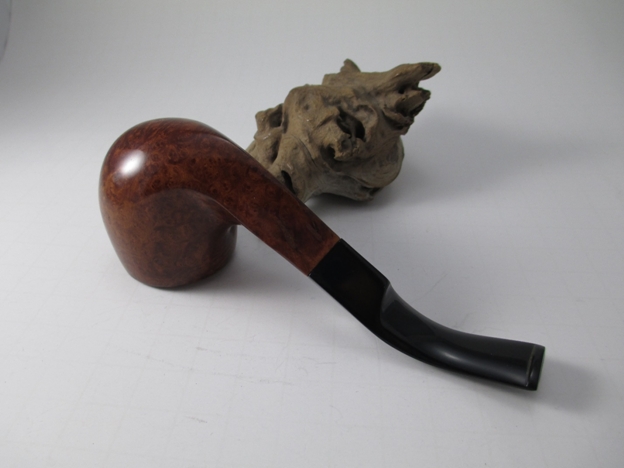
The new stem was in nice condition, without a lot of drawer-dings, so it didn’t require much polishing: a little sanding with 220 and 400 grits, some plastic polish and a buff (lightly) with Tripoli and white diamond. I then used a heat gun to soften the stem and put the bend in it that I wanted and was pleased with. One more round of plastic polish and then everything got a coat of Halcyon II wax.Old Meer (1) Old Meer (2)Old Meer (3) Old Meer (4)

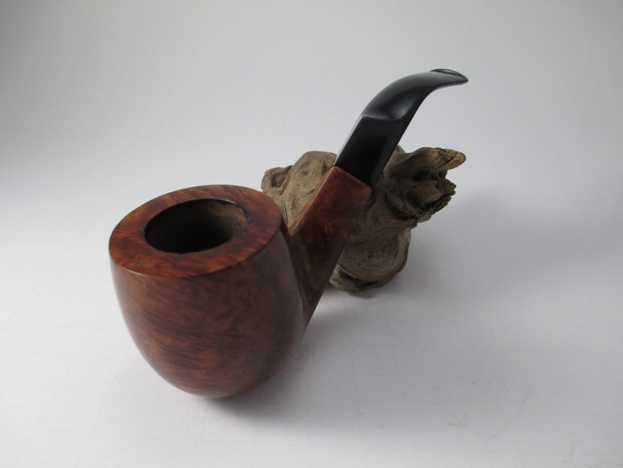
I’d love to tell you how wonderful the old ‘meer smokes but I can’t. You see, my son, the source of my “eviction”, saw the bowl on my work table and fell in love with it, before it was even cleaned up. So, after I got it all finished I took it straight to him to “see what he thought”; he really went nuts over it all reborn! As you have probably guessed by now, the old ‘meer now has a new home in his pipe rack, his first meerschaum pipe, which I hope and expect will serve him well with many good smokes for many years to come.

Ben Wade and the Chamber of Horrors – Robert M. Boughton


Guest Blog by Robert M. Boughton
Member, North American Society of Pipe Collectors
http://www.naspc.org
http://www.roadrunnerpipes.com
http://about.me/boughtonrobert
Photos © the Author

“It is our choices, Harry, that show what we truly are, far more than our abilities.” —J.K. Rowling, “Harry Potter and the Chamber of Secrets” (1998 U.K.)

INTRODUCTION
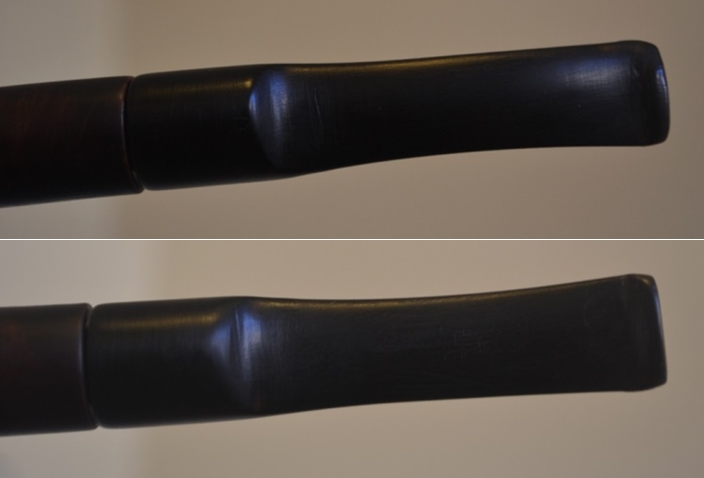
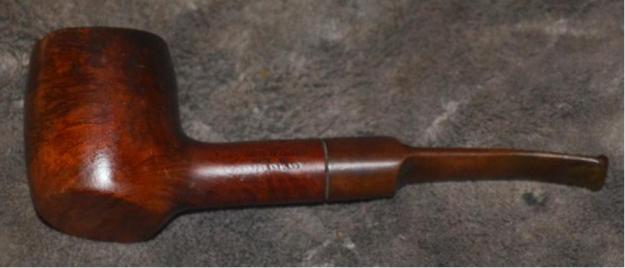
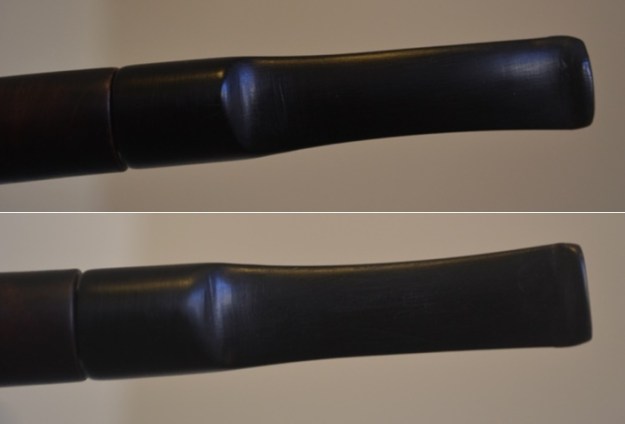
Never has one of the quotes with which I like to begin my blogs spoken with more directness to the heart of the matter at hand than the words of J.K. Rowling above. At the risk of kicking a dead horse, I must point out how the choices of the prior owner of the Ben Wade Tall Poker (Made in London England) effected this description of its harrowing restoration. I am sure the individual lacked not in ability, only decision-making. But where do I begin? Ah, the stem pops into mind.Rob1 Just try to take in the scope of the mauling the perp inflicted on the bit and downward, from these photos alone: the complete gnashing away of the bottom lip and the gash in the upper side as shown on the left, and the chips in the top of the bit and great flat plain below it on the right. The only true cure for this degree of chewing, like a single piranha in frenzy that has been chased away by a bigger fish with no interest in pipes, is total replacement.
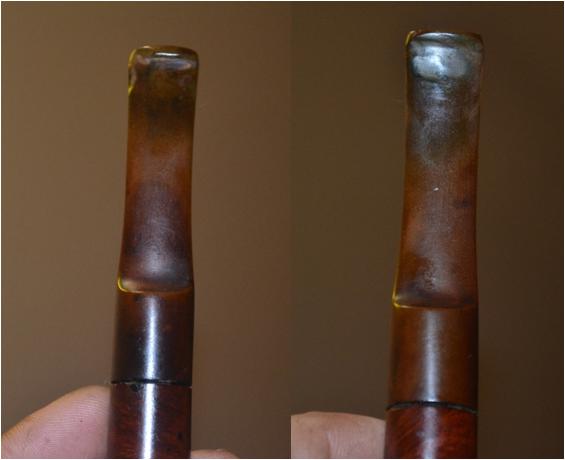
I believe someone even re-stemmed this pipe at some point during the old owner’s possession of it, as the bottom of the bowl is flat with ample room to stabilize it in a canted position yet the stem’s weight topples it. But that probability only serves to compound the undeserving person’s culpability. After all, imagine the debasement the original stem must have suffered. However, with another replacement in mind for the future, for now I took the mayhem as a challenge for some serious Black Super Glue practice.

Then there was the liberal, to use a kind adjective, distribution of deep pits and scratches covering the bowl and shank.Rob2
Rob3

Rob4

Rob5

Rob6

Rob7 And at last, I come to the reason for the name of this blog: the chamber and rim.Rob8 When I first saw this angle on the site where I ordered a three-pipe lot of Ben Wades (one of which, when it arrived, was a tall billiard with a huge crack extending down the side of the bowl that required amputation and is therefore now undergoing the trauma of drastic re-shaping, and the other a small apple, which I restored with success and already blogged), I thought the rim would be the biggest challenge of the project.
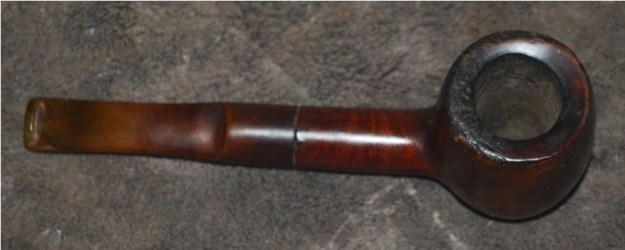
Although the rim did indeed present considerable obstacles to overcome, the greatest battle proved to be with the chamber of horrors itself, from which I emerged, torn and bleeding, but victorious – if there can be any genuine victory in war.

REFURBISH
Following my initial structural inspection with a couple of bristly cleaners soaked in Everclear 190-proof that I ran through the stem and shank, I concluded the pipe somehow was intact but filthy almost to the point of total clogging with black resinous goop. In fact, when I looked at the shank opening as shown in the second to last photo above and then tried to blow through it only to meet extreme resistance, I got my first clue that many sturdy cleaners would make the ultimate sacrifice before this BW was fit to enjoy.

I proceeded with the part of the restoration that has always been my first step: reaming the chamber. But this time, after about an hour of sweaty, hand- and arm-weakening cranking, I only prevailed, with repeated efforts applying the reamer at different levels and angles of attack, in dislodging multiple layers of cake that slowly made a pile of fine carbon amounting to more than half a dozen bowls. Even sanding with 80-grit paper only added another few bowls of carbon to the growing heap. It’s too bad all the pipe cake out there waiting to be converted to powder by folks of my persuasion isn’t recyclable as tobacco, but then again, there seem to be plenty of another kind of folk who enjoy the taste of massive congestion from carbon and other nasty accretions.

Deciding, based on the horrible pocks and craters remaining in the chamber, that the hallowed space would take work throughout the restoration process, I launched a concerted offensive on the rim, at first believing with reason based on experience that I would be able to salvage the nice inward curve of the briar there. However, after another considerable chunk of time flew away with each level of char I banished, all that I had done was reveal wounds so deep and close-spaced along the inside curve of the rim and several bad wounds at the top of the bowl that I knew I would have to level the rim.
Drastic situations call for equal measures, and so, not having a power sander, I chose the best weapon I possessed, said tool being a metal rasp. Thus began another arduous labor removing the once elegant curve of the rim, with heavy mental protest. I was filled with sadness as I applied the rough edge of the rasp with slow care to the rim and watched the slope disappear more and more over time.

That stage finished and the rim flat, I sanded the well-grained wood with 220-grit paper followed by 400 and then micro-meshed using 600, then 800, 1000, 1500, 2400 and ending with 3600.Rob9 Even this view does not reveal the insidious nature of the cake buildup inside the chamber from hell. The ongoing task of removing all of the cake, every time I thought I achieved smoothness all around, only uncovered still more hidden holes, similar to microcosmic pits and craters on the moon, only black.
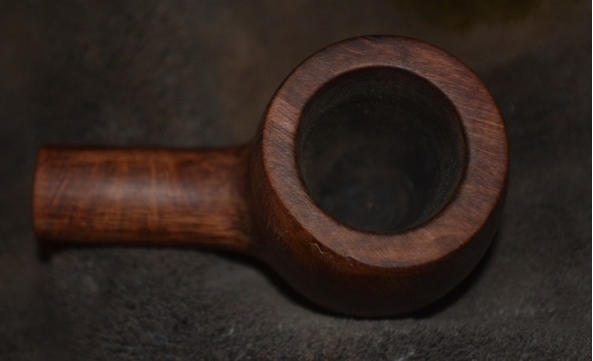
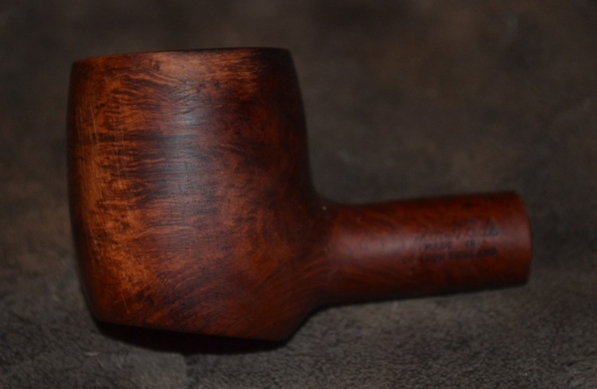
I decided the time had come to remove all of the dings and other rough spots in the bowl and shank and used 220 paper again for the worst areas, then 2400 micromesh followed by 3600.Rob10
Rob11

Rob12

Rob13 Seeing the nice, lighter wood that lay beneath, but suspecting the dark stain was used for a reason (e.g., hiding fills), I nevertheless embarked on a removal of the original stain by hand using 400-grit paper.Rob14
Rob15

Rob16

Rob17 I know, I know! I see here and noted at the time the scratches left by my removal method, but careful, even sanding and then buffing with several levels of micromesh took them off quite well. Two important goals were accomplished by this roughness. One, I satisfied my curiosity about the potential for fills. Yes, as you can see, they are present, but nowhere near to the extent that I anticipated. Two, I removed the dings, divots, dents and most of the other defects. Of course, some might reverse the order of significance of these resolved issues.

At this juncture, I became resolved to eradicate the stubborn, troublesome cake no matter what it might take. The determination was born not only of my own obdurate nature that exceeds that of any piece of wood, but from the fact that the Ben Wade Chamber of Horrors had managed to destroy my Senior Reamer – no joke. Not wanting to discard the fallen reamer, which had been so faithful to me until it met The Chamber That Must Not Be Named, by such callous means as tossing it in the garbage, I chose rather to retire it to a place of honor on my bench. But now I had to avenge my defeated brother in restoration, not to mention buy a replacement. I already ordered a new-in-box Castleford Five-Piece Multi-Fit Reamer Kit and a full set of micromesh pads (no more paper for me) online for just more than $30, postage included.

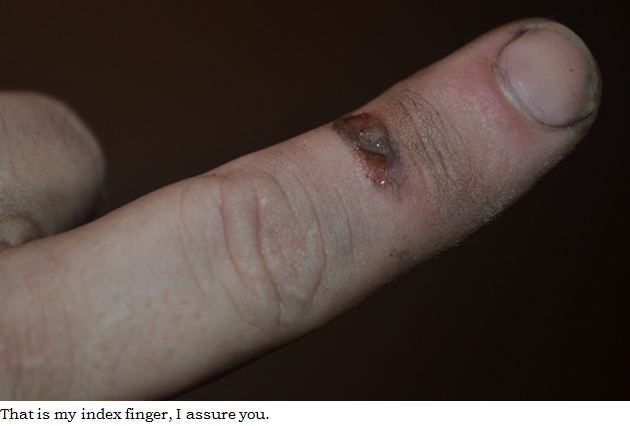
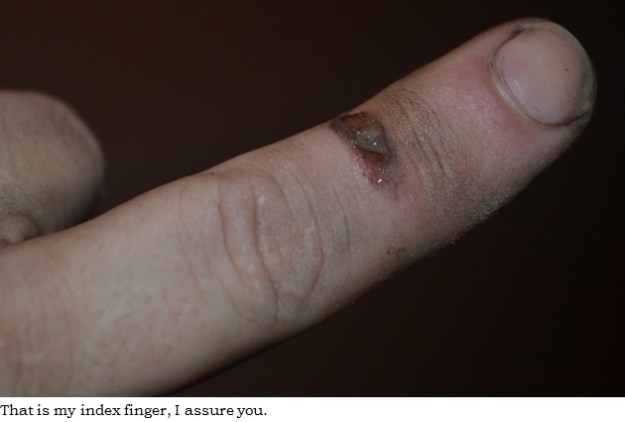
With no small sense of retribution fuelling me, I girded myself with an entire large sheet of the coarsest sandpaper I had and cut off a few small strips before bending one into the right shape to begin the ugly but necessary task with a vengeance. Unbelievable amounts of carbon spilling from the demon chamber every time I emptied it, and my fingers blackened with soot, I kept at it with gusto, thinking I must have made progress. My left index finger was developing scrapes and calluses.

Still, the evil chamber walls in spots felt like the bowels of a volcano. In desperation, I turned to a Dremel I borrowed for the amputated Ben Wade Billiard’s re-shaping. I changed the Dremel bit to a small, fine rounded piece of sandpaper and, at the slowest speed, began making circular turns around the chamber walls.

As some of you with more experience might imagine, this approach almost led to disaster, but instead turned the tables in my favor. Granted, the Dremel (not I) left several new chinked spots where none existed before. But these occurring after the power tool caught a scent of the pure briar, the cake crisis was solved with a bit more rapid sanding that also repaired the new nicks.

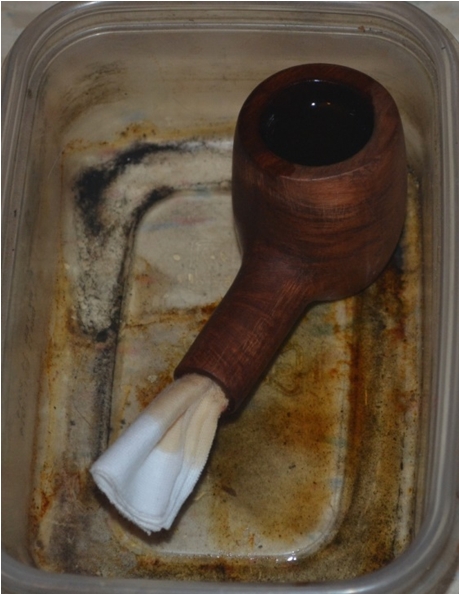
With the chamber vanquished of the dreadful cake as well as it ever would be, and the hollow area covered in blackness, and the shank still needing to be purged of its mess, I plugged the shank opening with several small squares of cotton and flooded the chamber with Everclear. I set the big chunk of briar aside for about 20 minutes.Rob18 In the meantime, I felt a keen sting in my right index finger and noticed that under the True Coat of soot there appeared to be some blood and loose skin. I thought it wise to scrub my hands forthwith, with soap and water as hot as I could stand, and this ordeal ended up lasting about 15 minutes. When I was done, I realized I had no hydrogen peroxide to sterilize the cut caused by so much sanding of the wicked chamber.
But I did have Everclear, the pouring of which onto my already burning sore did not excite me. Better safe than sorry, I just got it over with.

Oh, my gosh, did it burn!Rob19 I pulled the cotton plug from the shank and let the remaining coal-black liquid ooze from it like a suppurating wound, and began the still serious business of running both ends of so many bristly cleaners dipped in alcohol through the shank that I lost count. While the darker part of my brain, made meaner by the frequent sting of more Everclear running onto my exposed wound, whispered that the little hole would never come clean, the rational side assured me that before I knew it the job would be done.
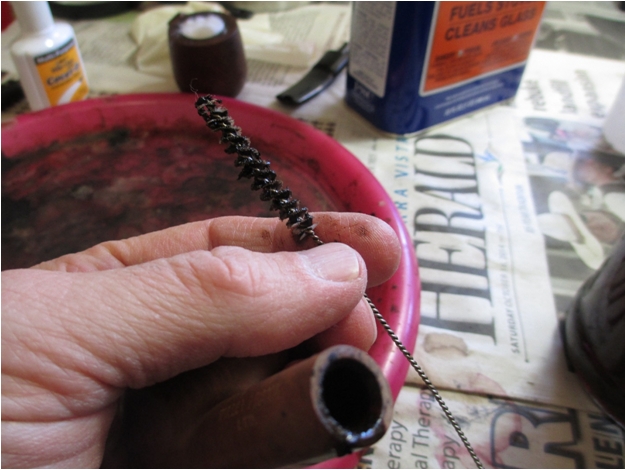
But it wasn’t happening fast enough, and so I resorted to digging through my growing and a bit disordered supplies for the wire bristle brush I knew was there. At last I found it buried in the bottom of a drawer and at once started the repetitious but effective process of wetting it with alcohol, scrubbing the inner shank, rinsing it in a shallow bowl of alcohol that grew fouler each time, squeezing the bristles clean and dry, and repeating all of these steps over and over. Of course, my reward did come when I switched back to a normal cleaner soaked in alcohol and it came out clean.

Somewhere along the line, I finished the stem work by sanding down the excess Black Super Glue and smoothing the Vulcanite with vigorous rubbings of three grades of micromesh.

After inspecting the briar for any missed flaws I could fix and finding none, I gave the bowl and shank a final purified water bath, which proved to be necessary from all of the black powder that had transferred from my formerly dirty fingers.

Ready for the final countdown, I opened a brand-new bottle of burgundy-colored Lincoln boot stain and coated the entire outer area of wood using the small, damp applicator. As fast as I could manage, I flamed it all over with my Bic, reveling in the great poofs of blue flame that rose and dissipated as the alcohol in the stain burned off.

I rubbed off the char with a piece of 2400 micromesh until I could see the good grain through the fresh, dark red stain and then put on my magnifier glasses to do the finish work with 3600. It looked good to me, so I put it aside with the stem on a thick cotton cloth for about a half-hour.

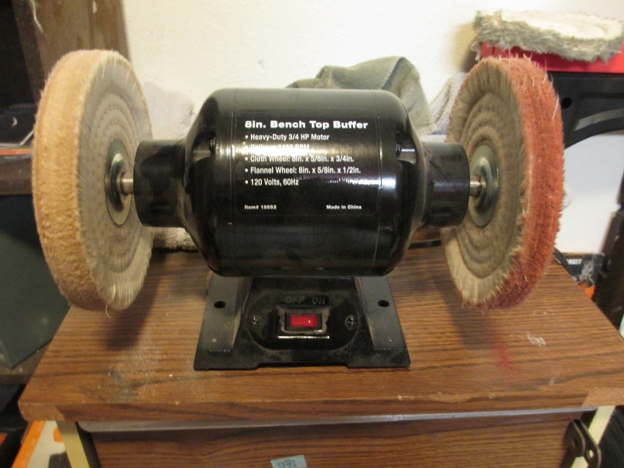
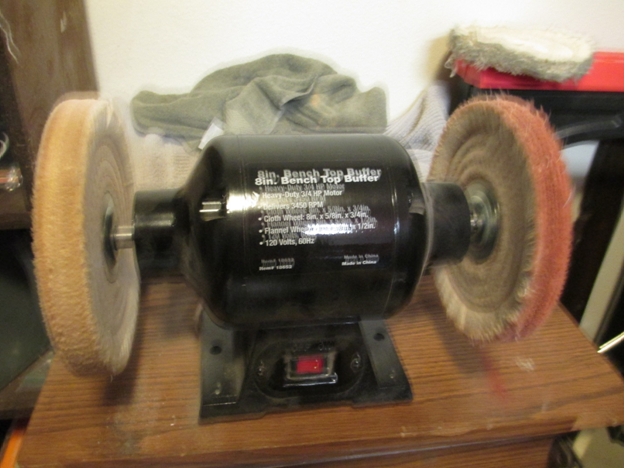
That was all I could stand before taking the pieces to my bedroom/office/shop and focusing on the two buffing wheels I use to bring out the ever-anticipated shine. Taking a deep breath to steady myself for the always risky business of touching anything fragile to the high speed wheels, I turned them both on.

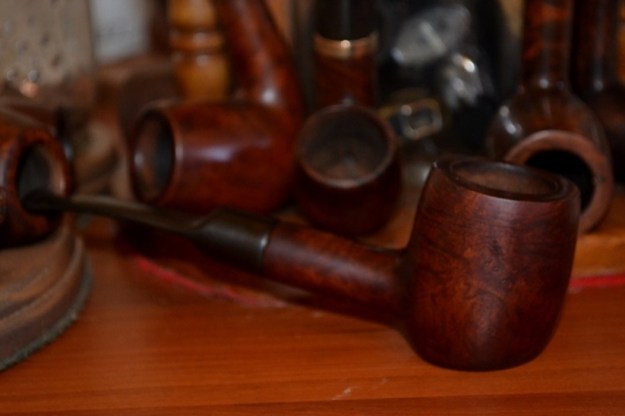
Starting with the stem, I turned it with all due respect and care first on the red Tripoli wheel and looked it over as I rubbed it with the cotton cloth, then the white Tripoli wheel on the other machine, and back to the first for the final coat of White Diamond. Much better, I thought and set it aside.Rob20 To the wood I applied quick, thorough coats of white Tripoli, White Diamond and carnauba.I looked it over, noticed a spot that was duller than the rest and repeated the process there.Rob21
Rob22

Rob23

Rob24

Rob25 CONCLUSION
Fixing this pipe took me the greater part of a week, by far the longest I have spent on a project since my first real restoration two years ago. That is the reason why the concept of being finished with the Ben Wade Tall Poker is still taking time to sink in. After all the time I have spent with the BW – before the project began to make a plan of action I ended up throwing out the window, during the circuitous restoration itself and now afterward, writing about the experience – I have grown attached to the curious example of pipe craft. I would like to keep it to myself, to add it to my growing collection of Ben Wades. I have no doubt it will smoke at least as well as the others.

But I have decided to let someone else discover the accuracy of that prediction.

Restoring a 1935 Dunhill Shell – Andrew Selking


Blog by Andrew Selking

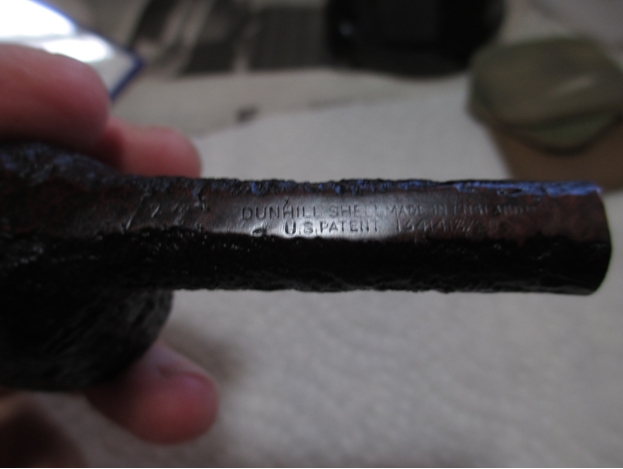
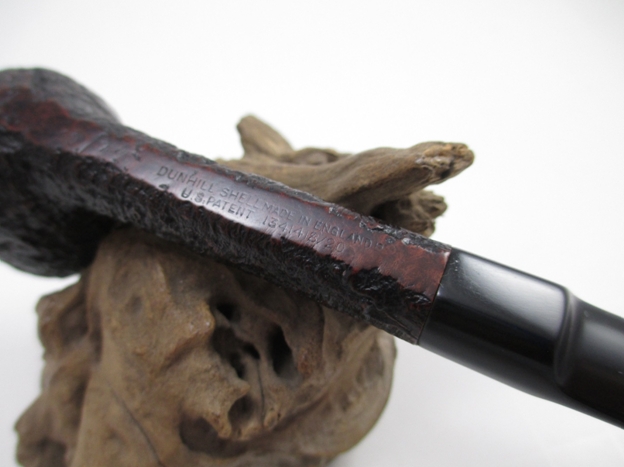
This is my second Dunhill Shell, but like everything it has been a learning experience. I saw this orphan about to expire on eBay without a single bid. As they say, a little knowledge can be a dangerous thing. I knew that it was a desirable patent-era Shell and from the markings it was made in 1935. I should have taken the time to look at a Dunhill shape chart, this pipe had been seriously topped. The good news is, I didn’t pay too much for it and it’s a handy little pipe, 4 15/16 inches long and .7 of an ounce! No wonder the stem didn’t have any tooth marks.

So here’s what the pipe looked like before the restoration.Dun1

Dun2

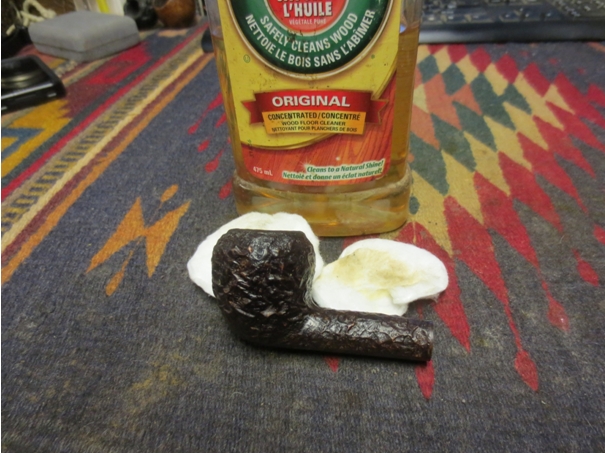
Dun3 The one thing that I really like about the Dunhill Shell pipes is the finish. The combination of deep reddish brown and darker brown/black is very pleasing to look at. That is why I treat rough finish pipes (rusticated, blast, fine line) differently than smooth finish pipes. I took a tip from Steve and use Murphy’s Oil Soap, which is made from vegetable oils and specifically formulated for wood. I took a small amount of the soap and applied it directly with a toothbrush.Dun4

Dun5 As you can see the Murphy’s Oil Soap did remove some of the finish, but not nearly as much as the alcohol bath would have. The soap also removed the decades of accumulated grime. If you don’t take care to clean the outside of the pipe no amount of wax will make it shine.Dun6
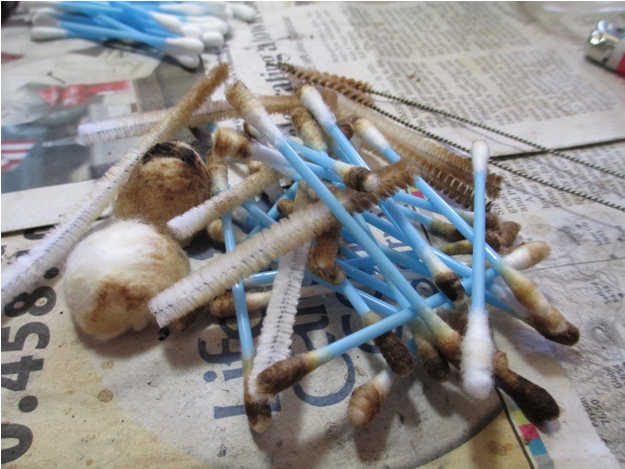
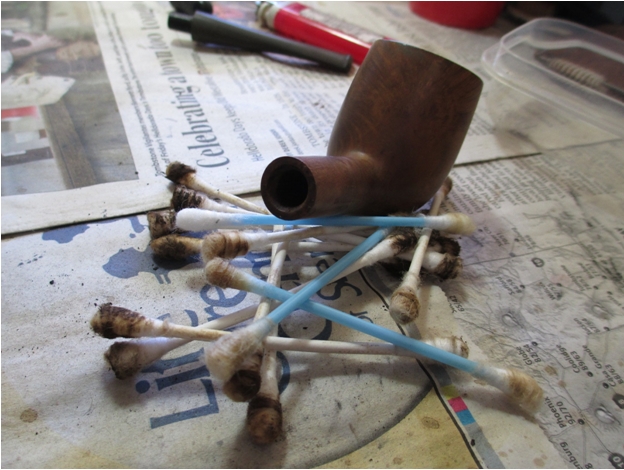
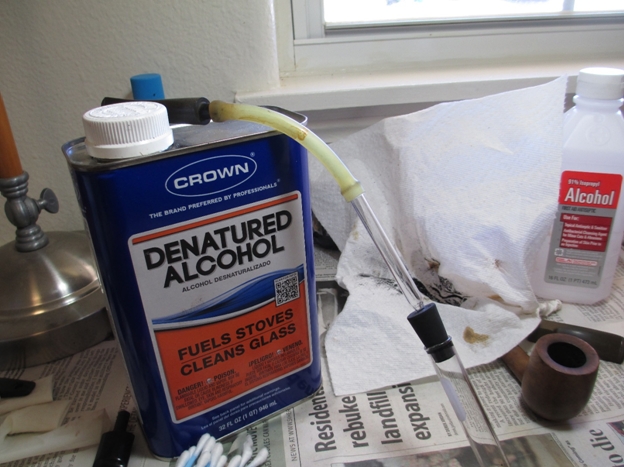
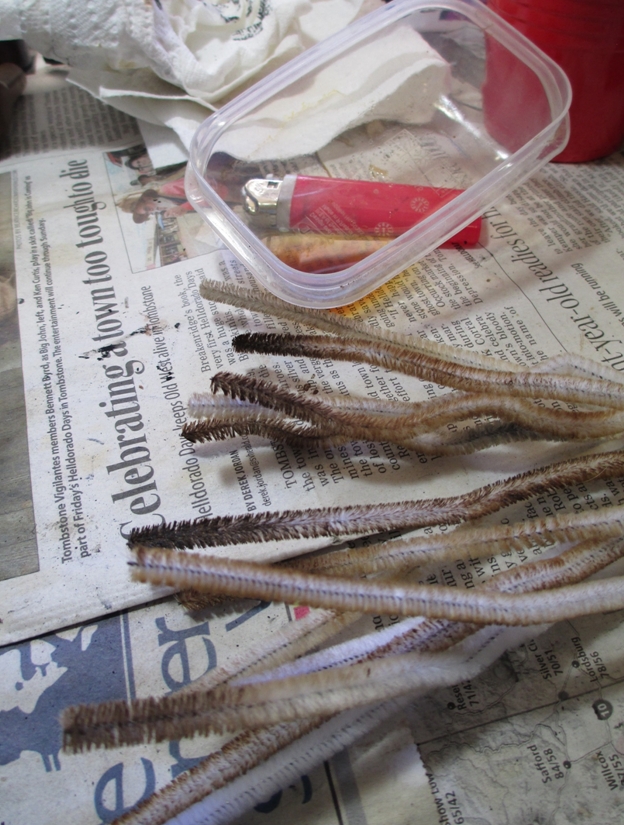
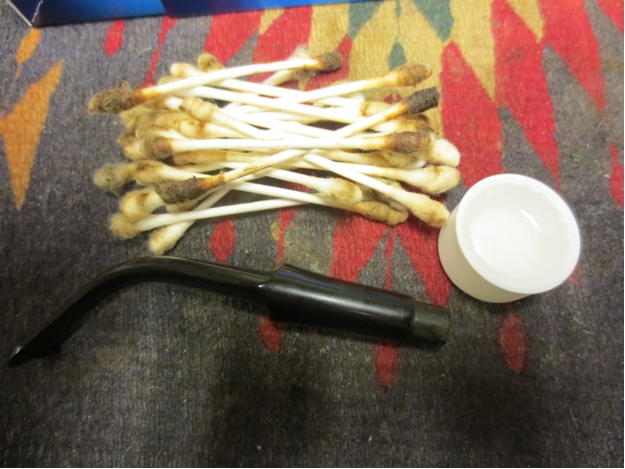
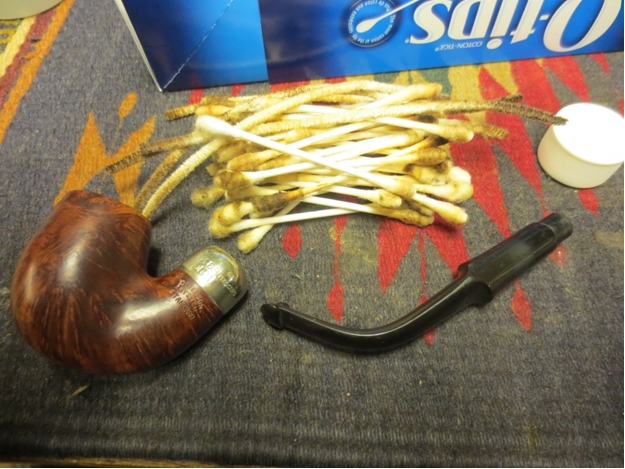
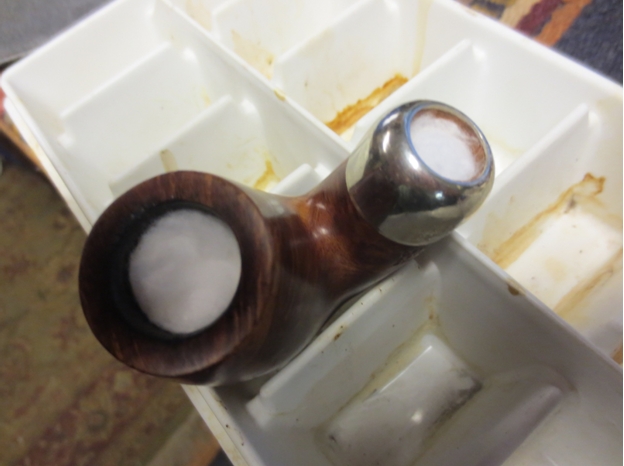
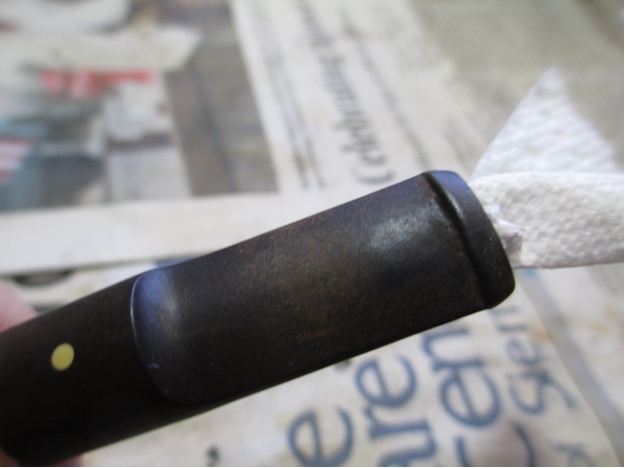
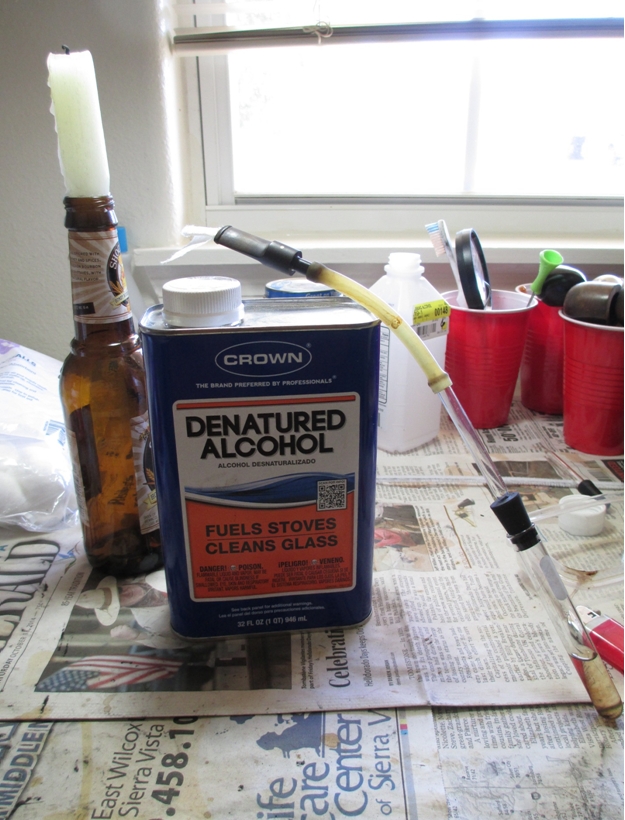
Dun7 My next step was to start the stem soaking in Oxyclean and soak the bowl with denatured alcohol. I packed the bowl with cotton balls, plugged the shank with some rolled up paper towel, and used an eye dropper to soak the cotton.Dun8 After the cake loosened up, I reamed the bowl. This bowl is huge, I used my two largest reaming heads to clean it out.Instead of doing the retort multiple times, I used q-tips dipped in denatured alcohol followed by pipe cleaners. (I don’t technically use pipe cleaners. I use “fuzzy sticks”. That’s the innocuous name given to pipe cleaners used for crafts.) To maximize each cleaner, I used scissors to cut the dirty section off. As you can see I ended up with a decent size pile of q-tips and fuzzy sticks.Dun12 Next I turned my attention to the stem. I did the retort first, then used pipe cleaners to finish the job. Fortunately since the stem is so short, it didn’t take long to clean. You will notice that I packed some paper towel into the end of the stem. Occasionally when you use the retort, the alcohol will boil over and spray everywhere. That does not endear you or your eccentric hobbies to your significant other, especially when the resulting mess makes the wall look like a Jackson Pollock painting.Dun13
Dun14

Dun15 I usually take extra time on stems as nice as this one. Instead of using 400 grit wet/dry I started out with 1000 grit wet/dry and water. It takes longer, but the last thing I want to do is change the profile of the stem or damage any of the details by using a lower grit sand paper. After the 1000 grit I used 1500-2400 grit micro mesh pads with water.Dun16 While the stem dried, I began the staining/waxing process. In an attempt to replicate the Dunhill finish, I used the brown shoe polish followed by a thin layer of black shoe polish. The heat gun helps melt the wax so that it gets into all of the crevices and the brush brings out a nice shine.Dun17
Dun18

Dun19 Here is what the bowl looked like after the application of the second coat of wax and buffing with the brush.Dun20

Dun21

Dun22

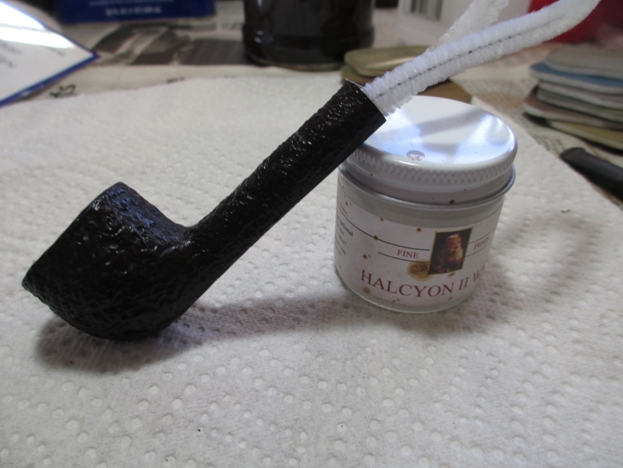
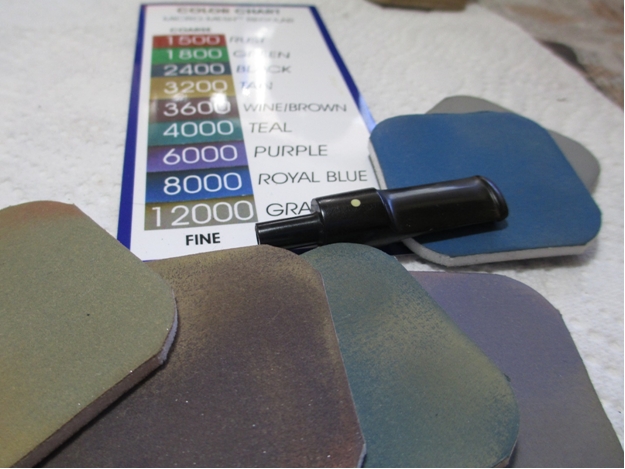
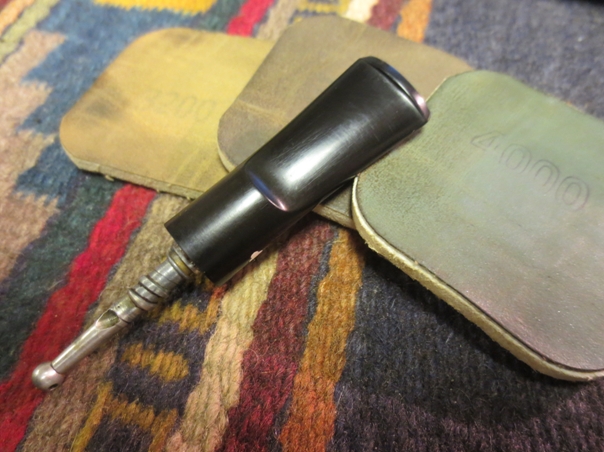
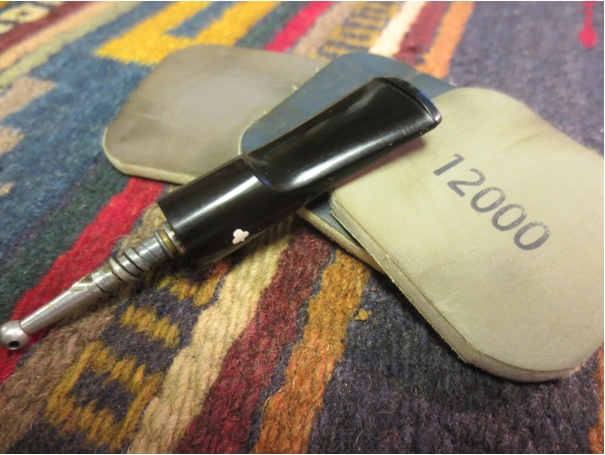
Dun23 Since shoe polish is a soft wax, I protect all of my rough finish pips with Halcyon II wax. I applied the wax with my finger tip (a little goes a long way) and let it dry for about 10 minutes. After the wax dried, I buffed it out with a soft cloth and applied a second coat. (The pipe cleaner is so I can hang the bowl up to dry.)Dun24 Finally I finished sanding the stem, using a progression of micro mesh pads from 3200-12000 grit followed by a quick spin on the buffing wheel with some carnauba wax.Dun25 Here is the finished pipe.Dun26

Dun27

Dun28

Dun29

Dun30

Dun31

Restoring a Wally Frank Natural – Andrew Selking


Blog by Andrew Selking

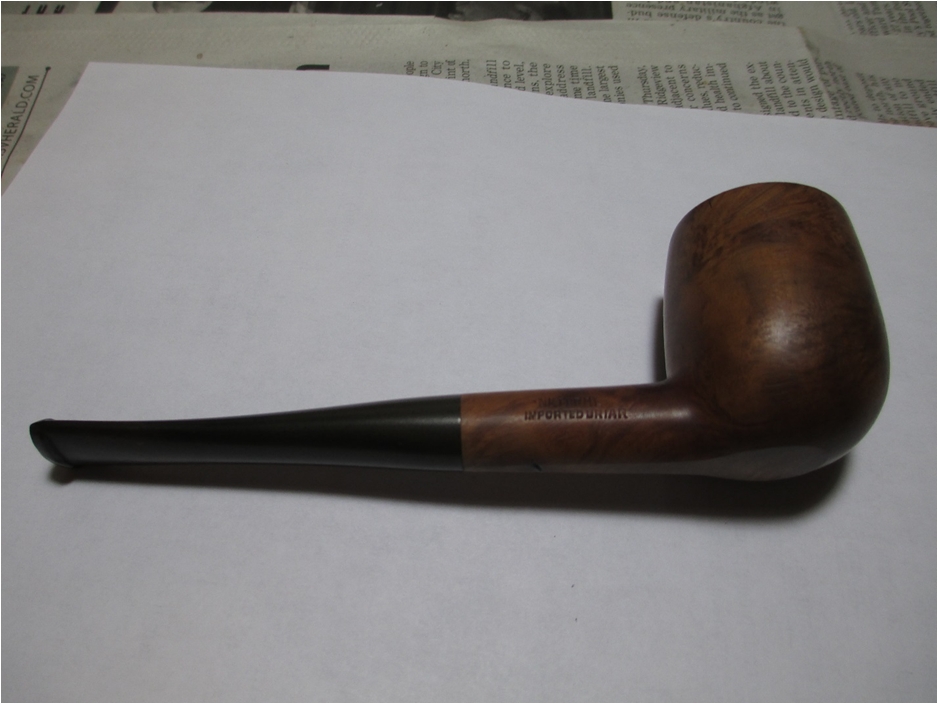
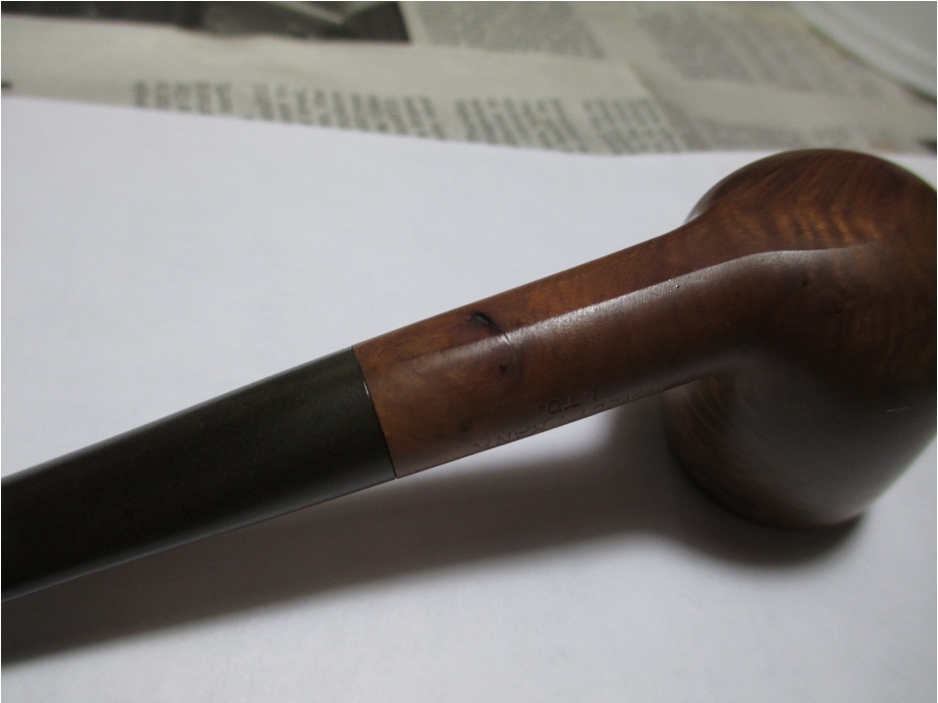
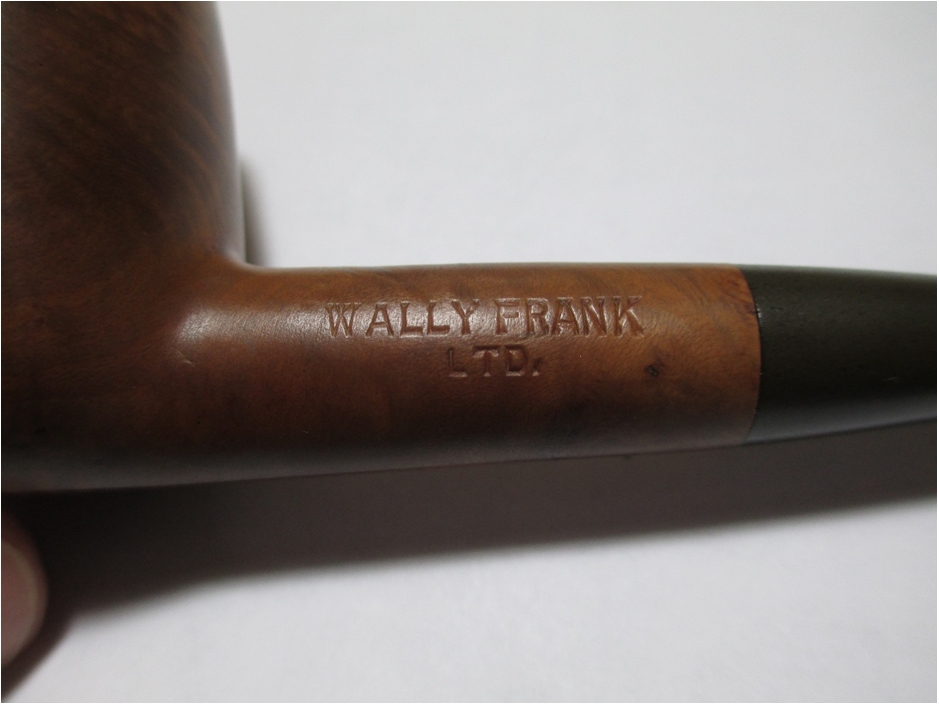
I promised Steve that my next restoration would not be another chunky diamond shank pipe, so I decided to do a Wally Frank Natural. Wally Frank was a New York tobacco shop that sourced its pipes from Charatan’s, Sasieni, Weber, and other European pipe makers. This is my second Wally Frank Natural and like the first, it is very well made. The briar is not very exciting and it has a small fill on the bottom, but the pipe is very light weight (1.3 ounces) and the lines are elegant.

When I received the pipe, it looked fairly clean. It had some tar build up on the rim, slight oxidation of the stem, but not chatter and the bowl was well reamed.Frank1

Frank2

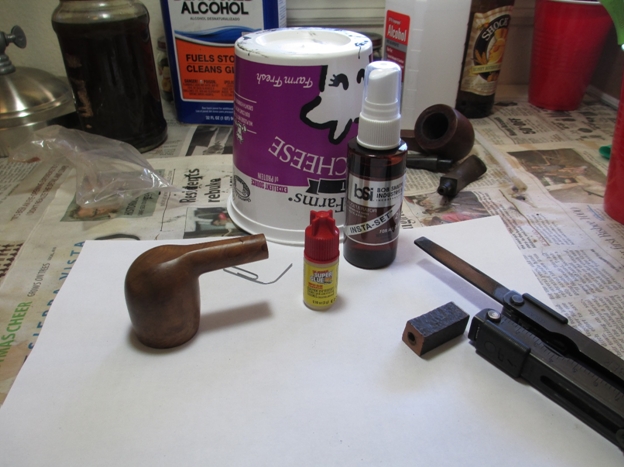
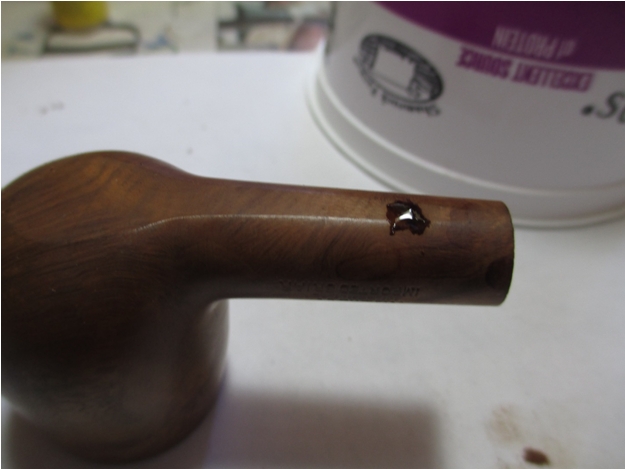
Frank3 I dropped the bowl in the alcohol bath and placed the stem in a Oxyclean solution. The only challenge I anticipated with this pipe was the fill on the bottom, but I had a new secret weapon; CA glue accelerator.Frank4 After soaking, I used a pipe cleaner and the Oxyclean solution to get the worst of the gunk out of the stem.Frank5 Next I reamed the bowl with my T-net reamer.Frank6 Everything looked pretty good to that point and I figured this would be an easy clean up. Boy was I wrong! I did a retort on the bowl first.Frank7 The pipe cleaning brush (available in the baby section at Walmart) came out loaded with gunk.Frank8 I did the retort four additional times, using the brush after each try, before finally moving on to pipe cleaners. Then I used a pile of q-tips. The only thing I can think is the previous owner smoked a goopy aromatic and didn’t use pipe cleaners afterwards.Frank9 Next up, retort the stem.Frank10 The stem was just as nasty as the shank, and I repeated the process four times. After numerous pipe cleaners, it finally came clean.Frank11 My next challenge was the fill on the bottom of the bowl. I have an old shank (a past victim of the buffing wheel) that I use for briar dust. I use a file to grind off the dust.Frank12 I put a drop of super glue on the bottom of the cottage cheese container and applied it to the fill area with the tip of the paper clip. I then packed the briar dust on top and sprayed it with the accelerator.Frank13

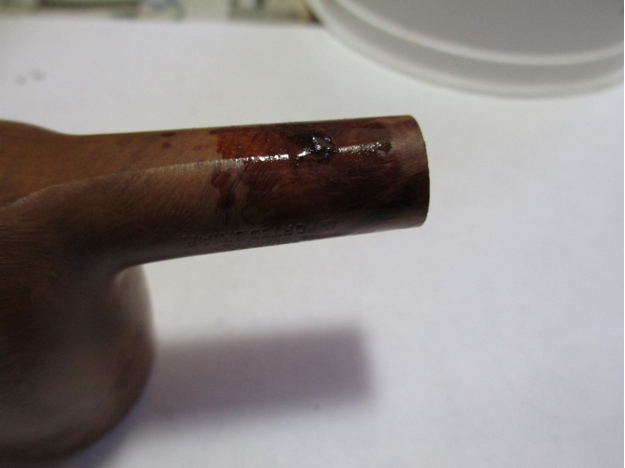
Frank14 I’m going to work on refining that technique, it was a little messier than I like and the resulting lump of briar dust took more sanding than would have been necessary if had made the fill only as much as was needed.

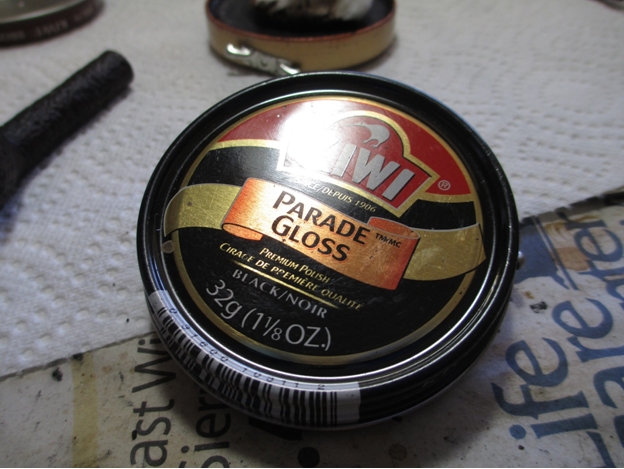
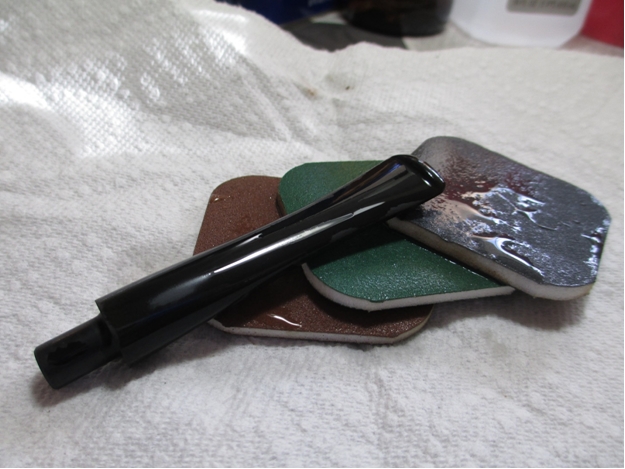
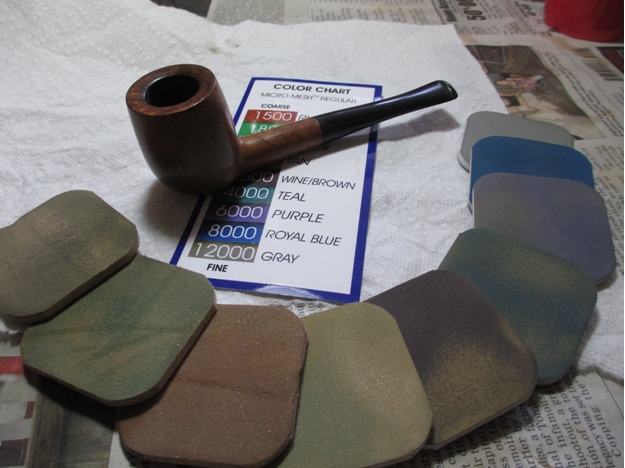
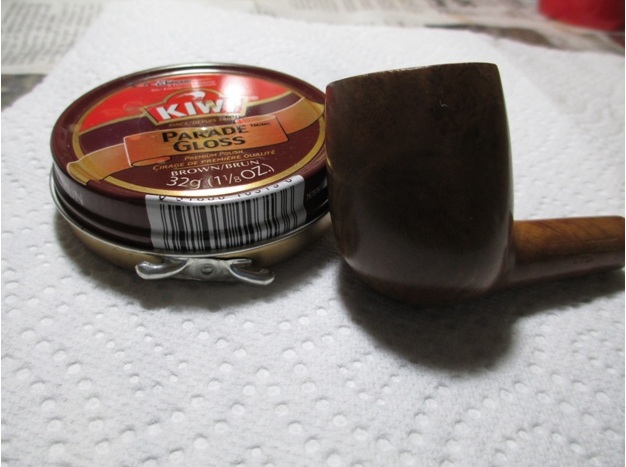
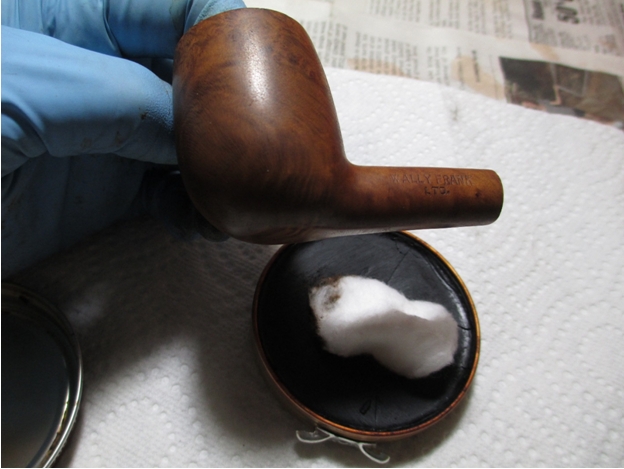
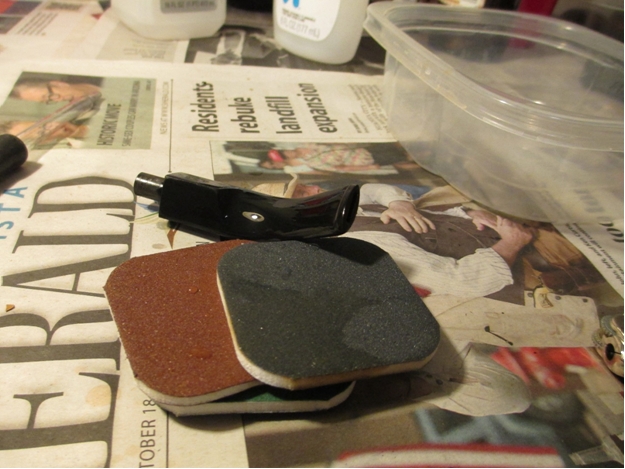
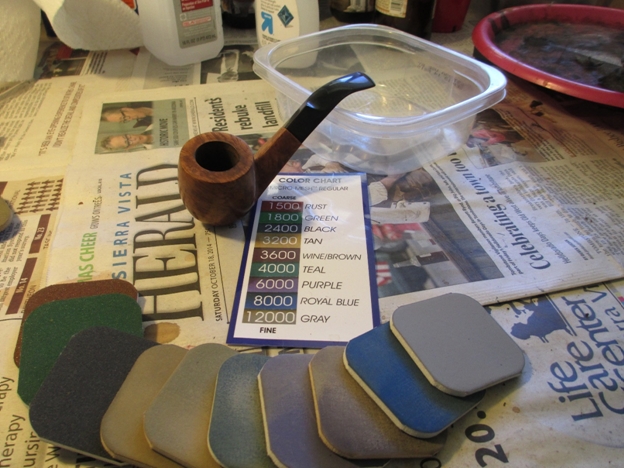
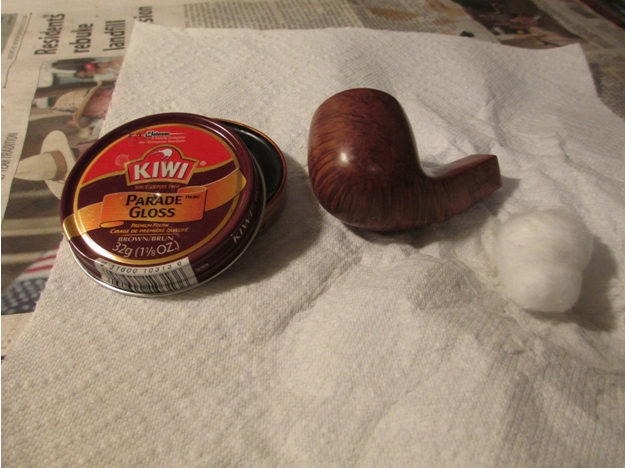
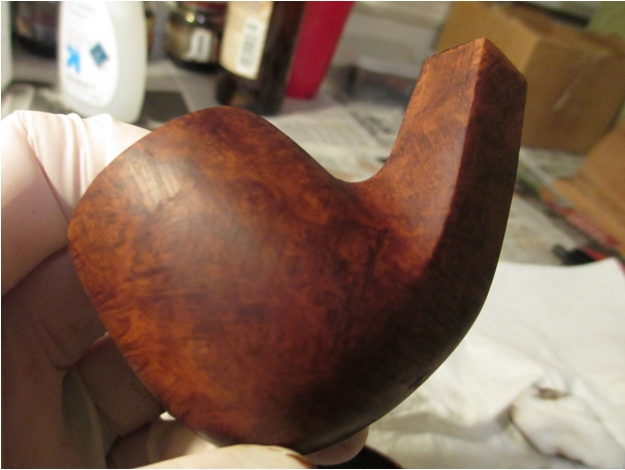
Next I turned my attention to the stem. I did the usual progression of 400 grit wet/dry with water, followed by 1500-2400 grit micro mesh with water.Frank15 I then used a progression of 1500-12000 grit micro mesh on both the bowl and stem.Frank16 Although the pipe had a natural finish on it, I decided to darken it slightly to help cover the fill. To do this I used Kiwi Parade Gloss brown shoe polish.Frank17

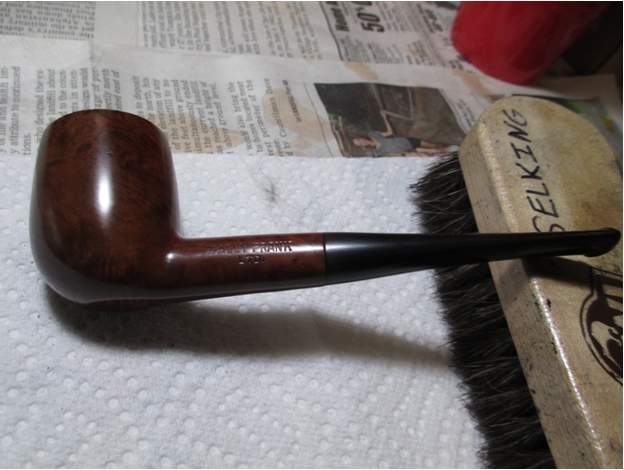
Frank18 After applying the shoe polish I used a heat gun to briefly heat it up then buffed it out with a shoe brush. Here is the results after using the brush.Frank19 I had an uneventful trip to the buffing wheel, and here is the end result.Frank20

Frank21

Frank22 Here is a close up of the fill.Frank23

Frank24

Frank25 I hope you enjoyed this write up. If you happen to stumble across a Wally Frank Natural, I would encourage you to buy it. They are a good value for the money.

Refurbishing a Barely Smoked Smooth White Turkish Meerschaum Dublin – Robert M. Boughton


Guest Blog by Robert M. Boughton
Member, North American Society of Pipe Collectors
http://www.naspc.org
http://www.roadrunnerpipes.com
http://about.me/boughtonrobert
Photos © the Author

“If it ain’tbroke, don’t fix it.”
—Thomas Bertram Lance (1931-2013), Director of the Office of Management and Budget during the Jimmy Carter Administration

INTRODUCTION
Every now and then, a pipe comes my way that is in such good condition that I can only call what I have to do to clean it up a refurbish job as opposed to a real restoration, and for the most part I do not even bother with a blog. This is one of those rare but pleasant occasions with the exception that the smooth white hand-carved Turkish meerschaum in question is so elegant I just have to share it.

REFURBISH
Almost all this simple looking Dublin needed was a simple bath with purified water and a little work on the rim and chamber.Rob1

Rob2

Rob3

Rob4

Rob5 Starting with super fine steel wool on the rim, I encountered more difficulty than usual removing the thick char that seemed to have something else mixed in with it, but nothing worth griping about. As I worked through the char-grime, I saw more coloration emerge – along with a chip.Rob6 I even considered letting it be, but thinking better, added some elbow grease and focus to the steel wool. I removed enough of the chip and crack to be satisfied.Rob7 Then I buffed the rim with 1500 micromesh followed by 3200 and moved on to the chamber. Not about to assault it with the reamer that has been necessary for every meerschaum I have fully restored, I used 150-grit paper first and then 500 to smooth it out.

With all of the dirty work finished, I gave it the light bath it needed.Rob8

Rob9

Rob10

Rob11

Rob12 CONCLUSION
Of course, I ran a couple of bristly cleaners soaked in pipe freshener through the shank and around the chamber and one more through the stem, but that was all it took to clean this near-pristine pipe. Even the stem didn’t need any sanding or work of any kind.

And so, for once I cannot complain of a pipe abused. God bless the merry gentleman who owned and enjoyed this beauty, albeit for a short time.
Giving New Life to a Briar Squire Bent Pot – Andrew Selking


Blog by Andrew Selking

This is the second article by Andrew that I have the pleasure of posting on the blog. It is about a well restored Briar Squire bent Pot. Andrew does some beautiful work and it is a pleasure to read and see the results of his work. Thanks Andrew.

I did not get as many pipes completed as I planned this past weekend, my honey-do list was longer than anticipated. However, I could not resist finding the time to fix up a Briar Squire bent pot with a diamond shank. According to Pipephil.eu, the Briar Squire was a brick and mortar tobacco and pipe shop located in Crystal Lake, IL from 1977 to 1983. I assume they had their pipes made by an outside pipe maker. Whoever made this pipe did a nice job. There were no fills in it and judging by all the angles on the stem that was hand cut as well.

The previous owner kept the bowl very clean, but the stem had some tooth marks and calcification on the end. I dropped the bowl into the alcohol bath and went to work on the stem with the 400 grit wet/dry with water. As you can see in this picture, there is still some faint oxidation left.Briar1 I readdressed the oxidation with the 400 grit until it was gone. I find that it helps to dry the stem when you think you’ve reached the point where the oxidation is removed.Briar2 I then proceeded to use the micro mesh, 1500-2400 grit, with water.Briar3 Next I turned my attention to the bowl. The rim had some tar build up, which I tried to remove with distilled water.Briar4 The water helped, but there was an area of stubborn tar that just wouldn’t come off. Since I didn’t want to remove all of the finish, I used 1500 grit micro mesh to top the bowl.Briar5 I used 1500-2400 grit micro mesh without water on the bowl, then 3200-12000 grit micro mesh on the bowl and the stem.Briar6 The last few levels really do a nice job of polishing both wood and vulcanite.Briar7
Briar8

Briar9

Briar10

Briar11 Next it was time to apply the wax/stain. For red/brown colored pipes I use Kiwi Brown. As I mentioned in my previous post, it is very easy to work with and gives a good base shine before the final polish on the buffing wheel. Briar12

Briar13

Briar14

Briar15 After applying the shoe polish, I used the heat gun to melt the wax and buffed it out with a brush. As you can see.Briar16 Finally it was off to the buffing wheel.Briar17 Here are the results. Thanks for looking.Briar18

Briar19

Briar20

Briar21

Briar22

Cleaning Up a Brigham One Dot Acorn 778


Blog by Steve Laug

One of the last pipes I picked up on my recent Alberta trip and the last pipe in my current pile of pipes to refurbish is a little Brigham Canada Acorn or Strawberry shaped rusticated pipe. The shape of the pipe is what caught my attention. And when I had it in hand the size was also a relevant feature. It is a very light weight pipe (don’t have a scale) and it is diminutive in size. The dimensions are: length – 5.5 inches, height – 1.5 inches, bore – .75 inches. The bowl is conical in shape ending well below the entry of the airway into the back wall. Overall the pipe was in decent shape and would be fairly easy to clean up. The finish was dirty and the bowl had a thin cake in it. The stem was oxidized and the inside of the shank was dirty. The stem was oxidized and had one tooth mark on the top surface near the button. On the underside of the stem near the button was a lot of tooth chatter. The stamping on the underside of the shank in a smooth area reads 778 which is the shape and that is followed by Made in Canada and then Brigham in script.Brig1

Brig2

Brig3

Brig4 The next two photos show the tooth marks and tooth chatter on the stem. The tooth dent on the top of the stem near the button was quite deep and would need to be raised with heat and then probably repaired with superglue.Brig5

Brig6The aluminum Brigham tenon system was in great shape and showed no wear or tear on it. In the past I have taken apart these older Brigham pipes with the aluminum tenon and found it pitted and sometimes even eaten away. The filter surprised me in that when I pulled it out it was actually quite clean. The bowl was very clean and the rim was also clean.Brig7 I cleaned out the aluminum tenon and the mortise area with isopropyl alcohol (99%) and cotton swabs and pipe cleaners. I ran them through the shank and stem until they came out clean.Brig8I sanded the stem with 220 grit sandpaper, medium and fine grit sanding sponges and then cleaned the surface with alcohol on a cotton pad. I scratched out the surface with a dental pick to remove any loose vulcanite or grit on the surface. I put several drops of clear superglue in the tooth dent and let it dry until it was hard.Brig9

Brig10Once it hardened and cured for about an hour I sanded it with 220 grit sandpaper to blend it into the surface of the stem. I wanted the surface to be smooth and the super glue bump to be smoothed into the surface. I also sanded it with a medium and fine grit sanding sponge to remove the scratches in the surface.Brig11

Brig12 I sanded the stem with micromesh sanding pads – wet sanding with 1500-2400 grit pads and dry sanding with 3200-12,000 grit pads. In between each set of three pads I rubbed the stem down with Obsidian Oil and let it soak into the vulcanite. I had to repeat the process several times to remove the oxidation near the shank. I buffed it with White Diamond and then gave it a coat of carnauba wax.Brig13

Brig14

Brig15 I set the stem aside and scrubbed the bowl with Murphy’s Oil Soap. I used a soft bristle tooth brush to scrub it and then rinsed it off with running water. I kept a thumb in the bowl to keep the water from getting into the inside of the pipe. I dried it off with a cotton towel.Brig16

Brig17 I rubbed down the bowl with Halcyon II wax and buffed it with a shoe brush to raise the shine and even out the wax. I put the maple filter back in the tenon and then put the stem on the bowl. I buffed the bowl lightly with carnauba wax and then with a soft flannel buff. The finished pipe is shown in the photos below. It is cleaned and ready to smoke. I love the older Brigham pipes like this one and find that they smoke very well. They deliver a cool dry smoke and the Brigham filter system works well to cool the smoke and not hamper the draw or the flavour. Sometime later this week I will load a bowl of Virginia and enjoy the first smoke in this old timer.Brig18

Brig19

Brig20

Brig21

Restoring a Kaywoodie Super Grain 40 Lovat


Blog by Steve Laug

My son-in-law and I went pipe hunting a few weeks ago and this was one of the finds that day. I picked it up in an antique shop in Bellingham, Washington. I think I paid $15 for it. The stem was slightly overturned and would need to be fixed. The stem was clean of bite marks or tooth chatter. The stinger was intact and was a three-hole one so the pipe was newer rather than older. The finish was not ruined. The rim was caked with tars and oils. The buildup was only back side and went to the left side of the rim. The briar had quite a few fills on the sides and back of the bowl. The stamping on the left side was clean and easily read – Kaywoodie over Super Grain over Imported Briar. On the right side of the shank was stamped the shape number 40.KW1 KW2 The inside of the bowl had a light cake that was soft and crumbling. It would need to be reamed back to the bare wood in order to build a hard carbon cake.KW3 KW4 I reamed the bowl with a PipNet reamer and used the smallest cutting head first and then the second cutting head to finish the job.KW5 I removed the stem from the shank so that I could heat the stinger apparatus with a lighter. The black buildup of tars and oils on the stinger was hardened and not easily removed. Once I heated the stinger with the lighter I was able to wipe down the surface with a cotton pad and alcohol. I heated the stinger until the glue in the stem softened and then screwed the stem back into the shank and turned it until the stem lined up with the bowl.KW6 I cleaned the inside of the shank and stem with pipe cleaners, cotton swabs and isopropyl alcohol. The shank behind the metal insert was very dirty. I used the cotton swabs to clear out that area. I scrubbed it out until it was clean. I also cleaned out the airway in the stem the same way until it was clean.KW7 I scrubbed the top of the bowl with isopropyl alcohol on cotton pads to remove the buildup. It was thick so it took quite a bit of scrubbing. To finish removing it I used 1500 grit micromesh sanding pad and water. I was able to get the rim clean and then used a staining pen to touch up the rim.KW8 KW9 KW10 The lightest colour staining pen matched the finish of the bowl perfectly. I gave the bowl and rim a quick buff with White Diamond and then gave it multiple coats of carnauba wax and buffed it to a shine.KW11 I was fortunate that the stem was not damaged with bite marks or tooth chatter. I use micromesh sanding pads to clean up the stem. I wet sanded with 1500-2400 grit pads and dry sanded with 3200-12,000 grit pads until the finish of the stem was smooth. I buffed it with White Diamond to finish the process and then gave it a coat of carnauba.KW12 KW13 KW14 I put the stem back on the shank and then buffed the entire pipe with White Diamond a final time. I gave the stem and bowl multiple coats of carnauba wax and buffed it with a soft flannel buffing pad to raise the shine.KW15 KW16 I touched up the fills with the stain pen and then buffed the pipe bowl with White Diamond yet again. The results were acceptable. I gave the pipe several more coats of carnauba wax and buffed it with a soft flannel buffing pad. The finished pipe is shown in the next series of photos. It is ready to be loaded and smoked – clean and waiting for the next pipe man who will carry the trust to the next generation of pipe smokers.KW17 KW18 KW19 KW20

Cleaning up a Peterson 312 System Pipe


Blog by Steve Laug

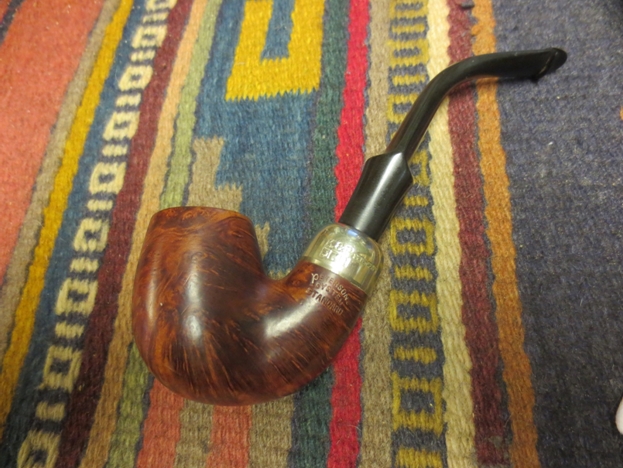
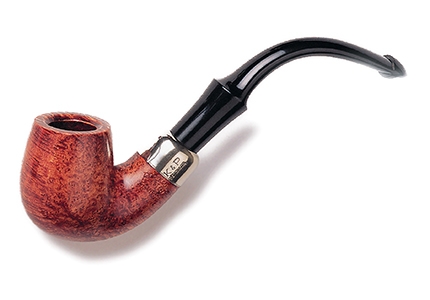
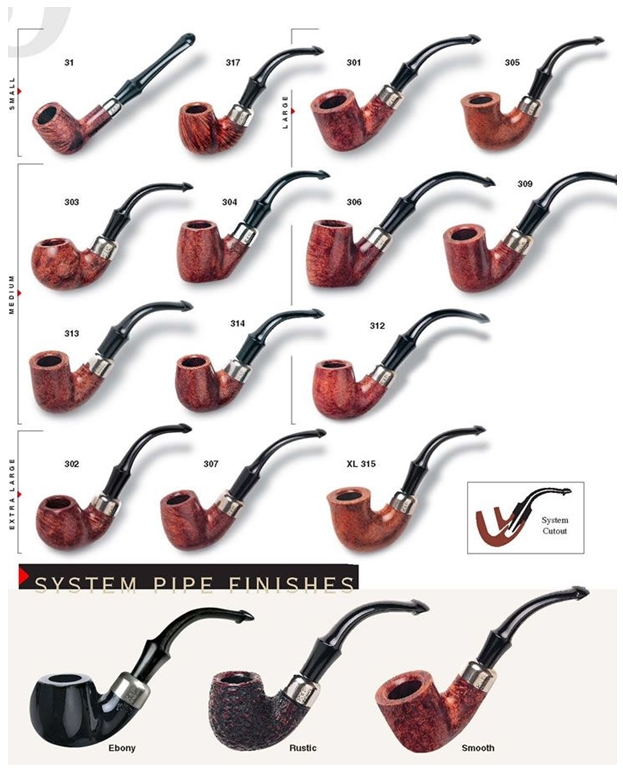
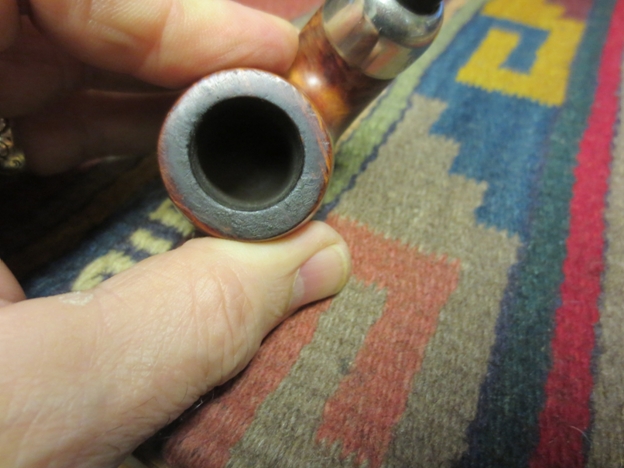
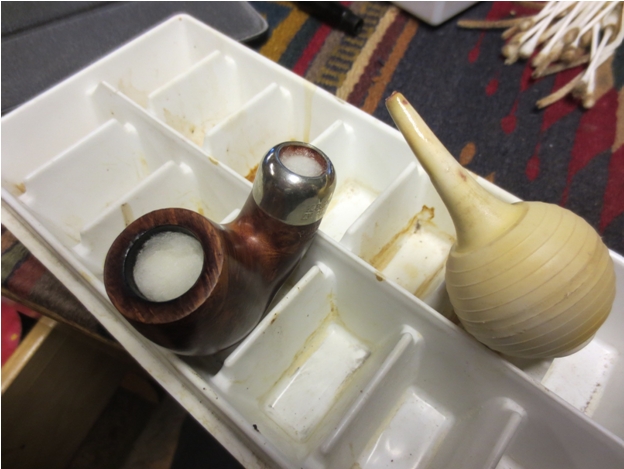
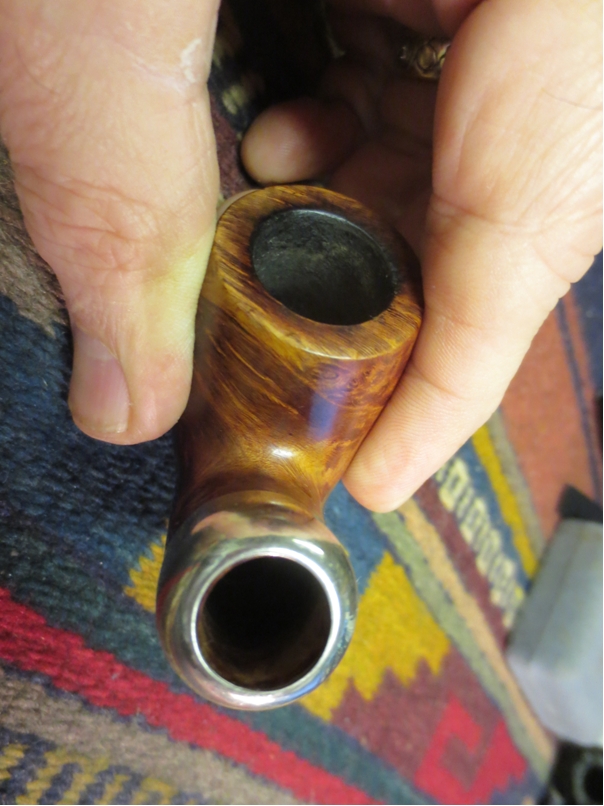
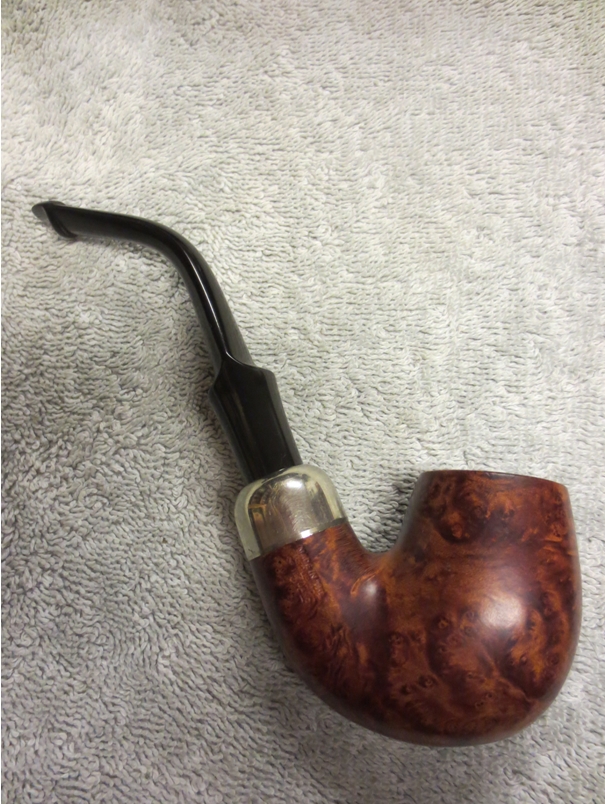
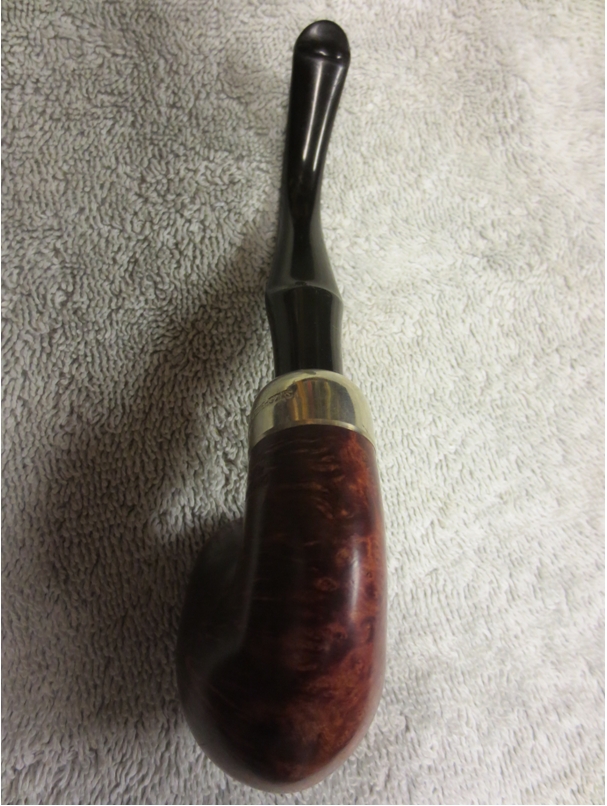
The Peterson I picked up on my trip was in great shape externally. The seller at the antique mall had cleaned up the outside of the pipe and polished the stem and bowl. The pipe was clean and shiny. The stamping was very clear on the ferrule and shank. The ferrule was stamped K&P Peterson’s and had three faux hallmarks as usual on the nickel ferrule of Peterson pipes. The shank was stamped on the left side with an arched Peterson’s over System and over Standard. On the right side of the shank the shape number has been stamped over with Made in the Republic of Ireland. The shape number is present under the over stamp and I can read the first two numbers clearly – 31_, but the third number is covered with other letters so it is not readable.Pete1 Pete2 I wanted to figure out the number stamping that lay hidden under the Made in the Republic of Ireland stamping. I went to the Peterson site and looked for the shape charts. I was able to identify the shape as a 312. Here is the link to the shape http://www.peterson.ie/p/5291/312-standard as well as a picture of the shape 312.0002552_312-standard_430 I also found this shape chart of Peterson System pipes on Pinterest and included the link to it here: http://www.pinterest.com/pin/464996730250913354/ I was particularly interested in noting the size variation between the 312 and the 314. While the shapes are very similar the 314 is significantly smaller than the 312.Pete3 The bowl had been wiped clean and had no cake inside. The rim was dirty and darkened with a thin buildup of carbon and oils. The inside rim was clean and the bowl was in round. There were no serious nicks in the bowl edges. The nickel band was polished and undented. The stem was lightly oxidized and had a light tint of brown. There were no tooth marks or bite marks on the stem. The pipe was in good shape and would be one of my easier clean ups. The inside of the shank and sump had a lot of tars built up inside. The airway was also dirty. The seller had used silver polish on the ferrule and there was a white buildup on the inside edges of the shank.Pete4 Pete5 Pete6 The next photo below shows the underside of the bowl and stem. Both the finish and the stem were in great shape with no visible dents or damage.Pete7 The tenon was wide open like it had been made for a filter. It could hold a paper Medico style filter. I have never seen a filter version of the system pipe. I am wondering if the stem is a replacement or possibly it was drilled out to open it up to receive the paper filter. Obviously the internals had not been cleaned. There was a buildup of hard carbon on the tenon end and on the inside of the tenon. It was hard and would not easily be removed.Pete8 I cleaned up the stem and the sump with cotton swabs, pipe cleaners and isopropyl alcohol until they came out clean. I used a lot of pipe cleaners and cotton swabs before it was clean. I softened the carbon buildup on the tenon with alcohol and then sanded it with 220 grit sandpaper and scraped it away with a small blade to remove the hardened carbon.Pete9 Pete10 The bowl and shank had a heavy aromatic tobacco smell so I stuffed them both with cotton balls and used an ear syringe to put alcohol in both the bowl and shank. I set the bowl upright in an ice-cube tray and let it sit while the alcohol and cotton wicked out the oils and tars and sweetened the pipe. By doing this the pipe would be reset and could be smoked with any tobacco without picking up residual tastes.Pete11 Pete12 While the bowl sat soaking I worked on the stem to remove the oxidation. I sanded it with micromesh sanding pads – wet sanding with 1500-2400 grit pads and dry sanding with 3200-12,000 grit pads. I wiped it down with Obsidian Oil between each set of three pads.Pete13 Pete14 Pete15 I buffed it with White Diamond on the buffing wheel. Then I gave it several coats of carnauba wax and buffed it to a shine with a soft flannel buffing pad.Pete16 Pete17 Pete18 Pete19 After the bowl had been sitting for 4 hours I took the photo below and then pulled out the cotton balls. The alcohol had evaporated and left behind a brown/amber residue on the cotton balls. Once the cotton was out I ran a folded pipe cleaner through the bowl and the sump area of the shank. It came out clean. I ran a straight cleaner through the airway into the bowl. It also picked up a slight bit of residue from the soak but it was clean after a few swabs. Best of all the smell of the aromatic tobacco was gone and what was left was a clean new pipe smell.Pete20 Pete21 Pete22 When the shank was dry I put the newly polished stem back in the shank. I gave the pipe a quick buff with some carnauba and polished it with a shoe brush to raise the shine. The finished pipe is shown in the photos below. It has some slight rim darkening from the previous owner but otherwise it is like new. The bowl and shank are fresh and ready to be loaded with a bowl of fine Virginias or some Virginia/Perique. I have some aged 5100 sitting in a jar here ready to smoke and also a small jar of some blending Perique so I may have to mix a small batch just for the inaugural smoke on this pipe…The briar is beautiful and the refurbished pipe came out very nice. I am looking forward to having a bowl very soon – just have to let the bowl dry out and air for a couple of days before I load it up and smoke it. In the meantime I will just look it over and enjoy the beauty of the pipe.Pete23 Pete24 Pete25 Pete26

Restoring a Diamond Shank Bent – Andrew Selking


Blog by Andrew Selking

I have been following Andrew’s refurbishing work on Pipe Smoker Unlimited Forum for quite some time now and decided it was time to ask him if he would be willing to write some of his work up with photos for the blog. I sent him a message and he responded that he was glad to do so. I am happy to be able to present him to the readers here. He has been doing some great work in restoring pipes and has some great adaptations and innovations in terms of tools and equipment used to restore pipes. Besides he also takes amazing photos compared to me! Thanks Andrew for being willing to write for us here. So without further words from me I turn it over to Andrew.

It was a great honor when Steve asked me to write up a restoration for his blog. This pipe came in a lot of three. It’s a very chunky, diamond shank pipe marked Made in London England. It has a couple large fills near the end of the shank, one on the bottom of the bowl, and one on the rim. It also has an amazing feel in your hand and some very pretty cross grain. I decided to do this one for myself.

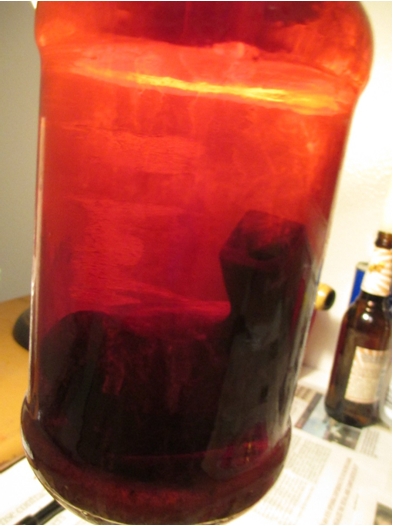
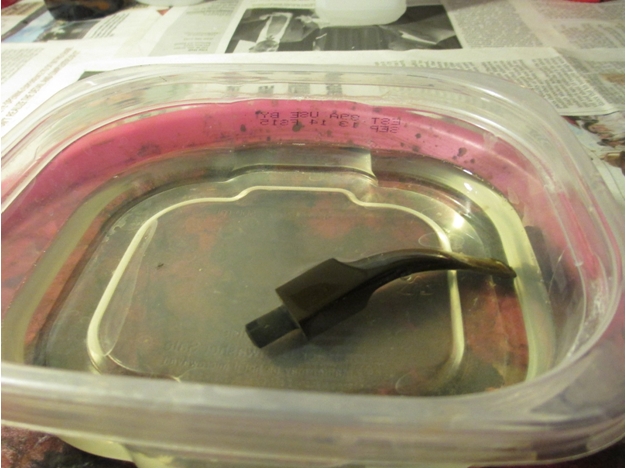
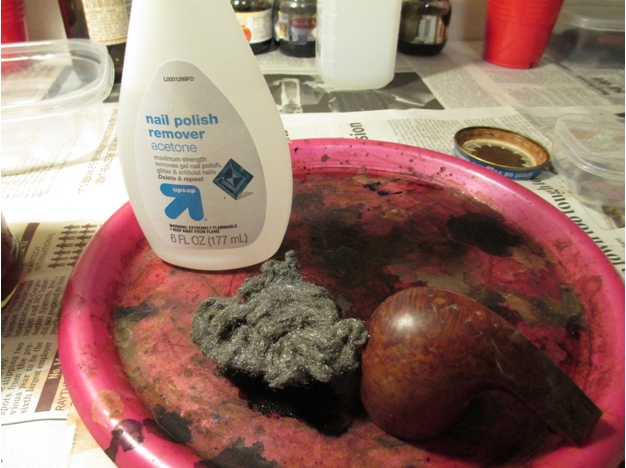
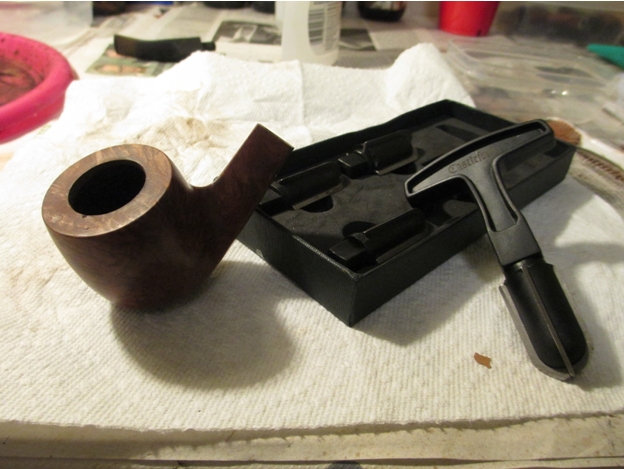
The first thing I do with all of my pipes is soak the bowl in isopropyl alcohol, usually for at least 24 hours. This serves multiple purpose; loosens the gunk inside the pipe (especially in the shank), makes the cake easier to remove, and usually takes of the exterior finish and softens any fills. Here is the bowl taking a bath.Sel1While the bowl marinated, I soaked the stem in a solution of hot water and Oxyclean. After sitting for several hours, I rinsed the stem under running water, this removes some of the oxidation. Next I took a pipe cleaner and used the Oxyclean solution to remove the built up tar and tobacco from inside the stem.Sel2 Sel3 I set the stem aside and turned my attention to the bowl. In the case of this pipe, the alcohol was not enough to remove all of the finish. When this happens, I use 0000 steel wool soaked in acetone. The steel wool is fine enough that it doesn’t damage the stampings on the shank, but aggressive enough to make short work of any remaining finish.Sel4Next I turned my attention to the bowl. I use a Castleford reamer (available on eBay for around $20.00) to remove the cake.Sel5I usually go down to the wood. I’ve found it’s better to use a reamer that is slightly smaller than the inside of the bowl to prevent damage to the wood.

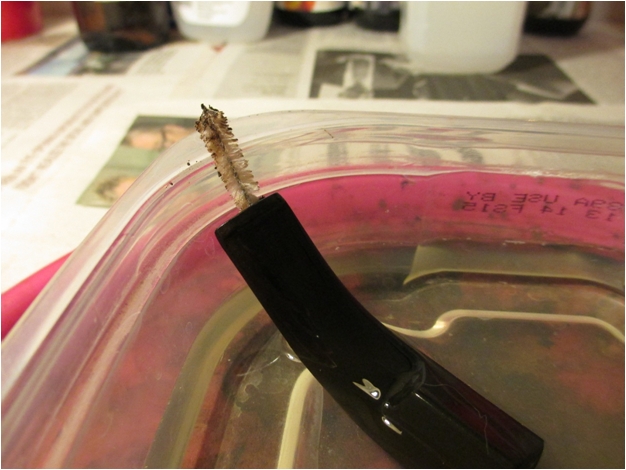
Next I worked on the shank. I have some small brushes that I bought in the baby section at Walmart (normal people use them to clean baby bottles, but I find they work great for the shank of a pipe).Sel6 Sel7 Although the brush gets most of the gunk out, I use a retort to really clean the inside of the shank and the stem. I started using this method when I couldn’t fit the end of the rubber tube over the wide button on a pipe. The tenon was a perfect fit and the tube also fits perfectly into the shank. This saves a lot of time and pipe cleaners. After doing the retort, I run one pipe cleaner through the stem and a pipe cleaner and q-tip through the shank and it’s done.Sel8 Sel9 Sel10 Now that the inside of the pipe is clean, it’s time to start working on the outside.Sel11 For the stem, I used 400 grit wet/dry sandpaper with water. This gets the majority of the oxidation out, the wet sand paper also makes it easier to get the underside of the button. Next I used micro-mesh pads (1500-2400 grit) with water.Sel12 I wiped the stem dry and turned my attention to the bowl. I used a progression of micromesh pads, 1500-12000 grit. I also used the same progression on the stem.Sel13 Now the pipe was ready for stain. This next part might be kind of controversial (I have never seen this method anywhere else). I use shoe polish for stain. Now before you dismiss this as crazy talk, consider this. It is very simple. I apply the polish, heat it with a heat gun, and buff it out with a shoe brush. I also protect the finish with carnauba wax and have never had any issues with the polish melting or coming off in my hand.Sel14 Polish applied.Sel15 After melting with the heat gun and buffing with a shoe brush.Sel16 It is also very simple to even out the stain.Sel17Next up the heart breaker (also known as the buffing wheel). This little gem makes the difference between a really nice application of carnauba wax and an average looking pipe. It will also grab what you’re working on and fling it to the four winds and shatter the pipe you’ve just spent the last few hours working on. Hold what you’re working on with both hands, place as much padding as you can under and behind the buffer, and work on the stem and bowl separately. Sorry about the quality of the picture.Sel18 I didn’t lose the pipe to the buffer and here’s the results.Sel19 Sel20 Sel21 Sel22 Sel23 Sel24 Sel25 I anticipate that this pipe will pass on to my kids, or be part of the estate sale. I can’t wait to smoke it.