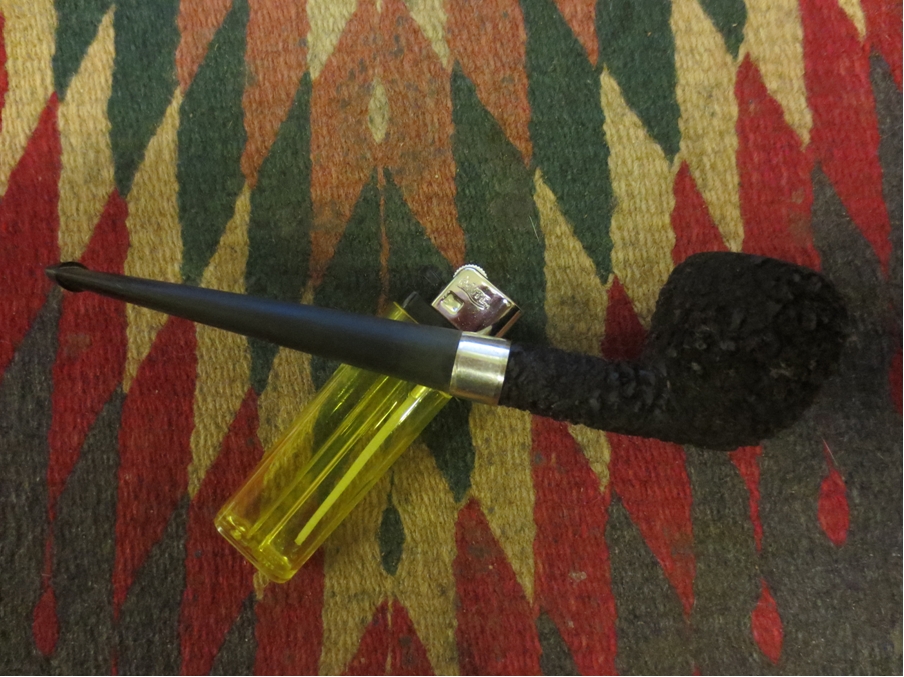
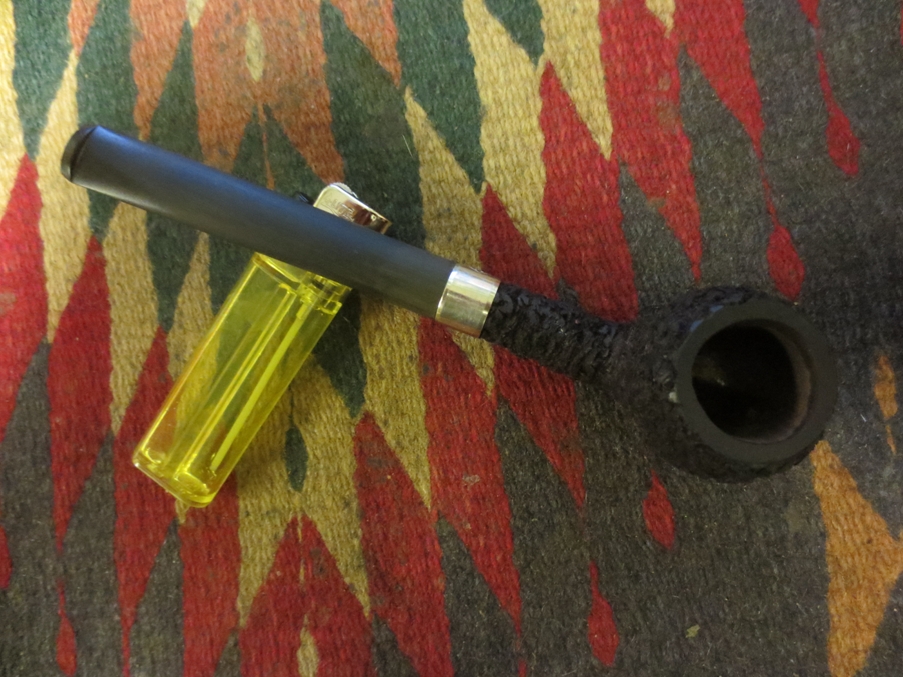
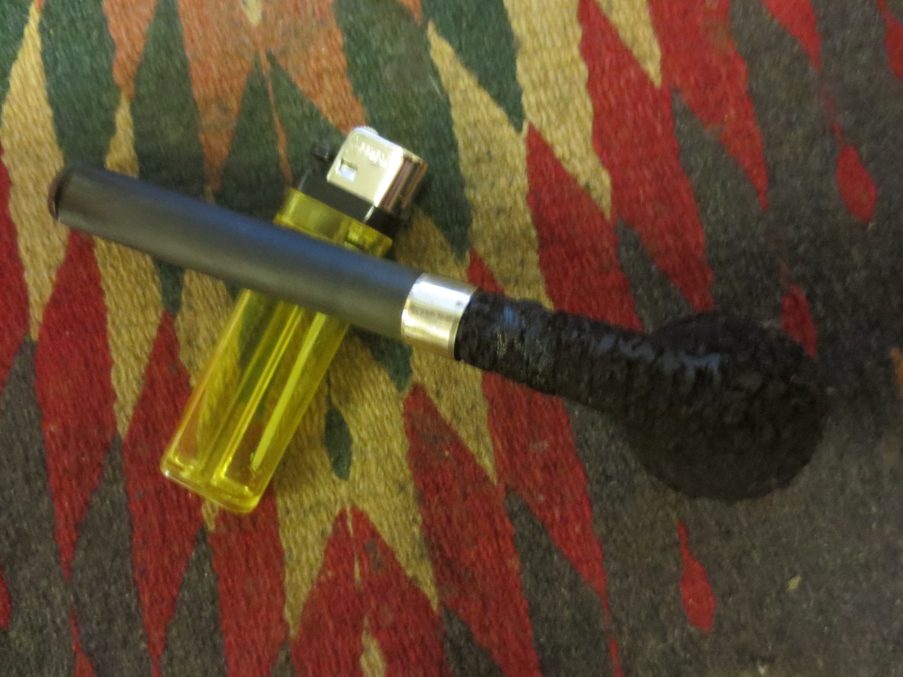
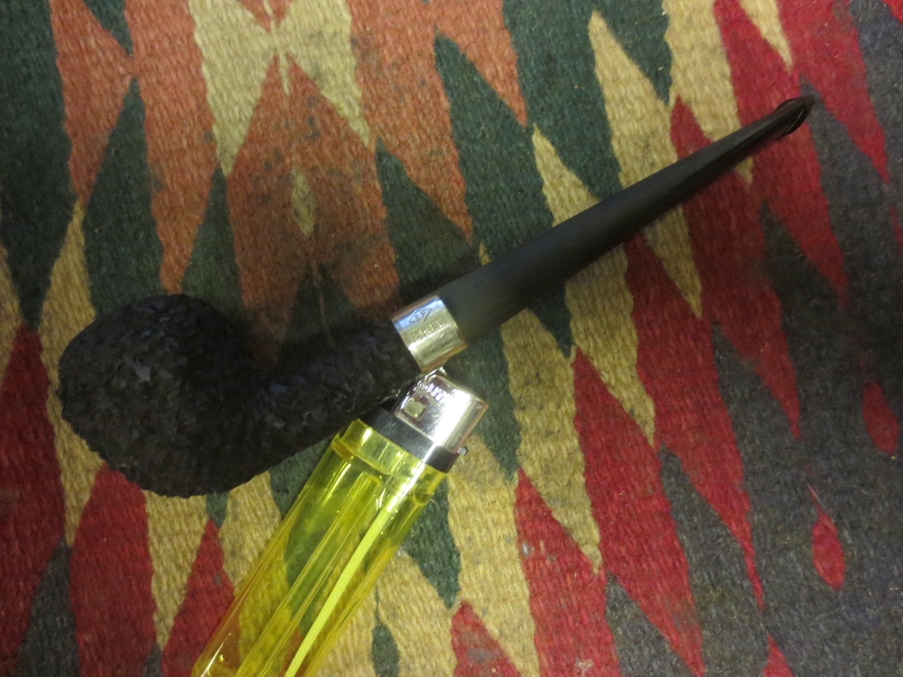
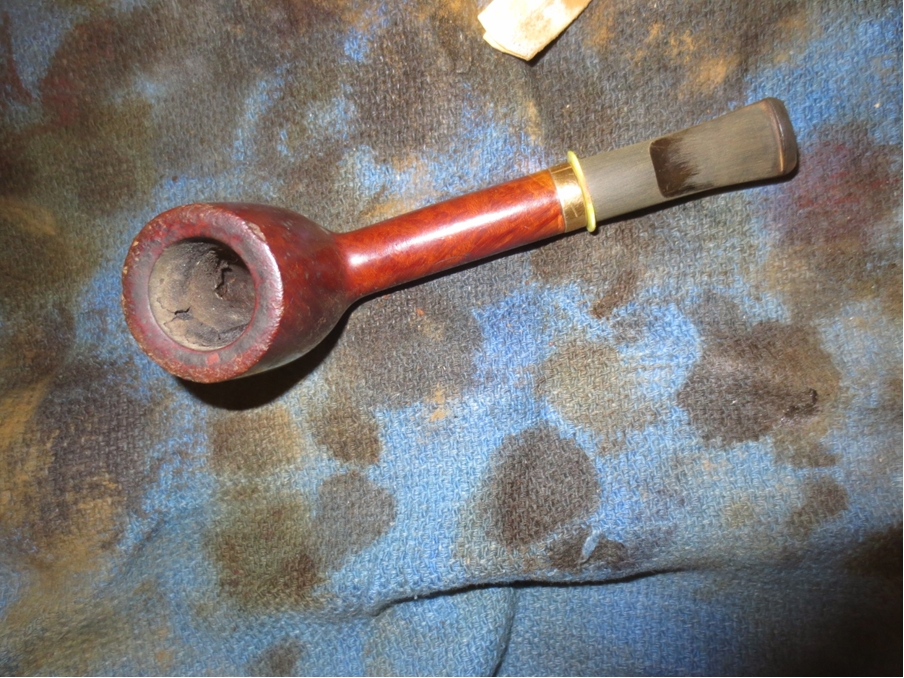
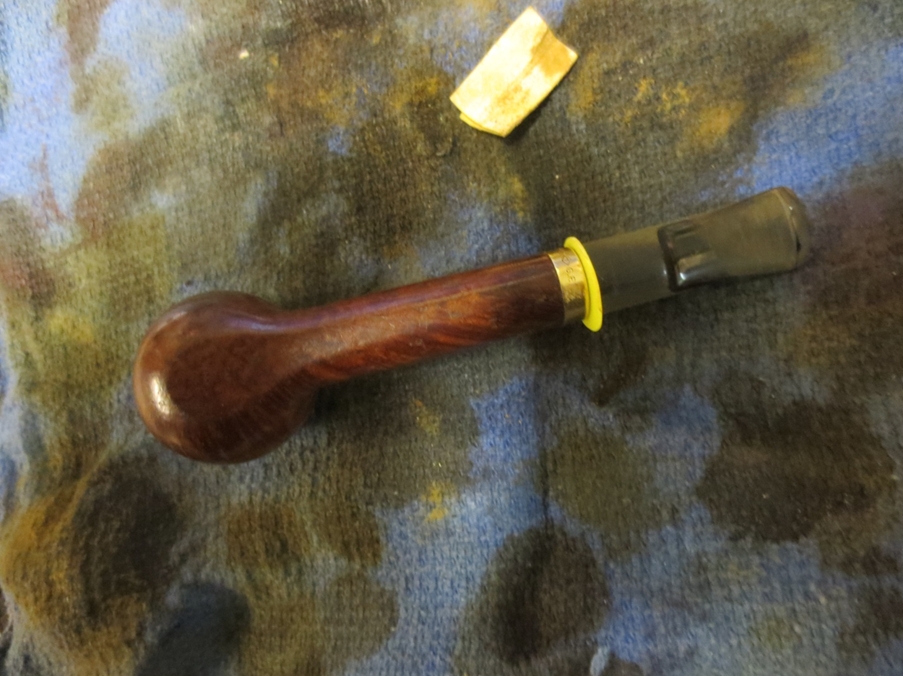
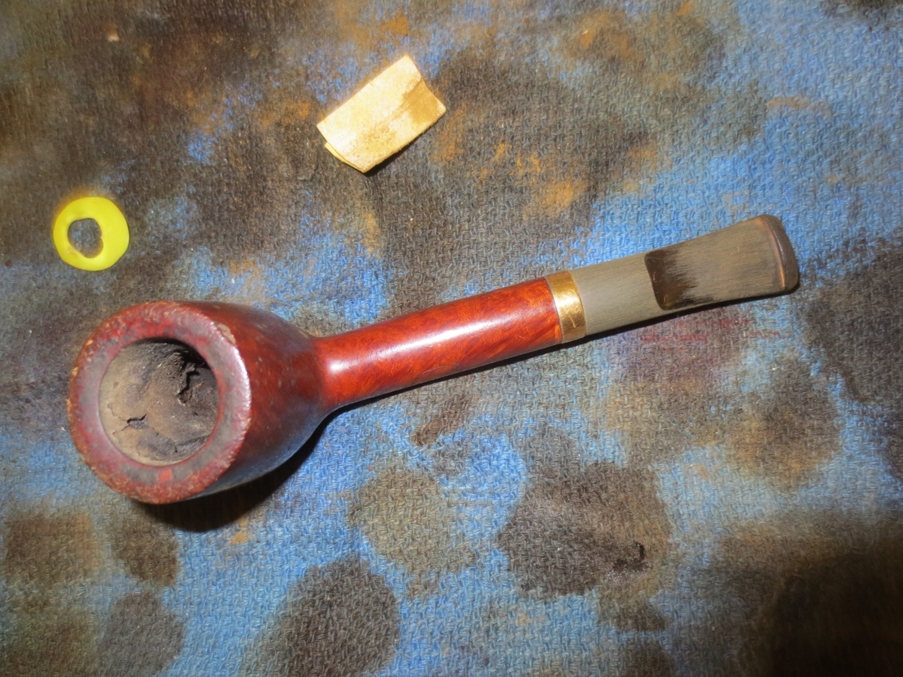
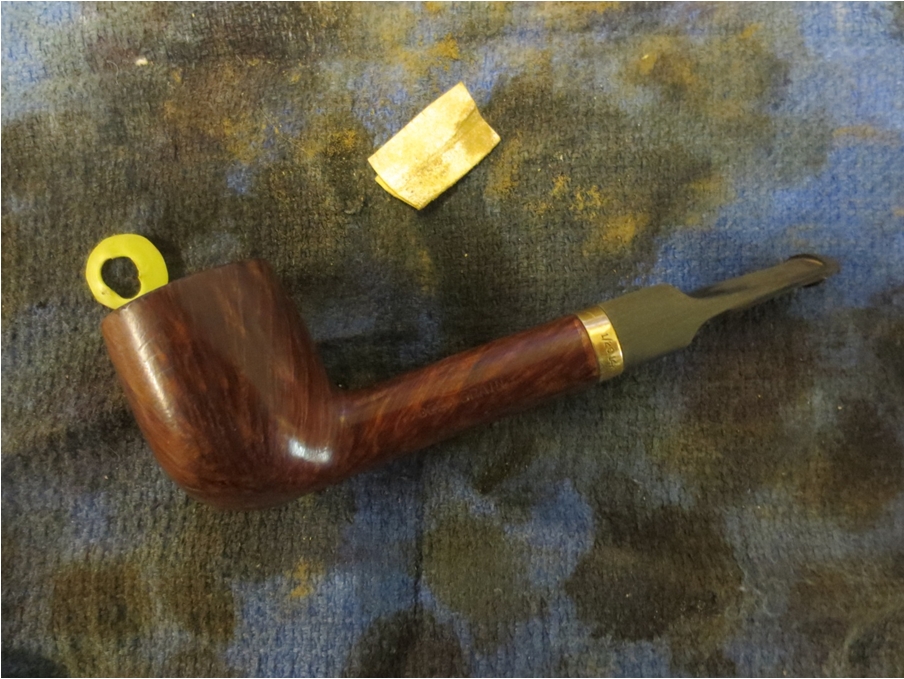
Tag Archives: stem work

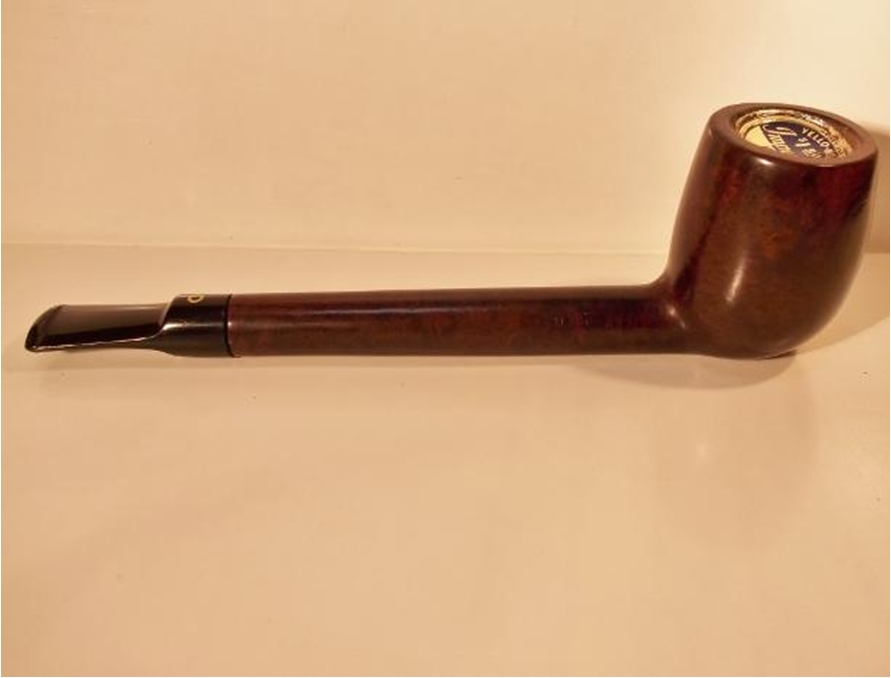
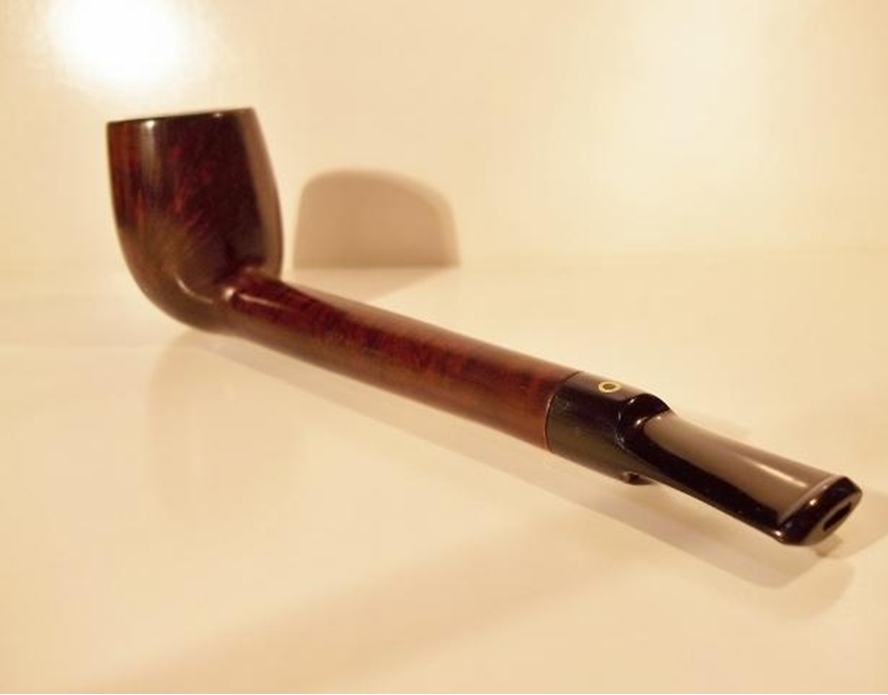
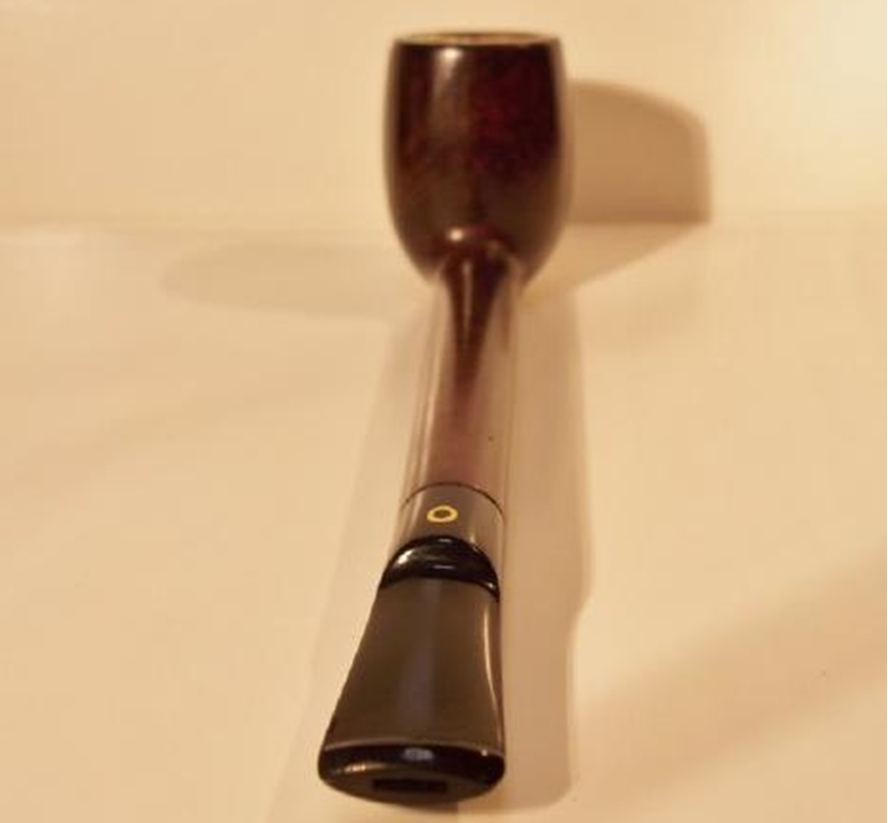
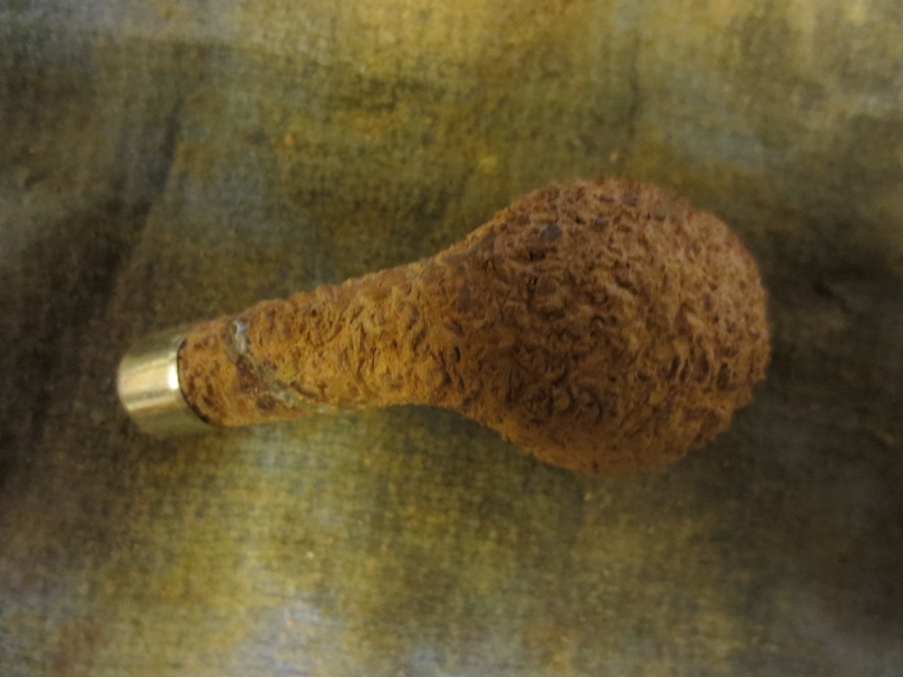
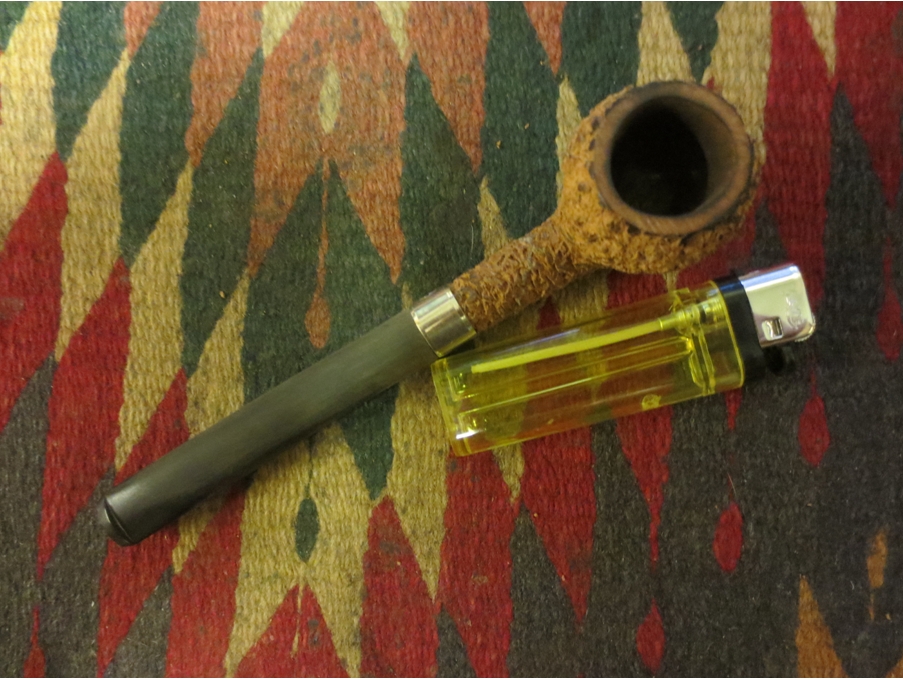
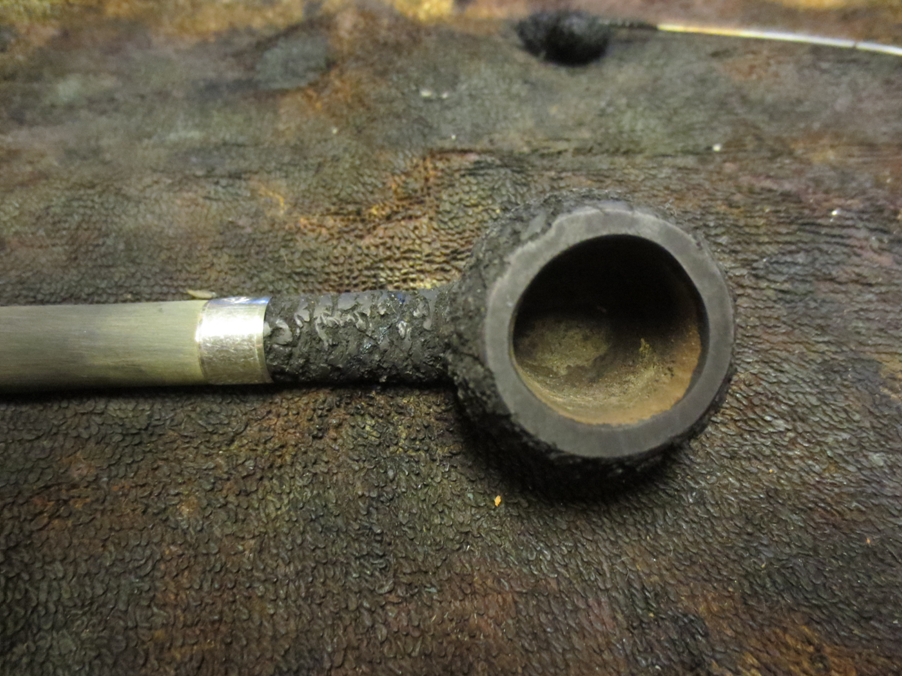
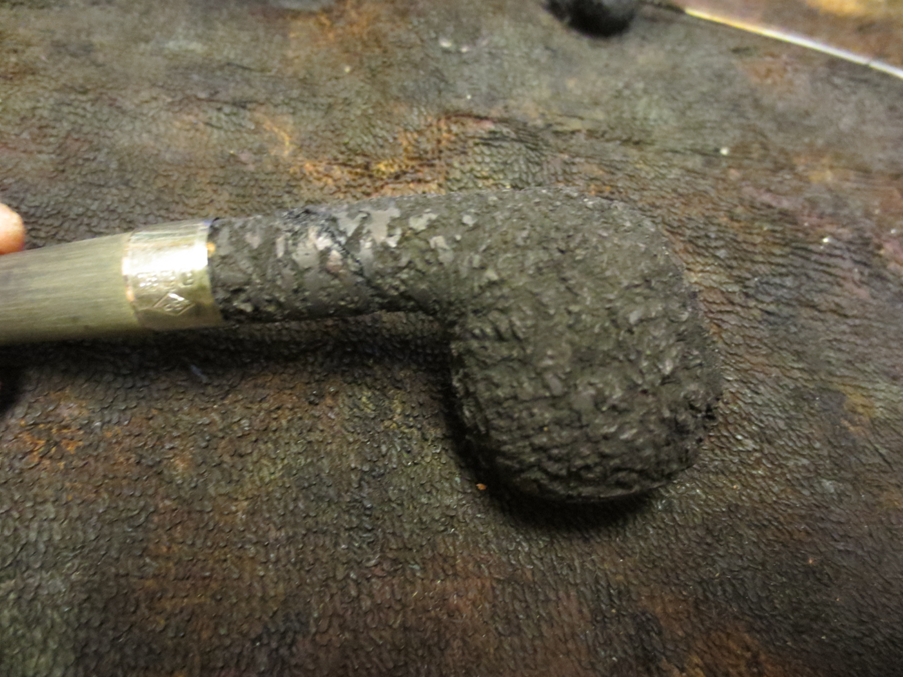
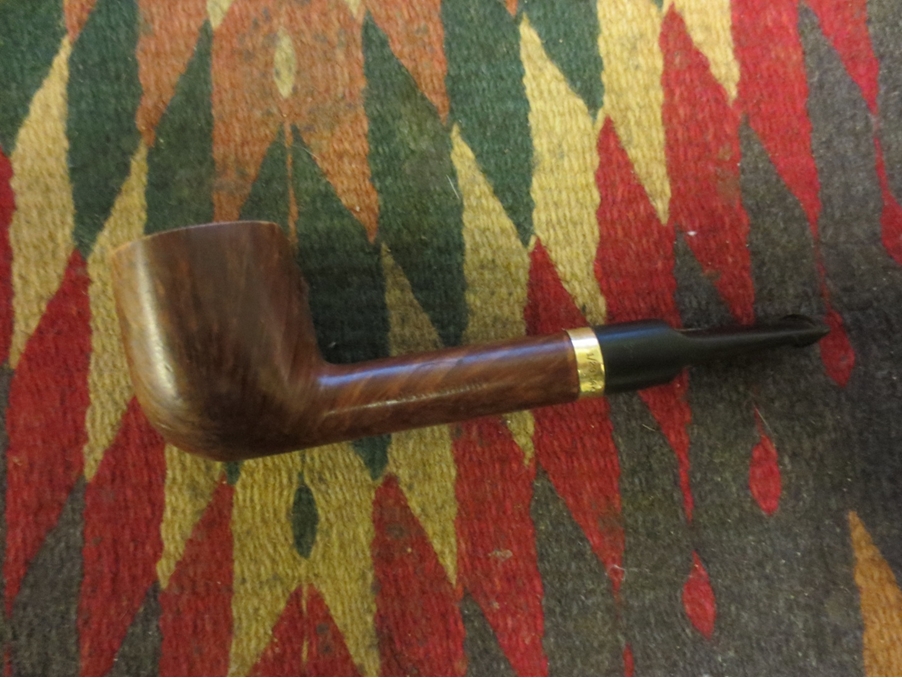
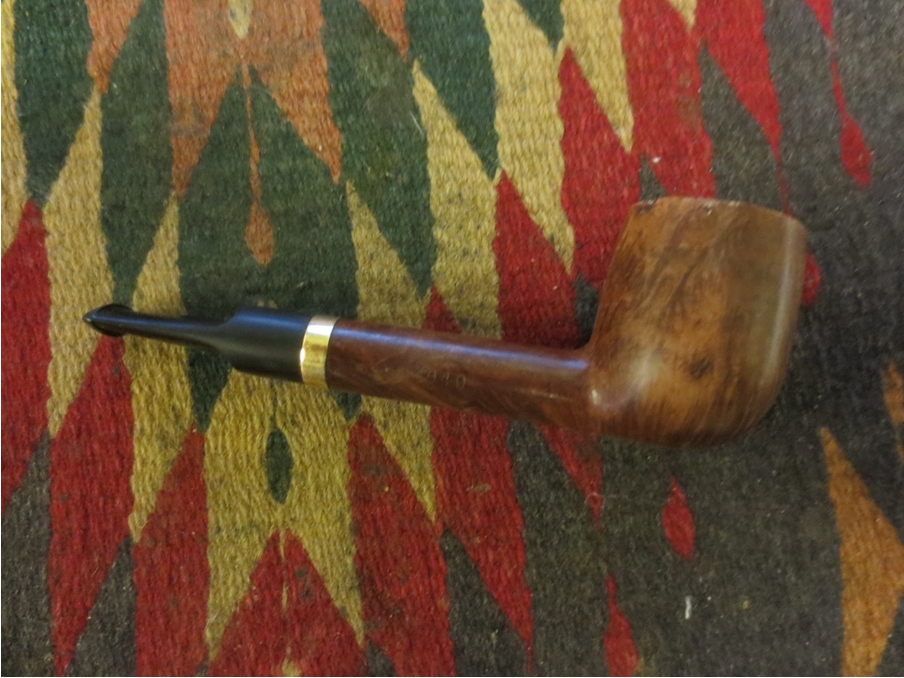
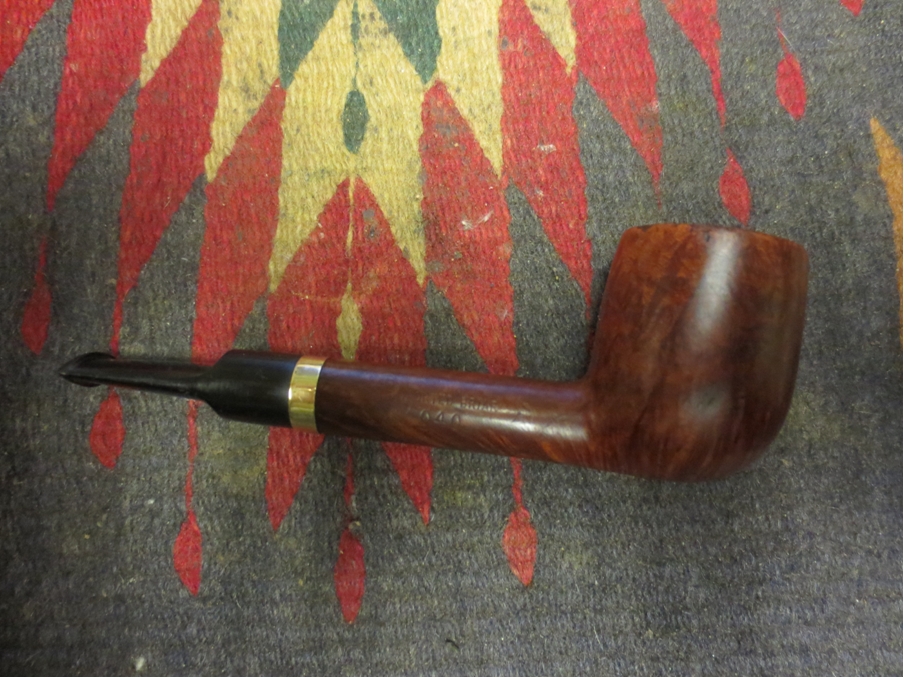
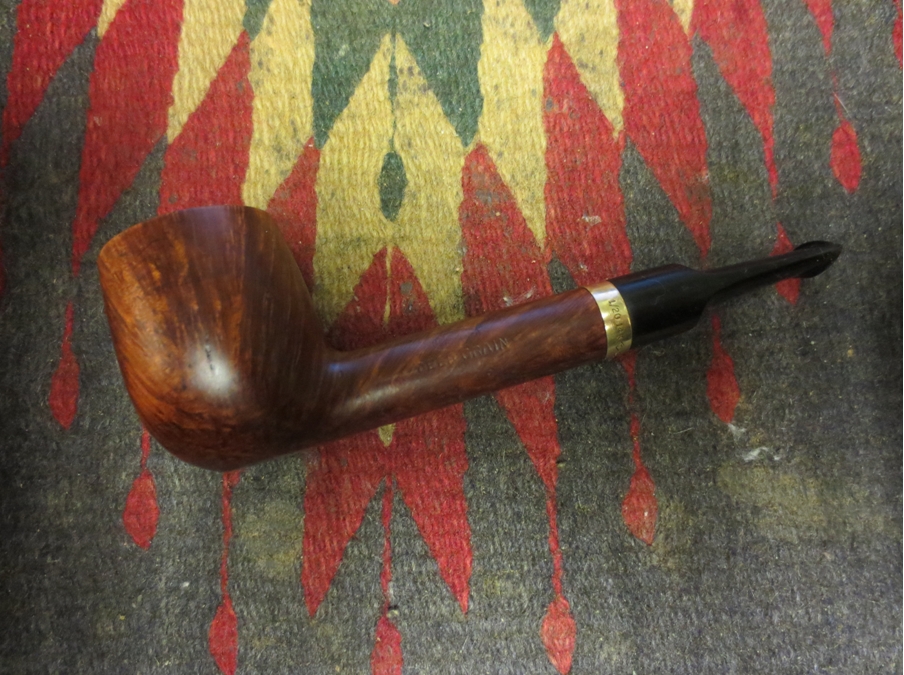
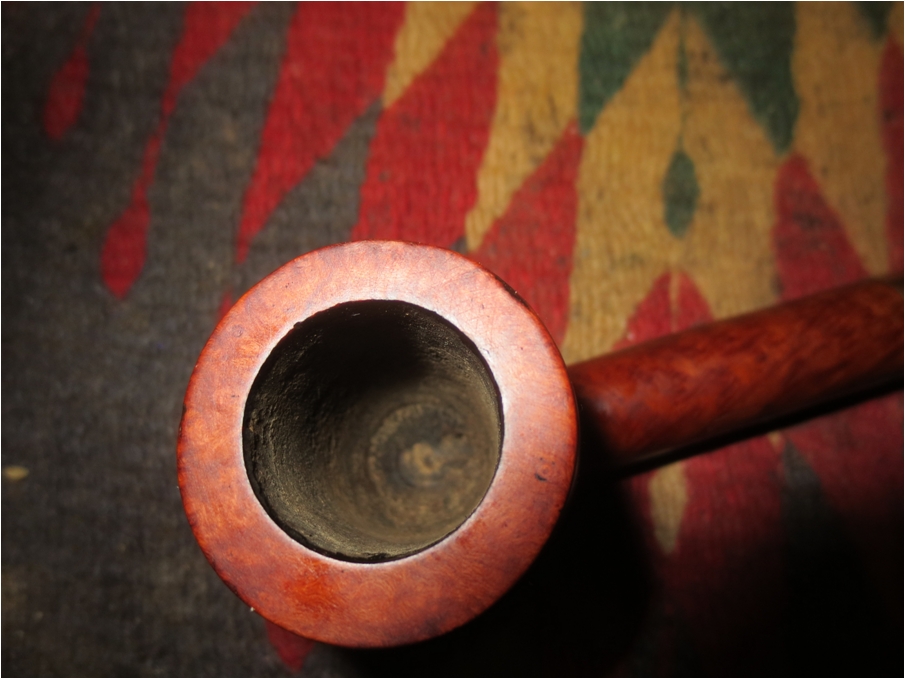
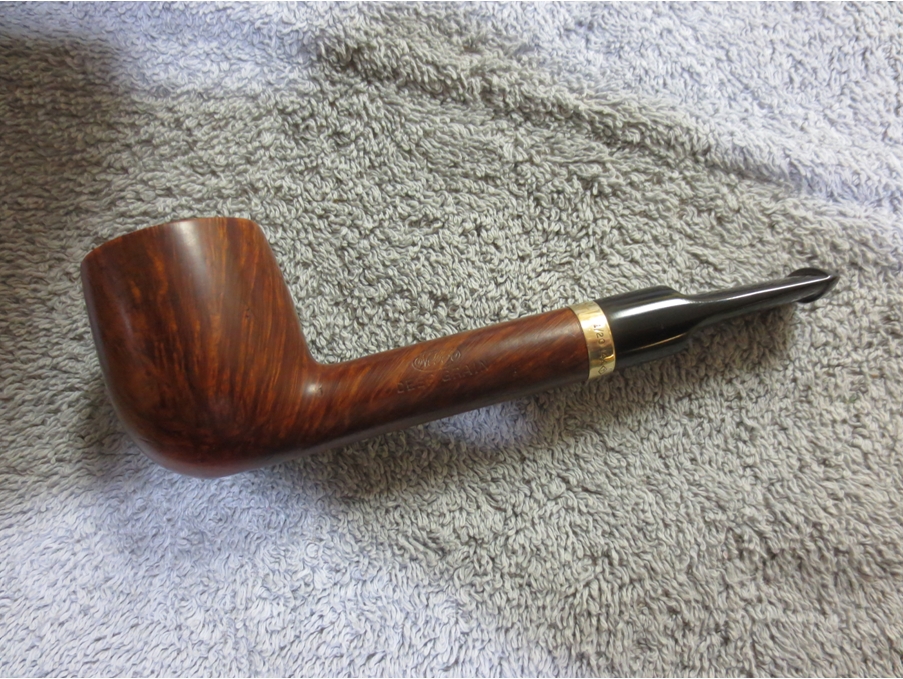
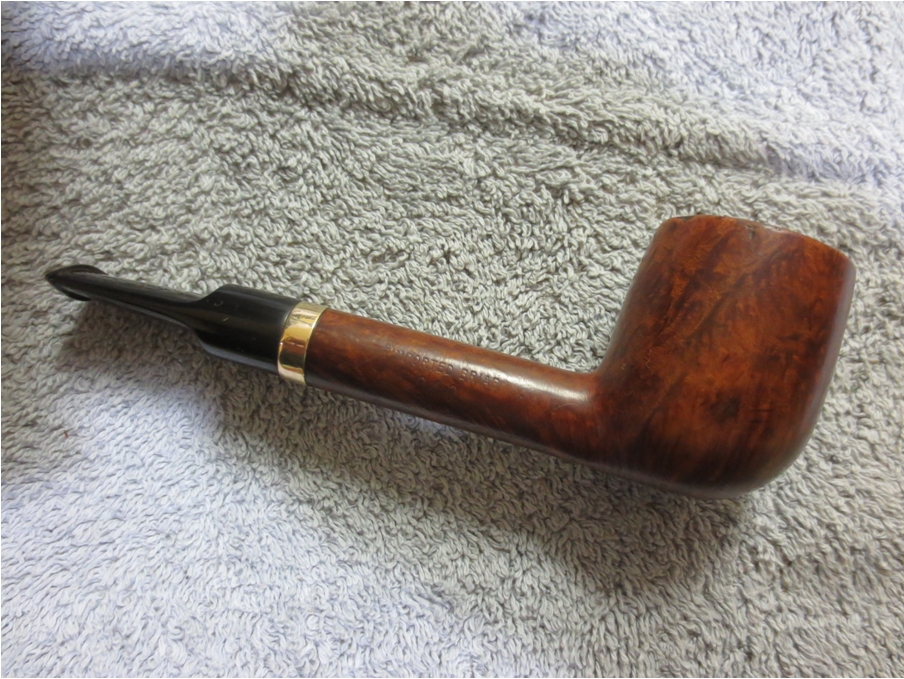
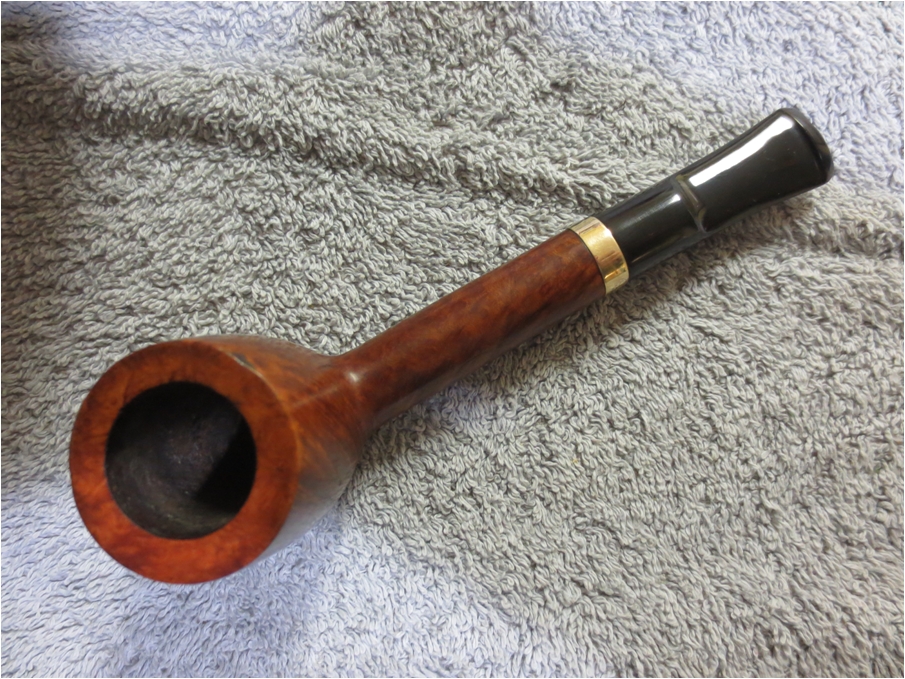
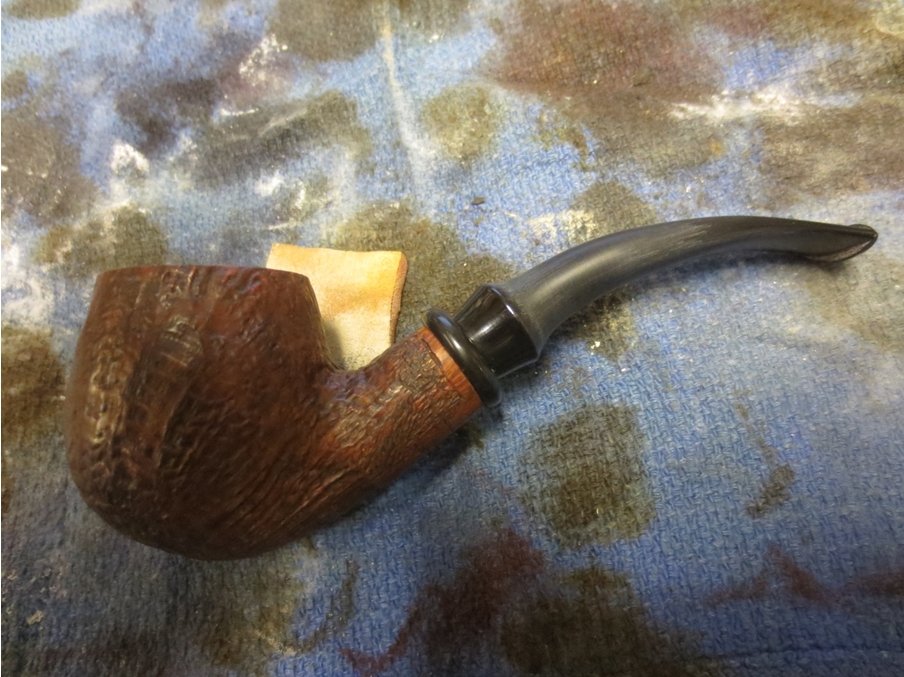
Doing an interior shank repair and restemming a KBB Yello Bole Lovat


Blog by Troy Wilburn

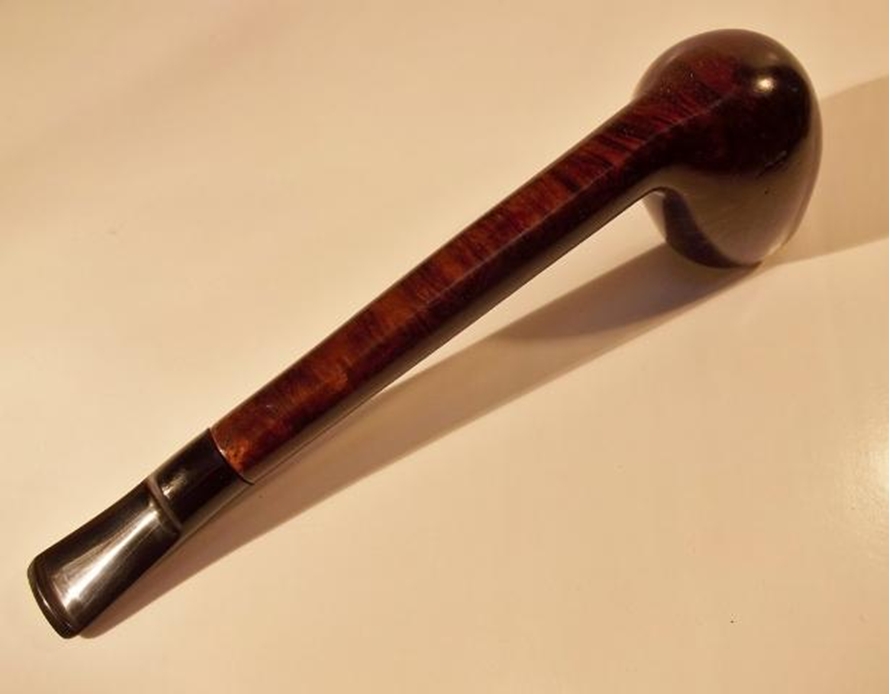
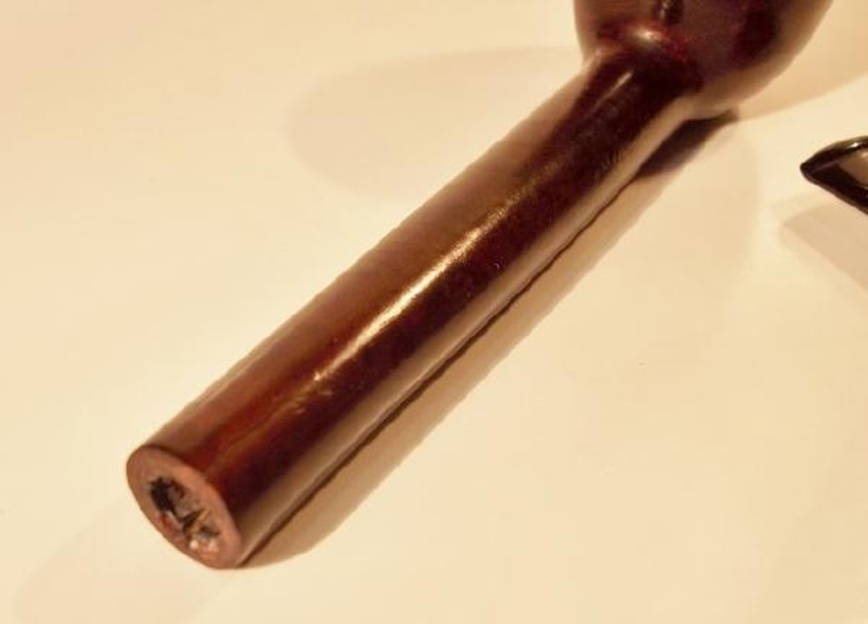
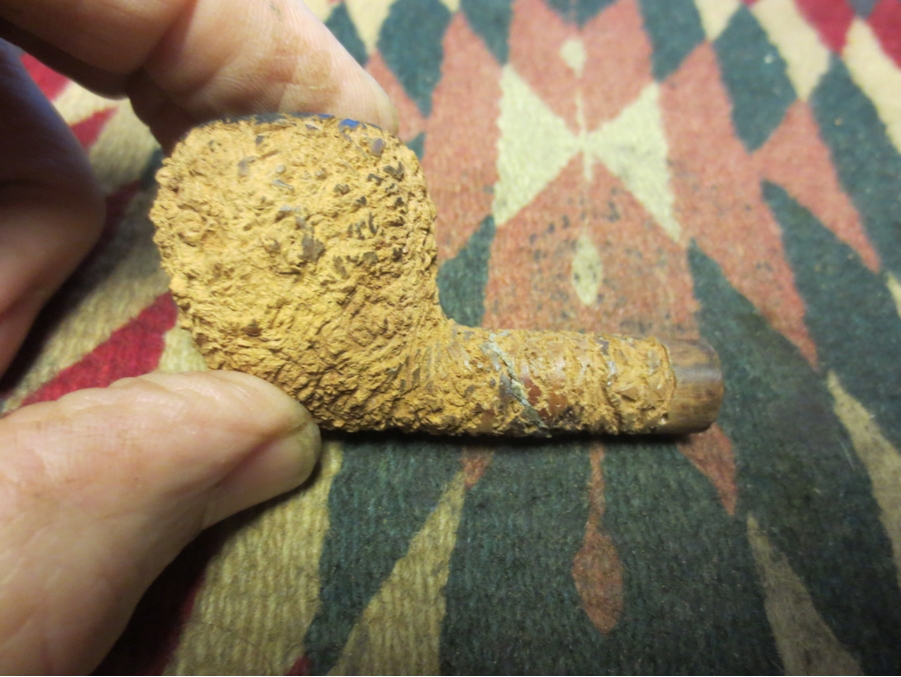
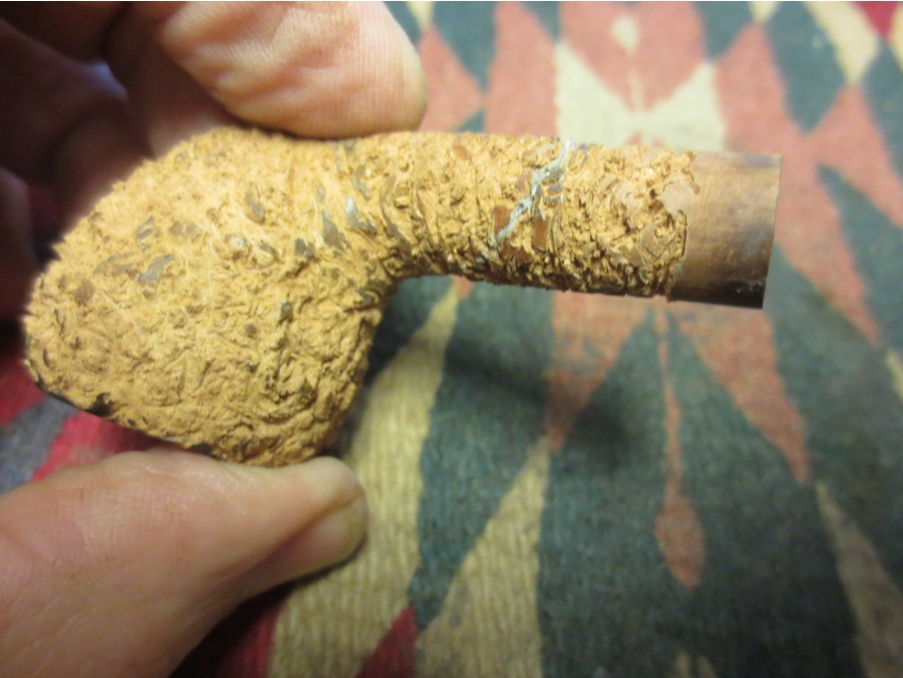
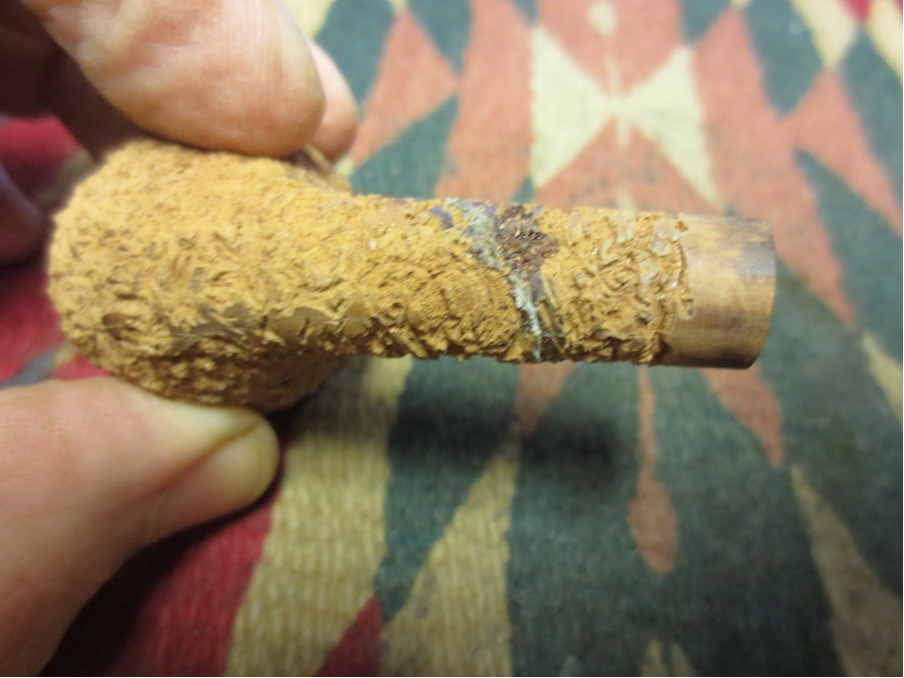
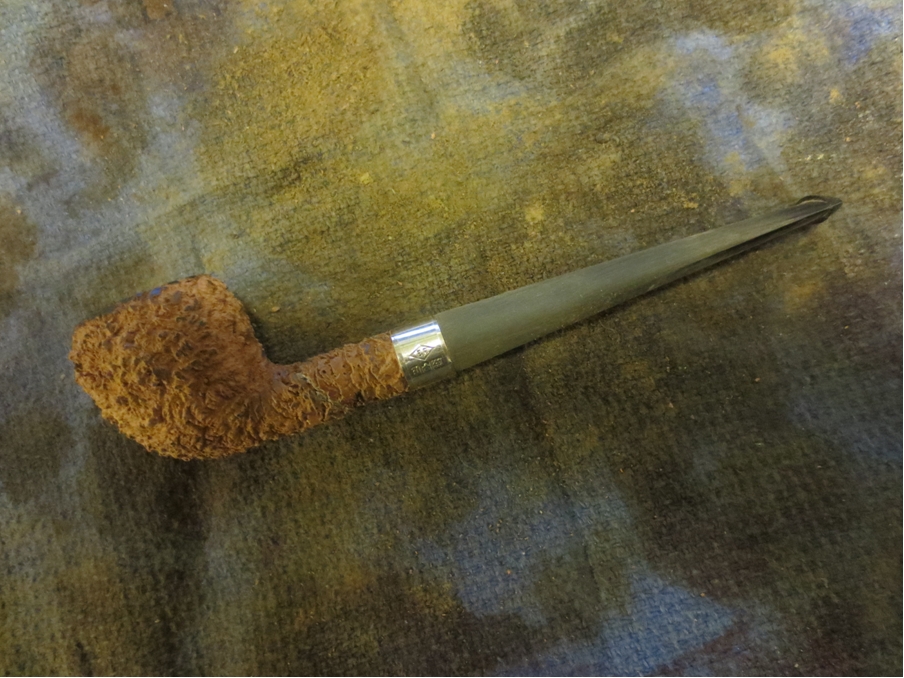
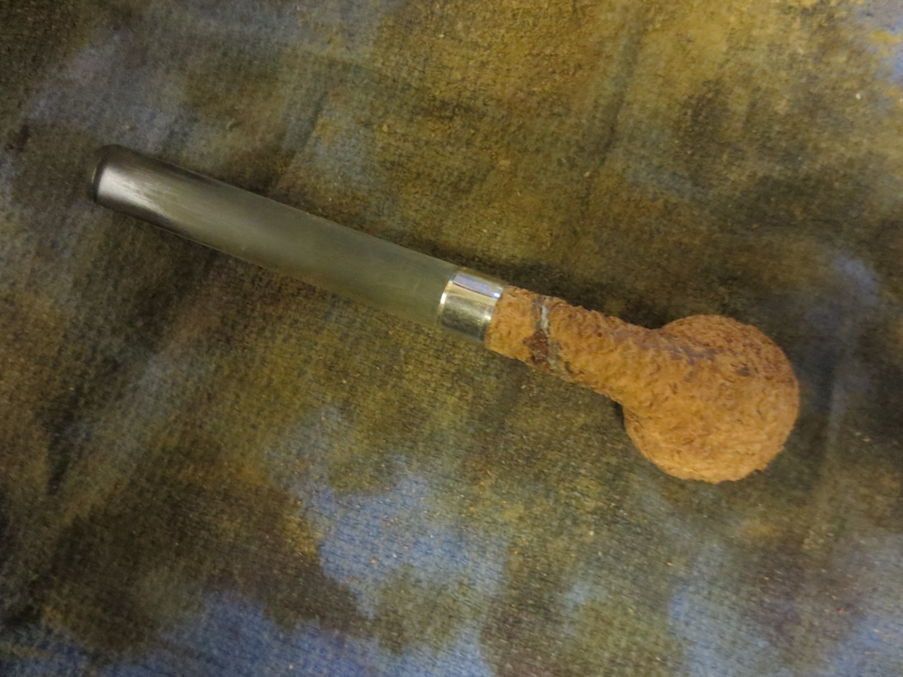
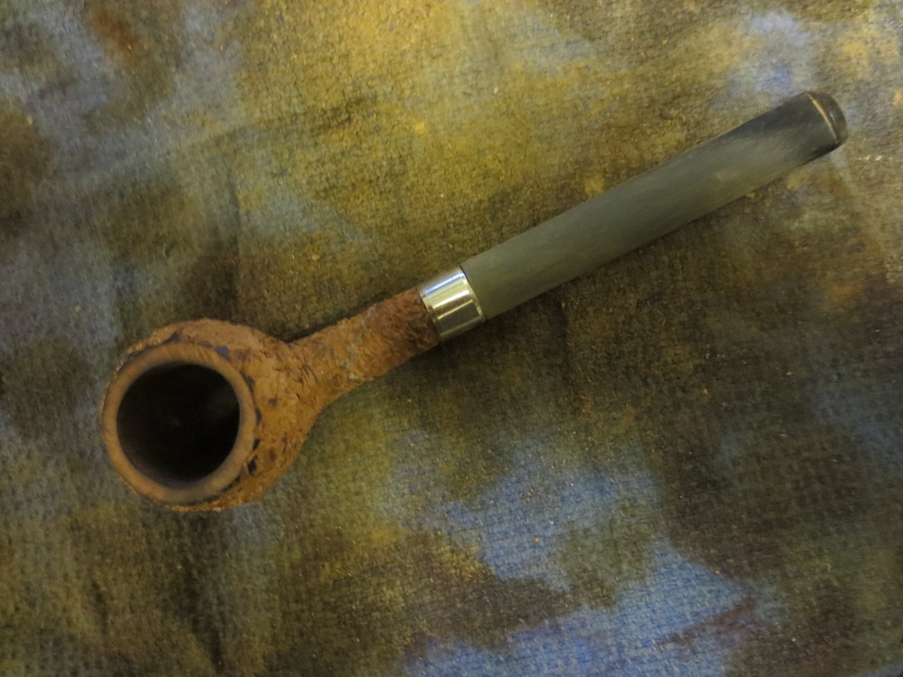
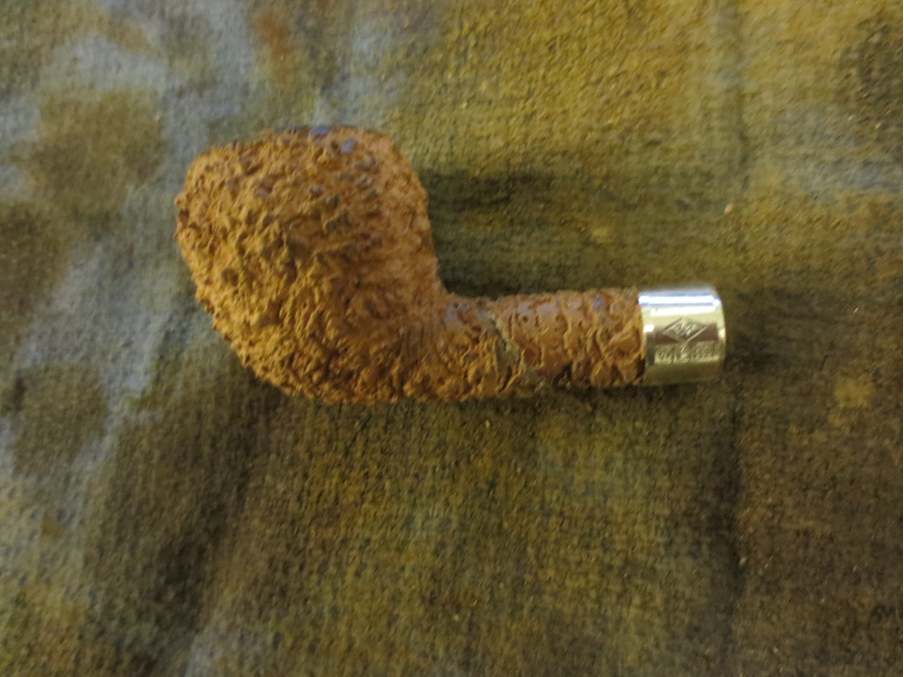
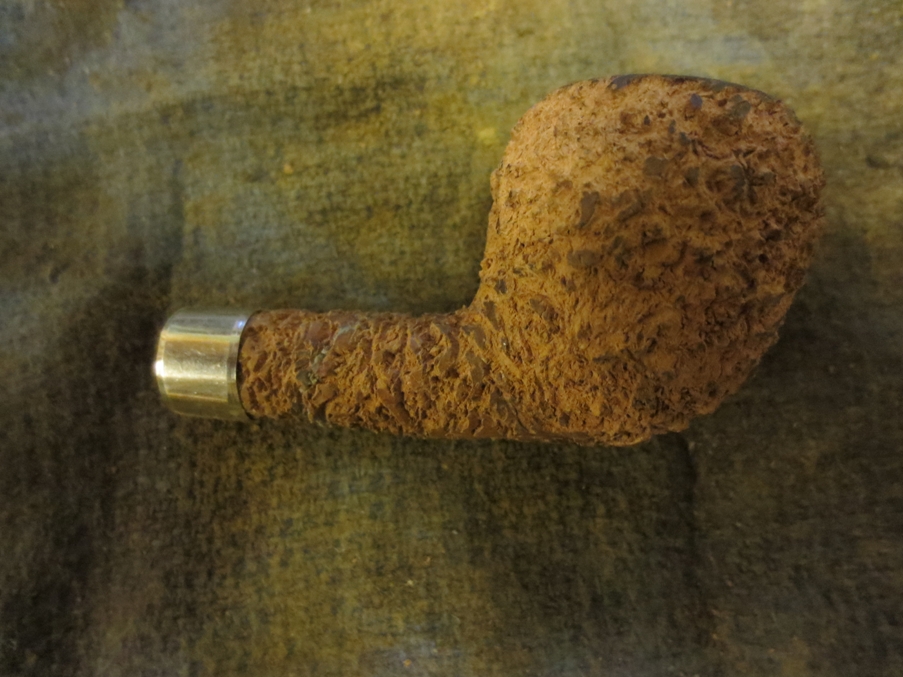
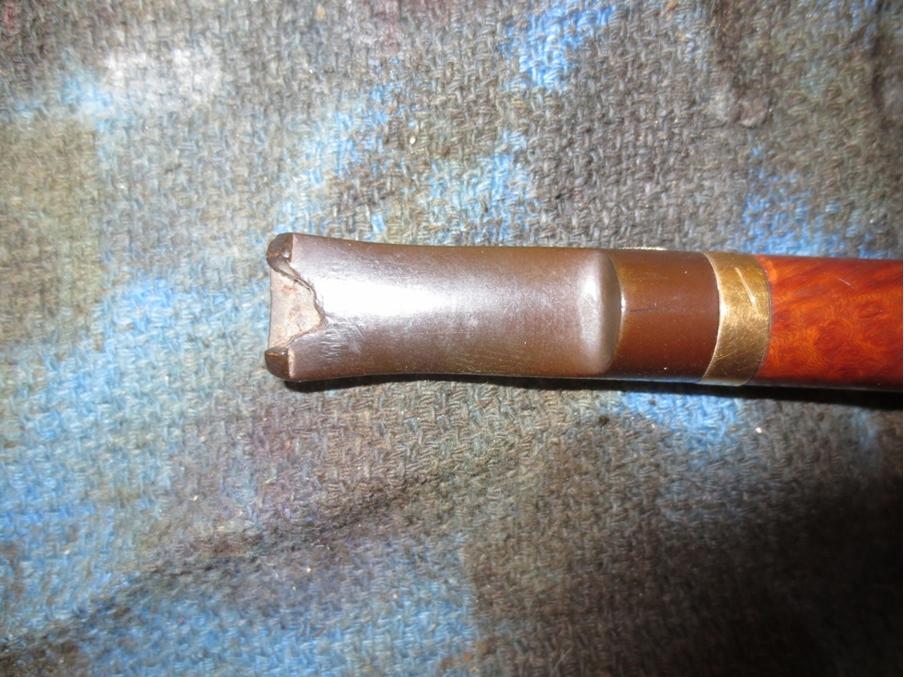
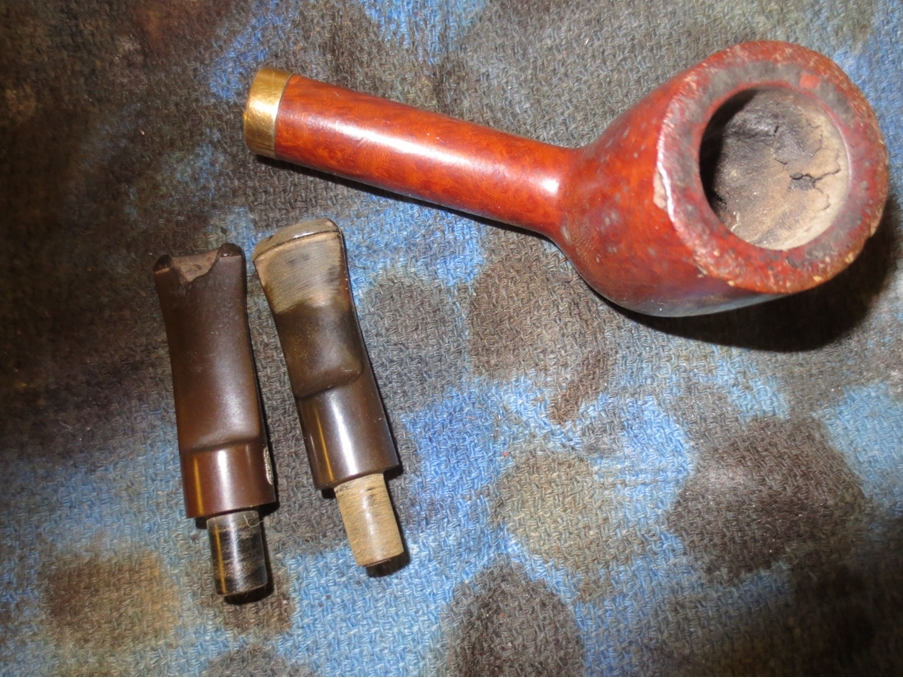
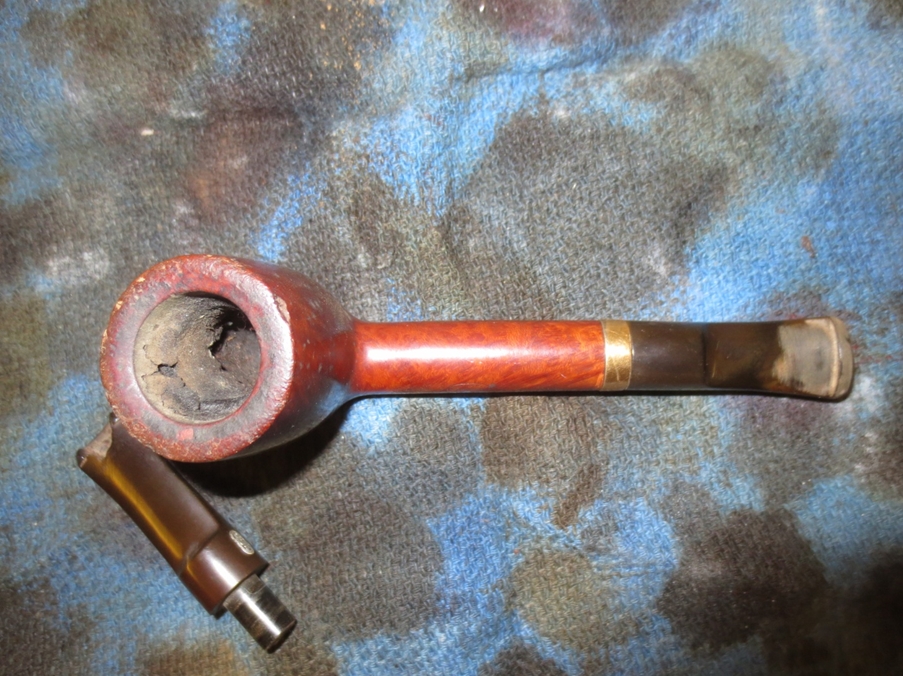
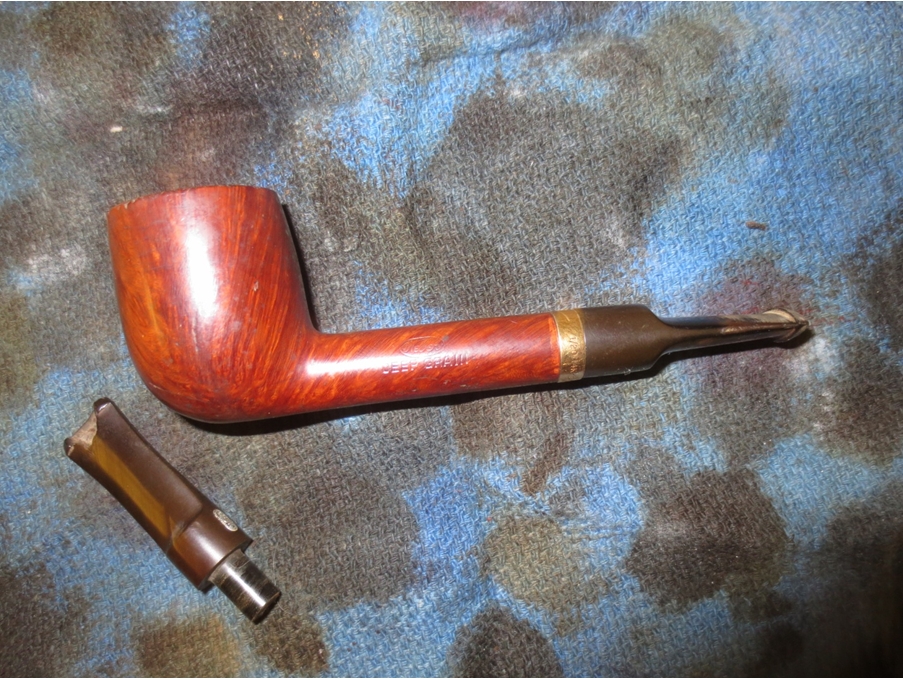
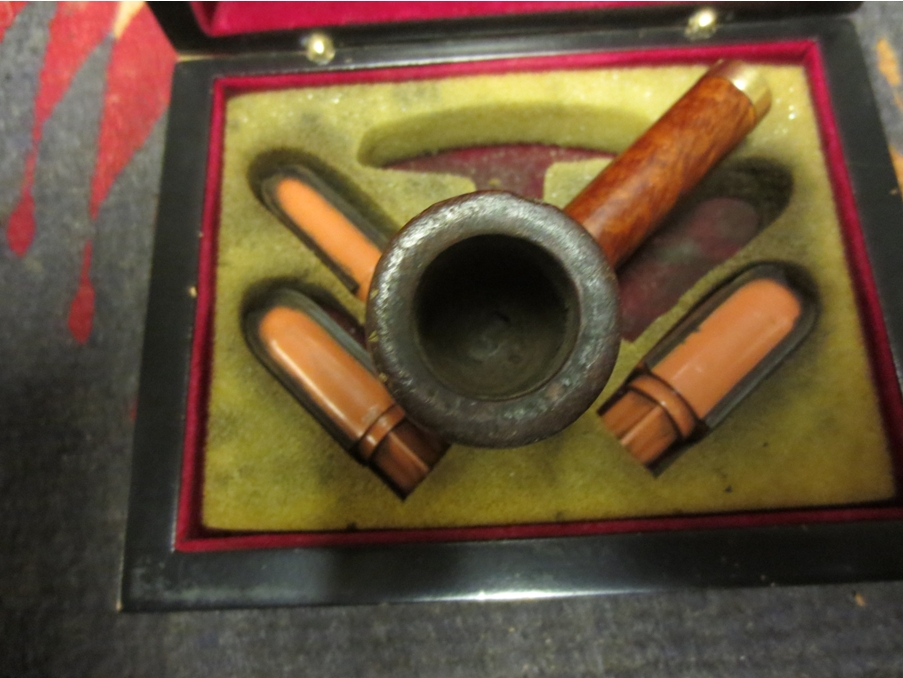
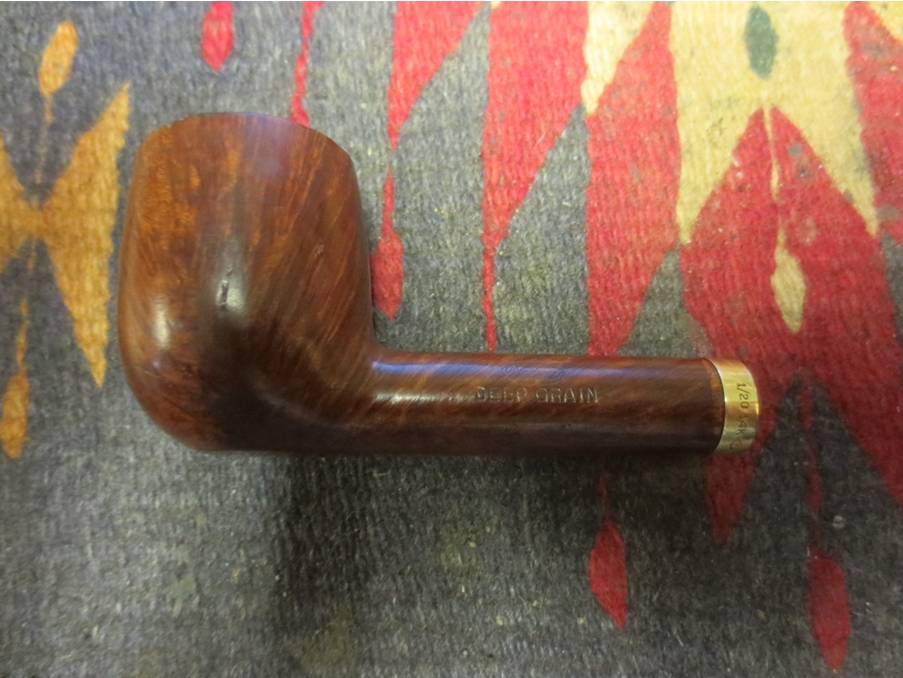
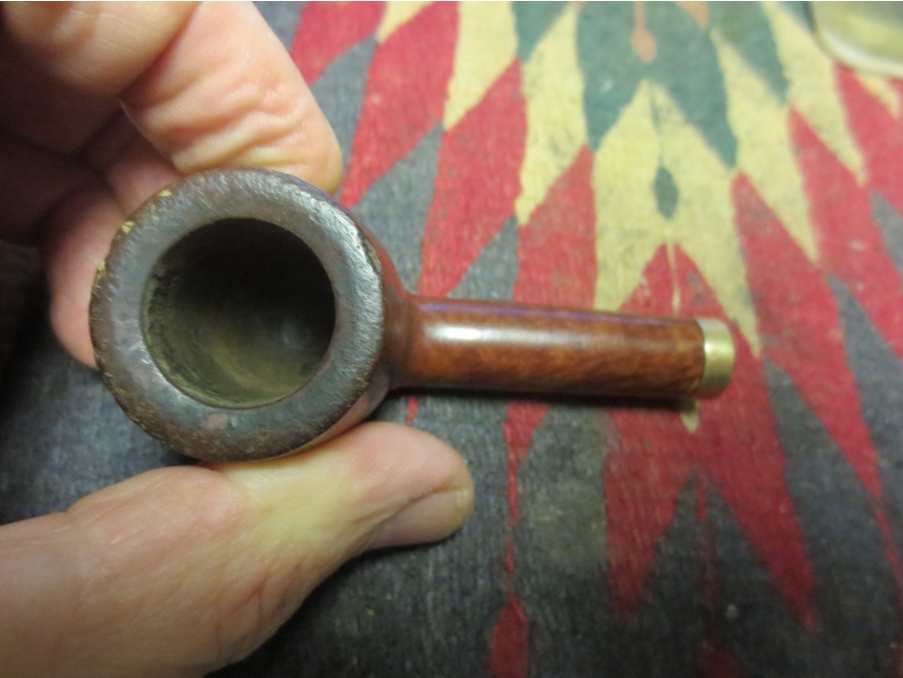
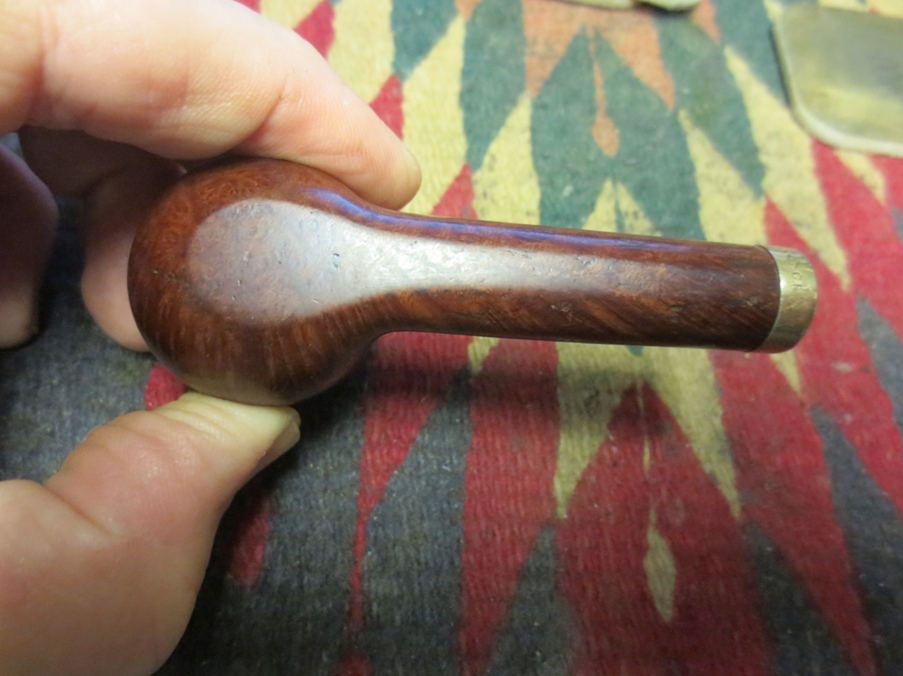
I got this pipe from a member of Dr. Grabows Collector Forum, John McP. He hails from across the pond in Scotland. He had contacted me about a old KBB Yello Bole pipe that he had picked up that did not have a stem and wanted to know a little about it and what kind of stem it originally had. He also informed me it had an old repair of a cracked shank.

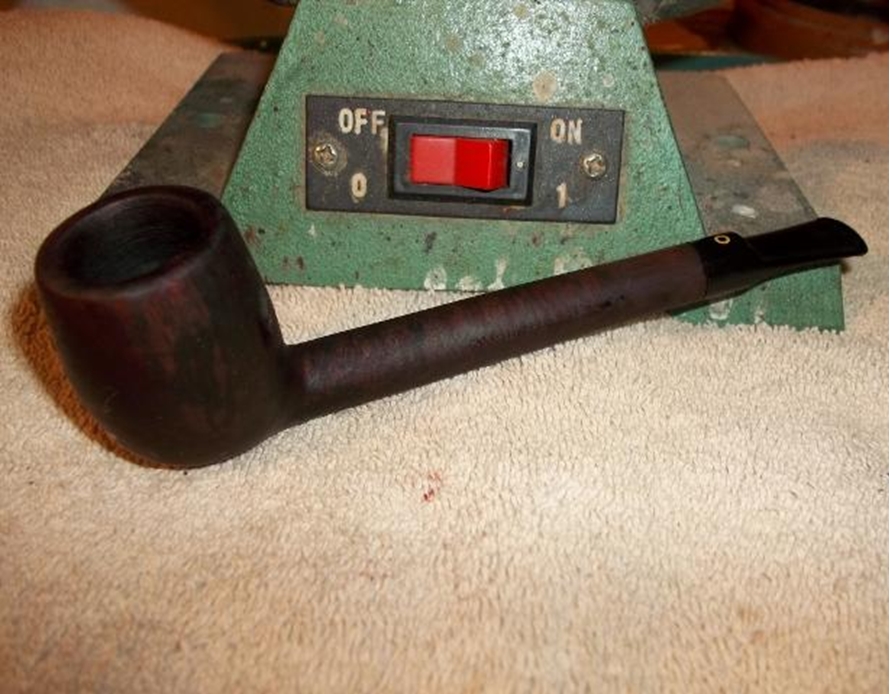
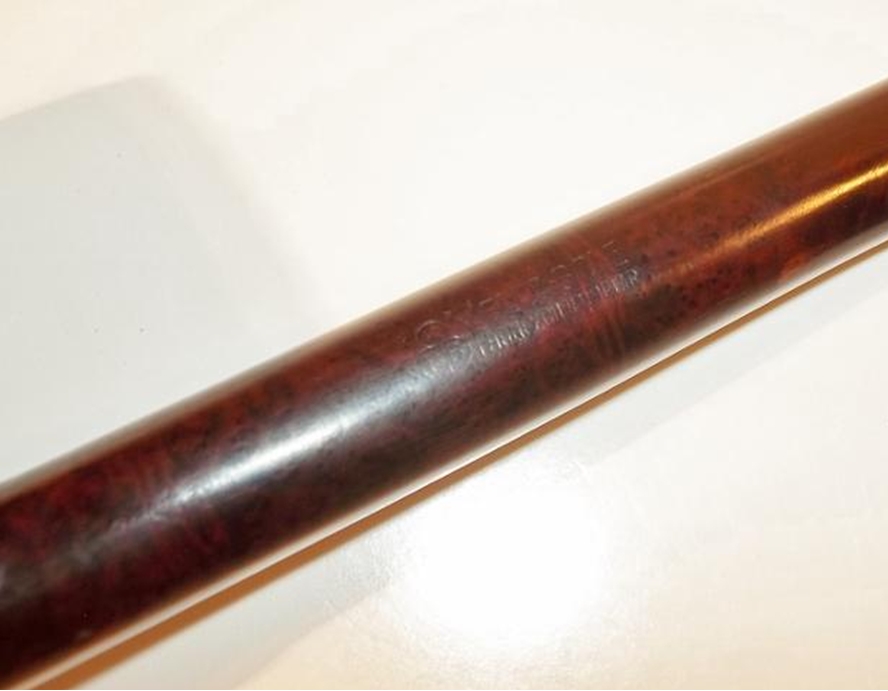
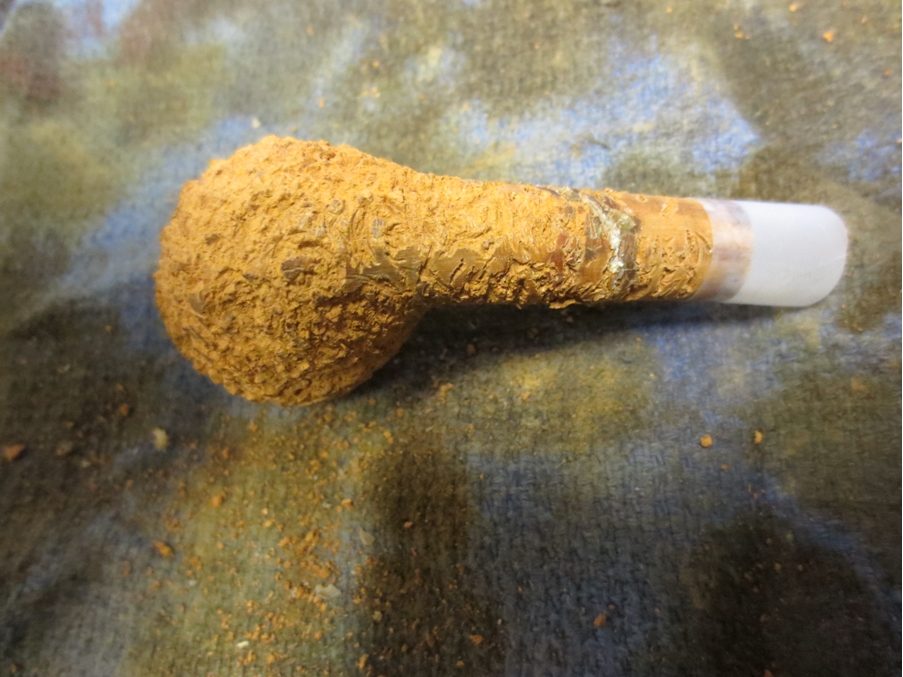
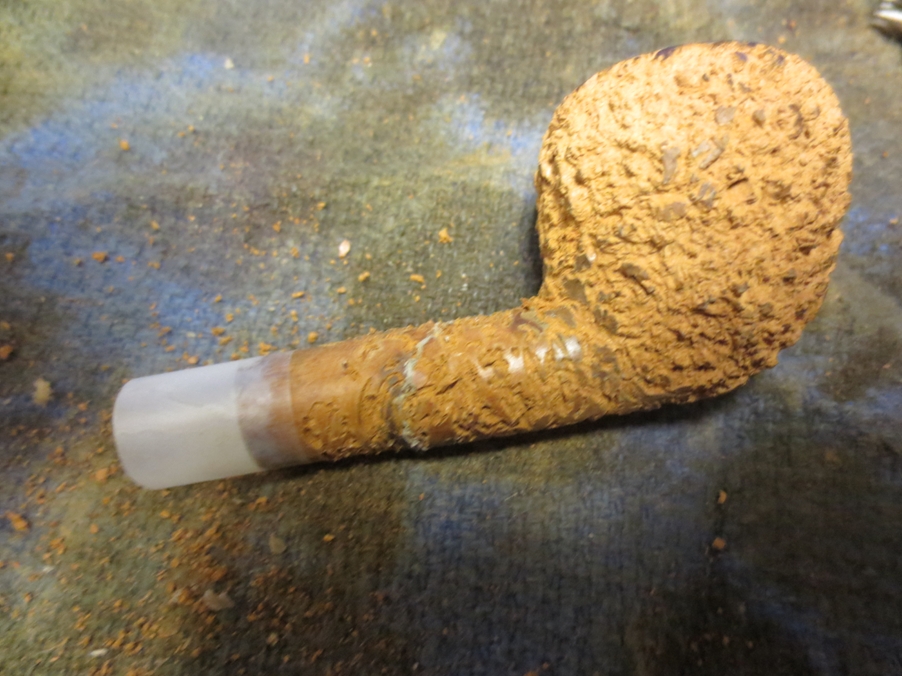
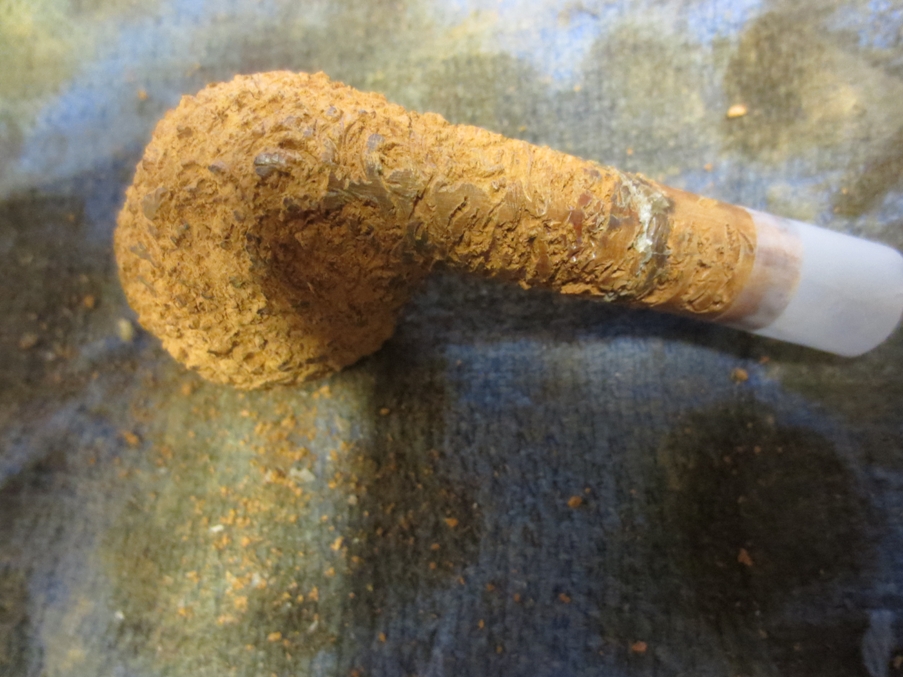
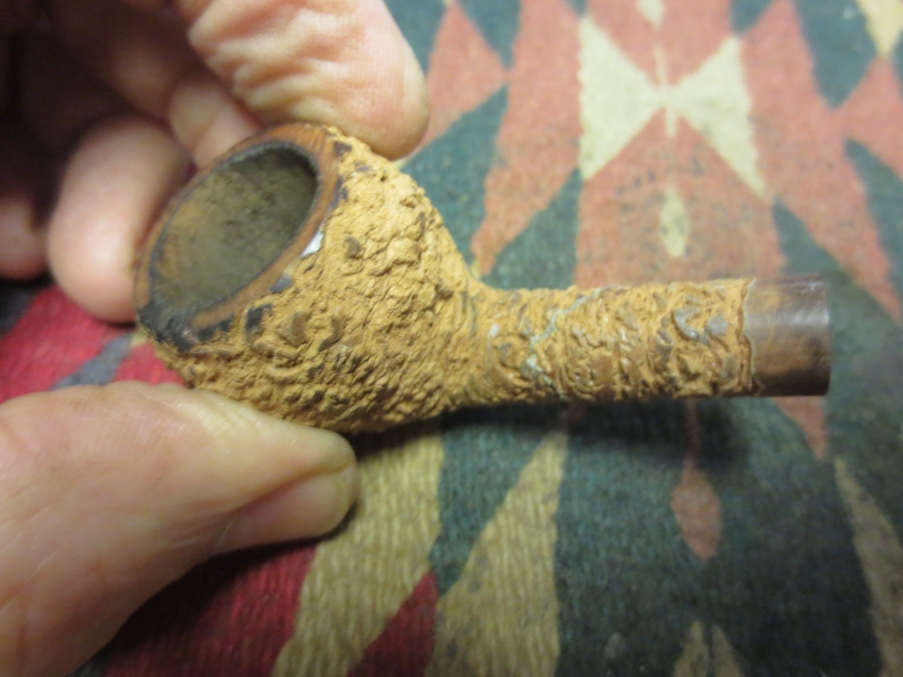
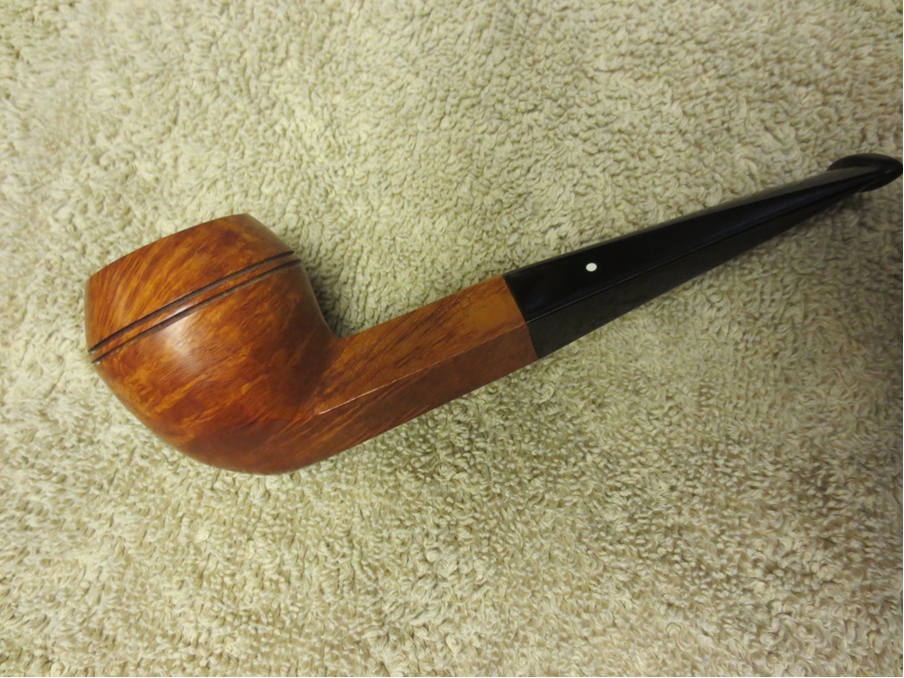
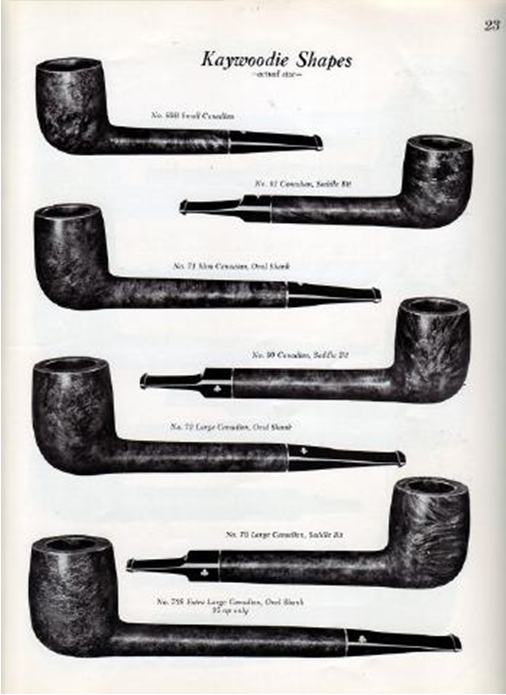
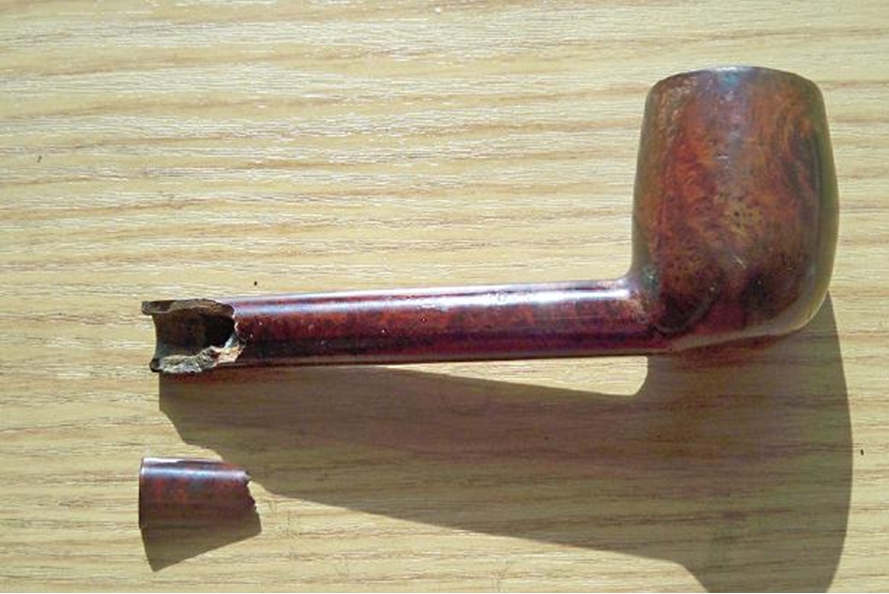
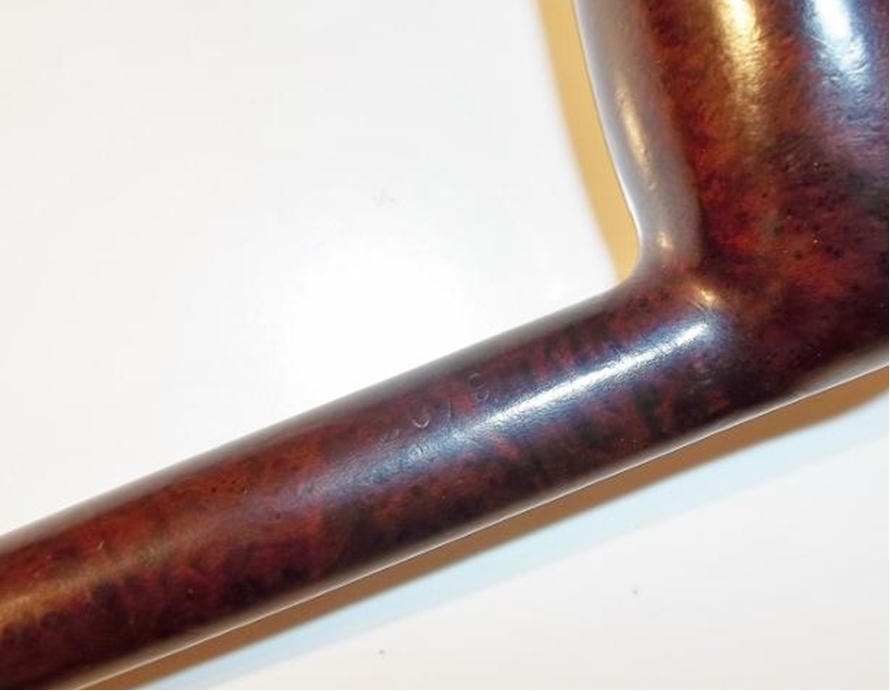
It is stamped 2079 and had the “Honey Cured Briar” under the KBB Yello Bole, which made it a pre 1936 model. I then checked my Kaywoodie charts. It’s a large bowl, long shank Lovat saddle bit. Even though the KW shape charts call it a Canadian I don’t think so because of its round shank. I’ll never consider a round shank as a Canadian.K1 I informed him that it was a nice pipe and should be a good smoker once cleaned up and a replacement stem found. Unfortunately for John the old repair was not a good one and it had made the shank weak. When John tried to fit some stems to it, a piece broke out of the shank. He asked me if I wanted it free of charge as he did not want to tackle repairing the pipe.
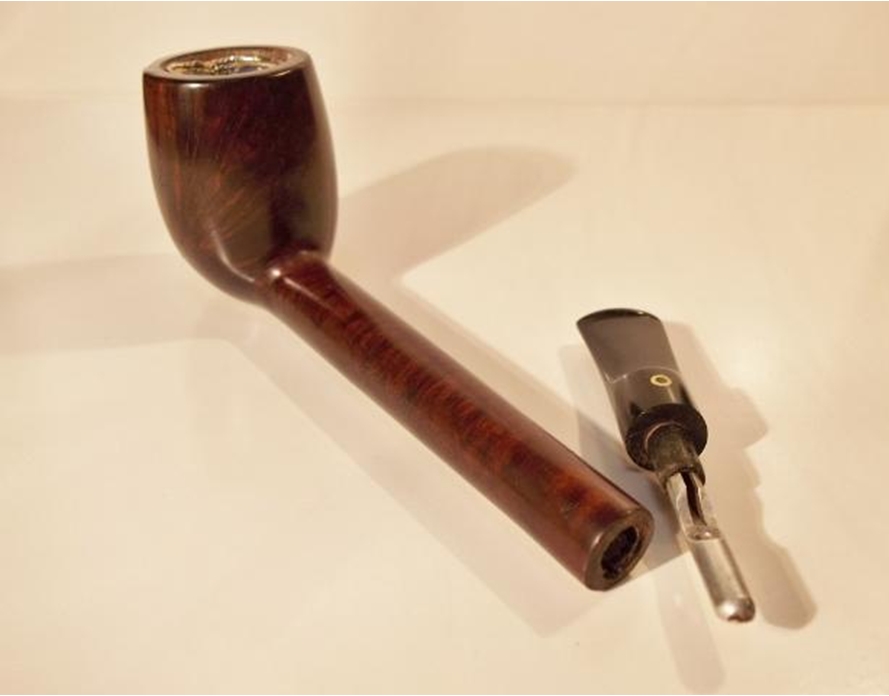
The pipe as John showed me before he sent it.K2 I agreed that I would see what I could do with it. Well after over a month in the mail it finally arrived and I got a good look at it and found a donor saddle bit from another Yello Bole.K3
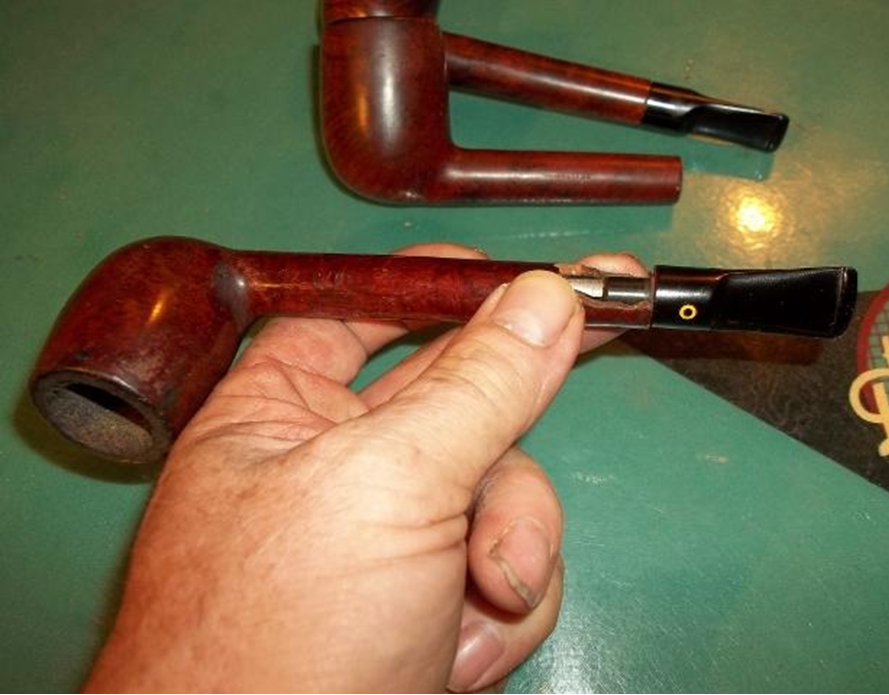
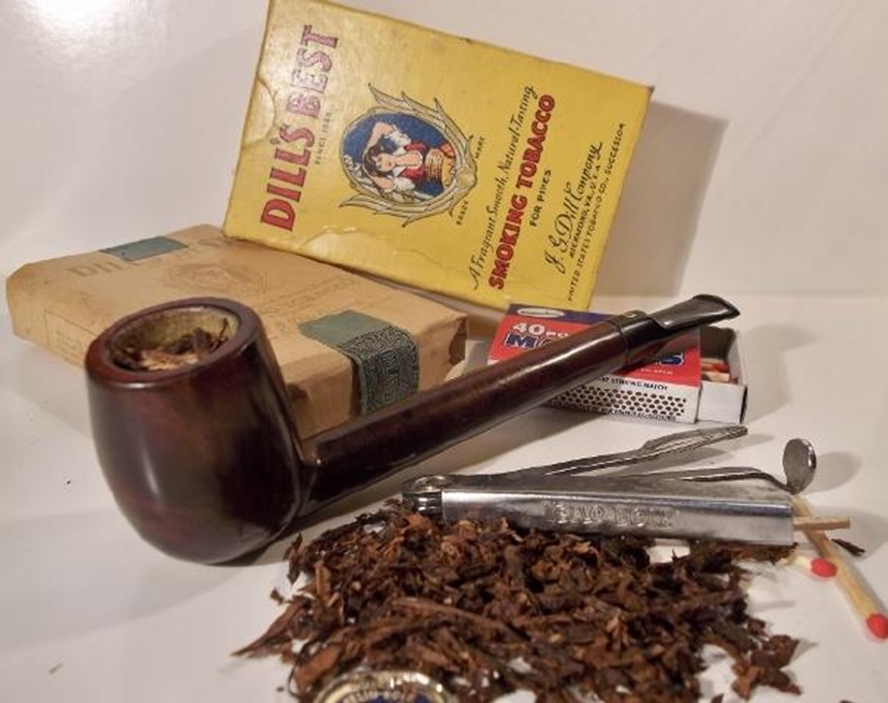
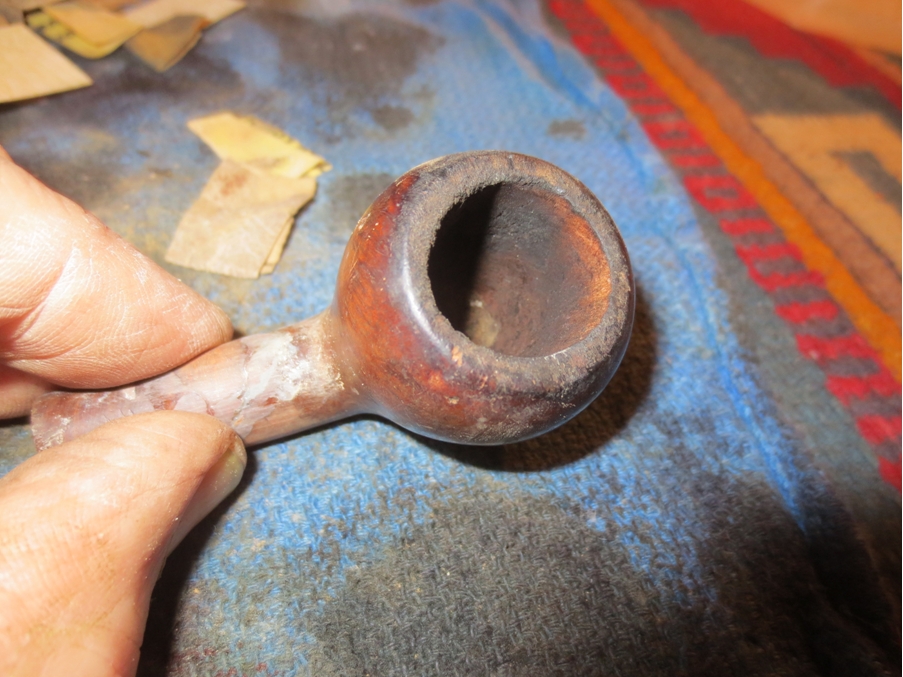
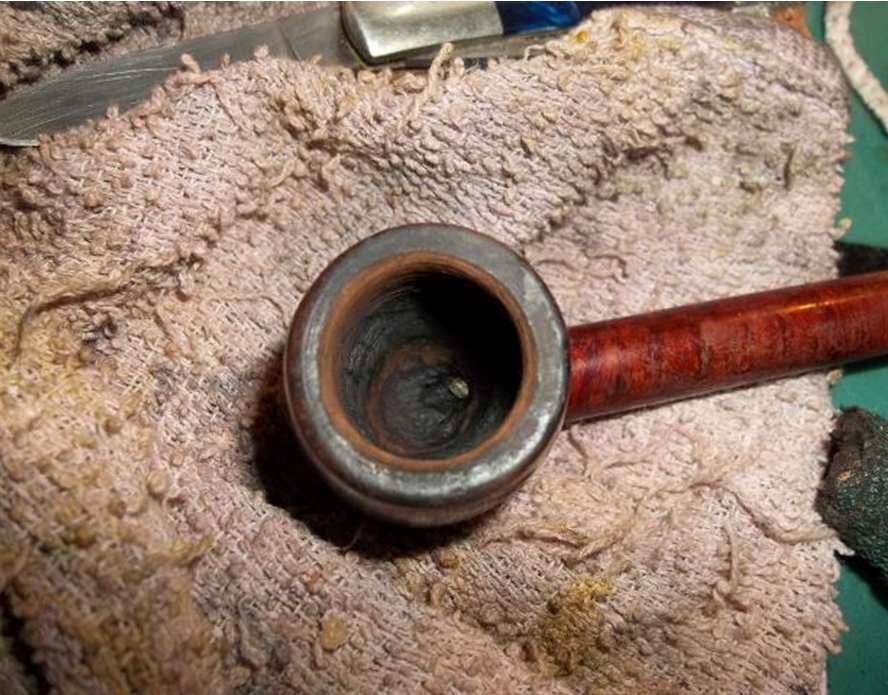
K4 The bowl had some black scorch marks from smoking hot.K5 I was going to get this pipe blasted after repairs to help hide them and cover some dark burn marks on the bowl. After much thought I decided to restore it close as factory as I could. The possible history of this pipe was just too good to alter it. In the short time of my possession of this pipe it had already been half way around the globe. That’s just a fraction of the long life that this pipe has had over it’s at least 80-year-old life. Maybe it was taken over by an allied soldier and left behind as a gift of friendship? Maybe it was carried by an OSS agent behind German lines during the war? Maybe not but its fun to think of the possibilities.
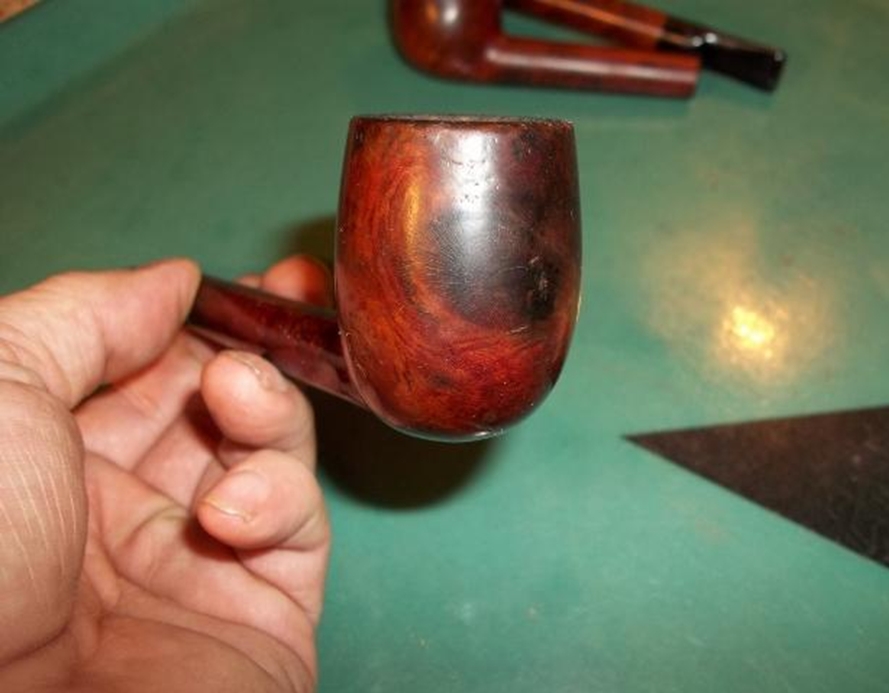
So all the sand pits and small fills were left as is and not covered or filled. After all it’s a Yello Bole if it did not have these imperfections it would have been a Kaywoodie. The old war horse has some scars from repairs and wear. The stamping’s are quite worn but it’s a pipe someone had thought enough of to repair it once before. Hopefully it has many more years left in it.

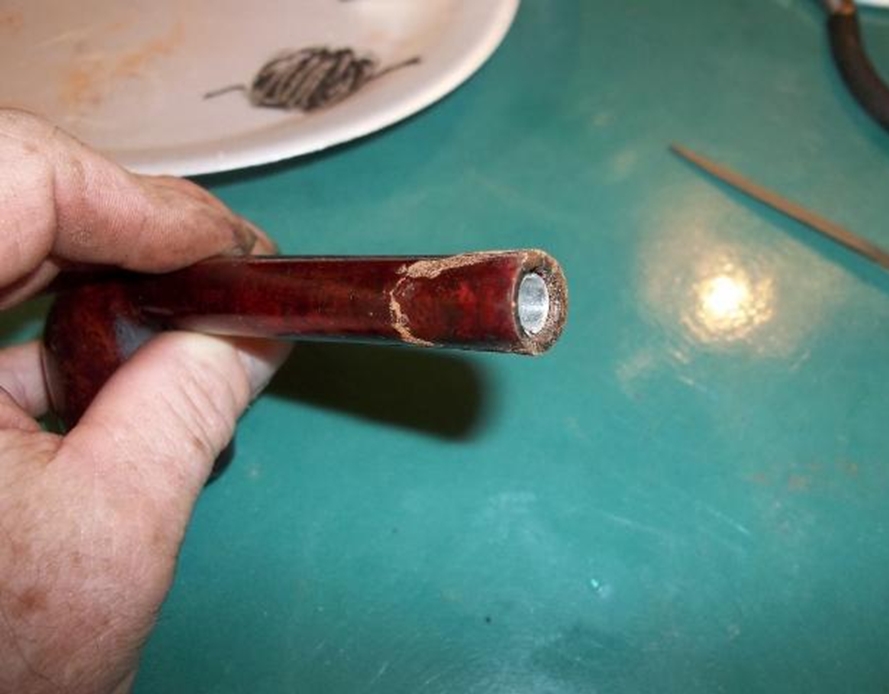
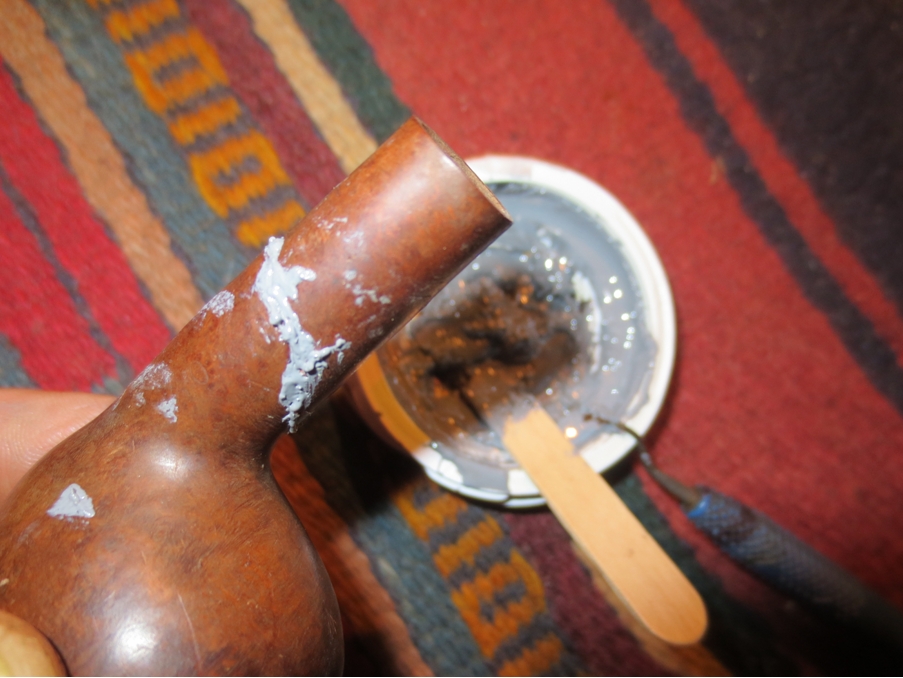
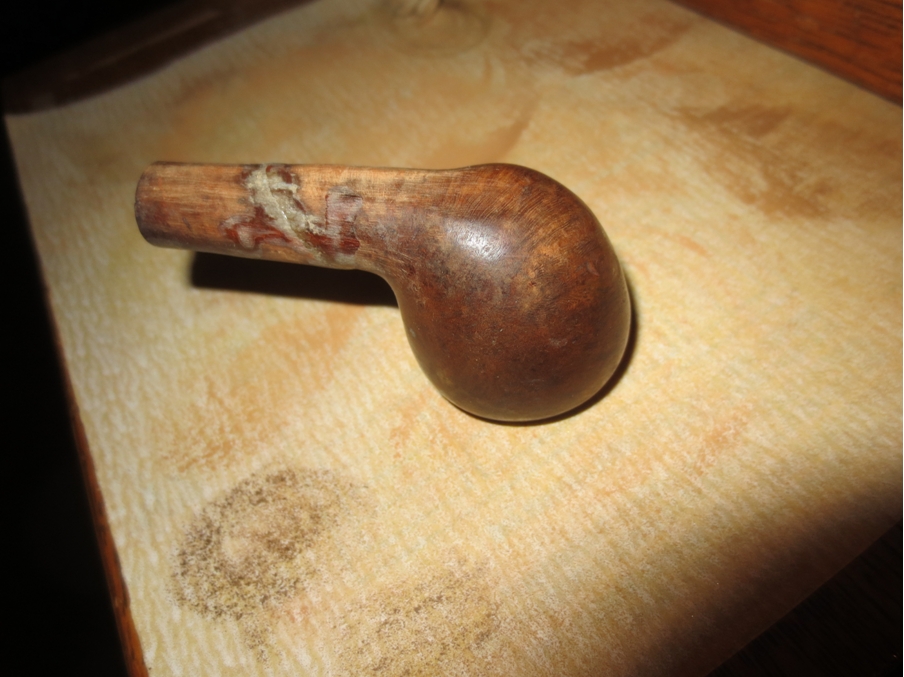
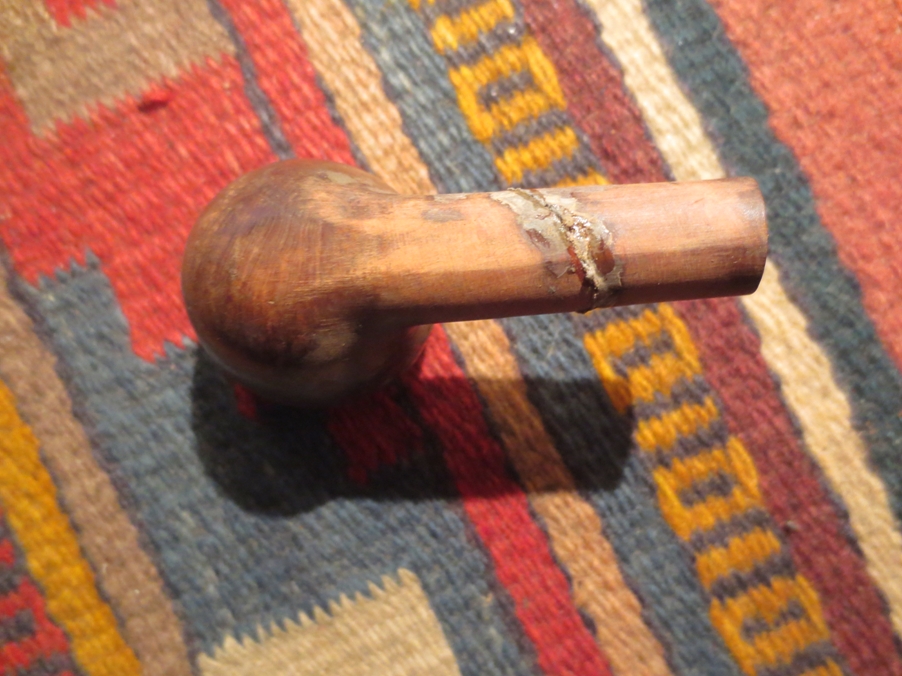
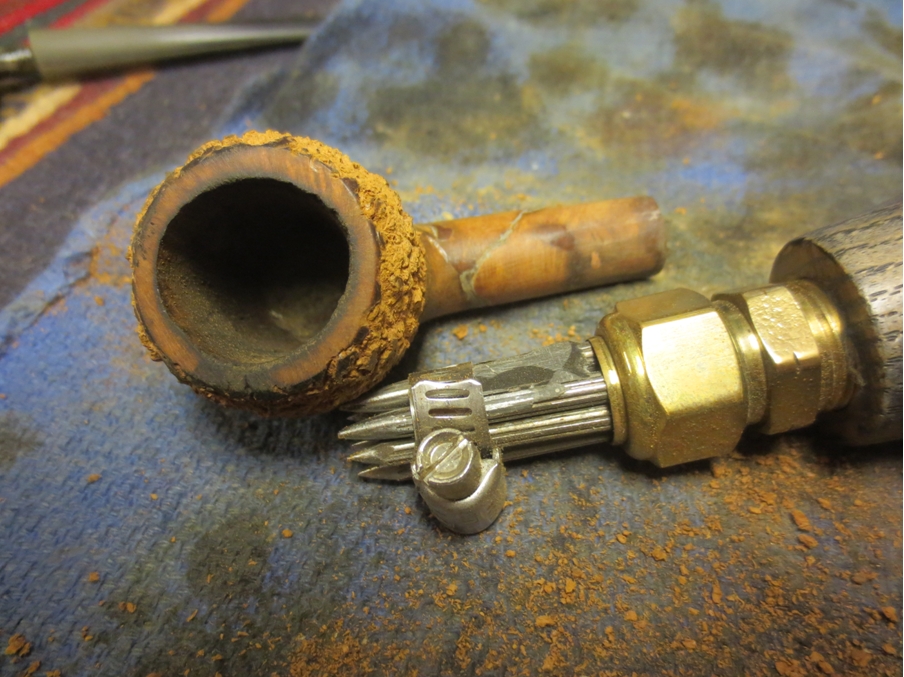
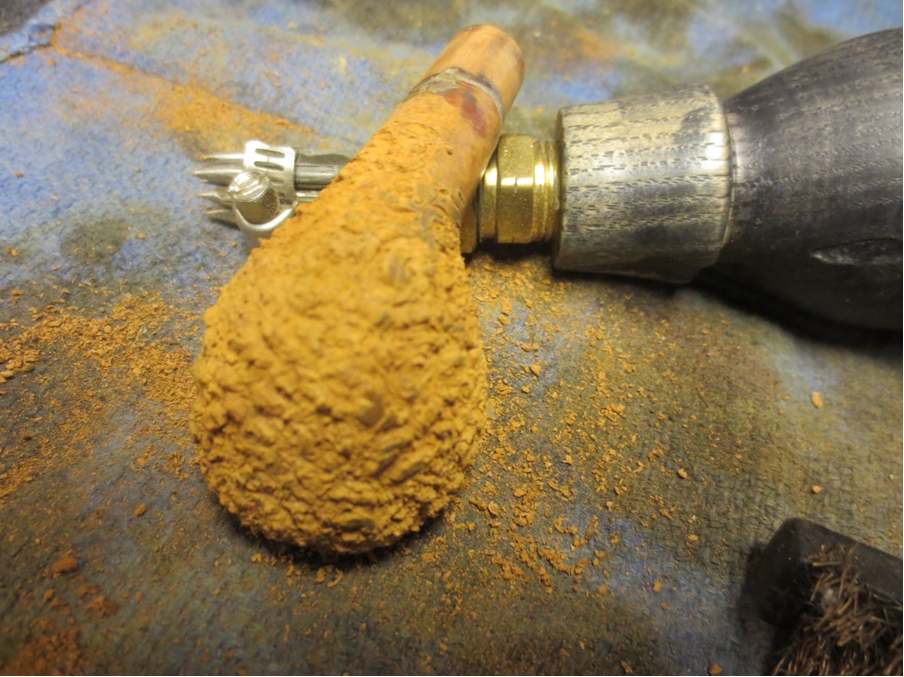
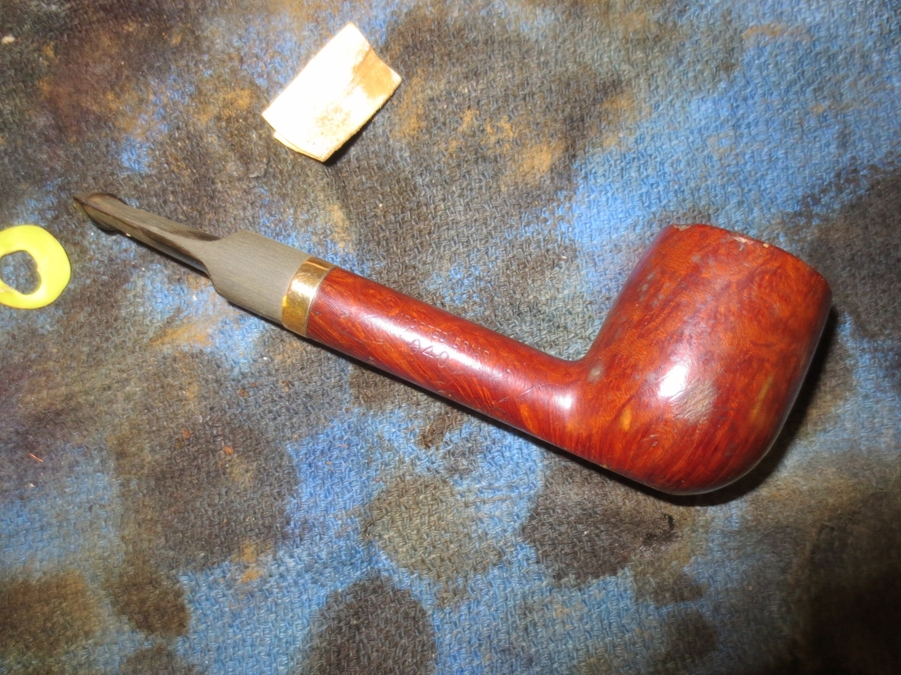
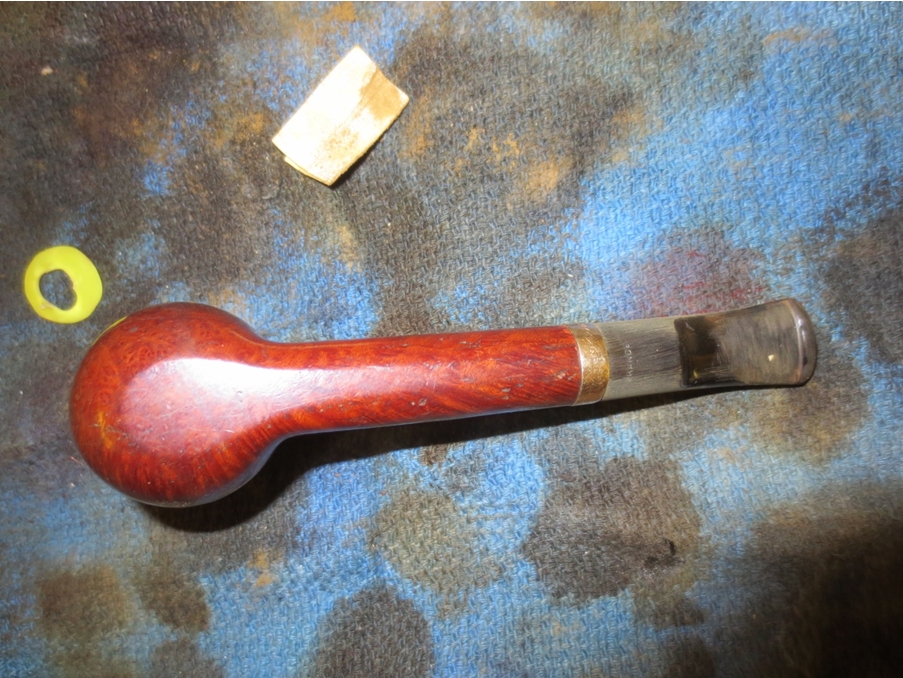
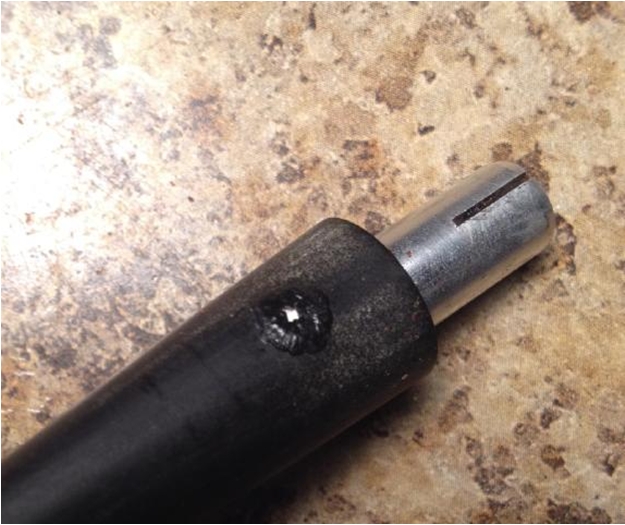
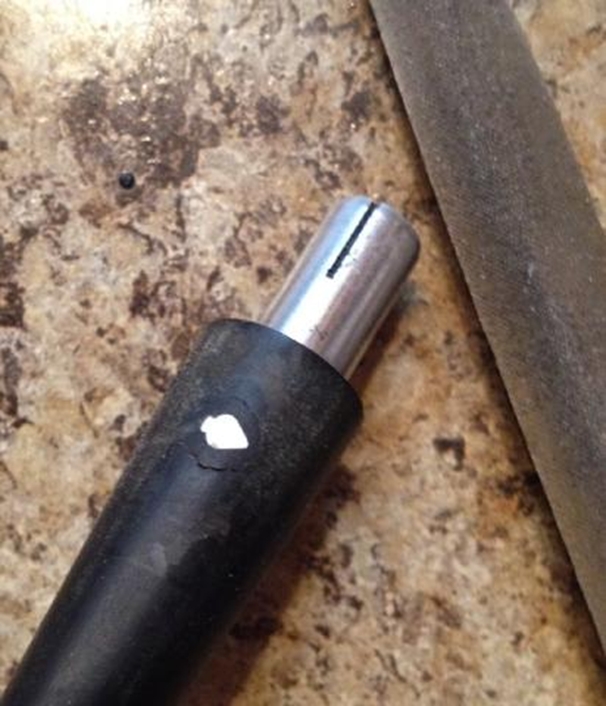
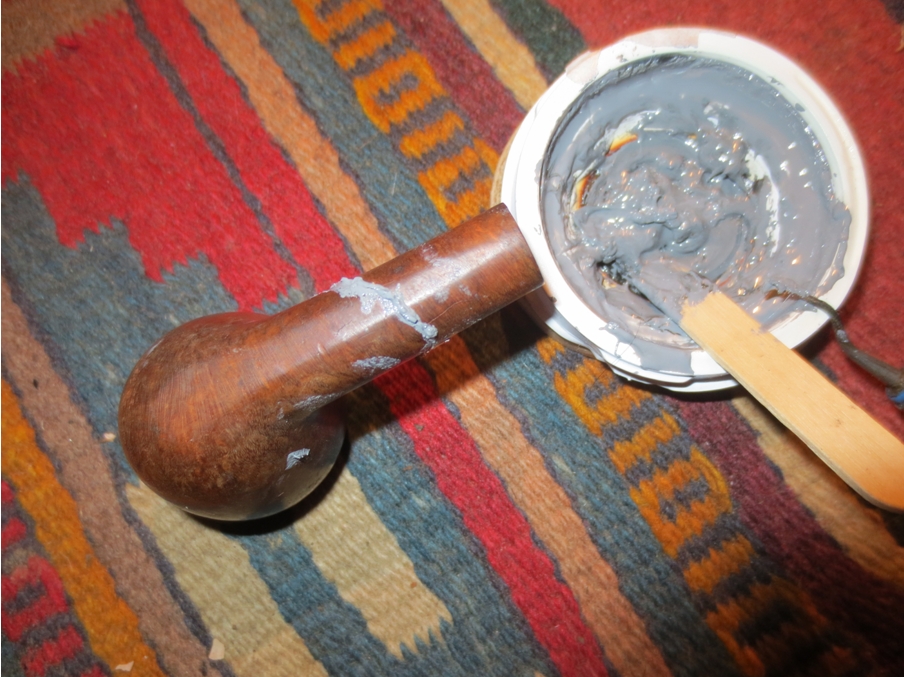
I decided to do an inner band like Steve did on a YB I sent him for repair. I found an old metal tenon from a Grabow filter stem I had.K6 I filed out the inner shank and broken shank piece to clean up and to give the glue something to grab too.K7 After grinding the metal tenon to fit inside the shank. I cleaned up the shank and broken piece with some 91% alcohol and marked the best way it fit with a black sharpie so I know where to place it when glued.K8 I mixed up some two part epoxy and then set the inner band in the shank.K9 After it set up I got ready for the broken piece and cleaned off the Sharpie from the metal band to ensure a good bond. I put two part epoxy on the metal band then super glue on the briar edges and set the broken piece. Then I applied briar dust before the glue set. I had to work fast so no pics during this process, only before and after.K10
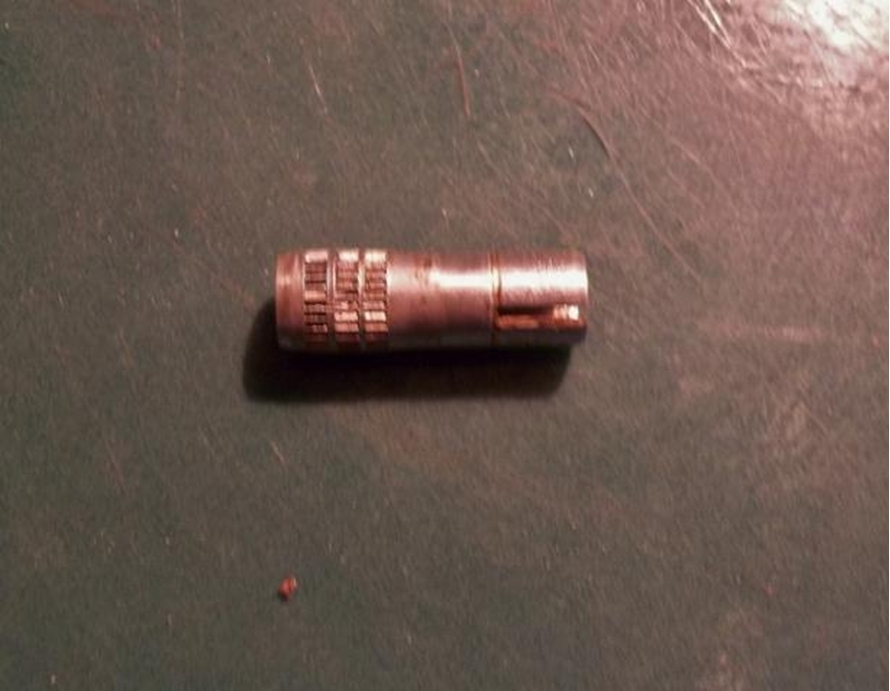
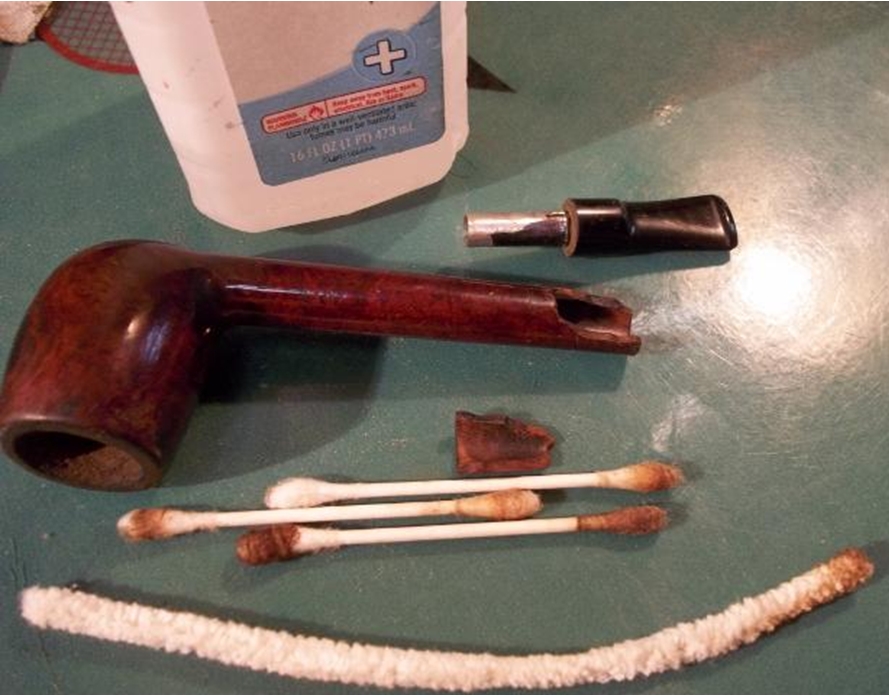
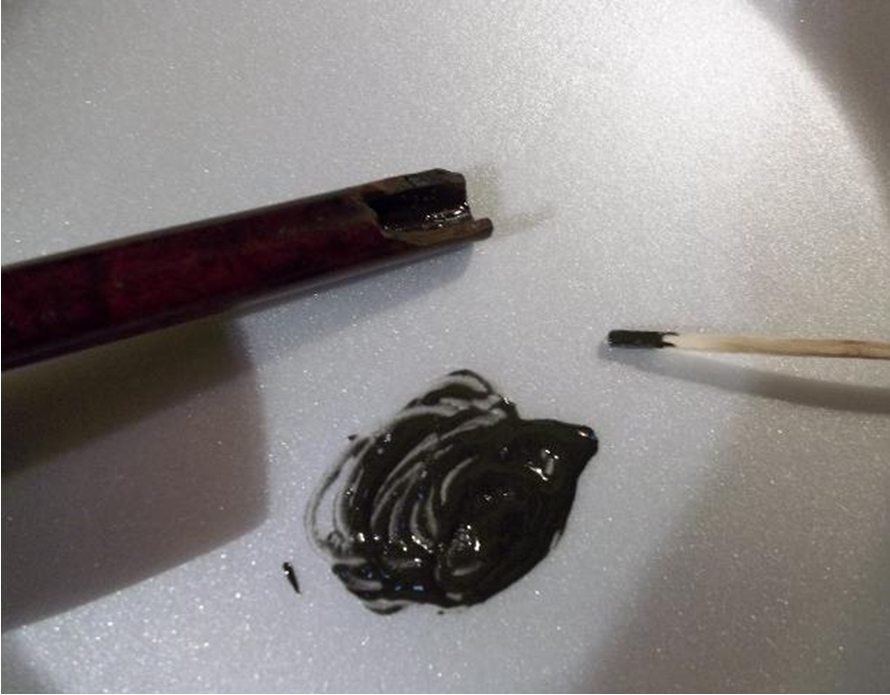
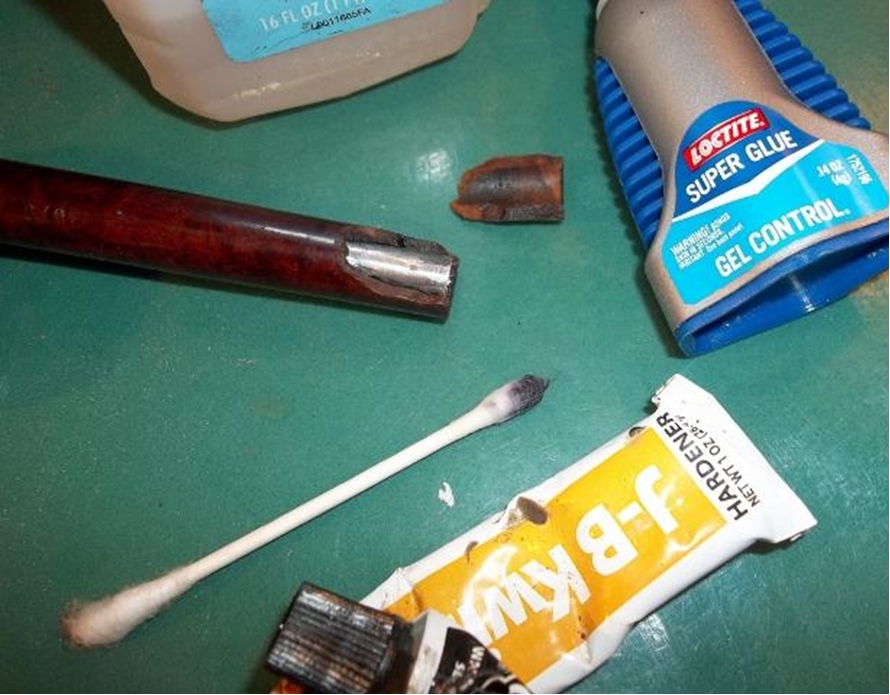
K11

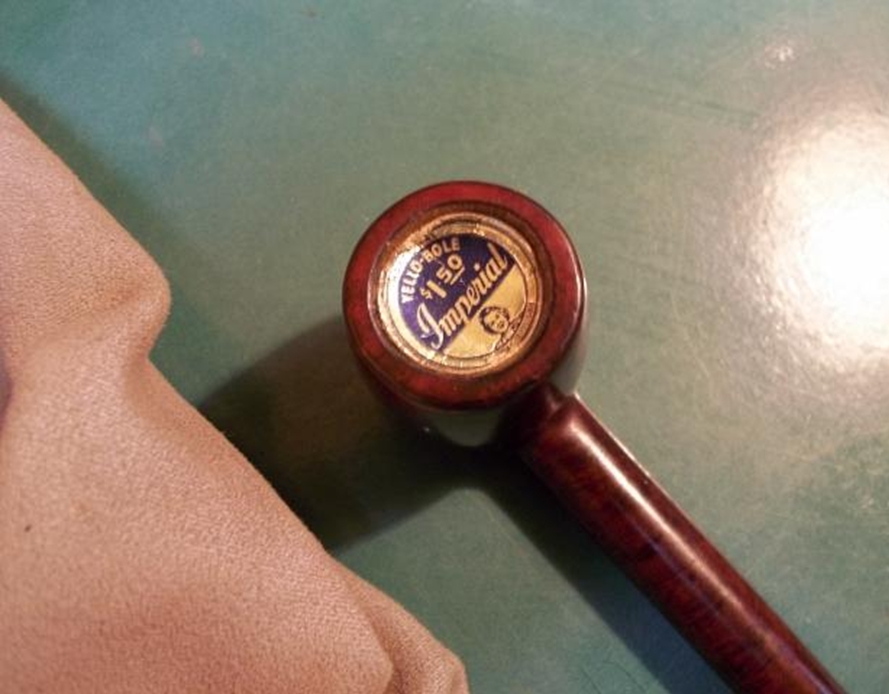
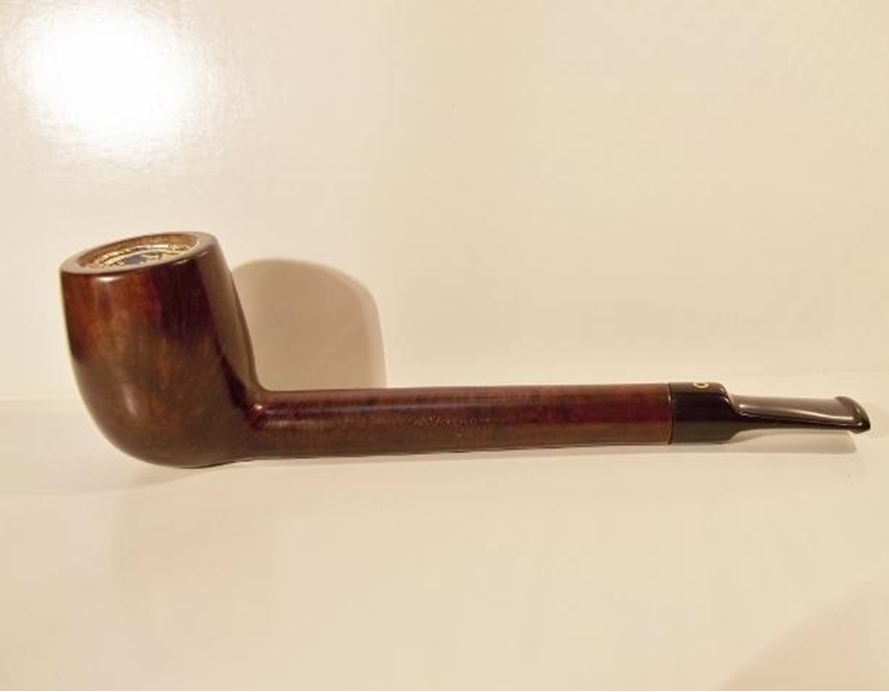
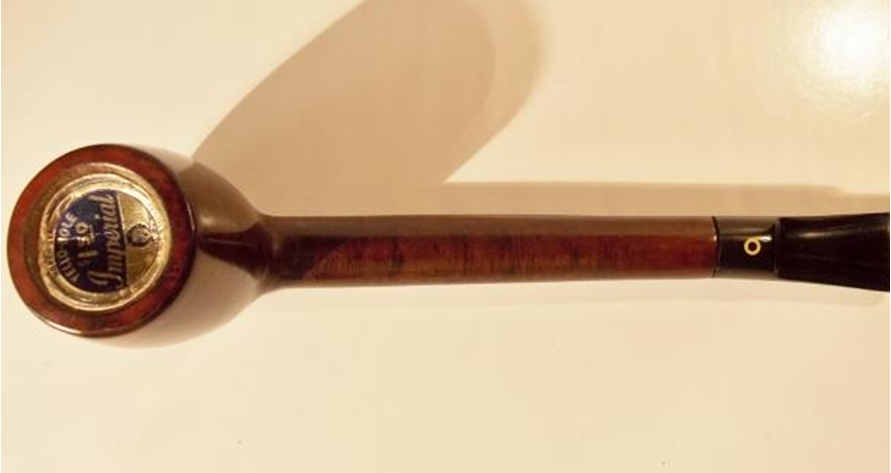
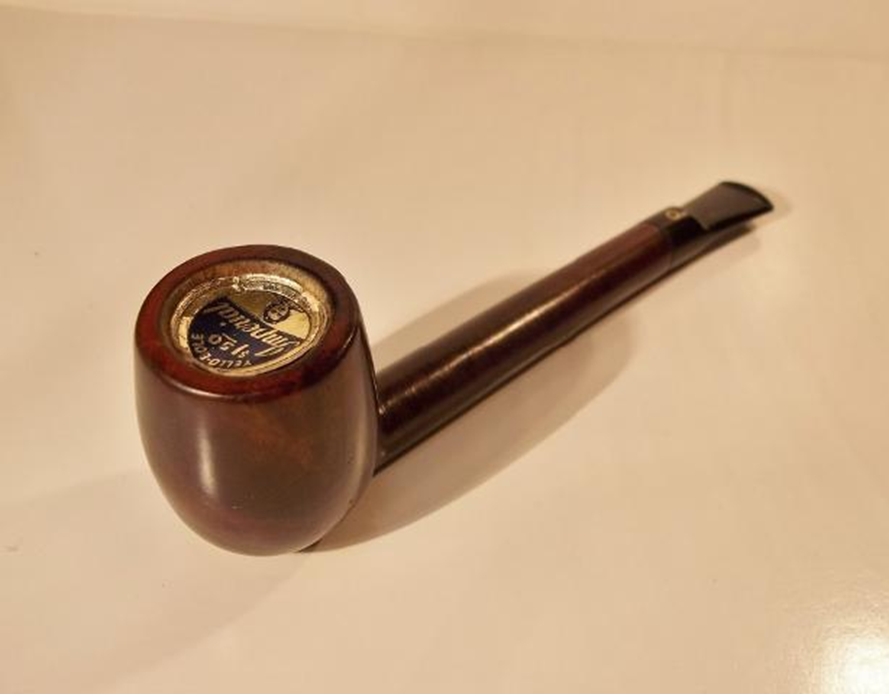
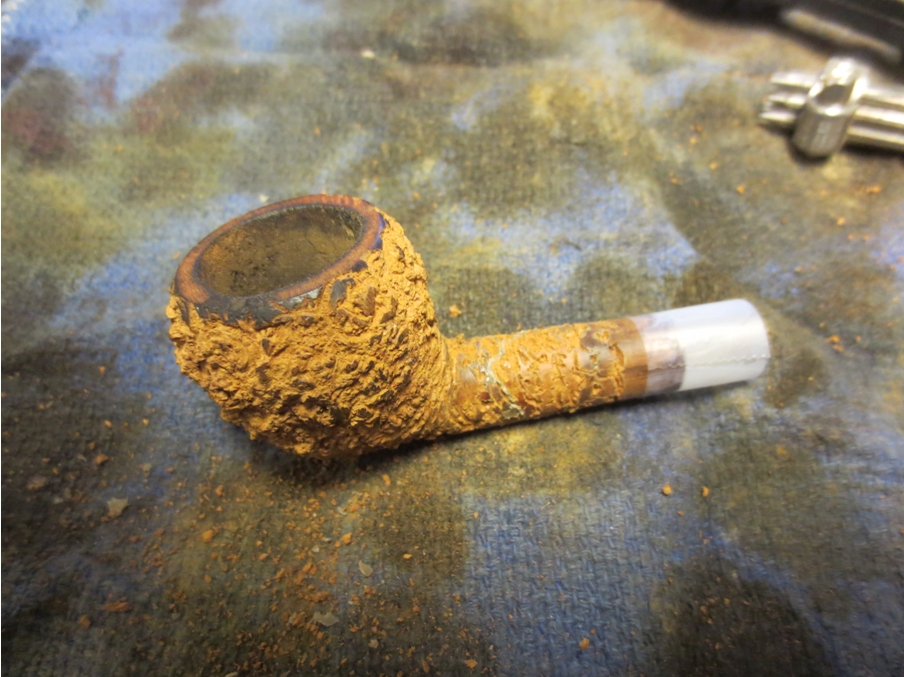
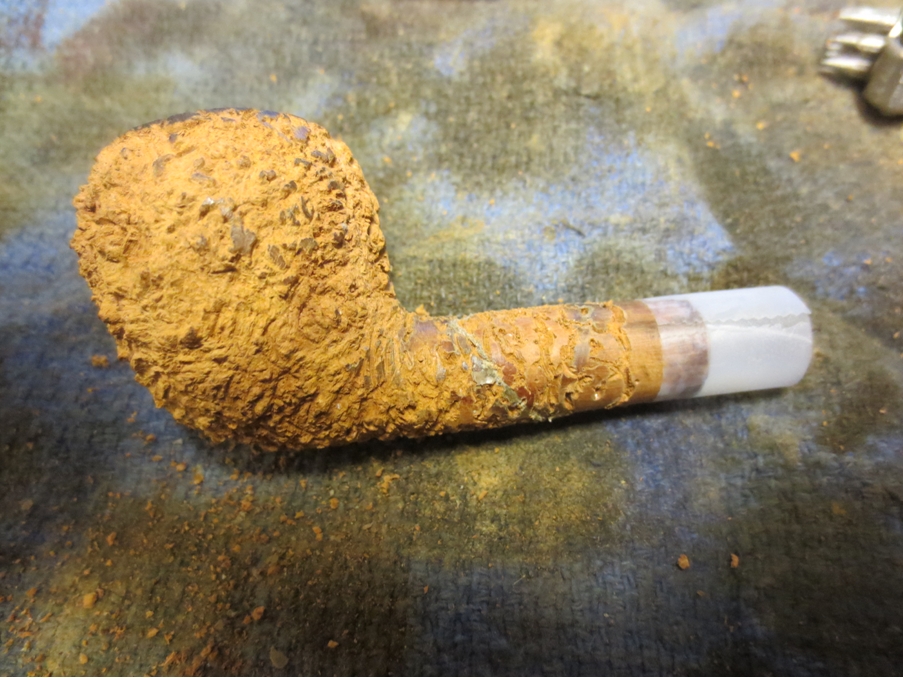
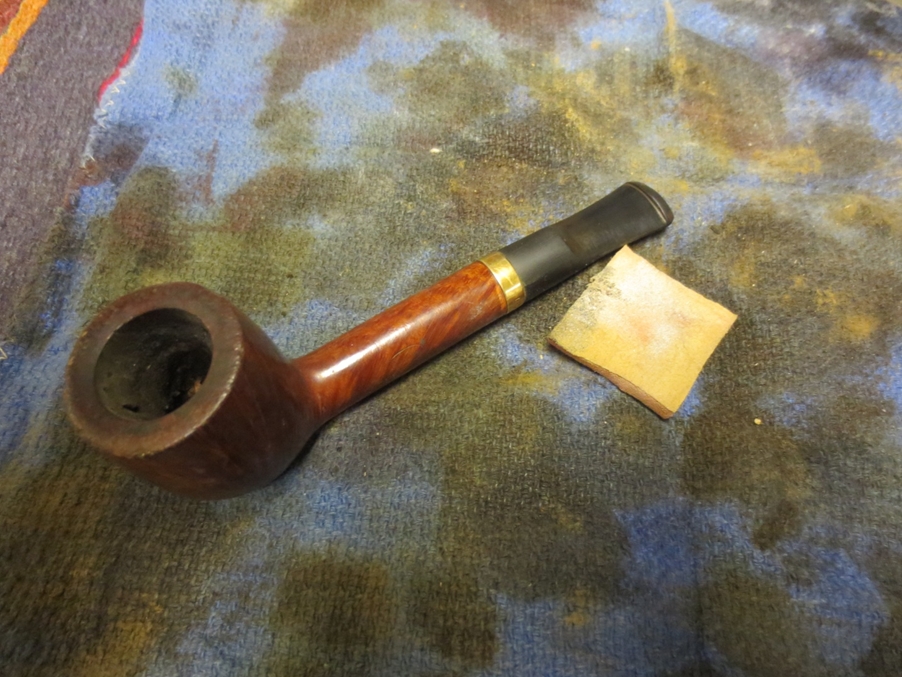
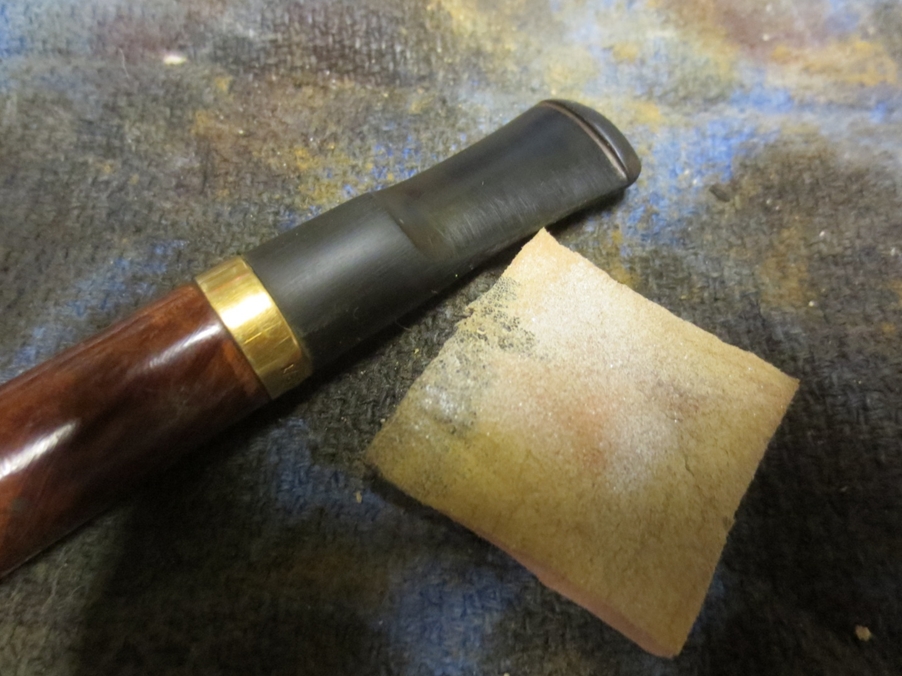
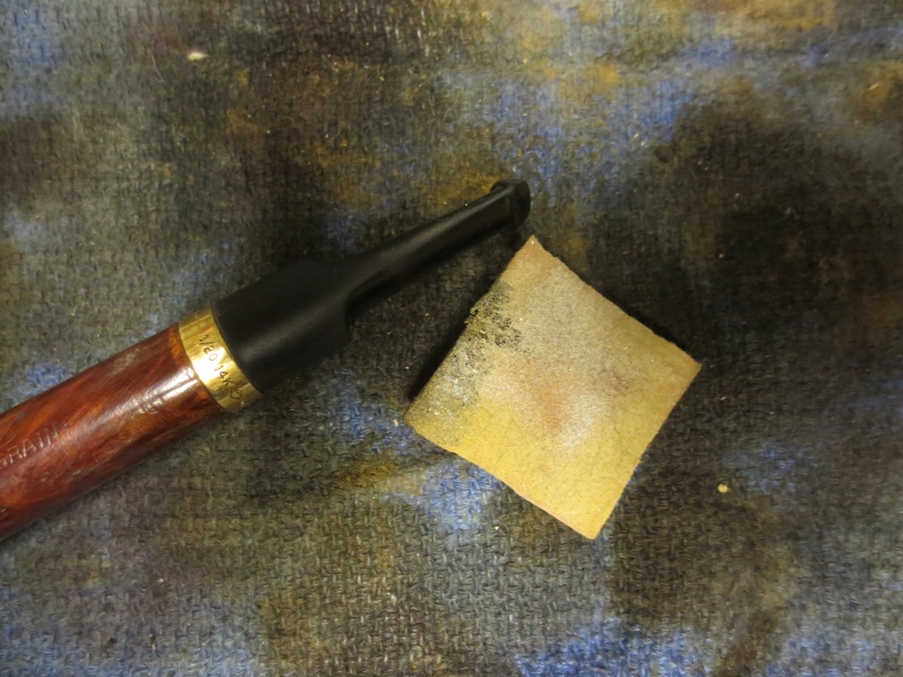
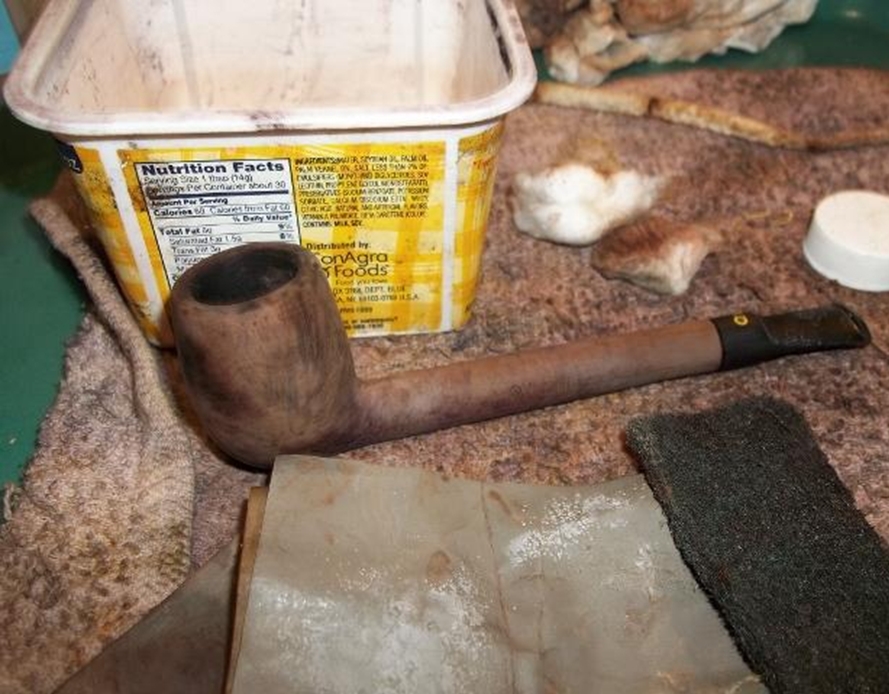
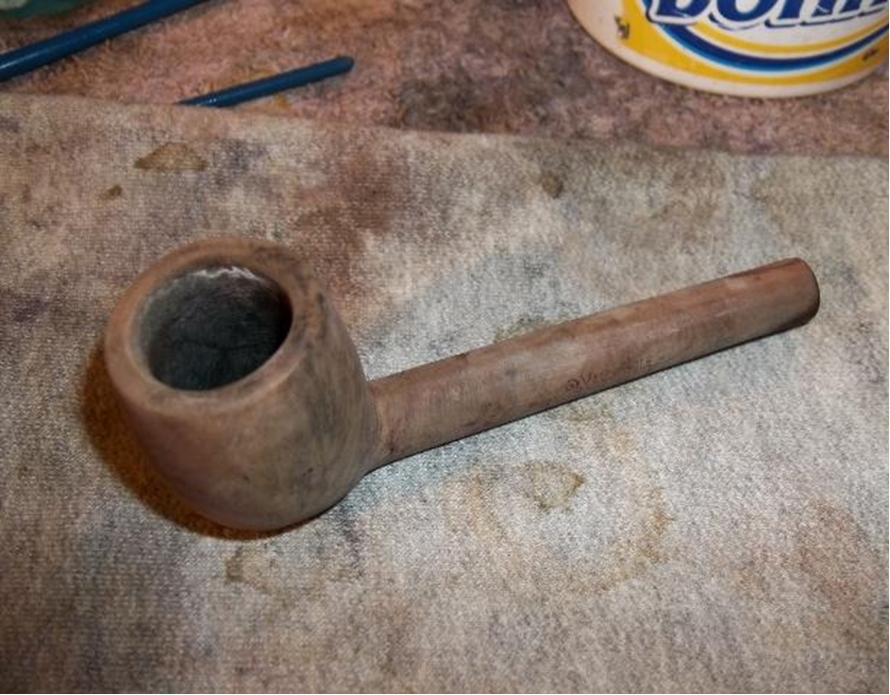
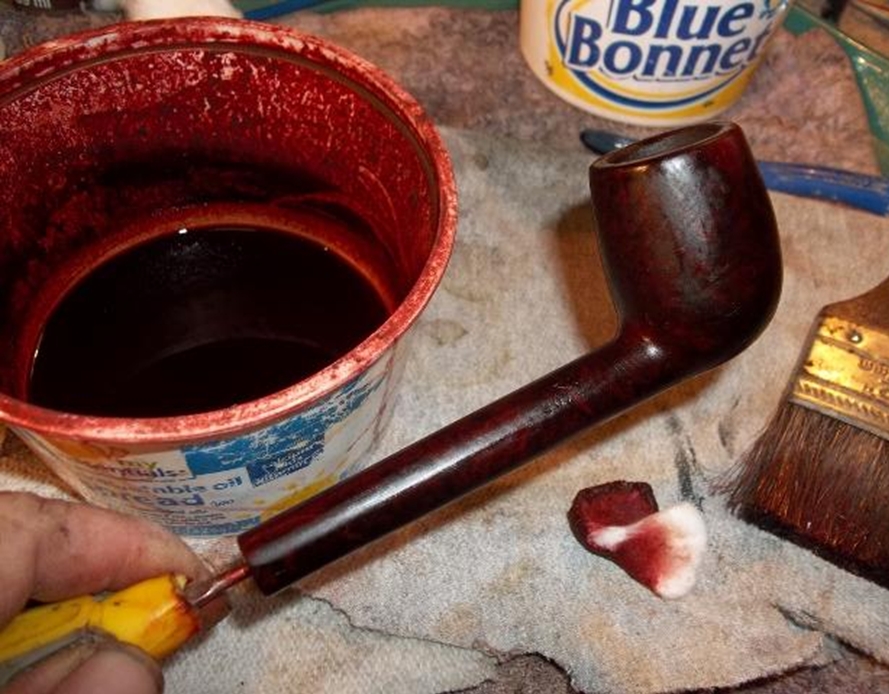
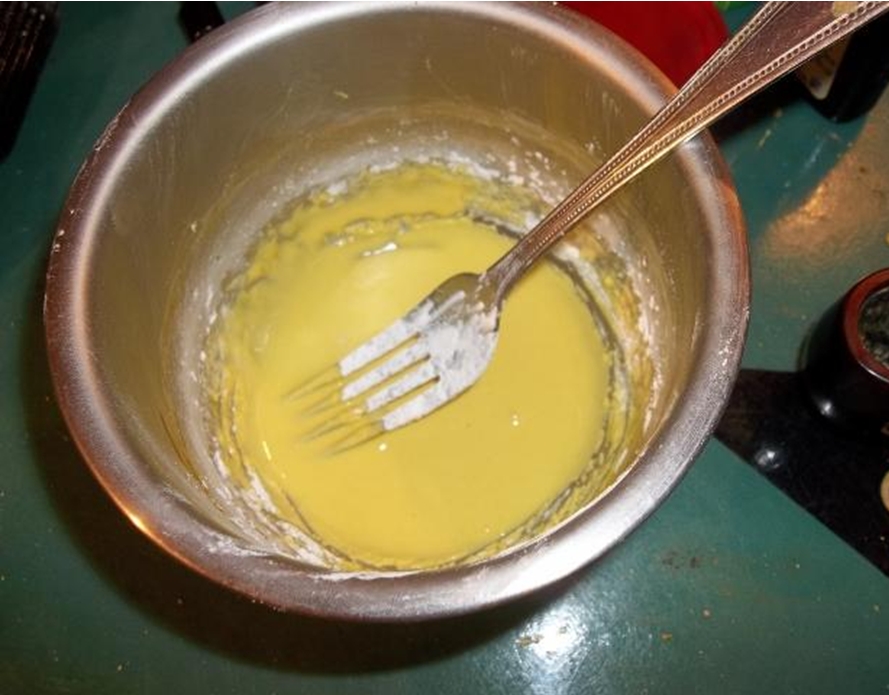
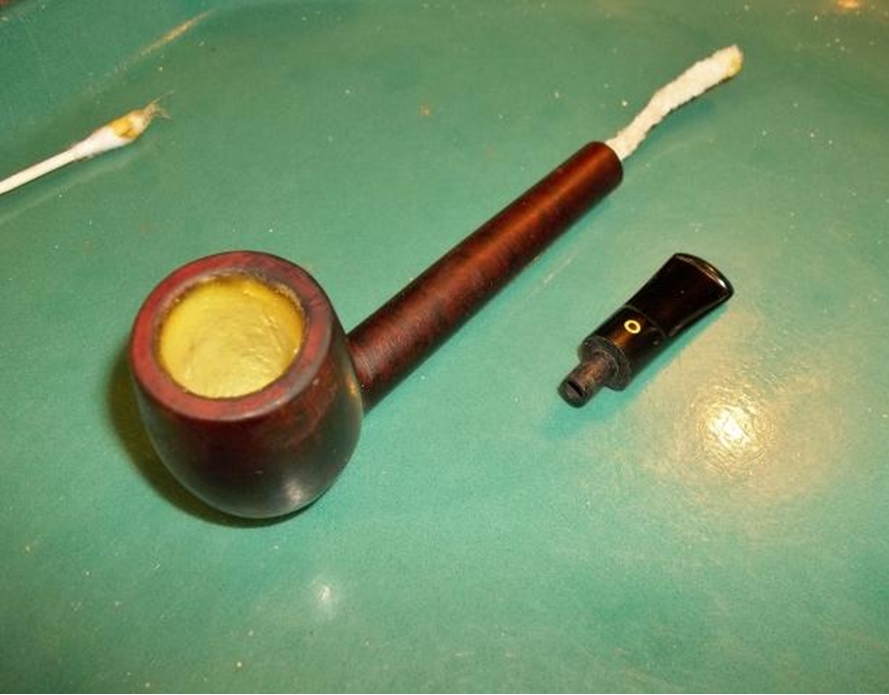
K12 I then sanded the repairs; the old repair had a bad high spot and took some filing.K13 I had to build up the bottom from making the old repair flush again. It was a bit lower than the stem.K14 I then filed the stem to match the shank.K15 After cleaning out the shank and bowl I noticed that all the old YB coating was gone from wear or scraped out over time. I decided to remove all the cake and address this later.K16 I then stripped off the old finish with warm water and Oxy Clean bath. I did some light scrubbing with a toothbrush and a Scotch Brite pad used on the stubborn spots. I then wet sanded repairs and bowl with various grits of wet dry paper from 600 – 2500.K17 After this I wiped the pipe several times with household bleach to lighten the dark spots and repairs so it would be harder to spot with the dye.K18 After bleach bath the pipe is ready for dye.K19 I then mixed up some dye close to original stain but slightly darker to help cover the repairs and black marks. I applied three coats.K20 Pipe dry and ready for some base wax.K21 After applying three coats of wax to lock in the dye I mixed up some homemade Yello Bole bowl coating.K22 I applied the bowl coating and found a Yello Bole paper cover from a NOS pipe I have. The cover is from an Imperial but I thought it would look nice for the pictures.K23
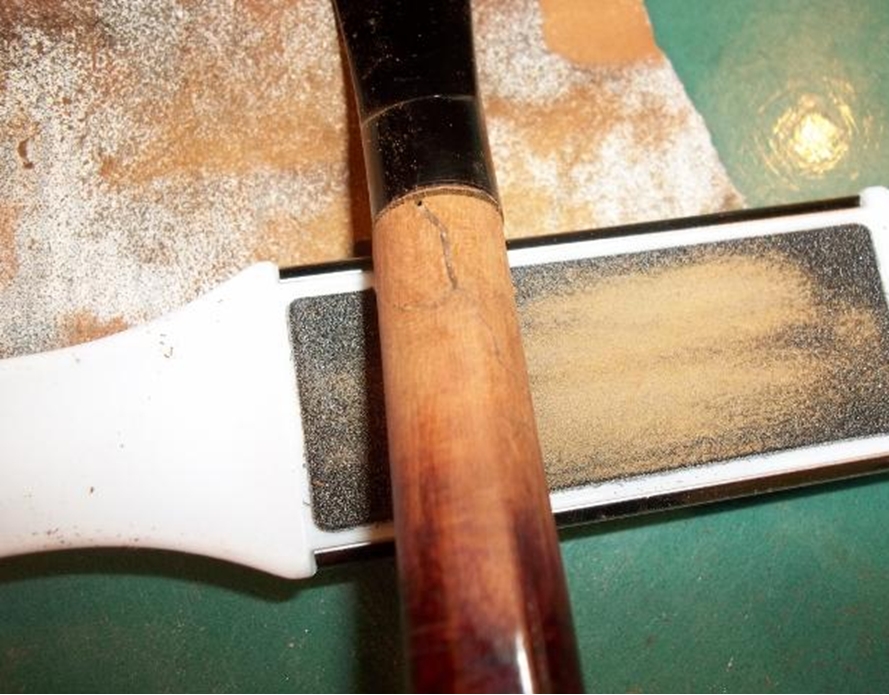
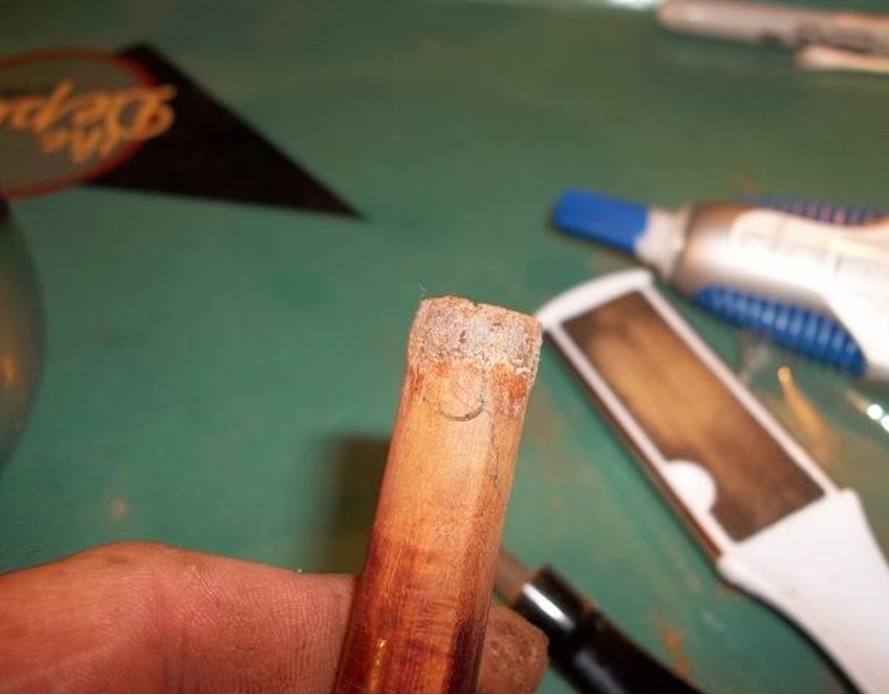
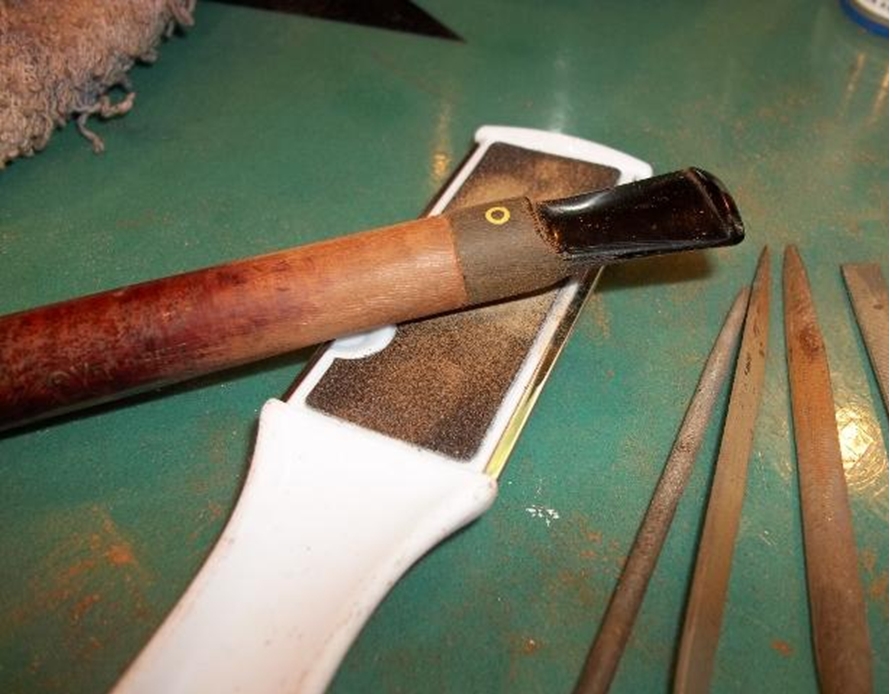
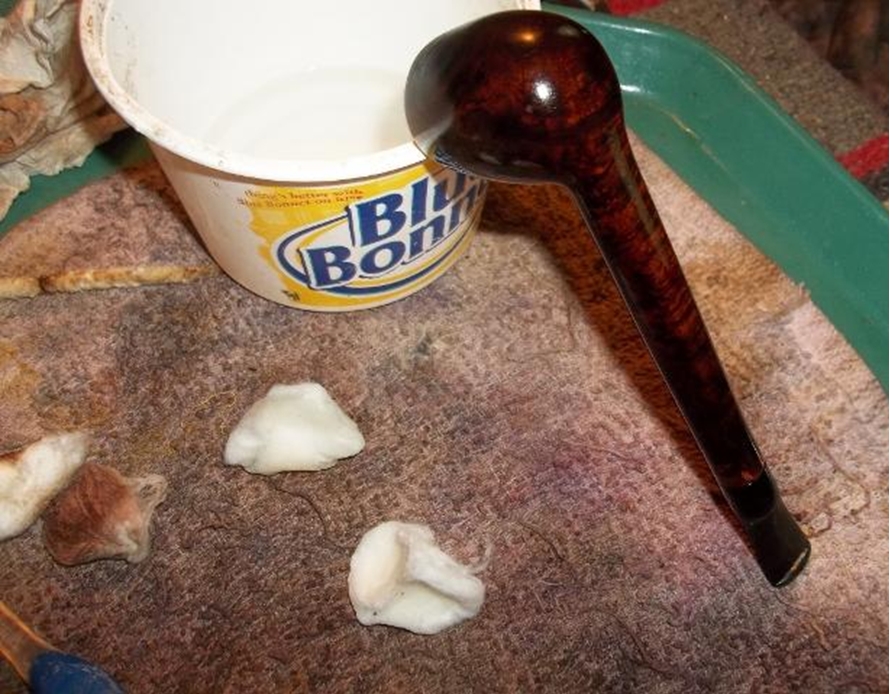
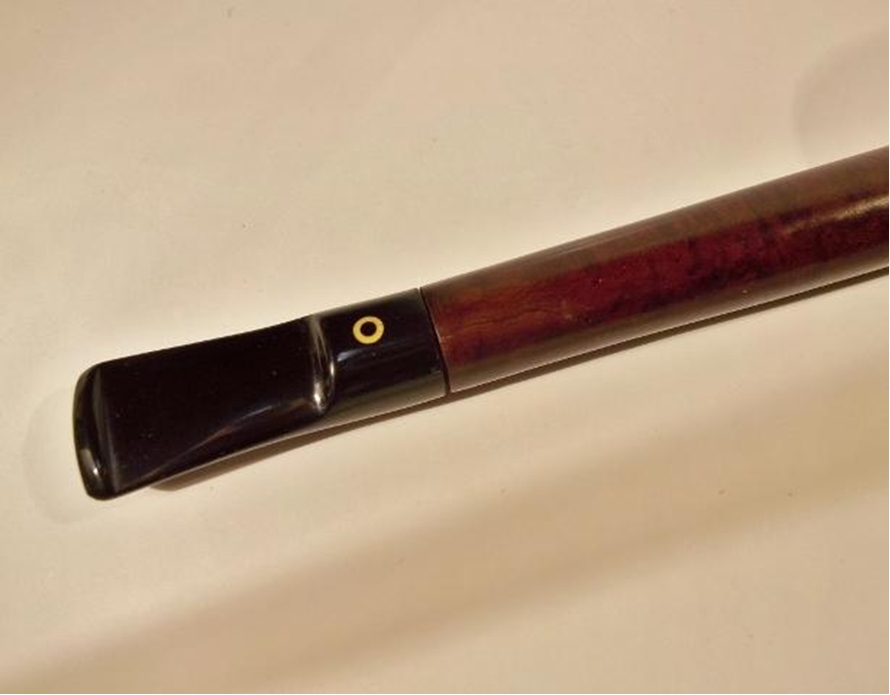
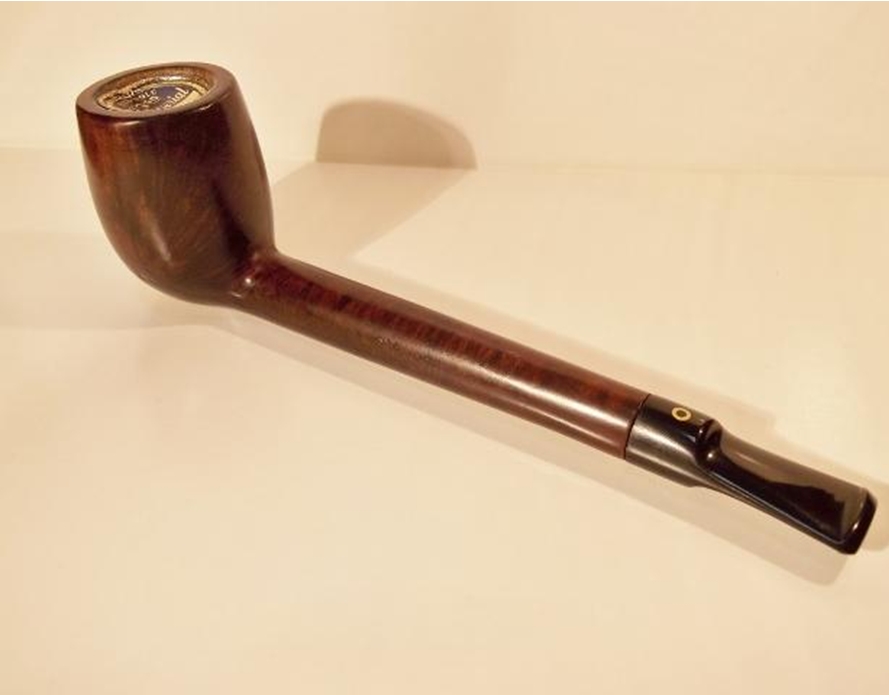
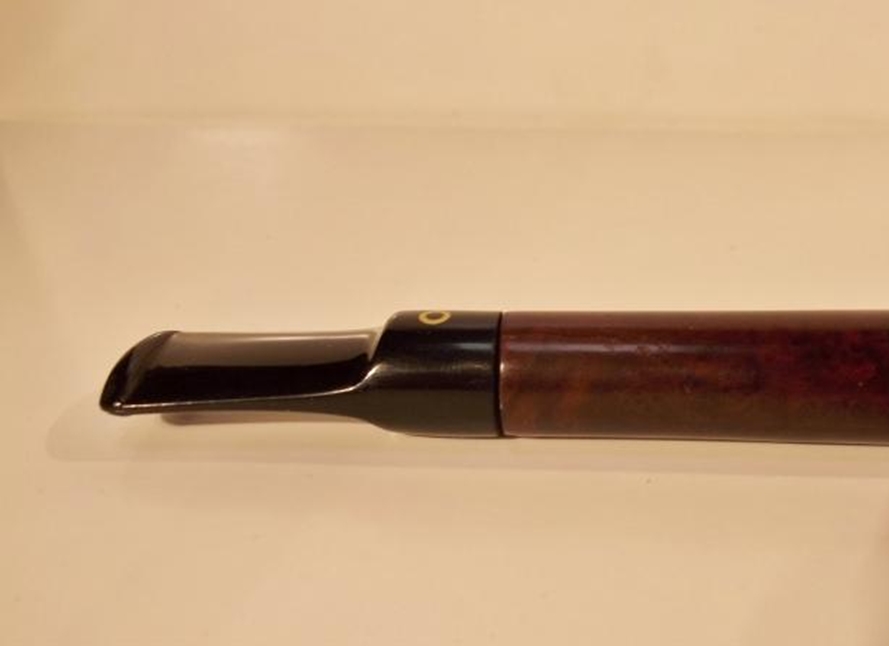
K24 After several more coats of wax the pipe is done. First off the repairs are not perfect and I wish I could have gotten a tighter fit with the stem. This was my first inner banding so I didn’t get the band quite as square as I should have making the stem fitting a bit difficult .The more I tried to get a tight fit the more gap I would get on one side, so I settled for a uniform gap. I’ll know better next time and should get a better fit. Here are some pics of the finished repairs.

As Steve pointed out to me on the Dr. Grabow Collectors Forum, if you flare the tube it will make it fit more squarely. I think showing your mistakes is as important as showing your successes for the next person trying to do a similar repair. So if you are doing an inner band repair soon I suggest you flare the end before you set it with epoxy.K25
K26

K27

K28 I did manage to save what little of the stamping’s were left.K29
K30 Pictures of whole completed pipe K31

K32

K33

K34

K35

K36

K37

K38

K39

K40

K41 Even though this was a tough and time consuming refurbish it was quite fun and wish to thank John for sending me this old soldier to be used and enjoyed again.

Repairing a Broken Shank Acorn Shaped Pipe and giving it a New Look


Blog by Steve Laug

I have had this broken Acorn shaped bowl in my box of parts for a long time now. I remember breaking it. There were several fills around the shank at that point. The stem was absolutely stuck in the shank and no matter what I did I could not get it out. Heat, cold, alcohol bath or any other means would not work. Finally after I had dunked it in boiling water hoping to loosen things I twisted on the stem and the shank snapped. Then I could see the problem. The stem had an aluminum tenon that had basically begun to disintegrated and had bonded to the shank. It had a long aluminum stinger that extended virtually to the air hole. It was a mess. I clean up the shank and the bowl to remove all of the corroded aluminum and scraped it clean. I was undecided whether to fix it or just part it out so I put it in the box and left it there.

Yesterday I decided to take it out and have a look at it. I put the two parts back together and saw that the fit was actually quite clean. There were just two small places where the briar actually had chipped. I had a polished aluminum tenon that I had extracted from a broken stem and saved for just such a repair. I sanded it and used a file to score the surface of the metal tube so that the glue would have something to grab hold on in the shank. I mixed a batch of two part epoxy and a painted it on the tube with the mixing stick. I liberally coated the tube with epoxy and let it sit until it got a little tacky and then inserted it in the shank end of the break. I inserted the stem in the mortise end so that I did not set the tube too deeply in the shank. Once I had it positioned I let it cure for 30 minutes until the epoxy set and the tube was solidly in place in the shank.Broke1 I put epoxy on both sides of the exposed briar and then on the other end of the extended tube. I carefully pressed the two parts together and worked to make sure that I had them aligned correctly. The excess epoxy squeezed out and bulged around the enter repair. I used a dental pick and scraped away the excess leaving a smooth top coat of epoxy in the cracked area.Broke2

Broke3

Broke4 The top surface of the rim was quite damaged and the bowl was out of round. I topped the bowl on a topping board to remove the damage and burn marks that were present on the surface. I sanded it with a sanding block to remove the scratches and smooth out the finish.Broke5

Broke6 I sanded the epoxy on the shank back until it was smooth with 220 grit sandpaper. In the photo below you can still see the slight bulge of epoxy that needed to be removed but since I was planning on rusticating the bowl and shank I did not spend a lot of time sanding that out.Broke7

Broke8

Broke9 I sanded it a little bit smoother and then used the rustication tool that Chris Chopin made for me to do a deep rustication on the bowl and shank. As I rusticated it I then used the brass bristle wire brush to knock off the loose briar chips. (I collected the briar chips as I plan on using them as Joe suggested in fill repairs to see if I can get them to stay light). I left the rim smooth and would later top it lightly to smooth it out.Broke10

Broke11

Broke12

Broke13

Broke14

Broke15

Broke16 When I finished the bowl I wrapped a piece of cello-tape around the end of the shank to make a smooth area that I would later install a band on. The shank end was not straight so I would need to clean it up a bit and then band it to get a clean fit of the stem in the shank.Broke17

Broke18

Broke19

Broke20

Broke21 Once I finished rusticating the shank I removed the tape to show the smooth shank end.Broke22

Broke23

Broke24

Broke25 I slid the band on the shank slightly and then heated it with a lighter until the metal expanded enough to press the band into place. I left about 1/8 of an inch extended to allow for the stem to fit properly in the shank and sit inside the band. I sanded the stem with 220 grit sandpaper until the diameter was a close fit in the band. I slid it in place and took the pictures below to show the look of the pipe at this point. I knew that there was a lot more sanding to do to get a snug fit in the band but I wanted to see a picture to look at the fit a bit removed from the pipe I held in my hands. I purposely chose a longer stem to give it a subtle elegance and length bordering on a mini-churchwarden pipe.Broke26

Broke27

Broke28

Broke29 I lightly topped the bowl some more to take care of the burn marks on the right side of the rim top. Then I took a set of close-up photos of the bowl with the band to look at the rustication and figure out where I needed to do some touch up work on it. The shank was where I was the most concerned. I wanted it to match as much as possible with the bowl rustication. I could see that overall it looked good but that the left side of the shank would need some adjusting before it was finished.Broke30

Broke31

Broke32

Broke33 I touched up the rustication on the left side of the shank and then wire brushed the entire bowl and shank with the brass bristle brush to knock of loose particles.Broke34

Broke35

Broke36

Broke37 I brushed of the dust with a shoe brush and then took out some black aniline stain to give the rustication and undercoat of black. I applied the stain with the dauber and then flamed it with the lighter to set the stain in the bottom of the rustication.Broke38

Broke39

Broke40

Broke41 I sanded the stem with a medium and a fine grit sanding pad and put it back in the shank to get a feel for the appearance of the pipe after staining.Broke42

Broke43

Broke44

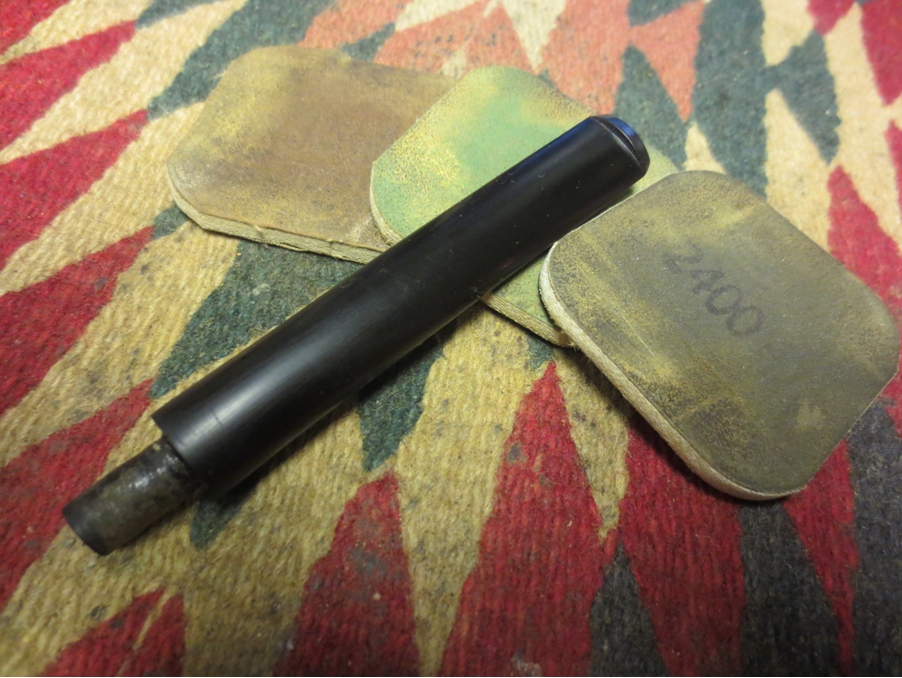
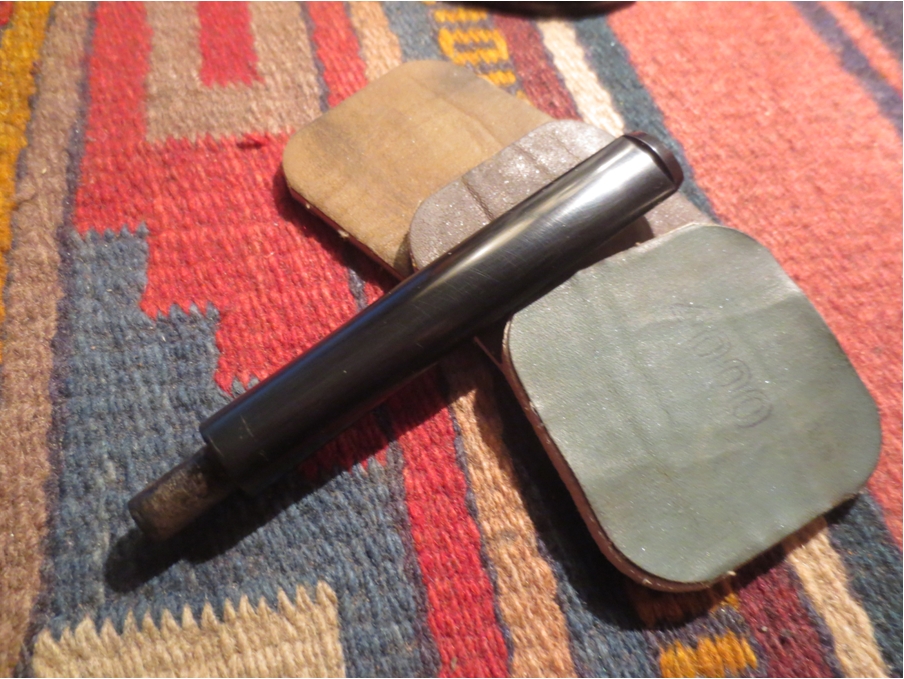
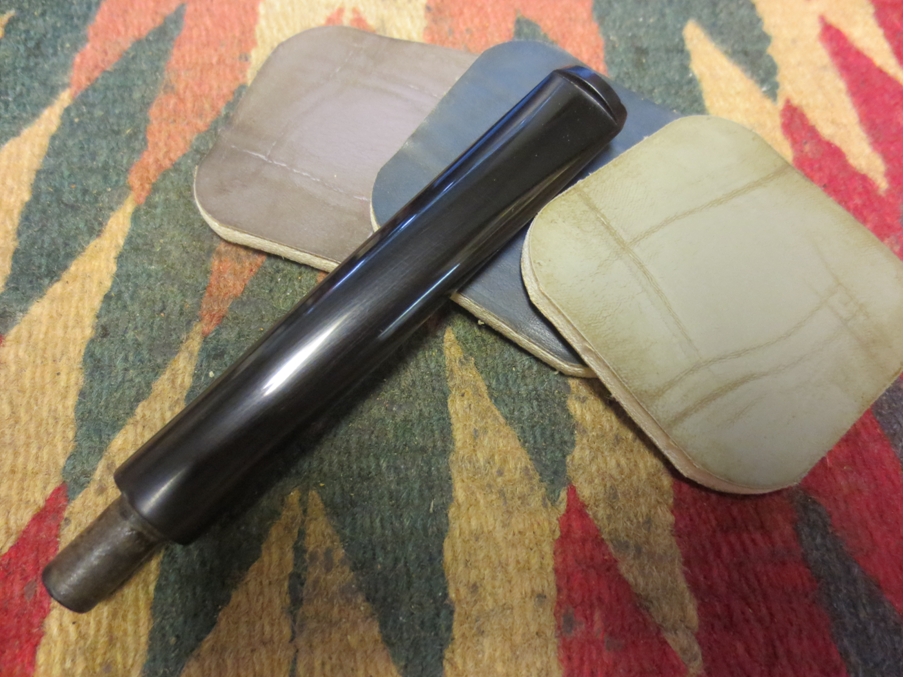
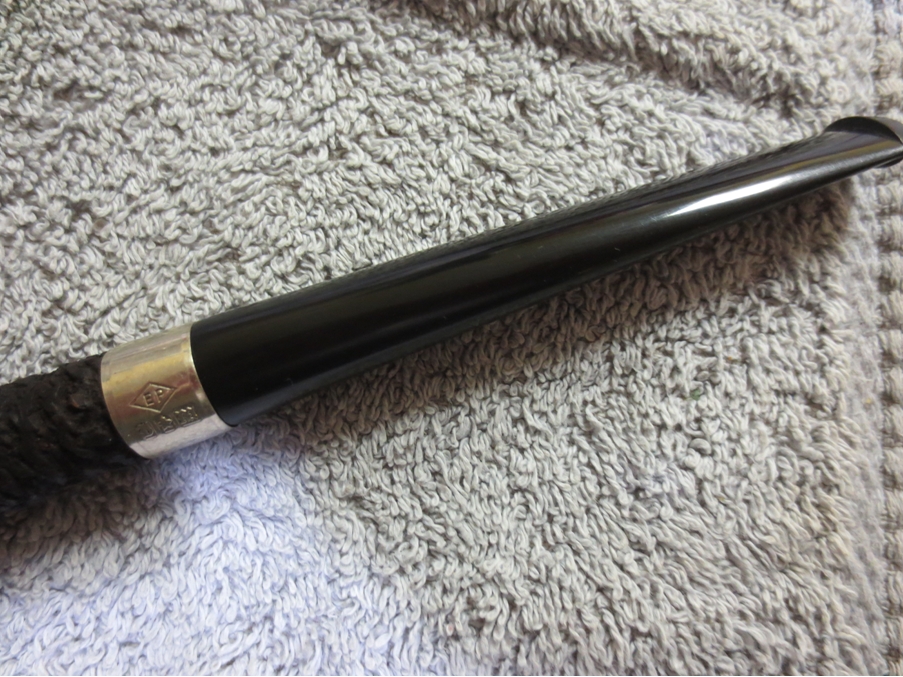
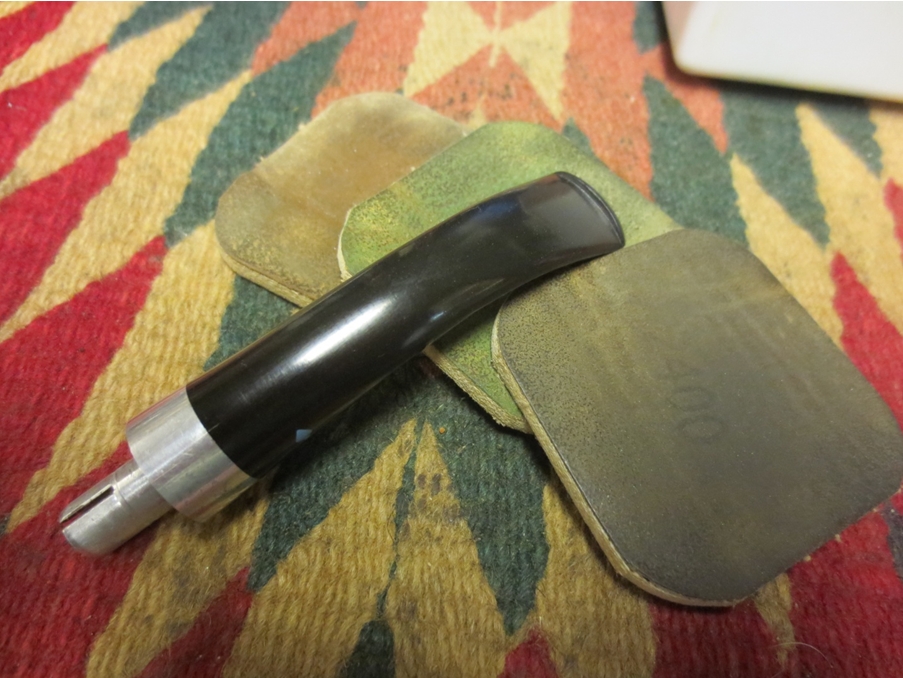
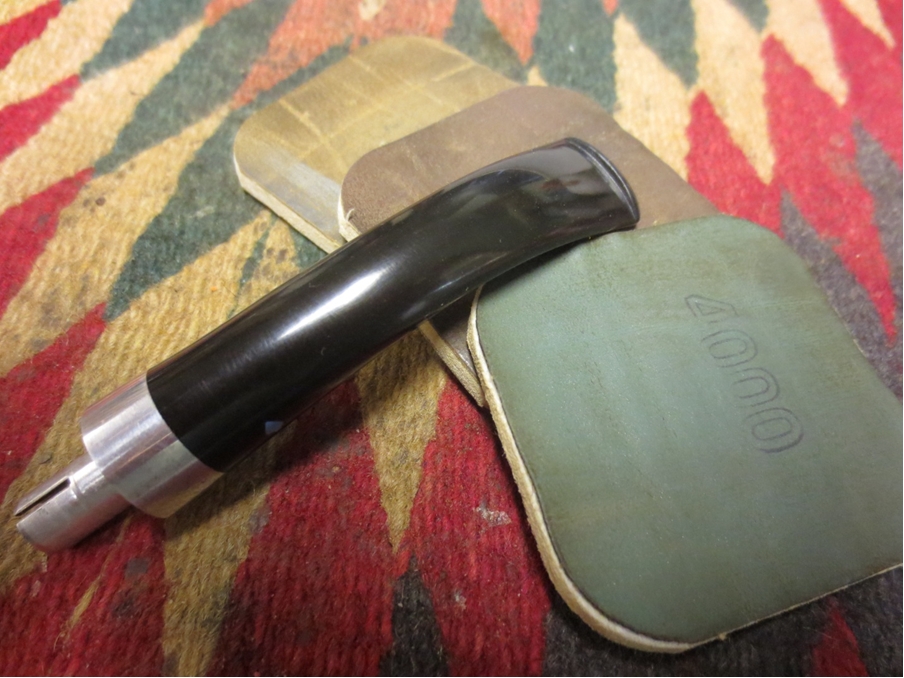
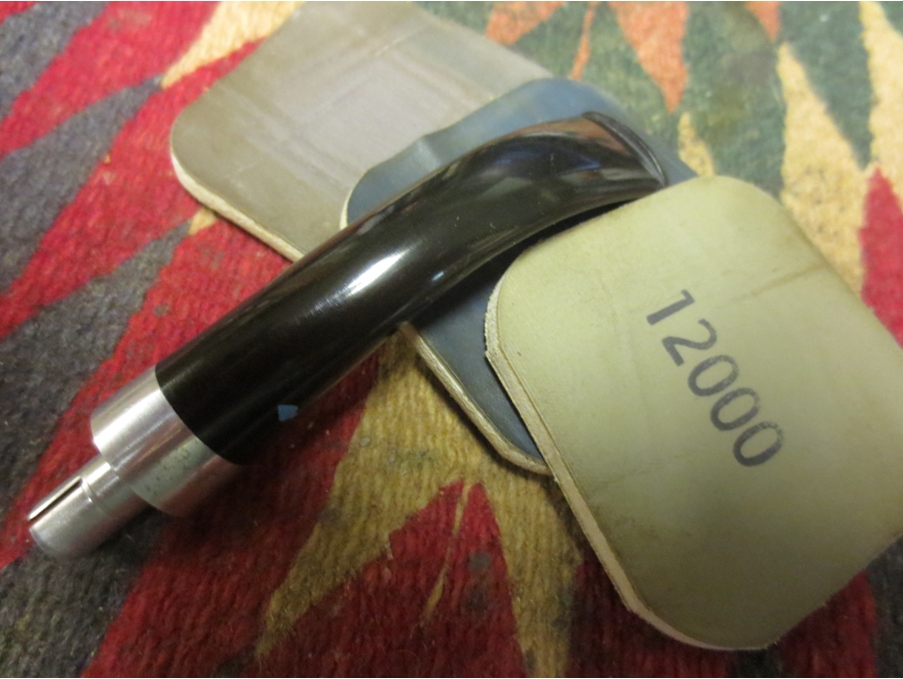
Broke45 I took the stem back out and worked on it with the micromesh sanding pads. I wet sanded with 1500-2400 grit pads and dry sanded with 3200-12,000 grit pads. I rubbed the stem down with Obsidian Oil between each of the three grits.Broke46

Broke47 Between the 4000 and the 6000 grit pads I buffed it with White Diamond on the wheel and then finished with the higher grit micromesh pads.Broke48 I buffed the stem with Blue Diamond and gave it a coat of carnauba wax. The next two photos show the polished stem in place on the pipe.Broke49

Broke50 I sanded the surface of the rustication to knock off some of the high points and smooth it out slightly using a sanding block. The sanding made the rustication a bit more pebble like in appearance and once I had finished the sanding I gave the bowl a coat of oxblood aniline stain as a top coat. It added some red highlights to the rustication – particularly on the high spots. I then buffed the stem with Blue Diamond on the wheel and gave the stem multiple coats of carnauba wax. I polished the band with silver polish and hand buffed it with a soft jeweler’s cloth. The finished pipe is shown below. It has a delicate look that gives it an air of elegance and class. I am looking forward to firing it up and enjoying a bowl soon.Broke51

Broke52

Broke53

Broke54 Thanks for looking.

Restemming and Restoring a Weber Deep Grain Lovat


Blog by Steve Laug

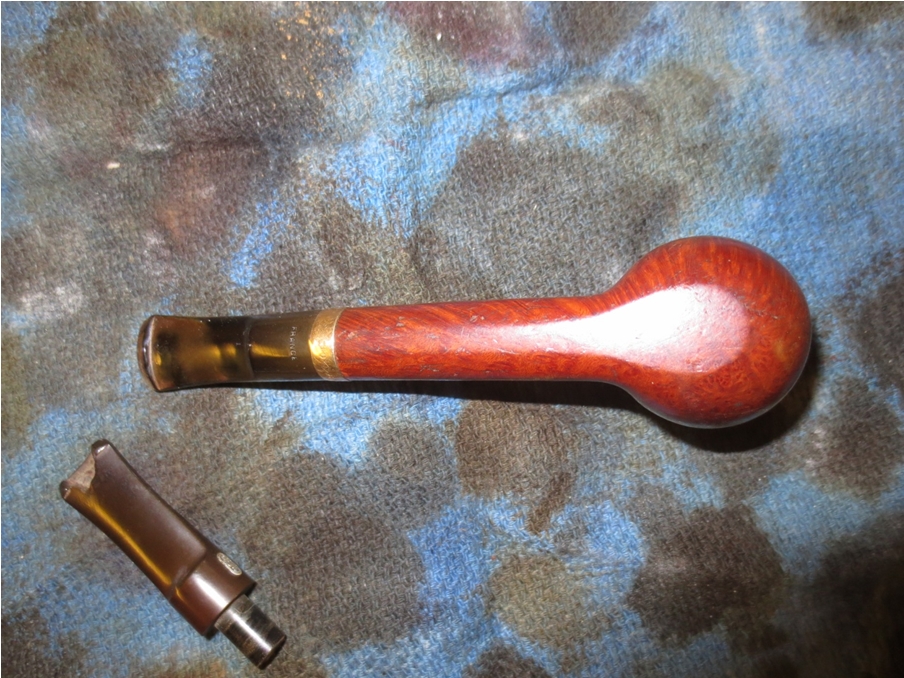
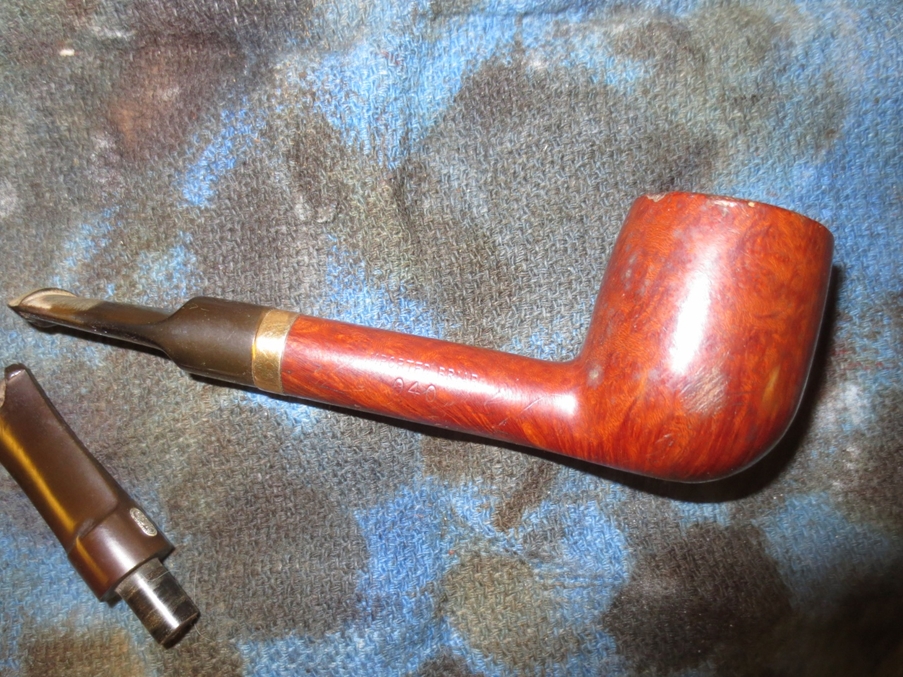
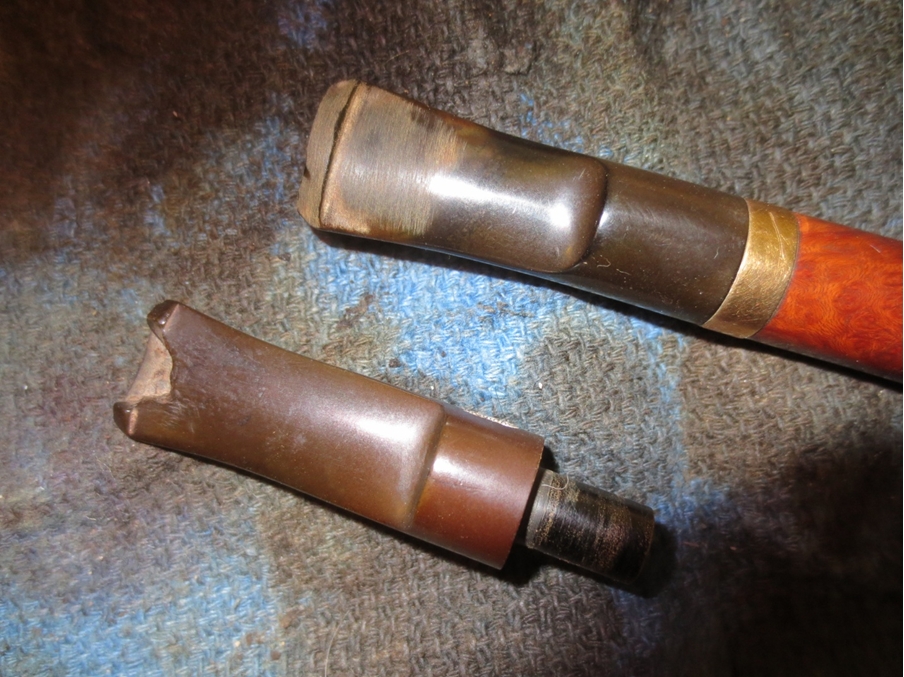
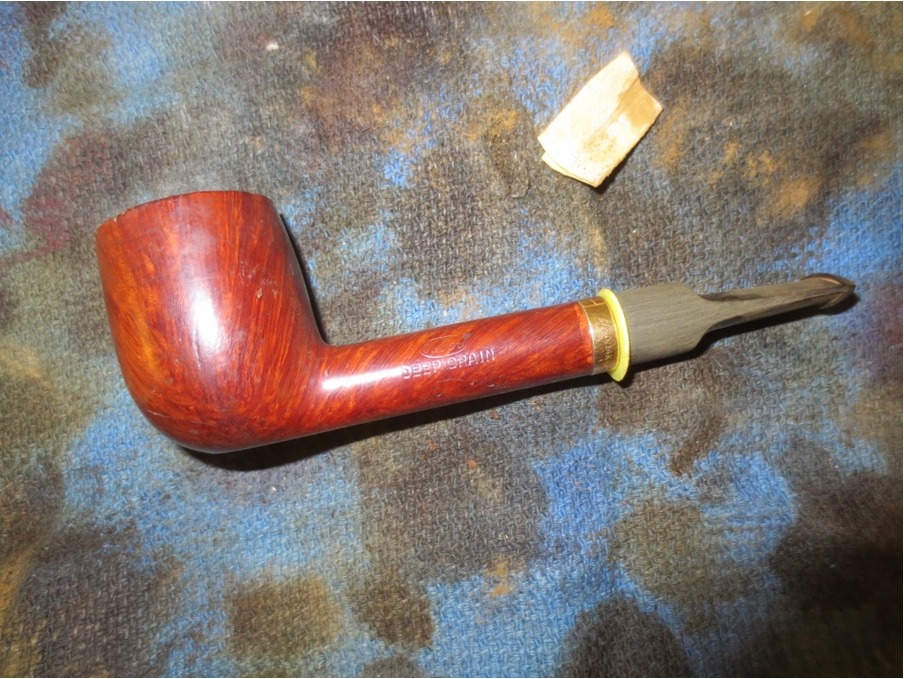
I have been doing a bit of reading on the Dr. Grabow Collectors Forum and have been learning a lot from the folks there. On one of the threads on refurbishing Scot wrote and asked about restemming an older Weber Deep Grain Lovat. He had it sitting and did not feel confident about doing the stem work on it. I offered to restem it for him for the postage. When the pipe arrived I took it to the work table and took the following photos. The bowl had some really nice grain on it. The finish was rough with a lot of scratches, dents and nicks. Next to the band the finish was work off on the right side. There were some deep gouges and a scratch across the surface on the right side of the bowl. The rim was in rough shape. The outer edges were beat up pretty badly with gouges and chunks missing from the edge. The inner edge was clean and undamaged. The top of the rim was very rough. There were nicks and dents and it was almost crowned looking – though uneven. The bowl was badly caked forming a thick ring about mid bowl. Below that the cake was almost non-existent and above that it was flaking off in sheets. The stem was worn out with a large bite taken out of the top side near the button and the underside it was cracked. It was ruined.Weber1

Weber2

Weber3

Weber4 I took the next two close-up photos to show the rim damage and the odd cake in the bowl and also the damage to the stem.Weber5

Weber6 When Scott first sent it I was under the impression that he merely wanted me to make a new stem for it. After I saw it I wrote him and asked if he wanted me to clean it up and restore it for him. While I waited for his response I worked on the new stem. I had a stem that was the same length and had a tenon that was not only the right length but also almost the right diameter. I sanded the tenon down lightly and fit the stem to the shank. It was perfect in diameter on the bottom side of the band but was a little large on the top and left side of the saddle.Weber7

Weber8

Weber9

Weber10

Weber11

Weber12

Weber13 I put a plastic washer between the shank and the stem so that I could sand it to the edge without rounding the shoulders of the stem. I sanded it with 220 grit sandpaper to shape it and fit it to the band diameter. I also sanded off the oxidation that was on the surface of the stem and some of the wavy lines that were present on the flat surface of the blade.Weber14

Weber15

Weber16

Weber17 removed the washer and carefully sanded around the shank/band junction to clean up that edge.Weber18

Weber19

Weber20

Weber21 I sanded the stem with a medium and a fine grit sanding sponge to remove the scratches that were present on the stem from the sandpaper.Weber22

Weber23

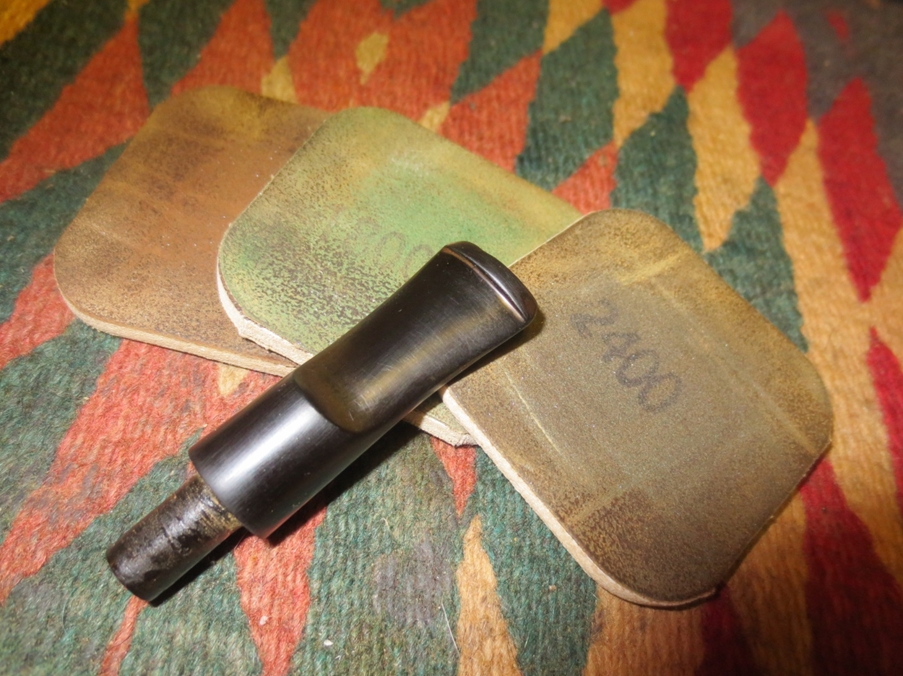
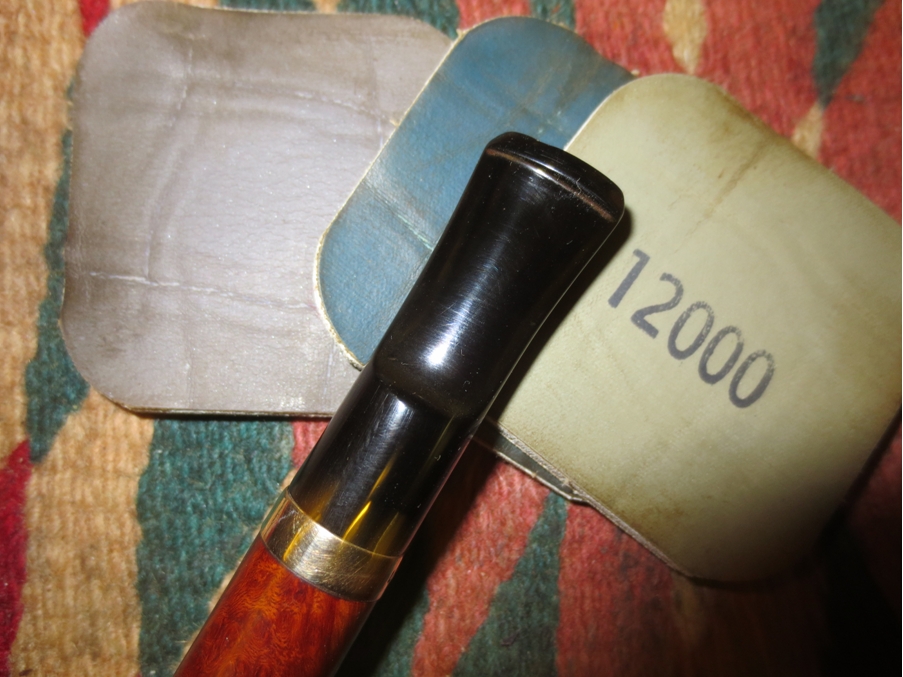
Weber24 Once I had removed the majority of them I sanded the stem with micromesh sanding pads – wet sanding with 1500-2400 grit pads and dry sanding with 3200-12,000 grit pads. I rubbed the stem down with Obsidian Oil between each set of three pads.Weber25

Weber26

Weber27 There were still some scratches present on the stem that would go once I had buffed it with Blue Diamond but just before I took it to the buffer I heard back from Scott. He said he would be glad to have me give the pipe a work over. Given that go ahead I set aside the stem and turned to work on the bowl. Once I had the bowl finished I would buff the entire pipe.

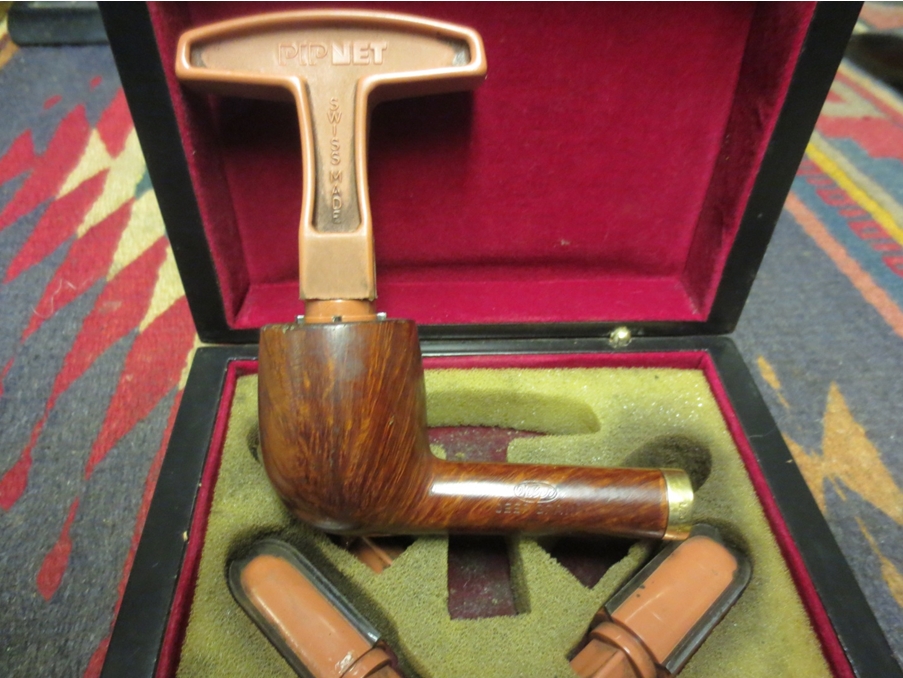
I reamed it with a PipNet reamer starting with the smallest cutting head and then finishing with the second smallest head. With that I took the crumbling, flaking uneven cake back to bare wood. I figured that Scott could start over and build an even hard cake of his own choosing.Weber28

Weber29 I took a few photos of the bowl to record the damage and scratches to the finish. I wanted to not only get a good look at them but I also wanted to document them. The right side of the bowl had a large series of scratches and grooves from what looked like dropping the pipe on concrete. There were also scratches on the shank and outer edge of the rim. In fact the rim edge was very rough. The left side of the bowl also had some scratches that were pretty deep. The top view of the rim shows the missing chunks of briar around the edge of the bowl and the uneven crown that came from tapping the bowl out against a hard surface. The underside of the shank had a rough spot next to the band and quite a bit of scratching.Weber30

Weber31

Weber32

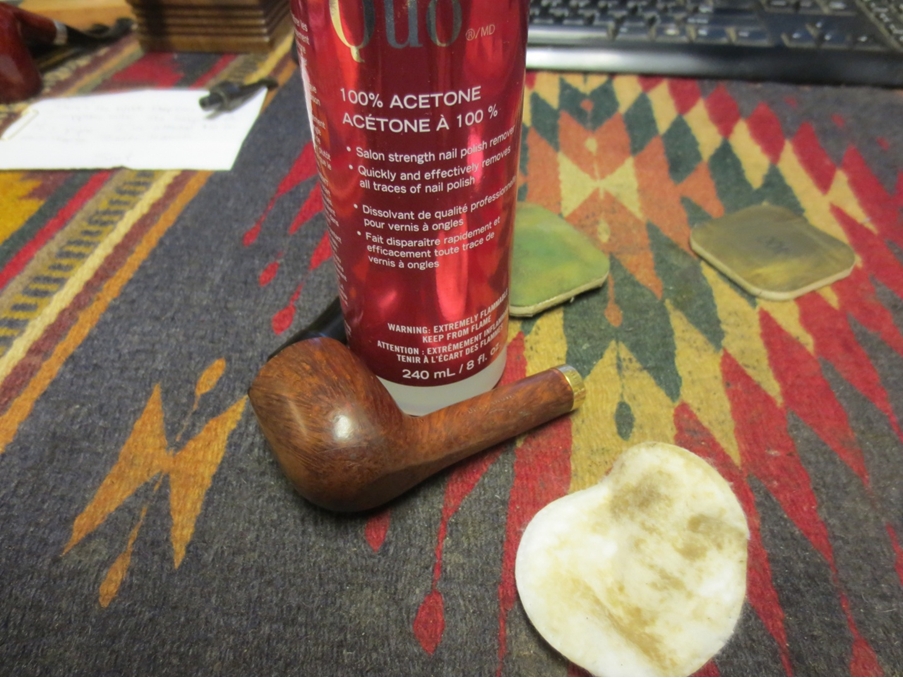
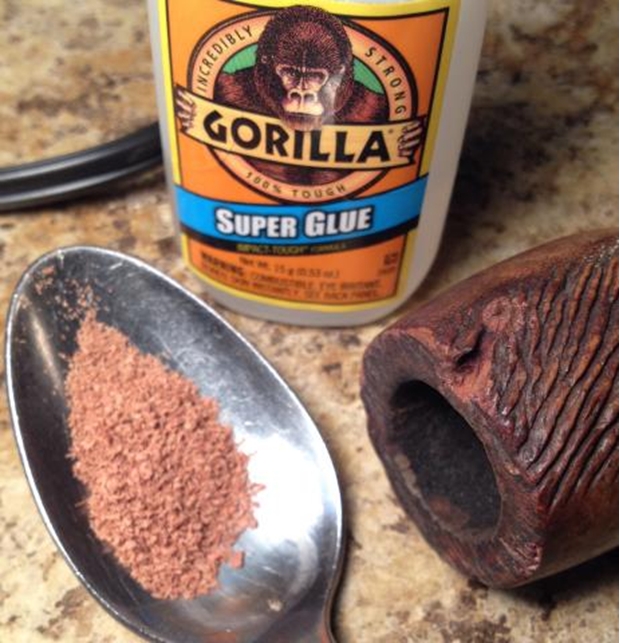
Weber33I washed down the bowl with acetone on cotton pads to remove the remnants of the finish before I worked on the scratches and dents in the bowl and shank.Weber34 topped the bowl on a topping board to remove the damaged surface and outer edge of the rim.Weber35 Once I had the bowl topped and the rim smooth and flat again I decided to repair the missing chunks of briar on the outer edge and the deep cuts on the right side of the bowl. I sanded the edge and scratches with a sanding sponge to clean up the jagged edges. I wiped the areas down with alcohol. I then filled the cuts and the missing chunks with superglue and packed in briar dust to fill them. I generally overfill them and then sand them back until they are smooth and blend into the surface area around them.Weber36

Weber37 I sanded the fills with a folded piece of 220 grit sandpaper and then with sanding sponges until I had blended the area in with the surrounding surface of the bowl.Weber38 I took the next two profile photos of the pipe to show the clean look of the bowl rim. Notice on the second photo the repair to the cuts on the right side of the bowl toward the lower ¼.Weber39

Weber40 The next photo shows the newly topped and repaired rim from the top.Weber41 I sanded the bowl surface with a medium and a fine grit sanding sponge being careful around the stamping so as not to damage it. Once it was smooth and the scratches minimized I rubbed down the bowl with a light coat of olive oil. The olive oil gives some life to the grain and highlights the areas that I still needed to sand. The next four photos show the pipe after it had been rubbed down with a soft cloth after the olive oil.Weber42

Weber43

Weber44

Weber45 I took another close up of the rim to show the repairs and how the olive oil brought out the colour of the rim so that it matched the rest of the pipe.Weber46 I then took the pipe to the buffing wheel and buffed it with Blue Diamond Plastic Polish. I worked the stem over with the polish and then buffed the briar as well. Afterwards I gave the bowl and stem several coats of carnauba wax and buffed it with a clean, flannel pad to raise the shine of the wax. The finished pipe is shown below. Tomorrow I will get it packed up and sent back to Scott. It should serve him well for a good many years to come. Thanks for letting me work on this old pipe. It was a pleasure.Weber47

Weber48

Weber49

Weber50

Weber51

Weber52

A KB&B Capitol


Blog by Andrew Selking

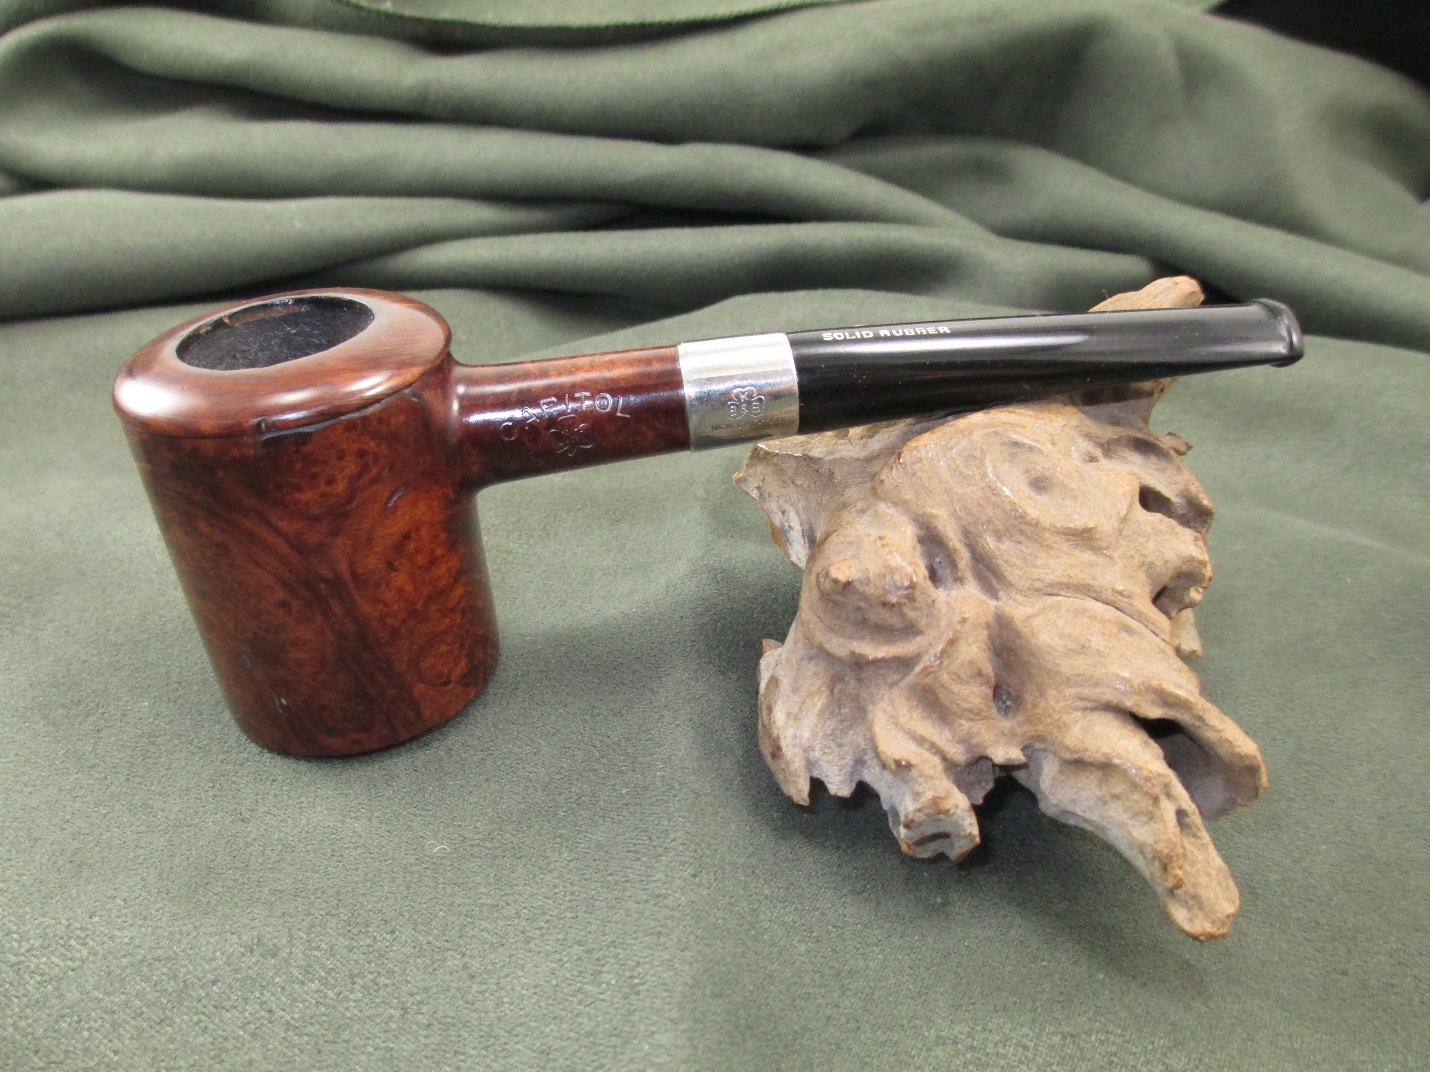
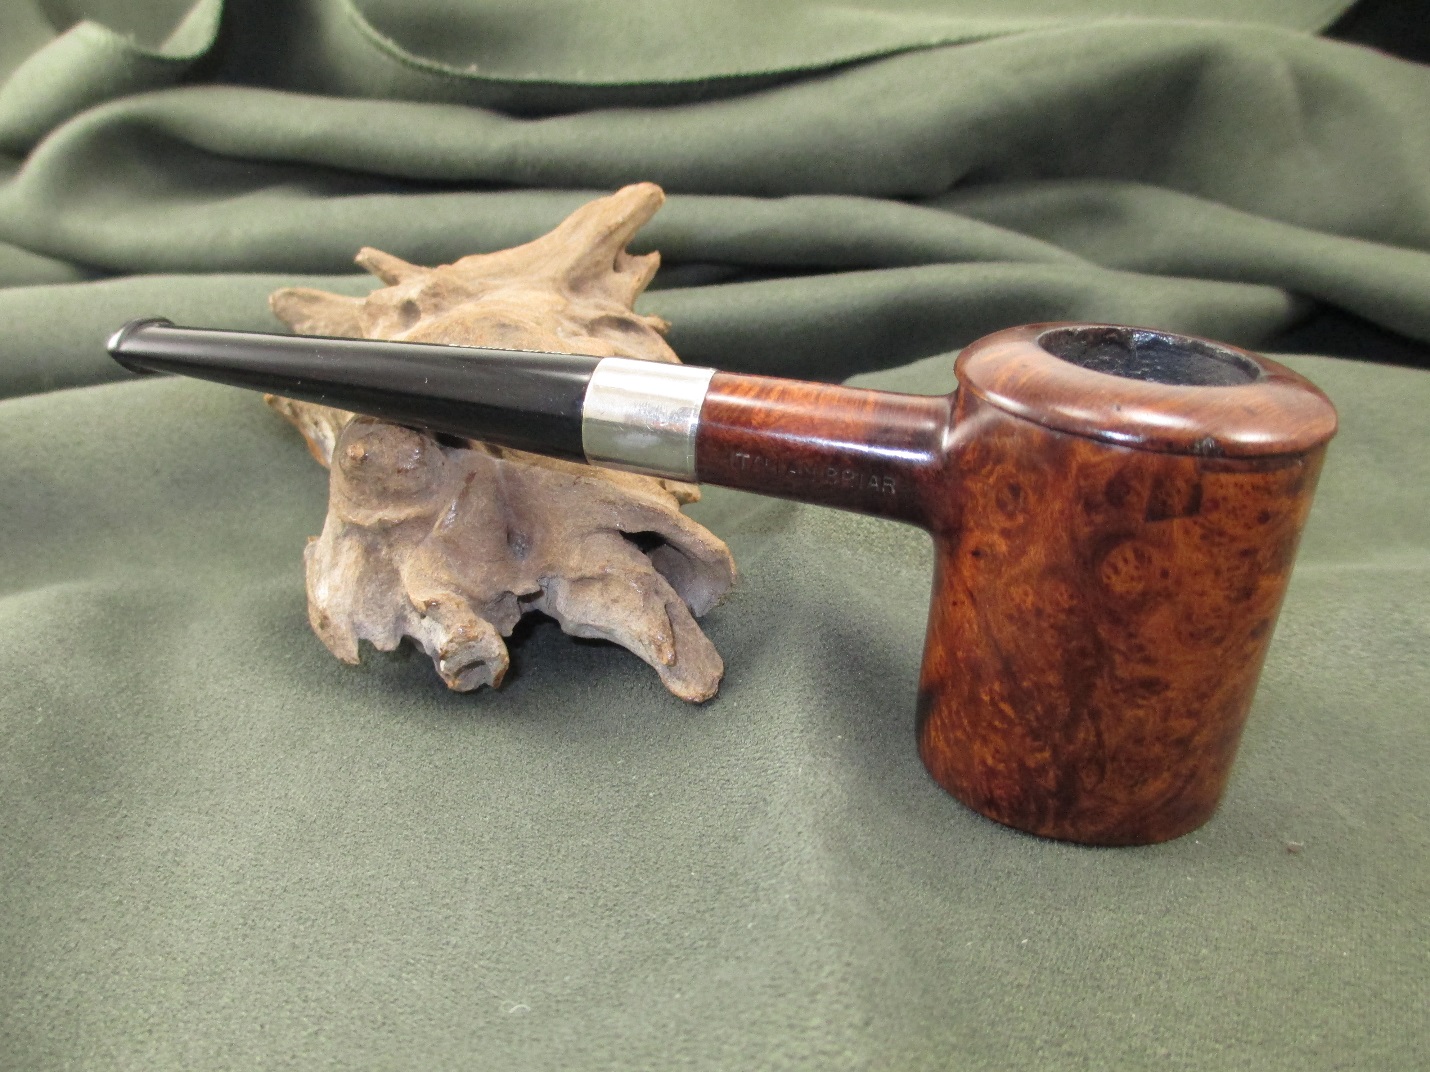
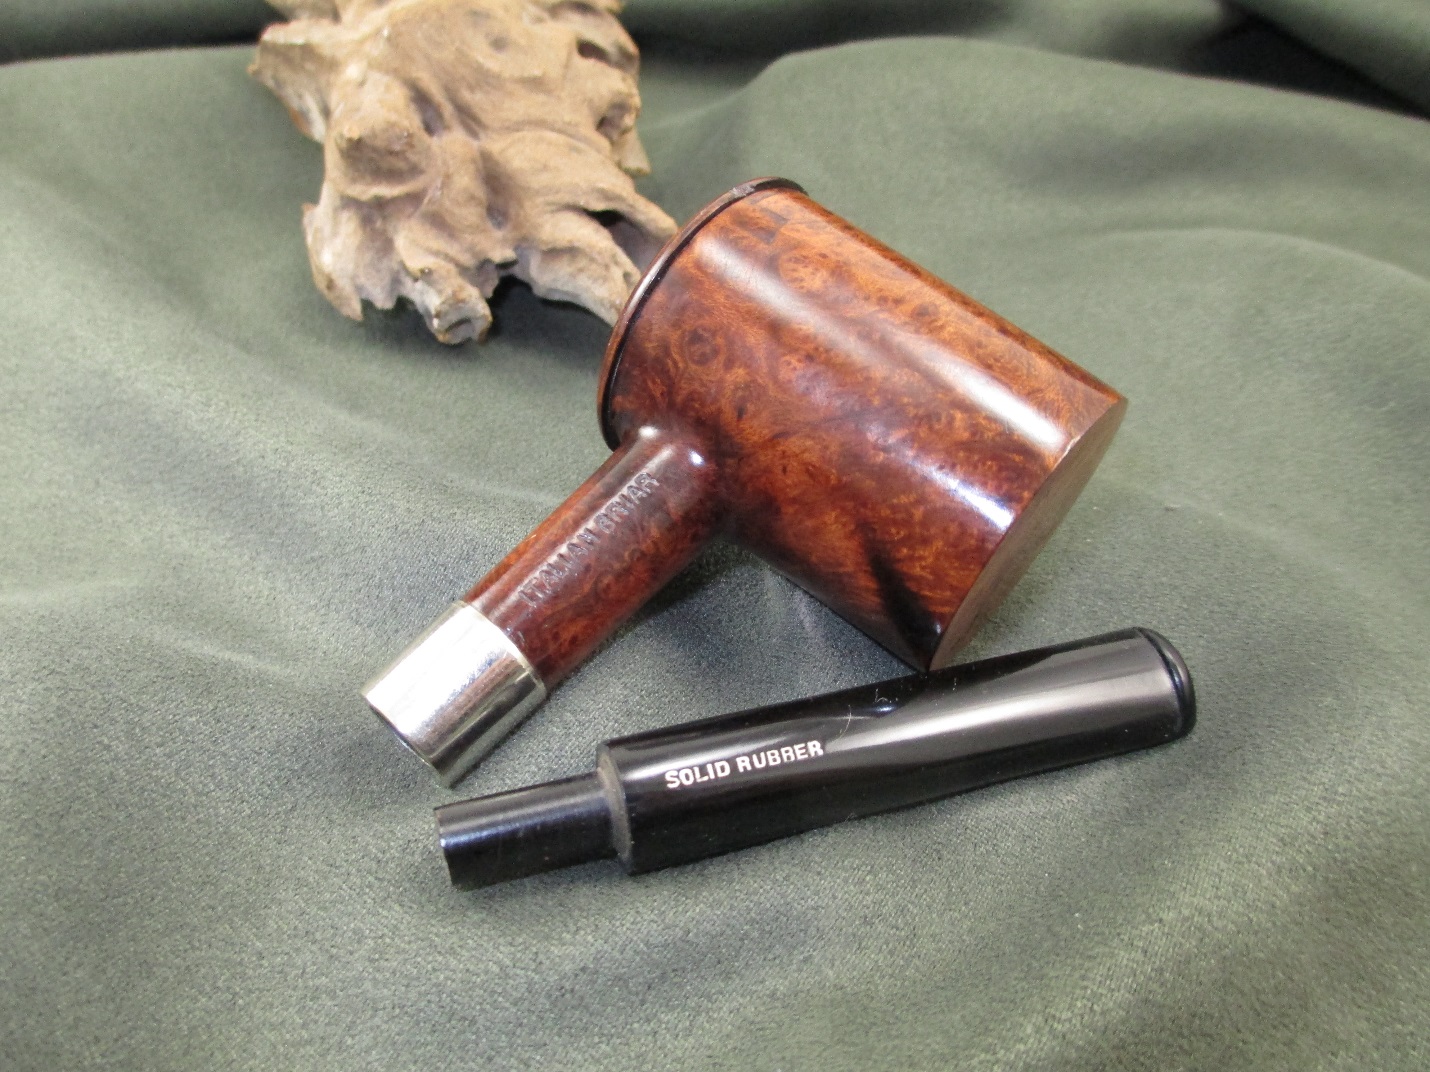
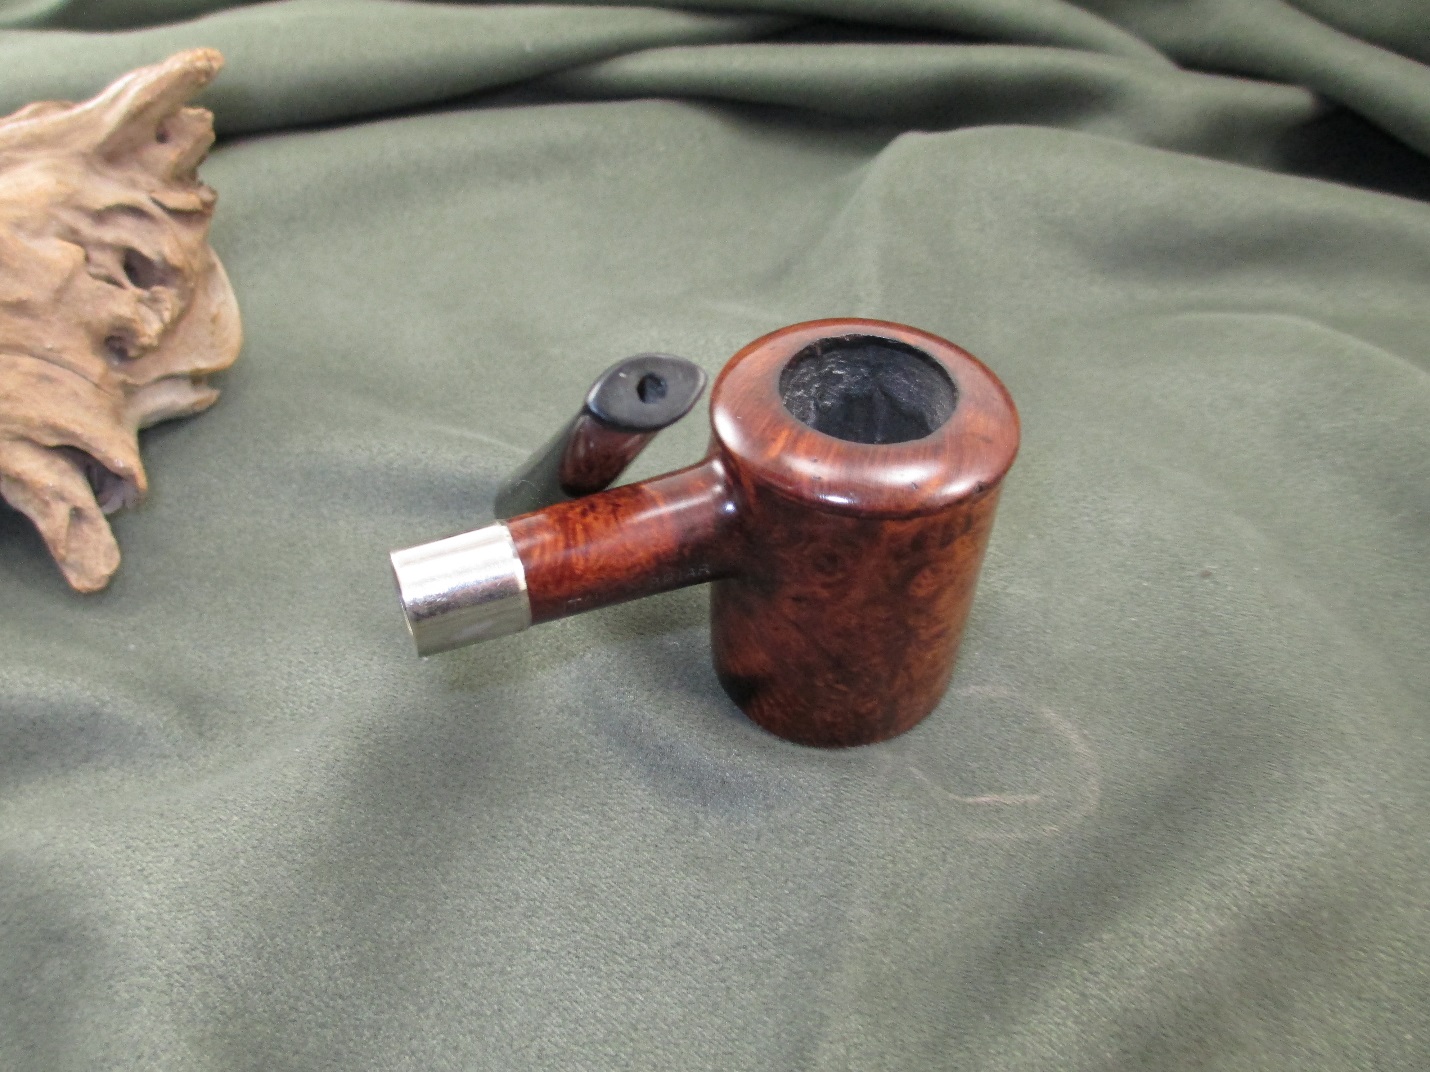
As a collector of old KB&B pipes, I have searched for a KB&B Capitol for a very long time. First of all they just have a unique look, kind of like an upside down poker, but what really interests me is the craftsmanship required to make a threaded briar insert. There is very little information available about these pipes, about the best I could find is that it was made between 1919 and 1924.
When I received the pipe it had some cake built up in the bowl and tar stains on the rim and the stem was unmolested. The biggest issue was that the insert was firmly stuck. In fact a previous owner tried pliers to get it out, based on the gouges along the top. I tried the usual method of freezing it, but to no avail. I wrote Steve for any ideas and he suggested doing a retort. That didn’t work either. I finally ended up soaking the bowl in alcohol for 24 hours, freezing it, then heating it with my heat gun. With the help of a rubber kitchen gripper, it finally broke loose.
In these first pictures you can really see the tar build up on the inside of the pipe.KBB1

KBB2

KBB3 I soaked the stem in Oxyclean. The stem was marked “Hard Rubber” and exhibited no oxidation after soaking. It was pretty filthy though. I used a pipe cleaner soaked in the Oxyclean solution to remove as much gunk as possible, this was the first pass.KBB4 Next I turned my attention to removing the serious tar build up in the inner bowl. I found my dental pick was the perfect tool for this task.KBB5 The bottom of the inner bowl had a biscuit of tar.KBB6

KBB7 I used an alcohol soaked cotton ball to loosen the tar in the threads.KBB8 Since this pipe has two bowls, I did a retort with just the outer bowl followed by a retort with the inner bowl inserted.KBB9 I love the old stems.KBB10 I did a retort on the stem. It was nasty, but the boiling alcohol did the trick.KBB11

KBB12

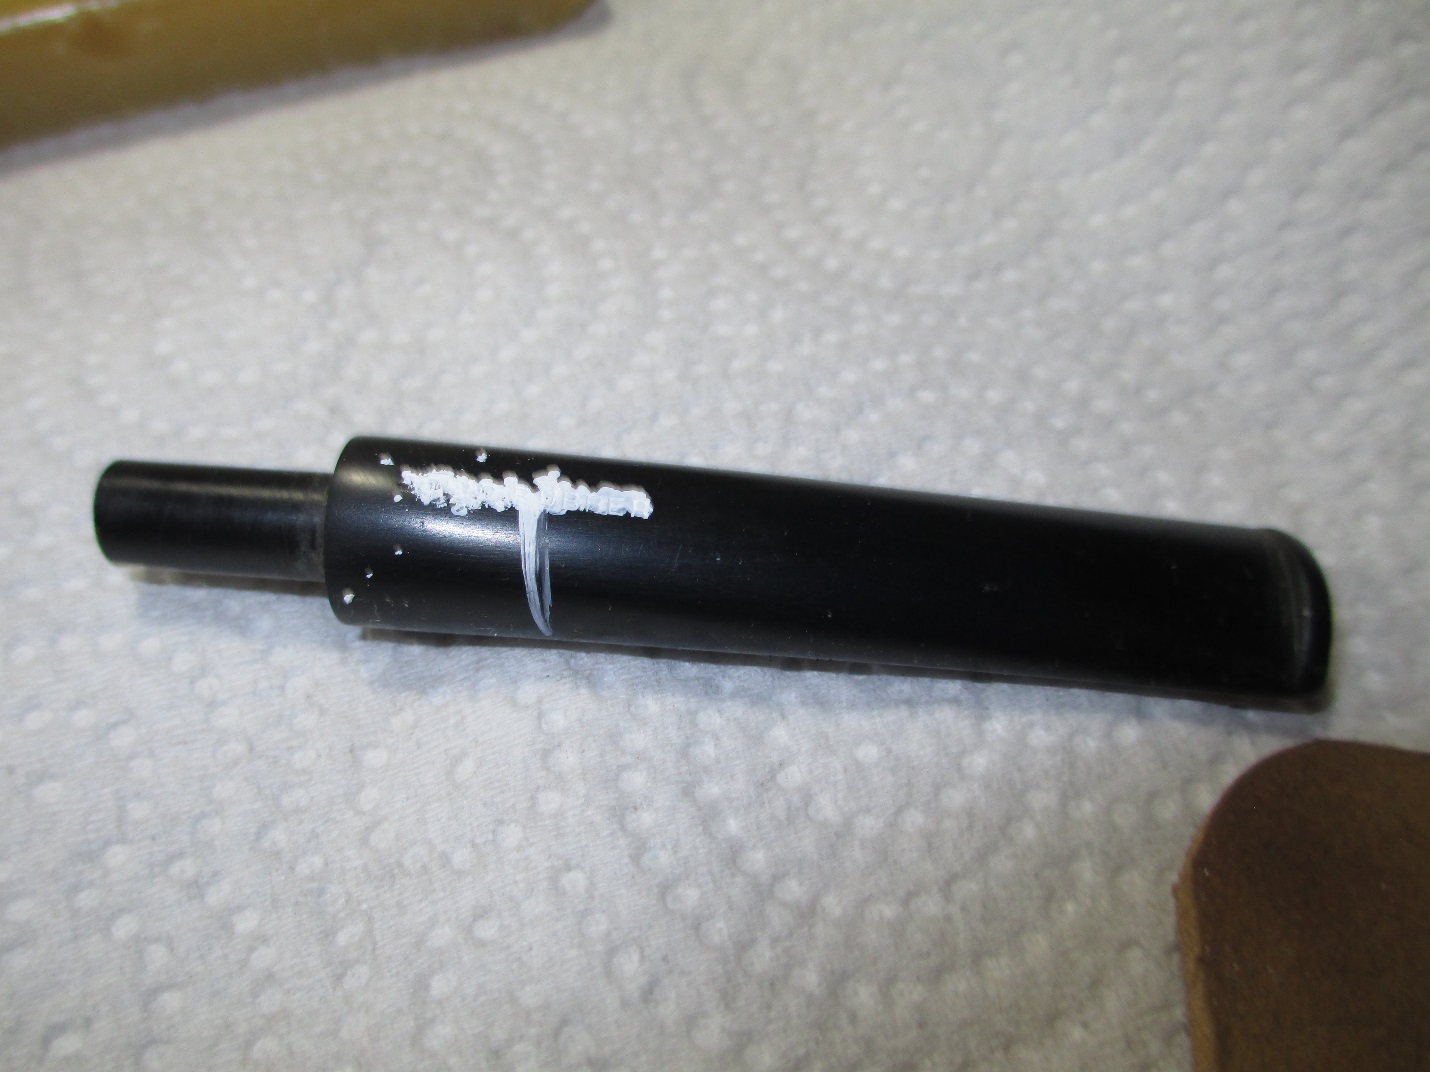
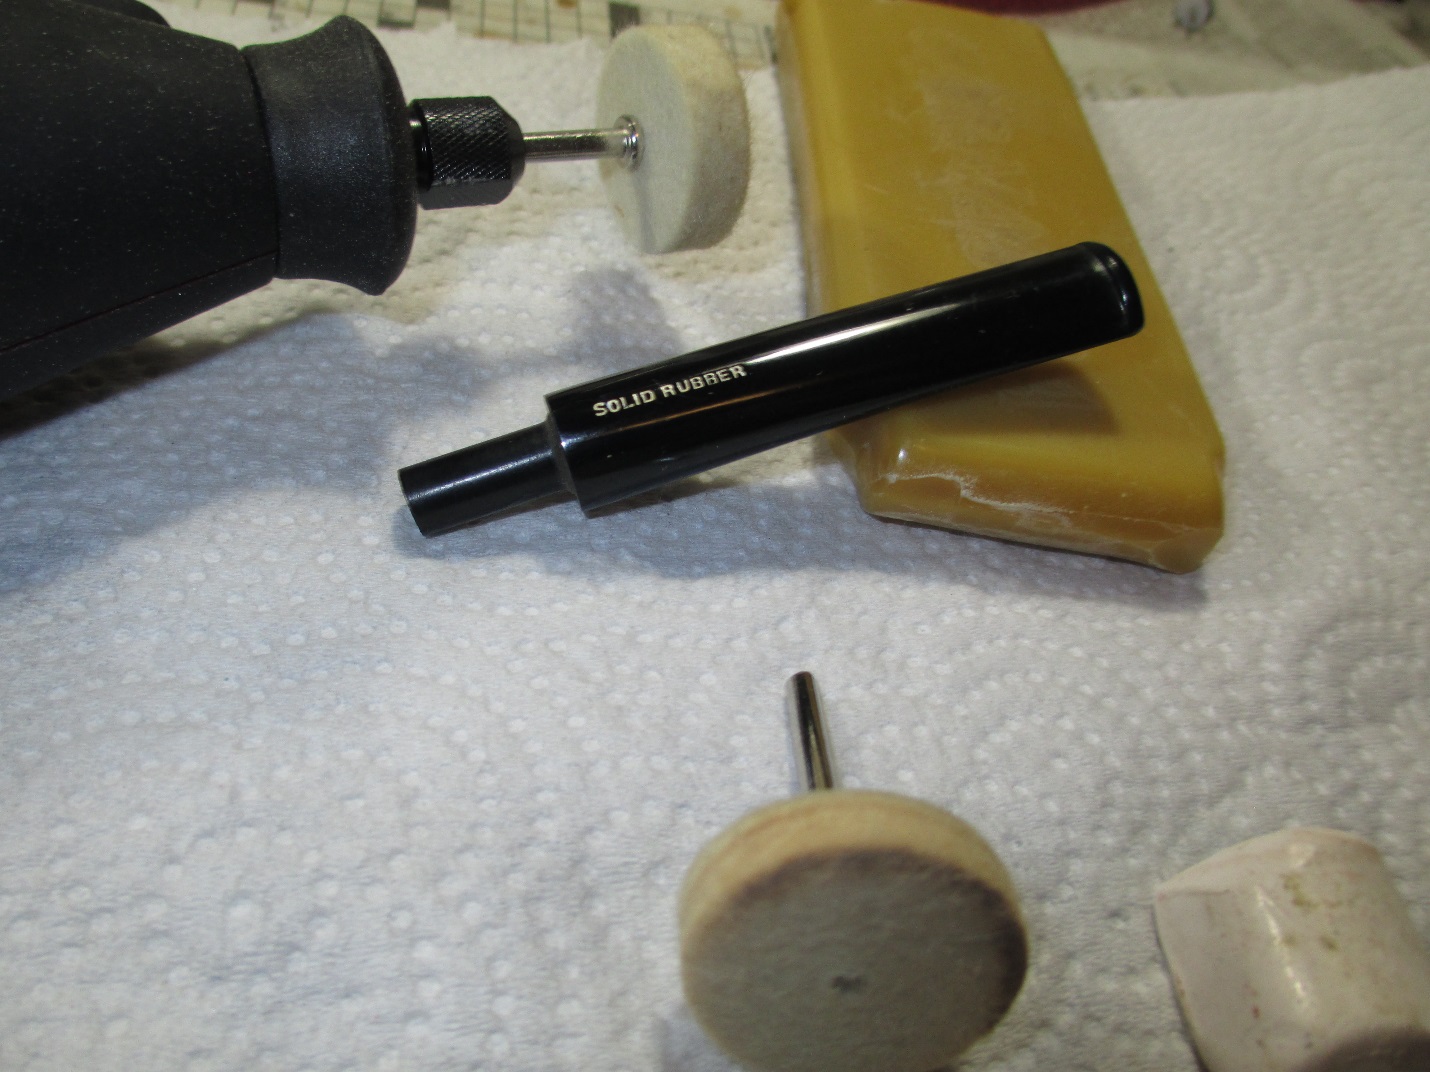
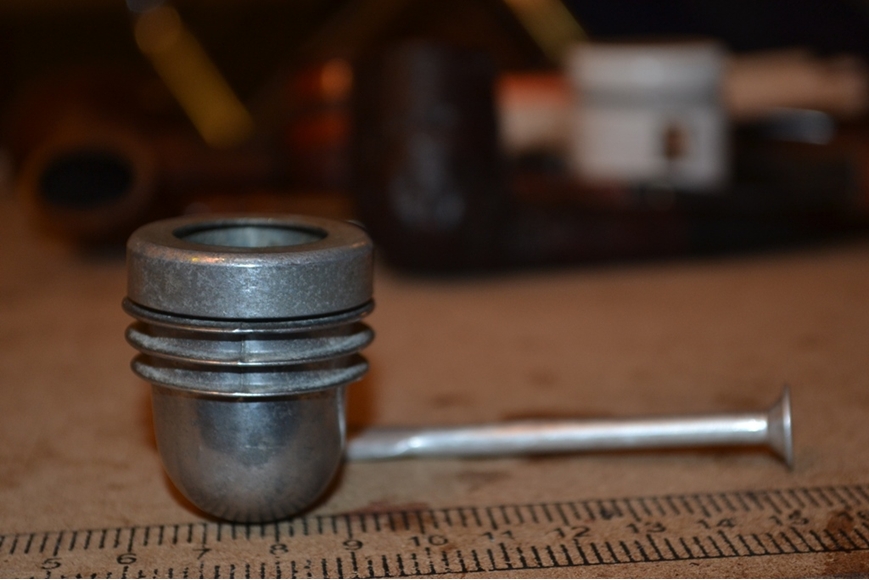
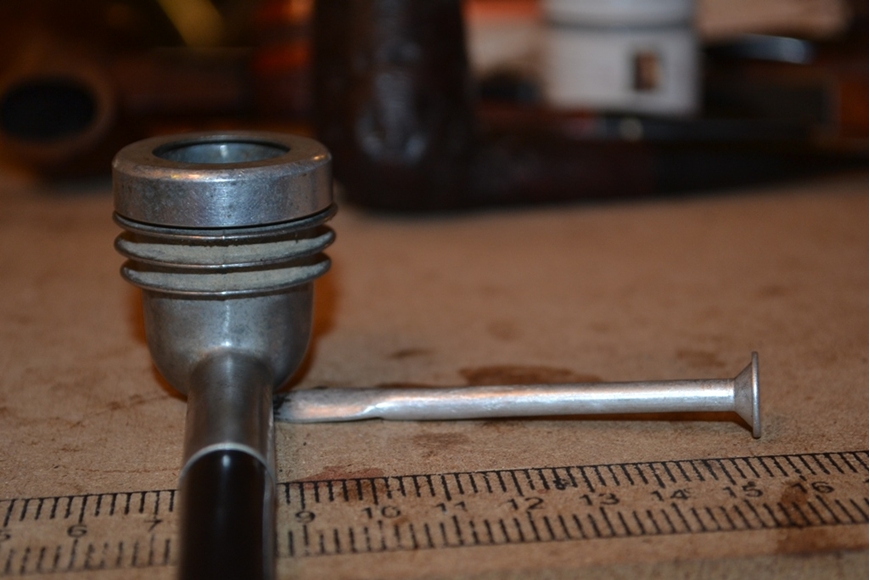
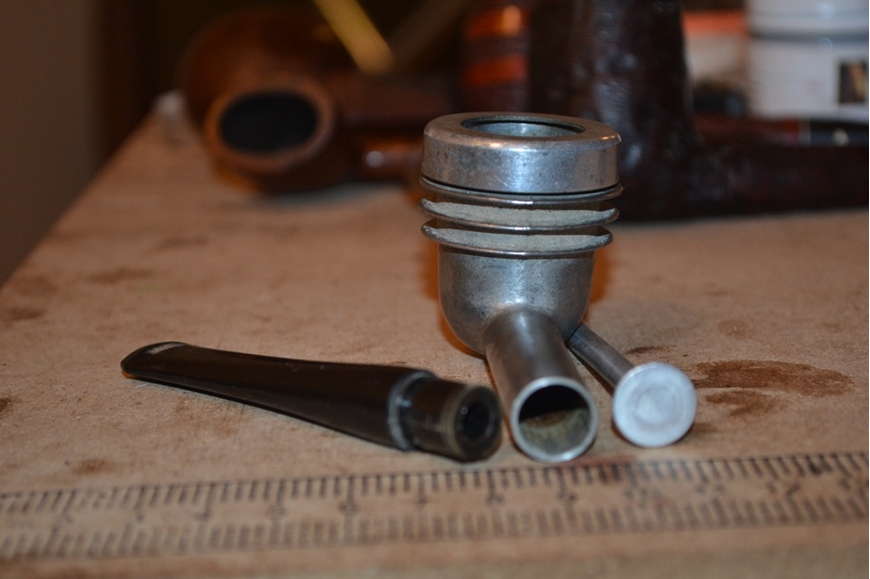
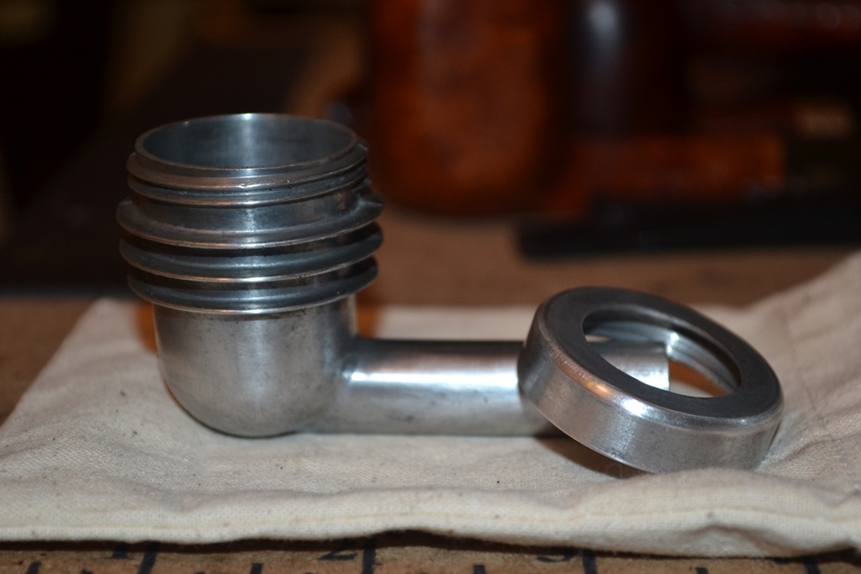
KBB13 The design of this pipe makes it extremely easy to clean, although I doubt that ever happened prior to my getting ahold of it.KBB14 A couple of q-tips and a pipe cleaner and the shank was clean.KBB15 Next I tackled the stem. I used 400 grit wet/dry with water followed by 1500-2400 grit micro mesh pads with water. You will notice the small washer, I use that to make sure that I don’t round off the edges of the stem.KBB16 You may have noticed in a previous picture that there was a piece missing at the top of the inner bowl. I spread a small amount of CA glue into the hole with a push pin followed by briar dust and accelerator.KBB17 I also noticed a small fill residing under the band, so I picked out the old fill and replaced it with briar dust and CA glue.KBB18 The exterior of the bowl was caked with tars and grime, so I used acetone and 0000 steel wool to clean it up.KBB19 That was only minimally effective, so I ended up sanding the whole thing. I used 400 grit to get the worst off, followed by a progression of micro mesh pads, 1500-12,000 grit. While working on the bowl, I also polished the stem with 3200-12,000 grit micro mesh pads. One of the things Steve talks about is using Obsidian Oil after each third set of pads. Since I don’t have Obsidian Oil, I used a very small amount of mineral oil with the 3200 grit pad. It really cut down on the dust and seemed to help the rest of the pads polish more effectively. Here is the pipe ready for stain and polishing.KBB20 I don’t know if the stamping on the stem was originally filled in white, but I thought it might look nice. I used my correction pen to fill in the letters.KBB21 I removed the excess correction fluid with my rotary tool and some white diamond. I then polished the stem with carnauba wax.KBB22 I stained the pipe with a medium brown stain and polished it on the buffer with white diamond and carnauba wax. Here is the final result.KBB23

KBB24

KBB25

KBB26

KBB28

Cleaning up a Dr. Grabow Royal Duke Bent Billiard


Blog by Steve Laug

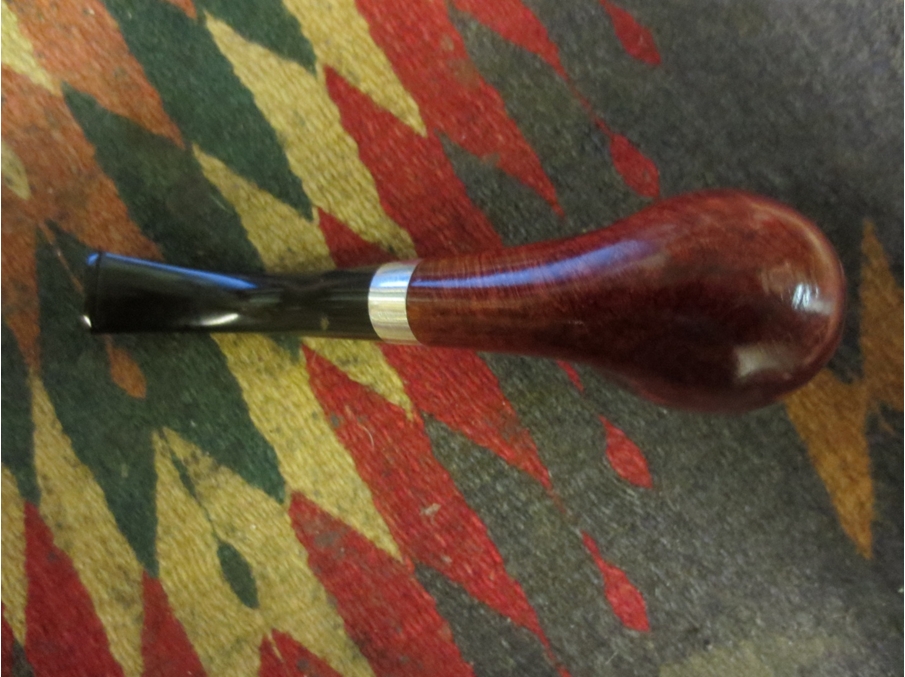
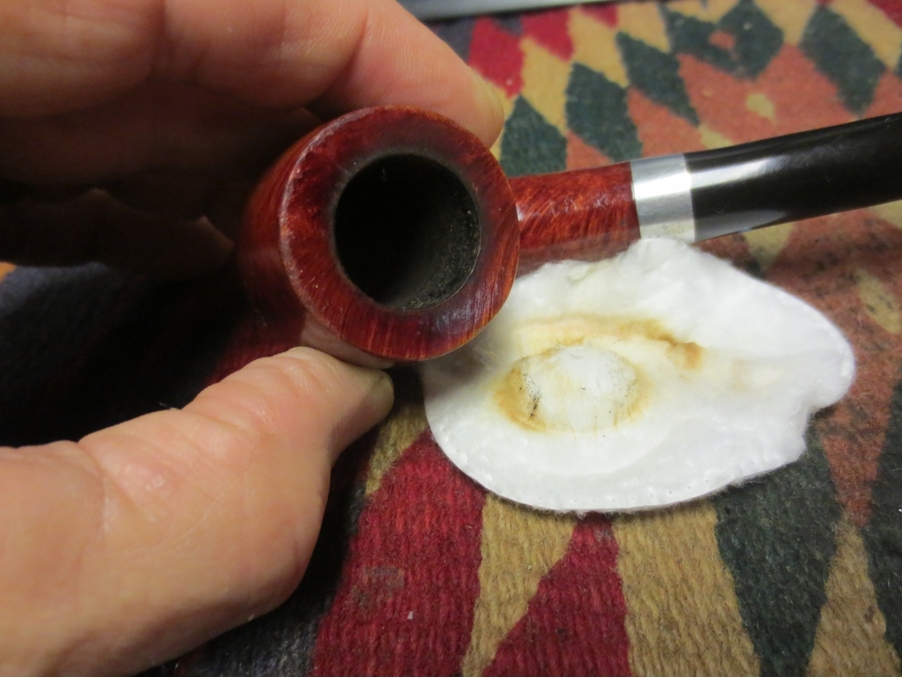
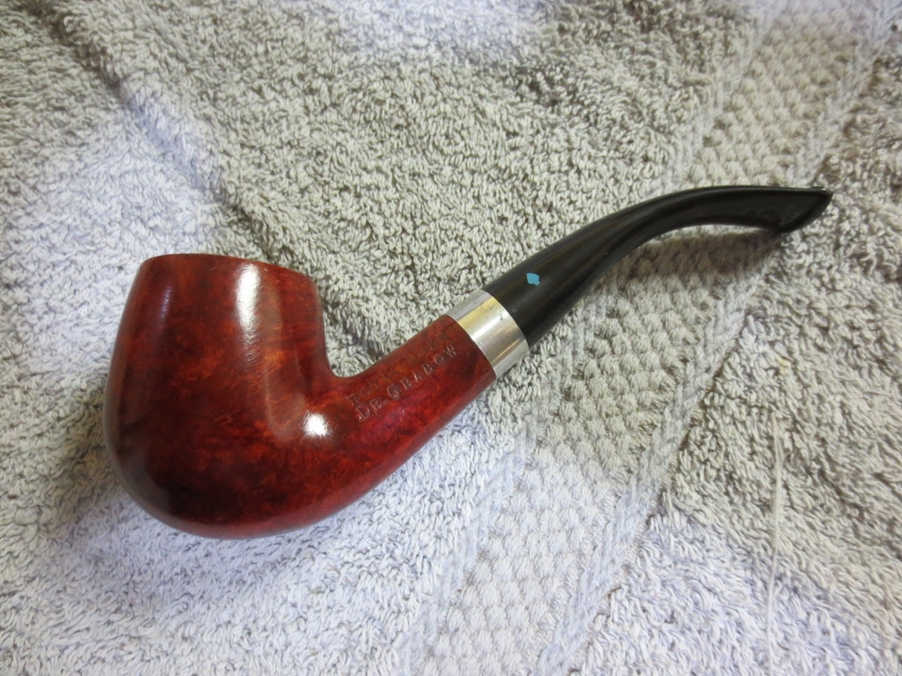
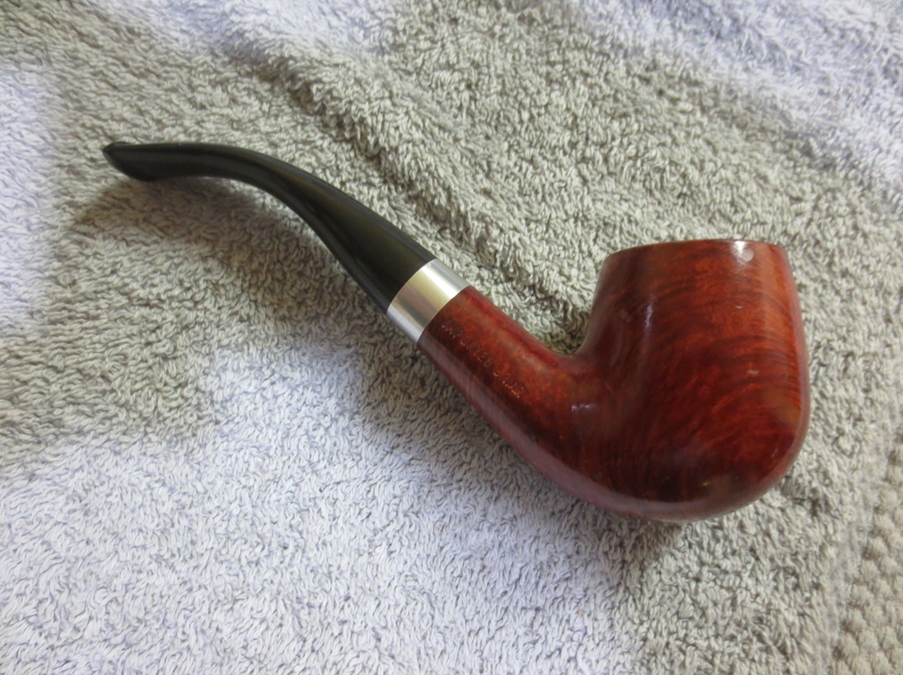
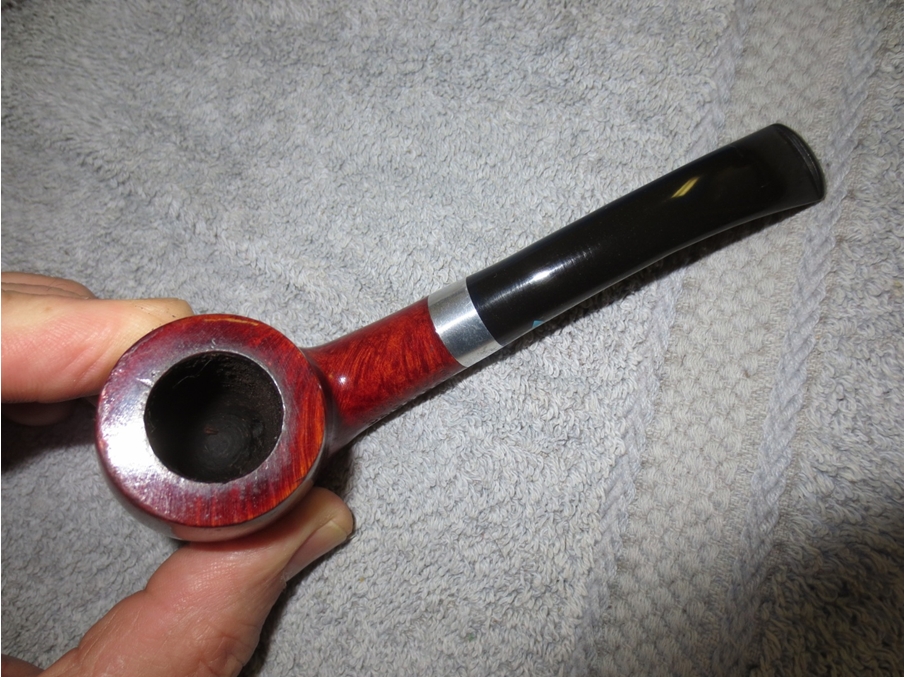
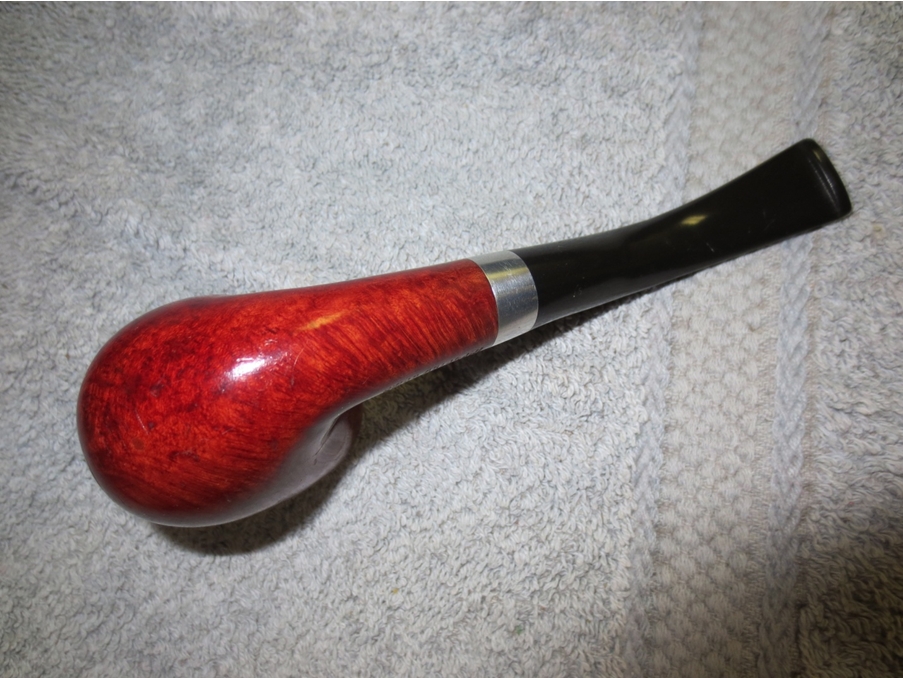
One of my pipe finds last weekend was a Dr. Grabow Royal Duke Bent Billiard. It was in pretty decent shape. The rim had a little buildup and darkening but no damage. The bowl itself was lightly smoked but was half full of unsmoked tobacco. The stem had some scratches and small marks on the surface of the top and bottom. There were no tooth marks though and that was a bonus. The aluminum cap on the stem was oxidized. There was a Medico filter in the aluminum shank that was almost black. The finish was in good shape. There were some scratches and small dents in the briar on the bottom of the bowl. Overall the pipe was in pretty decent shape and needed a thorough cleaning. It was an easy refurbish.Grabow1

Grabow2 Because it was an easy cleanup I decided to see if I could gather any information on the history of the Royal Duke. I posted on the Dr. Grabow Collectors Forum and put pictures of the pipe there to see if I could get some help on the brand. I got some great responses and information from the folks there. The first of them came from Ted D. who was a past CEO of Dr. Grabow in Sparta. Here is what he wrote:

“Royal Duke was the first paper filter pipe made by Grabow. The name and construction were bought from Continental Briar Pipe Co. in the early 50’s. Continental made the “Royal Duke of Dundee” and “Duke of Dundee”. Royal has been made continuously since then, and is still made. It went through several minor changes through the years. With a “before” picture I might get within a 10 year period… maybe closer. Td” Grabow3 Spadefan on the same forum also posted this for me: The Grabow Timeline post:

http://drgrabows.myfreeforum.org/viewtopic.php?t=4834&start=0 shows Royal Duke starting somewhere in the broad timeframe of 1955 – 1964. Royal Duke continues in production today. Here are a few quotes from forum member DRBridges, one of the forum’s “founding fathers” and “Old Timer” TED that place the blue spades on early production Duke series filter pipes until abt. 1993/4. Here are the money quotes:

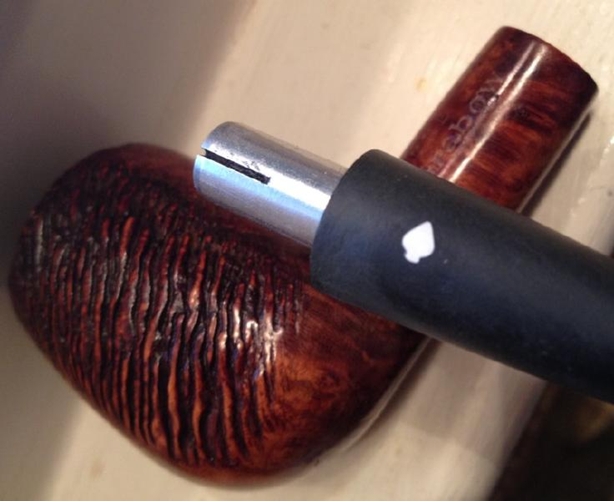
“HL&T began replacing the older Dr. Grabow model names after 1955 with new models. These included the “Ajustomatic” ELDORADO, REGAL, SAVOY, STARFIRE, VISCOUNT, and the “Duke Filter” DUKE, GRAND DUKE, and ROYAL DUKE. The early “Ajustomatic” pipes displayed a white spade emblem. The early “Duke Filter” pipes diplayed a blue spade. The early push stem [without filter] pipes displayed a yellow spade. Additional models were introduced during the 1960s and 70s, and all later Dr. Grabow pipes displayed a white spade emblem.” DRBridges

“Through the 1950s, 60s, 70s, and 80s, DG filter pipes used blue spades, except for the ajusto Dukes. They all went white in the early 1990s. Mortise and tenon DG pipes used yellow spades. Ajustomatics were white.” DRBridges

“We were still using the colors in 1991. I guess they changed about 93/94.” ted

So it looks like blue spades were used exclusively on Duke lines of filter pipes from their introduction sometime 1955-1964 through 1993/4. Anyone have more info on blue spades?Grabow4I posted photos of the pipe as Ted requested and then received another answer from him that helped date the pipe. He wrote: “I think it’s the old Spruance Southern lacquer. That and a vulcanite bit will put it at 1975 +- 5.. td”

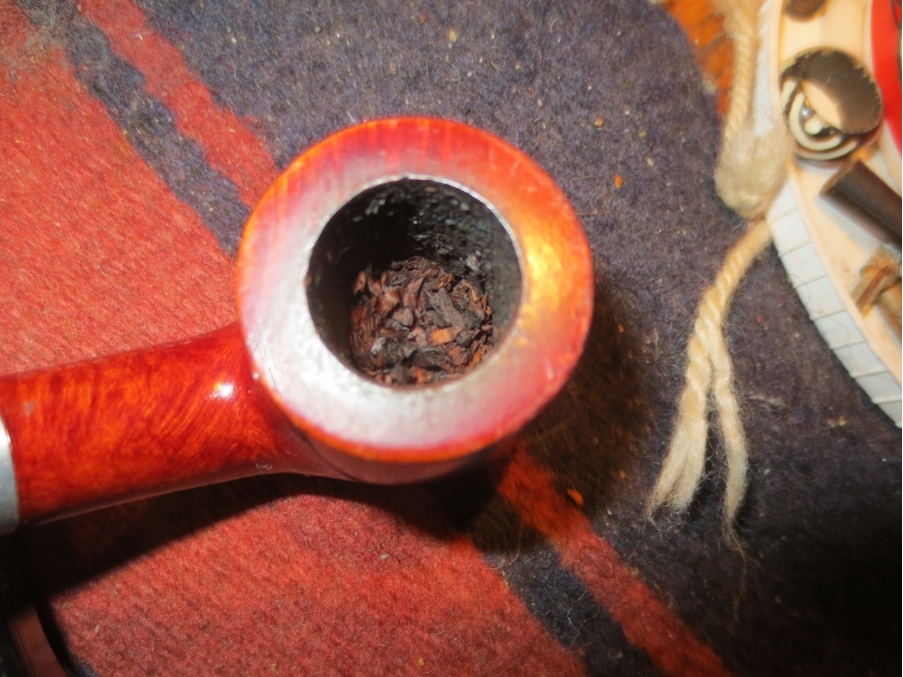
Knowing that information gave me some helpful information on the pipe I had. I liked the idea that it came from the era in which I finished my high school and entered university. It came from the same era as my first pipe purchased in the early 1970’s. The photos below show the state of the rim and the half filled bowl of tobacco.Grabow5 The pipe has some absolutely beautiful grain that swirls around the bowl.Grabow6

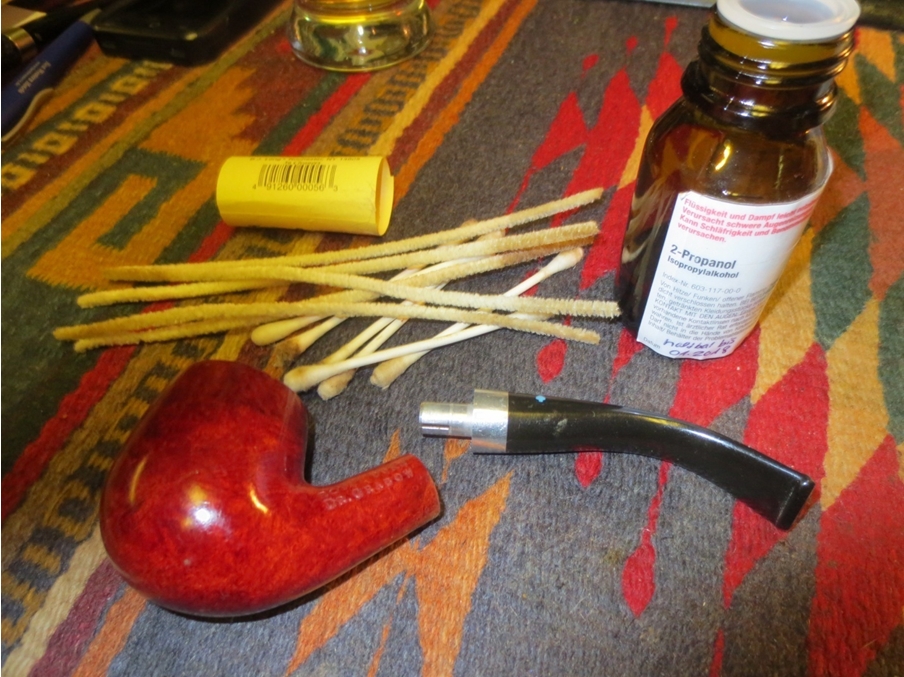
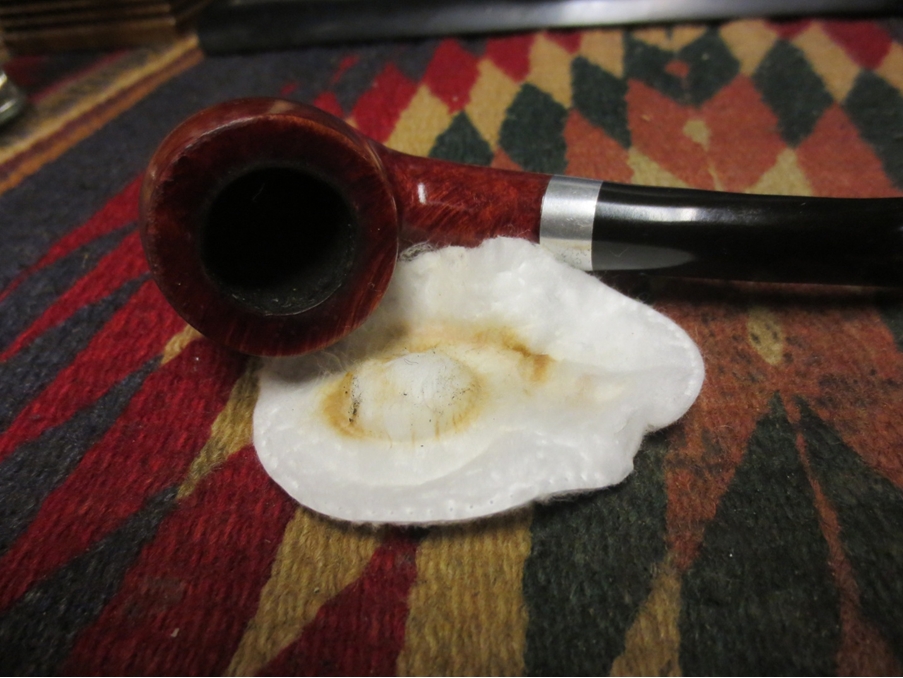
Grabow7 I scraped the tobacco out of the bowl, threw away the paper filter and then cleaned out the shank and stem with pipe cleaners, cotton swabs and isopropyl alcohol.Grabow8 Because the bowl had an intact coat of lacquer that was not damaged I scrubbed the rim with saliva and cotton pads. I was able to remove all of the buildup on the surface and some of the darkening.Grabow9

Grabow10 I sanded the stem with micromesh sanding pads to remove the scratches and damage to the surface. I wet sanded with 1500-2400 micromesh until the majority of the marks were removed. I dry sanded with 3200-12,000 grit pads to further polish the vulcanite.Grabow11

Grabow12

Grabow13 I gave the stem several coats of Obsidian Oil and then buffed it with Blue Diamond on the buffing wheel. I gave it several coats of carnauba wax and buffed it with a clean soft pad to raise the shine on the stem. I lightly buffed the bowl so as not to damage the lacquer. The finished pipe is shown in the photos below.Grabow14

Grabow15

Grabow16

Grabow17

Grabow18

Grabow19 I want to give a shout out to the Dr. Grabow Collectors Forum. They are great folks and always ready to help. If you have not checked them out head on over and have a look at their site. http://drgrabows.myfreeforum.org/index.php Thank you folks for your help on this one and on others that I have worked on. It is greatly appreciated.

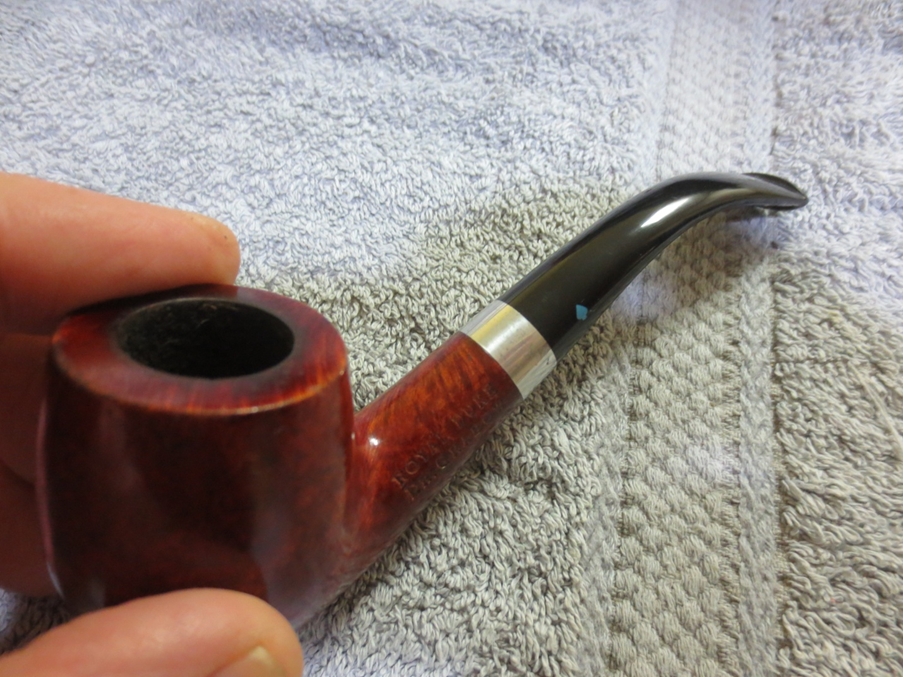
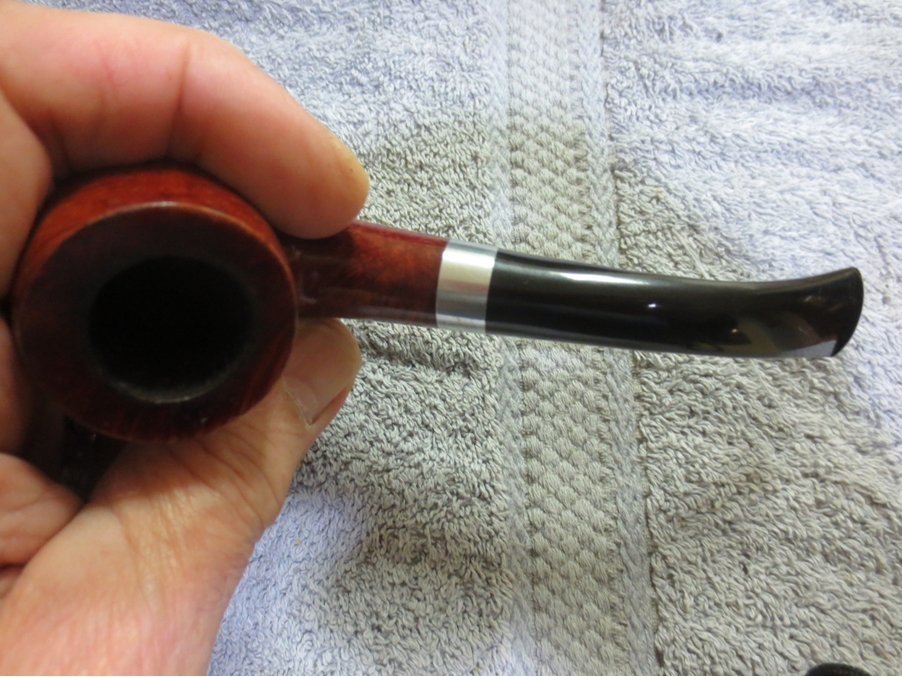
A Tinsky sent back to Mark for a new stem and then given personal adjustments by me


Blog by Steve Laug

I had a surprise just before my recent trip to Europe when I went to my pipe cupboard and took out my Tinsky apple. It is a pipe that has traveled with me around the world and one I love to smoke when I am traveling. It is a smoking machine. Well when I took it out I noticed that the original stem had a split on the top side and the underside that went from the bend to the button just over the airway. It was a crack that with time would grow. I took it to Europe and enjoyed it in Greece and Germany. It did not split further. When I got back I sent it off to Mark for a new Tinsky Stem. It did not take him too long to make a new one for it. I received within a week or less of his repair.

The photo below shows the pipe when I got it originally. It quickly became a favourite. I think I have probably had it over 15 years if I remember it correctly. It is just an old friend now and one that gets a lot of use. The shape in the hand feels great. The thinness of the mouthpiece and the shape hangs just right. The length is good for me. The blast and finish on the pipe is tactile and as it warms from the fire in its belly all seems right with my world. So that being said of course I would replace the stem and of course I would send it to Mark for another Tinsky stem.Tinskyapple When the pipe came back I have to say I was a little disappointed with the new stem. Not disappointed enough to send it back for an adjustment but not at all satisfied with the new look of the pipe. It just did not work well for me. To my eye the stem was chunkier and less delicate than the original. I wrote that off to the possibility that Mark was correcting the issue with the thinness and size of the airway leading to potential for this one to crack as well. The new stem was a good ½ or ¾ inch longer than the original and the bend was not as gentle. The bend did not look right to me and seemed in my opinion to be over bent. It definitely was not a copy of the original stem it is slightly thicker all the way around, a deeper bend and not as delicate looking all made me concerned. I decided to smoke the pipe for a while and see if the difference was that big of a deal to me. All of the issues were ones that I could address so I was not too concerned.

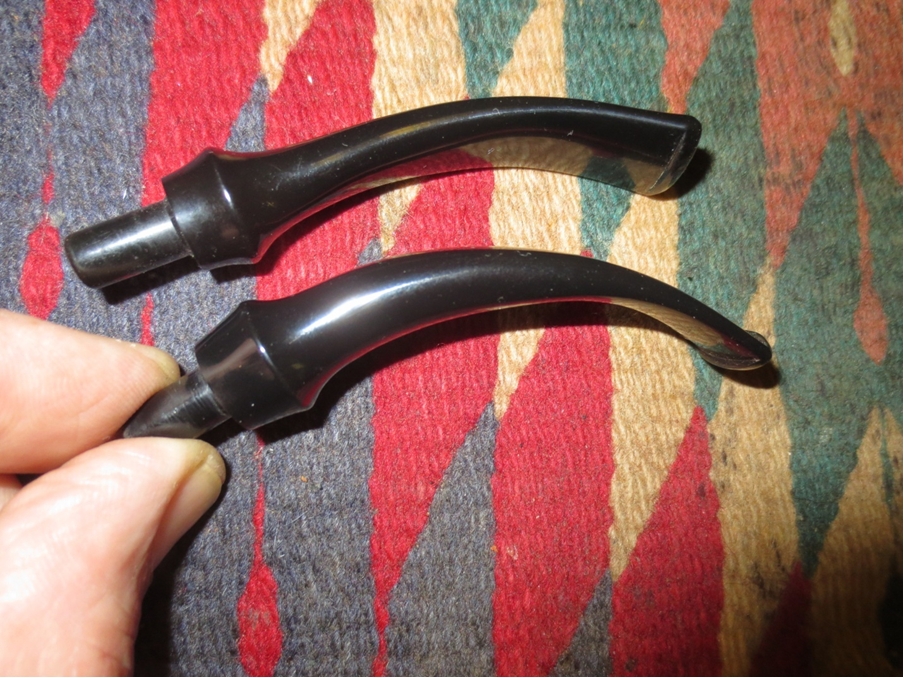
Here are some photos of the stem and pipe. The stem on the pipe is the new one. The one underneath to the pipe is the original. In each of the photos below the thicker stem is the new one regardless of the angle of the camera. The difference is very evident.Tinsky1

Tinsky2

Tinsky3

Tinsky4 I have been smoking it now for over a month. I think that is adequate time to adjust to the new feel of the stem. However, I did not adjust to it. It sat “wrong” in my mouth and hung with the bowl tilted toward the front too far. It was easier to light but was not nearly as easy to clench. The thickness added some weight to the pipe and was nowhere near as comfortable in the mouth. To put it in just a few words, the overall look of the new stem just bugged me.

So tonight I decided it was time to tackle the stem and do some work to remedy my concerns. I set up my heat gun and heated the acrylic stem to take out some of the bend and try to match it to the original stem. I really wanted the end of the stem to be in line with the bowl top when it was flat. In the first photo below you can see the variation in the bend. The top stem is the old one and the bottom one is the new stem.Tinsky5 I heated it slowly above the heat gun on low heat. I have learned the hard way that if it gets too close to the gun the acrylic can bubble and burn and give me more issues to deal with. I heated it until it was pliable and then flattened it against the top of my work table until the bend was the same as the original stem. I set the bend with cool water.Tinsky6 I put the stem back in the shank and took the photo below to show the modification of the bend in contrast to the original stem which sits below the pipe in the photo.Tinsky7 With the bend corrected I also want to thin down the stem and remove some of the heaviness in the area above the saddle. I wanted more of a taper from the saddle to the button and give the saddle to the slope of the stem a bit more definition. I sanded the stem with 220 grit sandpaper to get the angles right to my eye. I also wanted the pinch between the saddle and the blade of the stem to be more defined.Tinsky8

Tinsky9 I sanded and sanded for about forty five minutes to clean up the flow of the stem and finally I was getting to the place that I liked the look of it.Tinsky10

Tinsky11

Tinsky12 I sanded the top and underside of the stem to modify the thickness back toward the button. I wanted more of a flattened taper from the saddle back.Tinsky13

Tinsky14 When I got it to the place I wanted I put the stem back on the pipe to get a feel for the new look. It was definitely thinner than when I started. I did not want to take too much off the top of the stem toward the button as I wanted to leave more material over the airway than was on the original stem in that area.Tinsky15

Tinsky16

Tinsky17 I still needed to do some more shaping with the 220 grit sandpaper so I worked on the stem with it on the pipe so that I could continue to see the effect on the overall look of the pipe.Tinsky18

Tinsky19

Tinsky20

Tinsky21 I was finally happy with the overall shape. It was time to work on the finish of the stem. I sanded it with a medium and a fine grit sanding sponge to remove the scratches left behind by the sandpaper.Tinsky22

Tinsky23

Tinsky24 I moved on to sand it with micromesh sanding pads. I wet sanded with 1500-2400 grit pads and dry sanded with 3200-12,000 grit pads. Between each set of three I rubbed the stem down with some Obsidian Oil as I have found that it enables the micromesh to have a better bite on the stem material.Tinsky25

Tinsky26

Tinsky27

Tinsky28 When I finished with the micromesh I gave it a light buff on the wheel with Blue Diamond Plastic Polish. I then buffed it with carnauba wax and finally with a clean, flannel buff to raise the shine and give it depth. I also gave the bowl several coats of wax with a light touch so it did not clog up in the blast. The finished pipe is shown below from a variety of angles to show the new shape of the stem. It is so much more comfortable to me than it was and I really like the more refined look.Tinsky29

Tinsky30

Tinsky31

Tinsky32

Tinsky33

TInsky34

Tinsky35

Tinsky36

Tinsky37

TInsky38 Now it is time to load up a bowl and give it a smoke. I picked up some McClellands 2035 this past weekend when I was in the US and this pipe loves flake tobacco. I am really looking forward to having this old friend back in the regular rotation.

Finding a Heart for an Aristocob Aluminum (Rhodesian?)


Guest Blog by Robert M. Boughton
Member, North American Society of Pipe Collectors
http://www.naspc.org
http://www.roadrunnerpipes.com
http://about.me/boughtonrobert
Photos © the Author

The Wizard of Oz: “As for you, my galvanized friend, you want a heart. You don’t know how lucky you are not to have one. Hearts will never be practical until they can be made unbreakable.”
The Tin Woodsman: “But I still want one.”

― From “The Wizard of Oz” (movie, 1939)

INTRODUCTION
As a movie and trivia buff, not necessarily together, one of my favorite questions that comes up now and then in conversation and on quiz shows is “When was the Golden Age of Hollywood?” I like it because of the slippery term Golden Age, which implies years forming a great period of time with specific world-changing events and personages, as in the Bronze Age or the Age of Enlightenment. It’s also a trick question, the expected (but incorrect if often accepted) answer being 1939. Granted, in that one year, some of the great movies in Hollywood history were made, including “The Wizard of Oz,” “Gone with the Wind,” “Stagecoach,” “Mr. Smith Goes to Washington” and “Wuthering Heights”. But the true and more agreed upon answer would be 1930-1959, which encompassed “All Quiet on the Western Front” to “Anatomy of a Murder”.

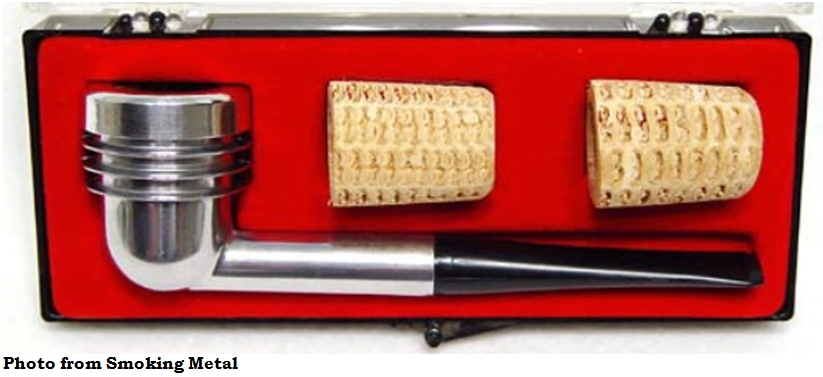
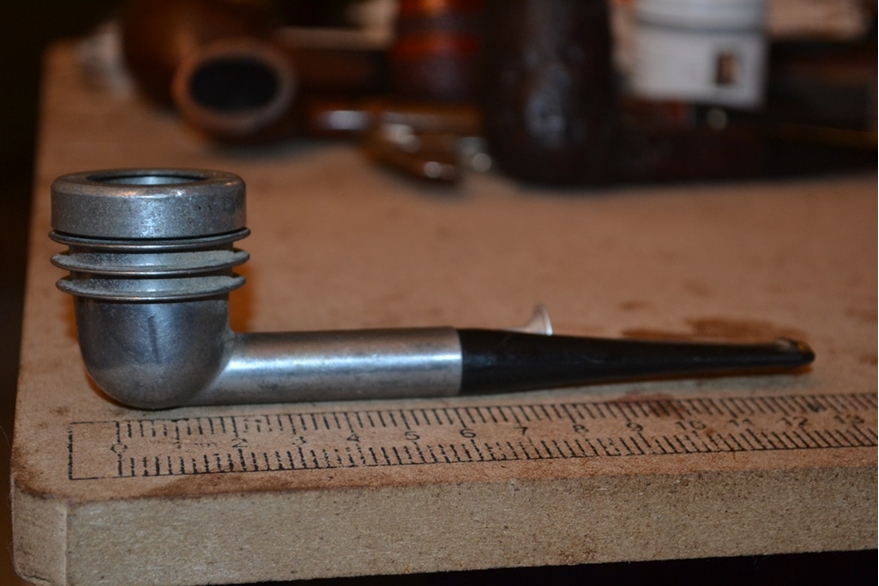
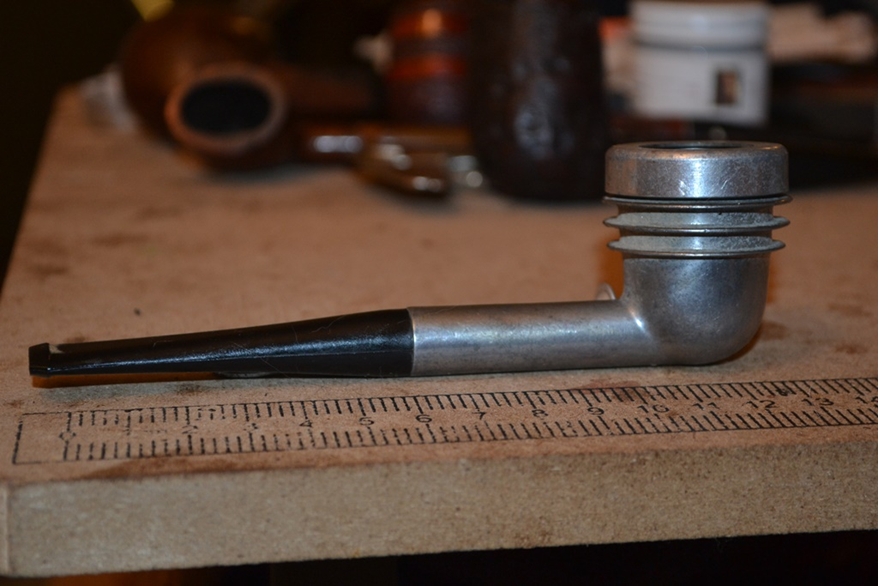
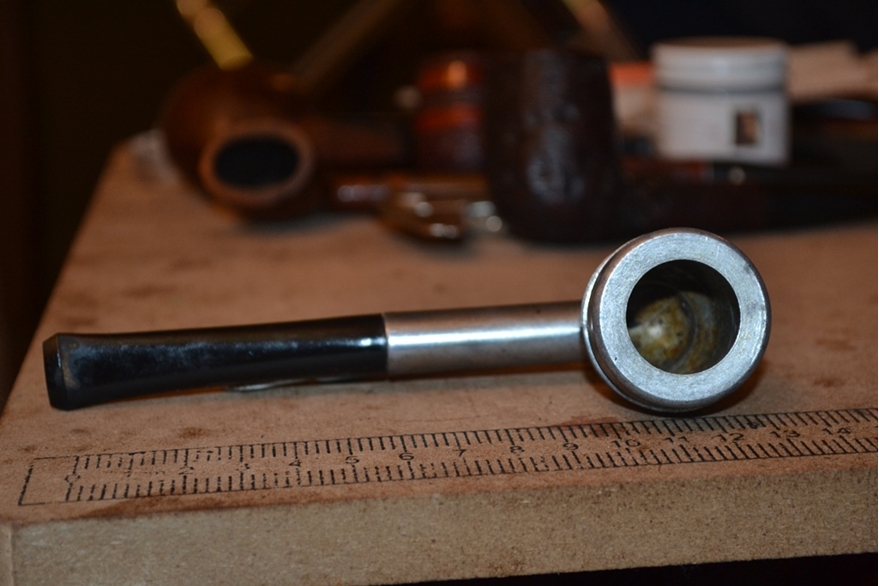
All of this is my way of approaching a term I often refer to but did not coin, the Golden Age of Pipe Smoking. In my mind, although the exact timeline is sometimes said to have begun as long ago as the mid-1800s, this period was from the 1930s into the ’70s, when pipes were ubiquitous and respected all over the world, as reflected in motion pictures, TV and society in general. Below are a few famous Hollywood pipe men: Fred Astaire, John and Lionel Barrymore, Harry Belafonte and Fred MacMurray.Cob1 My own dad and almost all of his friends enjoyed and in many cases had collections of the magic briar social lubricant. The subject of this blog, a brand of pipe named with perhaps tongue-in-cheek humor, is one of the quirkiest, most unusual examples conceived during this wonderful age that I believe is experiencing a renascence: the Aristocob, invented by Joseph W. Zarikta for the Al Cobb Corporation and granted U.S. Patent №. 3,292,639 on December 20, 1966.Cob2 The Al Cobb Corp. became Al-Cob Corp. in Grand Haven, Michigan, and still later Aristocob Inc. in Caledonia, Michigan before being taken over by the Missouri Meerschaum Company in Washington, Missouri. Missouri Meerschaum made the corncob inserts from the early 1970s until 1983, and since then replacements have not been manufactured, but with dedicated searching some will, on occasion, show up when they are found and offered online. Even though I could not locate any for this restoration, I know they still pop up because of several sold-out listings I found on eBay. However, by most accounts the original inserts, or even self-styled replacements, are high maintenance contraptions that quickly become wet, mushy and, in short, nasty to use. Still, our esteemed host, Steve, emailed me the following message: “I love those old aristocobs. They are sweet looking retro experiments.” Indeed they are. I even found several sites where this pipe is given the high description of “art deco.”

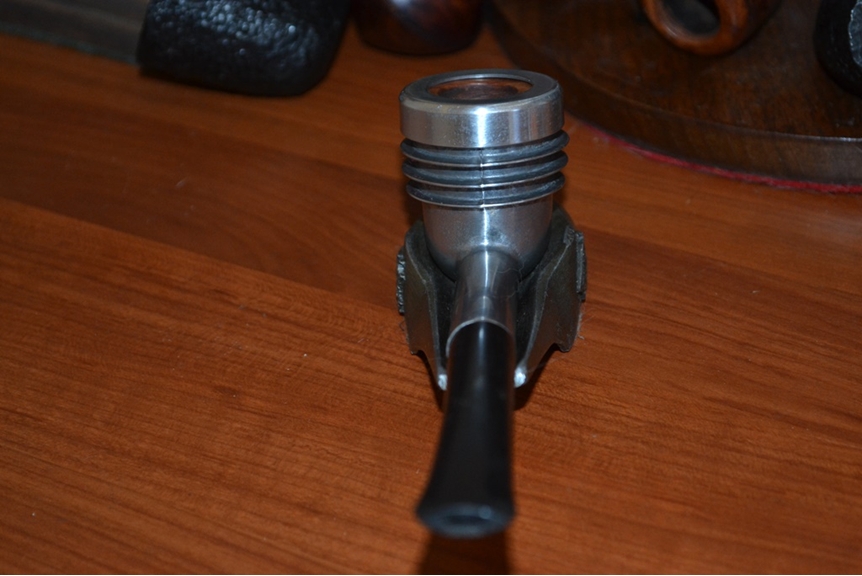
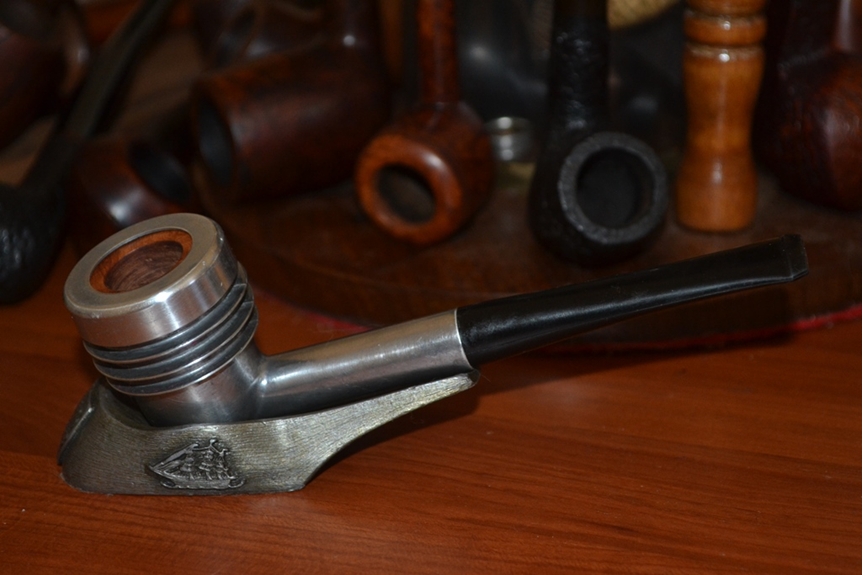
Nevertheless, I believe I have found a more suitable and permanent solution to the problem, even if it does detract from the good, old timey flavor of the maker’s intent: briar inserts made to fit the Aristocob. [See http://www.owlpipes.com/#!new-collection/c1jn5.%5D For this restoration I ordered one, and considering I bought the beat-up old pipe itself for $2 at a yard sale, the $25 cost of the briar insert should be worth it. As timing allowed, the insert arrived on Friday but was too big for my home mailbox, where the package was sent due to a mix-up with PayPal, instead of the Post Office Box I use most often. And the Postman being too lazy to walk to my door (or just afraid to do so in my neighborhood), I picked it up at the Post Office Saturday.

This restoration, therefore, takes place in real-time, as I write this.

RESTORATION

SATURDAYCob3

Cob4

Cob5

Cob6

Cob7

Cob8

Cob9

Cob10

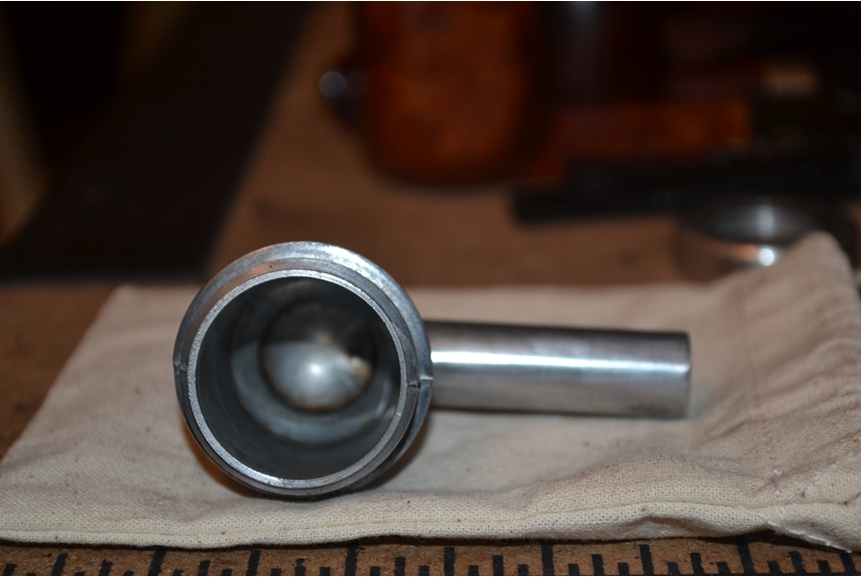
Cob11 Before venturing to my neighborhood Postal Station, which is the local training site and therefore deplorable, I decide to do a preliminary clean-up of the metal. The oxidation on the bowl, in particular in the threads and deep grooves, comes off with ease using a pair of small, thin, cotton gun cleaning patches soaked in Everclear. I am able to use the same patches to clean the threaded lid inside and out. The identical process on the chamber removes most of the old tobacco juice and minimal oxidation except for the brown grime near the opening of the air hole. For that I dip a bristly cleaner in the alcohol and run it through the wide open, tubular shank and into the bottom of the chamber. The shank needs a second swabbing.Cob12

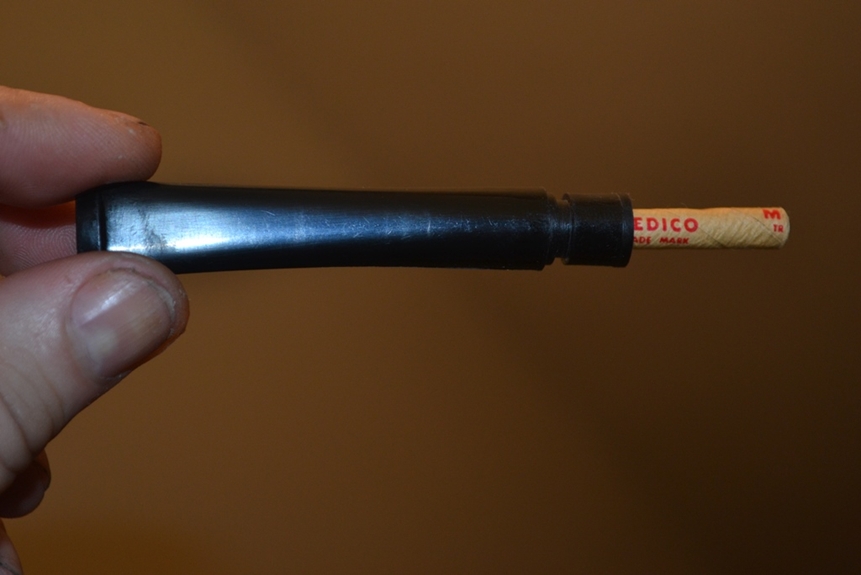
Cob13 The pipe cleaner dipped in freshener that I run through the air hole of the bit comes out clear, but it doesn’t hurt to try. The outside of the bit, with almost no scratches, buffs up nicely using micromesh. I place the filter, in this case a Medico because it fits and I have a few – and with this pipe, a filter really will be necessary – into the stem.Cob14

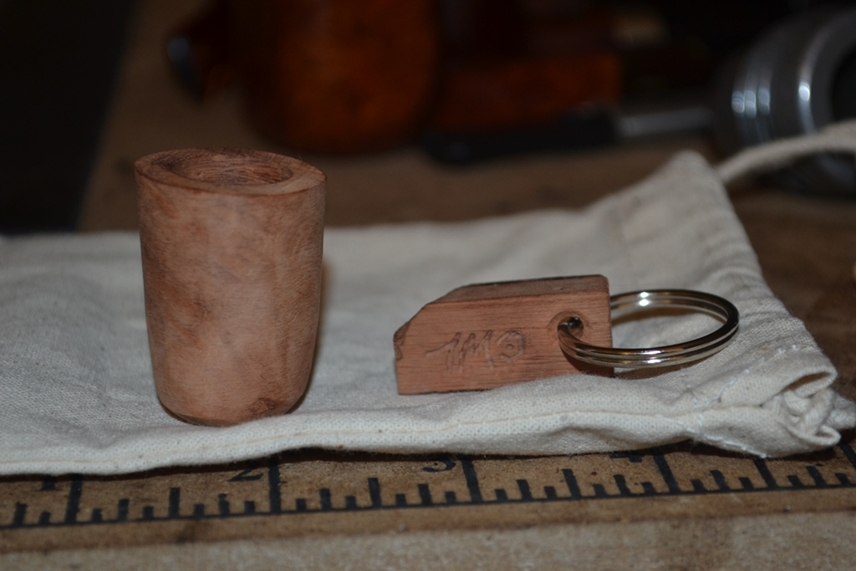
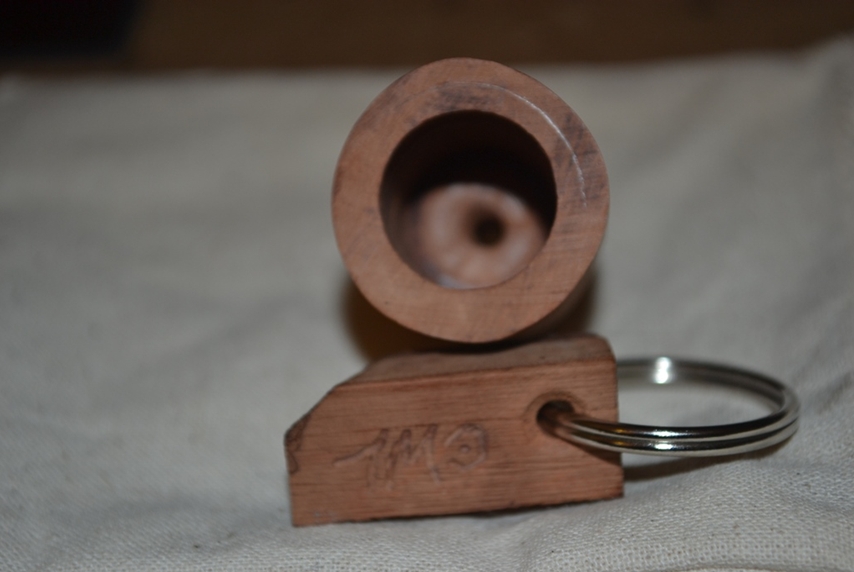
Cob15 And so the time to face the ordeal of the long, slow line at the Post Office comes. An hour later I am home again with my new briar insert and a surprise: a small key chain fashioned with a little chunk of lightweight, pale briar, both of them in a nice bag with a drawstring.Cob16

Cob17 Now, something about the nakedness of the insert, being briar instead of the traditional corncob, just doesn’t sit right with me. Even when I test the fit by dropping it in the chamber and screwing on the lid, while indeed the briar is the correct size, the raw part of the rim that shows, beneath the top of the aluminum lid when I screw it on, is wrong. I ask myself (not out loud, but in my head – I’m not crazy, even if at times I ramble and digress), “Would I ever, even on the most rushed or easygoing project, conceivably consider leaving any rim unpolished?”

“Hell, no,” is my immediate response, though still silent. And so the next stage begins with what is intended to be just a quick sanding, micro-meshing and waxing of the rim. In point of fact, I try only the progression of micromesh, but that reveals the need for sanding, which I accomplish with 400-grit paper before re-doing the micromesh.Cob18

Cob19 SUNDAY
But of course, once I start down that road – as simple as settling for the polished rim of the insert with its newly exposed even grain would be, given that it is the only part that will show through the lid – I simply cannot bring myself to leave the sides completely unfinished. Still, I approach this task with nowhere near the detail I would give a regular briar bowl. A fast sanding with 320-grit paper followed by 400, then micro-meshing, satisfies me, and it shows in the photos below. I consider doing the bottom of the insert, with a small hole drilled to allow moisture to pass in this most bizarre system pipe, but good sense does get the better of me, when my mind comes around to the reality of the resulting damage to anything sitting for long in the potential quagmire that the lucky buyer of this fine pipe might create even without the genuine, disposable corncob inserts.Cob20

Cob21 Now, as midnight approaches, the second day of sporadic work on the Aristocob reaches its end and extends into another, as seems to be the nature of my life so often these hectic days. I need to run to the nearest Walmart anyway, to buy more distilled water, distilled white vinegar and baking soda to continue with the final few steps of this experimental restoration.

MONDAY

Having secured the necessary ingredients for the culmination of an exciting and hopefully successful restoration, the next stage is to soak the aluminum for ten minutes or so in enough of the pure vinegar to cover all of the metal. As I have never before had occasion to work with aluminum in this sort of project, I have not tried the unusual method of cleaning any part of a pipe, and must trust a fellow pipe club member who actually makes his living engaging daily in this process to remove dirt and other substances from industrial parts made of the same material, and at the same time brighten it. I do, at least, confirm online that the procedure is an established and excellent means of accomplishing the goal.Cob22 While the aluminum soaks, I enjoy a brief respite from my toils, with a pipe-full of some of the last of my C&D Pirate Kake in a newly-acquired Castello Old Antiquari KKKK Sandblasted Bulldog. There is no doubt this is a bulldog compared to the dubious designation of Rhodesian that, with clear reservations, I suggest for the Aristocob by way of calling the art deco thing anything other than that.

Alright, then; the aluminum Rhodesian has soaked for 12 minutes now in white vinegar, and I am one step closer to seeing if the well-intentioned advice of my fellow piper has any merit to it. First giving the metal pieces a basic rinse with tap water, I replace them in the plastic container for a thorough dousing in a concoction of the same with an unspecified and therefore liberal amount of baking soda stirred in to rid the aluminum of any residual acidic vinegar.

After a long day involving far more than this restoration, which details I will spare the reader and try to make myself forget, I suspect the Old Antiquari is up for another ten-minute smoke, and I know I am.

Ten more minutes fly by, and the water and baking soda have done as much as they can to ensure the complete removal of vinegar. I rinse the metal again and dry the lid, bowl, shank and chamber with a cotton rag. I decide to use another cleaner to dry the inside of the shank and chamber air hole, only to discover that the combination of the vinegar and the following water-baking soda soaks has dredged up much more vintage grime. Both ends of the one dry cleaner, then a second dipped in Everclear and a third dry cleaner clear out the remaining mess, and I re-wipe the chamber with a rag.

The pipe is as ready as I can make it for reassembly. I drop the polished briar insert in place, screw on the lid and slide the bit with its new Medico filter into the shank, and give the whole thing a rubbing with the cotton rag.Cob23

Cob24

Cob25

Cob26

Cob27

Cob28 CONCLUSION
Although not as shimmering as it once looked new in its package with a couple of spare corncob inserts, the vintage Aristocob Rhodesian, like the Tin Woodsman in Oz, has a new briar heart that matches the second part of “my galvanized friend[’s]” name. And this new transplant will last much longer than the original.

Giving a no name Poker a new stem and a new look


Blog by Steve Laug

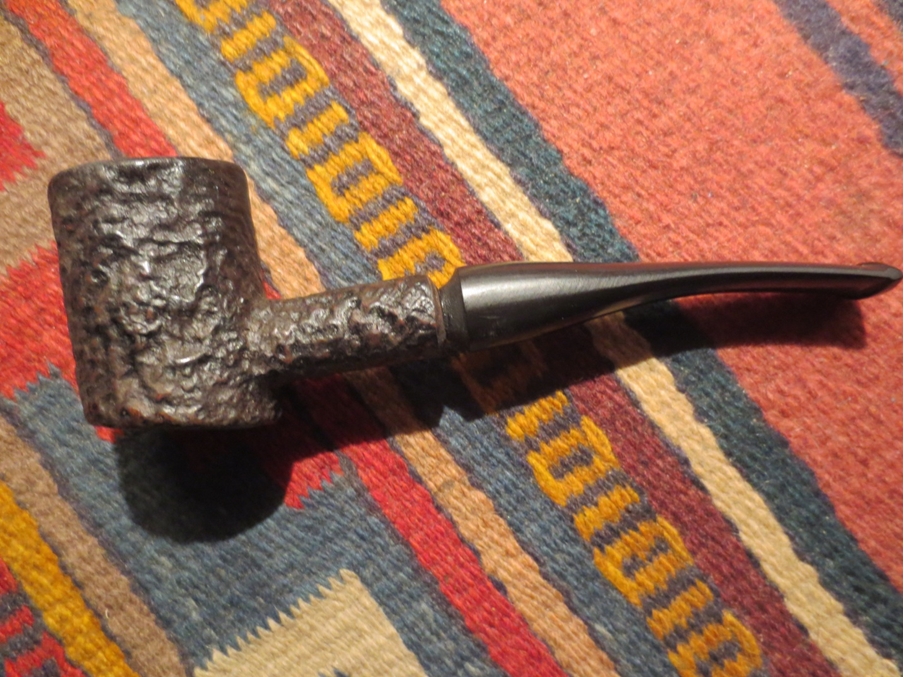
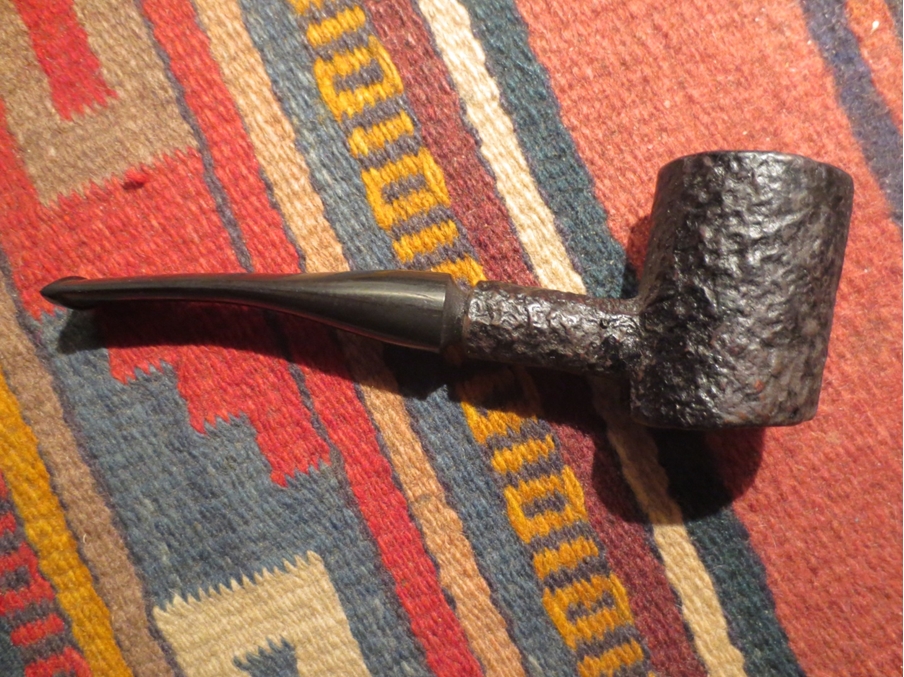
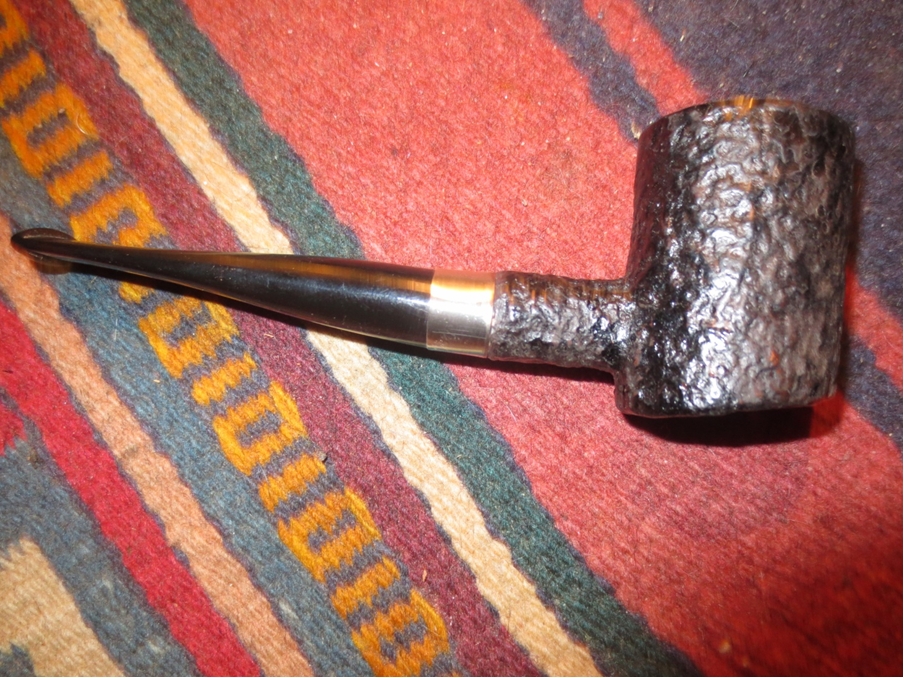
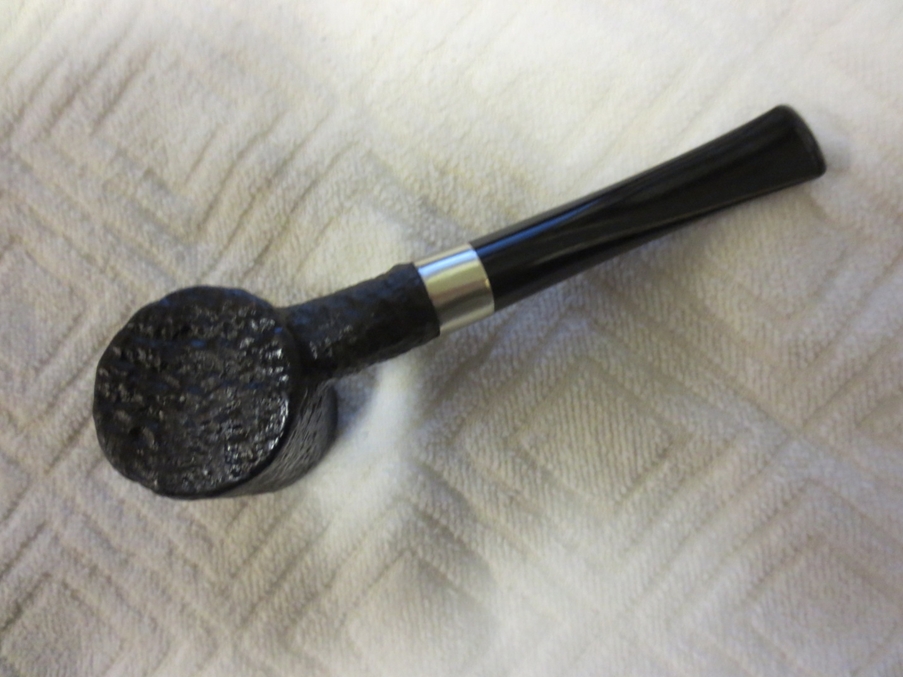
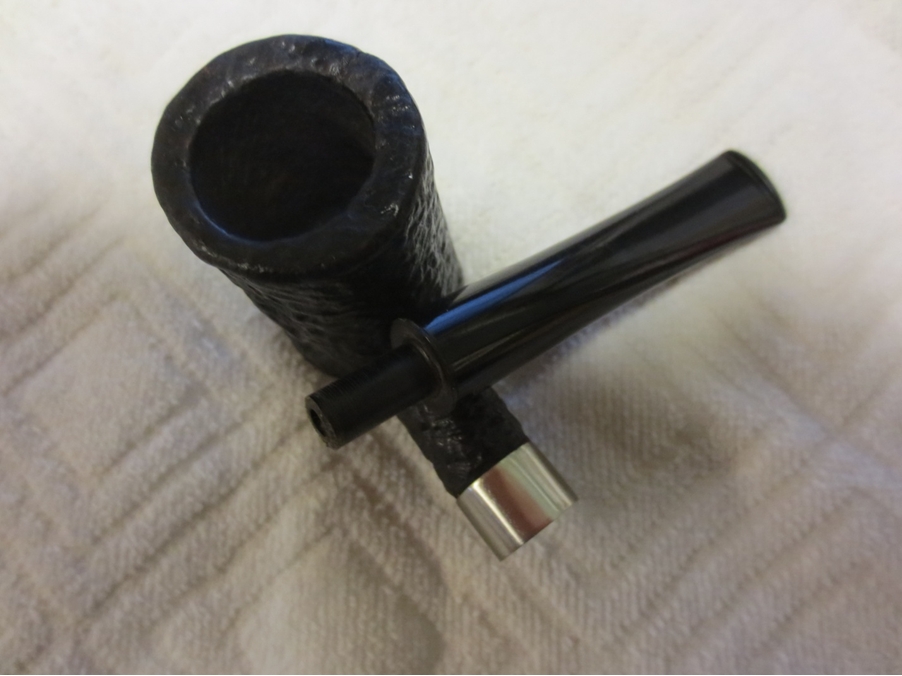
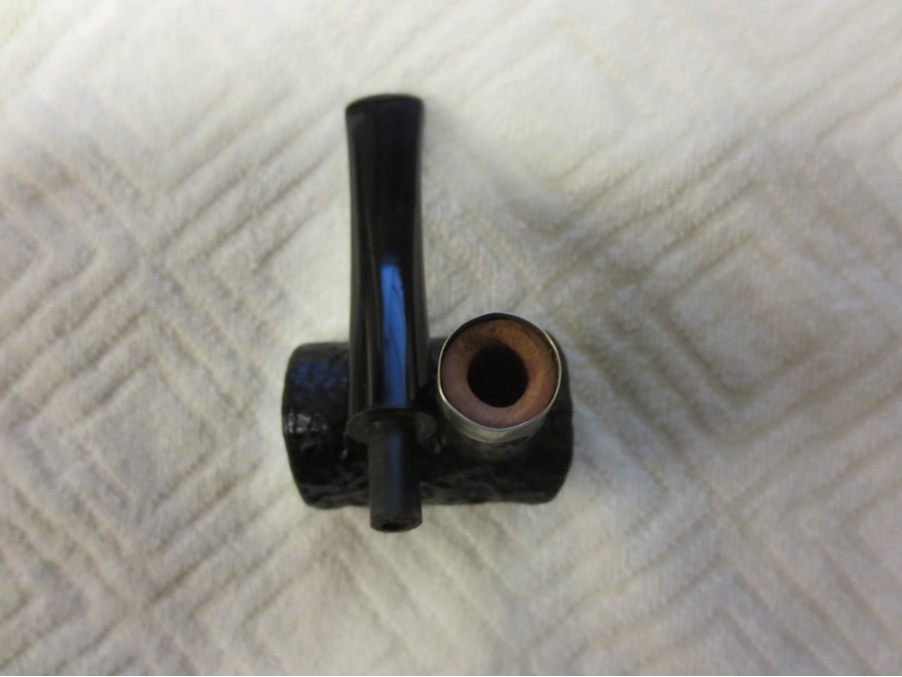
Over the past six or seven months I have picked this pipe up and looked it over at the small antique shop I visit regularly. Every time I put it back down and leave it there. There was really nothing redeeming about the shape with its one thin side and the odd shank that was not quite round. The stem was just plain ugly and unfinished. It was as if the maker or owner just turned a blank to fit the mortise and flared it backwards to avoid having to deal with a smooth fit to the shank as it was everything but flat and round. The sides of the stem still showed file marks and the diameter was markedly different than that of the shank. All in all it was one that I could do without that is for sure.

Then this past weekend I was in the shop again. I picked it up and looked at it once more. I don’t know if my mood was different or I was on the adrenaline high of finding the old Zeus at the shop before or what but this time I saw some possibilities in the pipe. I paid the $8 cash and the pipe was mine. Now what would I do with it?

When I got home I took some photos and weighed my options over Saturday evening and Sunday. I thought about making a freehand style stem for the pipe and ditching the old one. I thought about cleaning up and reshaping the old stem. I thought about facing off the shank end and giving it a more classic look. I took the stem off and looked at the shape of the shank, the shape of the shank end and tried to visualize it with a classic look. As you can guess by this point if you know my likes I went for the classic look.Poker1

Poker2

Poker3

Poker4 I took a couple of close-up photos of the rim and the shank end to give an idea of how the bowl and shank were not round or close to it. The first photo of the dirty rim of the bowl shows the odd shape it was in. The right side of the bowl wrapping about half way around both the back and the front had a nice thick, even width while the left side tapered in from the thickness and roundness of the right, back and front to a thinner width. Besides that it also seemed to be a bit oval on the back and front but after measuring it I could see that it was an illusion. The second photo shows the shank end. It is a bit hard to see but the shank end was crowned and rounded over but inconsistently. The shank itself had the same problem as the bowl – it too was not round but was thicker on the left side than on the right; just the opposite of the bowl. This little pipe was going to be a challenge to make look correct.Poker5
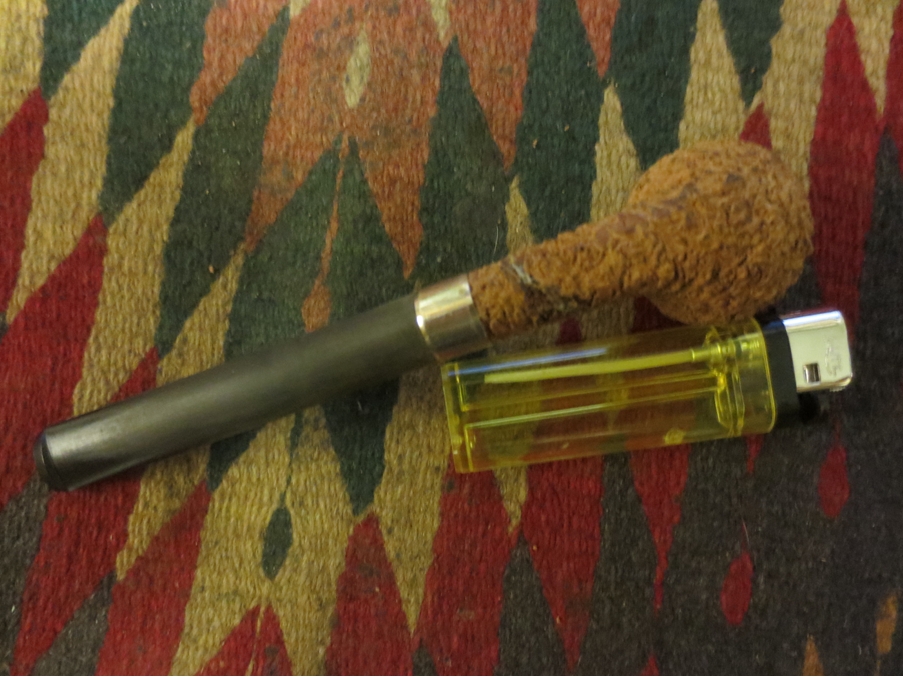
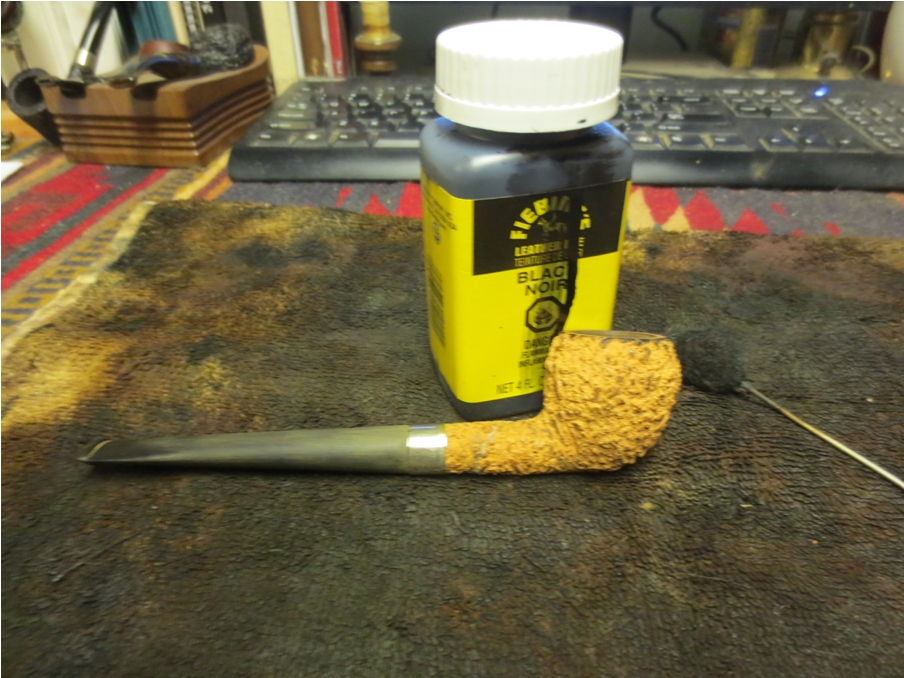
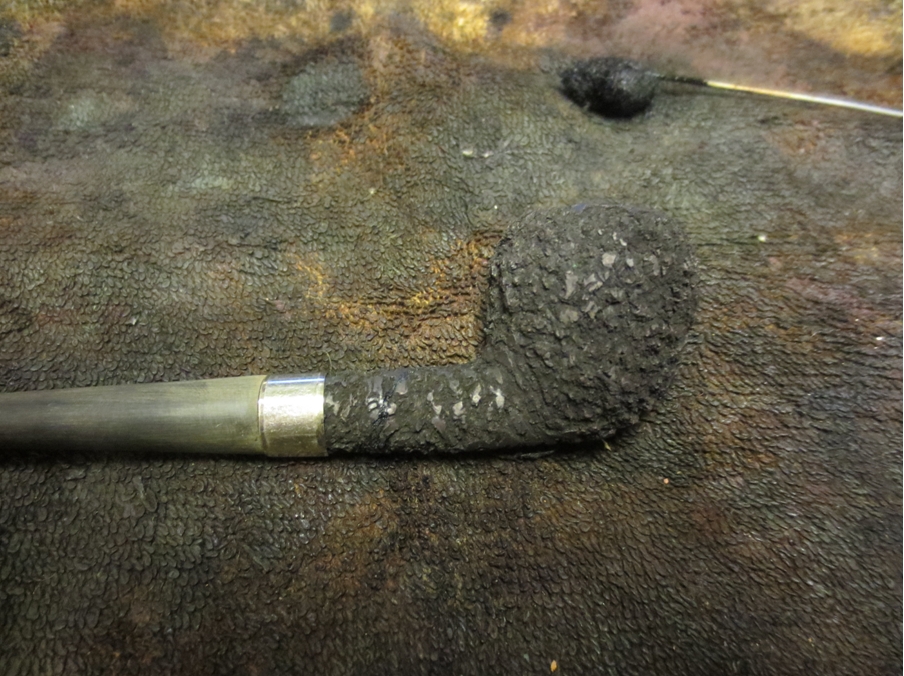
Poker6 I decided to face the end of the shank and remove the uneven crown and to flatten it to fit a flush stem. I used the topping board and carefully pressed the end of the shank into the sandpaper. I had to make sure that I held it straight vertically while sanding so that I did not slant the end of the shank and make things worse.Poker7 I worked it against the 220 grit sandpaper until it was smooth and the crown was gone. I then used a medium grit sanding block to make sure the shank end was flat and even.Poker8 I had an old Georg Jensen stem that fit on the right side of the shank perfectly. The left side and the bottom and top on that same side were off. I tried a saddle stem I had as well. No matter which stem I use the shape of the shank made a perfect fit impossible. The good news was that the flush stem fit snugly in the mortise and flat against the end of the shank. Now I would need to make adjustments to the shank diameter without losing the nice sandblast finish.Poker9 I went through my bands and found one that would fit both the shank and the stem once it was in place. I used my Dremel and sanding drum to take down and round out the shank end so that the band would sit properly. I wanted to make the adjustments to the shank before the band so that once it was in place the stem would fit without adjusting the roundness of the stem to match the out of round shank. It took some work to round out the shank but the Dremel made short work of the process.Poker10 I was able to put the band loosely on the shank to get an idea of the overall look of the pipe with the band. It appeared to me that it would work well.Poker11

Poker12 I decided to heat the band with a lighter rather than set my heat gun to do the simple heat up of the band. Once I heated it I pressed it into place on the shank. The metal expanded slightly with the heat and by pressing the shank end against a flat surface I was able to push the band into place.Poker13

Poker14

Poker15

Poker16One problem was solved. The shank was now round at the end and the stem would fit tightly against the shank and the band made the match perfect.Poker17

Poker18

Poker19

Poker20 I used a dark brown stain pen and a black permanent marker to touch up the raw briar in front of the band and blend it into the colour of the bowl and shank.Poker21

Poker22

Poker23

Poker24 Once I had the stained matched, it was time to clean the sandblast finish. I used Murphy’s Oil Soap and a tooth brush to scrub the bowl and shank. I did it after the stain touch up as I figured that the scrub would help blend the stains together.Poker25 I rinsed the bowl with fresh water avoiding getting it into the shank and the bowl. I dried it off and brought it back to the work table. I cleaned out the shank and the used stem with a few pipe cleaners and alcohol. The pictures below show the pipe at this point in the process.Poker26 The stem needed some work to clean up the scratches and wear around the button. I wet sanded it with 1500-2400 grit micromesh sanding pads and dry sanded it with 3200-12,000 grit pads. I rubbed it down with Obsidian Oil and then buffed it with Blue Diamond Plastic Polish on the buffing wheel. I gave it a quick coat of carnauba and took it back to the work table.Poker27
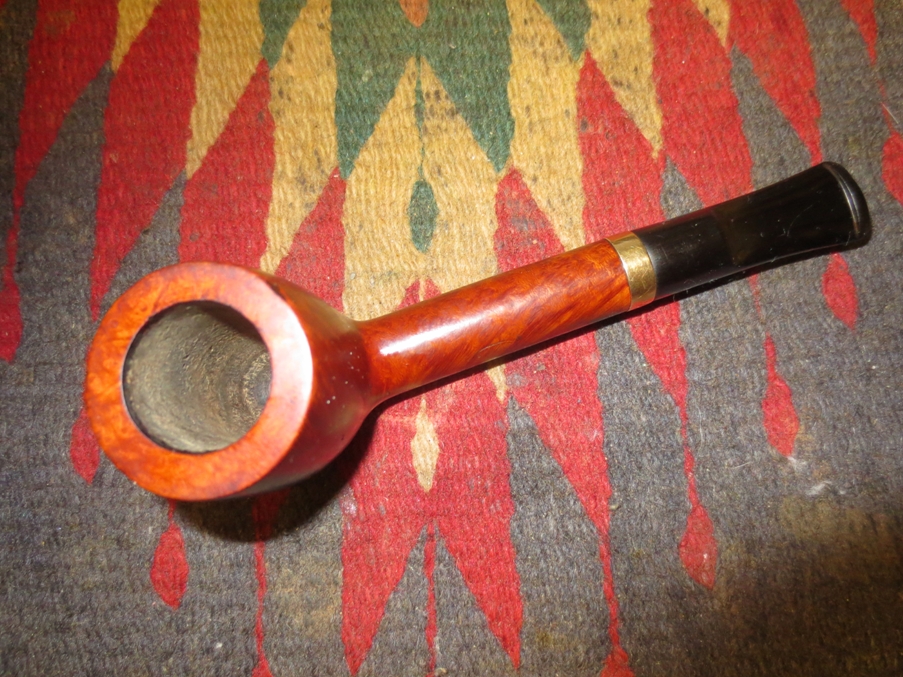
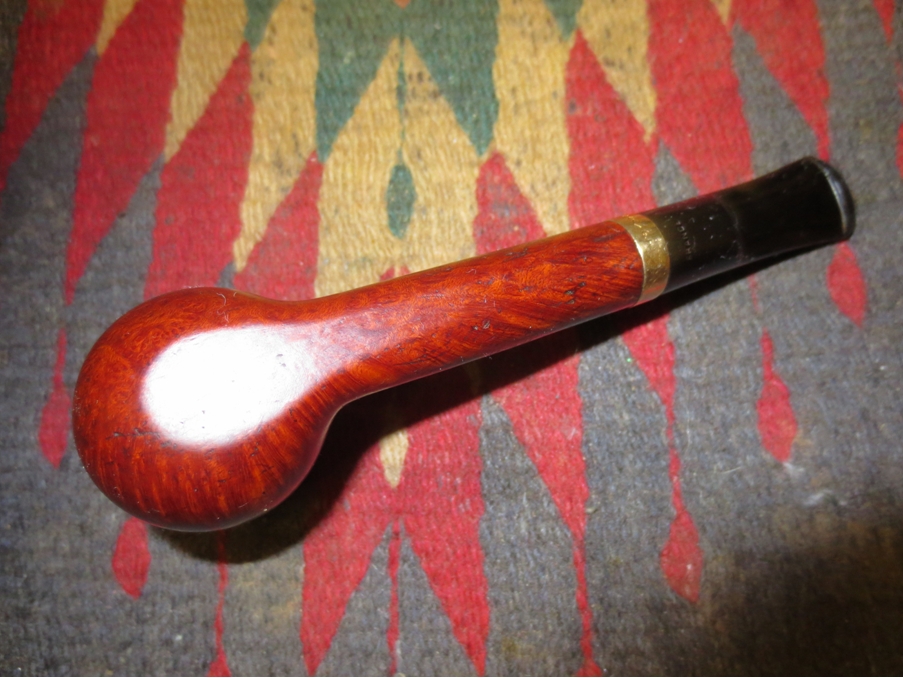
Poker28

Poker29 I gave the bowl and stem a light buff and rubbed the bowl down with a light coat of olive oil. When it dried, I hand buffed the bowl with a shoe brush to raise the shine. The finished pipe is shown in the pictures below. I think I achieved what I set out to do when I started this project. I took a pretty ugly poker with a misfit stem and with work transformed it into a more classic poker look. What do you think? Thanks for looking and giving your opinion on the new look.Poker30

Poker31

Poker32

Poker33

Poker34

Poker35

Taking the idea that several readers gave regarding the straight stem I bent it this morning. I heated it with the heat gun and then gave it a gentle 1/8 bend. Here are the photos.Bent1

Bent2

Bent3

Bent4

Refurbishing a 1978 Dunhill Root Briar 41041 Bulldog


Blog by Steve Laug

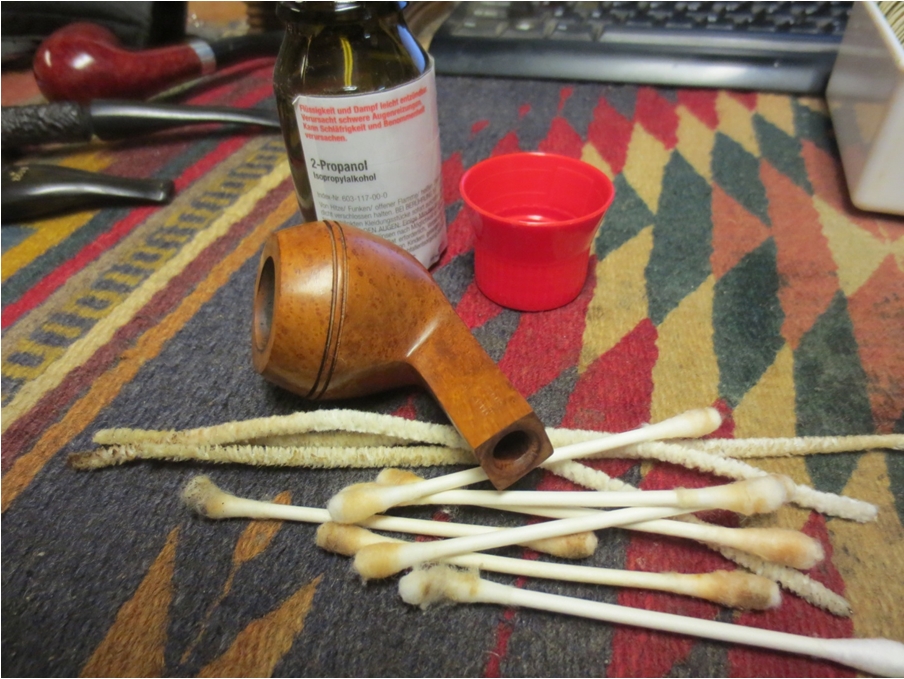
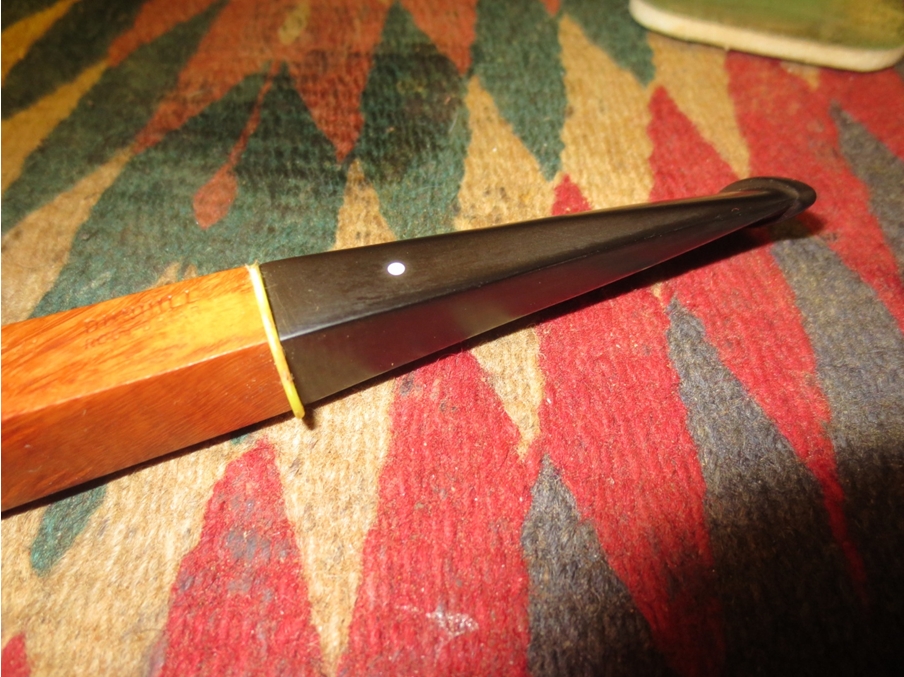
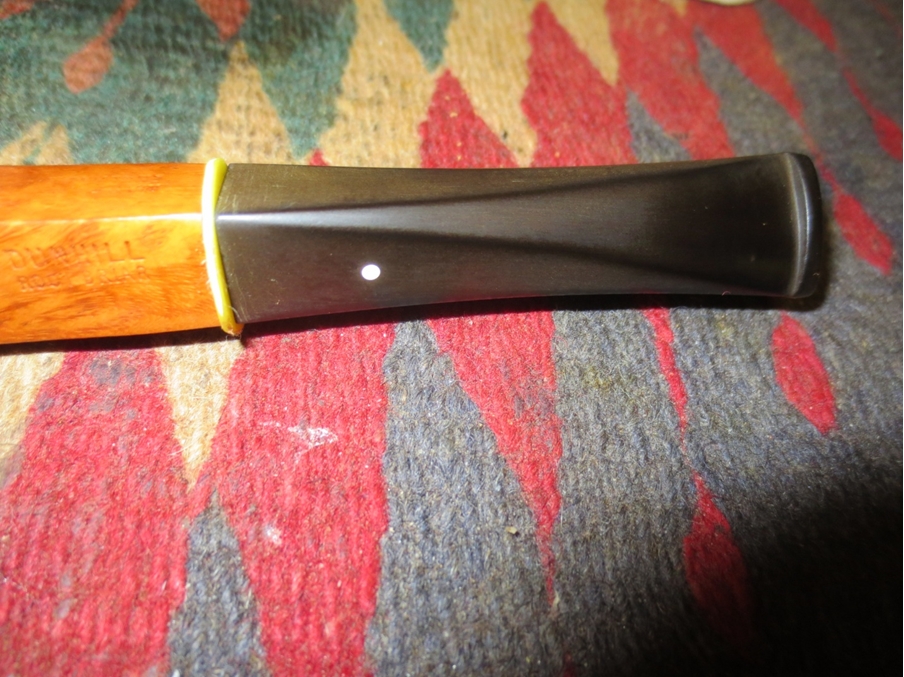
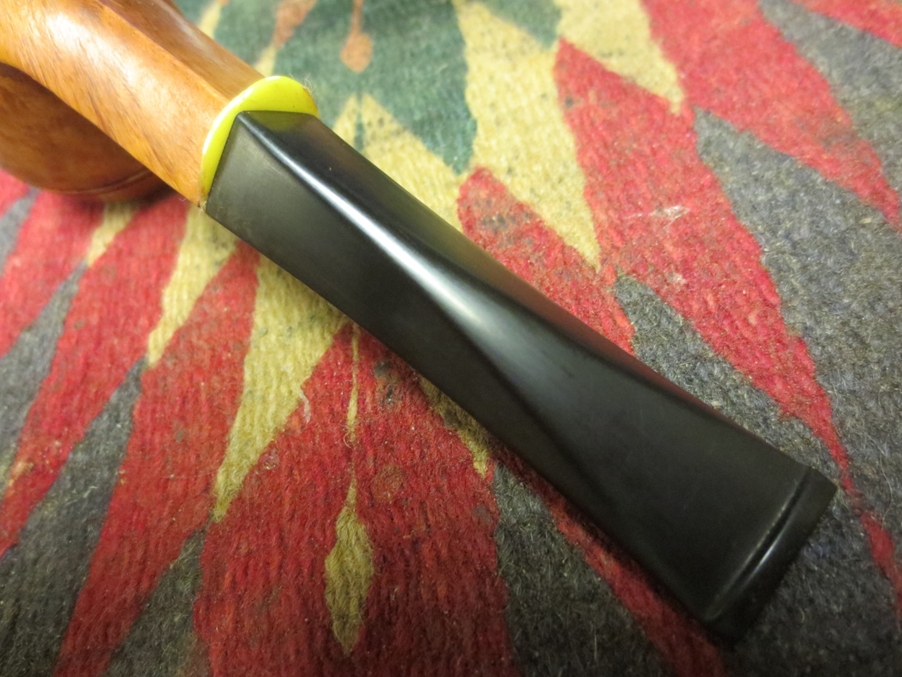
This is another pipe that came to my work table. It is a beautifully shaped Dunhill Bulldog. It is stamped 41041 and Dunhill over Root Briar on the left side of the shank. The right side bears the made in England stamping with the date number that puts it at 1978. The bowl was in excellent shape and had been recently reamed and cleaned. The finished was dull but very clean. There were no issues with the briar. The stem was also in great shape other than being heavily oxidized on the top sides. There was a small tooth mark on the top side of the stem next to the button as well. What made this one interesting to me was the issue that I often see with diamond shank pipes. The sides all looked the same but were not when measured. The top left was slightly bigger than the top right and so forth. It was not an issue as I did not need to replace the stem but it was just an interesting tidbit and one thing I always look for when working on diamond shank pipes. The next series of four photos show how the pipe looked when I brought it to my work table.Dunhill1

Dunhill2

Dunhill3

Dunhill4 I took two close-up photos of the stem to show the oxidation and the slight tooth mark on the topside near the button. The underside of the stem was not as badly oxidized but had slight oxidation.Dunhill5

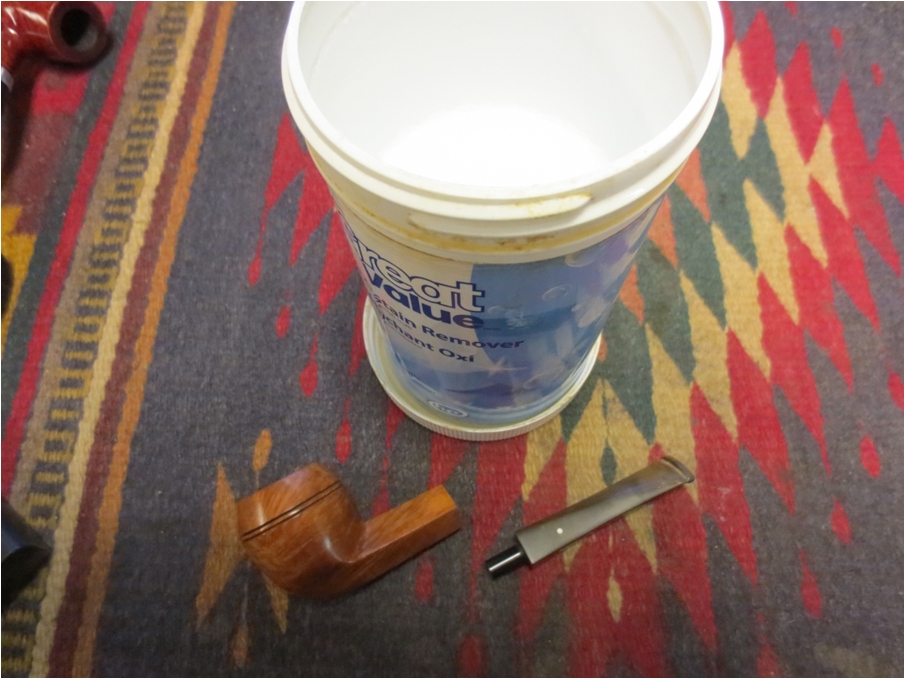
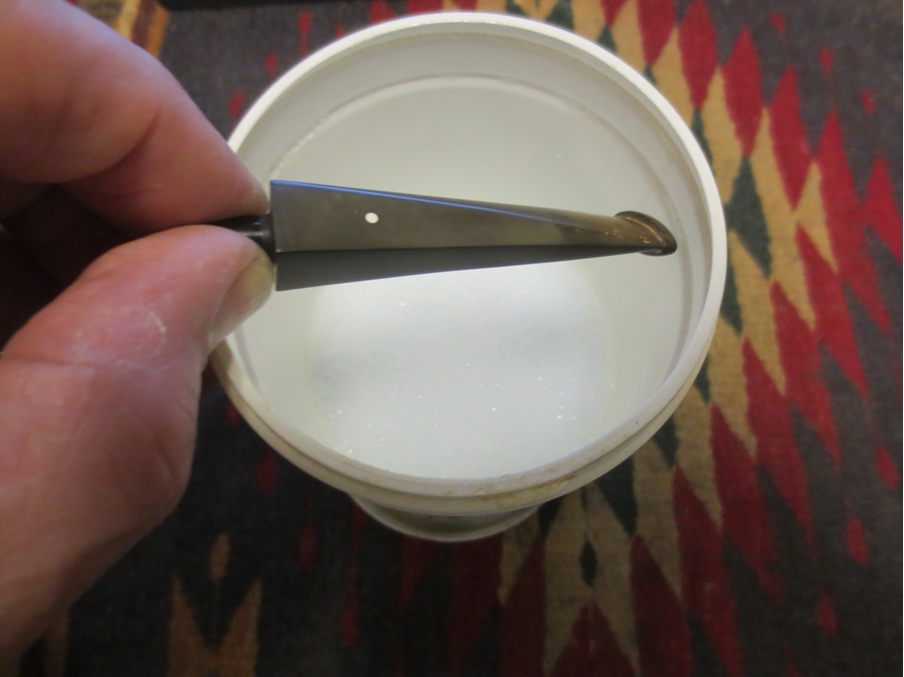
Dunhill6 I mixed up a batch of Oxyclean and put the stem in it to soak overnight.Dunhill7

Dunhill8 While the stem soaked I decided to clean out the shank and airway. I used isopropyl alcohol, cotton swabs and pipe cleaners to remove the tars and oils in the shank. I have found that even when I buy a “refurbished” pipe on eBay I do this and am always surprised at the grime and oils that come out of the “clean” shank. I did not want to use the retort on this one as it was not terribly dirty and had been subjected to a pretty good cleaning before it came to me.Dunhill9 In the morning when I took it out of the bath and dried it off much of the surface oxidation was gone and the mix had raised some more oxidation.Dunhill10

Dunhill11 I put a plastic washer on the tenon and put the tenon in the shank so that I could clean up the edges/shoulders of the stem without rounding them. I sanded it with a medium and a fine grit sanding sponge to start with and worked on the oxidation.Dunhill12

Dunhill13

Dunhill14 I wet sanded the stem with 1400-2400 grit micromesh sanding pads. I worked on the scratches as well as the oxidation on the stem.Dunhill15 I “painted” over the surface of the stem with flame from a BIC lighter to burn off some of the surface oxidation and then wiped it down with Obsidian Oil. The photos below show the stem after that process.Dunhill16

Dunhill17

Dunhill18

Dunhill19 I went back over the stem with the 1500-2400 grit micromesh sanding pads until the surface was freer of oxidation. I then wet sanded it with 3200-4000 grit pads and the shine began to show up.Dunhill20

Dunhill21 I buffed the stem with red Tripoli and White Diamond before finishing with 6000-12,000 grit micromesh sanding pads. When I finished with the pads I rubbed down the stem with Obsidian Oil and let it soak in.Dunhill22

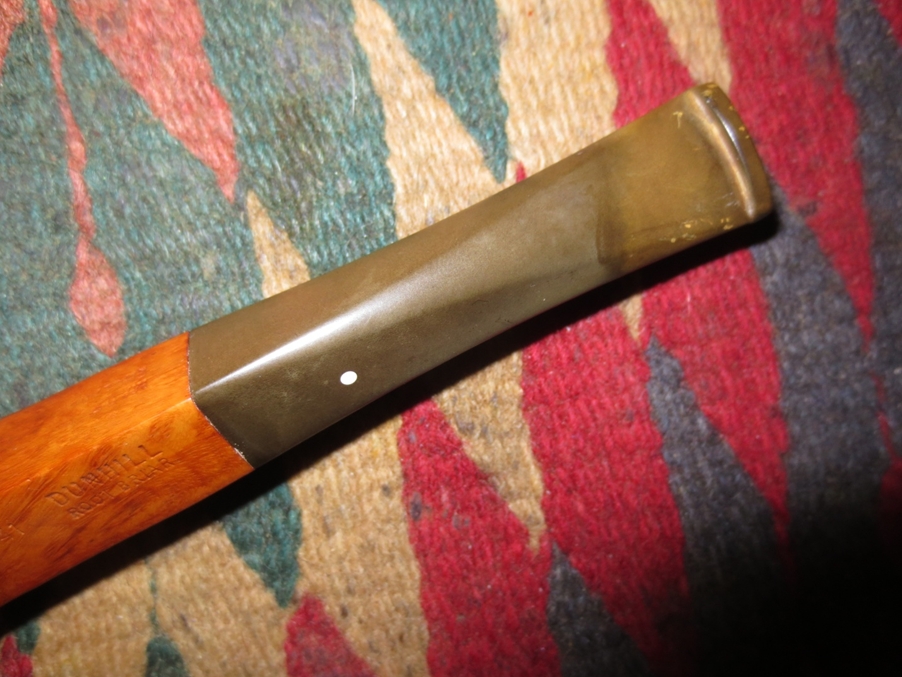
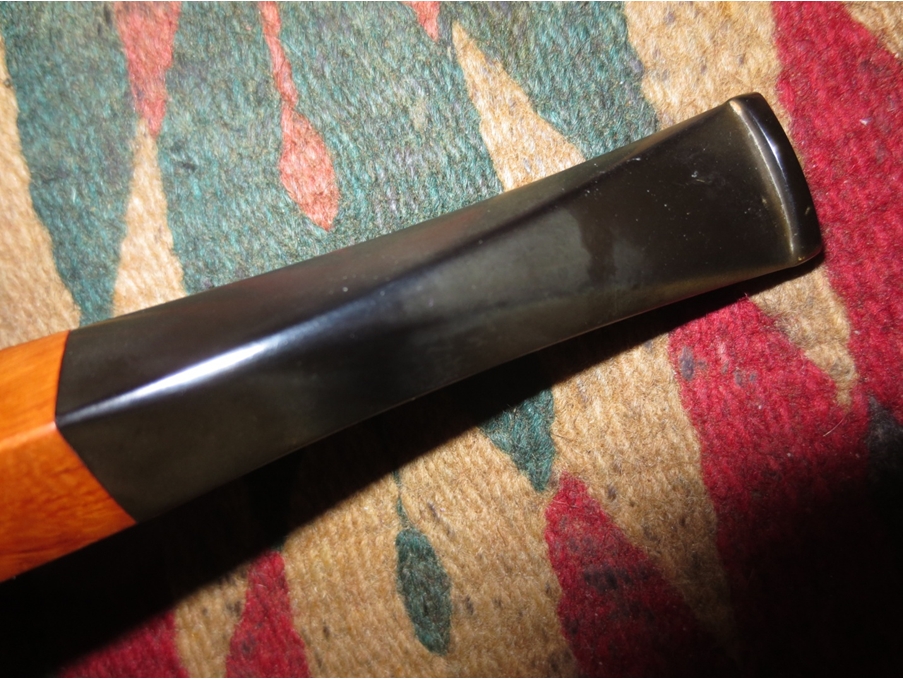
Dunhill23 Once the oil had soaked into the stem I buffed the bowl and stem with Blue Diamond plastic polish being careful around the stamping on the shank. I gave the bowl and the stem multiple coats of carnauba wax and then buffed it with a clean, soft flannel buffing pad to raise the shine and give it that like new look. The finished pipe can be seen in the photos below. It is ready for the next pipeman to load up his favourite bowl and have a smoke.Dunhill24

Dunhill25

Dunhill26

Dunhill27 Thanks for looking.