Blog by Steve Laug
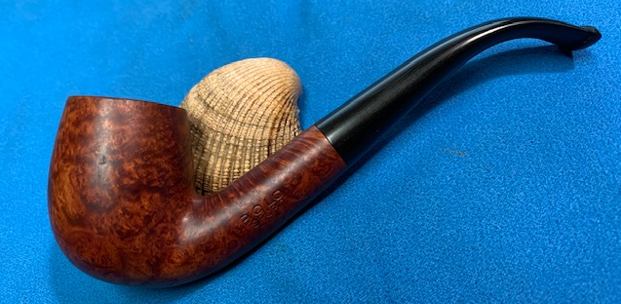
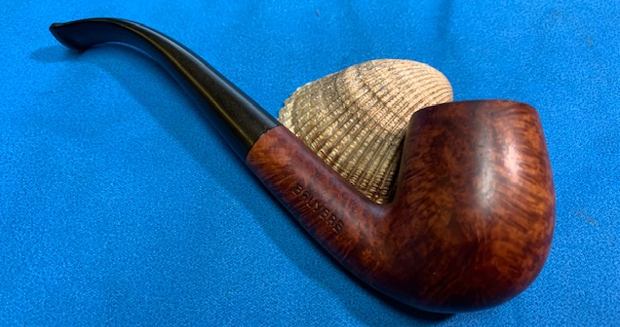
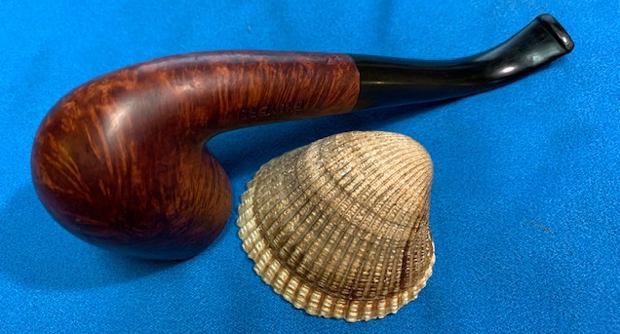
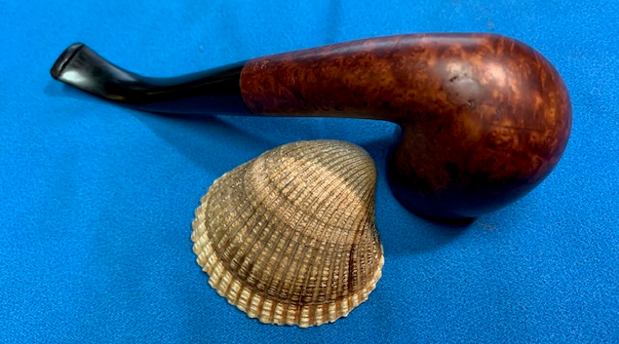
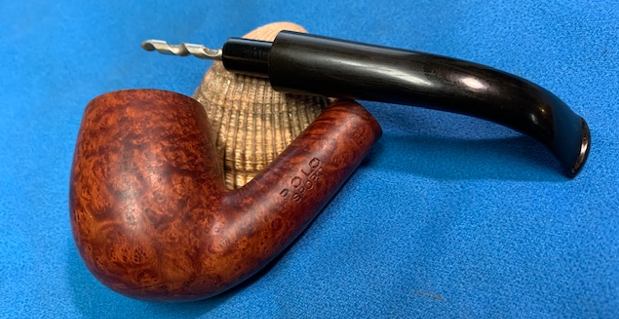
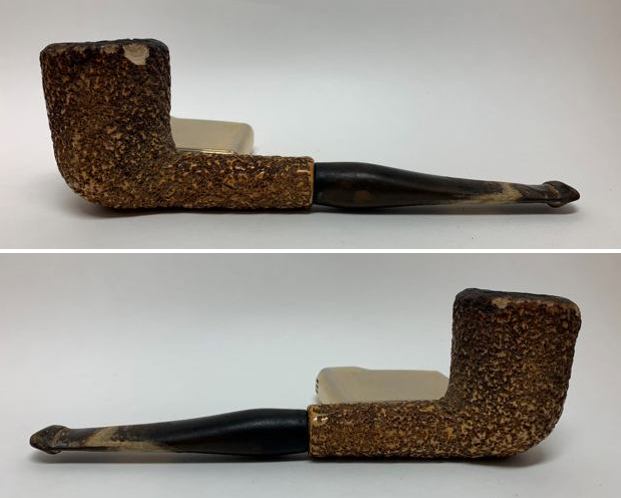
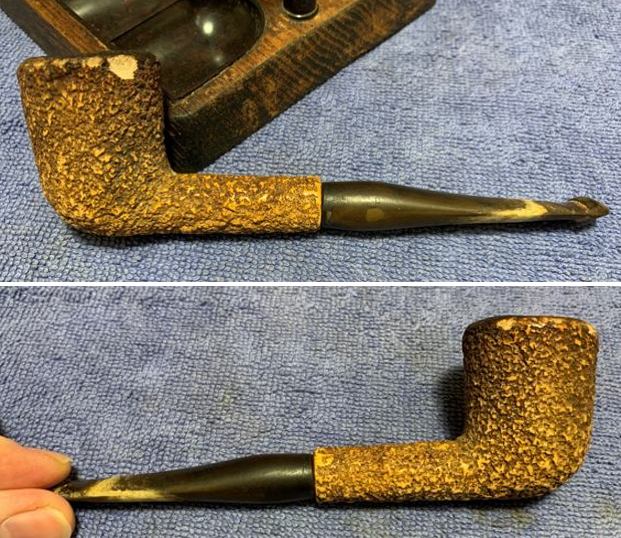
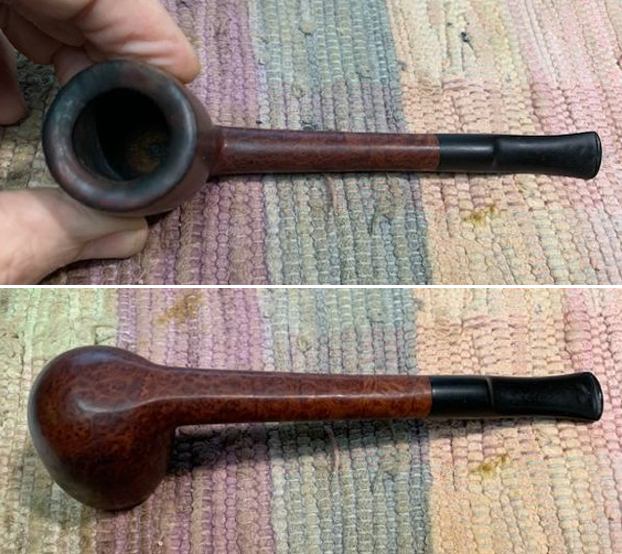
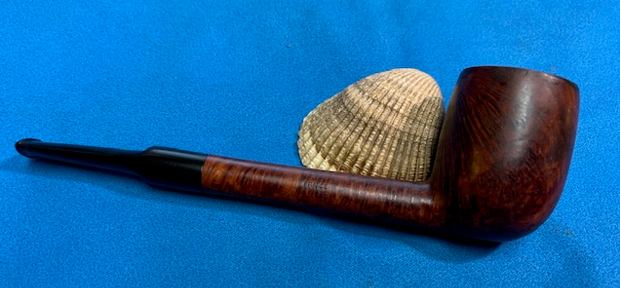
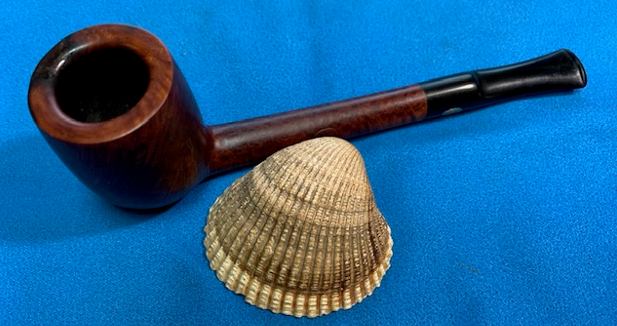
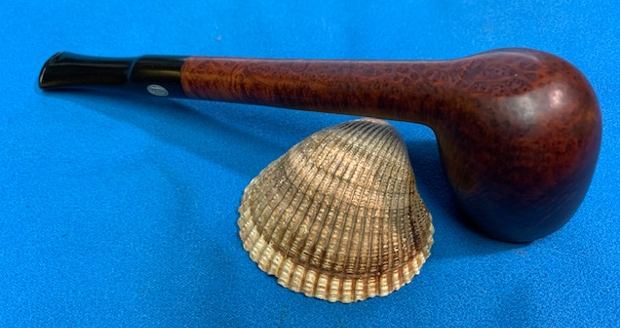
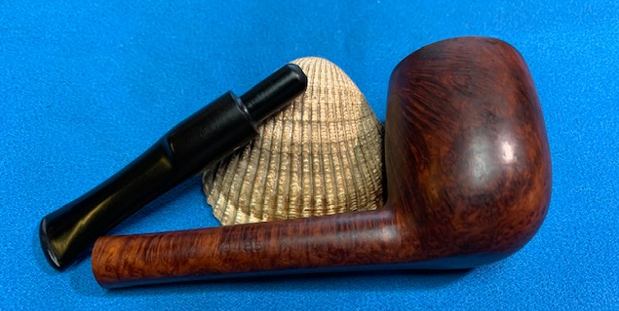
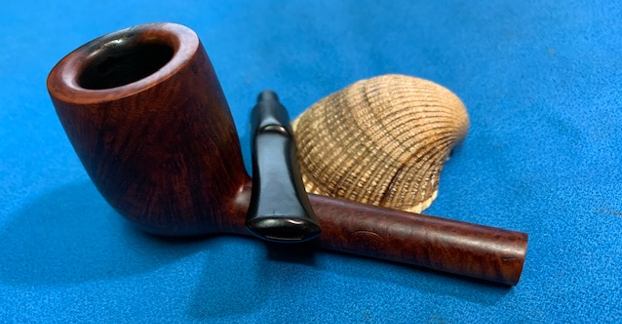
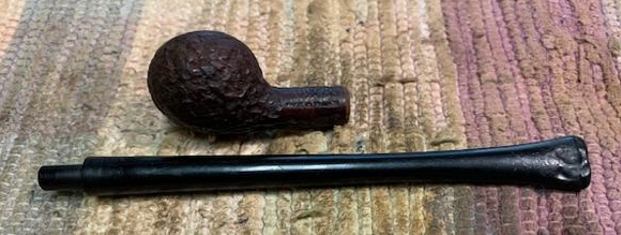
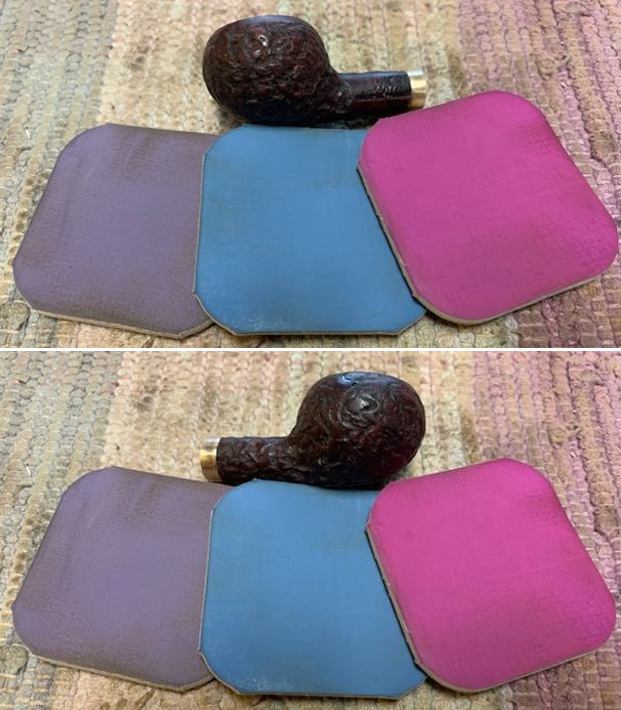
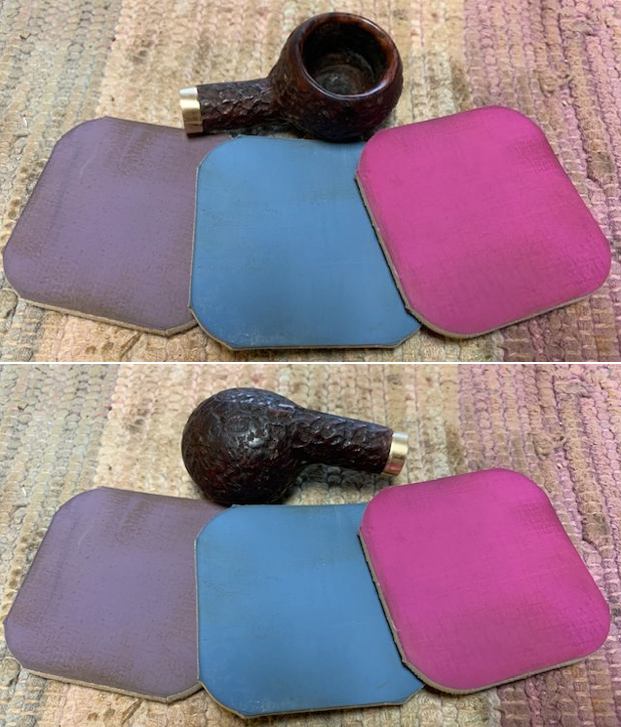
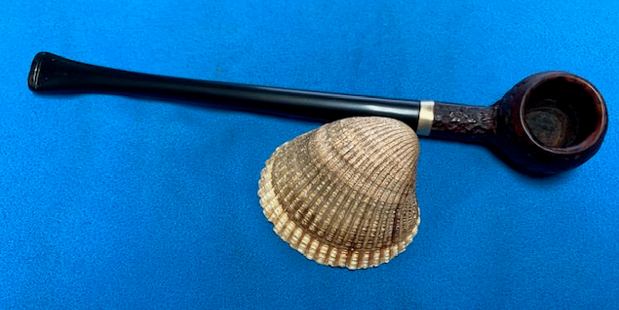
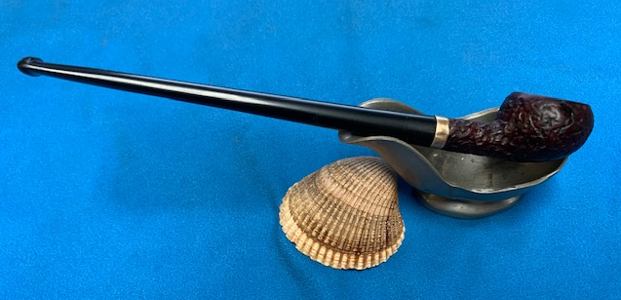
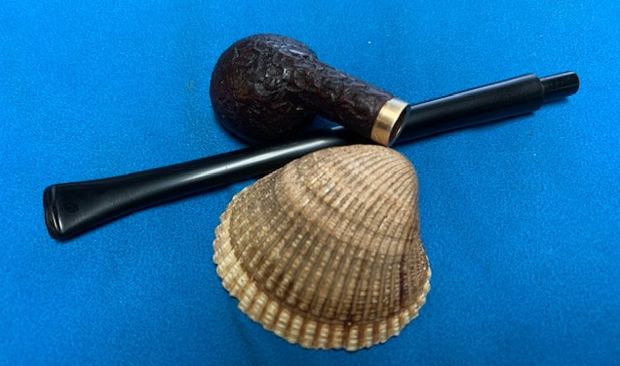
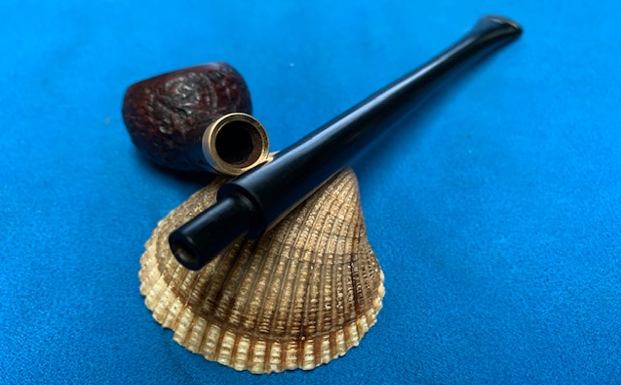
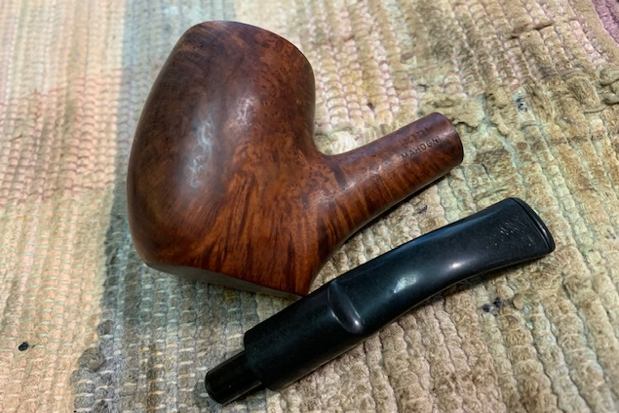
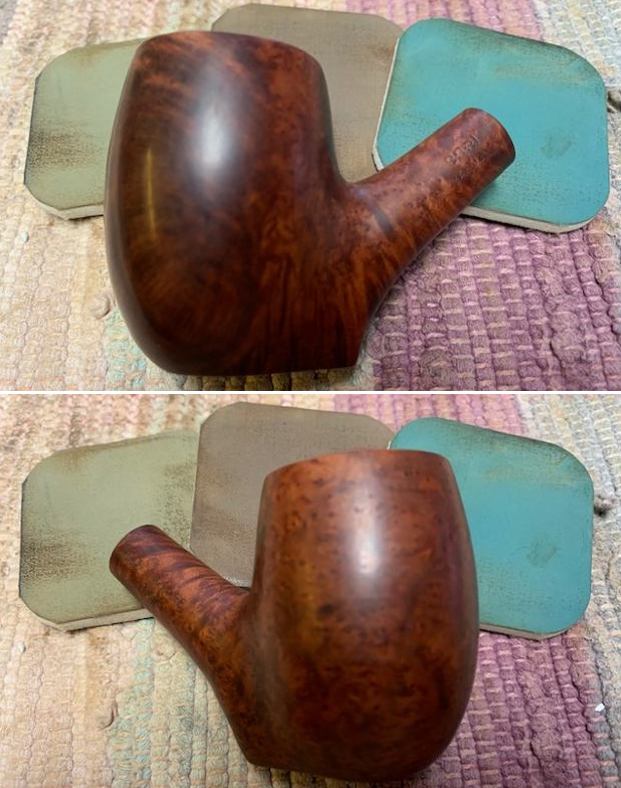
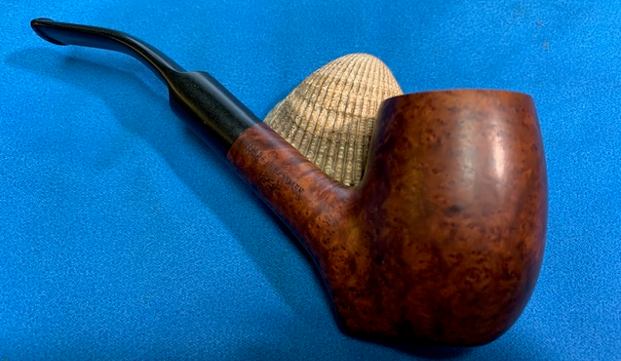
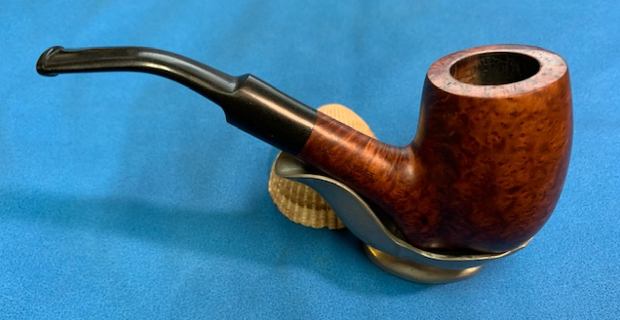
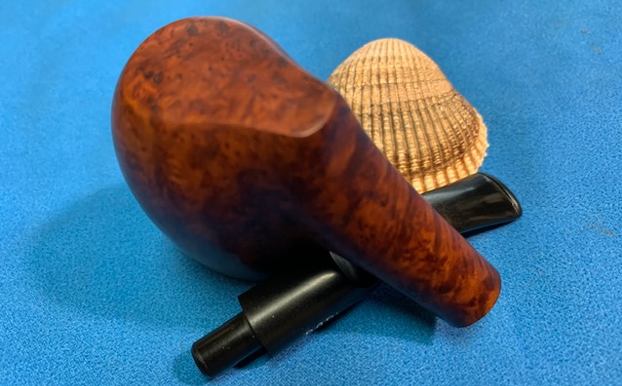
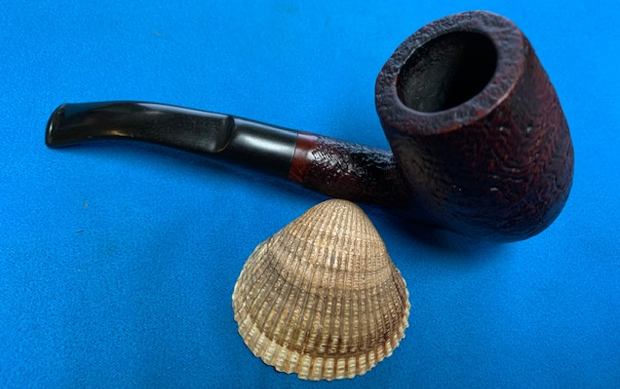
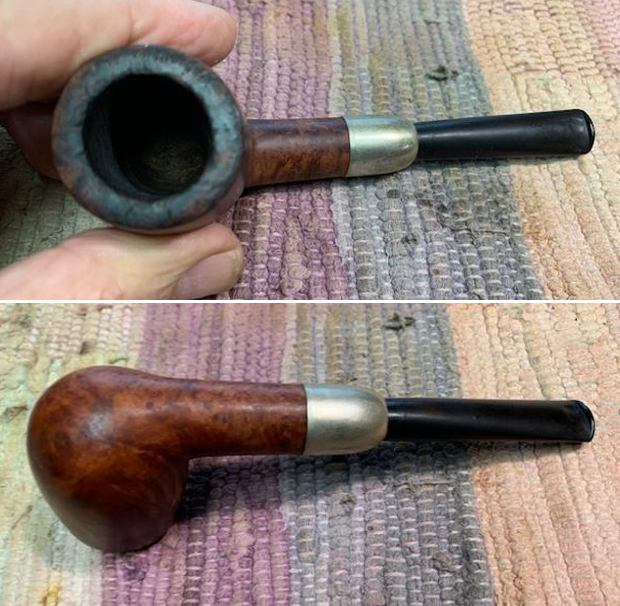
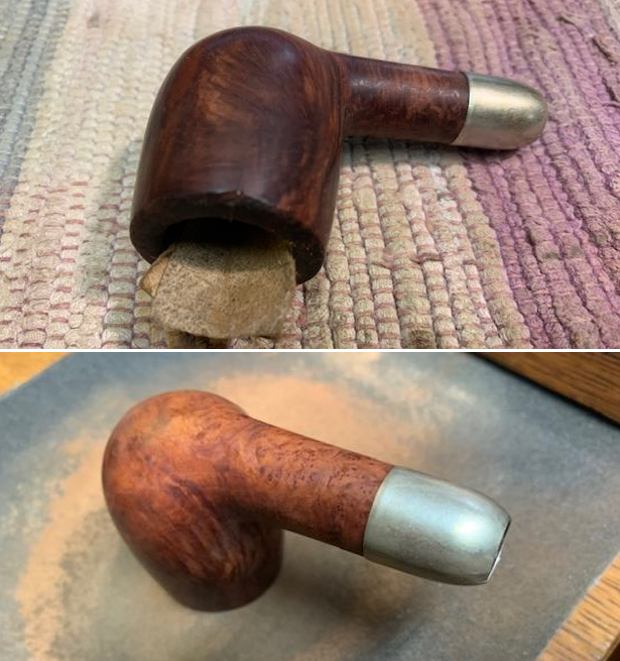
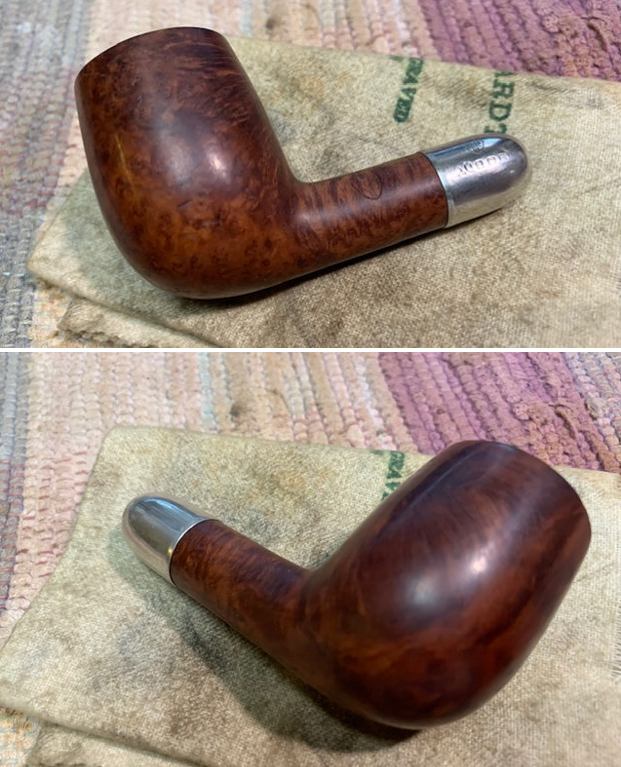
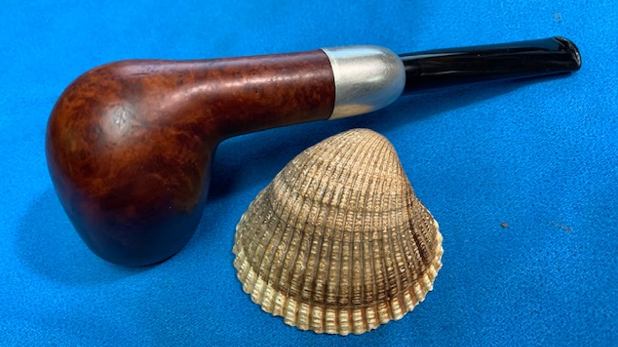
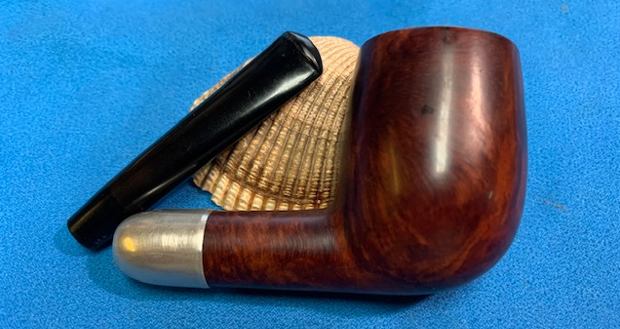
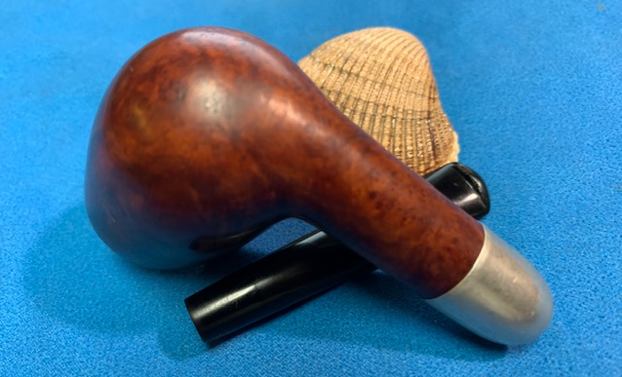
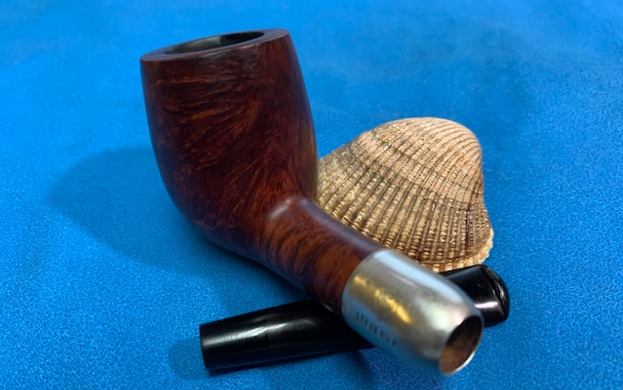
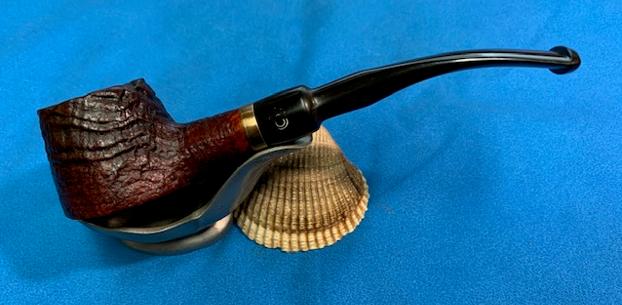
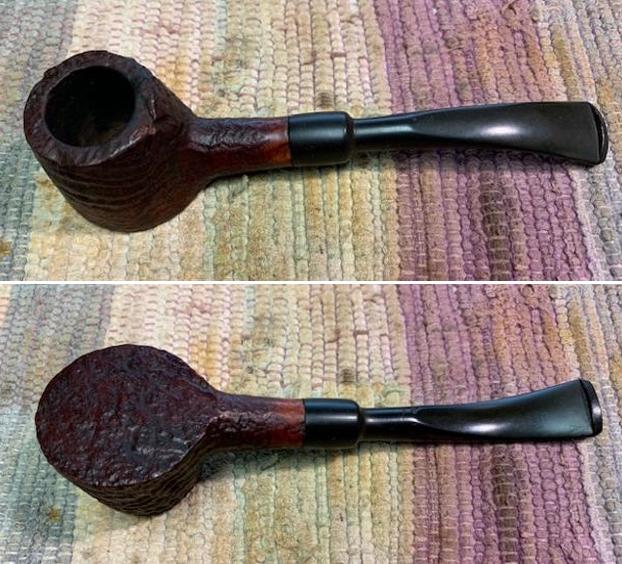
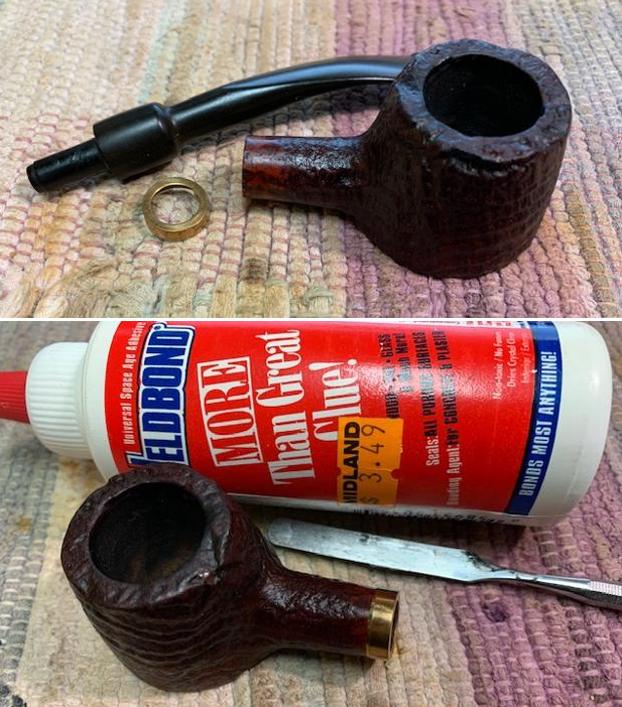
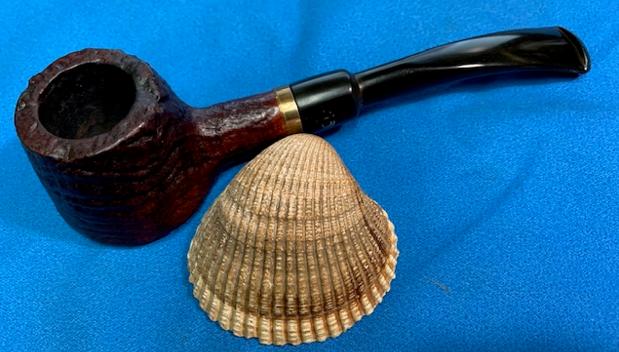
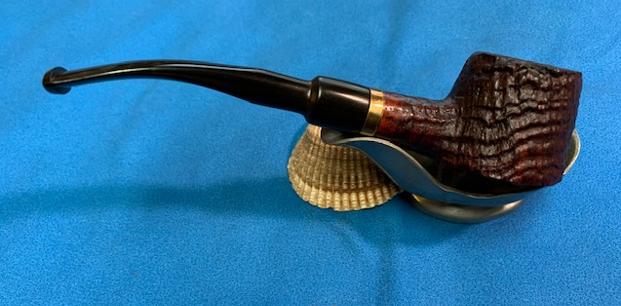
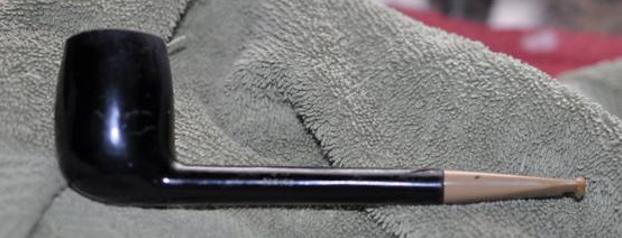
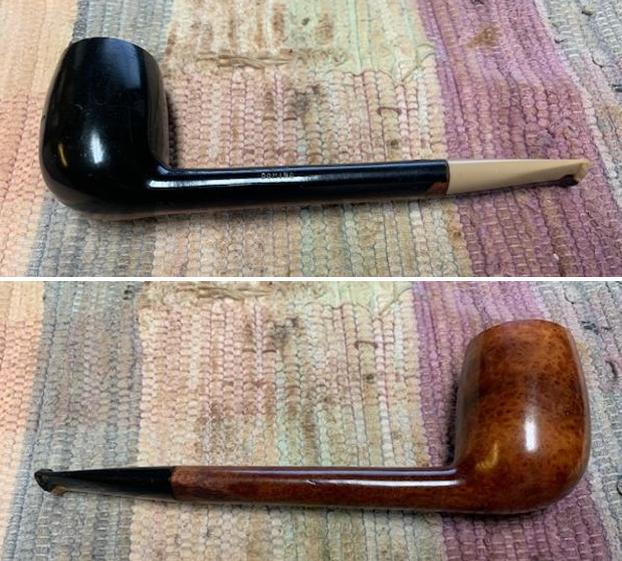
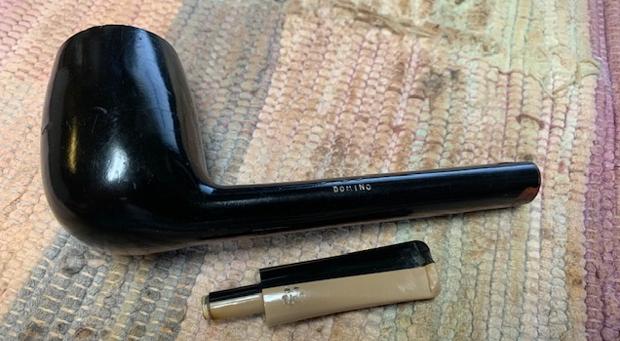
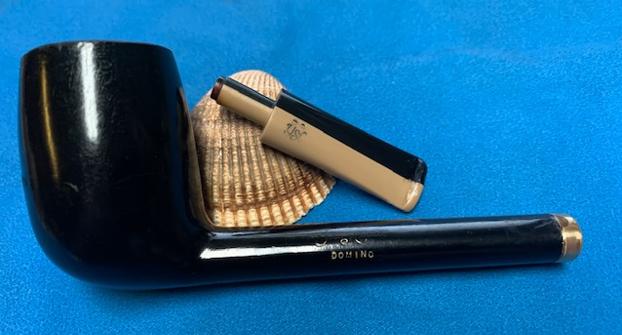
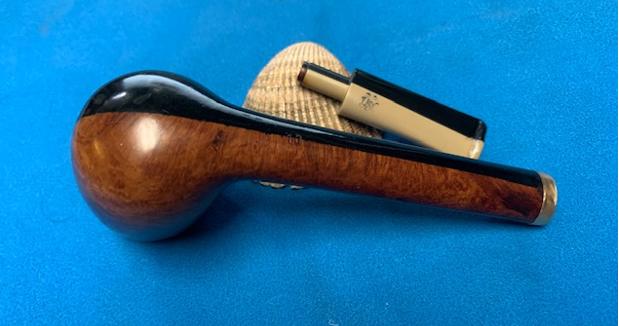
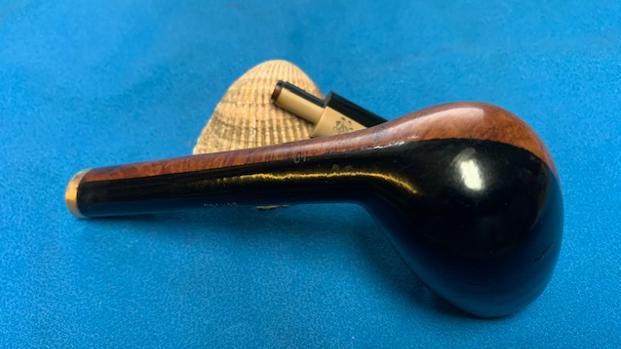
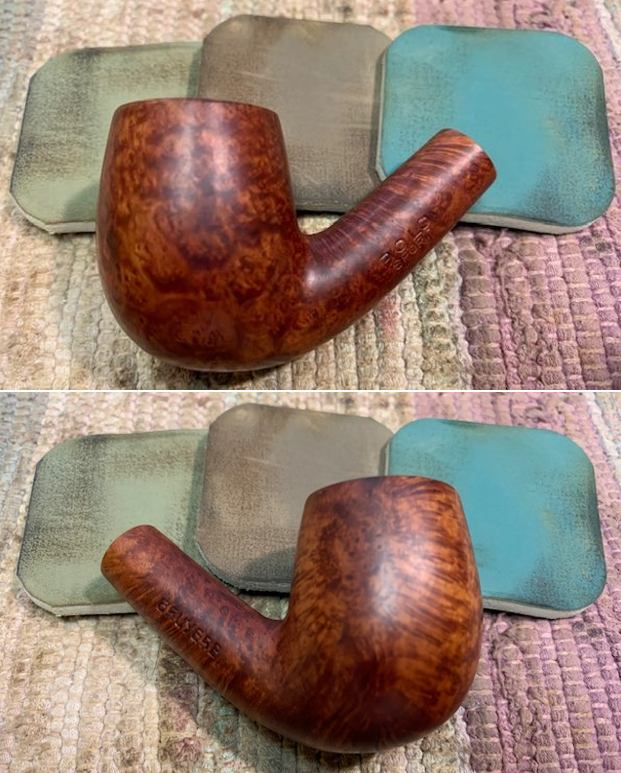
The next pipe on the work table is the second of a pair of pipes that I picked up when my daughters and I went to the Vancouver Flea Market not too long ago when the COVID-19 restrictions were lifted some here. We walked through all the stalls in the market and talked to vendors. We were chatting with an English chap about pipes and he took a bag out from under the table and in it were two pipes. The first pipe was petite Bent Bob’s sandblast pipe that I restored and wrote a blog about earlier. The second pipe was worn and had varnish peeling off. It was stamped Polo [over] Sport on the left side of the shank and Bruyere on the right side. On the underside near the stem/shank junction it is stamped with the shape number 21. The rim top had some darkening and some lava build up and there was a light cake in the bowl. The stem was oxidized, calcified and had some deep tooth marks and chatter on both sides ahead of the button. button. It was another good find and I was able to negotiate a good price for the pair of pipes that I picked up. 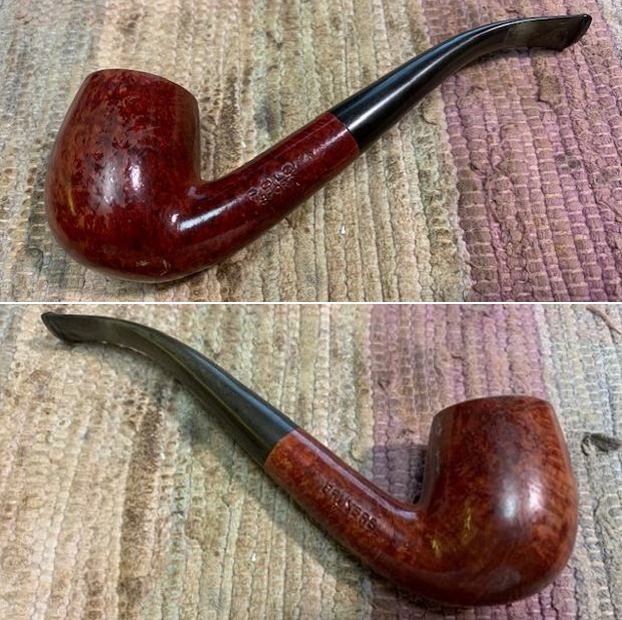
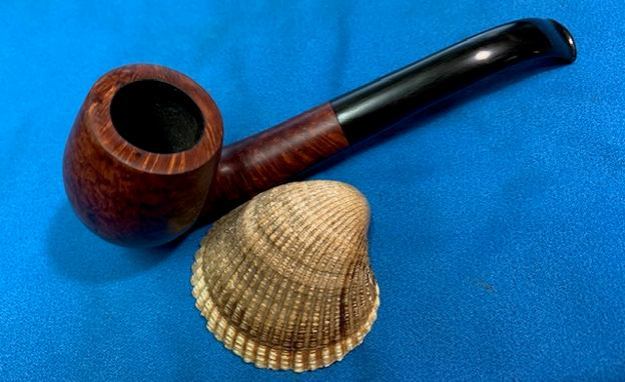
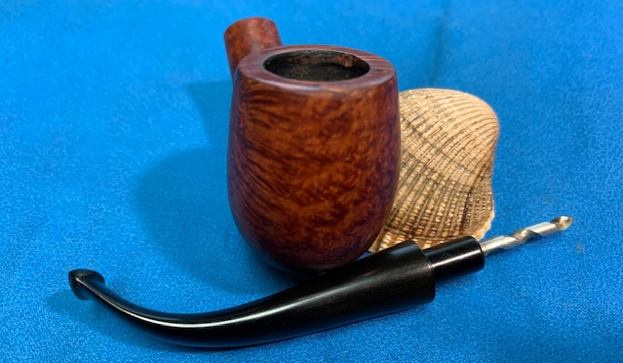
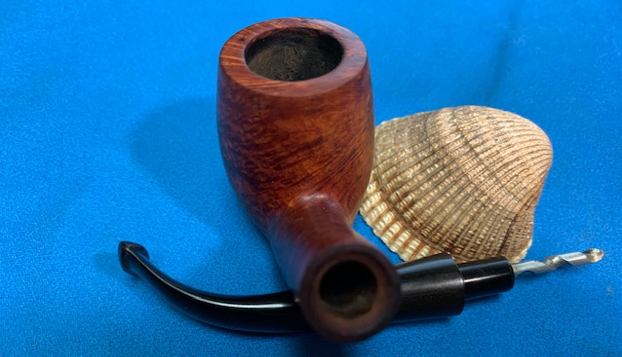
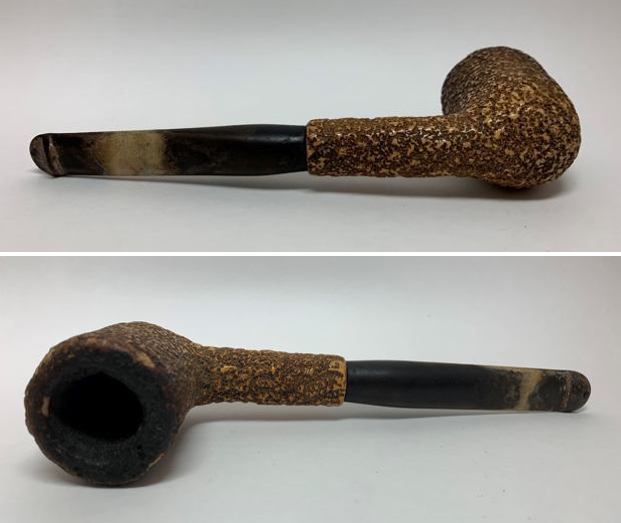
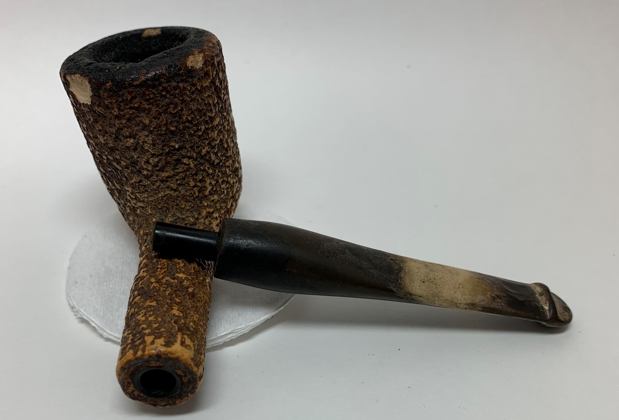
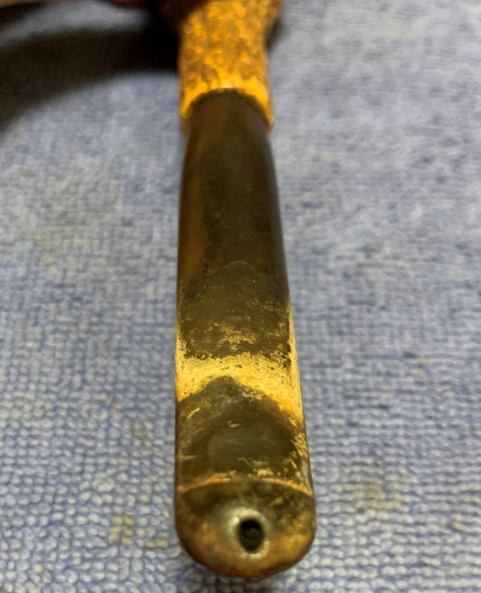
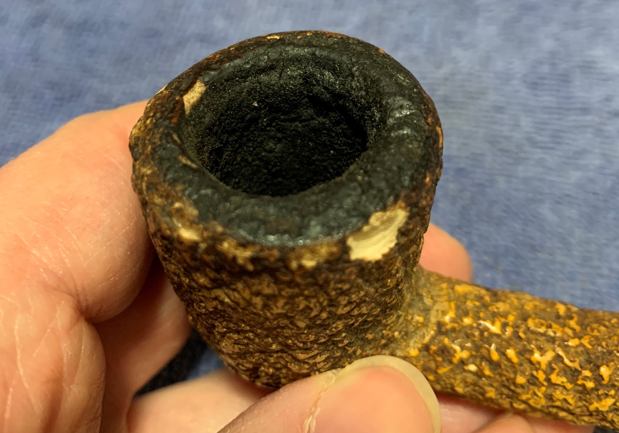
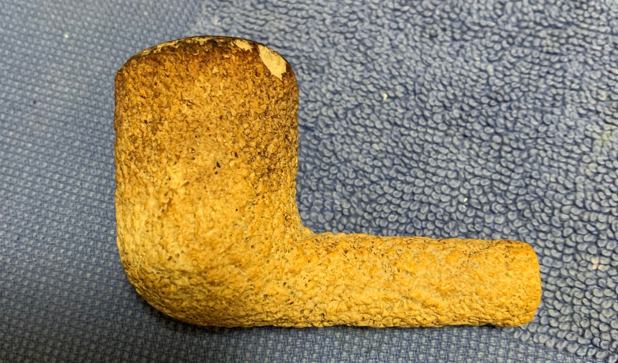
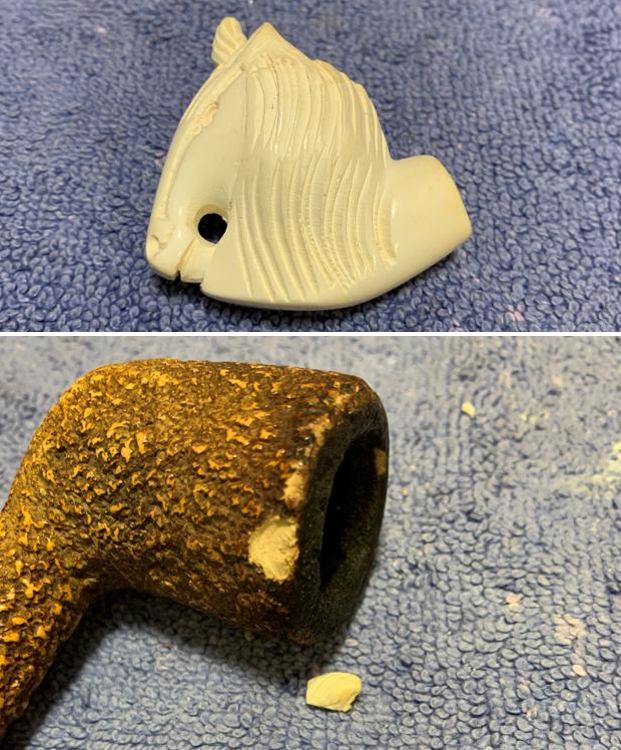
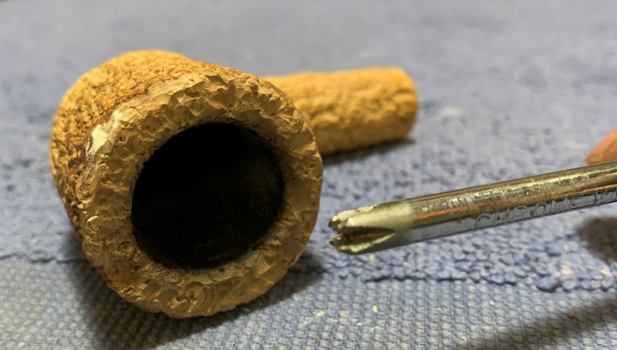
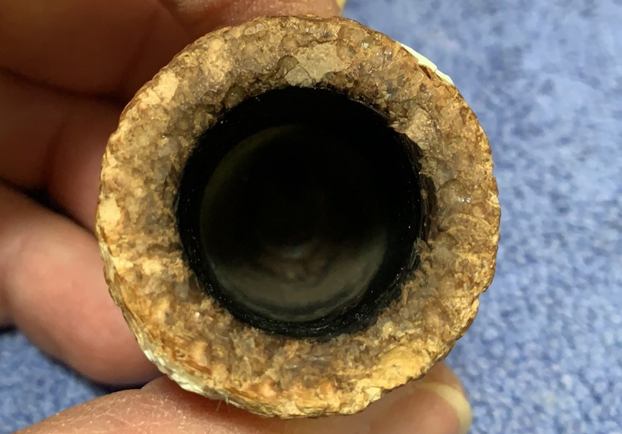
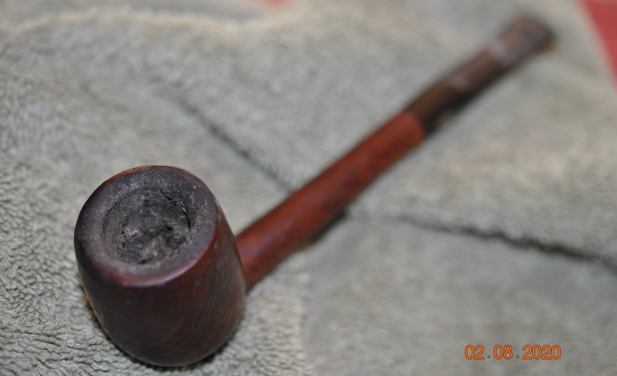
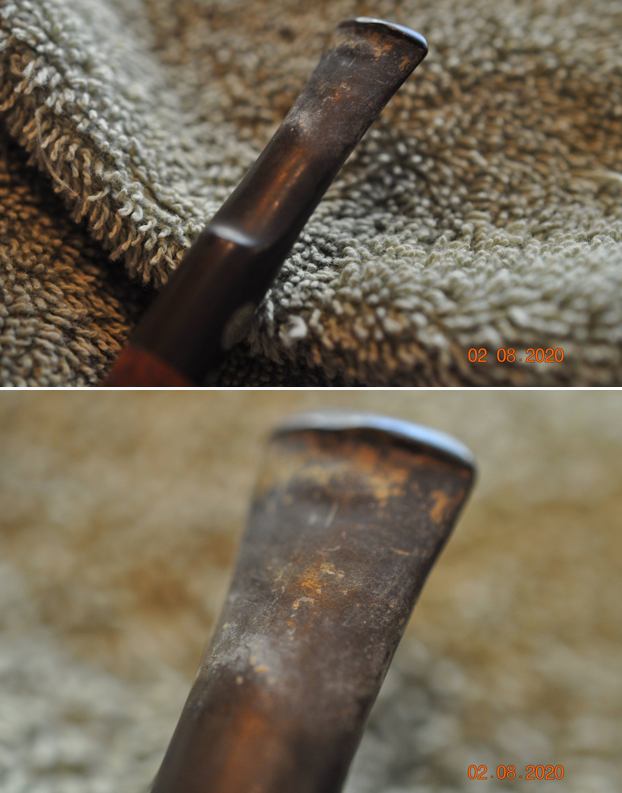
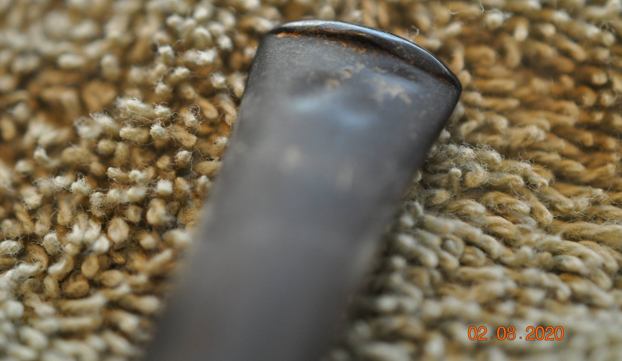
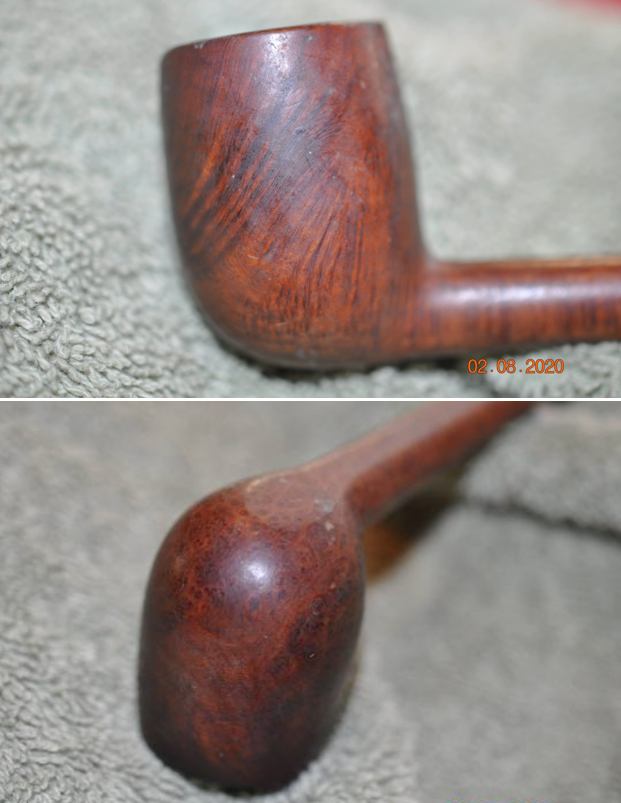
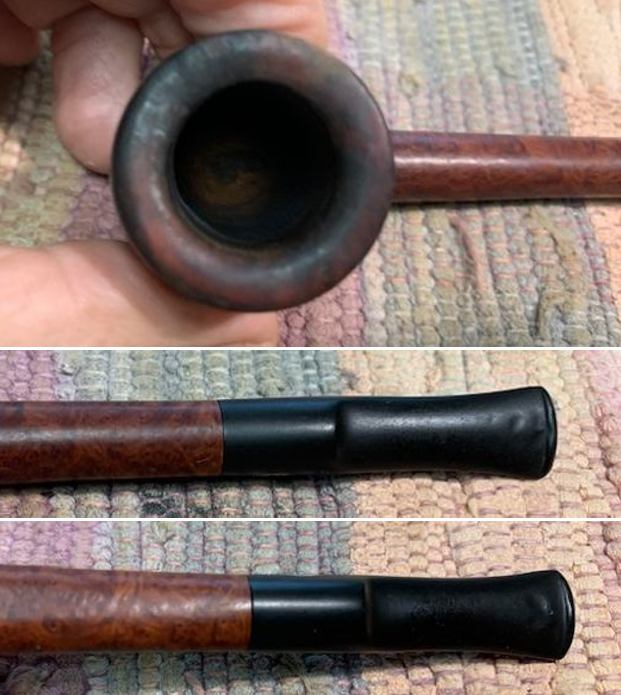
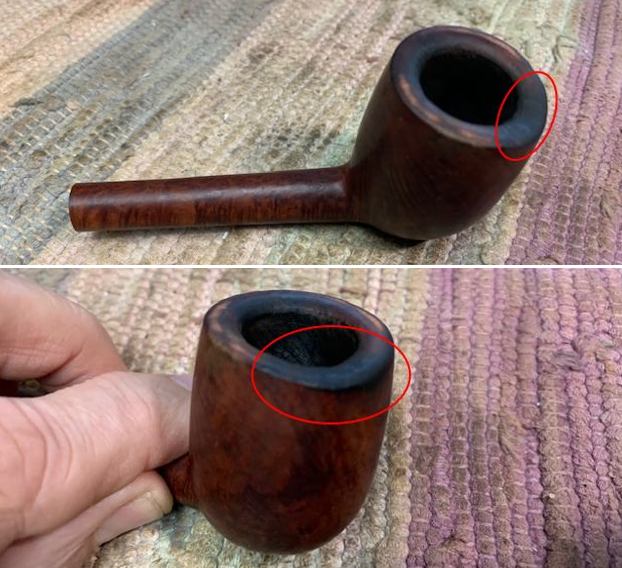
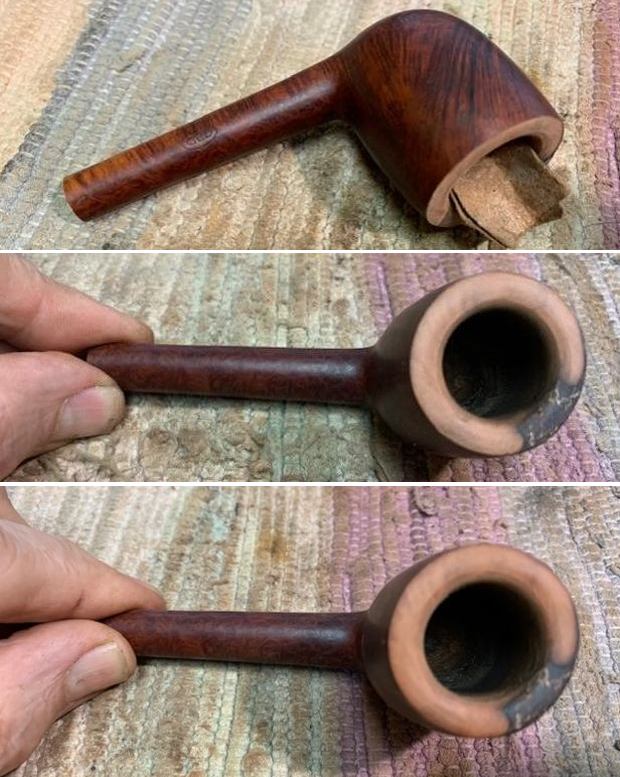
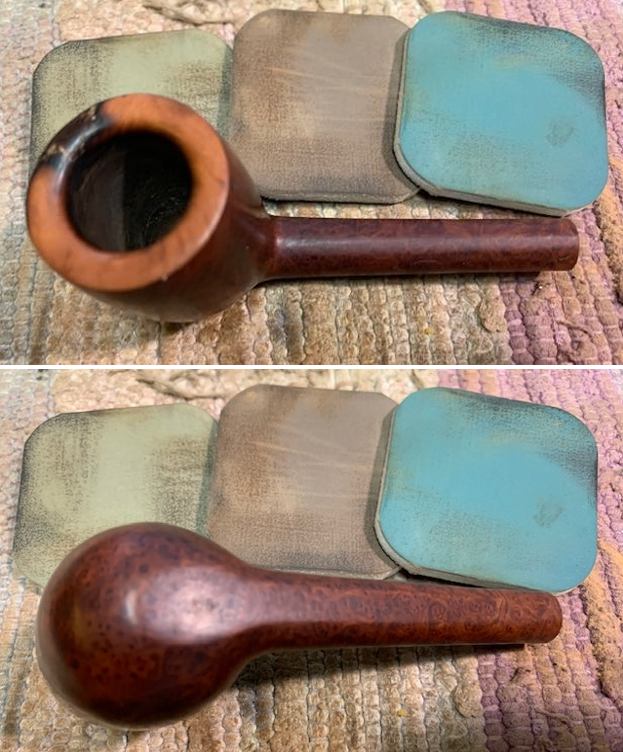
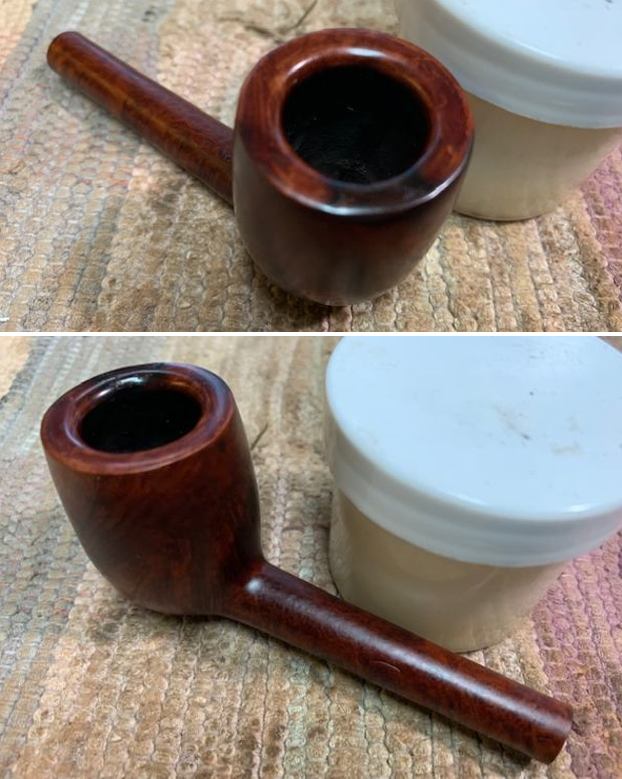
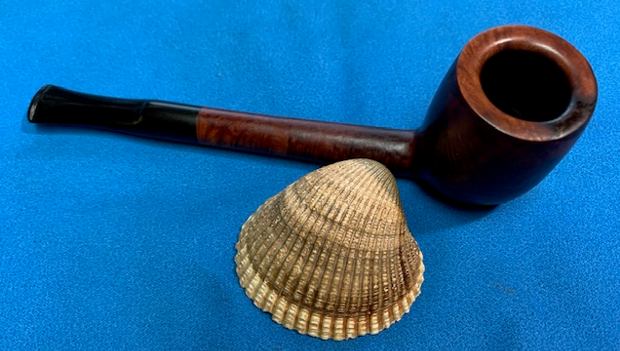
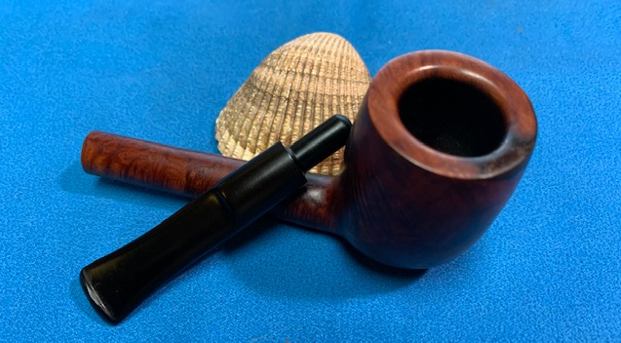
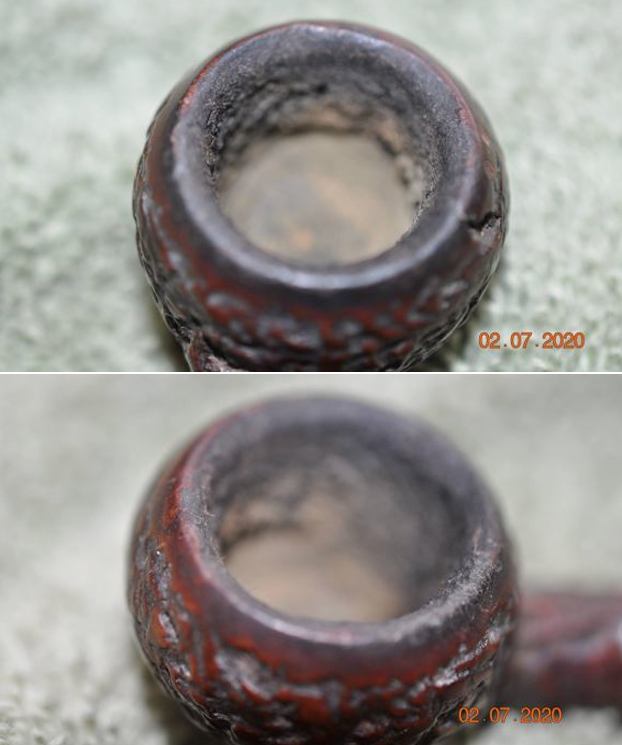
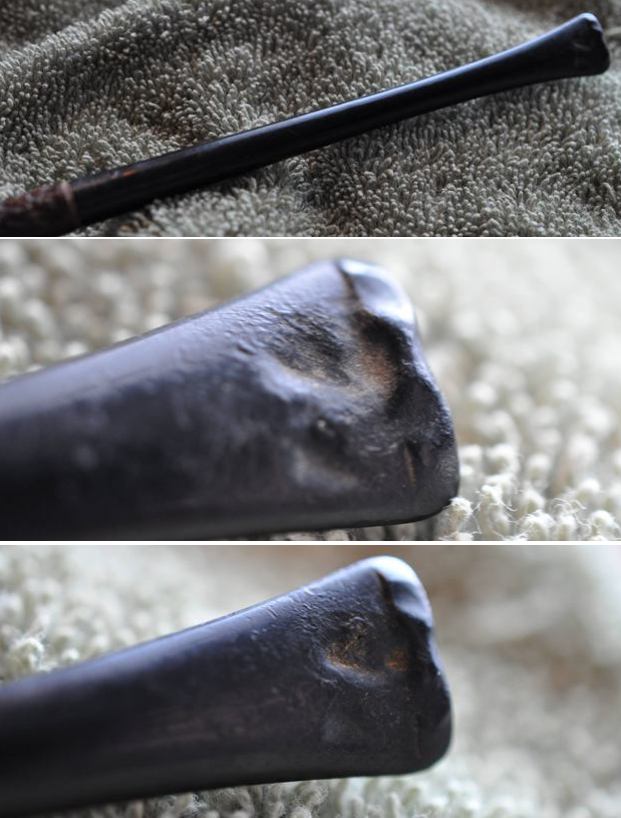
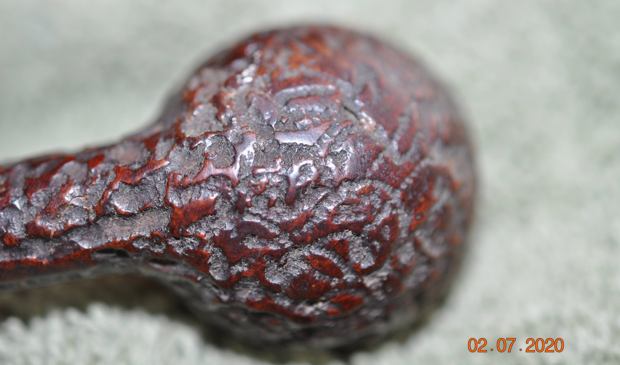
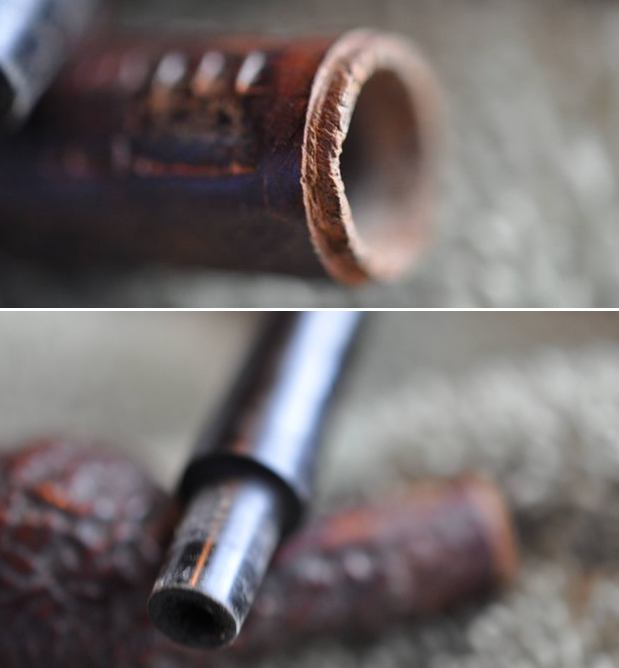
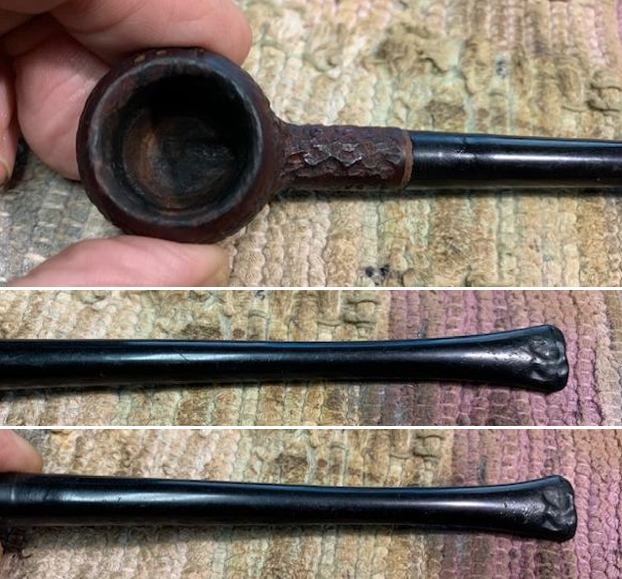
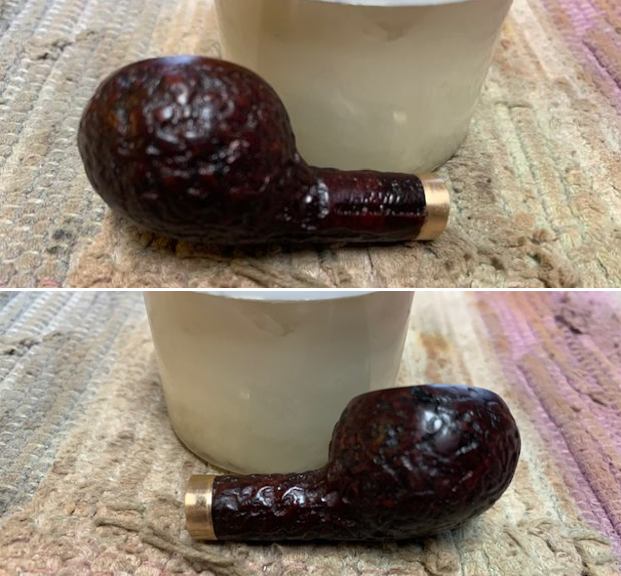
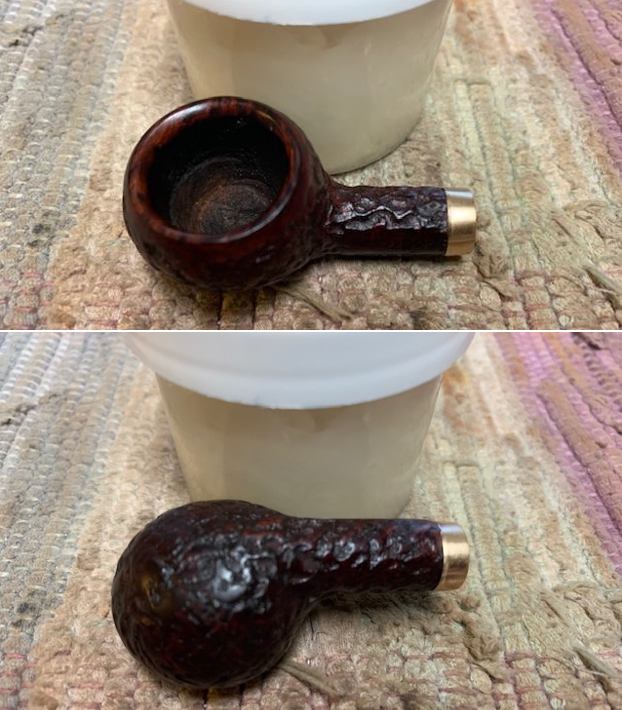
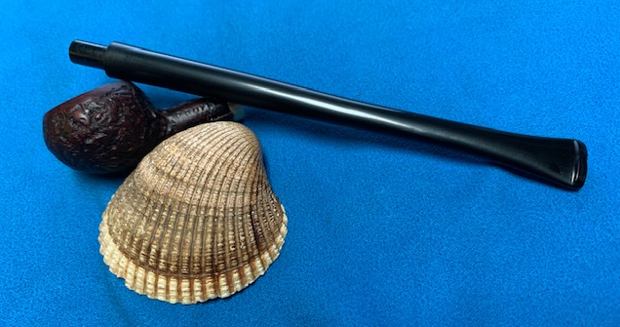
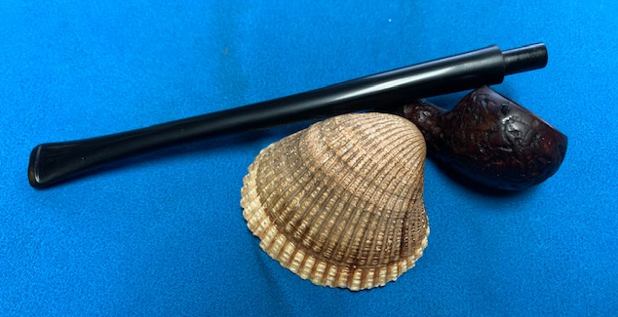
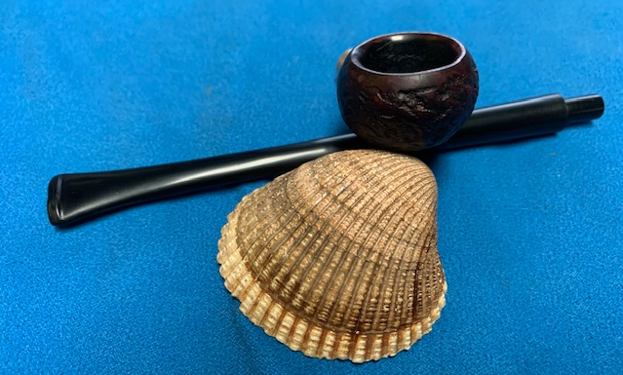
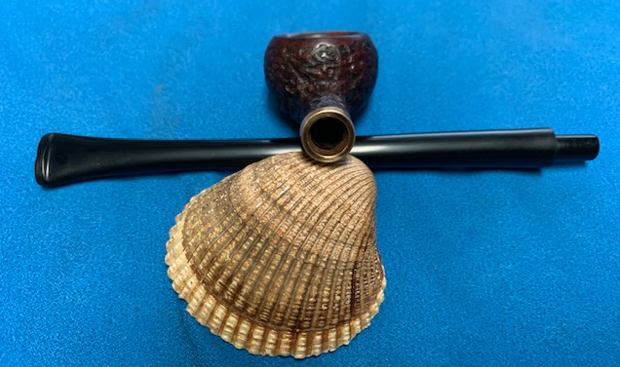
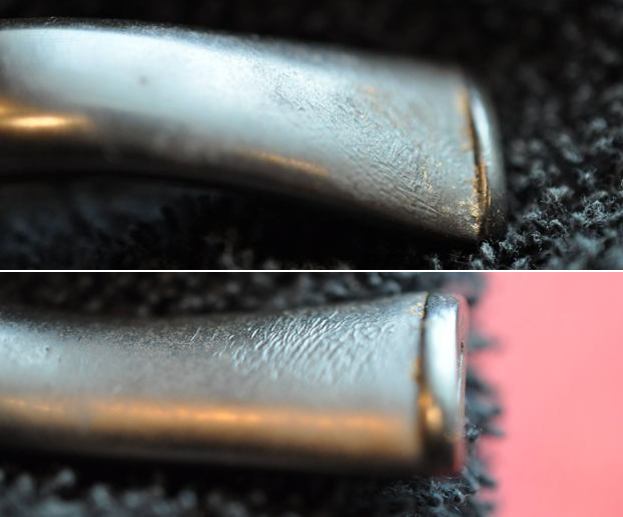
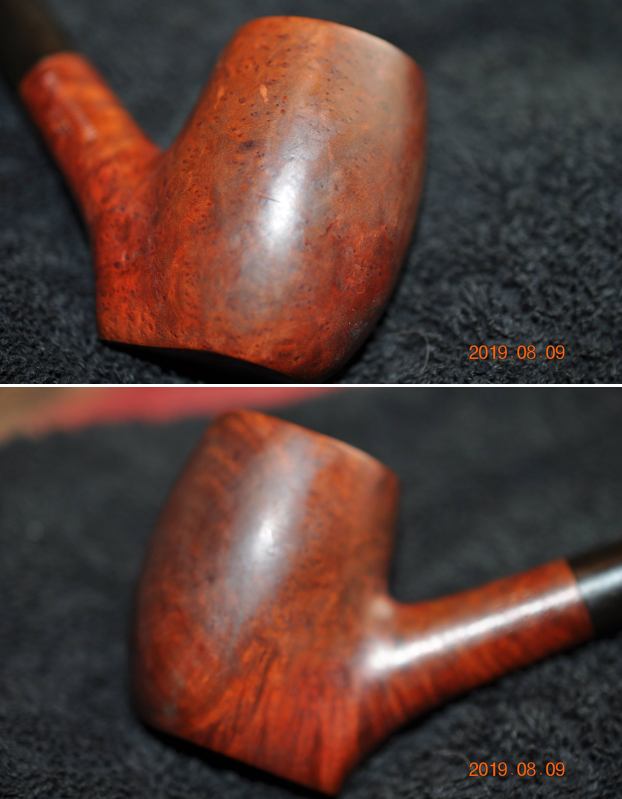
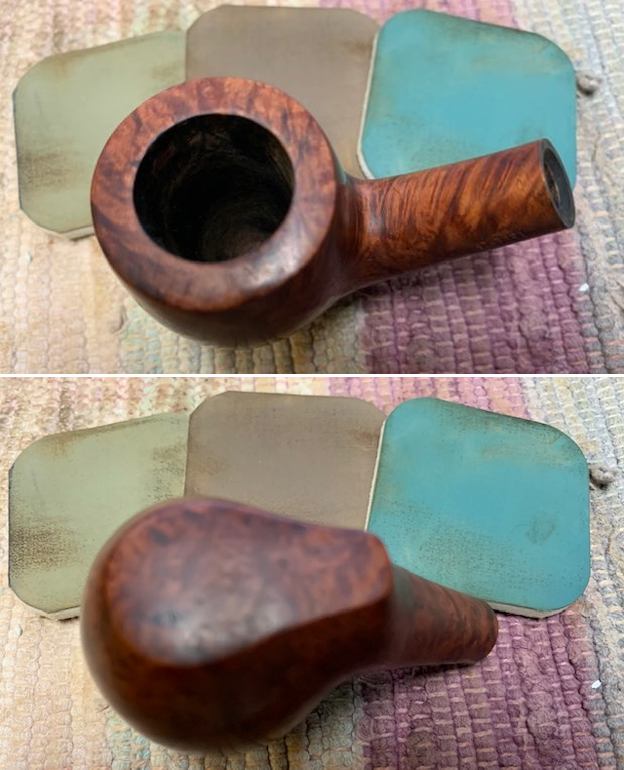
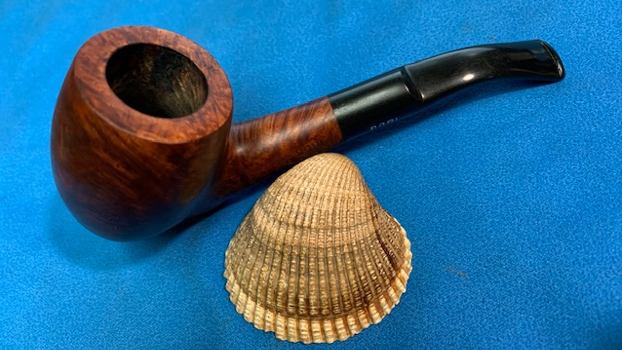
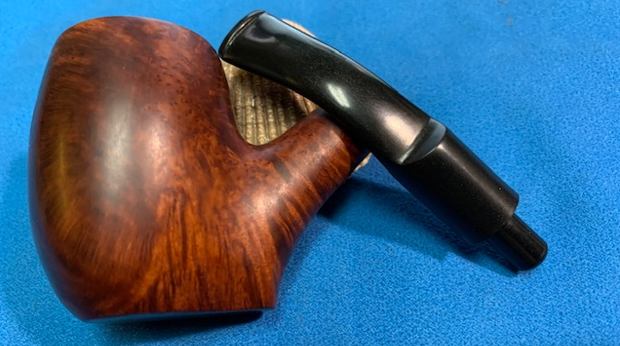
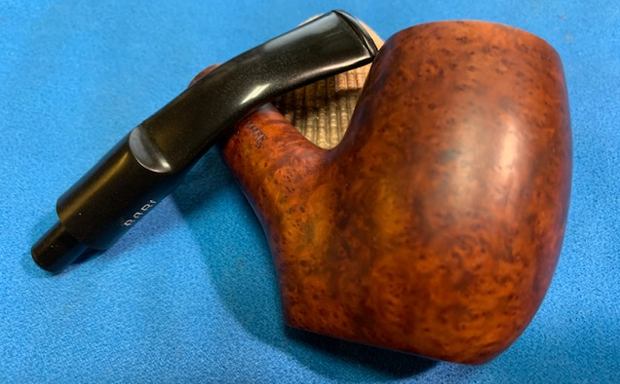
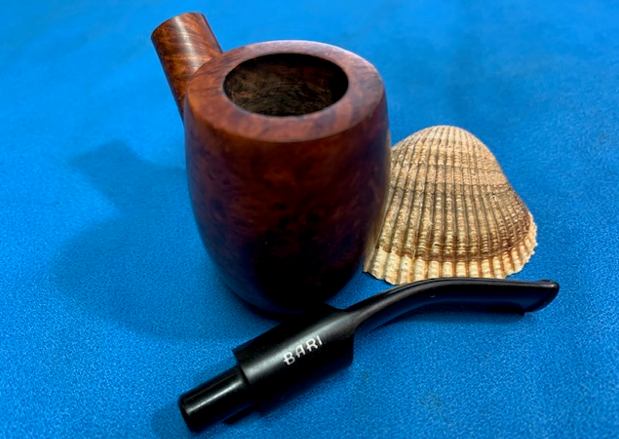
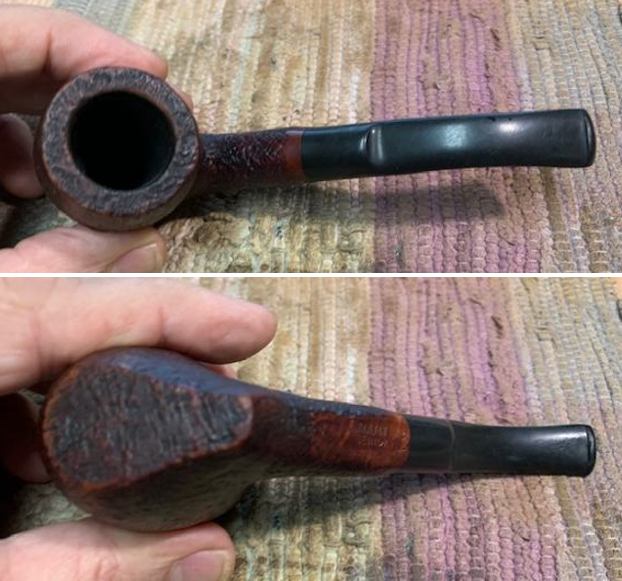
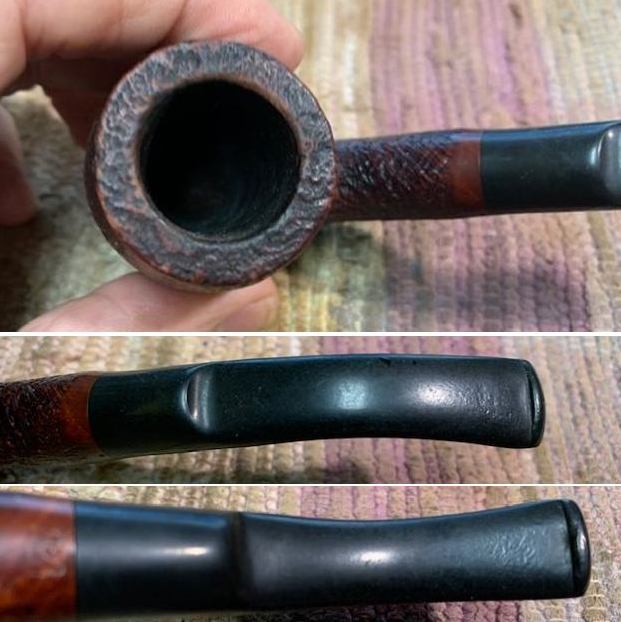
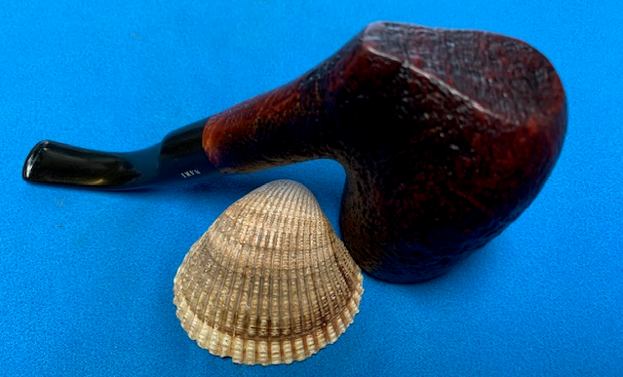
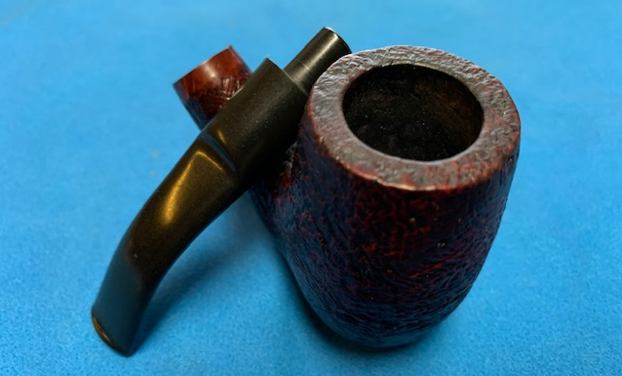
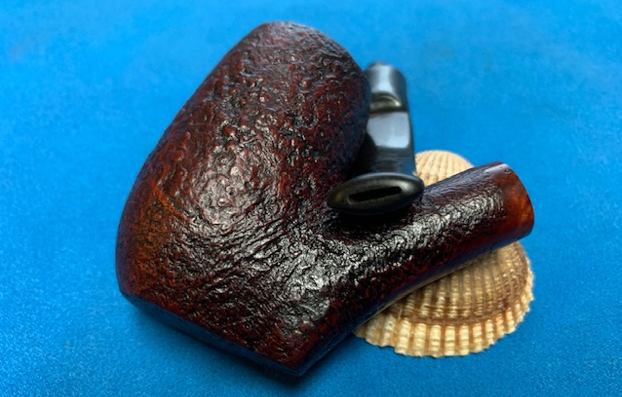
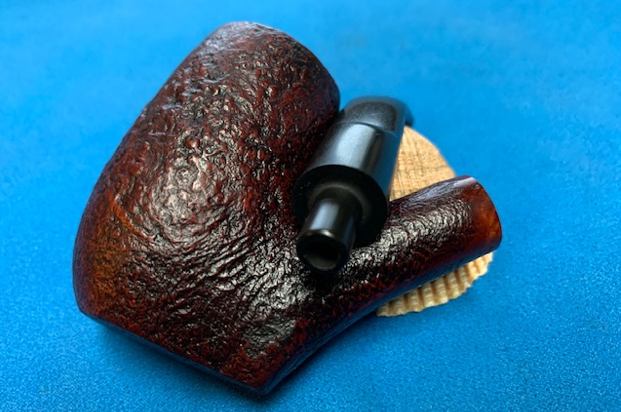
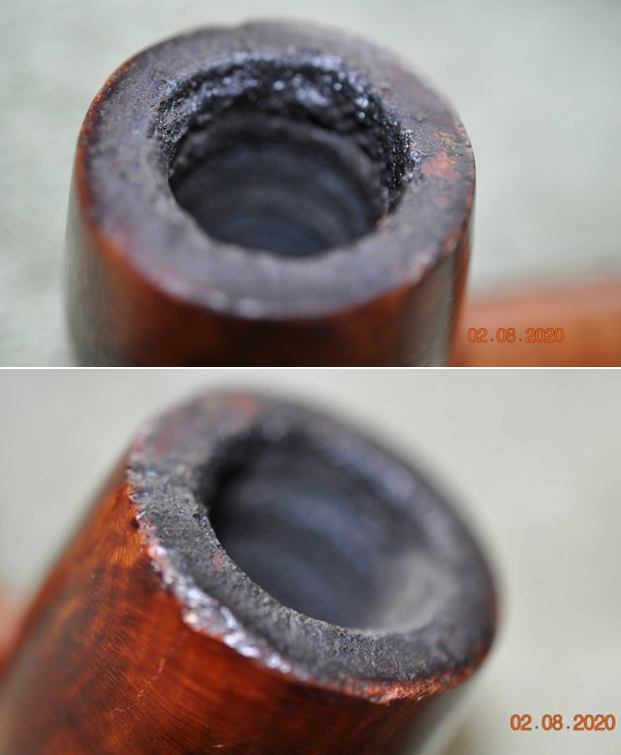
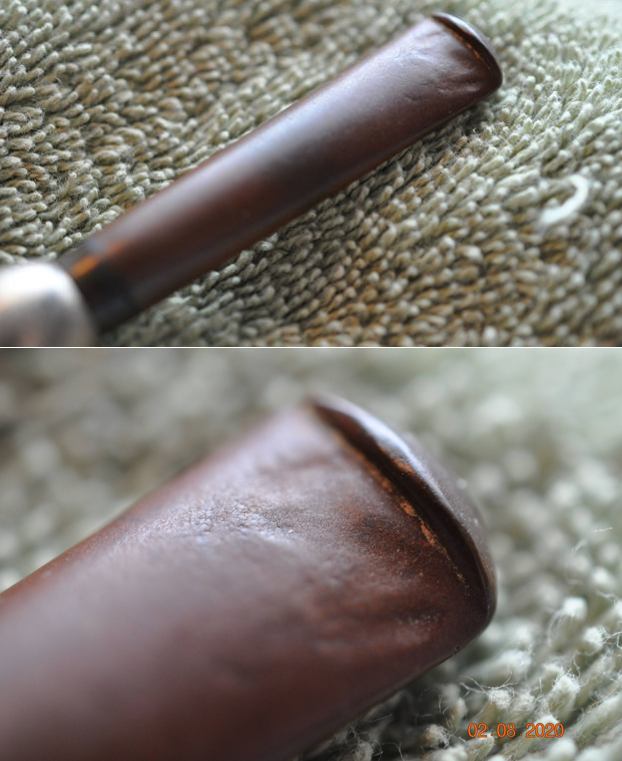
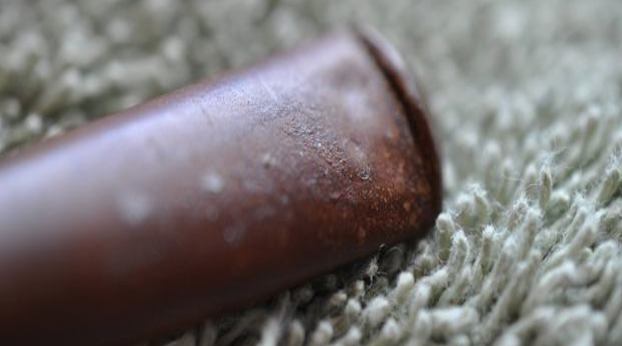
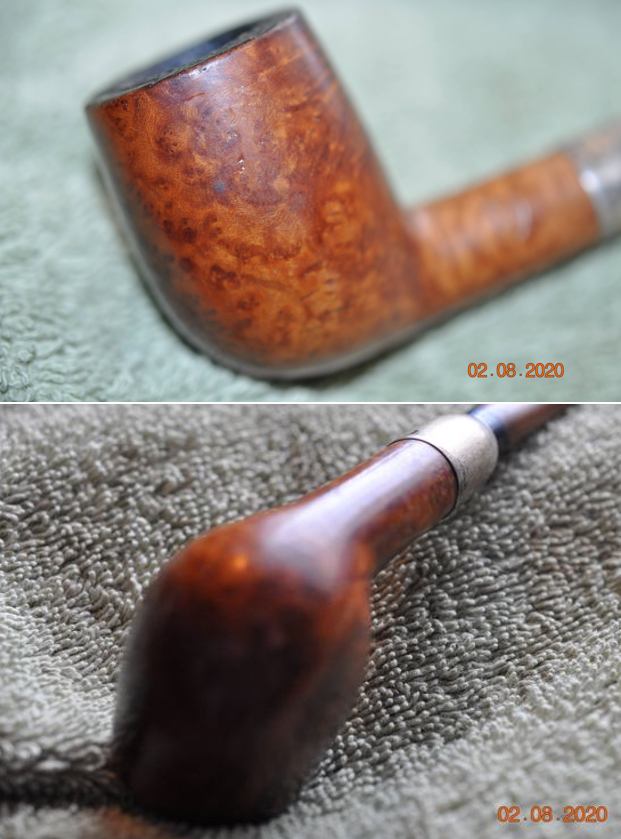
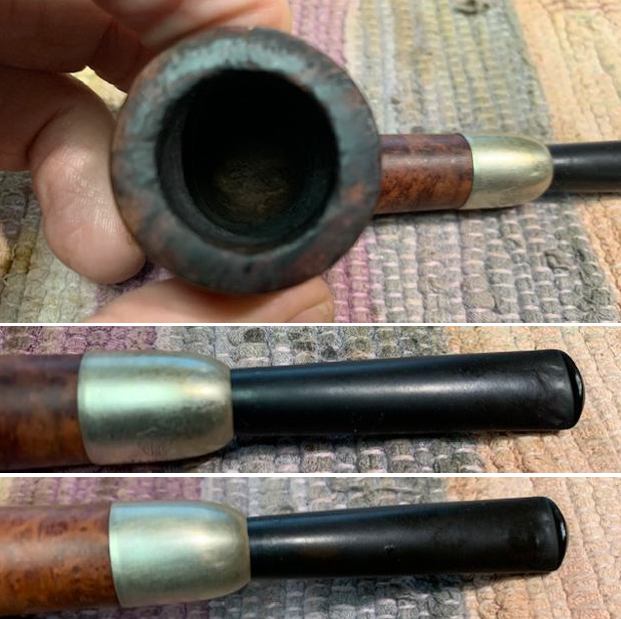
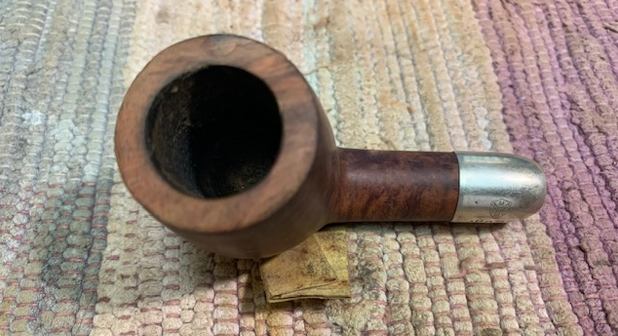
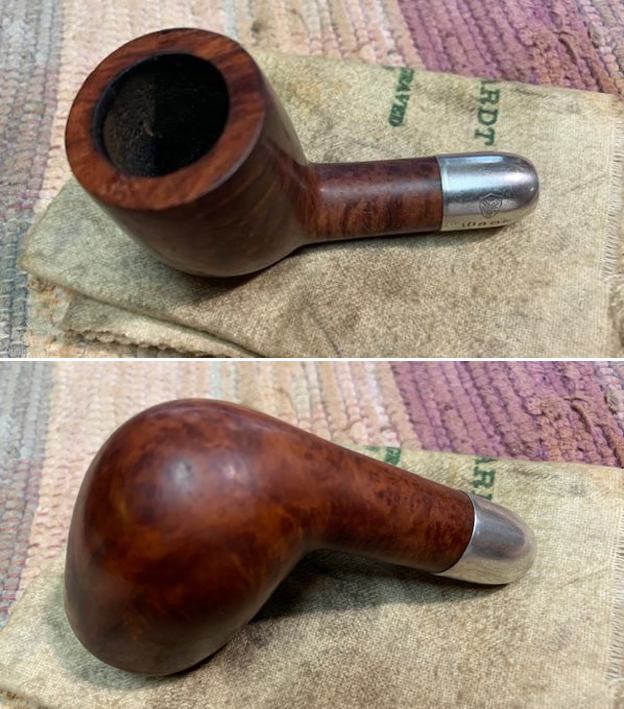
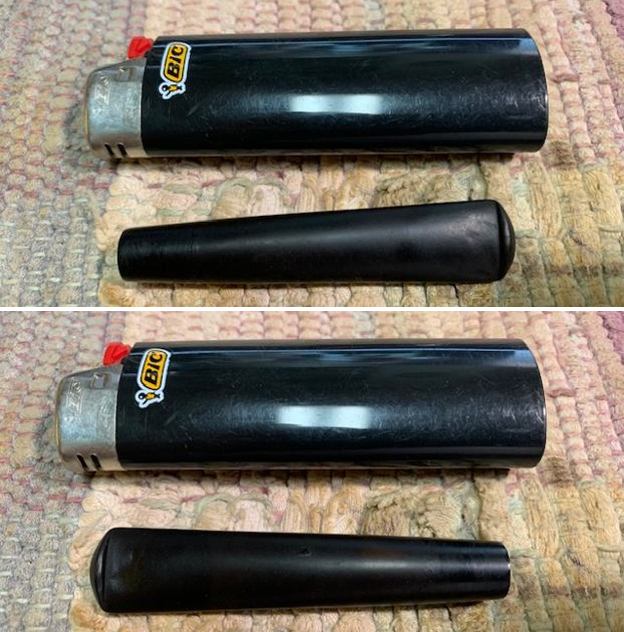
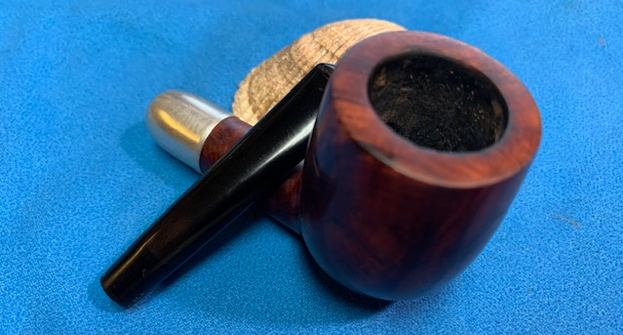
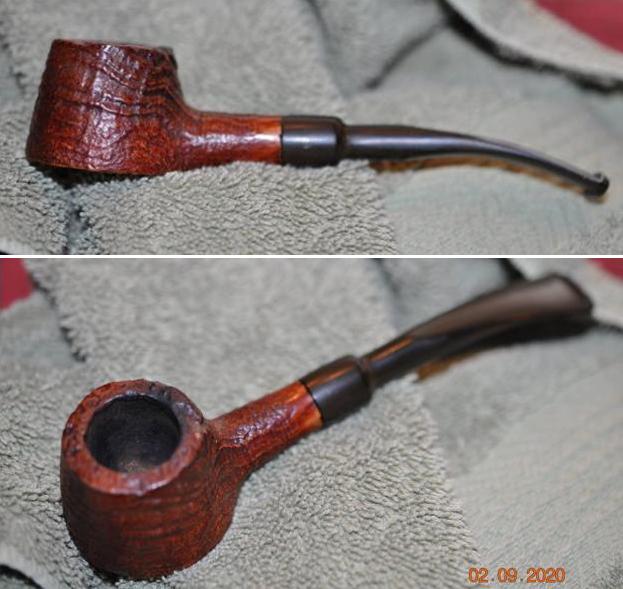
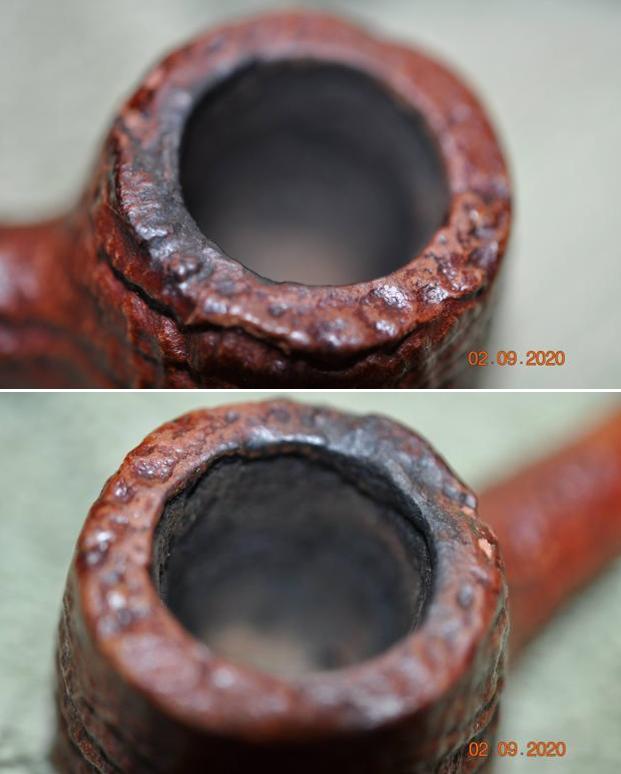
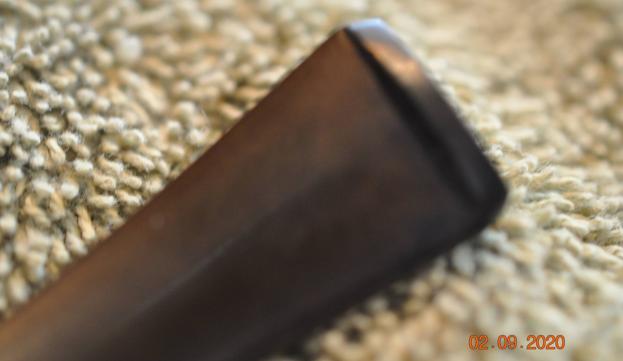
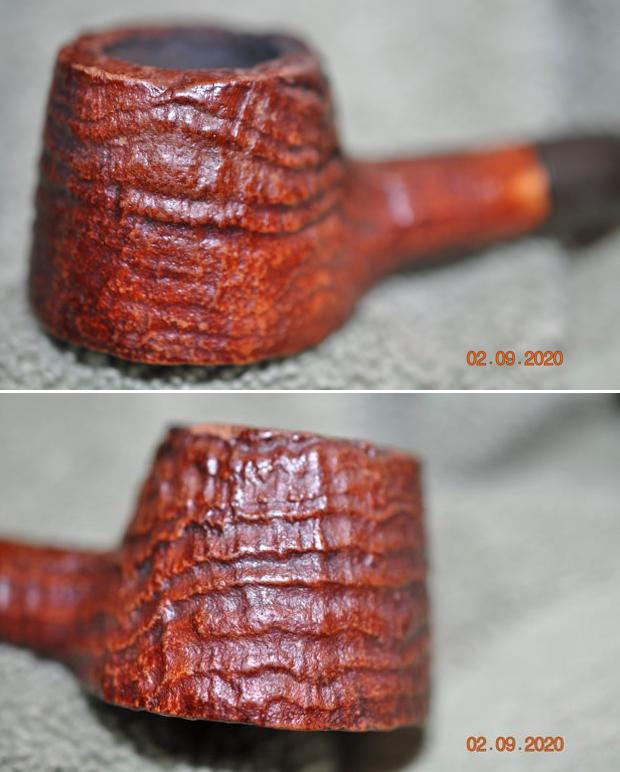
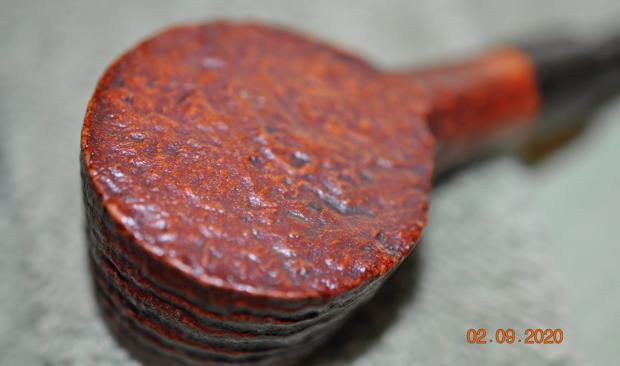
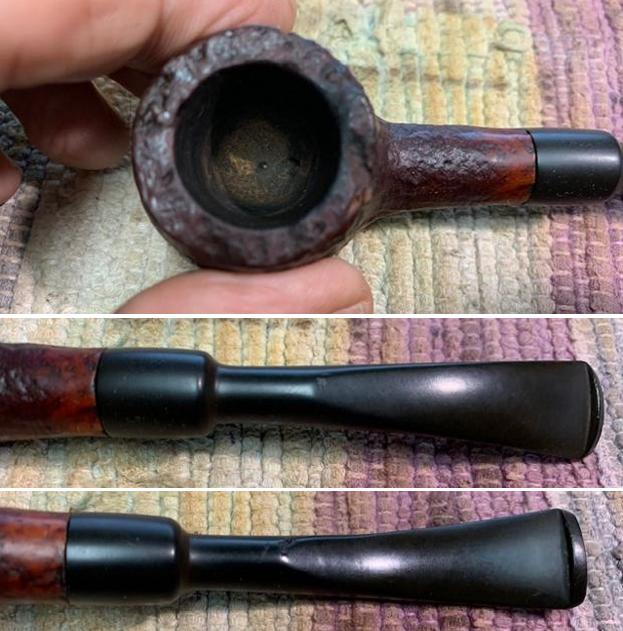
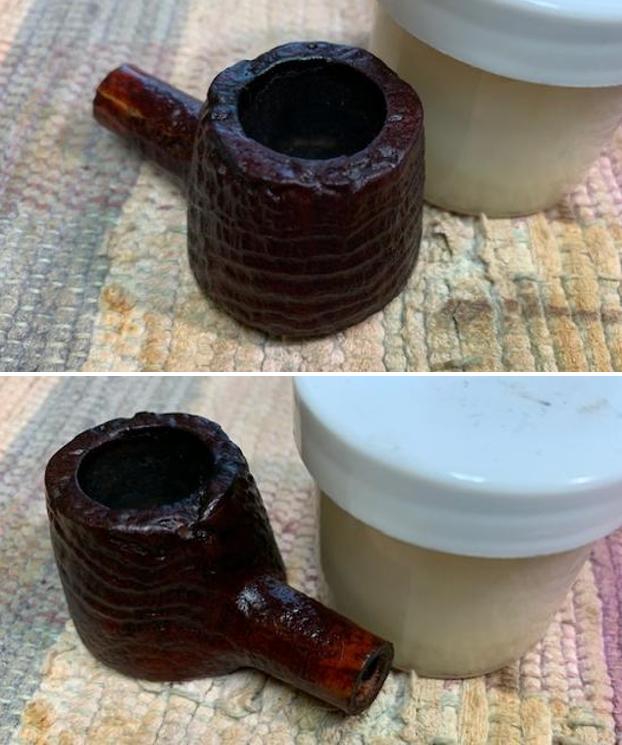
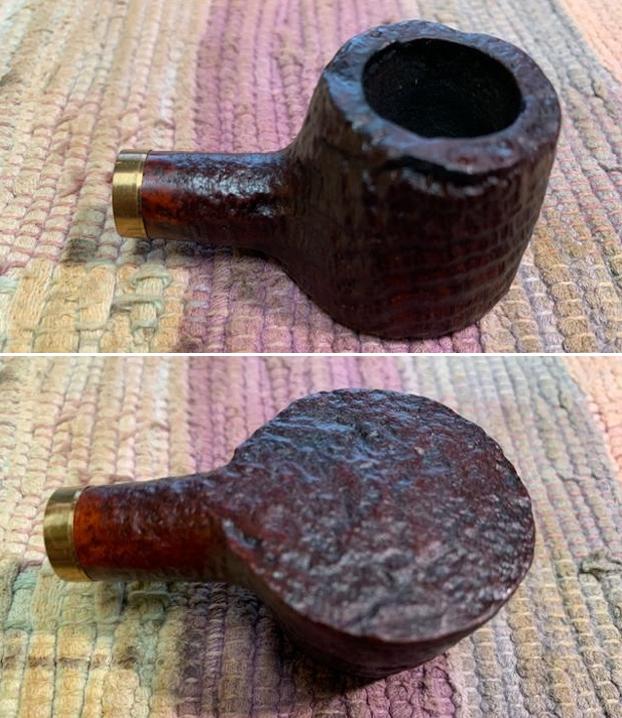
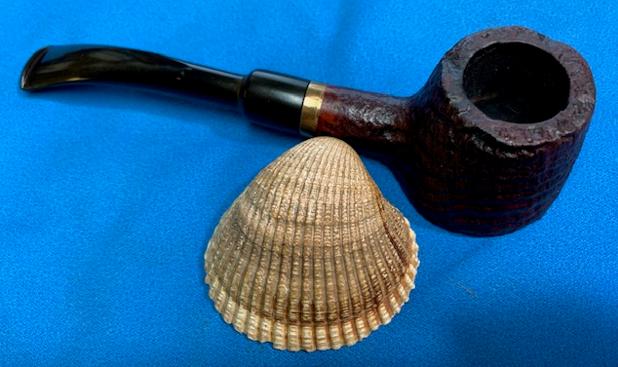
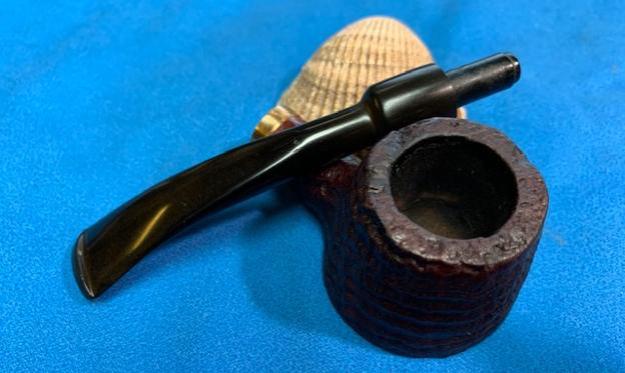
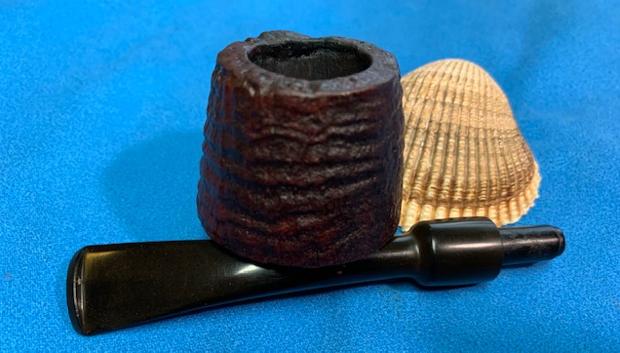
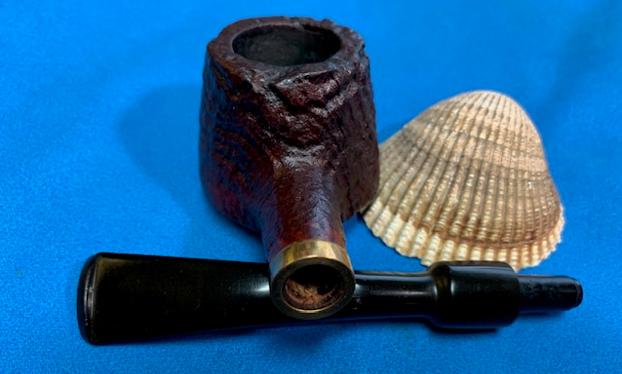
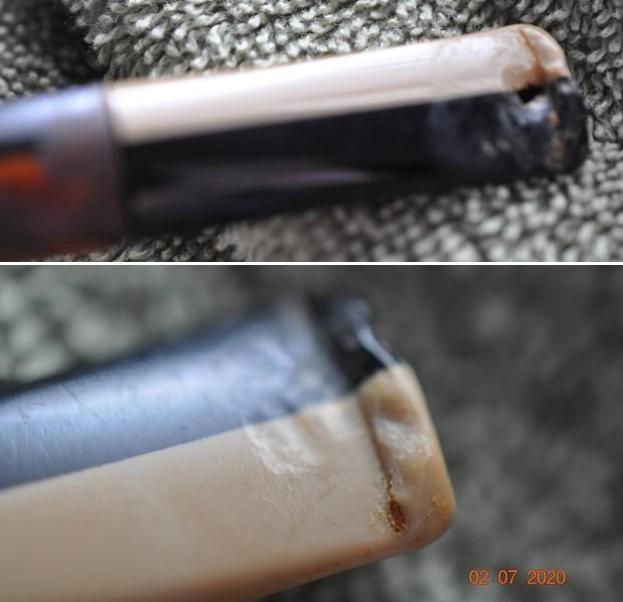
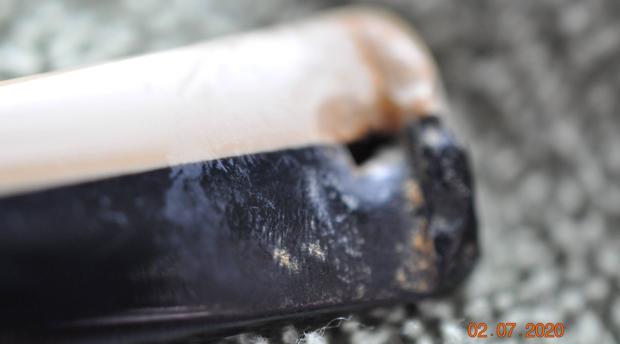
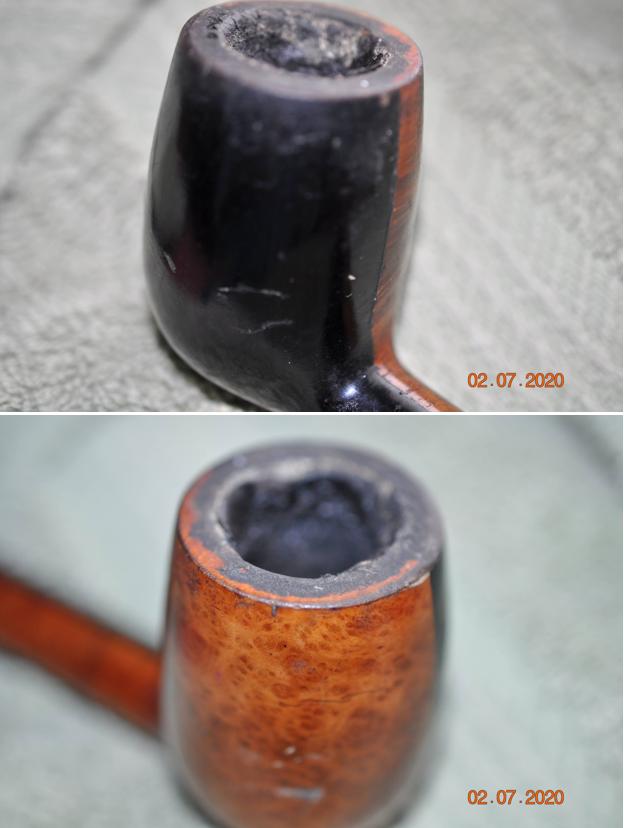
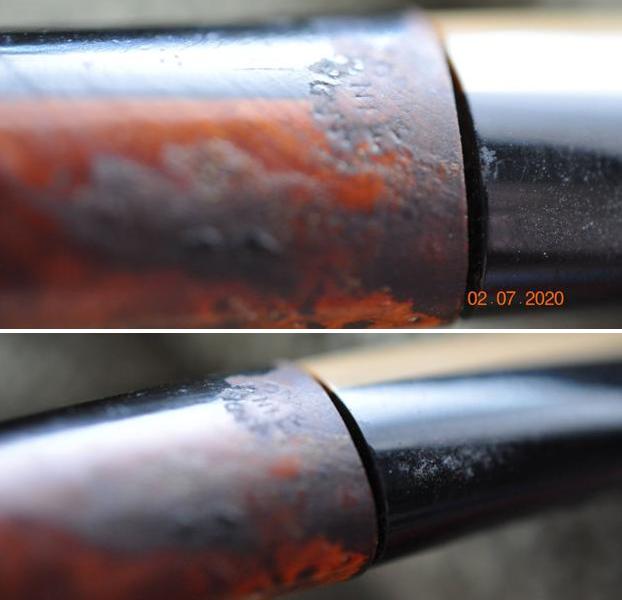
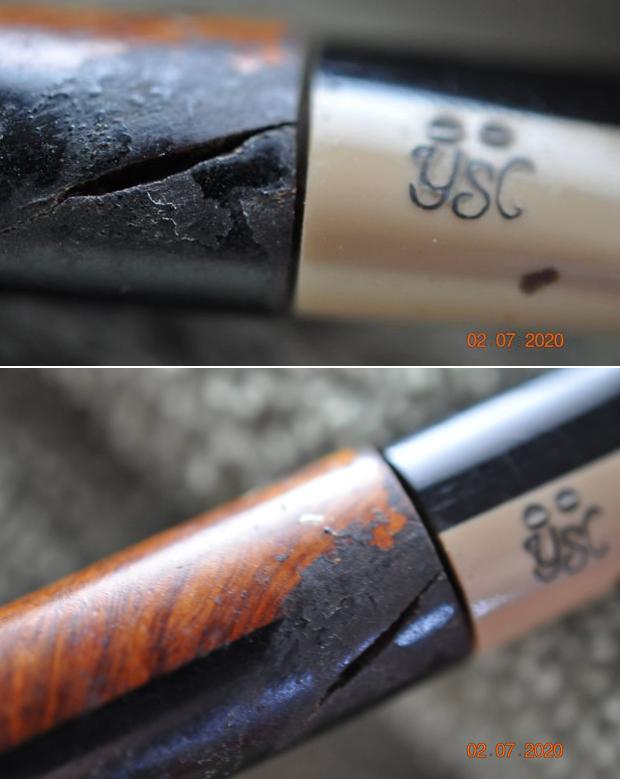
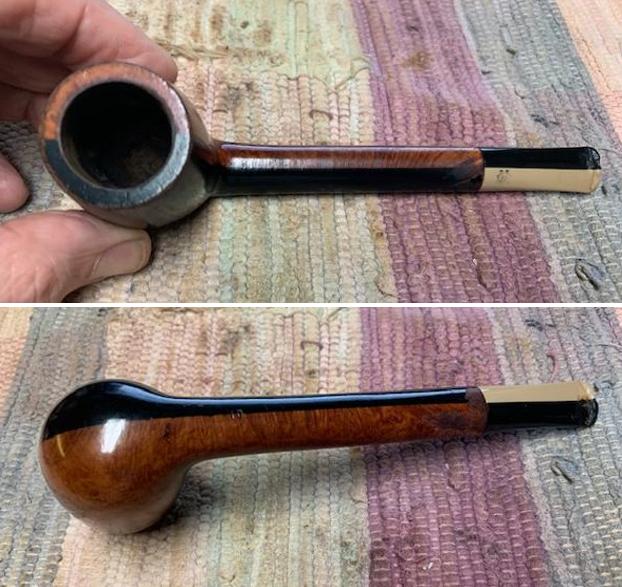
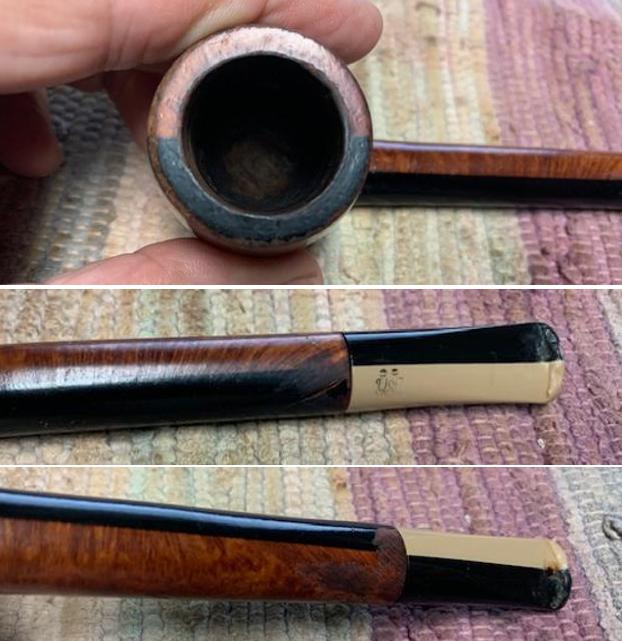
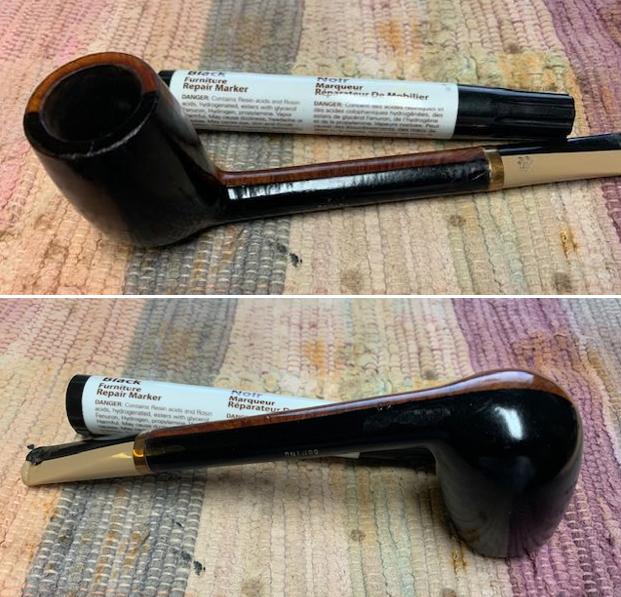
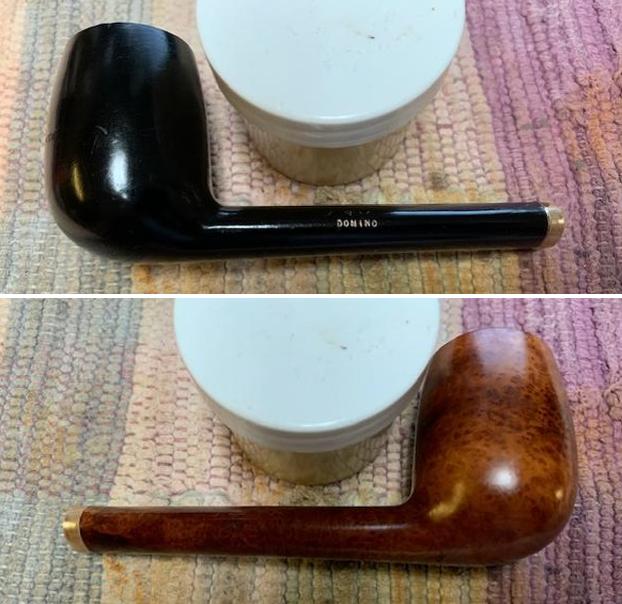
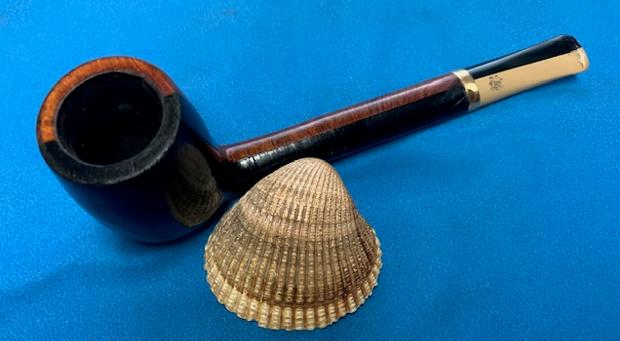
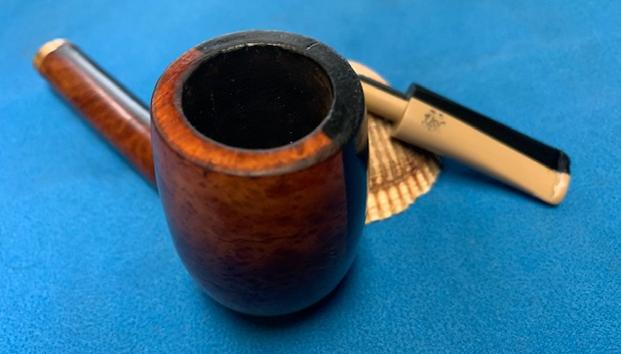
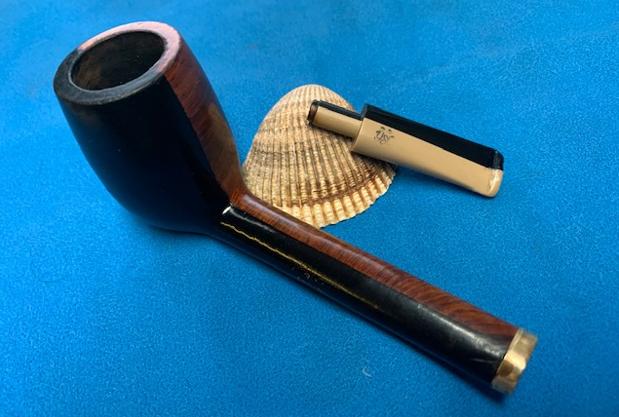
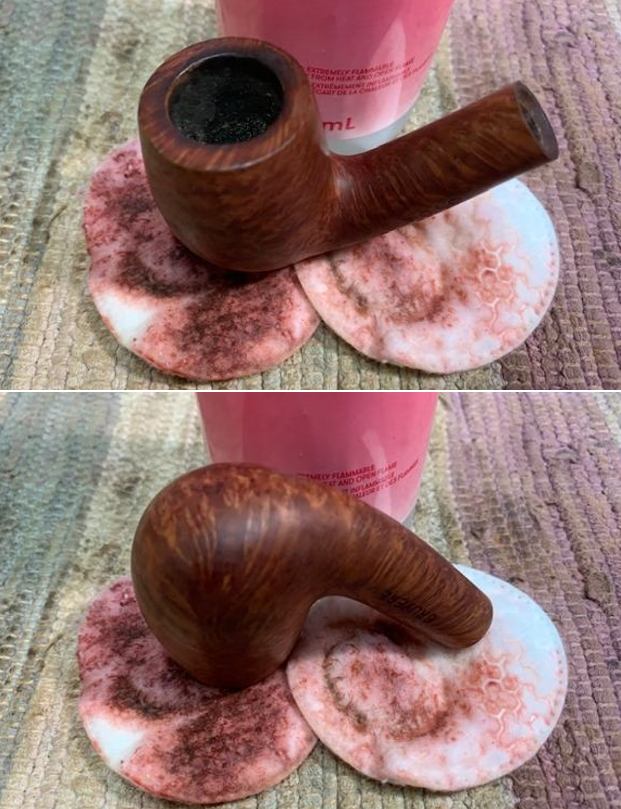
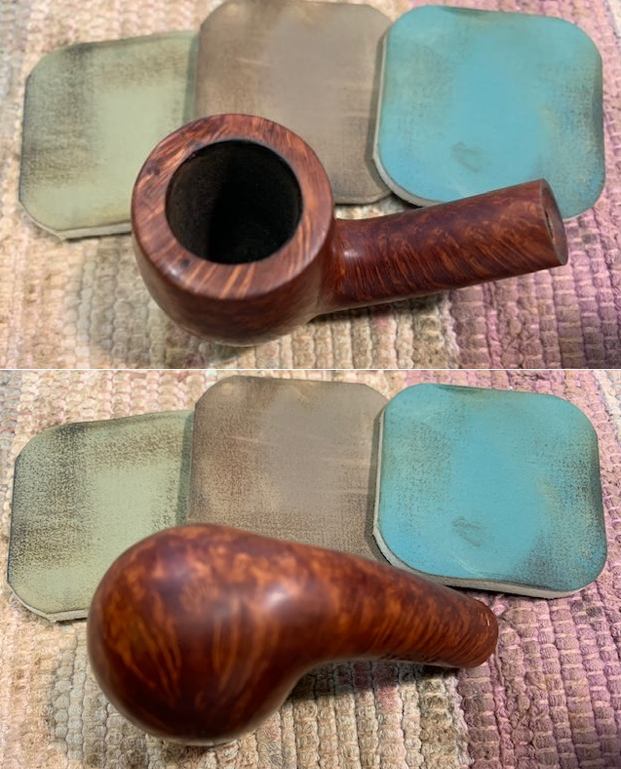
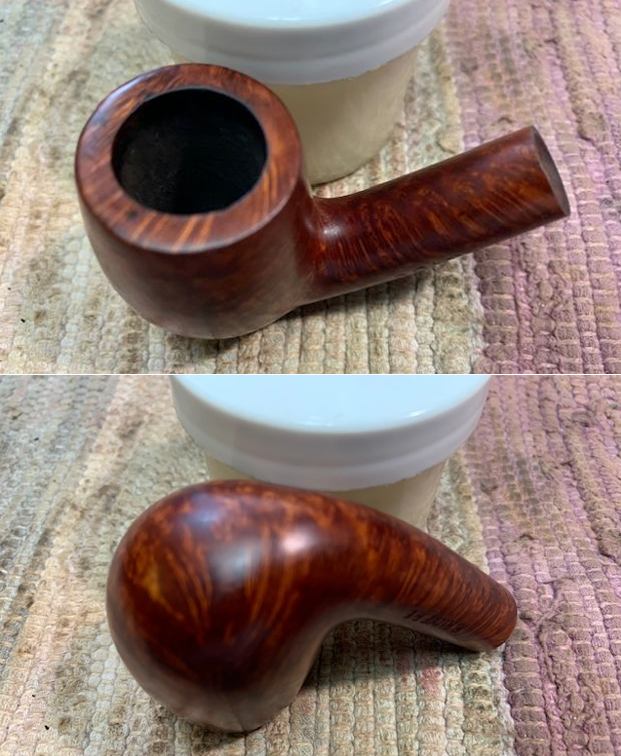
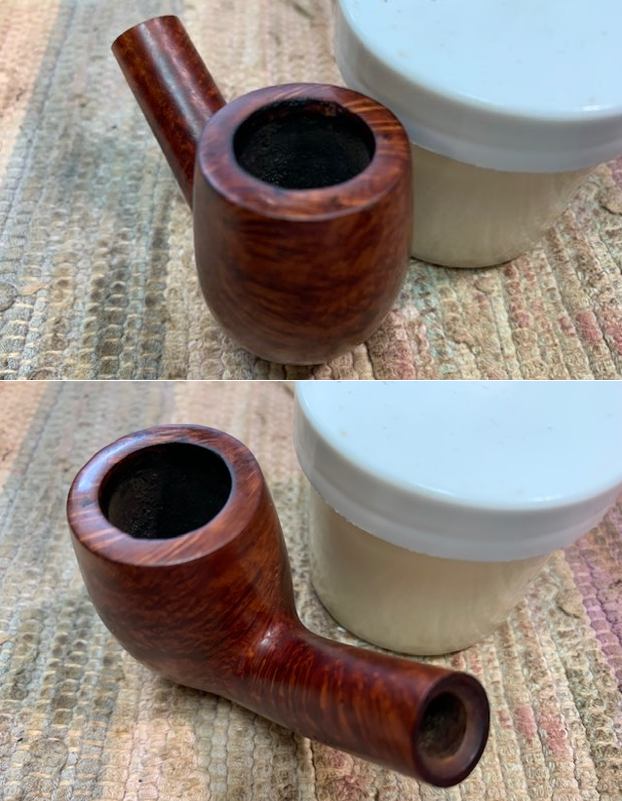
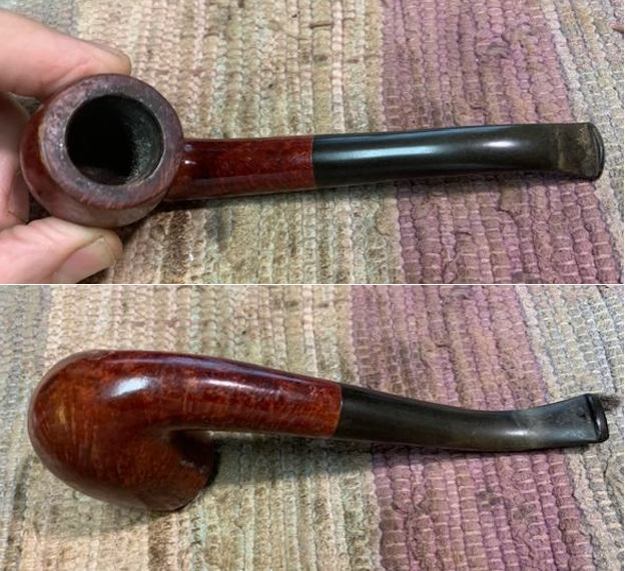 I took photos of the rim top and bowl to give a sense of what I saw. There was a thin cake in the bowl and there was lava on the rim top and the inner edge of the bowl. I also took photos of the top and underside of the stem to show the oxidation, calcification and the deep tooth marks and chatter next to the button on both sides.
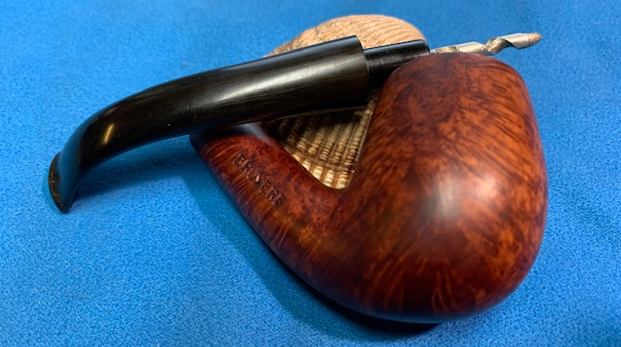
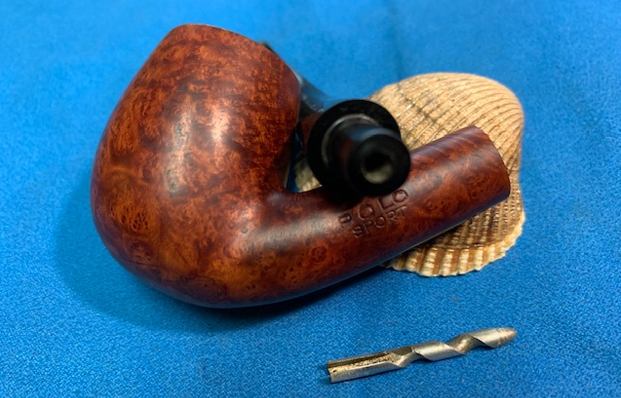
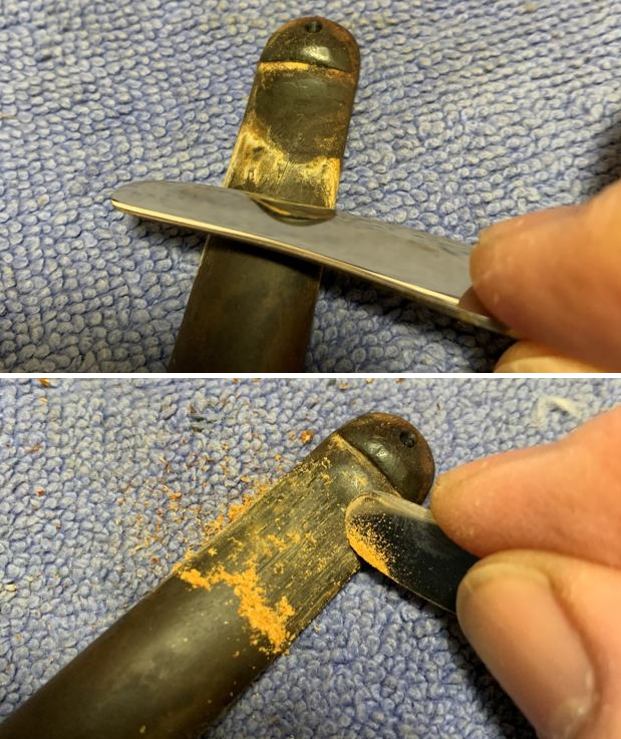
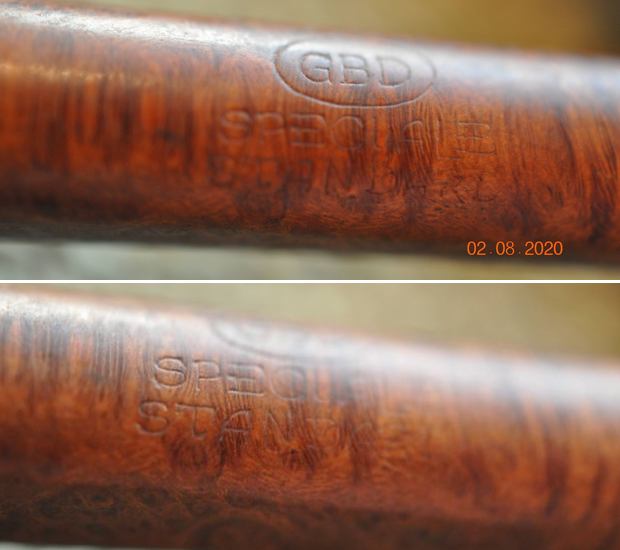
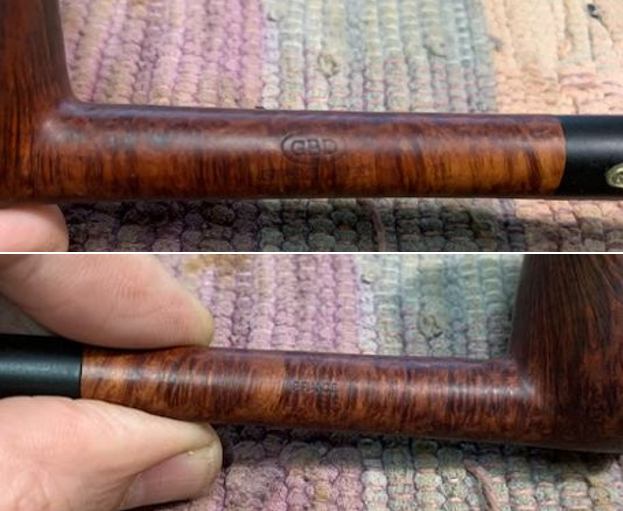
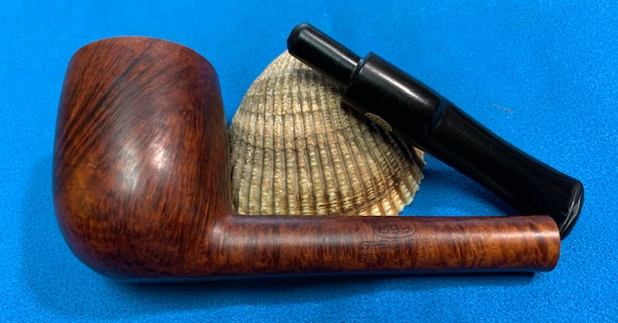
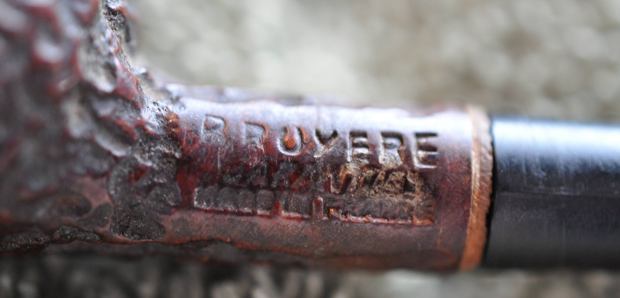
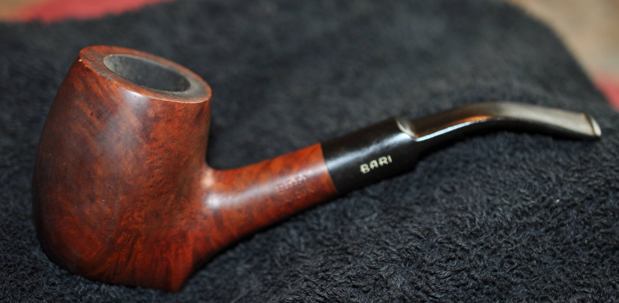
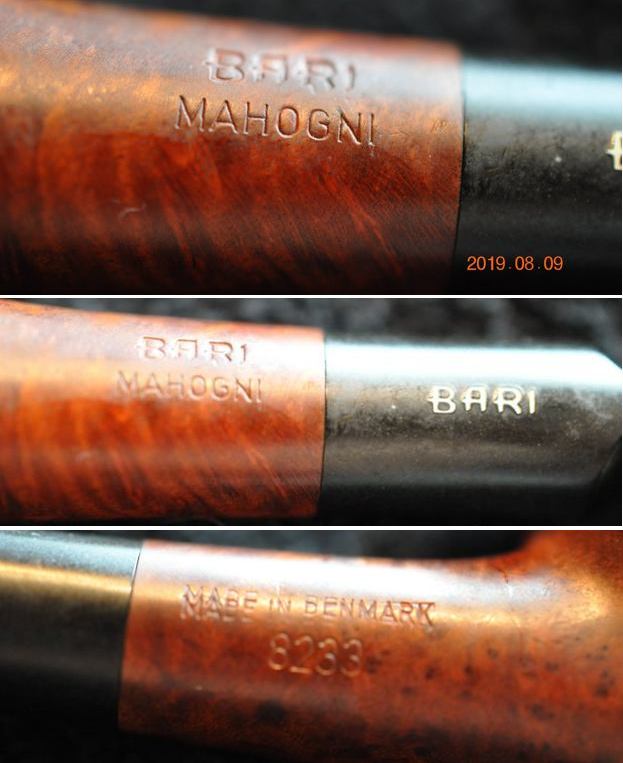
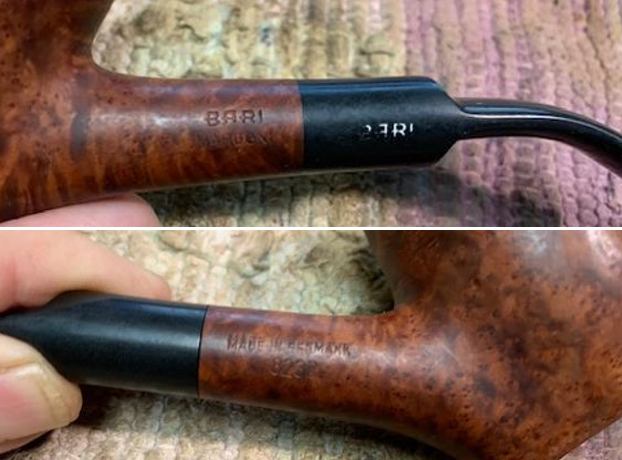
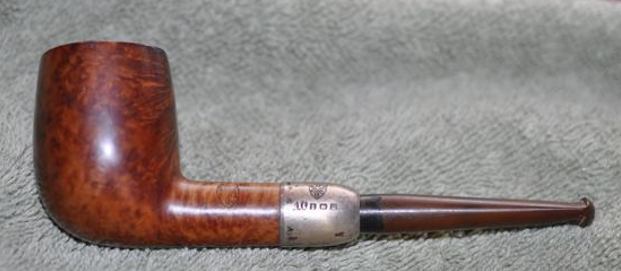
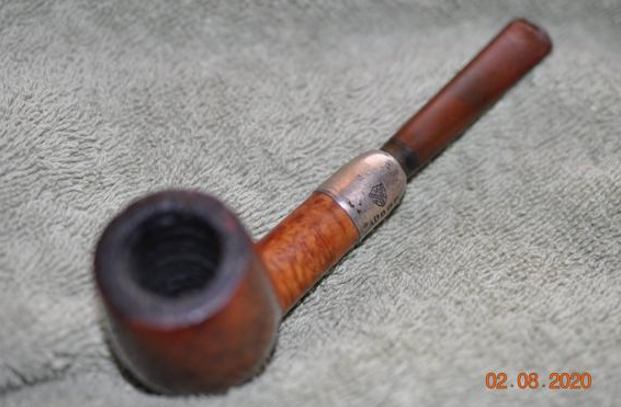
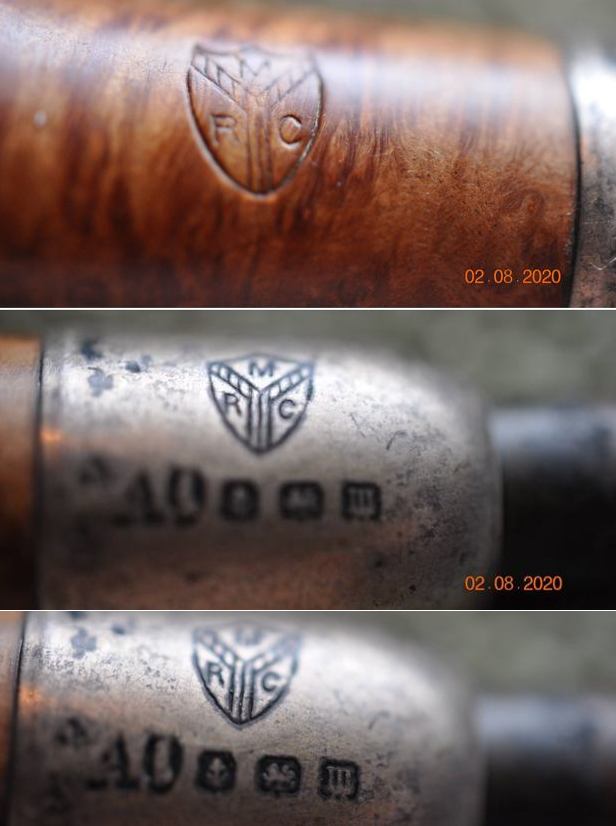
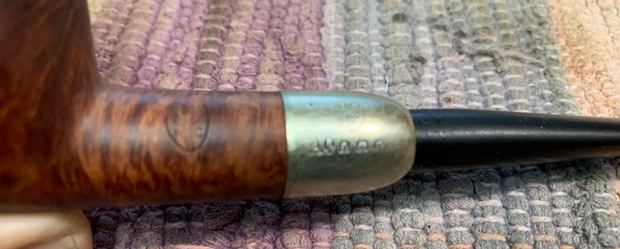
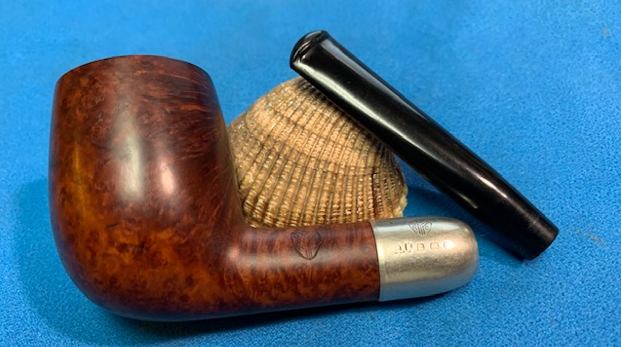
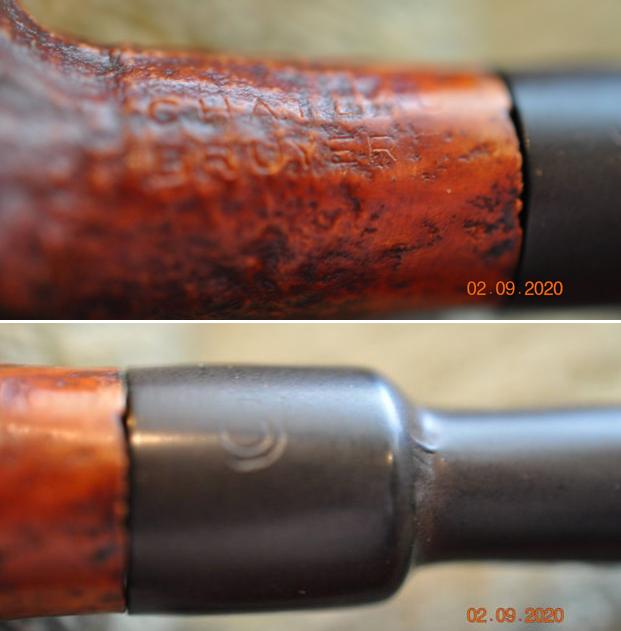
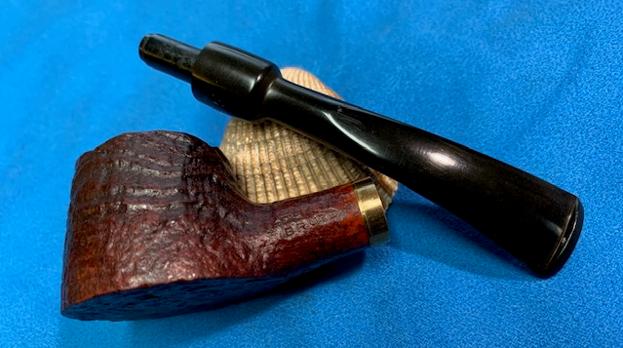
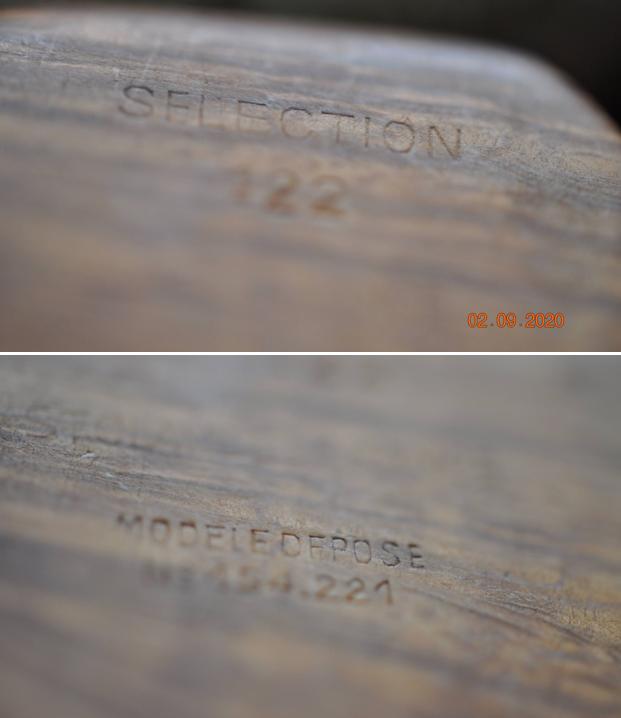
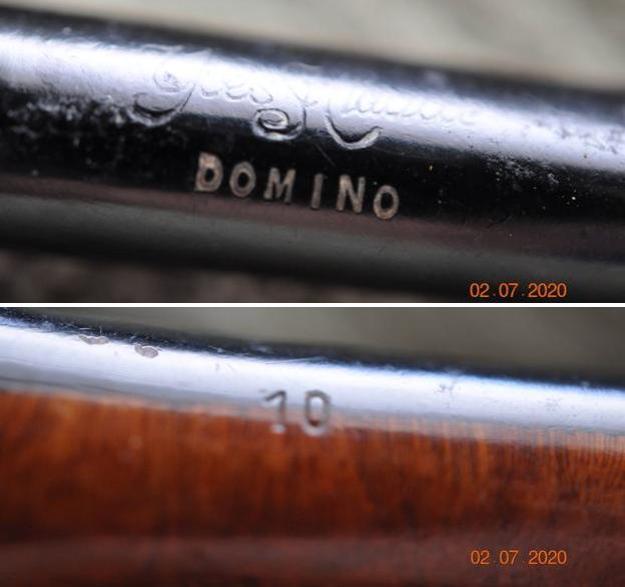
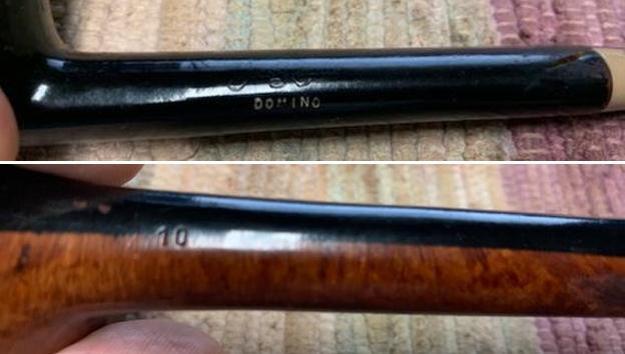
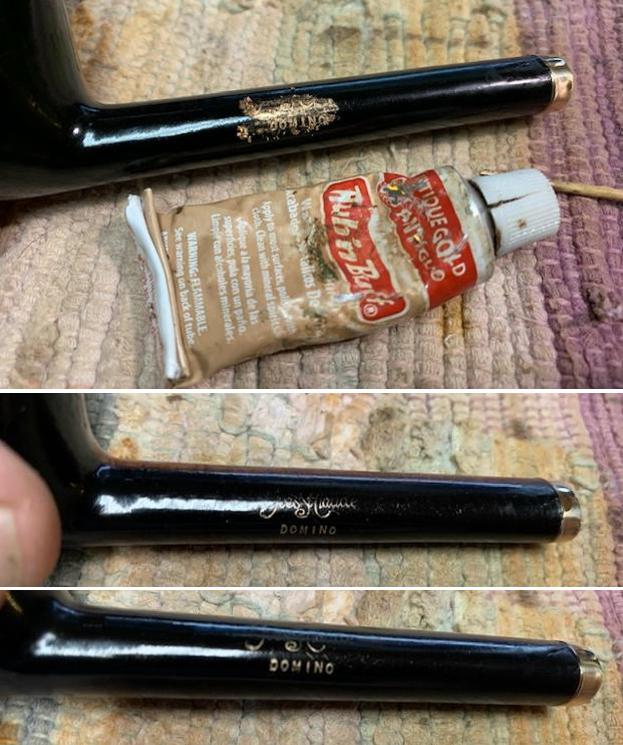
 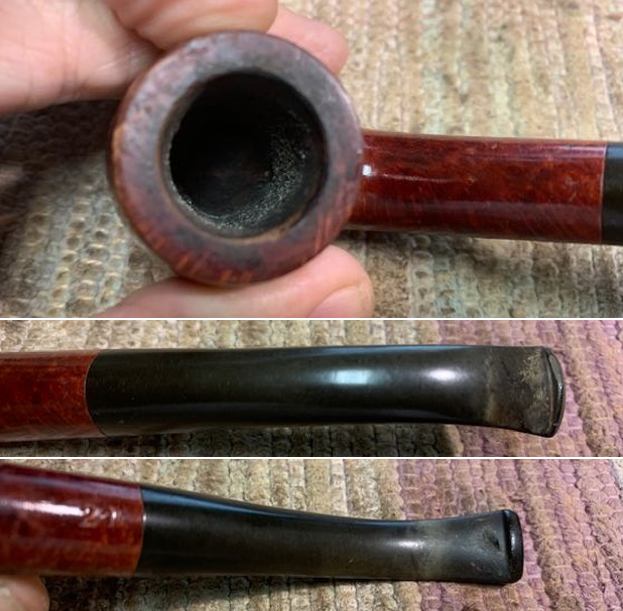 I took a photo of the stamping on the left, right and underside of the shank. It captured the stamping well in the photos and you can see that they are clear and readable as noted above.
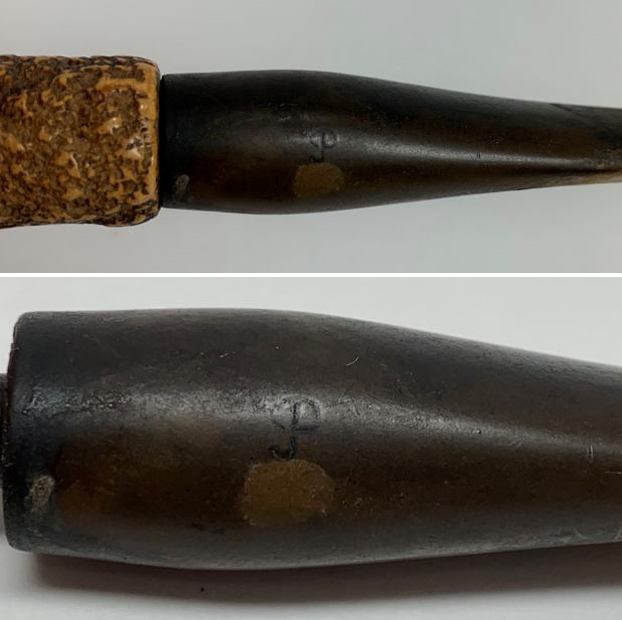
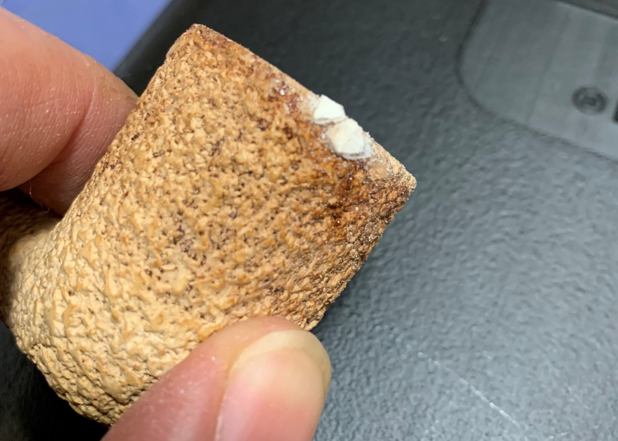
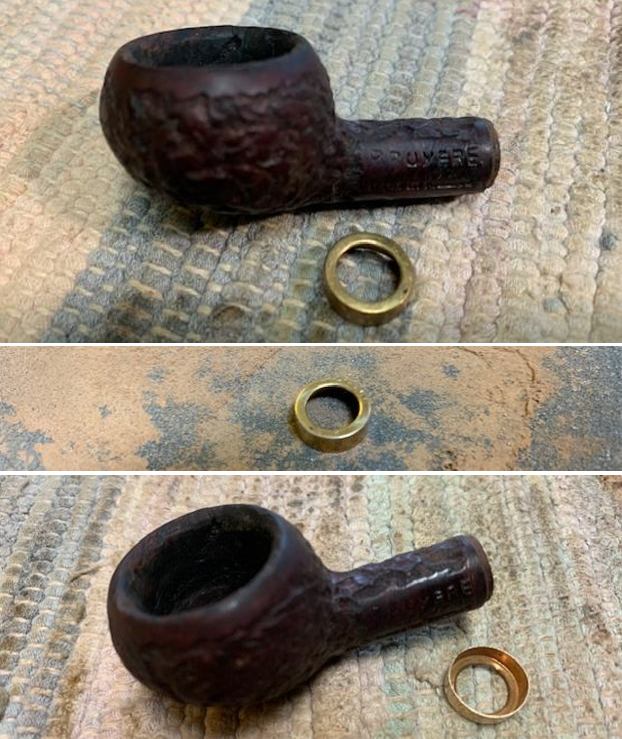
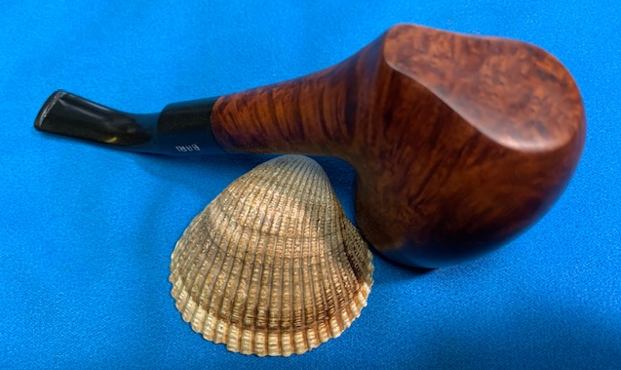
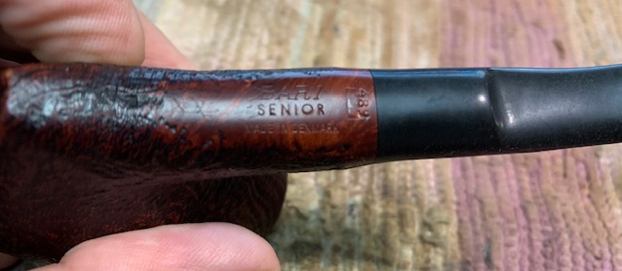
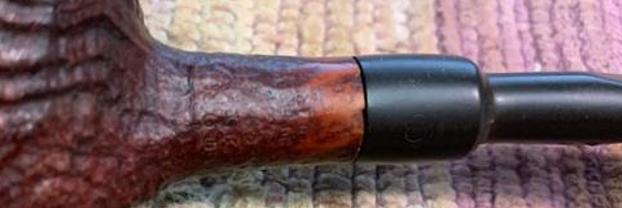
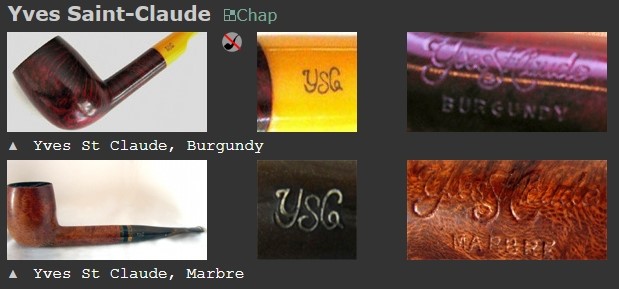
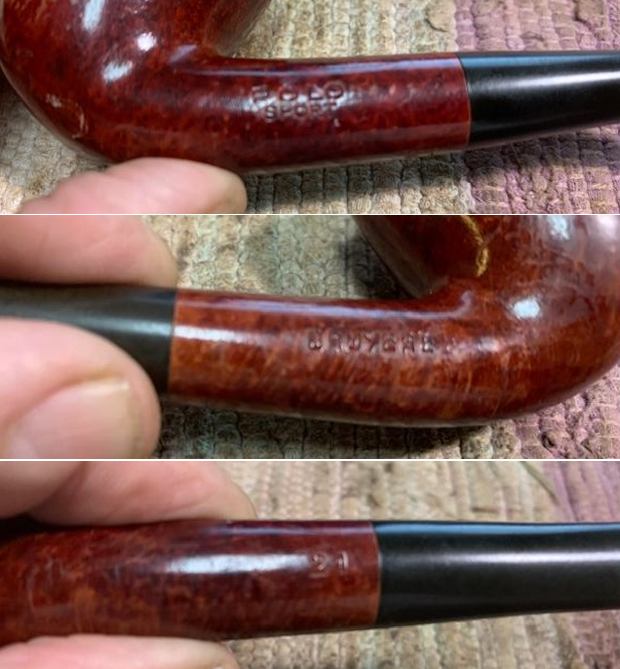 I turned to Pipephil’s and to Pipedia to see what I could find out about the brand. I also googled the brand name of the pipe. It appears that quite a few companies in several countries made pipes that were stamped Polo. Savinelli in Italy, Vauen in Germany, Imperial Tobacco Company and Cadogan in England. I have eliminated the Savinelli connection as well as the Vauen connection by the stamping on those pipe versus this one. It may well be an Imperial or a Cadogan after the merger. I am not sure I will ever know for certain.
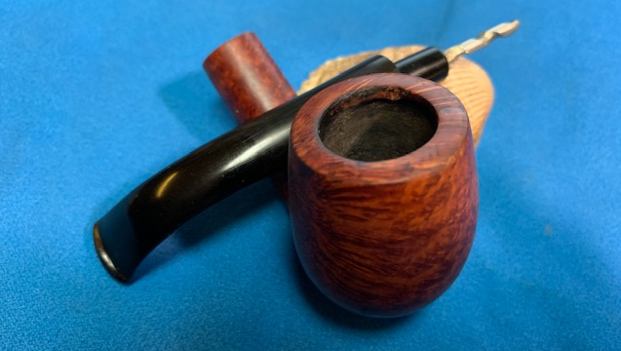
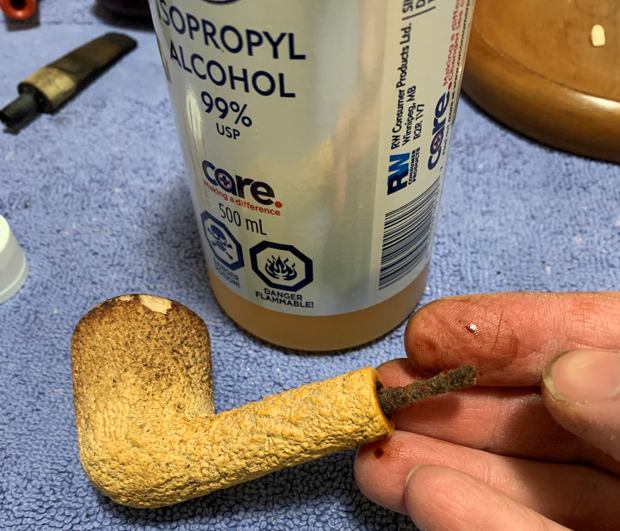
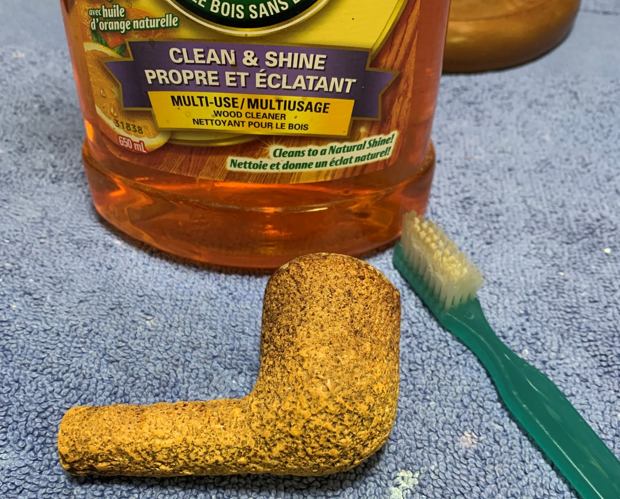
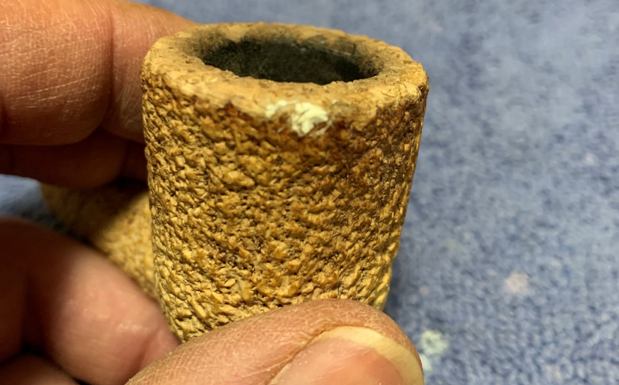
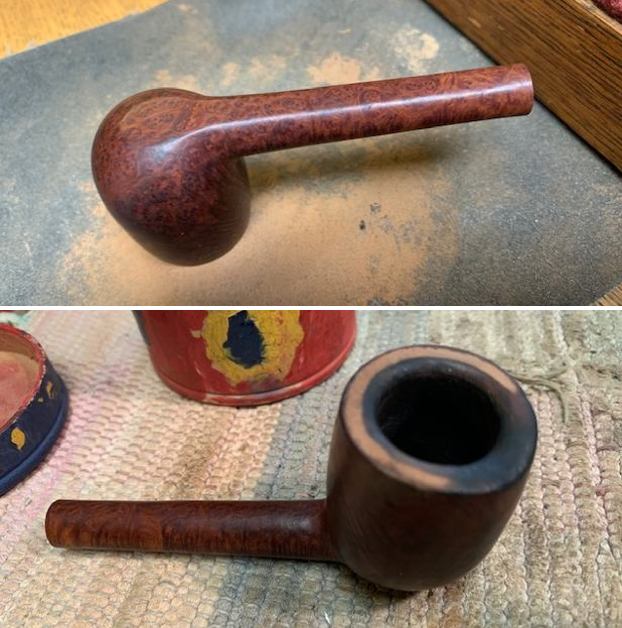
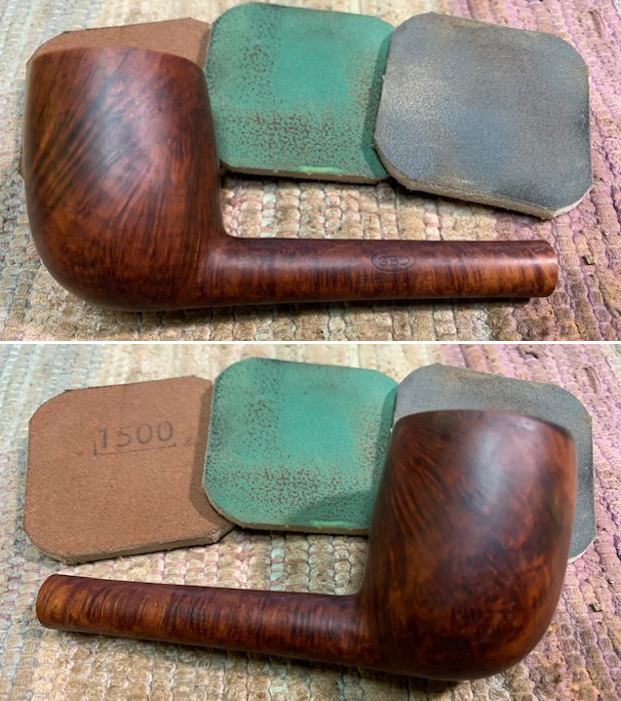
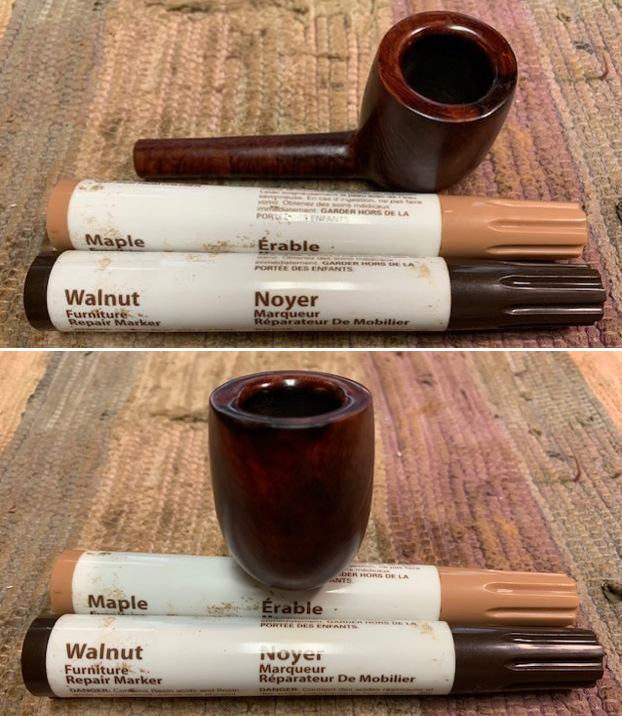
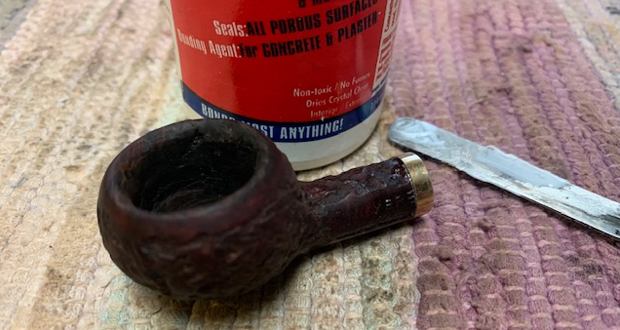
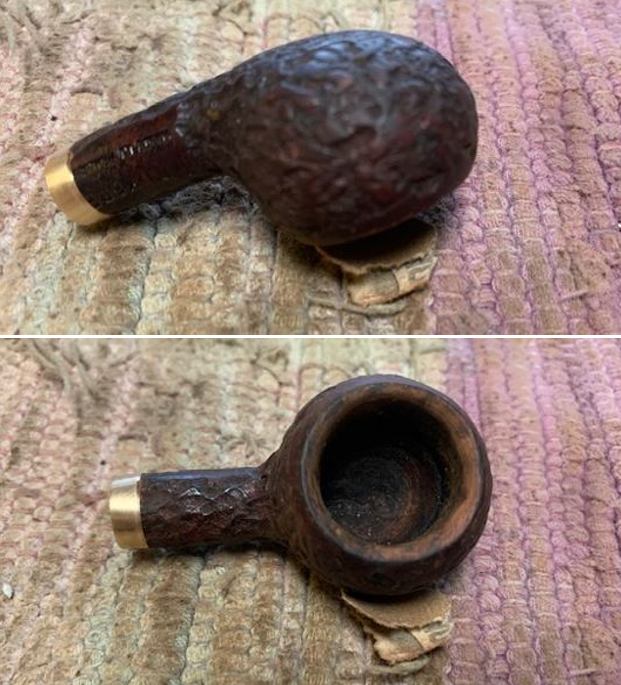
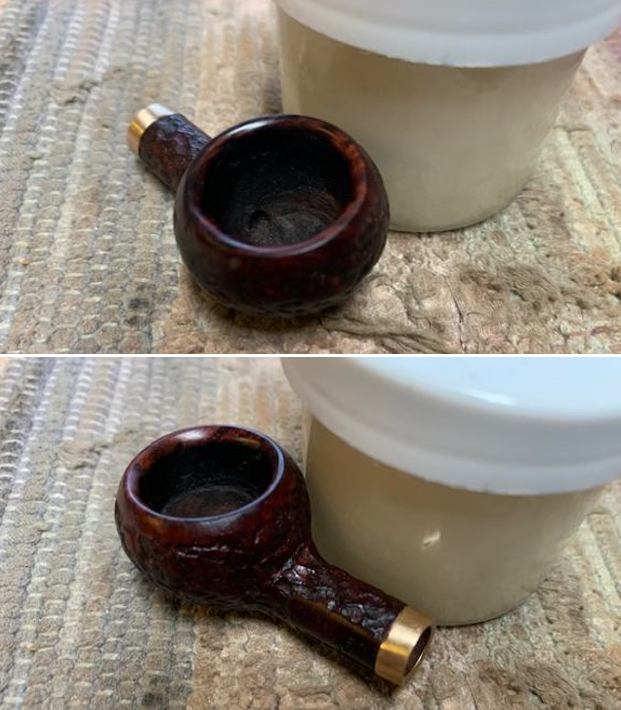
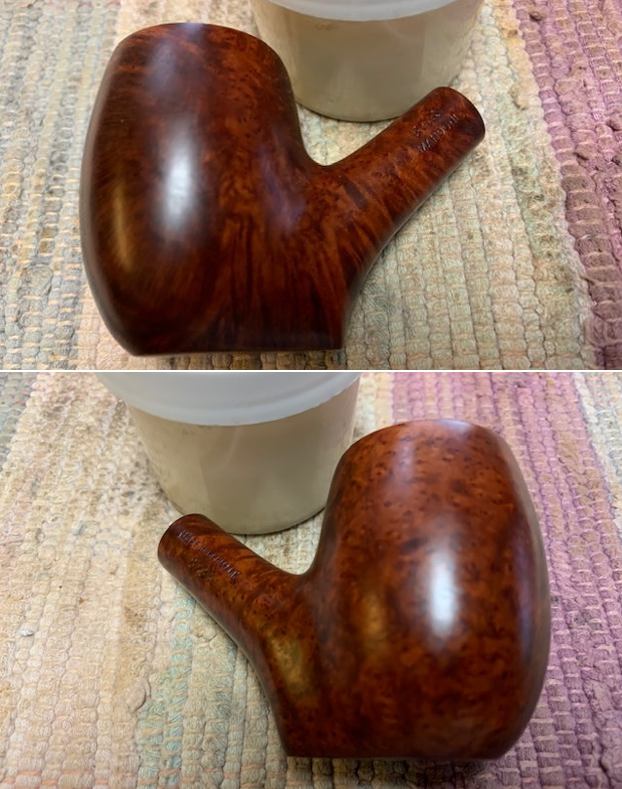
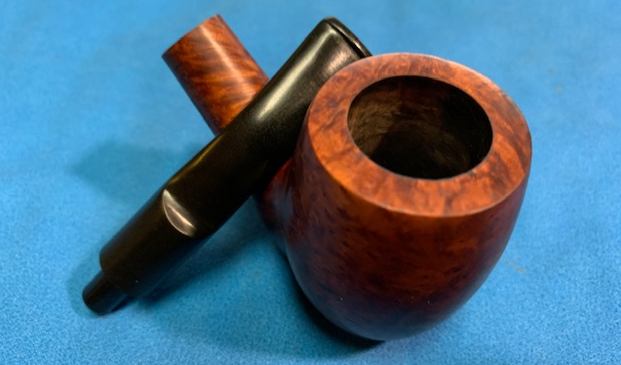
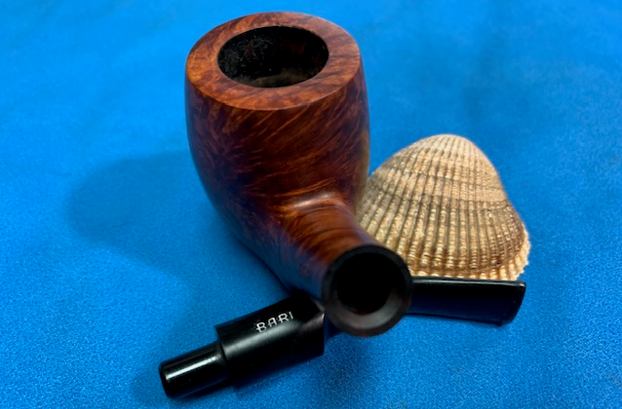
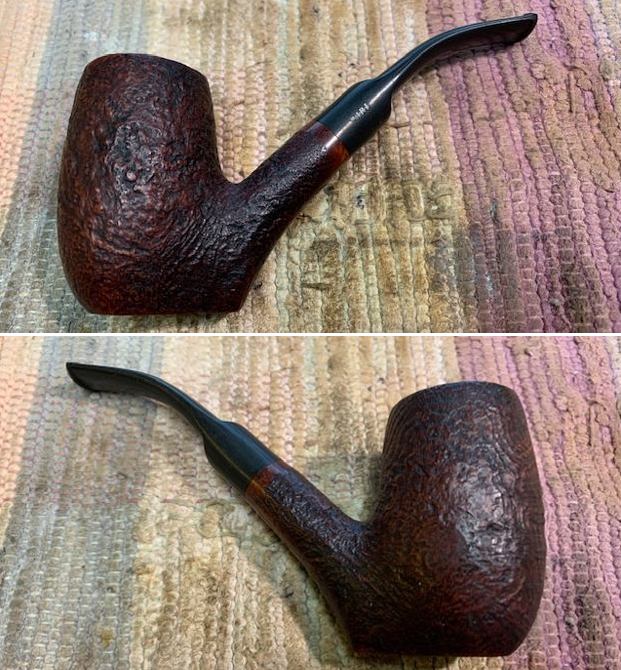
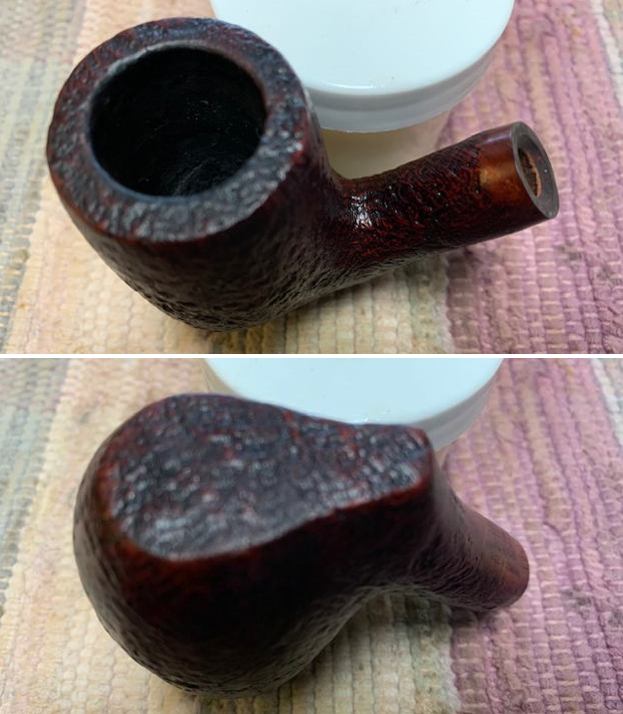
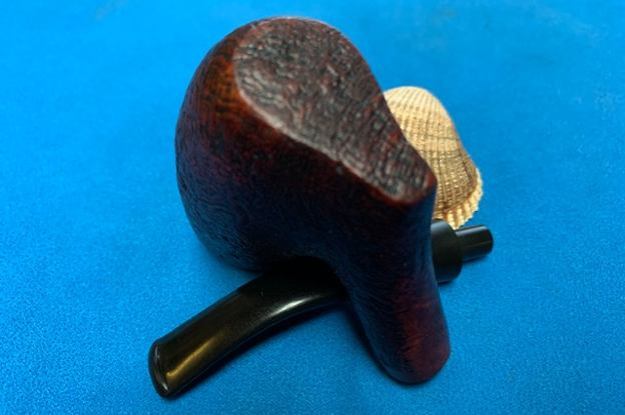
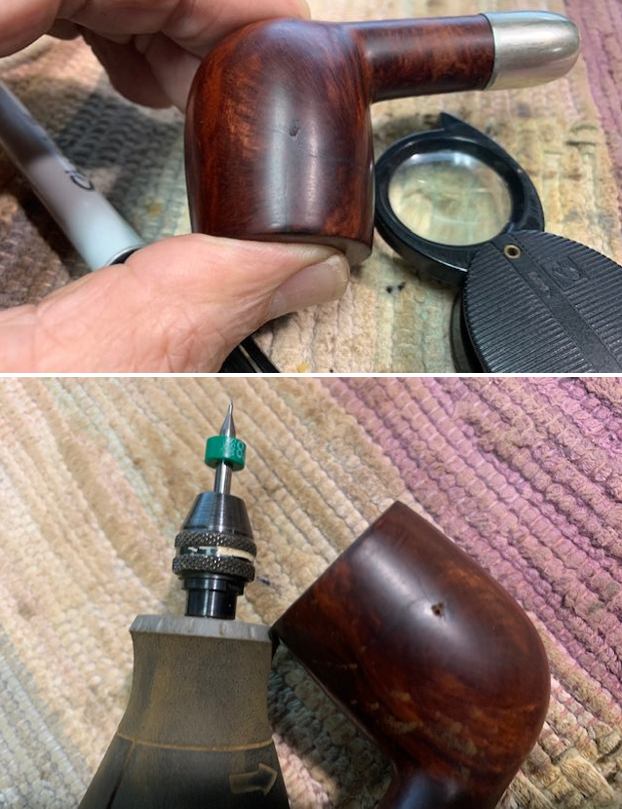
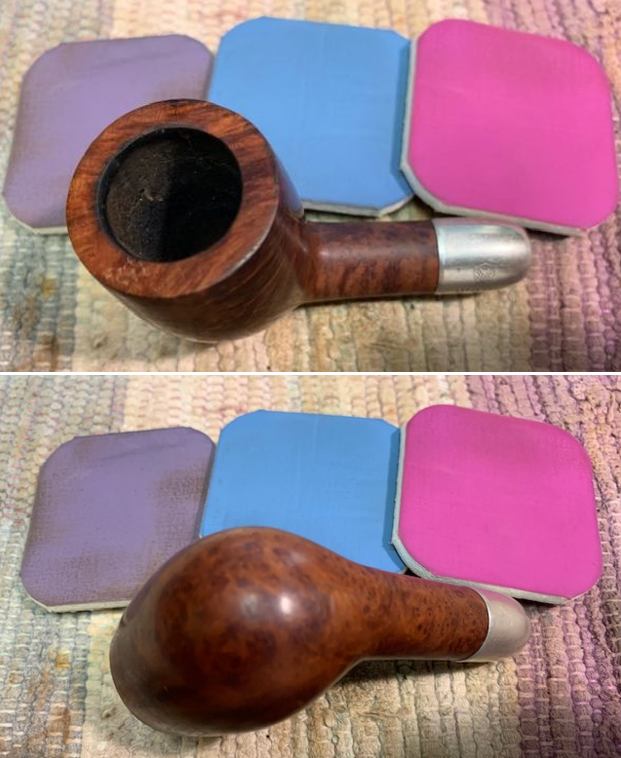
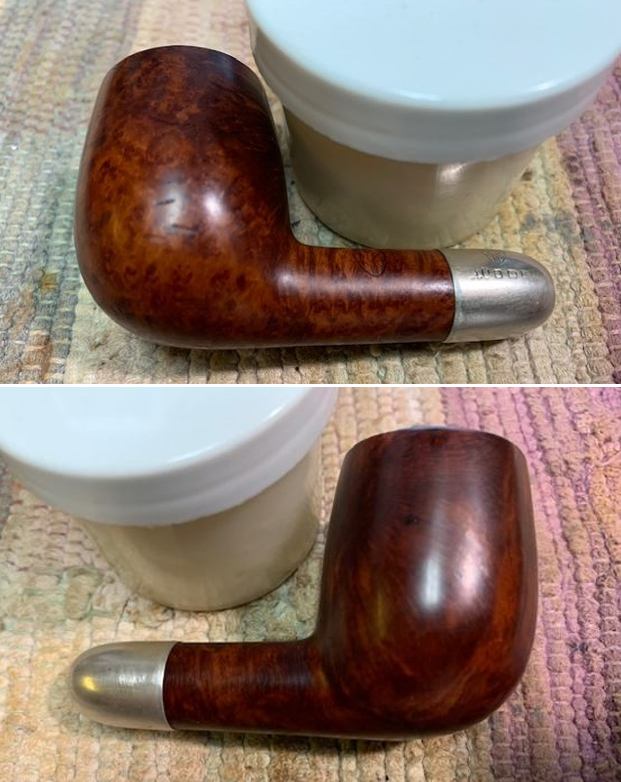
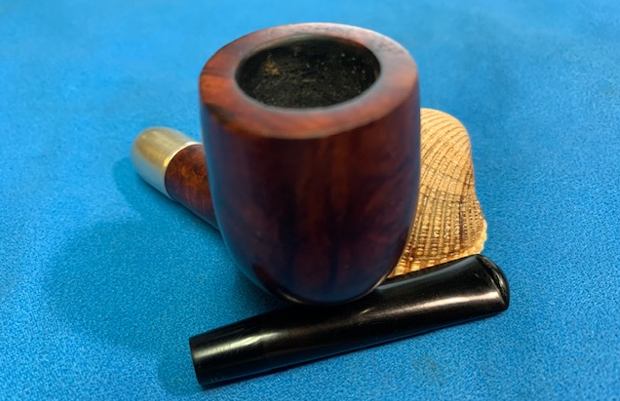
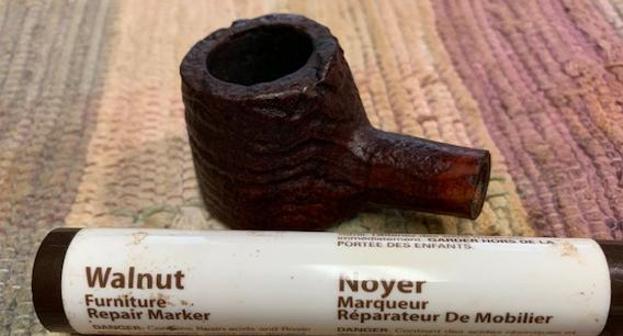
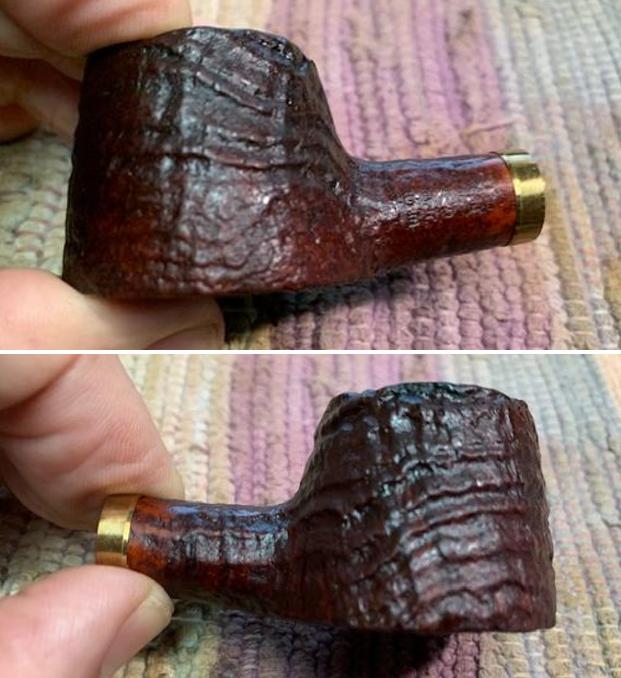
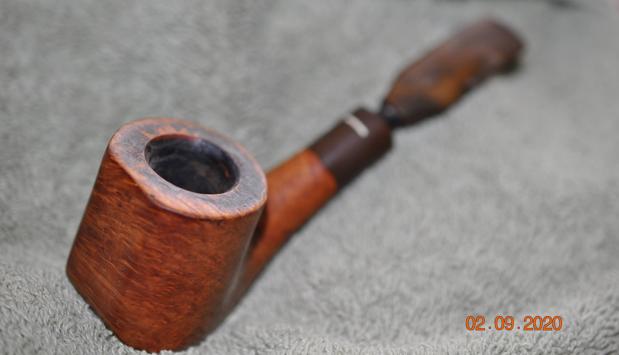
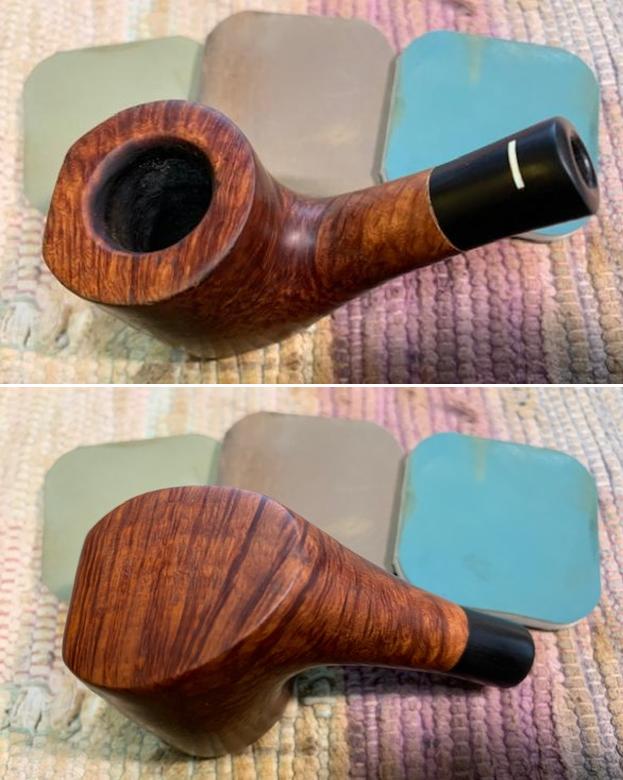
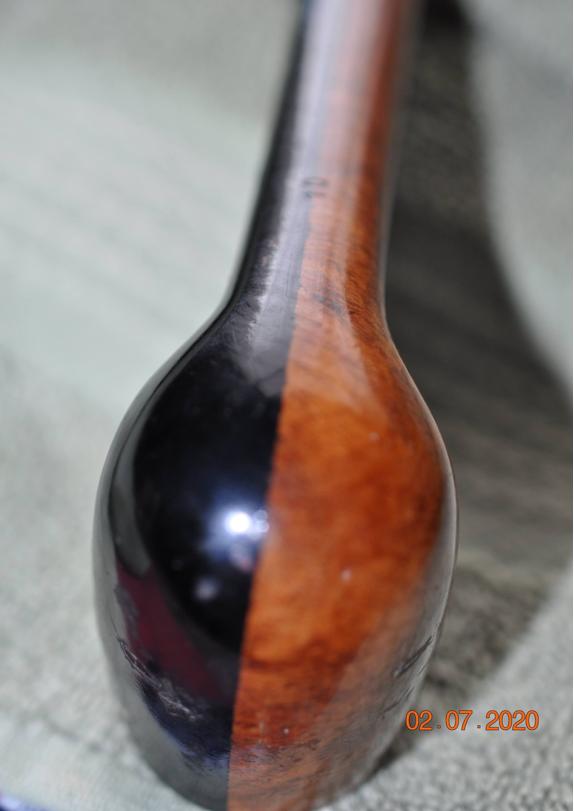
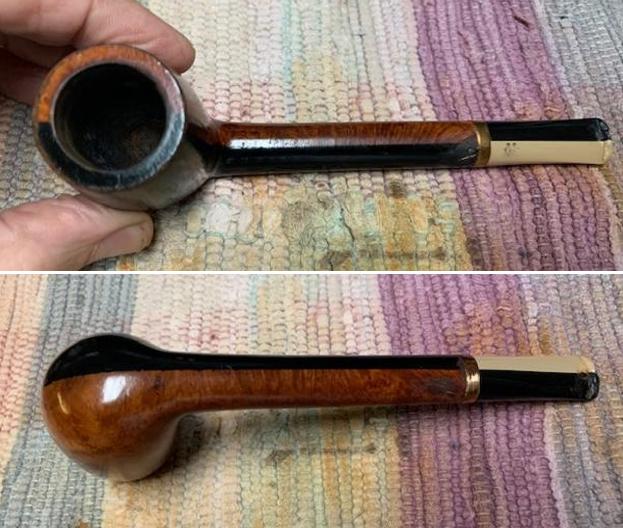
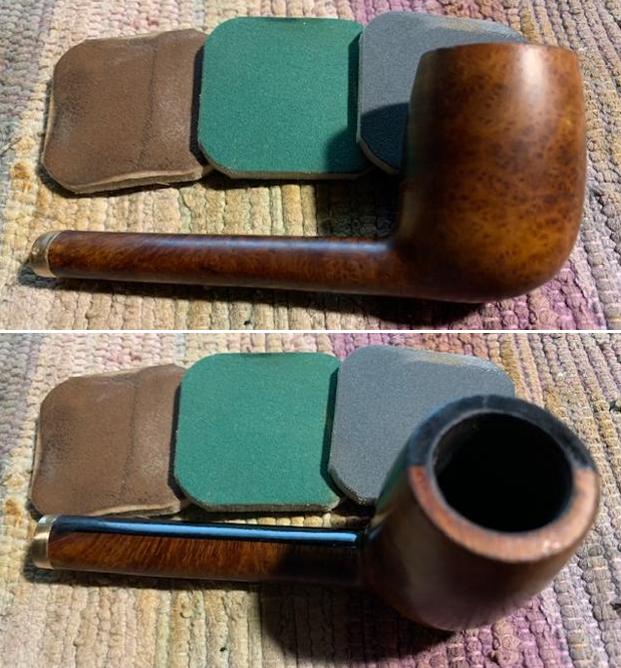
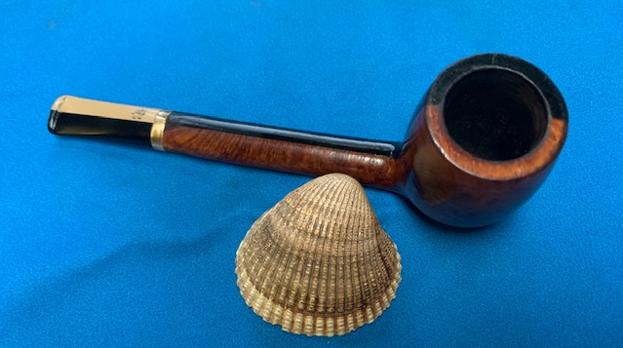
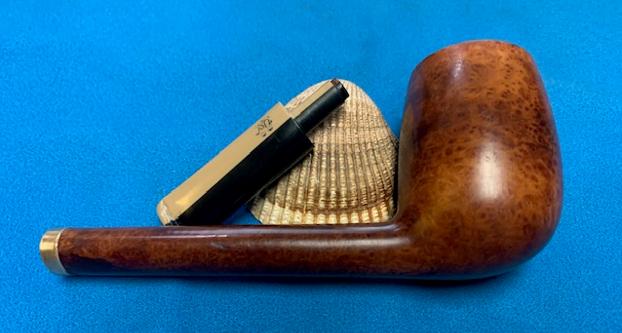
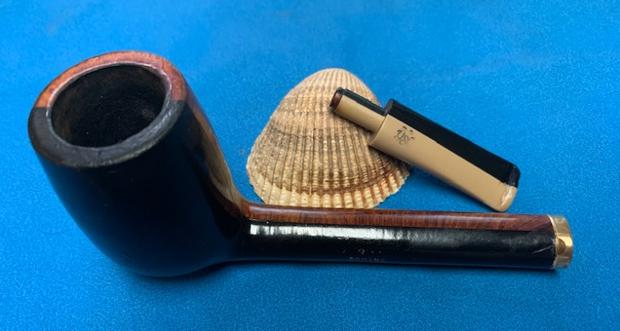
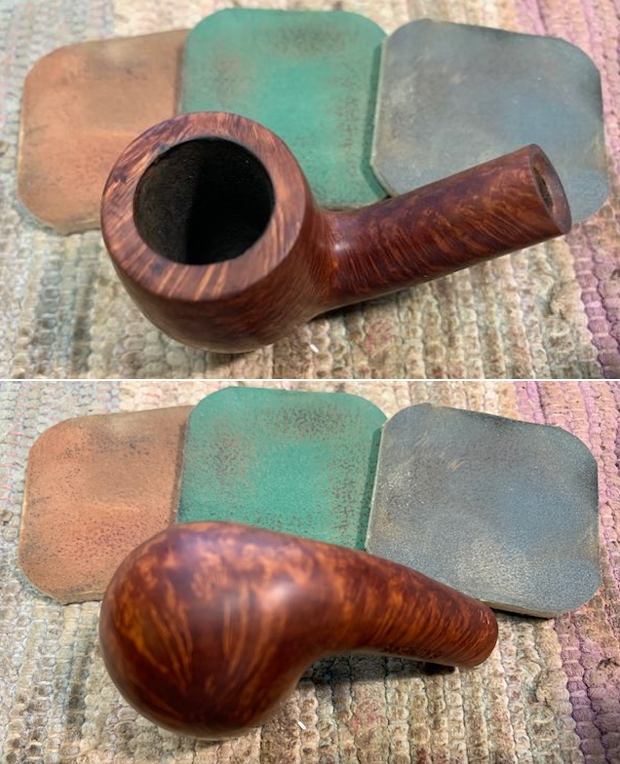
It was now time to work on the pipe. I had a decision to make. Should I scrub it with Murphy’s or skip that step and scrub it with acetone to remove the peeling varnish coat? I opted to go with the acetone scrub. I scrubbed the rim top and sides of the bowl with acetone on cotton pads to remove the grime and the peeling varnish. I was very happy with the outcome. The bowl had some interesting grain around the top and sides.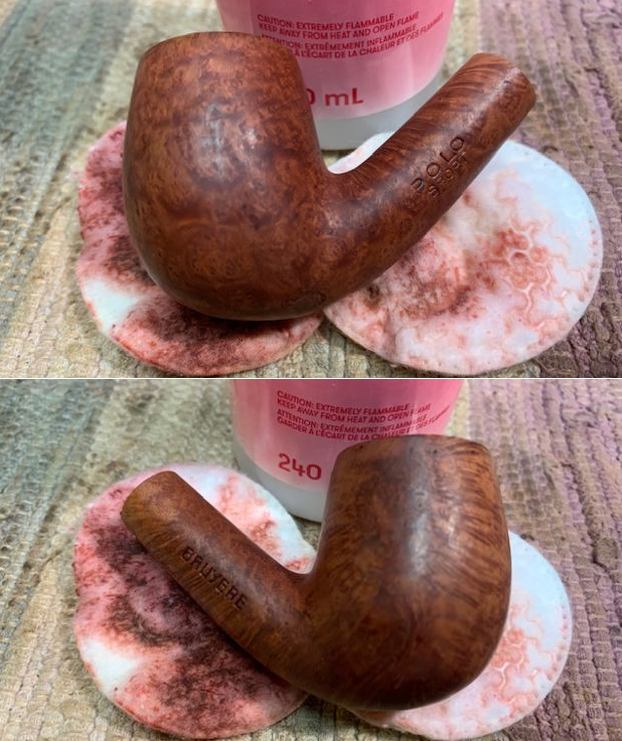
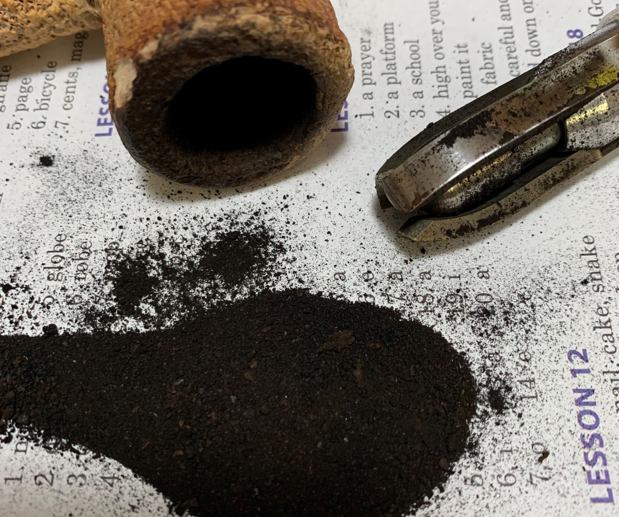
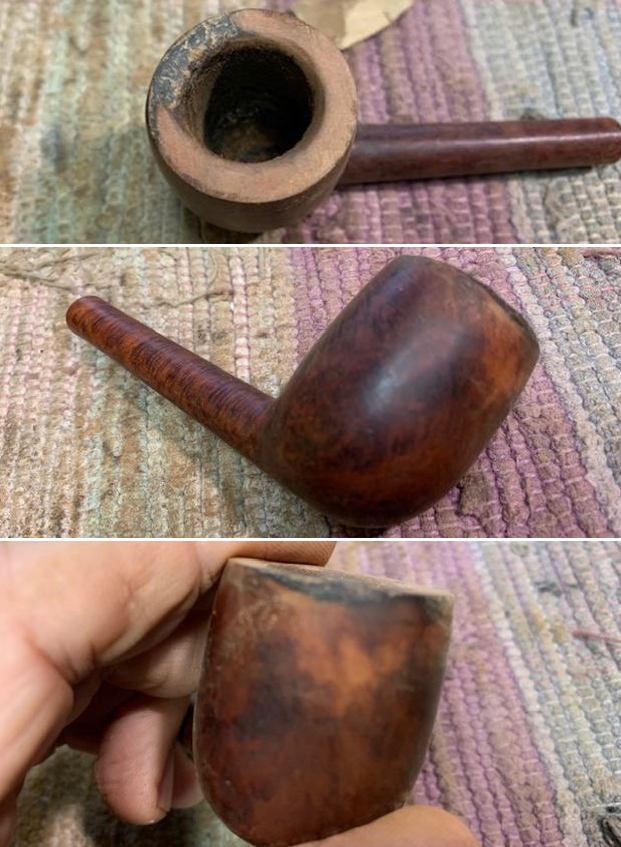
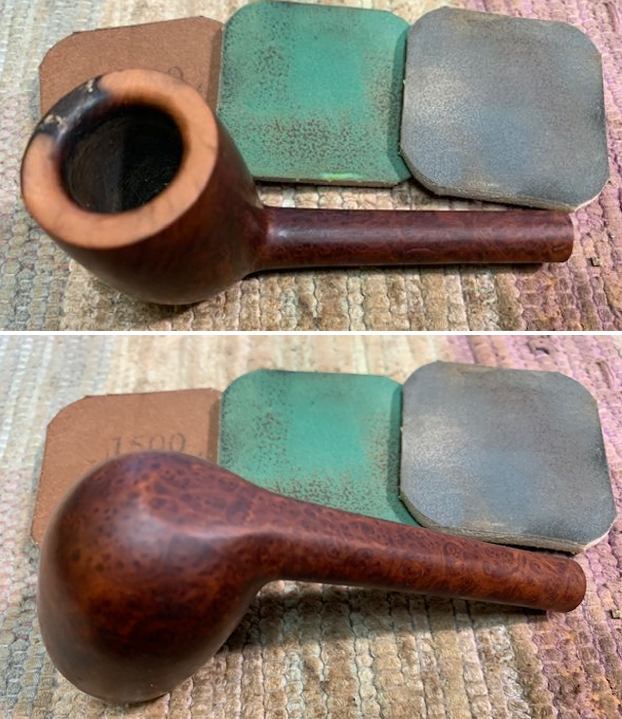
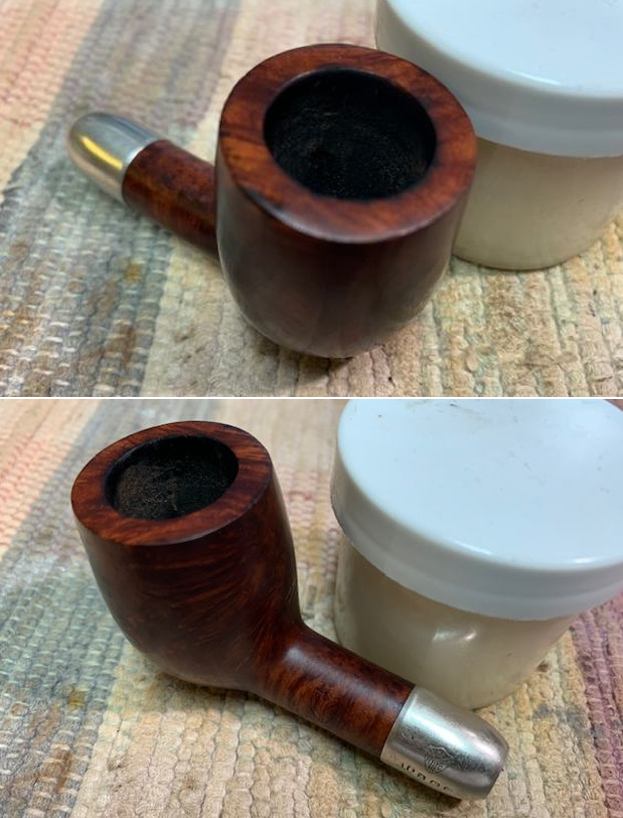
 I cleaned up the inside of the bowl and removed the cake with a Savinelli Fitsall Pipe Knife. I took the cake back to bare briar and cleaned it up so that I could examine the bowl walls carefully. They were clean and undamaged.
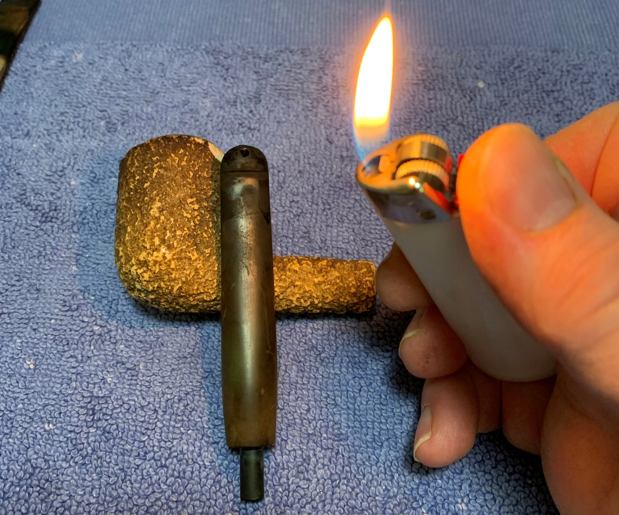
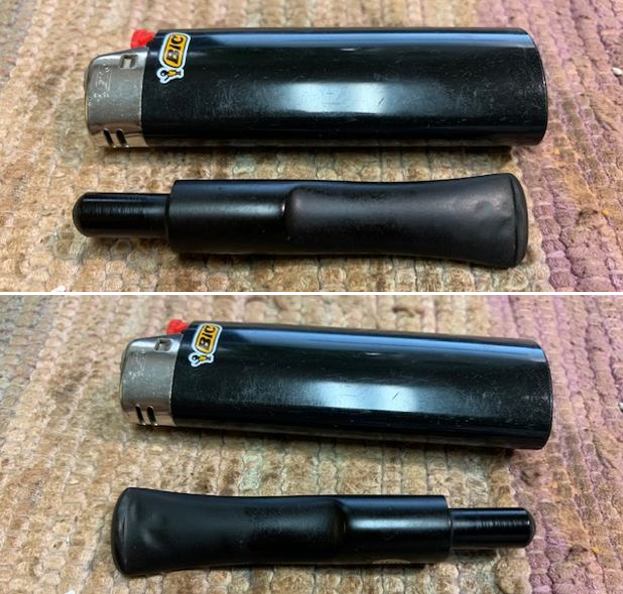
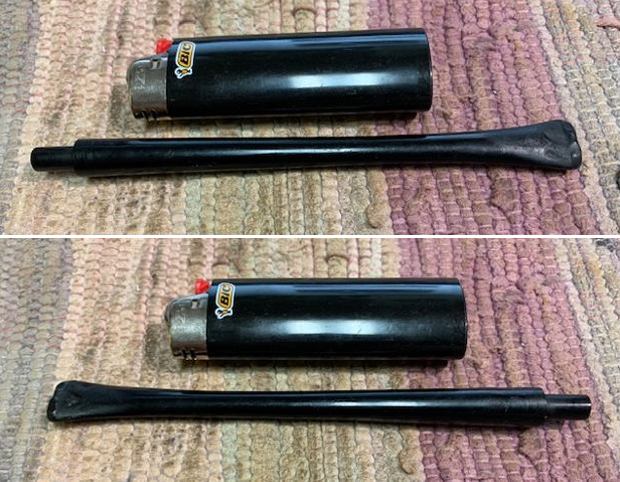
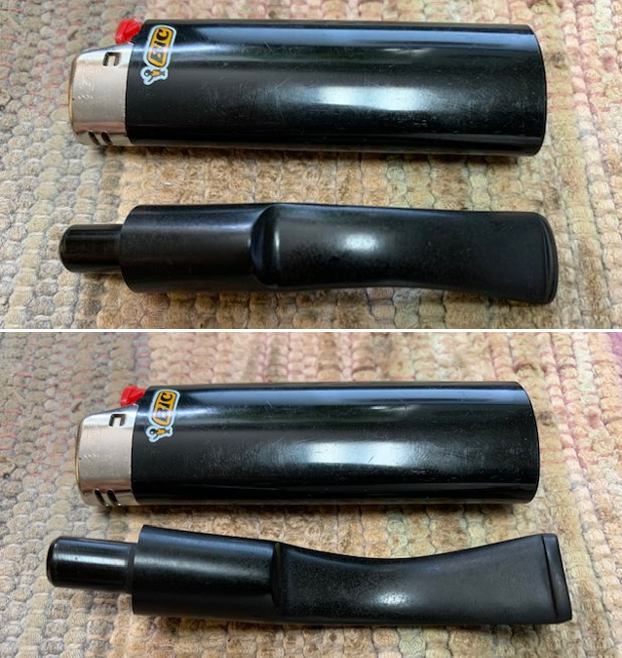
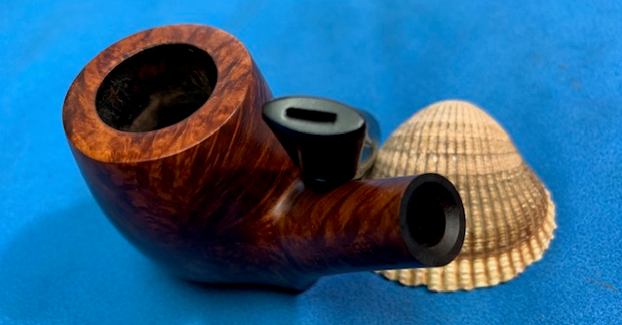
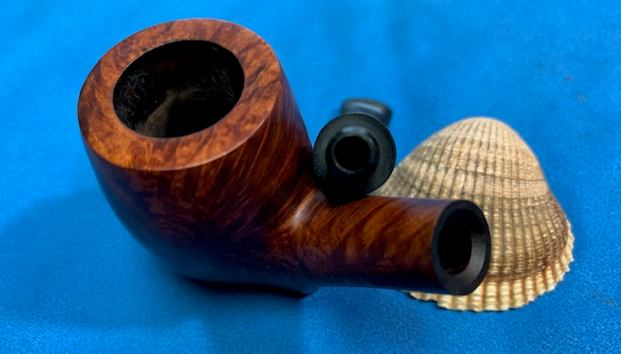
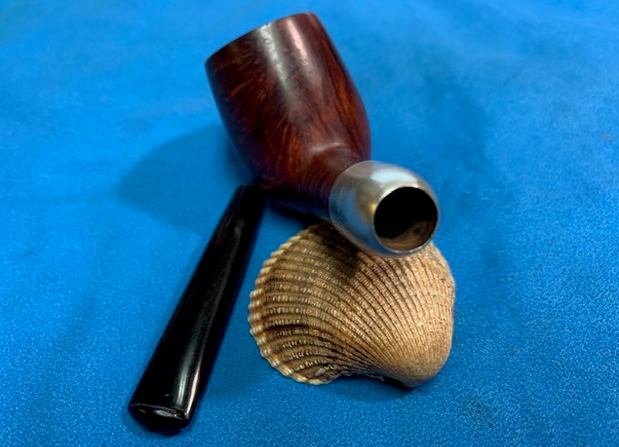
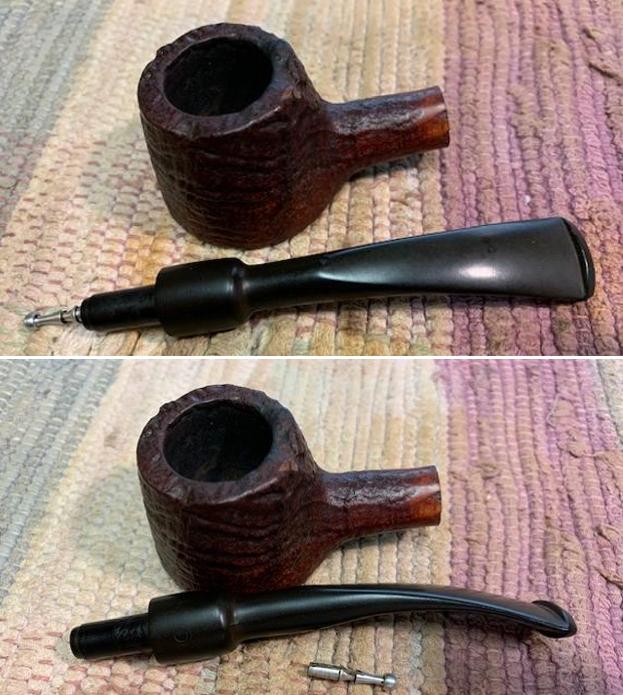
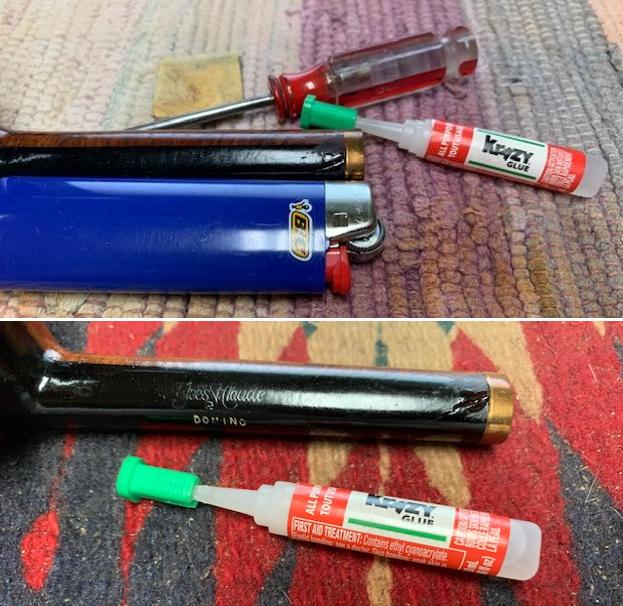
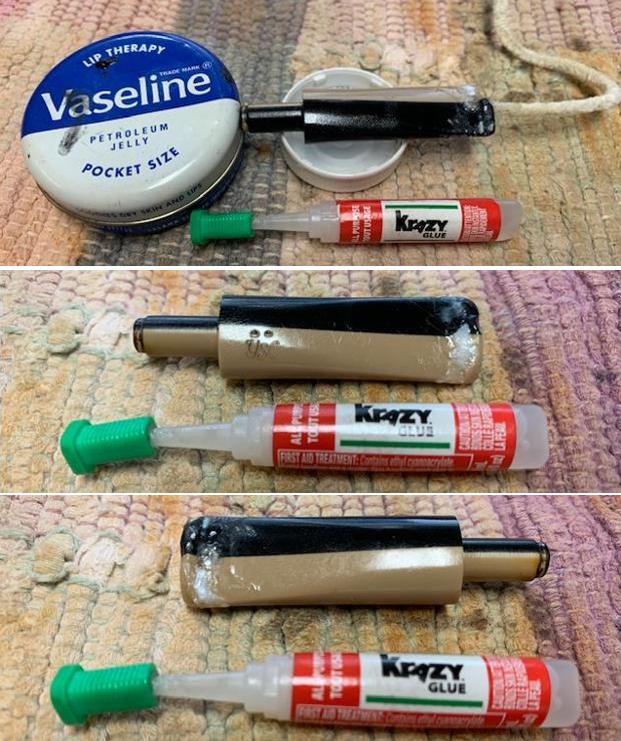
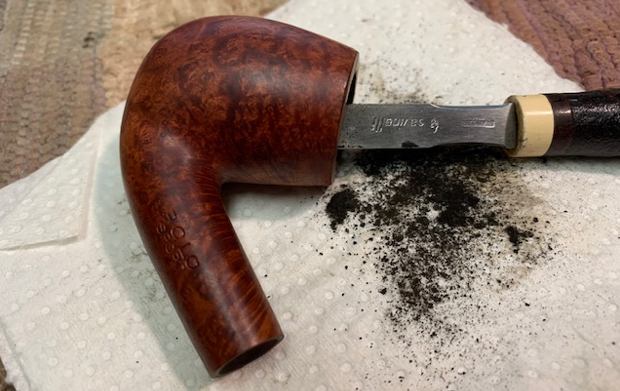 I heated the stinger with a lighter to loosen the tars that held it firmly in the tenon. I find that these really restrict the airflow and it did in this case significantly.
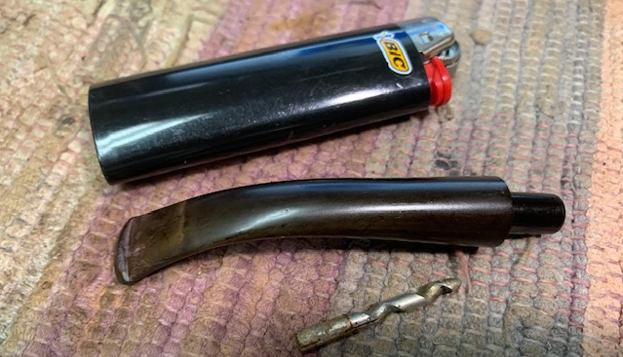 I scrubbed out the internals of the shank and stem with alcohol, cotton swabs and pipe cleaners. I worked until both the shank and stem were clean.
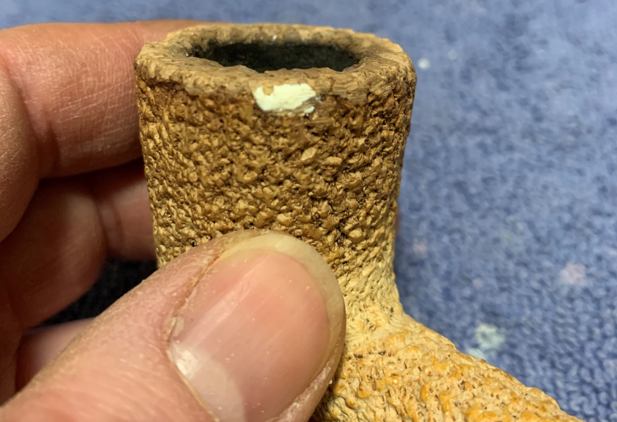
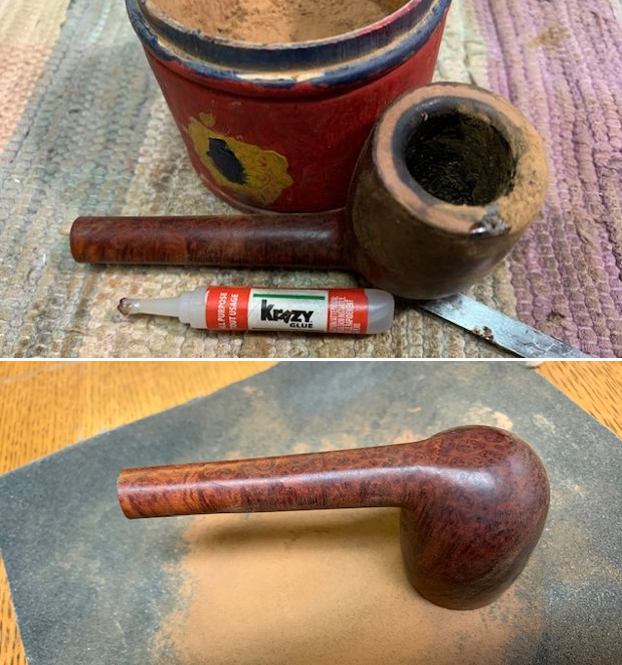
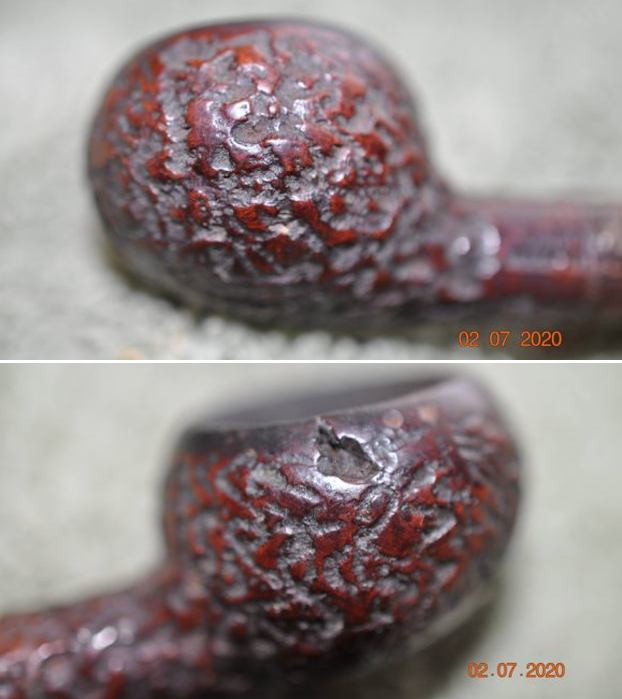
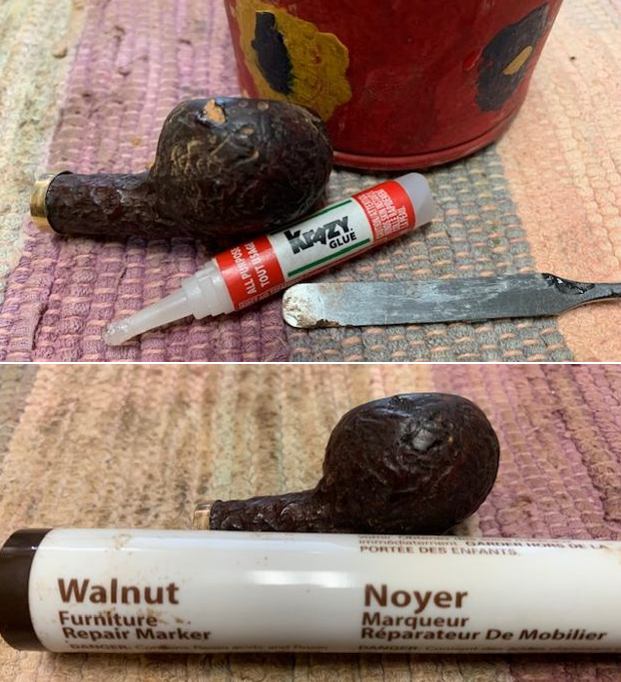
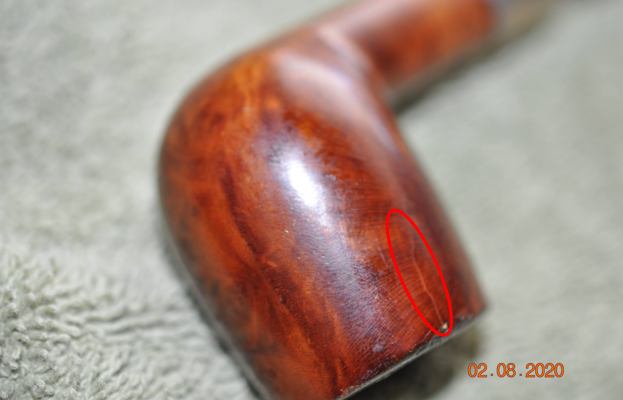
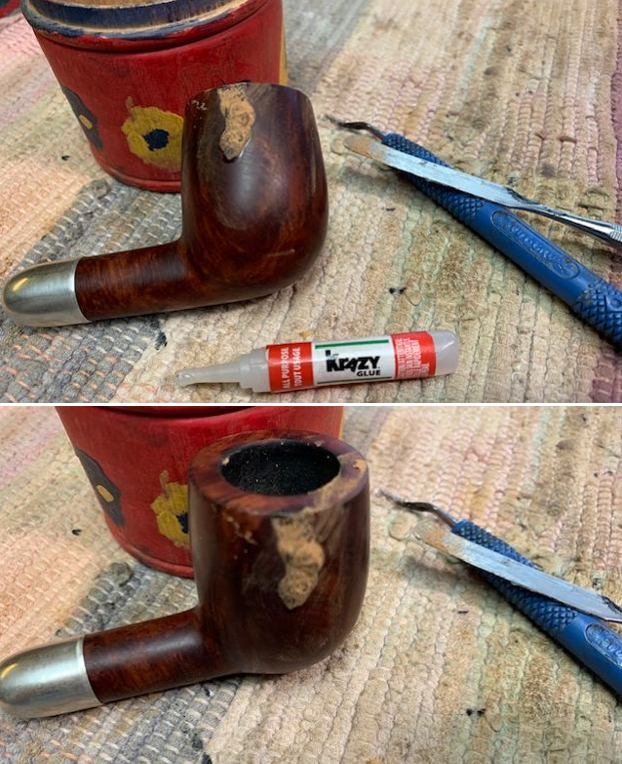
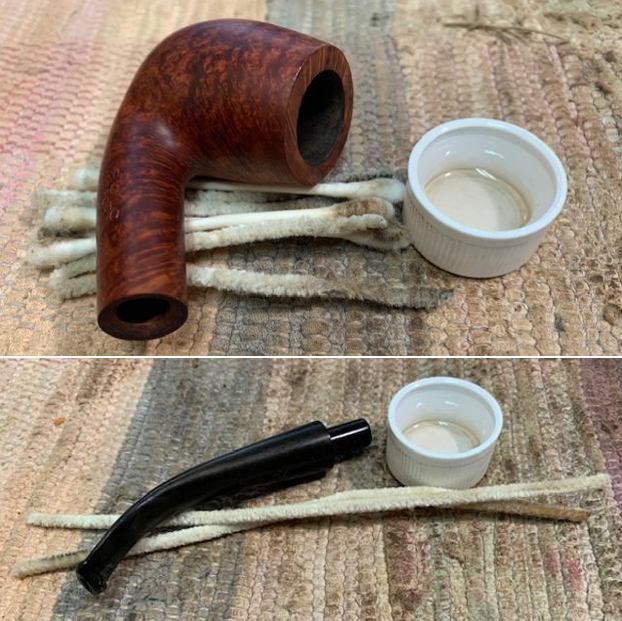 I filled in the damaged areas on the rim top and the lower left side of the bowl/shank with clear CA glue.
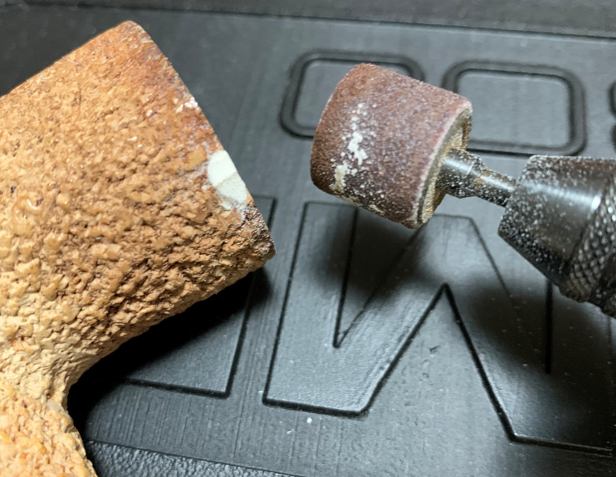
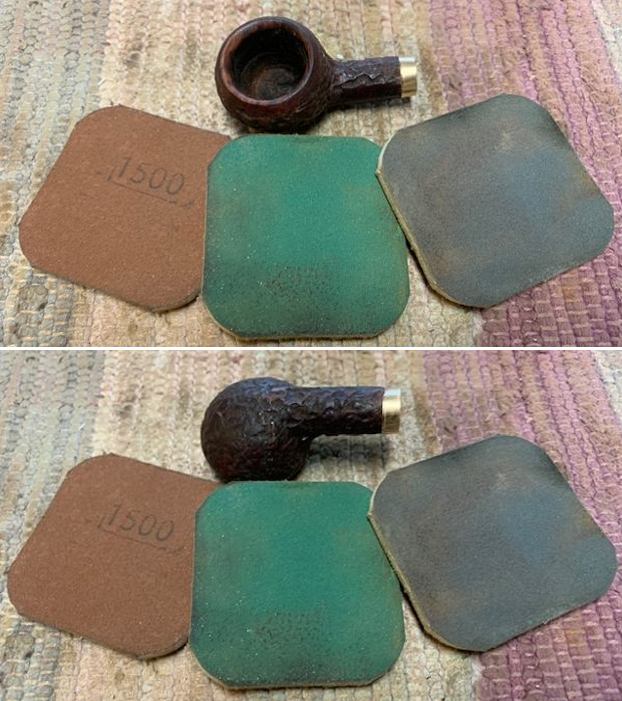
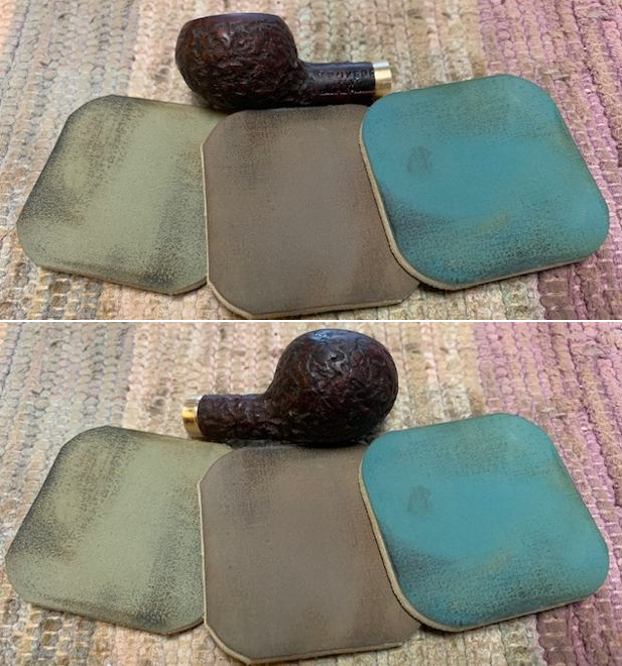
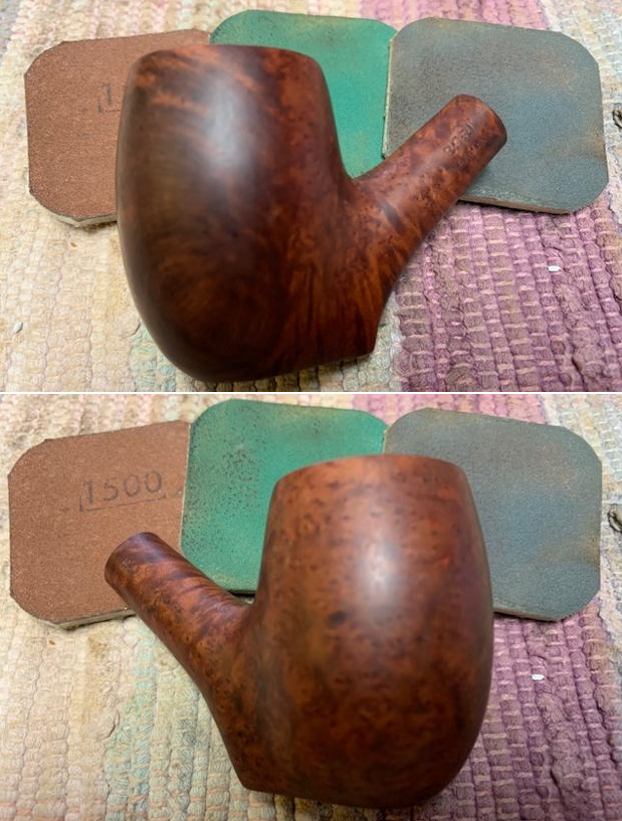
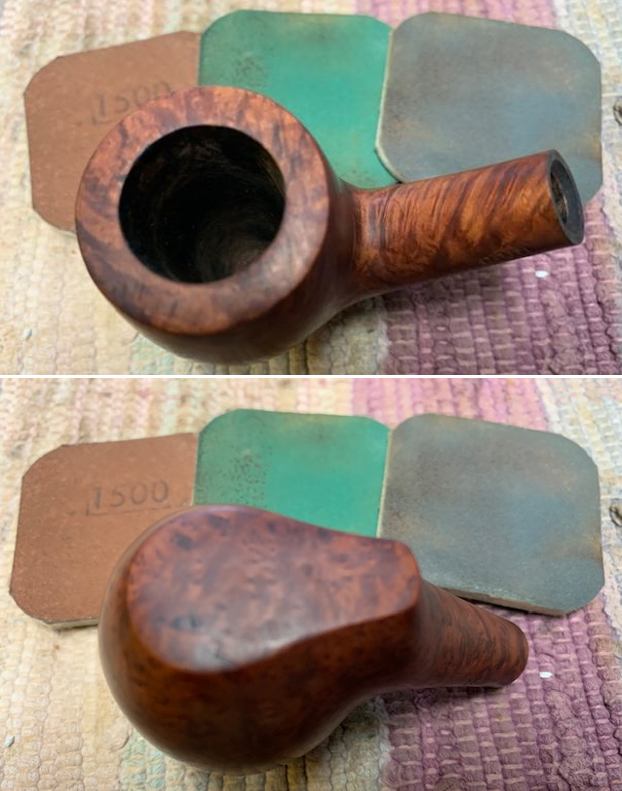
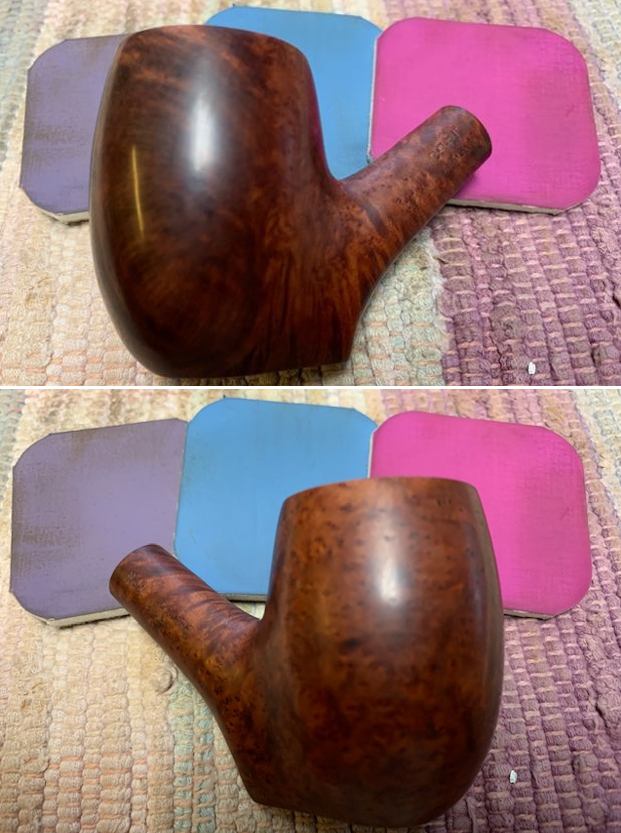
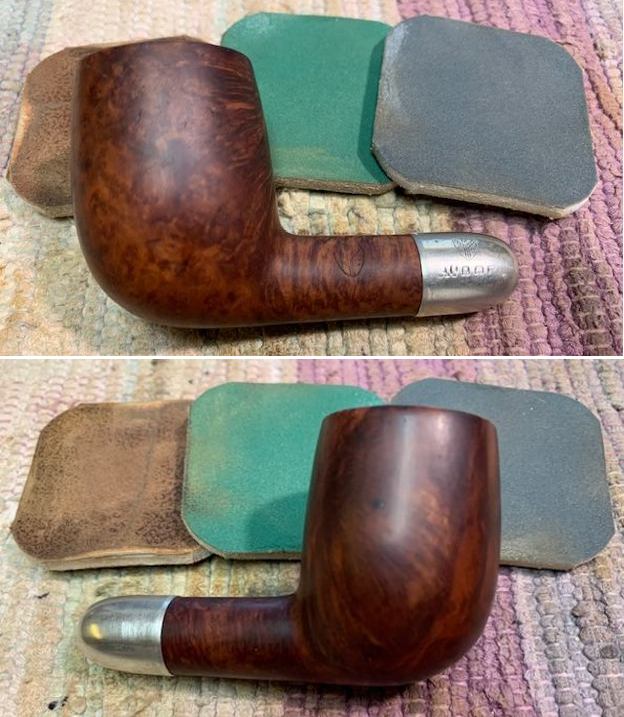
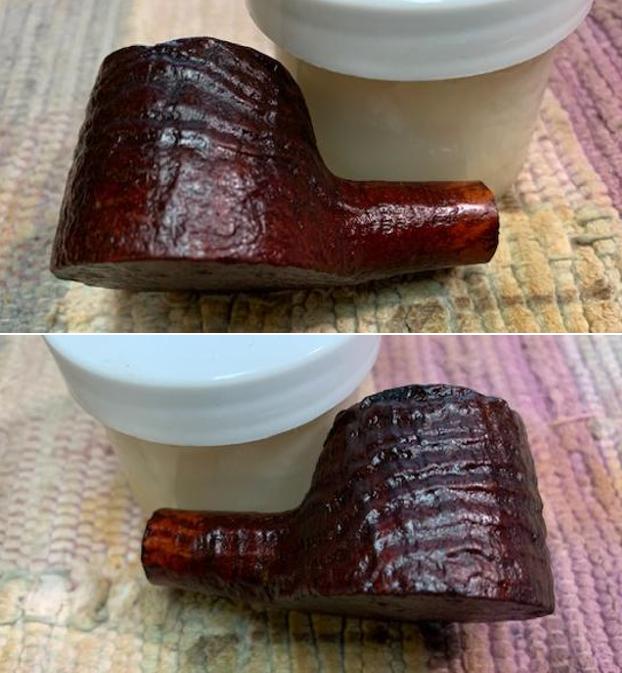
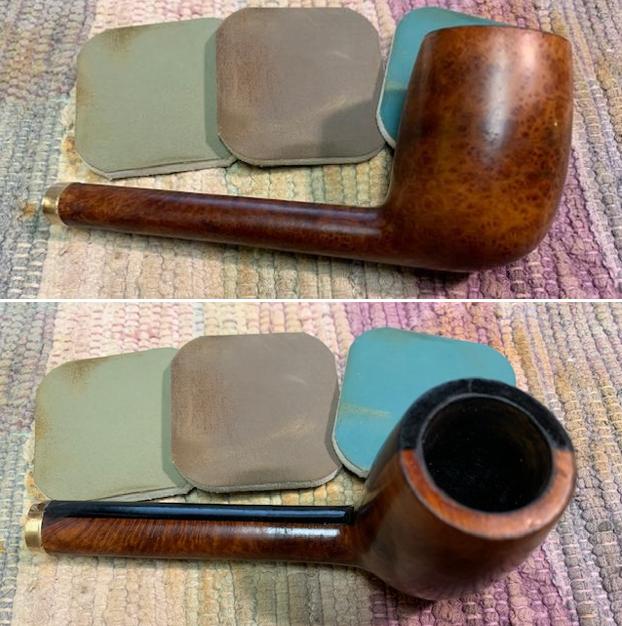
 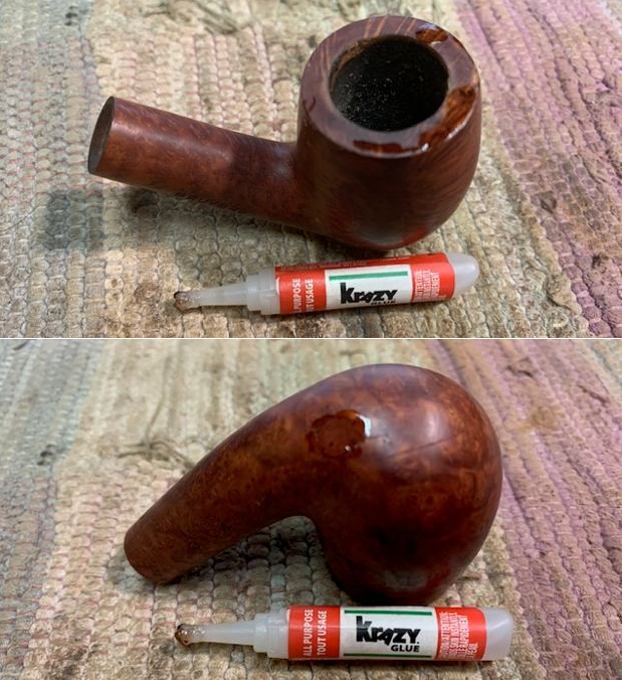 Once the repairs cured I wetsanded those areas of the bowl and rim with a 1500 grit micromesh sanding pad. I sanded the entirety of the bowl with micromesh pads – dry sanding with 1500-12000 grit pads. I wiped the bowl down after each pad to remove the sanding debris. The bowl began to take on a deep sheen.
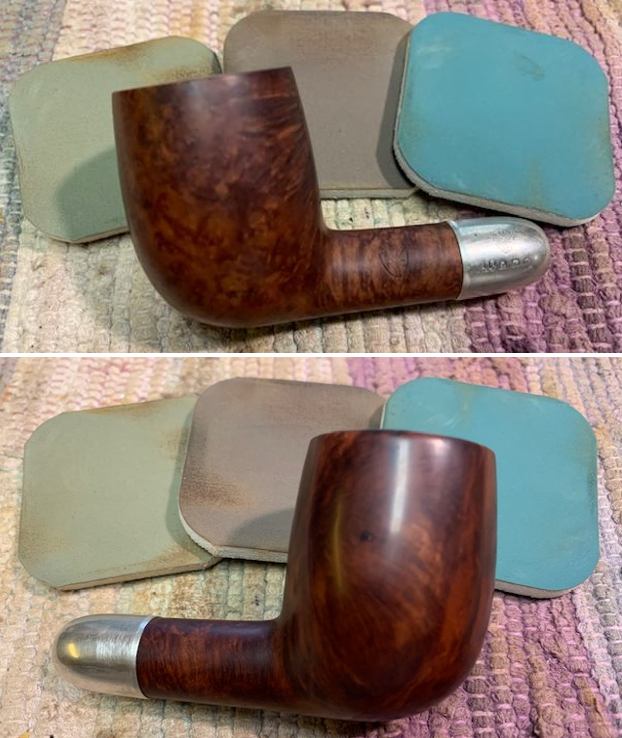
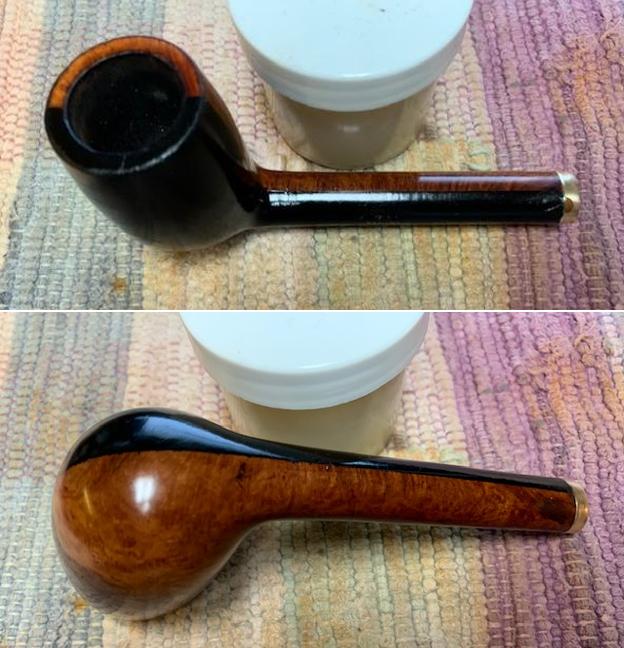
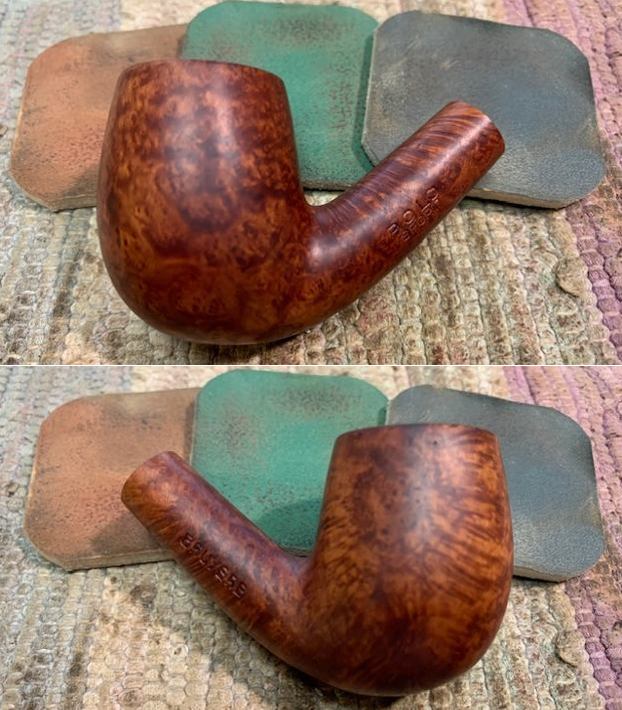
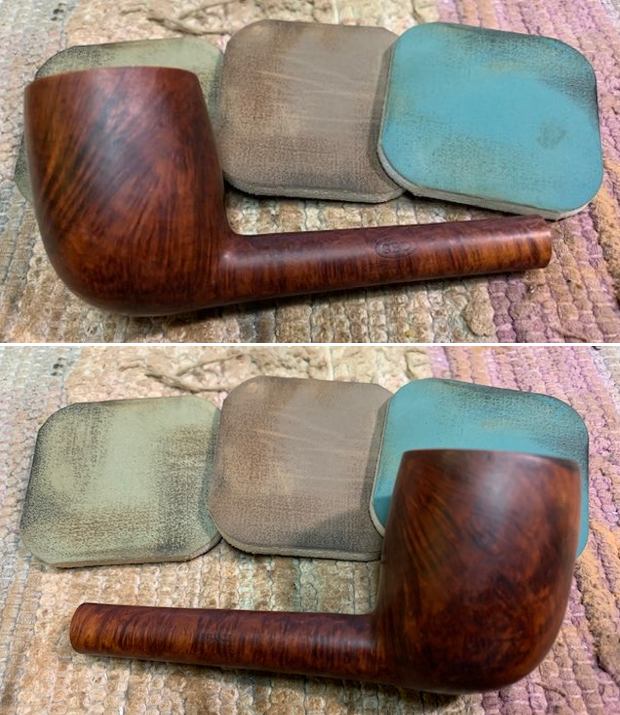
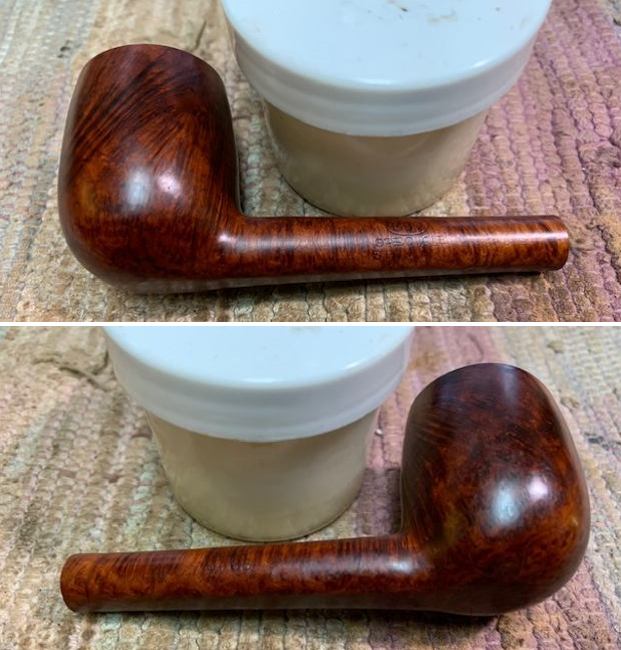
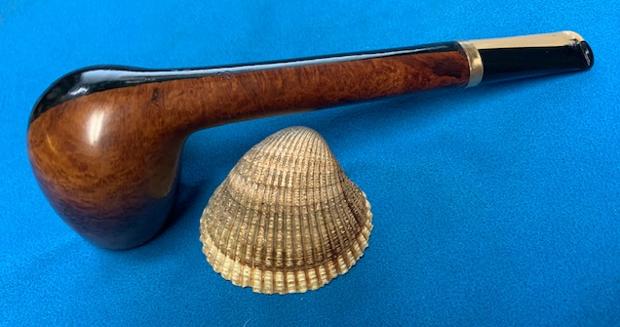
 I rubbed the bowl down with Before & After Restoration Balm. The product works to revitalize, protect and polish the briar. I let it sit on the bowl for 10 minutes and then buffed it off with a cotton cloth.
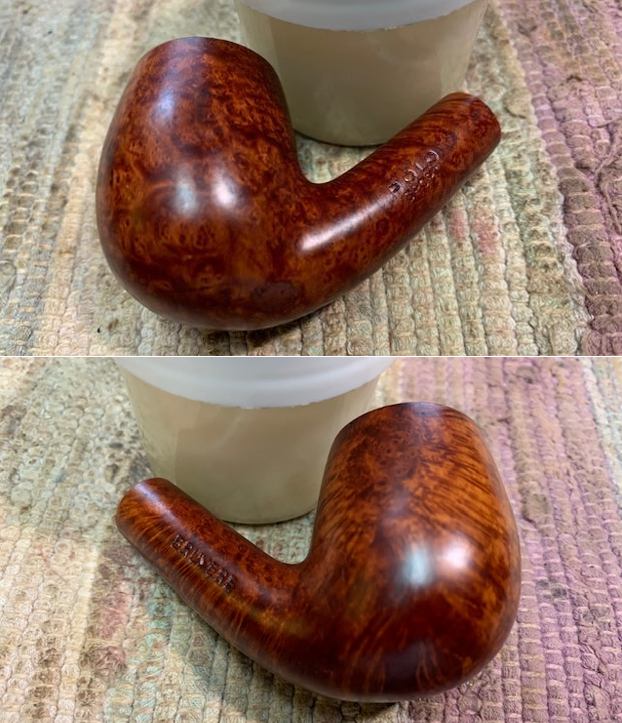
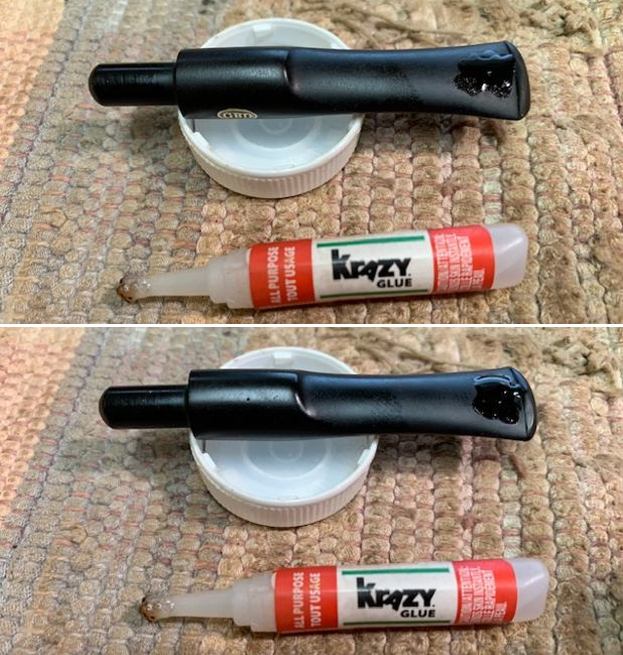
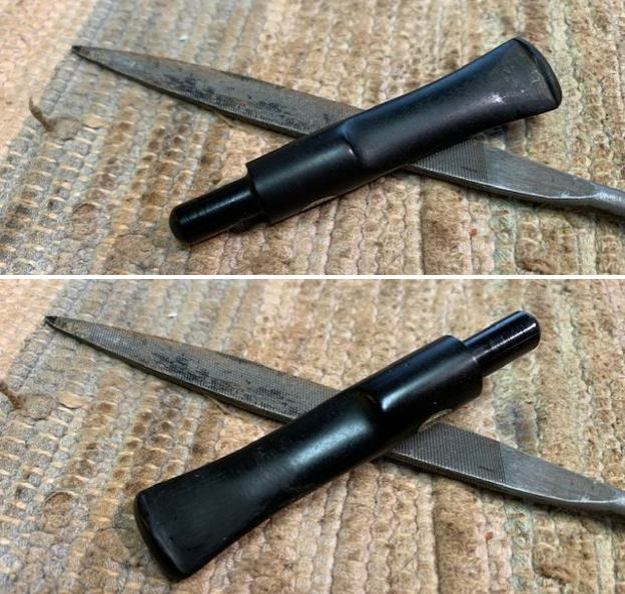
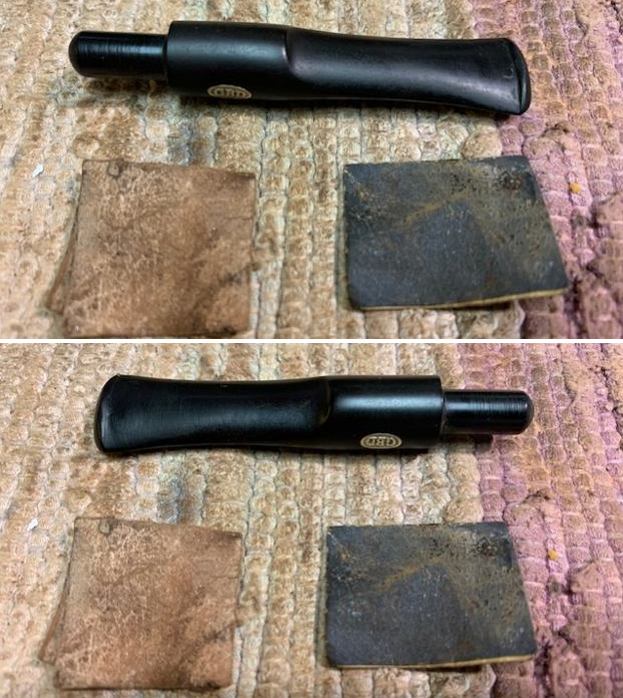
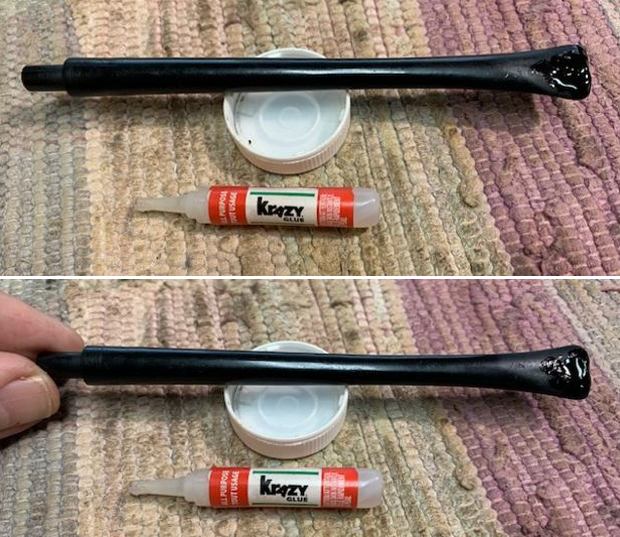
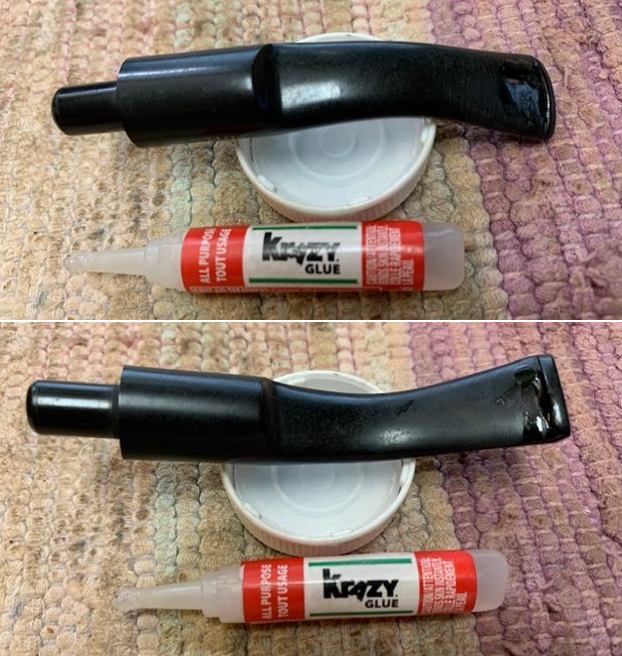
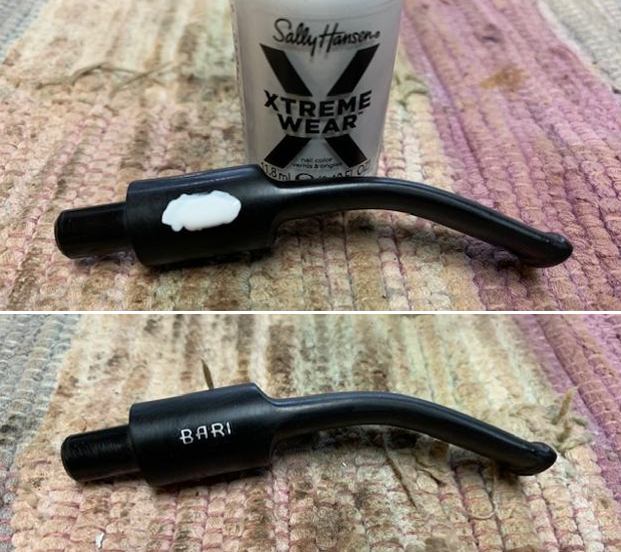
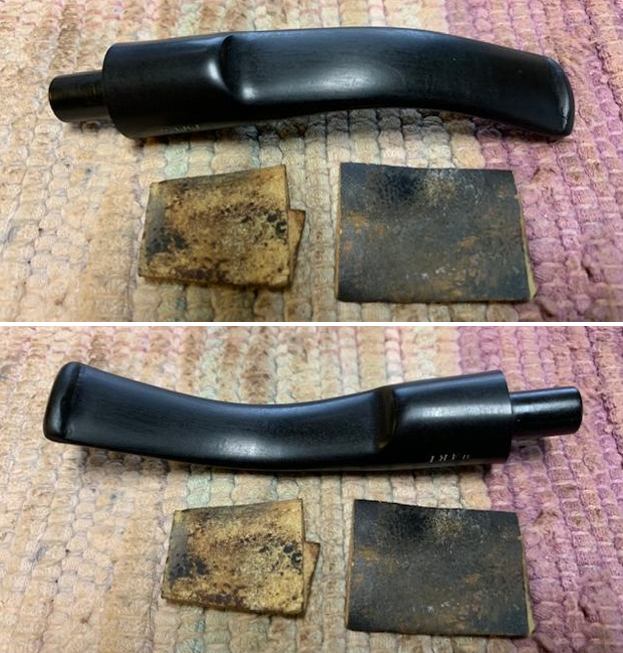
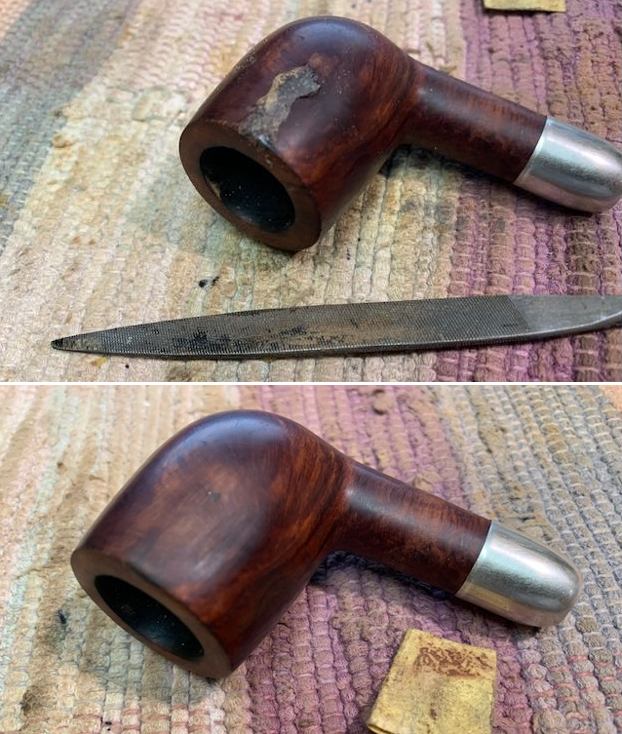
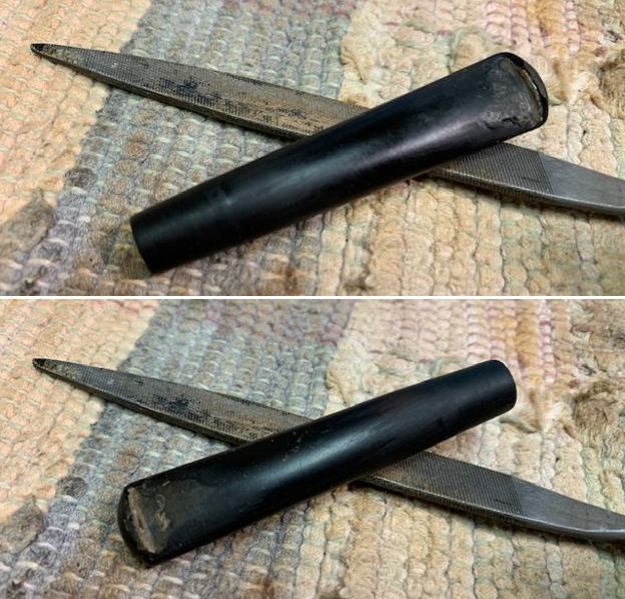
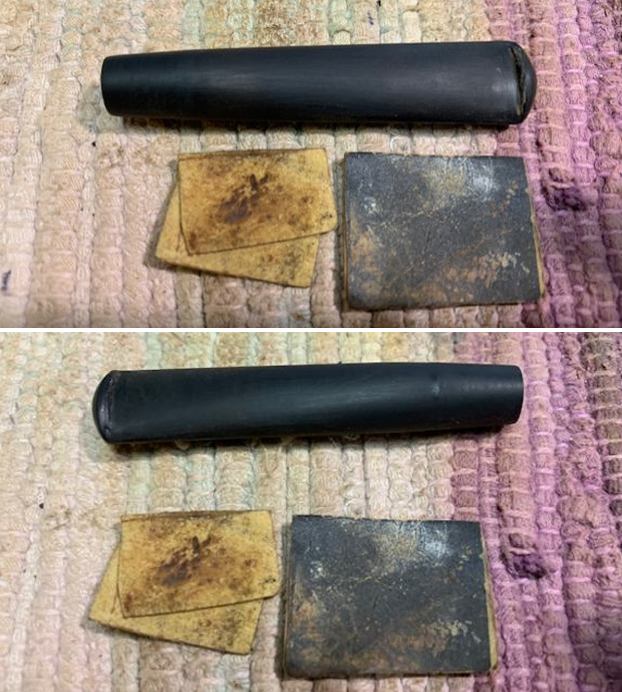
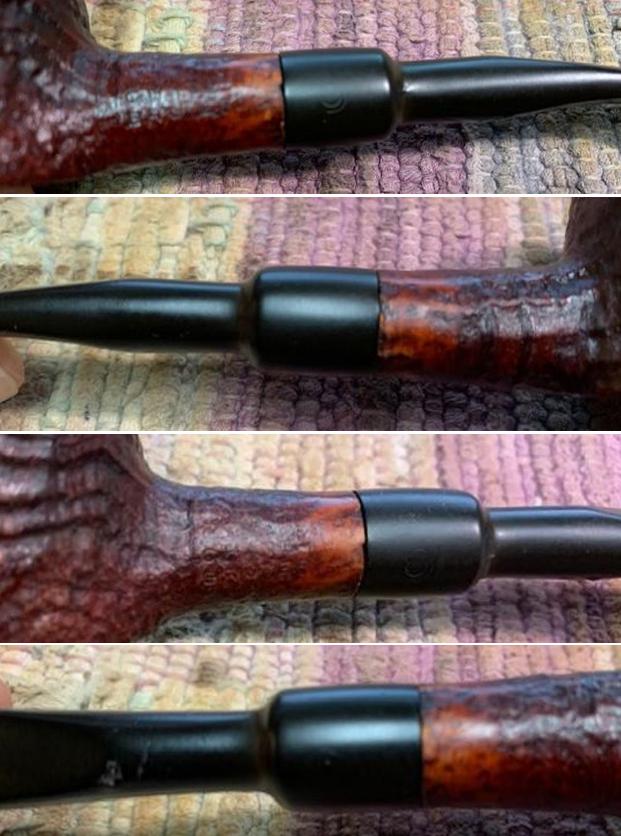
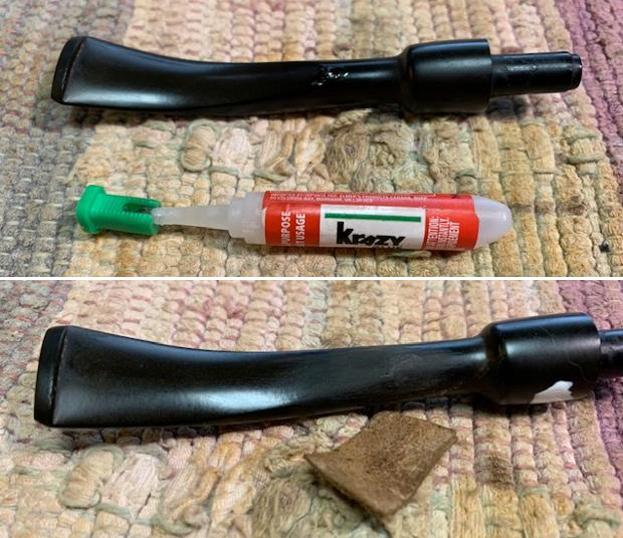
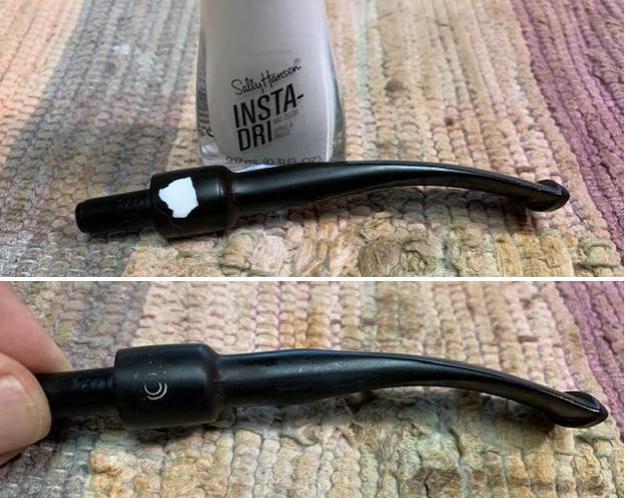
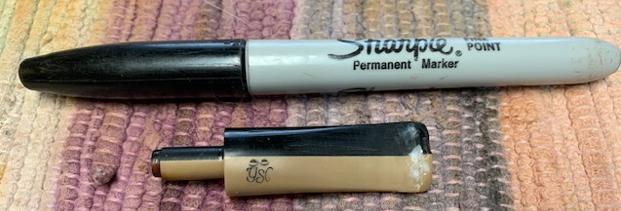
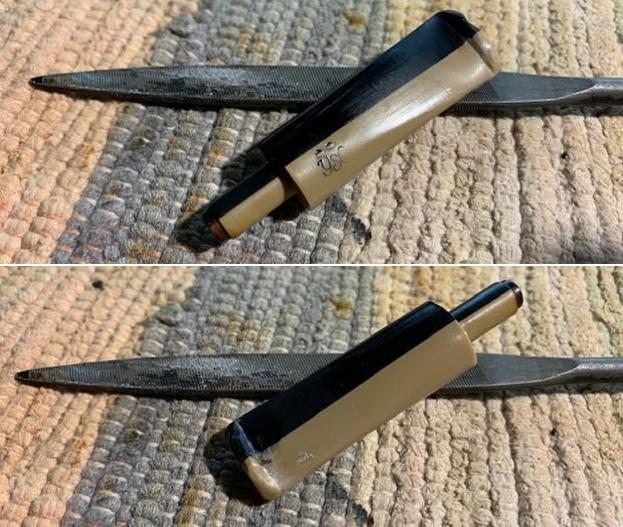
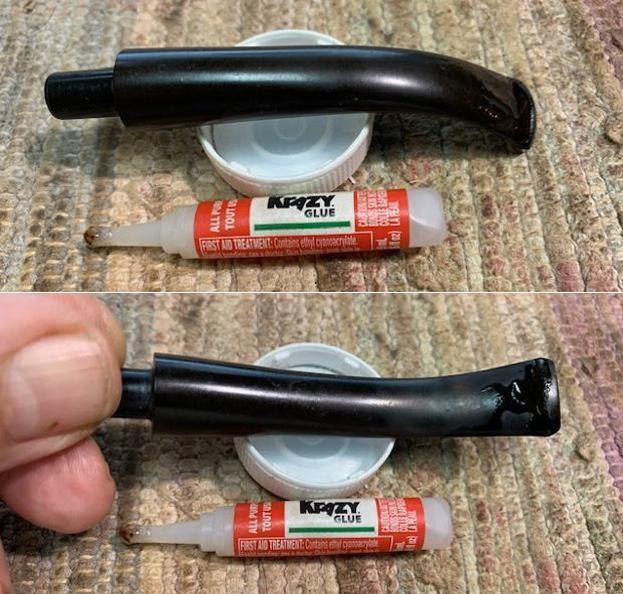
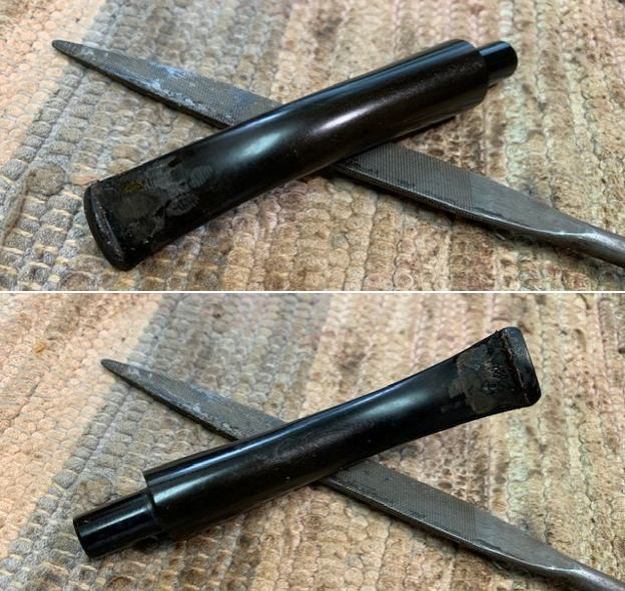
 I set the bowl aside and turned my attention to the stem. I “painted” the tooth marks with the flame of a lighter and was able to lift them significantly. I filled in the remaining marks with clear CA glue. Once it cured I used a small file to recut the edge of the button and to flatten out the repairs. I sanded out the repairs with a folded piece of 220 grit sandpaper and then started polishing it with 400 grit wet dry sandpaper.
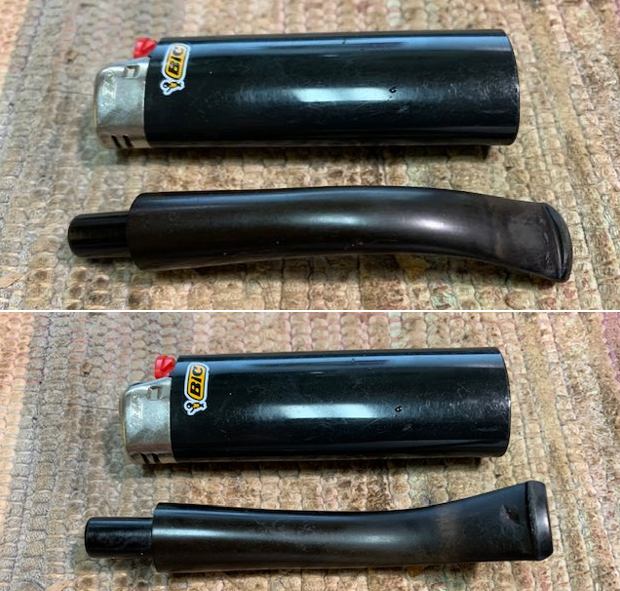
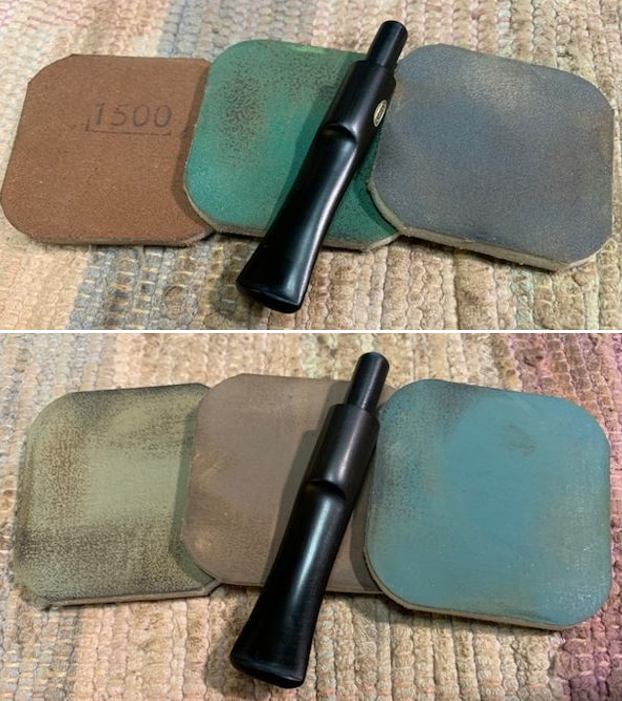
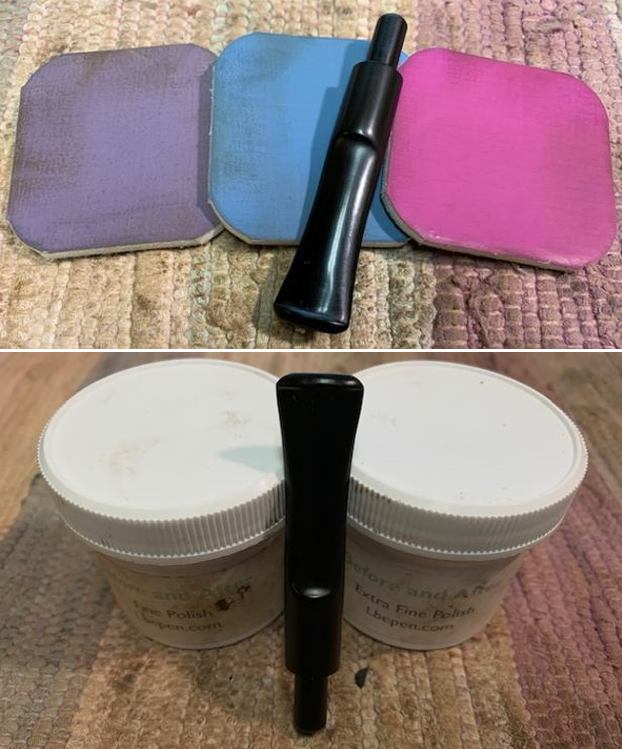
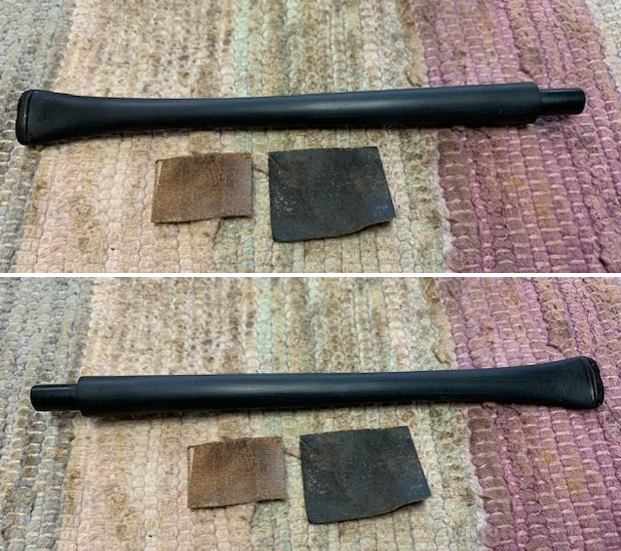
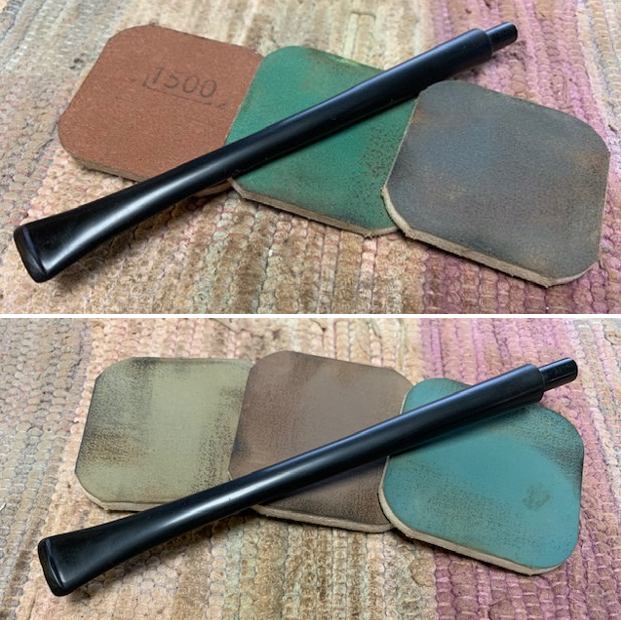
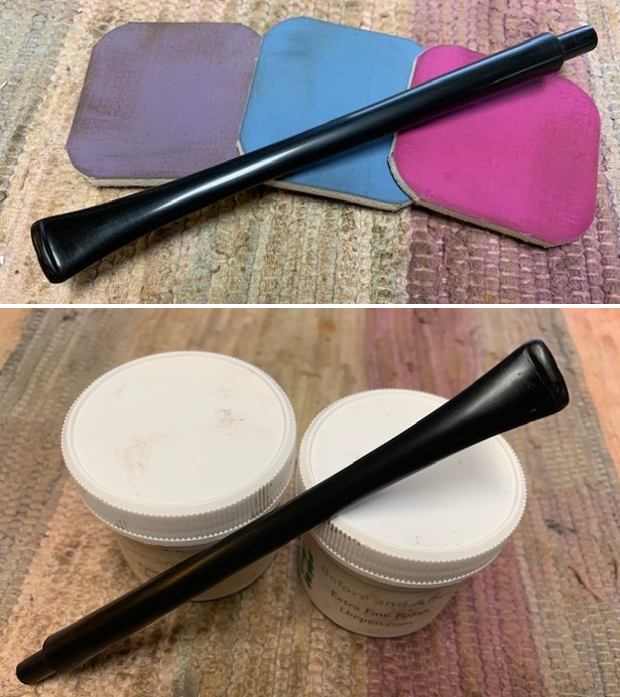
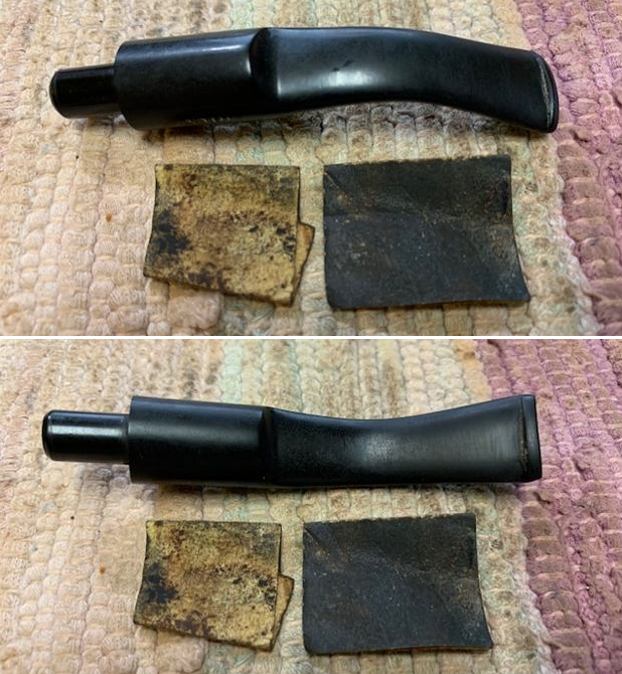
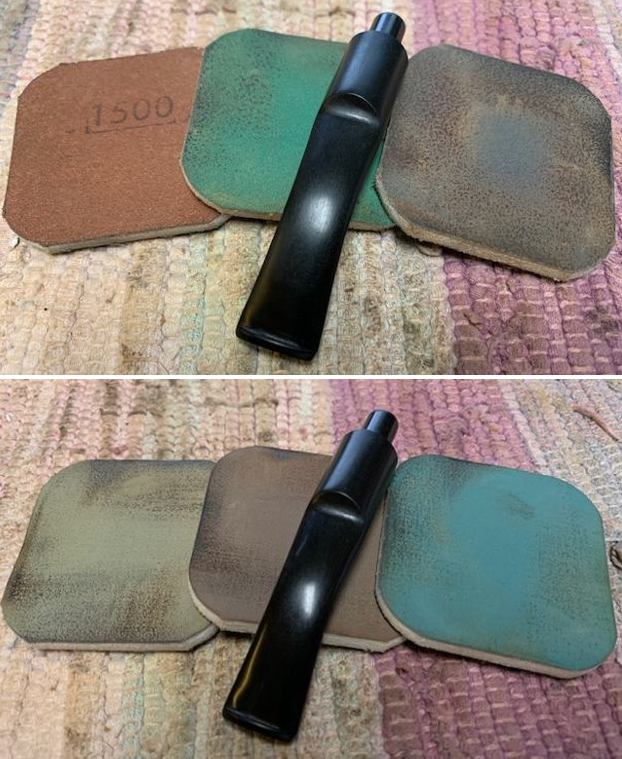
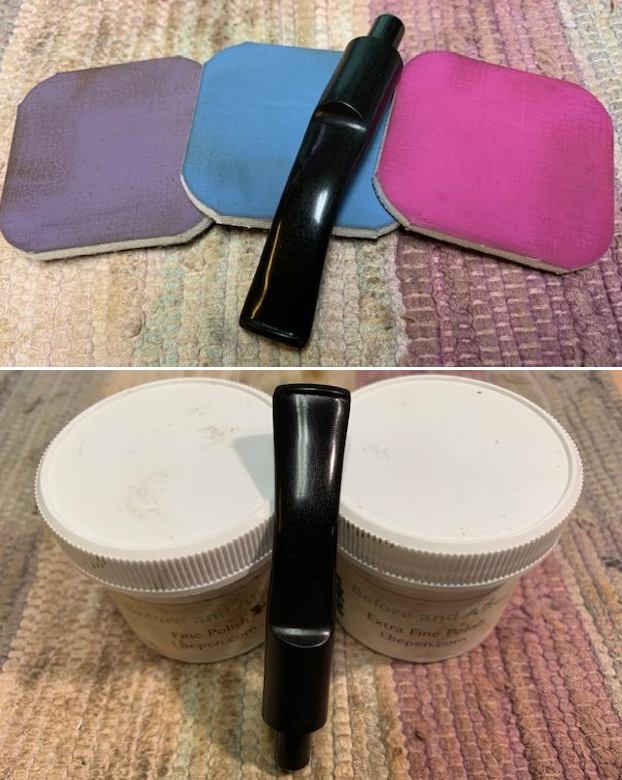
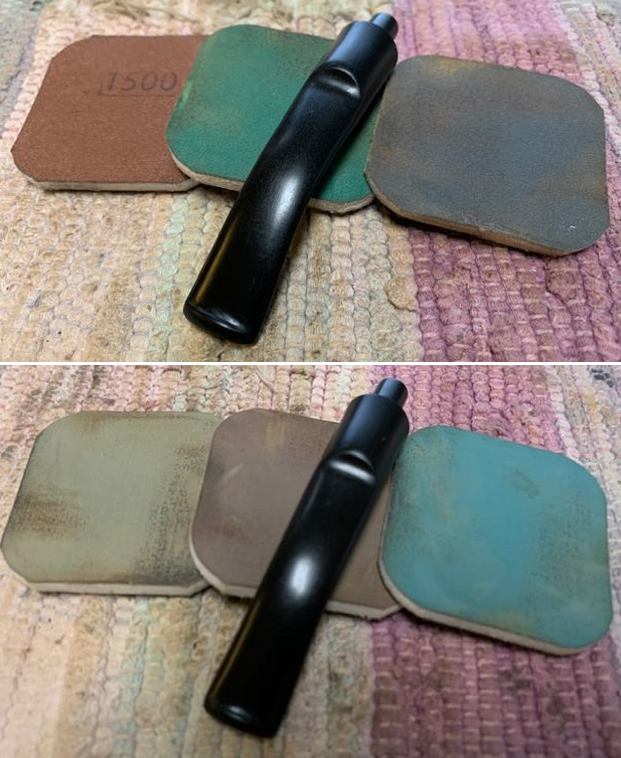
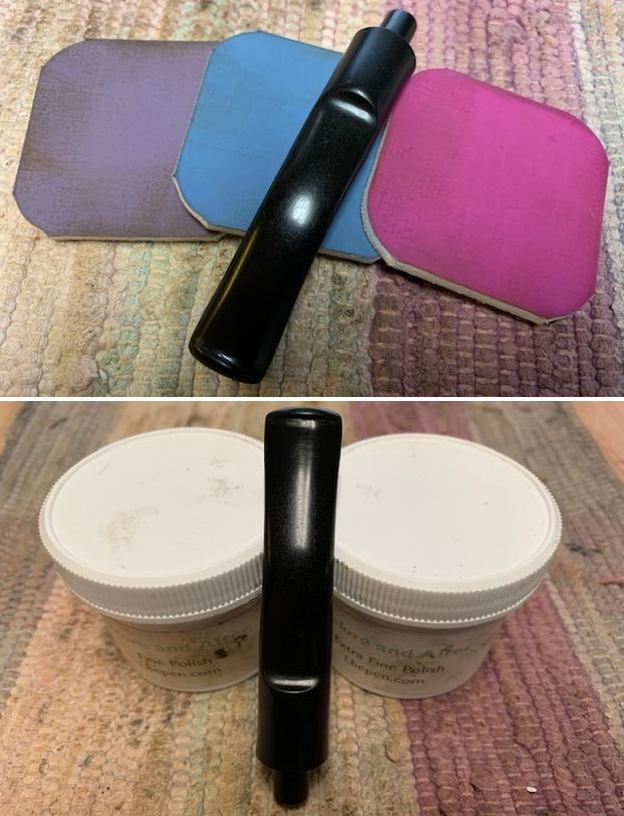
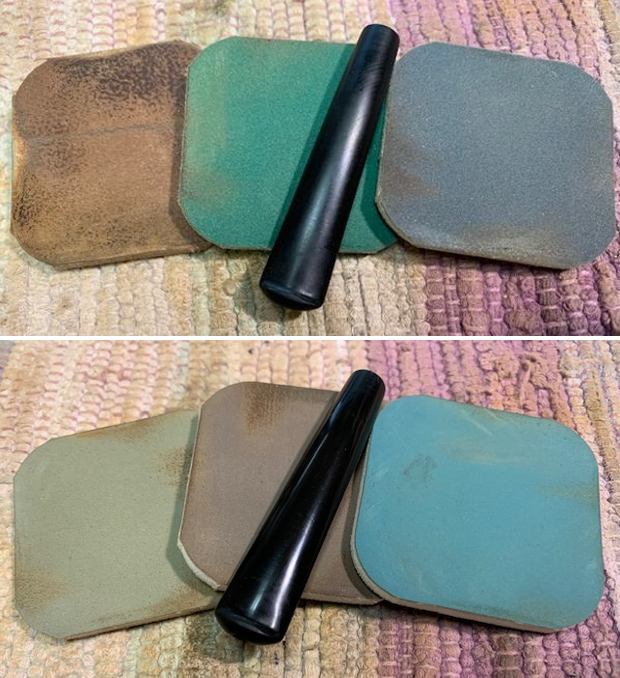
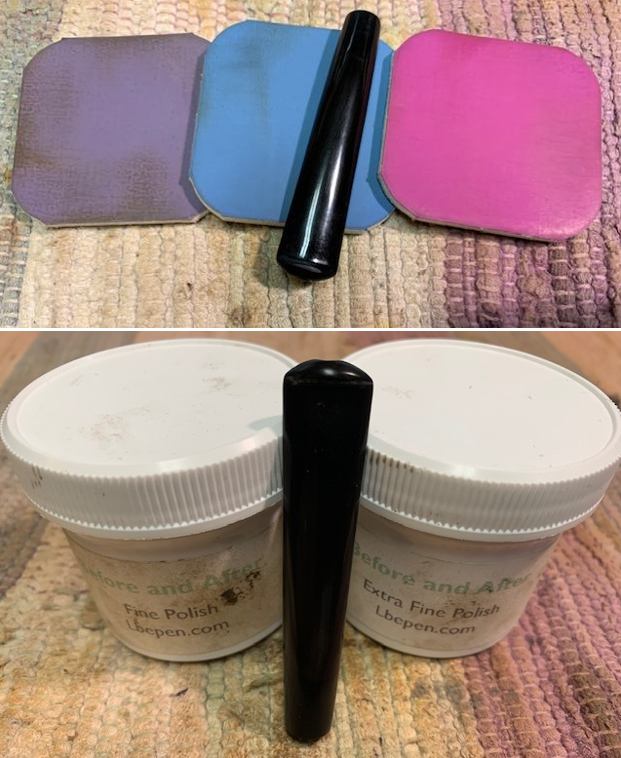
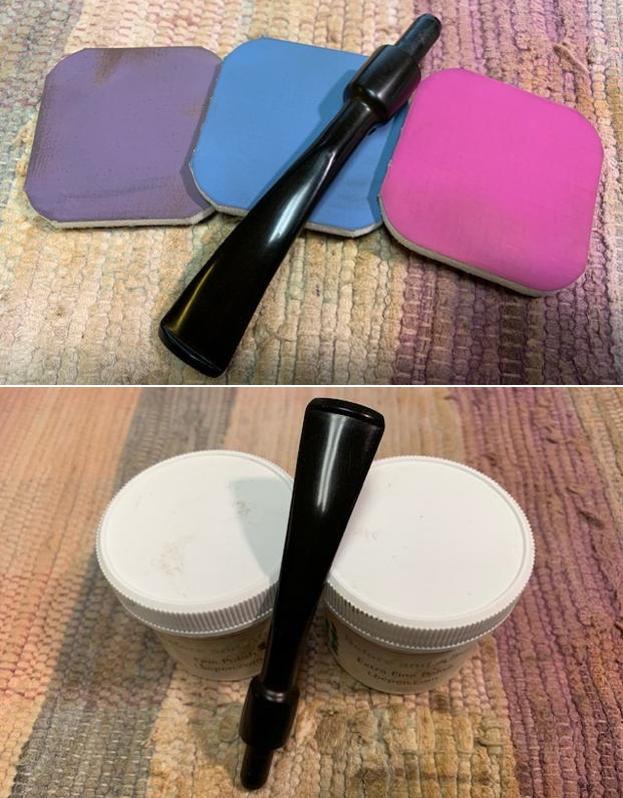
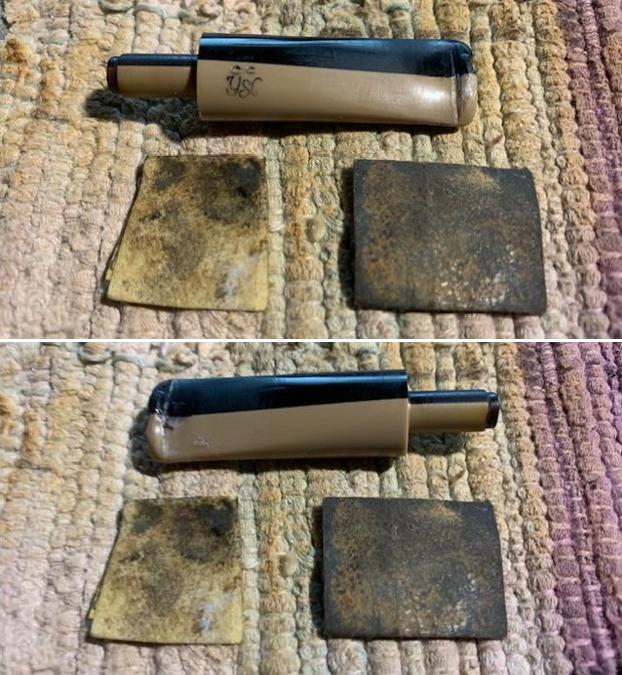
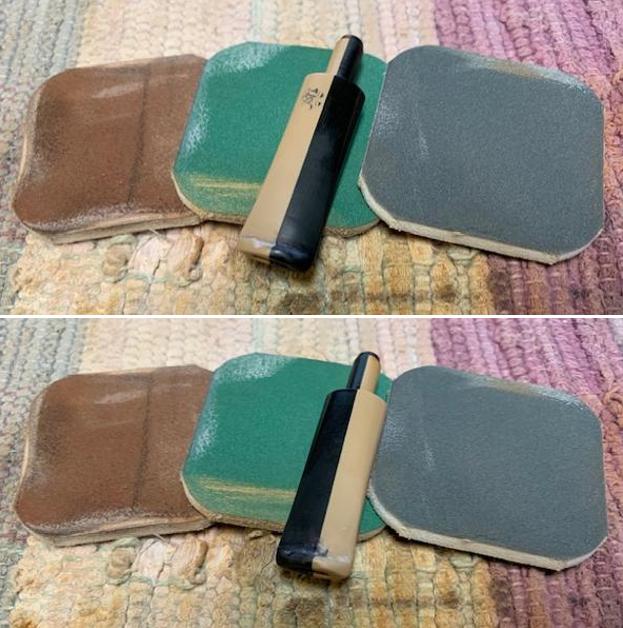
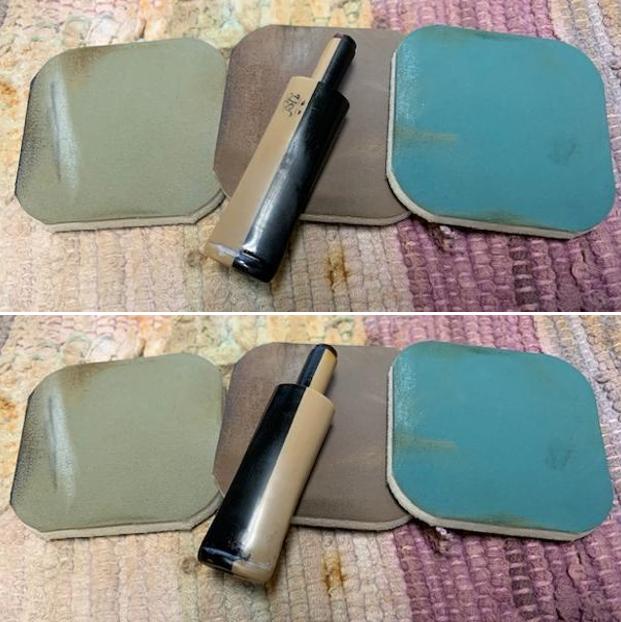
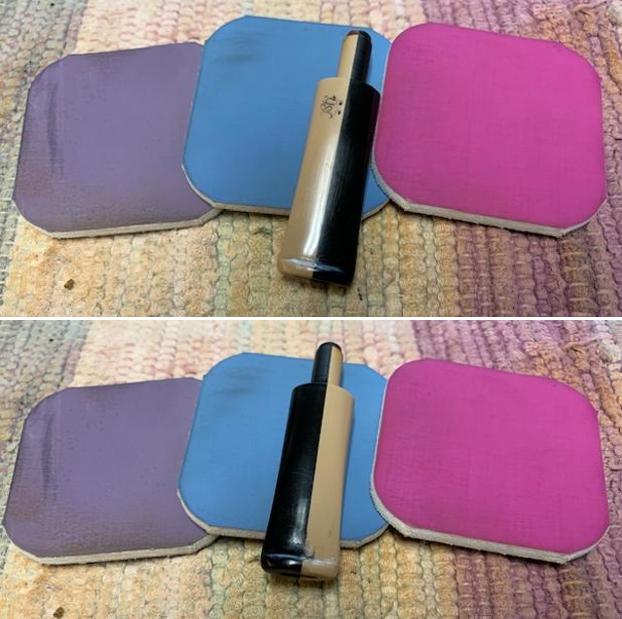
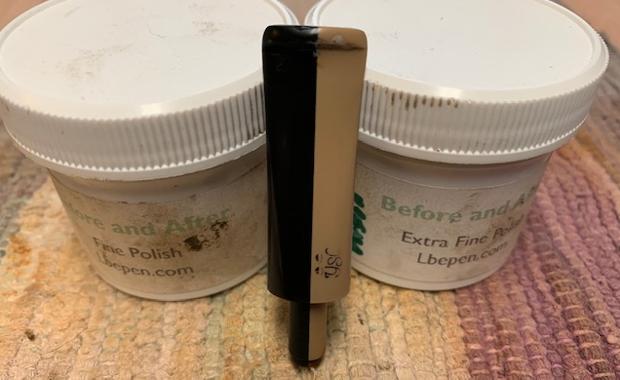
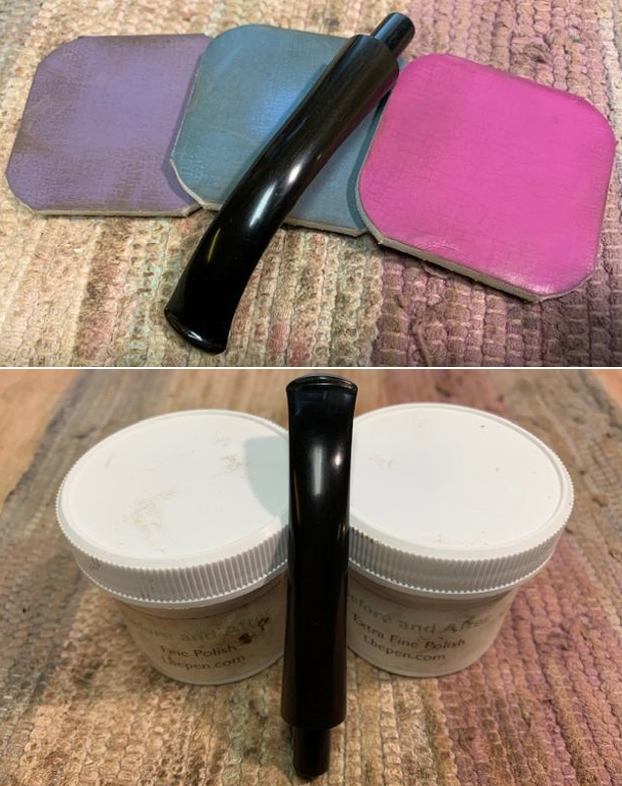
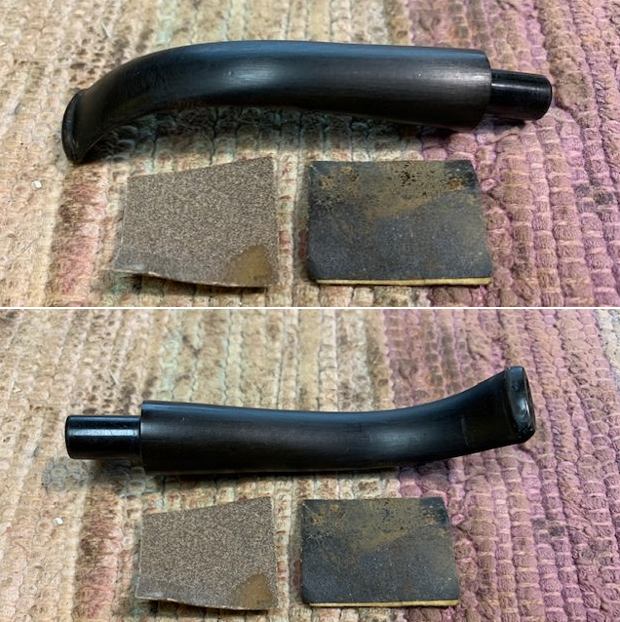 I polished the stem with micromesh sanding pads – dry sanding with 1500-12000 grit pads. I rubbed the stem down between pads with Obsidian Oil. I finished polishing using Before & After Stem polish – both Fine and Extra Fine. I rubbed the stem down a final time with Obsidian Oil.
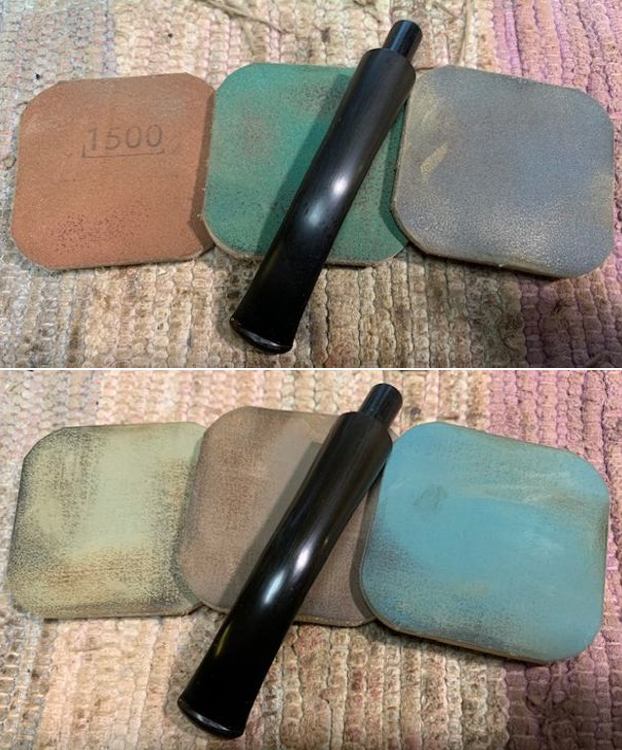
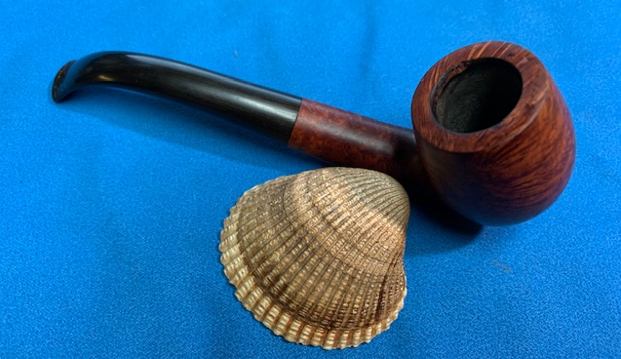
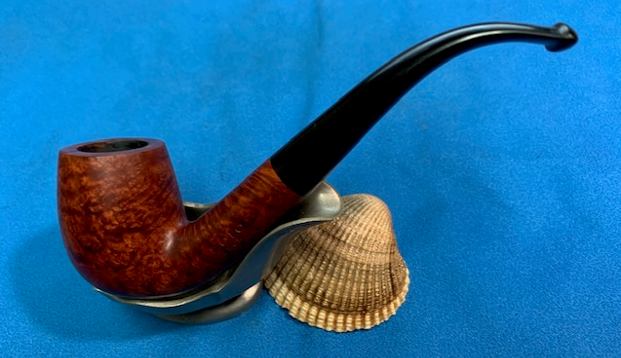
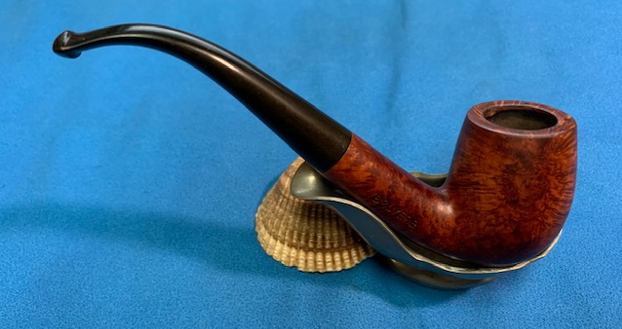
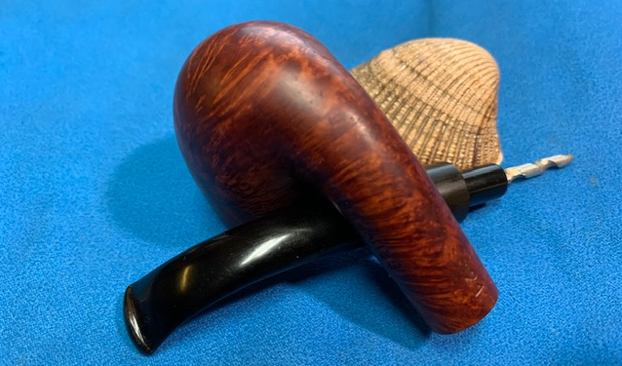
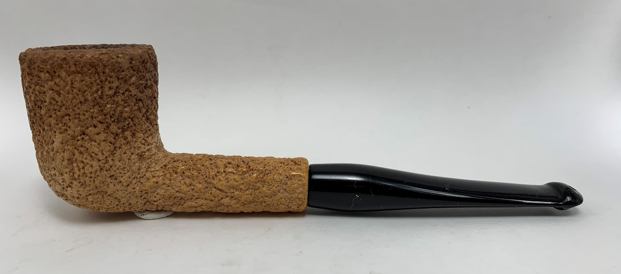
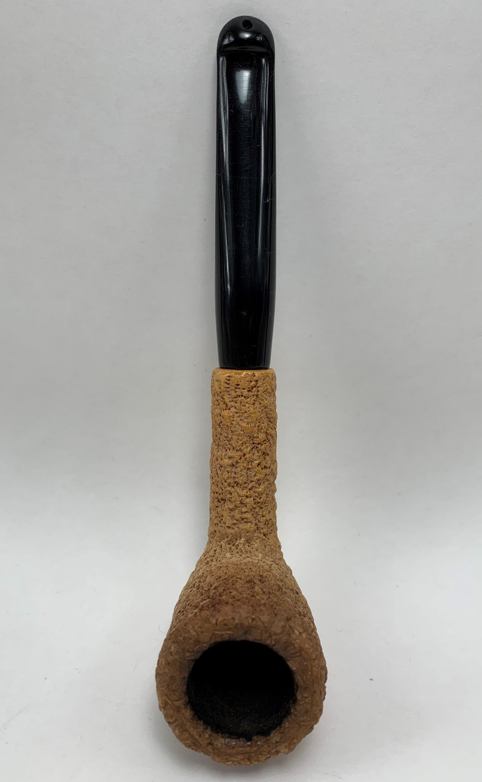
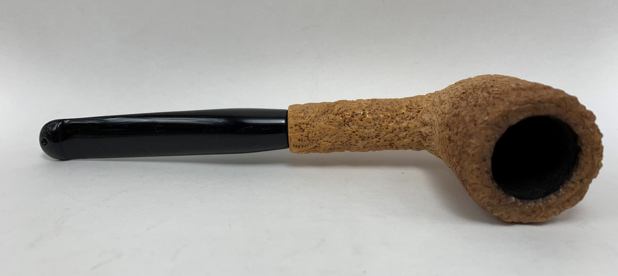
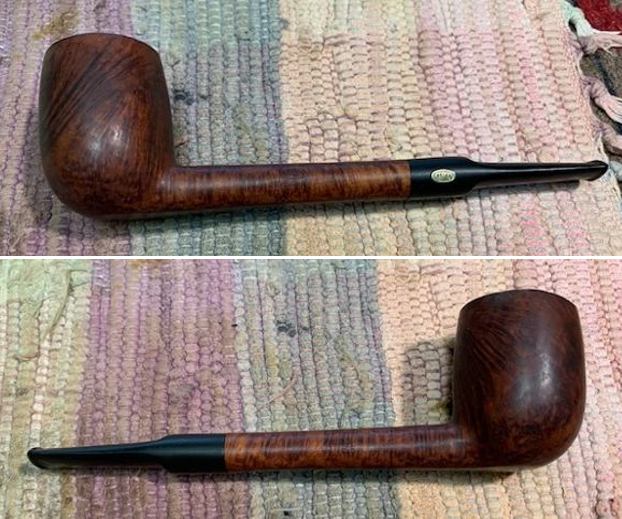
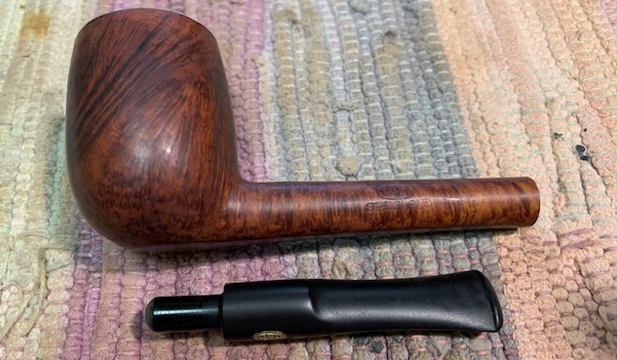
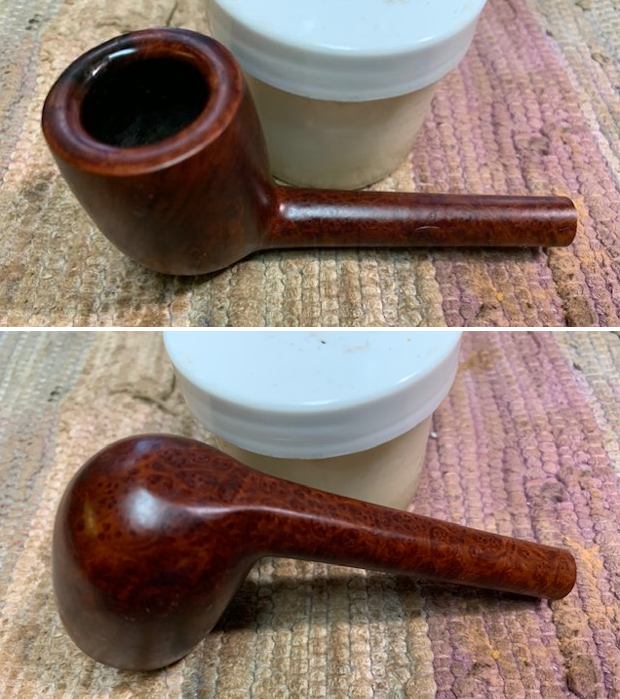
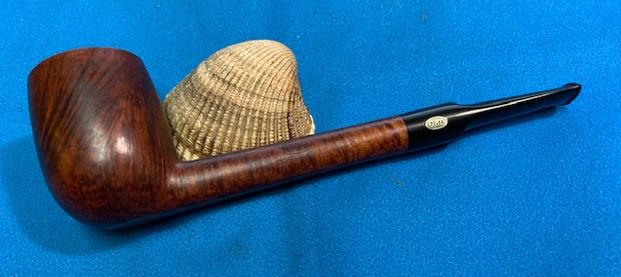
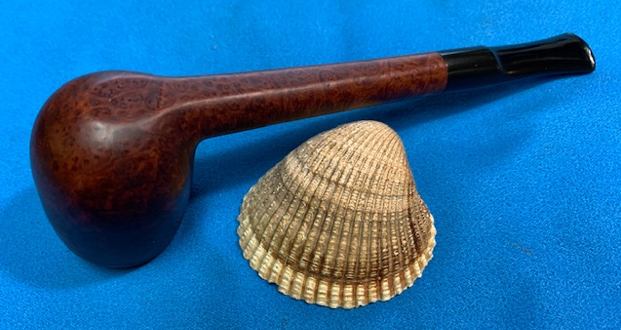
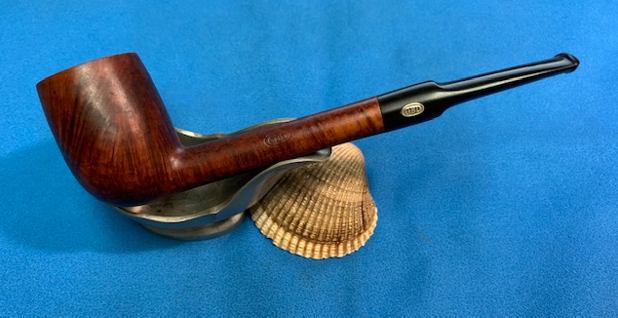
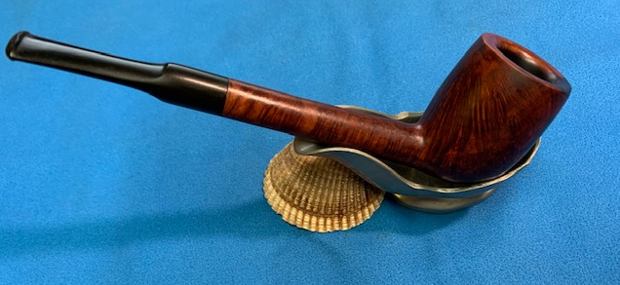
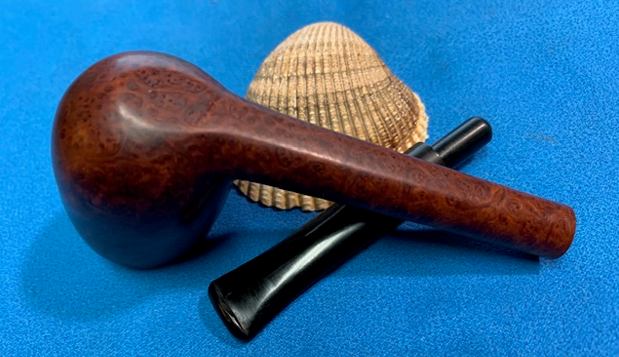
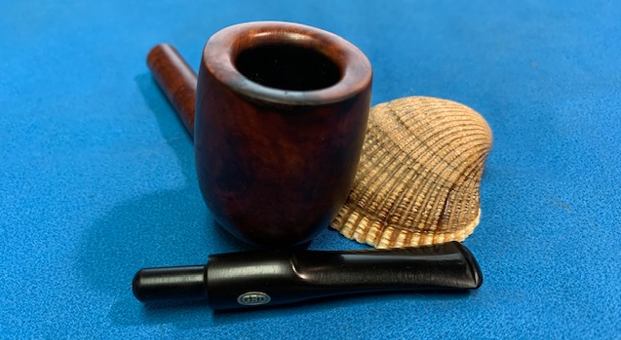
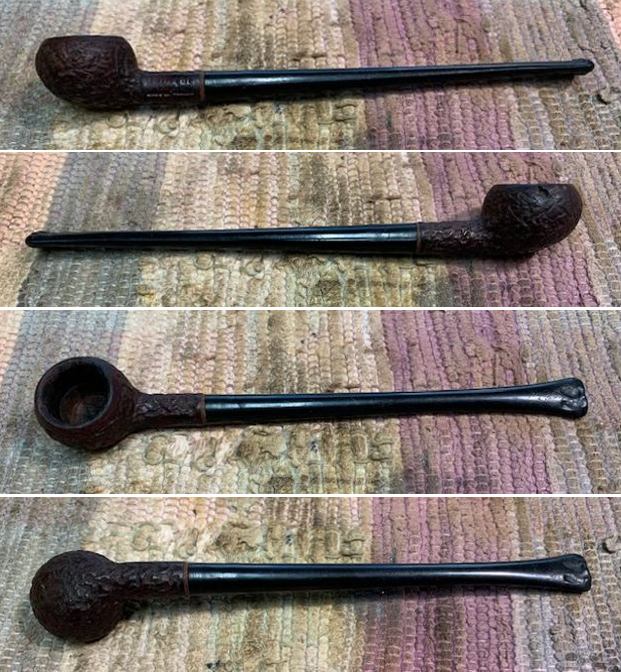
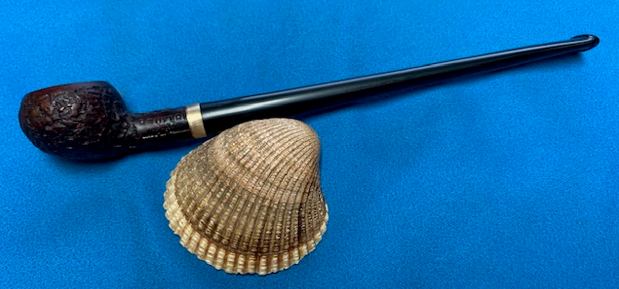
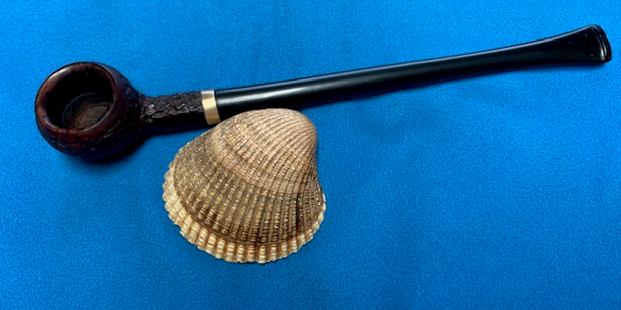
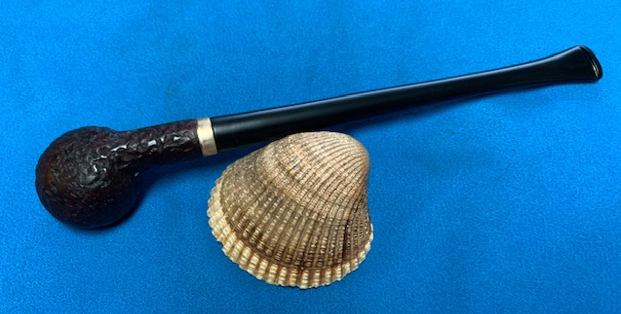
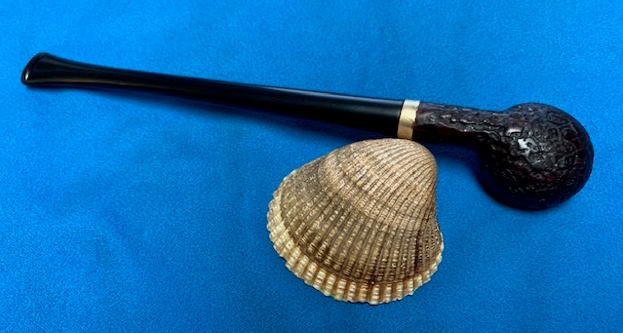
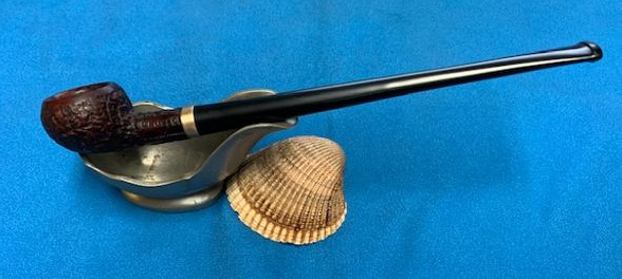
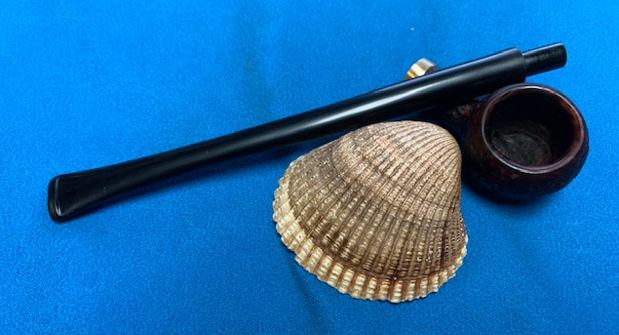
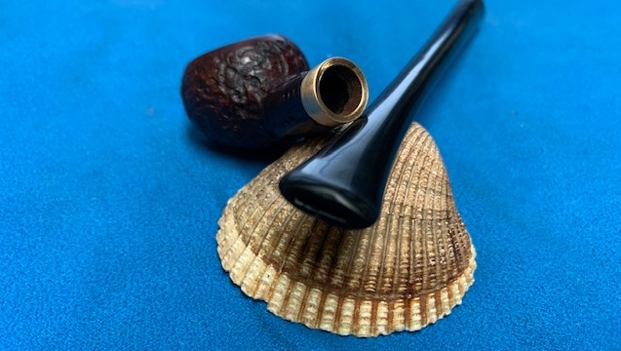
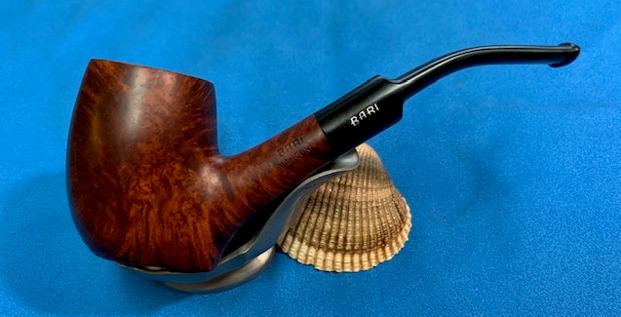
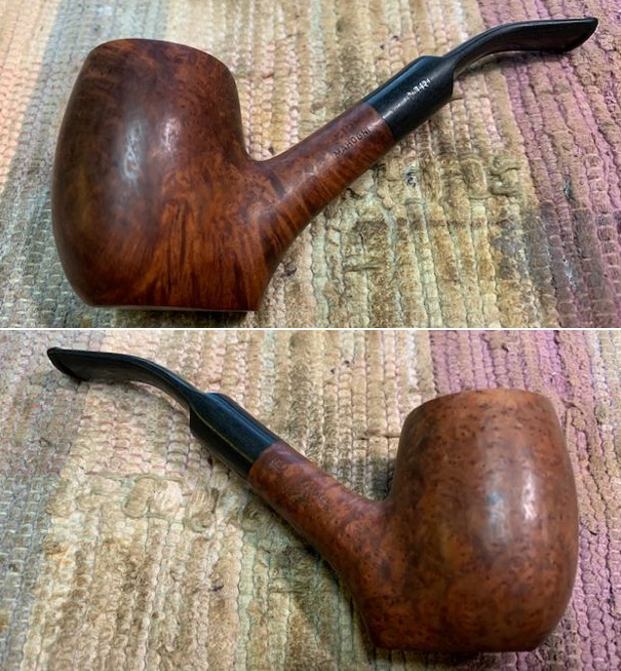
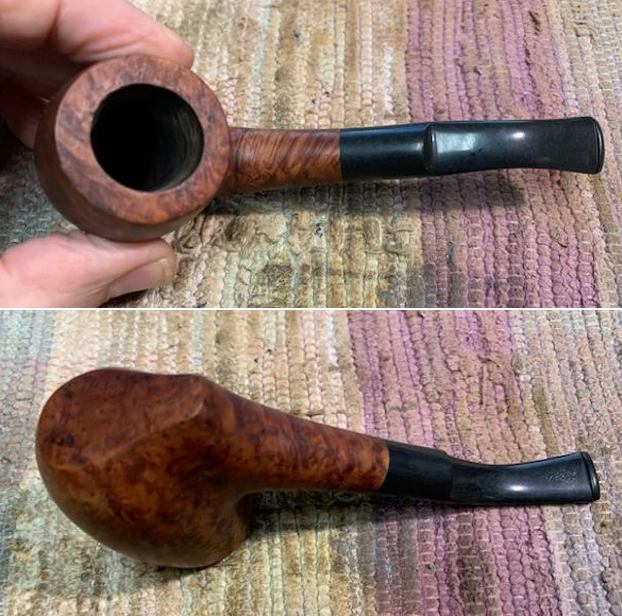
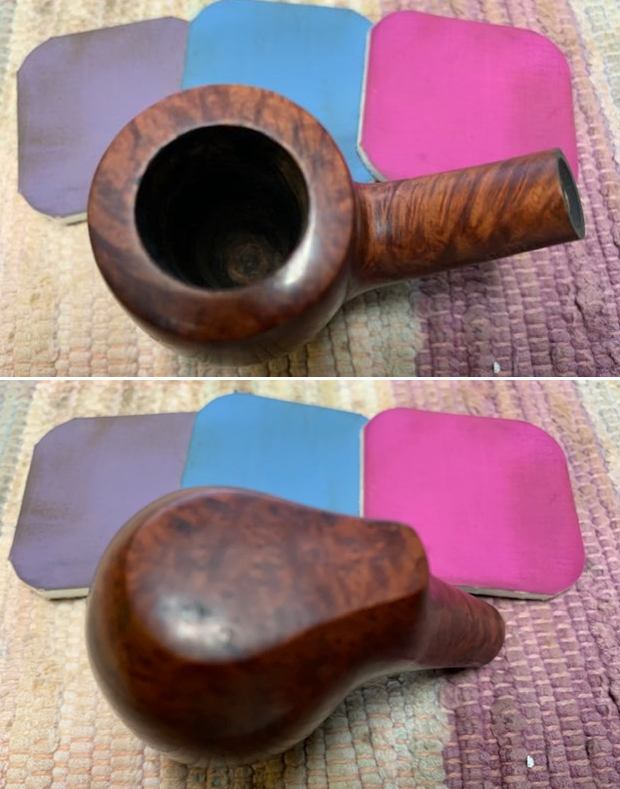
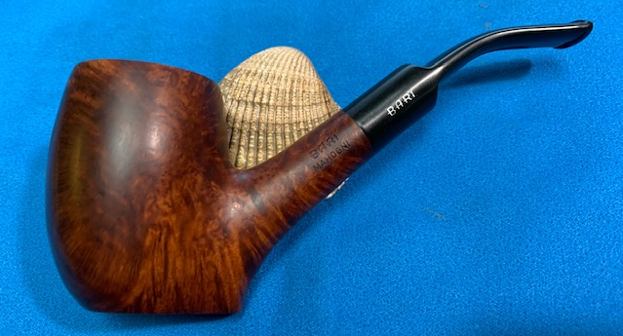
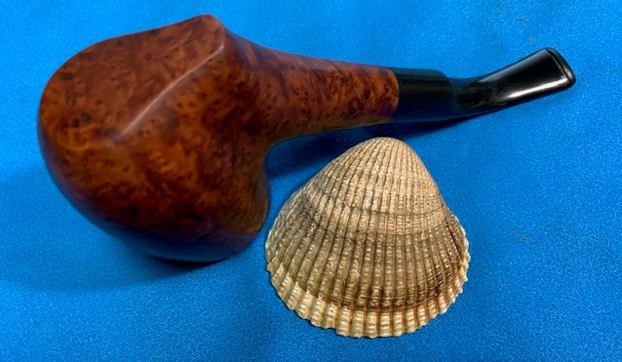
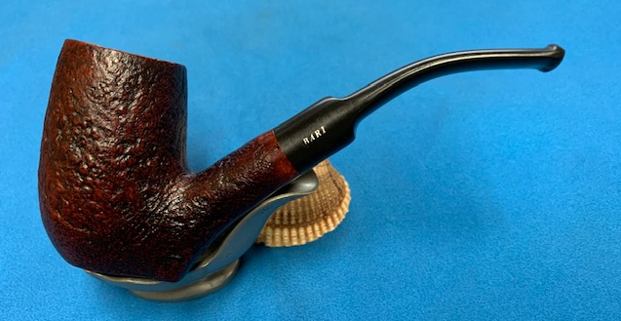
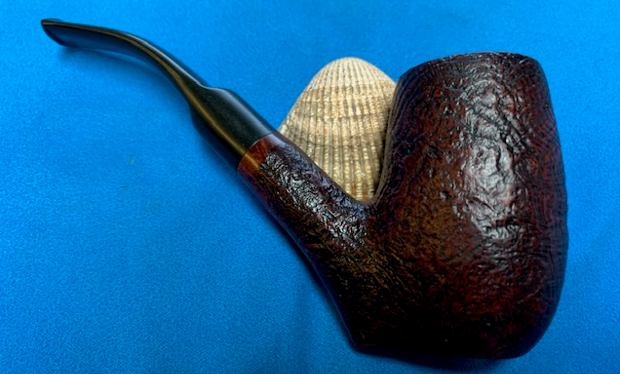
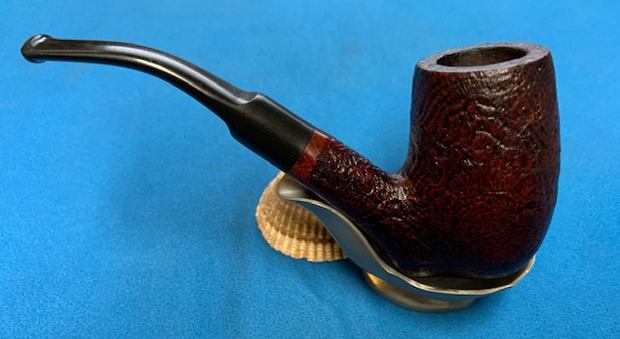
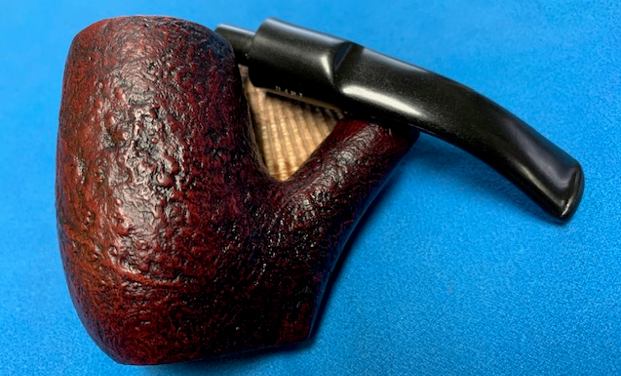
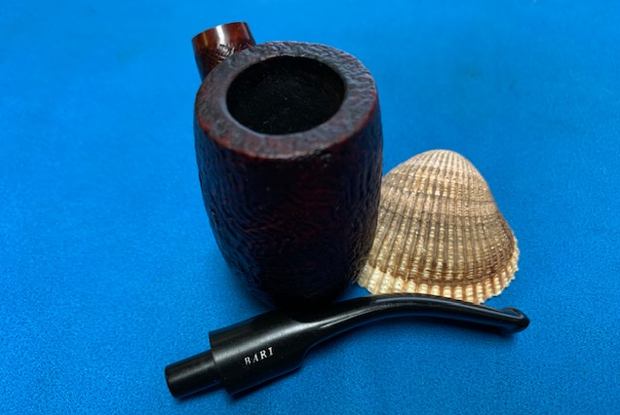
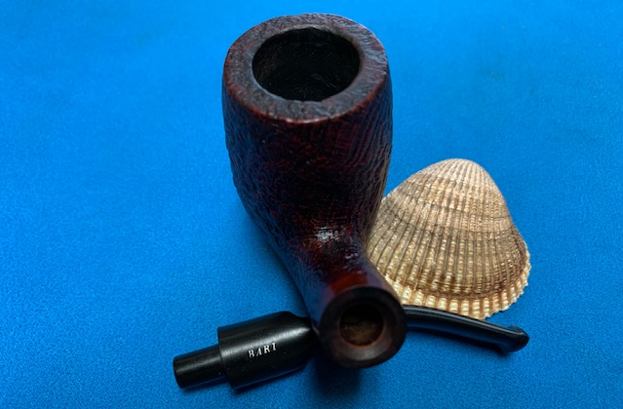
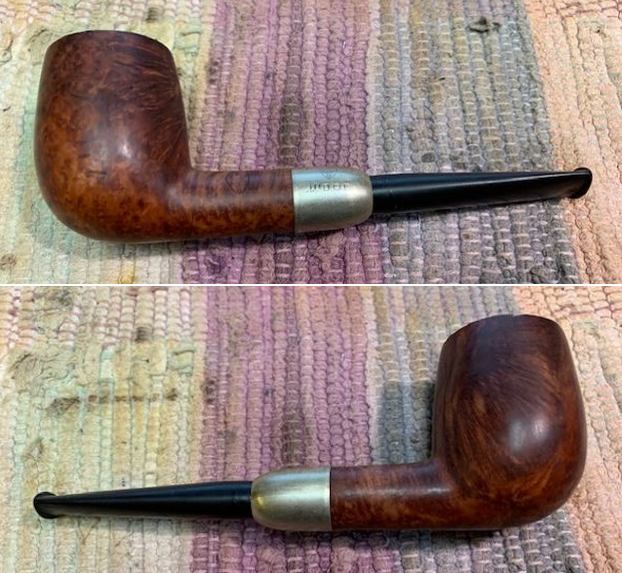
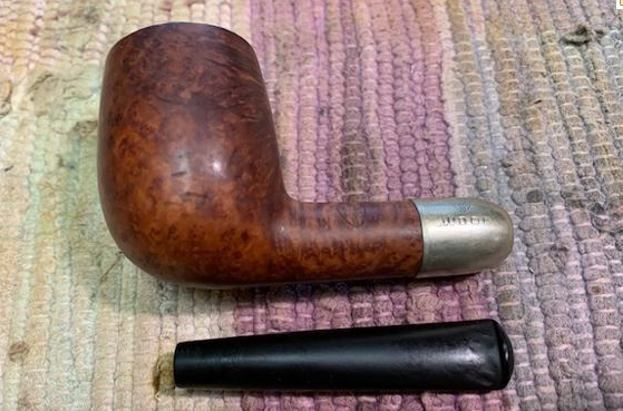
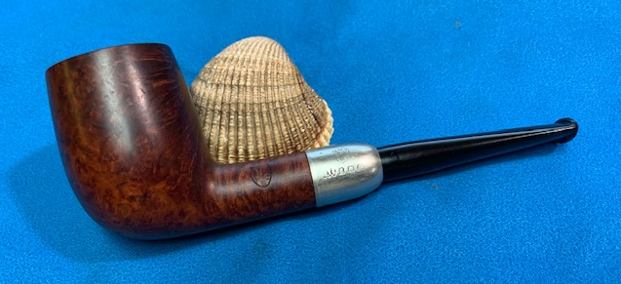
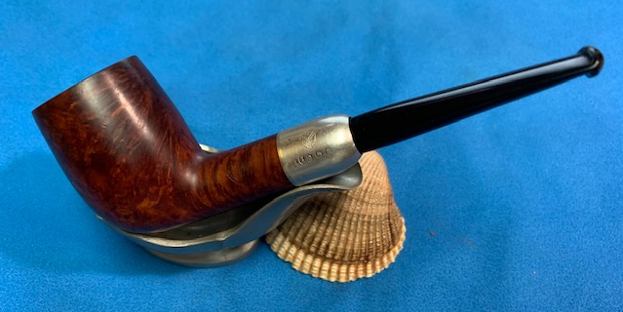
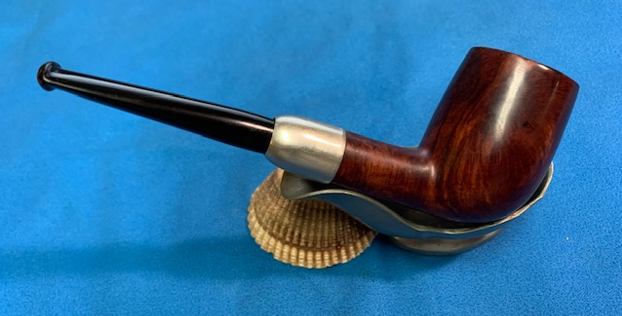
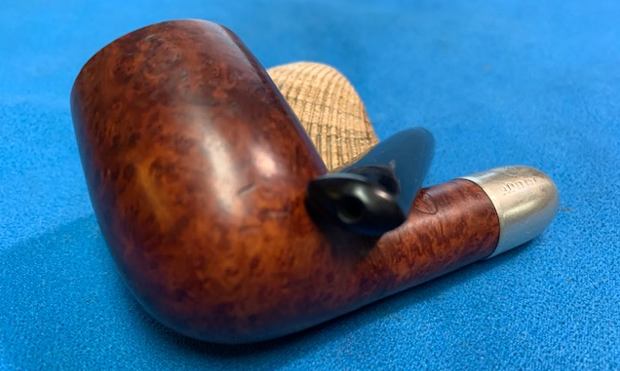
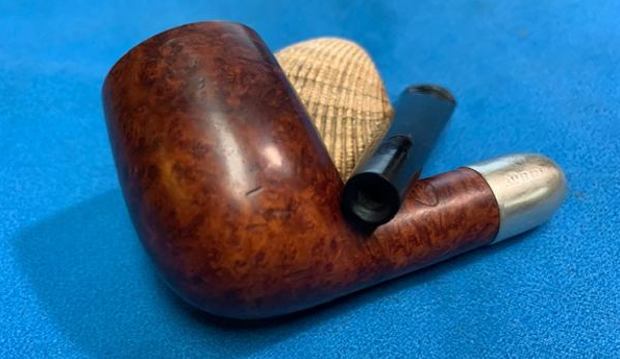
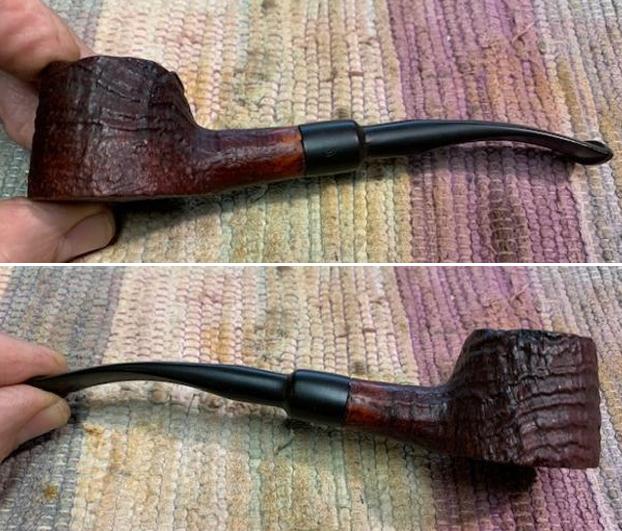
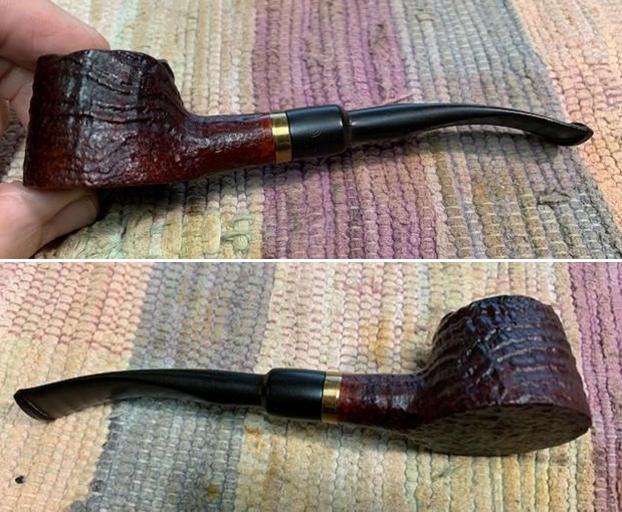
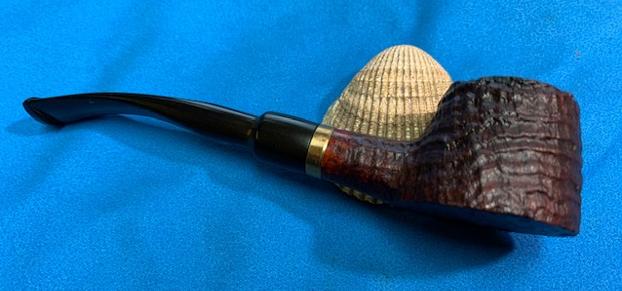
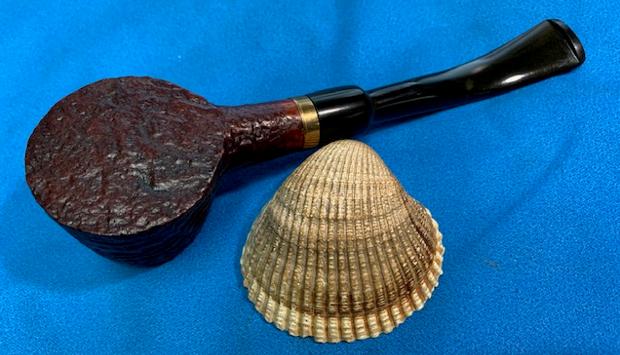
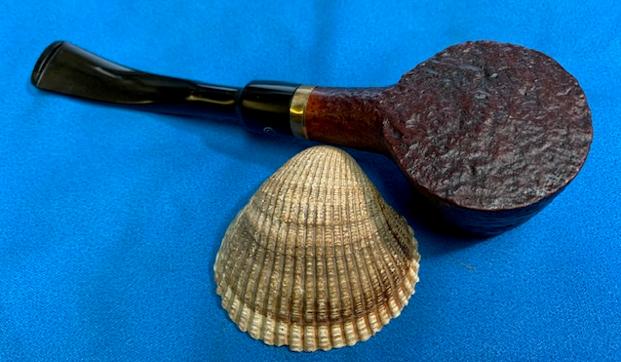
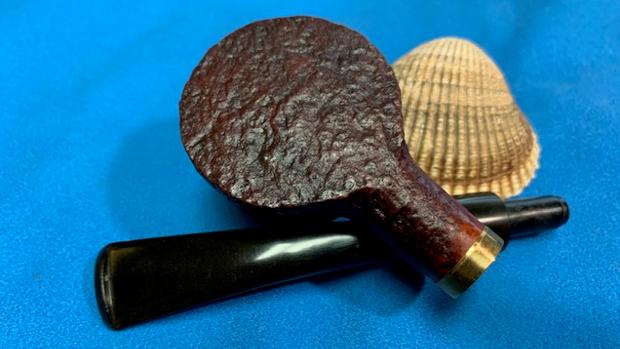
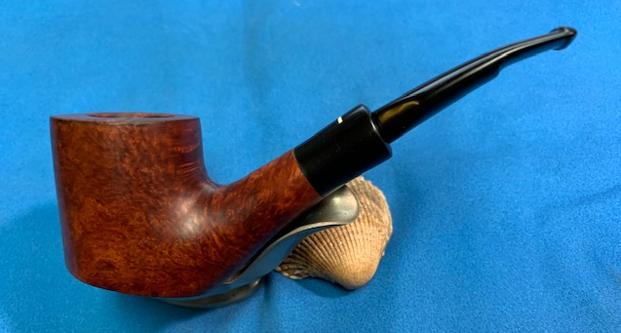
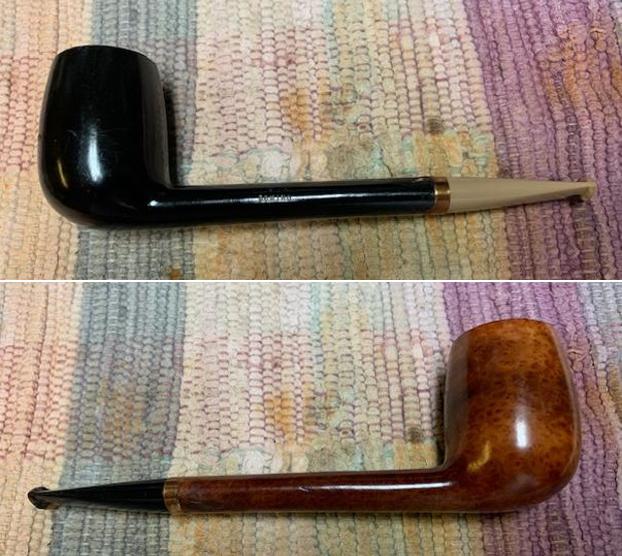
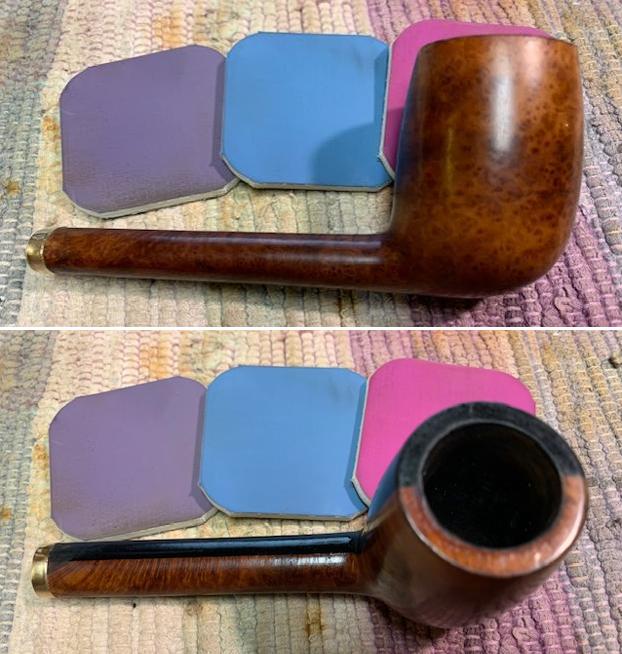
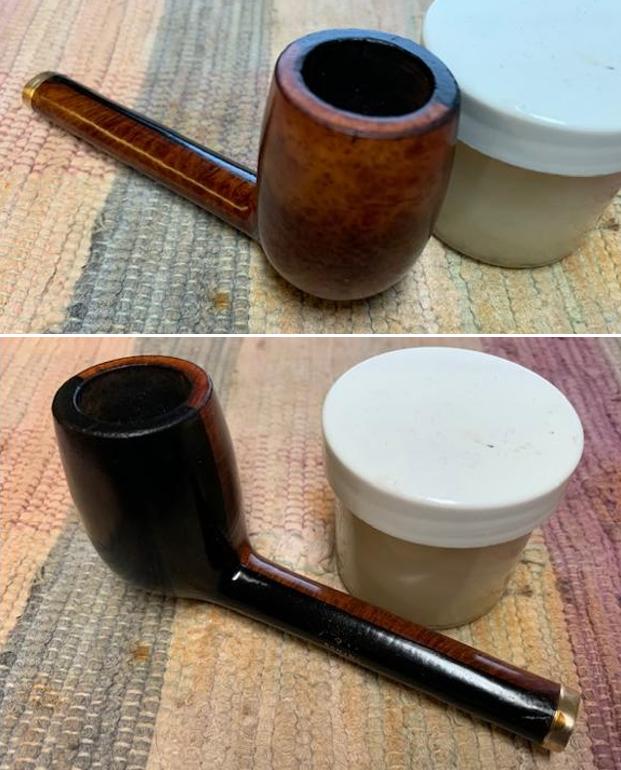
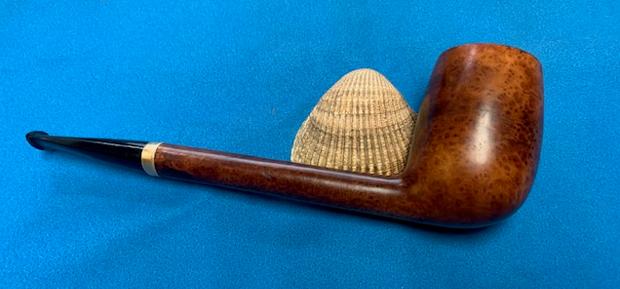
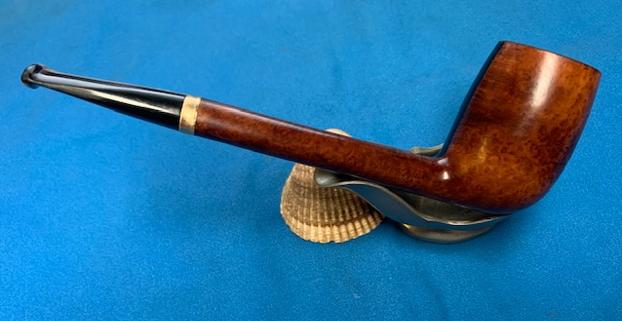
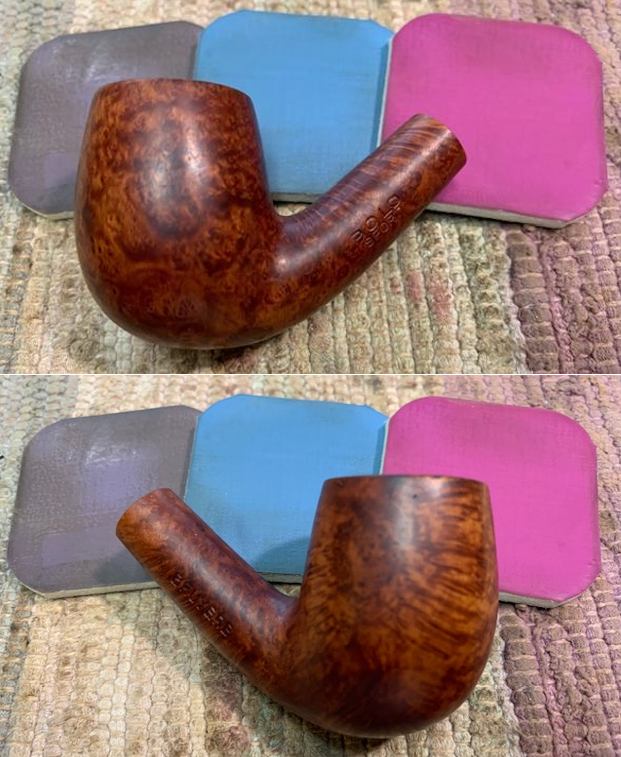
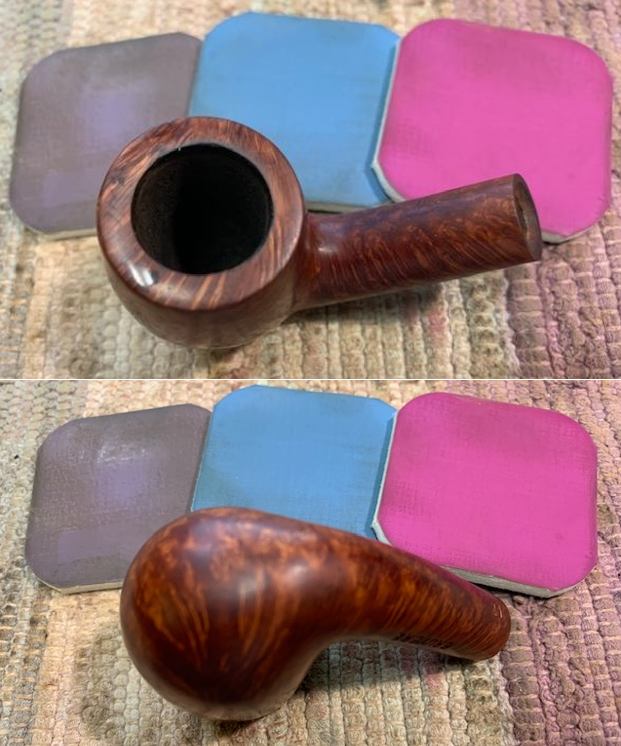
 This is the first of this brand that I have worked on and one that I can find no detailed information. I believe it is an English Made pipe perhaps Imperial or Cadogan. The Polo Sport Bruyere 21 Bent Billiard is a beautiful pipe underneath that thick and peeling varnish coat. The grain is very nice and the colour of the briar goes amazingly well with the polished black vulcanite taper stem. The delicate curves of the bowl and stem work together to create a pipe that is a pleasure to look at and is comfortable in the hand. With the stinger apparatus removed the pipe has a great draught (I put it back to let the new owner keep or remove it). The dimensions of the petite pipe are Length: 5 inches, Height: 1 ¾ inches, Bowl diameter: 1 ¼ inch, Chamber diameter: ¾ of an inch. The weight of the pipe is 1.13 ounces/35 grams. It is a great looking pipe that feels great in the hand and is light weight in the mouth. The light weight of the pipe, the bend in the stem and shank should make it another perfect clencher. I will be adding it to the British Pipe Makers section of the rebornpipes store shortly. If you are interested in adding it to your collection send me a message on Facebook or an email. Thanks for walking through the process with me. Cheers.