Blog by Steve Laug
Every so often Jeff and I make an effort to meet somewhere and do a bit of pipe hunting. Back in October of 2019 we met in Southern Alberta and drove along the Queen Elizabeth Highway up to Edmonton. We stopped a lot of different antique shops and malls along the way to see what kind of luck we would have finding estate pipes. We picked up this pipe along with a few others at several Antique Malls in Edmonton. This one was a real mess with a very thick cake and heavy lava pouring from the bowl over the rim top. The was a crack in the right side of the bowl from the rim top down about 1/3 of the depth of the bowl. It was a hairline crack but it was visible even in the filthy condition we found the pipe in. However even with the grime ground in to the briar and the tarnished silver I knew that we were dealing with an old timer. I knew that MRC was related to GBD pipes so I was hooked. The stem was heavily oxidized and had tooth grooves on both side of the stem ahead of the button. There was wear on the button edges as well. The button itself also spoke of the pipe being an old timer because it was an orific button with a hole instead of a slot. Jeff took photos early in 2020 when he got to cleaning it up for us. The photos of what he saw are included below.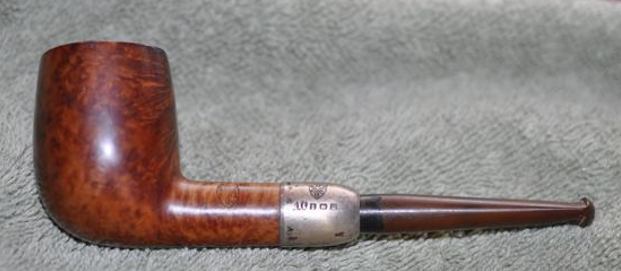
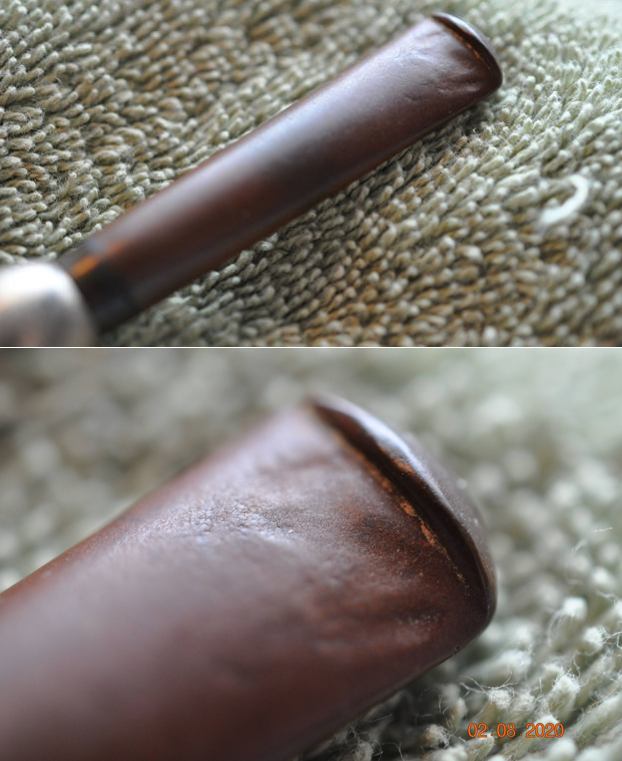
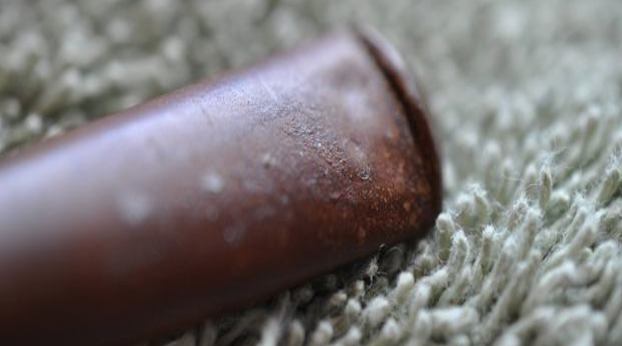
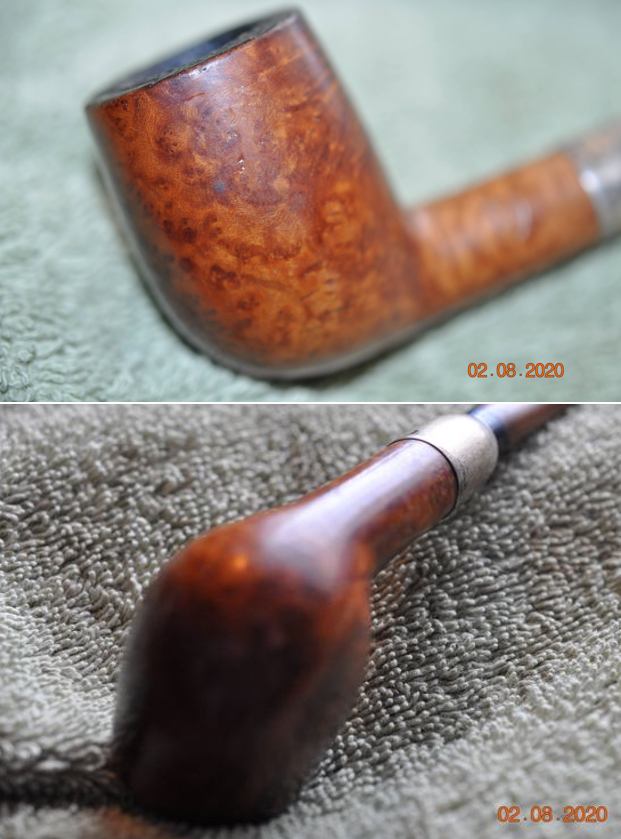
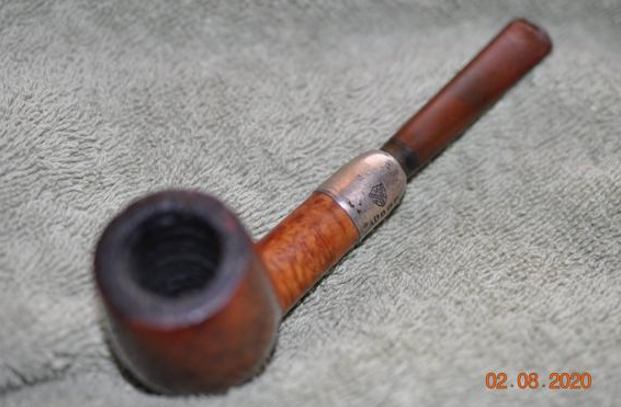 There was a lot of damage to the outer edge of the rim and it was not clear what the rim top or inner edge truly looked like because of the thick cake and lava overflow. There was also a crack on the right side of the bowl about 1/3 of the depth of the bowl. It was hard to know at this point if it went through the bowl and on the rim top. Cleaning would reveal all! The stem was oxidized, calcified and had some deep tooth grooves on both sides from the button forward. There was also some damage on the top and under edge of the button itself.
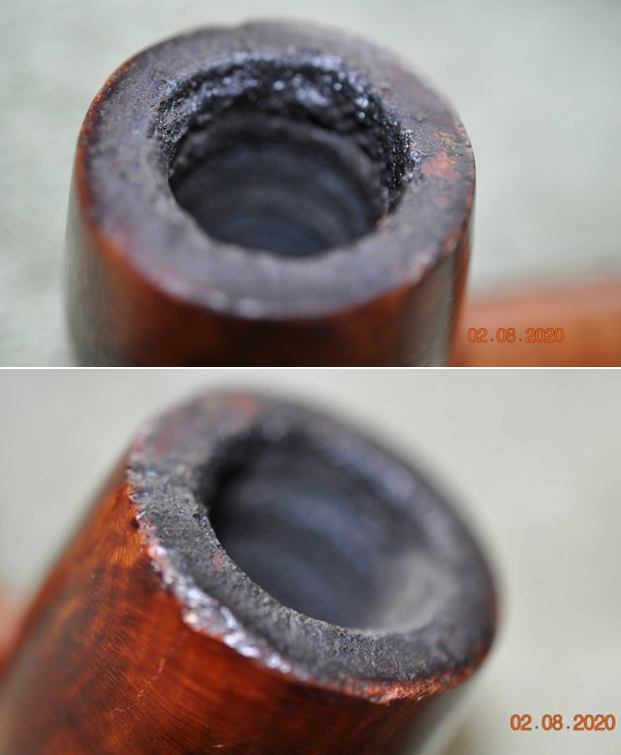
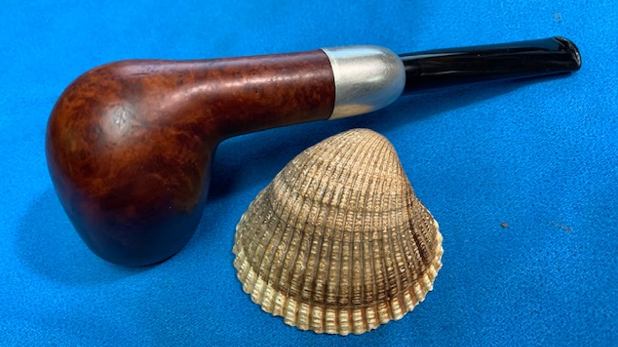
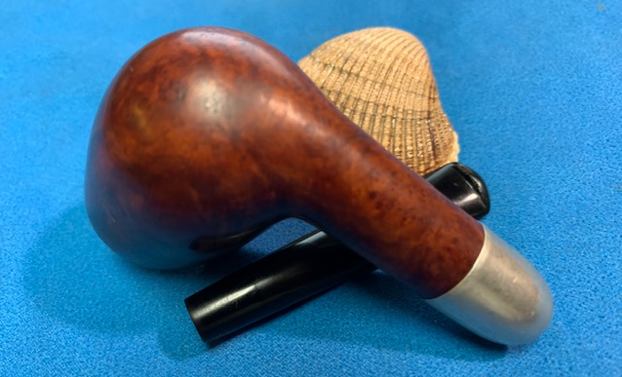
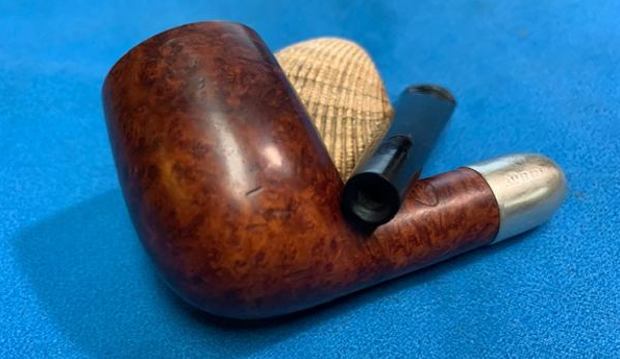
 Jeff took photos of the sides and heel of the bowl to show the overall look of the grain and the condition of the bowl. In the first photo below I have encircled the crack in red on the right side so you can see it clearly.
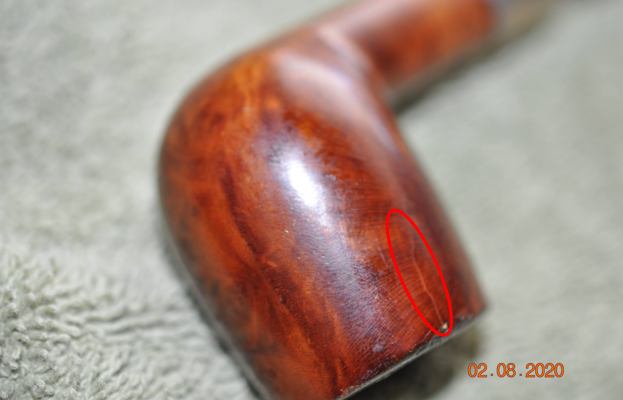
 He took photos of the stamping on the shank and on the sterling silver ferrule. It is clear and readable. The MRC logo in the shield is on the left side of the shank and it is also on the ferrule. There is also an AO stamp followed by three hallmarks on the ferrule – an anchor, a rampant lion and an “m”. These help to date the pipe and identify the maker and city.
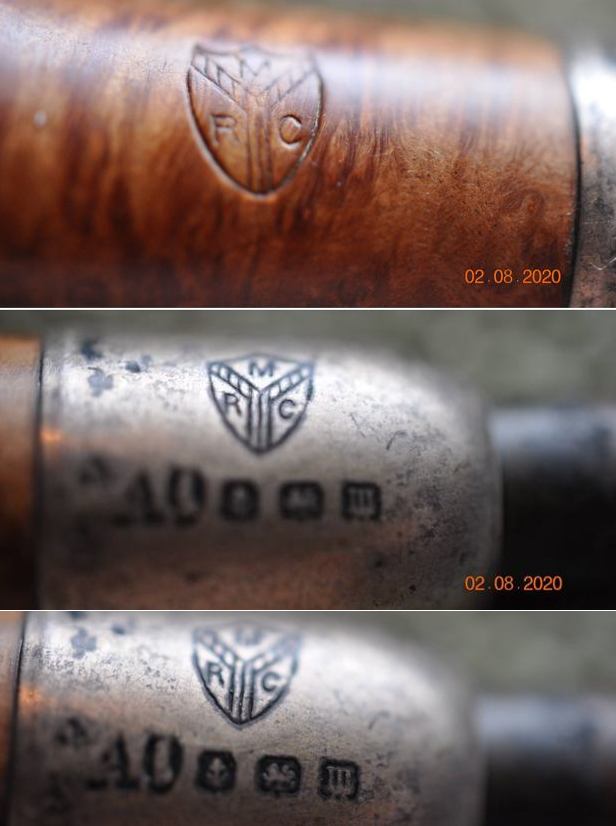 I turned to Pipedia to help date the MRC (Marechal Ruchon & Cie) and connect the dots with GBD pipes (https://pipedia.org/wiki/Marechal_Ruchon_%26_Cie). I quote the section below that is pertinent form the site.
Marechal Ruchon & Cie. was a company owned by Auguste Marechal and Ferdinand Ruchon (“& Cie” is the French equivalent of “& Co”) which owned the GBD brand from the end of the 19th century until 1902 when they sold Marechal, Ruchon & Cie. to Oppenheimer Pipe, which in turn changed the name of the company to Marechal, Ruchon & Co., Ltd.. Upon the creation of Cadogan, however, the brand was no more, remembered only in the name of the GBD Marcee pipes made until just after the Second World War.
I then turned to the Pipedia article on GBD history to further the connection information I had above (https://pipedia.org/wiki/GBD). I quote:
…August Marechal and Ferdinand Ruchon led the firm into the 20th century. They were in charge of the company for more than 50 years…
…There is a very simple explanation for GBD’s program to turn more “British”: GBD became a British company soon after the turn of the century! In 1902 Marechal and Ruchon sold GBD to A. Oppenheimer & Co. in London. Charles Oppenheimer had founded this successful trade business in 1860 as an import-/export house. His brothers David and Adolphe and brother-in-law Louis Adler soon joined him. Adolphe took over when Charles went to Germany as British ambassador. Briar pipes were among the first products traded. The business relation to GBD in Paris began as early as 1870. Being the most important customer in the English speaking world, Oppenheimer & Co. were designated as sole distributor for Great Britain, the USA and Canada in 1897. Especially Adolphe Oppenheimer had a burning interest in the pipe business, and Louis’ son James Adler shared that. He should play the most important role in the amicable merger of GBD. A. Marechal, Ruchon and Cie. in Paris was now Marechal, Ruchon & Co. Ltd. (see Marechal Ruchon & Cie. page) – a British firm with four directors: Adolphe Oppenheimer and James Adler had their seat in the head office in London while Auguste Marechal and Ferdinand Ruchon went on leading the GBD factory in the Rue des Balkan in Paris, which was considerably extended and modernised. Ruchon acted as CEO.
I knew that the pipe I was working on came out after the sale MRC to Oppenheimer and it became a British Company. It ceased to be Marechal, Ruchon & Cie and became Marechal, Ruchon & Co. Ltd. The principals (Marechal & Ruchon) continued to lead the GBD factory. I would need to do a bit of work on the Silver Hallmarks to pin down the date but I know the rough time frame.
The hallmarks on the silver ferrule were as follows:
- An anchor – a symbol for the city of Birmingham, England
- A rampant lion – a symbol for .925 Sterling Silver
- A lower case “m” in a squarish cartouche which was the year of manufacture.
- An AO which was the maker’s mark. I link that to Aldophe Oppenheimer as noted above. He played an important role in the merged GBD British Company.
I turned to the British Silver Hallmark page to try and pin down the date for this silverwork (https://www.925-1000.com/british_marks.html). I have marked it with a red box on the chart that is below. The lower case “m” in the cartouche on the silver matches the one for 1911. So now I knew that I was working on a 1911 MRC pipe that was made for sale in England and bore the Birmingham silver. It really is a crossover pipe – French made by Marechal, Ruchon and Company Ltd. in Paris with British silver work made in Birmingham!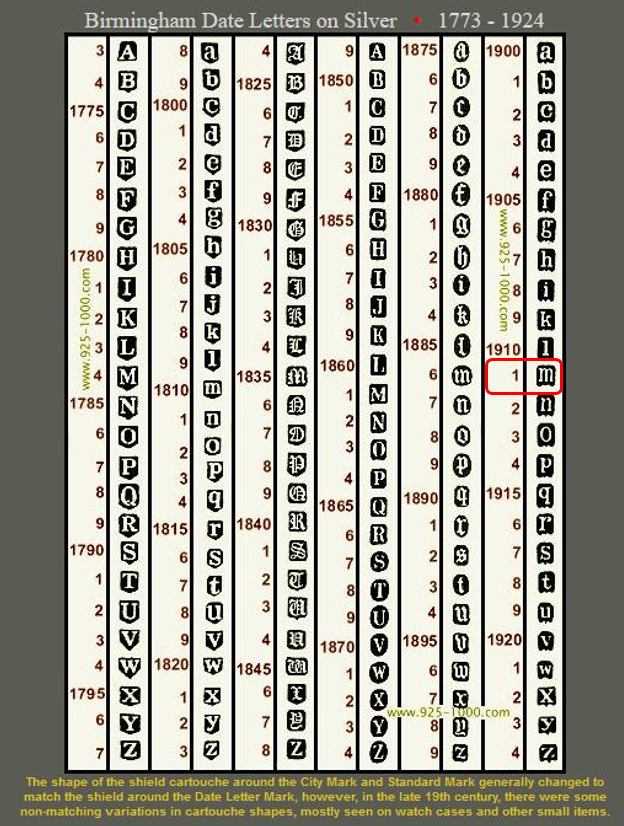 Armed with the information that I had gleaned from my research, I turned my attention to the pipe itself. Jeff had done a great cleanup on the pipe. He reamed the bowl with a PipNet pipe reamer and followed up with a Savinelli Fitsall pipe knife to remove the cake. He scrubbed out the mortise and the airway in the shank and the stem with alcohol, cotton swabs and pipe cleaners. He scrubbed the bowl exterior with a tooth brush and Murphy’s Oil Soap to remove the grime on the finish of the bowl and the lava from the rim top. He rinsed it under running water. One of the benefits of this scrub is that it also tends to lift some of the scratches and nicks in the surface of the briar. He dried it off with a soft cloth. The damage on the rim top and inner and outer edges is very visible in the photos below. He cleaned the internals and externals of the stem with alcohol, pipe cleaners and cotton swabs. He soaked the stem in Briarville’s Pipe Stem Deoxidizer and rinsed it off with warm water and cleaned out the airway in the stem with alcohol. When I received it the pipe looked very good.
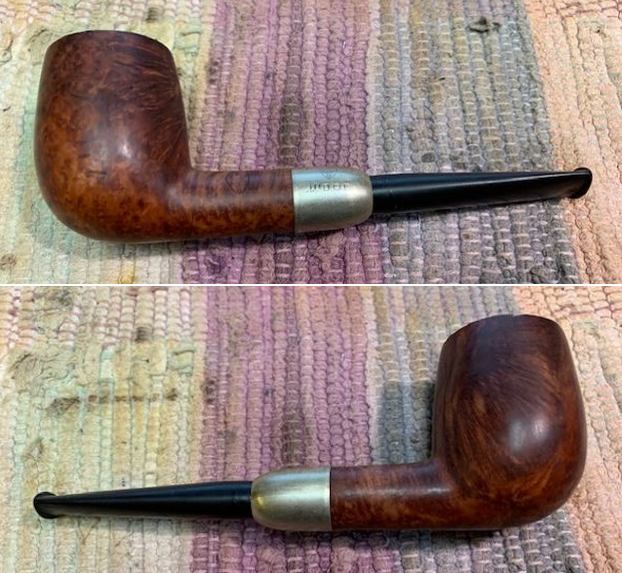
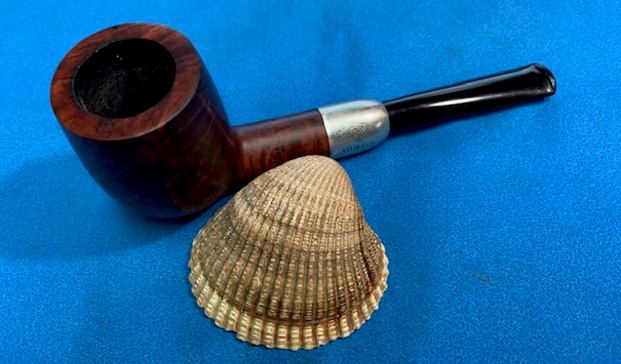
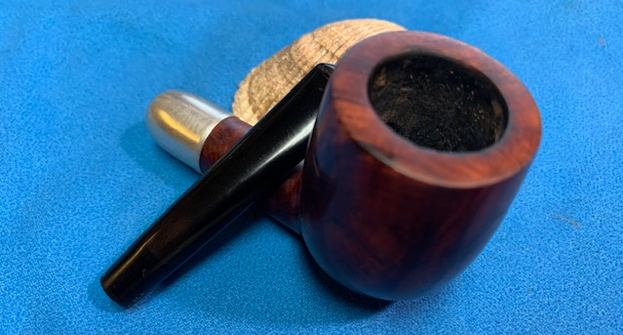
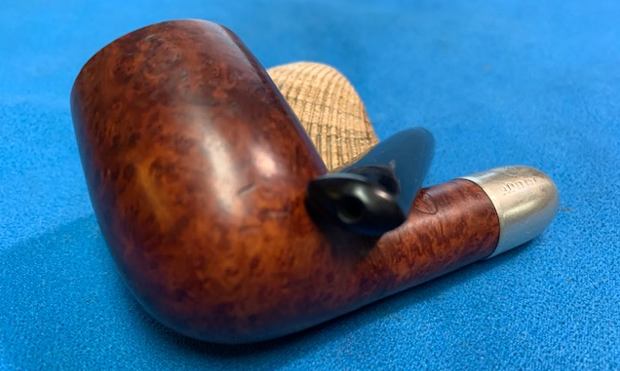
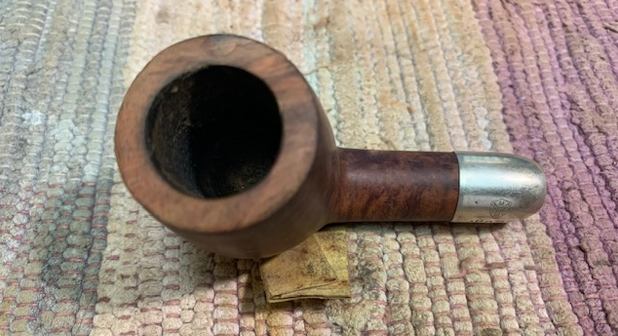
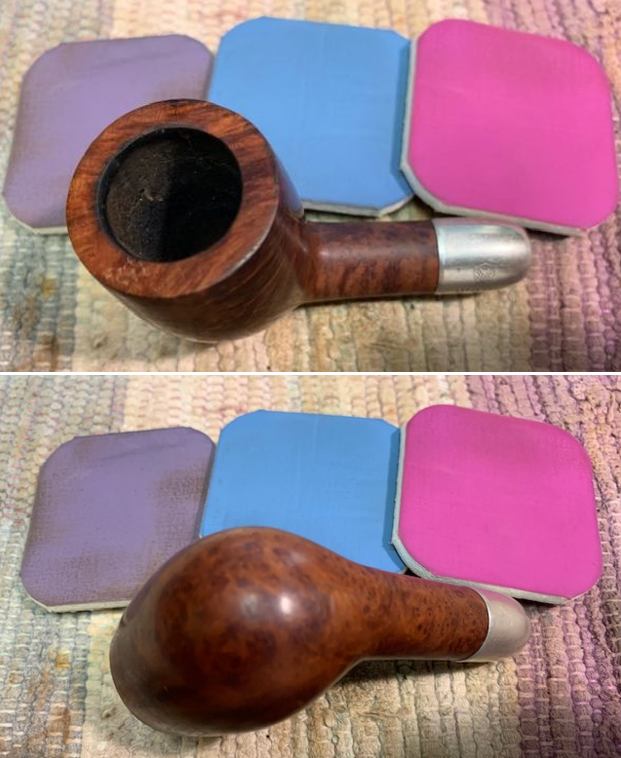
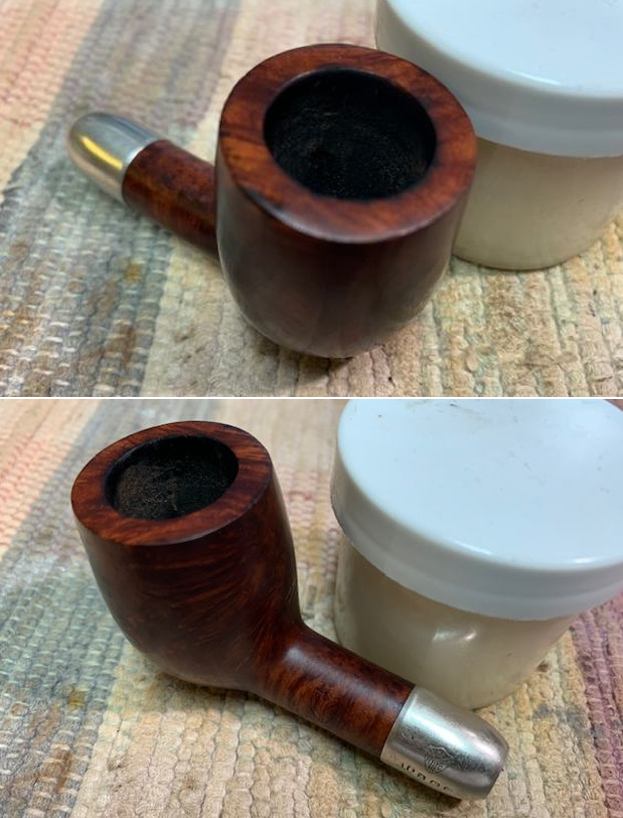
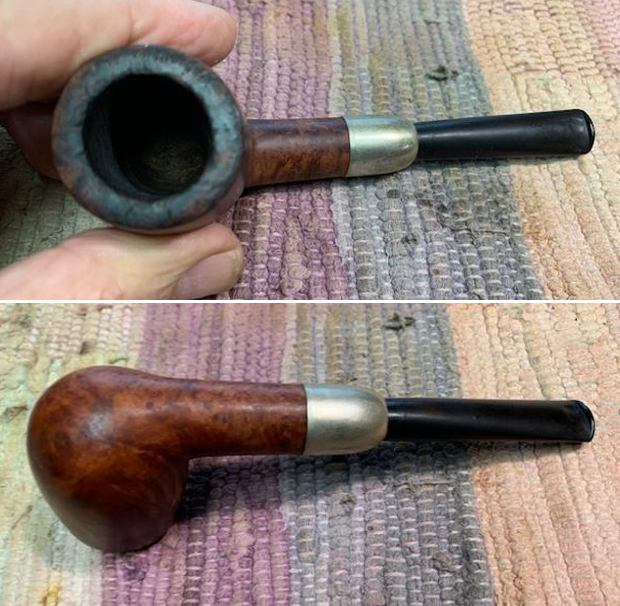 I took a photo of the rim top and stem to show the condition. The rim top and the inner edge of the bowl were in rough condition. The top of the rim was beat up pretty badly with nicks and chips. The inner and outer edges were rough and the bowl was out of round. It was also clear that the crack on the right side of the bowl went onto the top. The stem was vulcanite and there were deep tooth marks and chatter on both sides ahead of the button.
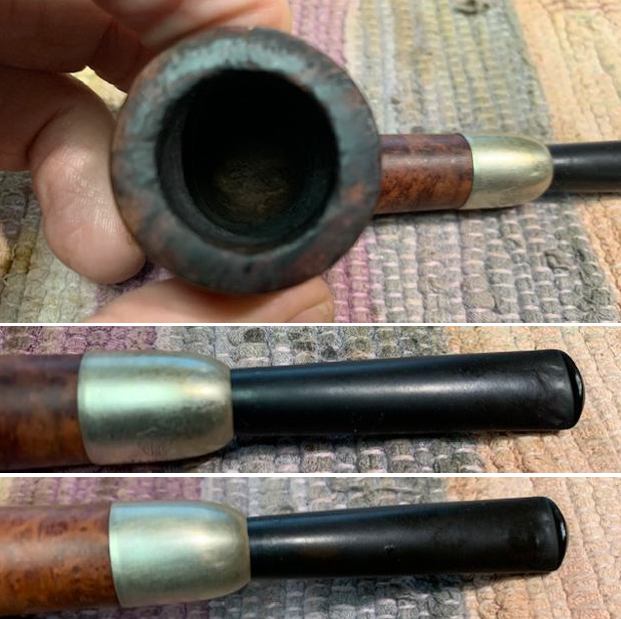 The stamping on the pipe and the silver ferrule is clear and readable as noted above.
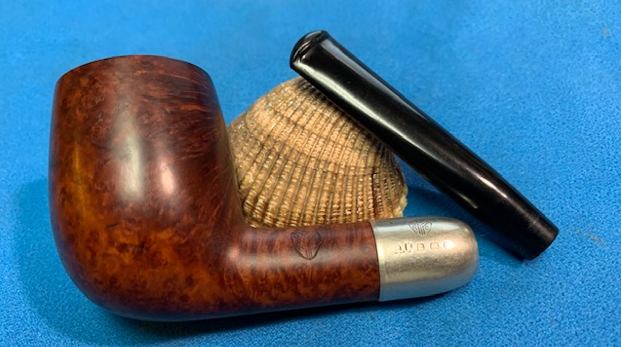
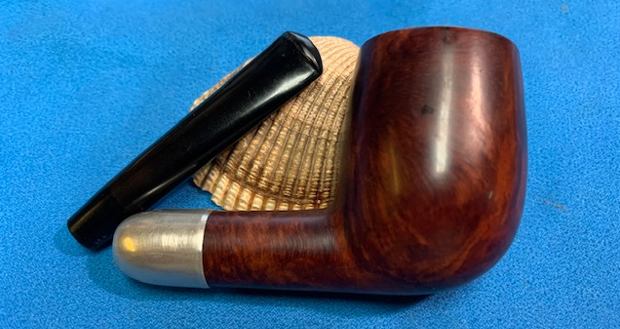
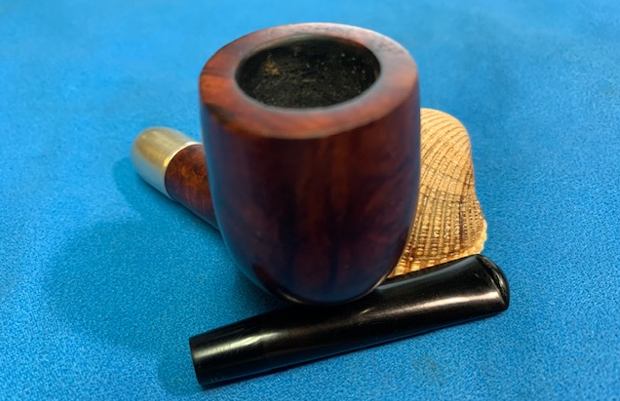
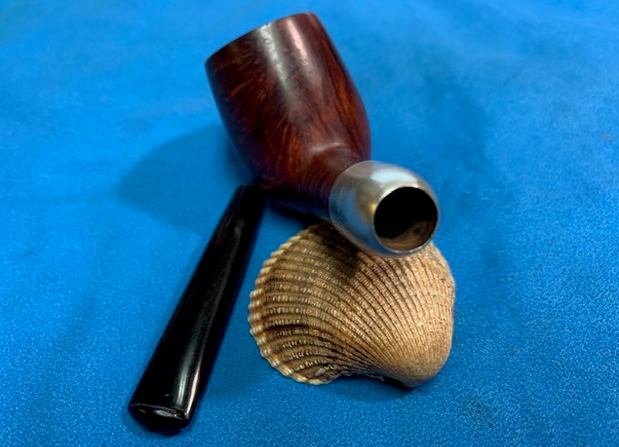
 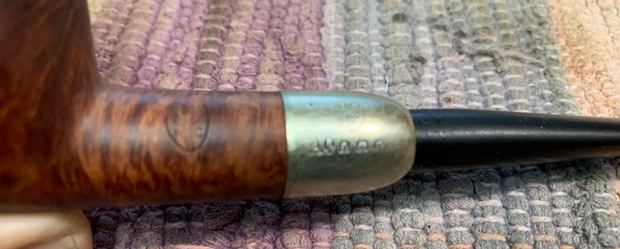 I removed the stem from the shank and took a photo of the pipe to give a sense of the whole.
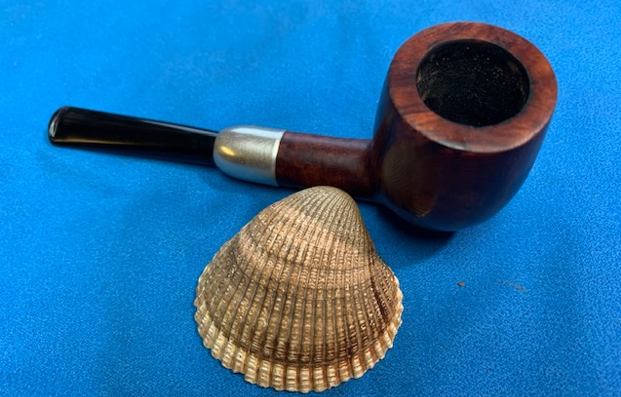
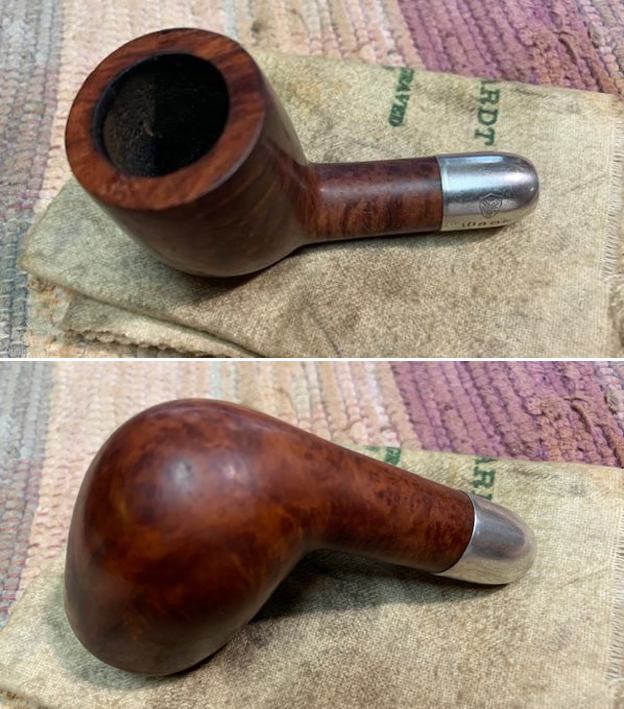
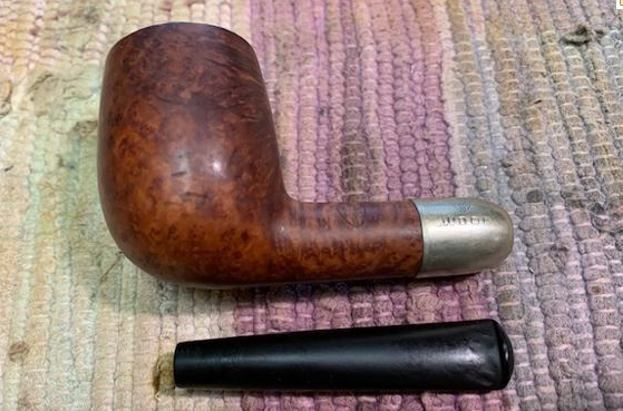 I started my work on this pipe by dealing with the damaged rim top and inner edge of the bowl. I used a folded piece of 220 grit sandpaper to smooth out the inner edge and bring it back to round. I topped the bowl to smooth out the damage on the rim top. I did not remove much of the briar but conservatively dealt with the damage. The cleaned up rim top looked very good.
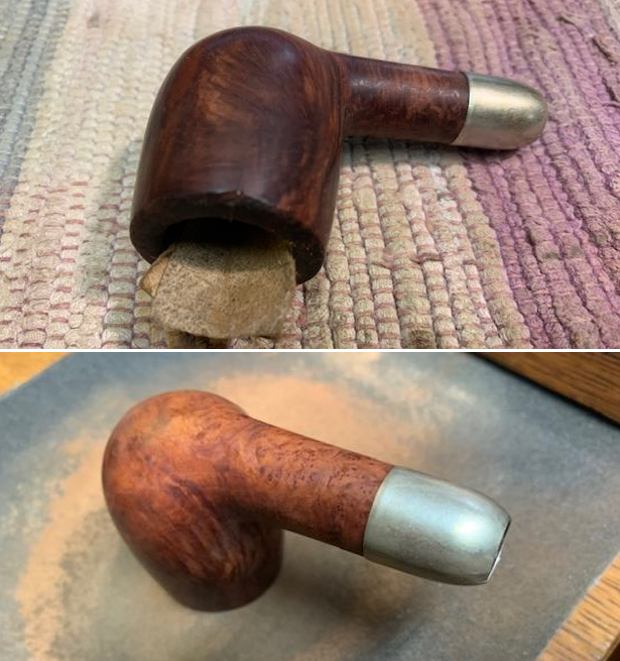
 Now it was time to deal with the crack in the bowl on the right side. I marked the end of the crack on the briar with a Sharpie pen as I viewed it through a lens. I used the mark to guide me when I drilled the end of the crack with a microdrill bit on the Dremel. I filled in the drilled hole with briar dust and clear CA glue. I spread it over the entirety of the crack on the side and the rim top.
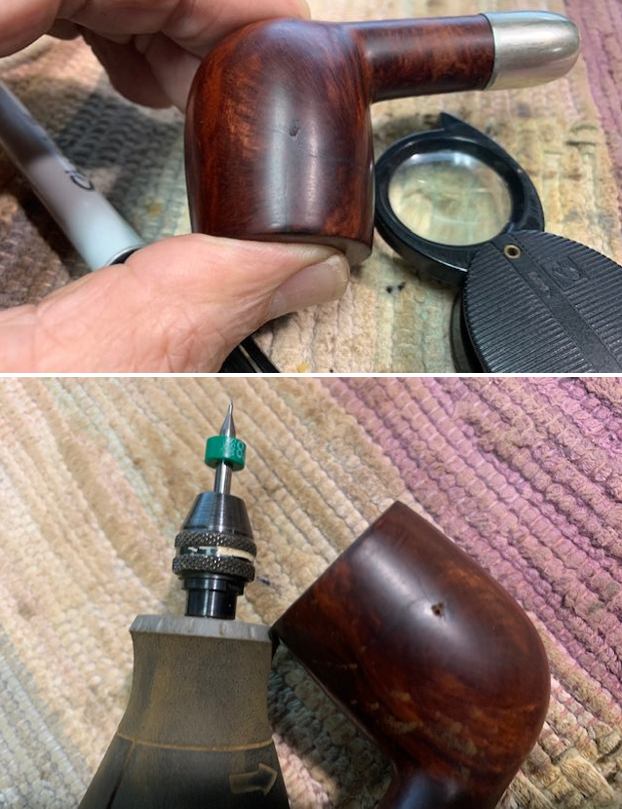
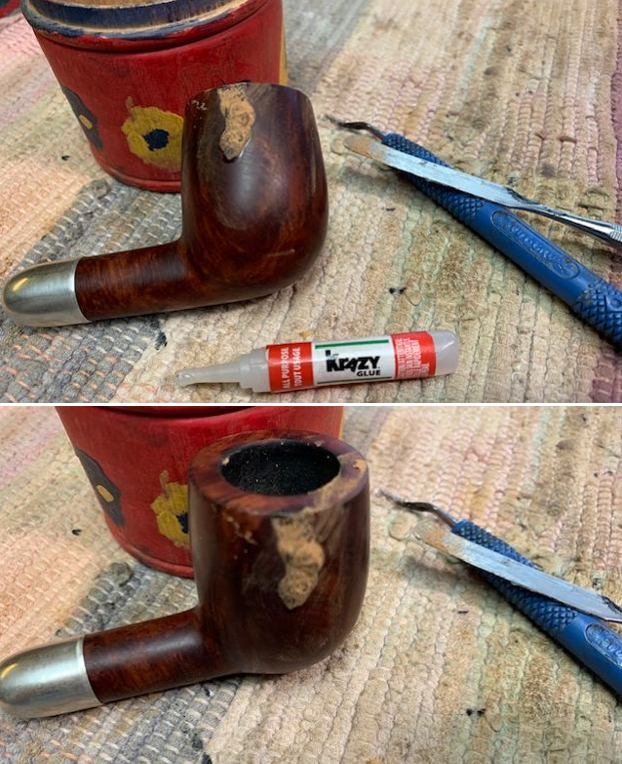 Once the repair had cured I used a small flat file to flatten out the repair and bring it down to the surface of the briar. I blended it into the surface of the briar with a folded piece of 220 grit sandpaper. I was happy with the look of the repair.
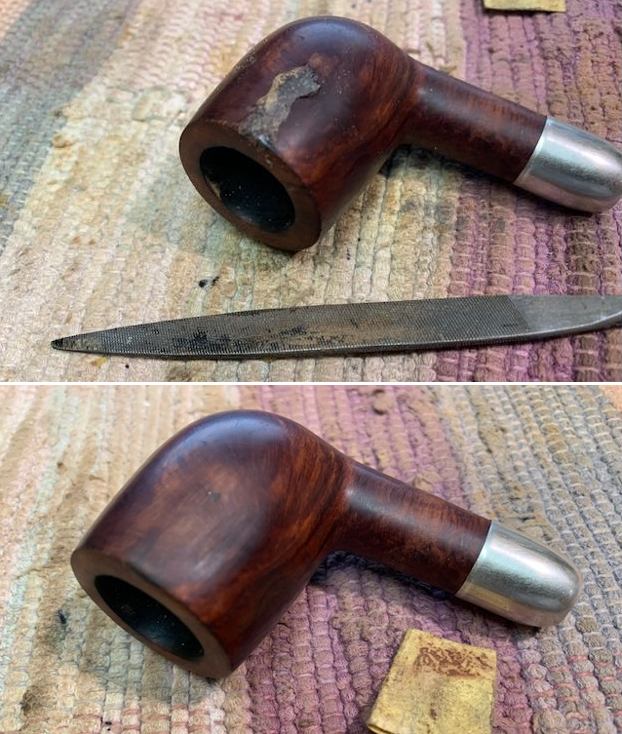 I polished the briar with 1200-1500 micromesh sanding pads and wiping it down with damp cloth after each sanding pad. As I worked through the cycle of pads the shine developed with each change of pad. The pipe looks very good.
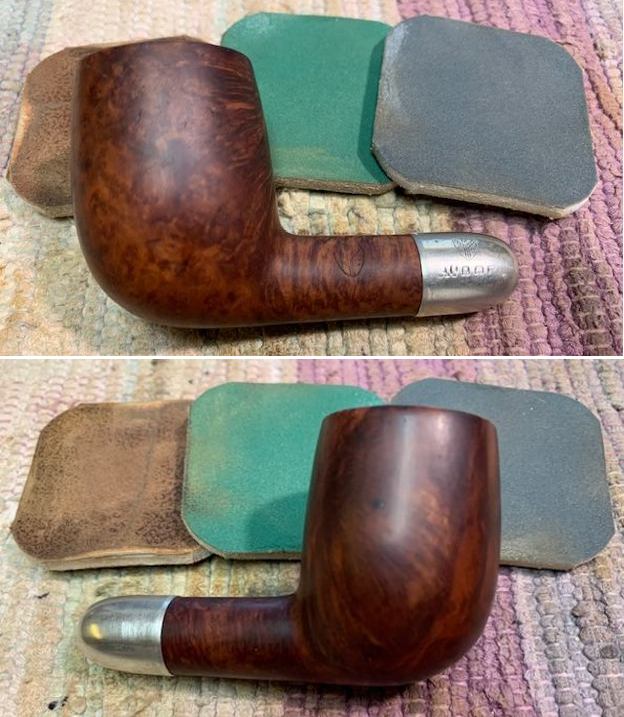


 I polished the silver ferrule with a jewelers cloth to give it a sheen and protect it from further tarnishing.
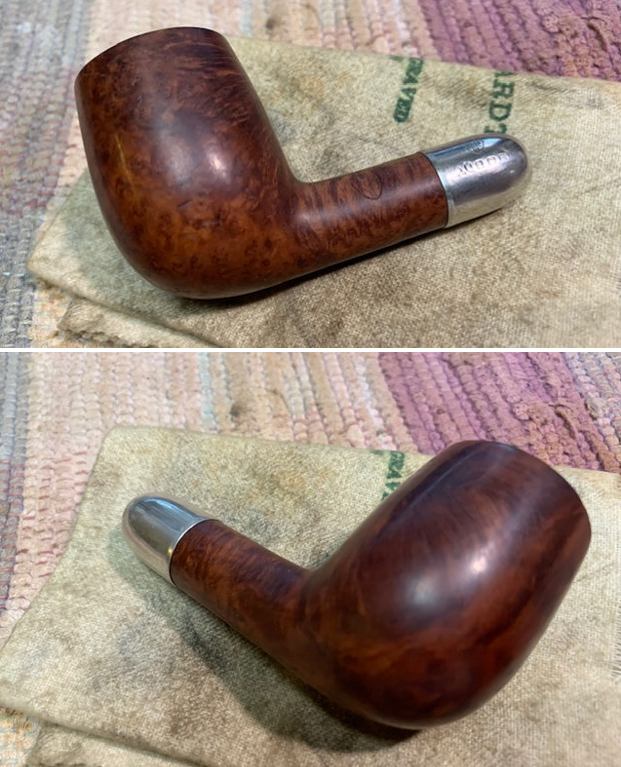
 I rubbed the bowl and shank down with Before & After Restoration Balm. I worked it into the surface of the bowl sides and shank with my fingertips to clean, enliven and protect the briar. I let the balm sit for 10 minutes, then buffed with a cotton cloth to raise the shine. The Balm did its magic and the grain stood out on the briar.
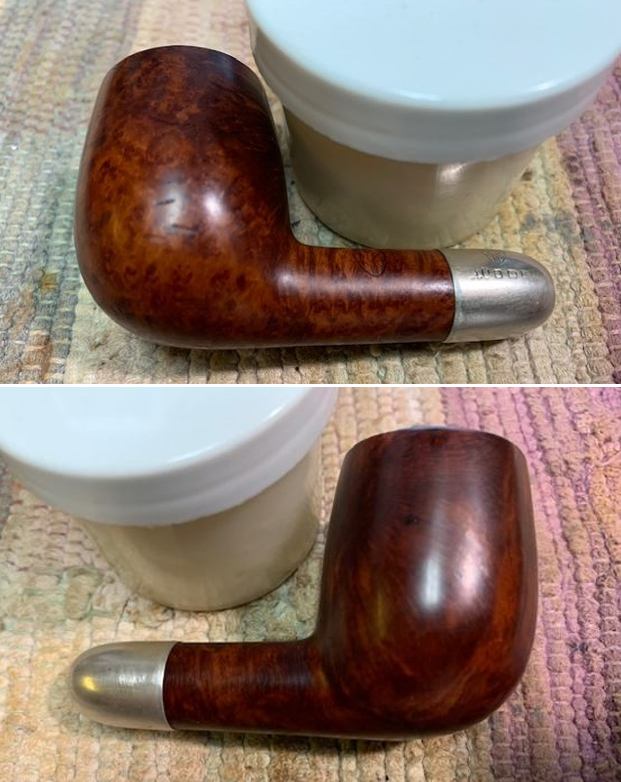

 I set the bowl aside and turned my attention to the stem. I “painted” the tooth marks/grooves with the flame of a lighter. I was able to lift them considerably. I filled in the remaining marks with clear CA glue.
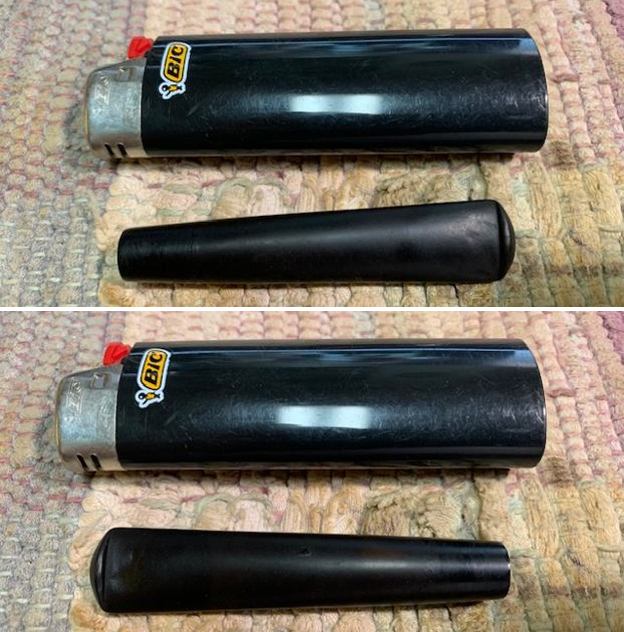
 Once the repair cured I used a small file to flatten it out and begin the blending process to make it disappear into the surrounding vulcanite. I followed that by sanding the stem with 220 grit sandpaper and started the polishing with 400 grit wet dry sandpaper.
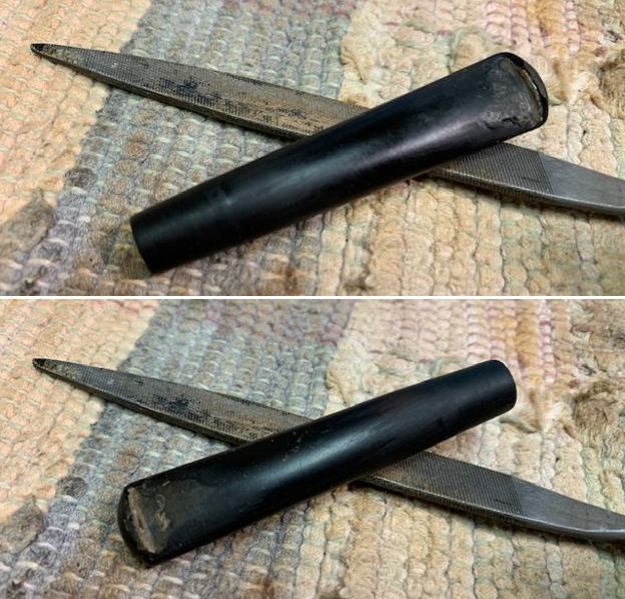
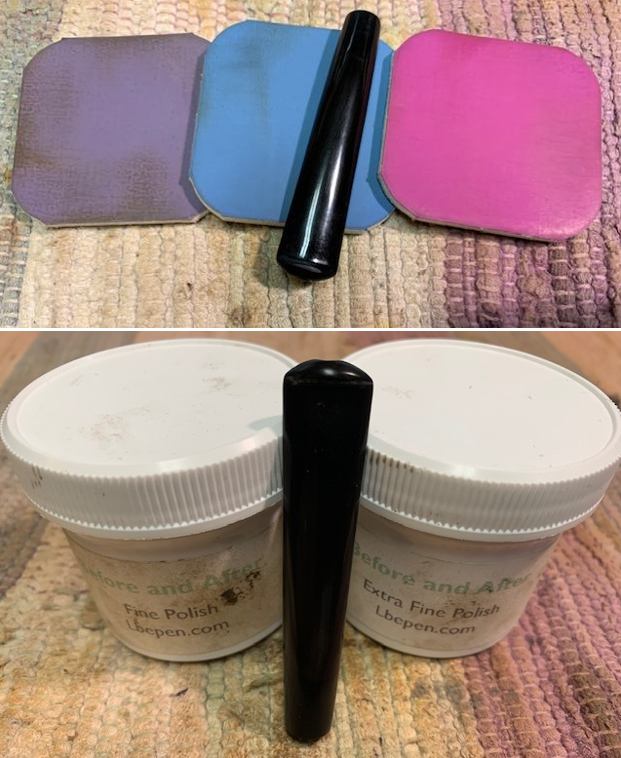
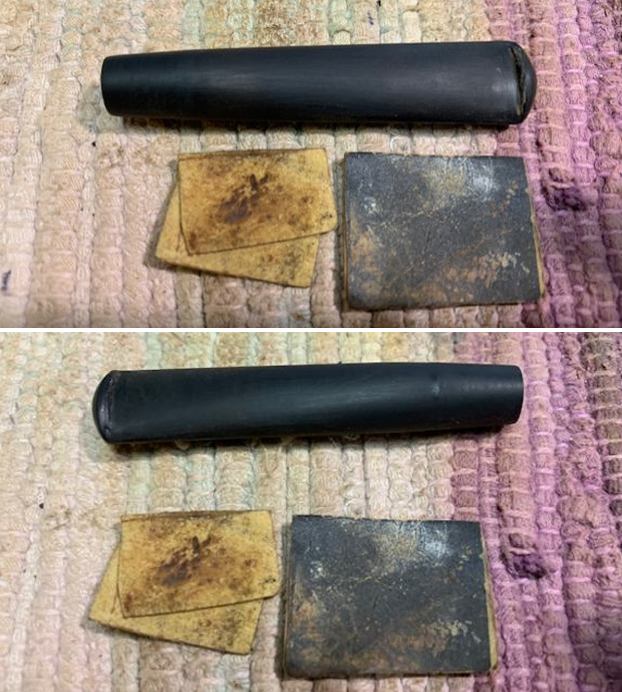 I polished it with micromesh sanding pads – 1500-12000 grit pads. I wiped it down with Obsidian Oil after each sanding pad. I used Before & After Pipe Polish – both Fine and Extra Fine to further polish the stem. The photos below show the polished stem.
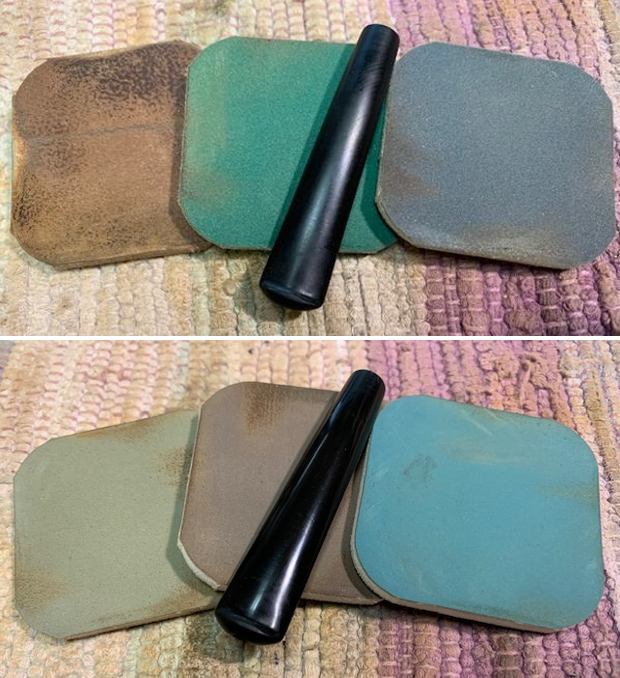
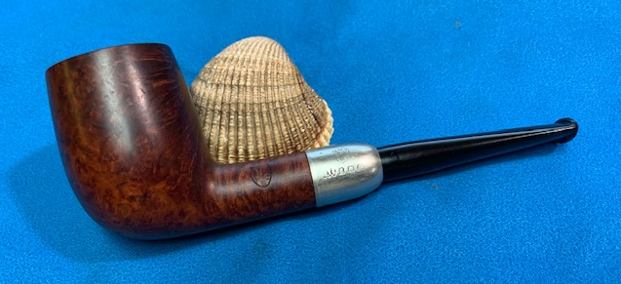
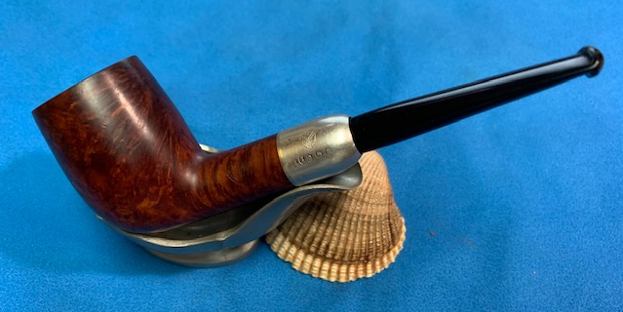
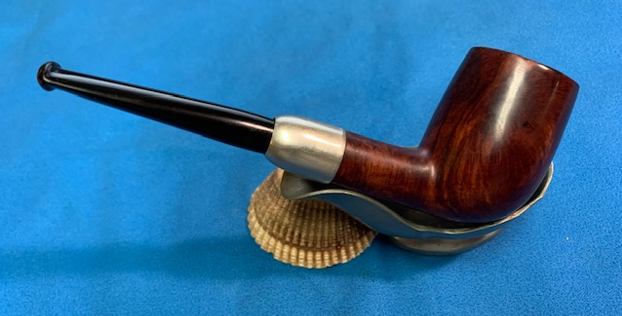
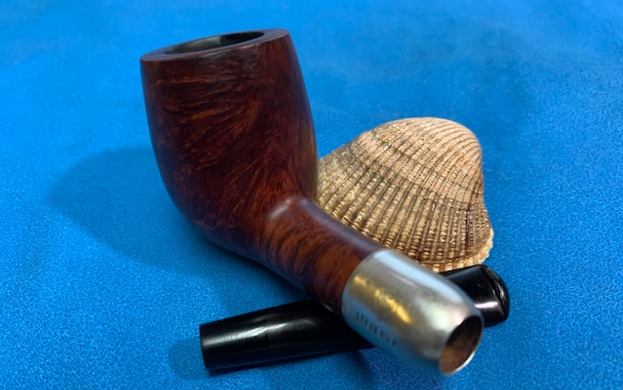
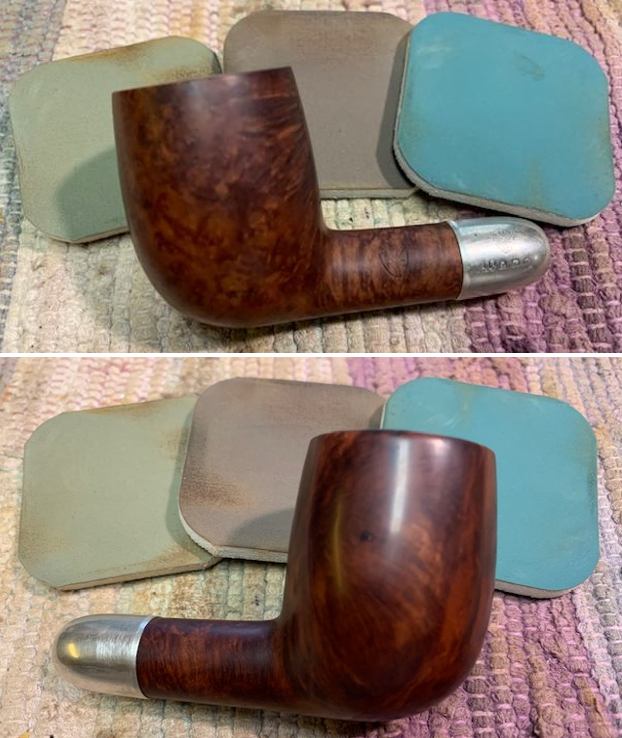
 This 1911 MRC (Marechal, Ruchon & Cie) Military Bit Billiard with a vulcanite stem is a great looking pipe now that it has been restored. The rich browns of the stain made the grain come alive with the polishing and waxing. I put the stem back on the bowl and carefully buffed the pipe with Blue Diamond on the buffing wheel using a light touch on the briar. I gave the bowl and the stem multiple coats of carnauba wax on the buffing wheel and followed that by buffing the entire pipe with a clean buffing pad. I hand buffed the pipe with a microfiber cloth to deepen the shine. The finished 1911 MRC Billiard really is a beauty and fits nicely in the hand and looks very good. Give the finished pipe a look in the photos below. The dimensions of the pipe are Length: 5 ¼ inches, Height: 2 inches, Outside diameter of the bowl: 1 ¼ inches, Chamber diameter: ¾ of an inch. The weight of the pipe is 1.34oz./38grams. I am still debating on whether to keep this one or sell it… It fits nicely in my collection of older pipes. Thanks for reading this blog and my reflections on the pipe while I worked on it. There are many more to come!