Blog by Steve Laug
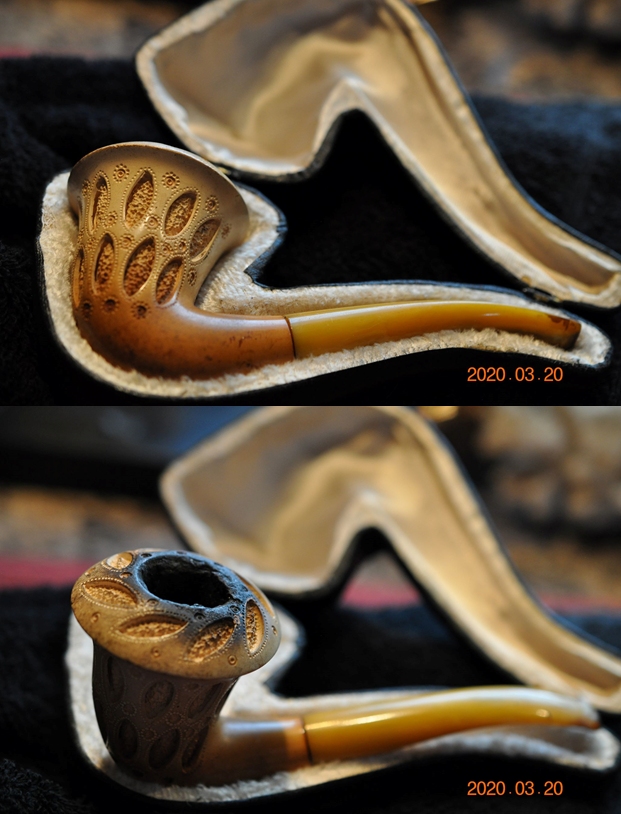
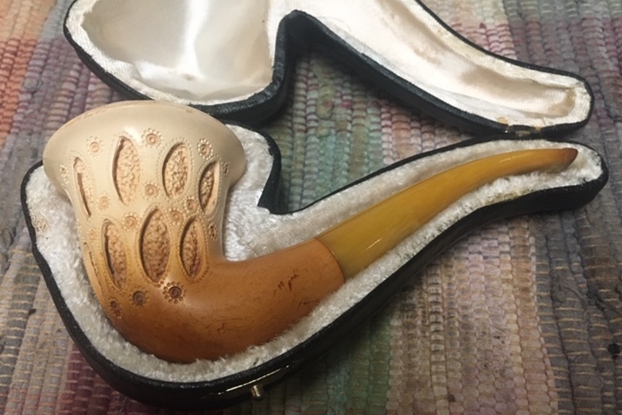
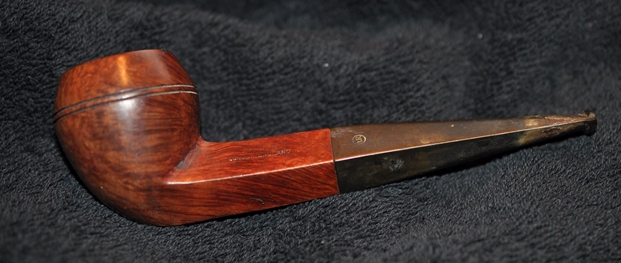
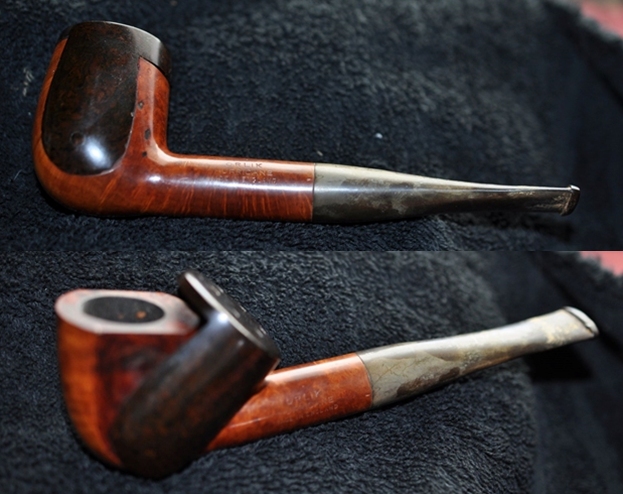
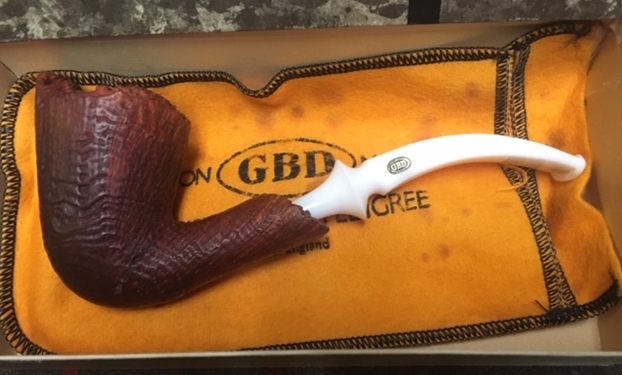
The next pipe on the worktable is one I have been looking forward to working on. It came in its original box as can be seen in the next two photos. The pipe was in a GBD pipe sock. The box was in great condition and read London Made GBD Prodigy. On the end of the box it reads Prodigy Sandflame 9696 which is the model and shape number. It is a nicely grained sandblast freehand with a white acrylic stem. Jeff took pictures of it as he unpacked it from the box. The pipe was in very good condition when he took it from the box. There were not a lot of issues to deal with in the cleanup and restoration. It is stamped on the underside of the shank GBD in an oval over Prodigy over Sandflame over London England. There was some darkening around the inner edge of the bowl, heavier toward the back side with a bit of darkening on the plateau top. There was a thick cake in the bowl that had remnants of tobacco stuck in it. The finish was dirty and there were spots of grime and oils. The white acrylic fancy saddle stem had a brass GBD roundel on the left side of the saddle. There were tooth marks on the top and underside ahead of the button. There was tooth chatter on both sides of the stem. There was some darkening in the airway of the stem at the button. Jeff took some photos of the pipe before he started his cleanup work.
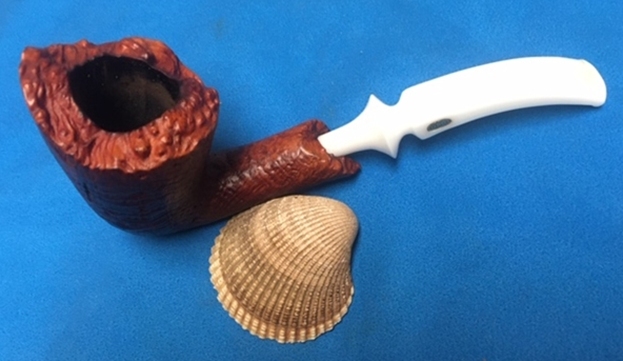
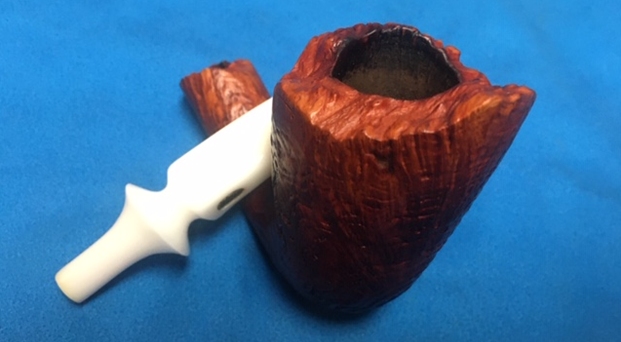
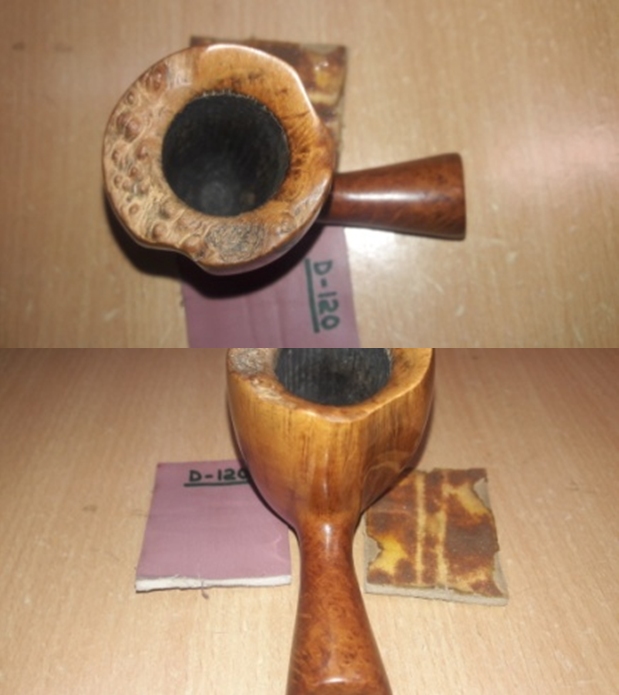
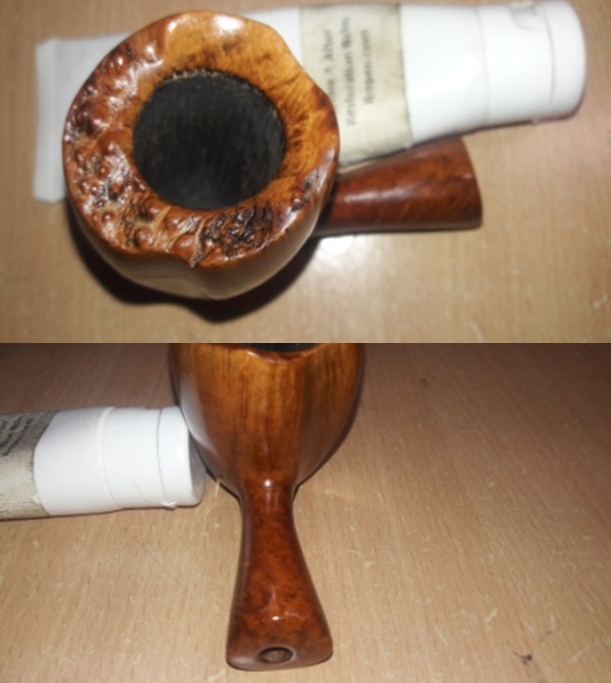
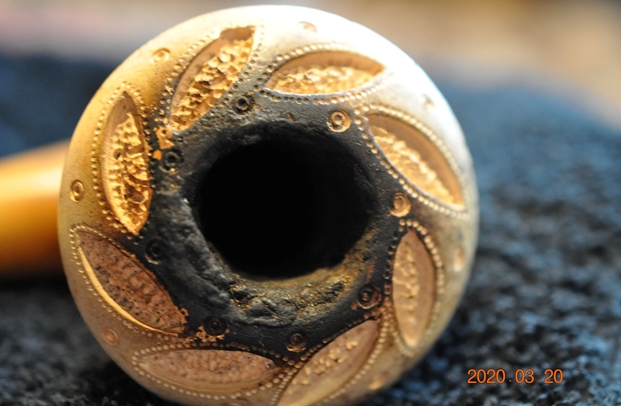
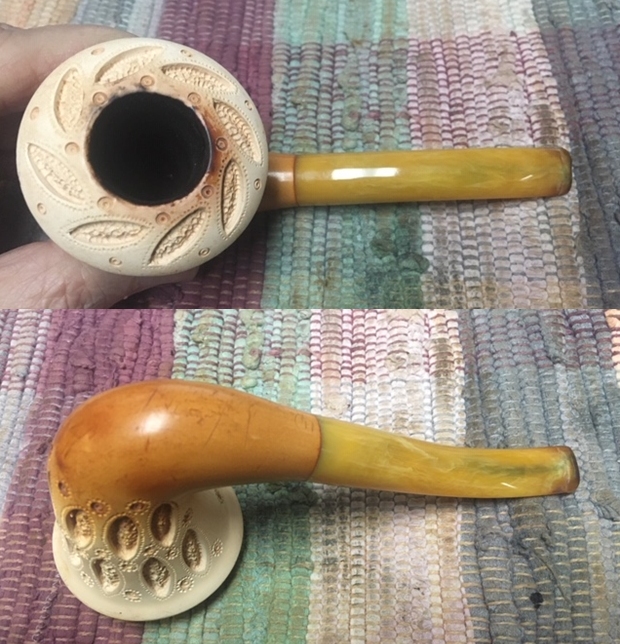
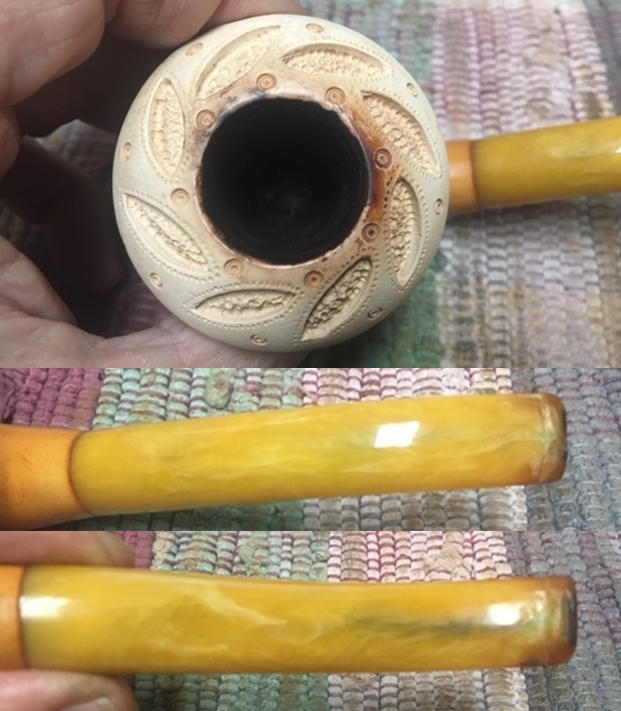
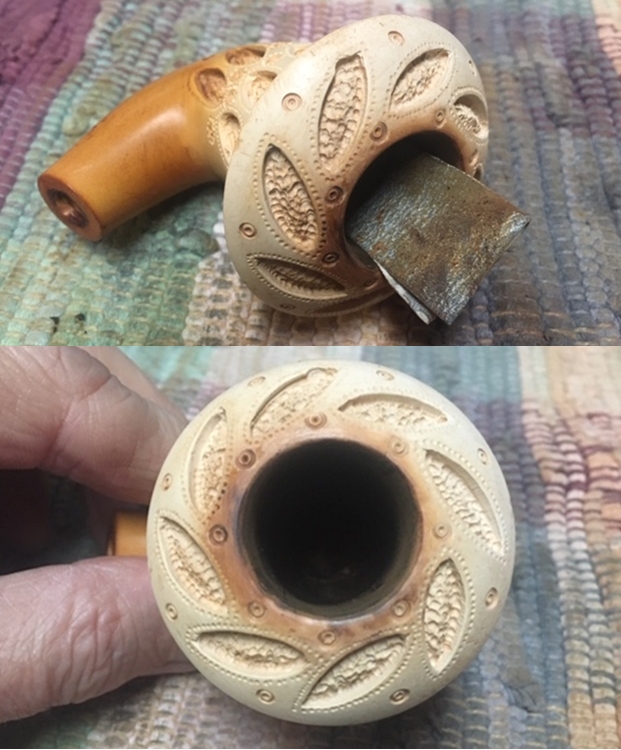
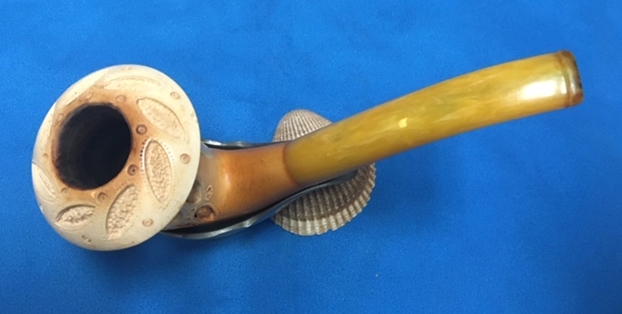
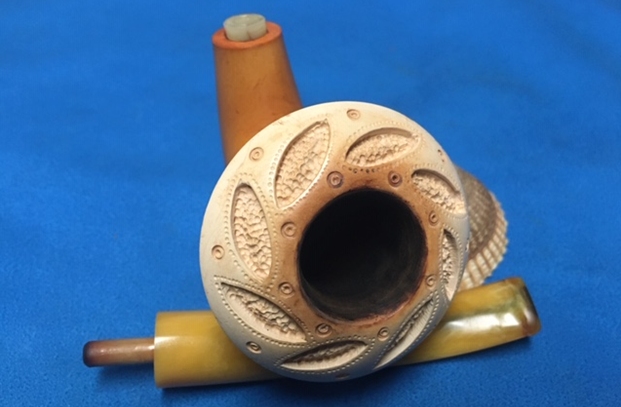
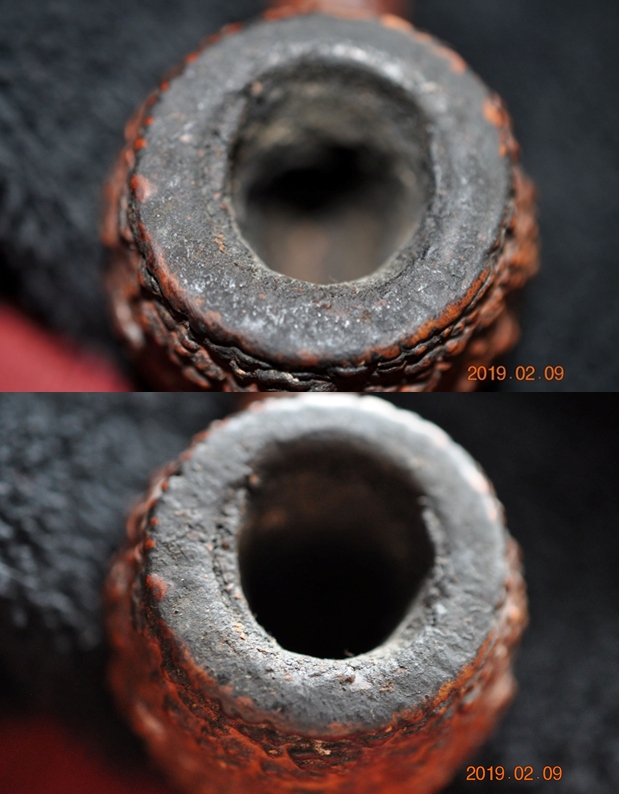
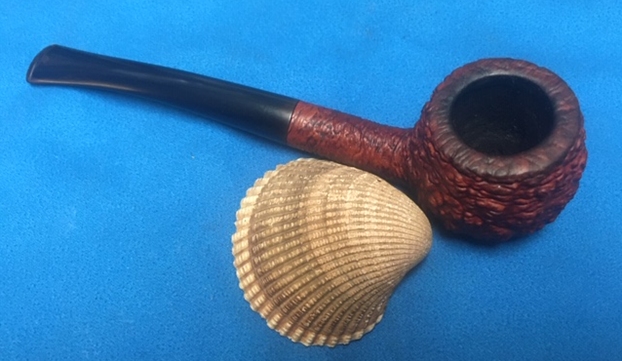
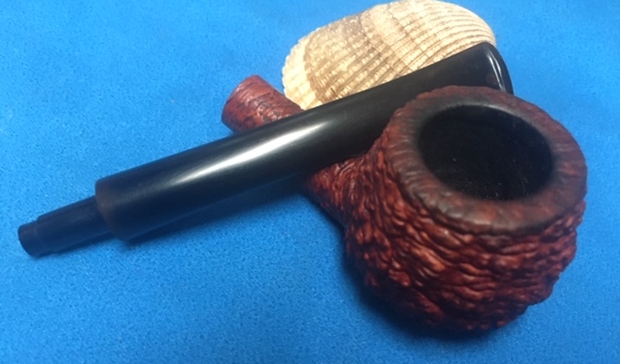
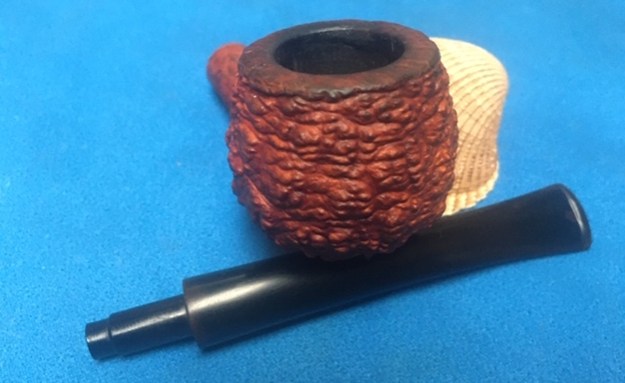
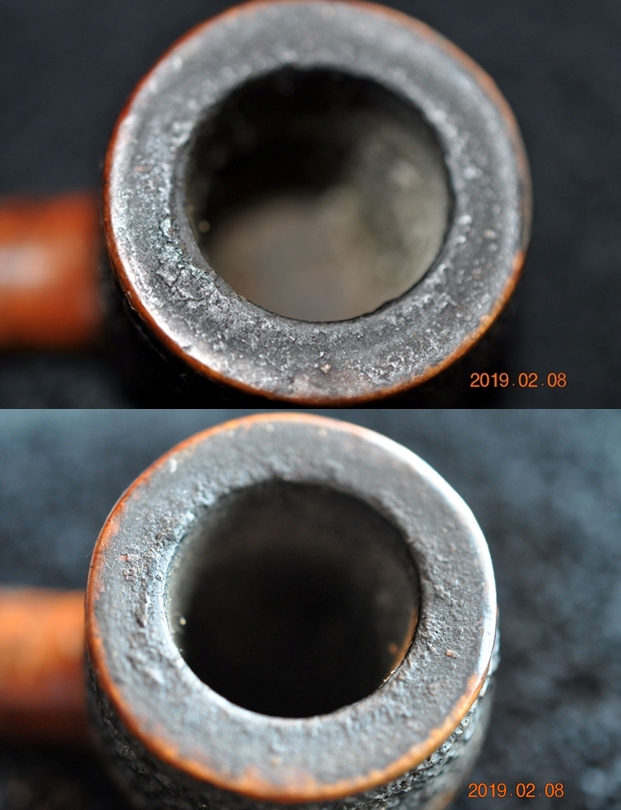
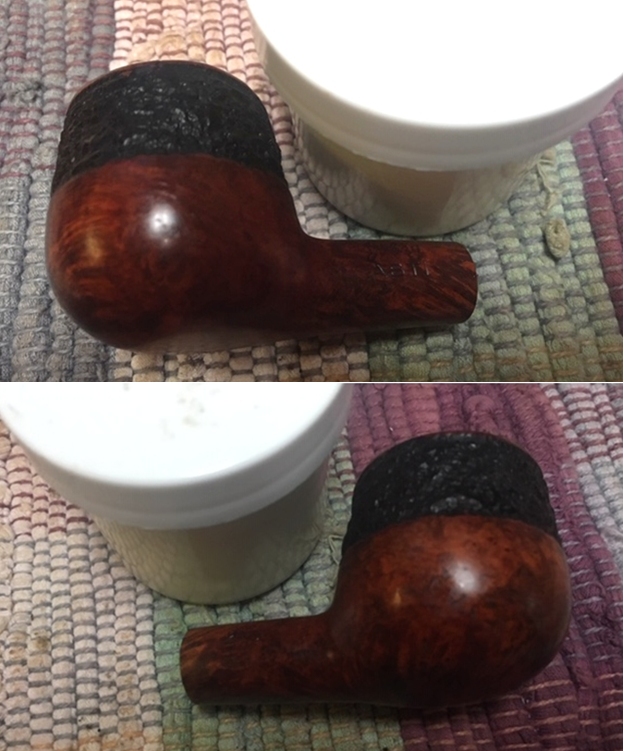
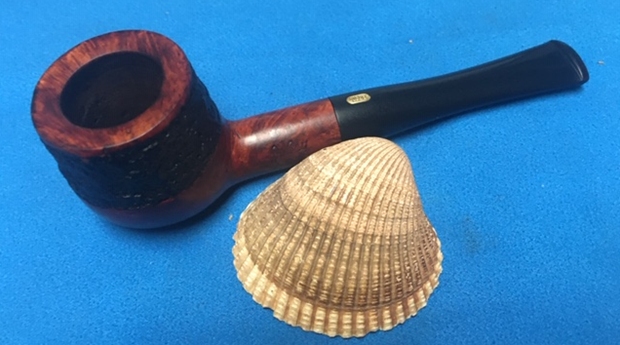
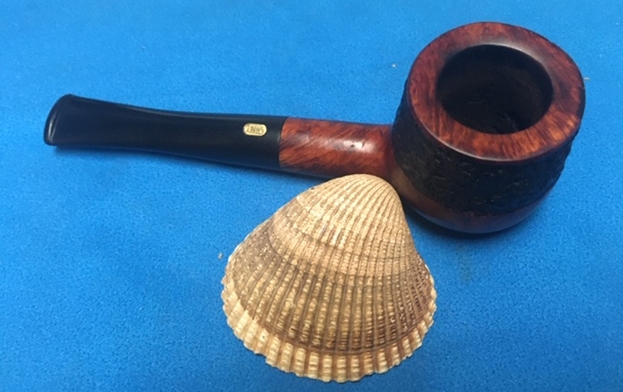
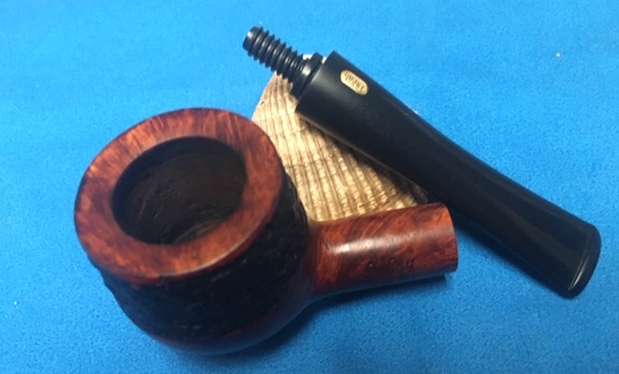
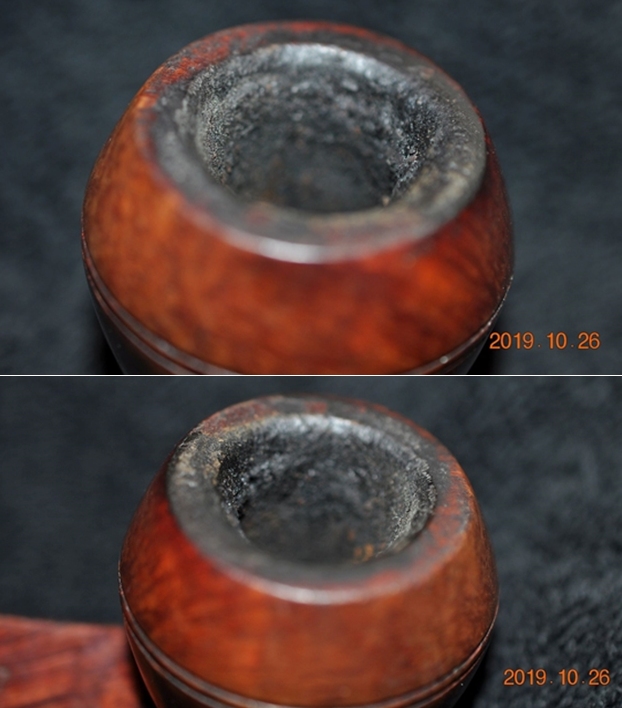
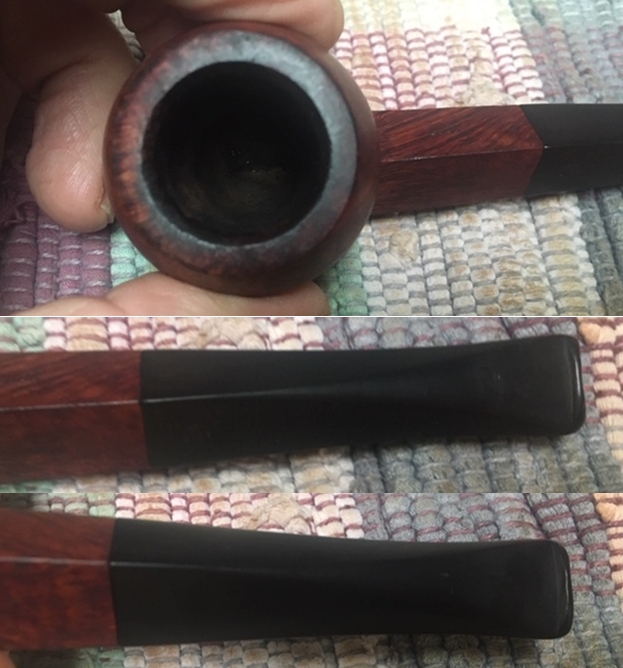
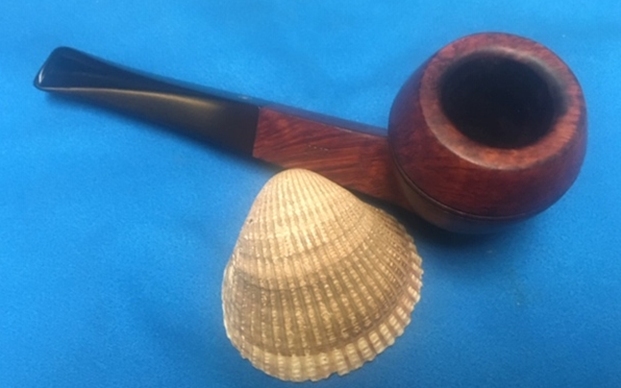
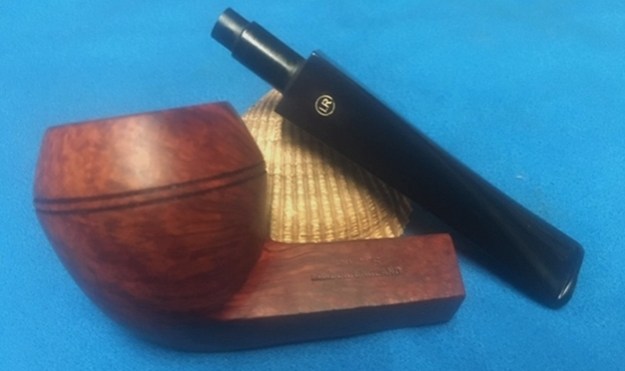
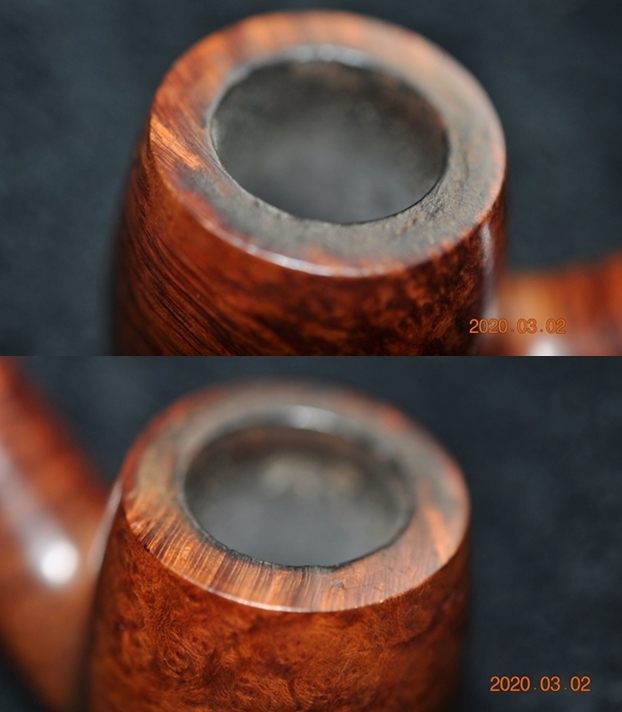
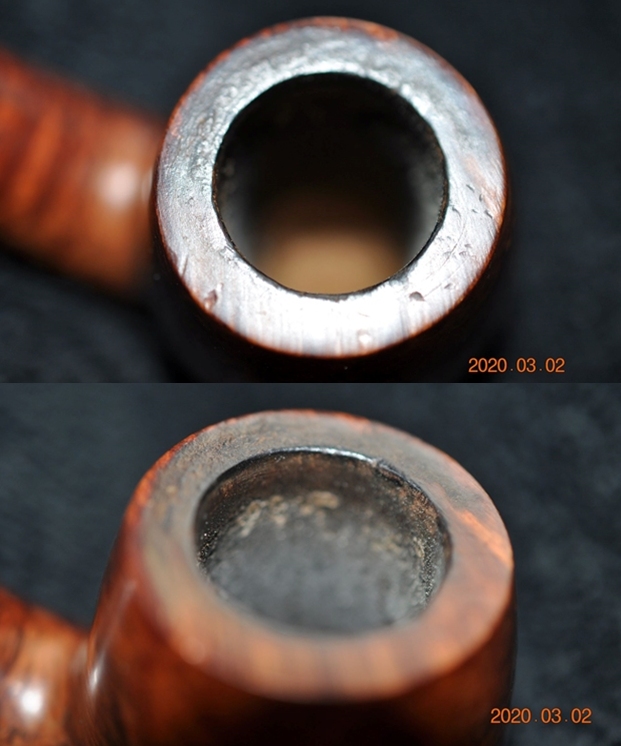
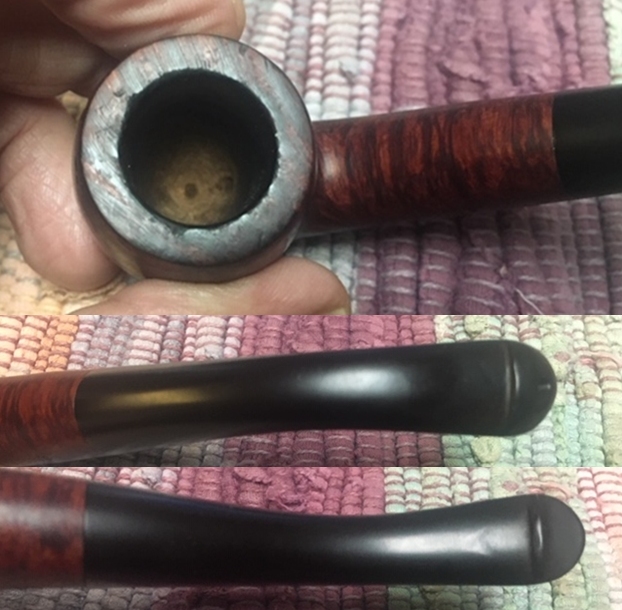
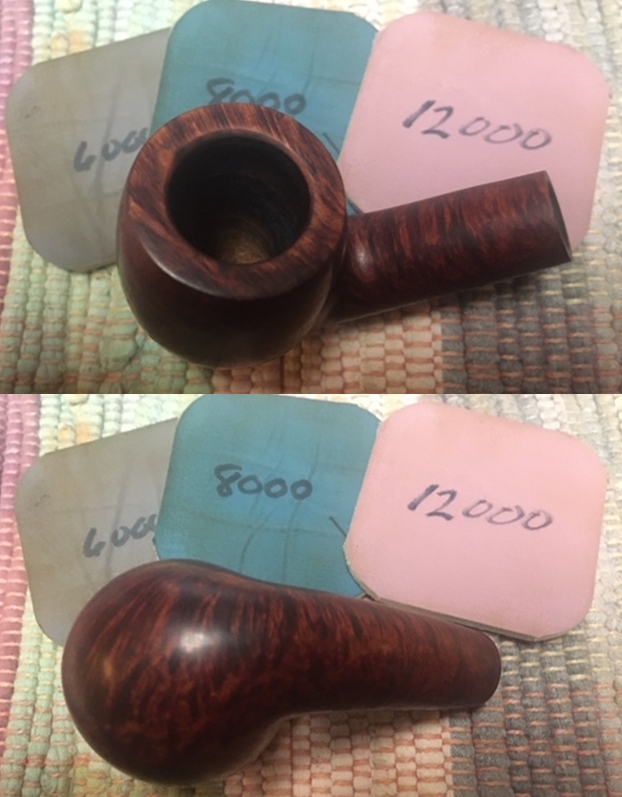
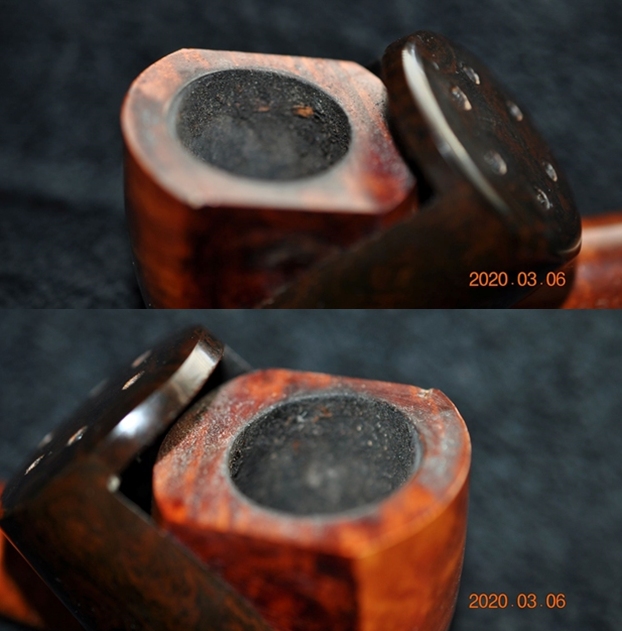
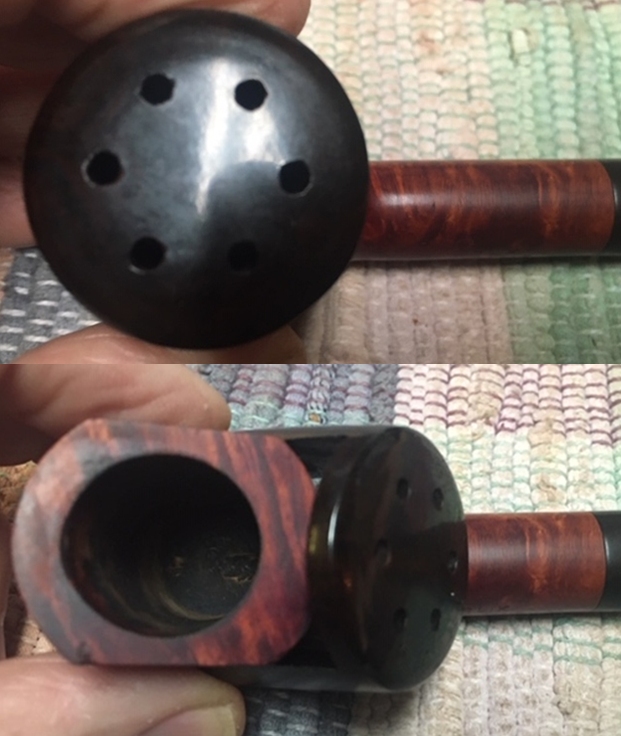
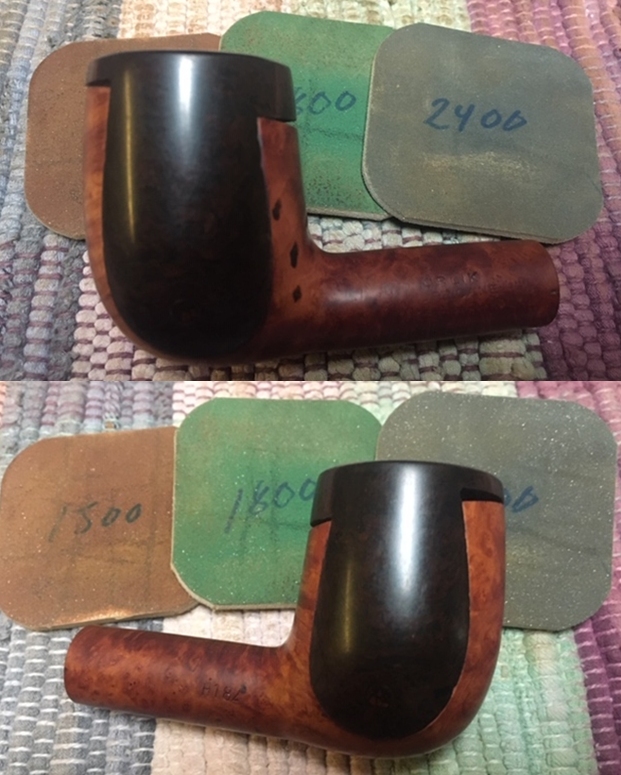
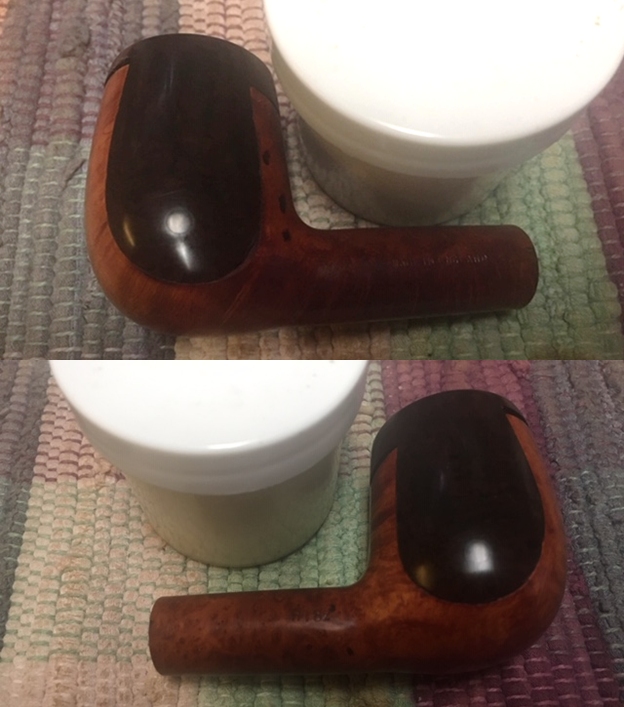
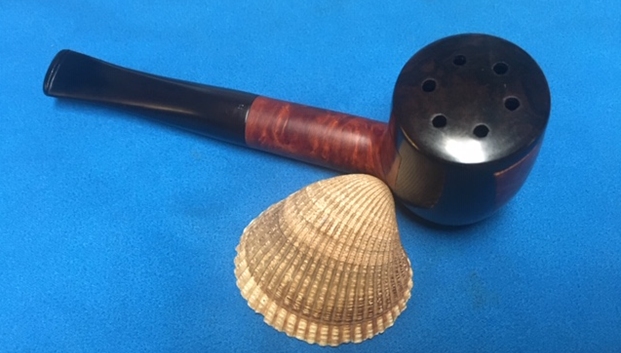
 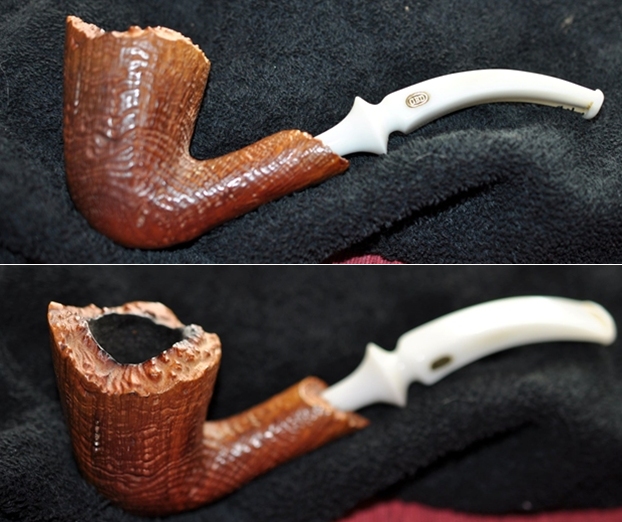 He took photos of the bowl and rim top to show their general condition. You can see the tars and darkening on the inner edge of the rim top. The cake in the bowl is thick and there is tobacco debris on the walls of the bowl. There were some shiny spots on the plateau rim top that would need to be cleaned off. The finish on the bowl is dull but still very stunning.
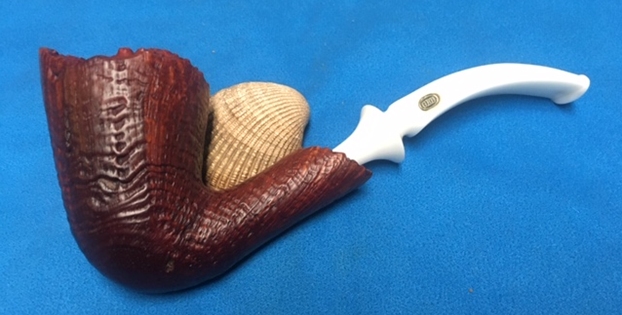
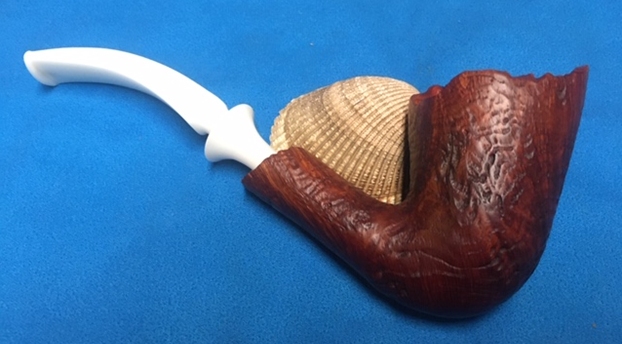
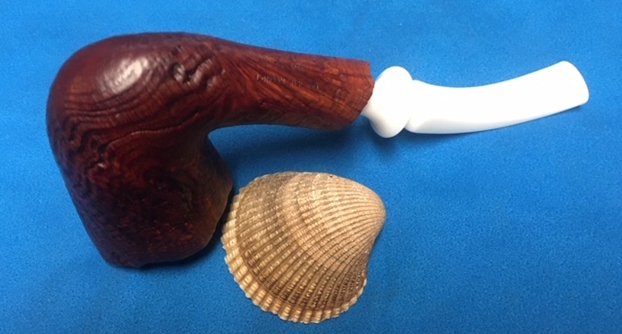
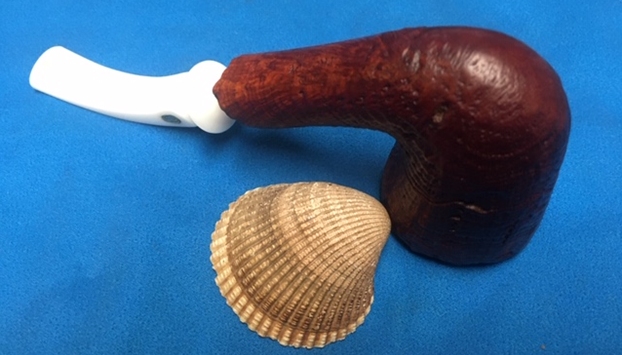
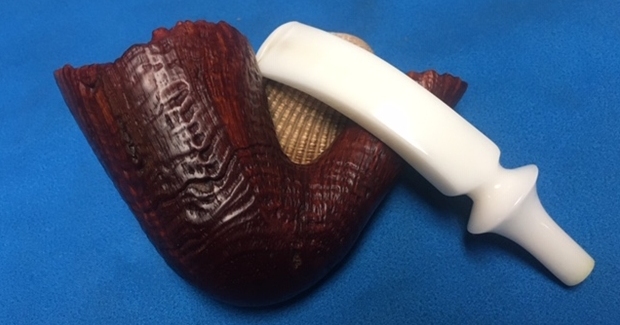
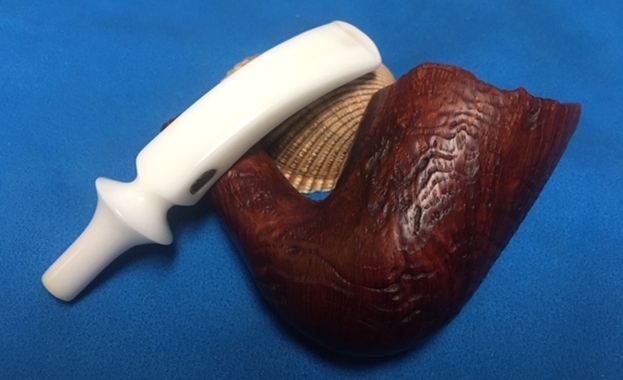
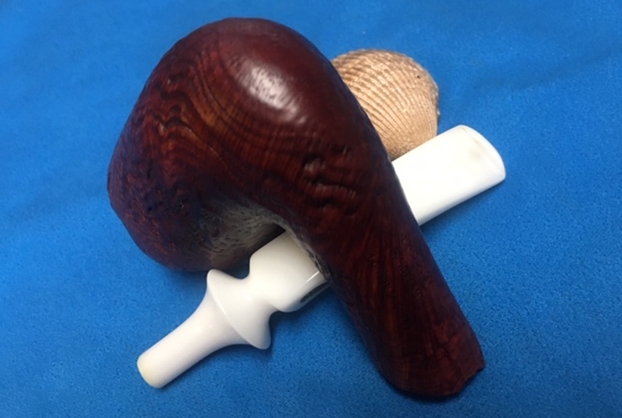
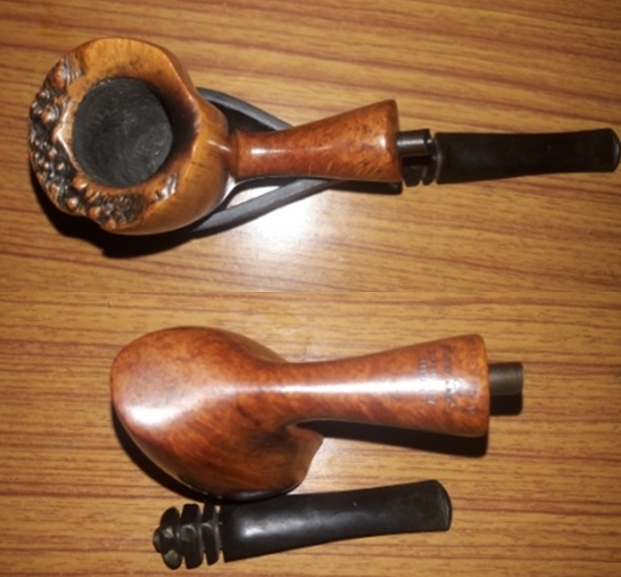
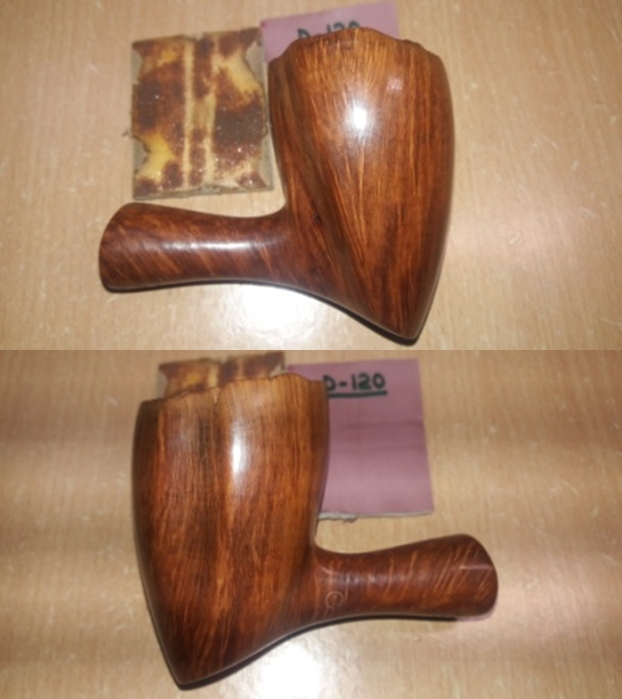
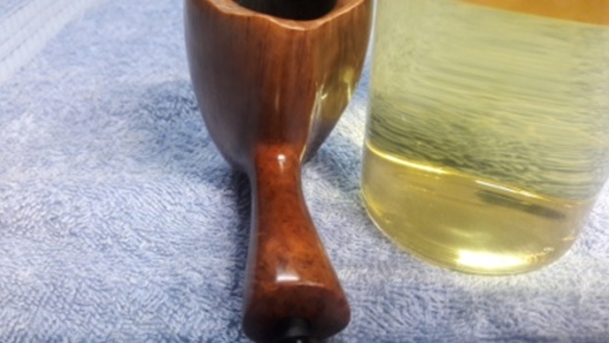
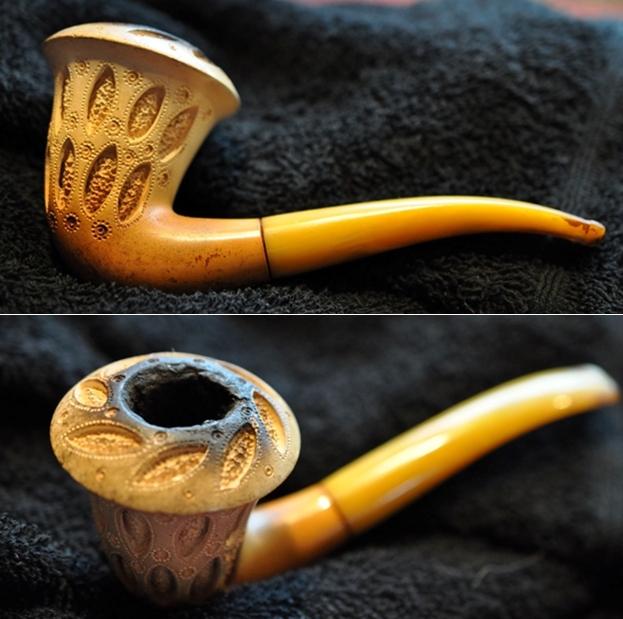
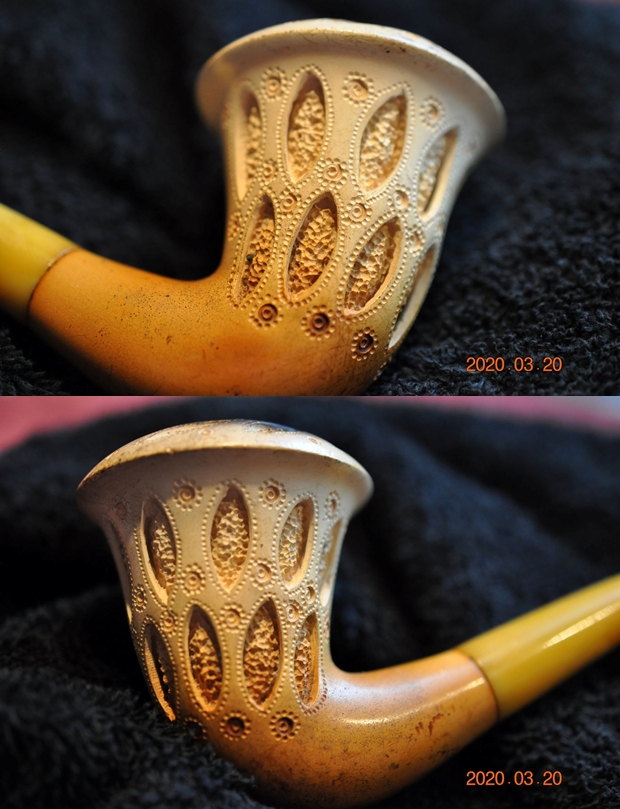
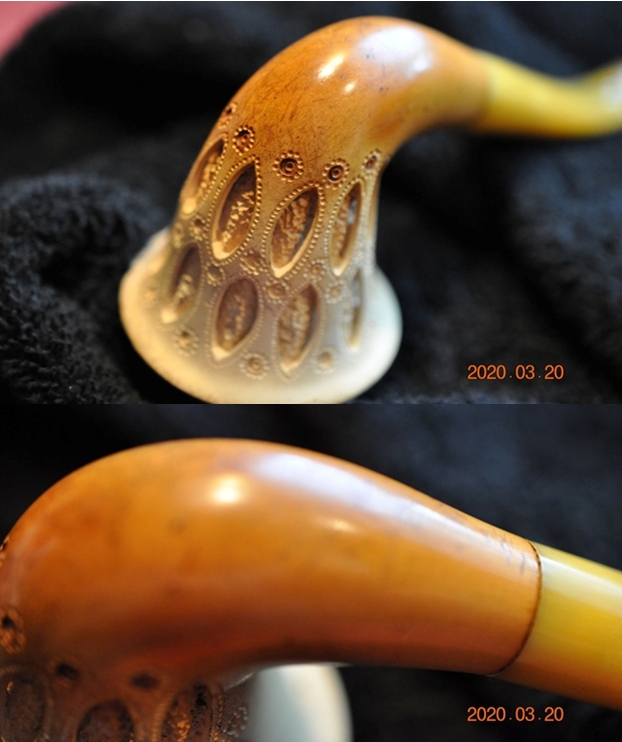
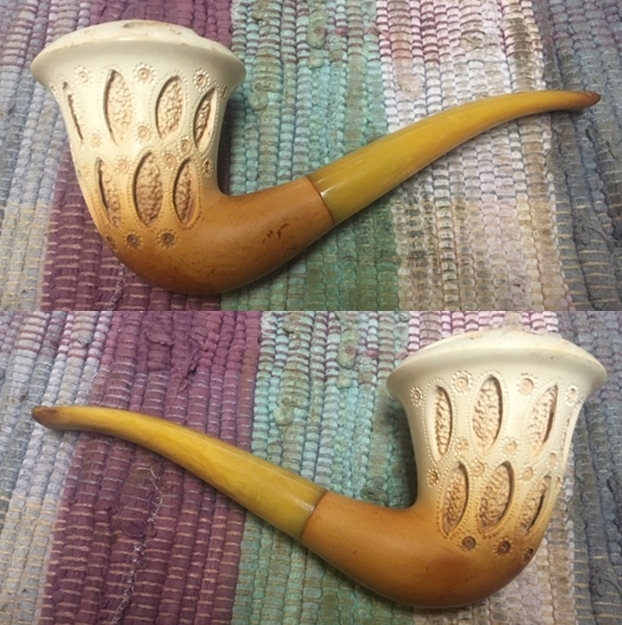
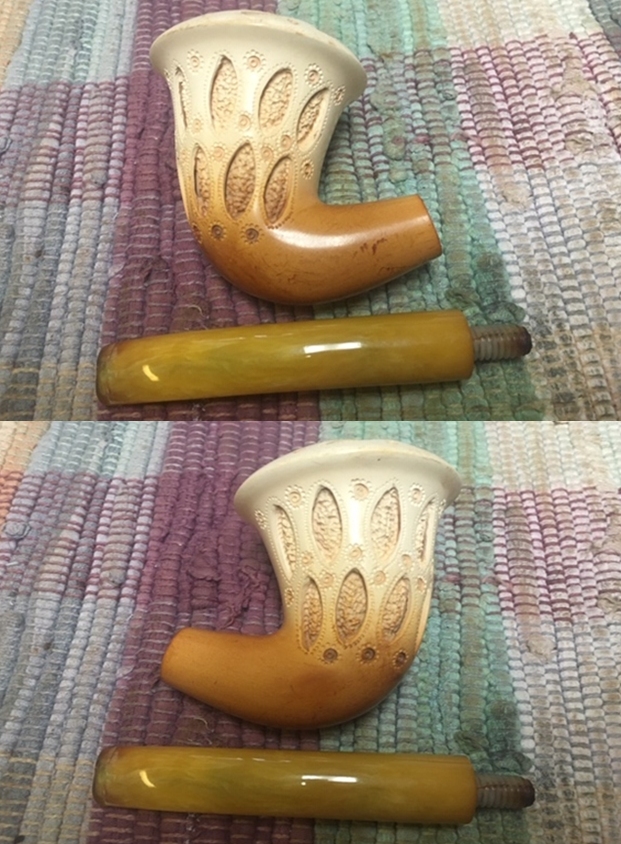
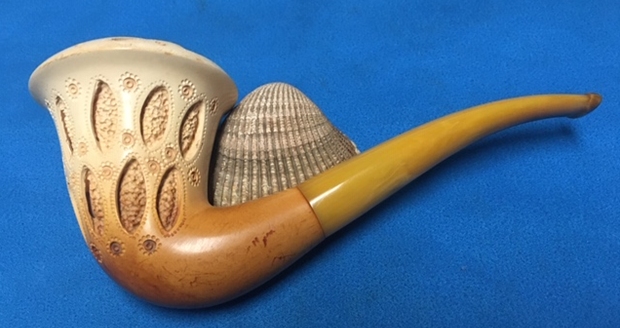
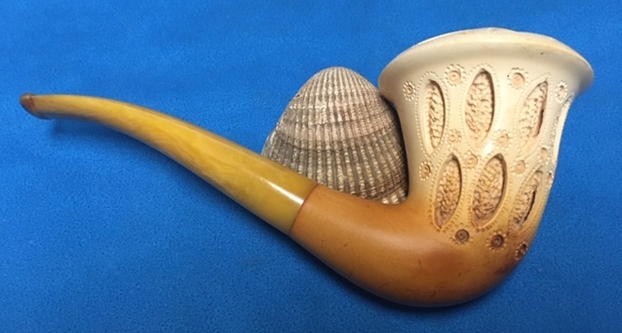
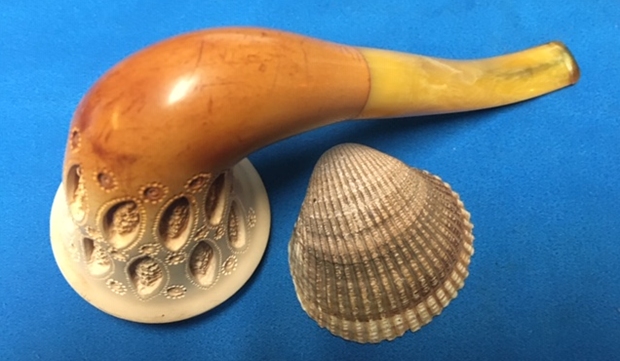
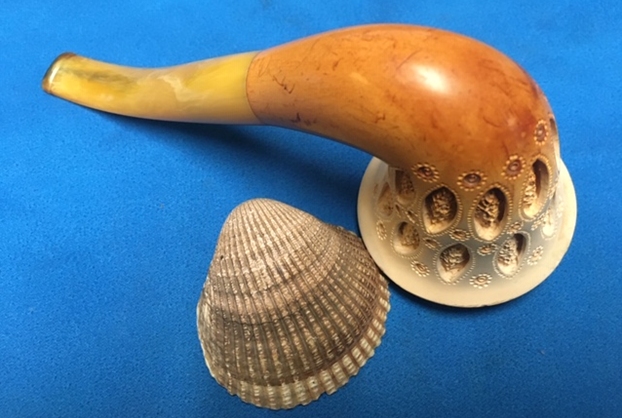
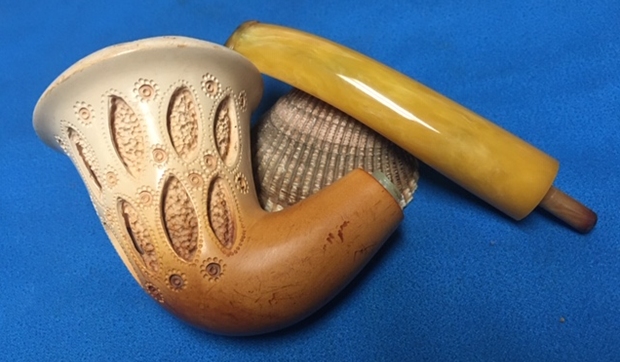
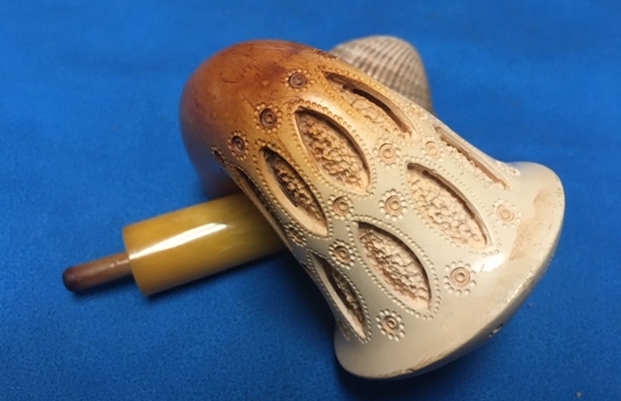
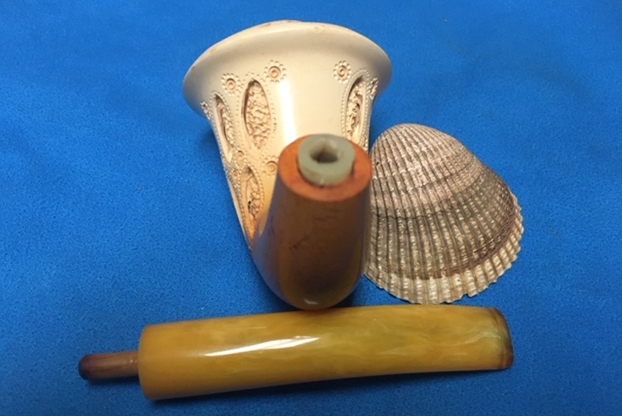
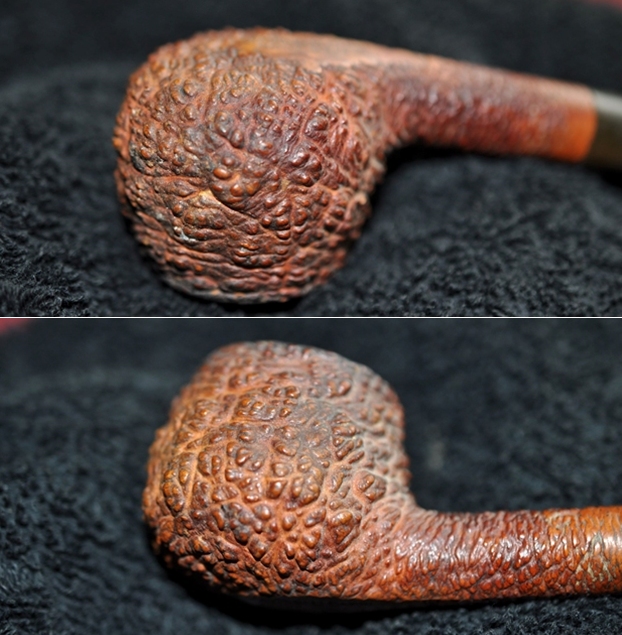
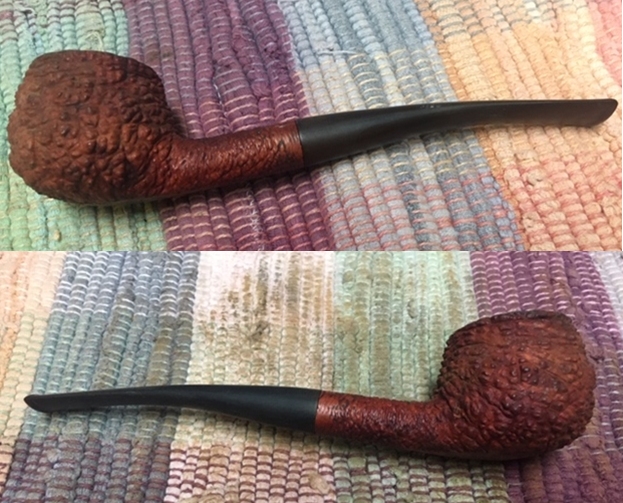
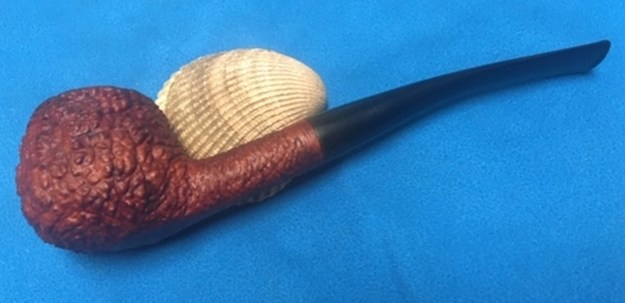
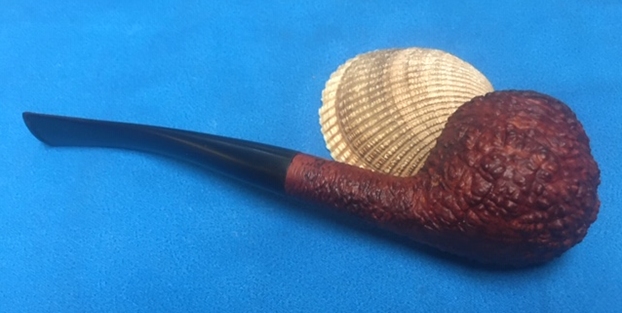
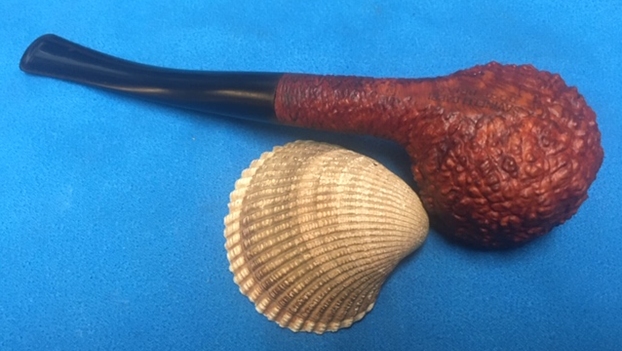
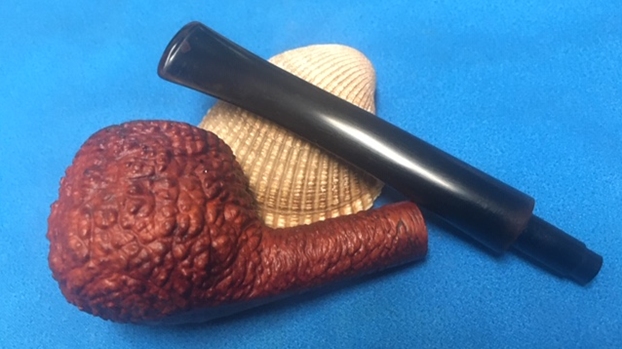
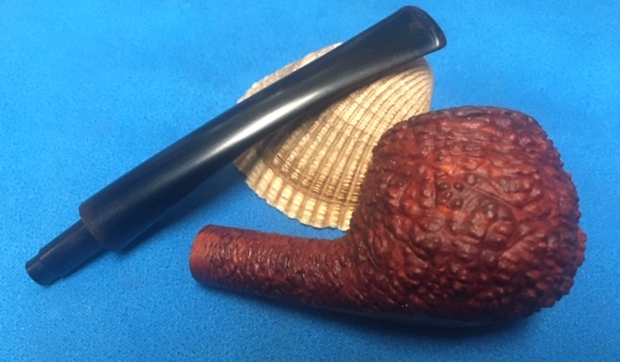
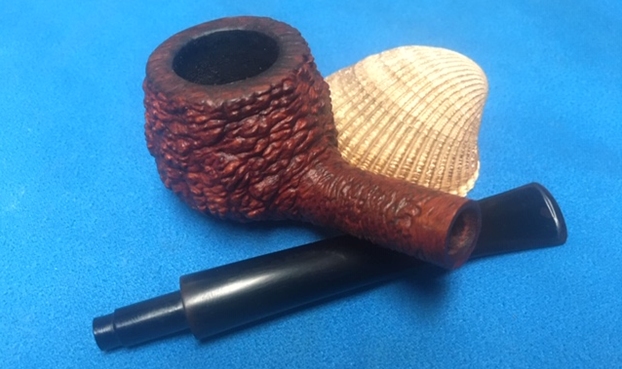
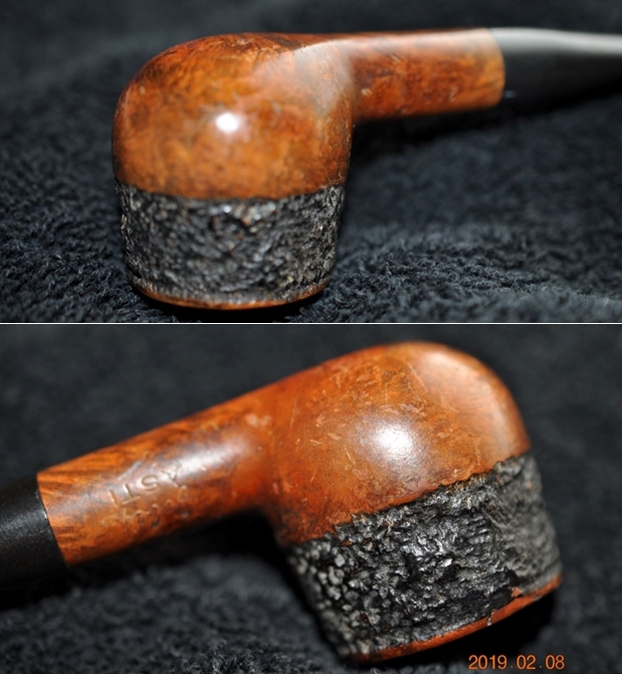
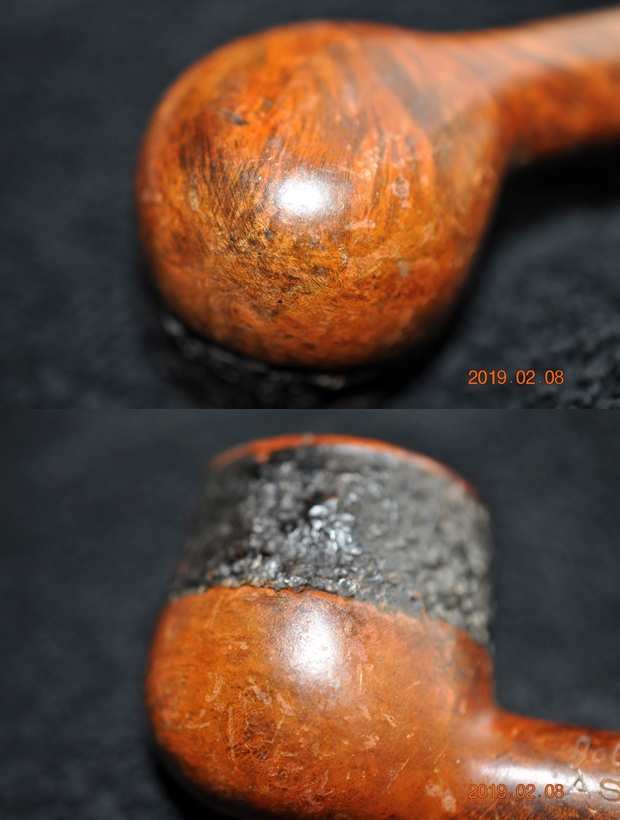
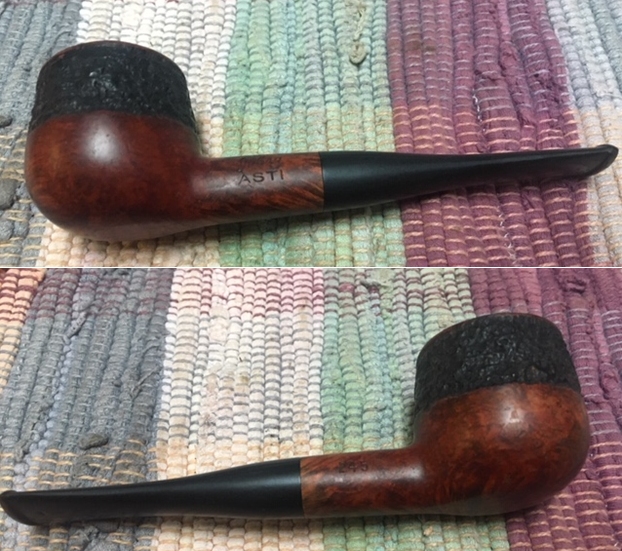
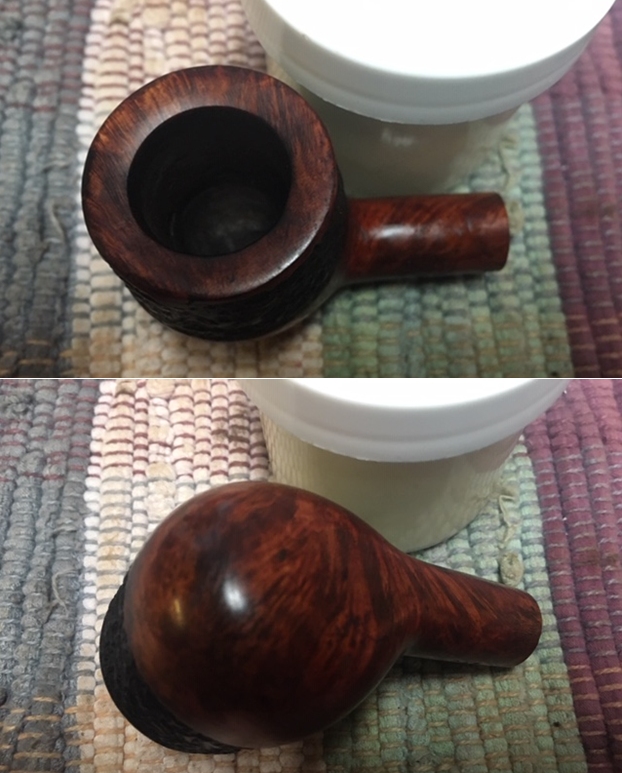
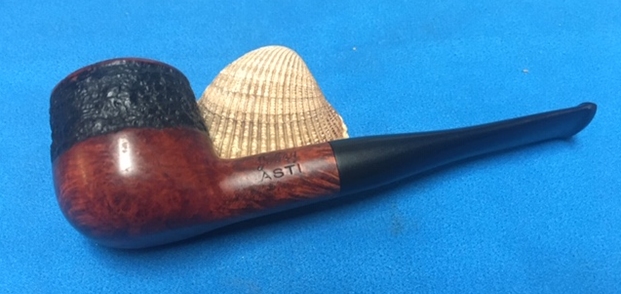
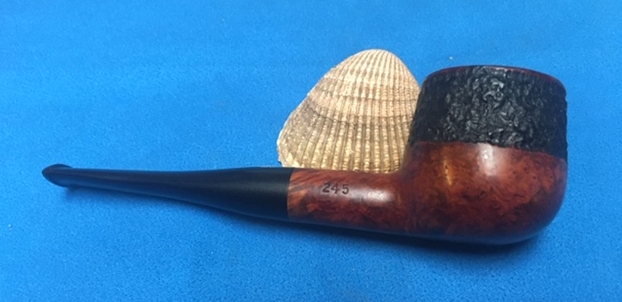
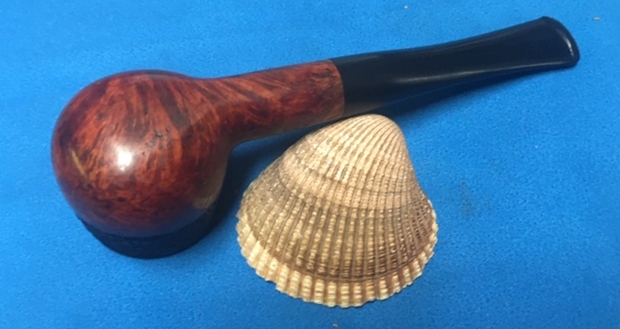
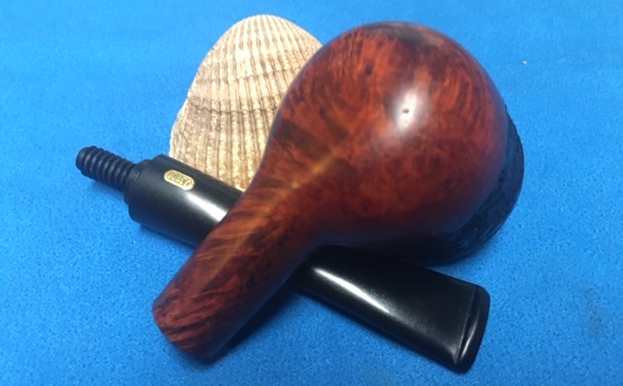
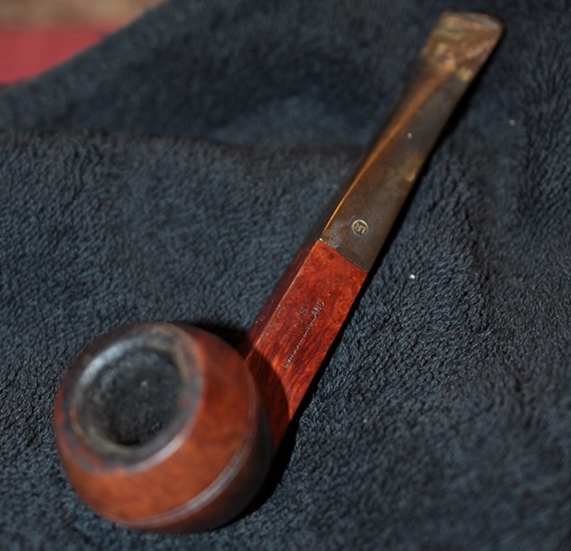
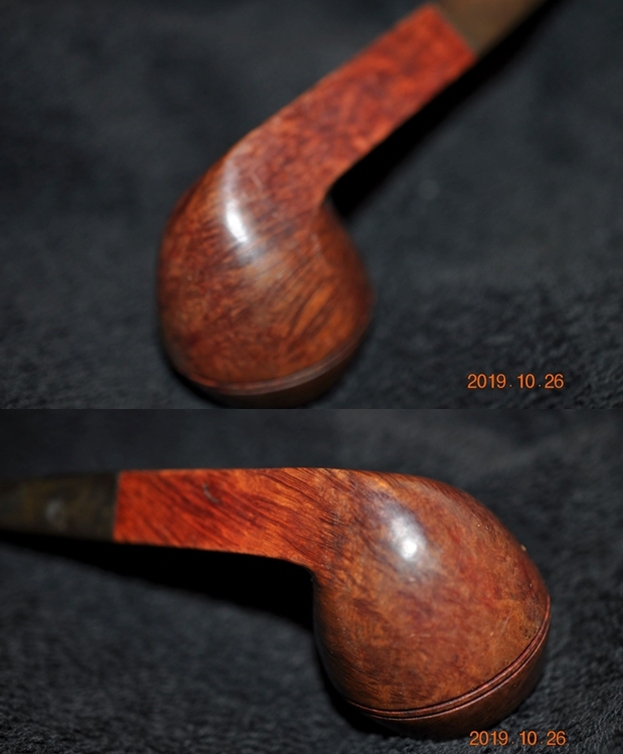
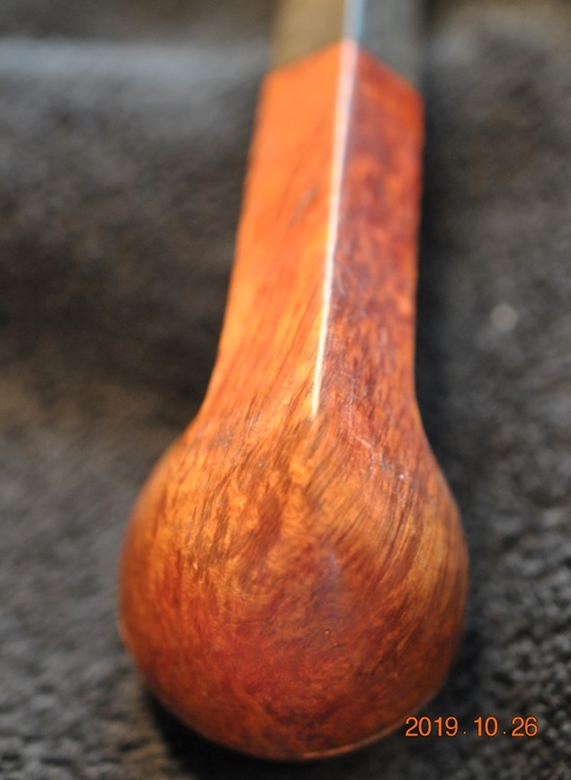
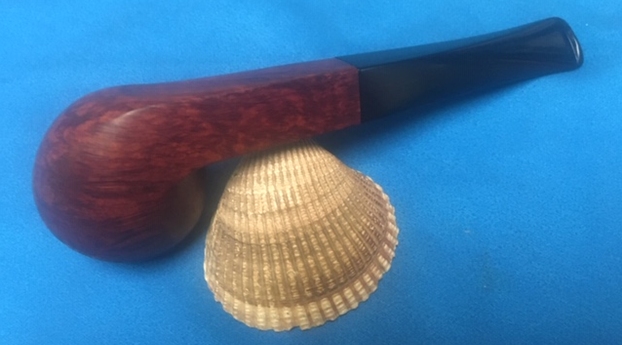
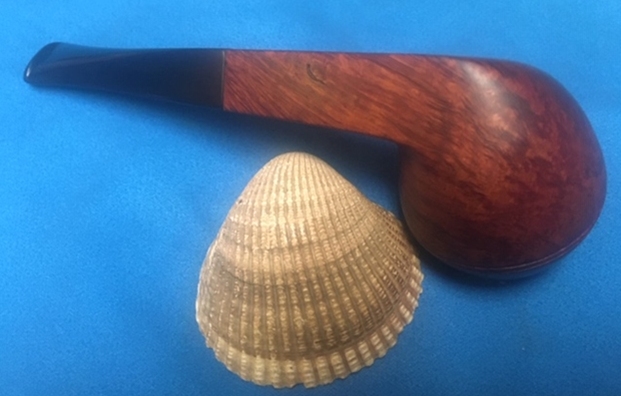
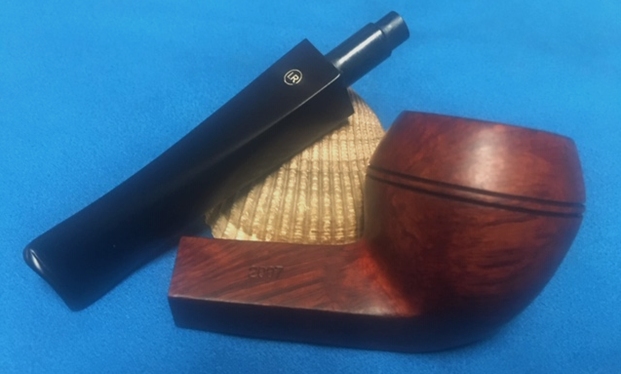
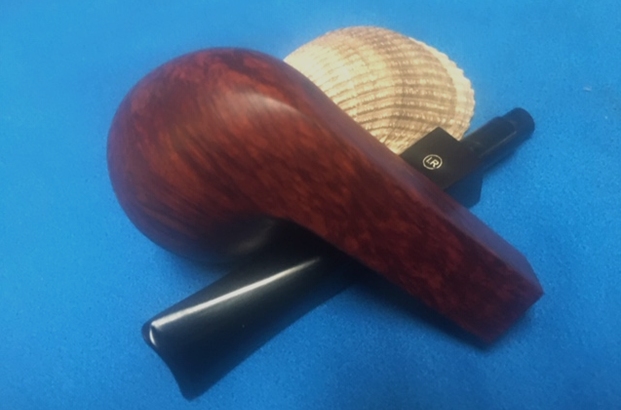
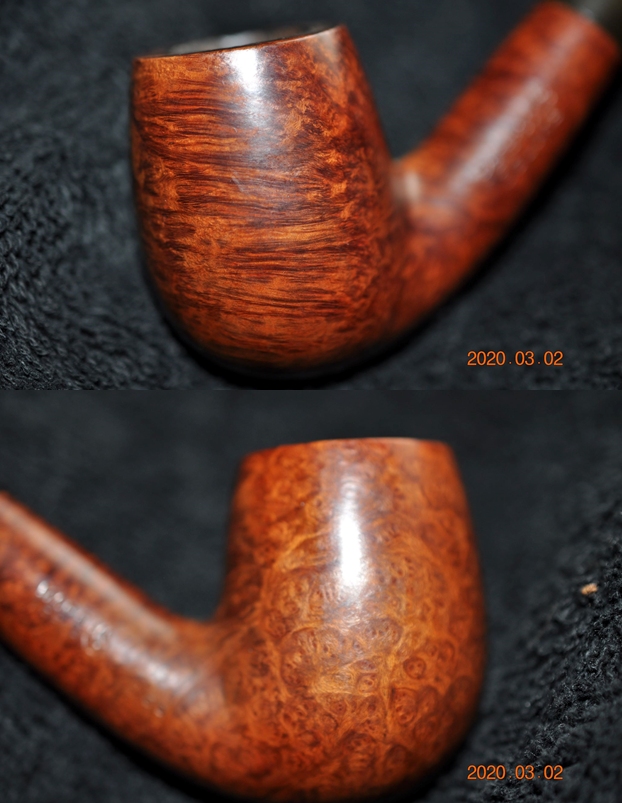
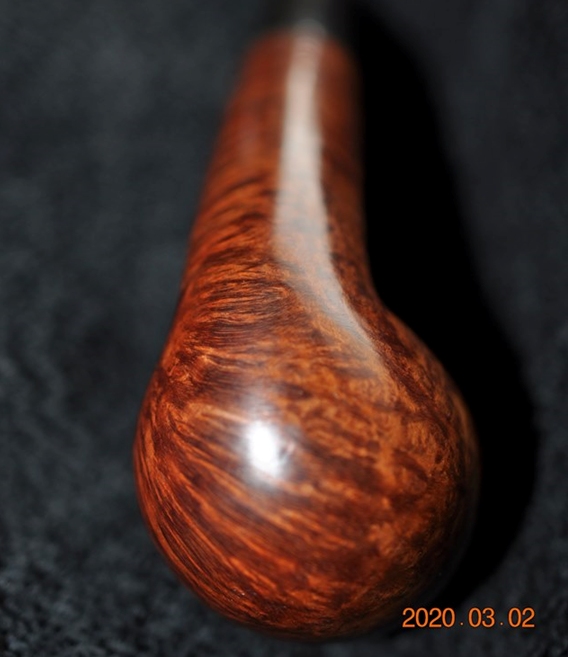
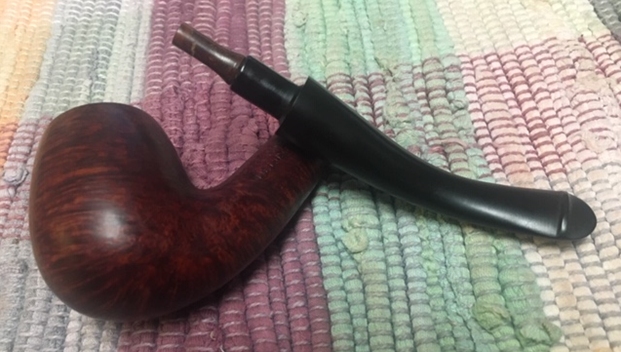
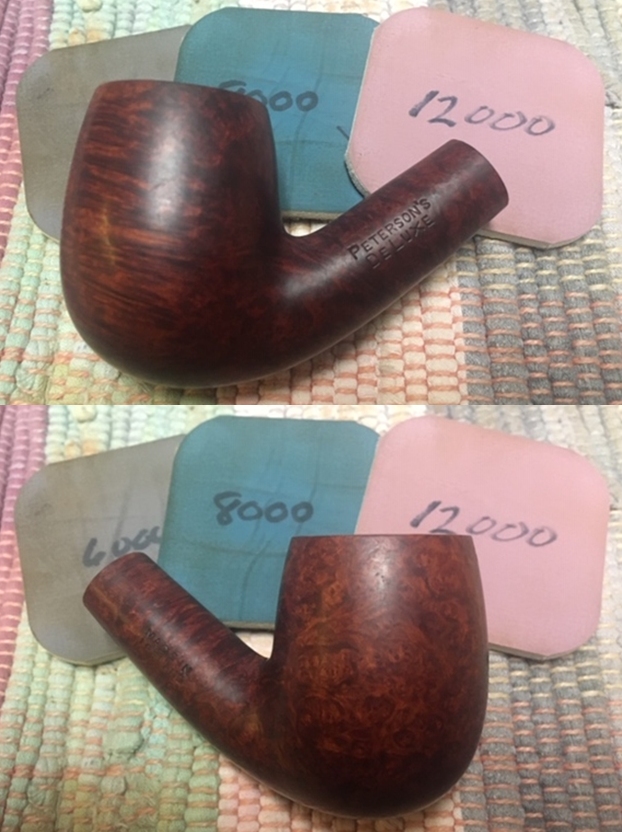
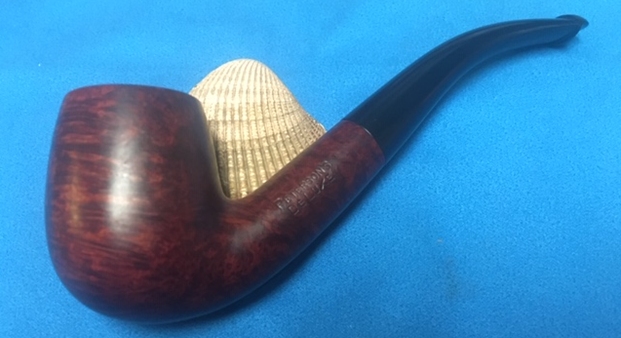
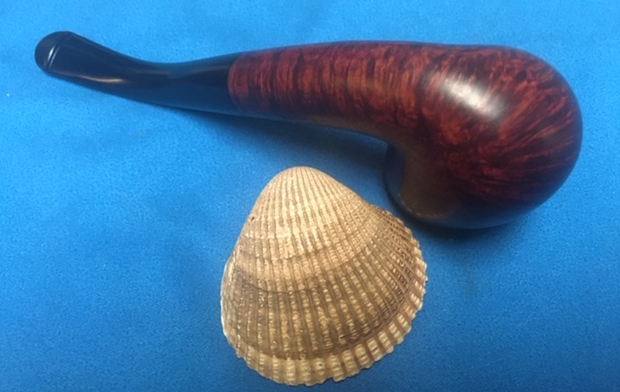
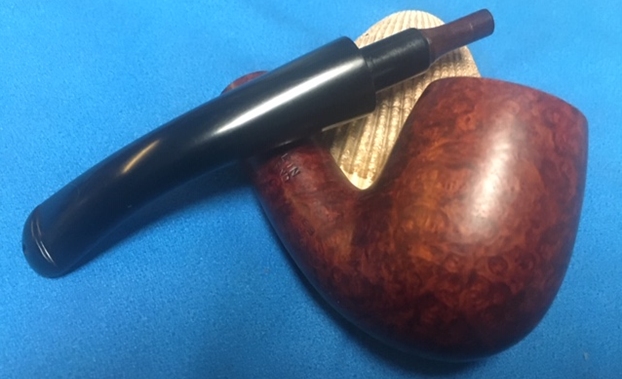
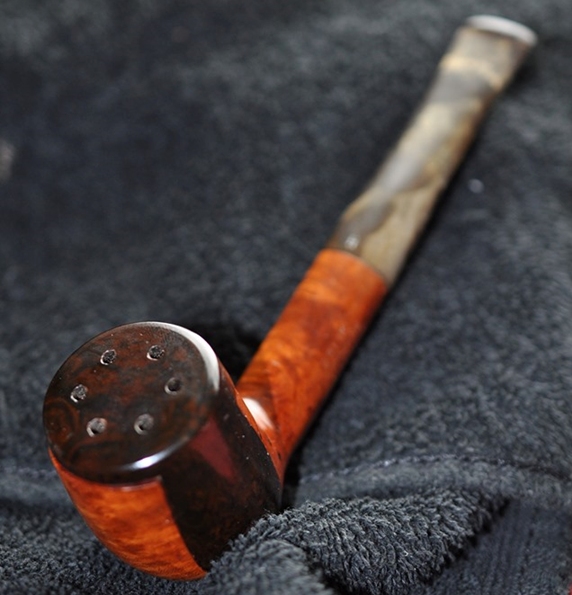
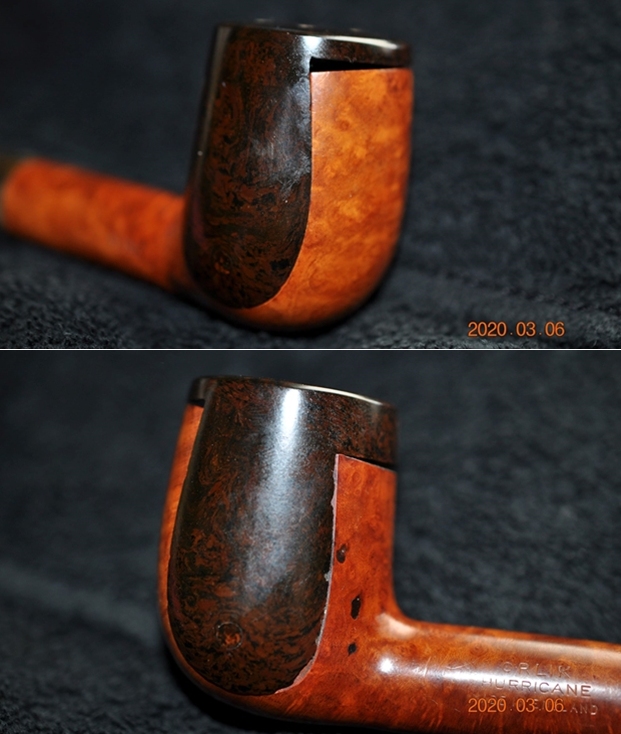
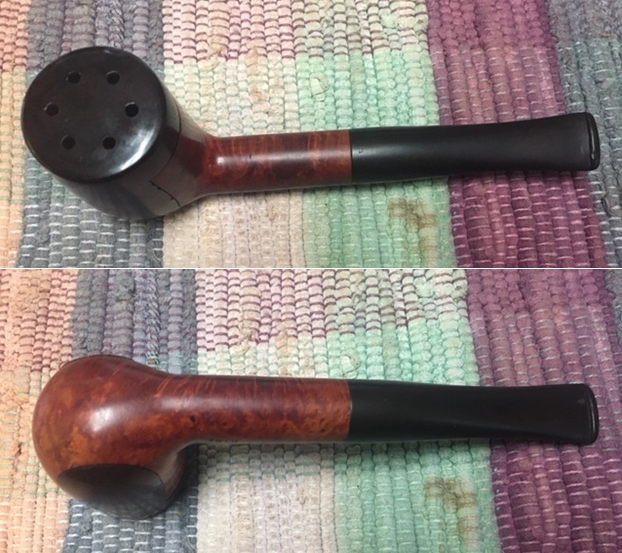
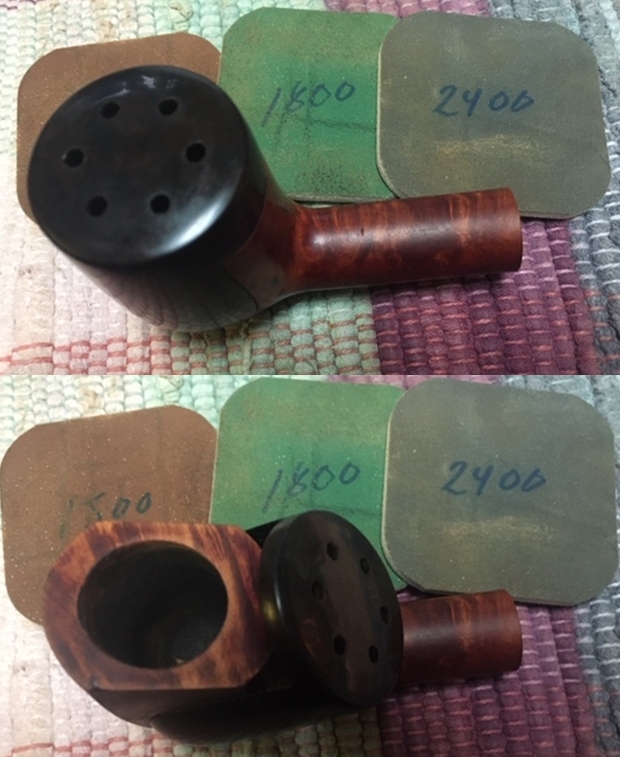
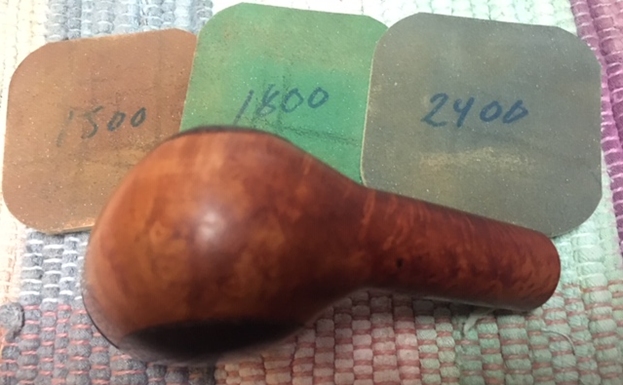
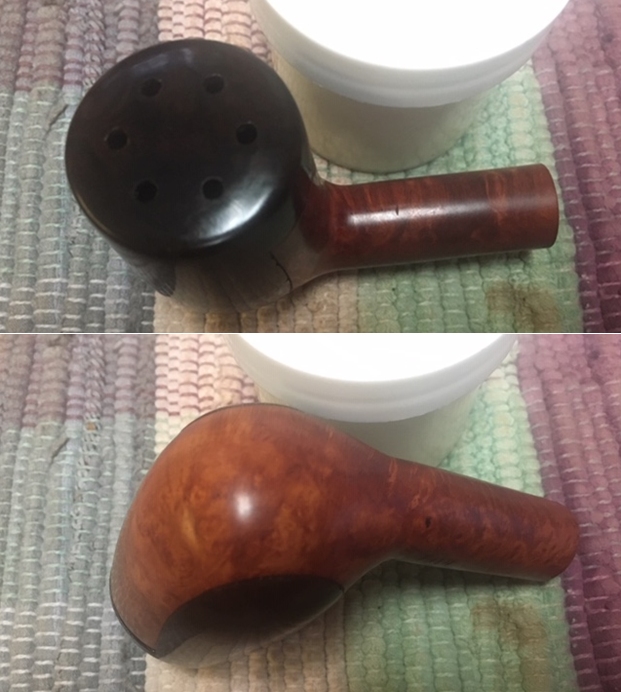
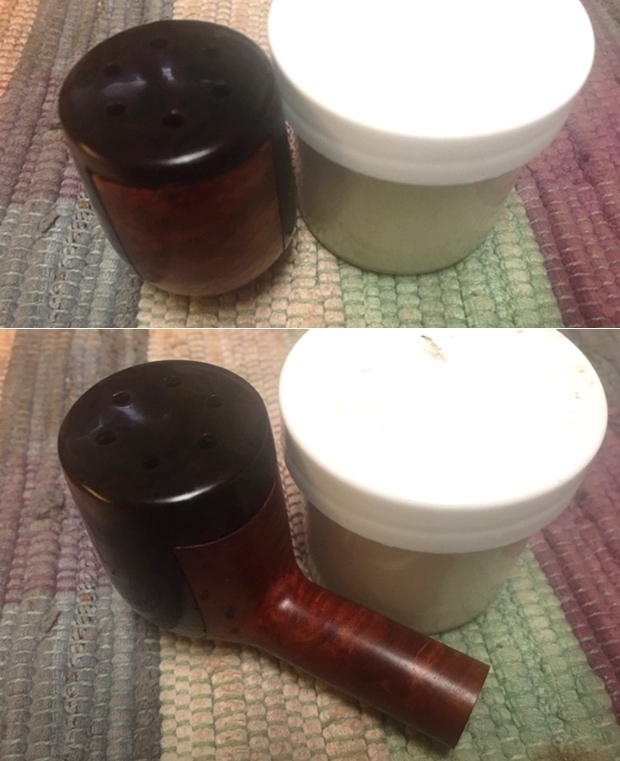
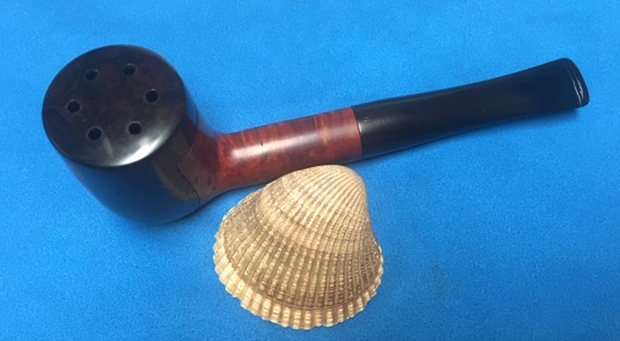
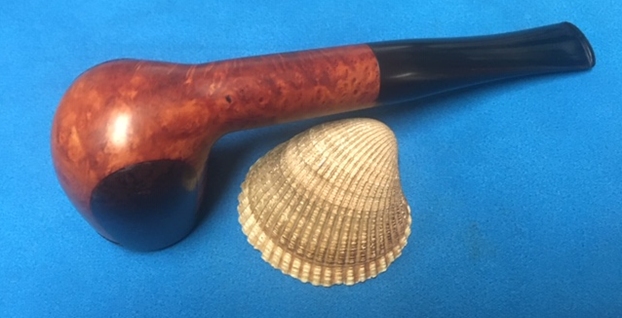
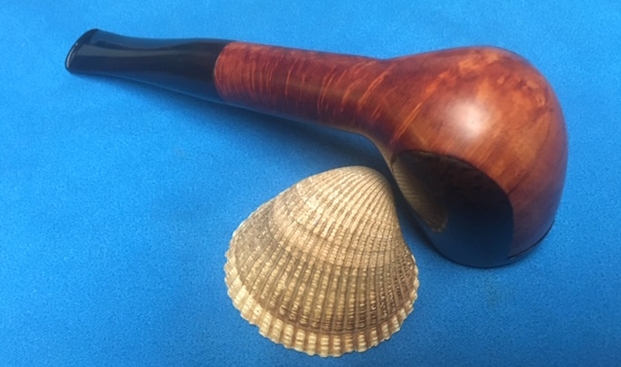
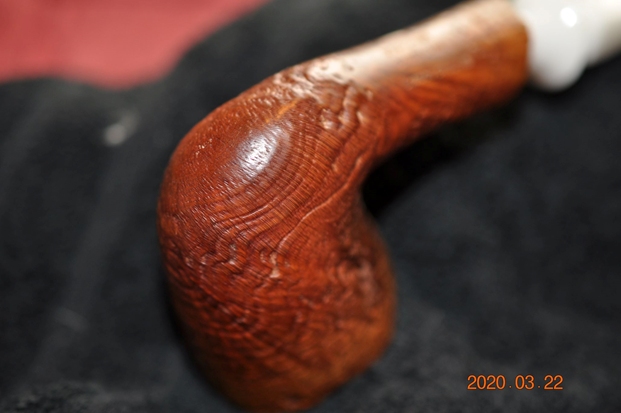
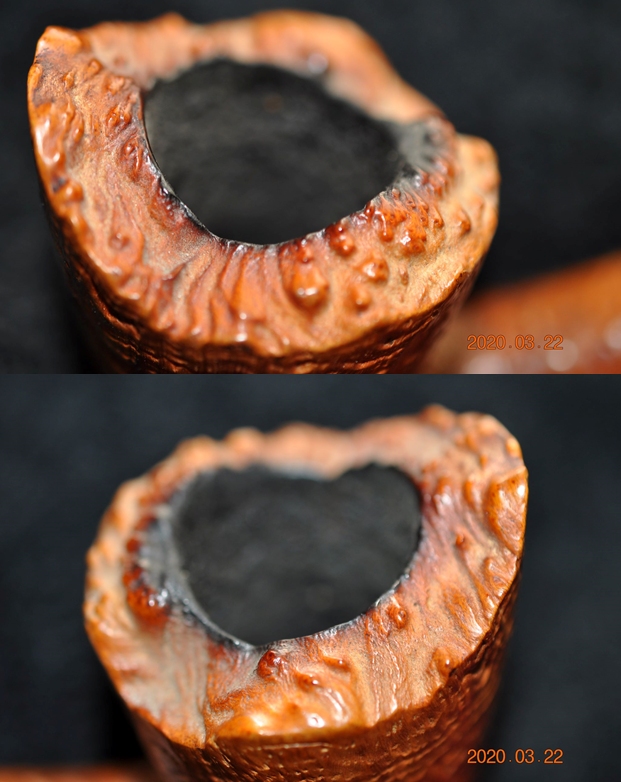 Jeff took some photos of the sides and heel of the bowl to give an idea of the sandblast grain on this particular piece of briar. It is quite stunning with the plateau rim and plateau shank end. I cannot wait to see what it looks like once it is polished and waxed.
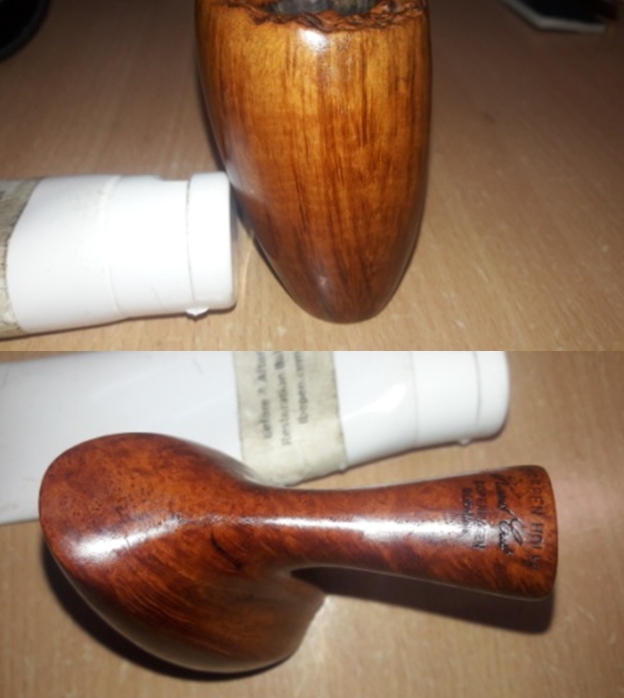
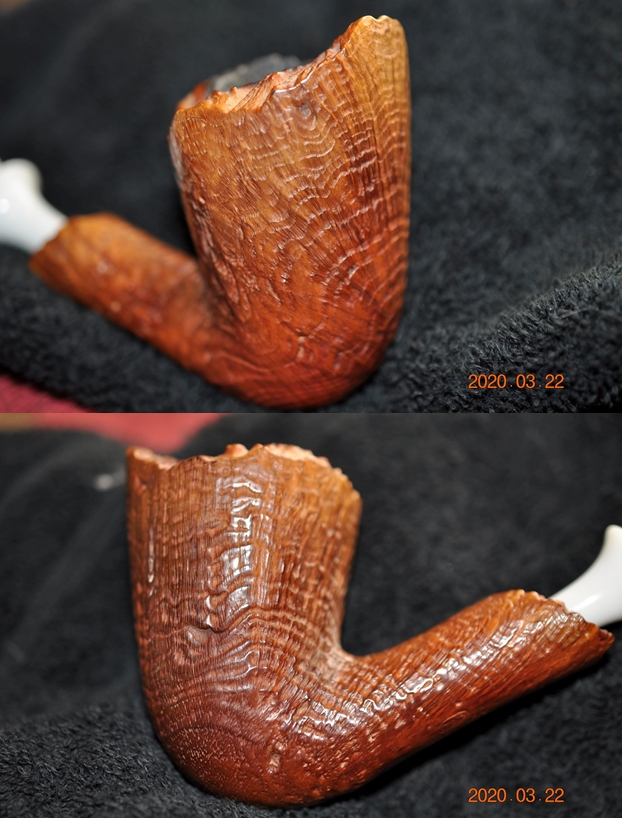
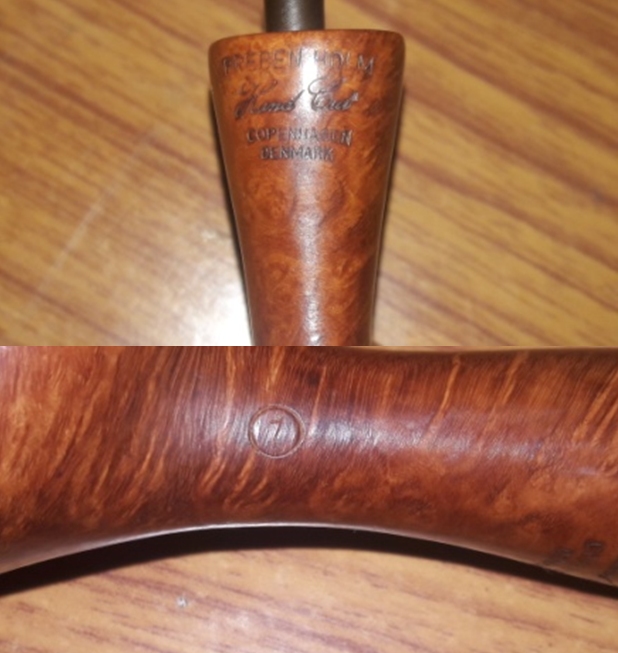
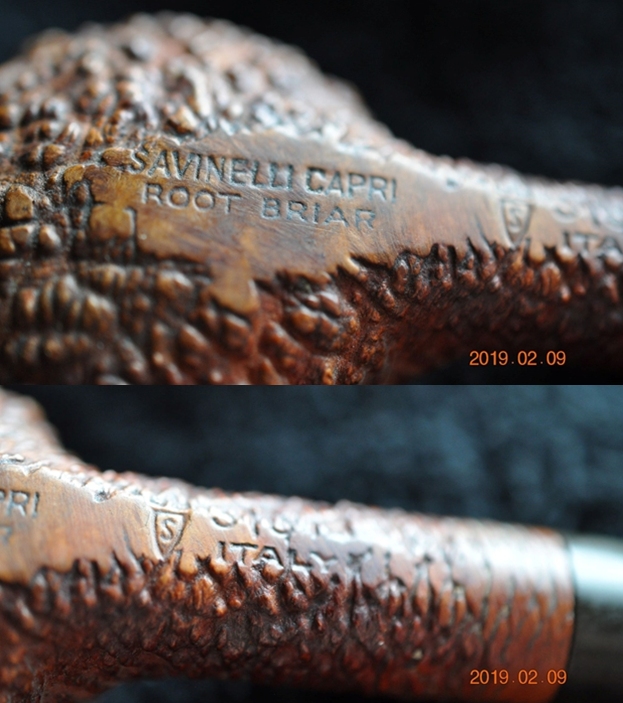
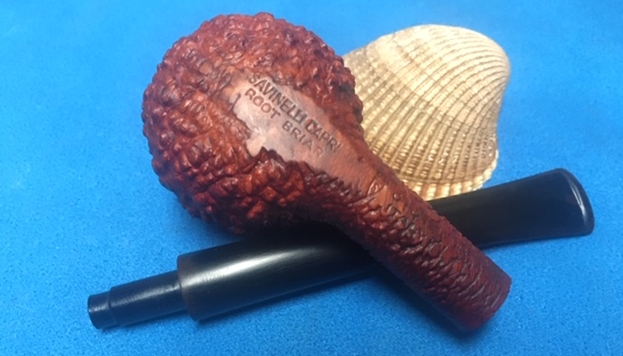
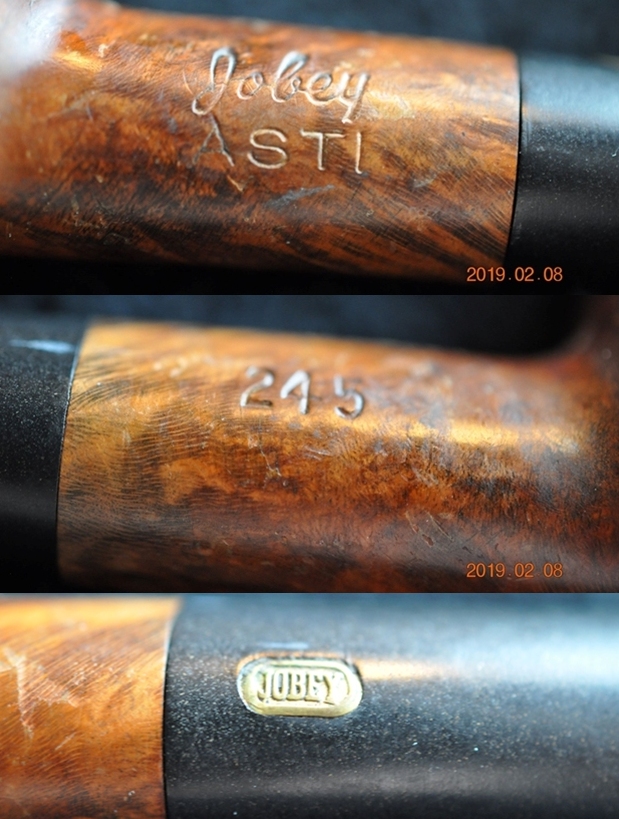
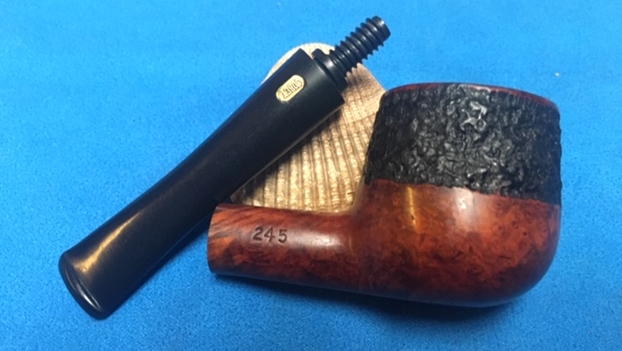
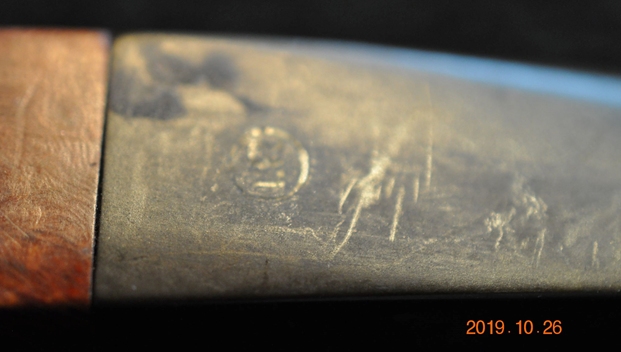
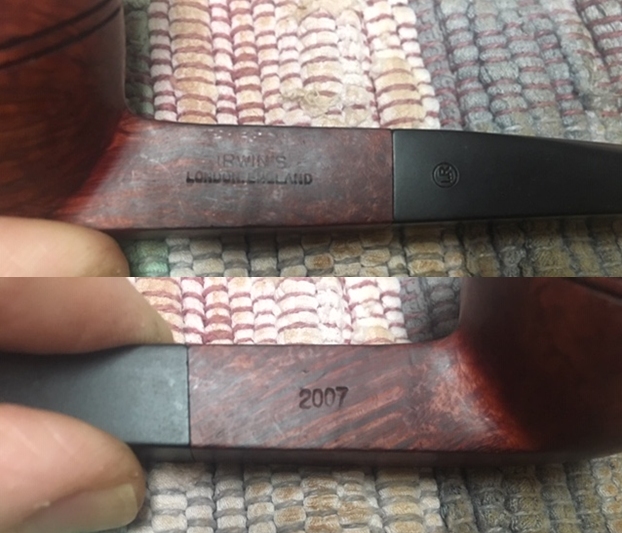
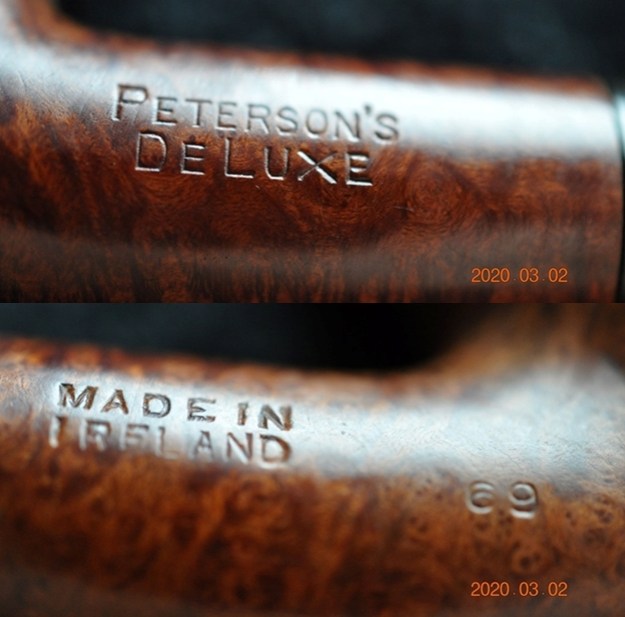
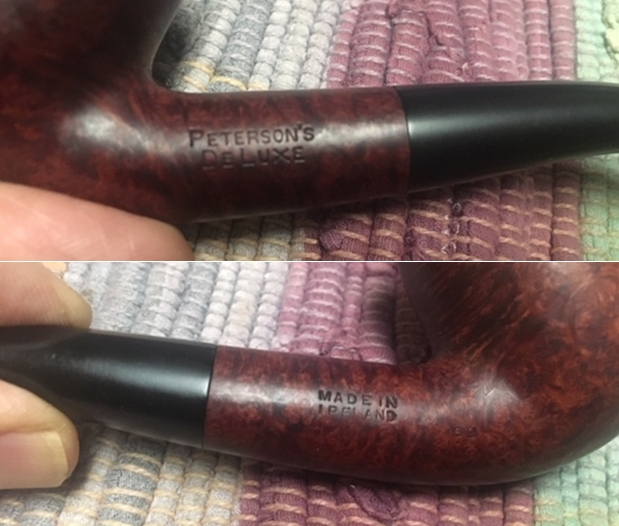
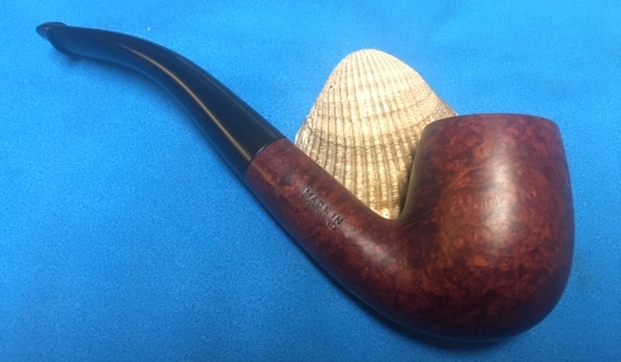
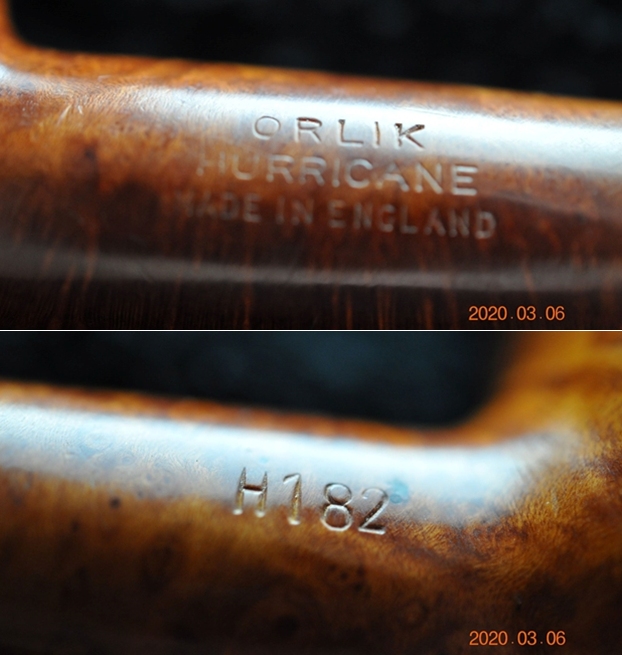
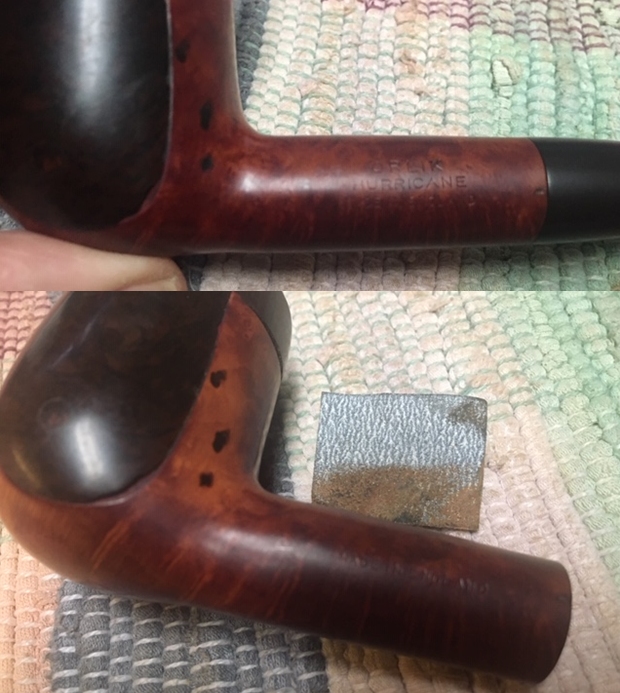
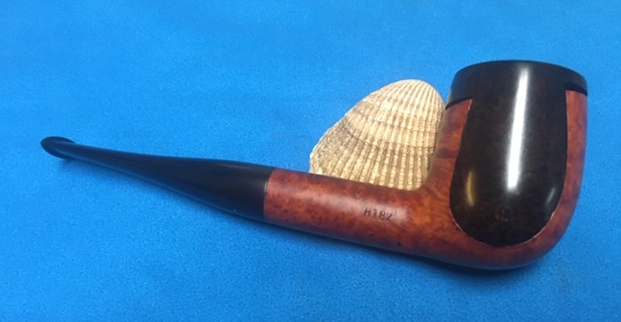
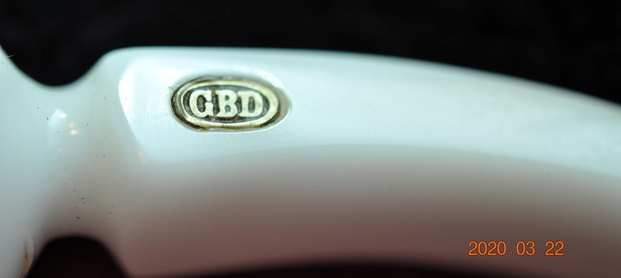
 He took a photo of the stamping on the underside of the shank to capture it for me. It is clear and readable. The GBD oval and the Prodigy line is double stamped. The rest of the stamping is clear and reads SANDFLAME over London England. He included the side of the stem with the brass GBD roundel on the left side of the saddle stem.
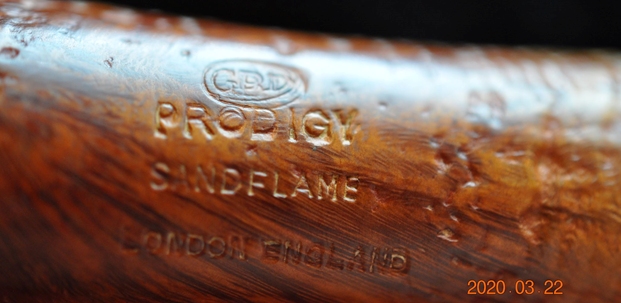
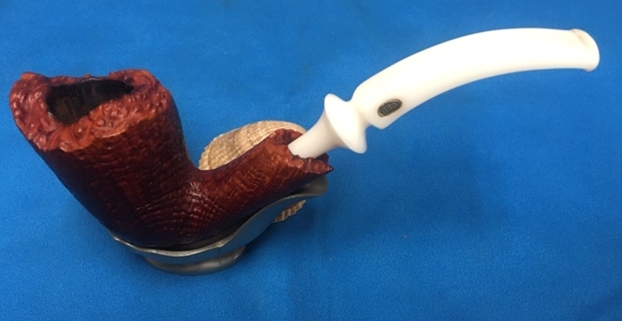
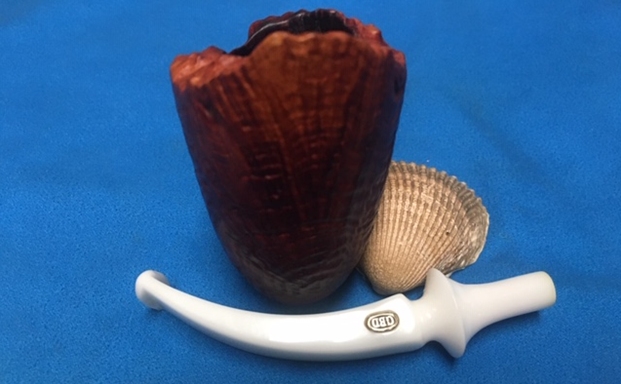
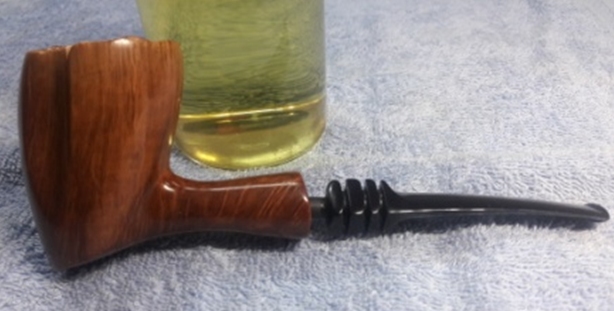
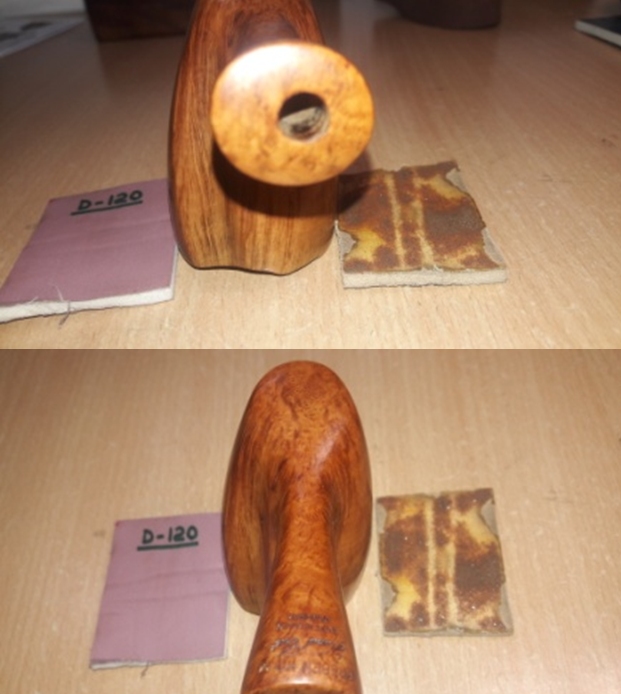
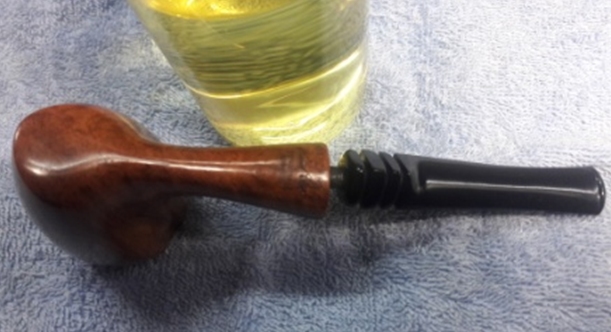
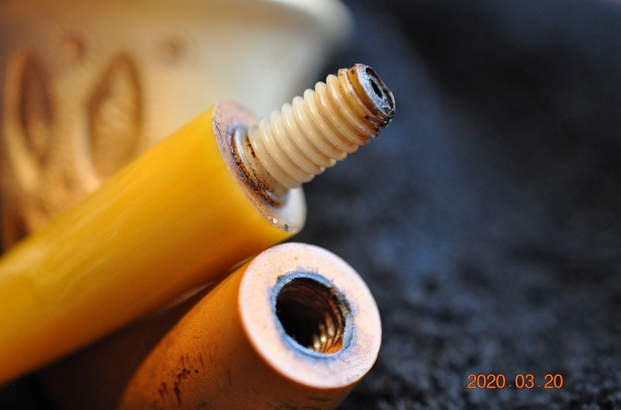
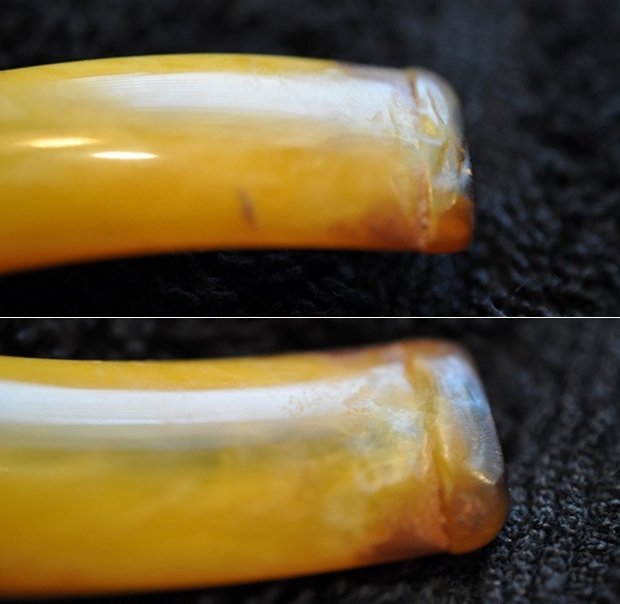
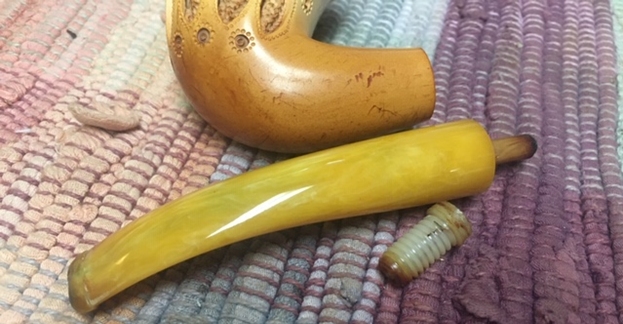
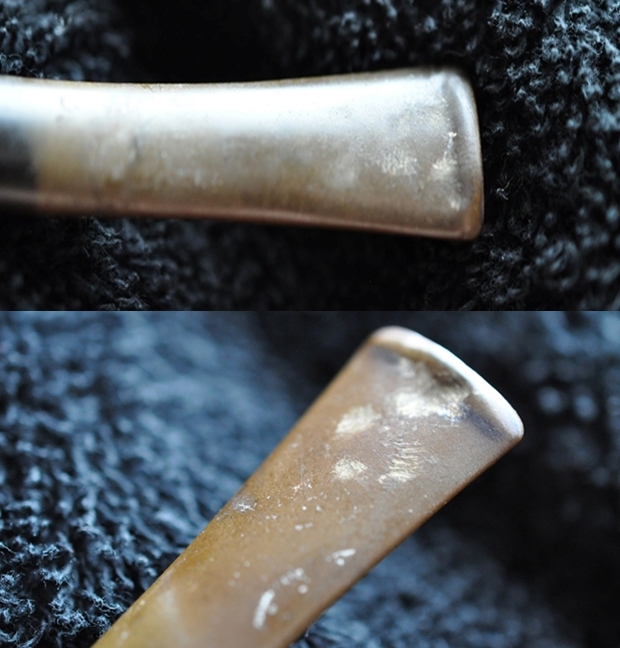
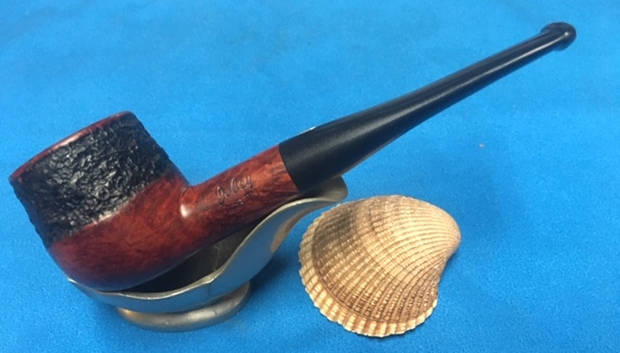
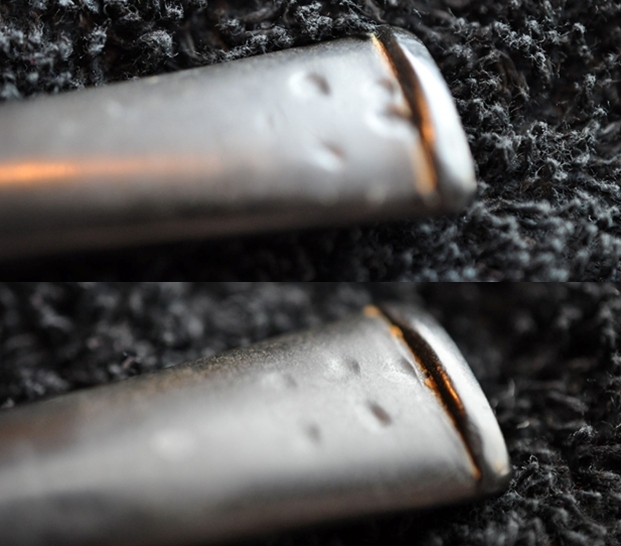
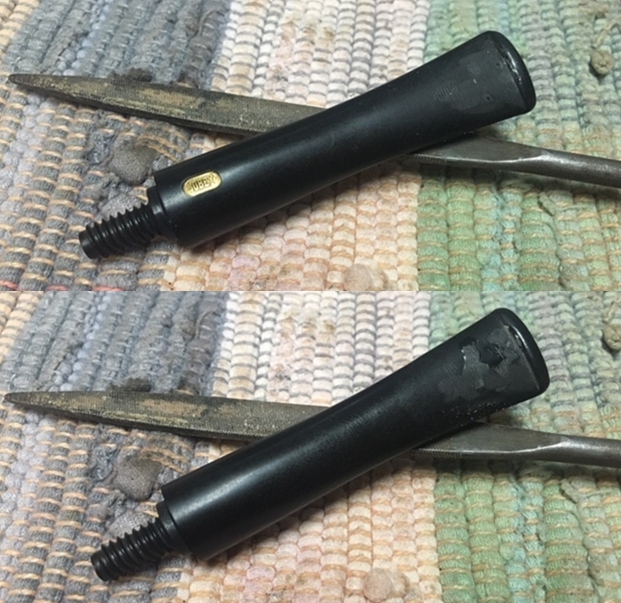
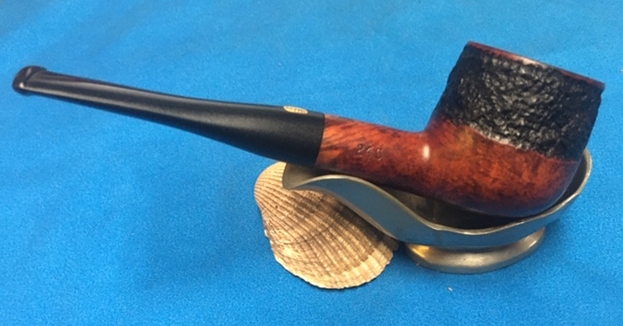
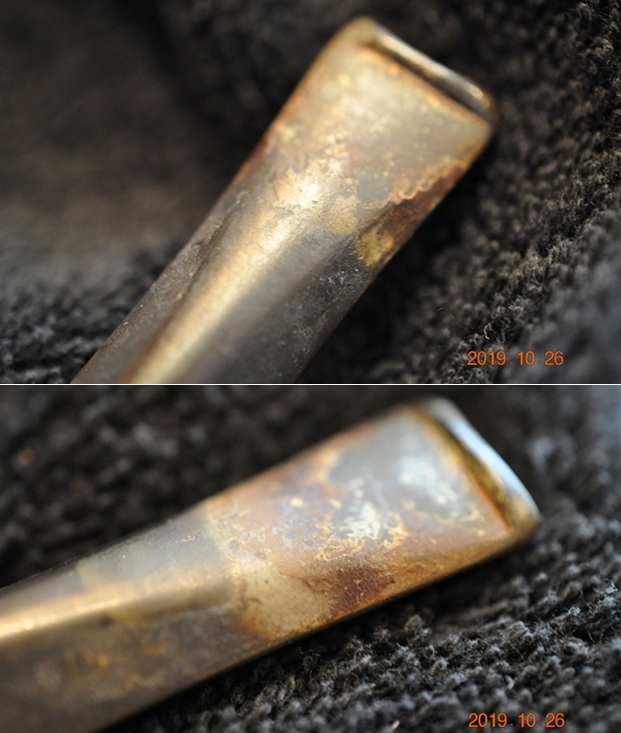
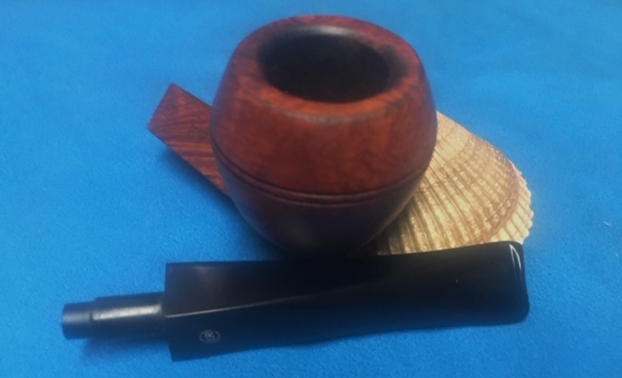
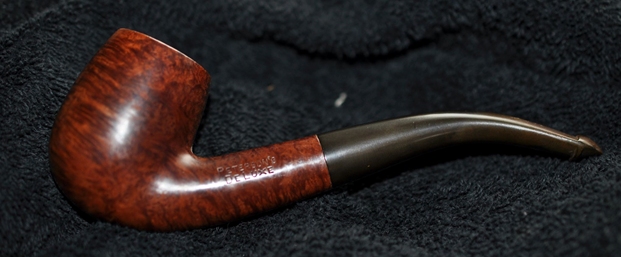
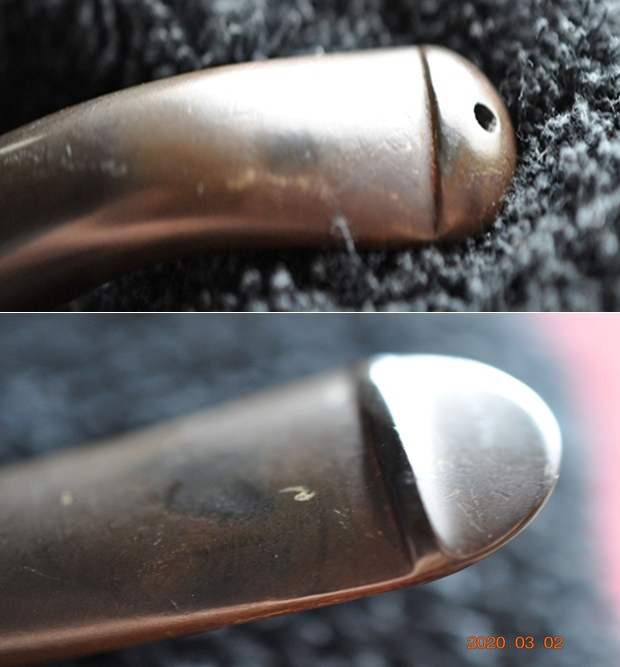
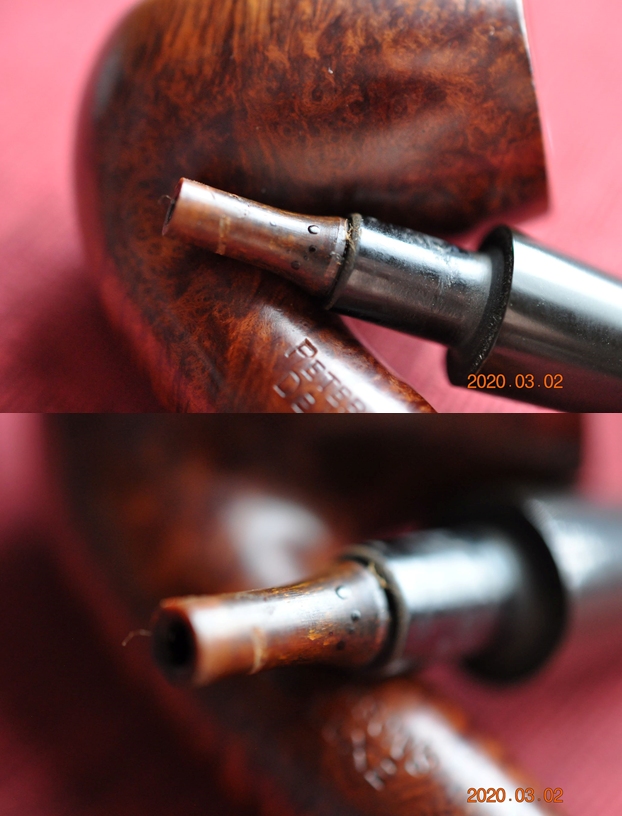
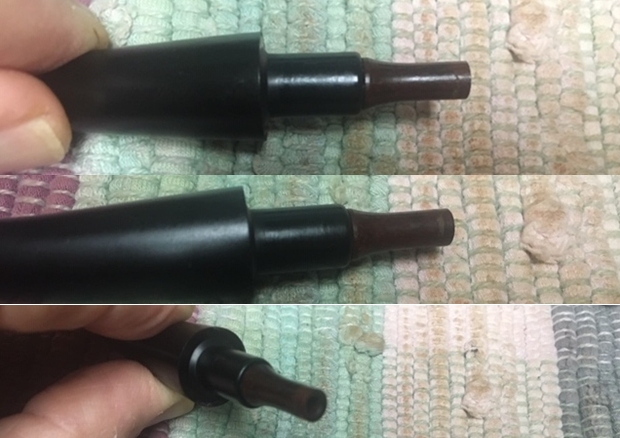
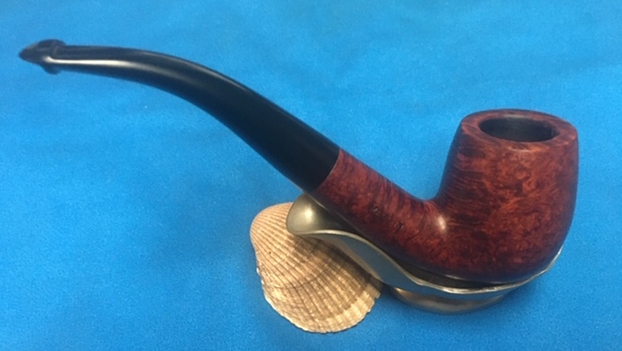
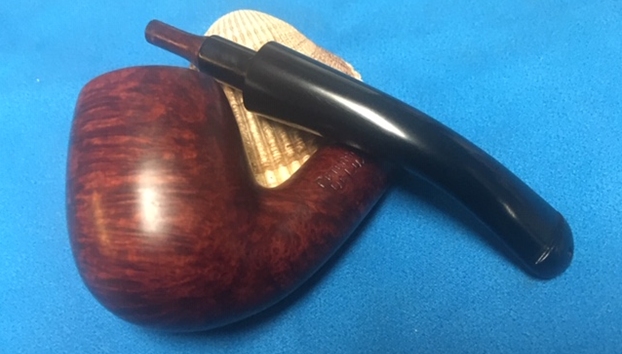
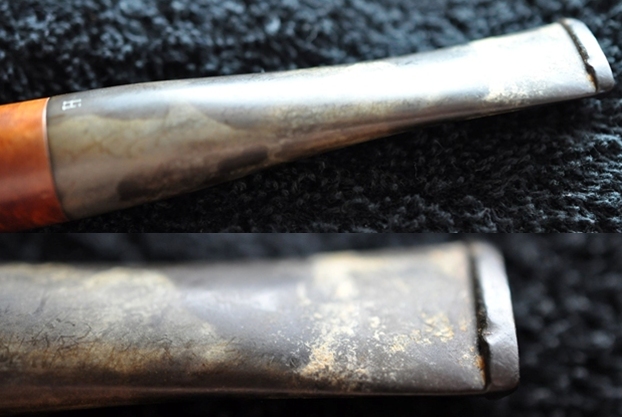
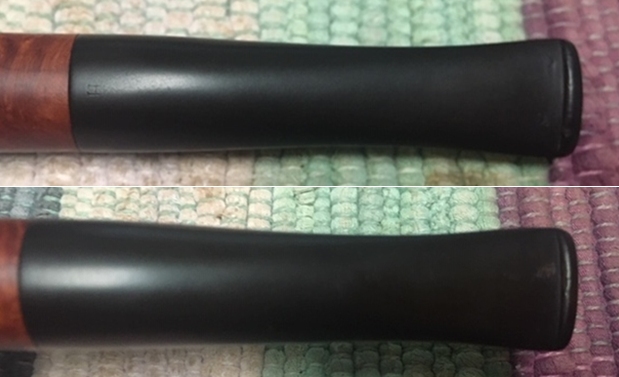
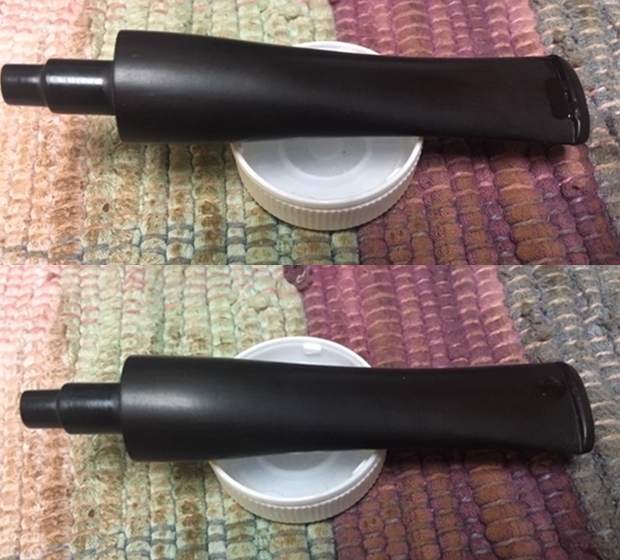
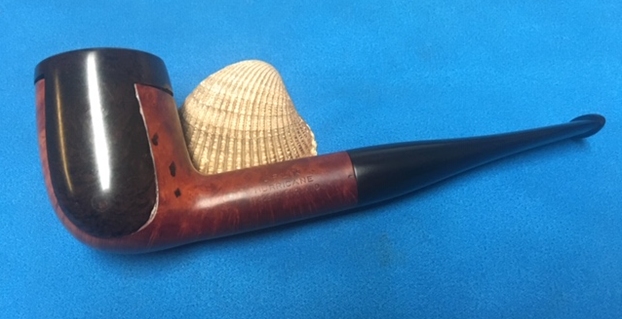
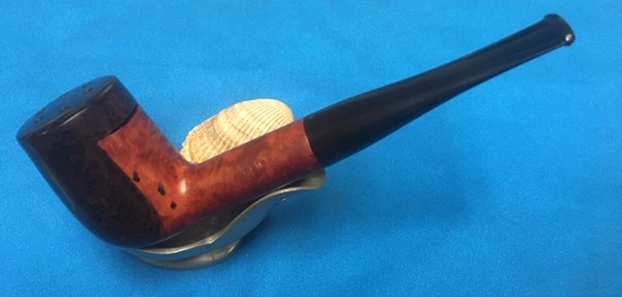
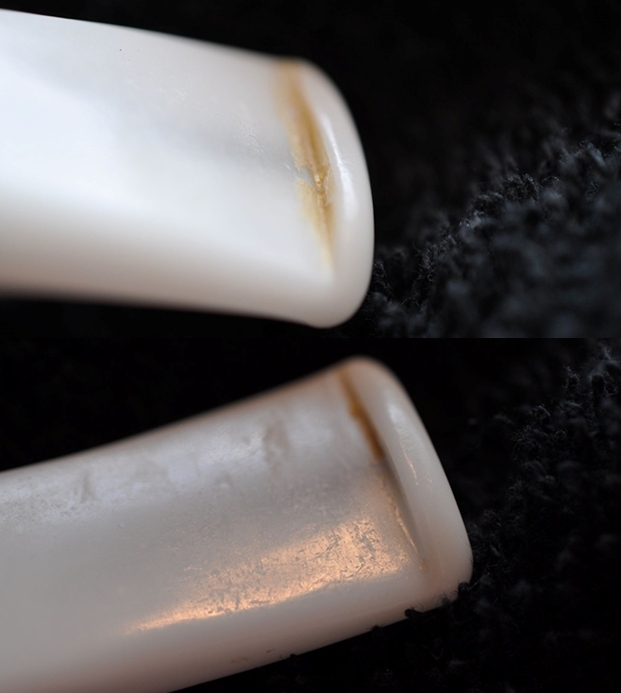
 This pipe has a classic freehand saddle stem that has a great profile. The white acrylic stem is in good condition other than tooth marks and chatter on the stem at the button. There is some darkening in button and airway. The photos below show the condition of the stem.
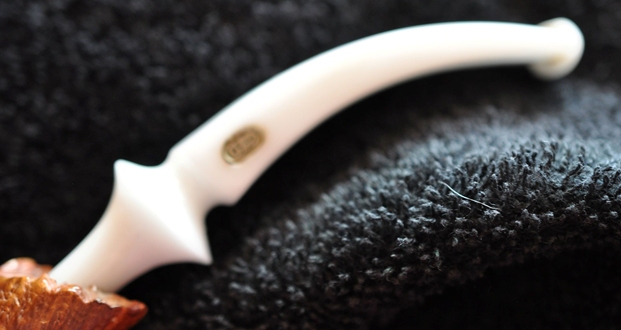
 I turned to Pipephil’s site to see if I could find any direct information on the Prodigy line and sadly there was nothing there regarding this line. I turned to Pipedia listing under GBD Model Information (https://pipedia.org/wiki/GBD_Model_Information) and read through that information. I found a description of the line that I include below.
Prodigy — England, unknown if also made in France: According to the 1976 catalog these were a limited production “oversize” line available in just a few shapes. Natural finish…
There was also a note at the bottom of the page that had a description of the pipe that I have in hand.
I also have an interesting Prodigy Sandflame, half bent tan sandblast free form with plateau top. I think it’s an unusual shape for a GBD…
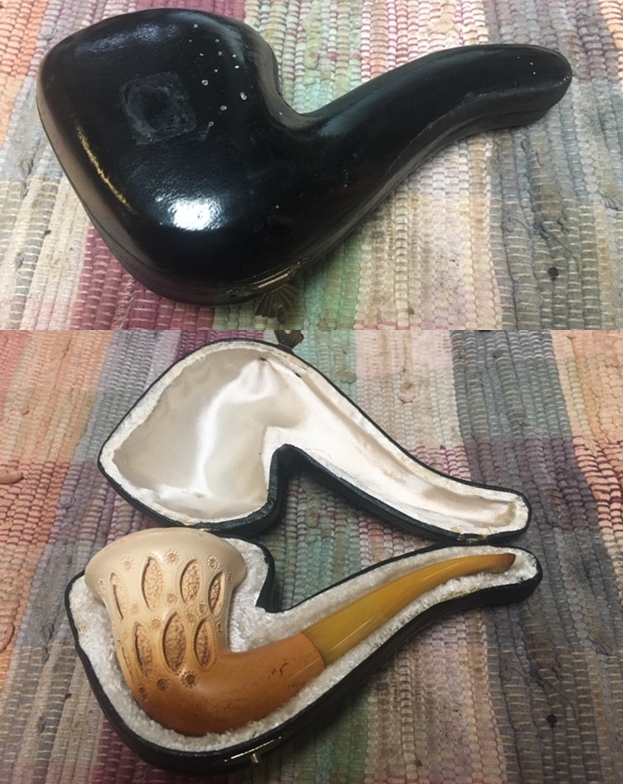
I am pretty sure the pipe was GBD’s response to the Freehand craze of the 70’s but cannot prove that for sure. I moved forward to work on the pipe itself and see what I had to do with it. I decided to take photos of the opening of the box so you can experience looking at this pipe the way I did when I received it from Jeff. I opened the box, took out the sock and removed the pipe. It really is quite stunning to look at the first time.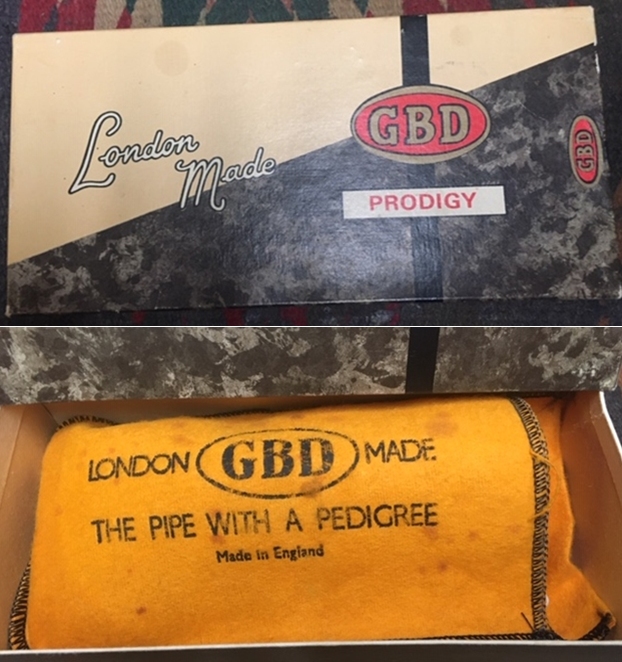
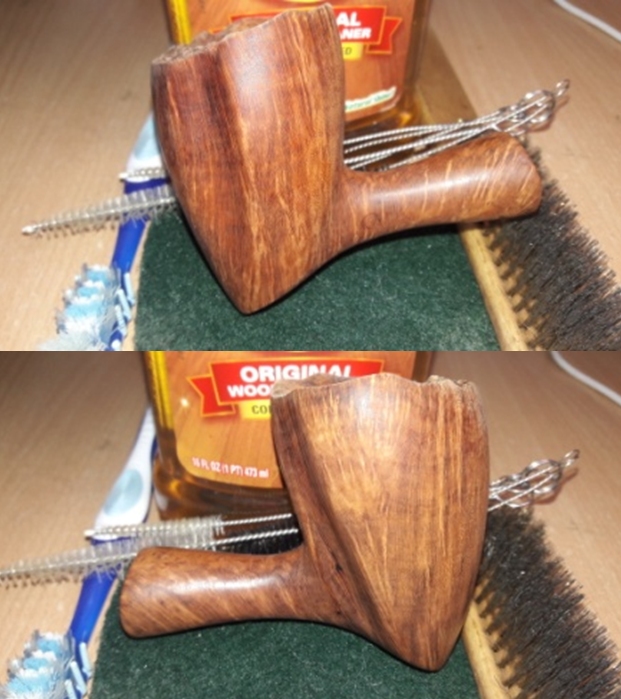
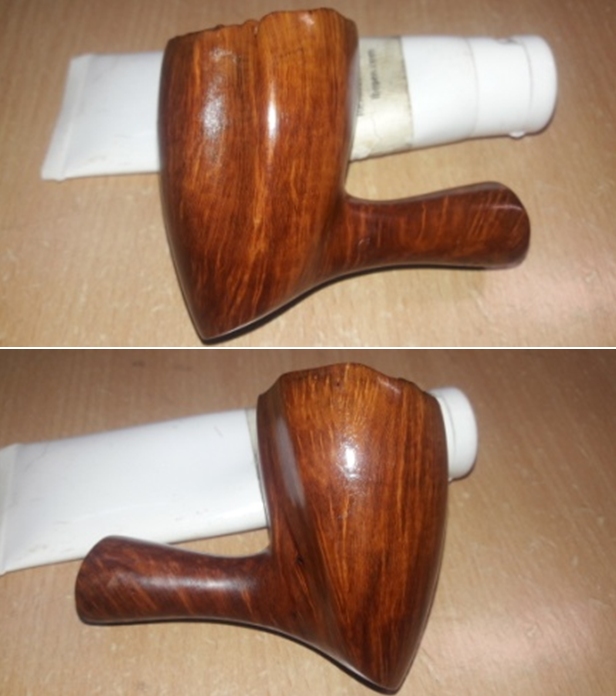
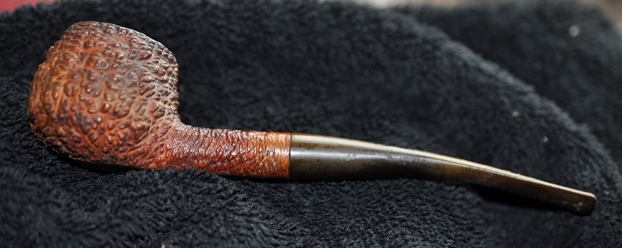
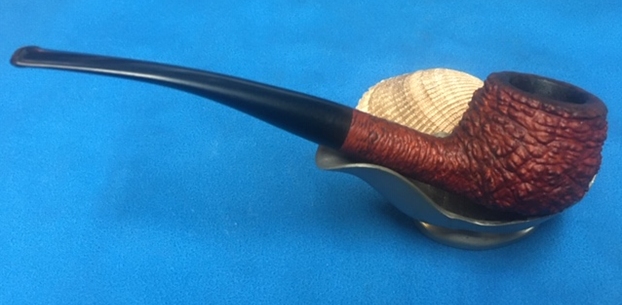
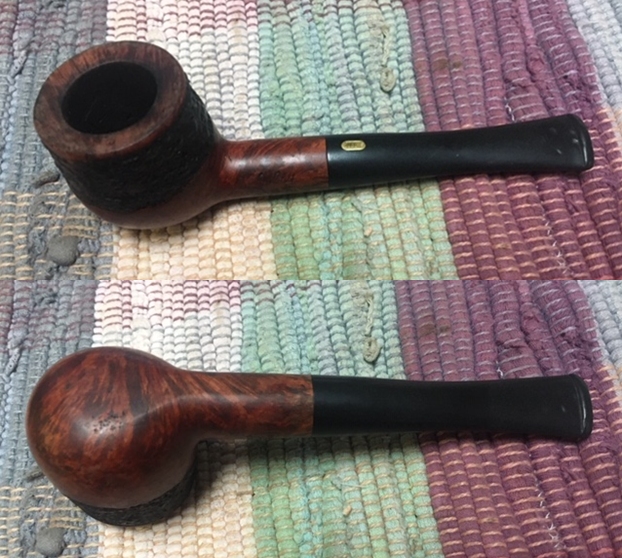
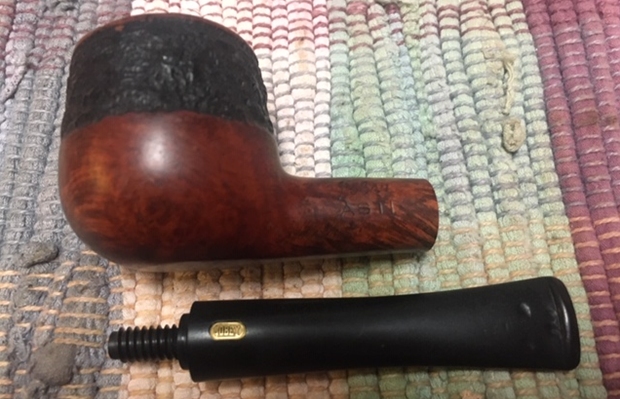
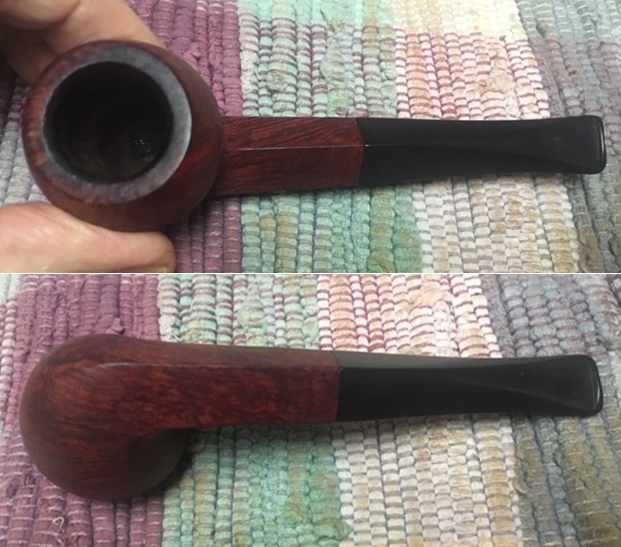
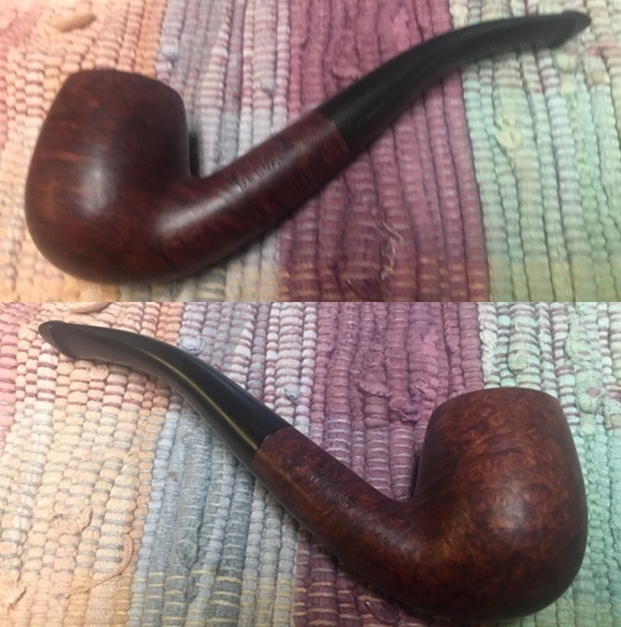
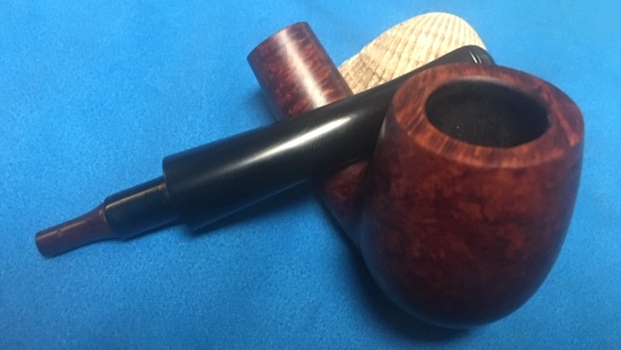
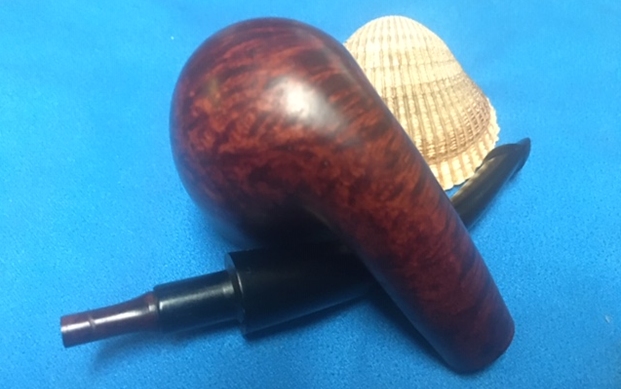
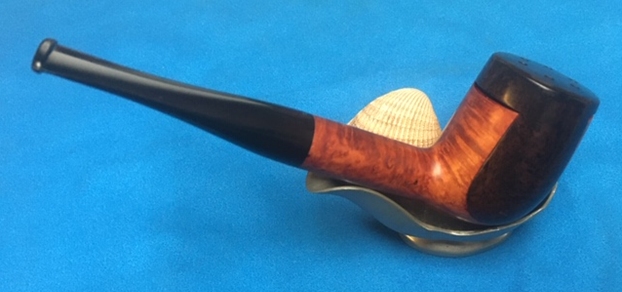
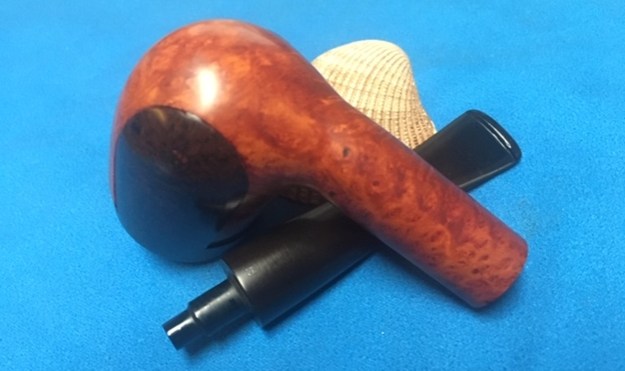
 I took the pipe out of the box and turned it over in my hands to see it from various angles. I always do that to get a feel for what I am going to have to do with the pipe in my part of the restoration process. In this case there was little to do. The pipe had come back looking amazing. Even the stem which had the most issues to work on when I looked at the photos above looked like new, with most of the tooth chatter gone. There was some darkening in the airway, the button and on the end of the tenon that would need to be looked at a bit but I was impressed. Jeff had done his normal thorough clean up – reaming, scrubbing, soaking and the result was evident in the pipe when I unpacked it. I took photos of the pipe before I started my work on it. Just look at the sandblast grain on this Freehand pipe. It was quite beautiful!
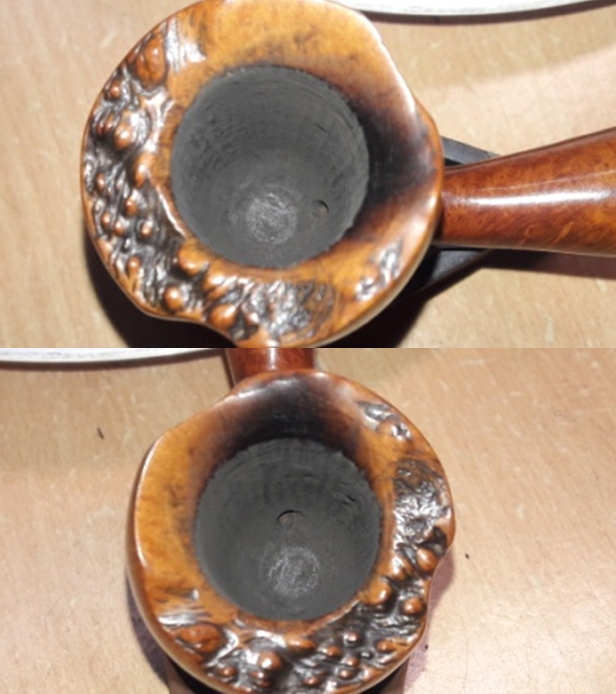
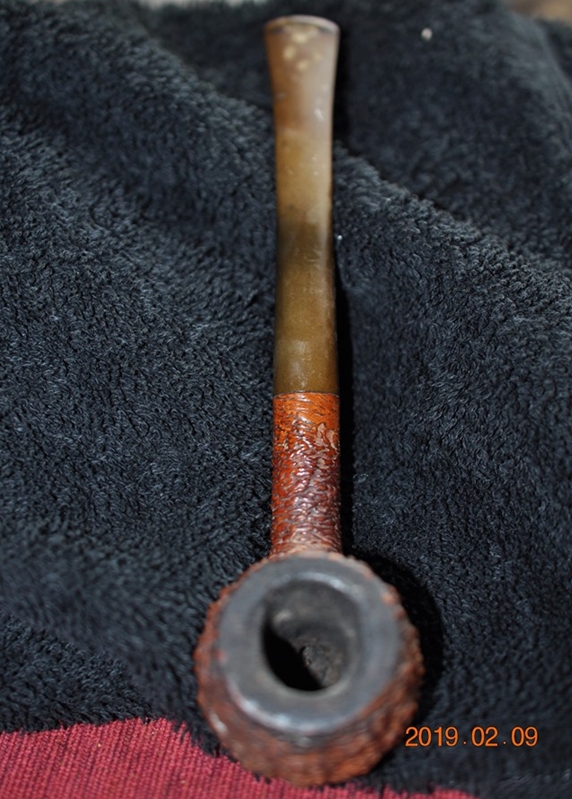
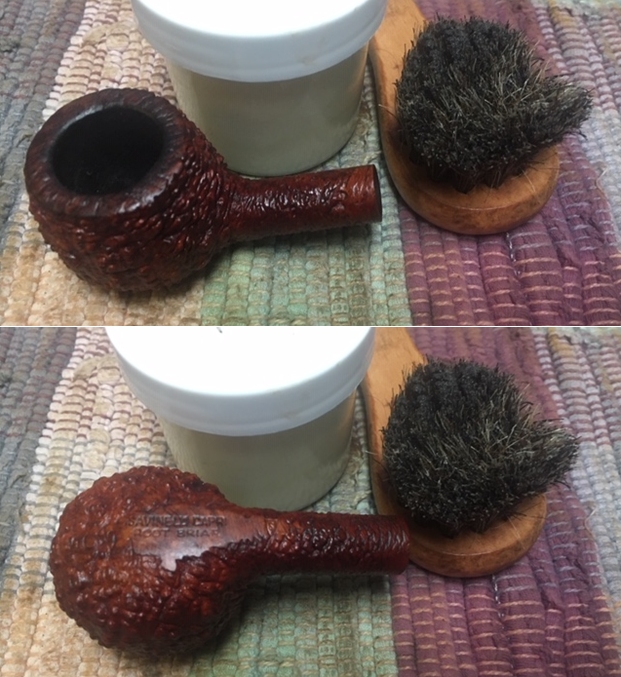
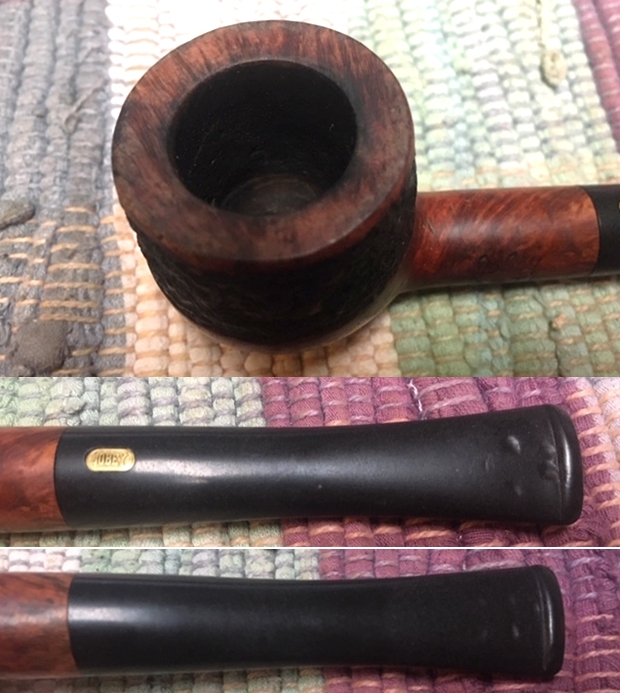
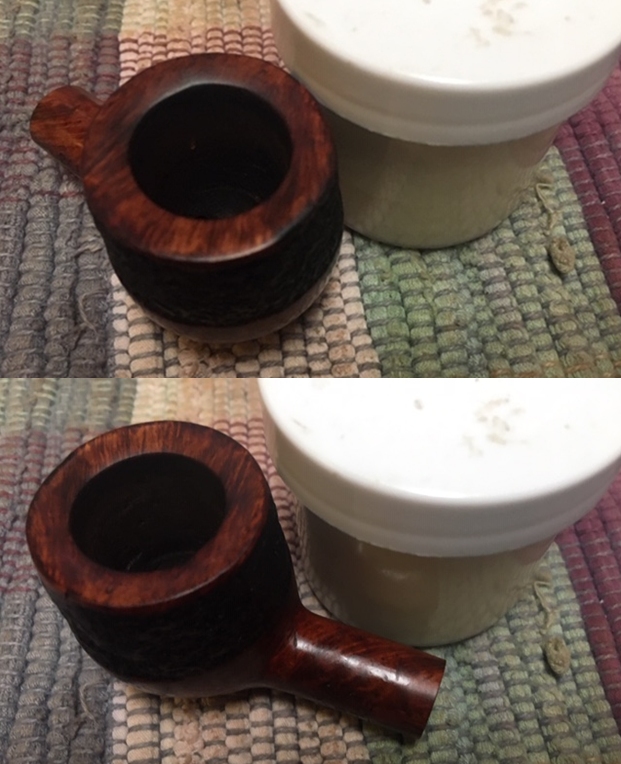
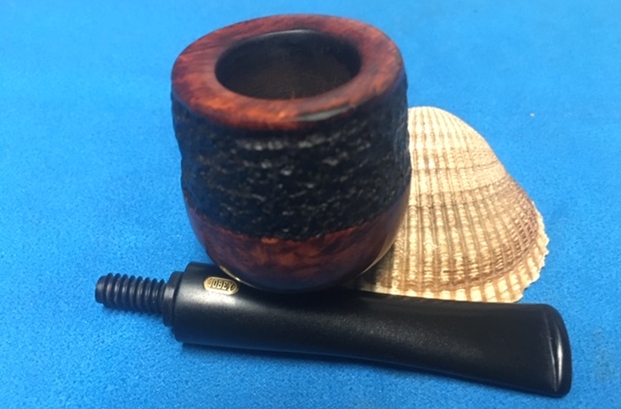
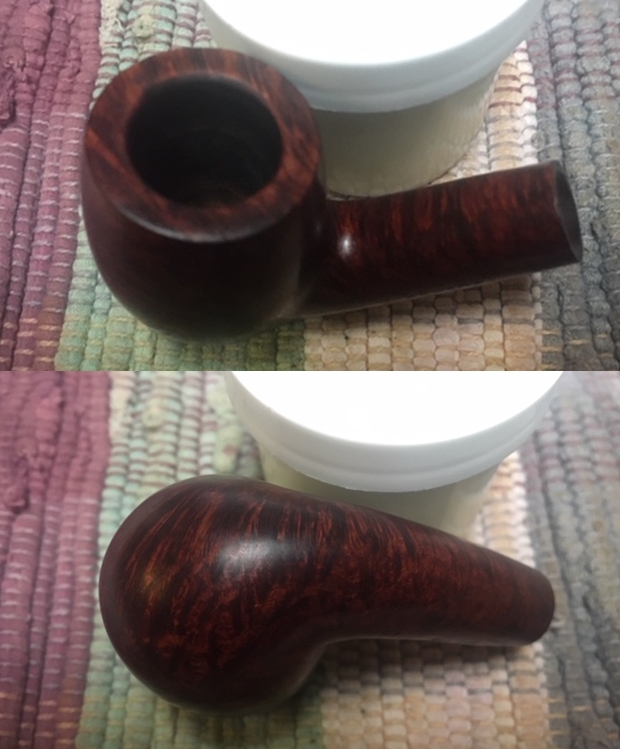
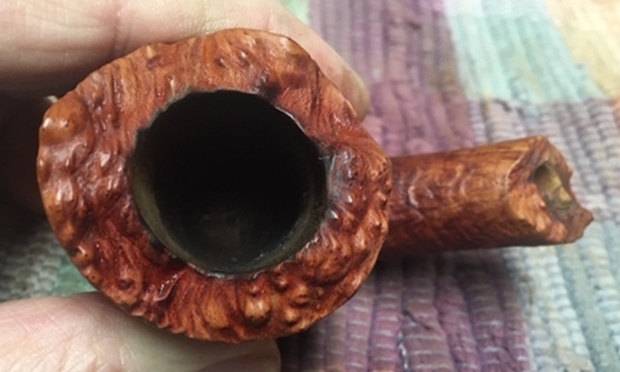
 I took some photos of the rim top and stem. The rim top and bowl looked very good. The cake and lava overflow were gone and the inner rim looked better. Jeff had been able to get rid of most of the darkening and all of the lava and tars. The plateau rim top looked very good. The close up photos of the stem shows that it is a much cleaner. There was still some light tooth chatter and some darkening in the airway and button slot that I would try to minimize some more but it looked good.
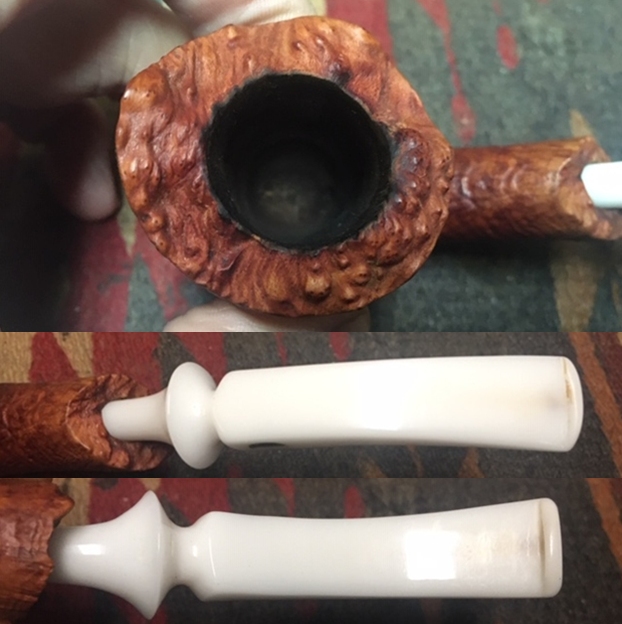 I took a photo of the stamping on the underside of the shank to show the condition after the cleanup. Often the stamping takes a hit with the cleaning and is lessened in it clarity. Jeff does a great job in leaving the stamping looking very good.
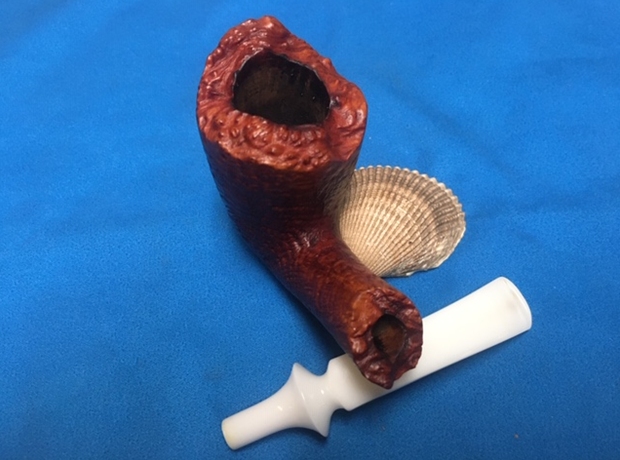
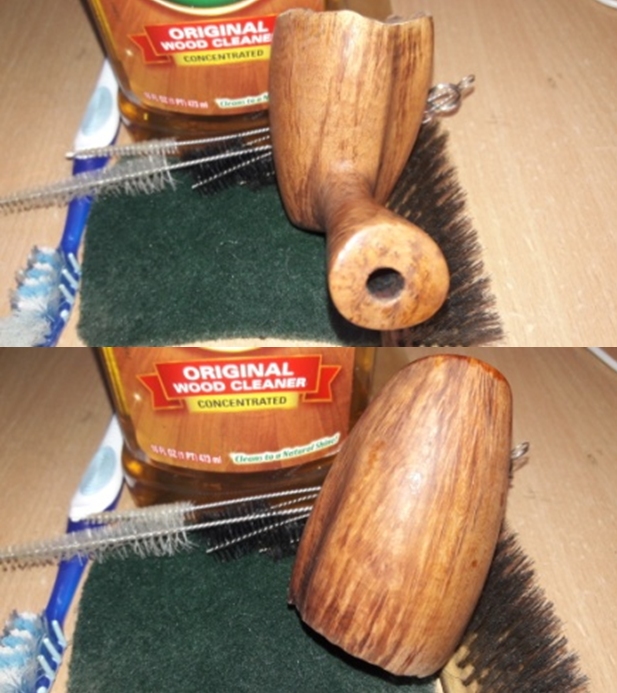
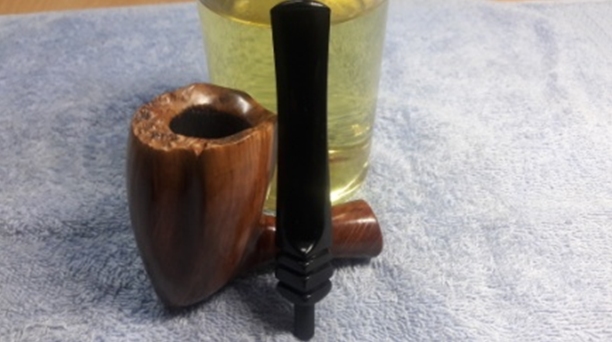
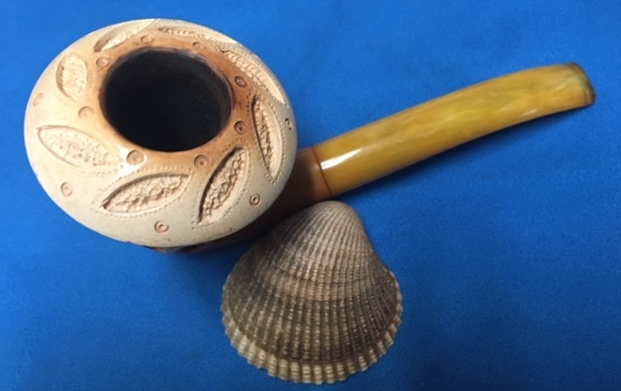
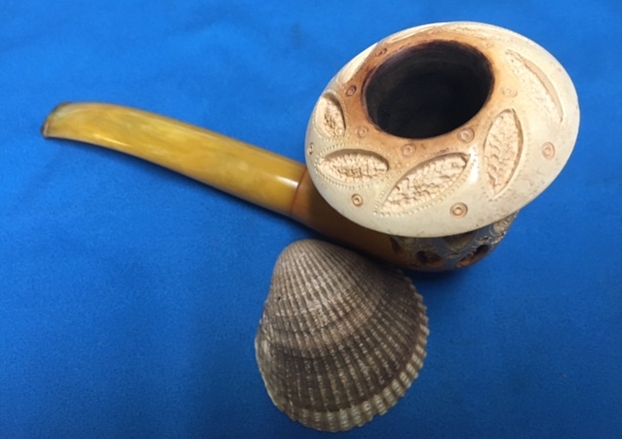
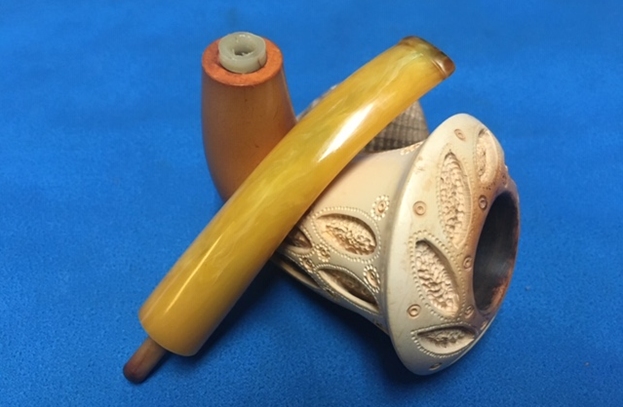
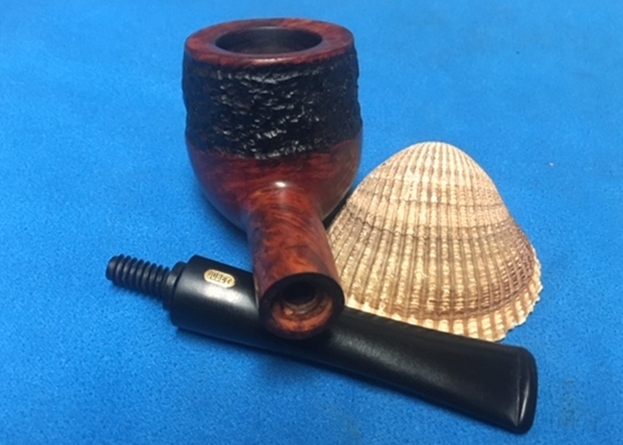
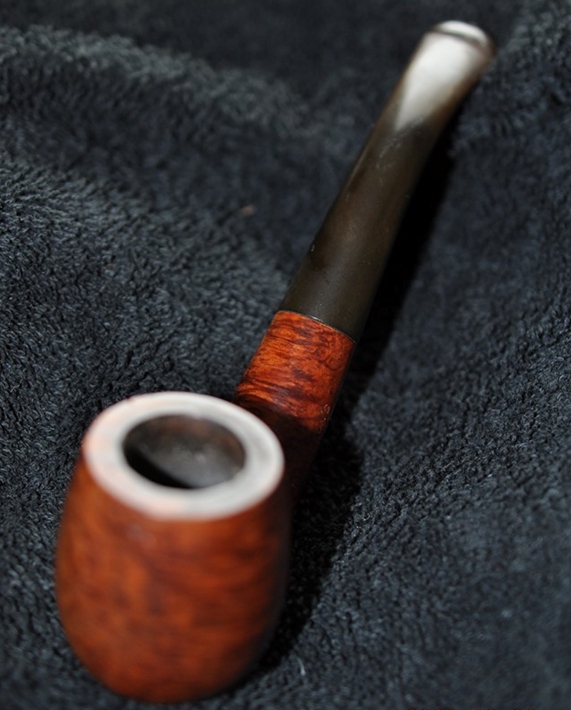
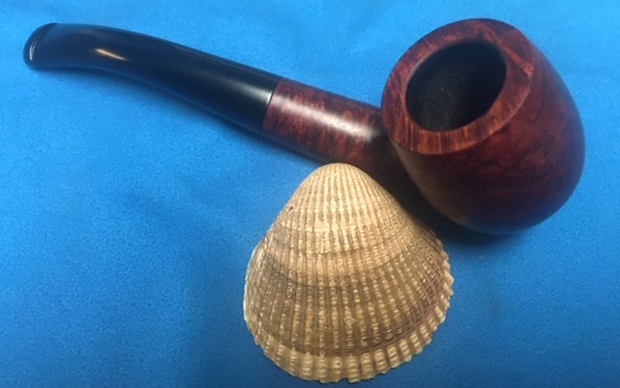
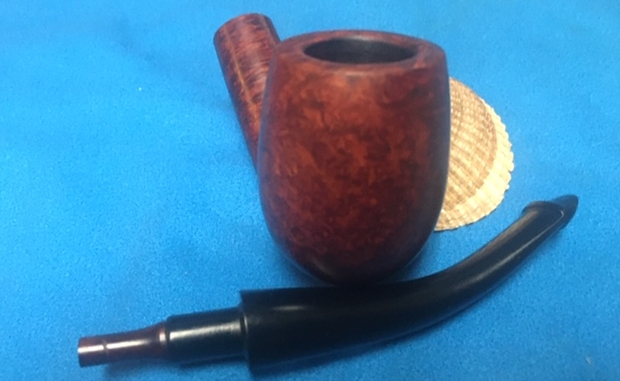
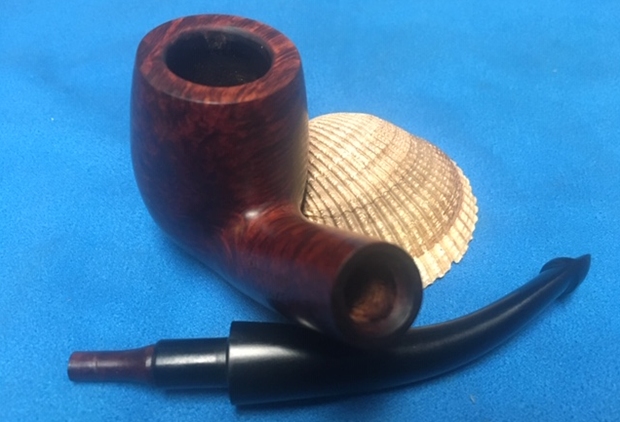
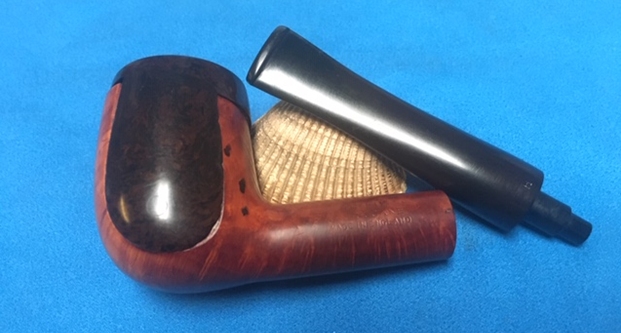
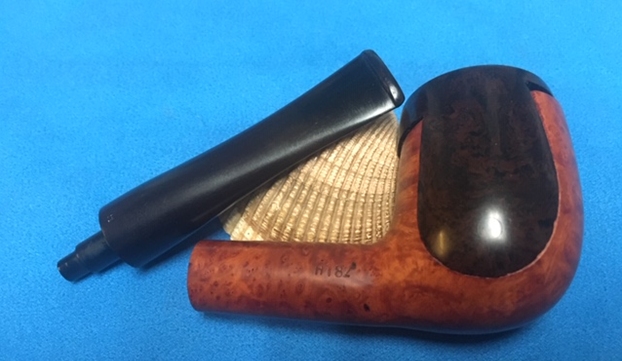
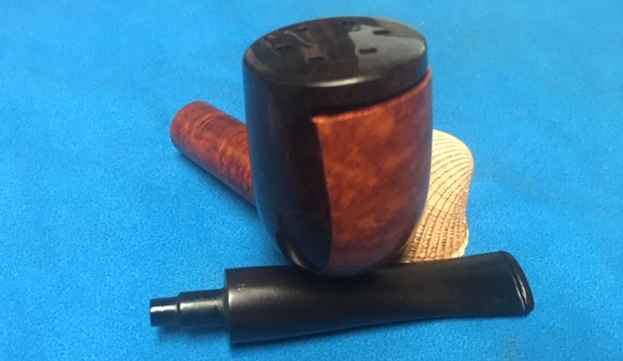
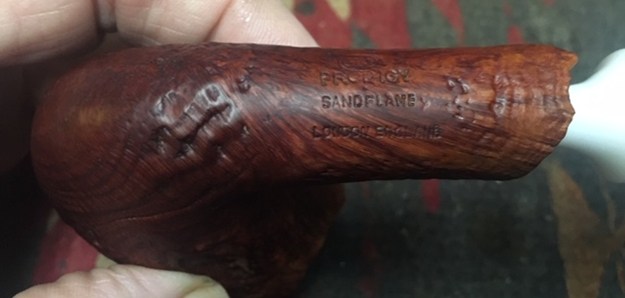 I removed the stem from the shank and took a photo of the pipe at this point. You can clearly see the plateau on the shank end in the photos below. It is in great condition.
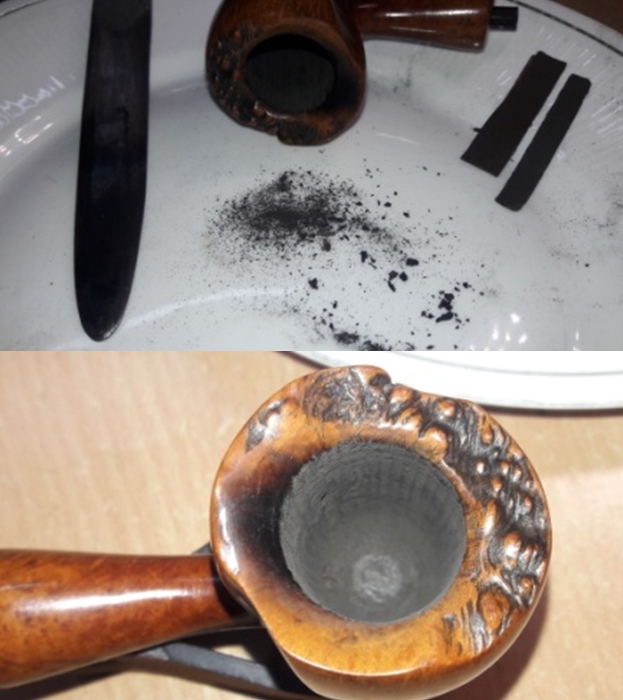
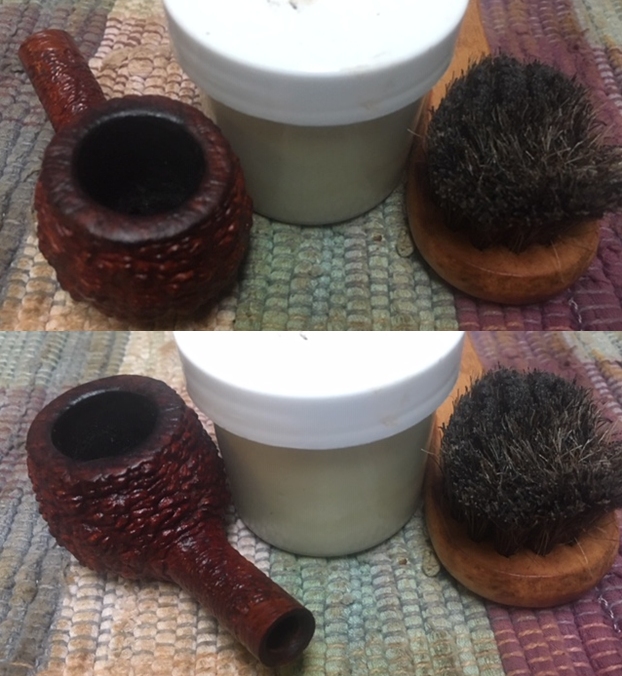
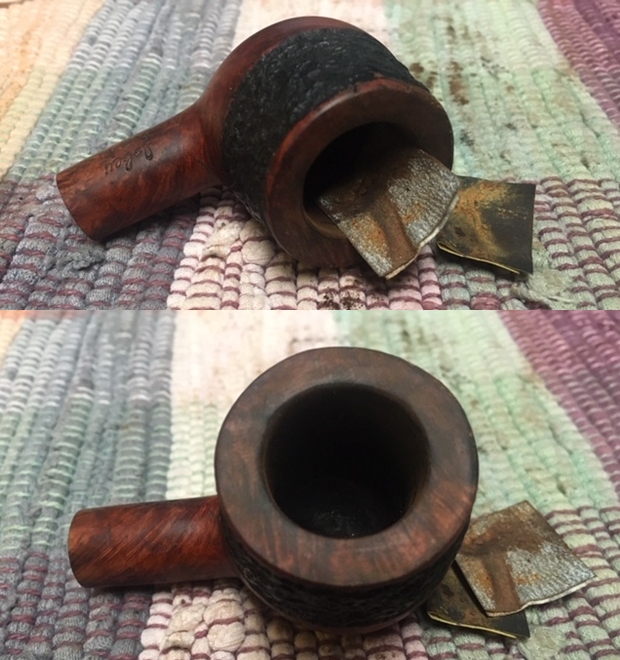
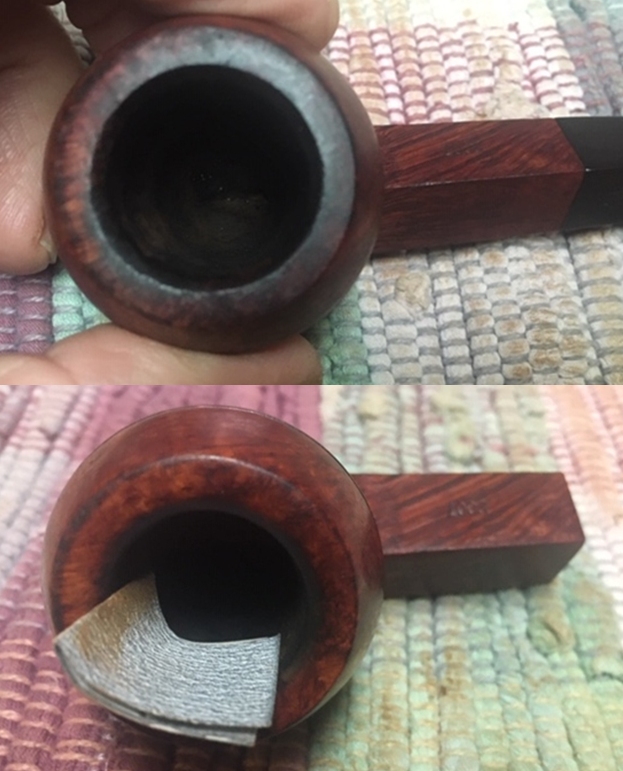
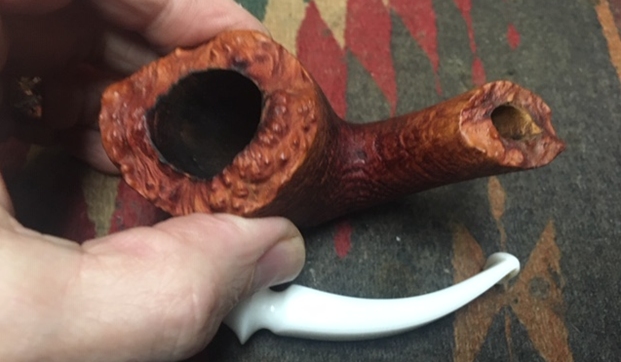 I started my restoration work on this pipe by addressing the darkening on the inner edge of the bowl. I used a folded piece of 220 grit sandpaper to clean up the edge and followed that with a folded piece of 400 grit wet dry sandpaper. The finish rim top looked very good.
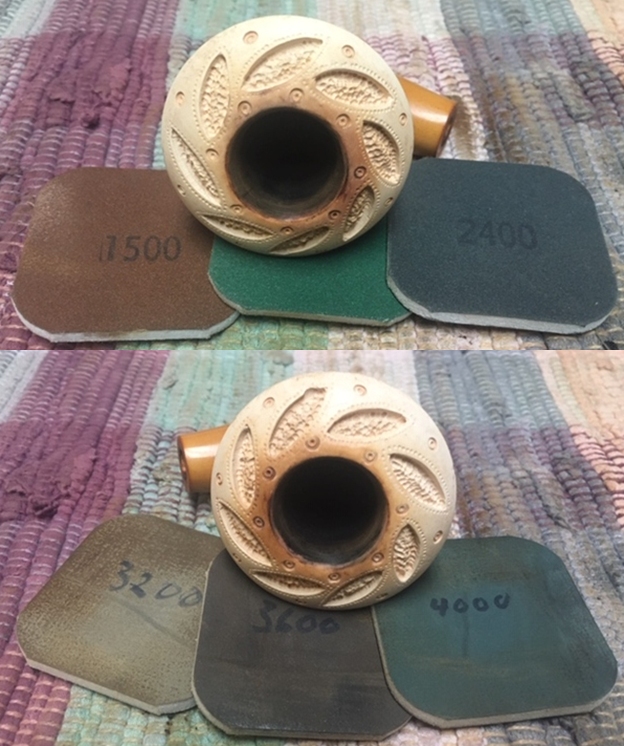
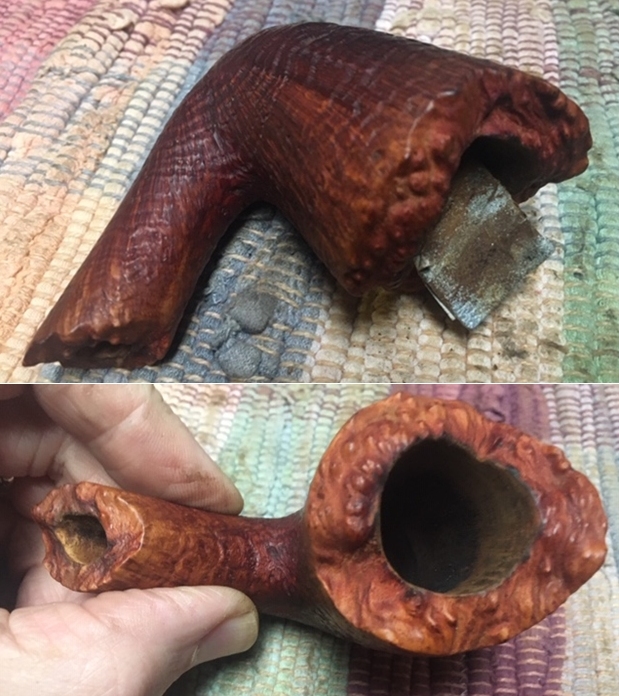
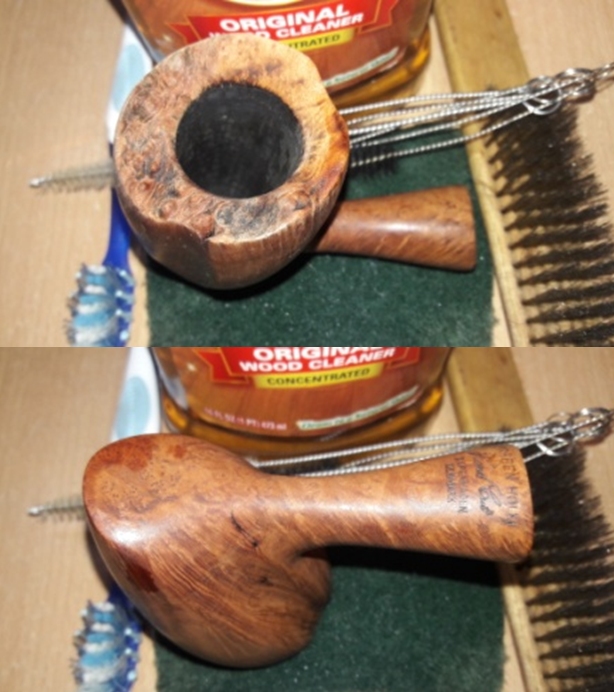
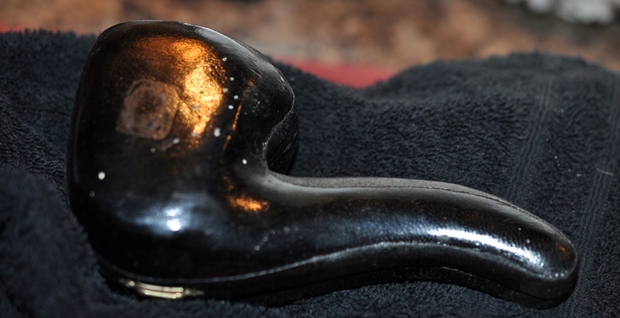
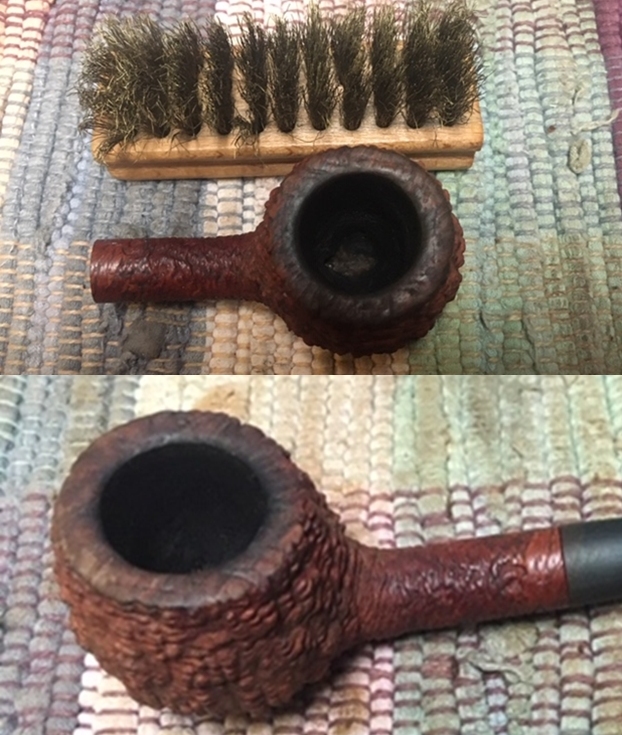
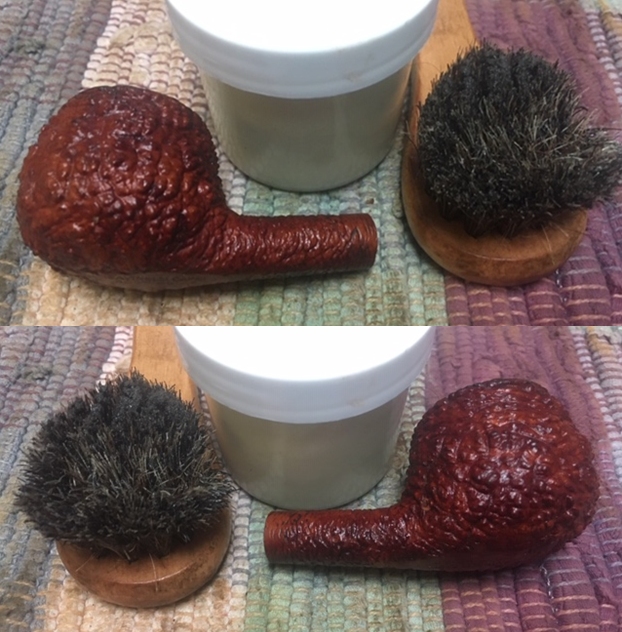
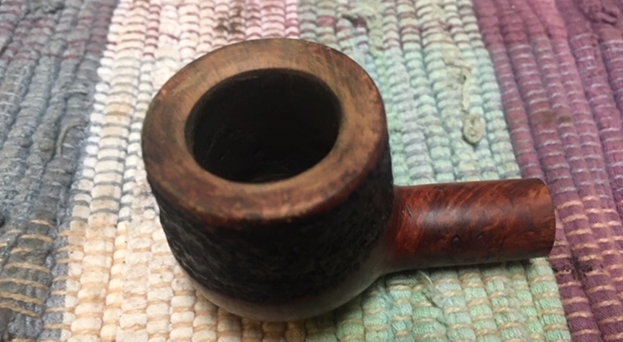
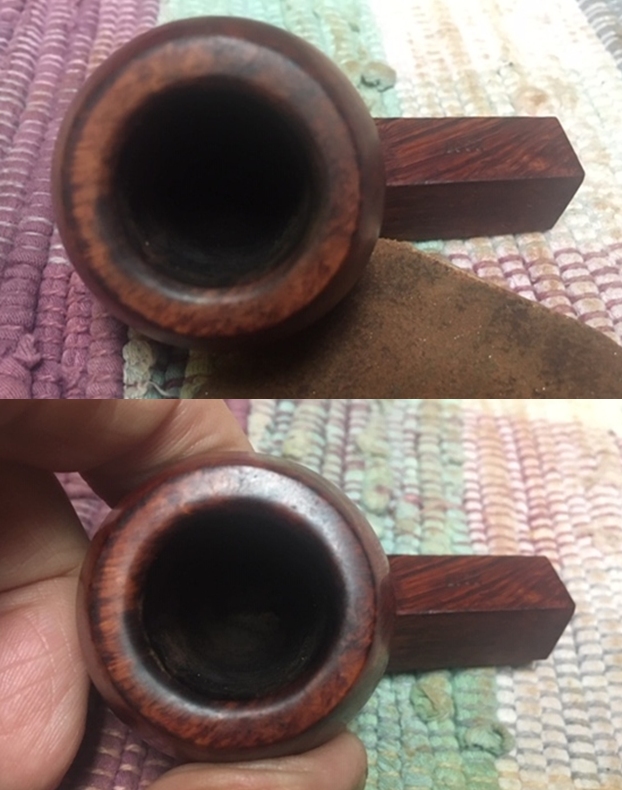
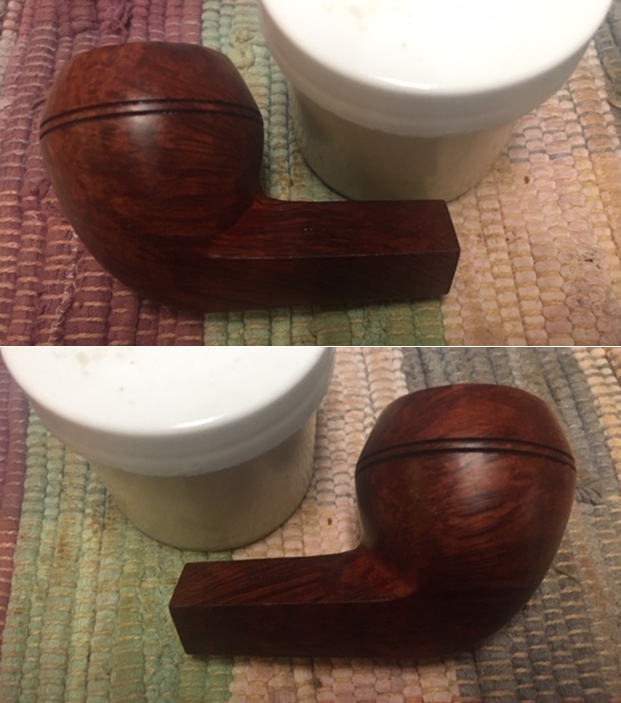
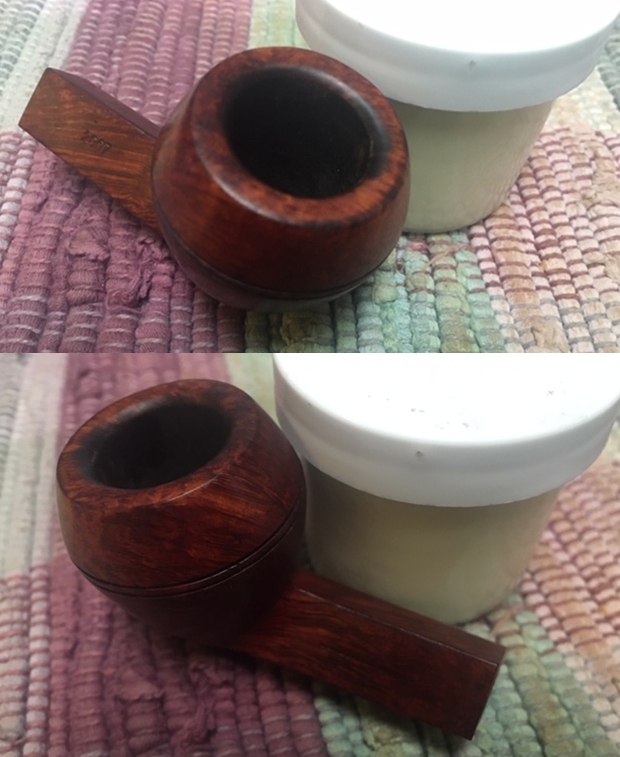
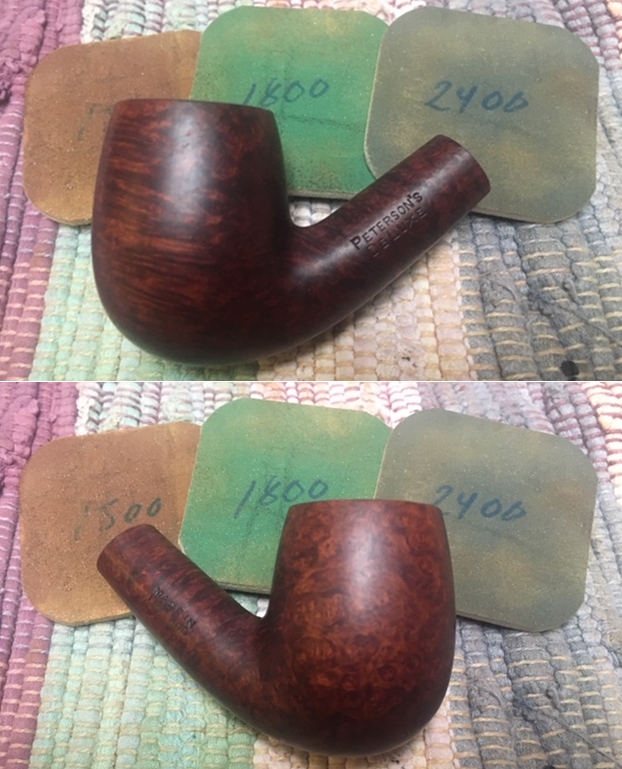
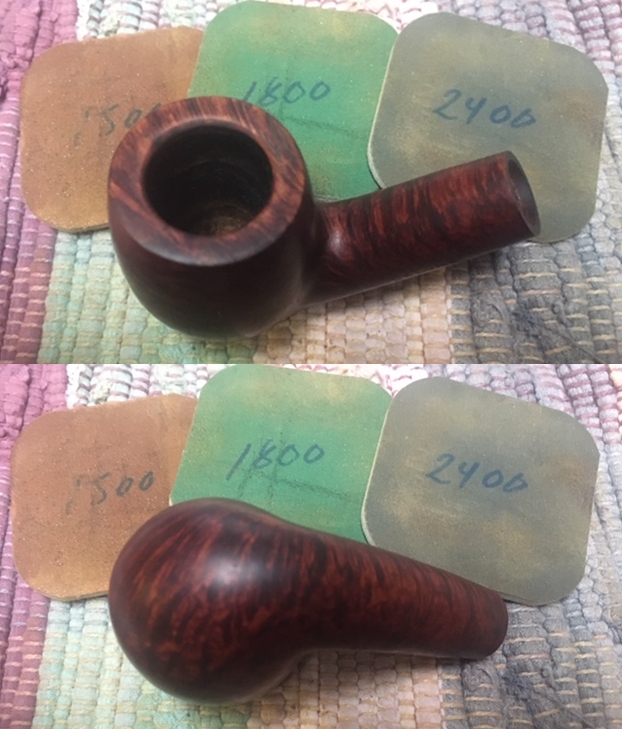
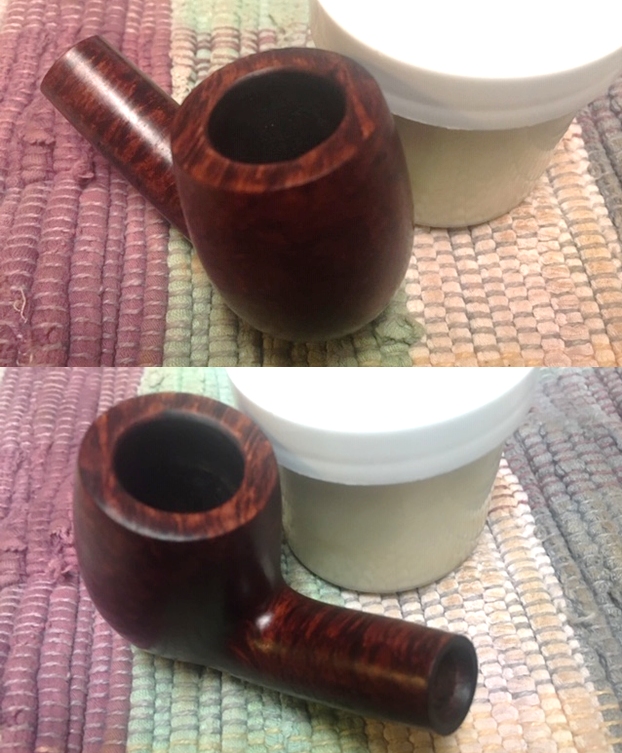
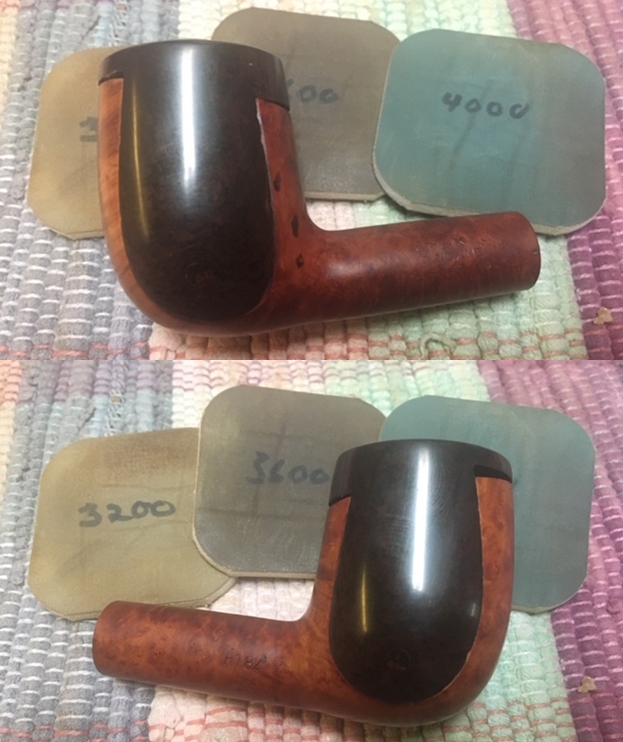
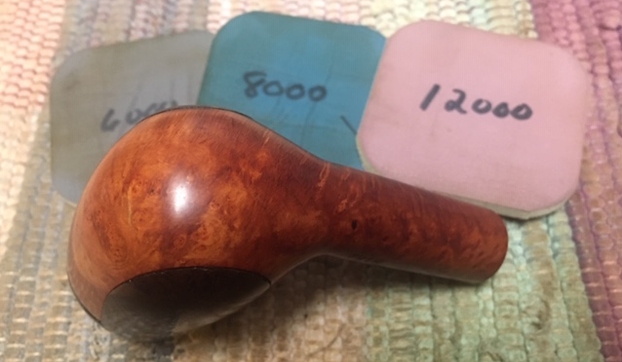
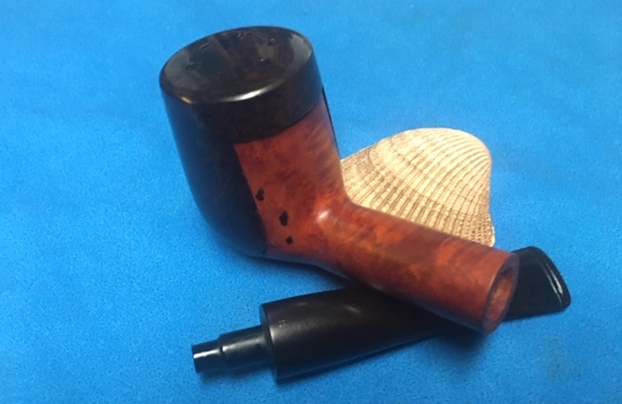
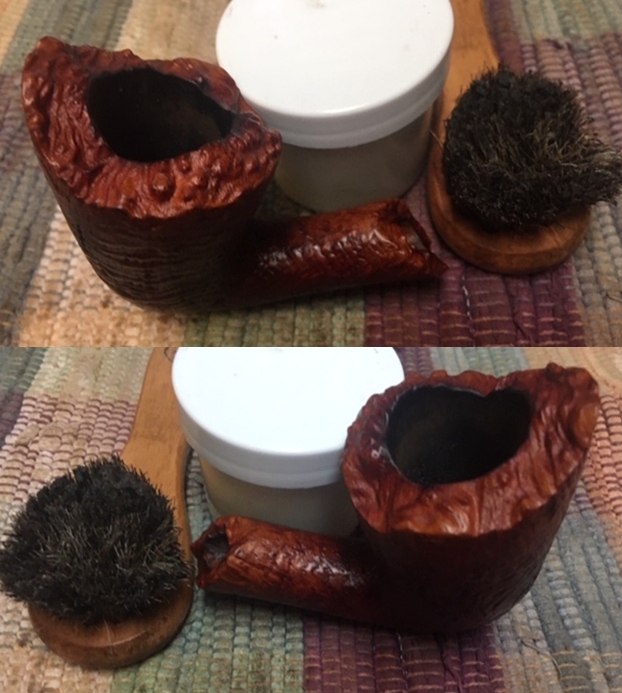
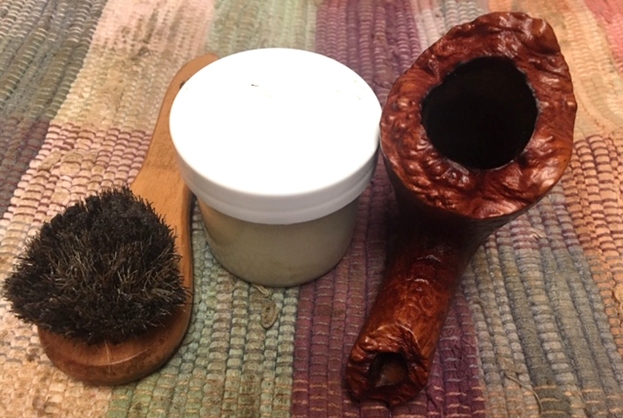
 I worked some Before & After Restoration Balm into the surface of the briar with my fingertips and a horsehair shoe brush to get in the nooks and crannies of the blast and the plateau on the rim top and shank end. The product works to clean, enliven and protect the briar. I let the balm sit for about ten minutes and then buffed with a cotton cloth to raise the shine. The photos show the bowl at this point in the restoration process.
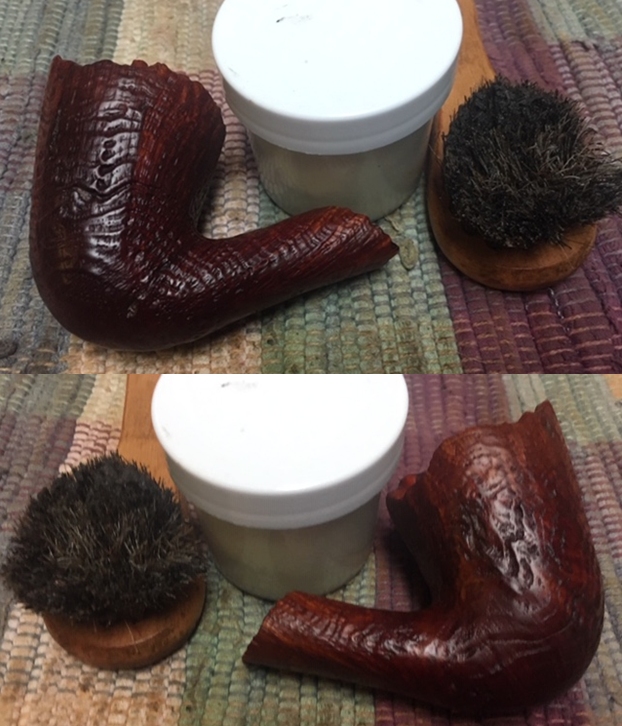

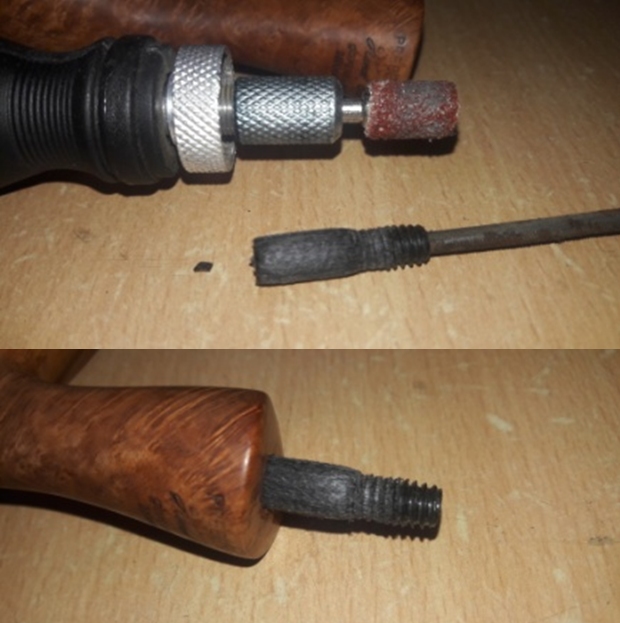
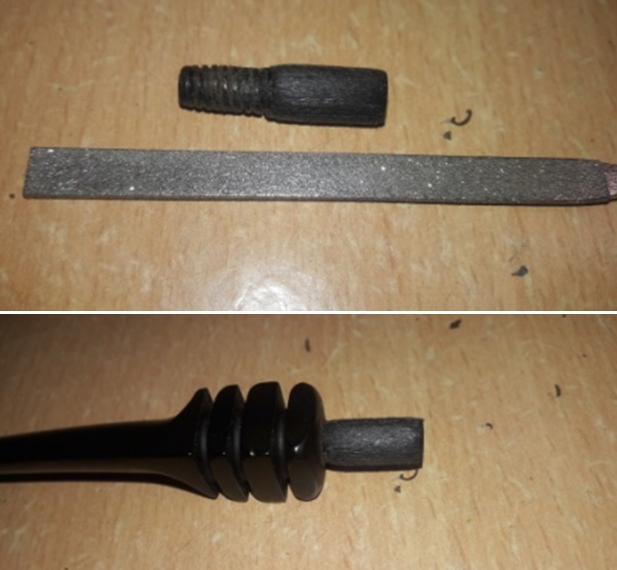
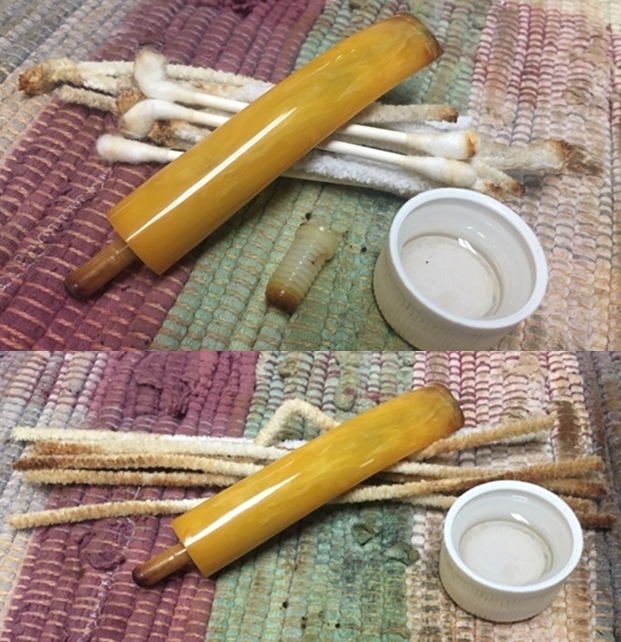
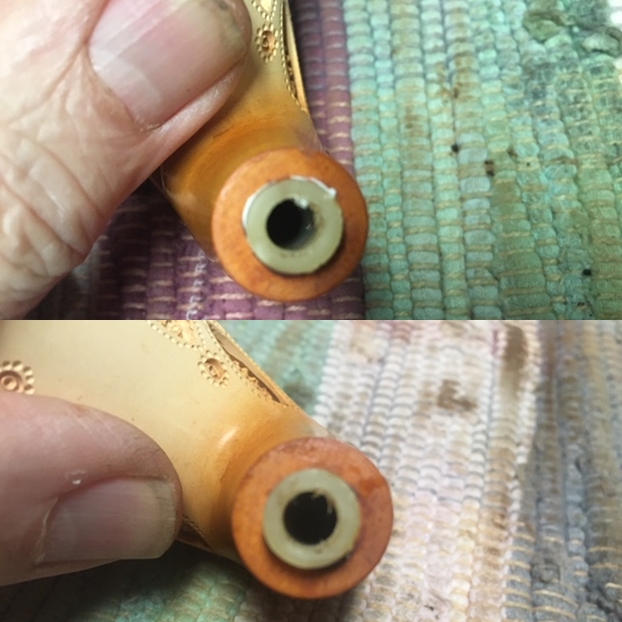
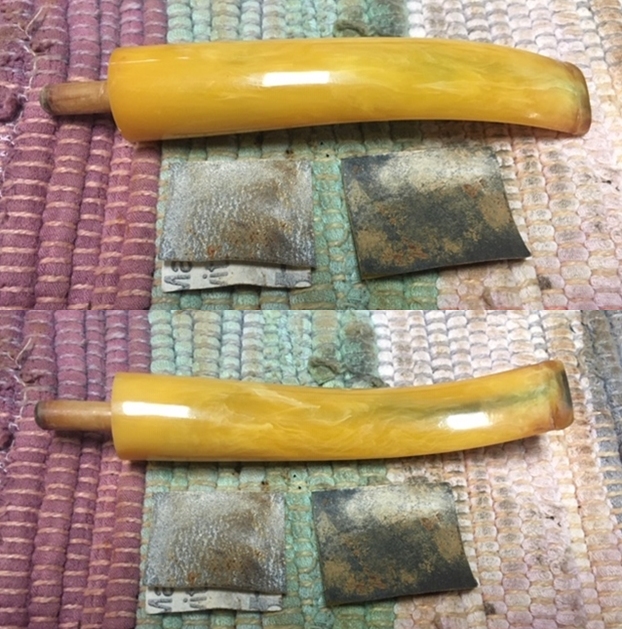
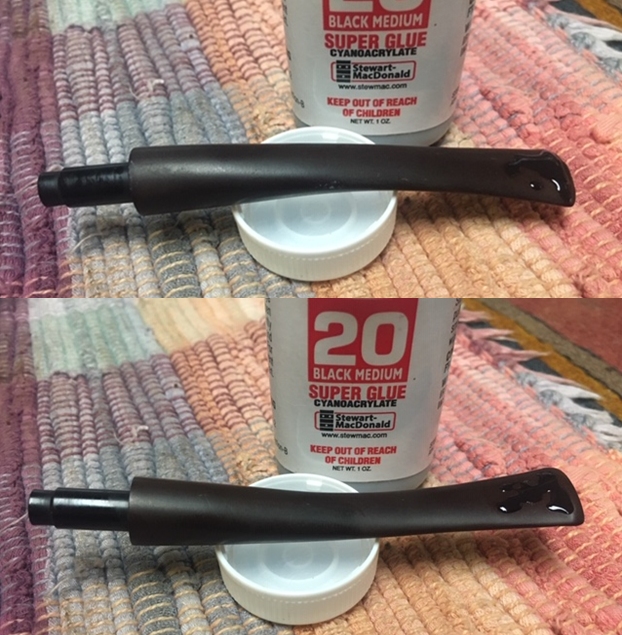
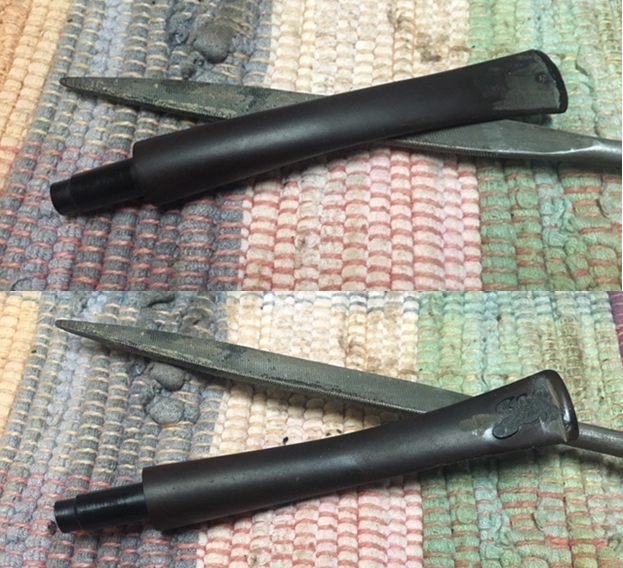
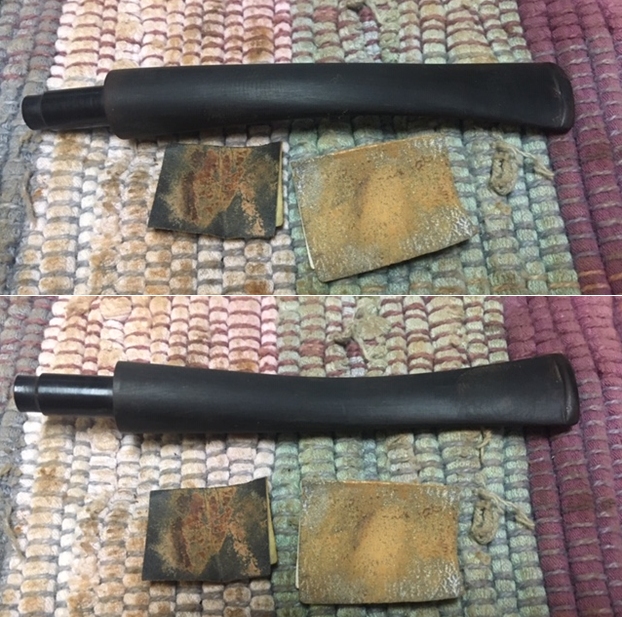
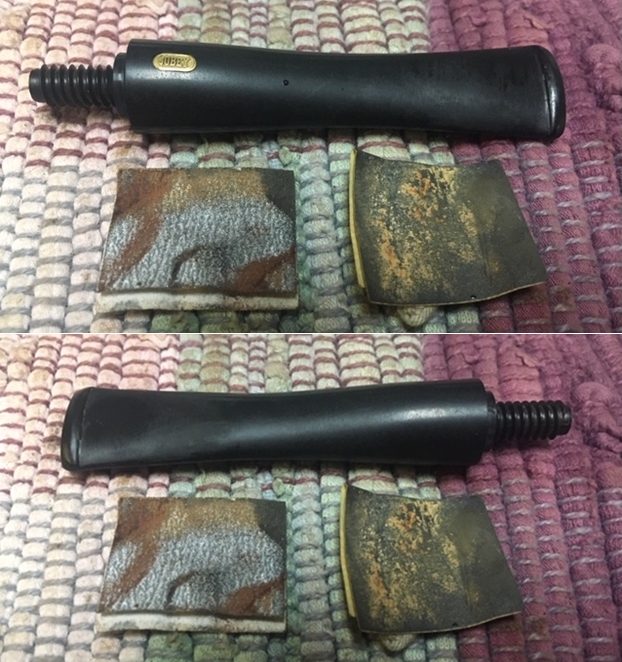
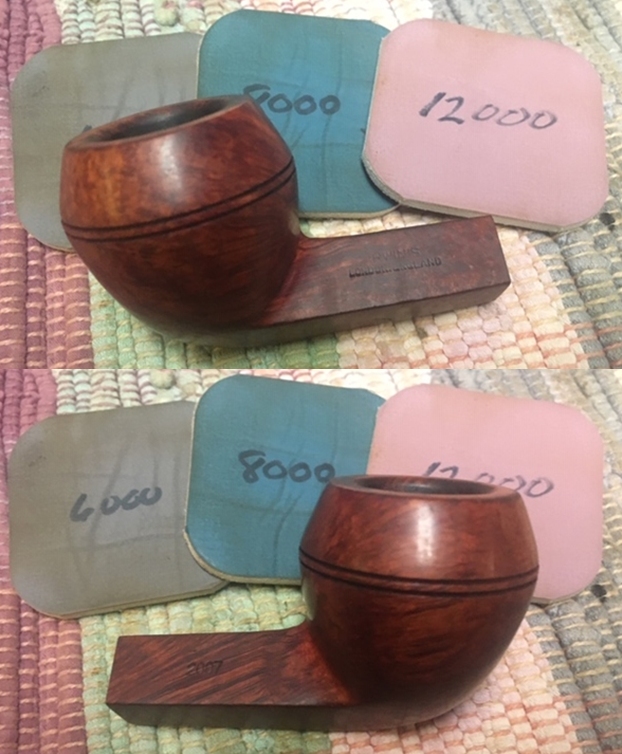
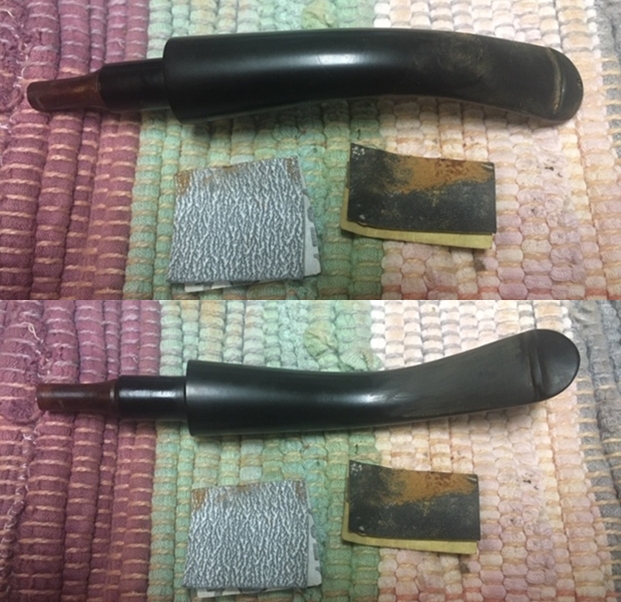
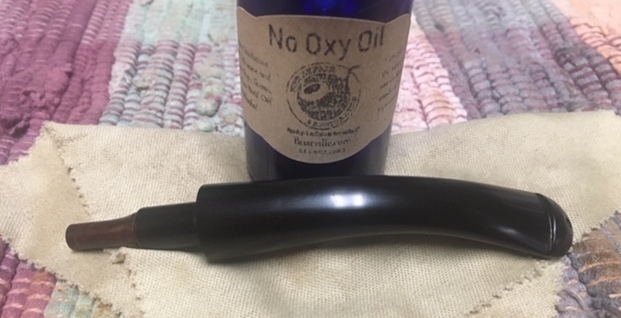
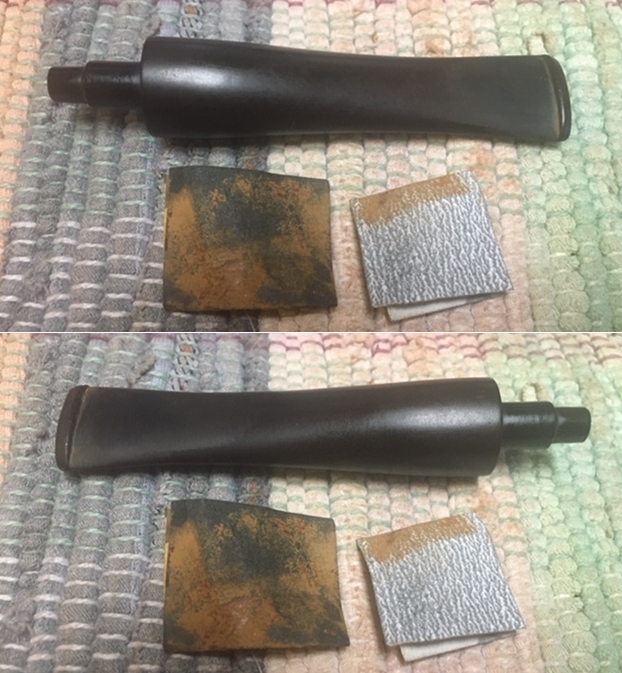
 I set the bowl aside and turned my attention to the stem. I started by working on the tobacco staining on the white stem. I cleaned off the tenon end with a piece of folded sandpaper and was able to remove the majority of the stains. I worked on the inside of the button with a folded pipe cleaner and alcohol and remove all of the staining in the slot and button. I worked on the airway in the stem with alcohol and pipe cleaners going both directions and scrubbing. I also used some Soft Scrub on a pipe cleaner and worked it back and forth in the airway. While it is definitely better there is still some remaining stain.
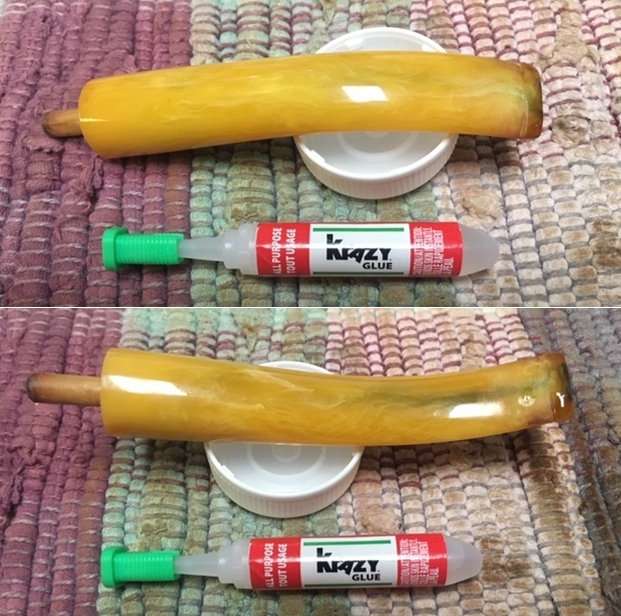
 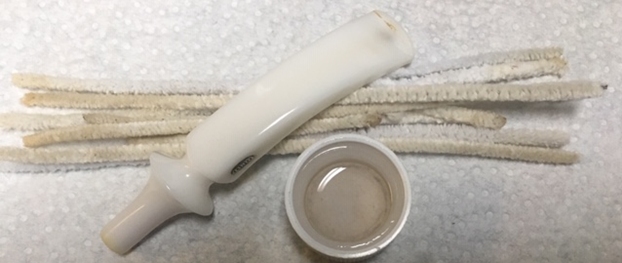 I sanded out the tooth chatter and blended in the repairs with 220 grit sandpaper and started to polish it with a folded piece of 400 wet dry sandpaper. Once it was finished it was smooth.
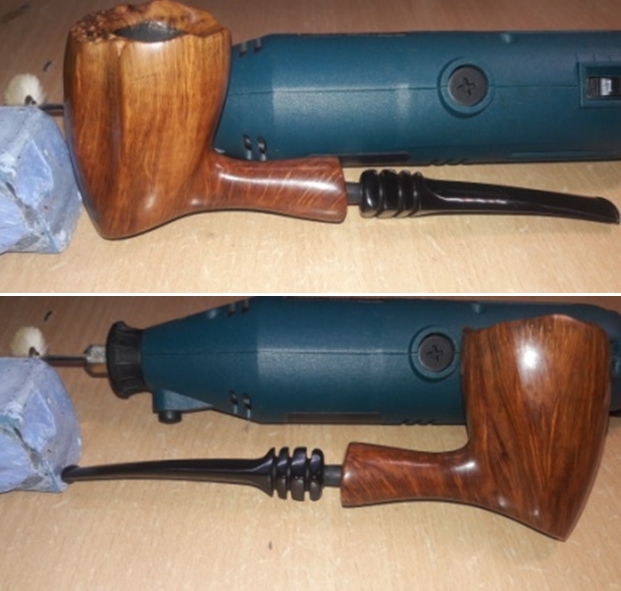
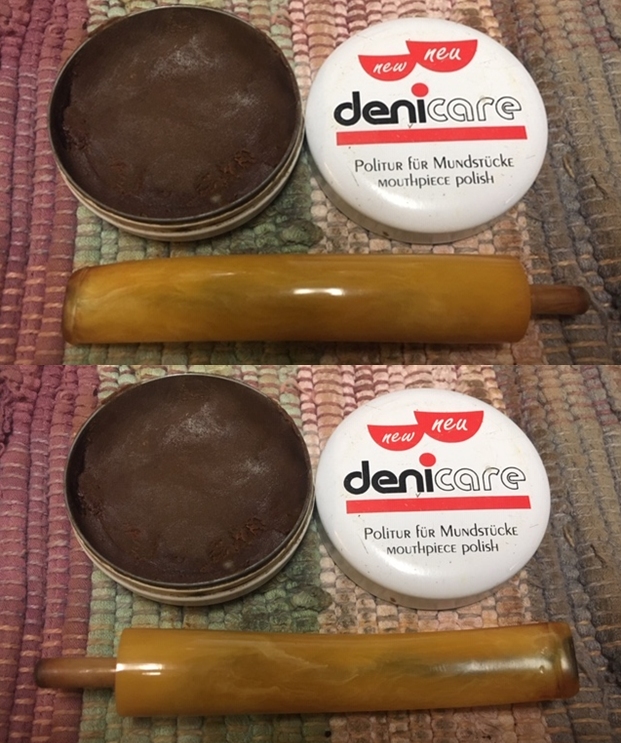
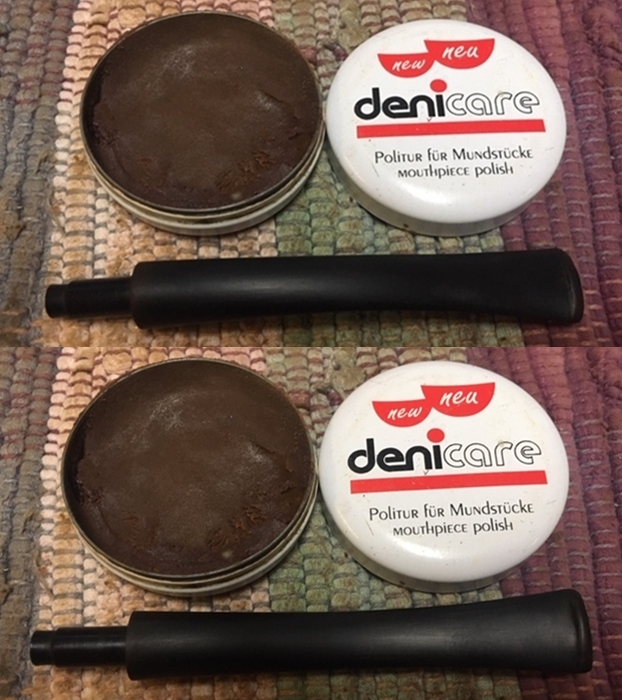
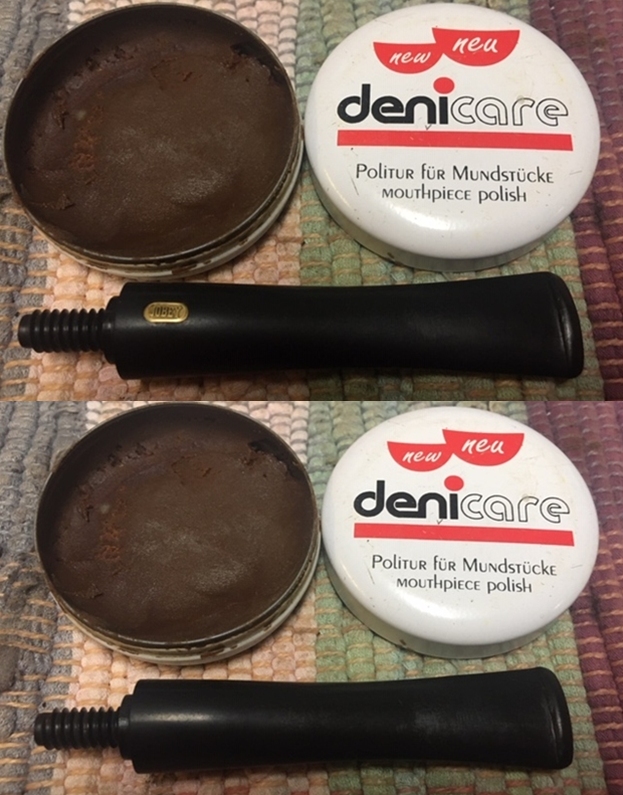
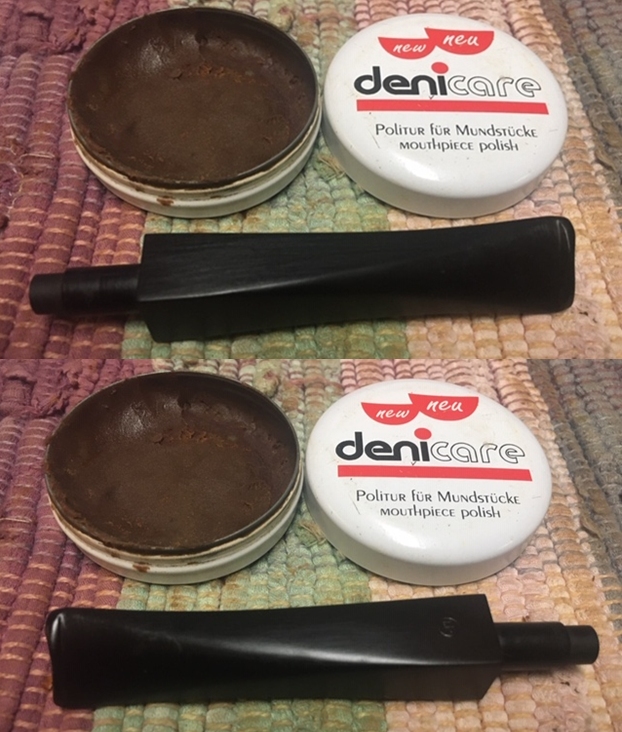
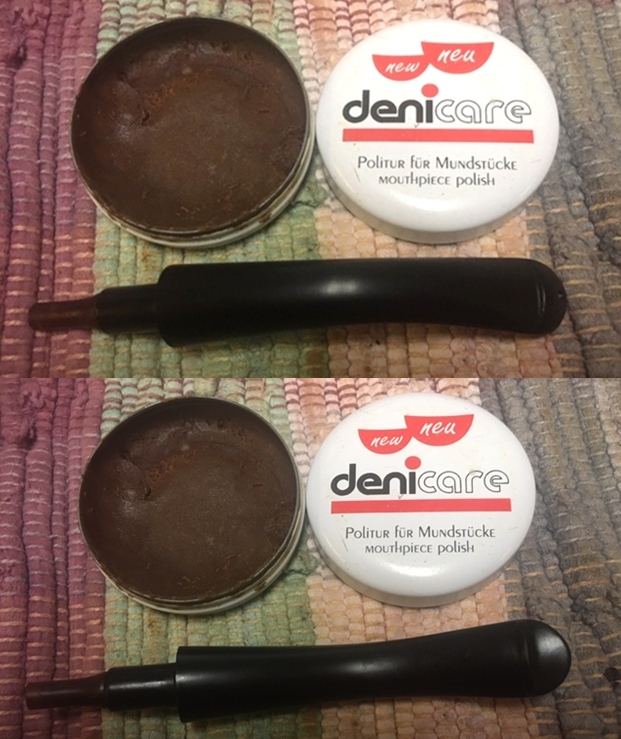
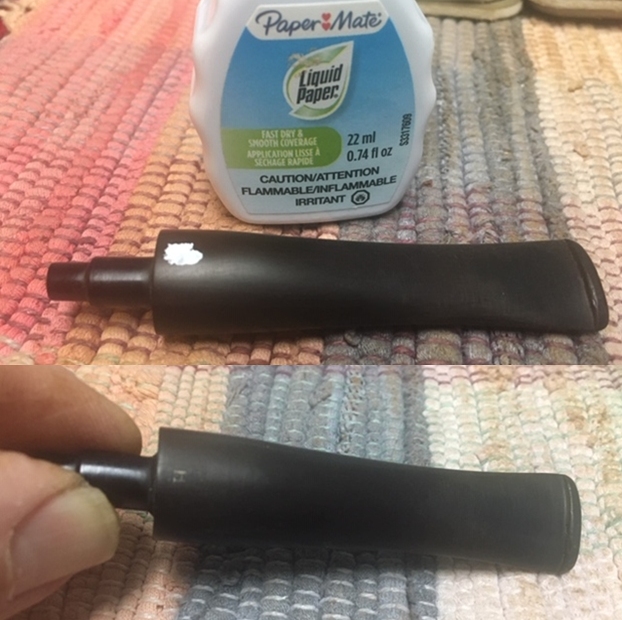
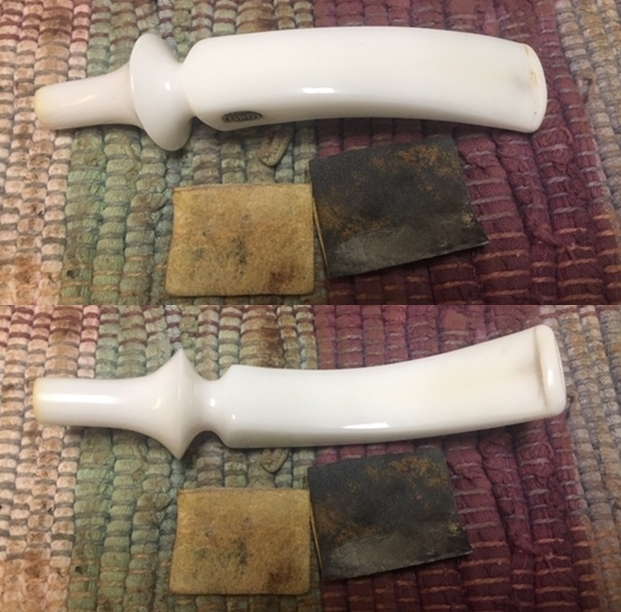 I used some Denicare Mouthpiece Polish that I have in my kit to start polishing out some of the scratches and remaining stains on the surface of the stem. I rubbed it in with a cotton pad and my finger tip and buffed it off with a cotton pad.
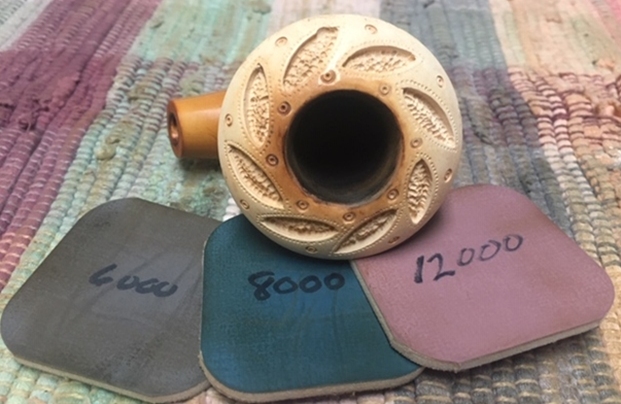
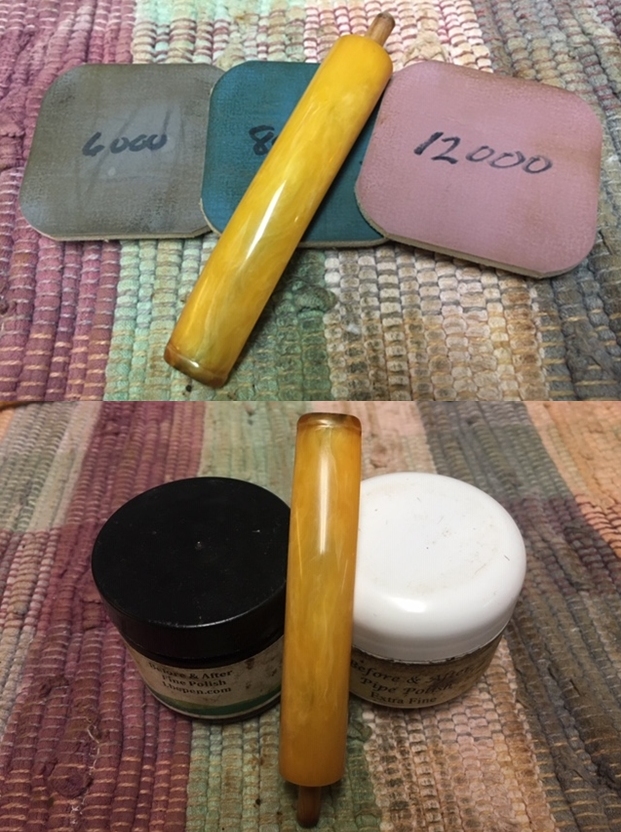
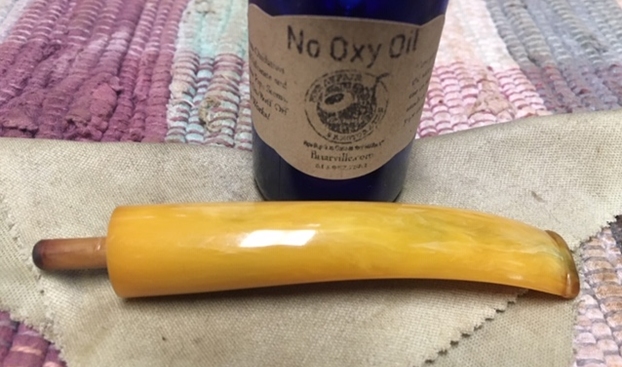
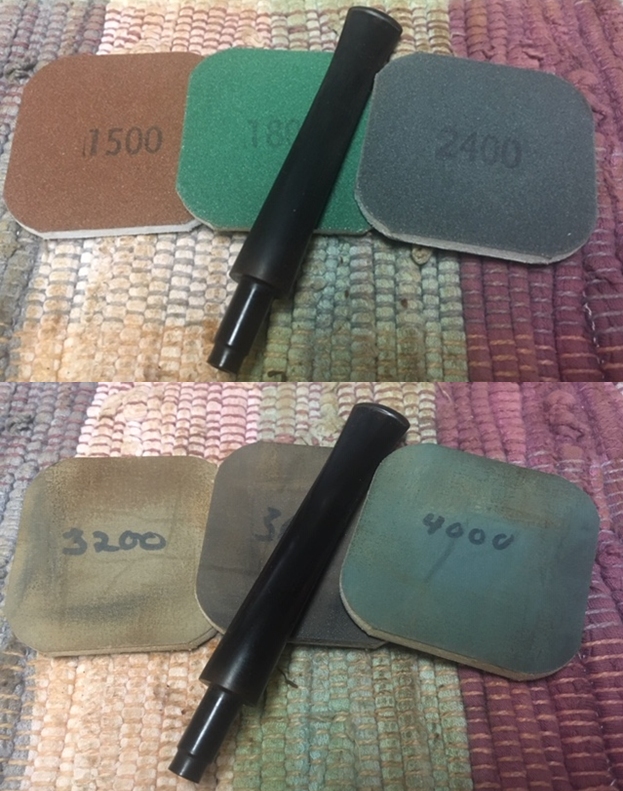
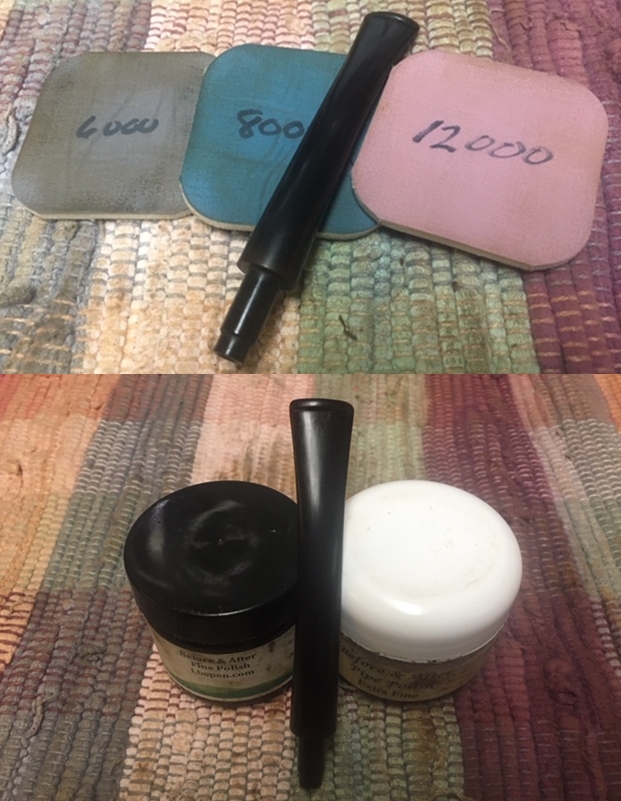
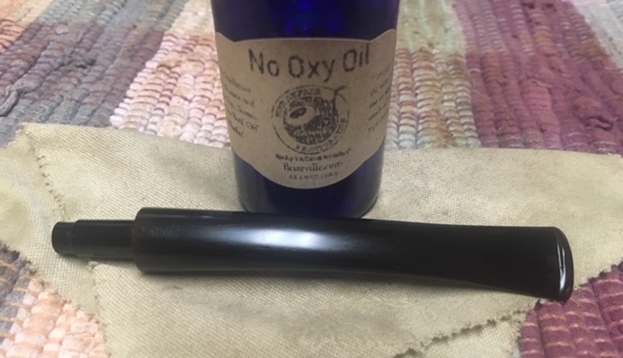
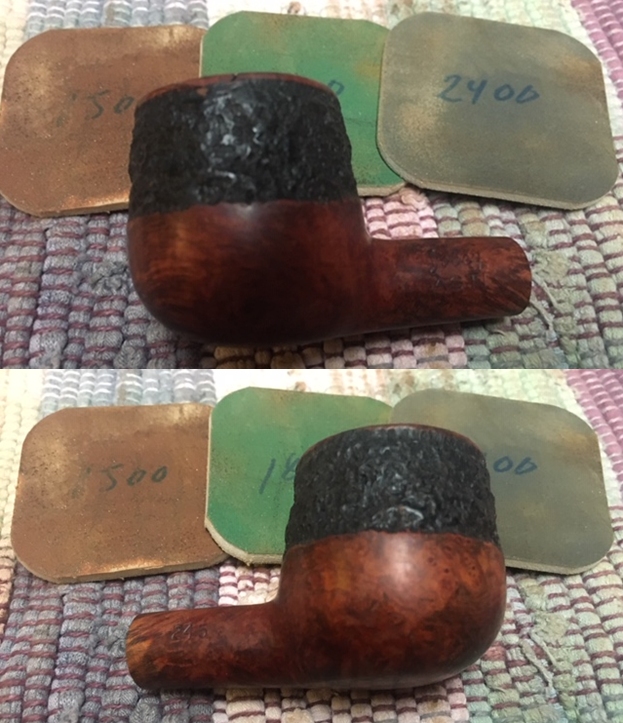
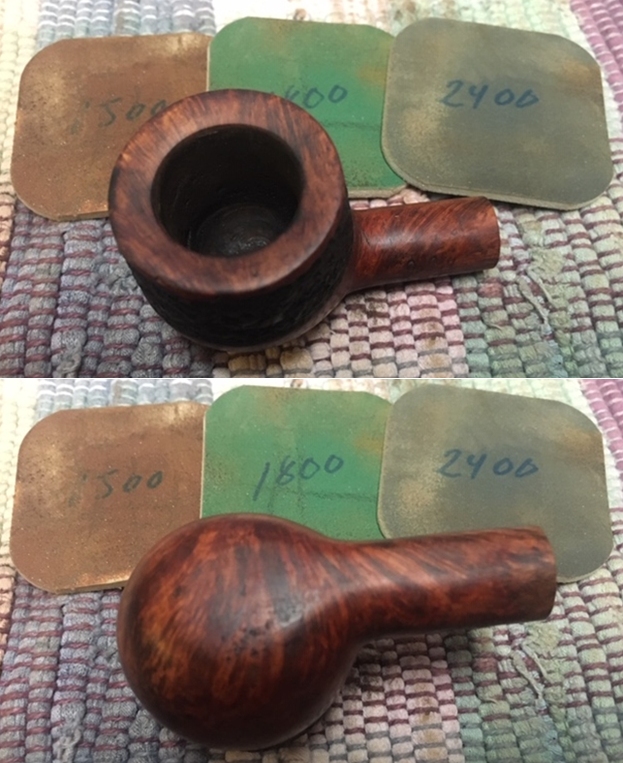
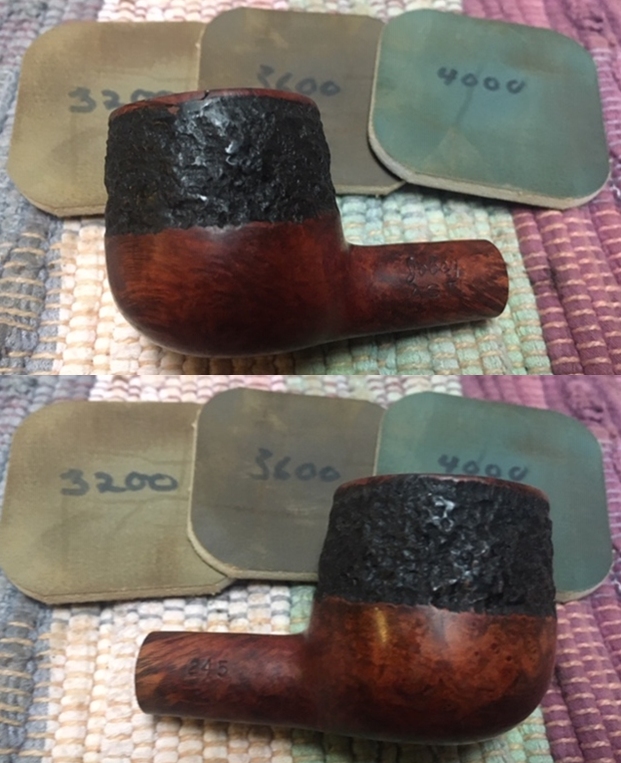
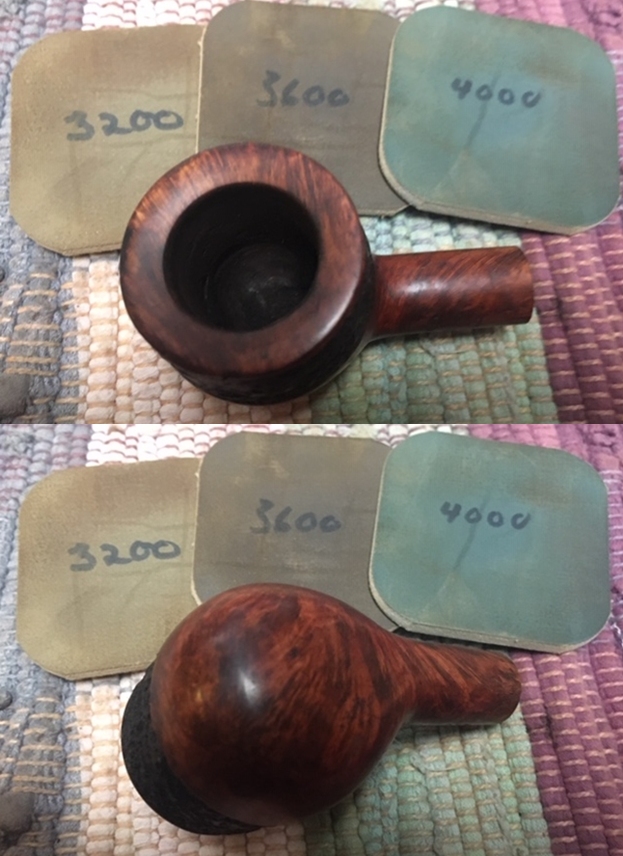
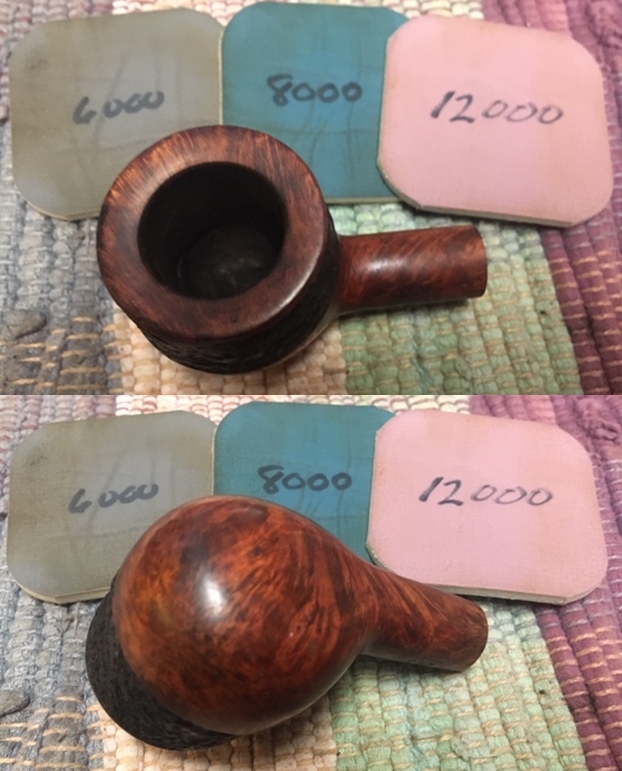
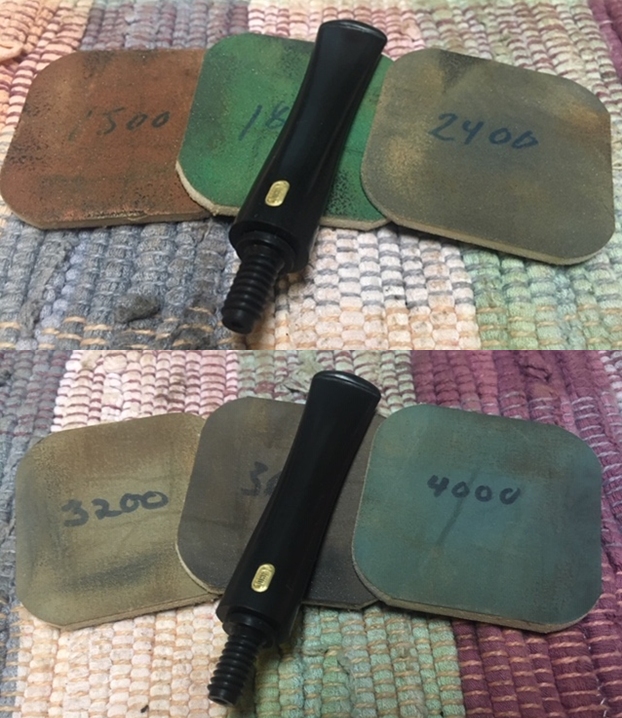
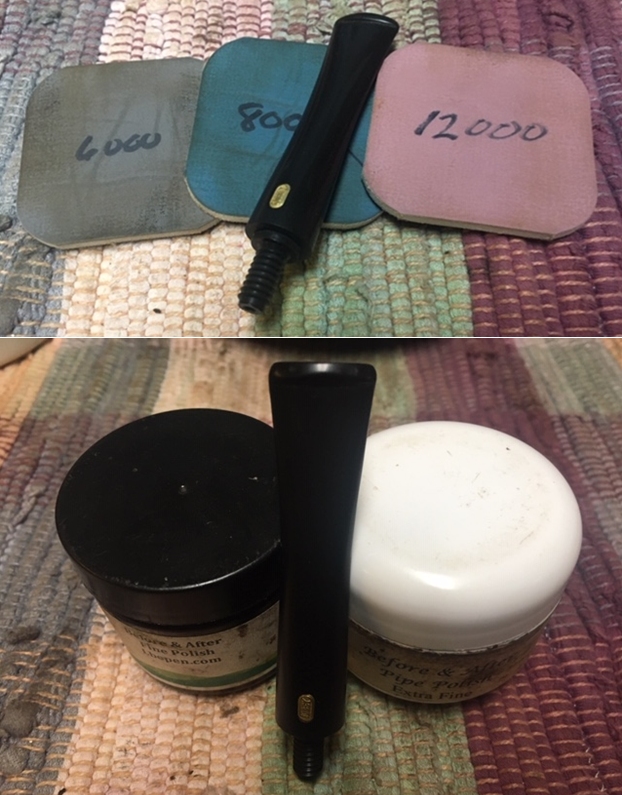
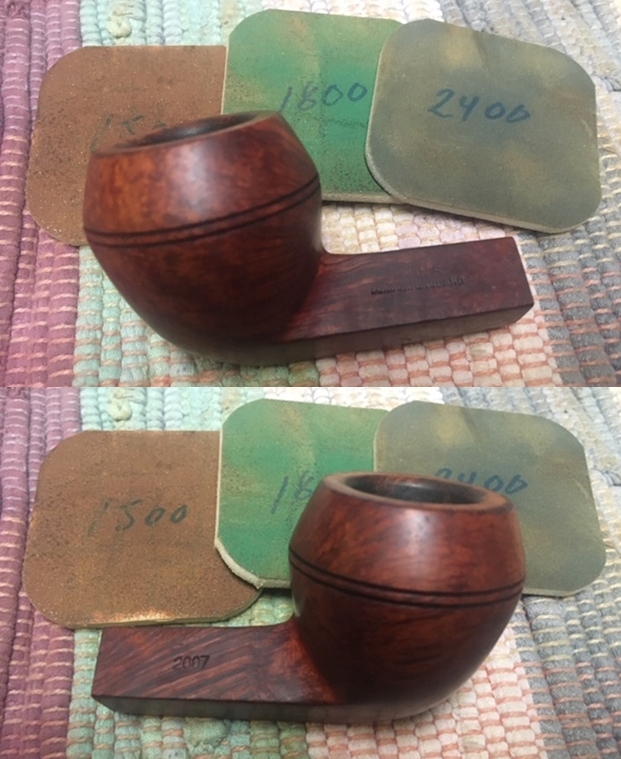
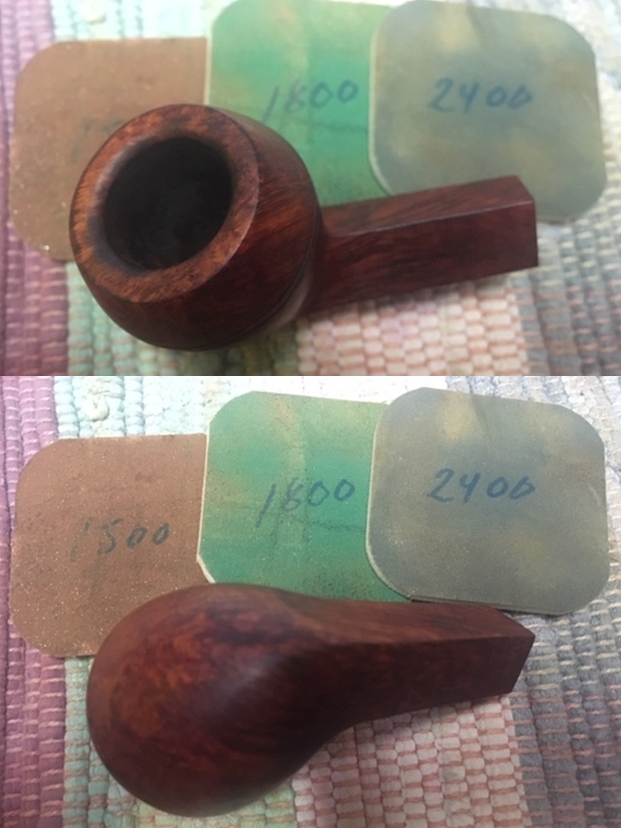
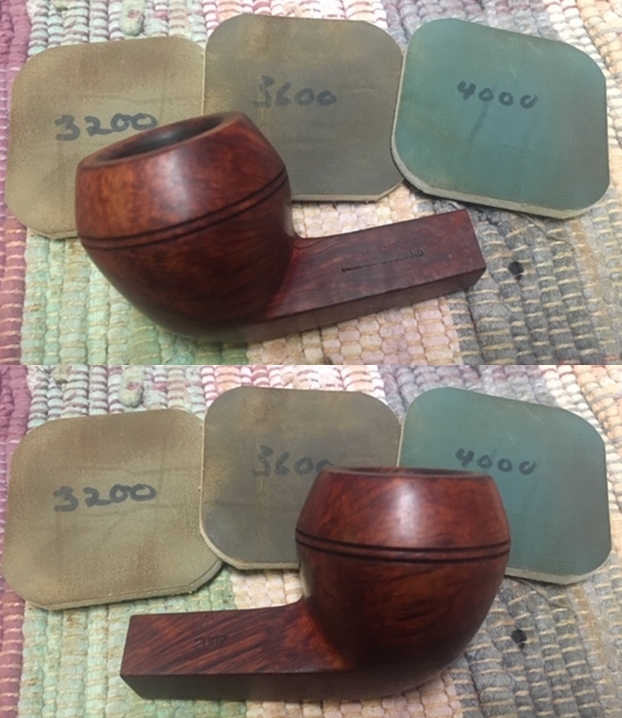
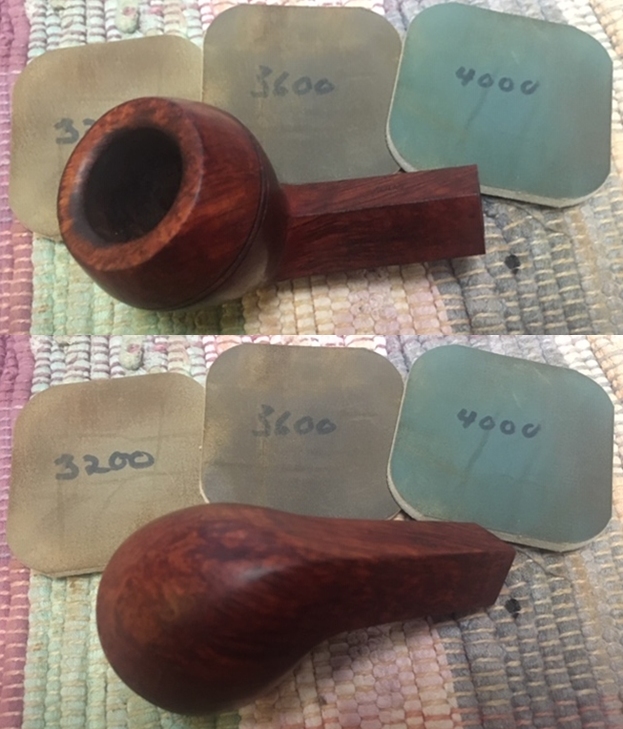
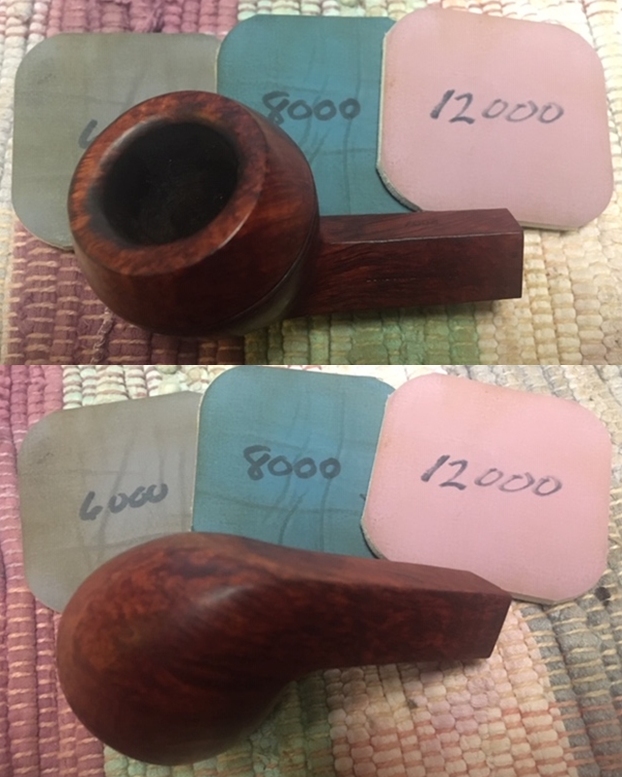
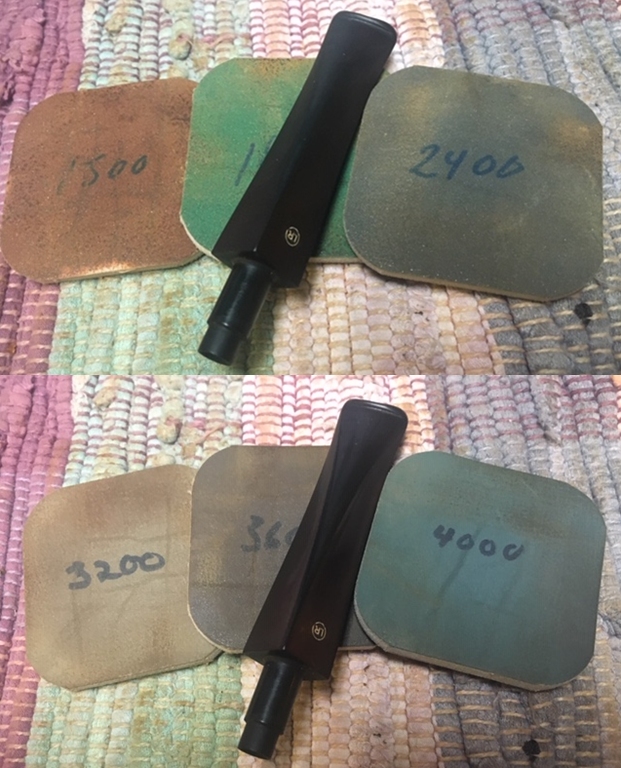
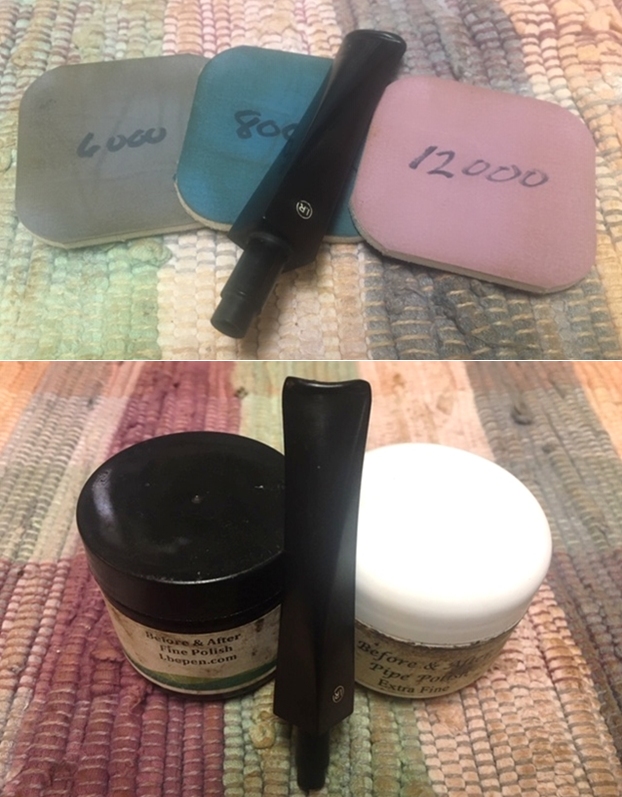
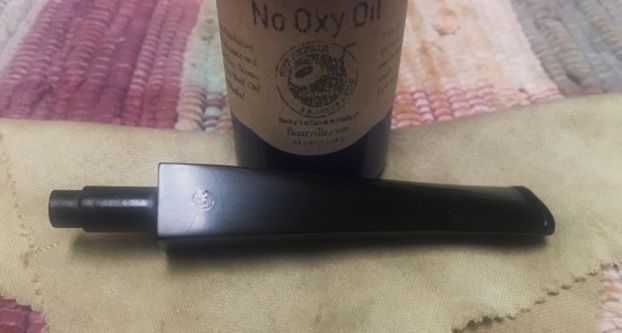
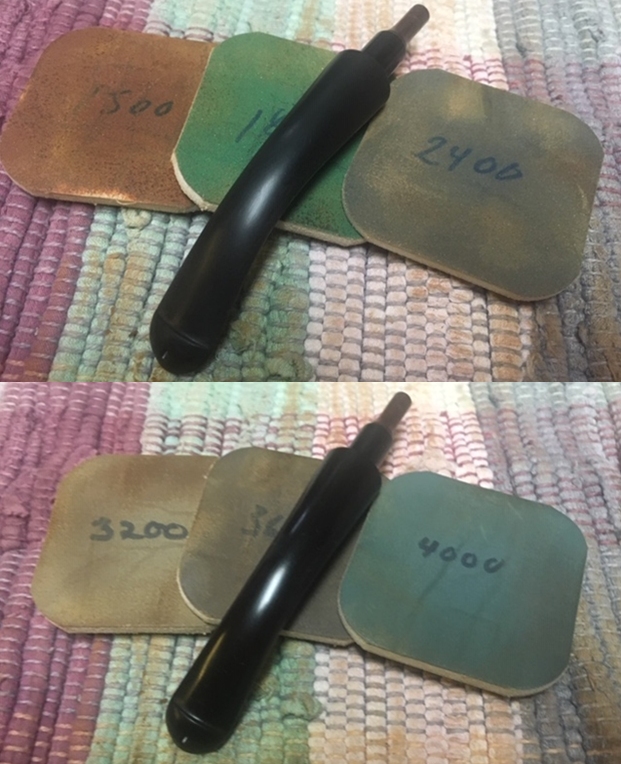
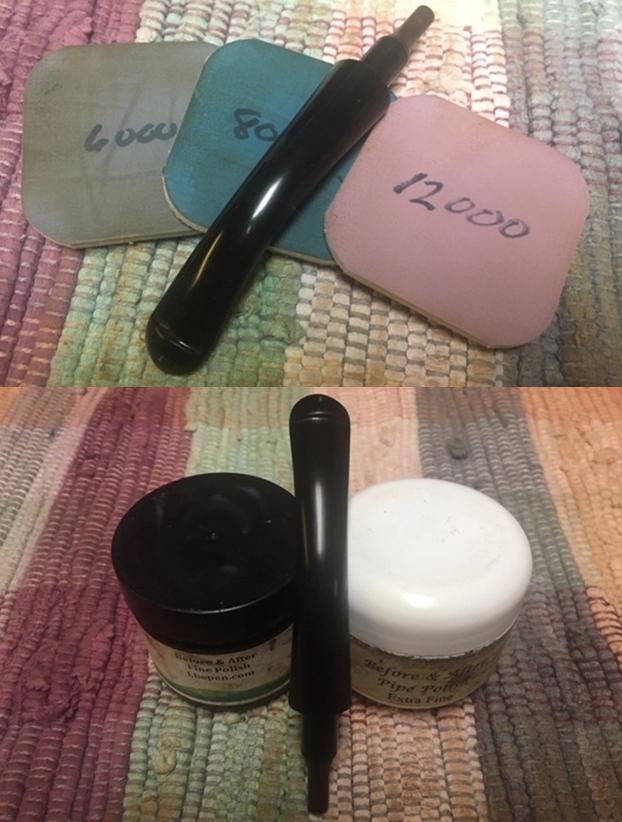
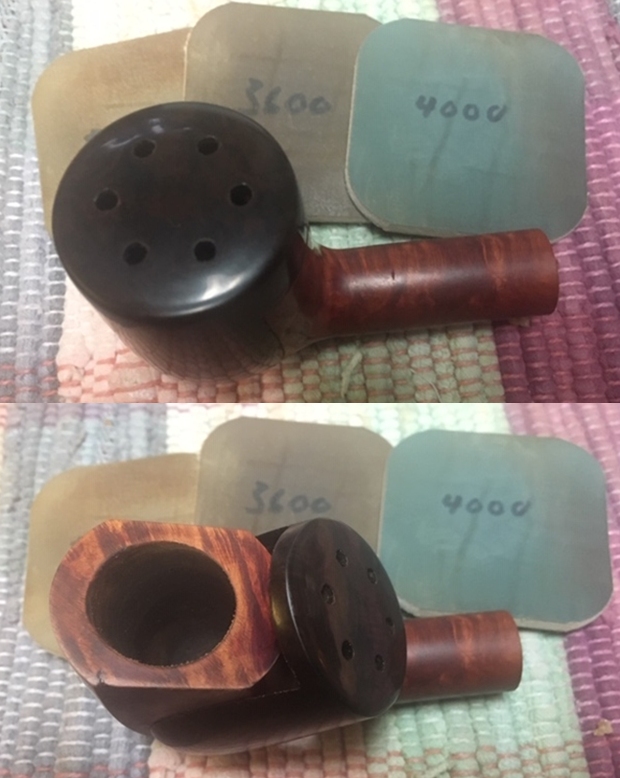
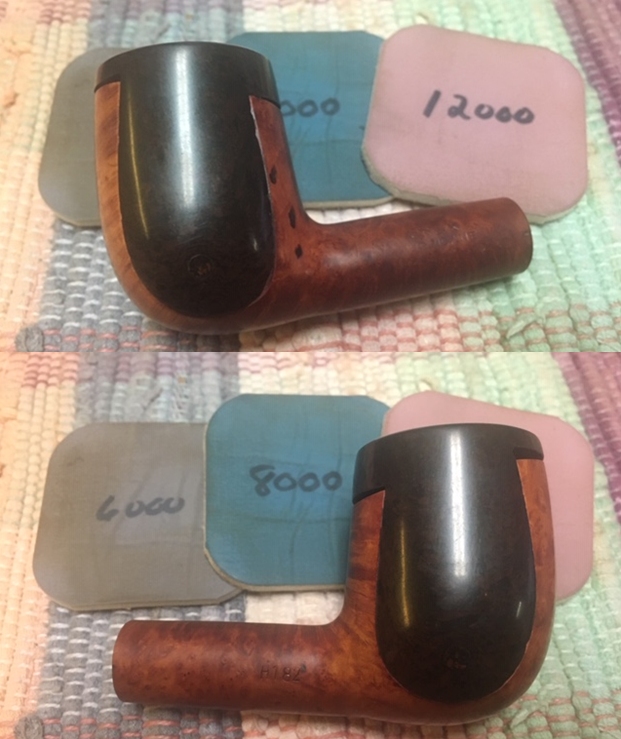
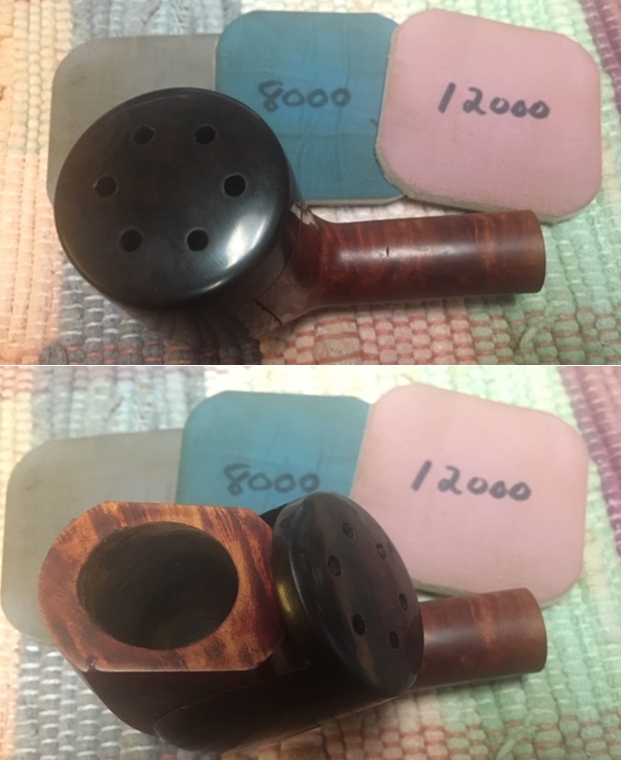
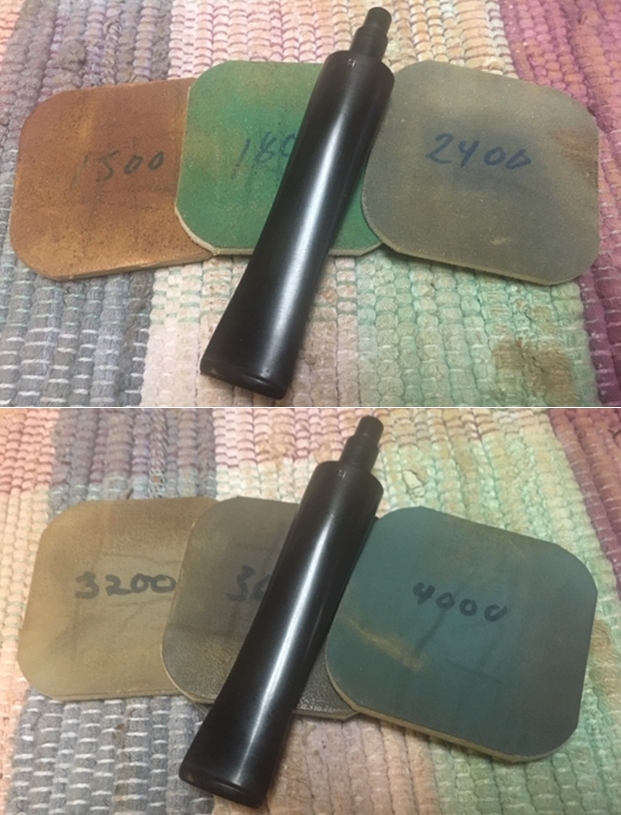
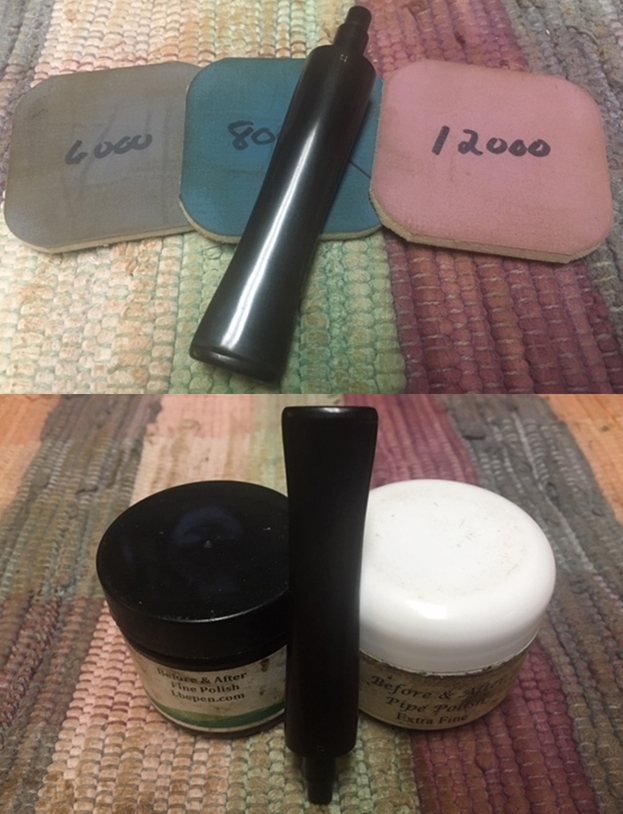
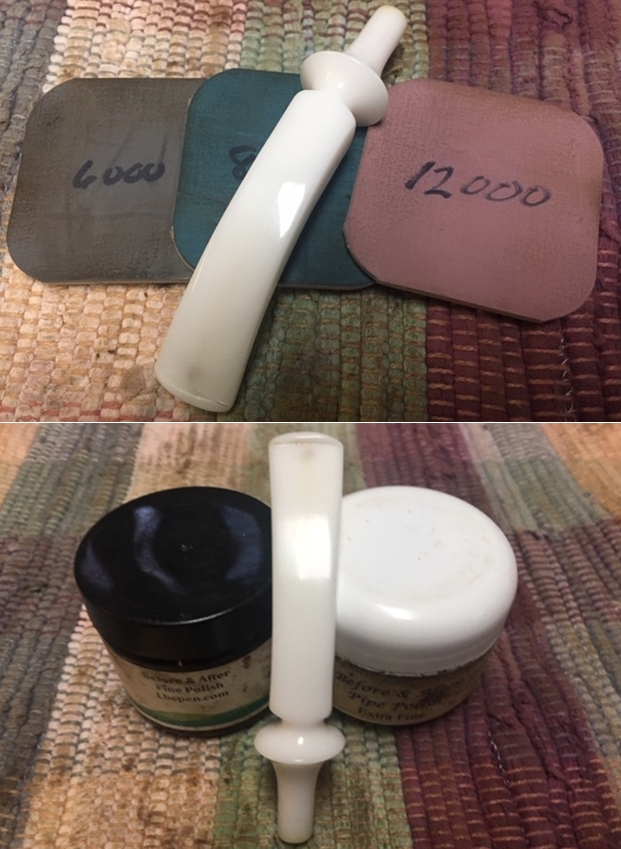
 I polished the stem with micromesh sanding pads – dry sanding with 1500-12000 grit sanding pads. I wiped it down after each sanding pad with a cloth containing some Obsidian Oil. I finished polishing it with Before & After Pipe Stem Polish – both Fine and Extra Fine and buffed it off with a cotton cloth.
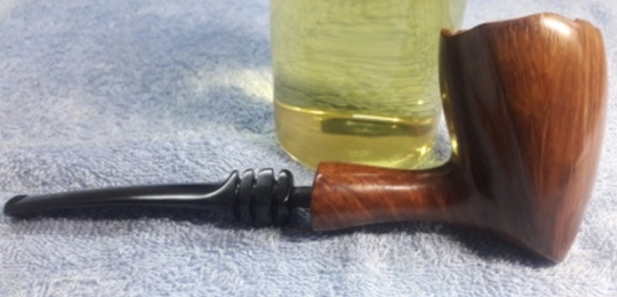
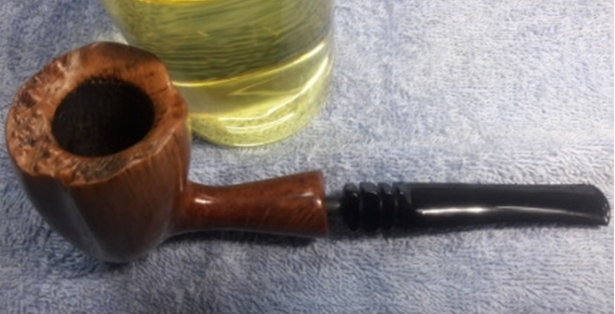
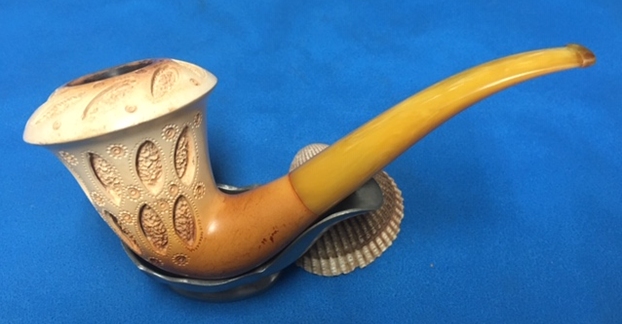
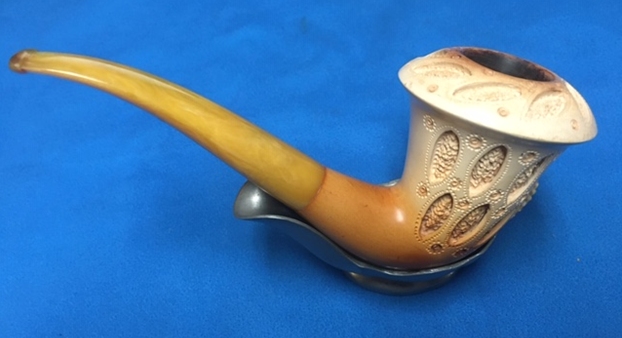
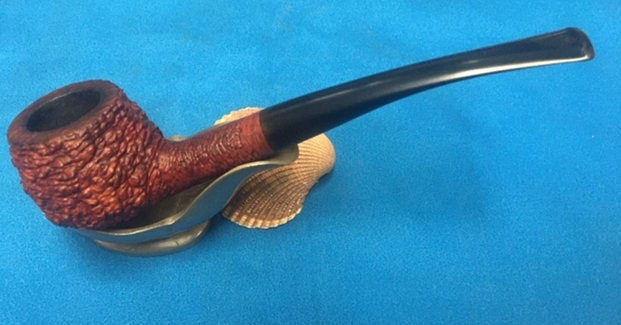
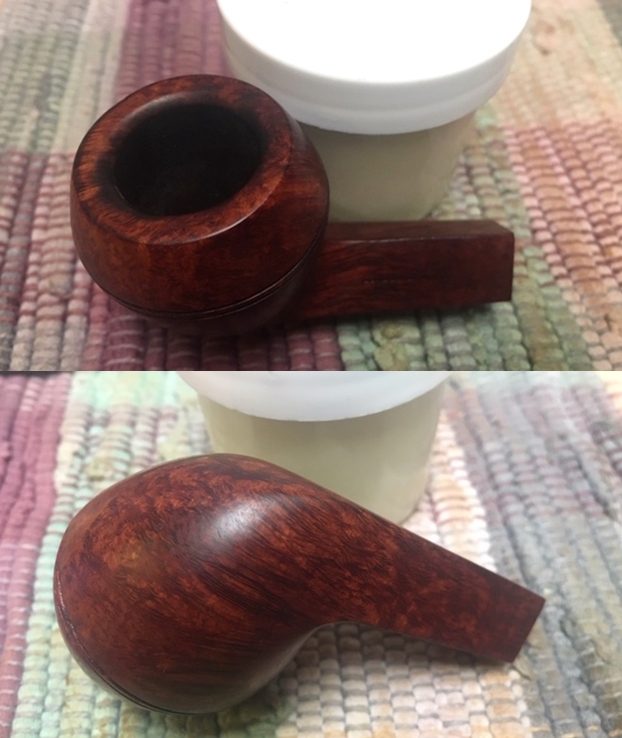
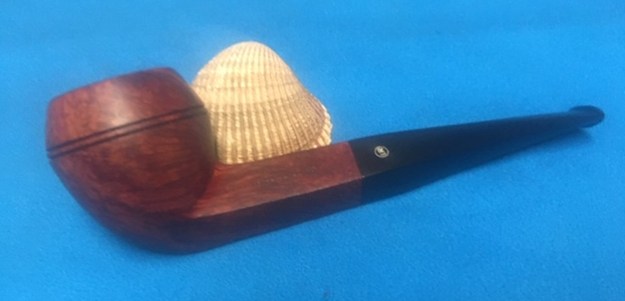
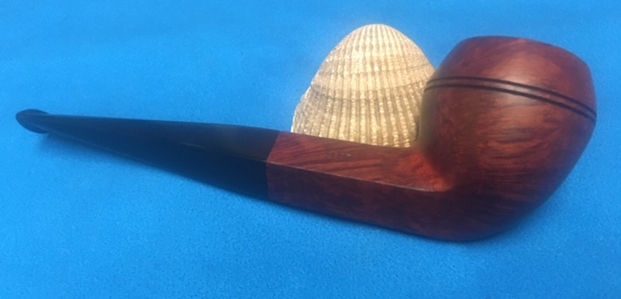
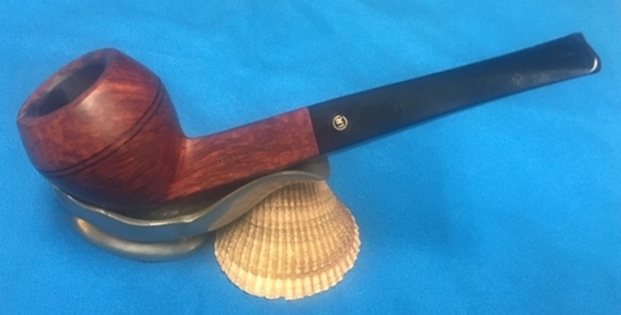
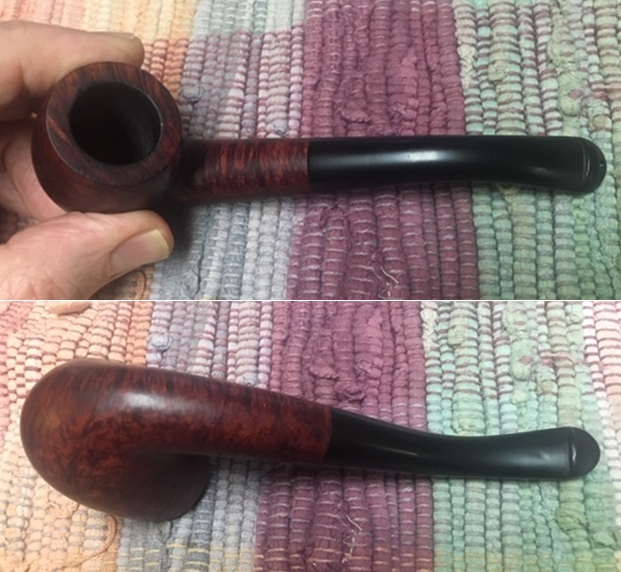
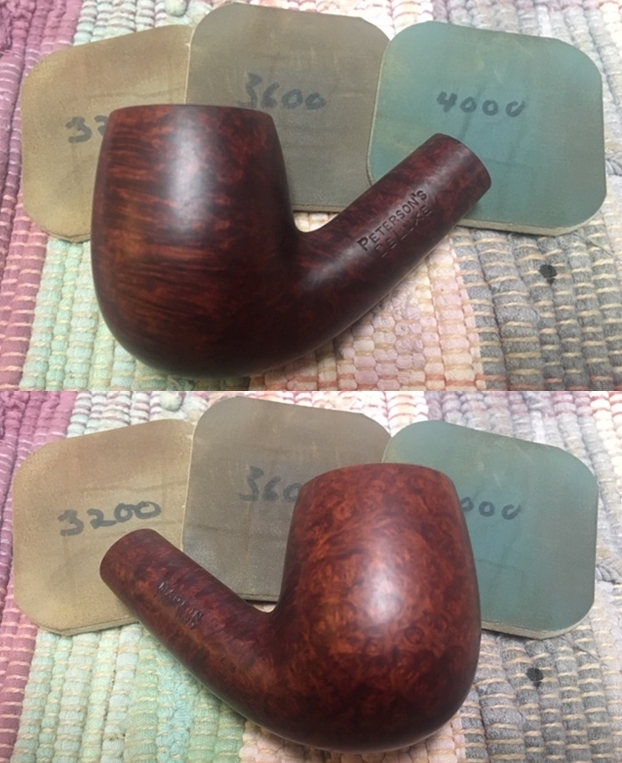
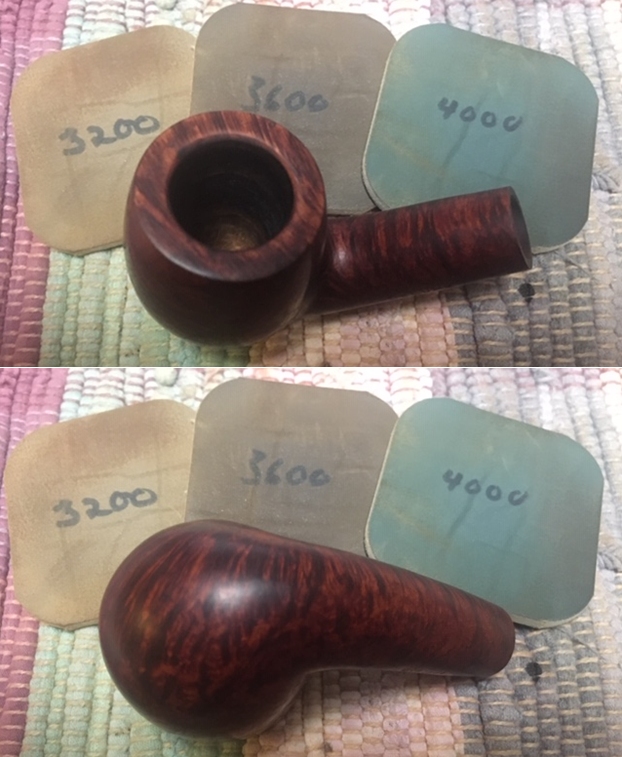
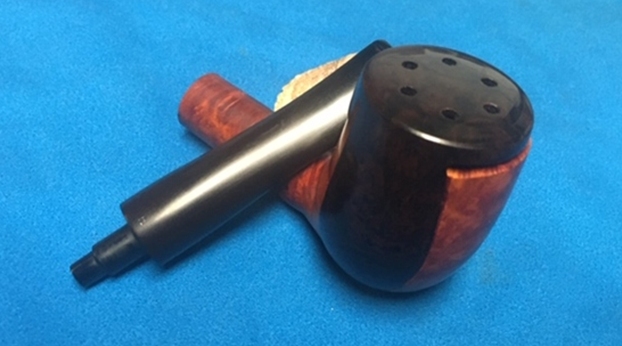
 Once again I love this part of the process when all of the parts come together and the pipe looks better than when we started the cleanup process. I put the stem back on the bowl and buffed the pipe lightly with Blue Diamond on the buffing wheel. I carefully avoided the stamping on the shank sides during the process. I gave the bowl multiple coats of Conservator’s Wax and the stem multiple coats of carnauba wax on the buffing wheel and followed that by buffing it with a clean buffing pad on the buffer. I hand buffed the pipe with a microfiber cloth to deepen the shine. The finished pipe is a real stunning example GBD’s response to the Freehand Craze of the 1970s. The sandblast grain and the way the shape follows it is very well done. This is the first Prodigy I have seen or worked on and I have worked on a lot of GBD pipes. Give the finished pipe a look in the photos below. I can only tell you that it is much prettier in person than the photos capture. The dimensions of the pipe are Length: 6 ½ inches, Height: 2 ¾ inches, Outside diameter of the bowl: 1 ¾ inches, Chamber diameter: 7/8 of an inch. This Made In London England Prodigy Sandflame 9696 Freehand is a great looking pipe in excellent condition. Thanks for walking through the restoration with me as I worked over another beautiful pipe. I was having a FaceTime chat with Paresh while I was working on this one and it will soon be heading to India to join his collection of Freehand pipes. Thanks for your time.