Blog by Steve Laug
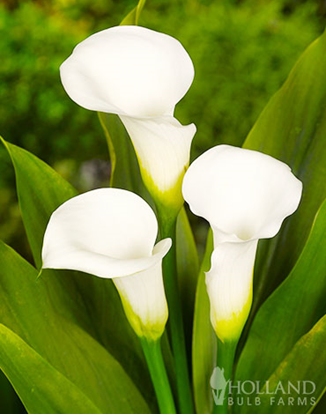 My brother Jeff picked up this interesting looking freehand pipe on one of his adventures pipe hunting. It had really nice grain and remnants of plateau on the top of the rim and one spot on the left side end of the shank. There was something familiar about the shape of carving that reminded me of a flower that I have grown. It dawned on me this morning while I worked on it that it reminded me of a Cala Lily (pictured to the left). The flow of the shape of the bowl with the extended lip on the front and the grooves flowing up the side and back of the bowl look a lot like the shape of this lily. It is a beautiful pipe that is signed on the left side of the shank with Erik Nording’s signature.
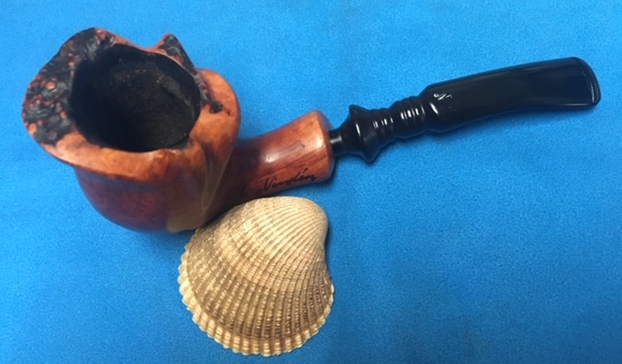
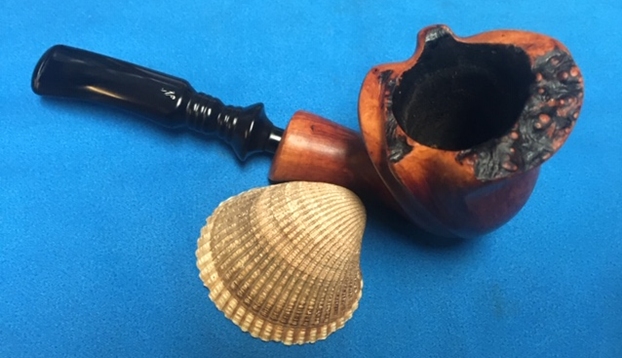
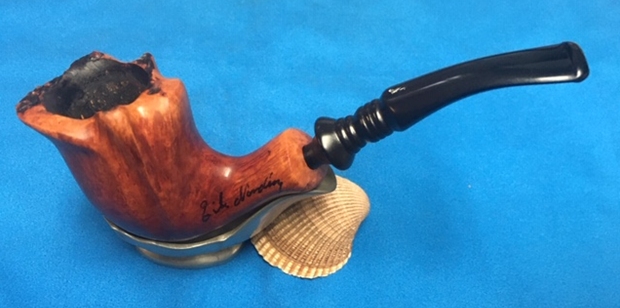
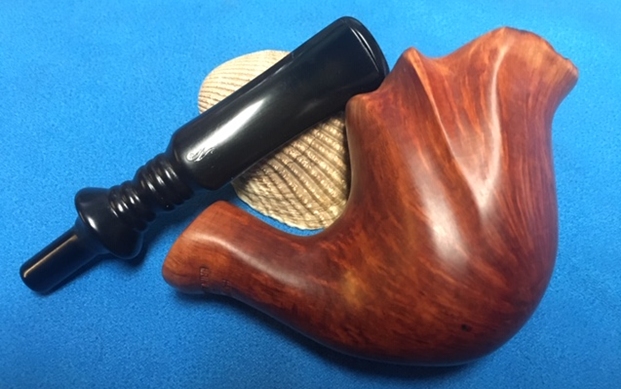
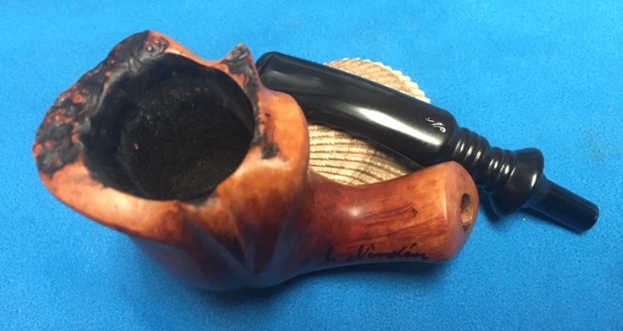
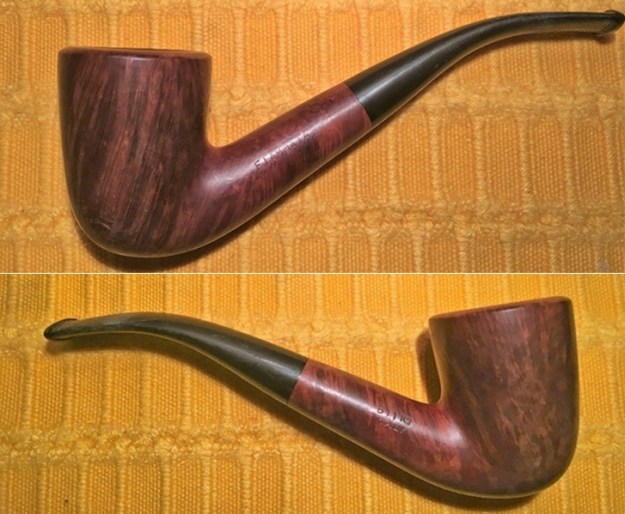
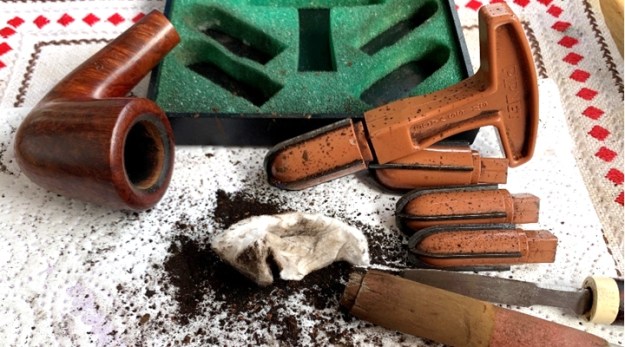
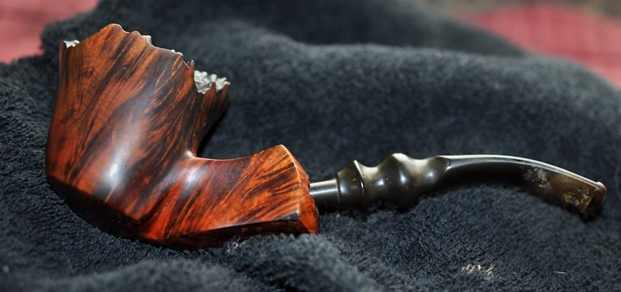
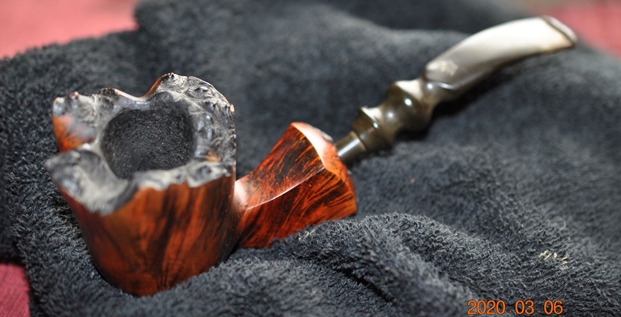
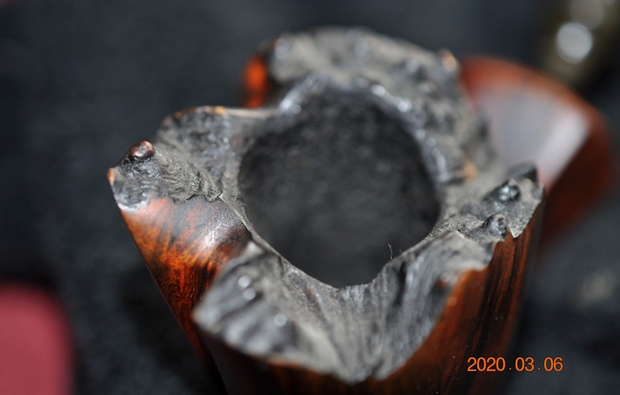
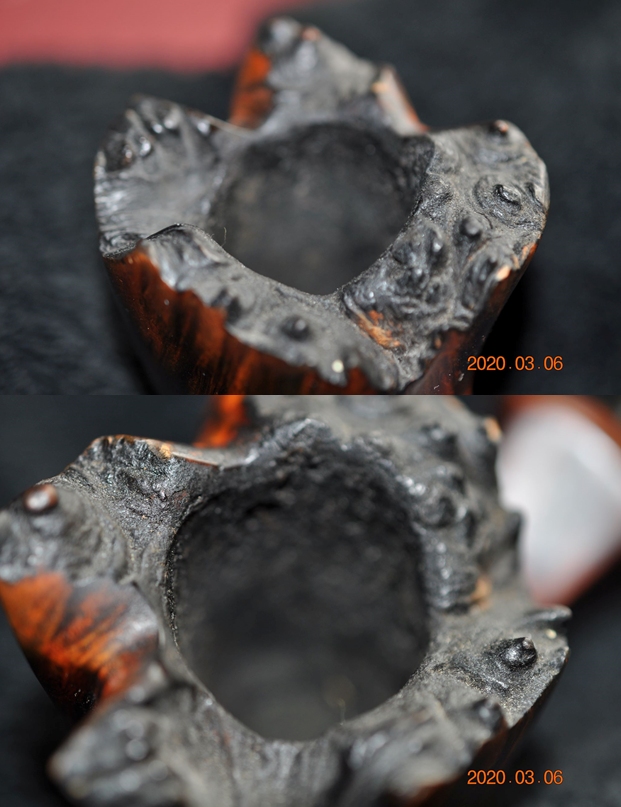
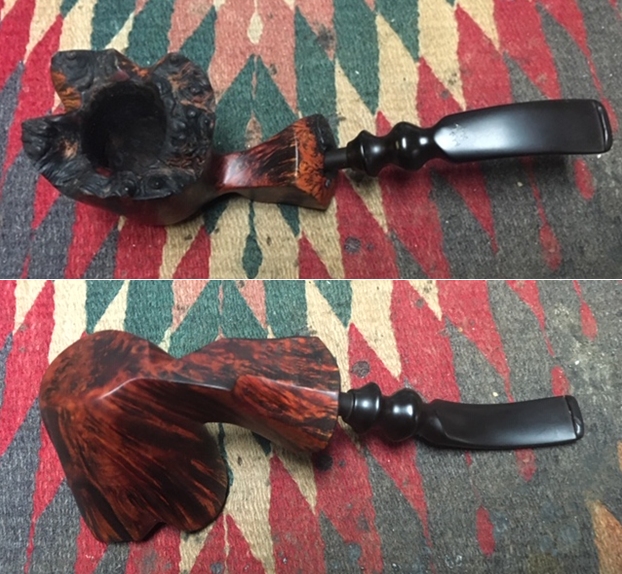
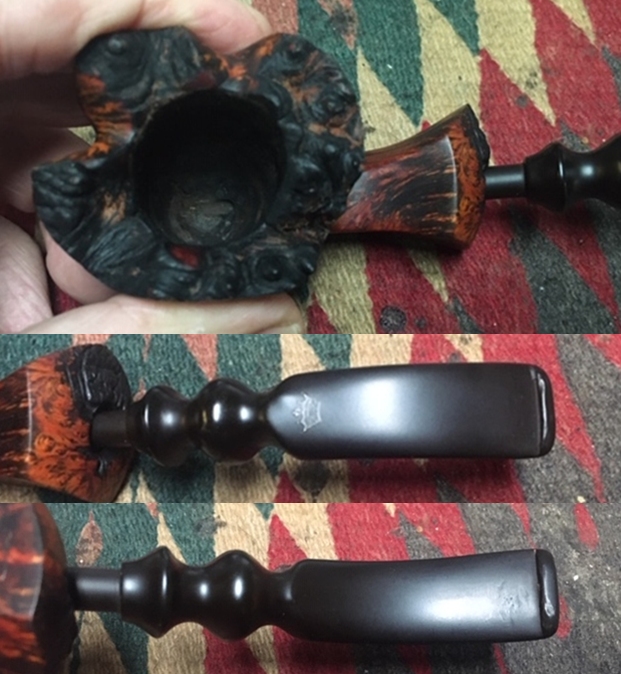
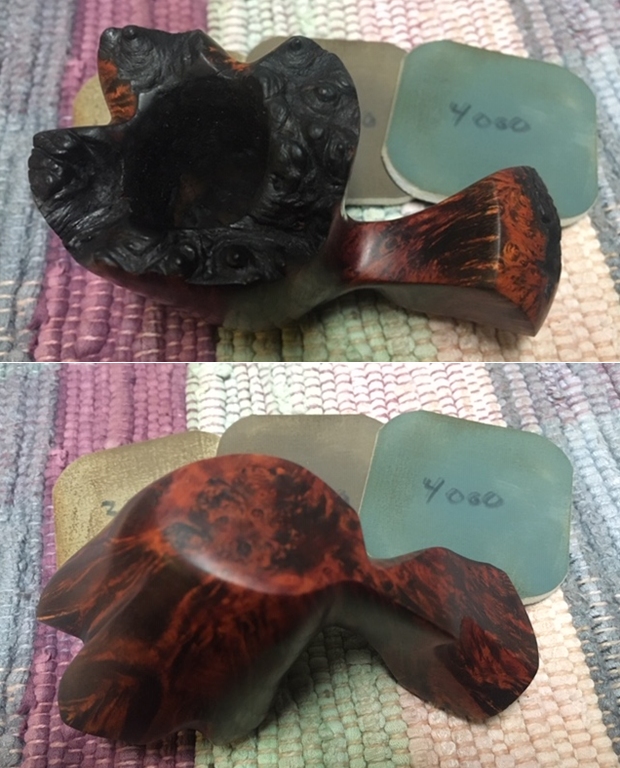
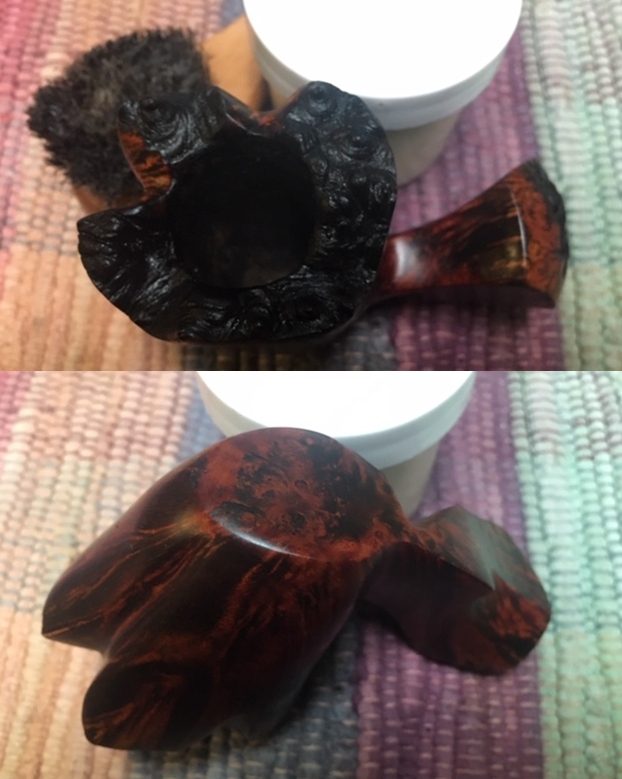
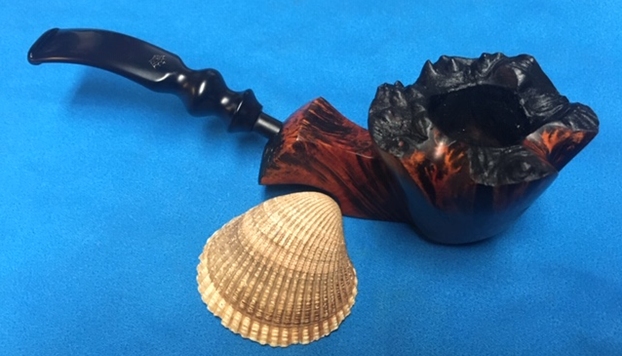
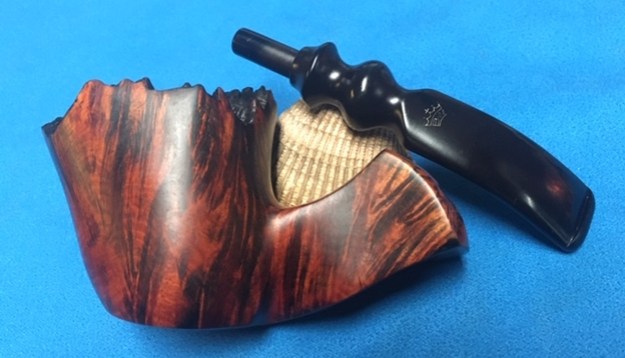
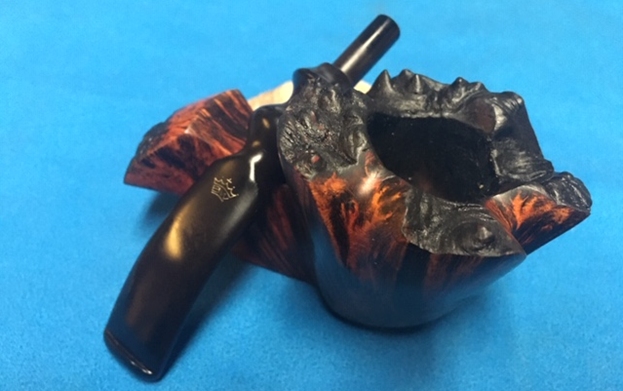
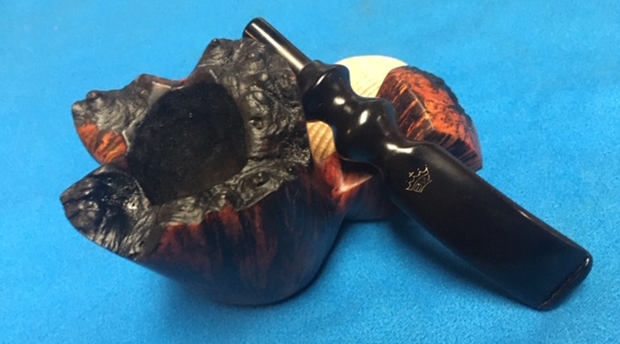
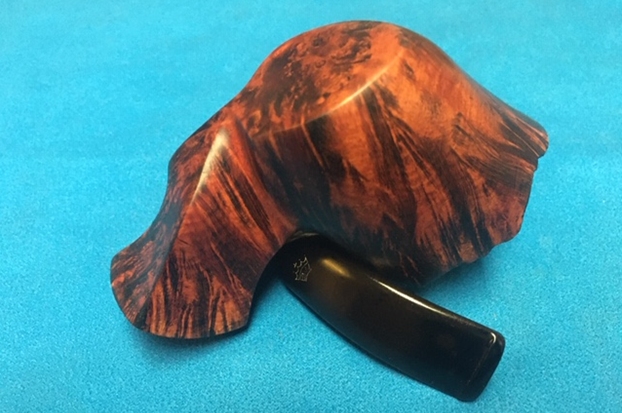
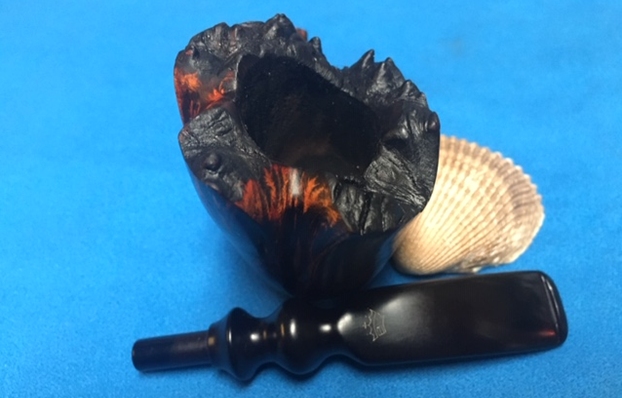
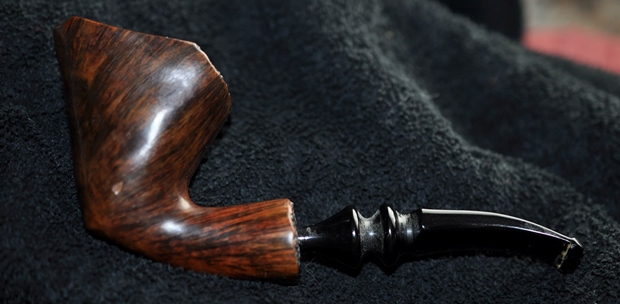
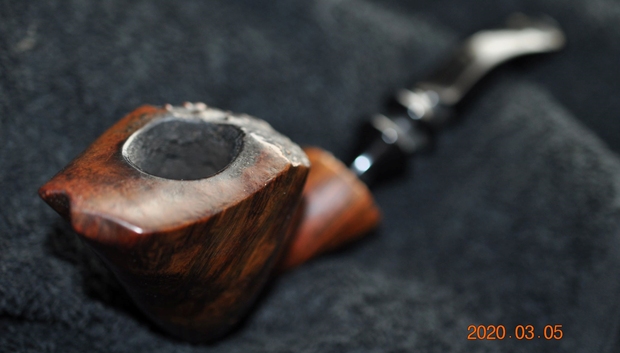
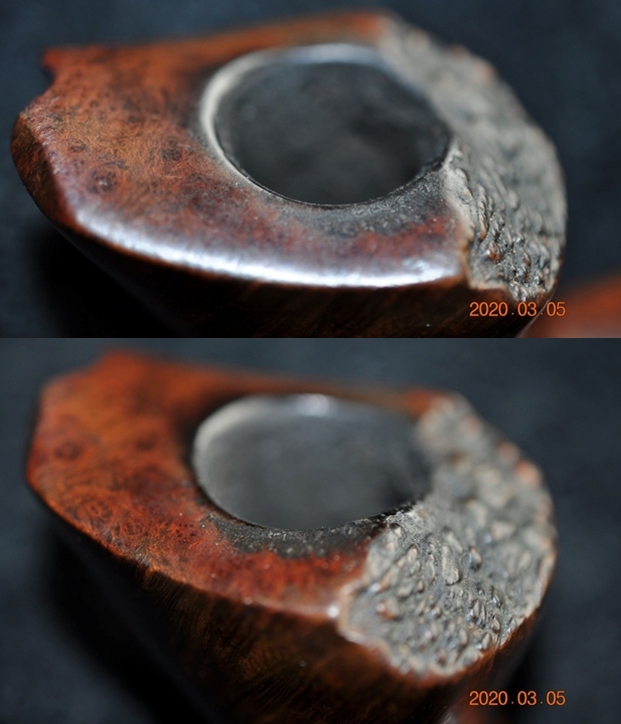
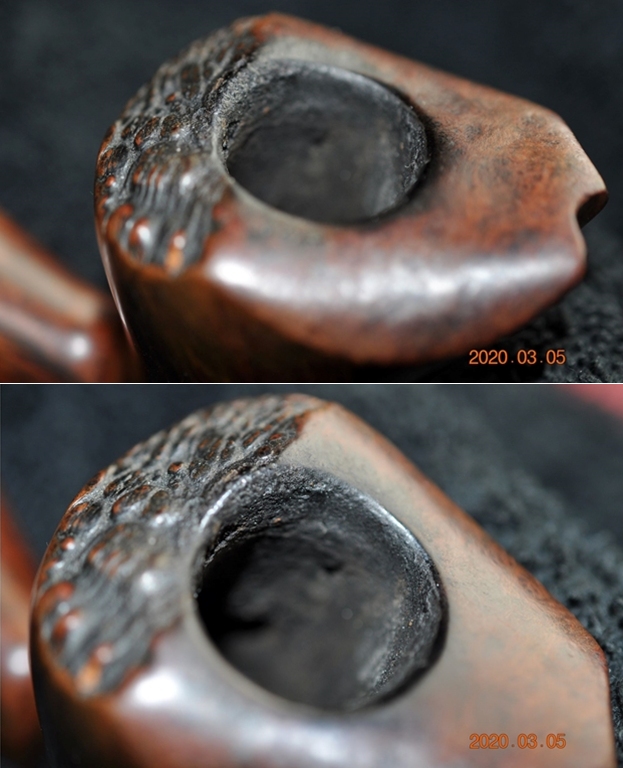
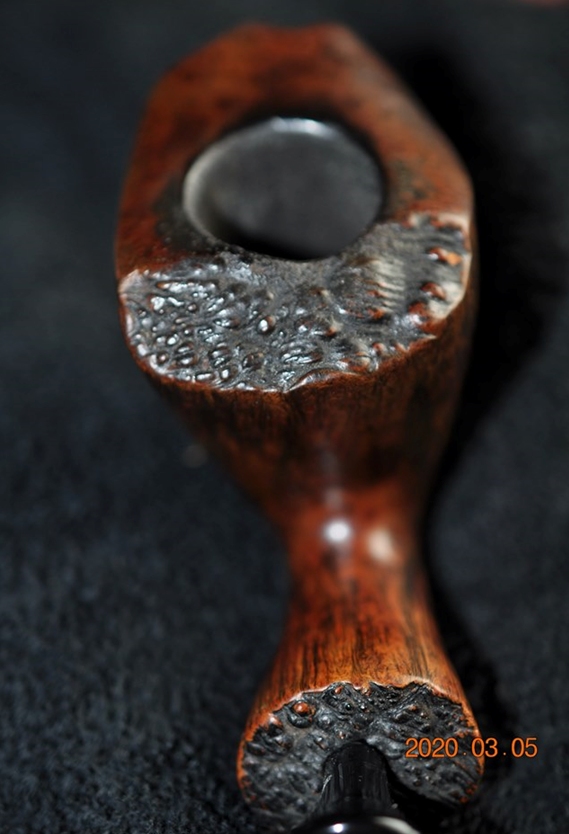
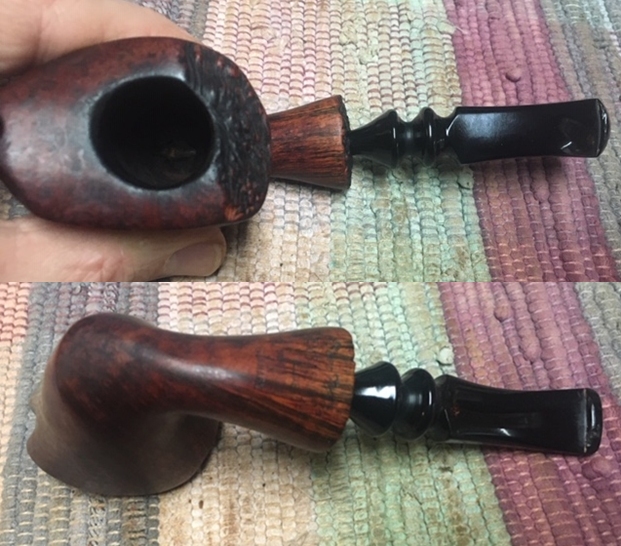
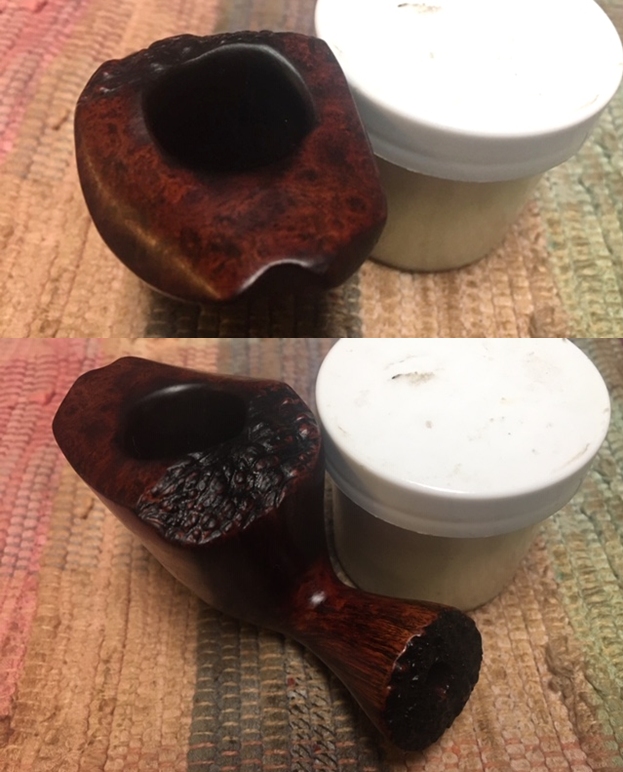
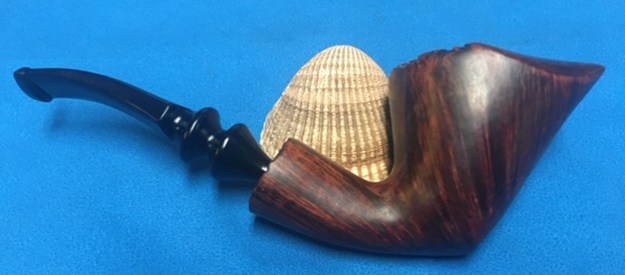
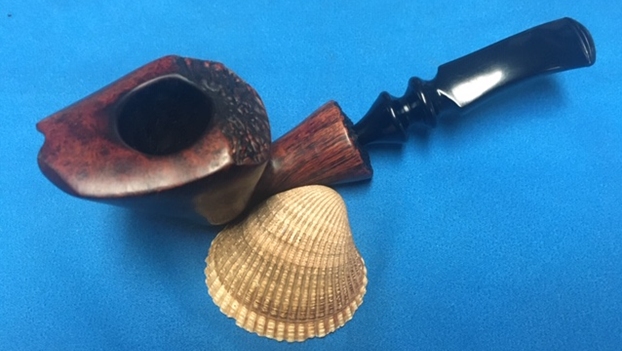
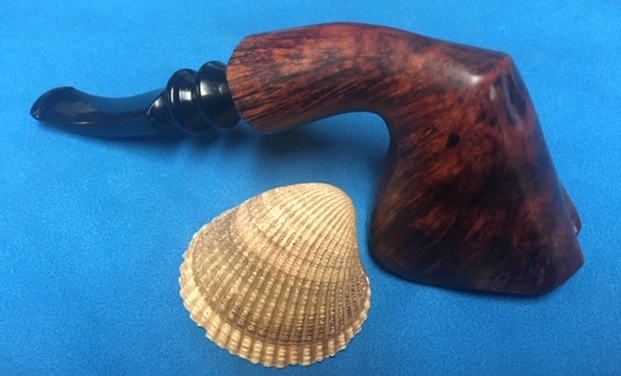
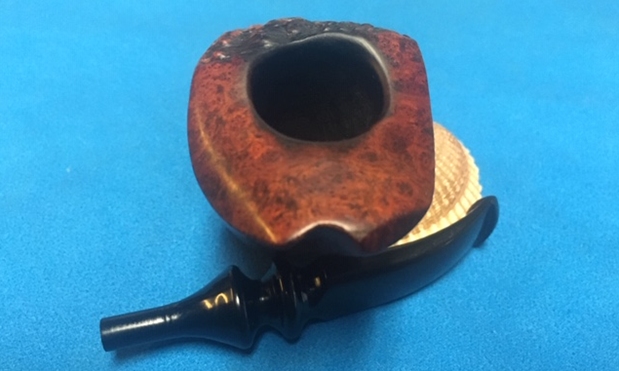
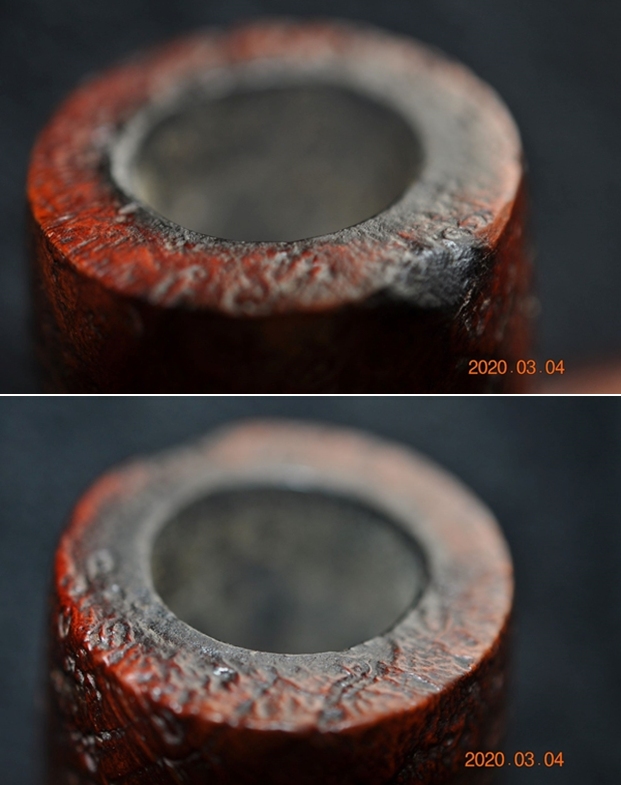
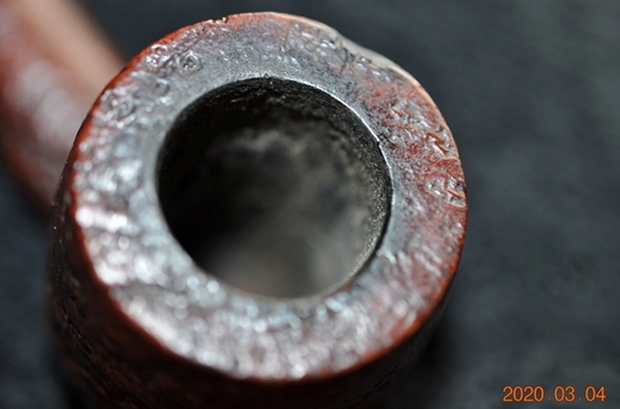
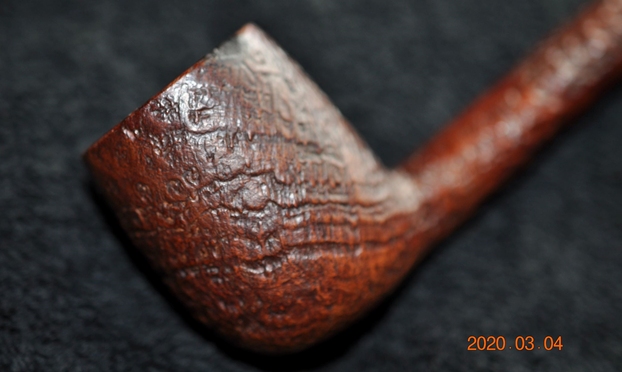
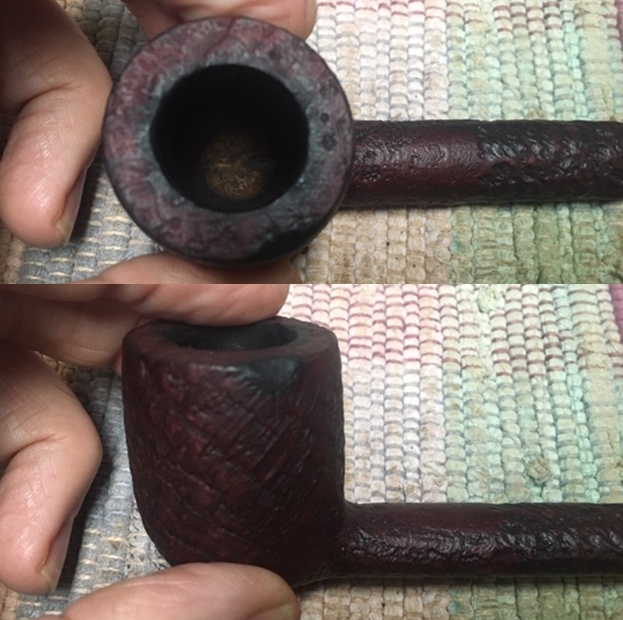
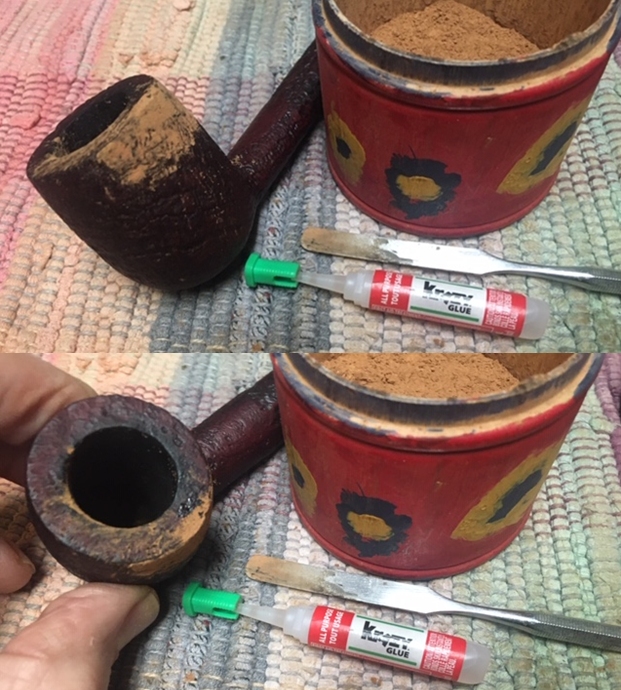
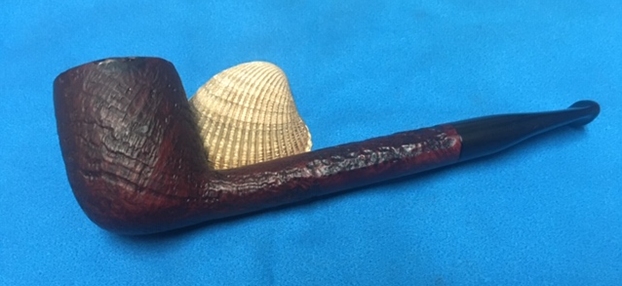
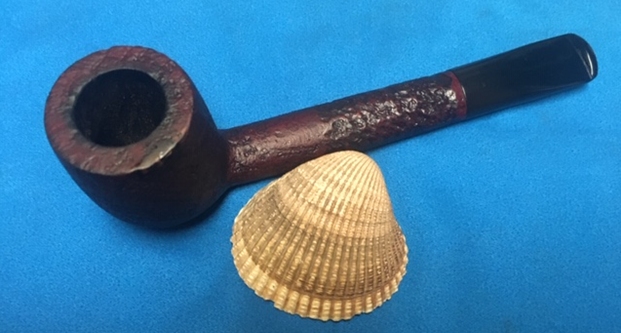
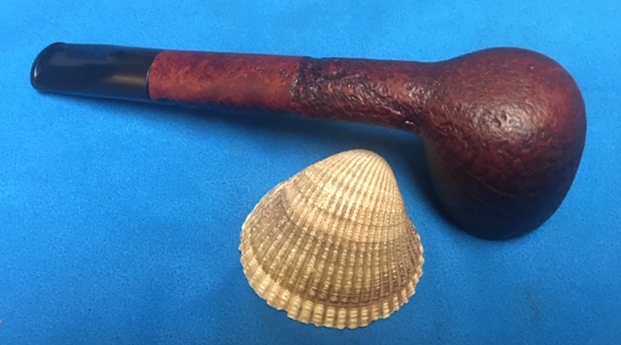
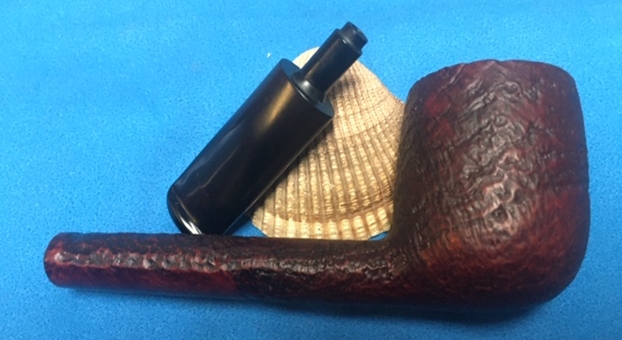
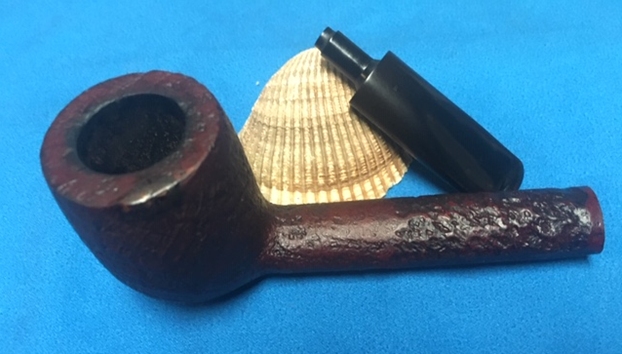
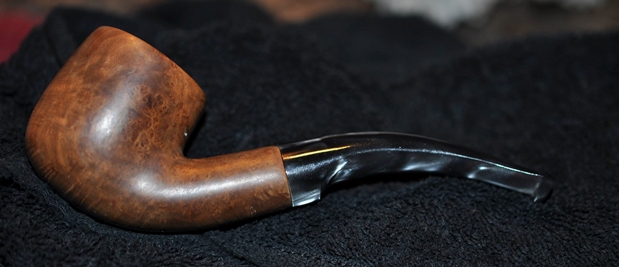
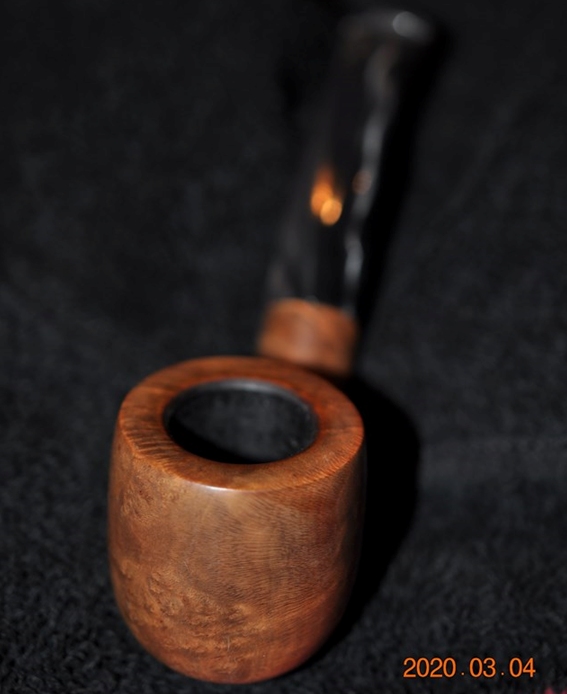
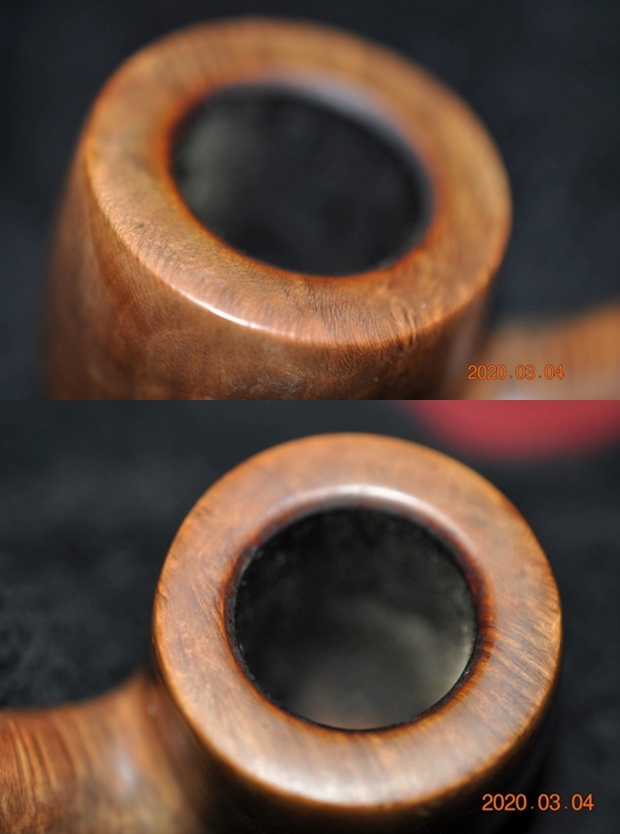
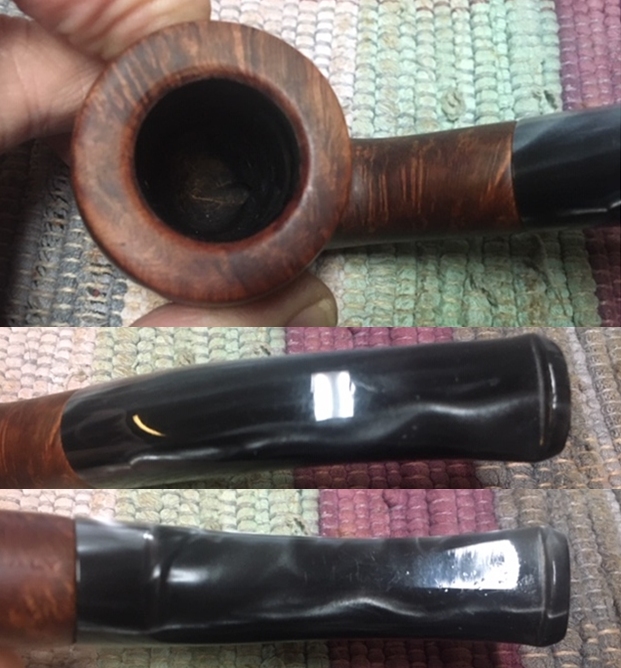
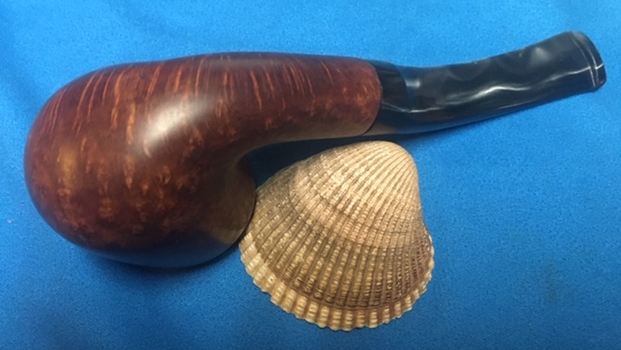
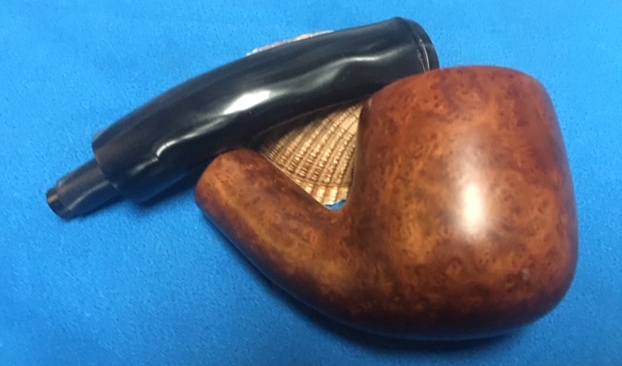
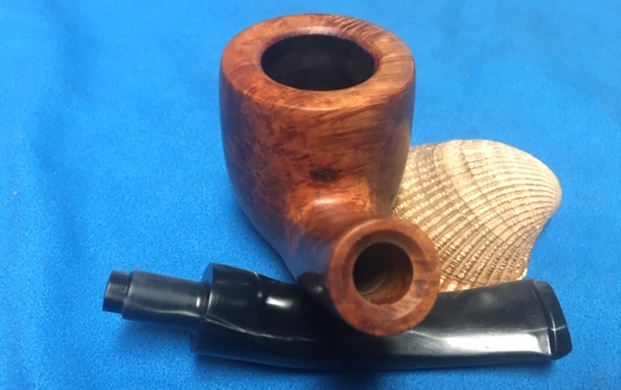
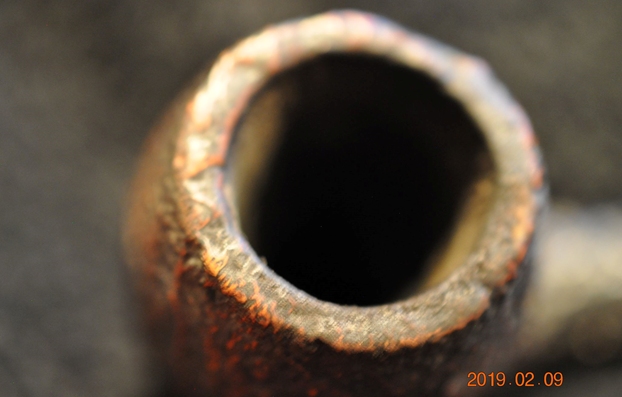
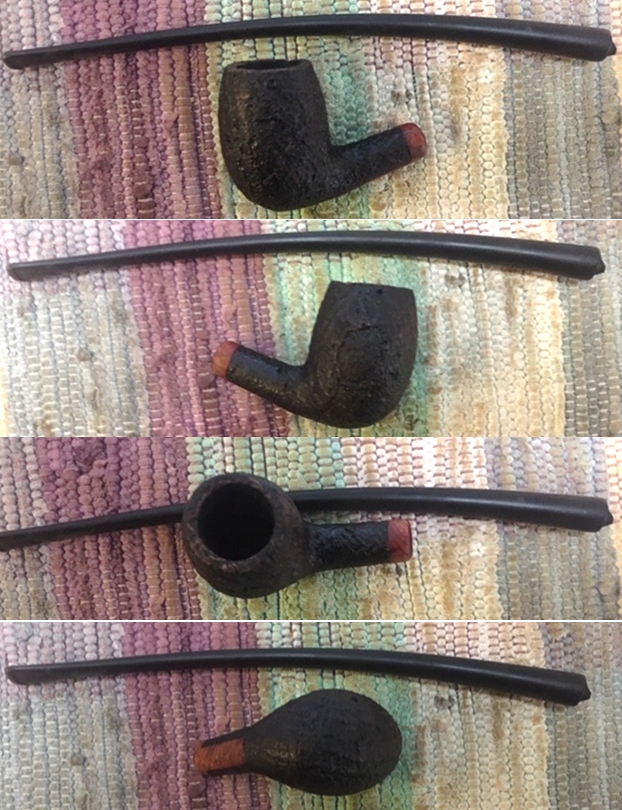
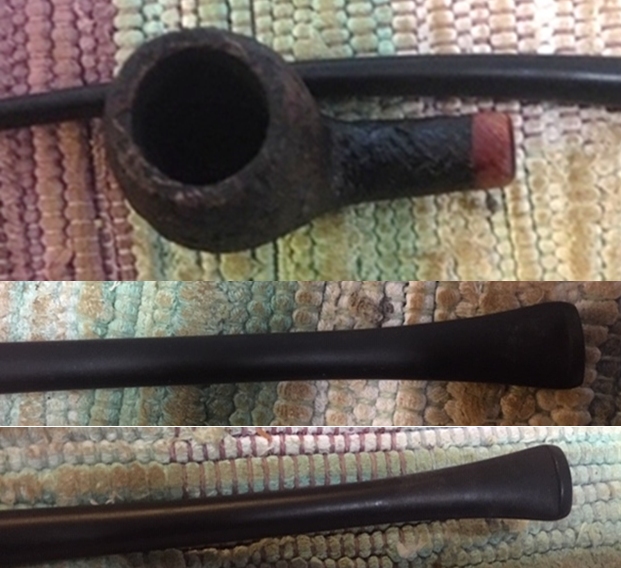
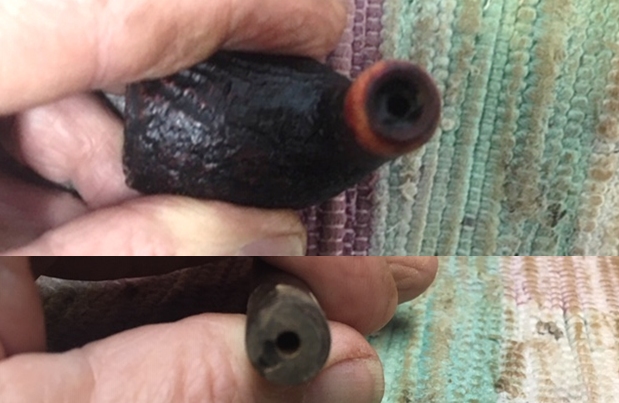
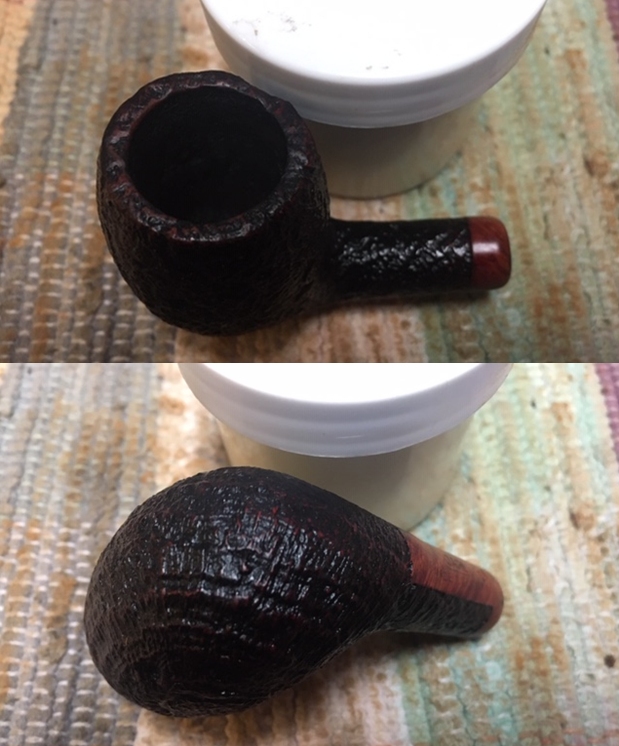
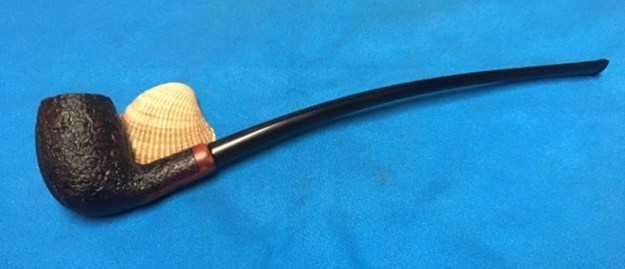
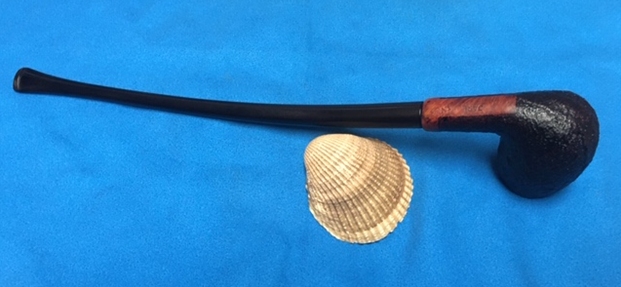
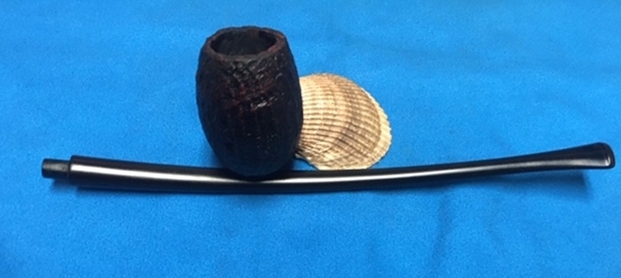
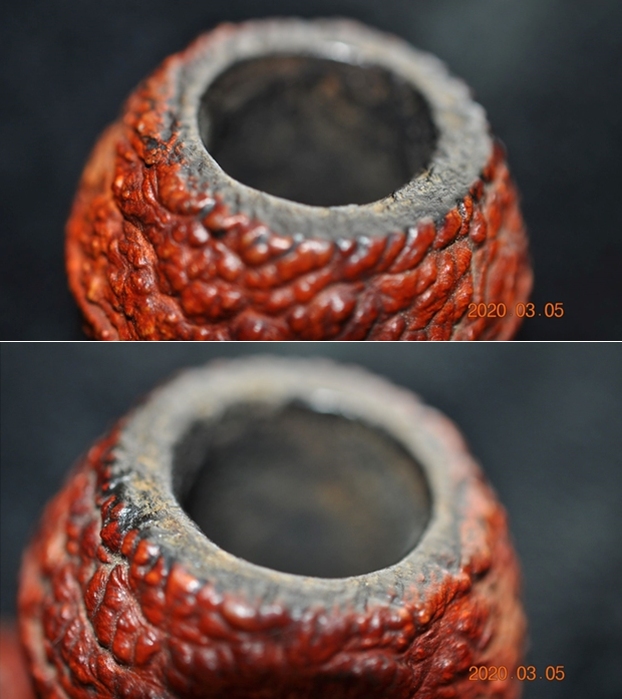
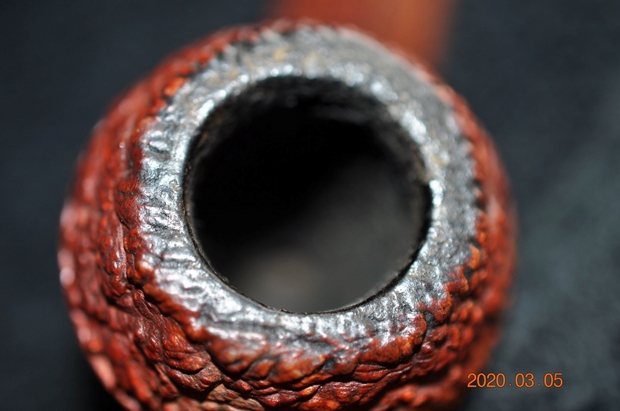
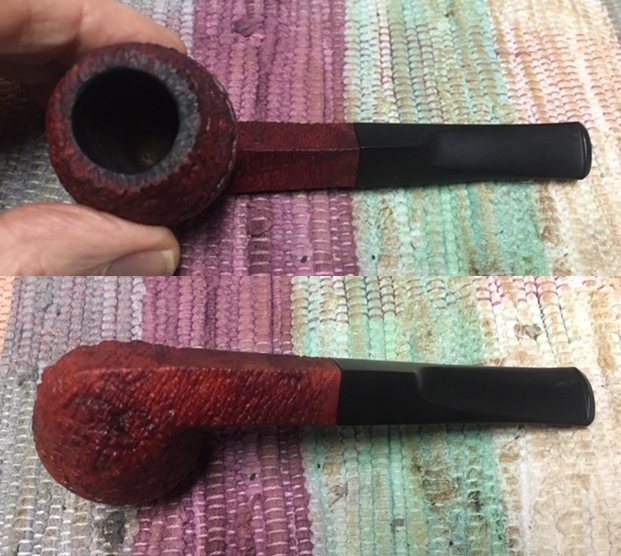
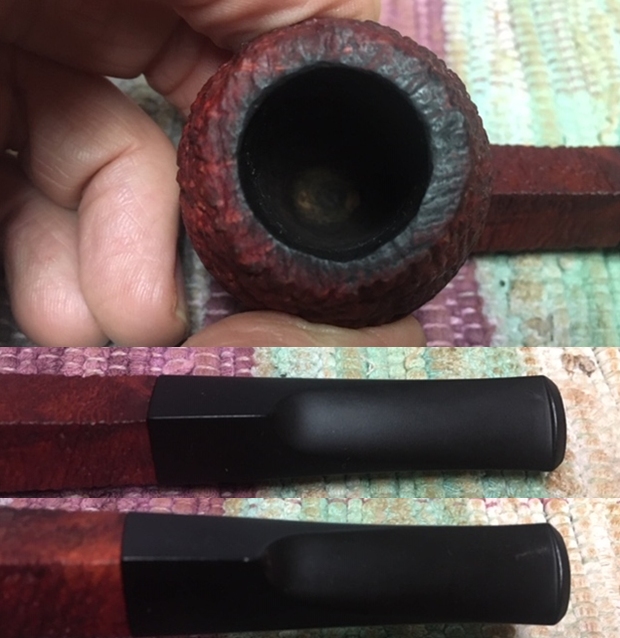
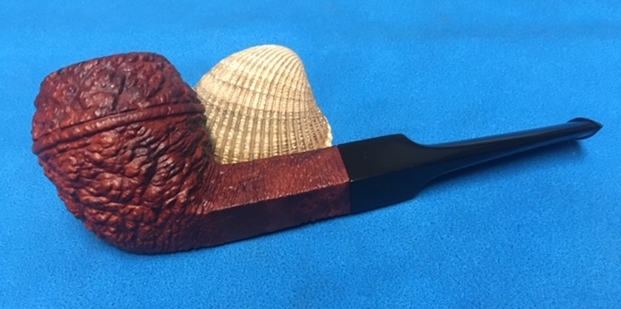
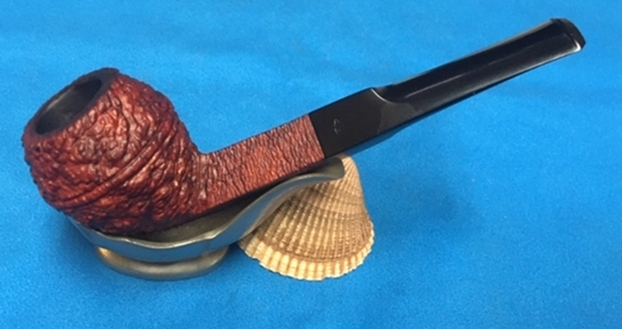
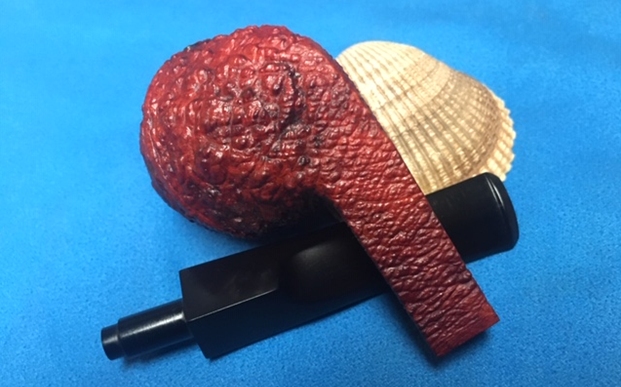
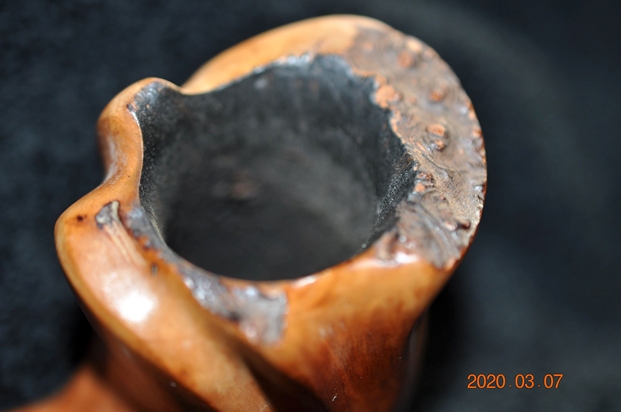
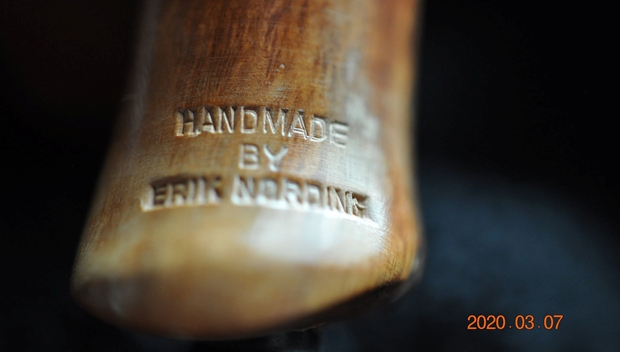
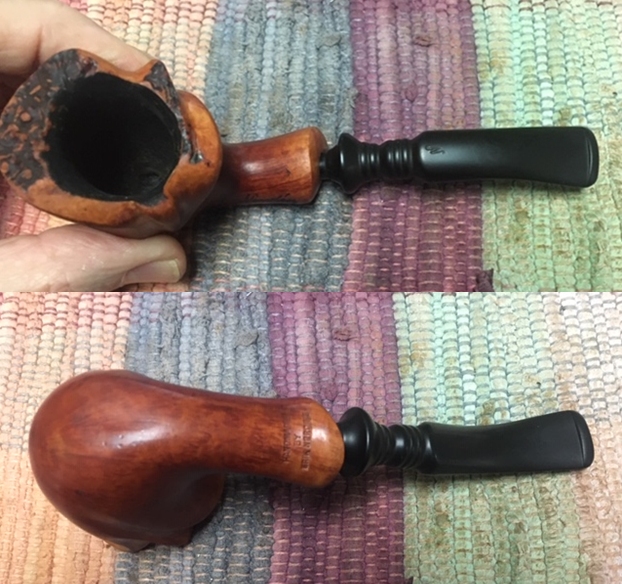
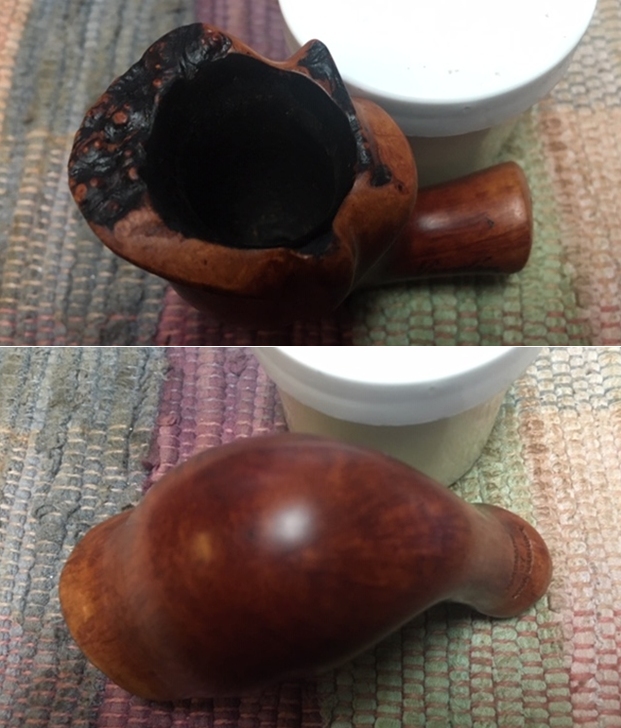
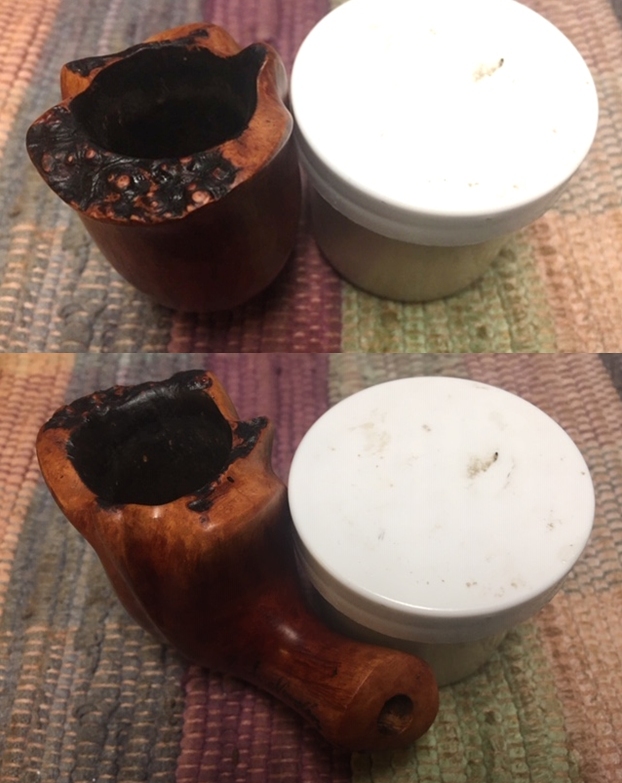
The pipe has the signature as noted above but it was also stamped on the underside of the shank and read: Handmade by Erik Nording. The finish on this pipe was dirty with dust and a light lava coat on the edge of the plateau top. The bowl was lined with a thick cake. The smooth finish was also dirty and dull looking. The finish looks good under the grime and dust. The bits of plateau should clean up well. The stem is a turned fancy turned vulcanite stem with the stylized N of the Nording logo on the top of the saddle. The fit of the stem to the shank was snug. There were light tooth marks and chatter on both sides of the stem at the button. Otherwise it was a very clean stem. Jeff took of the pipe to show the overall condition of the bowl and stem. You can also see why I was reminded of the Cala Lily.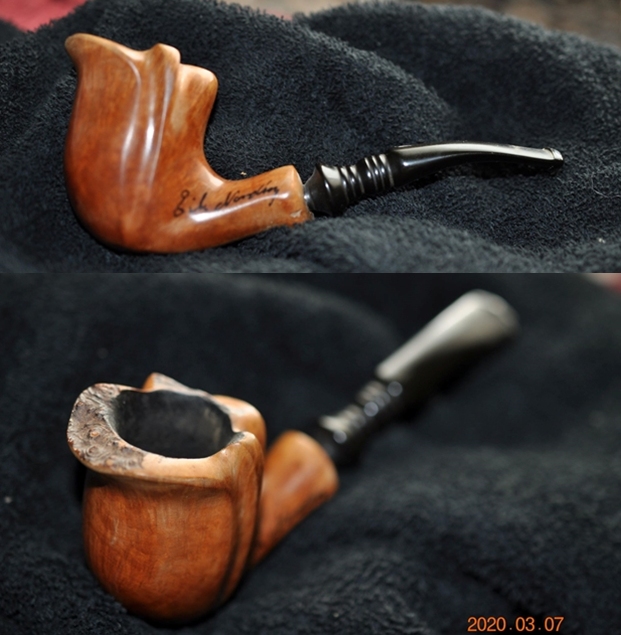 He took close up photos of the bowl and rim top from different angles to show the condition of the rim top and the plateau finish. You can see the lava and build up on the rim top and the lava flowing over the inner edge of the bowl onto the plateau. It is hard to know if there is damage or if the lava protected it. The bowl has a thick cake that lining the walls and overflowing into lava.
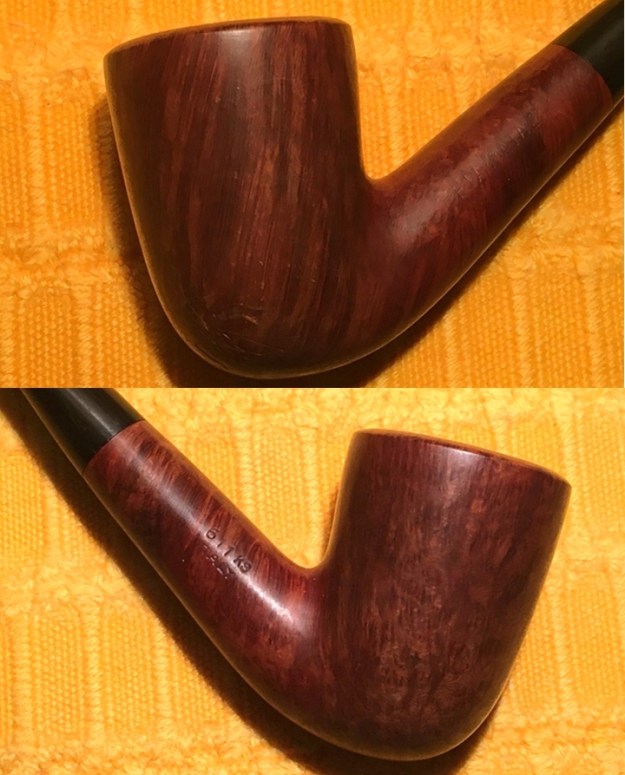
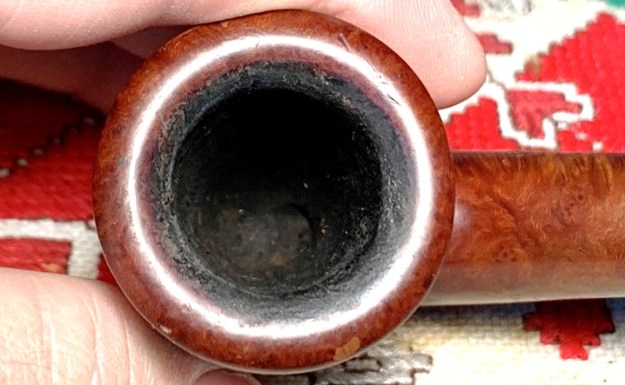
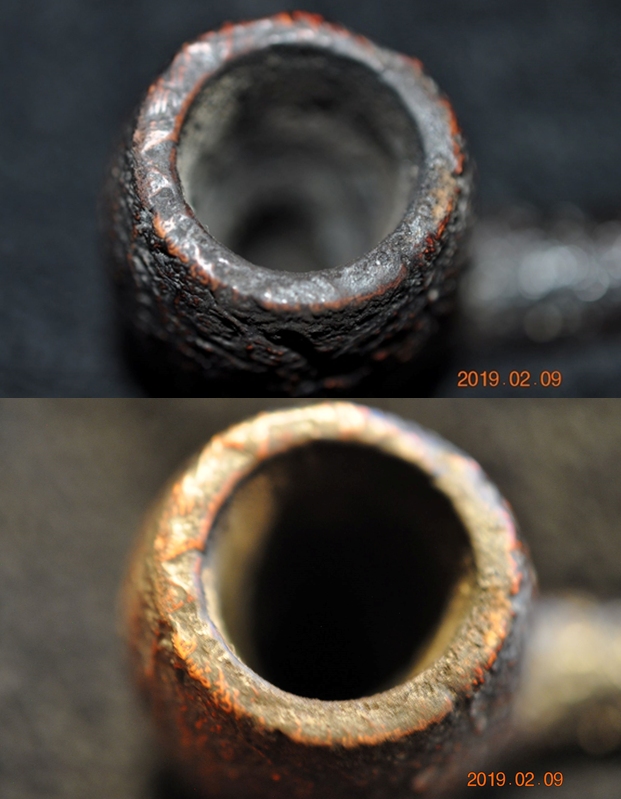
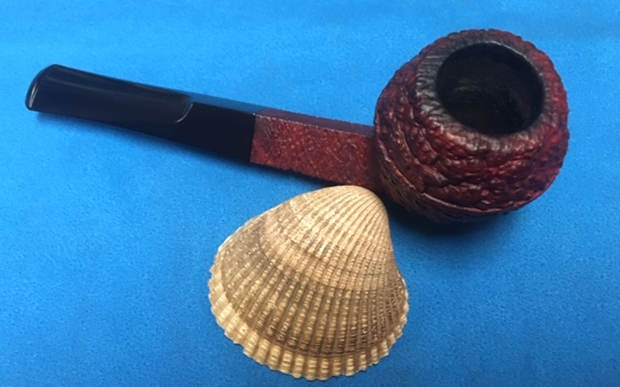
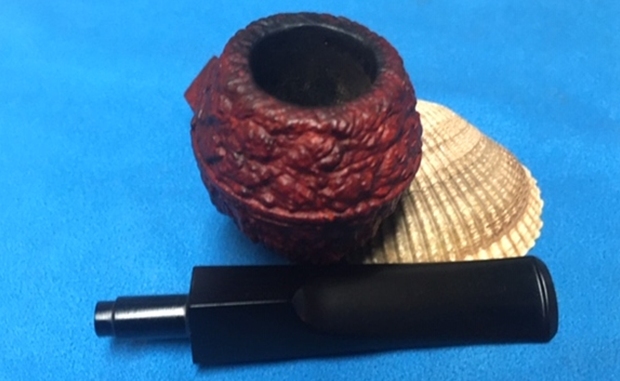
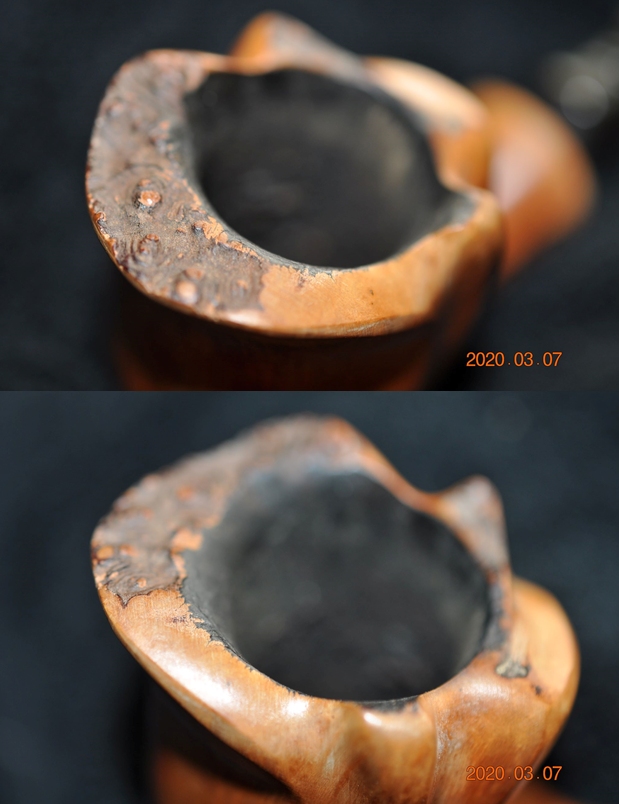
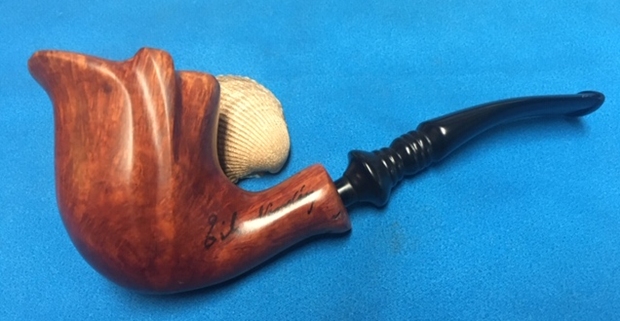
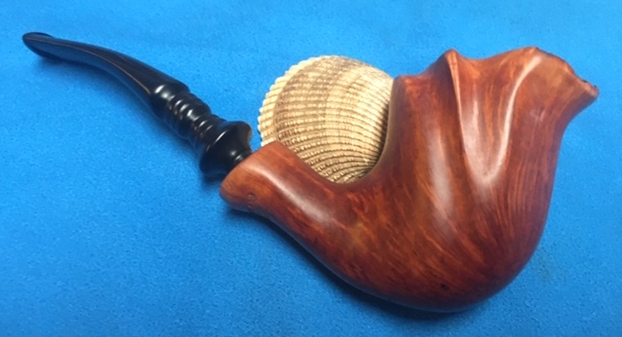
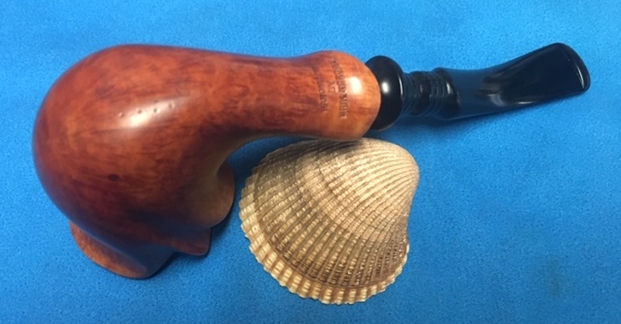
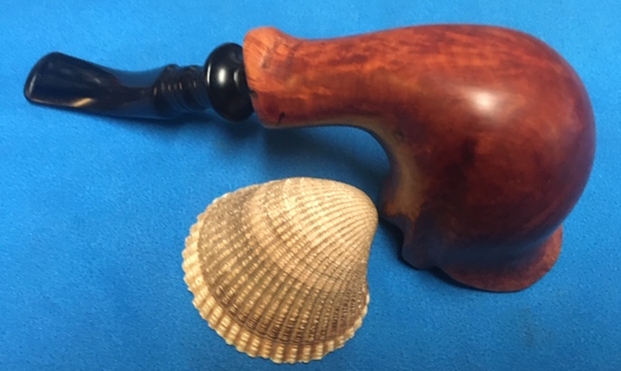
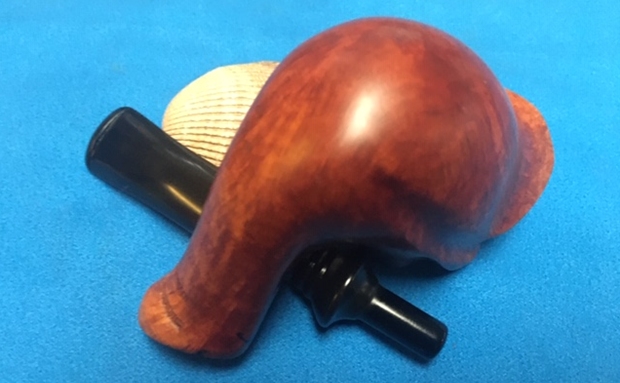
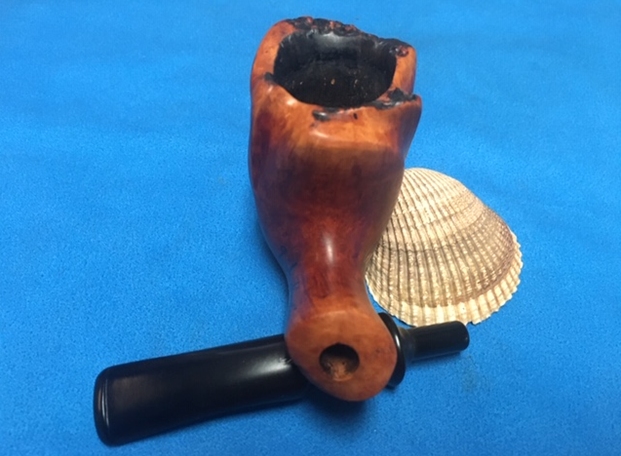
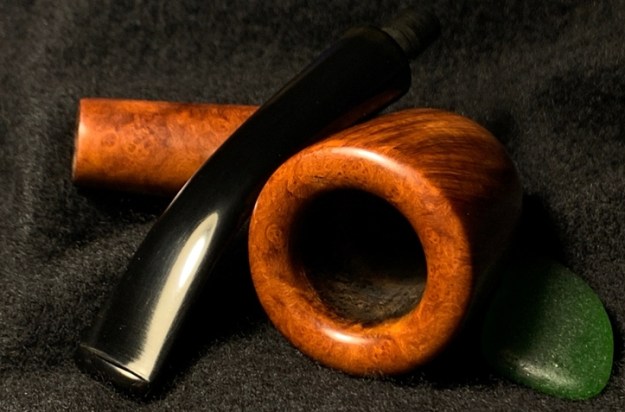
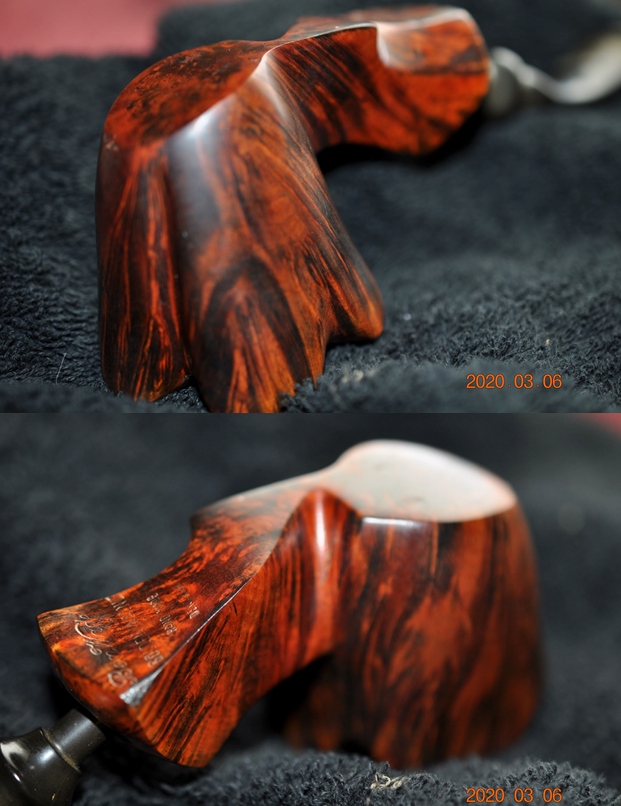
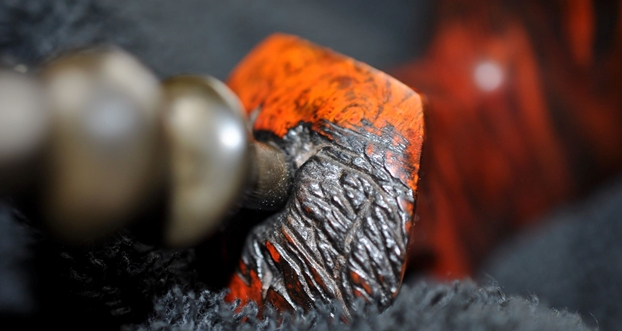
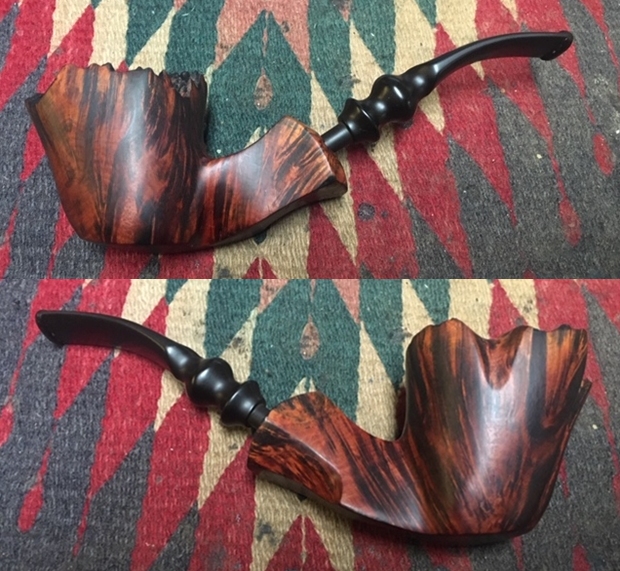
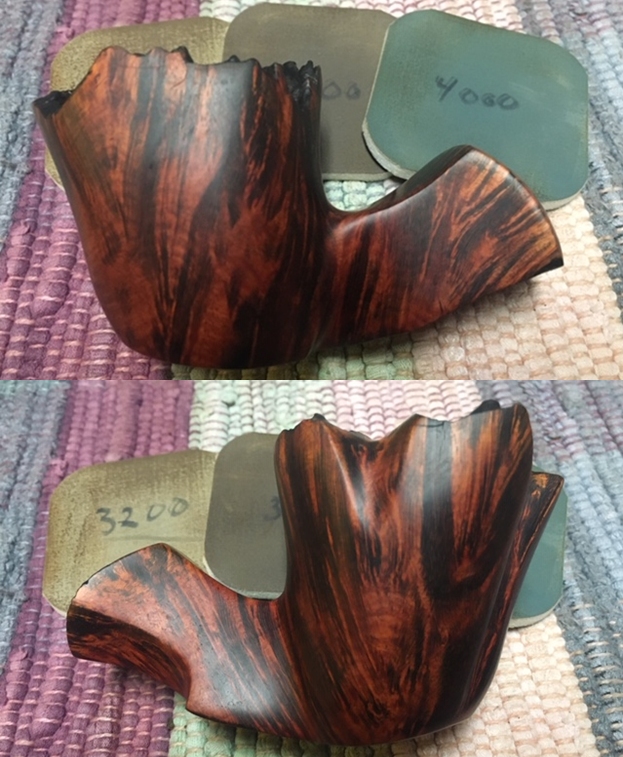
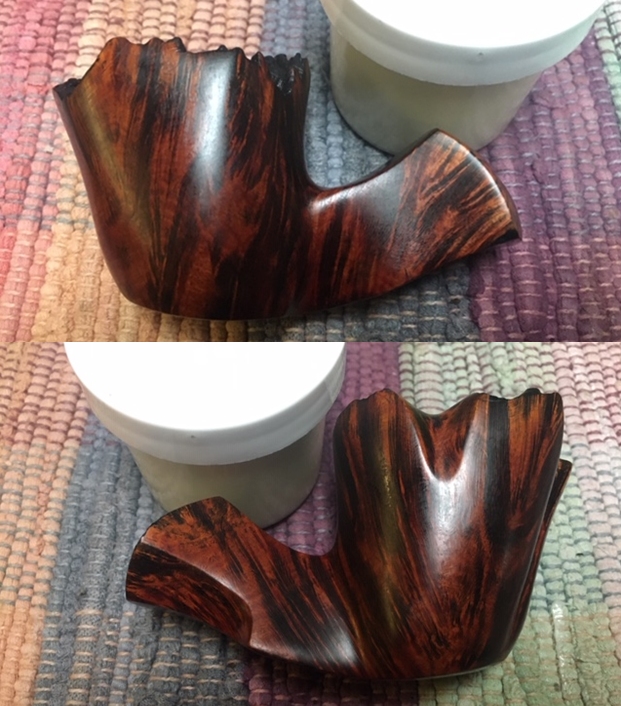
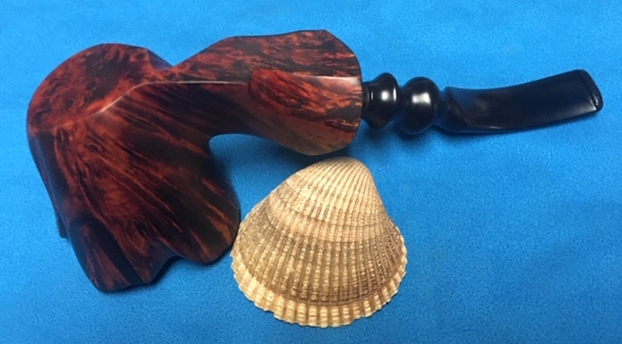
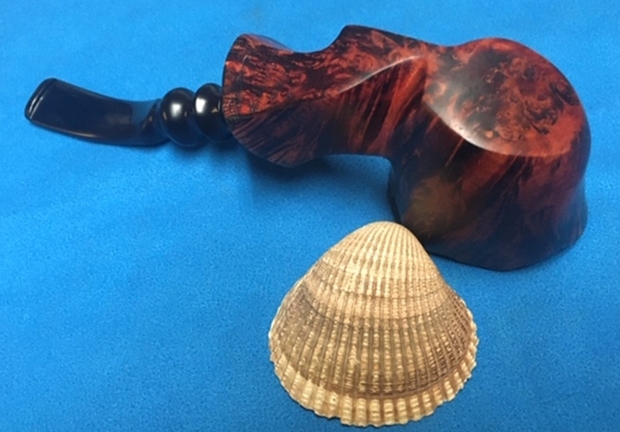
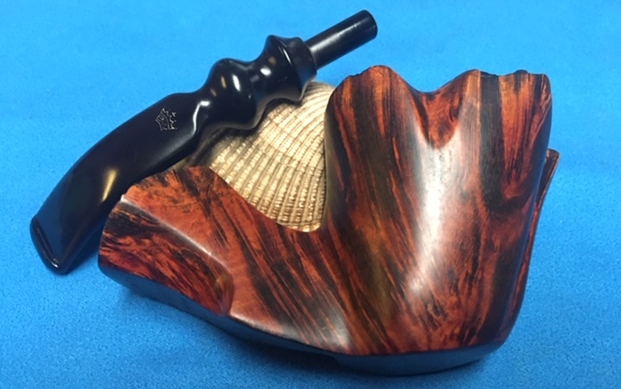
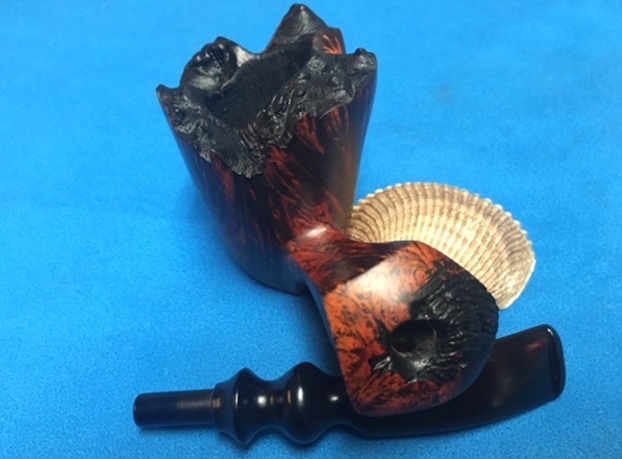
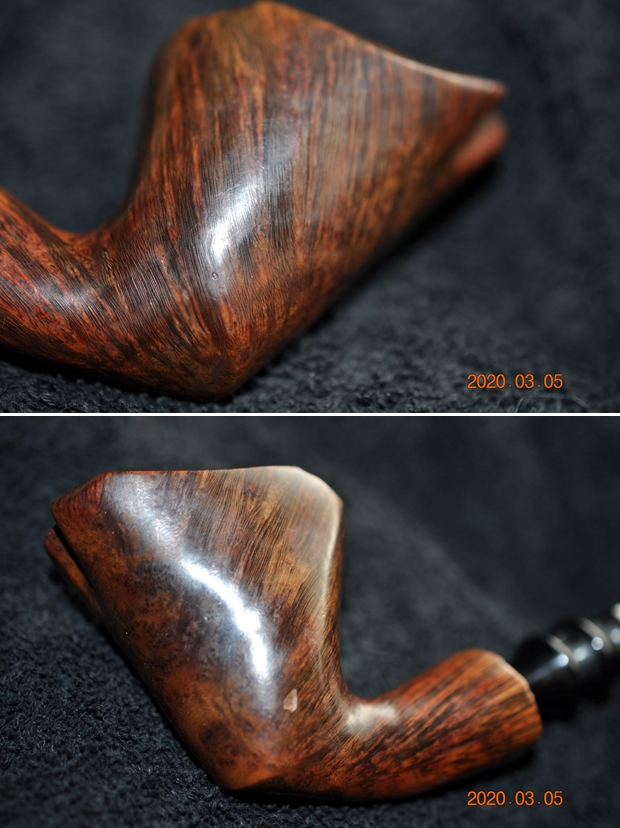
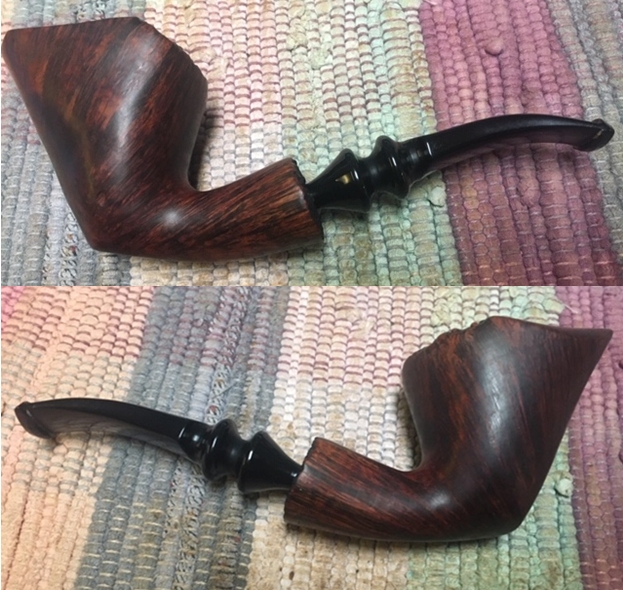
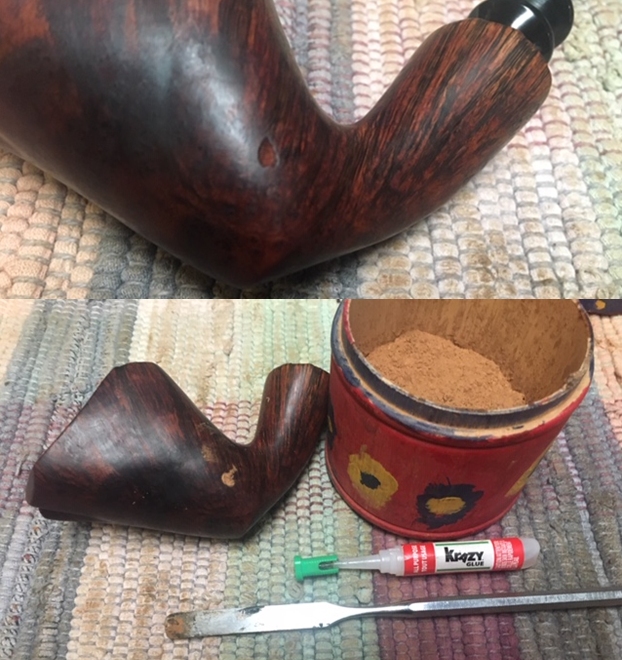
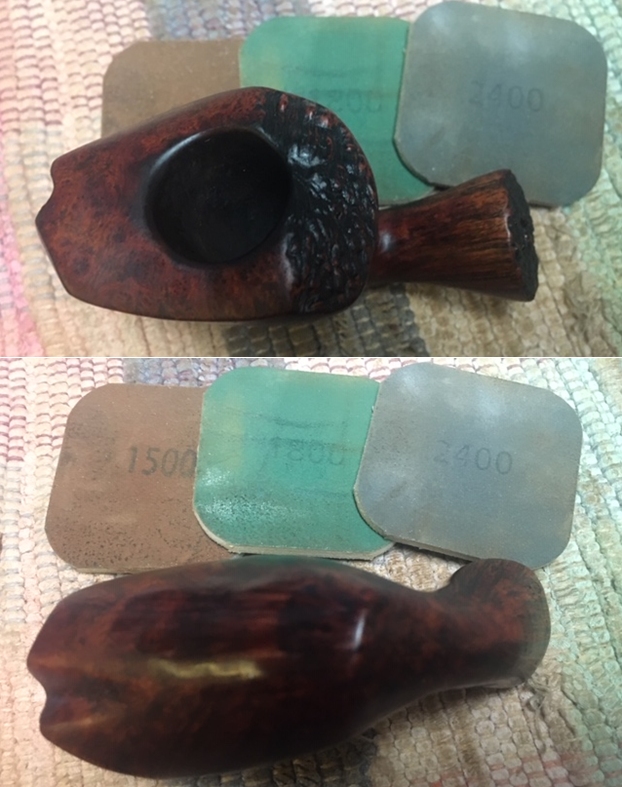
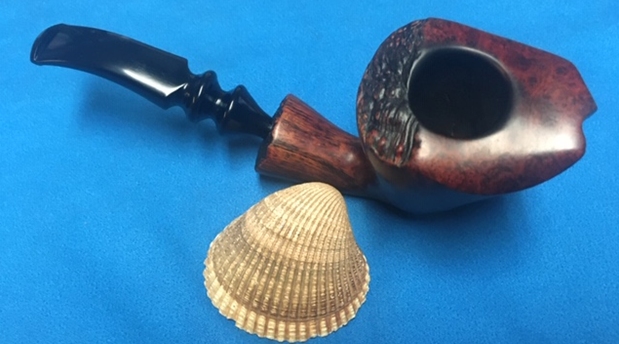
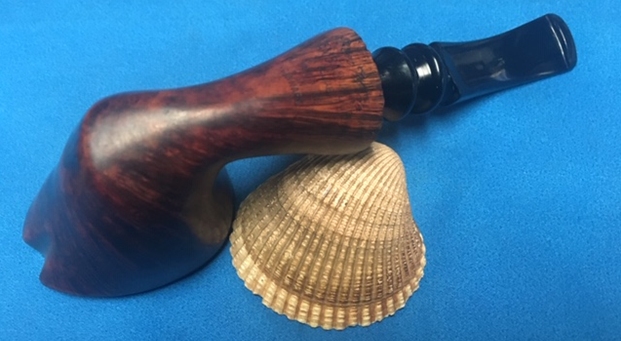
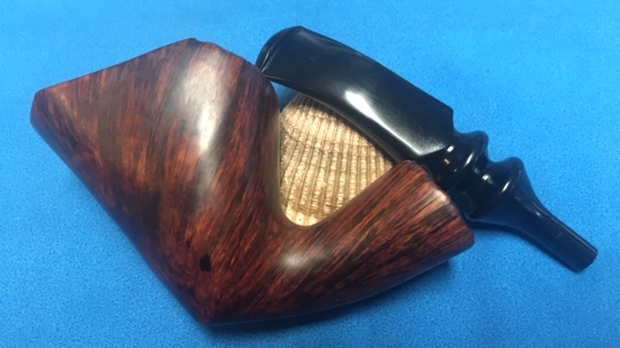
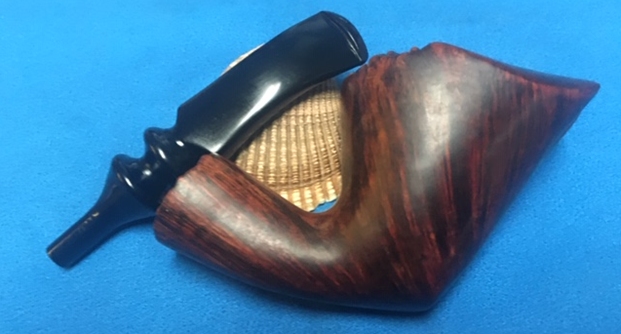
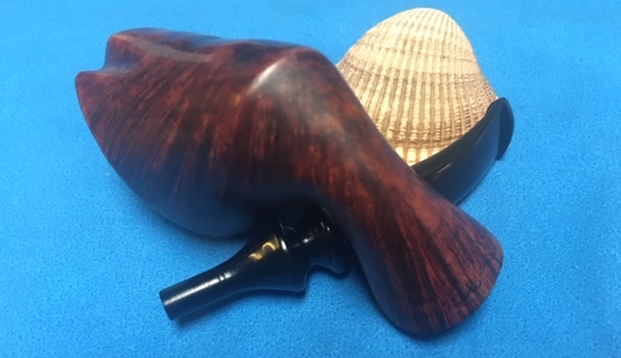
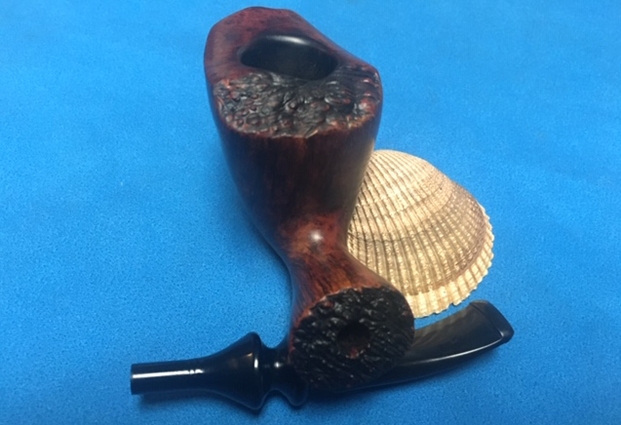
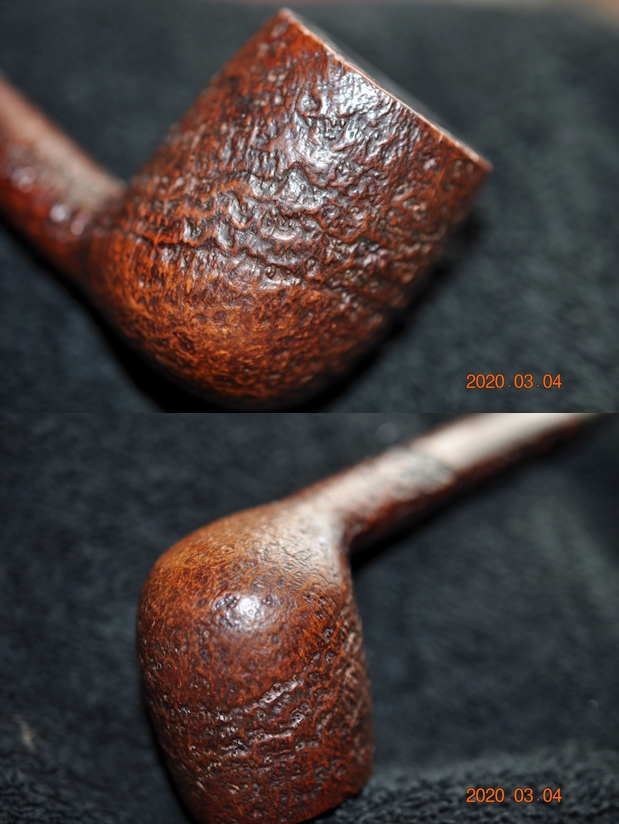
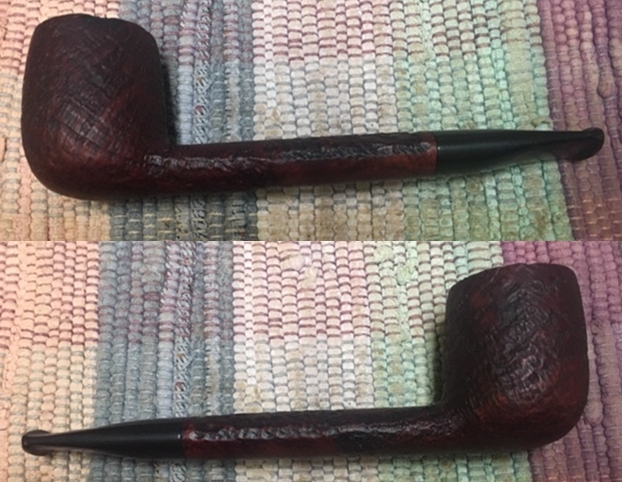
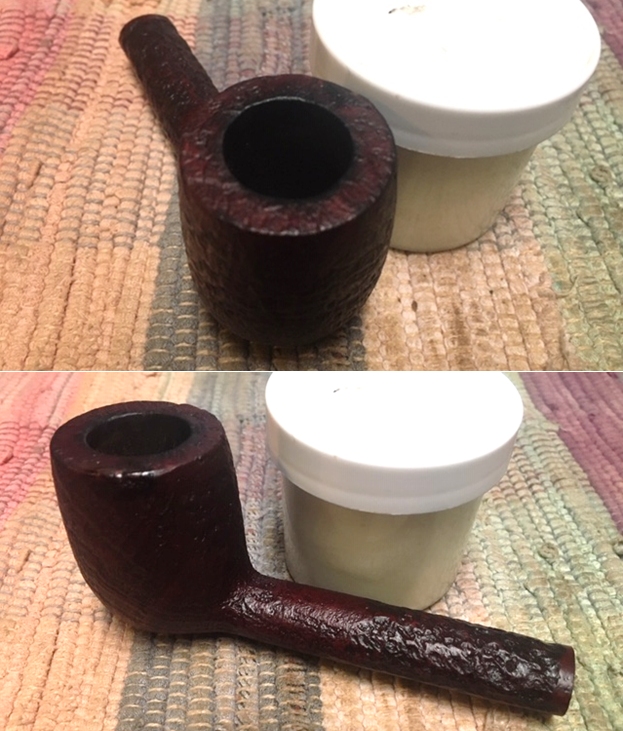
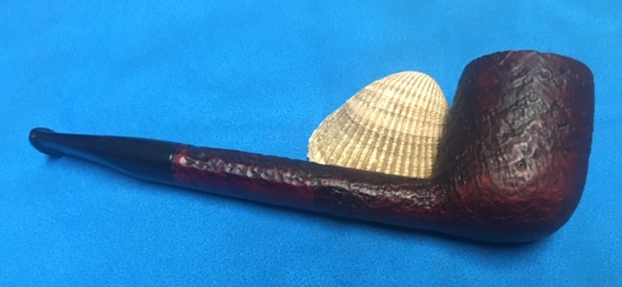
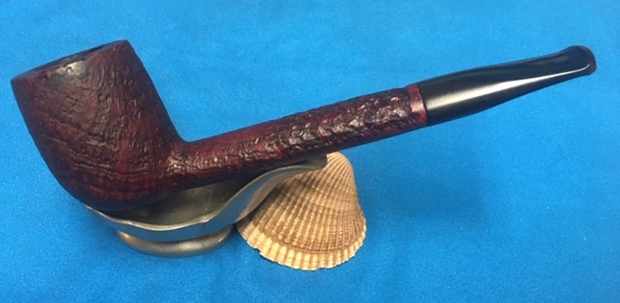
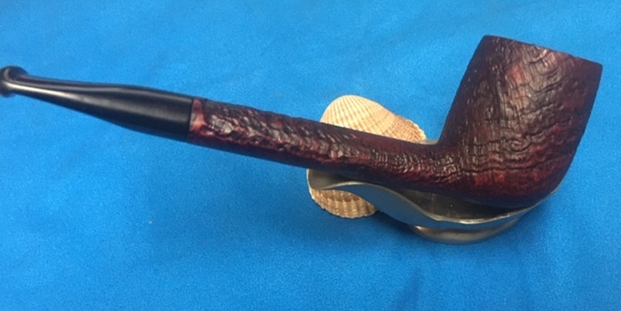
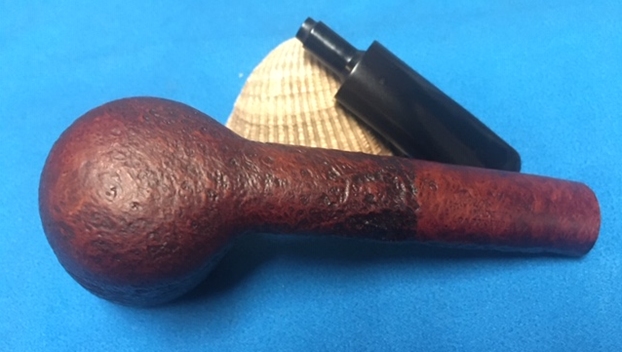
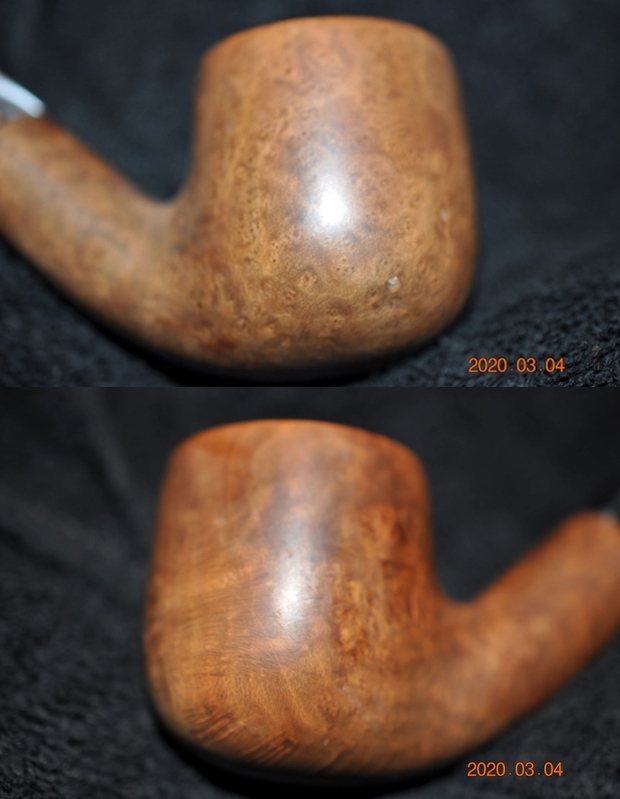
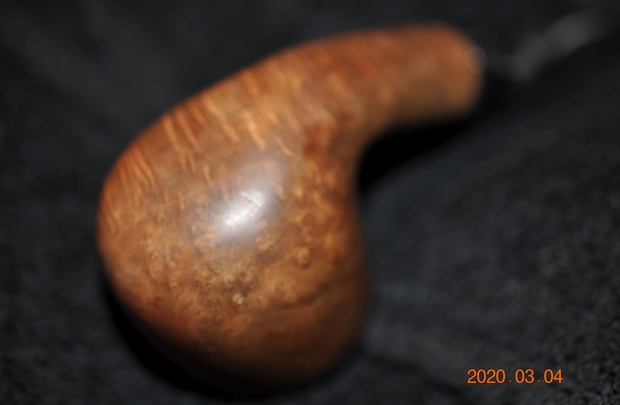
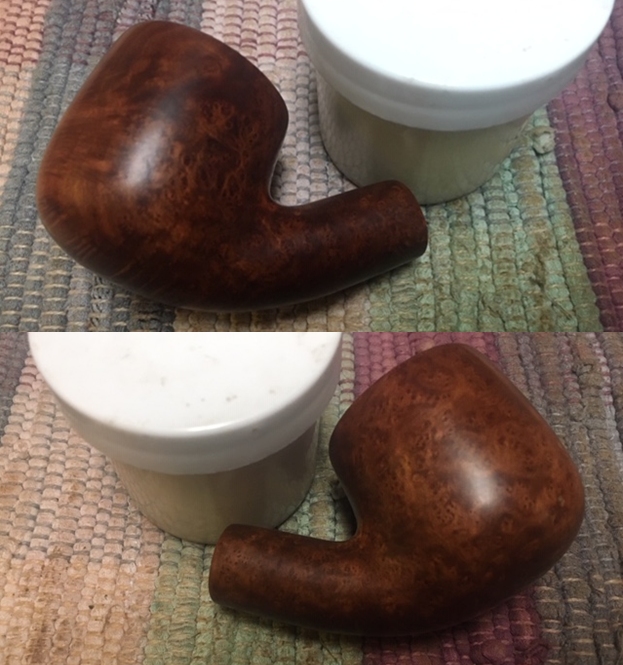
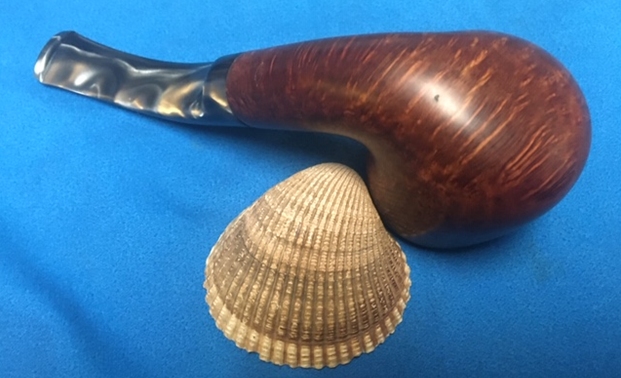
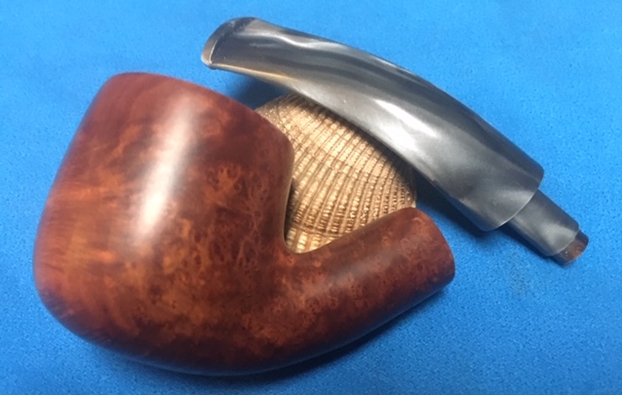
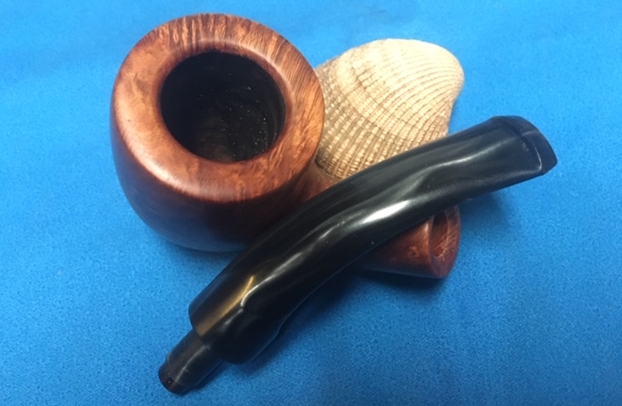
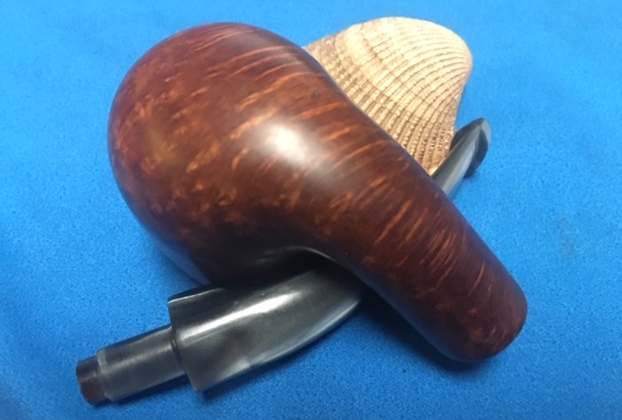
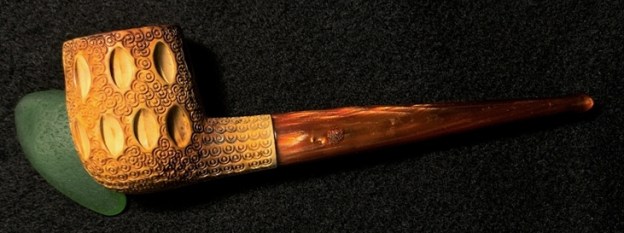
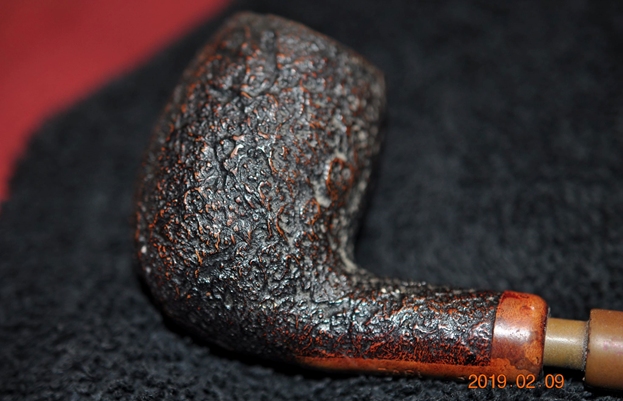
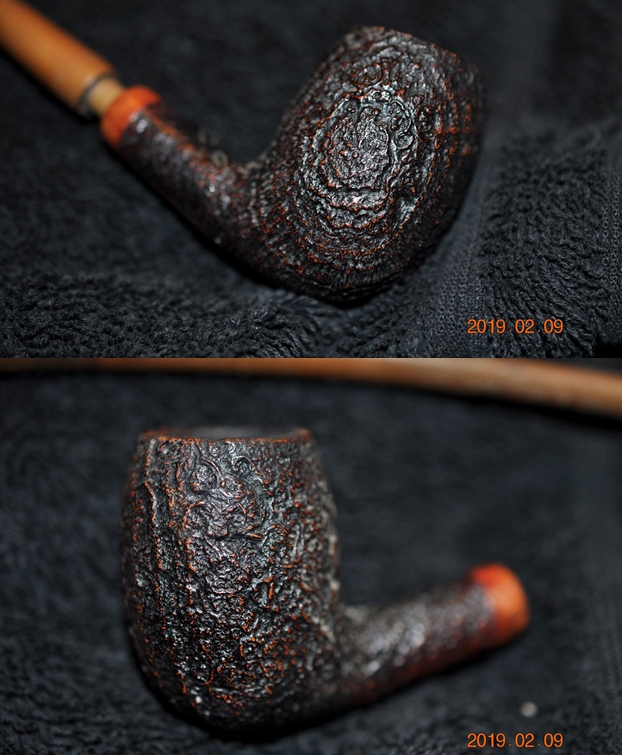
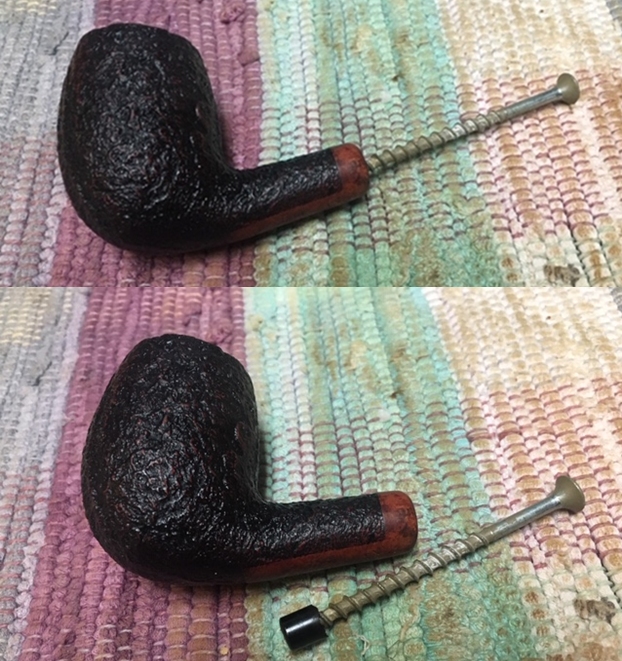
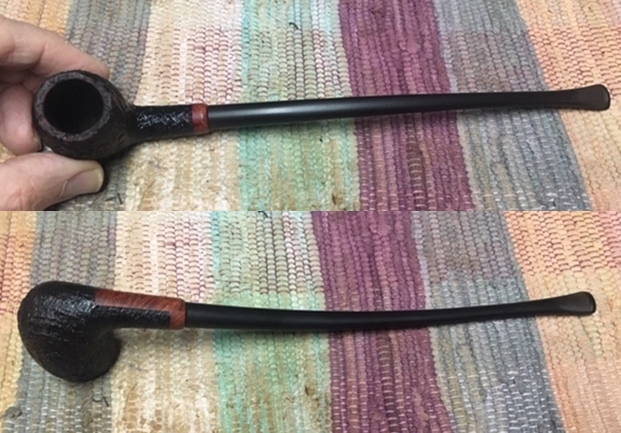
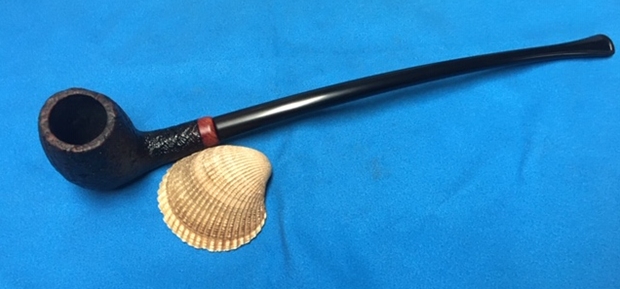
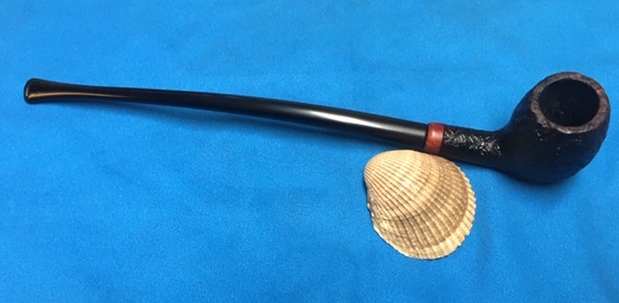
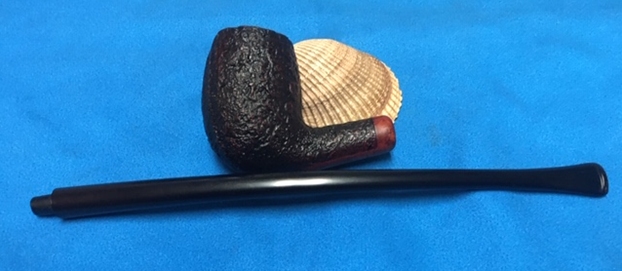
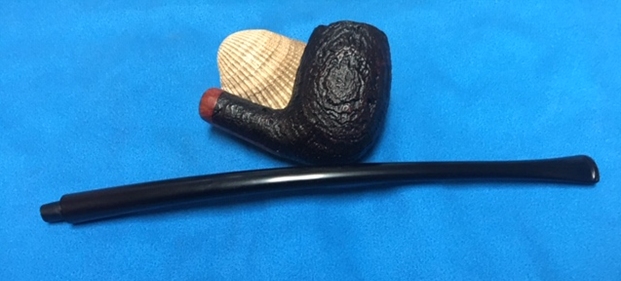
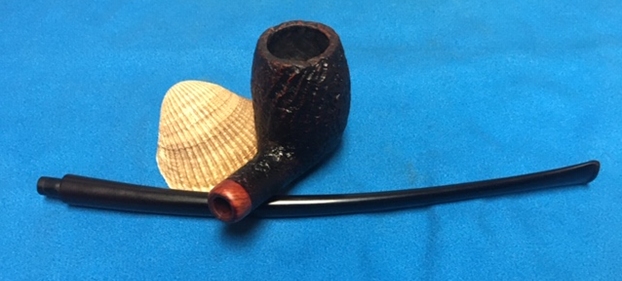
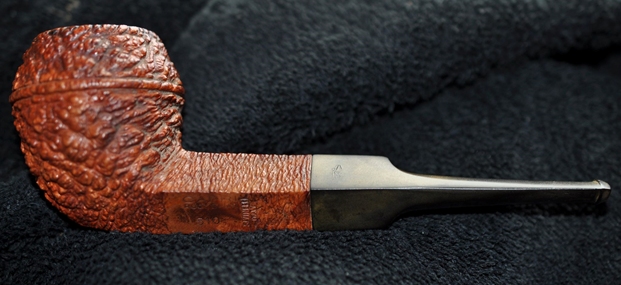
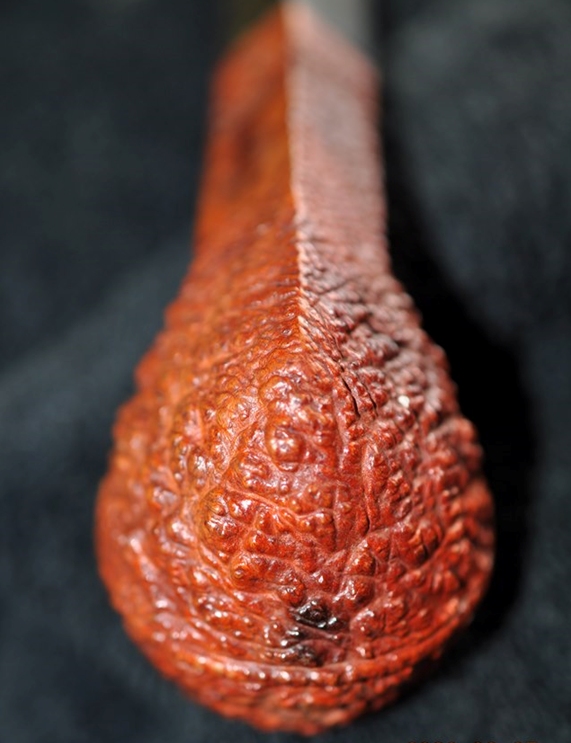
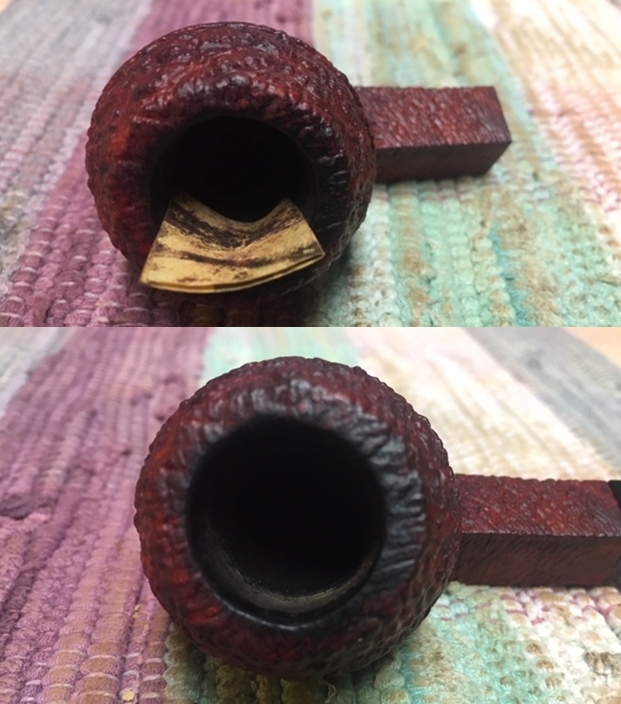
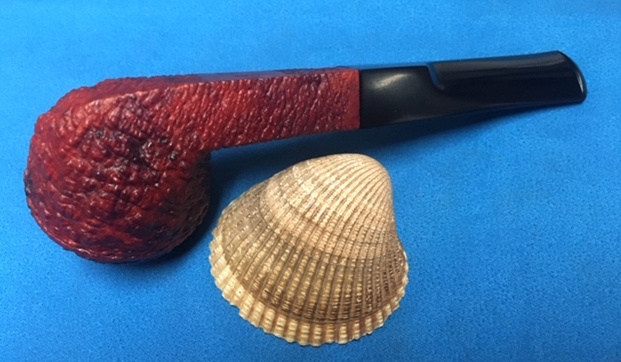
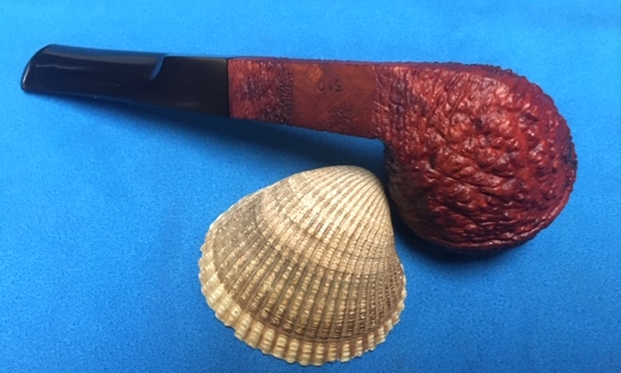
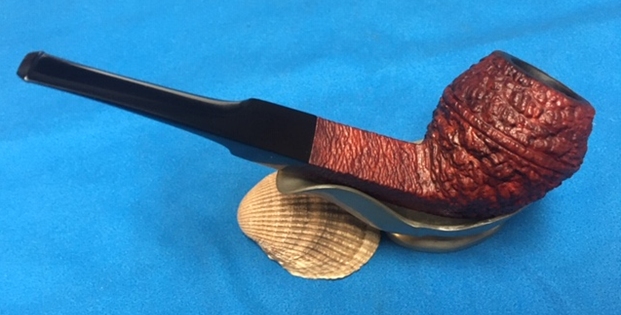
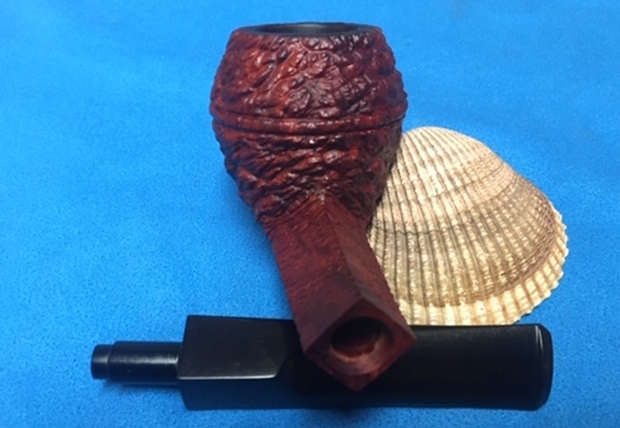
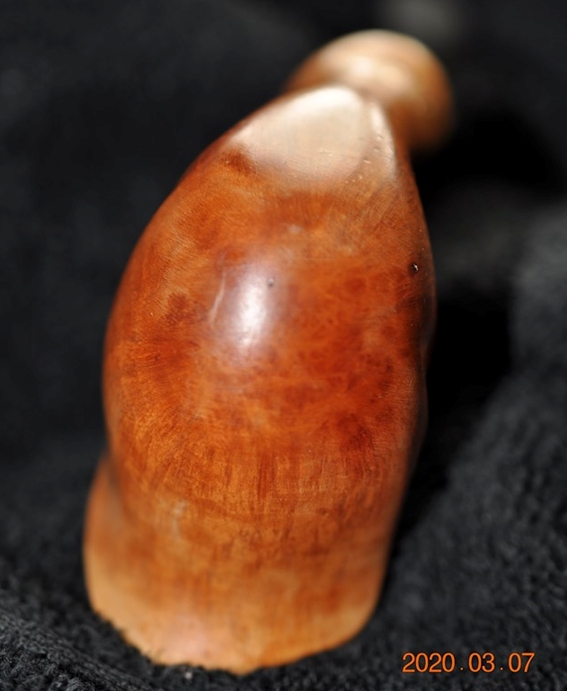
 He took photos of the sides and heel of the bowl to show the lay of the grain and the carvings around the pipe. It is a nice piece of briar. The top of the bowl is floral looking. Unique! The shank end is smooth with one small piece of plateau on the left side of the shank toward the end.
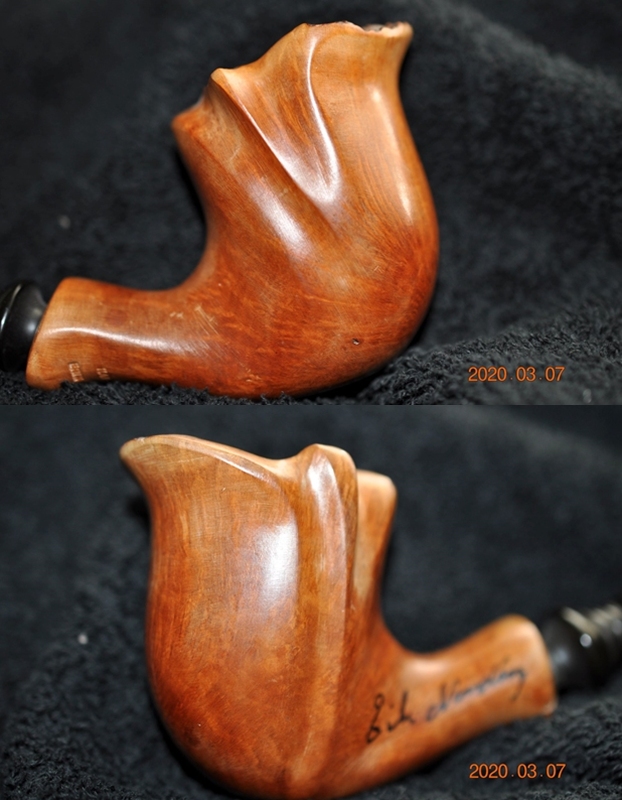
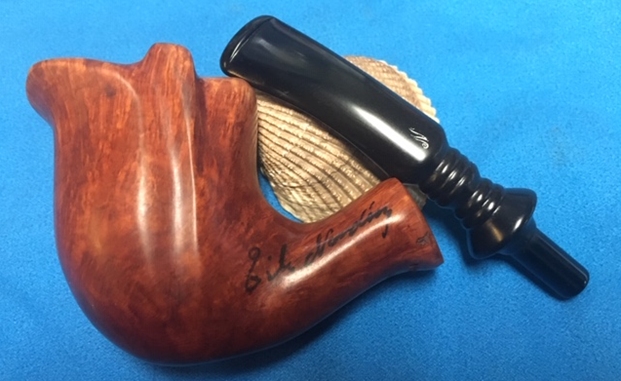
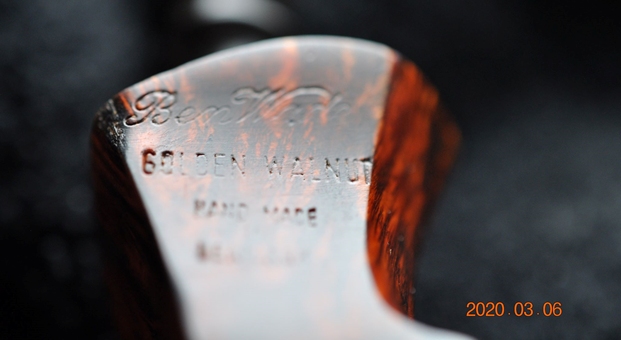
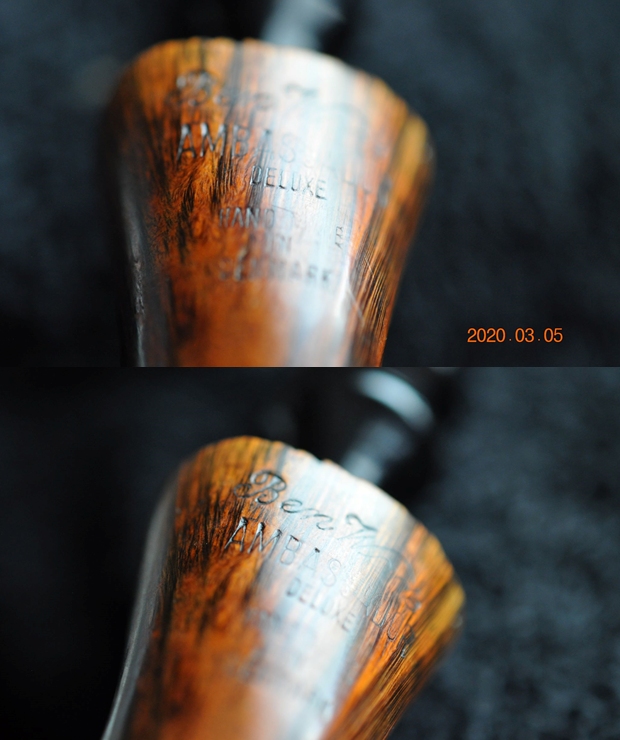
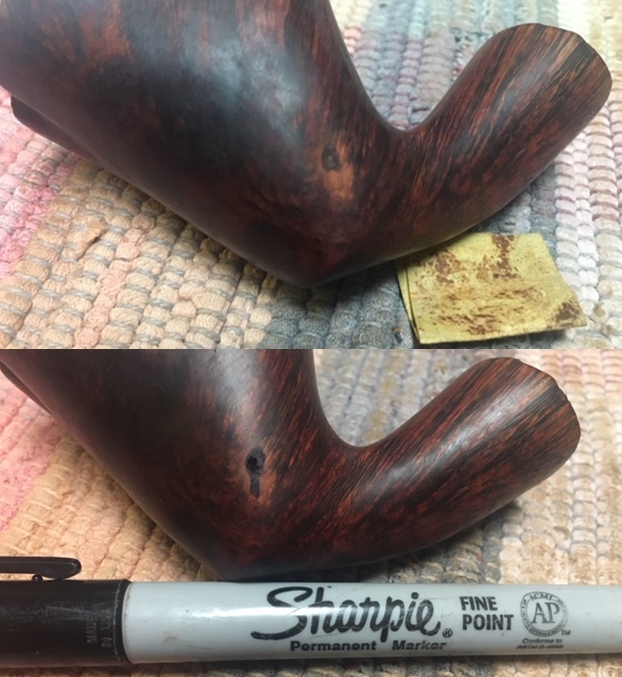
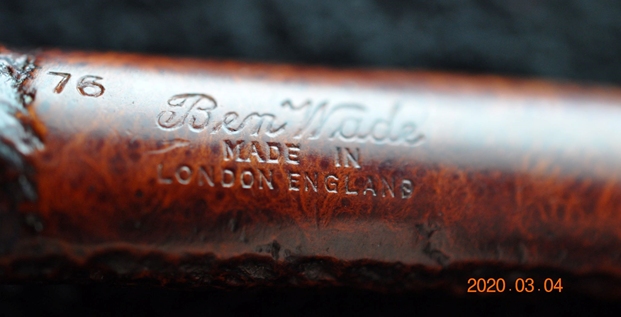
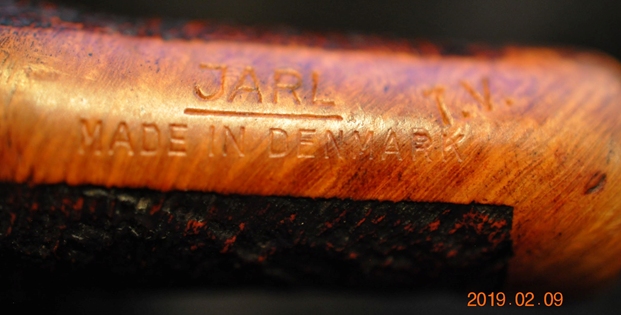
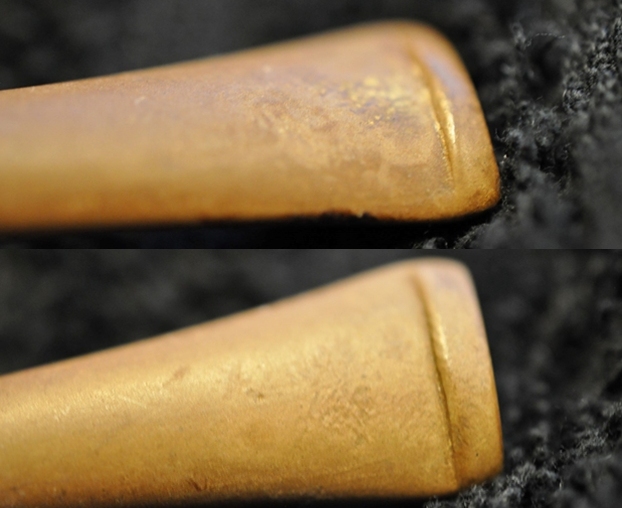
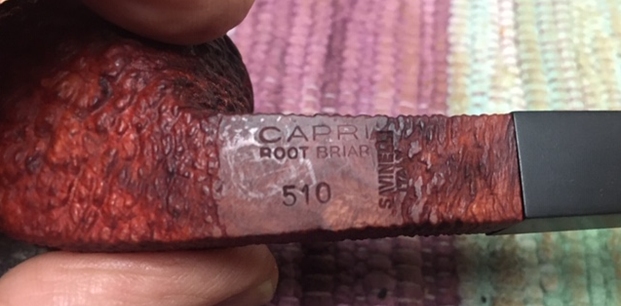
 Jeff took a photo of Erik Nording’s signature on the left side of the shank. It appears to have been done with Black permanent marker. He also took a photo of the stamping on the underside of the shank which read Handmade by Erik Nording.
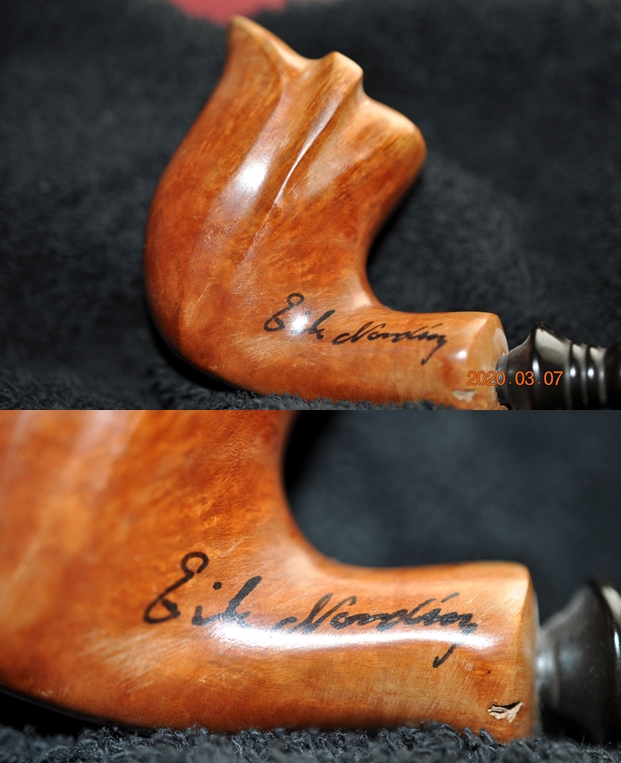
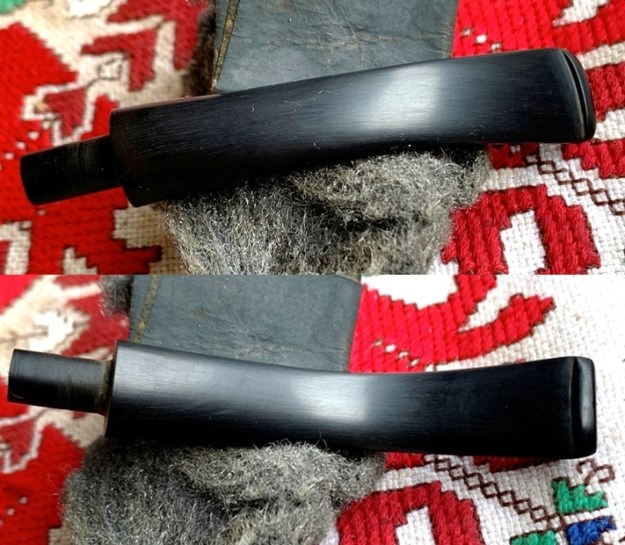
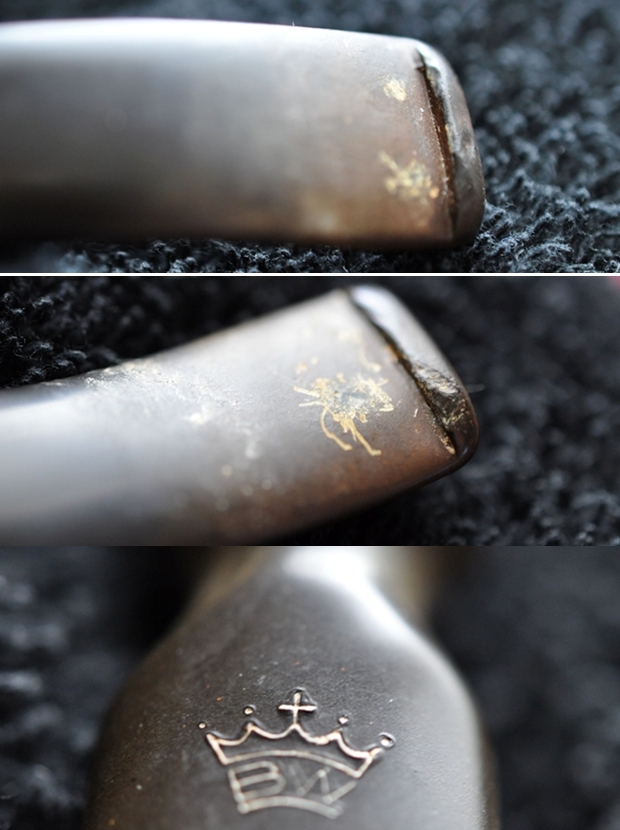
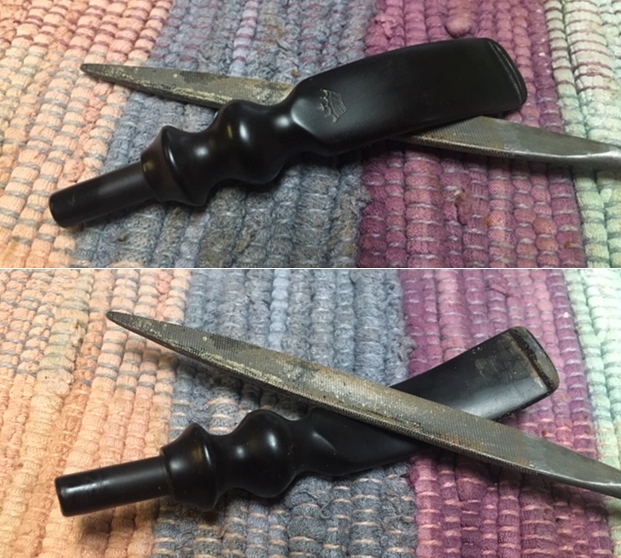
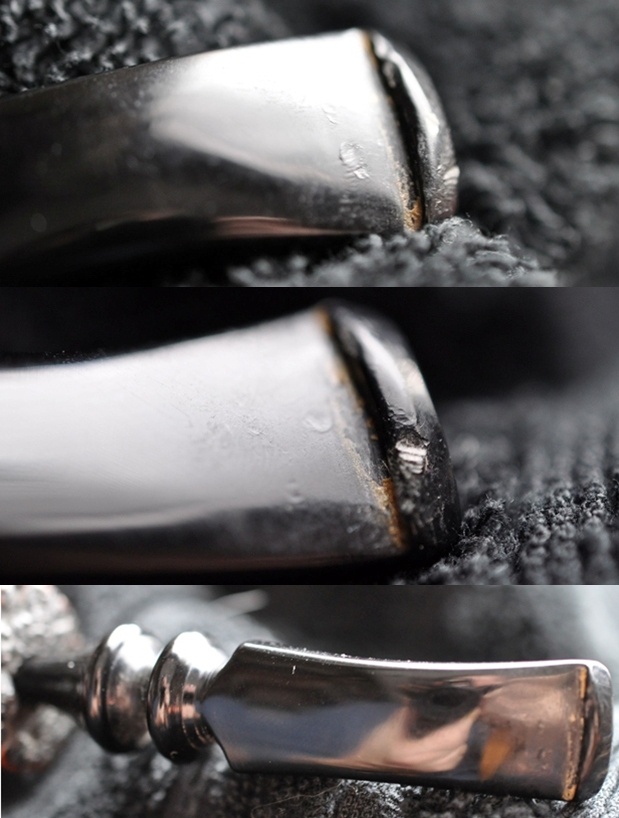
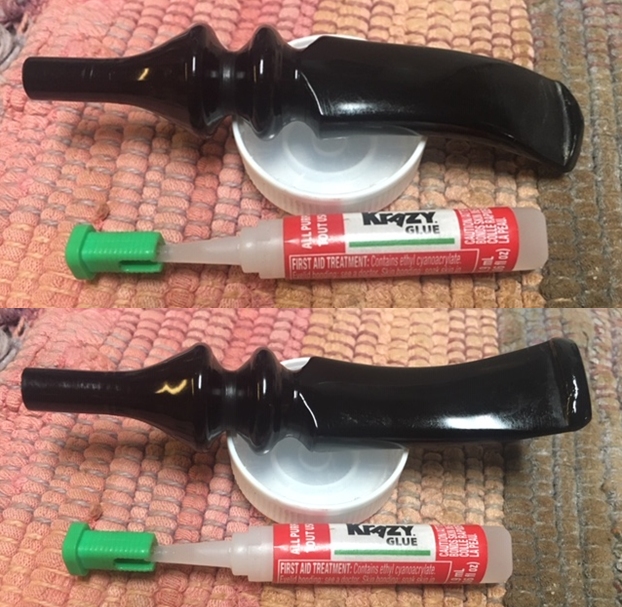
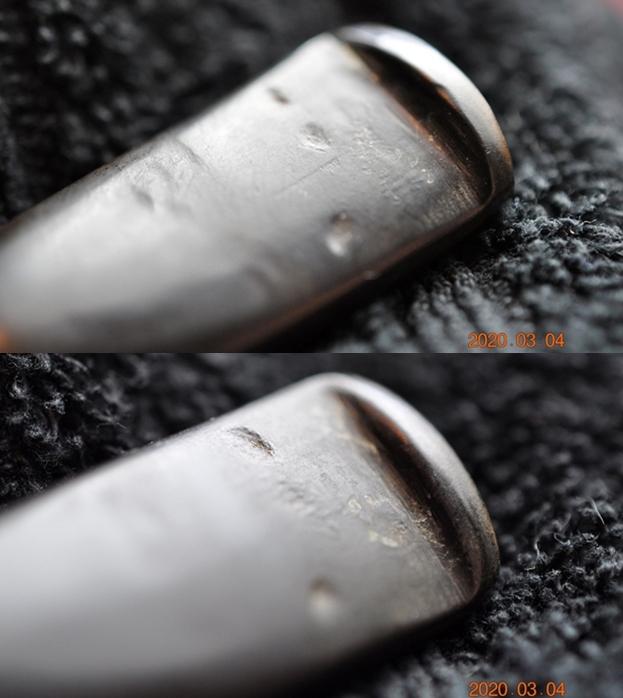
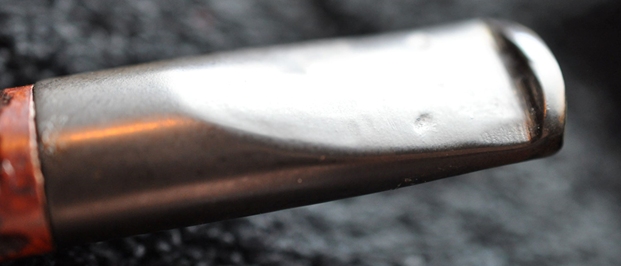
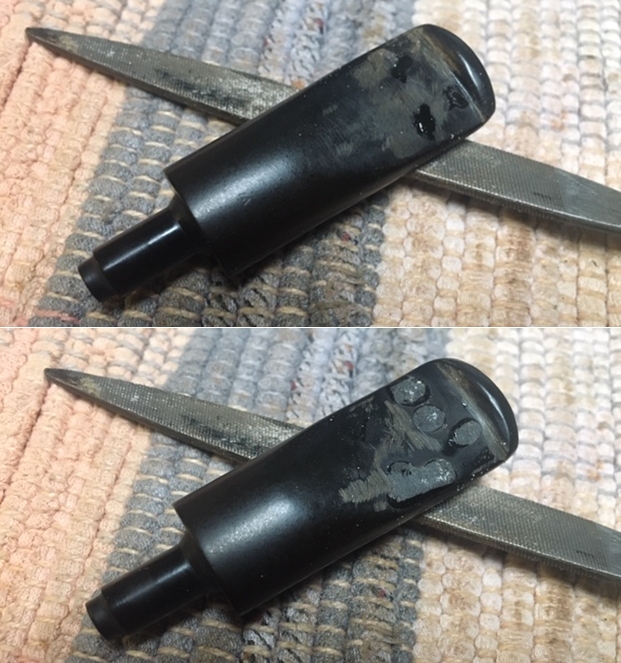
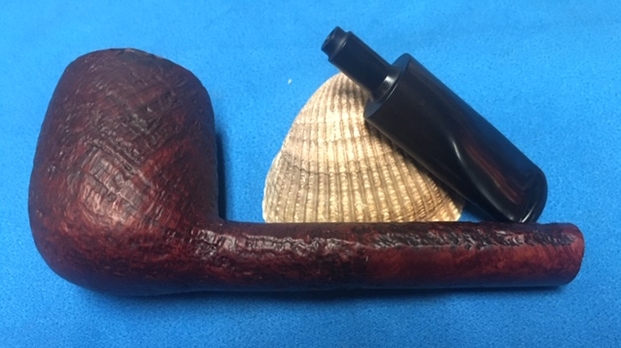
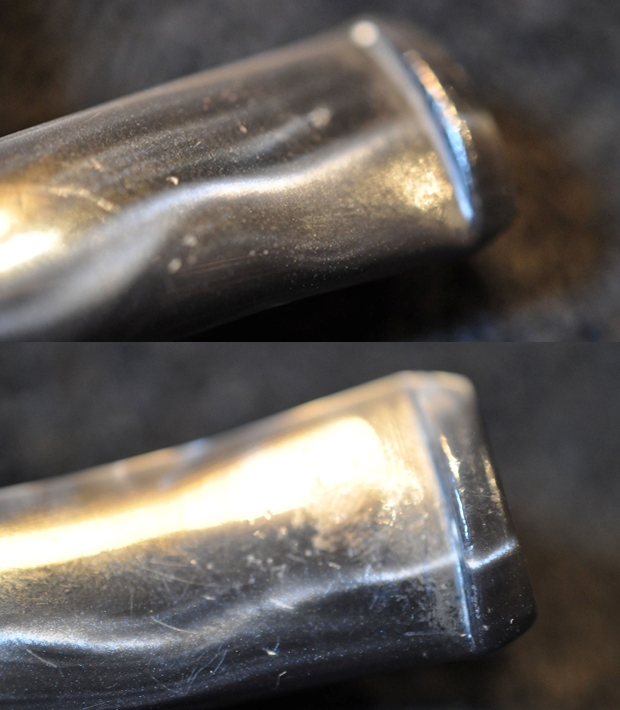
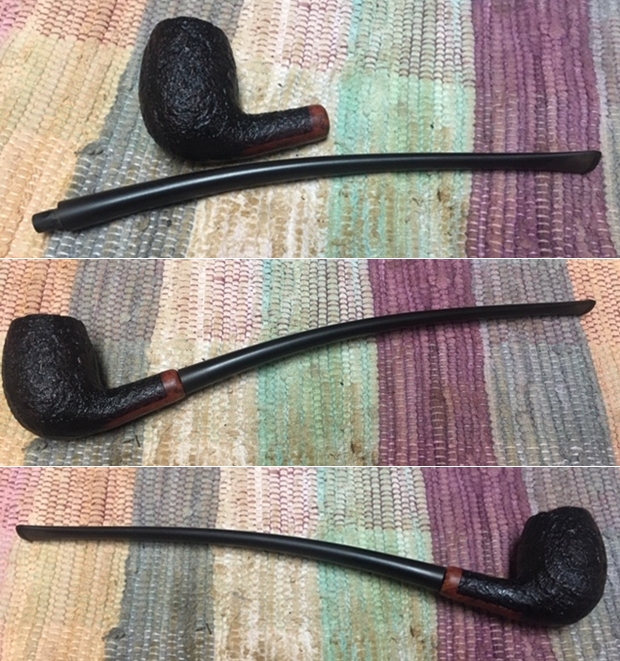
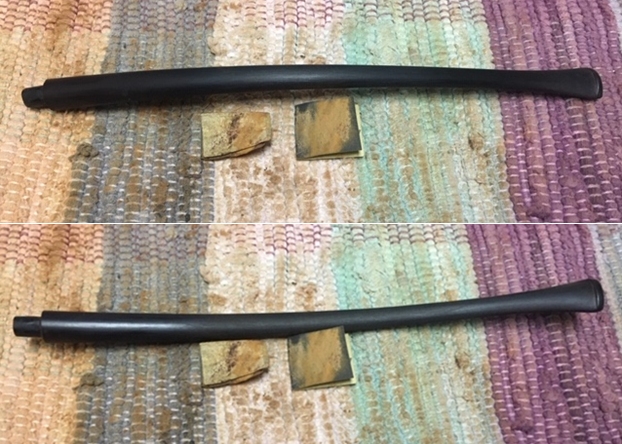
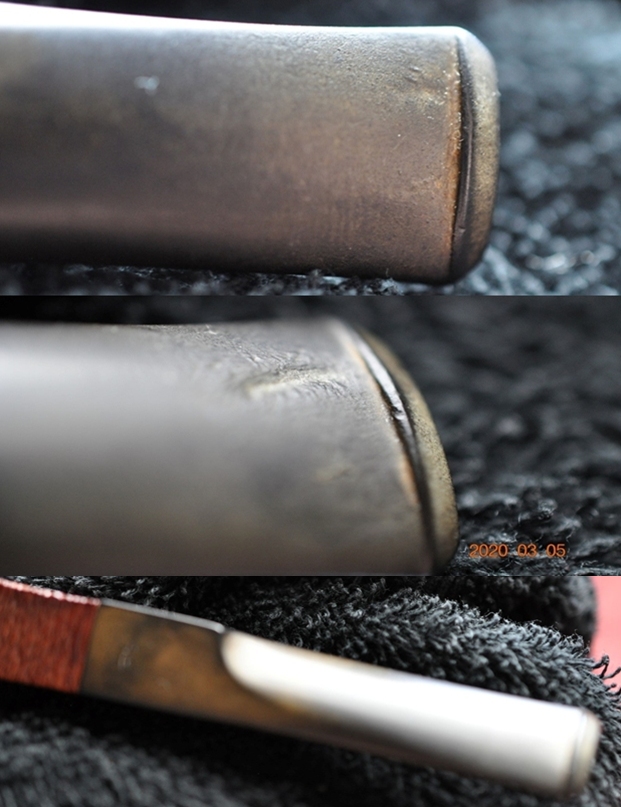
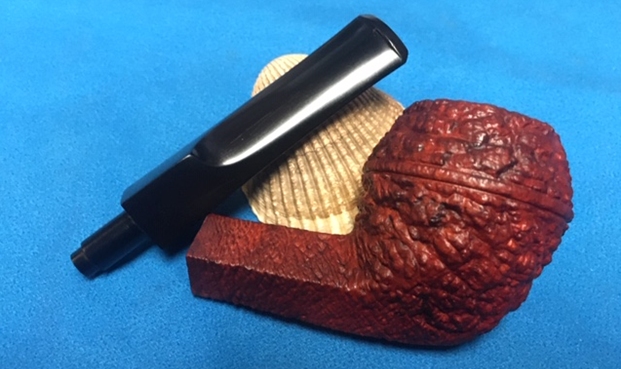
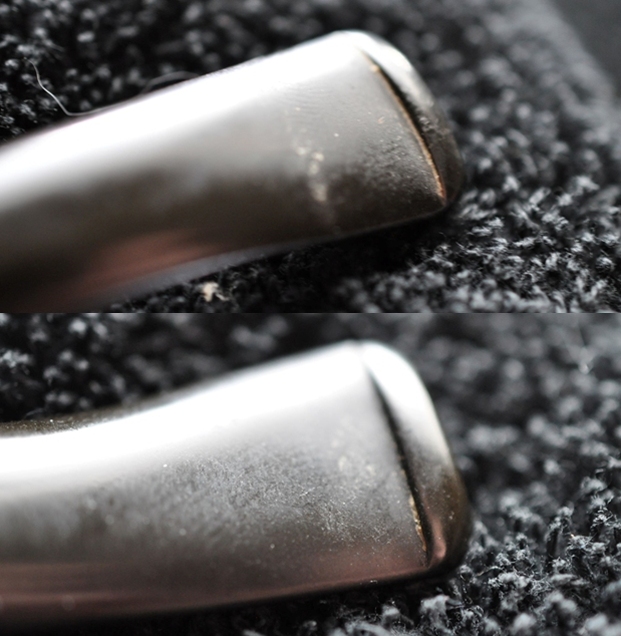
 The first photo below shows the full length and profile of the fancy turned vulcanite stem. The next two photos show the surface of the top and underside of the stem. You can see the light tooth marks and chatter both on the button surface and on the blade itself.
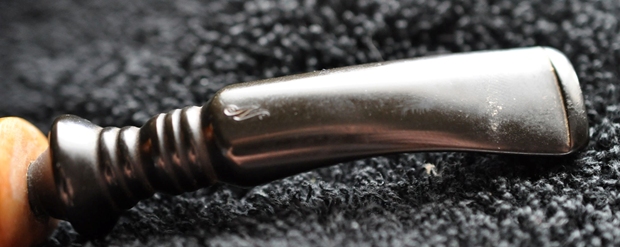
 Erik Nording is a living pipe carver from Denmark. He is still carving and the information on Pipedia and Pipephil is helpful to get a feel for the brand. Give those articles a look if you want a good summary of the information. I have included the links to both of those articles for easy access.
https://pipedia.org/wiki/N%C3%B8rding
http://www.pipephil.eu/logos/en/logo-n2.html
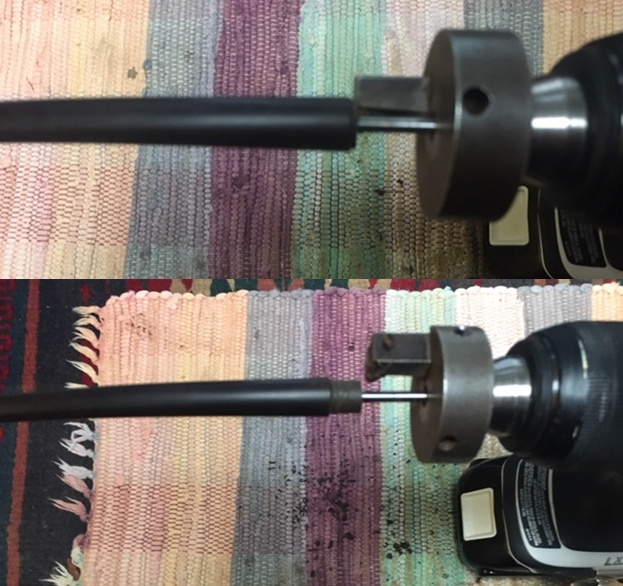
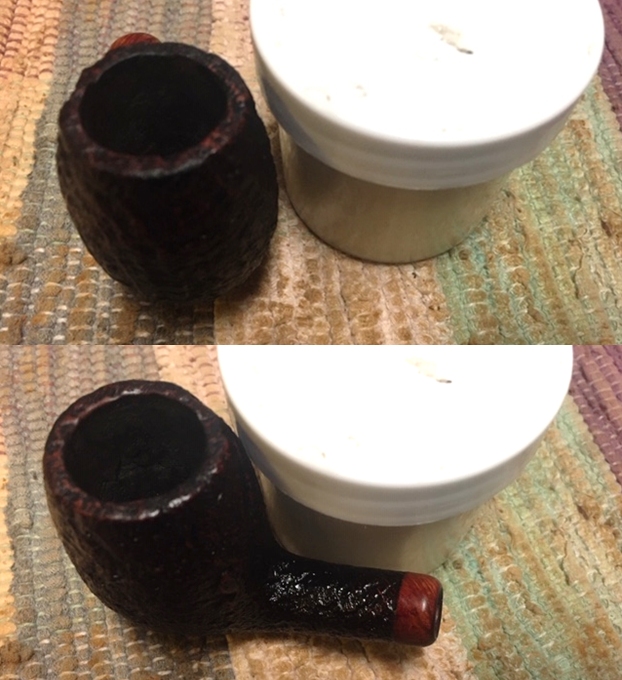
I moved forward to work on the pipe itself and see what I had to do with it. It had come back amazingly clean. Jeff had done his normal thorough clean up – reaming, scrubbing, soaking and the result was evident in the pipe when I unpacked it. I took photos of the pipe before I started my work on it. 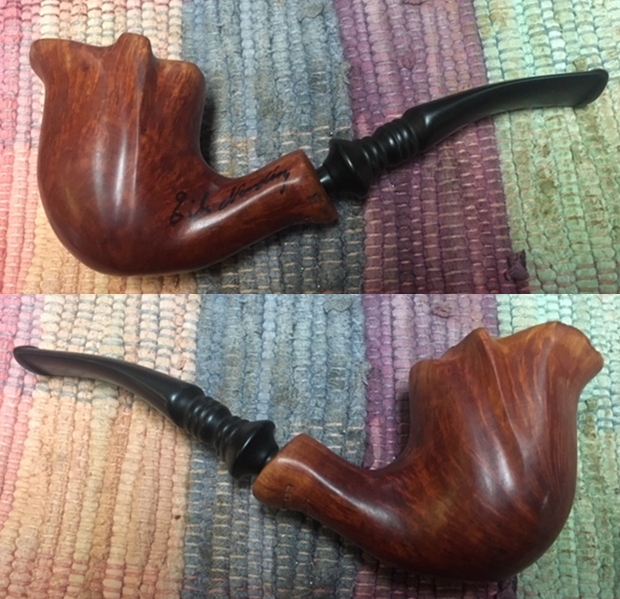
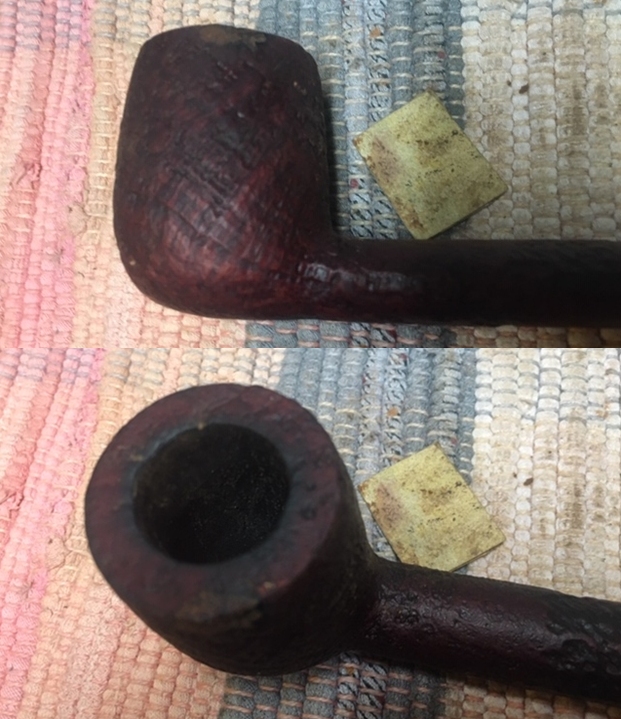
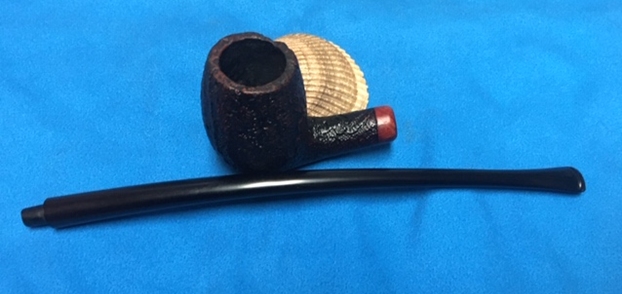
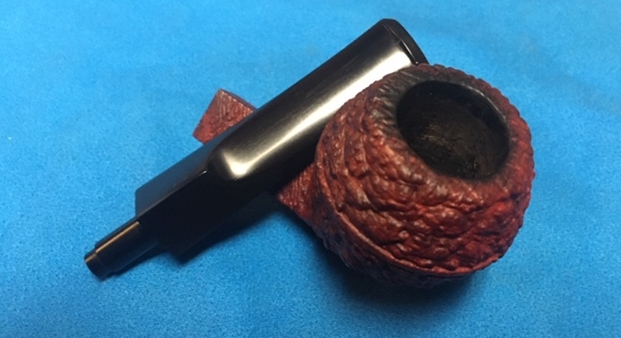
 I took some photos of the rim top and stem to show the condition of them both when it arrived. Overall it looked good. The valleys of the plateau were finished in black but they were worn. The rim top was very clean. The stem looked amazingly good. The chatter on the stem surfaces was gone and the surface was clean.
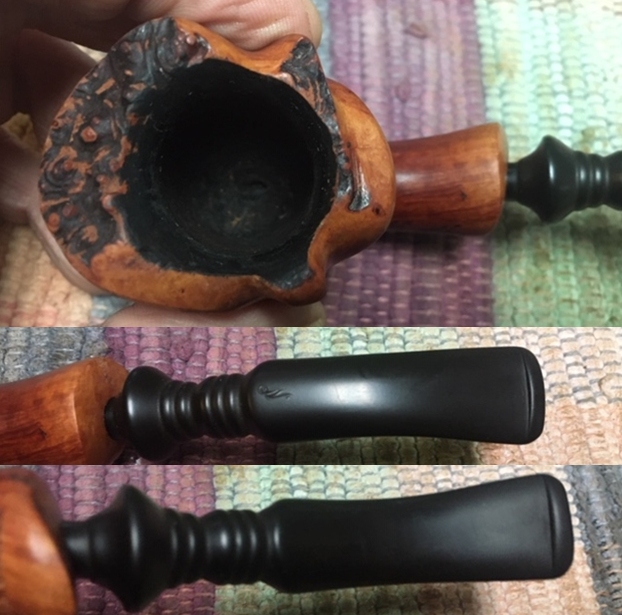 I took photos of the stamping on the underside of the shank and the signature on the left side. Both look to be in very good condition.
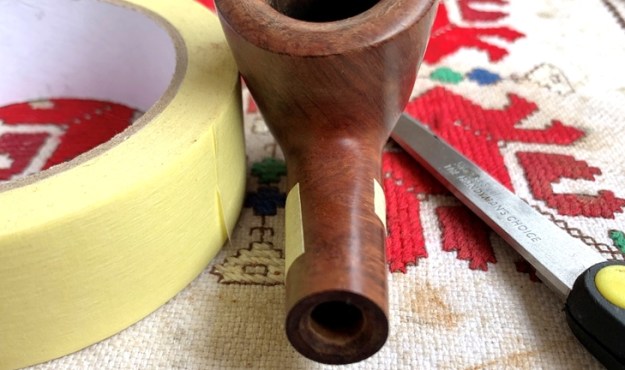
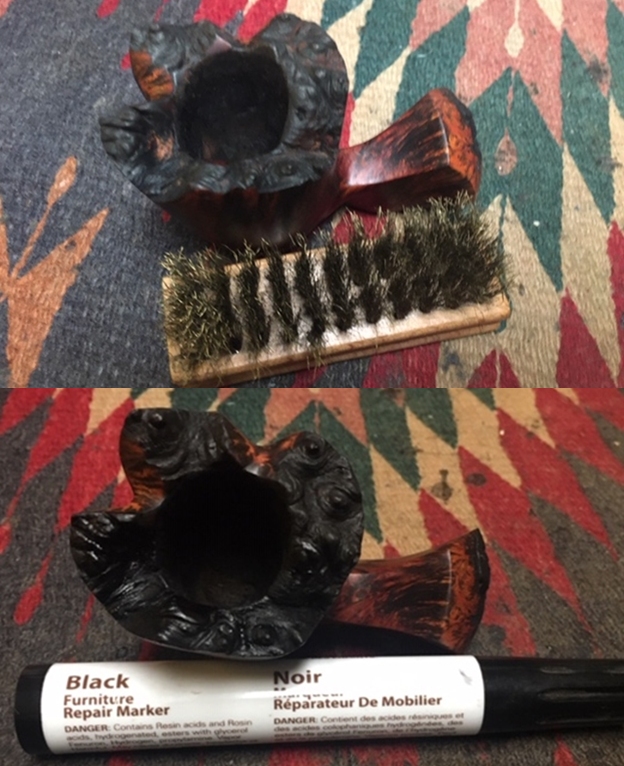
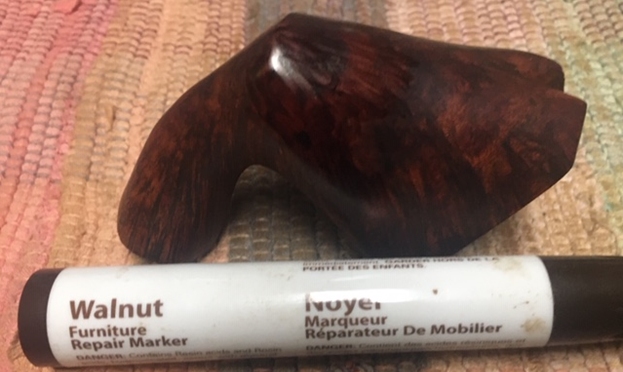
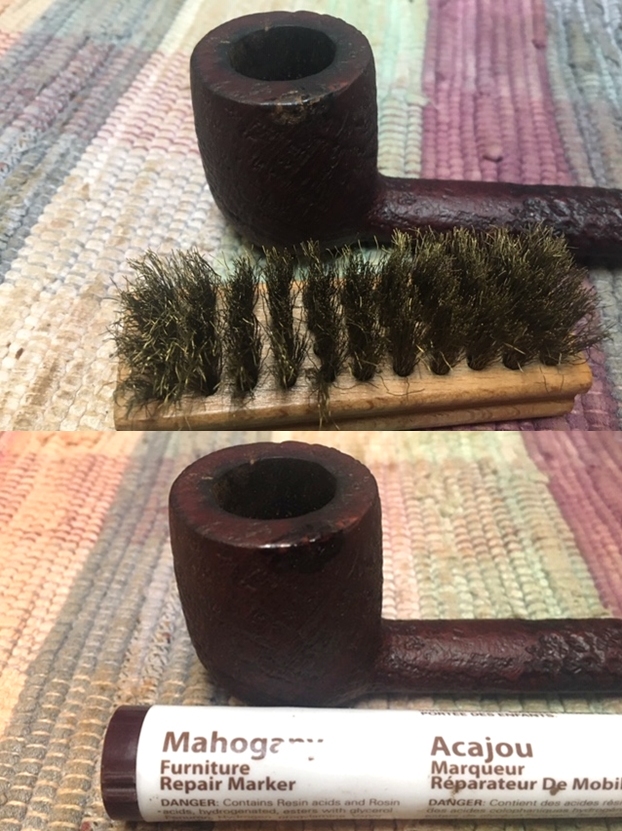
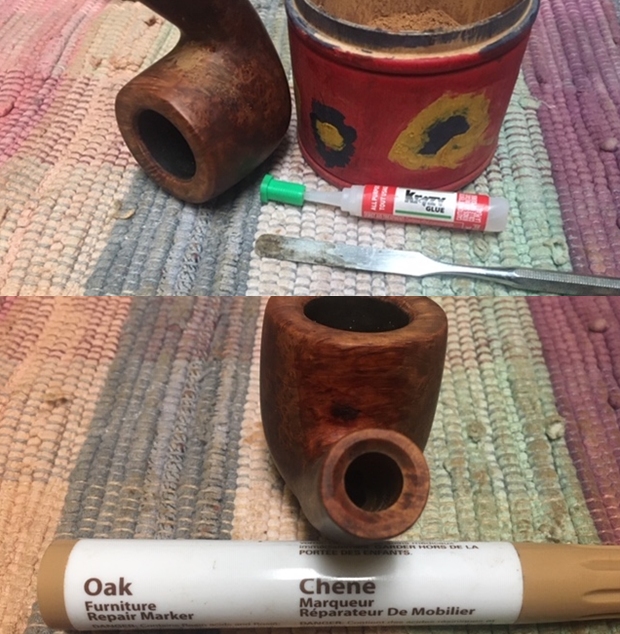
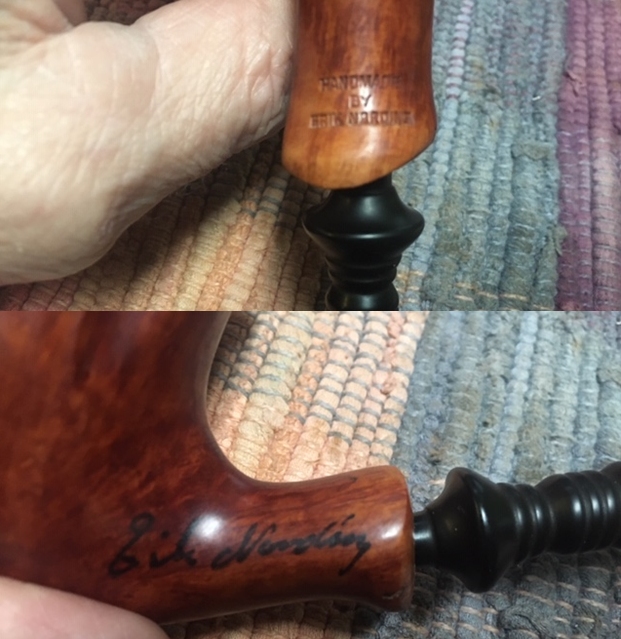 To begin my part of the restoration work I decided to use a Black stain pen to fill in the crevices of the plateau top and give some contrast to the smooth high spots. I like this look as it give depth to the surface of the rim top.
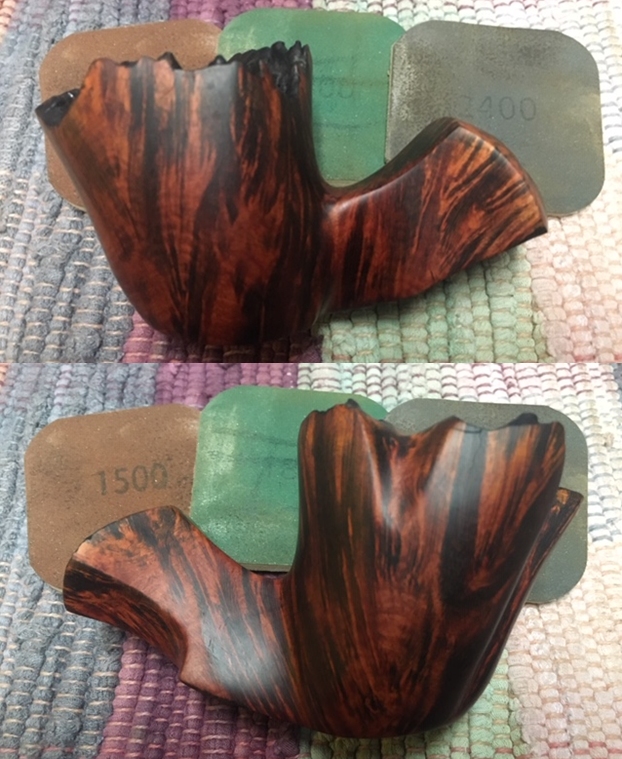
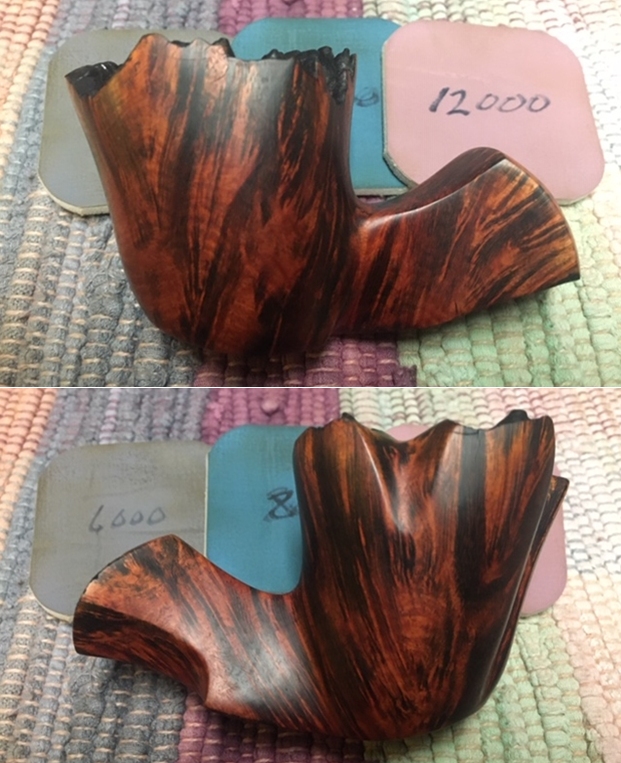
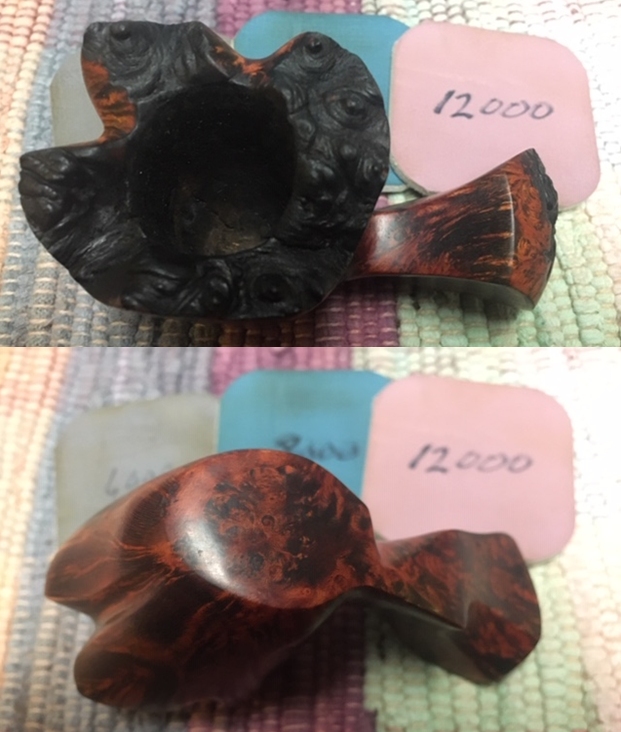
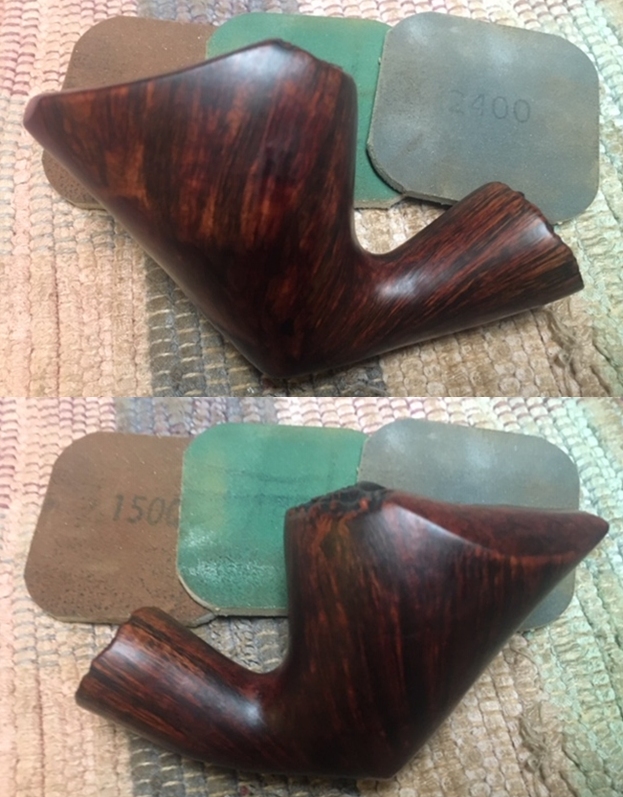
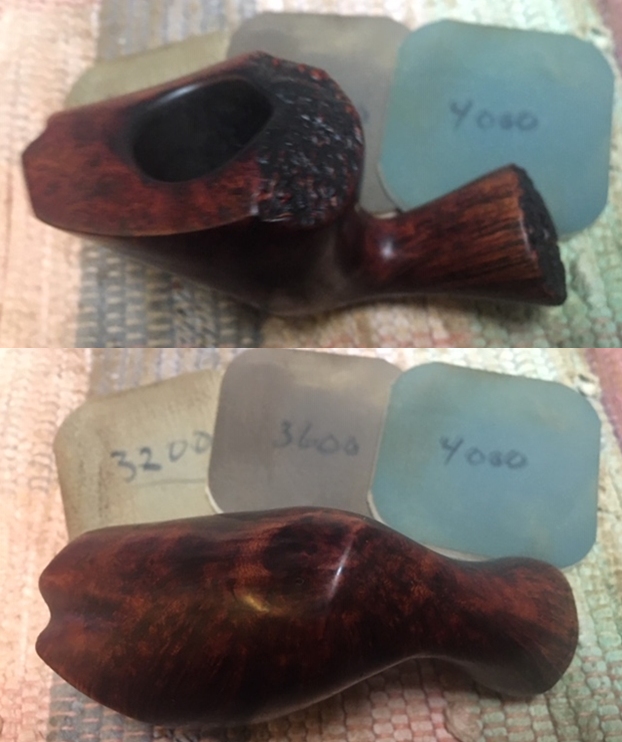
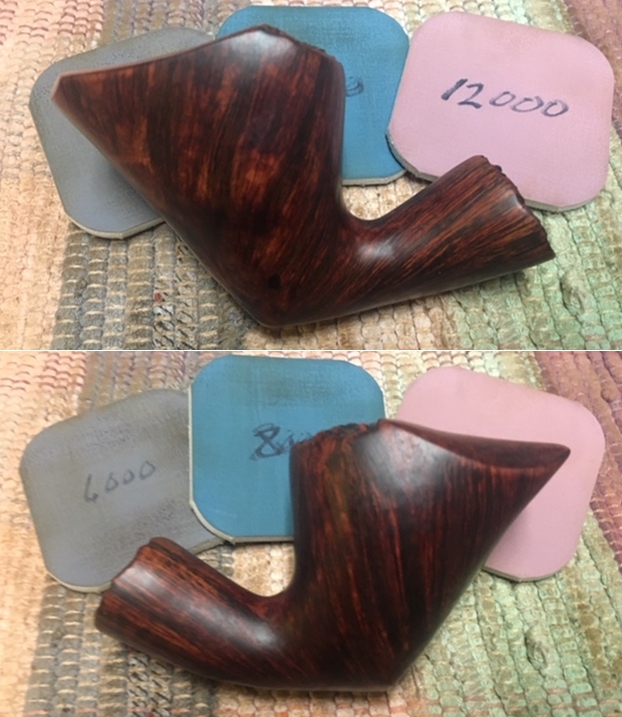
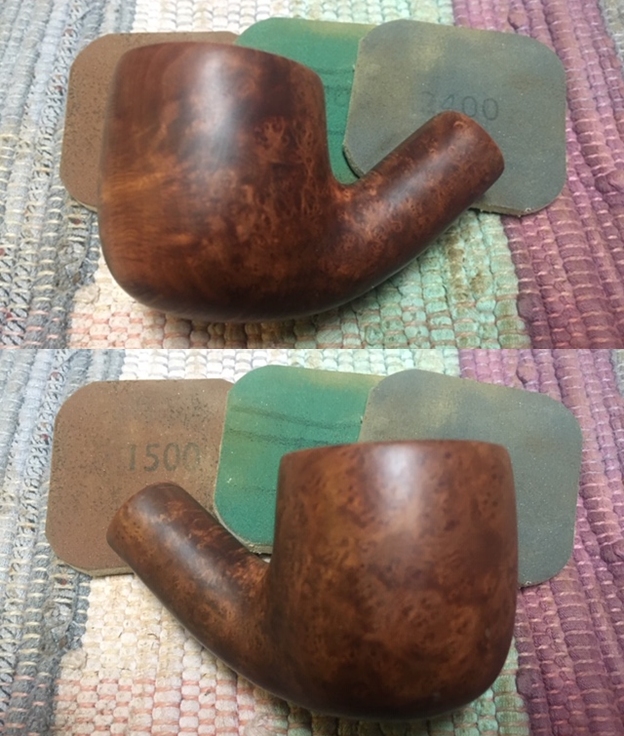
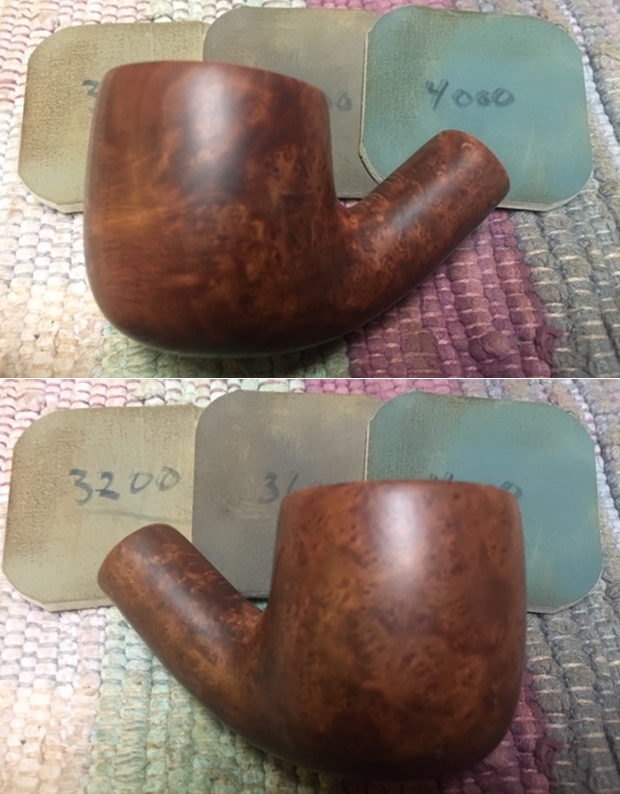
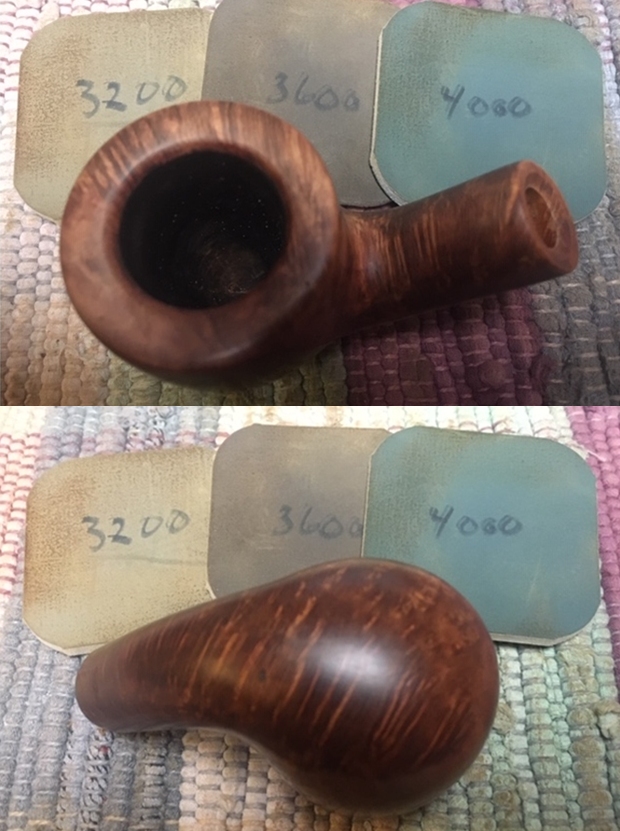
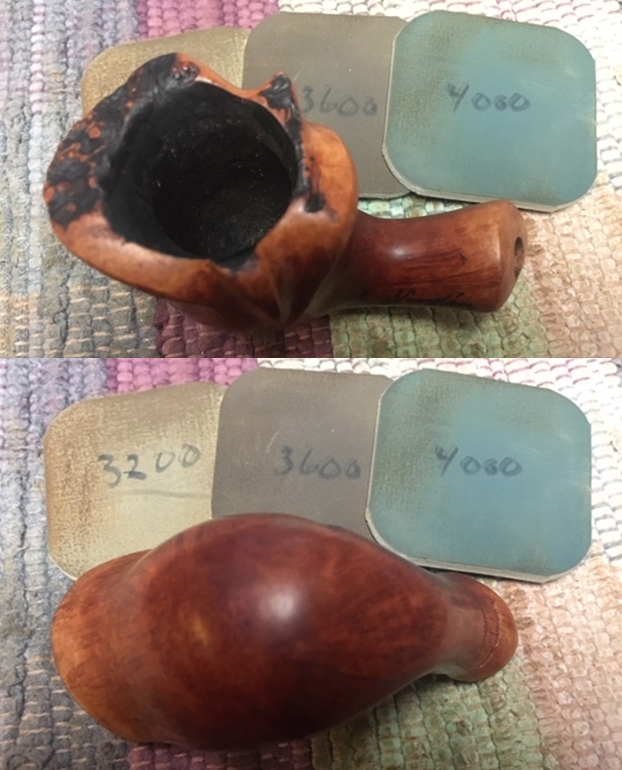
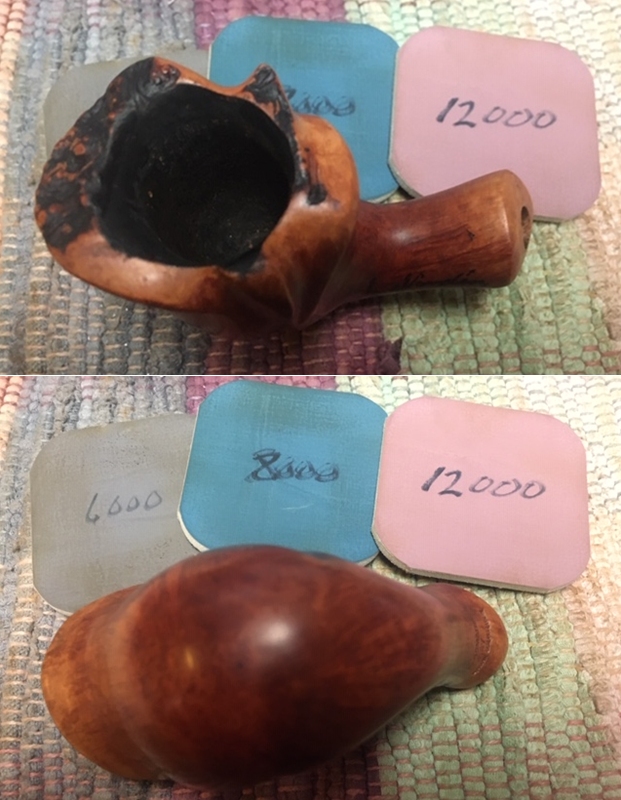
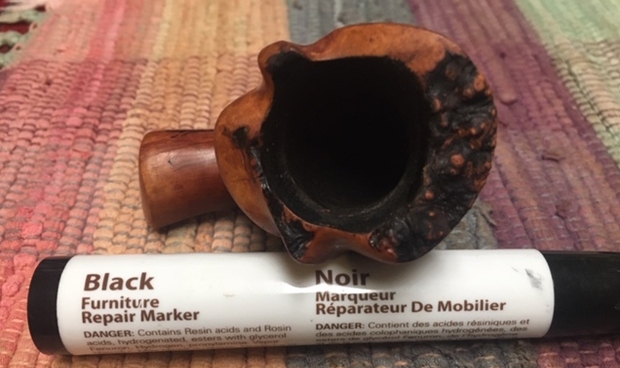 I polished the bowl with micromesh sanding pads – wet sanding with 1500-12000 grit pads. I wiped the briar down after each pad with a damp cloth. The bowl is starting to look very good.
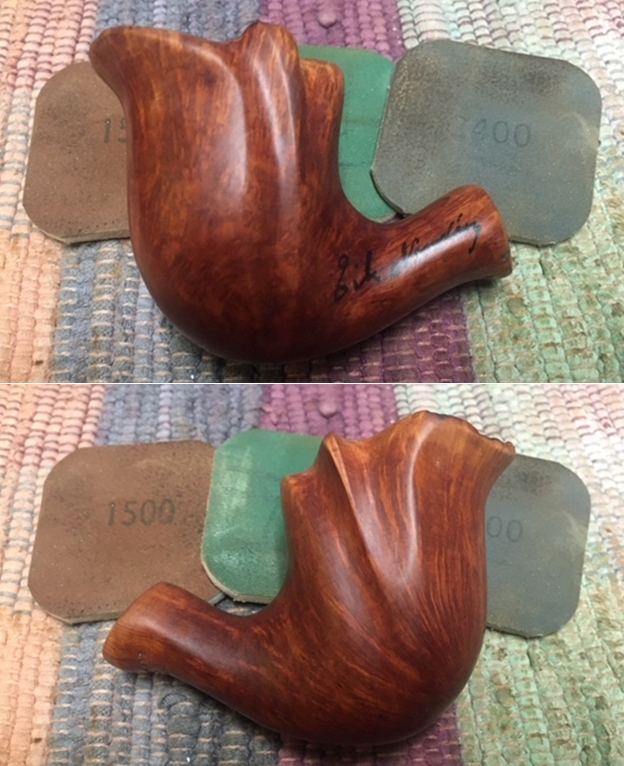
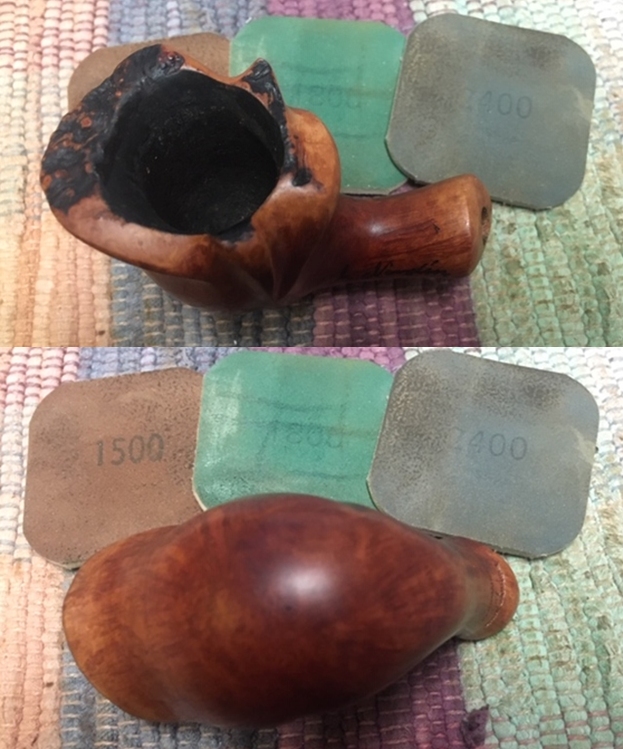

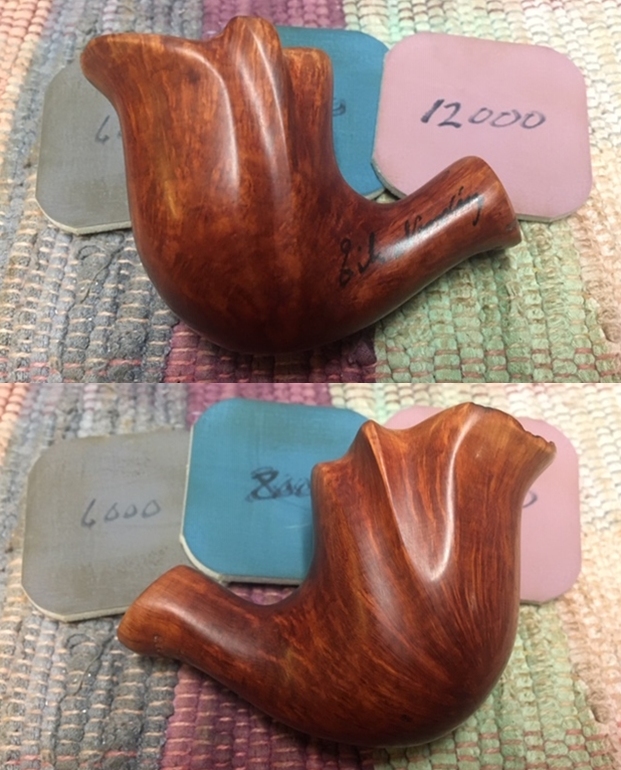
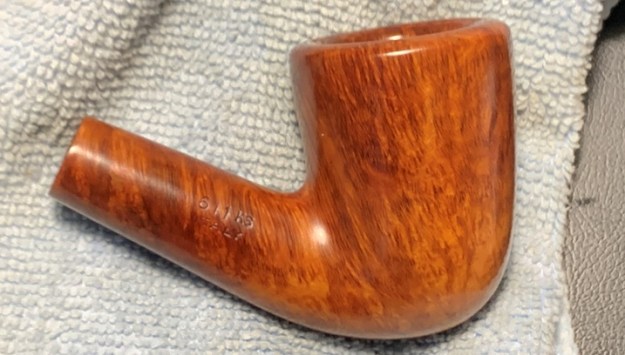
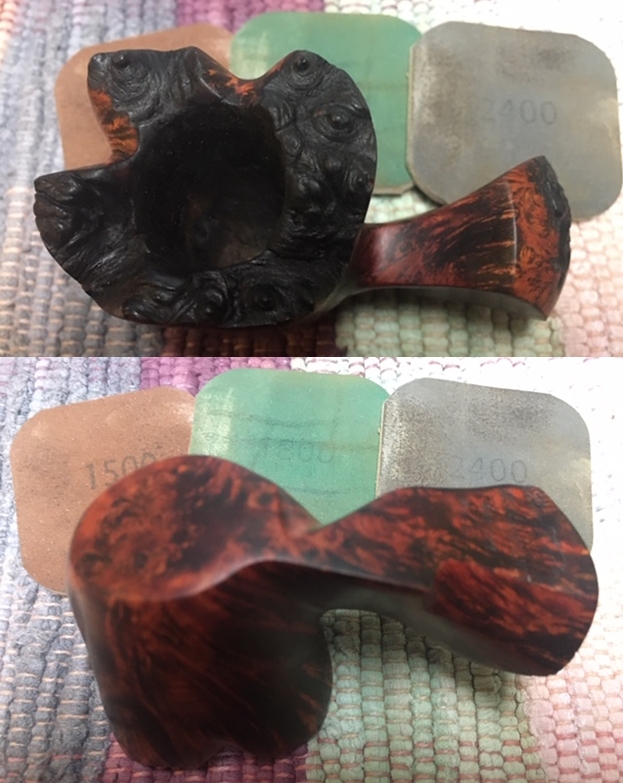
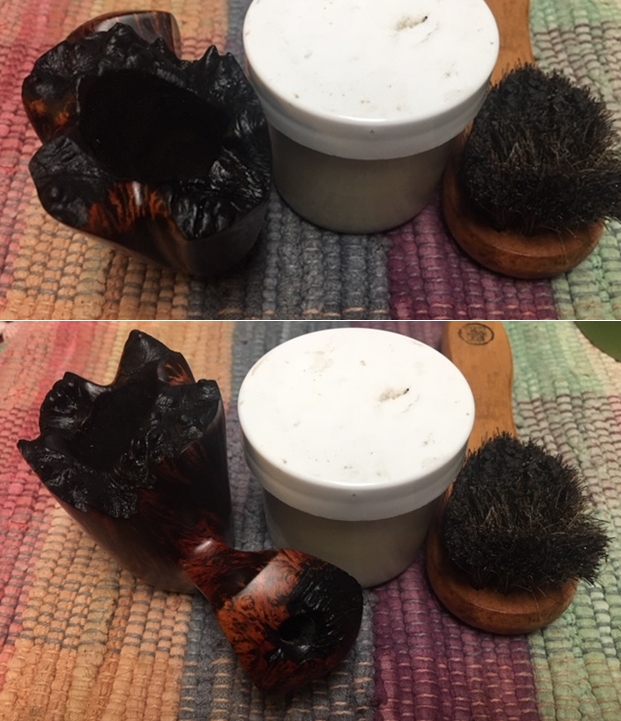
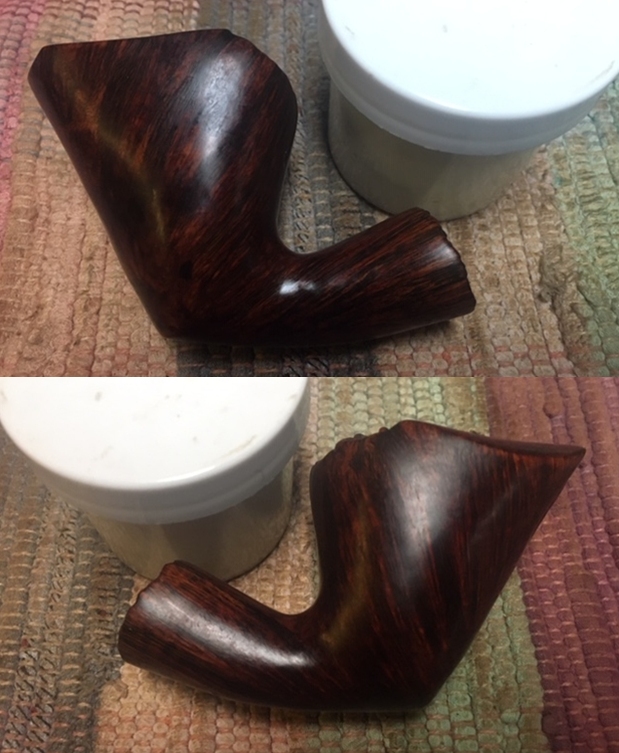
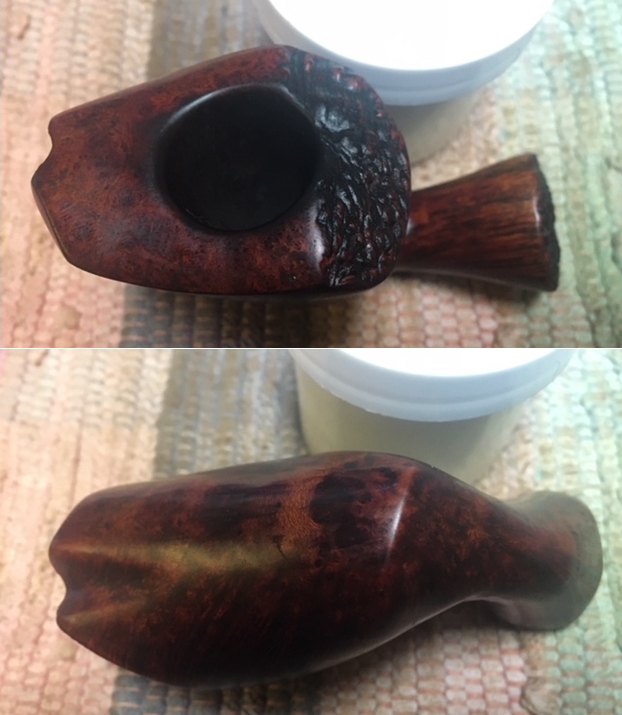
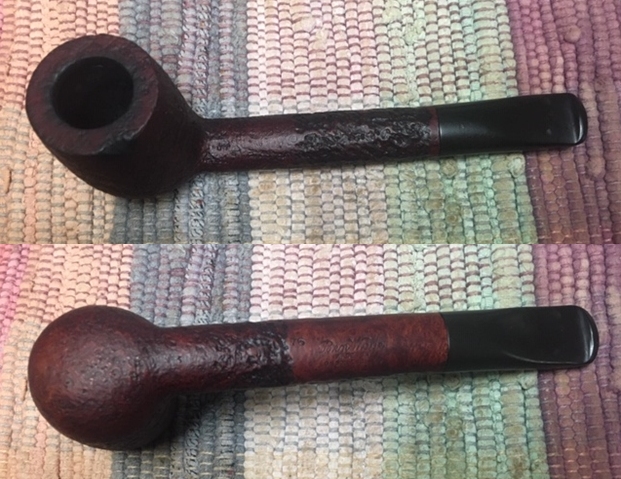
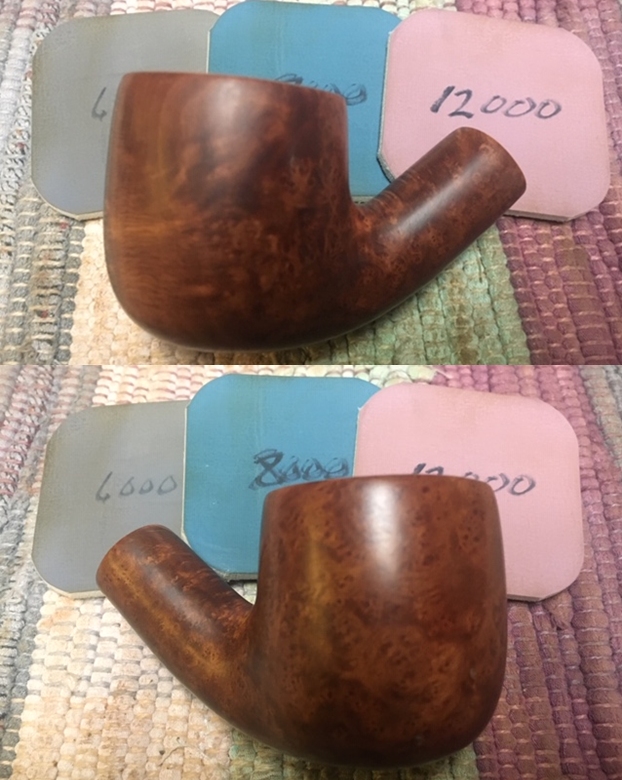
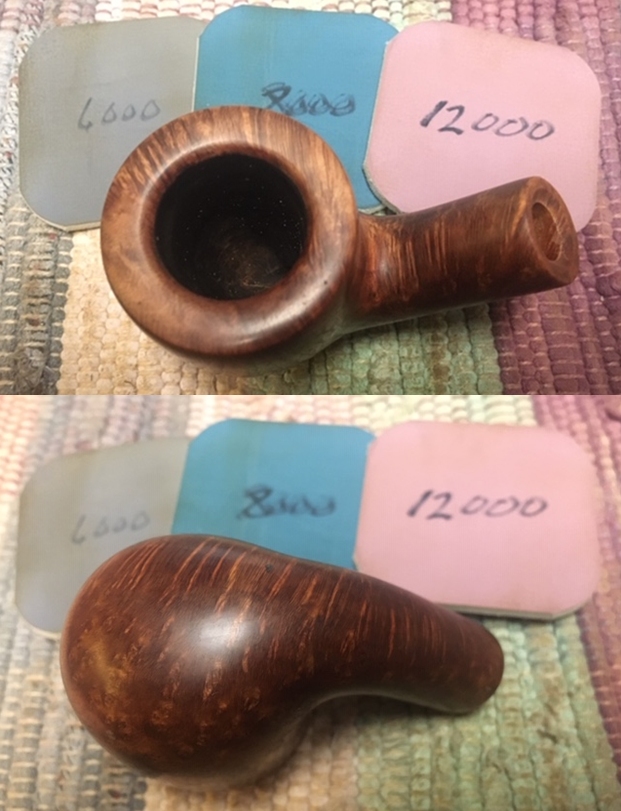
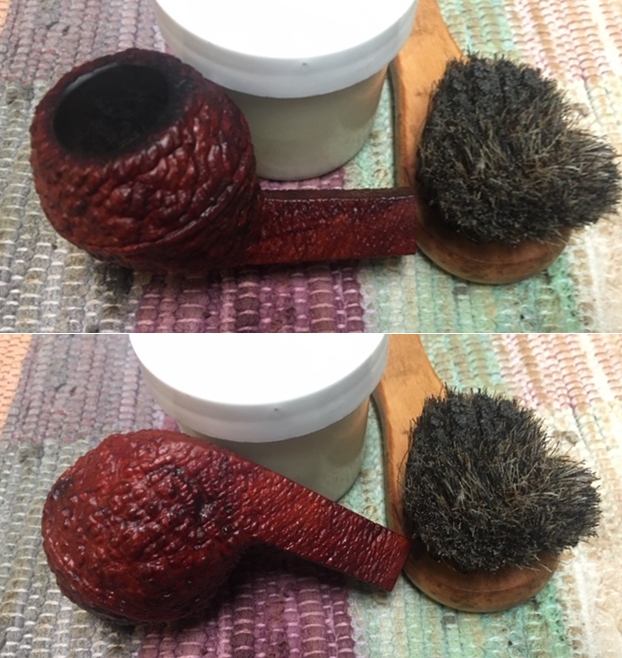
 I worked some Before & After Restoration Balm into the surface of the briar with my fingertips and into the plateau rim top and shank end with a horsehair shoe brush to clean, enliven and protect it. I let the balm sit for a little while and then buffed with a cotton cloth to raise the shine. The photos show the bowl at this point in the restoration process.
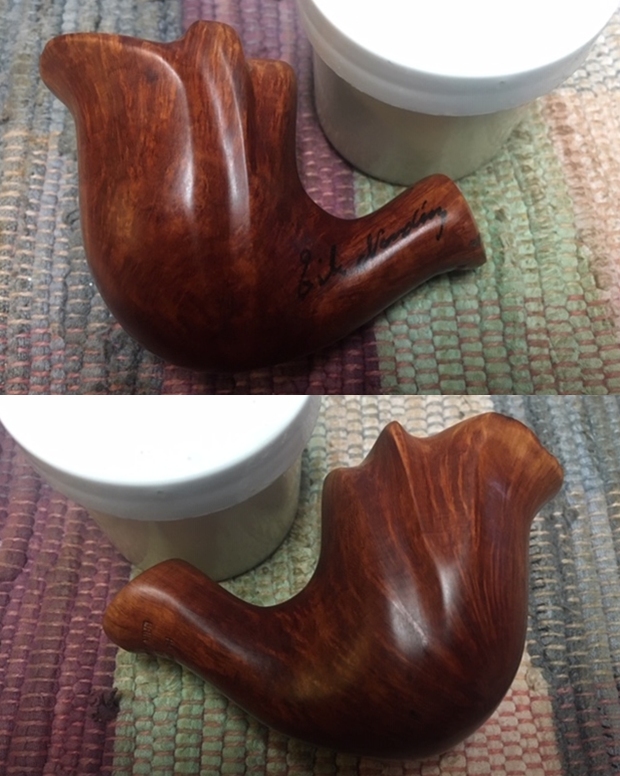
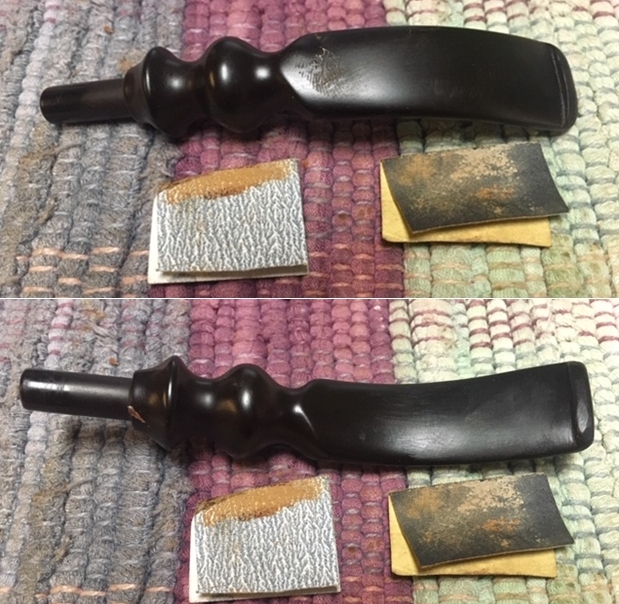
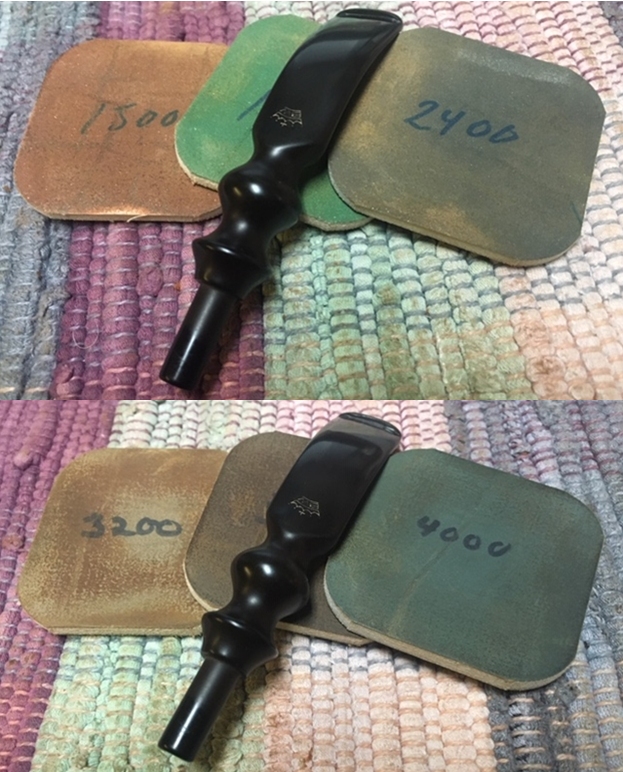
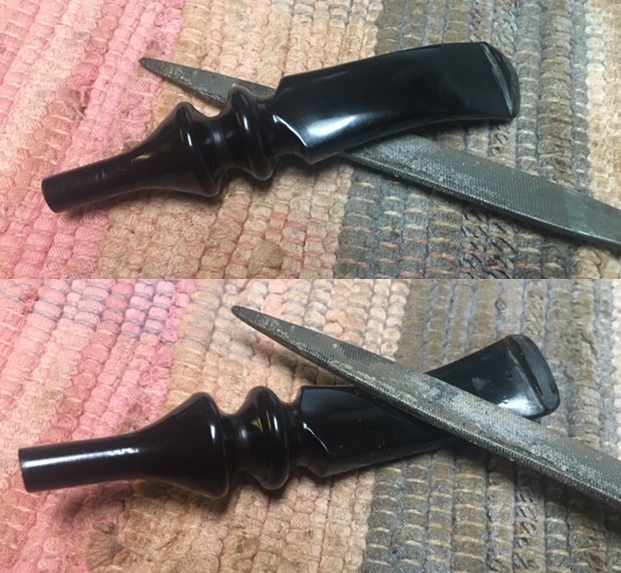
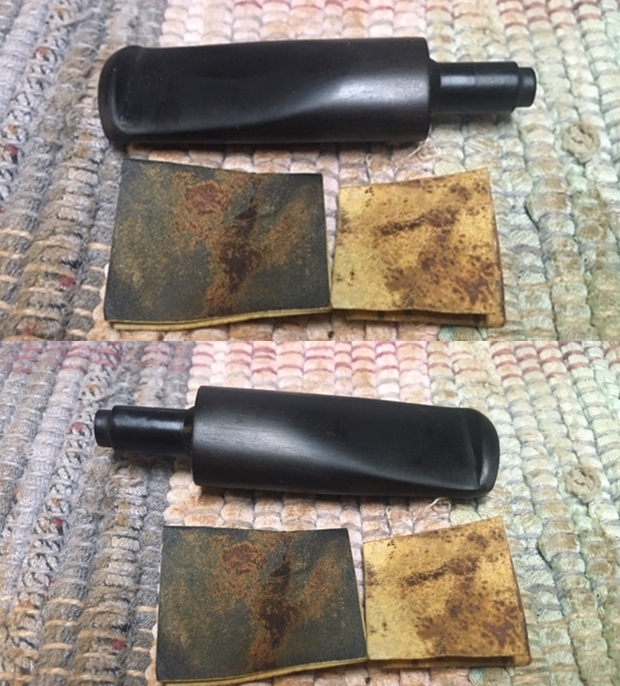
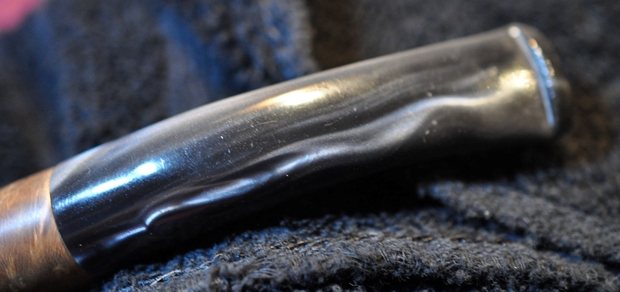
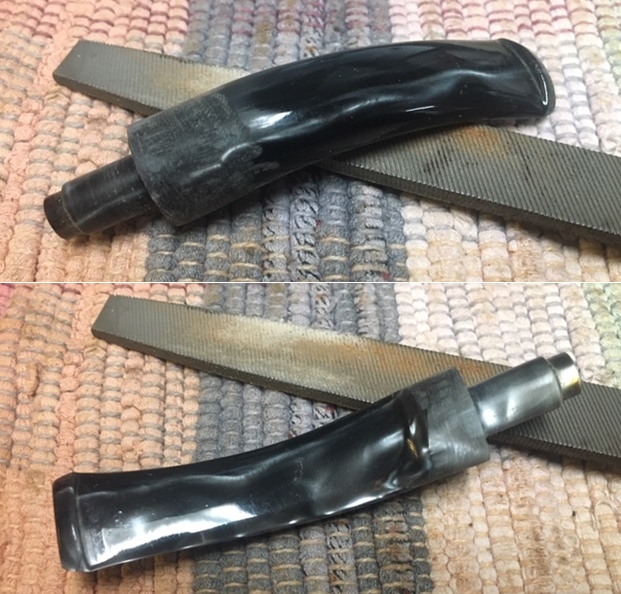
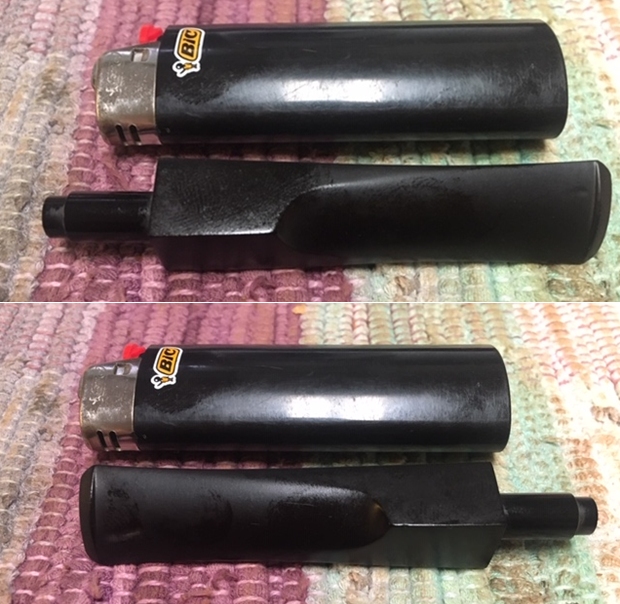
 I set the bowl aside and turned my attention to the stem. I sanded out the tooth chatter and blended in the repairs with 220 grit sandpaper and started to polish it with a folded piece of 400 wet dry sandpaper. Once it was finished it began to shine.
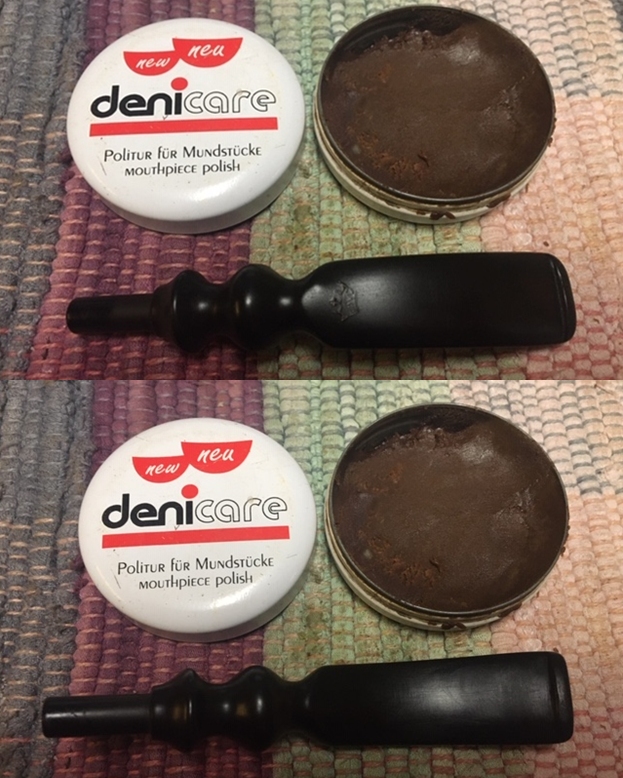
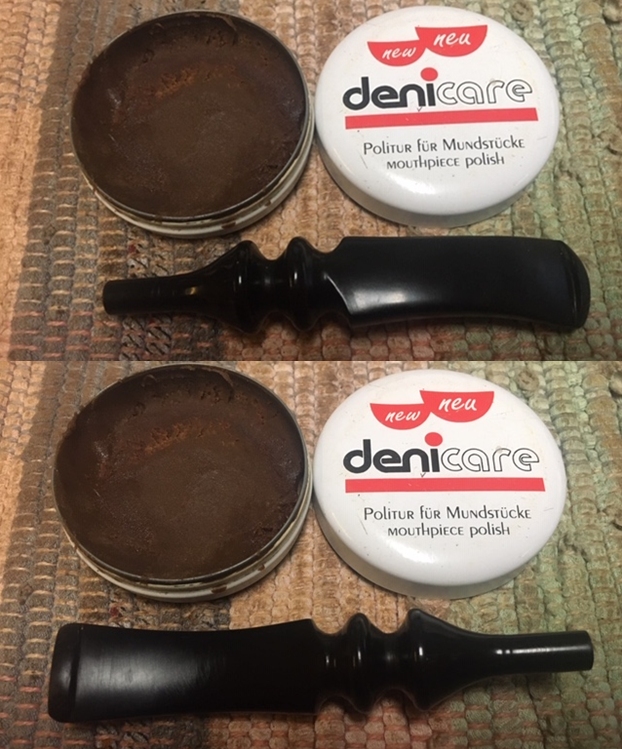
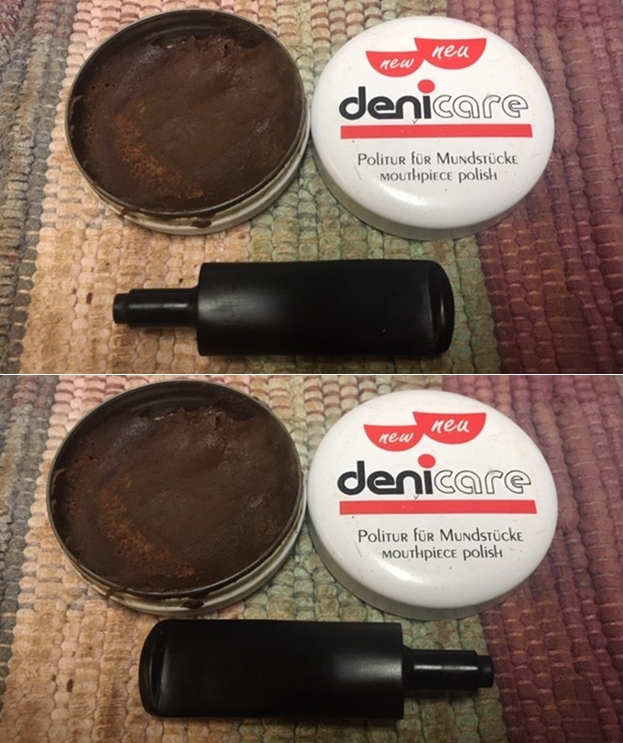
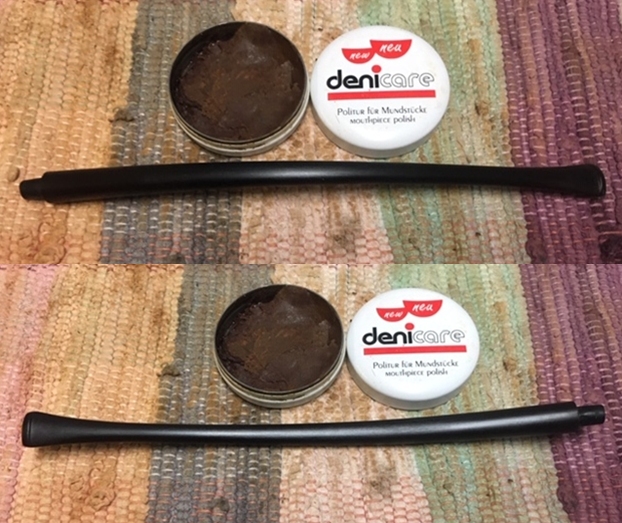
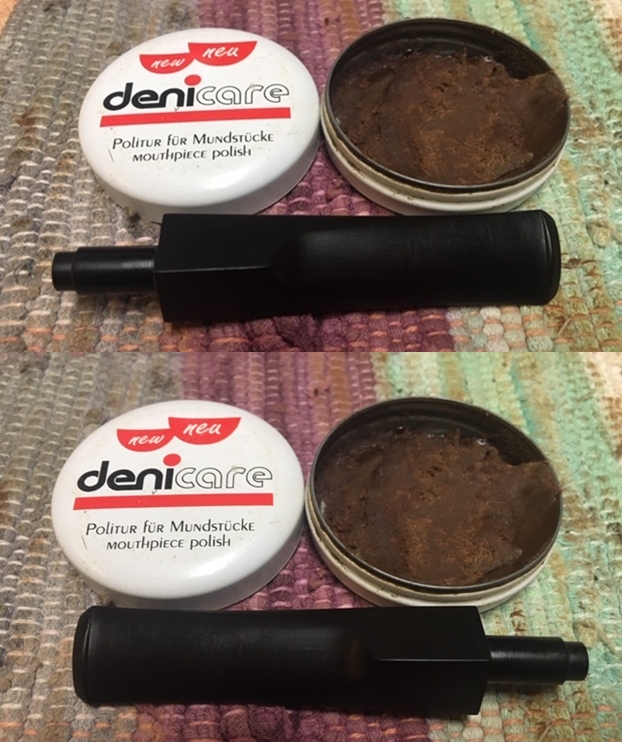
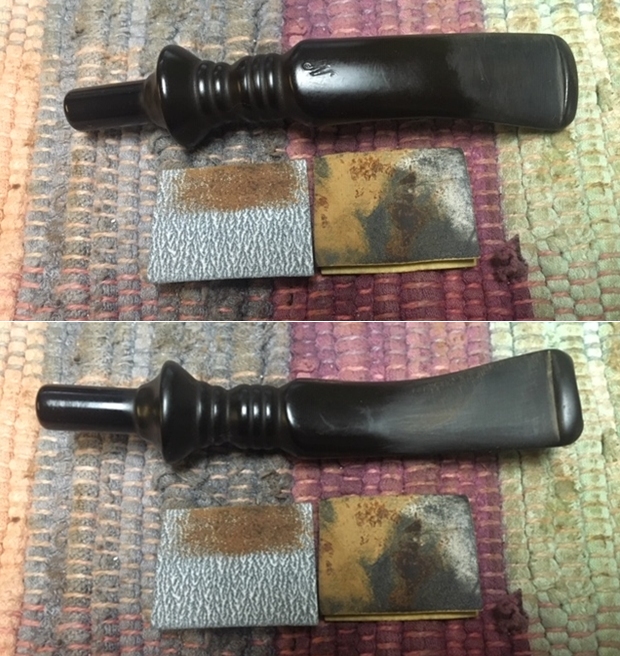 I used some Denicare Mouthpiece Polish that I have in my kit to start polishing out some of the scratches and remaining oxidation on the stem. I rubbed it in with a cotton pad and my finger tip and buffed it off with a cotton pad.
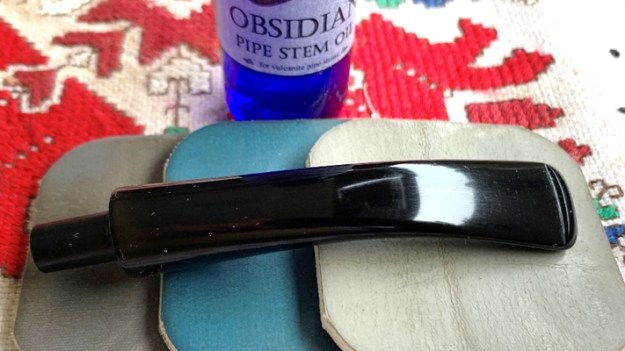
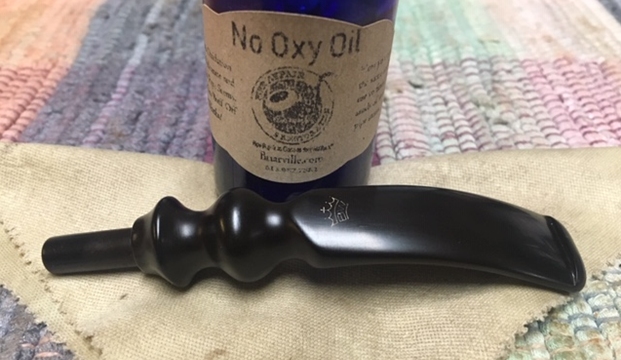
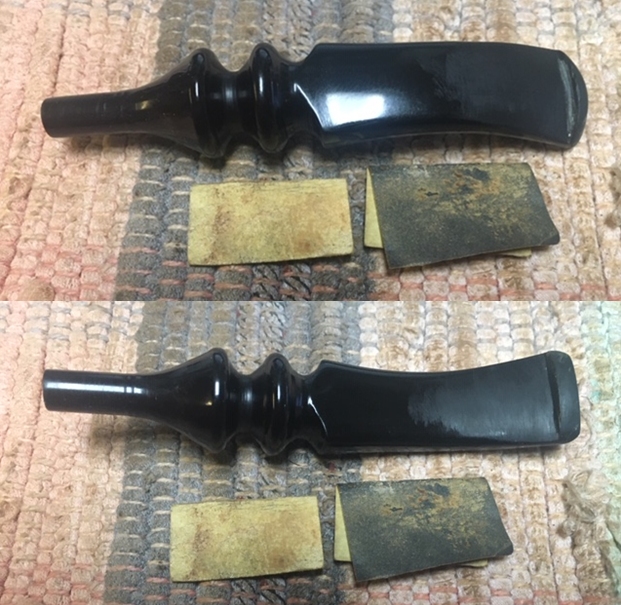
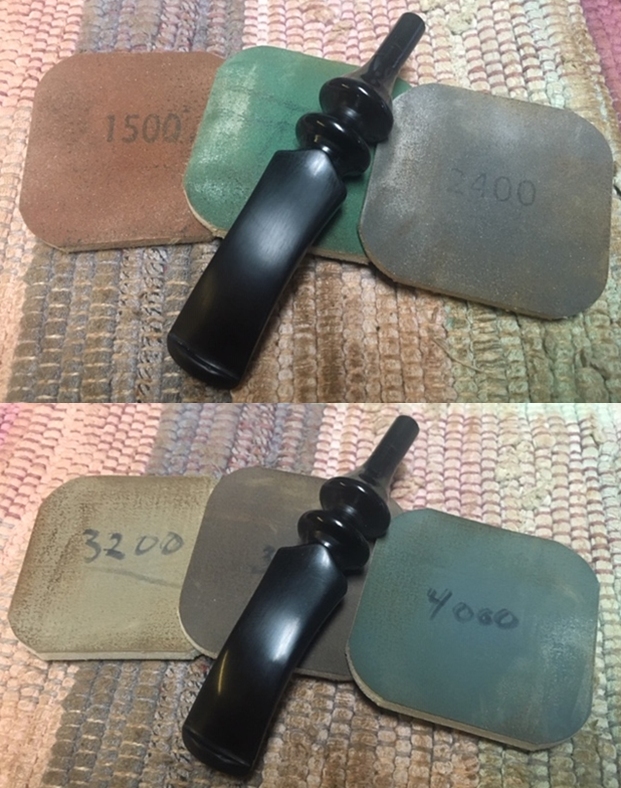
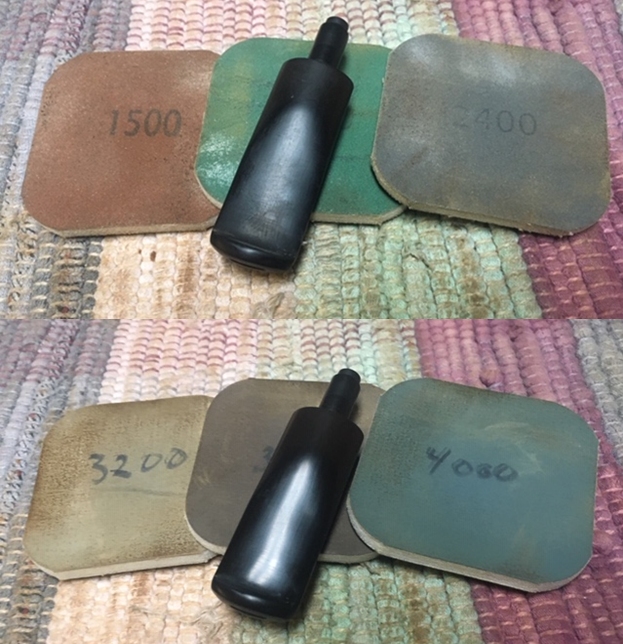
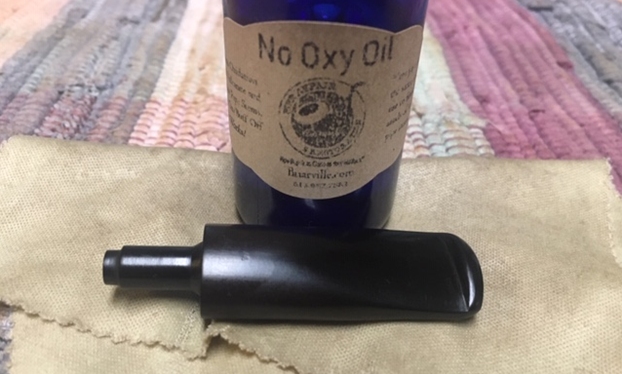
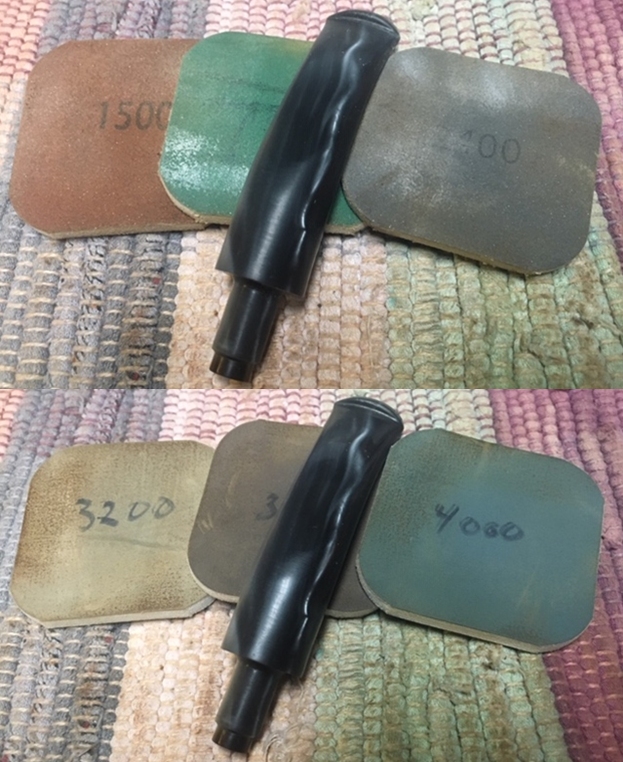
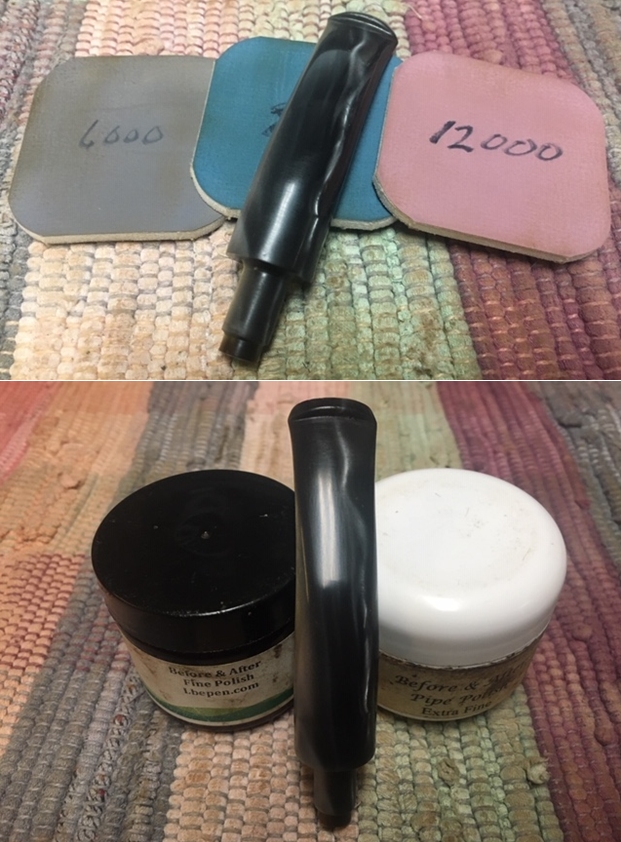
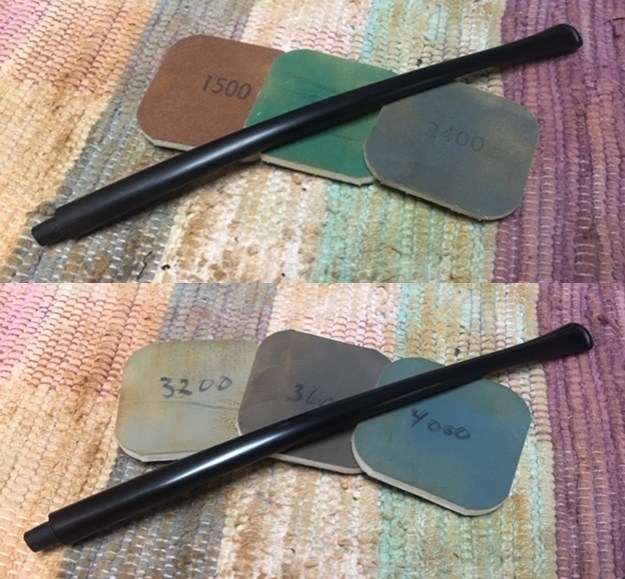
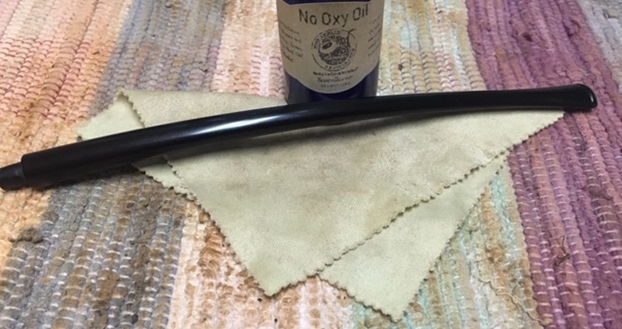
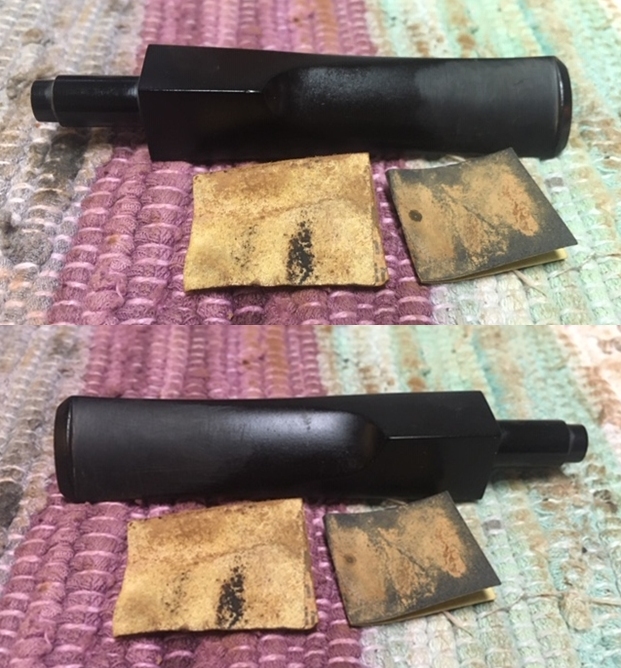
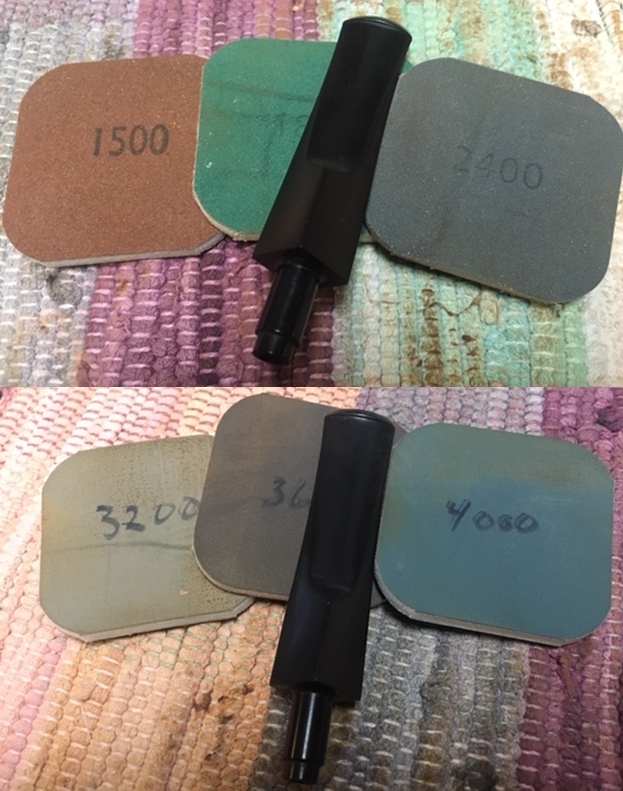
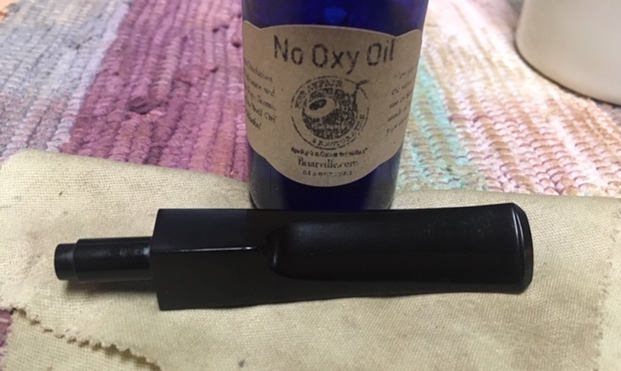
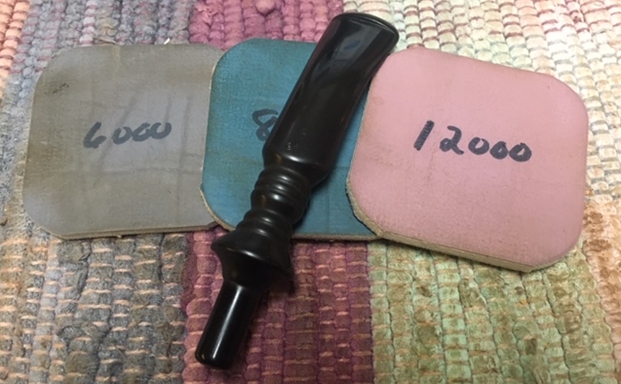
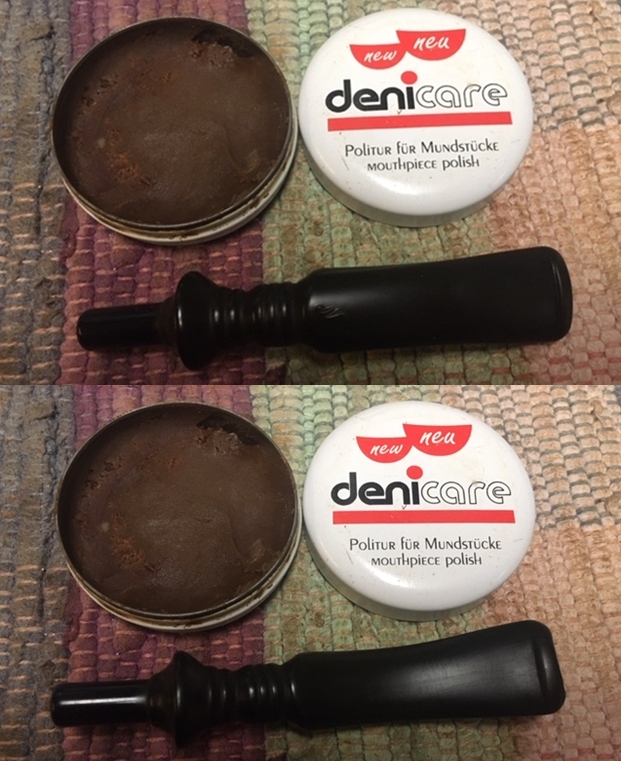 I polished the stem with micromesh sanding pads – wet sanding with 1500-12000 grit sanding pads. I wiped it down after each sanding pad with some Obsidian Oil.
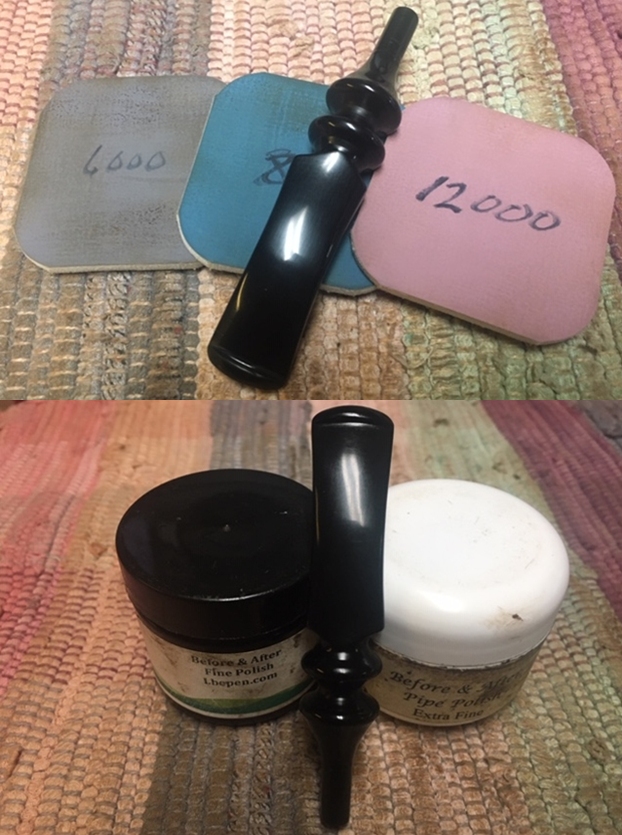
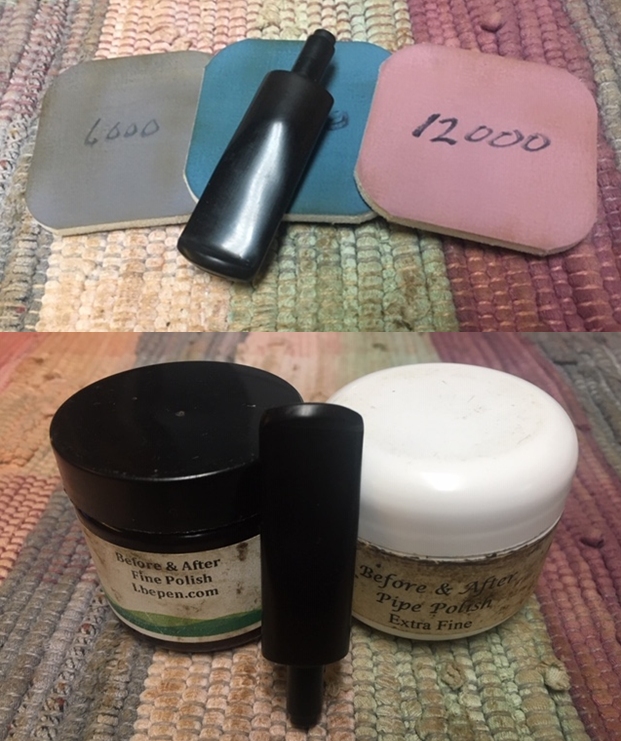
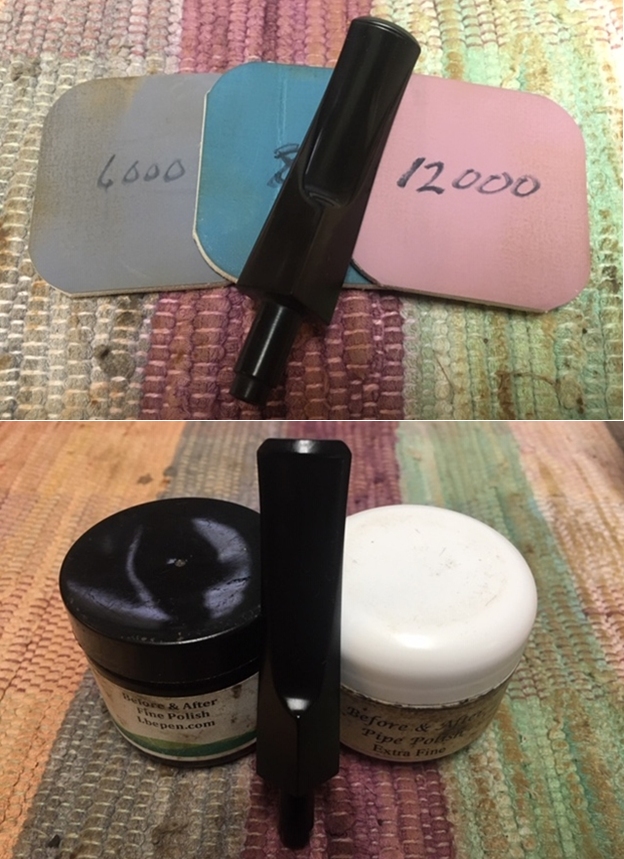
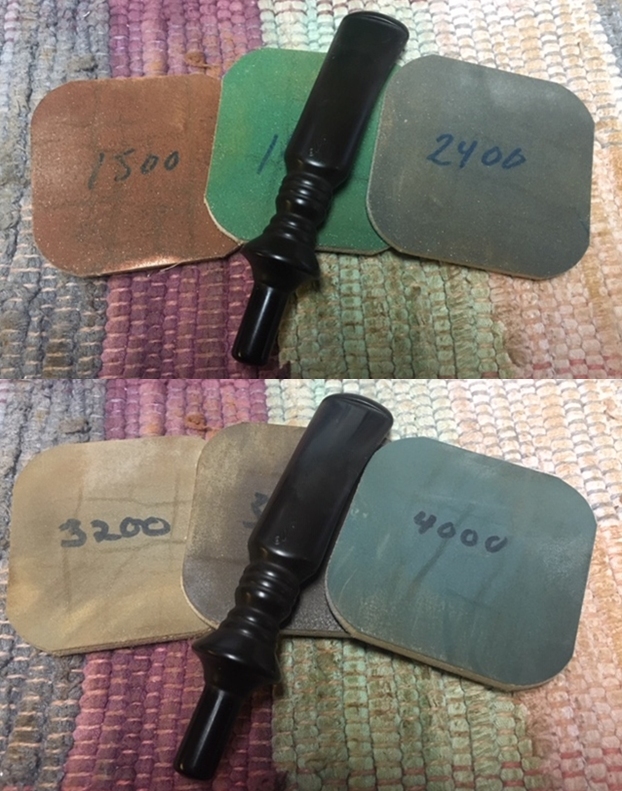
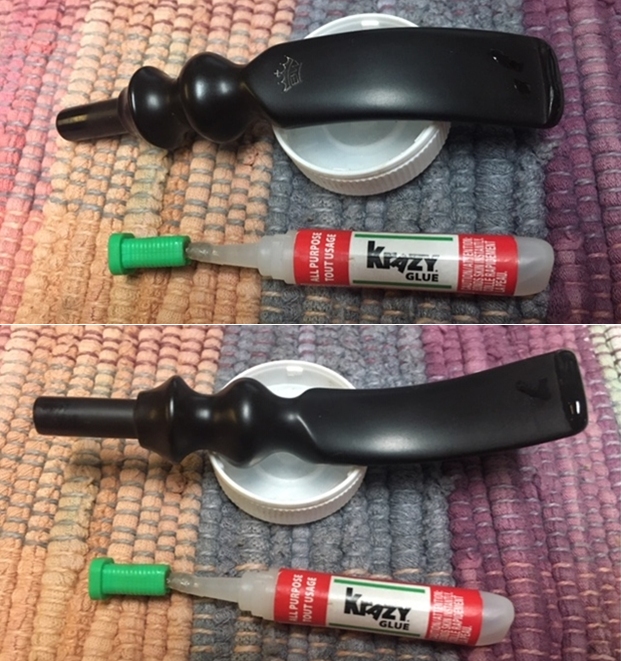
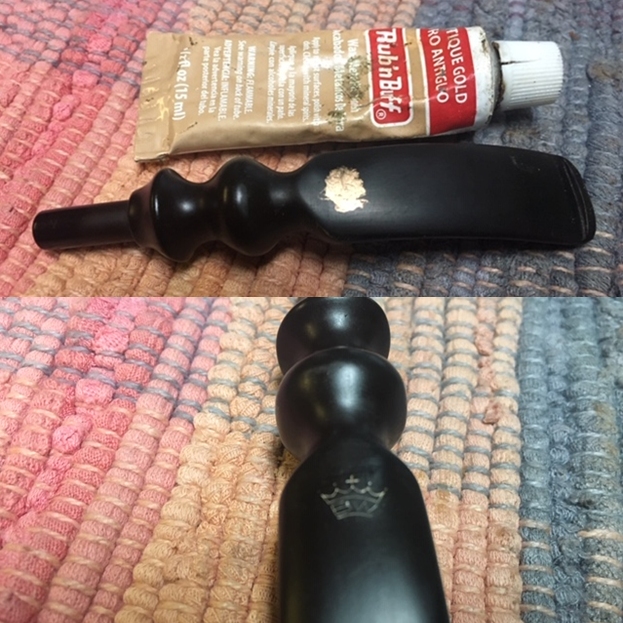
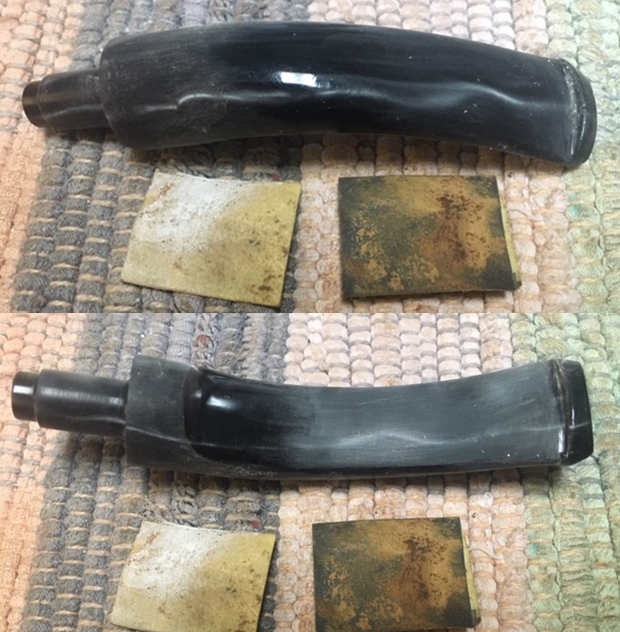
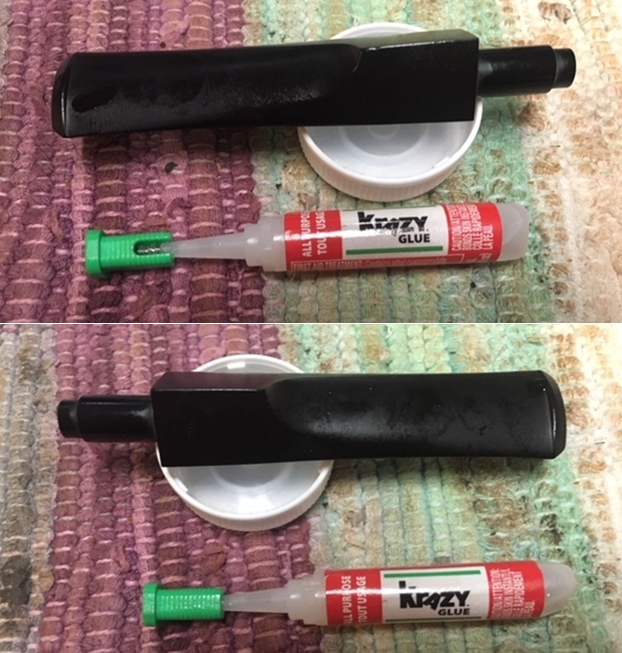
 I touched up the N stamp on the top of the stem with some Paper Mate Liquid Paper. I applied it with a tooth pick on the surface of the stem. Once it had dried I scraped off the excess Liquid Paper off the stem with the tooth pick.
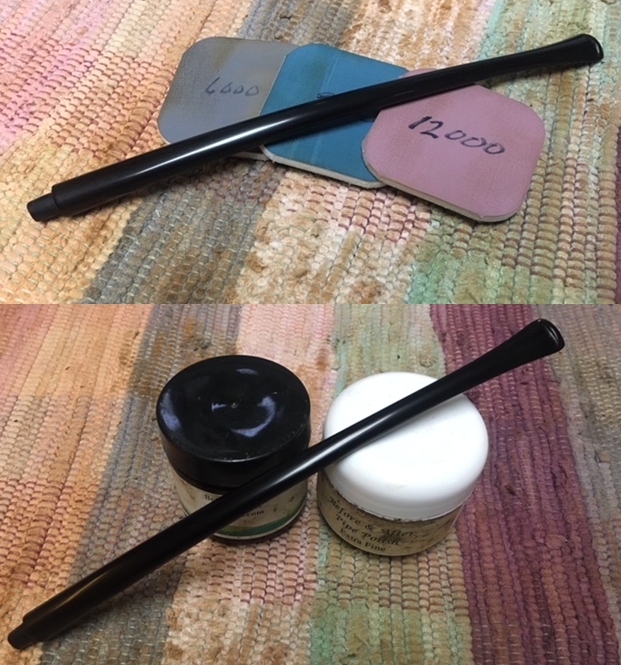
 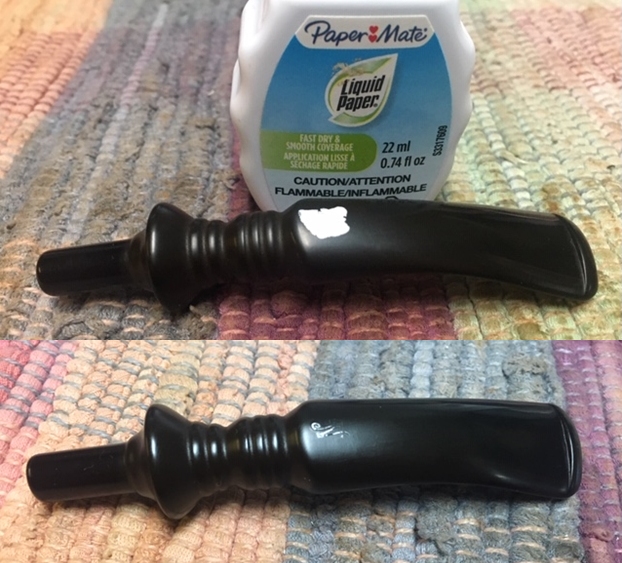 I finished polishing it with Before & After Pipe Stem Polish – both Fine and Extra Fine and buffed it off with a cotton cloth.
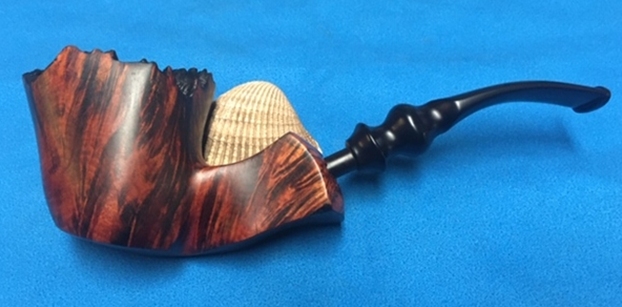
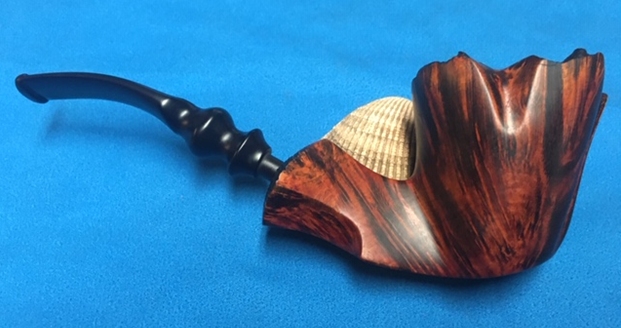
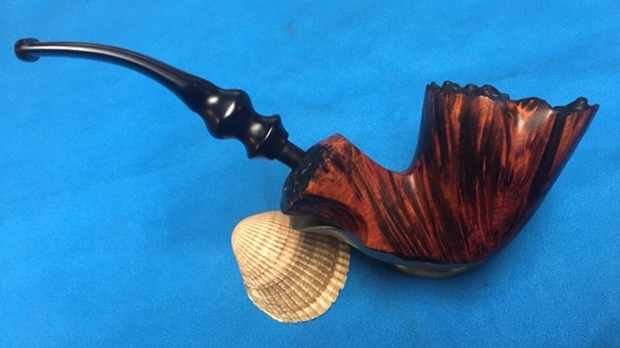
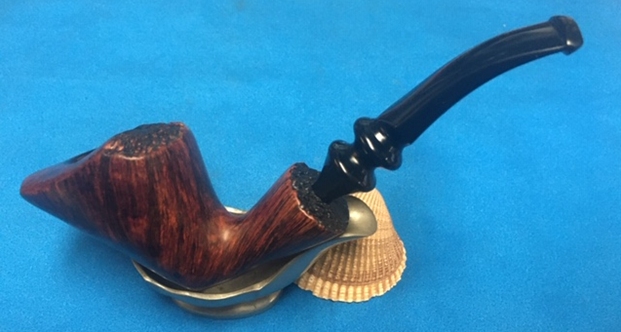
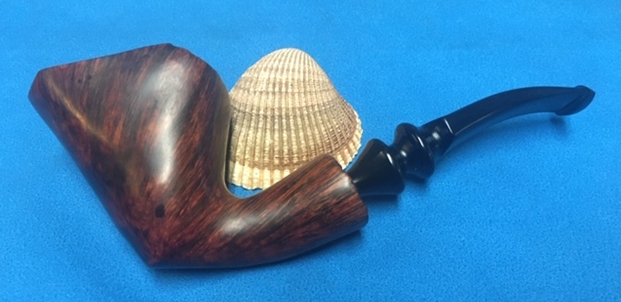
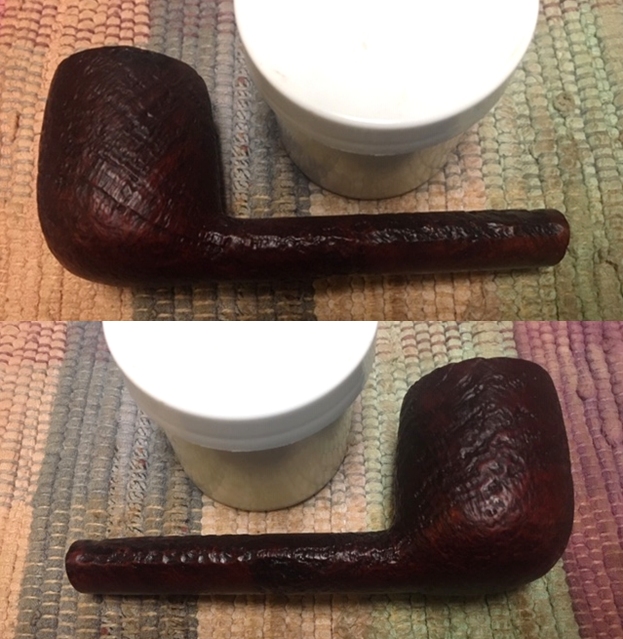
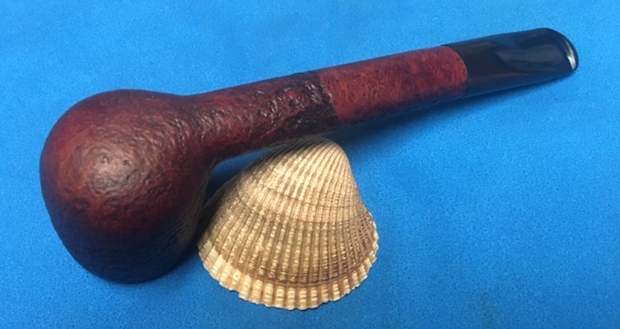
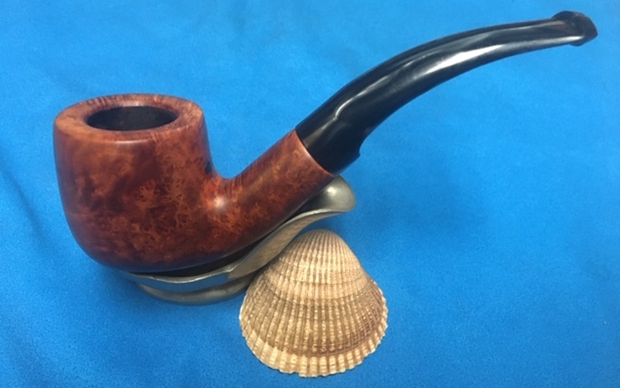
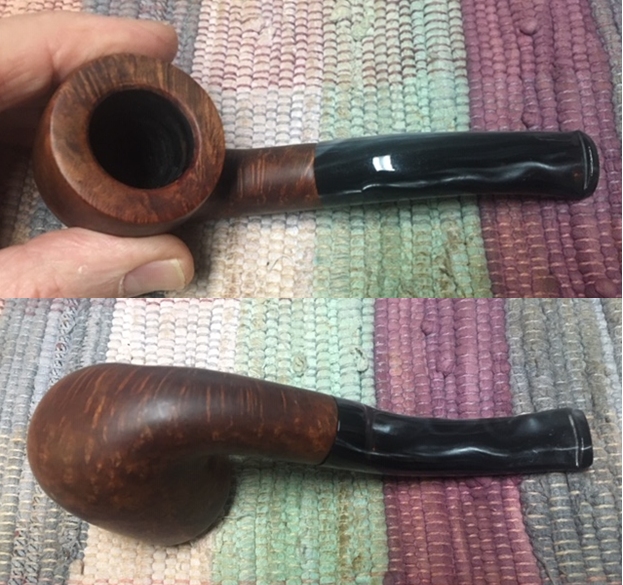
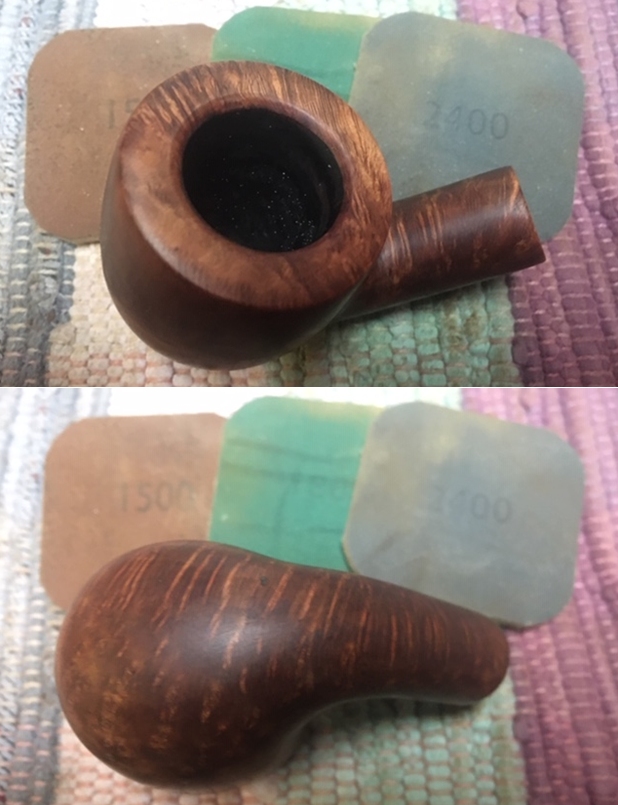
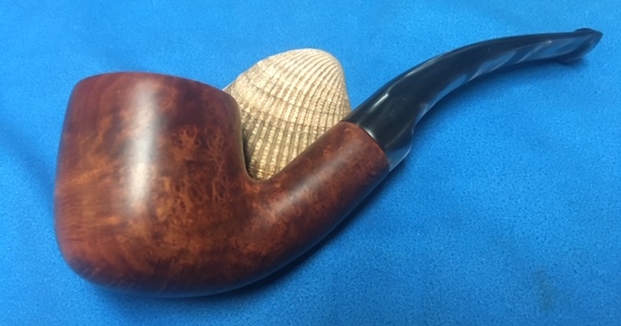
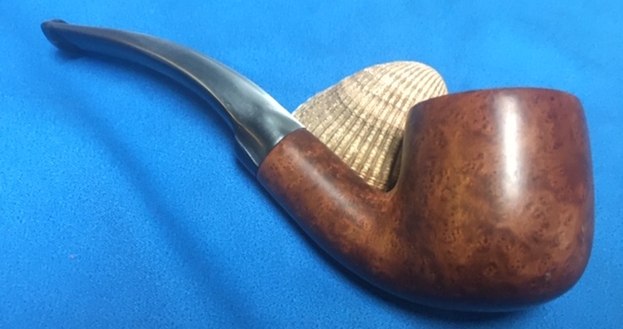
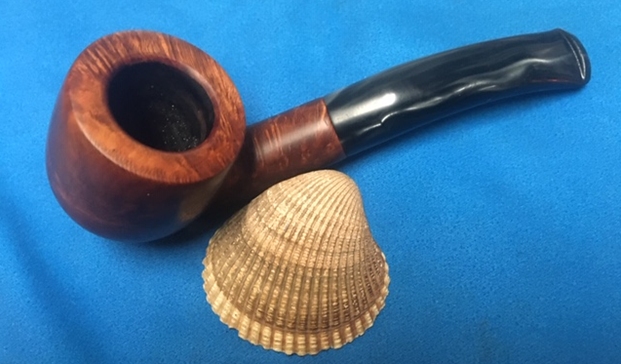
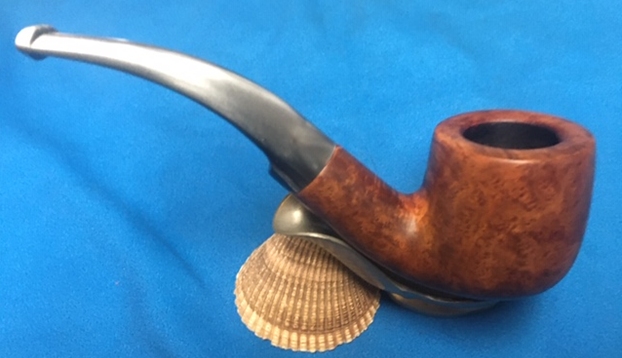
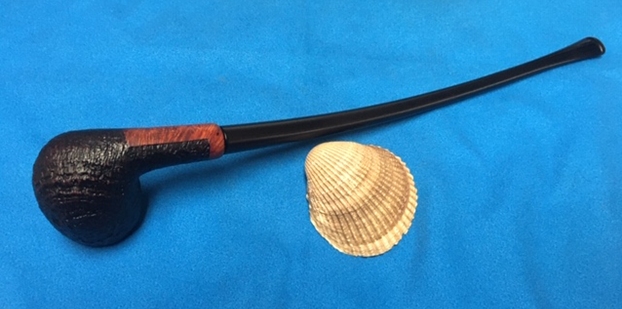
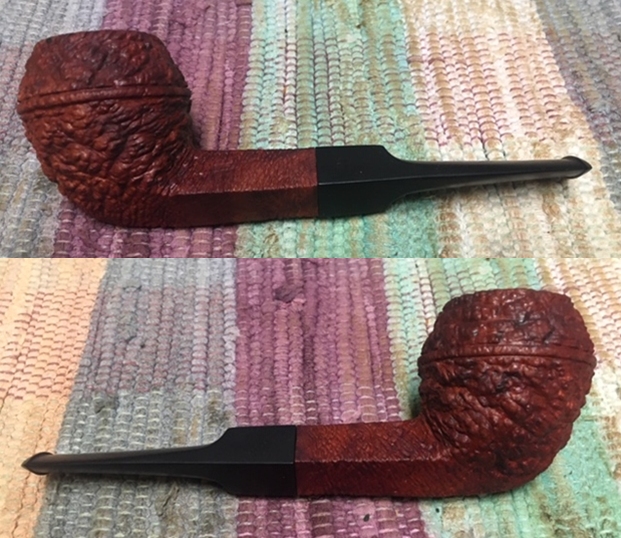
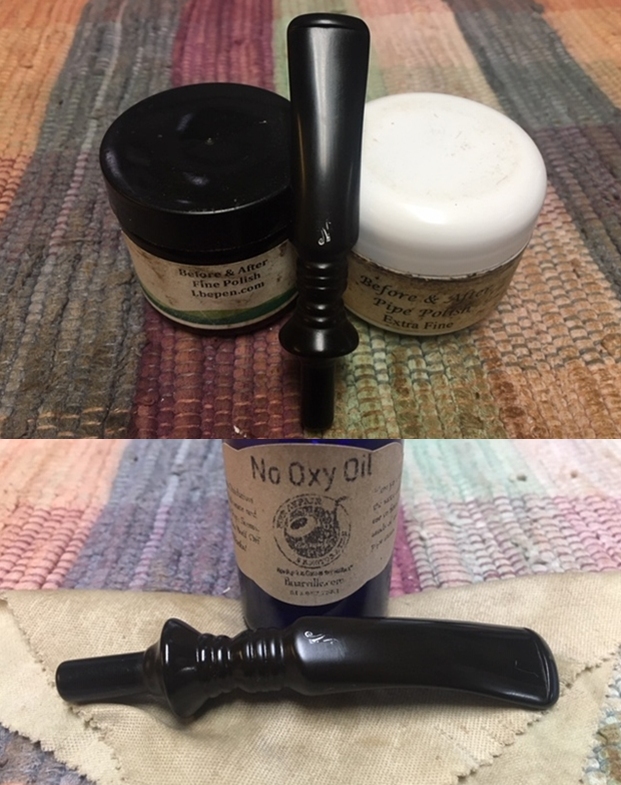 This is another beautiful Freehand pipe. It is an Erik Nording Handmade with a fancy, turned, black acrylic stem. To me it has the look of a Cala Lily with the flared top edges and carved valleys in the sides of the bowl. It looks a lot like the photo I posted at the top of this blog. Once again the shape fits well in my hand with the curve of the bowl and shank junction a perfect fit for the thumb around the bowl when held. I polished stem and the bowl with Blue Diamond polish on the buffing wheel. I gave the plateau on the rim top multiple coats of Conservator’s Wax. I gave the bowl and the stem multiple coats of carnauba wax. I buffed the pipe with a clean buffing pad to raise the shine. I hand buffed it with a microfiber cloth to deepen the shine. The pipe polished up pretty nicely. The rich combination of browns and black in the smooth finishes and the plateau areas took on life with the buffing. The rich colour of the briar works well with the polished vulcanite stem. I like the grain and finished look of this Nording pipe. Have a look at it with the photos below. The shape, finish and flow of the pipe and stem are very well done. The dimensions are Length: 6 inches, Height: 2 ½ inches, Outside diameter of the bowl: 1 ½ wide x 2 inches long, Chamber diameter: 1 inch. This Danish Freehand is a real beauty. Thanks for walking through the restoration with me as I worked over another beautiful pipe. This one will be going on the rebornpipes store in the Danish Pipe Making Section shortly if you would like to add it to your collection. Thanks for your time.