Blog by Steve Laug
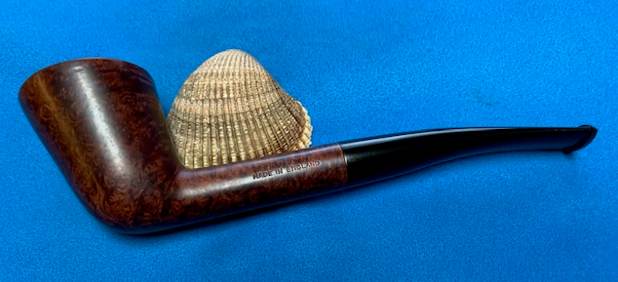
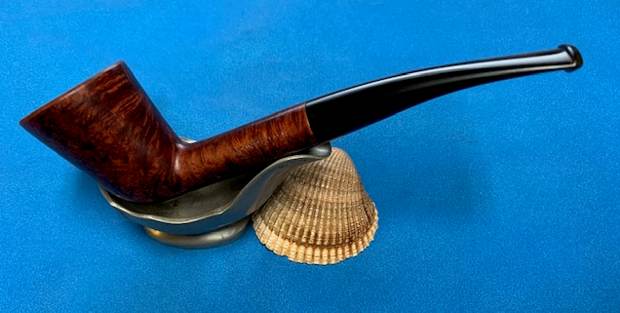
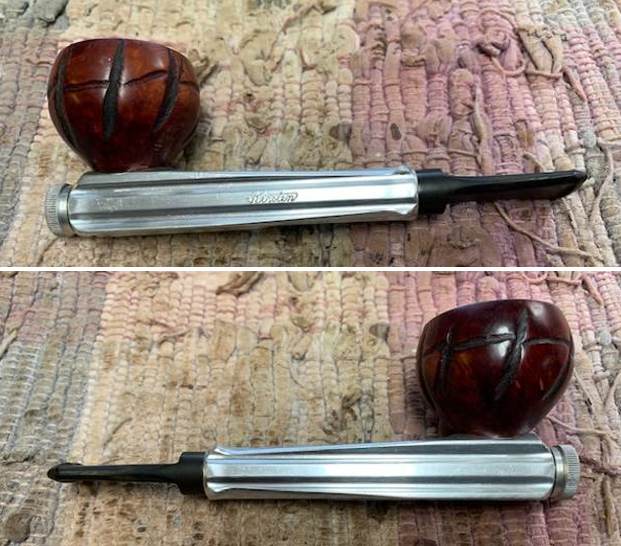
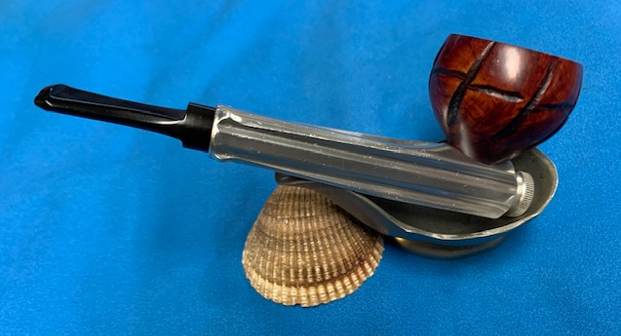
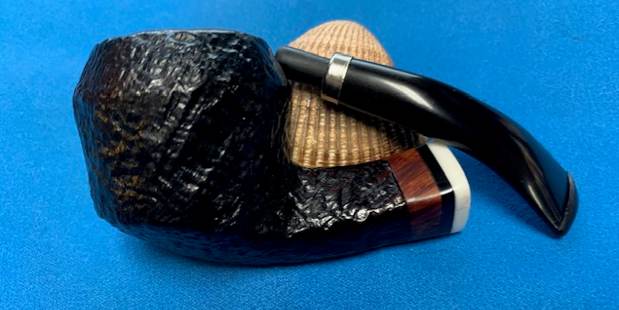
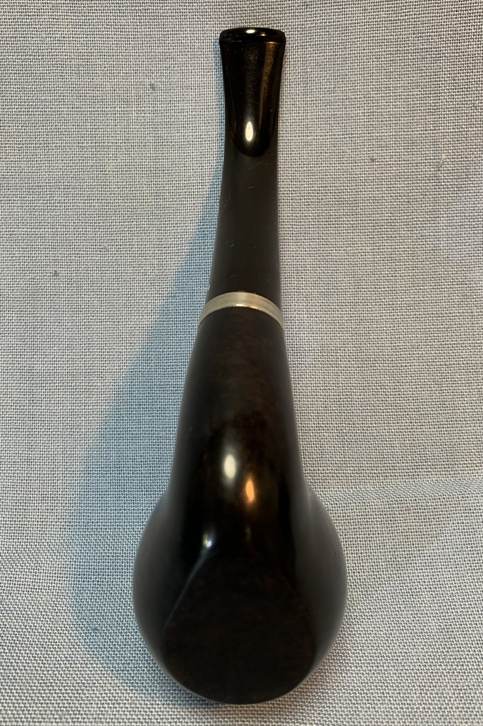
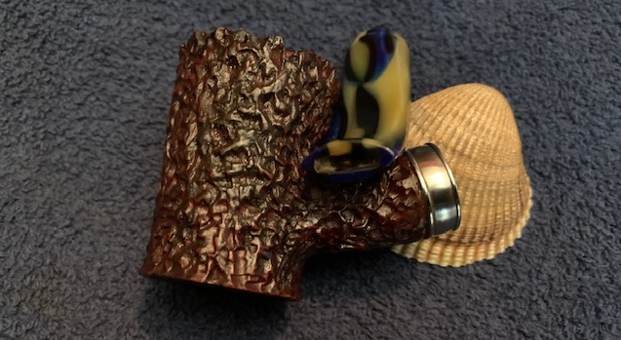
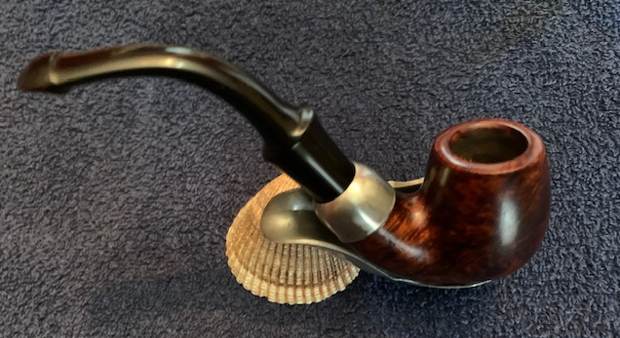
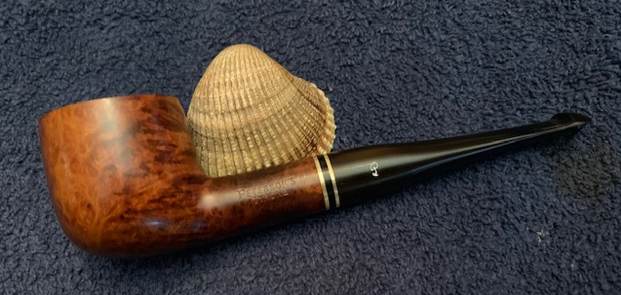
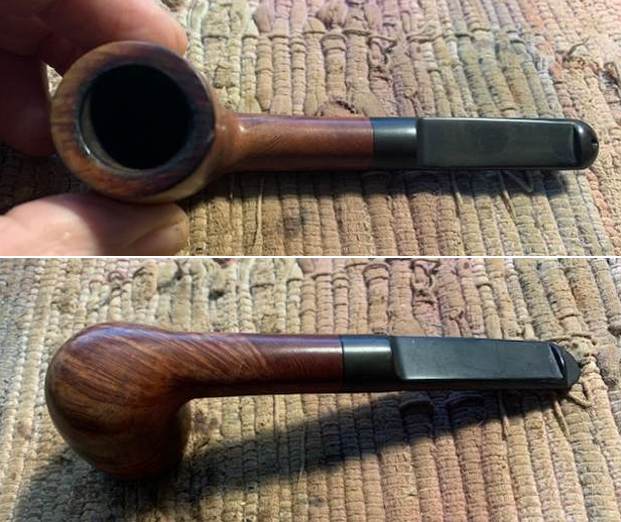
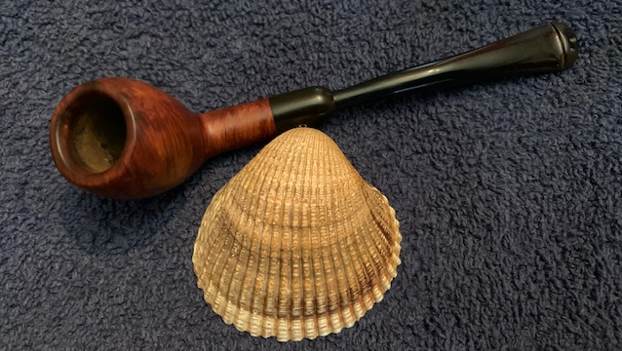
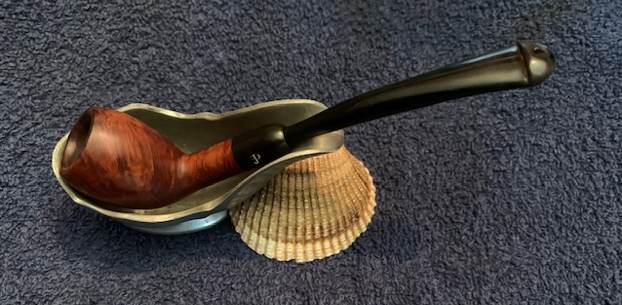
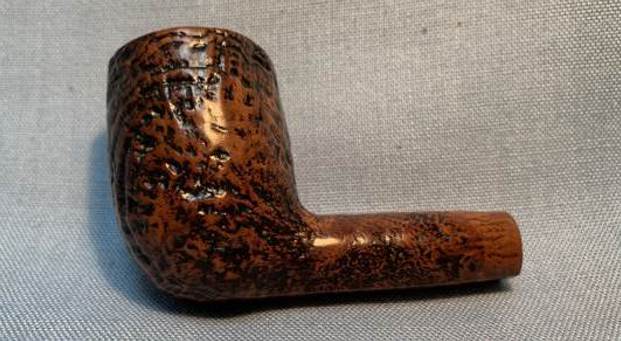
The next pipe on the work table came to me in a group of six pipes I bought from a fellow in Eastern Canada. It included two Canadian made pipes – a Blatter of Montreal and a Trypis. In the mix was an English made Charatan second stamped Mountbatten and two Peterson’s and an Irish Second. The pipes were well used and all had been smoked. The seller sent me a photo of the pipes so that I could see what he was selling. We discussed some options together and arrived at an agreement and the pipes were on their way to me in Vancouver.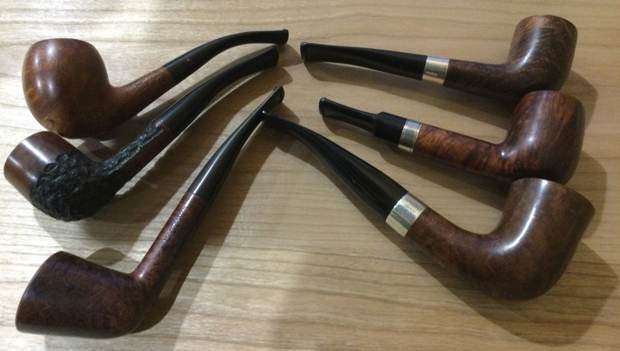 There was something about the forward canted bowl on this slightly-bent-Dublin, the bottom pipe in the left column that grabbed my attention and made me want to work on it next. This is what I saw. The pipe is stamped on the left side of the shank and reads Mountbatten [over] of Made In England. On the right side of the shank is the shape number 852. The finish had some grime ground into the finish on the bowl but still looked to be in good condition. The bowl was thickly caked with some light lava on the top at the back and some darkening on the top and the beveled inner edge of the rim. The taper stem had some light tooth chatter on the top and underside near the button. It had promise but it was dirty. I took some photos of the pipe before I started my cleanup work.
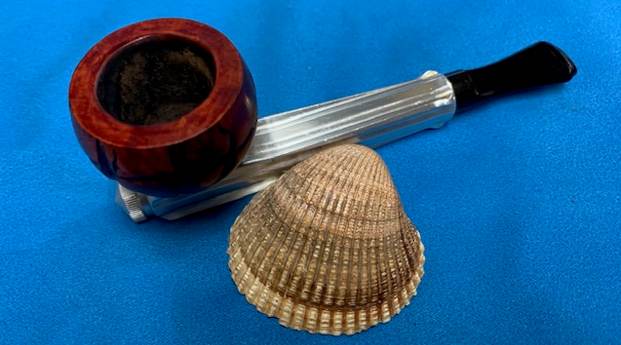
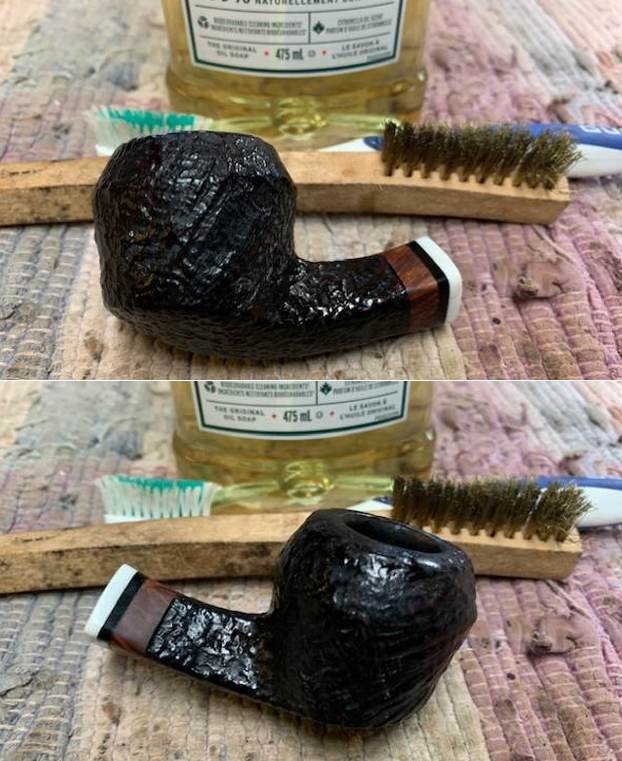
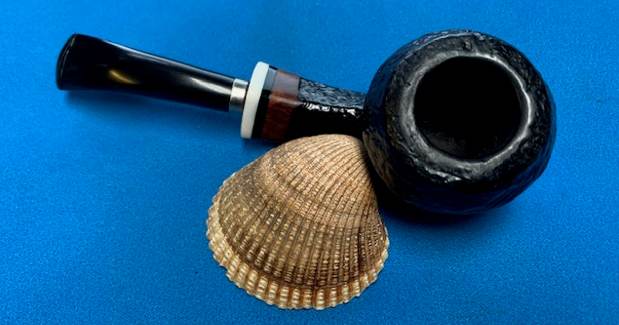
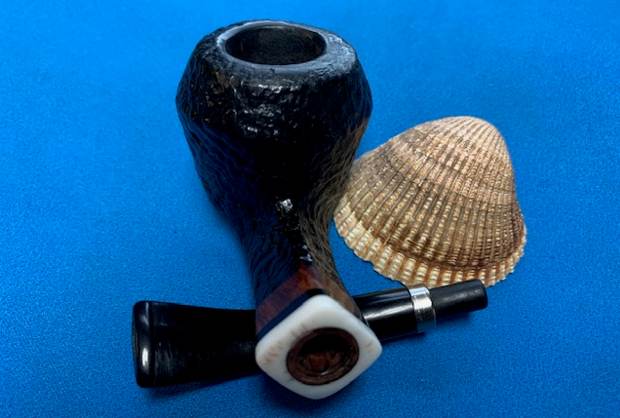
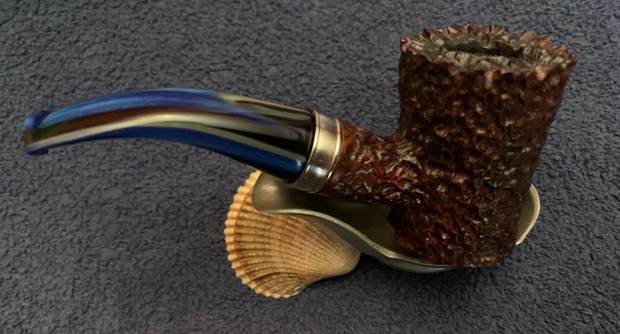
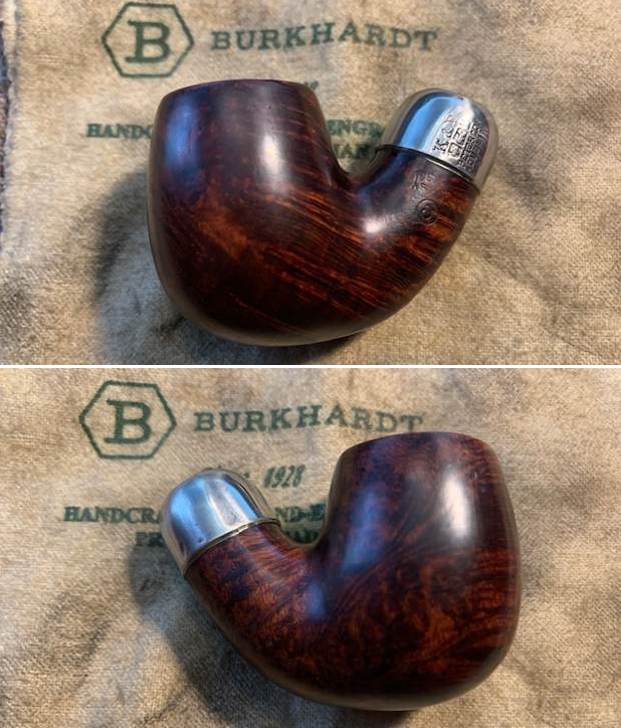
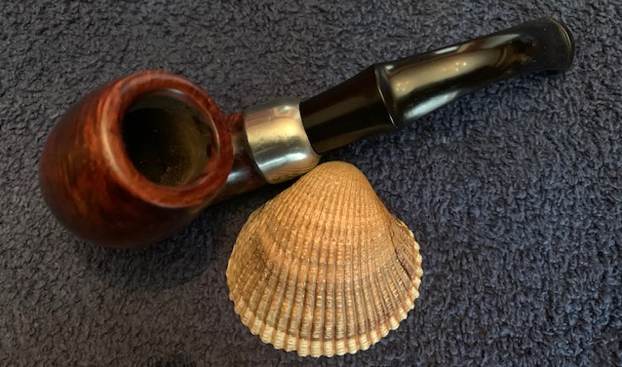
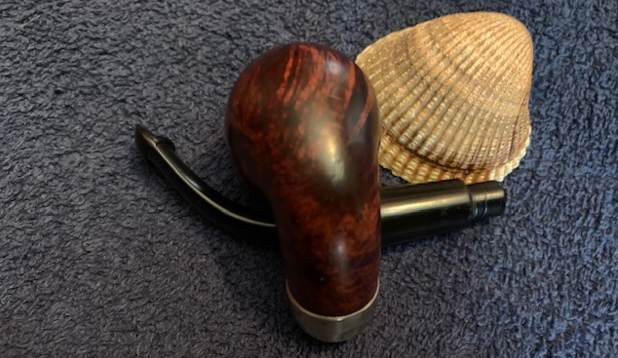
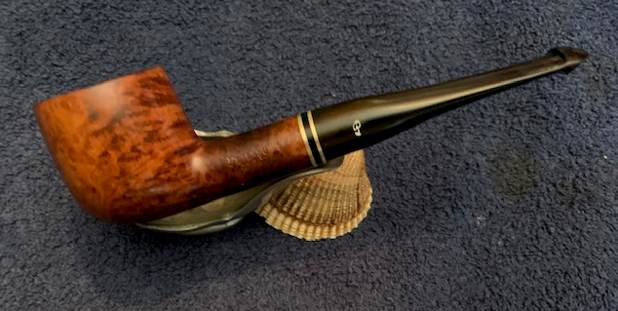
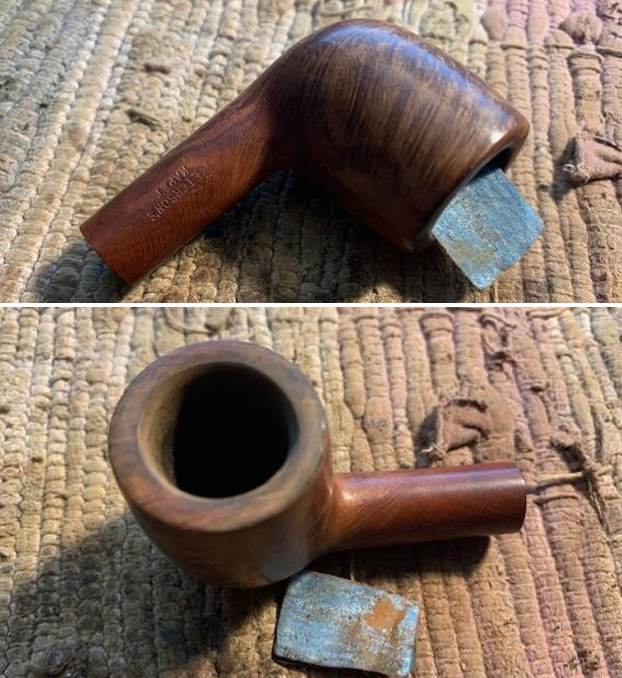
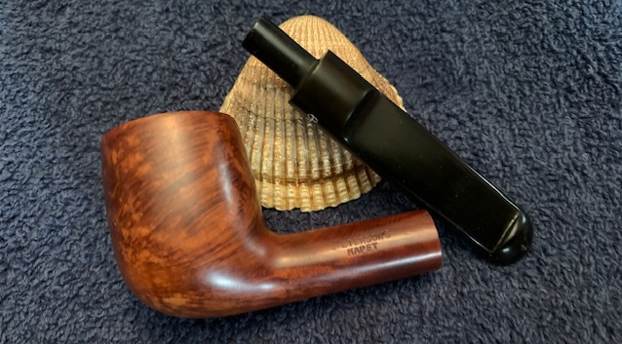
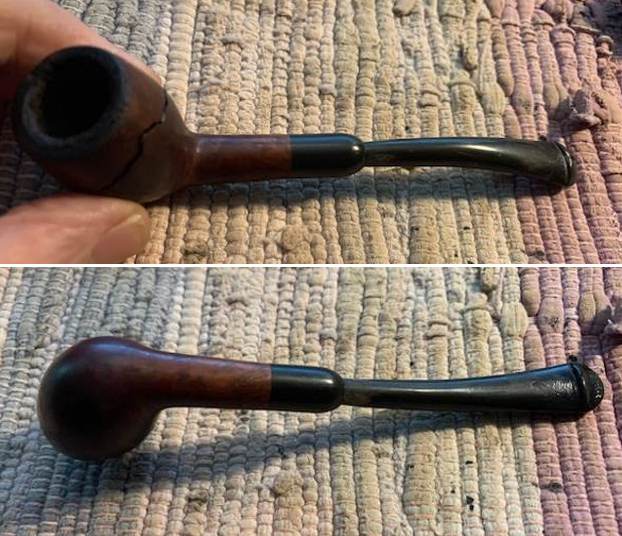
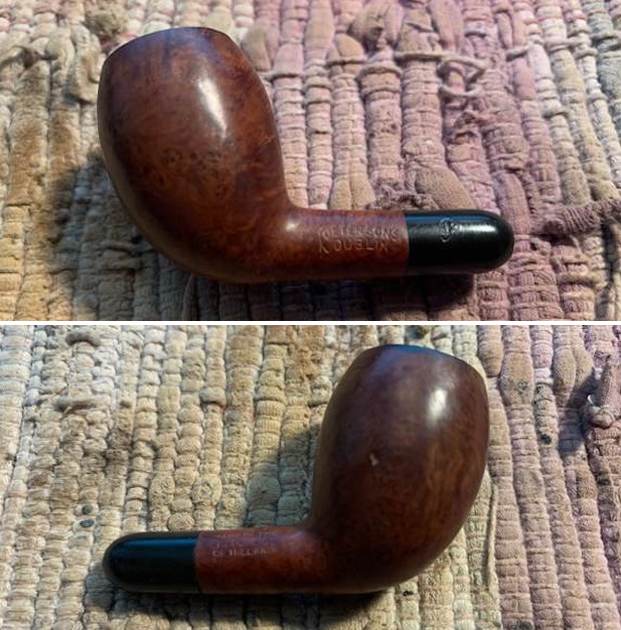
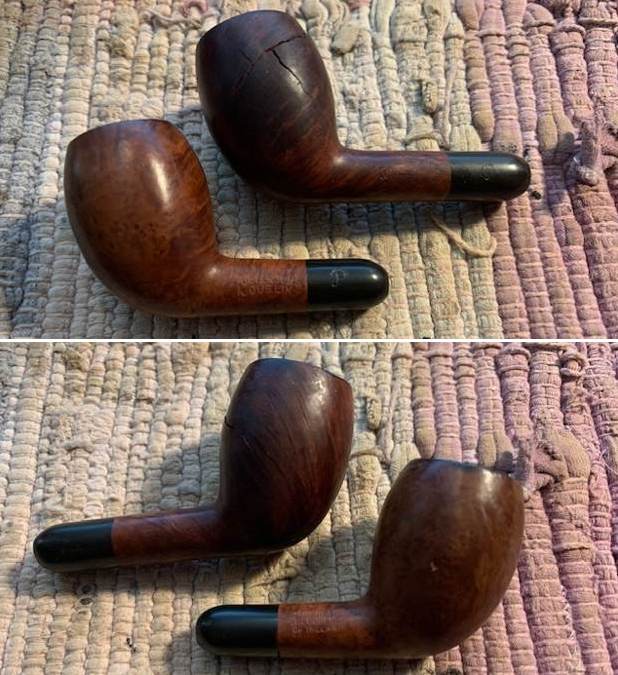
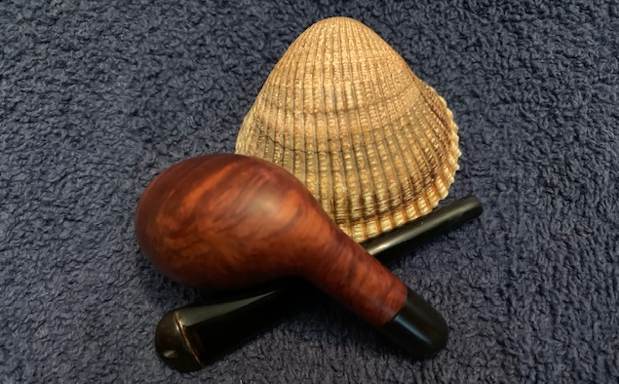
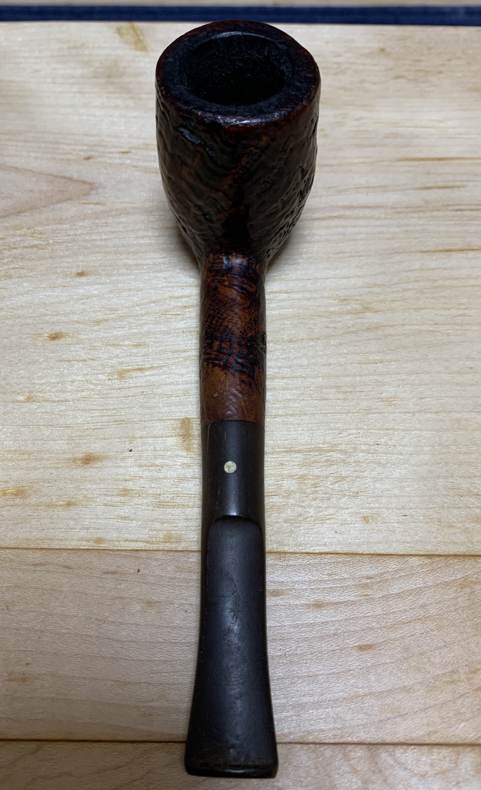
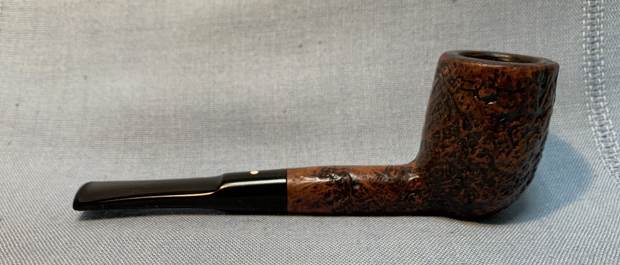
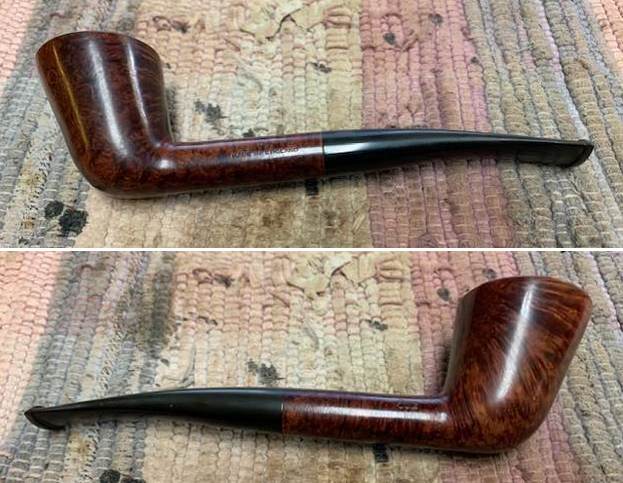
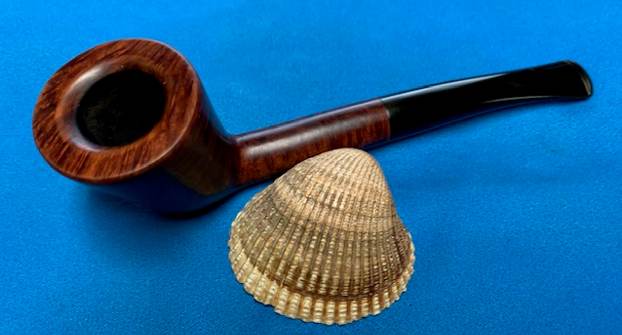
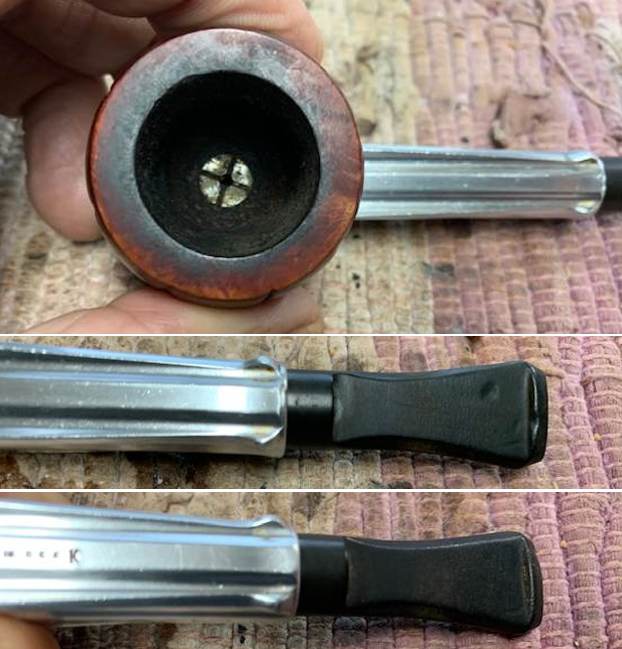
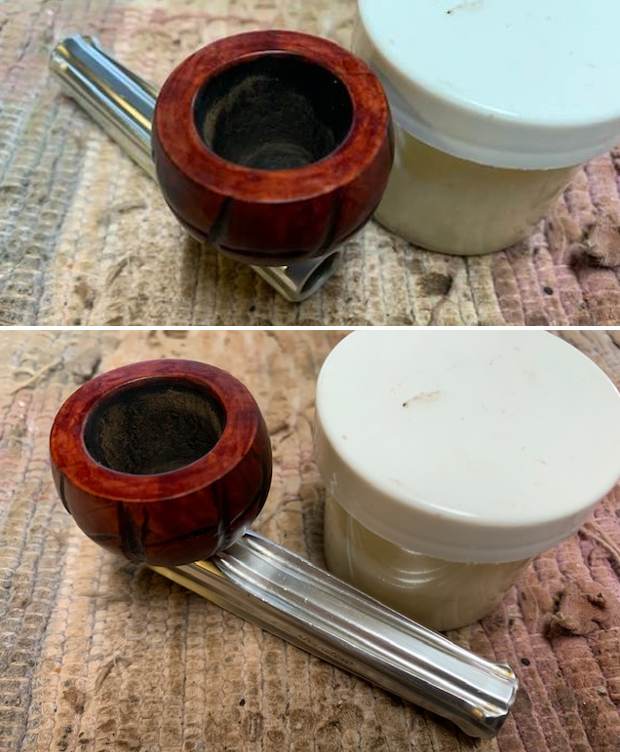
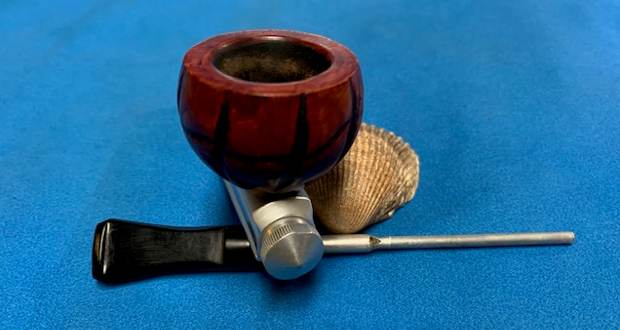
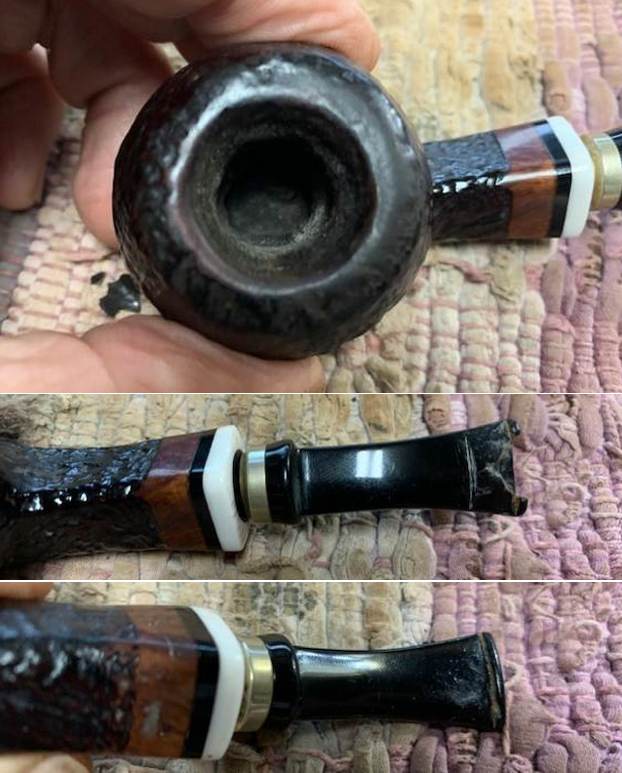
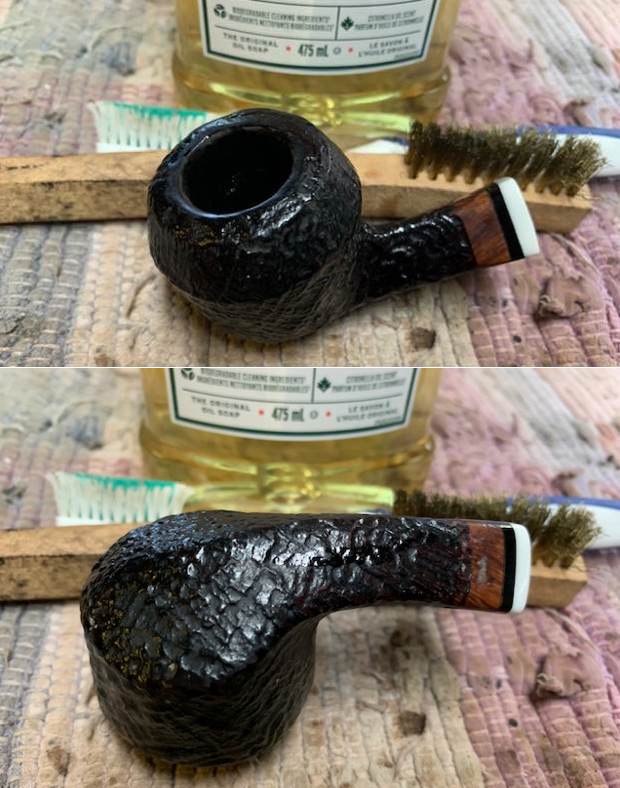
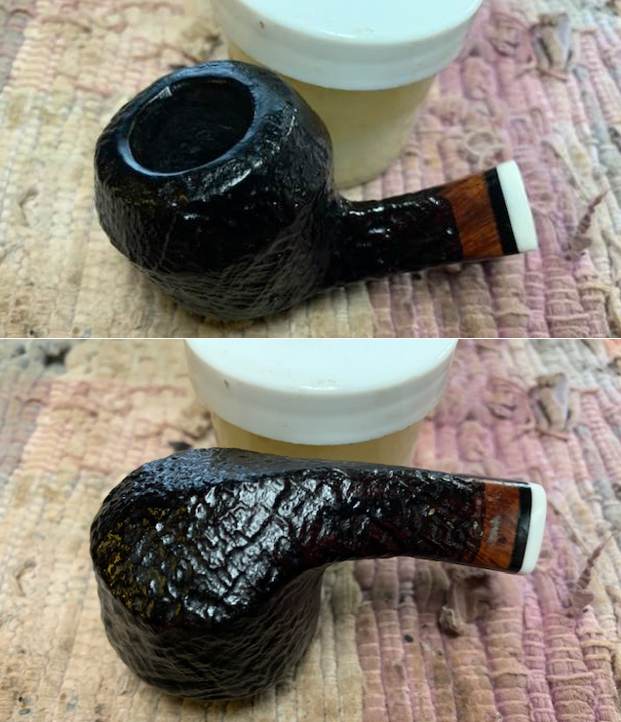
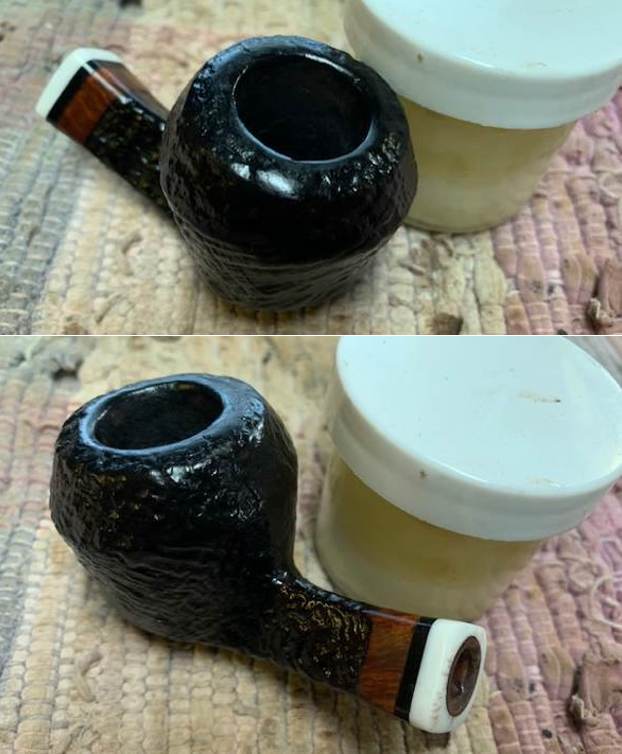
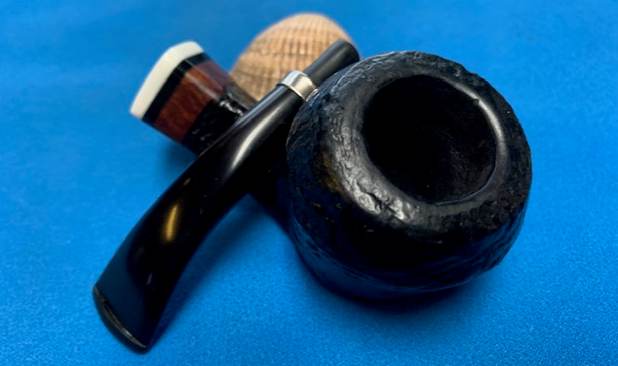
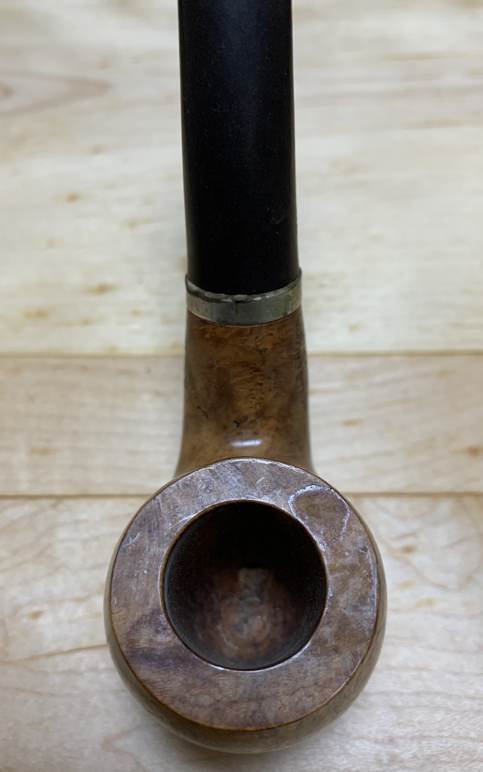
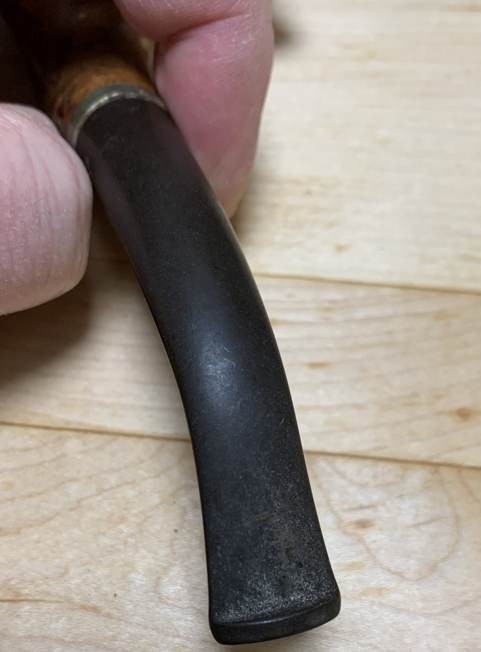
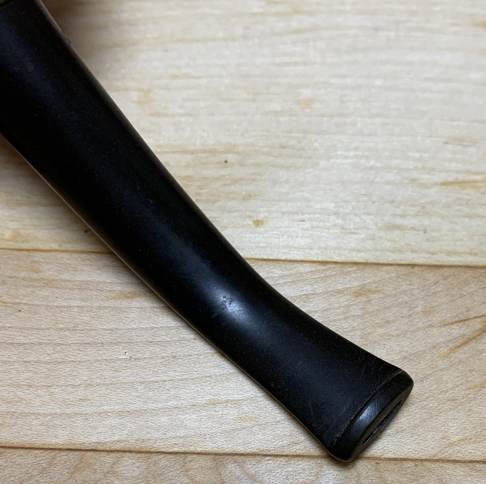
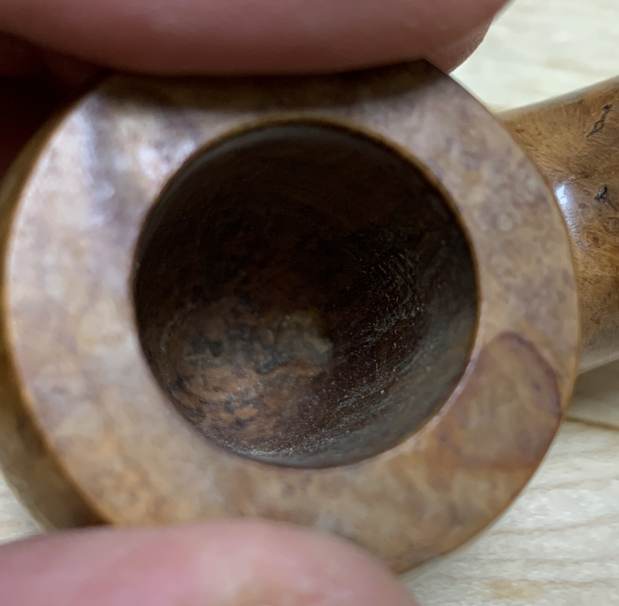
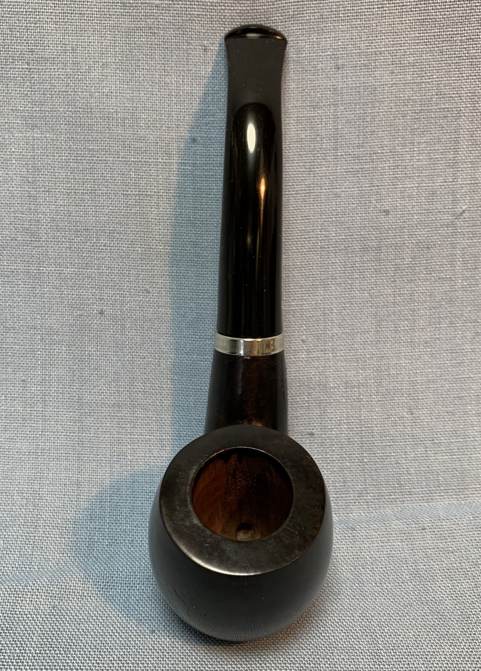
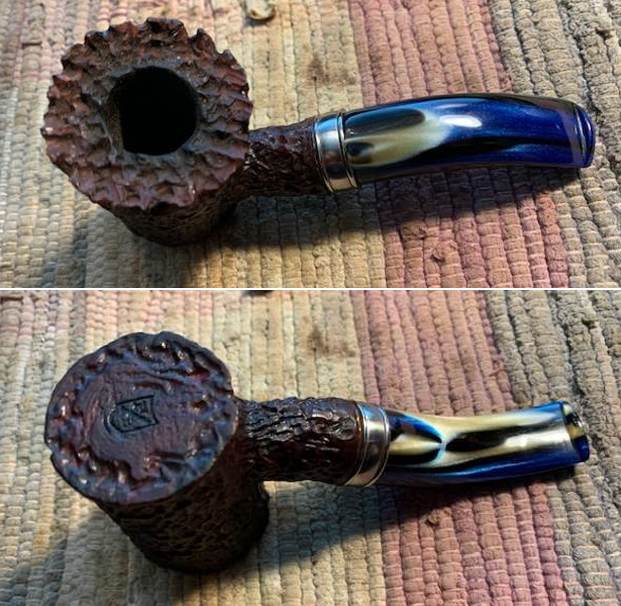
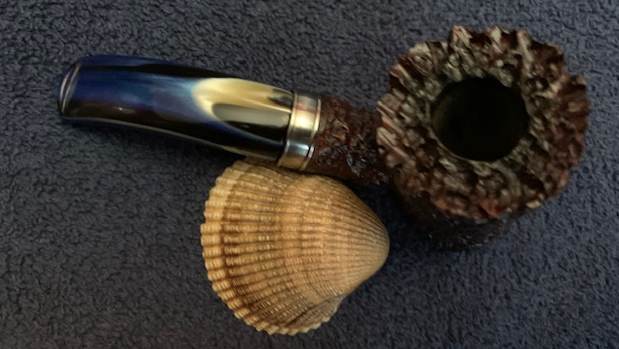
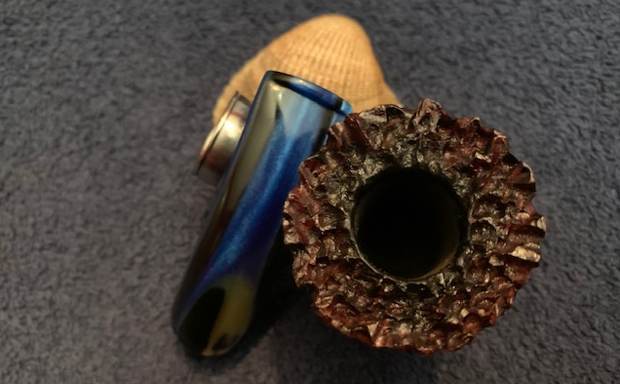
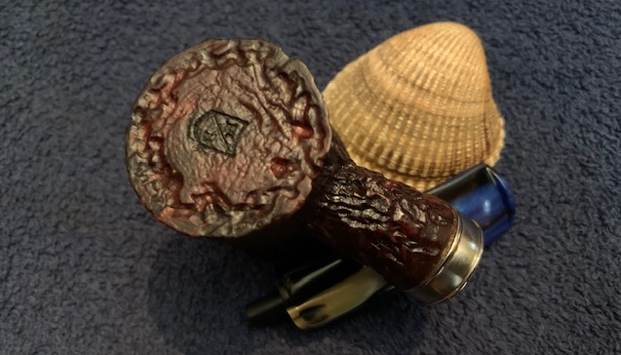
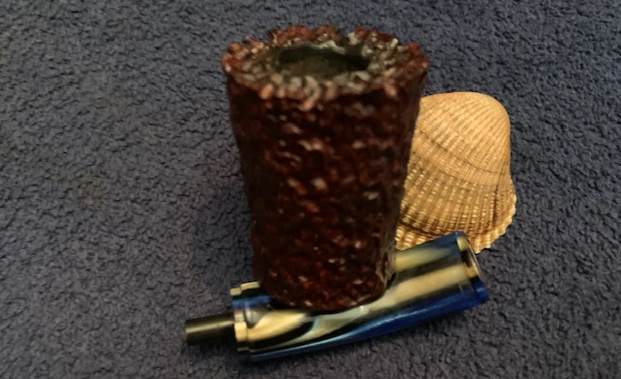
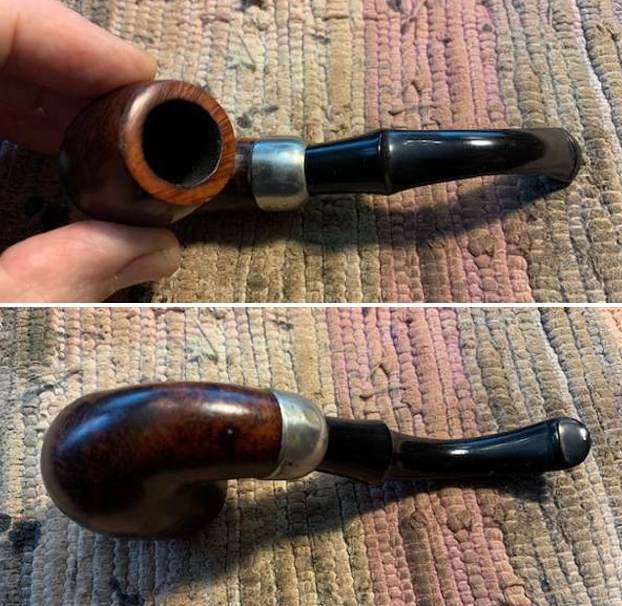
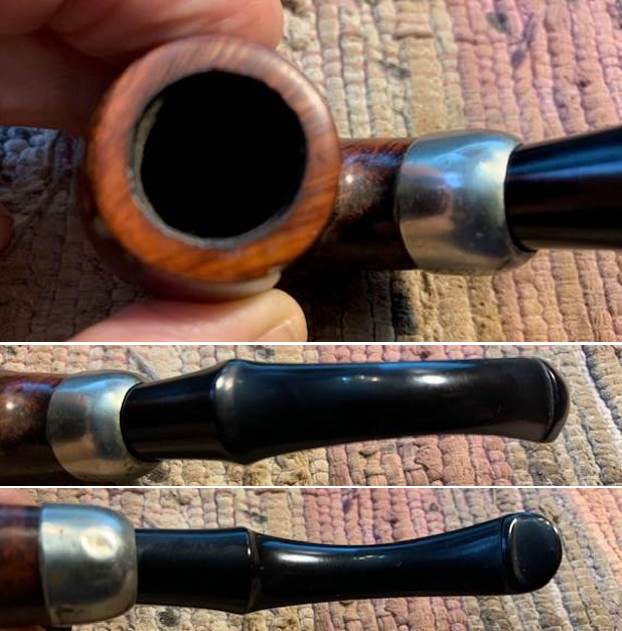
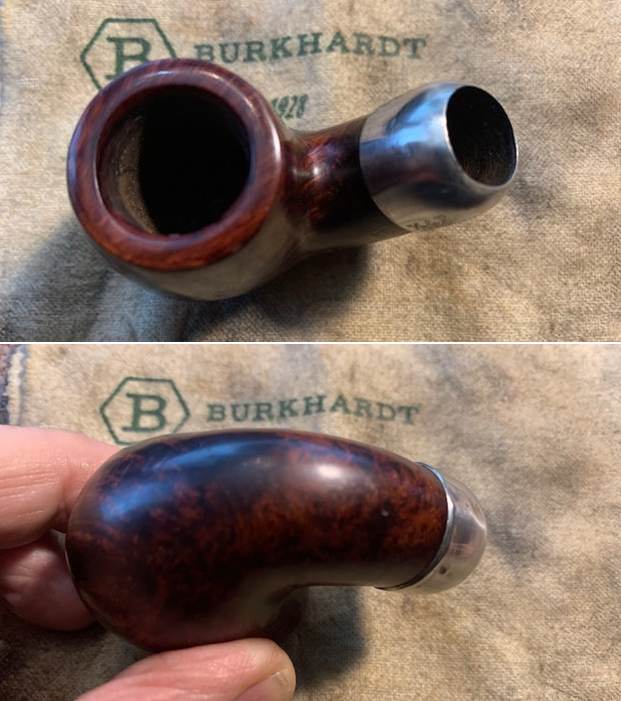
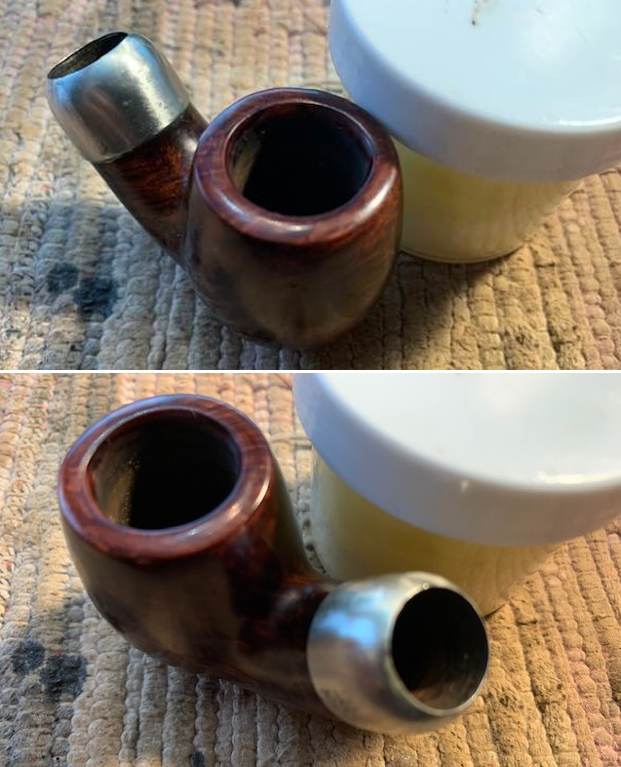
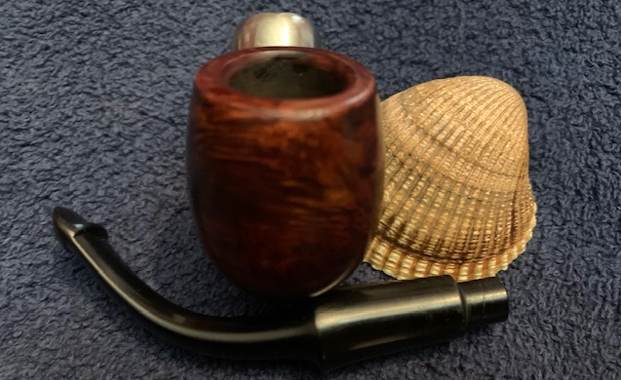
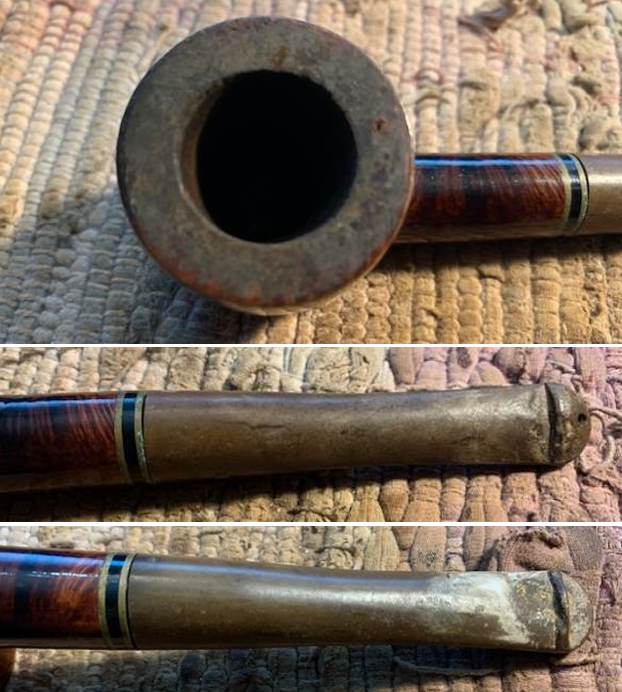
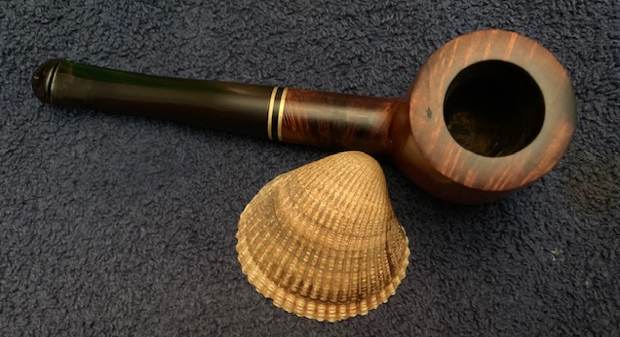
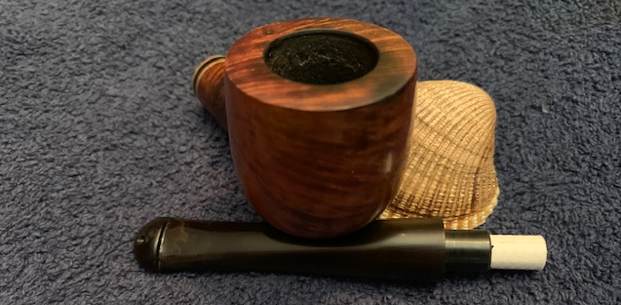
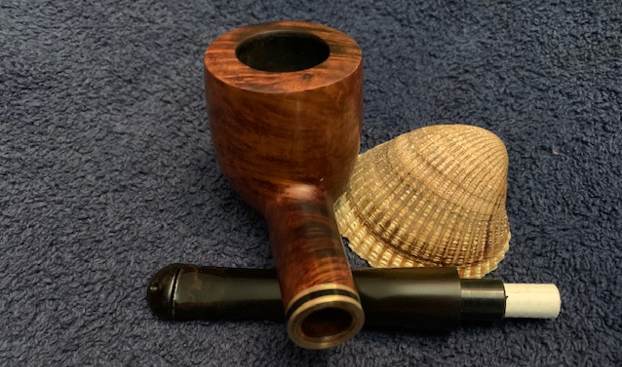
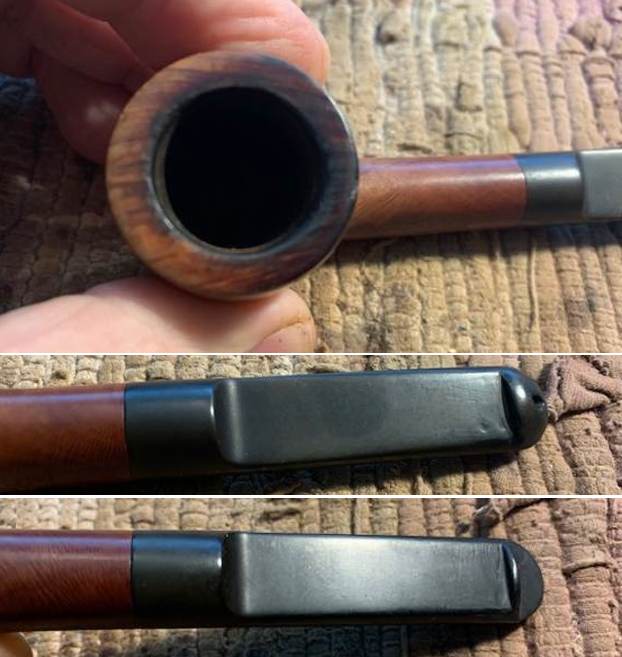
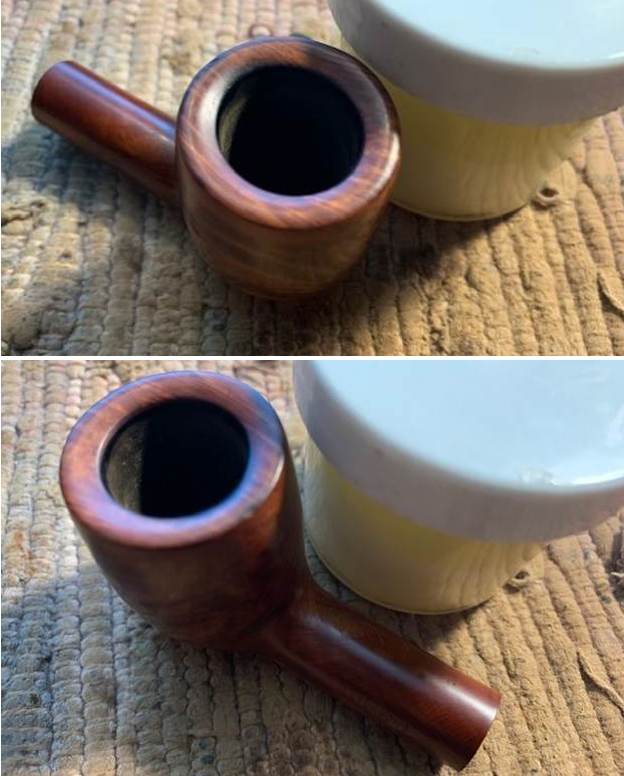
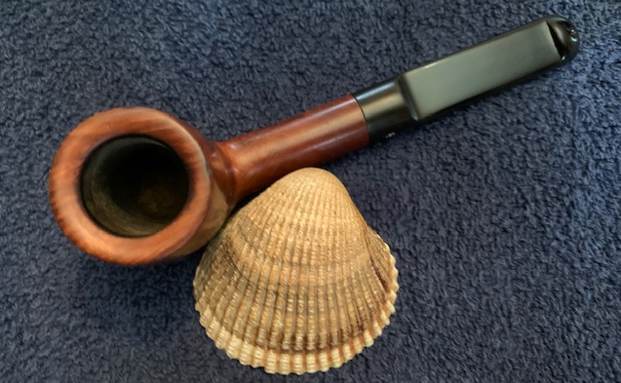
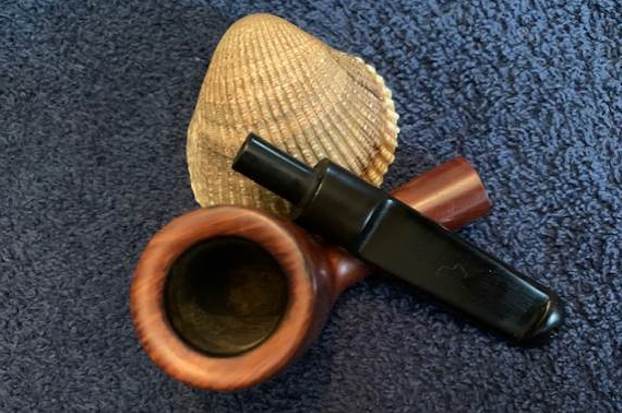
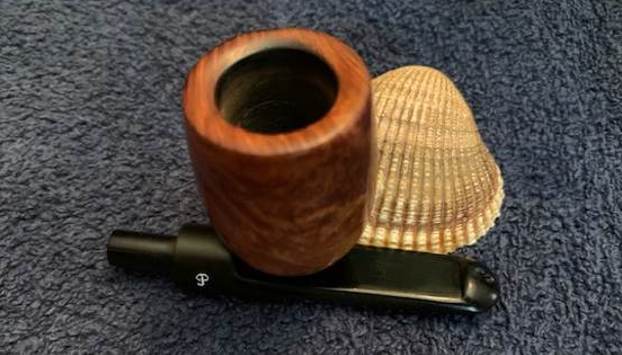
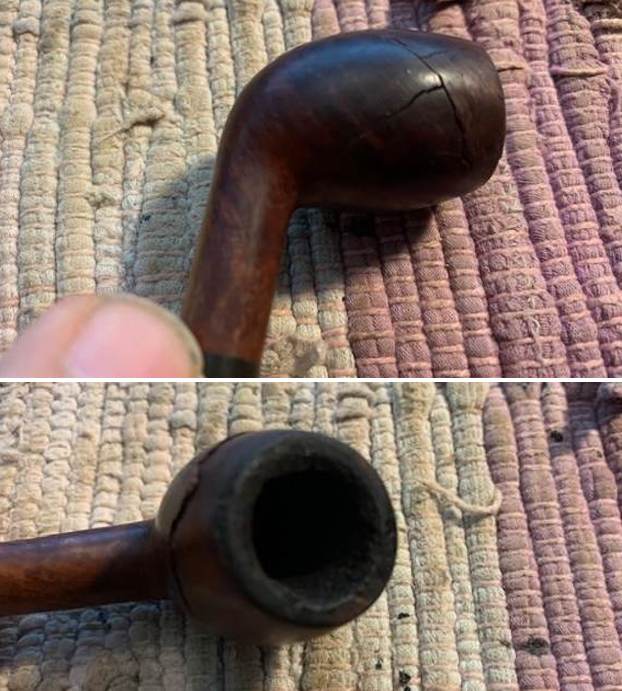
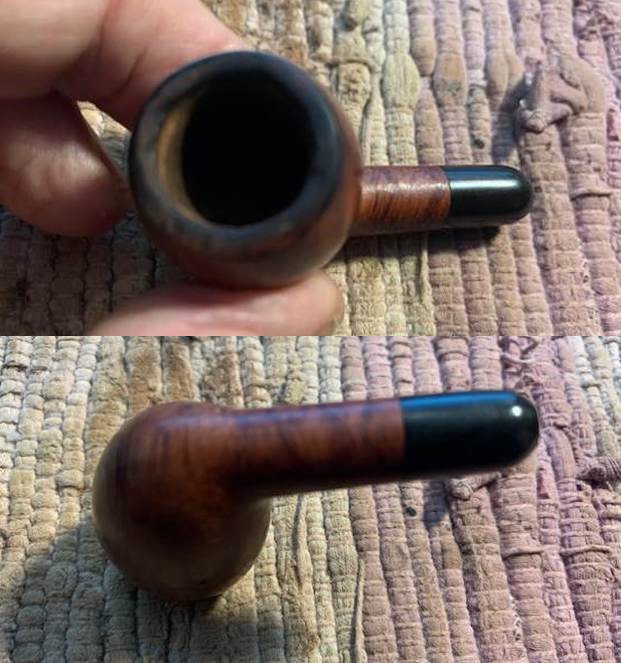
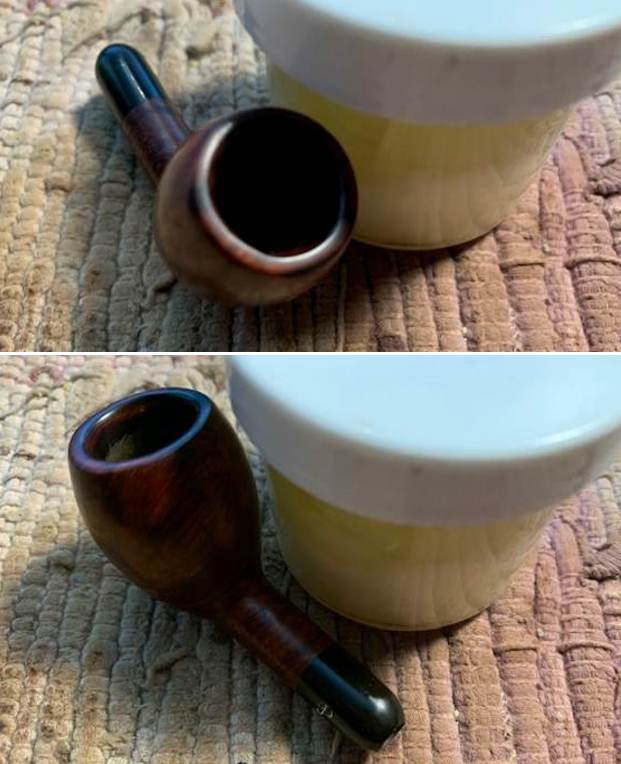
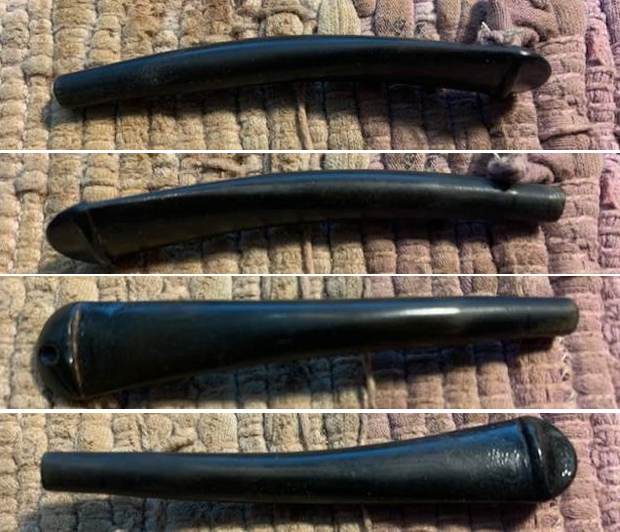
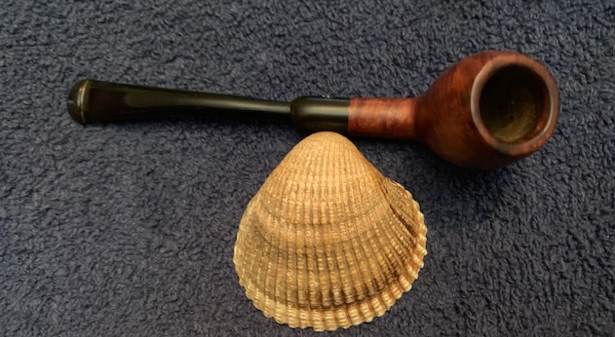
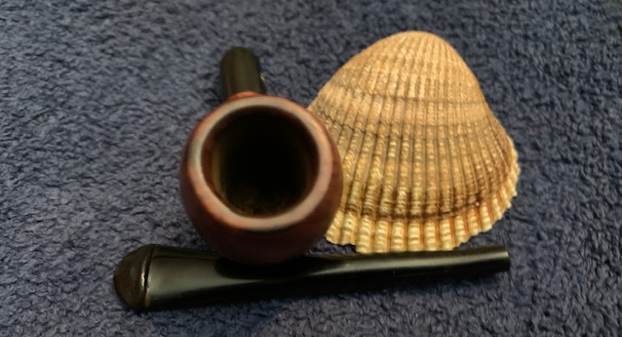
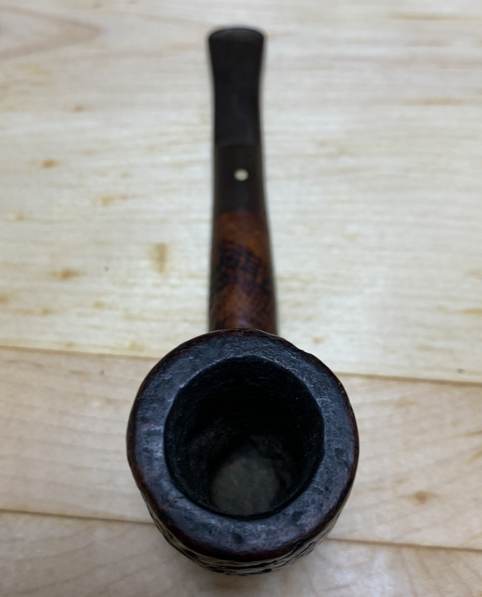
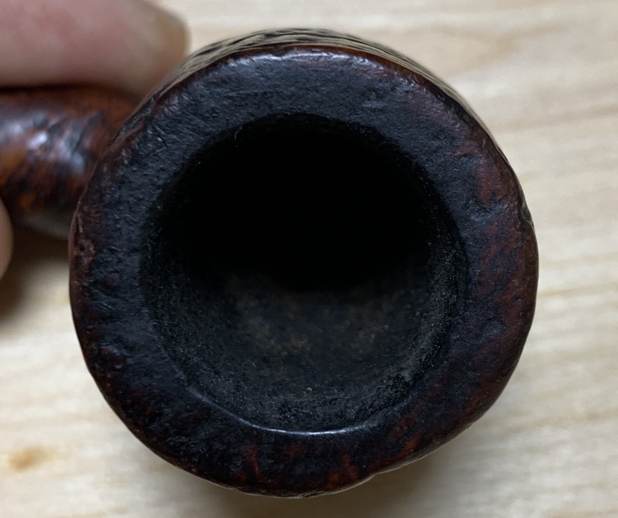
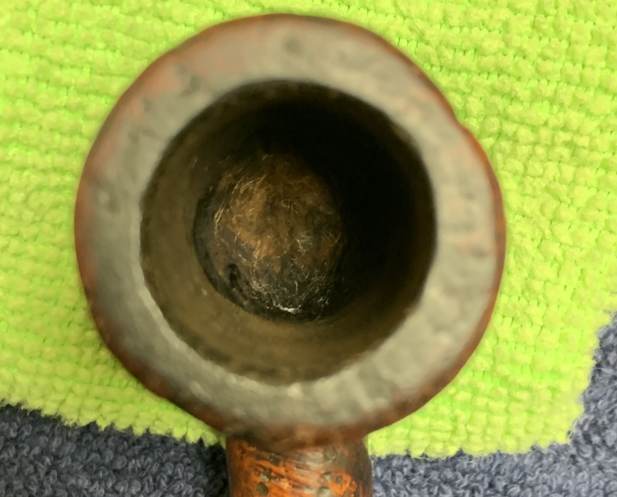
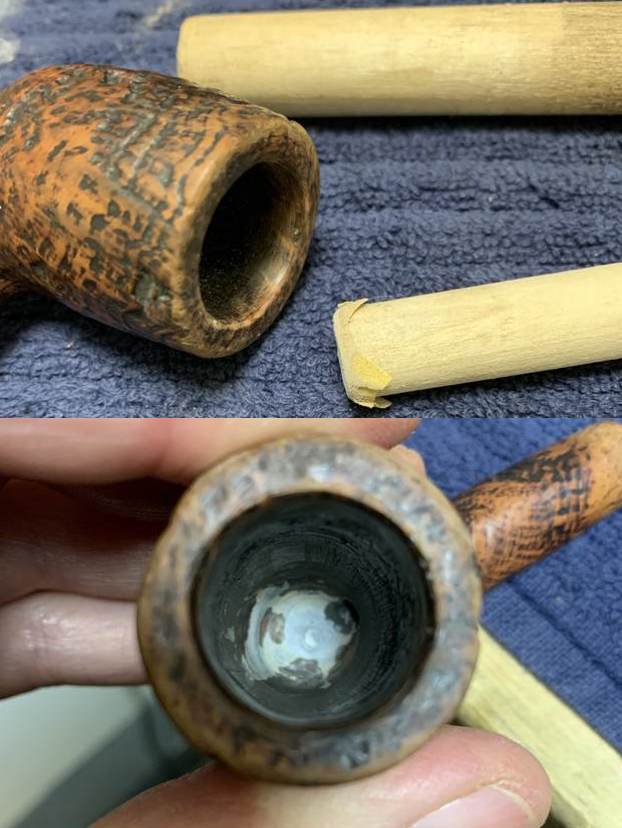
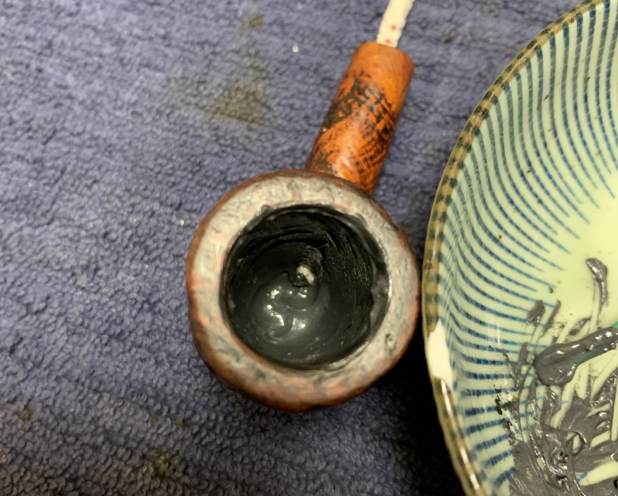
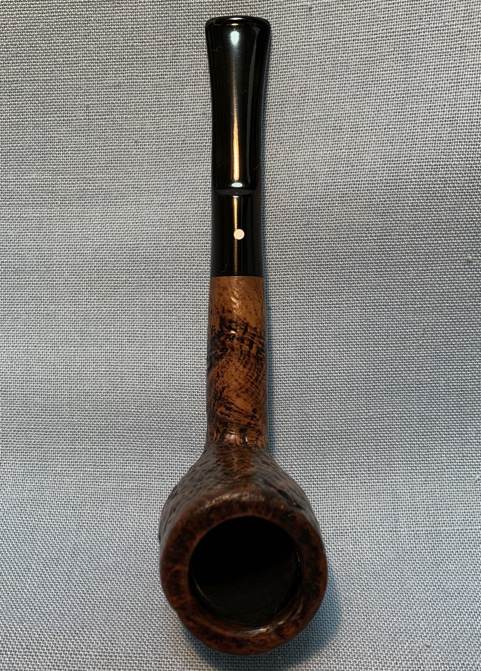
 I took photos of the rim top and bowl to give a clear picture of the thickness of the cake and the overflow of lava on the back rim top and beveled inner edge. I also took photos of the top and underside of the stem to show the oxidation and the chatter and tooth marks.
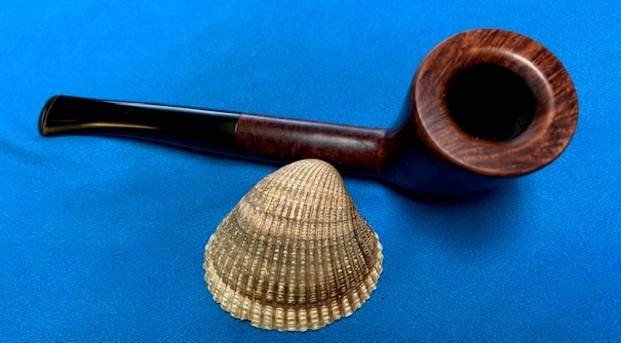
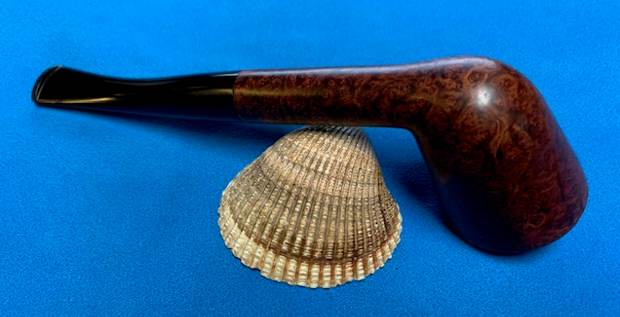
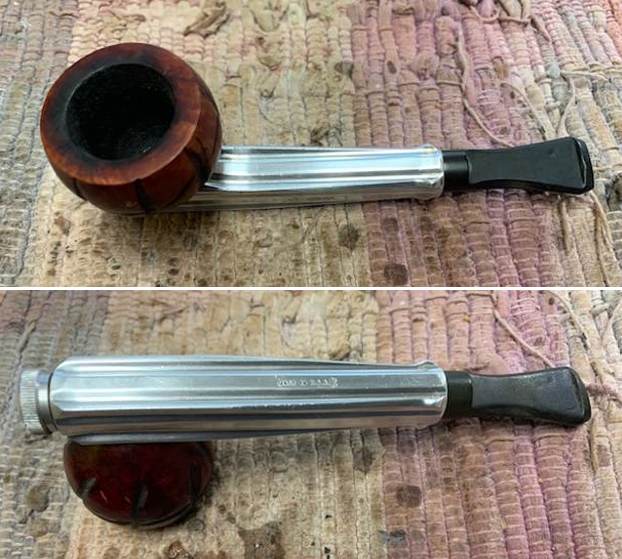
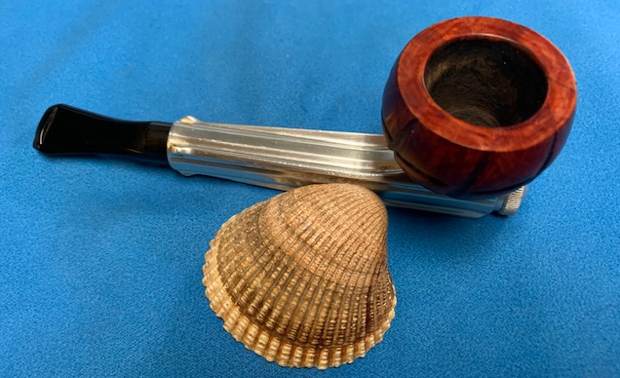
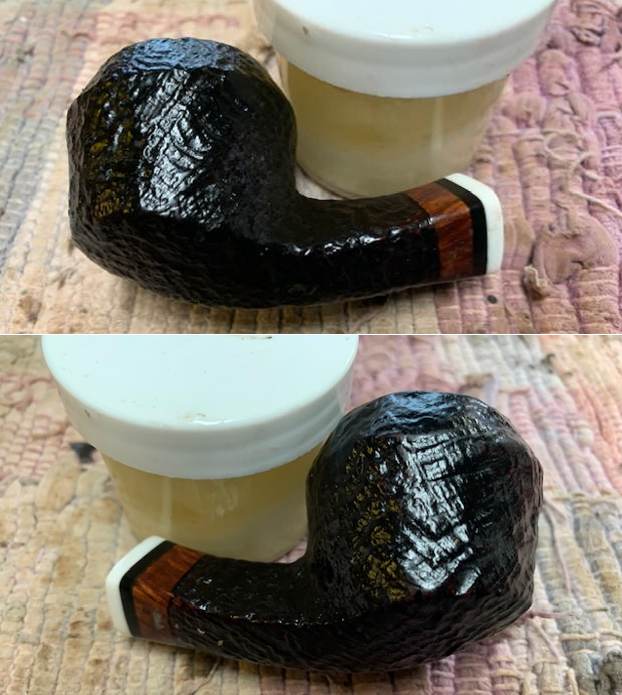
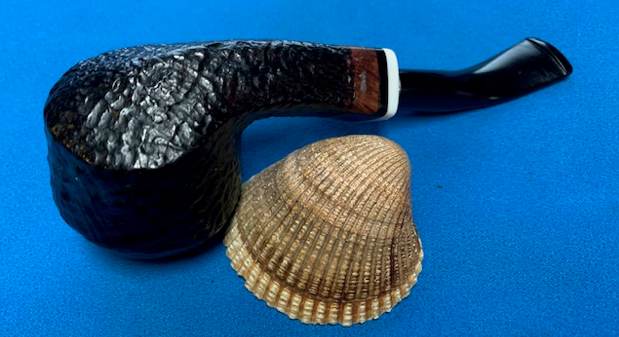
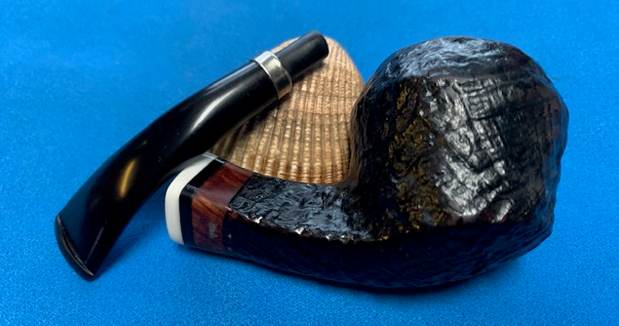
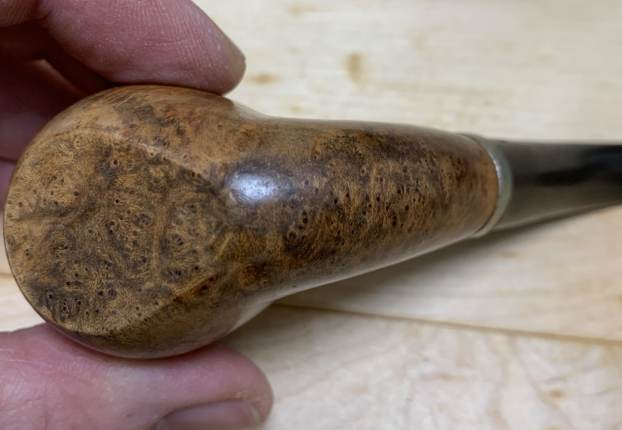
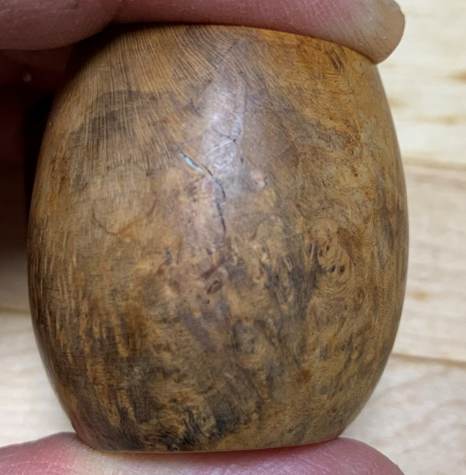
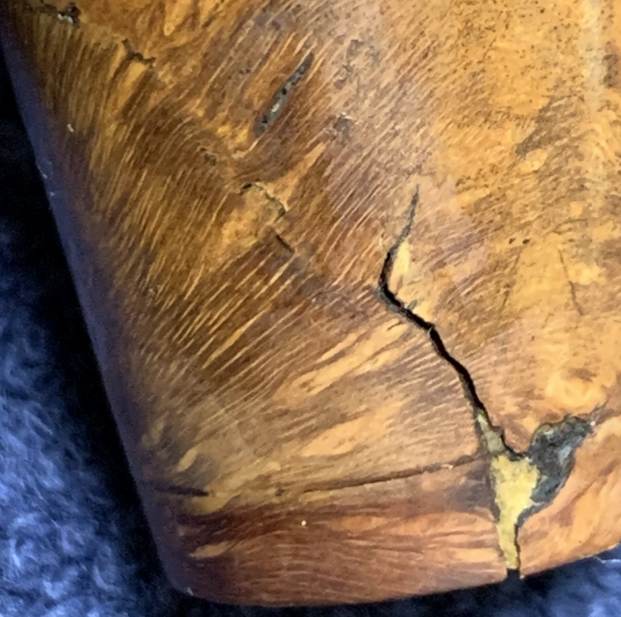
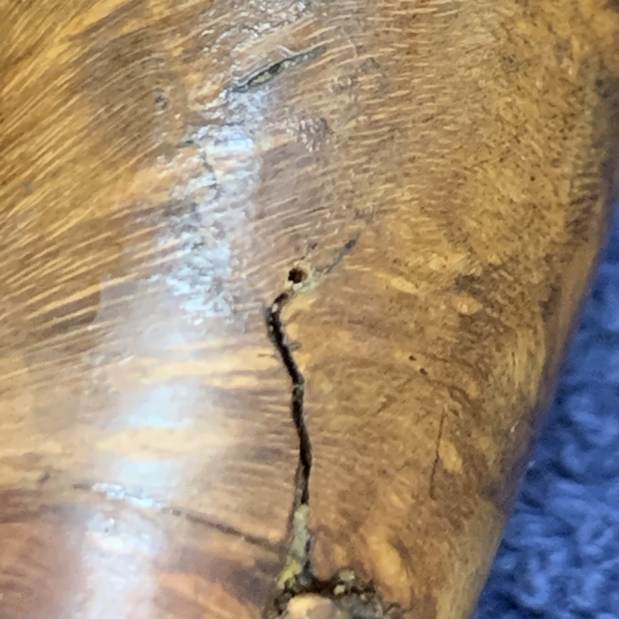
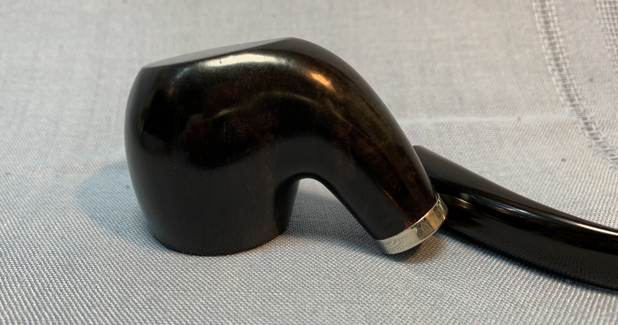
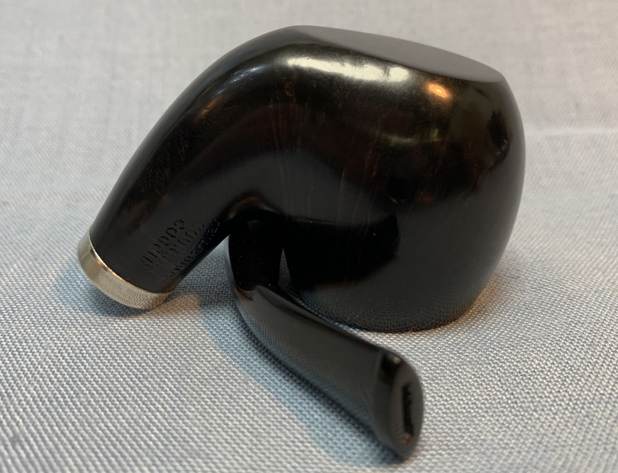
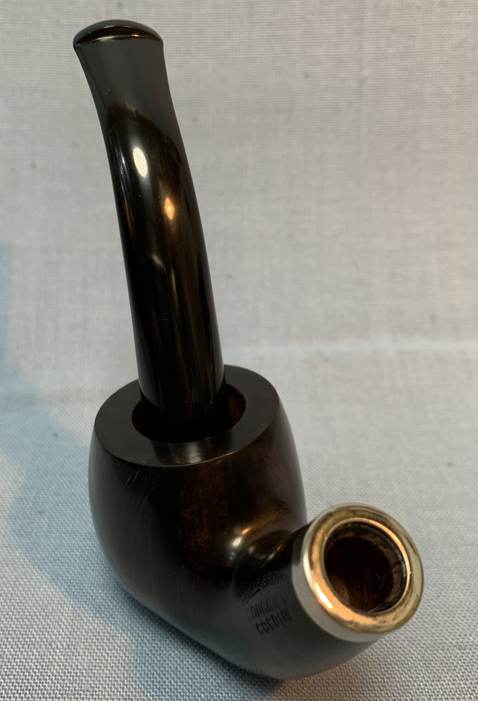
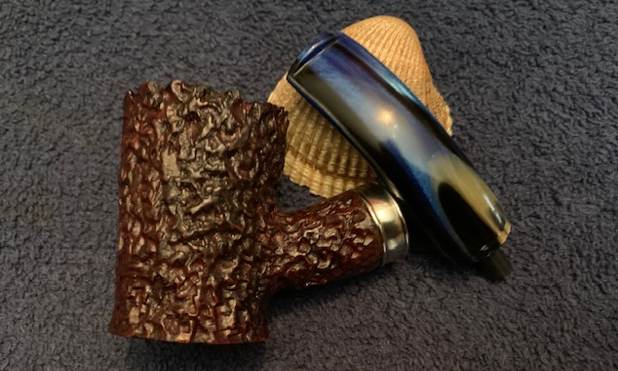
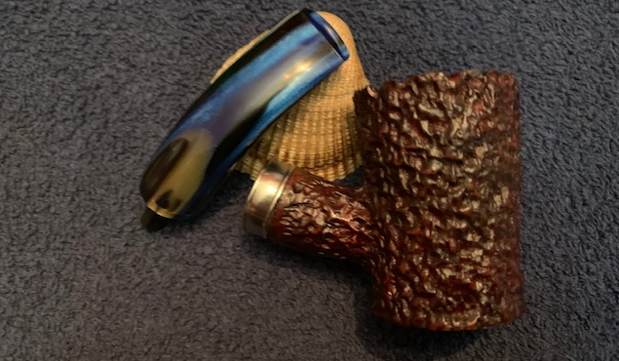
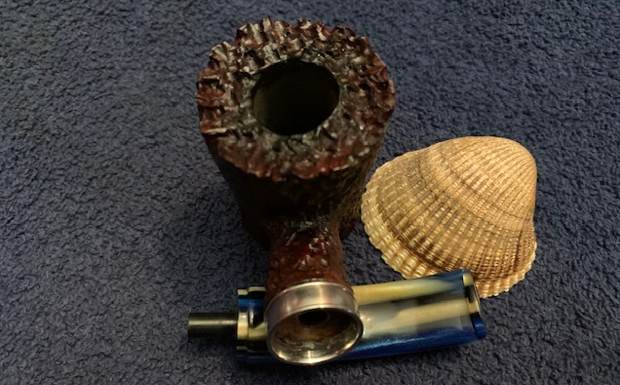
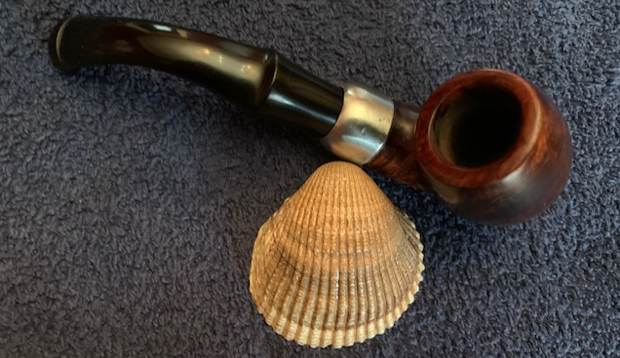
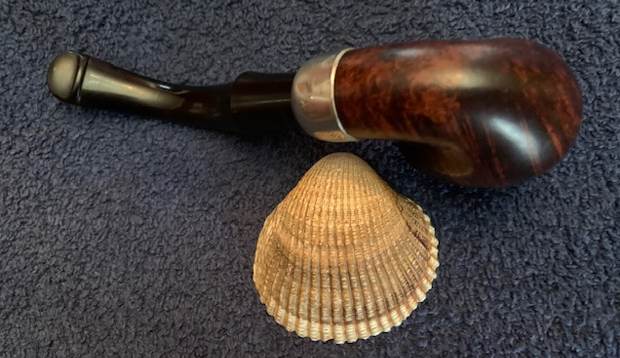
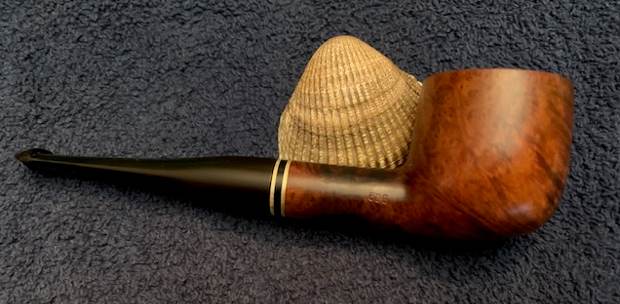
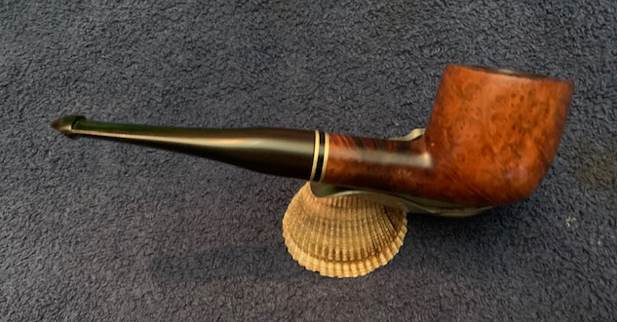
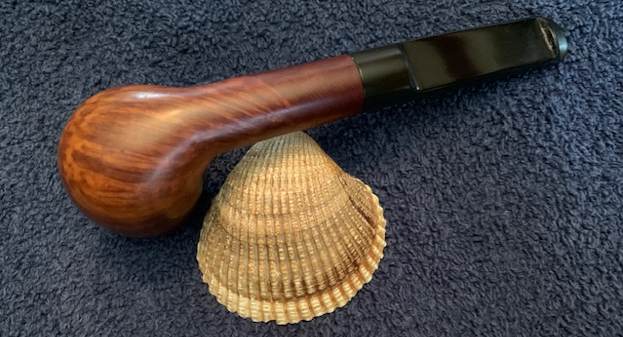
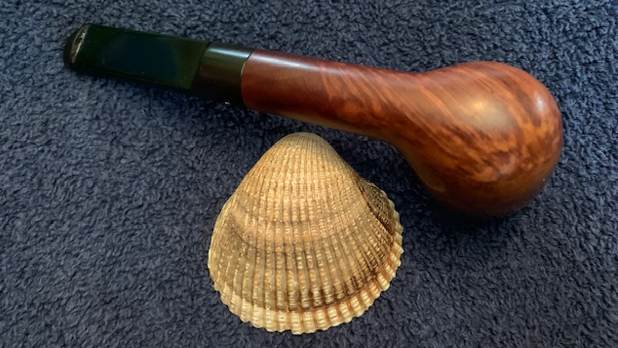
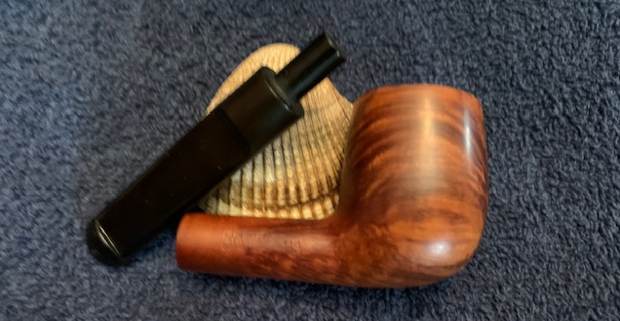
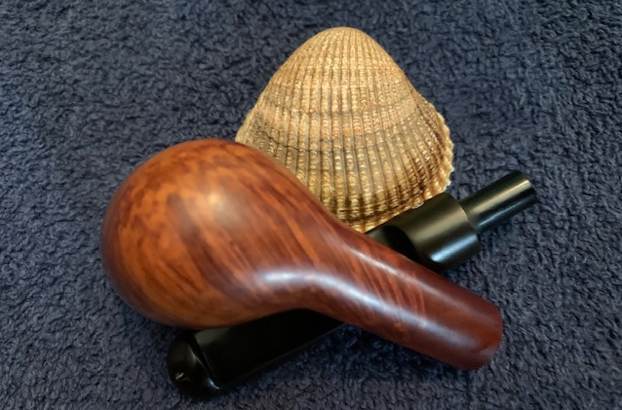
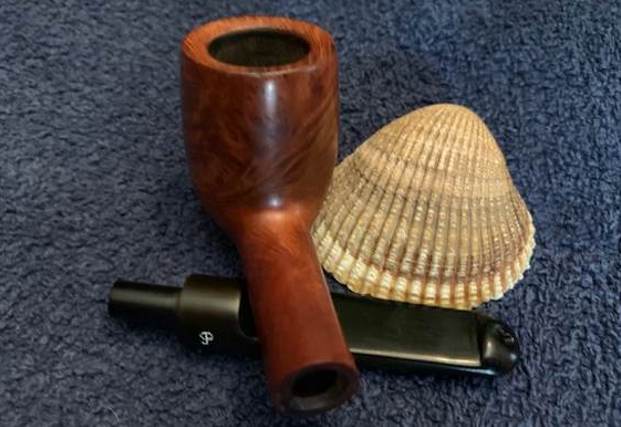
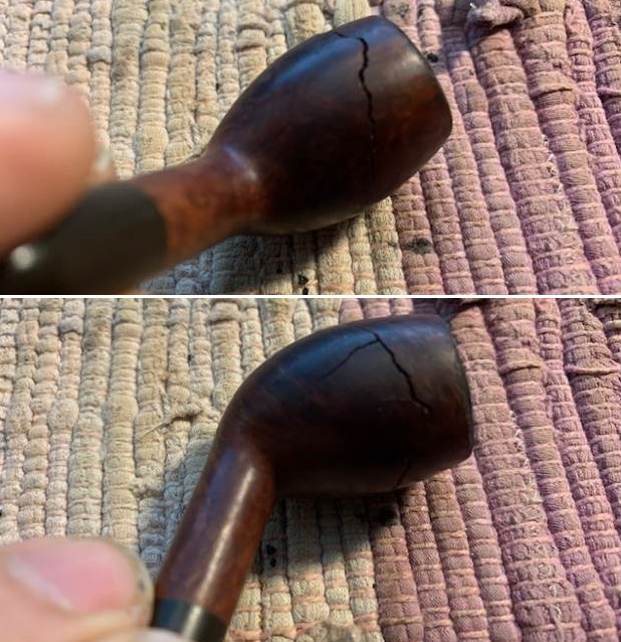
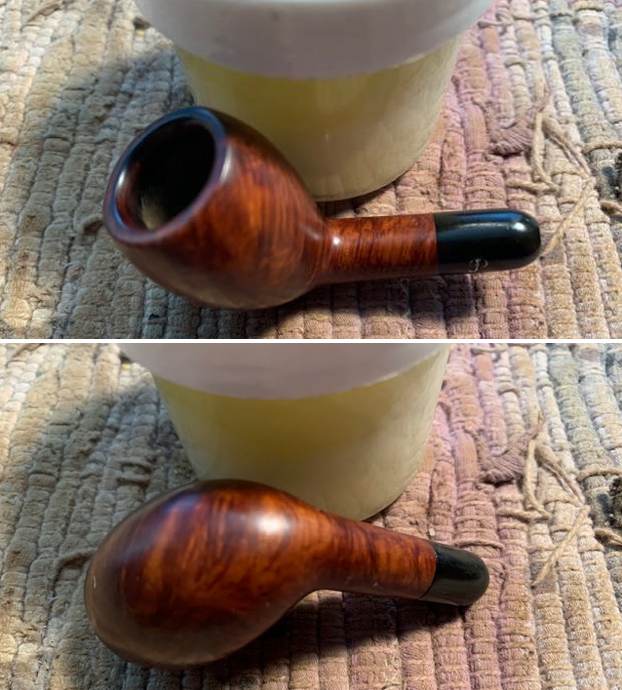
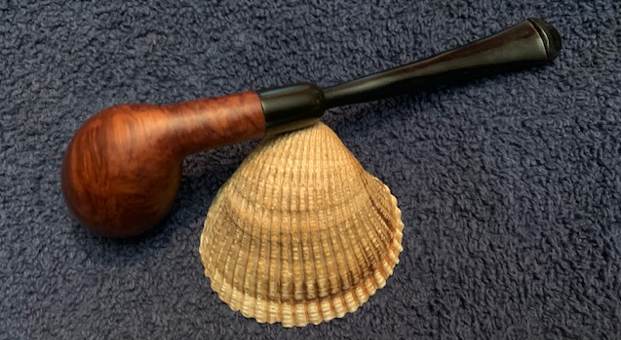
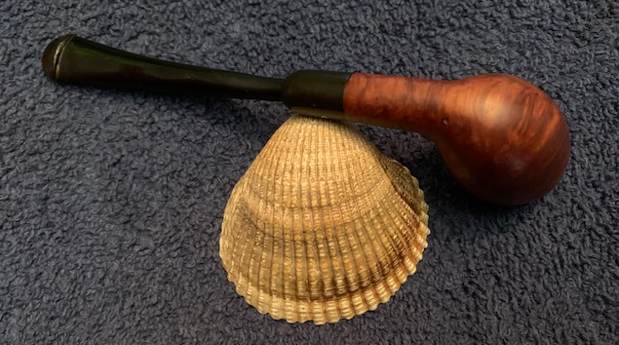
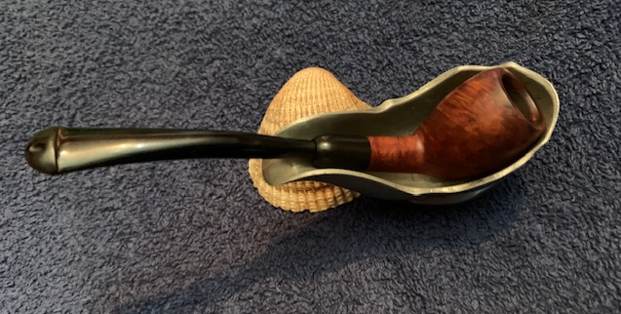
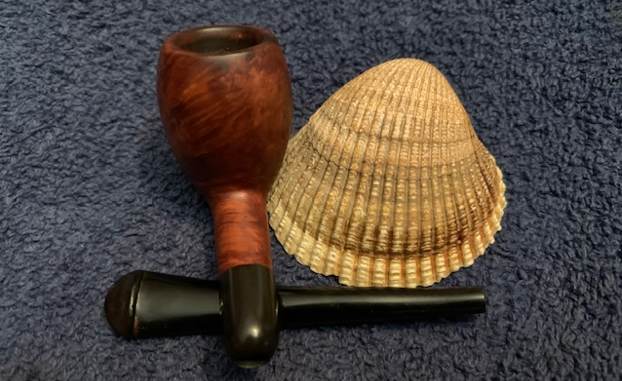
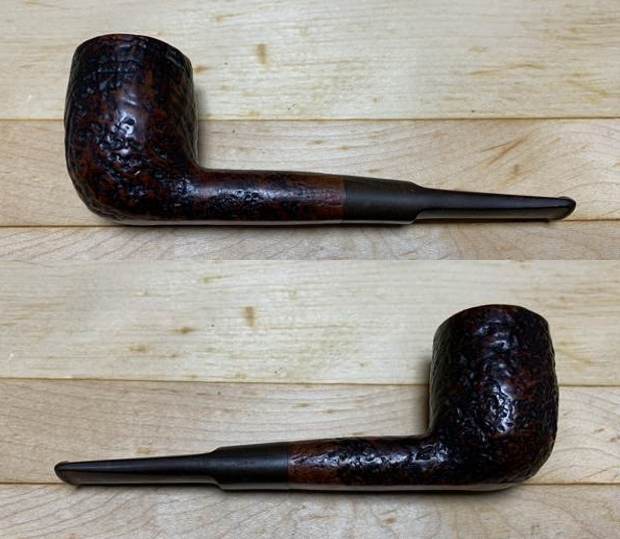
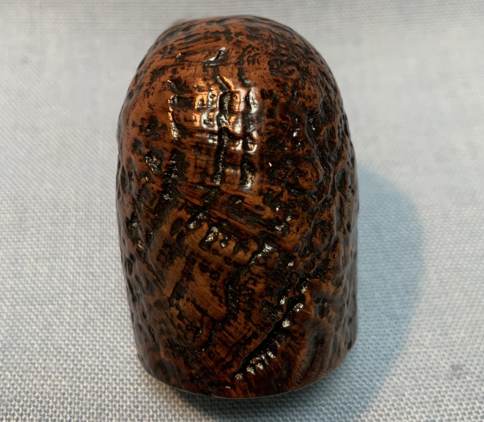
  I took photos of the sides and heel of the bowl to give a picture of what the briar around the pipe looked like. There is some stunning grain under the grime.
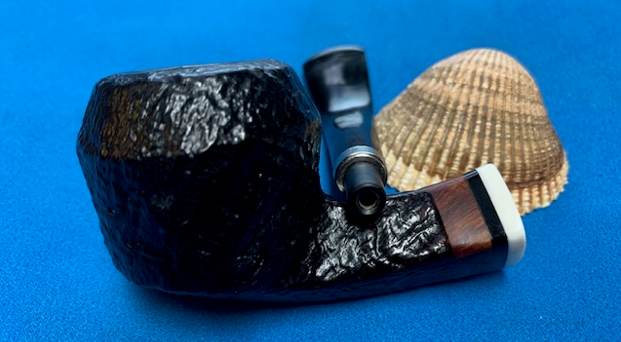
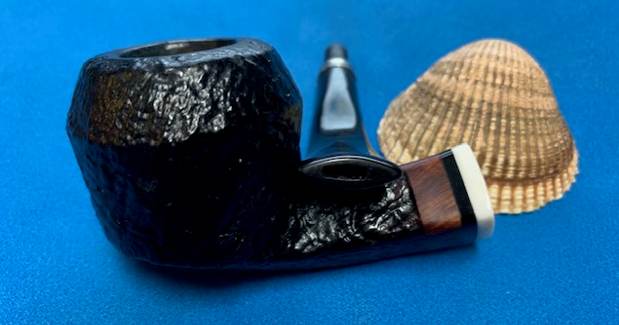
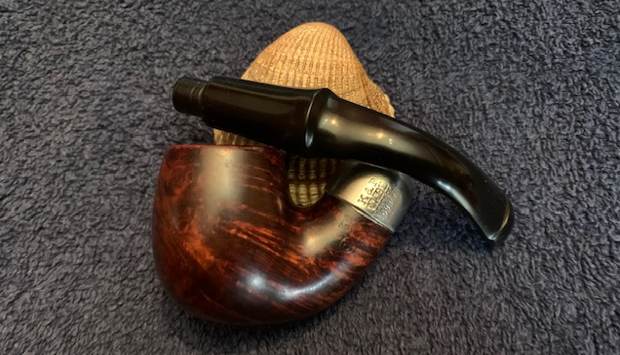
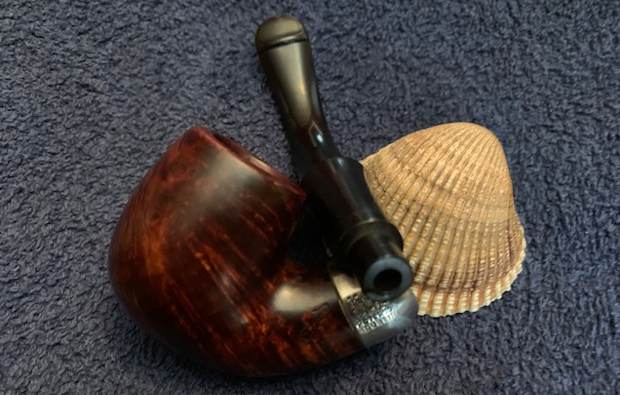
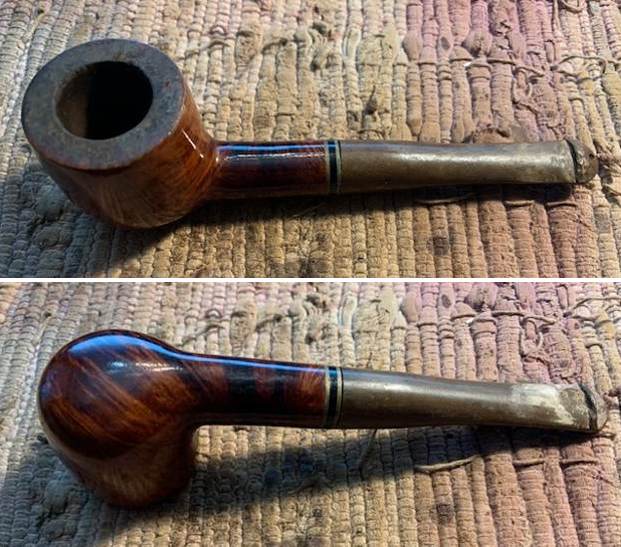
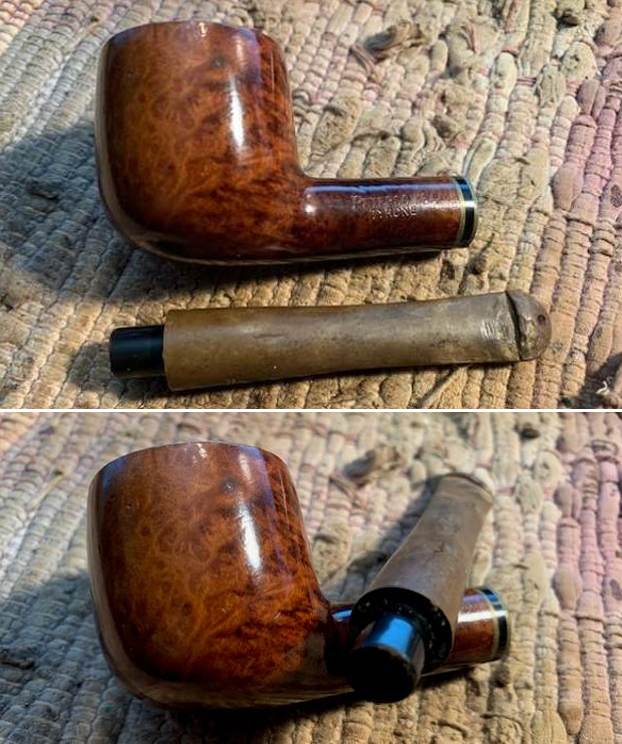
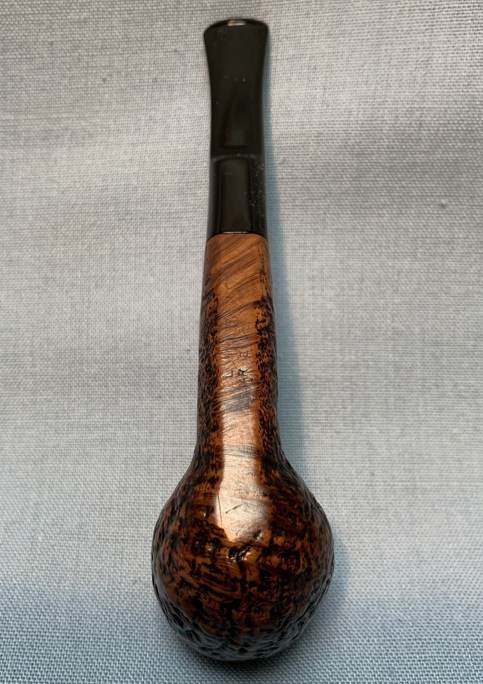
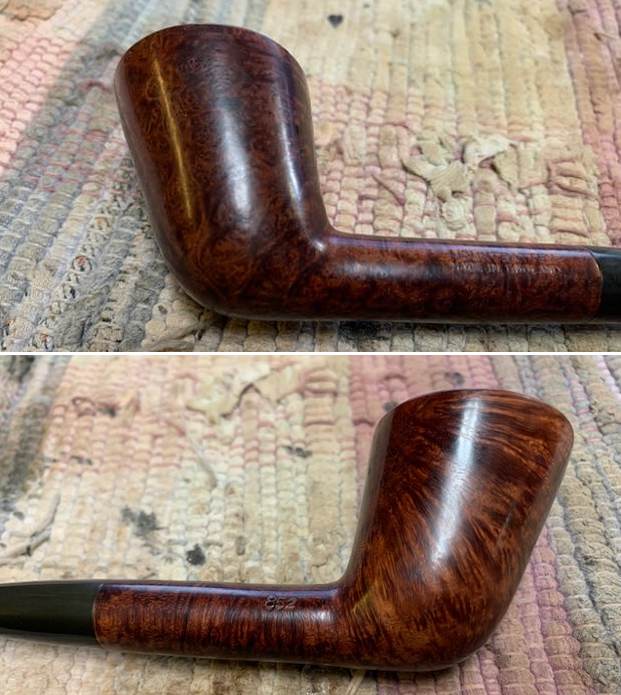
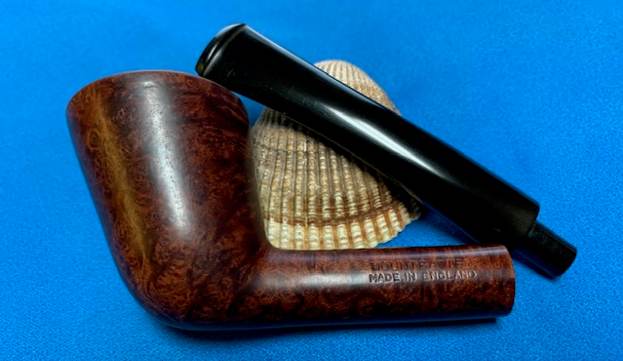
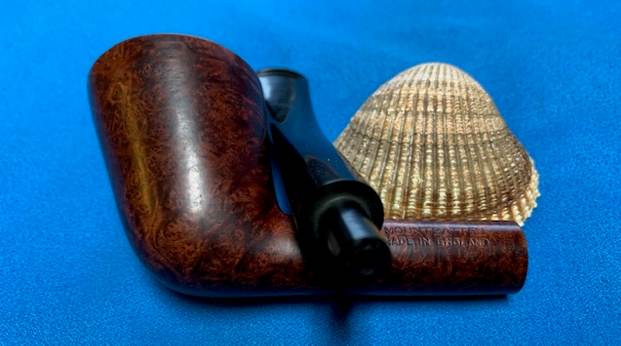
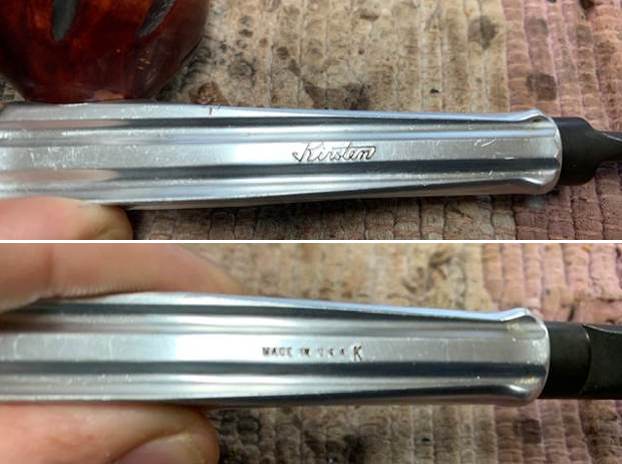
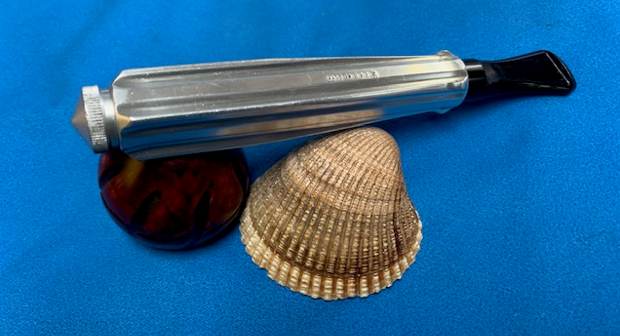
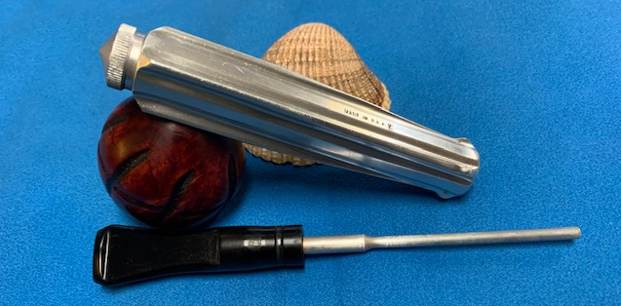
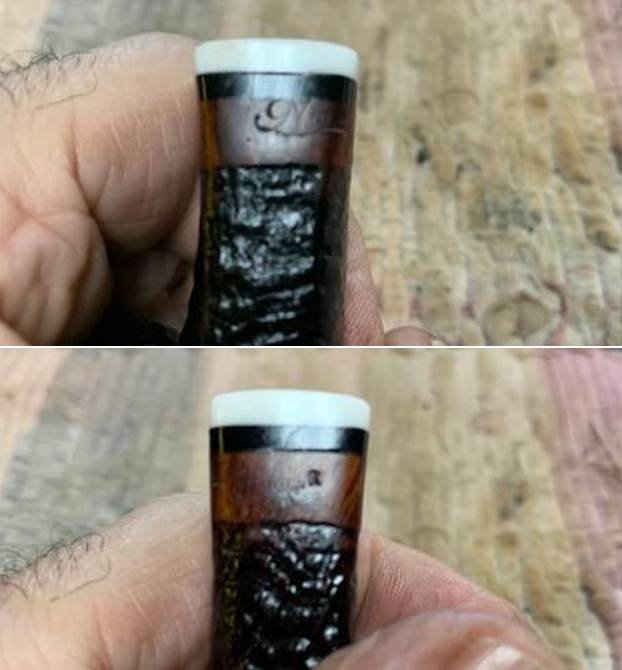
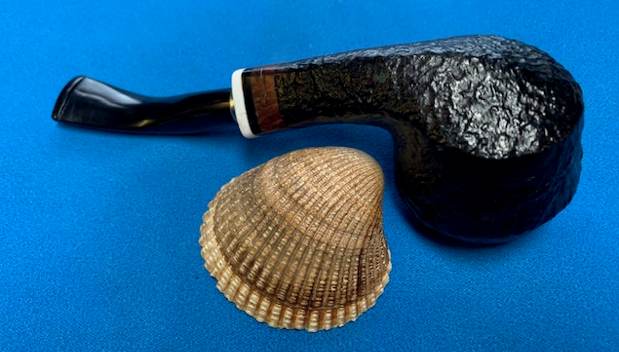
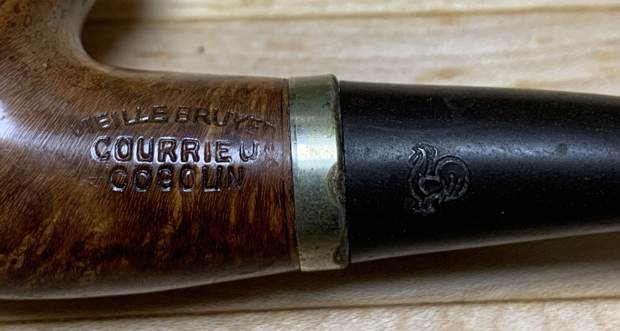
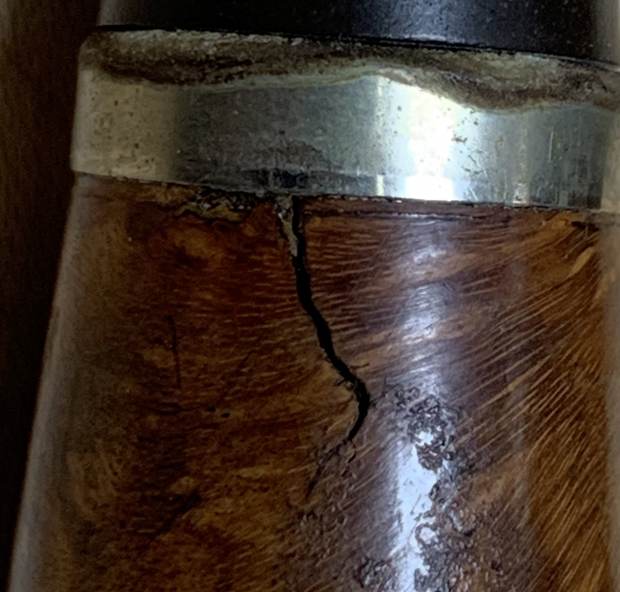
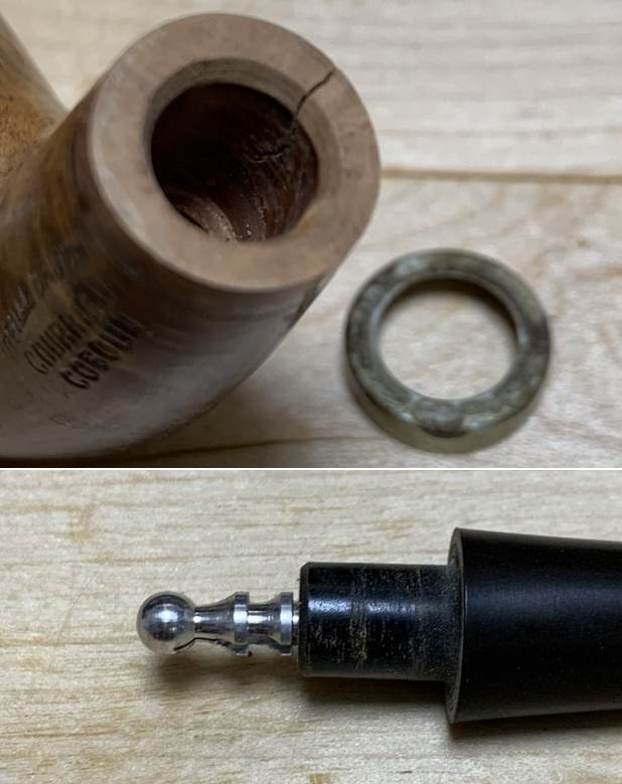
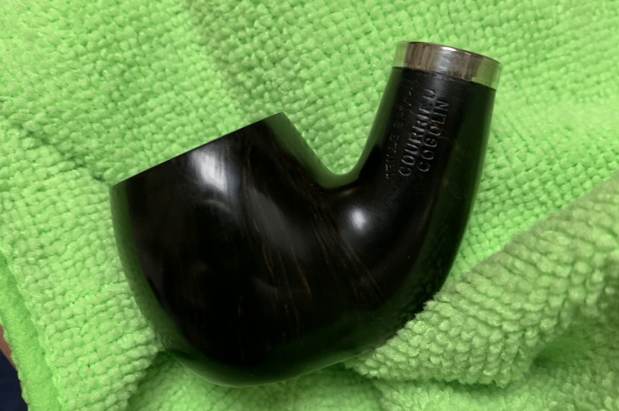
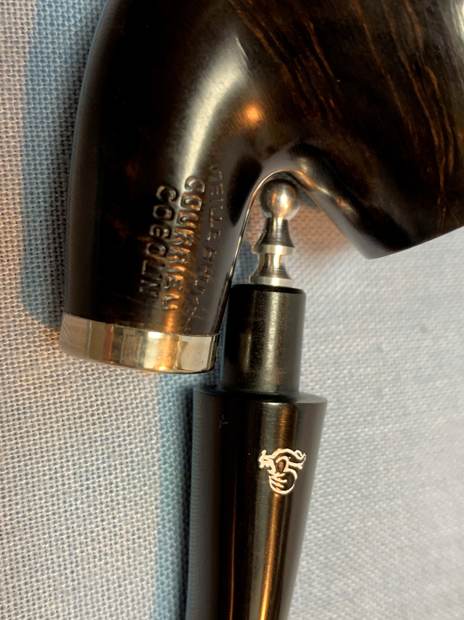
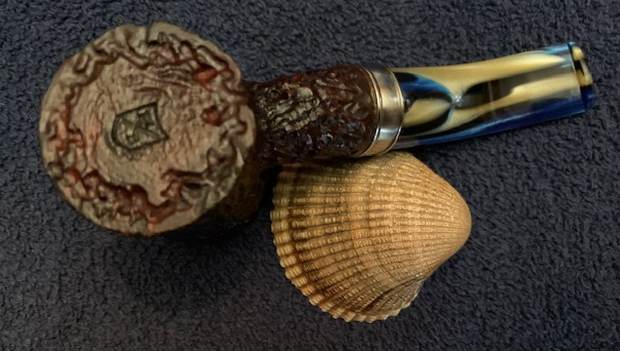
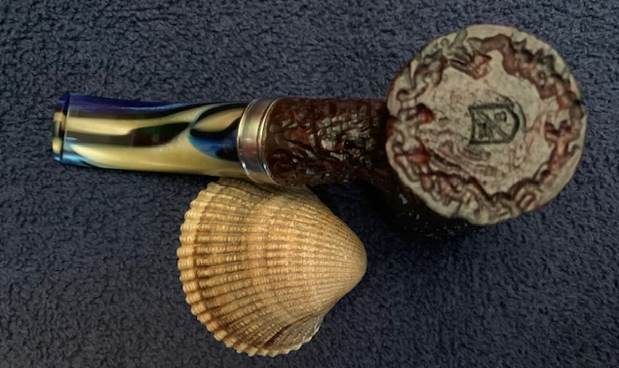
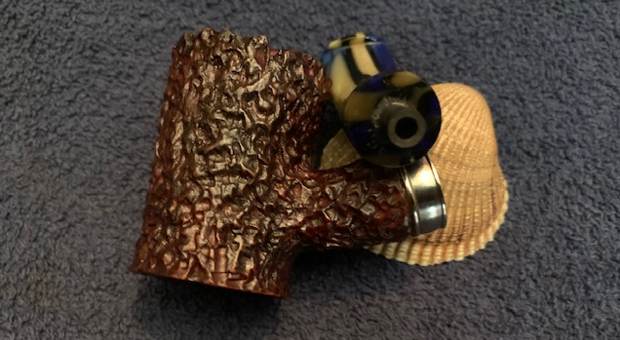
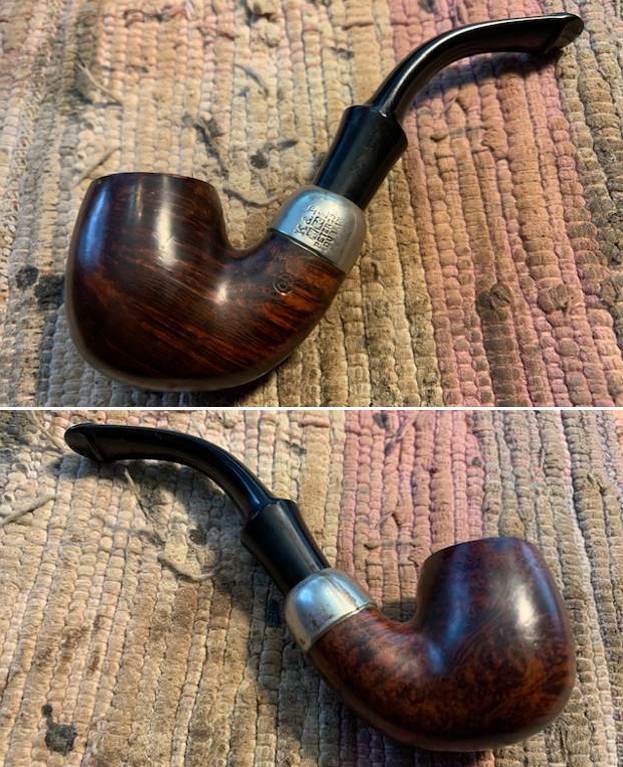
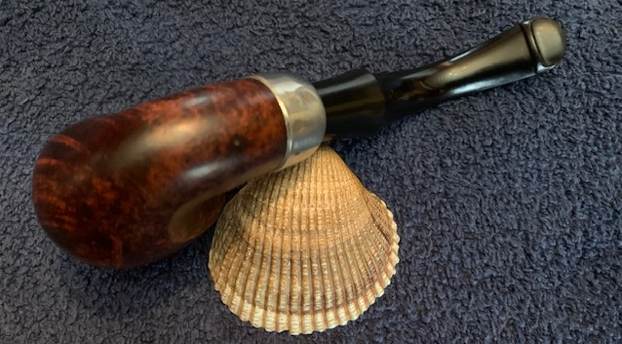
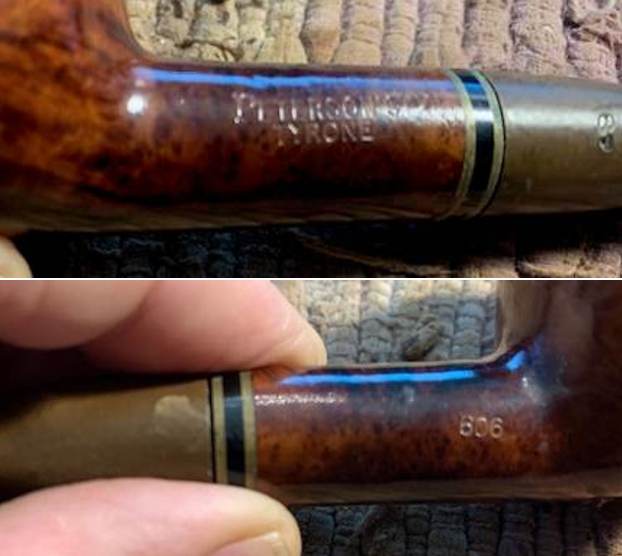
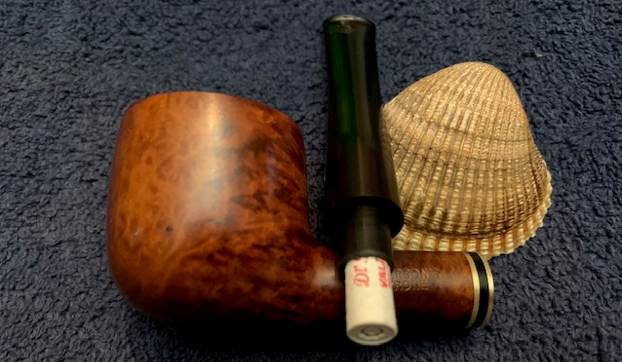
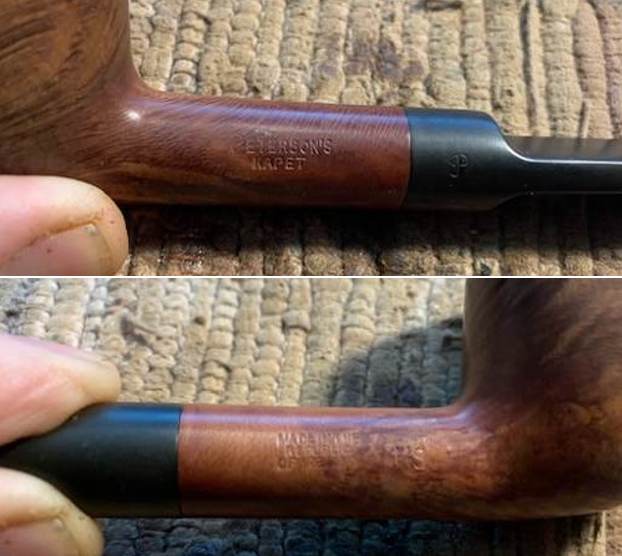
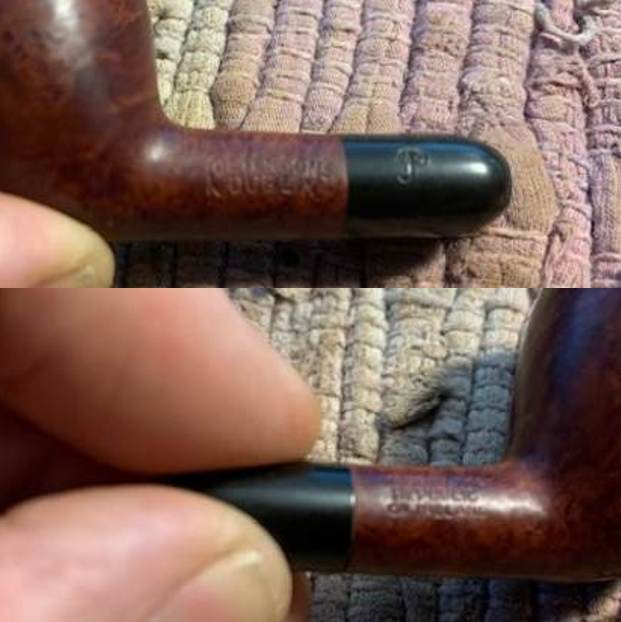
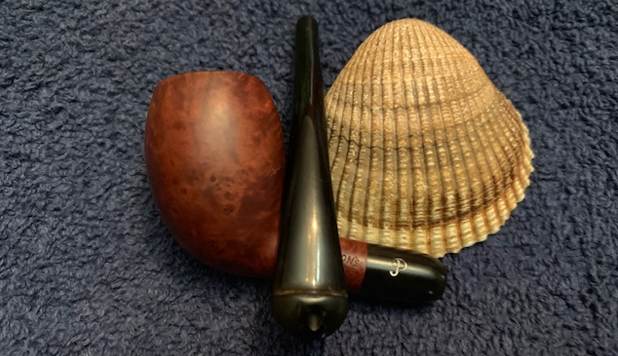
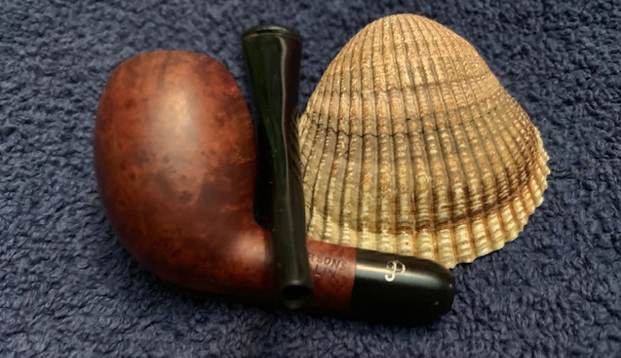
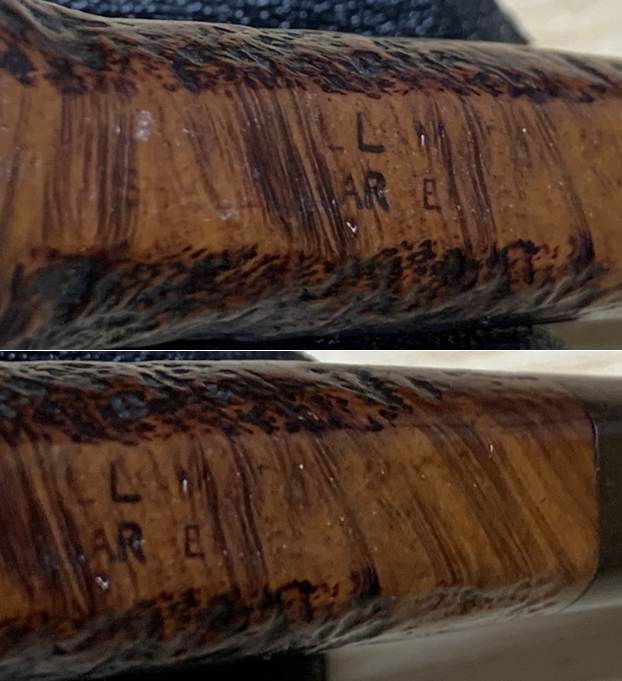
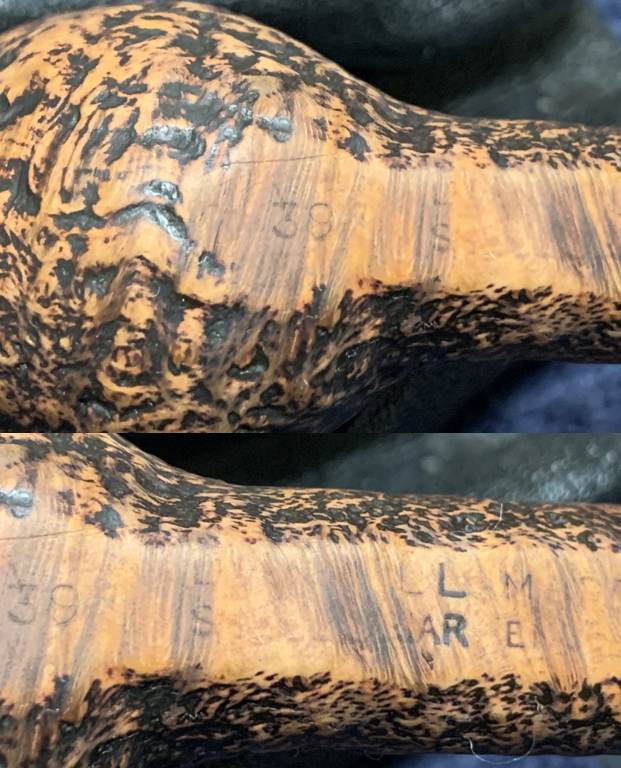
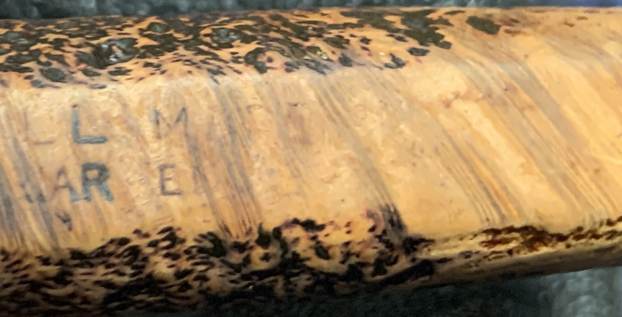
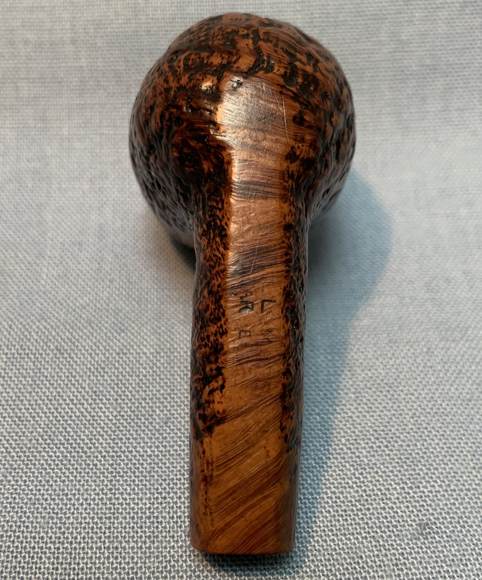
 I took photos of the stamping on the sides of the shank and on the band. It reads as noted above and is clear and readable.
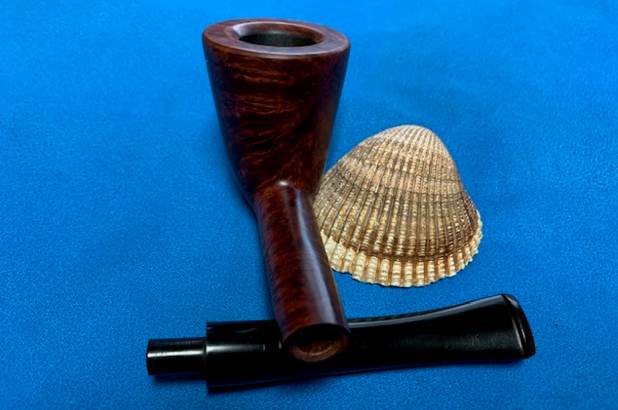
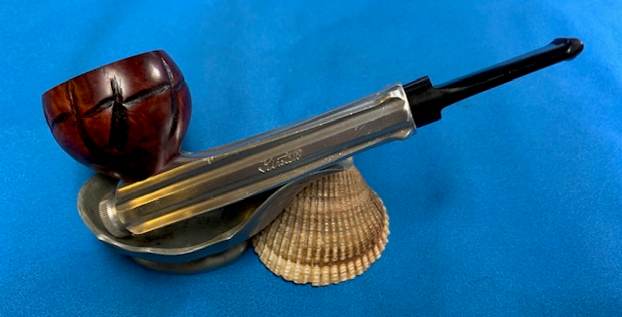
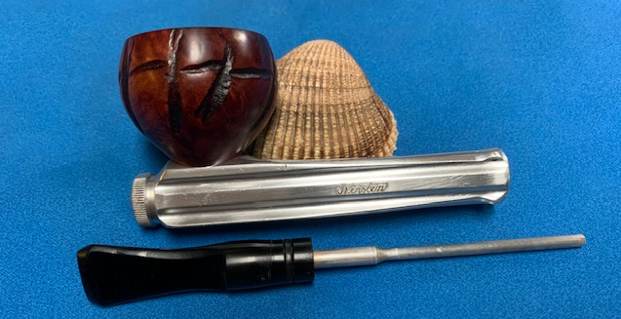
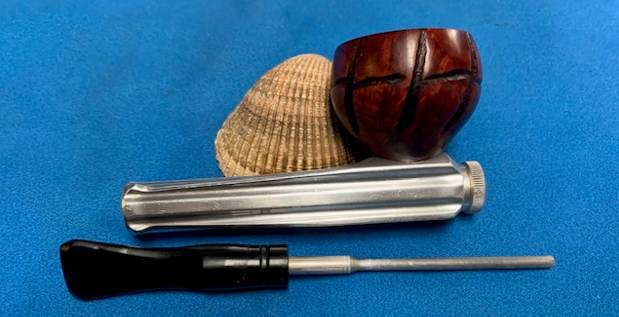
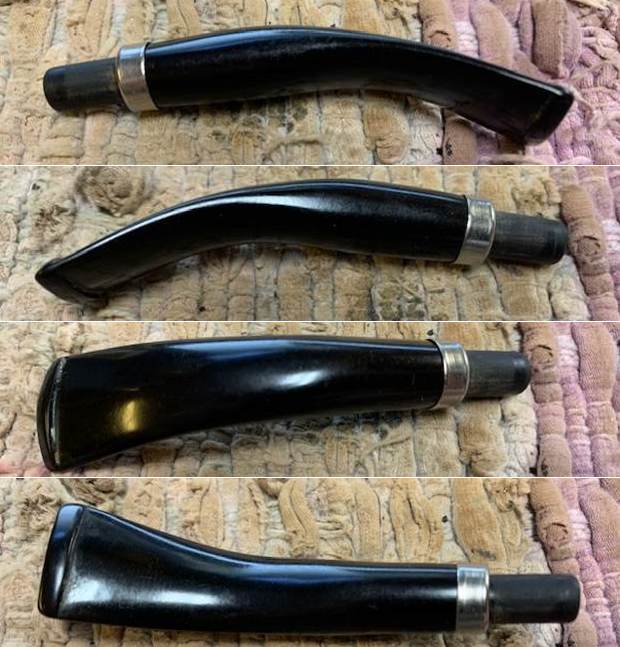
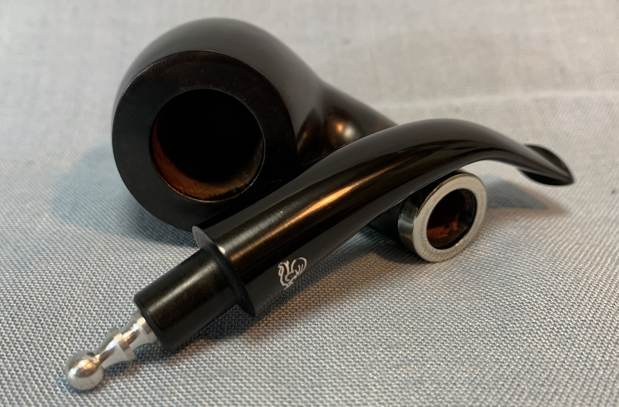
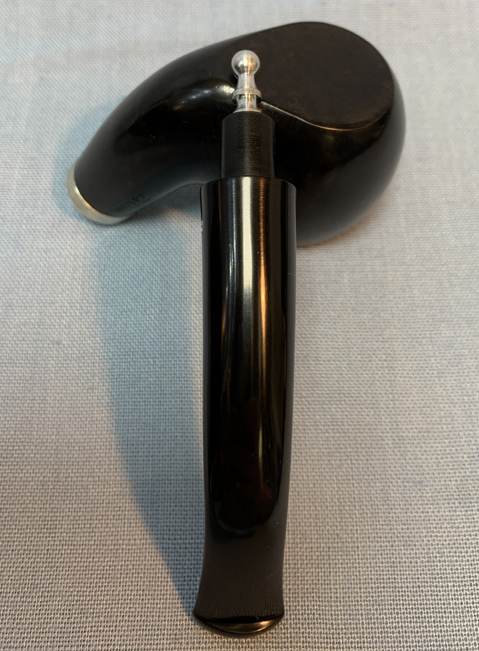
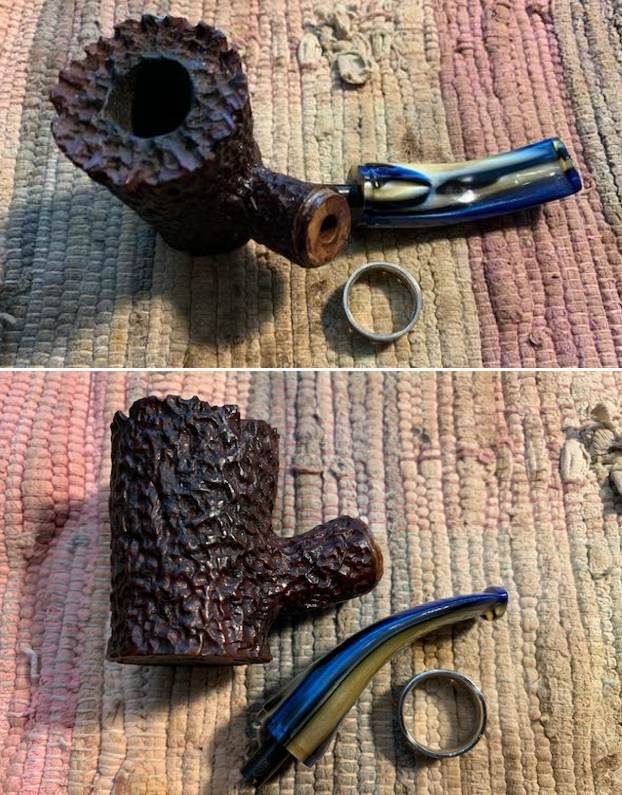
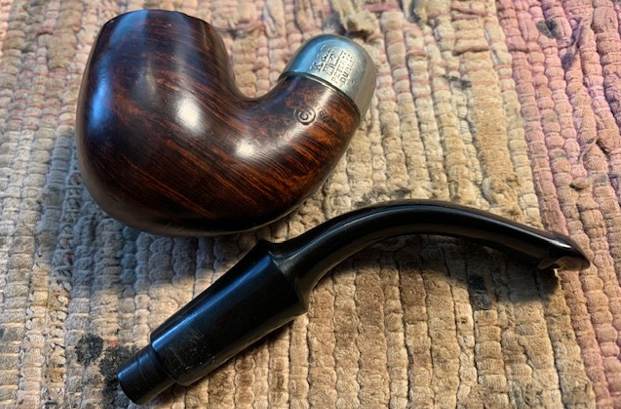
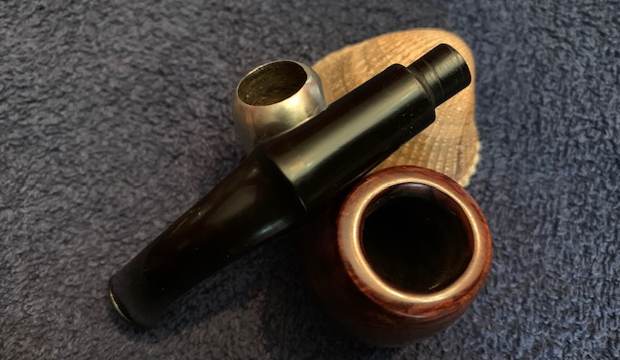
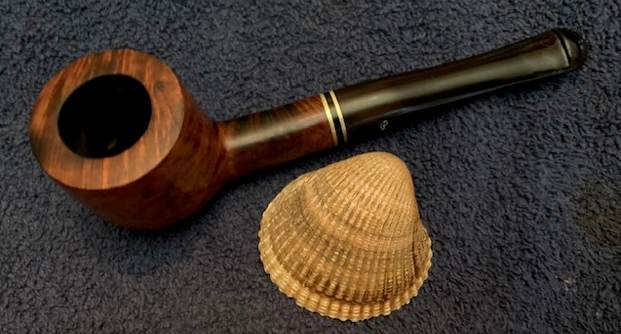
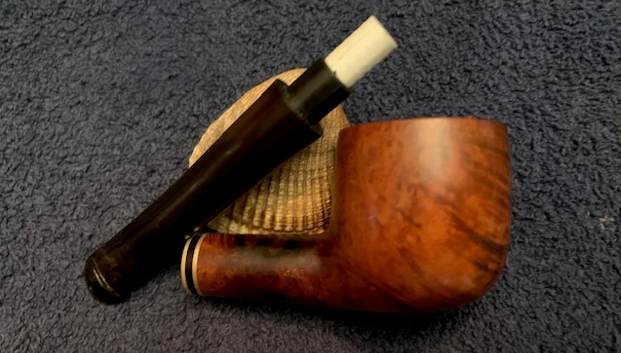
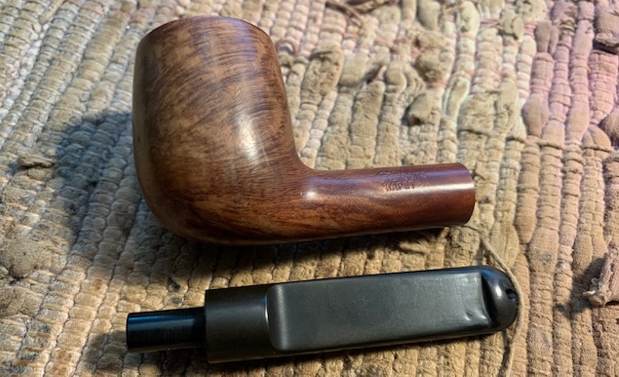
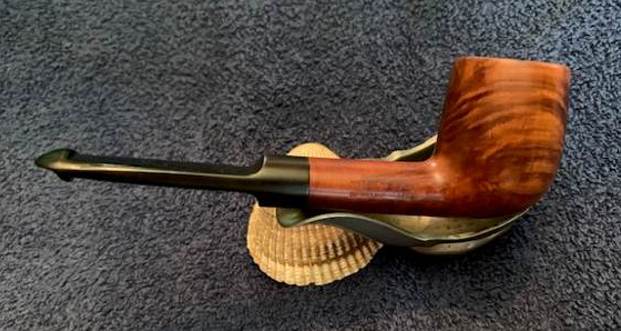
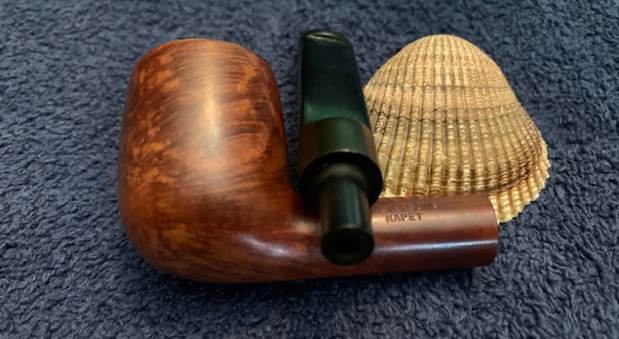
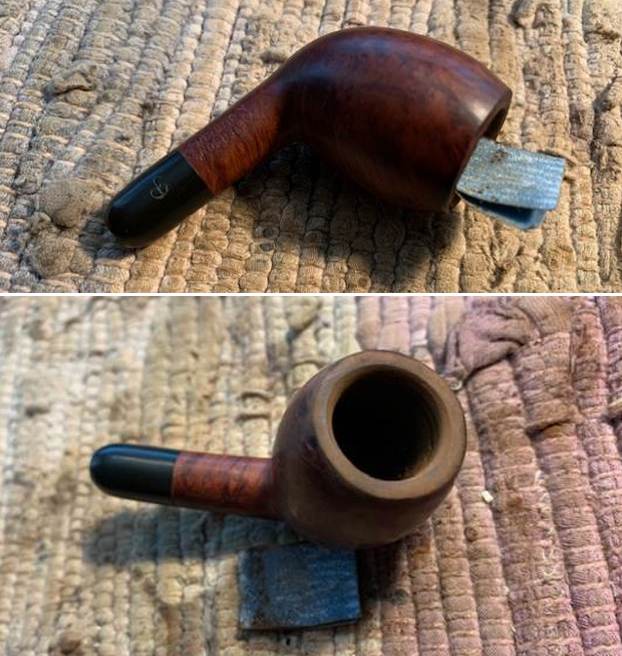
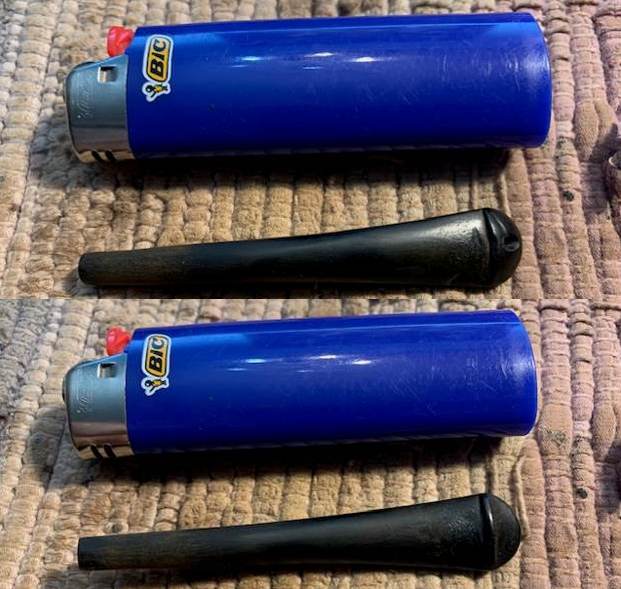
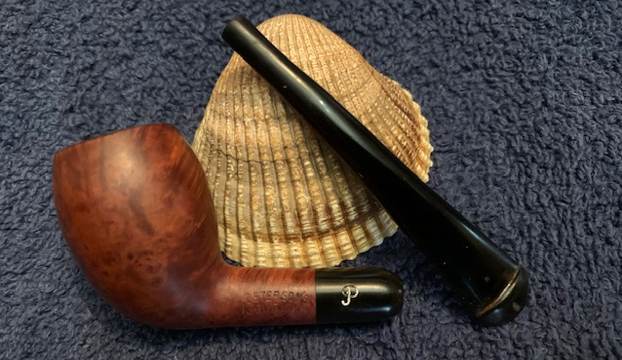
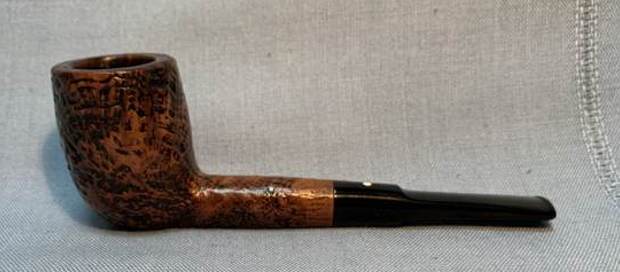
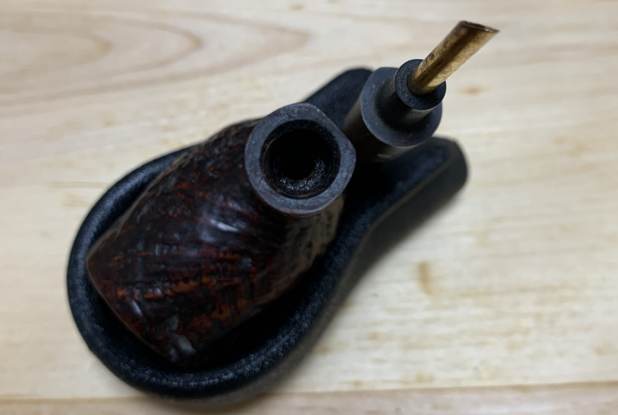
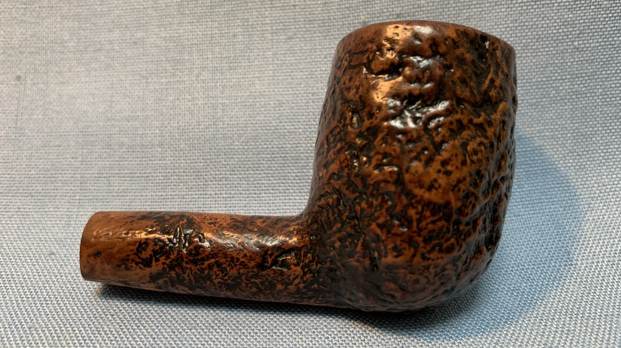
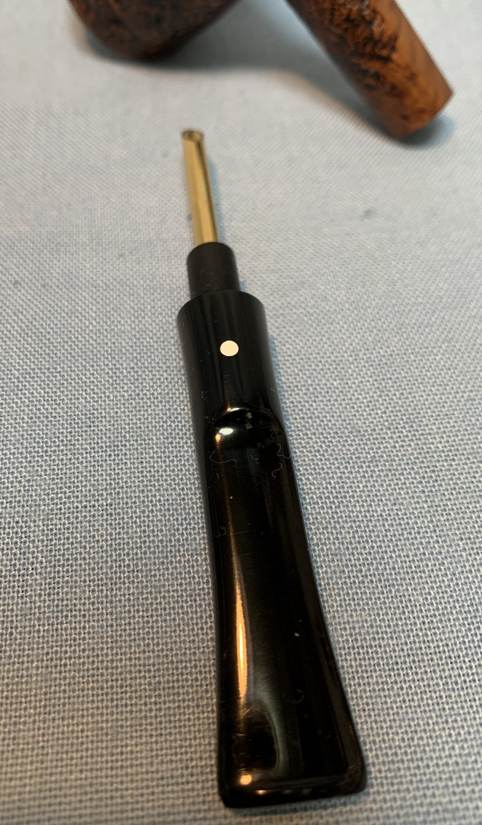
 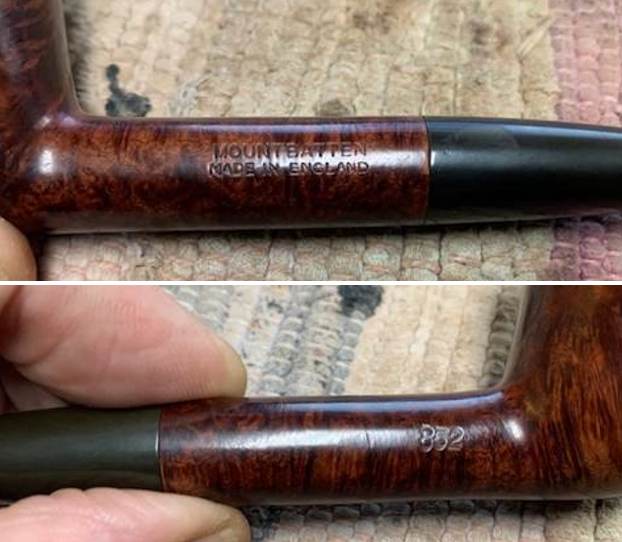 I removed the stem from the shank and took a photo of the pipe to give a sense of the proportion of this Canted Dublin 852.
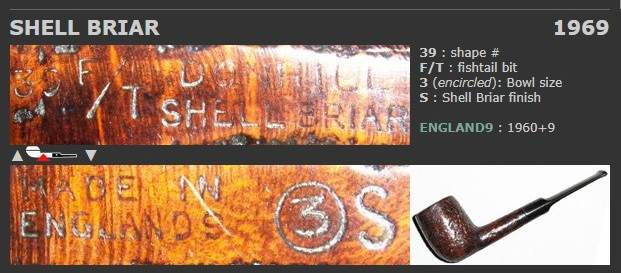
 I turned to Pipephil to confirm the connection I remembered to Charatan. I wanted to read a bit of the history (http://pipephil.eu/logos/en/logo-m7.html#mountbatten). Sure enough the connection is there. Pipephil said that Mountbatten was a Charatan second. I have included a screen capture of information on the site below.
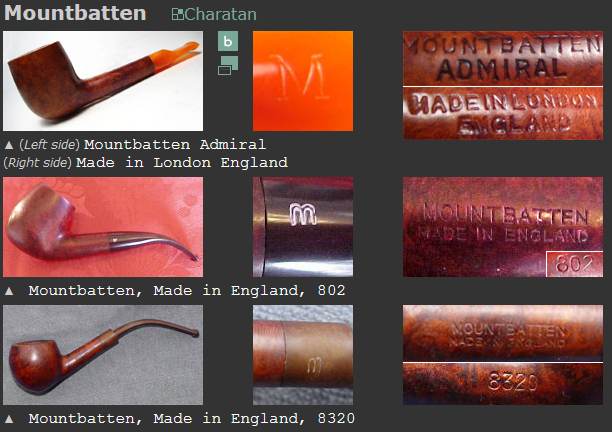 I did some further digging and found a link on Pipes Magazine’s forum where the brand was discussed: http://pipesmagazine.com/forums/topic/mountbatten-pipe. There was a discussion on that thread regarding the brand. Quite a few of the respondents originally said that the brand was a Charatan second. There was one dissenting voice that led to more responses similar in tone. The fellow said that the pipe was not a second. There was a quote from another site.
I googled the information and found that the quote came from a thread on pipes.org. Here is the link: http://pipes.org/forums/messages/23/45025.html?1169997817 I quote the original dissenter on the Pipes Magazine site in full because of the information that it gives. The original poster was Bill Ramsey. Here is Bill’s reply:
“Friends, after 40 years of nosing around pipes, what I have gleaned is this: Charatan sold its seconds under private labels and later acquired the English rights for Ben Wade for just this purpose. Mountbatten, on the other hand was not a “second”(in that there was some physical deformity in the pipe) but rather a first line production from Charatan’s apprentice program. Each Charatan carver might have four or six apprentices at any one time of various skill levels. As they improved and started cutting pipes themselves, these pipes had to move… thus the Mountbatten. These were made on Charatan tooling with Charatan materials and teaching. Bear in mind that there was a high attrition rate and , perhaps, one apprentice in nine or ten made it to cutting their own bowls much less a Charatan carver. This is why you see more Charatans than Mountbattens on the market. You’re never going to put your kid through college by selling one but you’ve got a day to day workhorse of the first order. Good luck and happy puffing.”
That was just the kind of information I had been looking for. I close this section on the history of the brand with a quote that pretty well sums up the details that I had learned. It is taken from the same conversation that is traced in the last link above. “Yup now I know Mountbatten pipes were the fruit of an apprentice’s labor made under the supervision of a Master Pipe Maker at Charatan, most likely in the pre-Lane era; not a second, but a “sub-brand” (even though many experts still classify them as seconds anyway).”
Now I knew I was dealing with a pipe made by an apprentice pipe carver at Charatan. It really is a beautiful pipe. Now it was time to work on the pipe itself.
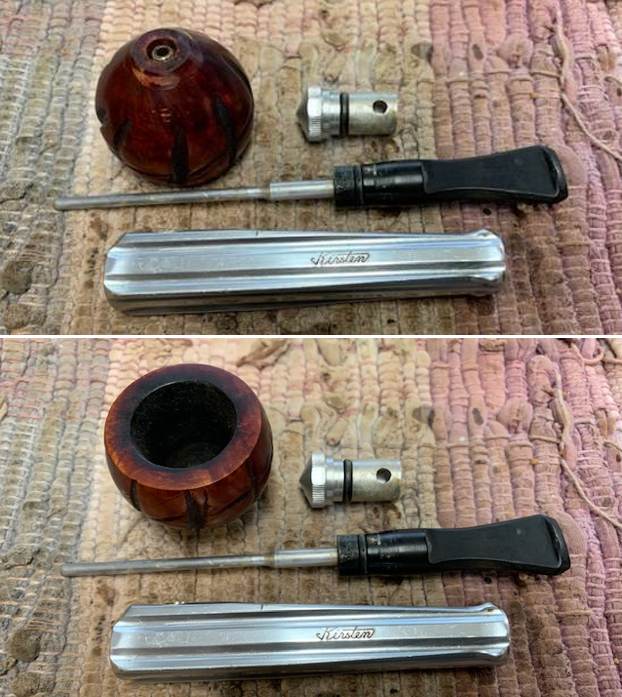
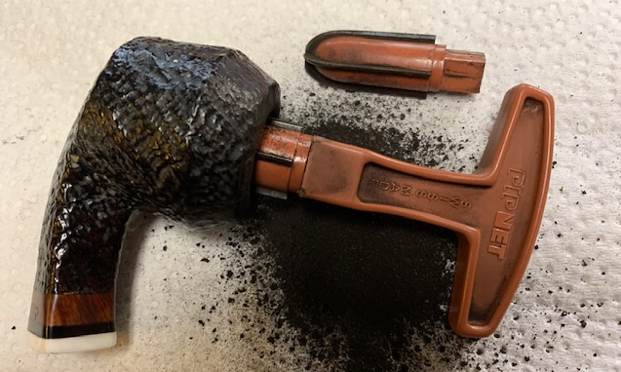
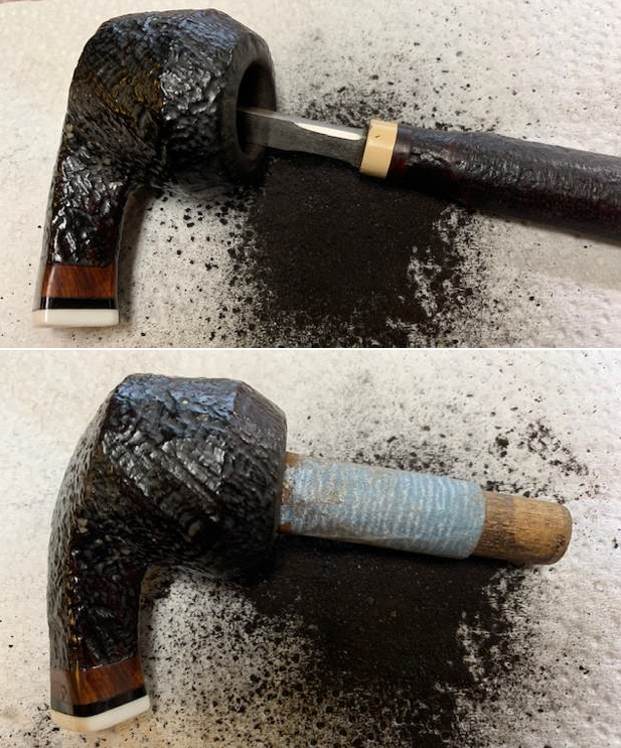
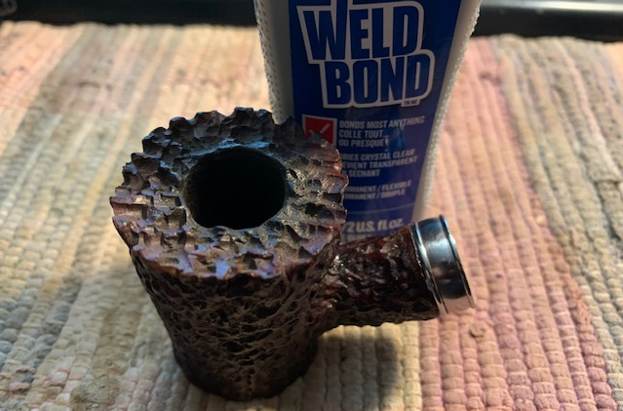
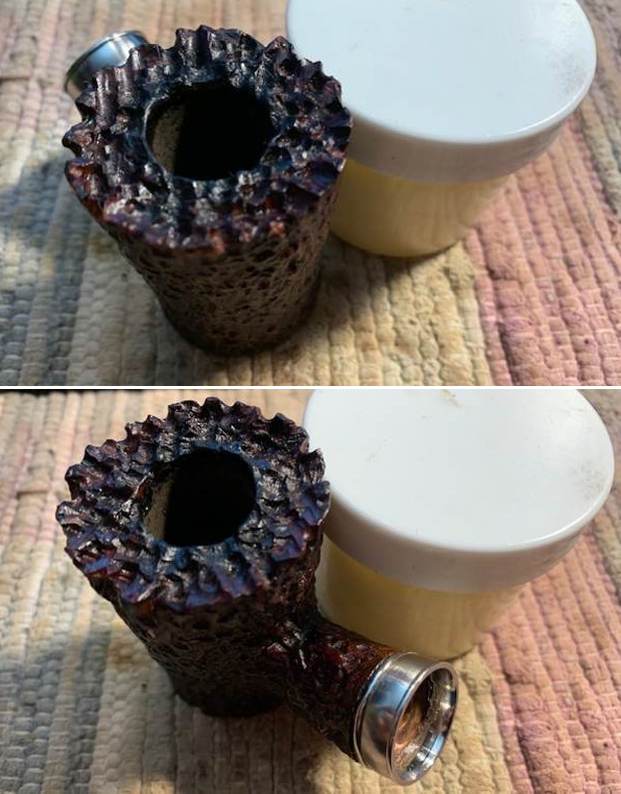
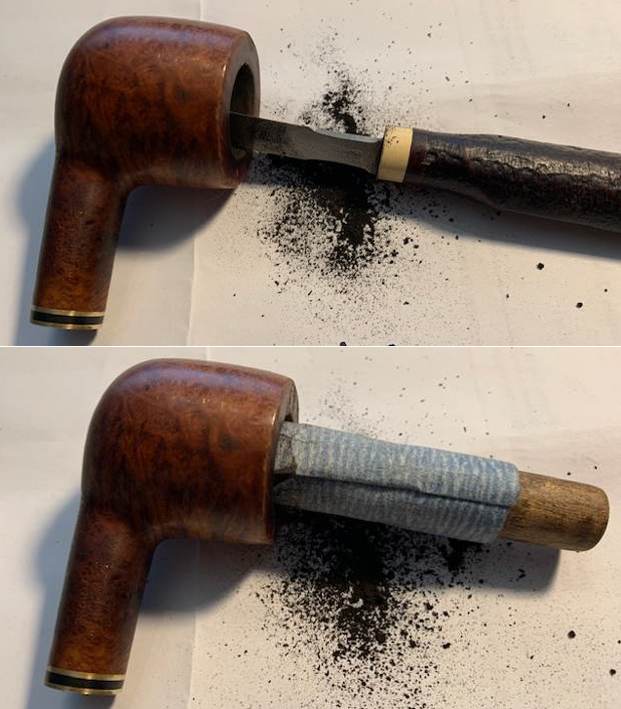
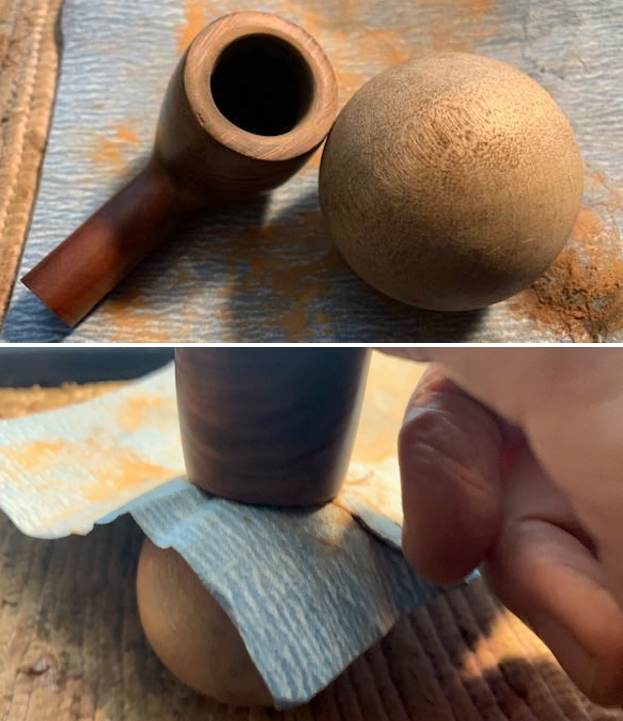
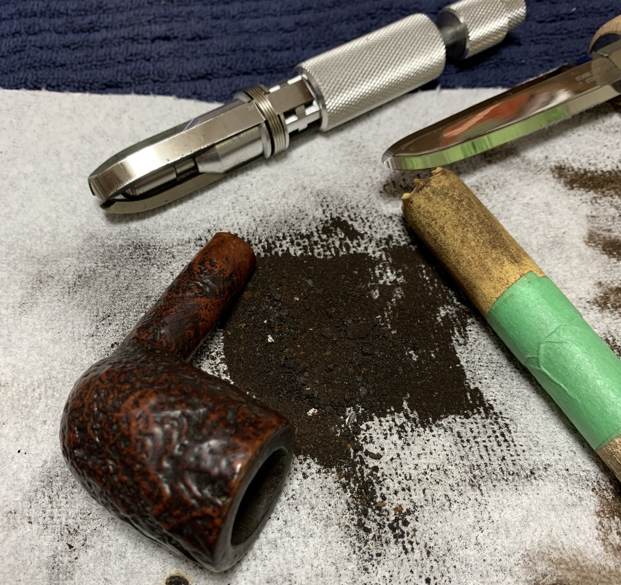
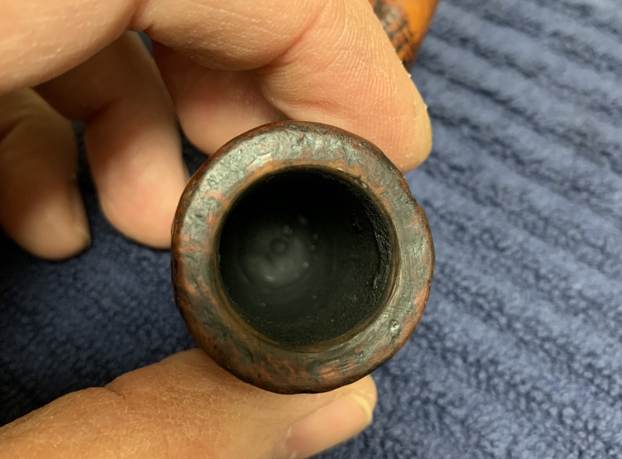
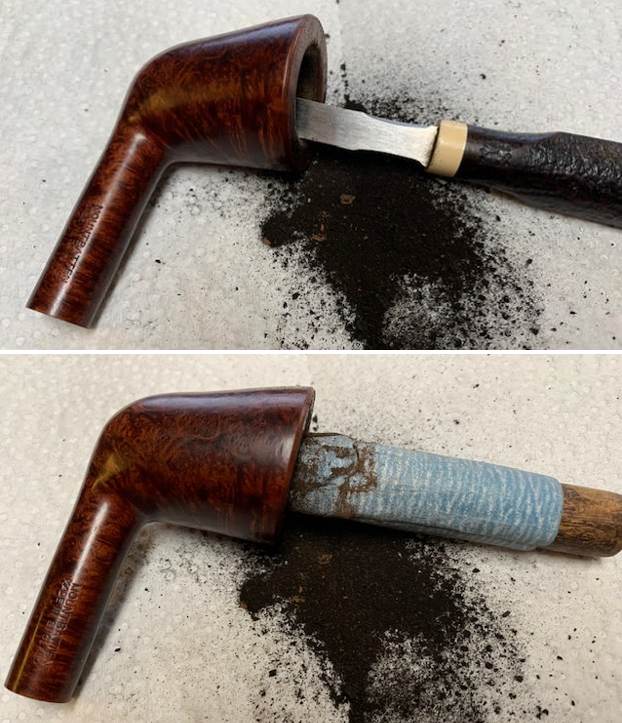
I started my work on the pipe by reaming the bowl the pipe with a PipNet Pipe Reamer using the first and second cutting heads to remove the cake. I cleaned up the remnants of the cake on the walls with a Savinelli Fitsall Pipe Knife. I finished by sanding the bowl smooth with 220 grit sandpaper wrapped around a piece of dowel. 
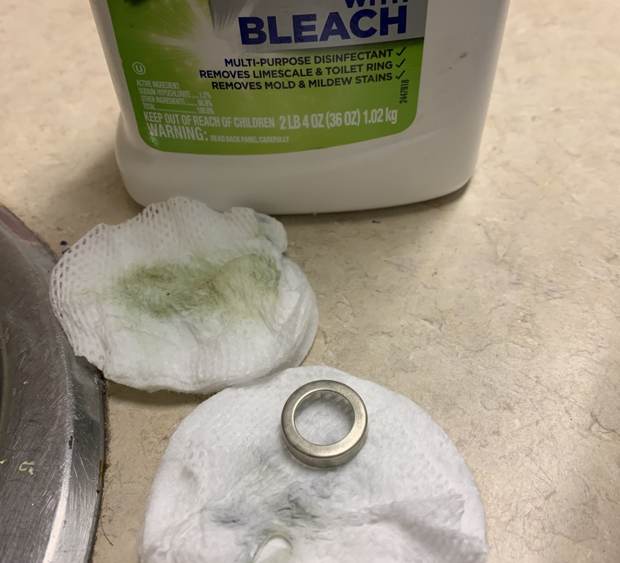
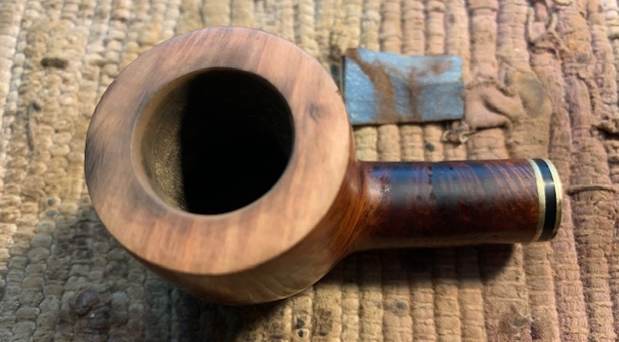
 I cleaned up the inner edge of the rim with a folded piece of 220 grit sandpaper. I was able to remove almost all of the darkening with the sandpaper.
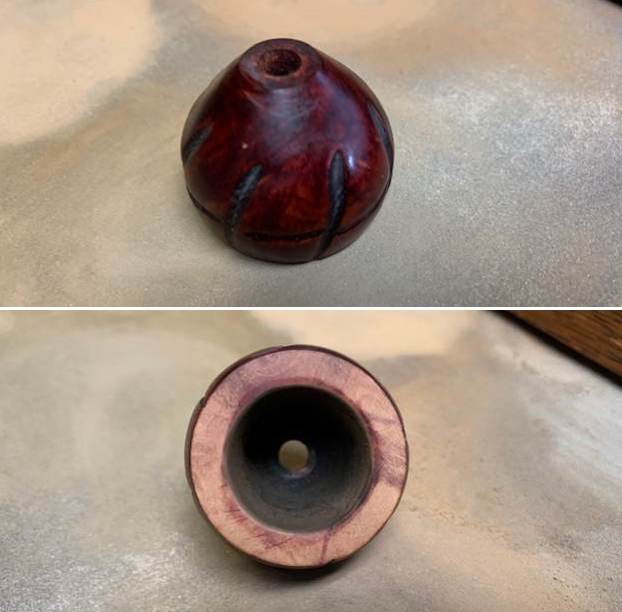
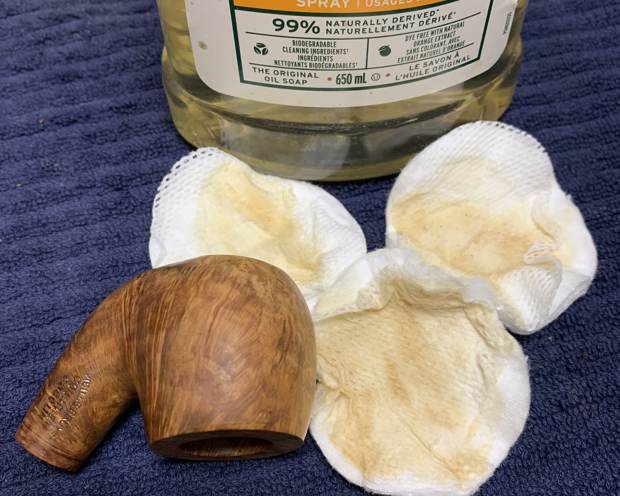
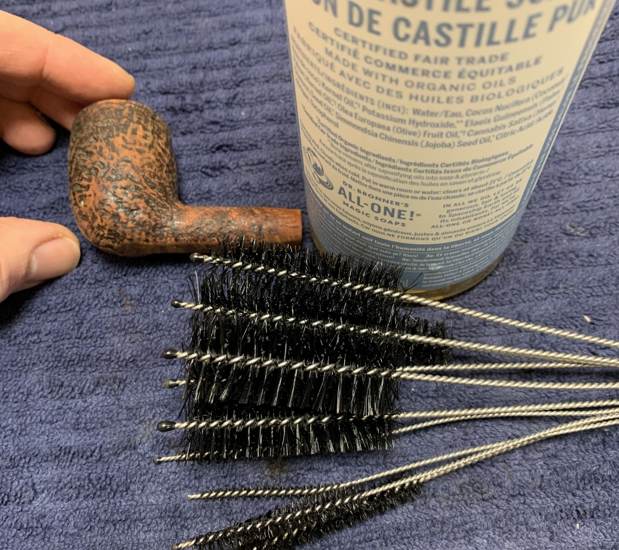
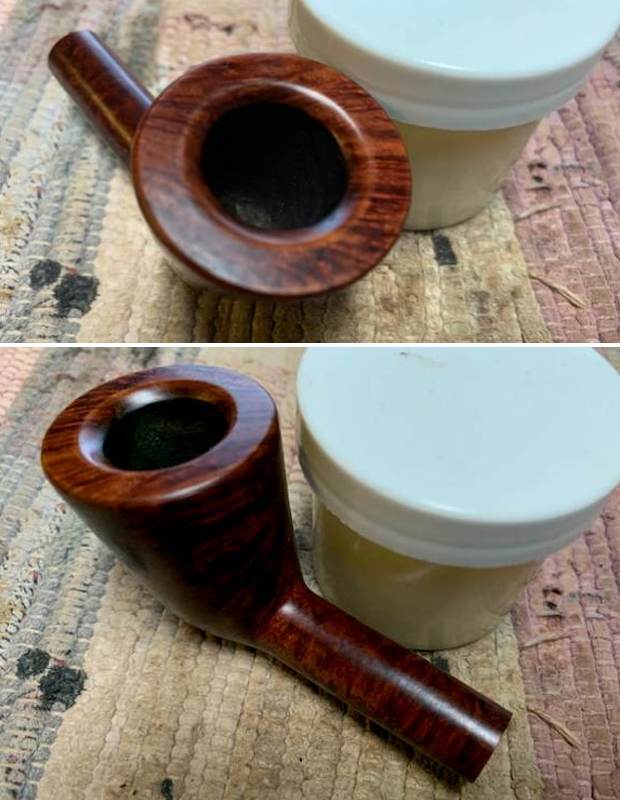
 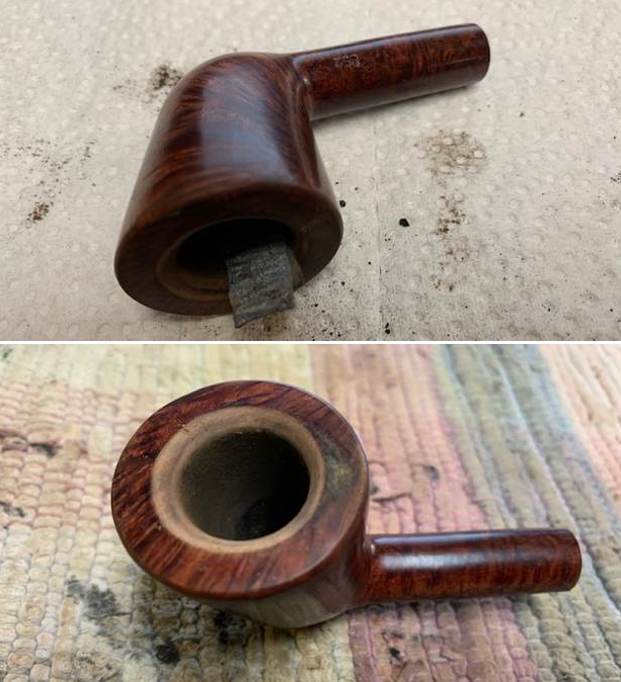 I scrubbed the externals of the pipe with undiluted Murphy’s Oil Soap with a tooth brush. I rinsed it under running warm water to remove the soap and grime. The bowl and rim top cleaned up really well with the lava coat removed. The inner edge of the rim was in good condition.
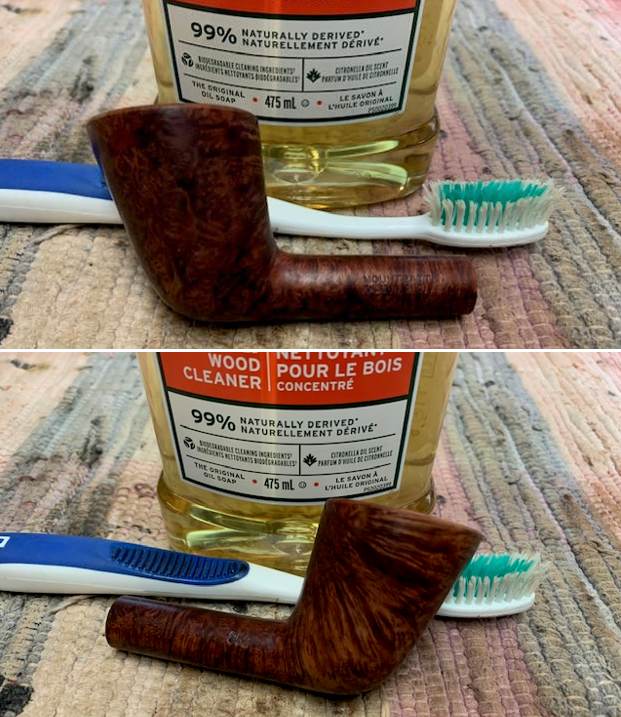
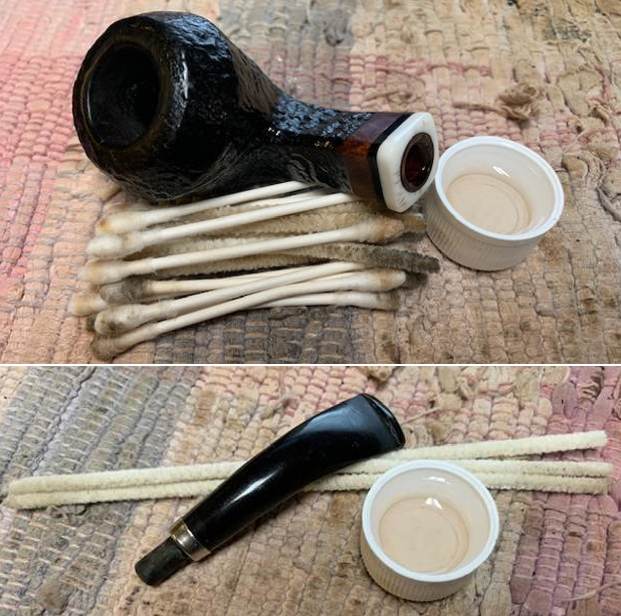
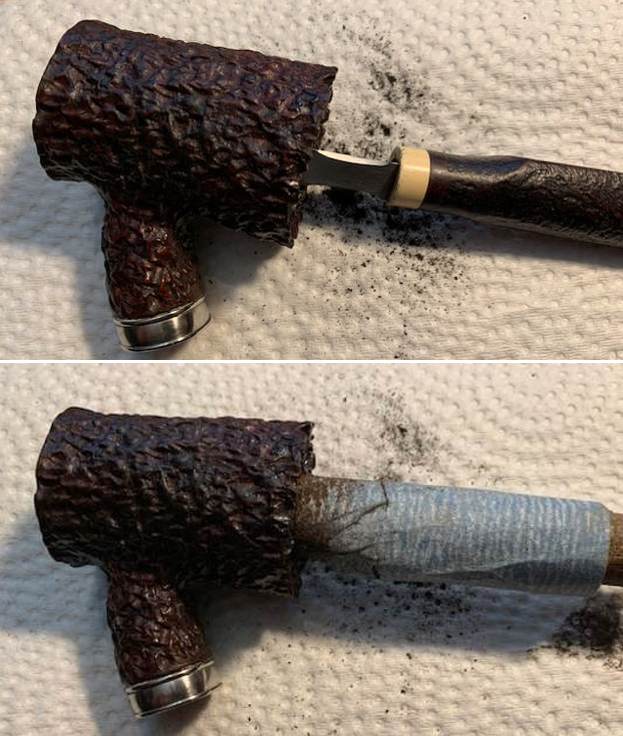
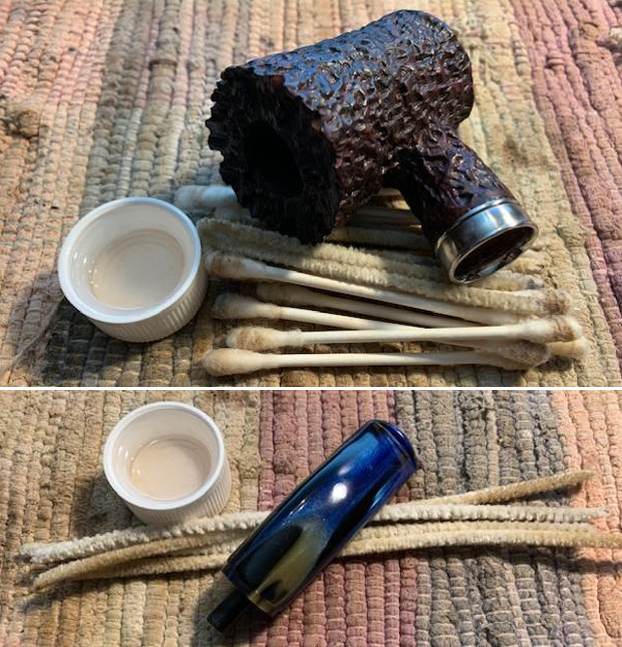
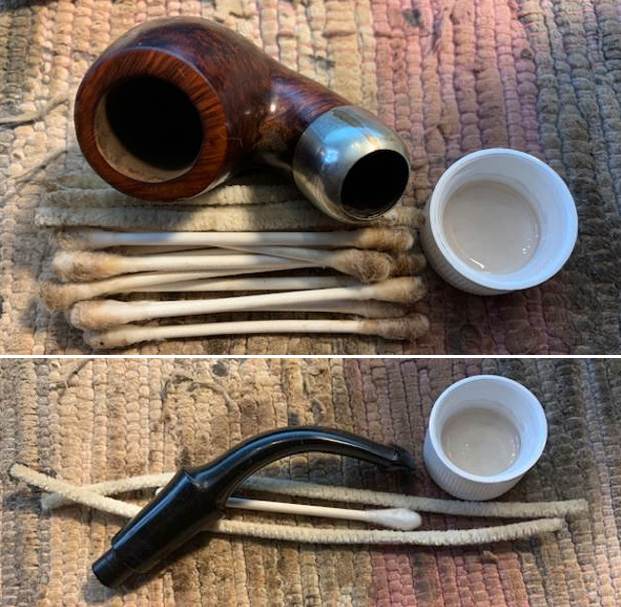
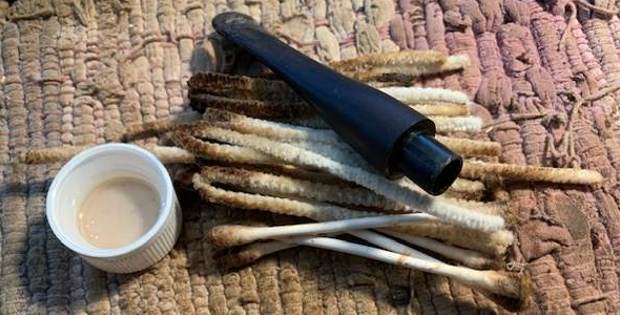
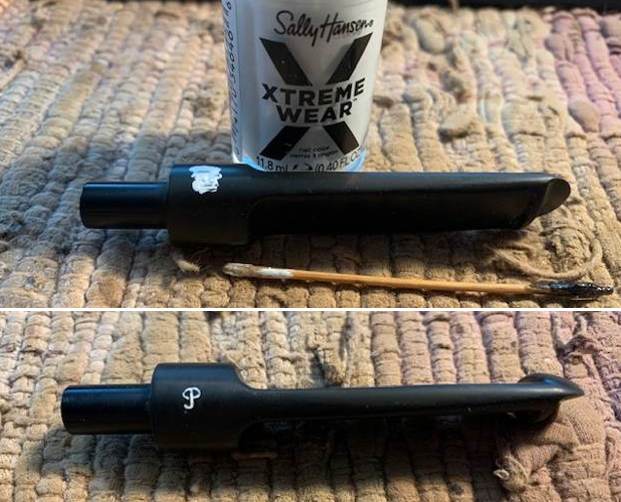
 I cleaned out the inside of the mortise, shank and the airway in the stem with isopropyl alcohol, cotton swabs and pipe cleaners.
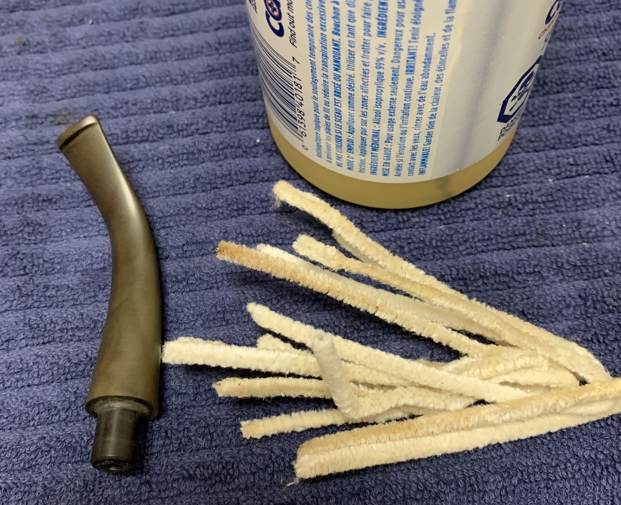
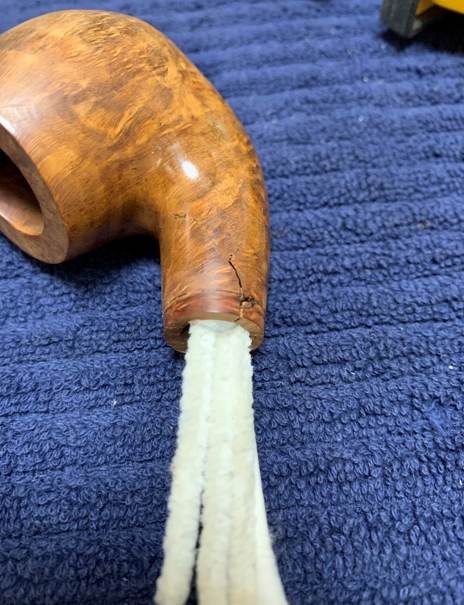
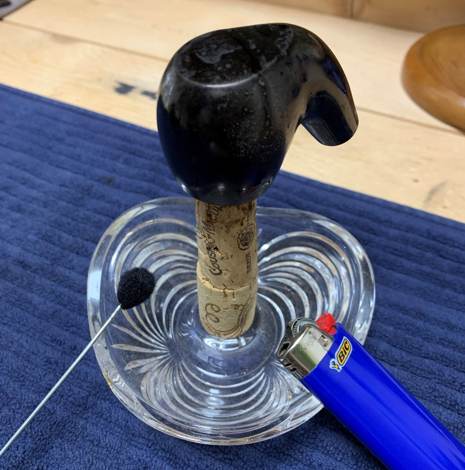
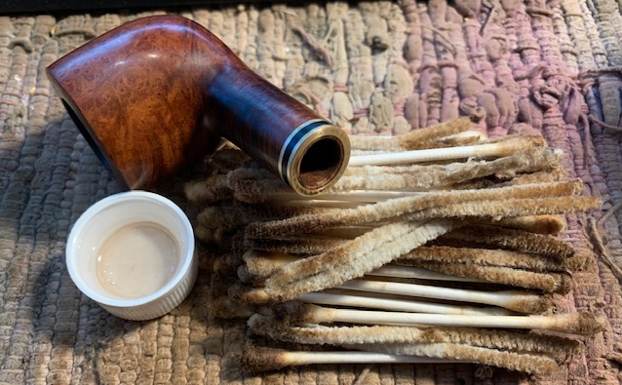
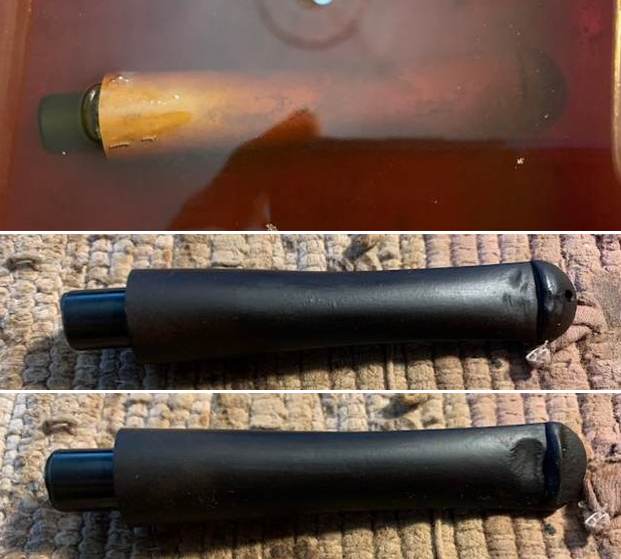
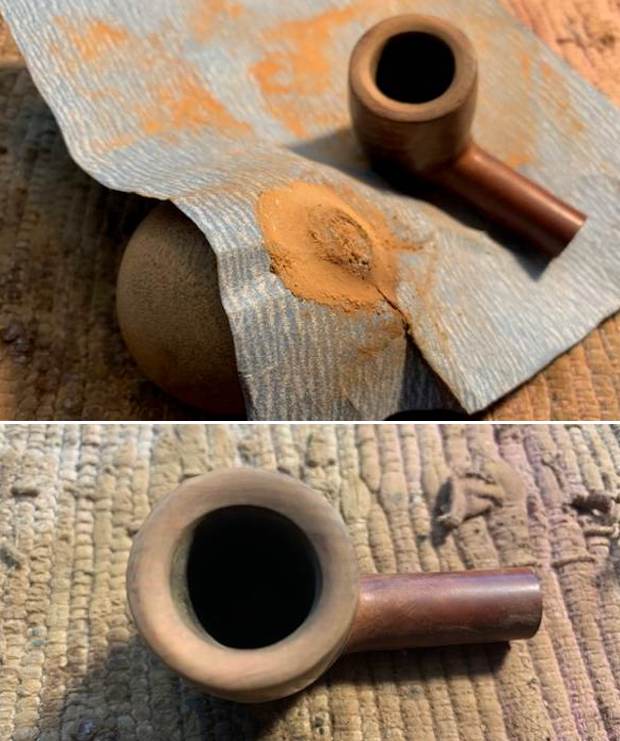
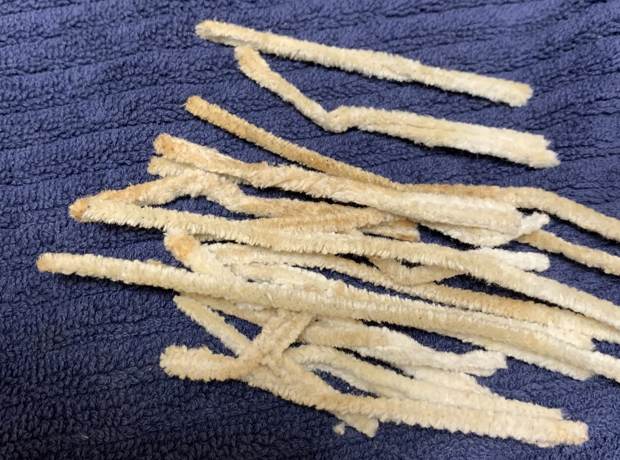
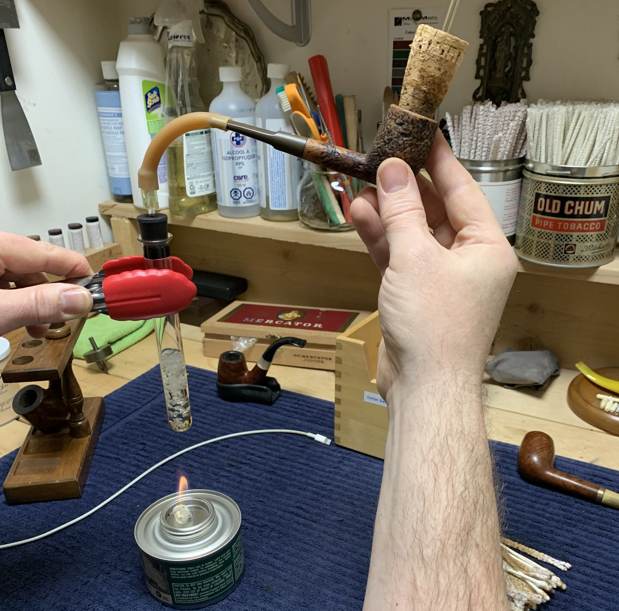
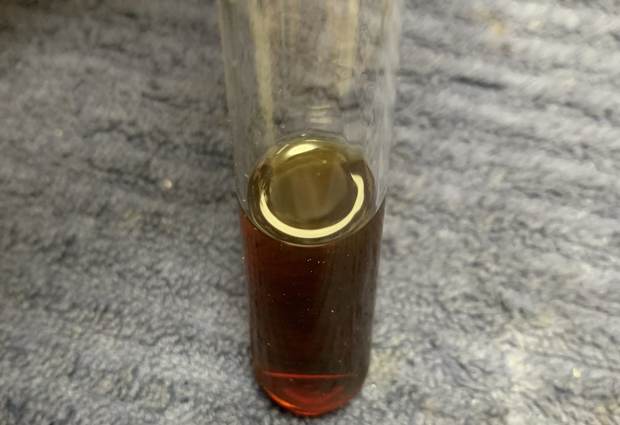
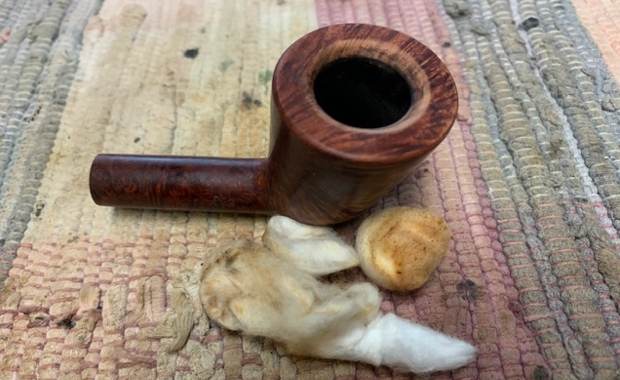
 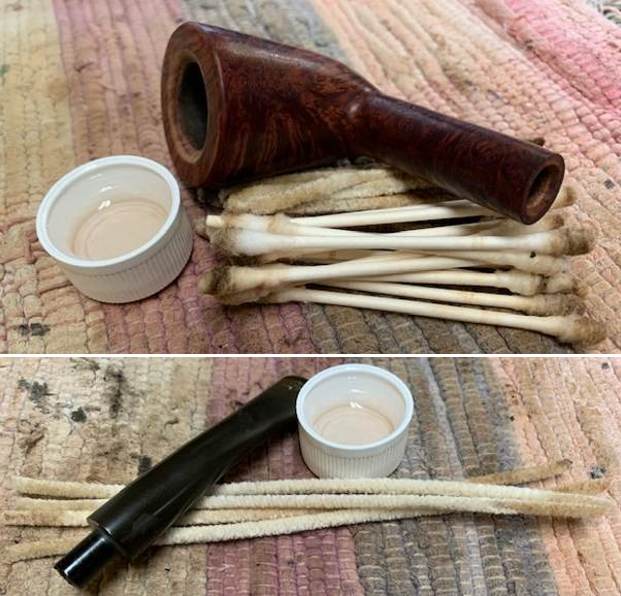 The pipe had a strong aromatic smell just like the three Petersons I just completed. It smelled like a mix of fruit and vanilla so it needed to be deghosted. I filled the bowl with cotton boles and twisted a plug into the shank end. I used and ear syringe to fill the bowl with alcohol. The alcohol will eventually evaporate from the bowl wicking out the oils and tars in the briar into the cotton. I let it sit over night and in the morning pulled it out and took photos of the cotton at that point.
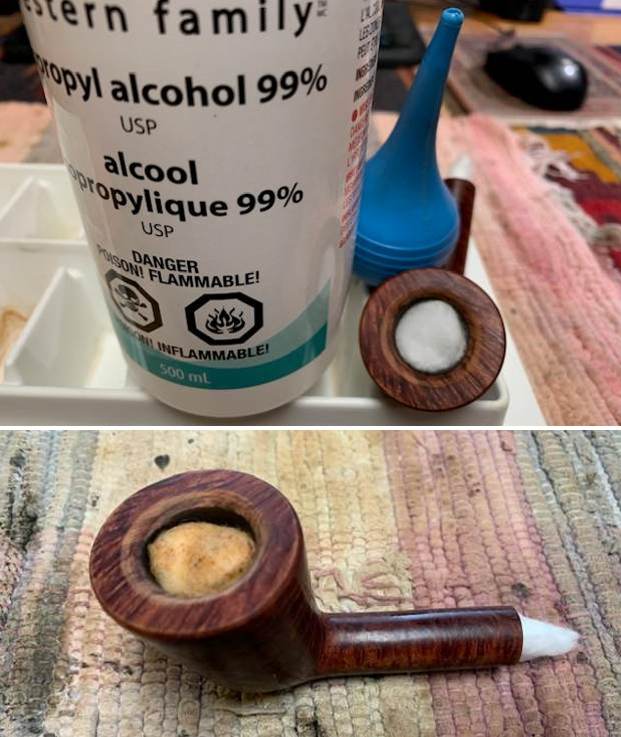
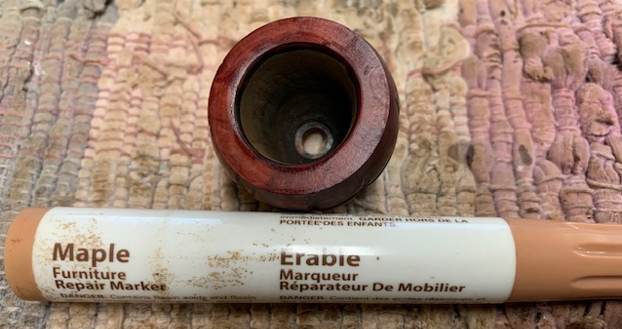
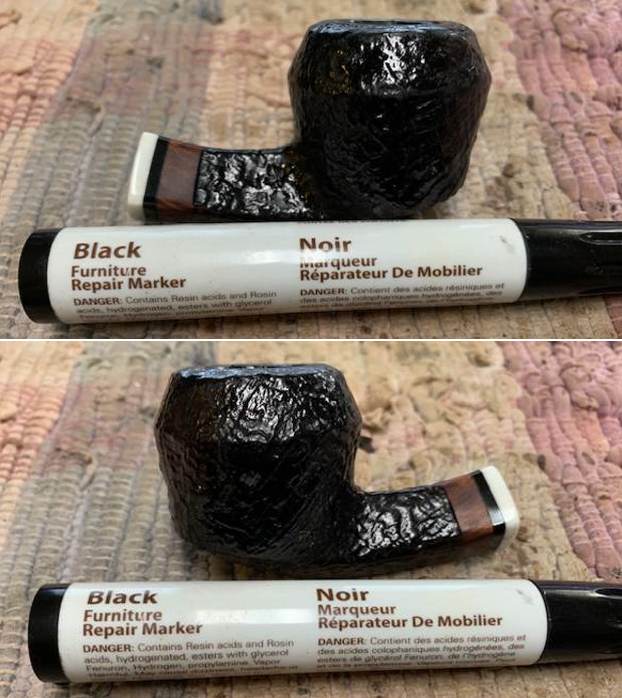
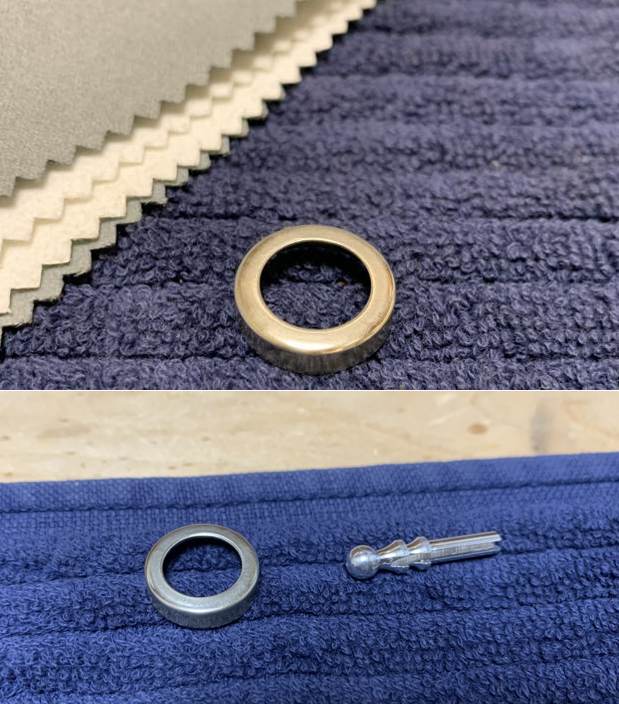
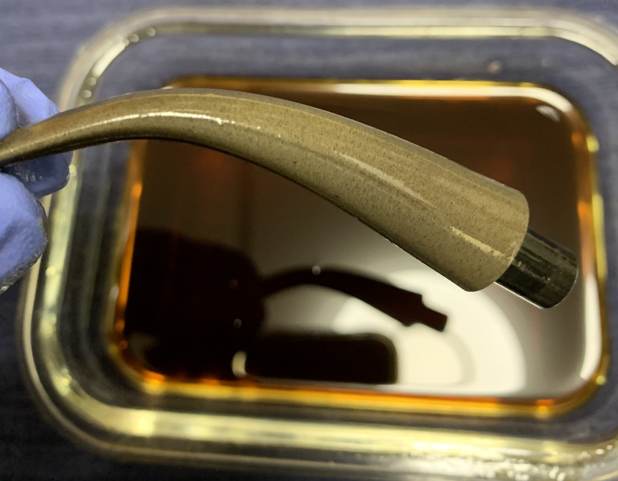
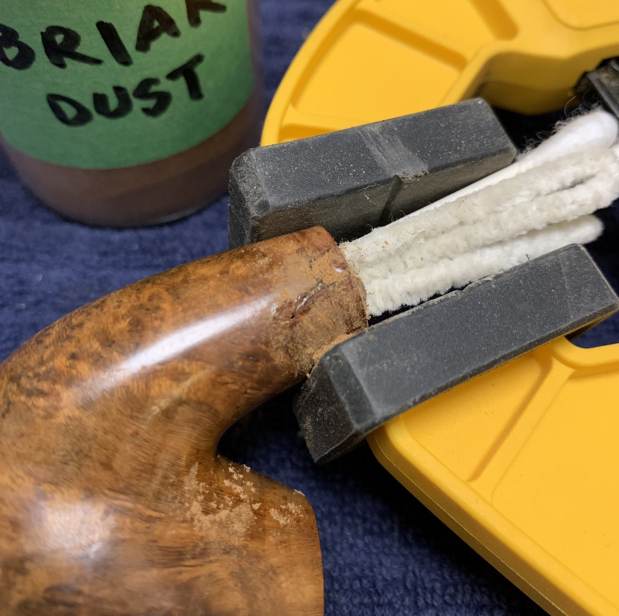
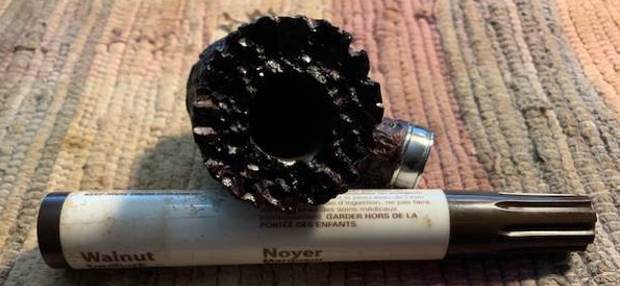
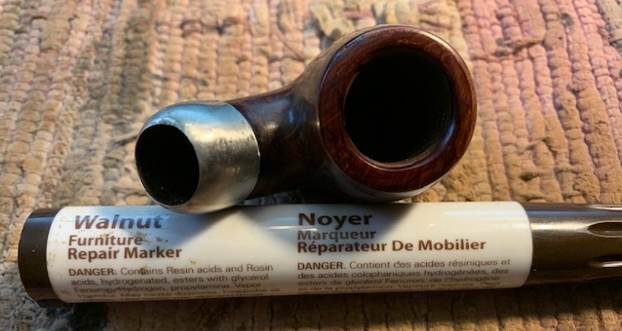
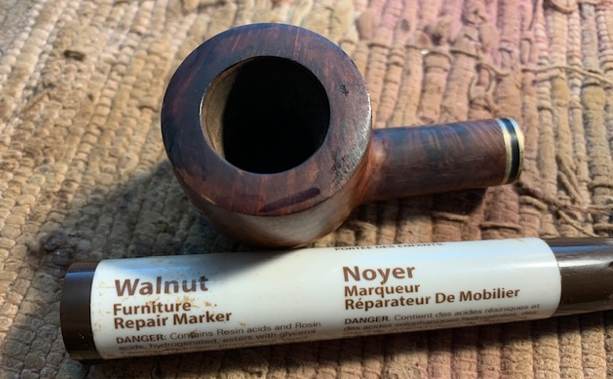
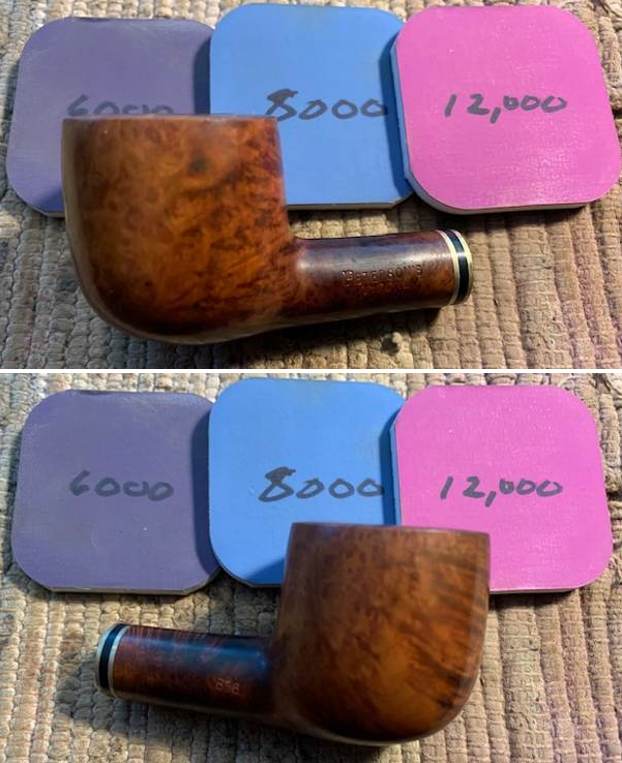
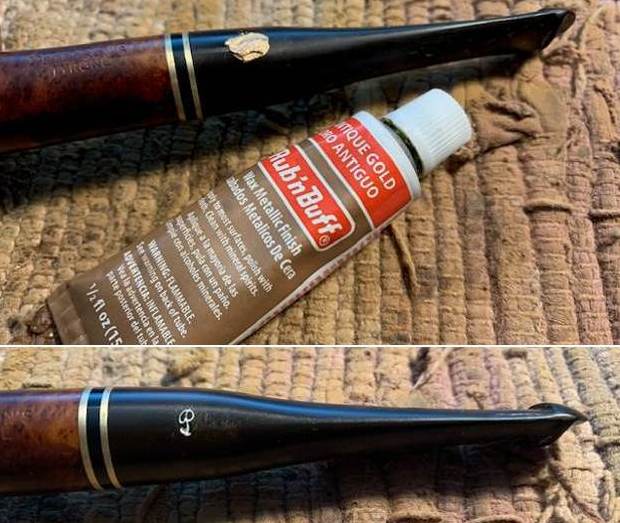
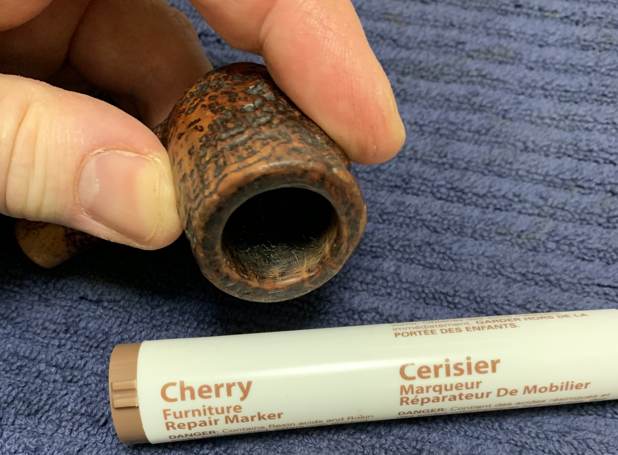
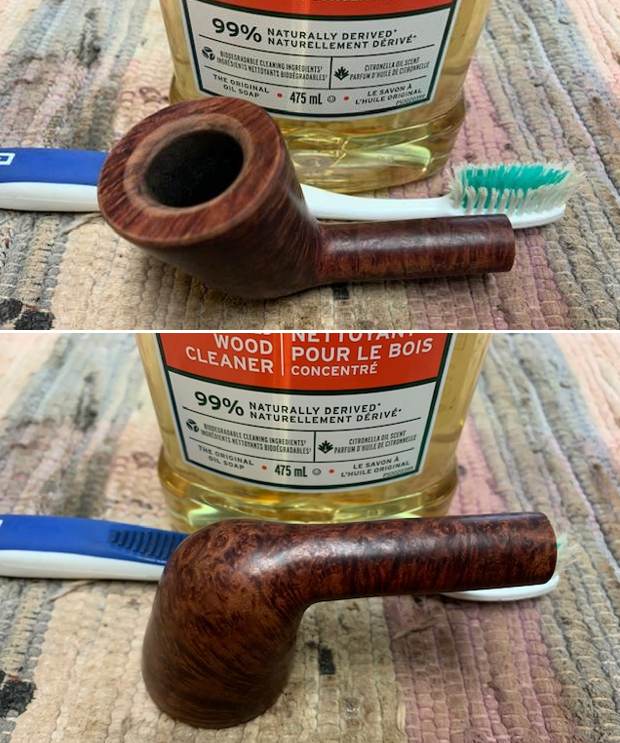
 I ran some pipe cleaners through the shank and dried out the bowl edges. I stained the bevel with and oak stain pen to match the rest of the bowl and shank. It looked very good at this point in the process.
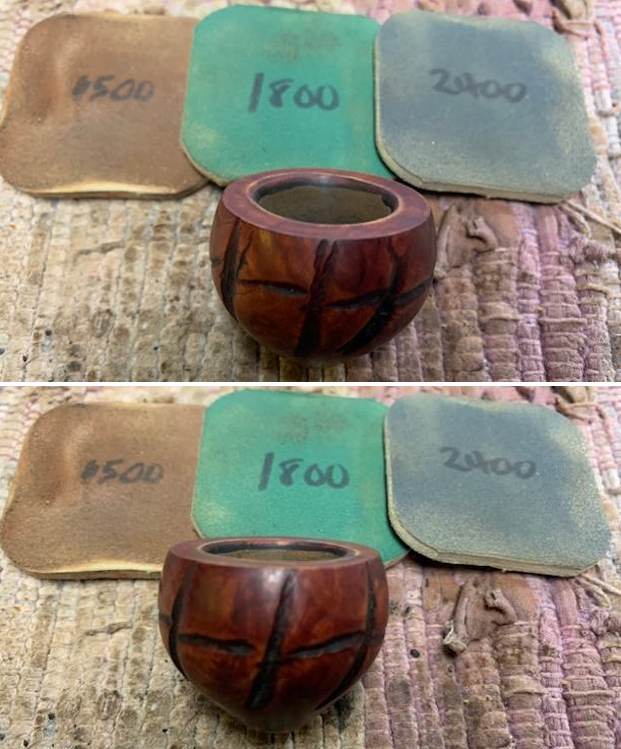
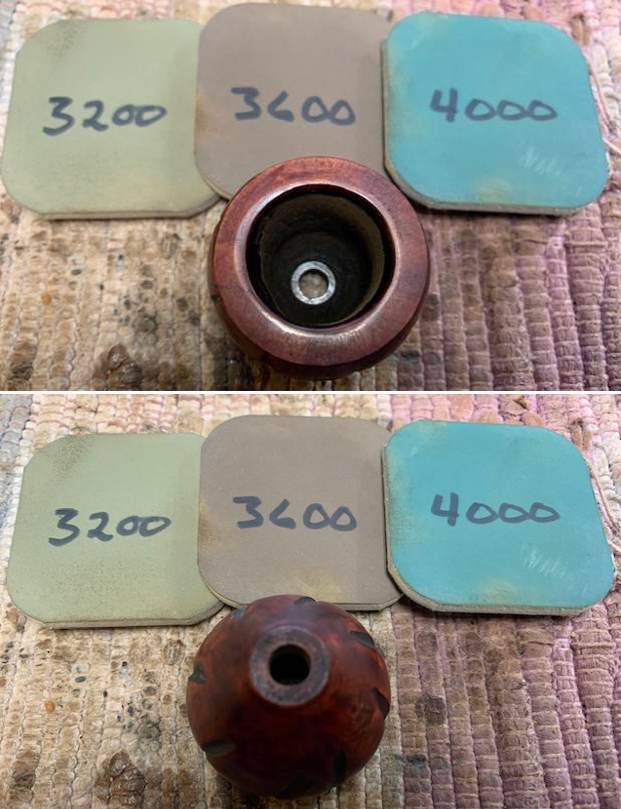
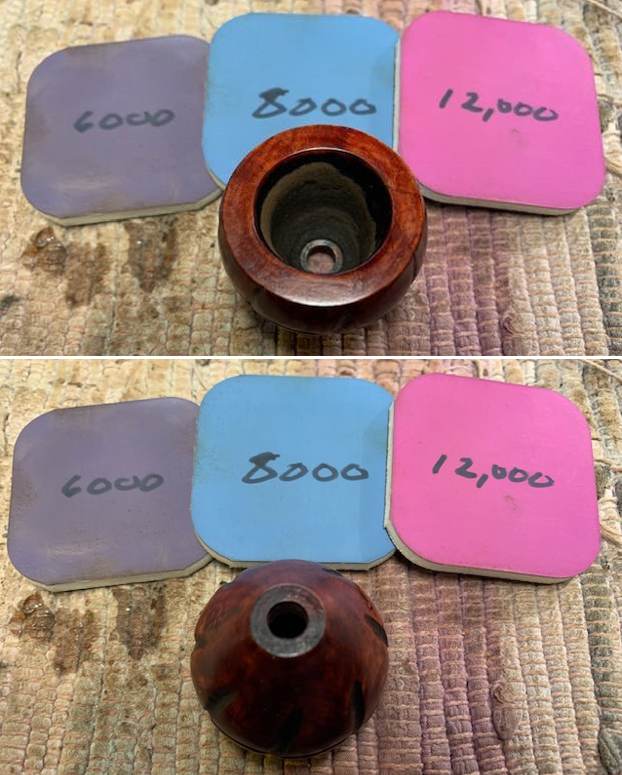
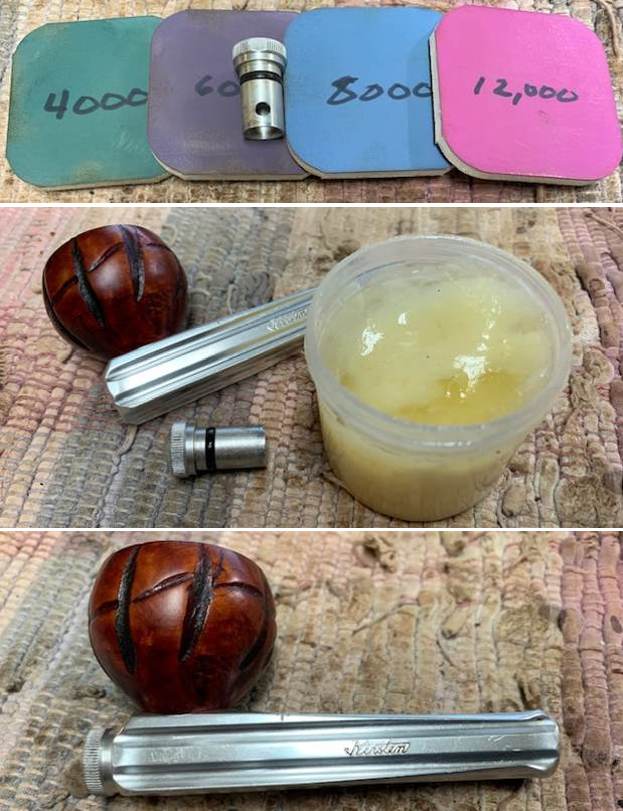
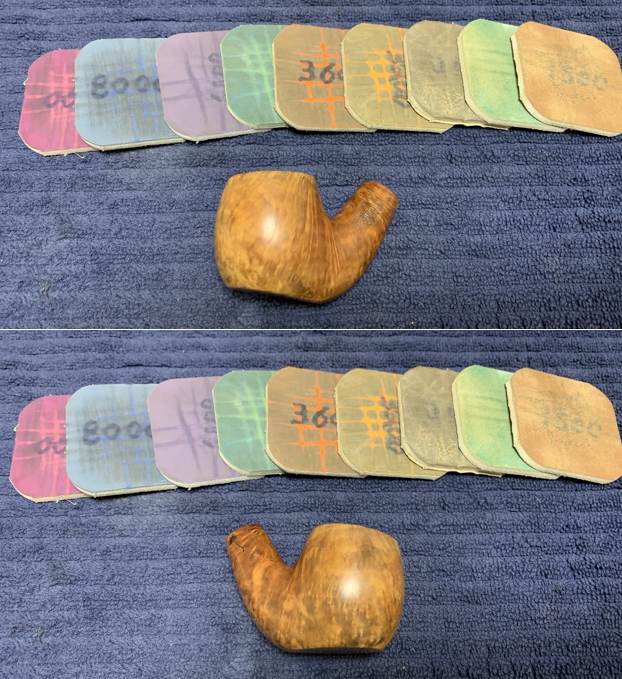
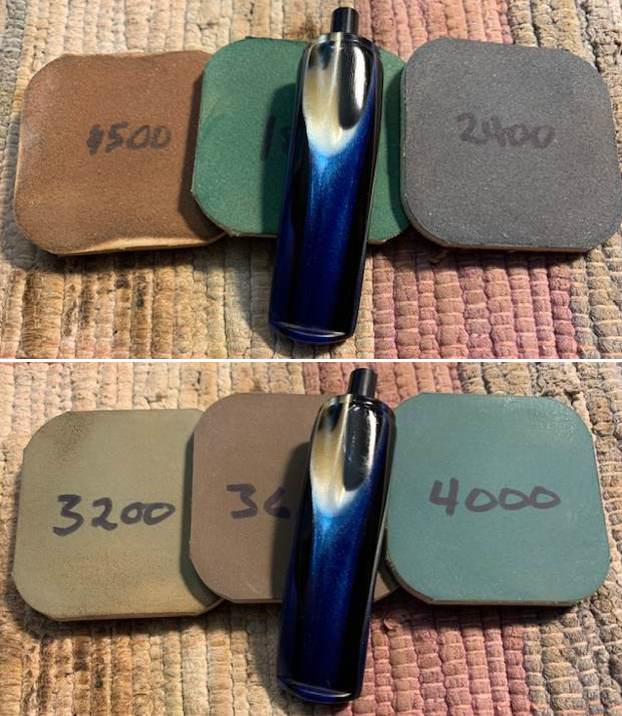
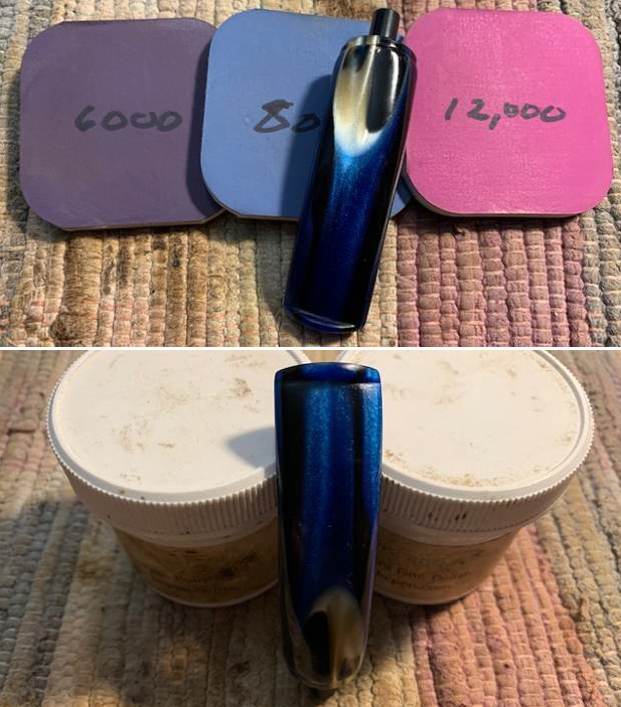
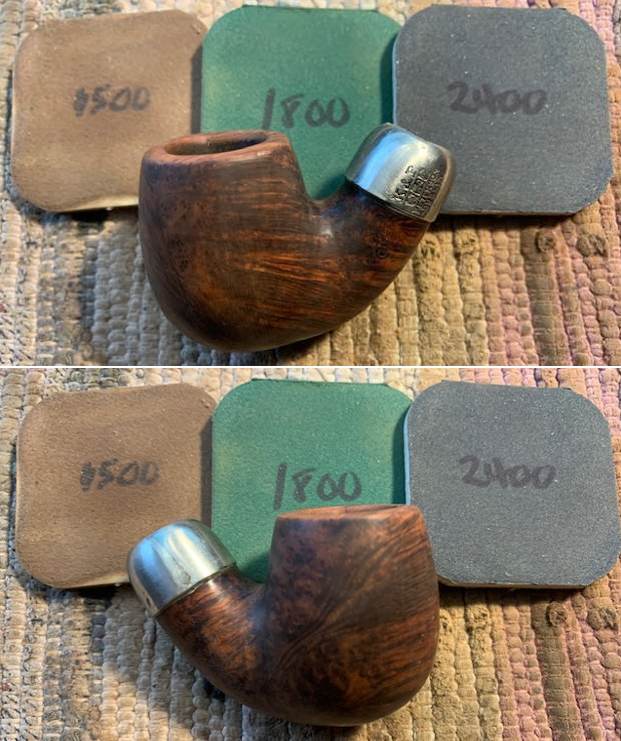
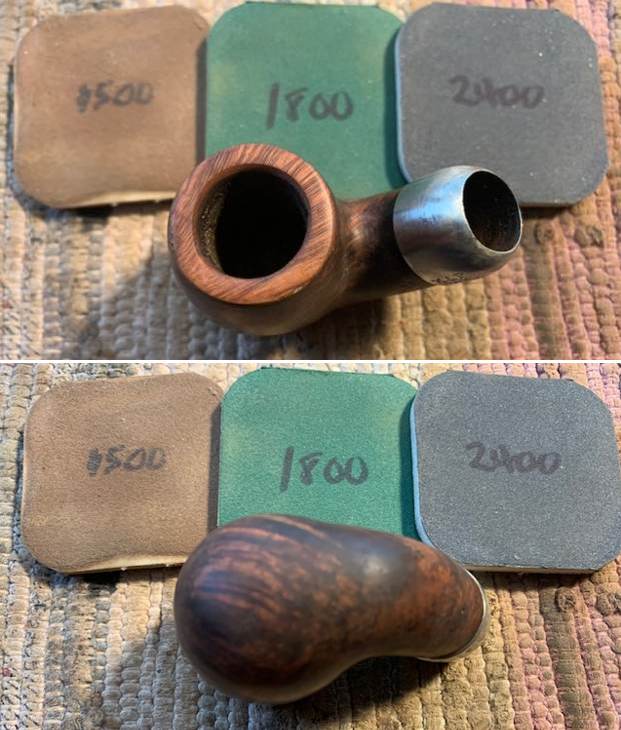
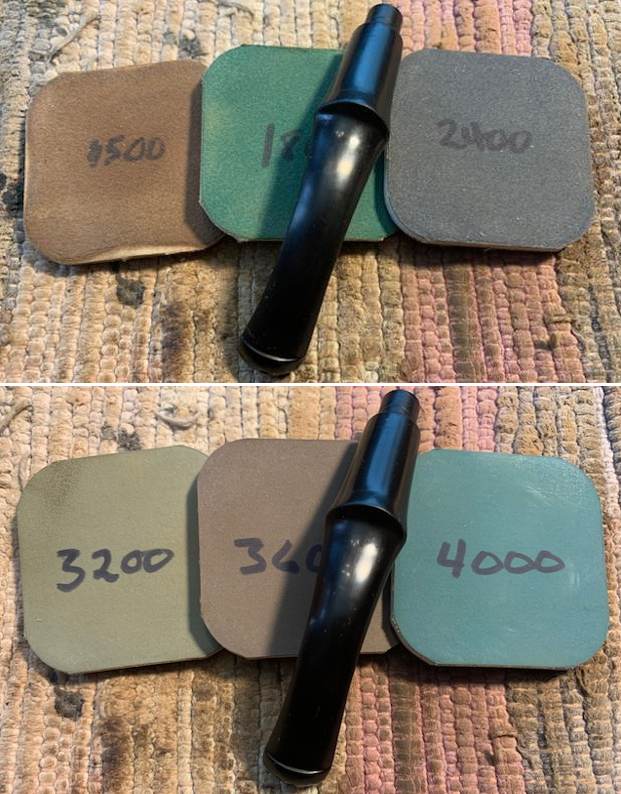
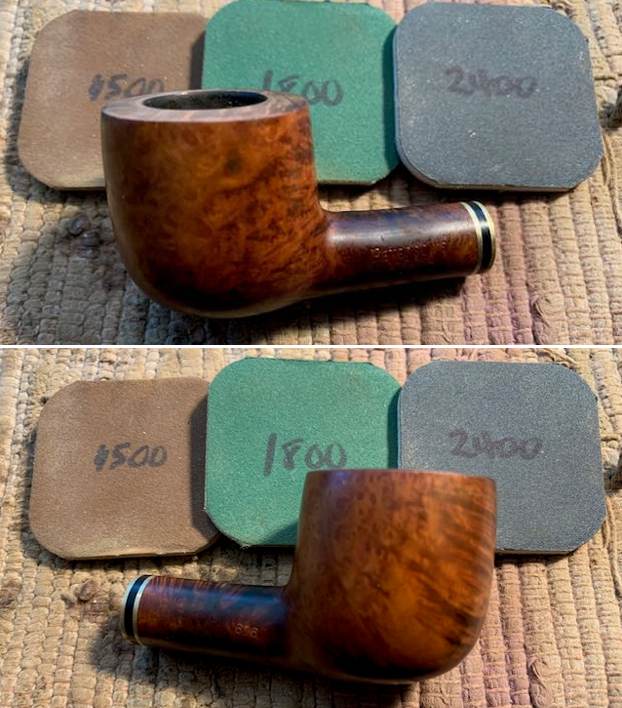
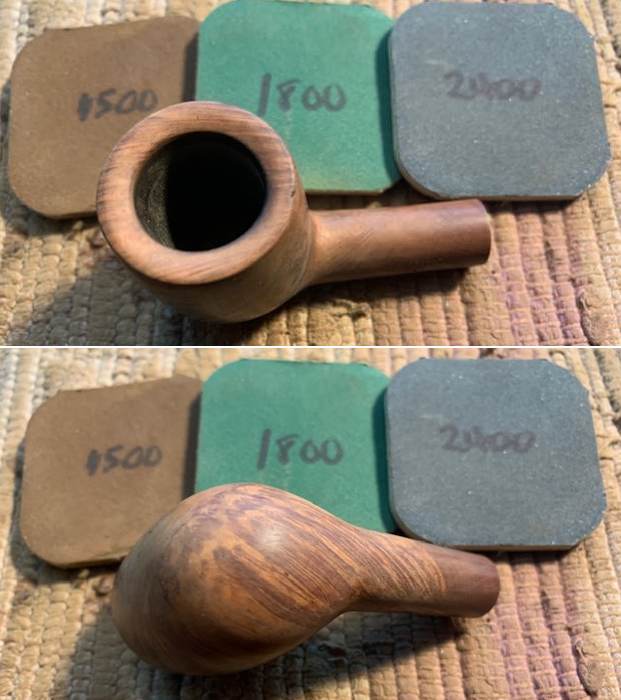
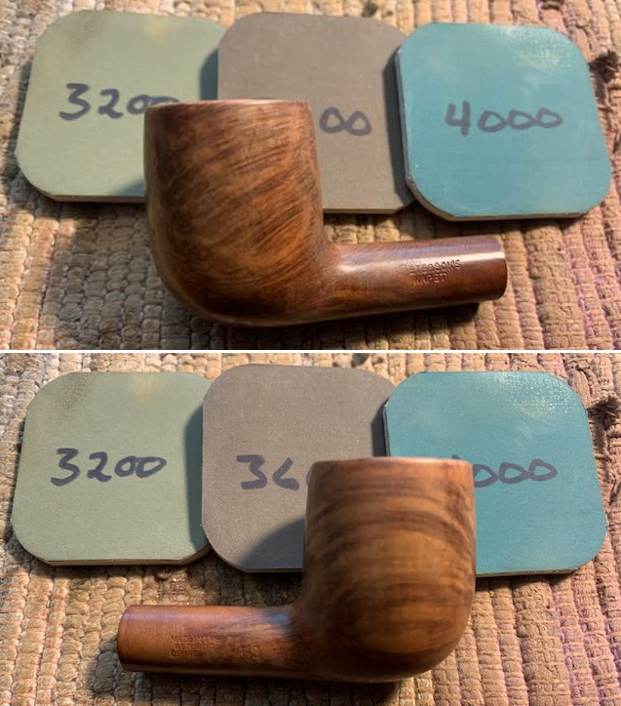
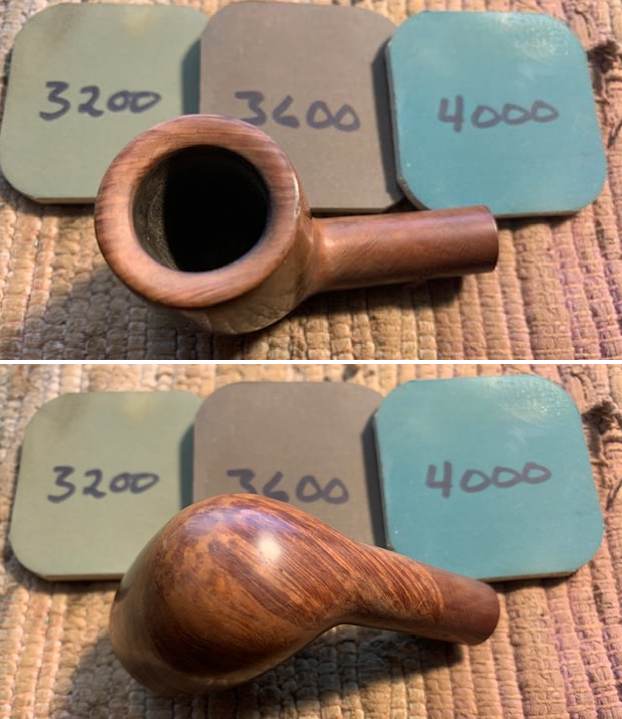
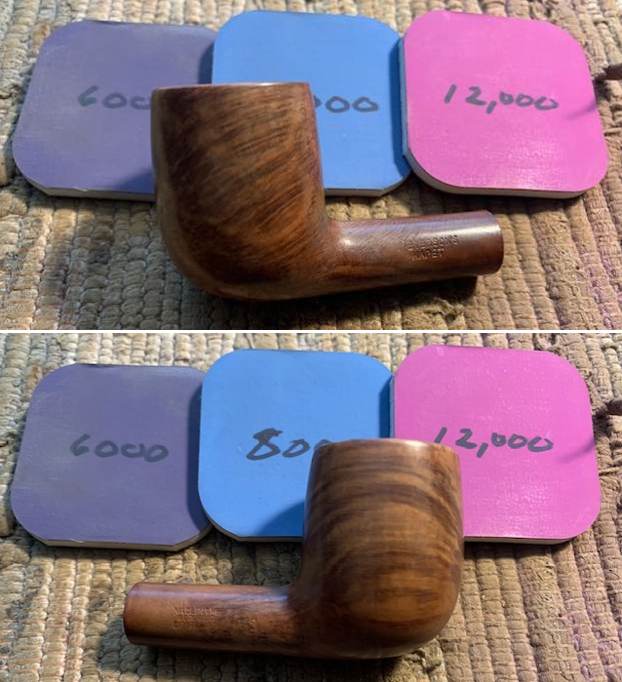
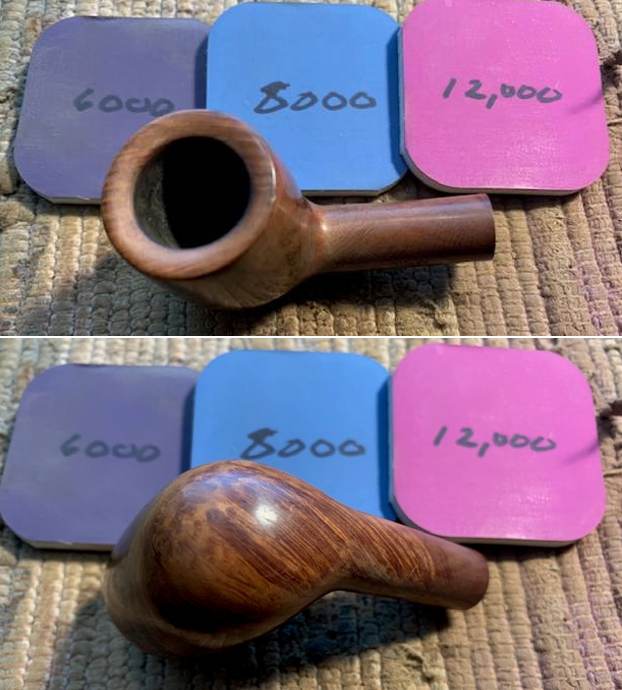
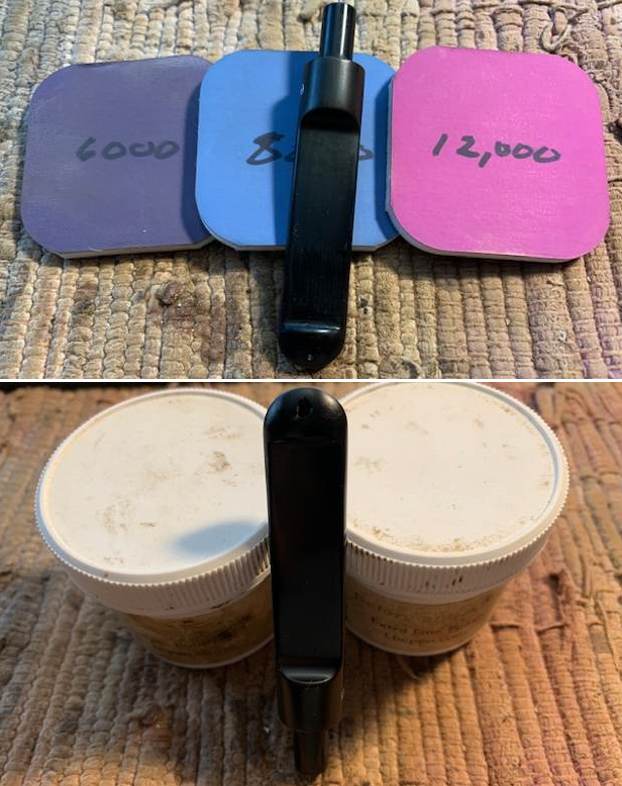
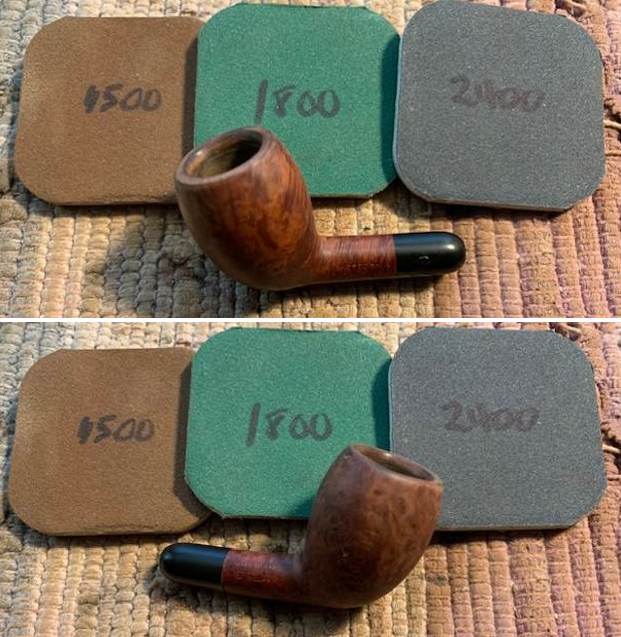
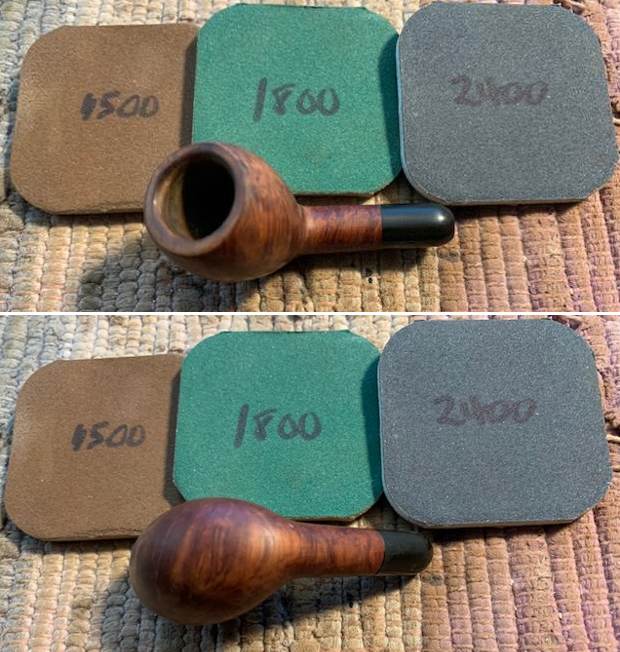
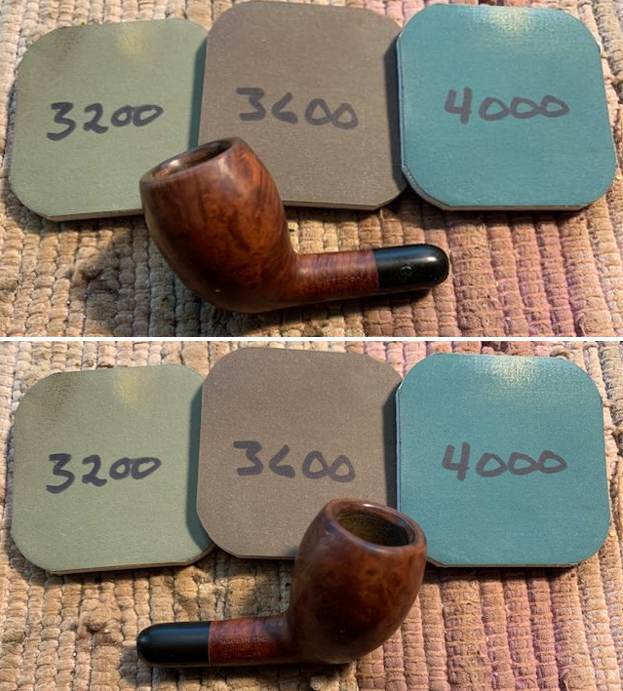
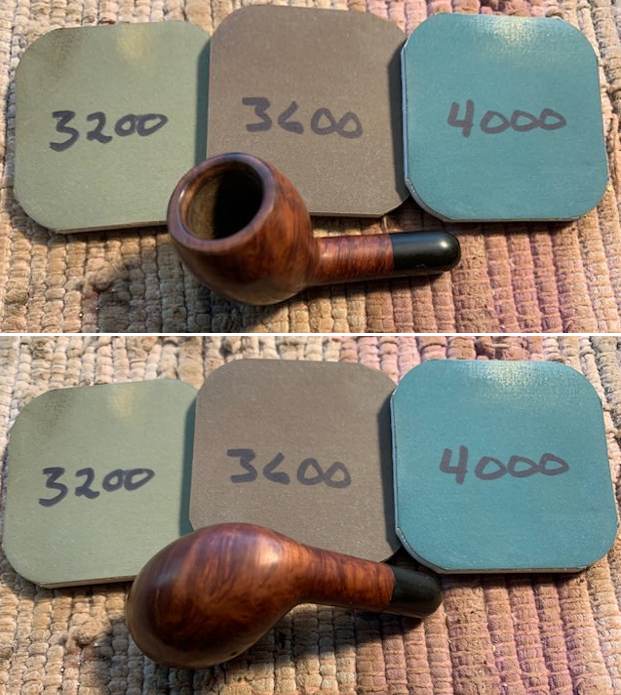
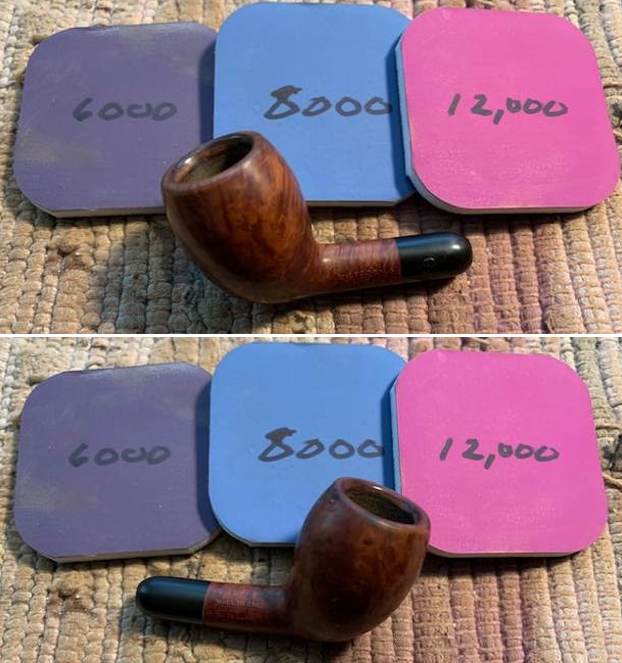
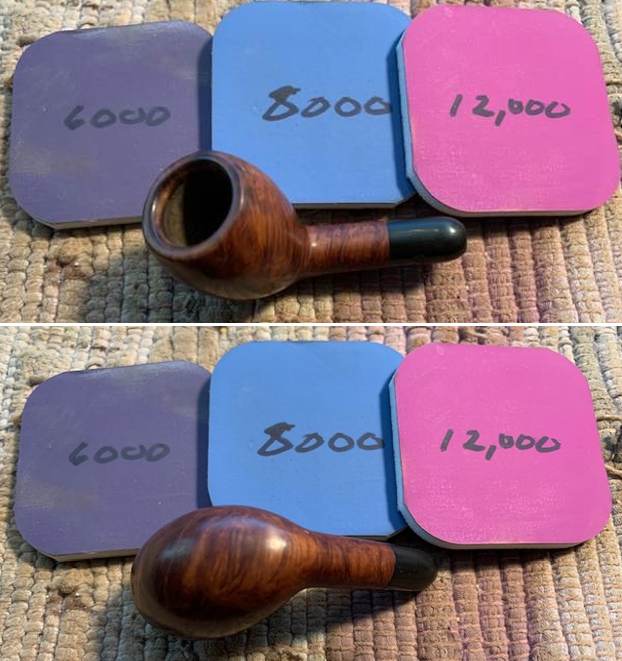
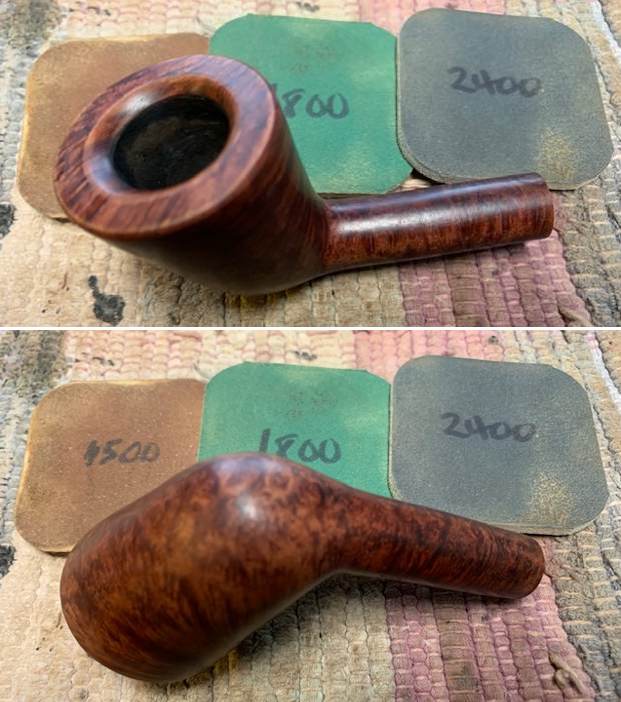
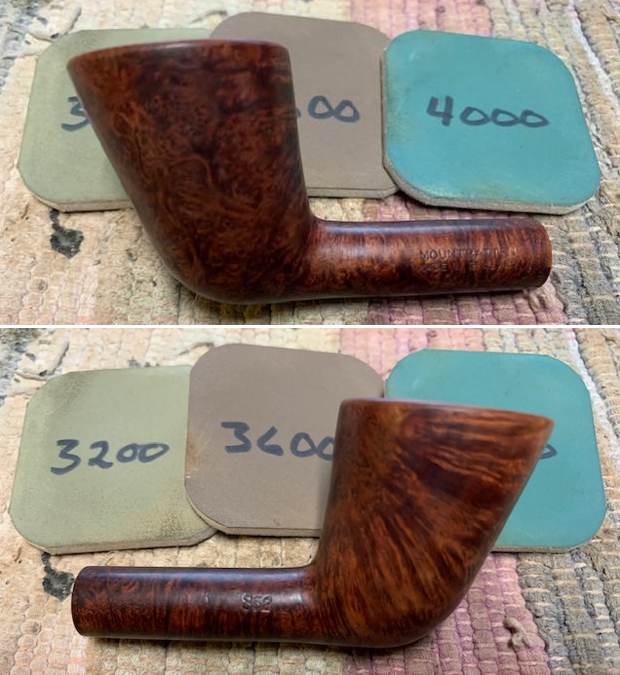
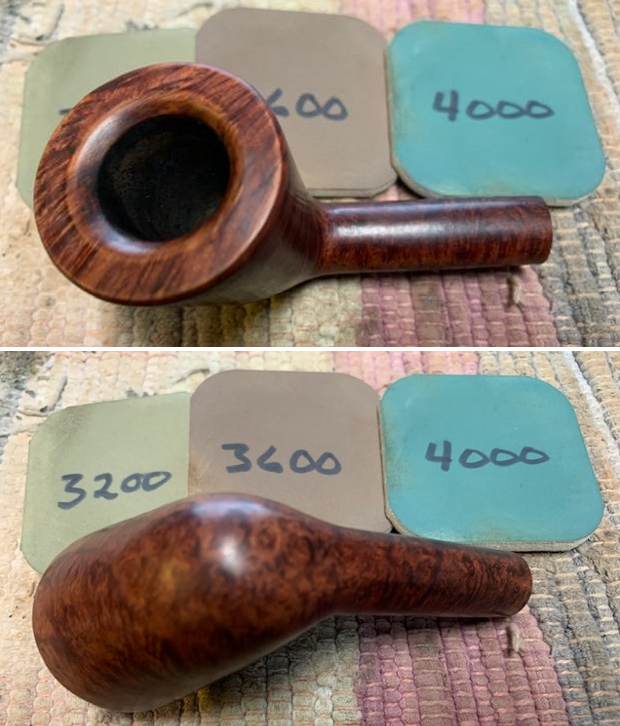
 I polished the smooth briar with micromesh sanding pads – dry sanding with 1500-12000 grit pads and wiped it down with a damp cloth after each sanding pad. By the end of the last set of three the bowl took on a rich shine.

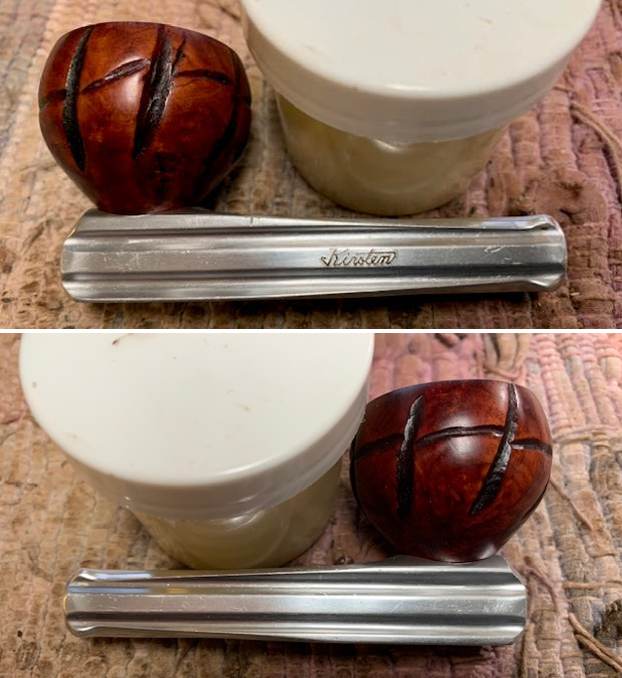
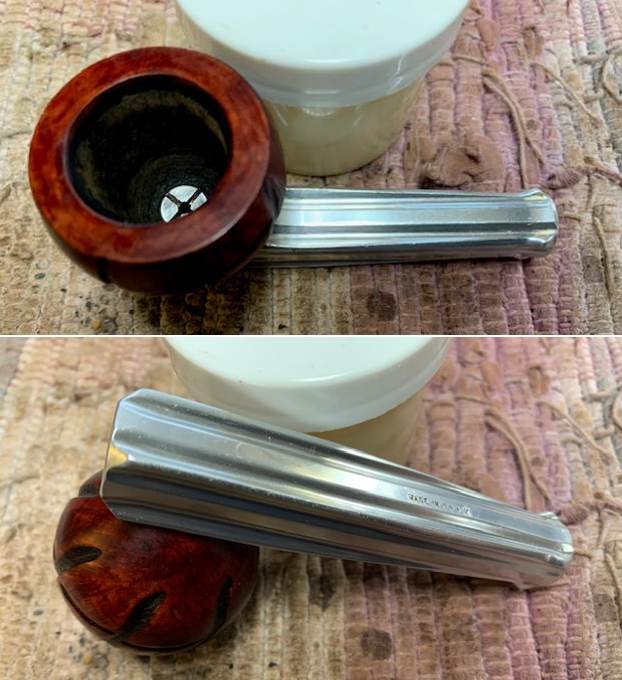
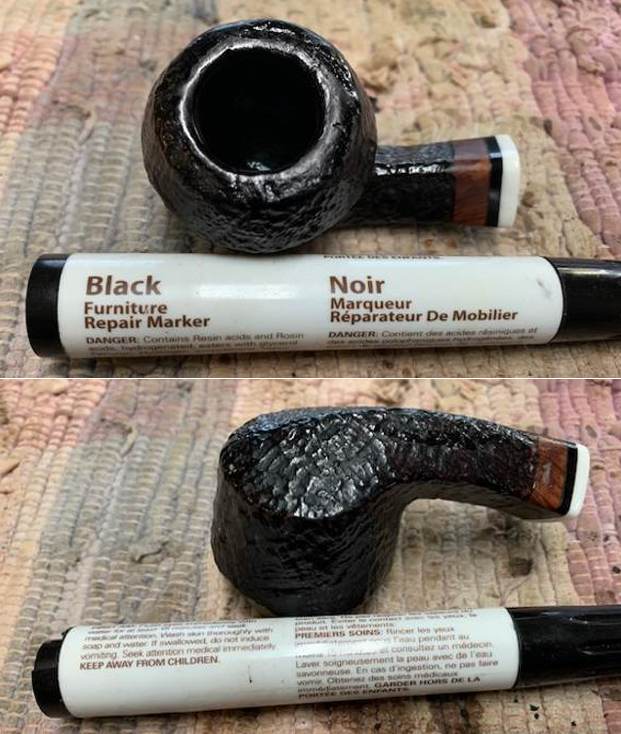
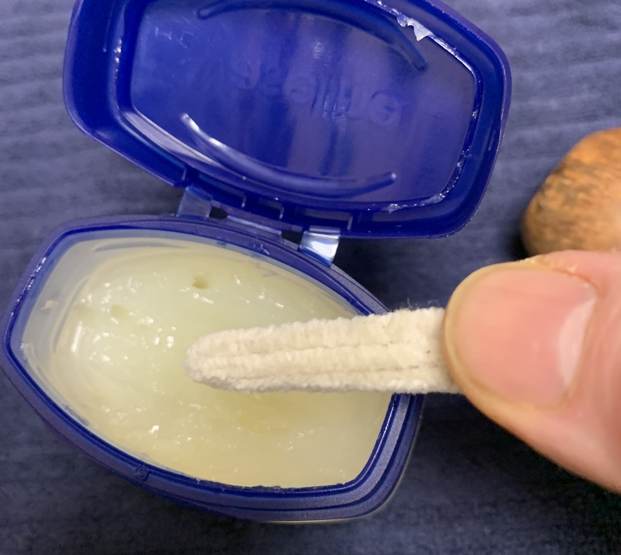
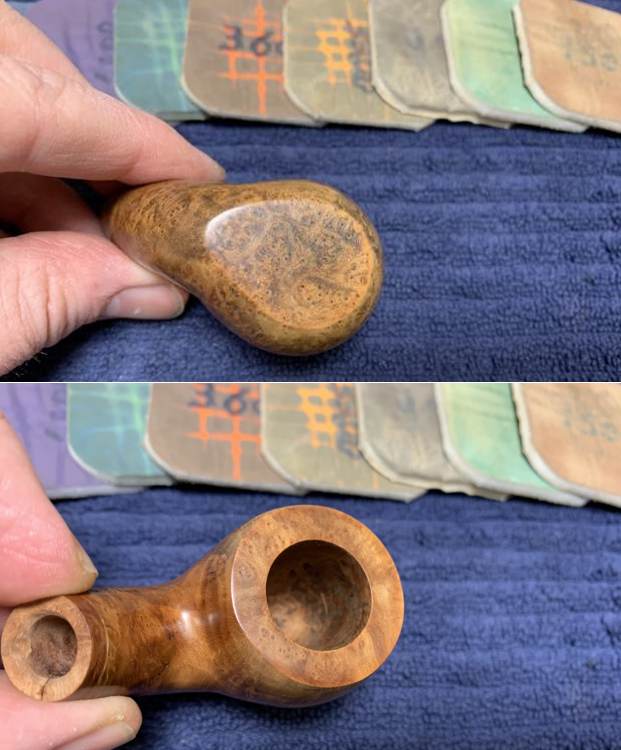
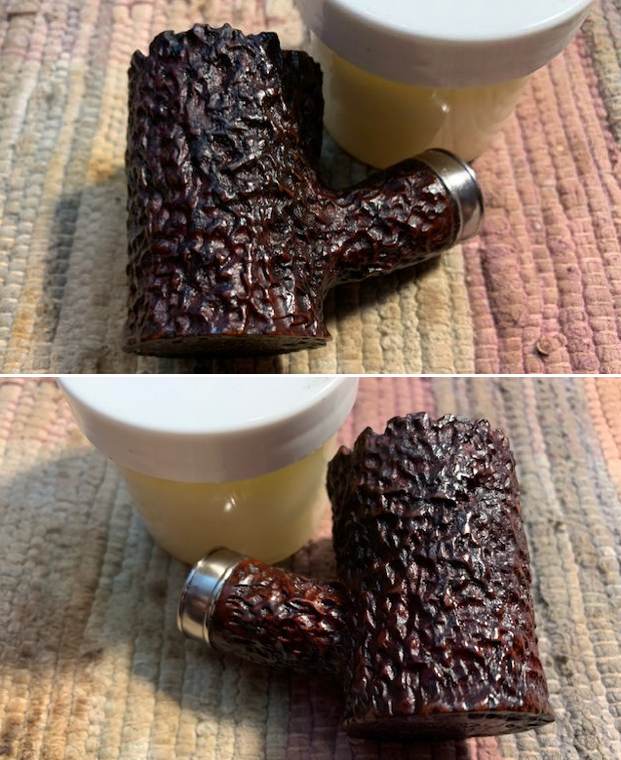
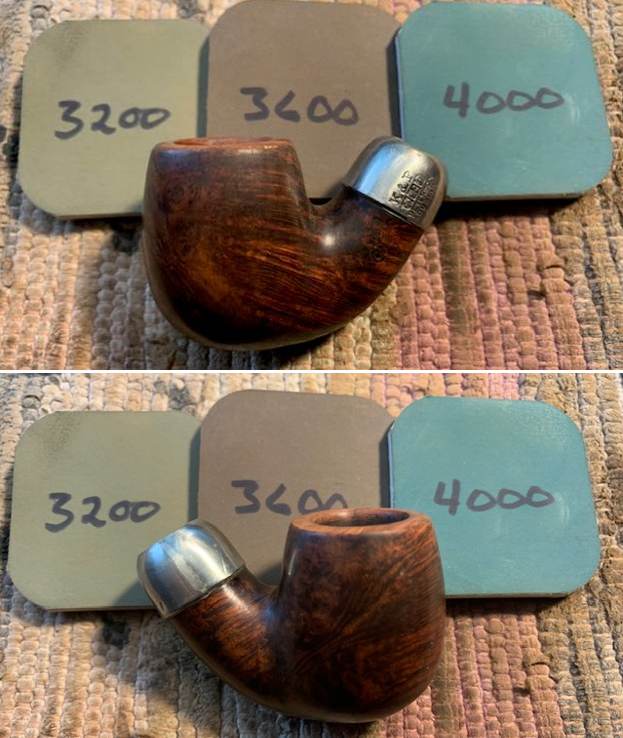
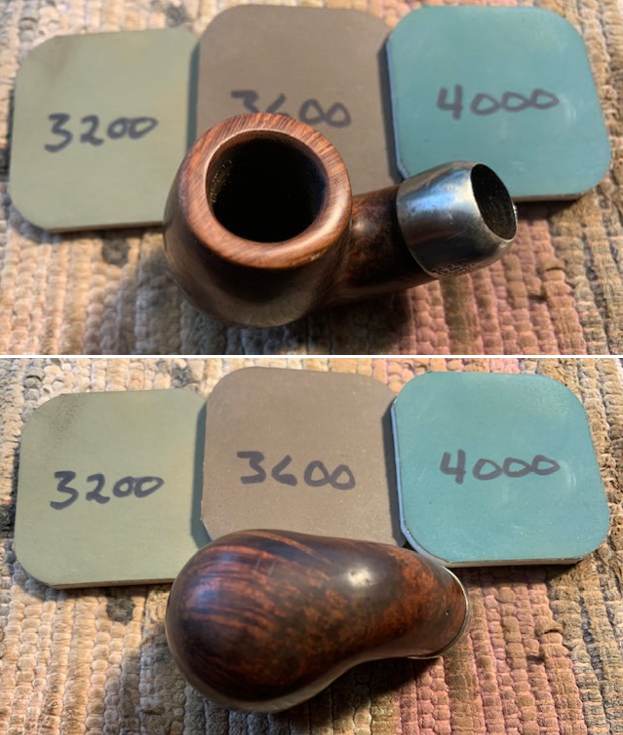
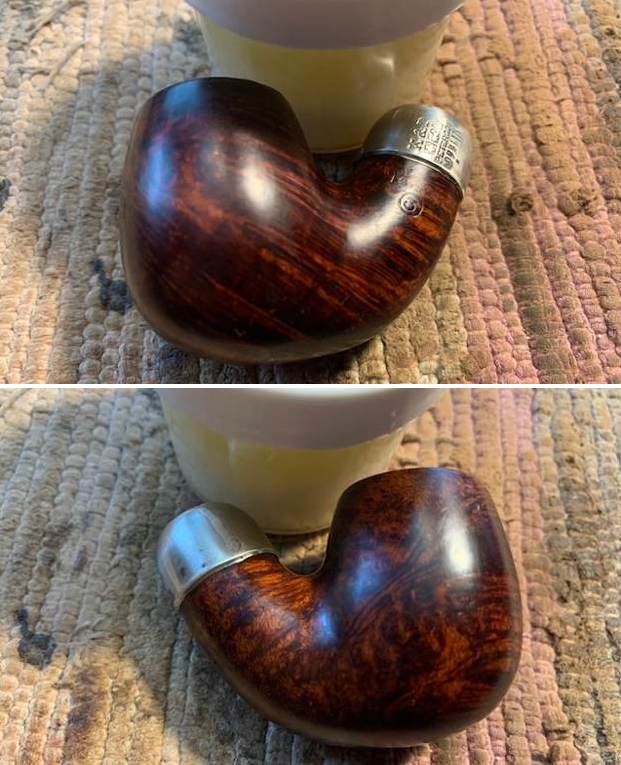
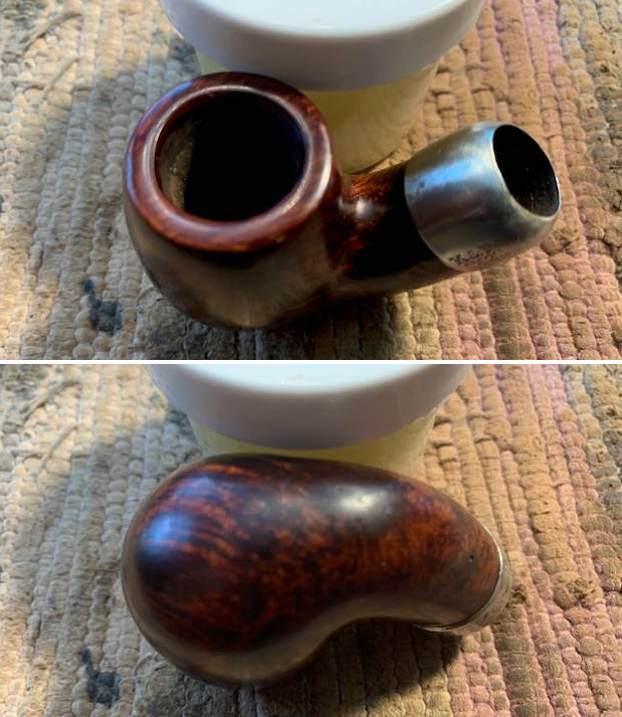
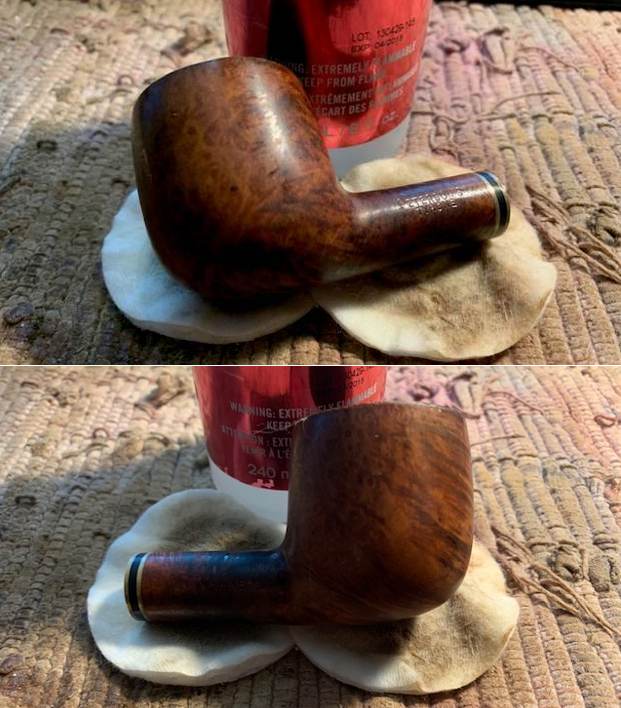
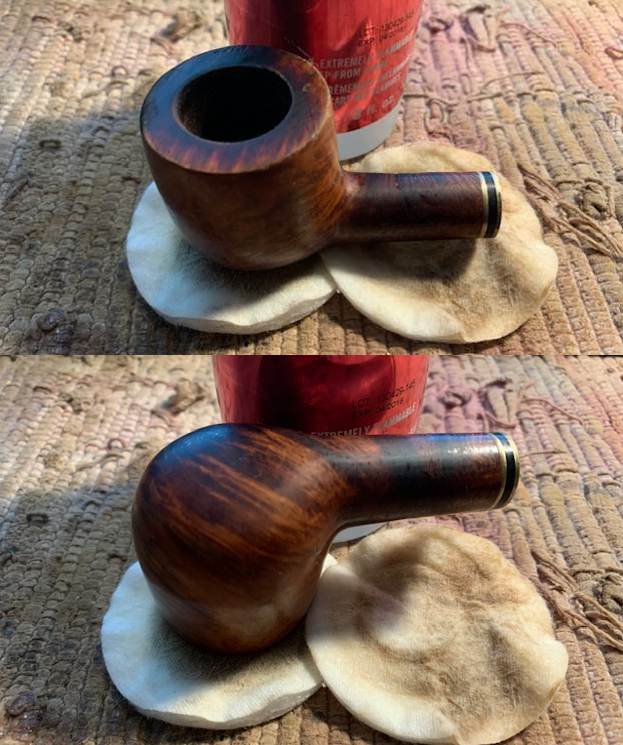
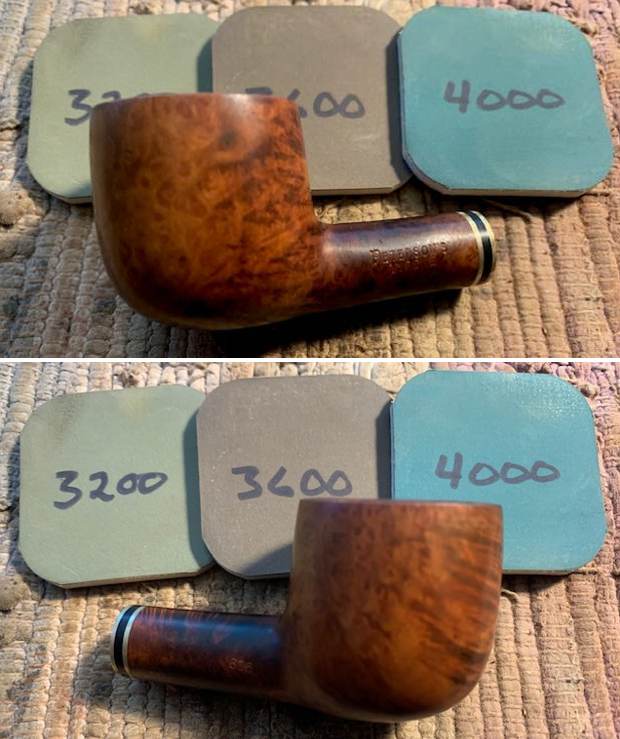
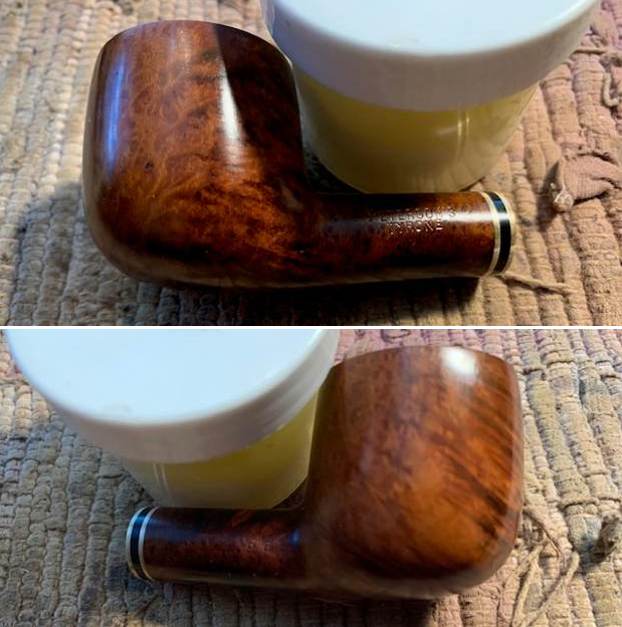
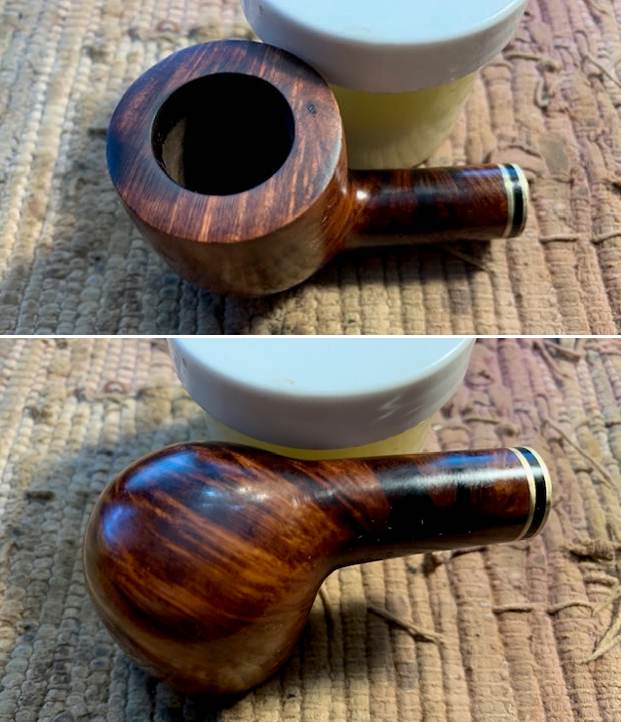
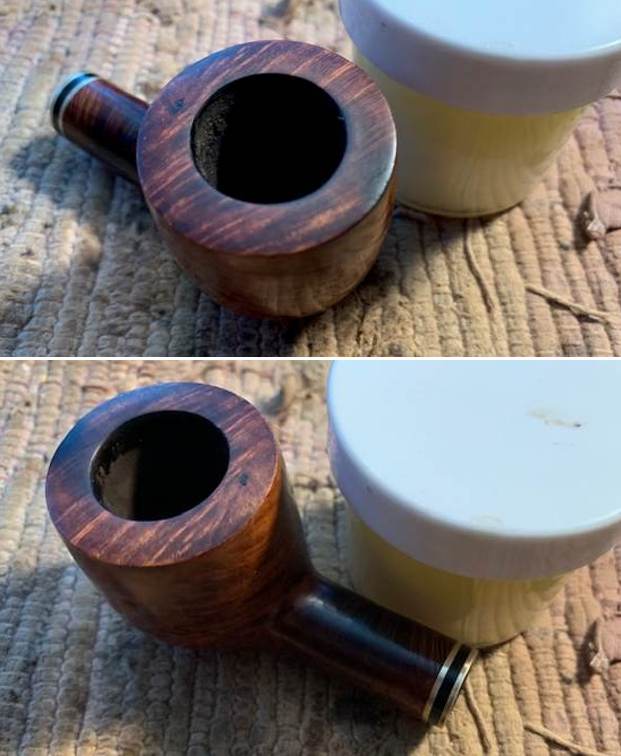
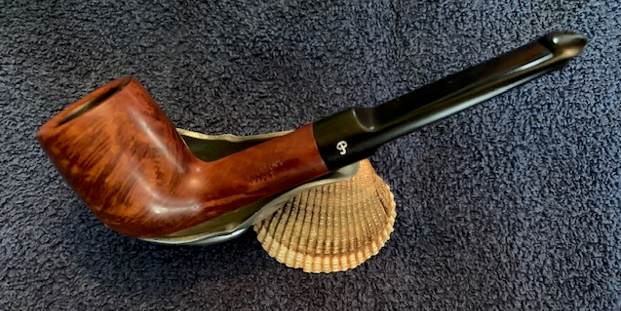
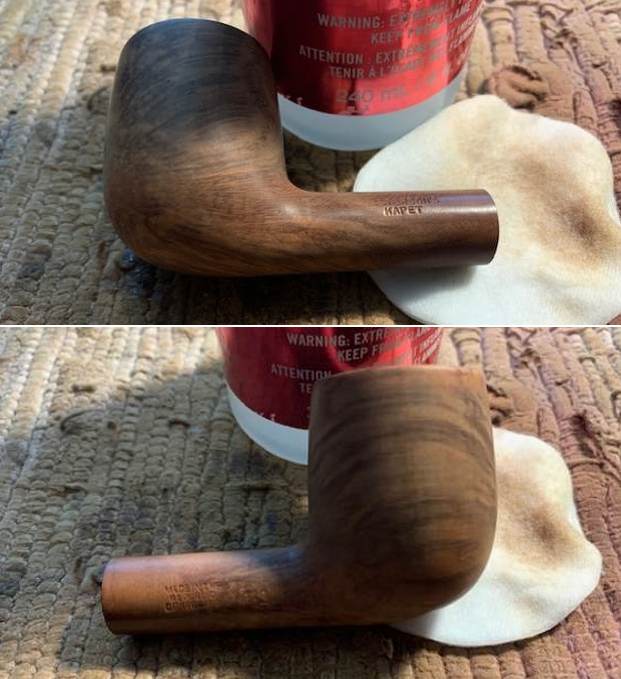
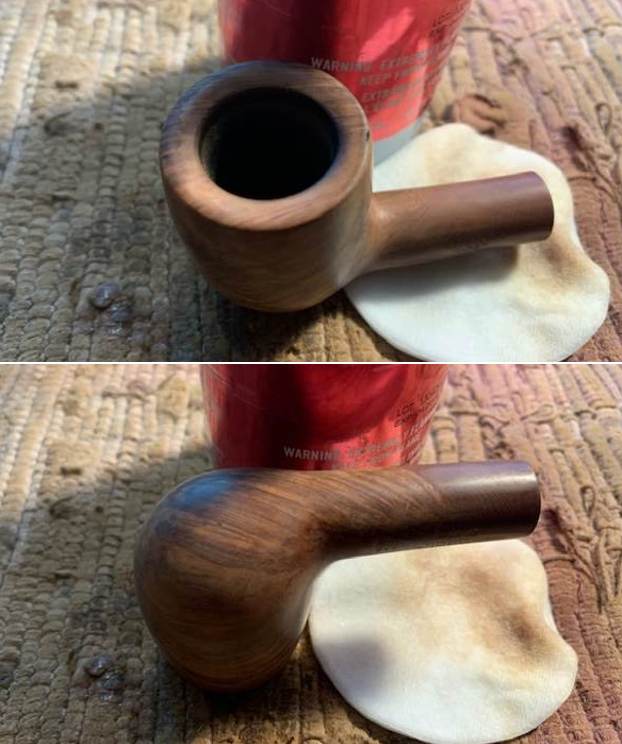
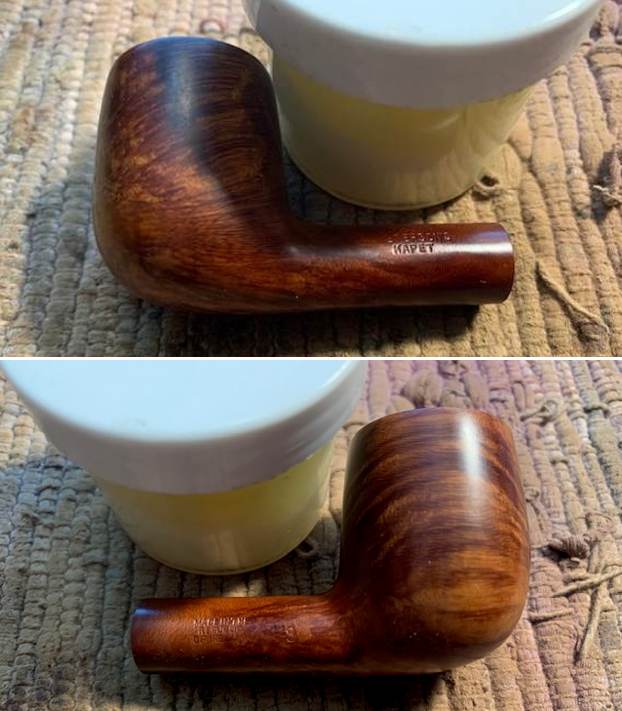
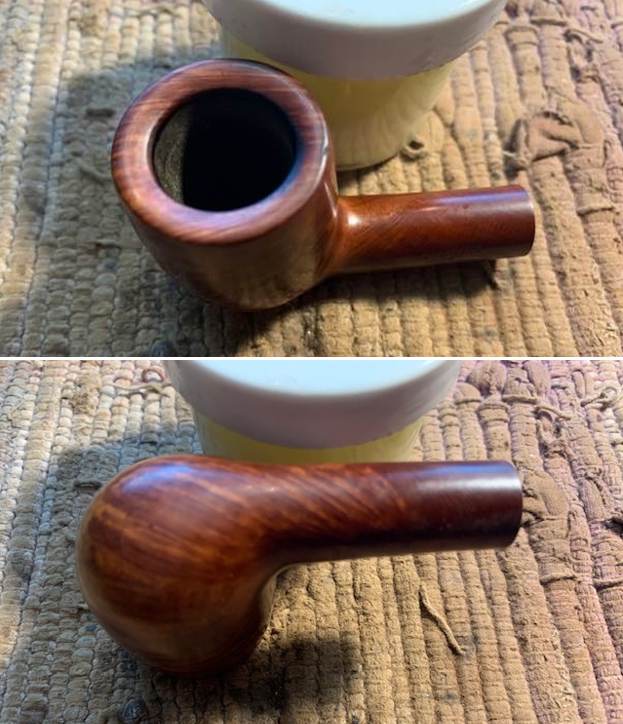
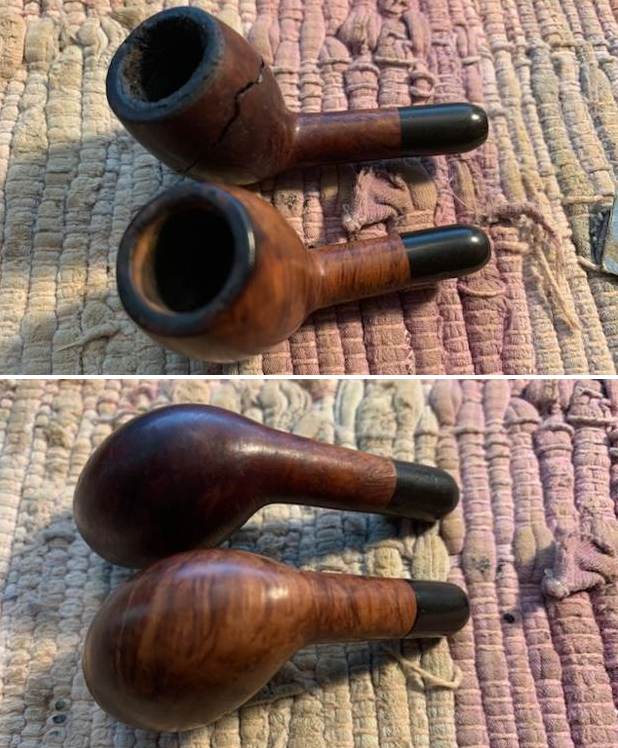
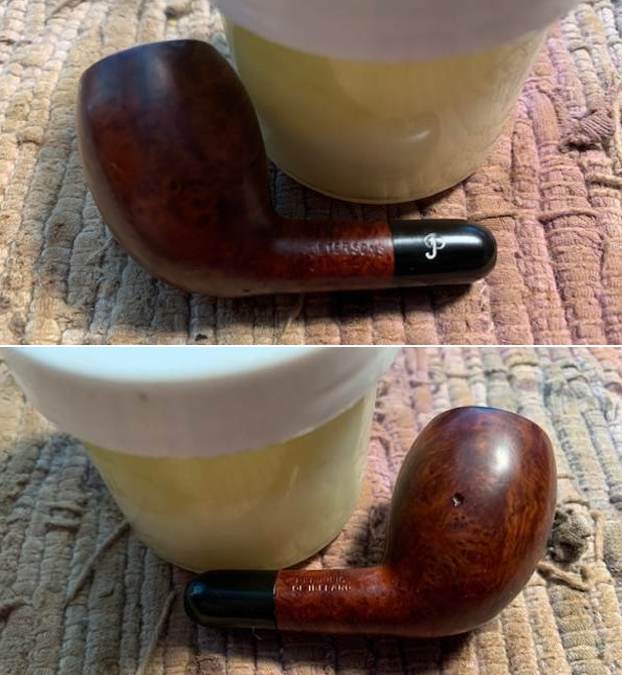
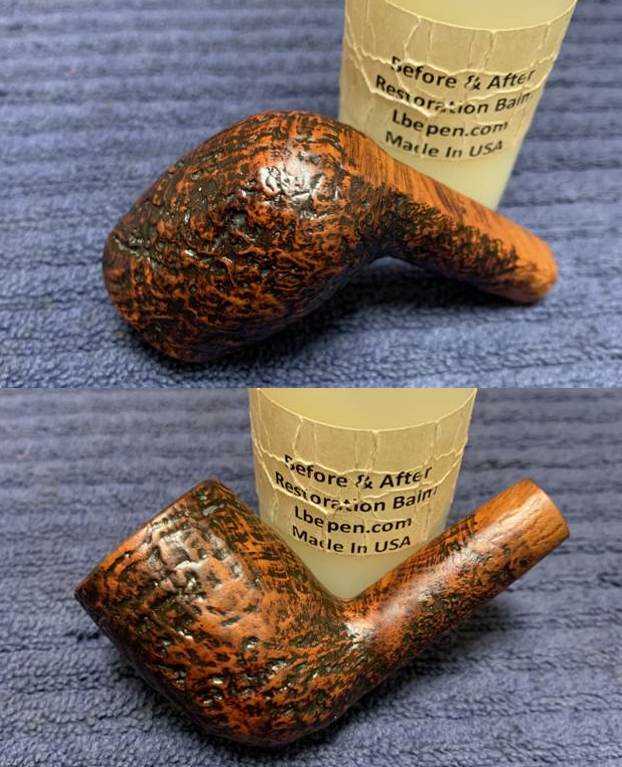
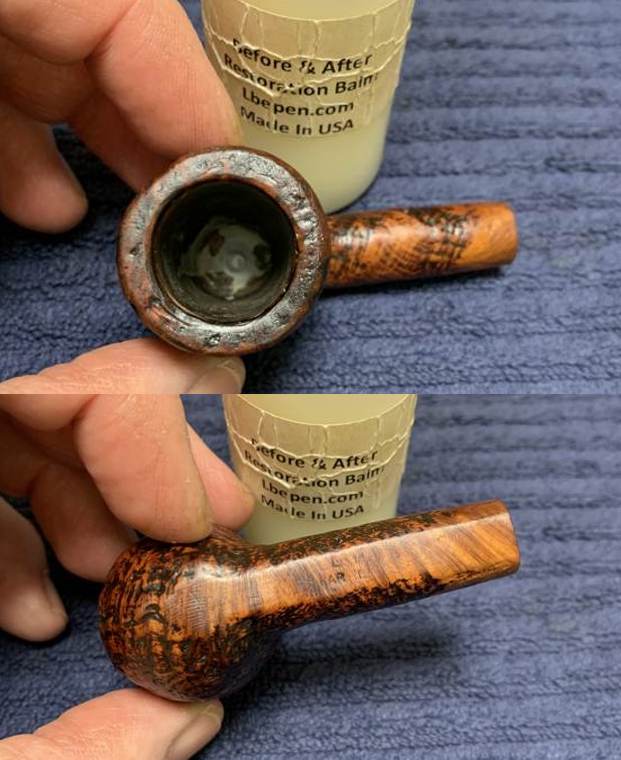
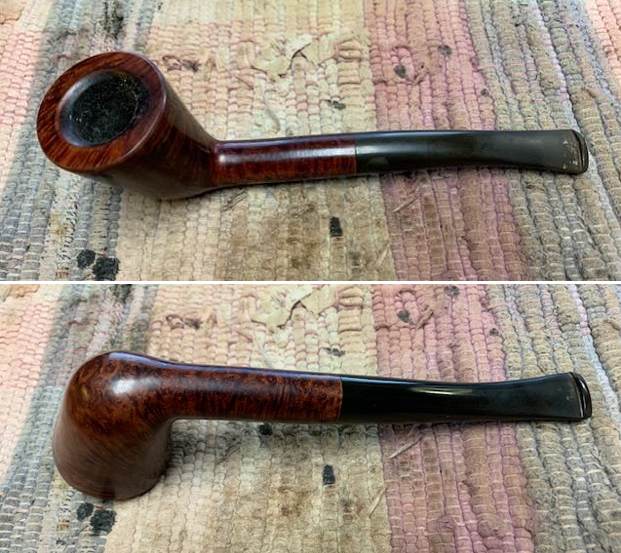
 I worked some Before & After Restoration Balm into the surface of the briar with my fingertips to clean, enliven and protect the briar. I let the balm sit for 15 minutes and then buffed with a cotton cloth to raise the shine. The photos show the bowl at this point in the restoration process.
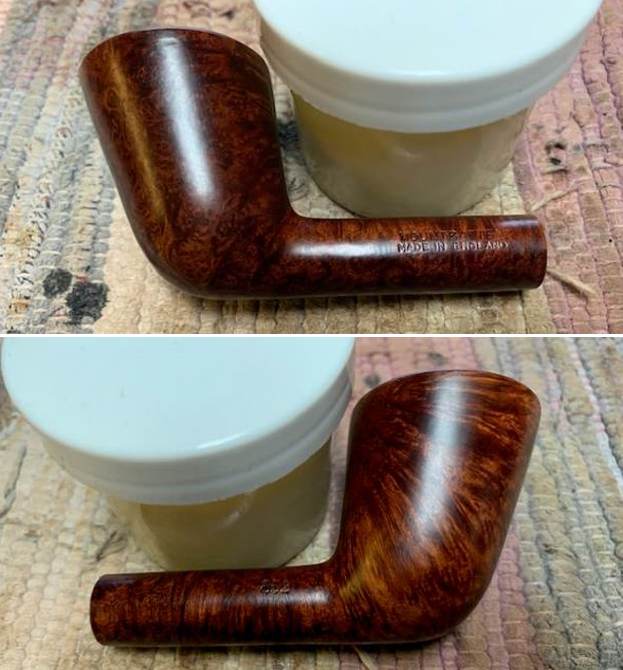

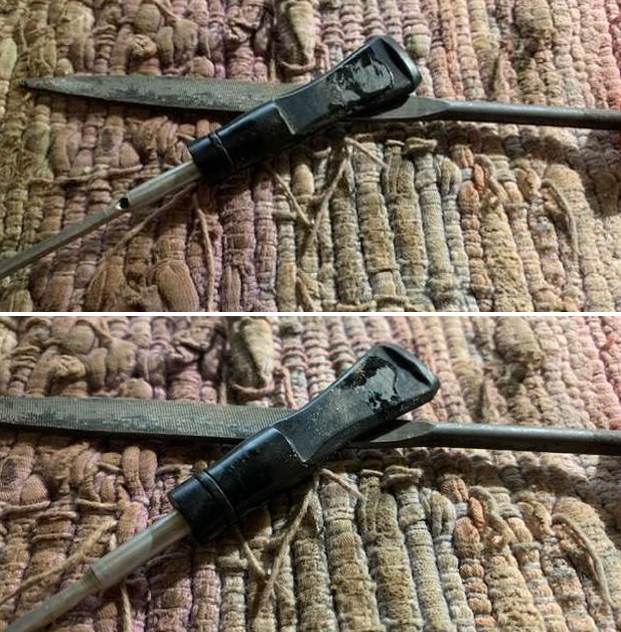
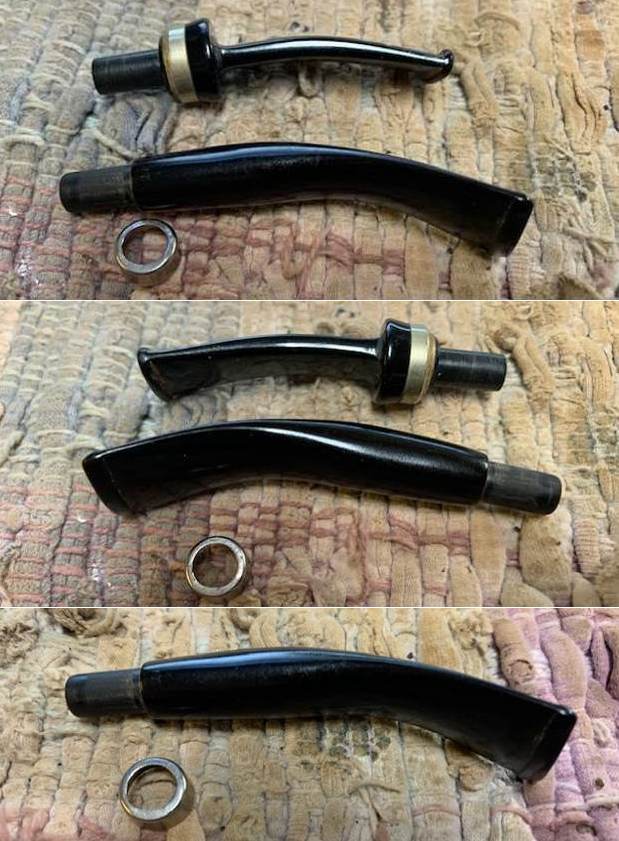
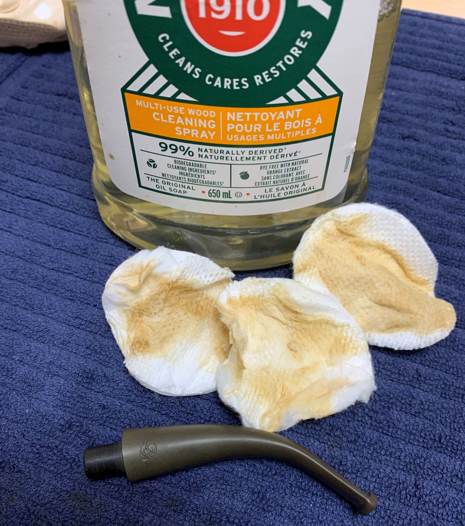
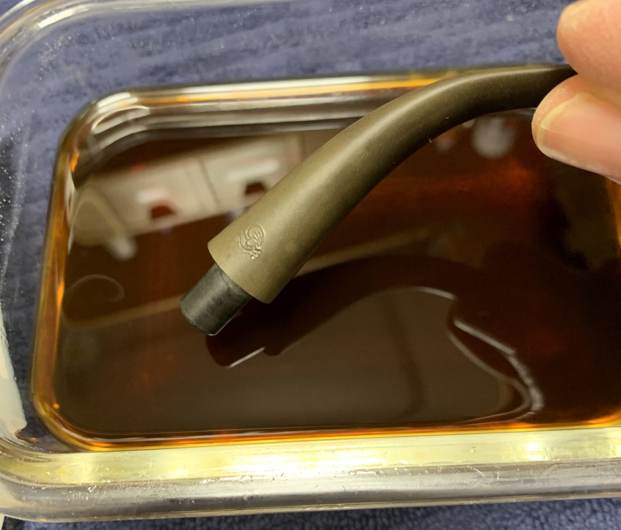
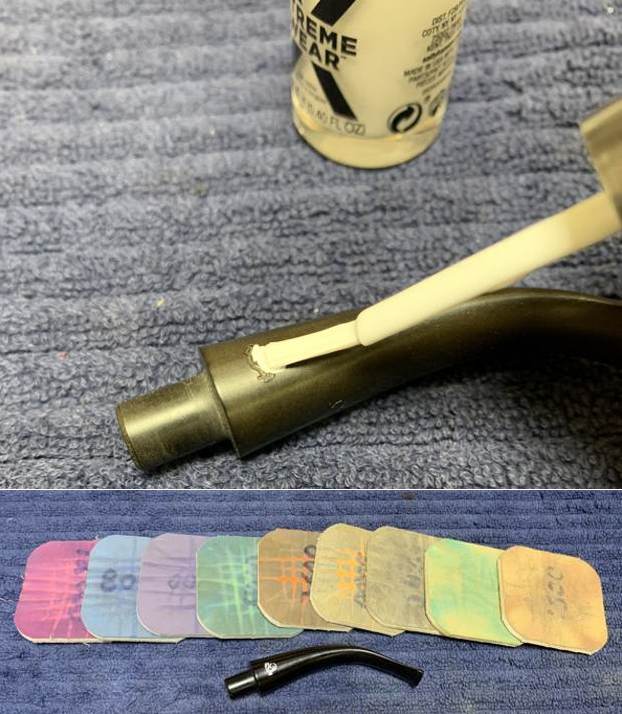
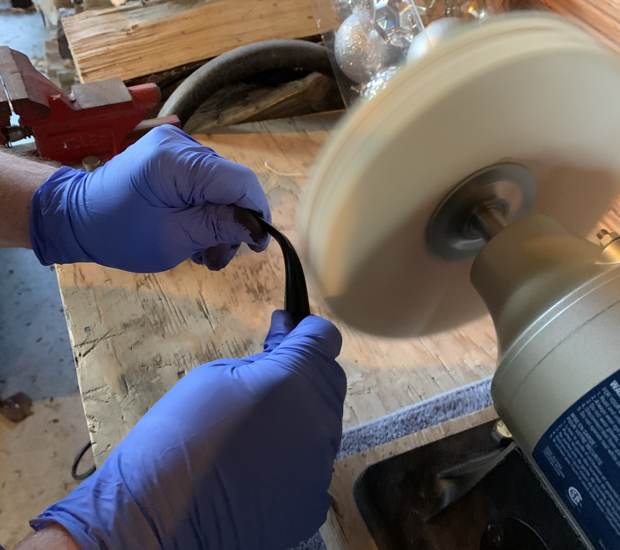
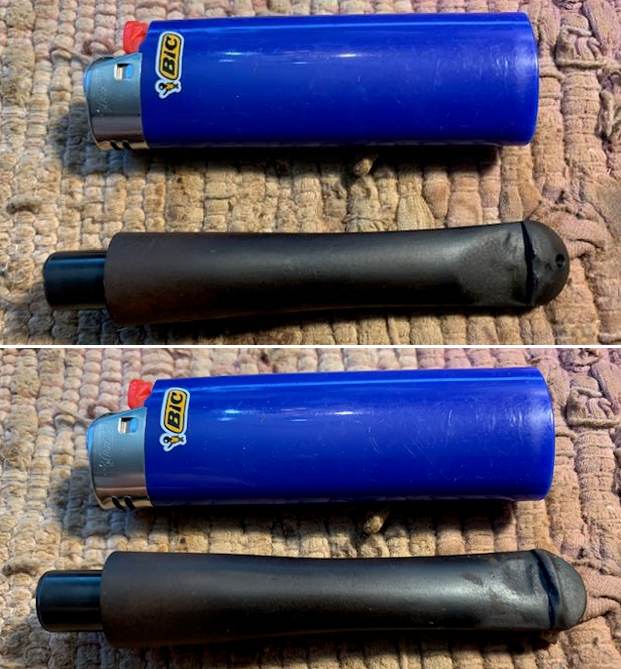
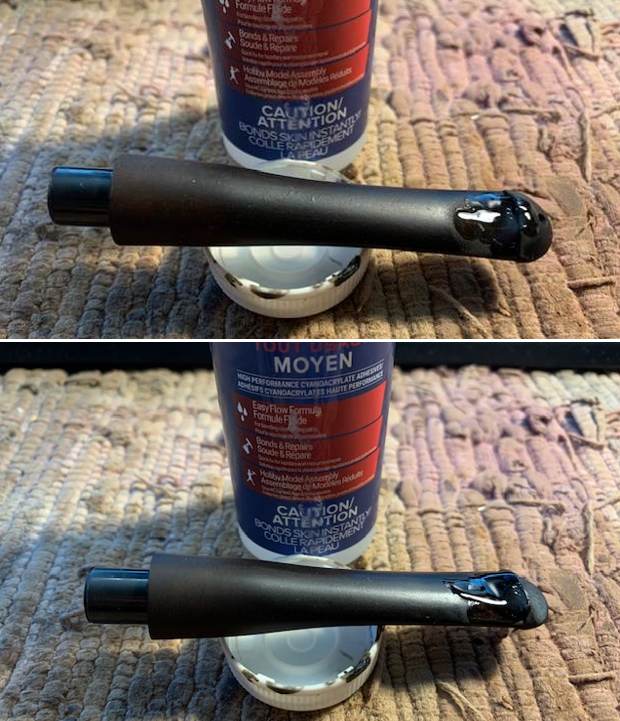
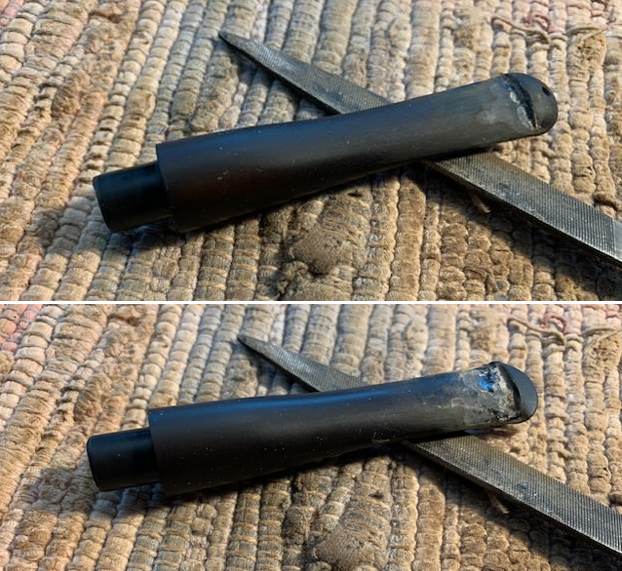
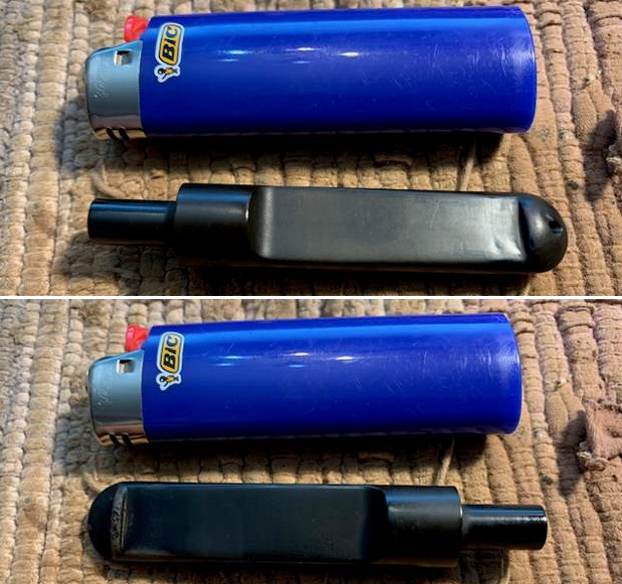
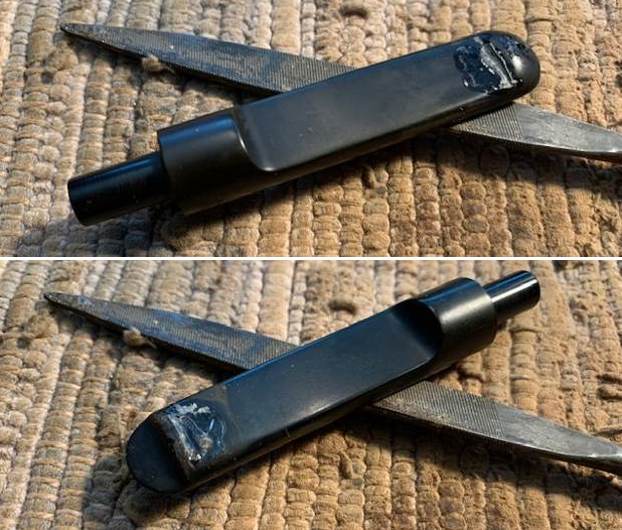
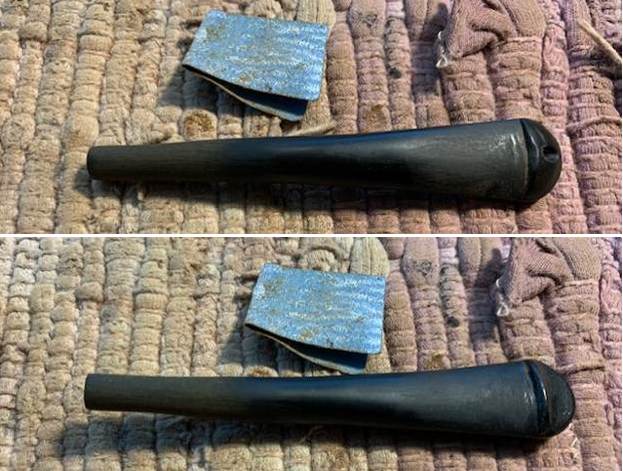
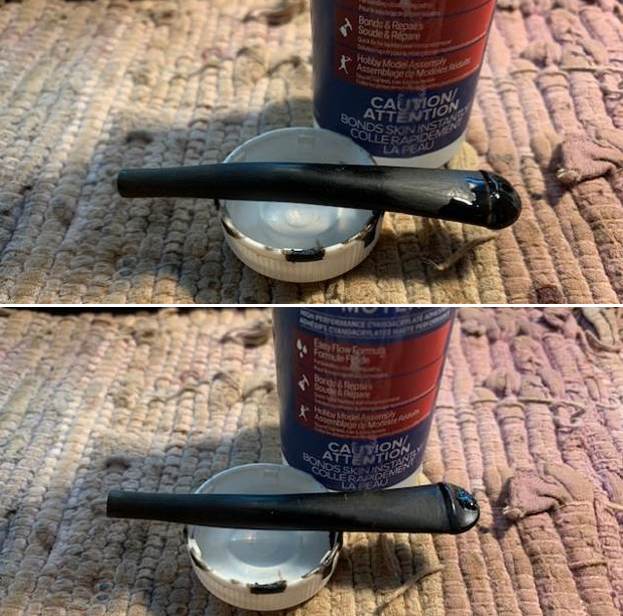
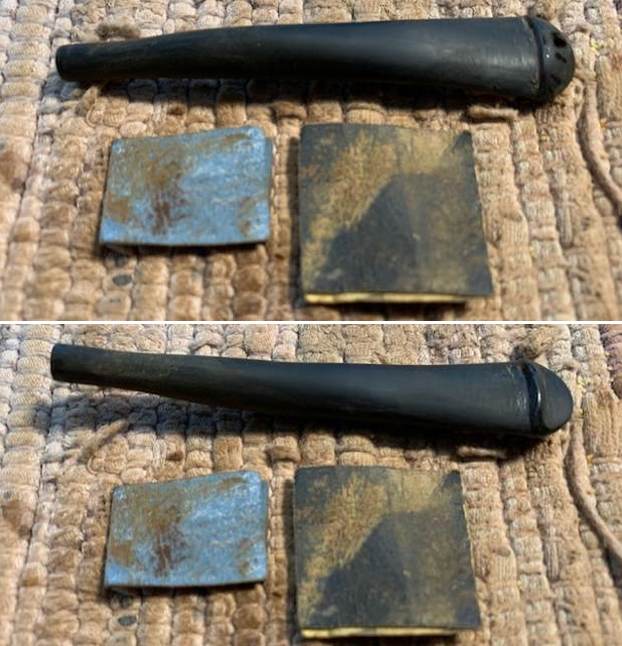
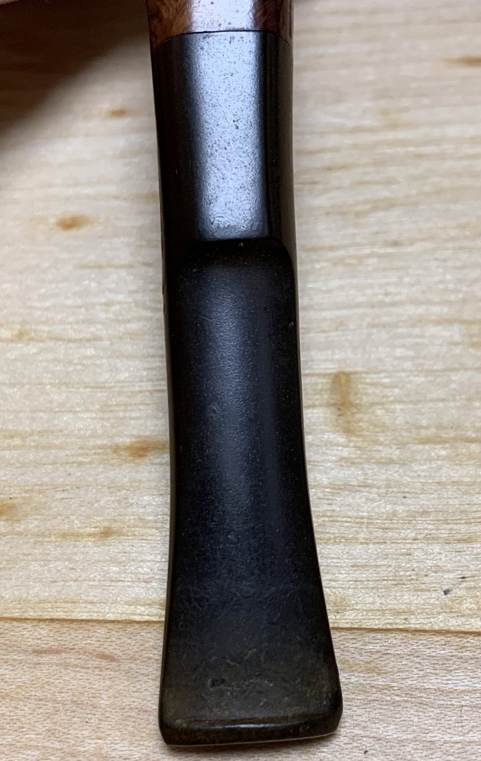
 I set the bowl aside and turned my attention to the stem. I sanded out the tooth marks and chatter with a folded piece of 220 grit sandpaper. I started the polishing of the stem with 400 grit wet dry sandpaper.
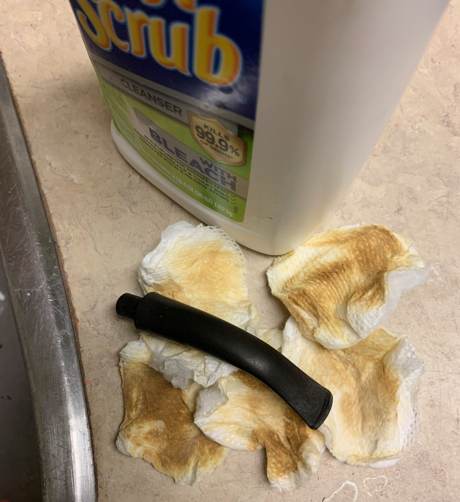
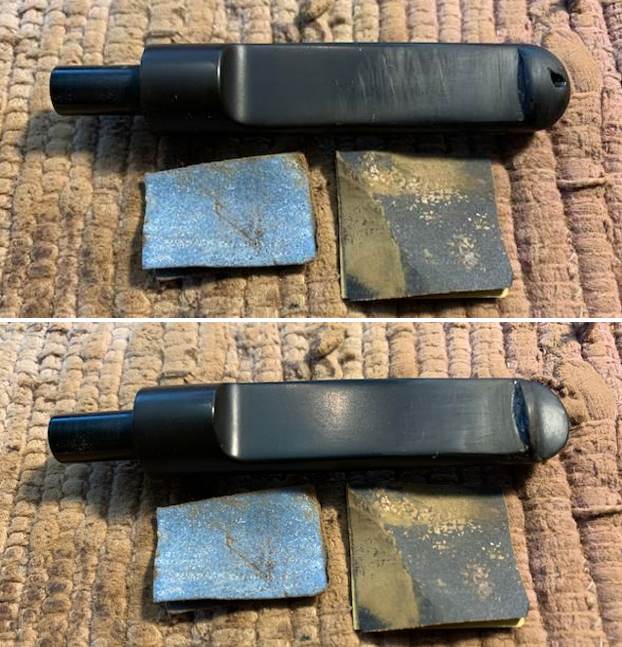
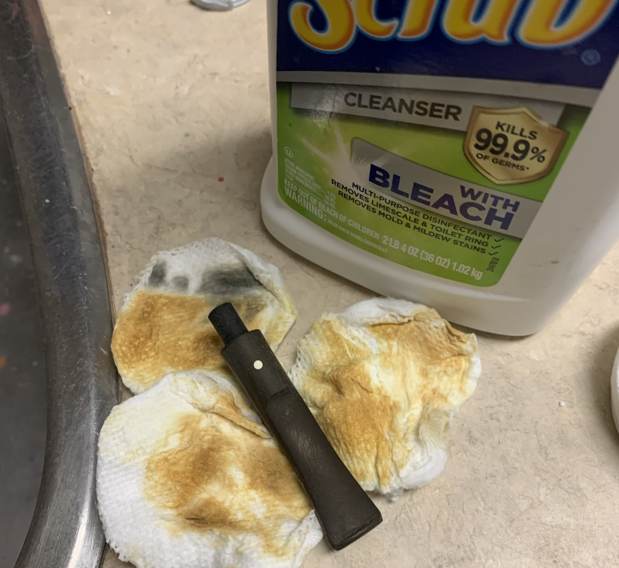
 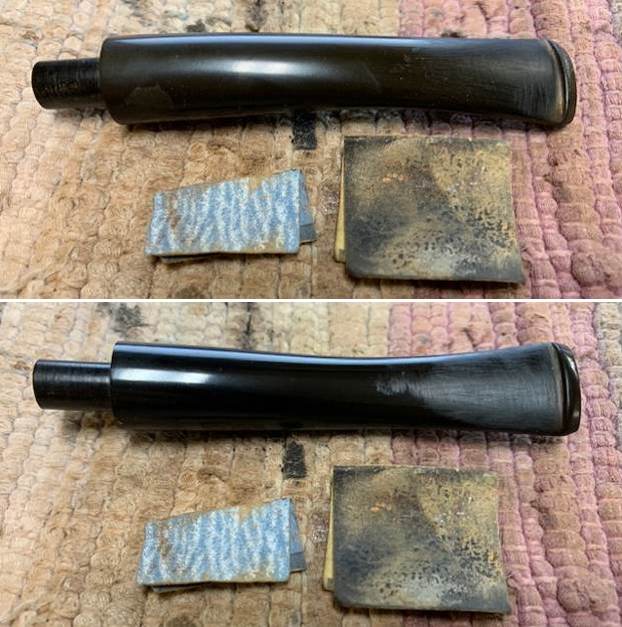 I scrubbed down the surface of the stem with Soft Scrub and cotton pads to remove the oxidation on the top side of the stem. Once finished it looked much better.
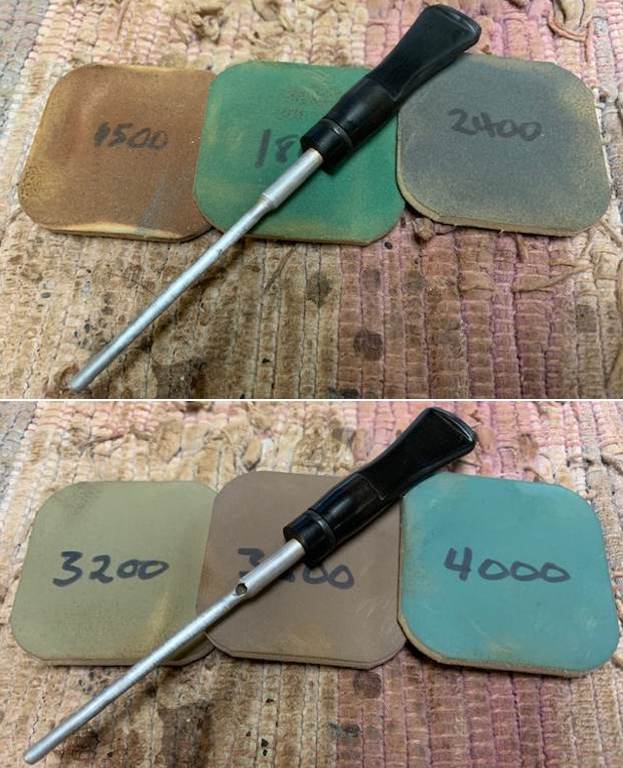
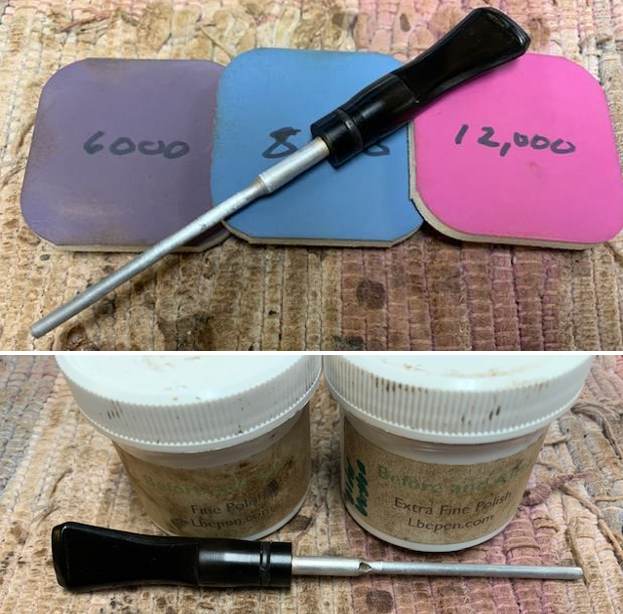
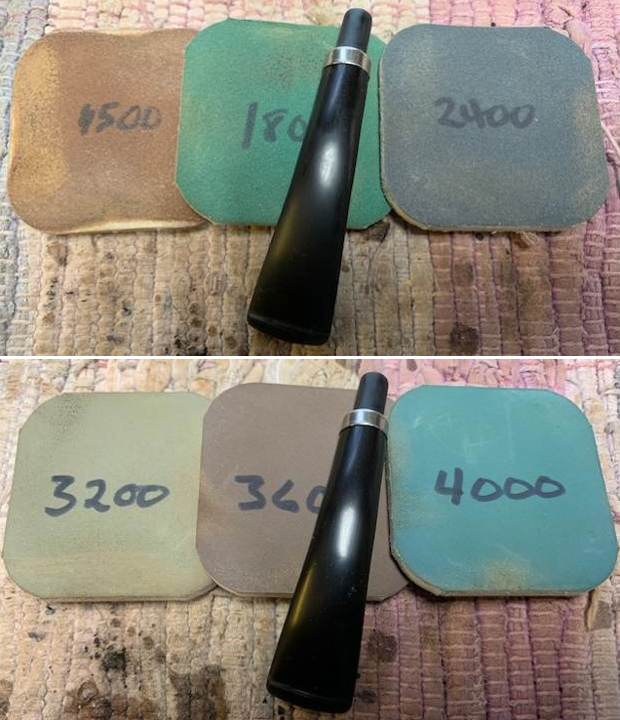
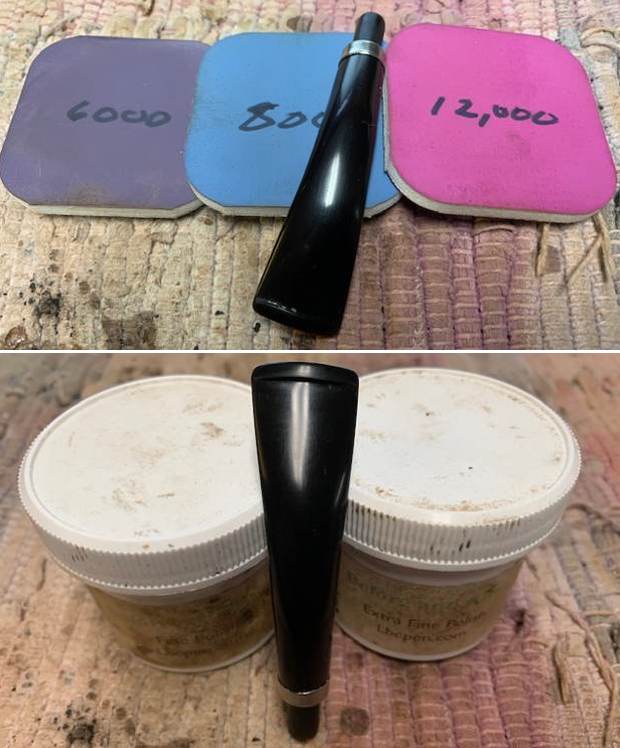
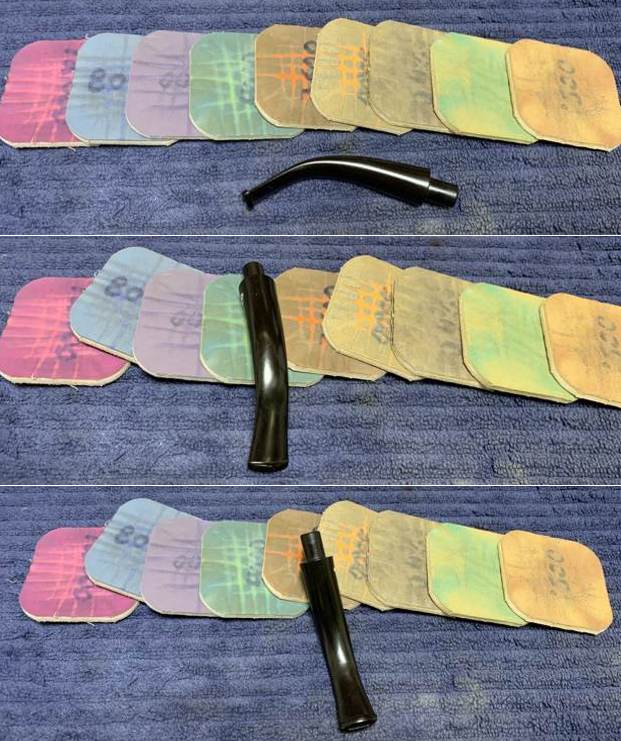
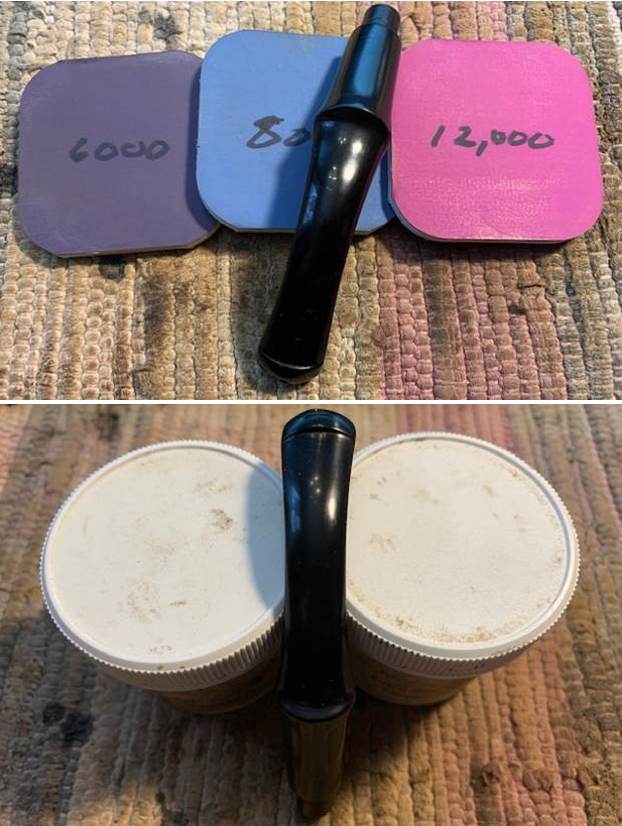
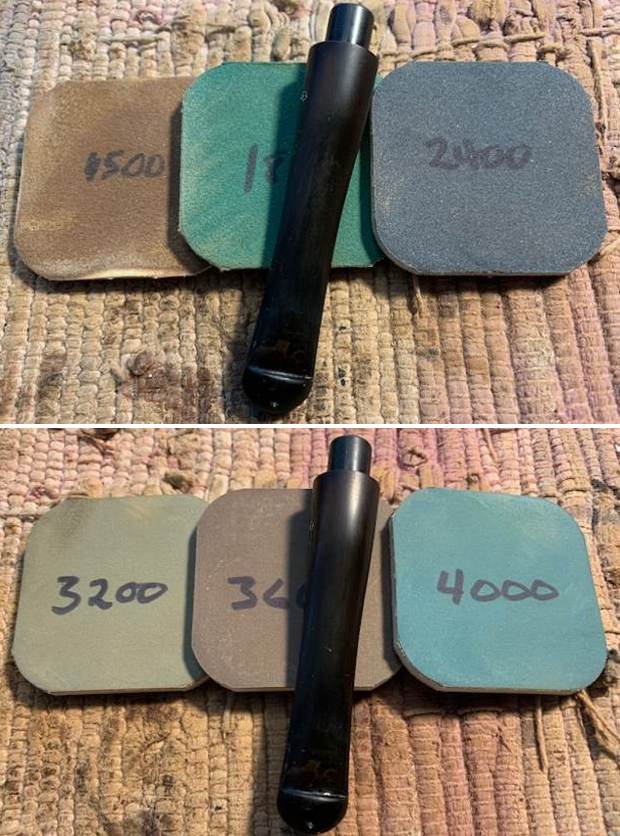
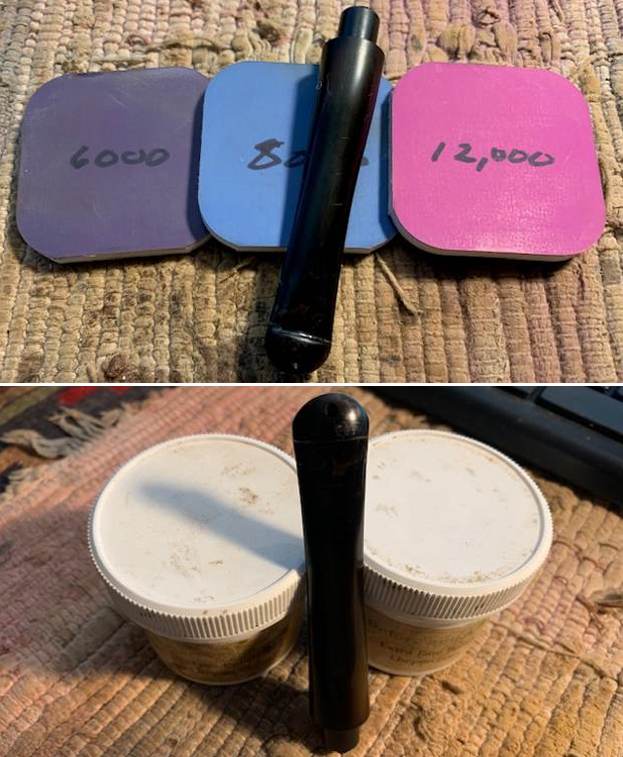
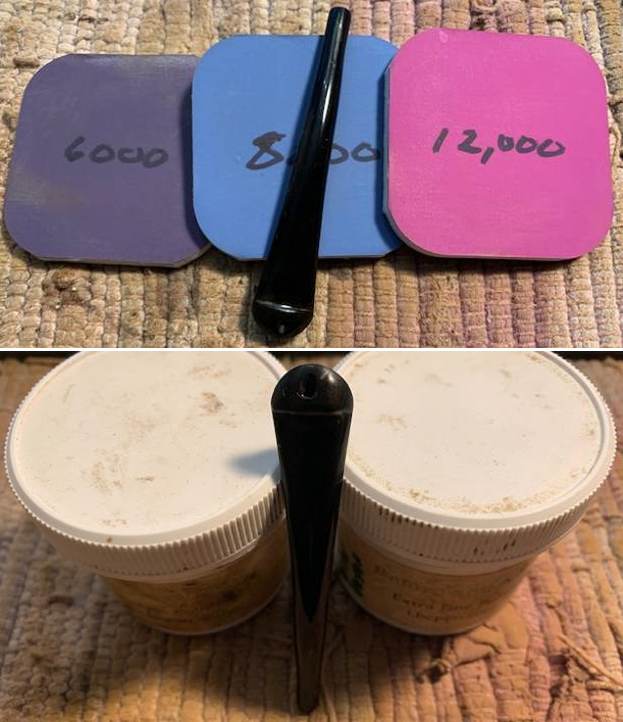
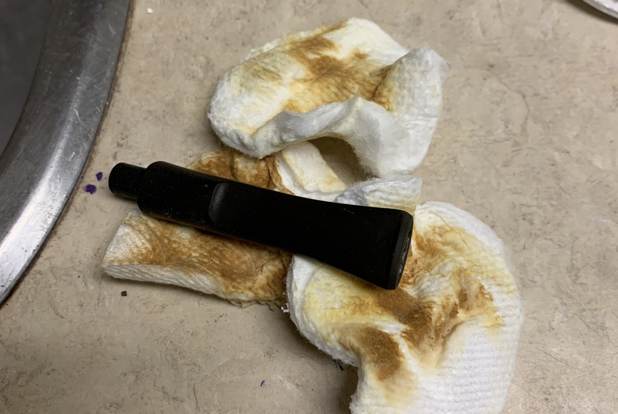
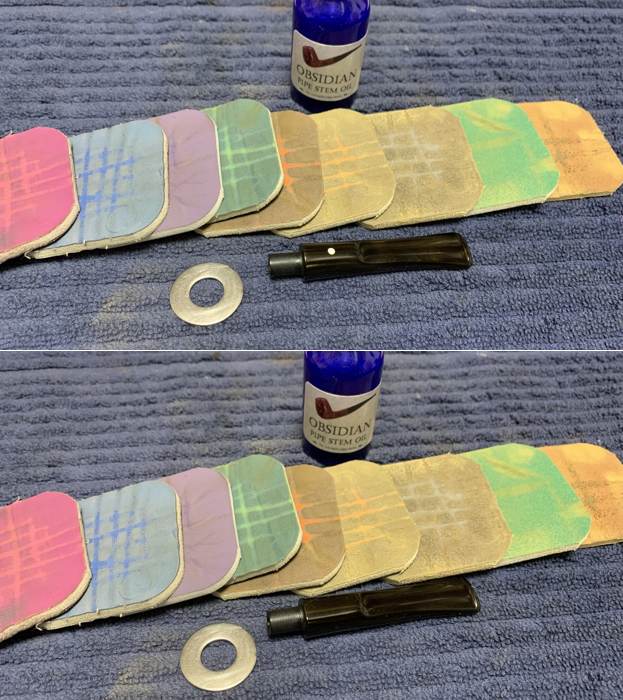
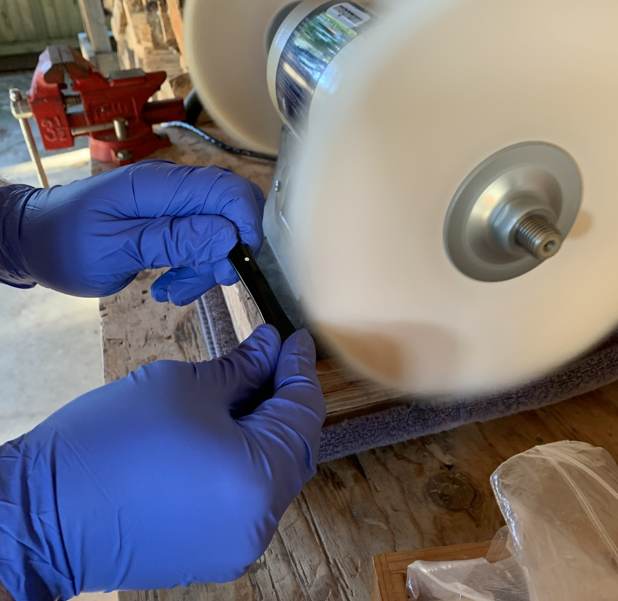
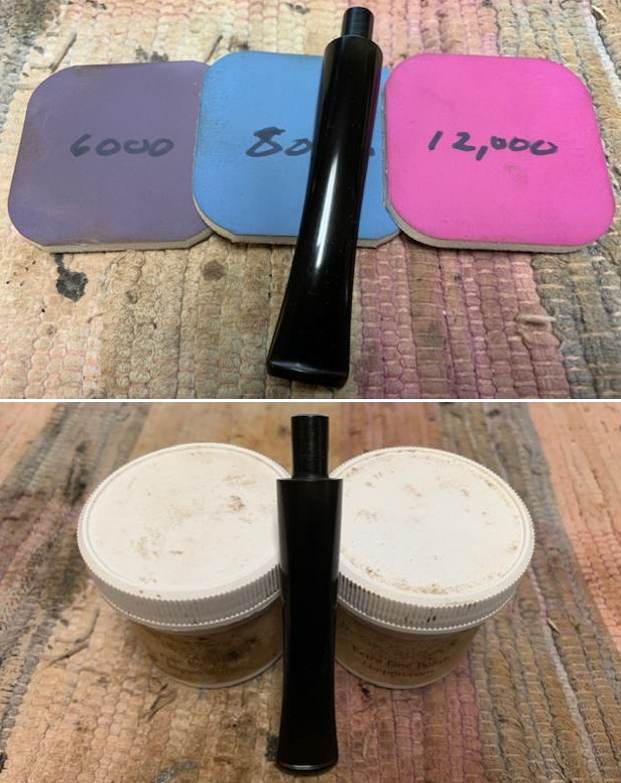
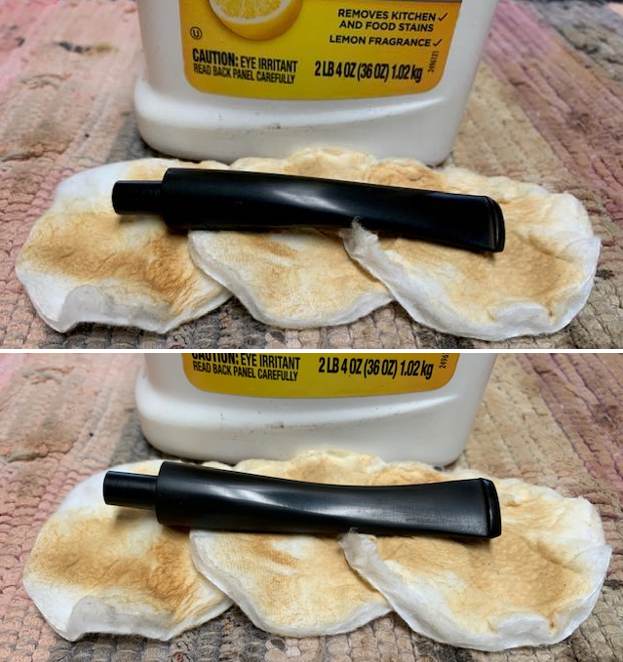 I polished the vulcanite stem with micromesh sanding pads – 1500-12000 grit pads. I wiped the stem down with Obsidian Oil after each sanding pad. I polished the stem with Before and After Stem Polish – both Fine and Extra Fine. I rubbed it down with some more Obsidian Oil.
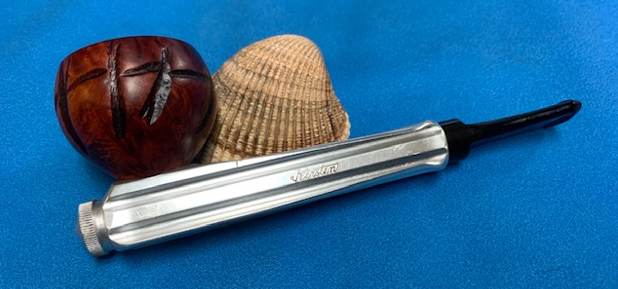
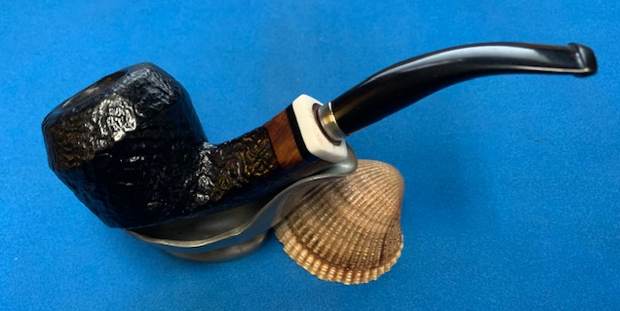
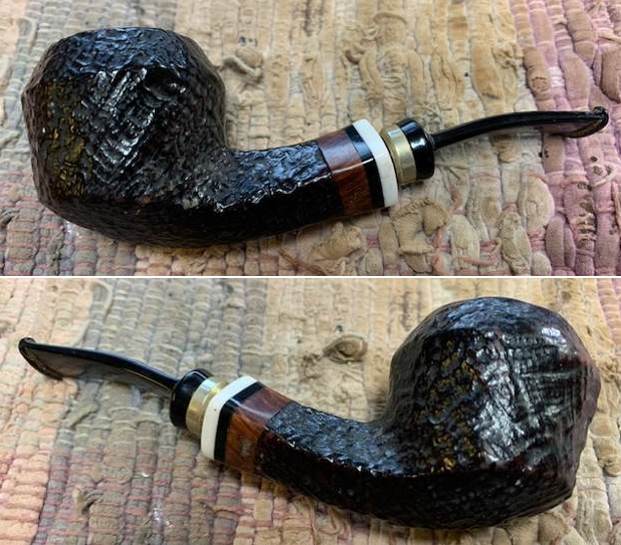
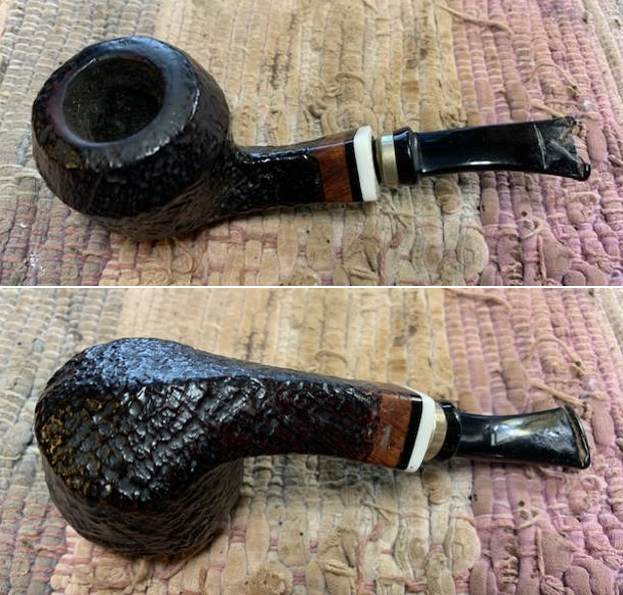
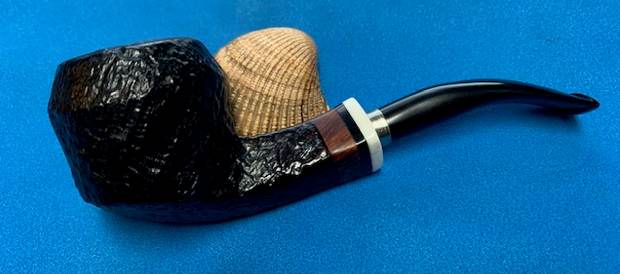
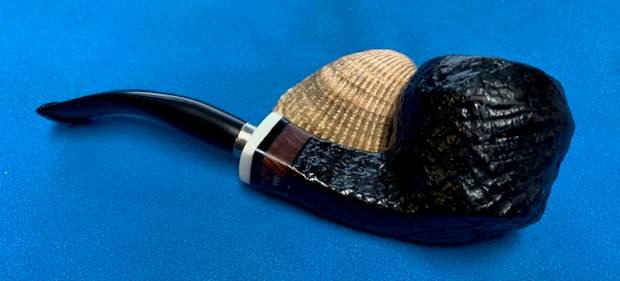
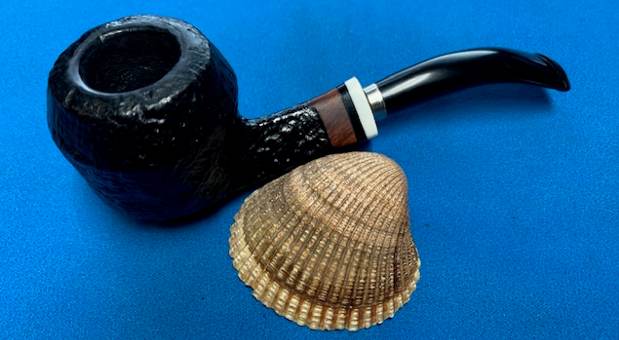
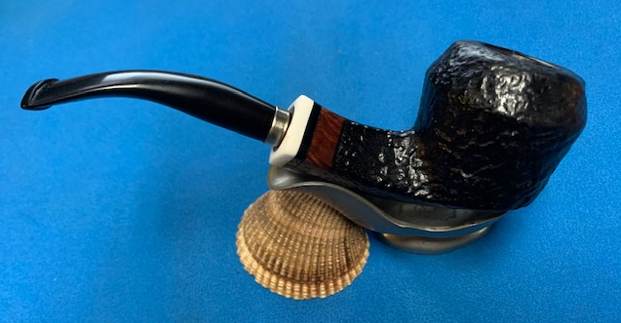
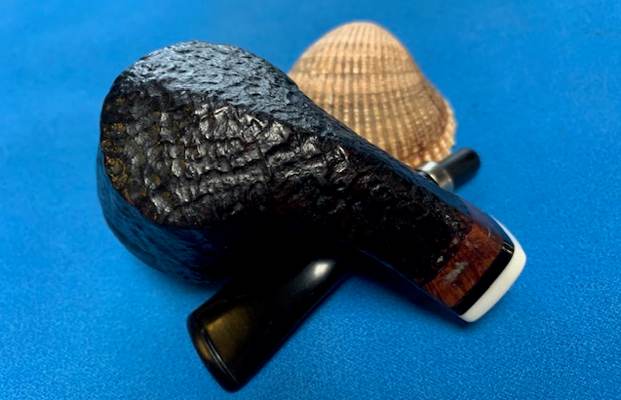
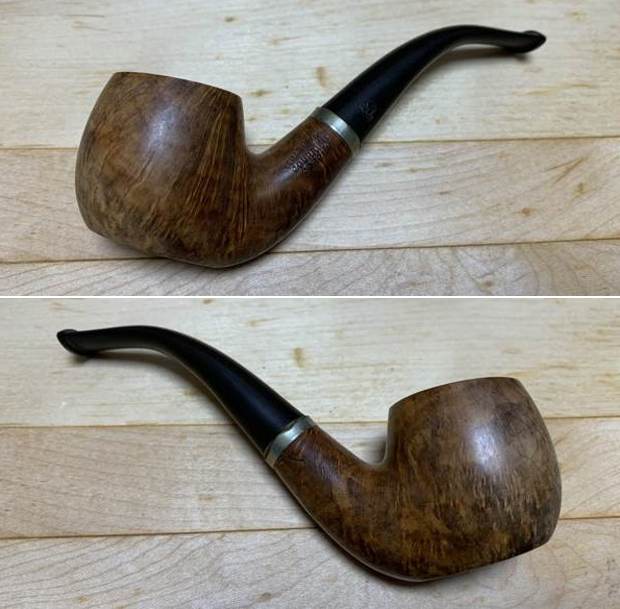
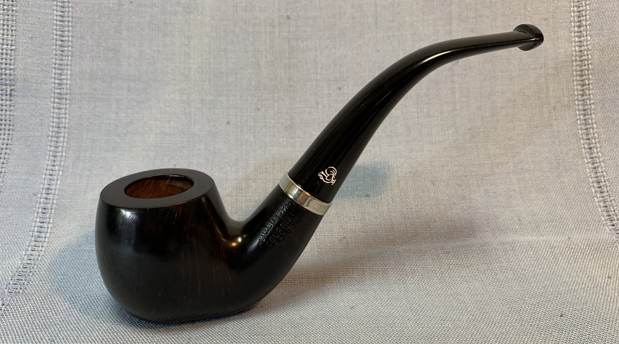
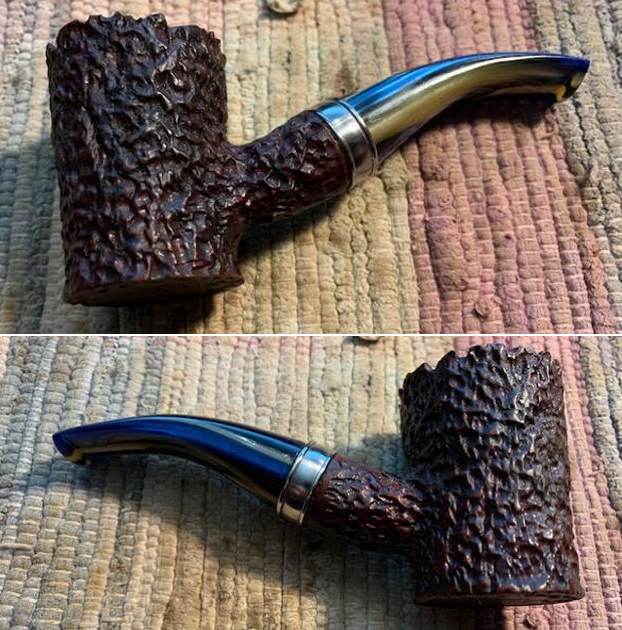
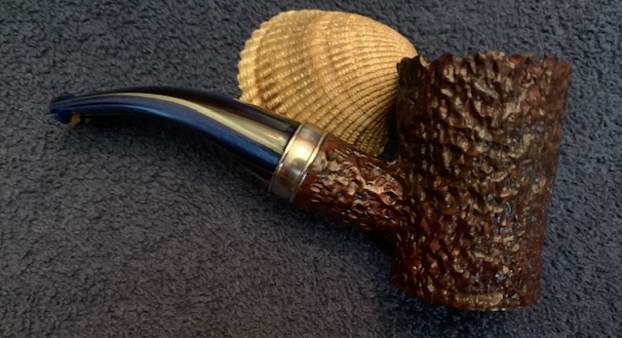
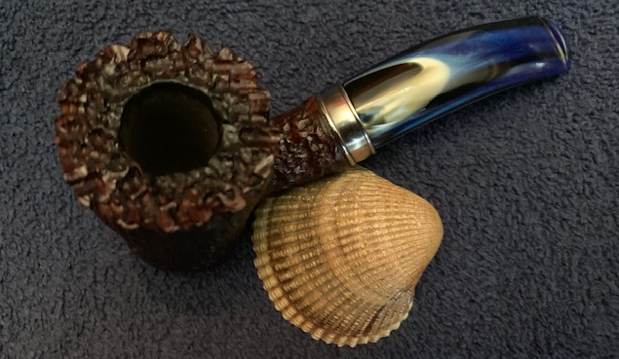
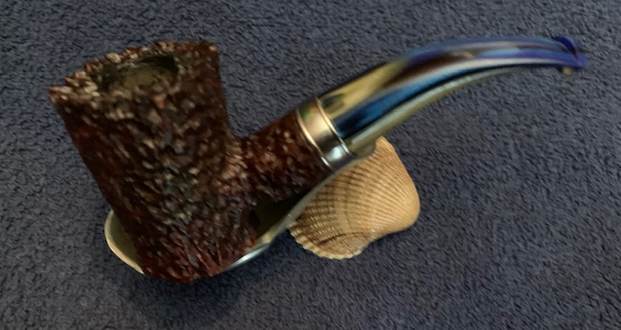
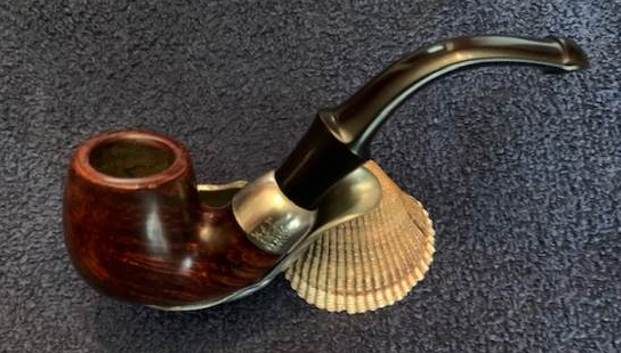
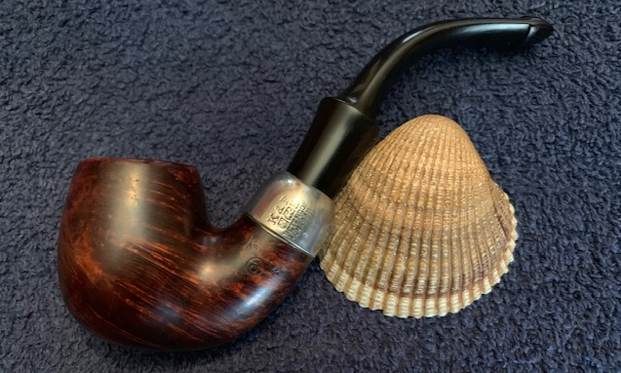
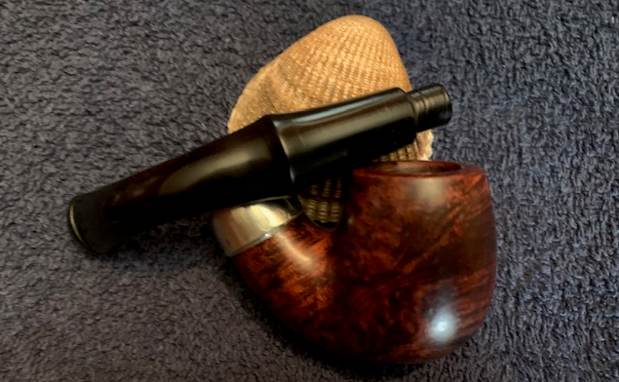
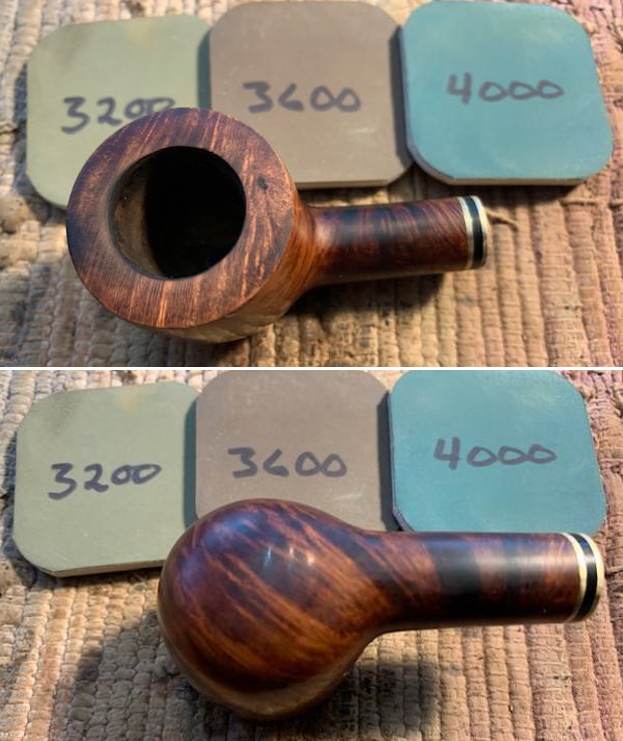
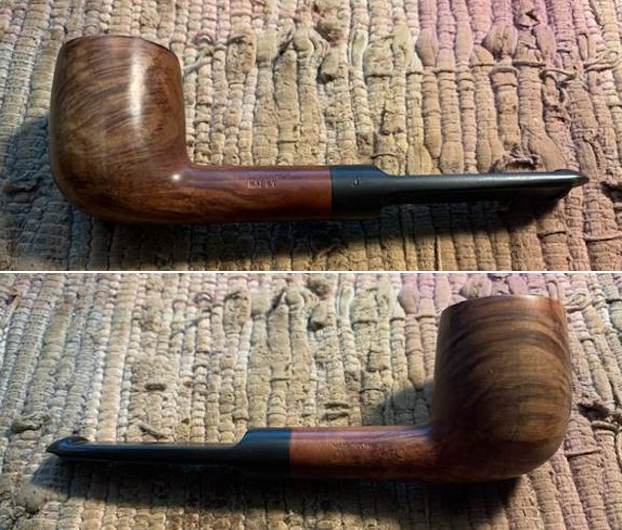
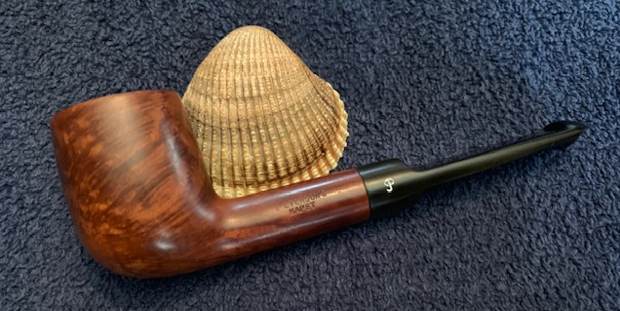
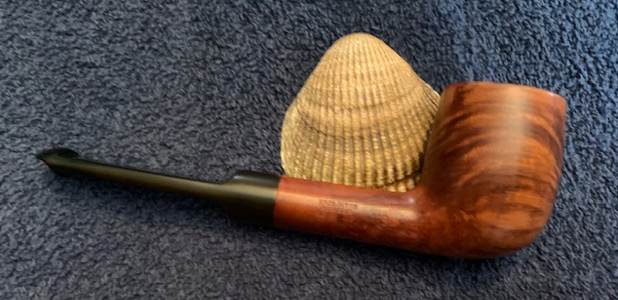
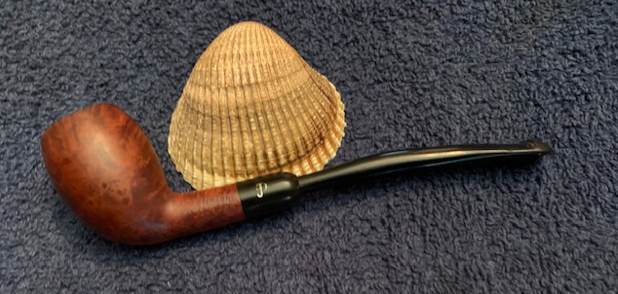
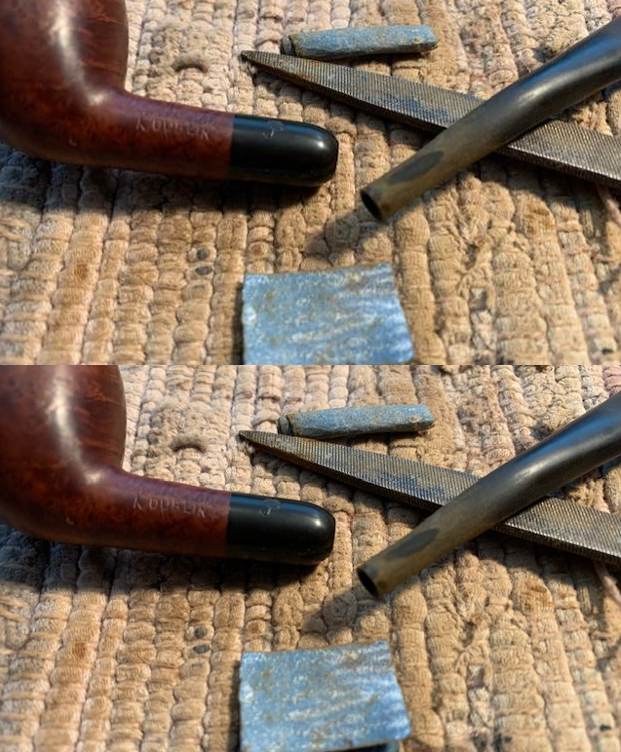
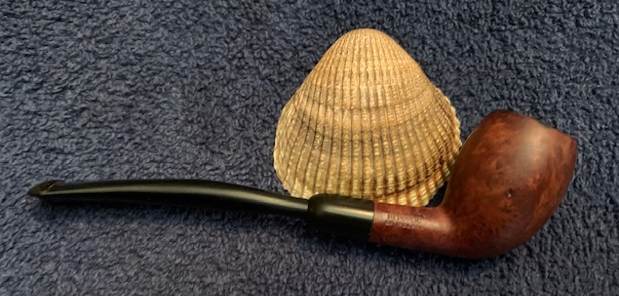
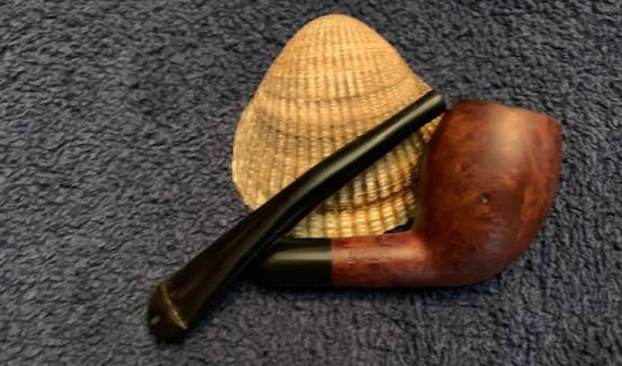
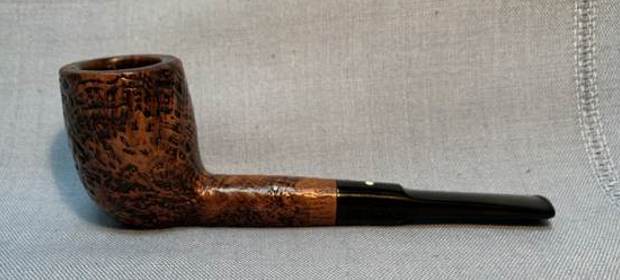
 It was great to finish this Charatan Made Mountbatten 852 Canted Dublin. I put the pipe back together and buffed it with Blue Diamond on the buffing wheel. I gave the bowl and the stem multiple coats of carnauba wax. I buffed the pipe with a clean buffing pad to raise the shine. I hand buffed the pipe with a microfiber cloth to deepen the shine. It is fun to see what the polished bowl looks like with deep sandblast all around it. Added to that the polished black, vulcanite, fishtail stem was beautiful. This Mountbatten Made in England 852 is great looking and the pipe feels great in my hand. It is light and well balanced. Have a look at it with the photos below. The dimensions are Length: 6 ½ inches, Height: 1 ¾ inches, Outside diameter of the bowl: 1 ½ inches, Chamber diameter: ¾ of an inch. The weight of the pipe is 36 grams/ 1.27 ounces. It is a beautiful pipe and one that will soon be on the rebornpipes store in the British Pipe Makers Section of the store. If you want to add it to your collection let me know. Thanks for walking through the restoration with me as I worked over this pipe. Thanks to each of you who are reading this blog.