by Steve Laug
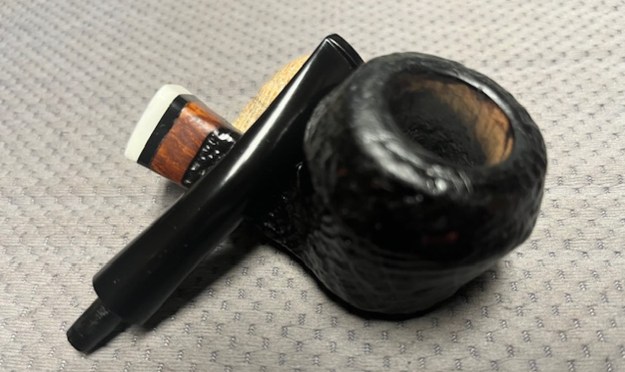
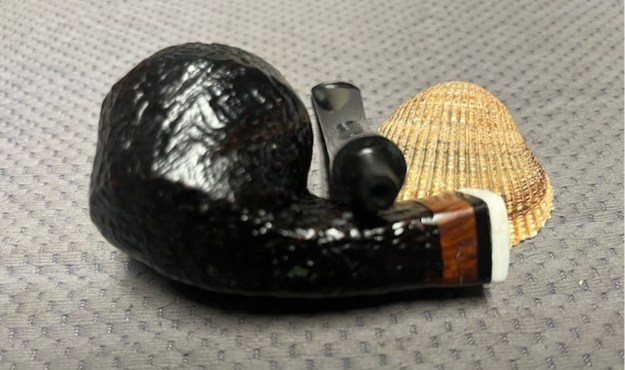
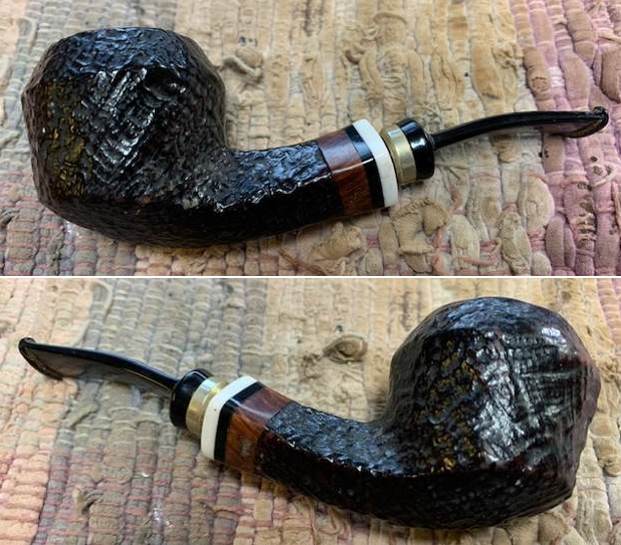
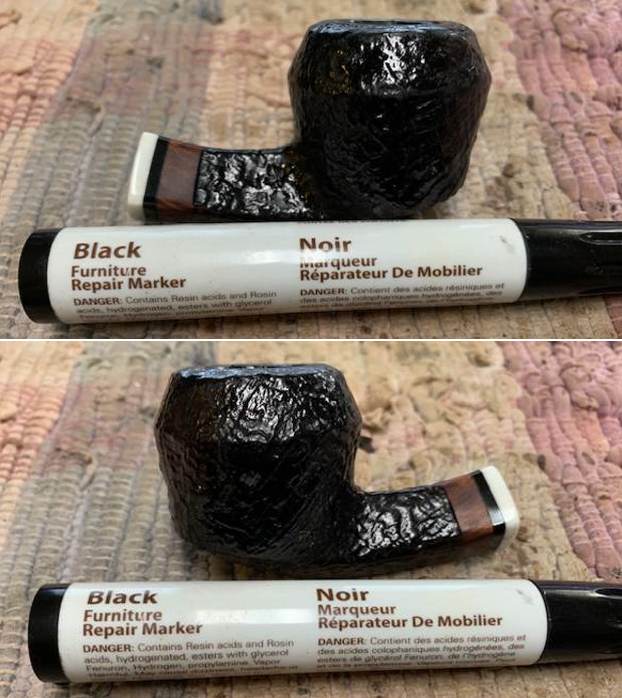
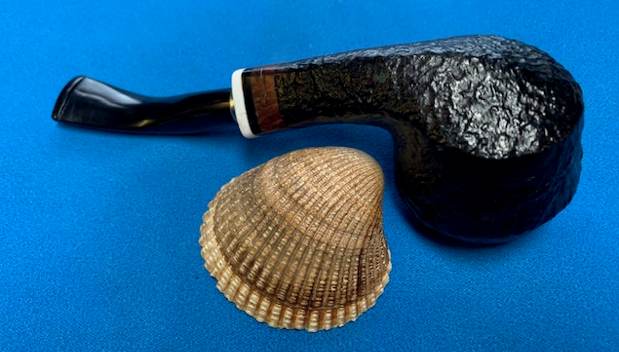
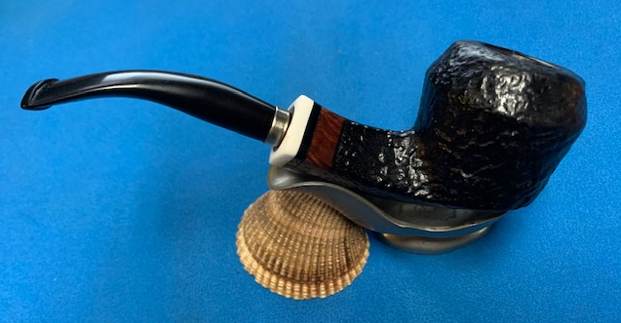
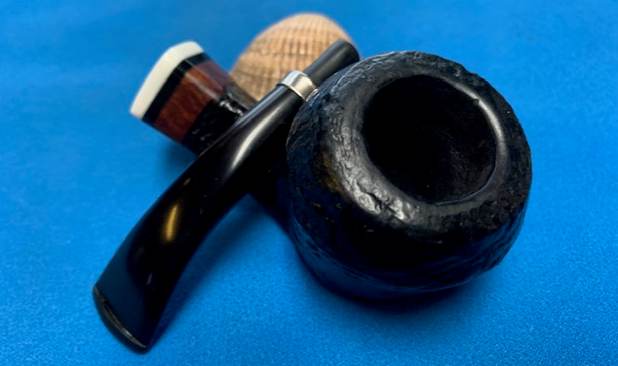
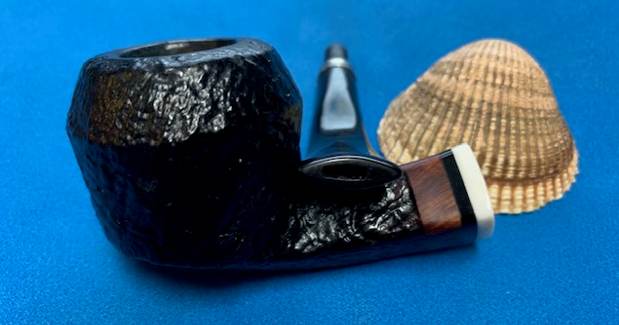
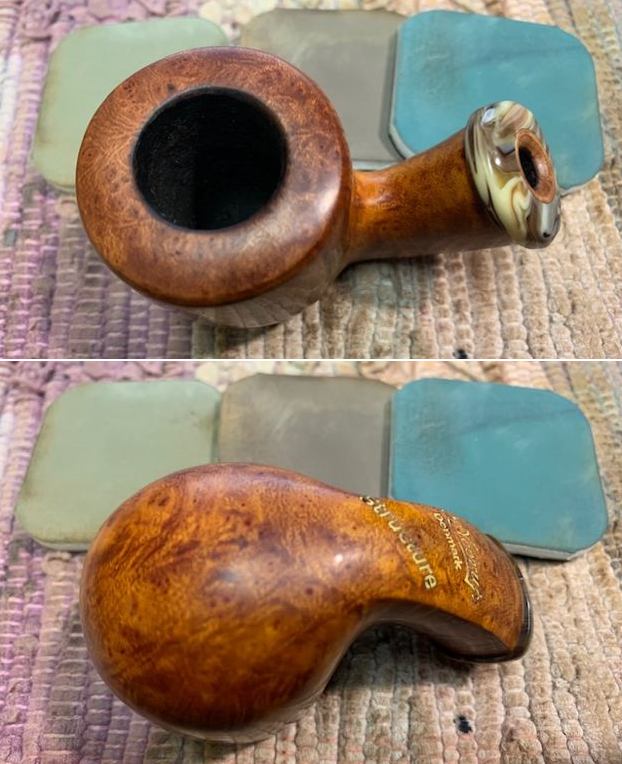
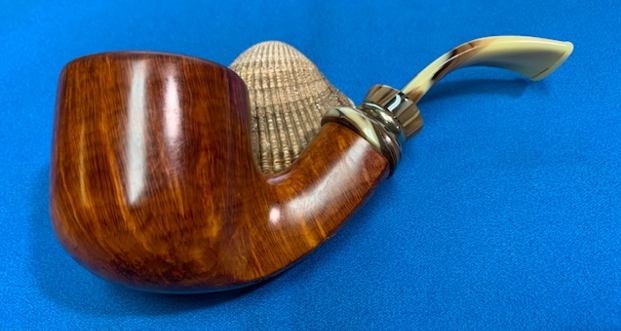
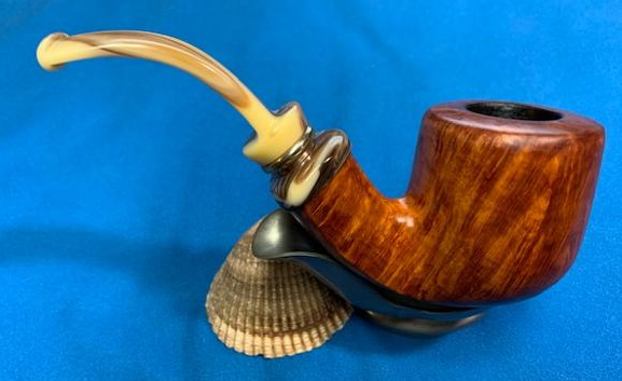
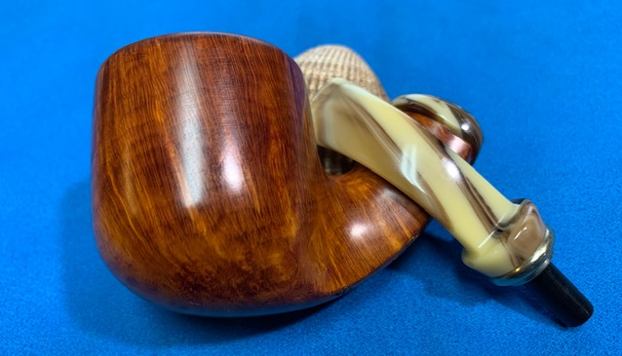
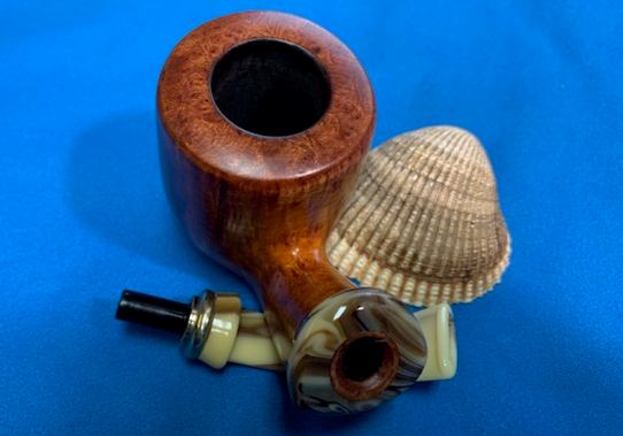
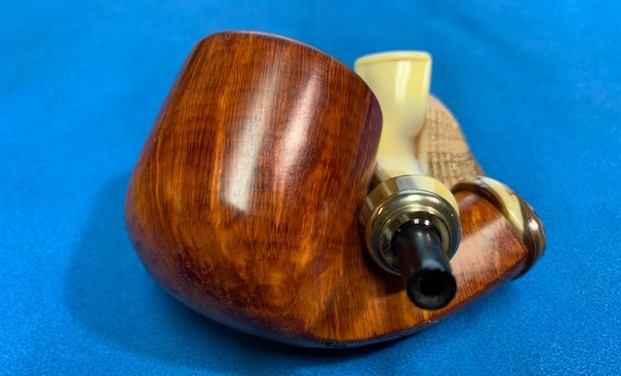
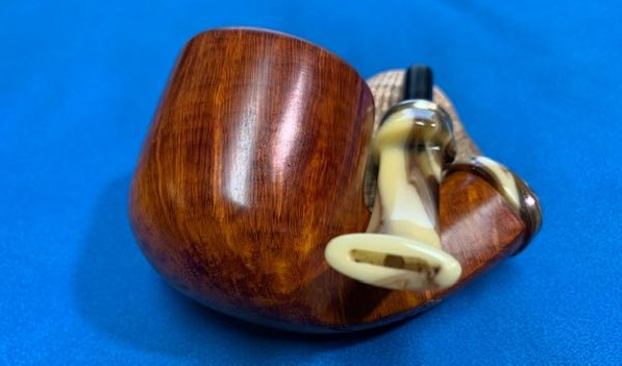
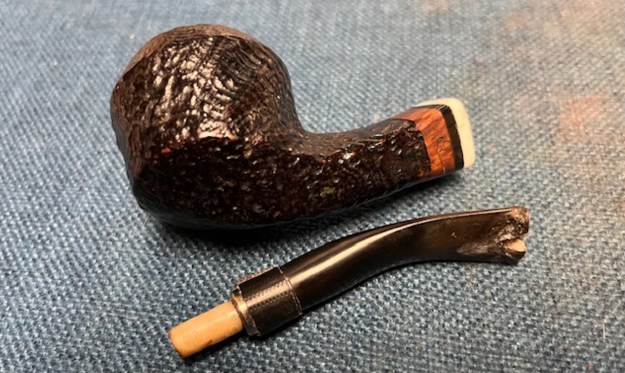
The next pipe came to my table from a fellow I had repaired pipes for before. It has been awhile and he has moved further away but he remembered me and sent the pipes to me to repair. There were two of them – a Savinelli Billiard with a snapped shank and a Neerup Bulldog. The Bulldog looked very familiar to me and I did a bit of looking back and found that I had worked on it previously. I had fitted it with a new stem in the past and later replaced the tenon on it. Now it was back for a new replacement stem. It is obviously a favourite pipe. It has a black sandblast finish that is a bit dirty and a light cake in the bowl that had been recently reamed. There is an overflow of lava on the rim top. The pipe was still a beauty. The shank end of the vulcanite stem had been wrapped in tape but I am not sure the purpose of the tape. Under the tape was a polished nickel end cap on the stem for decorative purposes and perhaps Curtis would rather have it plain. The button end had been chewed and was missing a large piece of vulcanite on the underside of the button surface. The stem will need to be replaced. I took photos of the pipe before I began my work on it.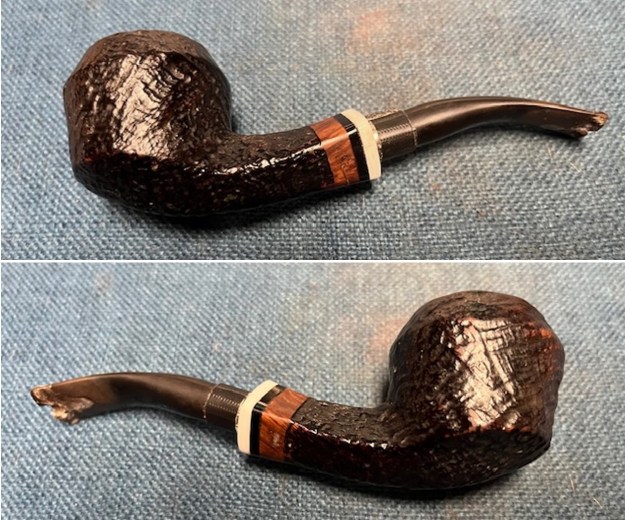
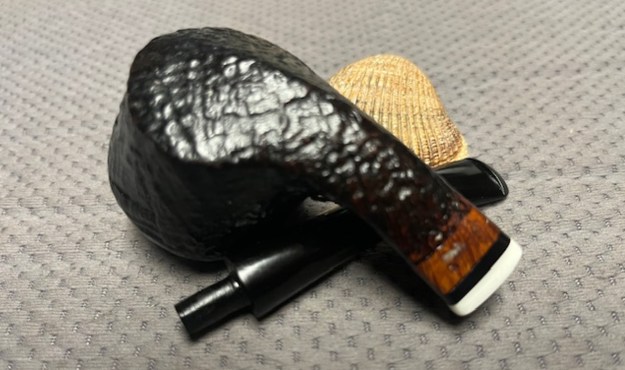
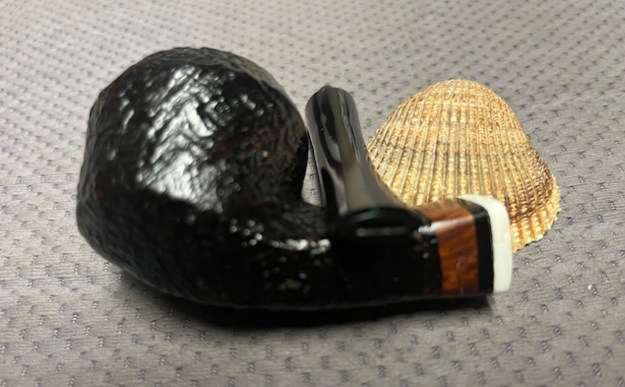
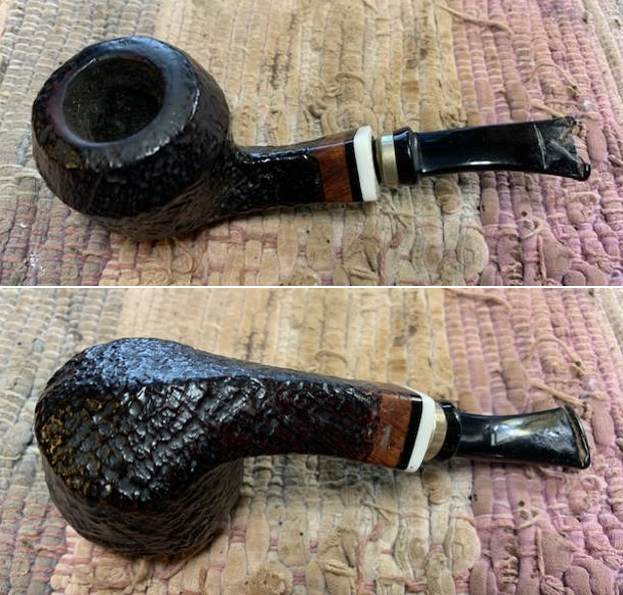
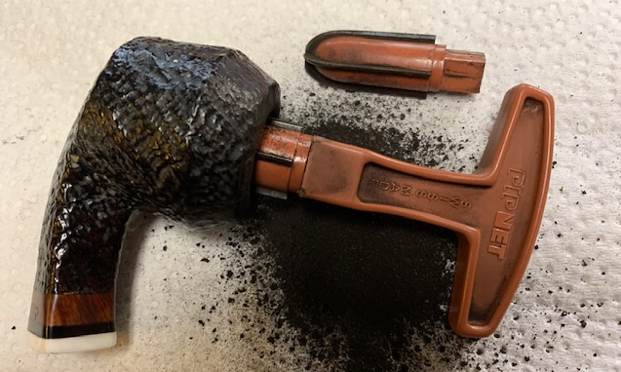
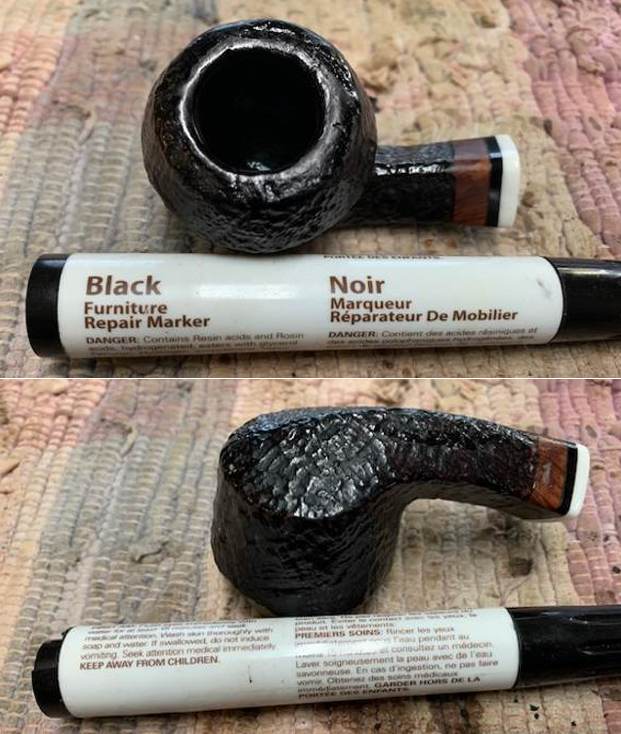
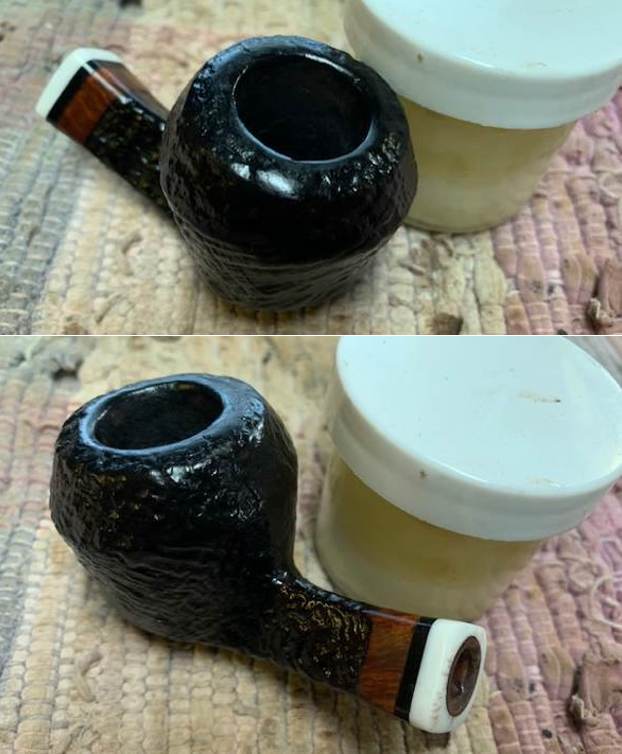
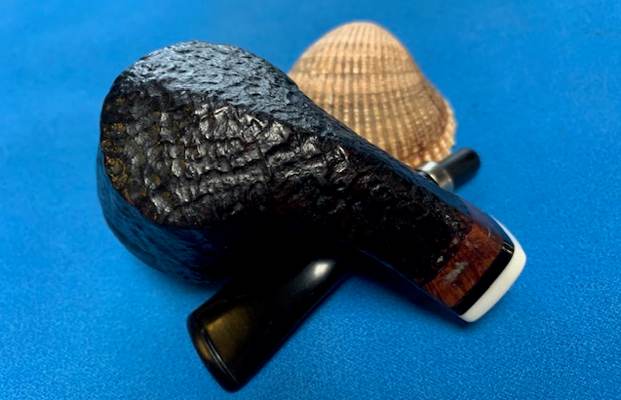
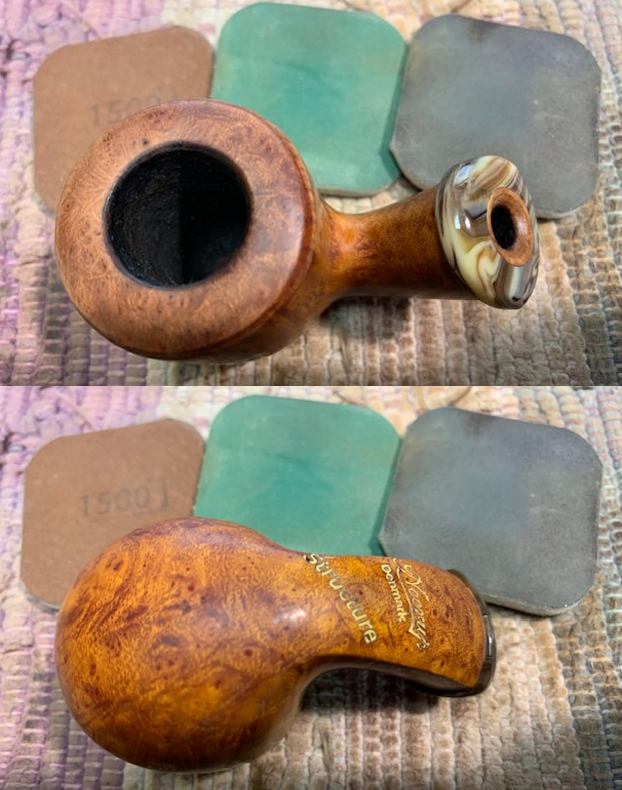
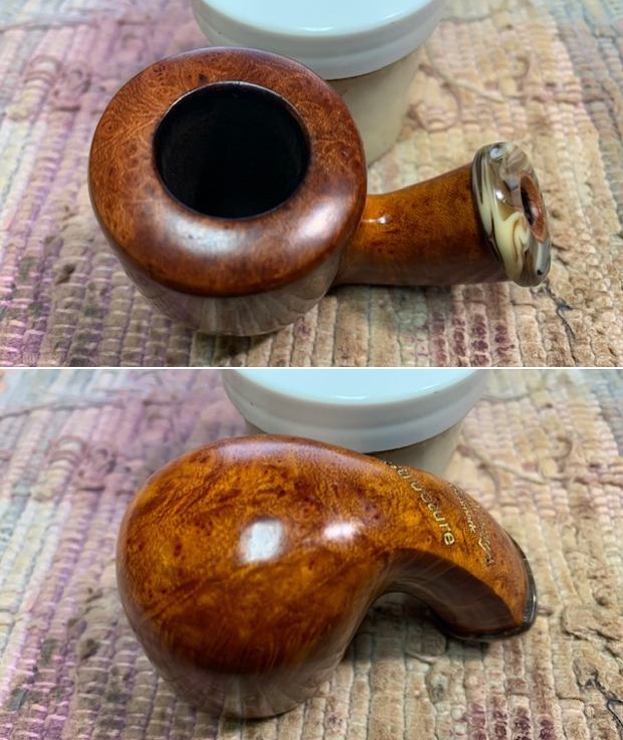
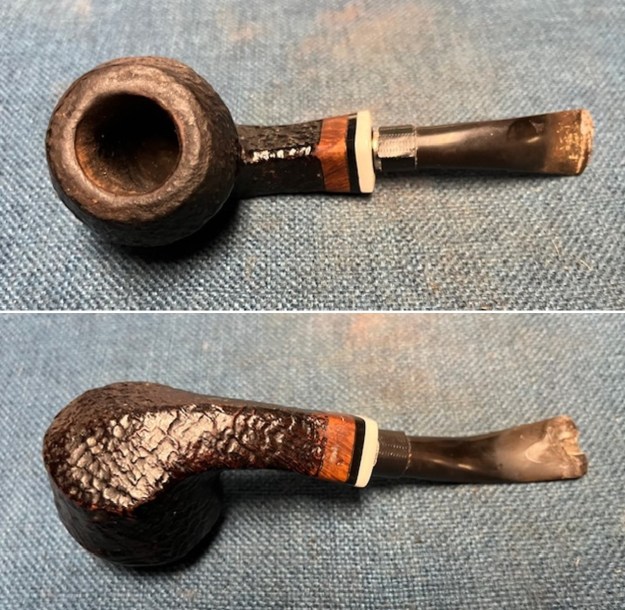 I took a close up photo of the bowl and rim top to show the thickness of the cake and the condition of the stem when I received the pipe. It was a bit of a mess. The stem was in rough condition as noted above. You can see the damage on both sides of the stem – the chipped and broken underside of the button as well as the tooth damage on the topside of the stem. Looking at it you can see why we chose to restem it.
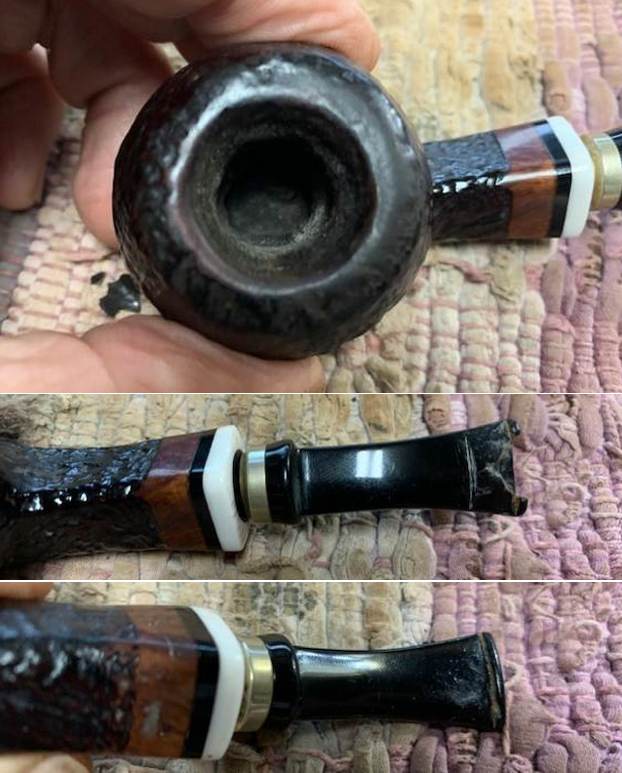
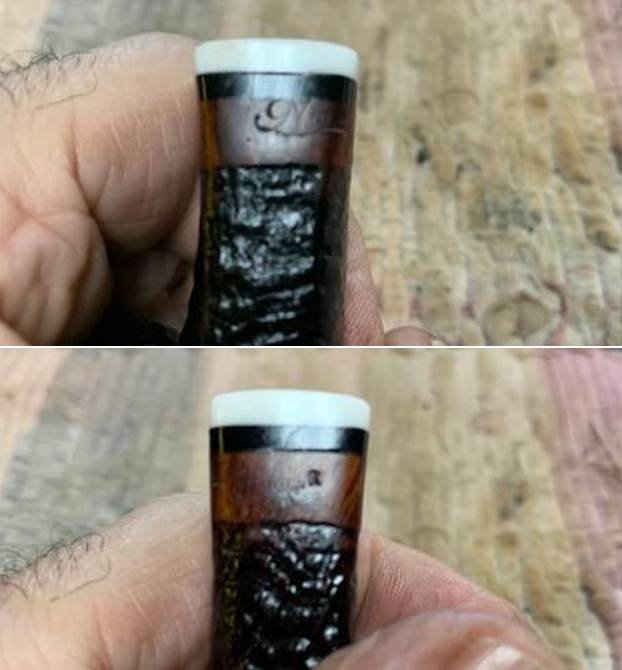
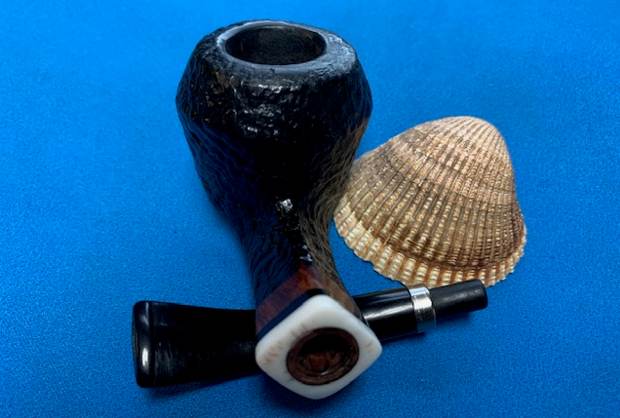
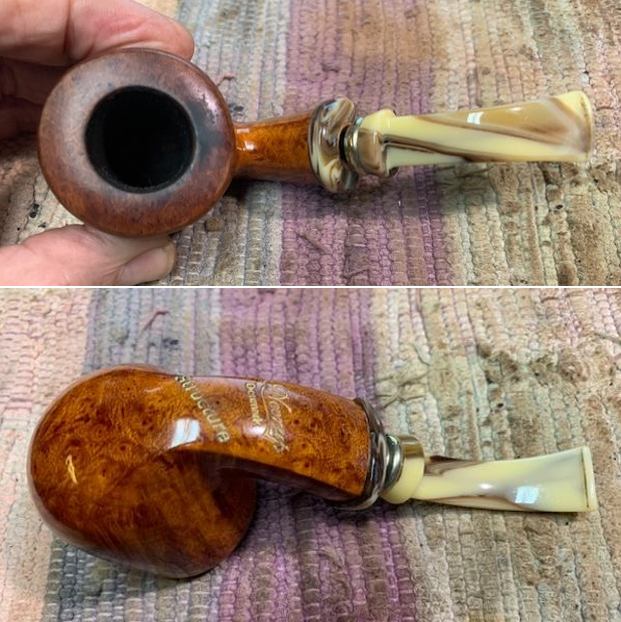
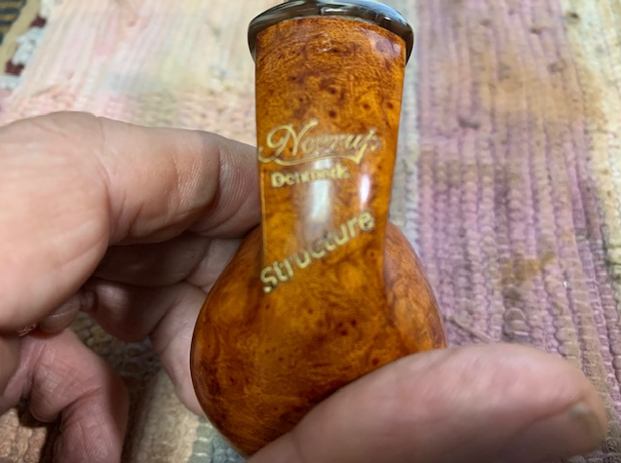
 The next two photos showed the stamping on the underside of the shank. It is faint and hard to read in the photos. In person it is faint but readable as noted above. I removed the stem and took a photo of the pipe to give a sense of perspective to the parts.
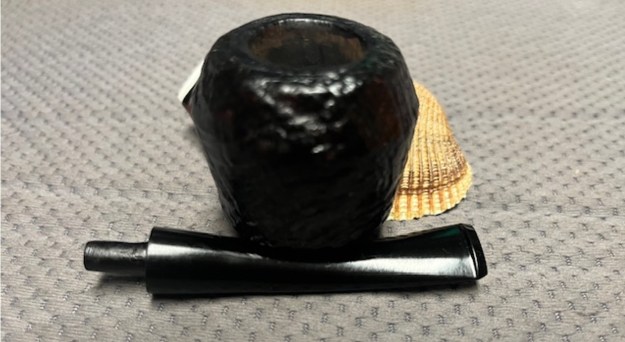
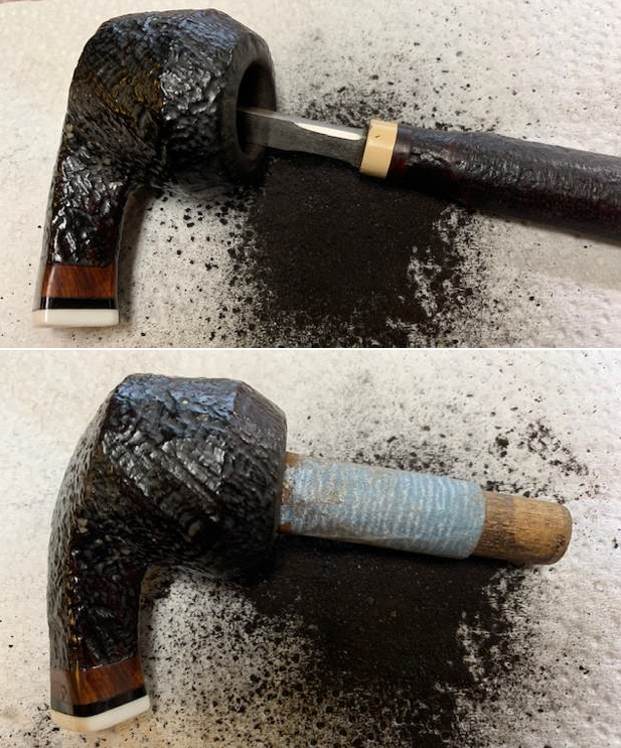
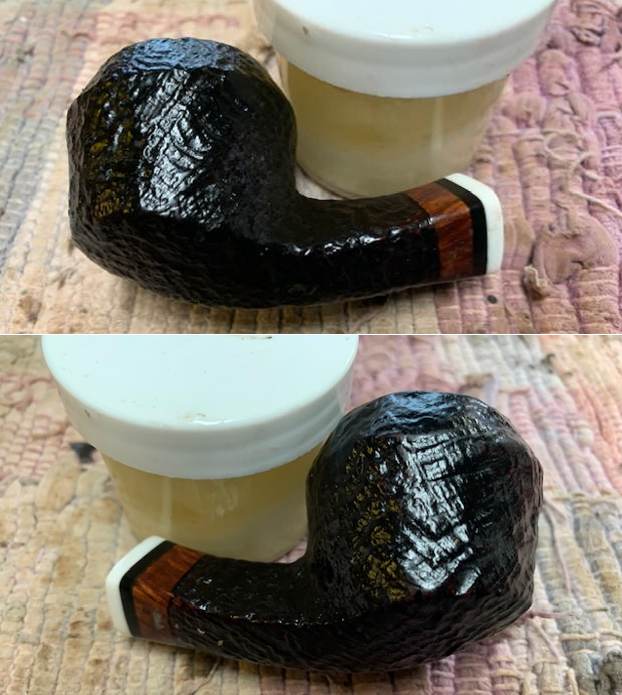
 I went back and reread my previous work on this pipe. I have been doing this long enough that I am doing repeat repairs on pipes that I had repaired before. This link is to the first restem on the pipe. Here is the link (https://rebornpipes.com/2022/12/22/new-life-and-new-look-for-a-neerup-made-in-denmark-bulldog/).
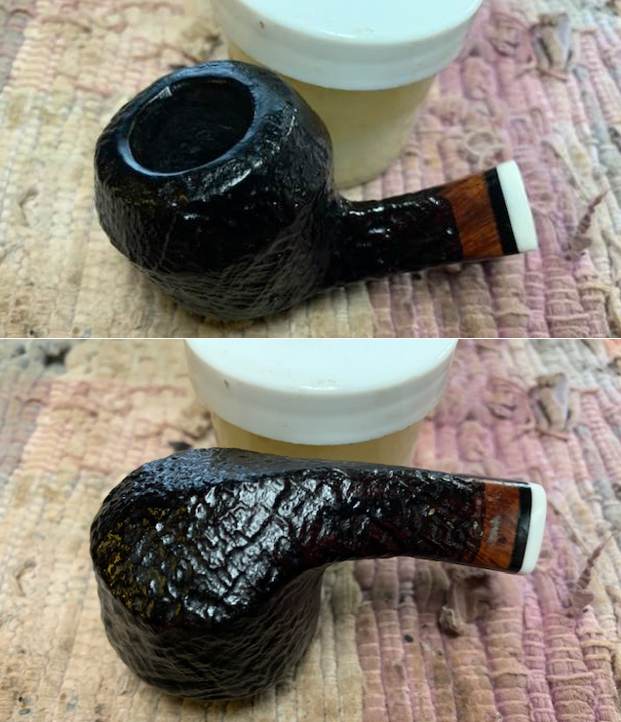
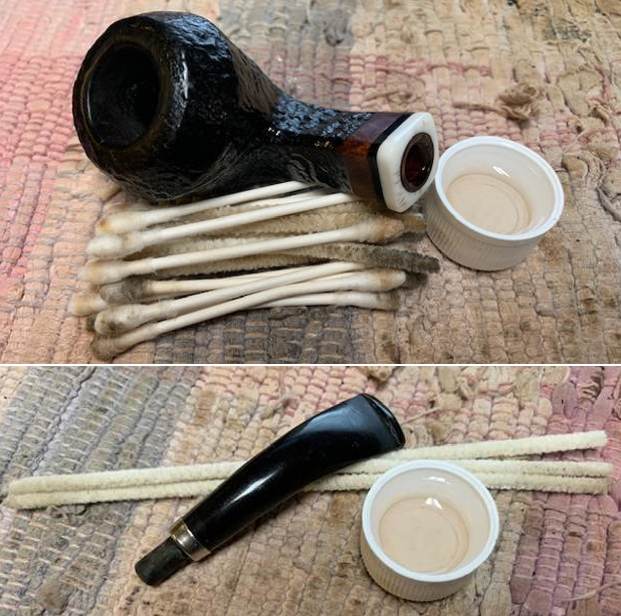
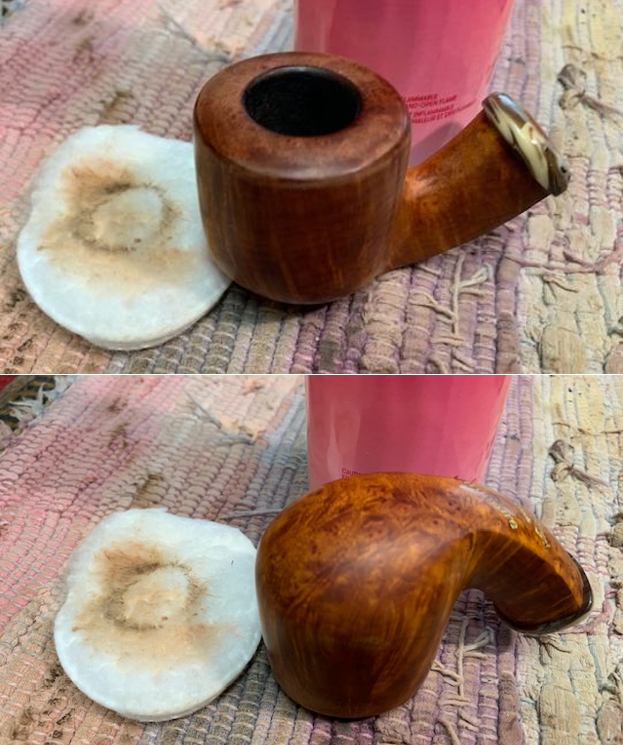
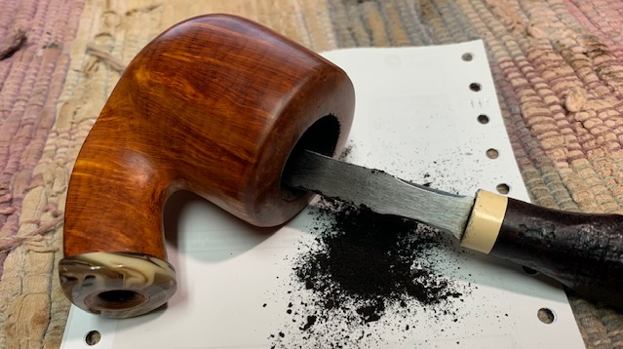
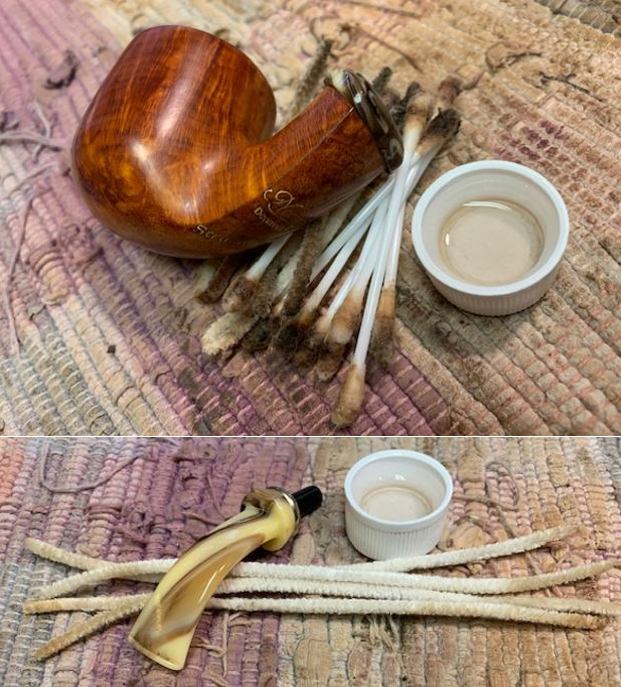
I reamed the bowl with a PipNet Pipe Reamer to remove the thin cake from the bowl – using a Savinelli Fitsall Pipe Knife to scrape away the carbon coat. I sanded the walls smooth with a piece of dowel wrapped with some 220 grit sandpaper.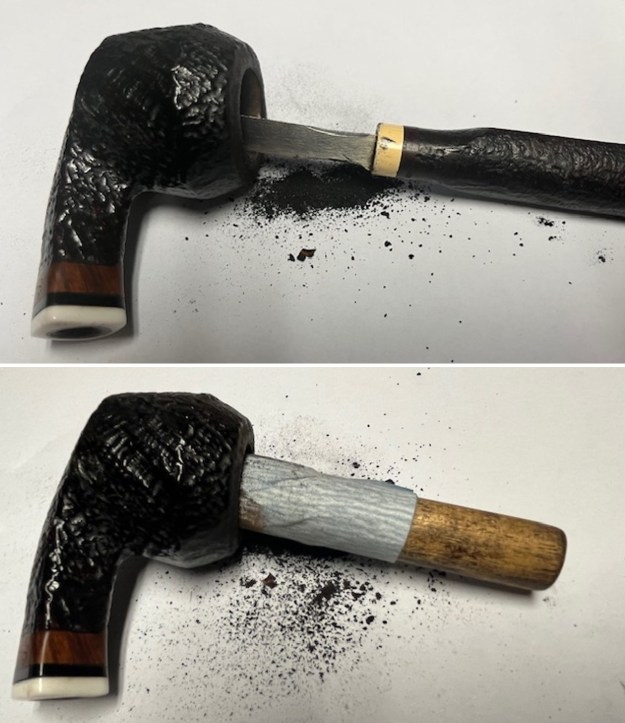 I cleaned out the shank and the mortise with pipe cleaners, cotton swabs and isopropyl alcohol to remove the tars and oils. I also cleaned out the airway in the stem I had chosen to use as well.
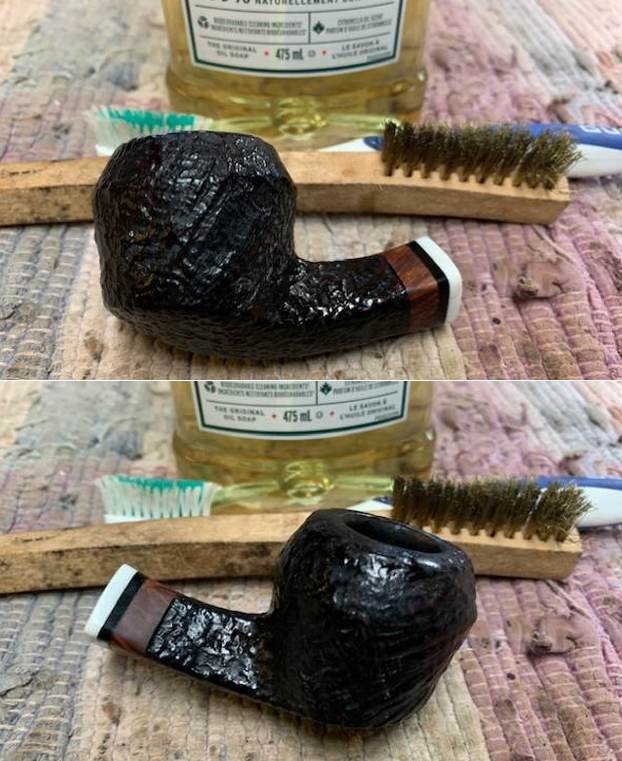
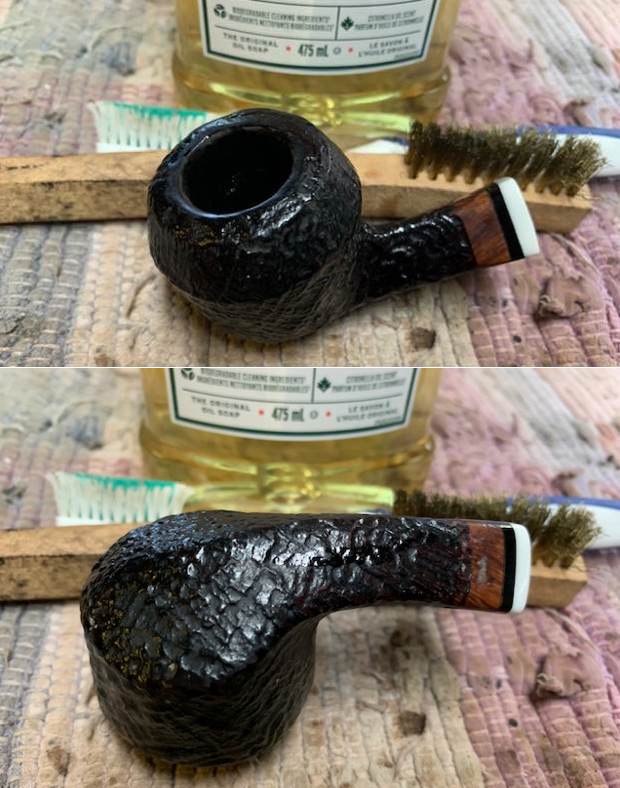
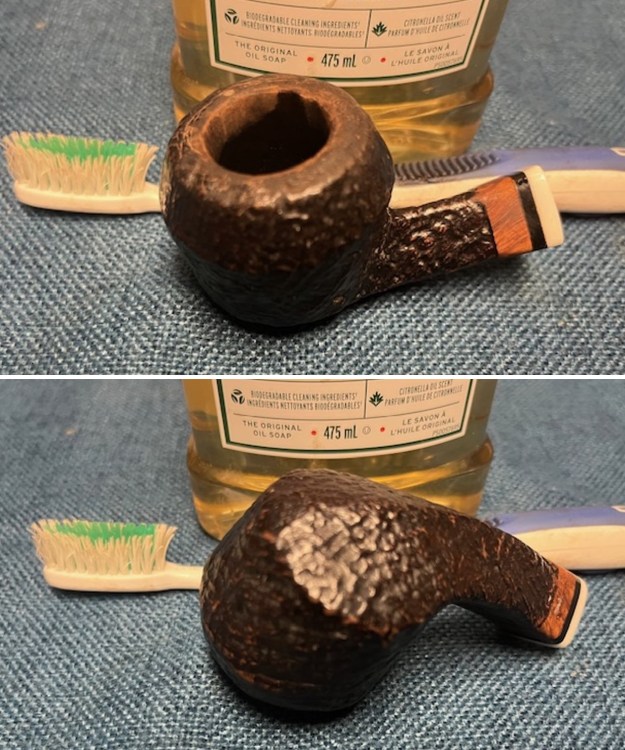
 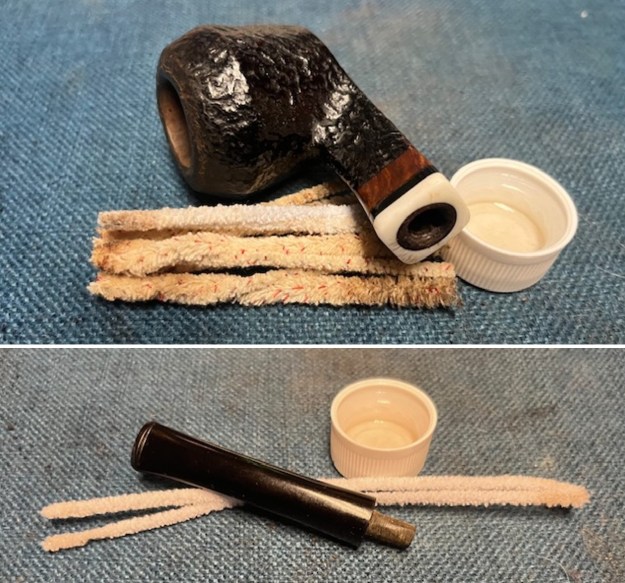 I scrubbed the bowl with Murphy’s Oil Soap and a tooth brush on the sandblast and the a brass bristle brush on the rim top. I rinsed the bowl with warm running water to rinse off the soap and the grime left behind. It looked better.
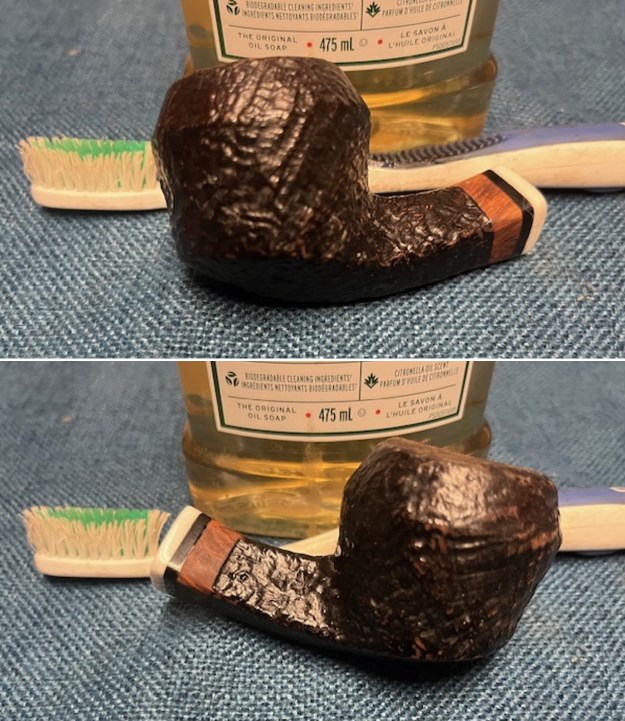
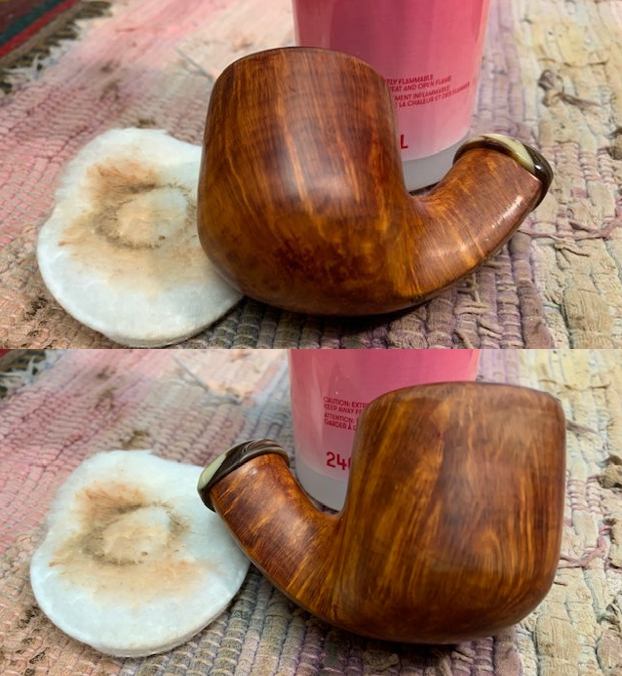
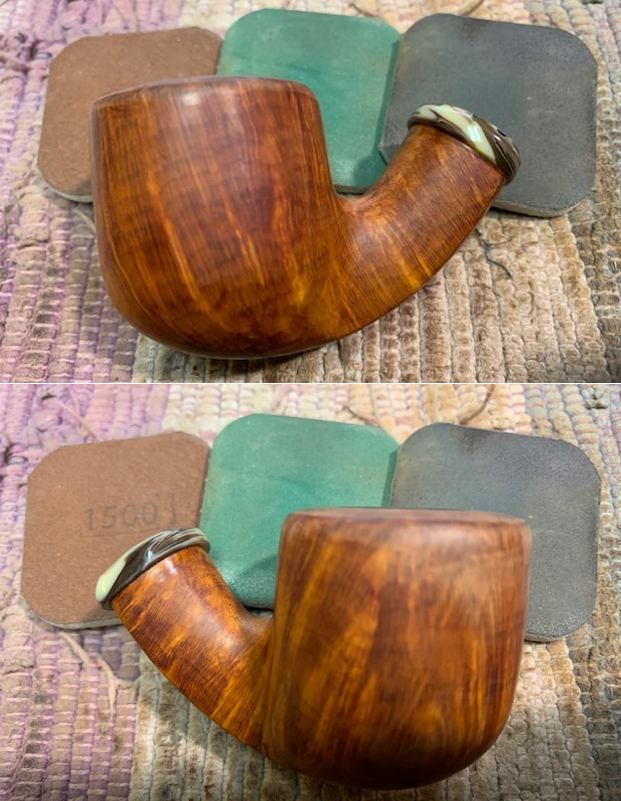
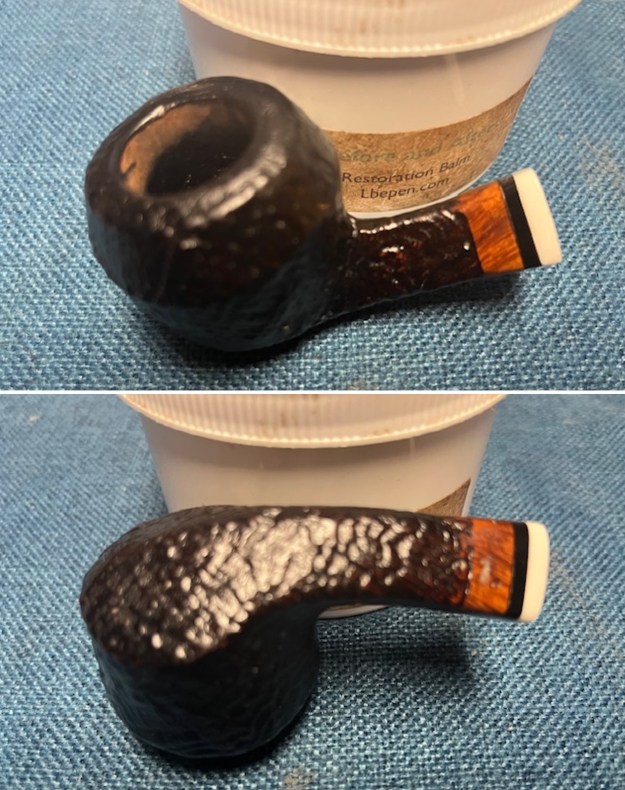
 I rubbed the bowl down with Before & After Restoration Balm. I worked it into the sandblast with my fingertips and a horsehair shoe brush to get it deep in the grooves of the sandblast. I let it sit for 15 minutes and buffed it off with a soft cloth.
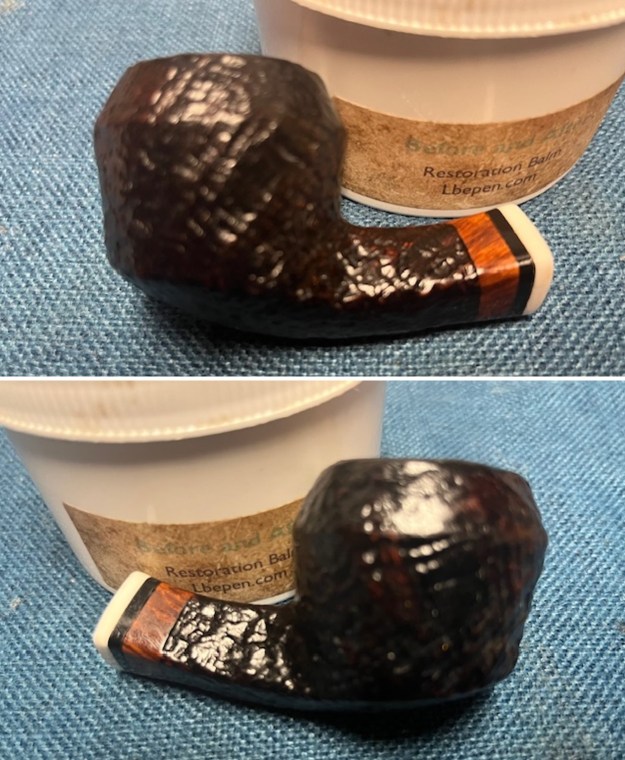
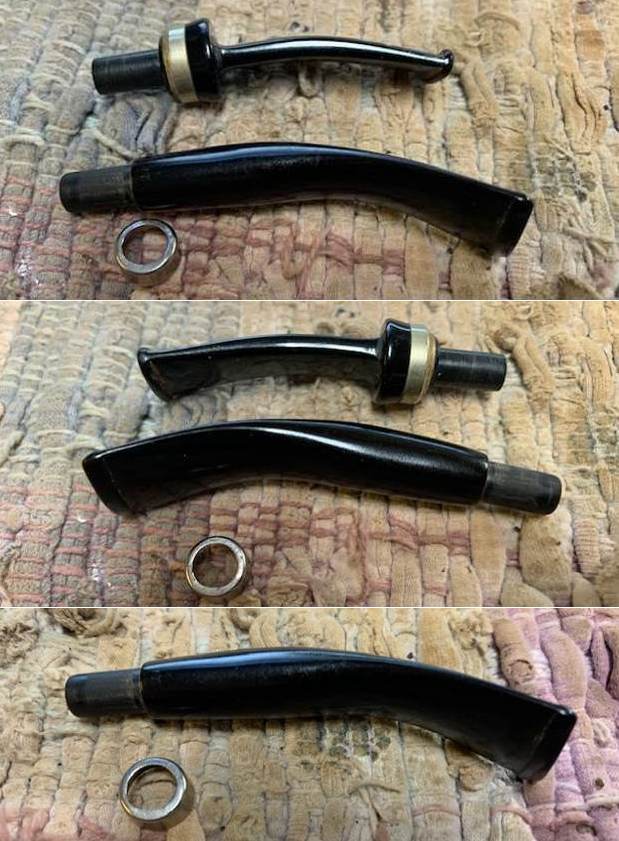
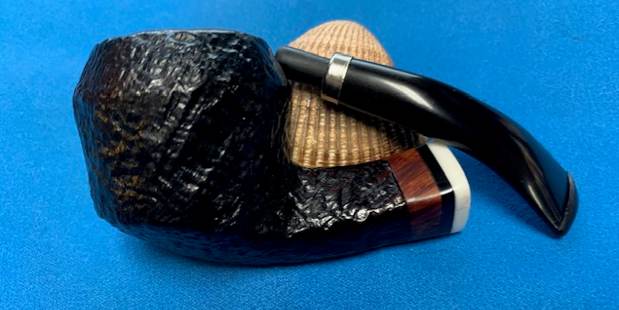
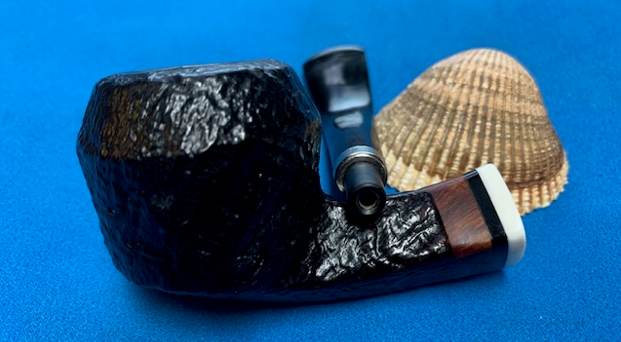
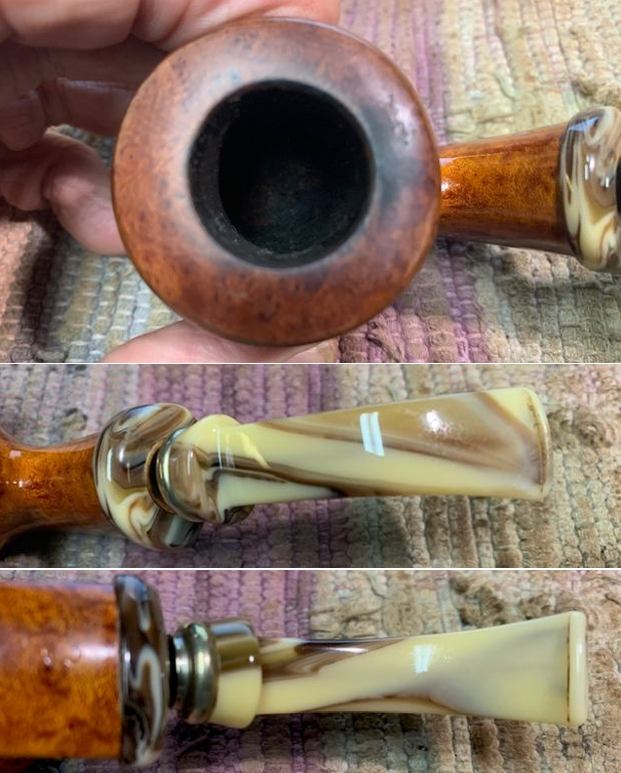
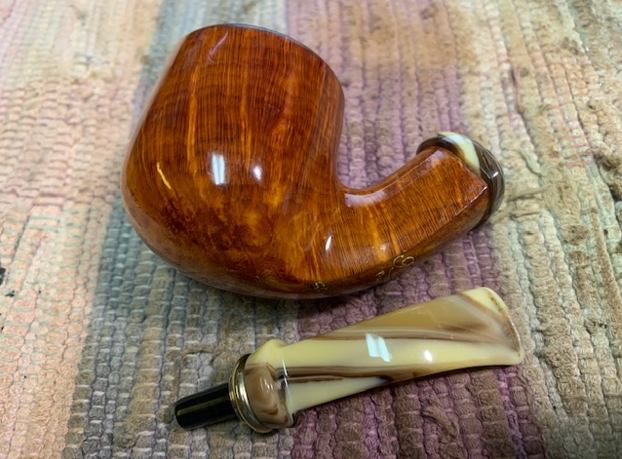
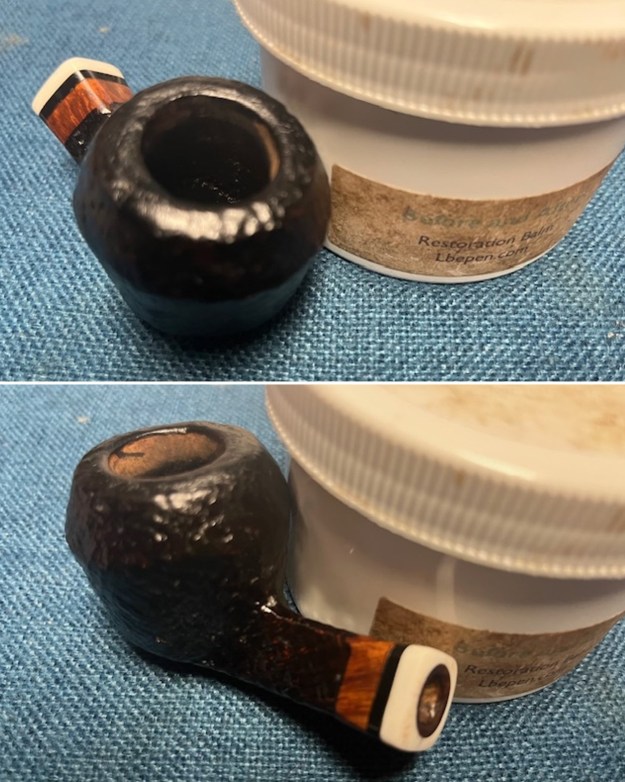 I went through my stems and found this slightly longer taper stem that would need very little adjustment to fit in the shank. I took pictures of the old stem with the replacement stem in the photo to show the difference.
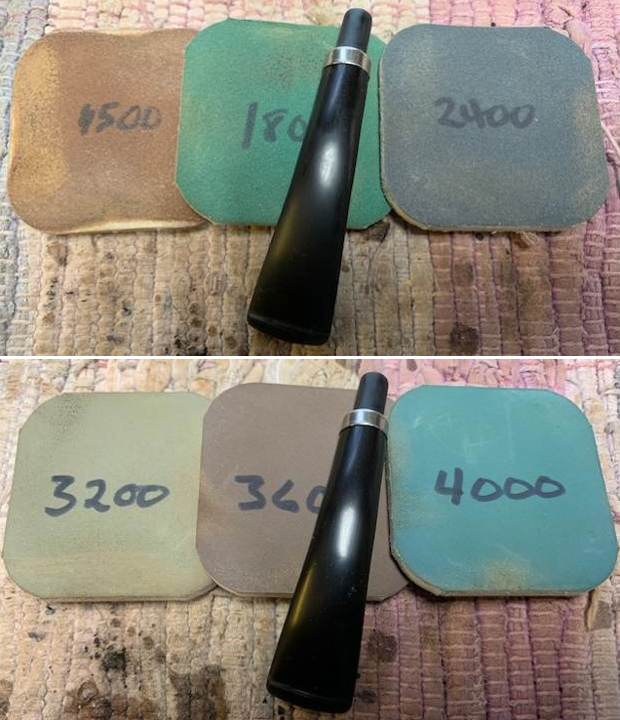
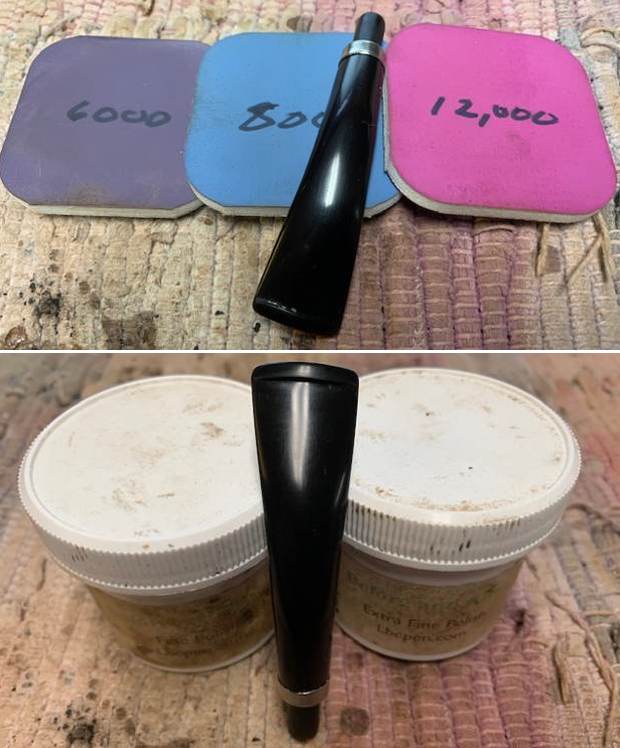
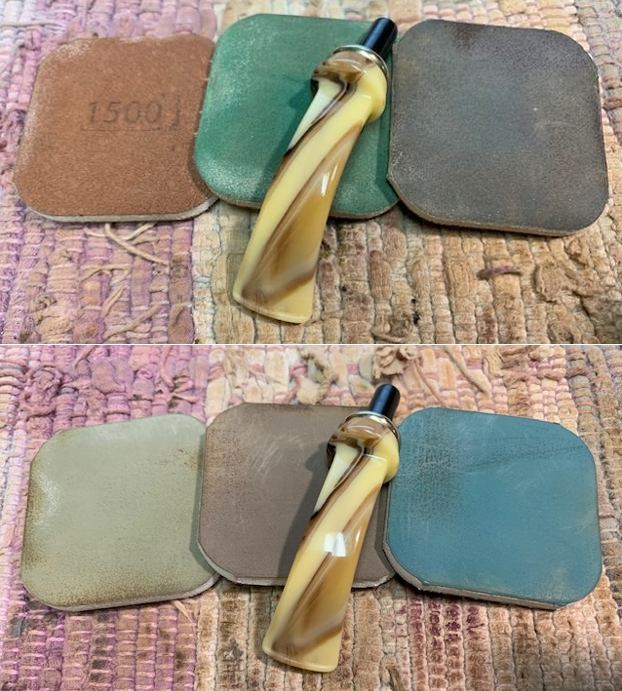
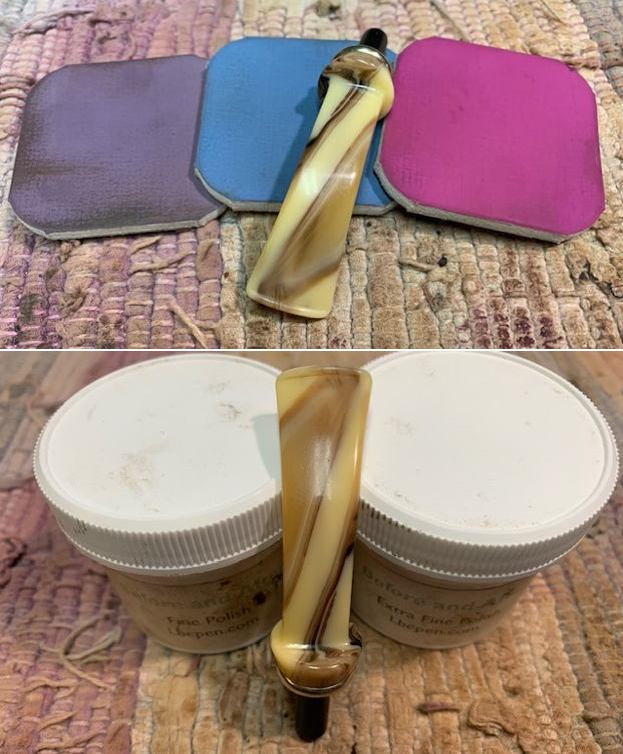
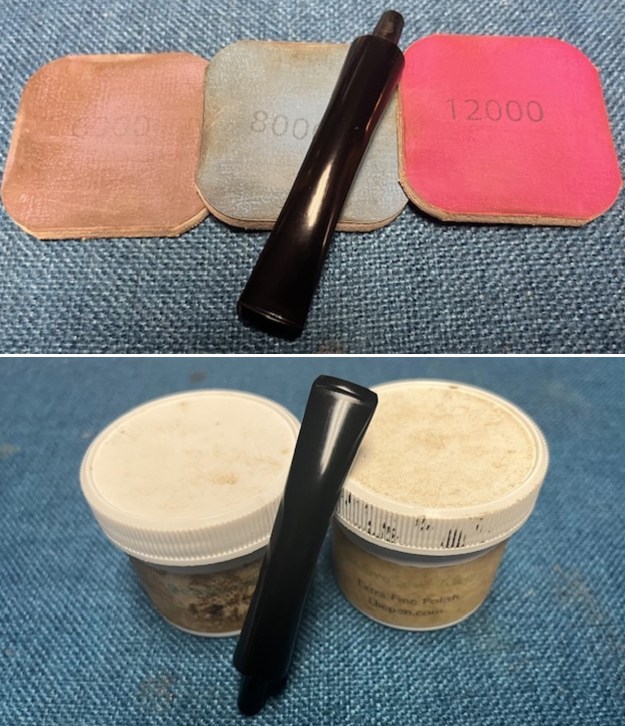
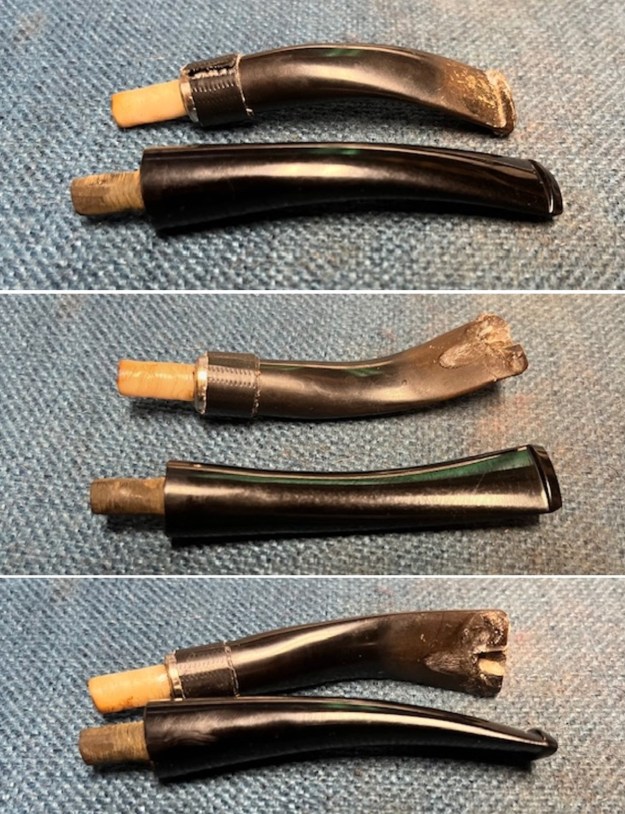 I polished the stem with micromesh sanding pads – dry sanding with 1500-12000 grit sanding pads. I wiped the stem down after each sanding pad with a cloth impregnated with Obsidian Oil. The oil both preserves the rubber and also provides some needed friction for the micromesh pads. I polished it with Before & After Fine & Extra Fine Polish. I rubbed it down a final time with the oil and set it aside.
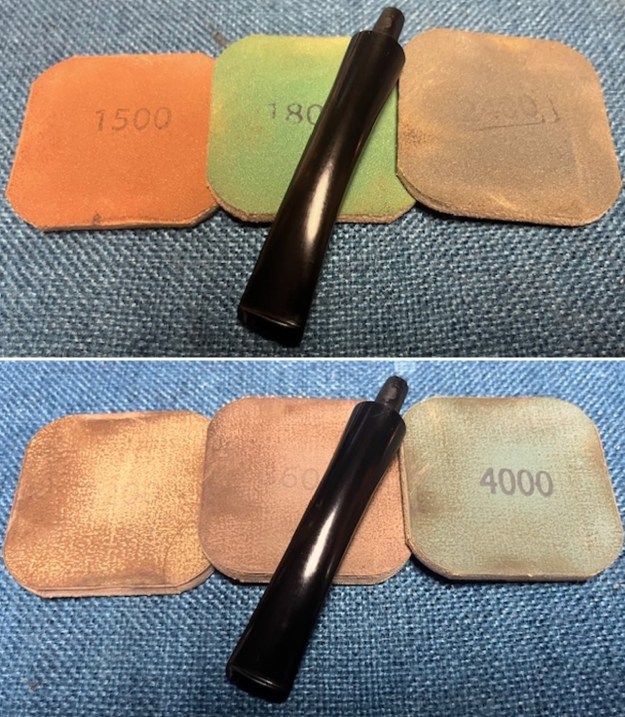
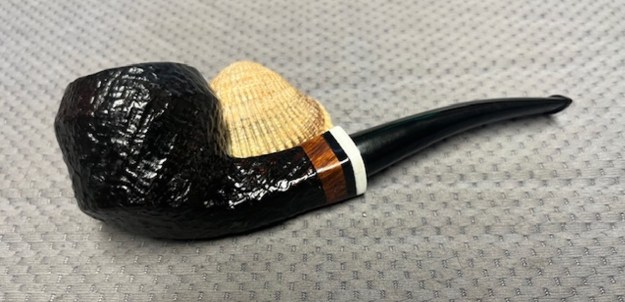
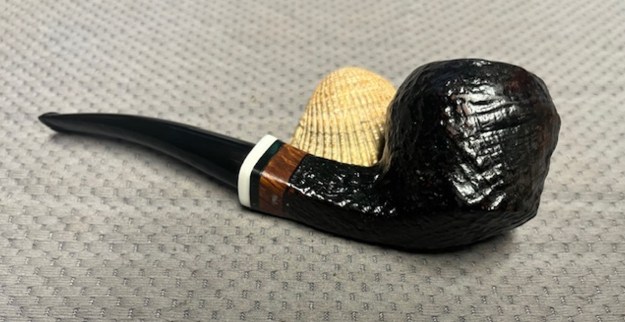
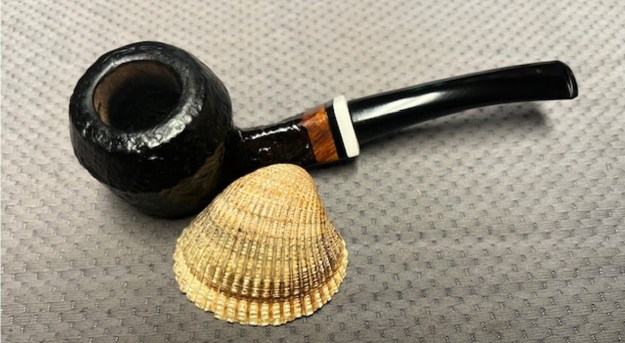
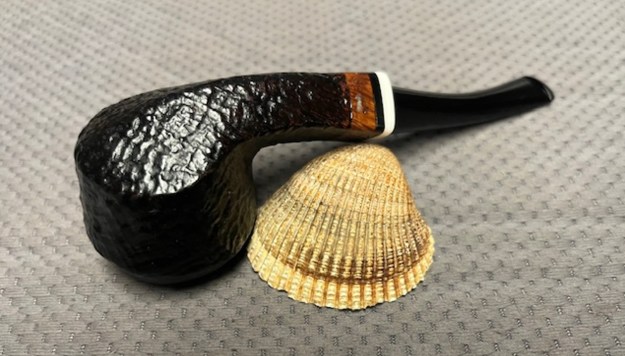
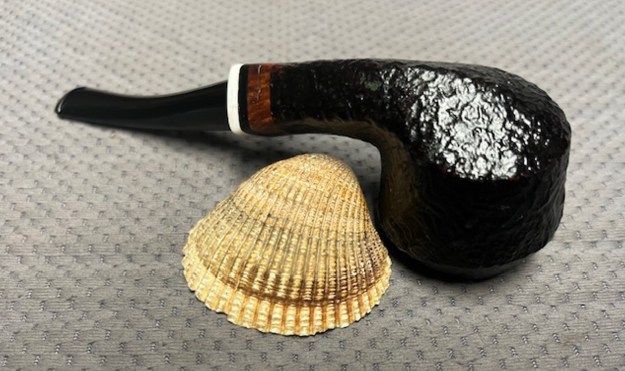
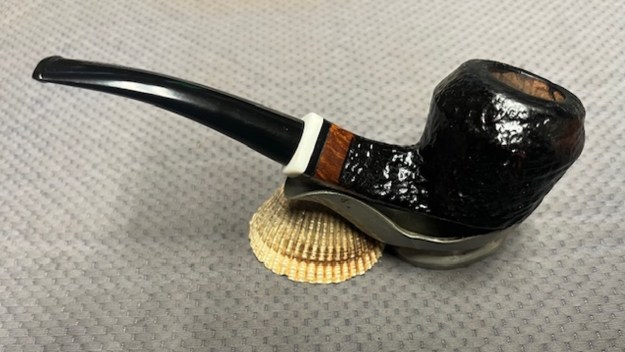
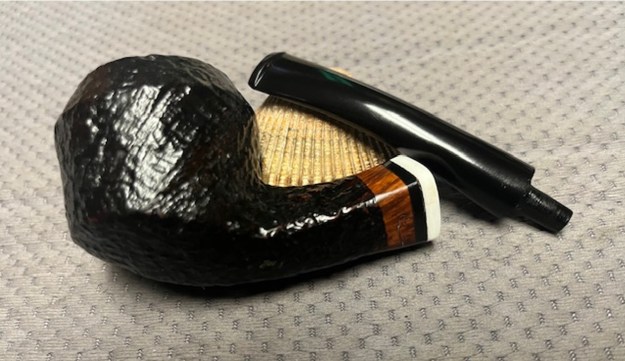
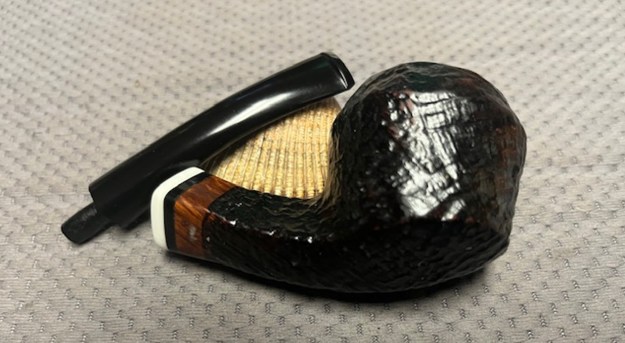
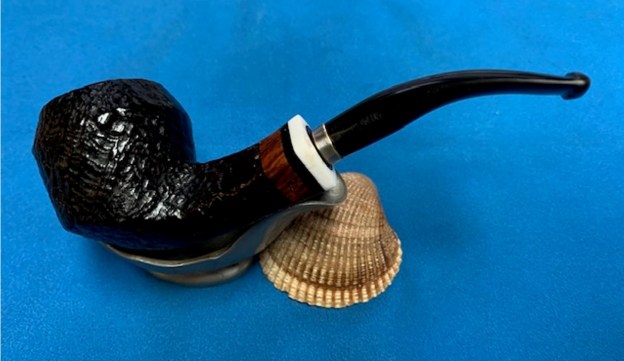
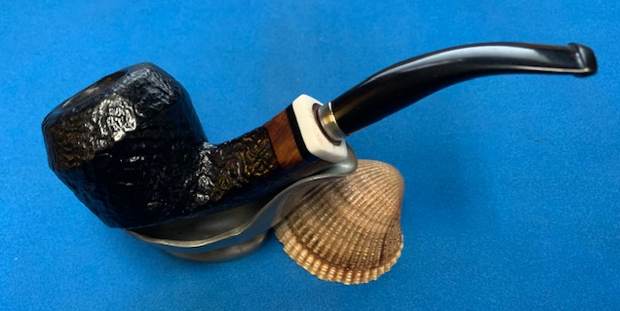
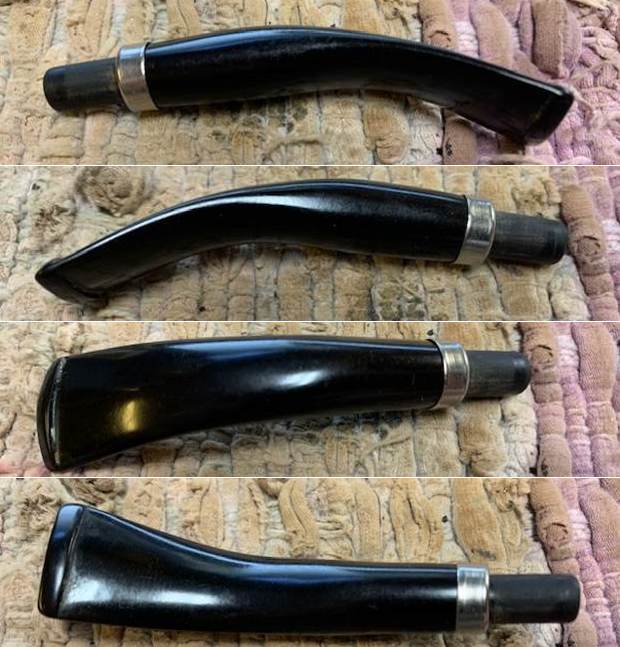
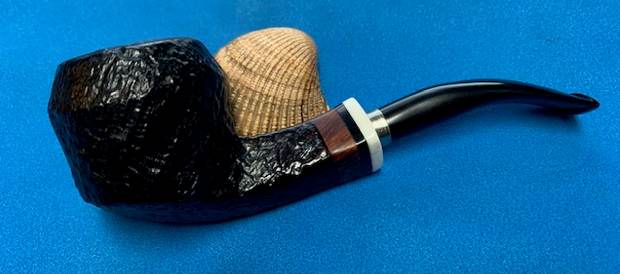
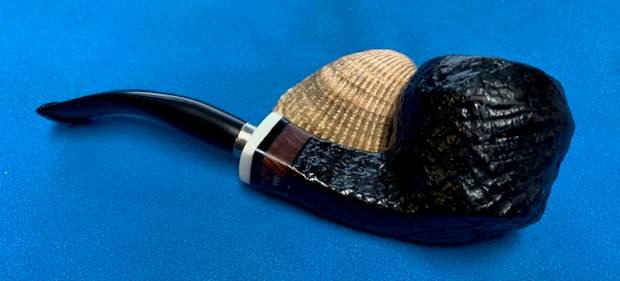
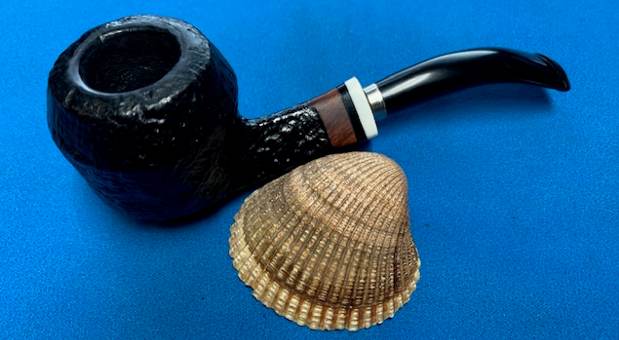
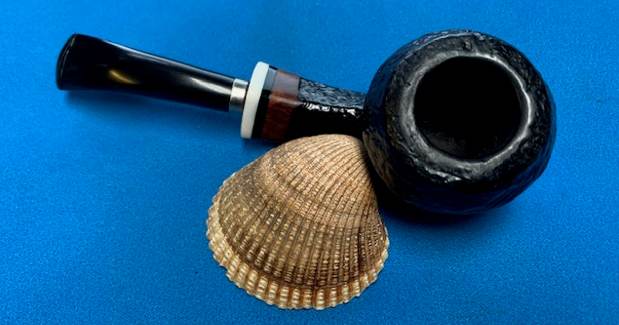
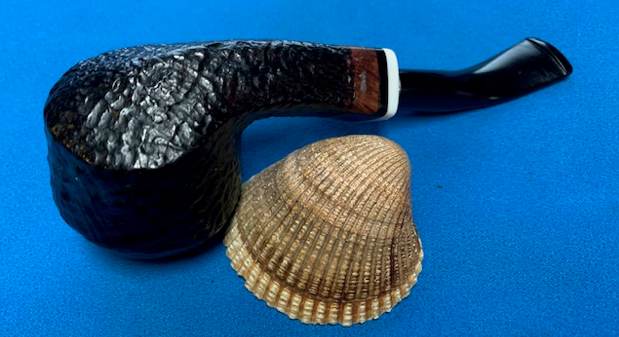
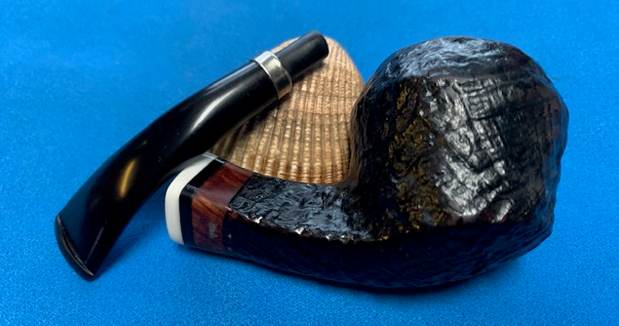
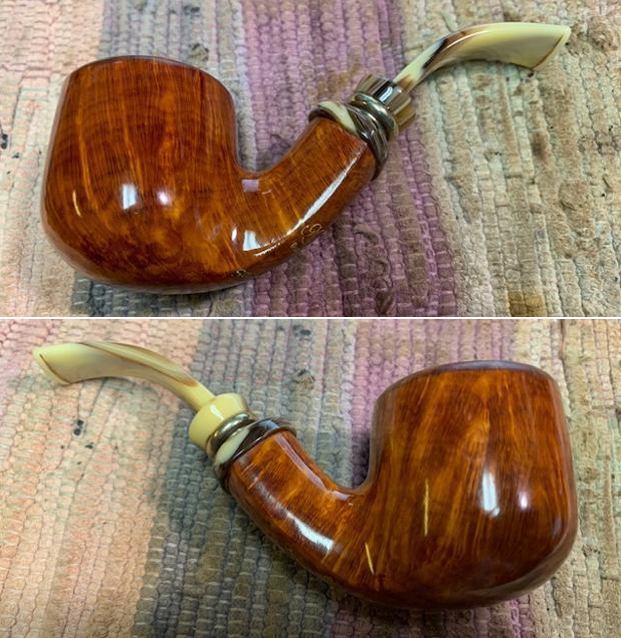
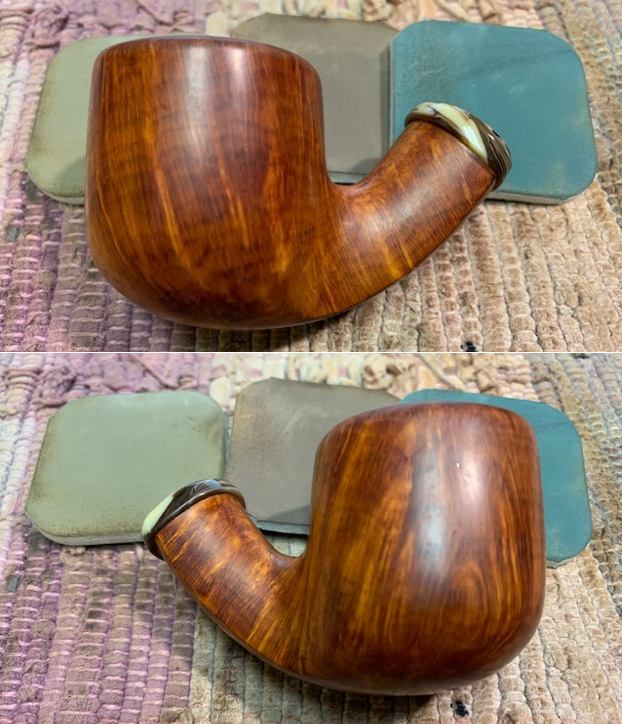
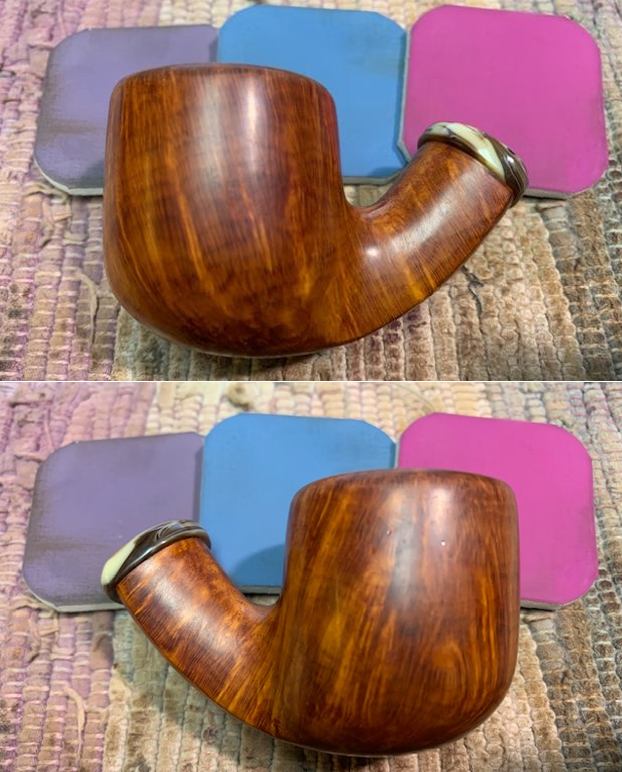
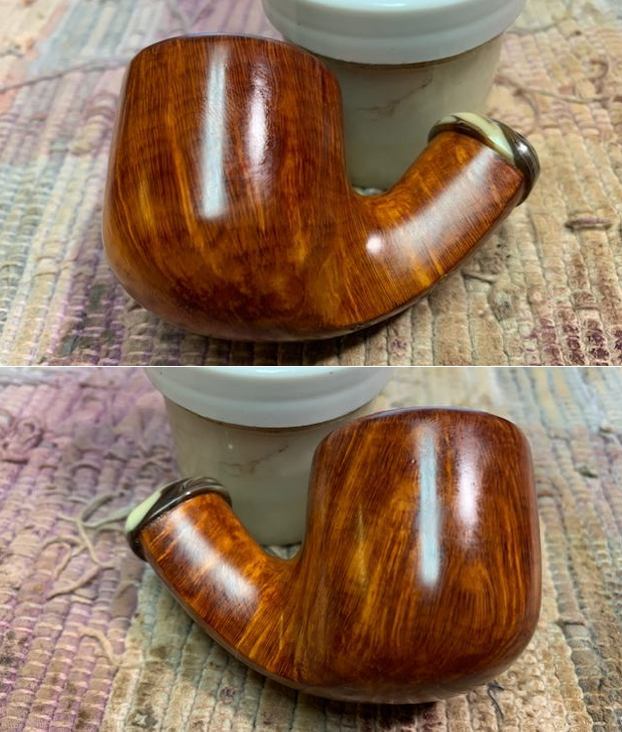
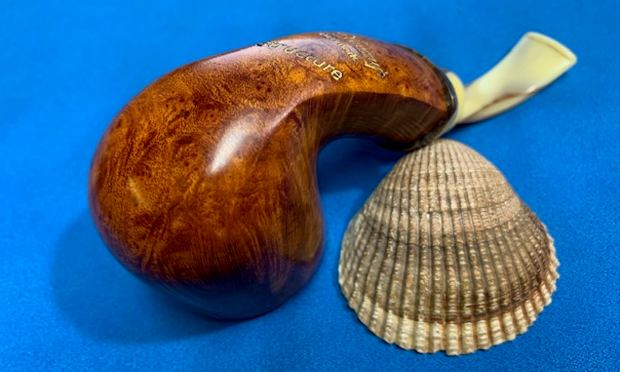
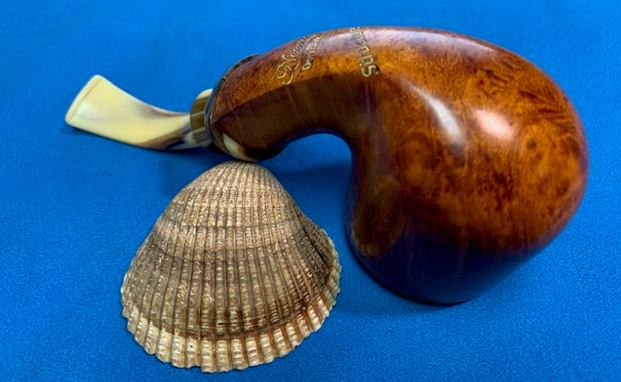
 This Neerup Made in Denmark Freehand Bulldog carved by Peder Jeppesen combines a great looking piece of sandblast briar with a multi-banded shank extension and a vulcanite stem to make a beautiful pipe. The removal of the thick shiny coat allows the grain to come alive with the polishing and waxing. I put the stem back on the bowl and carefully buffed the pipe with Blue Diamond on the buffing wheel. I gave the bowl and the stem multiple coats of carnauba wax on the buffing wheel and followed that by buffing the entire pipe with a clean buffing pad. I hand buffed the pipe with a microfiber cloth to deepen the shine. The finished Neerup Made in Denmark Bulldog really is a beauty and fits nicely in the hand and looks very good. Give the finished pipe a look in the photos below. The dimensions of the pipe are Length: 5 ¾ inches, Height: 1 ¾ inches, Outside diameter of the bowl: 1 ¾ inches, Chamber diameter: ¾ of an inch. The weight of the pipe is 1.80 ounces/51 grams. Once I finish the second pipe this one will be going back to Curtis to enjoy. Thanks for reading this blog and my reflections on the pipe while I worked on it. There are many more to come!