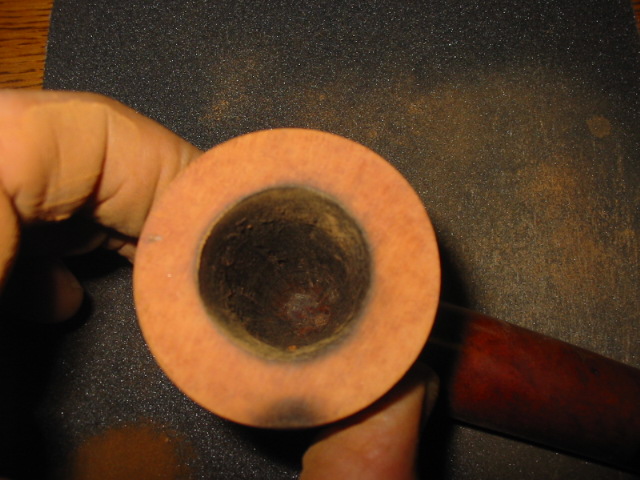
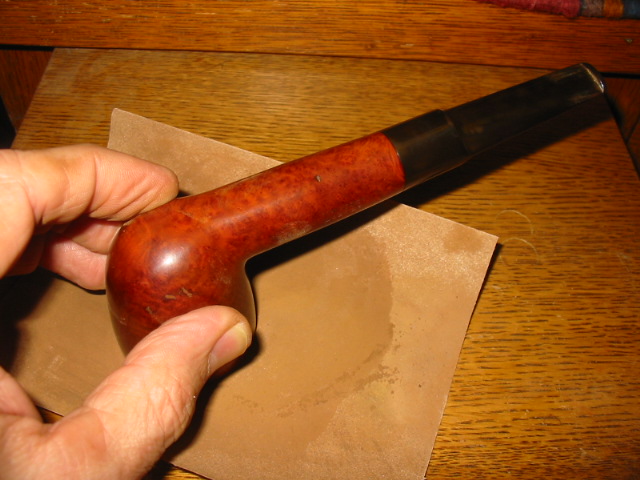
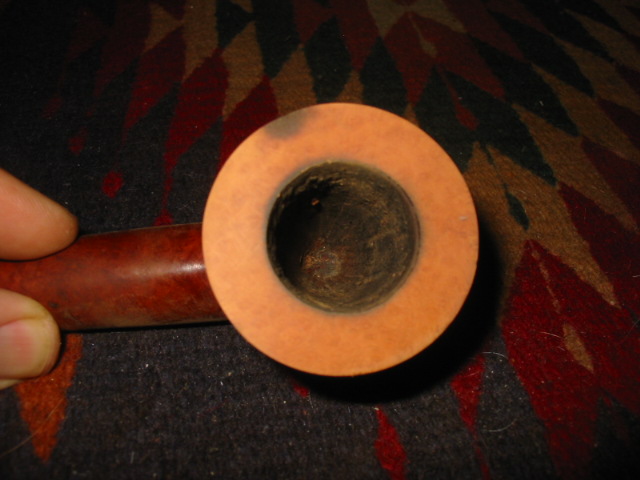
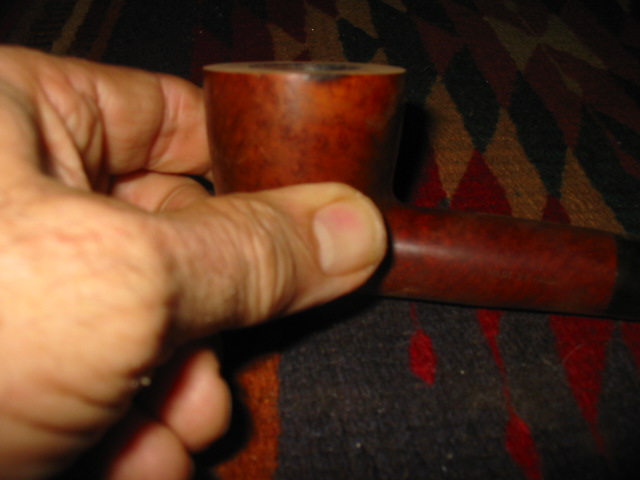
Tag Archives: repairing tooth marks

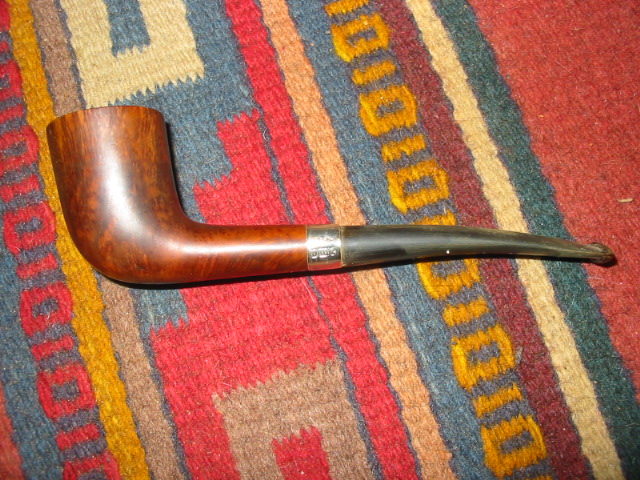
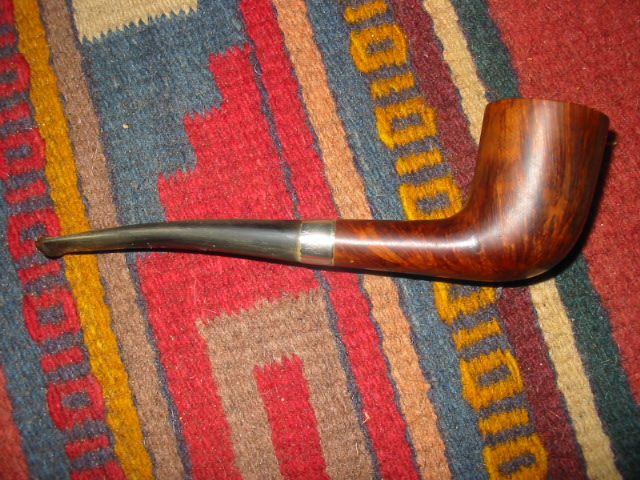
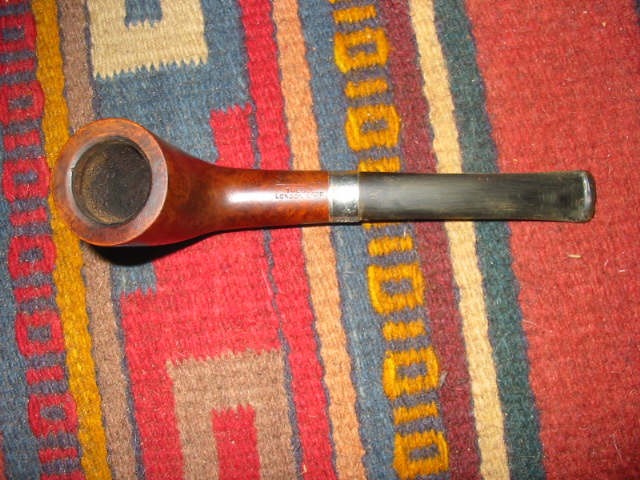
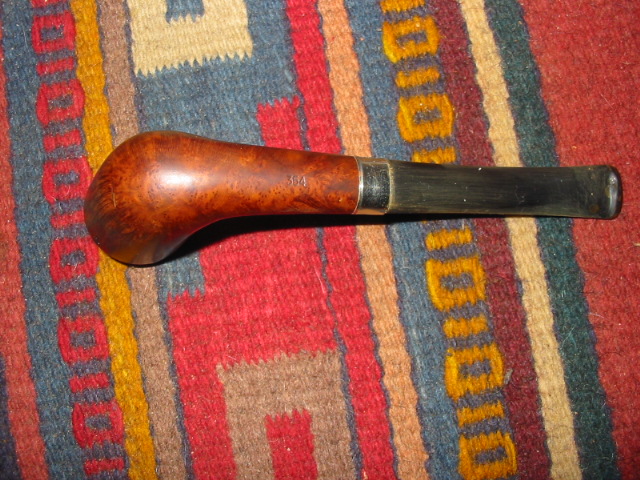
Refurb – Barling Garnet Grain Lovat


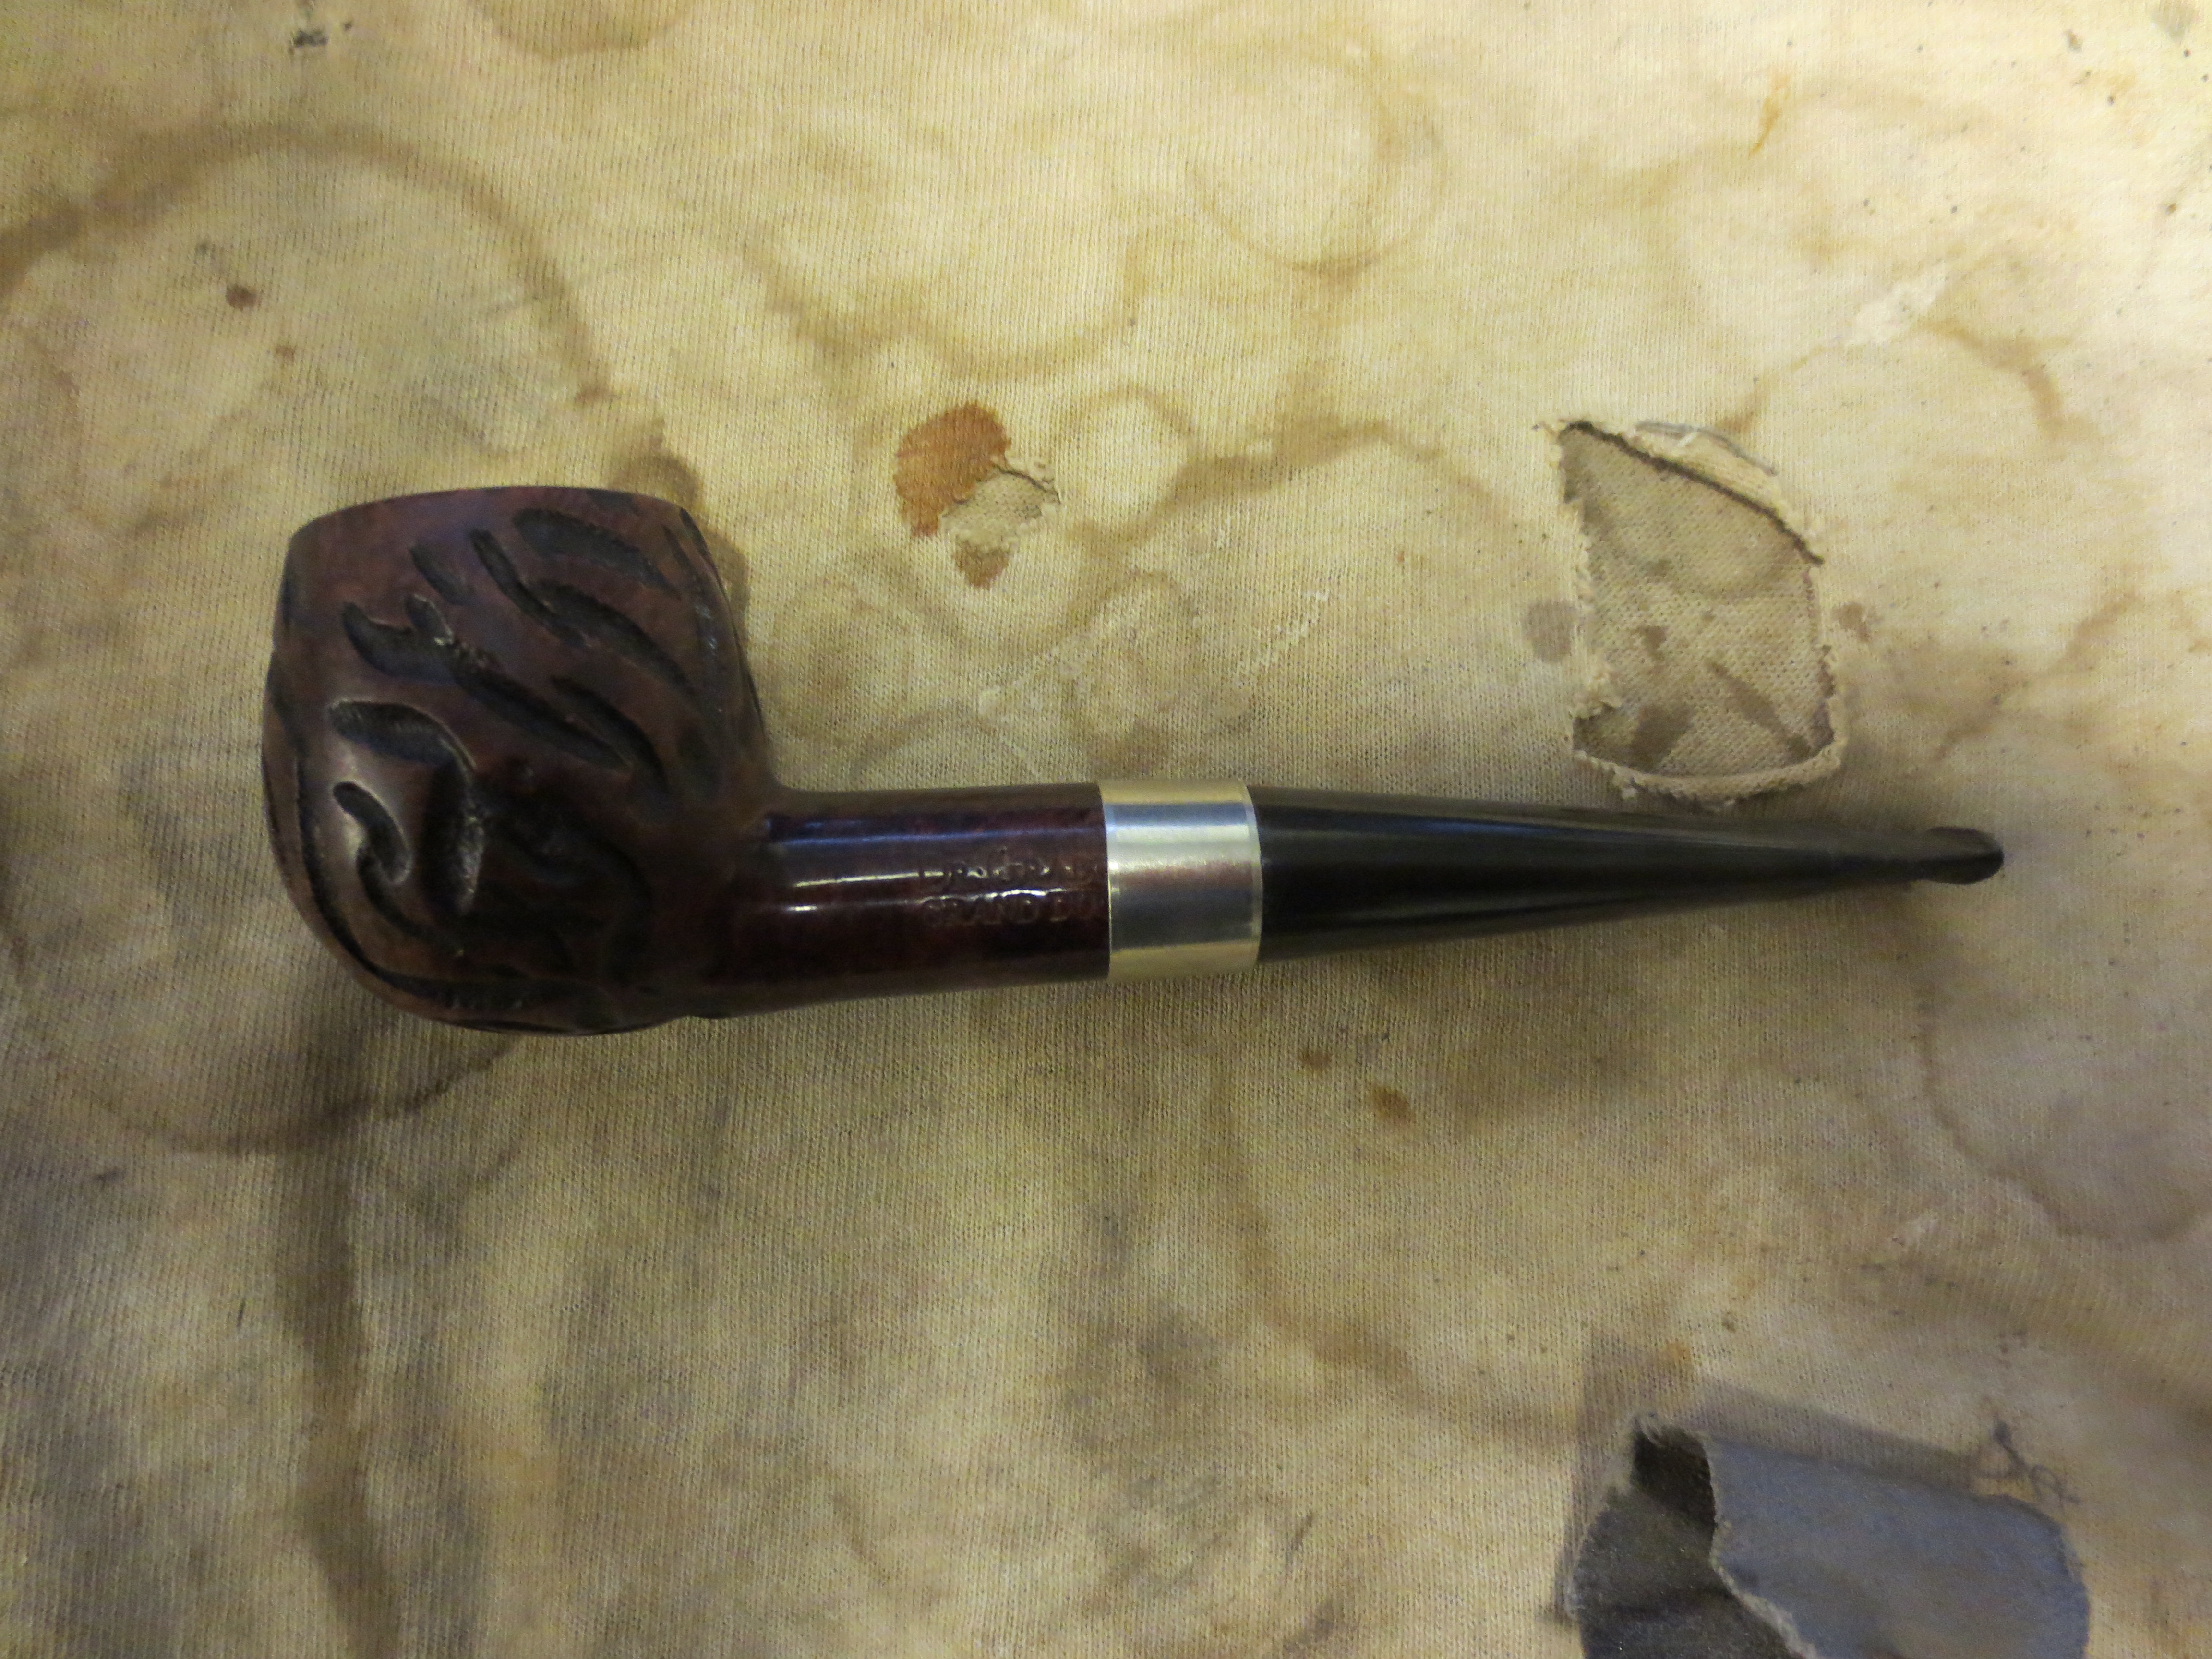
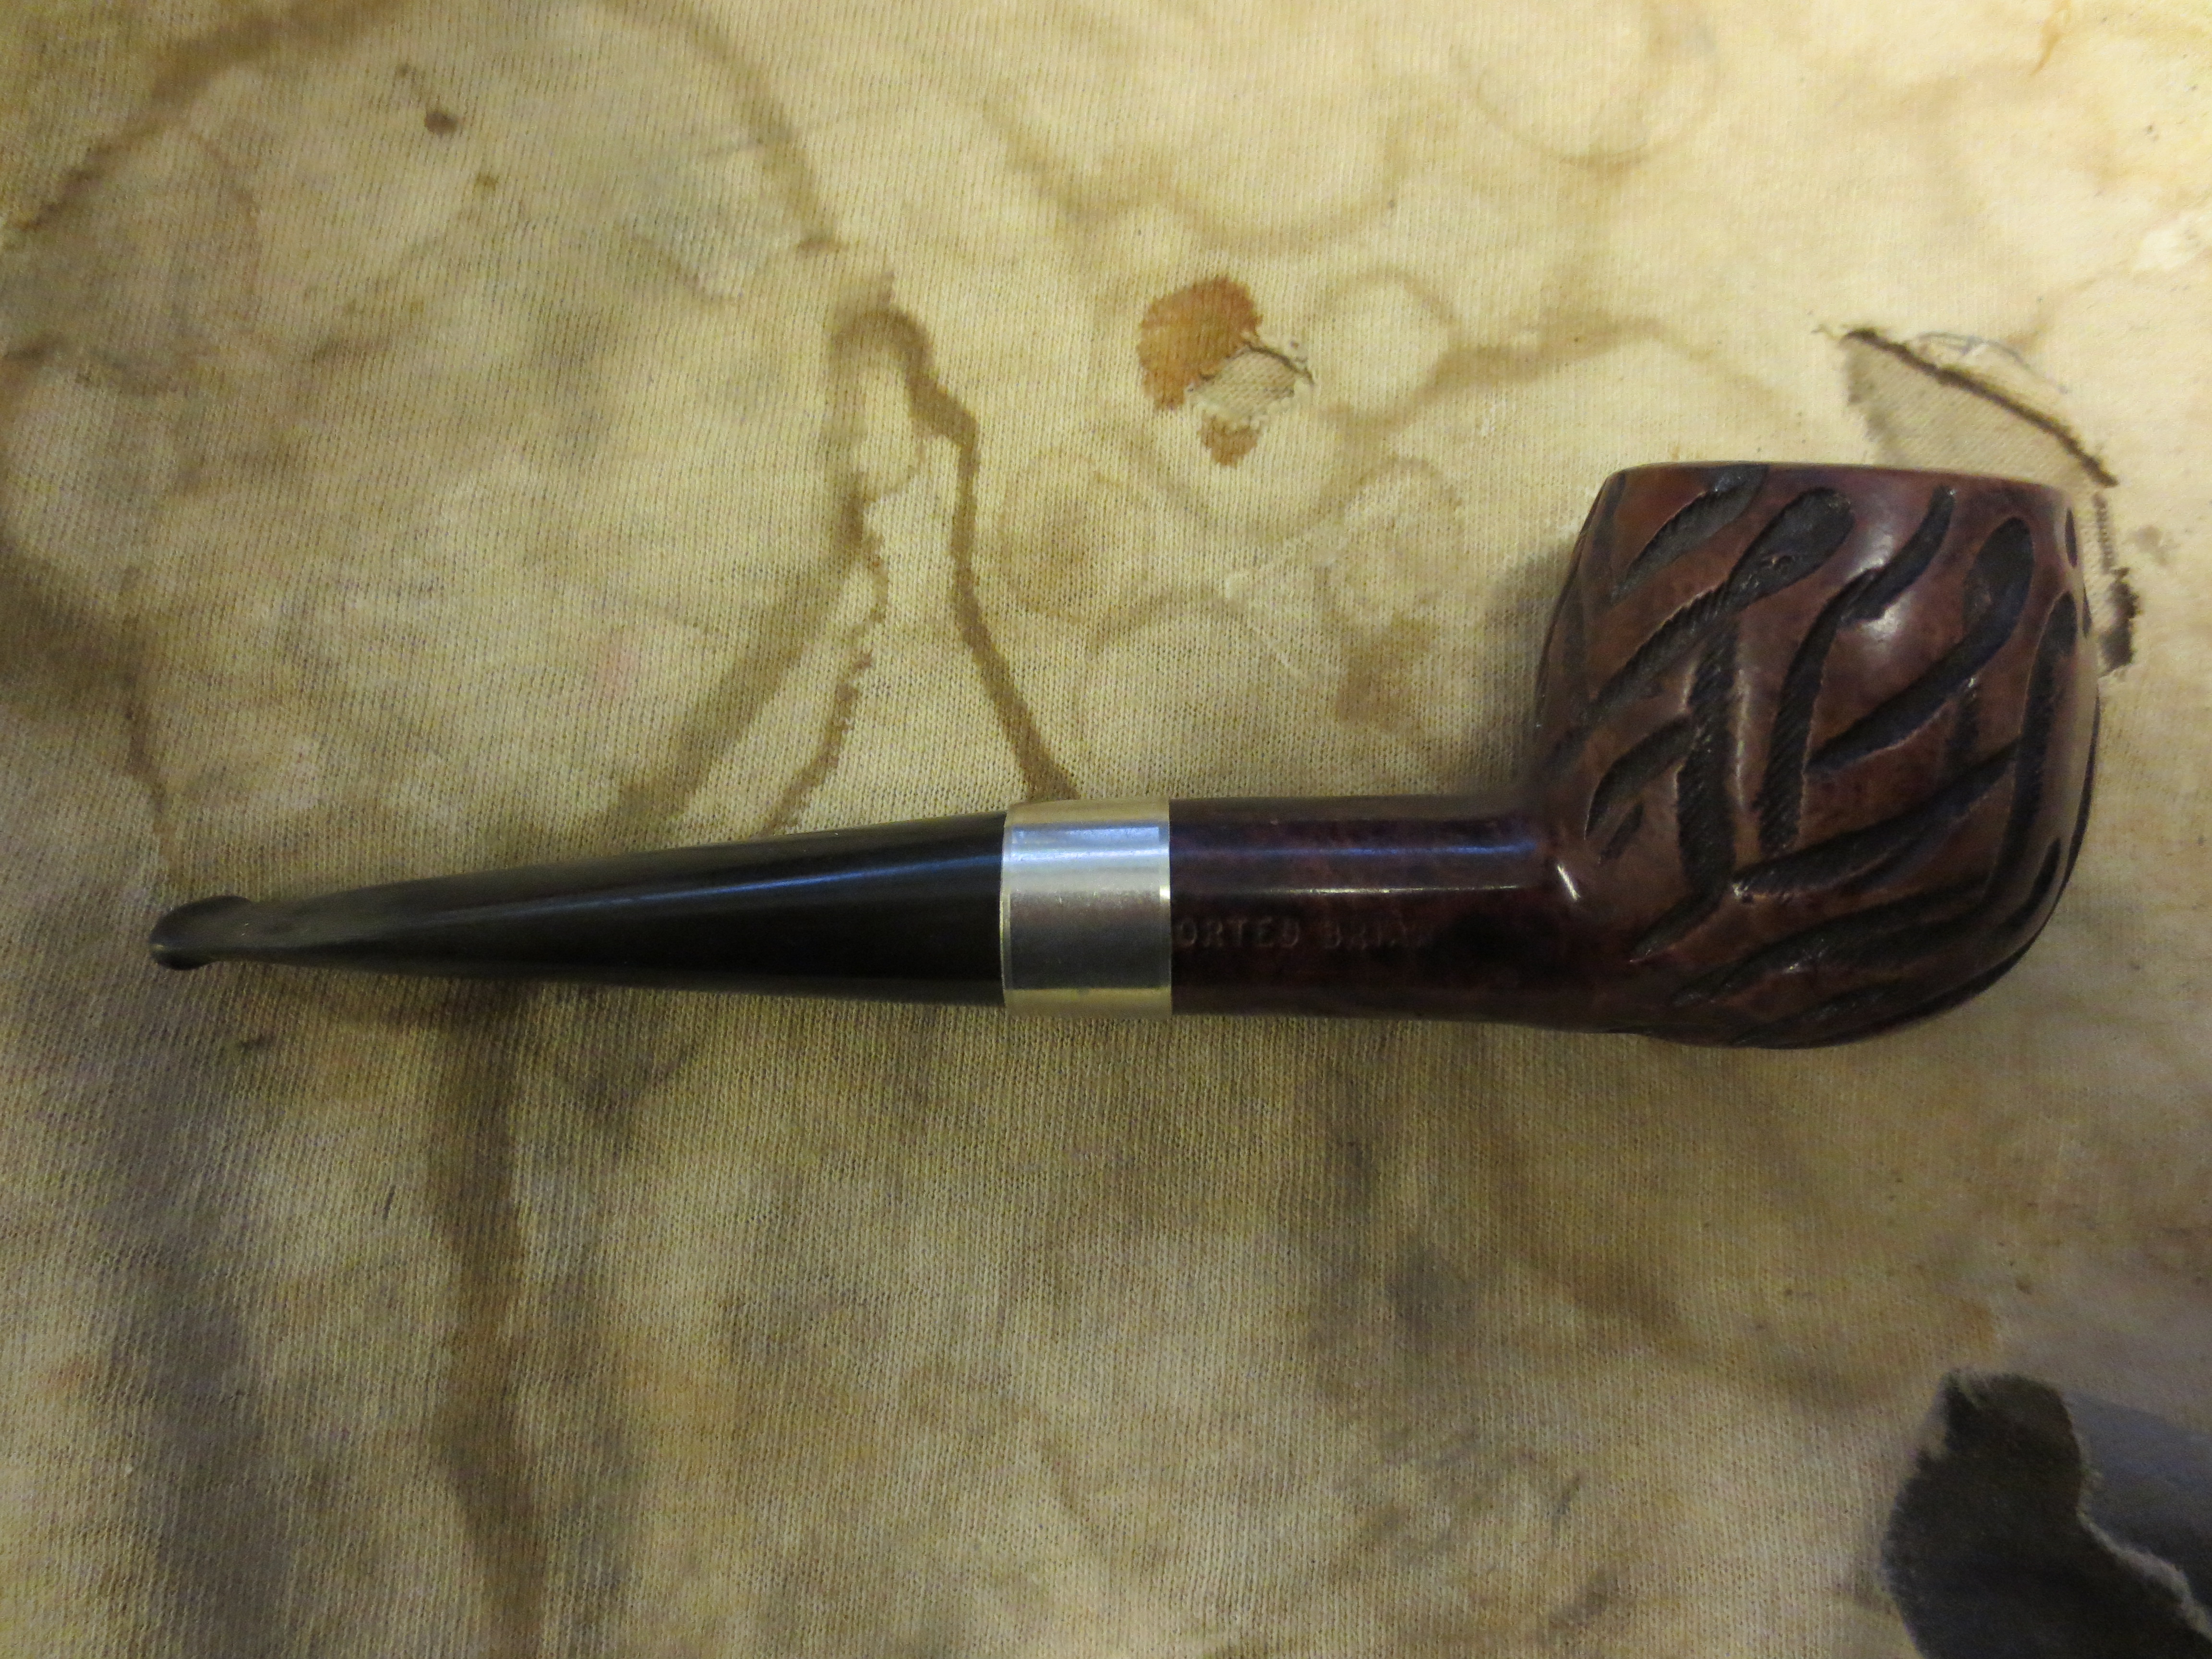
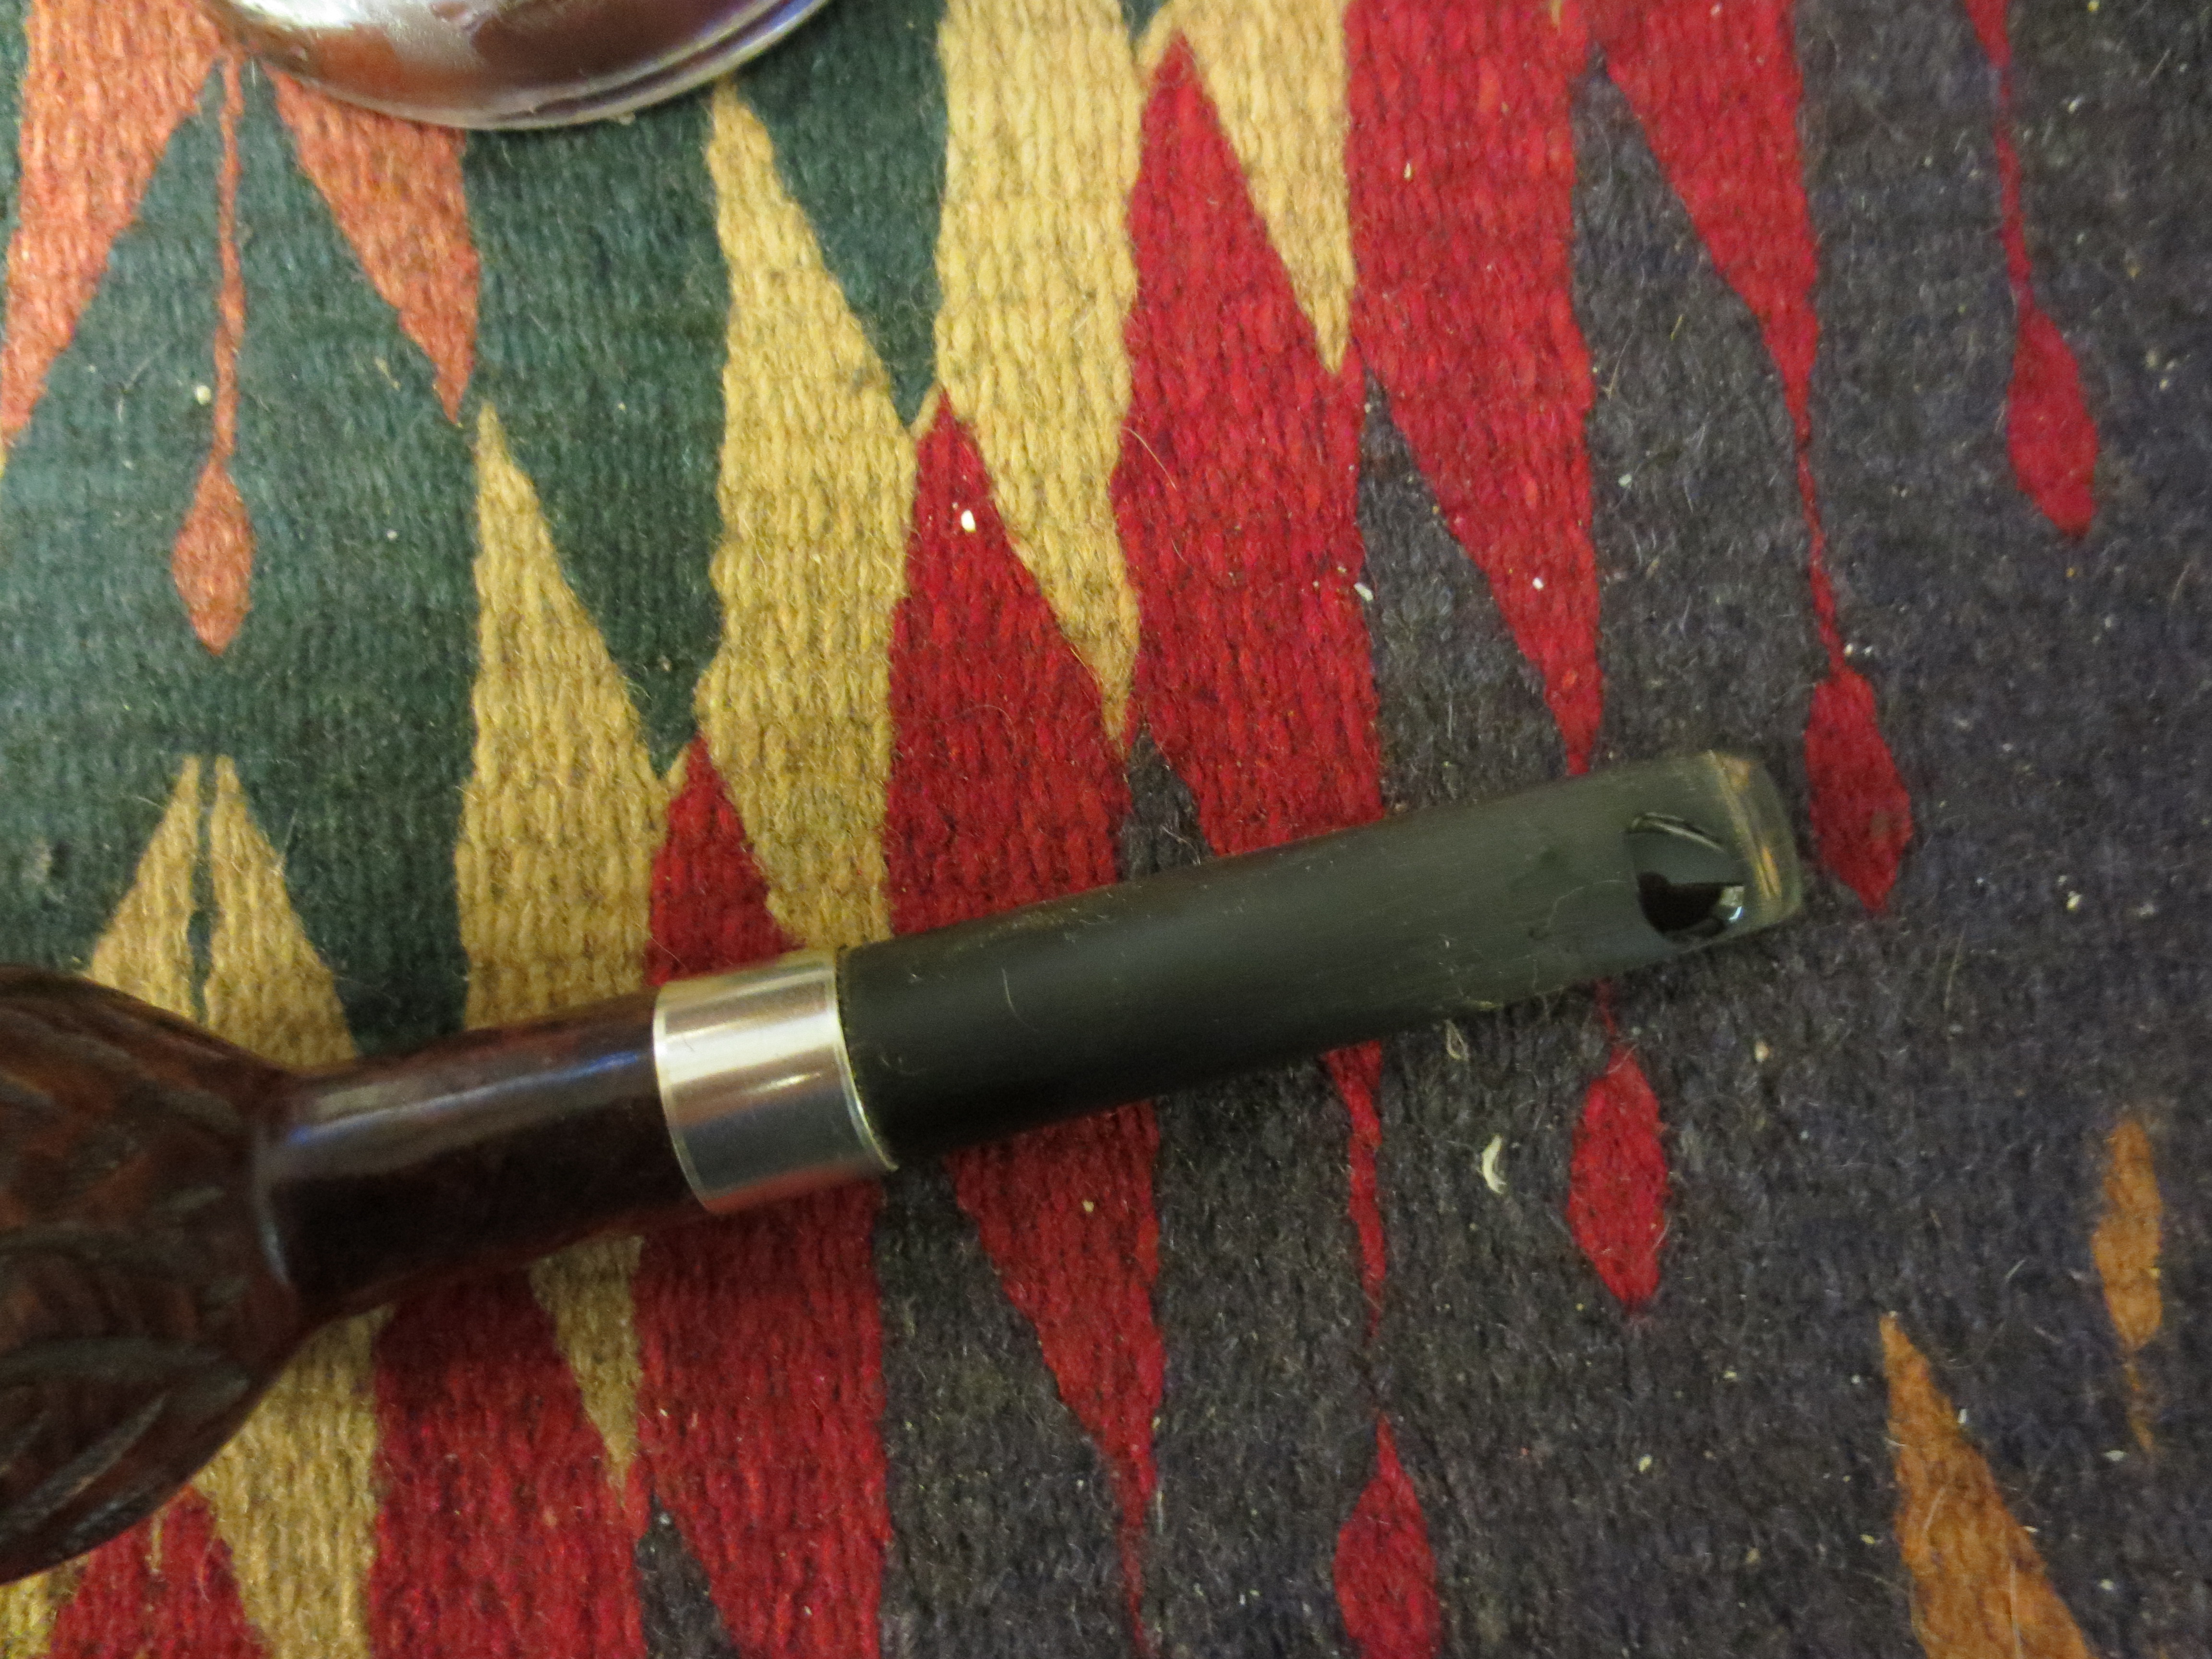
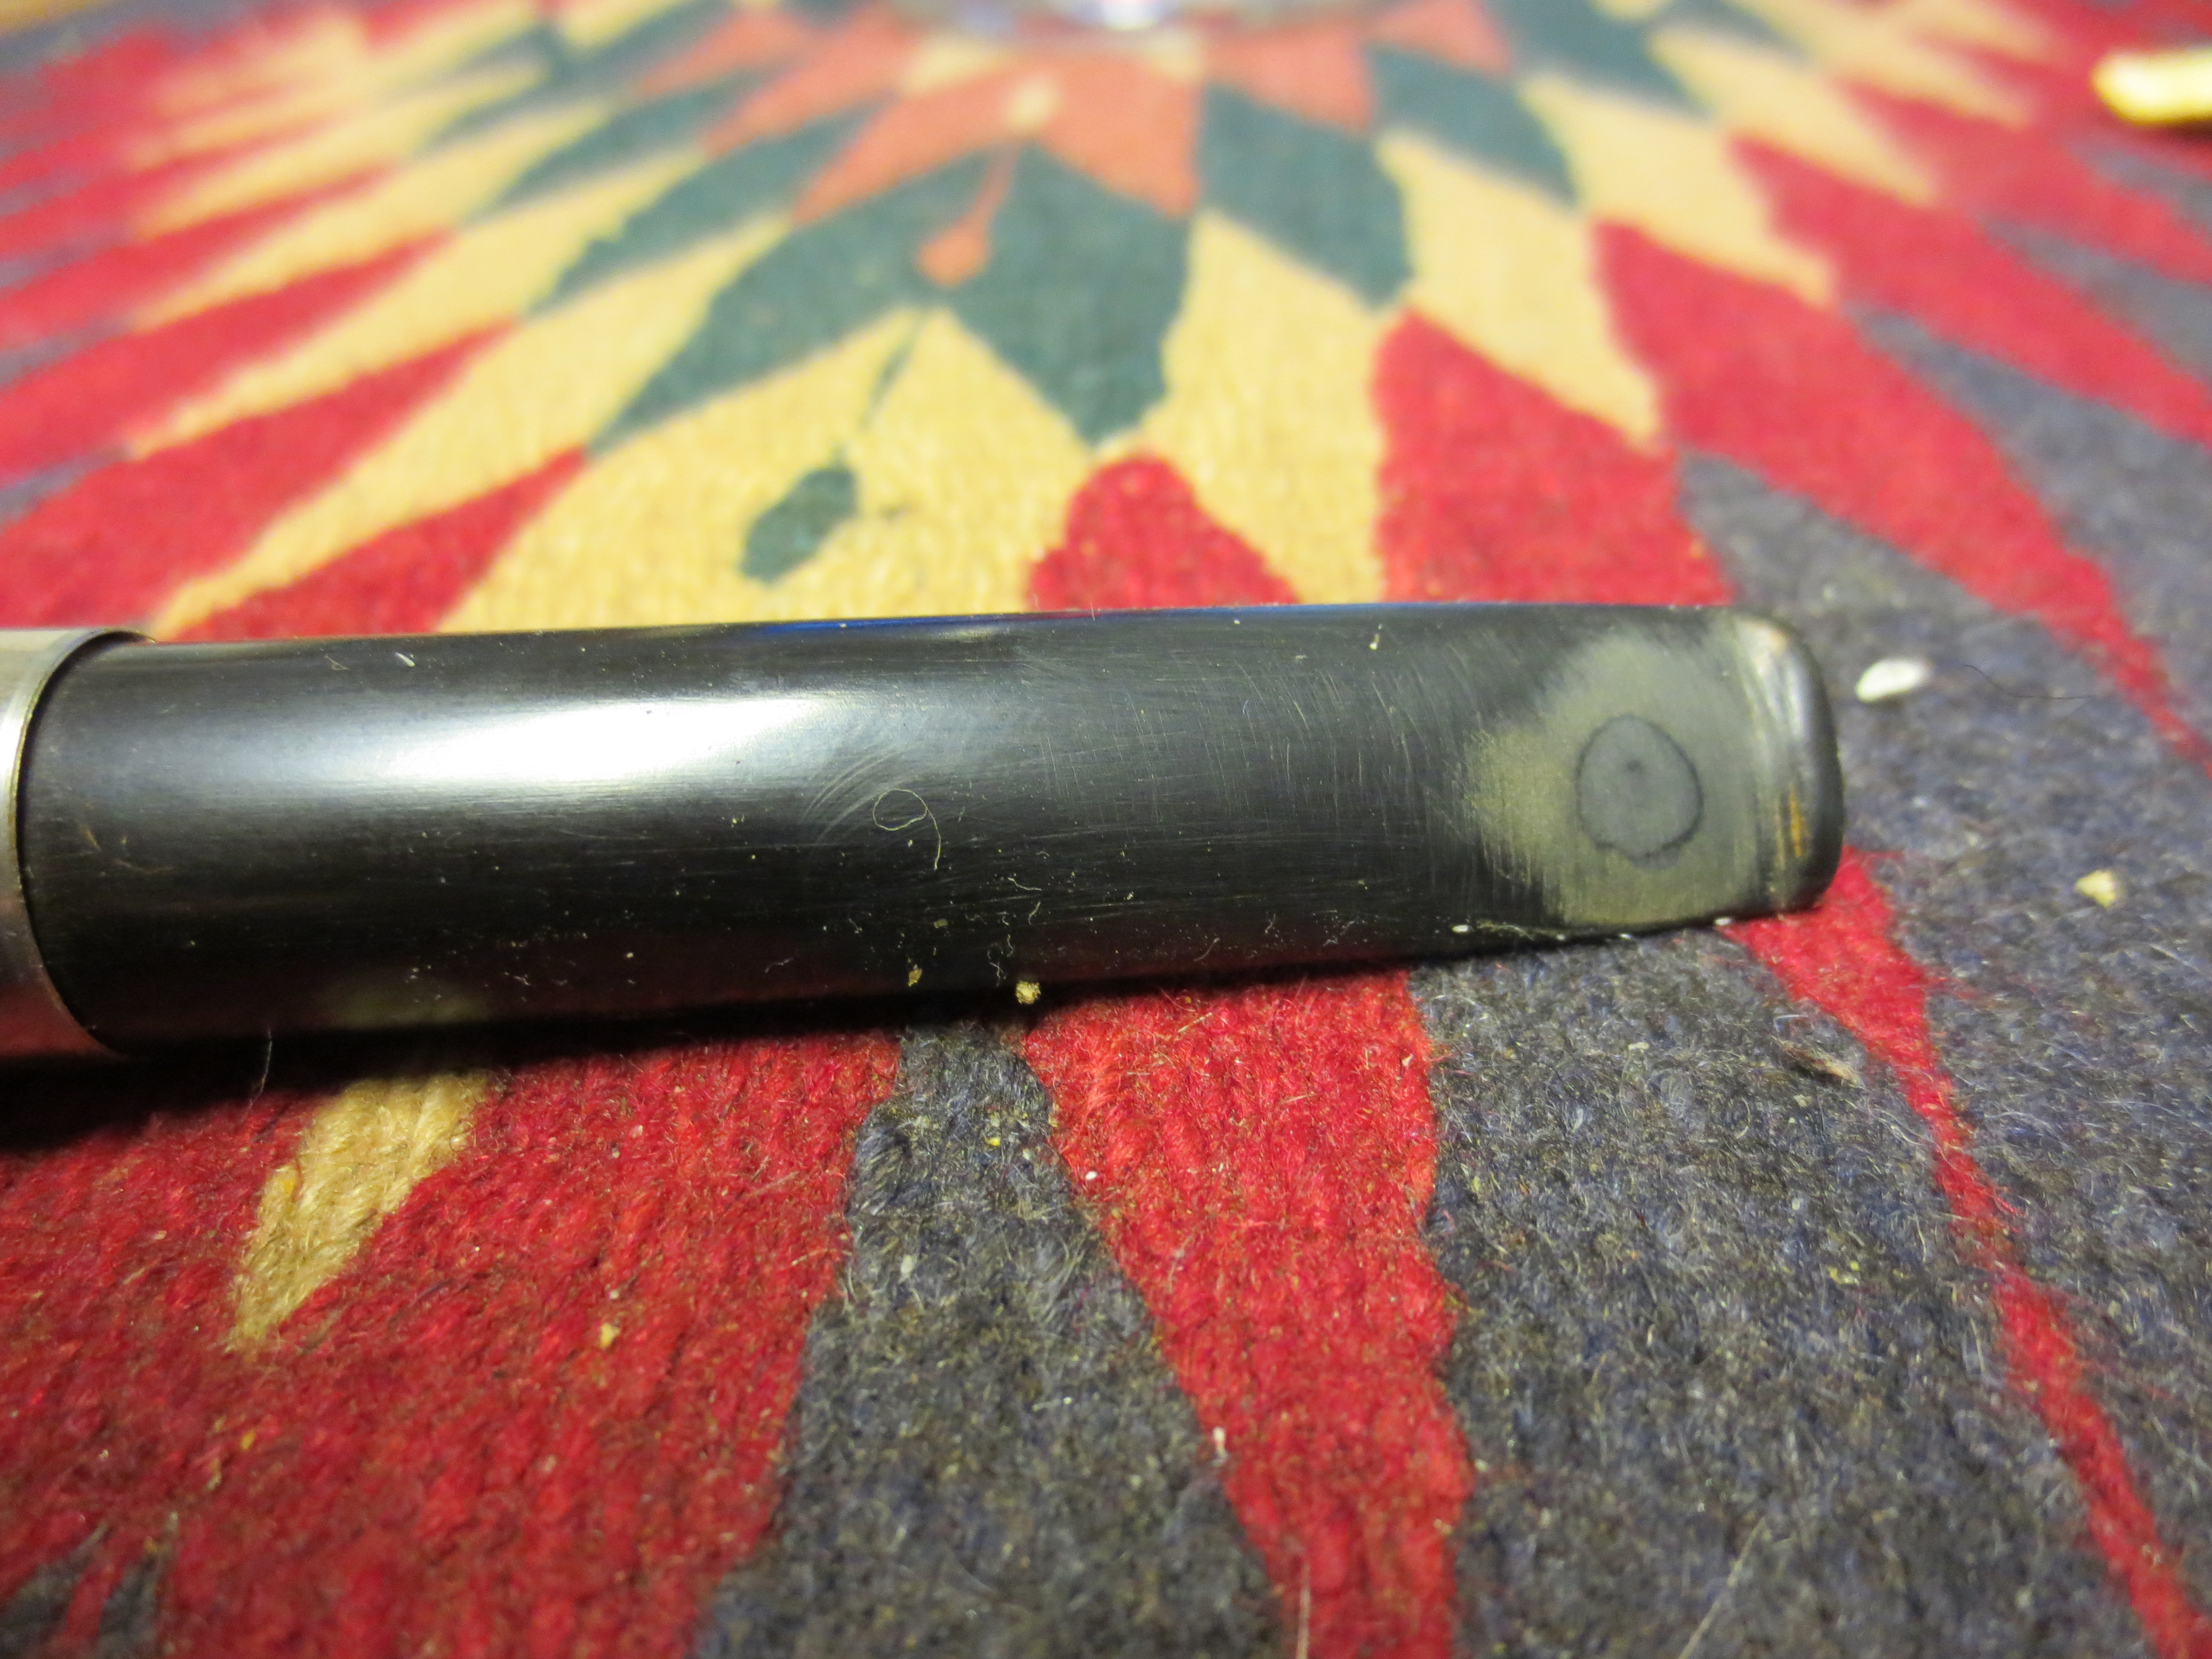
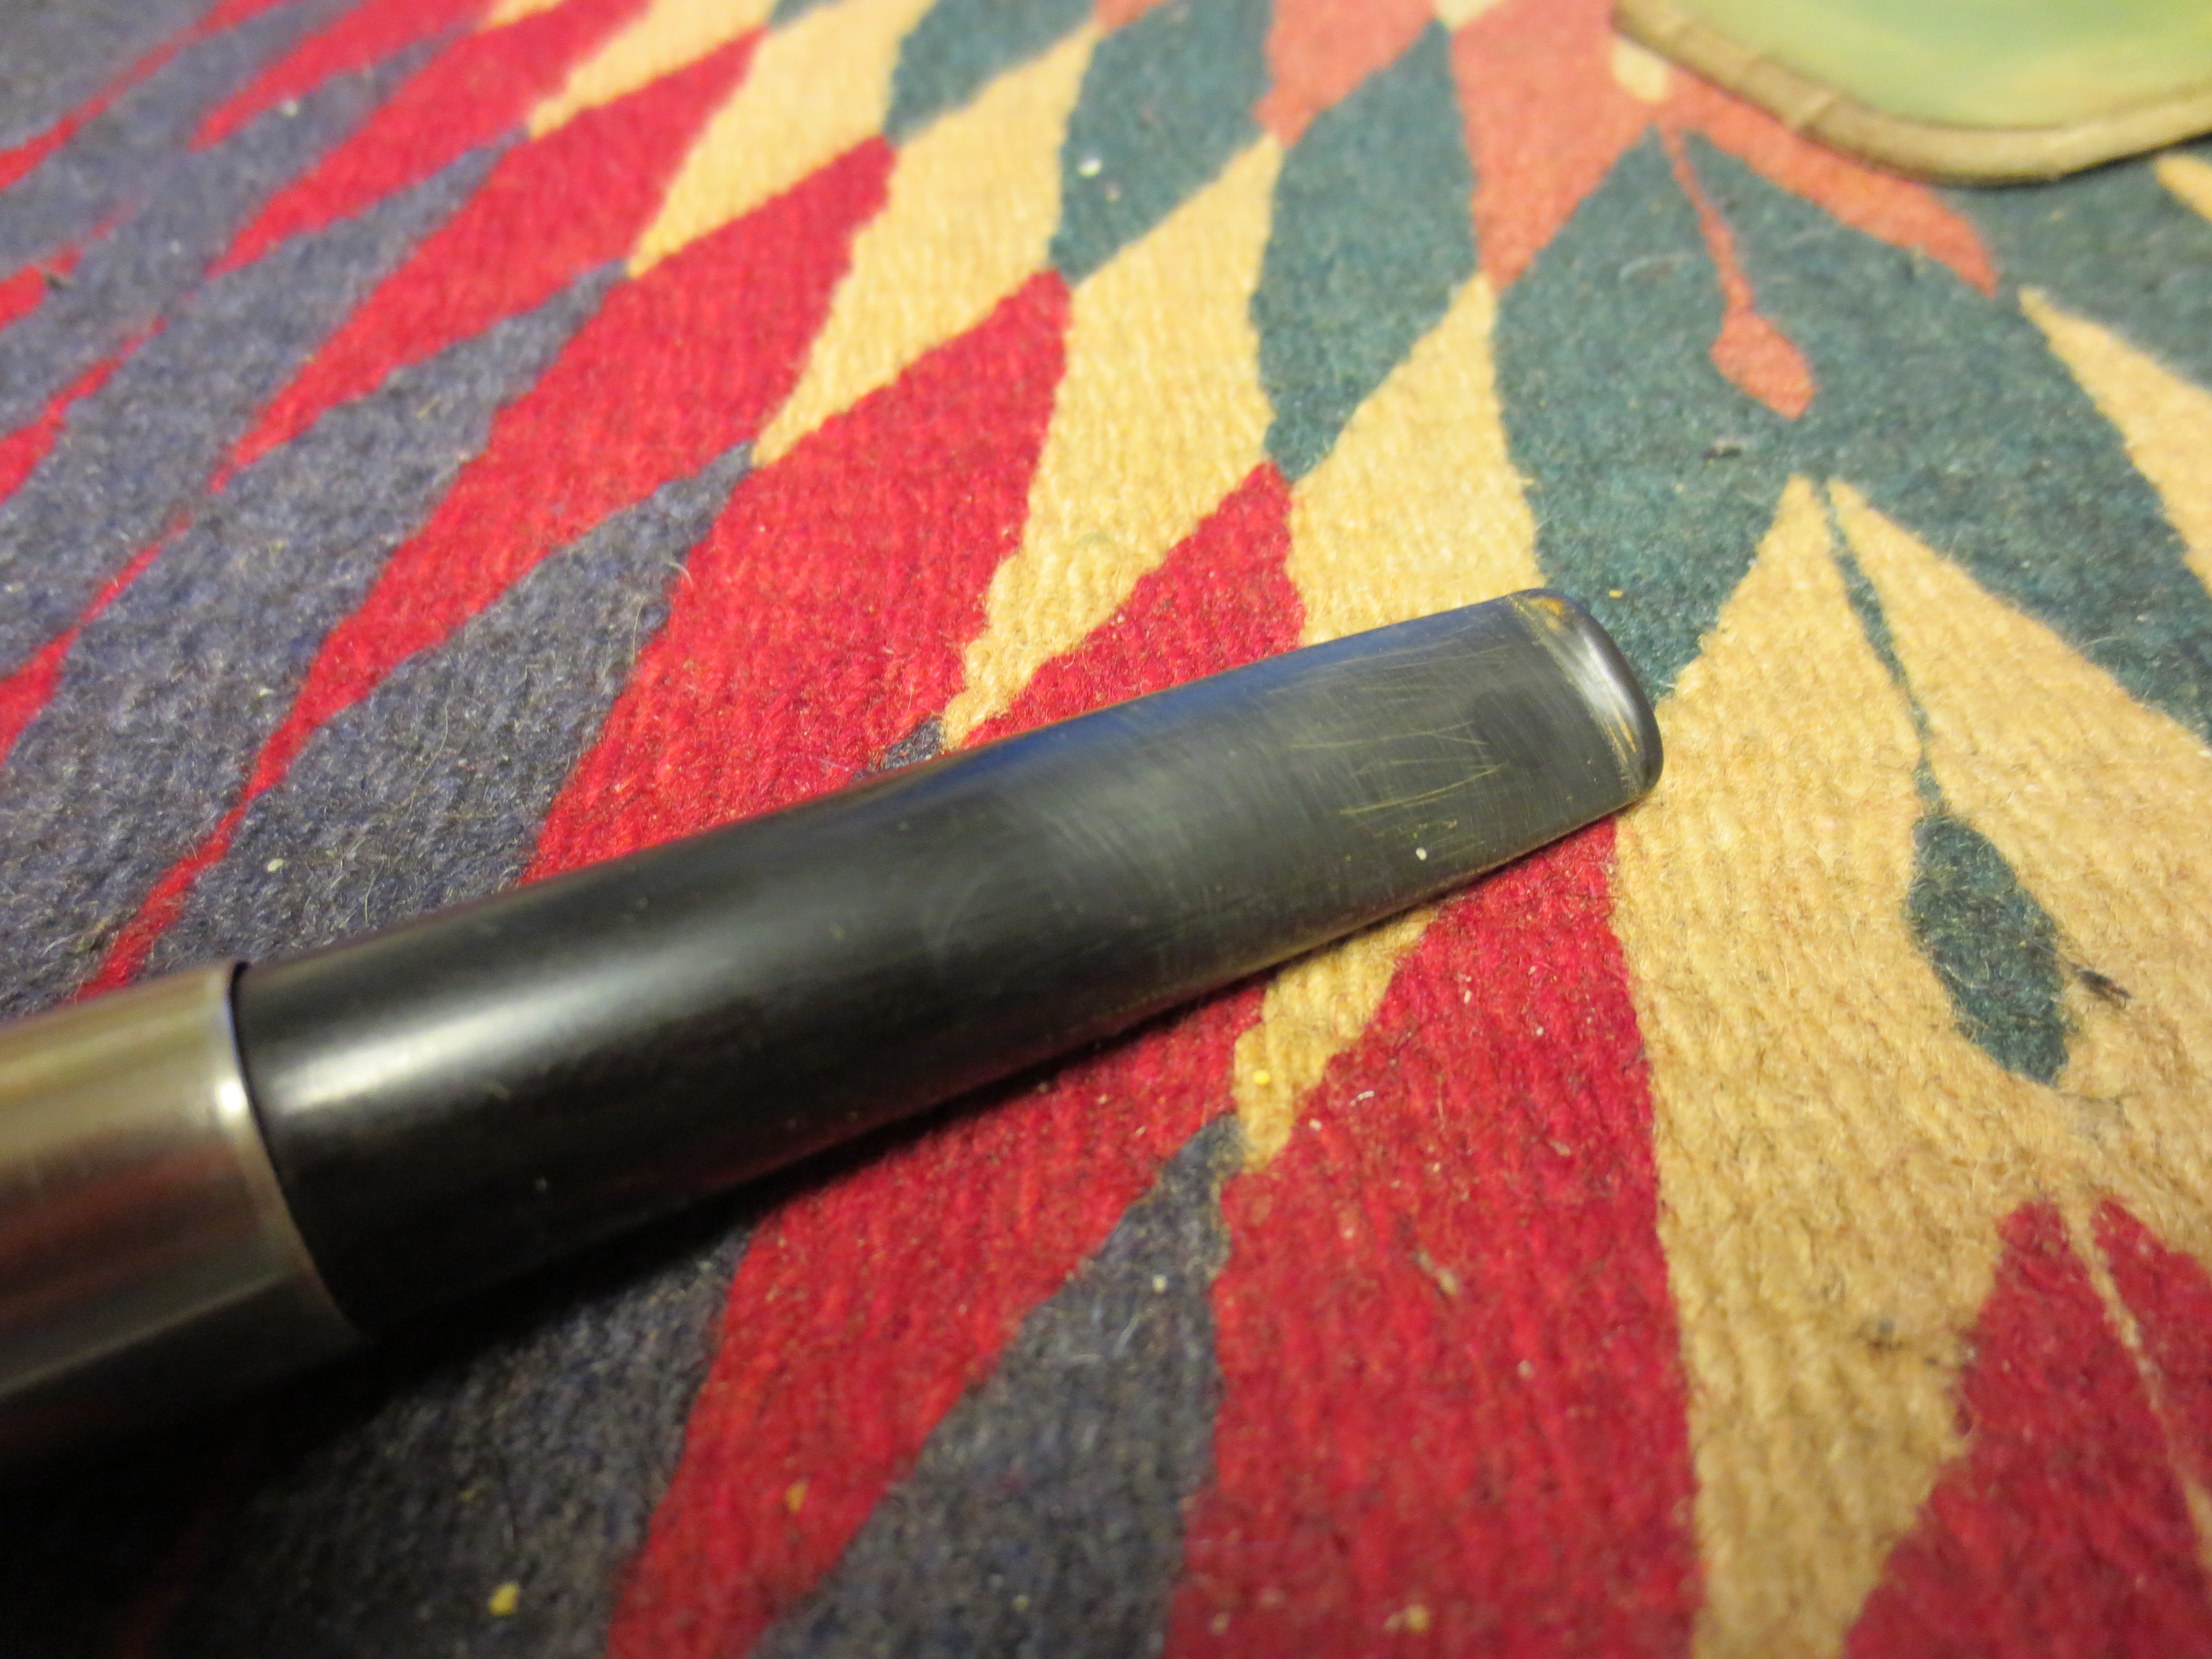
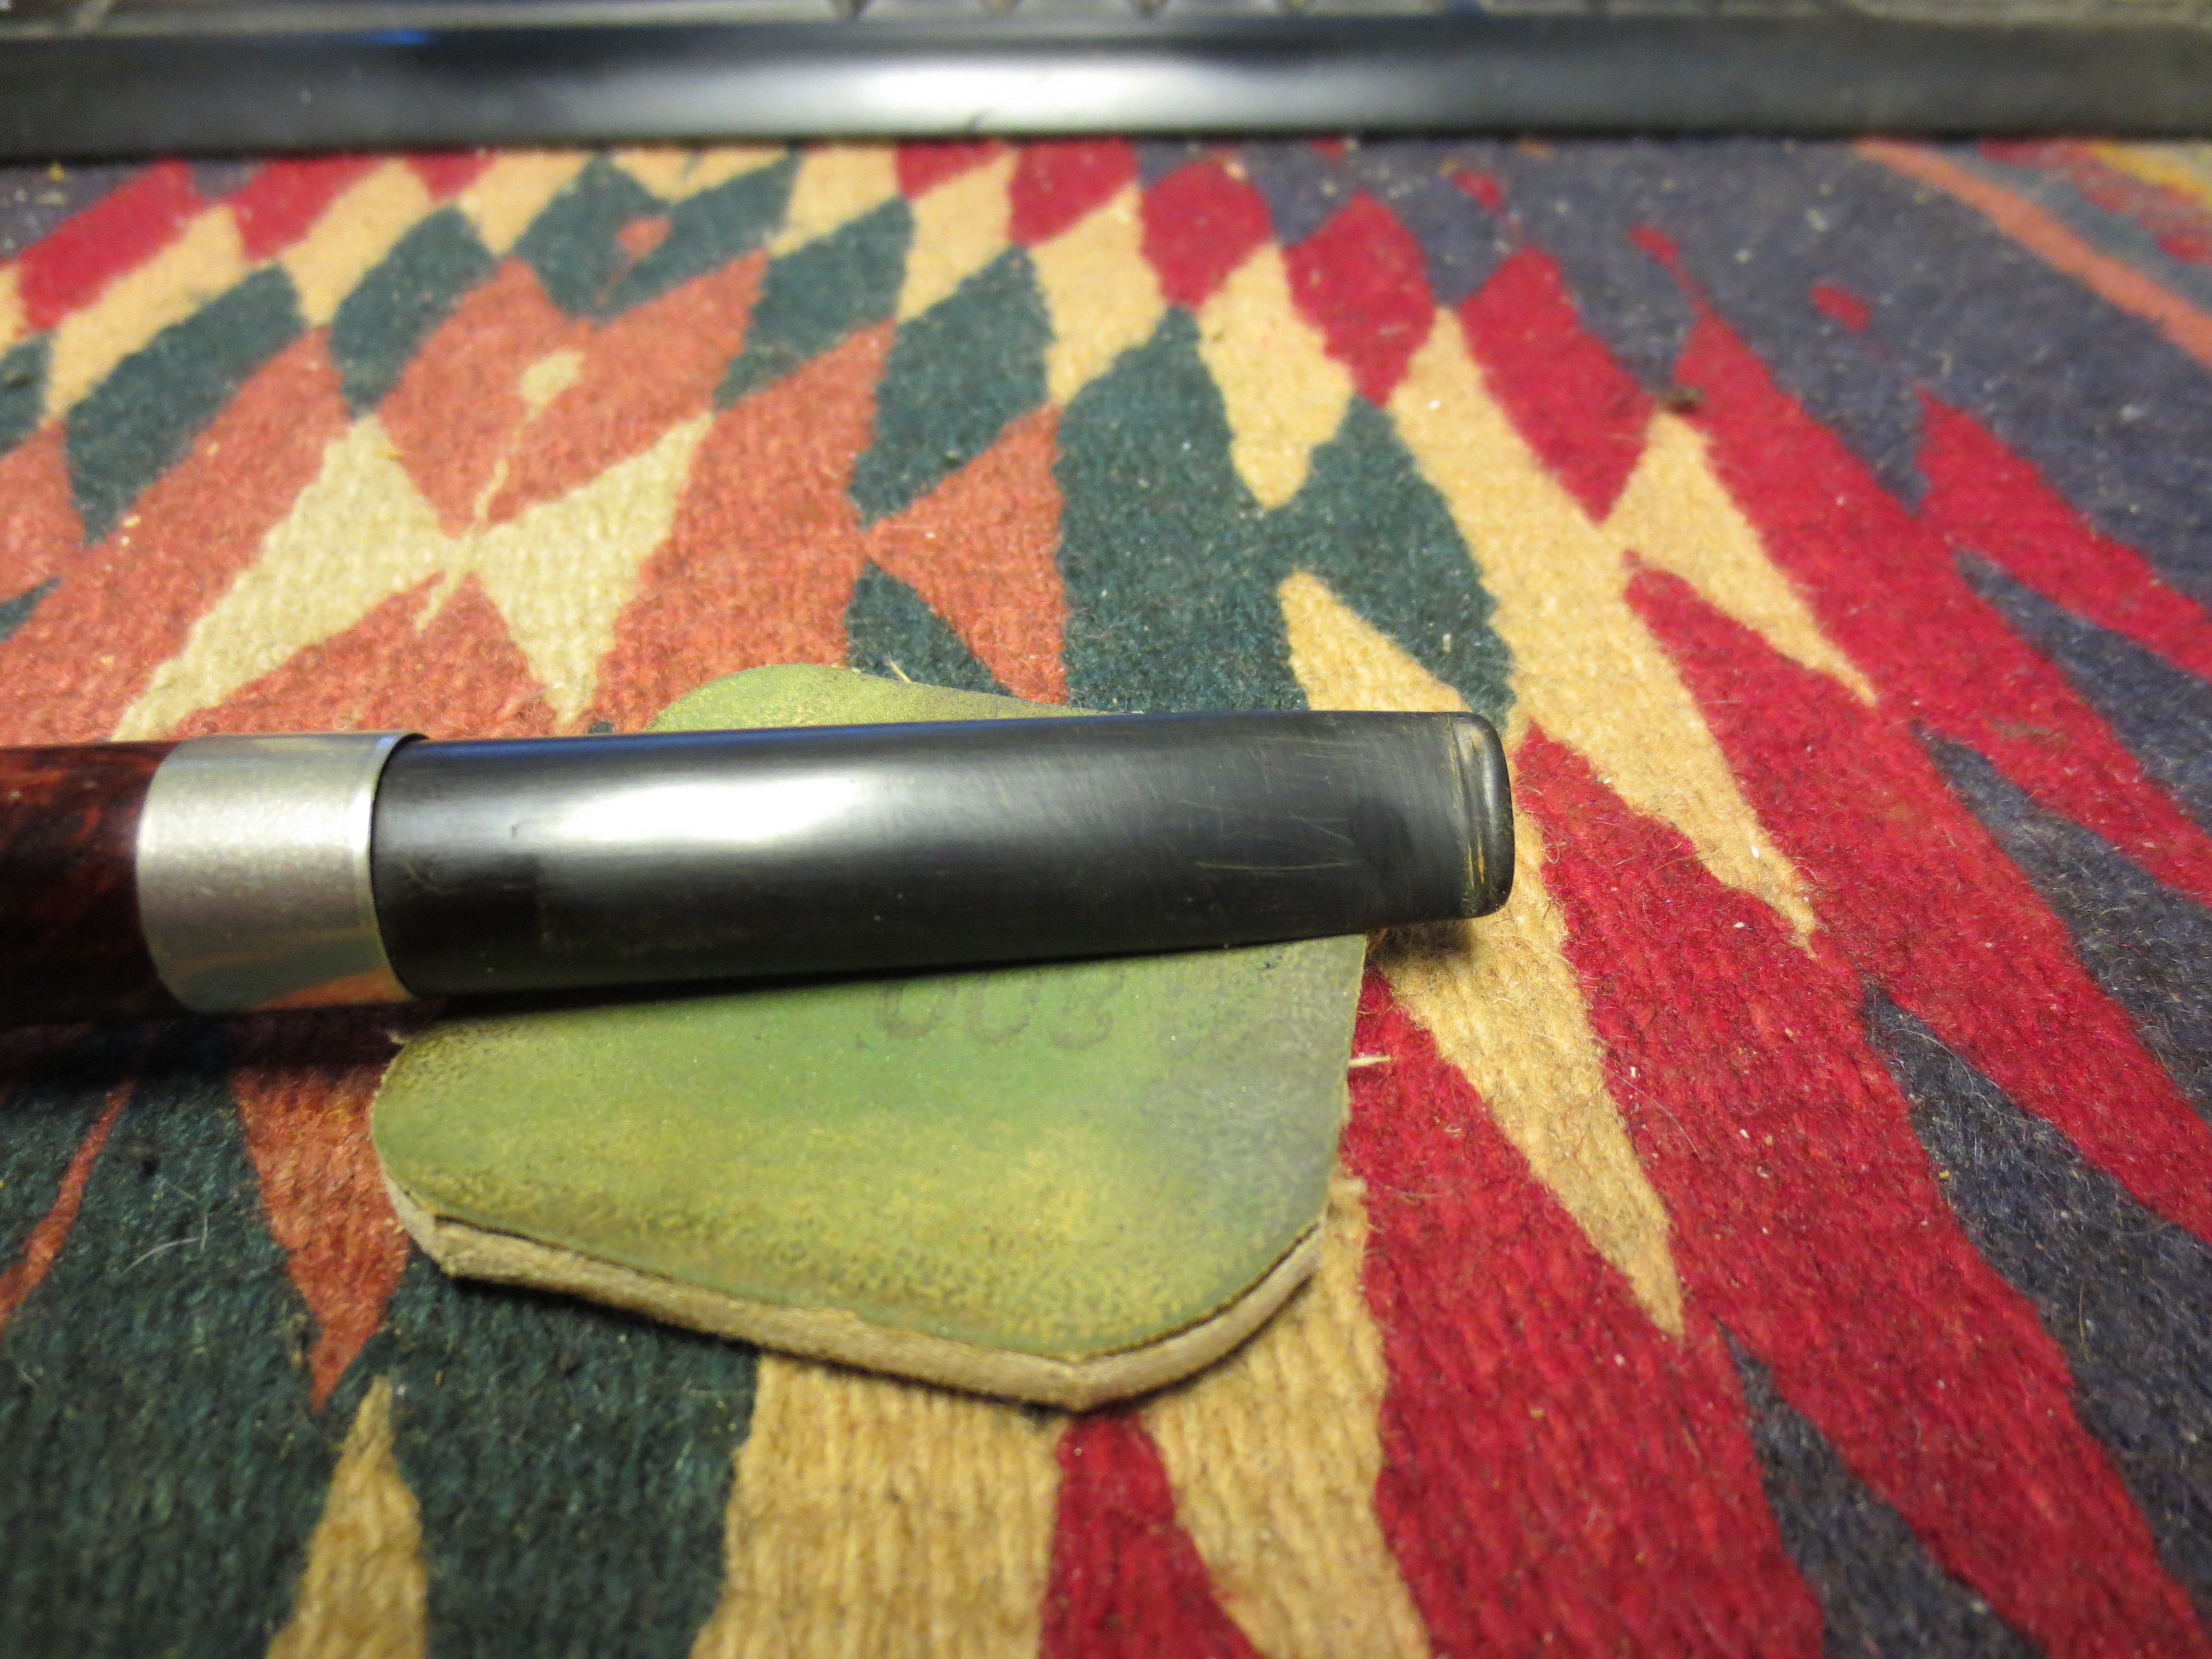
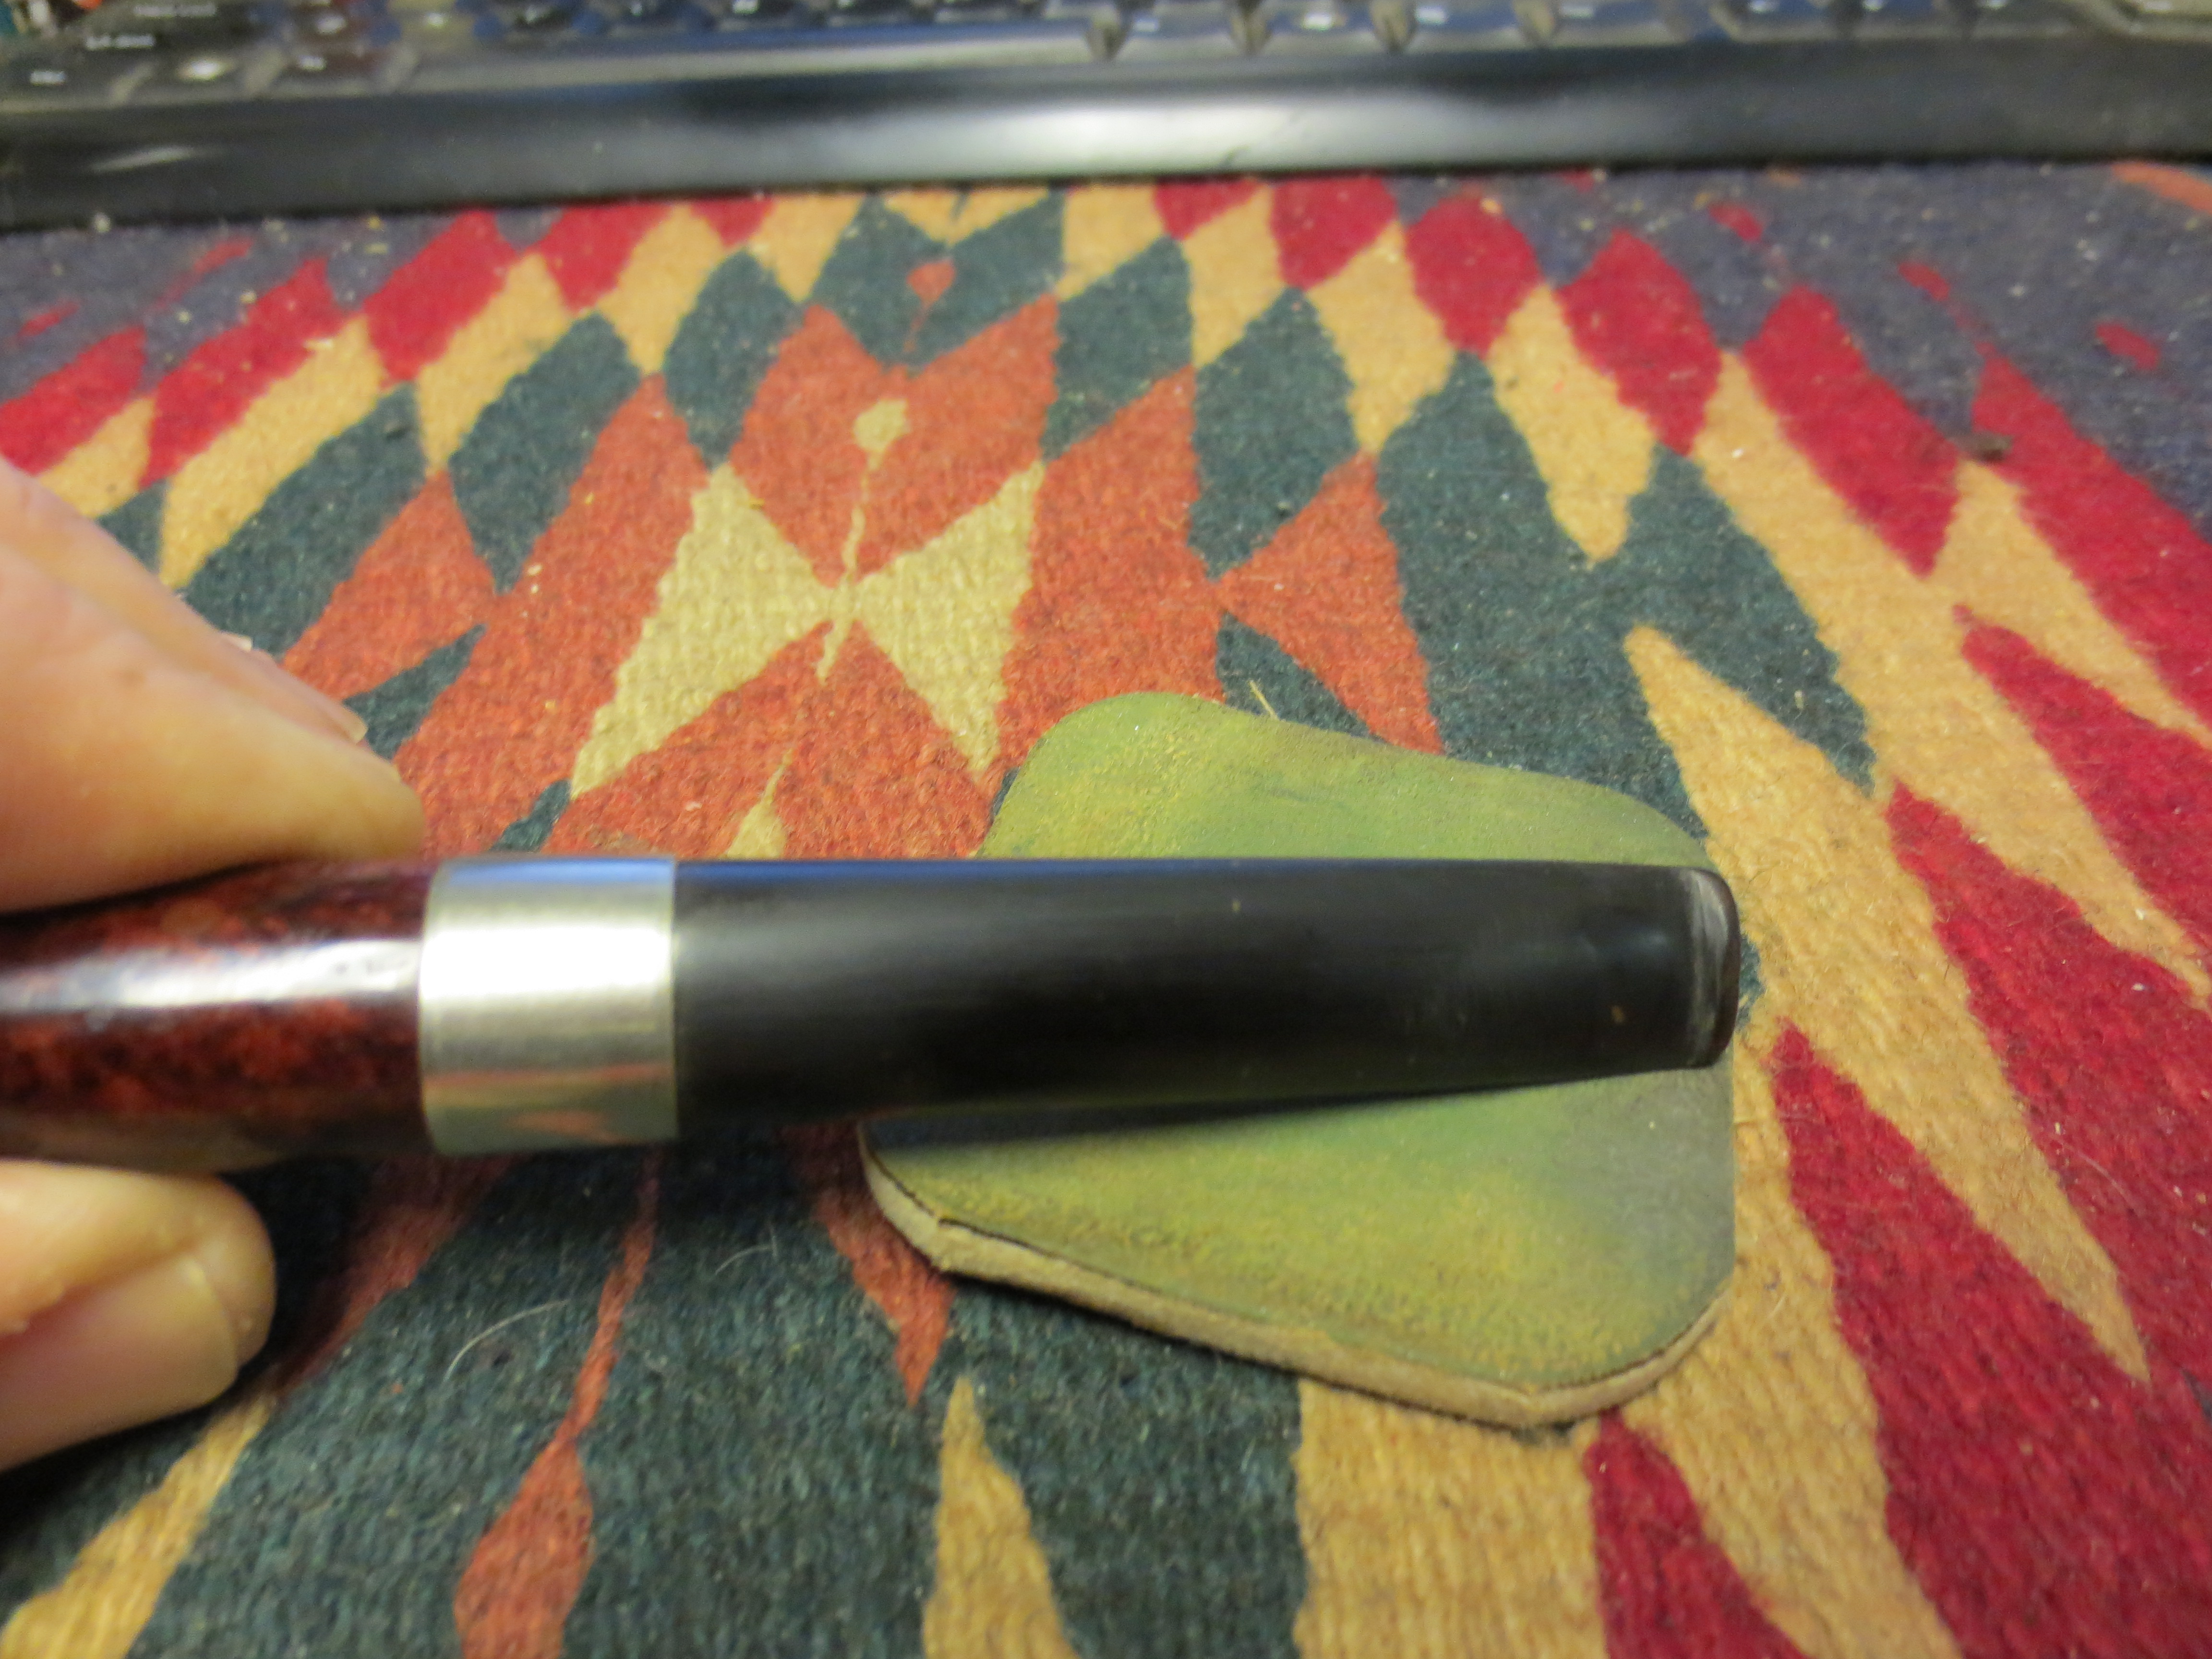
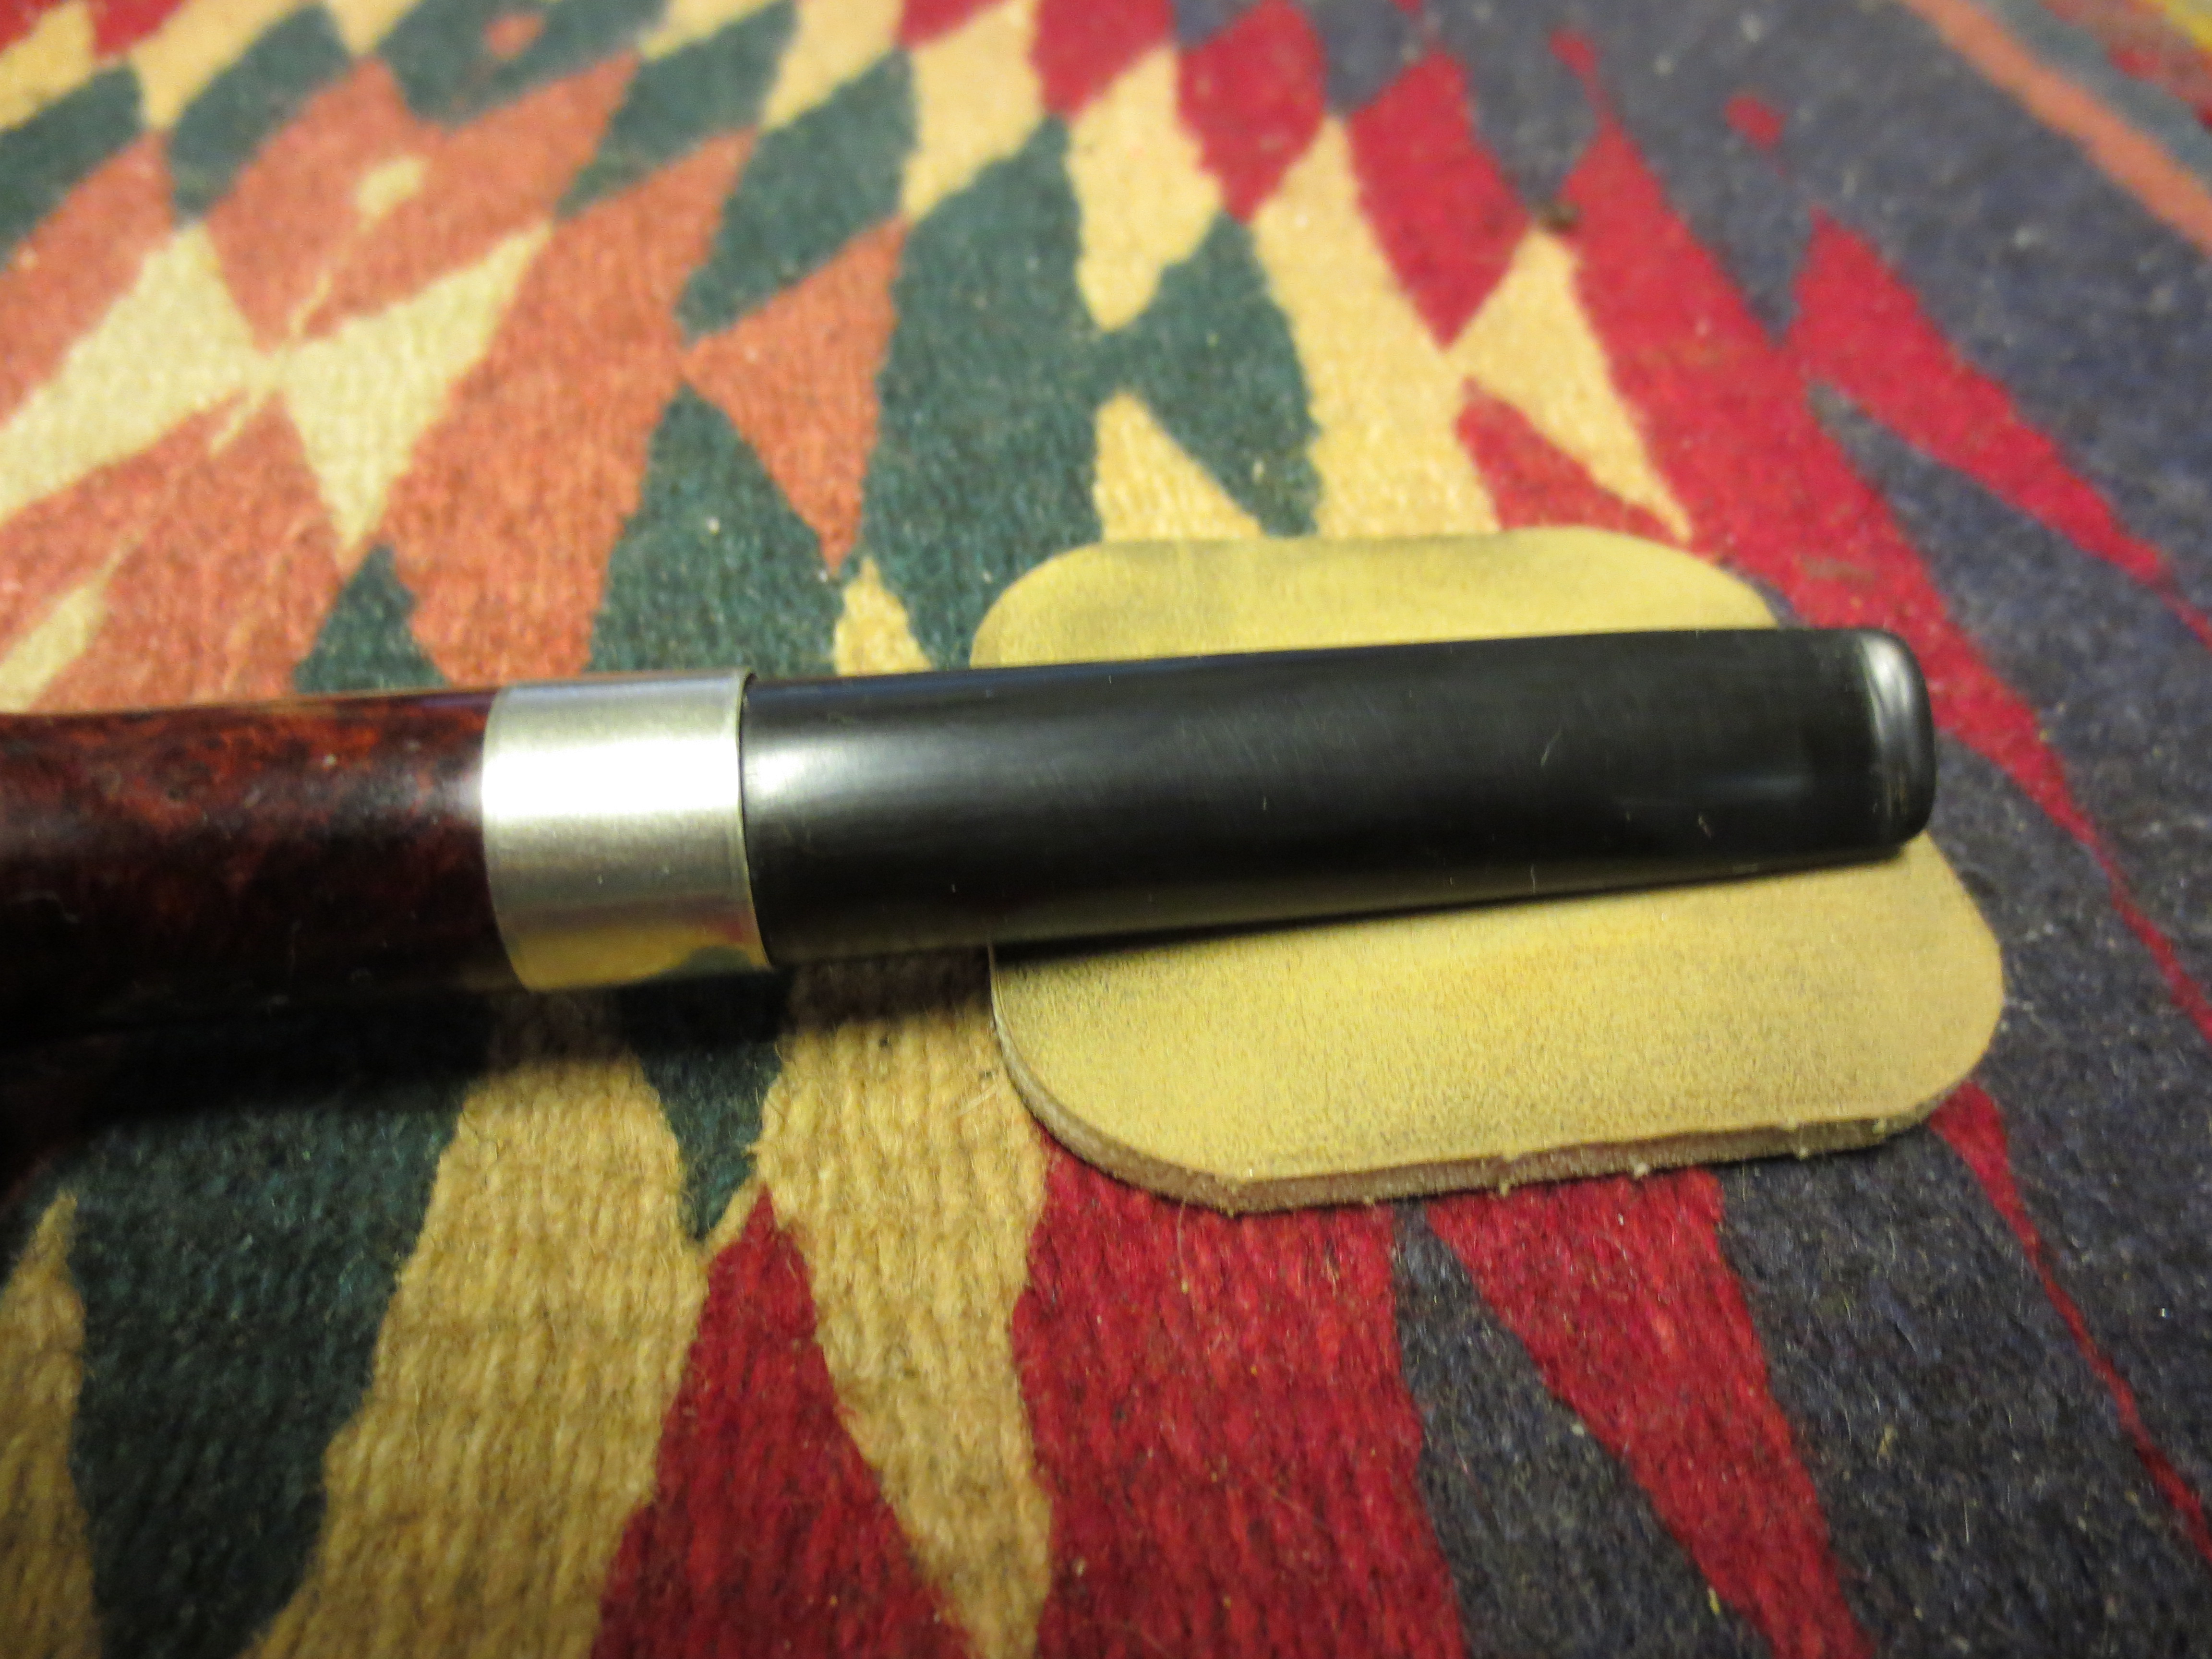
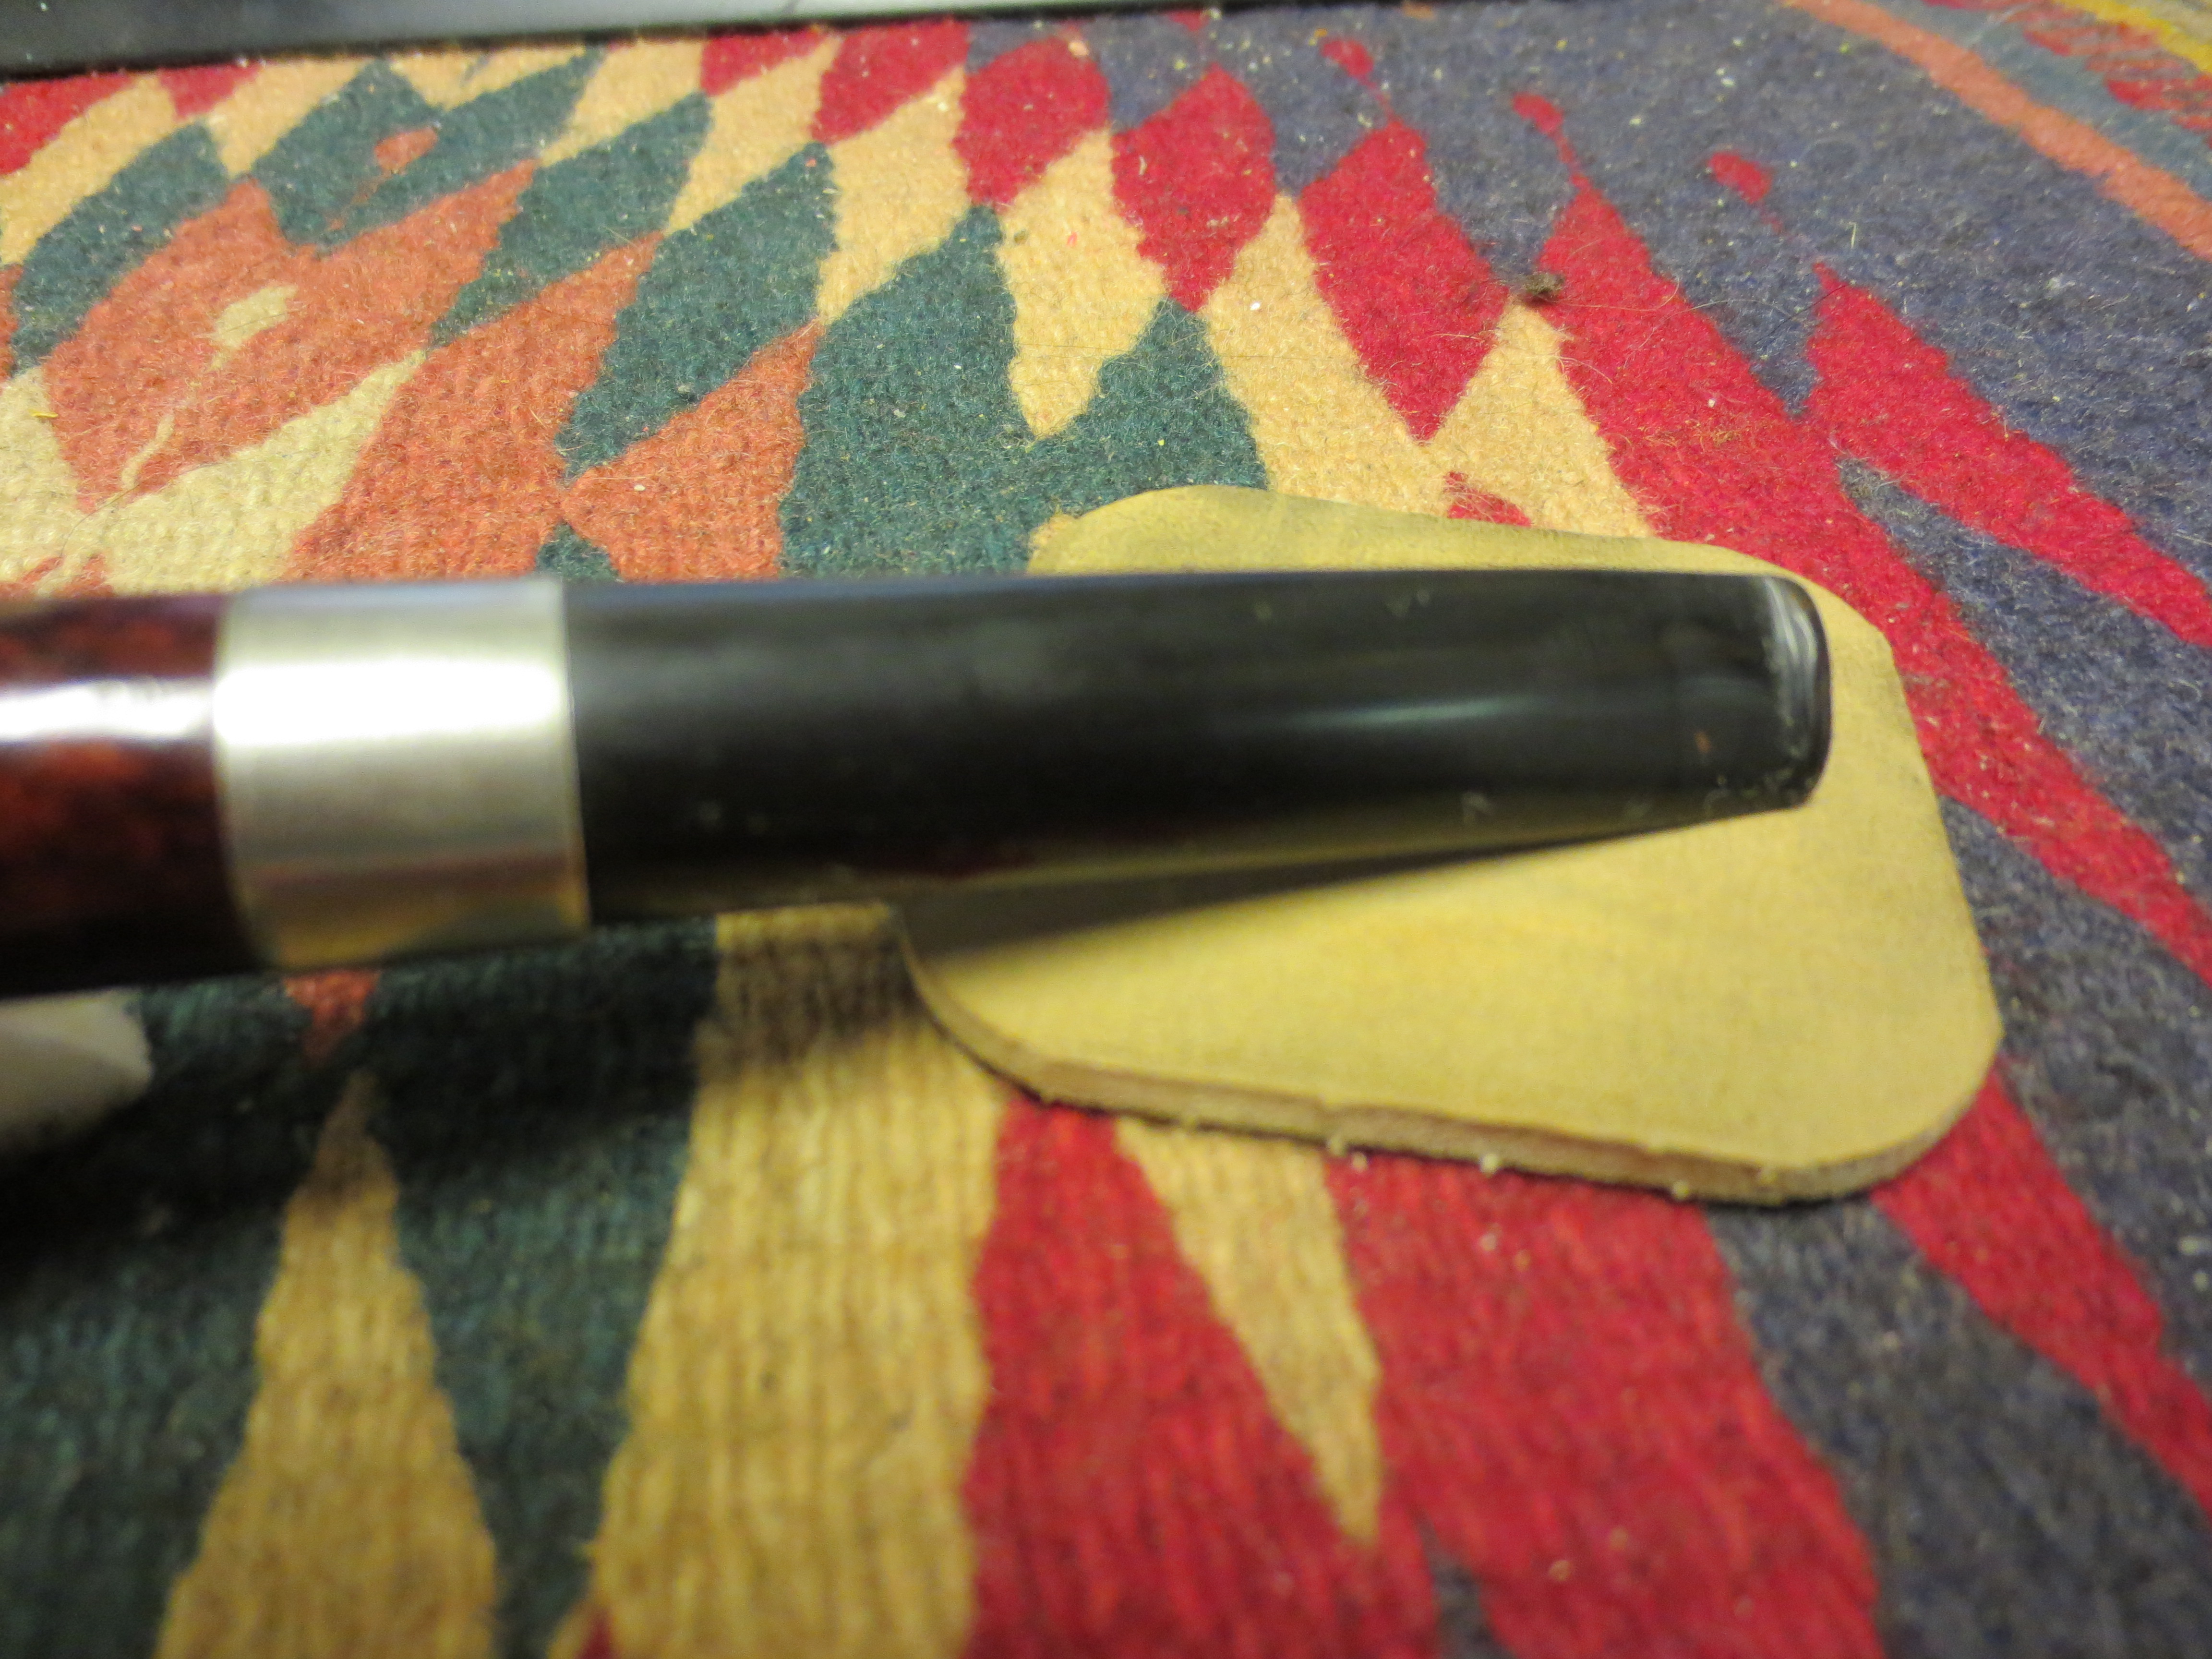
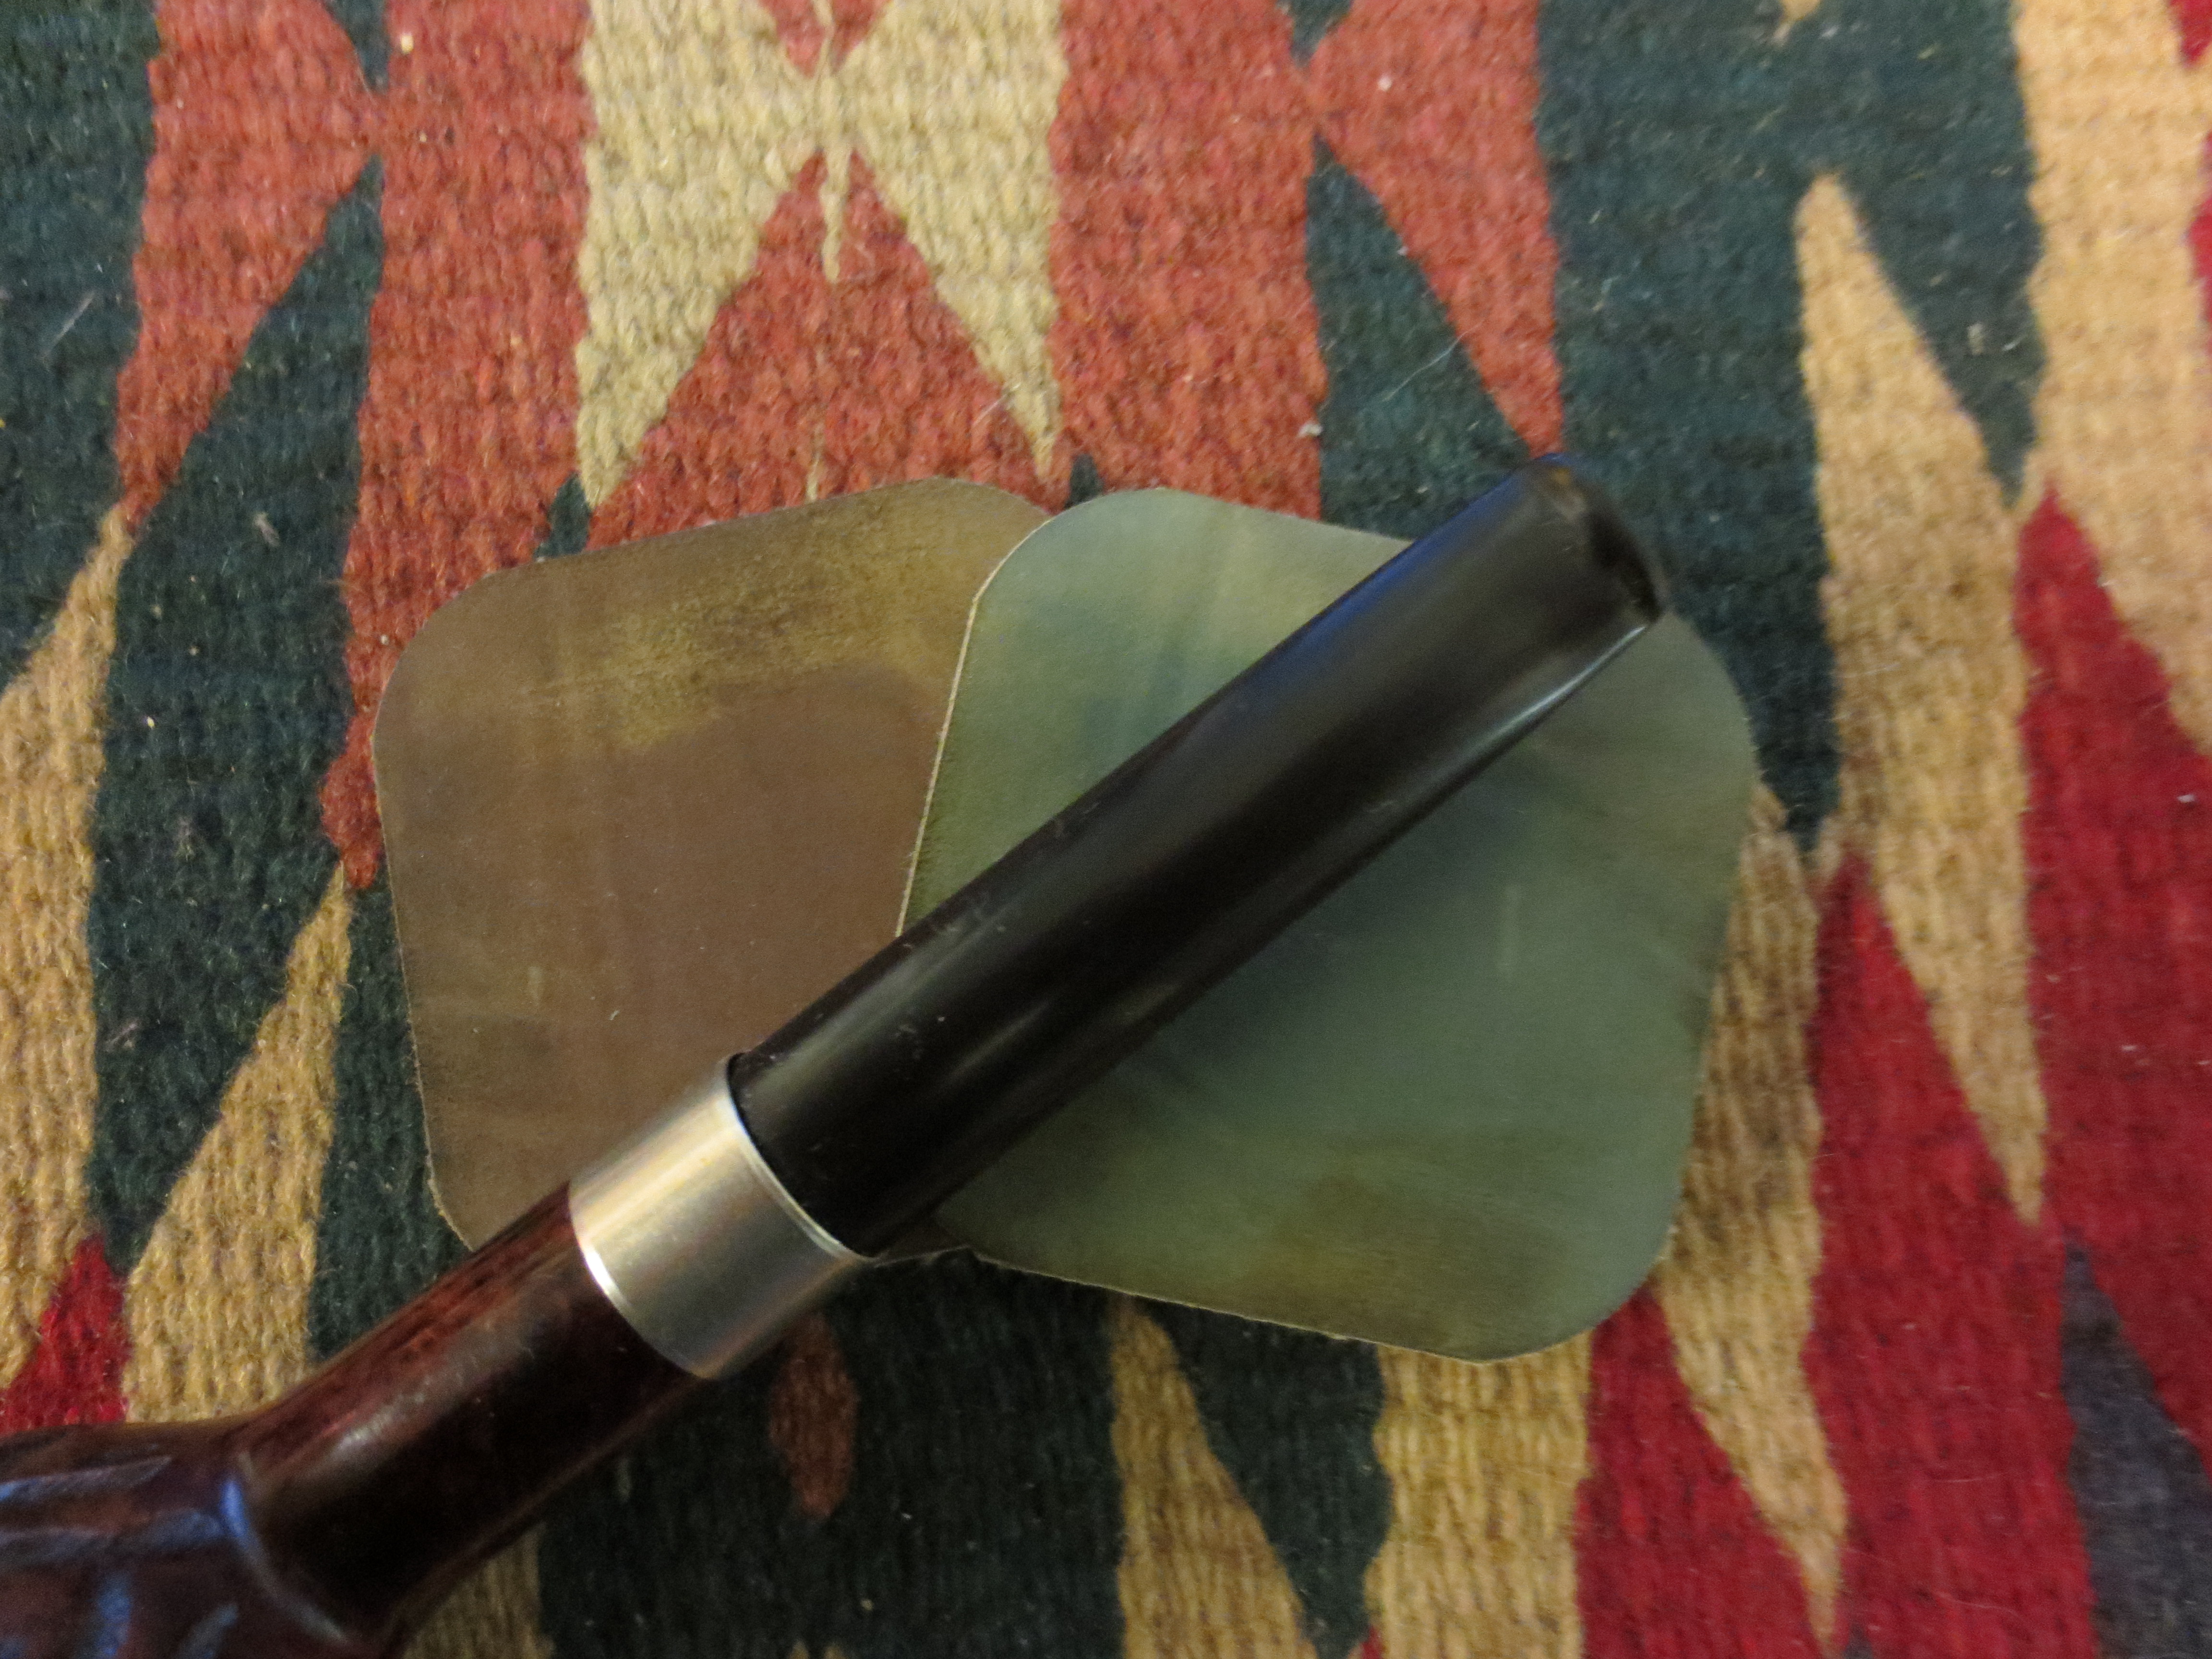
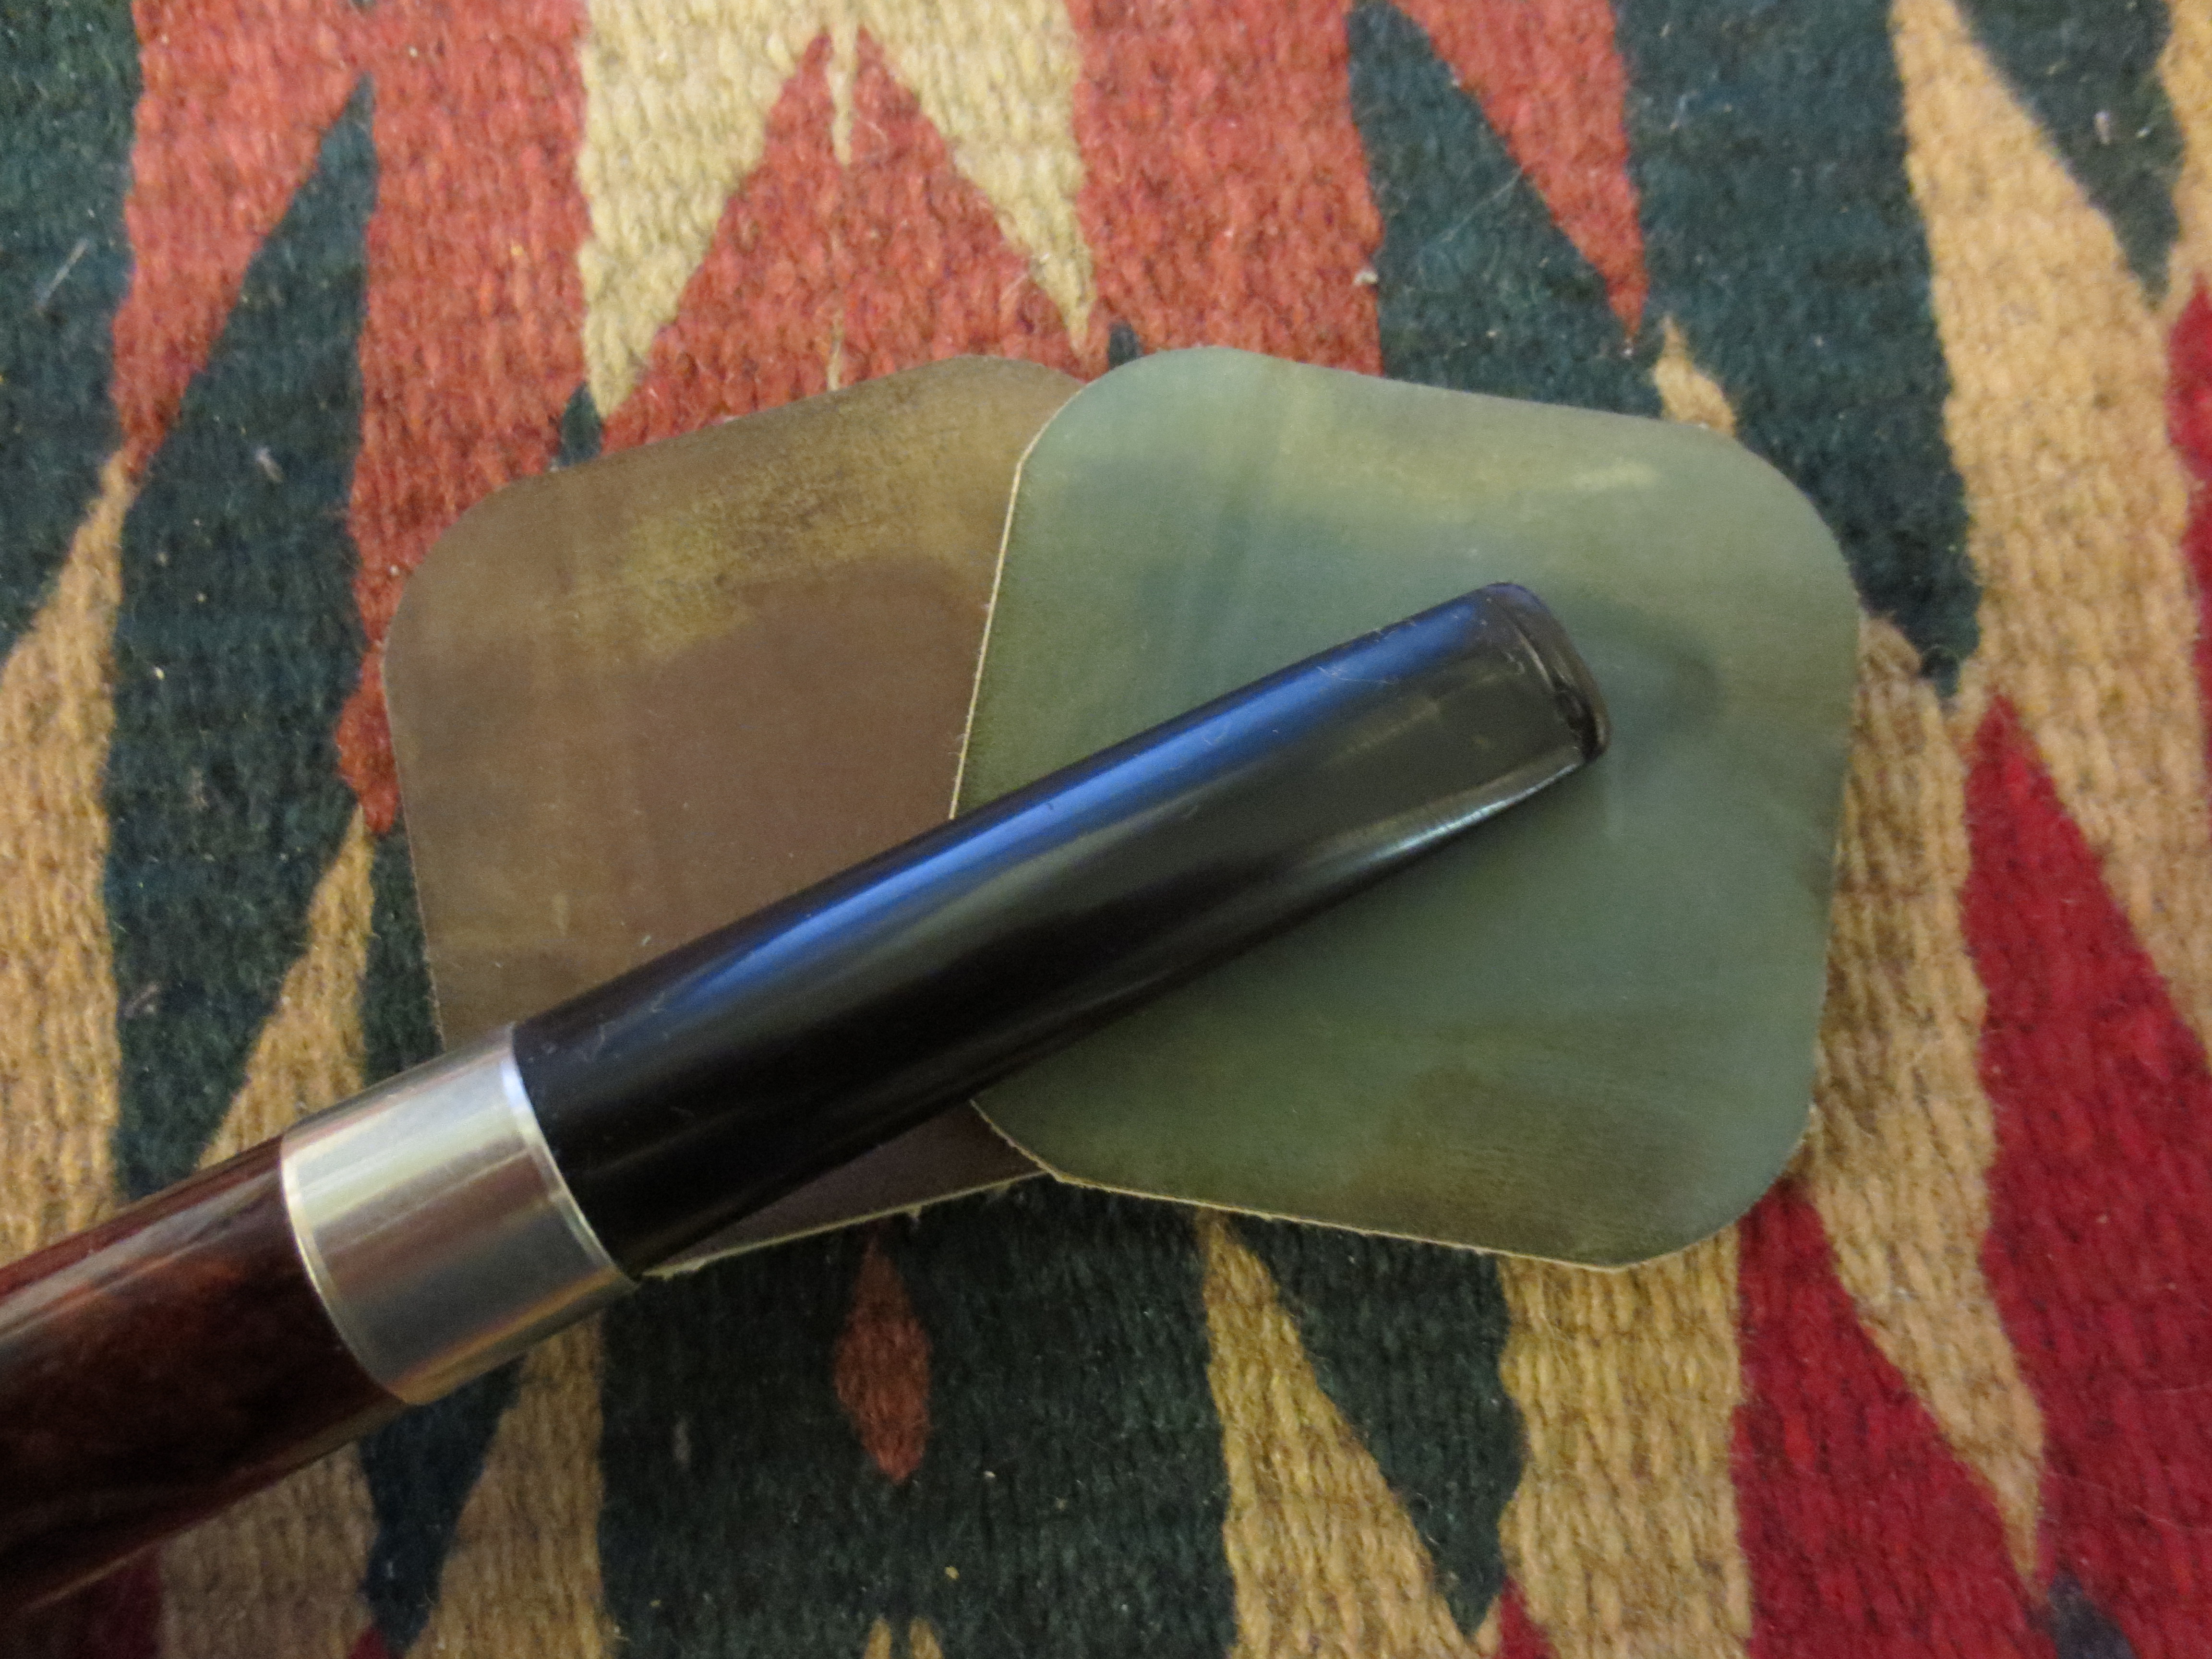
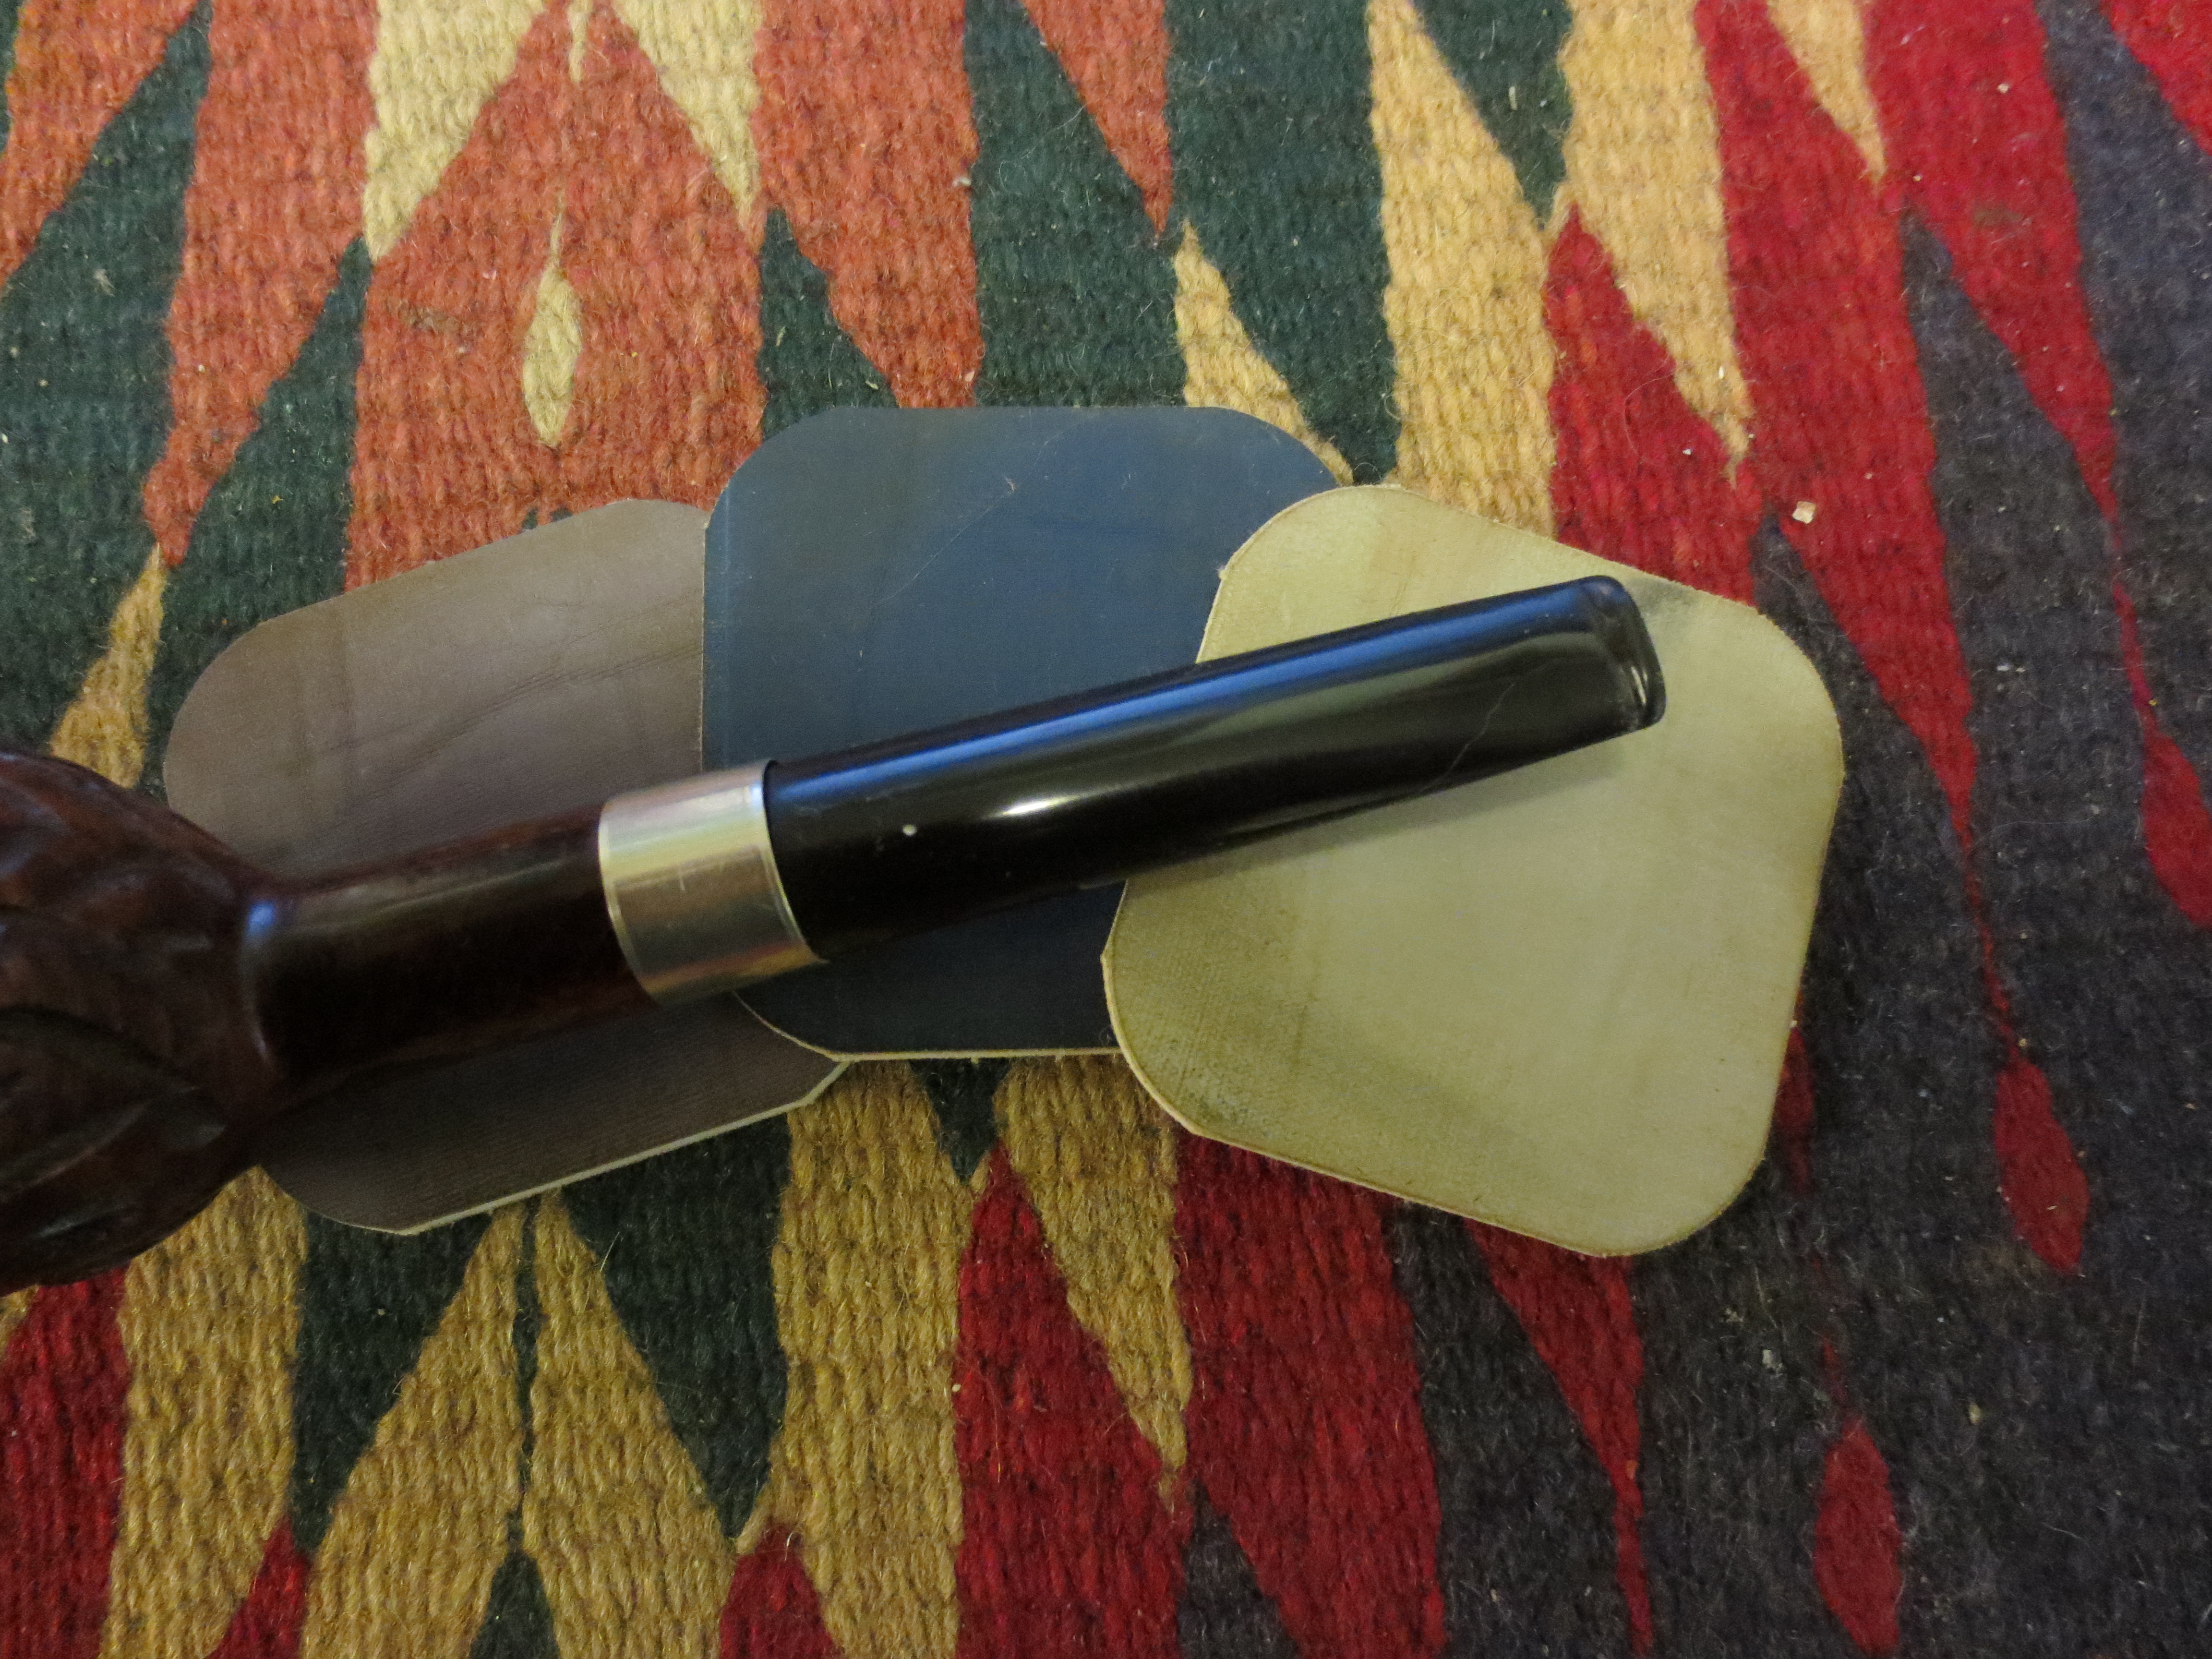
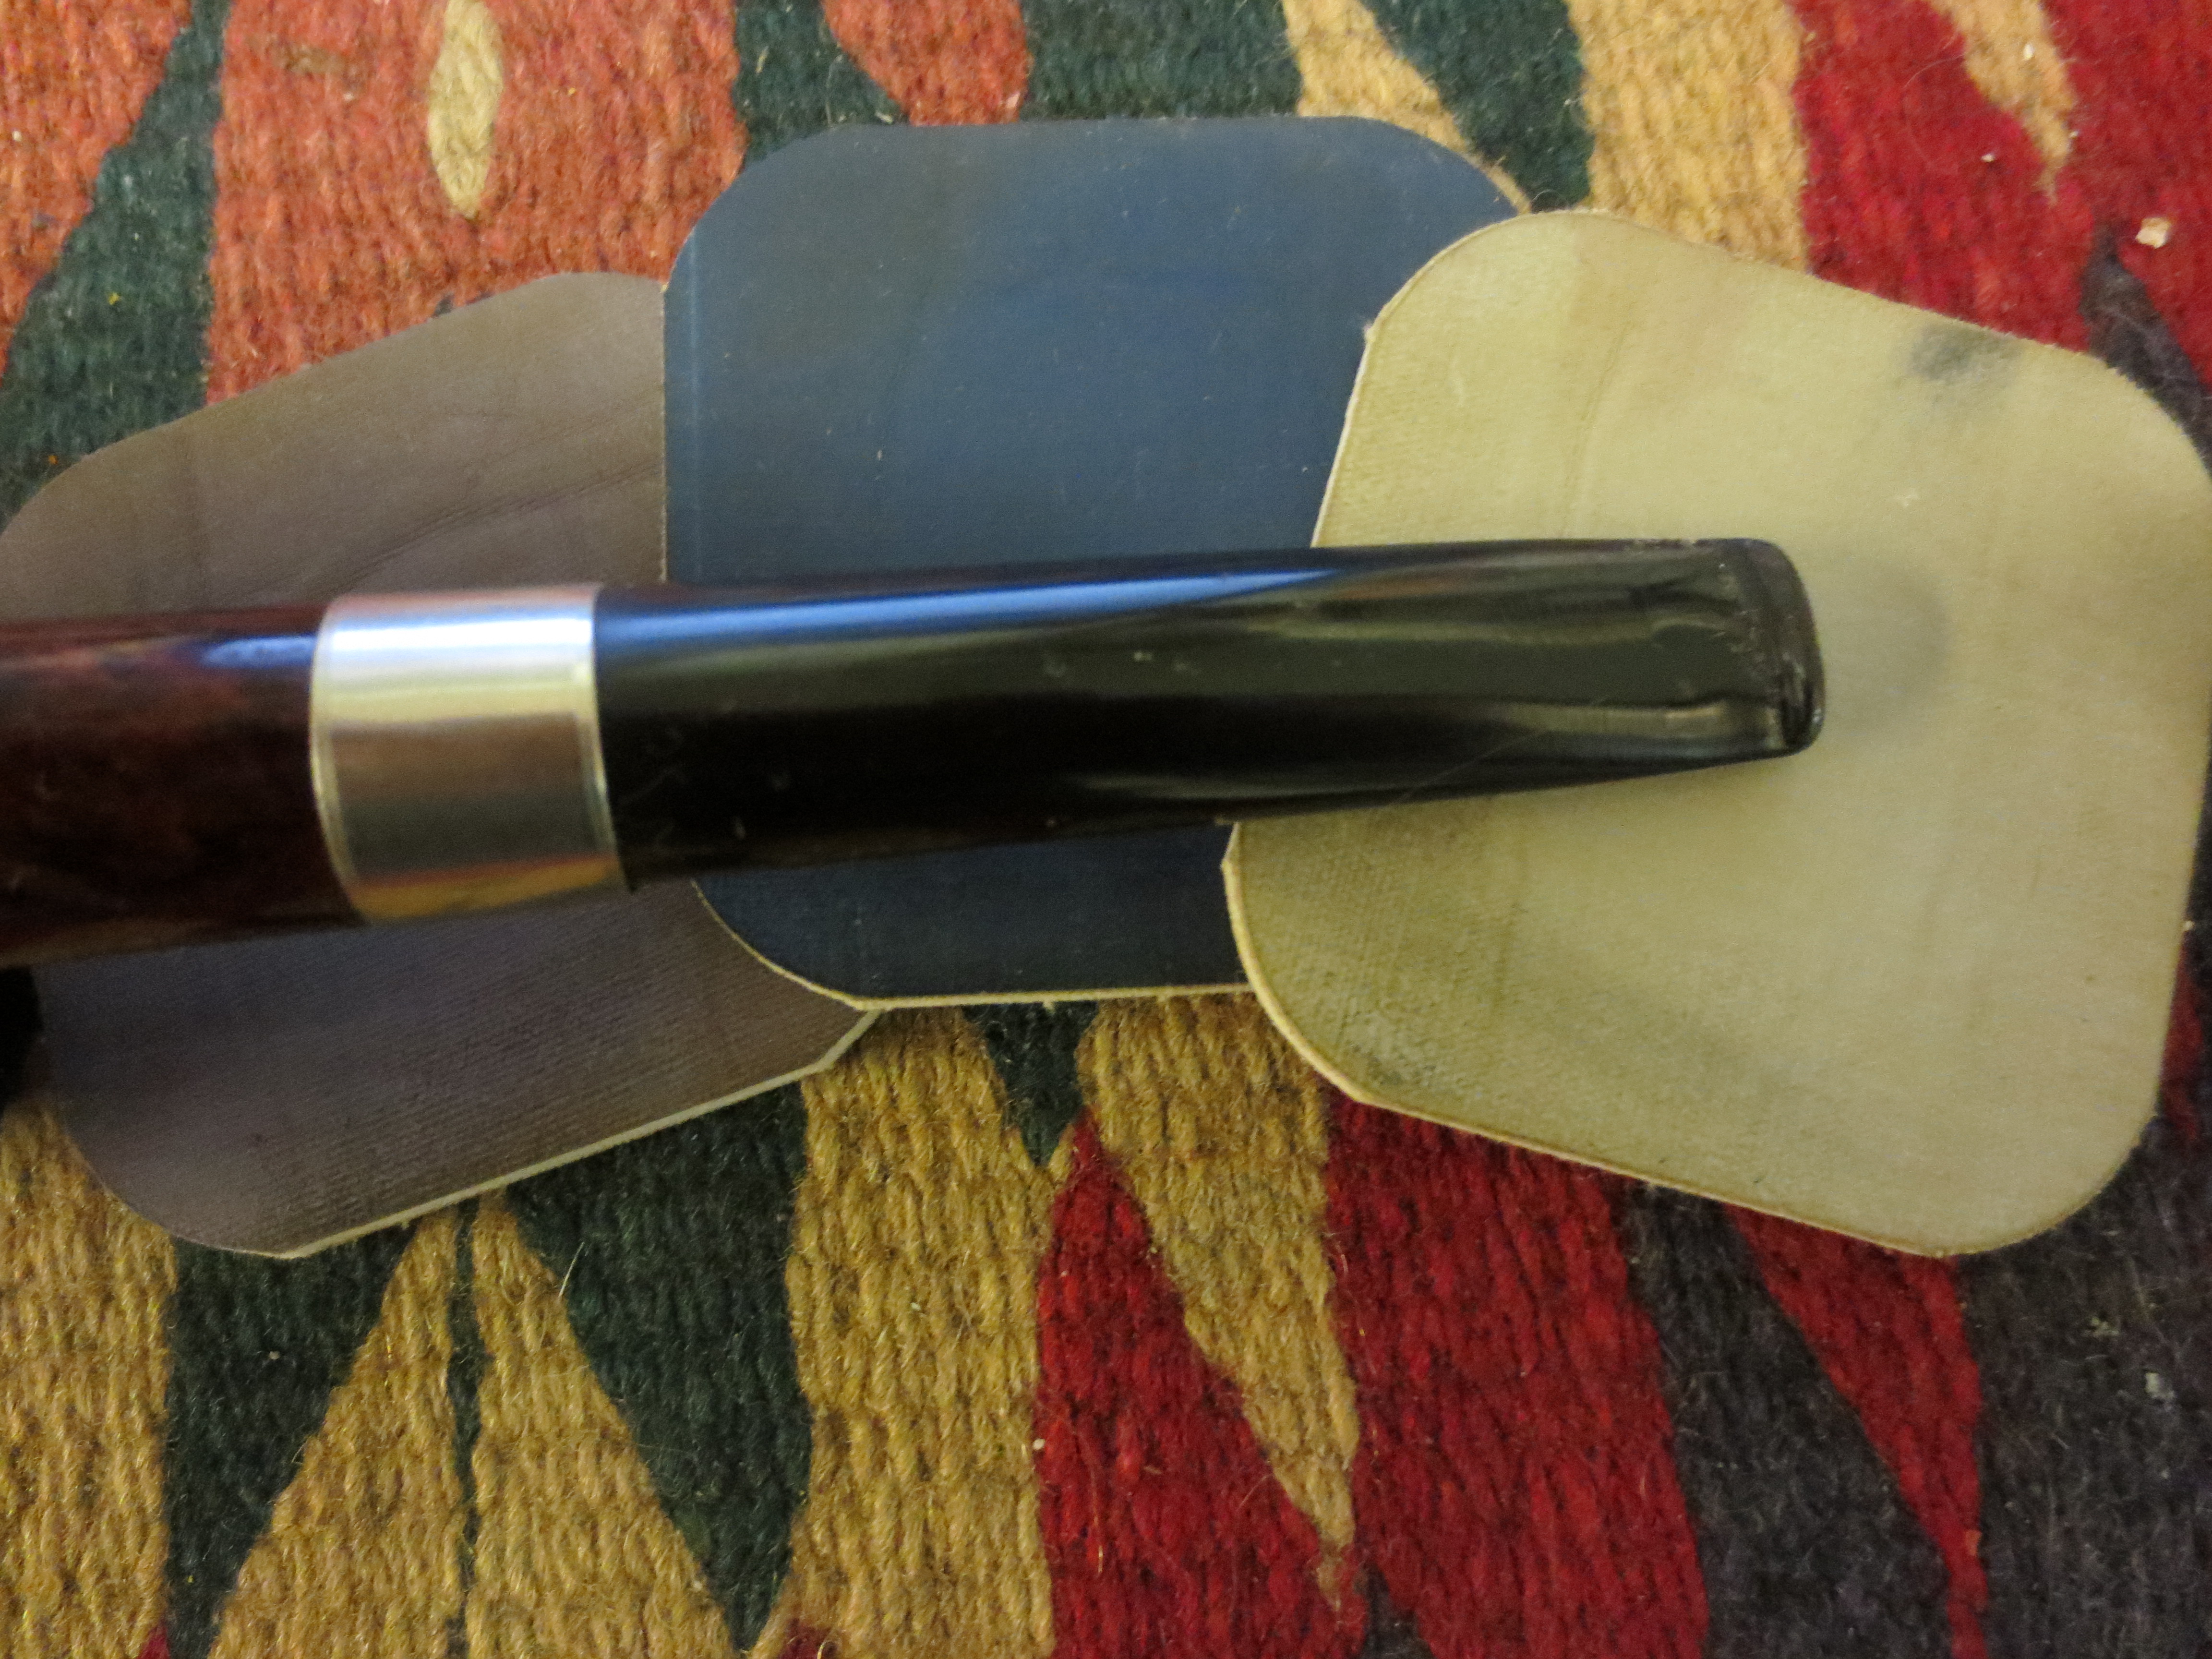
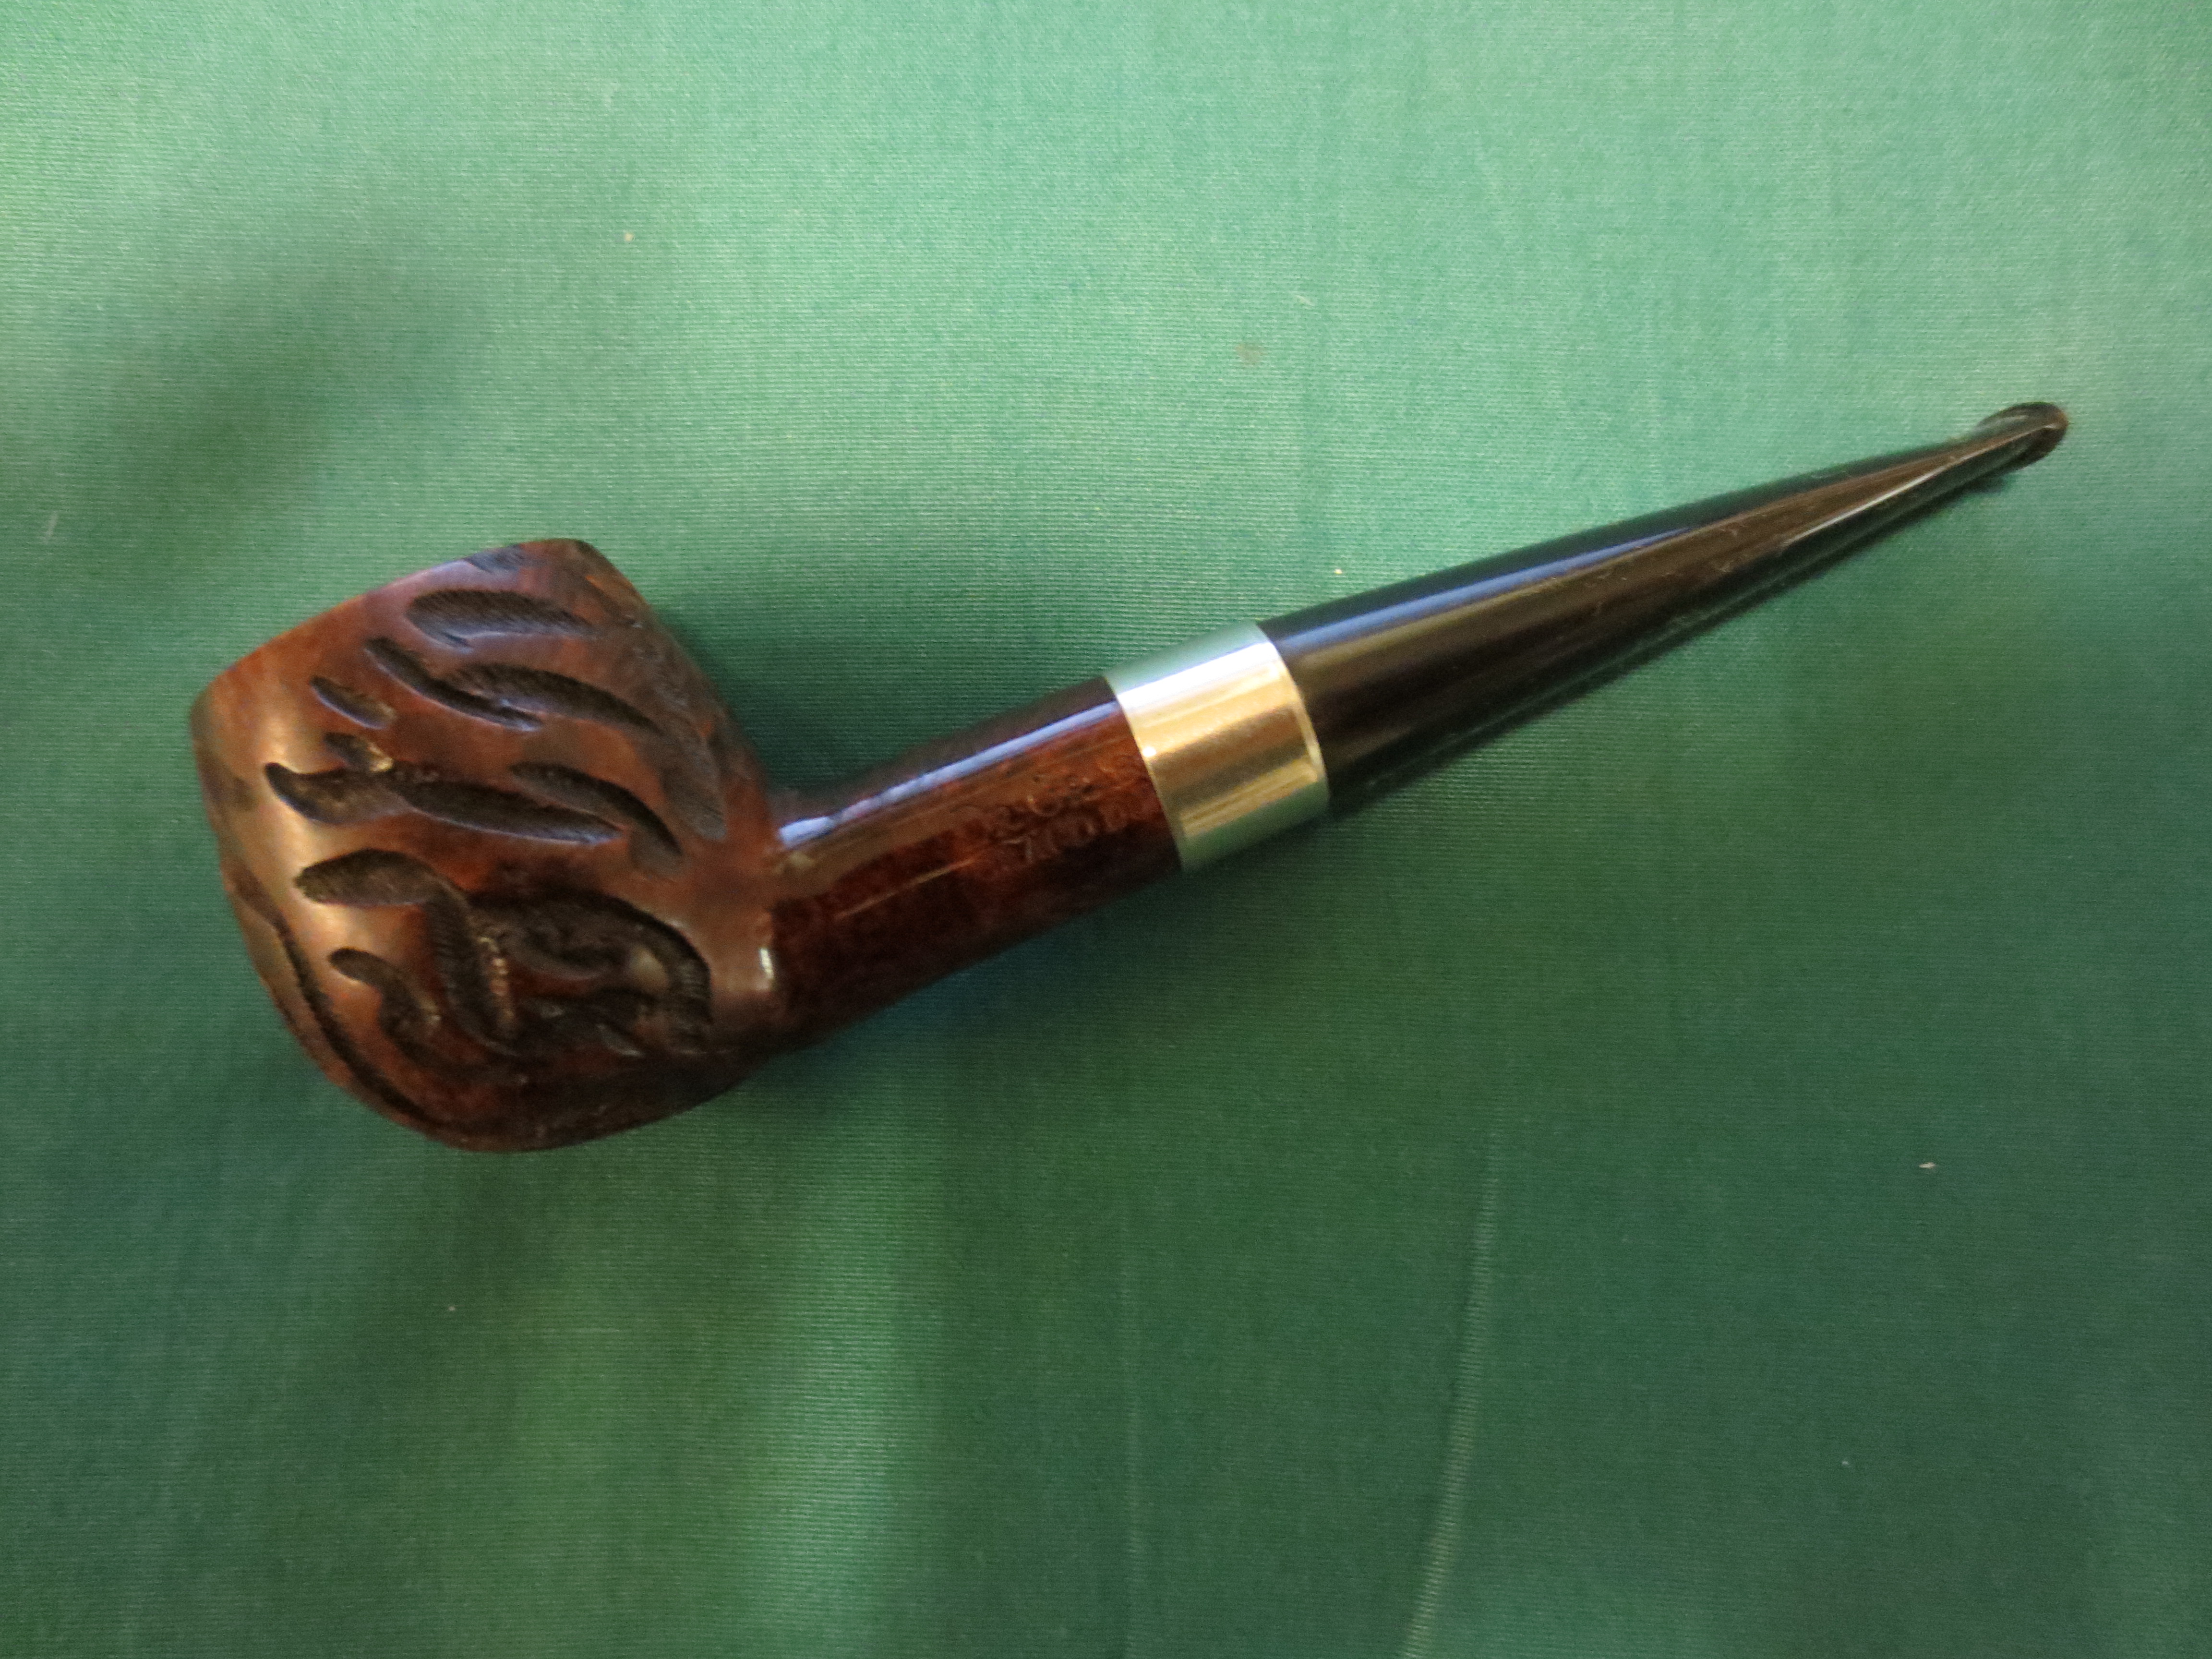
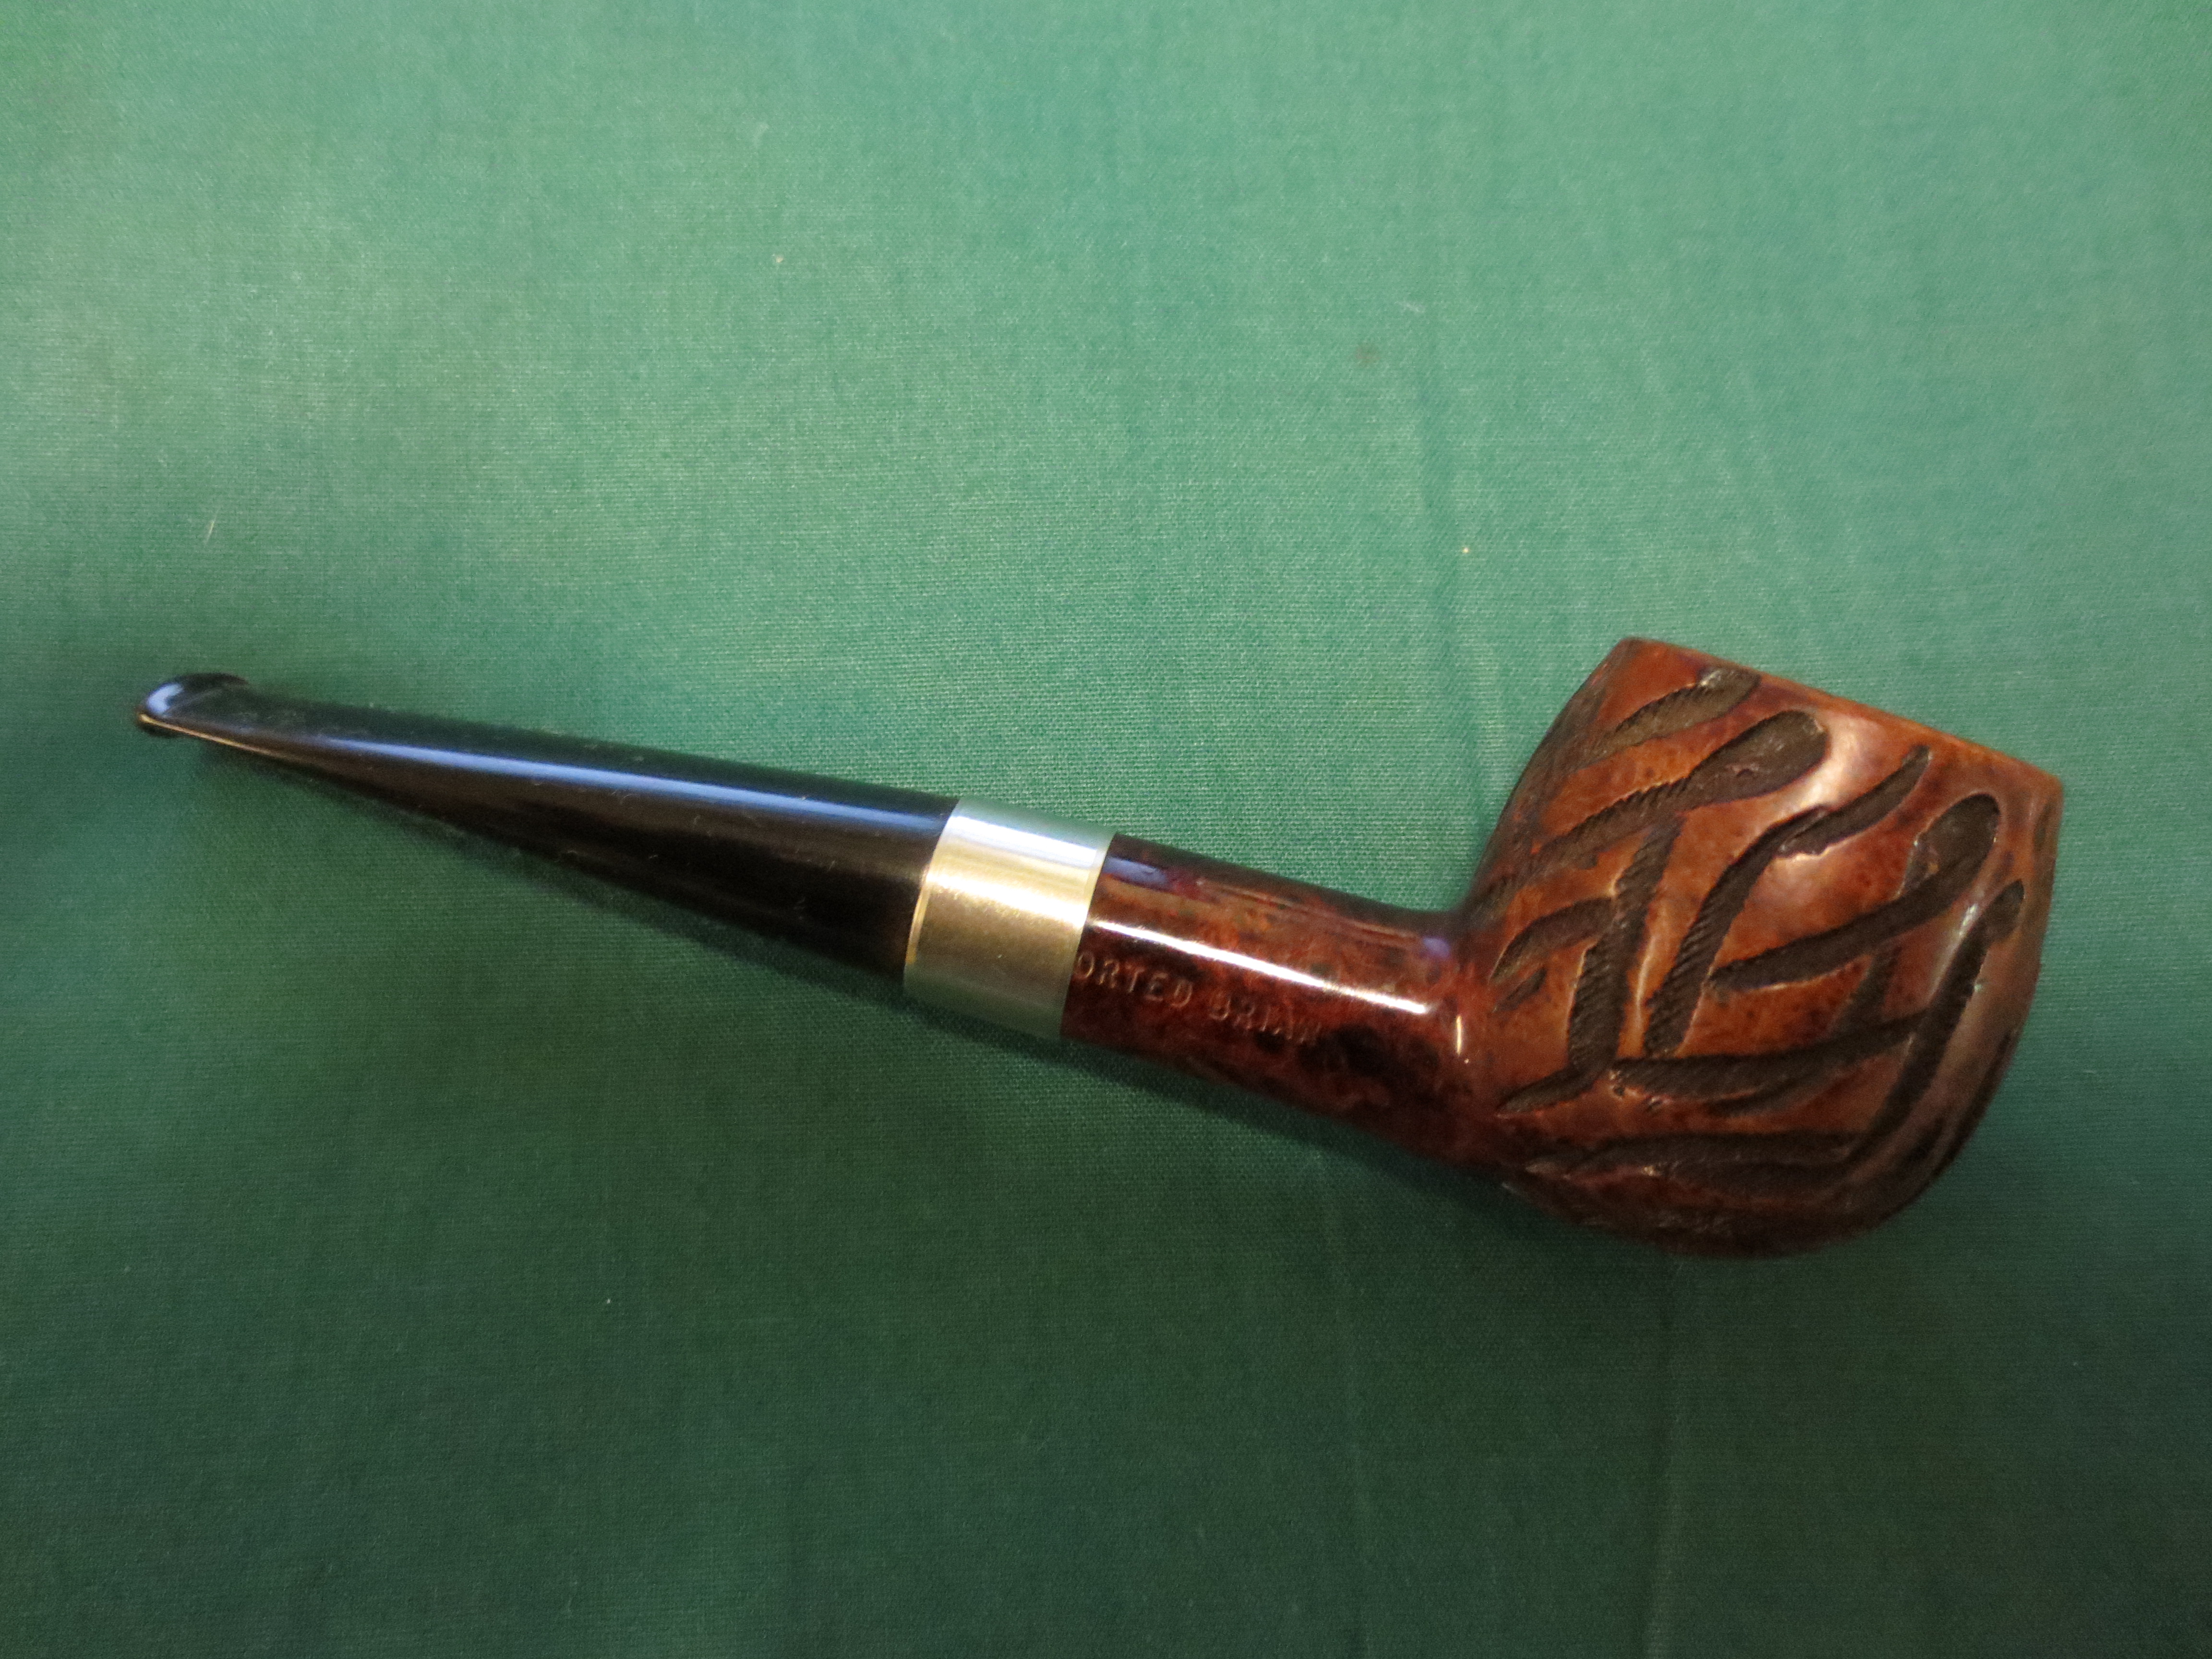
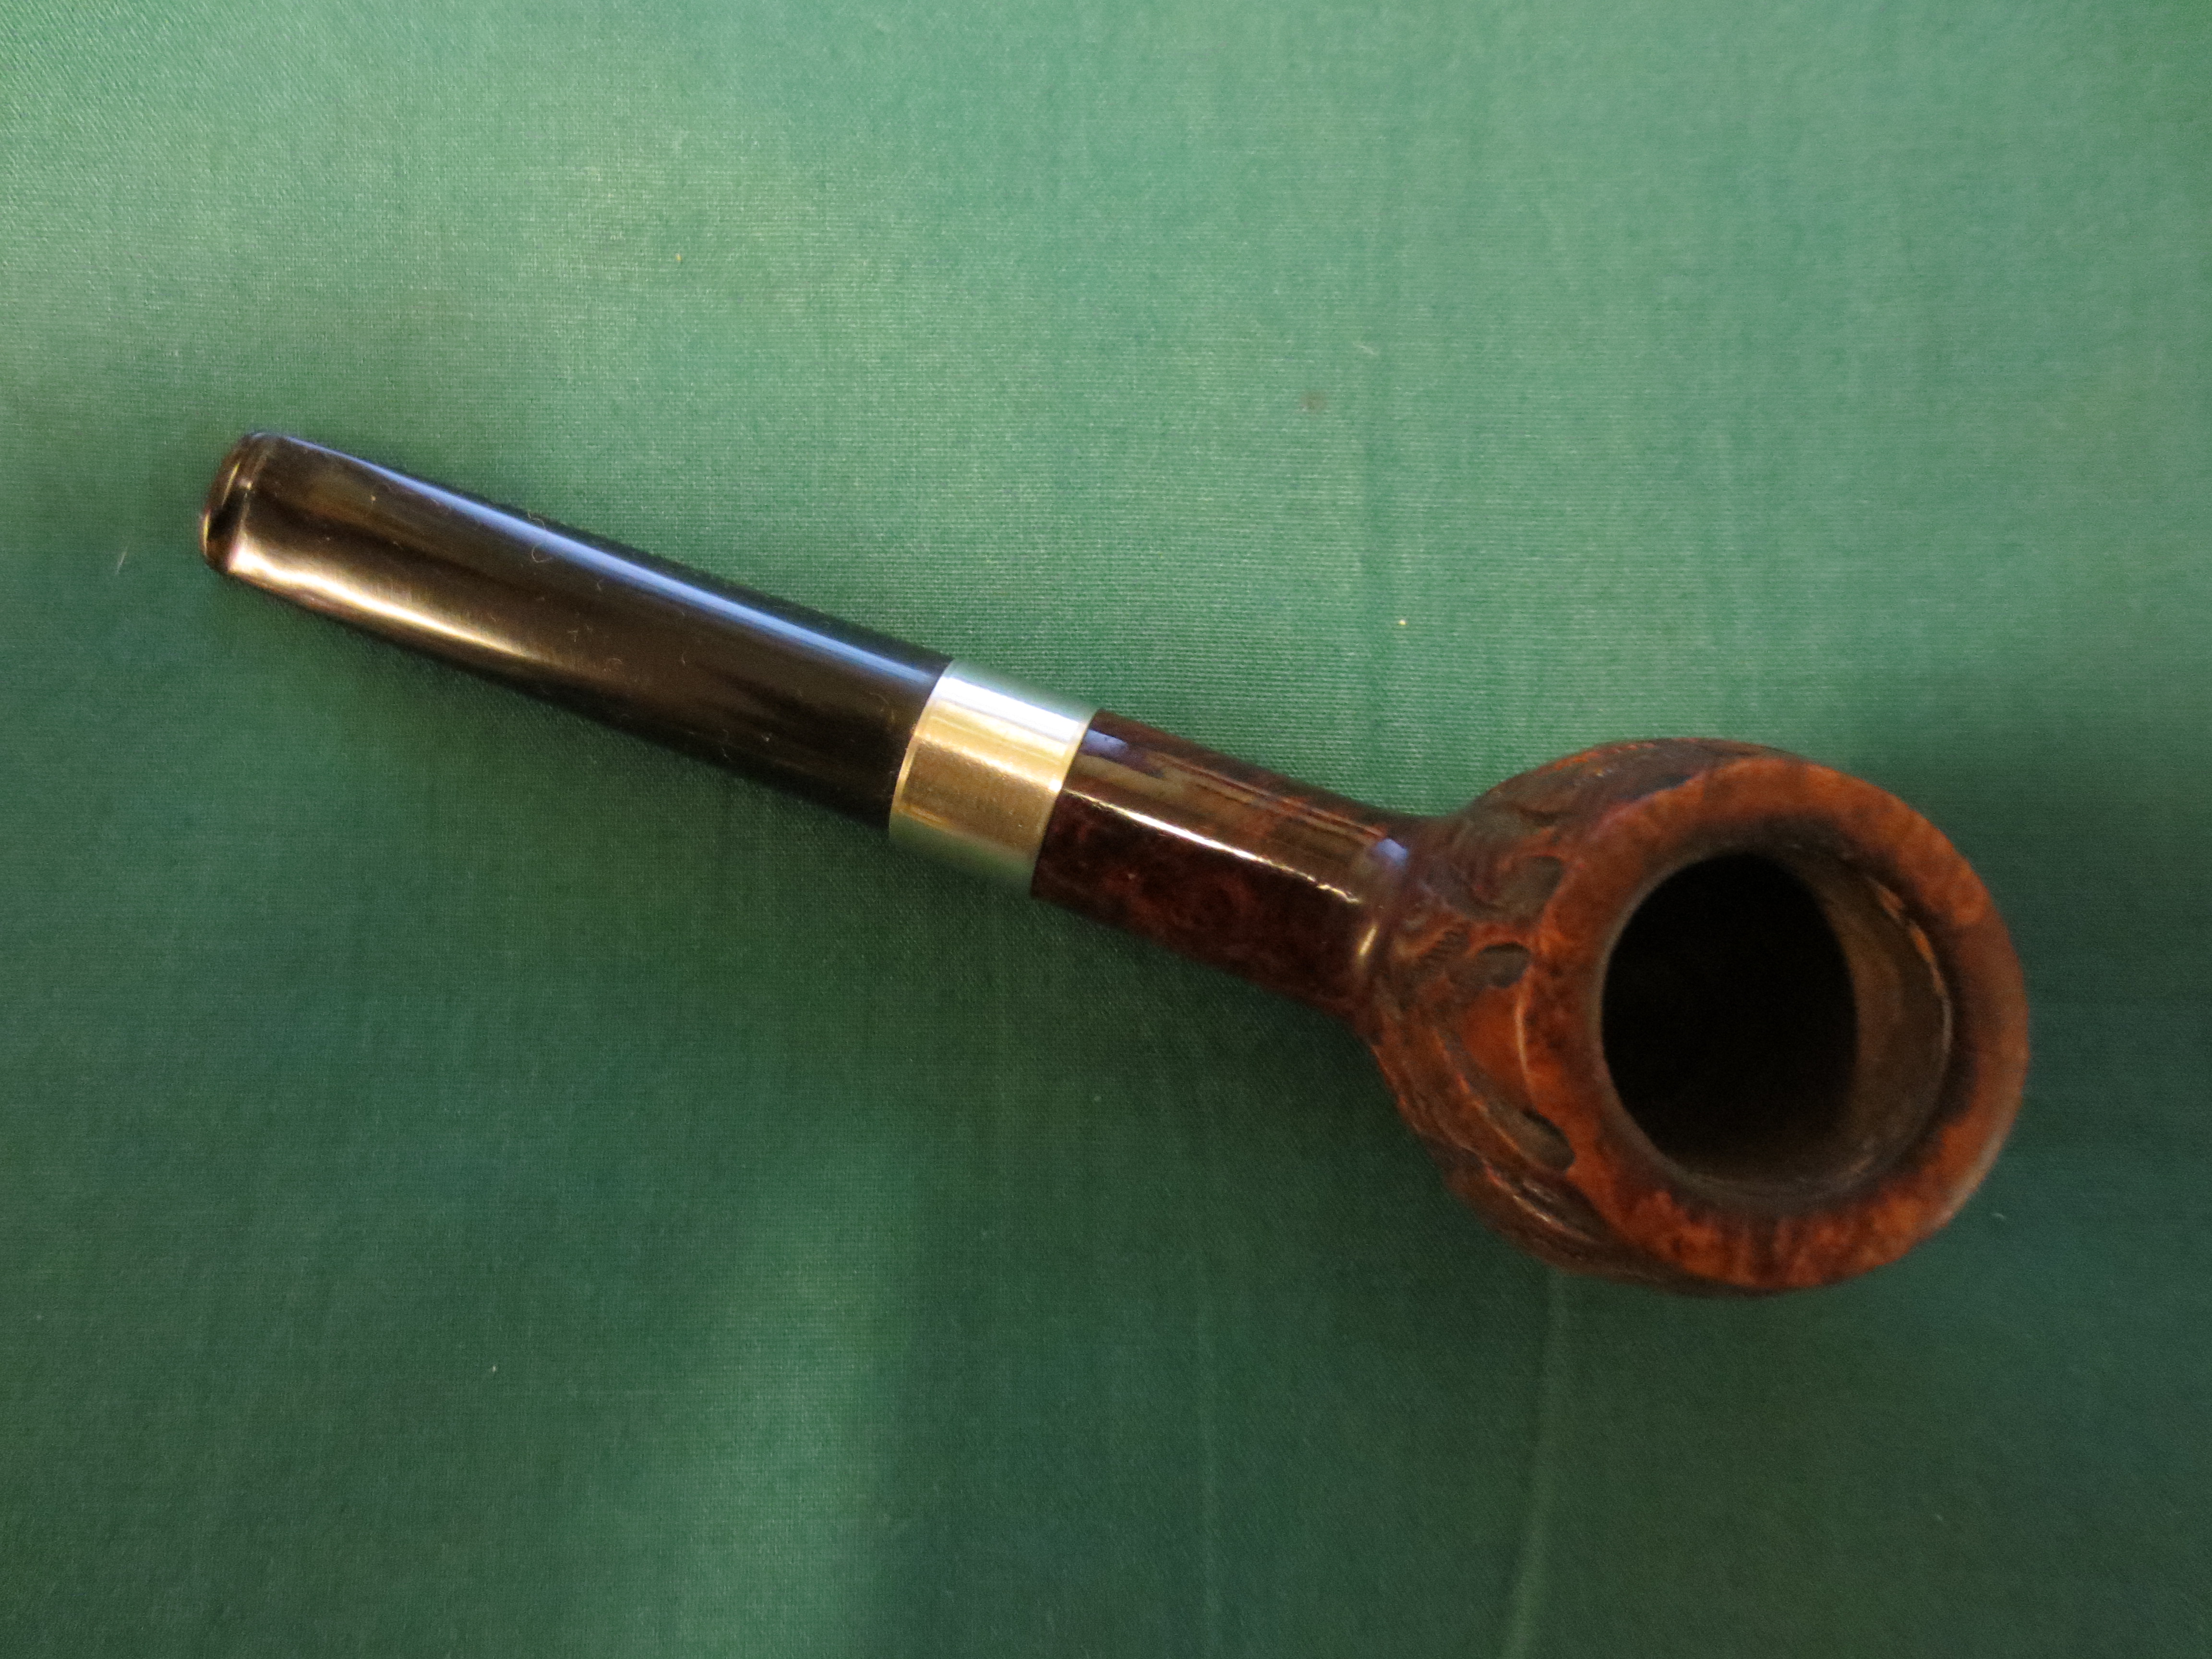
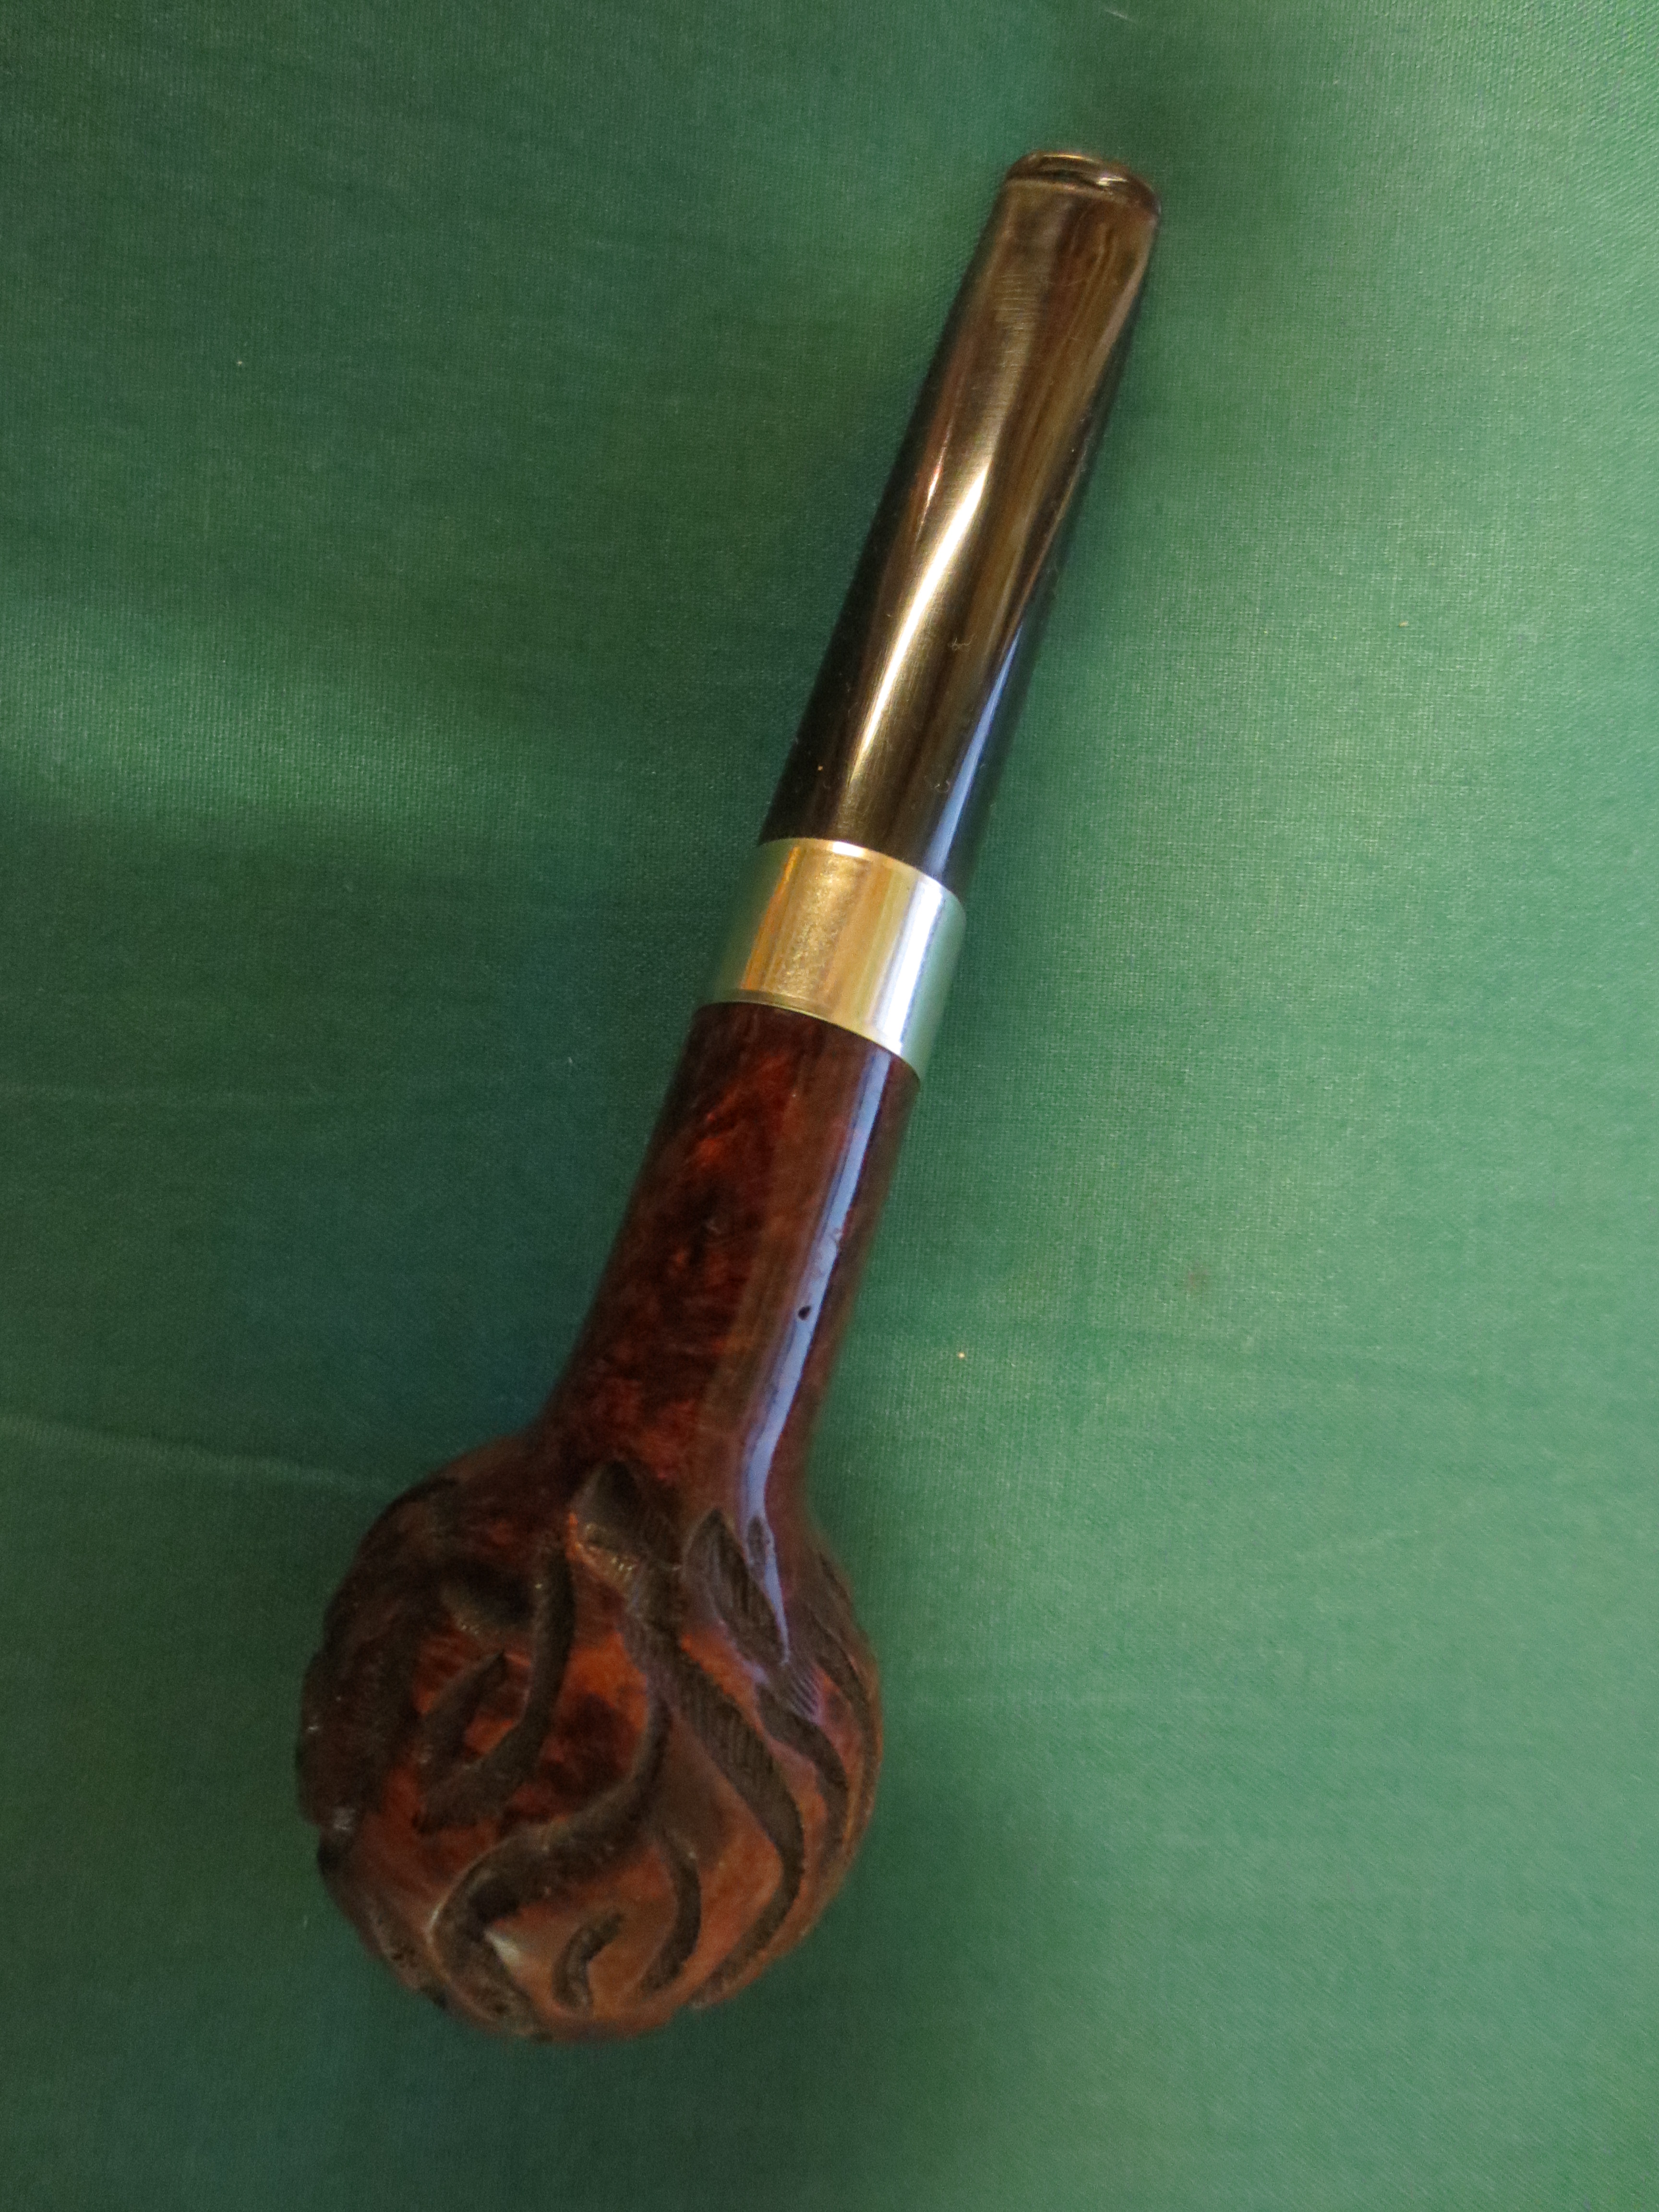
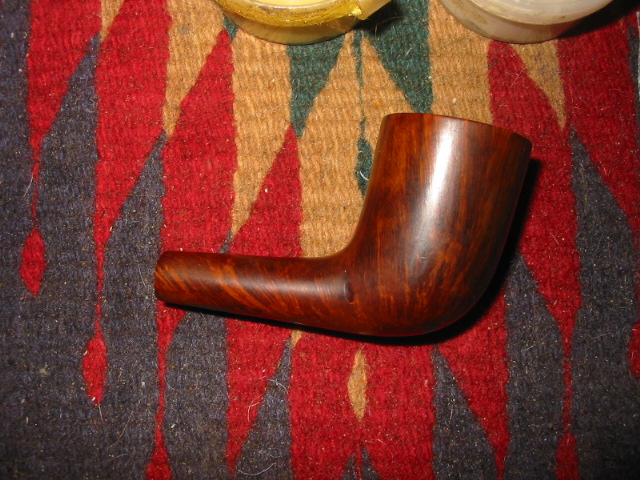
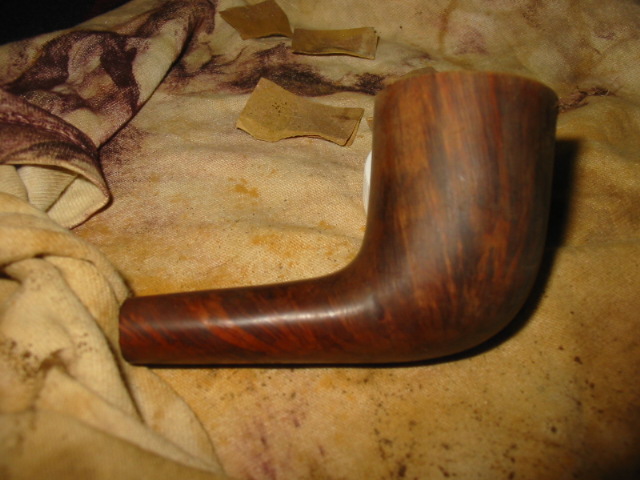
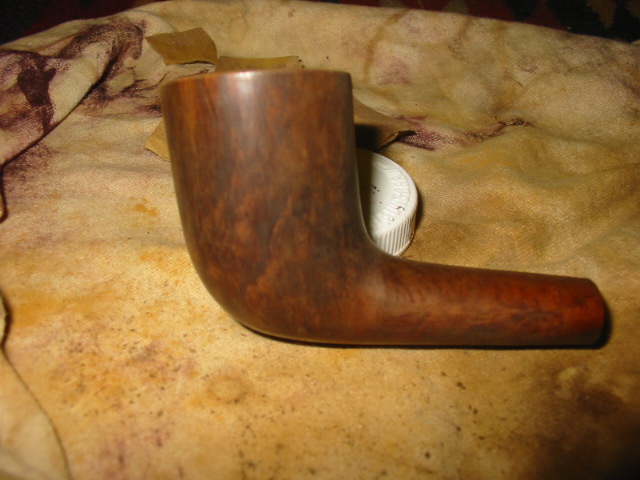
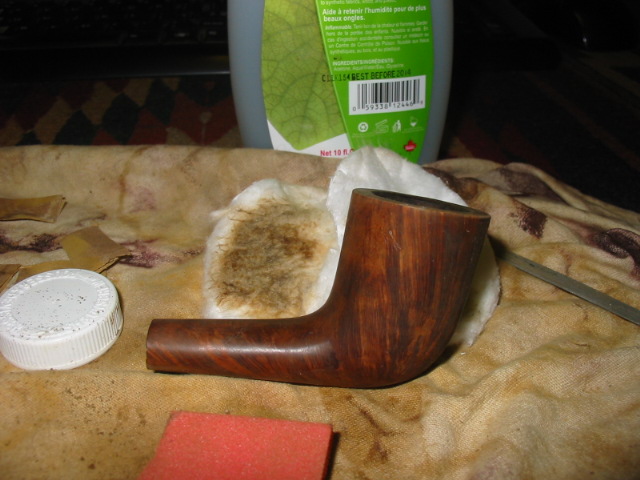
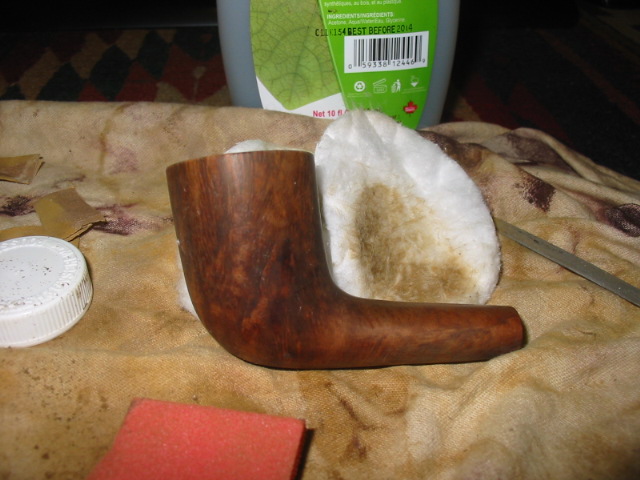
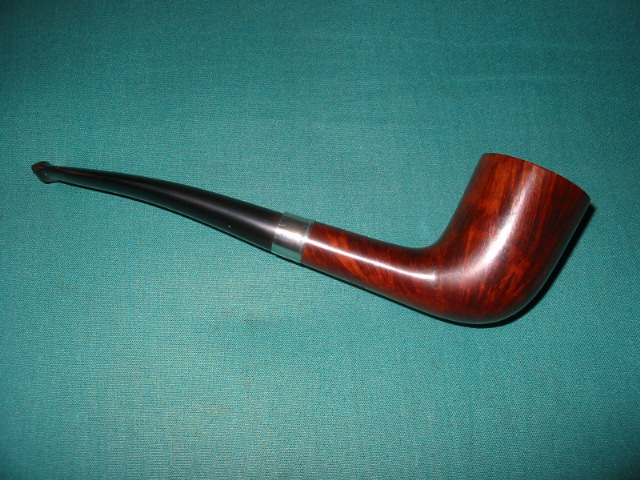
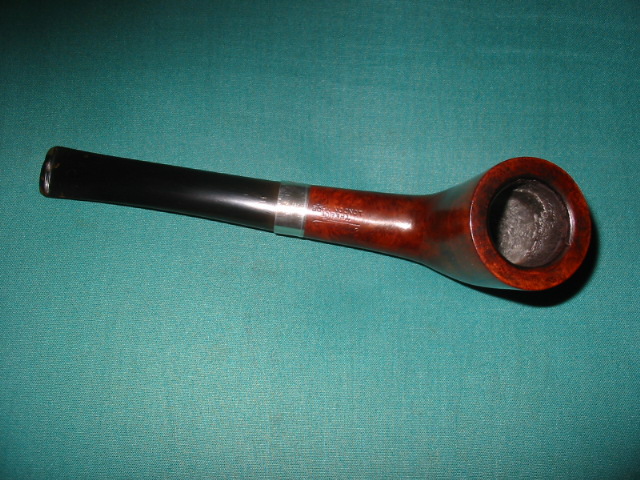
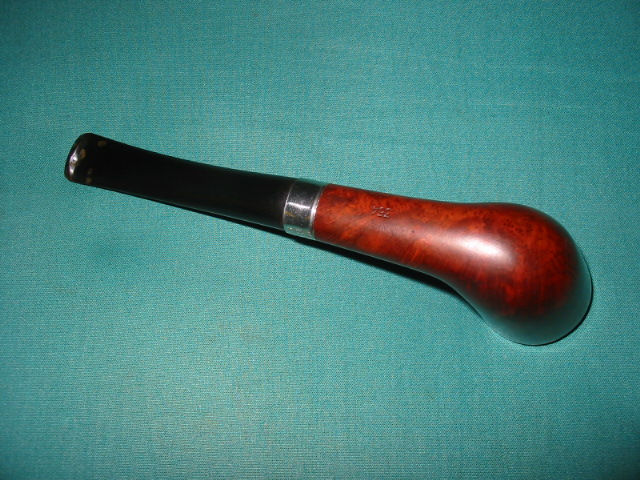
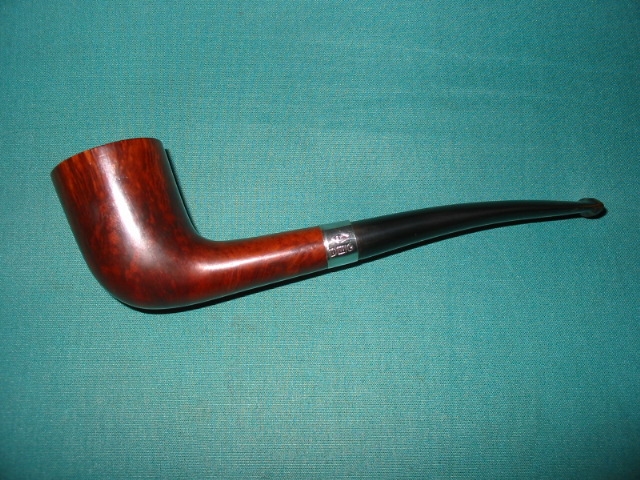
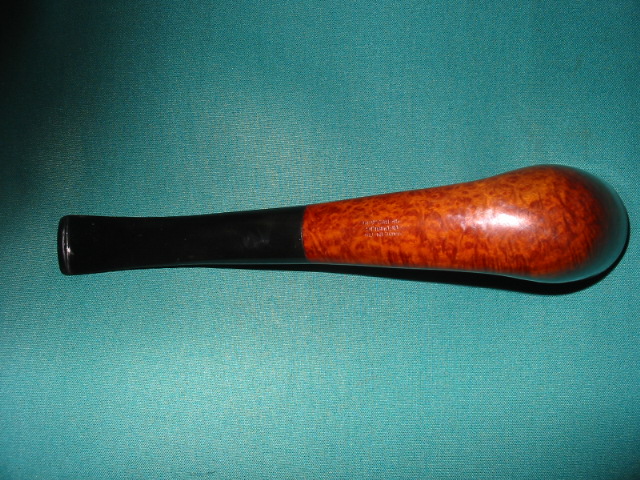
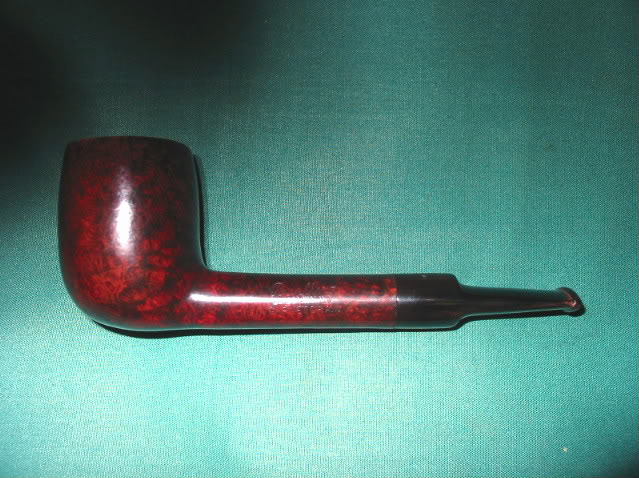
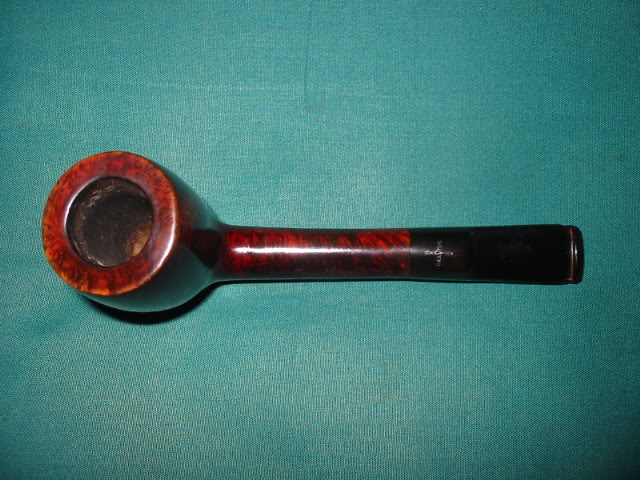
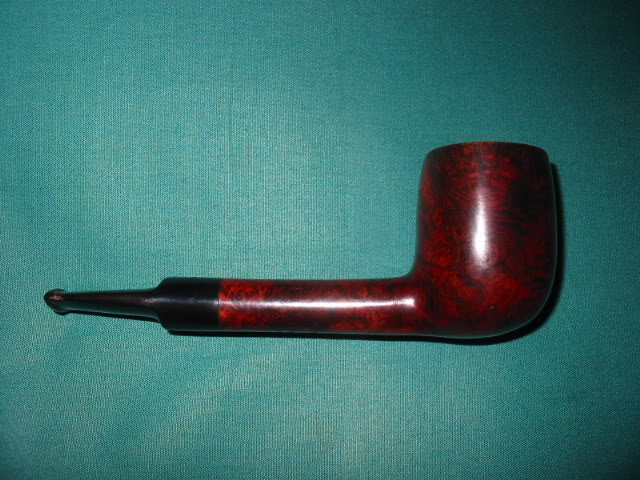
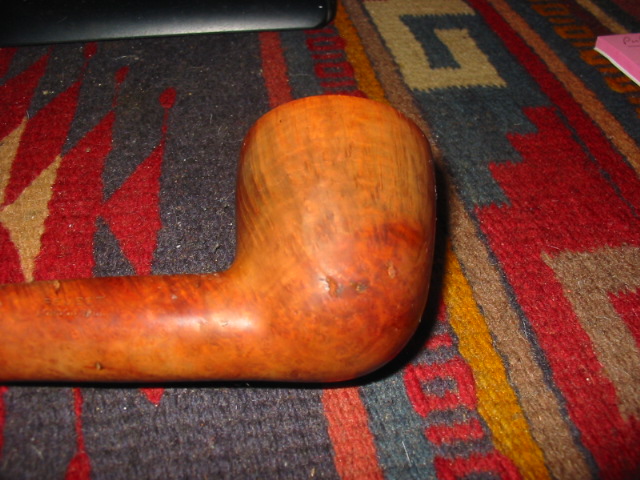
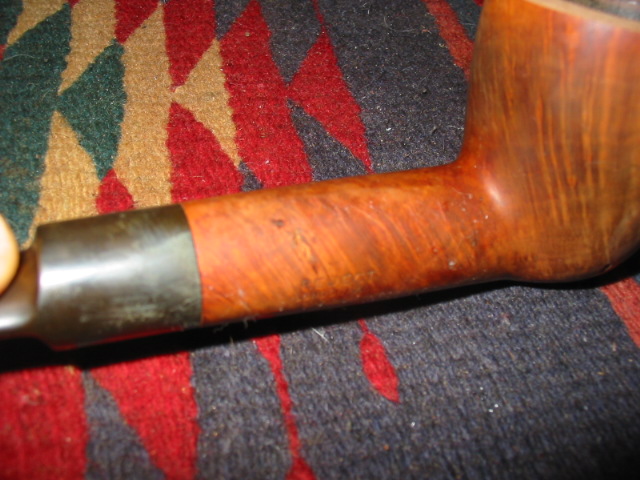
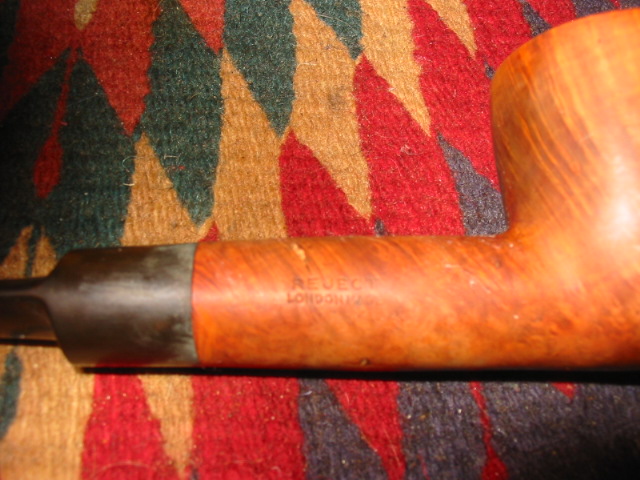
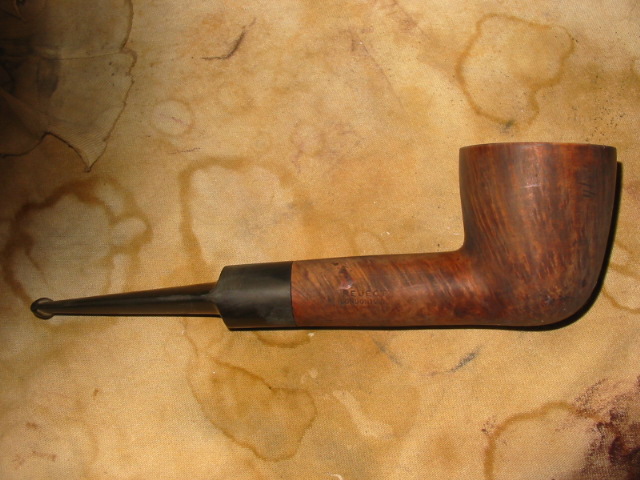
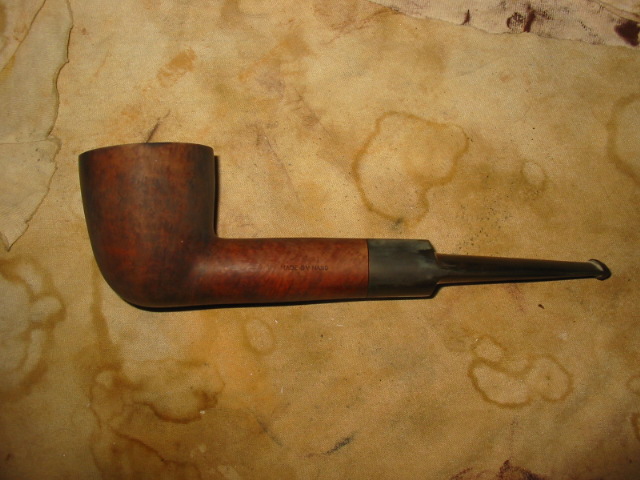
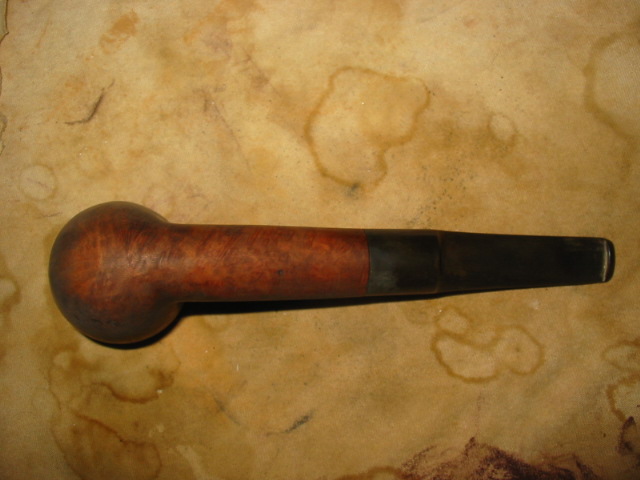
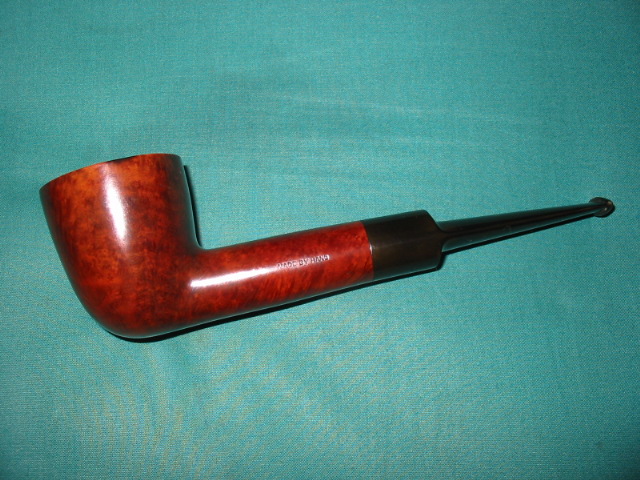
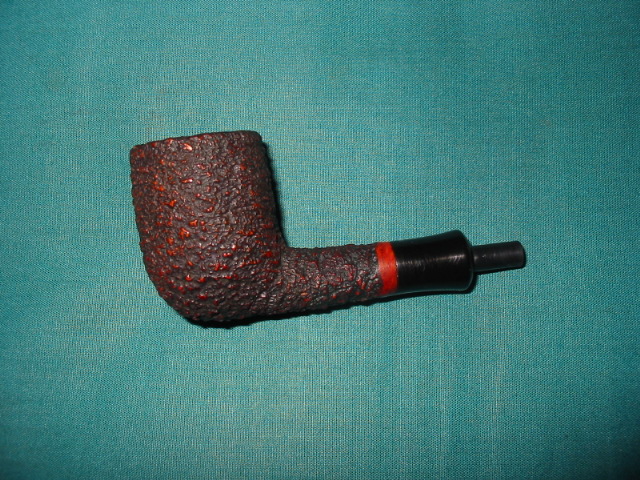
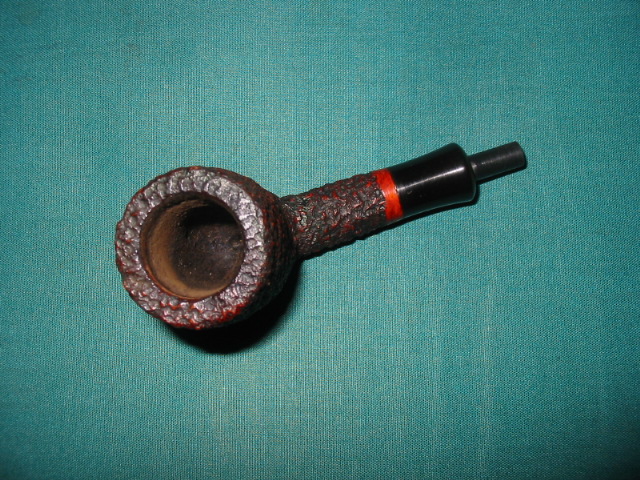
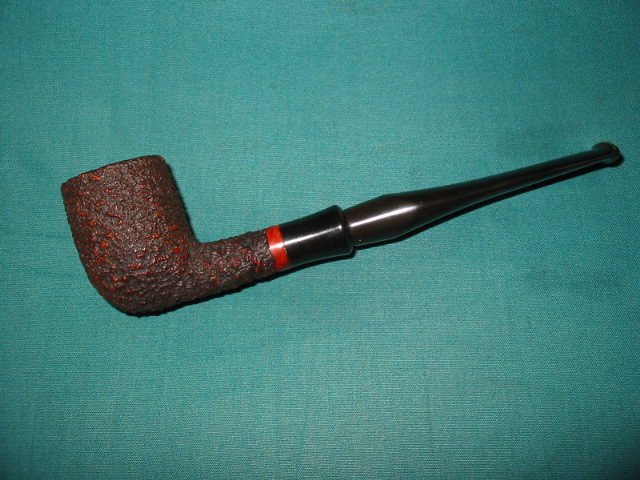
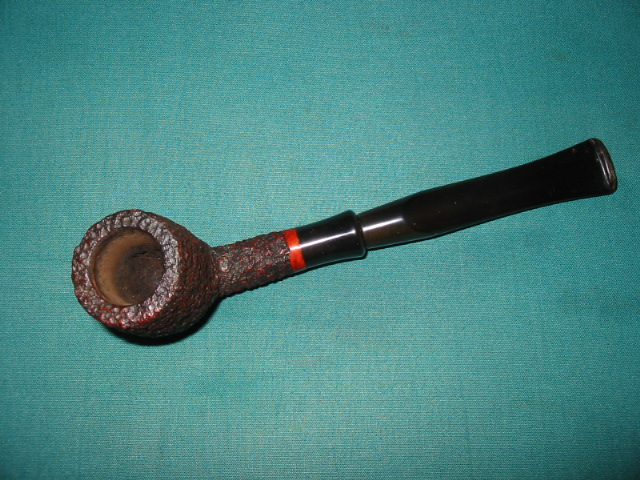
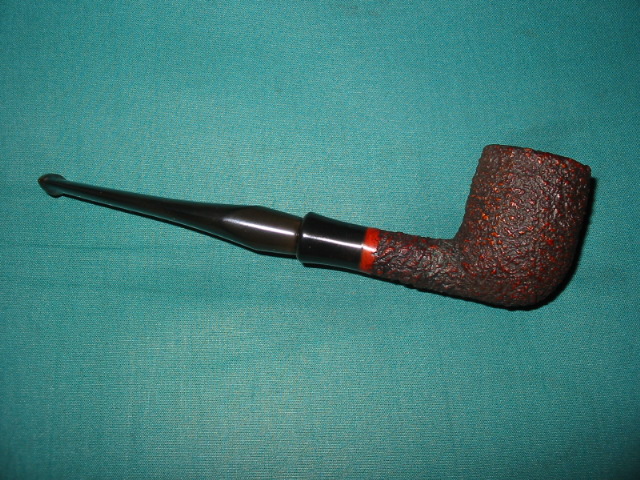
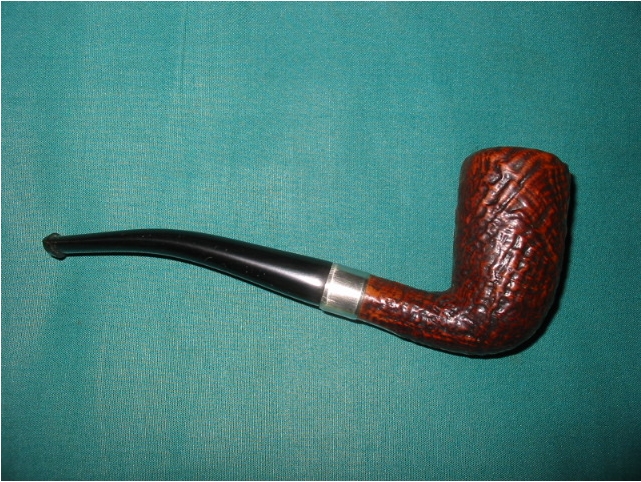
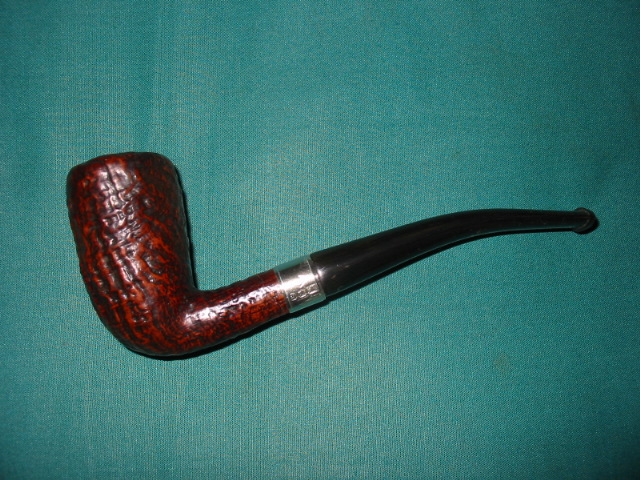
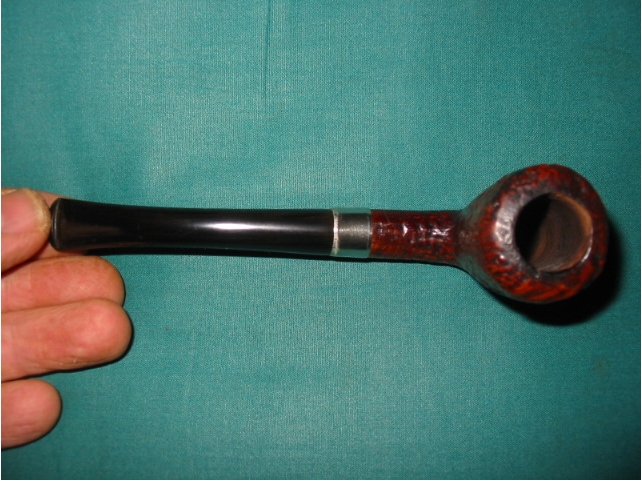
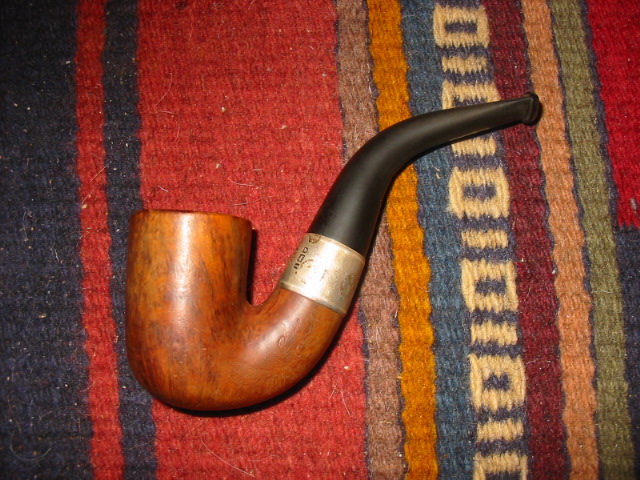
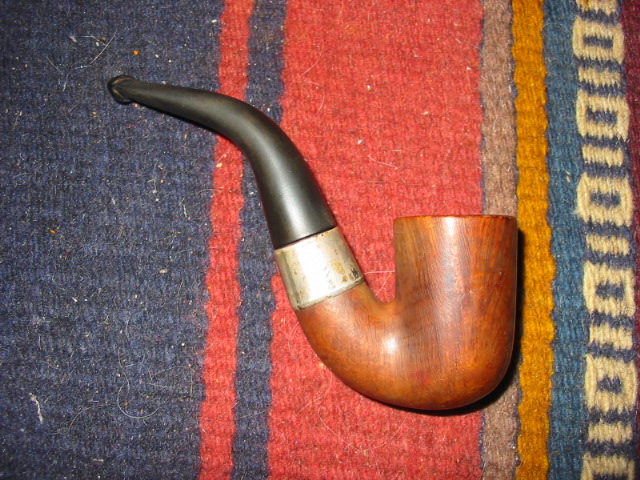
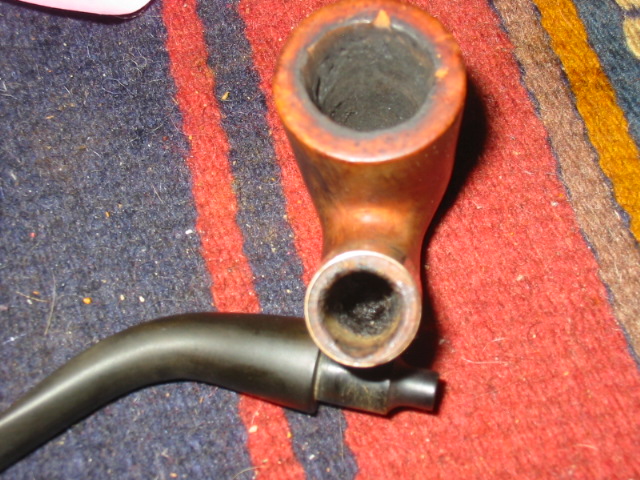
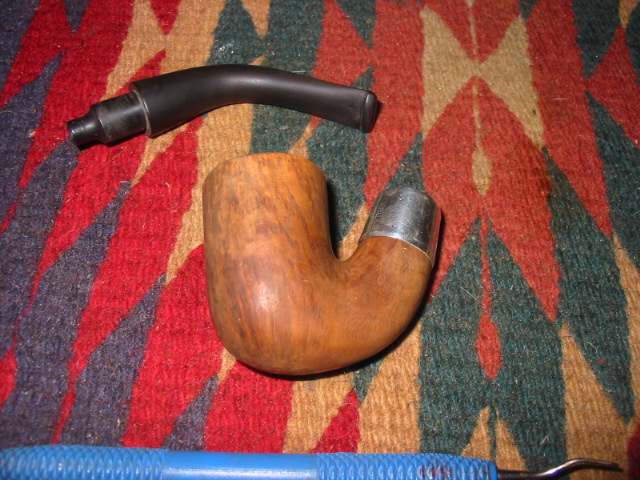
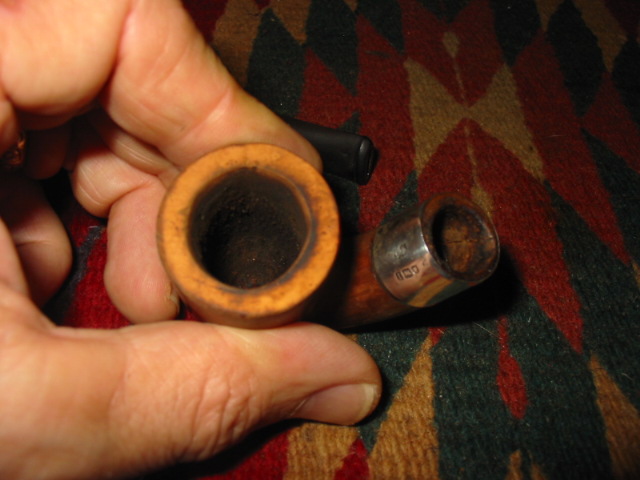
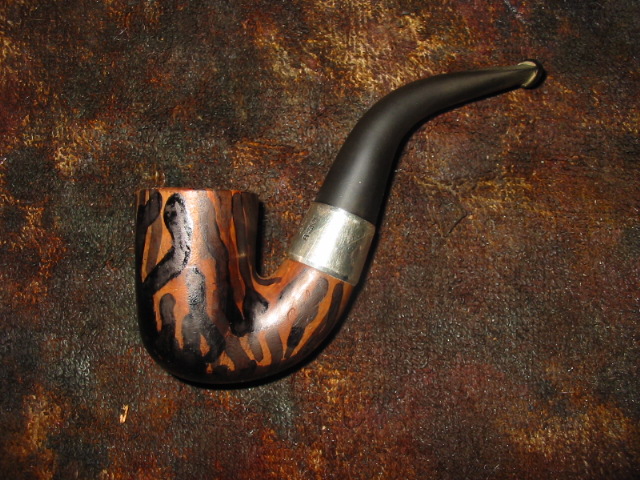
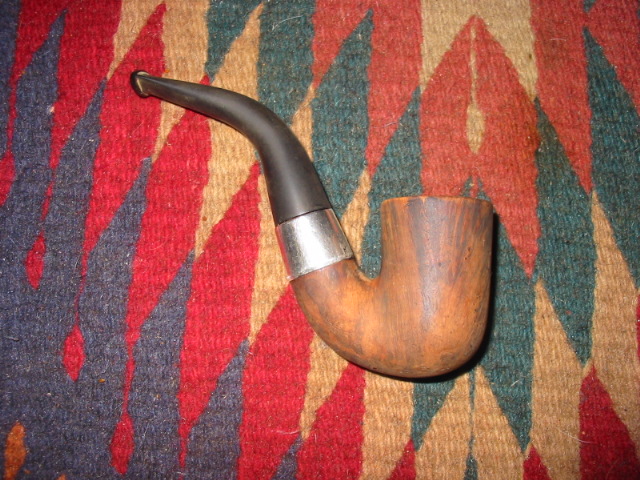
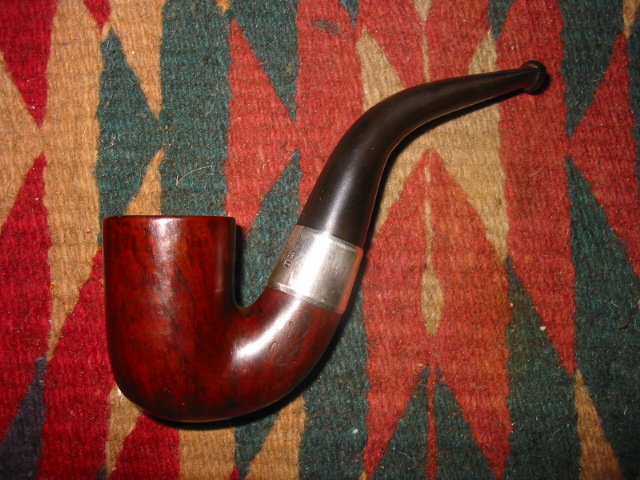
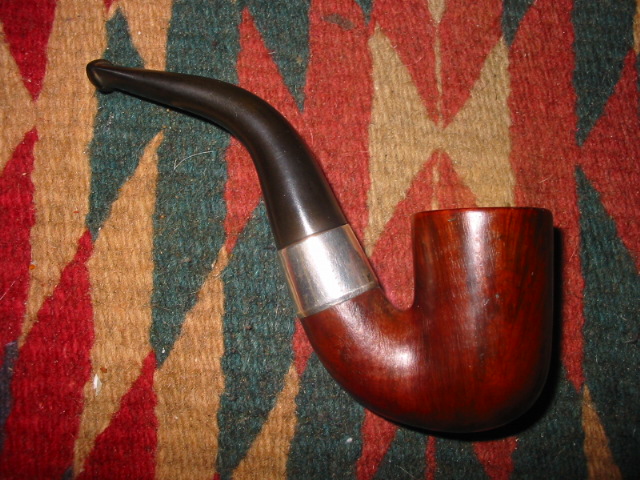
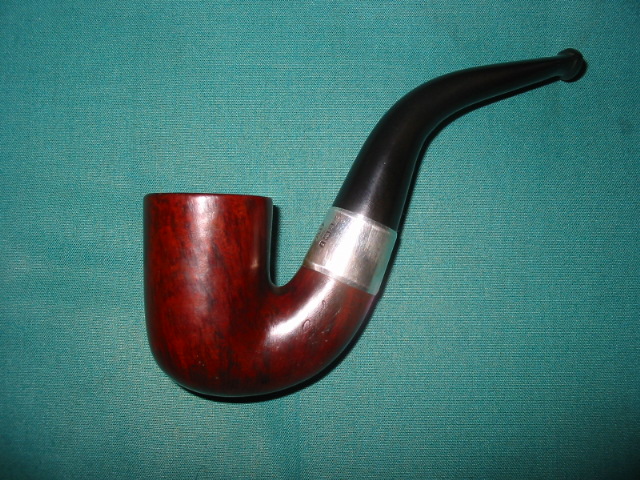
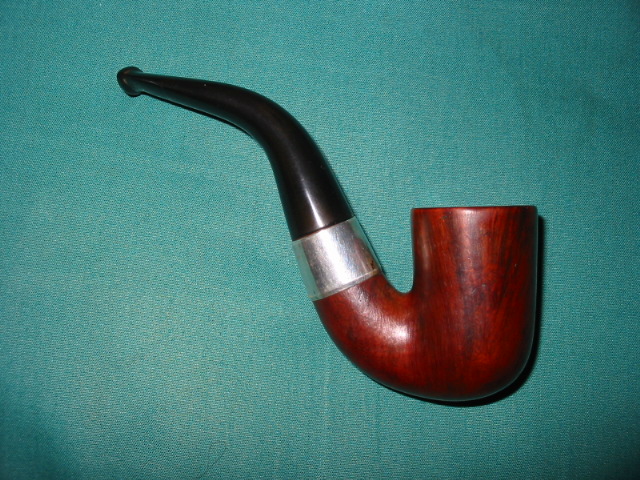
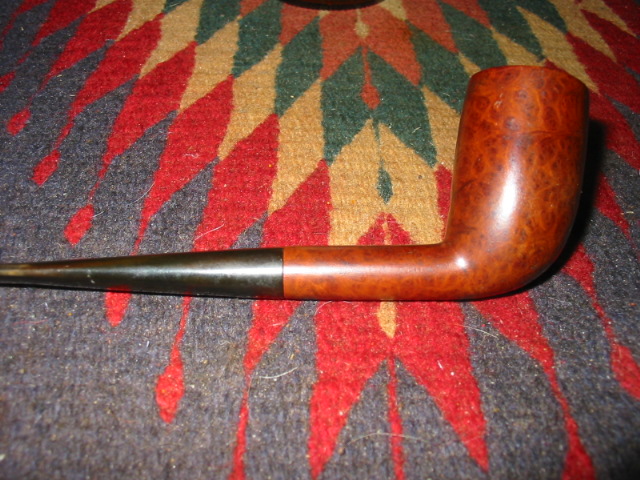
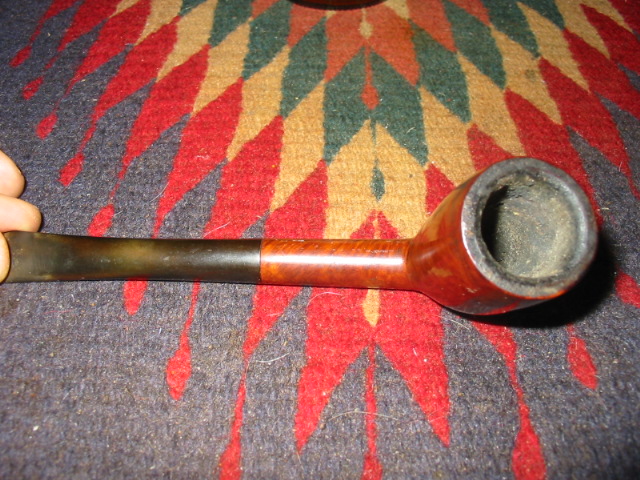
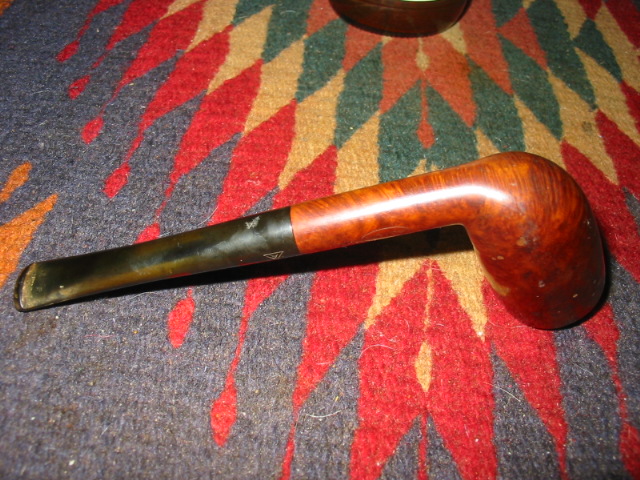
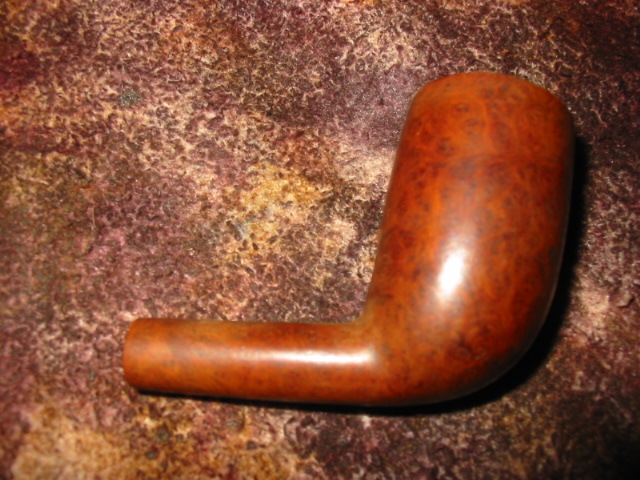
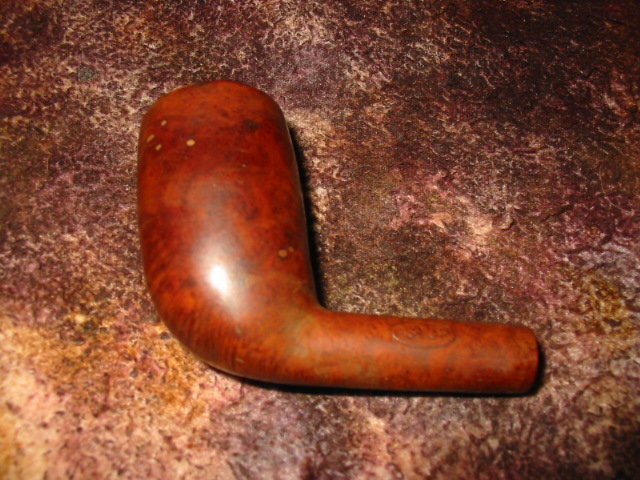
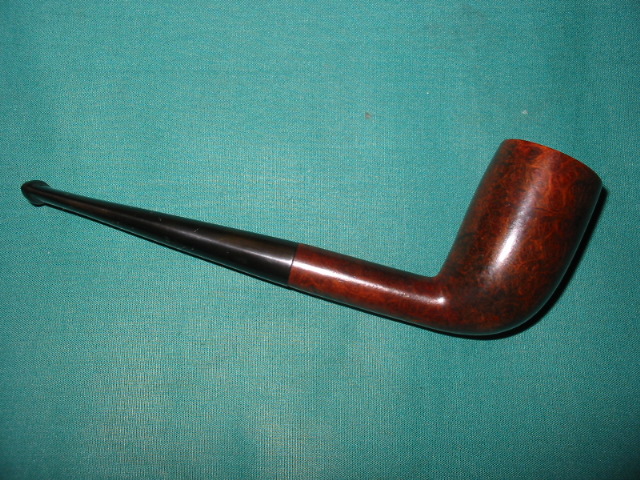
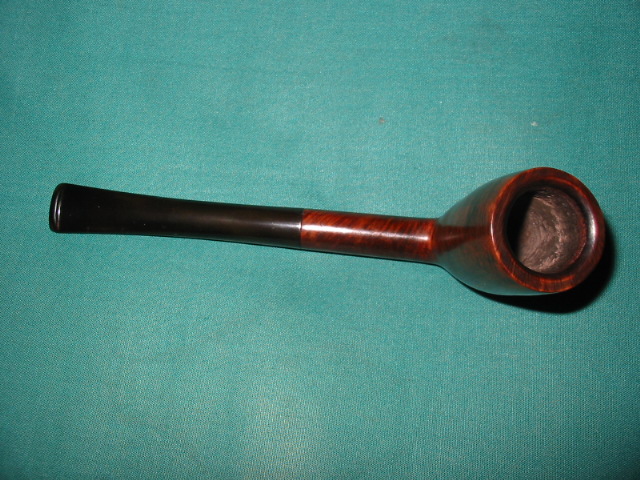
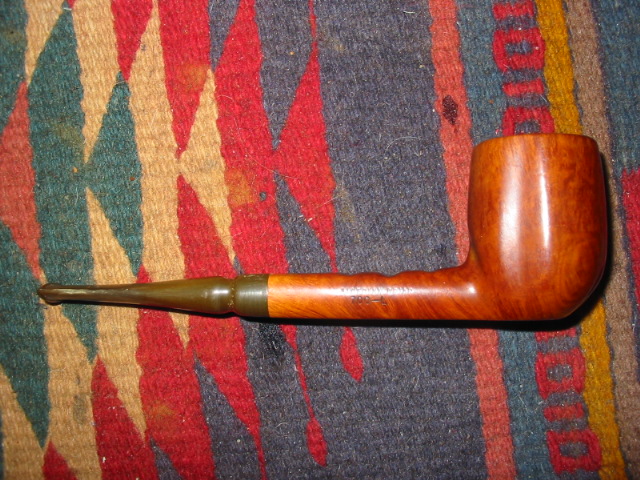
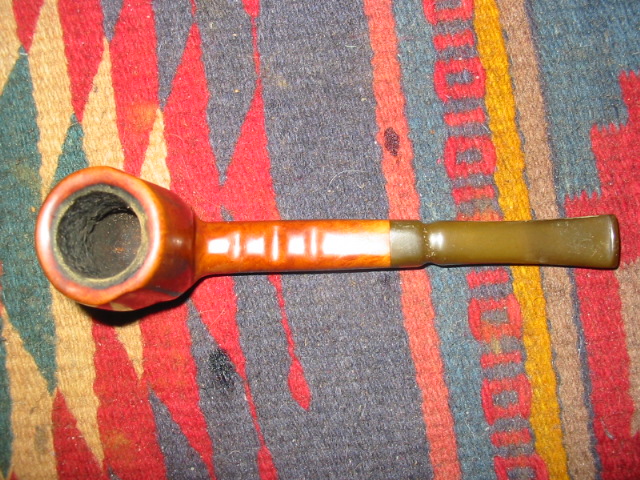
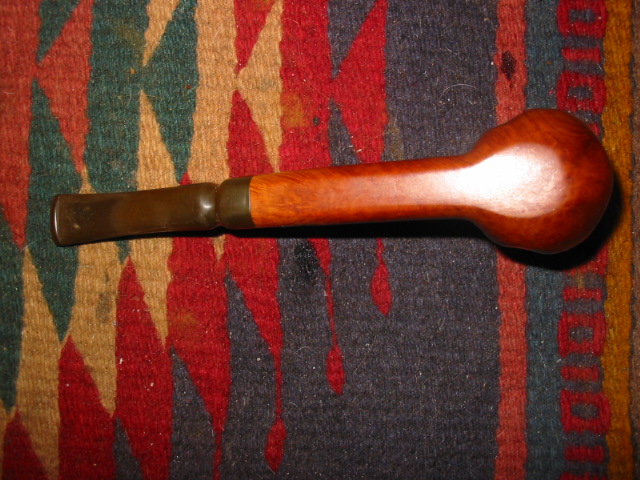
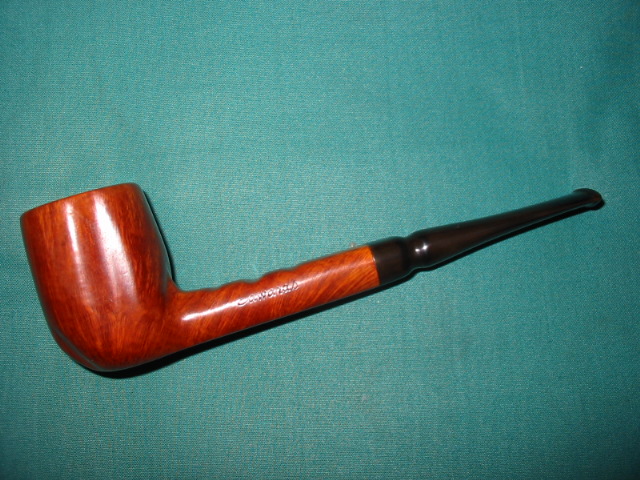
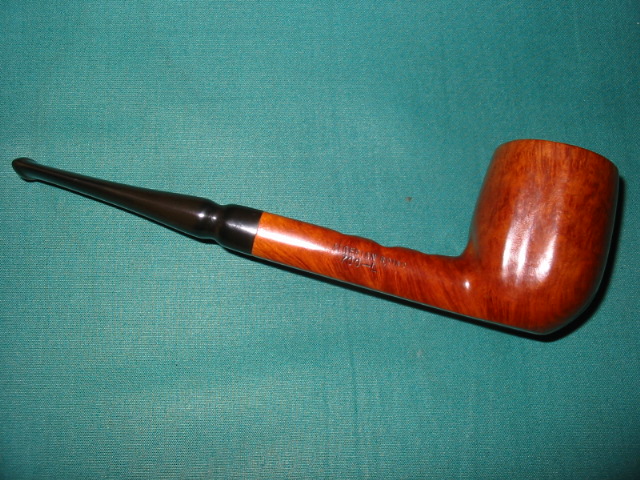
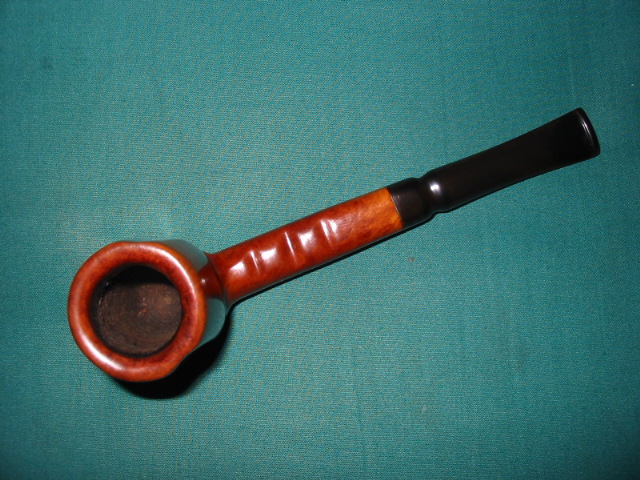
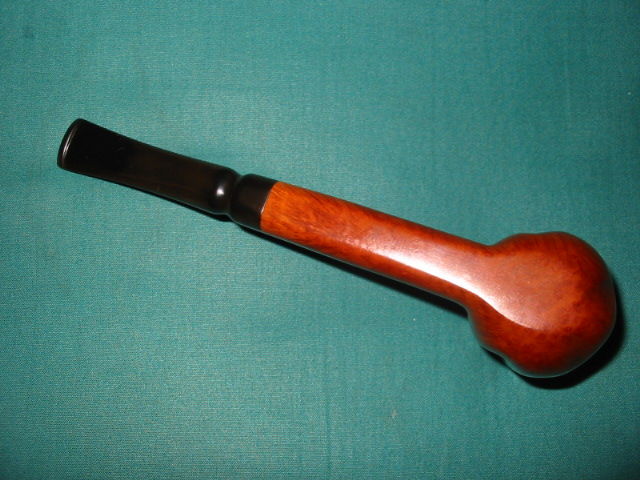
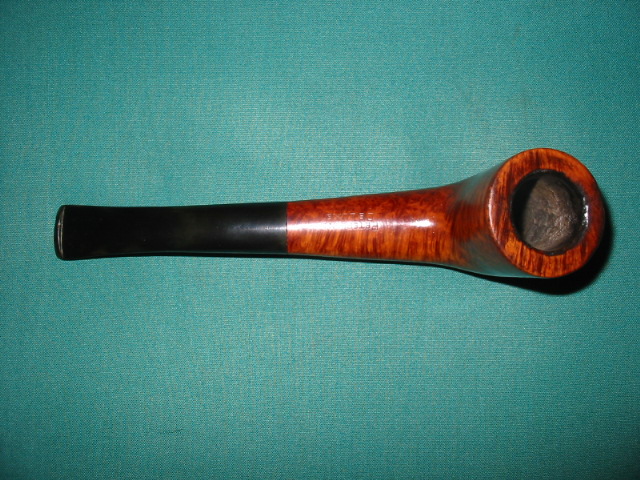
One of the classic shapes that I refurbished lately was this little Barling Lovat. It is stamped Barling in script (Post Trans I believe) then London England in block text under that and a third line – Garnet Grain. The bottom of the shank is stamped with the four digit shape number – 4189. The classic lines of this little pipe, to me show what Barling could do with these shapes. The reddish stain on the Garnet Grain pipes is one of the attractive features of this line of Barlings.

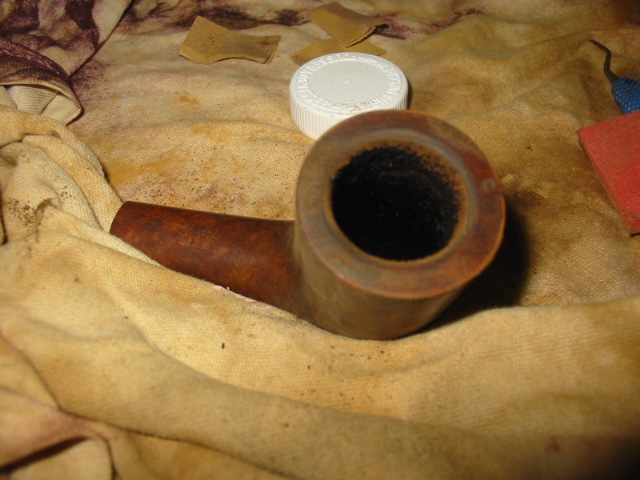
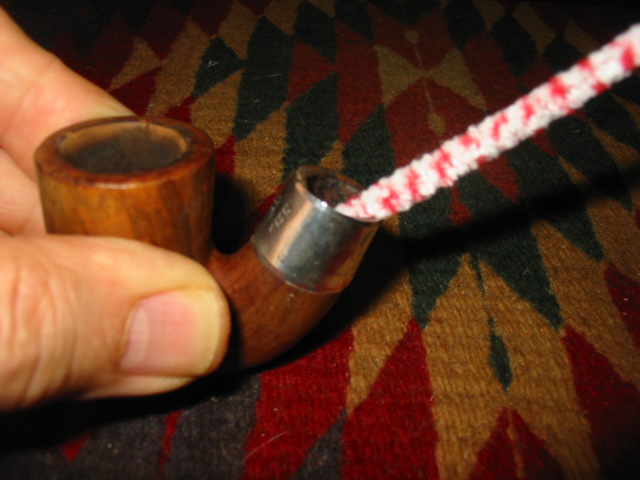
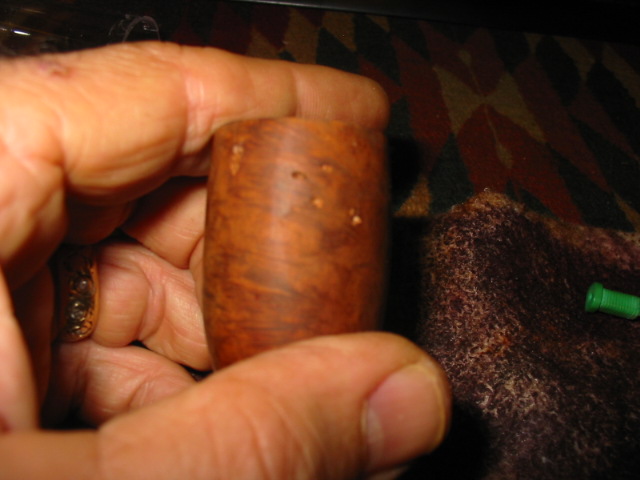
This one came to me in a lot of pipes I picked up along the way and it had obviously been sitting for a long time. The bowl had cobwebs deep inside and a musty smell to it. There was a crumbling cake though it was not thick, just soft. I reamed the bowl and cleaned out the bowl and shank with the usual pile of pipe cleaners and a shank brush with lots of Isopropyl alcohol. The outside of the bowl was spattered with white paint all around and some especially ground in along the shank so I scrubbed it with an alcohol cloth and put it in the alcohol bath.
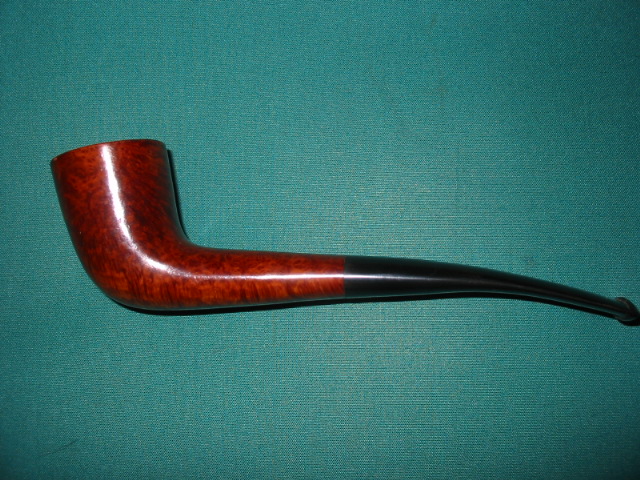
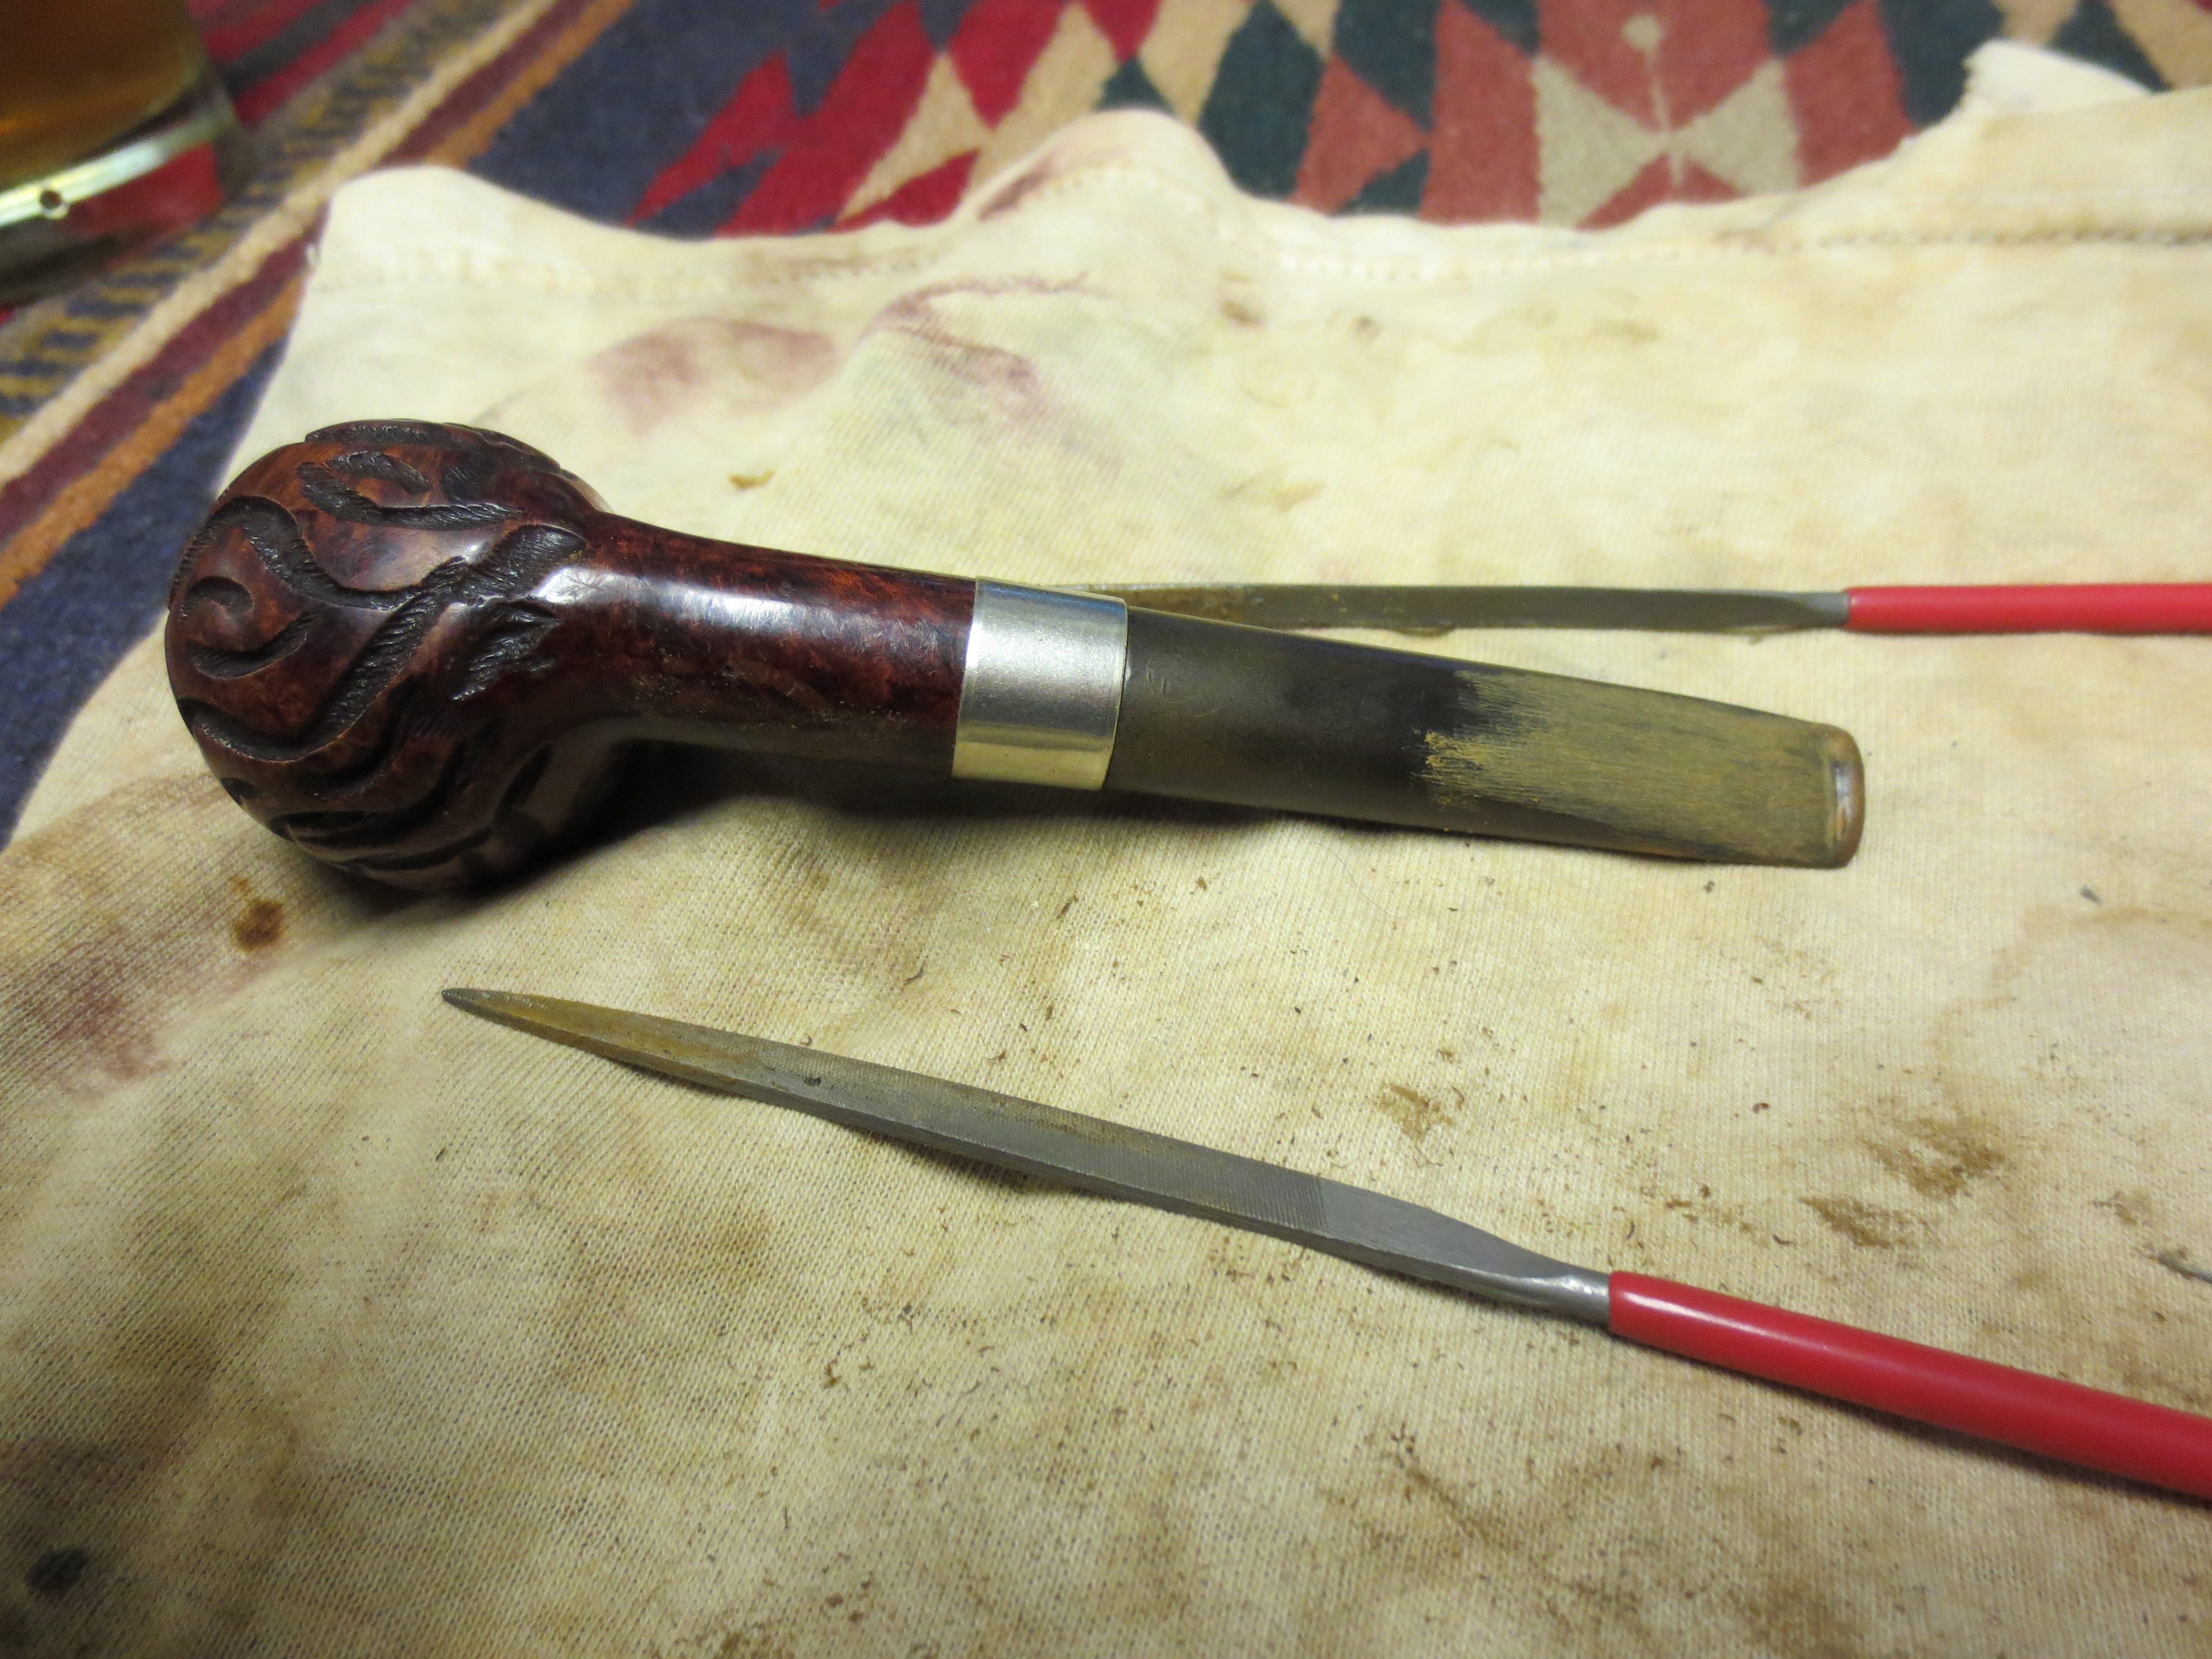
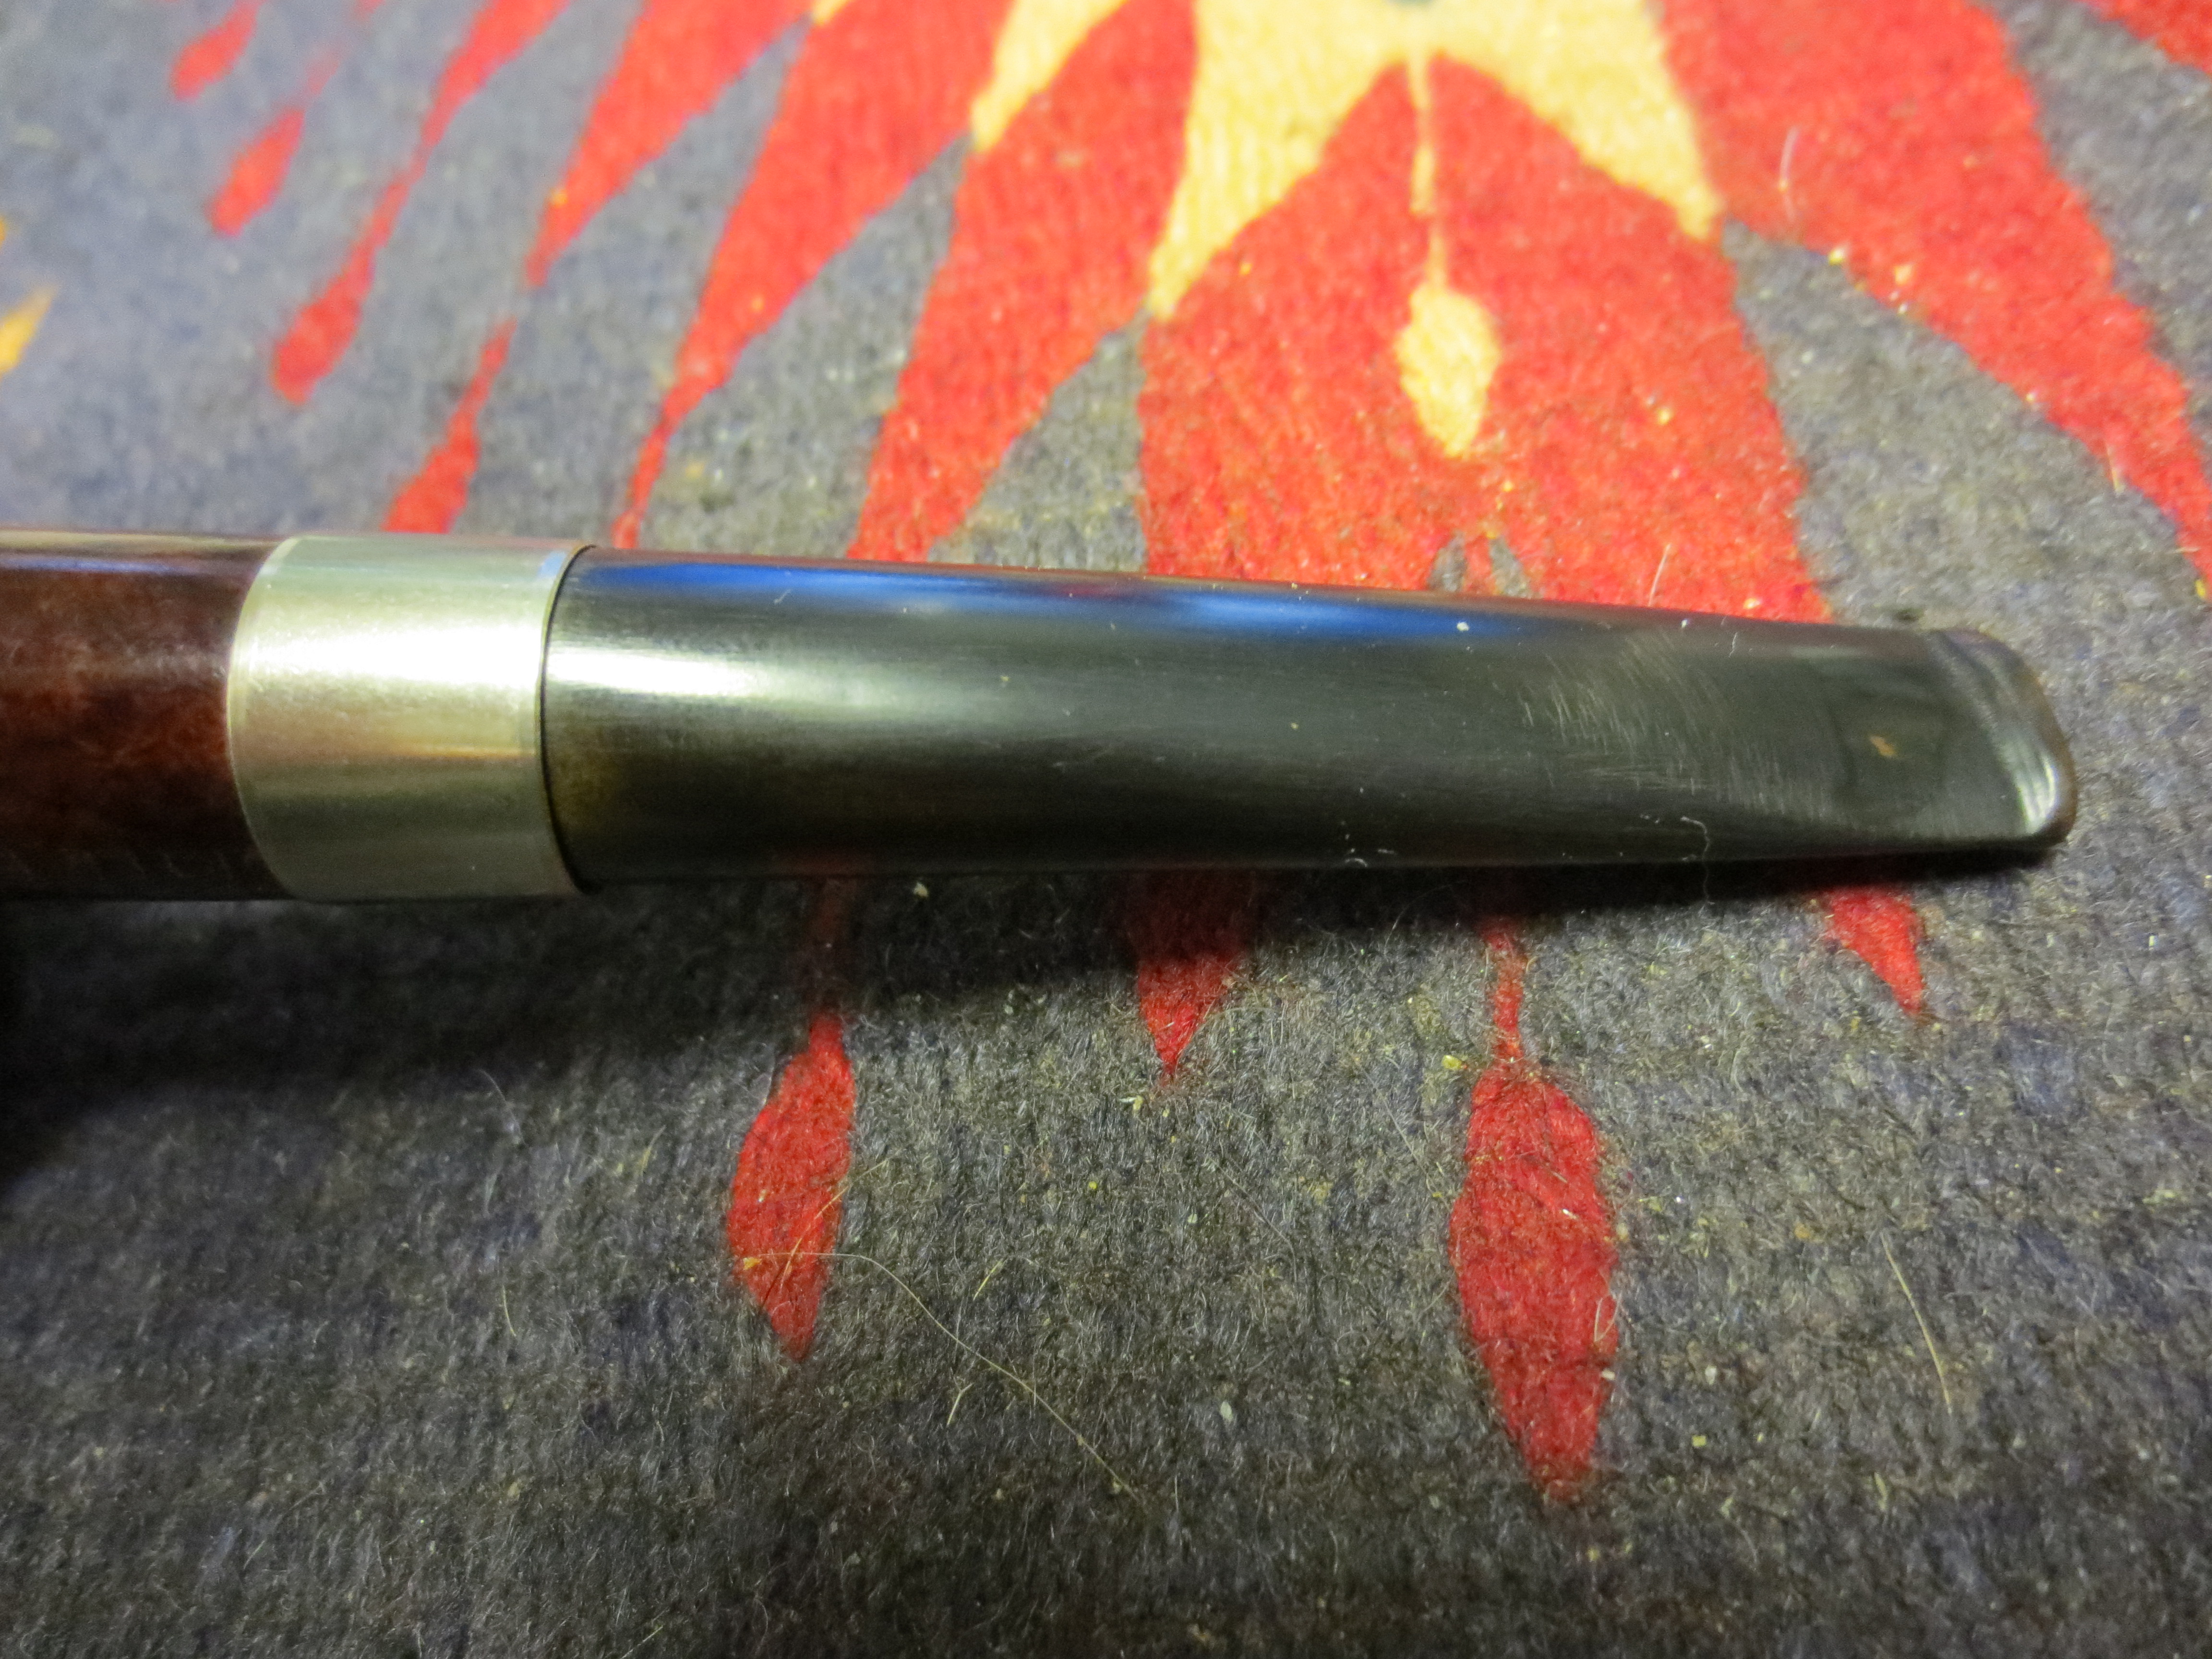
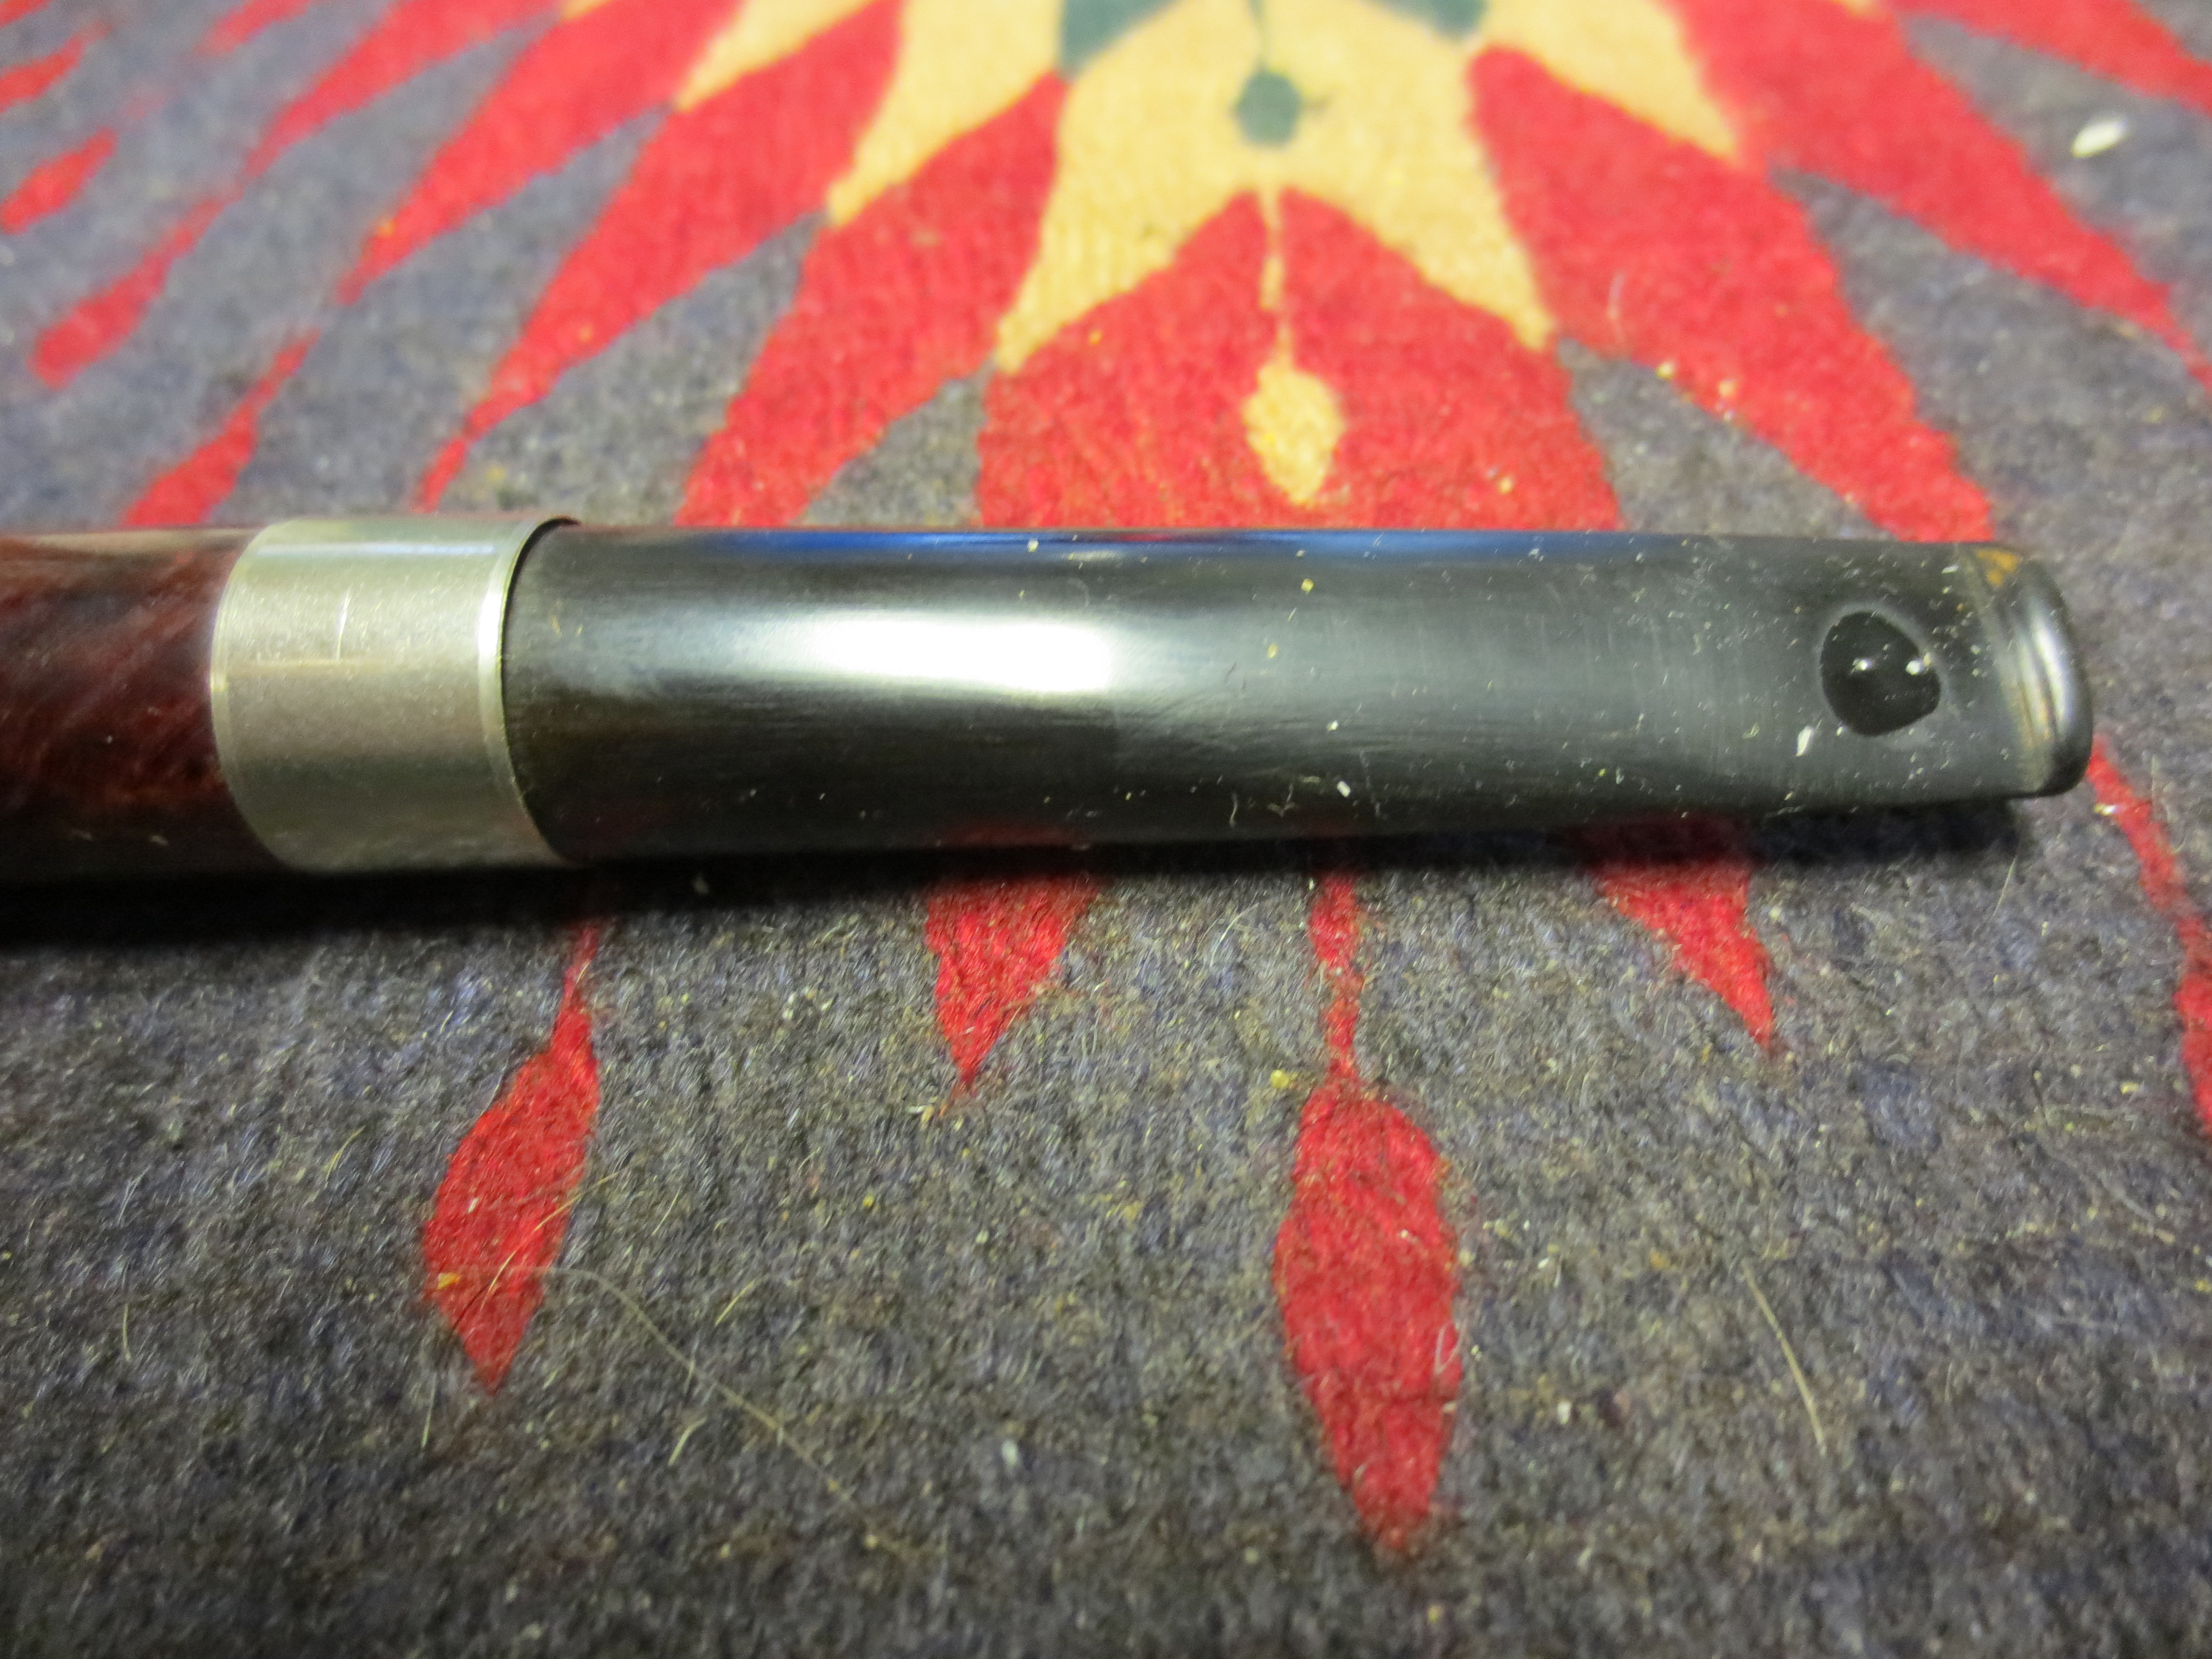
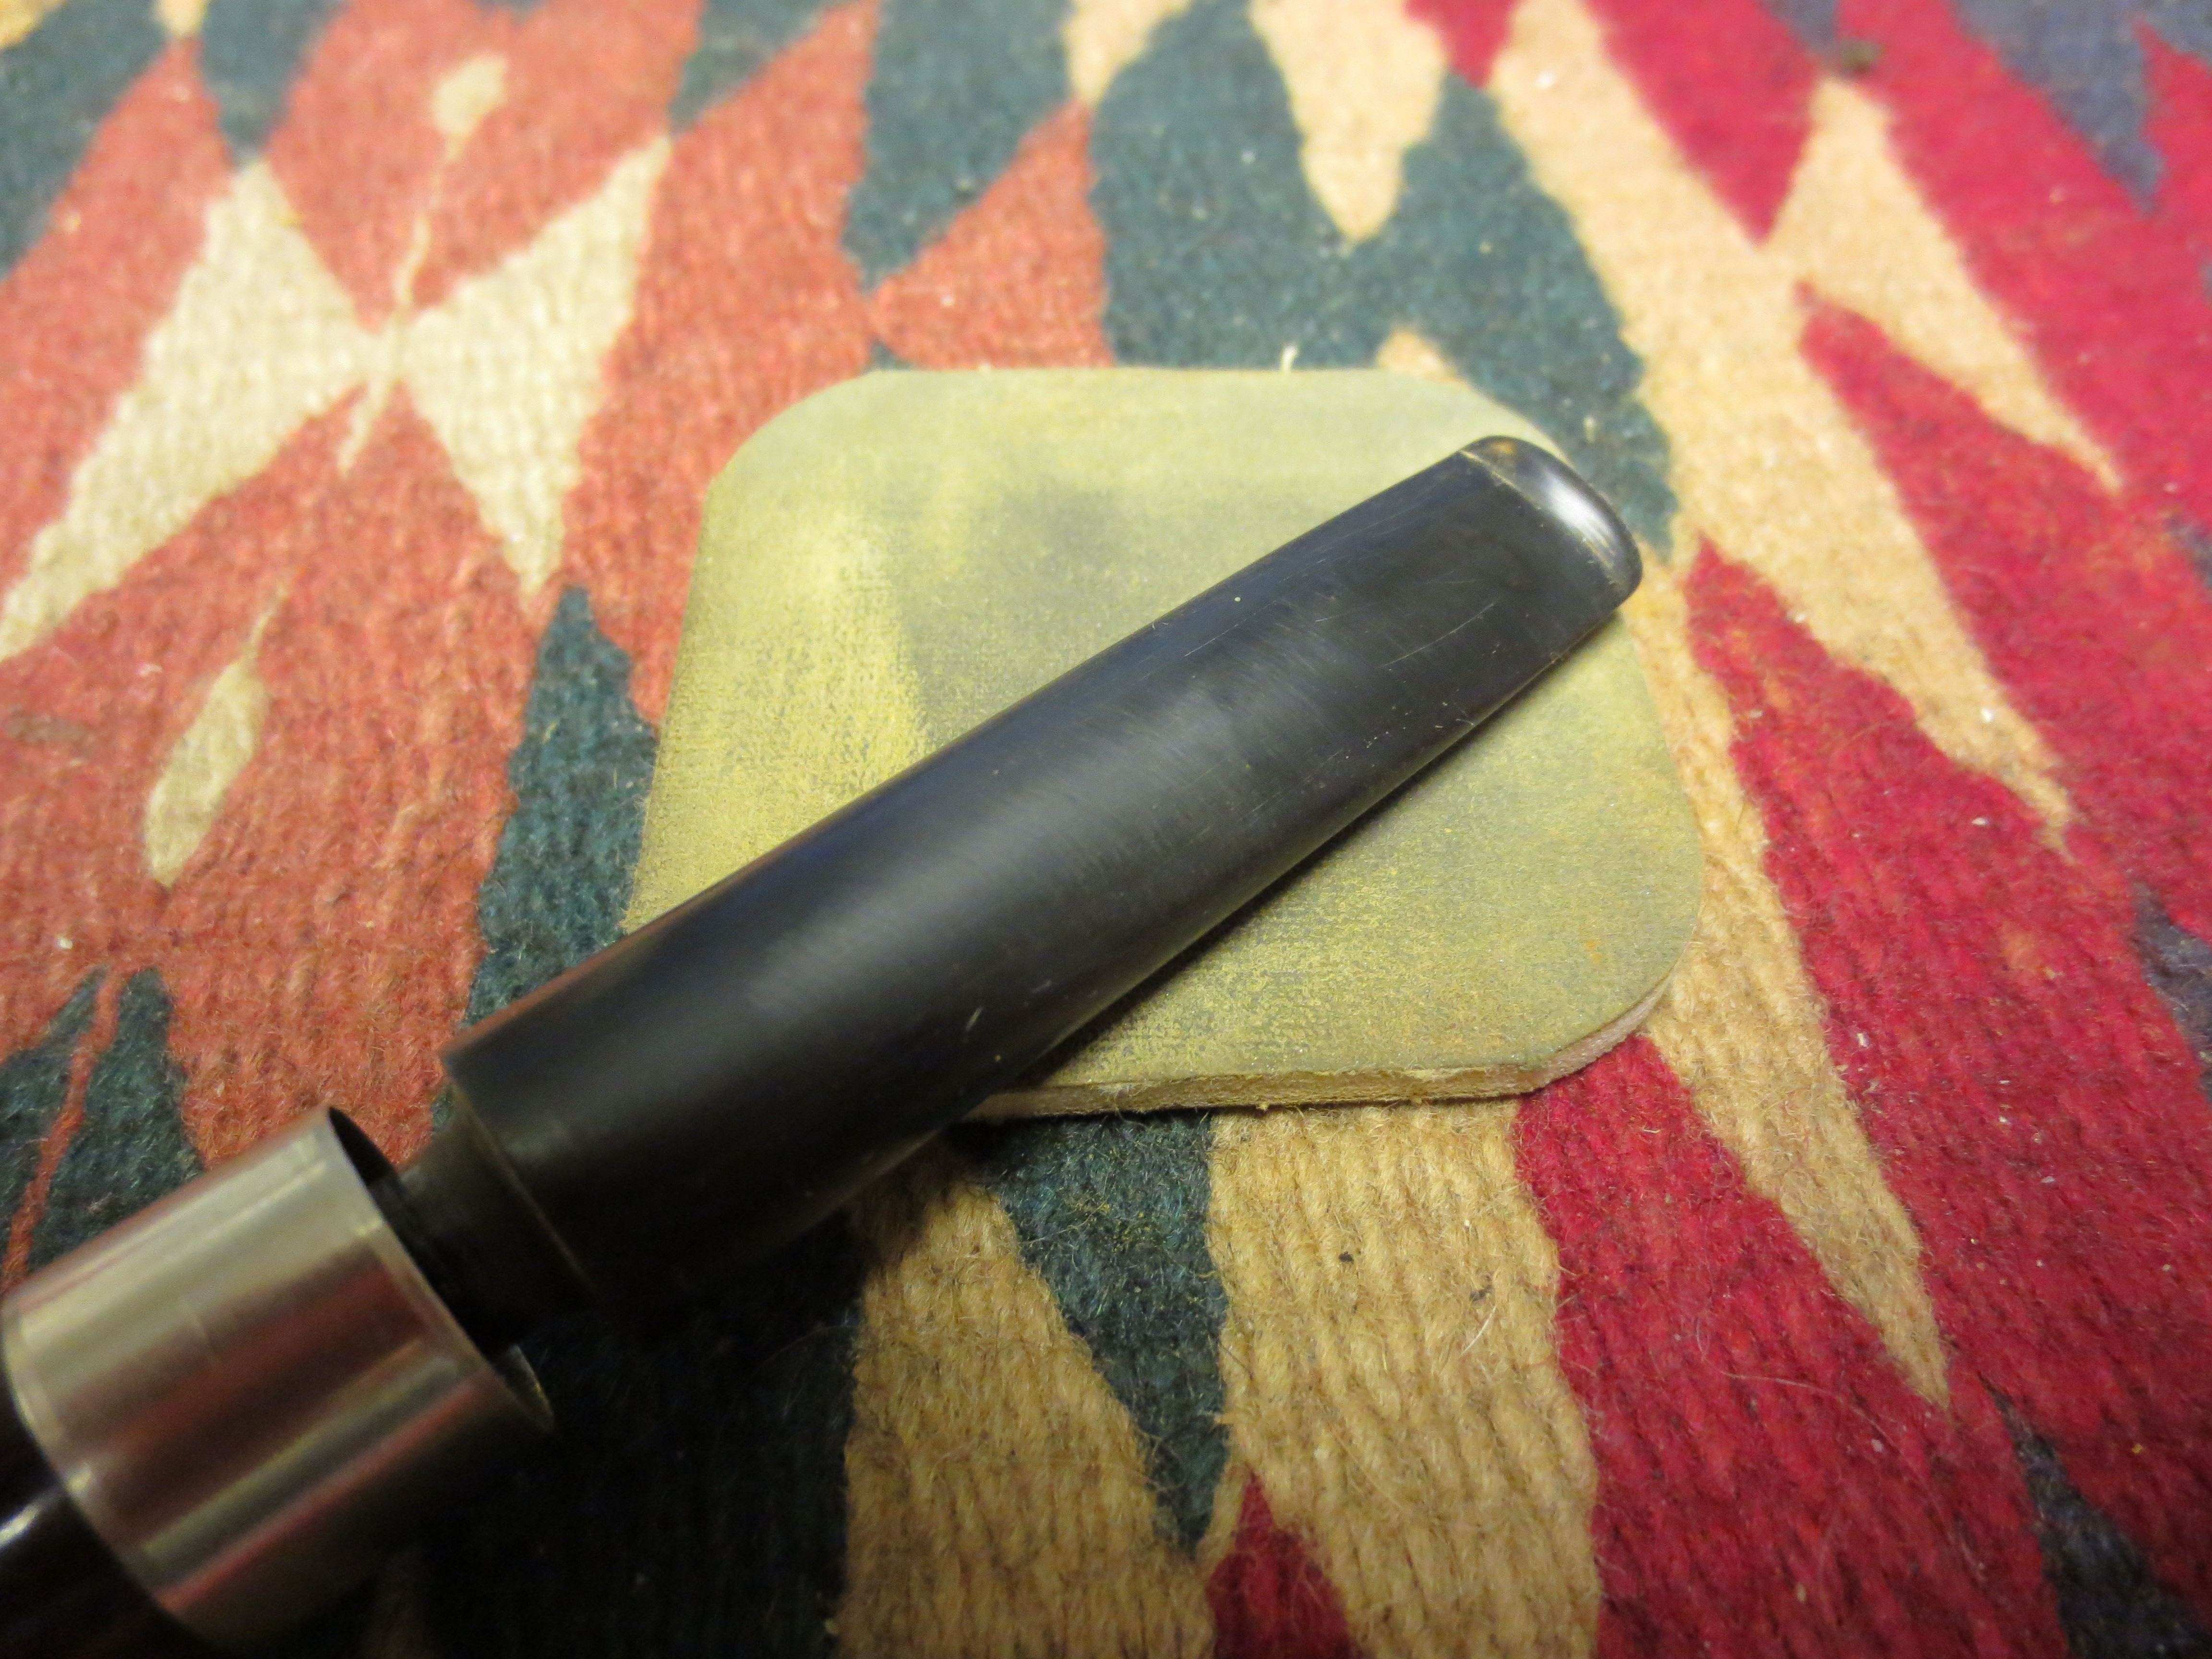
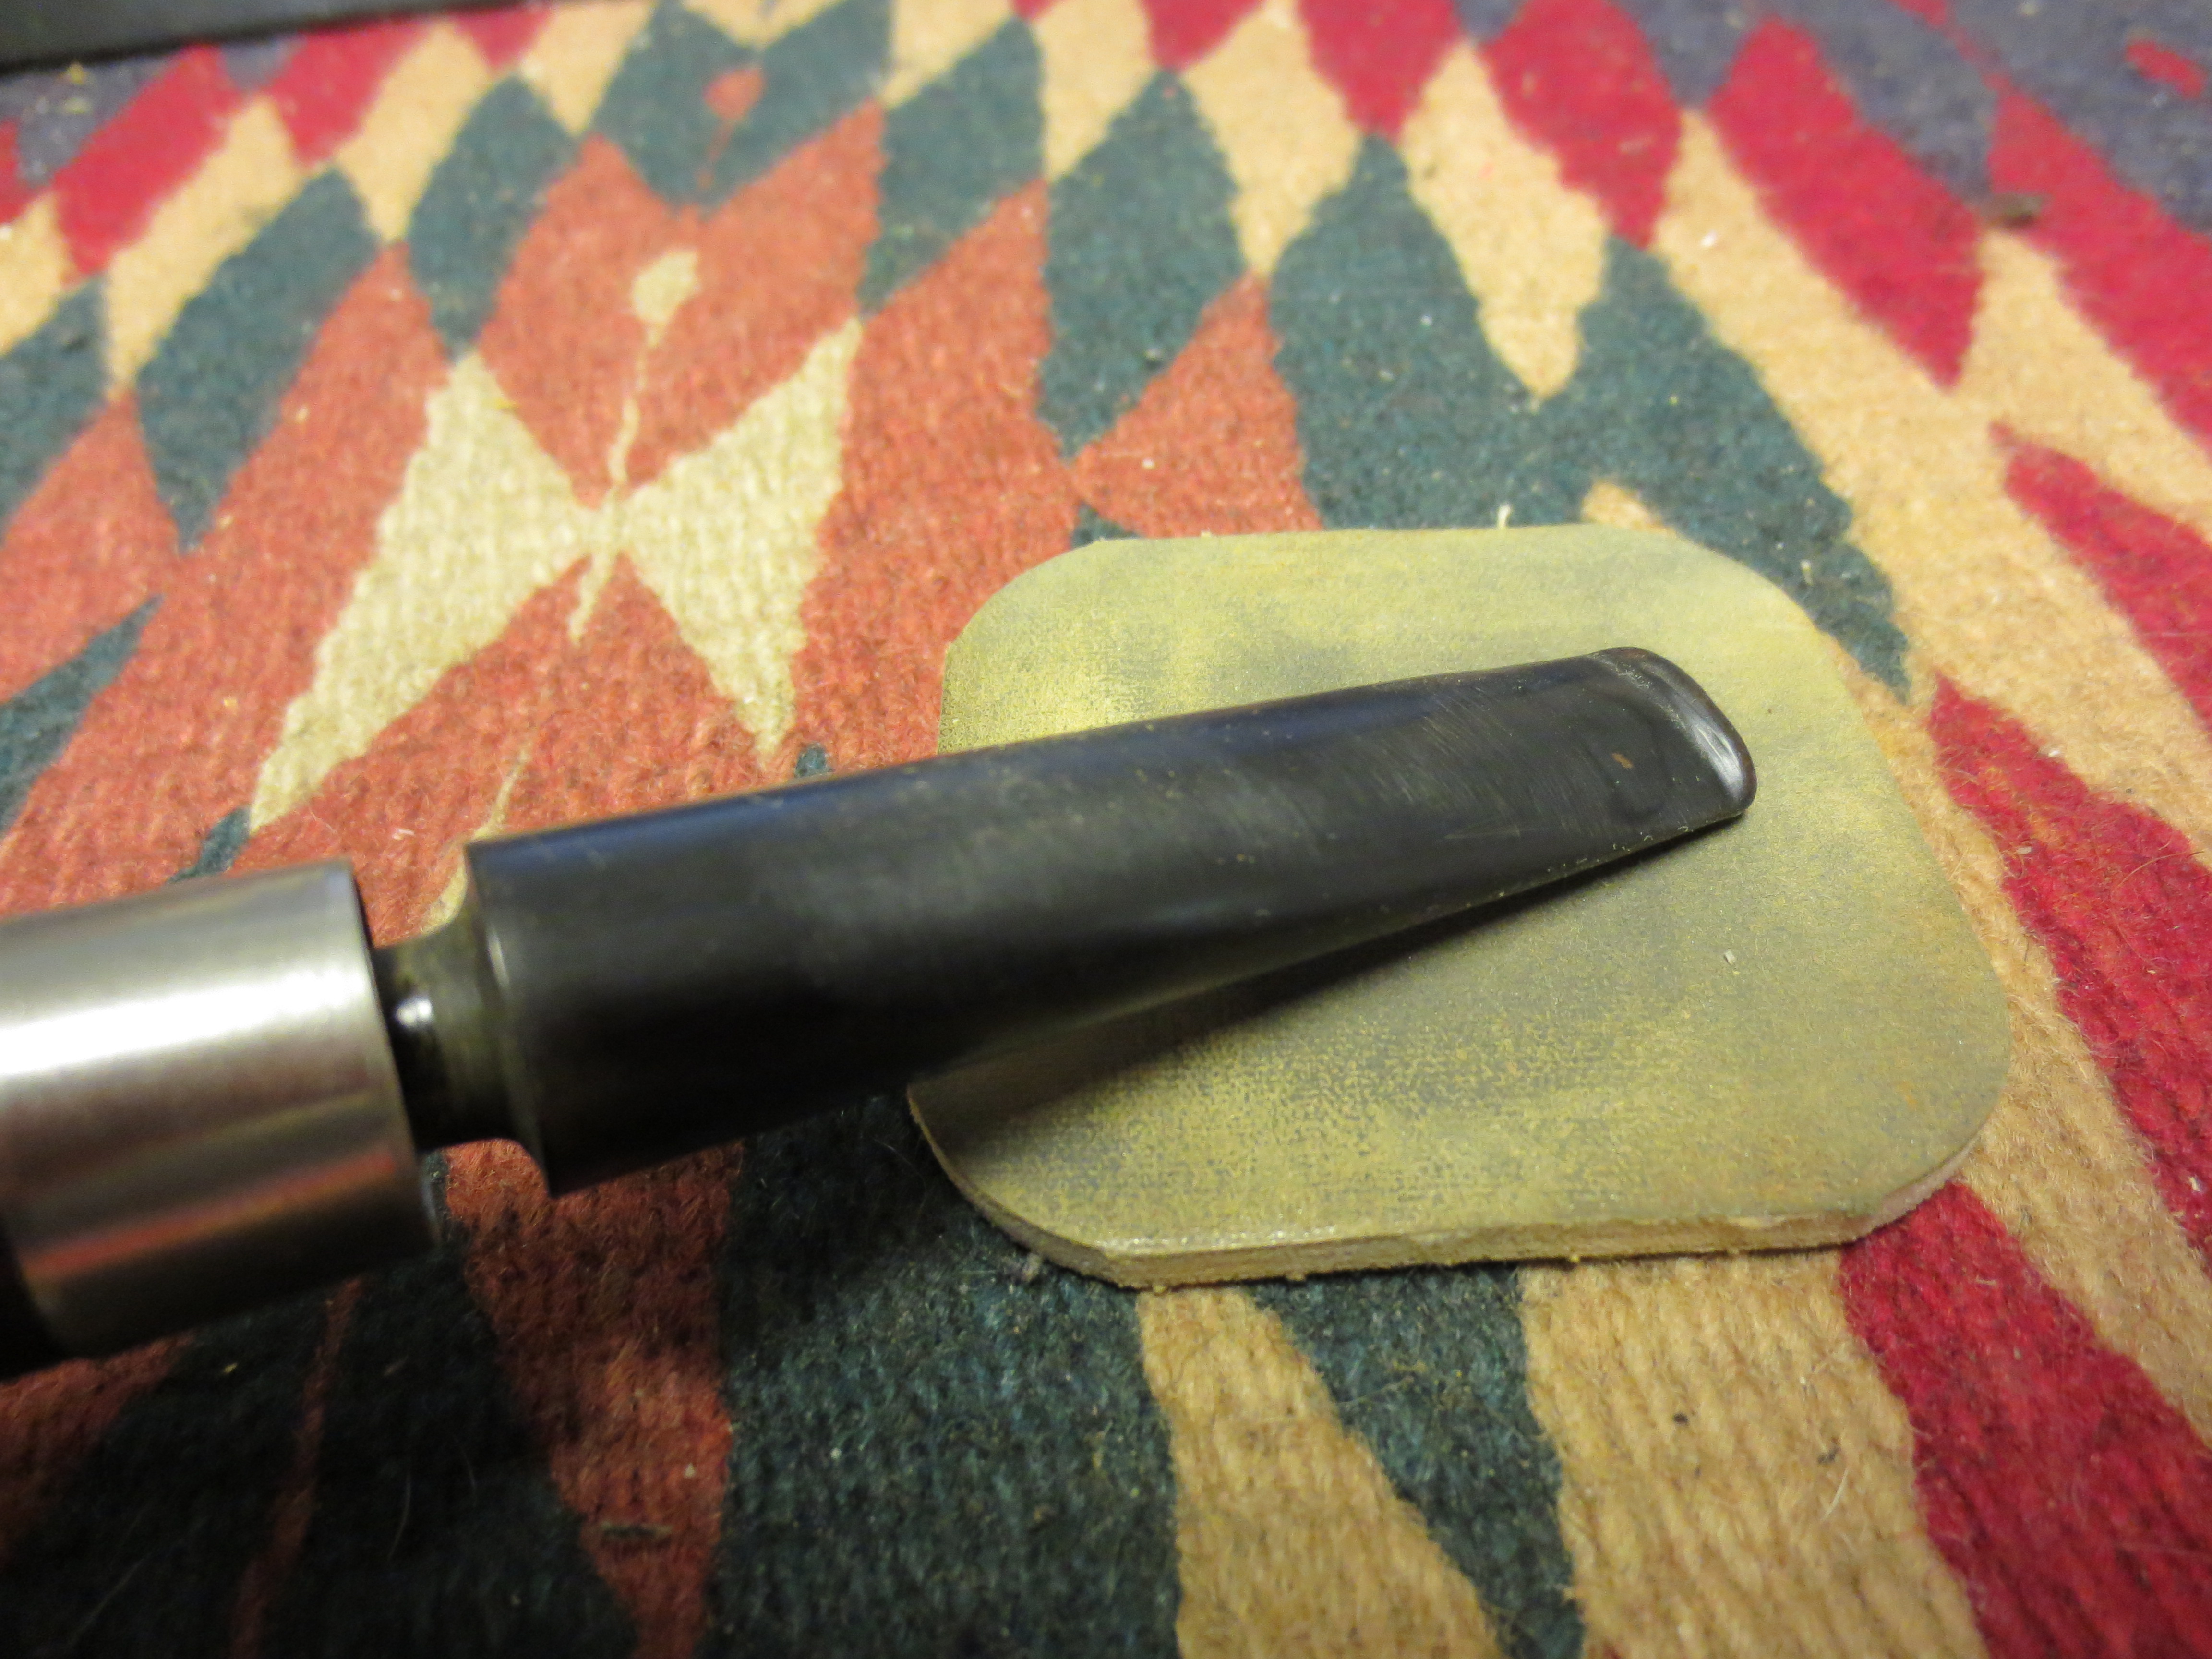
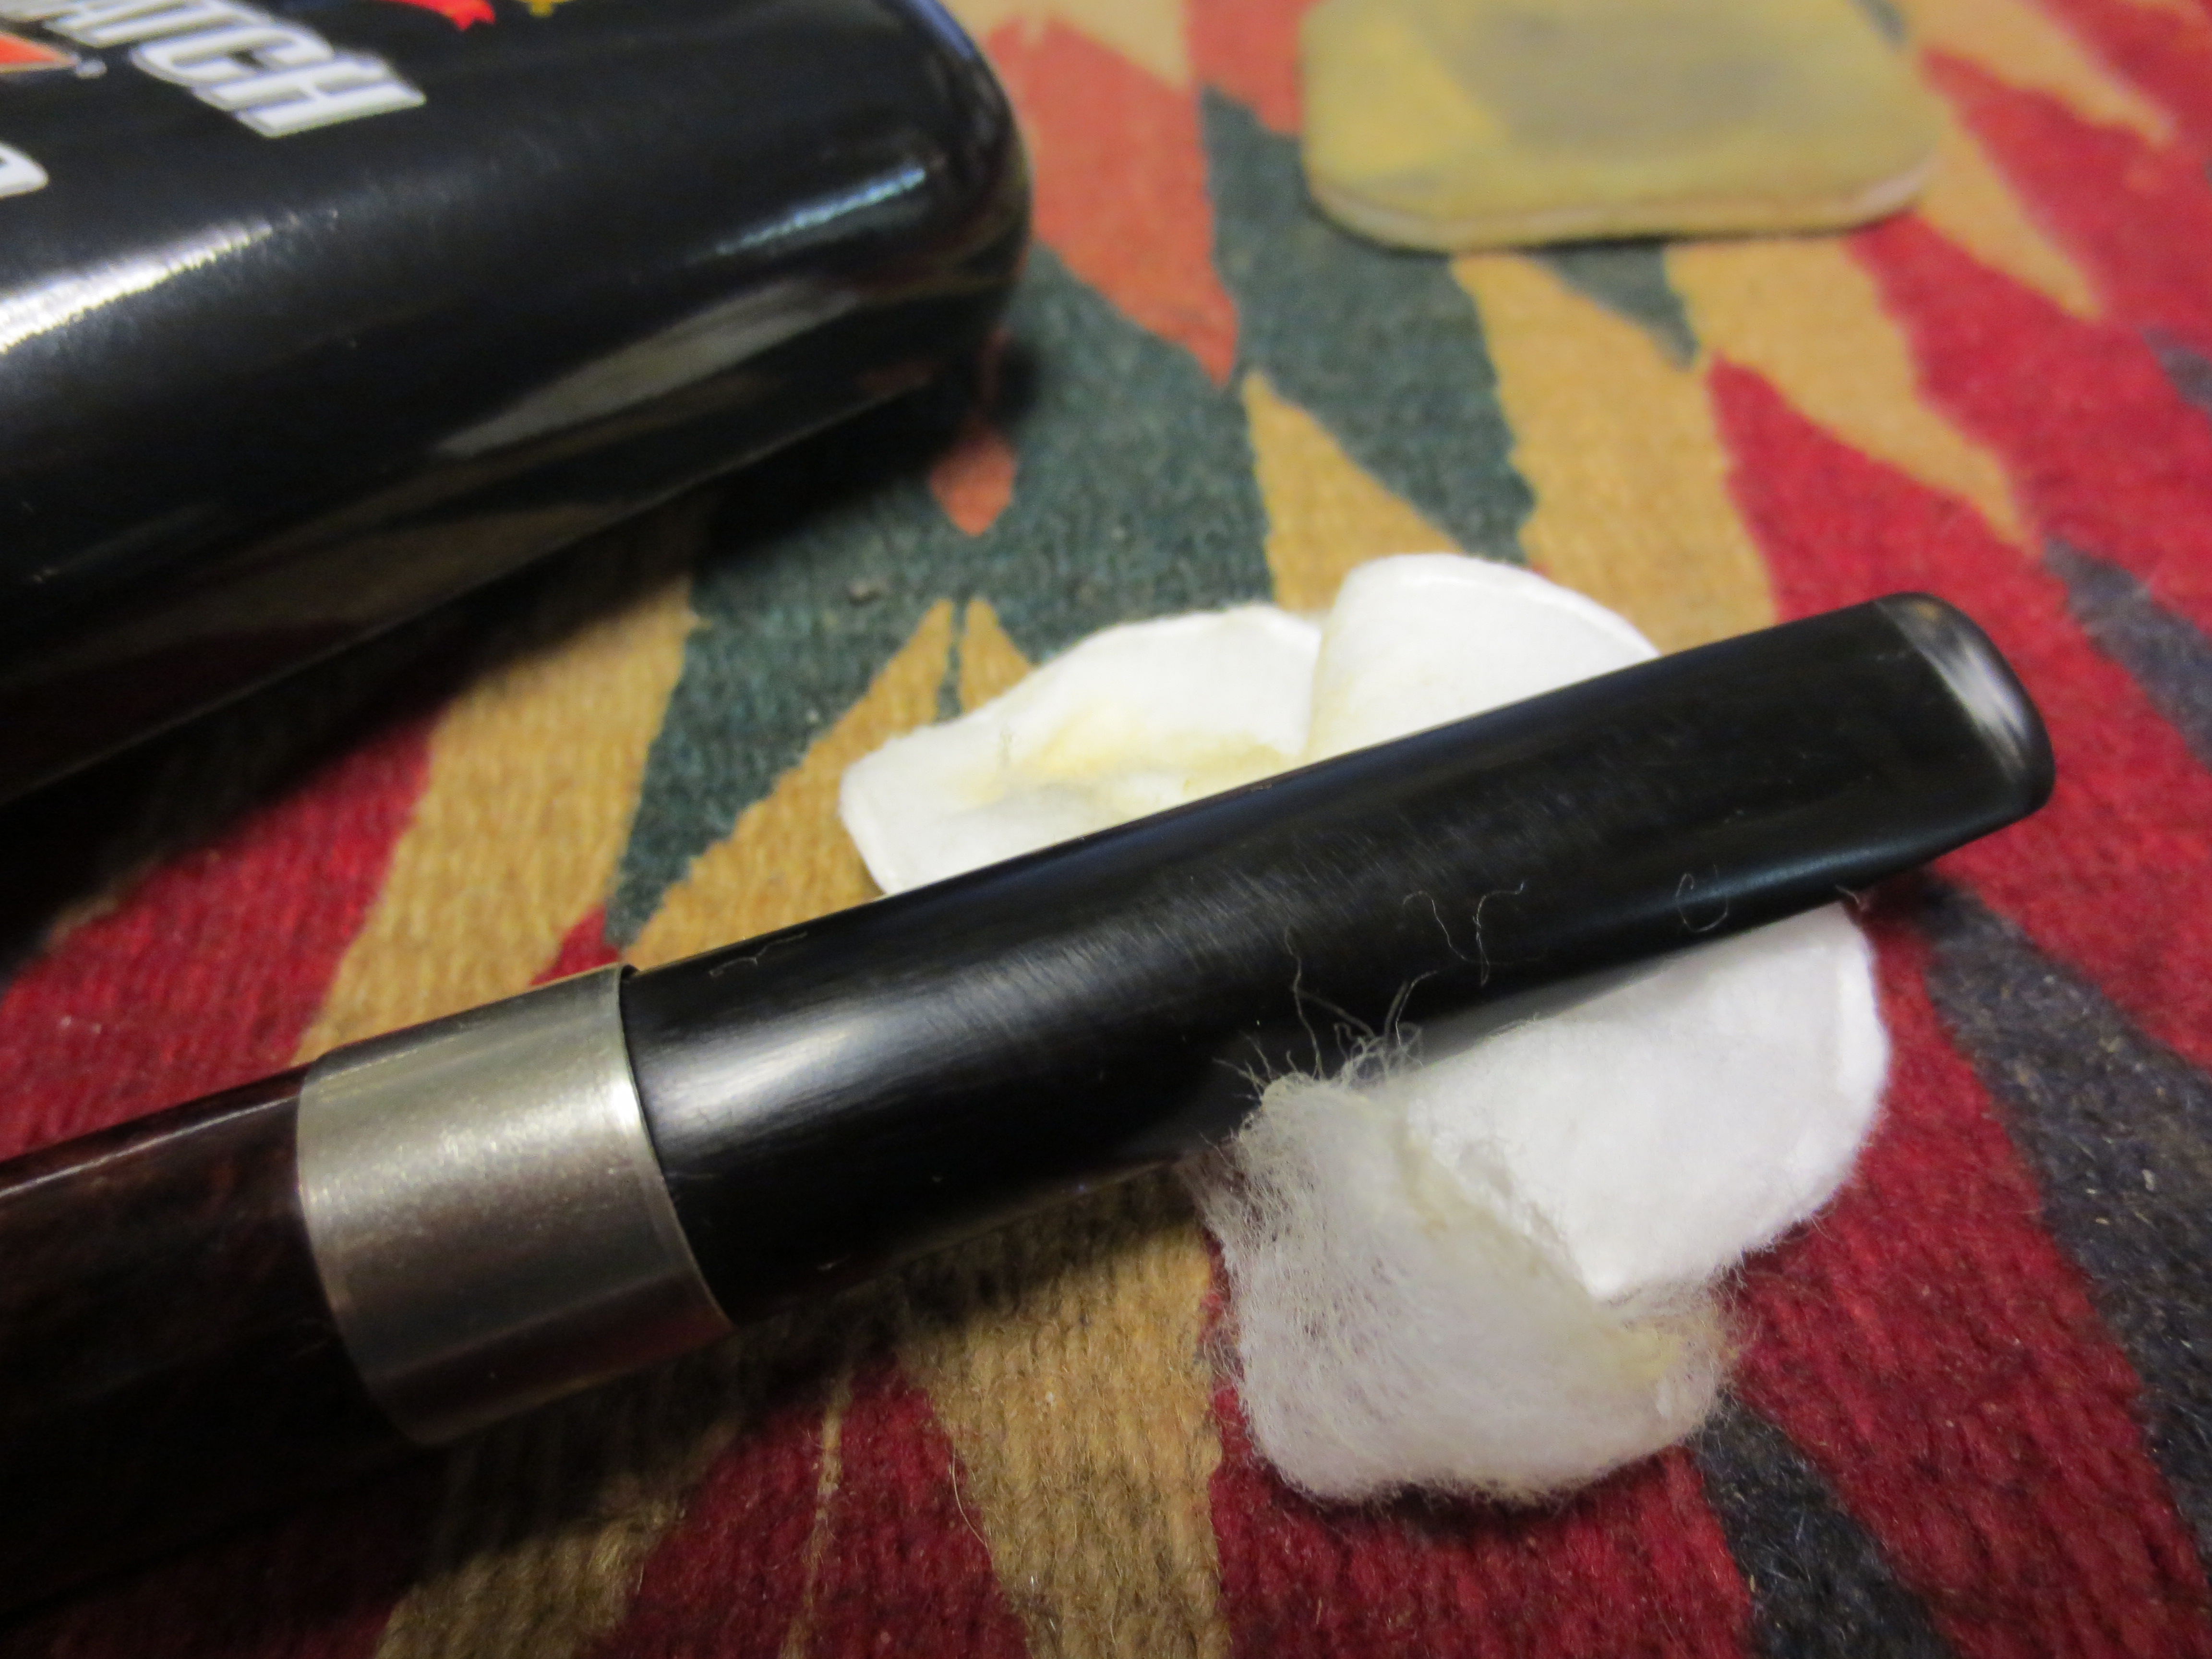
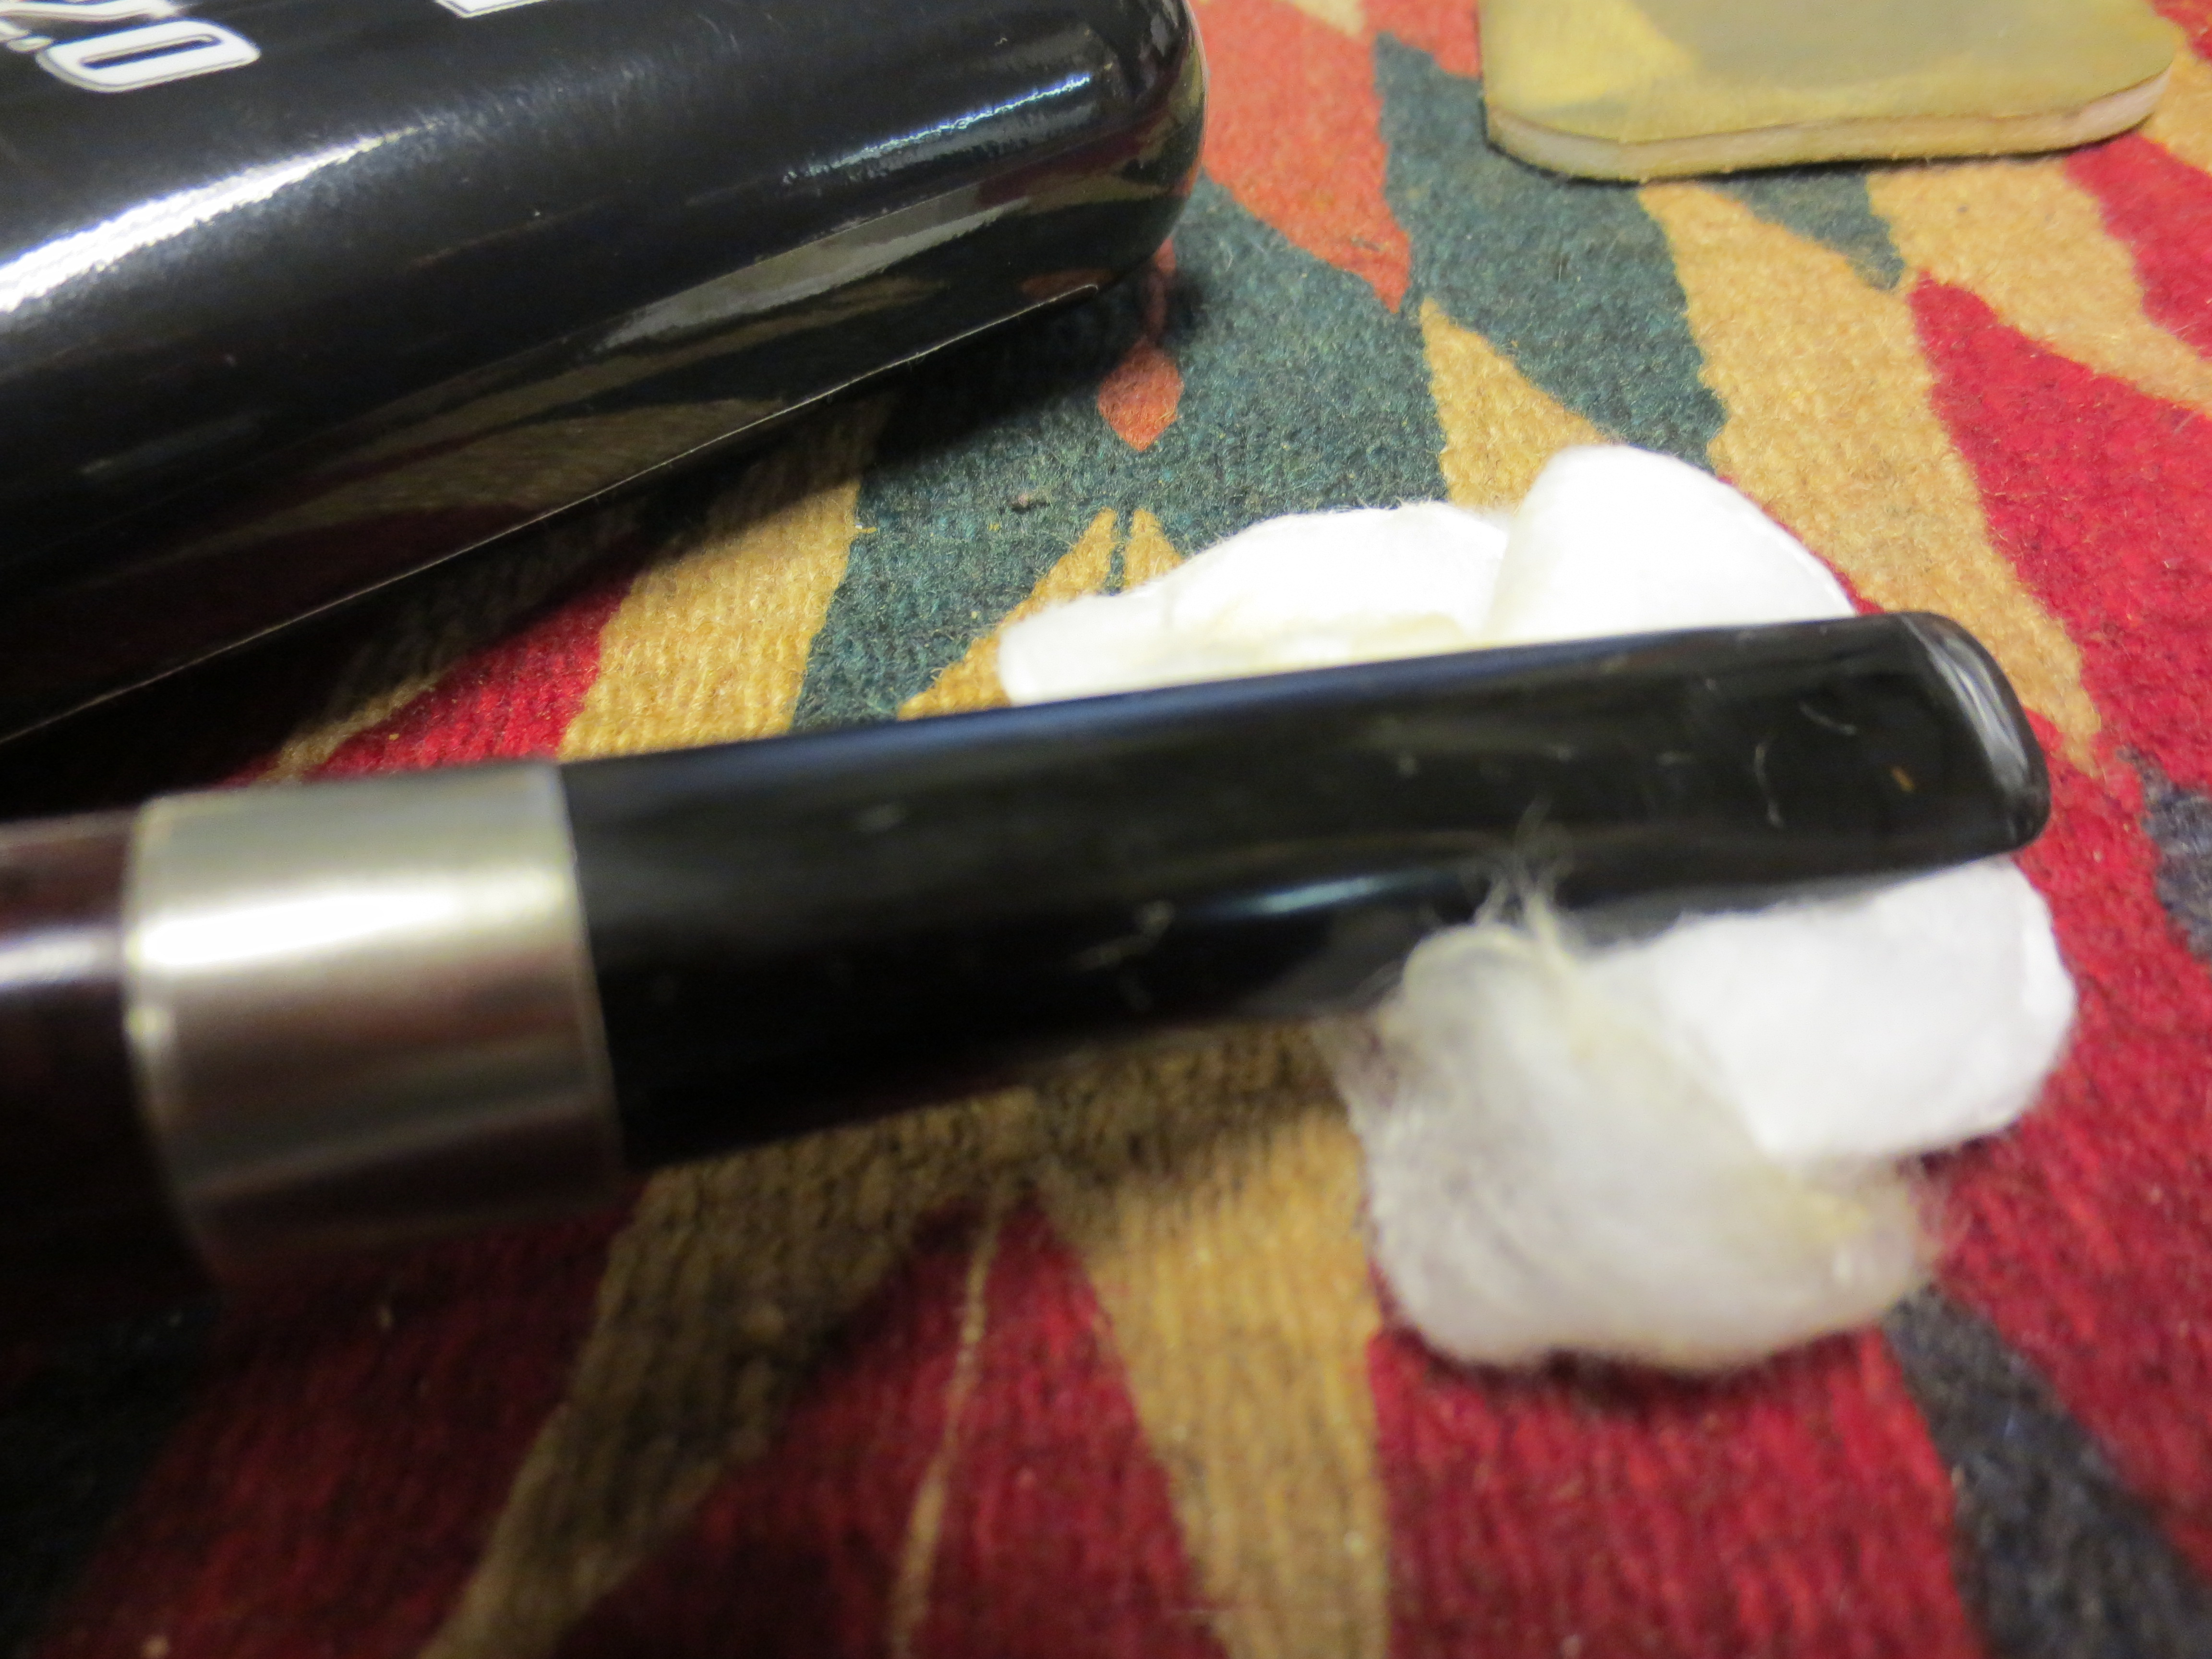
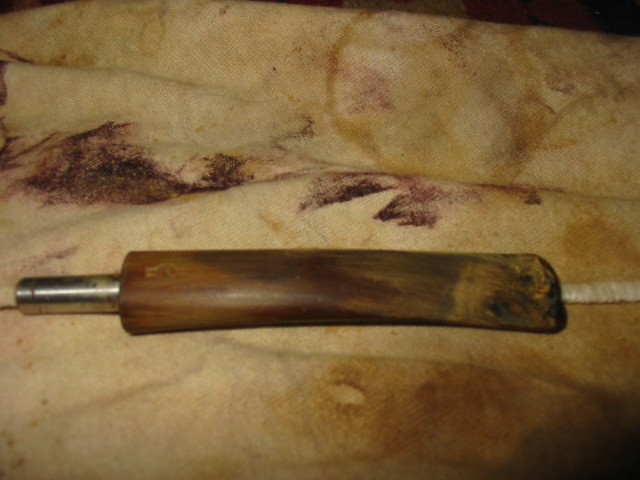
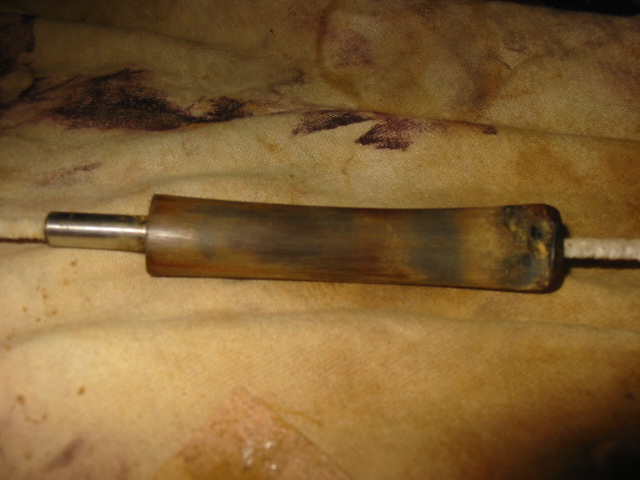
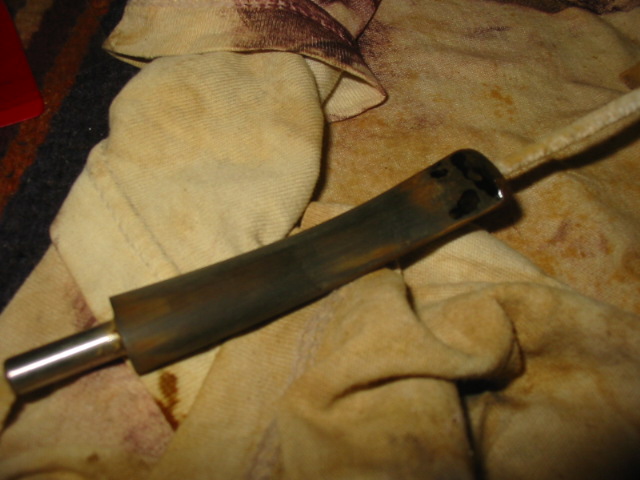
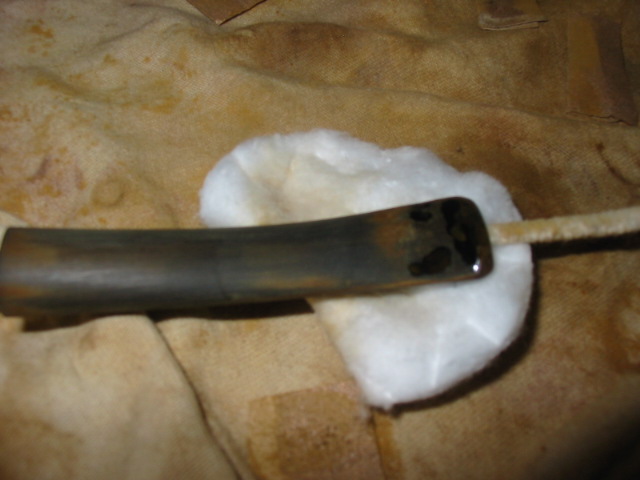
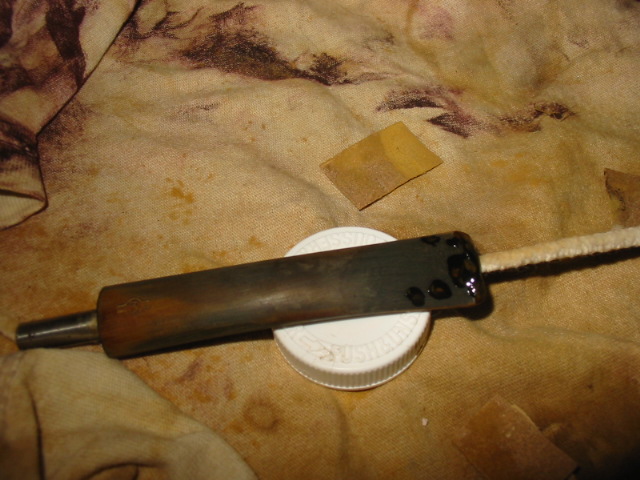
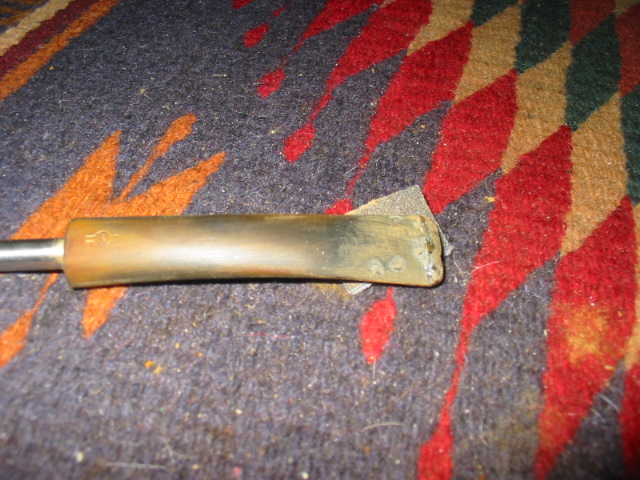
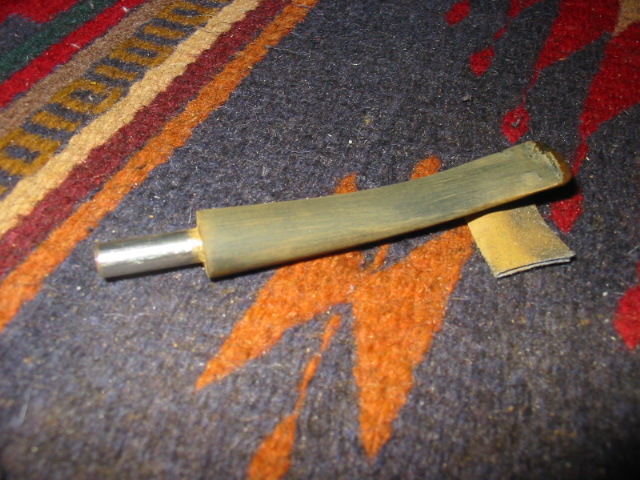
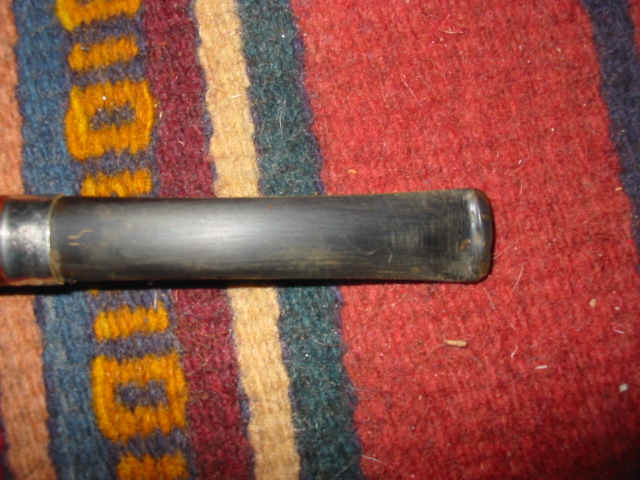
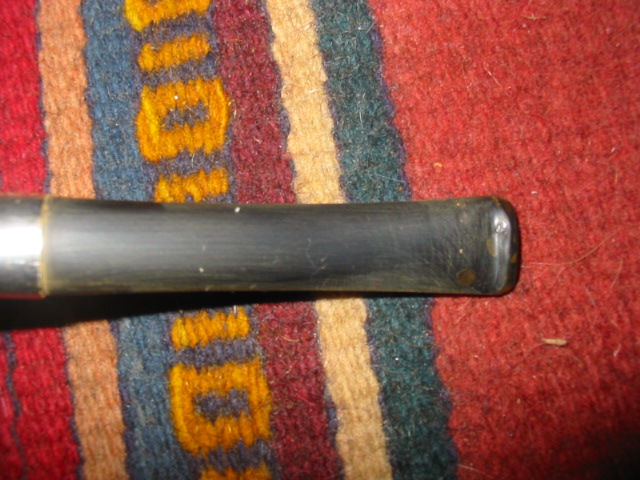
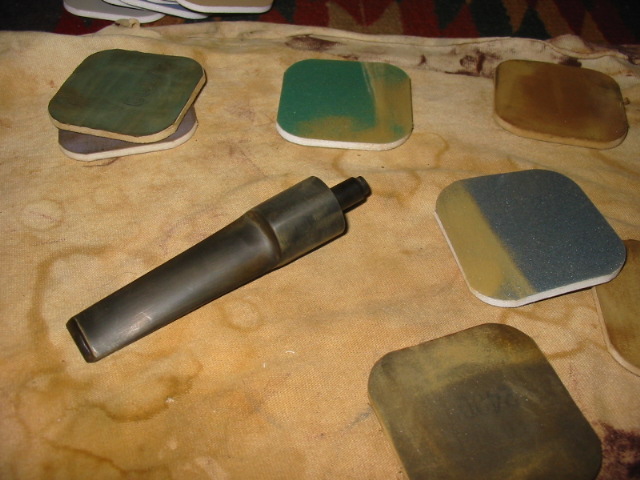
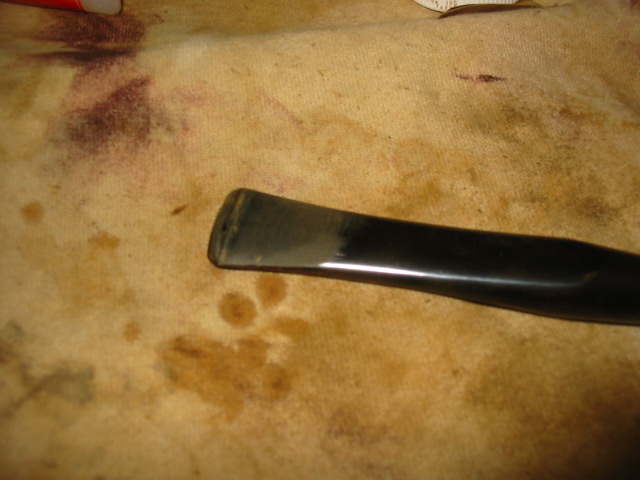
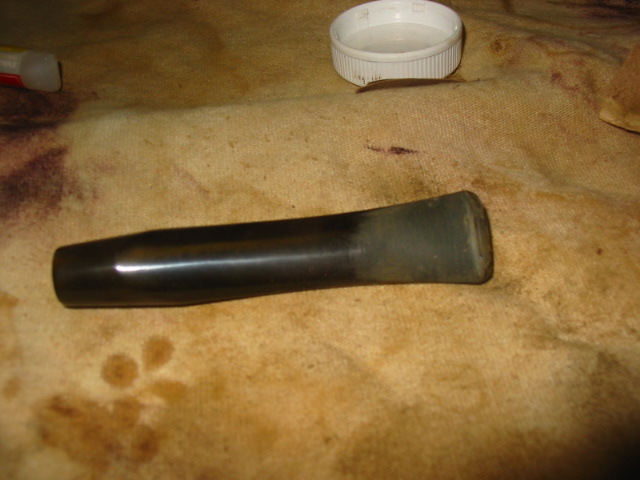
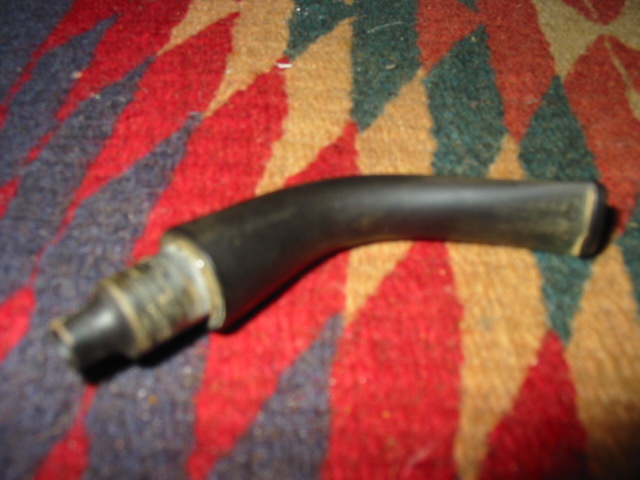
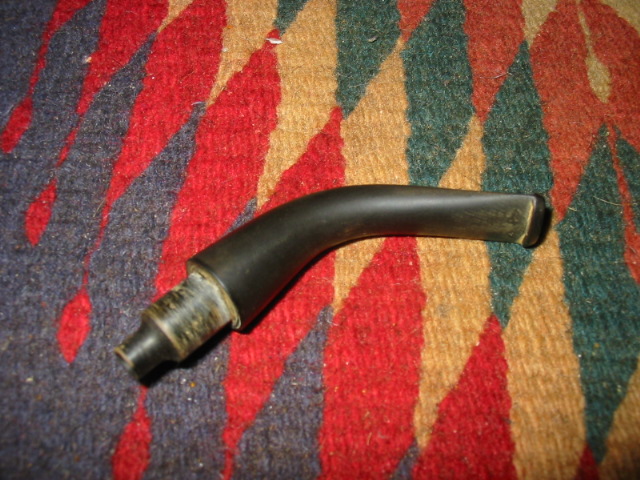
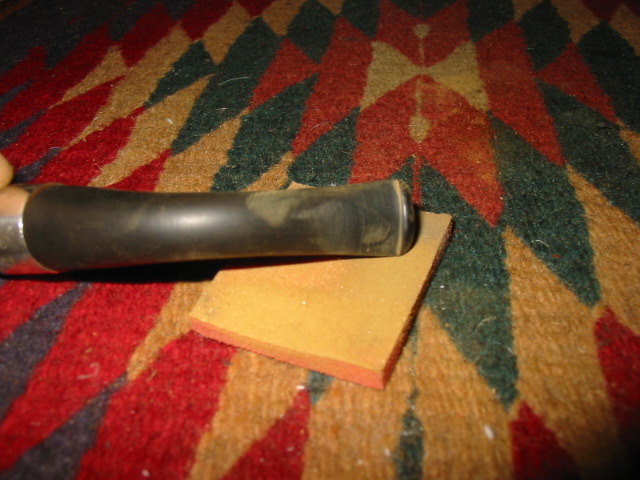
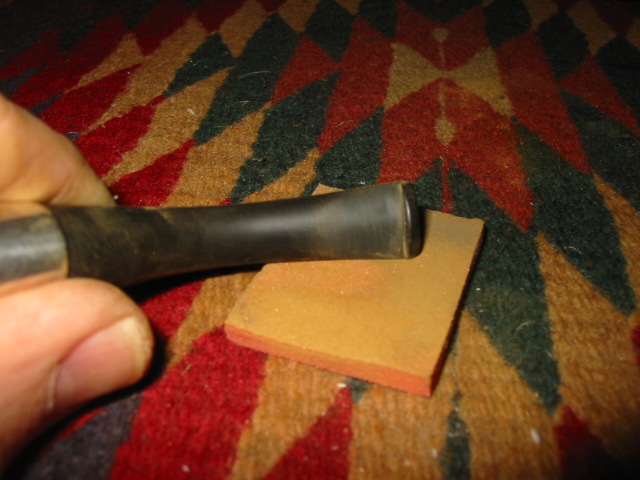
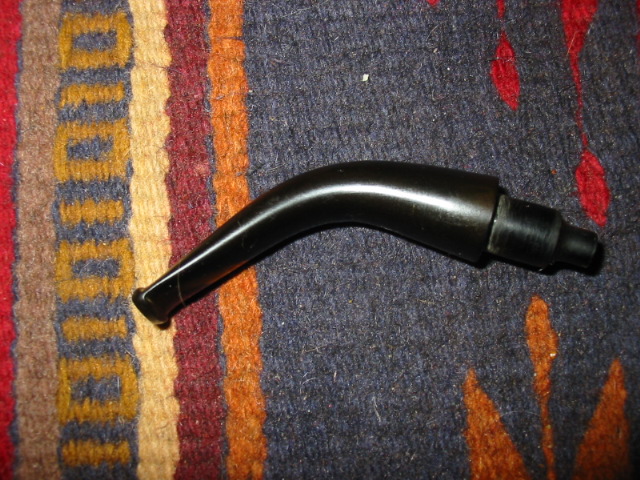
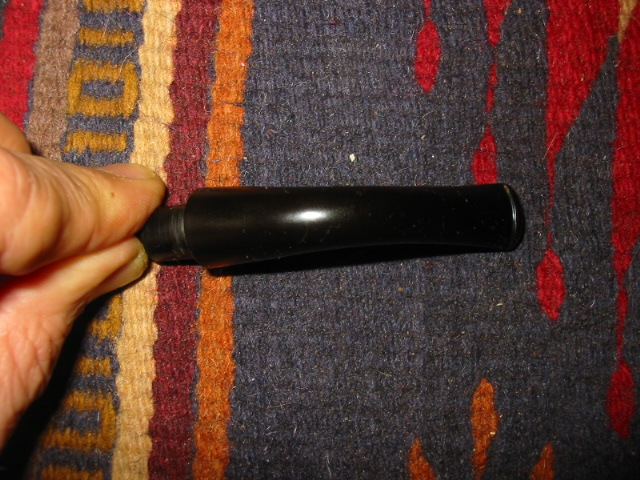
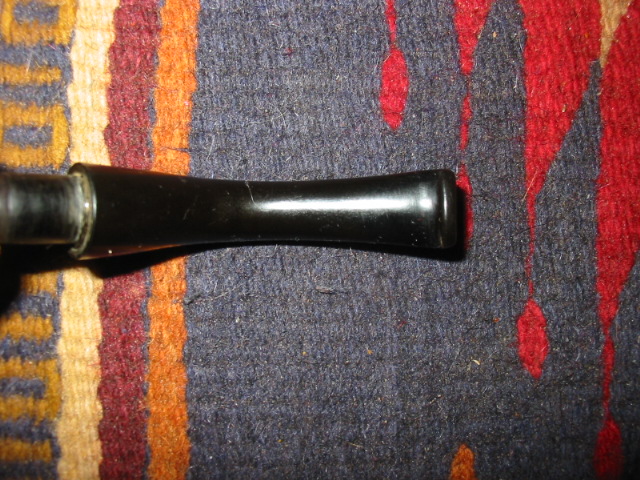
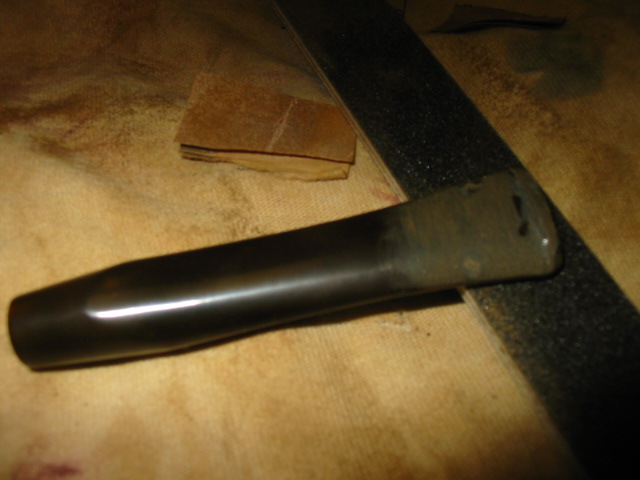
While the bowl was soaking I worked on the stem. It had tooth chatter and a few light tooth marks that needed to be lifted and sanded out. The stem was badly oxidized and also smelled musty like the bowl. I scrubbed the interior with a lot of pipe cleaners and alcohol until they came out clean. I then tacked the bite marks and chatter with 240 grit sandpaper to smooth them out and followed that with 400 and 600 grit wet dry sandpaper and water. I finished sanding the stem with my usual regimen of micromesh pads from 1500-6000 grit. Each progressively higher  grit polished the stem more. I then took it to the buffer and buffed it with Tripoli and White Diamond being careful around the area that it meets the shank. I would give it a more thorough buffing and polishing with carnauba wax once I put it back on the finished bowl.
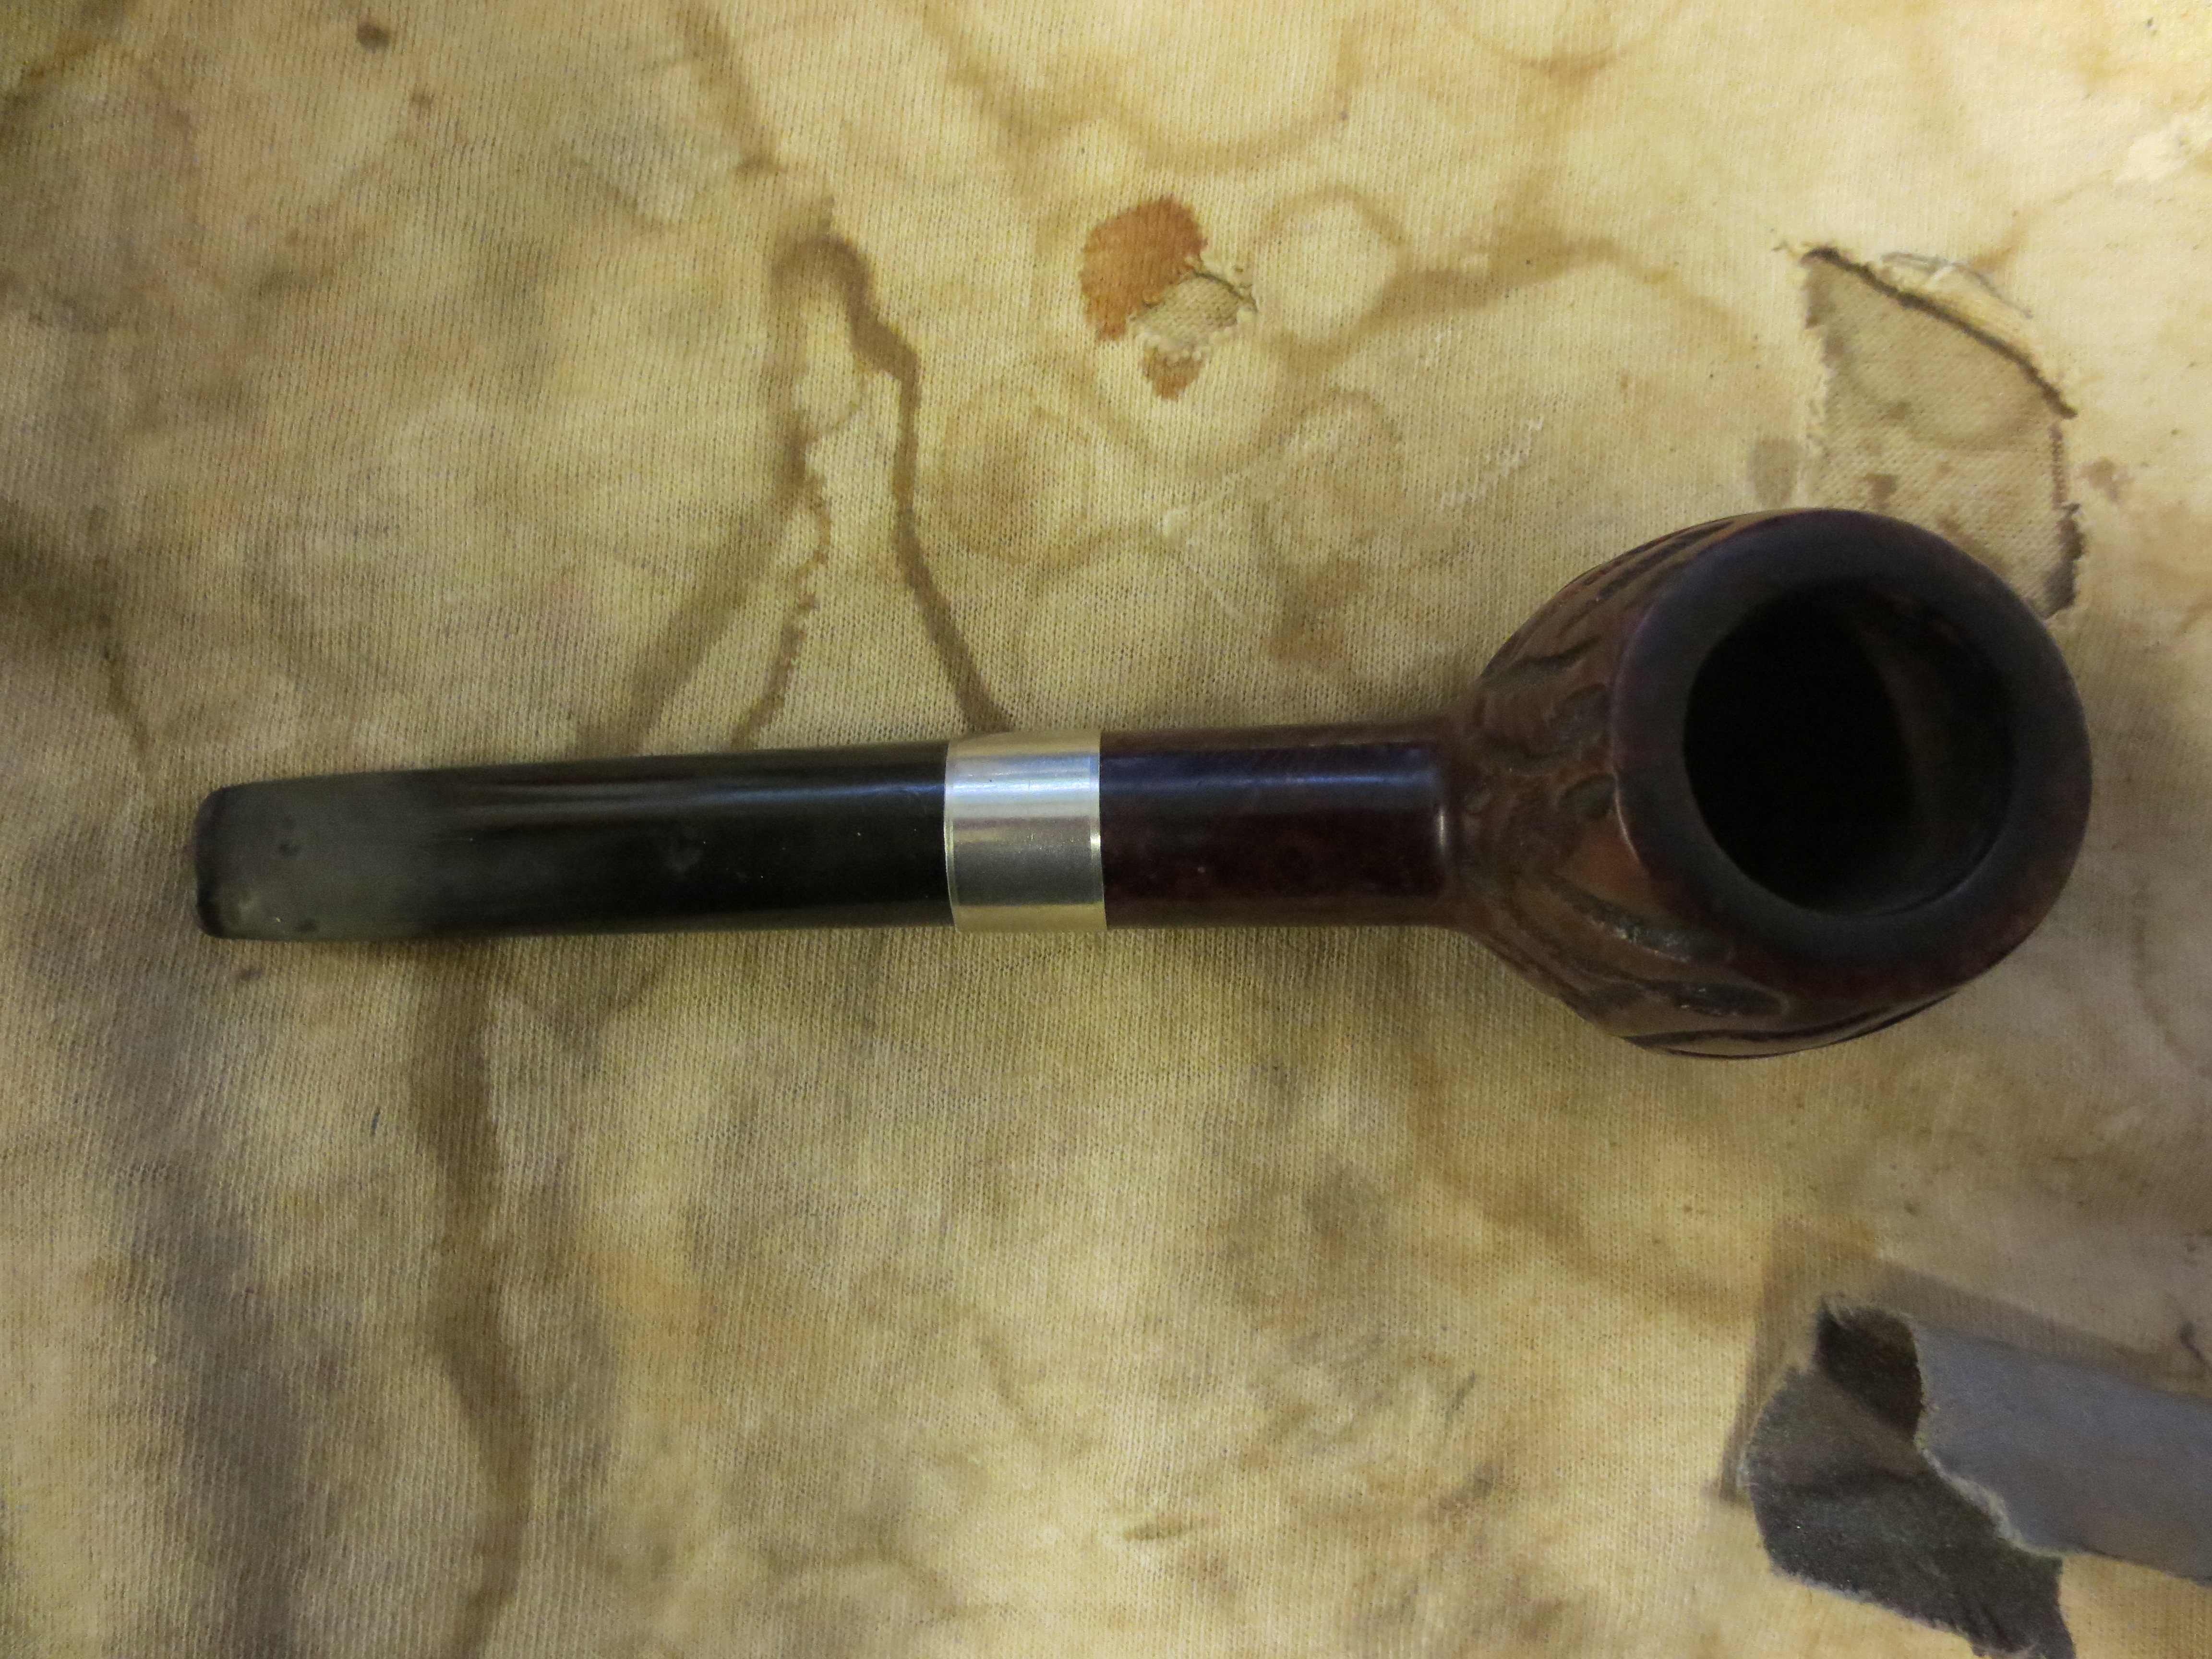
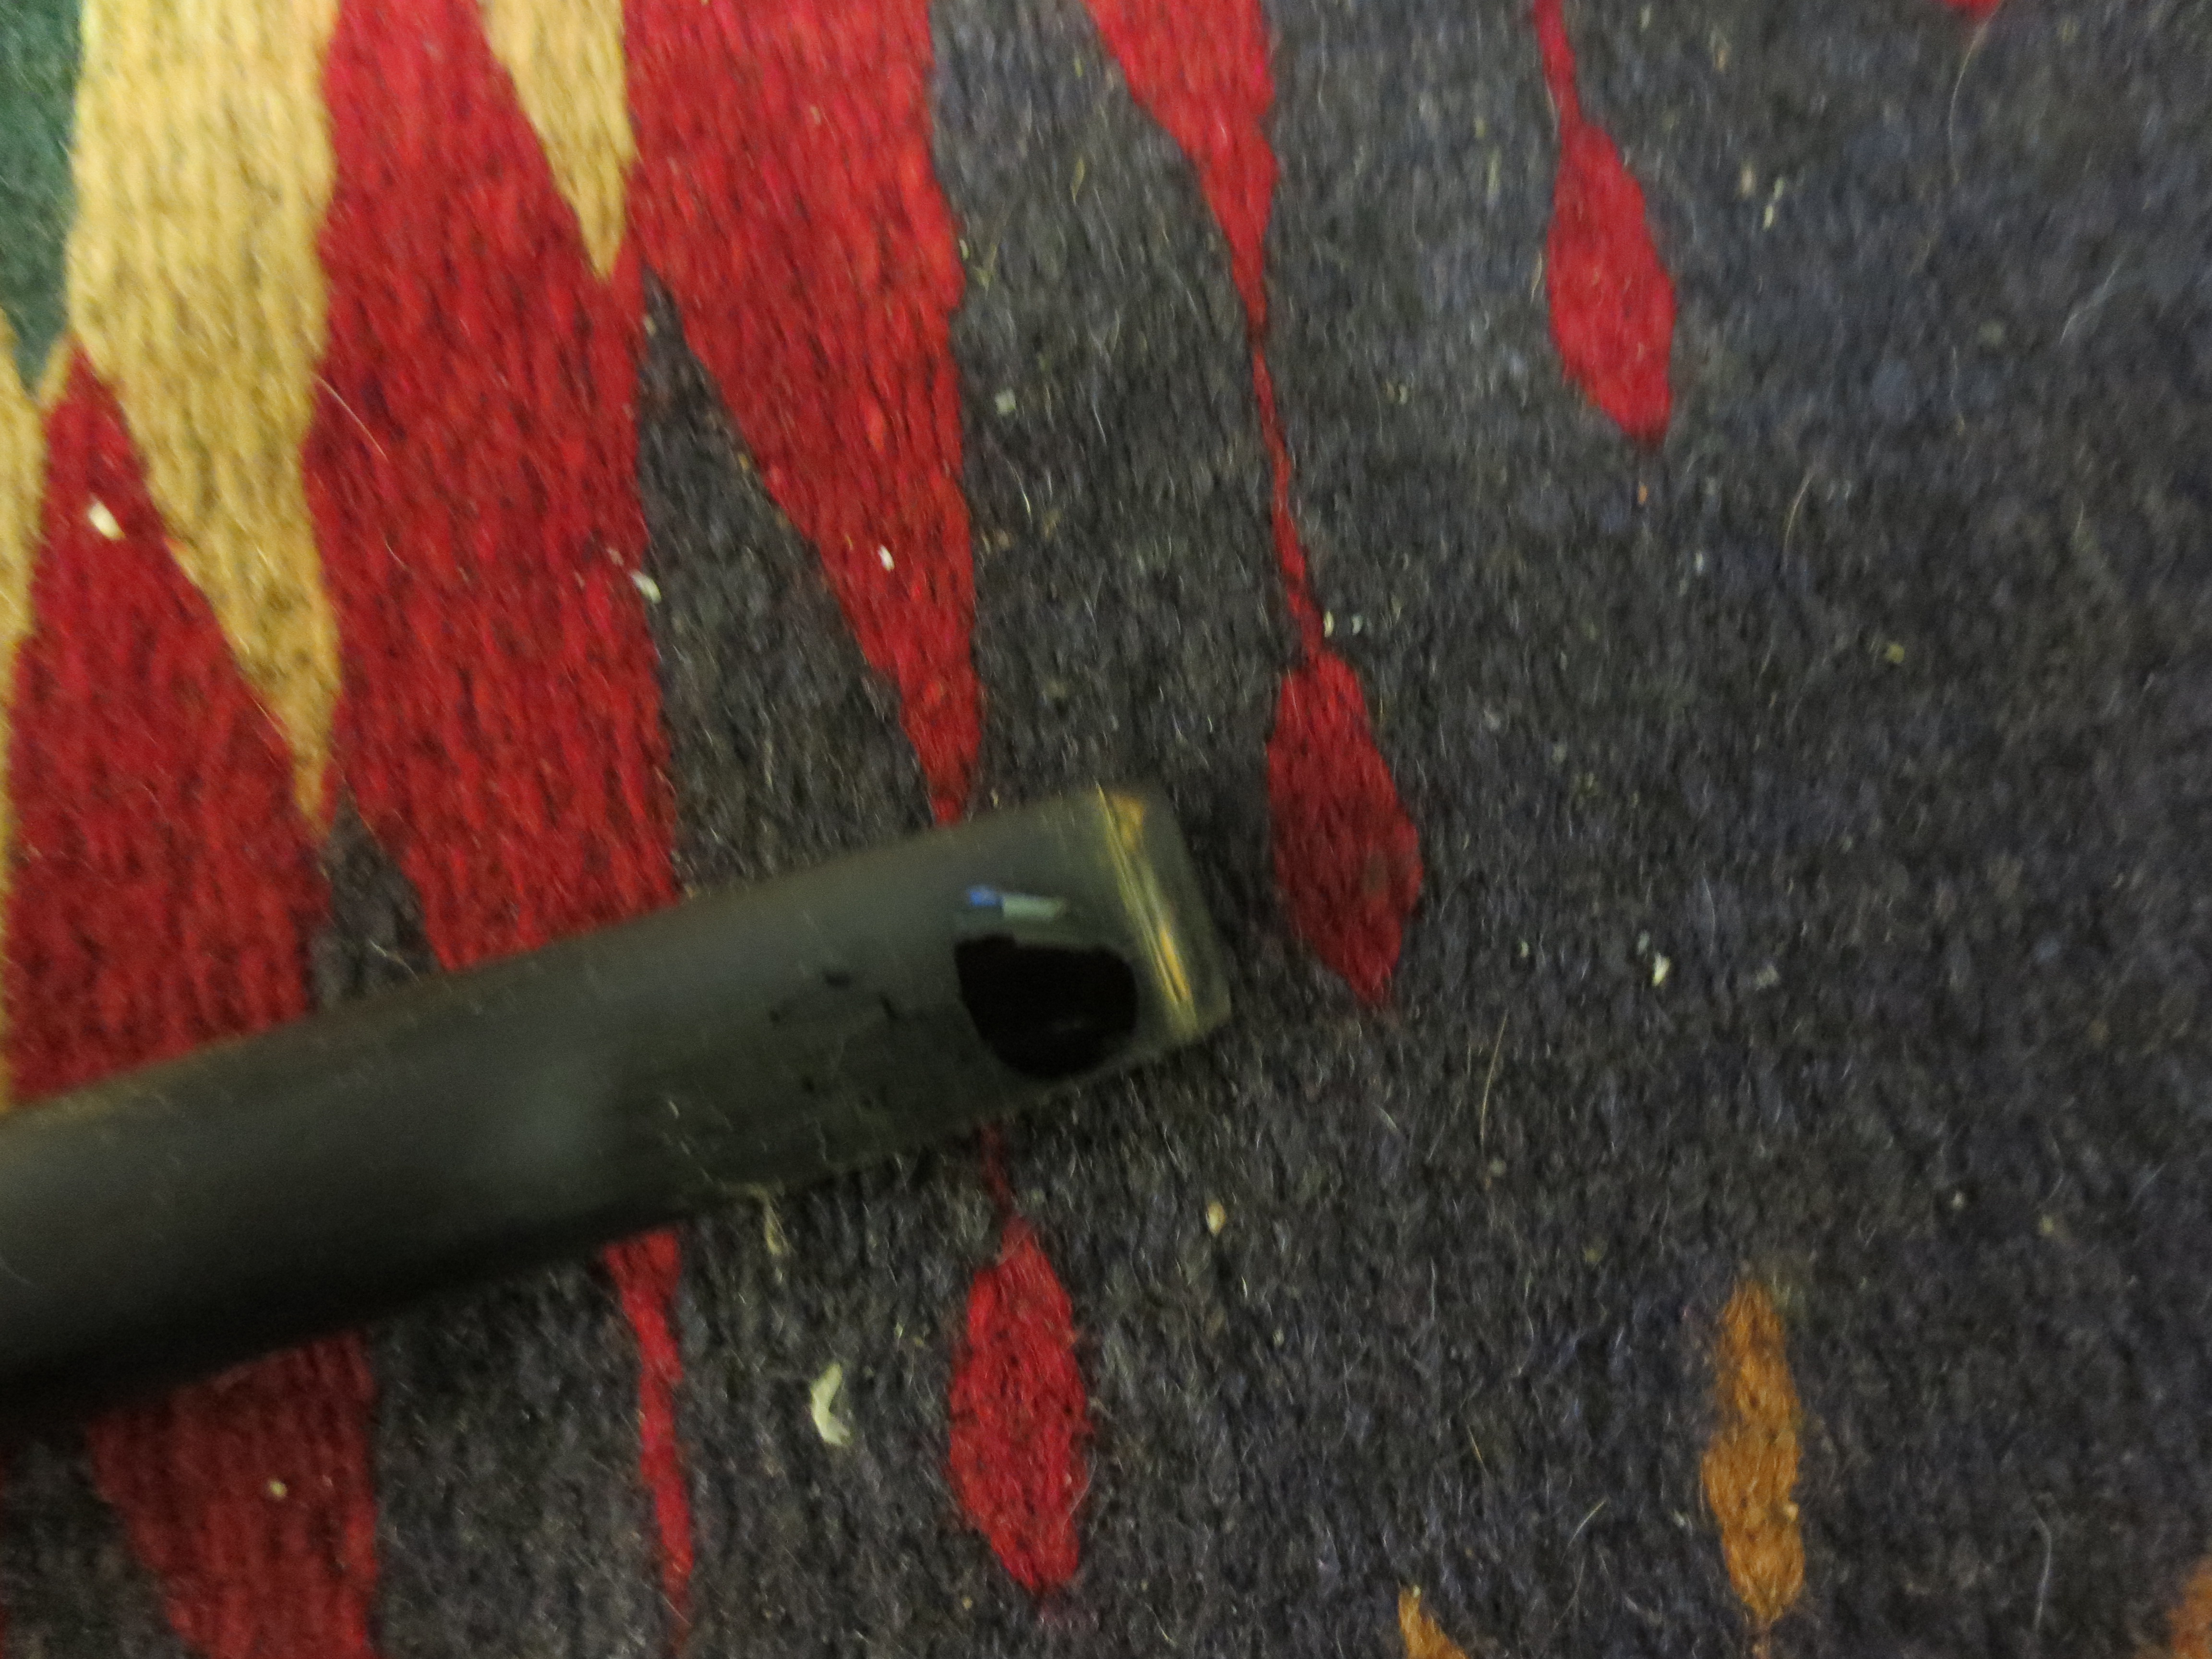
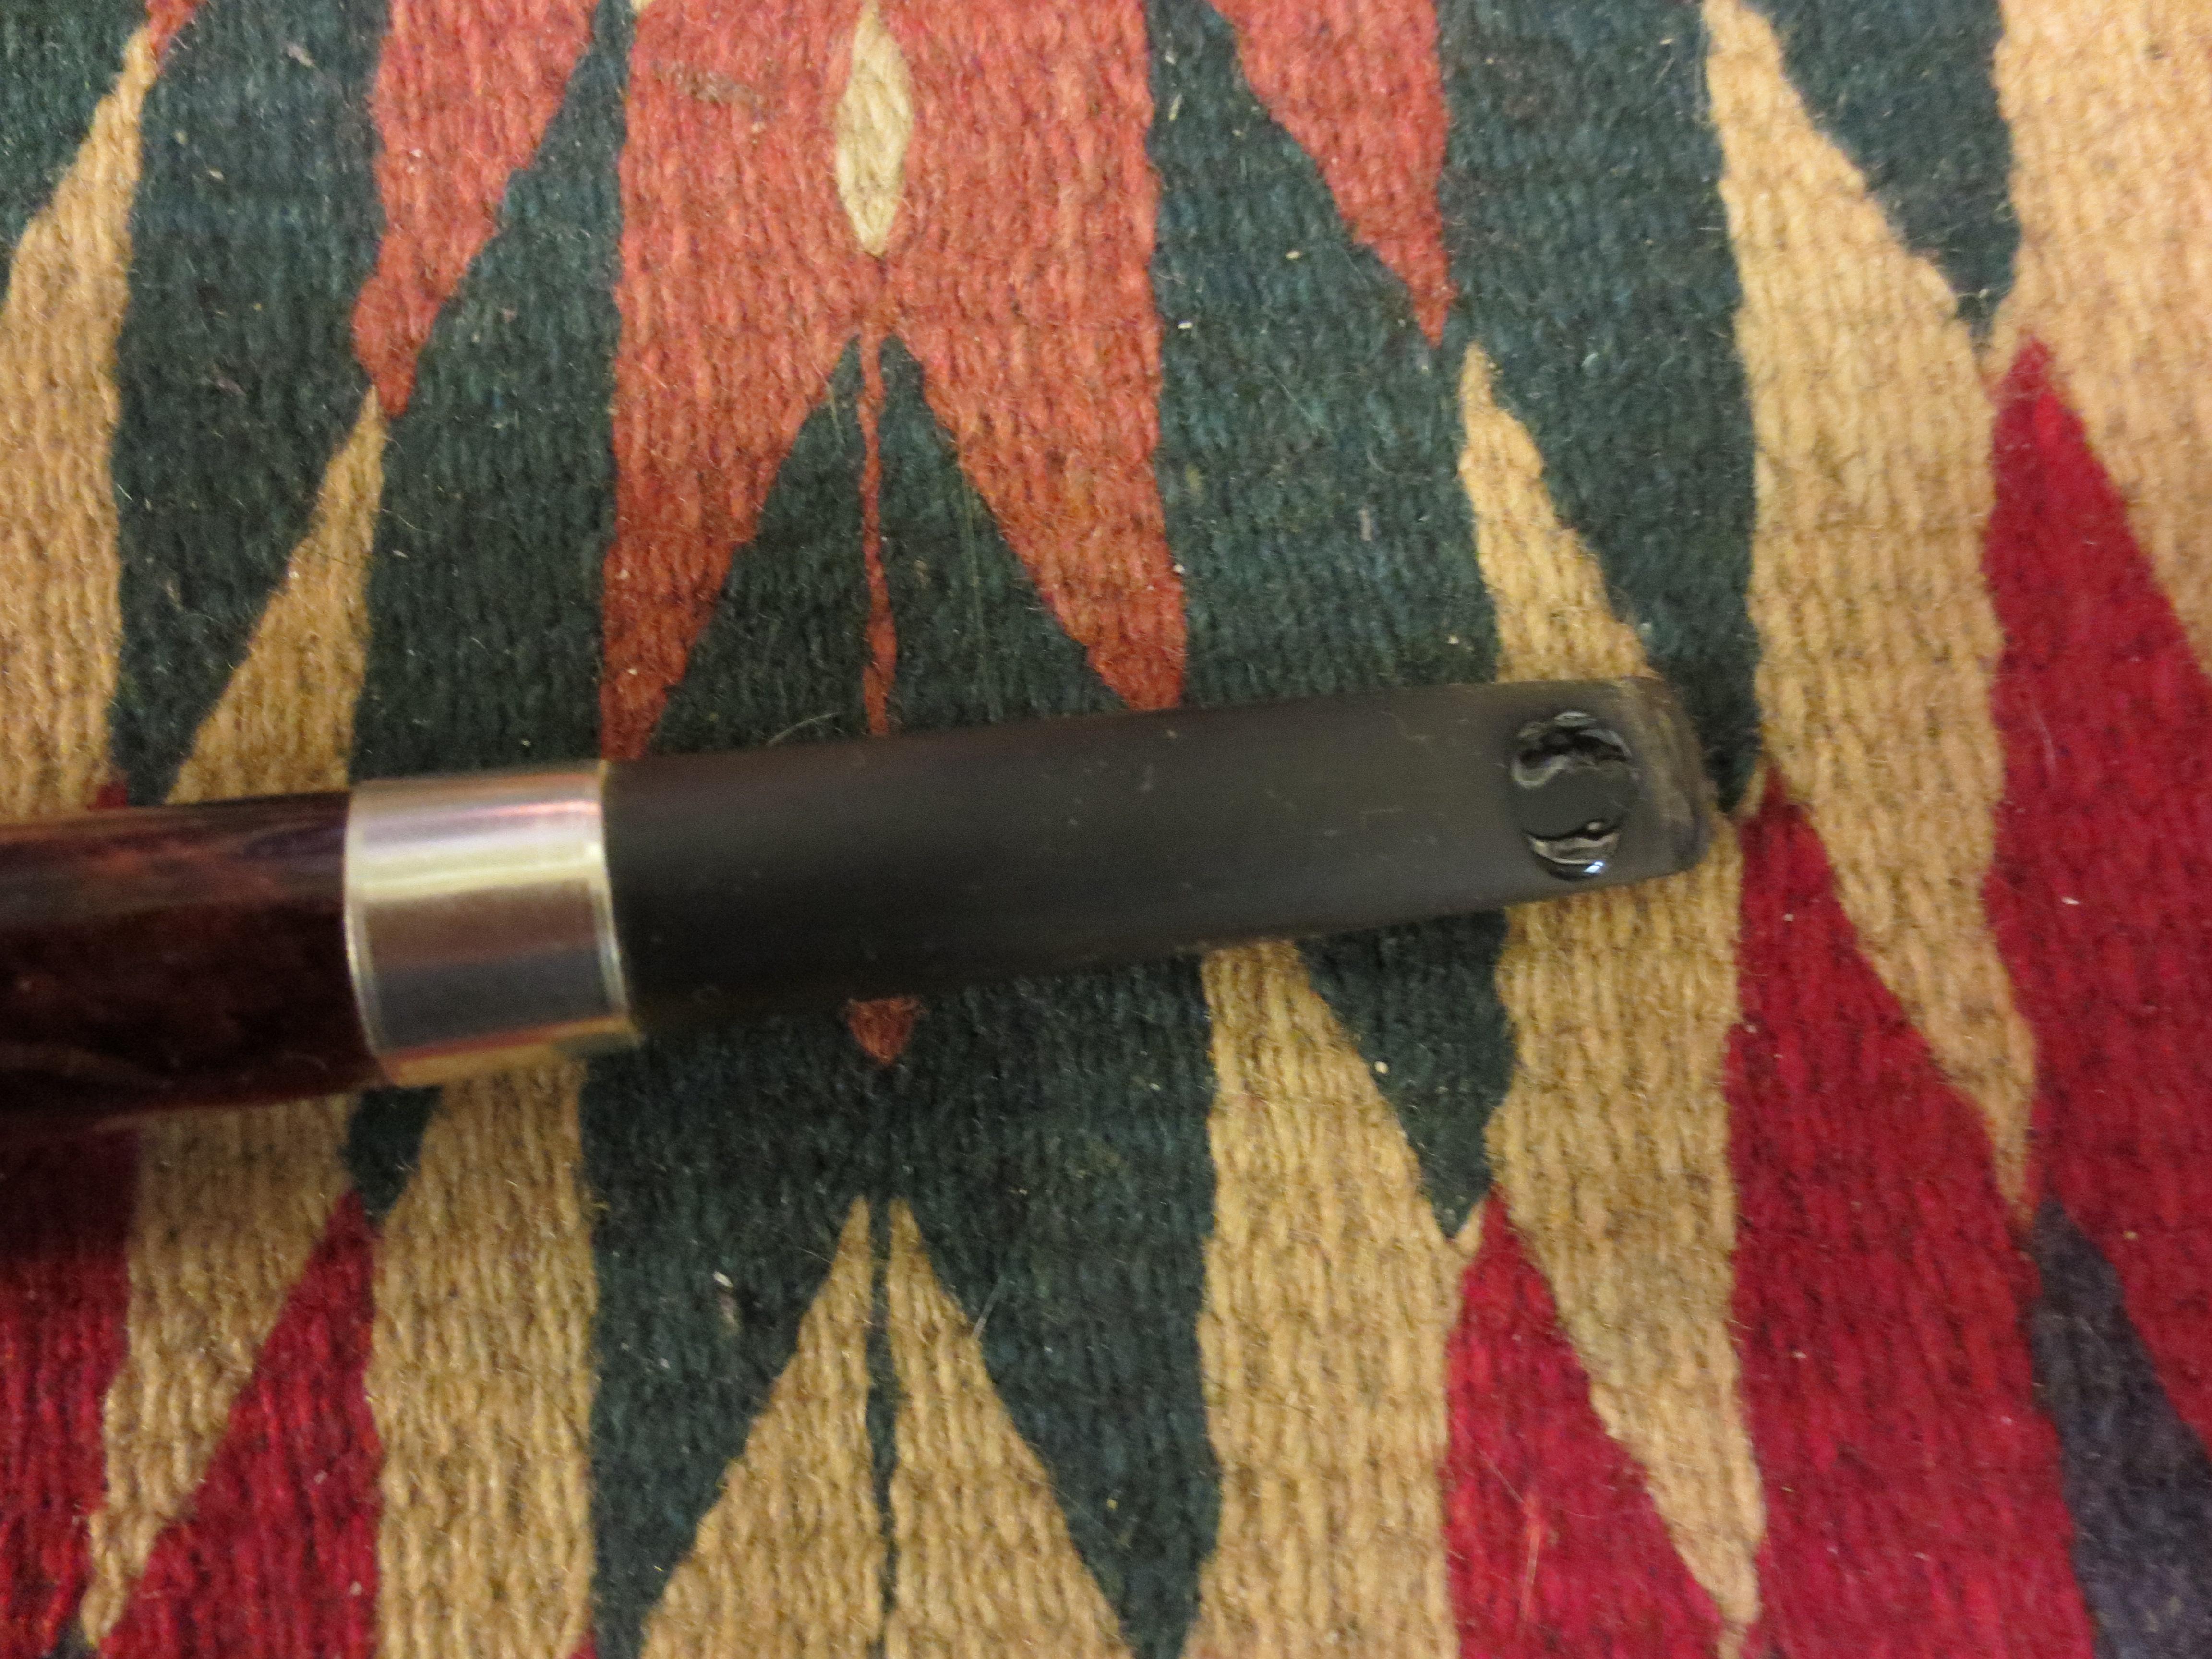
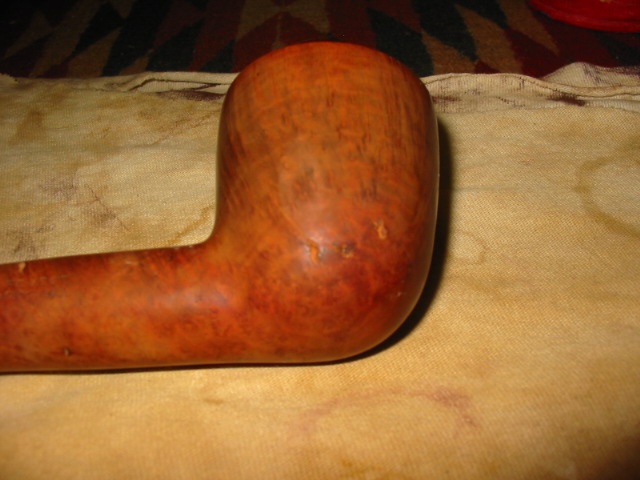
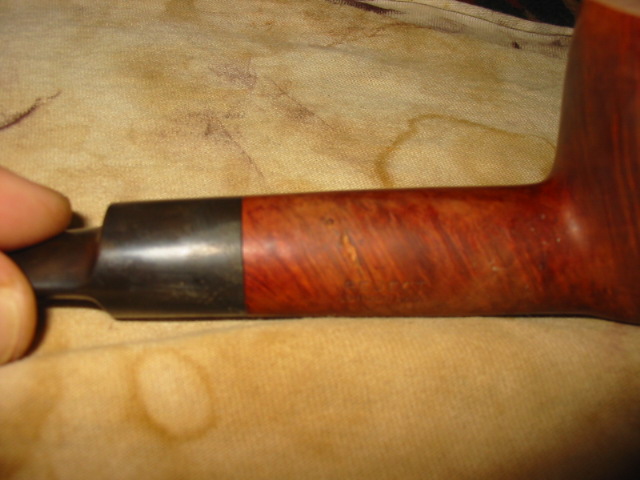
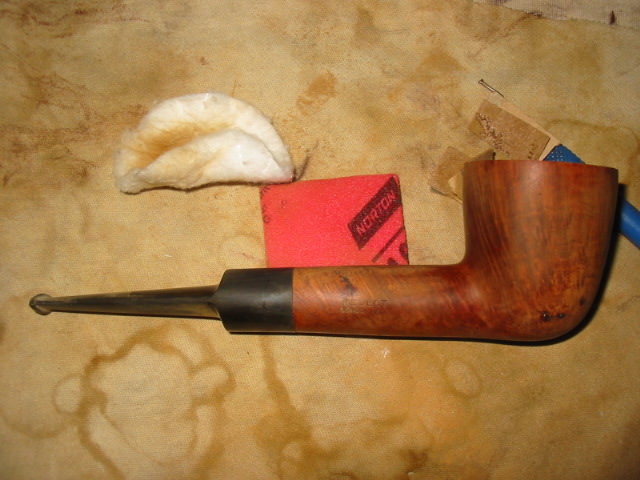
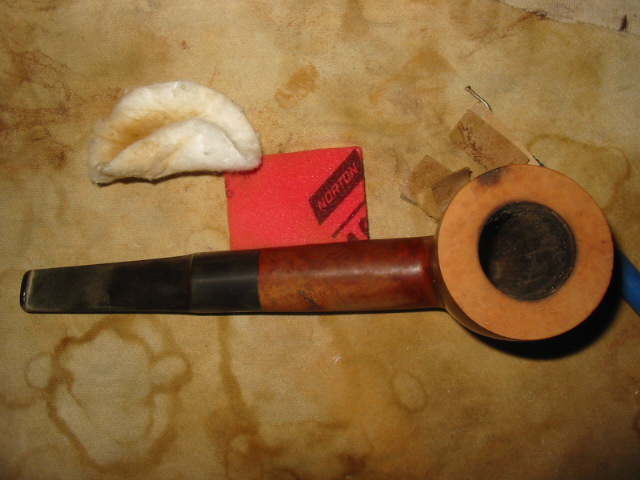
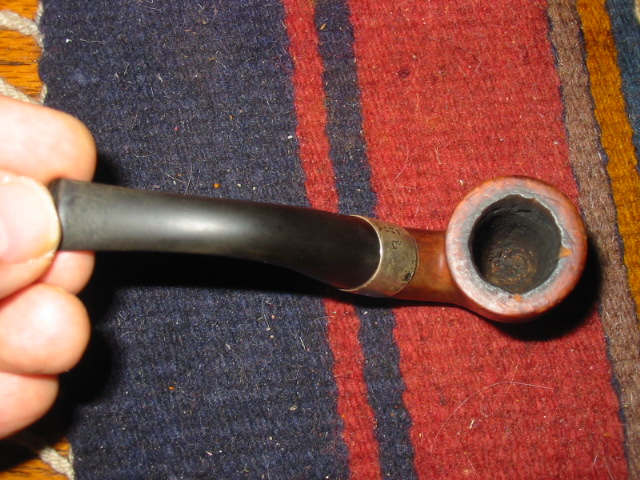
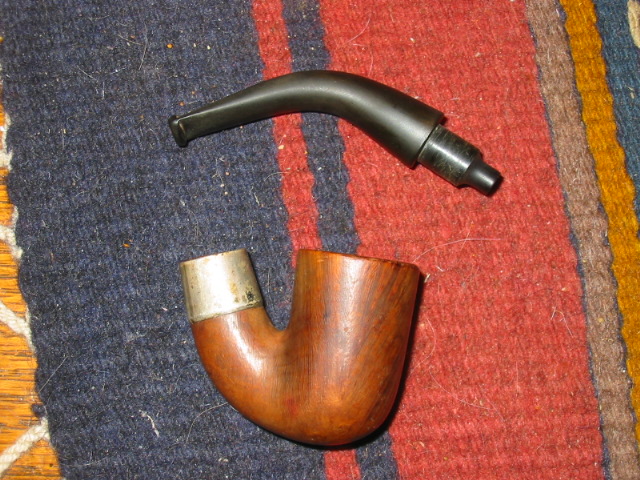
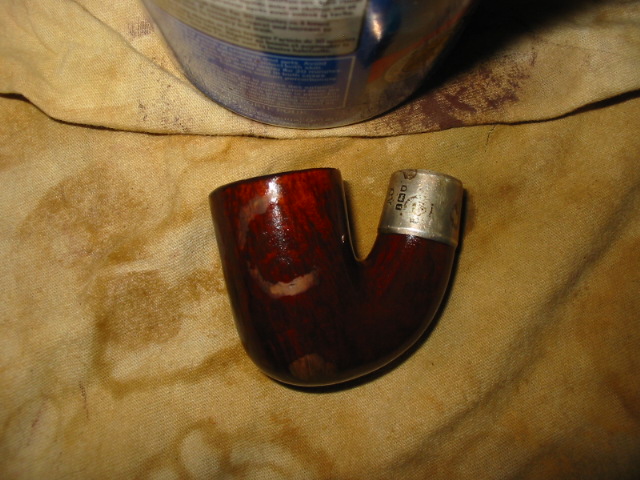
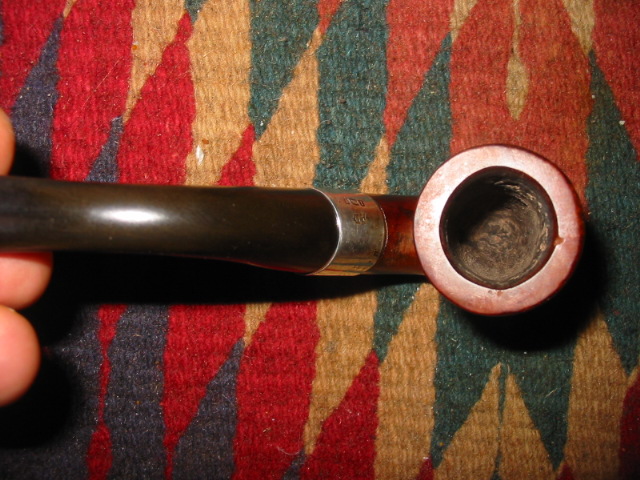
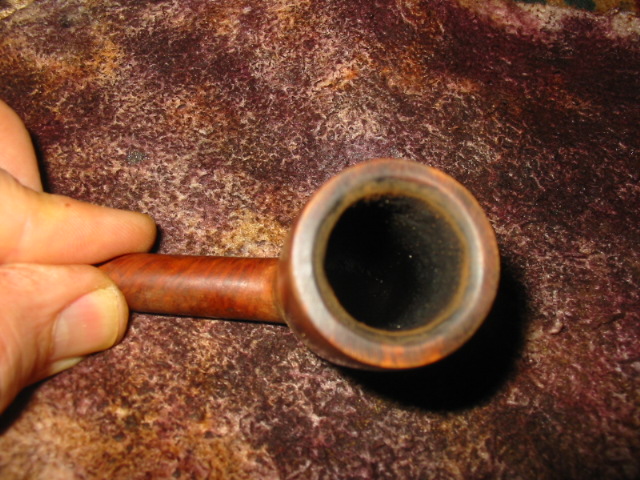
After I finished the stem I took the bowl out of the bath and dried it off. I sanded it with micromesh 2400 to 6000 grit to polish and remove any scratching and then restained it with an oxblood aniline stain that matched the colour that it had before. Once dry I put the stem on it and took it to the buffer and gave it a light buff with White Diamond and then multiple coats of carnauba wax. It is a perfect sized little Lovat in my opinion and spots a classic shape and look. Here are some pictures of the pipe after cleaning. I forgot to take pictures before I started cleaning it. Sometimes I get into a space and just work at them before I suddenly stop and remember that I did not take photos before starting.ImageImageImage


London Made Reject – Hand Made


Blog by Steve Laug

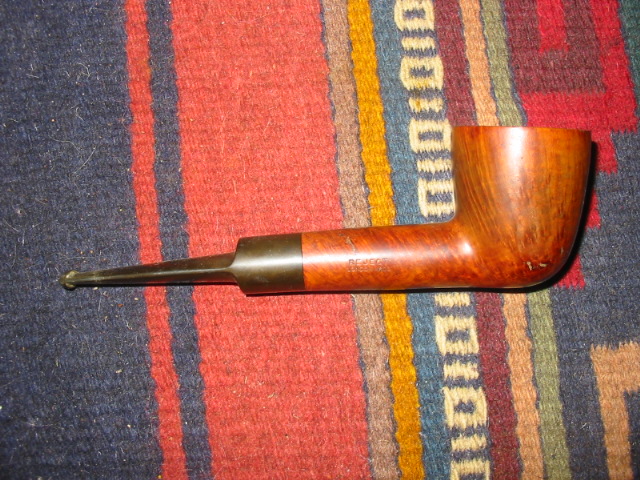
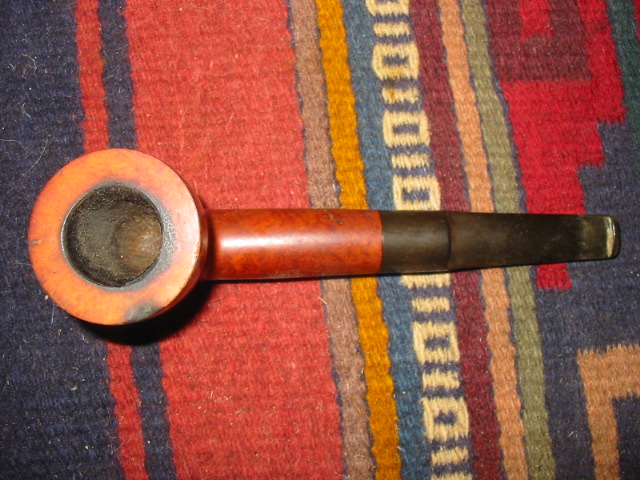
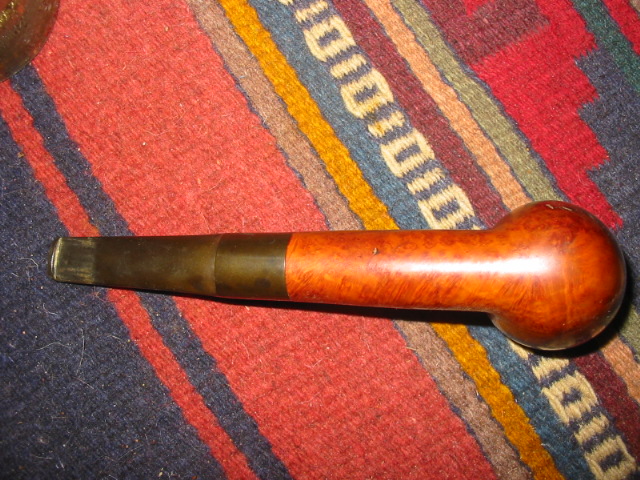
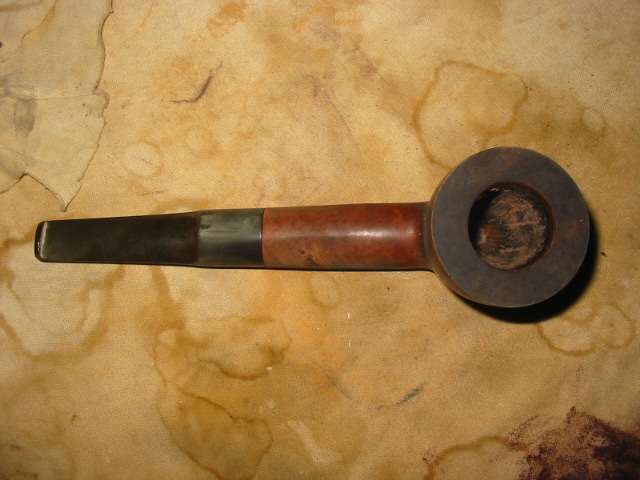
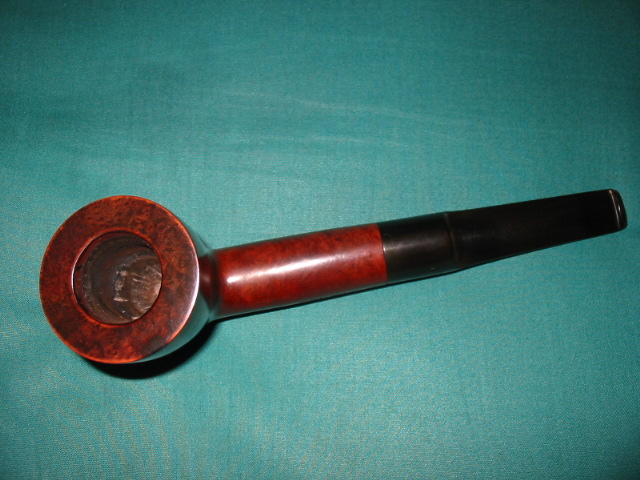
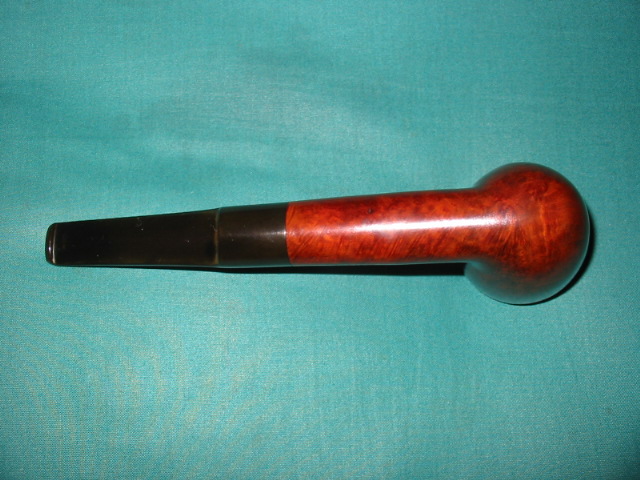
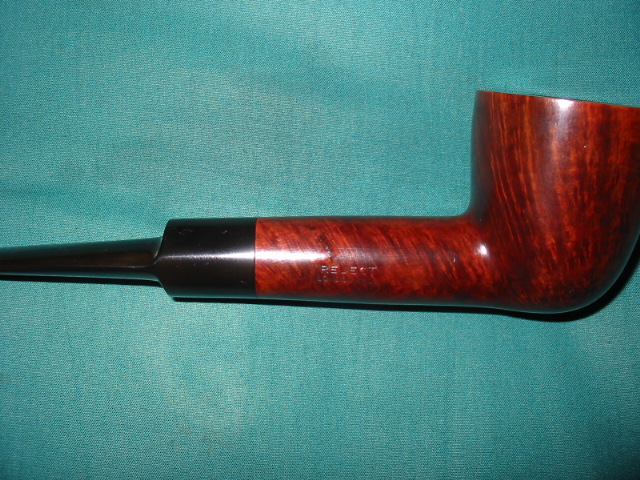
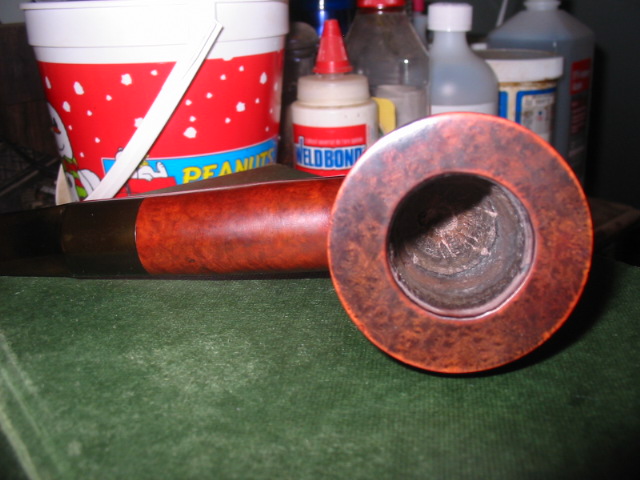
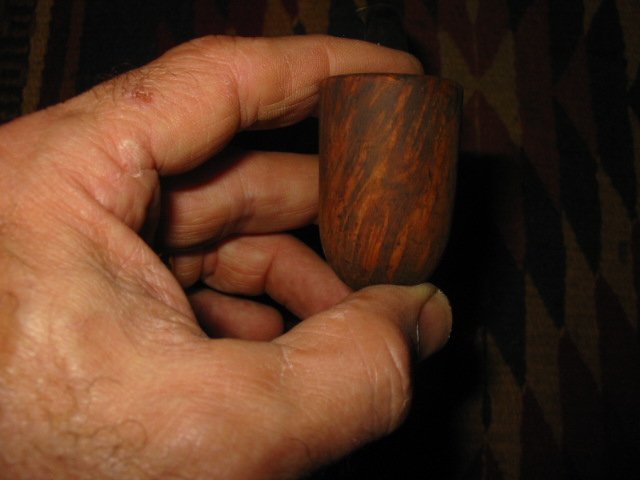
This is one big pipe. I got it in a group of pipes I bought on EBay. The others in the lot were Barlings and Bewlays. They were normal group 3 and 4 sized pipes. This one is just over 7 inches long and 2 inches tall. The outer diameter of the bowl is 1 ¾ inches and the inner diameter of the bowl is 1 inch. It presented some interesting issues that would need to be addressed in the refurbishing process. The biggest of those was a significant cigarette burn on the outer edge and the top of the rim. It was quite deep and was an actually divot in the surface of the bowl. The rim – inner edge toward the stem also was charred and tarred. The finish was actually worn and had lost most of the stain. There were some very obvious pink putty fills on the right side of the bowl near the bottom and on the top of the shank near the stem. The stem was oxidized and there was a bit of tooth chatter.

ImageImageImageImage

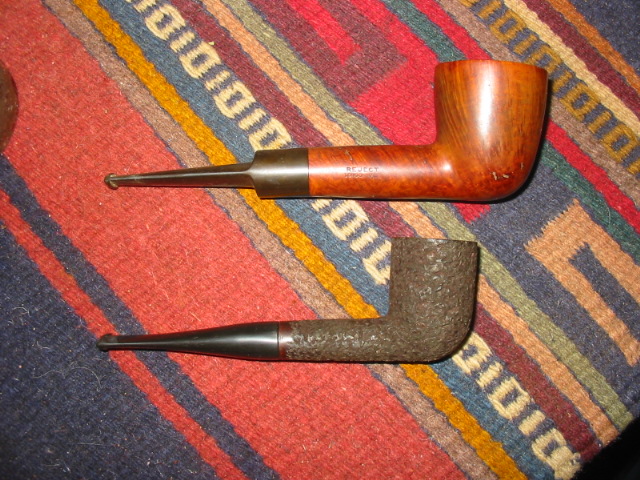
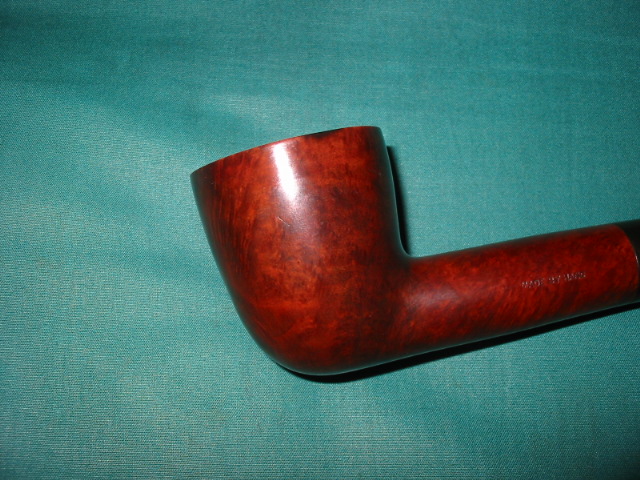
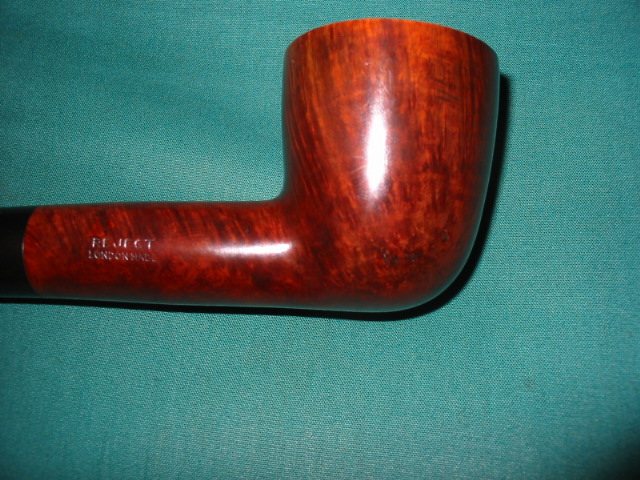
I have taken a picture of the pipe with a group 4 sized billiard to give an idea of the massive size of this old beauty. It is stamped on the left side of the shank “Made By Hand” and on the right side of the shank ‘Reject” over “London Made”.  I am pretty sure that it is a Charatan reject though I cannot be certain. What do you all think? Who is the maker? The only thing making this a reject are the few fills as it has some pretty decent grain all the way around.

Image

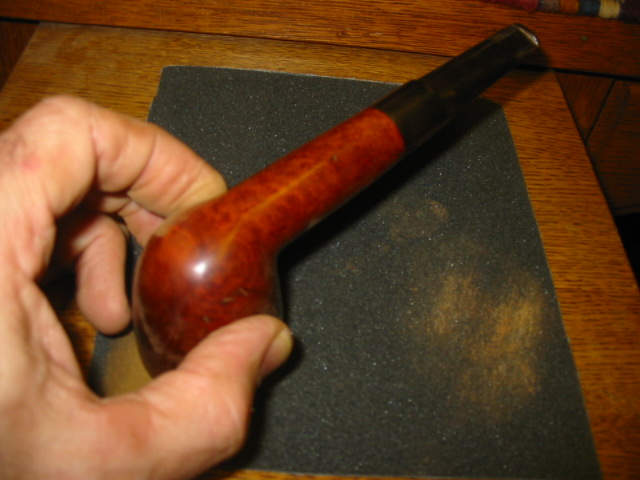
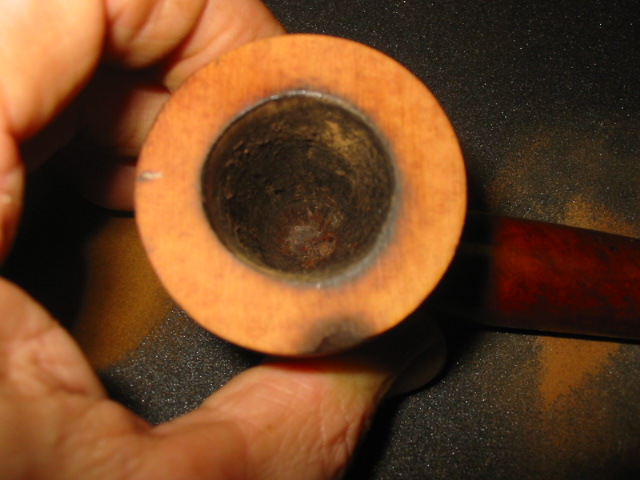
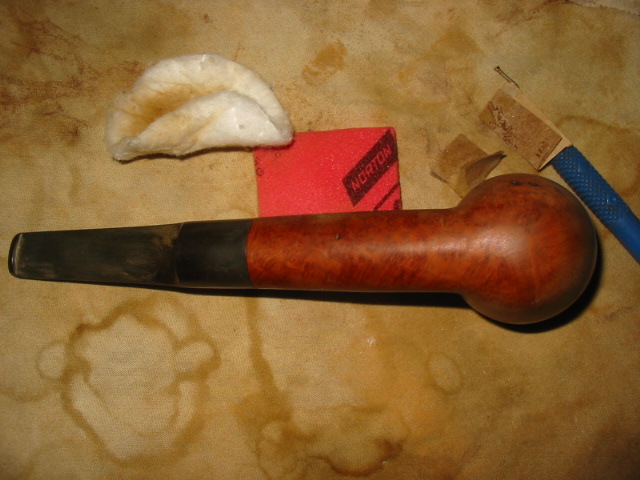
After I reamed and cleaned the pipe inside with isopropyl alcohol I decided to address the cigarette burn on the top and side of the rim. The only way to remove it was to top the pipe. The next series of four photos show the emery cloth attached to a cutting board so that I could work on the topping procedure. The first photo shows the angle of attack that I use on the bowl. I place it flat on the cloth and work it in circles on the paper. I keep the bowl rim flat on the paper to ensure that the surface does not become angled or slanted. The next three photos show the top after sanding. Each photo is sequential so that you can see the progress in removing the divot. The second photo below shows the side shot of the damage and you can see the depth of the burn. The next two show the gradual removal of the burn and the flattening out of the surface of the rim.

ImageImageImageImage

When I finished with the emery cloth I used 240 grit sandpaper to smooth out the surface and remove scratches left by the emery cloth. I used the same circular motion to sand the rim. I find that the circular motion leaves fewer scratches and also keeps the bowl flat as I work on it. The next series of three photos show the rim and side after sanding with the 240 grit sandpaper. The burn mark is now flattened out and the edge of the rim is smooth. The divot is gone. The decision I had to make at this point was whether to continue sanding to remove all of the darkening on the bowl rim or to use stains to hide it a bit and keep the profile at its current height. I opted to use the stains on the burn mark and leave it at this point. Once I had the bowl rim at this point I proceeded to use 400 and 600 grit wet dry sandpaper and then micromesh from 1500-6000 grit to smooth out the surface of the rim.

ImageImageImage

From there I decided to work on the fills. The pink putty just does not work for me. It does not take stain and it is always glaringly present in the finished pipe. The next two photos show the fills on the right side toward the bottom of the bowl and on the shank near the stem.

ImageImage

I wiped the bowl down with acetone (fingernail polish remover) to get the stain and finish removed. Then I used the dental pick to remove the fills. The next five photos show the opening up of the pits that were under the fills. I use the sharp point of the dental pick to pick away all of the putty and leave the holes open and free of debris. I also wipe the bowl down with acetone before filling them with the new patch.ImageImageImageImageImage

After wiping down the surface of the pipe and cleaning out any remaining debris in the pits or holes I filled the holes with briar dust that I had saved from sanding the rim. I packed the dust into the hole with the dental pick. I find that if I wet the end of the pick the briar dust clumps on the pick. I scrape it over the holes and then tamp them full with the briar dust. I purposely over fill them with the dust. Then I drip super glue onto the briar dust patch. In the three photos below you can see the patches after the initial sanding with a fine grit pink sanding pad. They are the dark spots on the right side of the photo and on the shank near the stem. These dark spots lessen with more sanding. The second photo also shows the state of the rim from the top shot.ImageImageImage

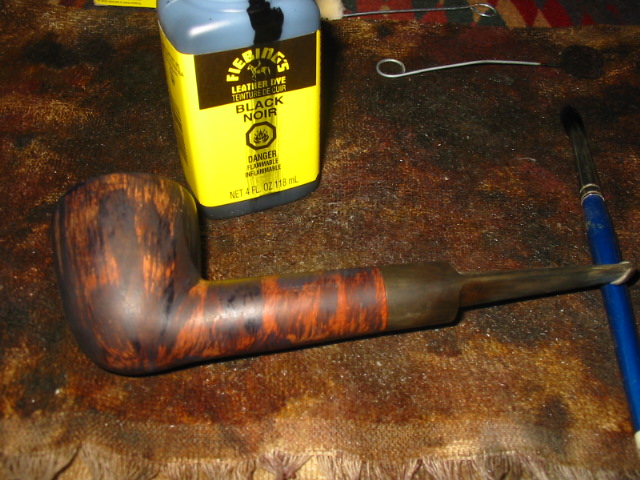
I heated the bowl so that I could do the contrast staining to highlight the grain. I used an artist’s brush to apply black aniline stain to the bowl. I follow the lines of the grain. I painted the bowl, shank and rim with the black stain. Then I lit it with a lighter to flame the stain and set it. Once it was dry I sanded the stain to remove the excess.Image

The next series of four photos show the bowl after the initial sanding. I had removed much of the stain. The reason I am showing these photos is to highlight how the fill on the side of the bowl and on the shank have faded into the finish of the pipe. The black stain not only highlights the grain but also blends in the fills with the contrast stain on the bowl. In the second and third photo I also wanted to show how the stain takes care of the burn mark on the bowl side and rim. It is still present in terms of the darkening but it is less visible at this point. That is what I was aiming for. From this point I took the pipe to my buffer and used Tripoli and White Diamond to buff out a bit more of the black so that it would highlight the grain but not be the overwhelmingly dark coat under the finish stain that I would later use. I also used micromesh pads from 3200 to 6000 grit to work out any of the remaining scratches on the rim and bowl surfaces.ImageImageImageImage

At this point I set the bowl aside and went to work on the stem. In the picture below you can see the variety of micromesh pads that I use to remove the oxidation. The brown dust on the pads is the oxidation that comes off with the sanding. I always have a bowl of water at the side of the table to dip the pads in and wash off the oxidation dust and grime and also to give the pads more bite when I am sanding the stem. I went back and forth through the pads and the buffer with Tripoli and White Diamond to bring the stem back to the rich black that it had originally. I always buff the stem with it back on the pipe. I do not want to risk rounding the edge at the point where it sits against the shank. Once it was shiny black and acceptable I took the pipe back to the work table to give it the final stain coat.Image

For a top coat of stain I chose oxblood coloured aniline stain. I find that the contrast between it and the black undercoat work well together. The next series of four photos show the finished pipe. The first shows the left side and what remains of the burn mark near the top of the rim. It is still present but certainly less visible and it is smooth to touch. The second photo shows the right side of the pipe and how well the stain has hidden the reworked fills on the shank and near the bottom of the bowl. If you did not know they were present you would have a hard time seeing them. The third photo shows the rim and how well the stain has hidden the burn mark and brought out the birdseye grain on the rim. The final photo shows the bottom of the bowl and is included to show the contrast stain and the graining on that part of the bowl.ImageImageImageImage

The next series of photos show closer views of the repairs that were down and how they blend in with the contrast stain. The first is the left side of the bowl and you can see the darkening of the rim where the burn mark was. It is smooth to touch and none of the profile of the pipe is affected. The second photo shows the part of the bowl where I removed the putty fills, refilled them with briar dust and superglue and then restained with the two coats of contrasting stain. The third photo shows the same repairs on the shank. The final photo is of the rim of the bowl. The birdseye grain is highlighted. In the slight glare at the top of the photo you can see the remaining mark from the burn. The black and oxblood stains minimize the visibility of the burn darkening. I finished the pipe by giving the entirety several coats of carnauba wax to give it a rich glow. The pipe is finished and ready to give many years of service to whoever becomes the next owner.

ImageImageImageImage

Refurbishing another Mystery Pipe


I picked up this pipe in an EBay lot recently. The other pipes were older Barlings and Bewlays. I know that it belonged to the same gent originally because all the stems have matching tooth marks. This guy must have had jaws of steel. His bite marks showed a repeated pattern of biting down in an identical place on each pipe. The amazing thing on this one is that though the bites were deep they did not break through the surface of the stem.

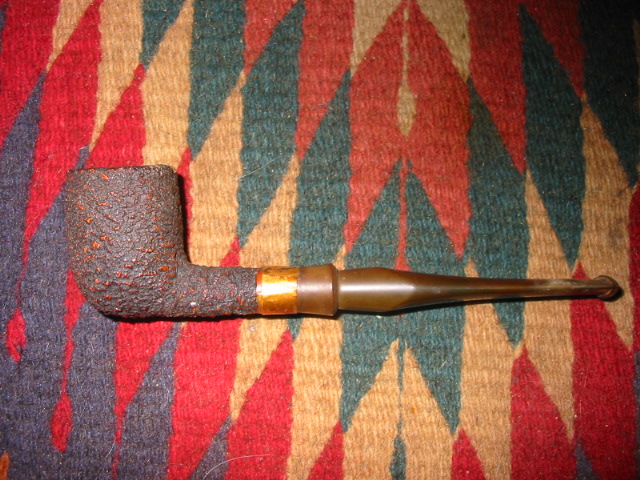
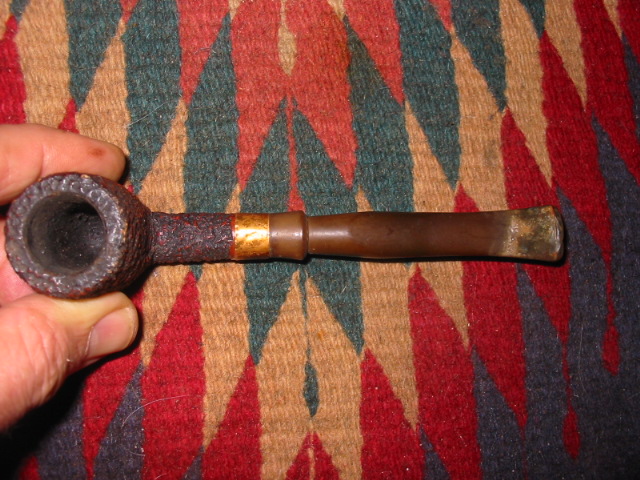
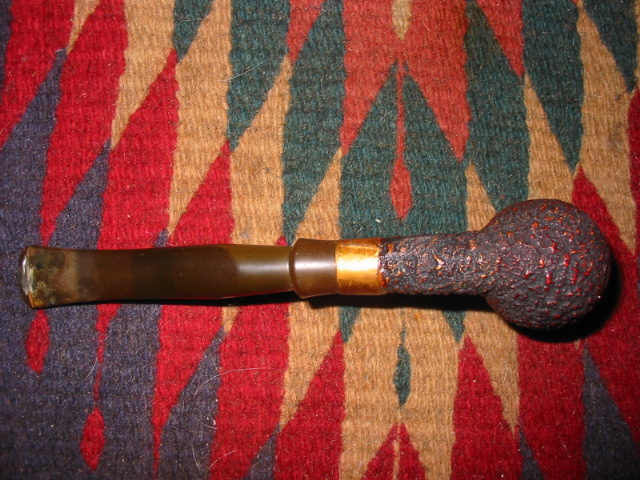
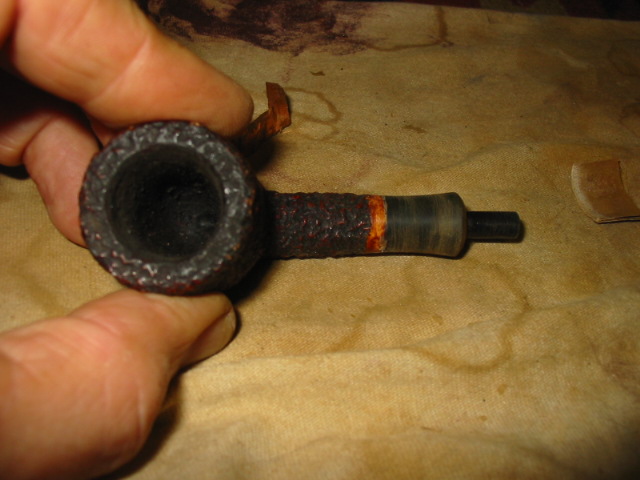
The first series of pictures below show the pipe as it came to me in the lot. Rim had some tars and cake build up. The bowl was dirty but not caked. The exterior of the pipe was also dirty but not damaged. The mystery to me is the material that this bowl is made of. It is very light weight and a bit odd. There is some resemblance to Laxley meers from the Isle of Mann. They made meers for Peterson, Nording and Barling as well as some under their own brand. I have found that those I have worked on and now own are uniformly heavy and thick bowled. This one is not that way at all. This little guy – and I say little as in 1 1/2 inch tall and a bowl outer diameter of 1 1/8 inches and bore of 3/4 inches – is somehow incredibly light weight. Think in terms of a featherweight briar and you are close. The stem is heavier than the bowl… Those are the things that leave me mystified with this one. I wonder if it is not some sort of resin????

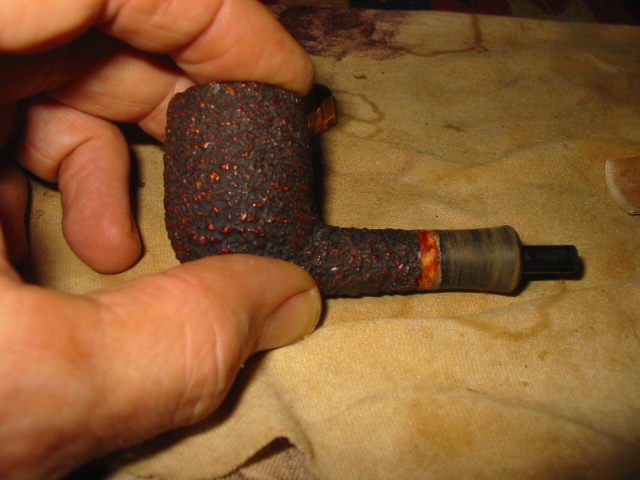
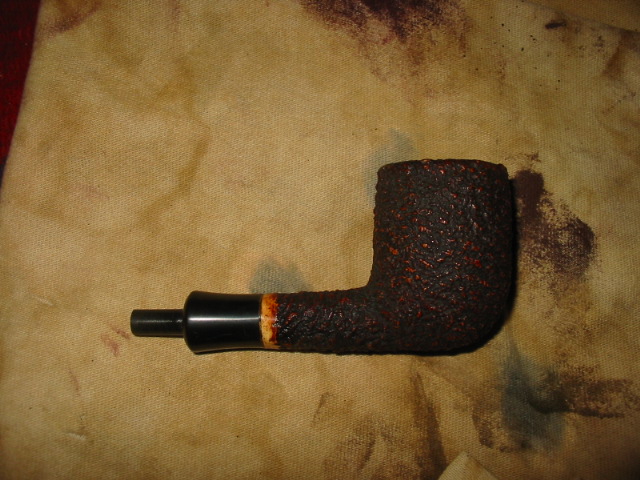
The copper coloured band on the shank is actually copper tape. It was covered with a coating of glue to give it some resilience I would guess. The shank extension is vulcanite as is the stem. The stem is badly bitten but no bite throughs. It will take a bit of work to take care of those and to remove the deep oxidation. The tenon is also a reverse tenon. It extends from the shank like a Carey Magic Inch tenon. The stem slides over the tenon.

ImageImageImageImage

Using my dental pick as a lever I pried away the tape on the shank. I wanted to see what was underneath to know if I was dealing with a separated shank extension or what. As can be seen in the next photo it appears that the tape was merely cosmetic. The shank extension and the joint of the two parts were liberally coated with glue. It appeared to have been wood glue and it was very hard. I was able to peel away bits and pieces of the glue by picking at it with the dental pick and my finger nail. Note also the reverse tenon on the shank that I spoke of above. It is anchored in the shank and is not removable. It seems to be an integral part of the shank extension.Image

The next two photos show the junction of the shank and the shank extension with the glue removed. I used some 180 grit sandpaper to work on it and then finished with 220 and 240 grit to remove the remaining bits. The junction appeared to be sound. There were no cracks and once the glue was removed the connection was tight and smooth.ImageImage

I continued sanding the shank and extension through 400 and 600 grit wet dry sandpaper as well as the usual micromesh pads from 1500-6000 grit. The three photos below show the finished shank. You will note that the band between the bowl and the extension is also sanded clean. The glue was so built up on it that it needed to be sanded to clean away the build up.ImageImageImage

Once the bowl had reached that point I cleaned the rim with a brass tire brush to remove the tars and buildup that was in the rustication on the rim. I wiped it down with a soft alcohol dampened cloth to remove the dust and remnants after brushing. I decided to restain the rim and the band on the shank. While I was at it I also freshened the stain on the bowl. The odd thing to me was that the stain was not absorbed when I put it on the bowl. It literally sat on the surface until it was dry. To get the coverage to do any good at all involved repeated applications of stain to the band and the rim edges. If the pipe had been briar or meer the stain would have quickly absorbed into the heated surface. This is yet another piece of the mystery of this pipe. What is this material that does not accept the stain?ImageImageImage

Once the stain was dry I did not buff the pipe at all with my buffer but wiped it down with a soft cotton cloth and hand buffed it with a soft bristle shoe brush. In the pictures below you can see the finished bowl. The band and the highlights in the bowl are almost a reddish brown. It is an attractive pipe when all is said and done. You can see the inside of the bowl after I sanded it down to clean it. It appears to be a brownish colour and feels like briar to the touch and yet there is something different in the feel of it.ImageImage

From the earlier pictures above you can see the state of the stem with the bite marks on the top and bottom near the button. I used my heat gun to raise them as much as possible before sanding the stem to remove the remaining marks. The first two photos below show the stem after heating and sanding with the 240 grit sand paper. The top photo is the top side of the stem. There were four remaining marks as can be seen – three on the surface of the stem and two along side of the button edge. There was also damage to the button surface that is visible. The second photo shows the bottom side of the stem – it was a bit better after the heating than the top side. It still had two bite marks and the button was dented.ImageImage

I sanded the marks to smooth them out and then cleaned the surface of the stem with an alcohol wipe to remove the dust. The first photo below shows the spots of super glue on the surface filling the dents in the stem surface. I do not use much glue, just a spot. When it hardens it is not easily sanded so the less I use on the surface the better in my opinion. I also did a bit of work rebuilding the button edge and surface with the glue. When I am using the glue I work on one side at a time in order to have the glue set without running and making a mess of things.Image

The next two photos show the repairs to the top (first photo) and the bottom (second photo) of the stem after the initial sanding. I used an emery board that I picked up at a local department store to sand the surface at this point. It is sold in the area where they sell beauty supplies and is used for fingernails. I learned the usefulness of these by “borrowing” one from my daughters and really like the usefulness. Both photos show the patches disappearing into the surface of the stem.ImageImage

The next two photos show the patches on both the top (first photo) and the bottom (second photo) of the stem after sanding with 220 and 240 grit sandpaper. The patches are getting to the point where they are invisible. I continued sanding both sides of the stem until I was ready to work on the sheen and polish.ImageImage

From this point I sanded the stem with 400 and 600 grit wet dry sandpaper until the patches disappeared into the smooth surface of the stem. I then progressed through the usual regimen of micromesh pads from 1500-6000 grit to polish the surface. Several times in the process I took the stem to the buffer to polish it with Tripoli and White Diamond to see where I needed to do more work on the scratches. I resanded the stem until the scratches were gone – each time using the buffer in between to see the progress. Once it was completed I put it on the pipe and used White Diamond to polish the shank and stem. I coated the stem and shank extension with Obsidian Oil and rubbed it in once it had soaked in. I then gave the entirety several coats of carnauba wax. I did not wax the bowl or use the buffer on it as I wanted to maintain the appearance and cragginess of the finish. In the four photos below you can see the finished pipe. The patches are virtually invisible unless you know where to look. The surface is shiny and black. There is still a bit of oxidation that I need to remove on the stem at the shank extension but overall it is like a new pipe.ImageImageImageImage

The mystery remains, what is it made of? Is it meer? Is it clay? Don’t know. I plan on smoking it later today so maybe the way it handles the heat of the burning tobacco may add some information to the mix.

Restoring a unique Peterson 10


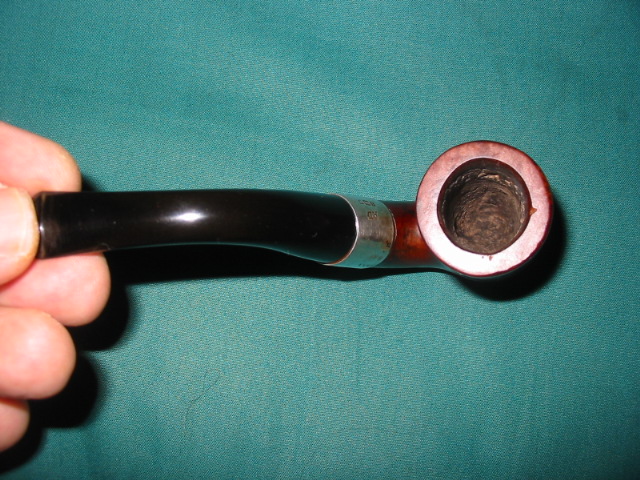
I picked up this old Peterson shape number 10 at a flea market for about $12. This one needed cleaning inside and out as well as reaming. The finish was quite good. I just used a soft bristle tooth brush to get into the crevices. The shank had a crack in it so I banded it with a silver band. The bowl was caked and very narrow. I used a battery terminal brush and an old adjustable reamer to get inside of it. The stem on it was obviously not the original but a smaller diameter replacement stem that did not fit well. The shank had been sanded smooth but was not tapered to meet the misfit stem but it was perfect for setting the band. Before doing that I used some super glue to squeeze the crack in the shank together. I held it until it was dry. I then heated the band with my heat gun and pressure fit it on the shank. I flattened the bottom edge of the band to match the flat bottom where the stamping is. I fit and shaped a new stem. Once it was fit I bent it to a comfortable fit for the mouth. Then I sanded and polished it with my usual regimen of micromesh pads from 1500-6000 grit.

New Life for an Old Barling


I have often written on the blog that good refurbishing begins with observation of the work at hand. I never fail to spend time looking at a pipe and noting areas of concern before I work on it. That is probably why it is pretty simple to record the work I have done on the pipe after the fact. In the old Barling bent, who’s refurbishment is recorded in the following post, I chose to post the notes from my observations. Enjoy!

At Smokers Forums a friend and I have exchanged ideas and thoughts through pm’s, emails and phone calls for several years now. Our talks have covered much ground but seem to also involve at least a fair amount of chatting about refurbishing estate pipes. A couple of weeks ago he contacted me with an idea of somehow collaborating on a refurb. He had an old timer he wanted me to look at and talk over with him. It came in the mail and I gave him a call with what I saw as I handled the pipe and took it apart. The list below gives some of my observations about the pipe as I checked it out carefully.

  1. The band is crooked and turned on the shank. It may take heating the band to it to loosen it.
  2. The silver hallmarks are an anchor, lion and a shield. The shield should have a letter in it to identify the year but it is worn away. The band is made in Birmingham, England, and it is Sterling Silver. As for the year, the best I can do is estimate; it lies within a 20 year period – 1876-1895. We would need to check the dates on Barlings made in the 1800s, to see when it fits into their history. That could narrow it down. It also may be an aftermarket band that was added to repair the shank.
  3. The only stamping is Barling in script. I cannot see an “s” on it and certainly no apostrophe. That should also help date it. The tail on the “g” hooks or curls under several other letters.
  4. The divot in the bottom edge of the shank, for lack of a better word, is not a worn spot in the shank – interestingly once I cleaned the shank I lined up a pipe cleaner in the centre of the divot and it is perfectly aligned with the drilling of the airway. With the pipe cleaner in place (think drill bit) the divot is gone and the walls are all equal. I am thinking this is the divot that is often found in Oom Paul or bent shapes to drill the airway straight to the bowl. I am going to give that a bit more thought before I step in with a repair to the shank. I may get away with building up the tenon instead.
  5. The bowl is in very good shape. I cleaned it out and the walls are all sound and the bottom of the bowl is also sound – no sign of damage to the briar; though the airway comes out a little high on the side of the bowl. I may need to smoke a cigar to make some pipe mud to raise the bowl bottom a bit!
  6. There is a little damage to the front outer edge of the rim but it has been rounded with time.  The inner rim was damaged by a reaming with a knife and is slightly out of round. I have already remedied that with sandpaper.
  7. The design of the tenon is very interesting. It is almost a reverse funnel (think inside of a funnel). The curvature at the tenon and step down is such that it provides a bit of a cooling chamber in the sump of the pipe almost like those new fangled calabash things that are hitting the market now.
  8. The vulcanite is very hard and does not seem to show any oxidation. I have seen that before on these old timers – they use a very good quality of rubber and maybe less sulfur in the mix to vulcanize it. Not sure but for some reason they hold the black colour without any browning.
  9. The stem has a few tooth marks – 2 on top and two on the bottom. Some minor tooth chatter as well.
  10. The silver band is also angled like it was put on crooked after it was misaligned. The hallmarks should be on the side but seem to be on the top.
  11. It appears that there is a crack in the shank that was repaired and then banded.

Chuck and I talked through this list a bit on the phone and then through pms on Smokers Forums and he left it to me to see what I could do with the old pipe. Here are some pictures of the pipe when it arrived. The finish was pretty much gone but there was some great looking grain underneath. The issues I pointed out above will be clearly visible by looking at the photos in the first series of three. All of the external issues are visible in these photos.

ImageImageImage

Once the stem was removed from the pipe several other issues became apparent. The biggest one that we discussed was the way the mortise was worn and out of round. You can see the dip or divot in the bottom of the shank that makes the mortise almost oval. Inside the mortise you can also see the tar buildup where the step down end of the tenon sat. It has the reverse of the shape of the step down. Where it had a curved shoulder between the tenon and the step down, the mortise had the reverse. The tars were built up to the point that the tenon step down sat firmly in place. The rest of the tenon was loose in the mortise as years of use had worn away a part of the mortise. The question we were left with once the pipe was cleaned was how to address the wear in the mortise and tighten up the fit of the tenon. The options were two:

  1. Build up the inside diameter of the mortise – this could be done by inserting briar and redrilling it or by using a build-up of glue and briar dust.
  2. Build up the outer diameter of the tenon – there are several ways of doing this including the use of clear nail polish or superglue applied to the tenon and then sanded to fit correctly.

Each method had a few issues involved in using them.

–          To build up the mortise with an inserted piece of briar would be difficult in that the mortise was no longer round and once the mortise was redrilled the walls of the briar plug would be very thin. Also the stem itself was cut to fit the out of round shape of the shank and mortise so it would have to be reshaped.

–          To build it up with glue and briar dust would work but be a bit hard to control the amounts and if it was built up too much removing it and sanding it would be difficult to control.

–          To build up the tenon with nail polish is a temporary fix and would need to be repeated over time and use. To use the superglue is more permanent but are there any long term effects from the use of the glue on the inside of the pipe. Even if, as in this case the tenon is not in contact with the mouth. The glue would only be used on the upper portion of the tenon and not on the step down portion.

ImageImageImage

Chuck and I discussed these options and issues and he left it to my judgment to choose one. I thought about it and laid aside the pipe for the night and came back to it in the morning. I examined the tenon and mortise once again to get another view of the problem before I worked on it. I inserted a pipe cleaner at the angle of a drill bit from the shank through the airway to the bottom of the bowl to see where the edge would land. The drilling of the shank matched the notch in the bottom of the mortise. It had been enlarged due to the age of the pipe and its use but it matched exactly. This influenced my decision where to go with the repair. Once that was decided it was time to work on the finish of the pipe and the internals. I dropped the bowl in the alcohol bath to let it soak and remove the grit, grime and old finish. I was hoping that the soak would also loosen the glue on the band so that I could turn it into the correct position on the shank. It soaked for about an hour and a half while I did other things. I removed it from the bath and laid it on my work table. The pictures below show it before I dried it off.

ImageImage

I steamed the dents on the top and also sanded out the remnants of them on the surface. I wiped down the bowl with acetone to remove any remaining finish on the bowl. I picked the thick tars in the sump of the shank and tapped out the crud that came loose. It took a lot of detailed picking to get the surface free of the build up. I then cleaned out the sump of the shank with many cotton swabs until they were clean. The picture below shows the pipe after the cleaning and wiping down with acetone. The second picture shows the rim with the dents removed and the roundness of the bowl restored.

ImageImage

After thinking through the options on the shank and the mortise situation I decided that the best way of dealing with this old war horse was not to build up the mortise and cause problems with the fit of the stem and shank but to work on the tenon on the stem. I had read elsewhere of the use of super glue to build up the tenon so I gave it a coating. The best way I have found it to work for me is to drip it on the tenon and turn it as it drips. The fluid thus gives the entire tenon an even coating. The first two pictures below show the tenon after the application of the layer. Once it was dry the tenon was obviously too big so I sanded it, while repeatedly checking for the fit. The third picture shows the tenon as it is now – a perfect snug fitting stem on the Barling this morning!

ImageImageImage

To highlight the beautiful grain in the pipe I used a brush dipped in black stain to follow the grain patterns on the bowl. I applied it with an art brush to give it a good coverage. Before applying the stain to the bowl I warmed the briar to open the pores in the wood to receive the stain deeply. The pictures below show the bowl after staining with the brush. It looks odd and actually less than charming but the process works as will be seen in the next series of photos.

ImageImageImage

After stain dried I sanded it with a fine grit sanding foam that allows me to follow the curves. I was careful around the faint stamping on the shank. Here is the pipe after it has been wiped cleaned with Isopropyl alcohol after sanding. The grain is highlighted well. The final picture below shows the grain on the front of the bowl.

ImageImageImage

I set aside the bowl for awhile and dealt with the tooth marks on the stem. After steaming them to raise them I sanded with 240 grit sandpaper to remove the remaining signs of the tooth marks and the tooth chatter. I then sanded with fine grit foam sanding pads to work out some of the scratches in the surface.

ImageImage

I did some more sanding with the micromesh sanding pads on the pipe bowl to get the black stain tamed a bit so that when I put the overstain on it would show through but not dominate. I wanted to get a stain on the pipe that fits the older Barling pipes that I have here so I thinned down some oxblood stain for the overstain. I applied it and flamed it. Then I took it to the buffer and with a light touch removed the excess and left a nice top coat of rich reddish brown stain with the black shining through to highlight the amazing grain on this old pipe. The three pictures below show the pipe with the stem on but the stem was not finished as it still showed some of the browning of oxidation.

ImageImageImage

From there I removed the stem again and sanded it with 400 and 600 grit wet dry sand paper and water. I finished the stem with 1500-6000 grit micromesh pads dipped in water to give bite to the sanding disks as I polished it. The way I use the micromesh is to dip it in water and then sand, dip again and sand again through the various grits until I am finished and the stem has some depth to its blackness. I coated the stem with several coats of Obsidian Oil and then a coating of wax by hand.

ImageImageImage

I put the stem back on the pipe and took it to the buffer. I buffed the whole thing with White Diamond and then cleaned the silver band with silver polish and polished the entire pipe with multiple coats of carnauba wax.

ImageImageImageImage

Restoring an Astor Belge


This was one of the pipes I picked up recently on a trip to the US. It is a small Astor Belge shape which is one of my favourite shapes of pipes. Astor pipes were made by Comoy as a second line of pipes. From the number of fills on this one it can easily be seen why it is a second. It is a shame as it also has some amazing cross grain on the front and back and some beautiful birdseye among the fills on both sides. The extent of the birdseye grain can be seen in the second photo below.

ImageImageImageImage

The pipe was dirty but really in pretty good shape for its age. I reamed the bowl and cleaned the bowl and shank with Isopropyl alcohol (99%) to remove the tars and oils from the inside. Then I dropped the stem in some oxyclean to soak and wiped the bowl down with acetone (fingernail polish remover) to remove the finish. I dropped the bowl in the alcohol bath for awhile to give it a good soak and worked on several others for awhile.

After an hour in the bath, I removed the bowl and dried it off. The next series of three photos show the pipe after removal from the bath. I used micromesh 1500 grit sanding pads to remove the grime and tar from the rim and the inside bevelled edge. It took a bit of work to smooth this out and keep the angles the same all the way around. The third photo below shows the finished bevel and the top after quite a bit of sanding. The top took a bit more sanding with the micromesh to remove the darkening as it was on the surface and not too deep into the briar.

ImageImageImage

At that point I decided to remove the fills from the bowl as I personally dislike the pink putty fills that are often used on these old timers. I used the dental pick to remove the as can be seen in the next series of three photos. They were all pretty deep and would need to be repaired. After picking out the fill I wipe the bowl down with a soft cloth and Isopropyl alcohol to clean the surface of any remaining bits of putty. When they are clean and dry I fill them with briar dust that I have saved for this purpose.

ImageImageImage

After filling them with briar dust I drip the super glue/krazy glue into the dust and it dries almost instantly. The next three photos show the newly filled holes at various stages of the repair. The first photo shows the dust and super glue in the bottom holes before I sanded them. The top holes in the photo have been sanded a bit to smooth them out but are not finished. The second photo of the front of the bowl shows both the sanded ones and a newly filled hole with the super glue patch before it dried. The final photo in this series of three shows all the holes filled and the initial sanding completed.

ImageImageImage

The next two photos sow the holes patched and sanded smooth. The super glue and briar dust turned black in this case. This does not always happen but it did this time. I have no explanation for that in this case but they do look better than the previous pink fills. I have also learned that they can be hidden a bit with a dark understain. In this case I decided to stain the entire bowl with black aniline stain for a first coat. I flamed the stain and when it dried I took the pipe to the buffer and buffed the entire bowl with Tripoli to remove the excess stain and leave the black in the grain and around the fills. You can also use black permanent marker to build the grain pattern around the fills to help hide them though I did not use that method on this pipe. I then sanded the bowl with the 1500 and 1800 grit micromesh pads to remove more of the overstain. I washed the bowl down several times with acetone to also lighten the black. Once it was at the saturation I wanted it was ready for the overcoat of stain.

ImageImage

I decided to use oxblood coloured aniline stain for the finish coat on this one. I wiped it on and then wiped it off before it dried to get good coverage I repeated that several times and finally gave it a full coat and flamed the stain to set it. When it was dry I took it to the buffer and buffed it with Tripoli and White Diamond to give the final coat a real shine.

I finished the stem with my usual regimen of micromesh pads from 1500-6000 before putting it back on the bowl and buffing the pipe with White Diamond. I coated the stem with several coatings of Obsidian Oil and then gave the whole pipe multiple coats of carnauba wax to finish. The pictures below show the finished pipe. Though the fills are still visible they are diminished in their overall presence in the pipe. They no longer stand out in the finish. I personally love the depth of colour that this old Belge has with the new stains.

ImageImageImage

Edwards Contour or Criterion Restoration


I found this old Edwards pipe while I was visiting a small community in Washington in the US. My wife and I were away for our 36th wedding anniversary and always love visiting second hand shops and antique malls. We must have visited a dozen or more shops on that trip. This older Edwards pipe was in the last shop we visited. It was an interesting shape and intrigued my eye. I made an offer for it and it soon became mine.

Once I got home I decided to refurbish it as one of the first I dealt with. I am not sure of the name of the particular Edwards line this one came from but on one of the online forums someone thought that it belonged to either the Contour or Criterion line. He had pointed out that the lines were carved in France but the only sign of that was that the word France was usually stamped on the underside of the stem. However, on this one there was no stamping on the stem – no France or other name, just smooth brown oxidation. The stem also had tooth marks on the top near the button and a very prominent dent on the underside of the stem near the button. The finish on the pipe was dirty but in great shape. There were no dents or scratches and the pipe seemed to have been well cared for. Edwards did not stain their pipes as is evidenced by the natural finish on this one. The rim was probably the most potentially problematic area on the pipe. It was tarred, caked and possibly charred on the bevel inward.

ImageImageImageImage

I reamed the bowl and cleaned the inside of the bowl and the shank. I wiped down the entire pipe with undiluted Murphy’s Oil soap on a cotton pad and removed the grime and old waxes. I scrubbed the bevelled rim with the oil soap as well to remove the tars and the surface carbons. I used some 1500 and 1800 grit micromesh to remove the rest of the tars and bring it back to a smooth surface. I was pleased to see that there was not any charring or burn to the surface of the rim and once cleaned it looked pristine. The pipe has not been stained but had a natural finish so I buffed and polished the rim and the rest of the surface of the pipe to get the shine back. While I was at the buffer I also buffed the stem with Tripoli to break up the oxidation and then took it back to my work table. At the table I used nail polishing sticks (these are fingernail polishing stick and come with micromesh sandpaper on a foam stick) to sand out the bite marks on the top and underside of the stem. I worked with the 1500-6000 grit micromesh pads to polish the stem and remove the remaining oxidation. A folded pad worked well to sand in the grooves of the stem to give even that area a clean glow. I coated it with Obsidian Oil and once it was dry I buffed the entirety with several coats of carnauba wax.

ImageImageImageImage

A WDC Milano Hesson Guard Reworked


I just worked over this old timer – A WDC Milano Hesson Guard. In order to know more about the pipe I was working on I searched for information regarding the patent number stamped on the pipe and went to the US Patent site where I found documentation. The patent was filed for it in 1932. It is an early example of the pipe. It is in the acorn shape. It has the patent number stamped on it as well as the other WDC labels. The triangle on the stem is silver or steel inlay. For me this is a part of the mystery of unpacking the history and life of the brand and mark. I always like to know as much of the back story as I can find on any of the pipes I refurbish. Patent numbers stamped on the pipe provide a means of ferretting out information on the design and the particular part of the pipe that is patented. I have included the patent site information on the pipe for your reading pleasure. At least to me this part is fascinating information.

ImageImageImage

The pipe was caked with a crumbly thick cake that pretty much filled the bowl when I picked it up. I reamed it out to field dress the pipe. I generally do this with most of the pipes I bring home for renewal. It keeps the mess of the carbon from the cake outside and away from my work desk. In the photos below you can see that the finish was pretty dirty with a lot of hand oils and grease ground into the bowl surface. The rim was caked and tarred and it looked like it was damaged. The finish was worn and the stain faded in many places on the bowl sides. The stem was oxidized and had some bubbles in the surface along the button – the bubbles are visible near the button in the second photo below.

ImageImage

I scrubbed the exterior of the pipe with Murphy’s Oil soap, undiluted. I wipe it on with a cotton cloth and immediately wipe it off. Others have said that it removes the stain if left to long and it does indeed do that. But I have found it unsurpassed in quickly removing grime and grease if rubbed on and rubbed off quickly. I worked on the rim as well with a soft bristle tooth brush and the oil soap to remove the buildup. Once that was done I put it in the alcohol bath and removed the finish that was on it. It seemed to have had some built up waxes and also some kind of varnish coat over the stain. It came off with a bit of elbow grease after soaking. I decided to not stain this pipe as the briar looked great as it was. I just sanded it with the micromesh pads to polish it and remove the surface scratches. Then I took it to the buffer to give it a buff with White Diamond.

I worked on the stem while the bowl soaked in the bath. I soaked it in the Oxyclean mixture for a while to soften the oxidation. I dried it and buffed it with Tripoli to remove the surface oxidation. I sanded it with 240 grit sandpaper to get the deeper oxidation. I also had to lift a few tooth marks from the underside of the stem near the button. I used the heat gun to do that. The bubble on the top of the stem also was heated to try to smooth it out. It was evidently not a blister but a bump from teeth. It went back in place with the heat. I sanded the remaining signs of bite with 240 grit sandpaper and then 400 and 600 grit wet dry and water. I finished it with the normal regimen of 1500-6000 grit micromesh pads to polish. I put it back on the bowl and then gave the entirety a buff with White Diamond to polish it and finished the restoration with several coats of carnauba wax.

ImageImageImage

Restored a Comoy’s Tradition from the 50’s


I have been looking for a Comoy’s pipe in the higher grades since I read a thread on Smokers Forums on the various grades of Comoy’s. On my anniversary trip to the States I came across a nice Tradition at an antique store. With a little bit of haggling the pipe and three others became mine (in the picture below the top pipe is an older Edwards that I picked up the next day at a different shop).

Please forgive the blurry pictures in the next foursome, I was too hurried to get at the clean up and restoration and did not focus them well. They are clear enough to see that the finish was in pretty good shape. The bowl was thickly caked and the rim was gummed up and looked to be dented. The stem was clean but oxidized and had tooth marks on the top of the stem near the button and on the underside in a matching pattern. I did a bit of field dressing to the pipe last evening while we were at the hotel, cleaned the stem and the inside of the shank with Isopropyl alcohol and also sanded the stem with a piece of 240 grit sand paper and some micromesh pads I had in my bag. (I know – it was my anniversary but I had thrown my book bag in from work and when I opened it I found the sanding disks. I have them in the bag when I have a break at work and want to get outside and have a pipe and work on one I have with me.) My wife was occupied with talking to the kids on the phone and looking through her purchases from the days shopping. So I had about an hour to do a bit of work!

I wiped down the top of the bowl with some Murphy’s Oil Soap (undiluted) on a cotton facial cleansing pad I picked up in the US. I had read about that on a post by Alan (Castana on SF) and they work very well. I applied the soap and removed it three times to soften and remove the grime. Once it was gone I found that the rim itself was pretty pristine. Just a little bit of wear on the chamfering on the right front. I reamed and cleaned the bowl and shank. I also used the micromesh pads (1500 and 1800 grit) on the rim and then restained the rim only with a dark brown aniline stain, wiped on and buffed off to match the bowl.

I worked on the stem next. It had bite marks on the top and bottom side near the button. I heated the stem and raised them as far as I could with heat then sanded out the remaining marks. To sand them I used 240 grit sandpaper first then used a fingernail sanding board that I picked up at Walmart this afternoon before coming home. It is pictured below in several of the pictures with the stem. It worked extremely well to remove the remaining tooth marks in the stem. I cleaned the oxidation with micromesh pads (1500-6000 grit) and put it back on the pipe to give it a buff with some Tripoli before returning to finish the polishing with the micromesh pads. I gave the stem a coat of Obsidian Oil and let it soak in before taking the whole pipe to the buffer to buff it lightly with White Diamond and several coats of carnauba wax.

Here is the finished pipe. I have been researching the stamping on this one. I found out that the stamping dates it to the early 1950’s. It is stamped in a circle with “Made” at the top, “In” in the middle and “London” at the bottom with “England in a straight line beneath. From the Derek Green’s History of Comoy’s Article I quote: “I believe this stamp was first used in the export drive in the early 1950’s and I have not seen any pre WW11 Comoy’s stamped in this way”.
http://www.derek-green.com/comoy_history03.htm

Black Super Glue Repair to a Damaged Stem


Blog by Steve Laug

Using the stem on the little Barling I repaired earlier as an example I thought I would post the process of repairing bite marks with Black Super Glue. The glue is available online at a variety of sources, though I purchased mine from http://www.stewmac.com/shop/Glues,_adhesives.html a company that is a supplier for stringed instrument repairmen. They offer super glue in several colours and viscosities. I order the black super glue from them that comes with whip tip nozzles as I find that it is easy to control the size of the drops used. I also have used the clear super glue and it works very well in several other applications including repairing and replacing fills on older pipes. They also carry a wide variety of micromesh sanding pads and papers. It is a great resource for hard to find items (at least in Canada) that I use regularly in my repairs.

I always seek to repair a stem in the least intrusive manner possible. In the case of the stem below I heated the tooth dents to try and lift them as much as possible before any other method was used. This can be done carefully with a heat gun – I stand the gun on its stand, turn it on its lowest setting and move the damaged part of the stem in the heat about 4-6 inches above the tip of the gun. If it gets too close the vulcanite is damaged through burning. The other method that I have used avoids this problem – it involves putting a cup of water in a microwave and boiling it. Once it is hot place the stem button end down in the boiling water and leave it. Repeat as often as necessary or until there is no more lift on the dents of marks in the stem. Note if the dents have sharp edges, or are cuts, the heat will not lift the dents at all. It also will not work on holes or bite throughs on the stem.

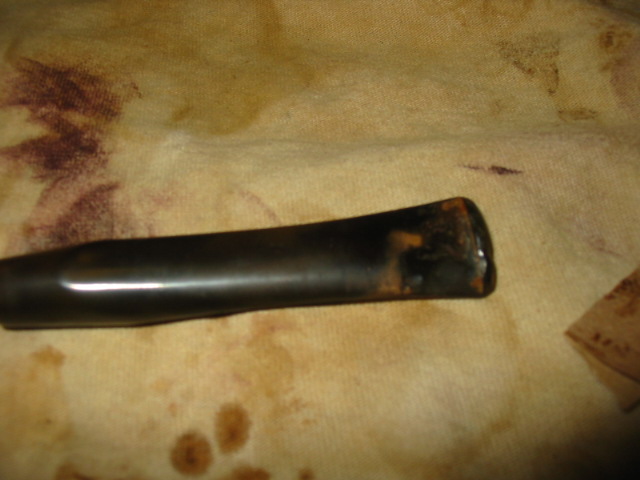
In Photos 1 and 2 the stem is pictured as I received it on the pipe. The first photo shows the top of the stem and shows the damage to the button and the surface – mostly dents. The second photo shows the underside of the stem. It was significantly worse that the top. The dents were very deep and the button was virtually destroyed. At this point it is probably pertinent to ask whether the stem should have been replaced or not. Several things went against doing that in my opinion. The first was that this is an original Transition Era Barling stem. It is hard to find replacements that have the slab look and slight taper on the saddle that are hallmarks of the Barling stem. The second was that the tenon on this one is very tiny. I did not have a tool that allowed me to turn that small of a tenon. Thus I decided to give it a repair. Then of course, if you have followed this blog for long you will understand, there was the challenge. Could I possible restore the stem to at least a semblance of its original “glory” and functionality?  

ImageImage

So with the decision made I turned to work on this stem. I used my heat gun to lift the marks as much as I could on the top and the bottom of the stem. The two pictures below show the effect of the heat on the stems. The first photo shows the top of the stem – the heat actually lifted those bit marks quite a bit. It took out the rounded edges of the dents. What is left was actually sharp edges or cuts from the teeth on the button and on the surface. You will also notice that some of the oxidation burned off in the process. I also sanded the surface with 240 grit sand paper to better see what I was dealing with on this stem. The second photo shows the underside of the stem – the heat lifted the dents significantly but not totally. The sharp edges on the dents still remain, as does the destroyed button and the hole is very visible. I repeated the heating process several times (to be honest I lost count) until there was no more visible improvement in the dents. It was time to prepare for the patching process.

ImageImage

Before I use super glue to patch a hole or fill dents in the stem I prepare the surface to be clean and debris free in order to get a good bond on the glue. I sand the surface with 240 grit to remove the oxidation as much as possible. I want the area under the patch to be black so that the glue matches. Oxidation on the edges of the patch makes that match impossible. Once I have the surface sanded I buff it with Tripoli to take a bit of the roughness out. I don’t want a glossy finish as a little roughness gives surface for the glue to bite into. But I do want it clean. I wash the stem with isopropyl alcohol to remove any debris that still remains, including any of the Tripoli. I use a dental pick to make sure that the edges of the hole are not cracked or broken. Doing this often opens the hole a bit larger but it also removes chips or cracking that will not provide a good base for the patch. I finish the cleanup with yet another wash with alcohol and a cotton swab. The surface should have solid edges to bind to and no extraneous sanding dust or debris that will be in the way of the patch.

On this stem the easiest part to patch was the top of the stem so I started with that part. I used the whip nozzle on the super glue and dripped it on the stem. I smoothed the drop out with the end of the whip. I want the dent and cut to be totally filled so I moved the glue back and forth until it was all covered and then set it aside to dry with the end of the stem propped up to keep the patch level. The first picture below shows the patch after the glue had dried. It formed a solid patch on the stem. I always layer the patch doing multiple layers until I have built up the hole and dent. In this case I also used the glue to build up the button. While the picture does not show it clearly, the glue is actually level with the top of the button and small spots of glue are moved into the dent marks in the button surface itself. In the second photo the stem shows the patch after sanding with 240 grit sandpaper. The object was to get a smooth surface on the stem. The dent marks in front of the button are gone. The brown spot on the stem is some oxidation that has not been sanded out yet. The button is also repaired and you can see a bit of the bulk that is now there. The button will need to be shaped and recut with needle files once the underside of the stem is also patched.

ImageImage

Once I had the top surface of the stem to the point it is pictured above I turned the stem over to work on the underside. This part of the stem was really the challenge on this one. It had deep tooth cuts and a bite through that needed to be repaired. The first step for me was to repair the bite through. I fold a pipe cleaned to fit the flared slot on the button. I greased it with olive oil and inserted it in the slot. I wanted it to be smooth and not pucker through the bite hole, so I tucked it down with my dental pick. Once it was set I put in the first drops of black super glue. Remember at this point I am not work on the surface detail of the holes only the bite through. Once it was patched I went on to fill the other deep dents and marks on the surface and build up the button. I set aside the stem on a level surface and raise the tenon end to keep the bubble of glue level so it would dry.

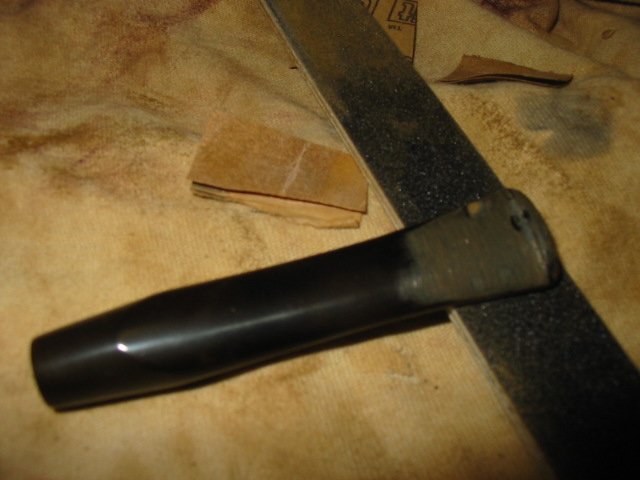
Once the glue dried I removed the pipe cleaner from the slot. This is always the moment of truth for me – did I grease it well enough that the pipe cleaner did not permanently bond to the slot. In this case it worked perfectly and it came out easily! Whew! Once it was removed I filled the rest of the dent marks with the super glue and also built up the non-existent button. I forgot to take pictures of that step. So the verbal description and the picture of the topside fill will have to suffice. I set the stem aside again and leveled the glue so that it would dry and not run up the stem. Super glue dries very hard and is a lot of work to sand off the surface. Once it was dry I sanded the surface with 240 grit sandpaper once again to level out the surface. The picture below shows the stem at that stage in the process. The fills appear to be white but that is the sanding dust on the surface. You can clearly see the three large patches on the underside of the stem in this picture as well as the rebuilt portion of the button. Again I over filled the patch to the level of the top of the button to provide a solid new surface for me to work with when I recut the button with the needle files.

Image

The next two photos show the result of the sanding process with the 240 grit sandpaper on the top and the bottom of the stem. I wanted to make sure that the patches blended into the surface of the stem. You will note that in the first photo of the top of the stem, that the patch is virtually invisible. Though it is not very clear, I had also recut the button with the needle files to give it a good sharp edge against the surface of the stem. I use wedge shaped file and a rectangular file to cut that edge cleanly and the result is a button that looks original. In the second photo you can clearly see that the patches are fairly well hidden. The one against the button and the large one at the top of the photo were the deepest ones. After this sanding and recleaning the surface I refilled those two spots, let them dry and sanded them again. Once that was completed the underside of the stem looked exactly like the topside of the stem at this point.

ImageImage

I failed to take pictures of recutting the button on the underside of the stem but you can see the new button in the pictures below. I cut and shaped it with the same needle files that I used on the top of the stem. I like the clean angles of a new button so I was aiming for that with just a little wear or rounding to match the age of the pipe. I finished the sanding and polishing of the stem using 400 and 600 grit wet dry sandpaper and then used the normal list of micromesh sanding pads from 1500-6000 grit. I keep a bowl of water close by to dip both the paper and the pads in as I sand as I find it more effective in removing the scratches and remaining oxidation. Once the stem was finished I put it on the pipe bowl and gave it a buff with Tripoli and White Diamond to get a good sheen to the surface. I never buff a stem apart from a pipe as I do not want to damage the stem shank junction by rounding the clean edge of the stem. The top two photos below show the top and bottom of the stem respectively. You can see the repair is complete and the button is very clean and present. The second two photos below show the stem from the right and left profile so you can see the flow of the stem surface – uninterrupted from either side with the tooth dents as before and also the profile of the button. It is distinctive and present. The stem was finished with several coats of Obsidian Oil and then carnauba wax to protect the surface.

ImageImage

ImageImage