Tag Archives: repairing tooth marks

Black Super Glue Repair to a Damaged Stem


Blog by Steve Laug

Using the stem on the little Barling I repaired earlier as an example I thought I would post the process of repairing bite marks with Black Super Glue. The glue is available online at a variety of sources, though I purchased mine from http://www.stewmac.com/shop/Glues,_adhesives.html a company that is a supplier for stringed instrument repairmen. They offer super glue in several colours and viscosities. I order the black super glue from them that comes with whip tip nozzles as I find that it is easy to control the size of the drops used. I also have used the clear super glue and it works very well in several other applications including repairing and replacing fills on older pipes. They also carry a wide variety of micromesh sanding pads and papers. It is a great resource for hard to find items (at least in Canada) that I use regularly in my repairs.

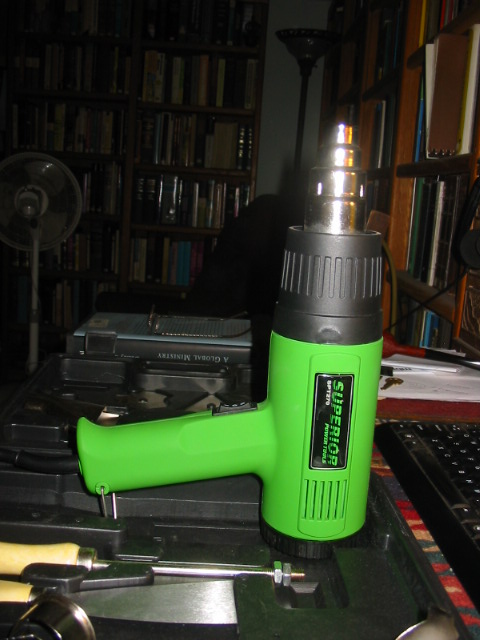
I always seek to repair a stem in the least intrusive manner possible. In the case of the stem below I heated the tooth dents to try and lift them as much as possible before any other method was used. This can be done carefully with a heat gun – I stand the gun on its stand, turn it on its lowest setting and move the damaged part of the stem in the heat about 4-6 inches above the tip of the gun. If it gets too close the vulcanite is damaged through burning. The other method that I have used avoids this problem – it involves putting a cup of water in a microwave and boiling it. Once it is hot place the stem button end down in the boiling water and leave it. Repeat as often as necessary or until there is no more lift on the dents of marks in the stem. Note if the dents have sharp edges, or are cuts, the heat will not lift the dents at all. It also will not work on holes or bite throughs on the stem.

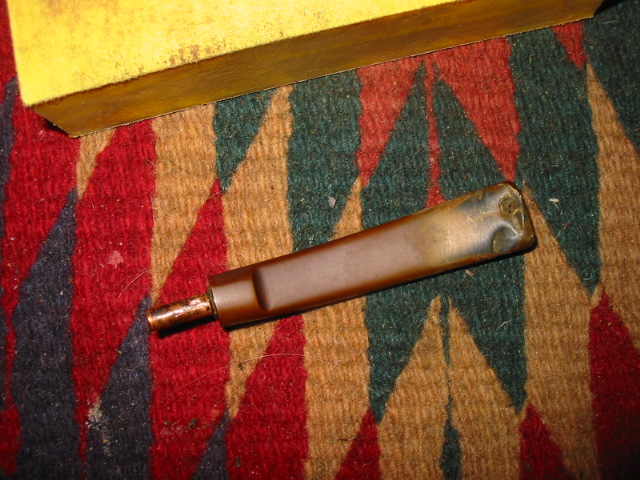
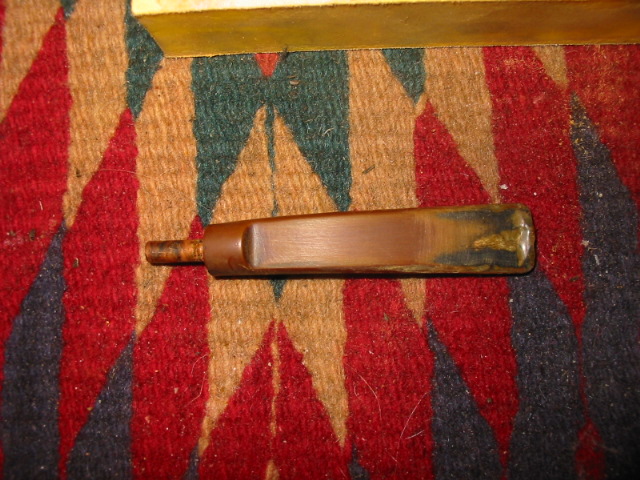
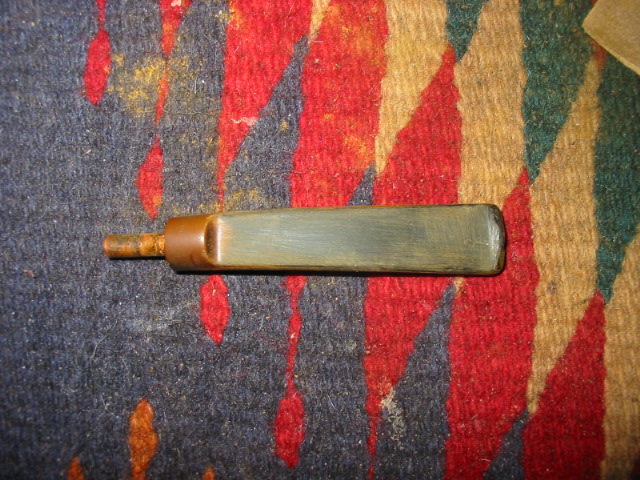
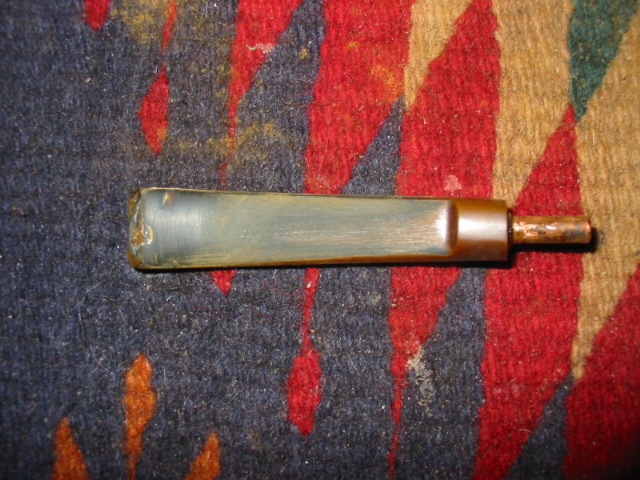
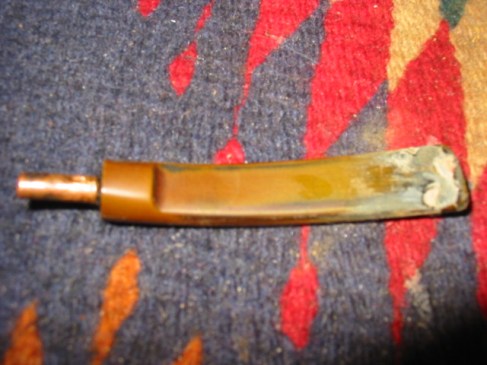
In Photos 1 and 2 the stem is pictured as I received it on the pipe. The first photo shows the top of the stem and shows the damage to the button and the surface – mostly dents. The second photo shows the underside of the stem. It was significantly worse that the top. The dents were very deep and the button was virtually destroyed. At this point it is probably pertinent to ask whether the stem should have been replaced or not. Several things went against doing that in my opinion. The first was that this is an original Transition Era Barling stem. It is hard to find replacements that have the slab look and slight taper on the saddle that are hallmarks of the Barling stem. The second was that the tenon on this one is very tiny. I did not have a tool that allowed me to turn that small of a tenon. Thus I decided to give it a repair. Then of course, if you have followed this blog for long you will understand, there was the challenge. Could I possible restore the stem to at least a semblance of its original “glory” and functionality?  
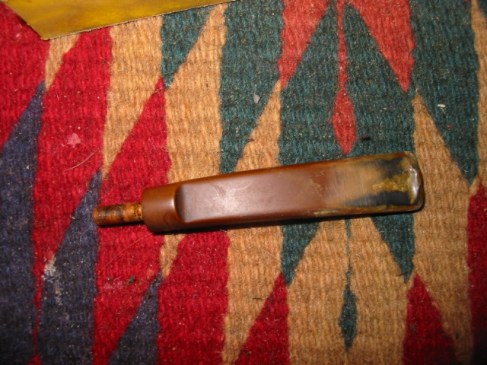
ImageImage

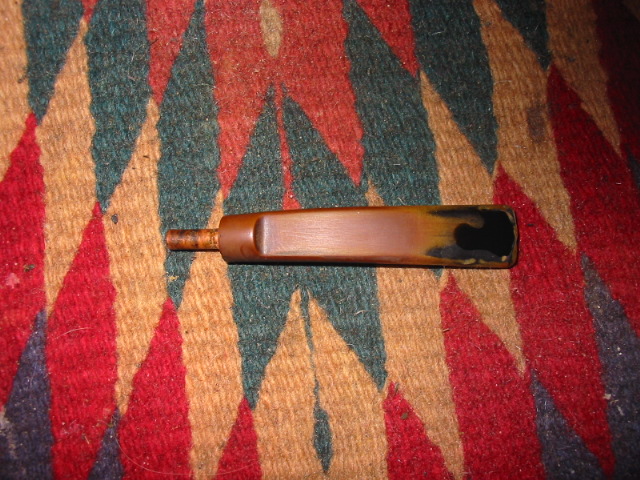
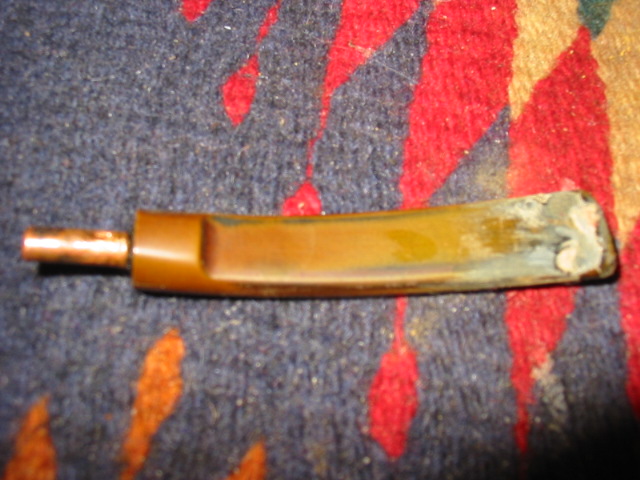
So with the decision made I turned to work on this stem. I used my heat gun to lift the marks as much as I could on the top and the bottom of the stem. The two pictures below show the effect of the heat on the stems. The first photo shows the top of the stem – the heat actually lifted those bit marks quite a bit. It took out the rounded edges of the dents. What is left was actually sharp edges or cuts from the teeth on the button and on the surface. You will also notice that some of the oxidation burned off in the process. I also sanded the surface with 240 grit sand paper to better see what I was dealing with on this stem. The second photo shows the underside of the stem – the heat lifted the dents significantly but not totally. The sharp edges on the dents still remain, as does the destroyed button and the hole is very visible. I repeated the heating process several times (to be honest I lost count) until there was no more visible improvement in the dents. It was time to prepare for the patching process.
ImageImage

Before I use super glue to patch a hole or fill dents in the stem I prepare the surface to be clean and debris free in order to get a good bond on the glue. I sand the surface with 240 grit to remove the oxidation as much as possible. I want the area under the patch to be black so that the glue matches. Oxidation on the edges of the patch makes that match impossible. Once I have the surface sanded I buff it with Tripoli to take a bit of the roughness out. I don’t want a glossy finish as a little roughness gives surface for the glue to bite into. But I do want it clean. I wash the stem with isopropyl alcohol to remove any debris that still remains, including any of the Tripoli. I use a dental pick to make sure that the edges of the hole are not cracked or broken. Doing this often opens the hole a bit larger but it also removes chips or cracking that will not provide a good base for the patch. I finish the cleanup with yet another wash with alcohol and a cotton swab. The surface should have solid edges to bind to and no extraneous sanding dust or debris that will be in the way of the patch.

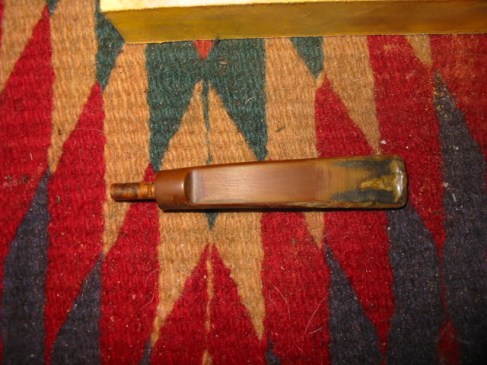
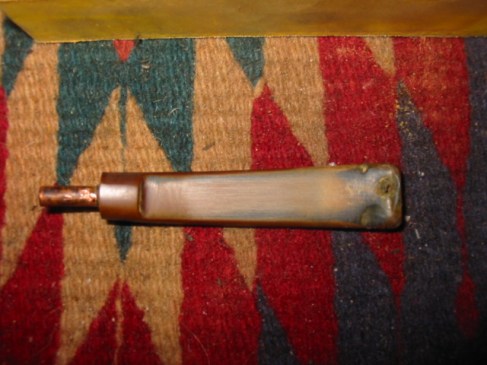
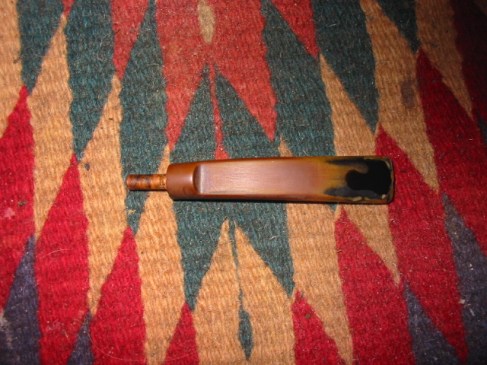
On this stem the easiest part to patch was the top of the stem so I started with that part. I used the whip nozzle on the super glue and dripped it on the stem. I smoothed the drop out with the end of the whip. I want the dent and cut to be totally filled so I moved the glue back and forth until it was all covered and then set it aside to dry with the end of the stem propped up to keep the patch level. The first picture below shows the patch after the glue had dried. It formed a solid patch on the stem. I always layer the patch doing multiple layers until I have built up the hole and dent. In this case I also used the glue to build up the button. While the picture does not show it clearly, the glue is actually level with the top of the button and small spots of glue are moved into the dent marks in the button surface itself. In the second photo the stem shows the patch after sanding with 240 grit sandpaper. The object was to get a smooth surface on the stem. The dent marks in front of the button are gone. The brown spot on the stem is some oxidation that has not been sanded out yet. The button is also repaired and you can see a bit of the bulk that is now there. The button will need to be shaped and recut with needle files once the underside of the stem is also patched.
ImageImage

Once I had the top surface of the stem to the point it is pictured above I turned the stem over to work on the underside. This part of the stem was really the challenge on this one. It had deep tooth cuts and a bite through that needed to be repaired. The first step for me was to repair the bite through. I fold a pipe cleaned to fit the flared slot on the button. I greased it with olive oil and inserted it in the slot. I wanted it to be smooth and not pucker through the bite hole, so I tucked it down with my dental pick. Once it was set I put in the first drops of black super glue. Remember at this point I am not work on the surface detail of the holes only the bite through. Once it was patched I went on to fill the other deep dents and marks on the surface and build up the button. I set aside the stem on a level surface and raise the tenon end to keep the bubble of glue level so it would dry.

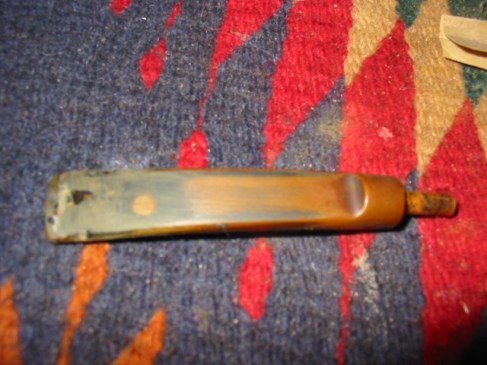
Once the glue dried I removed the pipe cleaner from the slot. This is always the moment of truth for me – did I grease it well enough that the pipe cleaner did not permanently bond to the slot. In this case it worked perfectly and it came out easily! Whew! Once it was removed I filled the rest of the dent marks with the super glue and also built up the non-existent button. I forgot to take pictures of that step. So the verbal description and the picture of the topside fill will have to suffice. I set the stem aside again and leveled the glue so that it would dry and not run up the stem. Super glue dries very hard and is a lot of work to sand off the surface. Once it was dry I sanded the surface with 240 grit sandpaper once again to level out the surface. The picture below shows the stem at that stage in the process. The fills appear to be white but that is the sanding dust on the surface. You can clearly see the three large patches on the underside of the stem in this picture as well as the rebuilt portion of the button. Again I over filled the patch to the level of the top of the button to provide a solid new surface for me to work with when I recut the button with the needle files.
Image

The next two photos show the result of the sanding process with the 240 grit sandpaper on the top and the bottom of the stem. I wanted to make sure that the patches blended into the surface of the stem. You will note that in the first photo of the top of the stem, that the patch is virtually invisible. Though it is not very clear, I had also recut the button with the needle files to give it a good sharp edge against the surface of the stem. I use wedge shaped file and a rectangular file to cut that edge cleanly and the result is a button that looks original. In the second photo you can clearly see that the patches are fairly well hidden. The one against the button and the large one at the top of the photo were the deepest ones. After this sanding and recleaning the surface I refilled those two spots, let them dry and sanded them again. Once that was completed the underside of the stem looked exactly like the topside of the stem at this point.
ImageImage

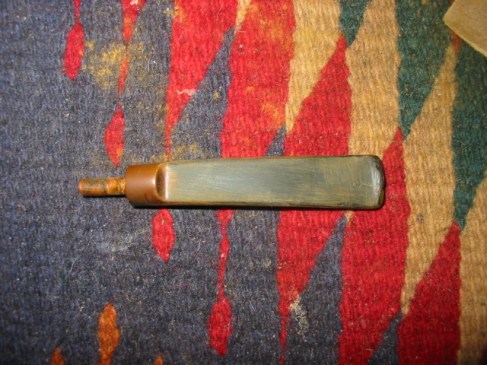
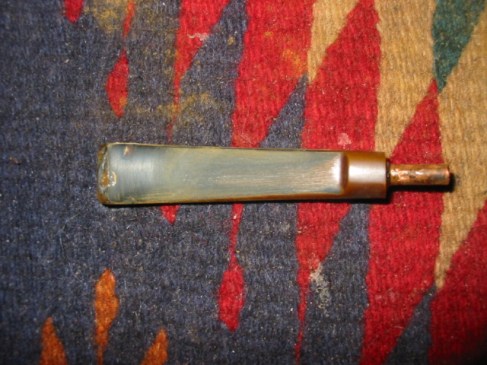
I failed to take pictures of recutting the button on the underside of the stem but you can see the new button in the pictures below. I cut and shaped it with the same needle files that I used on the top of the stem. I like the clean angles of a new button so I was aiming for that with just a little wear or rounding to match the age of the pipe. I finished the sanding and polishing of the stem using 400 and 600 grit wet dry sandpaper and then used the normal list of micromesh sanding pads from 1500-6000 grit. I keep a bowl of water close by to dip both the paper and the pads in as I sand as I find it more effective in removing the scratches and remaining oxidation. Once the stem was finished I put it on the pipe bowl and gave it a buff with Tripoli and White Diamond to get a good sheen to the surface. I never buff a stem apart from a pipe as I do not want to damage the stem shank junction by rounding the clean edge of the stem. The top two photos below show the top and bottom of the stem respectively. You can see the repair is complete and the button is very clean and present. The second two photos below show the stem from the right and left profile so you can see the flow of the stem surface – uninterrupted from either side with the tooth dents as before and also the profile of the button. It is distinctive and present. The stem was finished with several coats of Obsidian Oil and then carnauba wax to protect the surface.

ImageImage

ImageImage

Refurb on a London Made Dainty Prince


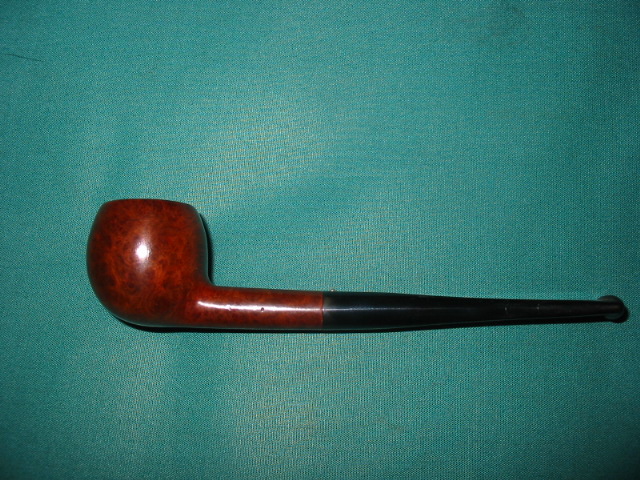
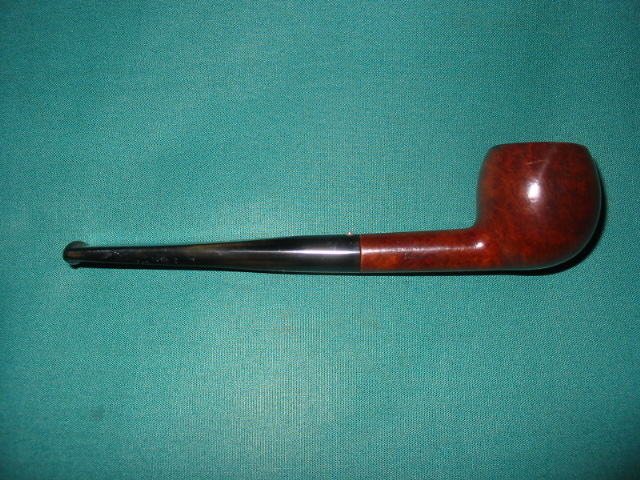
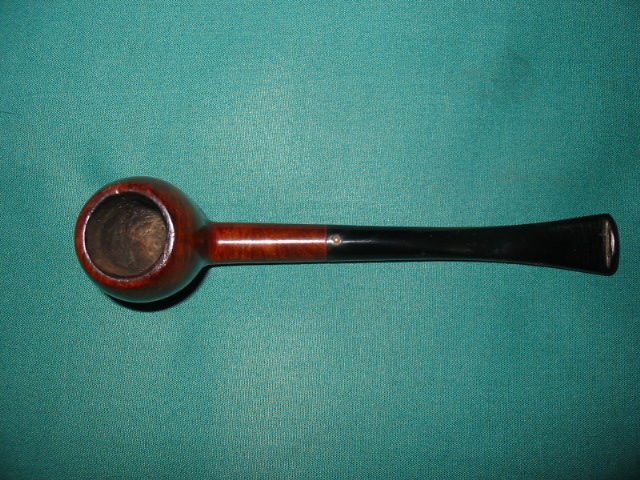
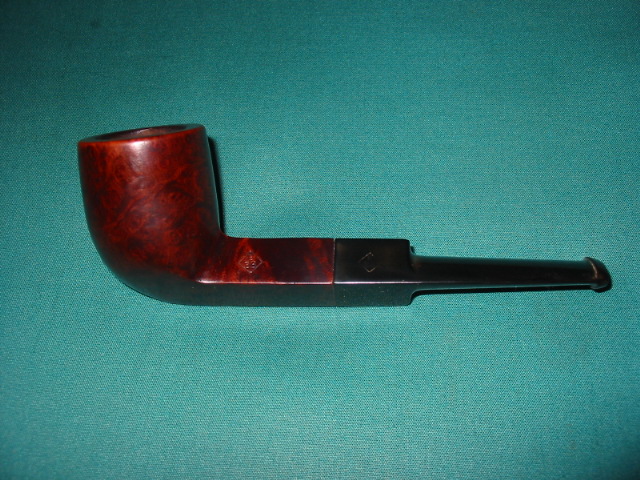
This was a refurb I did last August while I was laid up with a couple of cracked ribs. I wanted to post it here because it gives a good idea of the process of refurbishing and taking grimy old pipes and bringing them back to life.

I am a bit laid up after a fall so I am sitting quietly in my shop instead of doing painting and trim on the house (original plan for the holidays). The great part of this is no guilt about not working on the house or yard. Because of that I am getting a bunch of old pipes I have in boxes cleaned up and finished.

The first one today (Aug. 1) is a nice little London Made Prince with a patented Flat Grip Stem. (I cannot remember who made these but I have had a few over the years). The stem is stamped Flat Grip and has a nice raised silver spot on the stem. The bowl is stamped London Made. It is a small pipe – 5 1/4 inches long but about a group one sized bowl.

From the pictures below you can see the state it was in after the reaming. I got into a groove and forgot to take pictures before I reamed it. But it was really dirty and caked – to the point that a pencil could not stand in the bowl. It always amazes me that in these small pipes, which hold very little tobacco any way, people let them get to the point where they hold even less tobacco. Just a few minutes of work and they would have had a clean bowl.

I reamed and cleaned the bowl and shank and put it in my alcohol bath for the morning. I have a pint jar filled with Isopropyl alcohol that serves as the bath for filthy bowls. In this case it sat in the bath for 3 hours before I got to work on it. It is a nice sized jar in that I can drop 4 or 5 bowls in it at the same time and work on the stems while they soak. Once it came out and dried I sanded the bowl all around and cleaned it once again to get any residual grime out. The airway was clogged so a paper clip took care of that and then a good scrub with a bristle pipe shank brush and repeated pipe cleaners. Once clean I stained it with a cherry stain that works with these old timers and brings out the colours of the briar. It was then buffed with Tripoli and White Diamond and waxed it with carnauba.

The stem was rough so I buffed and sanded and buffed and sanded and got the oxidation off and then sanded a bit more to get the teeth chatter off of the surface of the stem near the button. I always start with a 220 or 240 grit sandpaper in removing the oxidation and tooth chatter and then progress through 400 and 600 grit wet dry sandpaper before finishing the progress with micromesh sanding pads – 1500, 1800, 2400, 3200, 4000 and 6000 grit. Once the sanding is finished I took the pipe to the buffer for a final buff with White Diamond before polishing the whole pipe with carnauba wax.

Before shots: (I reamed out the cake prior to this photo set)

ImageImage

Photos of the finished pipe:

ImageImageImage

BBB Diamond shank billiard


Blog by Steve Laug

This older BBB Diamond Shank billiard was a pleasure to bring back to life. I love the older BBBs and this one has a place in my collection. It is only stamped BBB in the diamond on both the shank and the stem. There are no shape numbers of other features. I have no idea on what its age is but love the shape. The diamond shank and the way it flows into the bowl make it a unique among my BBB billiards. It is stained in a rich oxblood colour and it is a clean little pipe. When I picked it up off EBay it appeared to be pretty clean other than a bit of oxidation on the stem. Sure enough, when it arrived it was very clean. The bowl only needed a slight ream to be ready to smoke. I wiped down the outside of the bowl with a damp soft cloth dipped in Murphy’s Oil soap lightly so as not to disturb the finish but remove the grime. The top had some darkening and tar that came off easily with the Murphy’s Soap. I coated the bowl with several coats of carnauba wax and set it aside.

To deal with the oxidation on the stem I sanded it with 400 and 600 grit wet dry sandpaper dipped in water to give it a bite. I finished that with micromesh pads – 1500, 1800, 2400, 4000 and then I took it to the buffer for Tripoli and a bit of White Diamond before giving it several coats of carnauba wax. It has a wide open bowl and draw.

ImageImageImage

Lifting Tooth Marks from a Lucite Stem with a Heat Gun


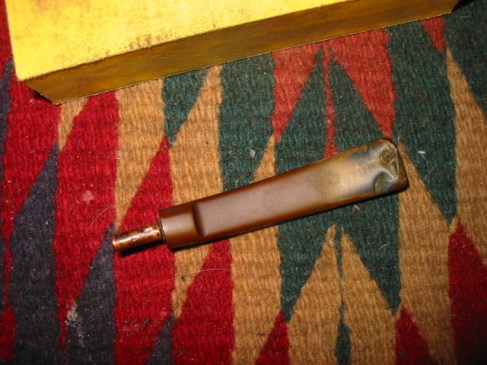
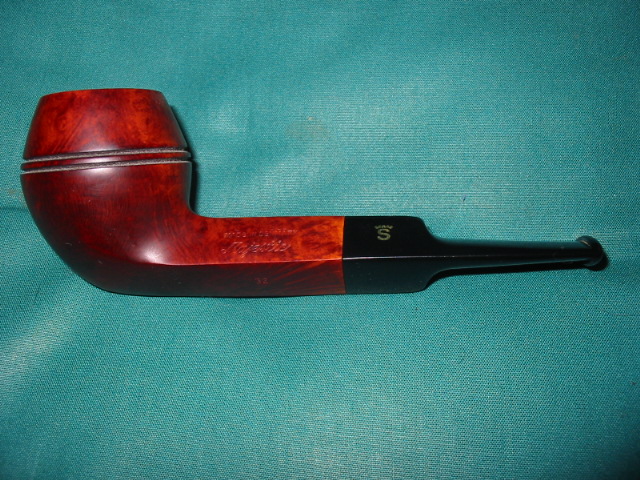
A normal pattern of behaviour for me in my refurbishing work is that once I figure something out that works on one kind of material I want to try it on a variety of similar items. In this case once I had used the heat gun to lift the tooth dents on a vulcanite stem I wanted to experiment with Lucite stems. I had no clue whether it would work or even if Lucite had some kind of memory that would bring the dents back to a smooth surface on the stem. There was only one way to find out since I could find no answers online and that was to give it a try. I figured the worst that could happen if I was careful was that the stem would remain the same – dented or a bit melted and I would have to do a different kind of repair. I had a nice little Stanwell bulldog that was given to that had a Lucite stem that had some tooth dents in the stem – just ahead of the button. There was one dent on top and one underneath.

Image

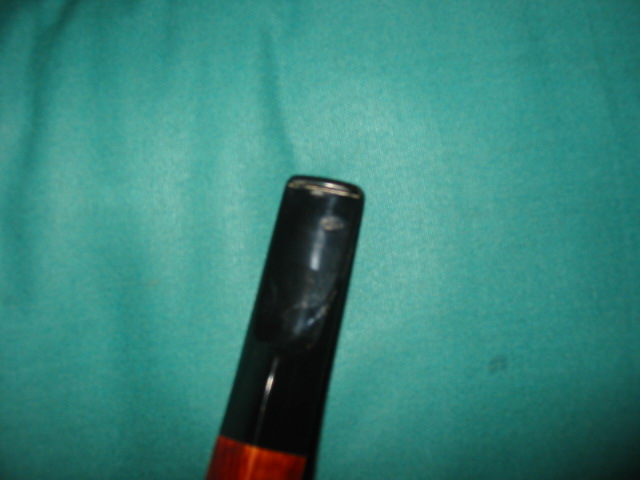
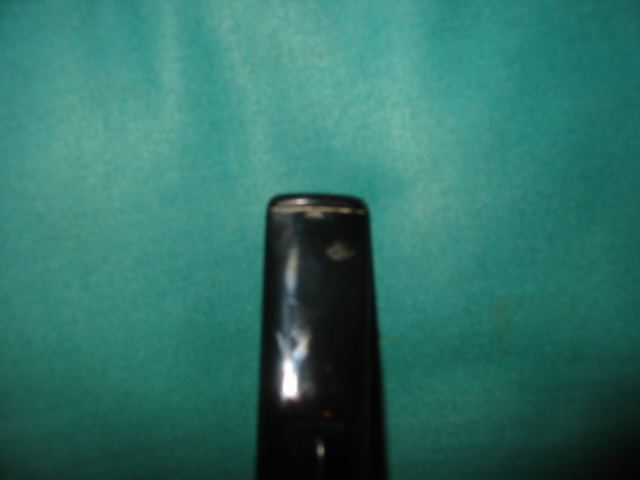
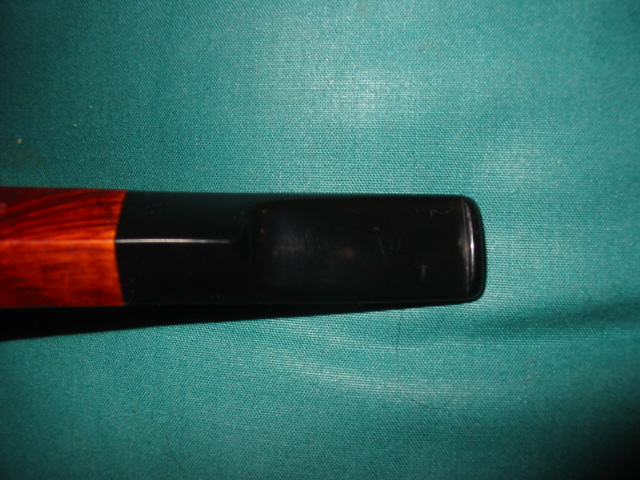
The two pictures below show the depth of the marks (Again I ask your forgiveness the poor quality of the photos, several of them are a bit blurry but I think that they give you a good idea of the nature of the problem. The dents look far worse in person than the pictures show). The top photo shows the top of the stem and the second photo the underside. I decided to continue my experiment with lifting the tooth dents with my heat gun on this Lucite stem as it seemed like a good candidate for the trial.

I personally like working with a clean surface when I am doing this kind of work so I scrubbed the tip to clean it of any grime or grit that might be in the dents. I used a soft cloth dampened with Isopropyl alcohol to clean the surface then I buffed it with a quick light touch on a White Diamond wheel.  The pictures below show the stem just before I used the heat gun on it. You will see in the photos that there are small pits close to the button as well as the larger dents on both sides. The crevice between the button and stem body also has some scratches that would need to be sanded out once the tooth dents were dealt with.

ImageImage

As I explained in the post on the vulcanite stem I once again stood the heat gun on its end pointing upward. I used the wire stand built into the handle to stabilize the gun in this position (see the picture previous post on lifting tooth marks from vulcanite). I wanted to be able to have both hands free to maneuver the stem over the heat so having the gun positioned in this manner allows me to do that. I set the heat gun on low heat as before because I did not know how the heat would affect the Lucite. I have found that high setting can too easily burn the vulcanite so I was assuming the same thing would be true of the Lucite.

I worked the stem over the heat keeping it about 4-6 inches above top of the gun tip as it allows it to thoroughly heat the Lucite. I move the stem constantly back and forth across the heat. I kept the stem on the pipe as before and used the bowl as a handle. In this instance I worked to just keep the first 3/4 inches of the stem from the button forward in the heat. I stopped frequently to check on the progress and see if there was any blistering on the stem. It took a bit longer for the heat to work on the Lucite. I think it must be the density and hardness of the Lucite that makes the difference. With the application of heat the Lucite began to return to its original smoothness. I kept the heat on the stem until all the dents were gone. The reason I believe the process worked was because the dents in the Lucite were not cuts in the surface but actual dents. The application of the heat did the trick.

Once the surface was smooth I took it off the heat and cooled it the same way I did the vulcanite. I did not want the stem to bend accidentally while it was soft so I dipped the tip in some running cool water to set the new surface. I dried off the tip and then sanded the area with 400 and 600 grit wet dry sandpaper (with water on the stem as I sanded) and then moved through the grades of micromesh pads – 1500, 1800, 2400, 3200, 4000 and 6000 grit. By the 3200 grit micromesh pad I found that the Lucite was beginning to have a smooth and glossy finish. The sanding with the final two grades of the pads really polished the stem and gave it the glassy finish that polished Lucite has. I finished by giving it a final polish on the buffer with White Diamond polishing compound and a coat of carnauba wax.

Here are some pictures of the top and the underside of the finished stem.

ImageImage

Lifting Tooth Marks in an old Charatan Stem with a Heat Gun


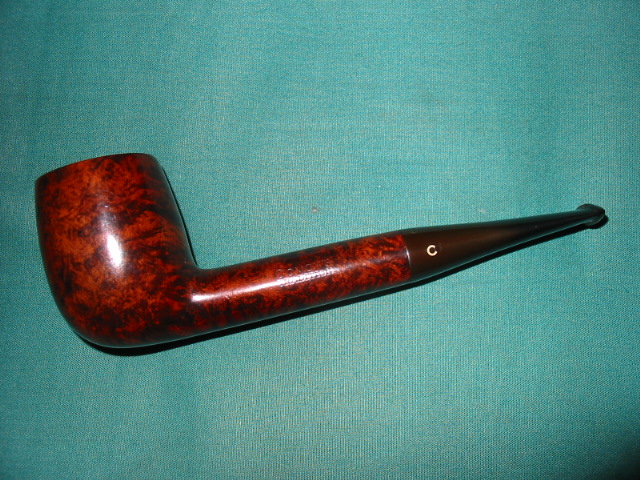
I picked up this old Charatan 33X Bell Dublin off of EBay in the 90’s and refurbished the bowl and rim and gave it a good polishing with some Halcyon 2 wax. I find that the wax works very well on sand blasted and rusticated surfaces. This one turned out to be a great smoking pipe.  The briar is extremely lightweight and has a nice deep blast to it. Charatan does this shape like no one else and it is a favourite of mine. I liked everything about this old pipe but… it had some incredibly deep tooth marks on the stem.

Image

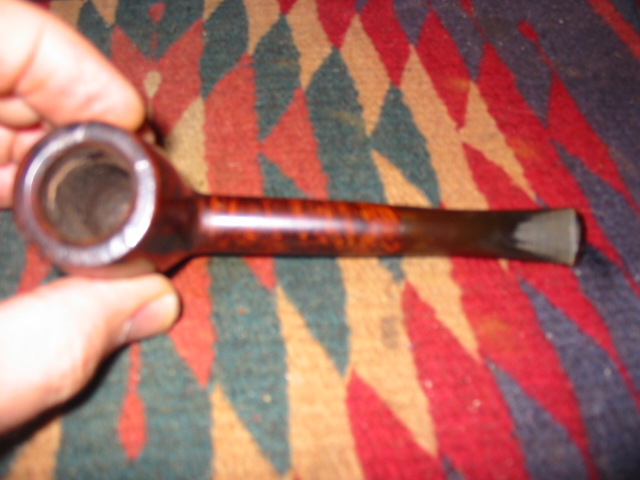
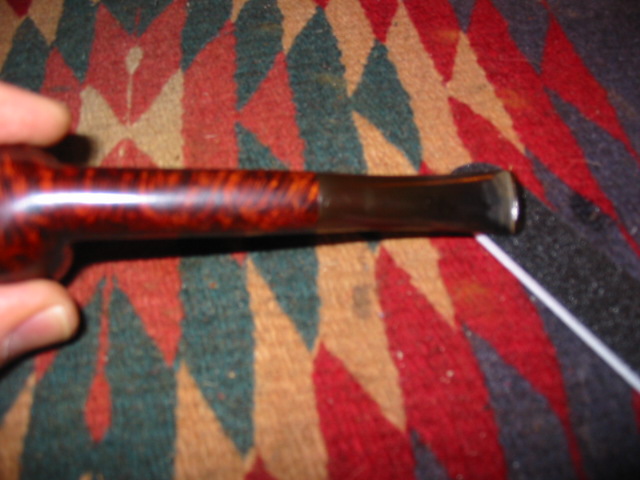
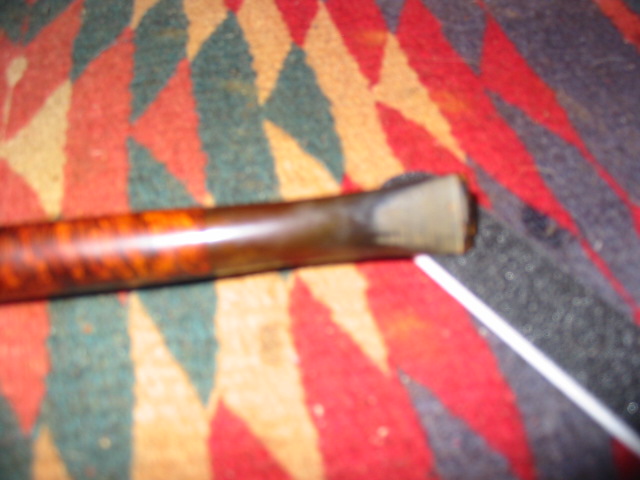
The two pictures below show the depth of the marks (Please forgive the poor quality of the photos, though they are a bit blurry they communicate the problem. Know that it was far worse than the pictures show). They arc across the stem just in front of the button and extend about a half inch into the stem. The top photo shows the top of the stem and the second photo the underside. I covered them for the longest time with a rubber softee but really did not like the feel of that in my mouth so I decided to experiment with lifting the tooth dents using my heat gun.

Image

Image

I scrubbed the tip to clean it of any slurry that had built up under the rubber softee tip. There seems to always be a white calcification under the rubber guard. I cleaned that up with my buffer and some sandpaper. The photos above show the stem after I had cleaned it and it was ready to be heated.  I have a heat gun that I can stand on its end pointing upward. It has a wire stand built into the handle that stabilizes the gun in this position (see the picture below). Having the gun positioned in this manner allows me to control and manipulate the stem with both hands over the heat. I set the heat gun on low heat as I have found that high setting can too easily burn the vulcanite. I learned that painful lesson on some precast stems that I was trying to bend. I had used the heat gun to bend my stems for quite some time but had not used it to lift the tooth marks from the stem until I used it on this stem.

Image

The trick I have learned in the process is to keep the stem about 4-6 inches above top of the gun tip as it allows it to thoroughly heat the vulcanite but not burn it. I move the stem constantly back and forth across the heat. I kept the stem on the pipe this time and used the bowl as a handle. In this instance I worked to just keep the first inch of the stem from the button forward in the heat. I stopped frequently to check on the progress and see if there was any blistering on the stem. The blistering can easily happen and is a pain to deal with. It can be sanded out but it is a case of creating a problem while solving another one – kind of like how plumbing repairs always work out for me. It did not take long for the heat to do its magic. Vulcanite has memory so with the heat it returned to its original smoothness. I have found as long as the bite marks are not actually cuts but dents they will lift out with persistence and heat.

Once the surface was smooth again I took it off the heat and cooled it by dipping the tip in some running cool water to set the vulcanite in its new position. It is the same principle that is used in bending the stems. You heat and get it bent to the position you want and then dip in cold water to set it. I figured it would work the same in this instance and it did indeed work. I dried off the tip and then sanded the area with 400 and 600 grit wet dry sandpaper (with water on the stem as I sanded) and then moved through the grades of micromesh pads – 1500, 1800, 2400, 3200, 4000 and 6000 grit. By the 3200 grit micromesh pad I found that the stem was beginning to get a smooth and glossy finish. The final two grades of the pads really polish the stem and give it a glassy finish. To finish the work on the stem I took it for a final polish on the buffer with White Diamond polishing compound. It really shone when that was done.  The work was finished after I gave it a good coating of carnauba wax.

Here are some pictures of the top and the underside of the finished stem.

ImageImage

Refurb on a 3 part horn


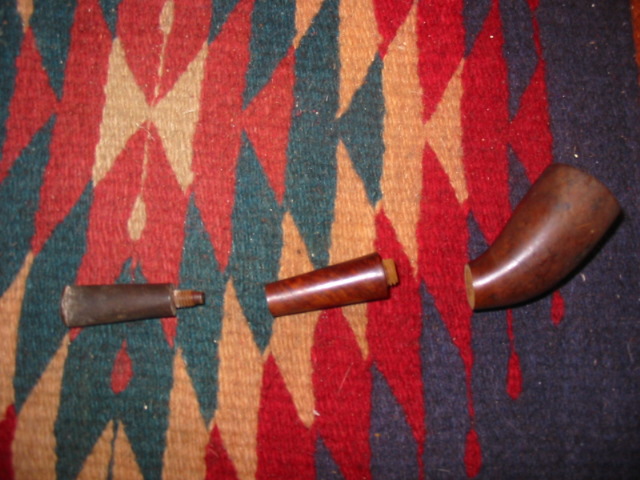
Just finished up this unique piece. It is three part horn. The bowl screws off the shank and has a briar thread connection. The stem is also a screw on with a metal connection into briar. The stem is also an orific button. There is no stamping on this old timer. I really like the uniqueness of it.
I reamed and clean the bowl. I took apart the three parts and cleaned each on separately. The outside was wiped down with alcohol to get off the grime. The insides were scrubbed with a bristle pipe brush and pipe cleaners and alcohol. The stem was oxidized so it was sanded with 400, 600, wet dry sandpaper and 1800, 2400, 4000 micromesh pads and then hit with red tripoli and white diamond before being given a coat of carnuba. I sanded and restained the bowl with a cherry stain and then buffed and waxed it as well. This one will be a fun one to smoke!
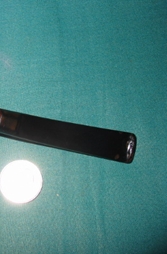
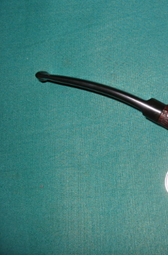
Before shots:

ImageImageImage

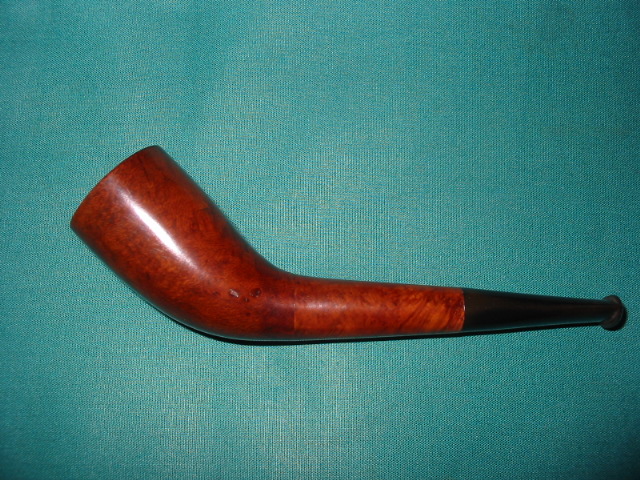
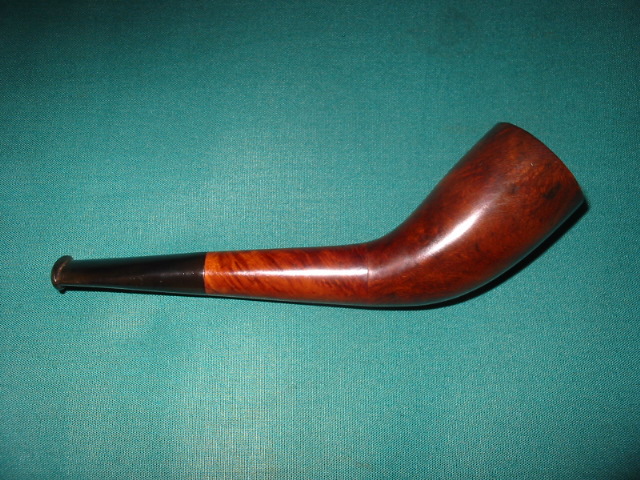
and after shots:

ImageImage