Blog by Dal Stanton
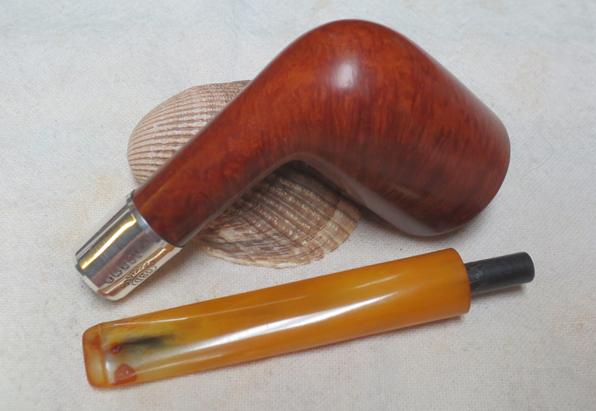
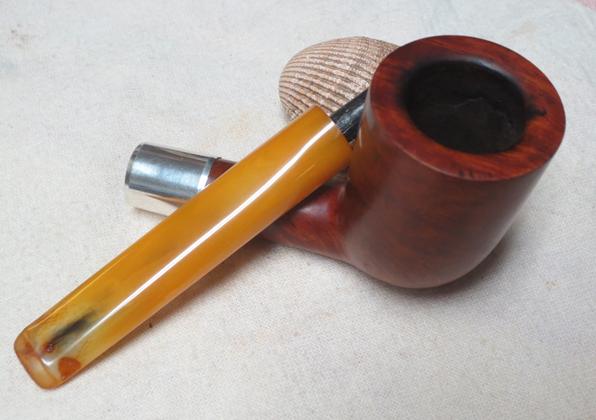
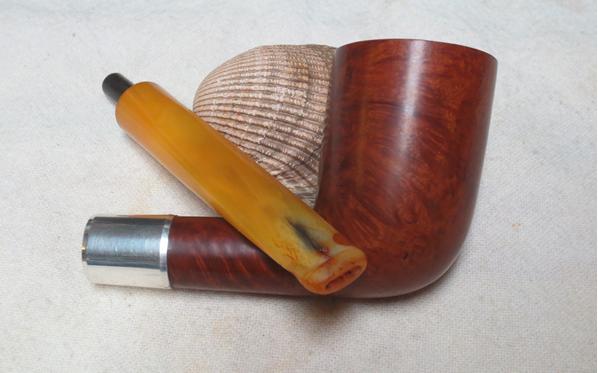
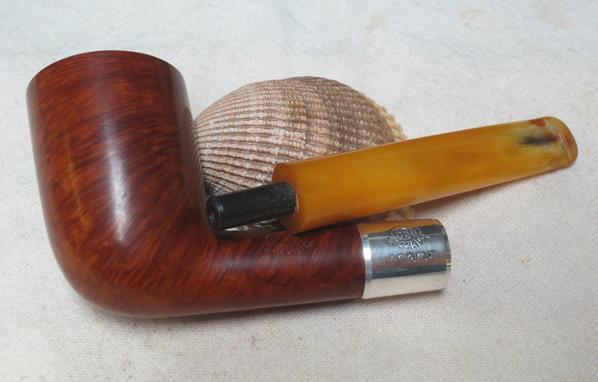
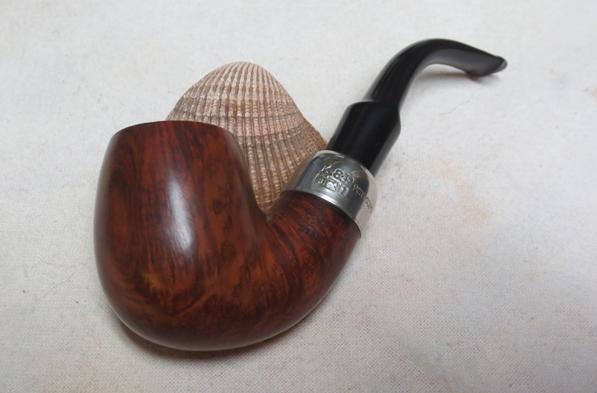
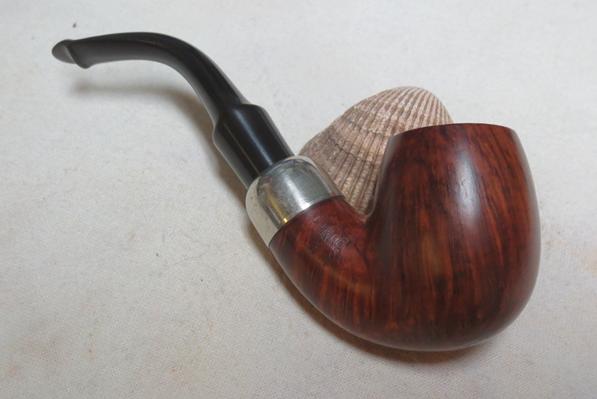
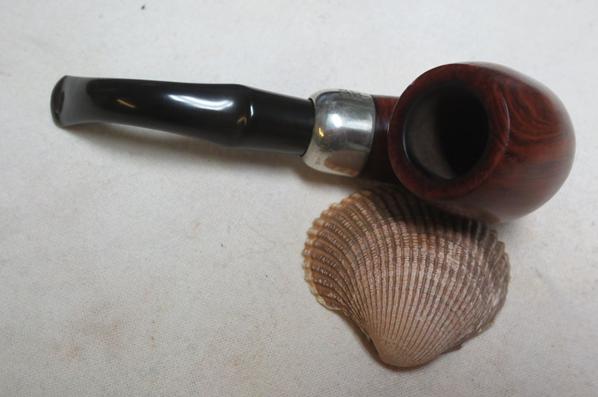
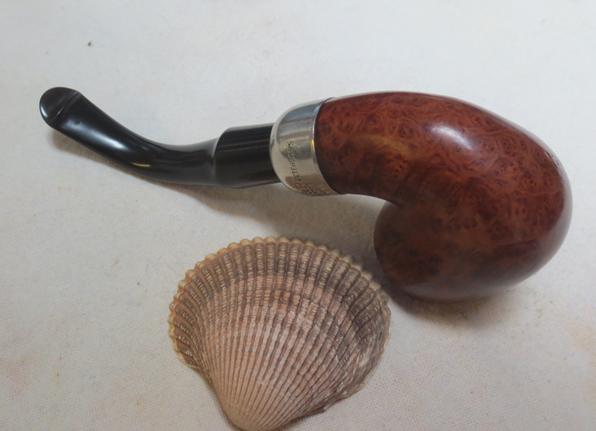
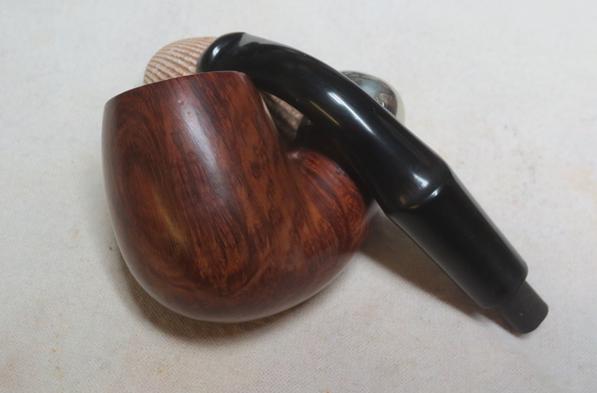
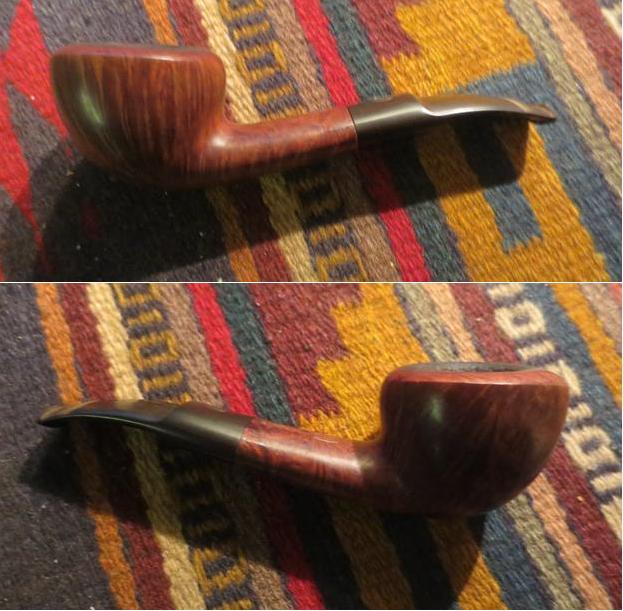
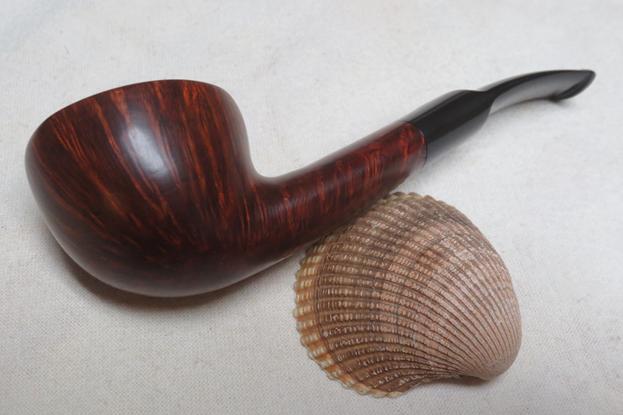
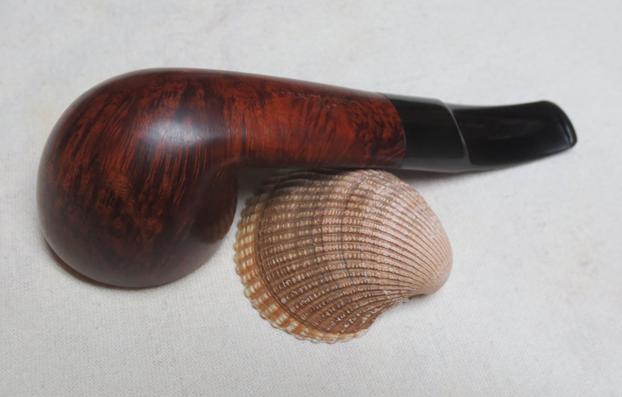
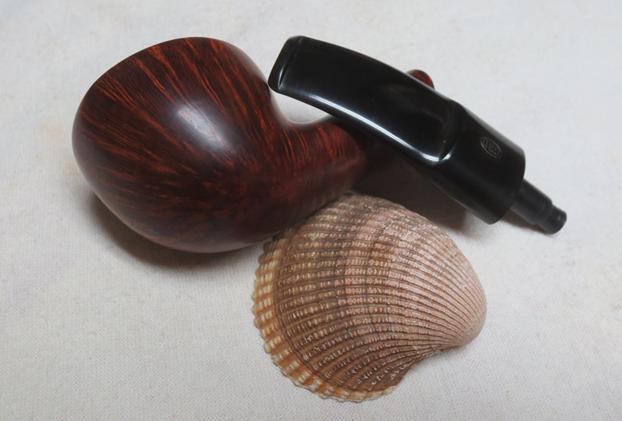
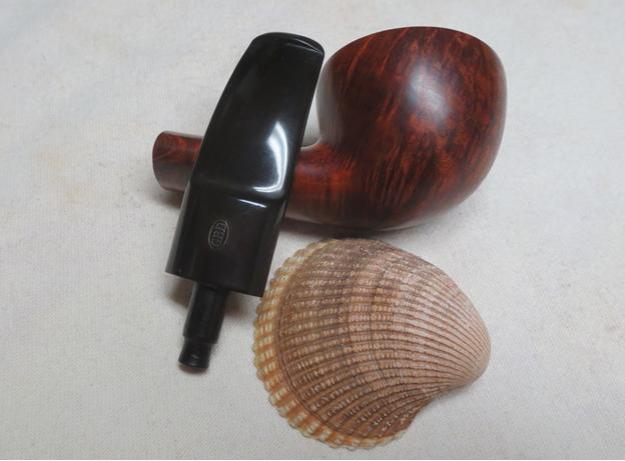
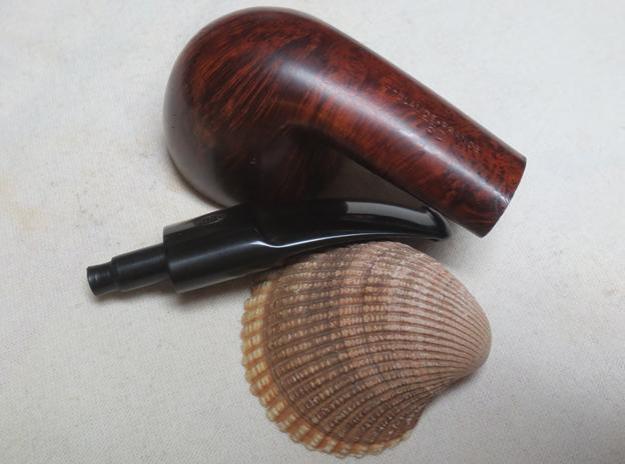
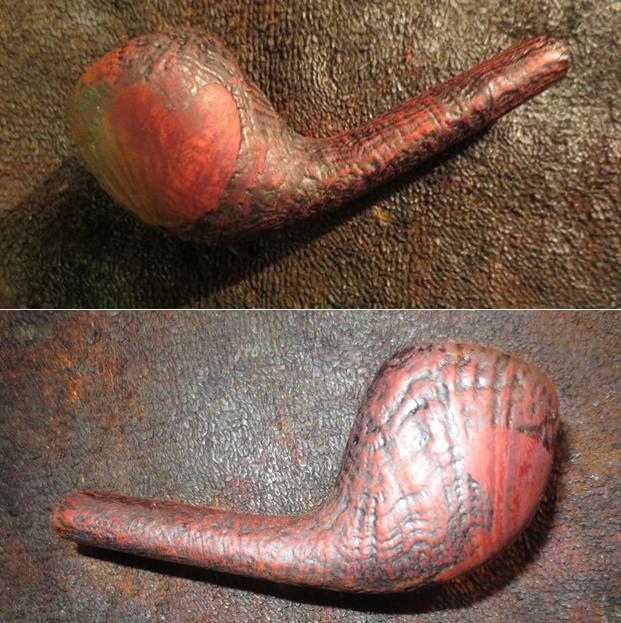
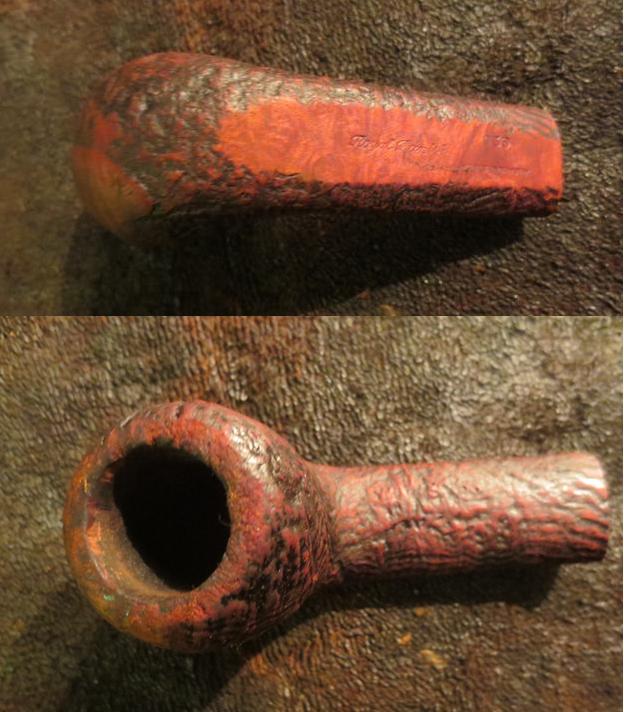
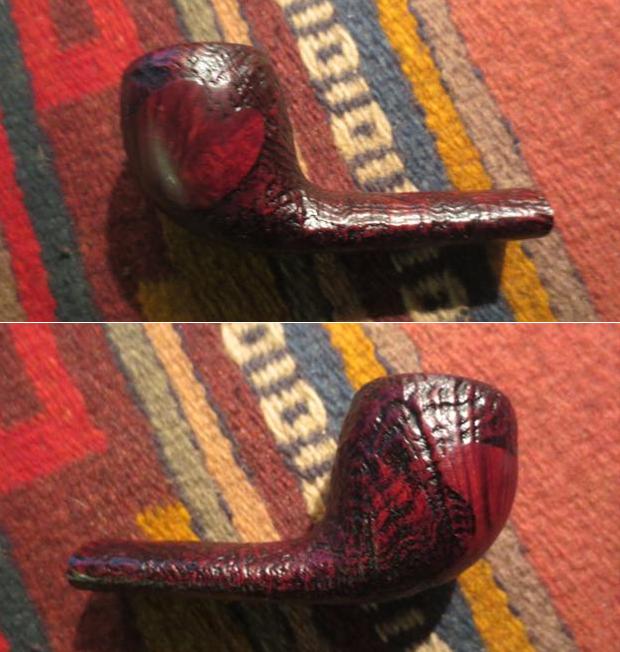
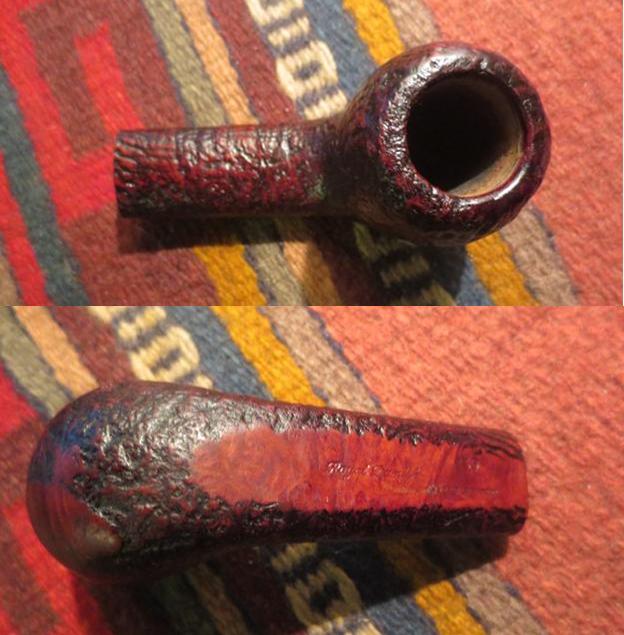
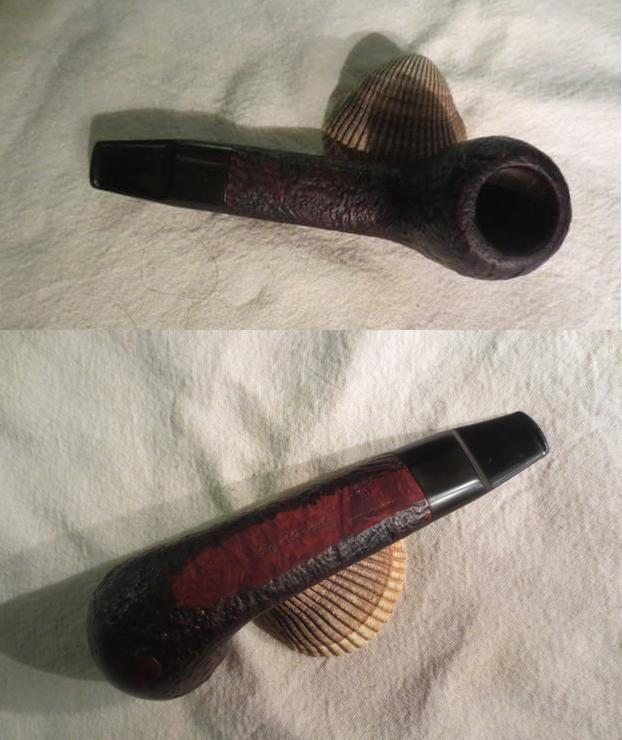
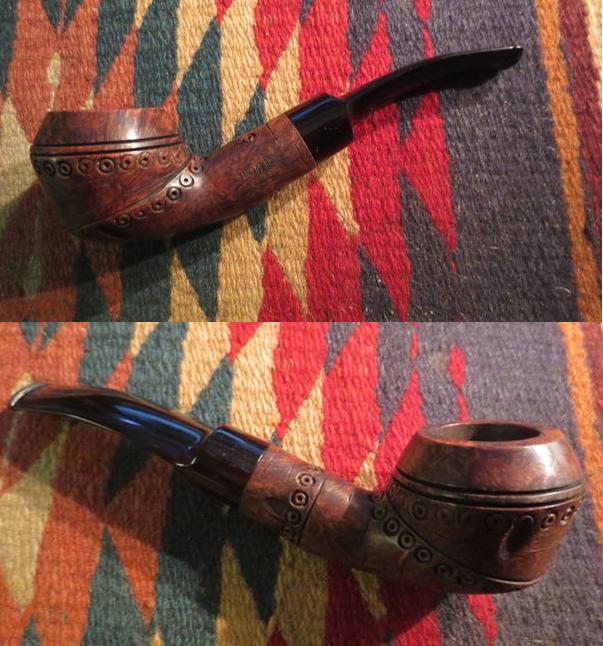
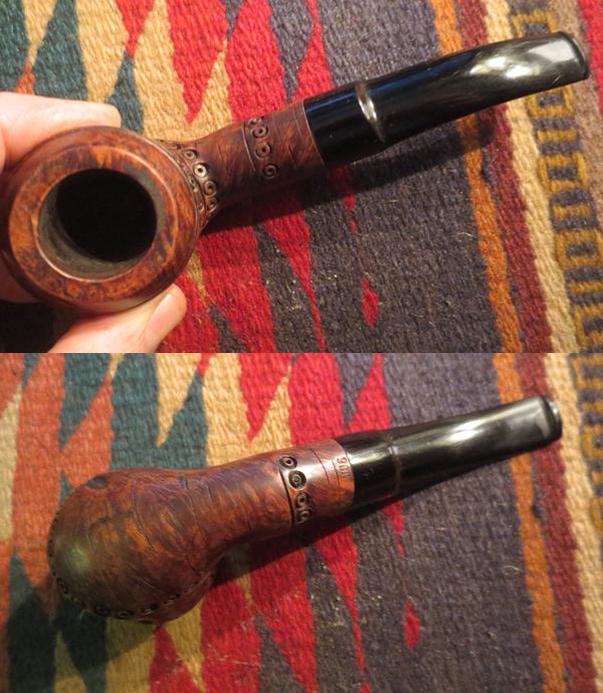
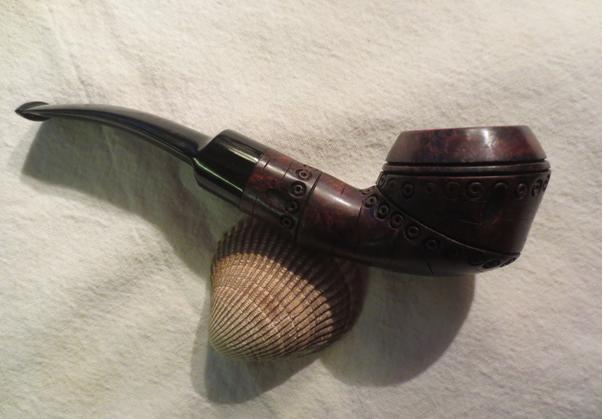
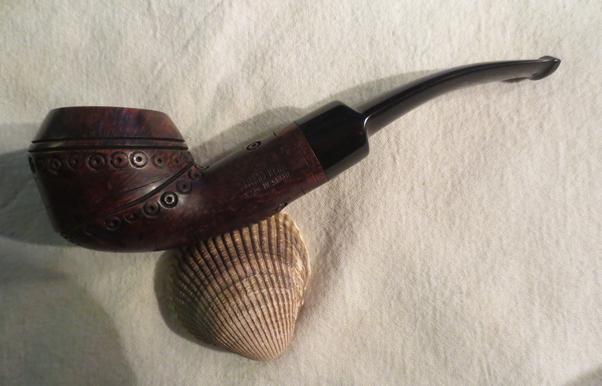
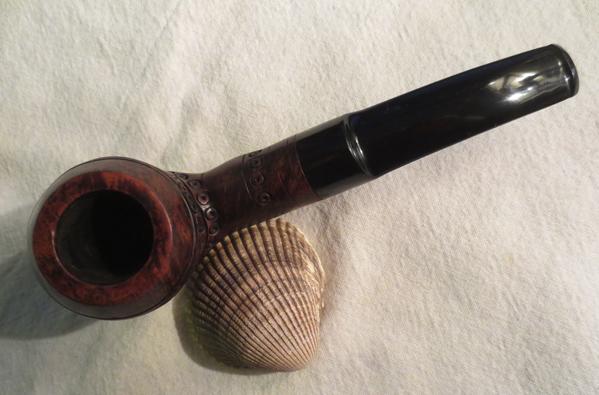
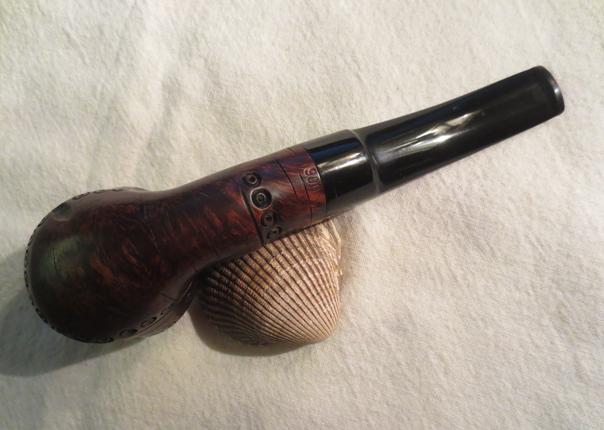
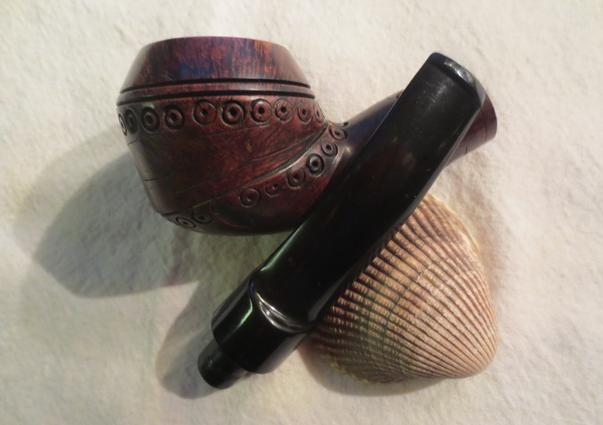
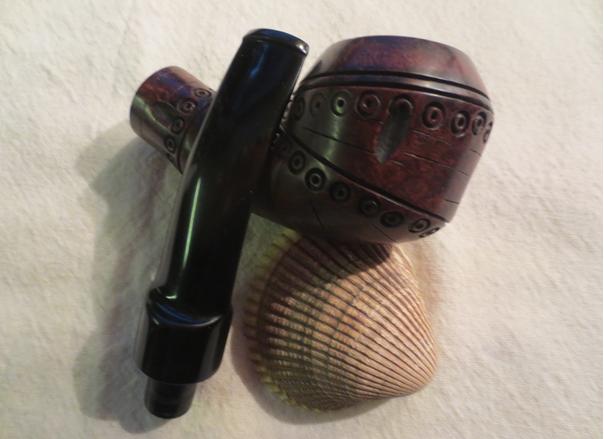
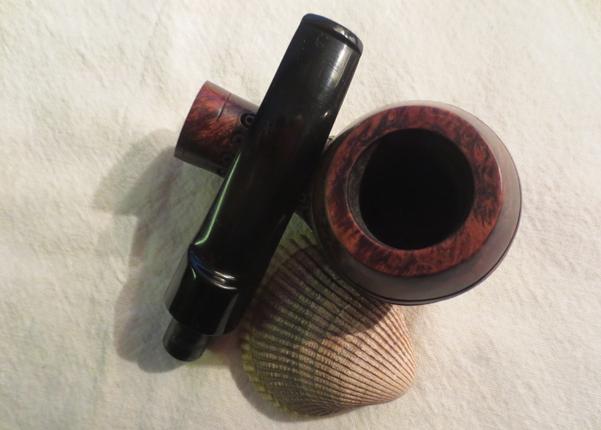
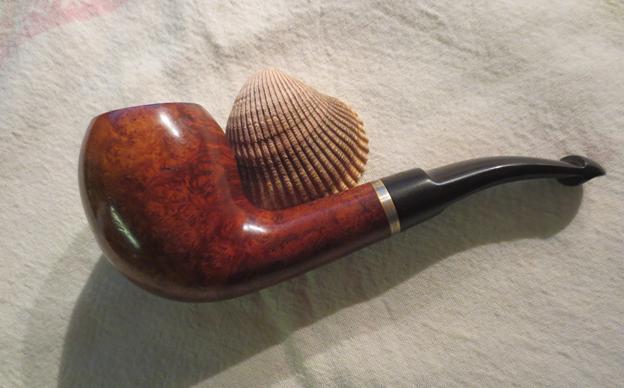
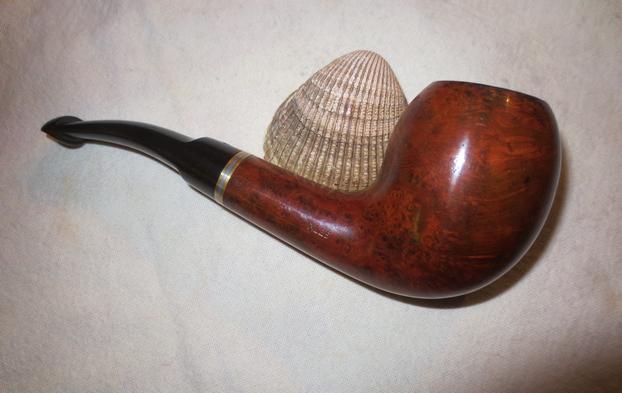
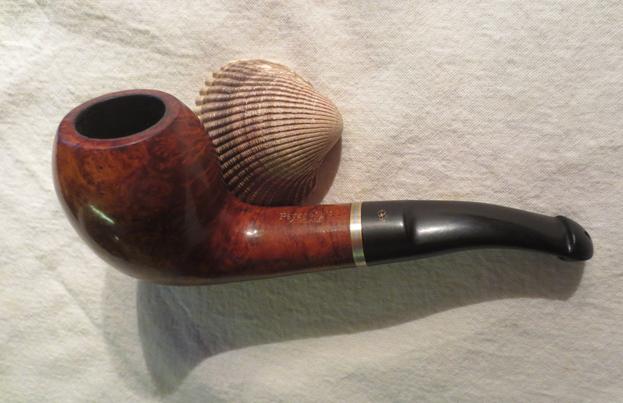
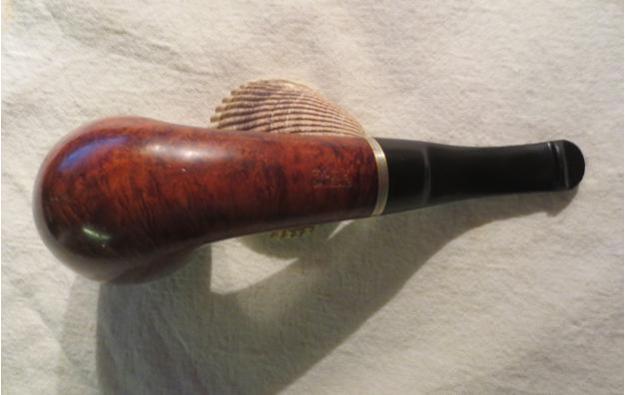
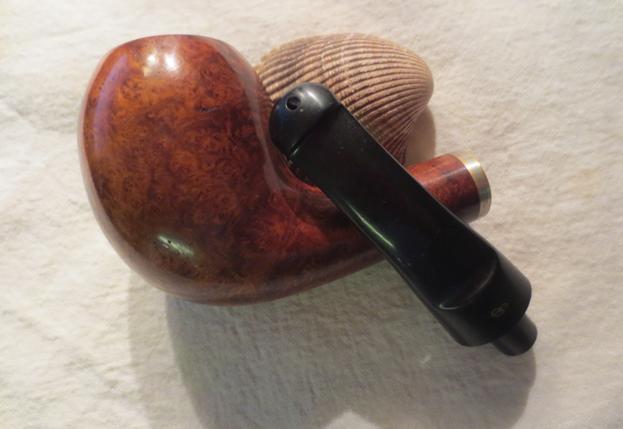
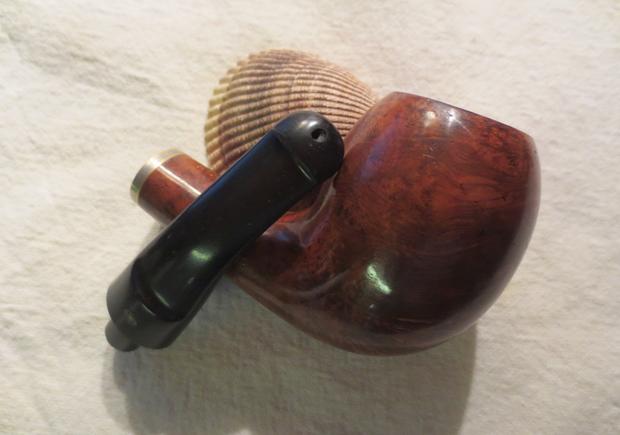
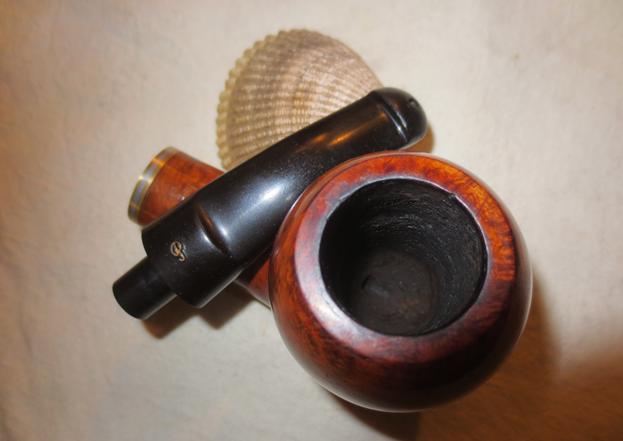
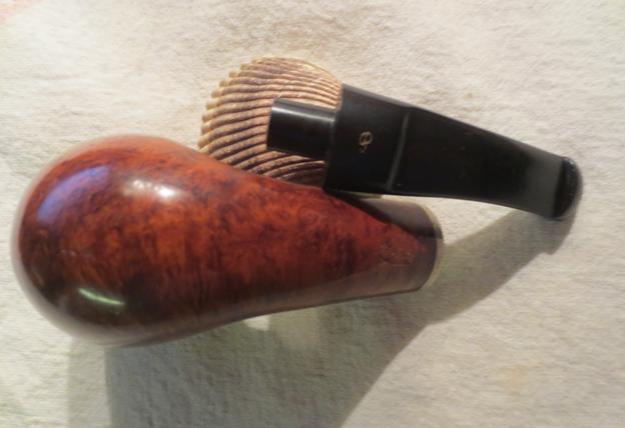
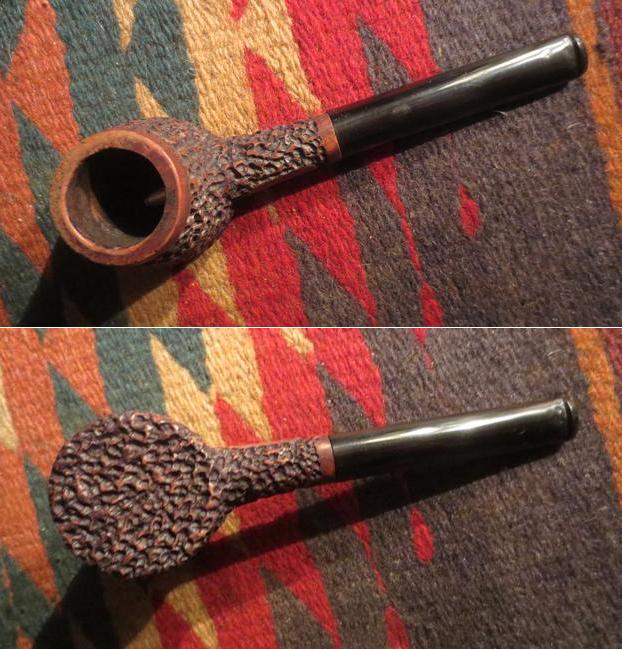
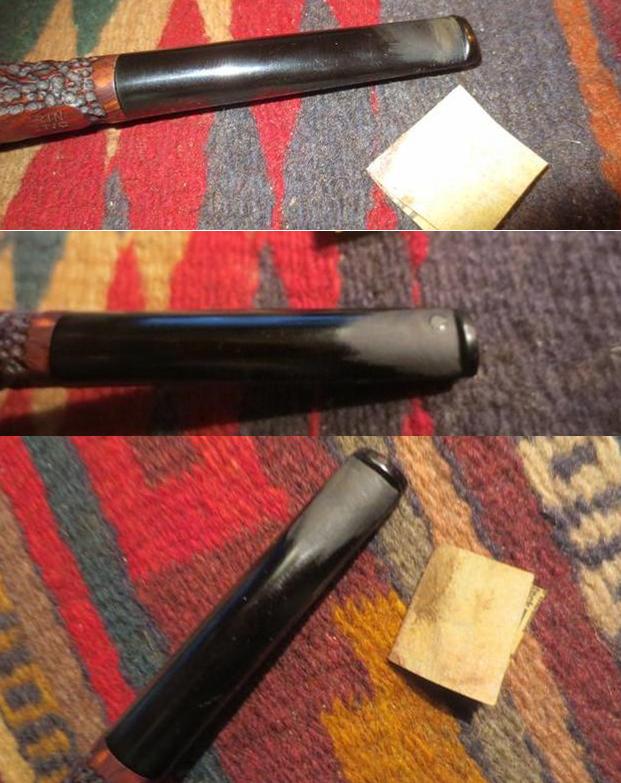
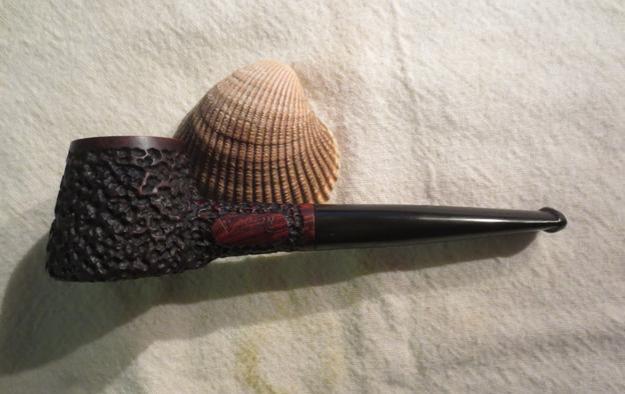
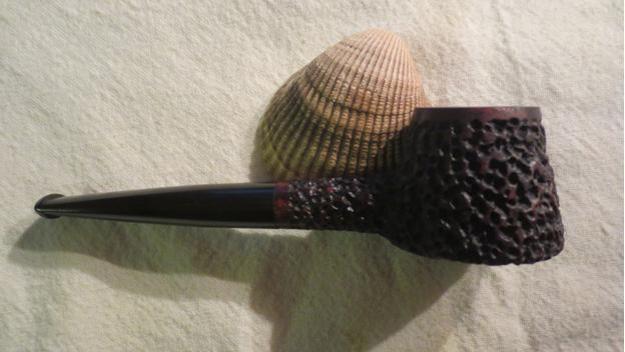
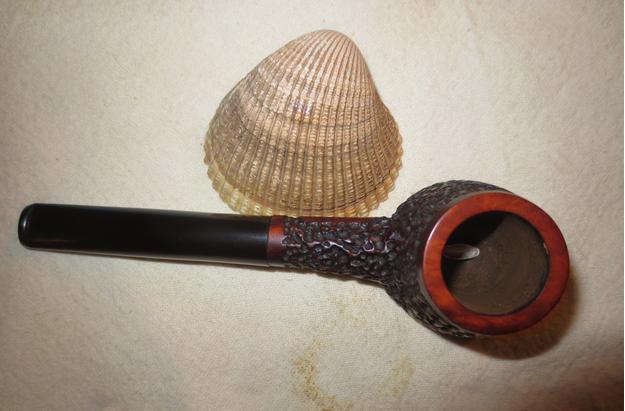
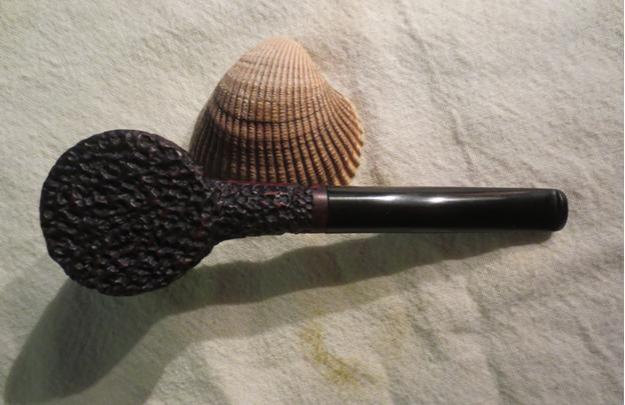
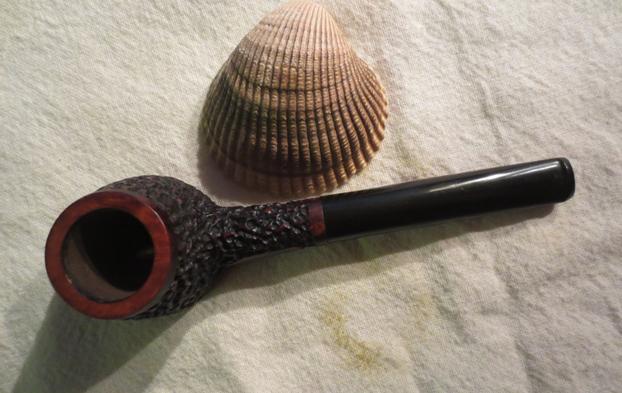
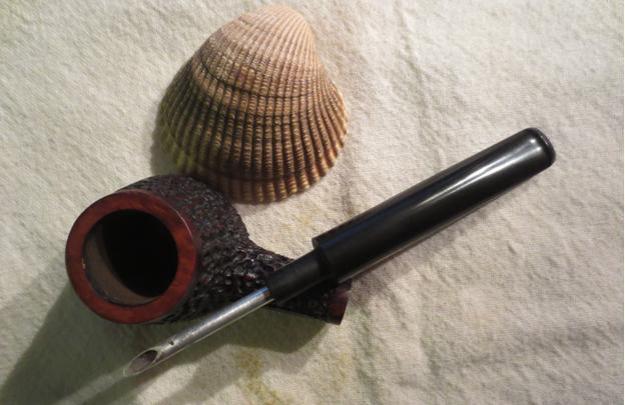
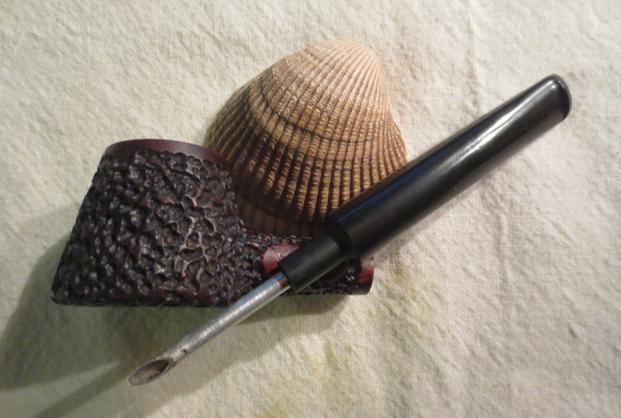
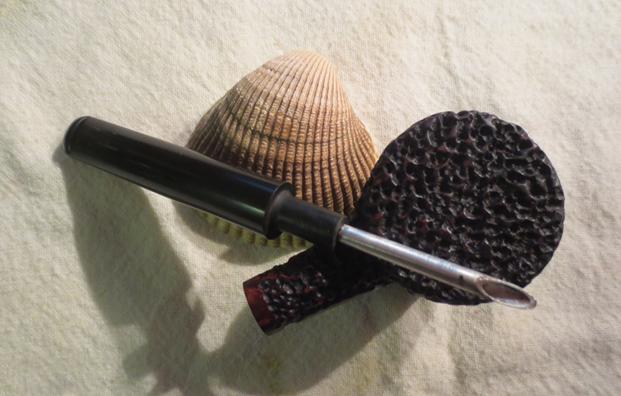
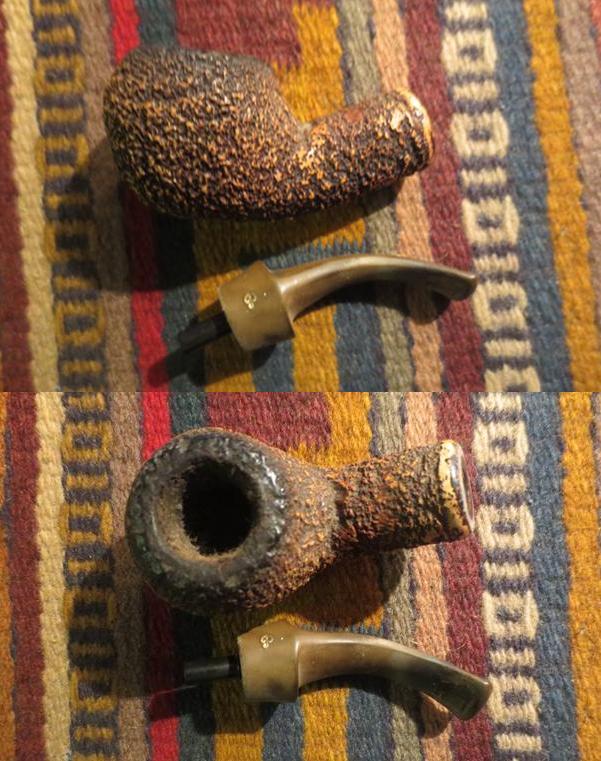
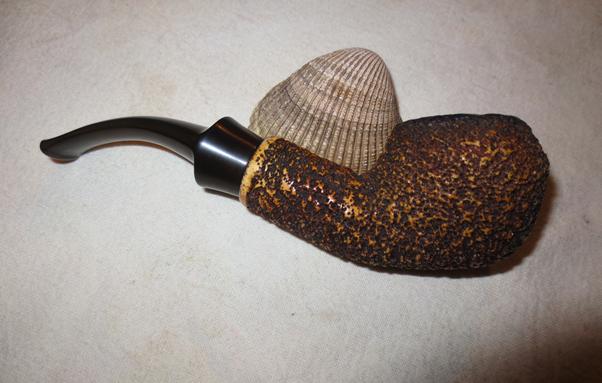
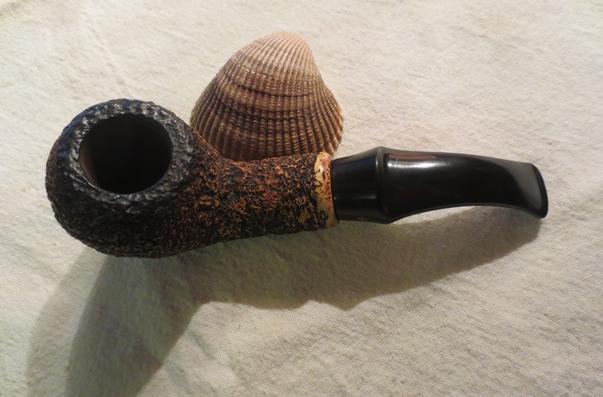
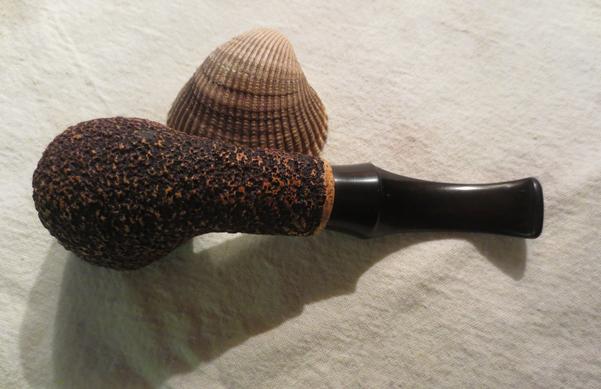
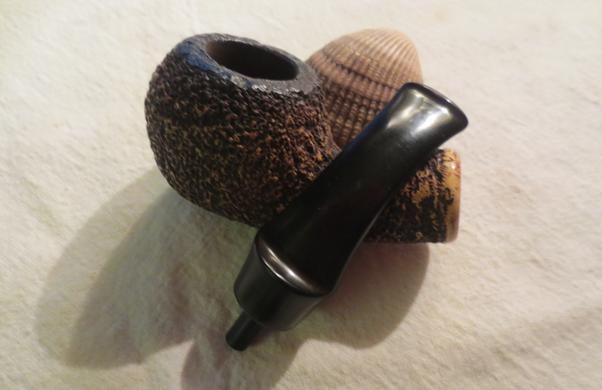
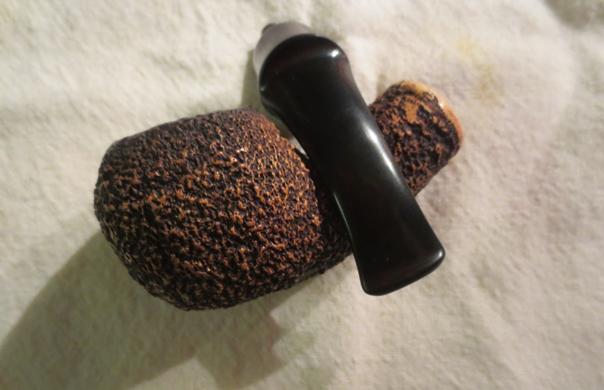
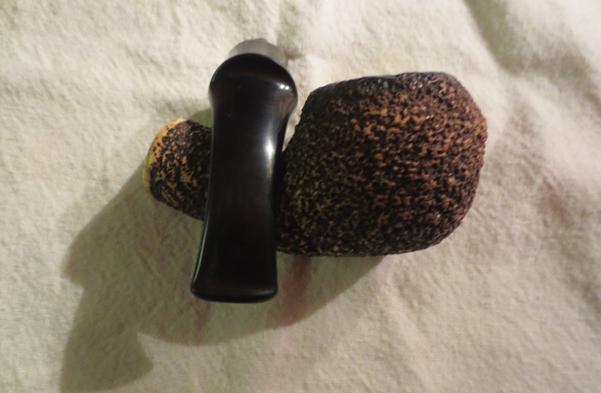
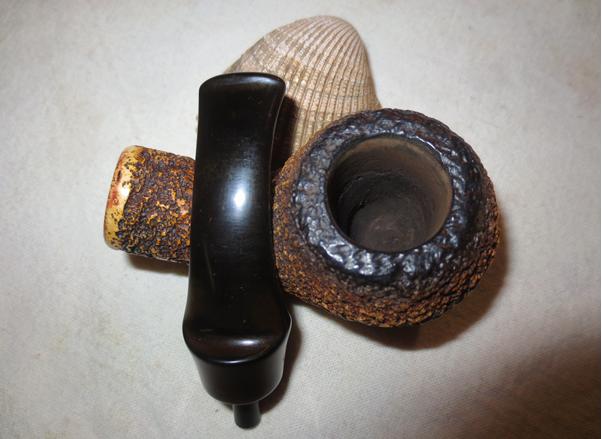
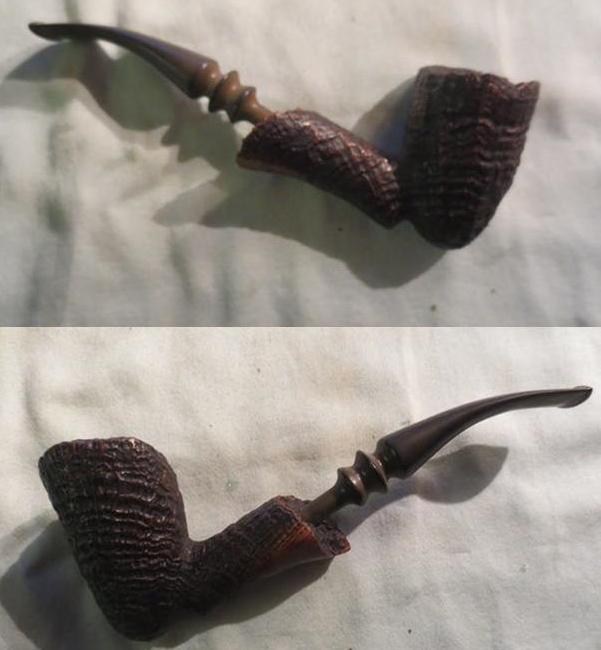
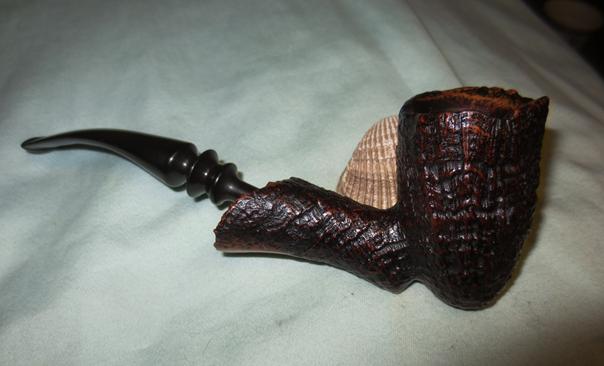
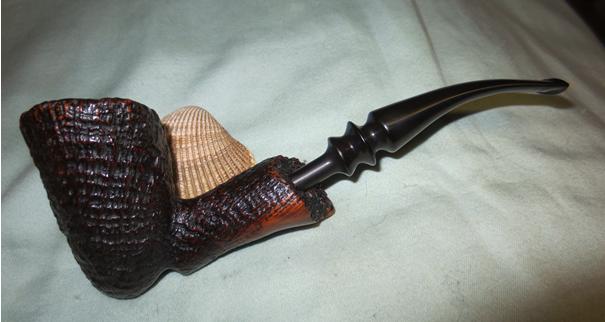
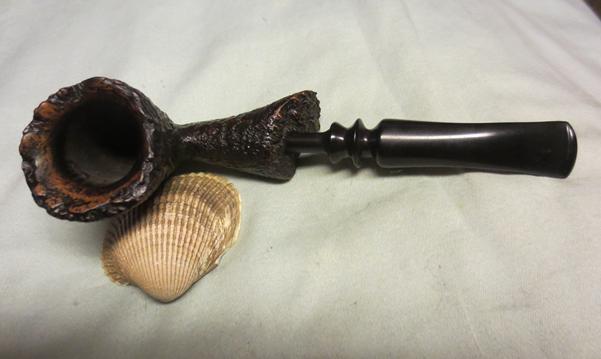
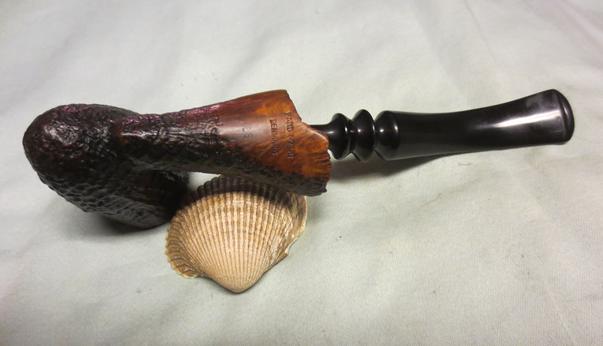
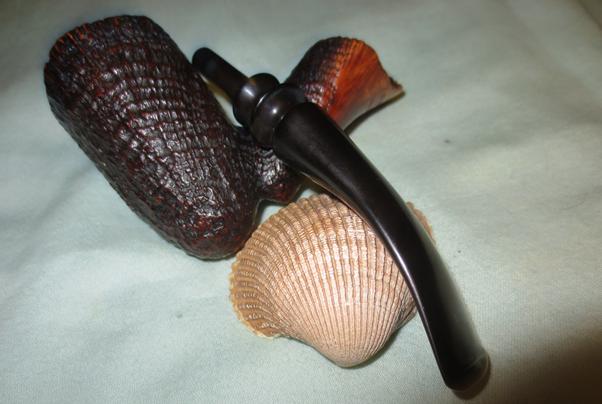
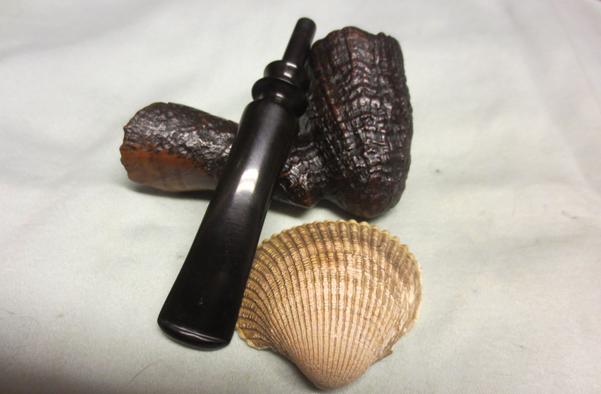
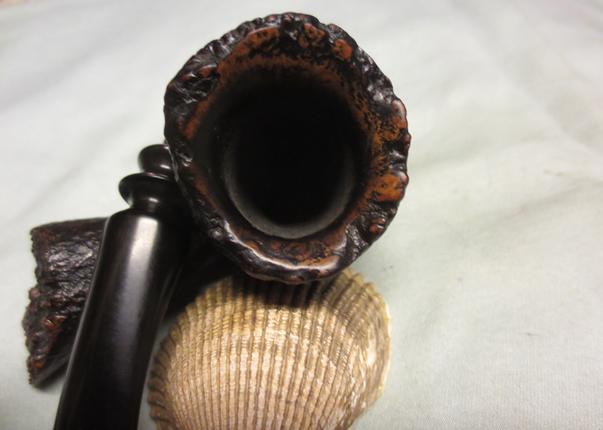
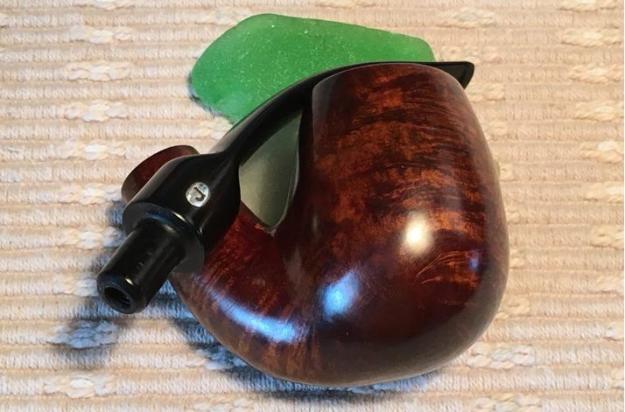
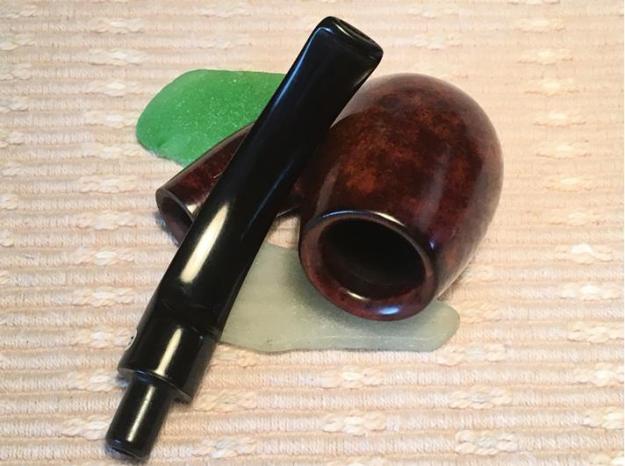
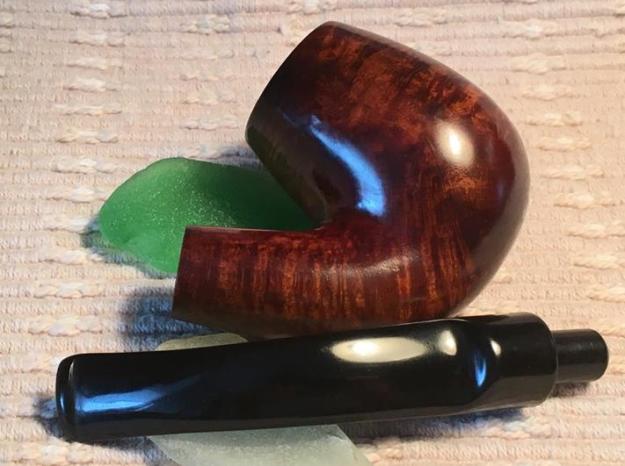
The Jeantet Fleuron before me was mentioned when I posted the restoration of a beautiful BBB Banker Bent Volcano. I found both pipes last April, during a visit to ‘The Hole in the Wall’ antique store near the Zhenski Pazar (Women’s Market) in downtown Sofia, Bulgaria. In order to achieve a better bargain for the BBB Banker I grabbed the Jeantet out of the basket as a good candidate for a bundled deal, which helped me negotiate 30 Bulgarian Leva for the pair – not a bad deal! When I arrived home from the Hole in the Wall I took these pictures: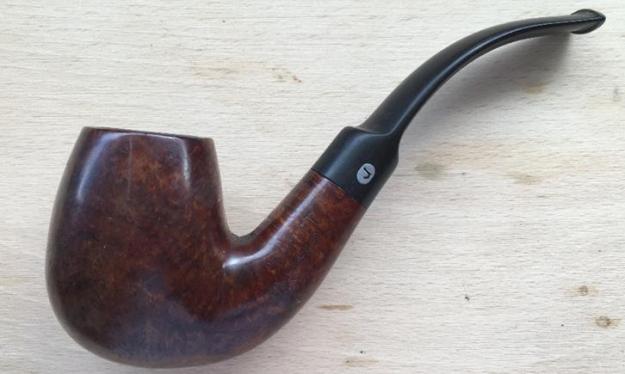
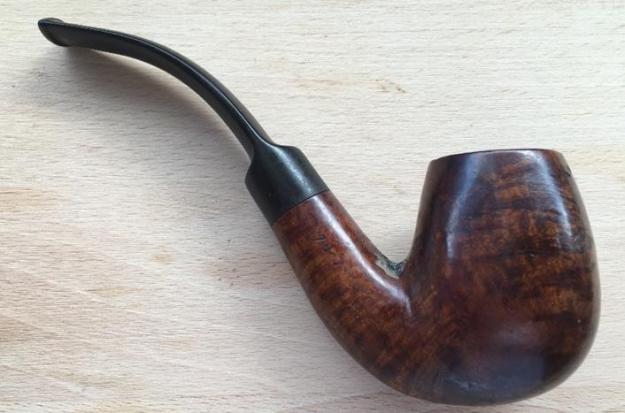
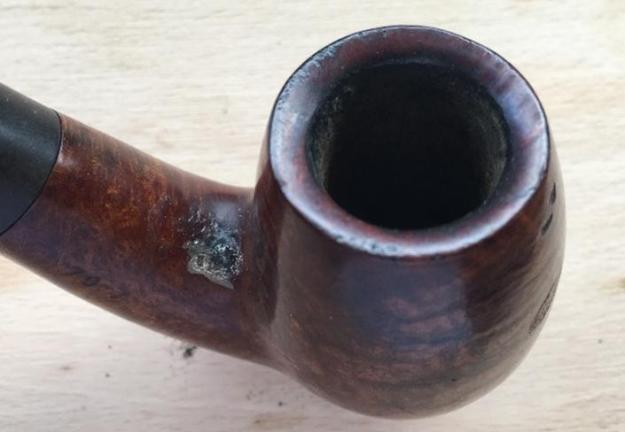
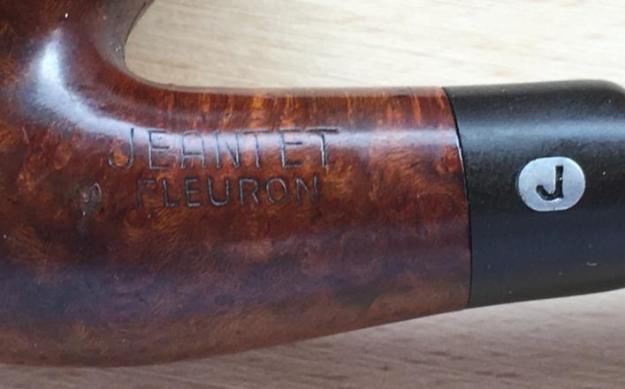
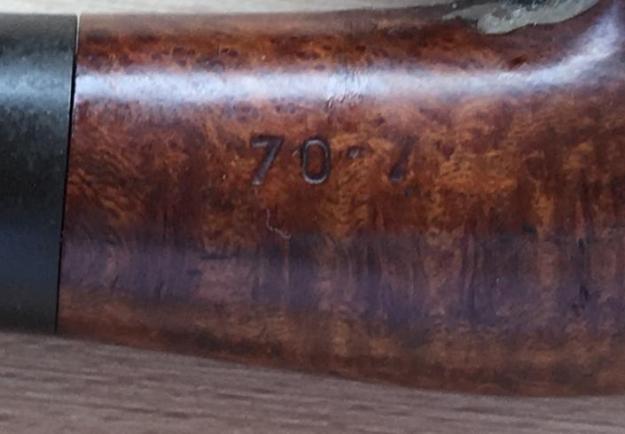
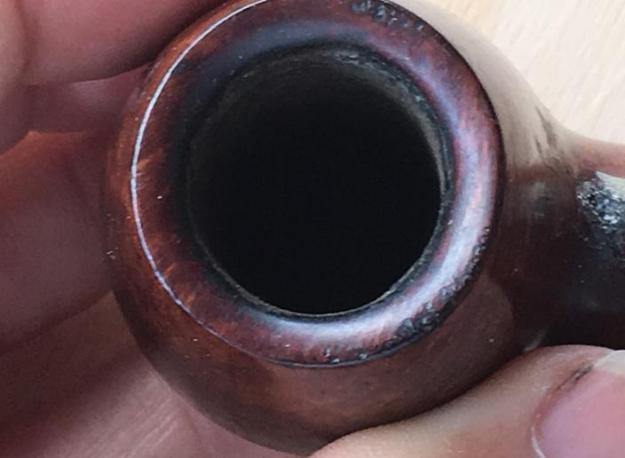
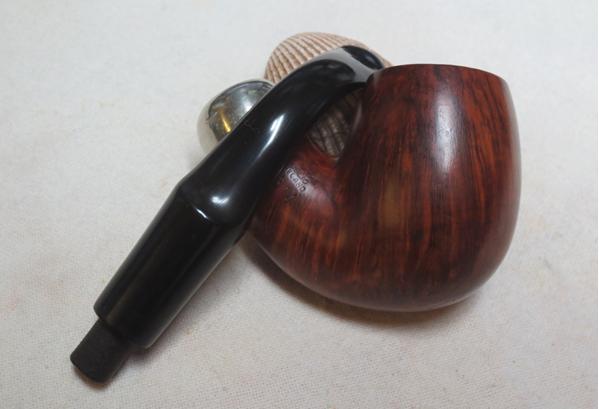
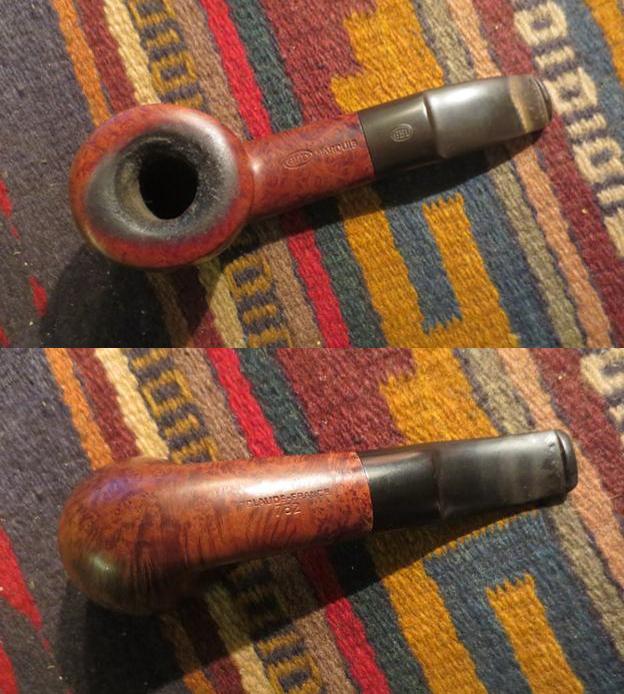
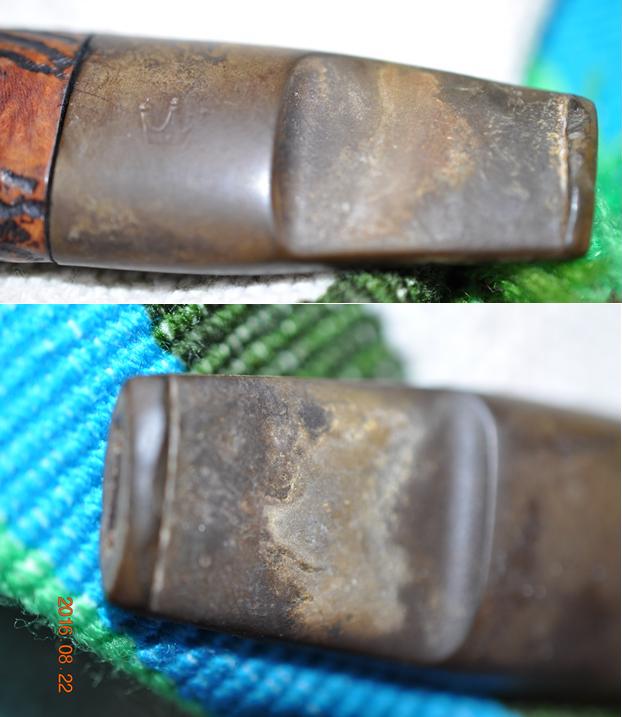
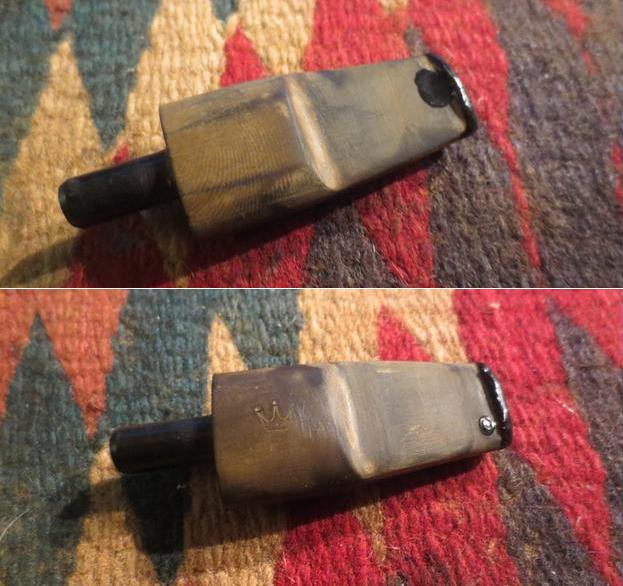
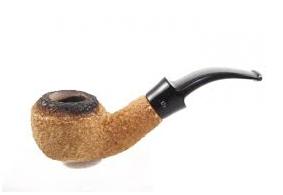
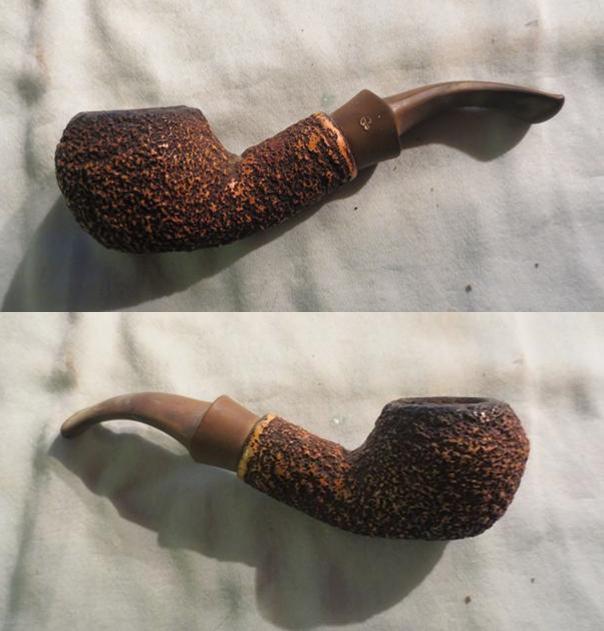
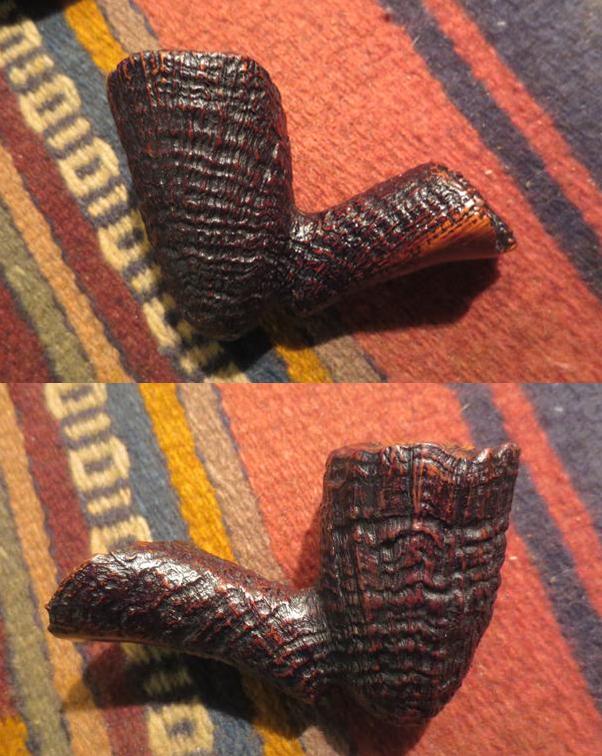
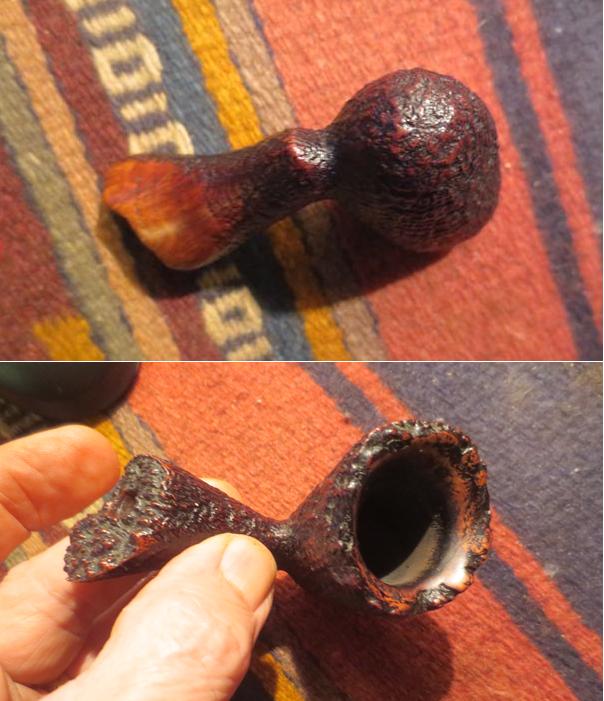
 The bent egg shape is in pretty good condition with an attractive elongated bowl that fits well in the hand. The left side of the shank is marked with Jeantet (pronounced, ‘Zhawn-Te’) over Fleuron and on the right what I assume is the shape number 70-7. The stem has the nice Jeantet J stamp. Looking at Pipedia to do a little research on this name led me to Sainte Claude, France, considered to be the birthplace of the serious production of briar pipes and scores of French made pipe names claim Saint Claude as home. My curiosity piqued, I wanted to know why St. Claude, France? Was the briar in good supply there? I looked to the history of the city itself to see what I could find. I unearthed an archived New York Times article written March 20, 1983, in the ‘Shoppers World’ travel section entitled, THE PIPE CAPITAL OF FRANCE – very interesting and worth reading. I found the answer to the question, ‘Why Saint Claude and pipes?’ with this article I found posted on Fumerchic.com with these informative excerpts:
In the 15th Century, Saint-Claude was canonised by Pope Louis XI, the city took on the name Saint-Claude alone and remained a favoured site for pilgrims.
Since Saint-Claude was one of the stops on the Way of Saint James, the monks, who had been turning wood since the 7th century, began crafting wooden religious objects like crucifixes and rosaries. These monks slowly began training craftsmen, which lead to the establishment of the first wood turning workshop in Saint-Claude.
The craftsmen developed the manufacture of wooden items and widened the scope of their operation by making toys (spinning tops, whistles and rattles), so children and pilgrims could play during their pilgrimages. The number of turning workshops then grew. The main materials they used were wood, bone and ivory.
But with the introduction of tobacco to France, of smoking tobacco in particular, the wood turning workshops adapted by making snuff boxes and pipes made from local boxwood. The pipe craftsmen of Saint-Claude gradually forged themselves a reputation for an unparalleled level of manual skill and expertise.
So, it wasn’t the plentiful supply of briar that put Sainte Claude on the pipe-makers’ map but industrious wood-turning monks who passed their wood working skills on to local craftsman. The story went on with the discovery of a non-burning pipe made from our beloved briar:
During the 19th Century, pipes from Saint-Claude underwent a profound change. Boxwood had been the wood used to make the pipes until then, but it produced a bitter taste when smoked. Around 1855, a businessman passing through Saint-Claude presented a Saint-Claude wood turner with a pipe, the bowl of which did not burn, carved from a heavy wood in dark shades. It was the first pipe made from briar. The arborescent briar pipe is highly resistant to heat and fire, giving the smoker the greatest possible pleasure from the plumes of tobacco smoke. The craftsmen of Saint-Claude therefore began using briar instead of boxwood, ensuring the Saint-Claude pipe caused excitement in the pipe smoking community. The number of workshops grew, with names like Chacom and Butz-Choquin appearing for the first time, while the craftsmen began producing more and more high-quality pipes thanks to their expertise that became globally renowned among pipe smokers.
Considered to be the capital of briar wood pipes, Eole, Chacom, Bayard,Butz-Choquin, Denicotea, Jeantet and Ropp are well-known names all originally claimed by Saint Claude, France. The works of Saint Claude’s craftsmen are also present, for example, in the unique handmade pipes created by Pierre Morel (link).
One more factoid about Saint Claude’s history caught my attention. In 1966, Saint Claude established the Confrérie des Maîtres-Pipiers de Saint-Claude (The Brotherhood of Master Pipe-Makers in Saint-Claude) to promote the expertise of the many masters that have historically resided and worked in Saint Claude. Famous personalities are inducted as the “Premier Pipe-Smoker of the Year’ to serve as ambassadors for the pipe industry in Saint Claude. For every personality chosen, Paul Lanier (awarded the prestigious meilleur ouvrier de France title in 1991), crafts a pipe that includes a portrait of the inductee, thus perpetuating the tradition of the sculpted briar pipe. I think this is a very cool tradition and found it very interesting that the first likeness below strongly resembles the master pipe restorer who oversees Rebornpipes.com!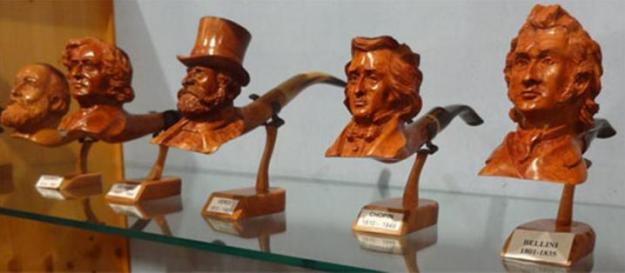 According to Pipedia, the Jeantet name came on to the scene in 1775. The 1800s saw great expansion of production of Jeantet pipes primarily through the development of local cottage industry – farming out different aspects of the pipe production to small shops in Saint Claude. Consolidated production grew in the 1900s but in the 1960s sales dwindled in spite of attempts to modernize. This final part of my research comes from Pipehill:
1988
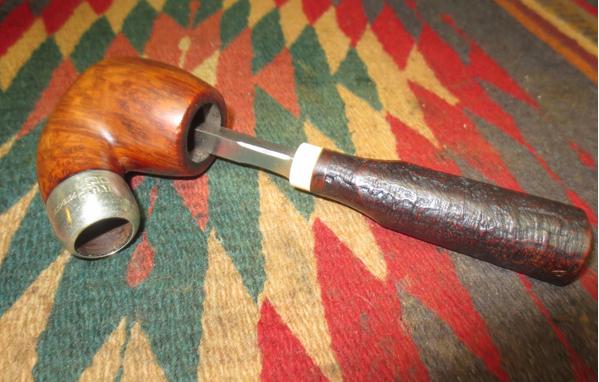
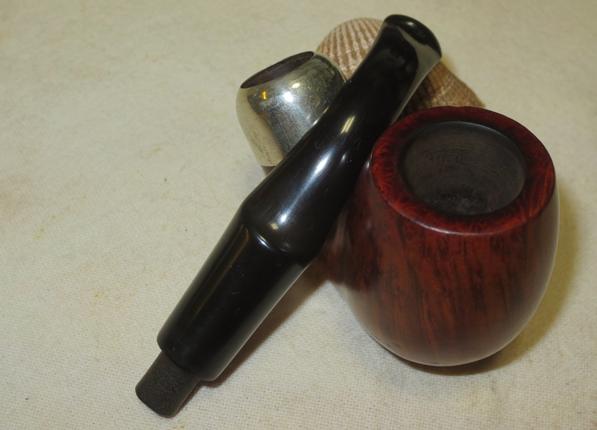
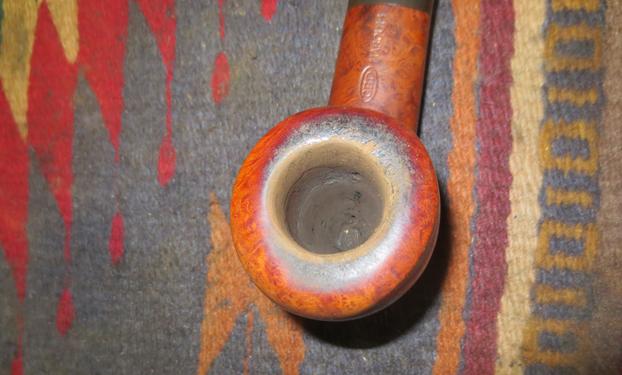
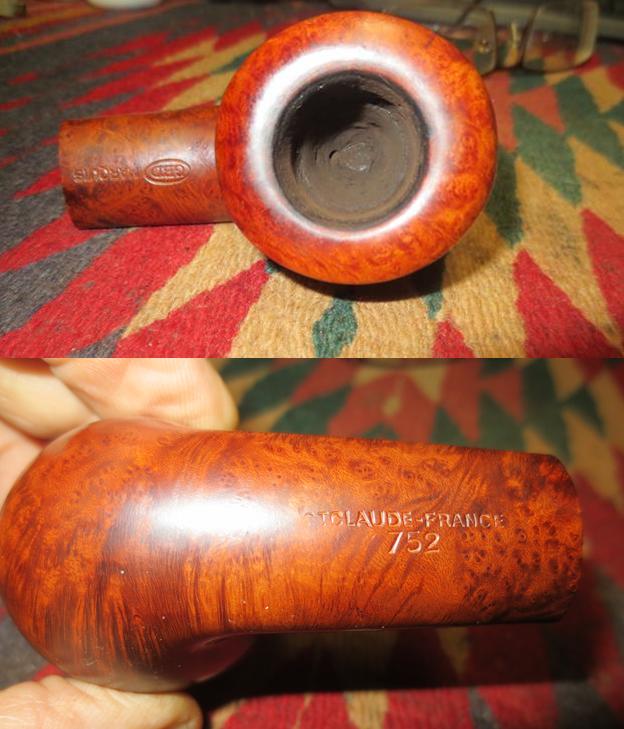
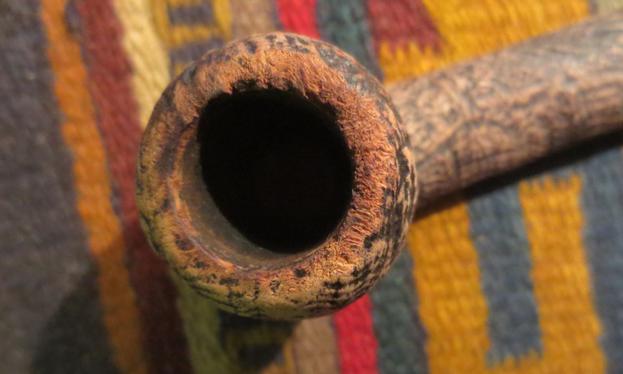
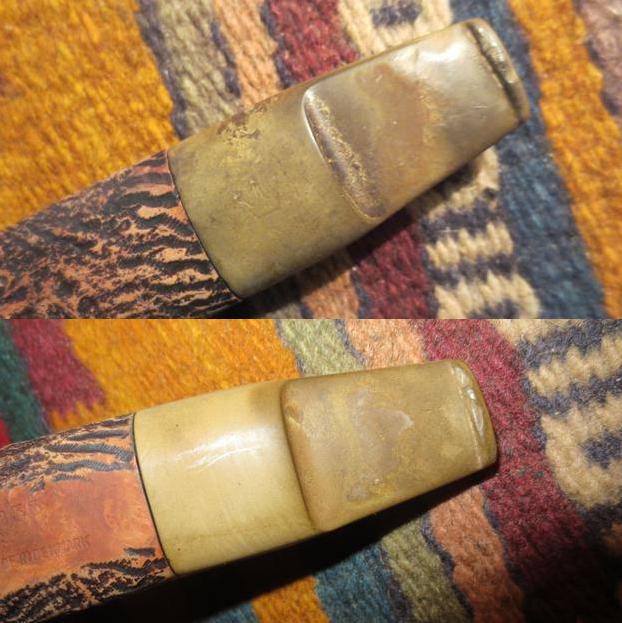
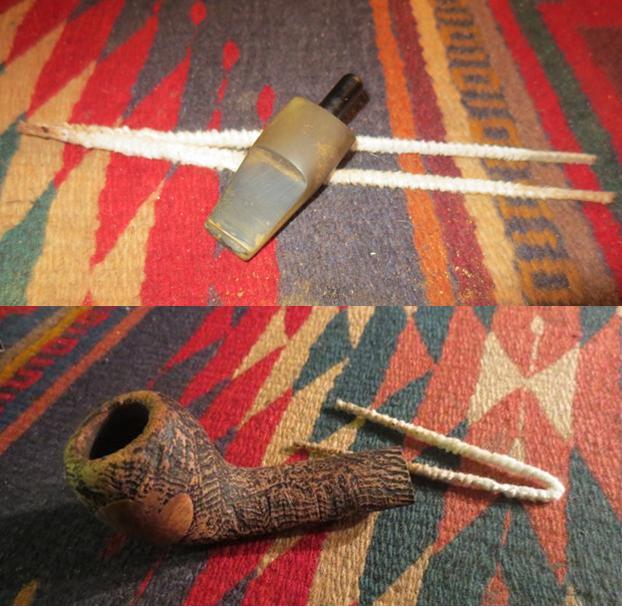
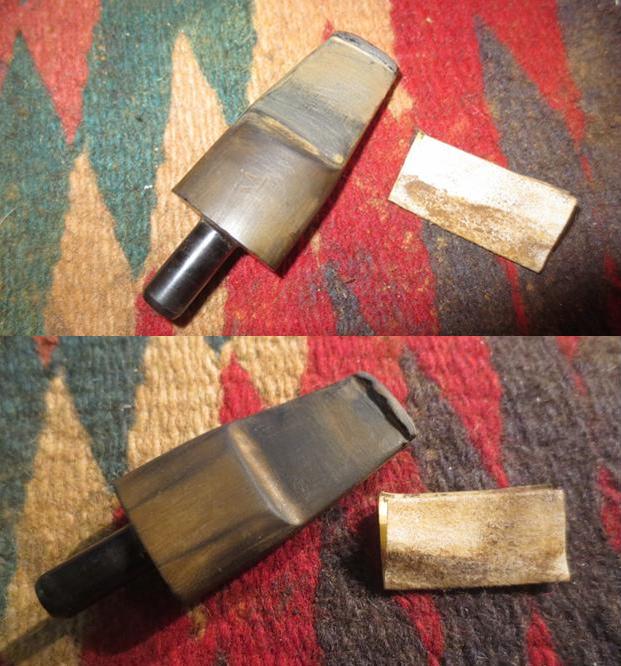
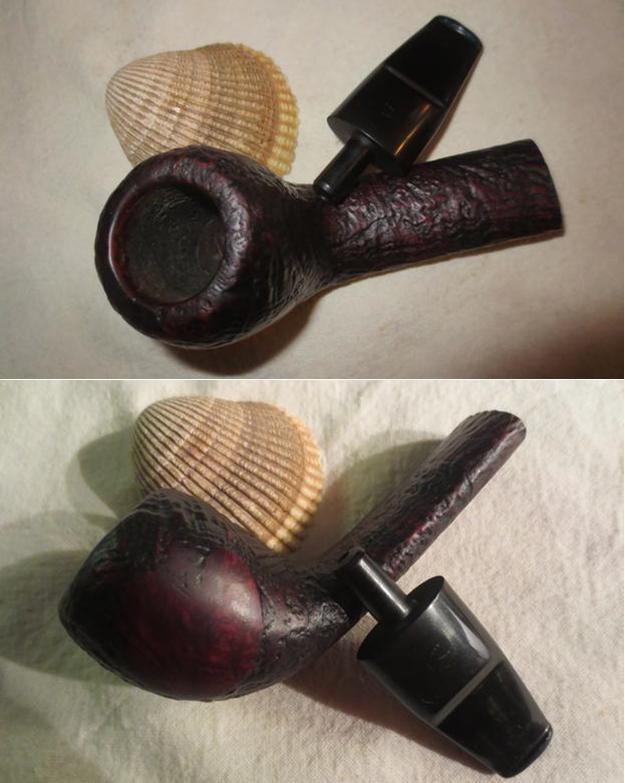
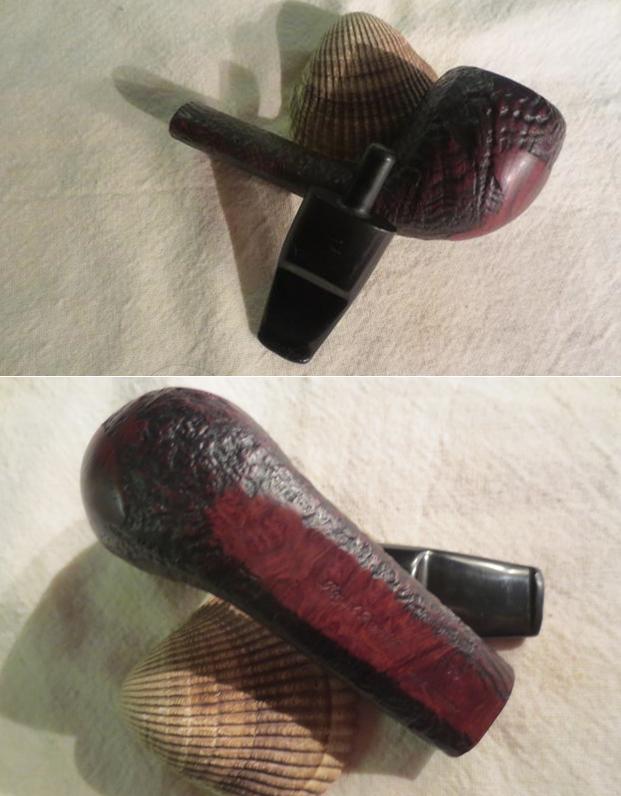
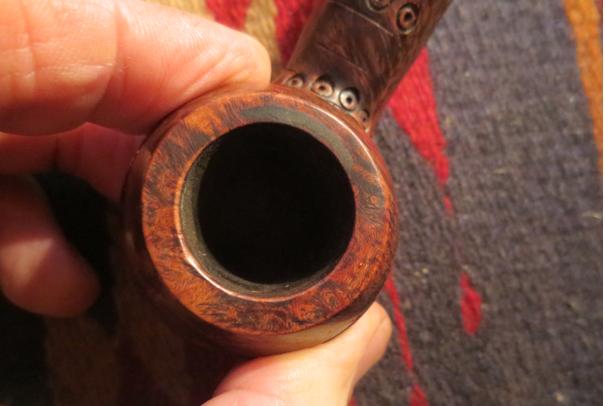
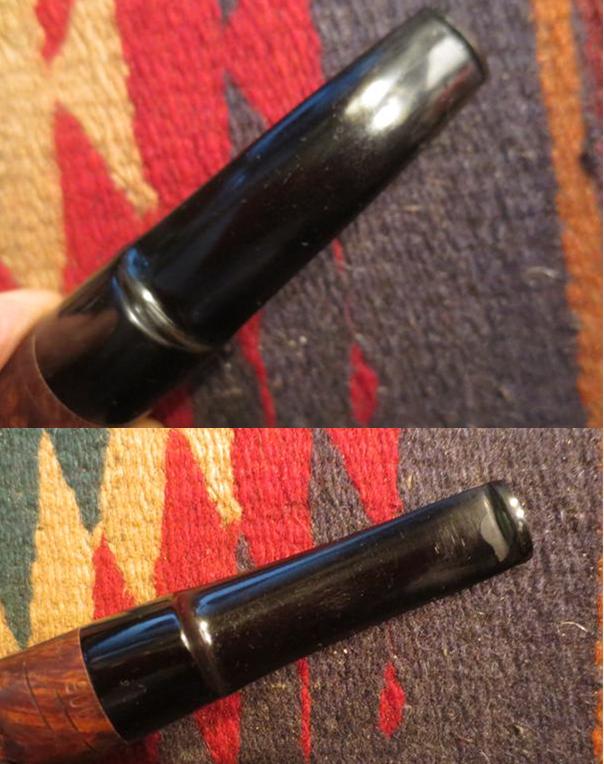
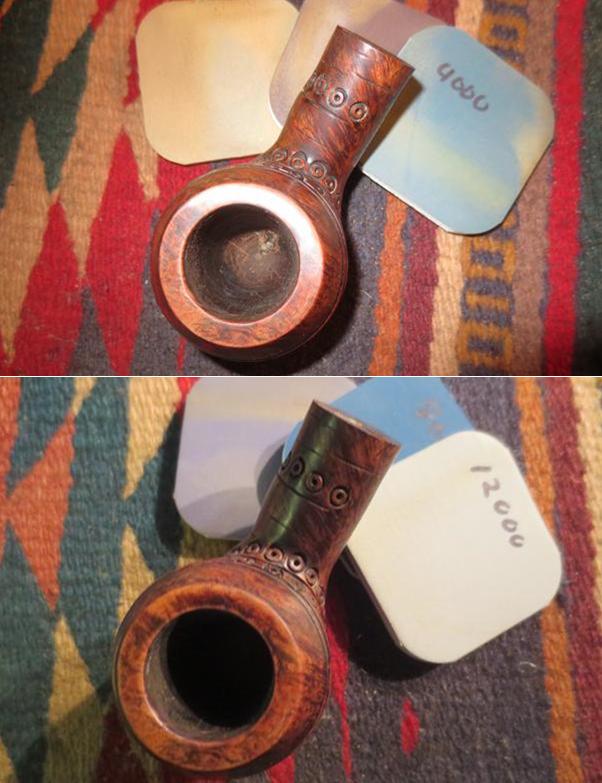
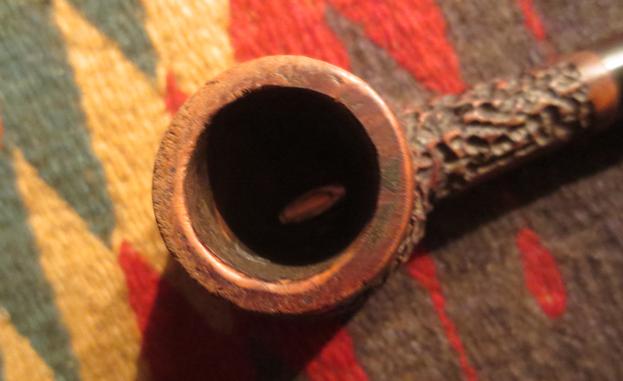
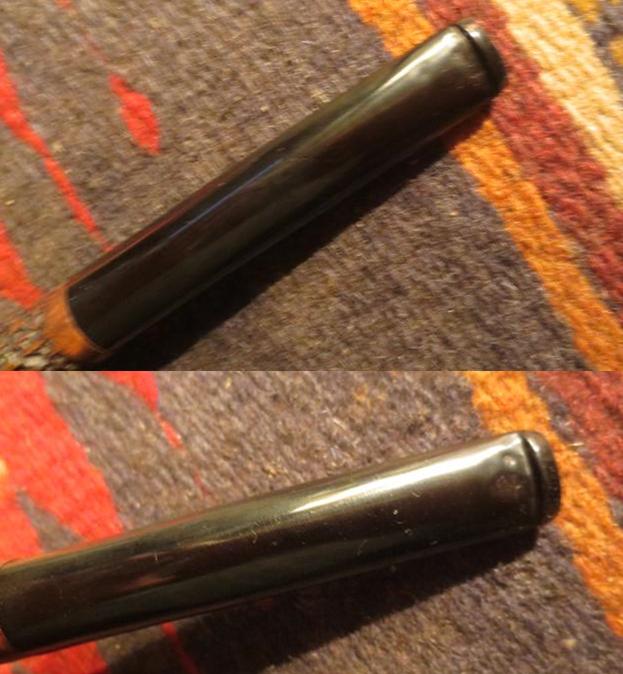
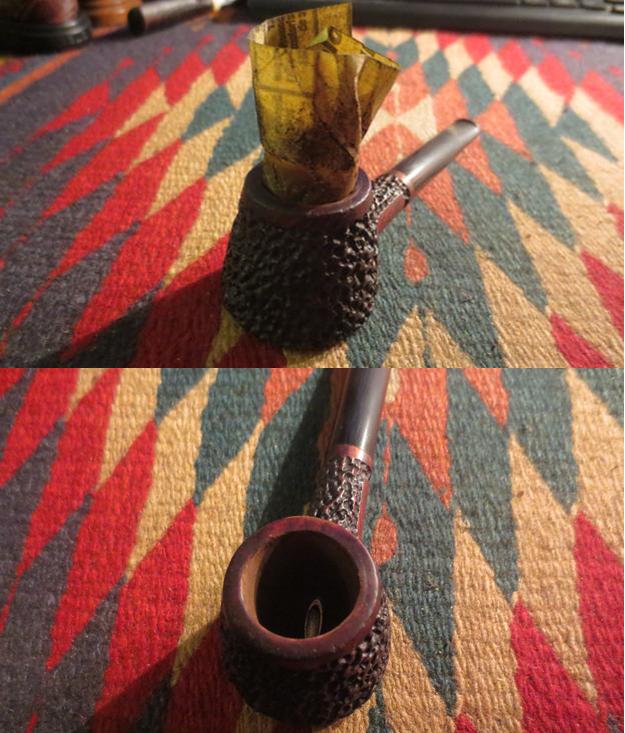
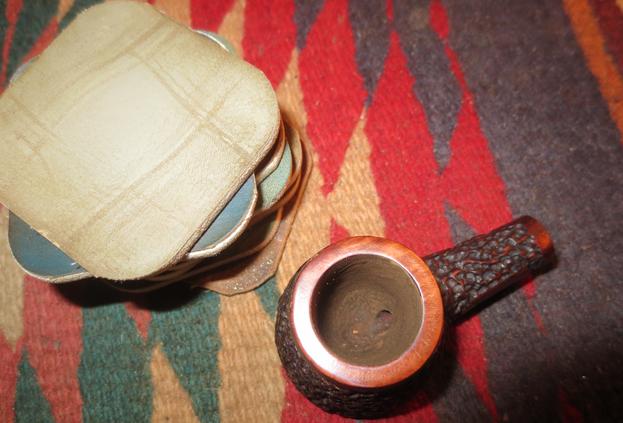
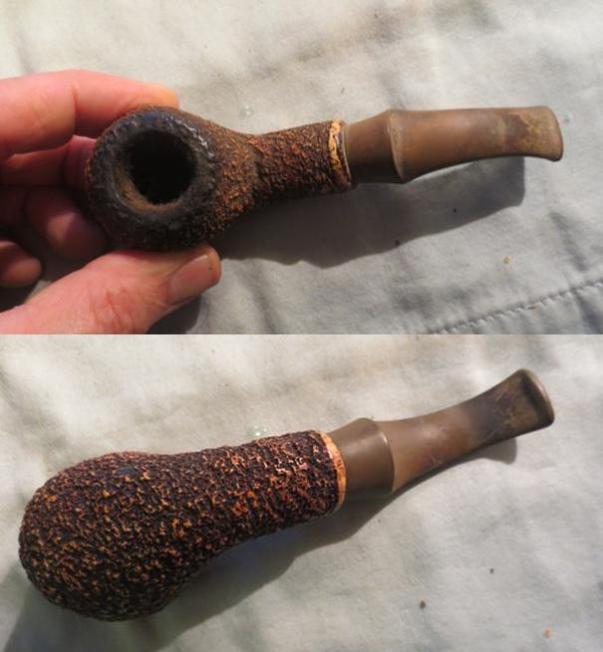
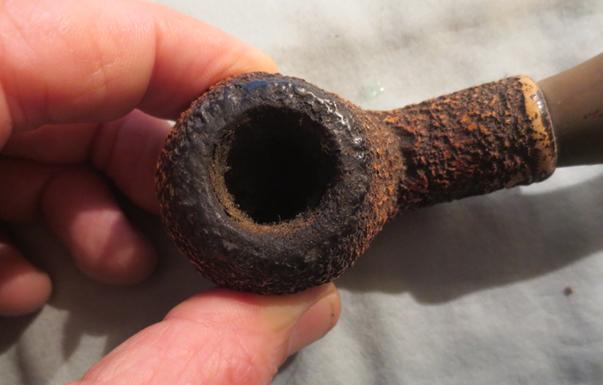
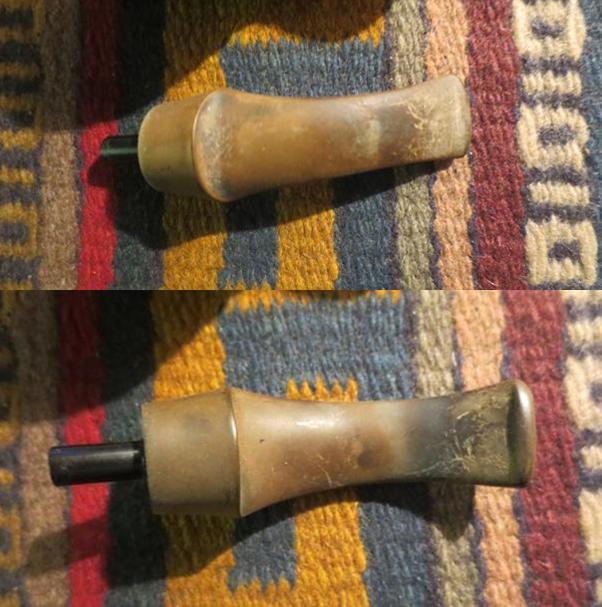
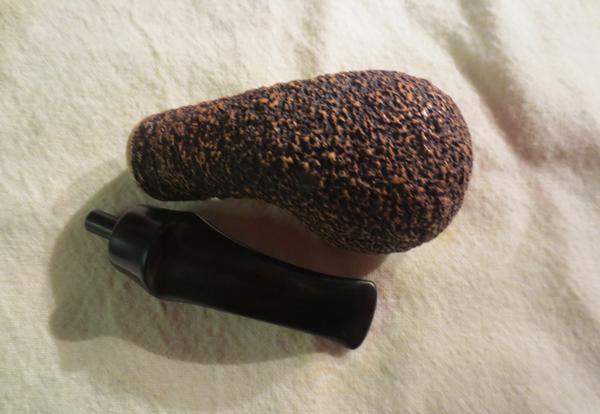
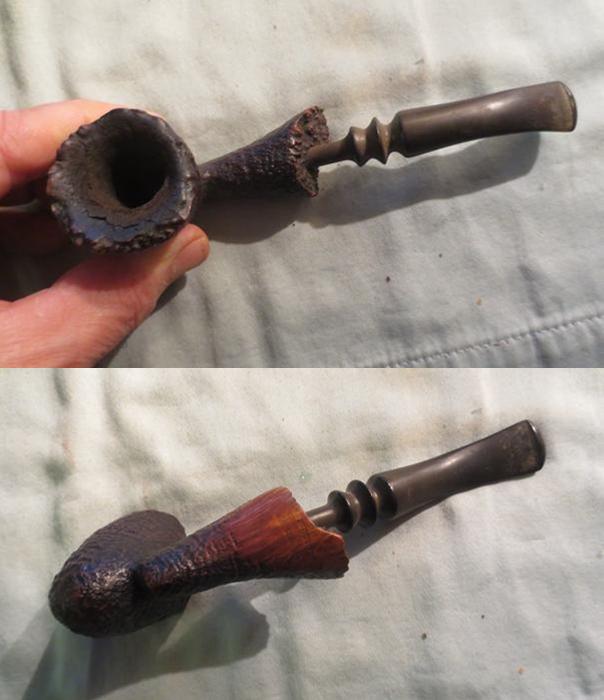
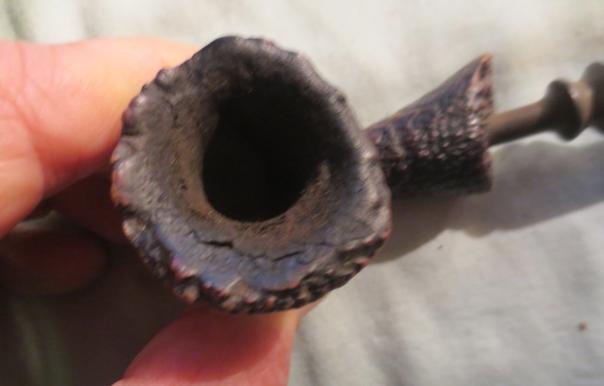
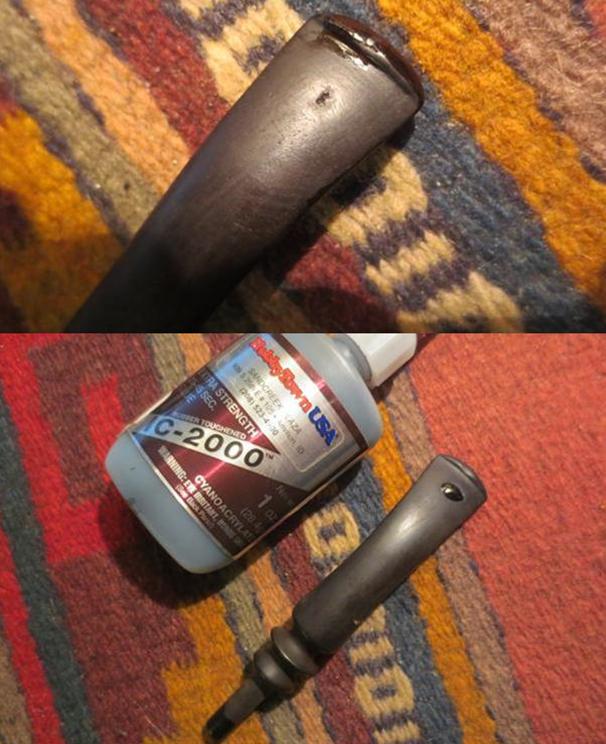
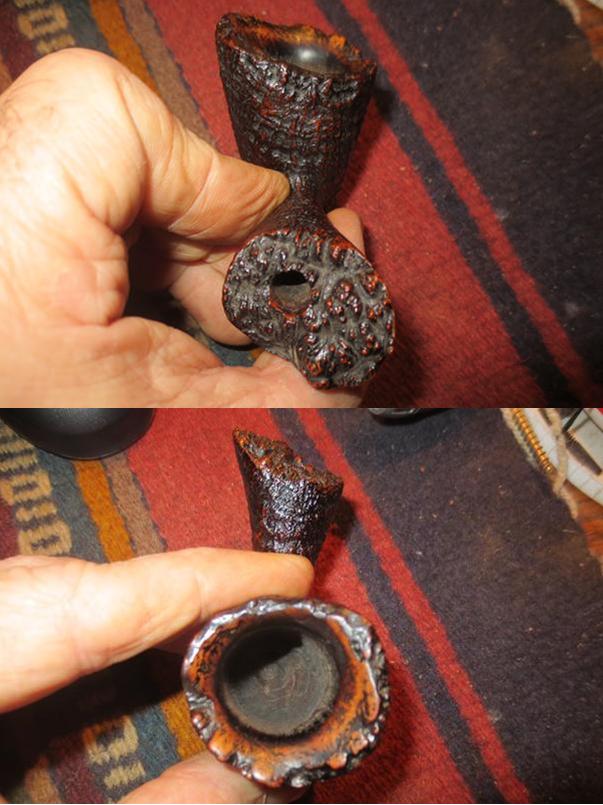
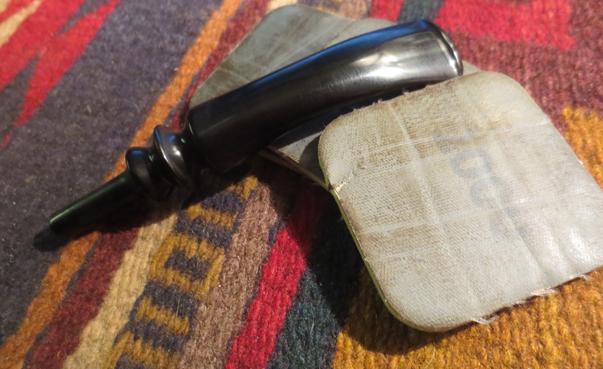
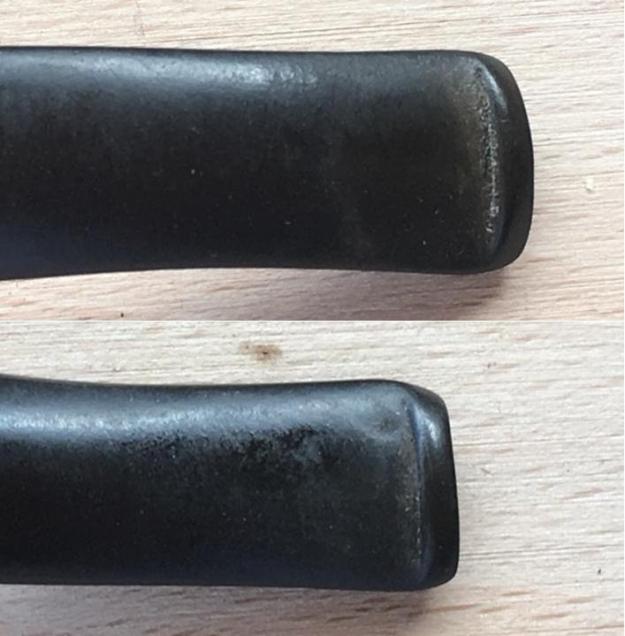
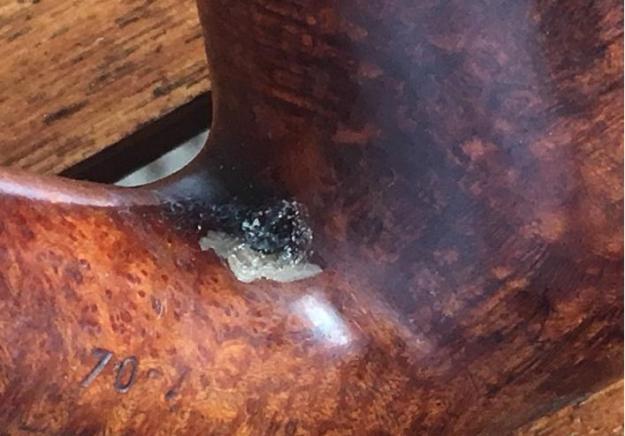
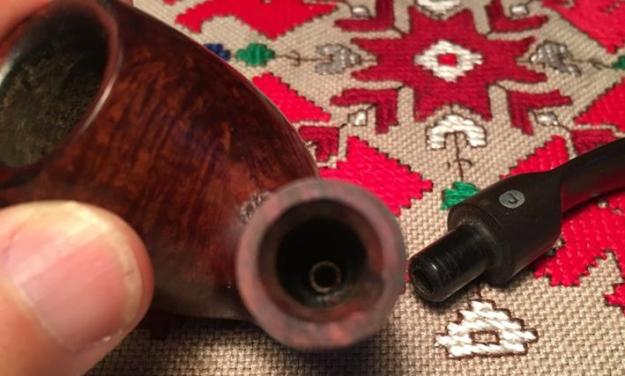
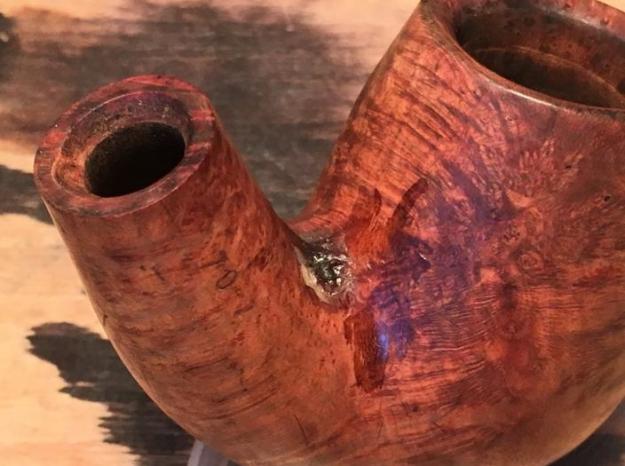
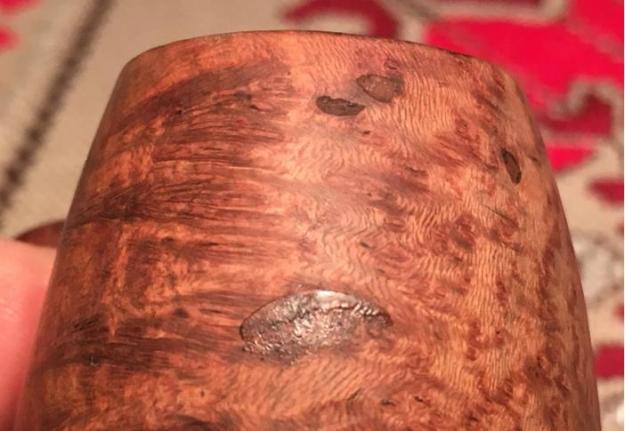
The company was taken over by S.A. Cuty Fort Entreprises(1) while keeping its label. It established in the group beside Chapuis-Comoy (Chacom), Jean Lacroix and Emile Vuillard. Today (2010) the brand isn’t part of the group any more. The label owned by Dominique Jeantet still exists but pipe production is discontinued.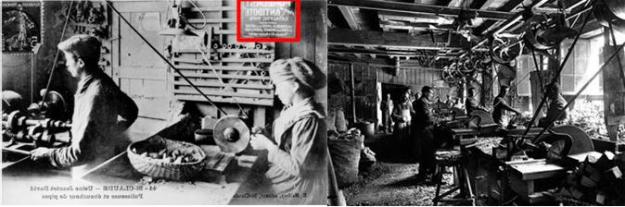 When I take this product of Sainte Claude, France, the Jeantet Fleuron, out of the ‘Rescue Me’ basket, I take a closer and more appreciative look at the pipe. First impressions mark the nice shape of the stummel – I like the tapered egg shape that culminates in a tightly circled rim beveled on the inner chamber side. The bowl shows minor cake and appears to have been cleaned before but I will bring it down to the briar and clean it well. The stummel surface has minor dents and ‘blemishes’ on the finish. A significant ‘scab’ is evident where the shank and bowl converge on the topside. It doesn’t appear to be a burn through but this will need attention after cleaning the exterior surface. The rim has minor dent marks on the blade edge of the beveled rim. When I take off the stem, I notice that in the mortise is a metal cylinder – some sort of a metal airway or a stinger that got loose? With a few thumps on my palm, the rogue stinger shakes loose (pictured below). After attempting to insert it into the end of the tenon, I have questions as to whether this stinger is original – the fit is very loose which explains why it slipped down into the stummel airway. I decide the stinger is history and it goes in the spare parts bucket. Minor teeth dents are on the underside of the bit. I take some close up shots for a better look at problem areas.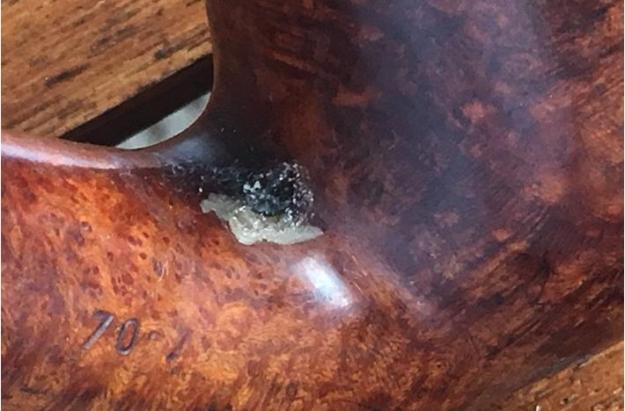
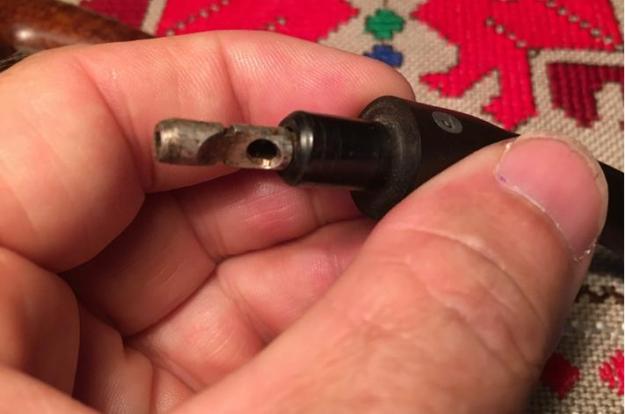
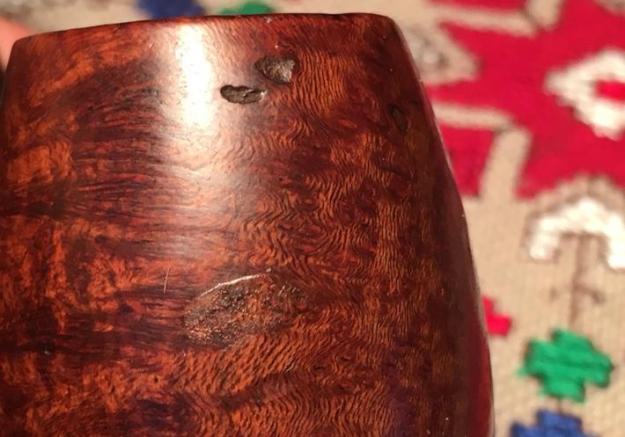
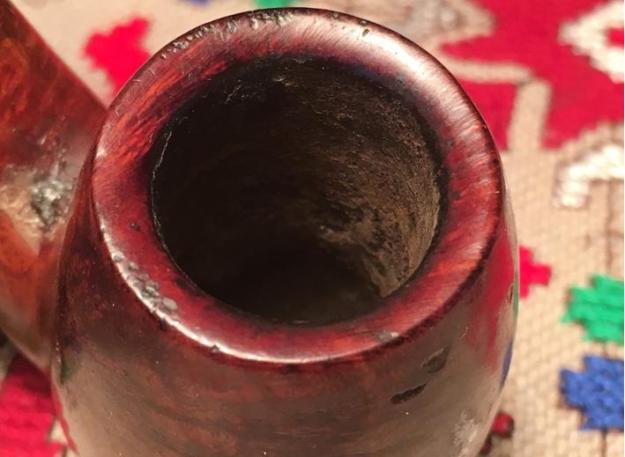
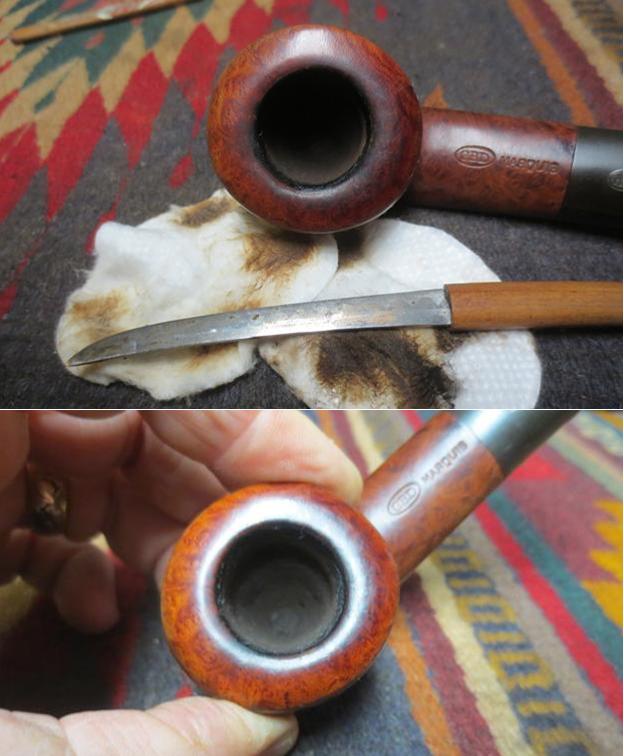
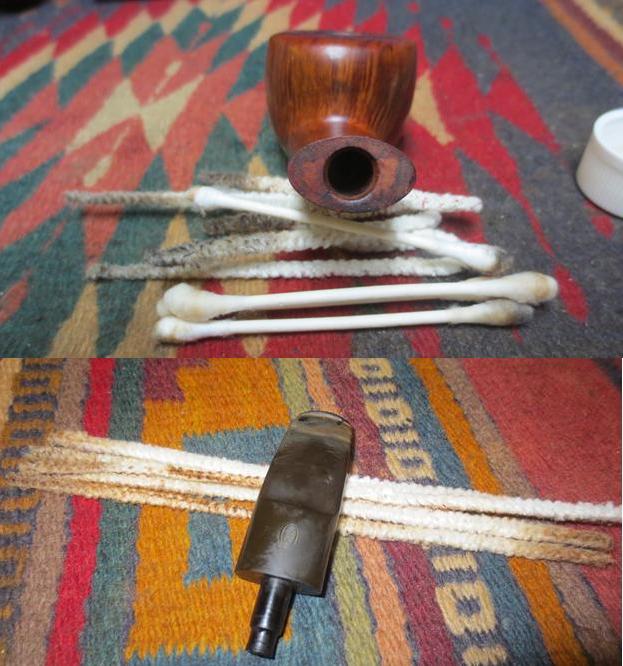
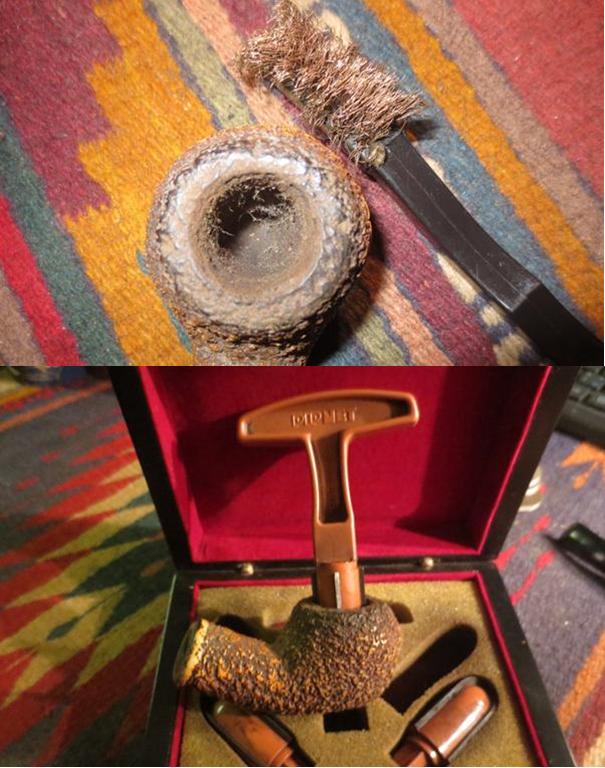
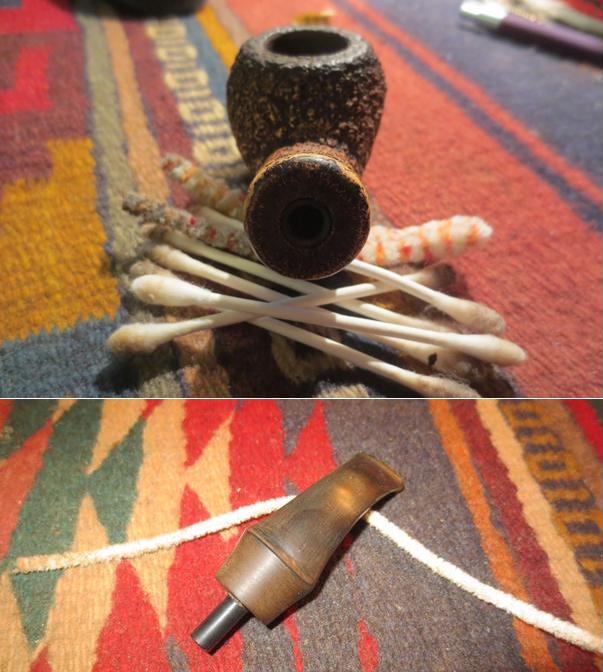
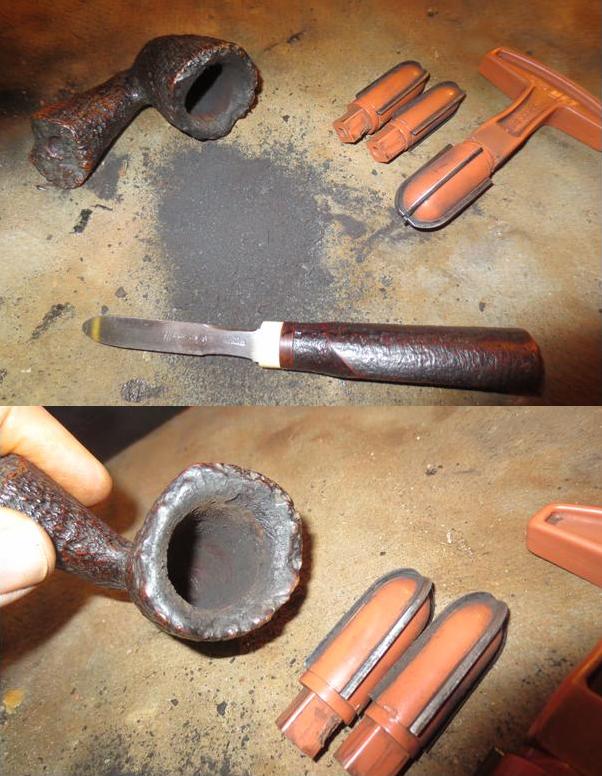
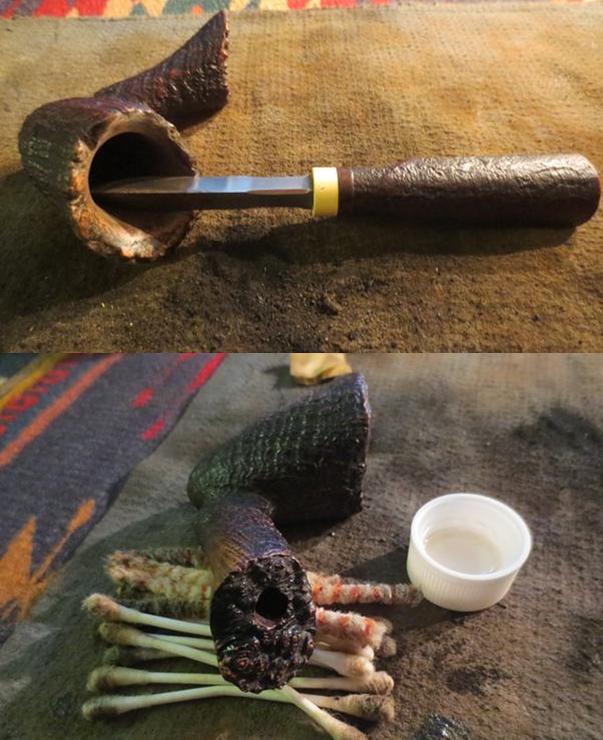
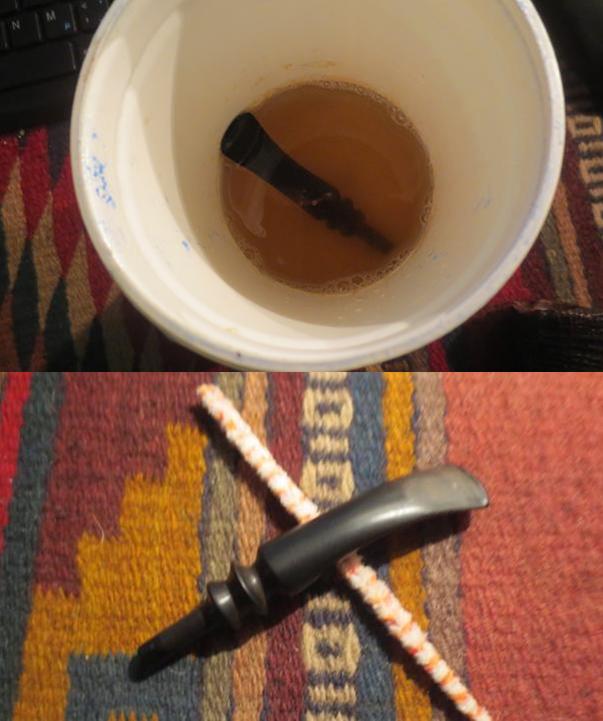
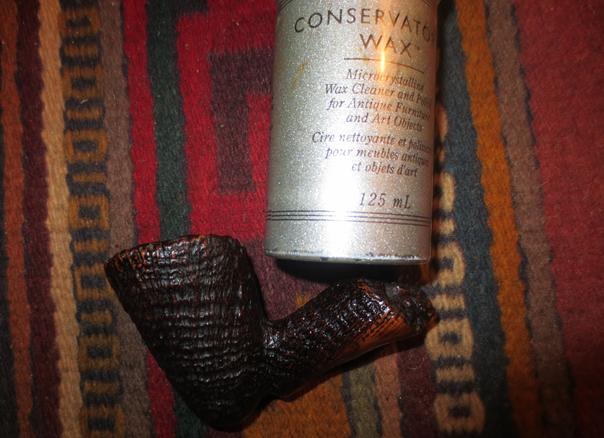
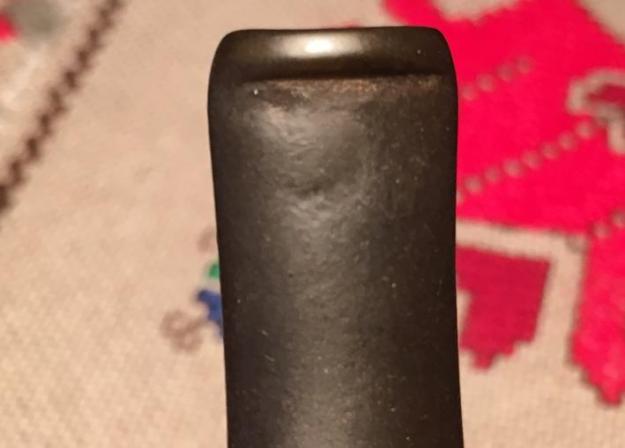 I begin by putting the stem in an OxiClean bath to soak in order to raise the oxidation out of the vulcanite. Then I take my Pipnet Reaming Kit and work on the light cake build up in the bowl. I use the two smaller blades of the four blades available to me to ream the bowl. After this I use 240 grit sanding paper to further clean and smooth the chamber wall. I like working on a clean pipe so I take pipe cleaners and Q-tips dipped in isopropyl 95% and work the mortise and stummel airway. The internals were surprisingly clean so it didn’t take long.
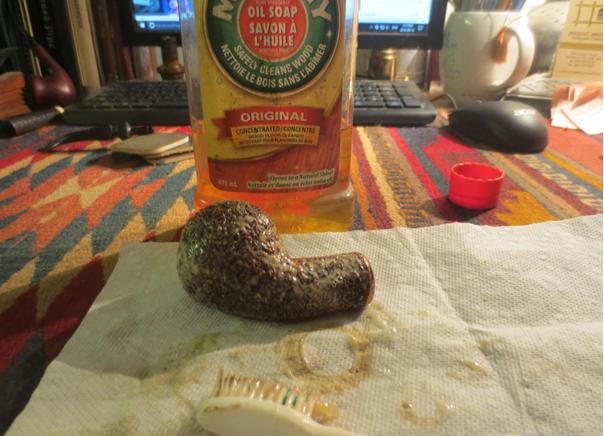
Now to the external surface. I use undiluted Murphy Oil Soap on the stummel with cotton pads to remove the grime and hopefully to eradicate some of the blemishes I detect on the surface. After cleaning with Murphy Soap I rinse the stummel with cool tap water avoiding water entering the fire chamber or mortise. The ‘scab’ at the upper junction of the shank and bowl is starting to look like a botched superglue repair job. I’ll need to give some thought as to how to address this eyesore on an otherwise attractive piece of briar – I’m starting to see the briar’s potential. The pictures show the progress. 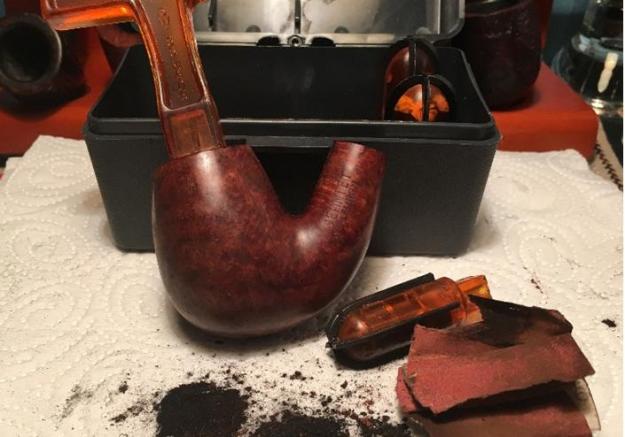
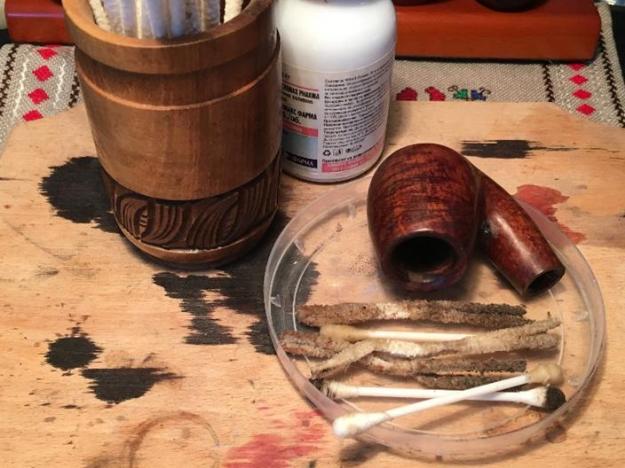

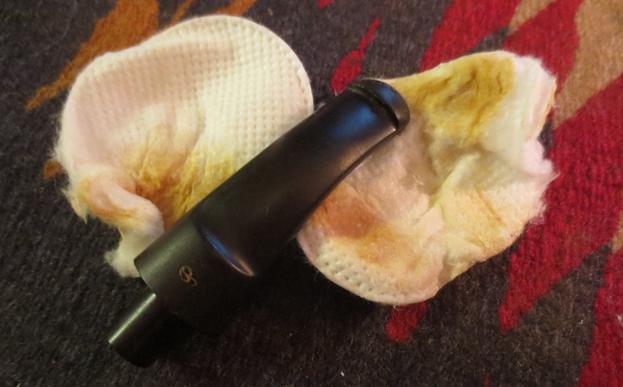
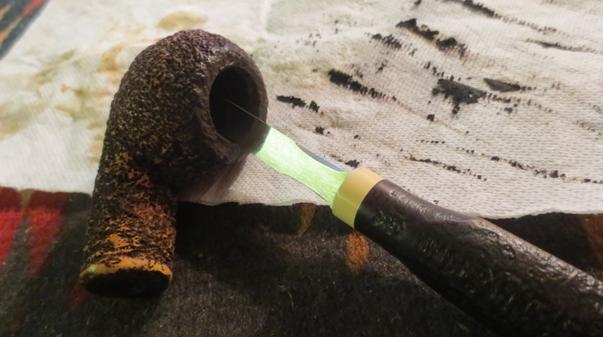
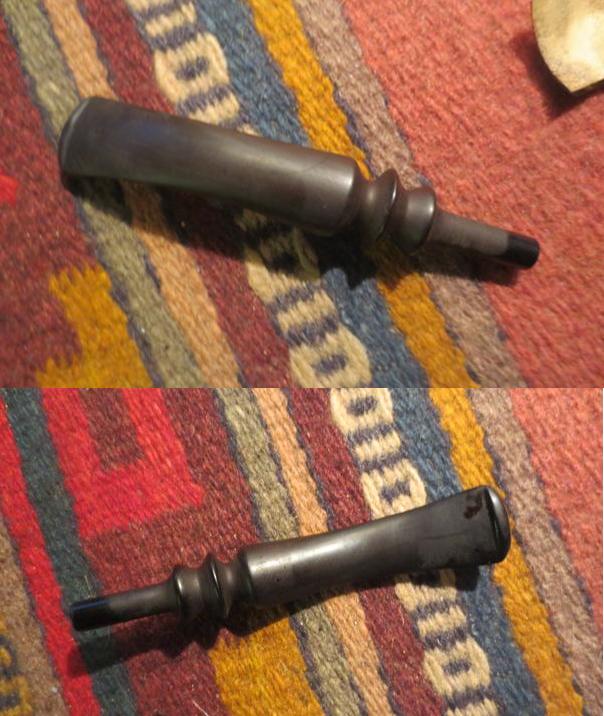
 I put the stummel aside and turn to the clean-up of the stem. I fish the stem out of the Oxyclean bath. It did the job of ‘surfacing’ the dull greenish oxidation and I initially attack it with 000 steel wool. I then clean the internal airway with bristled and smooth pipe cleaners dipped in isopropyl 95%. The stem put up more resistance than the stummel. After several pipe cleaners I’m satisfied that the airway is ready for service.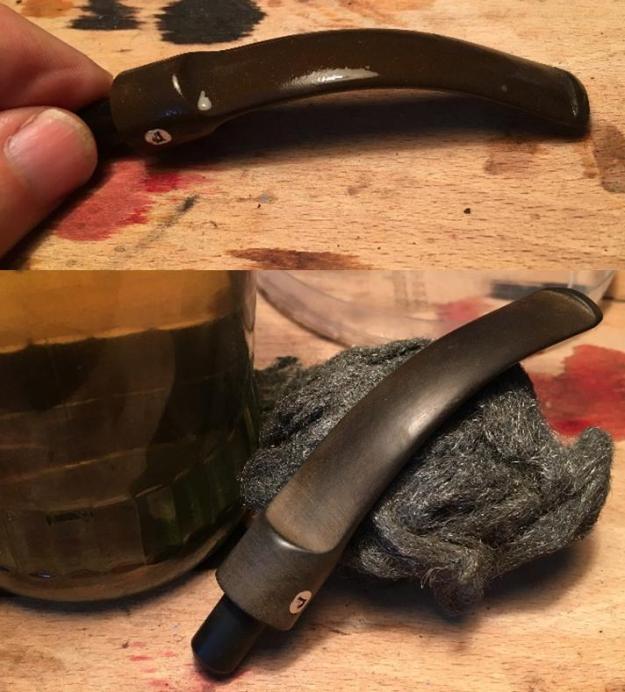
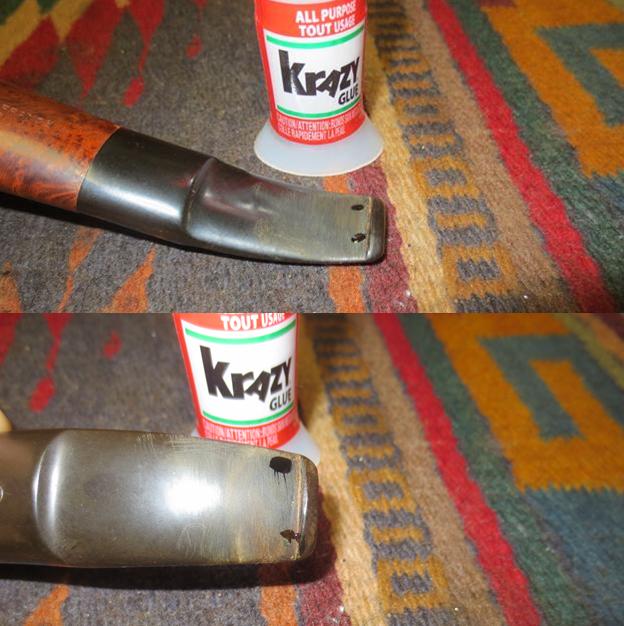
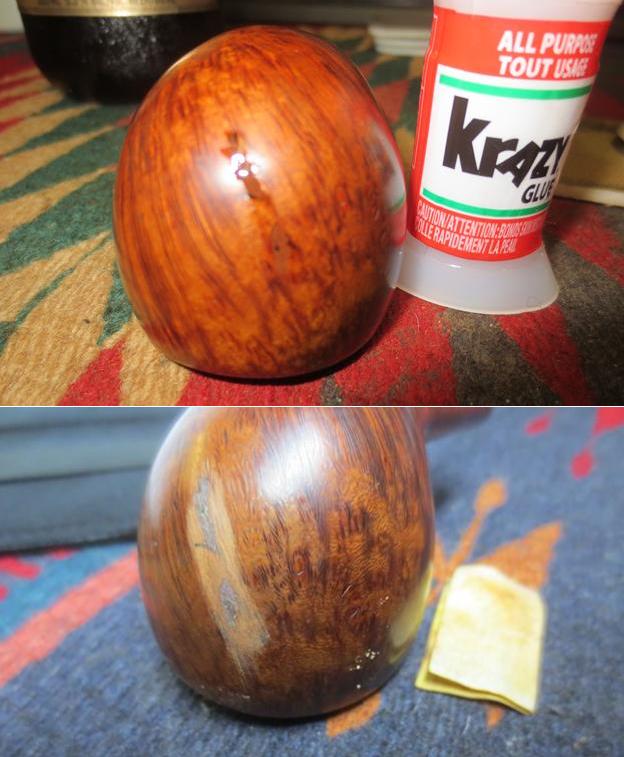
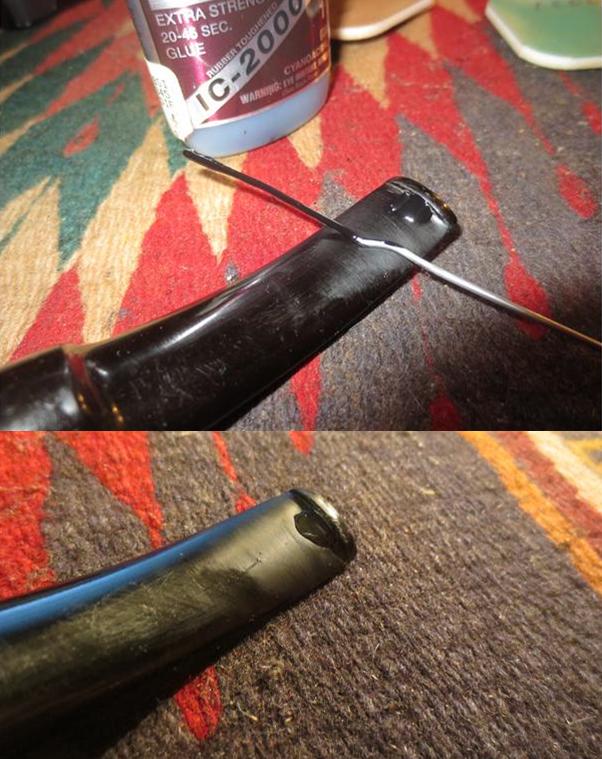
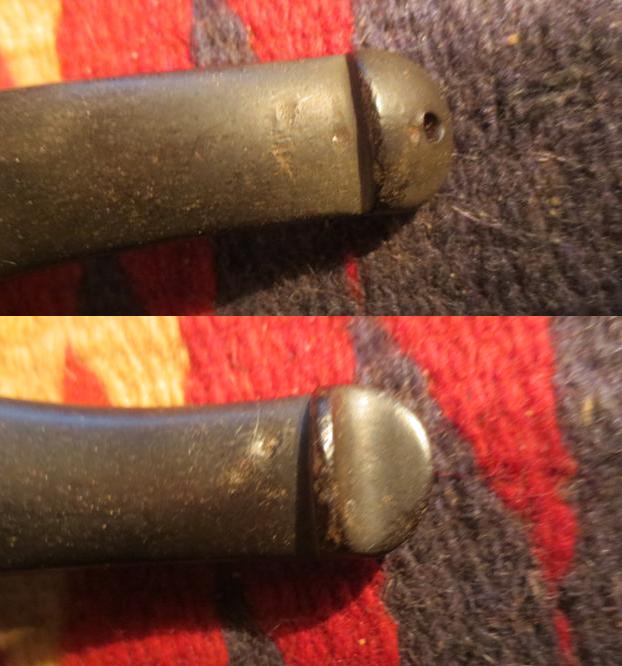
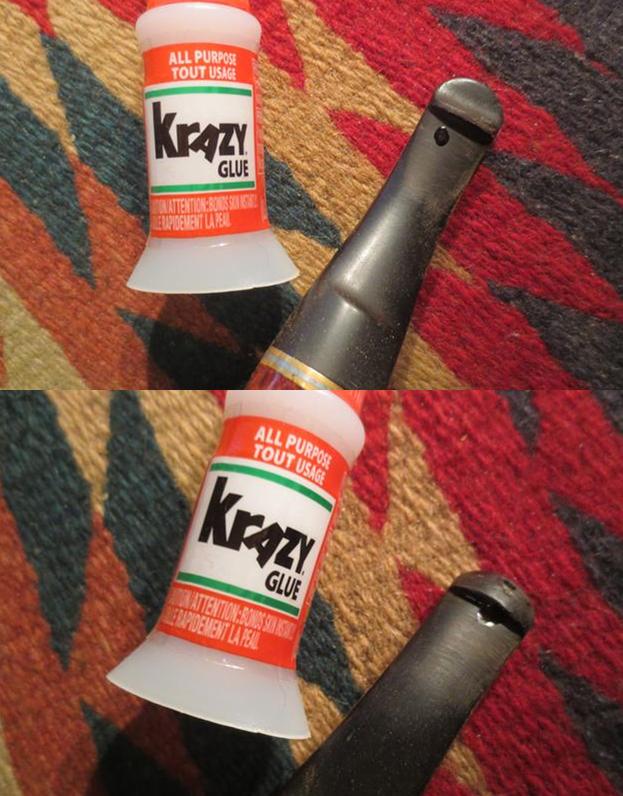
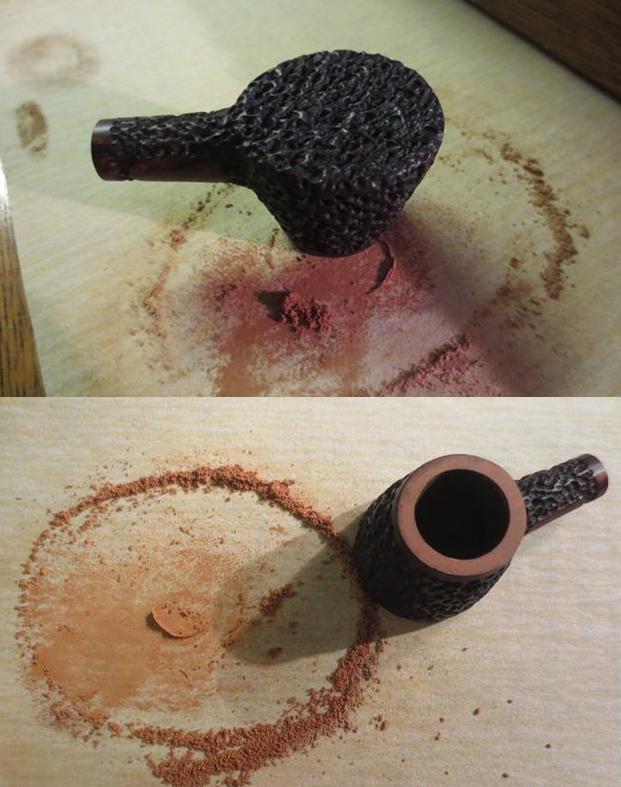
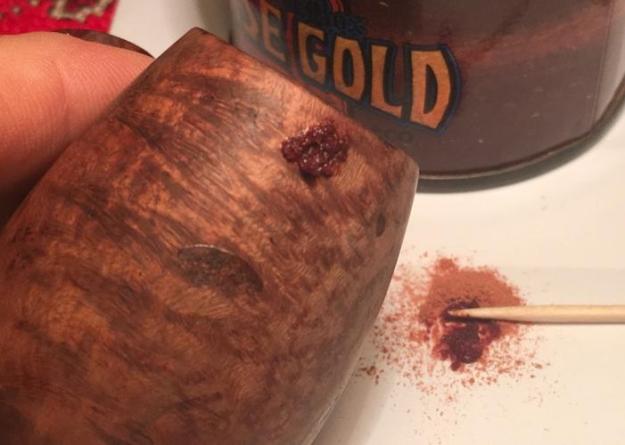
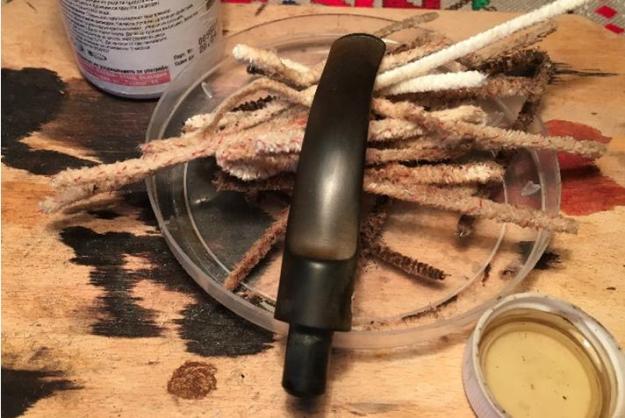 Next, the ‘scab’ on the bowl surface. I take 240 grit sanding paper rolled as close to a blade as I could make it and sanded the gummed up super glue patch – at least I believe that is what it is – at the junction between the upper shank and bowl. I sand the super glue or epoxy down to the surface. When I remove the buildup bump it appears to be a patch – I don’t believe it’s a burn through, but it’s definitely a fill. It appears to be solid so I leave it as is and hope to blend it when I finish the stummel. Next I prepare a batch of briar dust super glue putty to fill in two holes just below the rim at about 1 o’clock (picture below). I use a toothpick as a trowel to pack the holes well and to leave an overflow so that it will sand out smoothly with the surface. The final repair is to apply black super glue to two small tooth dents on the underside of the bit. When cured, it will sand smooth and polish well. The pictures show the progress of the patch work.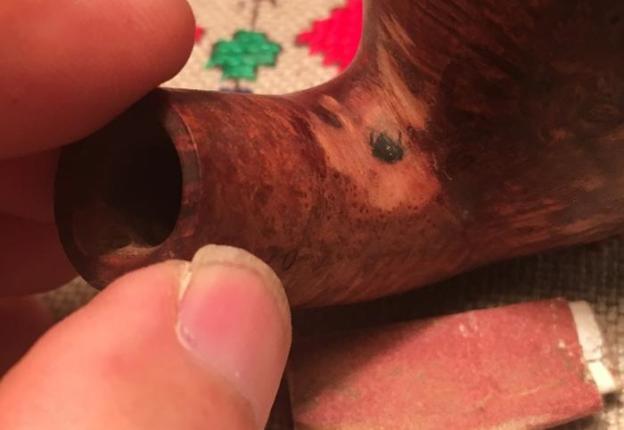
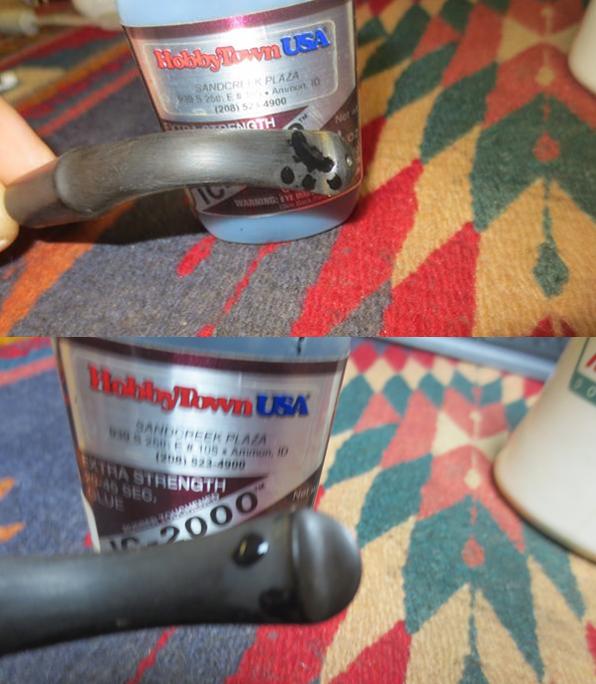
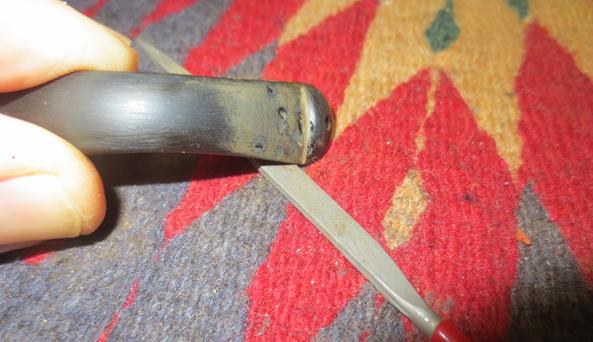
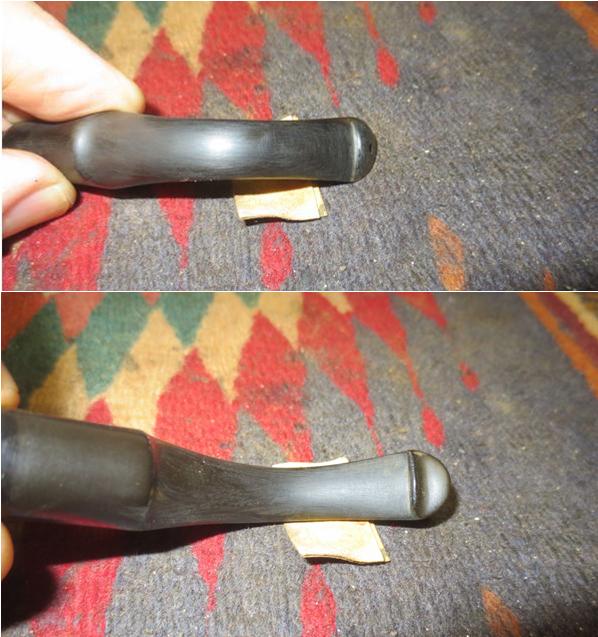
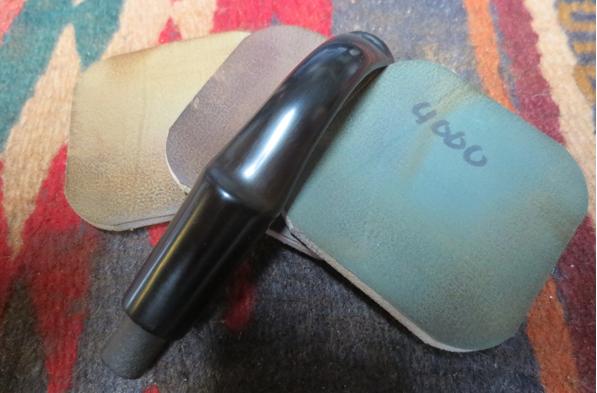
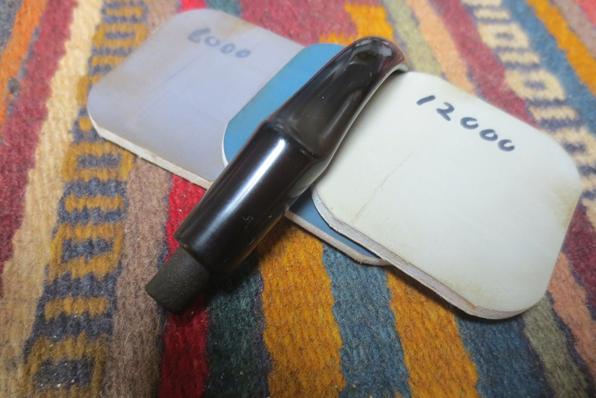
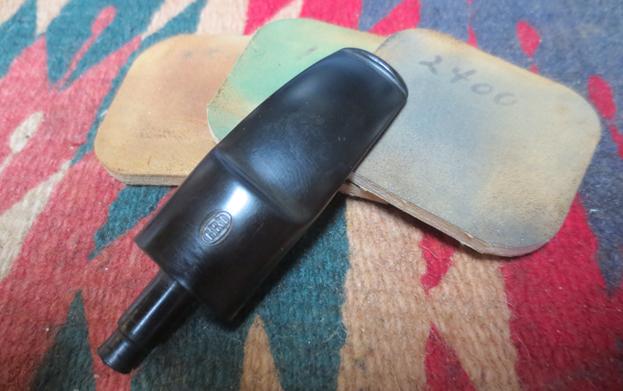
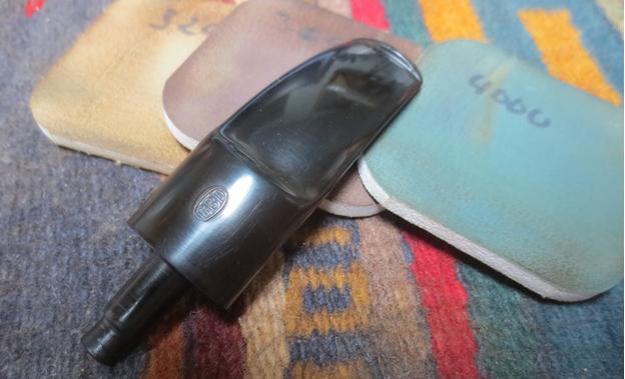
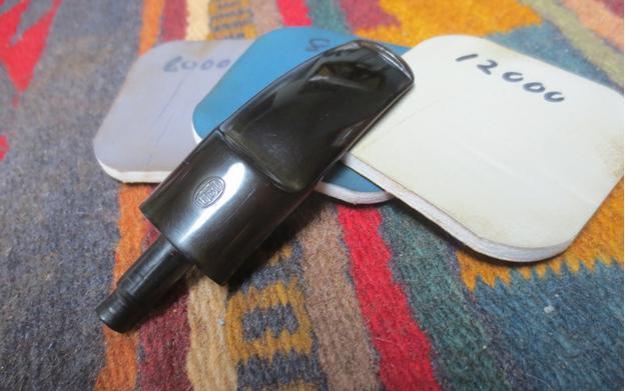
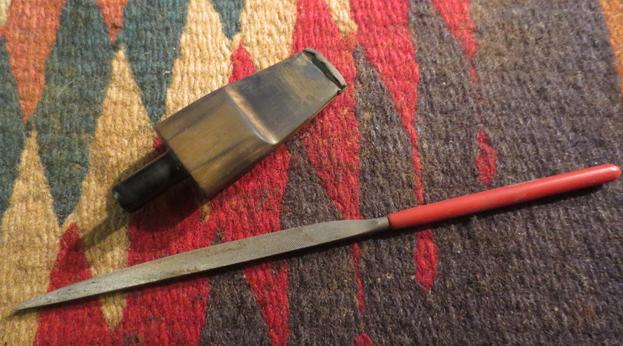
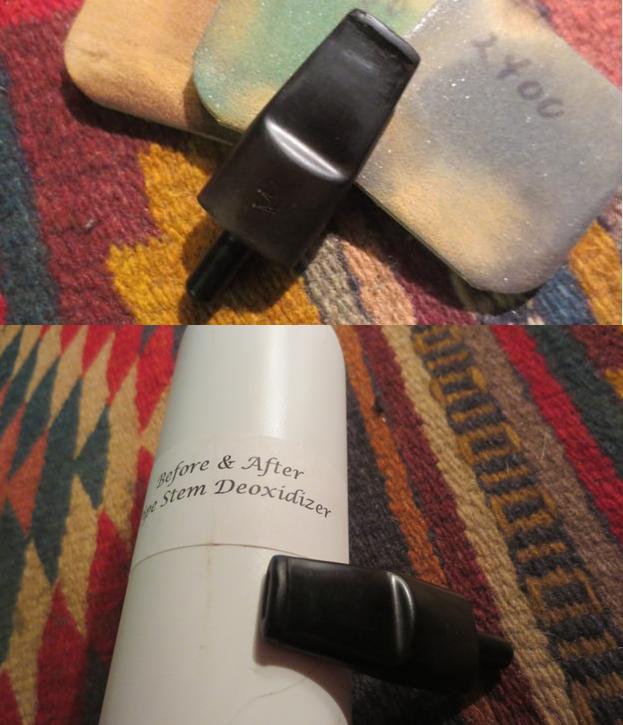
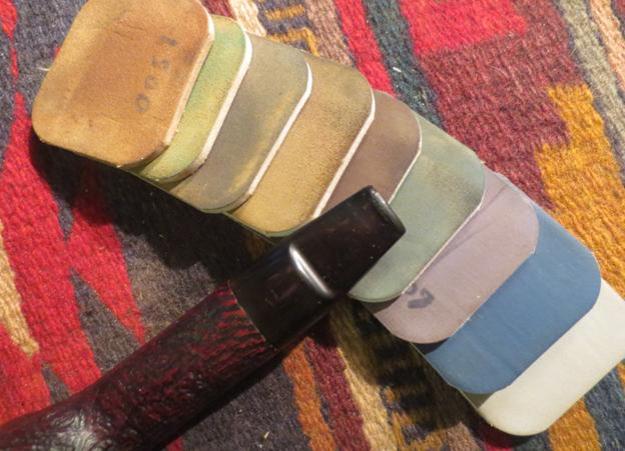
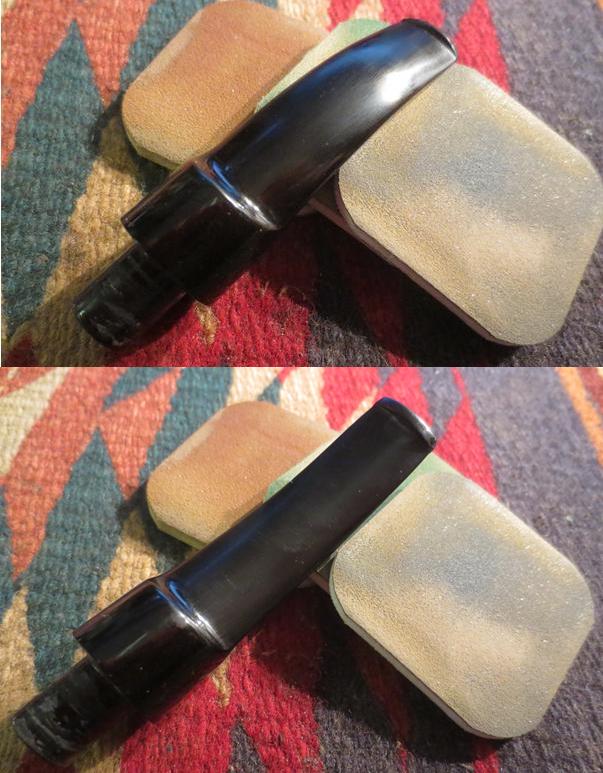
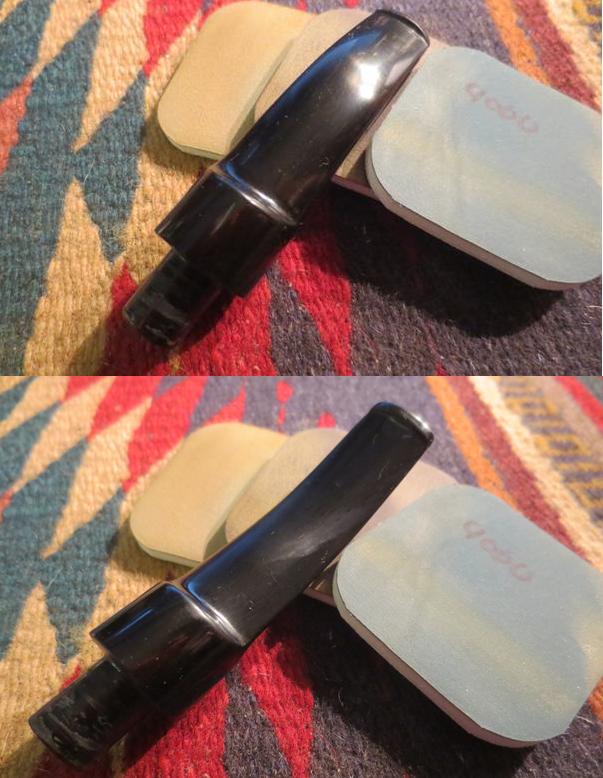
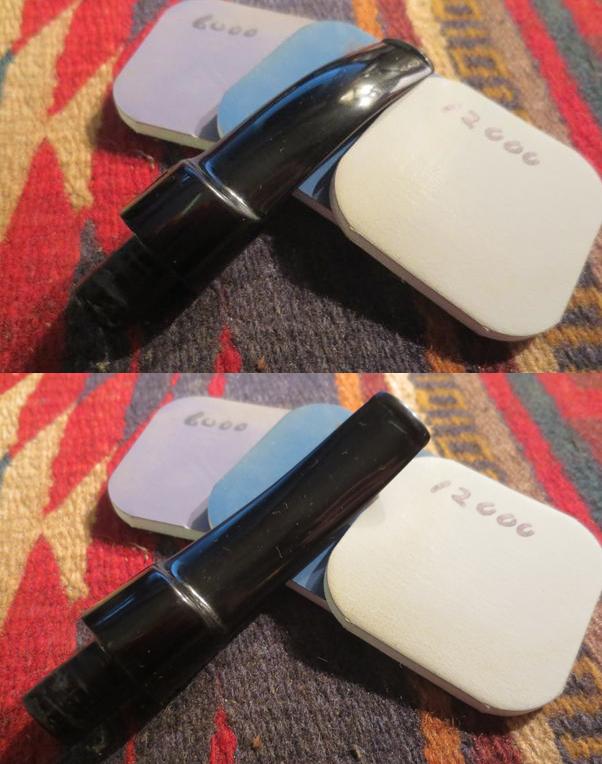
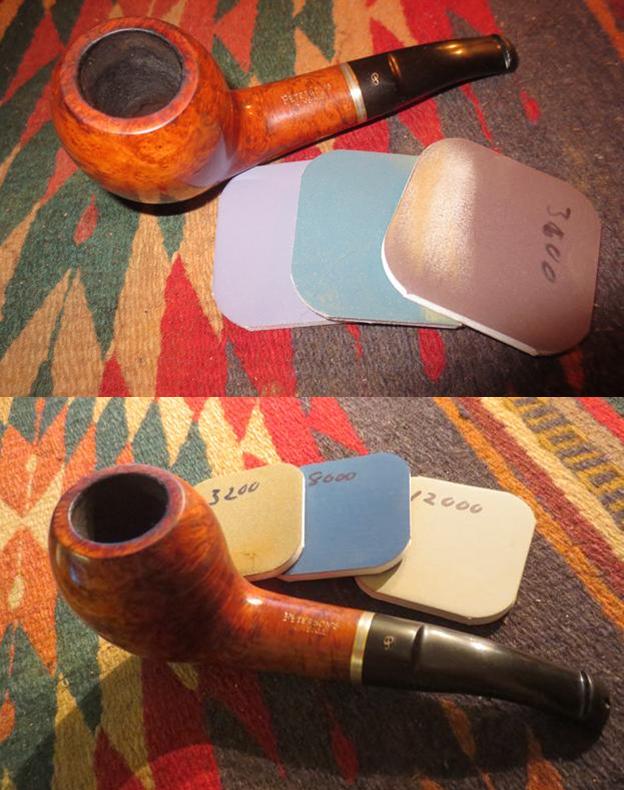
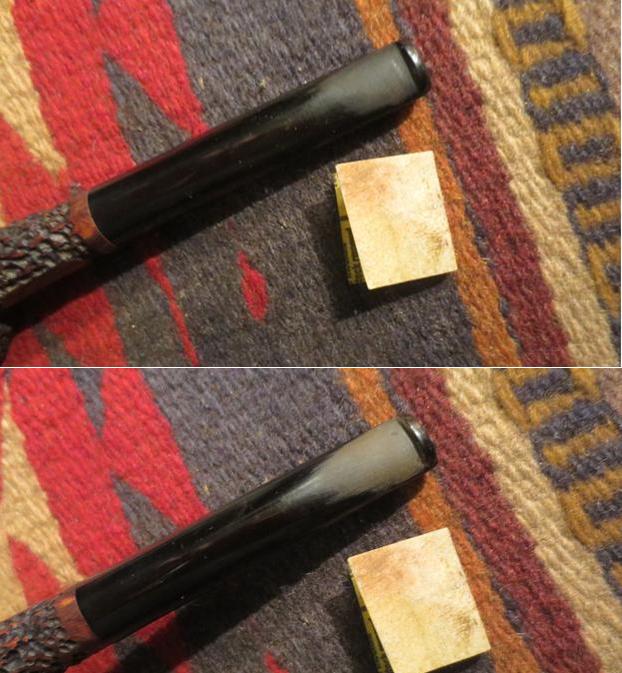
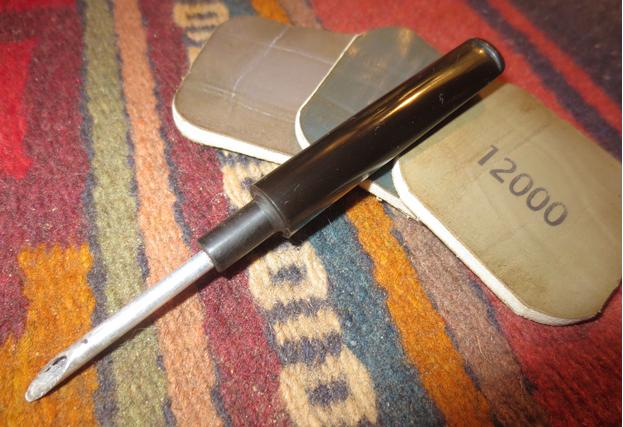
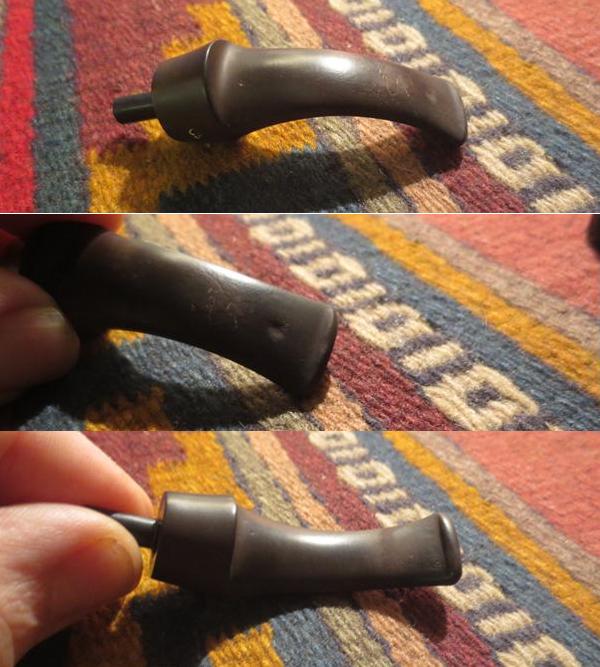
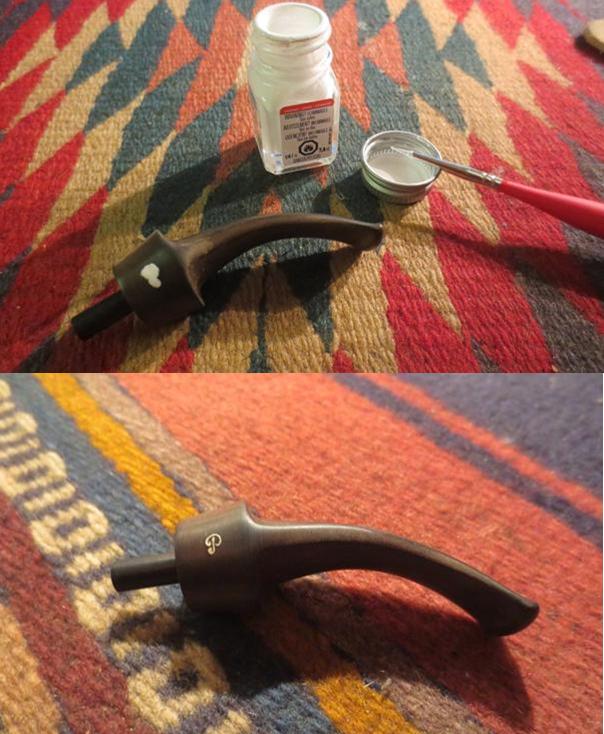
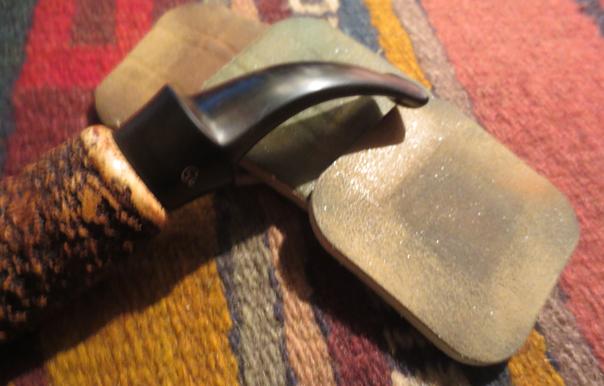
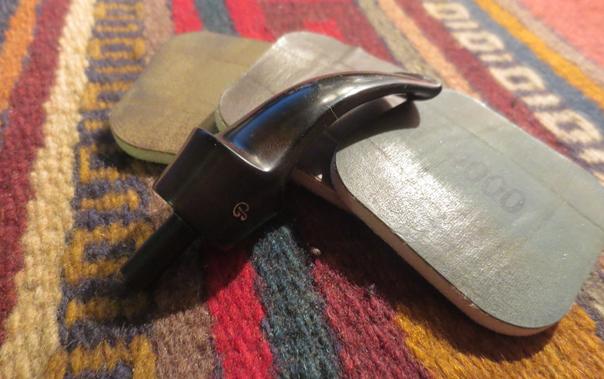
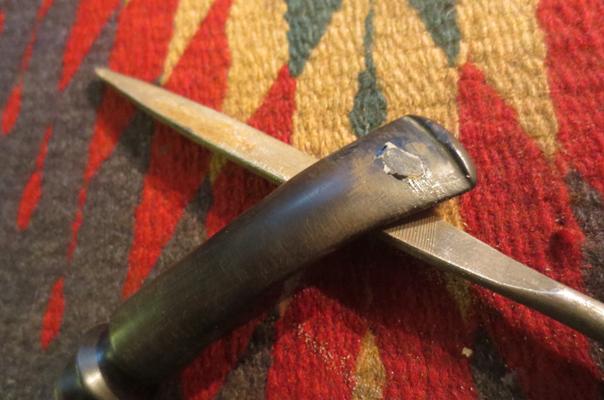
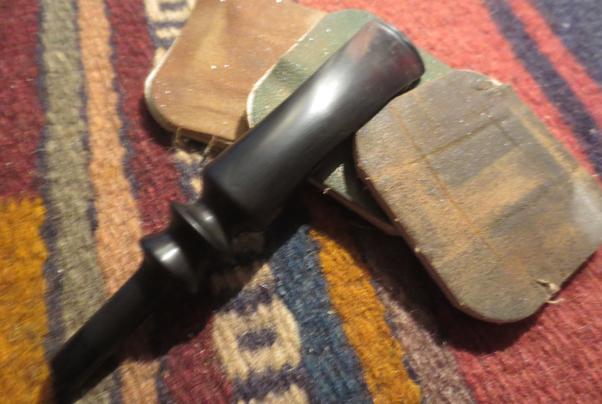
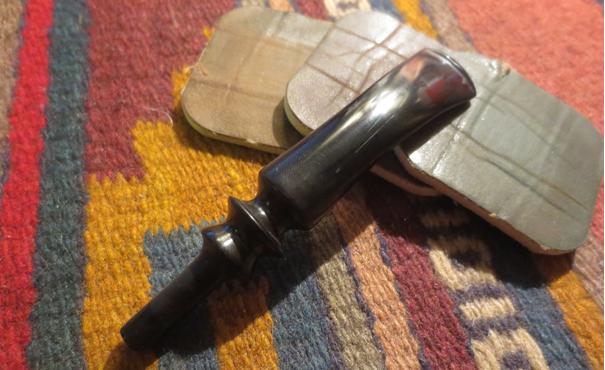
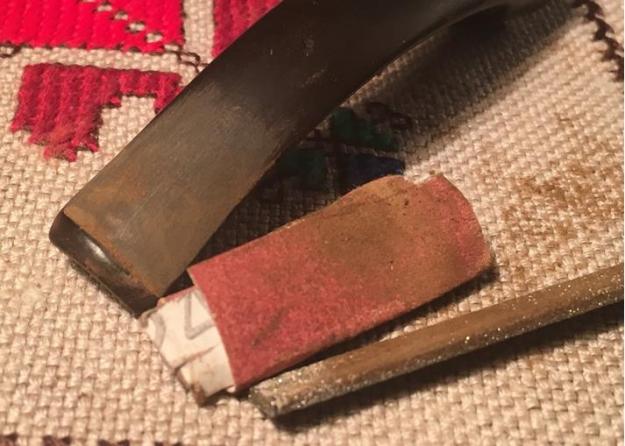
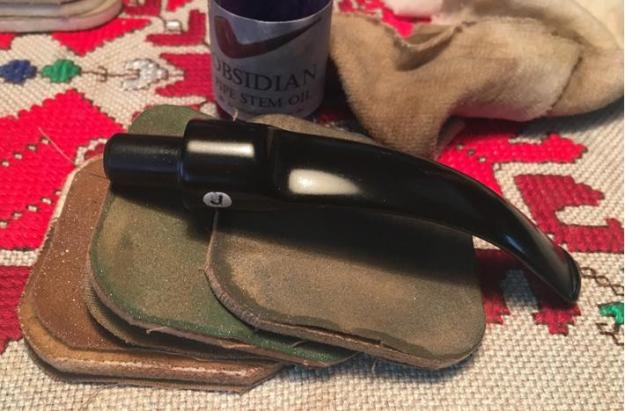
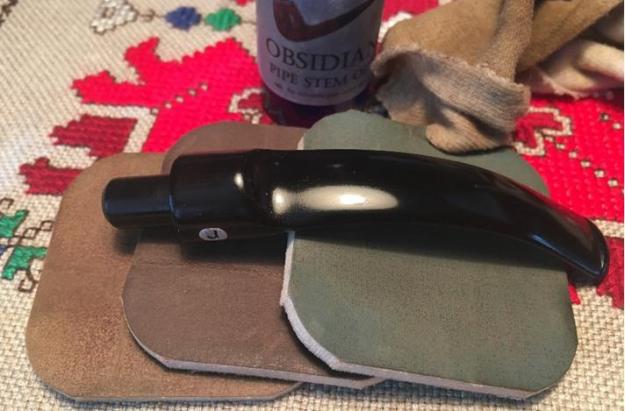
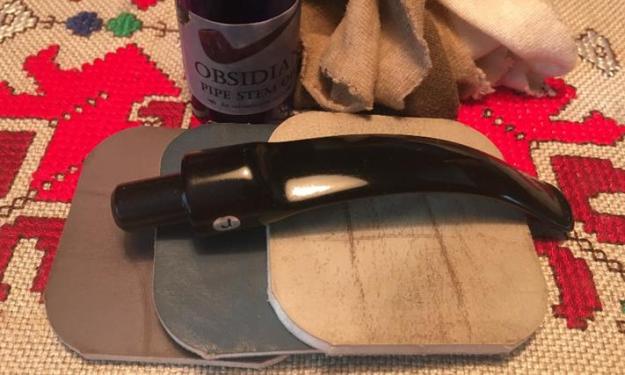
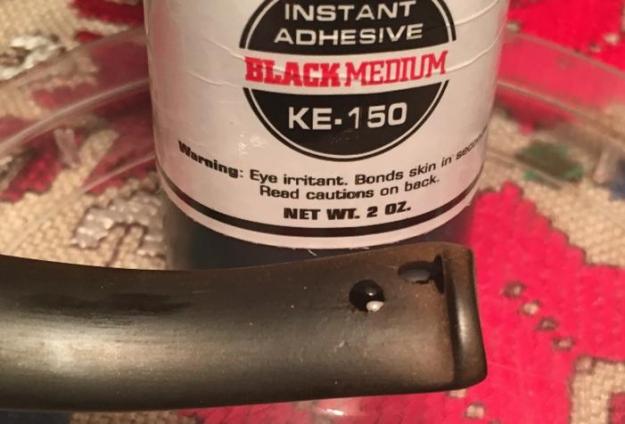 After the KE-150 Black super glue patch on the underside of the bit cures, I take 240 grit sanding paper to smooth out the patch bumps bringing them down to the stem surface level. I do the same to remove light tooth chatter on the upper side. To redefine the button, I use the needle file to shape the contours of the button lip top and bottom. I again use 240 grit to remove the file marks and remove light tooth chatter. With micromesh pads grit from 1500 to 2400 I wet sand the stem and apply Obsidian Oil. Unfortunately, after admiring the shine beginning to move to the surface, I also saw some small ‘patches’ of oxidation remained visible – a bit near the button and on both upper and lower parts of the saddle stem that tapers from shank level down to button level. If this part of the saddle stem has a special name, I’m not sure what it is! I was frustrated and therefore forgot to picture this! I put the stem back in the Oxyclean bath for another baptism. The pictures below represent the micromesh process after the second bath, which raised the residue oxidation to the surface and I remove it beginning with the 1500 grit micromesh pad. Following the 1500 to 2400 micromesh wet sand cycle (again!) I apply Obsidian Oil. With pads from 3200 to 4000 grit I dry sand and follow again with applying Obsidian Oil to the stem. I complete the micromesh polishing with pads 6000 to 12000, apply Obsidian Oil and put the stem aside to dry. I’m pleased with the results even though I had a detour. The pictures show the progress on the stem repairs and polishing.
 With the stem ready for a stummel, I start working on completing the Jeantet’s re-commissioning by using 240 grit sanding paper to remove the cured briar dust super glue putty patch on the holes just below the rim. I’m careful to sand strategically by folding the paper and using it like a blade directly on the patch so I don’t unintentionally sand into the rim’s sharp beveled top edge – that would not be good to deface the rim! I take a before and after picture to show the progress. The rim already has a very nice bevel, but to remove the dents and pitting on the rim I use 240 grit paper folded and work on the rim. I pinch the paper with my thumb on the beveled contour as I rotate the stummel. I find that this method allows for an even movement and a consistent bevel angle to develop. With the bevel already in place, I simply go with the contour that is already present but remove the damage producing a fresh beveled surface.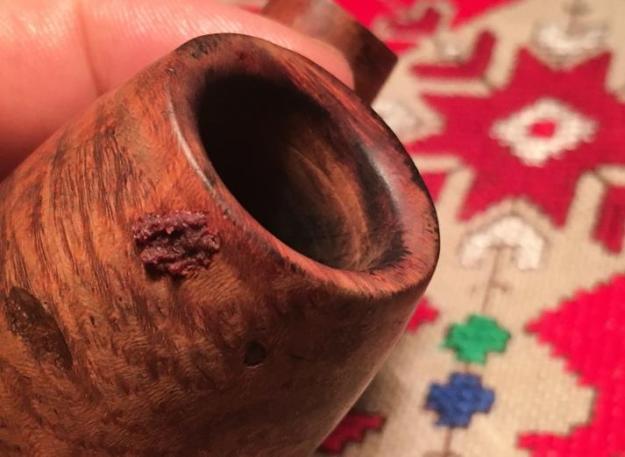
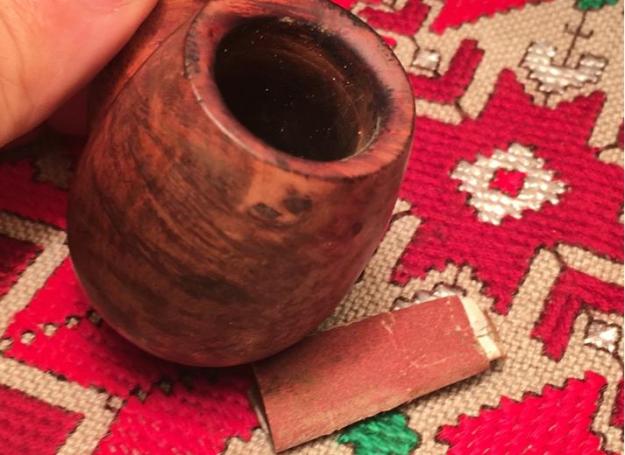
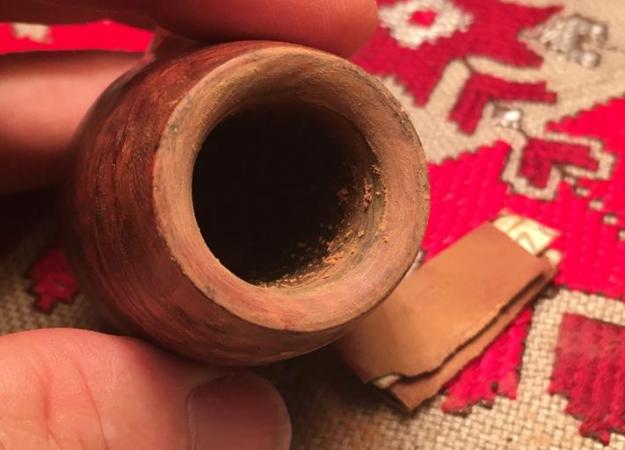 Well, all work on the Jeantet came to a halt for about 3 weeks as my wife and I enjoyed our annual R&R on the Black Sea coast near the fishing town of Sozopol. Reading books and enjoying the beach is one of our favorite things to do to relax and decompress from the work we do in Bulgaria. A special joy to us during these weeks was the visit of our daughter and her husband from Denver, Colorado. They joined us at the Black Sea for our last few days on the beach and from there we took them to see different sights in Bulgaria as well as spending the last week of their visit on the beautiful Greek island of Santorini! Another great part about their visit was that they brought supplies and pipes I had ordered and purchased from eBay. They also brought another prize – the Savinelli pipe knife to add to my tool box that I won in a fierce bid on eBay! During this time of R&R I also visited several antique shops in different Bulgarian towns and secured some future restorations – it was a good time but now, back to life and the Jeantet Fleuron!
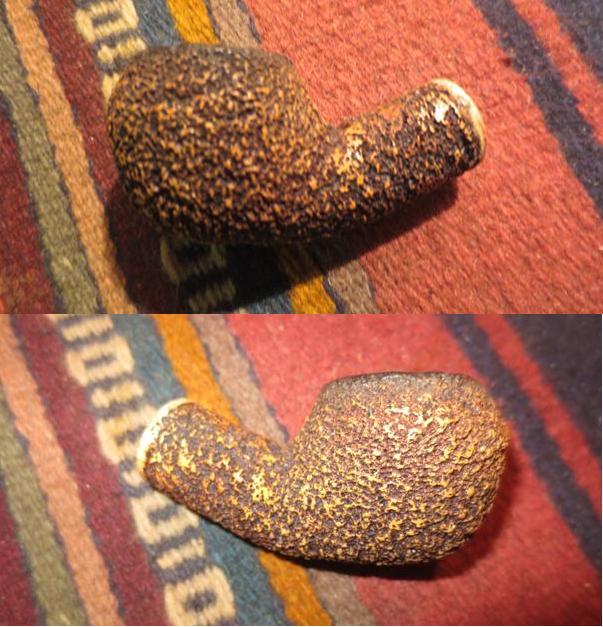
With stem reattached to the stummel I use a medium grade sanding sponge on the bowl. Following this, I utilized all 9 micro-mesh sanding pads, 1500 to 12000 to sand/polish the bowl preparing it for staining. I’m liking the briar grains beginning to make an appearance on the Jeantet. The pictures show the progress on the stummel surface.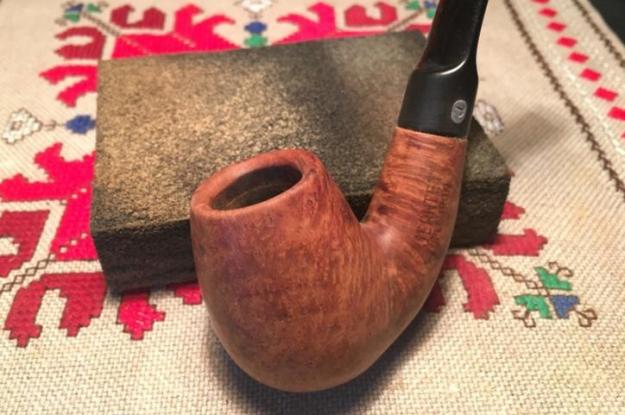
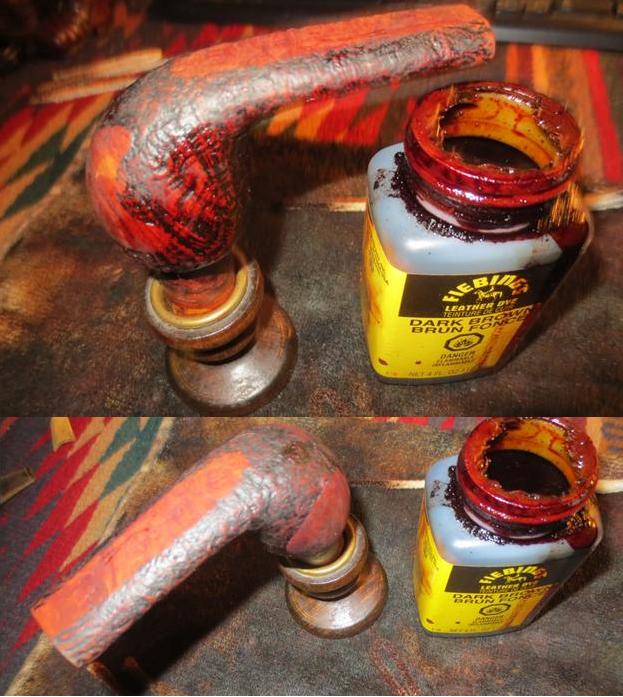
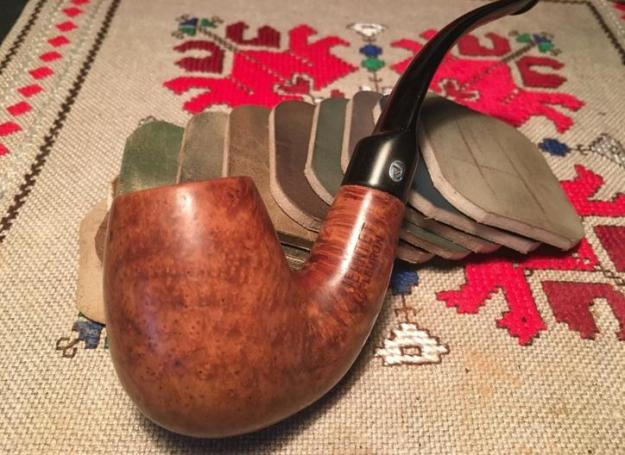 I’m anxious to try out one of the supply items that my daughter and son in law brought from the US – Fiebing’s Leather Dye. They brought dark brown and oxblood colors and I decide to try the dark brown on the Jeantet. One of the challenges that I have finding supplies in Bulgaria is not having good selection of aniline (alcohol based) dyes or stains that would readily ‘flame’ helping to set the stain in the wood. I remove the stem and give the bowl a cleaning with alcohol with a cotton pad to make sure it is clean from the residue left over from sanding. I set the bowl up on the cork and candle stand, inverted to apply the dark brown dye that I have chosen. Using a cotton dauber, also a new arrival from the US, I apply the dye liberally over the inverted bottom of the bowl allowing the dye to saturate the briar surface. I’m able to rotate the bowl with the cork in hand to make sure dye reaches the rim beveled surface on the bottom. When the surface is covered I flame it with a butane lighter which evaporates the alcohol from the dye and sets the color more deeply in the grain. After it cools to the touch, I repeat the process above a second time, applying dye and flaming. The pictures below show the progress but also the fact that I need to figure out a better way of pouring the dye into the lid so I’m not wasting so much on my work board missing the briar! After cooled, I use cotton pads with isopropyl 95% and wipe down the newly stained bowl to lighten it and even out the dye application. This allows the grain to jump out more it seems to me.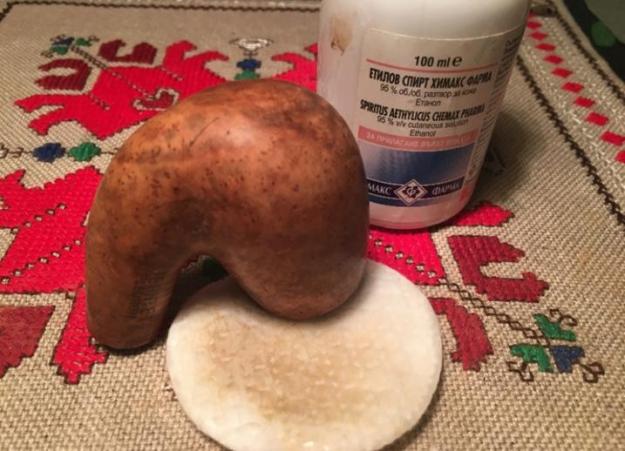

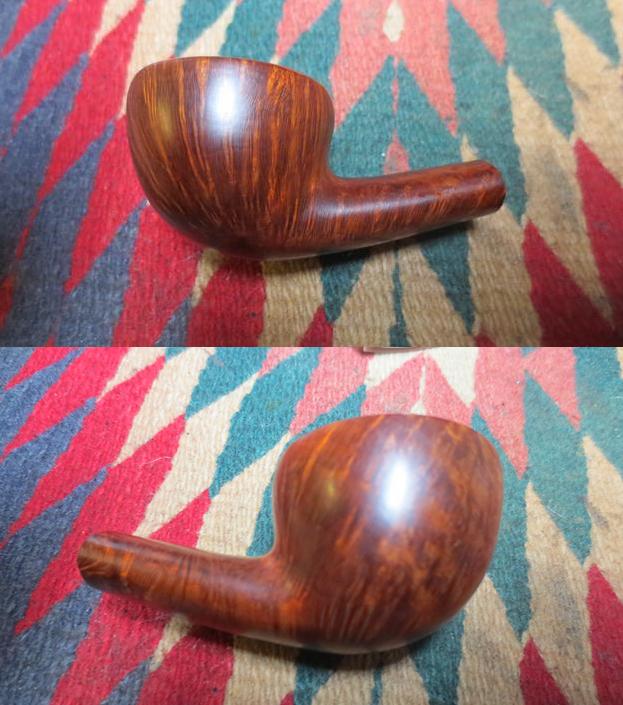
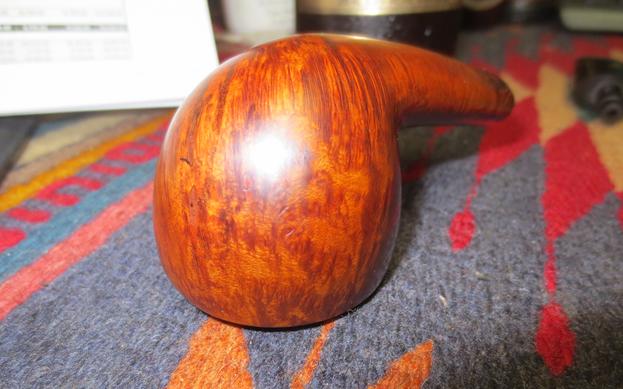
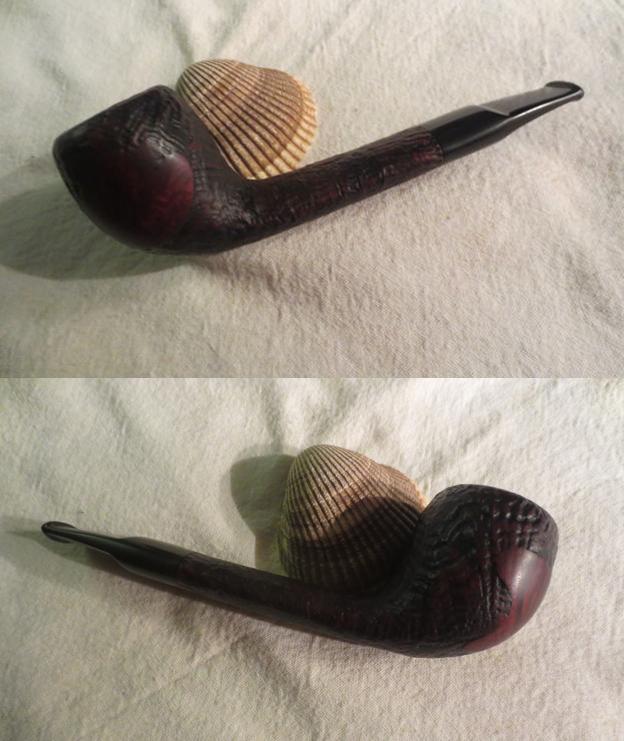
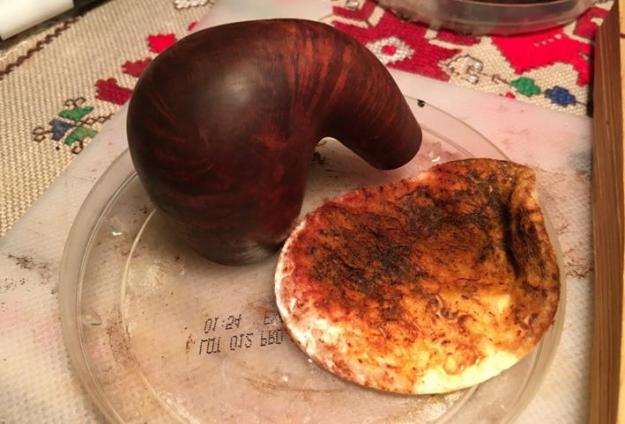 I let the bowl sit overnight to thoroughly dry and set the newly stained surface. I turn to my Dremel using a felt wheel with Tripoli compound on the bowl surface and stem to begin the polishing process. I utilize the slowest RPM speed and keep the wheel moving over the briar surface – not pressing too much allowing the wheel and compound to do the work. I follow the Tripoli with Blue Diamond – also with its own dedicated felt wheel (each compound has dedicated wheels) and again, allow the RPMs, wheel and compound to do the work, keeping the movement of the wheel moving on the stummel surface. For the carnauba wax application, I switch from a felt wheel to a cotton cloth wheel and also increase the RPM speed on the Dremel by one number. I have discovered that the carnauba needs a bit more ‘heat’ to spread evenly over the surface. I apply several coats of carnauba wax over the bowl surface and stem. I love to watch how the briar grain increasingly pops with each step of the polishing process. The beauty of the grain on the Jeantet Fleuron is living up to its name – Fleuron. Since I didn’t study French in school, Google translate provided the English meaning of Fleuron – ‘finial’, which is, according to Dictionary.com, “a relatively small, ornamental, terminal feature at the top of a gable, pinnacle, etc.” Or, simply, a nice finishing touch! I complete the Jeantet Fleuron with a clean cotton cloth wheel buff with the Dremel and then a rigorous buffing by hand with a microfiber cloth to bring out the grain even more and deepen the shine.
Since my wife has lovingly started to put her foot down regarding my growing collection of pipes (I’m sure some of you have faced this as well!) this Jeantet Fleuron 70-7 will make a debut on eBay Europe and US to find a good home! I am considering how to sell more restored pipes and giving the profits to help further the work we do here, with the Daughters of Bulgaria – Bulgarian women who are sexually exploited and trafficked. If you’re interested in adding the Jeantet to your collection, leave a comment below. Thanks for joining me!
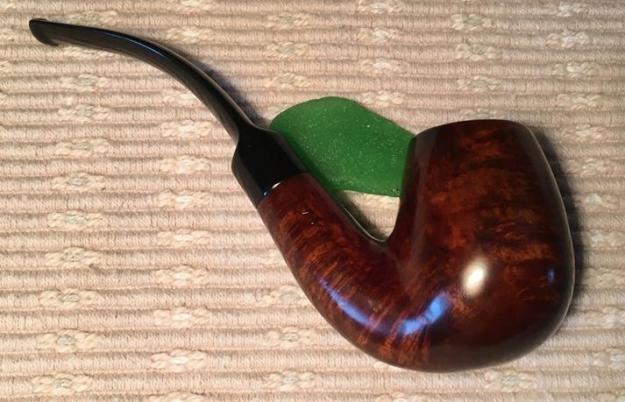
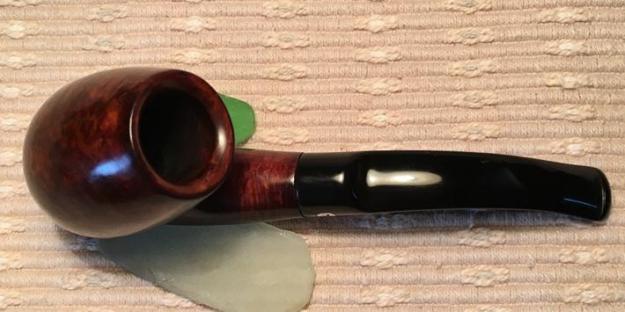
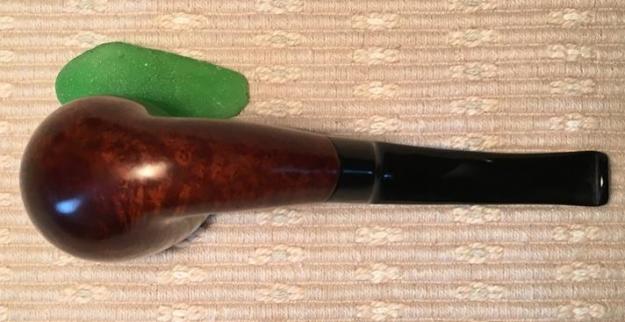
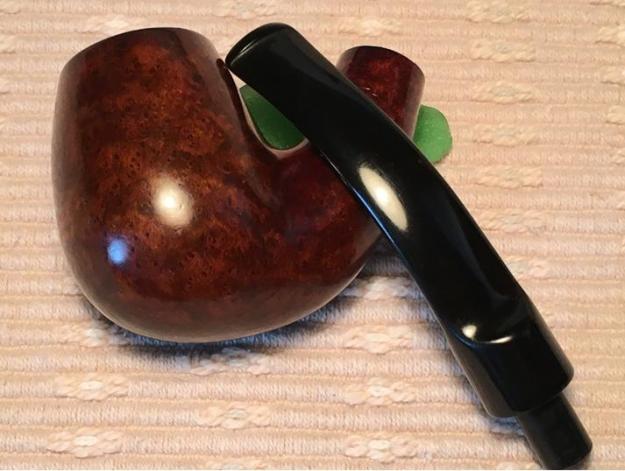

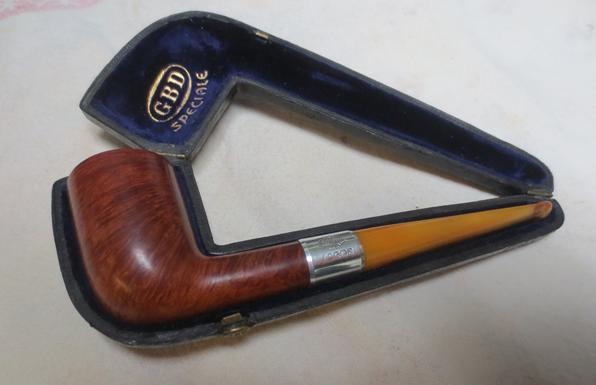
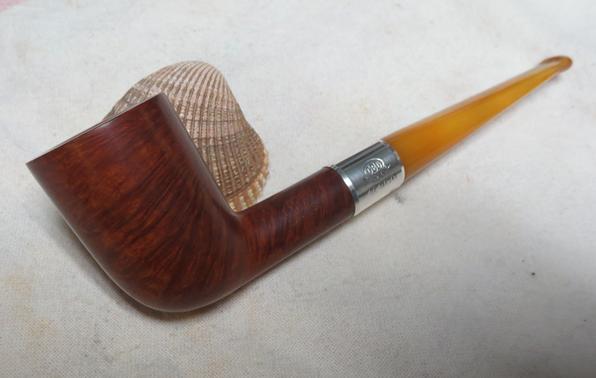
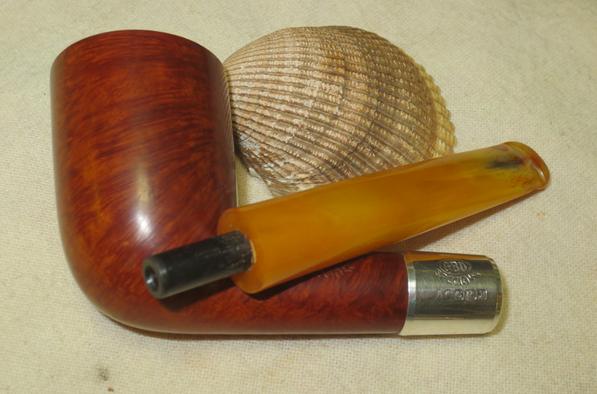
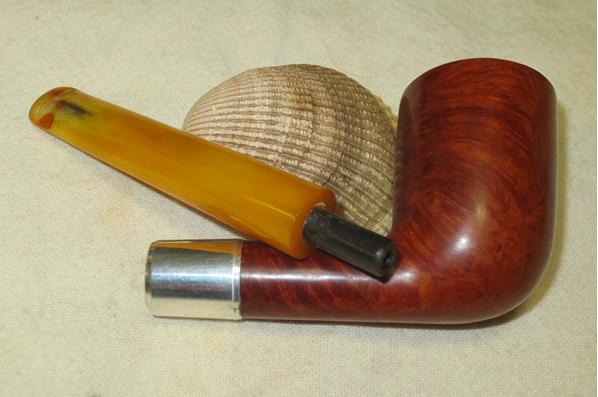
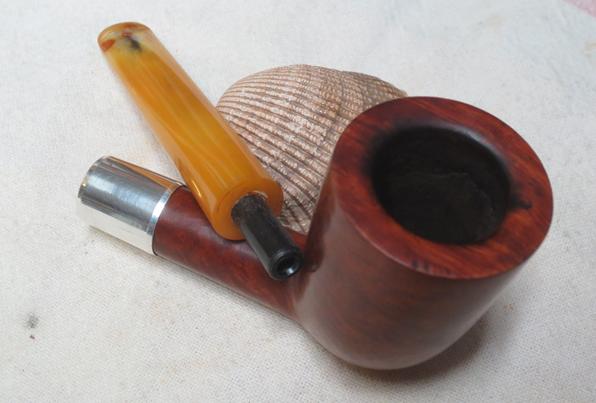
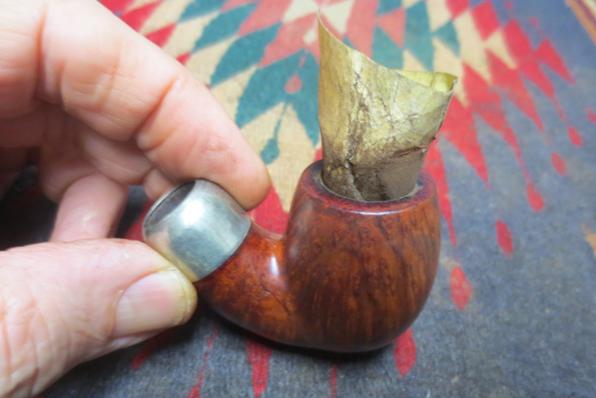
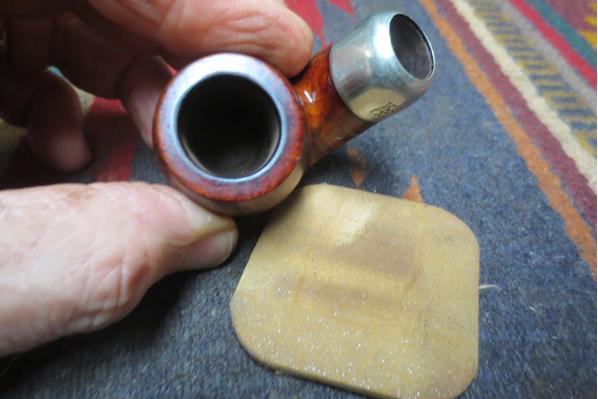
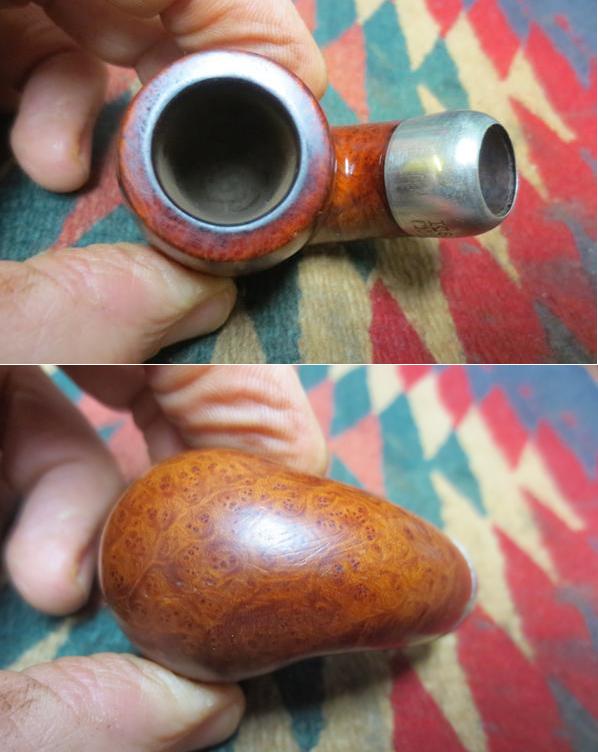
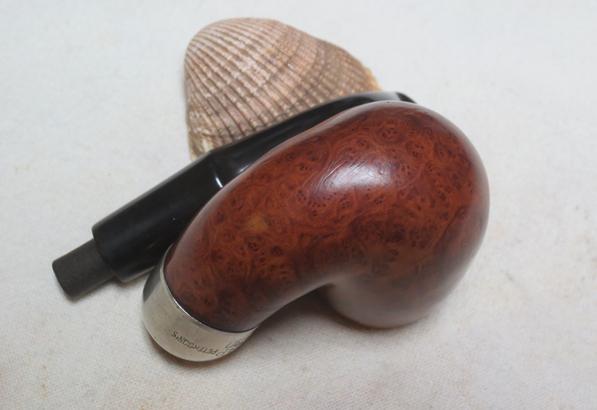
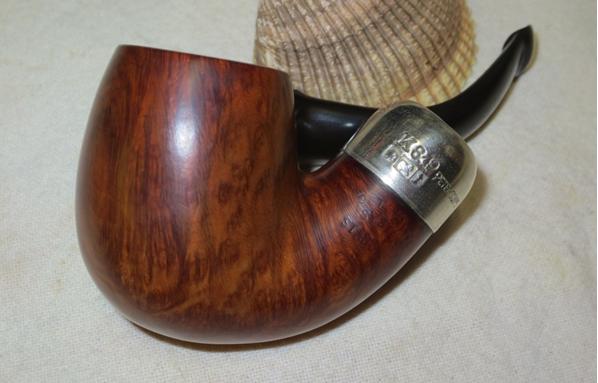
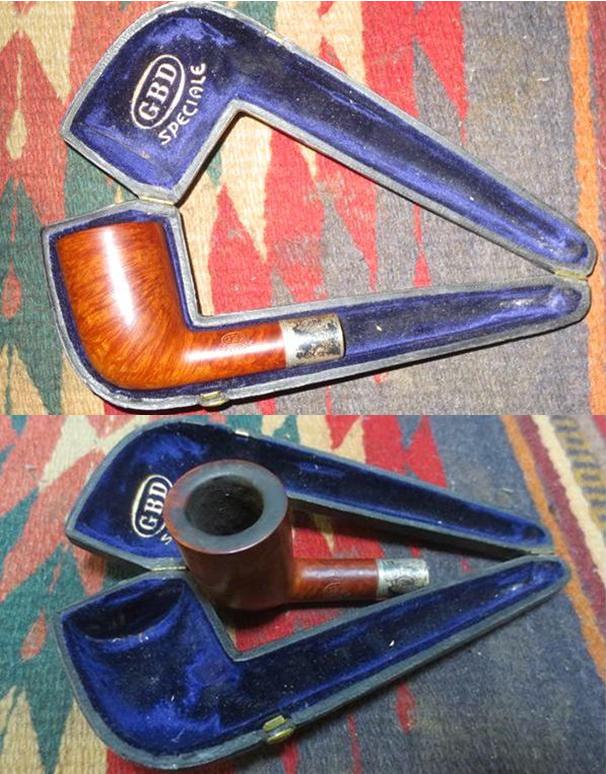
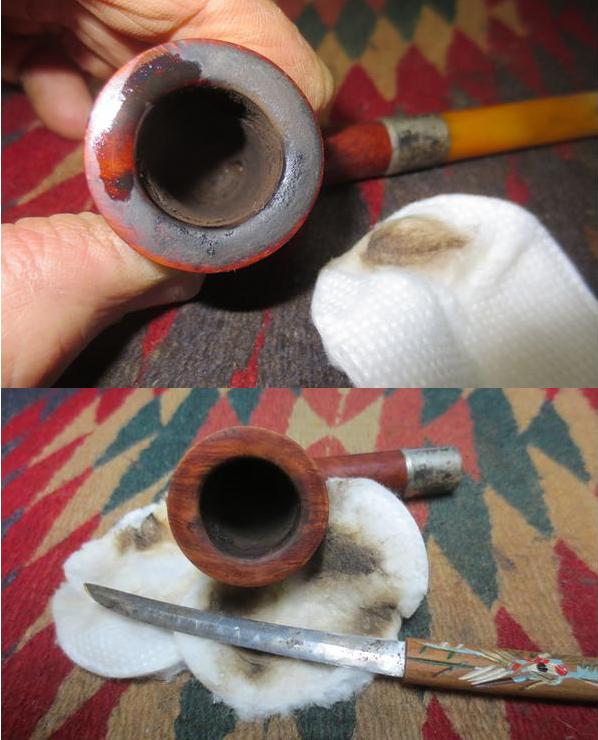
 When I started working on it I took some photos of the pipe when I started the cleanup. The finish was actually very good. The rim had a thick coat of tars and oil built up flowing out of the bowl and onto the top. The bowl had a thin cake in it. The left side of the shank was stamped GBD in an oval with Speciale below. It matched the stamping on the inside lid of the case. The silver band was oxidized but I could see the GBD logo in and oval over Speciale. The band was original. There were also some hallmarks that would have to be read once I removed the oxidation. There was no other stamping on the pipe or band. The inside of the case was undamaged but had a lot of dust and specks of debris in it.
 I took the bowl from the case and took photos of it before I cleaned it up.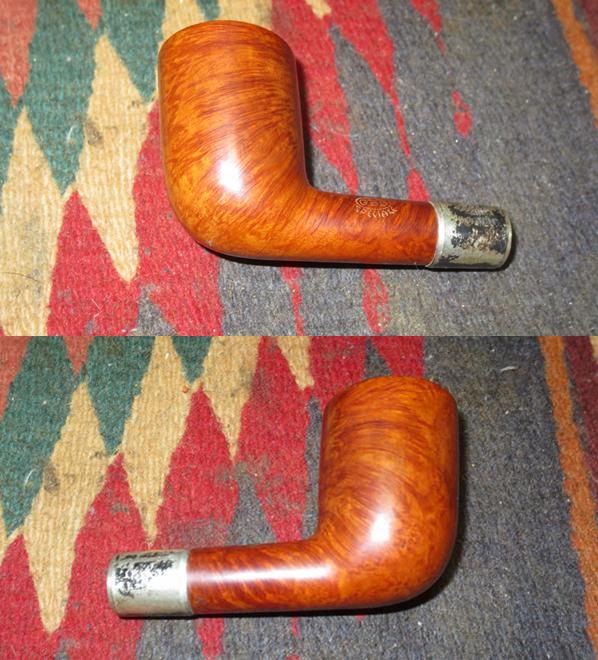
 I had a yellow Bakelite stem that would work with the pipe both in terms of age and also in terms diameter matching the shank. I would need to replace the tenon in the stem as it was too small in diameter to fit in the shank. I had a Delrin tenon that would work once I had removed the metal tenon from the stem. I used a drill bit to clean up the inside of the shank. I twisted the shank onto the drill bit by hand and cleaned it out.
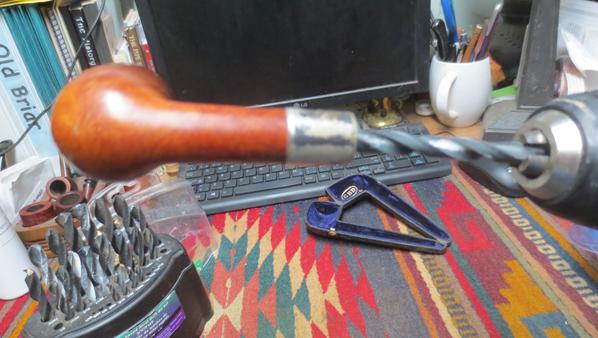 I heated the metal threaded tenon with a lighter and was able to unscrew it from the stem. I drilled out the mortise in the stem to fit the threaded end of the Delrin tenon. Once I had it drilled out I used a tap to thread the inside of the mortise in the stem. I painted the stem with slow drying super glue and twisted it into the stem. The stem was in decent shape other than tooth marks in the surface at the button and the edge of the button was worn.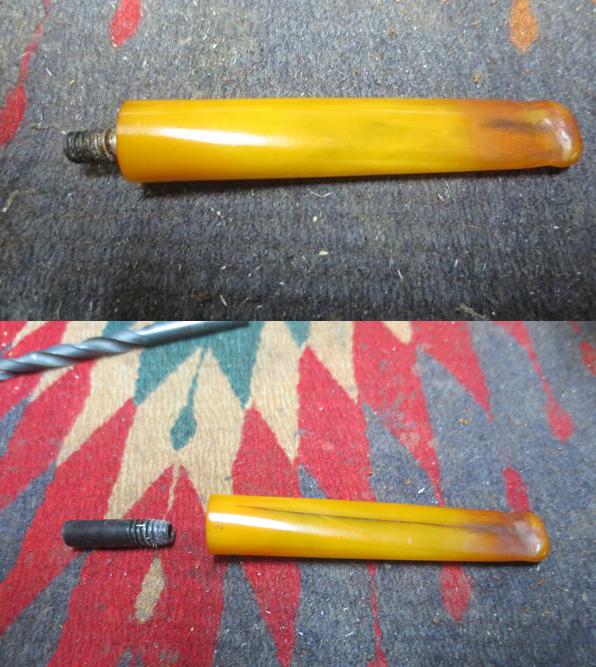
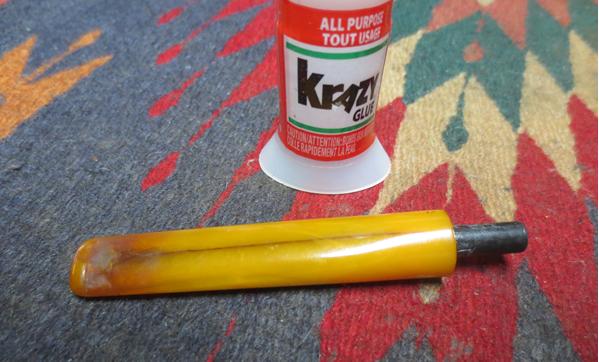 I filled in the tooth dents with some amber super glue that I recently purchased from Stewart MacDonald. Once it had dried I used a needle file to redefine the sharp edge of the button and sanded the surface of the stem with 220 grit sandpaper.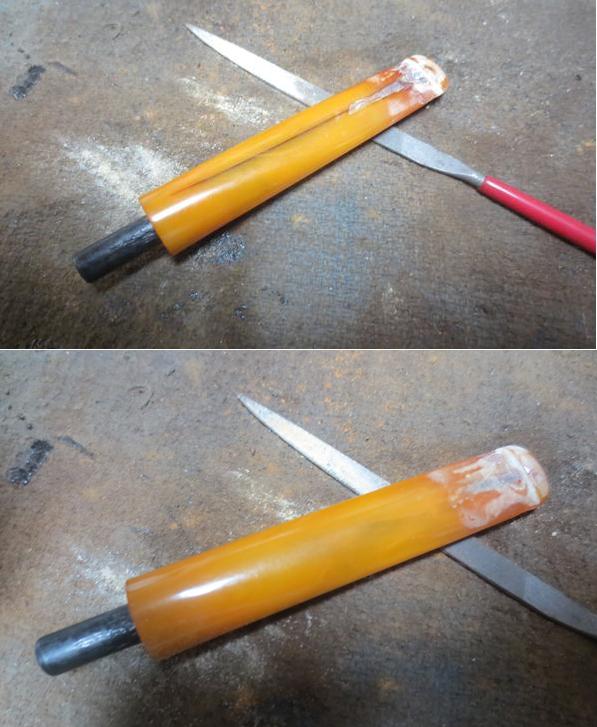
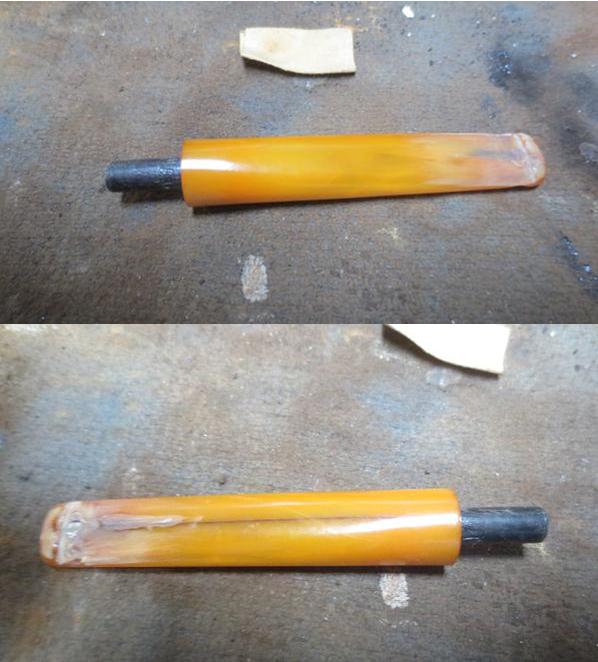 I sanded the stem until the surface matched the surrounding stem area. The repairs show in the photos as slightly darker than the yellow of the stem.
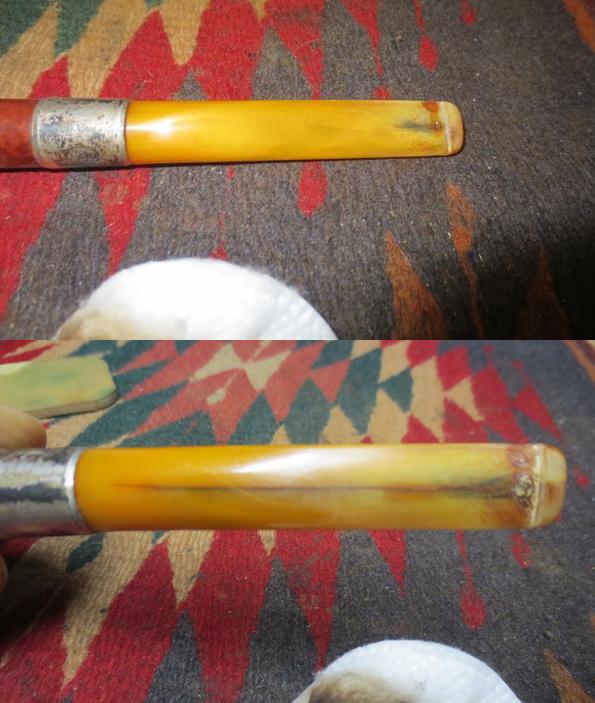 I scrubbed the rim with cotton pads and saliva to soften the tars and oils. I scraped it with a pen knife to remove the buildup and scrubbed it again. I was able to remove all of the rim build up without damaging the finish on the rim top.
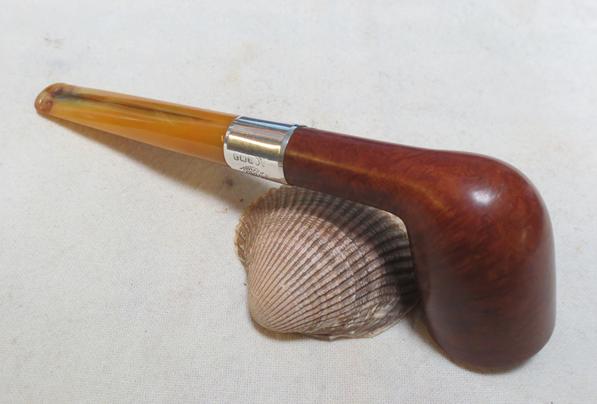
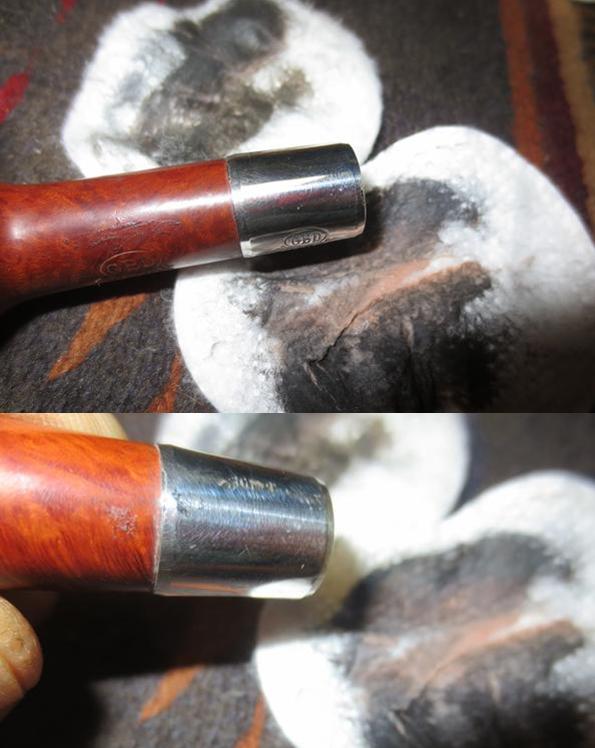
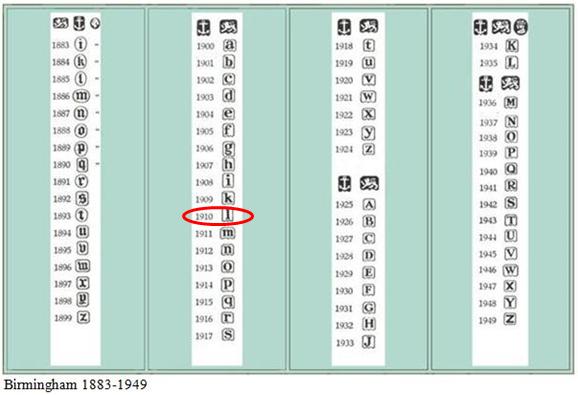
 To clean off the band I scrubbed it with a tarnish remover and polish on cotton pads. I was able to clean off all of the tarnish and bring the hallmarks to light on the band. Using a small penlight and a lens I was able to clearly read them. They read as follows GBD in an oval over Speciale over the following hallmarks in shields: [anchor] [lion] [l], AO (assay office Birmingham). The AO on the front of the stamp was the Assay Office; the Anchor identifies the city as Birmingham, England; the lion passant is the symbol for 925 Sterling Silver and the “l” giving the date of the pipe. The silver shone brightly and distinctively on the shank end.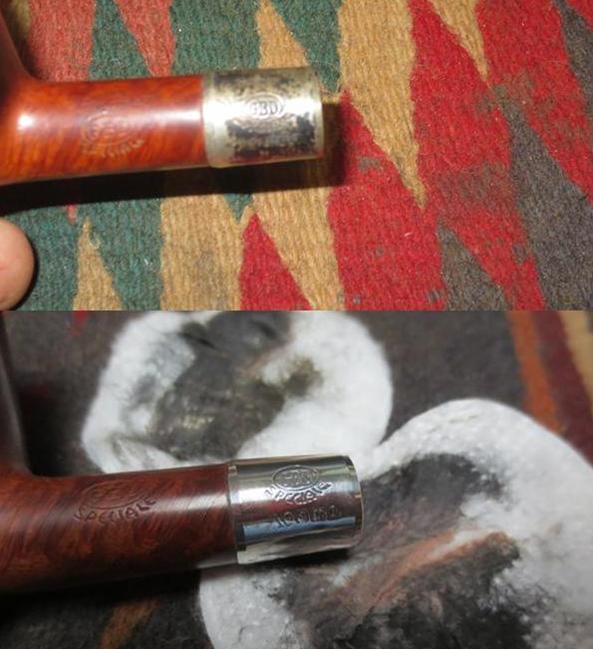
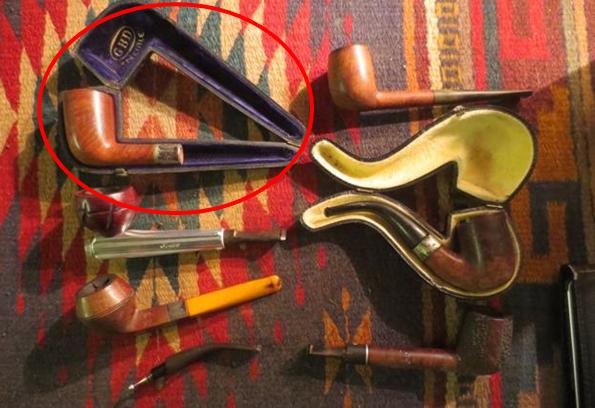
 I looked on-line for the hallmarks and found a great chart. It showed the hallmarks for silver work made from 1883-1949. The date hallmark “l” on the pipe I had matched the one in the chart below for 1910. I have circled it in red. I now knew that the pipe I had was made in 1910.
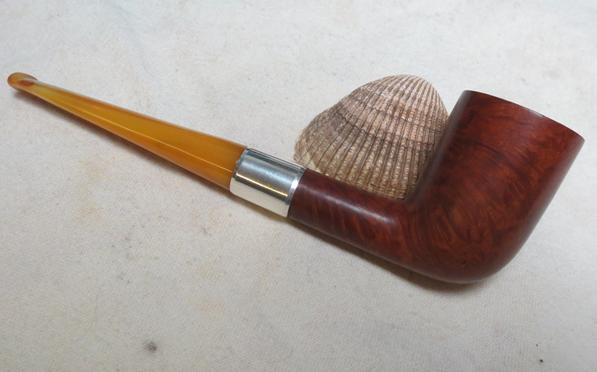
 After the glue dried on the new tenon on the stem I pushed it in place in the shank and took the following photos. I liked the look of the pipe. The only thing that would have made it better would be to have an amber stem to use. This will do while I keep an eye out for an amber one that fits well.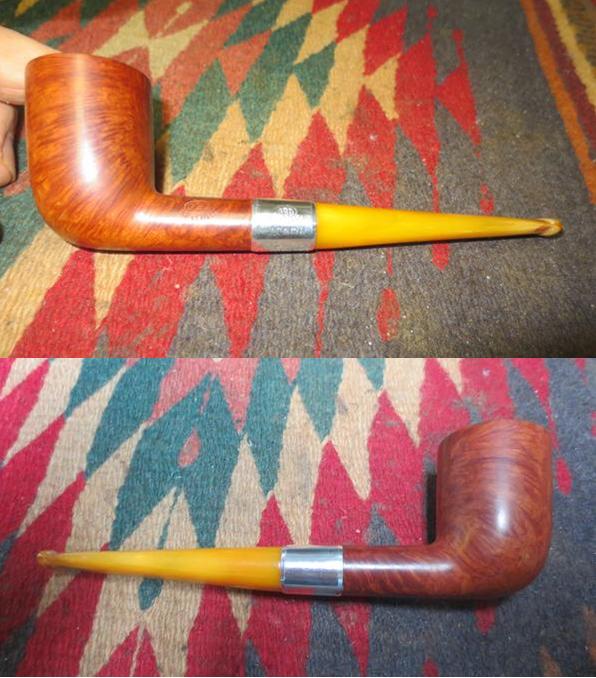
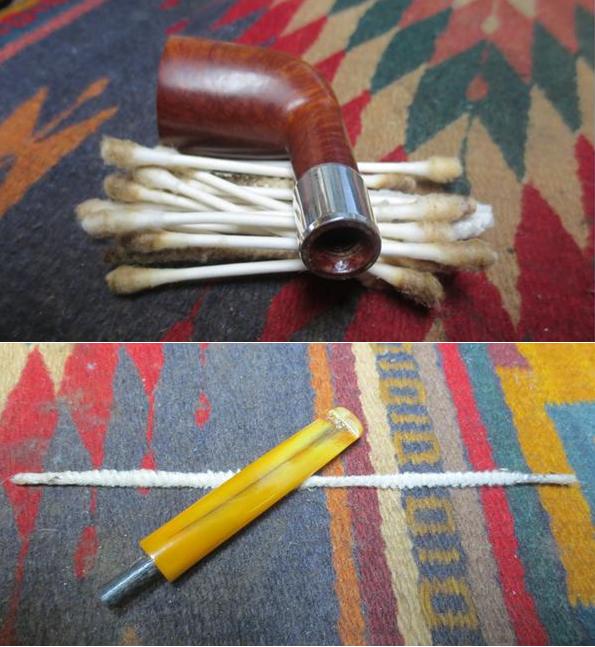
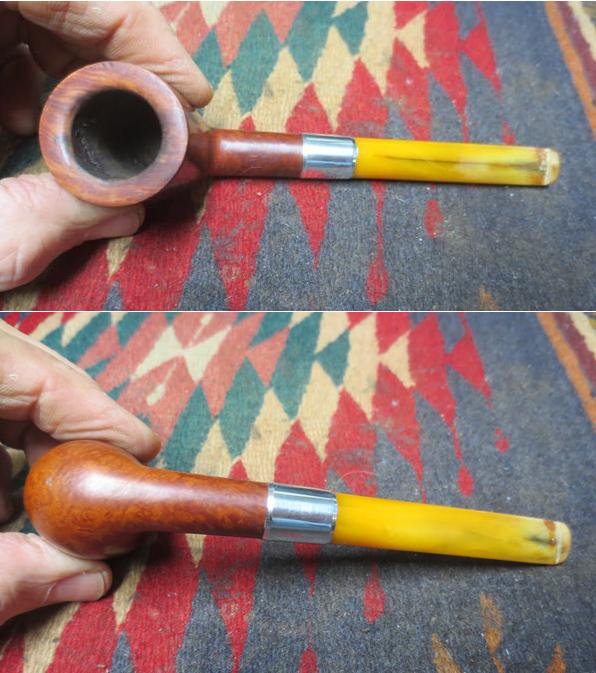 I cleaned out the mortise and the airway in the shank and stem with cotton swabs, pipe cleaners and alcohol until it was clean. The pipe cleaners and alcohol cleaned out a lot of the black darkening in the airway in the stem.
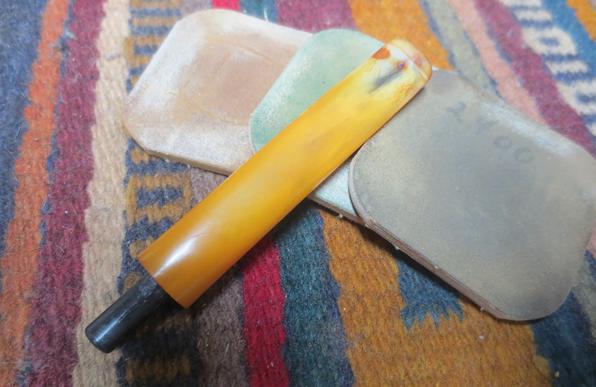
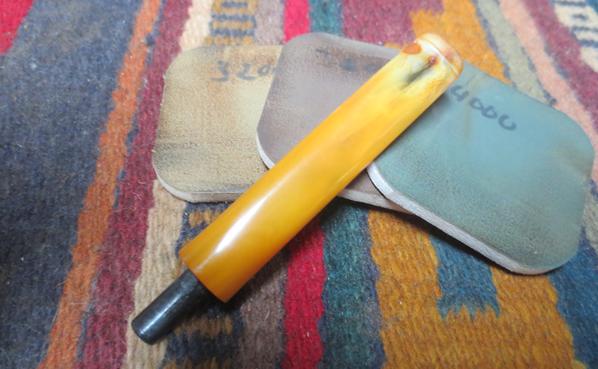
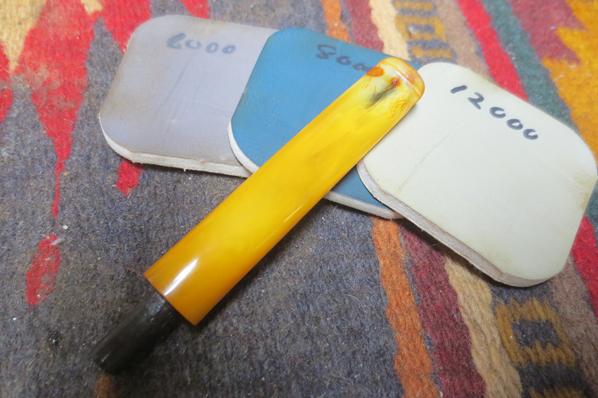
 I sanded the stem repairs with 220 grit sandpaper to further define the button and try to blend the repairs. I wet sanded it with 1500-2400 grit micromesh sanding pads and dry sanded it with 3200-12000 grit sanding pads. I rubbed it down with Obsidian Oil and set it aside to dry.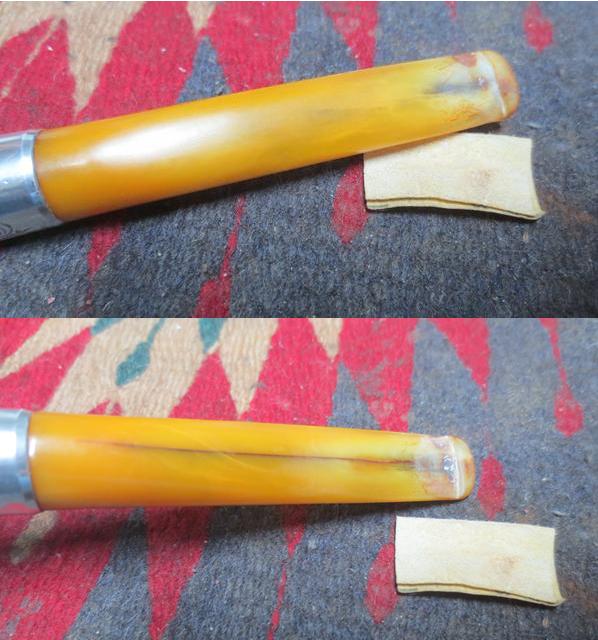
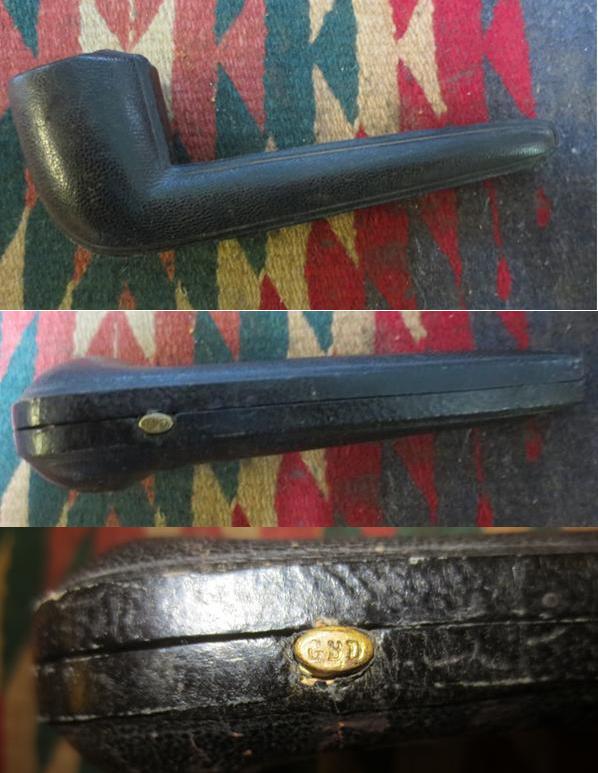
 I used a black Sharpie pen to touch up the scuff marks on the surface of the case. The clasp on the side of the case is a brass GBD logo that when pressed allows access to the inside of the case.
 I cleaned out the inside of the case with a damp cloth and was able to remove all of the debris from the inside of the case. I buffed the bowl and stem with Blue Diamond polish on the buffing wheel taking care to not overheat the Bakelite stem as that would cause it to melt and be disfigured. I gave the bowl and stem multiple coats of carnauba wax and buffed the pipe with a clean buffing pad to raise the shine. I hand buffed it with a microfibre cloth to deepen the shine. The finished pipe is shown in the photos below. It is one that will stay with me while I look for an amber stem that fits the pipe. Thanks for looking.