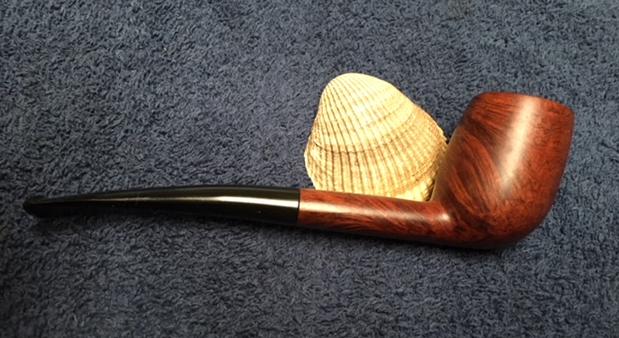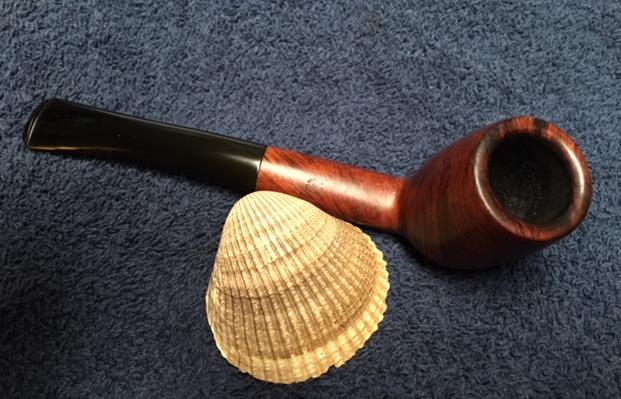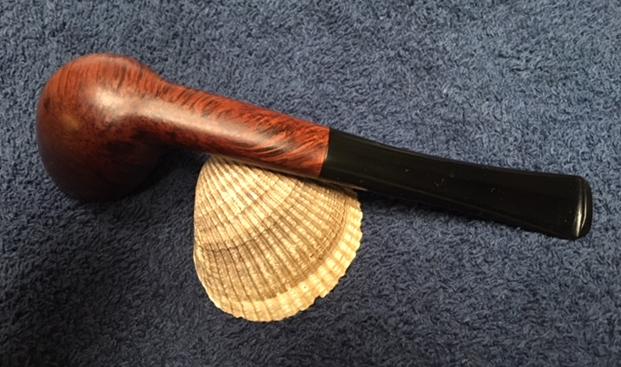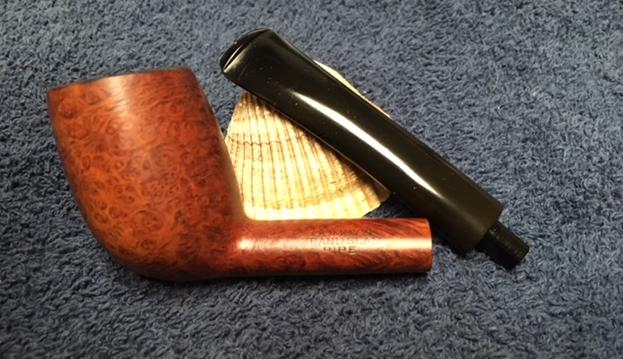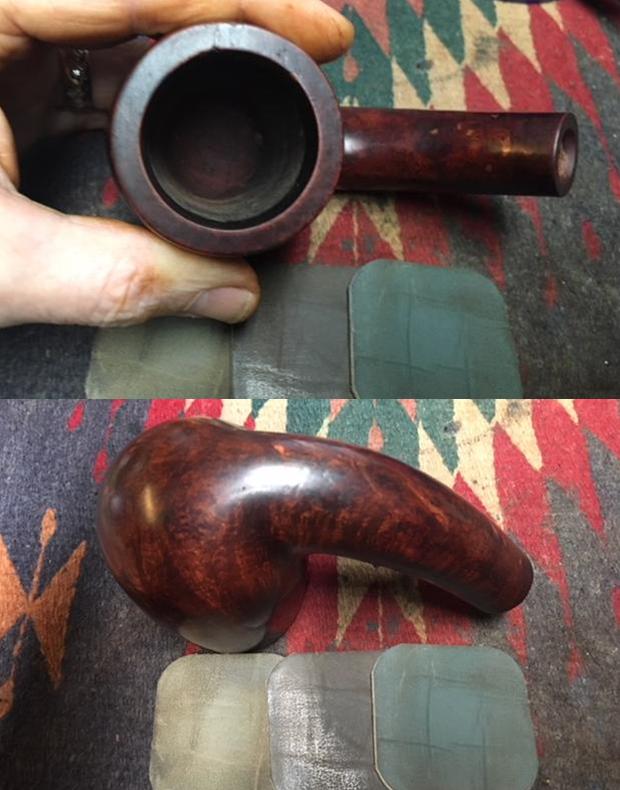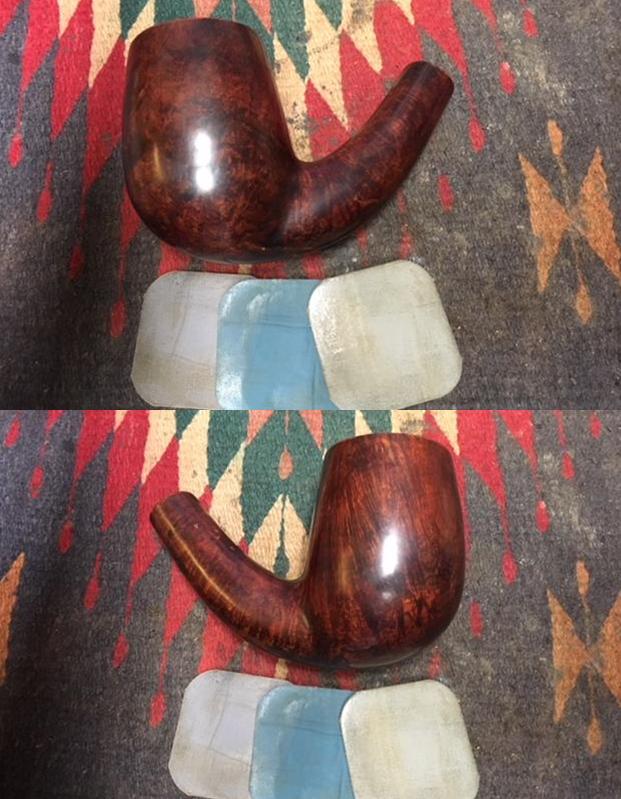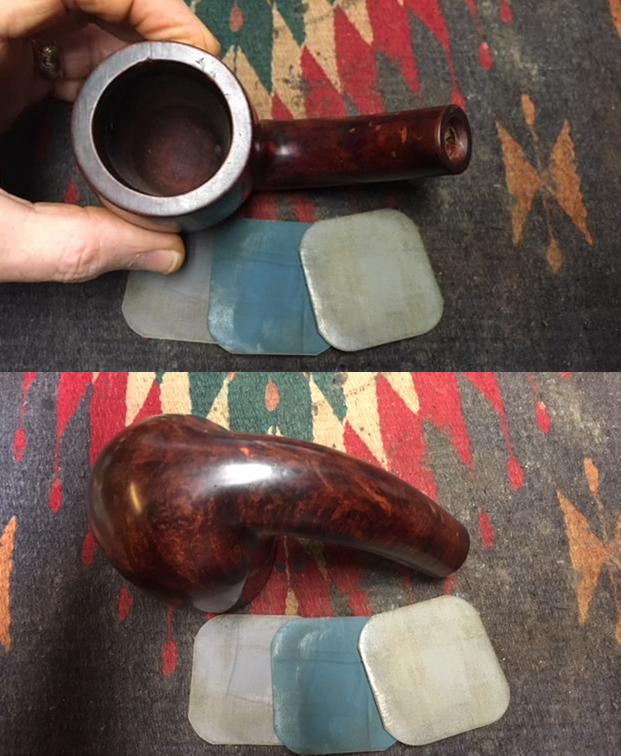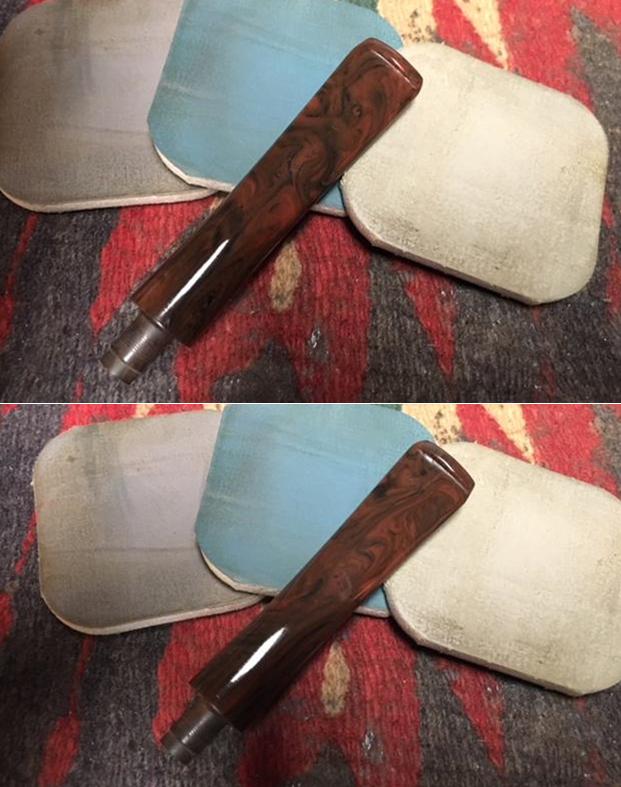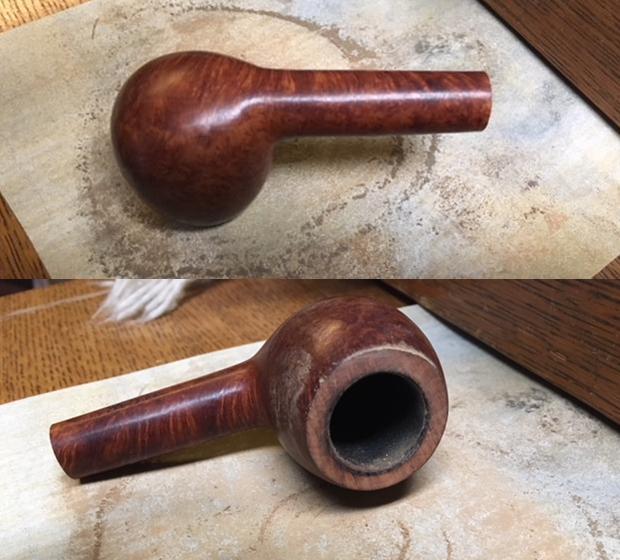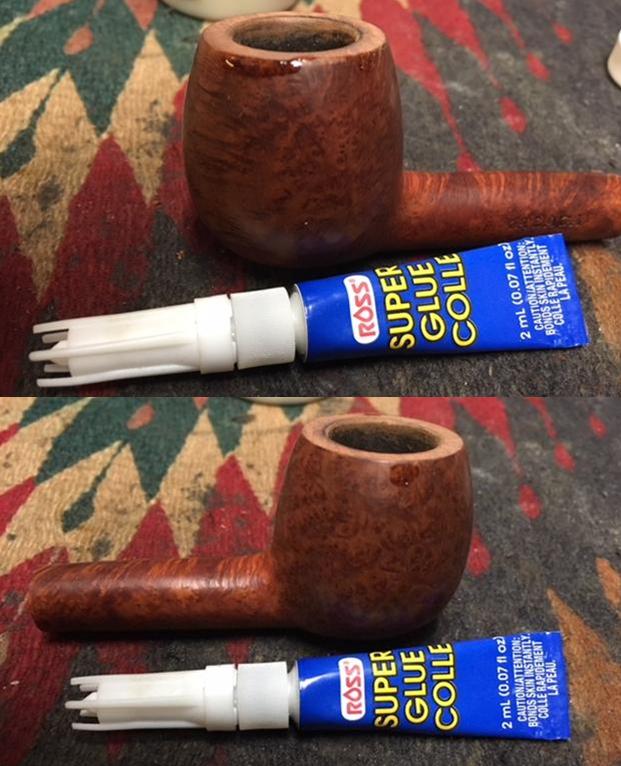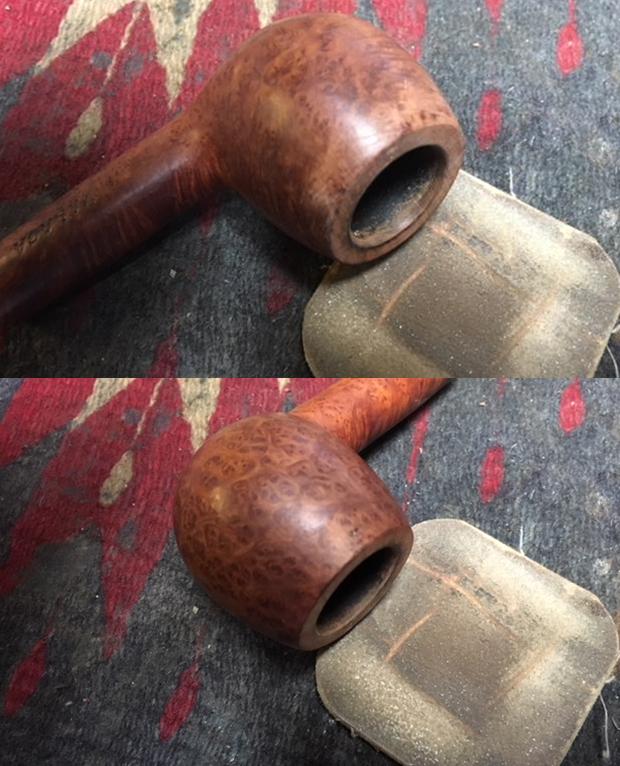
Tag Archives: repairing tooth marks

Restoring Barry’s Dad’s Patent Era Dunhill Shell Bulldog


Blog by Steve Laug

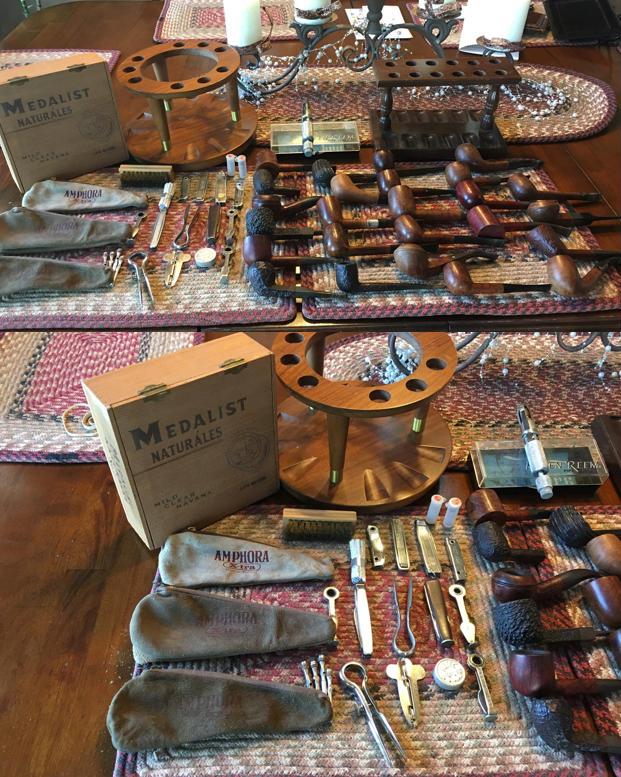
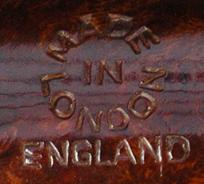
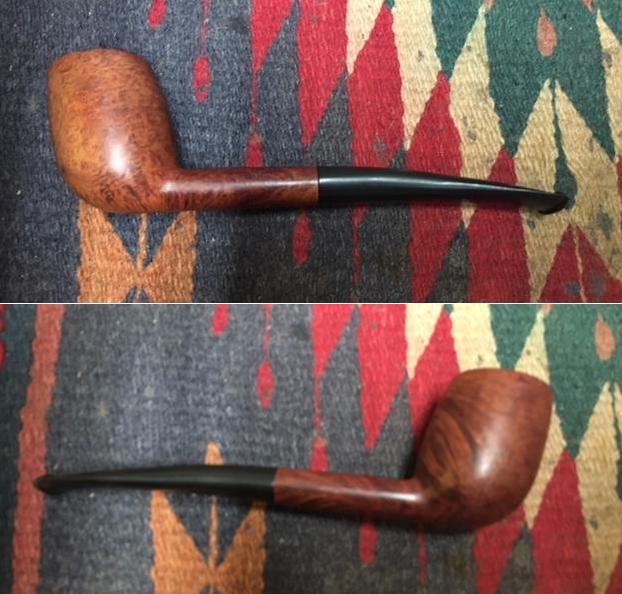
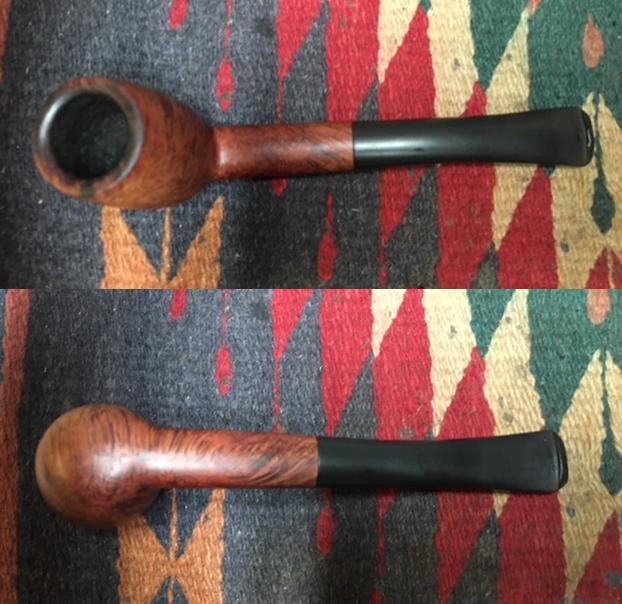
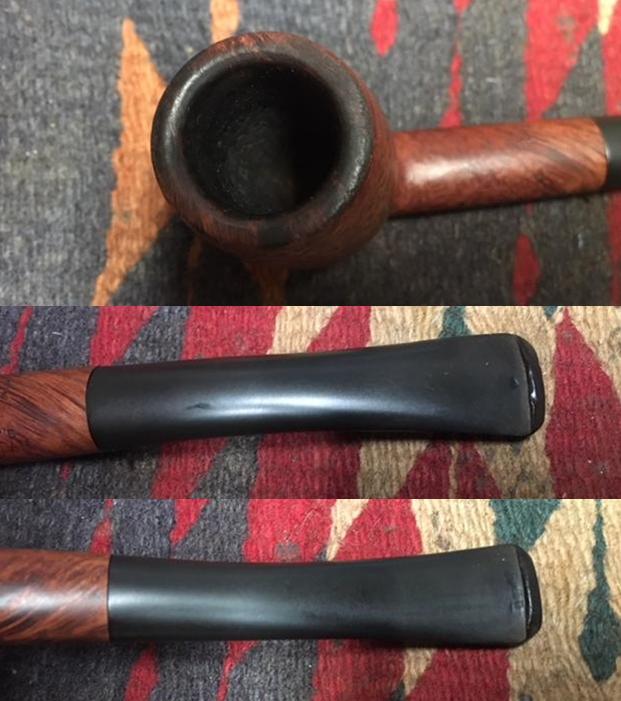
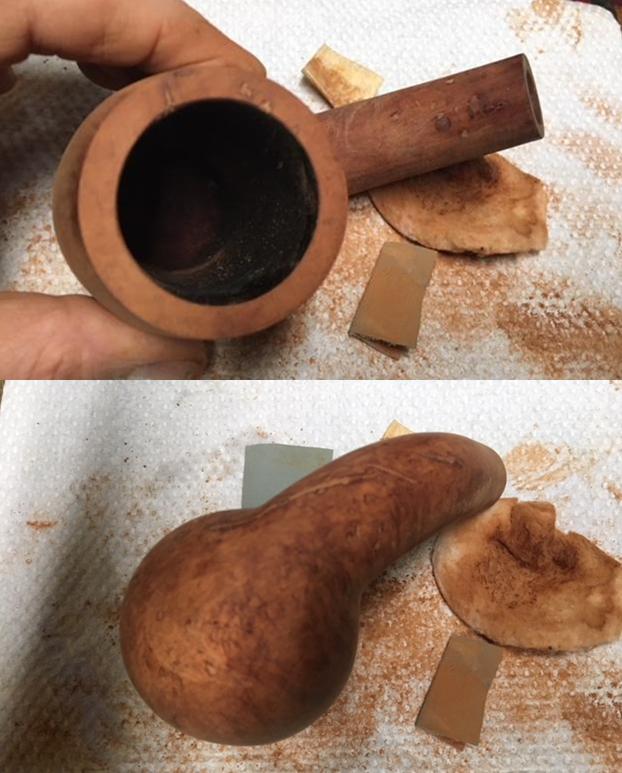
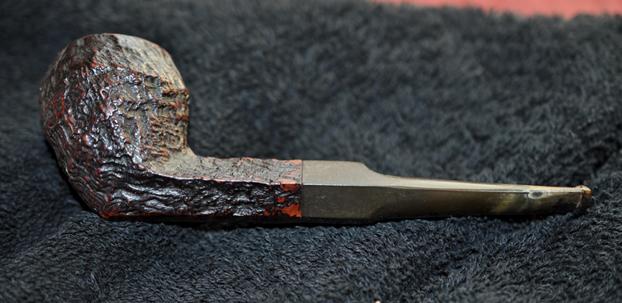
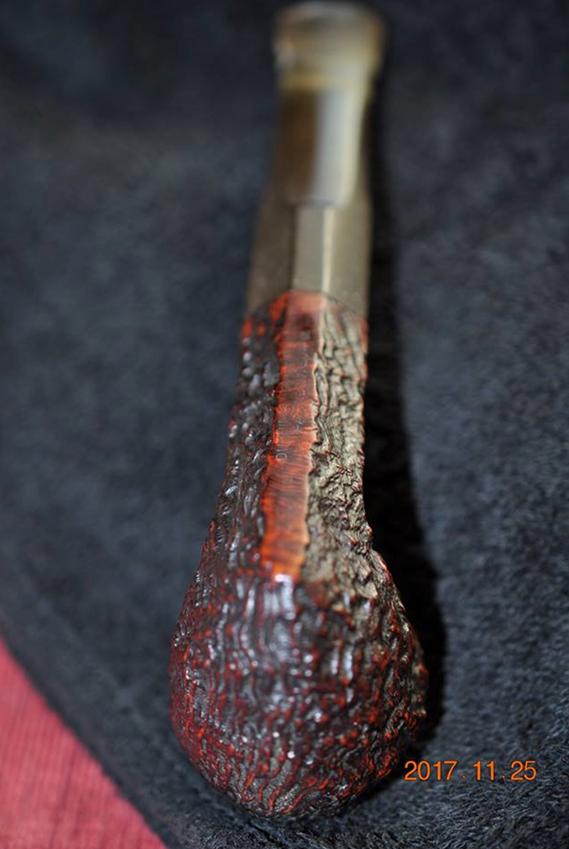
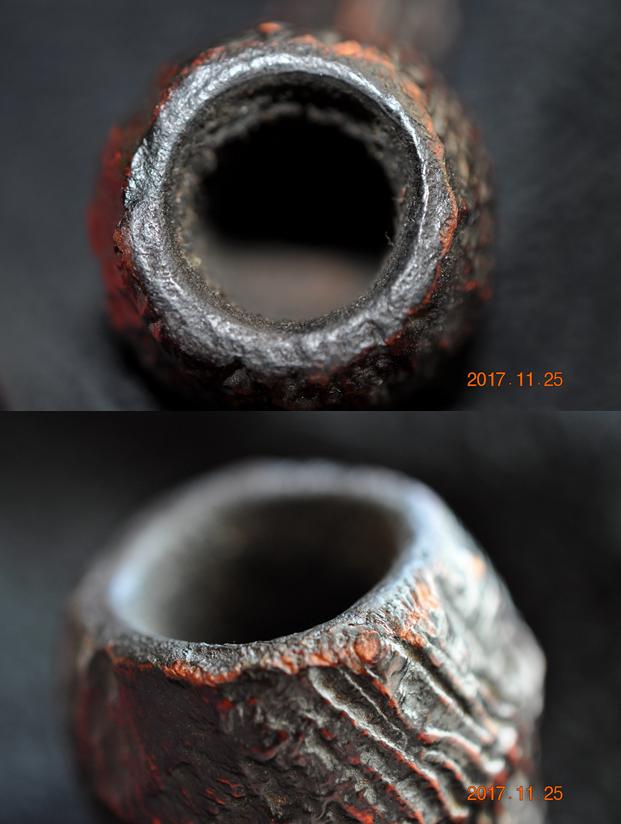
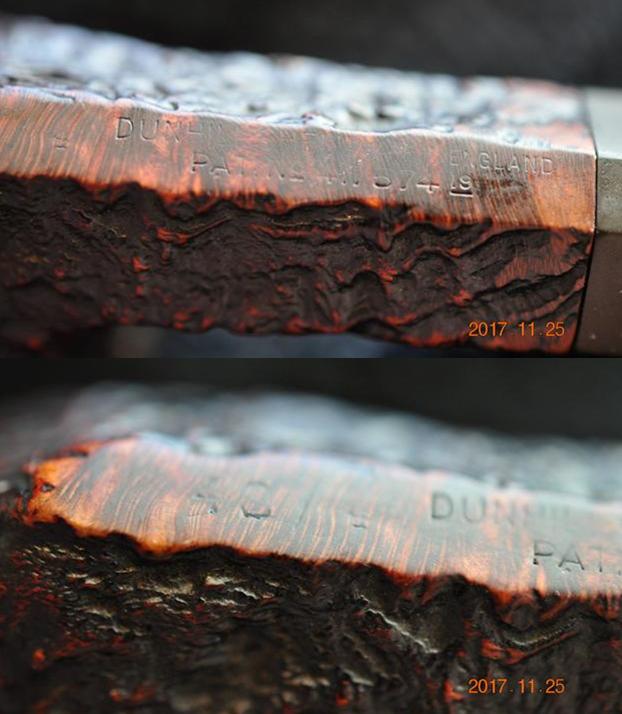
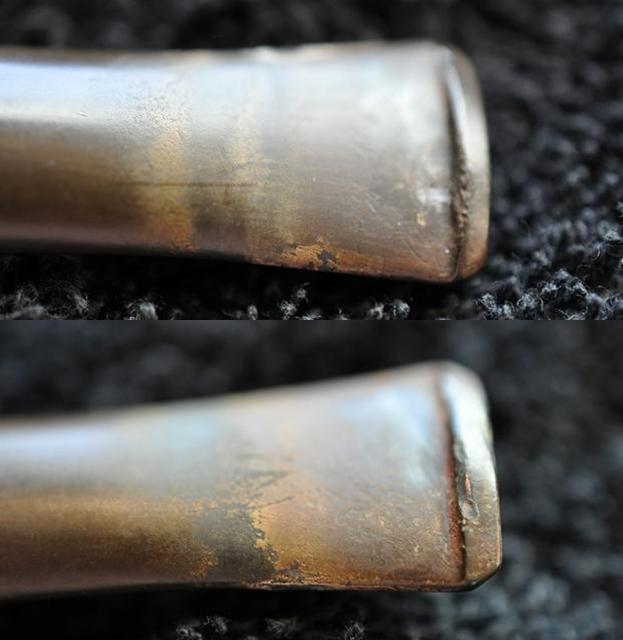
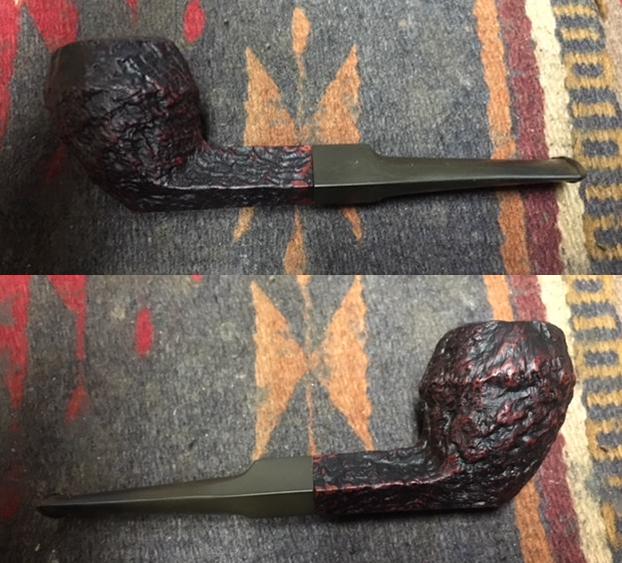
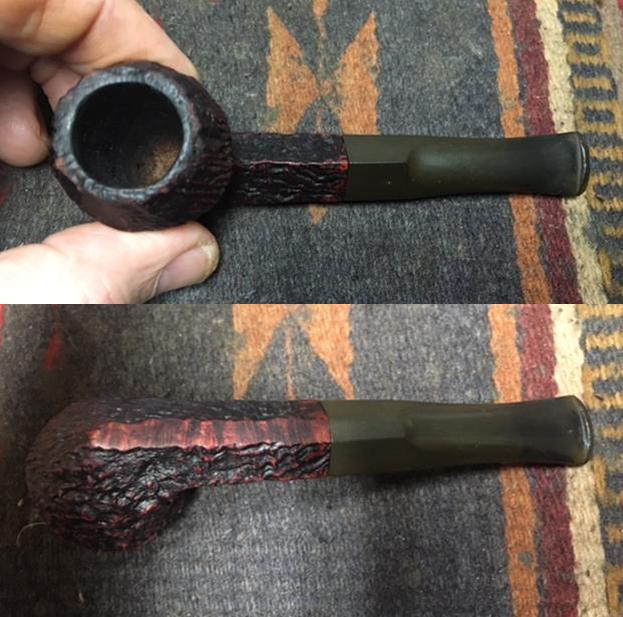
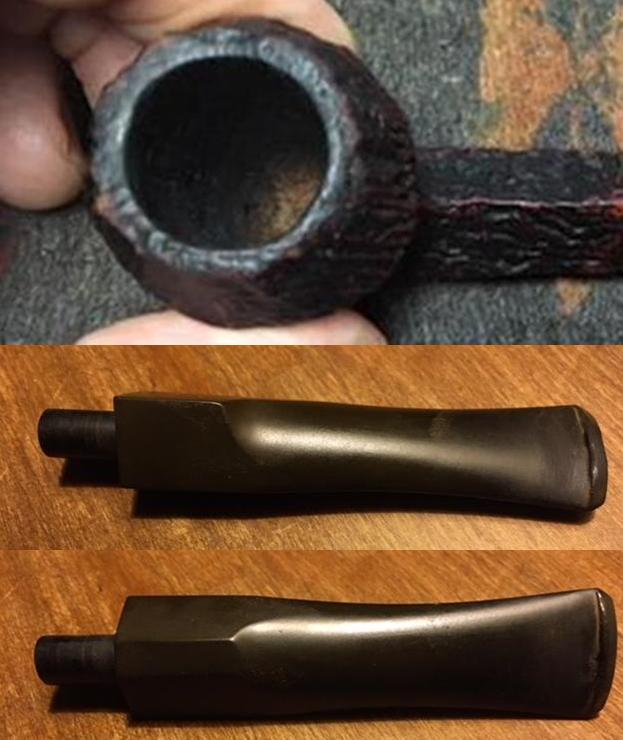
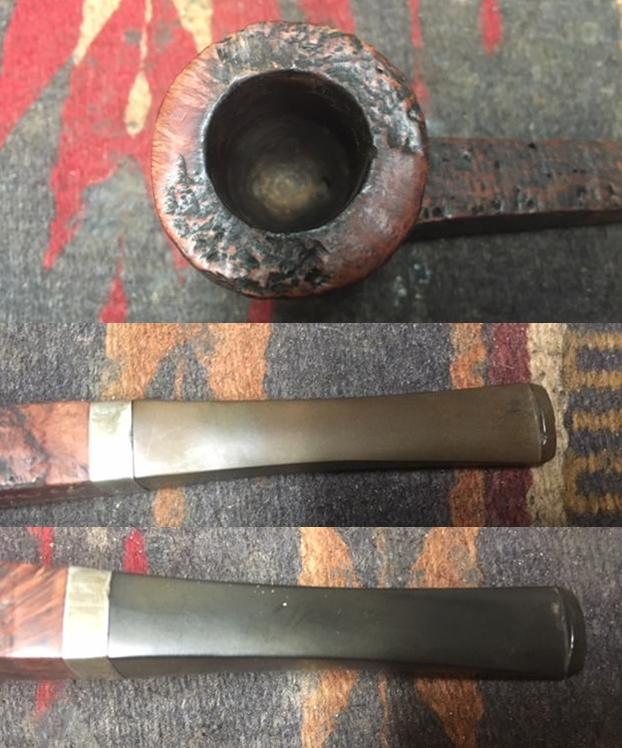
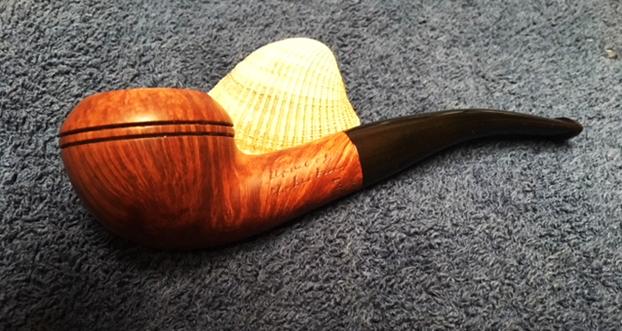
Late in the summer of 2017 I received an email on rebornpipes blog from Barry in Portland, Oregon. He wanted to know if I would be interested in purchasing his father’s pipes. He wrote that his Dad was a gracious, dignified and dedicated father, businessman and community leader for many years in Fresno, California where he was raised. He acquired his pipes when he gave up smoking cigarettes in the 1960s. There wasn’t an ounce of pretense in the man and he smoked his pipes for pleasure and as a pass-time while reading, enjoying company or watching sports on TV. Barry and I corresponded back and forth and concluded our deal. I became the proud owner of his Dad’s pipes. The inventory of the pipes he would be sending included some real beauties – Comoy’s, Parkers, Dunhills and some no name brands. They were beautiful and I could not wait to see them. I had him send them to Jeff where he would clean them up before I received them. Jeff took some photos of the lot as he opened the box. Each pipe was individually wrapped with bubble wrap and taped to protect them. There were 25 bubble wrapped packages and a lot of pipe accessories included – pipe racks, reamers, scrapers and Comoy’s filters and washers. There were pipe pouches and a wooden cigar box that held all of the accessories and reamers. There was a boxed KleenReem pipe reamer that was virtually unused. Jeff unwrapped the pipes and took pictures of the estate showing both the pipes and the accessories. Barry had labeled each pipe with a sticky note. It was an amazing addition to my pipe and tool collection. The first pipe I chose to work on from the collection was a small Dunhill Shell Patent Straight Bulldog. It was missing the original stem but the sandblast on the bowl and shank was deep and tactile. The shape was a classic straight Bulldog that was elegant and graceful. The bottom of the shank had been flattened making it a sitter. The sandblast was dirty and filled with the detritus of years of use followed by sitting. The bowl was thickly caked and had an overflow of lava on the rim top. Even through the grime and grit you can see that this was a beautiful pipe. The replacement stem told me that the pipe had been a favourite and that the original stem had been either gnawed or broken and replaced. The new stem had some use and was both oxidized and had tooth chatter and marks on both sides of the stem at the button. The surface edges of the button also had tooth marks that were present. There as some calcification around the button as well that made me think that perhaps the stem had once sported a softee bit. Jeff took photos of the pipe before he cleaned it up. The photos tell the story better than my words can. He took some close up photos of the bowl and rim top to show the cake and their condition. He also photographed the stamping on the underside of the shank to show what it read and the condition of the stamping. The first one shows the words Dunhill Shell and next to that Made in England. Under that it reads Patent No. 41757419. I would need to look that up to date the pipe but the patent number told me that it was made prior to 1954 which was the last year the patent number was stamped on the shank. The second photo shows the shape number of the pipe and the size – 48/4. The shape number 48 designates a straight shank Bulldog with a diamond shank. The /4 is the group size of the pipe which to my mind is strange as the pipe is small. (https://rebornpipes.com/2012/11/01/dunhill-pipe-shapes-collated-by-eric-w-boehm/)The replacement stem was oxidized as mentioned above and had tooth chatter and marks. Jeff took photos of both sides of the stem to capture their condition before he cleaned the pipe. Jeff did his usual stellar clean up job on the pipe leaving it pristine and without damage to the finish. He reamed the bowl with a PipNet pipe reamer and cleaned up the remnants with the Savinelli Fitsall Pipe Knife. He scrubbed out the mortise and the airway in the shank and the stem with alcohol, cotton swabs and pipe cleaners. He scrubbed the exterior of the bowl, rim and shank with a tooth brush and Murphy’s Oil Soap to remove the dust in the sandblast on the bowl and shank. He rinsed it under running water. He dried it off with a soft cloth. Once the dust and debris were removed the finish looked very good. I took photos of the pipe to show its condition before I started my work on it. I took some close up photos of the bowl and rim top as well as both sides of the stem to show their condition. The bowl was very clean and the rim top looked good. He had been able to remove the lava from the finish. The inner edge was in excellent condition and the roughness of the outer edge in the early pictures above actually blended into the sandblast finish of the bowl. The stem is lightly oxidized as can be seen in the photos and has small tooth marks near the button on both sides.Before I did and restoration work on the bowl or stem I decided to pin down the date a bit more. I knew that it was pre-1954 but I wanted to narrow that down more. One of the beauties of Dunhill pipes is that the stamping can give you a precise date of manufacture. In this case I wanted to work on the stamping Dunhill Shell Made in England over Patent No. 41757419. I looked up the brand on the Pipephil website as he has very helpful photos and information in dating and interpreting the stamping on Dunhill pipes. On one of the supplemental pages associated with Dunhill pipes he has a page on the Patent era pipes. I find that this page is particularly helpful when I am trying to properly identify a pipe. Here is the link to the page: http://www.pipephil.eu/logos/en/dunhill/patent2.html#shell417574.

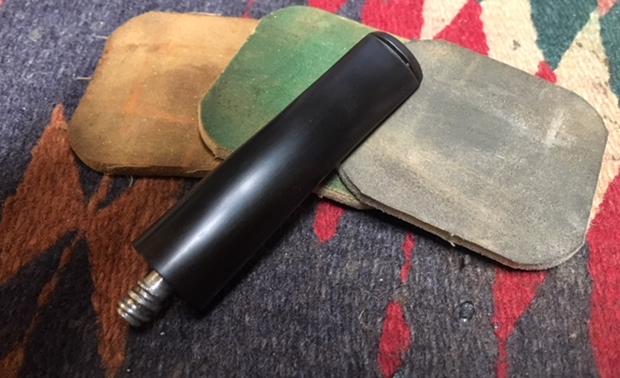
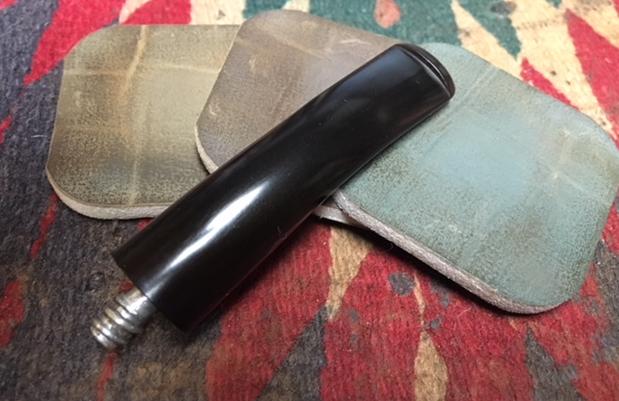
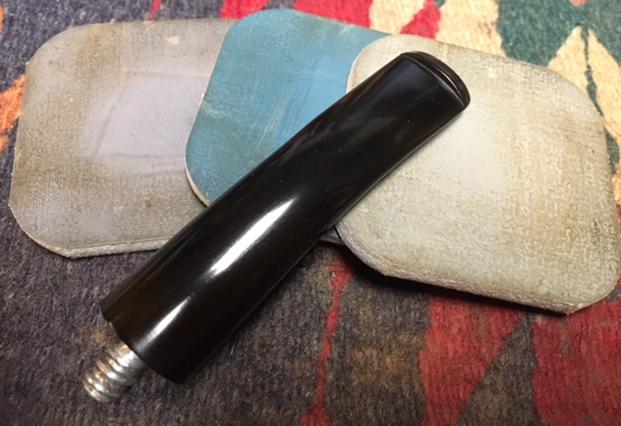
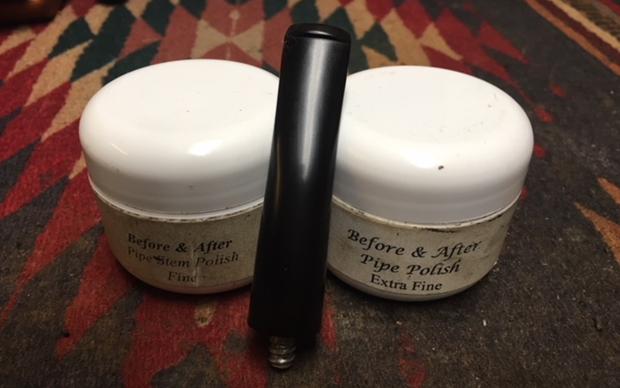
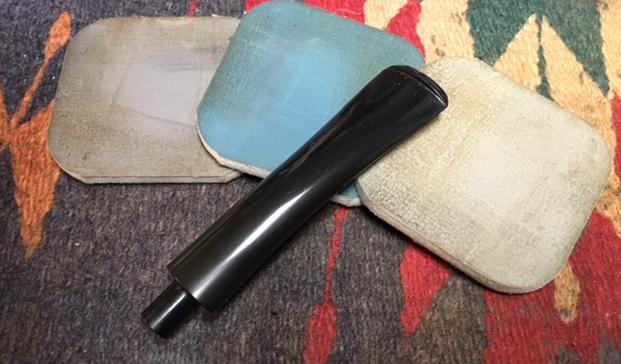
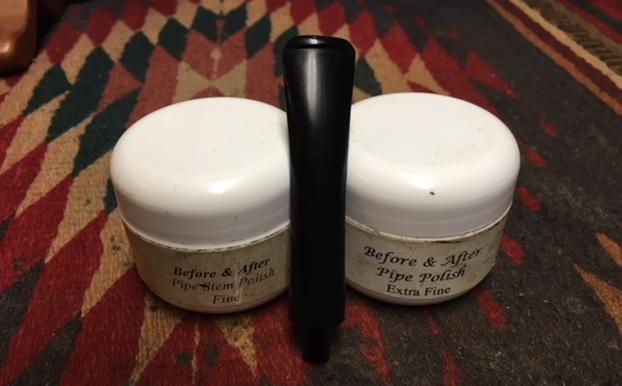
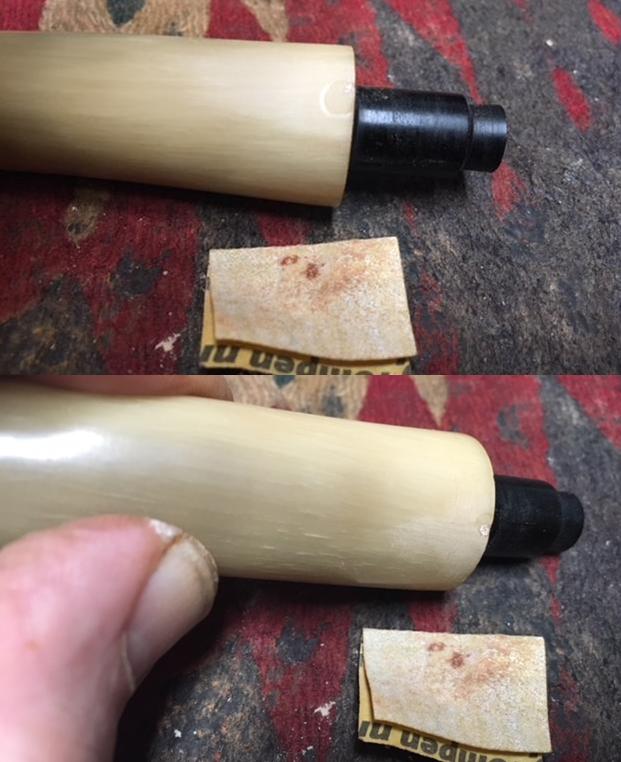
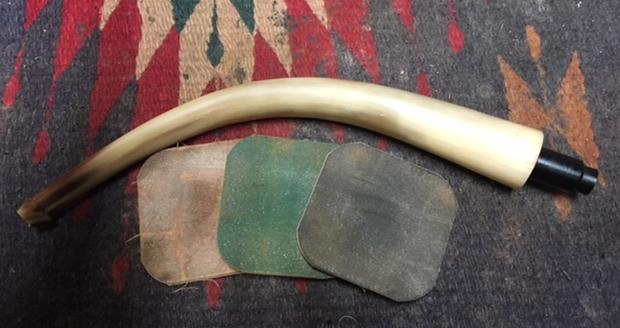
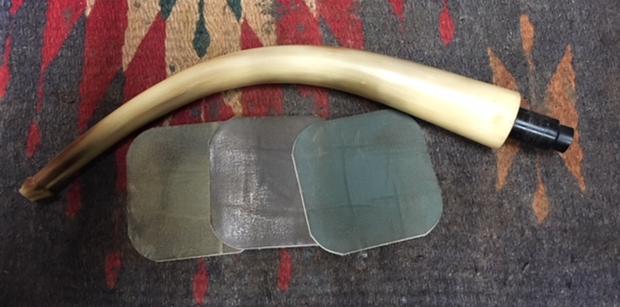
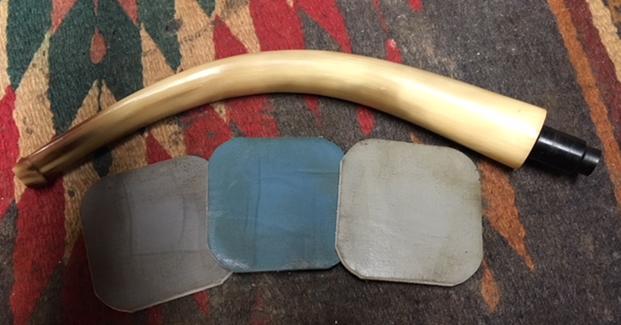
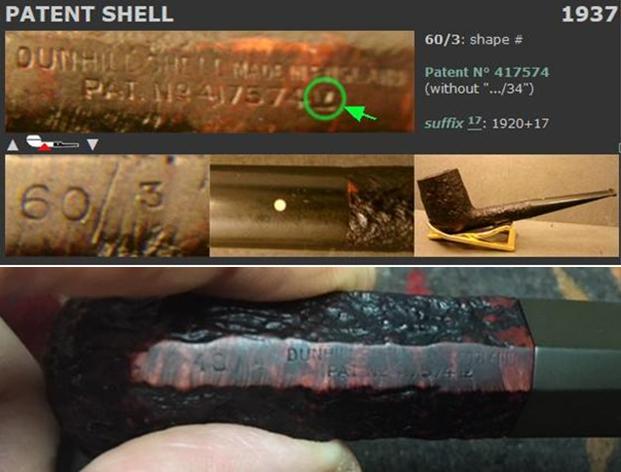
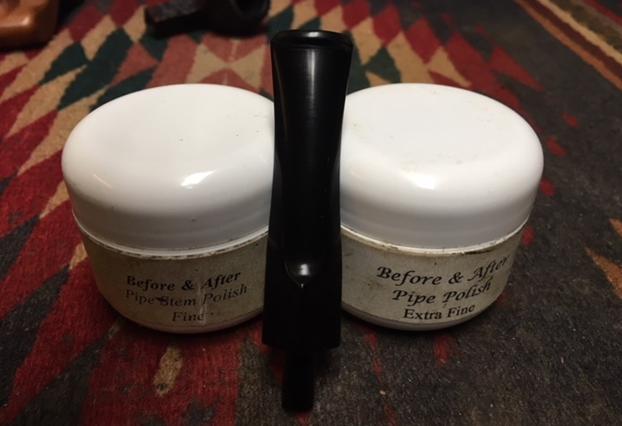
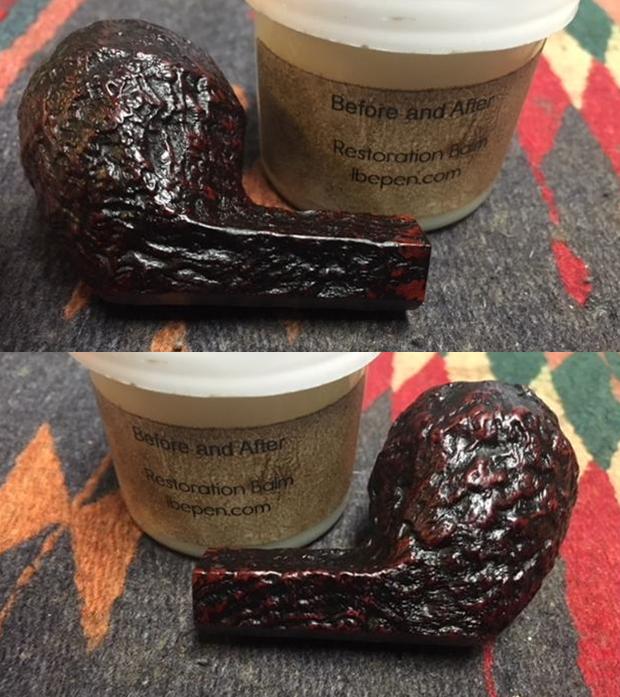
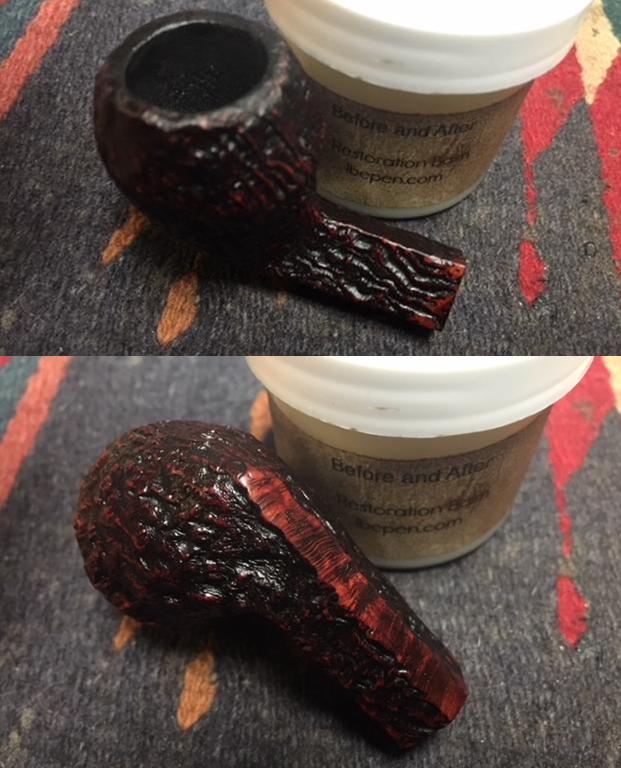
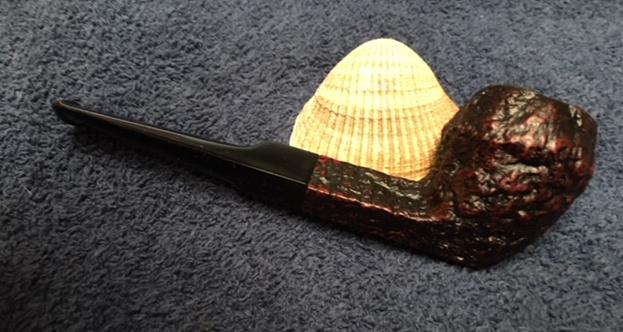
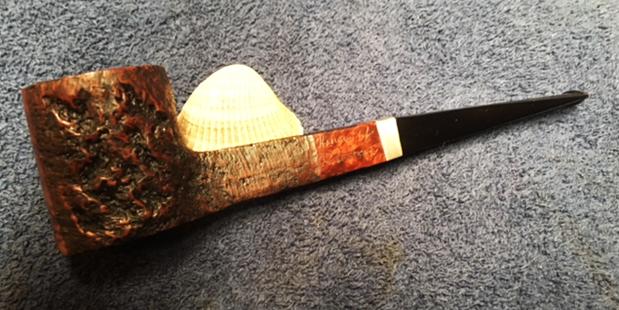
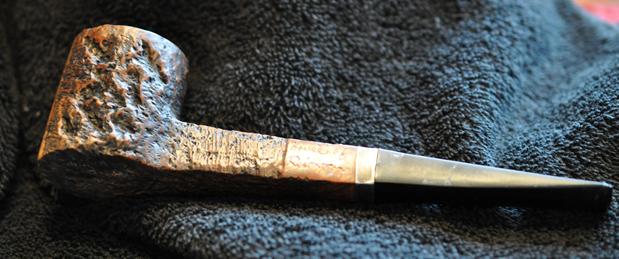
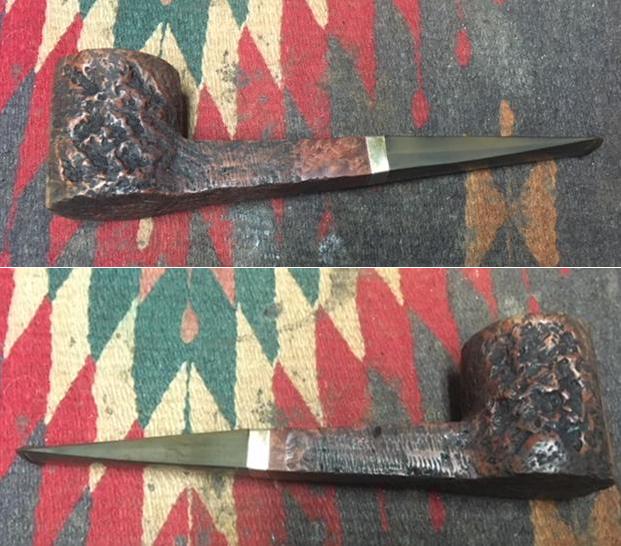
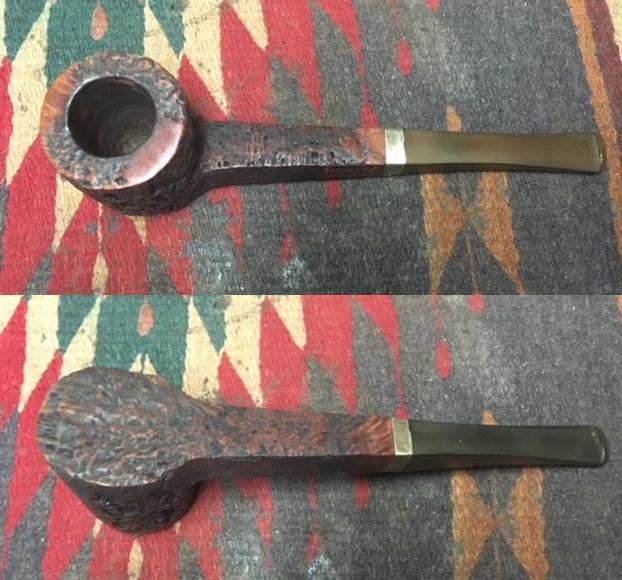
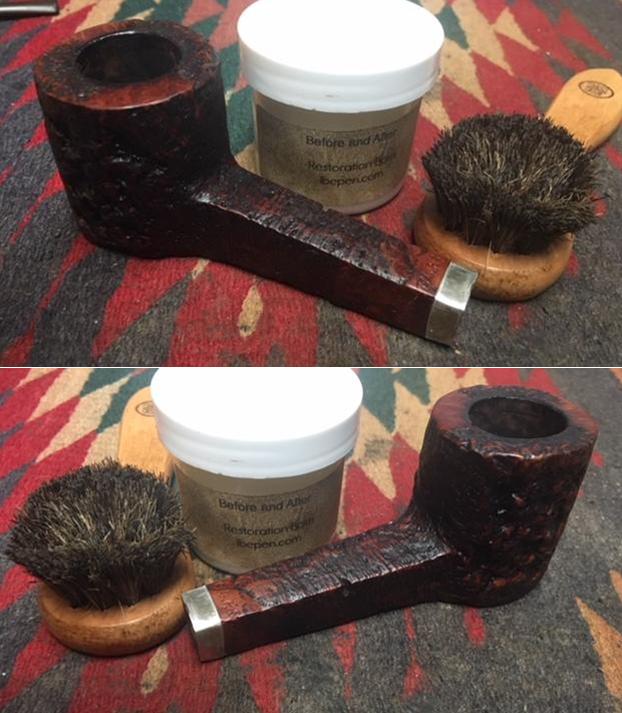
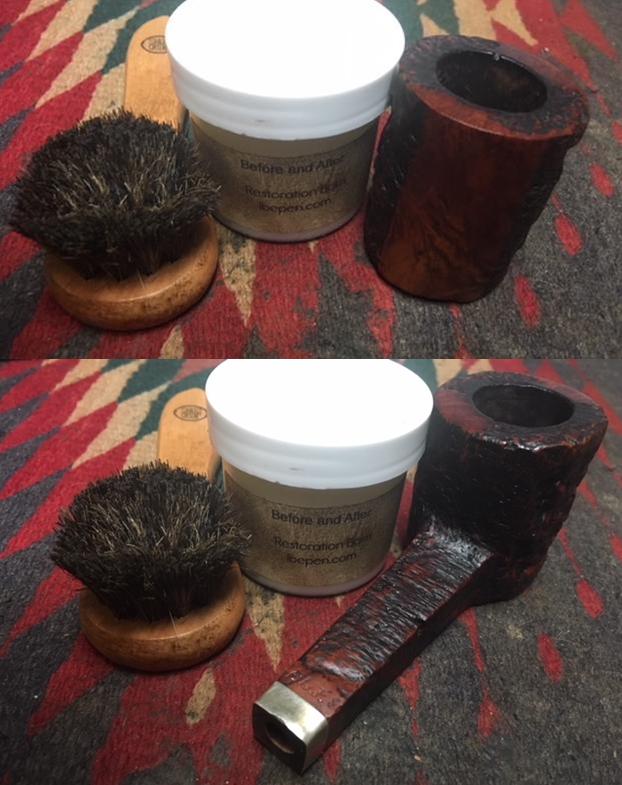
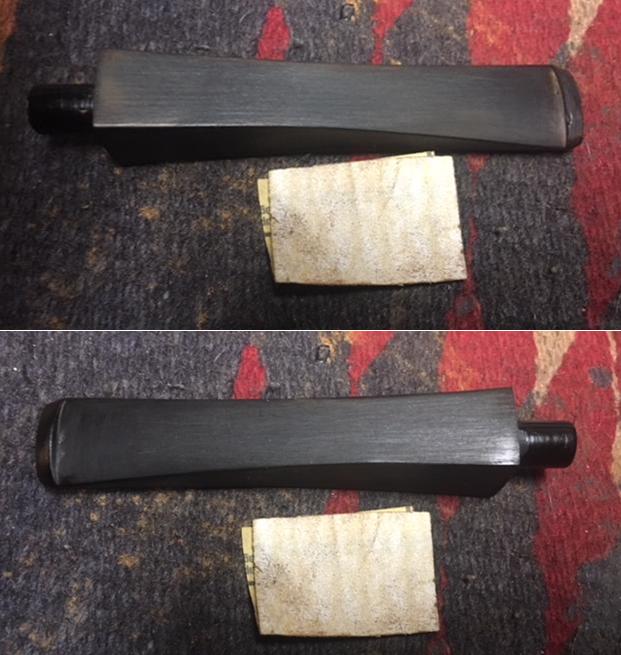
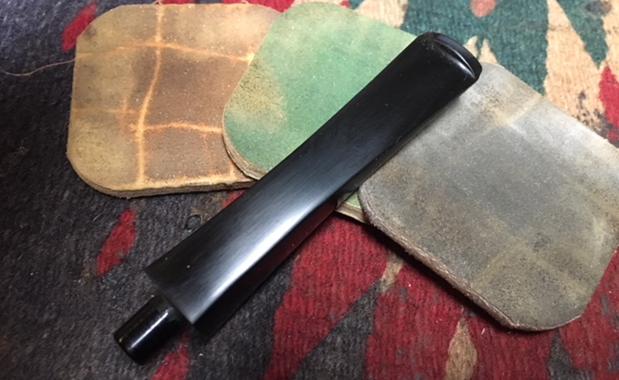
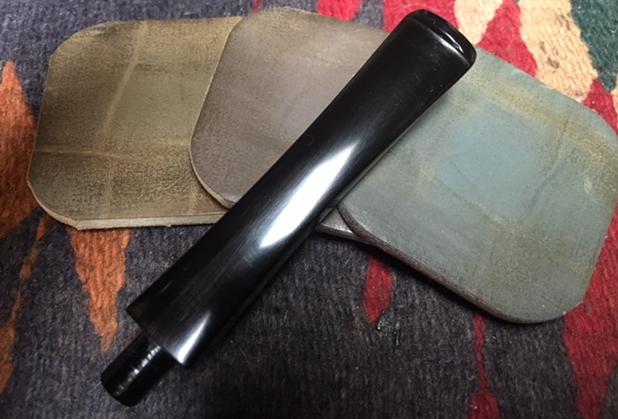
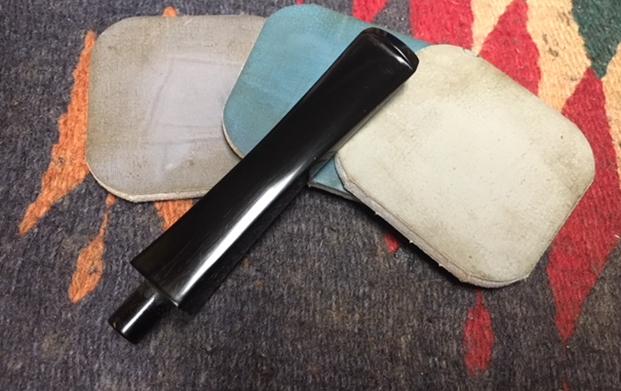
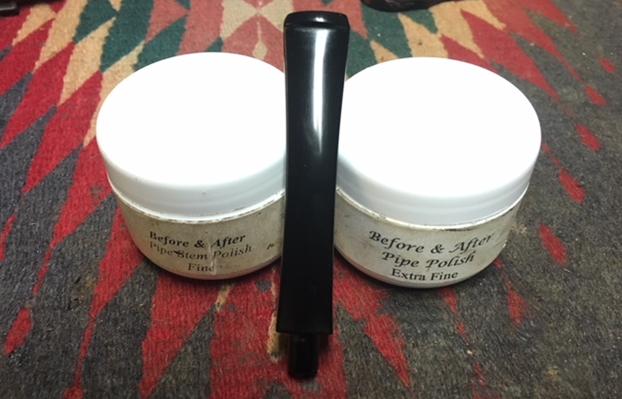
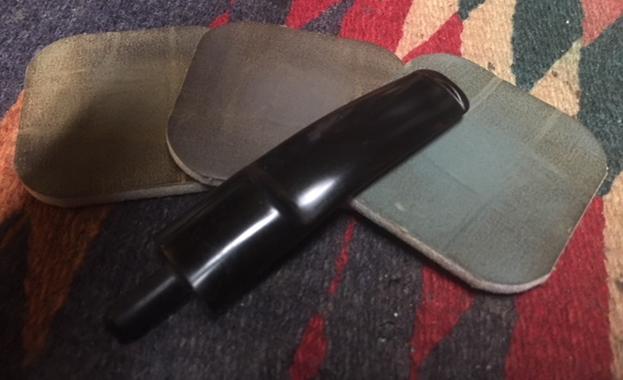
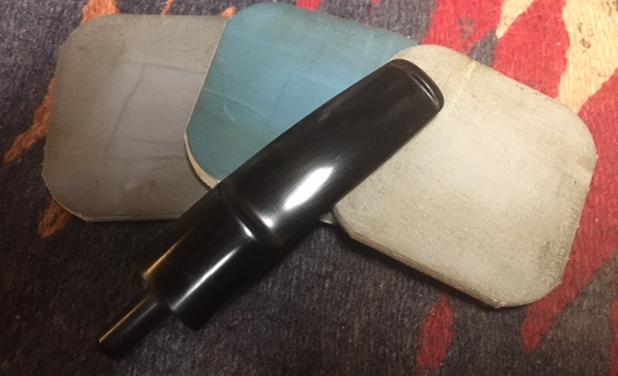
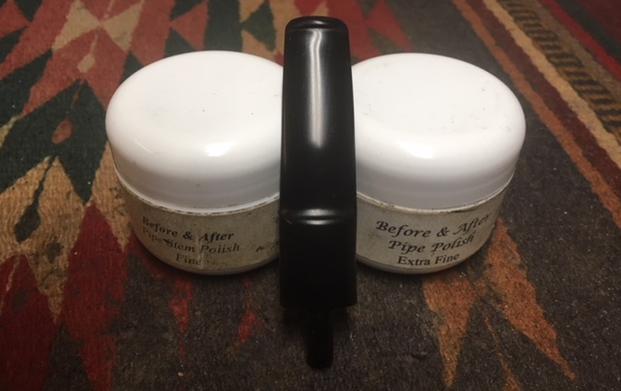
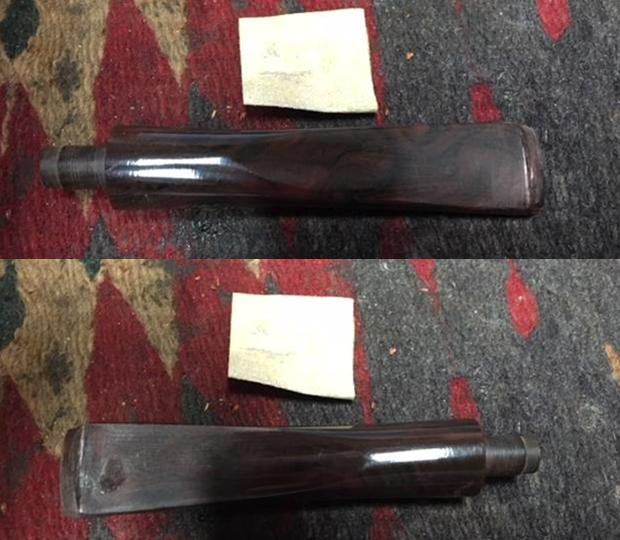
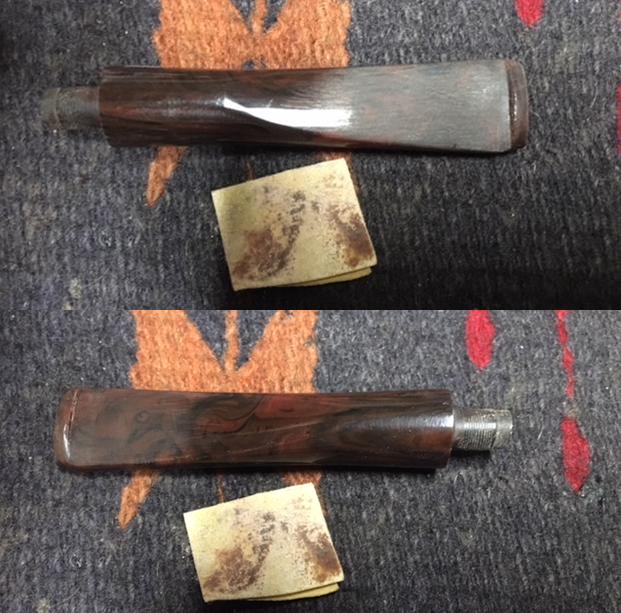
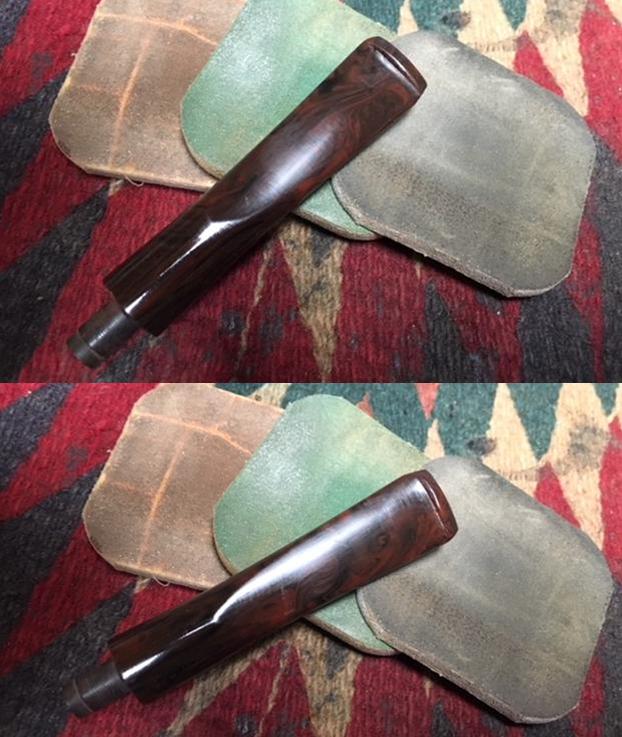
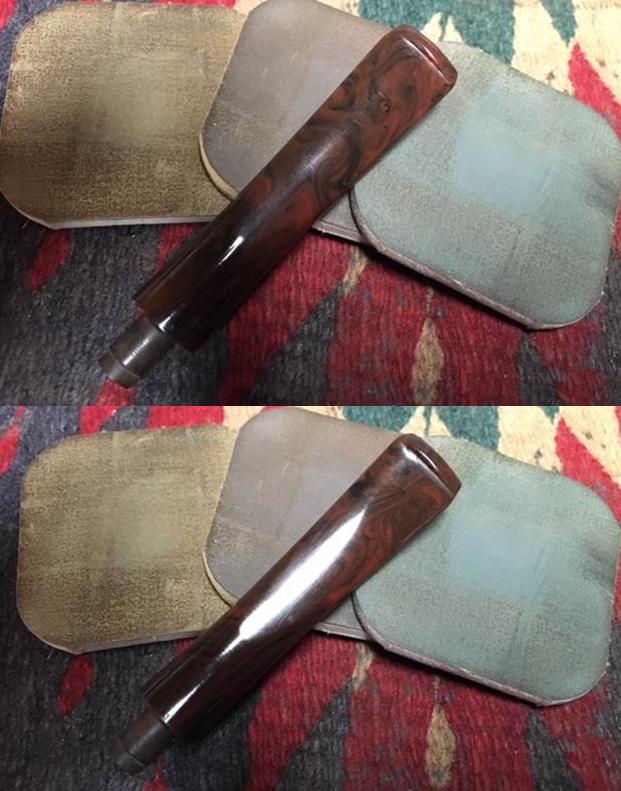
I looked under the section on Patent Shell pipes as that is what I had in hand. I found a photo of a pipe from 1937 that was stamped in the same manner as the one that I was working on. I took a screen capture of the photo and the information. The shape number 60/3 is in the same style and location as the 48/4 on my Dunhill. The Patent Number is identical to the number on my Dunhill. The suffix though in the same location and stamped in the same manner is different from mine. This one is the suffix 17 while mine is the suffix 19. The helpful part in the photo is the formula for determining the date from the suffix shown in the photo. In essence you add the date of the first patent 1920 to the suffix number and you arrive at the date. In my case Patent No. 417574(without “…/34) + suffix 19 = 1920+19 makes this a 1939 pipe. The next photo includes both the screen capture and the underside of the shank of the Bulldog I am working on.I started with the stem on this one. I sanded out the tooth chatter and the tooth marks next to the button on both sides with 220 grit sandpaper.I polished stem with micromesh sanding pads – wet sanding with 1500-2400 grit pads and dry sanding with 3200-12000 grit pads. I wiped the stem down with Obsidian Oil after each pad. I polished it with Before & After Pipe Stem Polish, both Fine and Extra Fine. I gave it a final coat of Obsidian Oil and set it aside to dry. I worked Before & After Restoration Balm deep into the nooks and crannies of the sandblast finish to clean, enliven and protect the briar. I hand rubbed it with my fingers and worked it into the finish with a horsehair shoe brush. I wiped it off with a soft cloth. I buffed the bowl with a cotton cloth to polish it. It really began to have a deep shine in the briar. I took some photos of the bowl at this point to mark the progress in the restoration. The deep grooves in the sandblast and the rugged look gave the pipe a very gnarly feel in the hand. The mix of black and dark brown stain worked well with the sandblast finish. I put the stem back on the bowl and worked the pipe over on the buffing wheel using Blue Diamond to polish the stem. I buffed the bowl with a light touch so as not to get any of the buffing compounds in nooks and crannies of the sandblast. I buffed the stem to raise the gloss on the vulcanite. I gave the bowl multiple coats of Conservator’s Wax and gave the stem multiple coats of carnauba wax. I buffed the entire pipe with a clean buffing pad to raise the shine. I hand buffed it with a microfiber cloth to deepen the shine. The finished pipe is shown in the photos below. The black and brown stains on the sandblast Dunhill Shell works well with the rich black of the polished vulcanite stem. This little Patent Shell is a beautiful and interesting looking pipe. The dimensions of the pipe are: Length: 5 inches, Height: 1 5/8 inches, Outside Diameter: 1 1/8 inches, Diameter of the chamber: 5/8 inches. This 1939 Dunhill is one that I am going to put in my own rack while I look for an original stem. Thanks for walking through the restoration with me.


Restoring a Large Rusticated House of Robertson Panel Billiard


Blog by Steve Laug

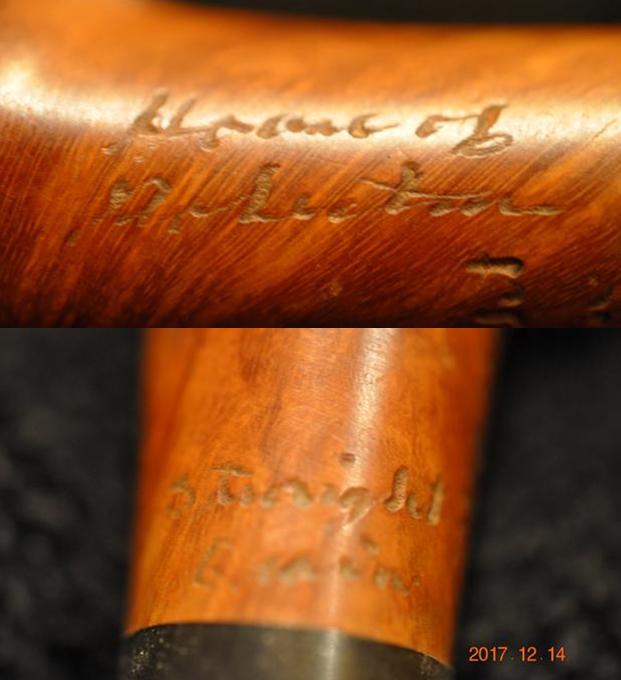
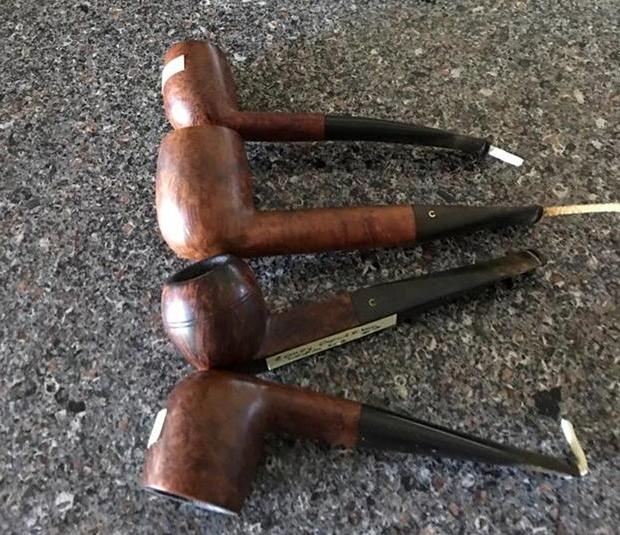
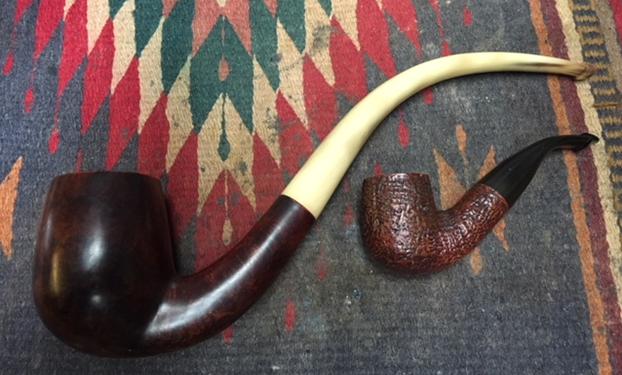
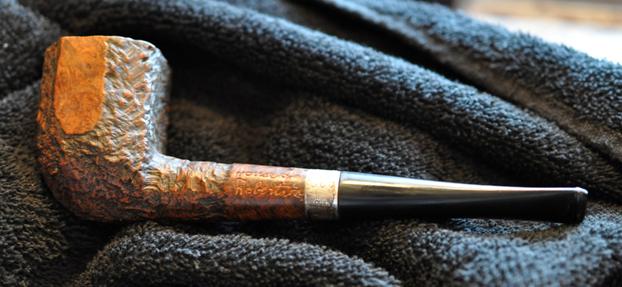
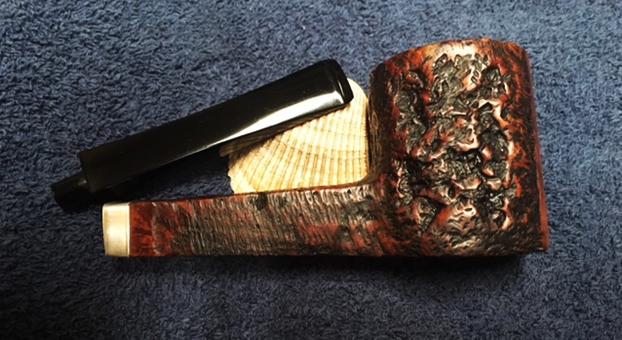
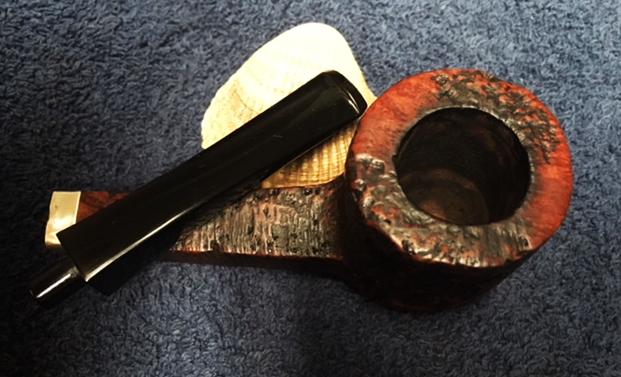
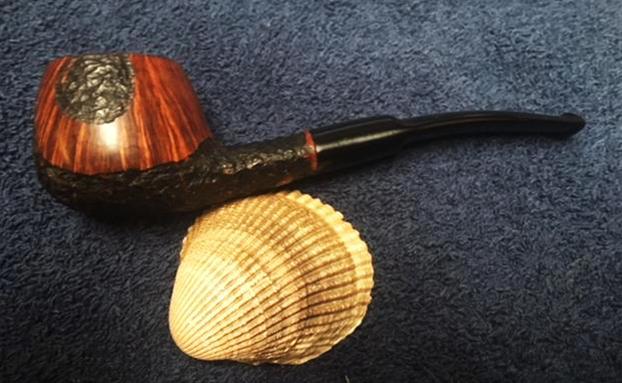
After my brother Jeff found an assortment of House of Robertson pipes at an auction in Wilder, Idaho which is an area in the greater Boise, Idaho area. He kept an eye out for more of the brand on his weekly pipe hunts. He found several others that are quite unique in an antique mall near where he lives. There were two large long shanked pipes – one round shanked and one square shanked. The third of the batch that he finds is a nice little classic apple shape. It looks tiny with the size of the other two. The two larger pipes are a combination of smooth and rusticated. They both have smooth panels on the sides or front of the pipes. Both of the large ones are banded with a sterling silver band. It seems to me that the bands on both the square shank and the round shank are decorative rather than a repair for a cracked shank. I finished the restoration of the square shanked sitter, the bottom pipe in the above photos and did the blog write up on it (https://rebornpipes.com/2018/02/28/restoring-a-rusticated-house-of-robertson-war-club/). It is soon on its way to a fellow who was a regular of the House of Robertson Pipe Shop in Boise, Idaho. He is excited to be adding it to his collection. Each of these pipes has the name House of Robertson roughly hand-etched on the side or underside of the shank with an engraving tool. I am also including the information that I found when I received my first of the House of Robertson Pipes. “House of Robertson” was in business for many years, but alas, closed their doors in 1999. They were located in Boise, Idaho. They are noted for making rather large and interesting pipes. Thayne Robertson was a Master Mason, AF & AM, and started the shop about 1947 and his son Jon started working there in 1970 when he finished college, along with Thayne’s daughter. Thayne and his son started making the big pipes at that time, and made them together until 1987 when Thayne passed away. Jon kept the store and his sister moved on to other things. The House of Robertson appears to have closed around 1999. https://pipedia.org/wiki/Robertson
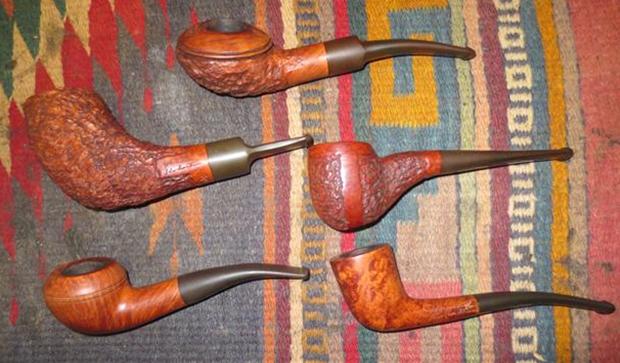
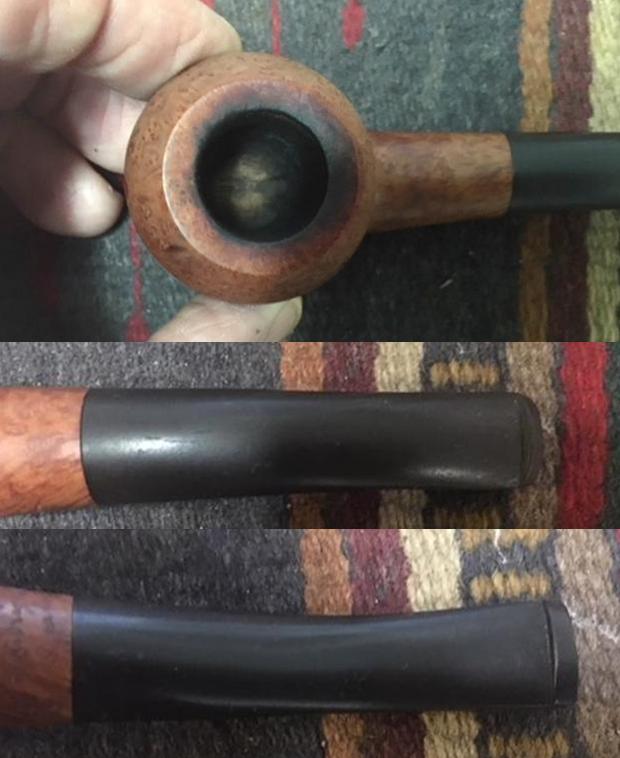
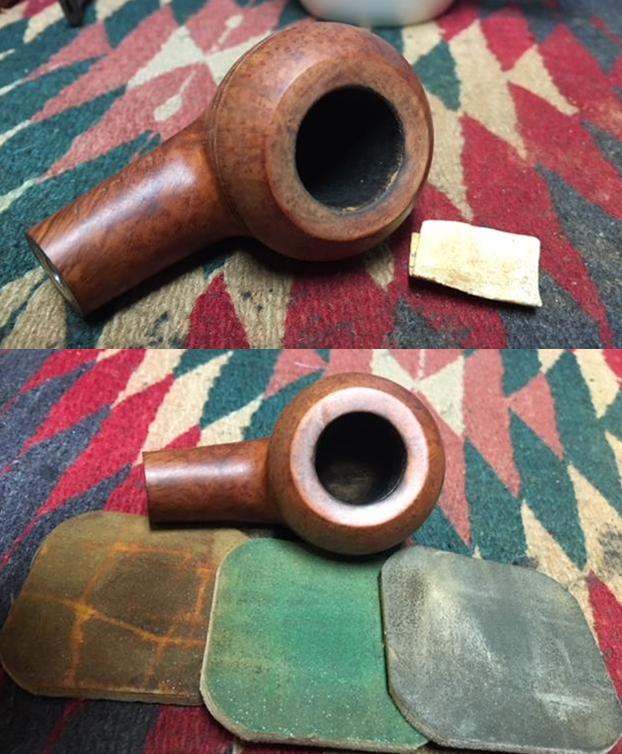
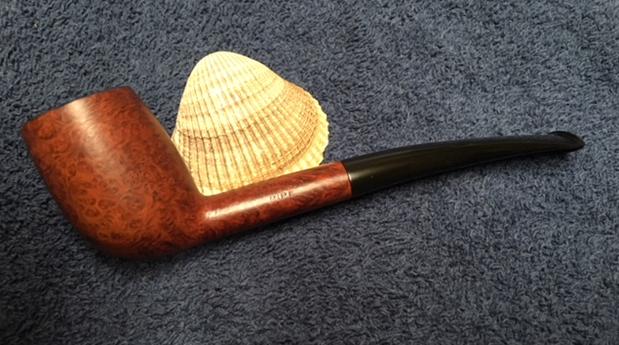
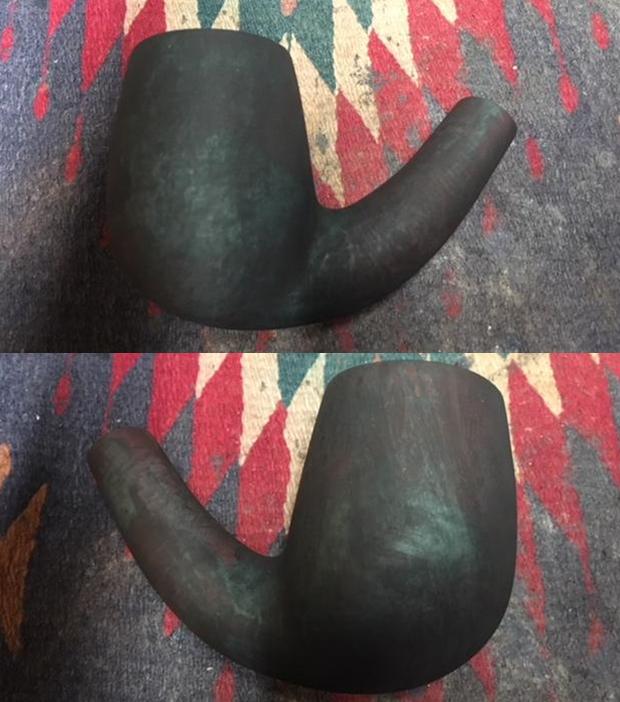
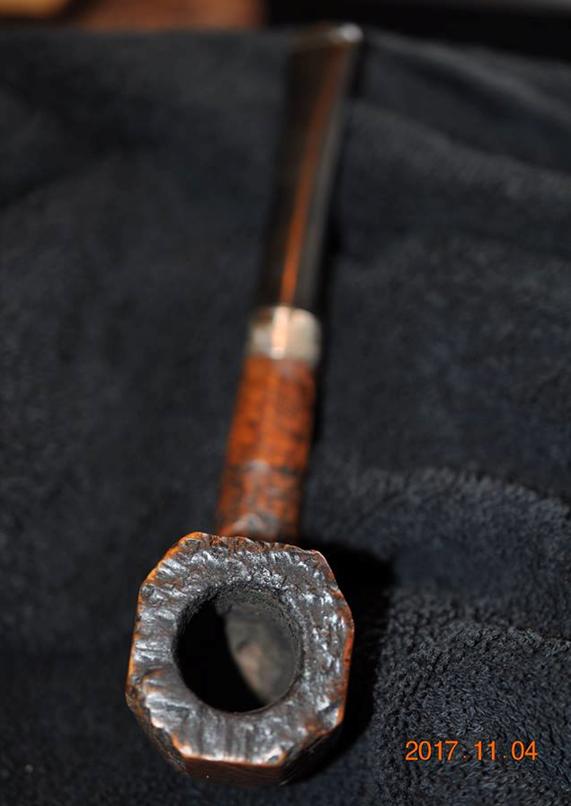
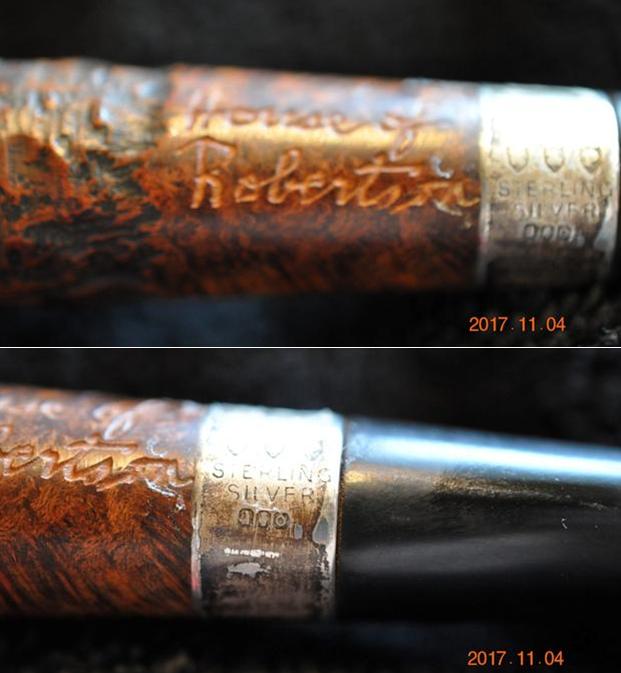
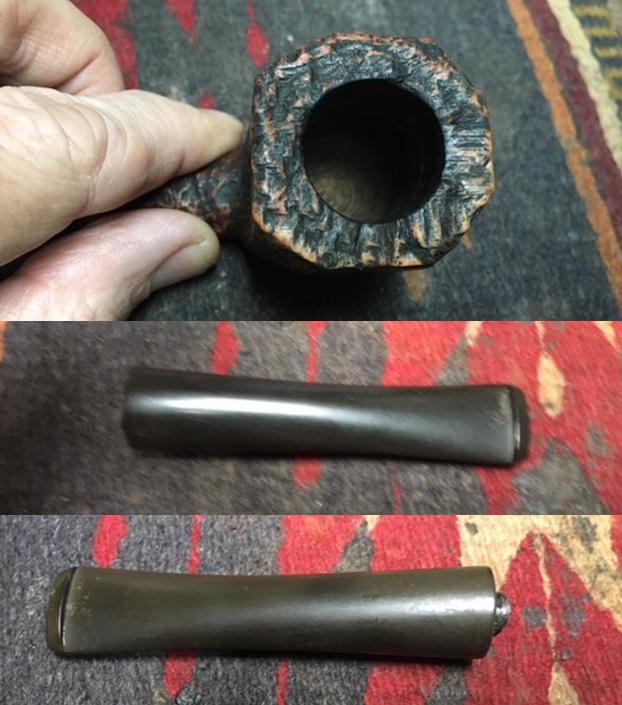
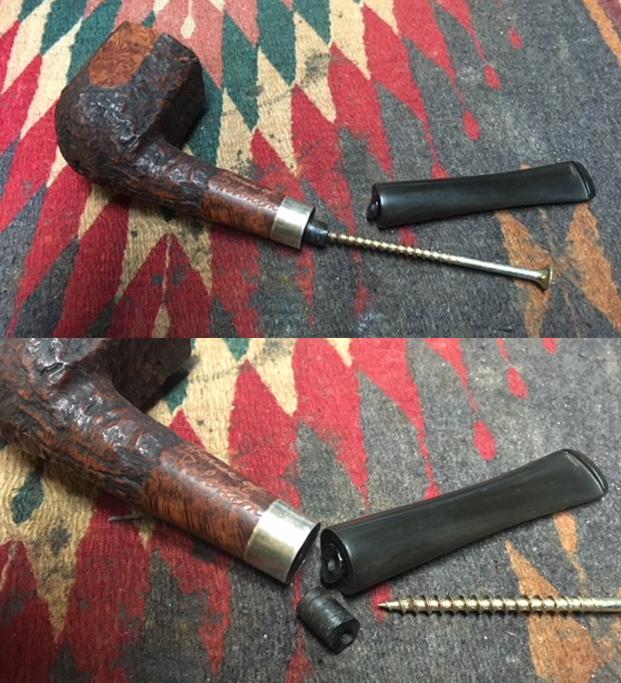
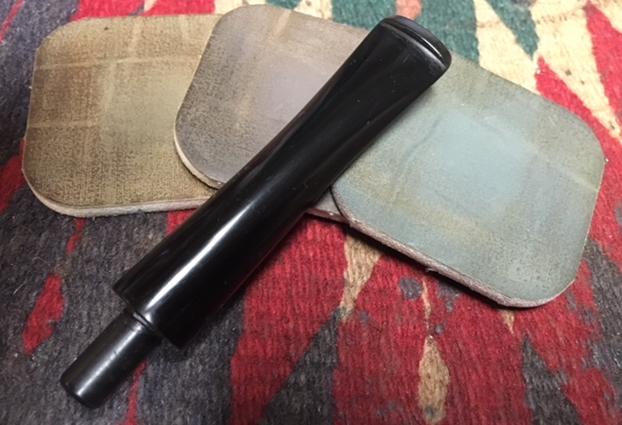
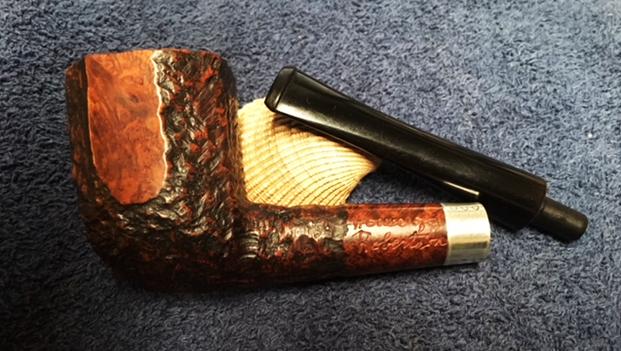
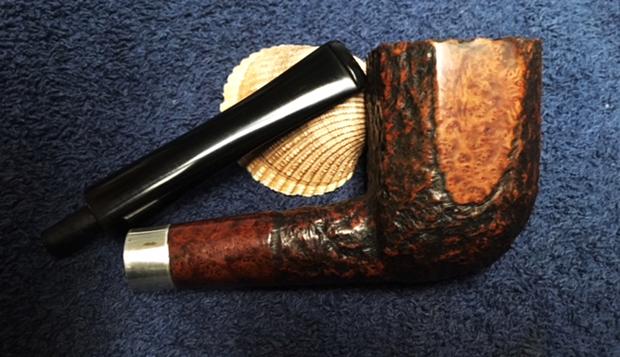
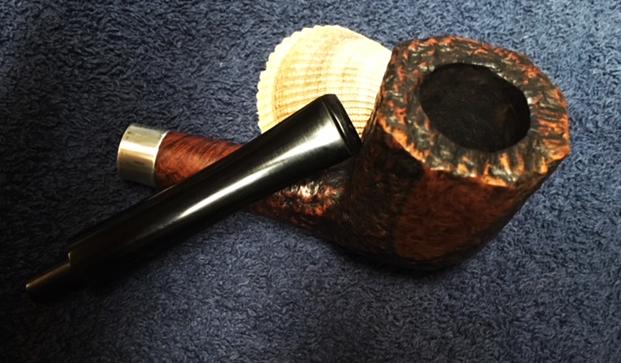
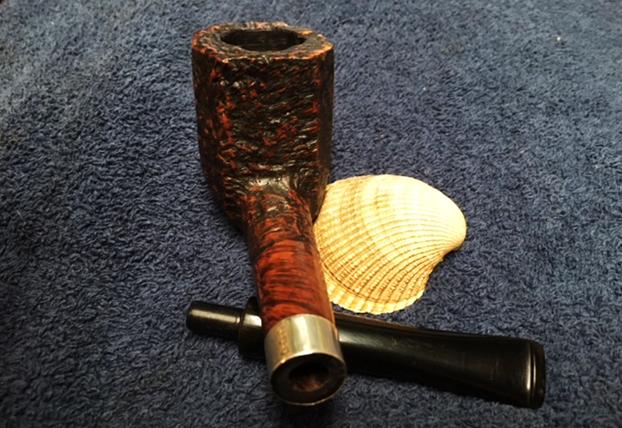
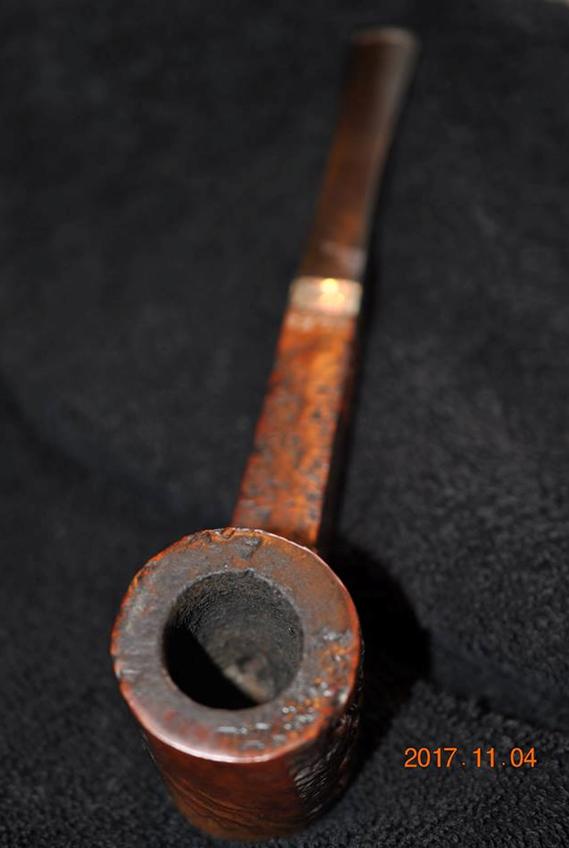
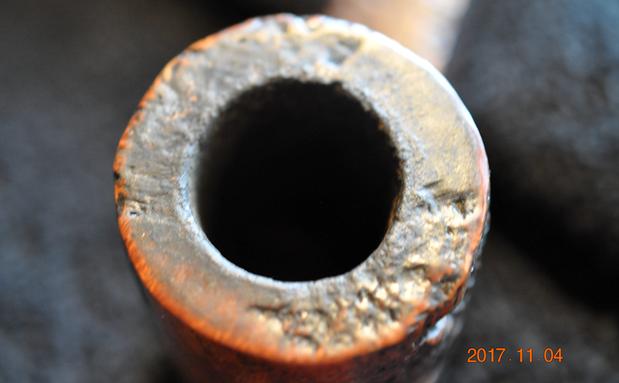
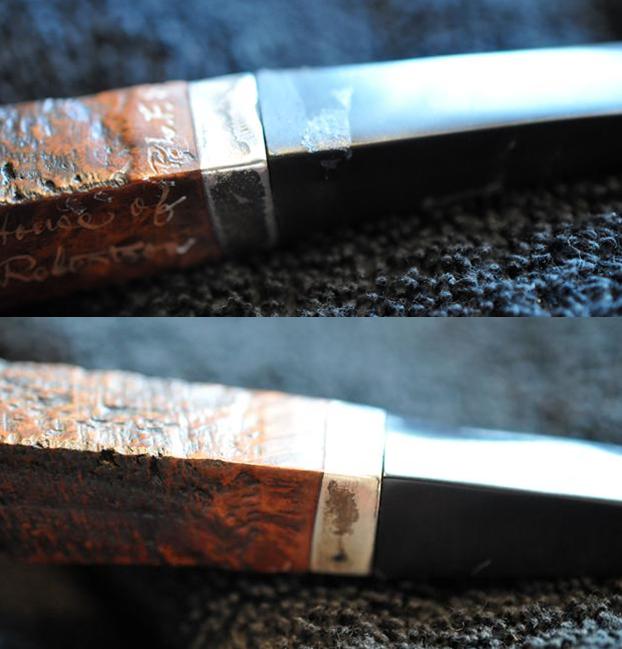
The second pipe, the next House of Robertson pipe I chose to work on is a large rusticated billiard with smooth panels on the sides and front of the bowl and a hexagonal shaped bowl. It is another very different pipe than the others pipes from this Boise based store. It is large and similar to the previous larger pipe in this threesome – 7 long with a bowl that is 2 1/8 inches tall. It is engraved with the House of Robertson signature on the smooth portion of the shank on the left side just ahead of the band. There is a smooth panel on the right, left and front sides of the bowl. The rim top was rusticated. The pipe was dirty but underneath all of the grime it appears to be in excellent condition. The rustication on the bowl and shank was nicely done and was made to look like a sandblast finish. The bottom of the bowl and shank also appeared to be sandblasted. It is definitely an interesting pipe and should clean up very well. The band on the shank is decorative as the shank is undamaged. It has the look of a repurposed band from an older pipe. There are some worn hallmarks on the oxidized Sterling Silver band. The fit of the stem to the shank was good. The stem was oxidized and had some small tooth marks and chatter on both sides of the stem near the button. Jeff took photos of the pipe before he started the cleanup. The next close-up photos show the finish on the top and the sides of the bowl. The first photo shows cake in the bowl and the lava overflowing onto the rim top. The inner and outer edge of the rim looks really good. The finish on the rim top was appeared to be in great condition but the lava coat as pretty thick. The next two photos show sides of the pipe. It was a different rustication from any of the other Robertsons that I have done and it was interesting. The next photo shows the etched name on the left side of shank on a smooth panel of briar. It reads House of Robertson. The second photo shows the stamping on the band. You can also see the general condition of the grime in the rustication of the briar.The tapered stem was oxidized and had tooth chatter and marks on both sides of the stem near the button. The edge of the button had some dents in it as well.This unique pipe was really dirty with a thick cake, overflow of lava on top the rim and dust and debris in the heavy rustication on the sides of the bowl. He reamed the bowl with a PipNet pipe reamer and cleaned up the remnants with the Savinelli Fitsall Pipe Knife. He scrubbed out the mortise and the airway in the shank and the stem with alcohol, cotton swabs and pipe cleaners. He scrubbed the exterior of the bowl, rim and shank with a tooth brush and Murphy’s Oil Soap to remove the dust in the rustication on the bowl and shank as well as the smooth portions. He rinsed it under running water. He dried it off with a soft cloth. Once the dust and debris were removed the finish was dull but appeared to be in excellent condition. I took photos of the pipe to show its condition before I started my work on it. I took a photo of the bowl and rim top to show the condition it was in once it was cleaned off. It has an interesting rustication on the rim top – it has the look of almost a faux plateau. Normally I would include photos of the stem at this point as well to show its condition. Sadly while I was chatting with my brother on Facetime I dropped the pipe on the floor next to my worktable and the stem snapped off leaving the tenon in the shank… Arghhh I hate that. It is not enough to have to clean up and restore an old timer now I have to replace the tenon on the stem and get the fit in the shank correct… oh well these things happen. I am attaching photos of the stem after the “accident” to show what it looked like.Normally my habit at this point in the restoration is to work on the bowl. However, with the broken tenon I decided to address that first before even touching the bowl. I used a long drywall screw to pull the broken tenon out of the shank. I screw it into the airway on the broken tenon and wiggle it out of the shank.I have a small container of threaded replacement tenons that I have on hand for just this kind of “accident”. I went through the tenons and found one that was the same size as broken one. I flattened the broken edges remaining on the stem end with a Dremel and sanding drum to make the face smooth. I started drilling it with a bit slightly larger than the airway to begin to open it up to receive the threaded tenon end. I worked my way up to a bit the same size as the tenon end. The critical part when you are doing this by hand is to keep everything straight or you can end up with a crooked tenon. I finished the drilling and cleaned up the opening in the stem with a needle file to ensure that everything was smooth. Once it was clean and ready I checked out the fit of the tenon and then glued it in place in the stem. The photos show the process. I worked Before & After Restoration Balm deep into the nooks and crannies of the rusticated finish to clean, enliven and protect the briar. I hand rubbed it with my fingers and worked it into the finish with a horsehair shoe brush. I wiped it off with a soft cloth. I buffed the bowl with a cotton cloth to polish it. It really began to have a deep shine in the briar. I took some photos of the bowl at this point to mark the progress in the restoration. The grain on the smooth panels on the sides of the bowl stands out, while the grooves of the rustication look almost undulating. It is another unique and strangely beautiful House of Robertson pipe. Once the glue on the tenon was set I put the stem in the shank and took the following photos to show the fit of the repaired stem to the shank. Finally, after the “accidental” extra steps I am back to where I was when the pipe arrived. It is ready to be cleaned up and restored. I sanded the stem with 220 grit sandpaper to remove the oxidation on both sides of the tapered stem and remove the tooth marks and chatter on the top and bottom sides at the button.I polished out the sanding scratches and marks in the vulcanite with micromesh sanding pads – wet sanding it with 1500-2400 grit pads and dry sanding it with 3200-4000 grit pads. I wiped the stem down with Obsidian Oil after each sanding pad. I buffed the stem with Blue Diamond on the buffing wheel. I brought it back to the table and sanded it with the final three 6000-12000 grit pads. I polished it further with Before & After Pipe Polish –using both the Fine and Extra Fine Polishes. I gave it a rubdown with Obsidian Oil one last time and set it aside to dry. I put the stem back on the bowl and worked the pipe over on the buffing wheel using Blue Diamond to lightly polish the stem. I buffed the bowl with a light touch so as not to get any of the buffing compounds in the grooves of the rustication. I buffed the stem to raise the gloss on the vulcanite. I gave the bowl multiple coats of Conservator’s Wax and gave the stem multiple coats of carnauba wax. I buffed the entire pipe with a clean buffing pad to raise the shine. I hand buffed it with a microfiber cloth to deepen the shine. The finished pipe is shown in the photos below. The medium brown and dark brown stains on the rusticated billiard shaped bowl with a smooth panels and bands works well with the rich black of the vulcanite stem. The polishing of the stem material left this a beautiful and interesting looking pipe. The dimensions of the pipe are: Length: 7 inches, Height: 2 1/8 inches, Outside Diameter: 1 1/2 inches, Diameter of the chamber: 3/4 inches. I will be putting this pipe on the rebornpipes store shortly. It is another big pipe and will make a great addition to someone’s collection. If you are interested in adding this unique pipe let me know. Thanks for looking.

Restoring a Rusticated House of Robertson War Club


Blog by Steve Laug

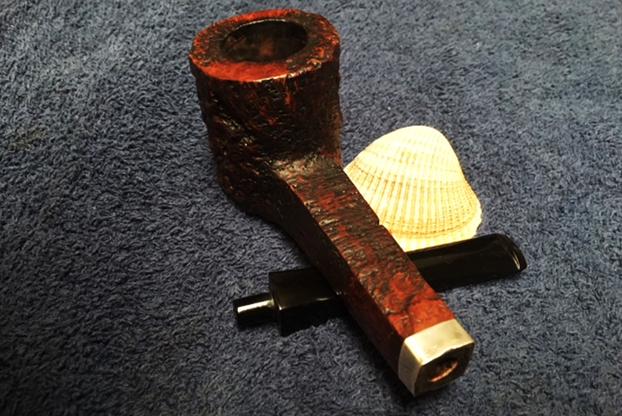
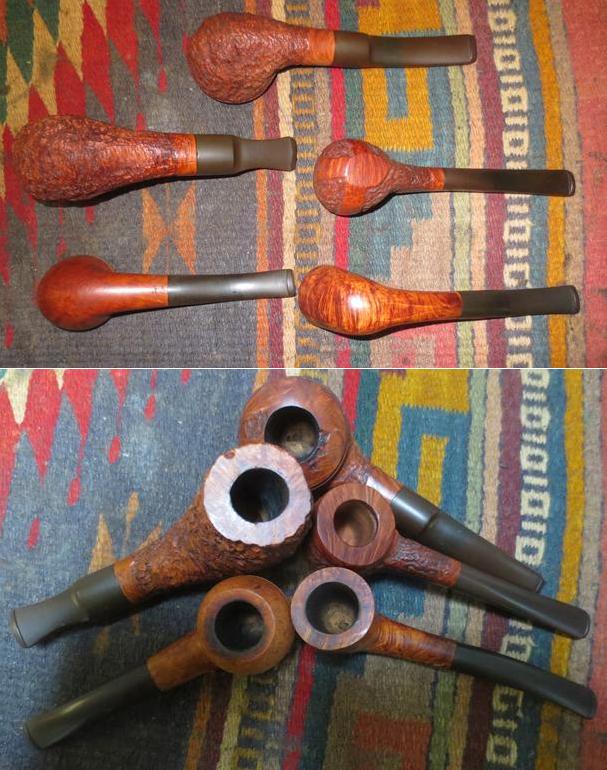
After my brother Jeff found an assortment of House of Robertson pipes at an auction in Wilder, Idaho which is an area in the greater Boise, Idaho area. He kept an eye out for more of the brand on his weekly pipe hunts. He found several others that are quite unique in an antique mall near where he lives. There were two large long shanked pipes – one round shanked and one square shanked. The third of the batch that he finds is a nice little classic apple shape. It looks tiny with the size of the other two. The two larger pipes are a combination of smooth and rusticated. They both have smooth panels on the sides or front of the pipes. Both of the large ones are banded with a sterling silver band. It seems to me that the bands on both the square shank and the round shank are decorative rather than a repair for a cracked shank. I will be restoring them in the days ahead. He picked them up for us to restore. They all have the name House of Robertson roughly hand-etched on the side or underside of the shank with an engraving tool. I am including the information that I found when I received my first of the House of Robertson Pipes. I found a link on Pipedia that gave me the only information I could find on the brand. I include that in total as it is interesting to read.
“House of Robertson” was in business for many years, but alas, closed their doors in 1999. They were located in Boise, Idaho. They are noted for making rather large and interesting pipes. Thayne Robertson was a Master Mason, AF & AM, and started the shop about 1947 and his son Jon started working there in 1970 when he finished college, along with Thayne’s daughter. Thayne and his son started making the big pipes at that time, and made them together until 1987 when Thayne passed away. Jon kept the store and his sister moved on to other things. The House of Robertson appears to have closed around 1999. https://pipedia.org/wiki/Robertson

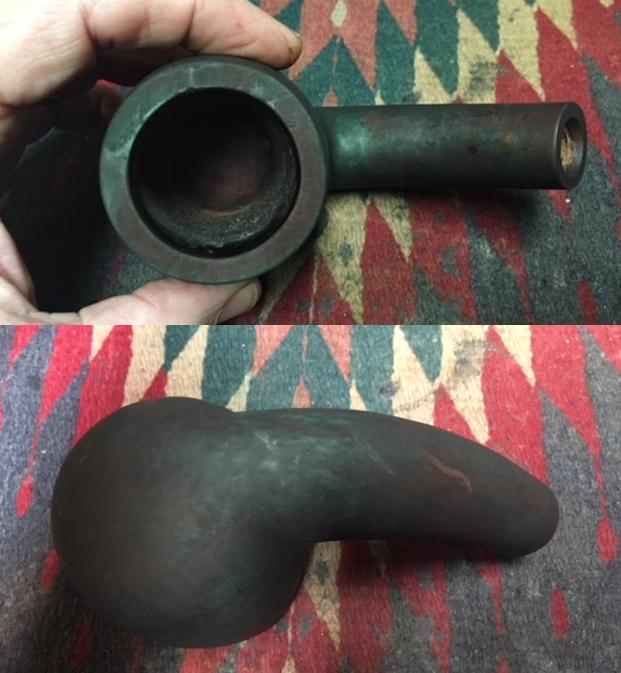
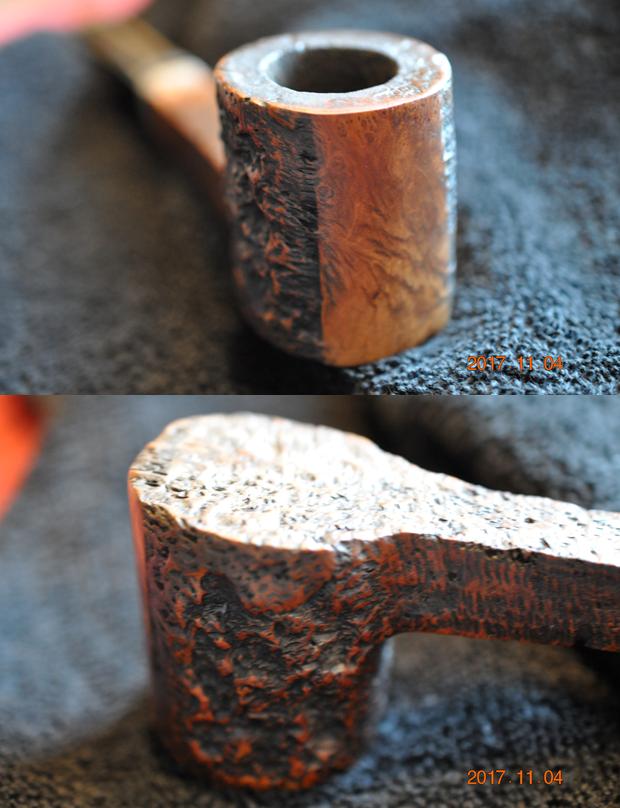
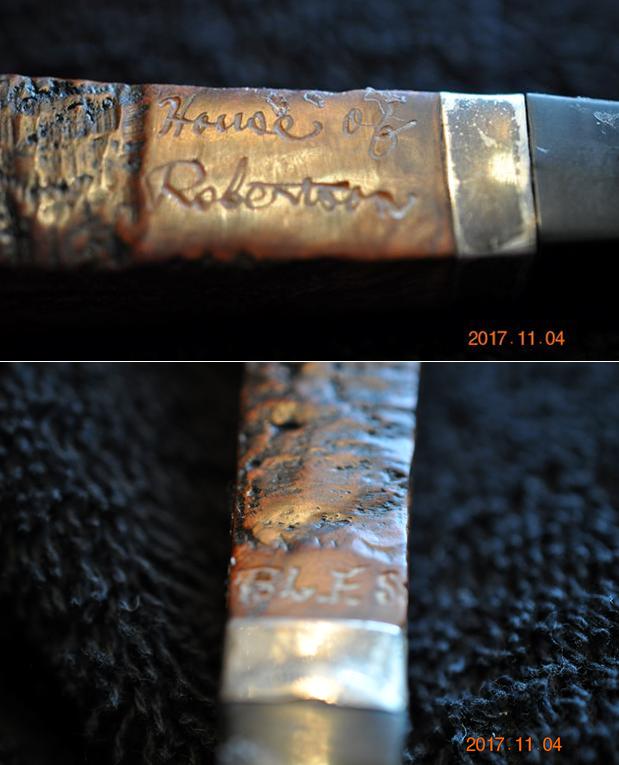
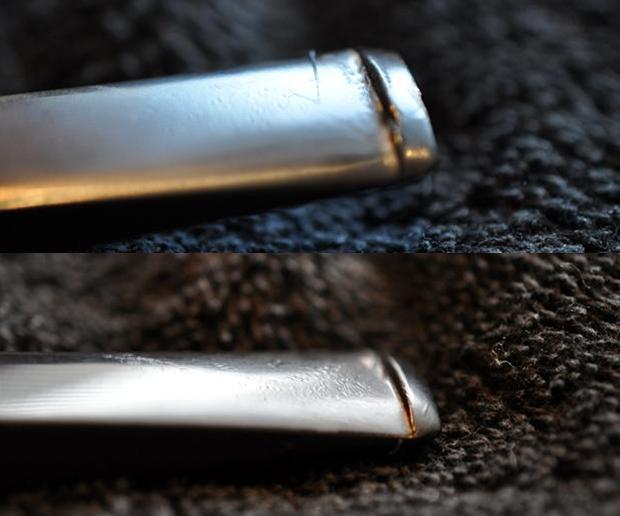
This large, long square shank, flat bottom sitter is the next House of Robertson pipe I chose to work on. It is quite different from the other pipes from this Boise based store. It is large – 7 ¼ long with a bowl that is 2 inches tall. It is engraved with the House of Robertson signature on a smooth panel on the left side of the shank just ahead of the band. On the top of the shank it is etches P.L.F.S. I have no idea what that etching stands for. There is a smooth band of briar just ahead of the silver band. There is also a smooth panel on the front of the bowl and two smooth areas on the rim top. The pipe was dirty but underneath all of the grime it appears to be in excellent condition. The rustication on the shank was quite light and had the look of a sandblast finish. The sides of the bowl were deeply rusticated, almost like roots and then it is almost like it was also sandblasted over the top. The bottom of the bowl and shank also appeared to be sandblasted. It is definitely an interesting pipe and should clean up very well. The narrow silver band is stamped Sterling Silver on the top side. There were some nicks in the edge of the silver at the stem/shank junction. The fit of the stem to the shank was good. The square stem was oxidized and had some small tooth marks and chatter on both sides of the stem near the button. Jeff took photos of the pipe before he started the cleanup. The next close-up photos show the finish on the top and the underside of the bowl. The first photo shows cake in the bowl and the lava overflowing onto the rim top. The grain on the top of the bowl and the inner and outer edge of the rim looks really good. The finish on the rim top was appeared to be in great condition under the lava coat. The next two photos show the front, side and underside of the pipe. It has a very interesting finish. The next photo shows the etched name on the left side of shank on a smooth panel of briar. It reads House of Robertson. On the top of the shank on a narrow smooth panel it reads P.L.F.S. The final two photos show square shank and band. You can also see the general condition of the grime in the rustication of the briar. The tapered stem was oxidized and had tooth chatter and marks on both sides of the stem near the button. The edge of the button had some dents in it as well.This unique pipe was really dirty with a thick cake, overflow of lava on top the rim and dust and debris in the heavy rustication on the sides of the bowl. He reamed the bowl with a PipNet pipe reamer and cleaned up the remnants with the Savinelli Fitsall Pipe Knife. He scrubbed out the mortise and the airway in the shank and the stem with alcohol, cotton swabs and pipe cleaners. He scrubbed the exterior of the bowl, rim and shank with a tooth brush and Murphy’s Oil Soap to remove the dust in the rustication on the bowl and shank as well as the smooth portions. He rinsed it under running water. He dried it off with a soft cloth. Once the dust and debris were removed the finish was dull but appeared to be in excellent condition. I took photos of the pipe to show its condition before I started my work on it. I took a photo of the bowl and rim top to show the condition it was in once it was cleaned off. It has an interesting combination of rusticated and smooth finishes on the top of the bowl. The unique square stem was oxidized and had tooth marks and chatter on both sides. You can also see the nicks in the edge on the top and underside of the Sterling Silver band.I worked Before & After Restoration Balm deep into the nooks and crannies of the rusticated finish to clean, enliven and protect the briar. I hand rubbed it with my fingers and worked it into the finish with a horsehair shoe brush. I wiped it off with a soft cloth. I buffed the bowl with a cotton cloth to polish it. It really began to have a deep shine in the briar. I took some photos of the bowl at this point to mark the progress in the restoration. The grain on the smooth portions stands out, while the deep grooves of the rustication look almost undulating. It is a unique and strangely beautiful pipe. I sanded the stem with 220 grit sandpaper to remove the oxidation on both sides of the tapered stem and remove the tooth marks and chatter on the top and bottom sides at the button.I polished out the sanding scratches and marks in the vulcanite with micromesh sanding pads – wet sanding it with 1500-2400 grit pads and dry sanding it with 3200-4000 grit pads. I wiped the stem down with Obsidian Oil after each sanding pad. I buffed the stem with Blue Diamond on the buffing wheel. I brought it back to the table and sanded it with the final three 6000-12000 grit pads. I polished it further with Before & After Pipe Polish –using both the Fine and Extra Fine Polishes. I gave it a rubdown with Obsidian Oil one last time and set it aside to dry. I put the stem back on the bowl and worked the pipe over on the buffing wheel using Blue Diamond to lightly polish the stem. I buffed the bowl with a light touch so as not to get any of the buffing compounds in the grooves of the rustication. I buffed the stem to raise the gloss on the vulcanite. I gave the bowl multiple coats of Conservator’s Wax and gave the stem multiple coats of carnauba wax. I buffed the entire pipe with a clean buffing pad to raise the shine. I hand buffed it with a microfiber cloth to deepen the shine. The finished pipe is shown in the photos below. The medium brown stains on the rusticated square shanked poker shaped bowl with a smooth bands and rim works well with the rich black of the vulcanite stem. The polishing and the reworking of the stem material left this a beautiful and interesting looking pipe. The dimensions of the pipe are: Length: 7 3/8 inches, Height: 2 inches, Outside Diameter: 1 5/8 inches, Diameter of the chamber: 7/8 inches. This one will be heading back to Idaho. A House of Robertson collector who used to frequent the Boise shop is adding it to his collection. Thanks for looking.
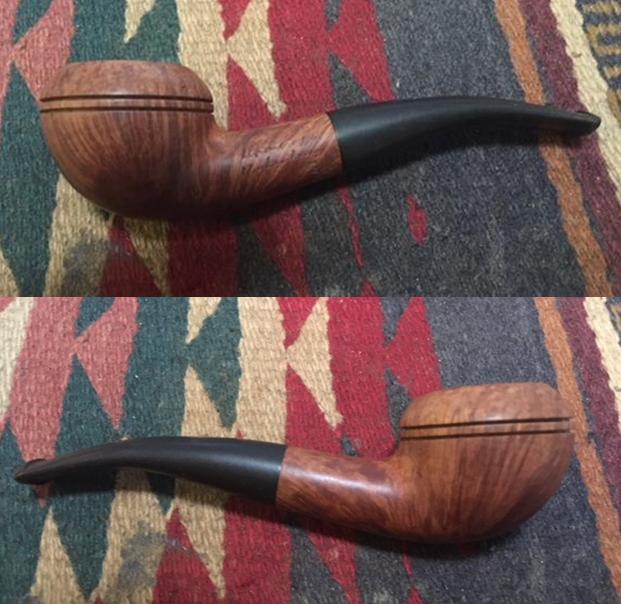
Kathy’s Dad’s Pipes #9– Restemming & Restoring George Koch’s “Malaga” Banker


Blog by Steve Laug

This is the ninth of the “Malaga” pipes that I am working on from Kathy’s Dad’s pipes. I will retell the story of the estate. Last fall I received a contact email on rebornpipes from Kathy asking if I would be interested in purchasing her late Father, George Koch’s estate pipes. He was a lover of “Malaga” pipes – all shapes and sizes and she wanted to move them out as she cleaned up the estate. We emailed back and forth and I had my brother Jeff follow up with her as he also lives in the US and would make it simpler to carry out this transaction. The long and short of it is that we purchased her Dad’s “Malaga” pipes. There are some beautiful pipes in that lot. I have never seen this many “Malagas” together in one place in all of my years of pipe restoring and refurbishing. They varied from having almost pristine to gnawed and damaged stems that will need to be replaced. These were some well used and obviously well loved pipes. Cleaning and restoring them will be a tribute to this pipeman. (Here is a link to some history of the Malaga Brand if you are interested: https://rebornpipes.com/tag/malaga-pipes/. There are also links there to a catalogue and the maker George Khoubesser.)Knowing about the pipeman who held the pipes in trust before me gives another dimension to the restoration work. This is certainly true with this lot of pipes. I can almost imagine George picking out each pipe in his assortment at the Malaga shop in Michigan. I may well be alone in this, but when I know about the person it is almost as if he is with me work on his pipes. In this case Kathy sent us not only information but also a photo of her Dad enjoying his “Malagas”. Once again, I am including that information so you can know a bit about the pipeman who held these pipes in trust before they are passed on to some of you. I include part of Kathy’s correspondence with my brother as well…

Jeff…Here is a little about my dad, George P. Koch…I am sending a picture of him with a pipe also in a separate email.

Dad was born in 1926 and lived almost all his life in Springfield, Illinois. He was the youngest son of German immigrants and started grade school knowing no English. His father was a coal miner who died when Dad was about seven and his sixteen year old brother quit school to go to work to support the family. There was not much money, but that doesn’t ruin a good childhood, and dad had a good one, working many odd jobs, as a newspaper carrier, at a dairy, and at the newspaper printing press among others. He learned to fly even before he got his automobile driver’s license and carried his love of flying with him through life, recertifying his license in retirement and getting his instrumental license in his seventies and flying until he was grounded by the FAA in his early eighties due to their strict health requirements. (He was never happy with them about that.) He was in the Army Air Corps during World War II, trained to be a bomber, but the war ended before he was sent overseas. He ended service with them as a photographer and then earned his engineering degree from University of Illinois. He worked for Allis Chalmers manufacturing in Springfield until the early sixties, when he took a job at Massey Ferguson in Detroit, Michigan. We lived in Livonia, and that’s where his love for Malaga pipes began. After a few years he returned to Allis Chalmers and we moved back to Springfield. I remember that when we went back to Michigan to visit friends, Dad had to go to the Malaga store and acquire a few new pipes. Many a year I wrote to Malaga and they picked out a pipe for me to purchase that I could give Dad for a Christmas or birthday present. He was always pleased. His favorites were the straight stemmed medium sized bowl pipes, but he liked them all.  He had some other pipes, but the Malagas were his favorites. I remember him smoking them sitting in his easy chair after work, with feet up on the ledge by the fire burning in the fireplace.  Growing up it was my job to clean them and he liked the inner bowl and stem coated with Watkins vanilla, leaving a little of that liquid in the bowl to soak in when I put them back on the rack. Dad quit smoking later in life and so they’ve sat on the racks for many years unattended, a part of his area by his easy chair and fireplace. Dad passed when he was 89 years old and it finally is time for the pipes to move on. I’m very happy they are being restored by you and your brother and hope they find homes who enjoy them as much as Dad did. Thank-you for your care and interest. — Kathy, the oldest daughter

Kathy, once again I thank you for providing this beautiful tribute to your Dad. We will appreciate your trust in allowing us to clean and restore these pipes. I am also trusting that those of you who are reading this might carry on the legacy of her Dad’s pipes as they will be added to the rebornpipes store once they are finished.

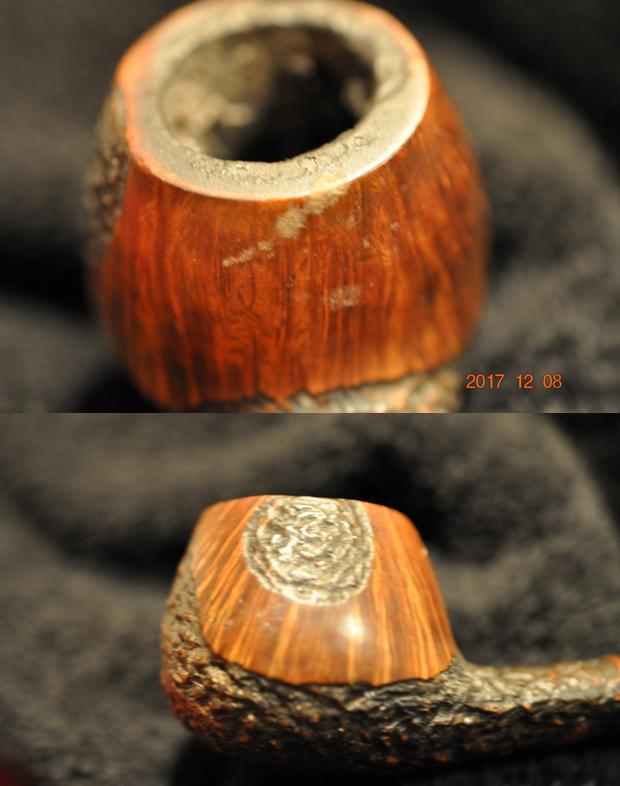
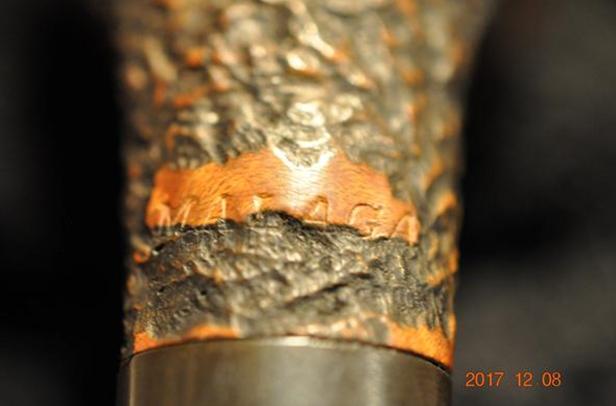
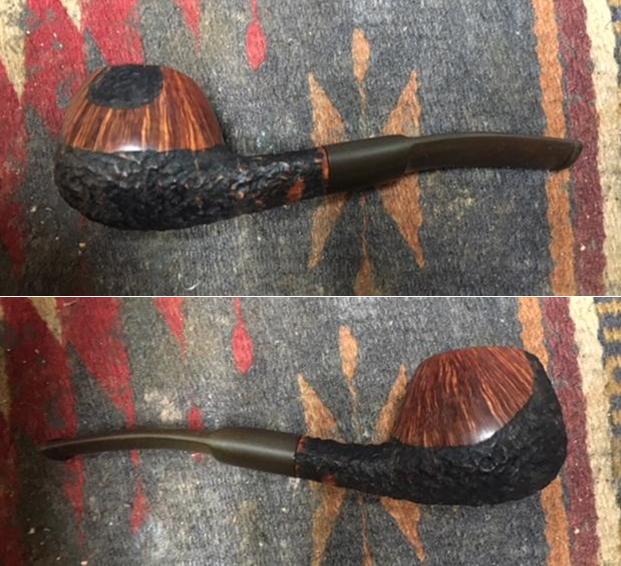
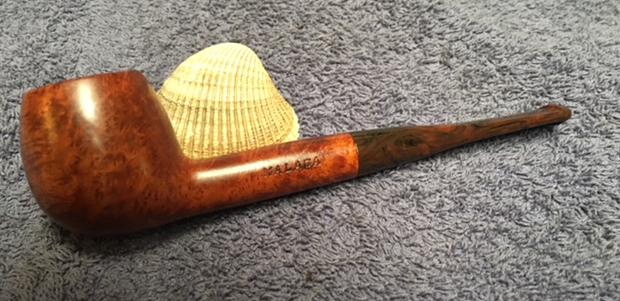
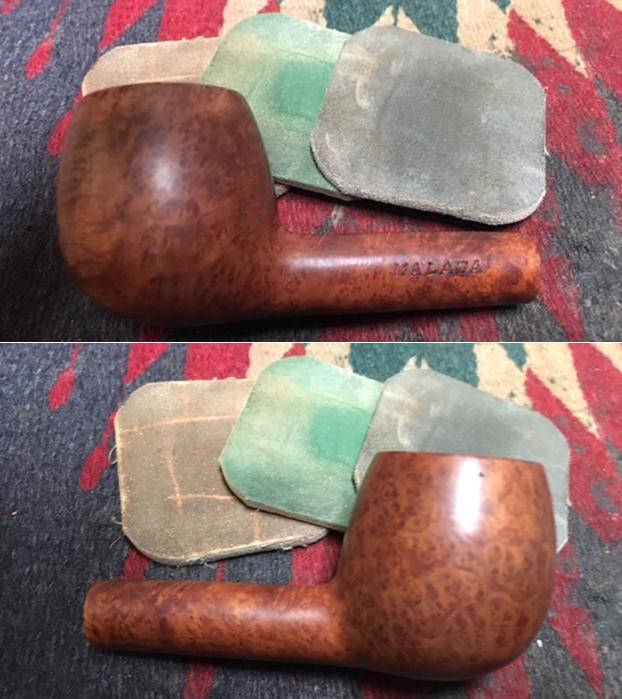
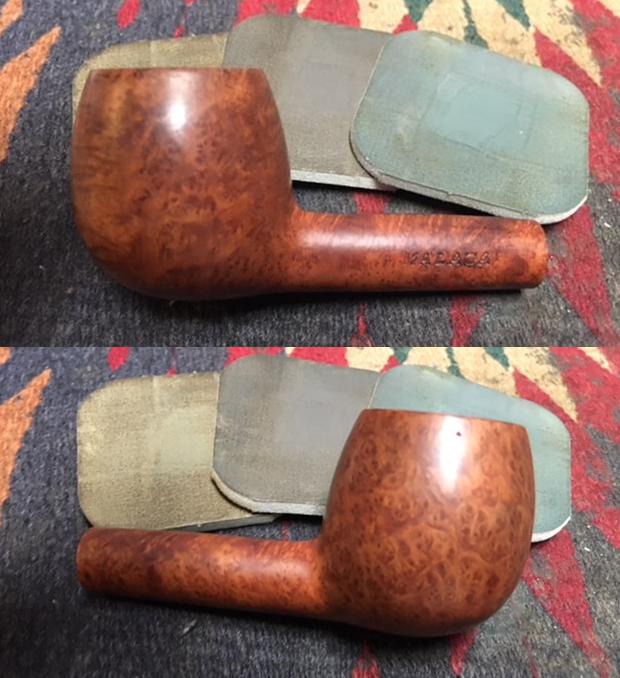
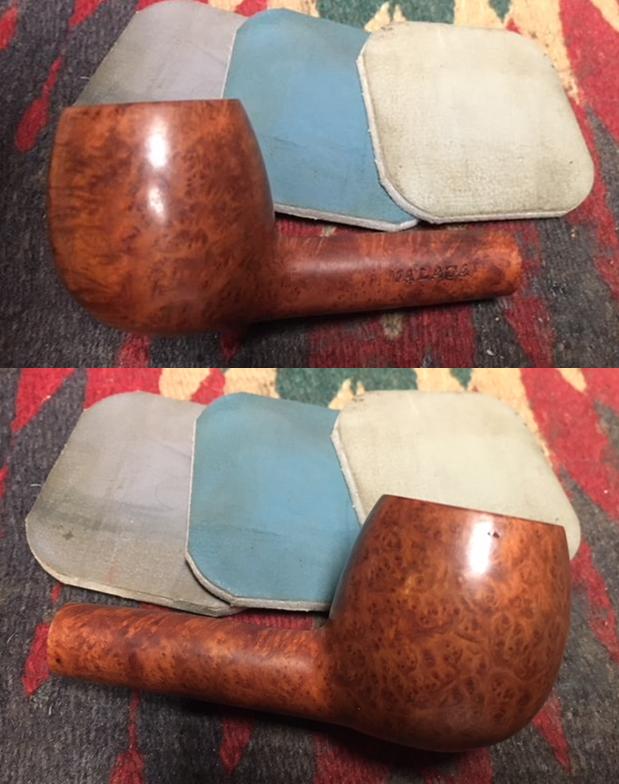
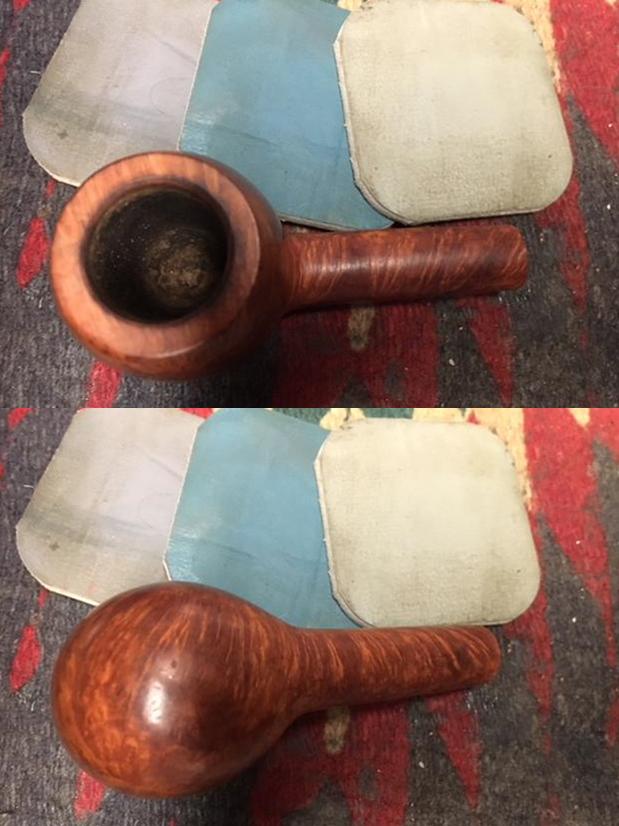
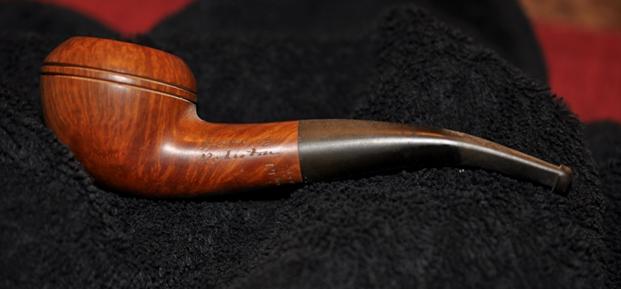
The ninth of the pipes that I chose to work on is another “Malaga” Banker (Author??). This one is a mixed finish smooth and rusticated pipe with same mixed finish on the rim top. I really like the shape and the mix of rustication and smooth straight grain on this pipe. The vulcanite stem had lots of tooth chatter and some tooth marks. Some great grain peeks through the grime around the bowl. The warm brown finish on the bowl appeared to be good condition under the dust and tars of time. I am certain that Malaga pipes were oil cured. The uniform finish and the light weight lead me to think that is the case. Once more there are no fills in the bowl or long shank. I have yet to find a fill in any of the bowls I have worked on in this lot and looking through what remains I think it is fair to say I won’t find any in them either.

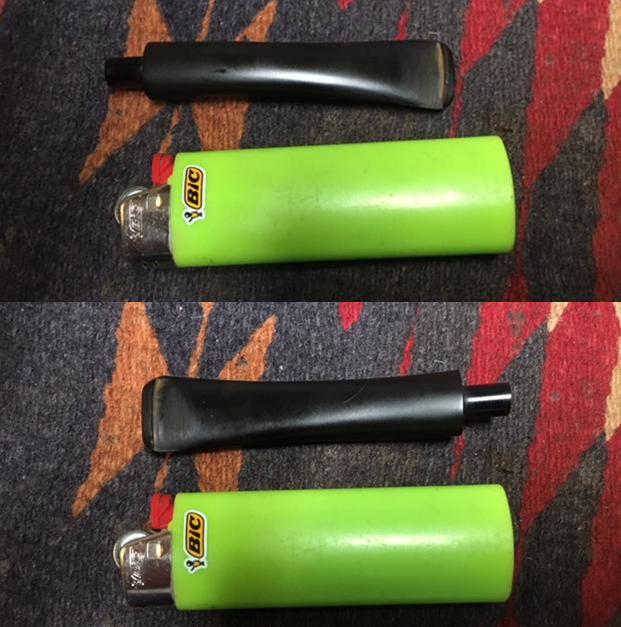
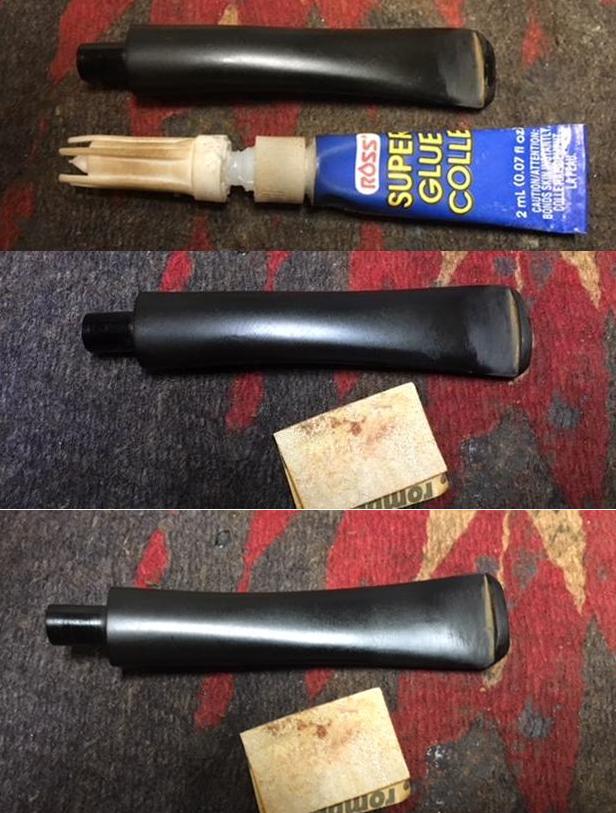
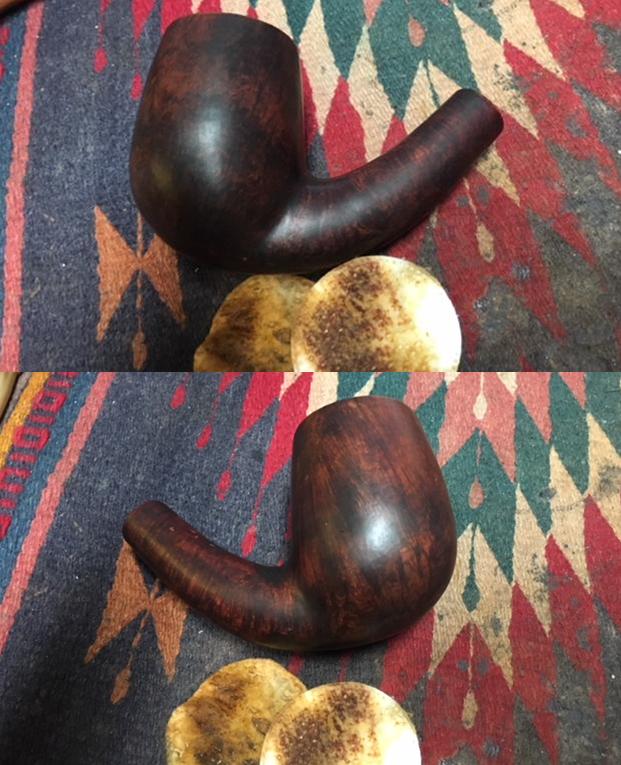
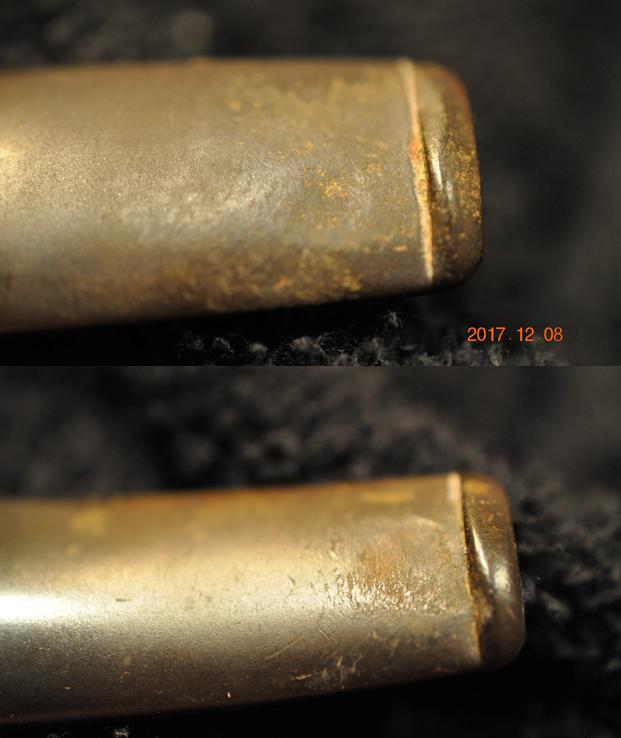
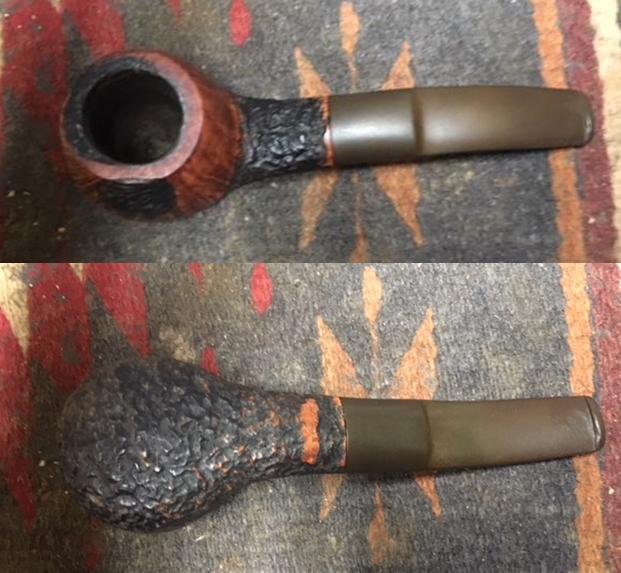
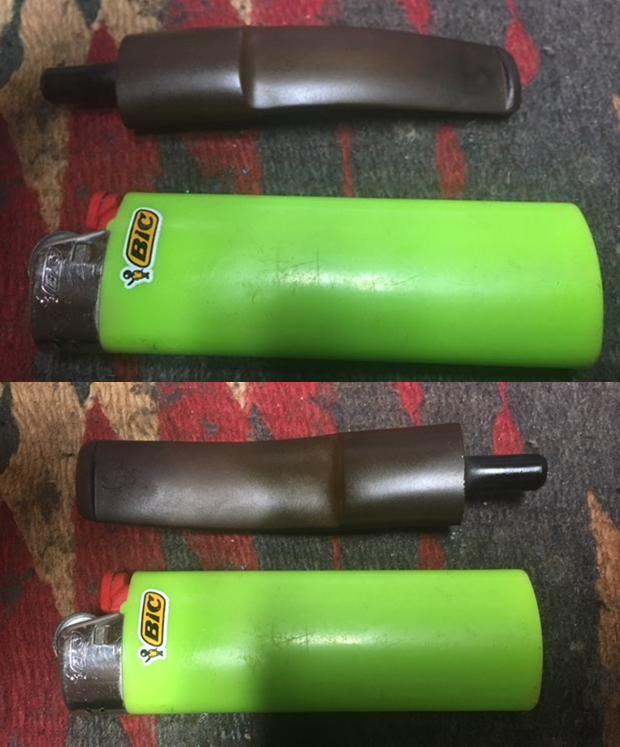
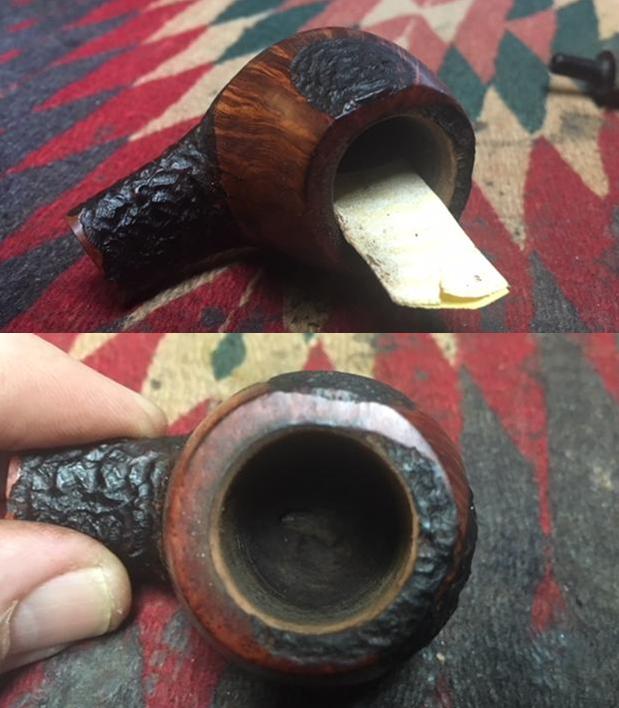
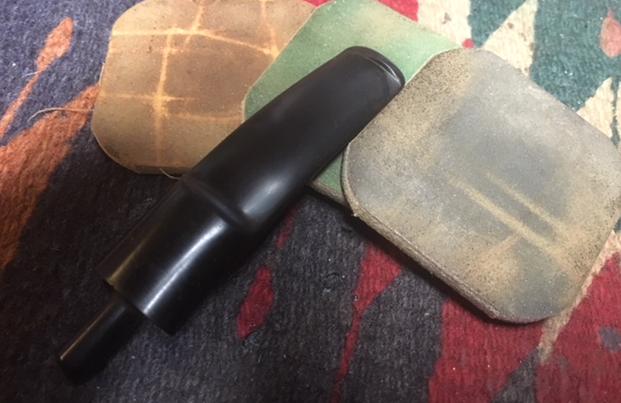
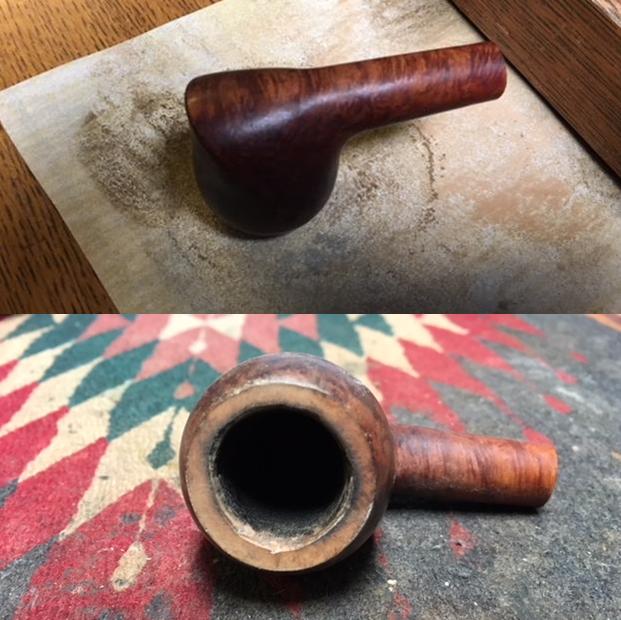
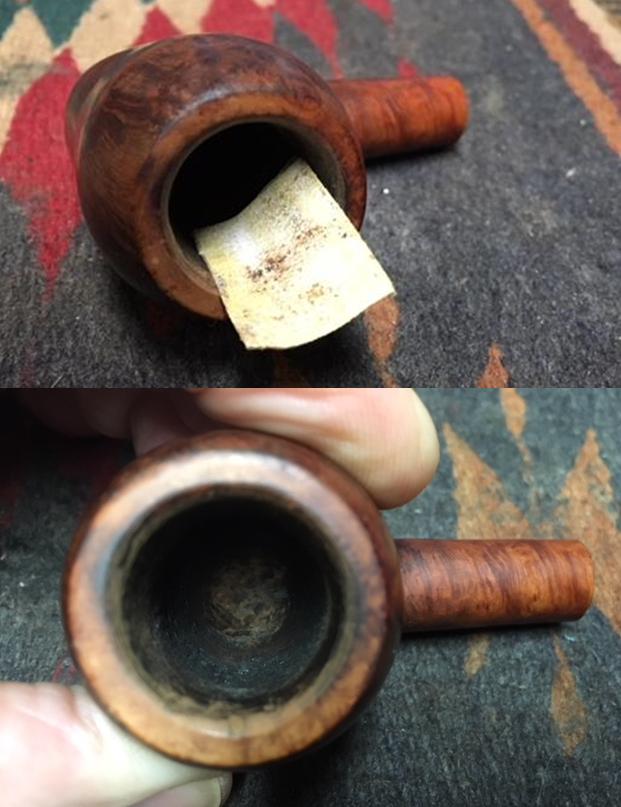
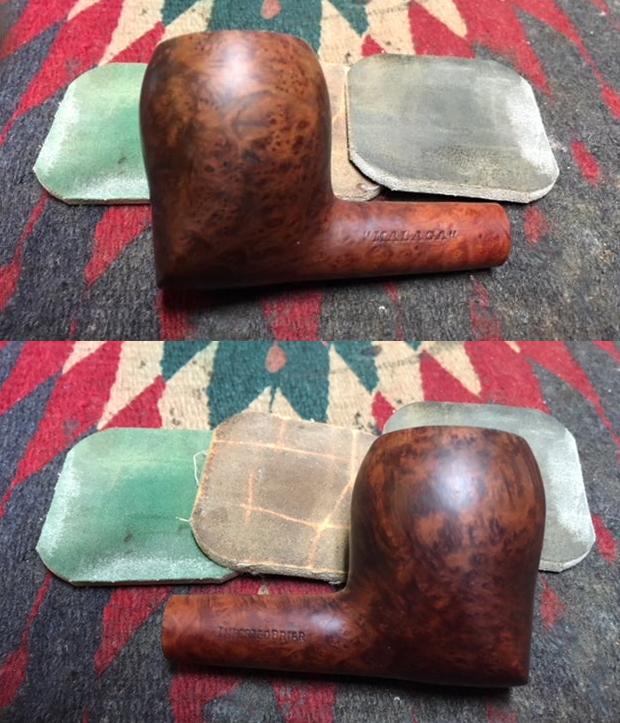
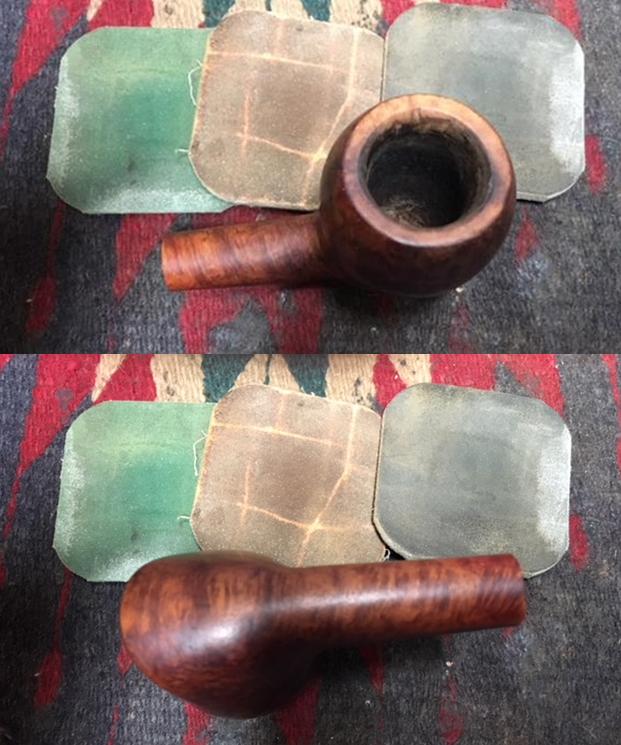
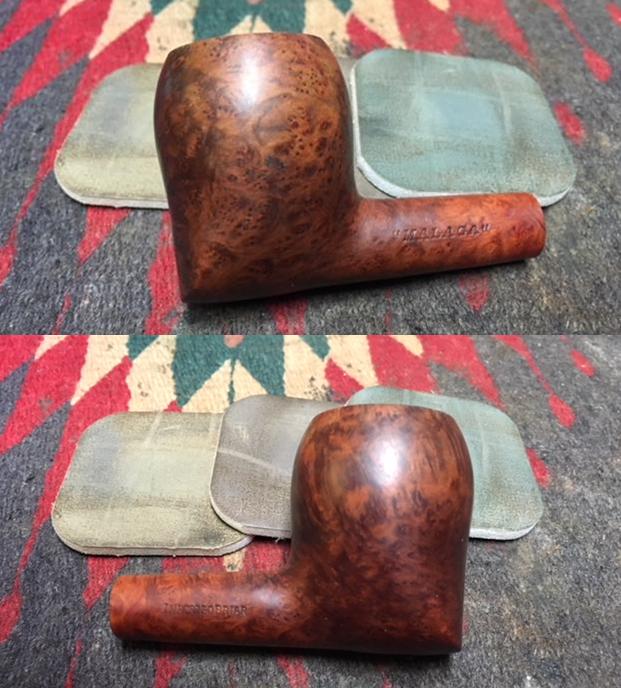
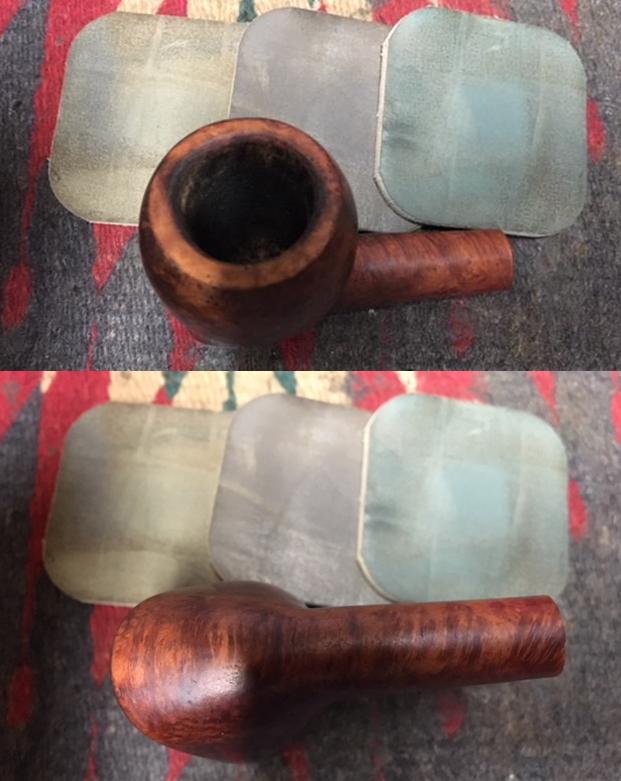
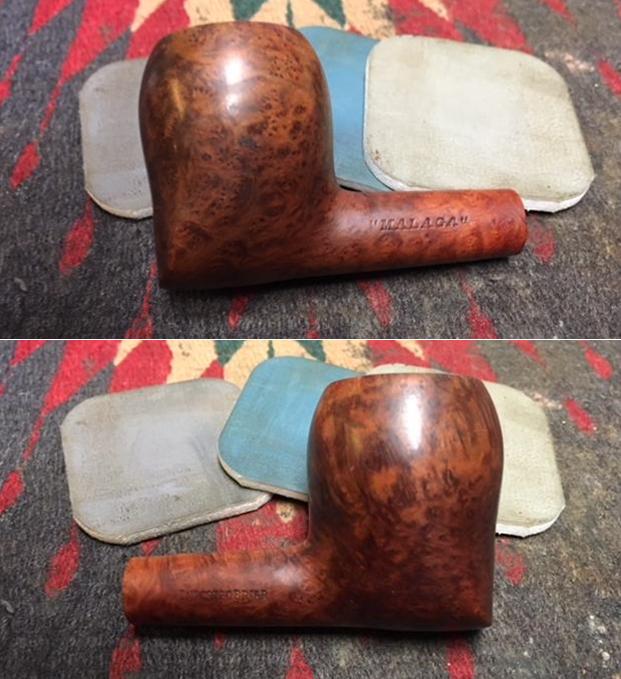
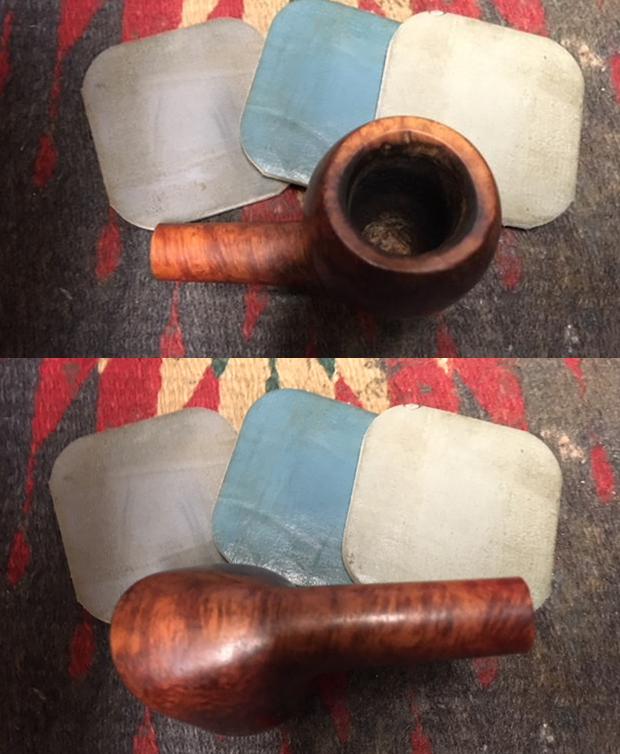
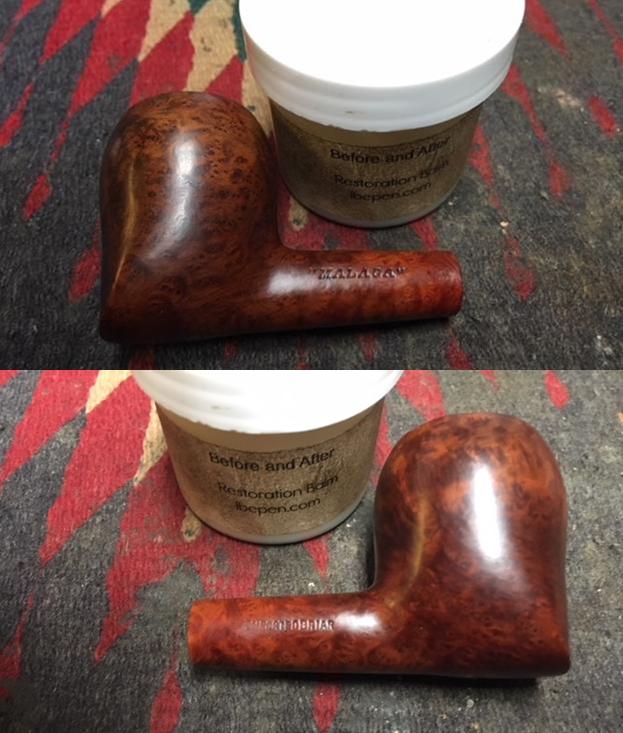
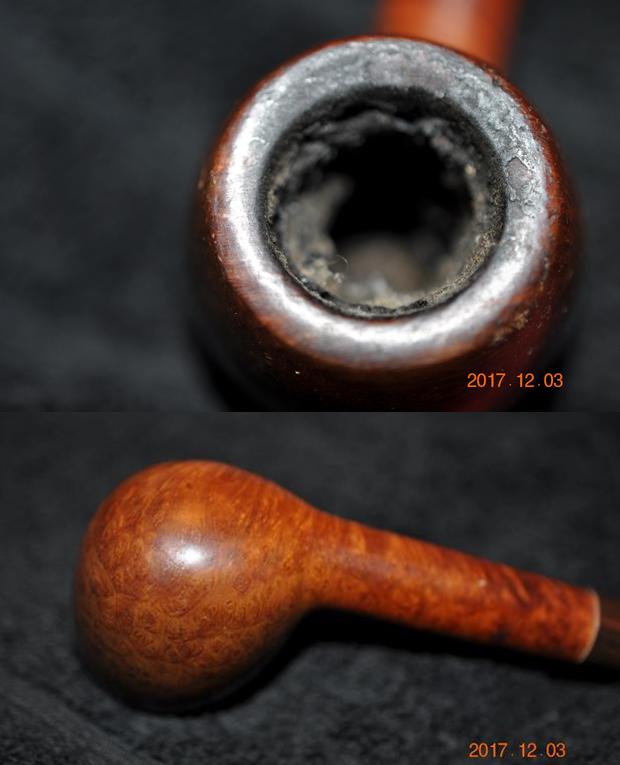
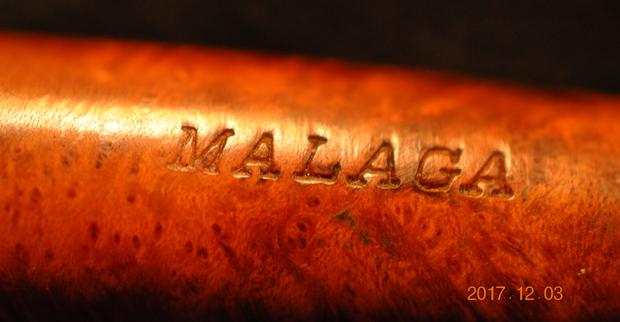
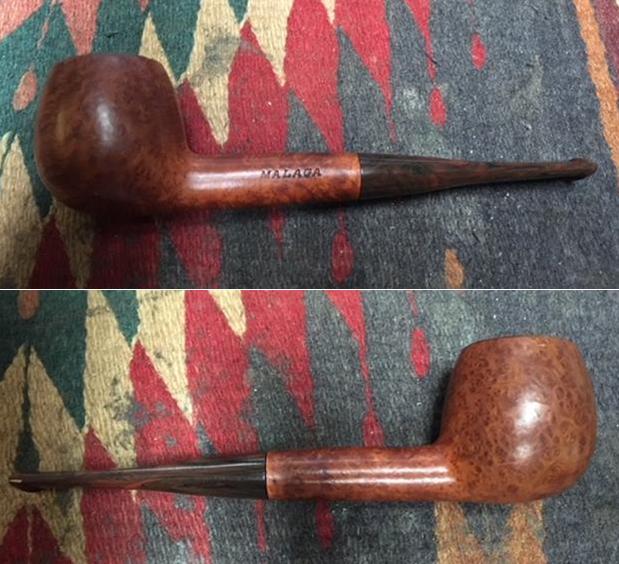
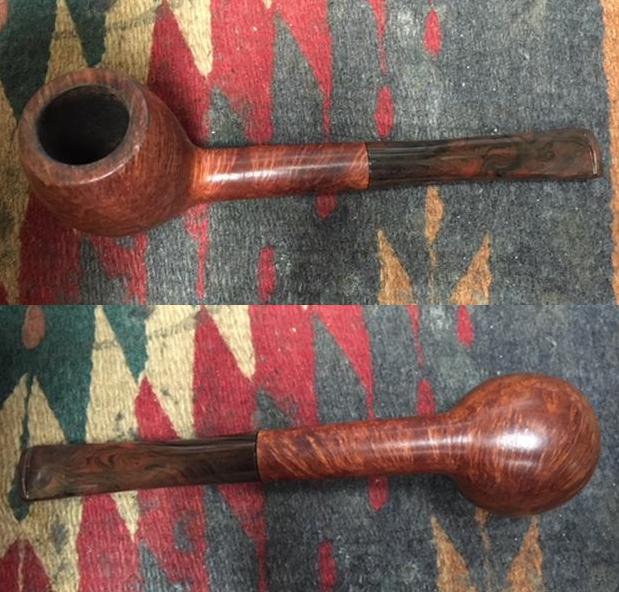
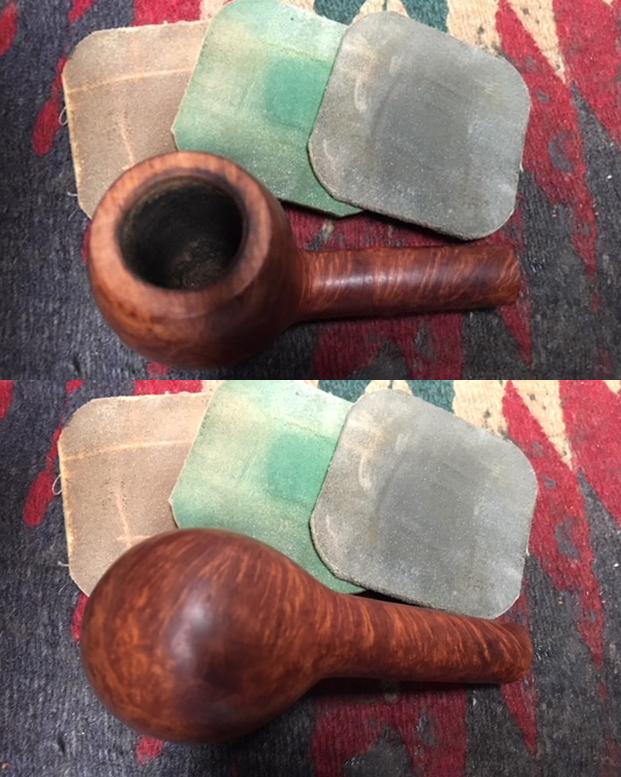
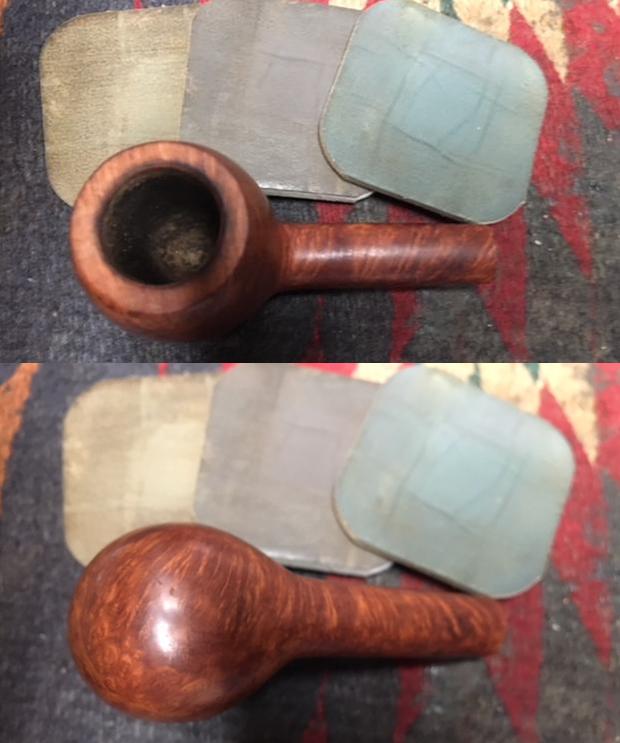
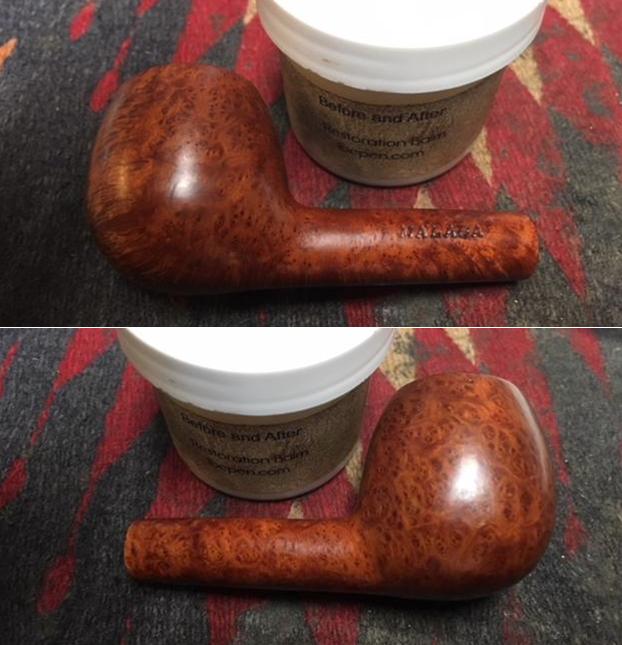
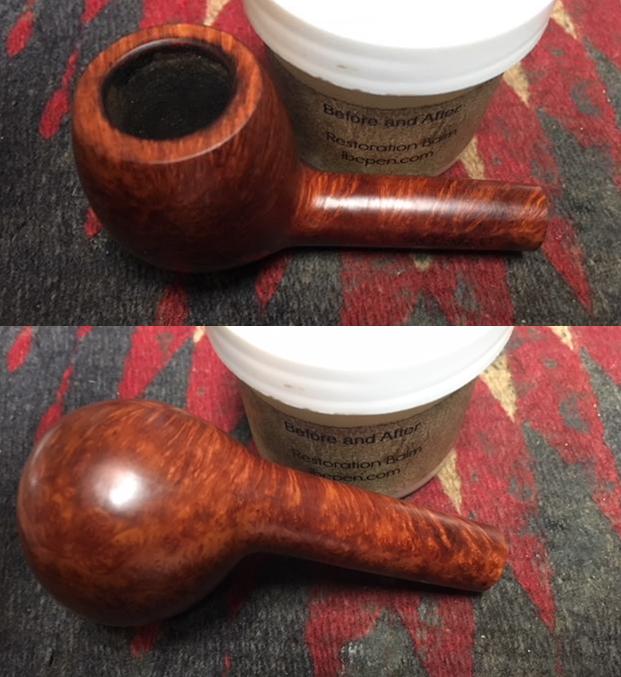
The mixture of rustication and smooth on the rim top of this Baker was originally covered and the rustication was almost filled in with an overflow of lava from the thick cake in the bowl. The rim top was in good condition and the inner edge of the bowl had some light damage and was out of round. The outer edge of the bowl was in good condition. The stamping was on the underside of the shank and was clear and read “Malaga” on a smooth panel near the shank/stem junction. The black vulcanite stem had tooth dents and chatter on the top and the underside of the stem. The interior of the pipe was dirty. I could see that George thoroughly enjoyed this pipe along with the others as is evidenced by the wear that all of them show. Jeff took these photos before he started the cleanup work on the pipe. Jeff took close up photos of the bowl and rim to show the condition of the pipe before he started to work his magic on it. The exterior of the bowl and shank were dirty. You can see the lava on the rim top, the cake and remnants of tobacco in the bowl and the nicks on the rim top and bowl around the outer edge of the rim. The second rim top photo shows the thick cake and debris in the bowl. It is dirty but in otherwise good condition. He also took photos of the backside and of the side to show the condition of the finish. He also took a photo of the shank to show the stamping on the panel on the underside of the shank. You can see the dust and grime in the rustication on the shank before cleanup.The next photos show the tooth chatter and dents on both surfaces of the stem near the button. There were also some dents in the top and underside of the button edge itself.Working on this ninth pipe followed the same pattern as all of these pipes. Jeff had reamed the bowl with a PipNet pipe reamer and followed up with a Savinelli Fitsall pipe knife to remove the cake. He scrubbed out the mortise and the airway in the shank and the stem with alcohol, cotton swabs and pipe cleaners. He scrubbed the exterior of the bowl, rim, shank and stem with a tooth brush and Murphy’s Oil Soap to remove the oils and tars on the bowl, rim and shank. He rinsed it under running water. He dried it off with a soft cloth. The lava mess on the rim was thoroughly removed without harming the finish underneath it. Without the grime the finish looked really good. As noted above the stem would need to be worked on. I took photos of the pipe to show its condition before I started my work on it.    I took a photo of the rim top to show the condition it was in after the cleanup. Jeff was able to remove all of the lava on the rim top and edges. You can see the contrast between the rusticated portion of the rim and the smooth. The inner edge of the bowl is chipped and damaged slightly but a little sanding would smooth that out. It is a nice looking finish. The stem was clean and you can see the tooth chatter and marks on the surface of the stem and on the edges of the button.I “painted” the surface of the stem with the flame from a Bic lighter to heat and lift the dents in the vulcanite. This is one of those times that I am glad vulcanite has memory. The marks lifted to the surface and a bit of sanding would smooth things out.I repaired the small dips in the top surface of the stem with clear super glue. When it had cured I sanded the surface of the stem smooth with 220 grit sandpaper. I sanded the rest of the stem at the same time and removed some of the oxidation on the surface.I rubbed the bowl down with Before & After Restoration Balm to deep clean the briar and particularly the reshaped areas. The product works to clean, enliven and protect the briar. I hand rubbed it with my fingers and wiped it off with a soft cloth. I buffed the bowl with a horsehair shoe brush to polish it. The briar really began to have a rich shine. I took some photos of the bowl at this point to mark the progress in the restoration. I got a little ahead of myself in using the balm. I had not cleaned up the damage to the rim edge. I used a folded piece of 220 grit sandpaper to smooth out the inner edge of the rim. I worked on it and gave it a slight bevel to cover for the damage and the burn marks. Once it was finished I reworked the balm into the rim top and edges.I polished the stem with micromesh sanding pads – wet sanding with 1500-2400 grit pads and dry sanding with 3200-12000 grit pads. I wiped the stem down after each pad with a damp cloth to remove the sanding dust. I used the Before & After Pipe Polish to remove the small minute scratches left in the vulcanite. I finished by wiping the stem down with a final coat of Obsidian Oil and set it aside to dry. I the polished stem and bowl with Blue Diamond to polish out the remaining small scratches. I gave the bowl multiple coats of Conservator’s Wax and the stem several coats of carnauba wax and buffed the pipe with a clean buffing pad to raise the shine. I hand buffed it with a microfiber cloth to deepen the shine. The pipe polished up pretty nicely. The finished pipe is shown in the photos below. This is the eighth of the many “Malaga” pipes that I am restoring from Kathy’s Dad’s collection. I am looking forward once again to hearing what Kathy thinks once she sees the finished pipe on the blog. This one is staying with me. I look forward to carrying on the trust from her father. The dimensions are Length: 5 ½ inches, Height: 1 1/2 inches, Outside diameter of the bowl: 1 1/4 inches, Chamber diameter: 3/4 inches. Thanks for walking through the restoration with me as I worked over this Malaga from George’s estate. More will follow in a variety of shapes and sizes. 
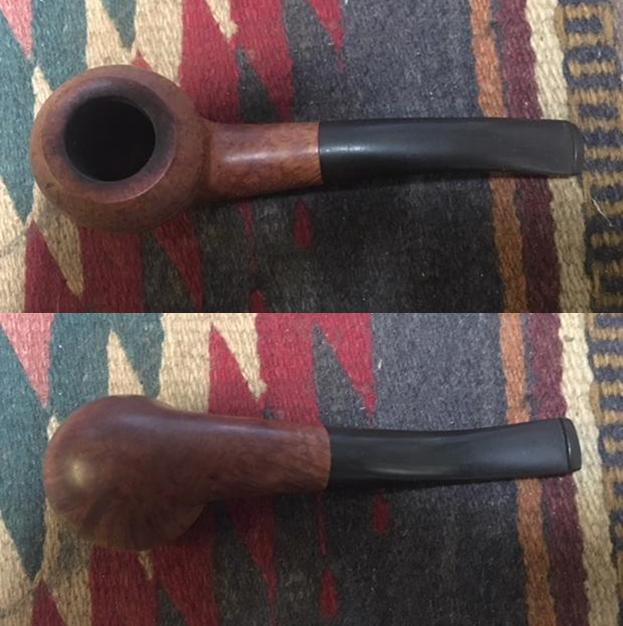
Kathy’s Dad’s Pipes #4 – Restoring George Koch’s “Malaga” Unique


Blog by Steve Laug

This is the fourth of the “Malaga” pipes that I am working on from Kathy’s Dad’s pipes. For those of you who have not read the other blogs let me tell the story. Last fall I received a contact email on rebornpipes from Kathy asking if I would be interested in purchasing her late Father, George Koch’s estate pipes. He was a lover of “Malaga” pipes – all shapes and sizes and she wanted to move them out as she cleaned up the estate. We emailed back and forth and I had my brother Jeff follow up with her as he also lives in the US and would make it simpler to carry out this transaction. The long and short of it is that we purchased her Dad’s “Malaga” pipes. There are some beautiful pipes in that lot. I have never seen this many “Malagas” together in one place in all of my years of pipe restoring and refurbishing. They varied from having almost pristine to gnawed and damaged stems that will need to be replaced. Many of the pipes already had replacement stems or maybe George had the staff at the Malaga shop in Michigan put Lucite stems on them because he was such a gnawer. I don’t know if we will ever know the answer to that as Kathy did not know for sure. She did know though that he loved the brand and that most of the pipes he smoked he purchased from the shop. These were some well used and obviously well loved pipes. Cleaning and restoring them will be a tribute to this pipeman. (Here is a link to some history of the Malaga Brand if you are interested: https://rebornpipes.com/tag/malaga-pipes/. There are also links there to a catalogue and the maker George Khoubesser.)Knowing about the pipeman who held the pipes in trust before me gives another dimension to the restoration work. This is certainly true with this lot of pipes. I can almost imagine George picking out each pipe in his assortment at the Malaga shop in Michigan. I may well be alone in this, but when I know about the person it is almost as if he is with me work on his pipes. In this case Kathy sent us not only information but also a photo of her Dad enjoying his “Malagas”. Once again, I am including that information so you can know a bit about the pipeman who held these pipes in trust before they are passed on to some of you. I include part of Kathy’s correspondence with my brother as well…
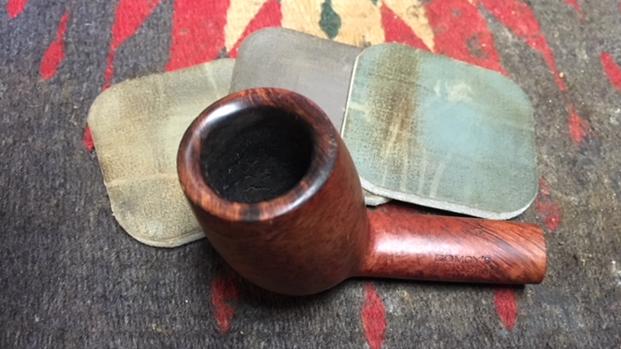
Jeff…Here is a little about my dad, George P. Koch…I am sending a picture of him with a pipe also in a separate email.

Dad was born in 1926 and lived almost all his life in Springfield, Illinois. He was the youngest son of German immigrants and started grade school knowing no English. His father was a coal miner who died when Dad was about seven and his sixteen year old brother quit school to go to work to support the family. There was not much money, but that doesn’t ruin a good childhood, and dad had a good one, working many odd jobs, as a newspaper carrier, at a dairy, and at the newspaper printing press among others. He learned to fly even before he got his automobile driver’s license and carried his love of flying with him through life, recertifying his license in retirement and getting his instrumental license in his seventies and flying until he was grounded by the FAA in his early eighties due to their strict health requirements. (He was never happy with them about that.) He was in the Army Air Corps during World War II, trained to be a bomber, but the war ended before he was sent overseas. He ended service with them as a photographer and then earned his engineering degree from University of Illinois. He worked for Allis Chalmers manufacturing in Springfield until the early sixties, when he took a job at Massey Ferguson in Detroit, Michigan. We lived in Livonia, and that’s where his love for Malaga pipes began. After a few years he returned to Allis Chalmers and we moved back to Springfield. I remember that when we went back to Michigan to visit friends, Dad had to go to the Malaga store and acquire a few new pipes. Many a year I wrote to Malaga and they picked out a pipe for me to purchase that I could give Dad for a Christmas or birthday present. He was always pleased. His favorites were the straight stemmed medium sized bowl pipes, but he liked them all.  He had some other pipes, but the Malagas were his favorites. I remember him smoking them sitting in his easy chair after work, with feet up on the ledge by the fire burning in the fireplace.  Growing up it was my job to clean them and he liked the inner bowl and stem coated with Watkins vanilla, leaving a little of that liquid in the bowl to soak in when I put them back on the rack. Dad quit smoking later in life and so they’ve sat on the racks for many years unattended, a part of his area by his easy chair and fireplace. Dad passed when he was 89 years old and it finally is time for the pipes to move on. I’m very happy they are being restored by you and your brother and hope they find homes who enjoy them as much as Dad did. Thank-you for your care and interest. — Kathy, the oldest daughter

Kathy, once again I thank you for providing this beautiful tribute to your Dad. We will appreciate your trust in allowing us to clean and restore these pipes. I am also trusting that those of you who are reading this might carry on the legacy of her Dad’s pipes as they will be added to the rebornpipes store once they are finished.

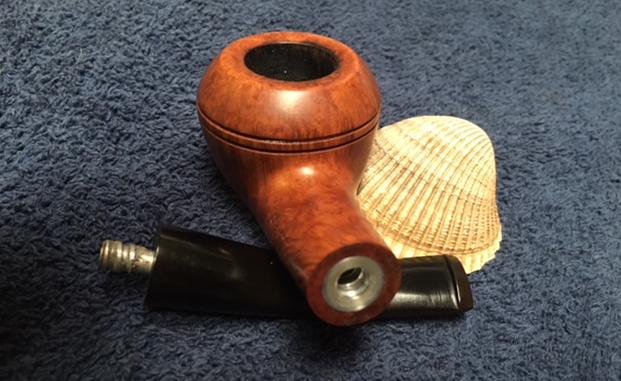
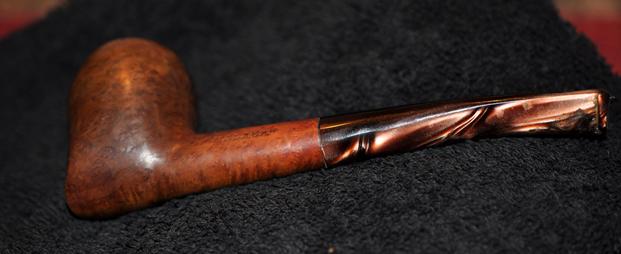
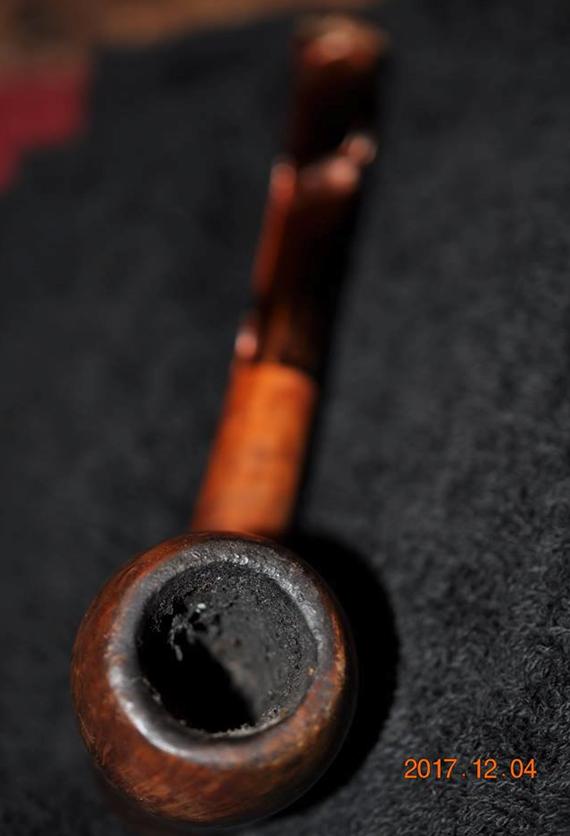
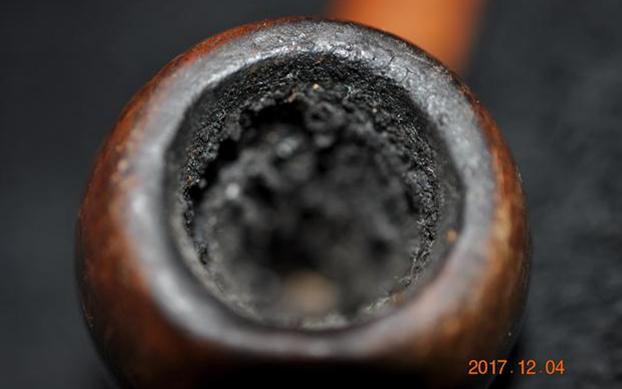
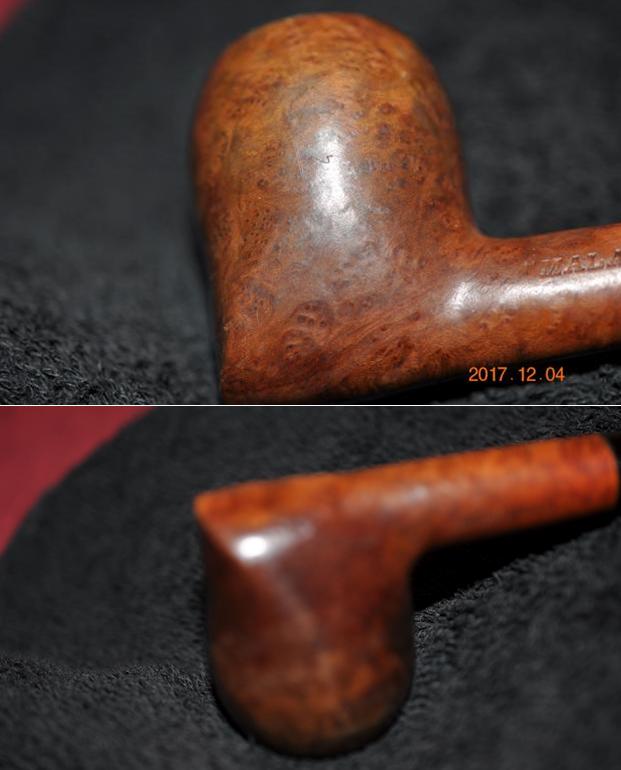
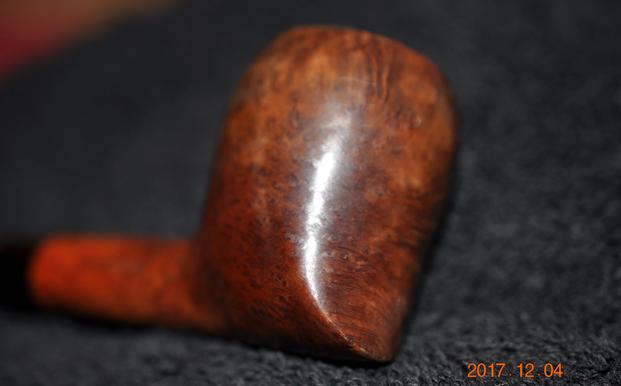
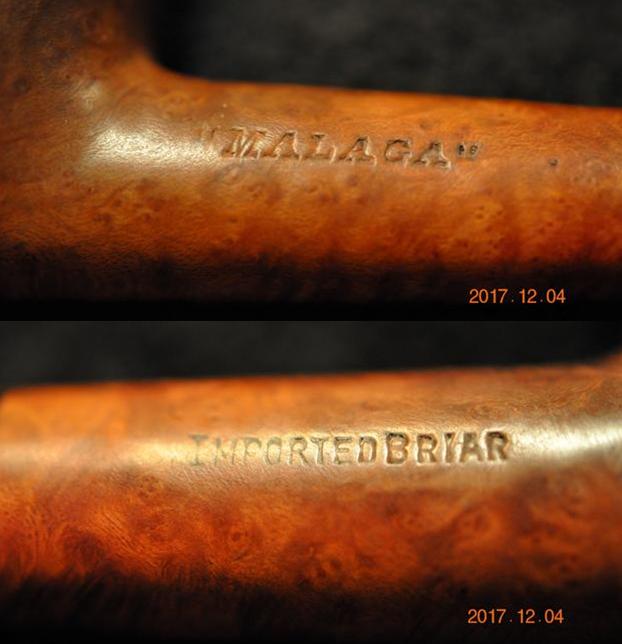
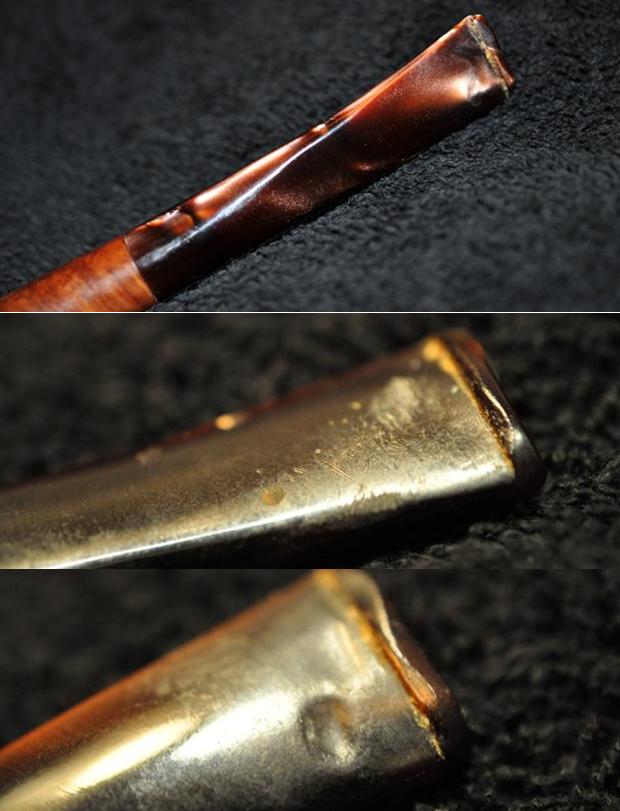
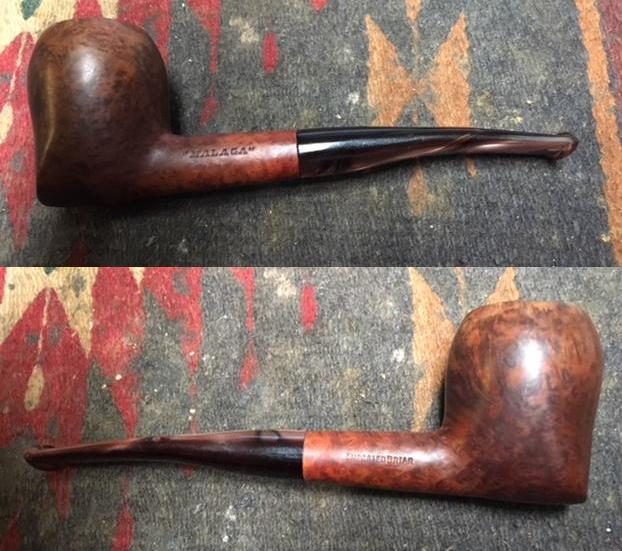
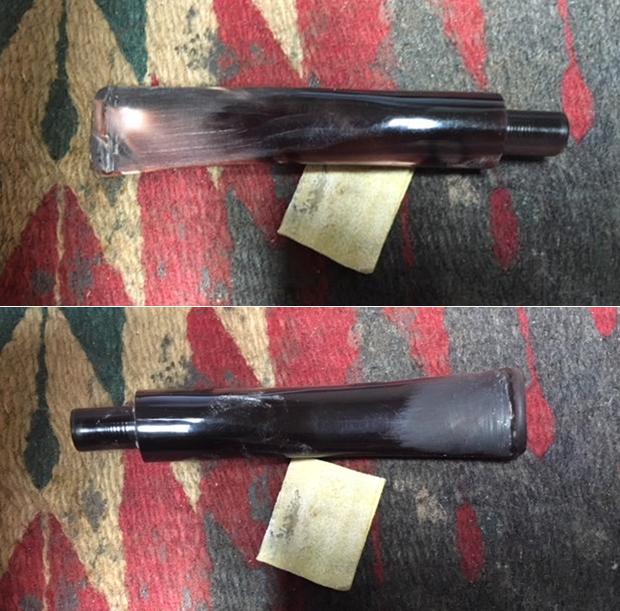
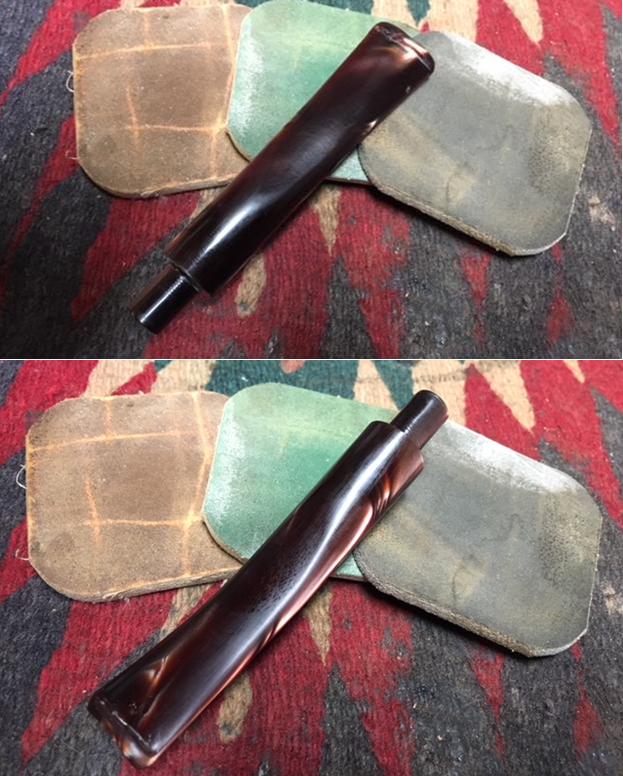
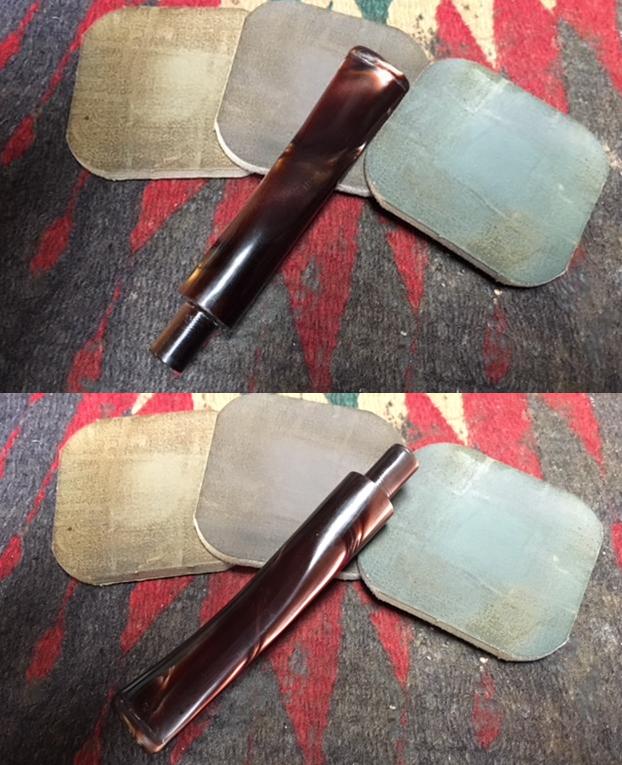
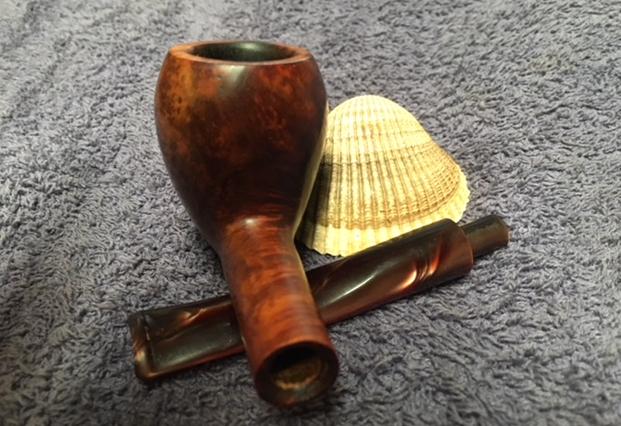
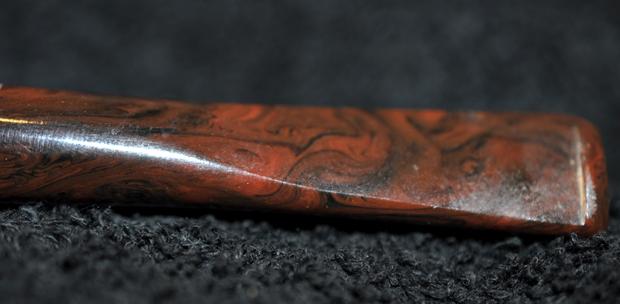
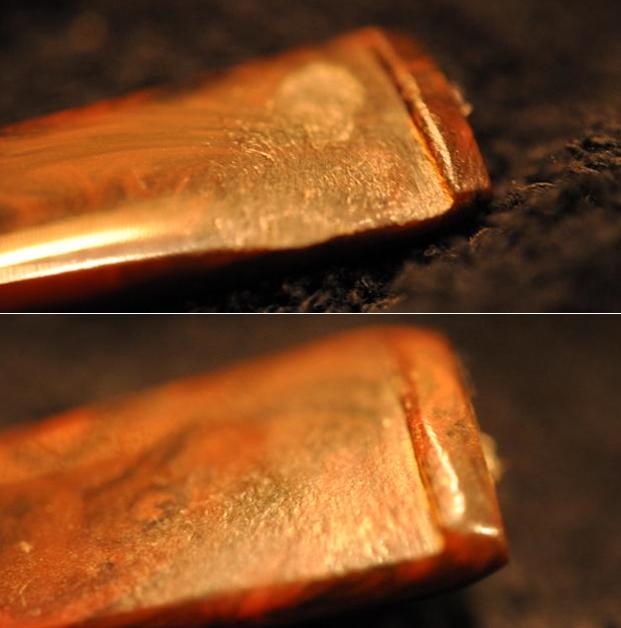
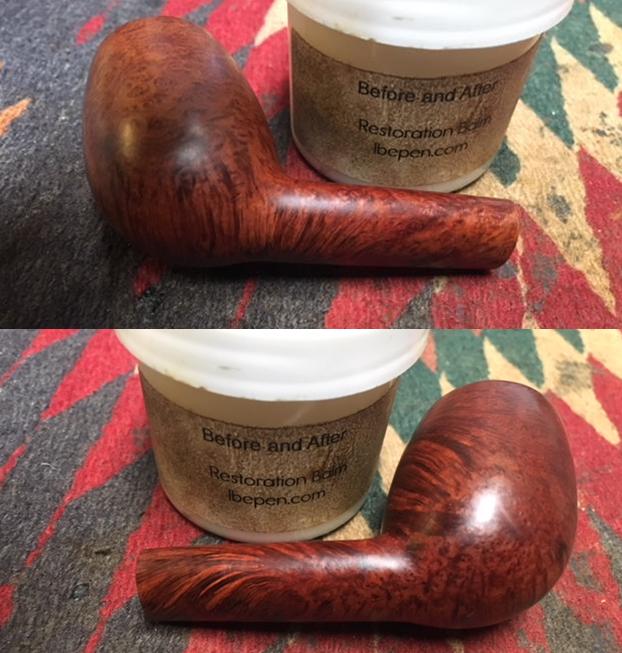
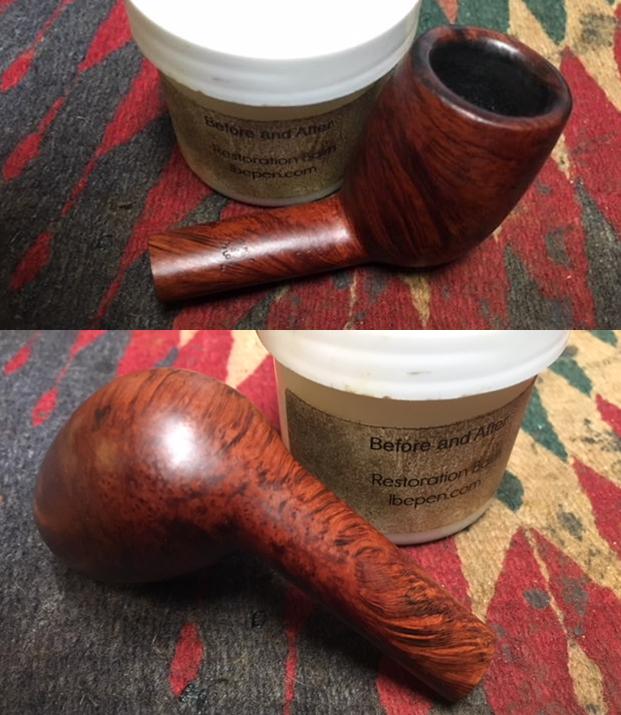
The fourth of the pipes that I chose to work on is a “Malaga” Unique shape with a swirled brown acrylic stem. Some might call it a skater but it is not quite that. Others may have another idea but I have no clue what to call this shape. But it is another beautiful pipe underneath the grime and debris of the years. The warm brown finish on the bowl appeared to be good condition under the dust and tars of time. The more I work on these the more I think that Malagas must have been oil cured as they are very light weight and the finishes are uniformly well done. I have yet to find a fill in any of the bowls I have worked on in this lot and looking through what remains I think it is fair to say I won’t find any in them either. The rim top on the unique was covered with an overflow of lava from the cake in the bowl. The inner and outer edge of the bowl had damage. There were some nicks on the outer edge and there was some darkening on the inner edge. The bowl was out of round from previous reaming. The rim top and outer edge showed signs of being knocked against a hard surface to empty the dottle from the bowl. The stamping on the left side of the shank was clear and read “Malaga” and Imported Briar on the right side. There were no shape numbers on the pipe. The acrylic brown coloured stem fit the shank quite well and had some really interesting swirls around the stem. There was tooth chatter and marks on both sides at the button and one deep tooth mark on the underside near the button. The interior of the pipe was dirty. I know that George thoroughly enjoyed his pipes as is evidenced by the use that all of them how. Jeff took these photos before he started the cleanup work on the pipe. He took close up photos of the bowl and rim to show the condition of the pipe before he started to work his magic on it. The exterior of the bowl and shank were dirty. You can see the lava on the rim, the cake in the bowl and the nicks on the rim top and bowl around the outer edge of the rim. It is dirty but in otherwise good condition. He also took a photo of the sides of the bowl and the underside of the bowl and shank. He also took a photo of both sides of the shank to show the stamping and the condition of the overall shank so you could have an idea of where things were at before he cleaned it up.The next photo shows the colour of the stem material with all of the swirls browns and copper colours that make the acrylic stem quite beautiful. The nicks in the surface, the tooth chatter on the stem top and underside as well as the button and the deep tooth mark on the underside of the stem can be seen in the photos that follow.Working on this fourth pipe was pretty straightforward because Jeff had done all the hard cleanup work on the briar inside and out. He reamed the bowl with a PipNet pipe reamer and followed up with a Savinelli Fitsall pipe knife to remove the cake. He scrubbed out the mortise and the airway in the shank and the stem with alcohol, cotton swabs and pipe cleaners. He scrubbed the exterior of the bowl, rim, shank and stem with a tooth brush and Murphy’s Oil Soap to remove the oils and tars on the bowl, rim and shank. He rinsed it under running water. He dried it off with a soft cloth. The lava mess on the rim was thoroughly removed without harming the finish underneath it. Once the grime was removed the finish actually looked it was in excellent condition. I took photos of the pipe to show its condition before I started my work on it. It really has some nice birdseye grain on the right side of the bowl and shank. I took a photo of the rim top to show the condition it was in after the cleanup. Jeff was able to remove all of the lava on the rim top and edges. There is still some darkening on the rim top. You can see the damage on the top itself and around the outer edges from knocking out the pipe on a hard surface. The inner edge of the bowl had a lot of nicks and cuts and was out of round. The stem was clean and you can see the tooth chatter and marks on the surface near the button and the large deeper tooth mark on the underside.I sanded out the tooth chatter and worked to reduce the size and impact of the tooth marks with 220 grit sandpaper to smooth and blend them into the surface of the rest of the stem. I sanded the surface of the button to remove the marks on the top and underside. There was a small tooth mark remaining on the top of the stem and the one on the underside is visible and is repairable at this point. I sanded the inside of the tooth mark to rough it up, wiped it down with alcohol on a cotton pad and filled in the divot with clear super glue. I set the stem aside to let the glue cure and worked on another pipe. When the glue had hardened I used a needle file to recut and straighten out the button edge on both sides of the stem. I touched up the small air bubbles that had formed in the super glue with a small drop of glue on each side.When that glue had cured I sanded it smooth with 220 grit sandpaper to blend it into the surface of the acrylic. I worked on it until the repair was basically invisible.I polished the stem with micromesh sanding pads – wet sanding with 1500-2400 grit pads and dry sanding with 3200-12000 grit pads. I wiped the stem down after each pad with a damp cloth to remove the sanding dust. I lightly topped the bowl on my topping board using 220 grit sandpaper. It did not take too much work to remove the nicks and damage to the rim top and edges. Once it was complete I topped it on a medium grit sanding sponge to smooth the surface even more.I sanded the inside edge of the rim with 220 grit sandpaper to minimize the damage and bring the bowl back to round. I gave it a slight bevel that made the darkening on the inside edge less visible.I polished the briar with micromesh sanding pads – wet sanding with 1500-2400 grit pads and dry sanding with 3200-12000 grit pads. I wiped the briar down after each pad with a damp cloth to remove the sanding dust. I rubbed the bowl down with Before & After Restoration Balm to deep clean the pores and grain of the smooth finish as well as to enliven and protect the briar. I hand rubbed it with my fingers and wiped it off with a soft cloth. I buffed the bowl with a horsehair shoe brush to polish it. The briar really began to have a rich shine. I took some photos of the bowl at this point to mark the progress in the restoration. I put the stem back on the pipe and buffed it with Blue Diamond to polish out the remaining small scratches. I gave the bowl and the stem several coats of carnauba wax and buffed the pipe with a clean buffing pad to raise the shine. I hand buffed it with a microfiber cloth to deepen the shine. The pipe polished up pretty nicely. The finished pipe is shown in the photos below. This is the fourth of the many “Malaga” pipes that I am restoring from Kathy’s Dad’s collection. I am looking forward once again to hearing what Kathy thinks once she sees the finished pipe on the blog. I will be posting it on the rebornpipes store very soon. It should make a nice addition to the next pipeman’s rack and in purchasing it you can carry on the trust from her father. The dimensions are Length: 5 ¾ inches, Height: 1 3/4 inches, Outside diameter of the bowl: 1 3/8 inches, Chamber diameter: 3/4 inches. Thanks for walking through the restoration with me as I worked over this Malaga from George’s estate. More will follow in a variety of shapes and sizes.
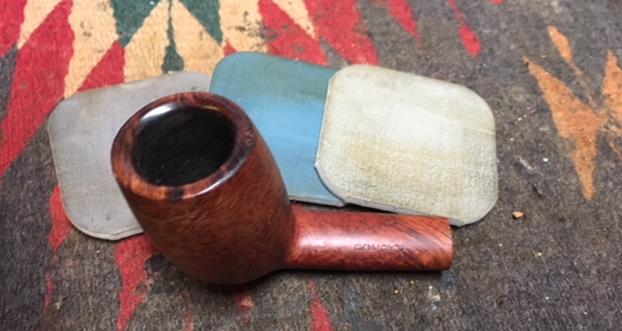
Kathy’s Dad’s Pipes #3 -Restoring George Koch’s “Malaga” Apple


Blog by Steve Laug

This is the third of the “Malaga” pipes that I am working on from Kathy’s Dad’s pipes. Another reminder of where I got them. Last fall I received a contact email on rebornpipes from Kathy asking if I would be interested in purchasing her late Father, George Koch’s estate pipes. He was a lover of “Malaga” pipes – all shapes and sizes and she wanted to move them out as she cleaned up the estate. We emailed back and forth and I had my brother Jeff follow up with her as he also lives in the US and would make it simpler to carry out this transaction. The long and short of it is that we purchased her Dad’s “Malaga” pipes. There are some beautiful pipes in that lot. I have never seen this many “Malagas” together in one place in all of my years of pipe restoring and refurbishing. They varied from having almost pristine to gnawed and damaged stems that will need to be replaced. Many of the pipes already had replacement stems or maybe George had the staff at the Malaga shop in Michigan put Lucite stems on them because he was such a gnawer. I don’t know if we will ever know the answer to that as Kathy did not know for sure. She did know though that he loved the brand and that most of the pipes he smoked he purchased from the shop. These were some well used and obviously well loved pipes. Cleaning and restoring them will be a tribute to this pipeman. (Here is a link to some history of the Malaga Brand if you are interested: https://rebornpipes.com/tag/malaga-pipes/. There are also links there to a catalogue and the maker George Khoubesser.)I have previously written about how knowing about the pipeman who held the pipes in trust before me gives another dimension to the restoration work. This is certainly true with this lot of pipes. I can almost imagine him picking out his assortment at the Malaga shop in Michigan. I may well be alone in this, but when I know about the person it is almost as if he is with me work on his pipes. In this case Kathy sent us not only information but also a photo of her Dad enjoying his “Malagas”. Once again, I am including that information so you can know a bit about the pipeman who held these pipes in trust before they are passed on to some of you. I include part of Kathy’s correspondence with my brother as well…

Jeff…Here is a little about my dad, George P. Koch…I am sending a picture of him with a pipe also in a separate email.

Dad was born in 1926 and lived almost all his life in Springfield, Illinois. He was the youngest son of German immigrants and started grade school knowing no English. His father was a coal miner who died when Dad was about seven and his sixteen year old brother quit school to go to work to support the family. There was not much money, but that doesn’t ruin a good childhood, and dad had a good one, working many odd jobs, as a newspaper carrier, at a dairy, and at the newspaper printing press among others. He learned to fly even before he got his automobile driver’s license and carried his love of flying with him through life, recertifying his license in retirement and getting his instrumental license in his seventies and flying until he was grounded by the FAA in his early eighties due to their strict health requirements. (He was never happy with them about that.) He was in the Army Air Corps during World War II, trained to be a bomber, but the war ended before he was sent overseas. He ended service with them as a photographer and then earned his engineering degree from University of Illinois. He worked for Allis Chalmers manufacturing in Springfield until the early sixties, when he took a job at Massey Ferguson in Detroit, Michigan. We lived in Livonia, and that’s where his love for Malaga pipes began. After a few years he returned to Allis Chalmers and we moved back to Springfield. I remember that when we went back to Michigan to visit friends, Dad had to go to the Malaga store and acquire a few new pipes. Many a year I wrote to Malaga and they picked out a pipe for me to purchase that I could give Dad for a Christmas or birthday present. He was always pleased. His favorites were the straight stemmed medium sized bowl pipes, but he liked them all.  He had some other pipes, but the Malagas were his favorites. I remember him smoking them sitting in his easy chair after work, with feet up on the ledge by the fire burning in the fireplace.  Growing up it was my job to clean them and he liked the inner bowl and stem coated with Watkins vanilla, leaving a little of that liquid in the bowl to soak in when I put them back on the rack. Dad quit smoking later in life and so they’ve sat on the racks for many years unattended, a part of his area by his easy chair and fireplace. Dad passed when he was 89 years old and it finally is time for the pipes to move on. I’m very happy they are being restored by you and your brother and hope they find homes who enjoy them as much as Dad did. Thank-you for your care and interest. — Kathy, the oldest daughter

Kathy, once again I thank you for providing this beautiful tribute to your Dad. We will appreciate your trust in allowing us to clean and restore these pipes. I am also trusting that those of you who are reading this might carry on the legacy of her Dad’s pipes as they will be added to the rebornpipes store once they are finished.

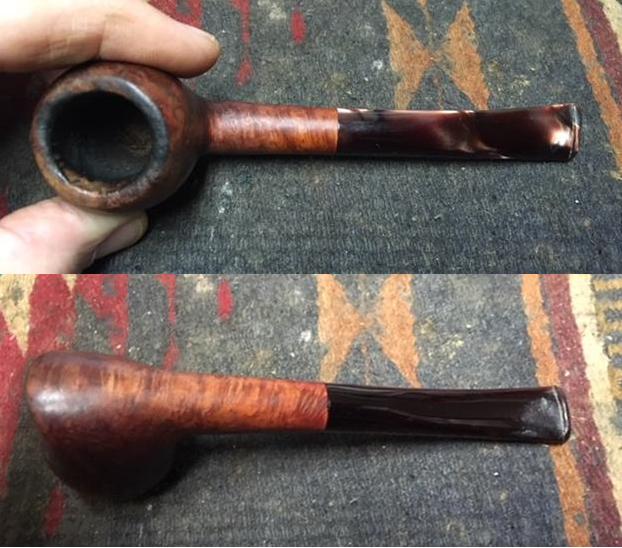
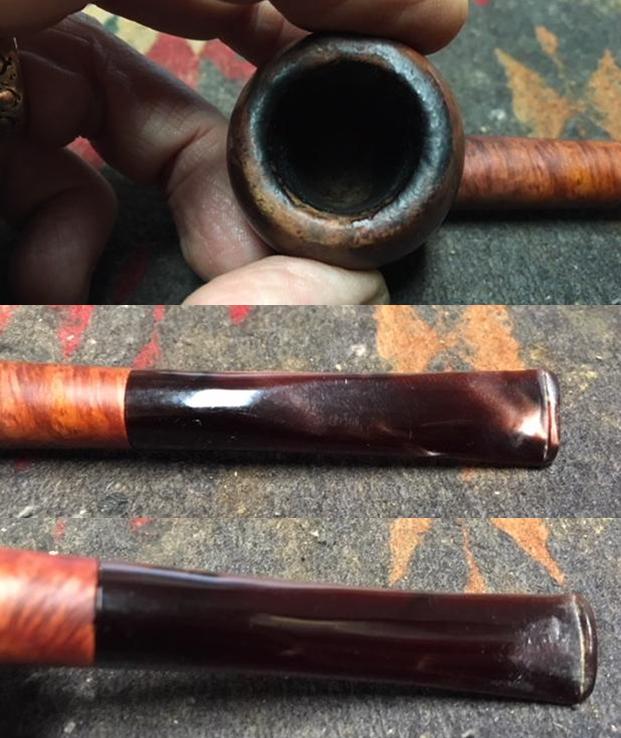
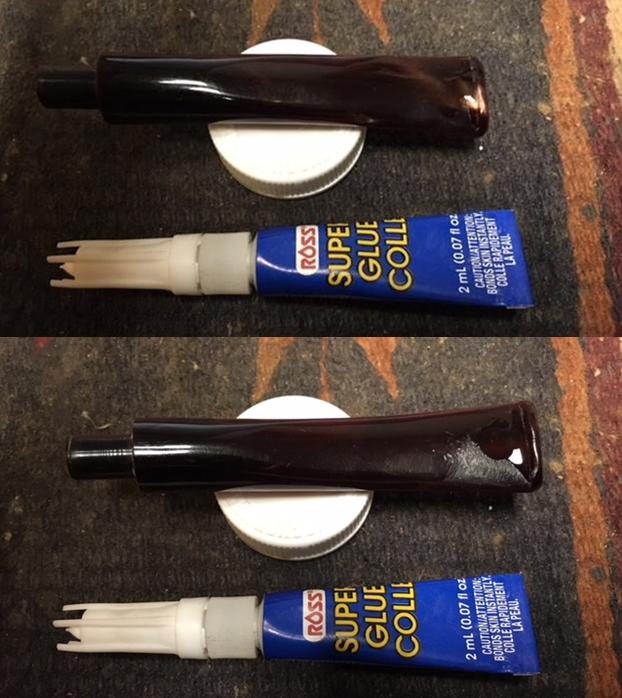
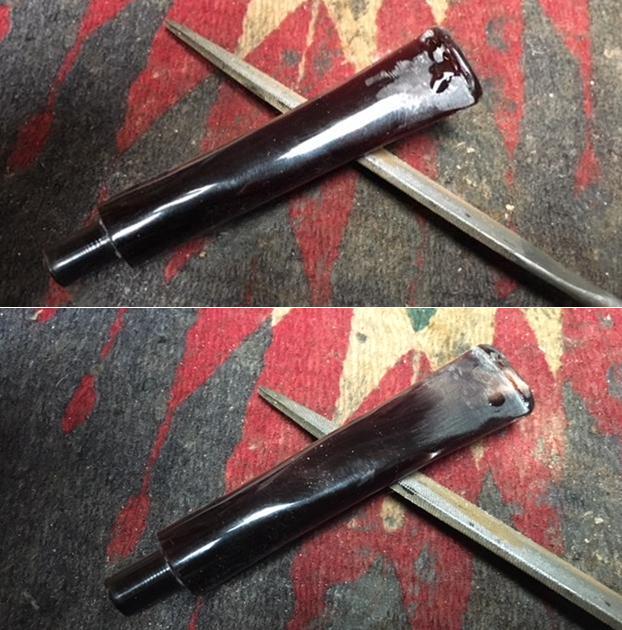
The third of the pipes that I chose to work on is a “Malaga” Apple shape with an acrylic Cumberland stem. It is another beautiful pipe underneath the grime and debris of the years. The warm brown finish on the bowl appeared to be good condition under the dust and tars of time. I think that Malagas must have been oil cured as they are very light weight and the finishes are uniformly well done. I have yet to find a fill in any of the bowls I have worked on in this lot and looking through what remains I think it is fair to say I won’t find any in them either. The rim top on the apple was covered with a light overflow of lava from the cake in the bowl. The inner and outer edge of the bowl had damage. There were some nicks on the outer edge and there was some darkening on the inner edge. The outer edge showed signs of being knocked against a hard surface to empty the dottle from the bowl. The stamping on the left side of the shank was clear and read “Malaga”. Once again there were no shape numbers on the pipe. The acrylic Cumberland coloured stem fit the shank quite well and had some really interesting patterns around the stem. There was tooth chatter and marks on both sides at the button and one deep tooth mark on the underside near the button. The interior of the pipe was dirty. I know that George thoroughly enjoyed his pipes as is evidenced by the use that all of them show. Jeff took these photos before he started the cleanup work on the pipe. He took close up photos of the bowl and rim to show the condition of the pipe before he started to work his magic on it. The exterior of the bowl and shank were dirty. You can see the lava on the rim, the cake in the bowl and the nicks on the bowl around the outer edge of the rim. It is dirty but in otherwise good condition. He also took a photo of the side of the bowl and the underside of the bowl and shank. He also took a photo of the left side of the shank to show the stamping and the condition of the overall shank so you could have an idea of where things were at before he cleaned it up.The next photo shows the colour of the stem material with all of the swirls of black and red that make Cumberland beautiful. The nicks in the surface, the tooth chatter on the stem top and underside as well as the button and the deep tooth mark on the underside of the stem can be seen in the photos that follow. Working on this third pipe and working on a Savinelli Autograph from Farid’s Dad’s estate at the same time is a good reminder of how much Jeff does in preparing a pipe for me to restore. He reamed the bowl with a PipNet pipe reamer and followed up with a Savinelli Fitsall pipe knife to remove the cake. He scrubbed out the mortise and the airway in the shank and the stem with alcohol, cotton swabs and pipe cleaners. He scrubbed the exterior of the bowl, rim, shank and stem with a tooth brush and Murphy’s Oil Soap to remove the oils and tars on the bowl, rim and shank. He rinsed it under running water. He dried it off with a soft cloth. The lava mess on the rim was thoroughly removed without harming the finish underneath it. Once the grime was removed the finish actually looked it was in excellent condition. I took photos of the pipe to show its condition before I started my work on it. It really has some nice birdseye grain on the right side of the bowl and shank. I took a photo of the rim top to show the condition it was in after the cleanup. Jeff was able to remove all of the lava on the rim top and edges. There is still some darkening on the rim top. You can see the damage around the outer edges and top from knocking out the pipe on a hard surface. The stem was clean and you can see the tooth chatter and marks on the surface near the button and the large deeper tooth mark on the underside.I sanded out the tooth chatter and tooth marks with 220 grit sandpaper to smooth and blend them into the surface of the rest of the stem. I sanded the surface of the button to remove the marks on the top and underside. The top of the stem looks very good at this point. The tooth mark on the underside is visible and is repairable at this point.I sanded the inside of the tooth mark to rough it up, wiped it down with alcohol on a cotton pad and filled in the divot with clear super glue. I set the stem aside to let the glue cure and worked on another pipe.When the glue had hardened I sanded it smooth with 220 grit sandpaper to blend it into the surface of the acrylic. I worked on it until the repair was basically invisible (first photo below). I sanded the topside of the stem again as well (second photo below).I polished the stem with micromesh sanding pads – wet sanding with 1500-2400 grit pads and dry sanding with 3200-12000 grit pads. I wiped the stem down after each pad with a damp cloth to remove the sanding dust. I lightly topped the bowl on my topping board using 220 grit sandpaper. It did not take too much work to remove the nicks and damage to the rim top and edges. Once it was complete I topped it on a medium grit sanding sponge to smooth the surface even more.I beveled the inside edge of the rim to minimize the damage. I gave it a slight bevel that made the darkening on the inside edge less visible.I filled in the deeper nicks and marks along the outer edge of the bowl with clear super glue. Once it dried and I sanded it back it would make those areas smooth and almost unnoticeable.I sanded the repaired areas with 220 grit sandpaper and then blended it into the surrounding briar with micromesh sanding pads. I polished it with 1500-2400 grit sanding pads.I polished the briar with micromesh sanding pads – wet sanding with 1500-2400 grit pads and dry sanding with 3200-12000 grit pads. I wiped the briar down after each pad with a damp cloth to remove the sanding dust. I rubbed the bowl down with Before & After Restoration Balm to deep clean the pores and grain of the smooth finish as well as to enliven and protect the briar. I hand rubbed it with my fingers and wiped it off with a soft cloth. I buffed the bowl with a horsehair shoe brush to polish it. The briar really began to have a rich shine. I took some photos of the bowl at this point to mark the progress in the restoration. With the stem polished I put it back on the pipe and buffed it with Blue Diamond. I gave the bowl and the stem several coats of carnauba wax and buffed the pipe with a clean buffing pad to raise the shine. I hand buffed it with a microfiber cloth to deepen the shine. The pipe polished up pretty nicely. The finished pipe is shown in the photos below. This is the third of the many “Malaga” pipes that I am restoring from Kathy’s Dad’s collection. I am looking forward to hearing what Kathy thinks once she sees the finished pipe on the blog. I will be posting it on the rebornpipes store very soon. It should make a nice addition to a new pipeman’s rack that can carry on the trust from her father. The dimensions are Length: 6 inches, Height: 1 1/2 inches, Outside diameter of the bowl: 1 1/4 inches, Chamber diameter: 3/4 inches. Thanks for walking through the restoration with me as I worked over this second Malaga of his estate. More will follow in a variety of shapes and sizes.

Kathy’s Dad’s Pipes #2 -Restoring George Koch’s “Malaga” Squat Bulldog


Blog by Steve Laug

This is the second of the “Malaga” pipes that I am working on from Kathy’s Dad’s pipes. Last fall I received a contact email on rebornpipes from Kathy asking if I would be interested in purchasing her late Father, George Koch’s estate pipes. He was a lover of “Malaga” pipes – all shapes and sizes and she wanted to move them out as she cleaned up the estate. We emailed back and forth and I had my brother Jeff follow up with her as he also lives in the US and would make it simpler to carry out this transaction. The long and short of it is that we purchased her Dad’s “Malaga” pipes. There are some beautiful pipes in that lot. I have never seen this many “Malagas” together in one place in all of my years of pipe restoring and refurbishing. They varied from having almost pristine to gnawed and damaged stems that will need to be replaced. Many of the pipes already had replacement stems or maybe George had the staff at the Malaga shop in Michigan put Lucite stems on them because he was such a gnawer. I don’t know if we will ever know the answer to that as Kathy did not know for sure. She did know though that he loved the brand and that most of the pipes he smoked he purchased from the shop. These were some well used and obviously well loved pipes. Cleaning and restoring them will be a tribute to this pipeman. (Here is a link to some history of the Malaga Brand if you are interested: https://rebornpipes.com/tag/malaga-pipes/. There are also links there to a catalogue and the maker George Khoubesser.)To me knowing about the pipeman who held the pipes in trust before me gives another dimension to the restoration work. As I mentioned before, I may well be alone in this but when I know about the person it is almost as if he or she is with me work on his or her pipes. In this case Kathy was more than happy to send us not only information on her dad but also a photo of her Dad enjoying his “Malagas”. Once again, I am including that information so you can know a bit about the pipeman who held these pipes in trust before they are passed on to some of you. I include part of Kathy’s correspondence with my brother as well…
Jeff…Here is a little about my dad, George P. Koch…I am sending a picture of him with a pipe also in a separate email.

Dad was born in 1926 and lived almost all his life in Springfield, Illinois. He was the youngest son of German immigrants and started grade school knowing no English. His father was a coal miner who died when Dad was about seven and his sixteen year old brother quit school to go to work to support the family. There was not much money, but that doesn’t ruin a good childhood, and dad had a good one, working many odd jobs, as a newspaper carrier, at a dairy, and at the newspaper printing press among others. He learned to fly even before he got his automobile driver’s license and carried his love of flying with him through life, recertifying his license in retirement and getting his instrumental license in his seventies and flying until he was grounded by the FAA in his early eighties due to their strict health requirements. (He was never happy with them about that.) He was in the Army Air Corps during World War II, trained to be a bomber, but the war ended before he was sent overseas. He ended service with them as a photographer and then earned his engineering degree from University of Illinois. He worked for Allis Chalmers manufacturing in Springfield until the early sixties, when he took a job at Massey Ferguson in Detroit, Michigan. We lived in Livonia, and that’s where his love for Malaga pipes began. After a few years he returned to Allis Chalmers and we moved back to Springfield. I remember that when we went back to Michigan to visit friends, Dad had to go to the Malaga store and acquire a few new pipes. Many a year I wrote to Malaga and they picked out a pipe for me to purchase that I could give Dad for a Christmas or birthday present. He was always pleased. His favorites were the straight stemmed medium sized bowl pipes, but he liked them all.  He had some other pipes, but the Malagas were his favorites. I remember him smoking them sitting in his easy chair after work, with feet up on the ledge by the fire burning in the fireplace.  Growing up it was my job to clean them and he liked the inner bowl and stem coated with Watkins vanilla, leaving a little of that liquid in the bowl to soak in when I put them back on the rack. Dad quit smoking later in life and so they’ve sat on the racks for many years unattended, a part of his area by his easy chair and fireplace. Dad passed when he was 89 years old and it finally is time for the pipes to move on. I’m very happy they are being restored by you and your brother and hope they find homes who enjoy them as much as Dad did. Thank-you for your care and interest. — Kathy, the oldest daughter

Kathy, once again I thank you for providing this beautiful tribute to your Dad. We will appreciate your trust in allowing us to clean and restore these pipes. I am also trusting that those of you who are reading this might carry on the legacy of her Dad’s pipes as they will be added to the rebornpipes store once they are finished.

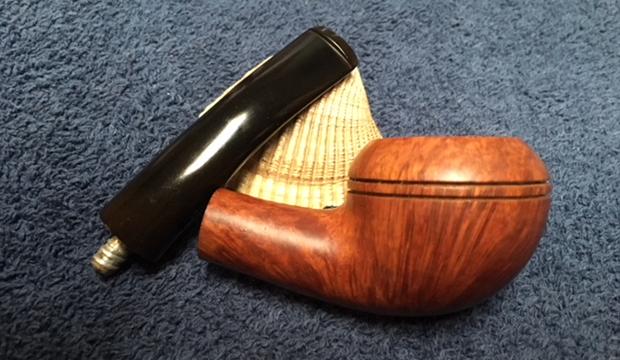
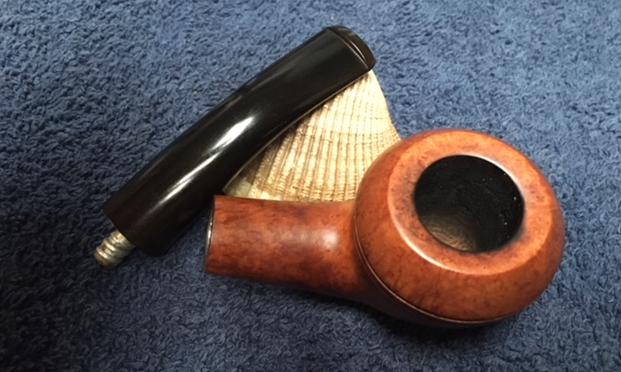
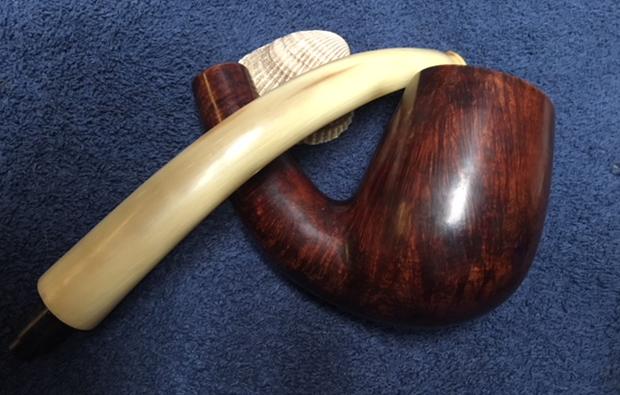
The second of the pipes that I chose to work on is a squat “Malaga” Bulldog with flattened panels on the front, right and left sides of the cap. It has a black Lucite saddle stem. It is another beautiful pipe underneath the grime and debris of the years. The warm brown finish on the bowl appeared to be good condition under the dust and tars of time. The rim top was covered with a light overflow of lava from the cake in the bowl. The inner and outer edge of the bowl had damage. There were some nicks on the cap of the bulldog. The outer edge and cap showed signs of being knocked against a hard surface to empty the dottle from the bowl. The twin rings around the top cap were dirty but solid. The stamping on the left side of the shank was clear and read “Malaga”. On the right side it was stamped Imported Briar. Once again there was no shape numbers on the pipe. The Lucite stem fit the shank quite well and was worn. There was tooth chatter and marks on both sides at the button. The interior of the pipe was dirty. I often talk about the wear and tear on the pipes I work on… this is not a bad thing. It actually shows that this was a well loved pipe and that the pipeman who used it held it often and enjoyed its company. Jeff took these photos before he started the cleanup work on the pipe. He took close up photos of the bowl and rim to show the condition of the pipe before he started to work his magic on it. The exterior of the bowl and shank were dirty. You can see the lava on the rim, the cake in the bowl and the nicks on the bowl cap and the outer edge of the rim. It is dirty but in otherwise good condition. He also took a photo of the side of the bowl and the underside of the bowl and shank. He also took photos of the shank to show the stamping and the condition of the overall shank so you could have an idea of where things were at before he cleaned it up.The photos of the stem show the fuzz of dust, calcification at the sharp edge of the button and the chatter and marks of teeth near the button. None of them are a real issue as much of the debris will wash away in the cleanup and the tooth chatter and marks will disappear in the restoration process.Working on this second pipe reminds me yet again how much I have missed working on the pipes that Jeff has cleaned. The last little while I have been working on pipes that I had to clean up and it was a real nice change to work on these. Jeff reamed the bowl with a PipNet pipe reamer and followed up with a Savinelli Fitsall pipe knife to remove the cake. He scrubbed out the mortise and the airway in the shank and the stem with alcohol, cotton swabs and pipe cleaners. He scrubbed the exterior of the bowl, rim, shank and stem with a tooth brush and Murphy’s Oil Soap to remove the oils and tars on the bowl, rim and shank. He rinsed it under running water. He dried it off with a soft cloth. The lava mess on the rim was thoroughly removed without harming the finish underneath it. Once the grime was removed the finish actually looked it was in excellent condition. I took photos of the pipe to show its condition before I started my work on it. I took a photo of the rim top to show the condition it was in after the cleanup. Jeff was able to remove all of the lava on the rim top and edges. There is still some darkening on the rim top.You can see the damage from knocking out the pipe on a hard surface on the top and outside edges of the bowl. There is general darkening and slight burn damage as well. The stem was clean and you can see the tooth chatter and marks on the surface near the button.I lightly topped the bowl on my topping board using 220 grit sandpaper. It did not take too much work to remove the nicks and damage to the rim top and edges. Once it was complete I topped it on a medium grit sanding sponge to smooth the surface even more.I worked on the rim top and the inner edge of the bowl. I used a folded piece of 220 grit sandpaper to smooth out the damage around the edge. I gave the rim a light bevel to remove the damage on the front side of the bowl. I sanded the rim cap with 220 grit sandpaper to remove as much of the damage as I could. I forgot to take photos of that part of the process. I polished the briar with micromesh sanding pads – wet sanding with 1500-2400 grit pads and dry sanding with 3200-12000 grit pads. I wiped the briar down after each pad with a damp cloth to remove the sanding dust. I rubbed the bowl down with Before & After Restoration Balm to deep clean the pores and grain of the smooth finish as well as to enliven and protect the briar. I hand rubbed it with my fingers and wiped it off with a soft cloth. I buffed the bowl with a horsehair shoe brush to polish it. The briar really began to have a rich shine. I took some photos of the bowl at this point to mark the progress in the restoration. I ran pipe cleaners dipped in alcohol through the airway in the stem to clean out the sanding dust. I cleaned out the slot and made sure the corners were all clean. I also ran pipe cleaners through the shank and used cotton swabs and alcohol in the mortise to remove any of the sanding dust from the rim work.I sanded out the tooth chatter and tooth marks with 220 grit sandpaper to smooth and blend them into the surface of the rest of the stem. I sanded the surface of the button to remove the marks on the top and underside.I polished the stem with micromesh sanding pads – wet sanding with 1500-2400 grit pads and dry sanding with 3200-12000 grit pads. I wiped the stem down after each pad with a damp cloth to remove the sanding dust. With the stem polished I put it back on the pipe and buffed it with Blue Diamond. I gave the bowl and the stem several coats of carnauba wax and buffed the pipe with a clean buffing pad to raise the shine. I hand buffed it with a microfiber cloth to deepen the shine. The pipe polished up pretty nicely. The finished pipe is shown in the photos below. This is the second of many “Malaga” pipes that I am restoring from Kathy’s Dad’s collection. I am looking forward to hearing what Kathy thinks once she sees the finished pipe on the blog. I will be posting it on the rebornpipes store very soon. It should make a nice addition to a new pipeman’s rack that can carry on the trust from her father. The dimensions are Length: 5 3/4 inches, Height: 1 1/2 inches, Outside diameter of the bowl: 1 3/4 inches, Chamber diameter: 3/4 inches. Thanks for walking through the restoration with me as I worked over this second Malaga of his estate. More will follow in a variety of shapes and sizes.
 

Kathy’s Dad’s Pipes #1 -Restoring George Koch’s “Malaga” Canadian


Blog by Steve Laug

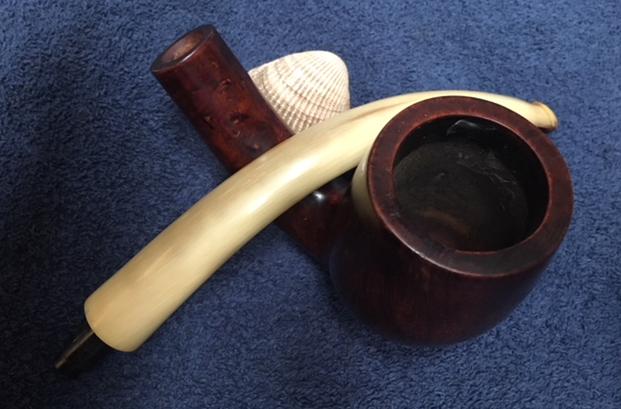
Last fall I received a contact email on rebornpipes from Kathy asking if I would be interested in purchasing her late Father, George Koch’s estate pipes. He had predominantly been a lover of “Malaga” pipes – all shapes and sizes and she wanted to move them out as she cleaned up the estate. We emailed back and forth and I had my brother Jeff follow-up with her as he also lives in the US and would make it simpler to carry out this transaction. The long and short of it is that we purchased her Dad’s “Malaga” pipes. There are some beautiful pipes in that lot. I have never seen this many “Malagas” together in one place in all of my years of pipe restoring and refurbishing. They varied from having almost pristine stems to having gnawed and damaged stems that will need to be replaced. Many of the pipes already had replacement stems or maybe George had the staff at the Malaga shop in Michigan put Lucite stems on them because he was such a gnawer. I don’t know if we will ever know the answer to that as Kathy did not know for sure. She did know though that he loved the brand and that most of the pipes he smoked he purchased from the shop. These were some well used and obviously well loved pipes. Cleaning and restoring them will be a tribute to this pipeman. (Here is a link to some history of the Malaga Brand if you are interested: https://rebornpipes.com/tag/malaga-pipes/. There are also links there to a catalogue and the maker George Khoubesser.)

When working on an estate where I can know about the pipeman who the pipes belonged to, I like to have some background on the person. It just adds another dimension to the restoration work. I know I might be alone in this but when I know about the person it is almost as if he or she is with me as I walk through the restoration process on his or her pipes. In this case Kathy was more than happy to send us not only information on her dad but also a photo of him enjoying his “Malagas”. I am including that information now so you can know a bit about the pipeman who held these pipes in trust before they are passed on to some of you. I include part of Kathy’s correspondence with my brother as well…

Jeff… Here is a little about my dad, George P. Koch…I am sending a picture of him with a pipe also in a separate email.

Dad was born in 1926 and lived almost all his life in Springfield, Illinois. He was the youngest son of German immigrants and started grade school knowing no English. His father was a coal miner who died when Dad was about seven and his sixteen year old brother quit school to go to work to support the family. There was not much money, but that doesn’t ruin a good childhood, and dad had a good one, working many odd jobs, as a newspaper carrier, at a dairy, and at the newspaper printing press among others. He learned to fly even before he got his automobile driver’s license and carried his love of flying with him through life, recertifying his license in retirement and getting his instrumental license in his seventies and flying until he was grounded by the FAA in his early eighties due to their strict health requirements. (He was never happy with them about that.) He was in the Army Air Corps during World War II, trained to be a bomber, but the war ended before he was sent overseas. He ended service with them as a photographer and then earned his engineering degree from University of Illinois. He worked for Allis Chalmers manufacturing in Springfield until the early sixties, when he took a job at Massey Ferguson in Detroit, Michigan. We lived in Livonia, and that’s where his love for Malaga pipes began. After a few years he returned to Allis Chalmers and we moved back to Springfield. I remember that when we went back to Michigan to visit friends, Dad had to go to the Malaga store and acquire a few new pipes. Many a year I wrote to Malaga and they picked out a pipe for me to purchase that I could give Dad for a Christmas or birthday present. He was always pleased. His favorites were the straight stemmed medium sized bowl pipes, but he liked them all.  He had some other pipes, but the Malagas were his favorites. I remember him smoking them sitting in his easy chair after work, with feet up on the ledge by the fire burning in the fireplace.  Growing up it was my job to clean them and he liked the inner bowl and stem coated with Watkins vanilla, leaving a little of that liquid in the bowl to soak in when I put them back on the rack. Dad quit smoking later in life and so they’ve sat on the racks for many years unattended, a part of his area by his easy chair and fireplace. Dad passed when he was 89 years old and it finally is time for the pipes to move on. I’m very happy they are being restored by you and your brother and hope they find homes who enjoy them as much as Dad did. Thank-you for your care and interest. — Kathy, the oldest daughter

Kathy, thank you for providing this beautiful tribute to your Dad. We will take your trust to clean and restore these pipes. I am also trusting that you who are reading this might carry on the legacy of her Dad’s pipes as they will be added to the rebornpipes store once they are finished.

The first of the pipes that I chose to work on is a long shank “Malaga” Canadian with a variegated Lucite half saddle stem. It is really a beautiful pipe underneath the grime and debris of the years. The warm brown finish on the bowl was in good condition under the dust and tars of time. The rim top was covered with an overflow of lava from the cake in the bowl. The inner and outer edge of the bowl had damage. The inner edge was out of round on the right side and the outer edge showed signs of being knocked against a hard surface to empty the dottle from the bowl. The stamping on the shank was clear and read “Malaga” on the top of the oval shank. There were no other markings of shape numbers on the pipe. The Lucite stem fit the shank quite well and was worn. There was tooth chatter on both sides at the button and a large shallow tooth mark on the underside. The interior of the pipe was dirty. I often talk about the wear and tear on the pipes I work on… this is not a bad thing. It actually shows that this was a well loved pipe and that the pipeman who used it held it often and enjoyed its company. Jeff took these photos before he started the cleanup work on the pipe. He took close up photos of the bowl and rim to show the condition of the pipe before he started to work his magic on it. The exterior of the bowl and shank were dirty and you can see from the first photos how it had stuck to the sides. On the second photo you can see the lava on the rim, the cake in the bowl and the damage to the inner and outer edge of the rim. The third photo shows the underside of the bowl. It is dirty but in otherwise good condition. He also took photos of the shank to show the stamping and the condition of the overall shank so you could have an idea of where things were at before he cleaned it up.The photos of the stem show the fuzz of dust and the chatter and marks of teeth near the button. None of them are a real issue as much of the debris will wash away in the cleanup and the tooth chatter and marks will disappear in the restoration process.I can’t tell you how much I have missed working on the pipes that Jeff has cleaned. I think I got used to working on clean pipes so the last little while I have been working on pipes that I had to clean up. With this “Malaga” I am reminded of the work that he does every time before I even see the pipe. Jeff out did himself on the cleanup of this pipe. He reamed the bowl with a PipNet pipe reamer and followed up with a Savinelli Fitsall pipe knife to remove the cake. He scrubbed out the mortise and the airway in the shank and the stem with alcohol, cotton swabs and pipe cleaners. He scrubbed the exterior of the bowl, rim, shank and stem with a tooth brush and Murphy’s Oil Soap to remove the oils and tars on the bowl, rim and shank. He rinsed it under running water. He dried it off with a soft cloth. The lava mess on the rim was thoroughly removed without harming the finish underneath it. Once the grime was removed the finish actually looked it was in excellent condition. I took photos of the pipe to show its condition before I started my work on it. I took a photo of the rim top to show the condition it was in after the cleanup. Jeff was able to remove all of the darkening and tar on the rim top and edges. You can see the damage from knocking out the pipe on a hard surface on the top and outside edges of the bowl. You can also see the damage to the inner edge of the rim. There is damage on the front right side and toward the rear of the bowl. There is general darkening and slight burn damage as well. The stem was clean and you can see the tooth chatter and marks on the surface near the button.Because the stem was already clean I lightly sanded the tooth mark on the underside and wiped it off with a damp cotton pad. I used a drop of clear super glue to fill the divot. The glue came out a bit excessively but I figured I had to sand it anyway so I left it to dry.While the stem dried I worked on the rim top and the inner edge of the bowl. I used a folded pied of 220 grit sandpaper to smooth out the damage around the edge. I gave the rim a light bevel to remove the damage on the front side of the bowl. More of the damage would be removed when I topped the bowl.I lightly topped the bowl on my topping board using 220 grit sandpaper. It did not take too much work to remove the nicks and damage to the rim top and edges. Once it was complete I topped it on a medium grit sanding sponge to smooth the surface even more.I rubbed the bowl down with Before & After Restoration Balm to deep clean the pores and grain of the smooth finish as well as to enliven and protect the briar. I hand rubbed it with my fingers and wiped it off with a soft cloth. I buffed the bowl with a horsehair shoe brush to polish it. The briar really began to have a rich shine. I took some photos of the bowl at this point to mark the progress in the restoration. The repair on the Lucite stem had hardened at this point so I set the bowl aside and worked on the stem. I sanded the repair with 220 grit sandpaper to smooth and blend it into the surface of the rest of the stem. I sanded out the tooth chatter on the topside of the stem and smooth out the surface of the button to remove the marks.I ran a pipe cleaner dipped in alcohol through the airway in the shank to clean out the sanding dust and any reaming debris. I cleaned out the slot and made sure the corners were all clean. I also ran pipe cleaners through the shank and used cotton swabs and alcohol in the mortise to remove any of the sanding dust from the rim work. I also found that the entrance of the airway into the bowl had some hardened tars that came out as I cleaned the shank.I polished the briar with micromesh sanding pads – wet sanding with 1500-2400 grit pads and dry sanding with 3200-12000 grit pads. I wiped the briar down after each pad with a damp cloth to remove the sanding dust. I set the bowl aside and polished the stem with micromesh sanding pads – wet sanding with 1500-2400 grit pads and dry sanding with 3200-12000 grit pads. I wiped the stem down after each pad with a damp cloth to remove the sanding dust. With the stem polished I put it back on the pipe and buffed it with Blue Diamond. I gave the bowl and the stem several coats of carnauba wax and buffed the pipe with a clean buffing pad to raise the shine. I hand buffed it with a microfiber cloth to deepen the shine. The pipe polished up pretty nicely. The finished pipe is shown in the photos below. This is the first of many “Malaga” pipes that I am restoring from Kathy’s Dad’s collection. I am looking forward to hearing what Kathy thinks once she sees the finished pipe on the blog. I will be posting it on the rebornpipes store very soon. It should make a nice addition to another pipeman’s rack that can carry on the trust from her father. The dimensions are Length: 7 inches, Height: 1 3/4 inches, Outside diameter of the bowl: 1 1/4 inches, Chamber diameter: 3/4 inches. Thanks for walking through the restoration with me as I worked over this first Malaga of his estate. More will follow in a variety of shapes and sizes.


Repairing and Restoring an Aldo Velani Fumata Bulldog


Blog by Steve Laug

I have been corresponding with Paresh for some time now and have repaired and restored two of his pipes and sent him others as well. We carry on conversation via WhatsApp on the internet and discuss the various pipes he is purchasing as well as ones that he has inherited from his grandfather. This little Aldo Velani was one of the first pipes that he sent me from India to work on. It took a long time to arrive. When it did it appeared as shown in the photos below. It was stamped Aldo Velani on the left side of the shank and Fumata on the underside of the right of the shank. It also had Italy stamped on the underside of the left of the shank next to the shank/stem union. I am assuming that the Fumata referred to the black paint like finish on the cap and partway down the bowl and the shank. It was flaking off and really did not look good. Paresh had reamed the bowl and cleaned the rim and in doing so did a great job removing the flaking finish on the rim. The bowl was clean as were the internals of the shank. When he was working on the acrylic stem the entire upper portion of the button broke off leaving the button top missing. I took close up photos of the rim top and the stem to show the condition it was in when it arrived in Vancouver. You can see the rim is quite clean there are a few stubborn spots that will need to be worked on. You can also see the chipped portion missing from the button on the topside of the stem and the tooth marks in the underside of the button.The grain on the bowl was quite nice so I decided to remove the paint from the cap and the shank. I used acetone on a paper towel to work over the bowl. As you can see from the following photos the finish came off quite easily. There were some nicks and dents in the sides of the bowl and the twin rings around the cap were very dirty. I buffed the bowl once I had removed the finish to get a better idea of what I was working on and to see what the grain looked like at this point in the process. It really was a pretty little bulldog and with some sanding and polishing it would really look good. Personally I like the pipe better without the black rim cap. I sent pictures to Paresh on WhatsApp to show him the progress at this point and he also liked the new look of the bowl. I used the Dremel and sanding drum to cut off the damaged portion of the stem and give me solid material to work with to reshape and rebuild the button.I put the stem back on the bowl to have a look at what the pipe would be like now that the bowl was stripped and the stem was cut back. I sent the photos to Paresh on WhatsApp as a progress report. He liked the new look and said he could not wait to see what the stem looked like with the new button cut. I set the bowl aside and worked on the stem. I cut the new button in the surface of the acrylic stem with a needle file. I did not worry about shaping it yet, I was more interested in getting the sharp edge defined. I matched the two sides of the button so that both sides would be equal. I sanded the surface of the stem on both sides with 220 grit sandpaper to further define the edge of the button. Once the edge was defined I built up the top and bottom surface of the button. I used clear super glue to add more definition to the button. I checked out the inside of the shank and noticed that there was a build up of hardened tars and oils on the walls of the mortise. I scraped them out with a dental spatula. I was able to remove a lot of hardened tars with the spatula. Once the inside was scraped clean I scrubbed the mortise and airway in the shank with alcohol, cotton swabs and bristle and smooth pipe cleaners until they came out clean. I cleaned out the airway in the stem with bristle pipe cleaners to remove more of the oils on the inside of the airway. Once the inside of the stem was clean I build up the newly cut button with clear super glue. It would take a lot of thin layers to get it to the point that I would be happy with it but it was starting to look like a button. When the repair had hardened I cleaned up the edges and the stem with 220 grit sandpaper. I used needle files to funnel the slot in the end of the new button. The stem is definitely beginning to take shape at this point.I polished the stem with micromesh sanding pads. When sanding Lucite it is important to wash the pads repeatedly to remove the fine sanding dust that otherwise clogs the pads. I wet sanded it with 1500-2400 grit pads and dry sanded with 3200-12000 grit pads. I wiped the stem down after each pad with a damp cloth. The briar on the bowl has some nicks that are really character marks. I chose to leave them and not fill them in and sand them. To me they are parts of the story of the pipe. I decided to polish the briar and raise a shine. I wet sanded it with 1500-2400 grit micromesh sanding pads and dry sanded it with 3200-12000 grit pads. I wiped it down after each pad with a damp cloth to remove any sanding dust. The grain in the briar really began to stand out. I rubbed some Before & After Restoration Balm into the briar to lift out the dust in the grain, enliven and protect the newly stripped bowl. I let it sit for a little while then buffed it off with a soft cloth. I like the way the grain stands out now. I am not going to stain the pipe as I like the way it looks at this point. I will check with Paresh and see if he wants me to darken it at all, but to me it looks grand. With the stem reshaped and polished I put it back on the pipe and buffed the bowl and stem with Blue Diamond. I used a light touch on the stem to polish out any remaining scratches. I gave the bowl and the stem several coats of carnauba wax and buffed the pipe with a clean buffing pad to raise the shine. I hand buffed it with a microfiber cloth to deepen the shine. The pipe polished up pretty nicely. The finished pipe is shown in the photos below. This is the fifth pipe I have worked over for Paresh. Once I finish the other two pipes that he has in the queue I will pack them up and send them to India. I look forward to hearing what he thinks one he has them in hand. Thanks for walking through the restoration with me as this one provided a few different challenges to the restoration craft. Cheers.

Farida’s Dad’s Pipes #2 – Restoring a 1990 LBS Classic Series Dunhill Shell Billiard


Blog by Steve Laug

The next collection of pipes that I am working on comes from the estate of an elderly gentleman here in Vancouver. I met with his daughter Farida last summer and we looked at his pipes and talked about them then. Over the Christmas holiday she brought them by for me to work on, restore and then sell for her. There are 10 pipes in all – 7 Dunhills (one of them, a Shell Bulldog, has a burned out bowl), 2 Charatans, and a Savinelli Autograph. His pipes are worn and dirty and for some folks they have a lot of damage and wear that reduce their value. To me each one tells a story. I only wish they could speak and talk about the travels they have had with Farida’s Dad.

Dad in the Antarctic in 54/55.

In the midst of restoring this Classic Series Dunhill and thinking about its travels, Farida sent me an email with a short write up on her Dad. She remembered that I had asked her for it so that I could have a sense of the stories of her Dad’s pipes. Here is what she wrote: My dad, John Barber, loved his pipes. He was a huge fan of Dunhill and his favourite smoke was St. Bruno. No one ever complained of the smell of St. Bruno, we all loved it. I see the bowls and they’re large because he had big hands. When he was finished with his couple of puffs, he would grasp the bowl in the palm of his hand, holding the warmth as the embers faded. The rough bowled pipes were for daytime and especially if he was fixing something. The smooth bowled pipes were for an evening with a glass of brandy and a good movie. In his 20s, he was an adventurer travelling the world on ships as their radio operator. He spent a year in the Antarctic, a year in the Arctic and stopped in most ports in all the other continents. He immigrated to Canada in the mid-fifties, working on the BC Ferries earning money to pay for his education. He graduated from UBC as an engineer and spent the rest of his working life as a consultant, mostly to the mining companies. Whatever he was doing though, his pipe was always close by. 

Thanks Farida that explains a lot about their condition. If your Dad was rarely without a pipe I can certainly tell which pipes were his favourites. As I looked over the pipes I noted that each of them had extensive rim damage and some had deeply burned gouges in the rim tops. The bowls seemed to have been reamed not too long ago because they did not show the amount of cake I would have expected. The stems were all covered with deep tooth marks and chatter and were oxidized and dirty. The internals of the mortise, the airway in the shank and stem were filled with tars and oils. I took pictures of the Dunhill pipes in the collection. These were some nice looking pipes when her Dad bought them and they would be nice looking one more when I finished.

The second pipe that I am working on is a large Group 5 S Shell Billiard. I have circled in the above three photos in blue to identify it for you. It has a gold band that reads Dunhill Classic Series. It is good looking billiard. The Classic Series was produced by Dunhill in 199O as part of homage to their heritage and would make a great pipe for when you are out and about in the evening. When it was released it was a classic black Shell Briar in an equally classic shape, complete with a distinctive gold colored band. The pipe is stamped on the underside of the shank with the shape number LBS F/T. The first digit of the number is missing because of the sandblast, but it is a shape LBS and F/T for Fish Tail stem. Next to that it read Dunhill Shell over Made in England 30. There is a shape number after the Made in England stamping 997 (987?). Dating this pipe is a fairly easy proposition. You take the two digits following the D in England and add them to 1960. In this case it is 1960+30= 1980. (Pipephil’s site has a helpful dating tool for Dunhill pipes that I use regularly http://www.pipephil.eu/logos/en/dunhill/shell-briar1.html).

It was in pretty rough shape. The bowl was so dirty and caked with grime that it was very hard to tell what condition it was in. The finish was dull and caked with oils in all of the grooves and valleys of the sandblast. The top of the rim was rough and the inner edge was badly damaged. There were spots on the front of the rim top and at the rear that had deep burns into the briar just like the first pipe from this estate. The briar was burned to a point where I could pick it out with my fingernail. The shank was so dirty that the stem would not properly seat in the mortise. The stem was also a little rough – tooth marks on both sides near and in the button itself. The top side the button is quite thin and worn down. There is a deep tooth mark on the underside near the button and lots of chatter on both sides. It was oxidized and there was some calcification on the first inch of the stem. I took some photos of the pipe before I started to clean it up. I took close up photos of the rim top, the gold band and the stem. You can see from the photo the thick cake I the bowl overflowing lava onto the rim top. You can also see damage to the front, inner edge of the rim and the back left inner edge. There appears to be some serious gouges in those areas and also along the entire inner edge. The amount and extent of the damage will only be clear once the bowl is reamed and cleaned. The gold band on the shank says Dunhill Classic Series and it is in excellent condition. The stem has some deep bite marks on the top edge of the button and on the underside of the stem just ahead of the button. There is a lot of calcification and wear on the rest of the stem as well. I reamed the bowl with PipNet pipe reamer starting with the smallest cutting head and working my way up the third sized head. I took the cake back to bare briar. I used a Savinelli Fitsall Pipe Knife to finish up the reaming and also to clean up the damaged areas. They turned out to be burn damage so I scraped out the damaged briar until I got to a solid base. The bowl exterior was so encrusted in grime and oils that it was hard to see the sandblast finish. All of the grooves, nooks and crannies of the Shell finish were not visible due to the coating filling them in. I scrubbed the exterior of the pipe with a tooth brush and Murphy’s Oil Soap under warm running water to flush away the grime as the soap loosened it from the finish. I scrubbed until the finish was clean. The draw back in this case was that it removed the black Classic stain. The good news was that I could see some amazing grain in the sandblast. I knew that restaining it would not be an issue so it was good to see what was present. The damage to the rim top and inner edge is very visible in the third photo below. The heaviest damage is to the back edge of the rim top and it extends almost to the outer edge of the rim. I had several options to consider in repairing the damage. I could top the bowl and lose the rest of the nice blast on the rim top or I could repair and buildup the rim top with briar dust and super glue. To top it would require remove a lot of briar due to the depth of the damage on the back side. I decided to go with rebuilding the rim top and edges. I layered on clear super glue and briar dust with a dental spatula on both damaged areas until I had it built up even with the rest of the rim. I rebuilt the inner edge of the rim the same way keeping the super glue out of the bowl itself. You will notice in the three pictures that follow that I don’t worry too much about the dust in the bowl as I will sand it out once the repair is hardened. I scraped out the inside of the bowl with the edge of the spatula to knock off high spots along the inside edge. I sanded the bowl with a piece of 220 grit sandpaper to smooth out the inner edge and to sand down the walls of the bowl. I blew out the sanding dust through the shank. I also scraped the top of the rim with the edge of the spatula and knocked off high spots. The first three photos below show the repair rim top and edge. I put a dental burr in the Dremel and copied the sandblast pattern that was on the rest of the rim onto the repaired areas. I ran the Dremel at just below the 10 marker in terms of speed and carefully etched the surface of the briar. The fourth photo shows the rim top after I had used the Dremel on it. I used a brass bristle wire brush to clean up the surface of the rim and it was ready to stain. I put a cork in the bowl to hold on to and stained the entire pipe with a black aniline stain to bring it back to match the colour of the pipe in photos. I applied the stain with a dauber and flamed it. I repeated the process until the coverage was even all over the bowl. I set aside the bowl to let the stain dry overnight. In the morning I worked some Before & After Restoration Balm into the surface of the sandblast with my finger tips to deep clean the finish, enliven and protect the wood. I buffed the pipe with a horsehair shoe shine brush to get it into the grooves of the plateau. I let it sit for a few minutes and then buffed it with a cotton cloth. The pipe came alive and there was a rich shine to the briar. I took some photos of the bowl at this point to mark the progress in the restoration. With the bowl finished (except for buffing) I set it aside and worked on the stem. The stem was dirty and had some significant damage to the top side on the button and a large deep tooth mark on the underside. I cleaned up the damaged areas with alcohol and cotton pads. Once the areas were clean I built up the damaged areas on both sides of near the button with black super glue. I rebuilt the button on both sides as well. I set the stem aside to let the glue cure. Once the super glue patch had dried I sanded it with 220 grit sandpaper to smooth out the surface of the repairs. The topside of the button was far better than when I started. The tooth mark in the underside was filled in and smoothed out. More sanding and filling to do to cover the air bubbles but it was looking good.I decided to take a break from the sanding for a bit and cleaned out the stem and the shank. I cleaned out the airway and the slot in the stem and the mortise and airway in the shank with pipe cleaners, cotton swabs and alcohol. I worked them over until they were clean.I polished the stem with micromesh sanding pads – wet sanding with 1500-2400 grit pads and dry sanding with 3200-12000 grit pads. I wiped them down after each pad with Obsidian Oil after each pad. I polished it with Before & After Pipe Stem Polish – both fine and extra fine to take out some of the tiny scratches in the vulcanite. I finished by rubbing it down with a final coat of Obsidian Oil and set it aside to dry. With the stem polished I put it back on the pipe and lightly buffed the bowl with Blue Diamond being careful to not fill the grooves in the blast with the polishing compound. I used a regular touch on the stem to polish out any remaining scratches. I gave the bowl several coats of Conservator’s Wax and the stem several coats of carnauba wax and buffed the pipe with a clean buffing pad to raise the shine. I hand buffed it with a microfiber cloth to deepen the shine. The pipe polished up pretty nicely. The finished pipe is shown in the photos below. This is the second of six Dunhill pipes that I am restoring from Farida’s Dad’s collection. I am looking forward to hearing what Farida thinks once she sees the finished pipe on the blog. I will be posting it on the rebornpipes store as she wants to sell them for the estate. It should make a nice addition to a new pipeman’s rack that can carry on the trust from her father. The dimensions are; Length: 6 inches, Height: 2 inches, Outside diameter of the bowl: 1 ½ inches, Chamber diameter: 7/8 inches. Thanks for walking through the restoration with me it was a challenging and worthwhile pipe to work on. Cheers.