Blog by Steve Laug
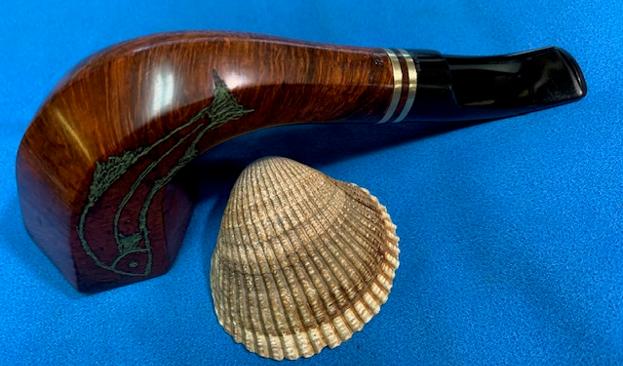
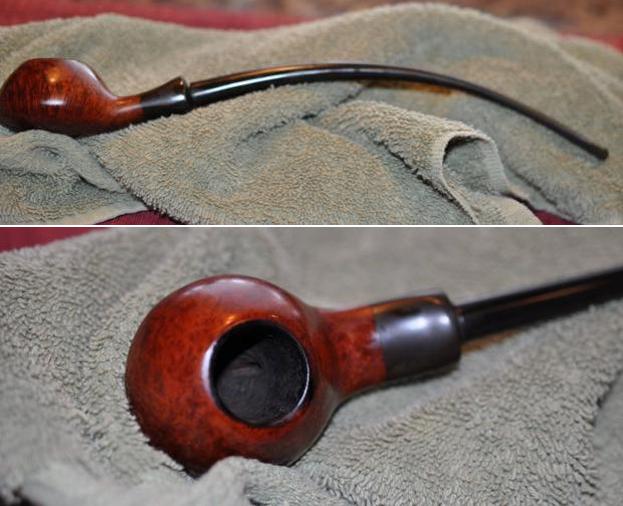
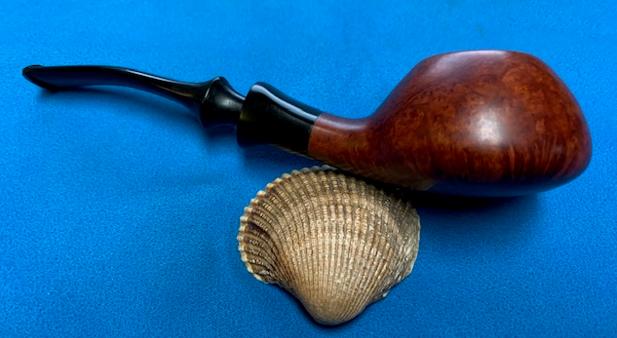
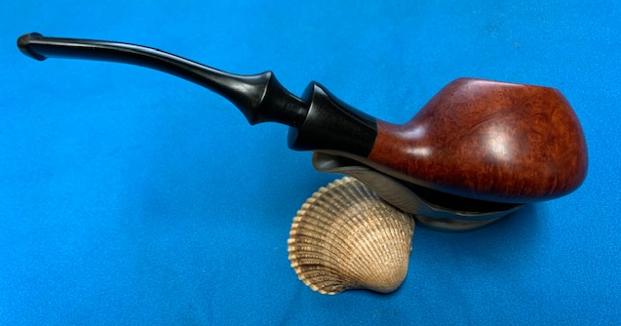
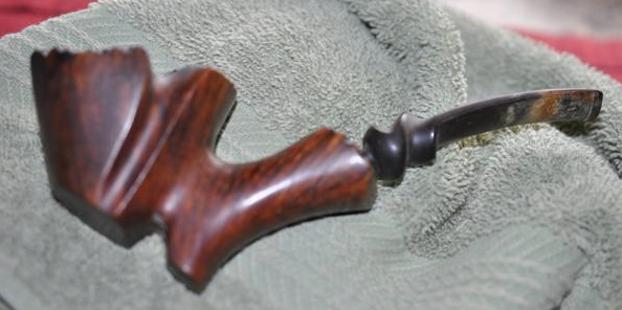
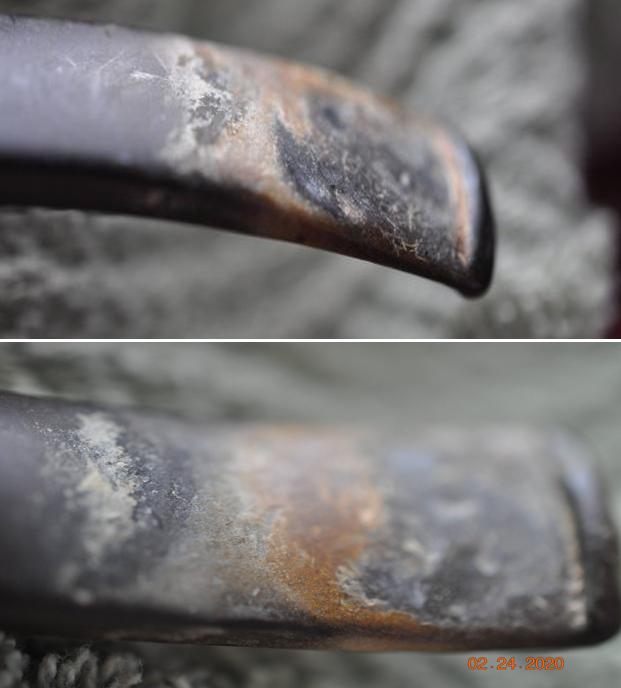
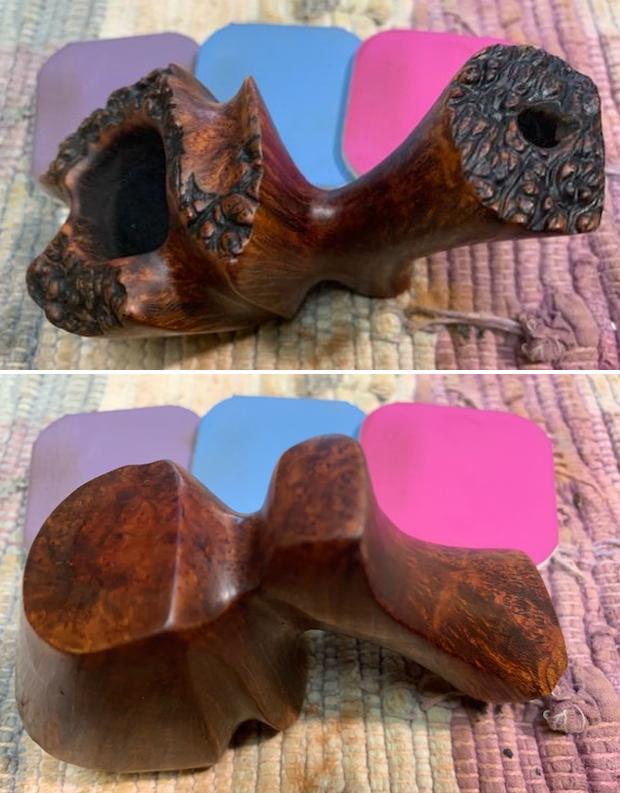
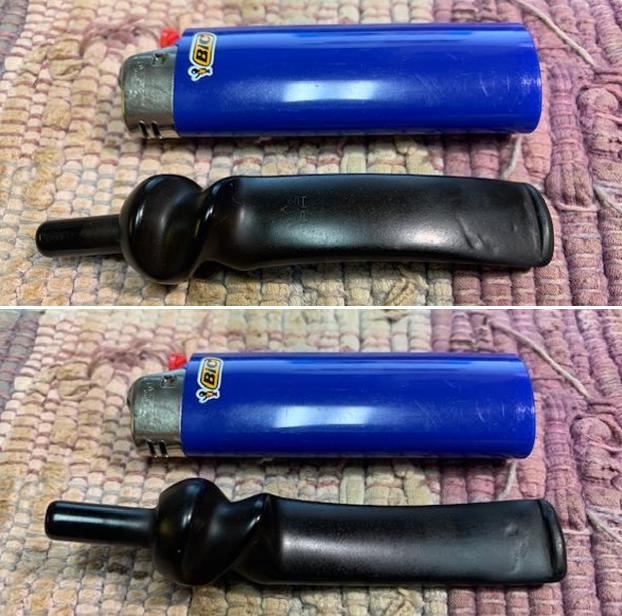
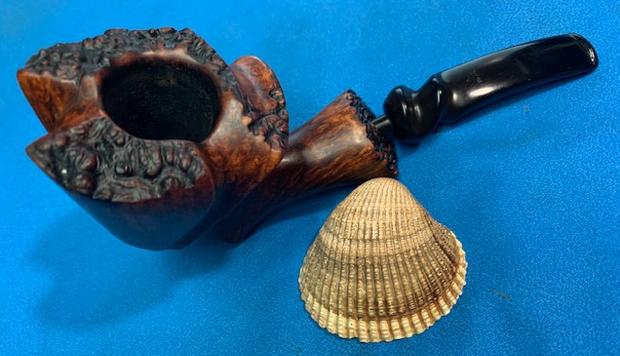
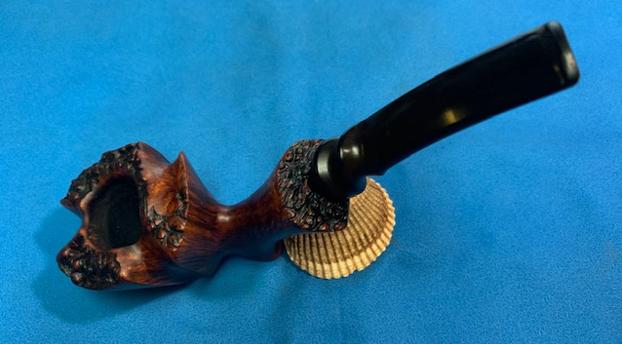
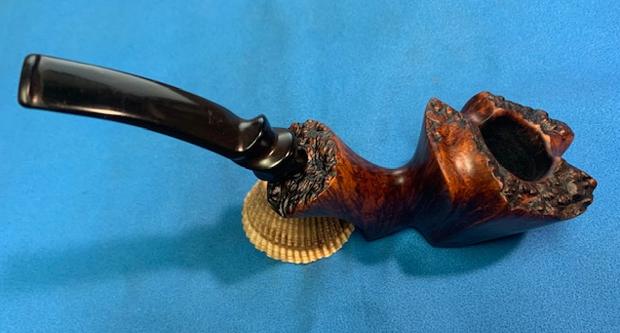
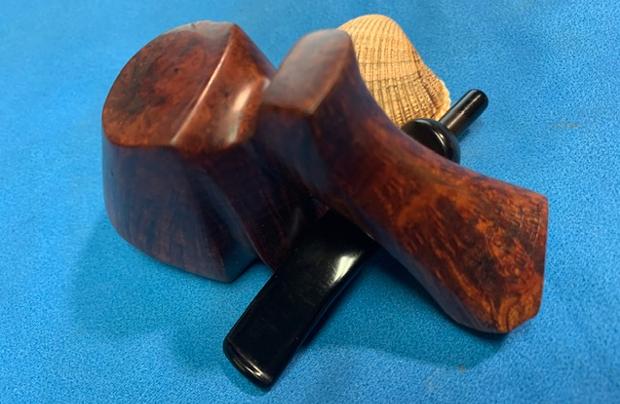
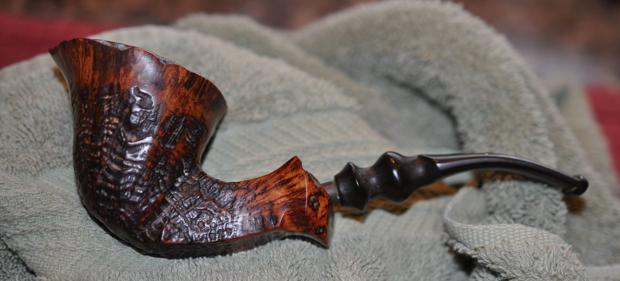
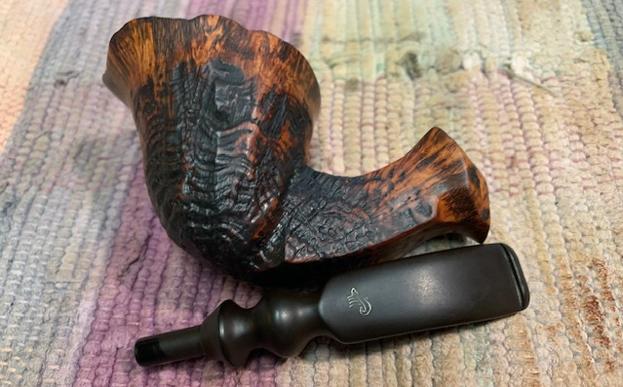
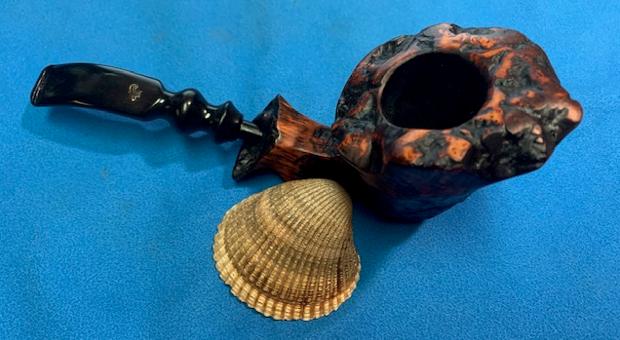
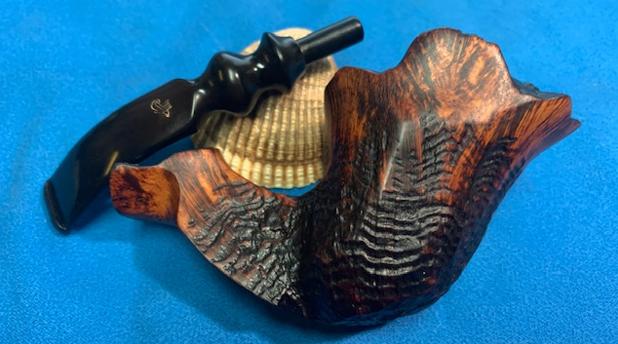
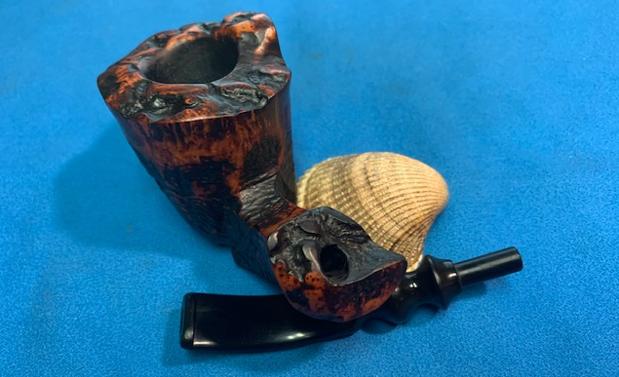
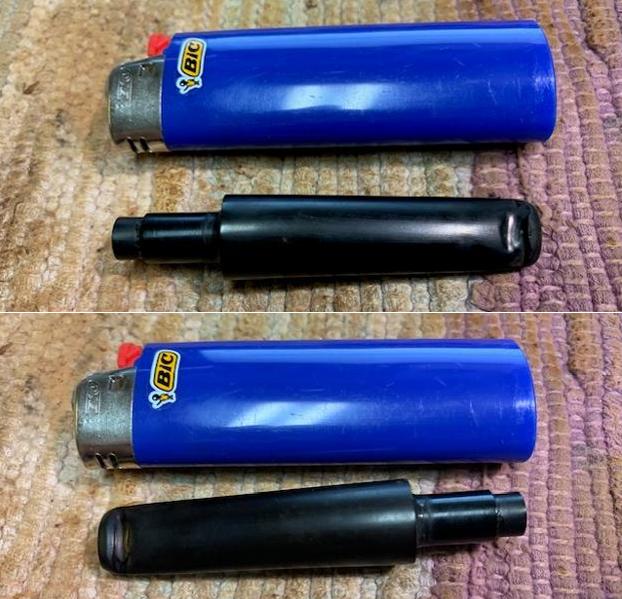
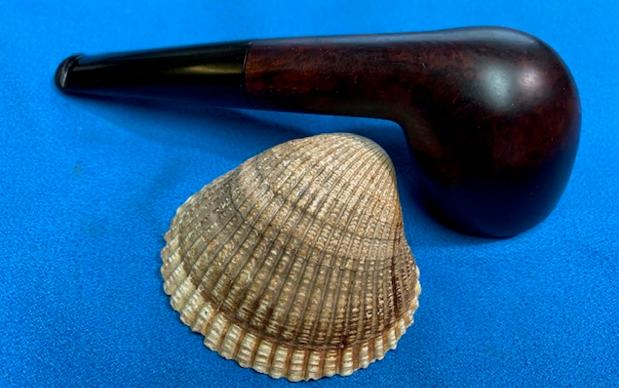
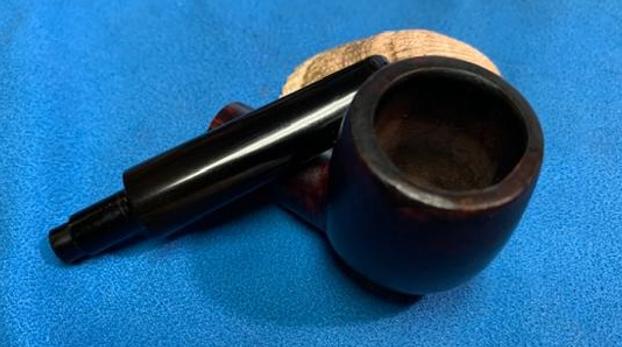
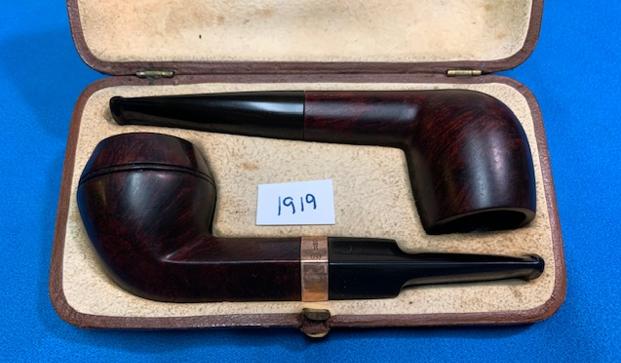
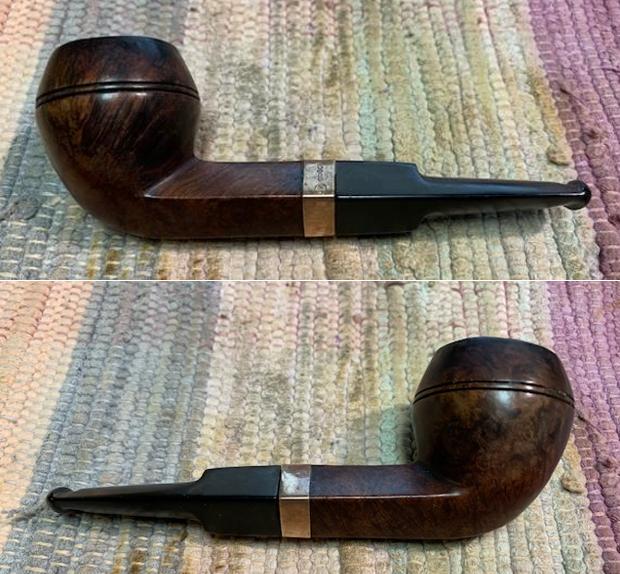
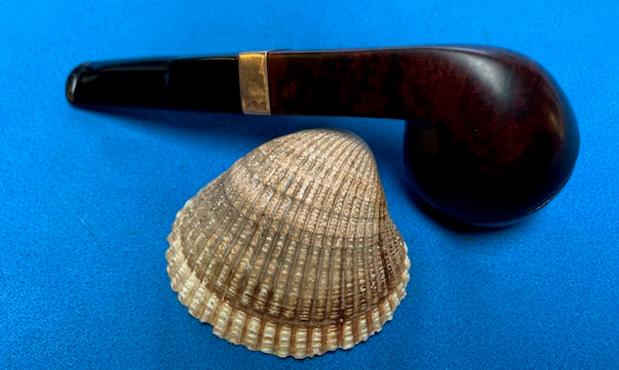
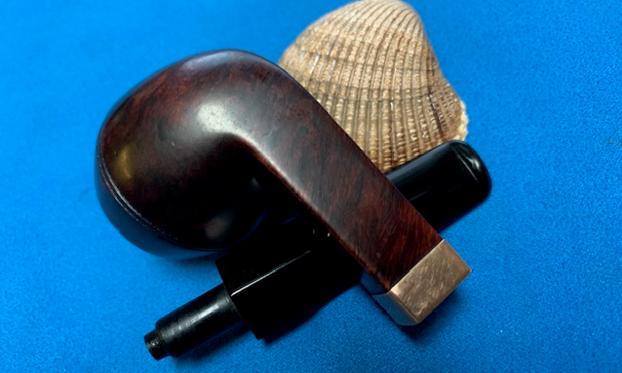
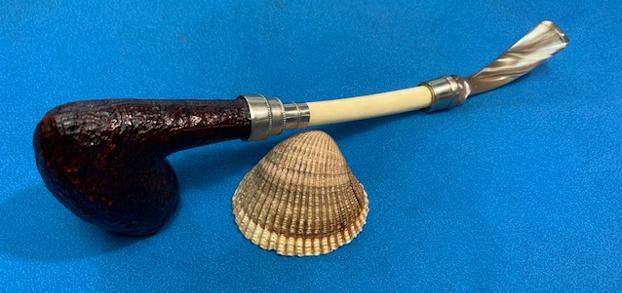
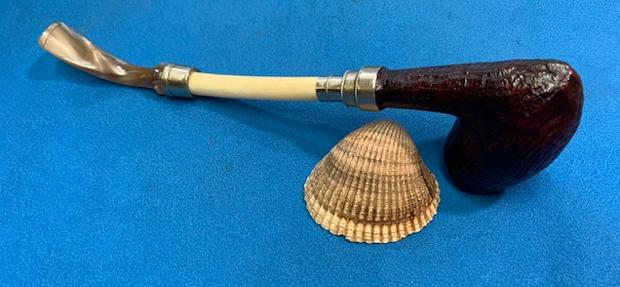
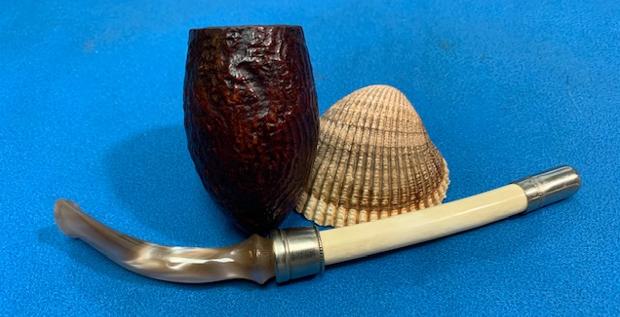
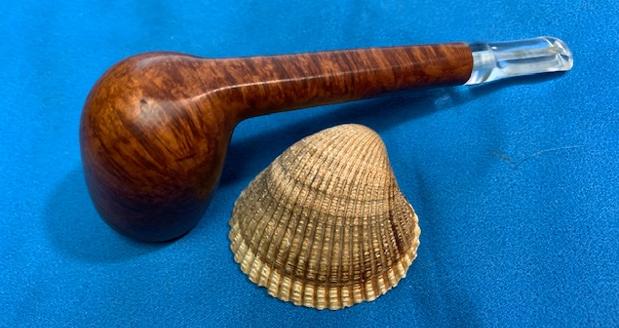
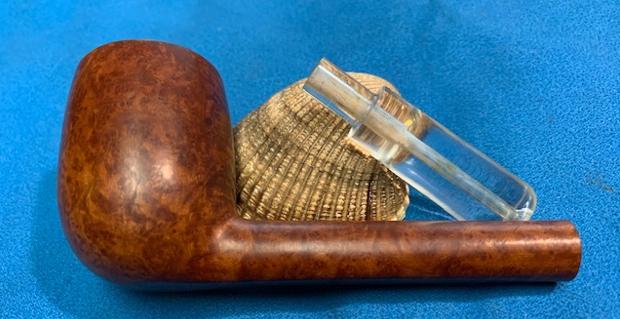
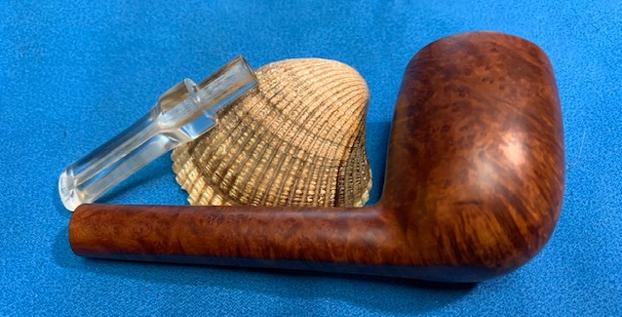
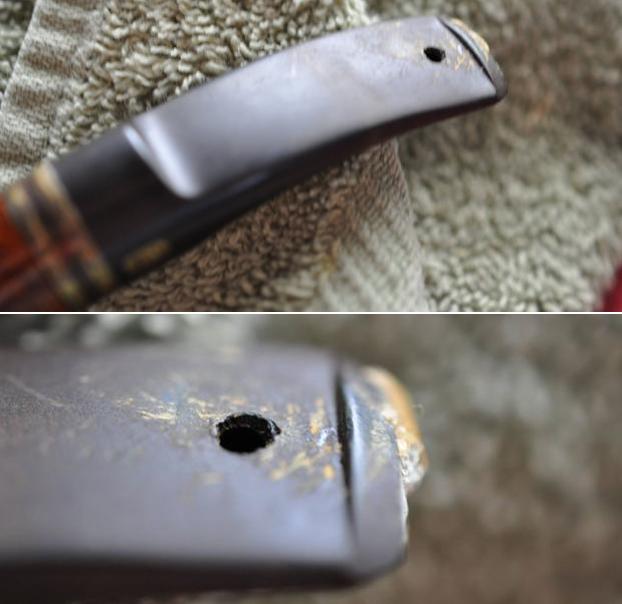
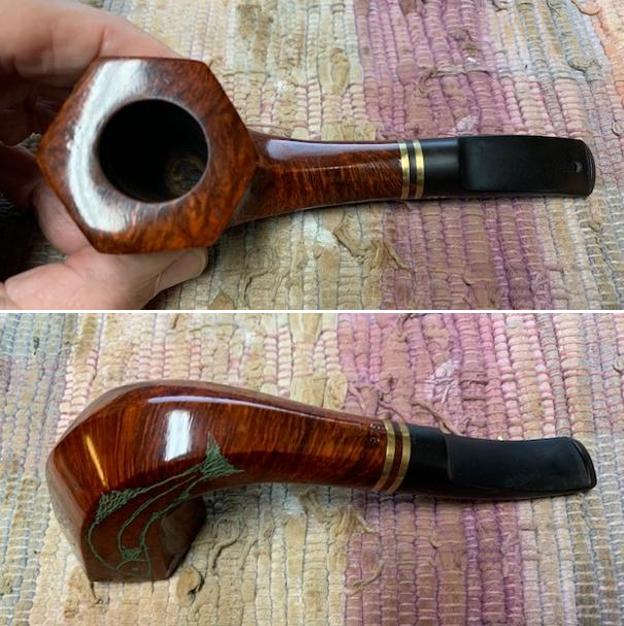
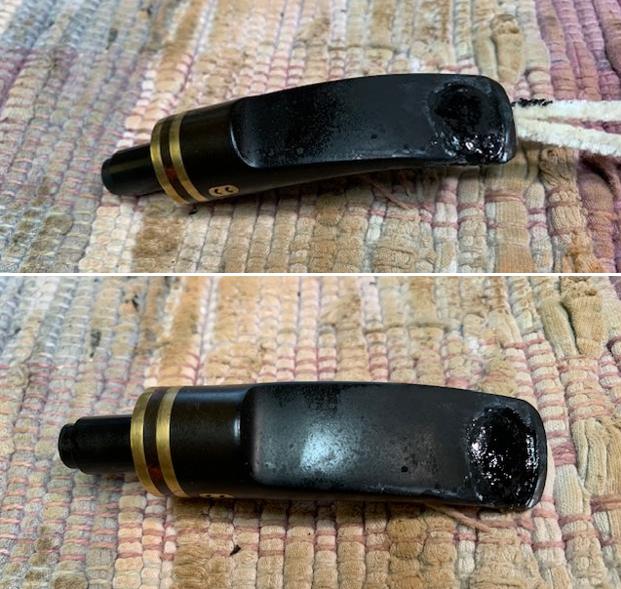
The title on this blog really says it all for me. This next six sided pipe was purchased from an auction in Columbus, Michigan, USA in 2020. Jeff saw it and actually went for it even though he knew I would not like it at first. It was just too much to take in but he picked it up for a good price. It is carved on each side of the bowl with a rising fish. I do not know if the pipeman carved them or if it came that way but it was strange to me! On top of that, the carved fish are then stained with a wash of green as is the stamping on the shank side that reads Chacom [over] Count. It is stamped on the underside of the shank with the shape number 875. If that was all of the unusual features of this pipe that would be enough but there were more unique modifications. The previous pipe man must have like the P-lip feature on Peterson’s pipes because he drilled a round hole in the top of the stem ahead of the button and filled in the slot in the button with what looks like spray foam. Other than the modification the shape was unique and the shiny finish, though dirty, was in good condition. There was a light cake in the bowl and some lava on the back side of the rim top. There was also a bit of damage on the front inner edge and rim top where it appeared that the varnish coat had peeled. The twin brass ringed stem was oxidized and had some calcification. There were light tooth marks and chatter on both sides. The drilled hole was clean and undamaged. The spray foam oozing from the slot on the stem end was hardened and quite ugly. Jeff took some photos of the pipe before he started his cleanup.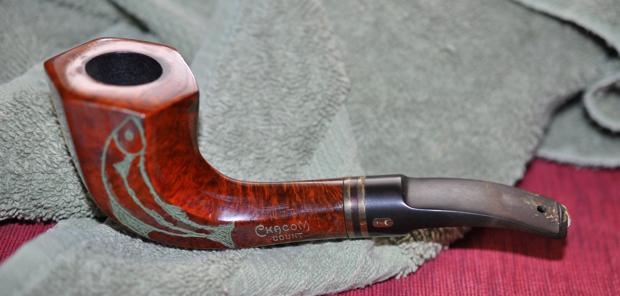
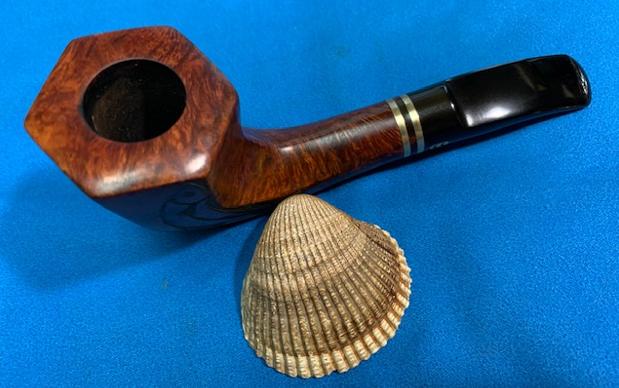
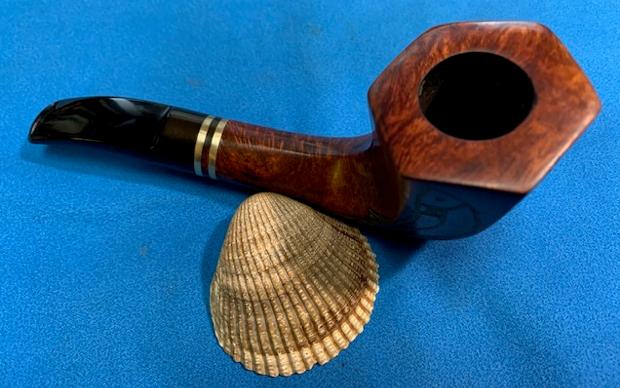
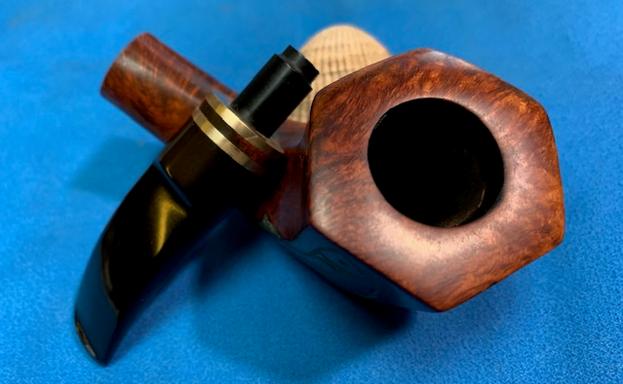
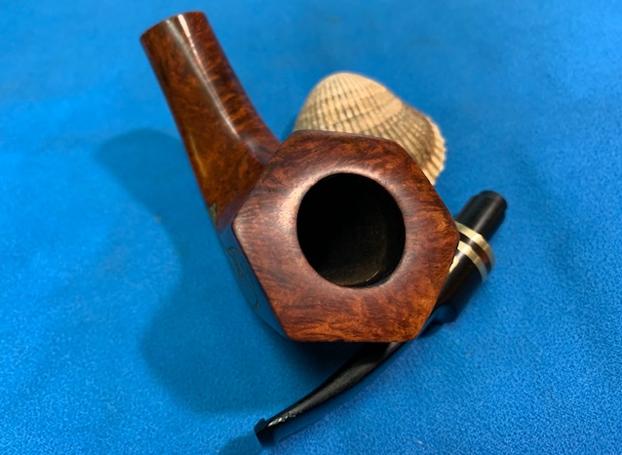
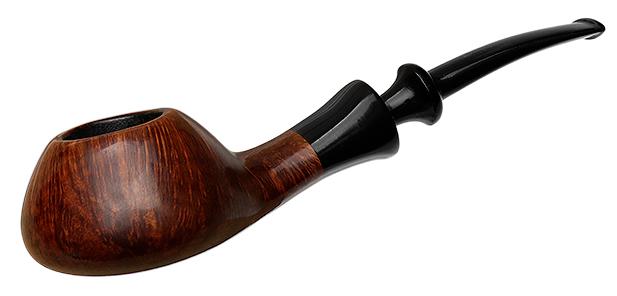
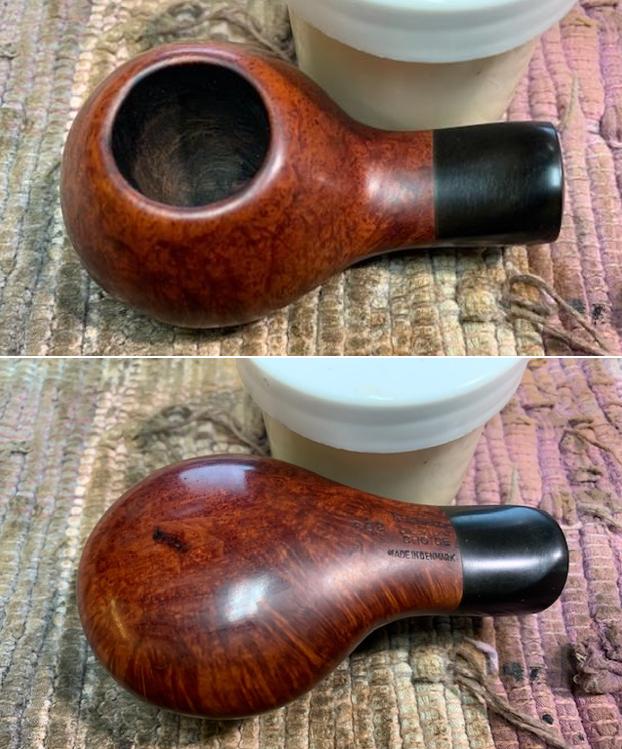
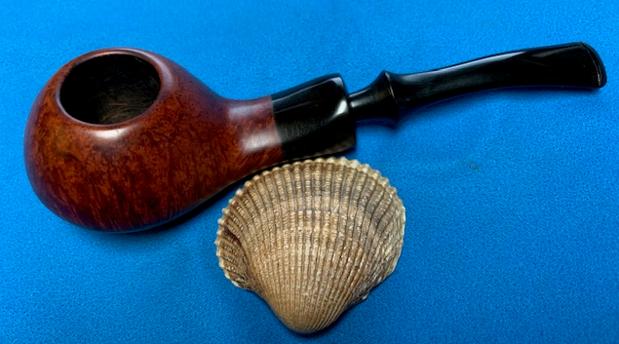
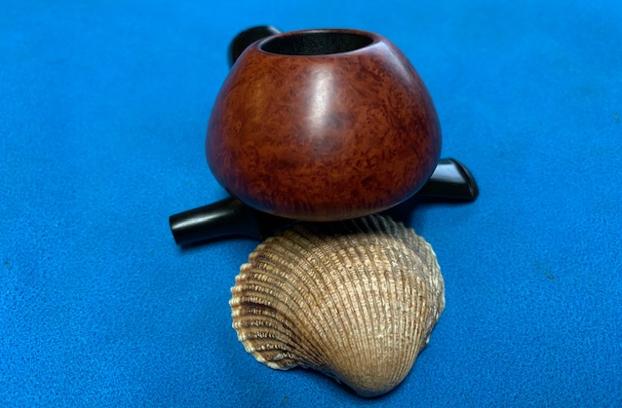
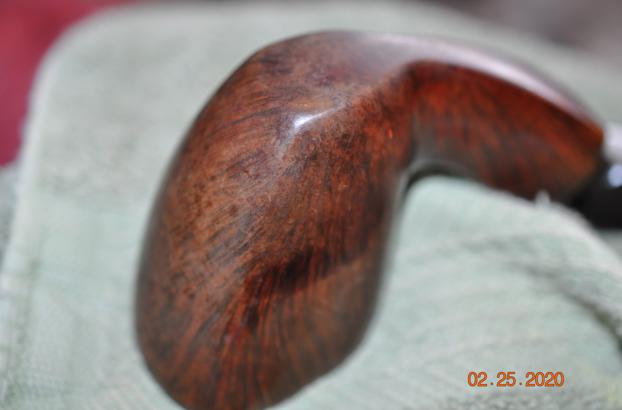
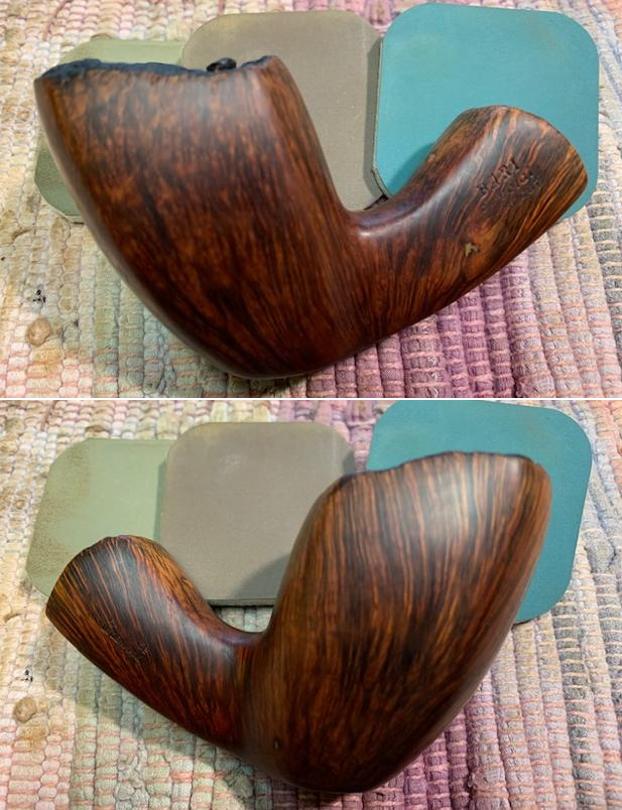
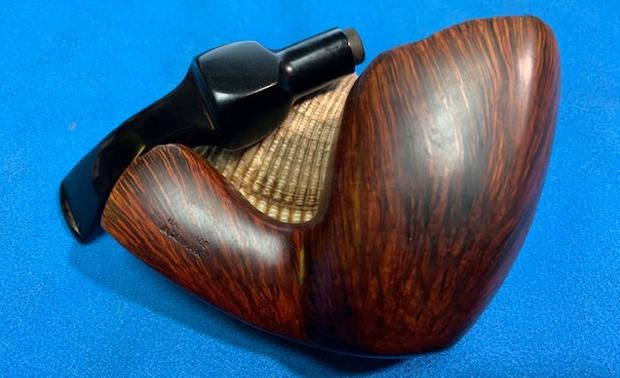
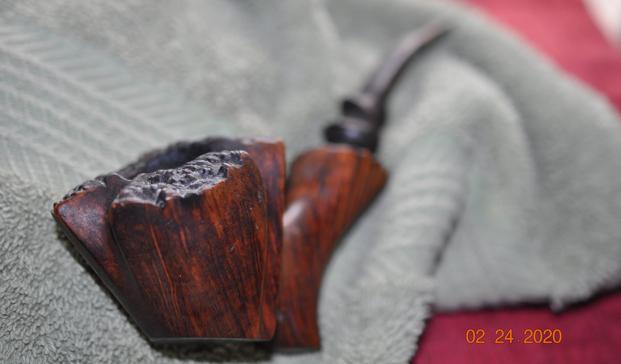
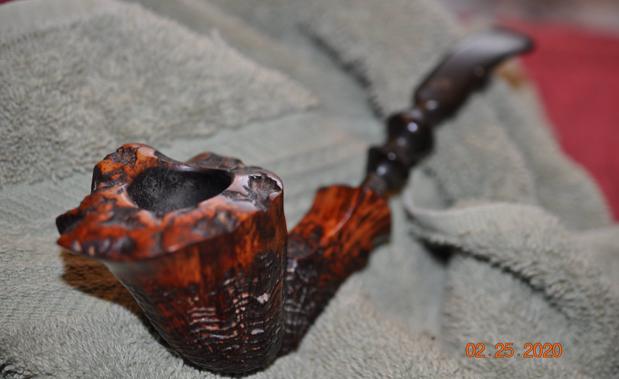
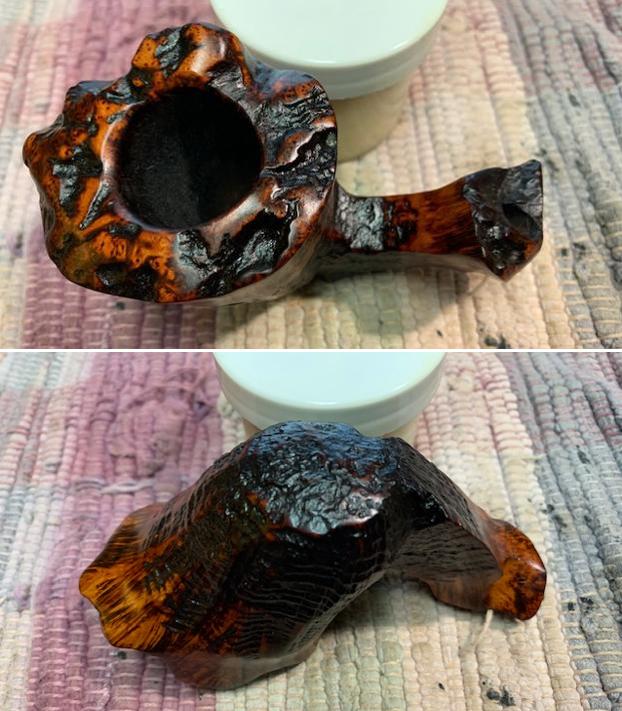
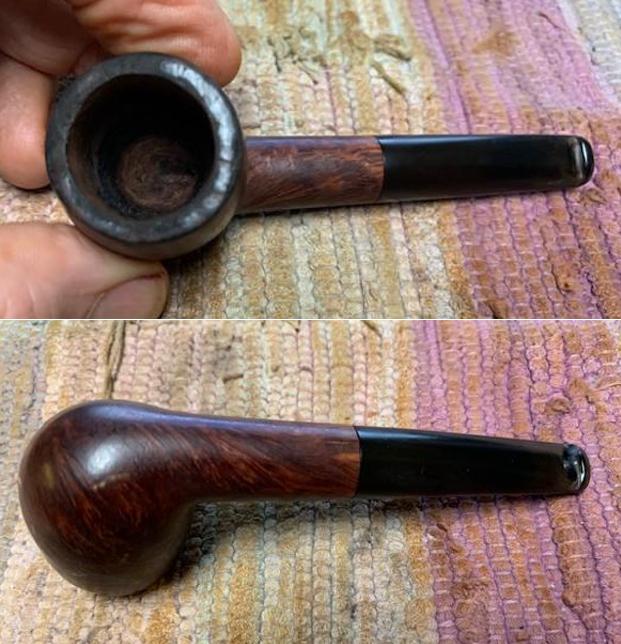
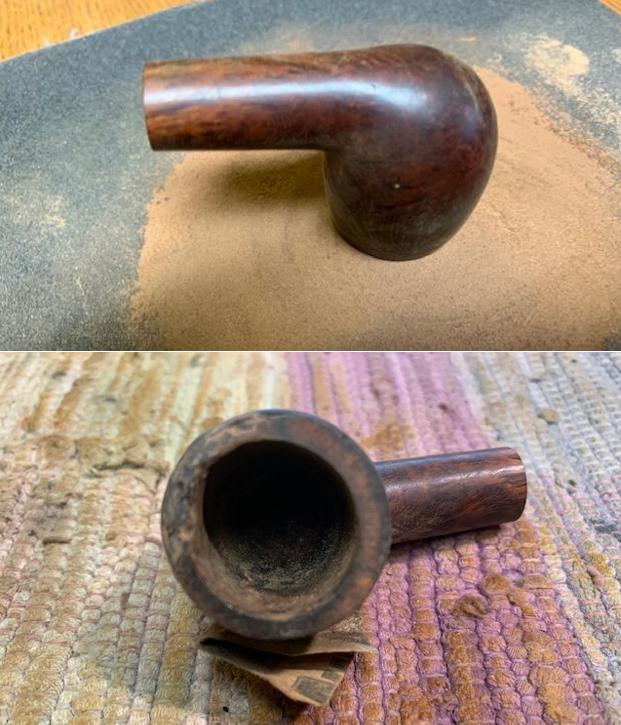
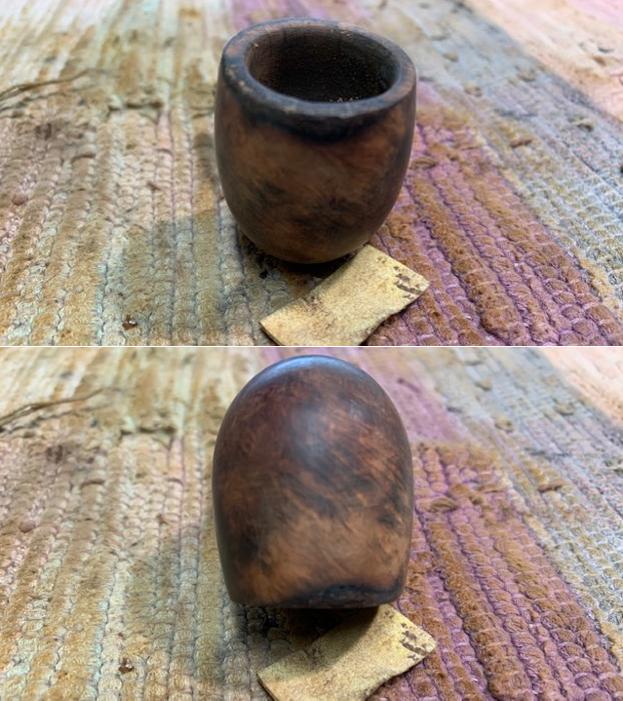
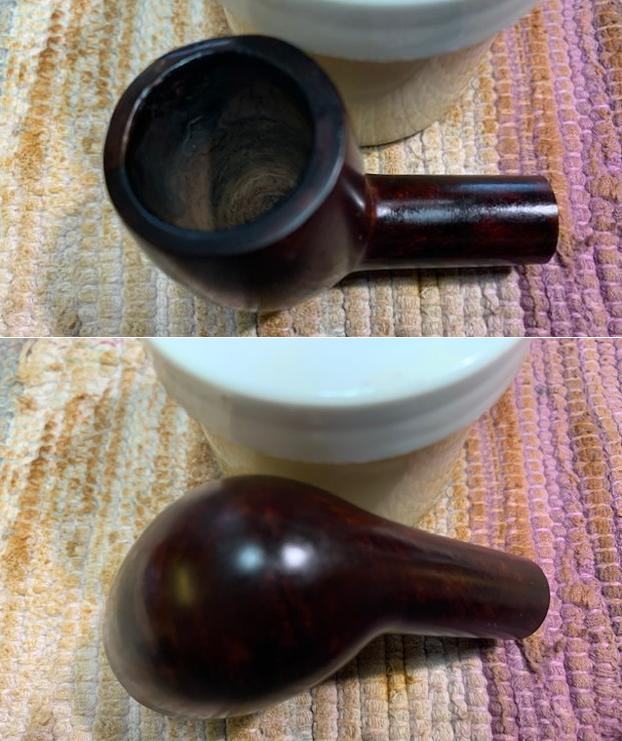
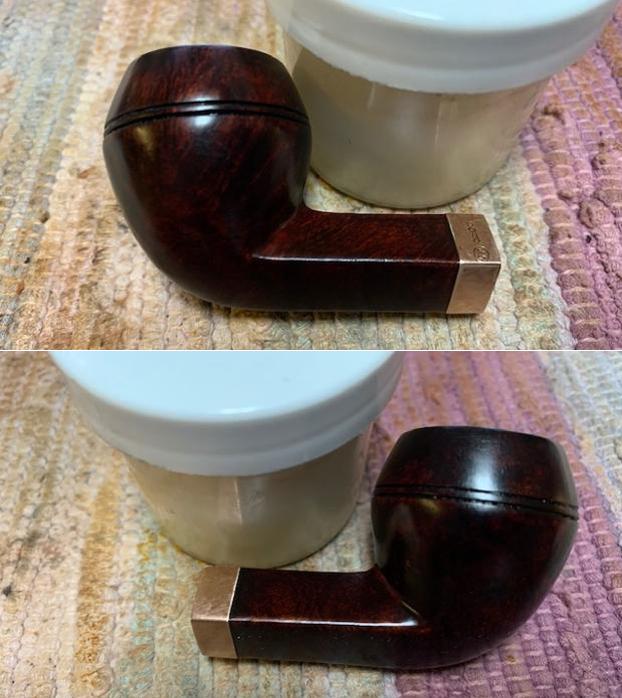
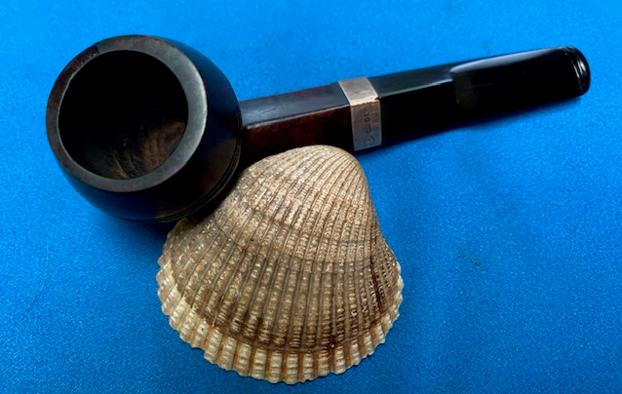
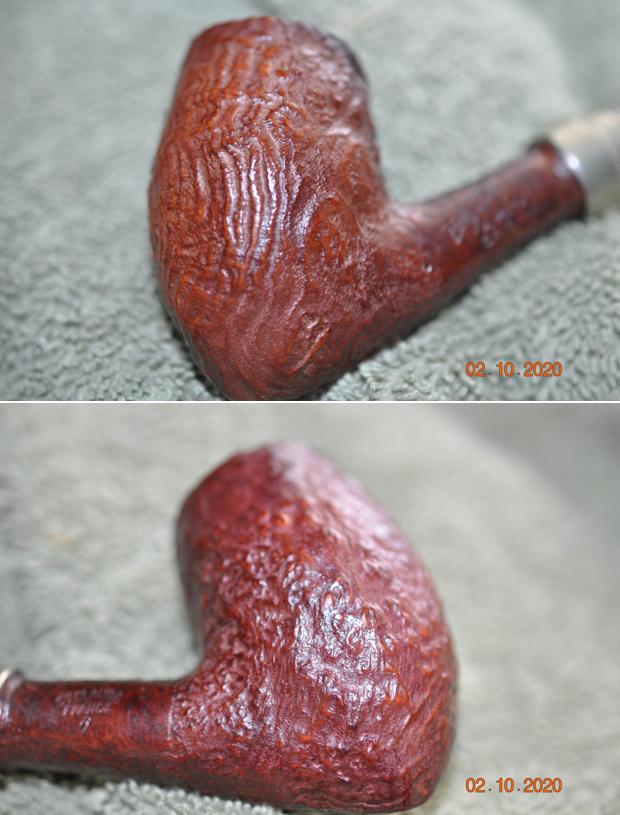
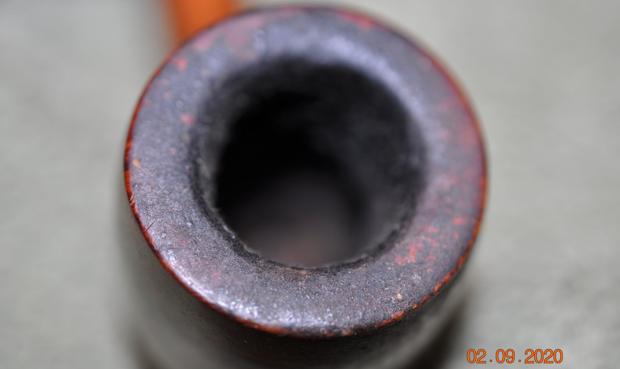
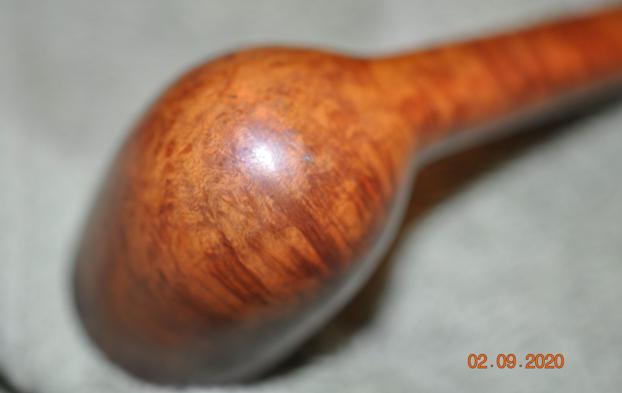
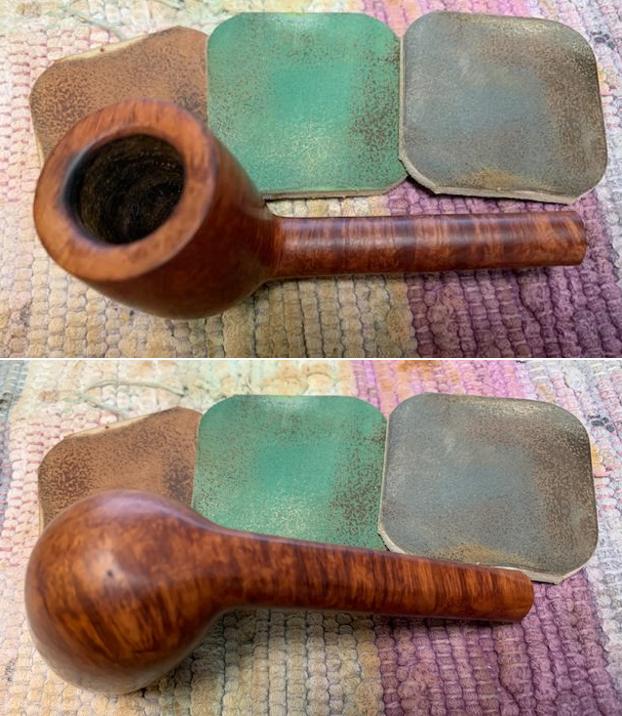
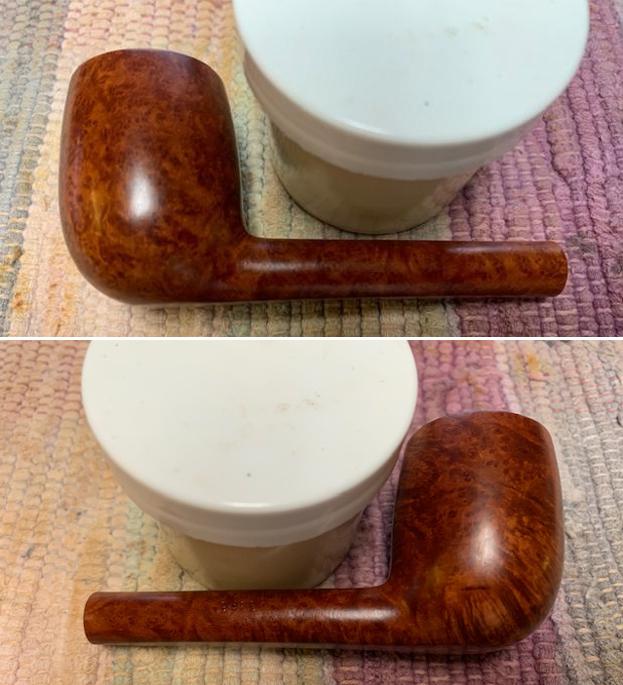
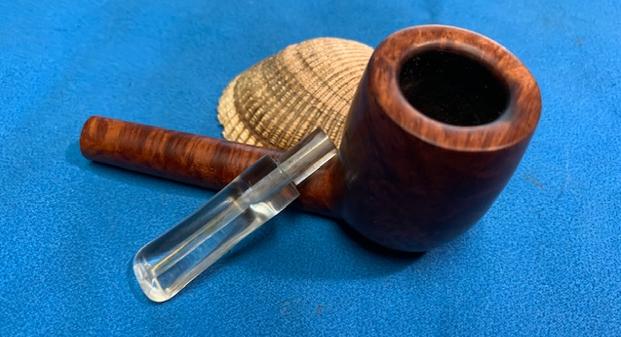
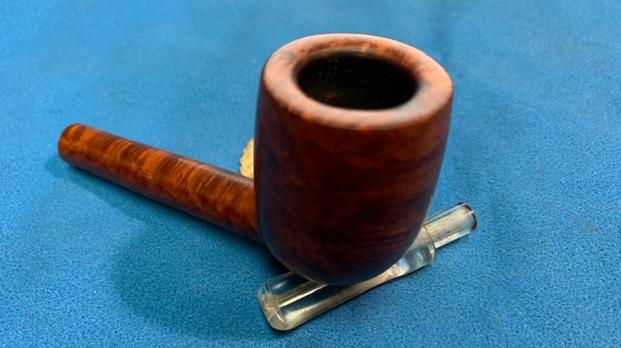
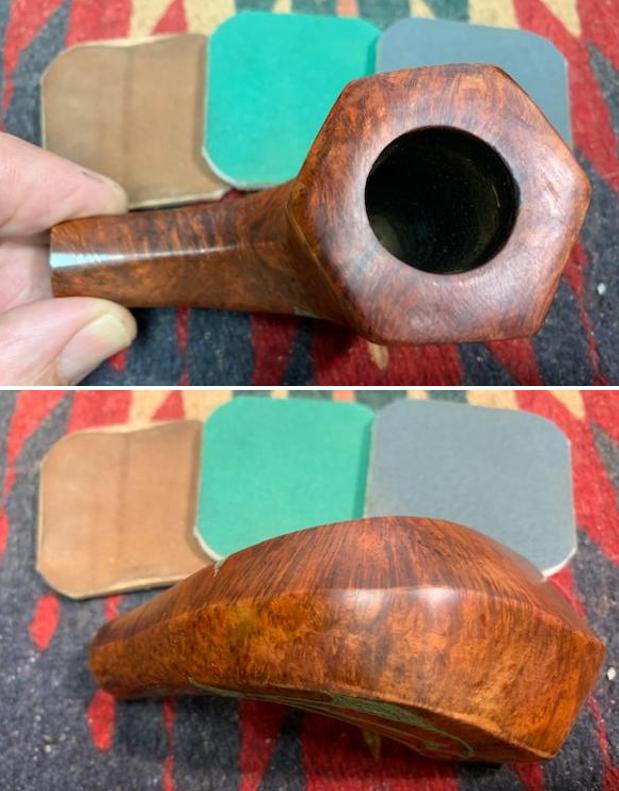
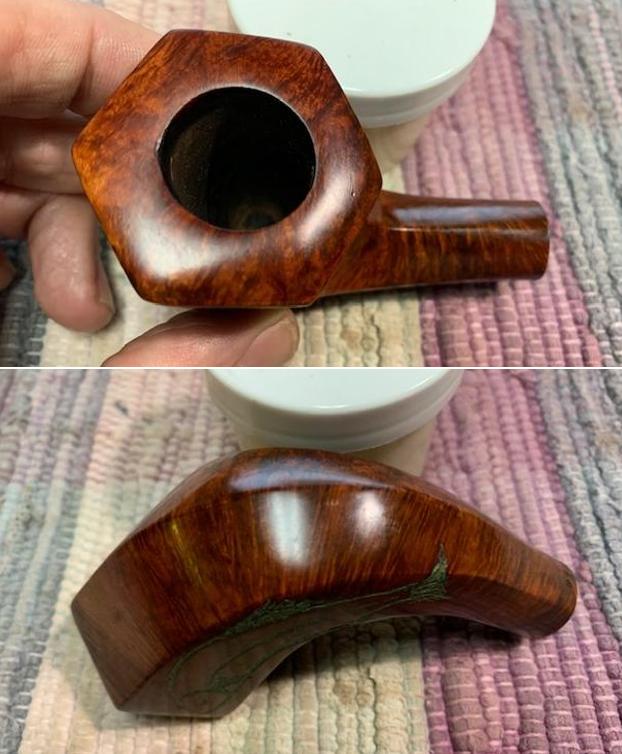
 Looking at the pipe from the top down it is quite a pretty pipe and I had a good idea why Jeff was drawn to it. The hexagonal shape of the bowl and the finish was quite nice as was the grain on the rim top. Okay maybe it would turn out to be a nice looking pipe when it was cleaned up! Time would tell.
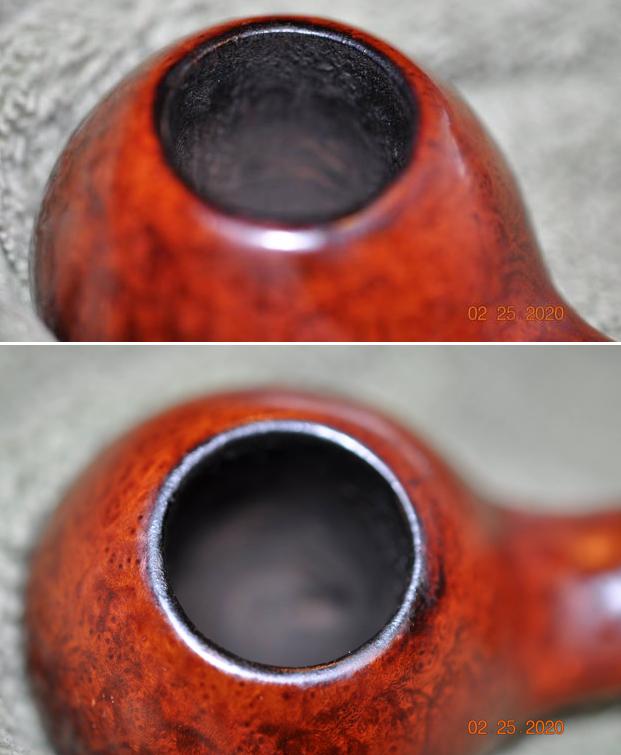
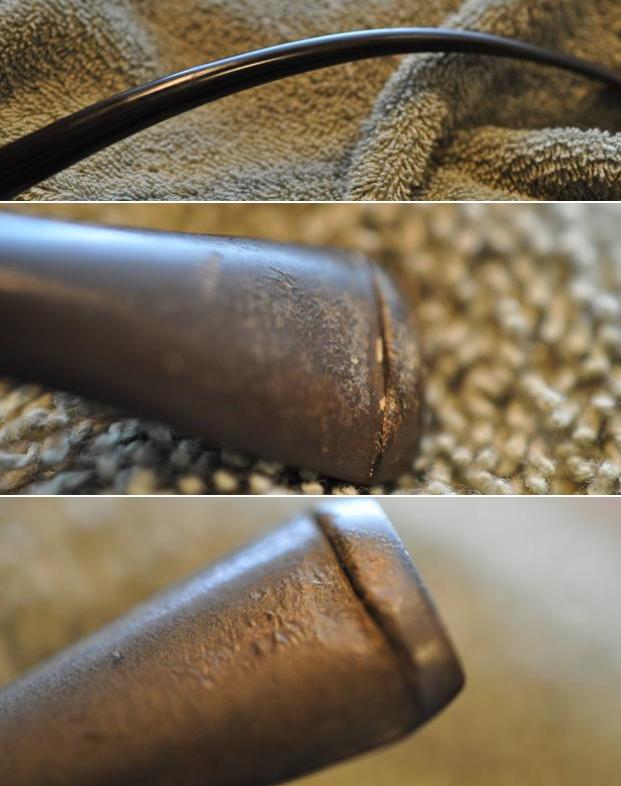
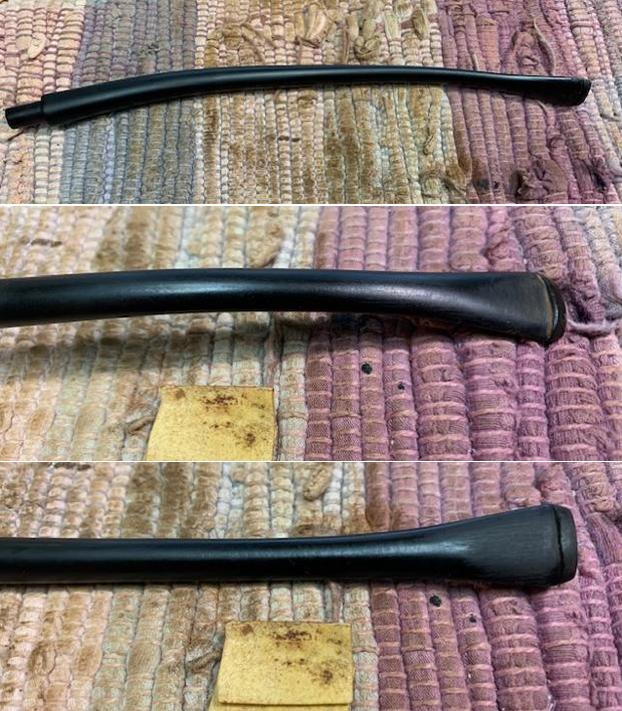
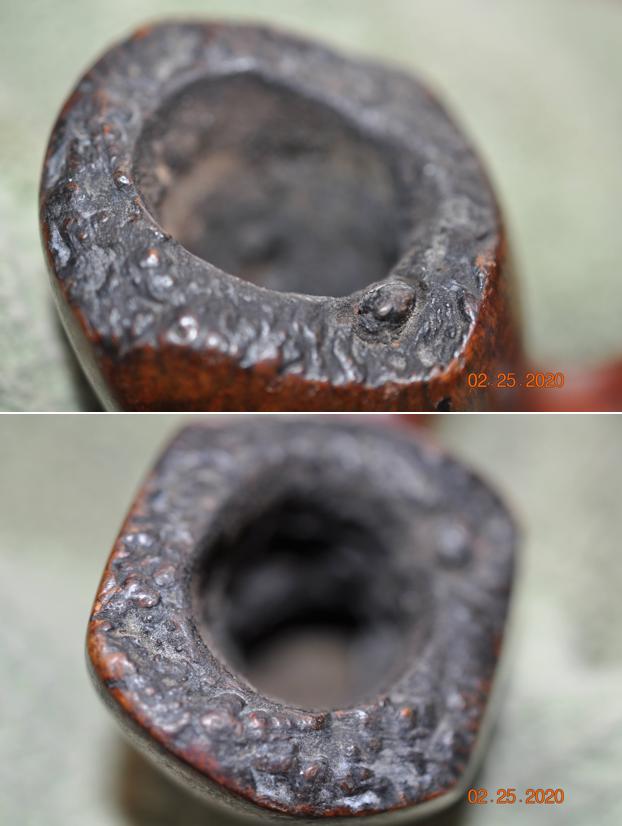
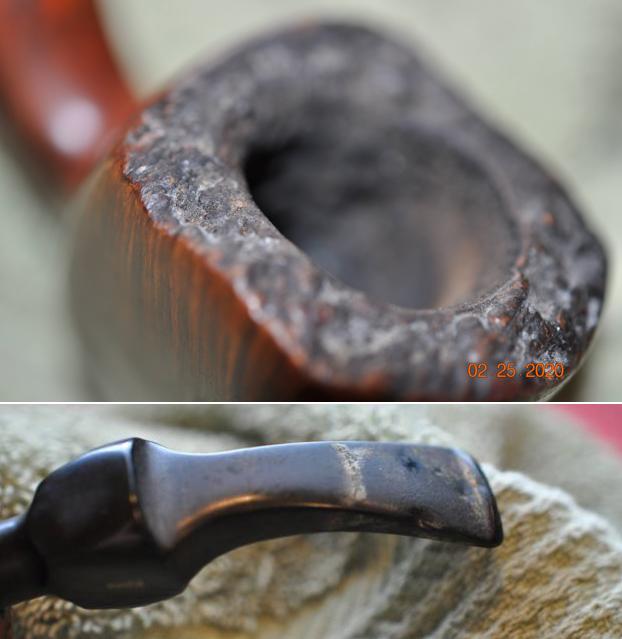
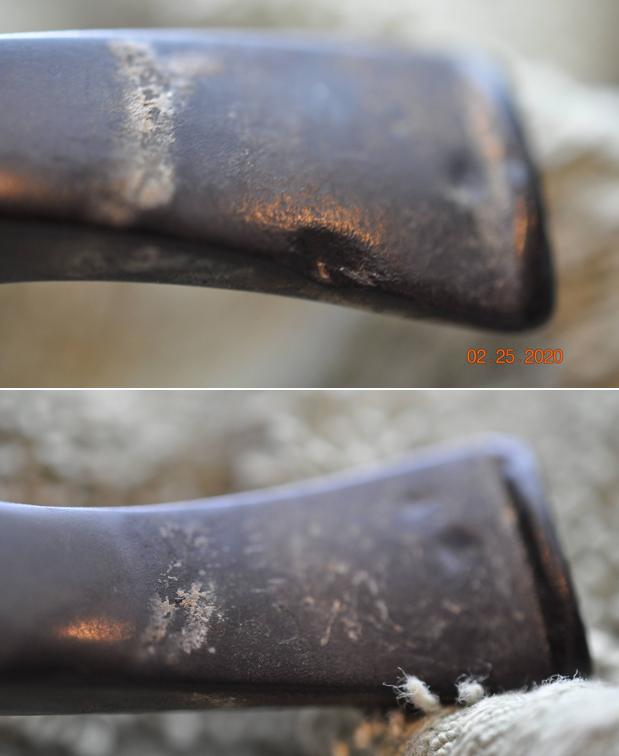
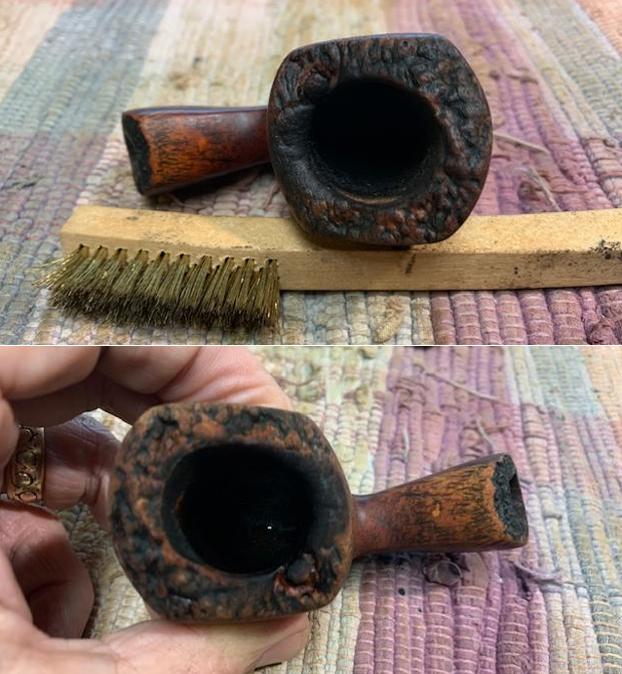
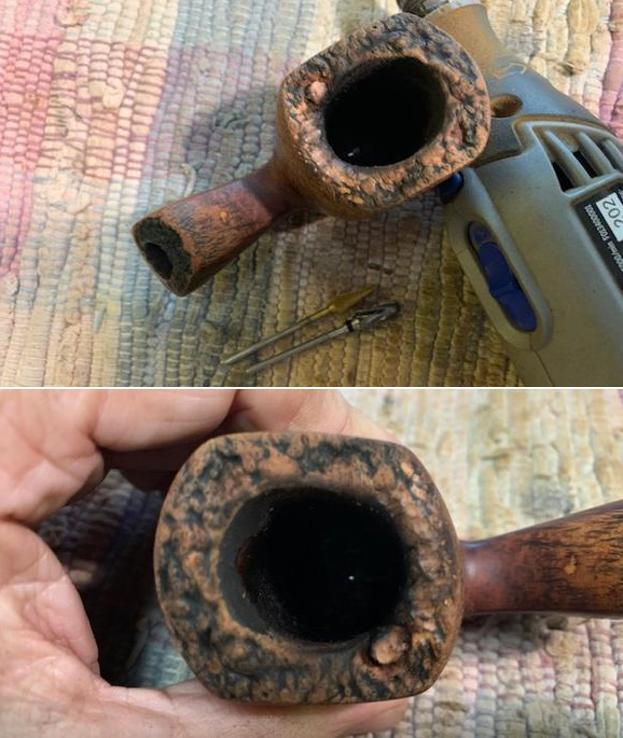
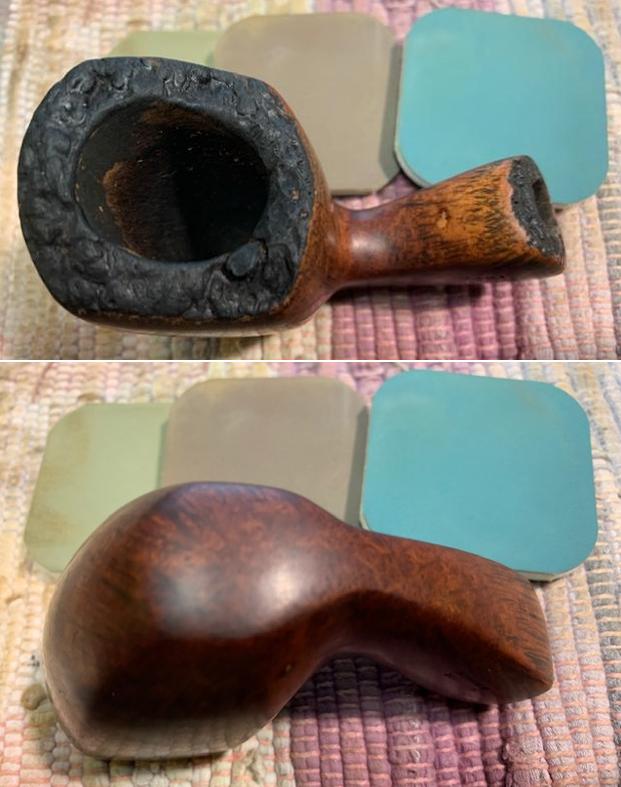
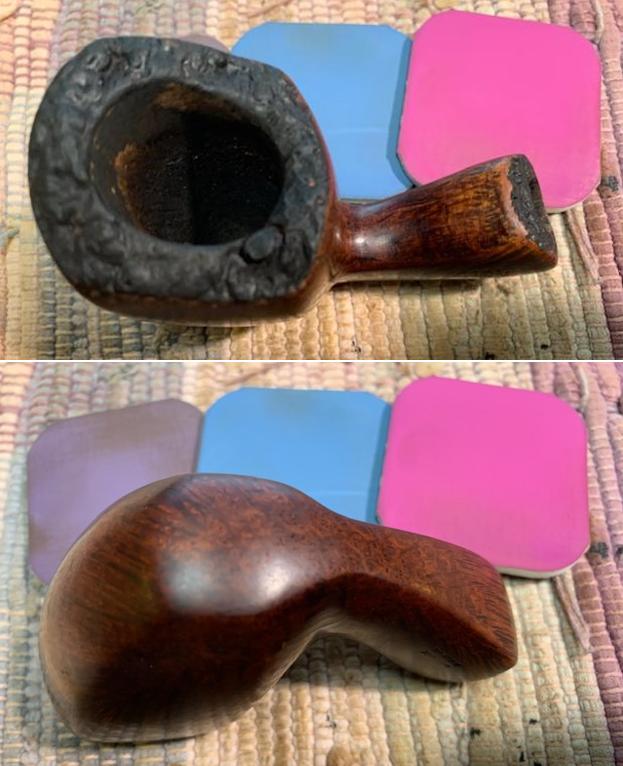
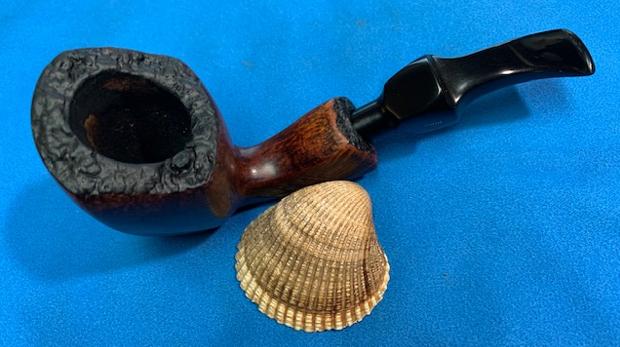
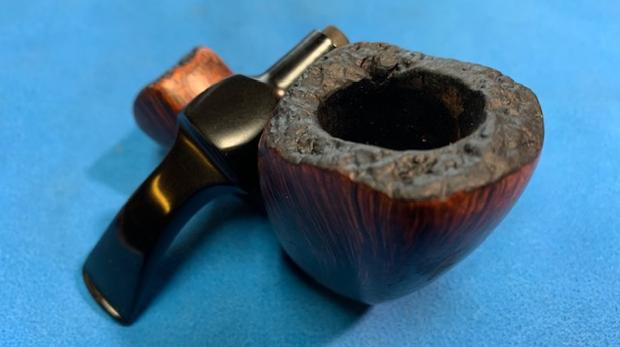
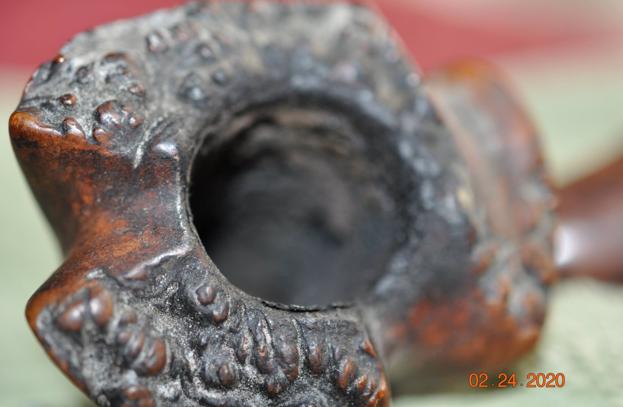
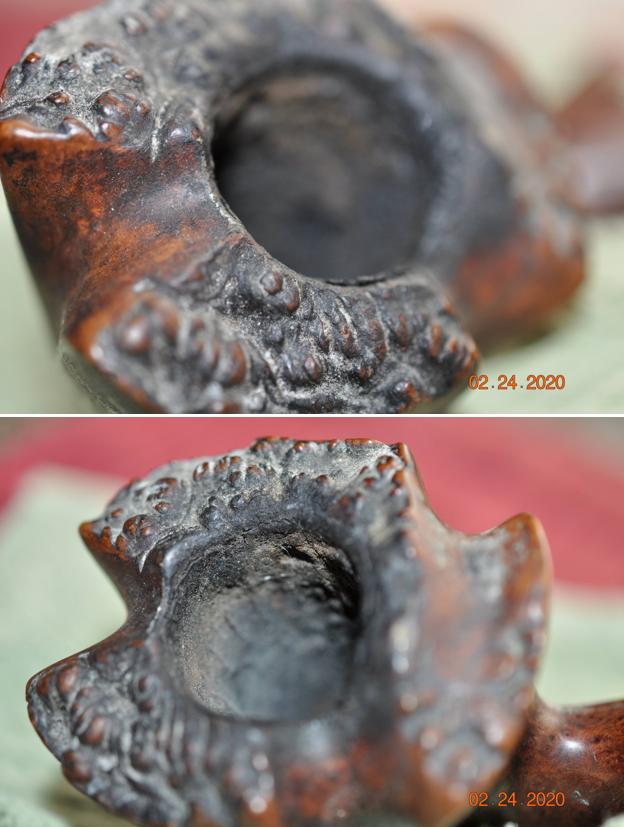
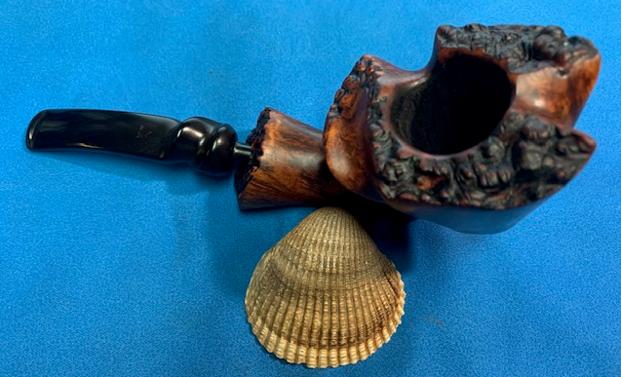
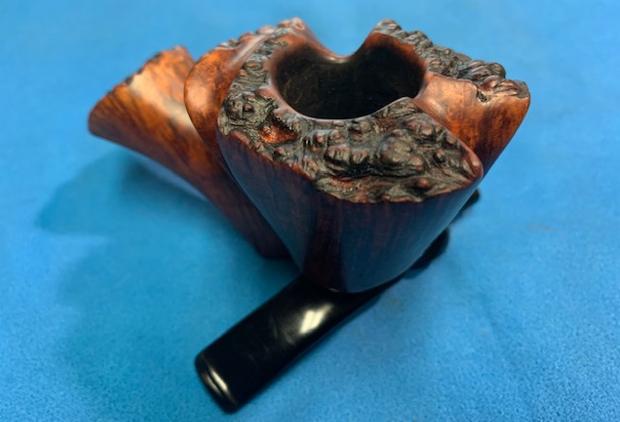
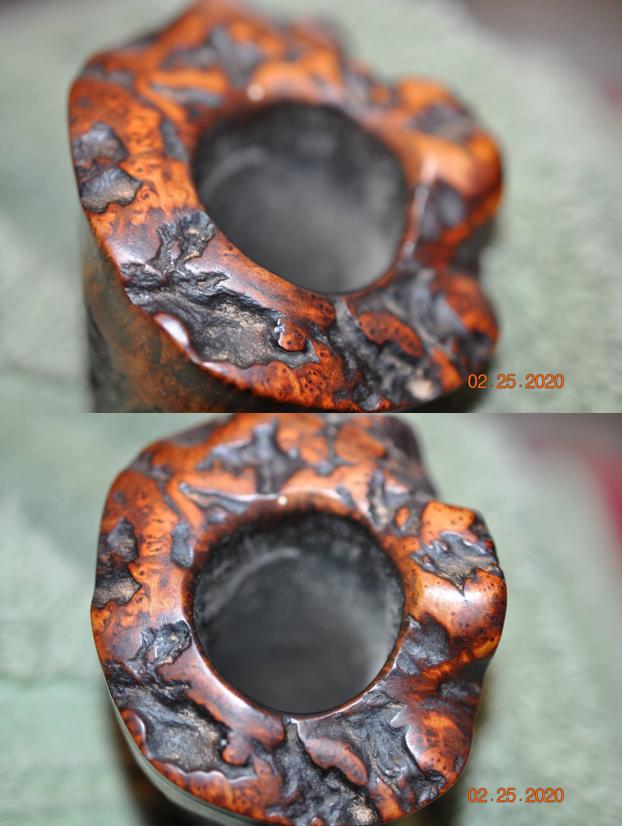
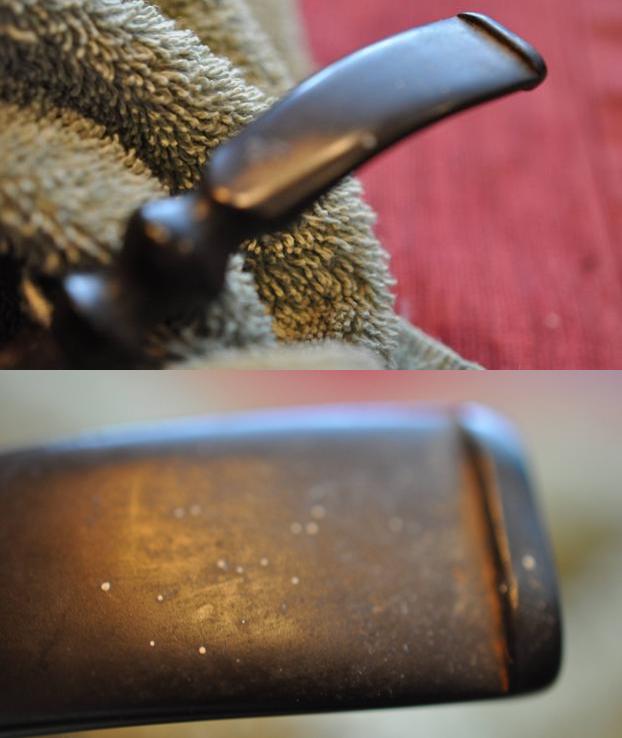
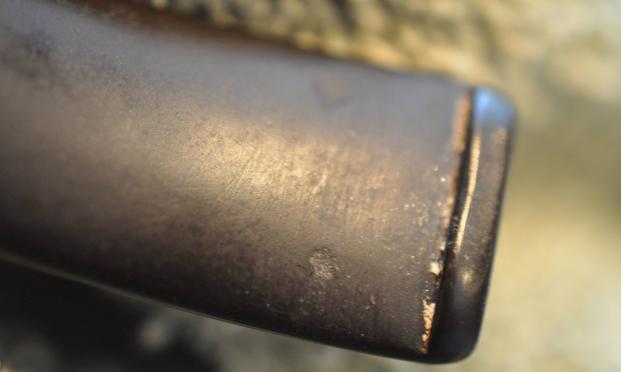
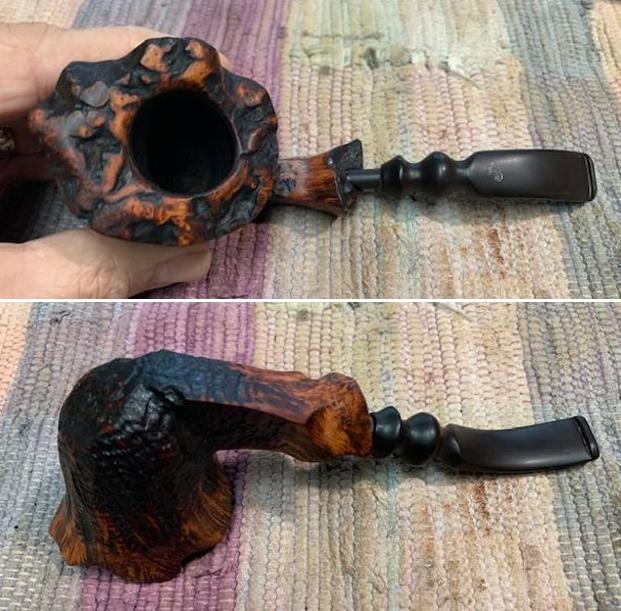
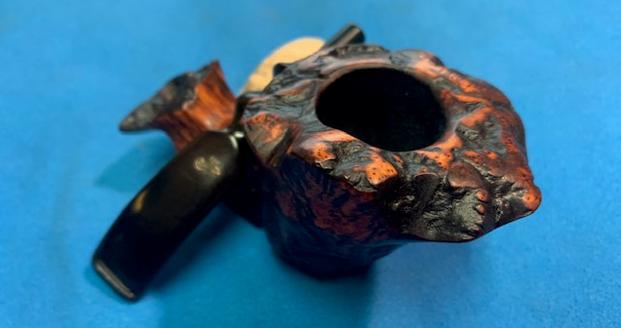
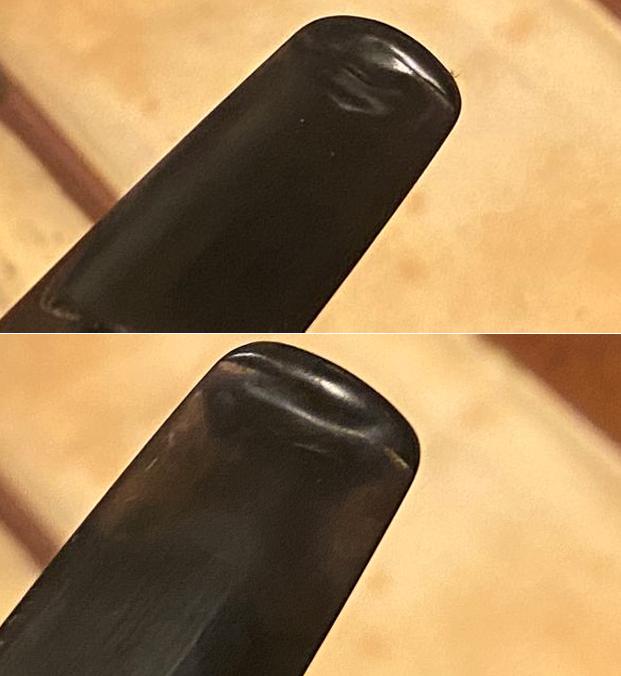
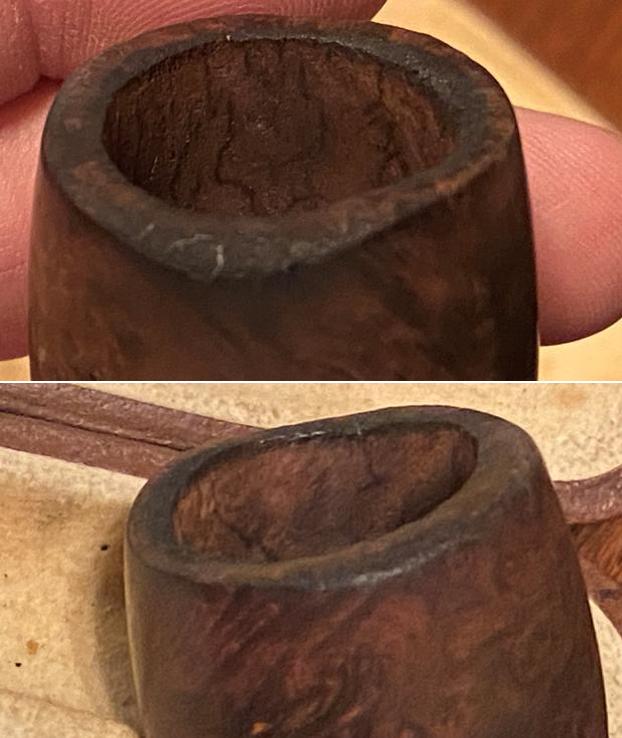
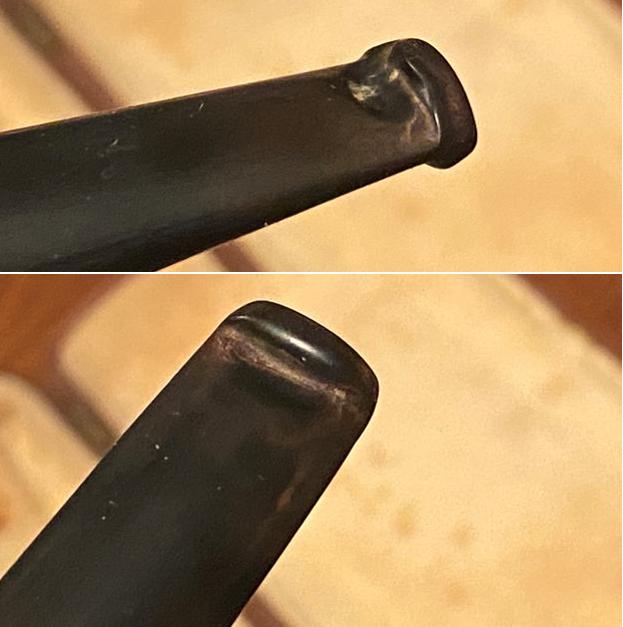
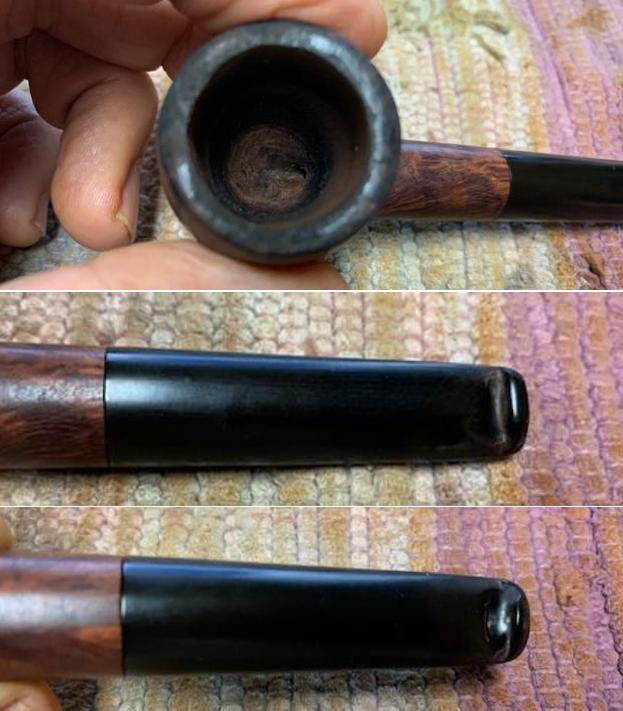
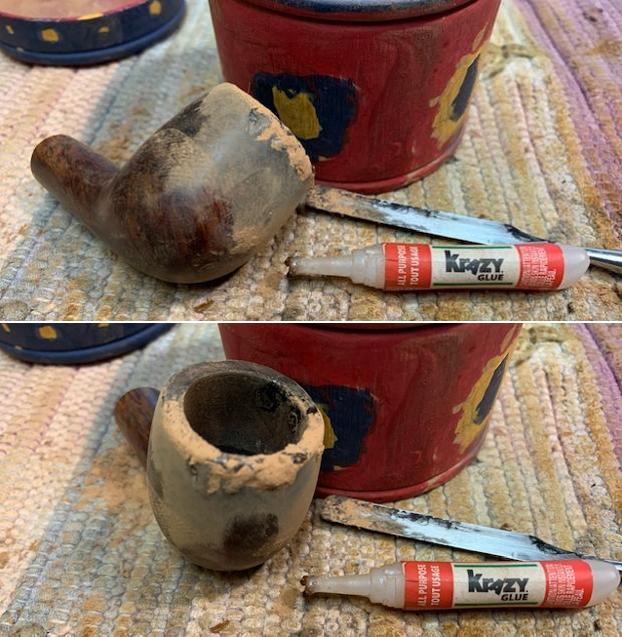
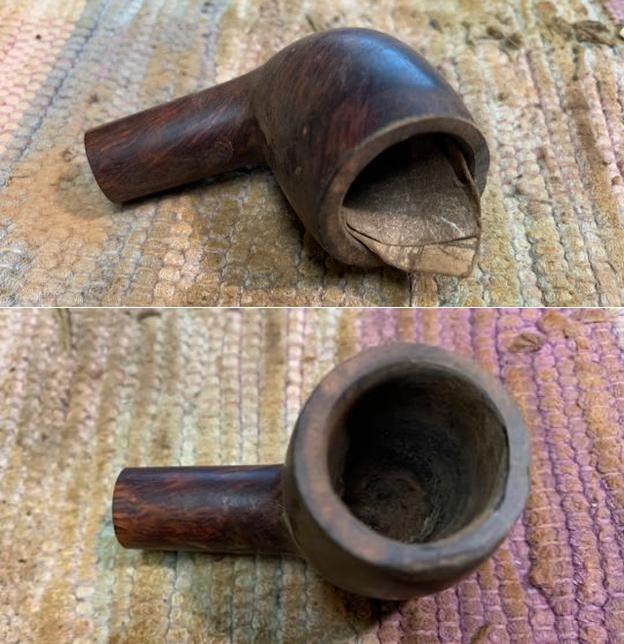
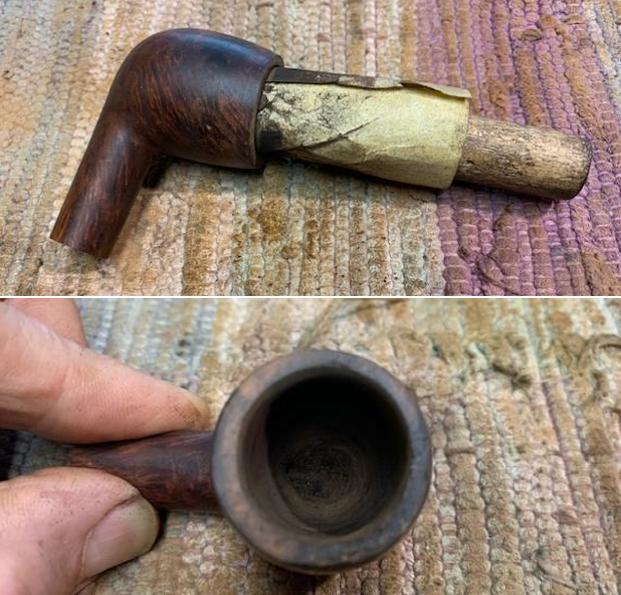
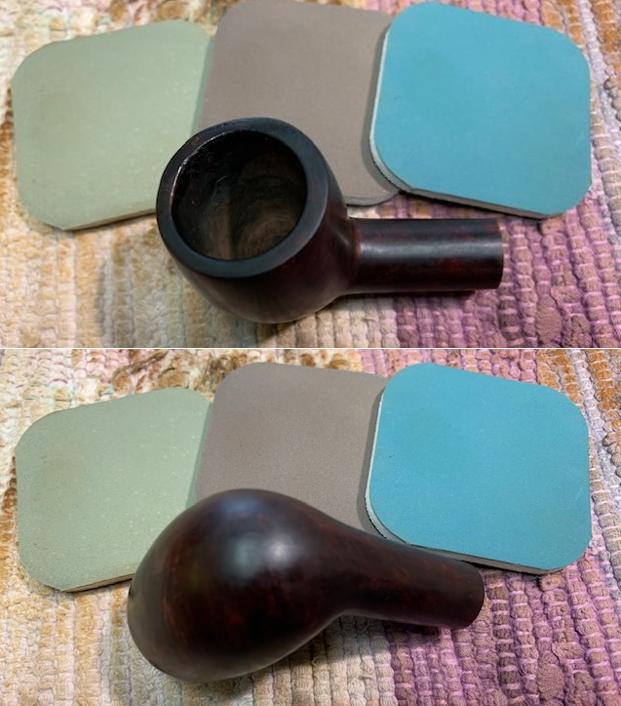
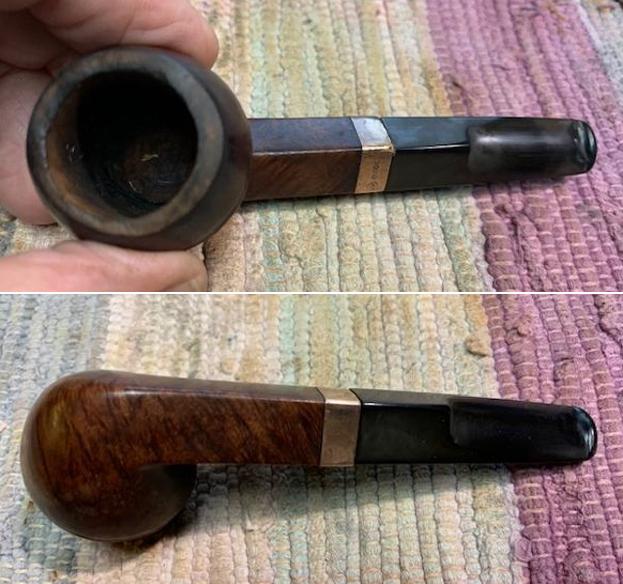
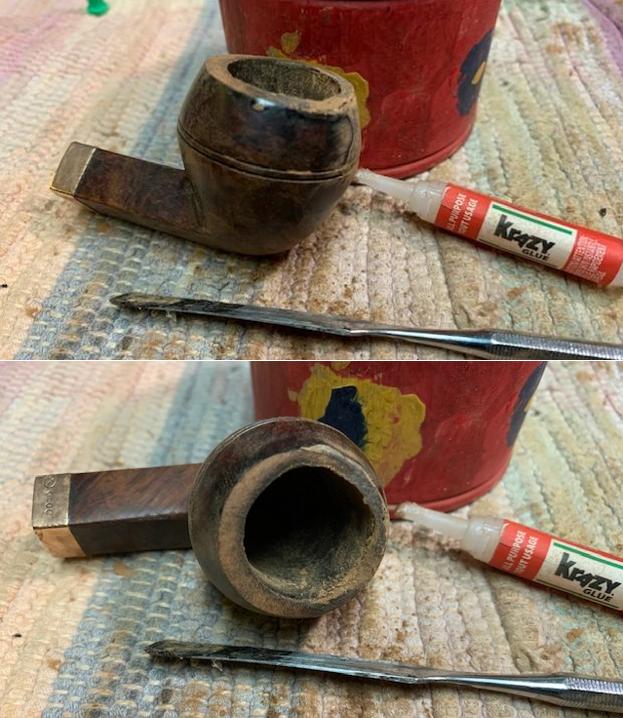
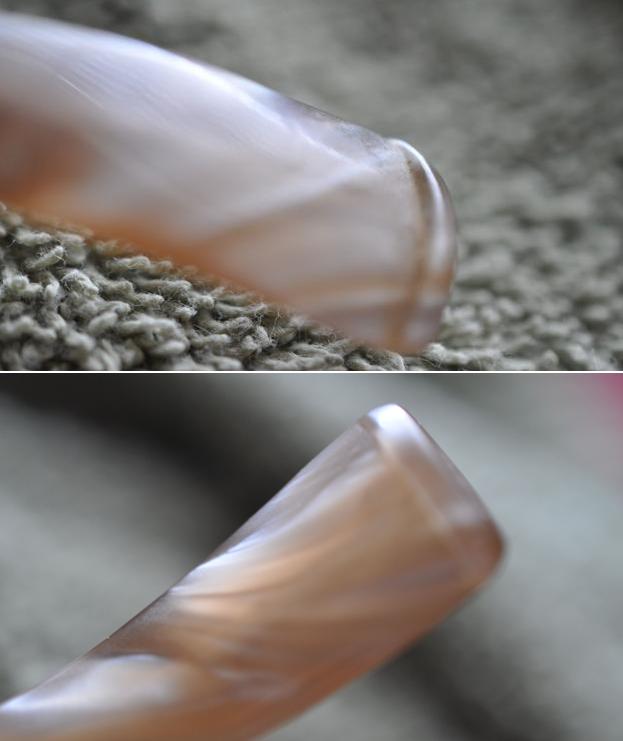
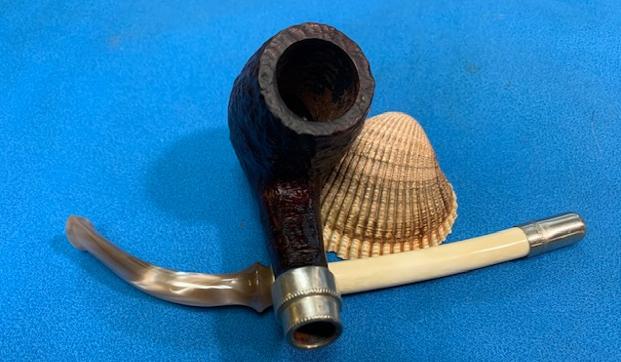
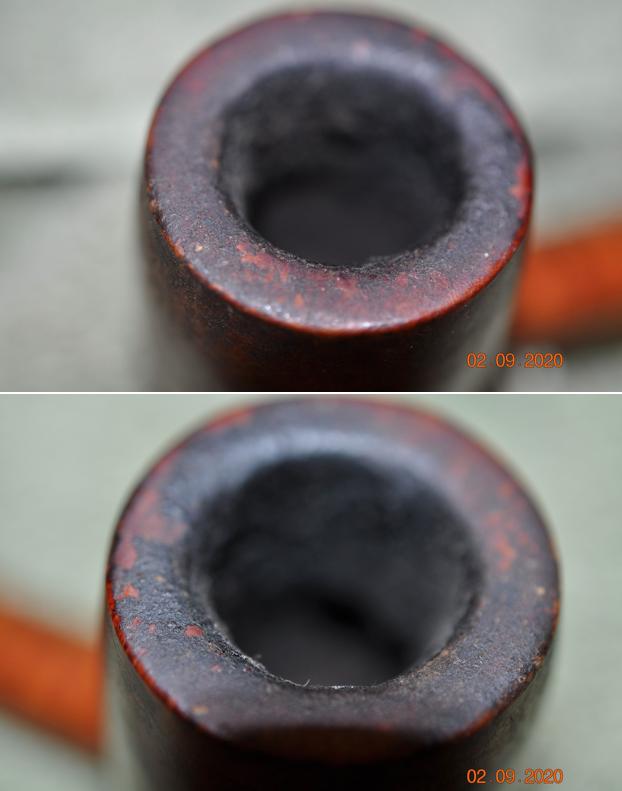
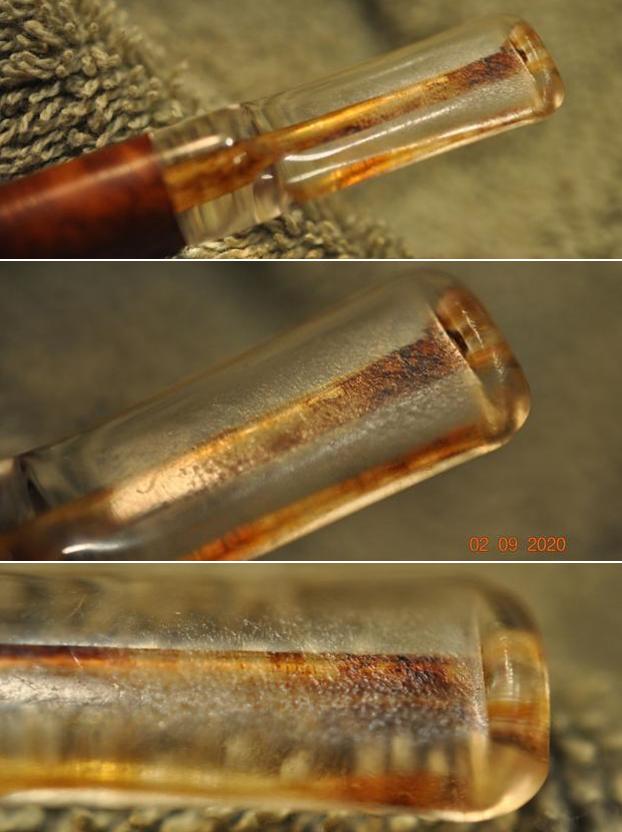
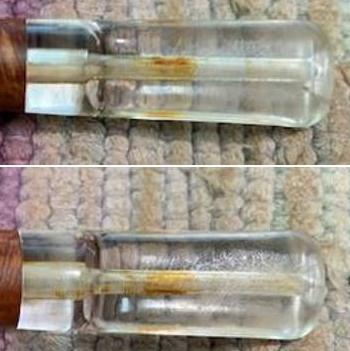
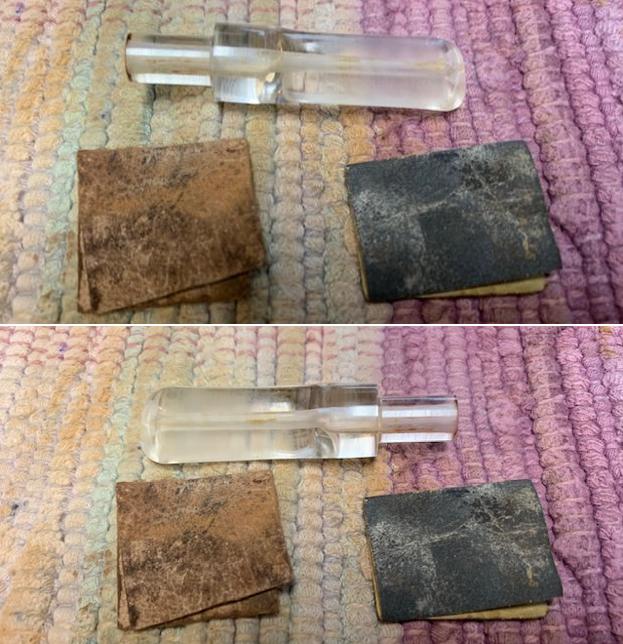
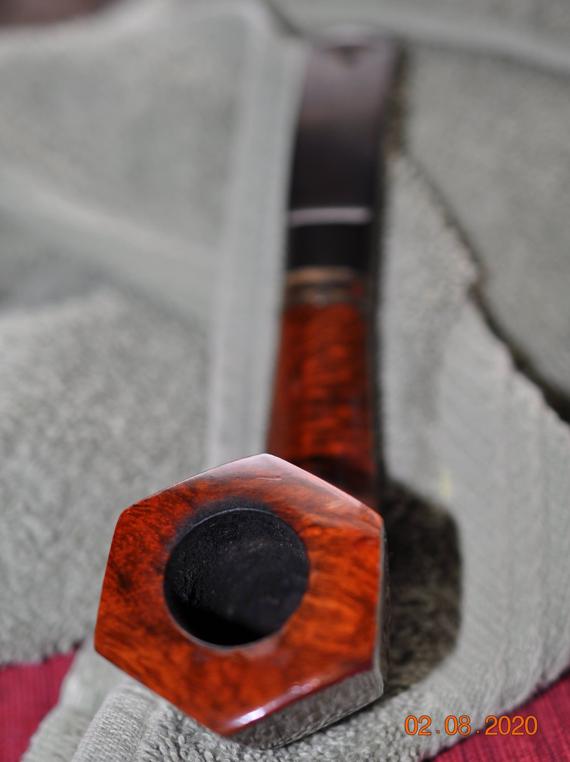 Jeff took photos of the rim top and bowl to give and idea of the general condition of the pipe. It had some damage on the front edge and some lava on the back left edge and top. There was some scratching on the rim top itself. The stem was the disaster as I noted above with its modifications that would take some work to remedy. The hole would need to be patched and the slot cleared of the spray foam that filled it. Jeff included several photos of the stem to show what was going on with it.
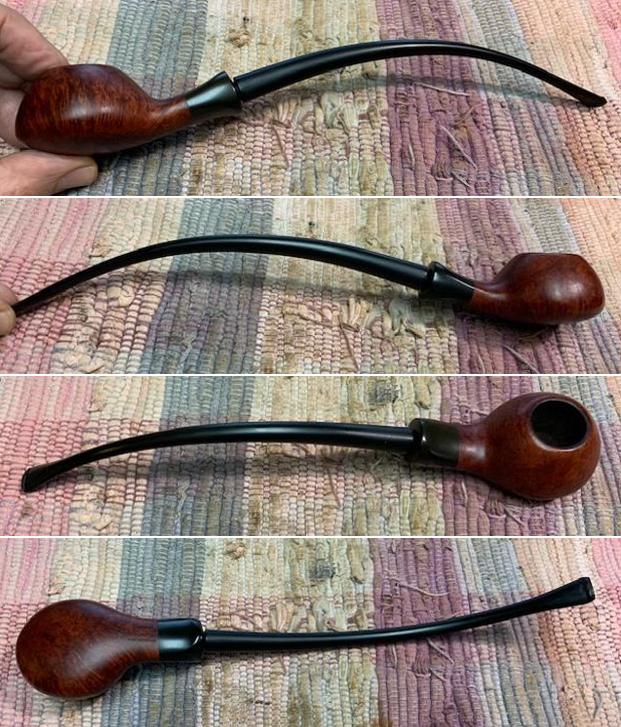
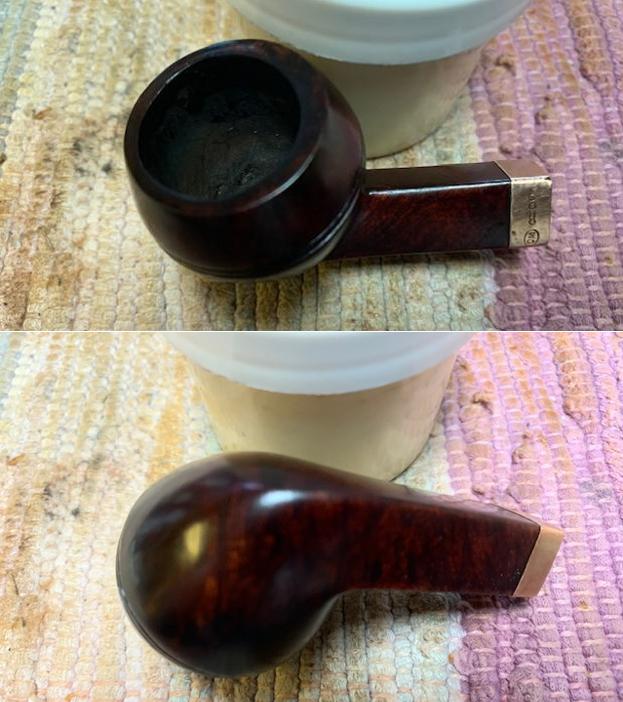
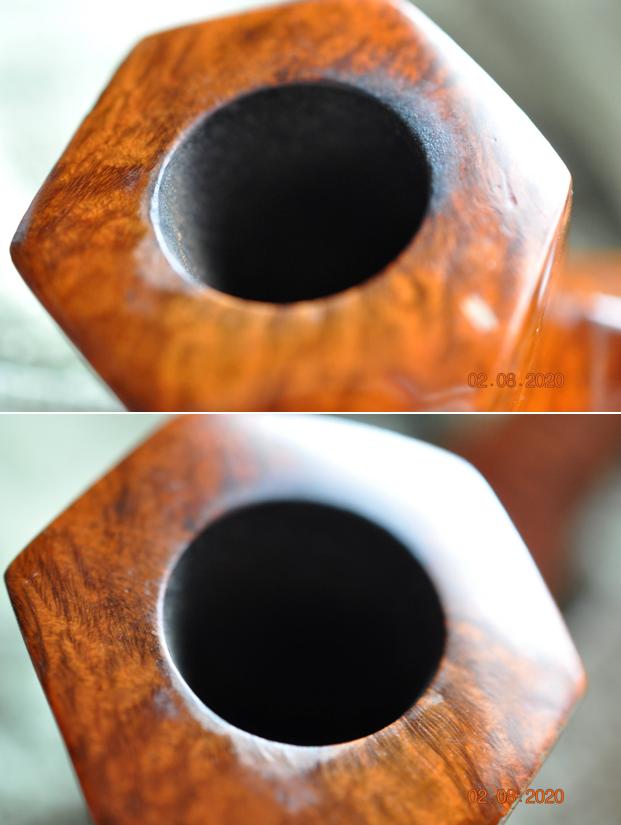
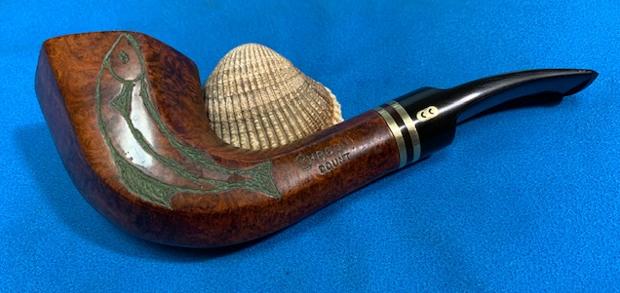
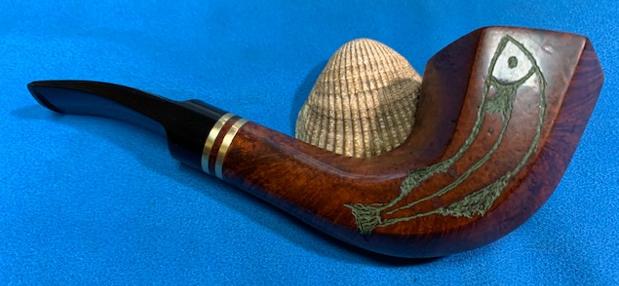
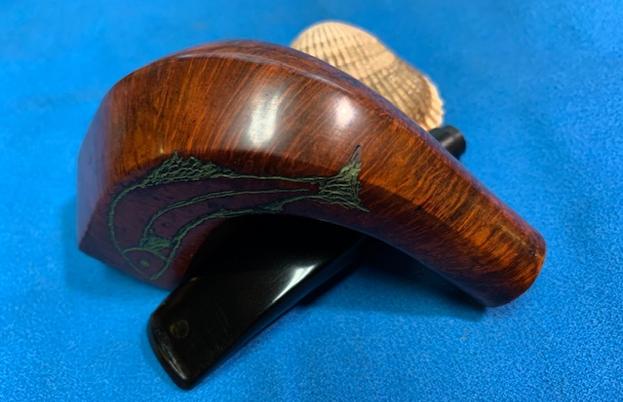
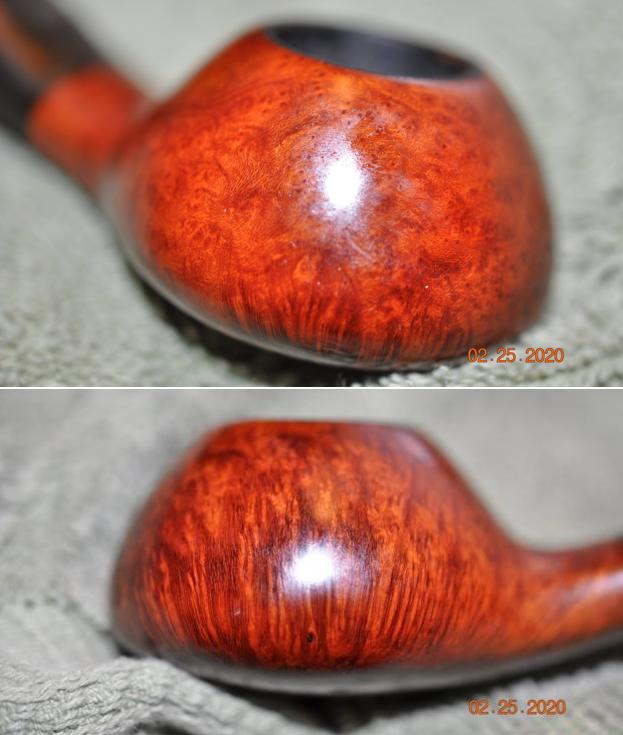
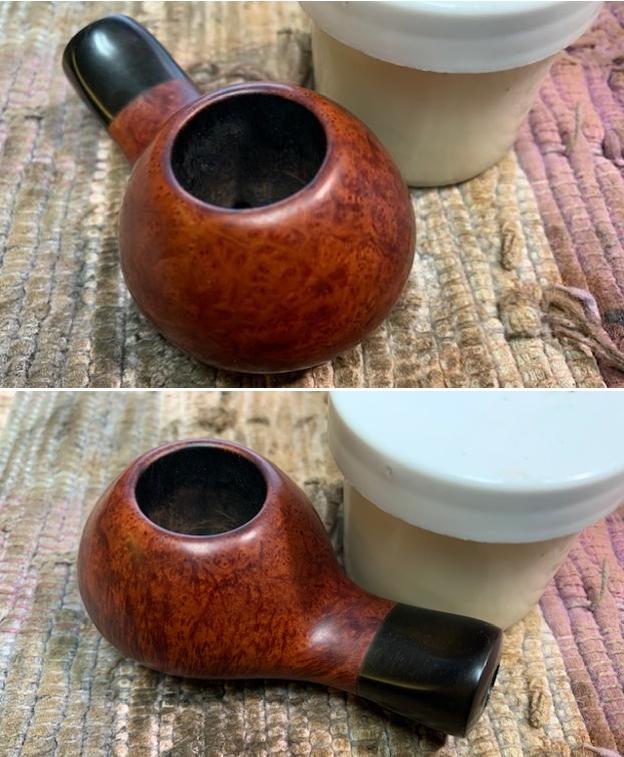
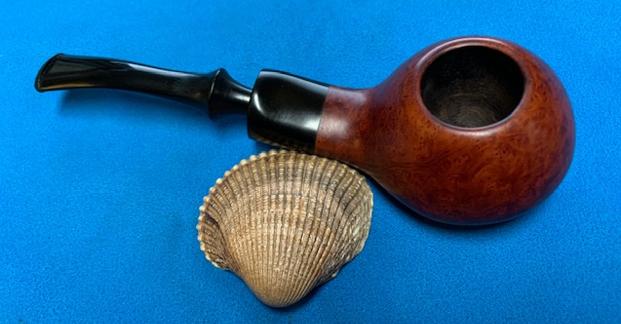
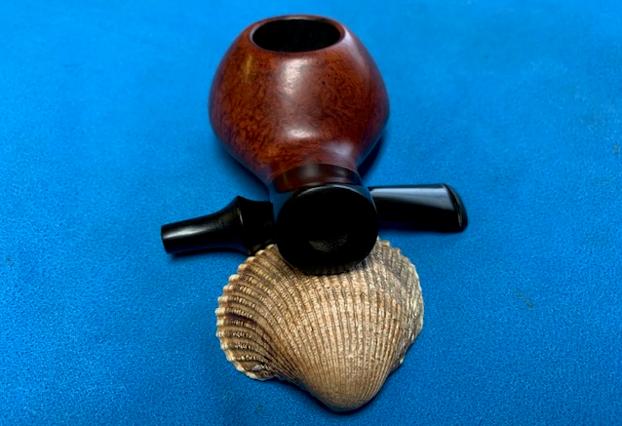
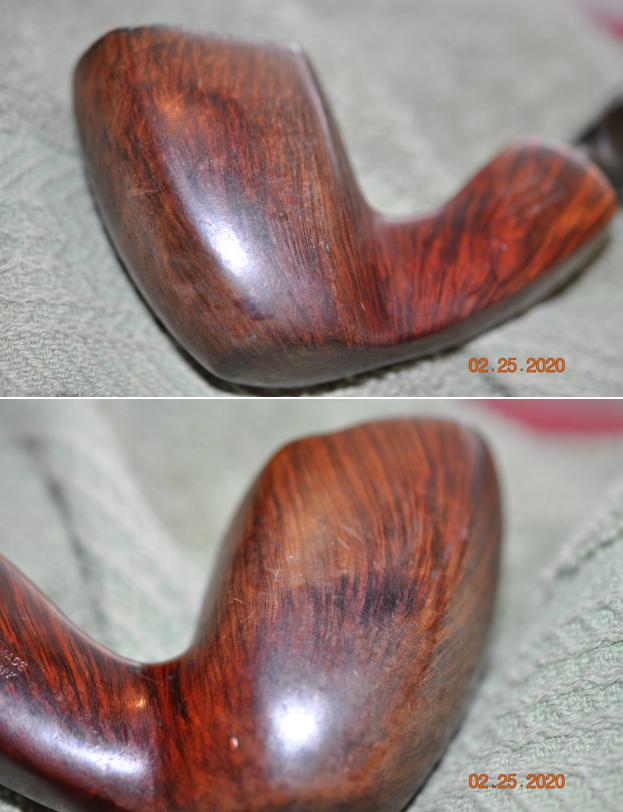
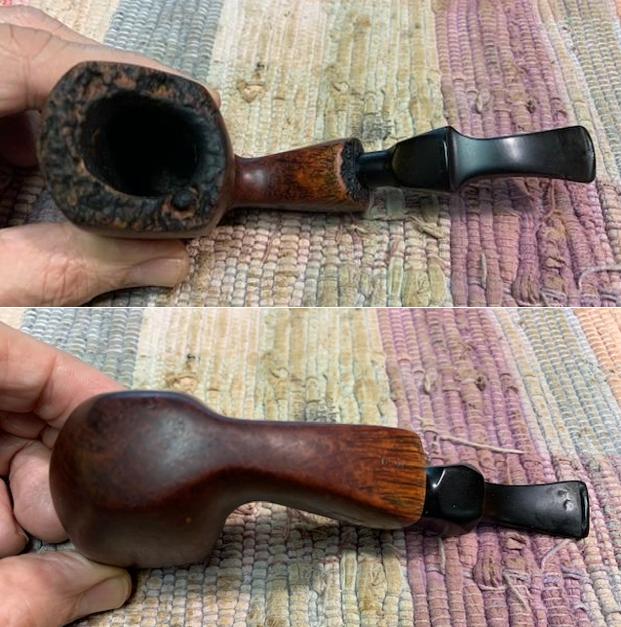
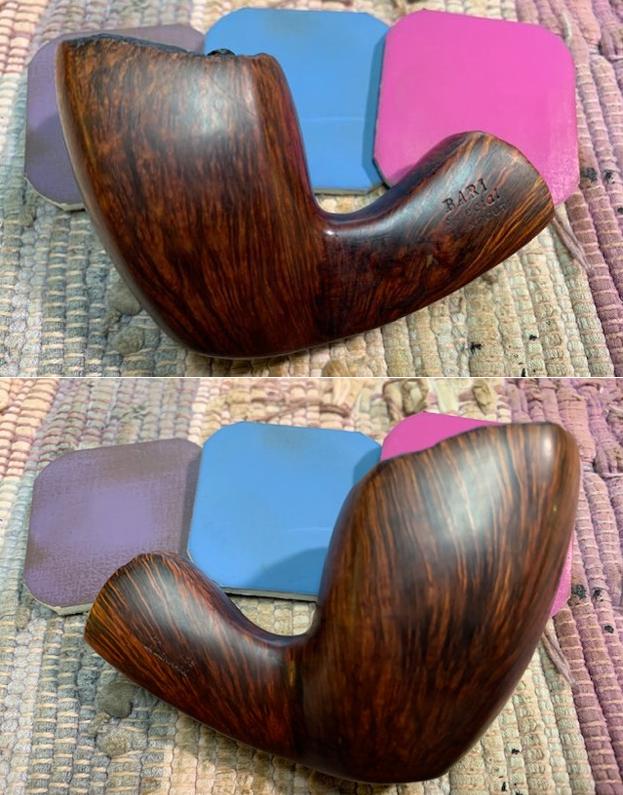
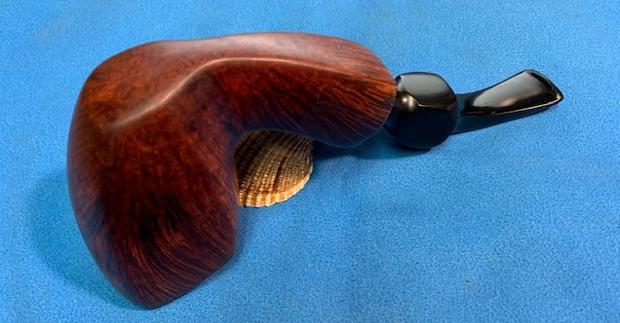
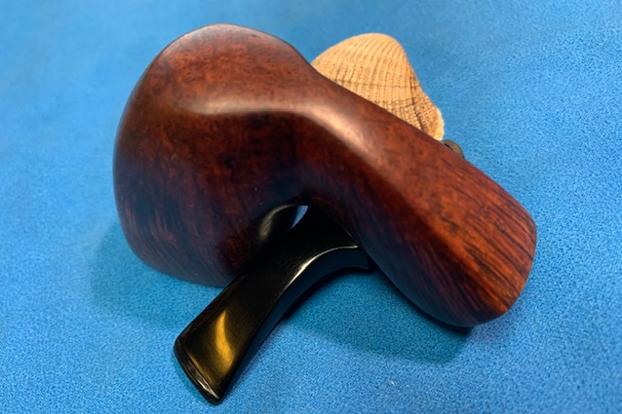
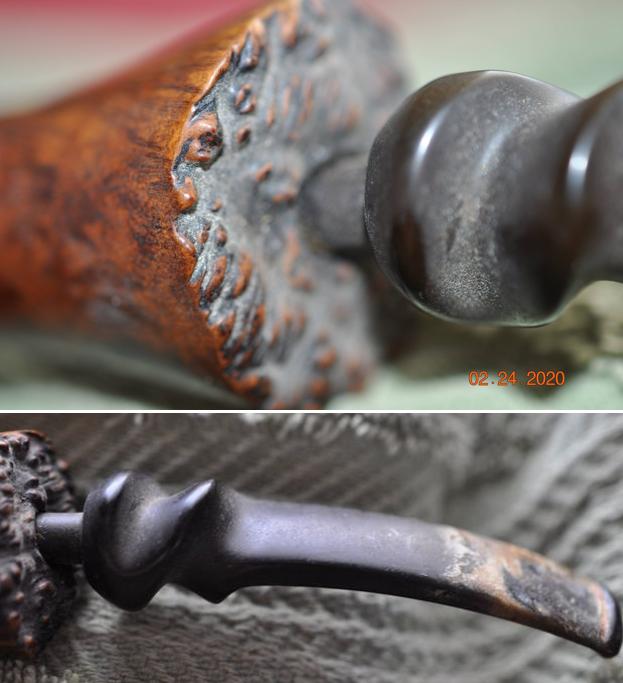
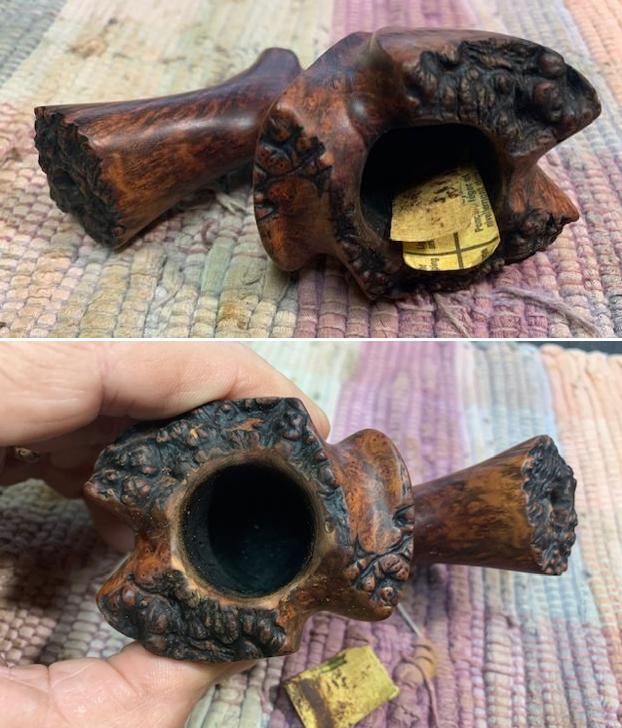
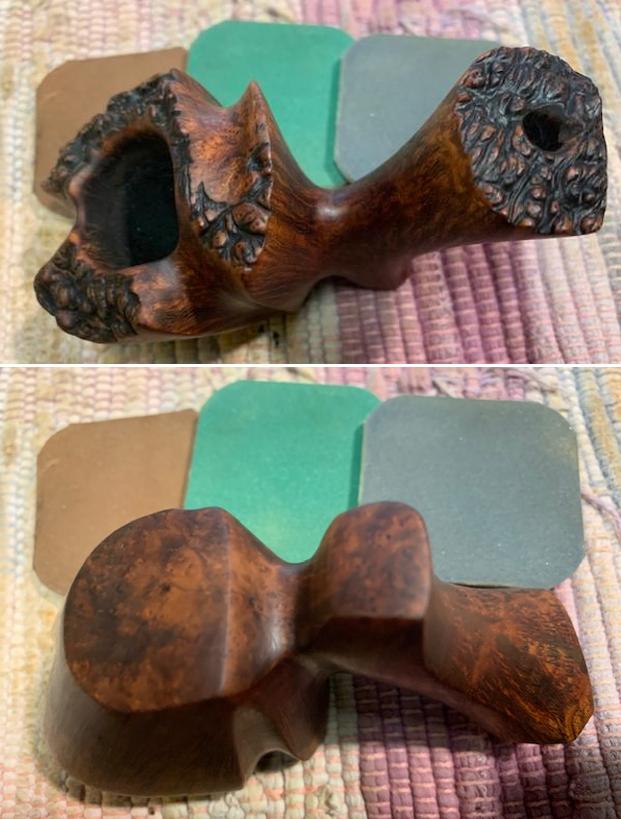
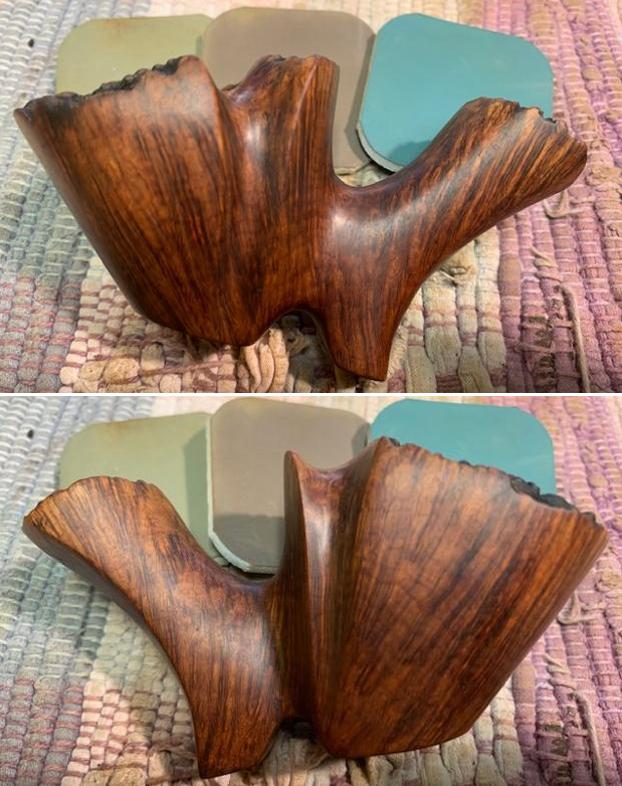
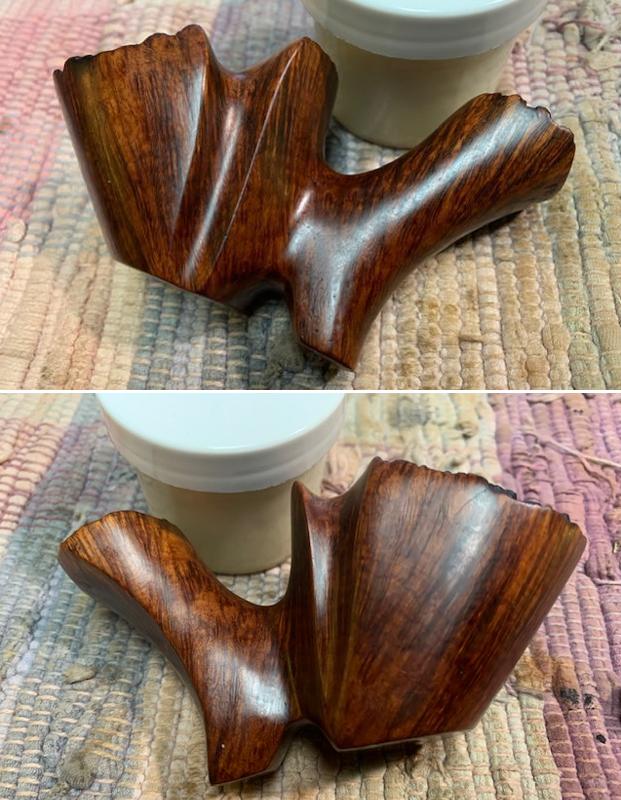
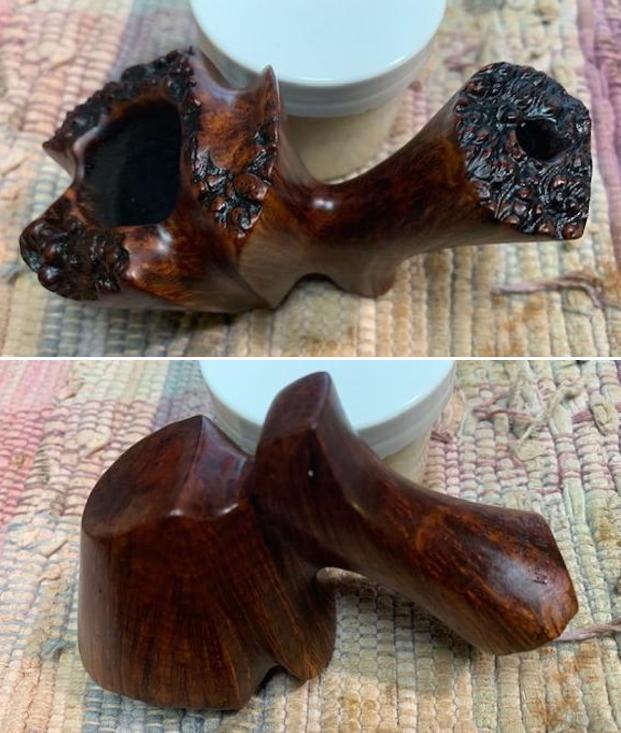
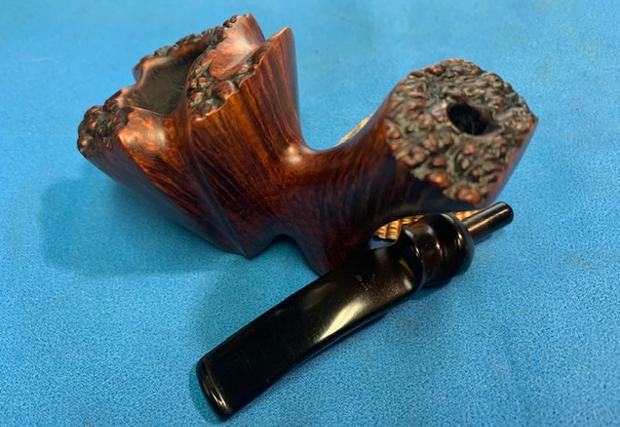
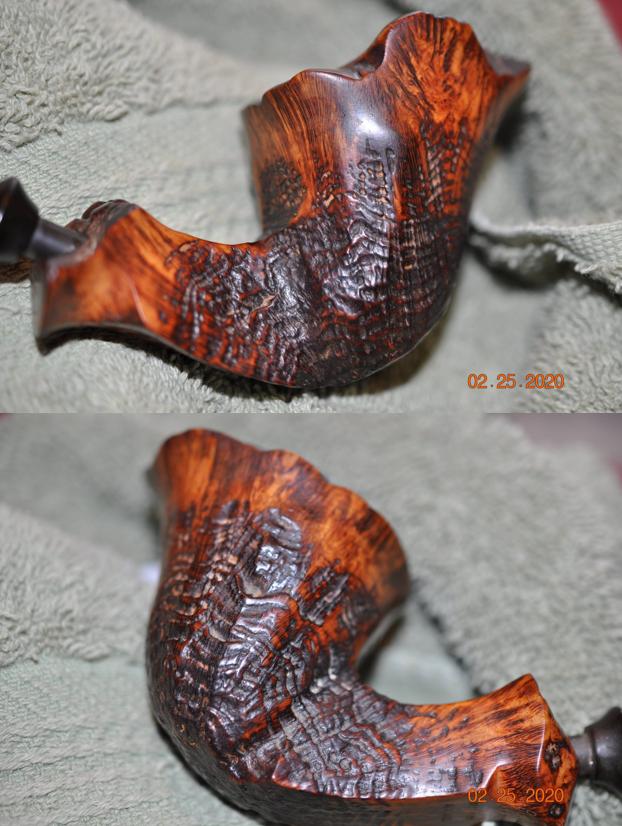
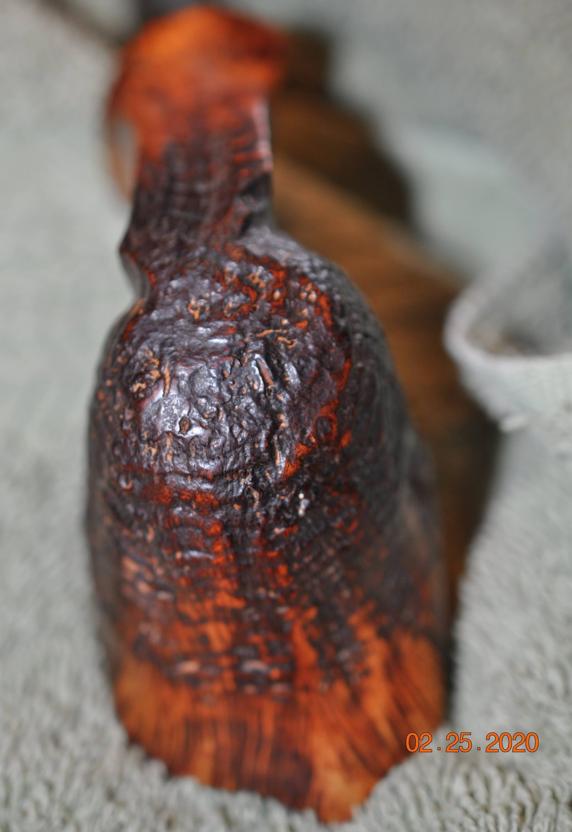
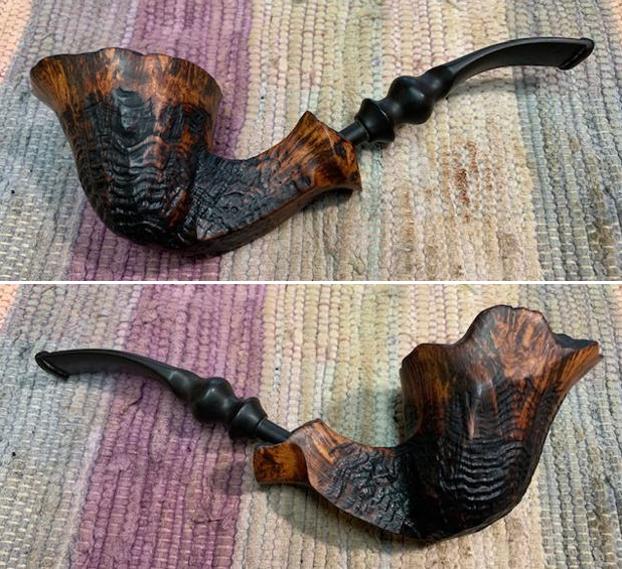
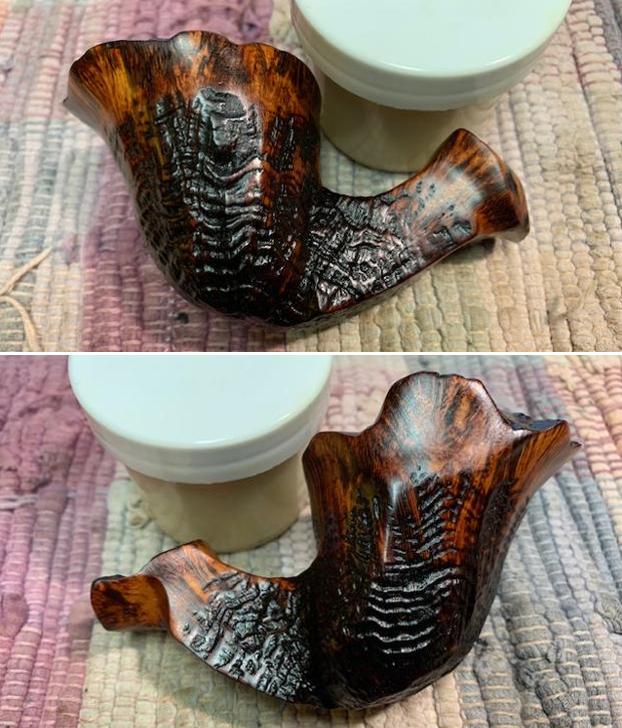
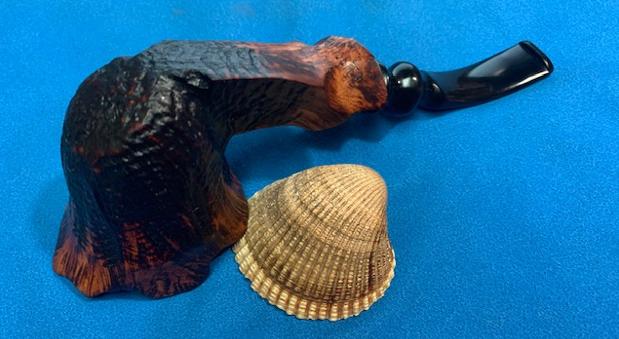
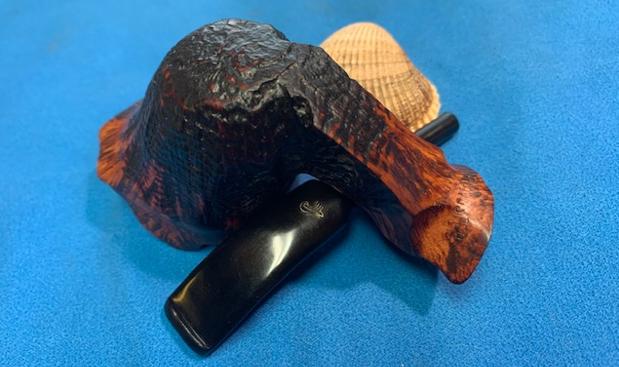
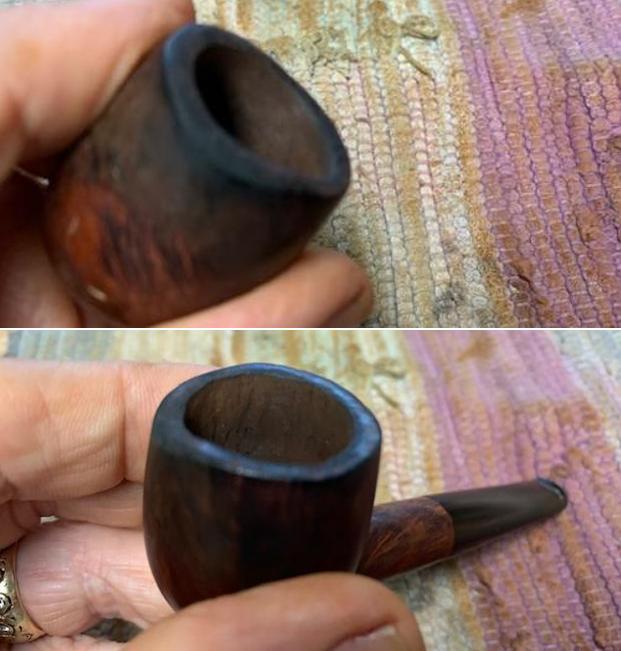
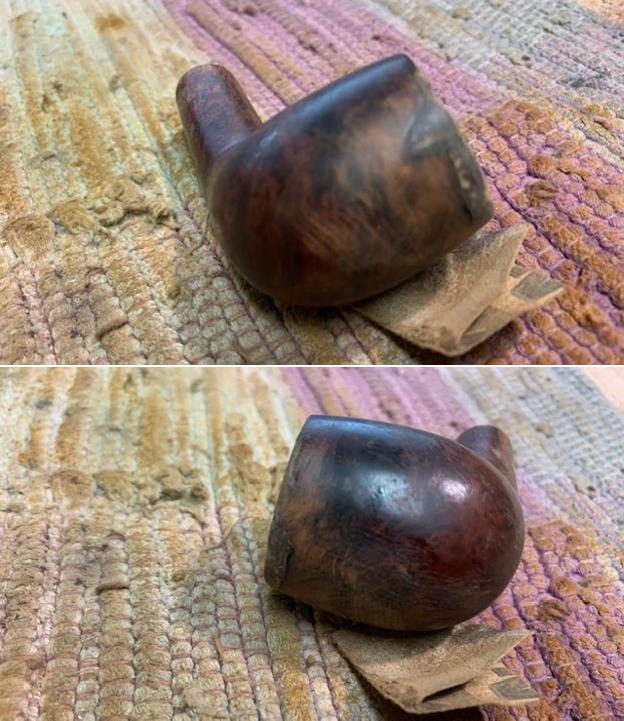
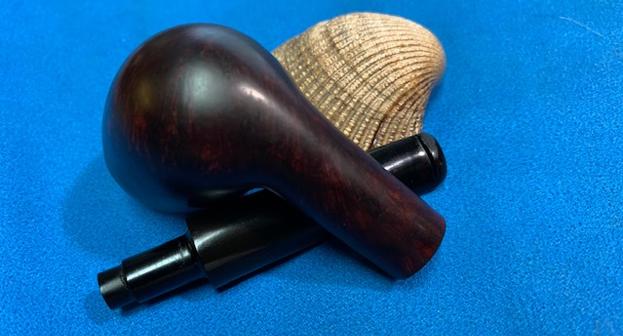
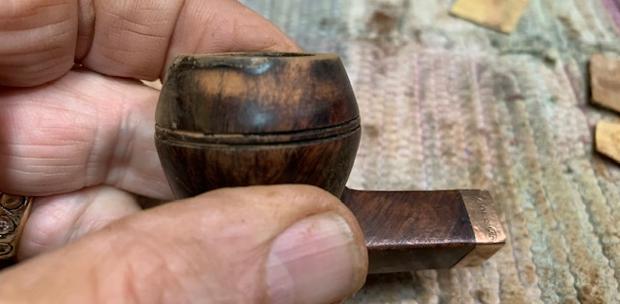
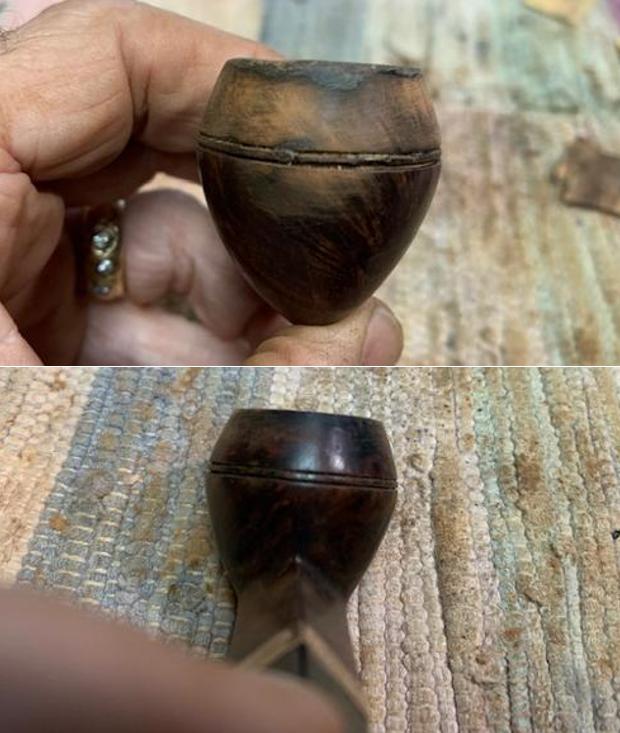
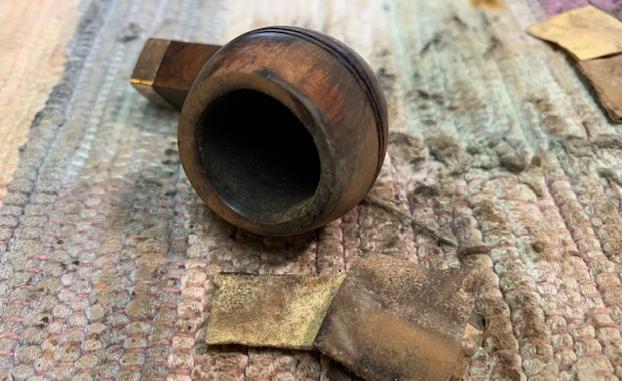
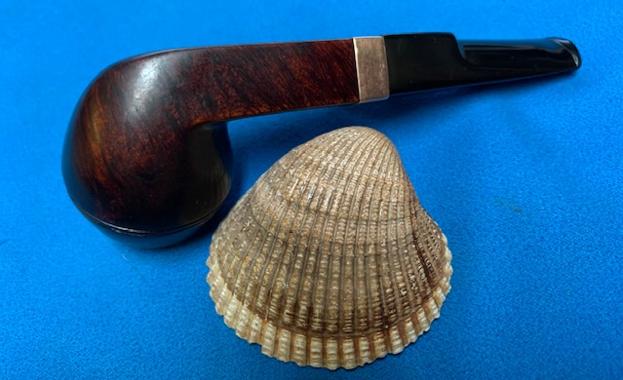
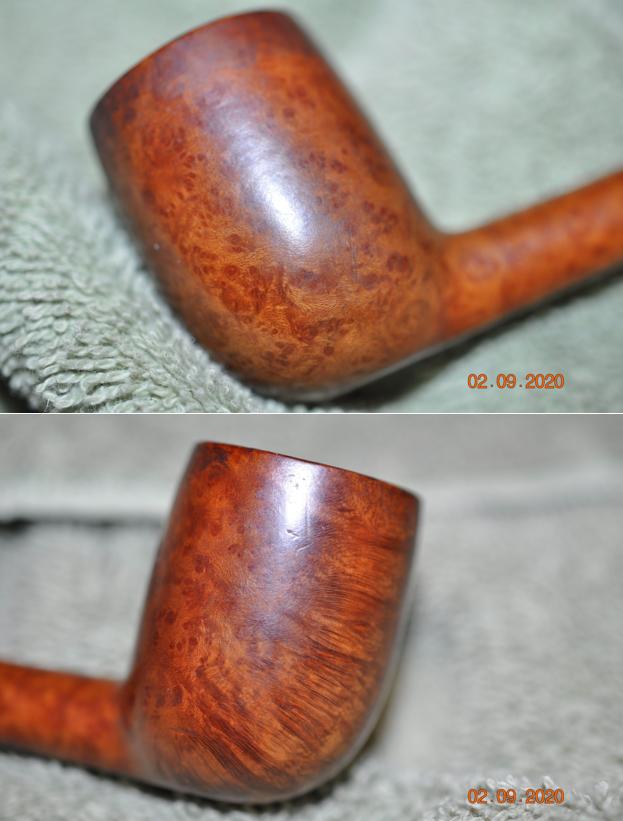
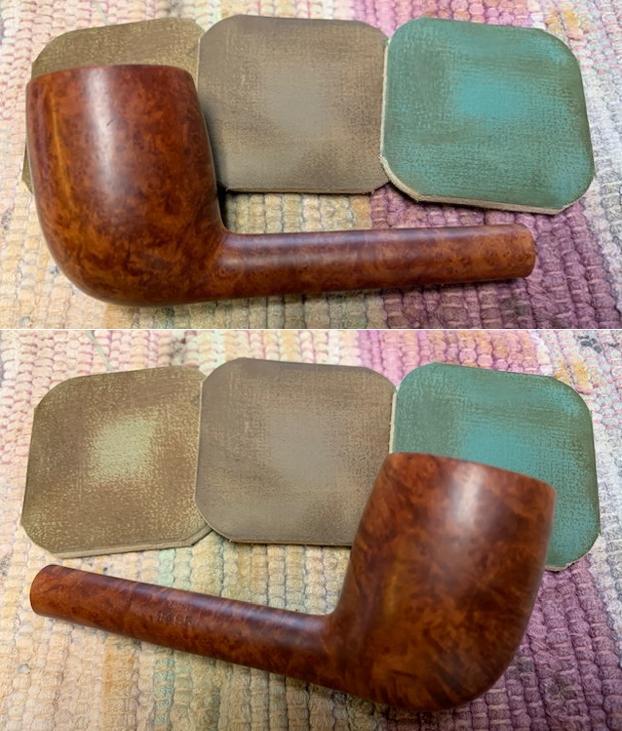
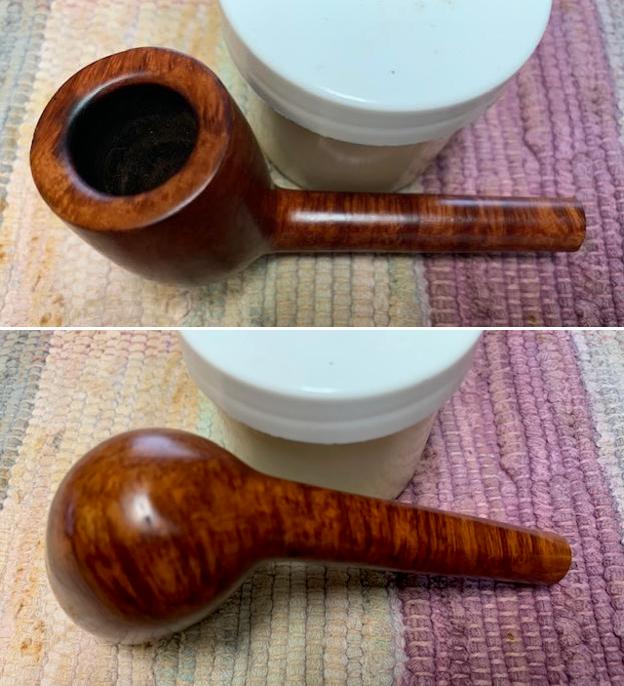
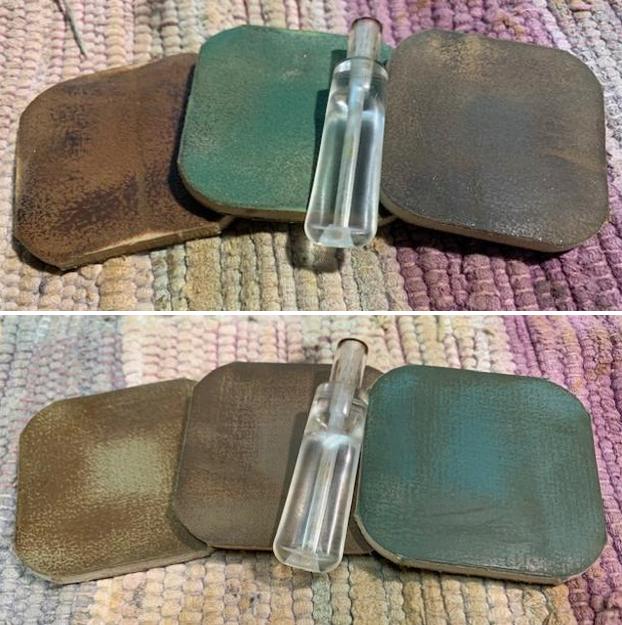
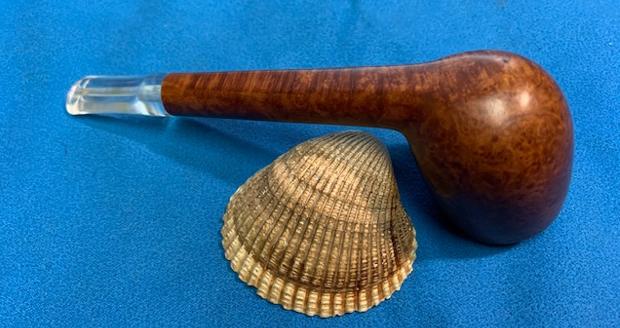
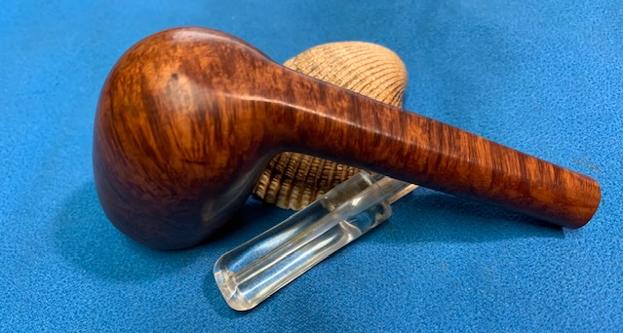
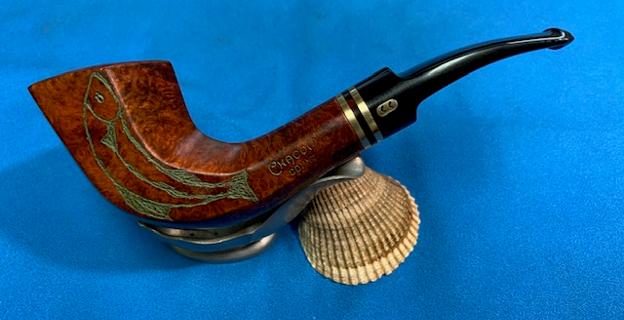
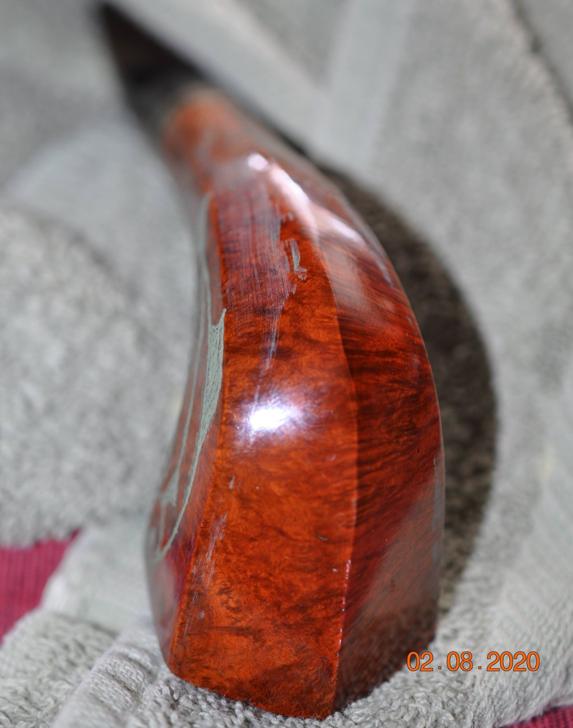
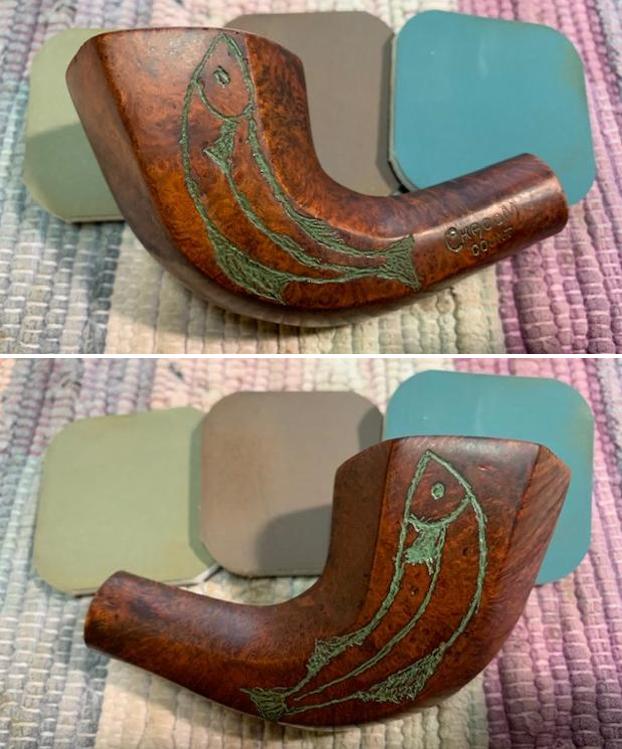
 Jeff took some photos of the carved fish on the sides of the bowl and the green wash highlighting it. He also took a photo of the heel and underside of the bowl and shank. It appears that there was some nice grain under the carving.
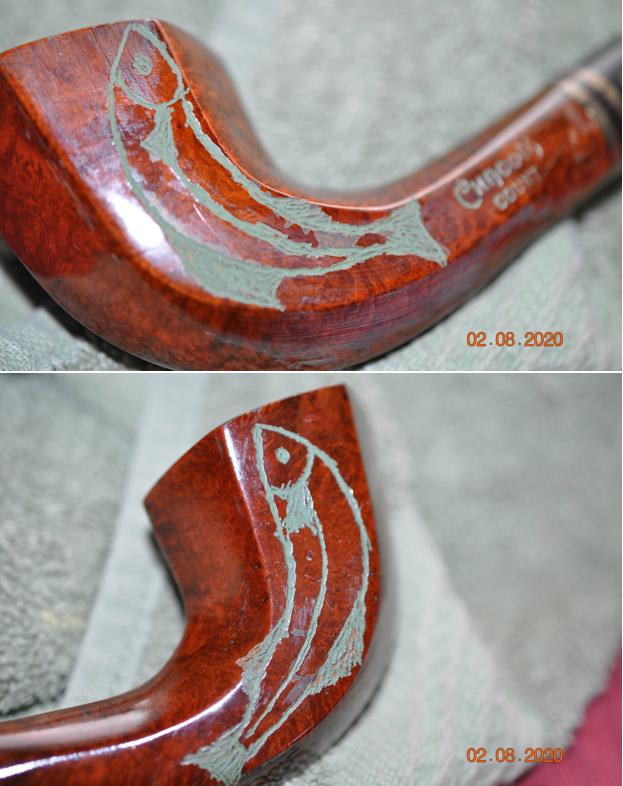
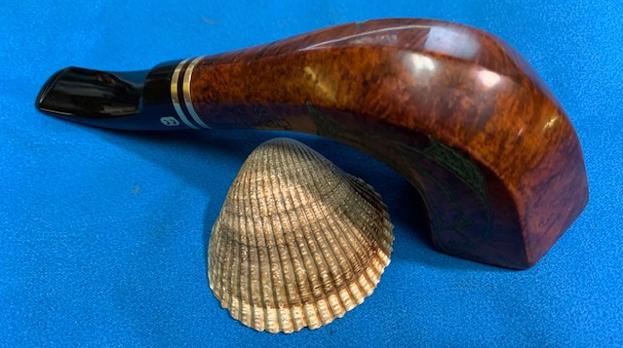
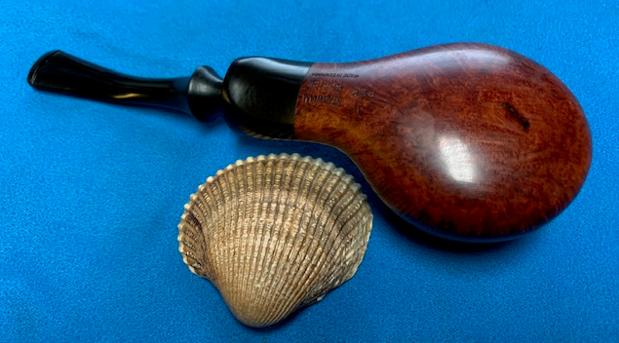
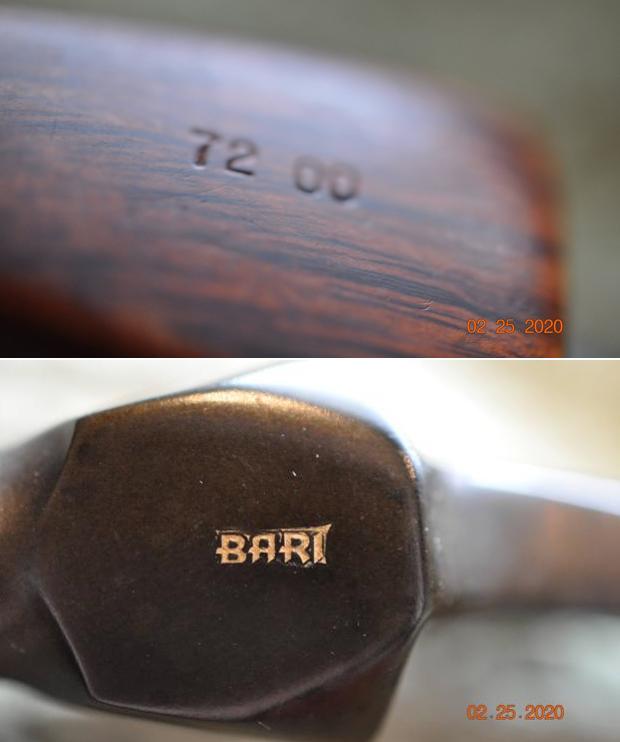
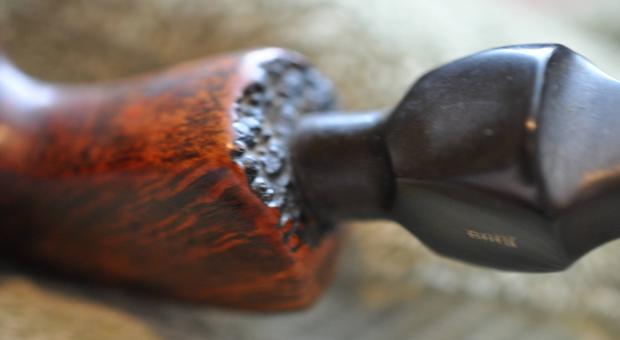
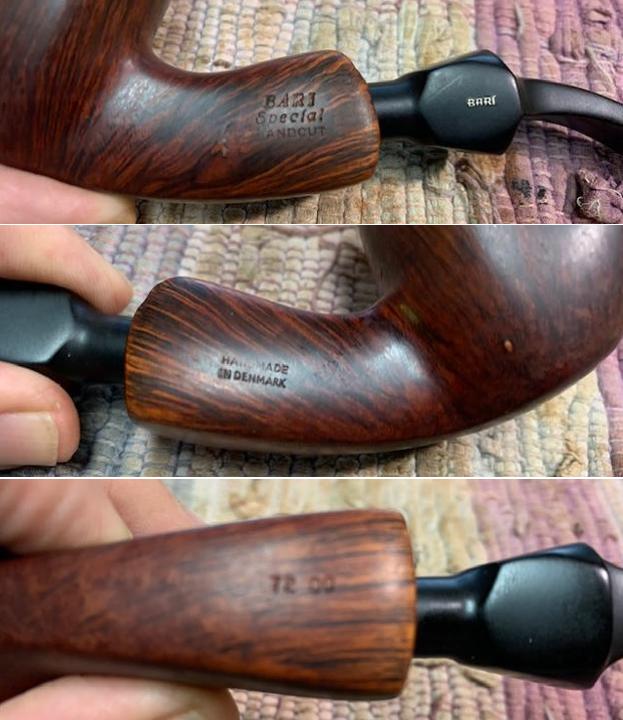
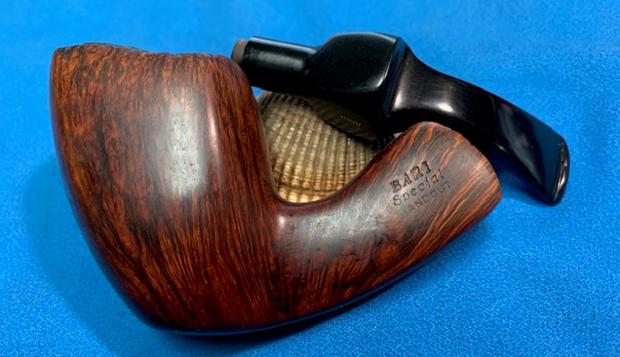
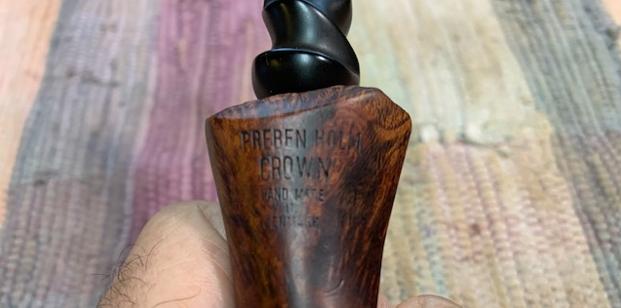
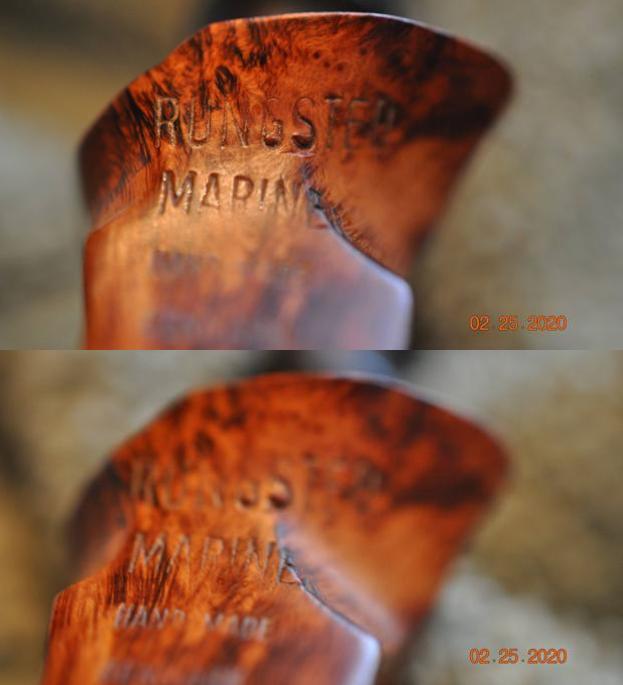
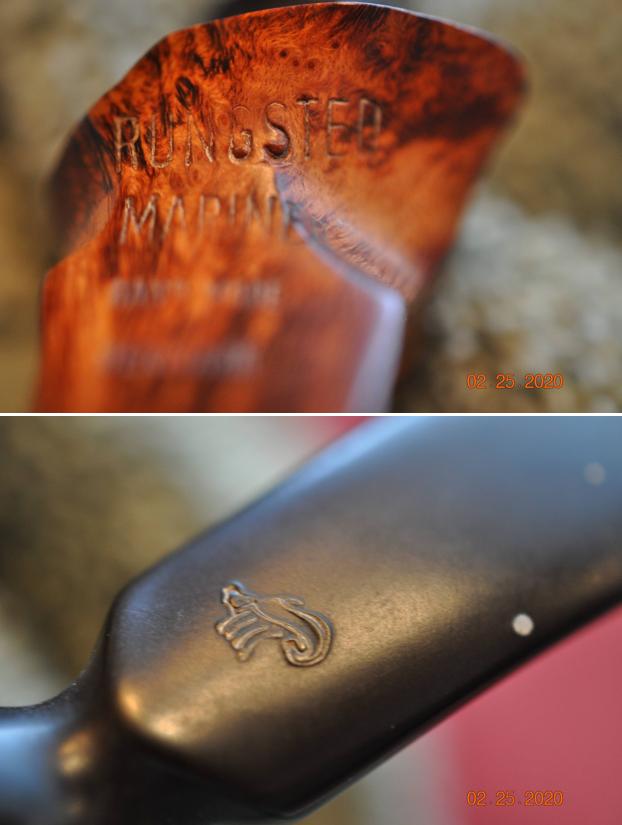
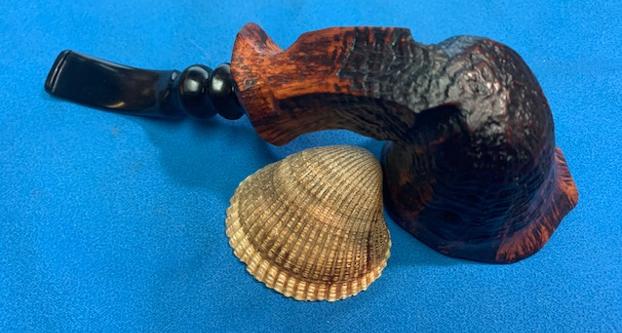
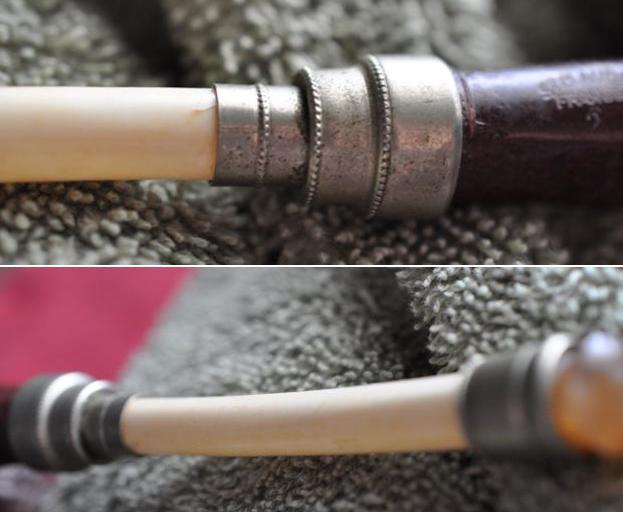
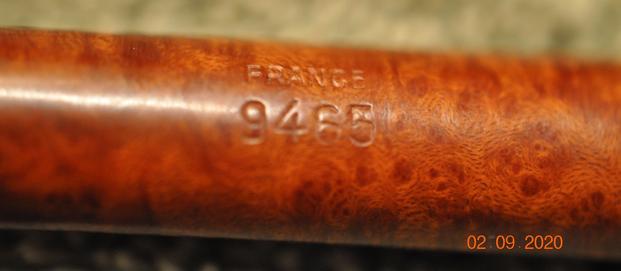
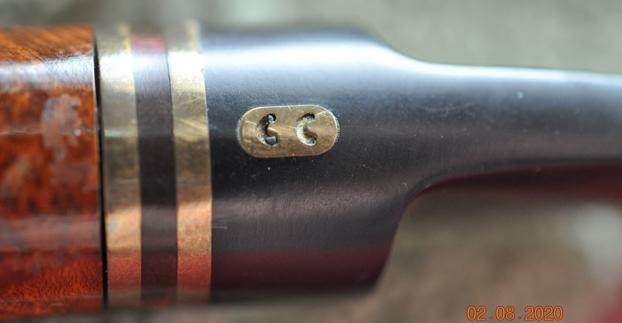
 The stamping on the shank reads as noted above and is clear and readable. I am not sure if it was originally green but it is now! The CC logo in brass is on the left side of the stem and the underside of the stem is stamped France. There also appears to be a ring of exotic wood between the brass rings on the stem.
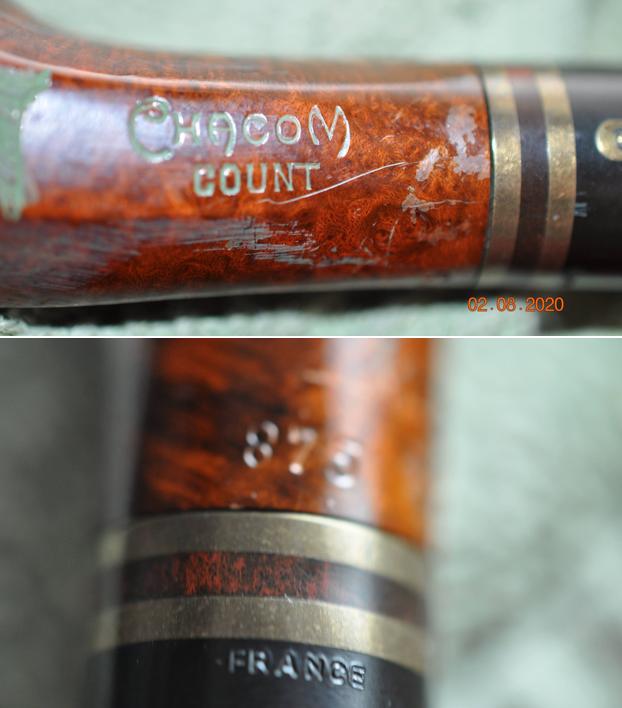
 I turned to Pipephil to see if there was any information on the Chacom Count line of pipes (http://pipephil.eu/logos/en/logo-chacom.html). Of course there was not any information that directly referred to the line and there was nothing with the kind of carving on this one. I quote the top bar of the article there.
The brand Chacom Chacom, créateur et distributeur de pipes turned up (1934) after fusion of Chapuis-Comoy with La Bruyère. Yves Grenard (†2012), second cousin of Pierre Comoy headed the company from 1971. He was responsible for Chapuis Comoy’s recovering its independance from Comoy. His son Antoine Grenard took over the direction of the company in 2007. Chacom is a brand of Cuty-Fort Entreprises (Jeantet, Vuillard, Jean Lacroix, Ropp …).
I then turned to Pipedia (https://pipedia.org/wiki/Chacom) to see if there was any information on the line there. There was a great time line of the history of the brand but nothing specific on this pipe.
The carving looked good but was also too amateurish to me to have come from Chacom who are known as innovators and fine craftsman of great pipes but I thought maybe there would be something. However there was nothing.
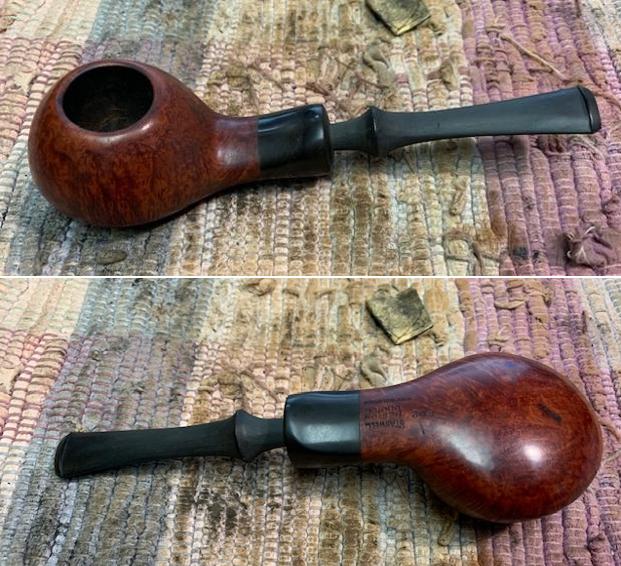
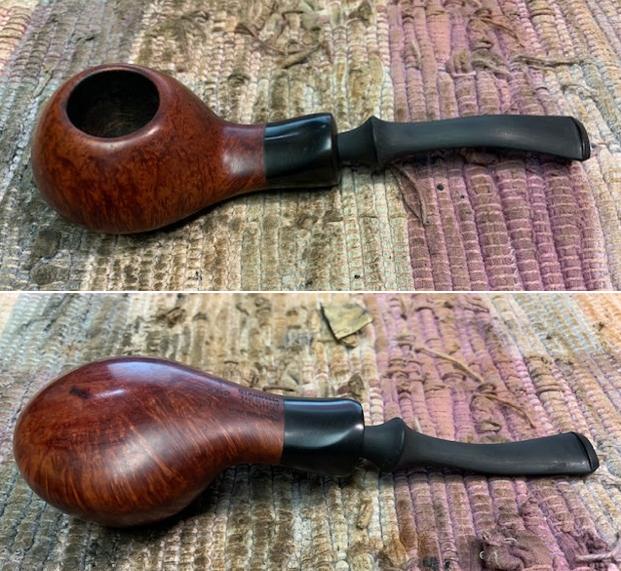
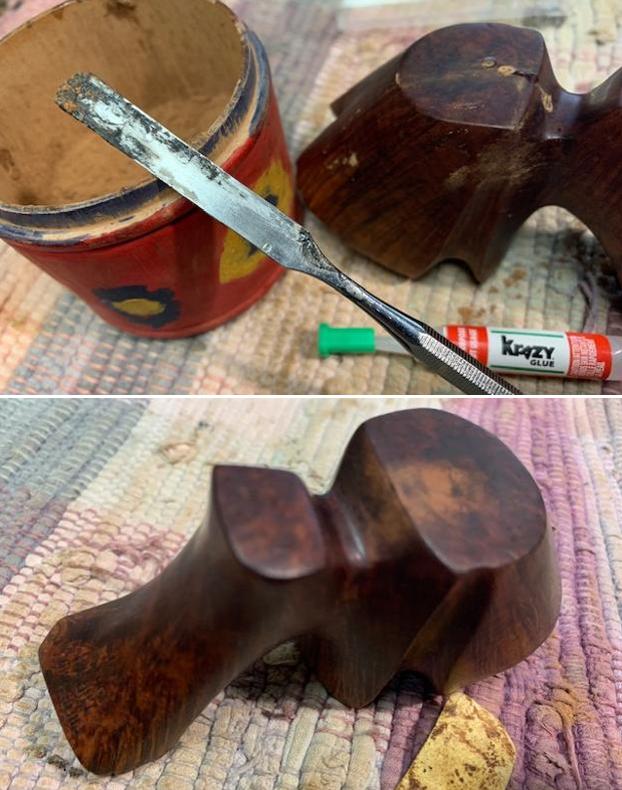
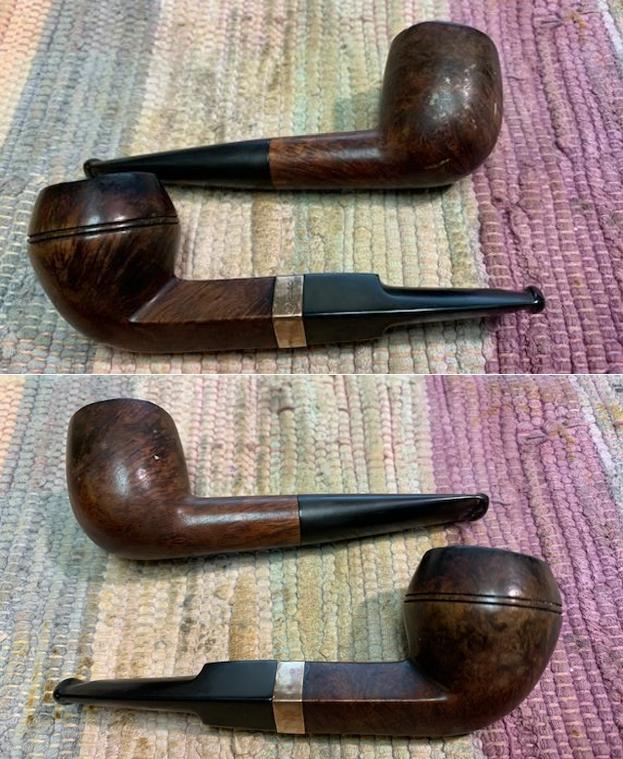
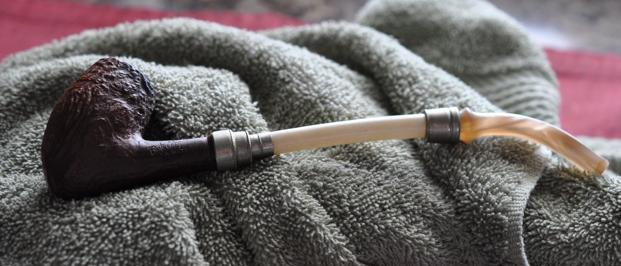
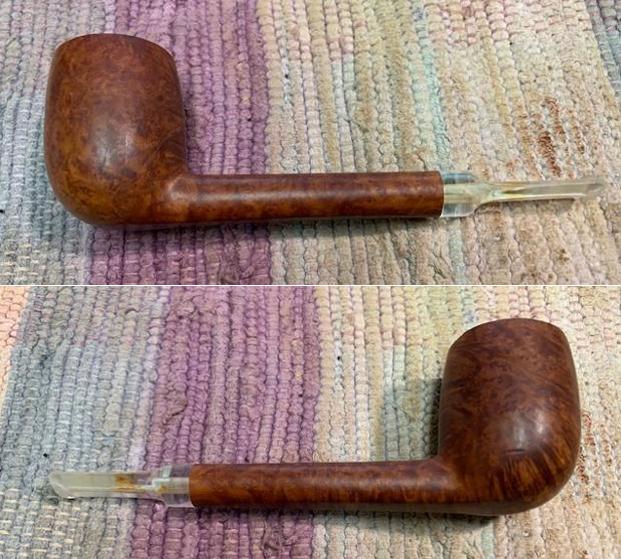
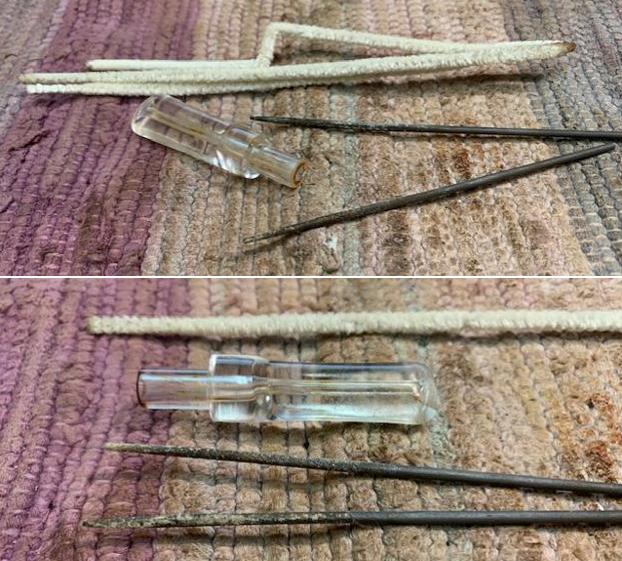
Jeff had cleaned up the pipe following his normal cleaning process. In short, he reamed the bowl with a PipNet pipe reamer and cleaned up the reaming with a Savinelli Fitsall Pipe Knife. He scrubbed the smooth bowl with undiluted Murphy’s Oil Soap with a tooth brush. He worked over the lava and debris on the rim top and was able to remove it. He rinsed it under running warm water to remove the soap and grime. He cleaned out the inside of the shank and the airway in the stem with alcohol, cotton swabs and pipe cleaners. He was able to clean out the spray foam that had filled in the slot in the button. I was not sure that would come out as it looked to be hard as a rock. He scrubbed the stem with Soft Scrub and cotton pads to remove the debris and oils on the stem. He soaked it in a bath of Briarville’s Pipe Stem Deoxidizer to remove the oxidation. He rinsed it with warm water and dried it off. I took photos of the pipe once I received it. It cleaned up well and looked better.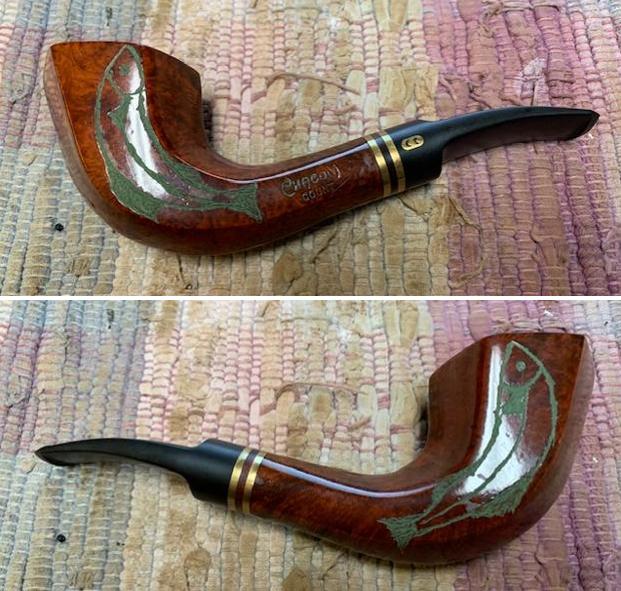
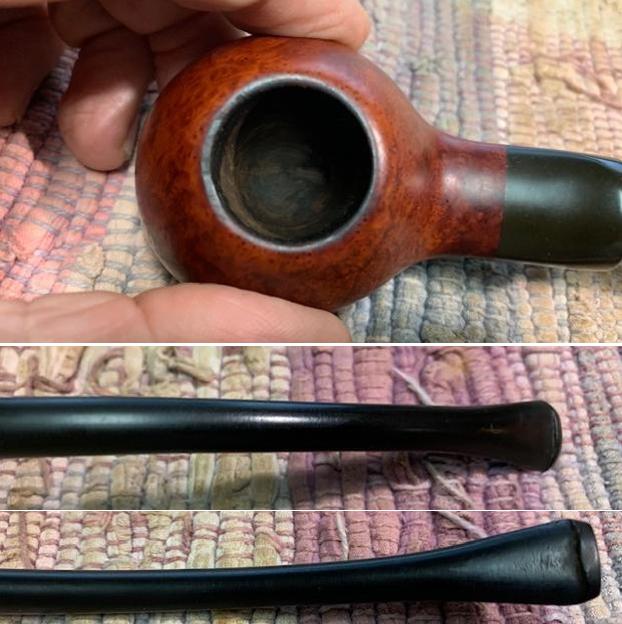
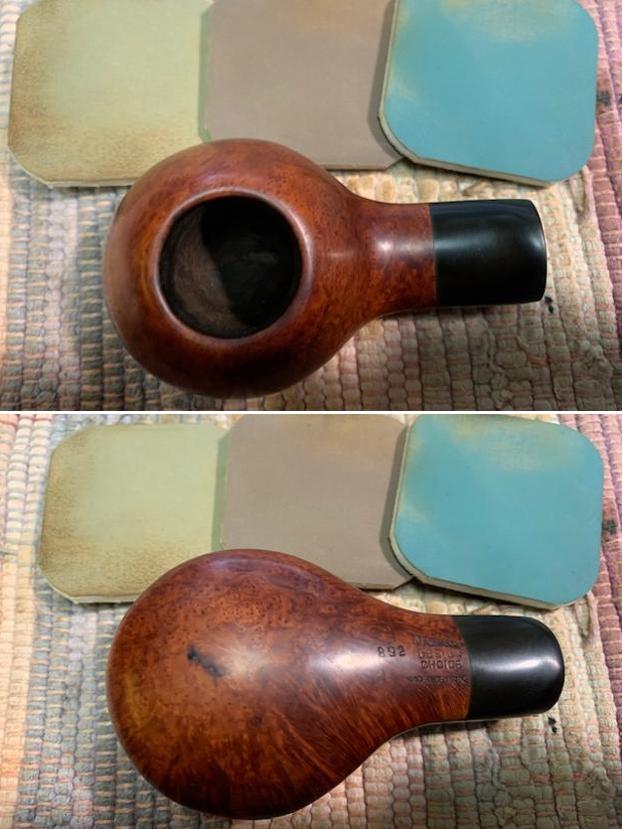
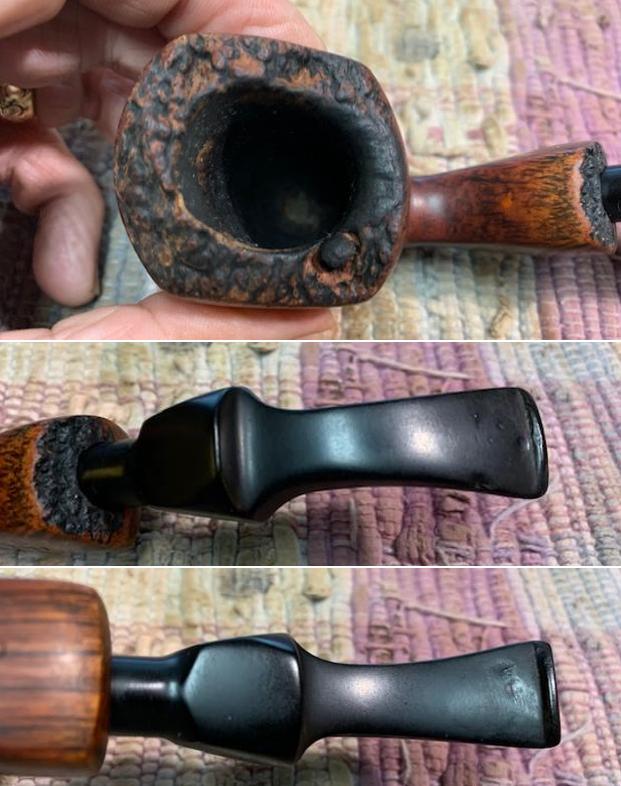
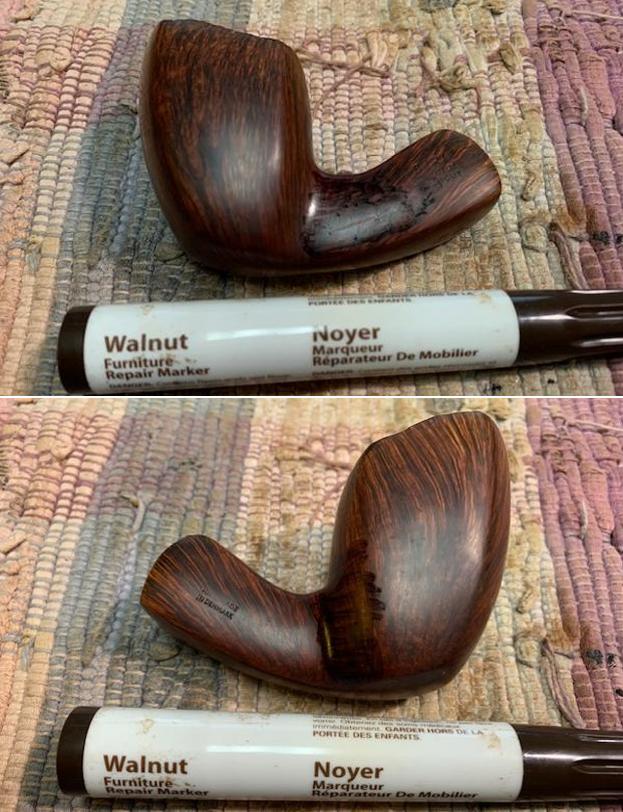
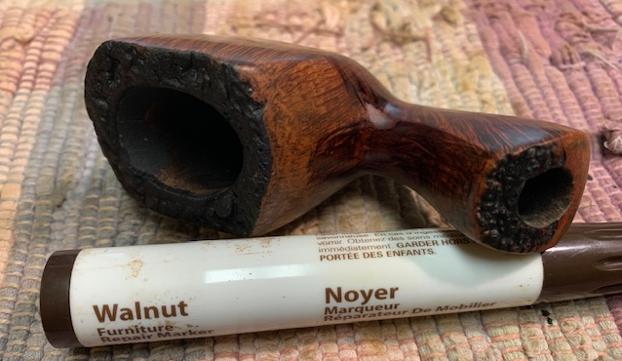
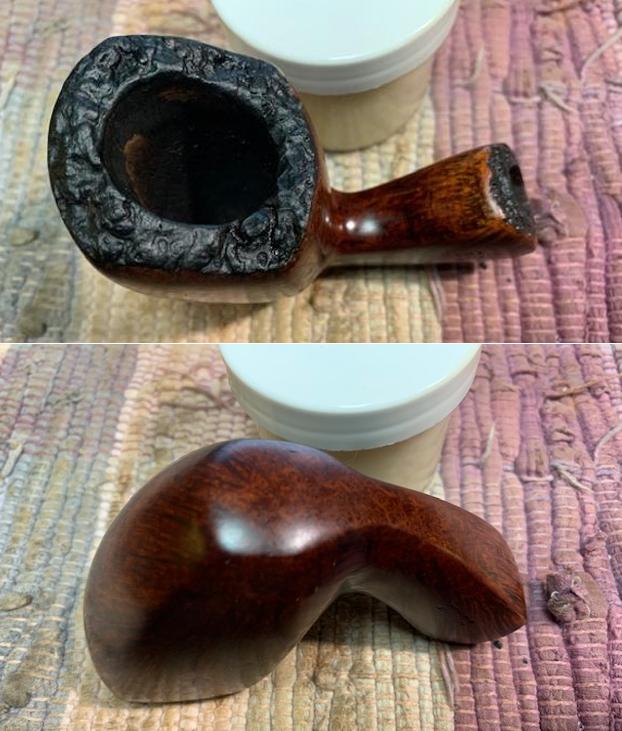
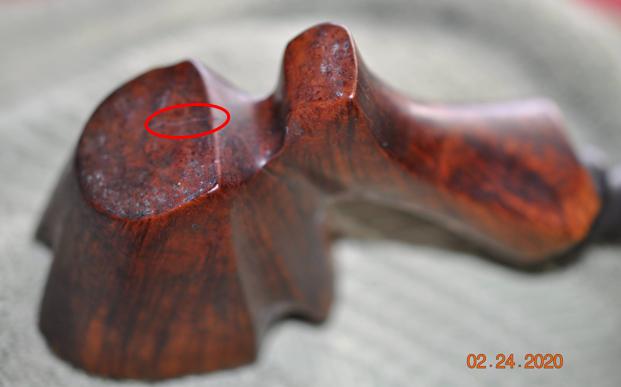
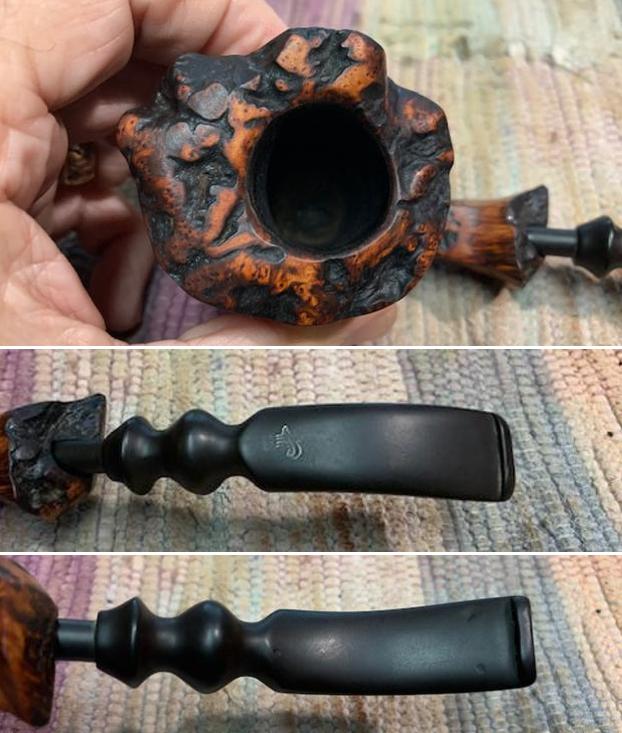
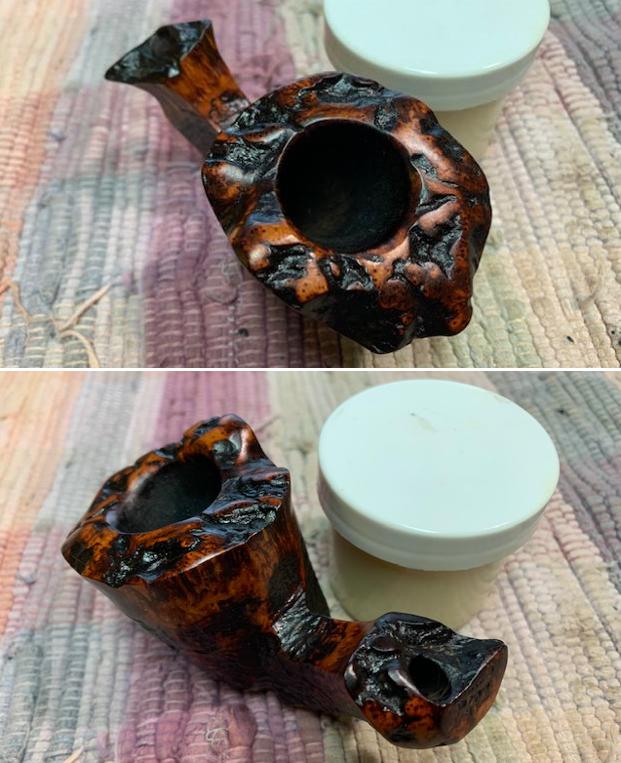
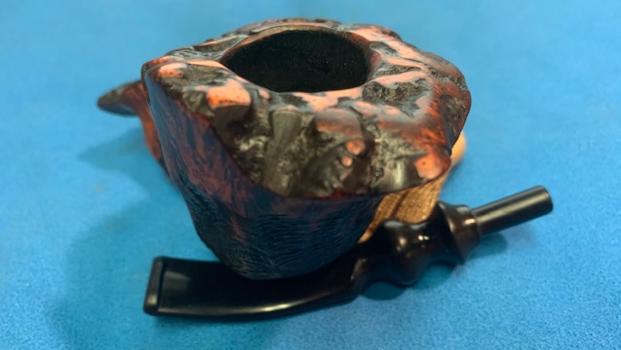
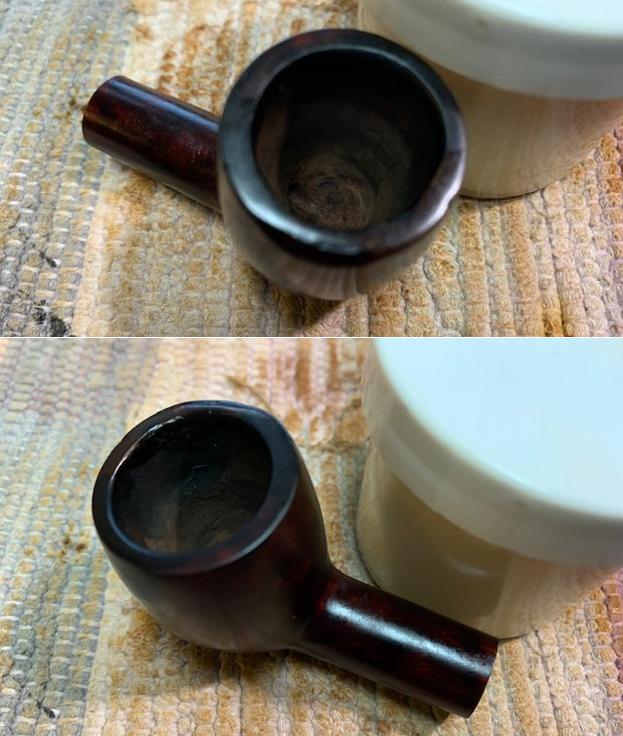
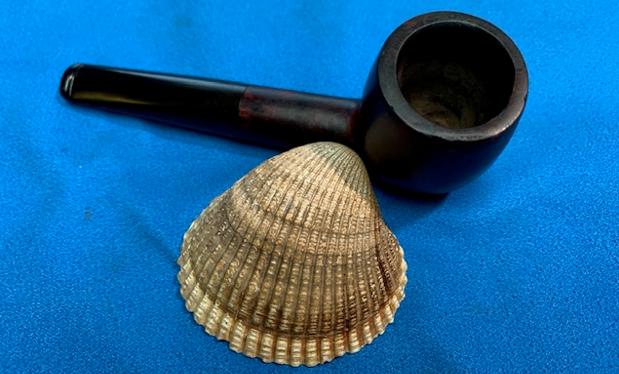
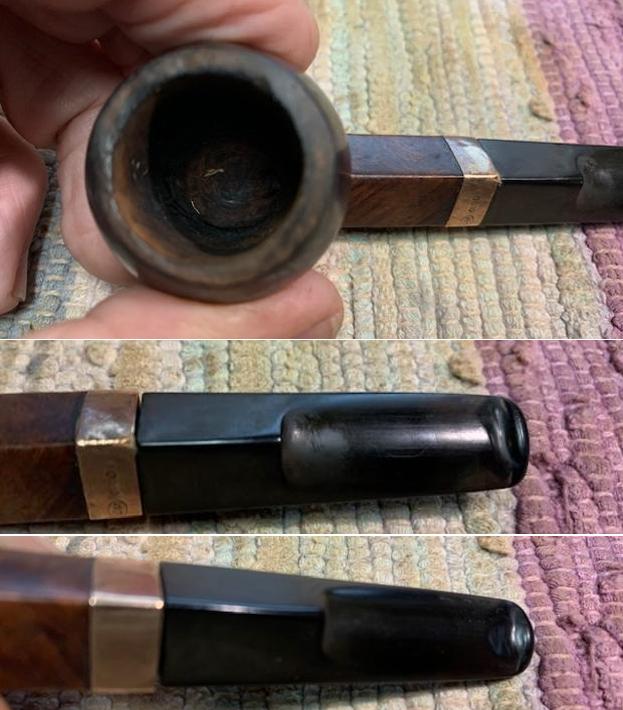
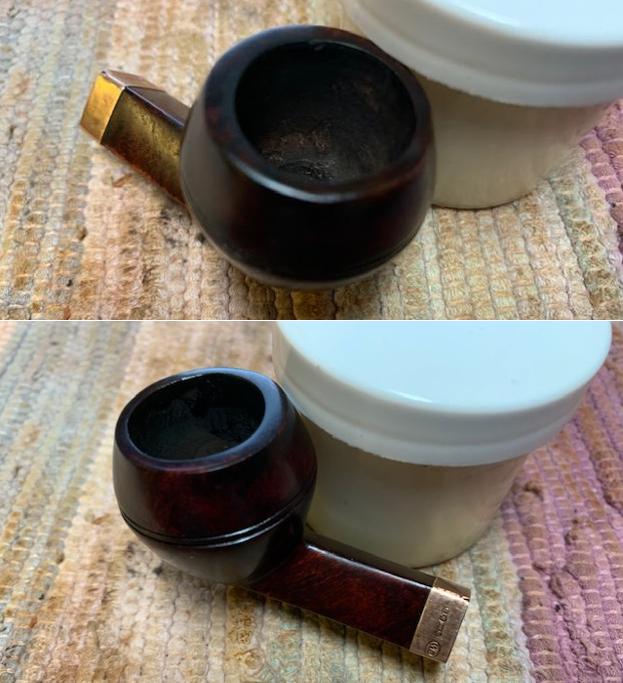
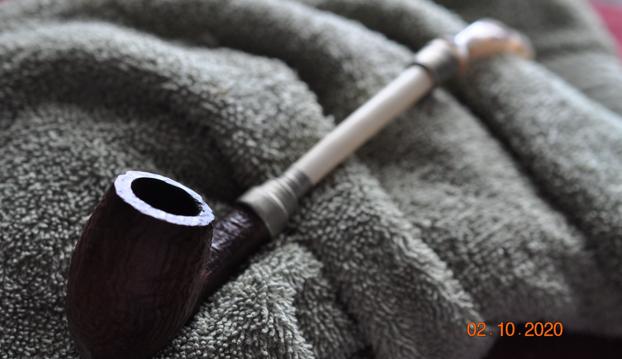
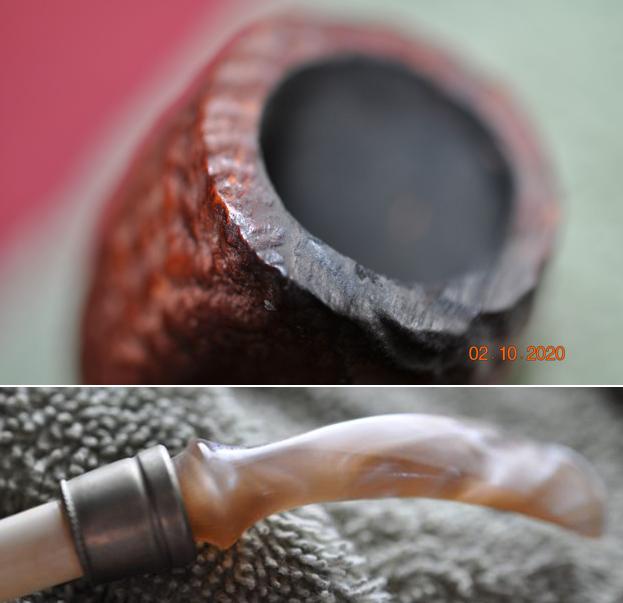
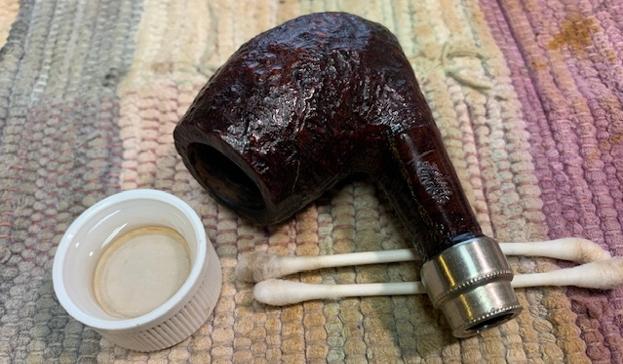
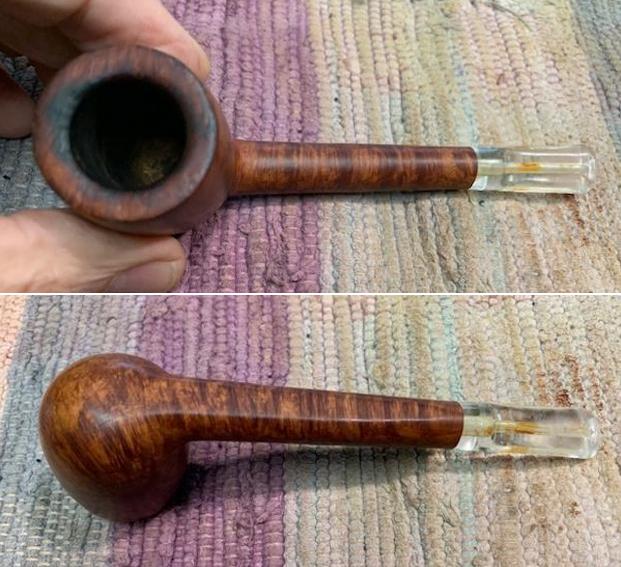
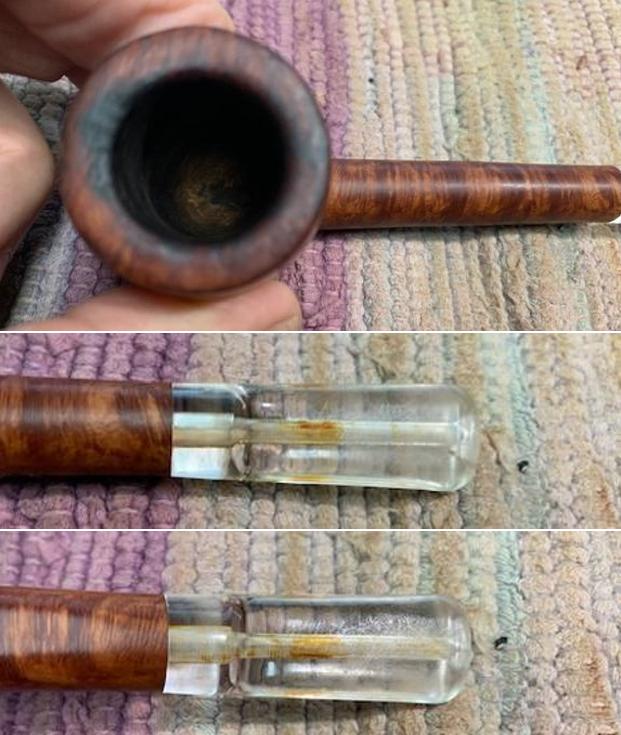
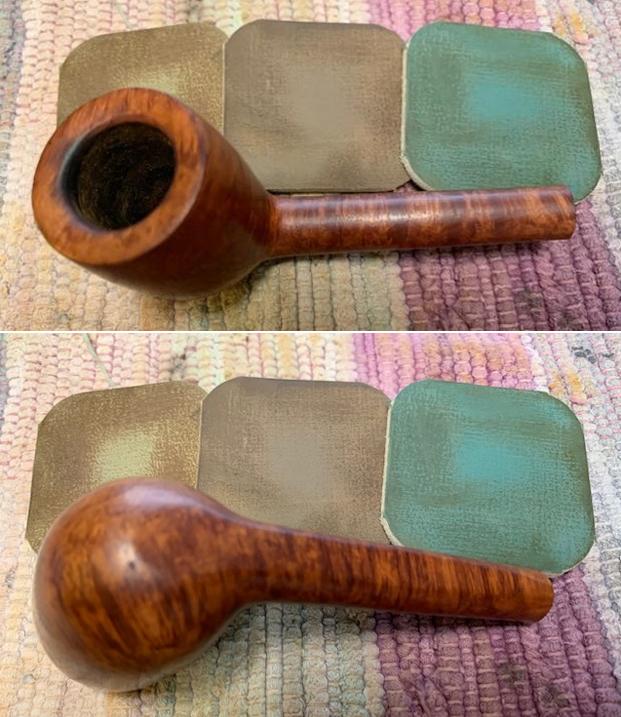
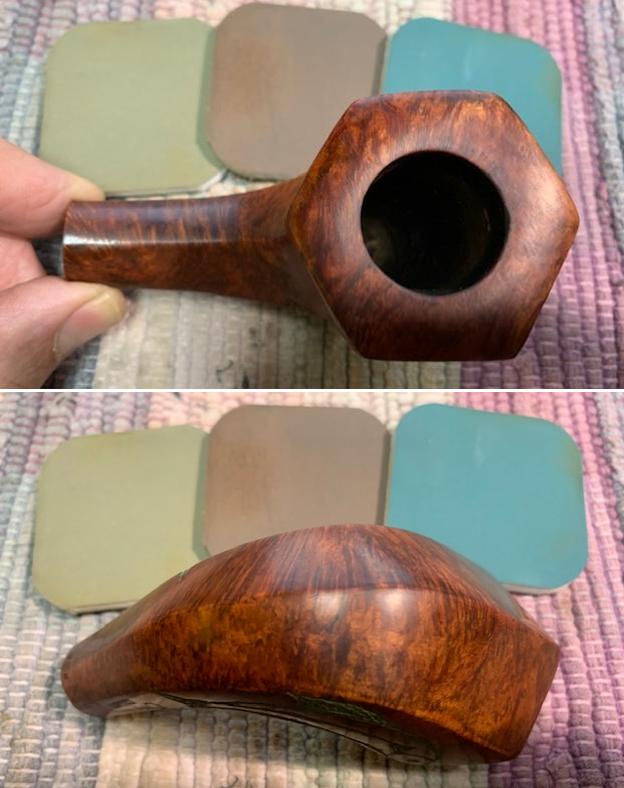
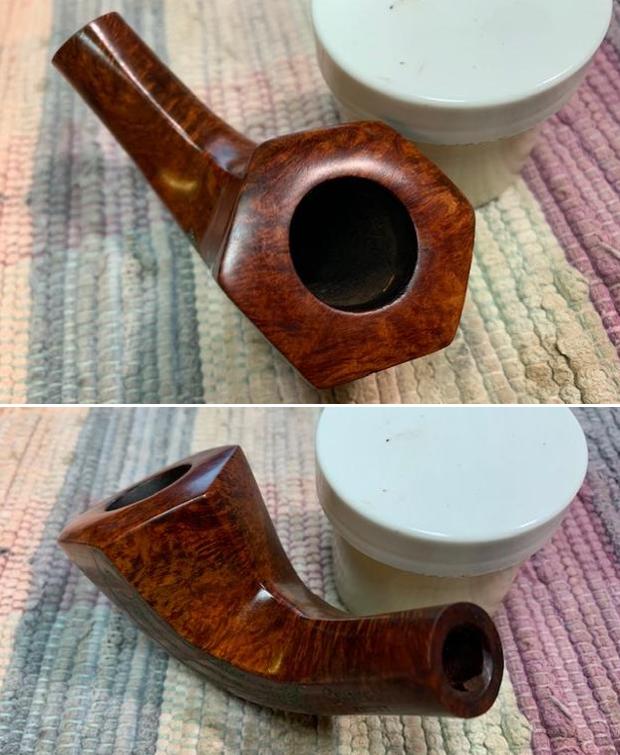
 I took close up photos of the stem and the rim top to show both how clean they were and what needed to be addresses with both. The rim top and bowl edges look very good. The stem looked better and the tooth marks and chatter was very light. The drilled hole in the stem top was obvious and I think quite repairable.
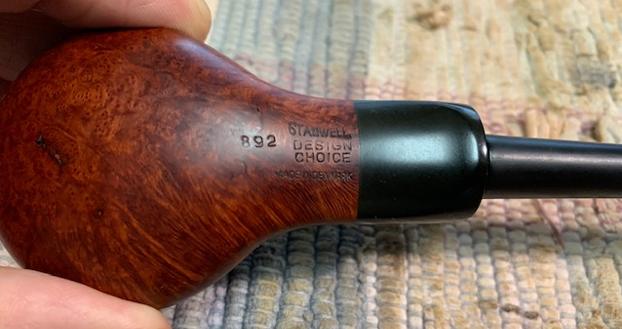
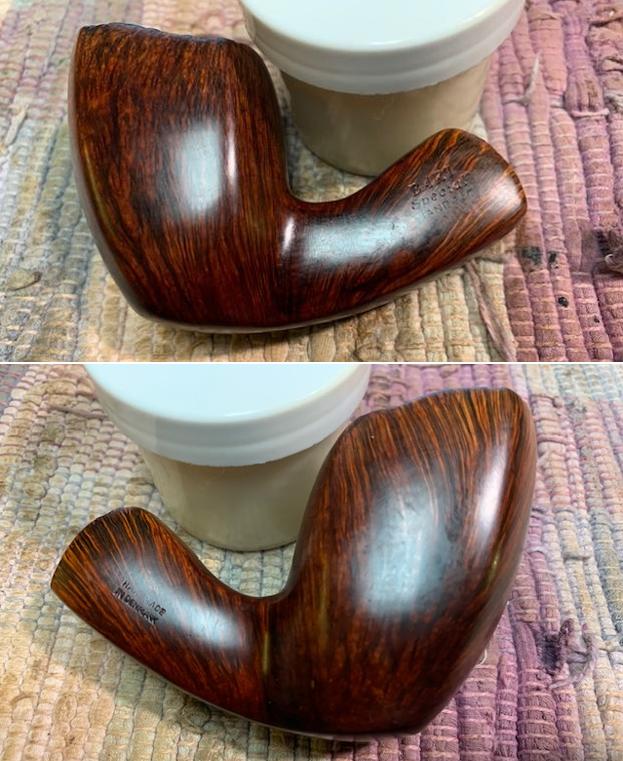
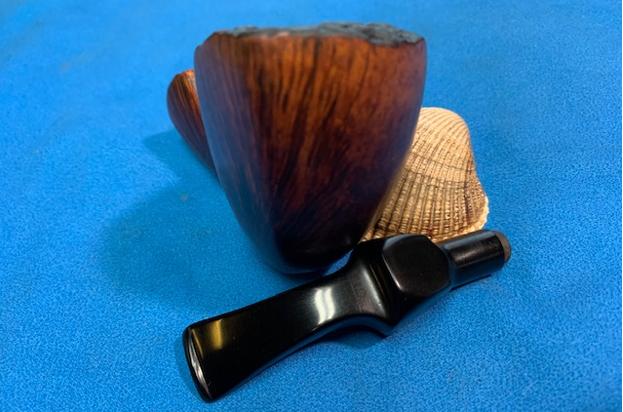
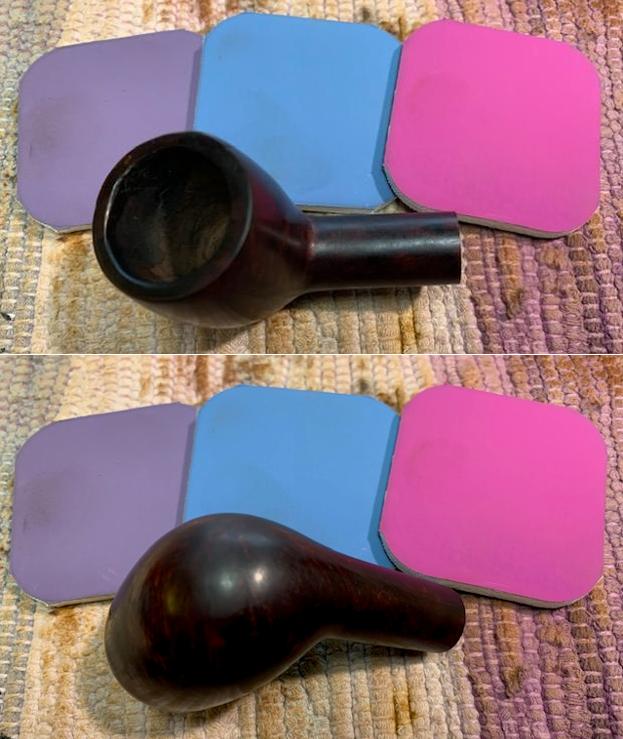
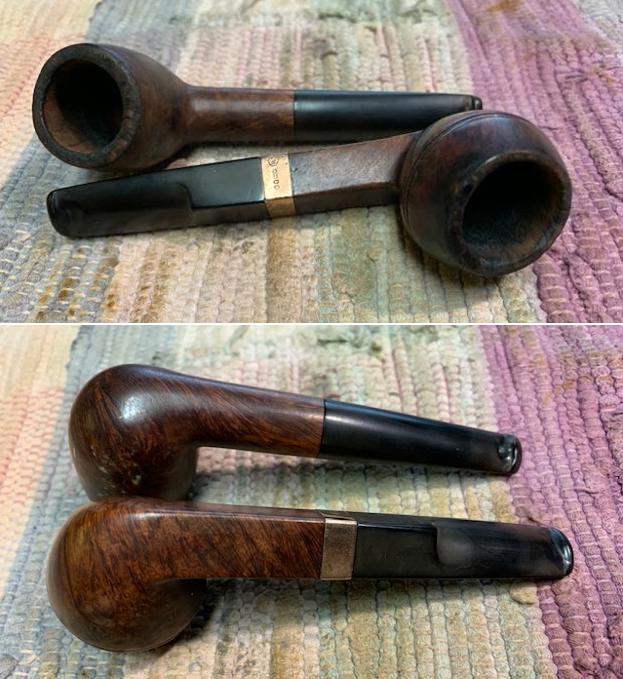
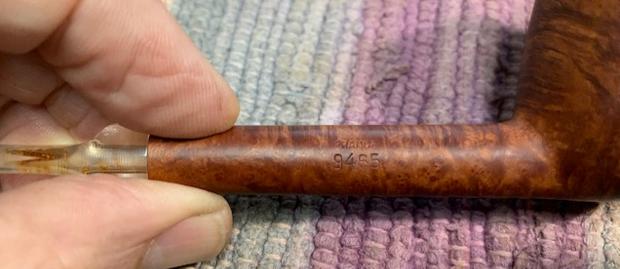
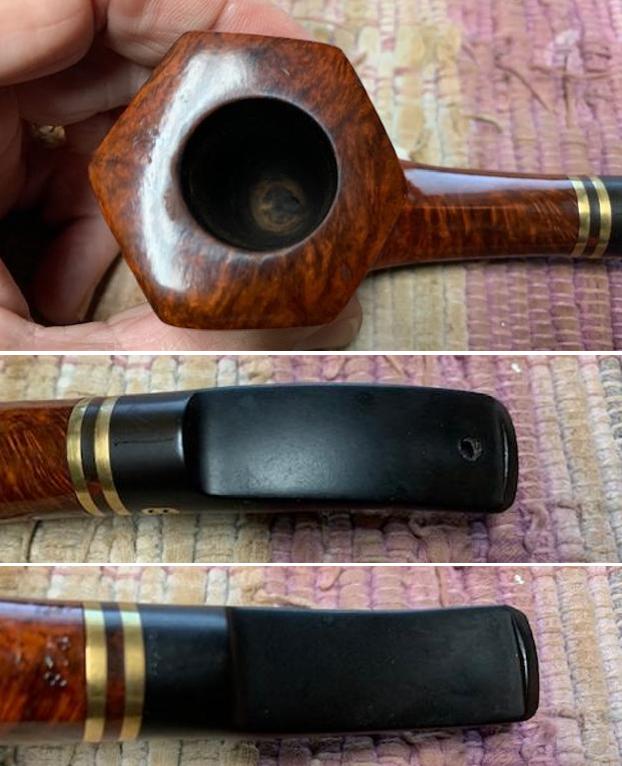 I took a photo of the stamping on the left and underside of the bowl. You can see from the photo that it is readable. The brass bands and insert on the saddle stem look very good. To be honest even the fish had cleaned up well!
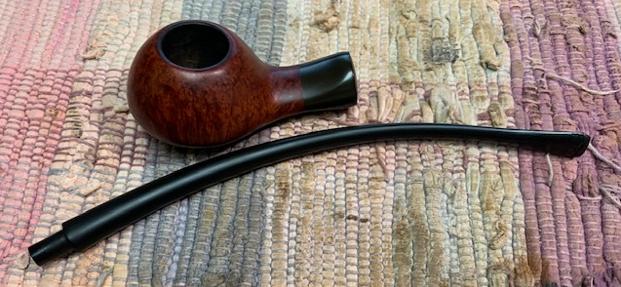
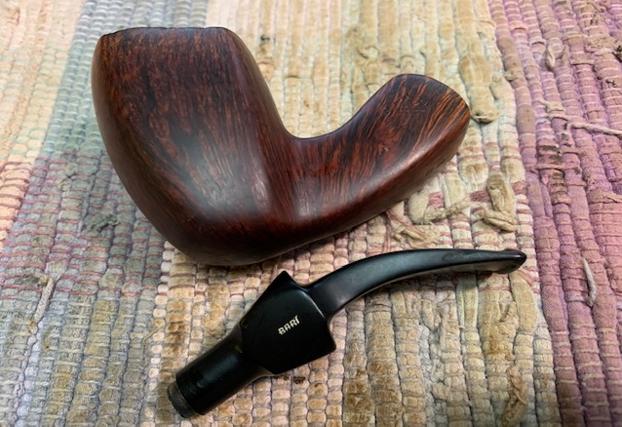
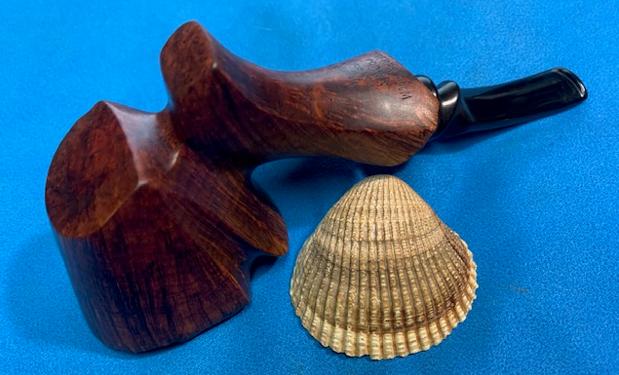
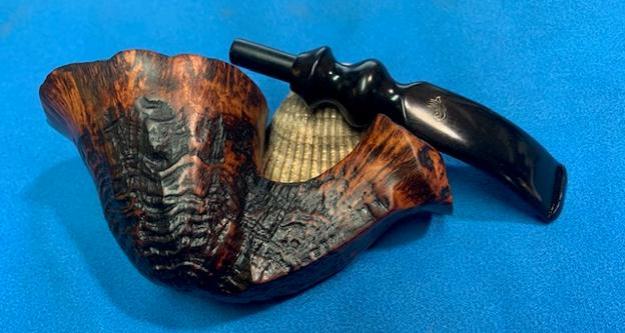
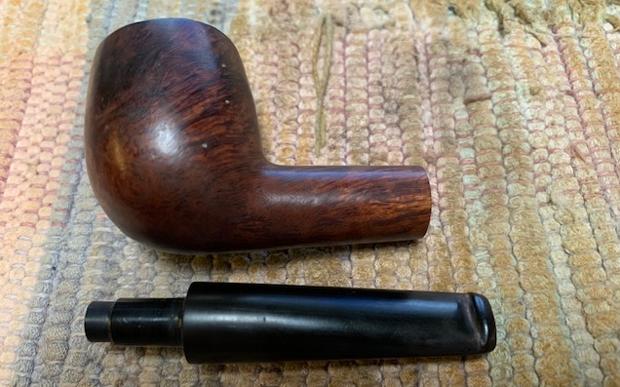
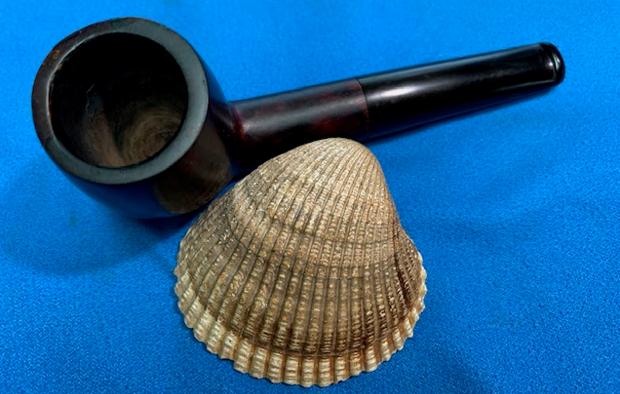
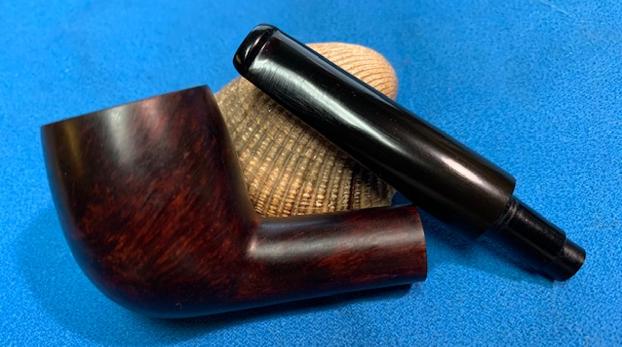
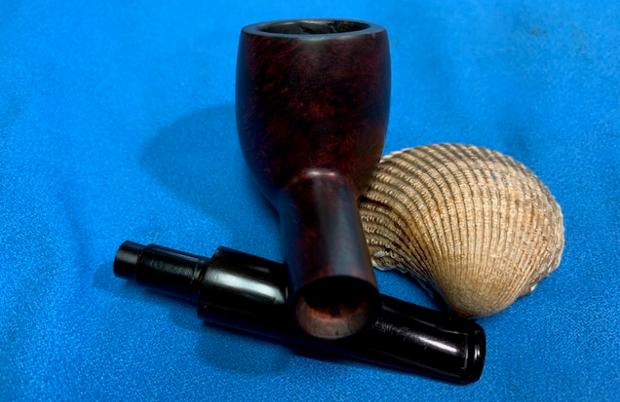
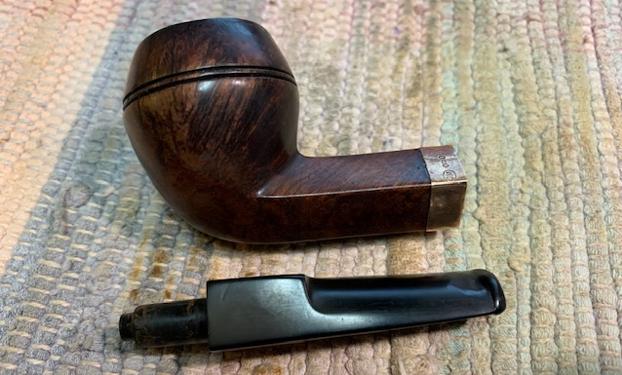
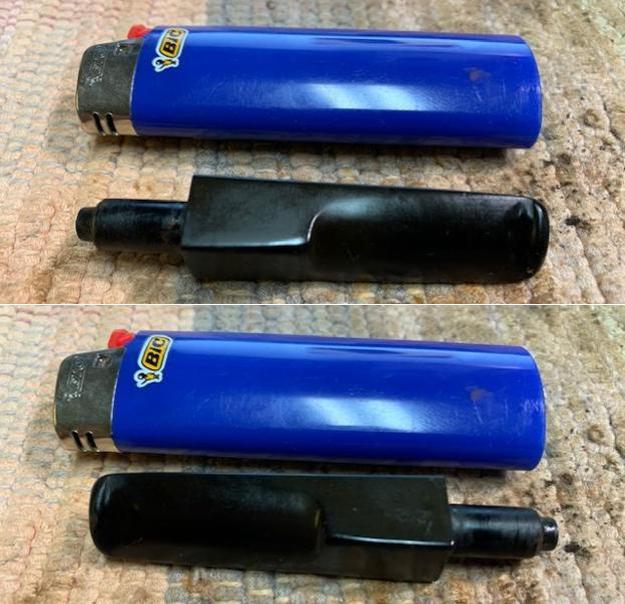
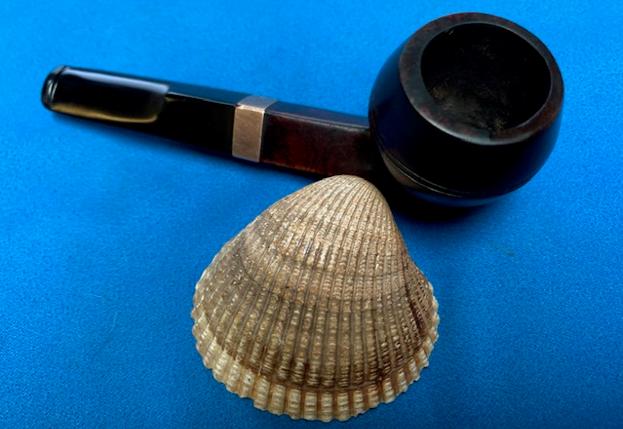
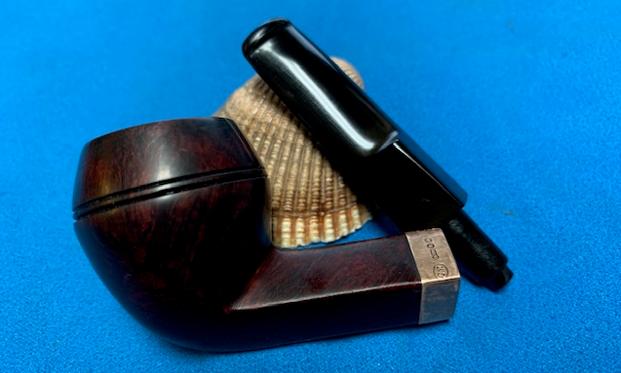
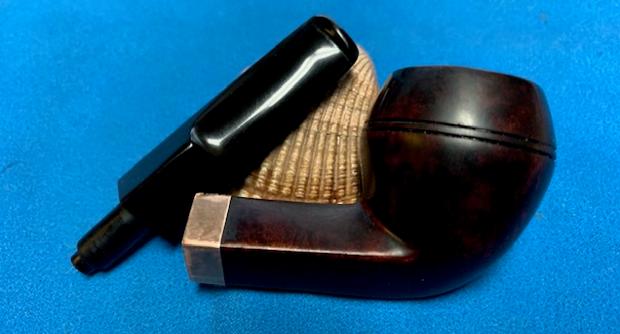
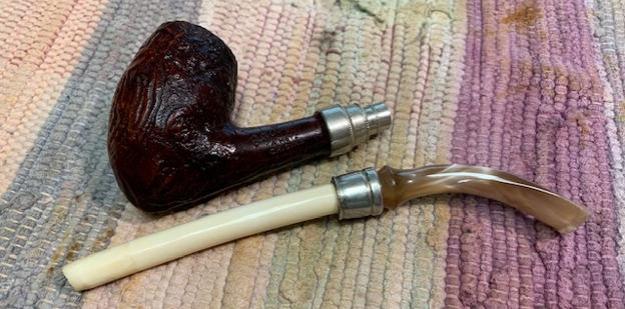
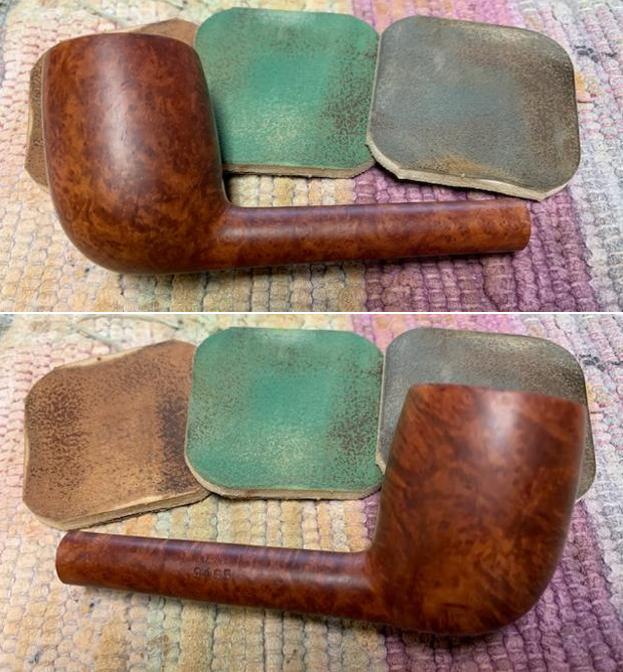
 I removed the stem from the bowl and took a photo of the parts to give a sense of the shape and “attraction” of the pipe.
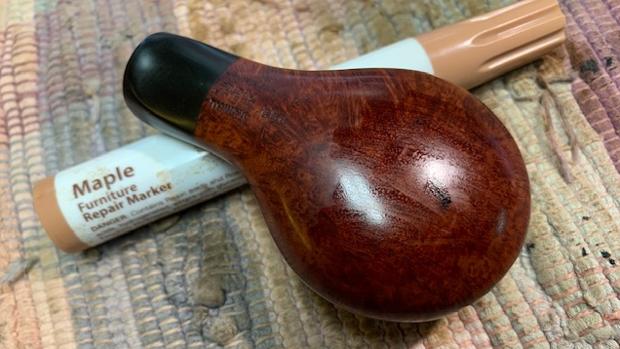
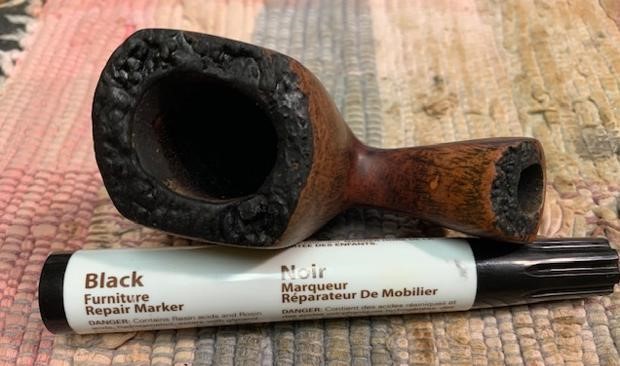
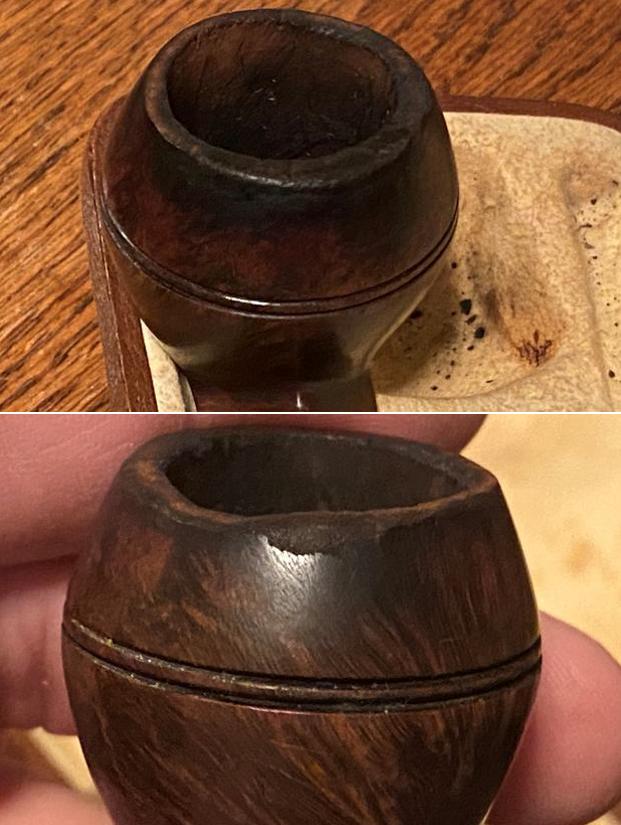
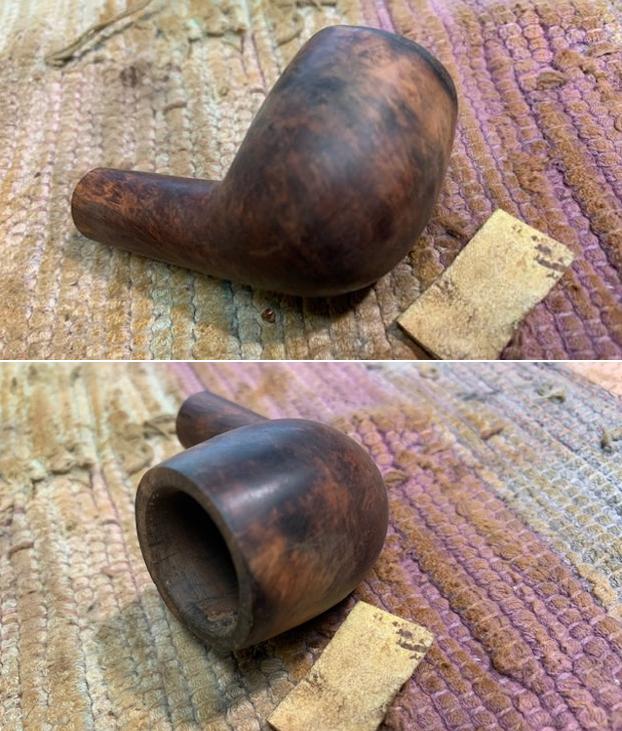
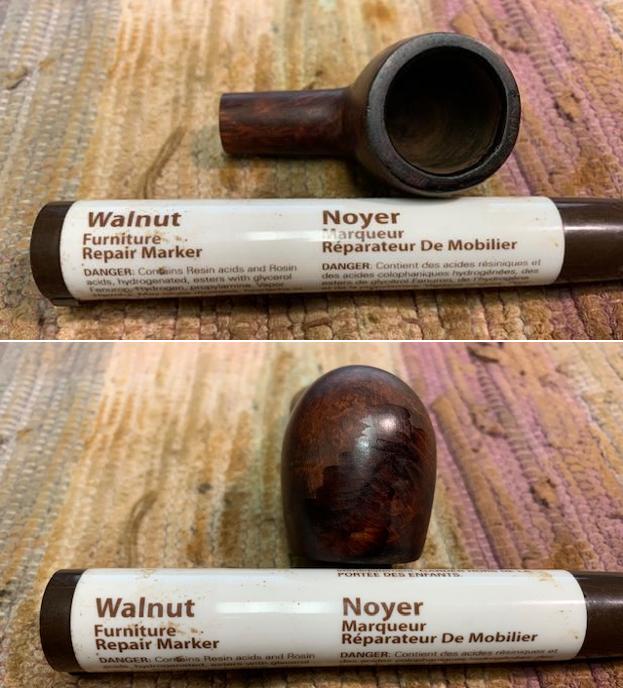
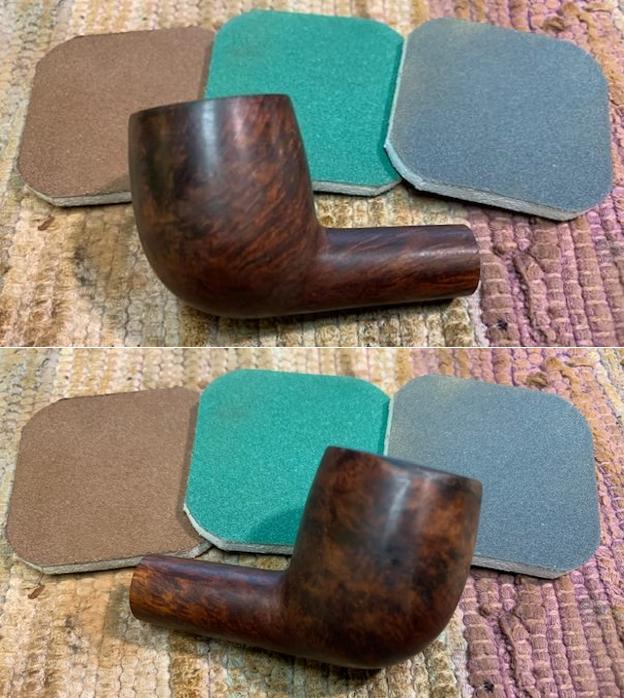
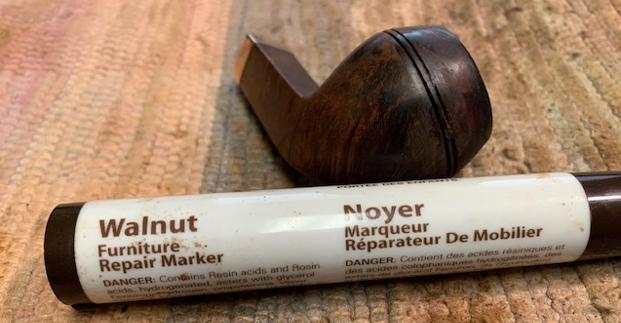
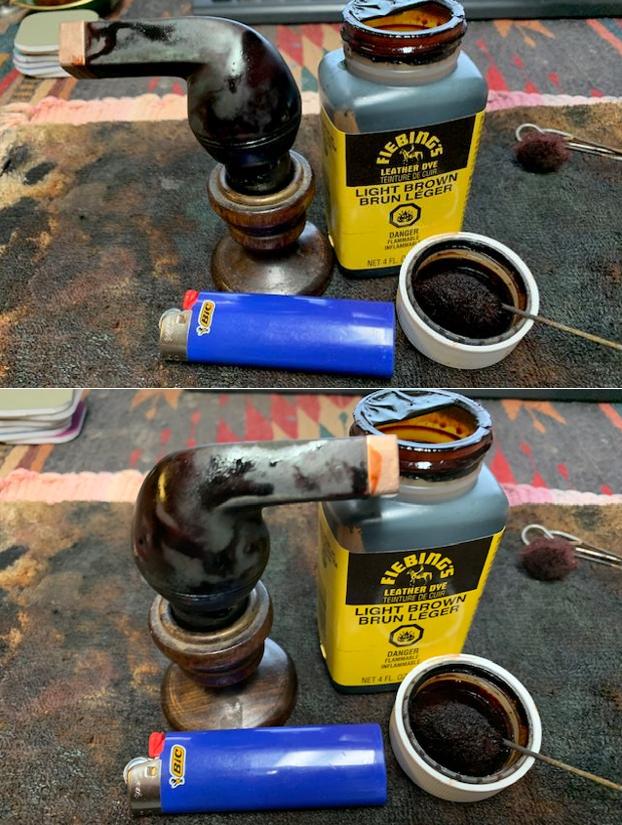
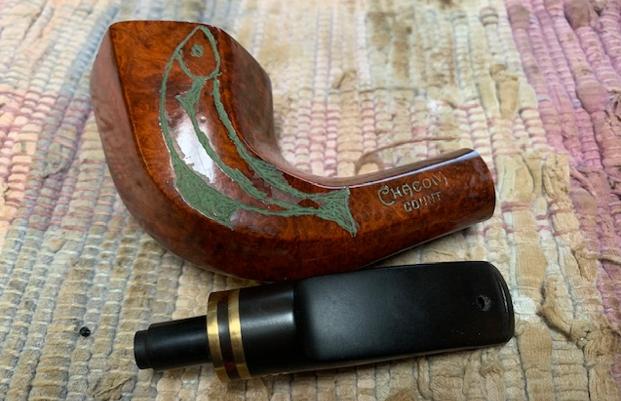 I decided to start by working on the heavy varnish coat on the rim top and bowl. I needed to remove it or at least break the sheen so I could smooth out the damage on the front top of the rim and the end of the shank on both sides where the varnish had peeled. I may well have to leave it on the sides of the bowl where the fish is carved but I would see what I could do without damaging that too much :). I combined wiping it carefully down with acetone and polishing it with a 1500 grit micromesh sanding pad to remove the varnish coat. I forgot to take a picture of the rim before I stained it to blend in the sanded edge and top. The photo below shows the rim top after staining with a Maple stain pen. You can see how clean the top looks in this photo.
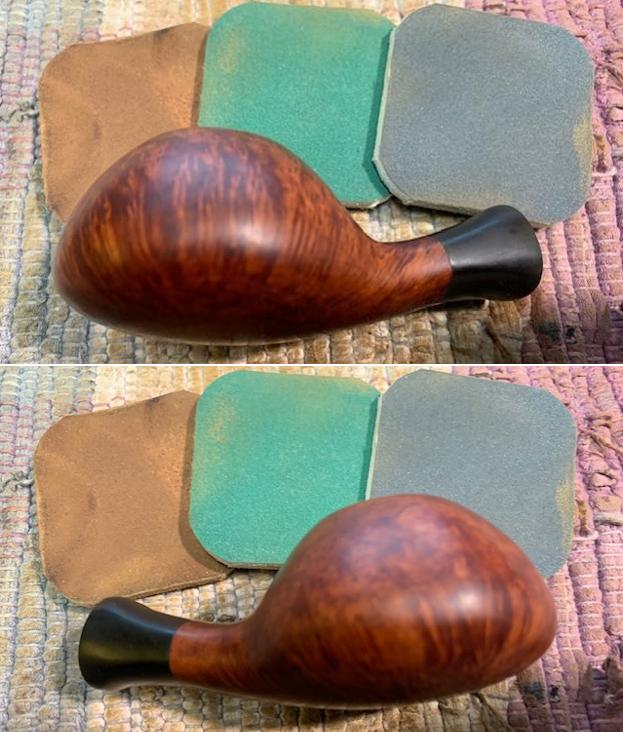
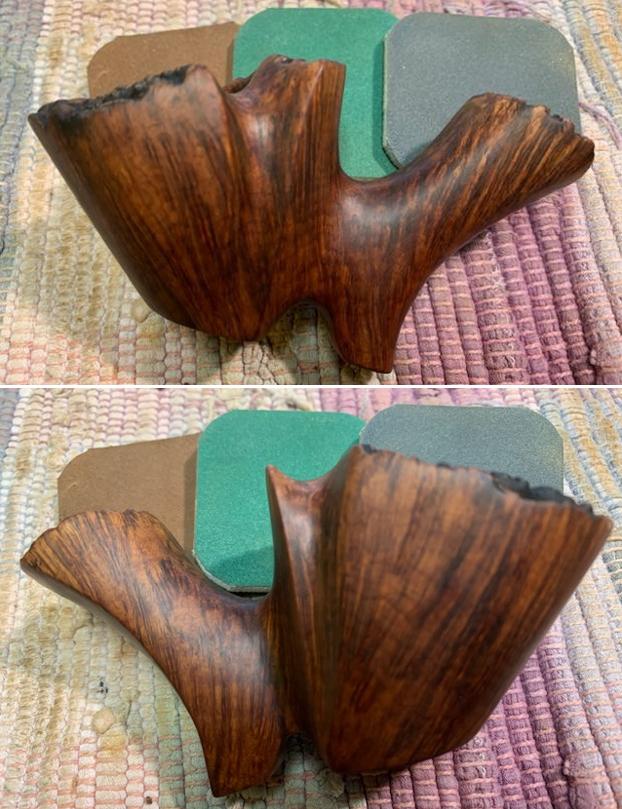
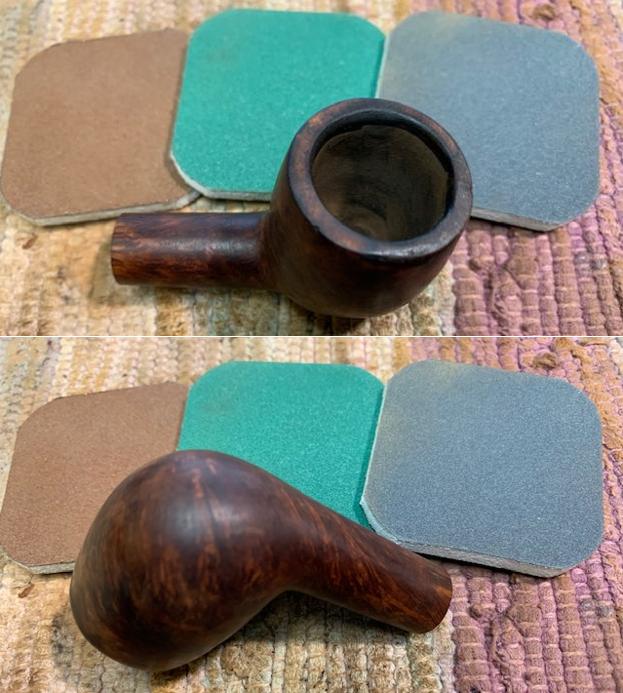
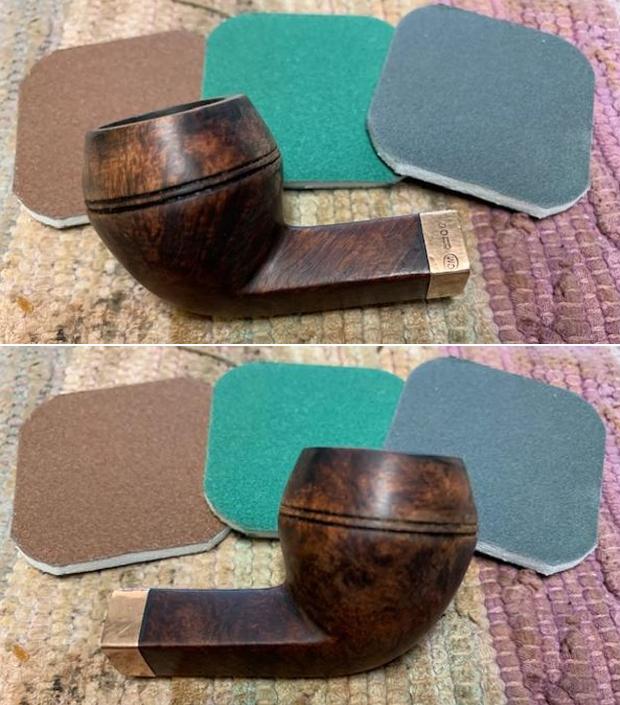
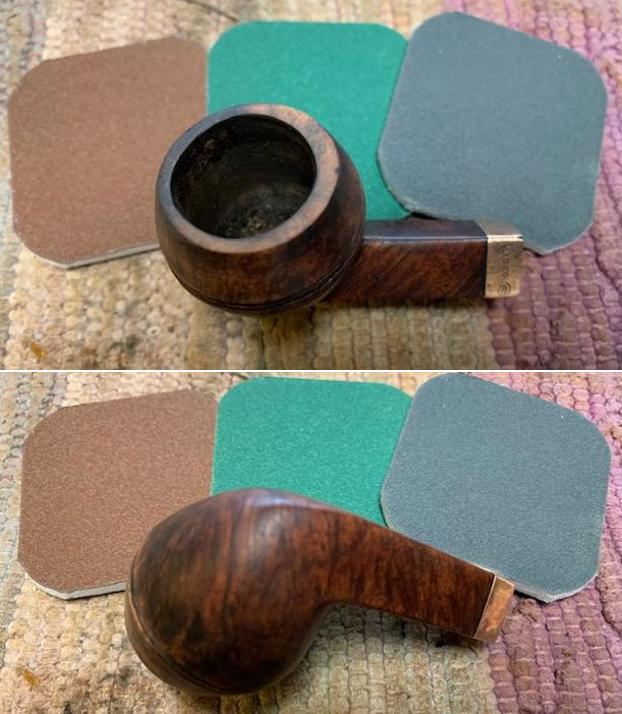
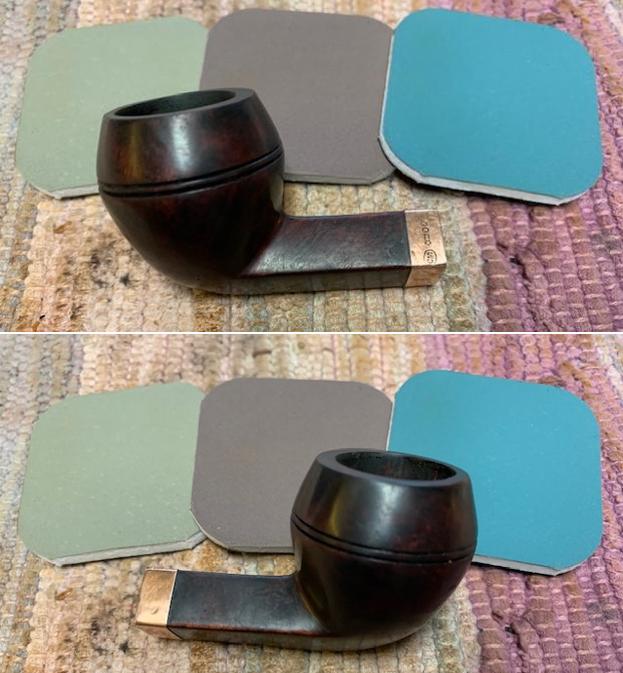
  I wiped the rest of the bowl down with acetone on a cotton pad and was able to remove the varnish coat. I polished the briar with micromesh sanding pads – dry sanding with 1500-12000 grit pads.. I wiped the bowl down after each sanding pad with a damp cloth to remove the dust and debris. I was able to get the varnish off without damaging the green carving on the bowl sides.
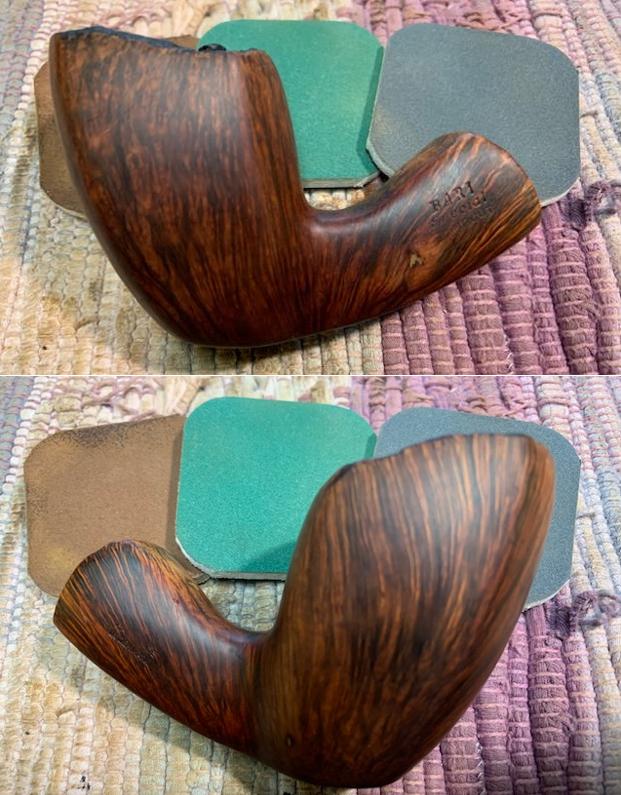
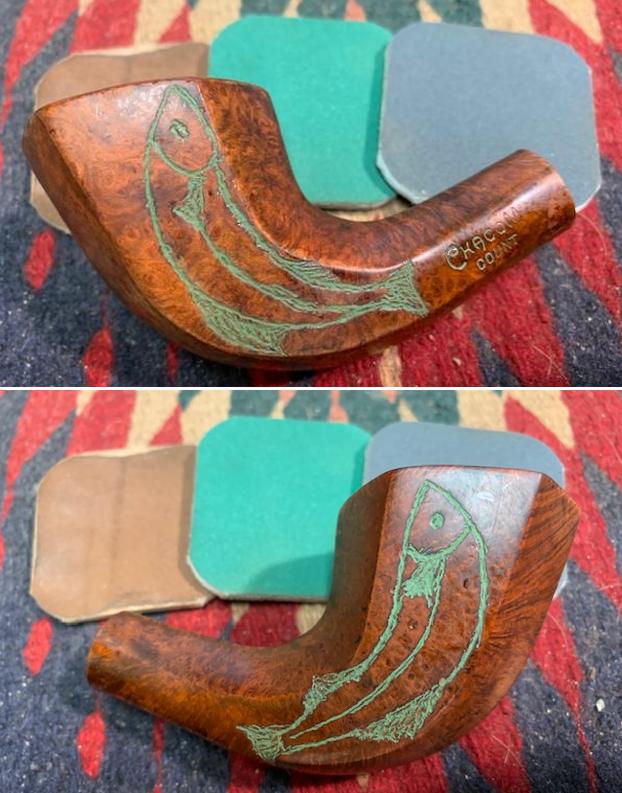

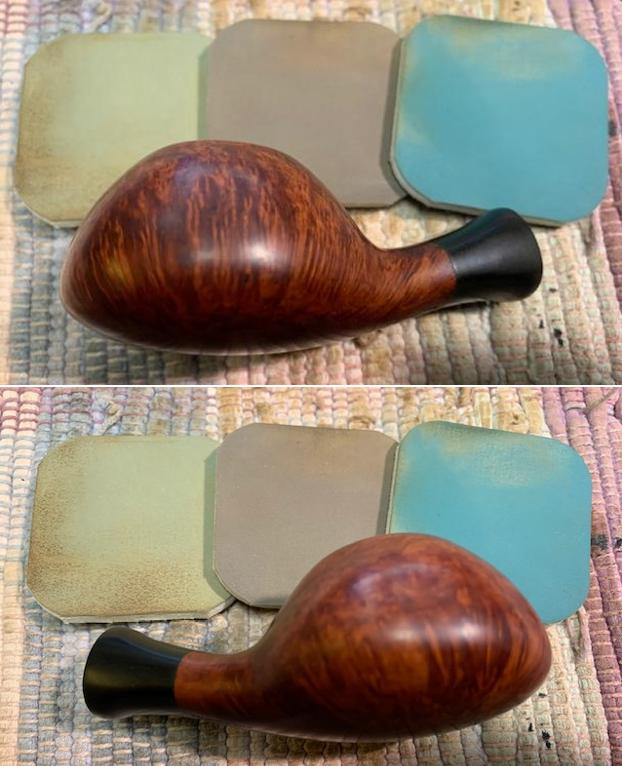
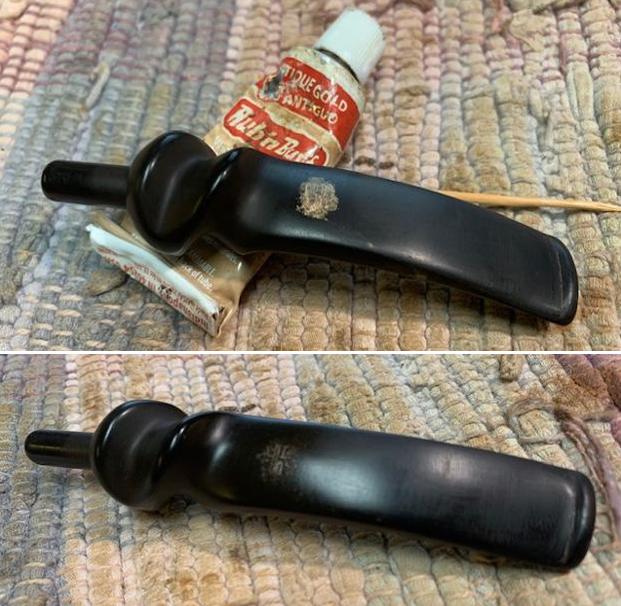
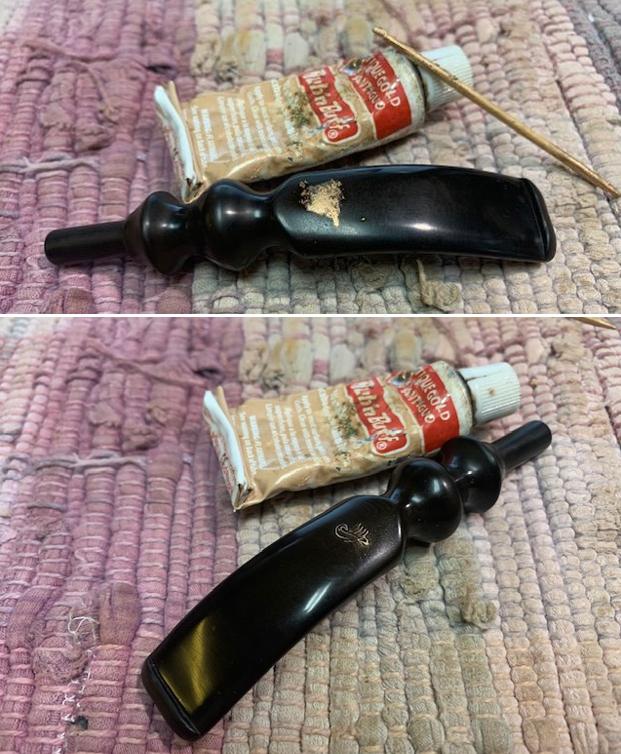
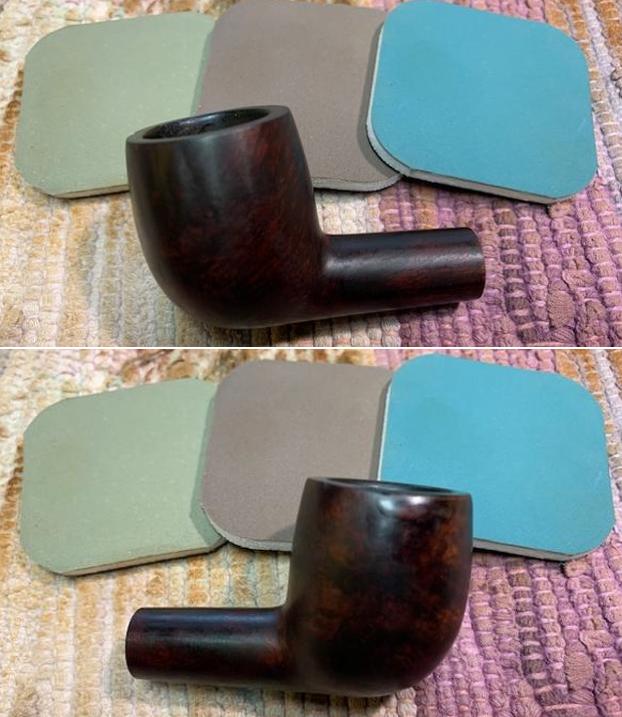
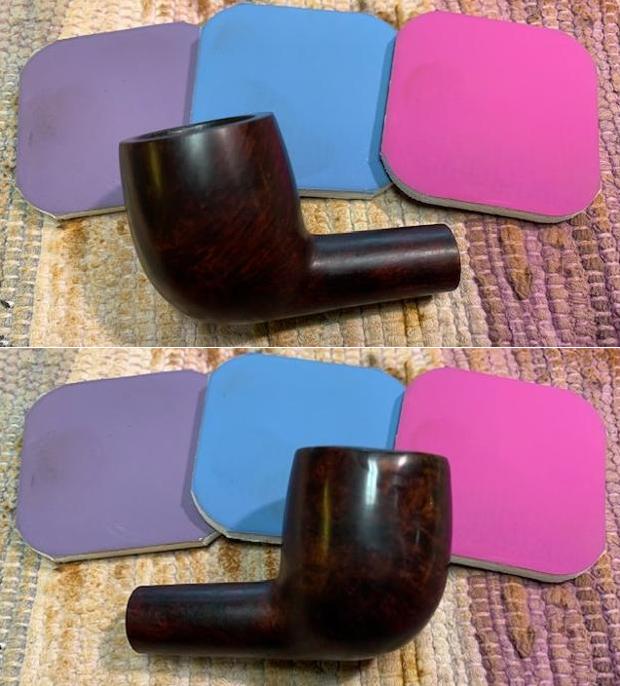
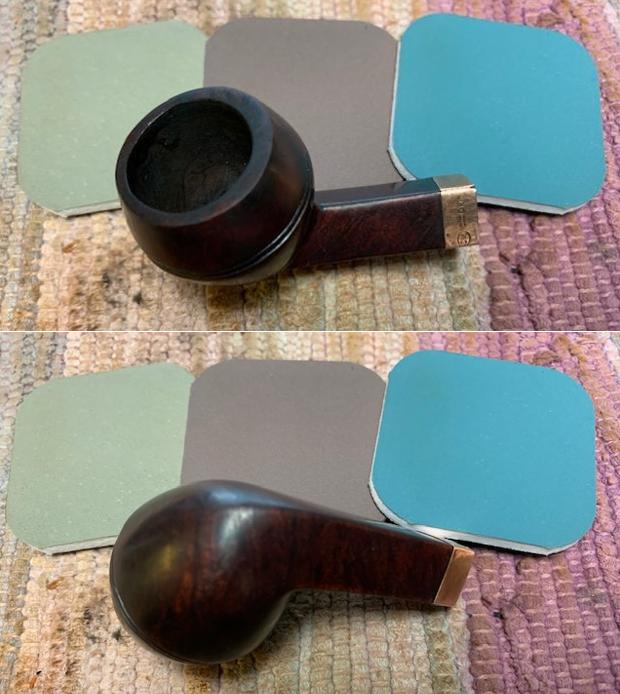
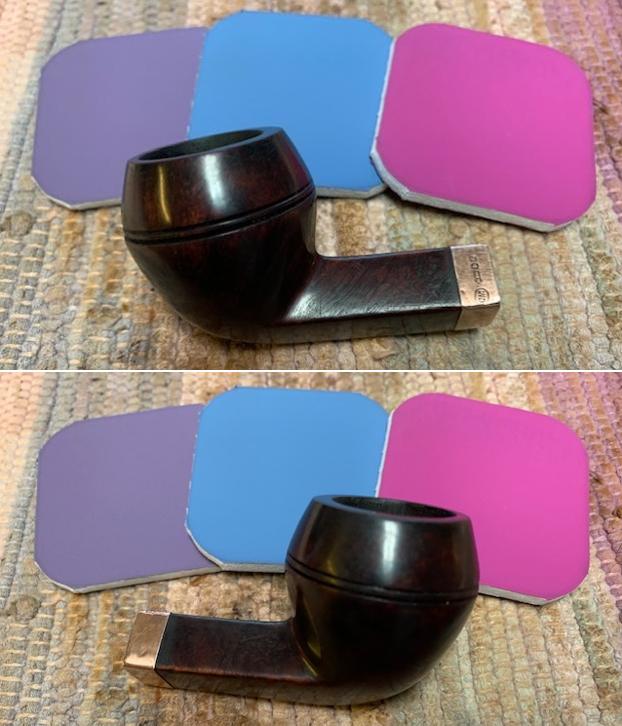
 I rubbed the bowl down with Before & After Restoration Balm working it into the briar and the carving with my finger tips. The product works to clean, revive and protect the briar. I let it sit on the pipe for 10 minutes then buffed it off with a soft cloth.
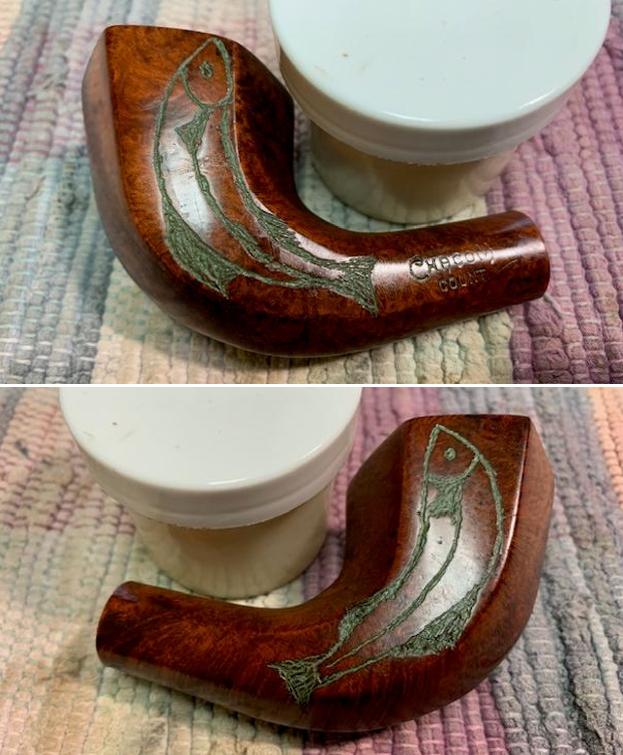
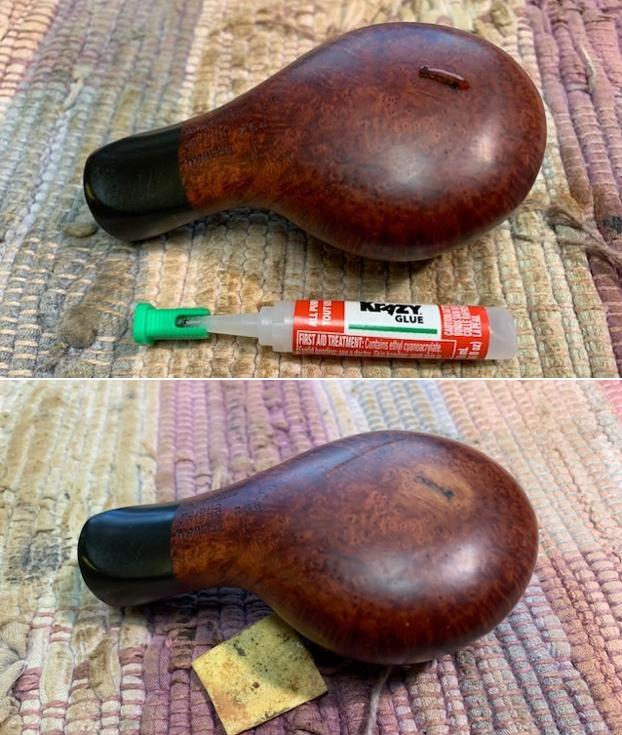
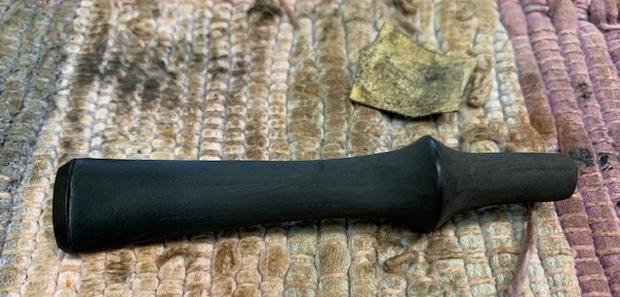
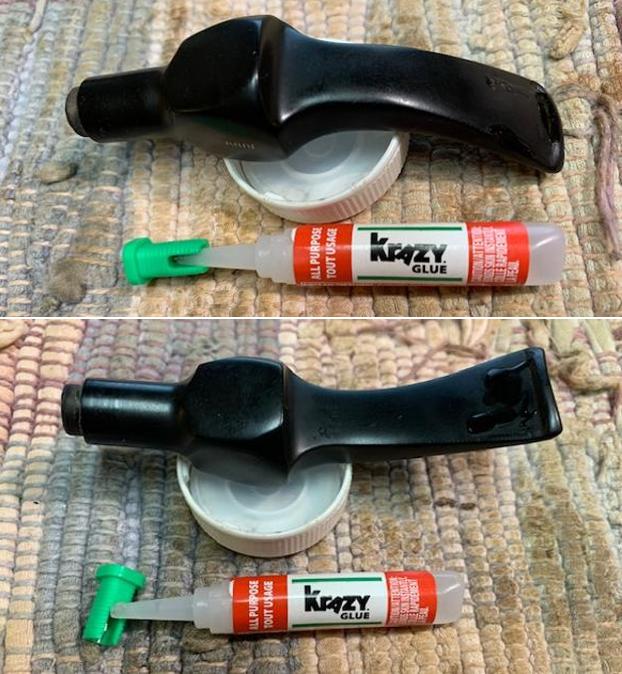
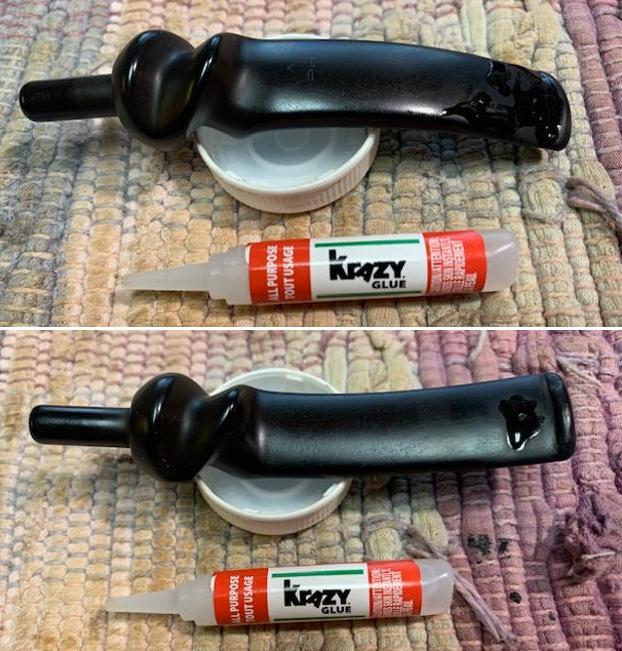
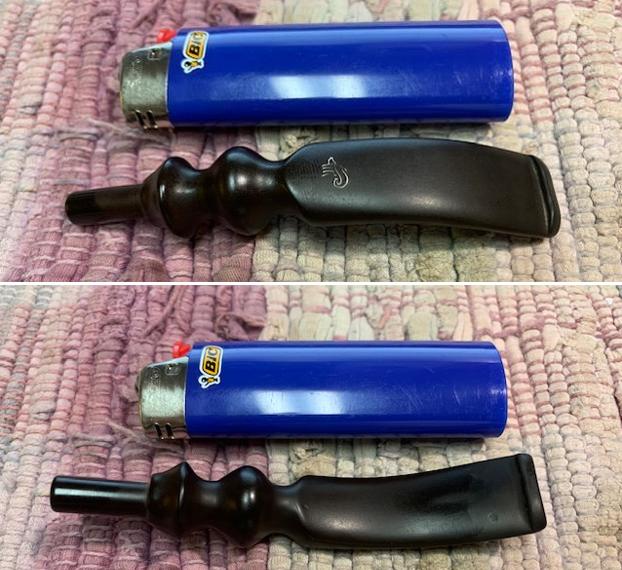
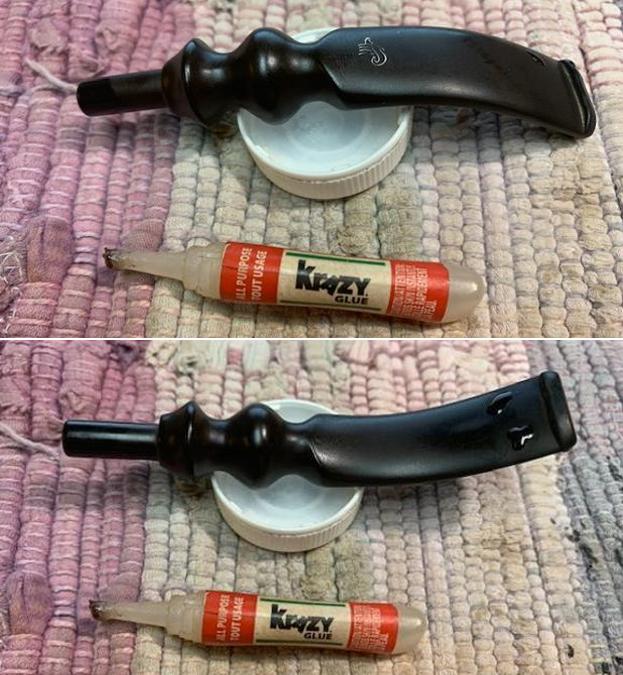
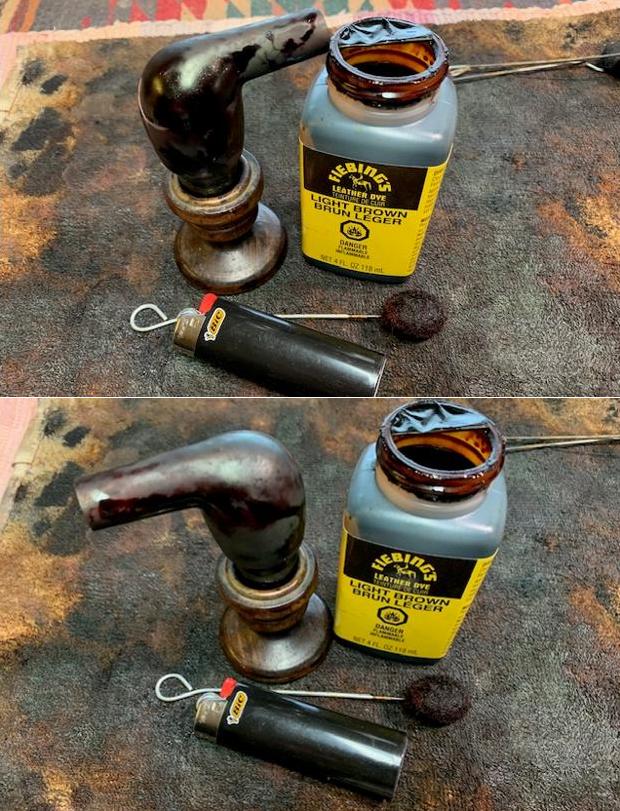
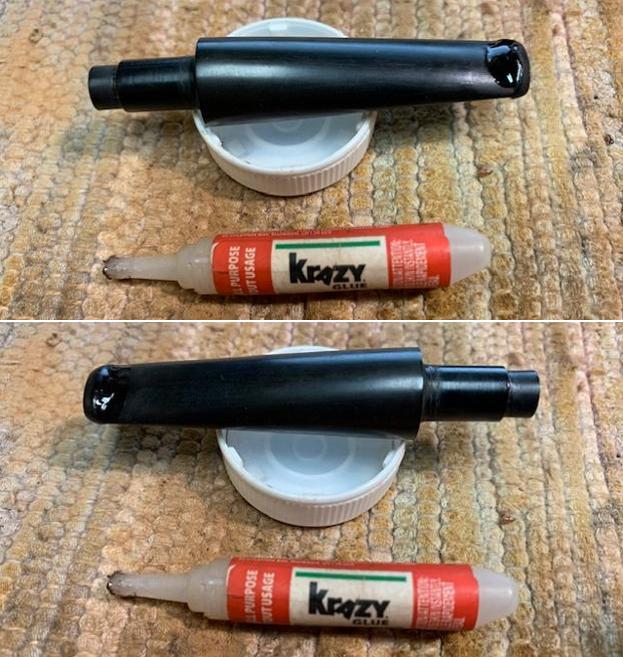
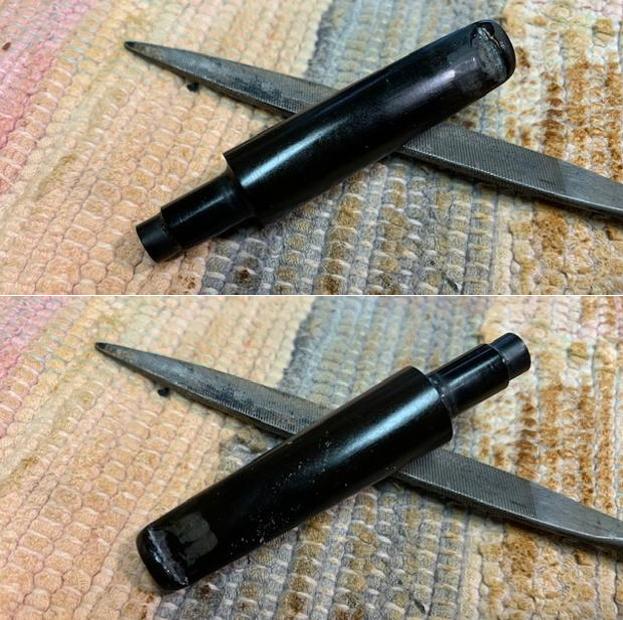
 I set the bowl aside and turned my attention to the stem. Jeff had gotten the spray foam plug out of the slot in the button so I needed to address the drilled hole on the topside of the stem. I greased a pipe cleaner with Vaseline and slipped it into the stem below the hole. I wanted to have a base to build over but I did not want the cleaner to be glued in place. I mixed a batch of charcoal powder and black super glue and made a thick paste with it. I applied it to the surface of the stem with a dental spatula and made sure it was in the hole. I sprayed it with an accelerator to harden the CA glue enough that I could remove the pipe cleaner without pulling out the patch. I remove it and set the stem aside to cure for what I thought would be overnight but ended up being two days! It was as hard as a rock.
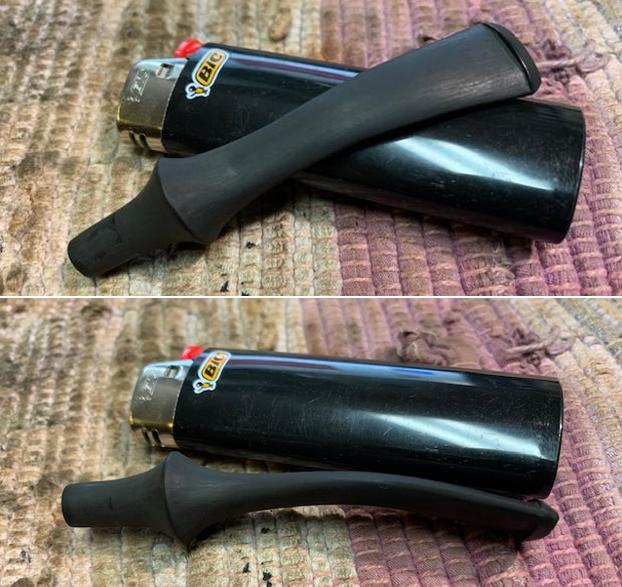
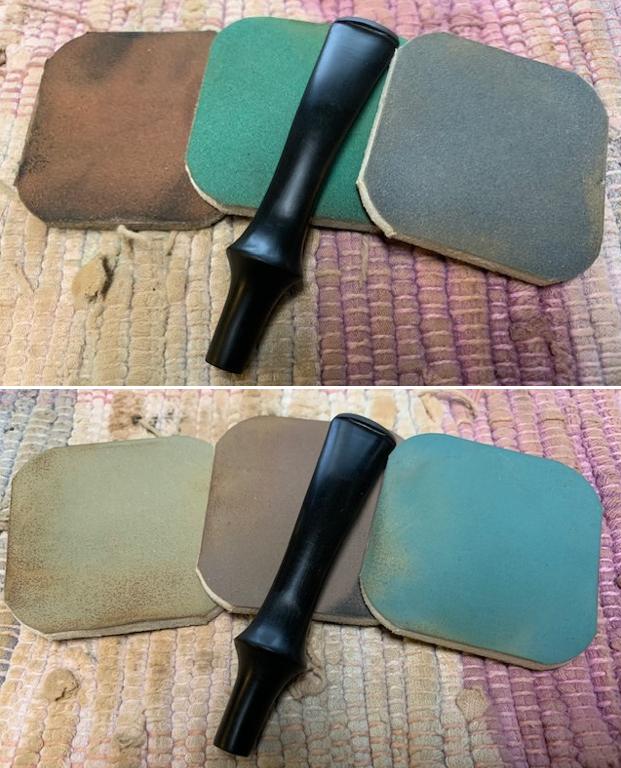
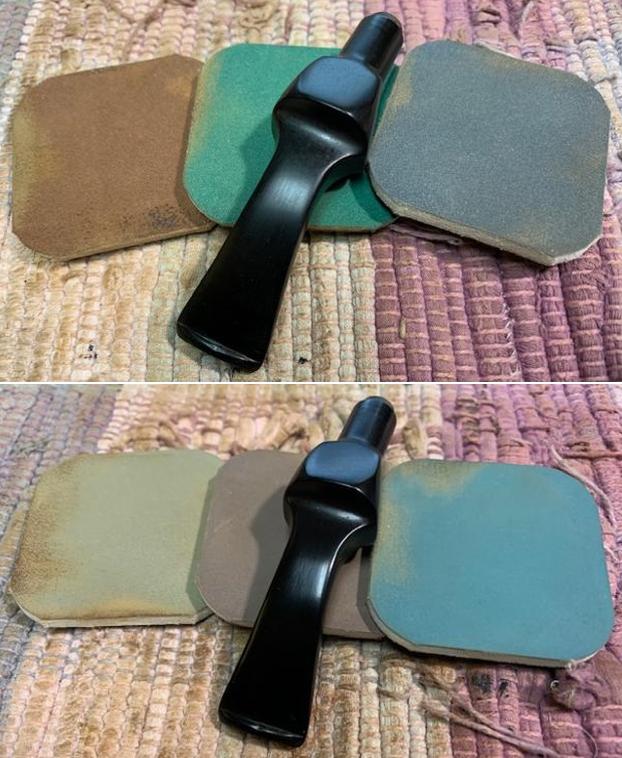
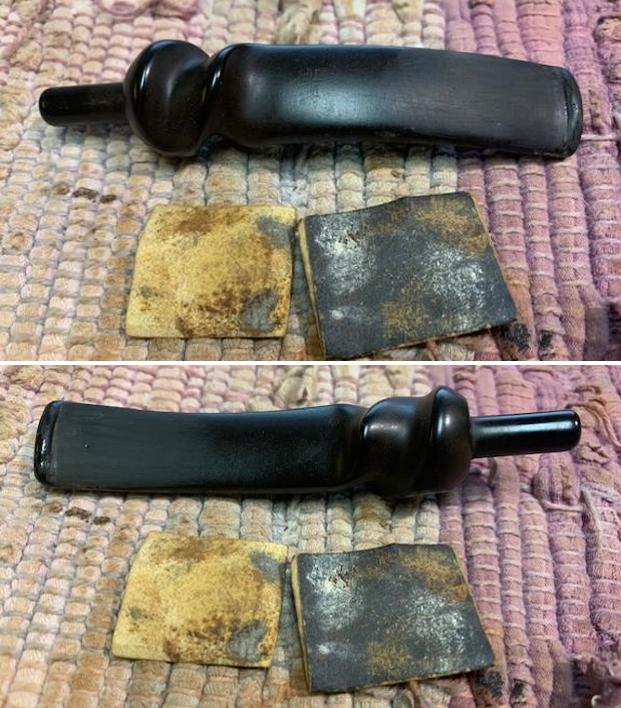
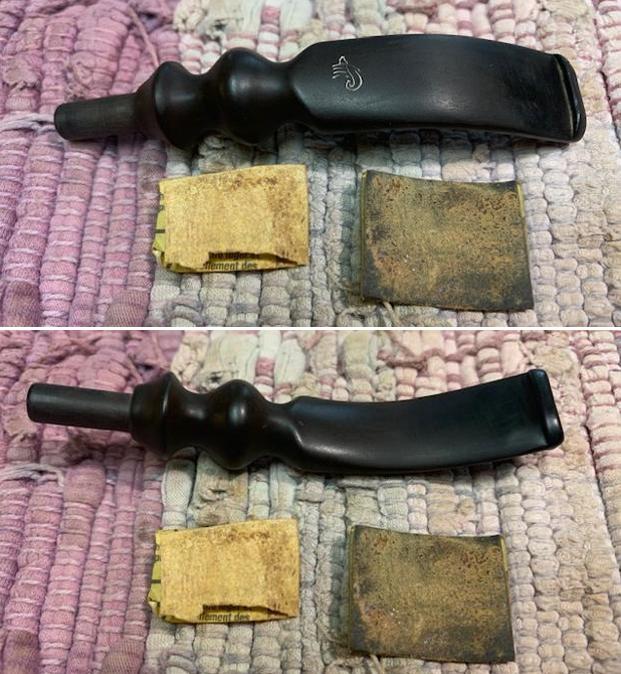
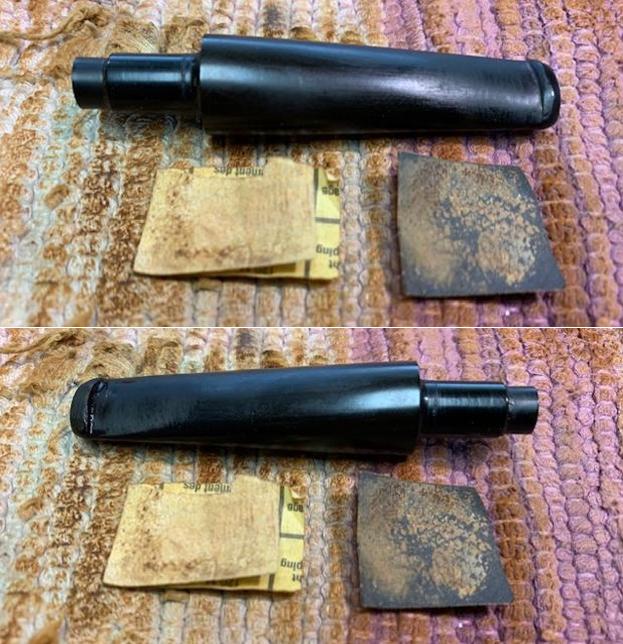
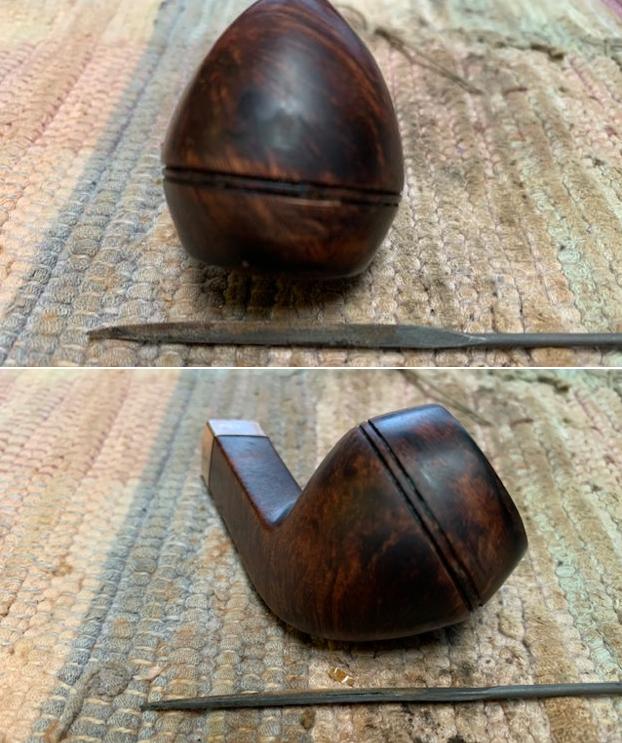
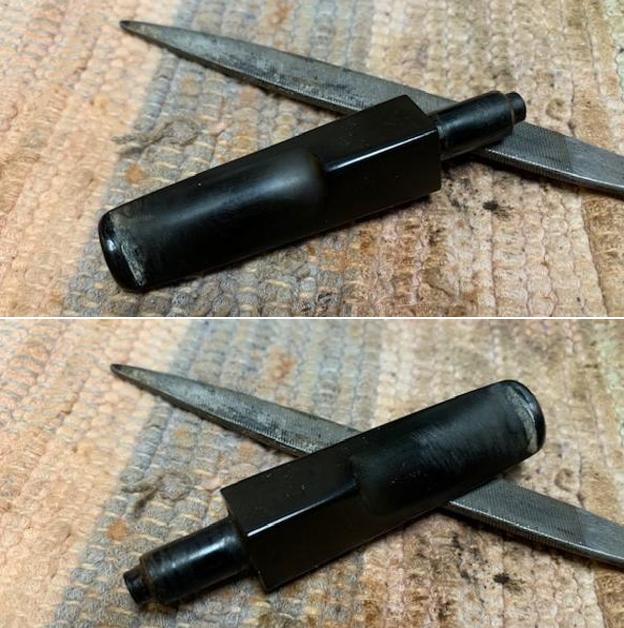
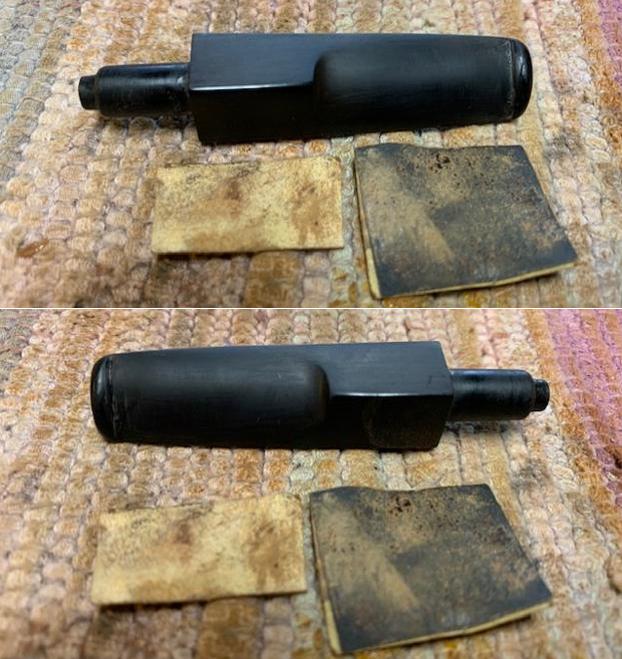
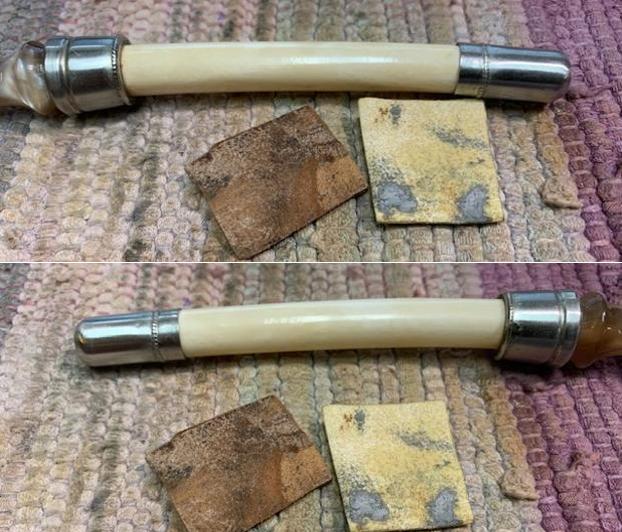
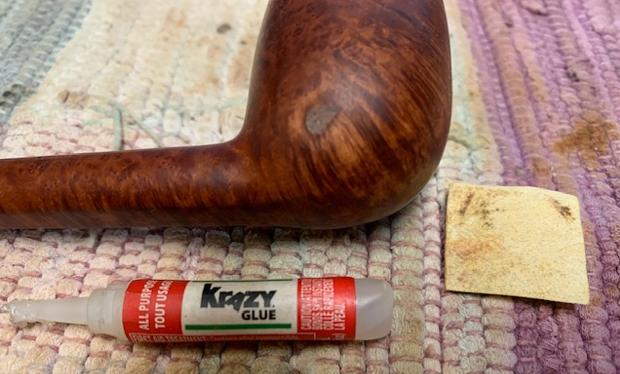
 When I finally got back to it I used a small file to flatten the repair and prepare it for sanding. I sanded the stem repair with a folded piece of 220 sandpaper to blend it into the surface of the stem. I started polishing it with 400 grit wet dry sandpaper.
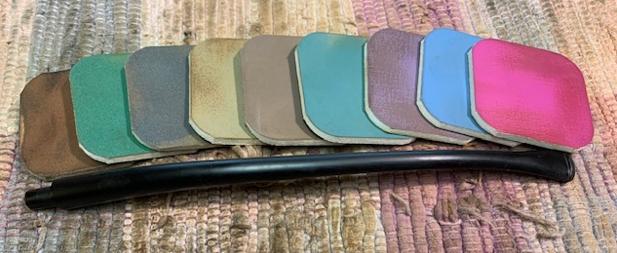
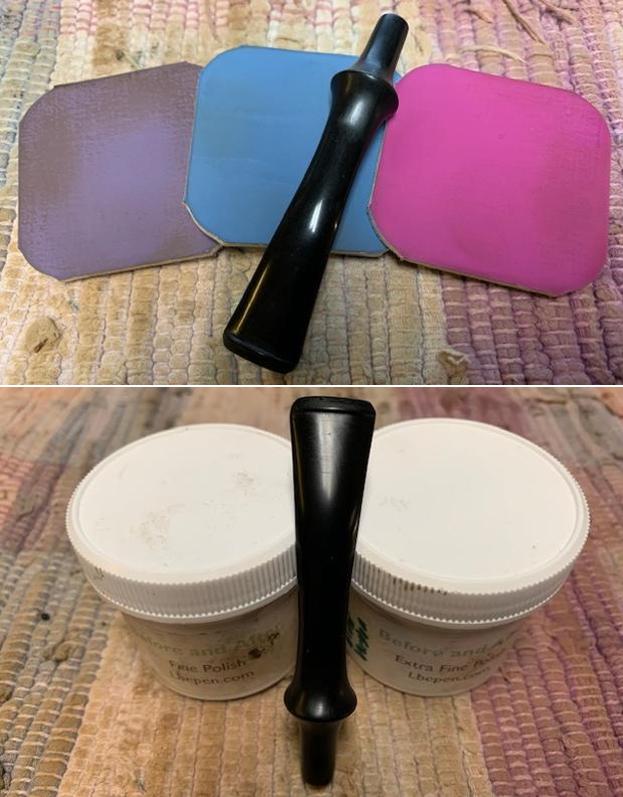
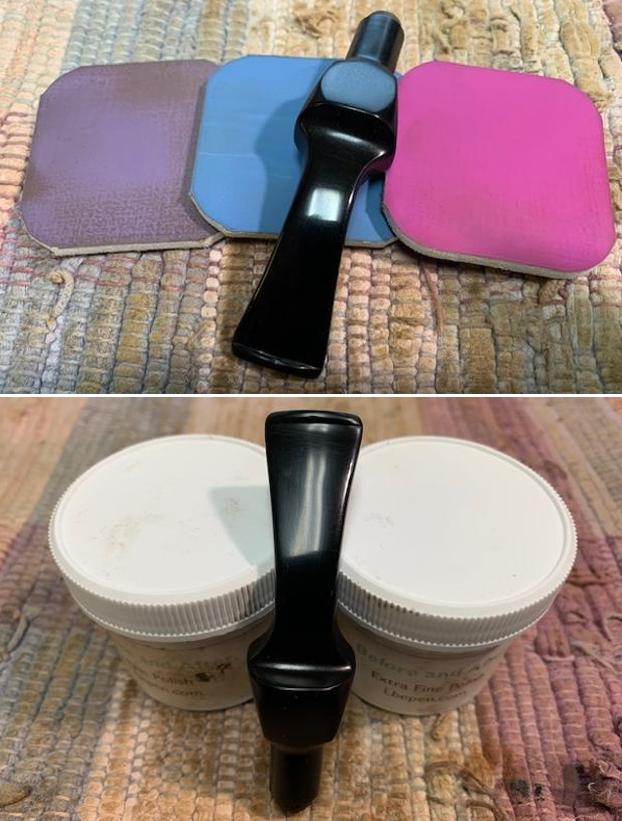
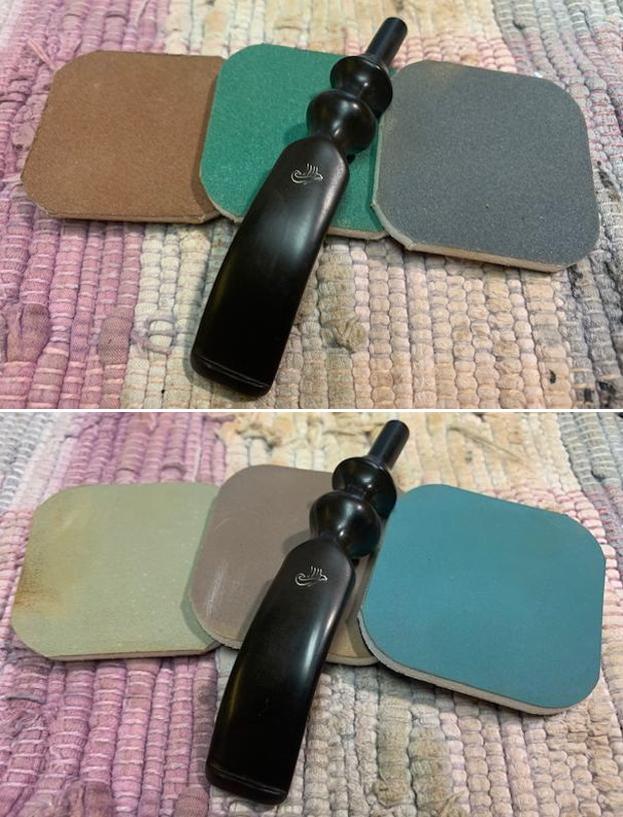
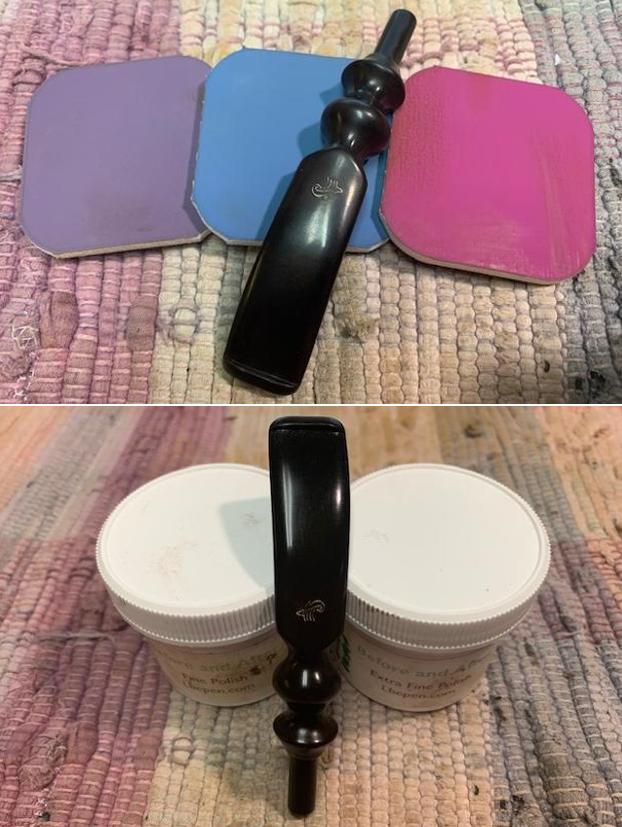
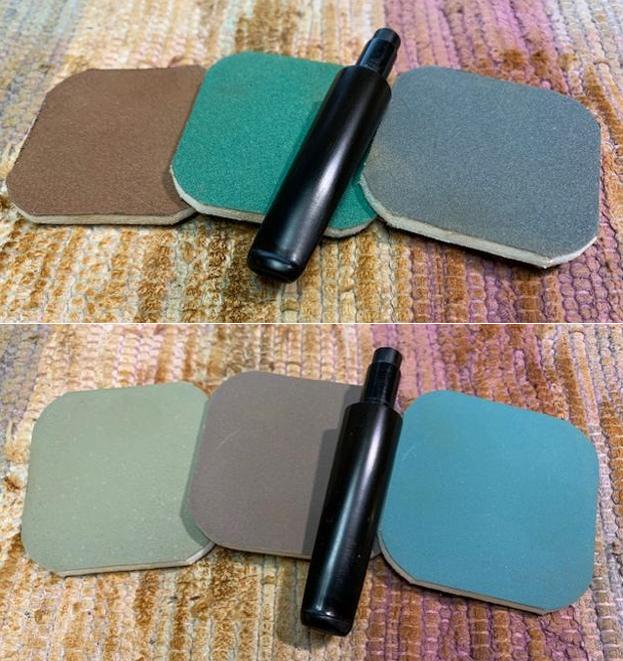
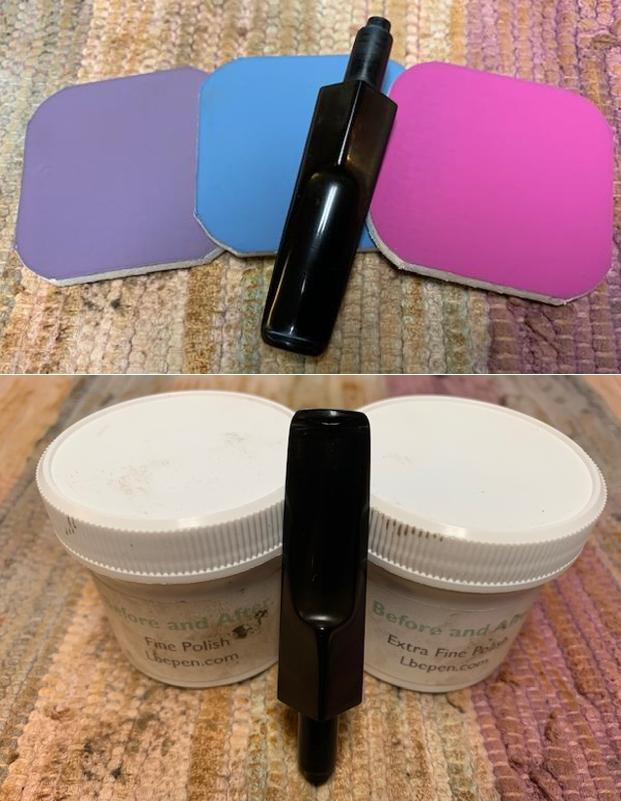
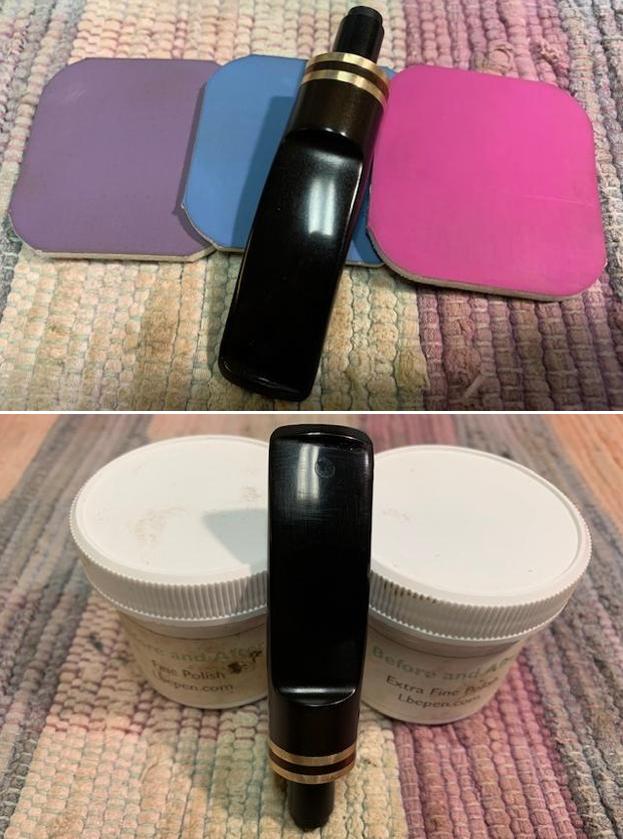
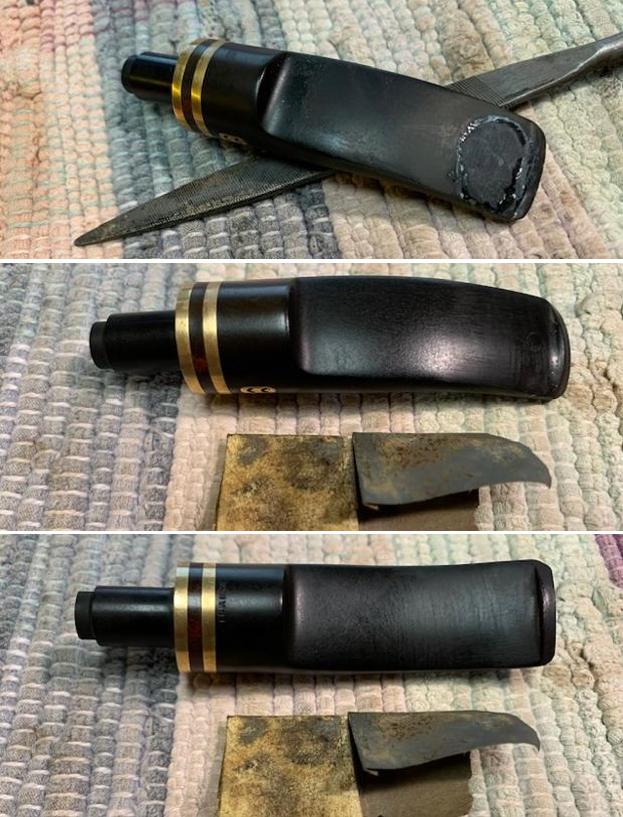 I polished the repaired stem with micromesh sanding pads – wet sanding it 1500-12000 pads. I wiped it down with some Obsidian Oil each pad to remove the dust and polishing debris. I polished it with Before After Pipe Polish – both Fine and Extra Fine. I gave it a final coat of Obsidian Oil and set it aside to dry.
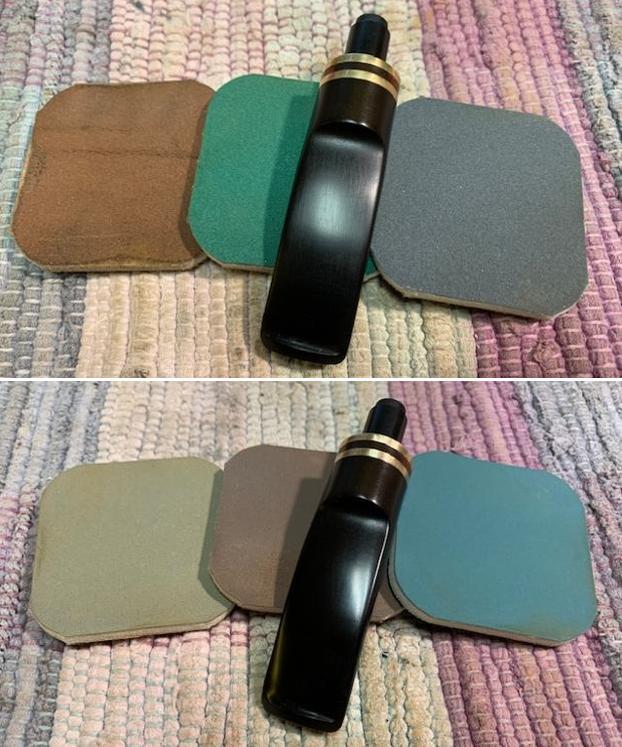
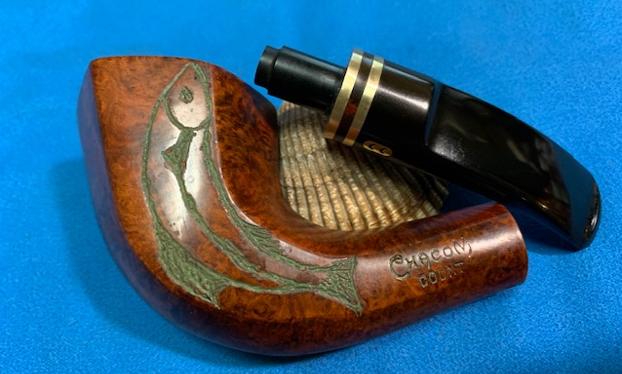
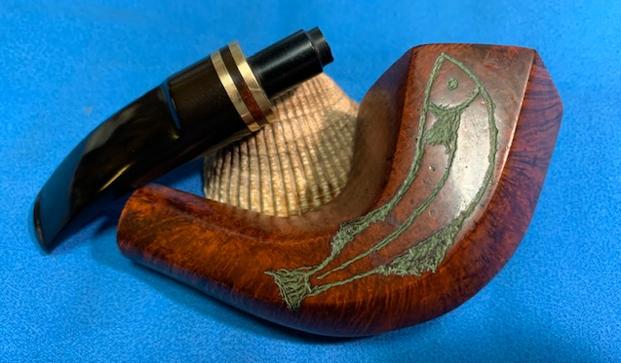
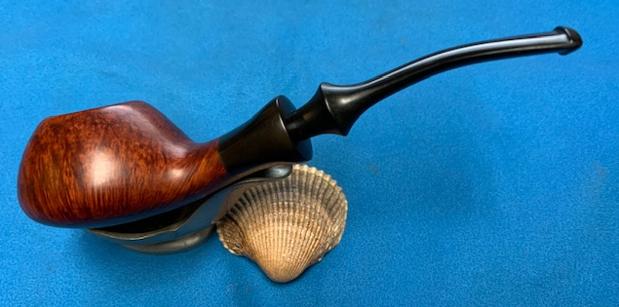
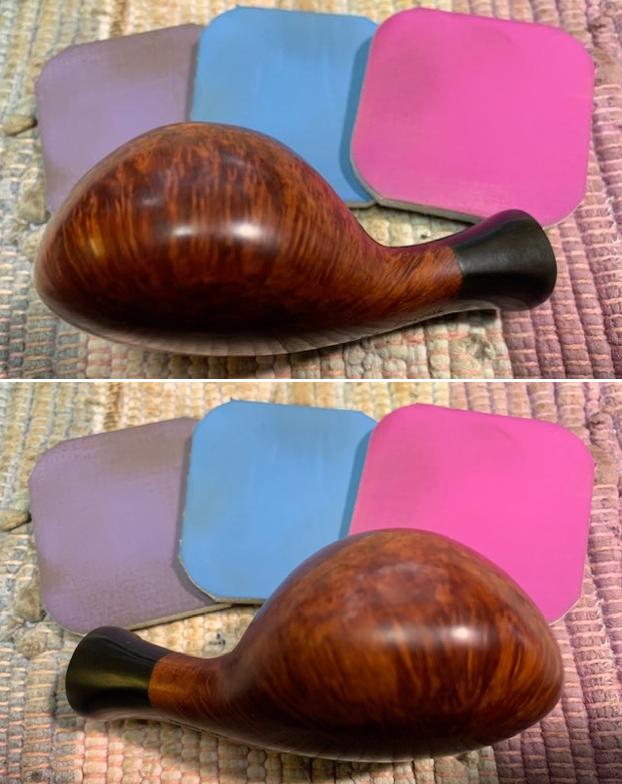
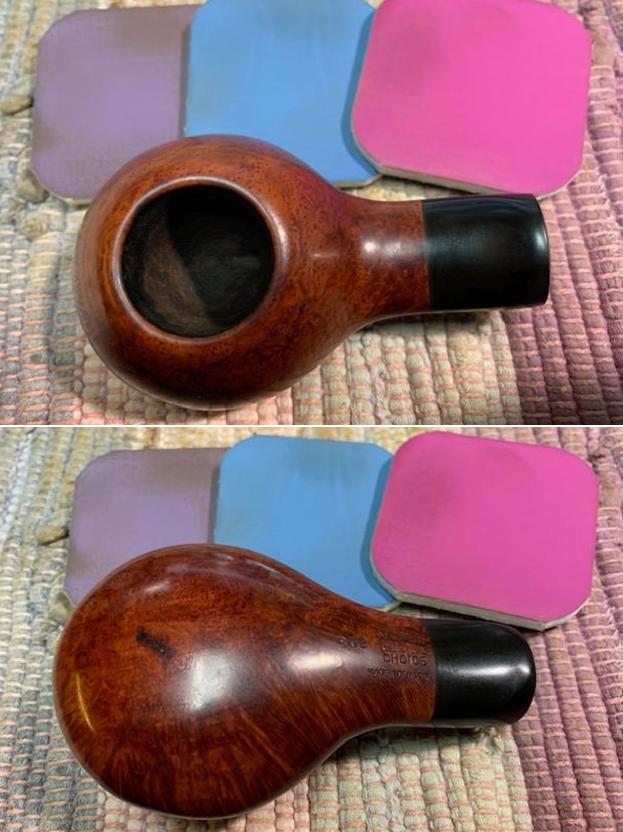
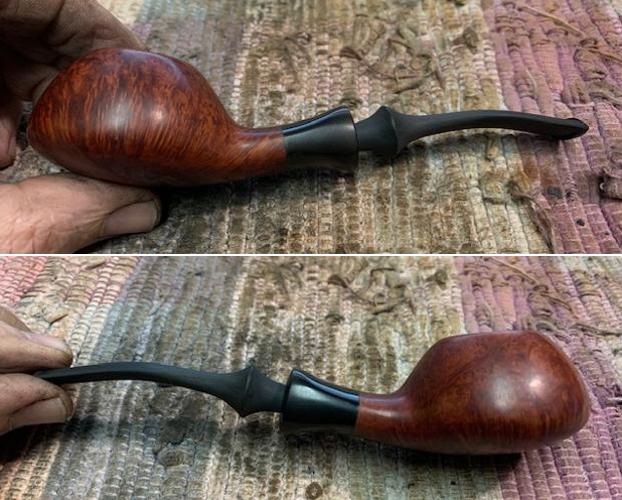
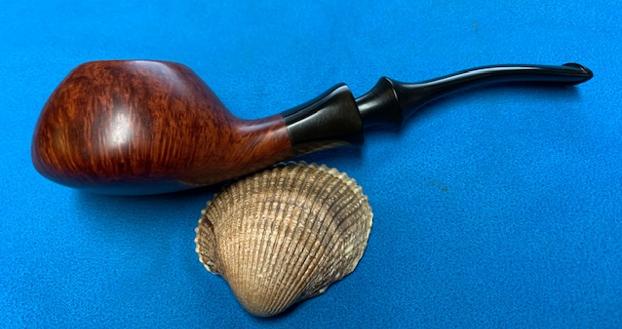
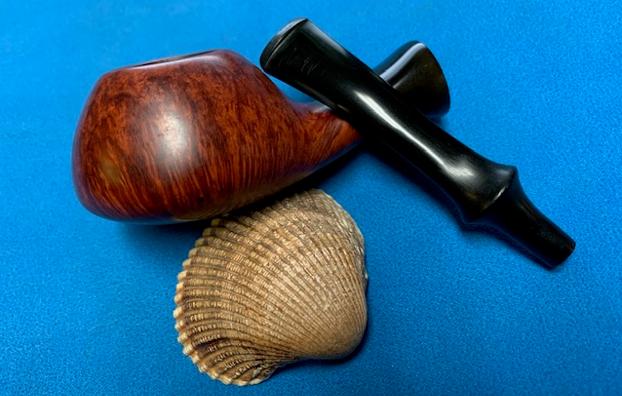
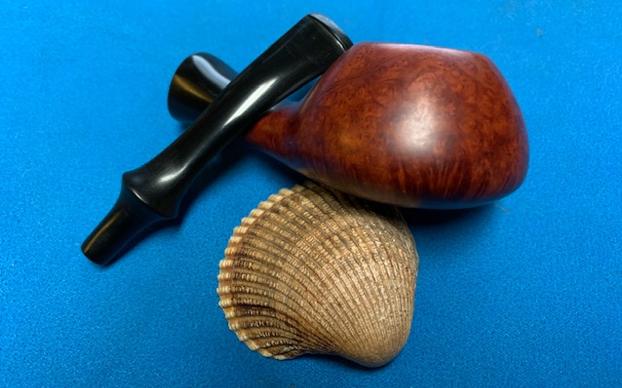
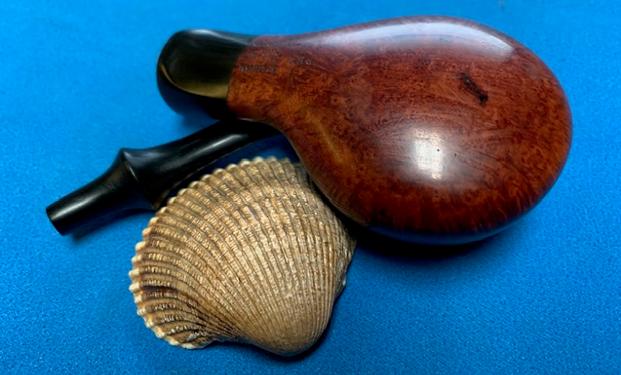
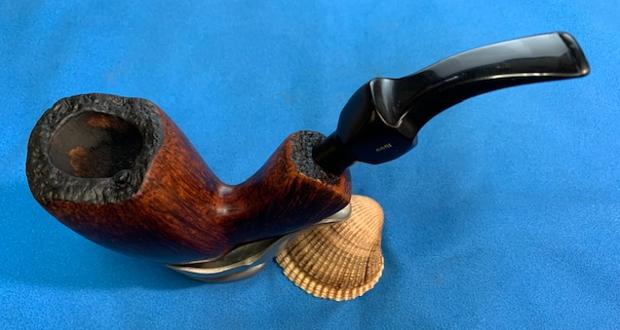
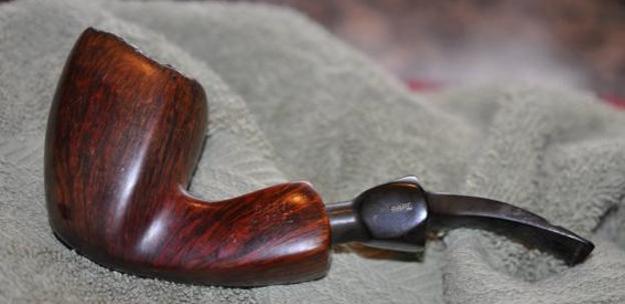
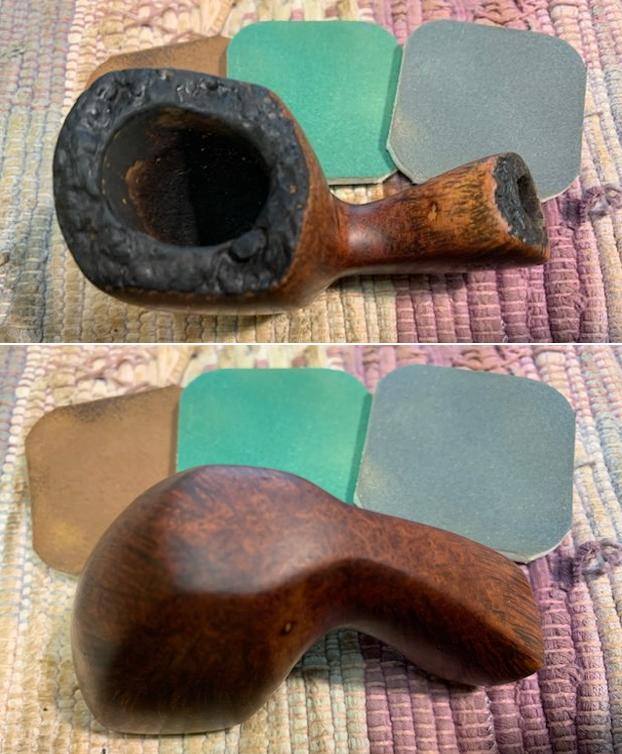
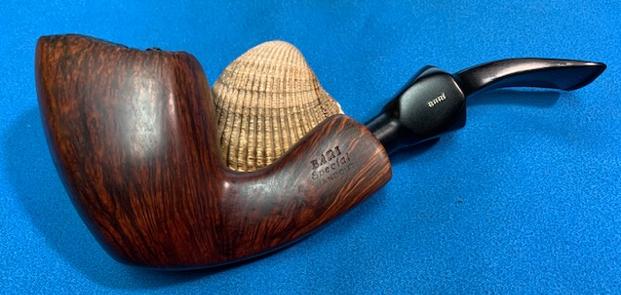
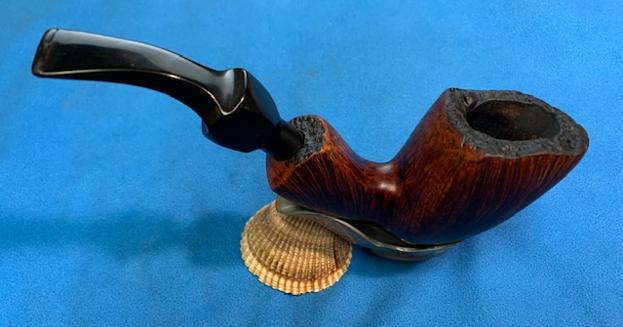
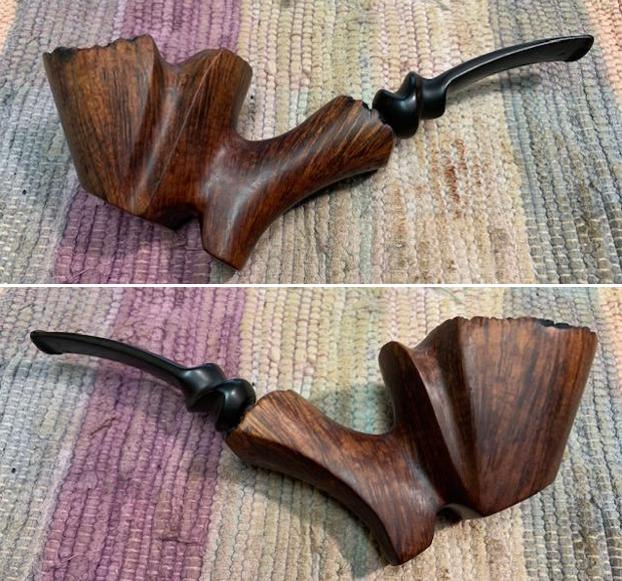
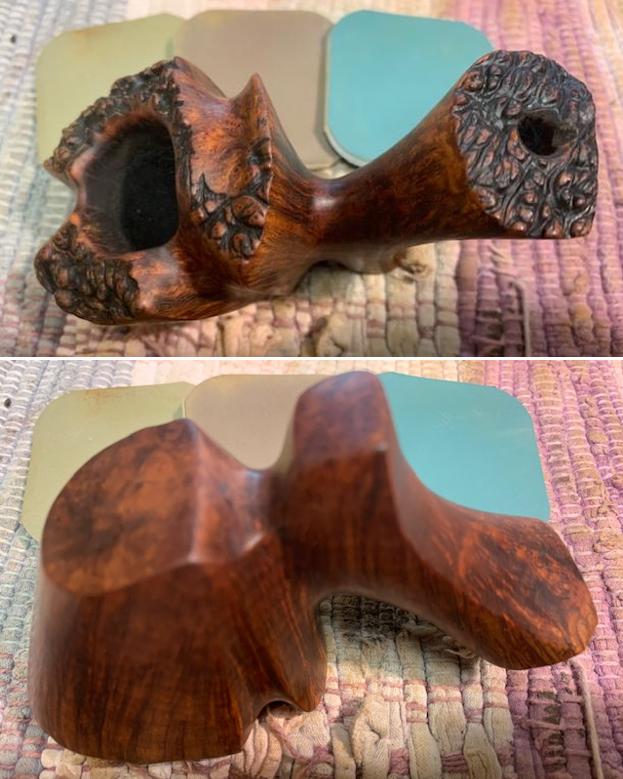
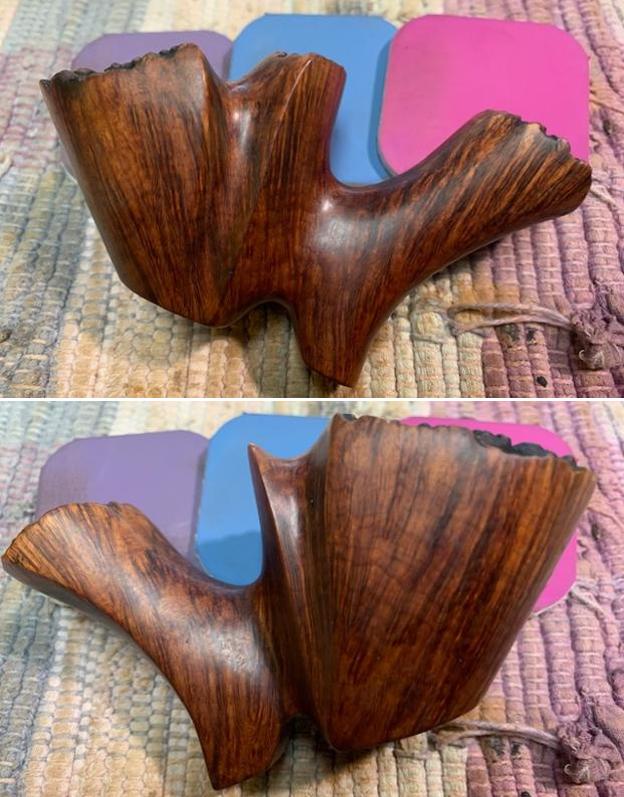
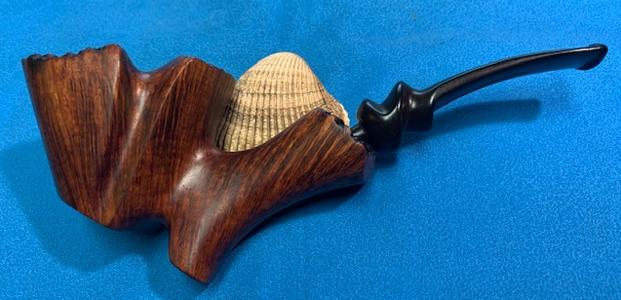
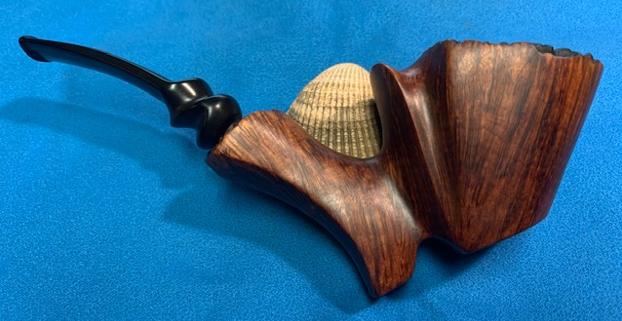
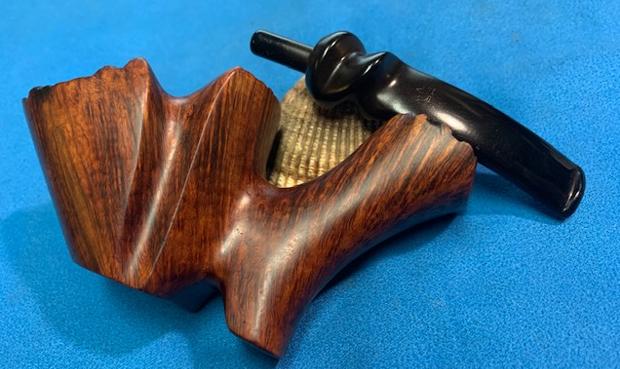
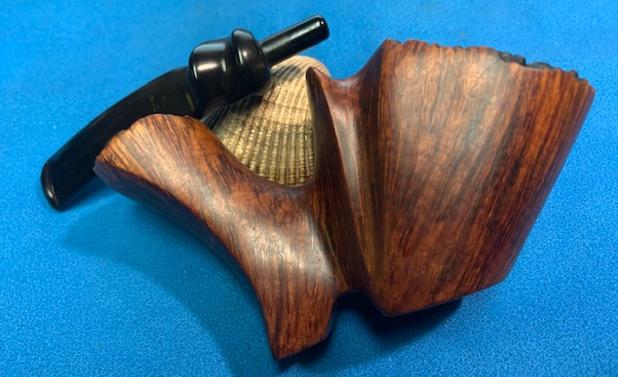
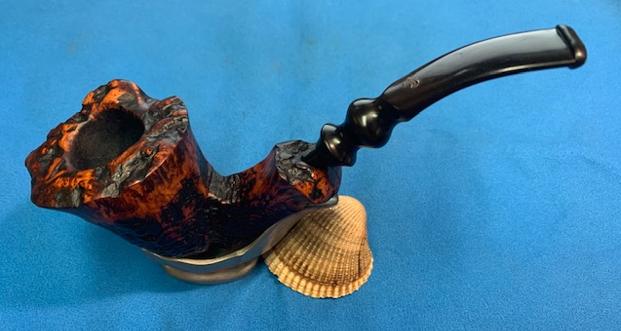
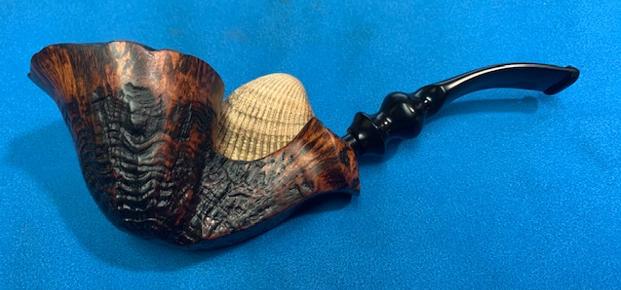
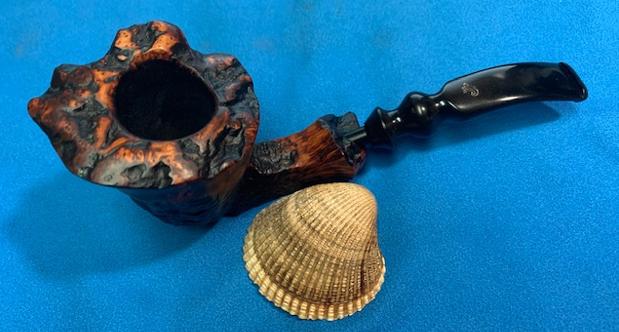
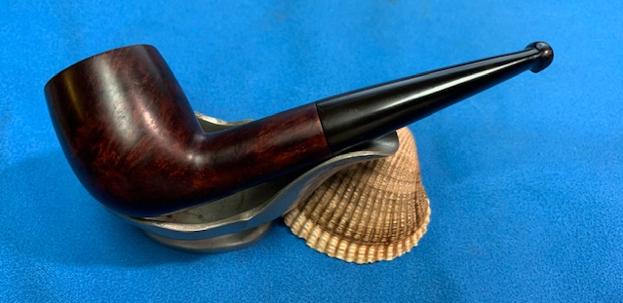
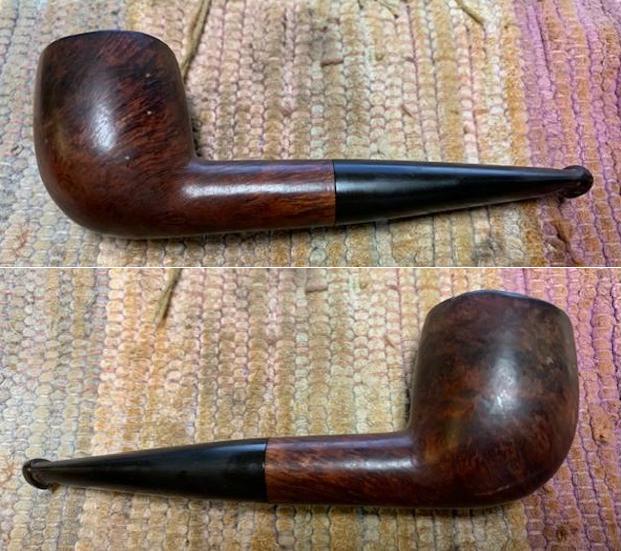
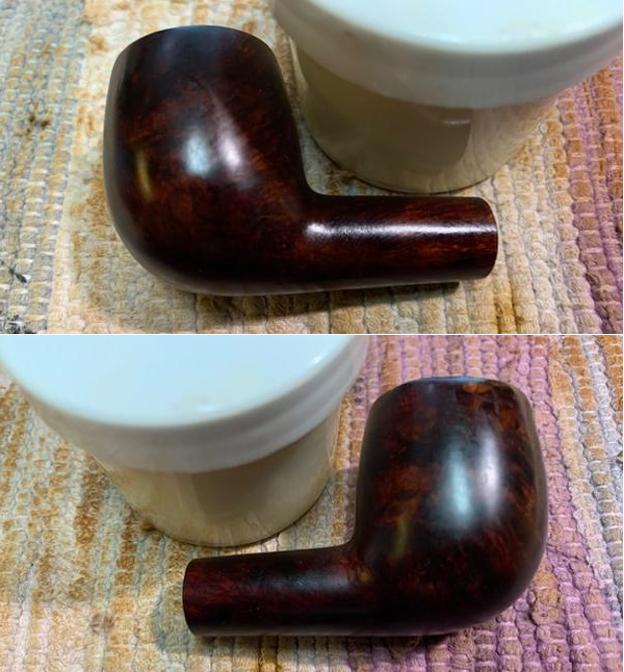
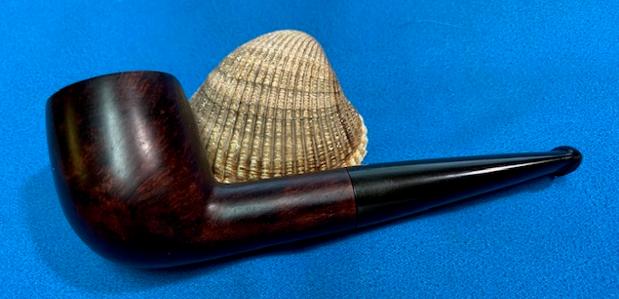
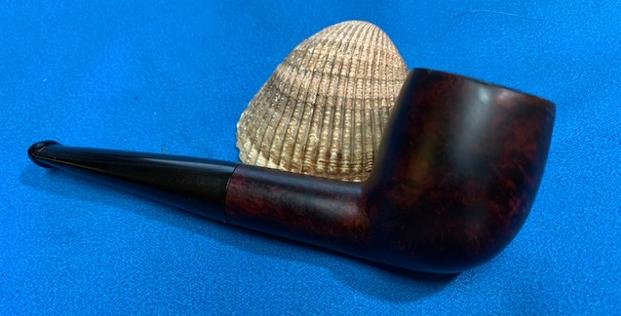
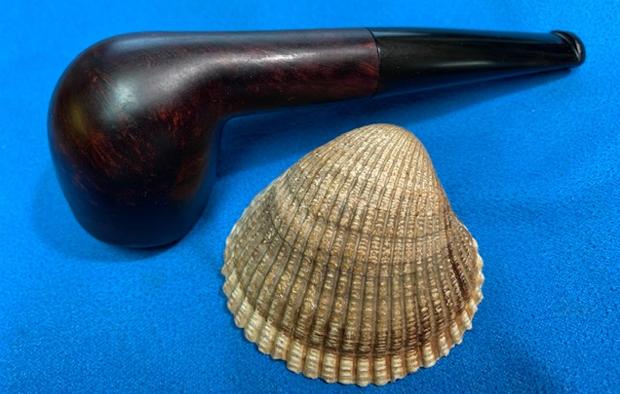
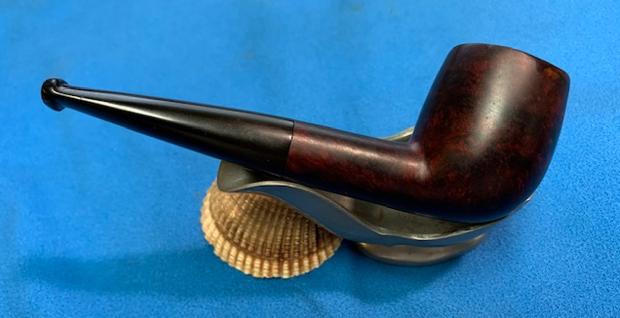
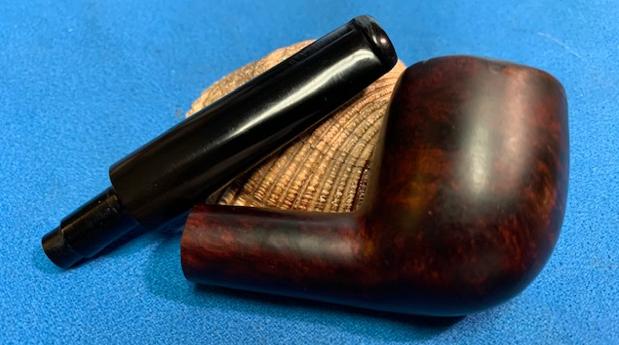
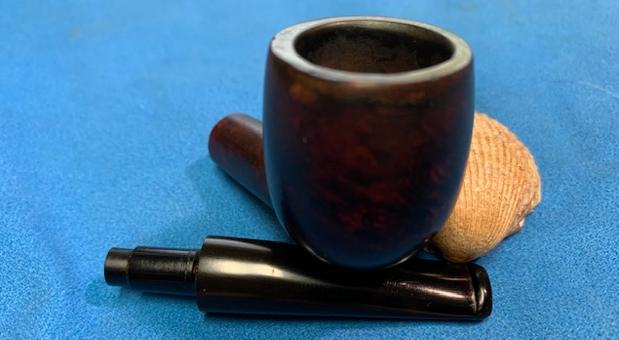
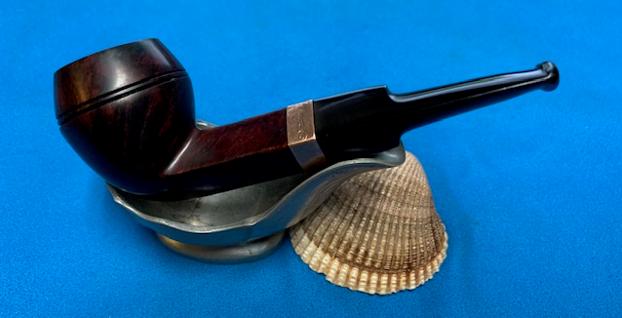
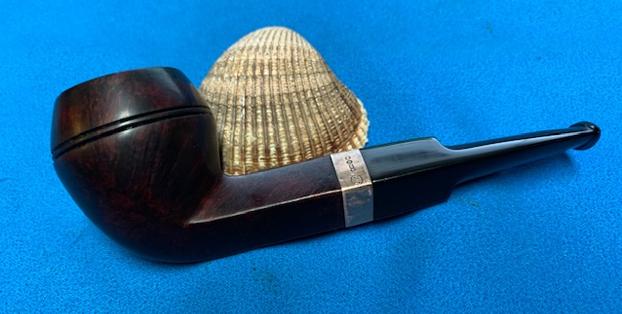
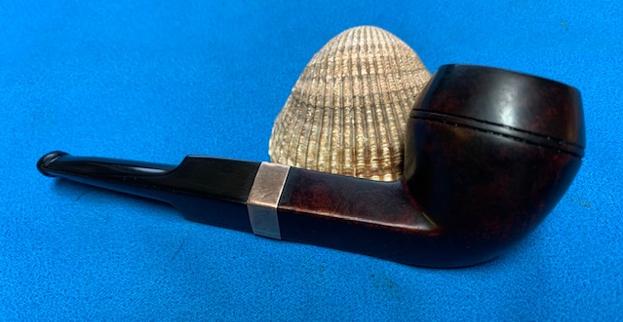
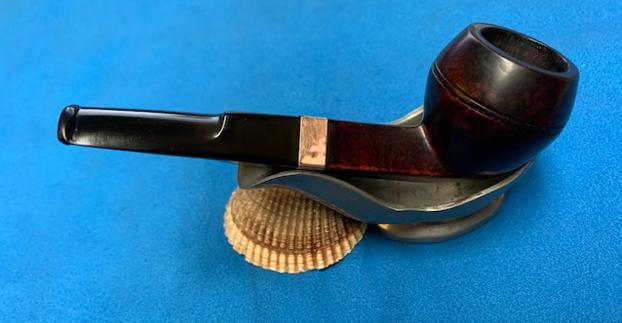
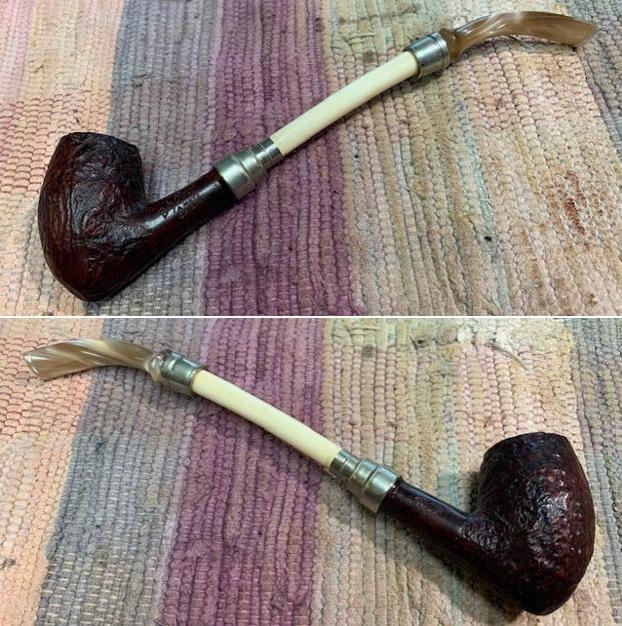
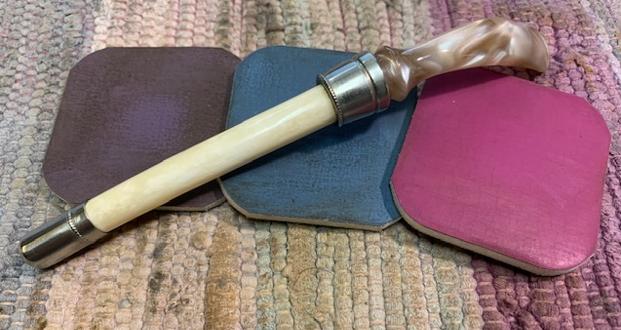
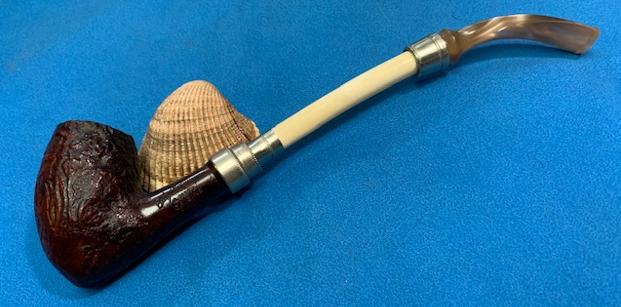
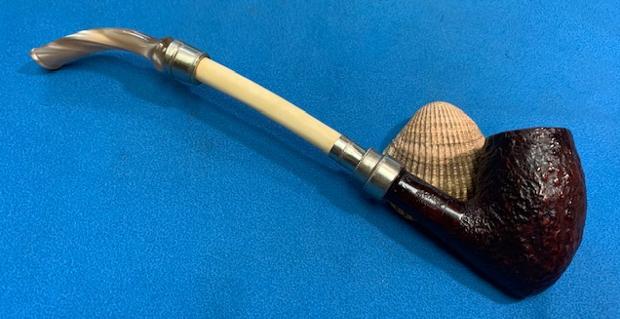
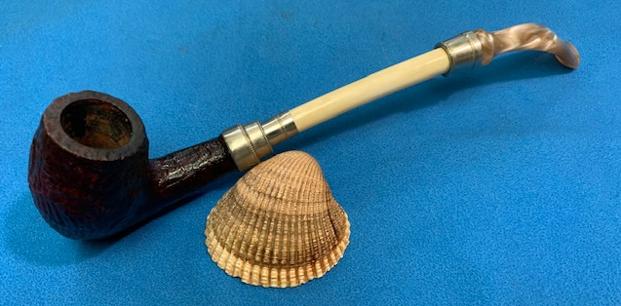
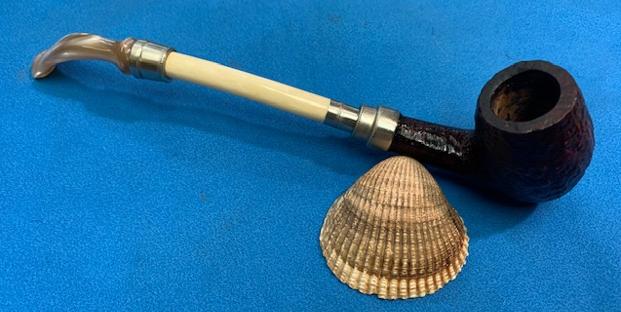
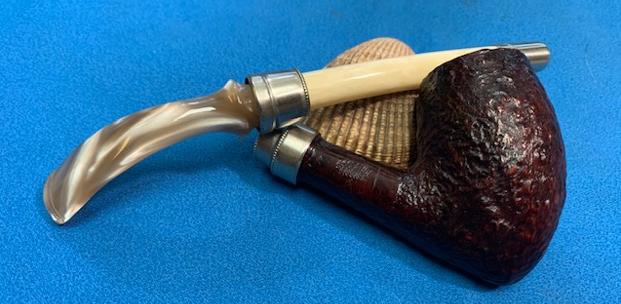
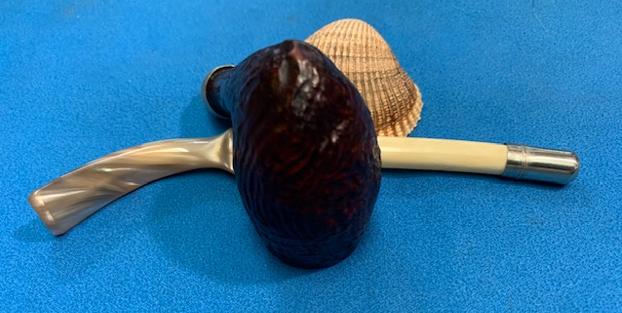
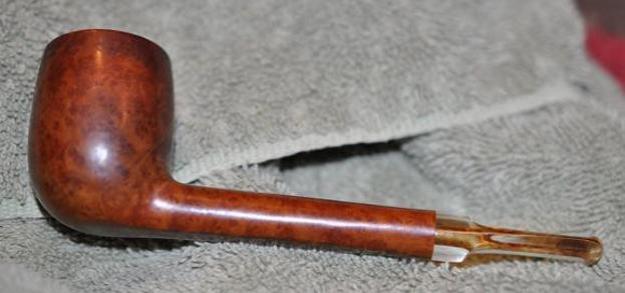
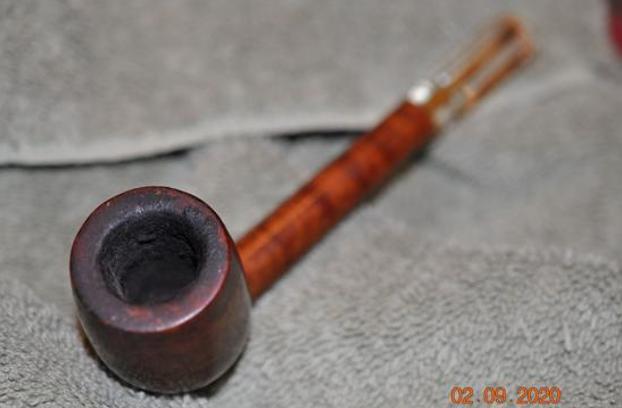
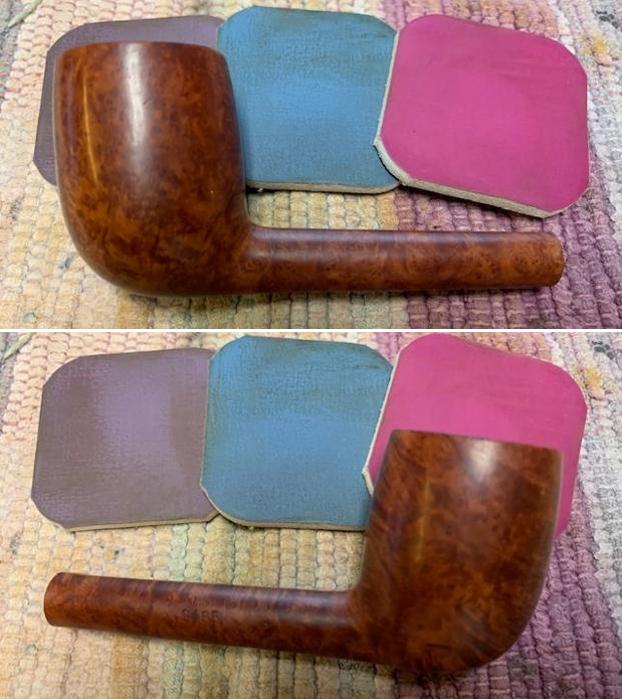
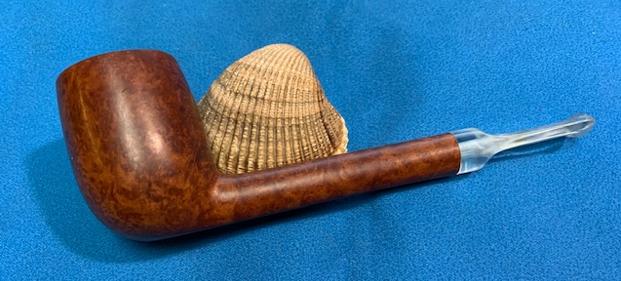
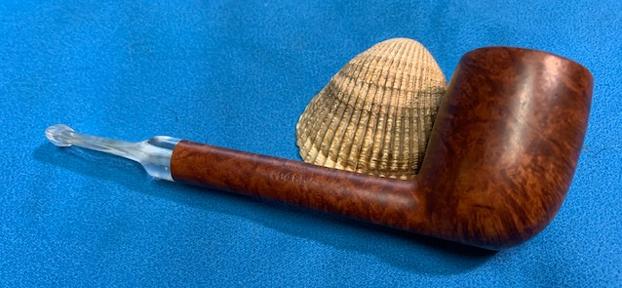
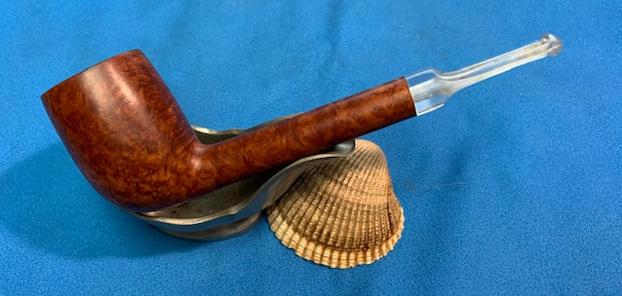
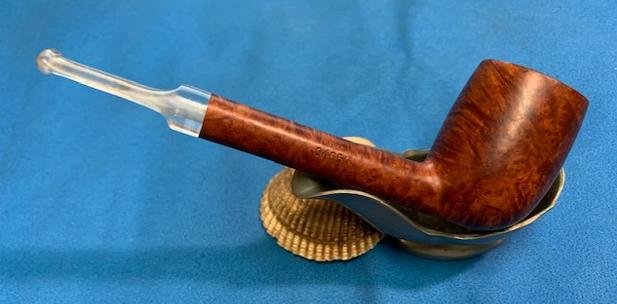
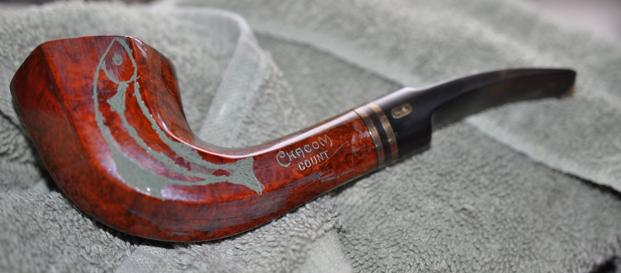
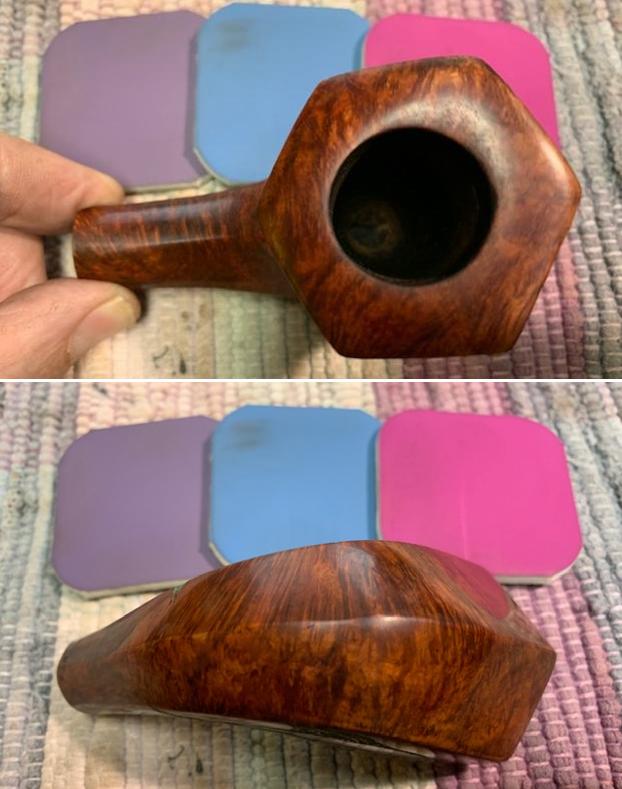
 This pipe has some great grain under the varnish and I have to say that the carving of the fish kind of grew on me during the restoration. This Chacom Count Hexagon Scoop turned out really well. The bowl and shank are hexagonal and the fish carved on the sides look a lot better now. The polished twin brass bands, exotic wood spacer and black of the stem works well with the briar. The grain in the briar really came alive with the buffing. The rich brown stains of the finish make the grain really pop with the polishing and waxing. I put the stem back on the bowl and carefully buffed the pipe with Blue Diamond on the buffing wheel. I gave the bowl and the stem multiple coats of carnauba wax on the buffing wheel. I buffed the pipe with a clean buffing pad to raise the shine. I hand buffed the pipe with a microfiber cloth to deepen the shine. The finished Chacom Count really has a unique beauty and feels great in the hand. It looks very good. Give the finished pipe a look in the photos below. The dimensions of the pipe are Length: 6 ½ inches, Height: 2 ¼ inches, Outside diameter of the bowl: 1 ¾ inches, Chamber diameter: ¾ of an inch. The weight of the pipe is 71 grams/2.54 oz. The pipe will be going on the rebornpipes store soon. It will be in the section on French Pipe Makers if you would like to add it to your collection. Thanks for reading this blog and my reflections on the pipe while I worked on it. It was a fun one to work on!