Tag Archives: removing tooth marks

One from the Bizarre and Unsuccessful: An LHS LiteAPipe Patent Apple


Blog by Steve Laug

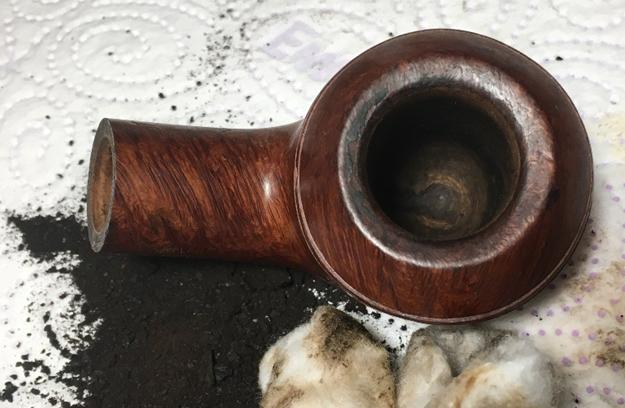
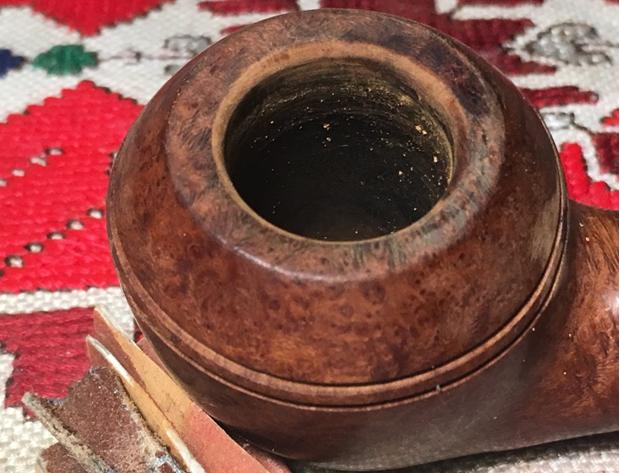
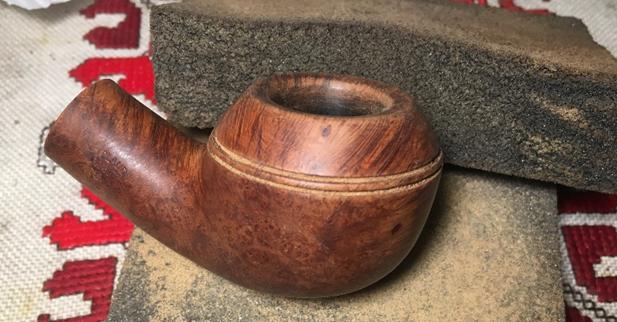
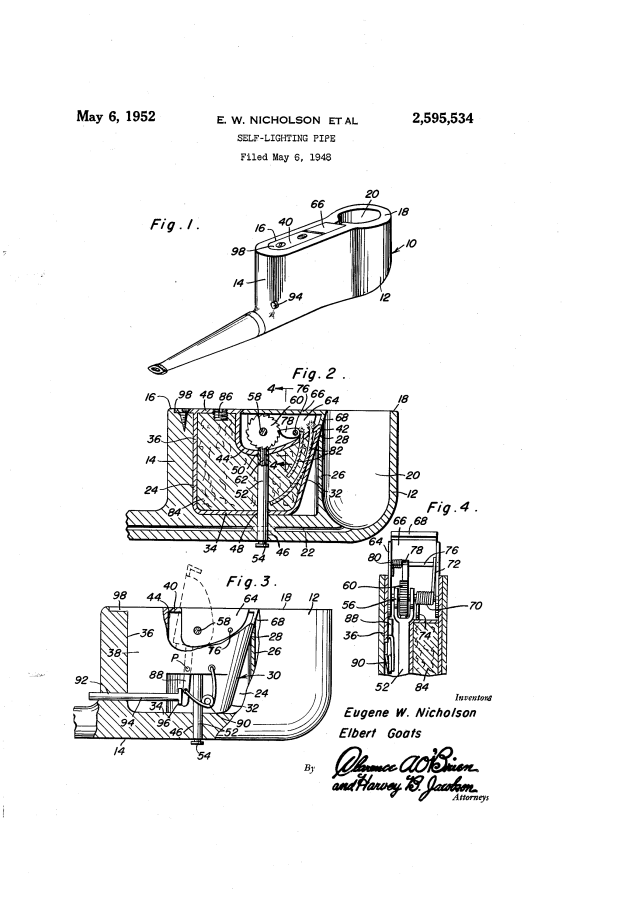
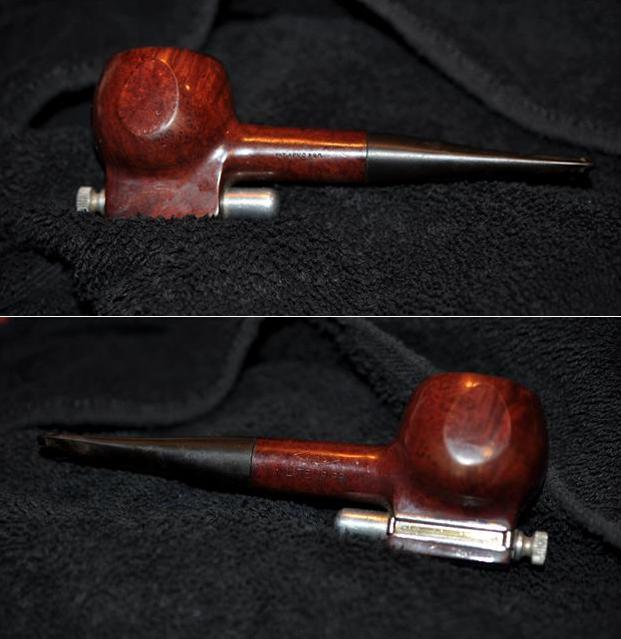
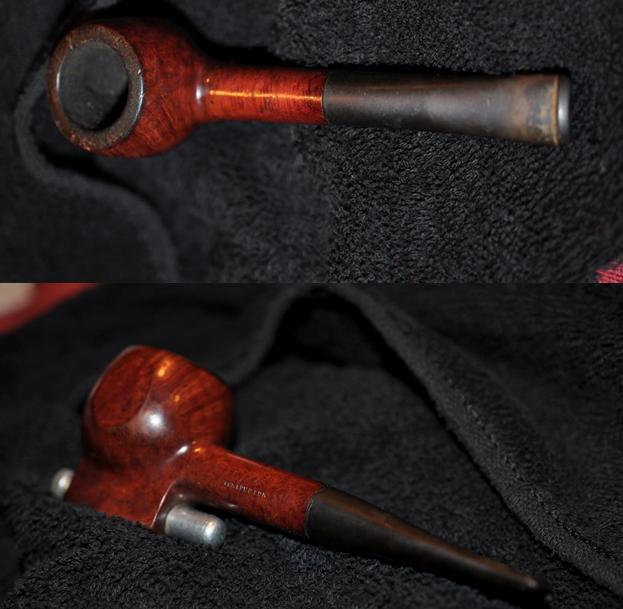
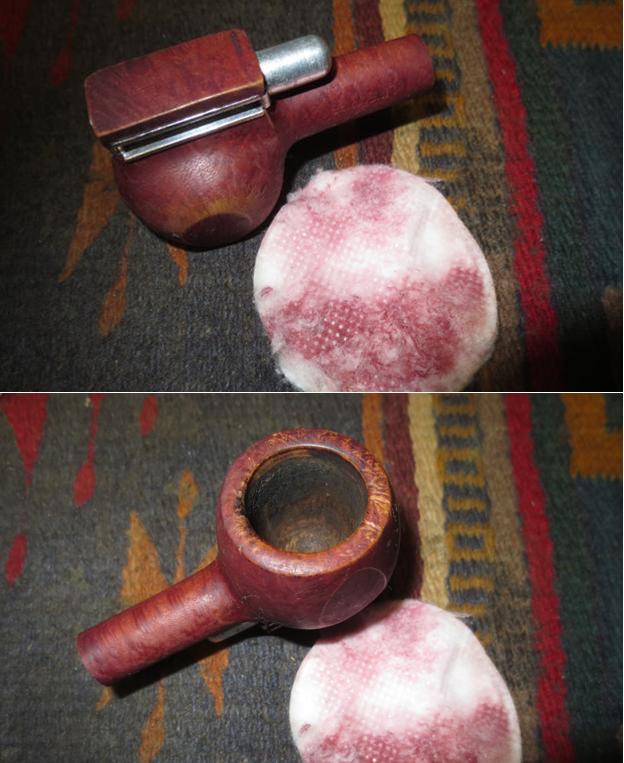
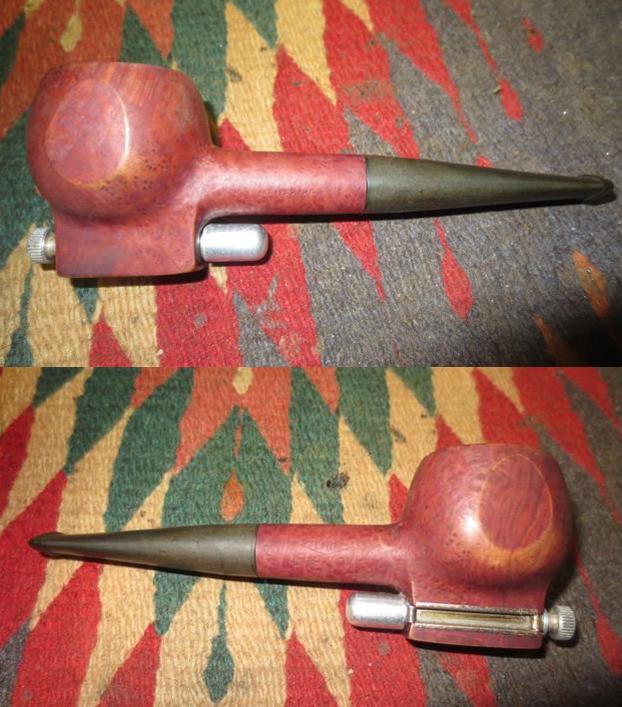
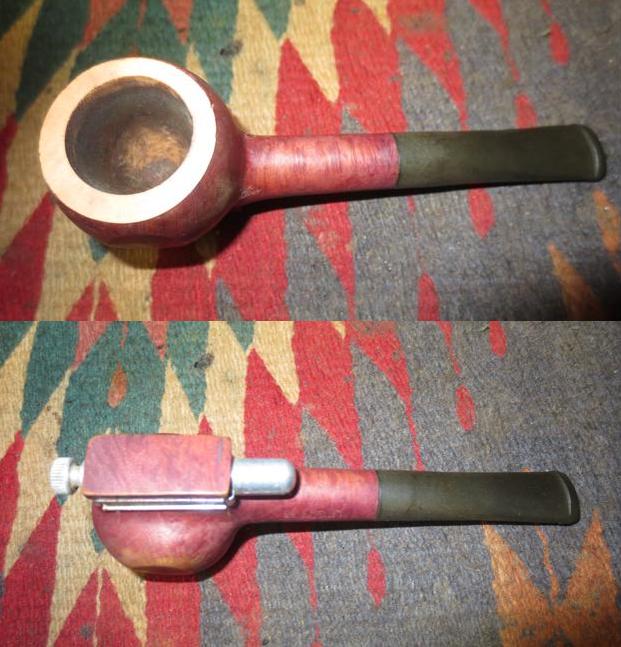
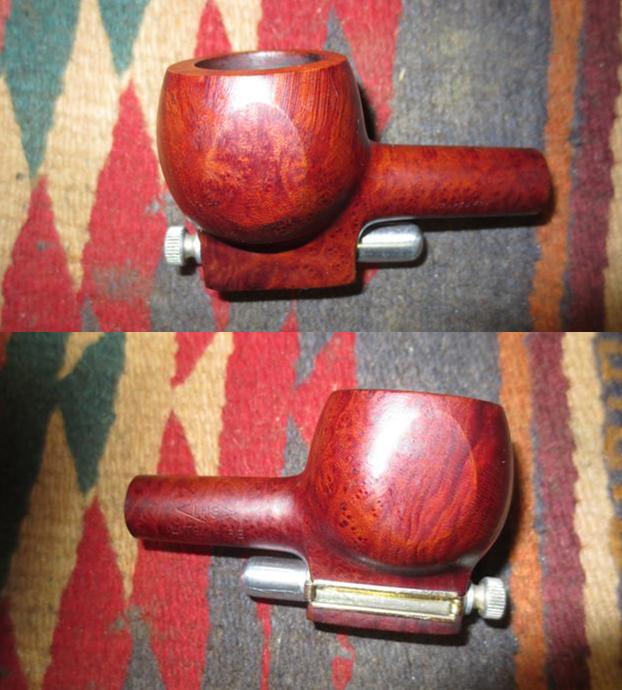
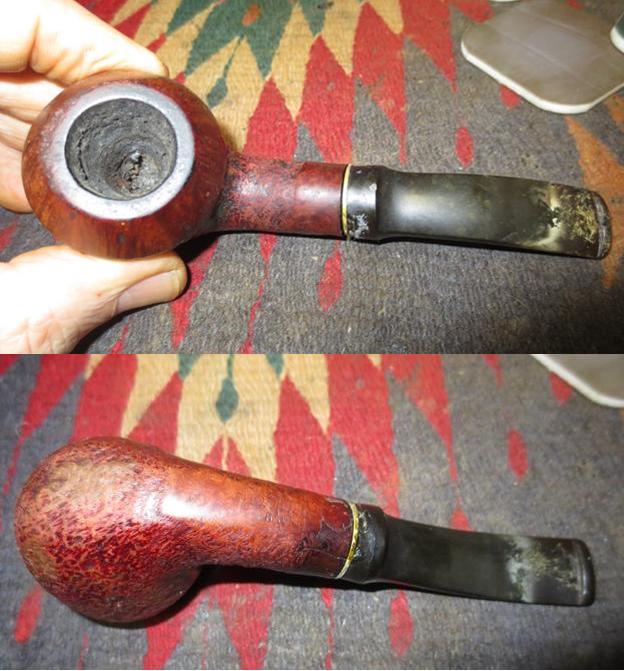
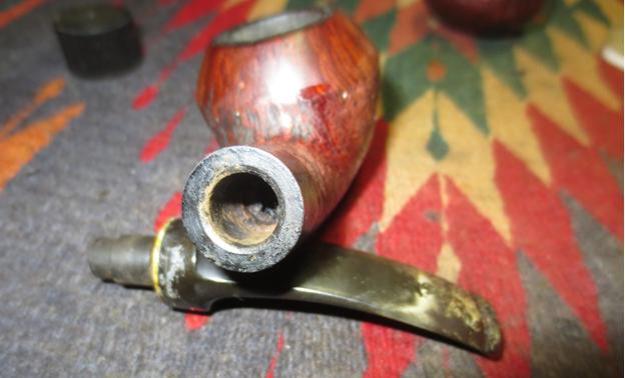
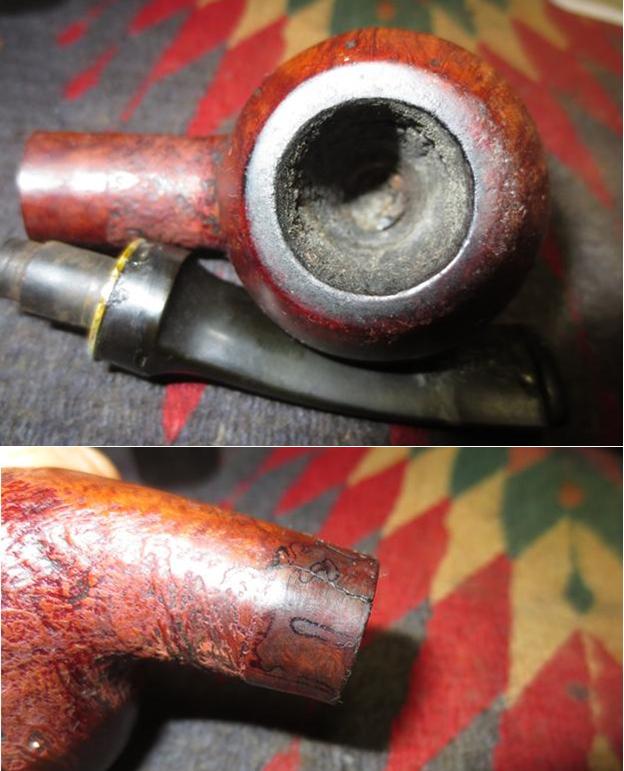
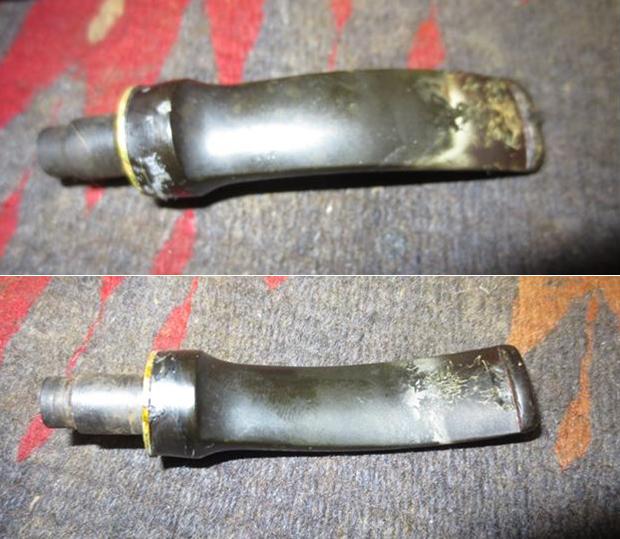
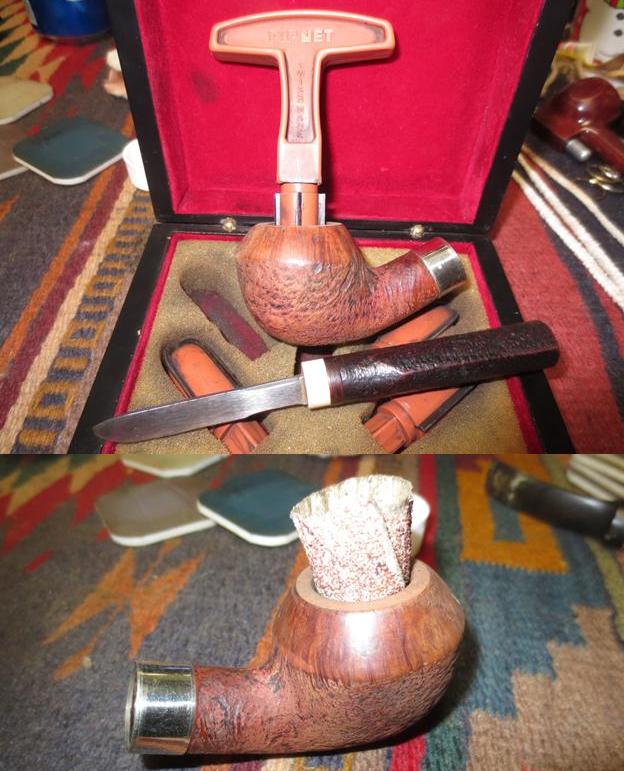
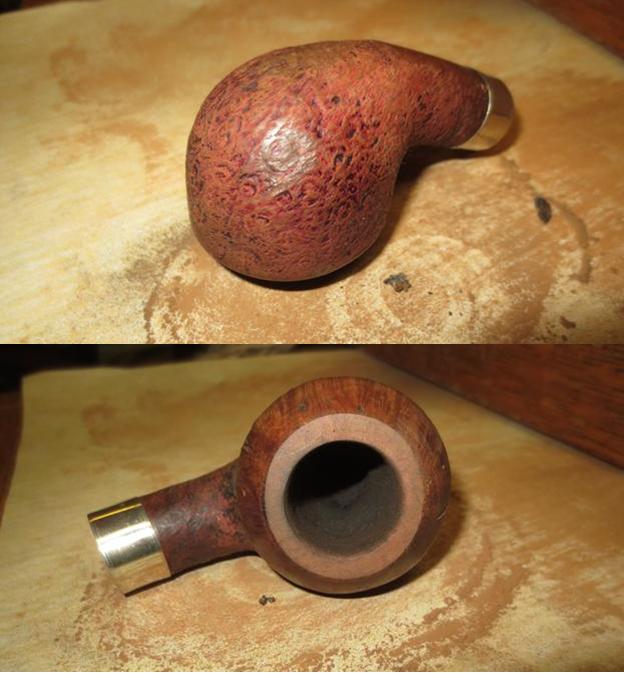
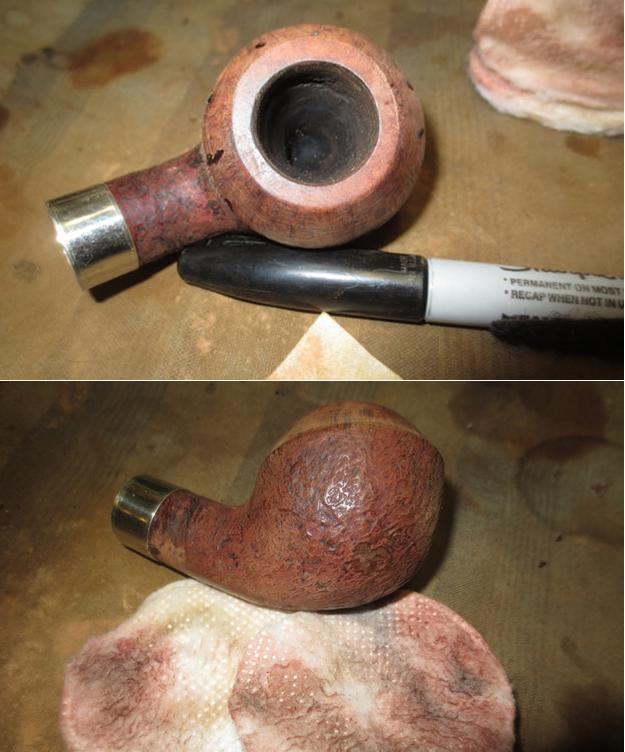
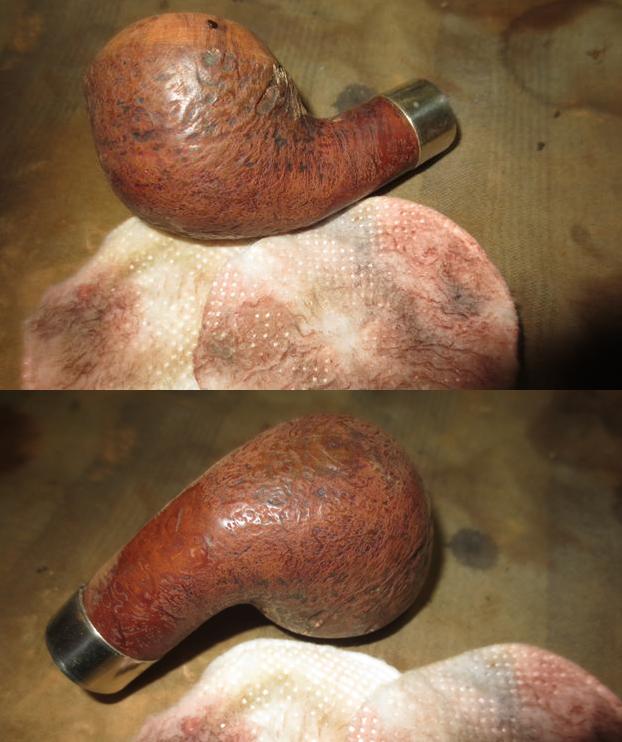
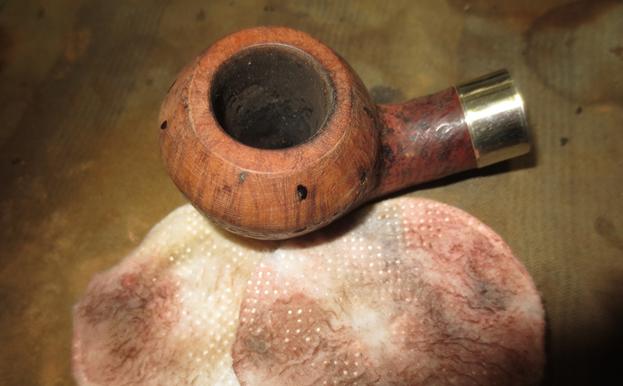
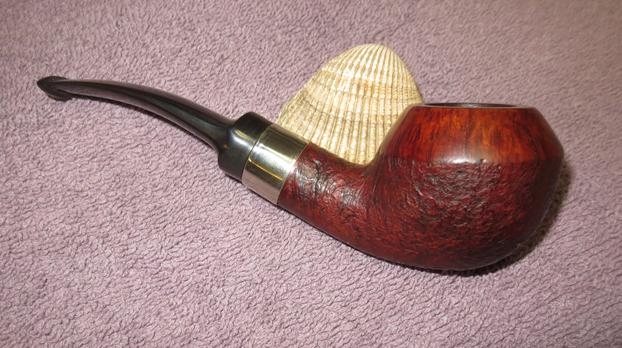
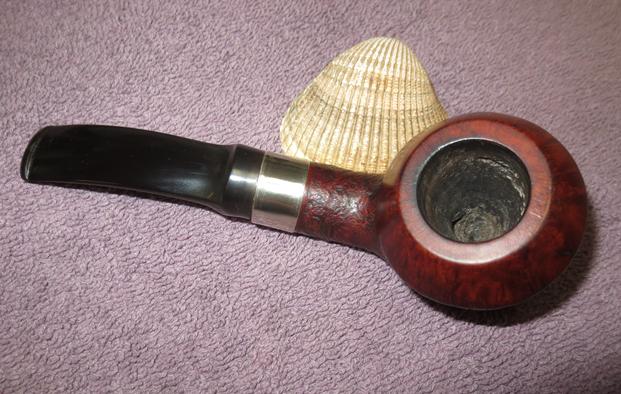
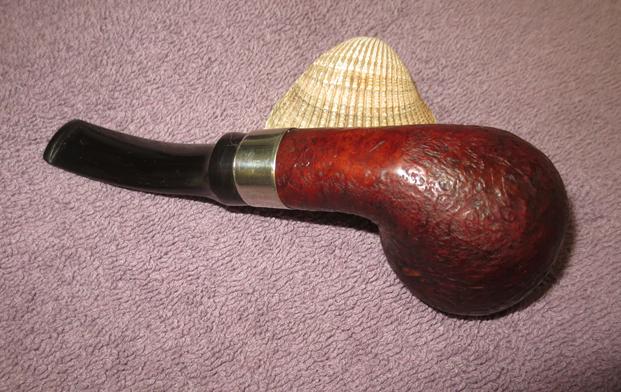
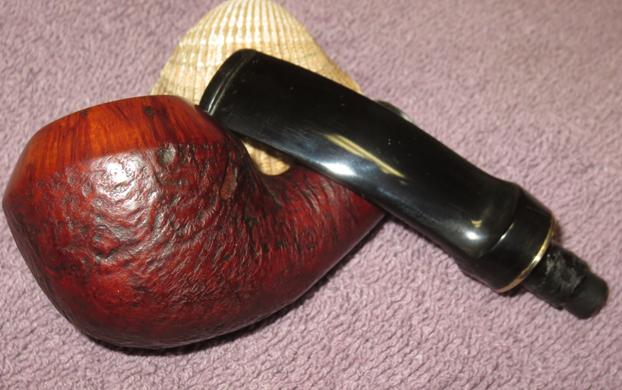
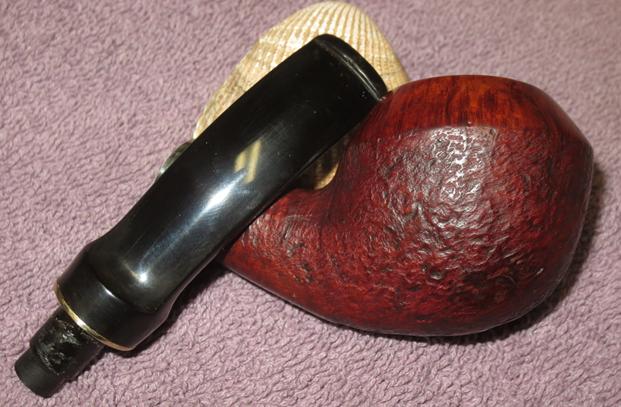
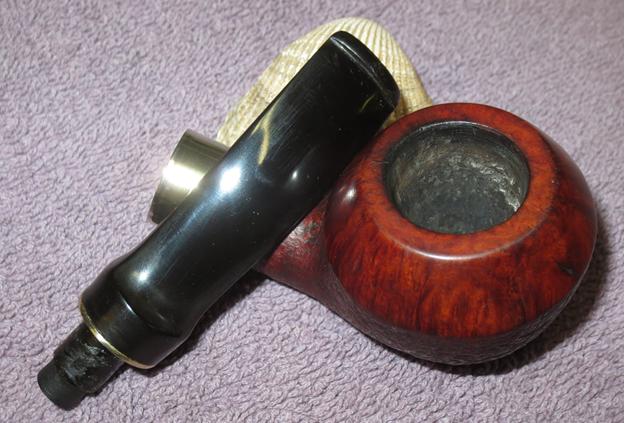
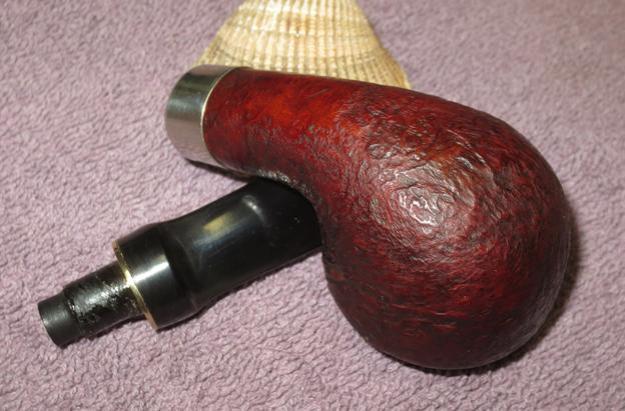
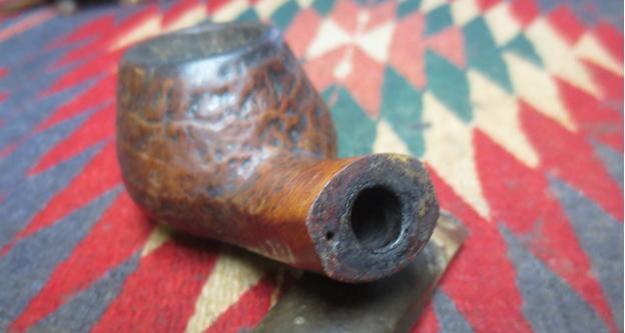
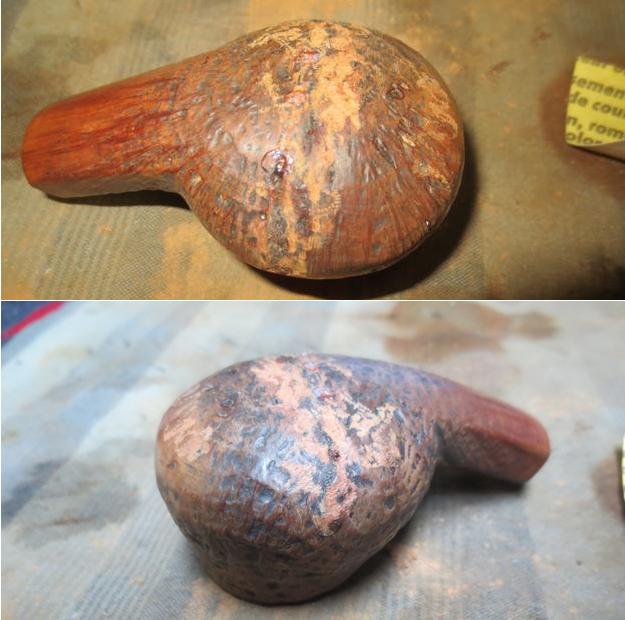
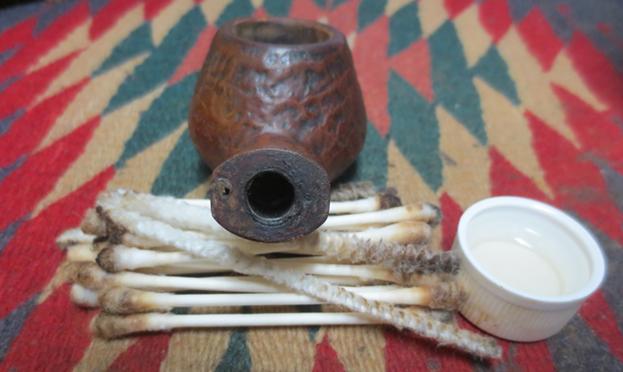
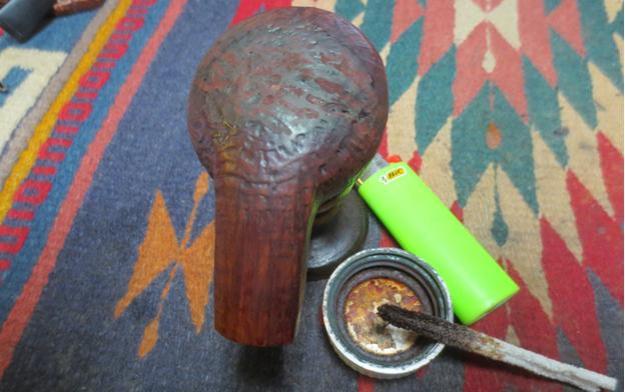
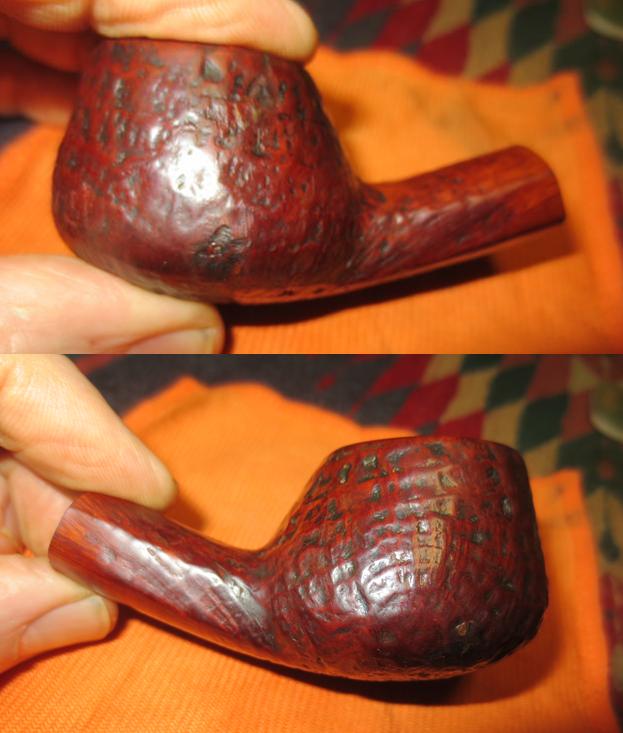
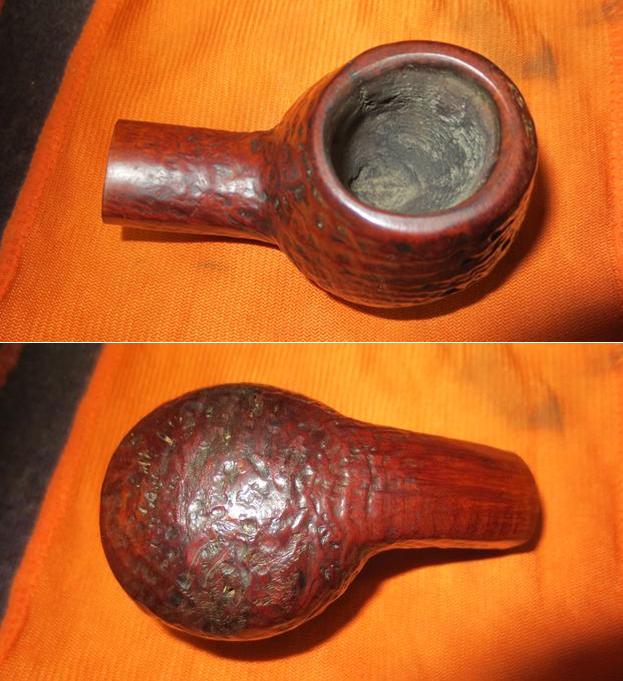
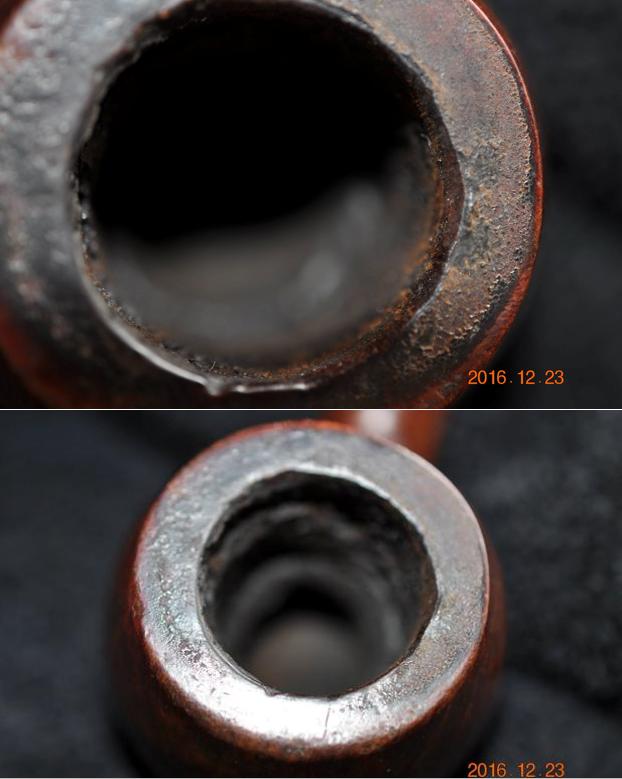
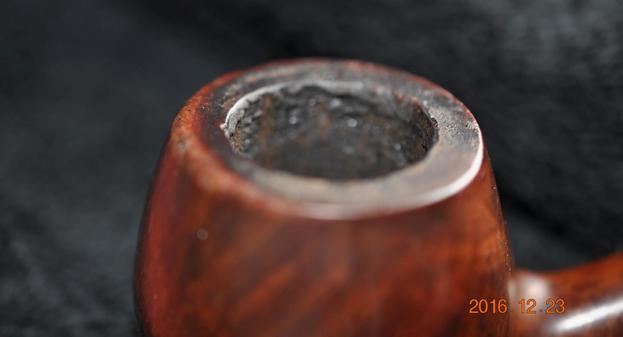
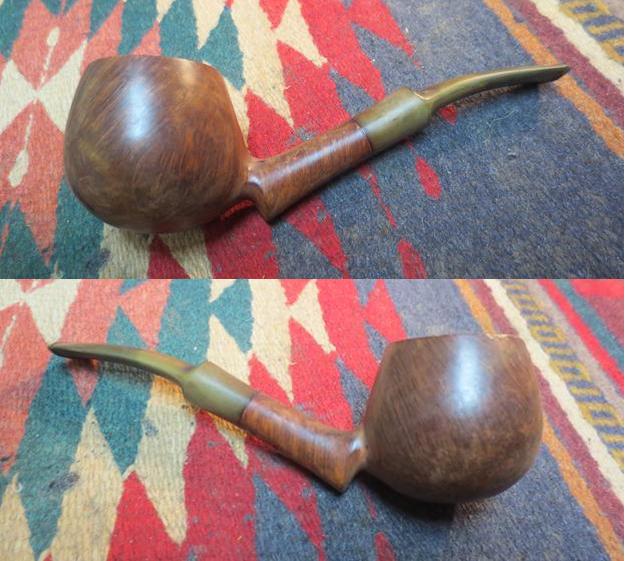
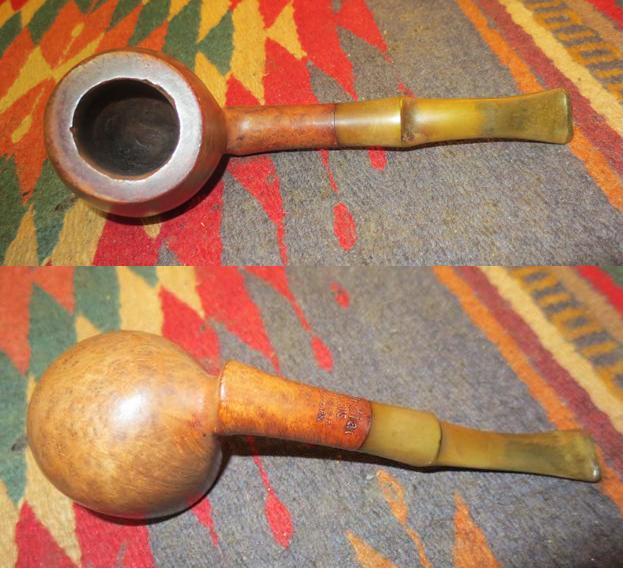
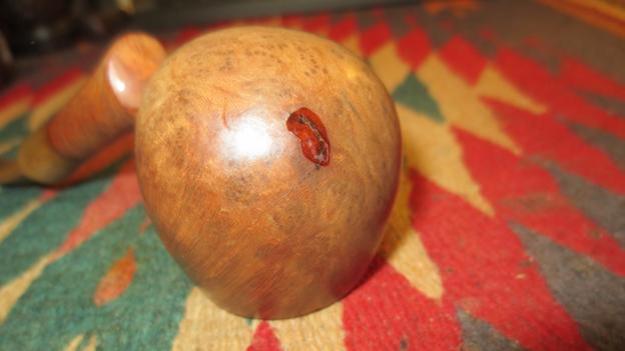
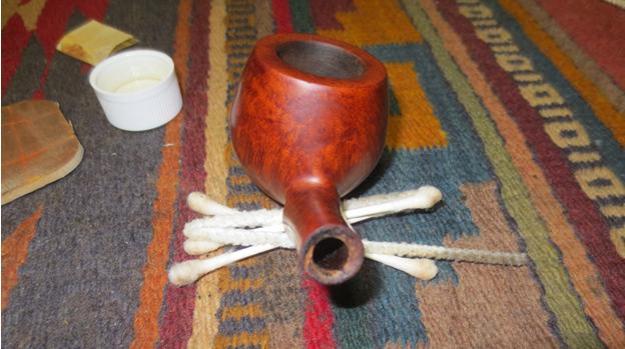
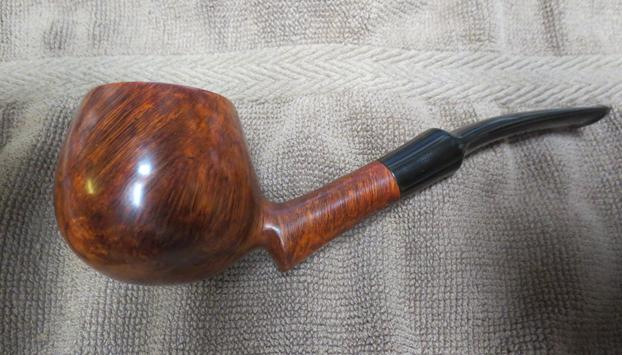
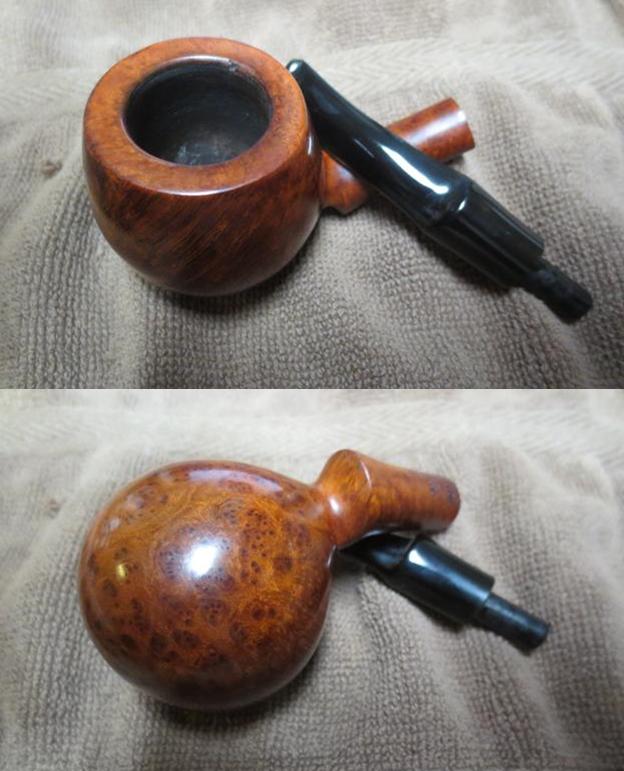
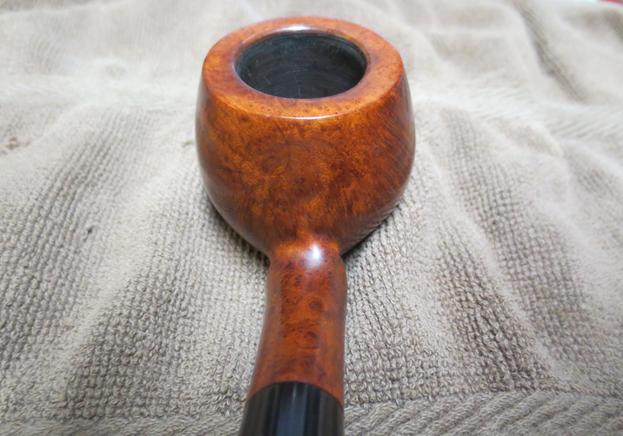
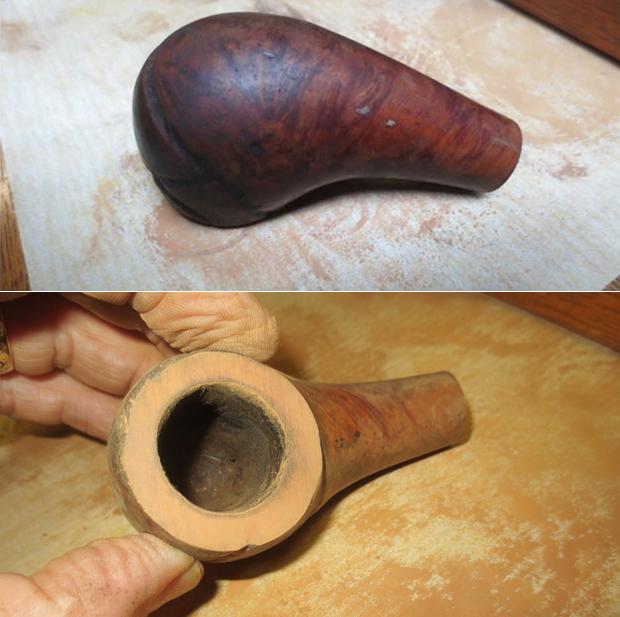
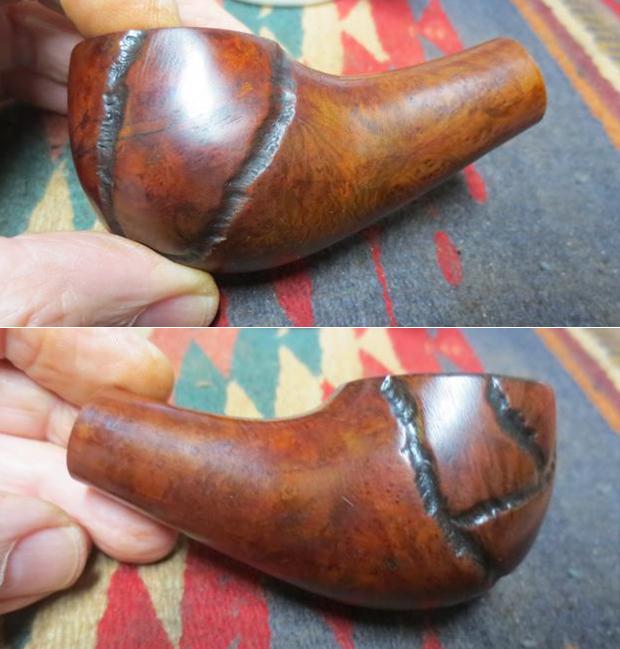
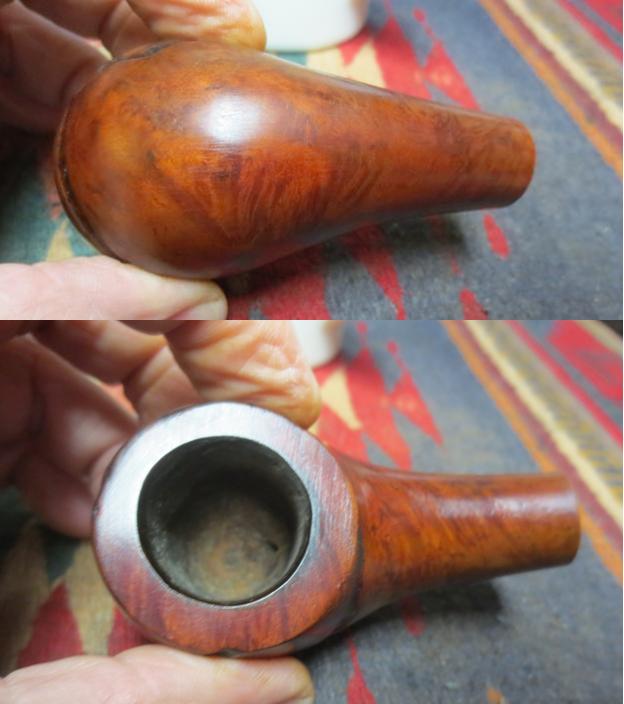
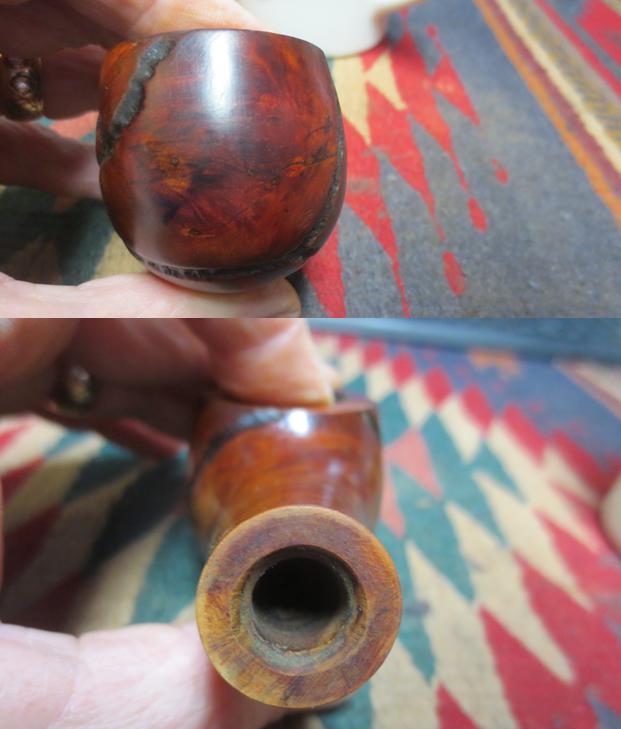
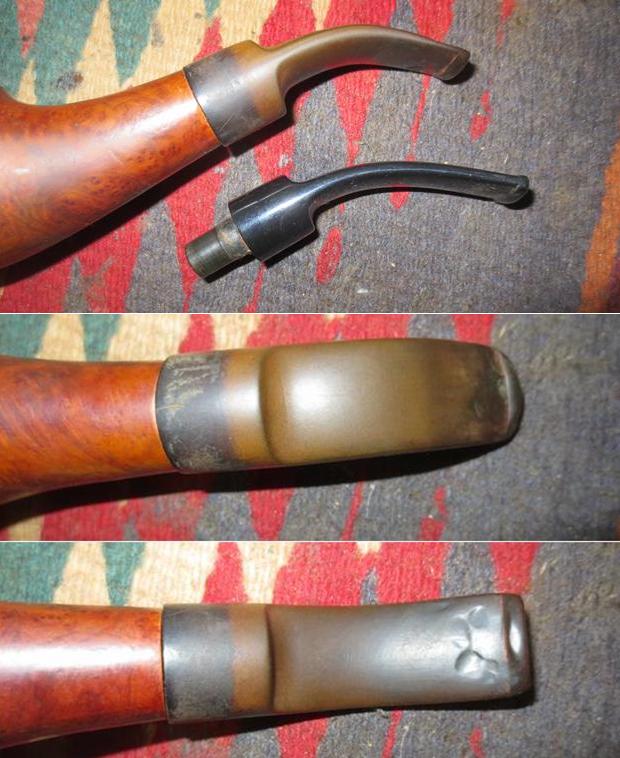
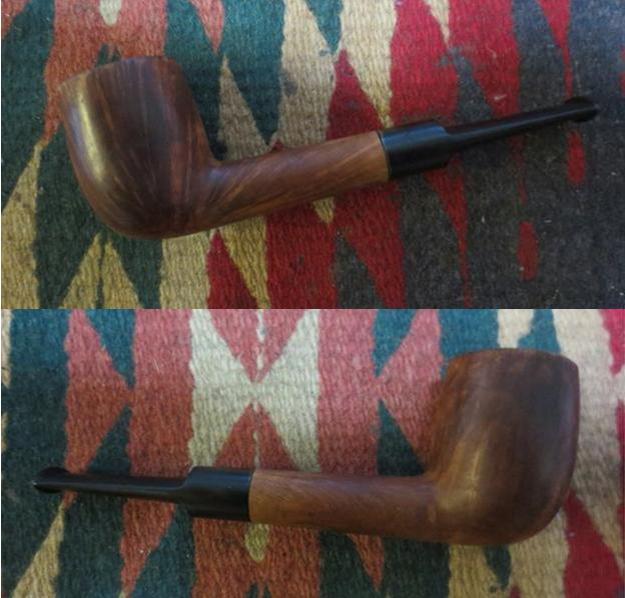
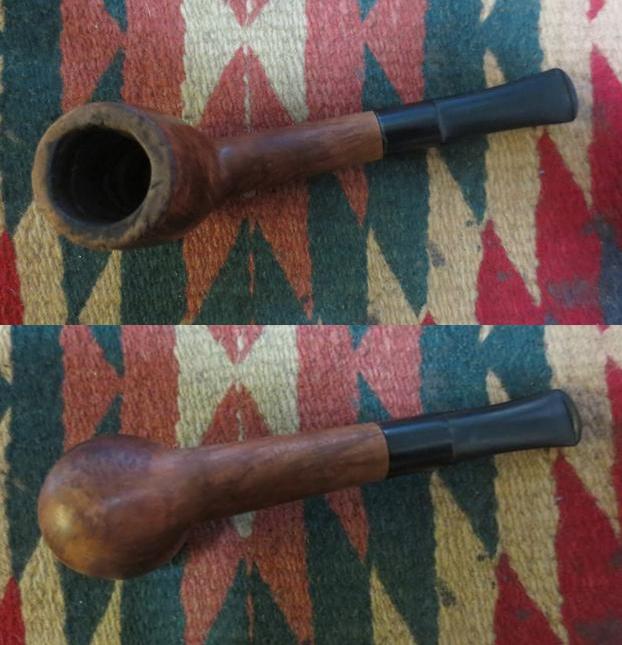
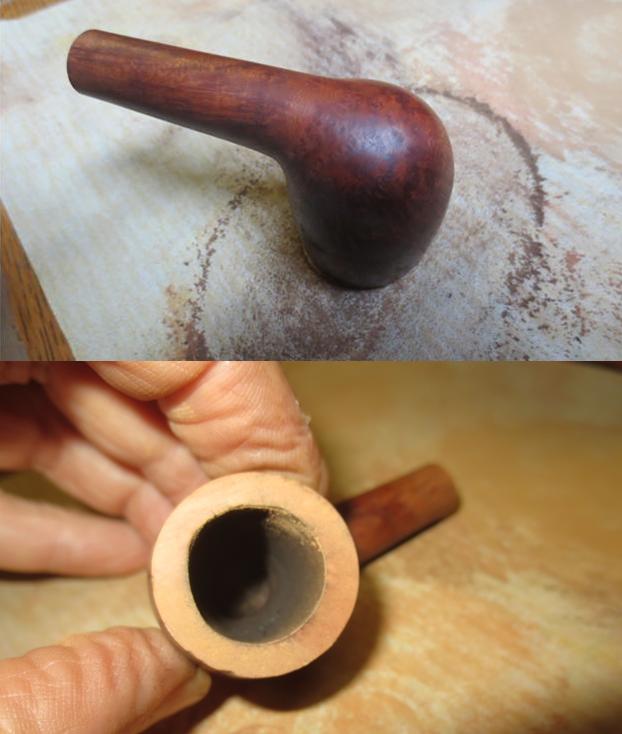
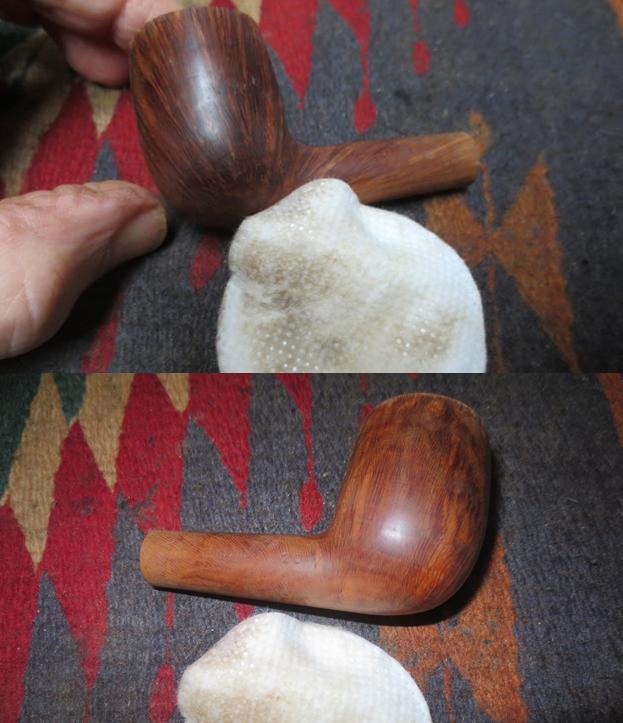
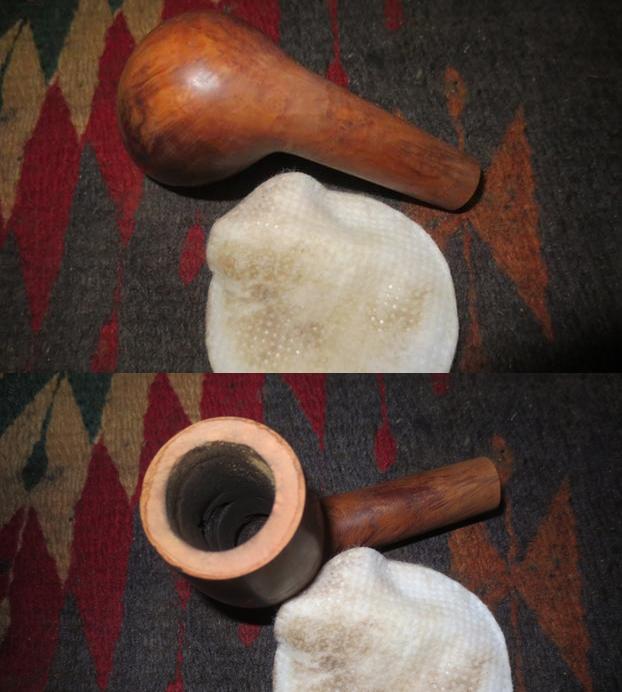
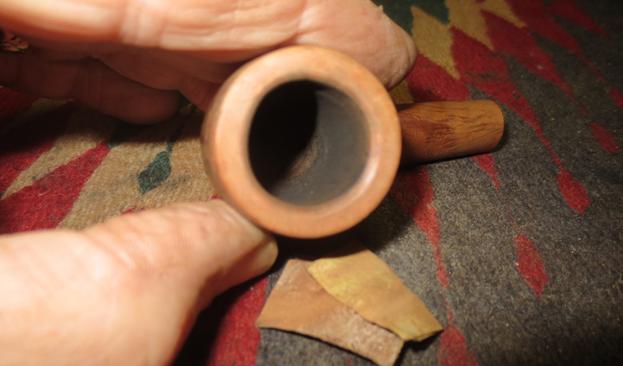
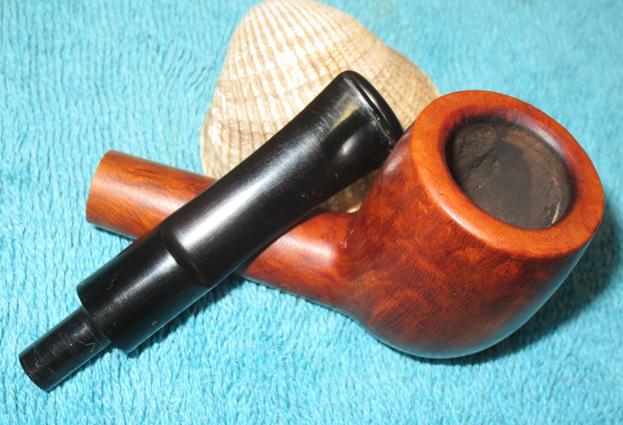
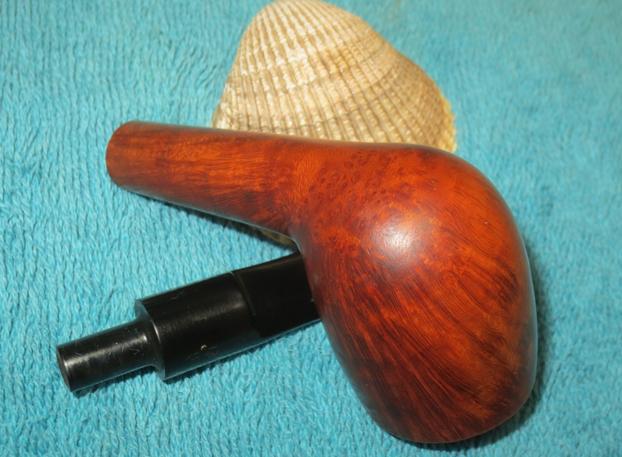
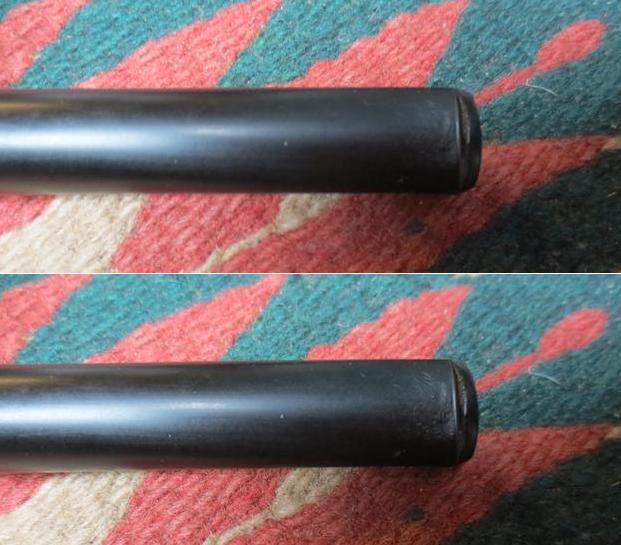
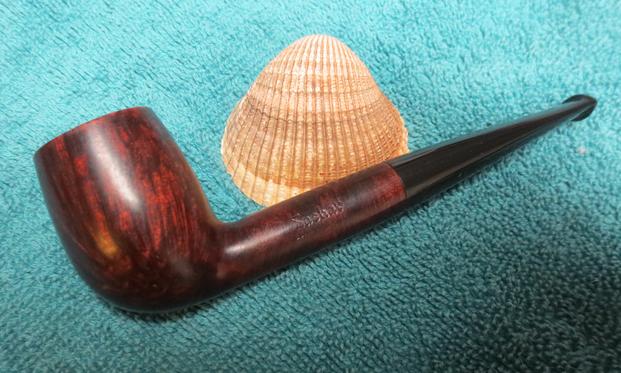
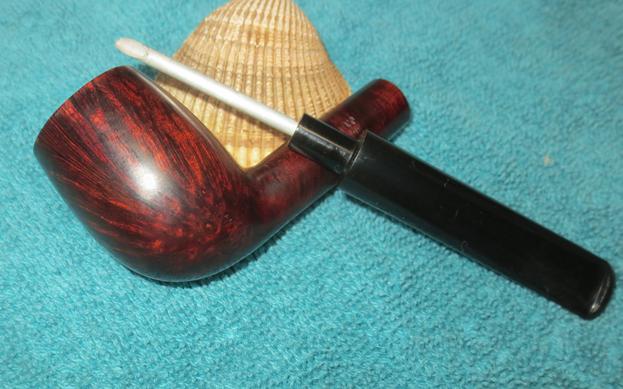
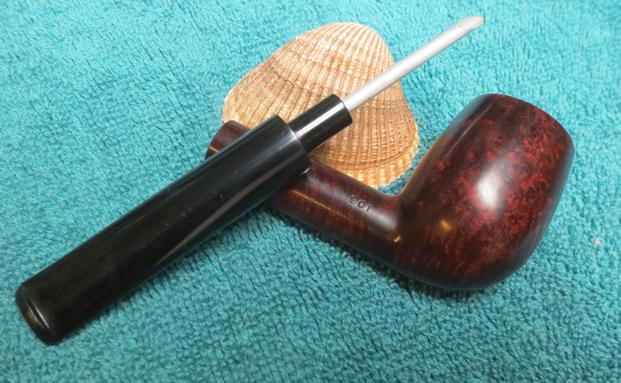
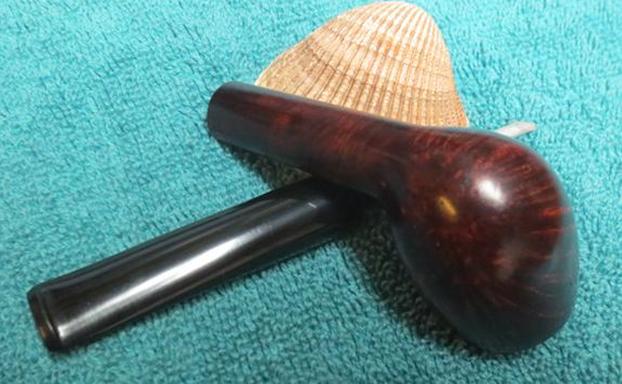
This pipe is one that never seems to have made a real impact on the market. I have never seen another one and I really like LH Stern or LHS pipes. I have had quite a few cross my work table over the years. It is an oddity to my mind. It is an apple shaped pipe with a contraption on the bottom that is a part of the bowl. My brother sent me a link to the eBay sale and it was one that I wanted to have for the collection. I have nothing like it and I wanted to see if I could figure out how the contraption on the bottom worked. The seller included some photos of the condition of the pipe. The finish had a thick varnish coat that was peeling and the seller seemed to wipe it down with furniture polish or wax to make it shine. The metal contraption on the bottom was dirty and the knurled handle on the front was intriguing and the bullet shaped cap on the back of the bowl was also interesting. The pipe is five inches long and very light weight. The rim top was pretty beat up from knocking it out on a hard surface. The nicks and chips in the surface while not deep were numerous and made the surface rough. There was a thick cake in the bowl and the lava had run over the bowl onto the rim top. The bowl had a flat panel on each side that had the finish worn off around the edges. The stamping on the pipe was very clean and strangely it was opposite of most other pipes that I have seen. The name is stamped on the right side and the patent information is on the left. It is stamped on the left side of the shank Pat Apl’d For and on the right side it is stamped with the LHS Diamond and under that LiteAPipe. I did some searching on the US Patent website and could find no information on the brand or the design. I also searched for the series name and found nothing either. The pipe was a mystery. I could not wait to get a hold of it and take it apart and see what I could figure out.While I waited for the pipe I broadened my search for self lighting pipes to see if I could find anything with a search that wide. I found three patents for the same kind of concept – two from the 1940s and one from the 1920s. They have the same basic idea of combining a lighting mechanism within the pipe itself to lessen the tools that the pipeman needs to carry. While there are similarities none of them are really close to the design of this old pipe. I think though that these links help establish a time period.

Here are the links and the patent drawing photos:

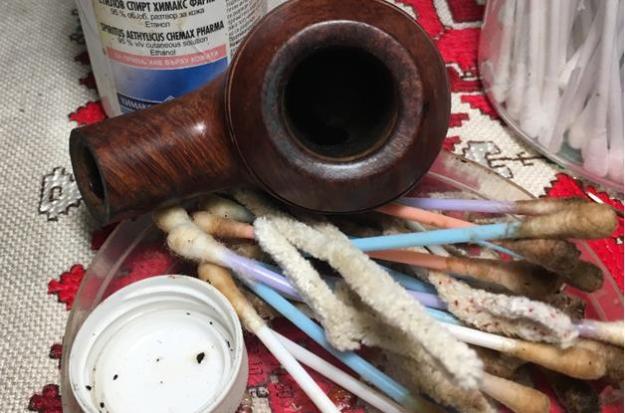
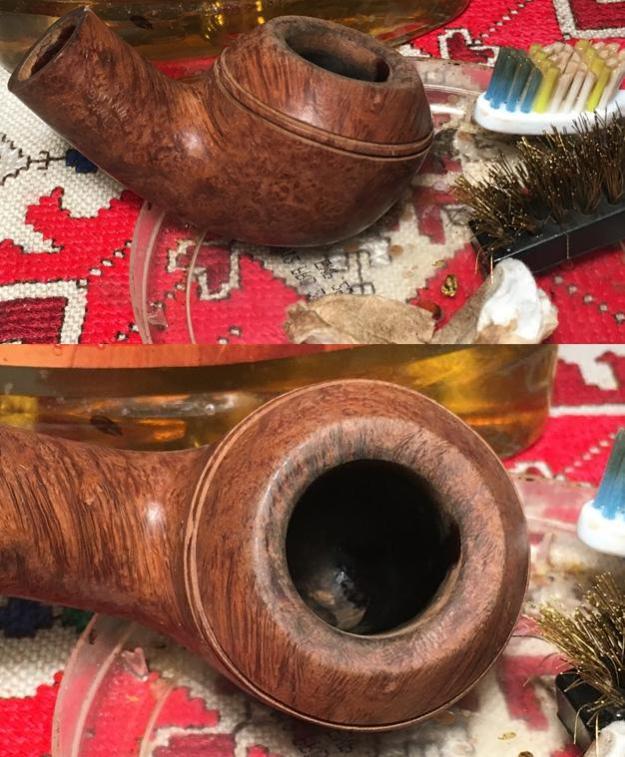
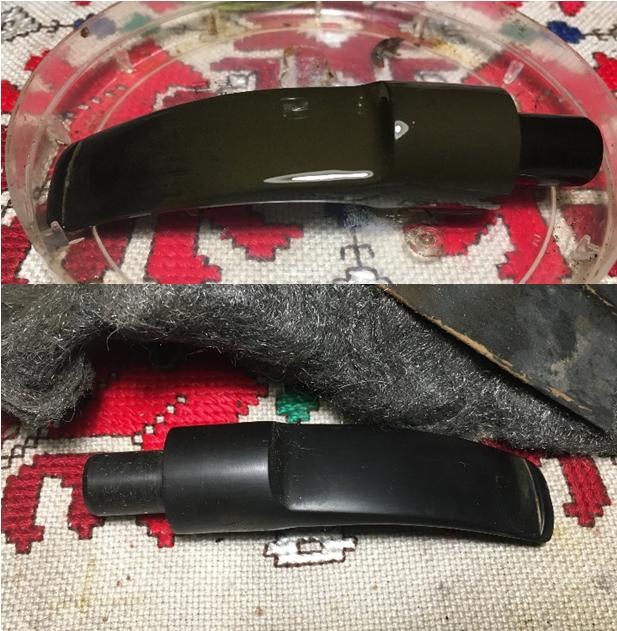
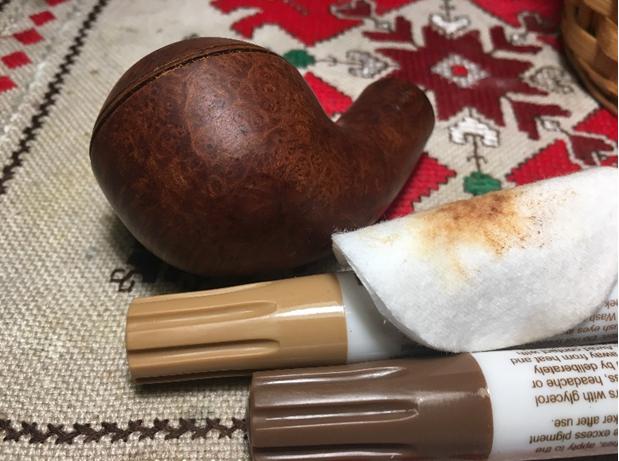
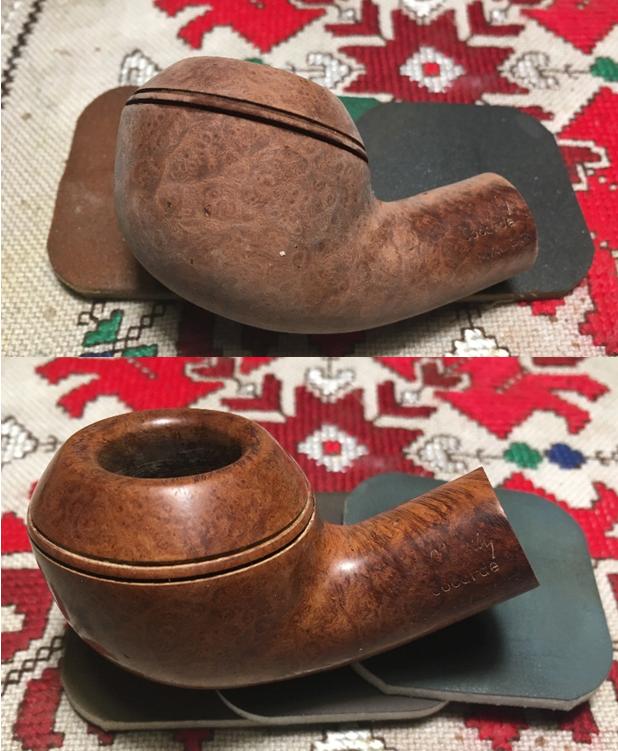
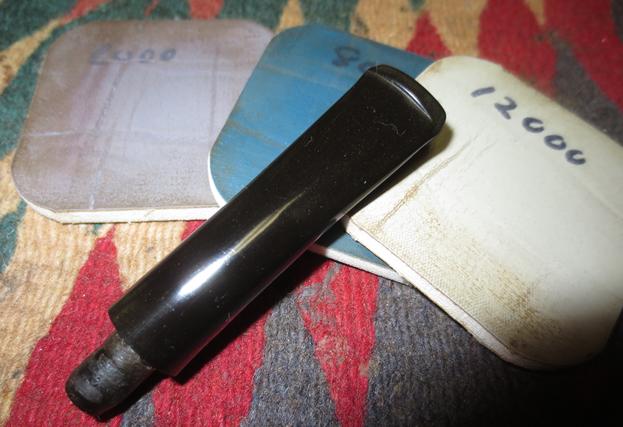
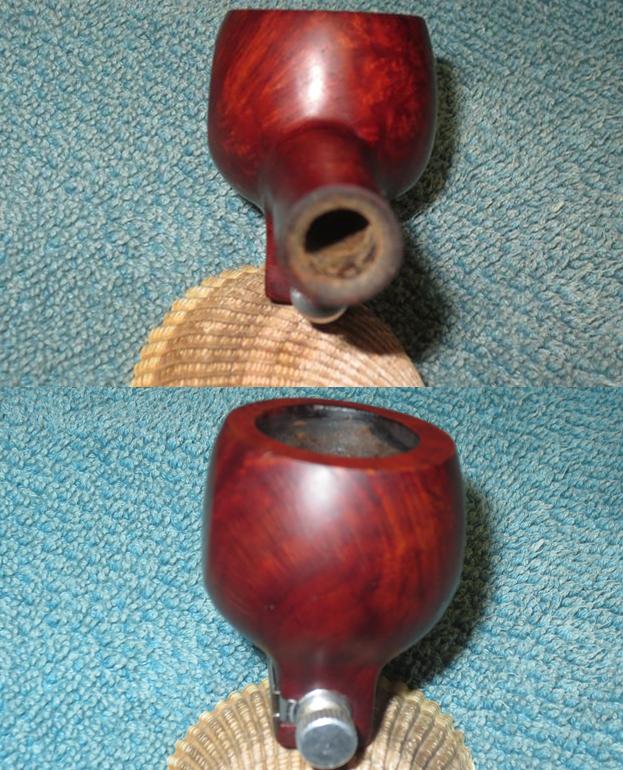
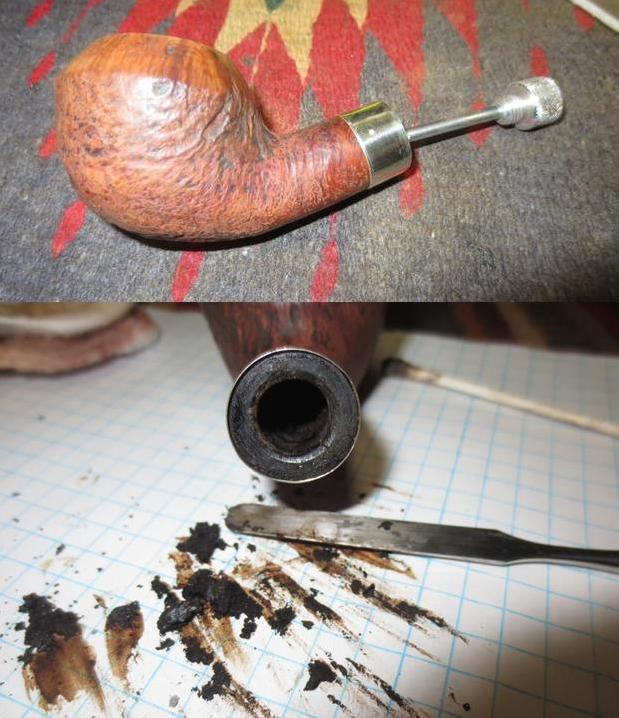
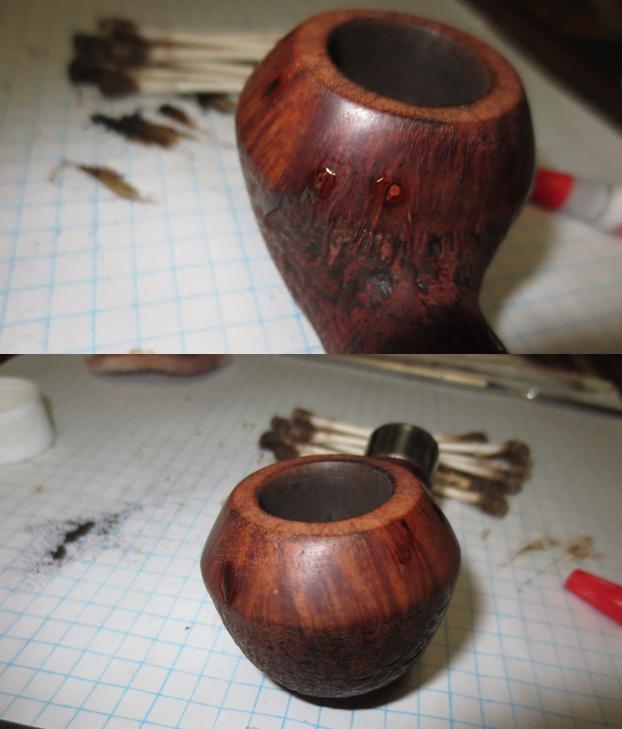
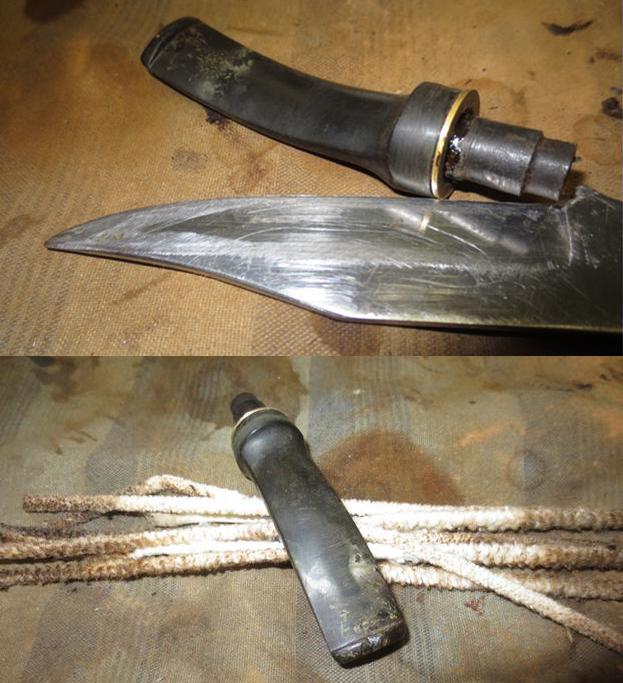
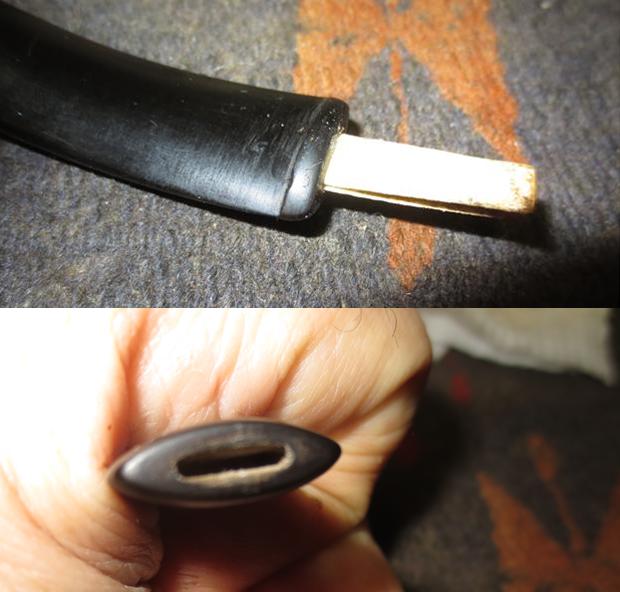
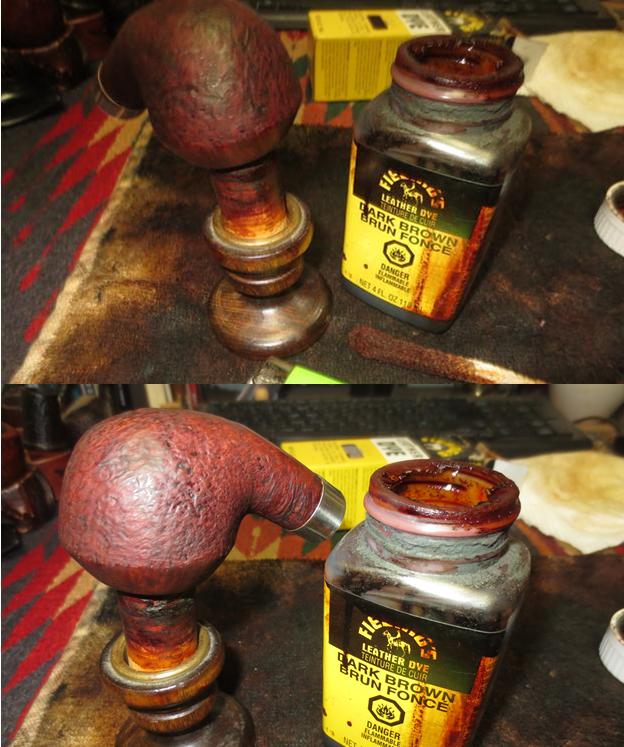
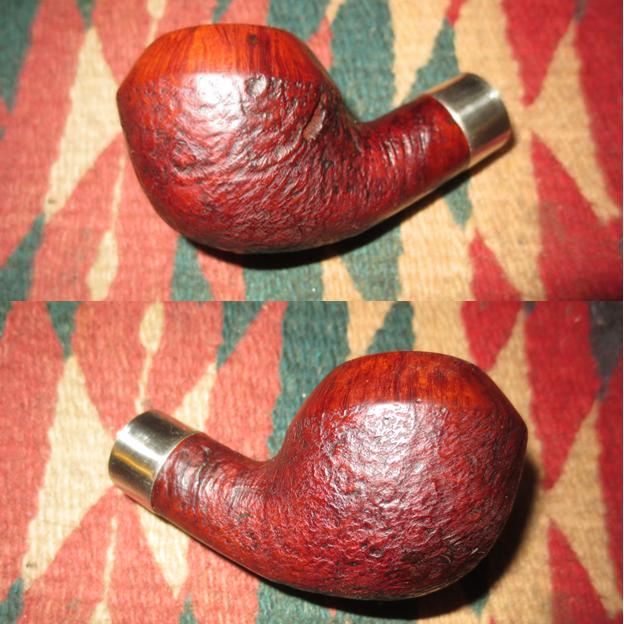
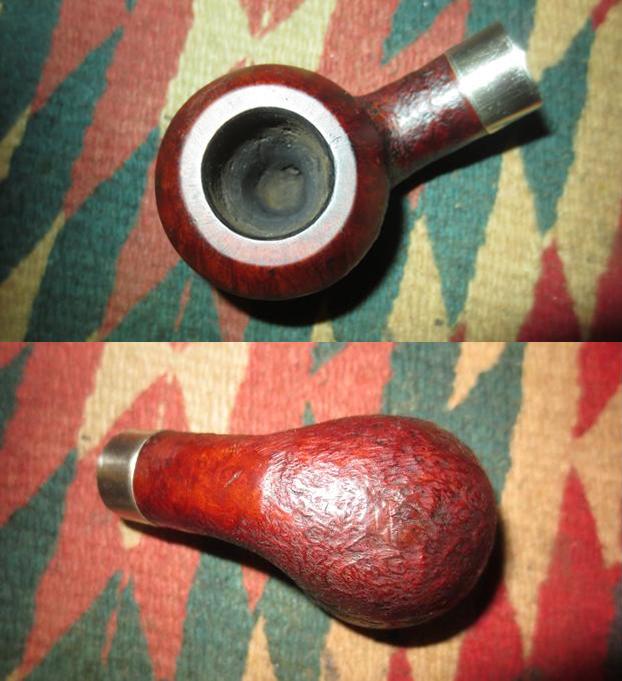
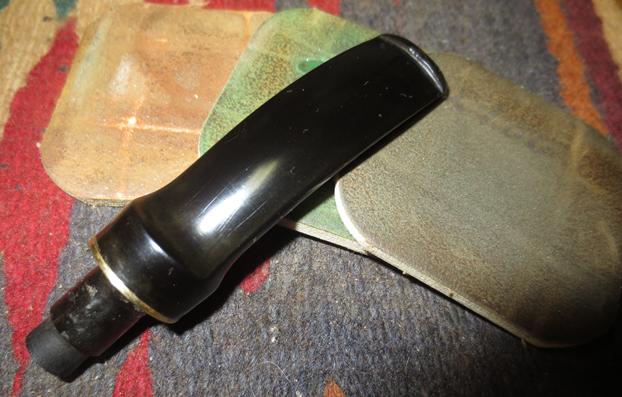
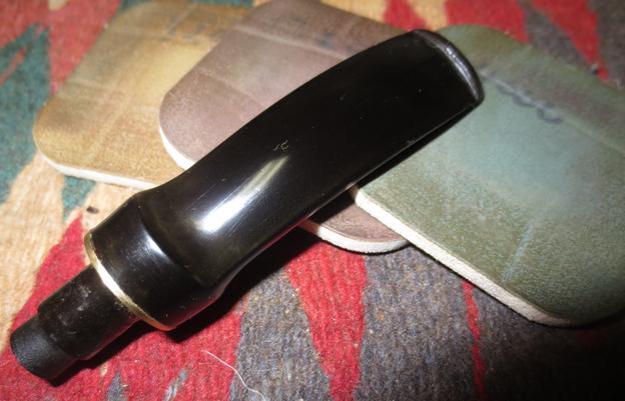
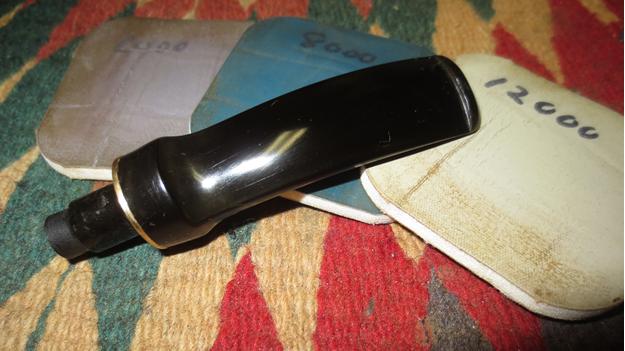
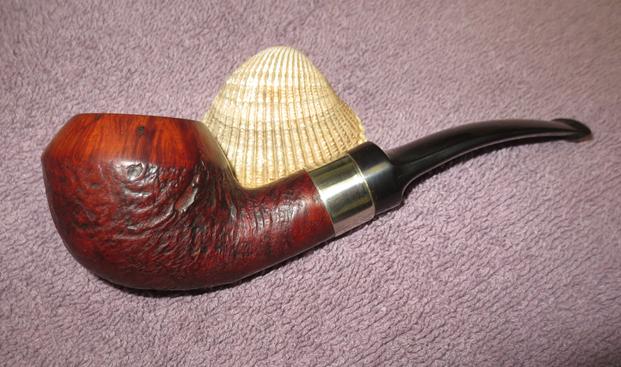
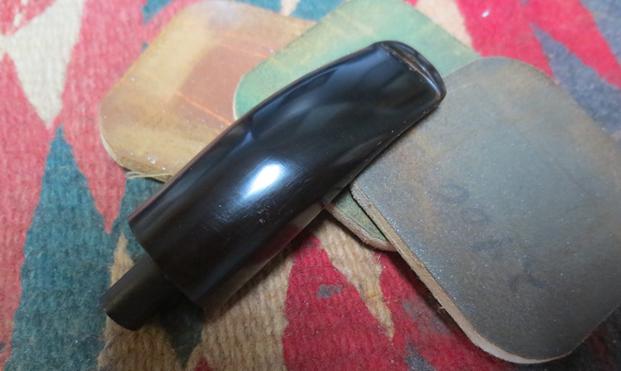
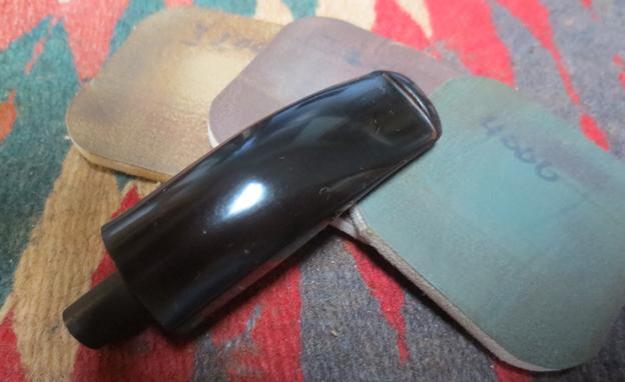
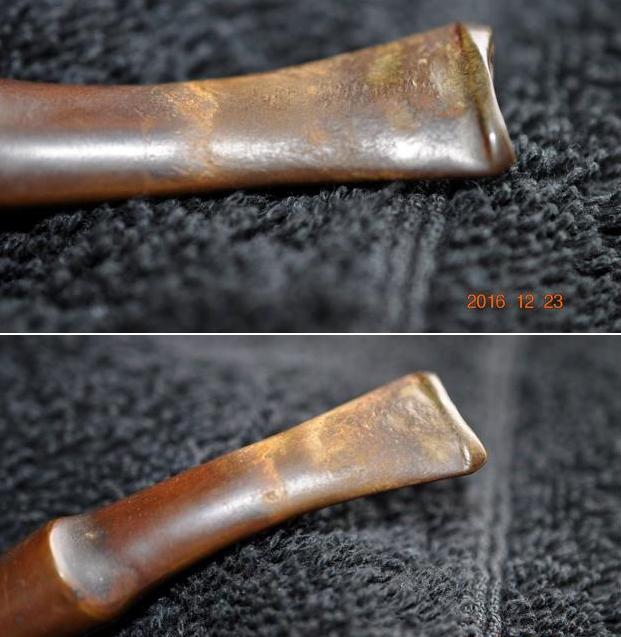
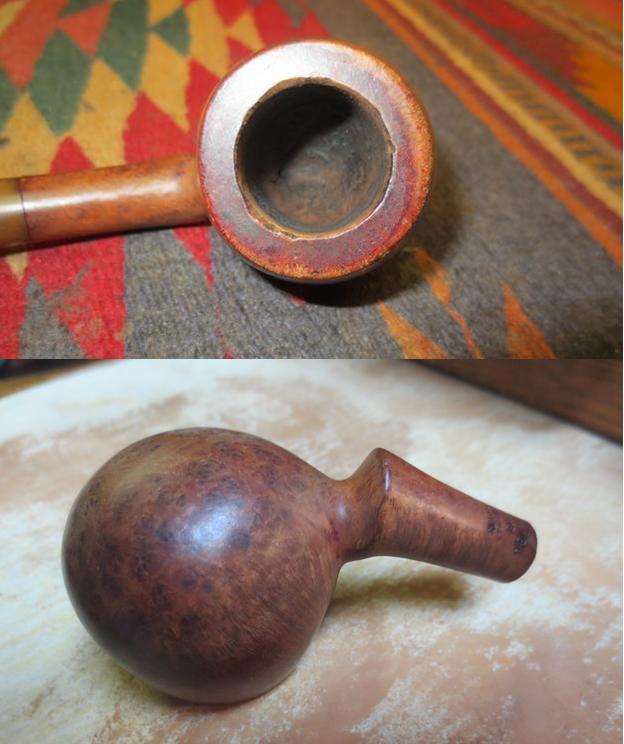
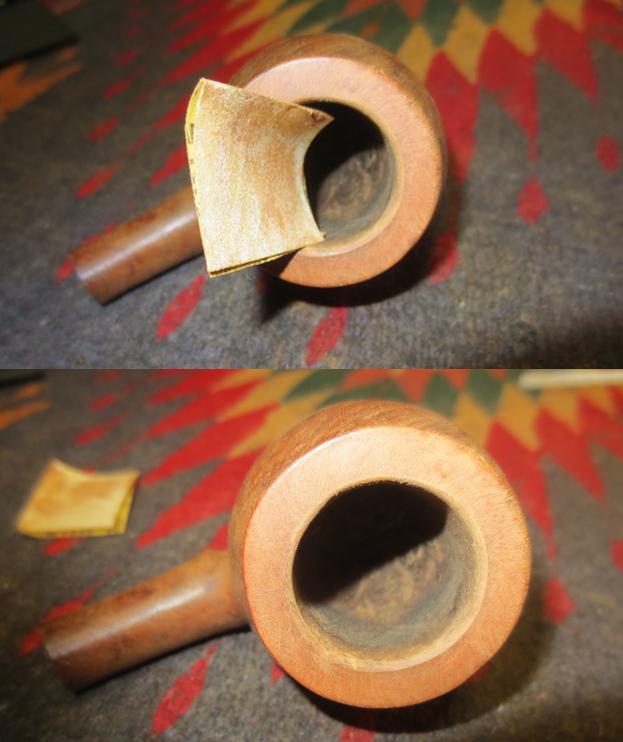
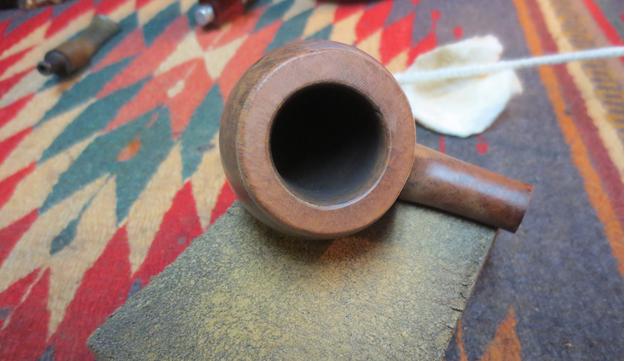
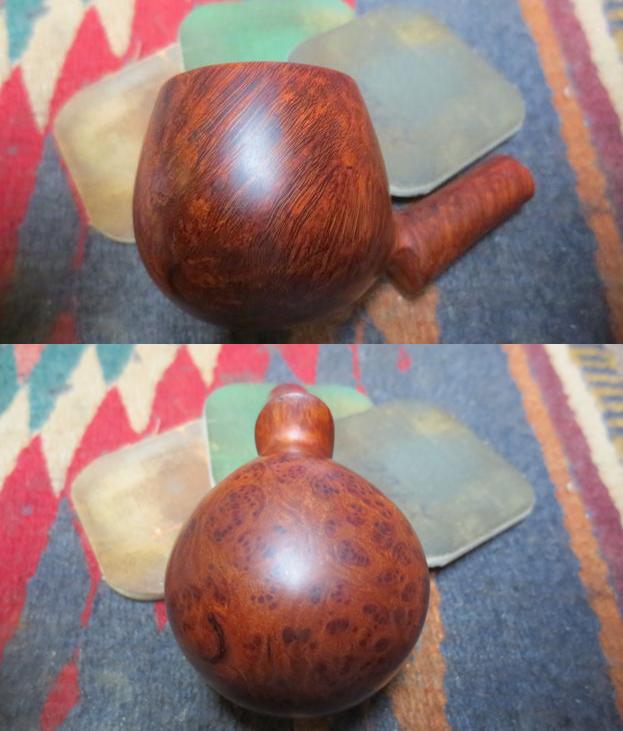
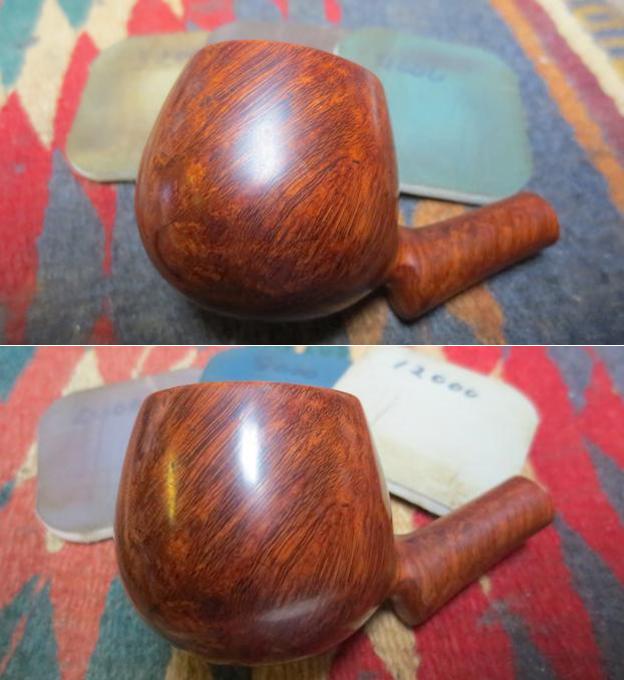
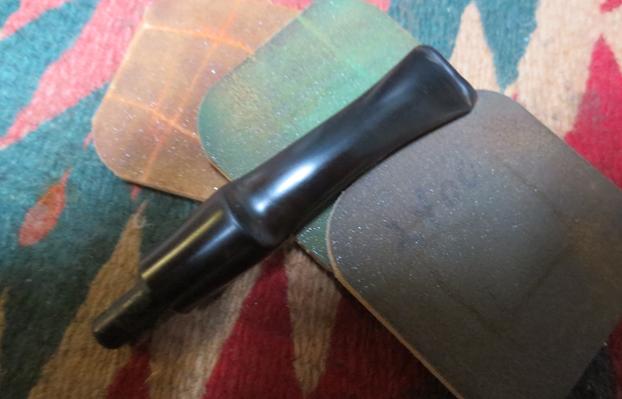
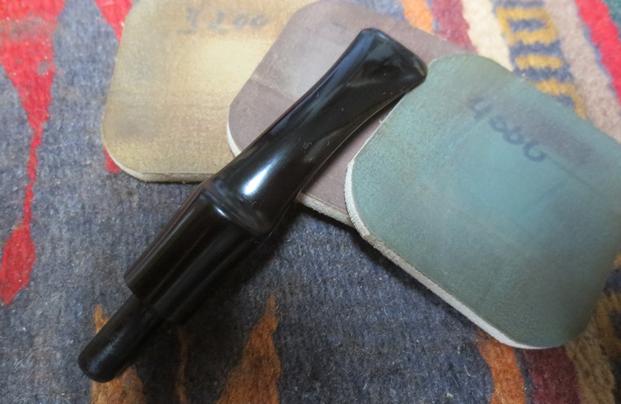
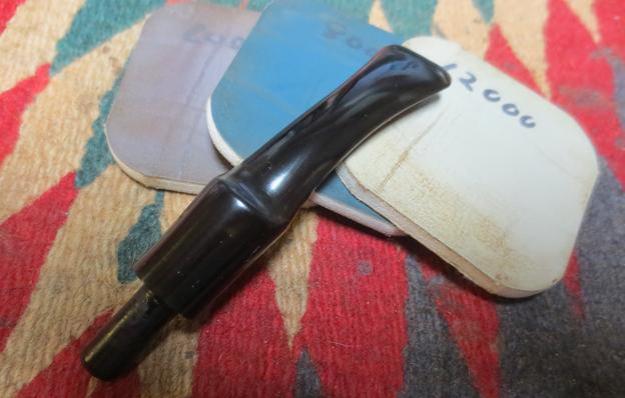
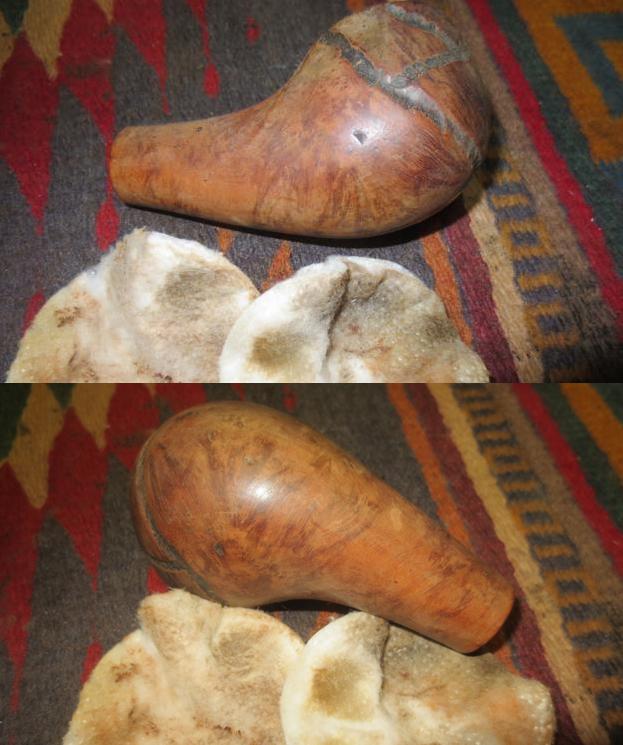
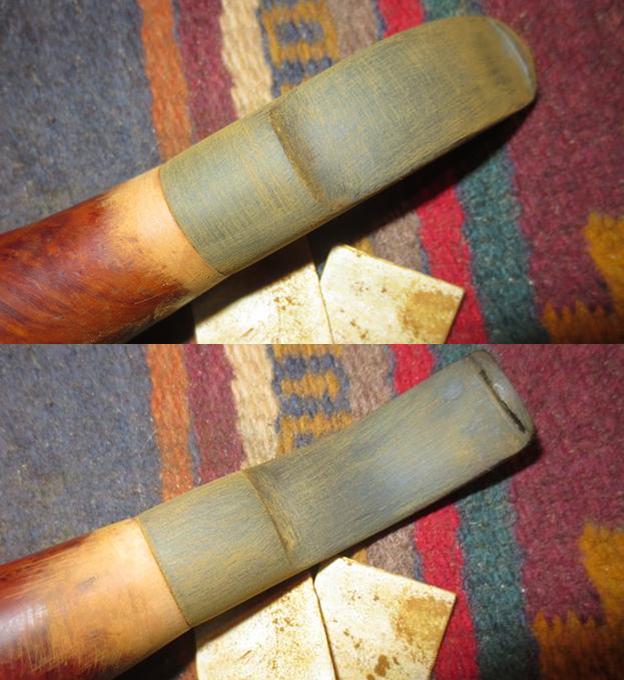
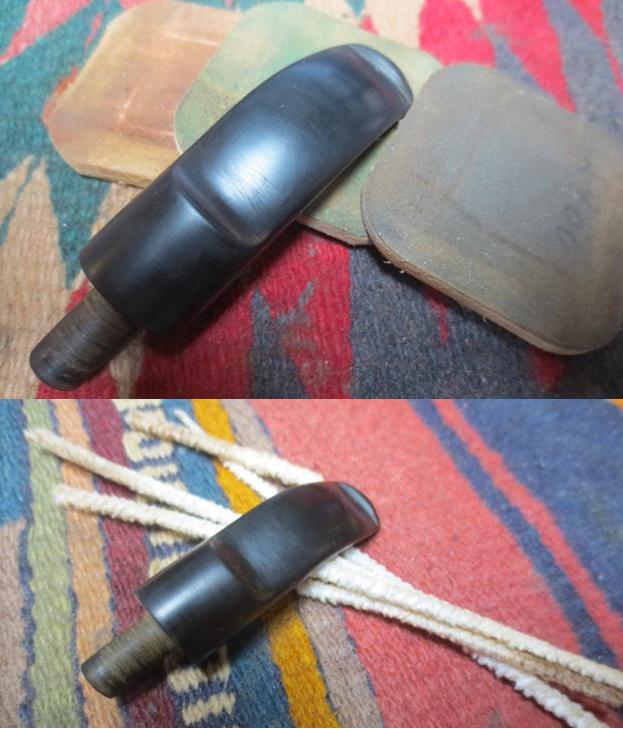
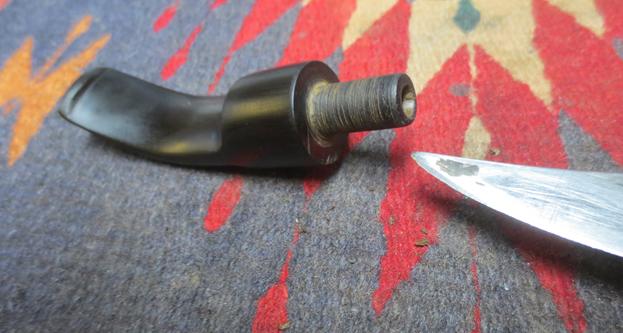
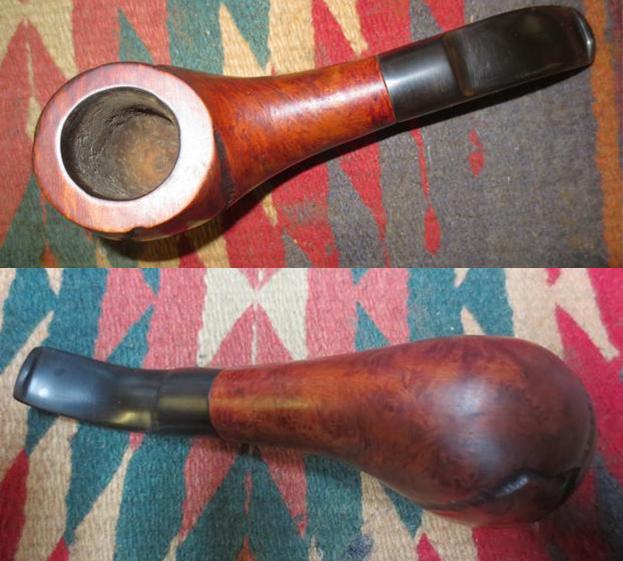
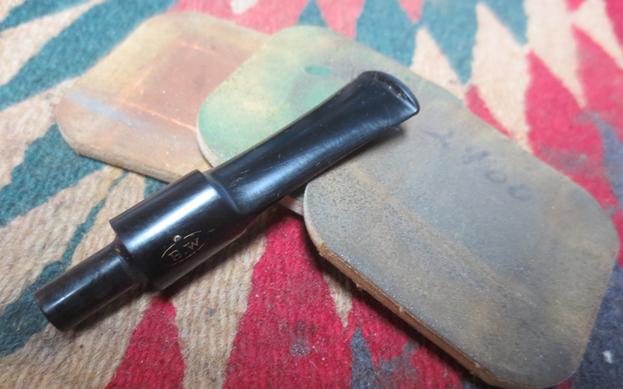
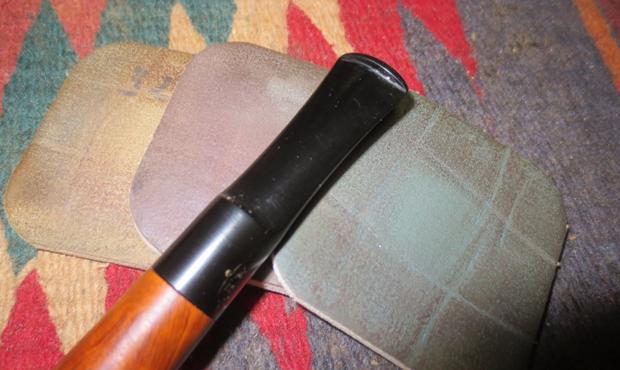
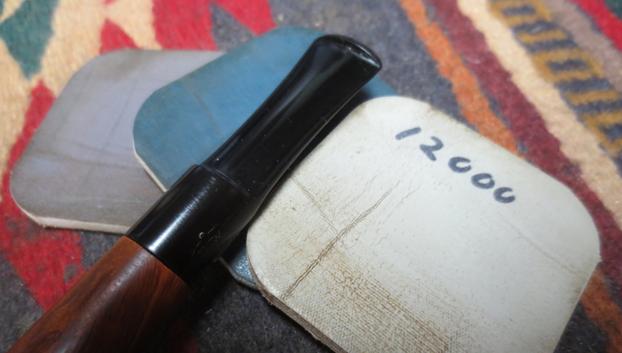
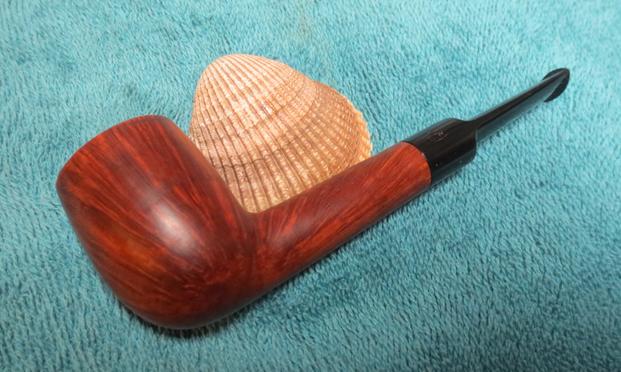
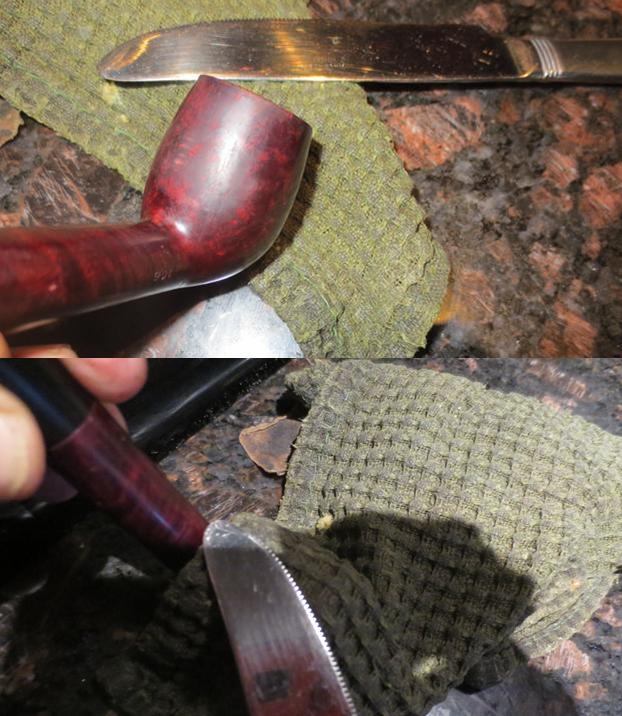
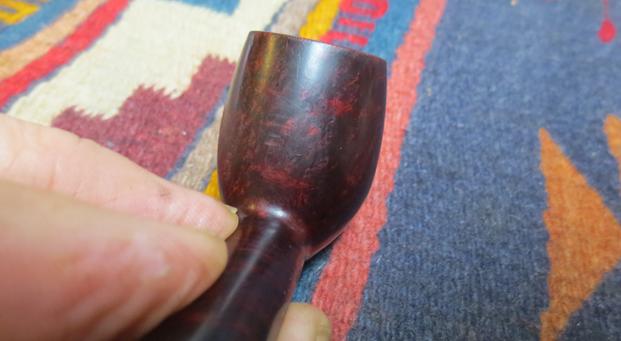
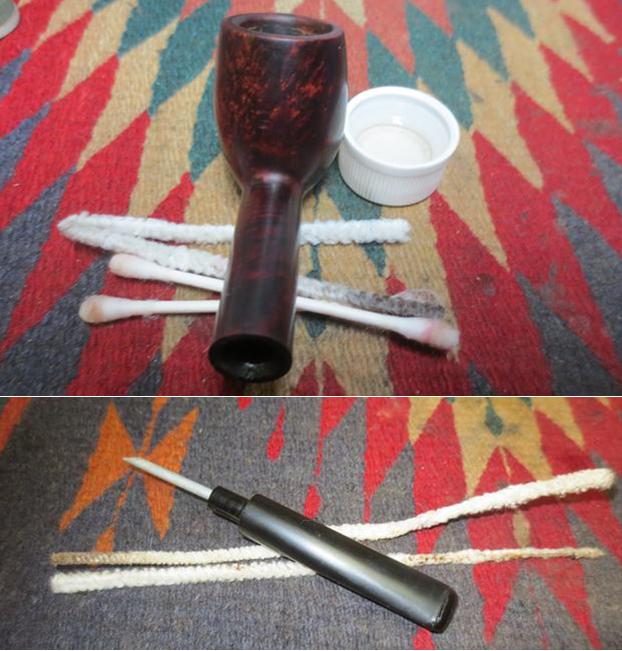
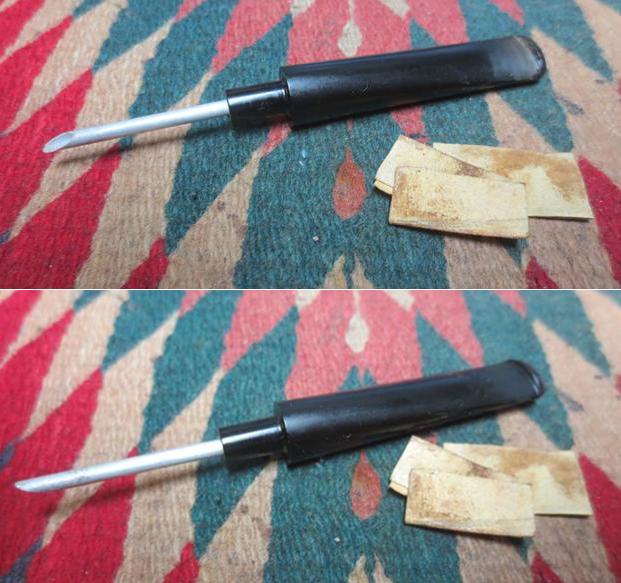
https://www.google.com/patents/US2532820https://www.google.com/patents/US2595534https://www.google.si/patents/US1938874The first picture below shows the end cap removed and the knurled cap pulled out as well. There is what appears to be a spongy end sticking out of the back of the contraption. The knurled end seems like it has a flint or some such end sticking out of the end of the tube. The side plate looks rough and could be a striker. The concept seems pretty straightforward – a single unit that contains the fluid, flint, wick and the striker on the base of a briar pipe. The pipe man simple fills the reservoir wool with lighter fluid. He sticks the striker/wick in the unit at the bottom of the bowl and when he wants to light his pipe he pulls out the striker/wick. He strikes it on the coarse bar on the right side of the unit.My brother took some photos of the pipe when it arrived in Idaho. You can see the flaking and speckled finish of the varnish on the pipe. The aluminum is oxidized and dirty. The stem is oxidized. Later photos will show that it is missing a large chunk on either the top or the underside of the stem at the button. The next photo shows the contraption on the bottom of the bowl and how it is fitted into a slot on the bottom.The next two photos show the pipe from the front end. You can see the striker/flint on the end of the knurled tube. The second photo shows the rim top.The next two photos show the condition of the stem. It had a lot of tooth chatter and was missing a large chunk next to the button. The seller had turned it to the underside of the pipe so it was less visible.My brother did his usual stellar job of cleaning up the pipe before he sent it to me. He reamed and cleaned out the airway in the stem and the shank and mortise. He scrubbed the externals with Murphy’s Oil Soap and rinsed it with warm water. The crackling varnish coat and the furniture polish the seller had used rinsed off with the scrubbing. He was able to get the bowl cleaned and most of the lava on the rim was gone leaving behind the beat-up rim top. The following photo shows the rim top and the damage there.I wiped down the finish with acetone on cotton pads to remove the remaining damaged finish. The pads came off with a red colour stain. The grain stood out on the bowl and it was a beautifully grained pipe. I debated for a bit about topping the bowl but because it was so rough I decided to lightly top it and remove the damaged areas on the rim. I did not take off much briar but worked to smooth out the rim top.I took apart the contraption on the bottom of the bowl. I unscrewed the bullet cap from the back end of the pipe and pulled out the striker unit. Once those were removed the insert slid free of the bowl bottom. The striker end had a wick that surrounded the flint post in the middle. Under the end cap there was a felt tube that was pushed into the tube and the end cap. I believe the felt was wet with lighter fluid and then the put back together. The right side bar looked to be a striker bar that the end was struck against to get a spark and flame. The burning wick then would be held above the tobacco and the flame pulled into the bowl.I went through my stem can and found almost a twin stem to the original. The taper is virtually the same. There were no tooth marks and only light oxidation and a few nicks in the vulcanite that needed attention.  I fine-tuned the fit of the tenon in the mortise and the new stem was ready to go. I put in place on the stripped down bowl and took some photos to get a good look at what the finished pipe would be like. I am happy with the flow of the shank and stem and the look of this short nosewarmer. I sanded the rim with a medium and a fine grit sanding sponge and then polished it with 1500-4000 grit micromesh sanding pads. I tested the stain pens I had and the medium brown stain pen was a perfect match to the colour of the stain on the rest of the pipe. I touched up the stain on the bowl sides and the shank. After all of the touch up work I took the photo below to show the match of the rim to the bowl.I touched up the stain on the bowl sides and shank and gave the bowl several coats of carnauba wax to have a look at the grain. It is a beautiful pipe. The combination birdseye and flame grain makes a great looking combination. The rich reddish brown stain makes the grain stand out. I also polished the aluminum on the insert and the bullet cap on the lighter contraption. I polished the stem with micromesh sanding pads – wet sanding with 1500-2400 grit pads and dry sanding with 3200-12000 grit pads. I rubbed the stem down with Obsidian Oil after each set of three pads. After the final pad I gave it a last coat of oil and set it aside to dry. I buffed the pipe and stem with Blue Diamond polish on the buffing wheel to take out all of the scratches on the stem and to polish it. The plastic polish works really well with vulcanite stems. I gave the bowl and stem multiple coats of carnauba wax to protect it. I buffed it with a clean buffing pad to raise a shine. I hand buffed it with a microfibre cloth to deepen the shine. The finished pipe is shown below. It is one that I will keep in my collection of tobaciana because of its uniqueness. If any of you know any information about it please send a message in the comments below.


Banding and Restoring a Radford Ravel Rhodesian


Blog by Steve Laug

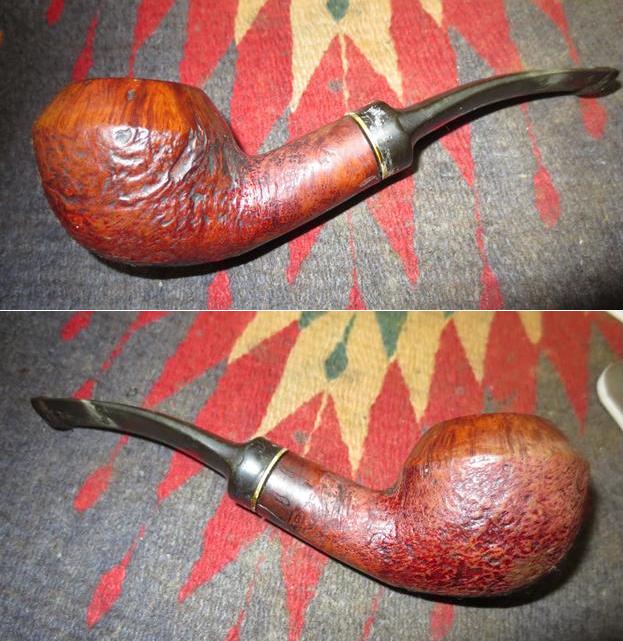
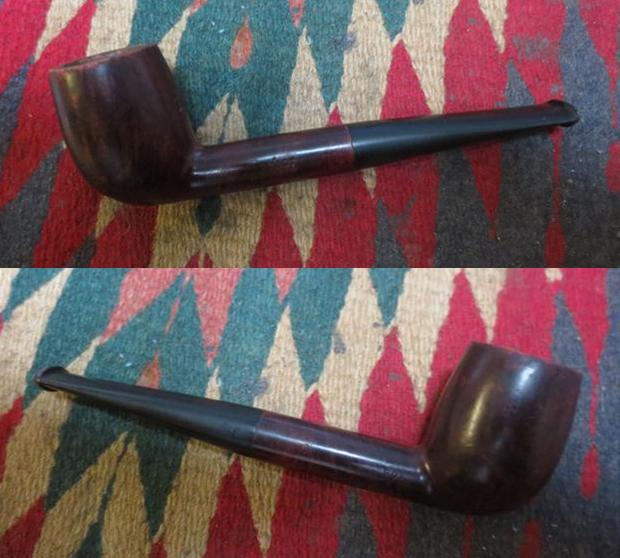
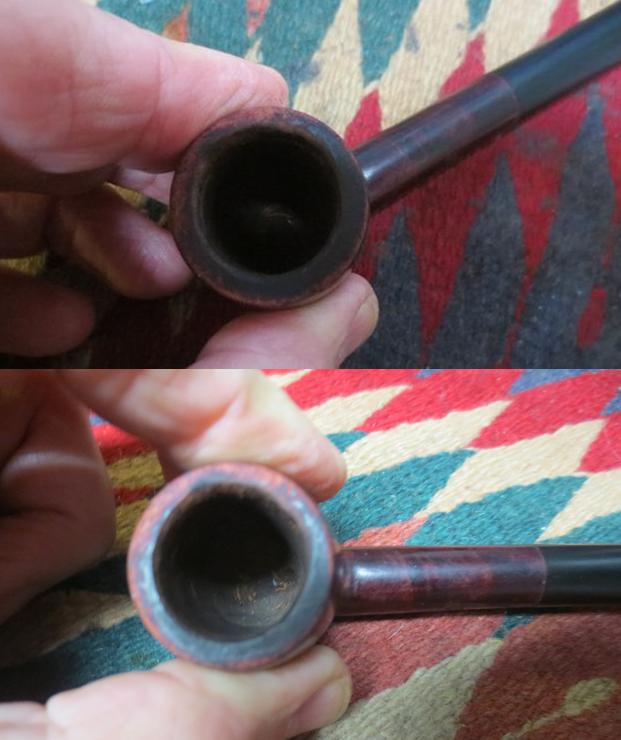
I am working on the second pipe I chose to work on in the lot of nine pipes I am restoring for the pipe smoker who dropped by a box of pipes that badly needed attention. This one was stamped Radford Ravel and had a mixed finish of smooth top and sandblasted shank and bottom part of the bowl. It is a Rhodesian and the cap is smooth and the rest is sandblast. It was finished in a dark brown stain. The finish was very dirty and there were quite a few sandpits and nicks in the smooth portion of the bowl cap. The shank was crack on the lower right side and extended from the shank end up the shank about a ¼ inch. The stem was a replacement and had a brass washer on the tenon and glued against the shank. When the new stem was made the maker put a space on the tenon to add colour to the stem. I figure that the new stem is what cracked the shank. When I received the pipe the stem did not fit tightly. There were tooth marks, tooth chatter and a lot of oxidation on the stem. There was also a bead of glue around the washer on the tenon.

There was something about the brand on the pipe that rang a bell for me. I have a tin of their Sunday’s Fantasy Tobacco in my cellar and I wondered if they might have made pipes as well.

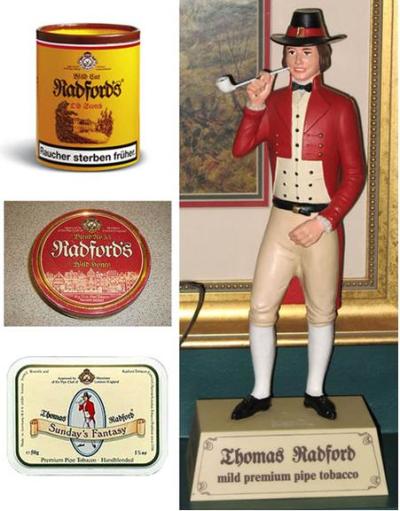
I did a bit of digging and found the picture on the left that showed some of the tobaccos made by the company and also a great figurine with the name Thomas Radford mild premium pipe tobacco on the base. On Pipedia I found that Radford’s Private Label Pipes were crafted by Chacom for the Pöschl Tabak GmbH & Co. in Germany. This information was from “Pipes, Artisans and Trademarks”, by José Manuel Lopes. The pipes were mass produced with ebonite and acrylic stems and were introduced by Butz-Choquin, Chacom, and Nording. On the stem there is generally an embossed logo that was a stylized R. The pipes were made to use 9mm filters and are moderately priced and very attractive. The following three links were the sources I used for this information.

https://pipedia.org/wiki/Radford%27s

http://www.poeschl-tobacco.com/en/products/

http://www.pipephil.eu/logos/en/logo-r1.html

I also looked on another website and got a little more information on the brand. The Radford’s pipe appears in 6 models in 3 variations 1x time a year in autumn. The so called Radford’s Depot contains a minimum of 1 dozen pipes of the actual running collection. Connected to the depot is a listing of the depot holder in Radford’s News.

This particular brand RADFORD’S SERIE RAVEL was a series of 6 elegant models within Radford’s Collection. They are made from good briar wood, sandblast, black/brown with a polished head’s border in dark-red shade. Very nice rich-in-contrast ring at the shaft’s finish. Mouthpiece from Acryl for 9 mm filter. http://cigar.supersmokers.biz/radfords/

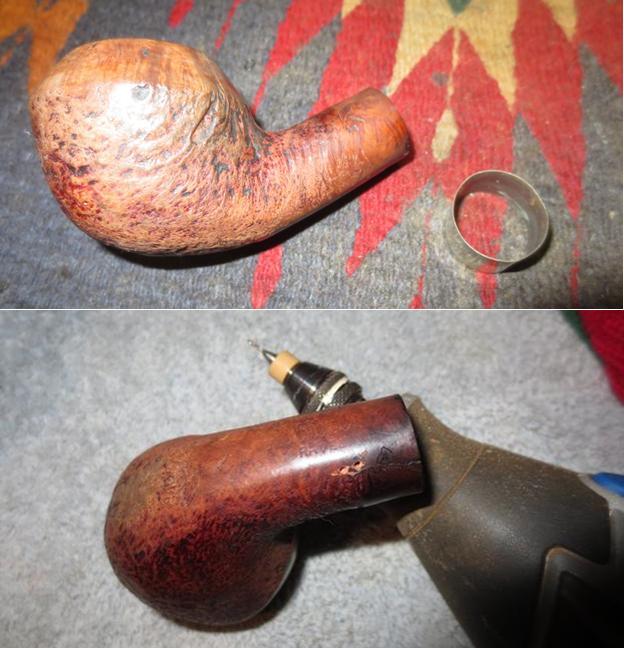
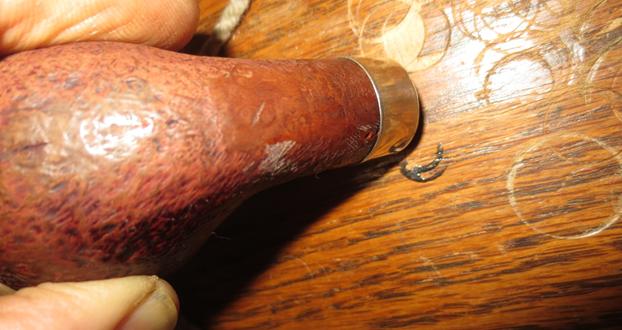
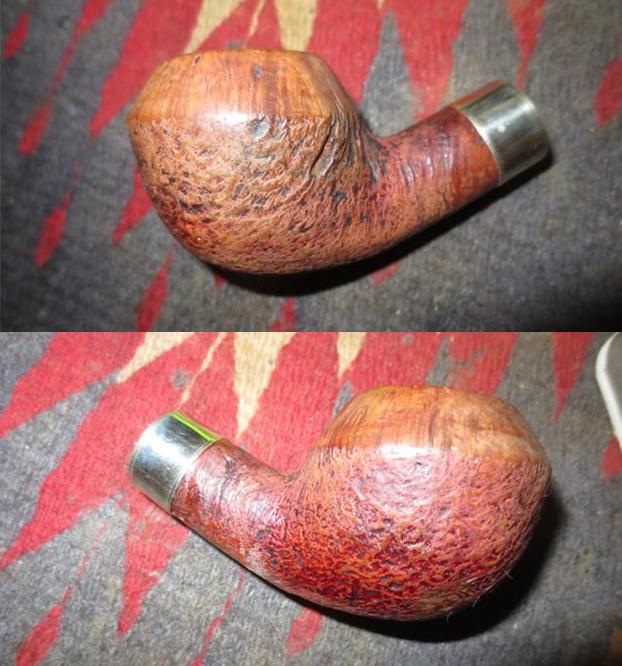
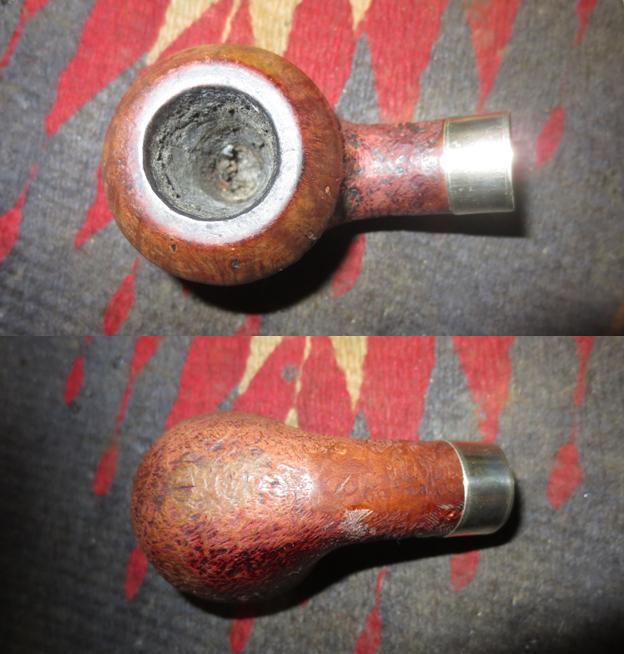
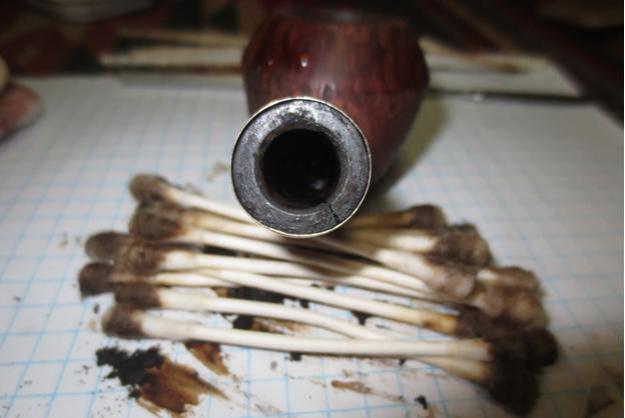
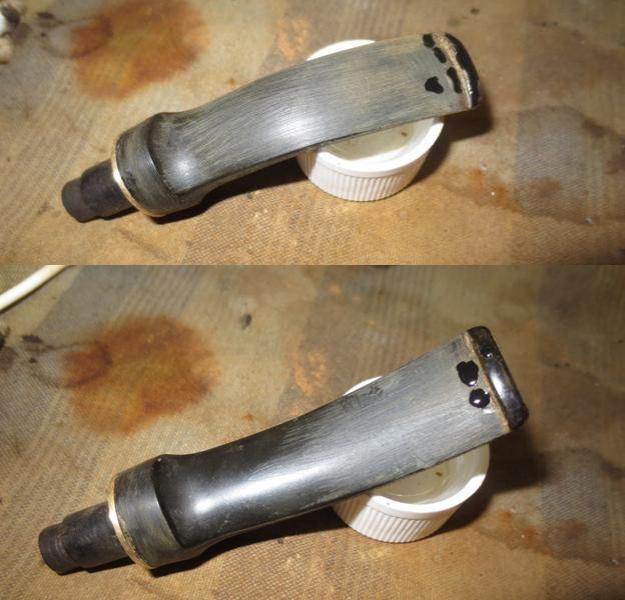
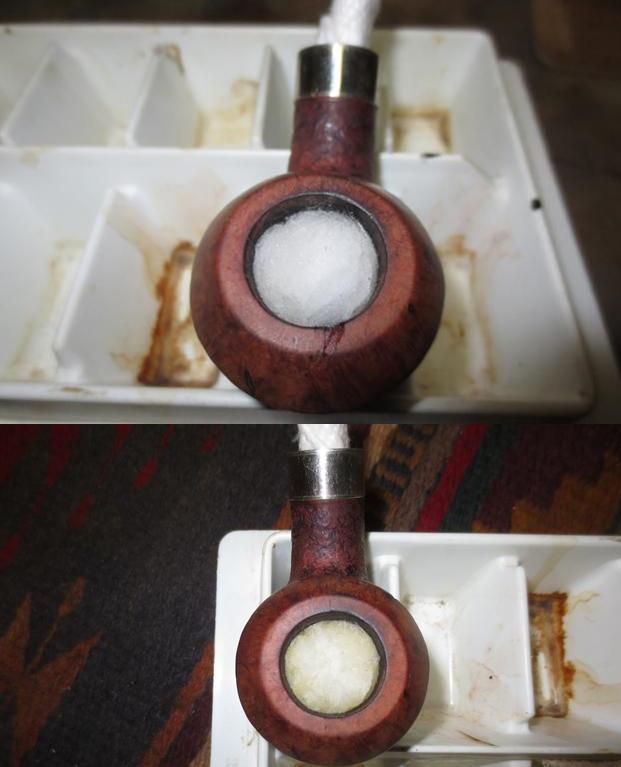
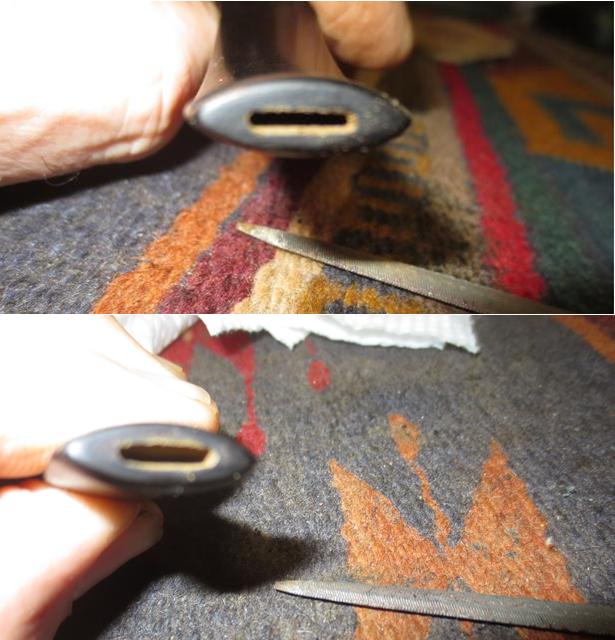
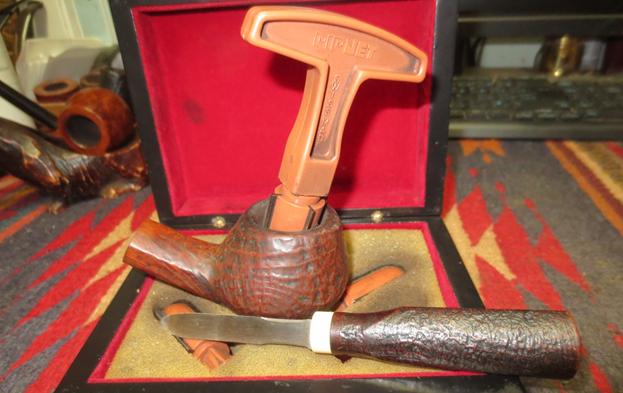
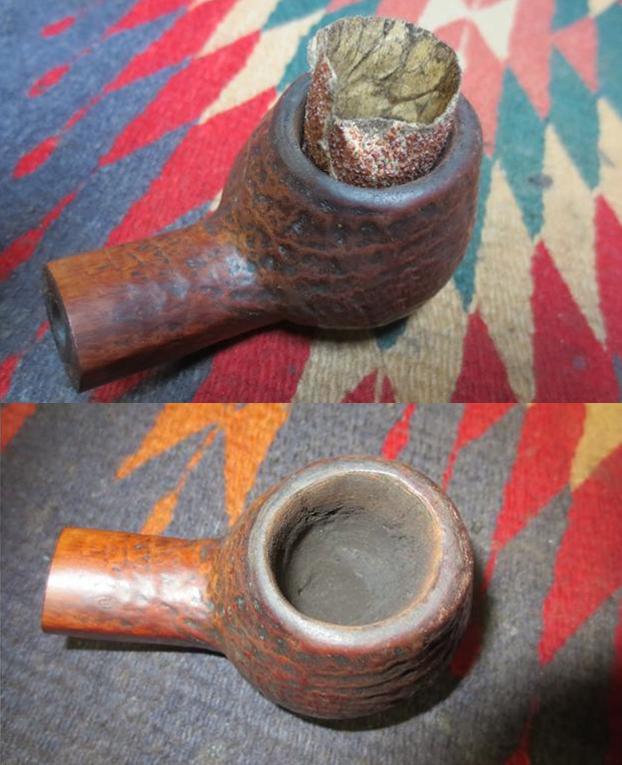
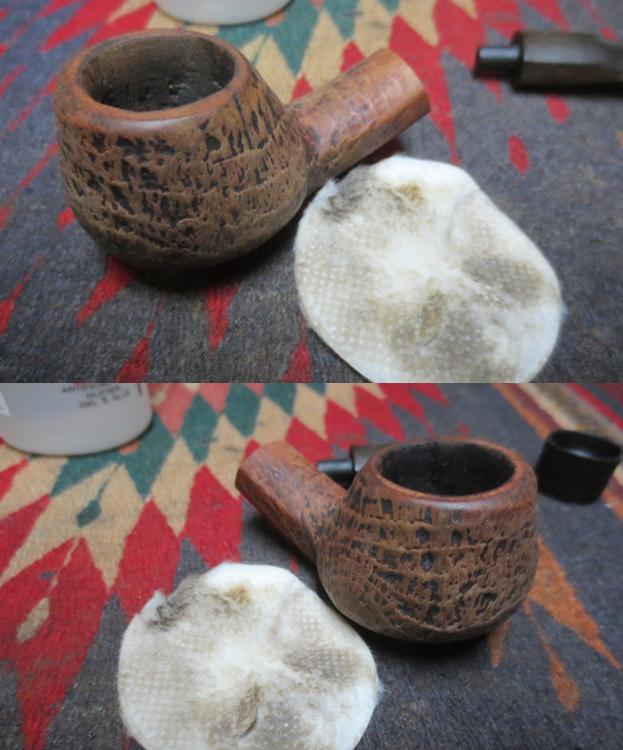
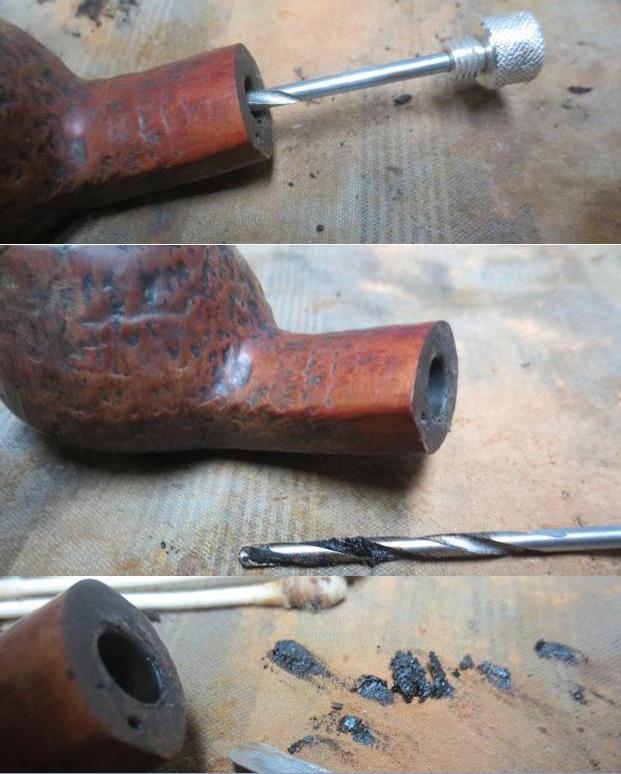
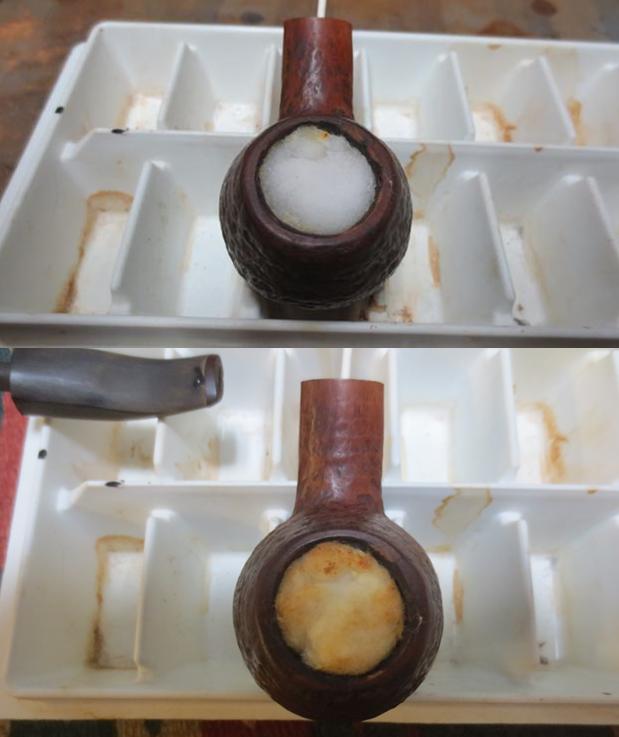
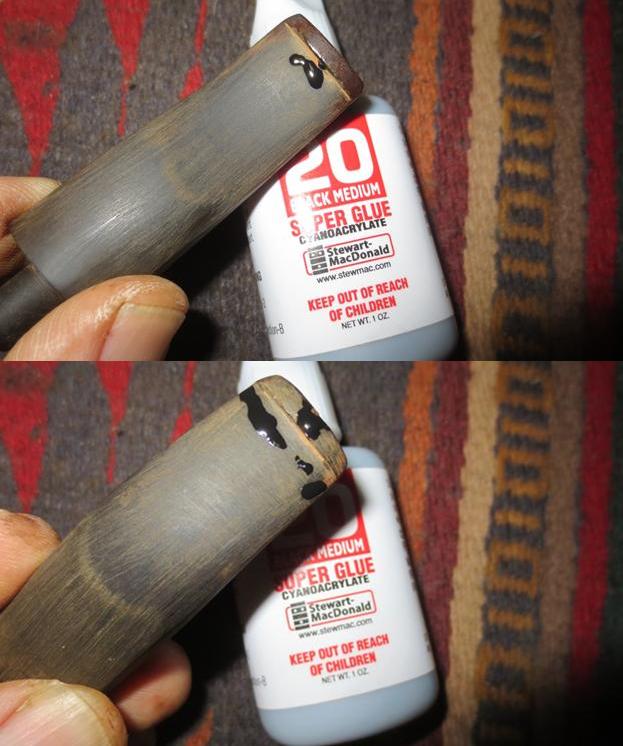
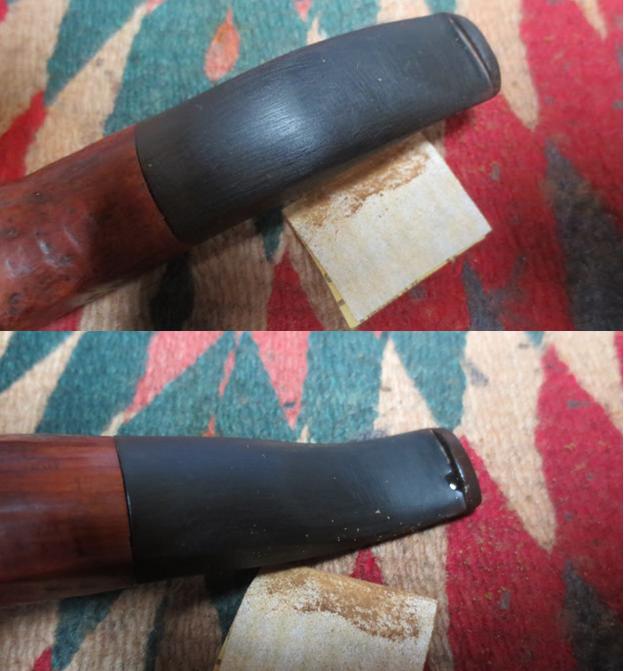
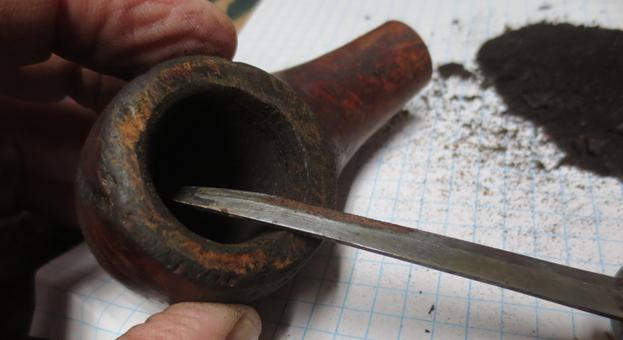
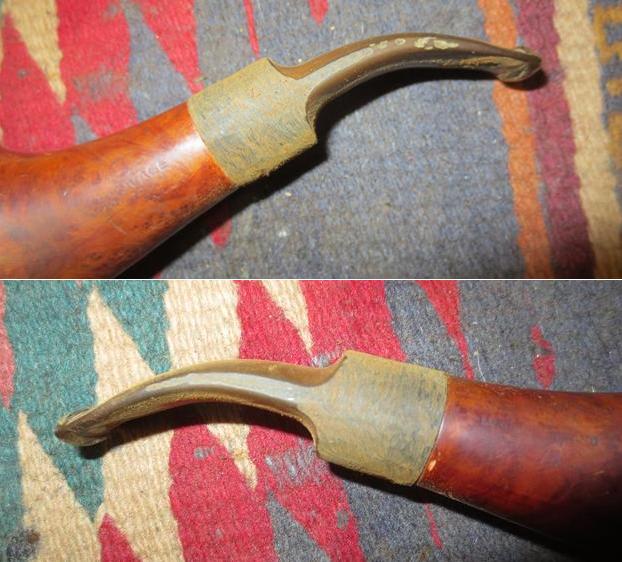
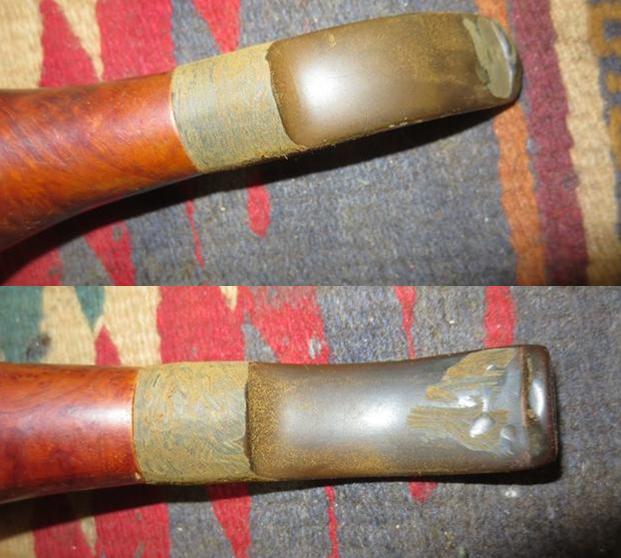
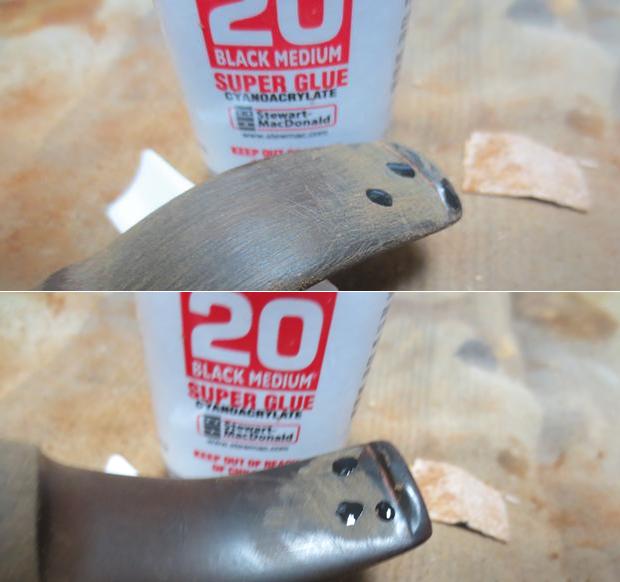
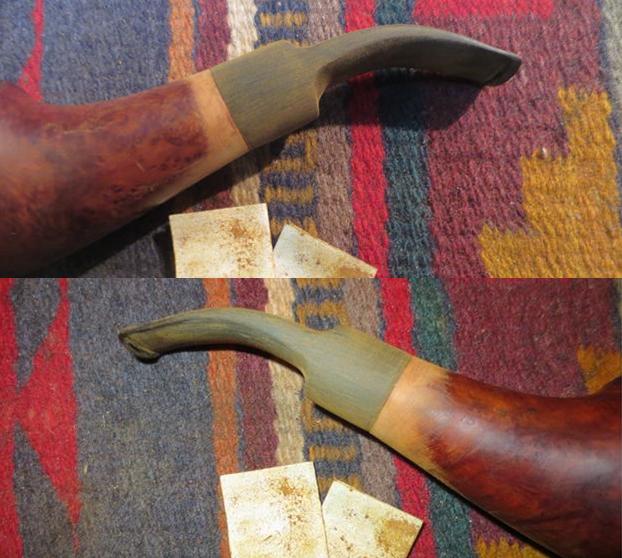
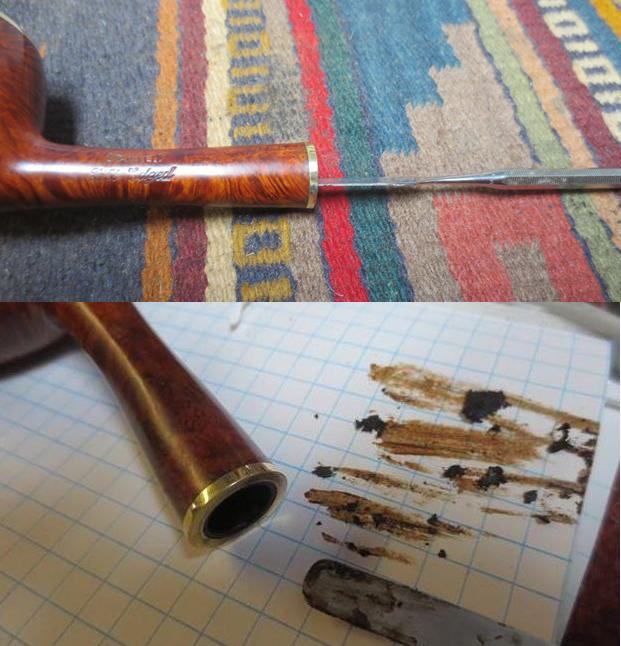
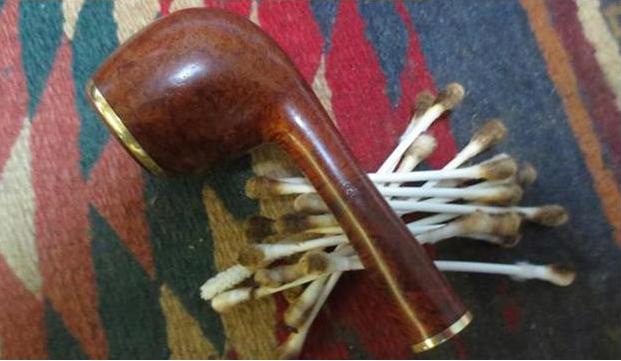
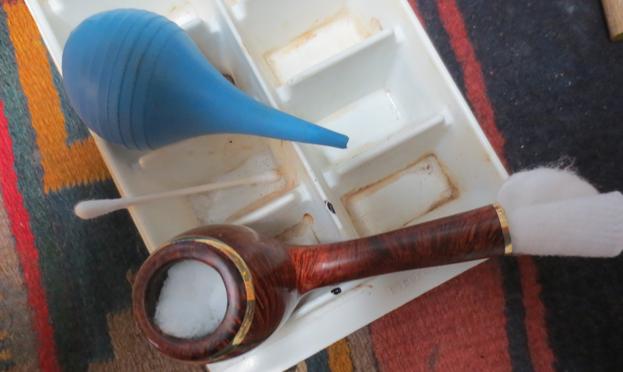
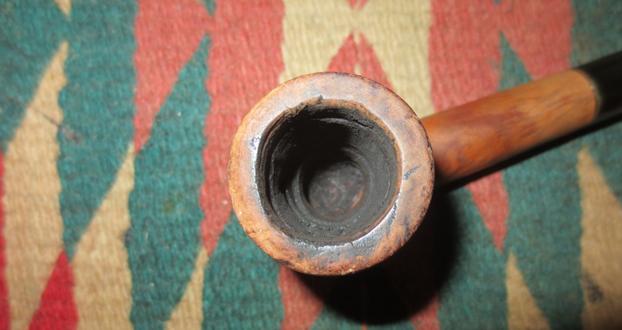
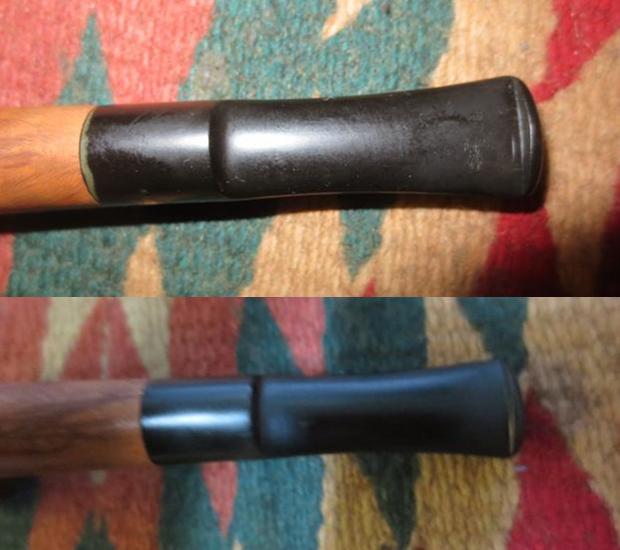
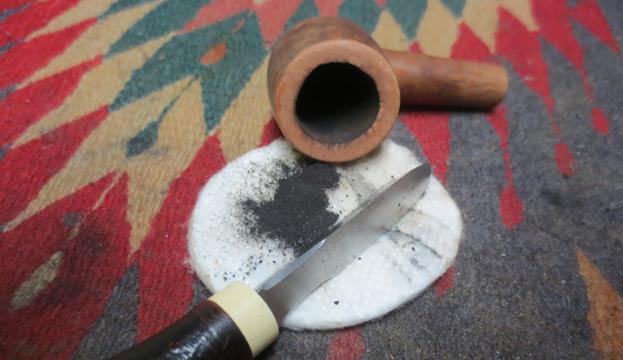
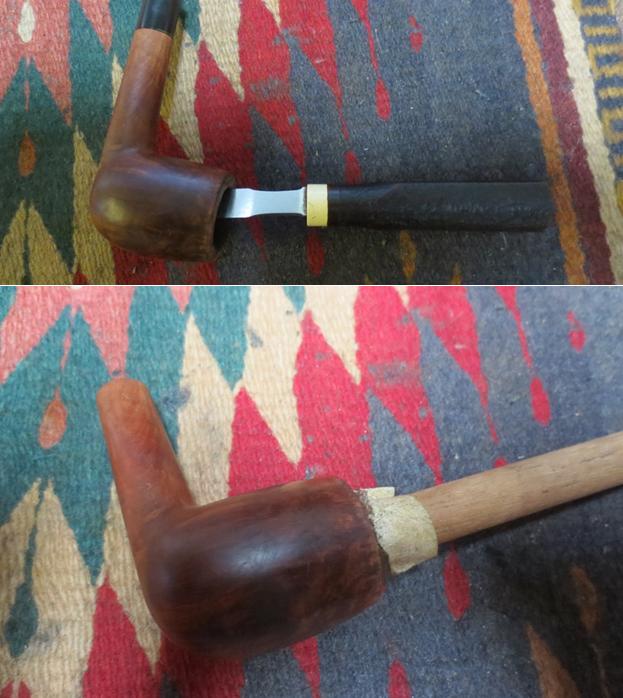
With all of this information I now knew that the pipe was originally made for a 9mm filter. The mortise was drilled deep in the shank to contain the 9mm filter. The replacement stem was a regular push stem without a filter tenon. I took some photos of the pipe before I started working on it. The finish was in really rough shape. You can see the glue and sticky material on the stem near the shank band. I took a photo of the inside of the shank to show the thick tars that had built up on the walls of the shank. The space in the mortise between the end of the tenon and the extra depth for the end of the original filters was filled with tar and oils. It was thick and sticky.I took a close up photo of the bowl to show the thick cake that lined the walls of the tapered bowl. The photo also shows the damage to the front of the bowl where the pipe had been tapped out against a hard surface. The second photo below shows the crack on the right underside of the shank. It appeared to me from the smooth area and the look of the stain that someone had tried to glue the crack and do a repair but it was not done well.The next two photos show the damage to the stem. The calcium build up on the button end of the stem, the oxidation and glue that is globbed on the stem to hold the washer in place on the tenon and the deep tooth marks on both sides near the button show in the photos.I scrubbed down the surface of the bowl with acetone on cotton pads to remove the damaged finish and the grime and oils in the grooves and crevices of the sandblast. I wanted the surface clean so that I could drill a hole to stop the crack before binding it together with glue and a nickel band on the shank. I drilled two pin holes at the end of the shank with a microdrill bit on a Dremel. The first one was slightly short of the end of the crack so I had to drill a second one.I heated the band to make the fit easier on the shank. I painted the shank end with some slow drying super glue and pressed the band in place against the topping board.I scrubbed the bowl with alcohol on a cotton pad to remove that last of the dust. I took pictures of the bowl with the new bling addition. I reamed the bowl with the PipNet reamer to take back the cake to the bare walls of the bowl. I finished the reaming using a Savinelli Fitsall Pipe Knife to scrape the inside of the bowl smooth. I rolled some 180 grit sandpaper around the end of my finger and sanded the walls of the bowl smooth.To remove the damage to the top of the bowl and to clean up the rough front edge of the bowl cap I lightly topped it on a topping board with 220 grit sandpaper.With the bowl exterior cleaned and the damaged rim top repaired I worked on the inside of the mortise and the airway from the mortise end into the bowl. I used the drill bit that is in the handle of the KleenReem pipe reamer to ream out the airway into the bowl. I turned the bit into the bowl using the knurled end to press it through. I cleaned off the drill bit and used the dental spatula to scrape the walls of the mortise all the way to the end where the airway entered the bowl. The amount of grit and oils that came out with the scraping was phenomenal.I wiped the bowl cap down with alcohol and filled in the sandpits around the outer walls of the cap with clear super glue.I cleaned out the shank and mortise once again with alcohol, cotton swabs and pipe cleaners until I had removed all of the loose debris left in the shank.I sanded the repaired patches on the cap with 220 grit sandpaper until the repairs were blended into the surface of the briar. I used a black Sharpie Pen to darken the spots and then wiped the bowl and cap down with alcohol to blend in the black. I scraped the area around the washer and the tenon with a sharp knife and funneled the end of the tenon to facilitate better airflow in the stem. I cleaned out the airway in the stem with pipe cleaners, alcohol and cotton swabs.I sanded the stem with 220 grit sandpaper to clean up the stem surface and wiped the tooth marks down with alcohol. I filled in the tooth marks with black super glue and set the stem aside to let the glue cure.I stuffed a cotton ball into the bowl and rolled a cotton pad into the shank. I set the pipe in an ice cube tray and used an ear syringe to fill the bowl with alcohol and let it sit during the day. I left it sitting all day while I worked on the slot in the stem. At the end of the day the cotton had yellowed the cotton and the alcohol had pulled out tar and oil from the bowl walls.I used needle files to open up the slot in the button. I used a flat, flattened oval and regular oval file to open the slot. I folded a piece of sandpaper and sanded out the inside of the newly opened slot. After sanding it the slot was open enough to easily take a pipe cleaner. By this time the alcohol/cotton ball soak in the bowl was finished. I pulled the cotton balls out of the bowl and the pad out of the shank and threw them away. I cleaned out the shank and airway once again with cotton swabs and pipe cleaners. Once it was clean I stained the bowl with dark brown aniline stain cut 50/50 with alcohol. I flamed the stain to set it in the grain. I repeated the process until the coverage was what I was looking for.I rubbed bowl down with olive oil on a cloth and hand buffed the bowl with a rough cotton cloth. I took some photos of the new look of this old Radford Ravel pipe. The bowl is starting to look really good and shows some promise. I polished the stem with micromesh sanding pads to remove the scratches and raise a shine on the vulcanite. I removed the brass washer on the stem and polished it with sandpaper. I reglued it onto the tenon with super glue. I wet sanded the stem with 1500-2400 grit pads and rubbed it down with Obsidian Oil. There were still scratches and also some oxidation. I repeated the sanding with those pads and then moved on to dry sanding with 3200-12000 grit pads. I rubbed it down with the oil after each set of three pads. After the final pad I gave it a final coat of the oil and set it aside to dry. I buffed the stem with Red Tripoli to try to remove the remaining oxidation and then buffed the entire pipe and stem with Blue Diamond polish on the buffing wheel. I polished the metal band with a jeweler’s polishing cloth. I gave the stem and bowl multiple coats of carnauba wax and buffed the pipe with a clean buffing pad to raise a shine. I hand buffed it with a microfibre cloth to deepen the shine on the briar. The finished pipe is shown in the photos below. It has come a long way from the way it looked when I received it to work on. I really like the looks and the shape of the pipe. I have now finished two of pipes that the pipe smoker dropped off for me to restore before he left on holiday. I look forward to seeing what he thinks of his pipes.

A Very Tired, Very Dirty Stanwell Bent Volcano with a cracked bowl


Blog by Steve Laug

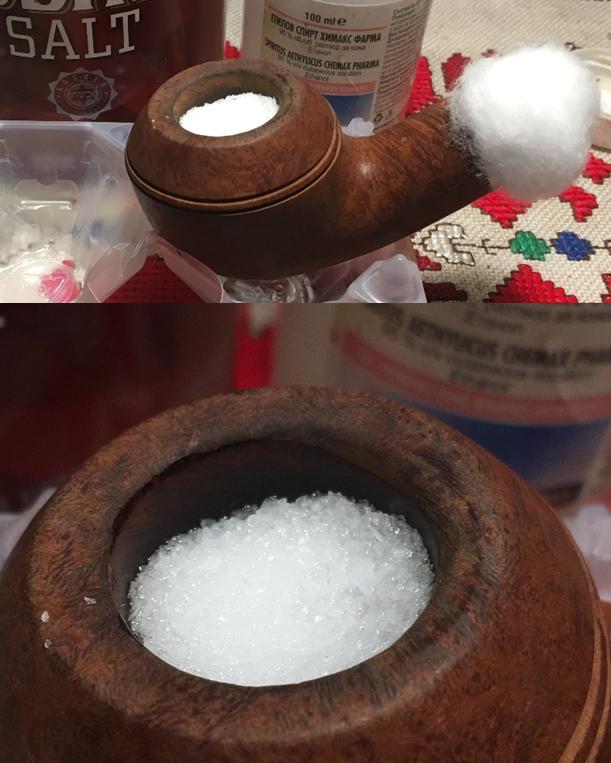
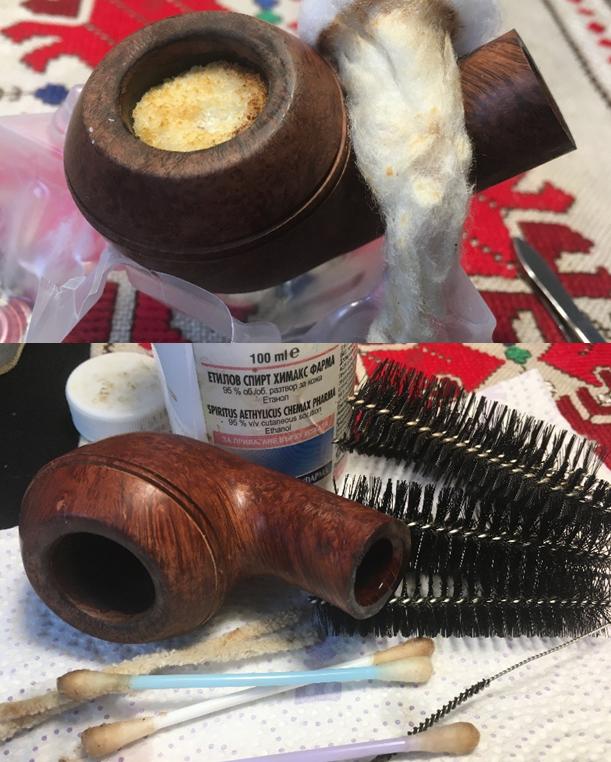
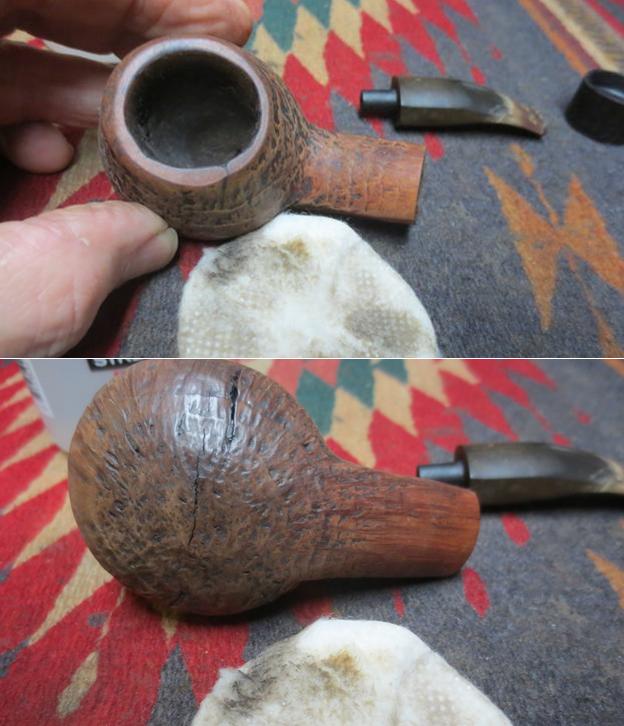
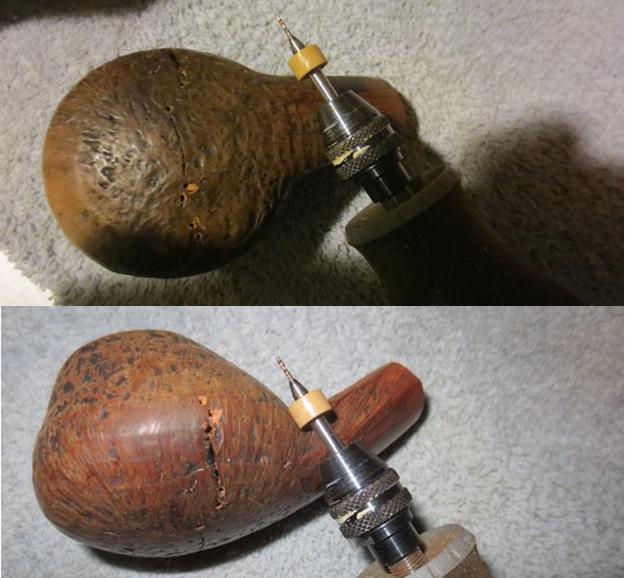
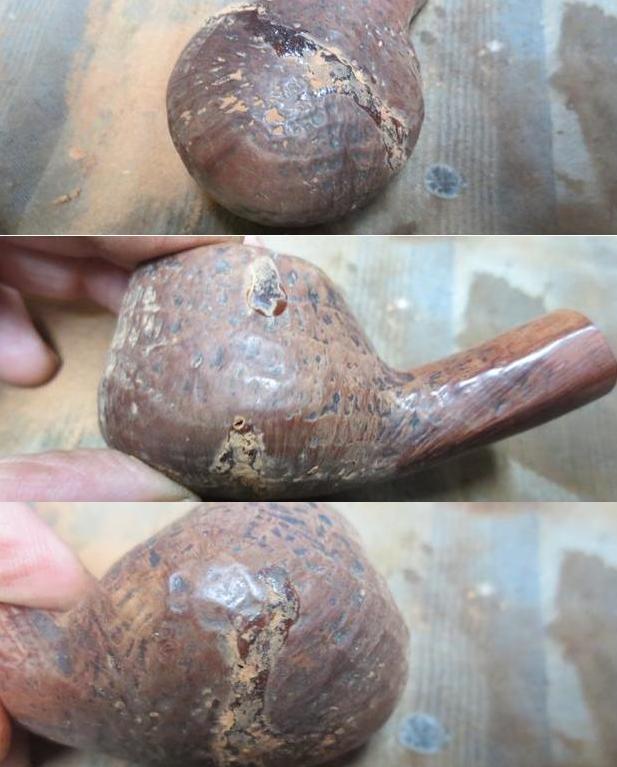
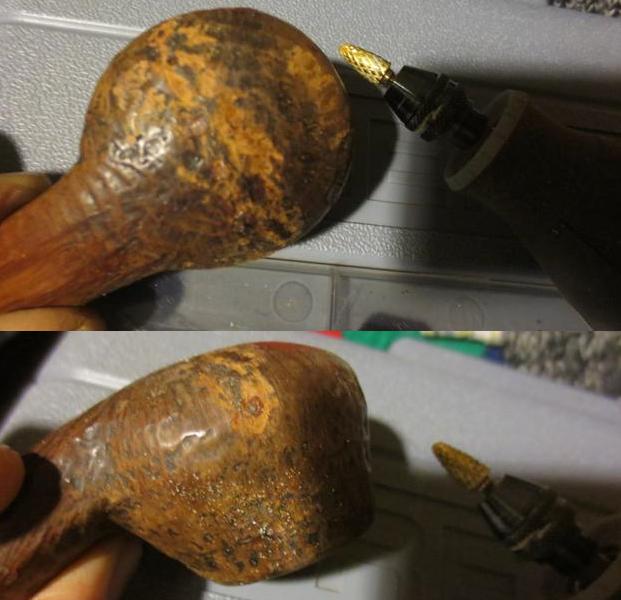
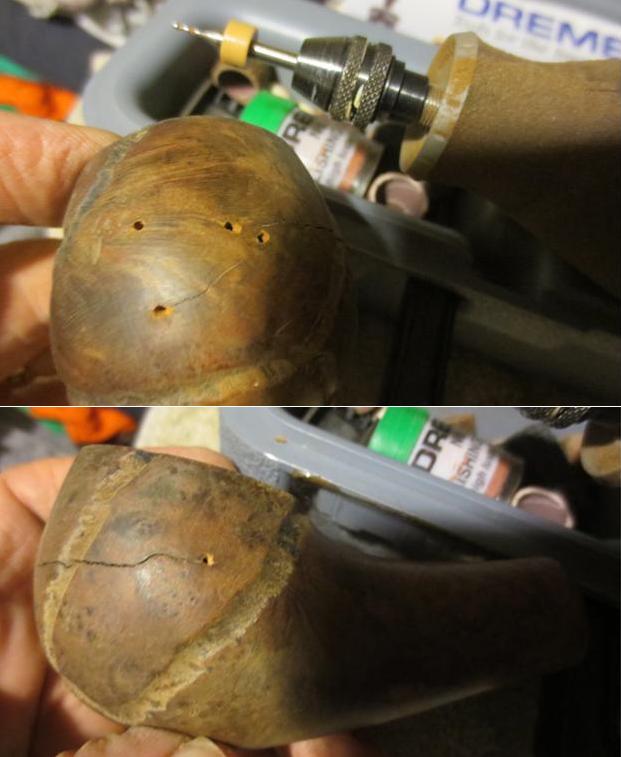
Sometimes when I take in pipes for repair and restoration I am pretty stunned by the condition. This one obviously was an old favourite of the pipesmoker who brought it to me with 8 others in need of some TLC. I sat with him in my living room and went over the repair list of what needed to be done to bring it back to life. It had been restemmed before and the stem was good and heavy so it did not need to be replaced. There were tooth marks near the button on both sides of the stem. It had some deep oxidation that needed attention. Sometime in its life it had been buffed to the point that the stamping was all but gone on the underside of the shank. With a lens I could read Stanwell over Made in Denmark but all but one number of the shape number (1) was buffed away. The finish was sticky to touch from all the waxes and oils on the bowl. The sand blast was pretty worn away and now was shallow. The angled, tapered bowl had a thick cake and it had been reamed into almost an hour-glass shape. The rim top had an overflow of the tars on it and the blast was smooth. There was some damage on the front of the bowl from knocking the pipe out on something hard. There was a small crack on the left side of the bowl from the rim down about a 1/8 of an inch that would need to be repaired. From memory I knew that the bowl was drilled to follow the angle of the exterior of the bowl.When I turned the bowl over the bottom side was covered with cracks. There were four cracks of various sizes that did not go into the interior but rather sat on the surface of heel. They were all different in terms of depth and tended to follow the blast and cut across the ring grain. They were filled with grime and wax. The bottom of the bowl was a real mess.I took a close up photo of the rim to show the damage that had been done to it by reaming it with a knife rather than with a reamer. The cake was sticky and soft and what appeared to be an hourglass shape actually was not it followed the angled bowl walls. I was concerned that the inside of the bowl would also have cracks once the cake was removed. I recommended that we remove entire cake to assess the interior of the bowl. I also took a close up photo of the heel of the bowl to show the cracks.The stem was a replacement that was thick and well made. The fit against the shank was not too bad and there was little gap between the two parts. The stem was oxidized and there was come calcium build up on the first inch on both sides. There were tooth marks and tooth chatter on both sides of the stem near the button.The shank end shows how thick the buildup was inside of the shank. The tars and oils overflow the shank and show up on the end and walls. There were also two small holes drilled to the left and right of the mortise.I reamed the bowl with the PipNet reamer using the largest cutting head. Notice the angle of the cutting head as it shows the angle of the drilling of the bowl. I cleaned up the walls with a Savinelli Fitsall reaming knife.  I sanded the bowl with 180 grit sandpaper wrapped around a piece of dowel. The third photo below shows the bowl after it has been sanded. I scrubbed the exterior of the bowl with acetone on cotton pads to remove the grime and the finish. The grime and oils came off the walls of the bowl and bowl sides and bottom to prepare the bowl for the repairs to the cracks. I drilled each end of all of the cracks with a microdrill bit on a Dremel. There were about 9 holes in the bottom of the bowl and two on the left side at the end of the shank.I put clear super glue into the cracks and pressed it down with a dental pick. I pressed briar dust into the glue and then put more dust in the glue and then more glue on top of the repair to seal it.I used a dental burr on the Dremel to rusticated the repaired areas on the bottom of the bowl and side to match them to the sand blast finish. I knocked off the rough areas of the rustication with 220 grit sandpaper to smooth it into the surrounding finish. The photos show the progress of this process. With the exterior cracks repaired and sealed I turned to work on the internals. The airway in the shank and the mortise was absolutely a mess. I used the drill bit from the KleenReem pipe reamer to clean out the airway into the bowl from the mortise. It was almost closed off with the tars and oils. I turned the bit into the airway until it was smooth. I used a dental spatula to scrape out the inside of the mortise. The scraped tars and oils can be seen in the photos below.There were two small drilled holes in the end of the shank on both sides of the mortise. I filled them in with super glue and briar dust. I cleaned out the inside the mortise and shank with alcohol, pipe cleaners and cotton swabs until they came out clean.The bowl smelled strongly of old tobacco and there were oils in the briar walls. I wanted to remove that smell as much as possible. I stuffed two cotton balls into the bowl, set it in the ice cube tray and used an ear syringe to fill it with alcohol. I left it standing overnight while it pulled the oils out of the briar bowl. In the morning the cotton was stained a yellow brown.I recleaned the mortise and airways after it had soaked using alcohol, cotton swabs and pipe cleaners.I stained the repaired areas on the bowl with a dark brown stain. I used a black Sharpie Pen to fill in some of the grooves in the briar and then restained it. I flamed it with a lighter to set the stain.I buffed the bowl with Blue Diamond on the buffing wheel to raise a shine on the bowl. The photos below show the repaired areas and the blending into the surrounding briar. I set the bowl aside and turned my attention to the stem. I cleaned out the slot with a dental pick and pulled a lot of built up tars from there. I used a sharp knife to bevel the end of the tenon to open the air flow to the slot. I sanded the stem with 220 grit sandpaper to break up the oxidation and to also remove the tooth chatter and some of the tooth marks. Some of them were too deep and they would need to be repaired later. I cleaned out the inside of the stem with alcohol and cotton swabs to remove the buildup in the airway. The slot was very narrow and it was hard to push pipe cleaners through the airway. I decided to open up the slot with needle files to facilitate easier cleaning with pipe cleaners. I did not want to change the shape of the slot, but merely wanted to make it wider and tapered smoothly into the airway. I used both large and small round, oval and flattened oval files to shape the slot. Once I had it large enough for a pipe cleaner to pass through easily I folded a piece of sandpaper and sanded the inside of the slot. I sanded the stem around the button with 220 grit sandpaper and filled in the remaining tooth marks with black super glue. I set the stem aside to dry overnight. In the morning I sanded the stem with more 220 grit sandpaper to smooth out the repairs and blend them into the surface of the stem. I also reshaped the button and smoothed out the repairs I had made there. I wiped the stem down with Obsidian Oil on a cloth to have a better look at where things were at. I noticed a small bubble in the patch on the underside of the stem once I had cleaned it so I put another drop of black superglue on it to fill it in. I polished the stem with micromesh sanding pads – wet sanding with 1500-2400 grit pads and dry sanding with 3200-12000 grit pads. I rubbed the stem down with Obsidian Oil after each set of three pads. After the final set of pads I set the stem aside and let the oil dry. I mixed up a batch of pipe mud – water and cigar ash – and applied it to the inside of the bowl to provide protection to the bare walls while a new cake is formed. When it dried I put the stem on the bowl and buffed it with Blue Diamond polish on the buffing wheel. Blue Diamond is a plastic polish that comes in a block. I load the buffing pad with it and polish the stem and the bowl. I use a light touch on the bowl so that I don’t load up the grooves and crevices with the polish. I gave the stem and bowl multiple coats of carnauba wax and buffed the pipe with a clean buffing pad to raise a shine to the finish. The finished pipe is shown in the photos below. The repairs on the bottom of the bowl blended in very well and those on the stem did also. This is the first of nine pipes that I am repairing for a guy who dropped them off at the house. It is ready for more years of service. Thanks for looking.


Breathing Life into a Preben Holm Zodiac Taurus 12 with an under-slung shank


Blog by Steve Laug

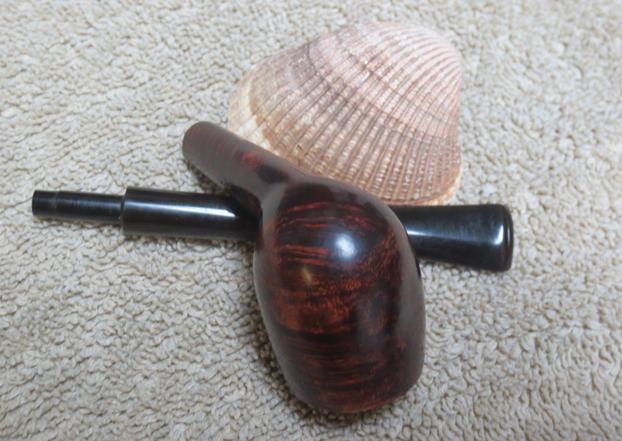
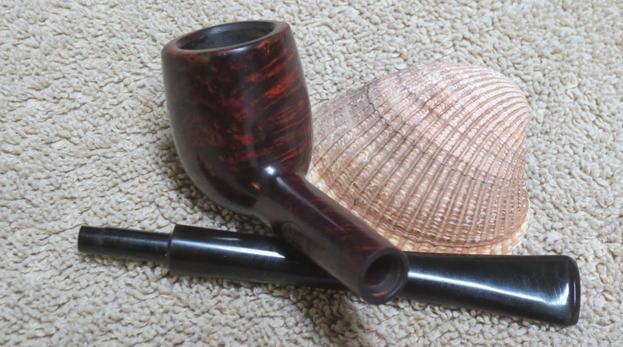
Over the years, since I took up the pipe I have been drawn to pipes made by Preben Holm. He was a Danish pipe maker who made freehand pipes under his own label and under the label, Ben Wade for the US market. He shapes the pipes to follow the grain and flow with it. He made both smooth and sandblast pipes that have a variety of shapes and sizes in the freehand style. He also made smaller classic pipes that always were interesting. There seems to be a certain look about them always gets my attention. I rarely buy them unless it stands out to me and calls me. The first good pipe I purchased is a good example of this. It was a stunning, (at least to my novice eyes) Preben Holm, Ben Wade, sandblast freehand. The pipe shop owner helped me choose it from his estate pipes. I went into the shop near where I worked at that time in Vista, California. He handed it to me, and to me it was a very clean estate pipe. I was in the market for something other than my Medico billiard, which was the only pipe I had at that time. I still smoke the pipe and enjoy it. It is close to 50 years old and it is still going strong.I have since added two more Preben Holm pipes to my rack but they are classic shapes with a twist. Both pipes are what I call a “Dublinish” shape and long shanks and a freehand style mouthpiece. They have rounded edges on the square shank and the rim top. There is no raw plateau on either pipe. The finishes show the same care as all of Preben’s pipes that I have seen or worked on. It has a rich multi-hued brown and dark brown finish that makes the grain really stand out. I traded for both of these in lieu of payment for some restoration work I did for a fellow in Northern British Columbia.To my thinking, Preben Holm was a wizard with shapes and finishes. The sandblast on my freehand maximizes the grain while the plateau on the rim and shank end add another dimension to the look. On the two newer trade pipes I have, the rich brown finish has almost a matte look that I really like. The way in which they are stained also give a deep multi-dimensional look to the grain that is stunning. I keep an eye out for his pipes and regularly cruise eBay looking for shapes that catch my eye.

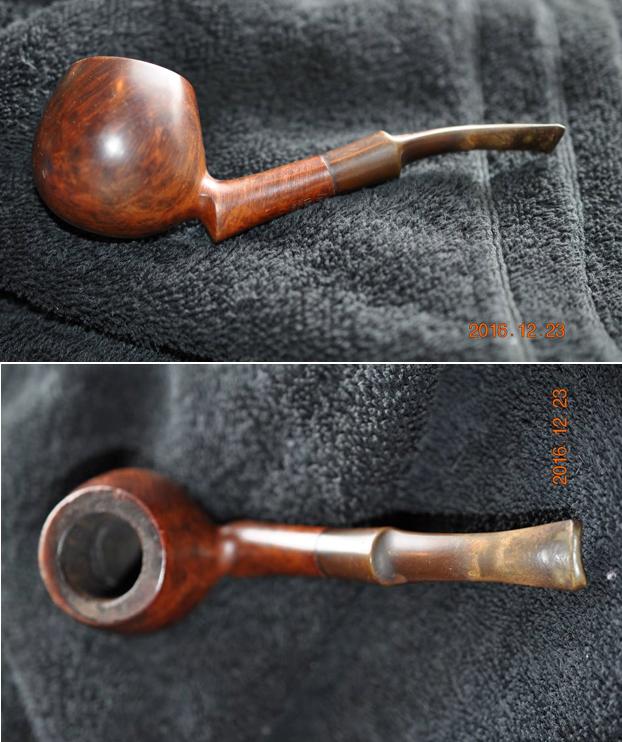
All of that is background to why I was interested when my brother sent me photos of a pipe he had found on eBay listed as a Zodiac. He wanted to know what I thought of it and if I knew who made it. There was something about the look of the pipe grabbed my attention and I encouraged him to bid on it. There were no takers for the pipe so he soon had it in hand. The shape and the design made me think that it might be a Preben Holm made pipe but I was not sure. The underslung shank, the shape of the stem and the look of the finish under the grime led me that conclusion.
I was flying to Idaho for a visit so I knew that I would see it when I arrived and that would help me affirm my conclusions. In the meantime, I did some research on the brand on the web and found a link to Pipedia (https://pipedia.org/wiki/Zodiac) that confirmed that Zodiac pipes were a brand made by Preben Holm. From research on the web I found that the Zodiac line had pipes made that were stamped with different Zodiac names. I found pipes stamped Libra, Taurus and Gemini. I am sure that there were others in the line either made or in design. What was interesting is that the entry did not have much information about the brand other than that the pipe was stamped Copenhagen, Denmark. However, to me the fascinating thing was that there were two photos of the pipe included that were a match to the pipe I am working on.

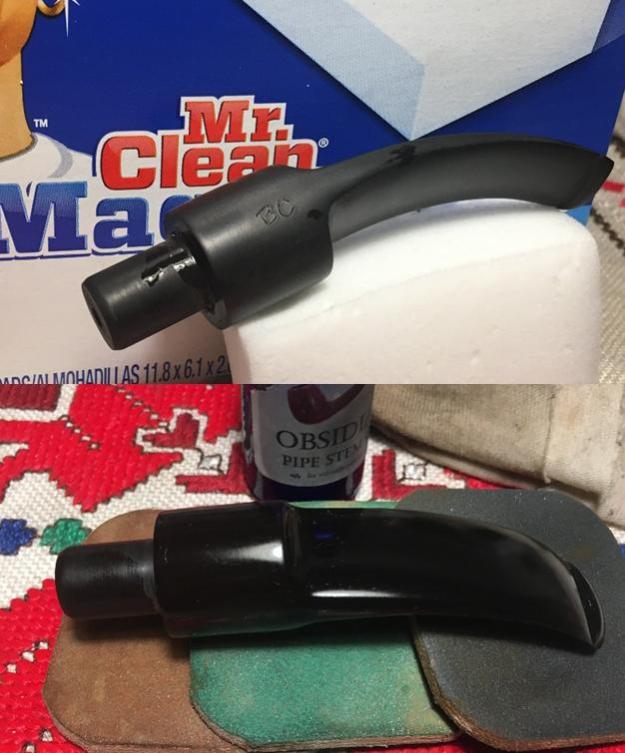
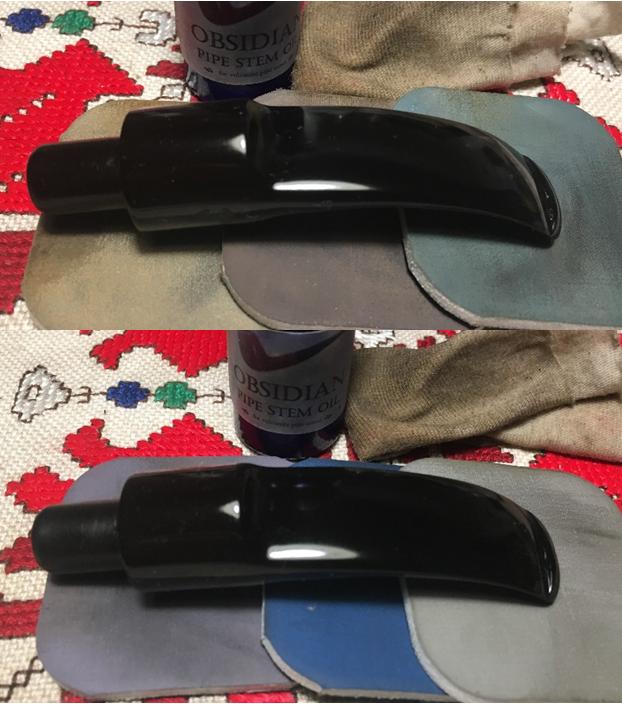
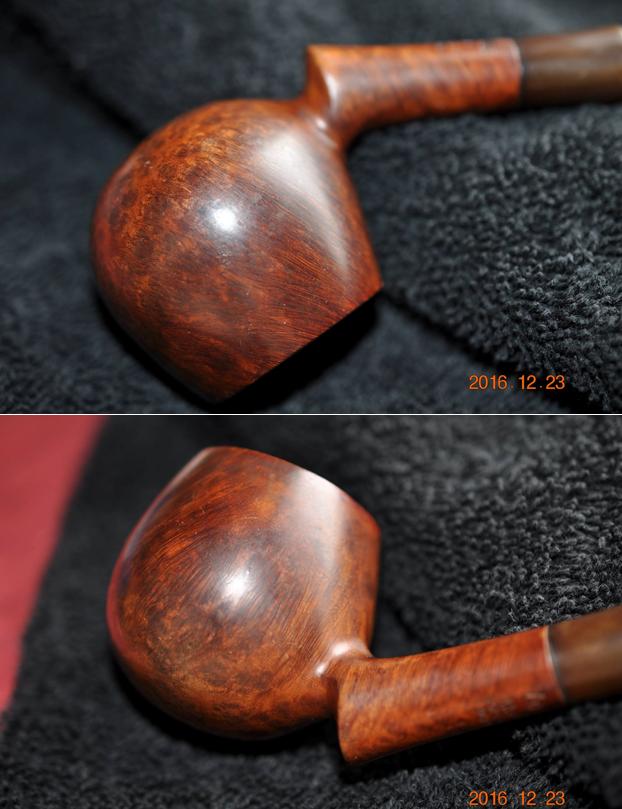
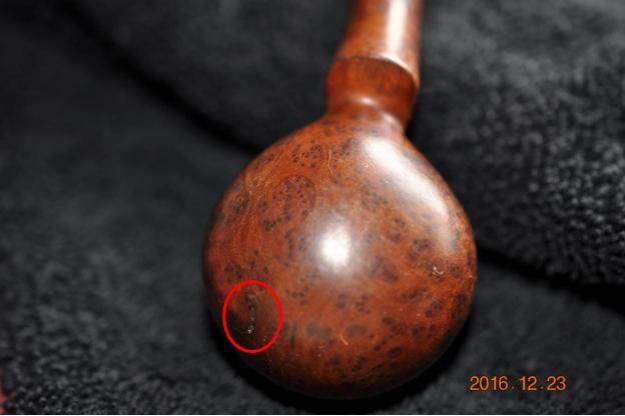
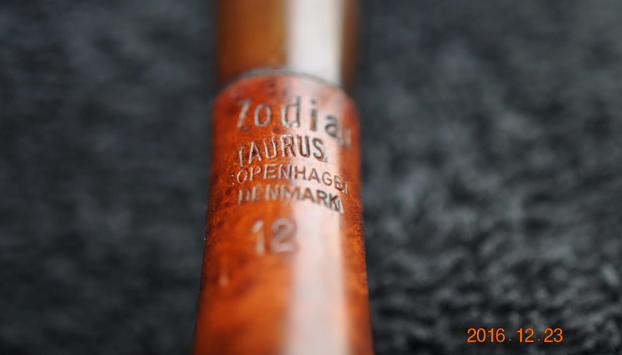
The next series of photos show what the pipe looked like when it arrived in Idaho. The finish was dirty and worn but there were no serious issues. There was no top coat of varnish or shellac on top of the finish so that was a plus. (I find that some eBay sellers feel it necessary to make the pipes that they sell shiny before they sell them.)My brother took close up photos of the bowl sides and bottom to show the overall condition of the briar and the finish before he began his clean up job. In the photo of the bottom of the bowl you can see what looks like a crescent shaped flaw toward the front of the bowl. I have circled it in red for identification. It had not been filled but was left open and had collected grit and dirt. The next photo shows the stamping on the underside of the shank. It is sharp and reads Zodiac Taurus over Copenhagen Denmark with the shape number 12 underneath.The rim had some tars and lava overflow from the cake in the bowl. There was a light cake that looked like it was a bit crumbly. The inner edge of the rim showed nicks and damage from having been reamed with a knife. The stem was oxidized and had tooth dents and tooth chatter. The fit against the left side of the shank was slightly damaged. The button was dented and worn down on both the top and bottom sides and the slot was filled with debris.My brother did his usual great clean up job on the pipe. He reamed the bowl with a PipNet reamer and took the cake back to bare briar. He scrubbed the internals of the mortise and airways in the shank and stem with pipe cleaners, cotton swabs and alcohol until they were clean. He scrubbed the surface of the briar with Murphy’s Oil Soap and was able to remove all of the grime and grit on the surface. I took some photos of the pipe when it arrived. He had been able to remove a lot of the buildup on the rim top. There was still some darkening to the rim top. You can see the damage to the inside edge of the rim. The outer edge also had some damage from what appeared to have been an habitual knocking out dottle on hard surfaces. The bowl was pretty clean but there appeared to be some hardened cake on the bottom of the bowl around the airway. I topped the bowl on the topping board using 220 grit sandpaper to remove the damage on both edges of the rim. I topped off enough of the rim to leave the top flat and smooth and minimized the damage on both the inside and outside edges.Once the bowl was topped I used a folded piece of sandpaper to bevel the inner edge of the rim. I wanted to bevel it to smooth out the nicks and cuts on the inner edge of the bowl. I sanded out the inside of the bowl with a piece of 180 grit sandpaper on a piece of dowel to smooth out the bits of cake that remained in the bowl. The pictures below show the process and the resultant bowl top and rim edges. The sides of the bowl are also cleaner. I sanded the rim top with a medium and fine grit sanding sponge to remove the scratches in the briar. I sanded the bowl surface with the sanding block to remove as many scratches as possible. I wiped the bowl down with alcohol on a cotton pad to remove the sanding dust. I cleaned out the pit on the bottom of the bowl with alcohol and cotton swabs. Once it was clean I pressed in some briar dust and then dribbled super glue into the repaired area. I added more dust to even out the surface and let it dry. I sanded the repair with 220 grit sandpaper to flatten out the repaired area and blend it into the rest of the surface of the briar.I wiped the bowl down with alcohol a final time and cleaned out the interior of the shank to remove the dust that had collected from sanding the bowl and repair. I gave the bowl a light coat of olive oil so that I could see the scratches when I sanded it with micromesh sanding pads.I polished the briar with micromesh sanding pads. I wet sanded it with 1500-2400 grit pads and wiped it down with a cloth dampened with olive oil. I dry sanded it with 3200-12000 grit pads and wiped it down between the second and third set of three micromesh sanding pads. I buffed it with Blue Diamond on the buffing wheel and then gave it several coats of carnauba wax. I buffed it with a clean buffing pad and hand buffed it with a shoe brush and a microfiber cloth. I took some photos of the bowl at this point in the process and then set it aside while I worked on the stem. The oxidation was brought to the surface of the stem by the cleaning it with a soft scrub cleanser. I started cleaning the oxidation off with Mr. Clean Magic Eraser and warm water. I sanded it with 220 grit sandpaper to remove the surface oxidation. I reshaped the button with needle files and the sandpaper. I sanded out the tooth marks and dents in the surface of the stem. The first two photos show the condition of the stem when I started.The next photo shows it after the initial sanding and scrub with the Magic Eraser. You can still see spots on the black vulcanite but it is pretty clean.  I ran a pipe cleaner through the airway and worked it around the button to clean out any remaining debris. It was pretty clean. (I was on a roll and forgot to take photos of it right after sanding it with the 220 grit sandpaper and reshaping the button.)I polished the stem with micromesh sanding pads – wet sanding with 1500-2400 grit pads and dry sanding with 3200-15000 grit pads. I rubbed the stem down with Obsidian Oil after each set of three pads and after the final pad gave it a last coat of the oil and set it aside to dry. I put the stem back on the pipe and buffed the stem with Blue Diamond. I gave the bowl and stem several more coats of carnauba wax and buffed it with a clean buffing pad. I hand buffed it with a microfiber cloth and took the following photos of the pipe. The finished pipe is shown in the photos below. It is a beautiful example of Preben’s workmanship. The finish may have originally been a light brown stain but I am pretty sure that it was a natural/virgin finish using no stain. This may be one that joins the other ones in my collection of Preben Holm pipes. Thanks for journeying with me in the restoration process.

Who would have guessed that there was a Beauty in this Beast


Blog by Steve Laug

Sometimes you have to look past the state of a pipe to really see what could be present underneath all of the layers of dirt and grime. You have to have the right perspective as well. You need to be able to see these pipes as well loved rather than abused; as a favourite pipe rather than a neglected one. This the context in which the next pipe that crossed my worktable is to be viewed. Here is the back-story. Not too long ago I received an email from a friend of mine named Jim, whose pipes I have worked on in the past. He had an interesting story to tell me and a request. I thought rather than tell the story for him I would let him tell it himself. Here is his email in full:

Hey Steve,

I have been hunting about 1200 acres of Farm and Woodland Property owned by an area farmer and old friend of mine named Stephen Lehner. Steve knows I am a pipe aficionado, and approached me the other day with a pipe that had belonged to his father. I was able to get a little history of how this pipe came to be in this abysmal condition. Steve’s father was rather hard on his pipes. As the original owner of this pipe, Steve said his dad, in the latter years of his life, was not given to cleaning his pipes. His cleaning routine, if you could call it that, consisted of digging any ash and unburnt tobacco from the bowl with a pocket knife, then grasping the pipe by the stem, toward the mouthpiece/lip area, and banging it violently against any nearby hard object – trees, brick walls, car mirrors. It was hard enough that Steve’s son, Shawn, remarked that the old man actually damaged the mirrors on his trucks! Mr. Lehner’s pipes were so abused, that he routinely broke stems, necessitating that he acquire new stems – some of which were not well fitted.

In any case, Steve handed me this pipe, stating that it is one of a very few connections he has to his late father, and asked if I could do a cursory cleaning so he could display it as a keepsake (He is not a pipe smoker). I thought the pipe was interesting, if in bad condition. I cannot clearly make out any markings. On one side, there is a partially legible stamping, “…vage” with some cursive writing below it which I cannot make out. On the other side, I can read the number “75.”  I think it is a bulldog style. The tenon will not enter all the way into the mortise, and I am not sure if that is because there is so much crud inside or because it is not the correct bit.  The bowl is heavily caked and cracked. It also looks as though there was some ad hoc rustication on the bowl, as well. The bowl shows a distinct area of impact where it was banged during cleaning as well.

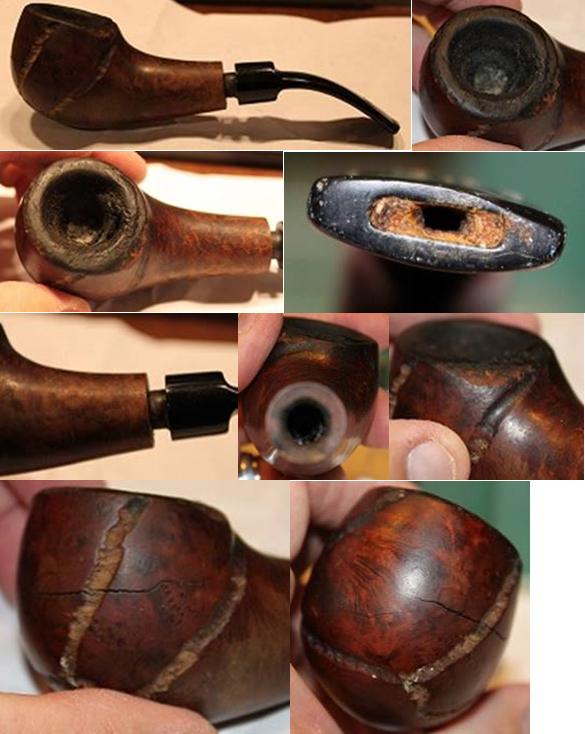
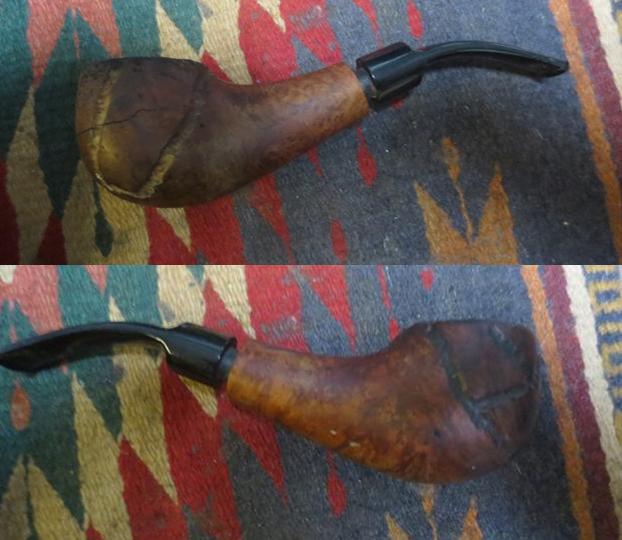
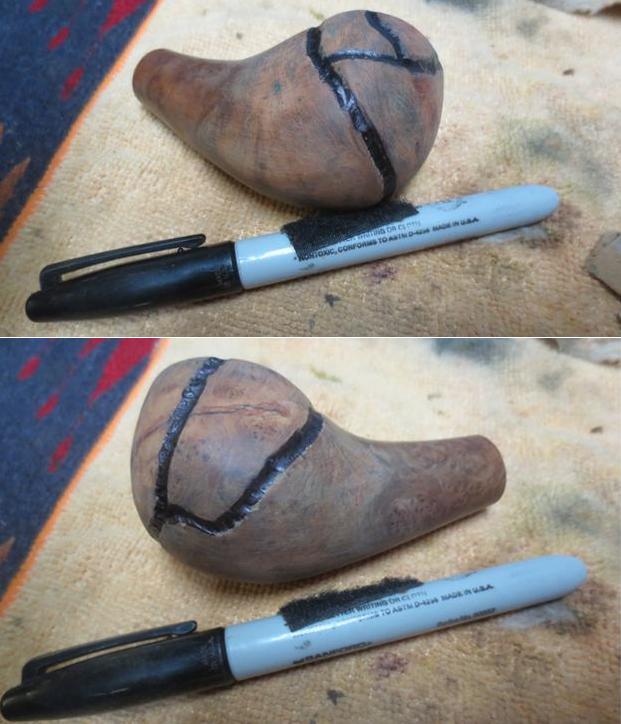
I attached some pix so you could behold this wonder:Once I saw the pictures I was quite taken back by the sheer beastly look of this old pipe. It had quite literally been beaten to death. The bowl was cracked on the outside of the bowl that started at the front of the bowl and extended to almost the back side. There was a second crack below that on the front of the bowl extending from the bottom of the first crack and extending toward the other side of the bowl. The bowl was so badly caked that I could not even get my pinky finger in the bowl. I tried to blow through the end of the shank and I was unable to get any air through the bowl. The finish was dirty and sticky to touch. The worm trail rustication ran over the bowl surface but was filled in with dirt and grit. From the photos it appeared that the shank inside was incredibly dirty. I think that it is fair to say this pipe was a stranger to pipe cleaners. The stem that was in the shank was not a fit. It was of smaller diameter than the shank. The slot in the stem was almost clogged.

After reading his email and looking over the photos I wrote back to my friend. I was pretty certain from the look of the rustication and the shape number he gave me that the pipe was a GBD. The three letters that he could read on the left side of the shank were age. That led me to look in the GBD list I have and concluded that the pipe was a GBD Sauvage. I looked up some information on a chart I have of GBD lines and knew that the pipe was originally sold with a light brown stain, smooth bowl with deep carved lines to hide flaws. It was similar to a Savinelli Sherwood, but much deeper carved lines. The GBD shape number 75 was a Rhodesian with a1/4 Bent Saddle stem. While this old pipe was a mess it was awfully hard to tell if it ever was a Rhodesian. I sent him this information in my reply.

He wrote back and said he wondered if I would be willing to tackle the restoration on this one. If so he would send it to me. I wrote back and said I would do the work. I guess I will find out if my guesses on the brand of this pipe were correct. I would know more once it arrived.

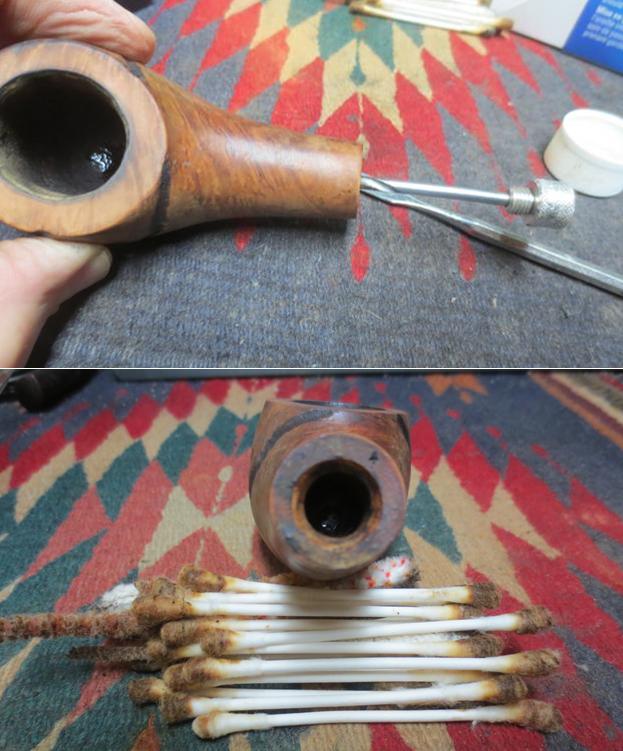
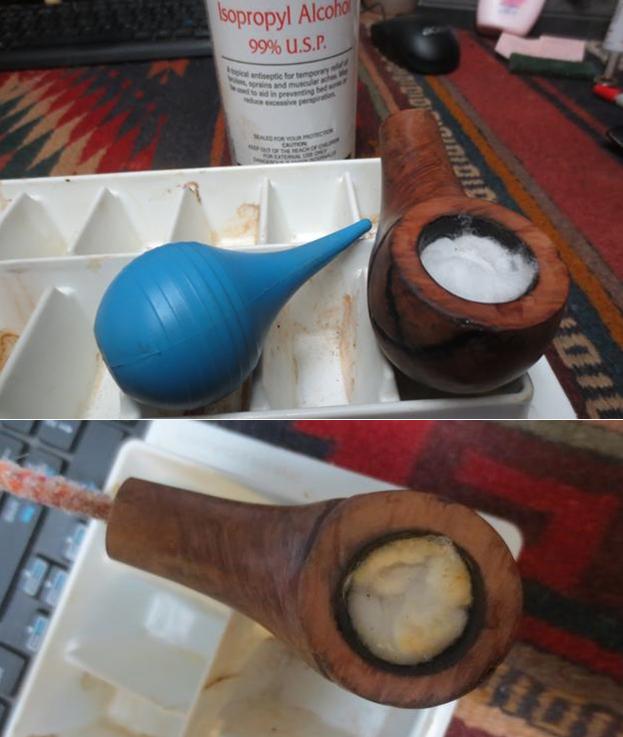
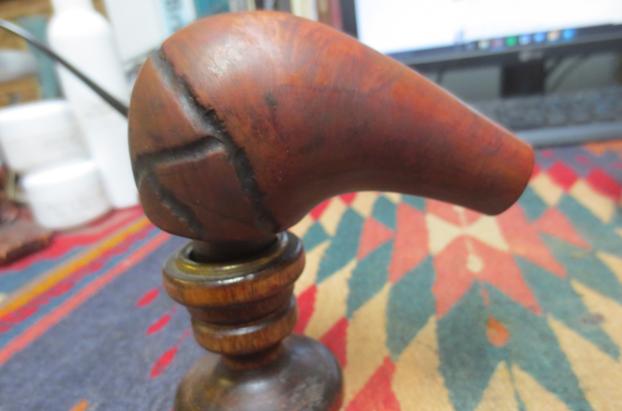
The pipe arrived and it was indeed a mess. On top of the beat up old pipe, the reek of Middleton’s Cherry pipe tobacco filled the room when I opened the box. My daughters immediately commented on how strong the smell was. I examined the pipe with a lens to see if I could identify the pipe. It was stamped on the left side of the shank with the GBD logo in an oval over Sauvage over Collector in script. On the right side of the shank it is stamped Made in England over 75 which is the shape number. The next photos show what the pipe looked like when I received it. I took a close up photo of the rim to show the absolute dreadful condition this pipe was in when it arrived. The bowl had a thick cake that still reeked of the aroma of burnt Middleton’s Cherry pipe tobacco. The rim had been hammered to what looked like the point of no return – though I would not know for sure until I had removed the cake and the buildup on the rim top. The stem was a replacement one and it was obviously a poor fitting one. The diameter of the stem and the shank were not a match and the tenon could not be pushed into the shank because of the grit and tar built up inside. The button had been flattened by biting and there were tooth dents on it and also on the top and bottom sides. I would definitely need to make a new stem for the pipe. I decided to start by reaming the bowl back to bare wood. I wanted to see if the cracks on the outside continued into the bowl. I fully expected the bowl to fall apart once the carbon was removed and ceased to hold everything together. I started reaming with the smallest cutting blade on the PipNet pipe reamer and worked up to the largest cutting head. I finished reaming the bowl with a Savinelli Fitsall Pipe Knife.I rolled a piece of 80 grit sandpaper on my index finger and sanded the inside of the bowl. I wanted to be able to clearly see if the cracks on the outside continued into the bowl. The second photo below shows the inside of the bowl. The crack on the left side of the bowl did not seem to show through inside. The one on the front of the bowl still needed some more work to be certain but it also looked like it did not show through. Notice the buildup on the rim it probably protected the top of the bowl to a large degree.I scraped the rim with a pen knife to peel off the cake that overflowed on the top. I carefully held the blade against the surface of the rim and scraped it slowly until all of the buildup was gone. Underneath all of the buildup the rim was in rough shape. It had been beaten pretty hard and the damage was quite extensive. The rim top showed signs of being knocked about hard against that truck mirror mentioned above. If this pipe could have talked I would love to hear the stories it could tell.I topped the bowl on the topping board using 220 grit sandpaper. I decided that I would sand it until the top of the rim was smooth and the damage on the outer edge of the rim was minimized.With the rim topped and smooth I wiped the bowl down with acetone on cotton pads to remove the grime and clean up the surface so I could assess the next steps in dealing with the external cracks on the left side and bowl front. I used a microdrill bit on my Dremel to drill pin holes at each end of the cracks in the bowl. The length of the bit ensures that I will not be able to drill too far and go into the bowl itself. There were five distinct ends to the series of cracks in the briar.I used a dental pick to clean out the cracks with surprisingly had closed tighter once the cake was removed from the bowl releasing the pressure. Once they were clean I pressed briar dust into the crack surfaces and the drill holes in the bowl. I dripped clear super glue on the cracks and into the plugs in the drill holes. I gave the repair several more coats of briar dust and super glue until the surface was filled. The pictures tell the story. I sanded the dried repair and the rest of the bowl with 220 grit sandpaper to remove the excess briar dust and glue. I wiped the bowl down with alcohol on a cotton pad. I used a Black Sharpie pen to colour in the worm trail rustication around the bowl sides. I had done some research and found that the rustication on the Sauvage line had been darker than the stain on the bowl.I used the drill bit from the KleenReem Pipe reamer to drill out the buildup in the airway from the mortise to the bowl. It was thick and hard so the drill bit took several passes through the airway to clean it out. I used a dental spatula to scrape out the thick, hard tars that lined the walls of the mortise. I scrubbed out the mortise and airway with alcohol, cotton swabs and pipe cleaners until the internals were clean.I stuffed the bowl with cotton balls until they were just below the edge of the rim. I put a pipe cleaner in the airway to wick the alcohol into the shank. I used an ear syringe to fill the bowl and shank with alcohol. I set the bowl upright in an ice cube tray and let it sit over night to draw the oils out of the briar. In the morning I took a photo of the darkened cotton balls. I used a dental pick to pull them out of the bowl. I cleaned out the shank and the bowl with cotton swabs to remove all the excess alcohol. I let the bowl dry.I stained the bowl with a dark brown aniline stain thinned 50/50 with alcohol to make it more transparent. I flamed the stain and restained it. I repeated the process of staining and flaming the surface until the briar had even coverage. I buffed the bowl with Blue Diamond on the buffing wheel and then took the following photos to send to Jim to show him the state of the bowl at this point in the process. There were still scratches in the finish that would need to be polished out but the bowl was showing promise and beauty was emerging from the beast. I left the pipe on my work table while I traveled to Idaho for my mom’s 90th birthday. I stay with my brother Jeff when I am there and as usual he had a batch of pipes for me. There were some amazing pipes there but what caught my eye this time was the stem I needed for this Sauvage. It was slightly bigger in diameter than the shank but it would not take much to fit it to the pipe. When I got home I lightly sanded the tenon with a Dremel and sanding drum until it fit snugly into the mortise. I took the photo below to show the new stem and the one that was with the pipe when it arrived. I took photos of the stem to show the difference in diameters of the shank and the stem. You can also see the deep tooth marks in the top and bottom sides of the stem near the button.I sanded the diameter with a sanding drum on the Dremel. I do this with the stem inserted in the mortise so that I can remove as much of the excess vulcanite as possible without damaging the briar on the shank. I nicked the edged of the briar but fortunately the nick was not deep. I also lightly sanded the top and underside of the stem with the Dremel and minimized the tooth marks. I sanded the areas on the stem where the tooth marks had damaged the vulcanite with 180 grit sandpaper and smoothed out the surface damage. What remained were the deeper tooth marks. I wiped down the surface of the stem with alcohol on a cotton pad to remove the debris and dust from the tooth marks. I filled the remaining tooth marks with black super glue and set the stem aside to dry.When the repairs had cured I sanded them with 180 grit sandpaper to blend them into the surface of the stem. I sanded the saddle portion of the stem to remove the marks left behind by the sanding drum.I put the stem in the shank and sanded the stem and shank with 220 grit sandpaper to make the transition really smooth. I could have done this differently but there was enough damage to the shank that the sanding would smooth out the briar as well. I wet sanded the stem and shank with 1500-2400 grit micromesh sanding pads to smooth out the scratches on the briar and the vulcanite. I was able to remove most of the scratches. The rest would come out with more elbow grease. I cleaned out the inside of the stem with pipe cleaners and alcohol until they came out clean. I used a sharp knife to bevel the airway into the stem. I have found that doing this directs the airflow from the bowl to the button. I put the stem in the shank and took the following photos. There is still a lot of polishing to do but the pipe is beginning to look pretty decent. I continued sanding with the 3200-12000 grit micromesh sanding pads to polish the stem. After each set of three pads I rubbed it down with Obsidian Oil and sanded some more. After the last pad I gave it a final coat of the oil and let it sit to dry.I buffed the bowl and stem with Blue Diamond on the buffing wheel and then gave both the bowl and the stem multiple coats of carnauba wax. I buffed it with a clean buffing wheel to raise the shine and hand buffed it with a microffibre cloth to deepen it. The finished pipe is shown in the photos below. I am repairing and refitting the original stem to send back with the pipe as well. Once it finished I will buff the two stems and finish removing any scratches that can still be seen in the pipe and then send it back for the surprise that Jim has in mind for it. Thanks for looking.

Refreshing a Stanwell Gilt Edged 124 Ivarsson Design


Blog by Steve Laug

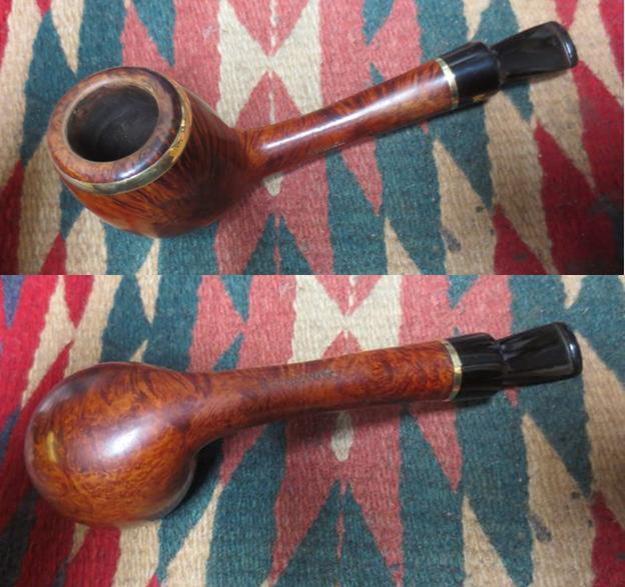
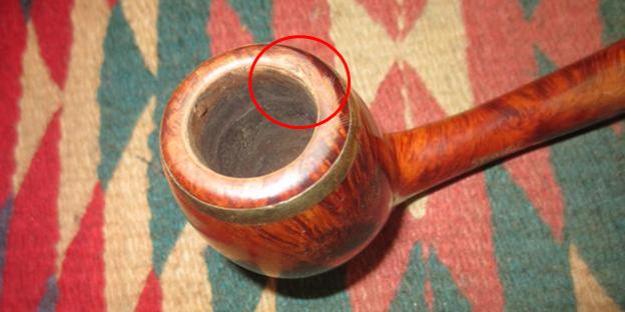
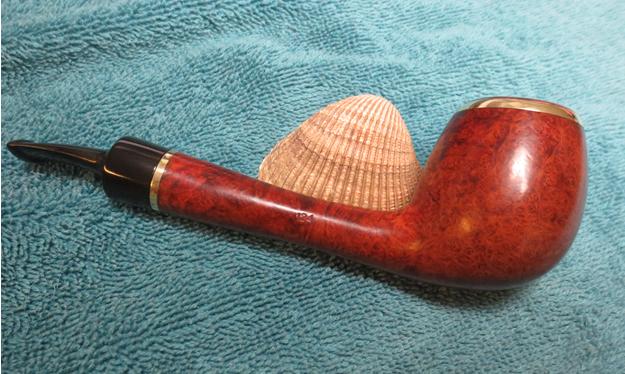
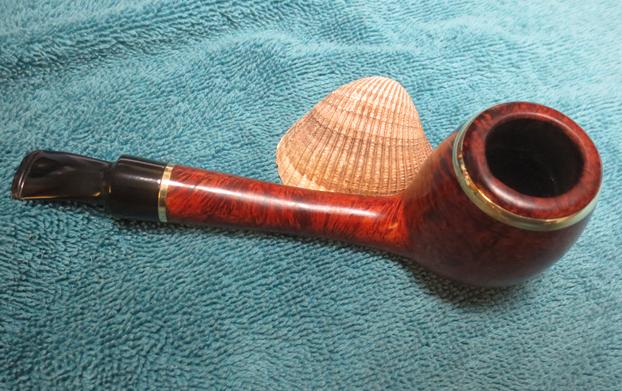
I received an email a few weeks ago from Mario. He has been following the blog for some time now and had enjoyed reading the posts. He wrote that he had purchased a pipe on Ebay for a good price. He attached some photos of the crack in the shank and wondered if I would be willing to take it on. I wrote back and asked for some photos so he sent me the following two photos. The first shows what appears to be a crack in the shank just ahead of the gold band between the shank and the stem. I have circled the damaged area in red in the photo below.stan1The second photo shows the shank end of the pipe. The band wraps over the end of the shank which was a plus to my mind. The band was tight on the shank according to the seller. My thinking was that the band would hold the crack together and it would be easier to work with. (The tenon on the stem is also a 9mm filter stem).stan2I wrote back and told him I would be glad to work on it. He wrote back when the pipe arrived at his place. As he looked it close up he wrote that the crack did not look as bad as he had expected. It appeared to be possibly a flaw in the briar. He also wrote that the end of the flaw near the band did extend to the edge of the band. He packed up the pipe and sent it to me in Vancouver. When it arrived I loved the look and shape of the pipe. The long shank and the shape of the bowl work well together. The gilt ring around the outer edge of the bowl and around the shank is what gave the pipe its name. It is stamped Stanwell of Gilt Edged on the left side of the shank. On the underside it reads Made in Denmark. On the right side of the shank it reads 124 which is the Stanwell Shape number. According to information compiled by the late Bas Stevens regarding Stanwell shapes the 124 is a freehand, long conical shank, with a short saddle mouthpiece. It was designed by Sixten Ivarsson. Here is the link to the full blog post that Bas gave permission to post on rebornpipes: https://rebornpipes.com/2013/09/03/stanwell-shapes-compiled-by-bas-stevens/

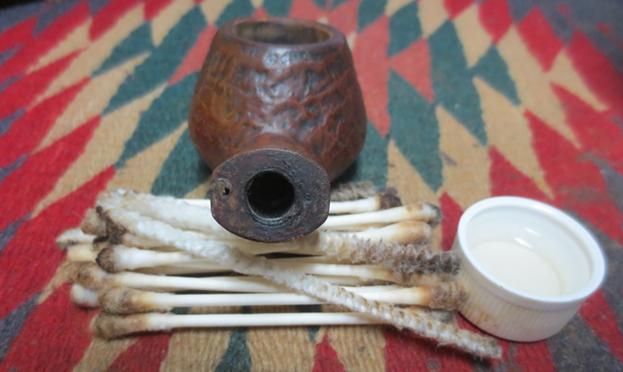
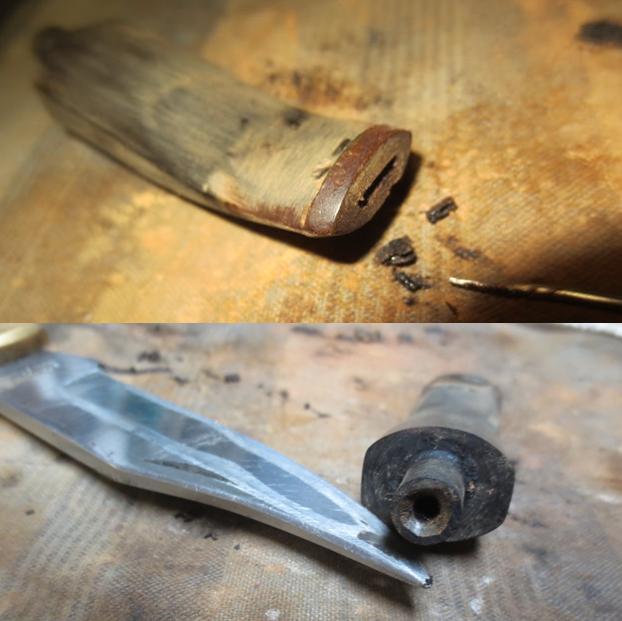
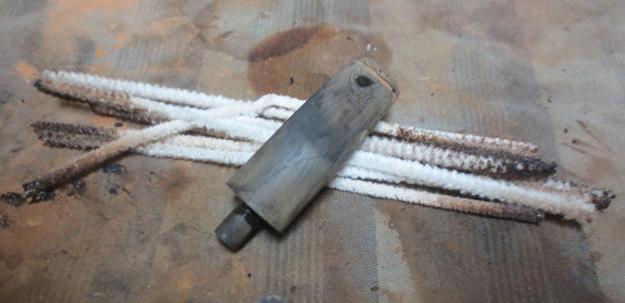
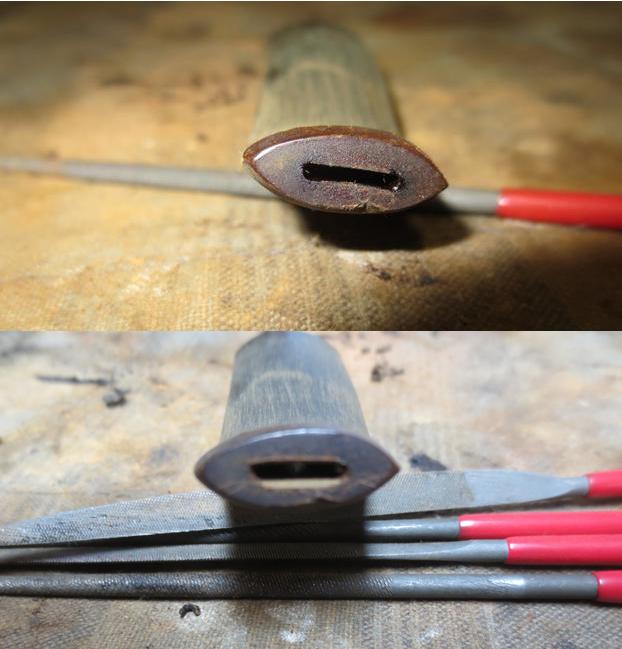
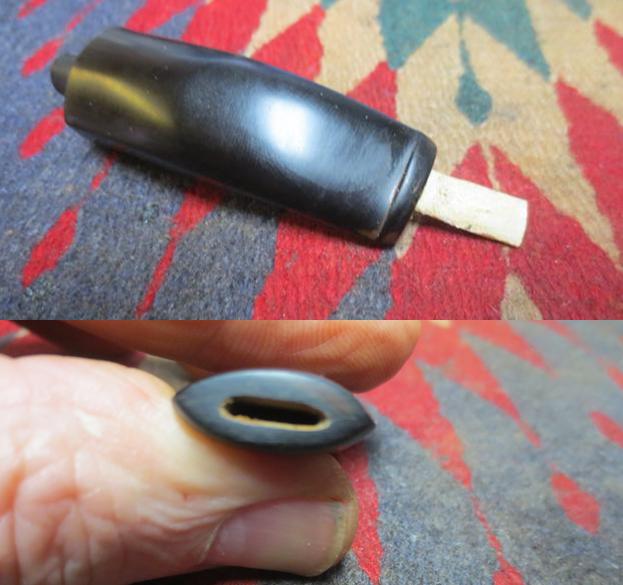
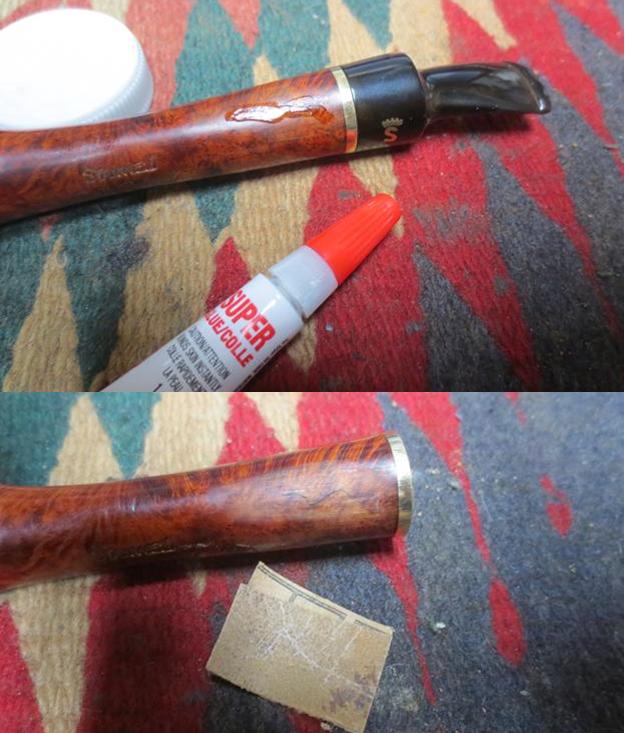
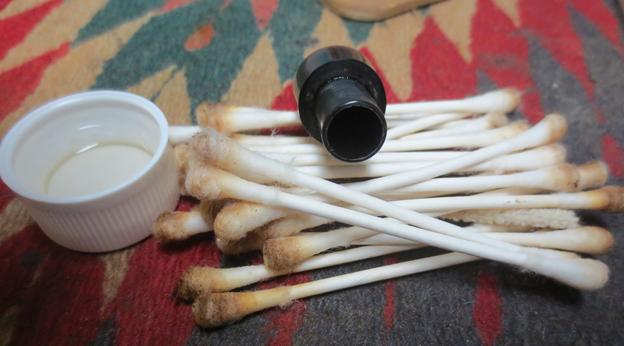
I took the following photos of the pipe when it arrived and before I started to work on it. You can see the damage to the rim – including both dents and a slight burn on the back inner edge toward the right side. There were also some dents on the top of the shank just ahead of the crack in the briar. The pipe was sold as clean and restored but it was far from clean by the smell of tobacco and the oils in the shank and stem.stan3 stan4There was some tar and oil on the top of the rim so I wiped it off with a cotton pad and took the following close up photo. It is hard to see but there were light dings in the rim top and the damage at the rear which I have circled in red.stan5The stem was clean on the surface but there were ripples and ridges from buffing as well as some slight tooth indentations on both sides near the button and on the button.stan6I sanded the damaged/flawed area on the top of the shank and probed it with a dental pick. Interestingly if it was a crack it was sealed tightly and there were no soft spots in the surface. It also appeared that the top finish had run slightly leaving a sag mark on the shank. I examined it with a bright light and lens and could see that the flaw ended a good 1/8th inch before the band and that the other ended. I decided to not drill the ends of the crack because it was a tight fit and also because when I looked at the inside I could see no trace of the crack coming through. I filled it in with clear super glue and when it dried I sanded it smooth with 220 grit sandpaper.stan7I cleaned up the rim top with 220 grit sandpaper and lightly beveled the inner edge to clean up the burned spot. I did not want to bevel it too much but only enough to match the rest of the rim bevel. When I finished shaping it I sanded it with 1500-2400 grit micromesh sanding pads to remove any scratch marks. I steamed out the dents on the top of the shank and polished them and the repair with micromesh sanding pads. I stained the rim edge and repair with a medium brown stain pen. I used a black Sharpie pen to continue the grain marks through the repair on the shank.stan8I buffed the pipe with Blue Diamond on the buffing wheel and hand buffed it with a microfibre cloth. I took the following photos of the pipe and sent copies to Mario. We are both really pleased with the way the pipe has come out to this point.stan9 stan10Here are some close up photos of the shank repair and the rim clean up. It looks much better than when I began the work.stan11I set the bowl aside and started to work on the stem. I sanded both sides with 220 grit sandpaper and took the photos to show the marks, ripples and dents on the surfaces.stan12I cleaned out the tenon area with alcohol, cotton swabs and pipe cleaners to remove all of the oils and tars in airway and the area where the filter would have been. It took a lot of pipe cleaners and cotton swabs to remove all of the debris. The next photo shows about half of the cotton swabs and pipe cleaners that I used on the stem.stan13I examined the inside of the mortise and airway with a pen light and could see that the shank was thickly caked with a hard coat of tars. I used a dental spatula to scrape away the debris in the mortise. It took a lot of scraping to remove the buildup to see the briar. I cleaned out the shank and airway with alcohol, cotton swabs and pipe cleaners until it was clean. The pipe smelled much cleaner though still smoky.stan13a stan14I pressed cotton balls into the bowl and rolled a cotton pad and inserted it in the shank. I used an ear syringe to fill the bowl with alcohol. I tipped it so that the alcohol ran into the shank. I filled it until the cotton was covered in the bowl. I set the bowl aside to let the alcohol do its work in drawing the oils out of the briar. I set the bowl aside and turned to the stem.stan15I finished sanding it with the 220 grit sandpaper to remove all of the ripples and dents in the stem surface. I polished the stem with micromesh sanding pads – wet sanding it with 1500-2400 grit pads and dry sanding it with 3200-12000 grit pads. After each set of three pads I rubbed the stem down with Obsidian Oil. After the last rubdown of oil I set the stem aside and let it dry.stan16 stan17 stan18I let the cotton balls and alcohol sit in the bowl for 6 hours. I took the following photo of the darkened cotton balls. I removed the cotton balls and cleaned out the shank, airway and bowl with cotton swabs and pipe cleaners. I was able to remove a lot more of the tars in the shank.stan19Once the shank was clean and the walls were clean and had dried I put the stem in place on the shank. I buffed the pipe and stem with Blue Diamond on the buffing wheel. I gave the bowl and stem several coats of carnauba wax and buffed it with a clean buffing pad. I hand buffed the pipe with a microfibre cloth. The finished pipe is shown in the photos below. The stem is smooth and glassy, the rim is much better and looks smooth, and the flaw/crack in the shank is smooth to touch and virtually invisible.  It will be heading back to Mario this week and I look forward to hearing what he thinks of his pipe now. Thanks for walking along with me through this restoration.stan20 stan21 stan22 stan23 stan24 stan25 stan26 stan27 stan28 stan29

Refreshing a Tiny L&Co. Billiard


Blog by Steve Laug

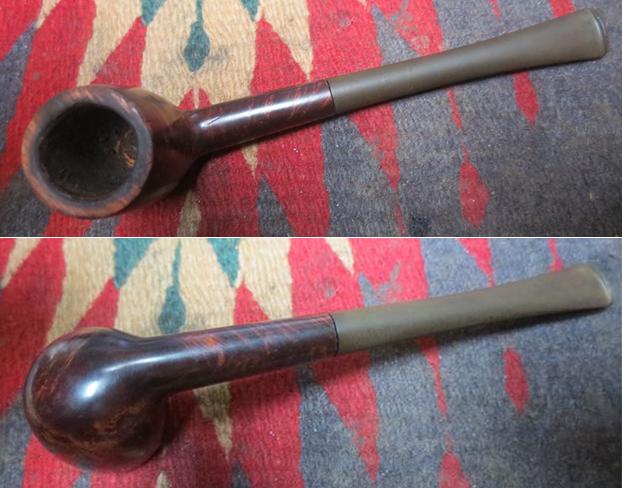
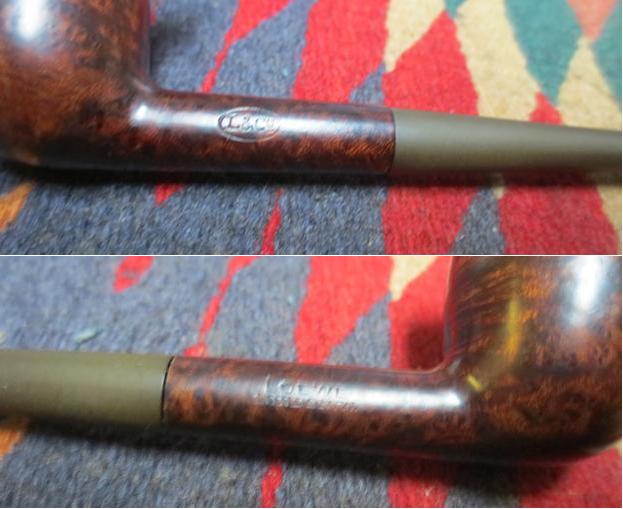
This is the final pipe of the lot of pipes I received from the pipe man in Eastern Canada who picked up an amazing lot an auction. The kind of price he paid makes me envious! This one is an older Loewe and Company graceful and diminutive pipe. It is stamped on the left side of the shank with L&Co. in an oval. On the right side of the shank it is stamped Loewe over England W.

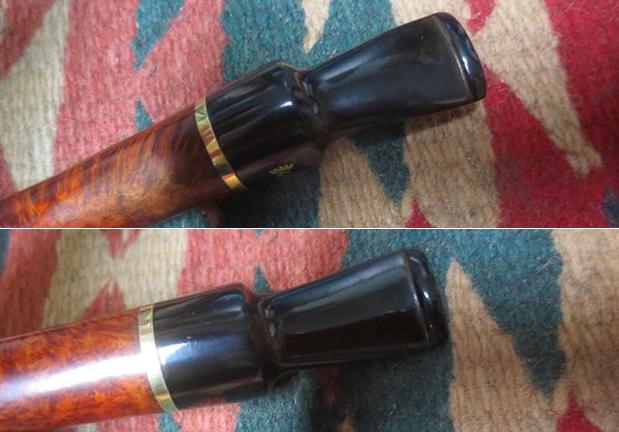
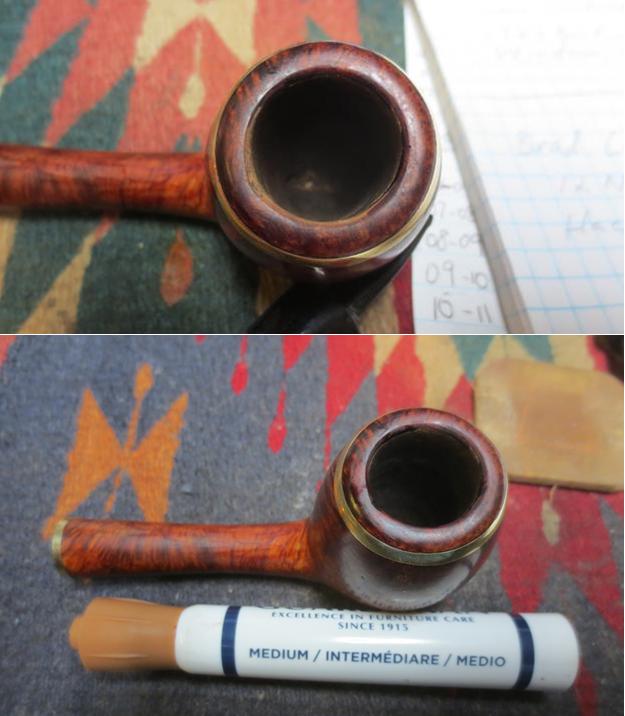
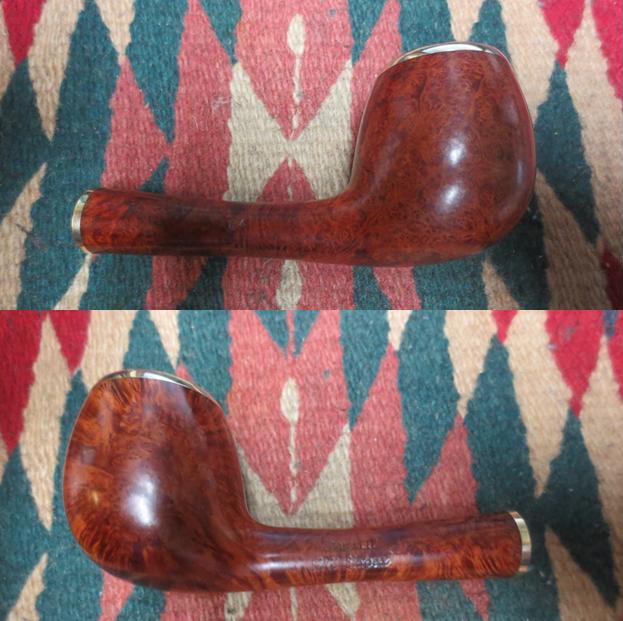
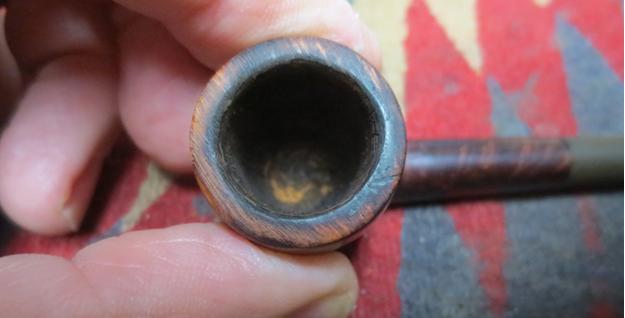
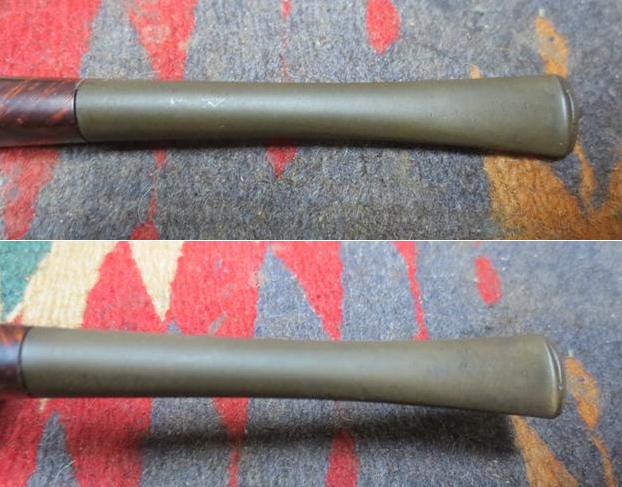
When I received the pipe I took the following photos of it to give you the big picture of this tiny pipe. The stem was in good shape but had the most oxidation of the lot that was sent to me. There were small tooth marks and chatter on the stem near the button on both sides. The finish was dirty but in decent shape. The rim was worn and there were some dents and dings on the top surface. The inner edge of the bowl was slightly out of round. Someone had reamed the pipe back to bare wood but the internals were very dirty. loewe2 loewe3I took a close up photo of the rim to show its condition. The finish was worn on the rim as well as darkened and dented. You can see the damage to the inner edge of the bowl as well.loewe4The next two photos show the oxidation on the stem. It is hard to see the tooth chatter and marks but they are present and will need to be dealt with.loewe5I also took some photos of the stamping. While not perfect you can read the stamps quite well and see the details that I mentioned above.loewe6I reamed the bowl with a Savinelli Fitsall Pipe Knife to clean up the inside of the bowl. The bowl had already been reamed and there were only slight remnants of a cake in the bowl.loewe7With the bowl clean I used a 1500 grit micromesh sanding pad to smooth out the rim and take off the carbon buildup on top. It also worked to take off the scratches in the briar.loewe8I used a folded piece of 220 grit sandpaper to clean up the out of round rim and bevel that were present. It did not take too much sanding and it looked as good as new.loewe9I used a dark brown stain pen to touch up the rim. The colour of the stain was a perfect match to the colour of the stain on the bowl. I stained the bevel and the top of the rim.loewe10I cleaned out the inside of the mortise and the airways in the shank and the stem with alcohol, pipe cleaners and cotton swabs. The pipe was quite dirty in these areas and took a bit of scrubbing to get the grit out of the airways.loewe11I sanded the stem with 220 grit sandpaper to remove the oxidation and the tooth marks and chatter. Several of them were quite deep so I “painted” the tooth marks with the flame of the lighter to lift them to the surface of the stem. They all raised to the surface and a bit of sanding smoothed out the damage.loewe12I polished the stem with micromesh sanding pads – wet sanding with 1500-2400 grit pads and dry sanding with 3200-12000 grit pads. I rubbed the stem down with Obsidian Oil after each set of three pads. I set the stem aside to dry.loewe13 loewe14 loewe15I buffed the pipe and stem with Blue Diamond on the buffing wheel to polish the minute scratches that still remained in the vulcanite and the finish of the briar. I gave the bowl and stem multiple coats of carnauba wax. I buffed the pipe with a clean buffing pad to raise the shine and then hand buffed it with a microfiber cloth to deepen the shine. The finished pipe is shown in the photos below. This evening I packed the pipes and sent them Express Post back to the pipe man in Eastern Canada. I am hoping he enjoys his “new” pipes and adds them to his rotation. Cheers. Thanks for looking.loewe16 loewe17 loewe18 loewe19 loewe20 loewe21 loewe22 loewe23 loewe24


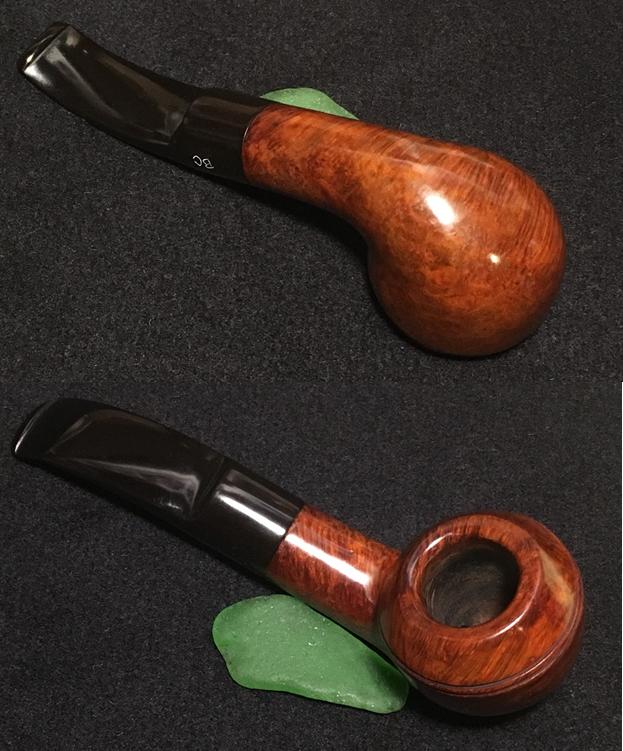
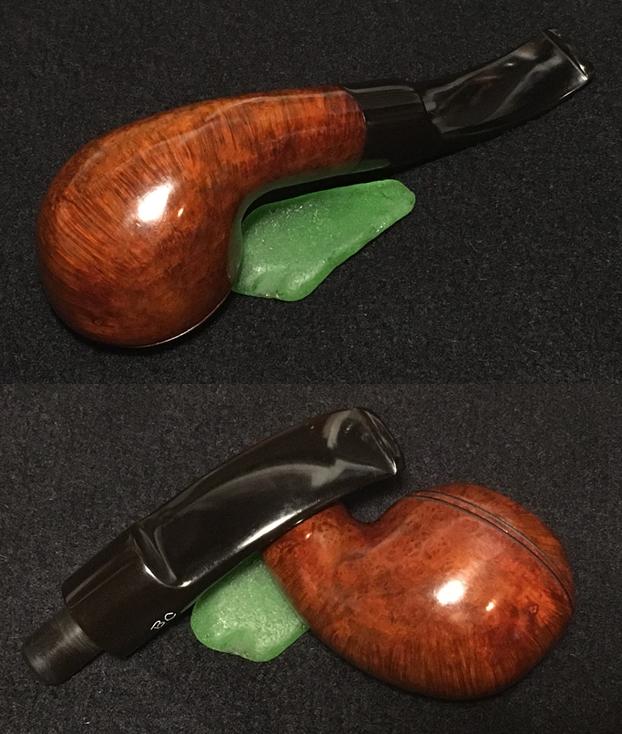
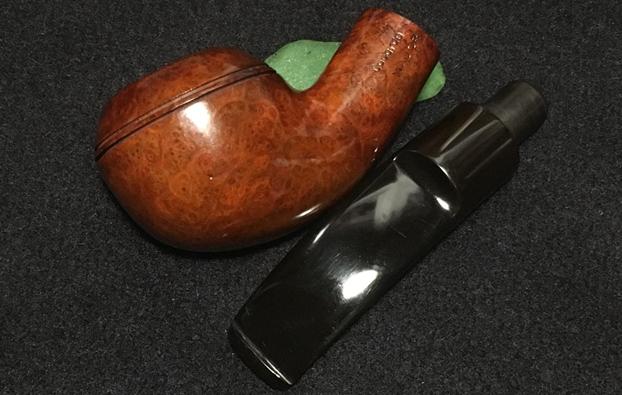
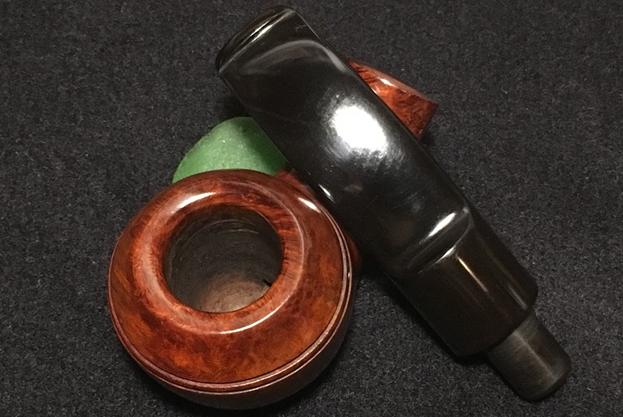
Hole in the Wall Gold Mine: Butz-Choquin Cocarde Major Rhodesian


Blog by Dal Stanton

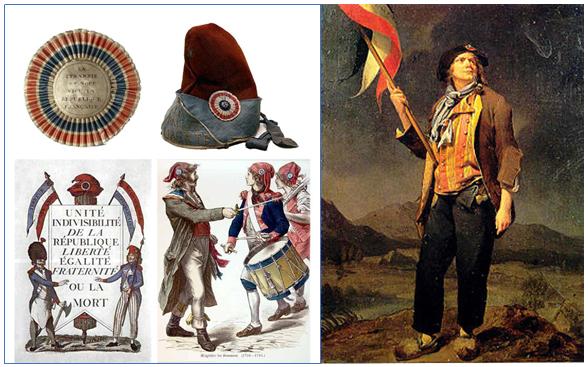
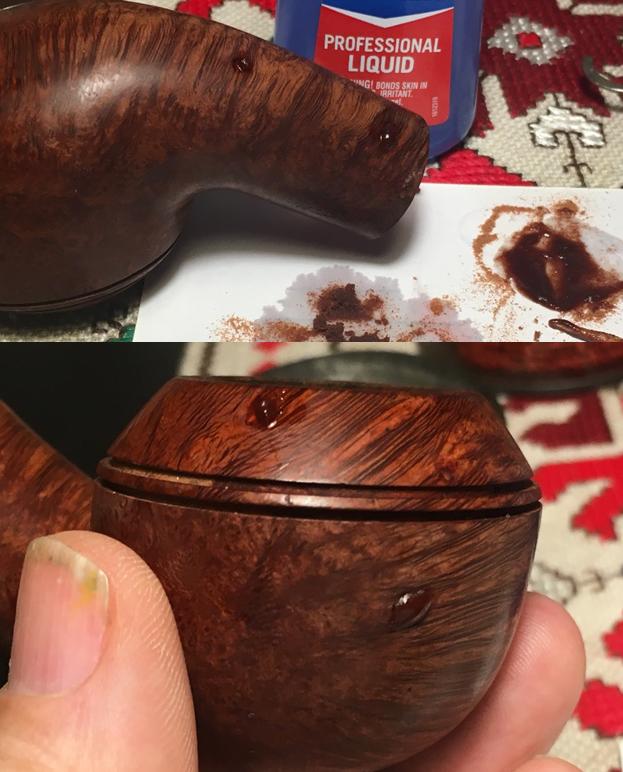
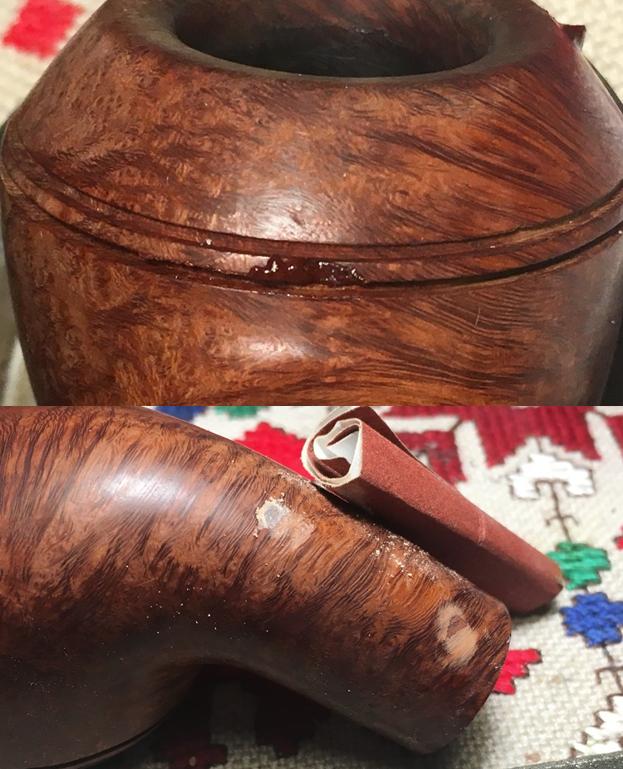
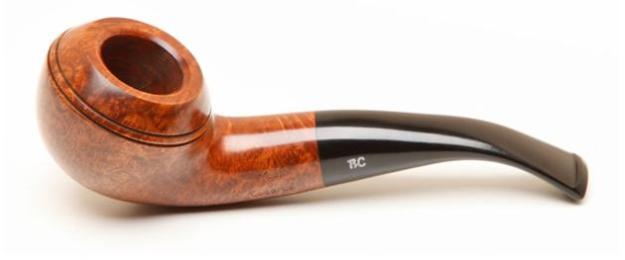
Even though it was a snow trudging kind of day, making it to the ‘Hole in the Wall’ paid off again.  I mentioned this visit before when I was writing up the restoration of the Stanwell Silver Mount.  On this visit, I saw the Stanwell for the first time, but didn’t bite.  The next time I would!  On this visit, I found another very nice example of St. Claude, France’s claim to fame as an historic center of pipe production – rivaling the UK for market share in Europe.  When I saw the Butz-Choquin Cocarde Major in the pipe basket on the cluttered Hole in the Wall shelf, my initial reaction was its size – a hefty guy.  My first assessment was that it was a Bulldog shape, then I noted the large rounded shank – a Rhodesian or a Bullmoose?  This one is going home with me regardless!  I looked in the basket for a good pipe to bundle and I saw an attractive, diminutive, Bent Billiard Sitter with a swan neck stem – unmarked, but a very nice looking pipe.  When I got home I took a quick picture of the bundled pair and put them in the ‘Help Me!’ basket for later attention.butz1 butz2When I take the BC Cocarde Major out of the basket, I am anxious to recommission this nice-looking Rhodesian, I decide.  The first thing I do is pull up Google Translator and insert Cocarde Major in the French to English machine.  I did not study French in school so help is appreciated.  I want to know if special meaning is attached to this St. Claude BC.  Cocarde translated into English as the word, ‘Cockade’ which was defined as, a rosette, roundel or knot of ribbons worn in a hat as a badge of office or party, or as part of a livery. With a little looking on the internet, I found these interesting French examples of Cocardes.butz3With this meaning for ‘Cocarde’ it put doubt in my mind regarding my original thought that ‘Major’ referred to large or big.  Attaching Major to the idea of the French symbol of national pride, it is most likely pointing to a level of rank, or when ‘Major’ is attached to another rank (e.g., sergeant-major) it denotes the ranking of one superior among those of the same rank.  I emailed a colleague living and working in Toulouse, France, whose command of the language could help.  His comments confirmed what I was thinking:

The word cockade refers to a national symbole for the French, like “cocarde tricolore’ refers to the French flag which is, of course, one of the most important symbols of the French people and national pride.  It has many meanings, but for example official cars or planes have this symbol on it.  You are right about the word Major, refering to a military grade. Used as an adjectif, “majeur” it means big.   I would conclude that this is simply the name of the pipe.  You can’t translate it literally.  The pipe’s name implies in my opinion that it is a symbol of French pride, like the French insignia for a general in the military.

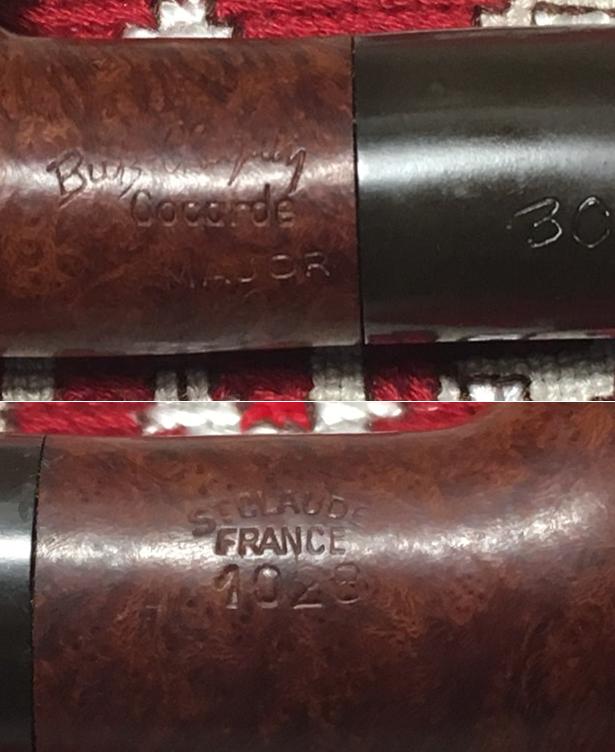
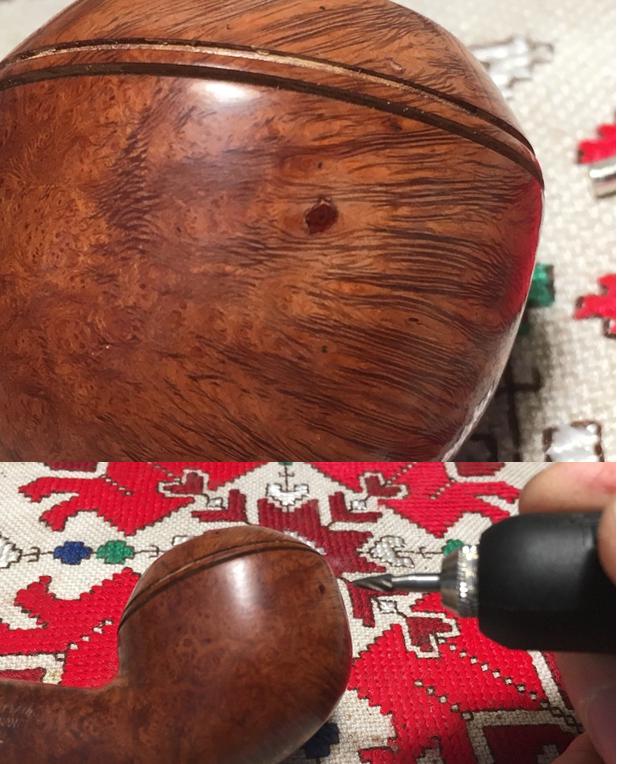
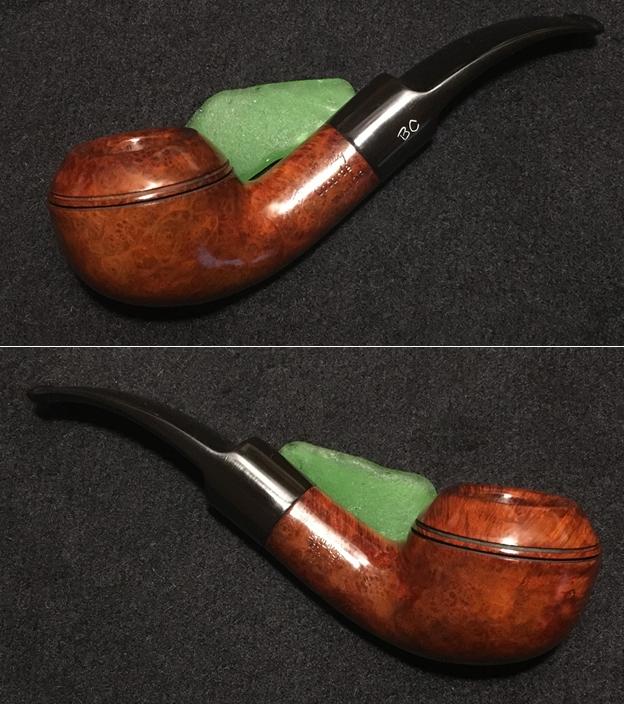
With the symbols of French pride stamped on this BC Rhodesian, I have a greater appreciation for the pipe when I take more pictures now on my worktable.butz4 butz5 butz6 butz7 butz8The stampings on the left side of the shank are “Butz-Choquin” in an arched script over “Concarde” over “Major”.  On the right side is, “St Claude” arched over “France” over “1028”, the BC shape number.  Per Pipedia’s history of the name, when Jean-Baptiste Choquin of Metz, started out as a tobacconist and the business prospered.  In 1858, one of his employees, one Gustave Butz, fell for his boss’ daughter and they were married.  That same year, Butz and Choquin came together to form the enterprise that is now known as Butz-Choquin, and eventually moved the operation from Metz to St. Claude, known as “the world capital of the briar pipe”.  Looking on the internet, I found another BC shape ‘1028’ but was called a ‘Bourbon Major’.  The shape was that of a Bulldog, with the diamond shank.  I know there is debate regarding the difference between Bulldog and a Rhodesian classification, but I am happy with Bill Burney’s descriptive difference in the Pipedia shapes Chart, that the difference between the two is, the Rhodesian has a round shank and the Bulldog, a diamond.
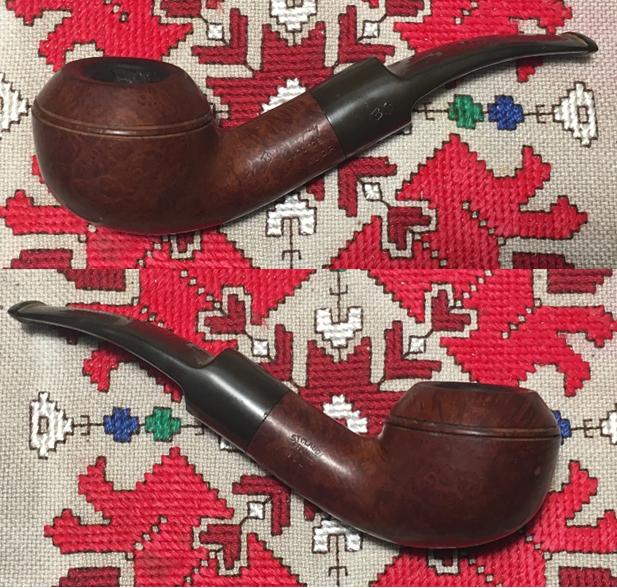
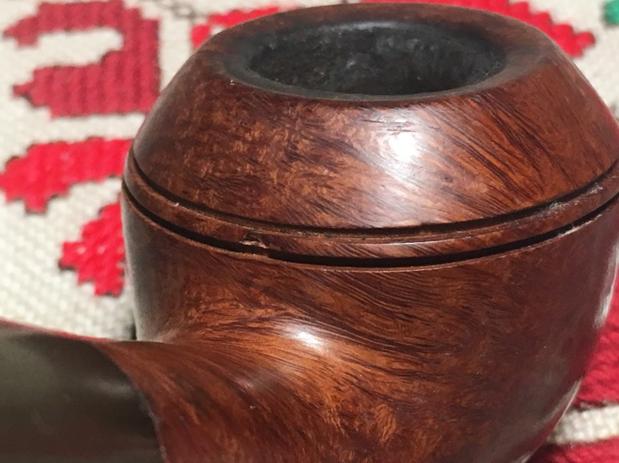
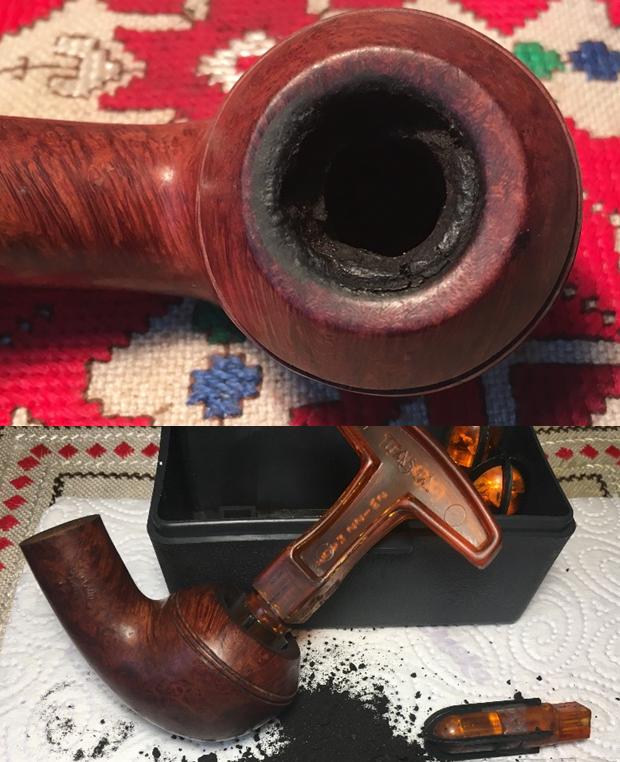
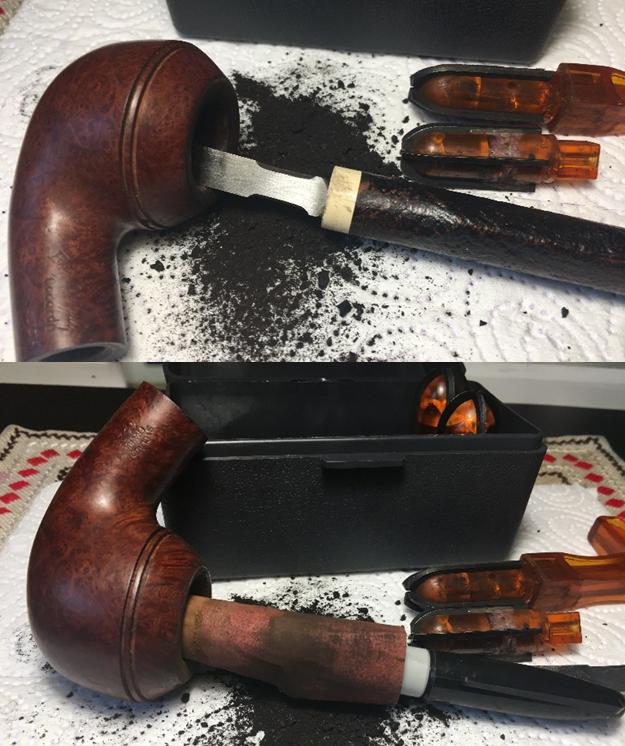
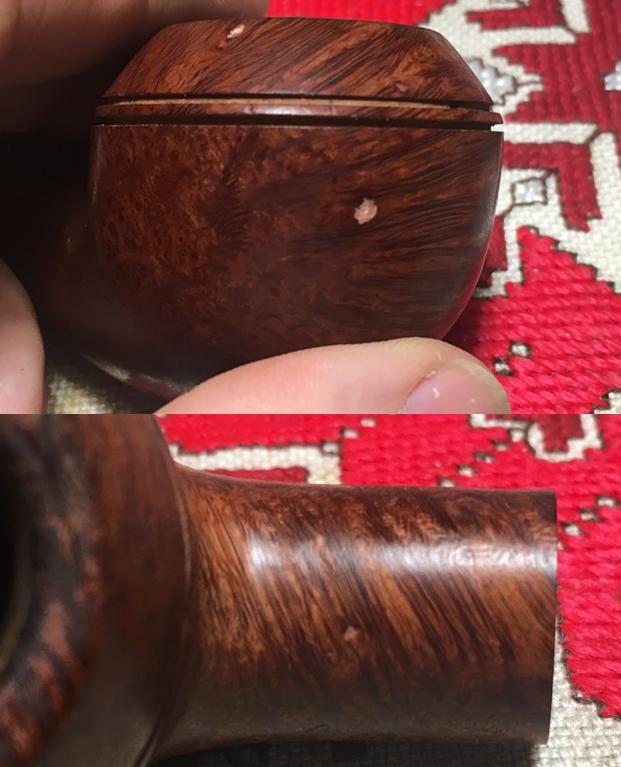
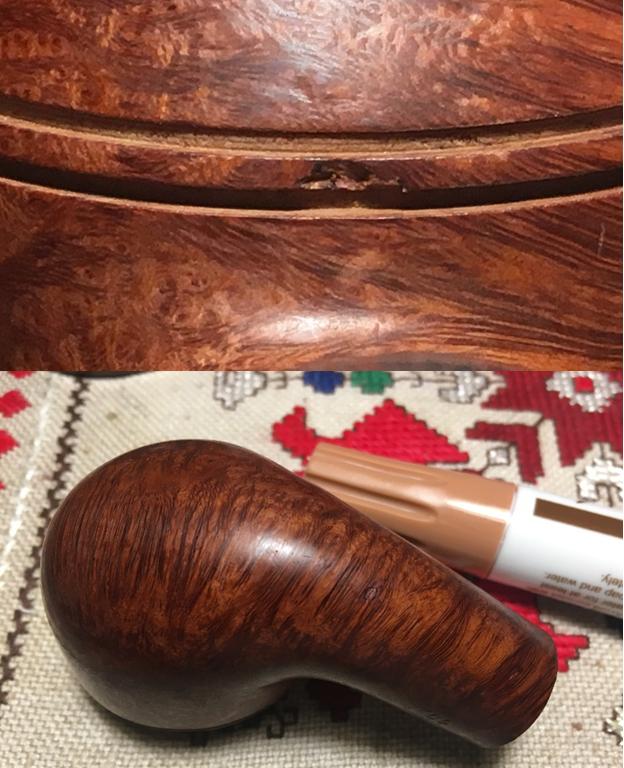
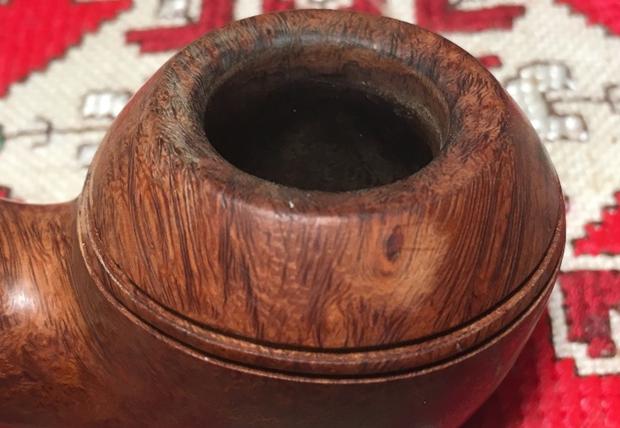
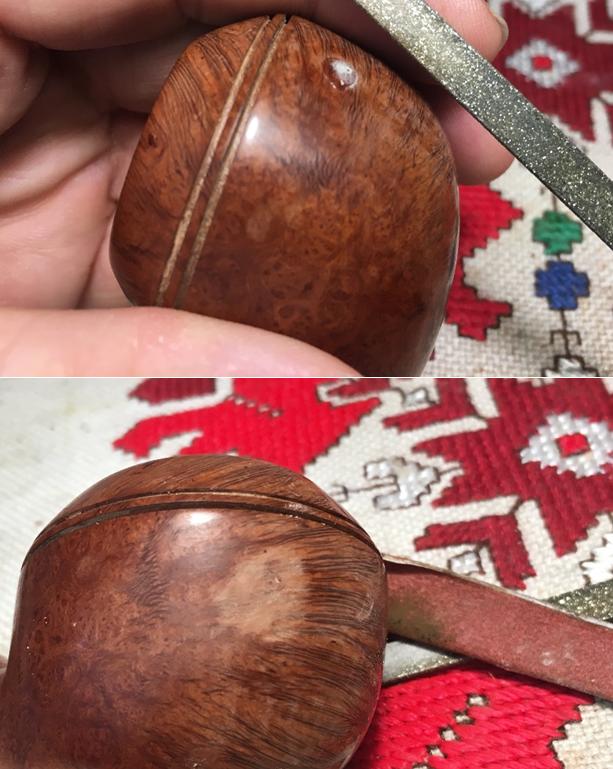
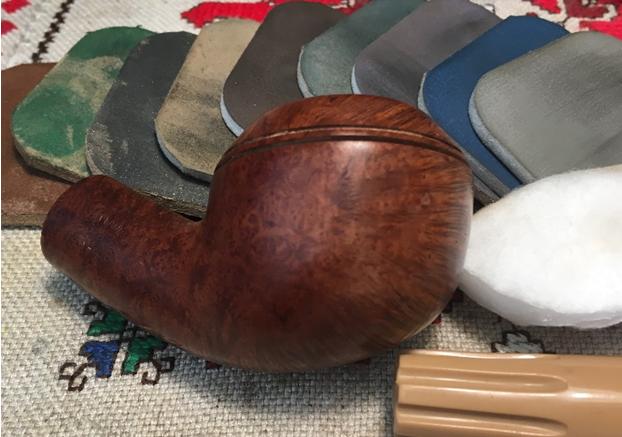
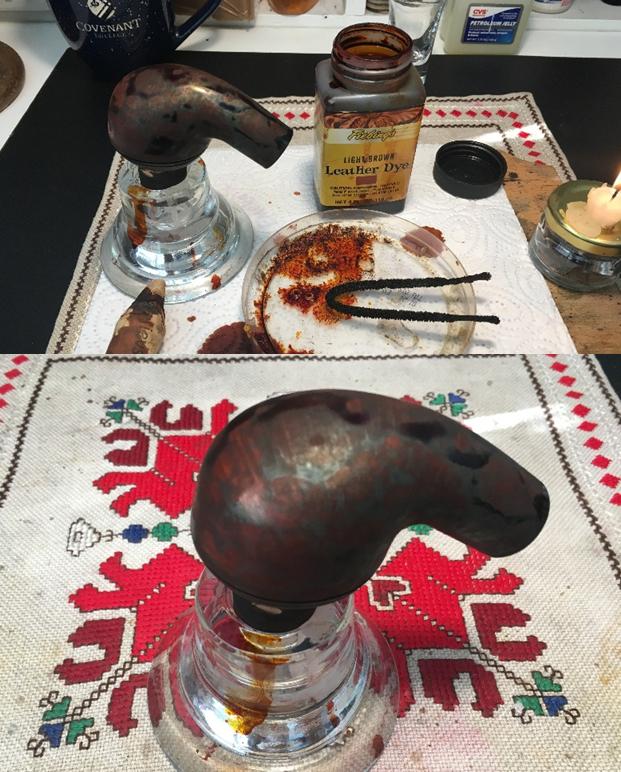
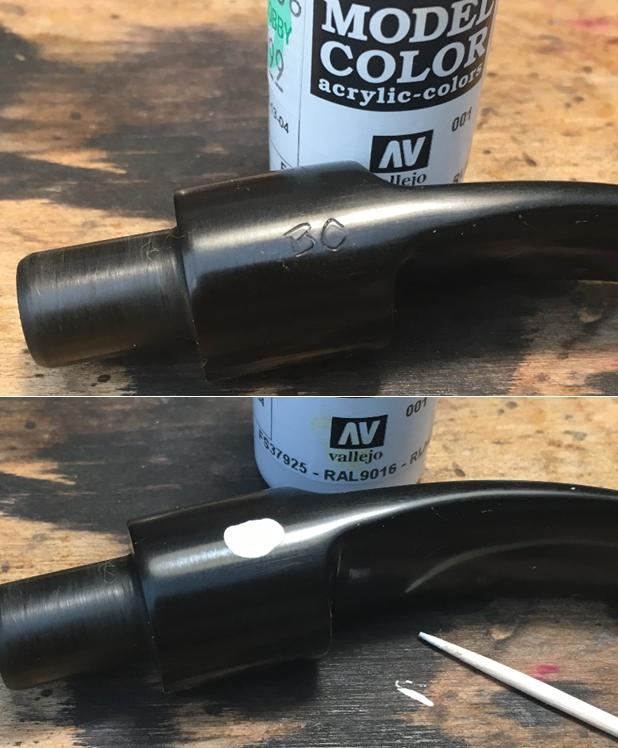
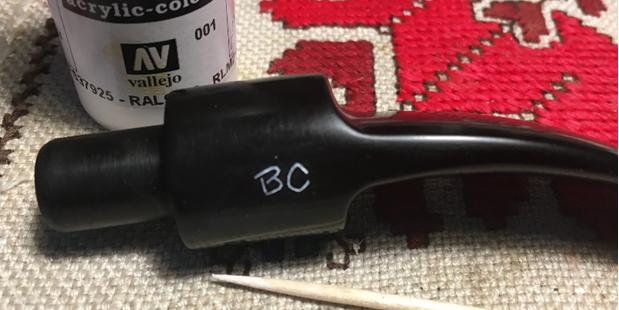
So, looking more closely at the BC Rhodesian in front of me, I see that the surface is generally in good shape – striking grain patterns.  There are two noticeable fills that need addressing.  There is also a chip over the shank, where the double grooves meet – the grooves forming the border between the upper and lower cones of the Rhodesian stummel.  The chamber has thick carbon cake buildup and needs removal down to the briar for a fresh start.  The stem has very little oxidation and a couple distinct clincher tooth marks on the top bit and chatter above and below.  The stamped ‘BC’ stem marking is in good shape but the white color needs touching up.  The following pictures show the question areas on the stummel – mainly fills and the chip.butz9 butz10Even though the oxidation is minor, I put the stem in an Oxi-Clean bath for a few hours to raise the oxidation to the surface.  I first cover the stem ‘BC’ stamp with petroleum oil.  Turning to the stummel, I take the Pipnet Pipe Reamer kit and use the two smaller blades of the four available and remove the cake using first the smallest, then graduating to the next larger when the blade stops meeting resistance.  This cake is hard and crusty but vacates in short order.  I fine tune the reaming with my Savinelli Pipe Knife.  I’ve grown to like this handy tool.  What The Pipe Smoker blog says about it is spot on:
Basically, a three-sided scraper, it can be placed in the chamber exactly where it needs to be placed and then cake is scraped off with a simple movement of the wrist. It allows full control over where the cake is being reduced. It has a rounded tip, which means that it will not damage the bottom of the bowl. It makes no difference, whether the chamber is straight or conical, I can use the same tool on either. It requires no adjustment. 

After the Savinelli pipe knife scrapes the chamber wall, I wrap 240 grit paper around a Sharpie pen and sand the chamber removing the last vestiges of carbon.  I then wipe the bowl with a cotton pad wetted with isopropyl 95%.  The chamber looks great.  I fold up the paper towel and my work station is clean again.  Pictures show the progress.butz11 butz12 butz13 butz14I then switch to the internals of the stummel and clean the mortise and airhole with pipe cleaners and cotton swabs dipped in isopropyl 95%.  After some extended effort, pipe cleaners and cotton swabs are coming out clean.  Later, I’ll add another measure of cleaning by giving the stummel a kosher salt and alcohol soak.  I like to go the extra mile when I’m preparing a pipe for a new steward.  The picture shows the progress.butz15Turning to the stummel externals, I remove the grime on the surface and clean the rim.  I use undiluted Murphy Oil Soap with cotton pads.  I use a bristle tooth brush as well to clean the double grooves circling the cone.  I also employ a brass brush to clean the lava and grime off the rim.  The pictures show the progress.butz16Time to fish the stem from the Oxi-Clean bath.  It’s amazing that even when the stem looks to have little oxidation, the Oxi-Clean bath raises the oxidation to the surface.  I wet sand with 600 grit paper to remove the bulk of the oxidation from the vulcanite and then follow-up using 0000 steel wool. Throughout this process, I give care to work around the ‘BC’ stem stamping.  Pictures show the progress.butz17With the tooth dents on the upper bit, I attempt to remove by using a lit candle’s heat to raise the indentations by expanding the vulcanite but it wasn’t working well.  So, I apply a small drop of super glue to the spots and then apply an accelerator to cure the glue.  After a few minutes, I use the flat edge needle file to file down the superglue patches to the vulcanite surface.  While I have the file out, I file the button lip, upper and lower, to give them more definition.  I follow with applying 240 grit paper to remove the file marks and to fine tune and blend the superglue patches.  I follow with 600 grit paper and then 0000 steel wool.  The pictures show the progress.butz18 butz19 butz20 butz21I clean and freshen the internals of the stummel further with a Kosher Salt/alcohol soak for several hours.  I set the stummel in a sturdy egg carton and twist a cotton ball and feed it into the mortise, pushing it in with a straight wire.  I then fill the chamber with kosher salt which is not iodized – which can leave a taste.  Then, I fill the chamber with isopropyl 95% until it surfaces above the salt.  The pictures show the process.butz22The next morning, the salt/alcohol soak had run its course and from the darkening of the salt and the cotton wick, the process effectively cleaned and freshened the stummel internals even after the plethora of pipe cleaners and cotton swabs.  I dump the old expended salt and thump the stummel on my palm, then use a paper towel and wipe the bowl.  I use bristle brushes to clean the mortise and again, pipe cleaners through the airway to finish the cleanup.  As billed, the soak works.  Pictures show the soak results.butz23With the internals of the stummel clean, I clean the internals of the stem.  Using pipe cleaners dipped in isopropyl 95% I work on the stem.  After I begin, even though the ¼ bent saddle stem is not an extreme bend, I’m surprised that I am not able to move a pipe cleaner through the stem without difficulty.  Finally, I pass a bristled pipe cleaner through and move it back and forth, hoping that it loosens up the passageway. It doesn’t.  I decide to use the technique that Charles Lemon used on Dad’s Pipes (See here: Link) of expanding the airway by heating the stem and moving a pipe cleaner through.  Just to be on the safe side, I draw an outline of the stem’s bend to use as a template for a comparison after I re-bend the pipe back to the original.  I first straighten the stem by warming it with a heat gun until the vulcanite becomes pliable.  After inserting a pipe cleaner through the stem, I then reheat the stem and return the stem to the ¼ bend.  Now, back to the original curve comparing to the template, without difficulty I complete the cleaning of the stem using isopropyl dipped pipe cleaners moving freely through the airway.  I also clean the crud out of the slot with a dental probe.  Pictures show the process.butz24 butz25Before starting the micromesh phase to raise the luster of the BC bent stem, I use Miracle Eraser on the ‘BC’ stem stamp to remove the oxidation without applying an abrasive to the stamp.  It does seem to help.  Then, I wet sand the stem using micromesh pads 1500 to 2400, followed by dry sanding with 3200 to 4000, then 6000 to 12000.  I complete each set by applying Obsidian Oil to revitalize the vulcanite.  To watch the stem gradually pop, is an amazing process.  This Butz-Choquin is cleaning up nicely.  I set the stem aside to dry.butz26 butz27Now I return to the stummel and take a close look.  After cleaning with Murphy’s Soap, I detect about 4 or 5 fills on the surface that need addressing. The fills are solid but with some, I’m able to scrape of the upper layer of the fill.  There is also a chip in the double grove going around the stummel.  With the smaller fills, that are not pitted, I use dye sticks, starting with a lighter hue and graduating to a darker hue, until the blend is best.  I then use a lightly dampened cotton pad with isopropyl 95% to dab the areas to blend further with the surrounding briar.  The pictures show the progress.butz28 butz29With those more pitted, I mix a bit of superglue and briar dust to form a putty and apply on the pitted fills.  Carefully, I also paint the groove chip and before the putty start hardening, I clear overflow putty from the grooves with a sharp dental probe.  I use an accelerator to cure the briar dust putty patches more rapidly.   After a short time, I sand each putty fill to bring it to the briar surface.  I first carefully use a flat needle file to work the putty hills down to almost surface level then I use 240 grit paper to sand to the surface level.butz30 butz31 butz32Decision time.  I want to restore this Butz-Choquin as close to the original shade as I can.  I discovered on TobaccoPipes.com a BC in the same shape group as the Cocarde Major – 1028.  In the picture below, the shade of the stummel is light and I think I can achieve this by simply sanding the stummel and restoring the briar to its original natural luster – MINUS what appears to be an acrylic finish below. I can still decide to apply a stain at the end of the sanding process after I have a better idea of the briar as it emerges.  The shape below is a BC Cocarde 1025 – the only difference I detect is the tapered stem versus the saddle stem.butz33First, I want to freshen the rim lines and re-cut an inner bevel which will look better and remove discoloration on the inner rim edge.  The rim has a subtle slant toward the chamber.  I cut the initial bevel using a coarse 120 grip paper rolled tightly.  When I reestablish the bevel, I follow by sanding with 240 grit sanding paper.  I then sand the stummel using a medium grade sanding sponge, followed by a light grade sanding sponge.  I am careful to work around the stampings on the sides of the shank.  Before I move on to the micromesh sanding, I use dye sticks to help blend the fill patch areas that are not yet blending.  After applying the dye stick, I then lightly dab the area with a cotton pad slightly wetted with alcohol.  This helps blend with the surrounding briar.  The pictures show the progress.butz34 butz35 butz36 butz37I follow by using micromesh pads 1500 to 2400 and wet sand the stummel.  After this, I dry sand using 3200 to 4000 then finish with pads 6000 to 12000.  I then run a toothpick through both grooves connecting the upper and lower domes of the Rhodesian to remove residue remaining from the sanding process.butz38 butz39To step back and take in the big picture, I reunite stem and stummel and take a picture.  I see two distinct briar dust putty fills that are looking like I should have used a clear superglue fill instead.  They are darker than the surrounding grain environment – not an ideal situation.butz40I decide I can live with the fill on the upper cone, next to the rim.  It is smaller and I hope that it will blend after applying a light brown stain which is looking like will be needed.  With the larger lower fill, I will delicately try reaming the fill with the point of a Dremel tool to remove the putty.  Depending on how that goes, the next step will be to shape the fill somewhat so that the shape is less circular and flows more with the surrounding grain pattern.  Then, I will fill the new hole with clear superglue, sand and again be back to where I am now – hopefully with better blending.  Phase one seems to go well – very carefully.  With the Dremel tool I clean the putty fill and shape the pit circle to flow with the grain.  I then spot-glue and use accelerator to cure the new clear patch.  Looking good so far.   I use a flat needle file to remove the superglue fill mound almost to the briar surface, then I use 240 grit paper rolled, to strategically stay on top of the glue to bring it down to surface.  I follow with 600 grit, then steel wool, then the full array of 9 micromesh pads, 1500 to 12000.  I touch up a bit with a light dye stick and blend with a cotton pad with a bit of alcohol.  I am now back to where I was at the beginning of the detour. The fill is still visible, but doesn’t jump out proclaiming, “Here I am, Boys!”  The pictures show the detoured progress.butz41 butz42 butz43 butz44Now, to promote blending throughout the entire stummel, I use Fiebing’s Light Brown Leather Dye.  I warm the stummel to open the grains to receive the dye.  Using a doubled-over pipe cleaner I liberally apply the dye over the stummel careful to achieve full coverage, rim and grooves.  I then flame the aniline dye with a lit candle and the alcohol immediately burns off, setting the dye in the grain.  To achieve total coverage, I repeat the process above after a few minutes, complete with flaming.  I put the stummel aside to rest and I’ll return to it after work this evening.butz45One last task to do before heading to work.  I want to freshen the ‘BC’ stem marking with white acrylic paint.  I put a small dab of paint over the ‘BC’ and then use a toothpick to spread the paint, making sure the marks are fully covered.  Tonight, after the paint is fully cured, I’ll scrape off the excess leaving a fresh Butz-Choquin stem.butz46Back home and ready to go.  The white acrylic paint has fully cured on the stem marking.  I take a toothpick and gently scrape the excess paint away using the side of the toothpick.  Doing this, the toothpick passes over the top of the stamping leaving the indentations fully renewed.butz47Time to ‘unwrap’ the fire crusted stummel after applying Fiebing’s Light Brown Leather Dye.  Using the felt wheel, I set the speed of the Dremel to the slowest possible and using Tripoli compound, after purging the wheel of old compound with the sharp edge of the Dremel’s adjustment wrench, I remove the crust from the stummel.  I take a picture to show this process.  After the crust is removed, I use cotton pads wet with isopropyl 95% to wipe down the stummel.  I lighten the stummel’s hue a good bit aiming for the original as closely as possible and to blend the dye across the grain.  When I reach the hue that looks good, I switch to a cotton cloth wheel mounted on the Dremel, and after reuniting stem and stummel, I apply Blue Diamond compound both.  I’m loving watching the grain on this BC Cocarde Major Rhodesian start popping – it is truly an amazing process and the components of such fine abrasion produce such a result in the briar. When completed with Blue Diamond I give the pipe a buff with a felt towel, not so much for shining but to remove residue compound before I apply the wax.  After mounting the cotton cloth wheel on the Dremel, I increase the speed to the second slowest speed and apply several coats of carnauba wax to stem and stubble.  When finished, I rigorously hand buff the pipe with a micromesh cloth.butz48 butz49The grain on this Rhodesian is placed perfectly to enhance the proud, chin forward carriage of the stummel.  The horizontal flame grain crosses the heel of the stummel and flows to the sides terminating in bird’s eye – a beautiful showpiece of briar that is well-suited to bear the name of French pride – Cocarde Major.  This Butz-Choquin Rhodesian, another traveler from St. Claude, is looking for a new steward.  I sell the pipes I restore and give the profits to benefit the work we do here in Bulgaria with the Daughters of Bulgaria – rescuing women and children who have been trafficked and sexually exploited.  If you are interested in adding this Butz-Choquin Cocarde Major Rhodesian to your collection, you can find it at the store at my blog site, The Pipe Steward.  Thanks for joining me!butz50 butz51 butz52 butz53 butz54 butz55
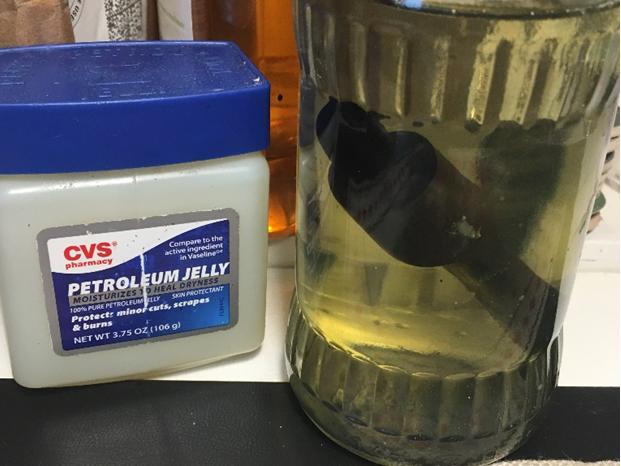
Rejuvenating a Made in Leeds, England Ben Wade Natural Grain Lovat


Blog by Steve Laug

This little Ben Wade Lovat is the fourth pipe of the lot from Eastern Canada that I am restoring for a pipe man from there who sent it to me. It is stamped on the left side of the shank BEN WADE over Natural Grain and on the right side of the shank it reads Made in Leeds over England and a shape number 20 V near the bowl shank junction. The finish was natural and either unstained or stained with a light tan stain. The grain is quite good on the pipe. The rim is in rough shape from having been knocked on hard surfaces to remove the dottle. There were dents, dings and roughening. The bowl was slightly out of round. The stem was good quality vulcanite and has light oxidation at the joint of the stem and shank. There was tooth chatter and tooth marks on the top and bottom side near the button.ben1 ben2I took some close up photos of the rim and the stem. You can see the damage to the outer and inner edges of the rim as well as dents in the rim top. The cake has been poorly reamed from the bowl and there were some gouges in the briar walls that will need to be sanded out. The stem photos show the tooth chatter and marks as well as the small band of oxidation next to the shank.ben3 ben4I have always heard that the Ben Wade Company made quality English made pipes prior to its purchase by Herman Lane but I did not have any idea of the history of the brand. I did a bit of research on it and found the following helpful information on Pipedia. The link follows the quoted portion.

The company was founded by Benjamin Wade in 1860 in Leeds, Yorkshire, where it was located for over a century. Ben Wade started as a pipe trader, but yet in the 1860’s he established a workshop to produce briar pipes. The pipes were made in very many standard shapes – always extensively classic and “very British”. Many models tended to be of smaller dimensions. Ben Wade offered a very high standard of craftsmanship and quality without any fills. Thus the pipes were considered to be high grade and a major competitor to other famous English brands. The often heard comparison to Charatan seems to be a little bit inadequate because those days’ Charatans were entirely handmade.

In the II World War the factory was destroyed by German air raids on Leeds. But the Ben Wade family decided to re-build it immediately after the war and pipe production was re-started soon and successfully linked to the fame from the pre-war years. Even though the owner family decided to leave pipe business and sell off the firm. The family went into negotiations with Herman G. Lane, president of Lane Ltd. in New York at about the same time as the Charatan family. Lane Ltd. bought both firms in 1962.

Herman G. Lane had been Charatan’s US sole distributor since 1955 and Charatan always remained his pet child. But Ben Wade was treated in another way by its new owner. The fabrication of pipes was reduced and the factory in Leeds was closed in 1965 finally.

So this was the end of Ben Wade pipes stamped “Made in Leeds, England”. https://pipedia.org/wiki/Ben_Wade

The pipe I was working on was stamped “Made in Leeds, England” thus effectively dating it to the period the company was owned by the family. I know that it was made before the closing of the factory in 1965. So I had the last date it could have been made. Judging from the age of the rest of the auction lot my guess would be that this pipe also came from the 1930s. The style and cut of the stem leads me to place it in that period.

I cleaned up the reaming in the bowl with a Savinelli Fitsall Pipe Knife and took the cake back to bare wood. It took some work to smooth out the gouges in the bowl walls. I was able to remove many of them leaving only a remnant behind. I wrapped a dowel with sandpaper and sanded the bowl walls after I had reamed it.ben4a ben5To remove the damage to the rim edges and the top I topped the bowl on the topping board. I did a minimal topping to just even things out and clean up the surface.ben6I scrubbed the bowl surface with acetone on cotton pads to remove the grime and oils that were embedded in the bowl sides. I wanted to get the briar clean so I could retain the natural finish.ben7 ben8I used a folded piece of 220 grit sandpaper to give the inside rim a light bevel to bring the bowl back into round. I also used in on the outside edge to soften it.ben9With the bowl clean I lightly sanded it with a medium and a fine grit sanding sponge to take out the scratches and smooth out the finish. I sanded it with 1500-2400 grit micromesh sanding pads as well. When I had finished sanding it I wiped it down with a last wipe of alcohol on a cotton pad in preparation for giving it a light coat of oil. I rubbed the bowl down with olive oil and polished it by hand.ben10 ben11I set the bowl aside and turned my attention to the stem. I sanded the entire stem with 220 grit sandpaper to remove the oxidation and the tooth chatter. I “painted” the tooth marks in the stem with a lighter flame until they lifted. I sanded the damaged areas with the sandpaper until the surfaces were smooth and showed no more sign of tooth damage.ben12I wet sanded the saddle portion of the stem with 1500-2400 grit micromesh pads and then used Rub ‘n Buff European Gold to fill in the portions of the BW stamp that still showed on the stem surface.ben13I cleaned out the interior of the mortise and the airways in the shank and the stem with alcohol, cotton swabs and pipe cleaners until they were no longer dirty and oily. As you can see from the photos below it took a few swabs and cleaners to get to that point.ben14I polished the stem with micromesh sanding pads – wet sanding with 1500-2400 grit pads and dry sanding with 3200-12000 grit pads. I rubbed the stem down with Obsidian Oil after each set of three pads. After the final rubdown with oil I set the stem aside to dry.ben15 ben16 ben17Once the oil had dried I buffed the bowl and stem with Blue Diamond on the buffing wheel and then gave them both multiple coats of carnauba wax. I buffed the pipe with a clean buffing pad to raise the shine and hand buffed it with a microfibre cloth to deepen the shine. The finished pipe is shown in the photos that follow. It came out quite nice with the grain popping through over the bowl and shank. The pipe will soon join the others in the lot on the return trip to Eastern Canada. Thanks for looking.ben18 ben19 ben20 ben21 ben22 ben23 ben24 ben25


An old Sasieni Sashar London Made 901 Billiard


Blog by Steve Laug

The third pipe I worked on from the pipe man in Eastern Canada who picked up that old lot at an auction is one that is stamped on the left side of shank with the name Sashar over London Made. On the right side of the shank it is stamped with the shape number 901. The rim was worn and whoever cleaned the pipe before I got it removed a lot of the finish. The inner bevel of the rim had a burned area on the right front side. The outer edges of the bowl were worn. The stem was good quality vulcanite and had light oxidation and tome tooth marks on both sides of the stem near the button. The inside of the shank and the stem was very dirty with tars and oils. There was a stinger in the tenon that extended into the bottom of the bowl. There was a light cake in the bowl that would need to be cleaned up as well.sas1 sas2I remembered that the Sashar line was made by Sasieni. I could not remember any other information on the brand. I did a Google search and found that there was a write up on rebornpipes – go figure. I looked and it was a blog that Al Jones wrote on a Sashar pipe that he worked on. Here is the link https://rebornpipes.com/2016/12/19/sasieni-sashar-restoration/.

I did some more searching and found a short writeup on Wesley’s – a pipe shop in South Africa about the pipe brand. It was under a heading there entitled SASIENI. I quote from that site the following: “Joel Sasieni started as an apprentice with Charatan, moved to Dunhill when it opened in 1910, and started his own company in London in 1918 making high grade pipes largely for the US market. They also manufactured pipes under the brand name Sashar (specifically for South Africa) for pipes a little down the line. The company was sold in 1979 and the pipes are now made by a completely different firm.” http://www.wesleys.co.za/refurb04.html

Now I had a bit of information on the brand. It was a Sasieni made pipe manufactured under the Sashar brand name for South Africa. Armed with that information I turned to working on the pipe. I took close up photos of the rim top and inner edge as well as the tooth marks on the stem. In the photo of the bowl you can see the damage on the inner edge of the bowl. The bowl was slightly out of round and there was a burn mark evident mid rim on the right side of the bowl.sas3 sas4In order to clean out the airway in the stem I needed to remove the inner tube from the tenon. I heated it with a lighter until the oils and tars holding it in place warmed up. I wrapped the jaws on a pair of pliers and used it to turn the inner tube out of the tenon. With the tube removed I was able to clean out the airway without impediment.sas5I used a folded piece of 180 grit sandpaper to rework a bevel on the inner edge of the bowl. Once I had the bevel cut I worked on it again with 220 grit sandpaper and 1500 grit micromesh sanding pads. I rolled a piece of 220 grit sandpaper into a tube and wrapped it around a dowel and then my finger to sand the inside of the bowl and clean up the remaining cake on the walls.sas6 sas7I used a dark brown stain pen to restain the top of the rim and the inner and outer edge of the bowl. I spot coloured it with a black Sharpie pen and blended the two together to get the finish to match the rest of the bowl.sas8I used a wet cloth and a butter knife to steam out the dents in the back side of the bowl. I heated the knife in the flame of the burners on my kitchen stove. When hot, I folded a wet towel against the dents in the briar and laid the hot knife on the wet cloth. It generated a fair amount of steam. I repeated the process until the dents were lifted.sas9 sas10I used 99% isopropyl alcohol, cotton swabs and pipe cleaners to clean out the mortise and the airway in the shank and the stem. They were not too dirty so it took very few cleaners to clean it. Once the stem was clean I put the inner tube back in place in the tenon.sas11I sanded the tooth chatter on the stem at the button with 220 grit sandpaper to remove it and the few tooth marks that were also present on both sides of the stem near the button.sas12I polished the stem with micromesh sanding pads – wet sanding with 1500-2400 grit pads and dry sanding with 3200-12000 grit pads. I rubbed the stem down with Obsidian Oil after each set of three pads. After the last set of pads I gave it a final coat of oil and let it sit and dry.sas13 sas14 sas15I buffed the bowl and stem with Blue Diamond on the buffing wheel to polish the briar and the vulcanite. I gave them both multiple coats of carnauba wax and buffed it with a clean buffing pad to raise the shine. I hand buffed it with a microfibre cloth to deepen the shine. The finished pipe is shown in the photos below. It is ready to go back to its owner in Eastern Canada. Thanks for looking.sas16 sas17 sas18 sas19 sas20 sas21 sas22 sas23