Blog by Steve Laug
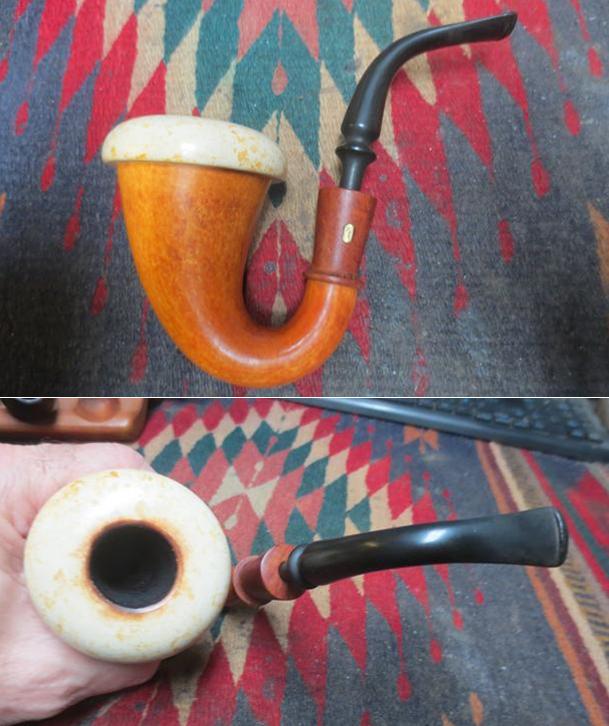
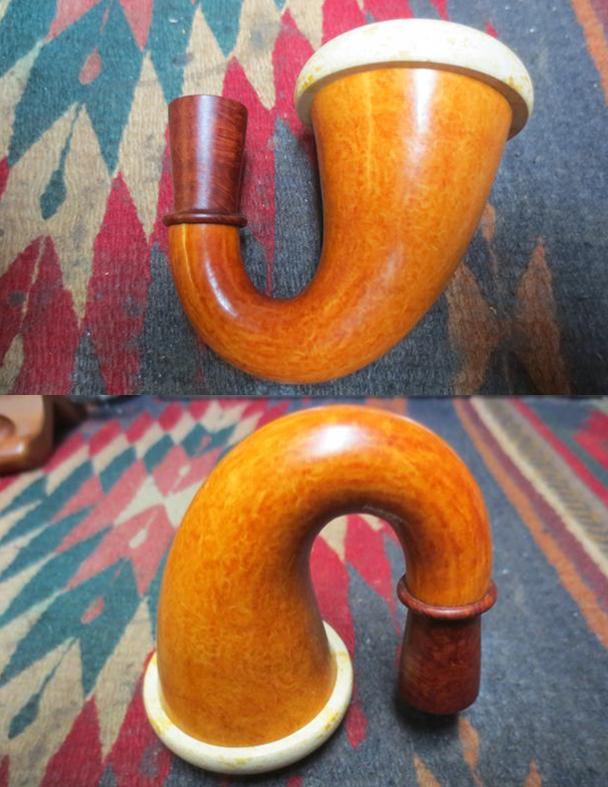
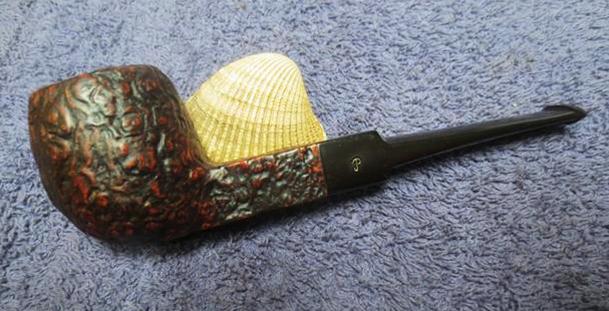
The next pipe on the table is another one from a local pipe shop. It is a pipe from the estate of the same older gentleman whose wife returned them to the shop for restoration and resale. This one is a smooth finished GBD with a Blue Perspex stem. The smooth finish shows mixed grain around the bowl. It has a rim top that is beveled inward to the inner edge of the bowl. It is stamped on the left side of the shank GBD in the oval over Golden Blue. On the right side it reads London, England over the shape number 119. The finish on the pipe was dirty and dull. The beveled rim top had lava built up that extended up and over the outer edge. The bowl had a thick, hard cake filling the bowl. The stem had deep tooth marks on the top and a bite through on the underside at the button. The bite through was repairable but it would be visible.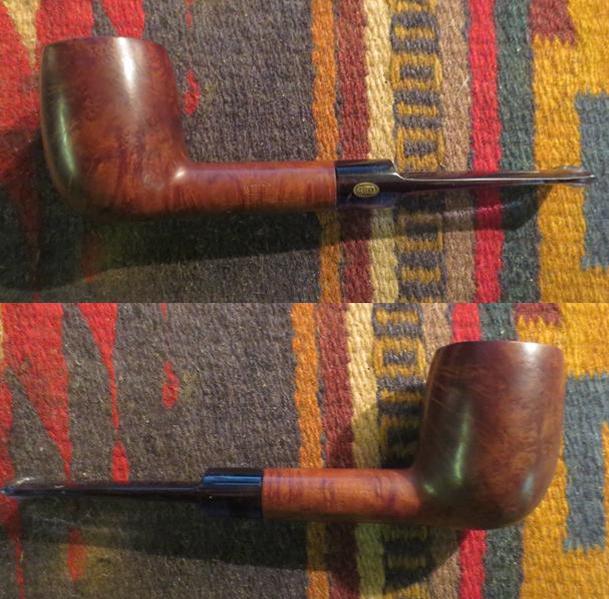
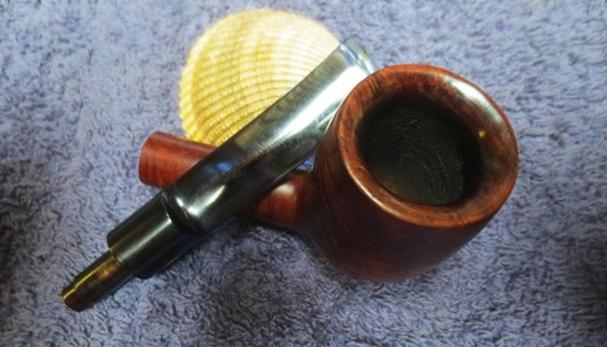
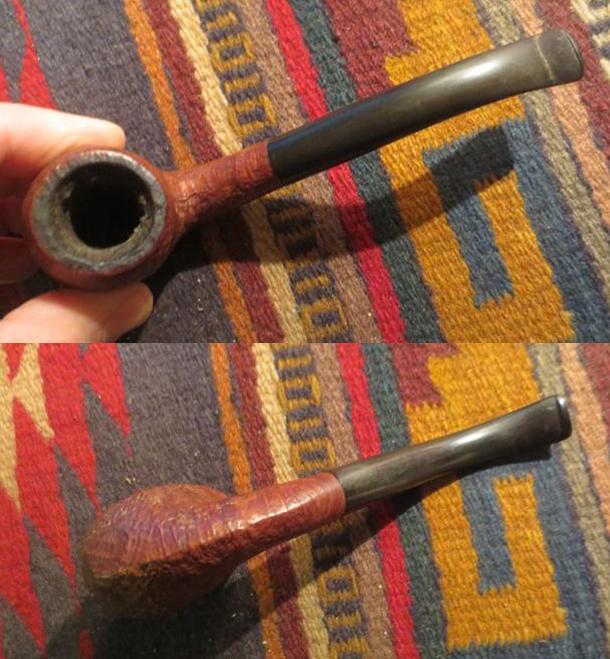
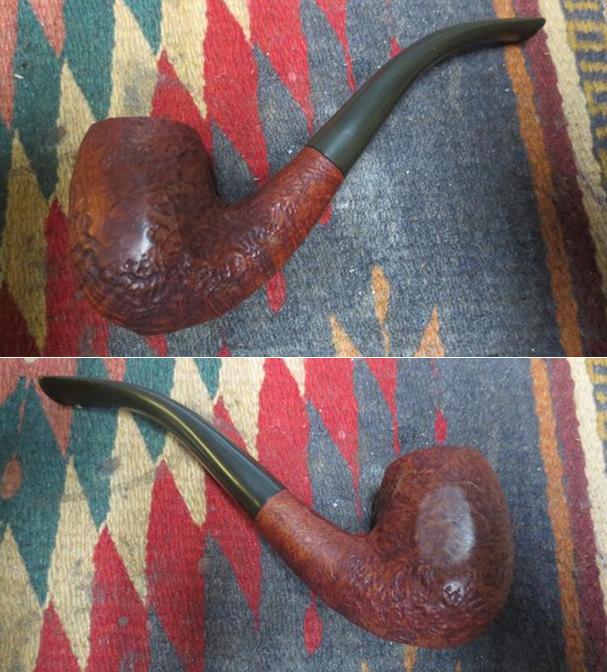
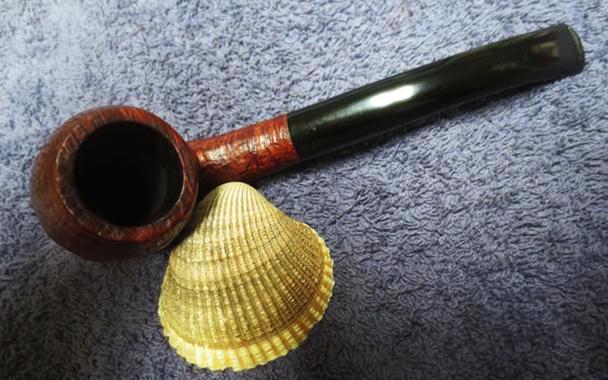
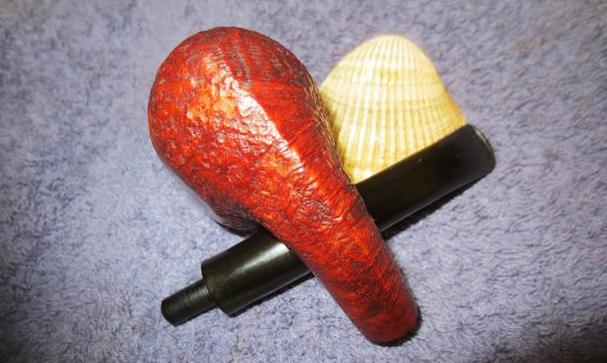
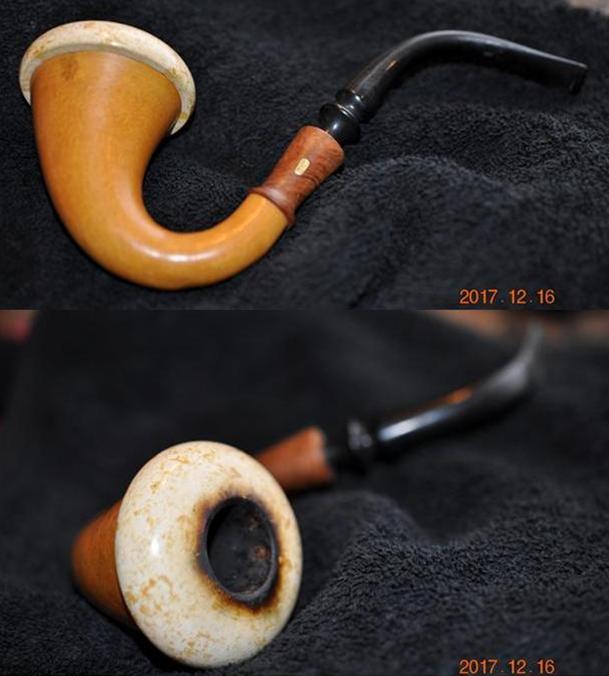
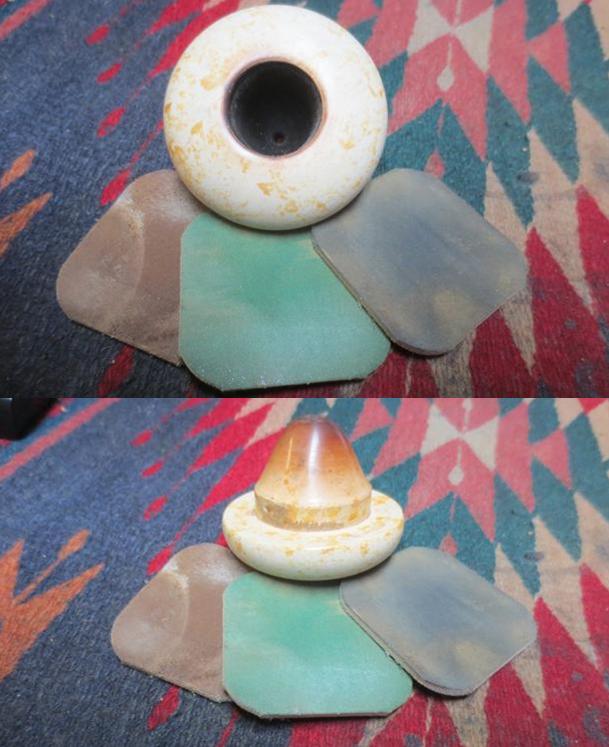
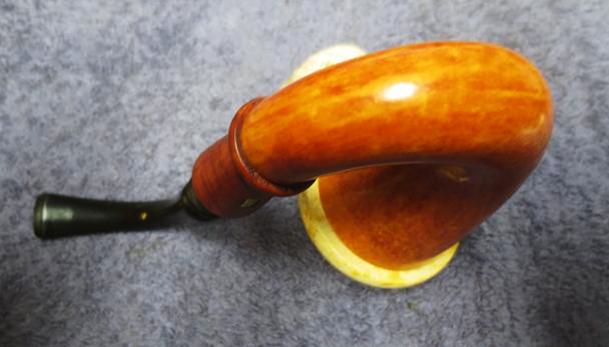
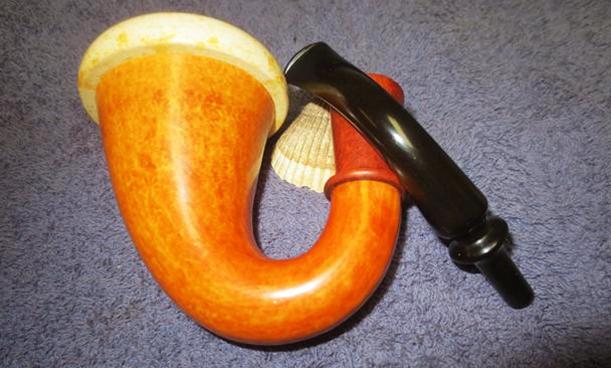
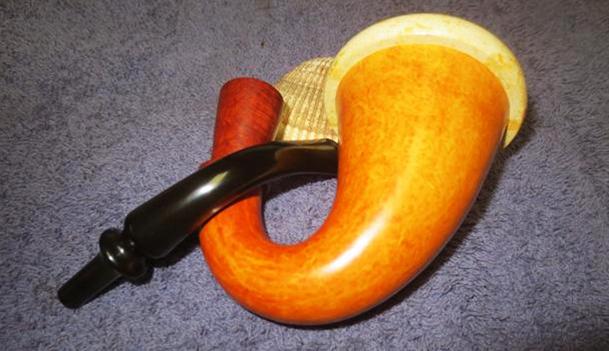
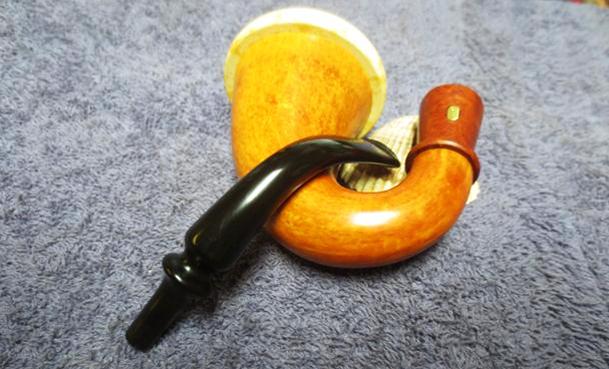
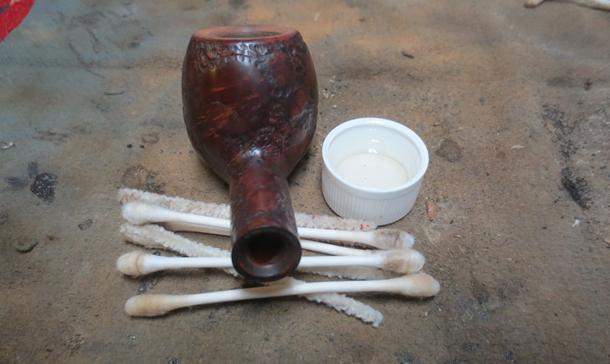
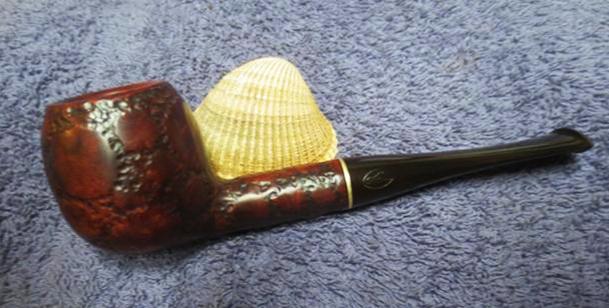
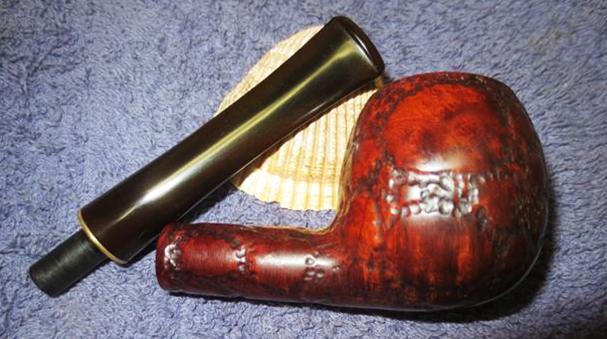
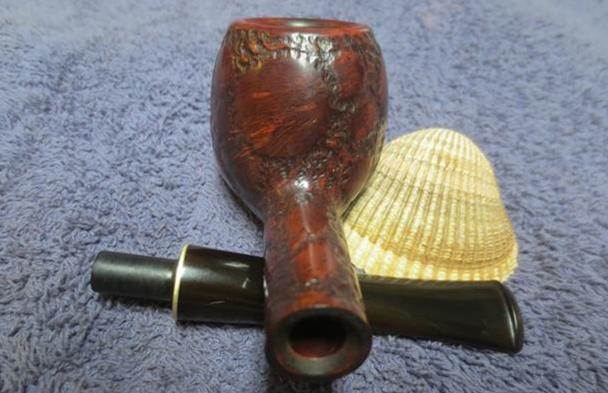
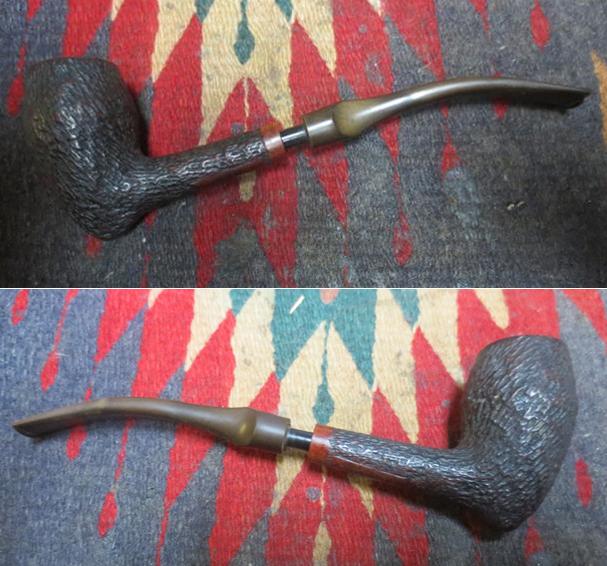
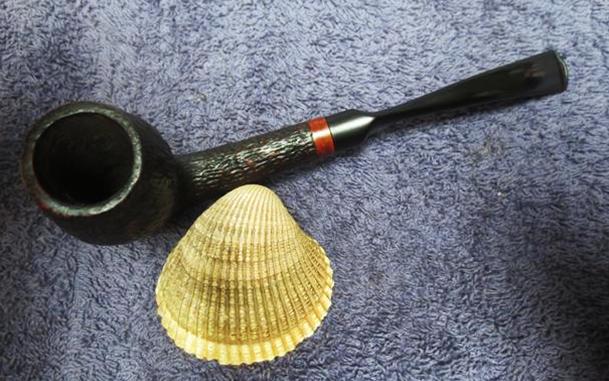
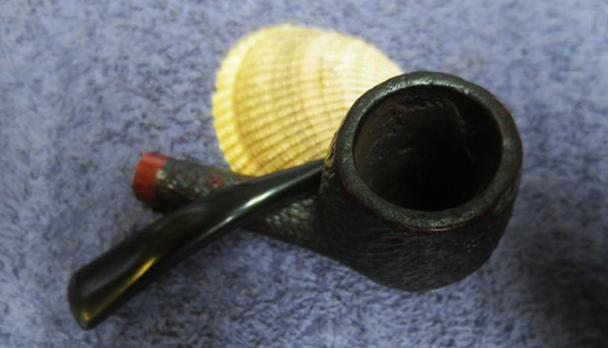
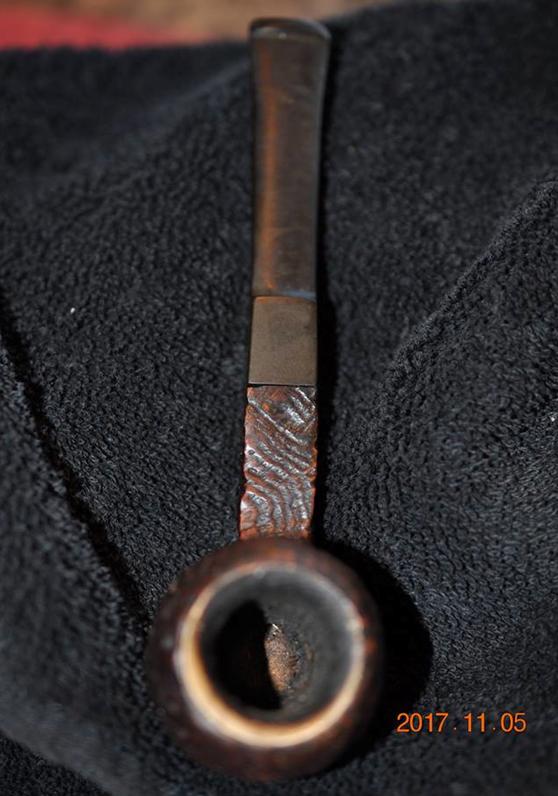
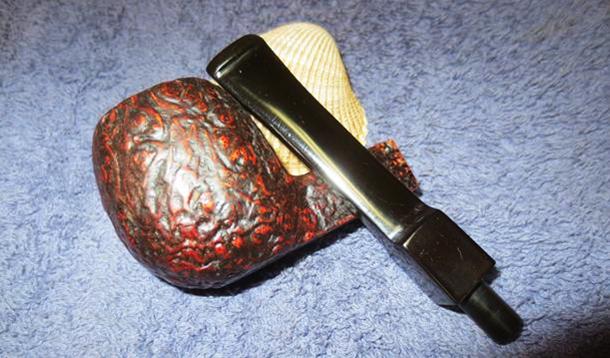
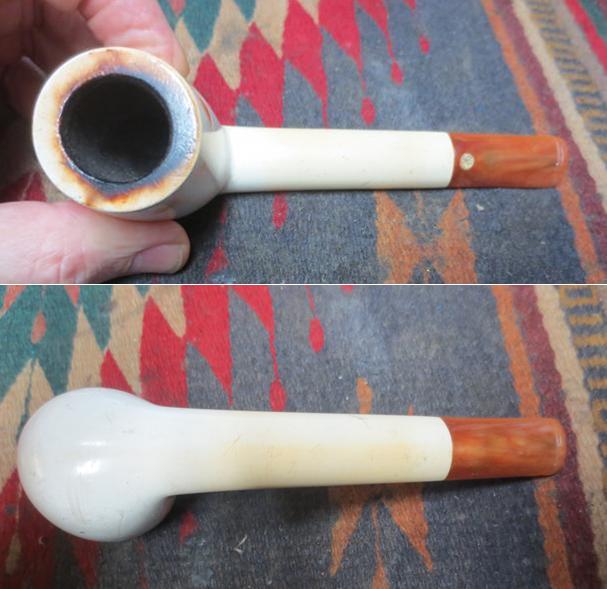
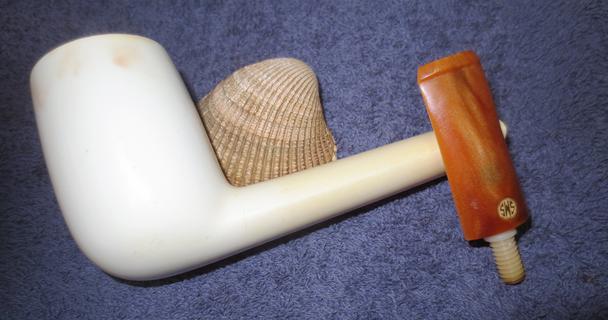
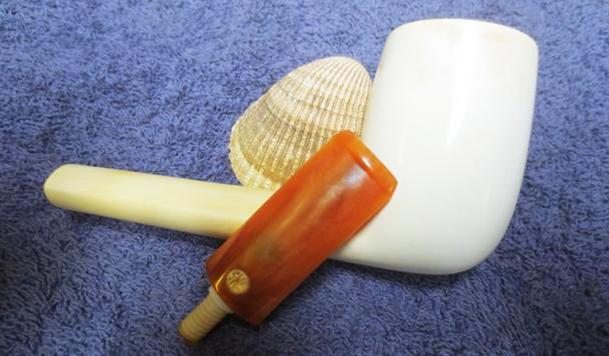
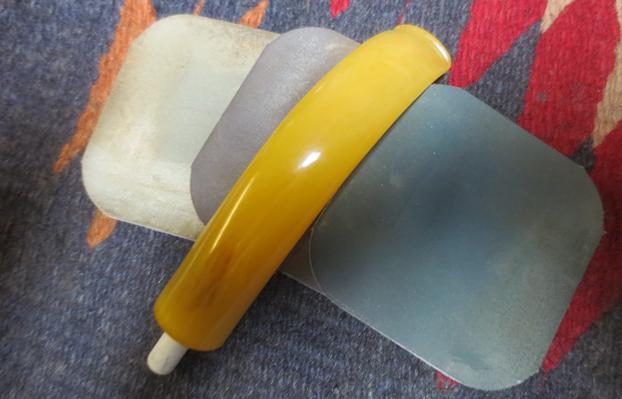
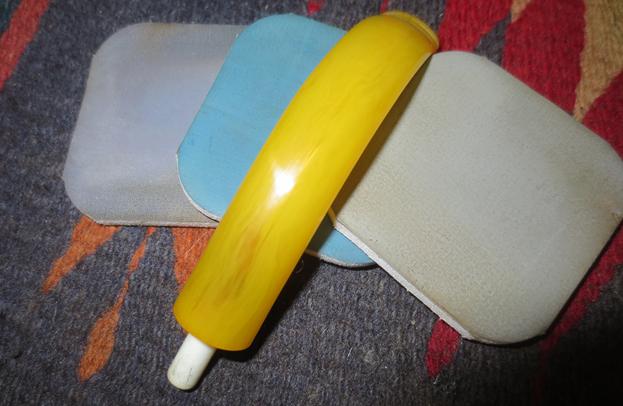
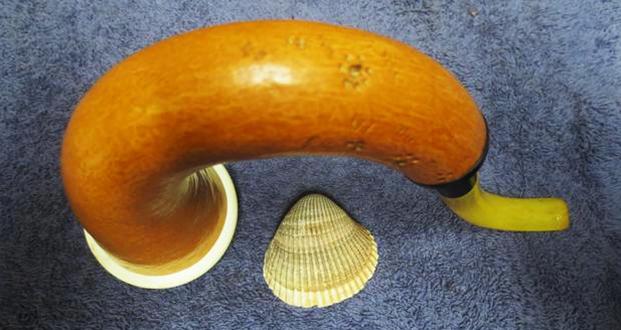
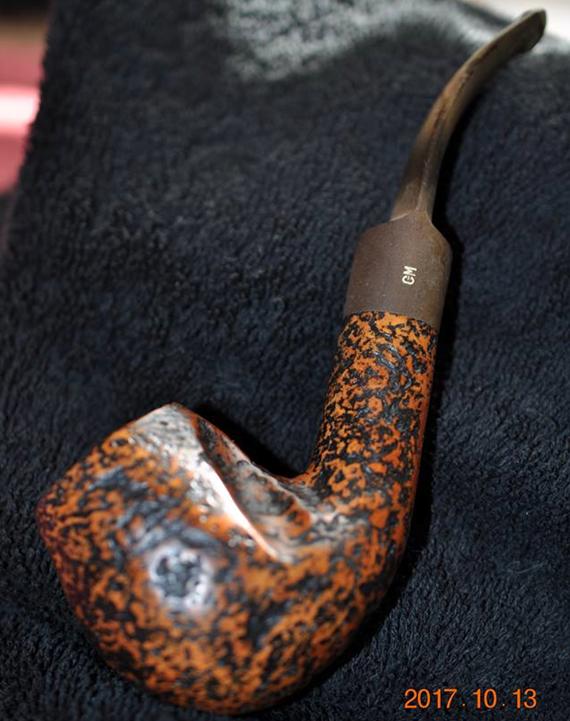
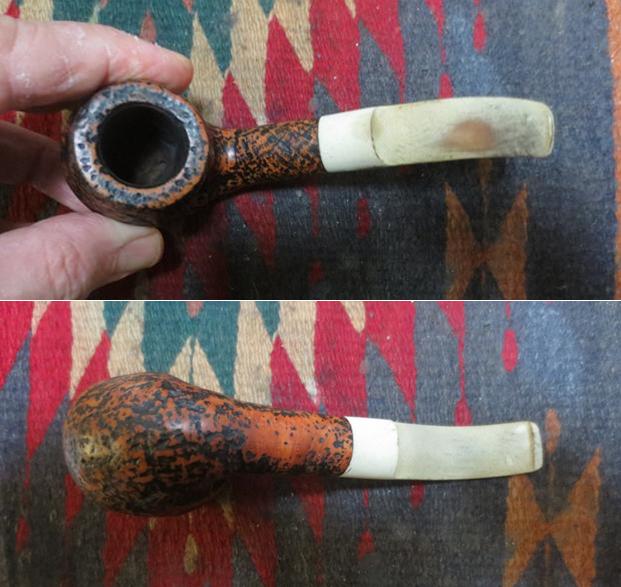
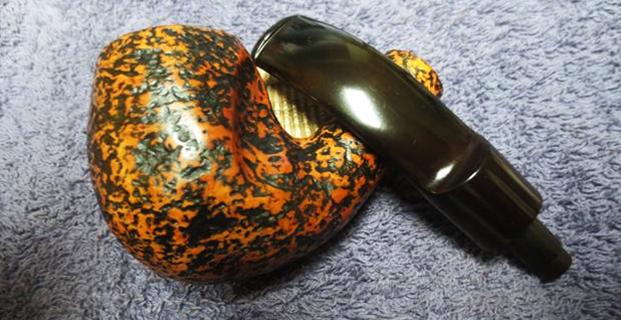
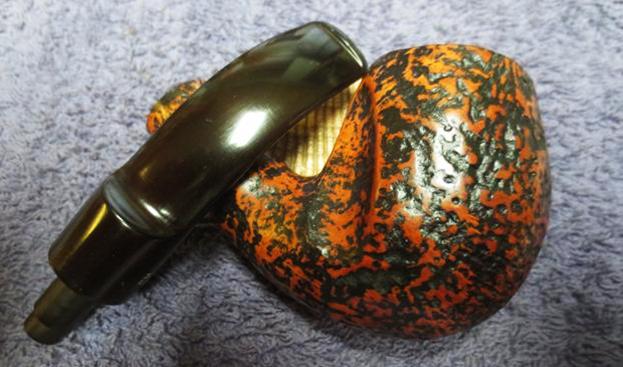
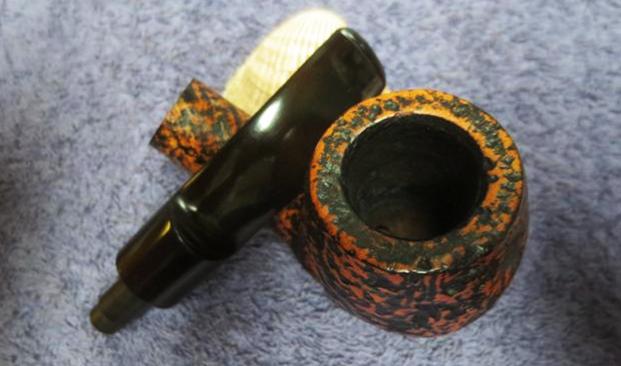
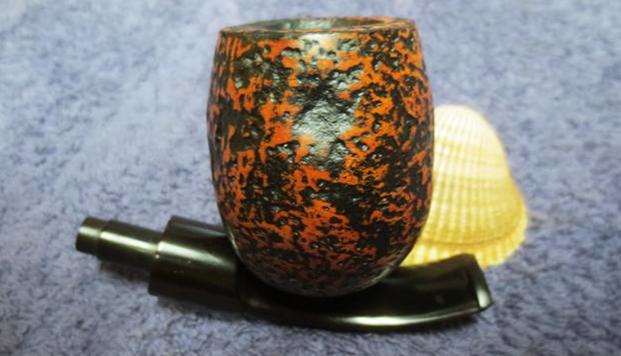
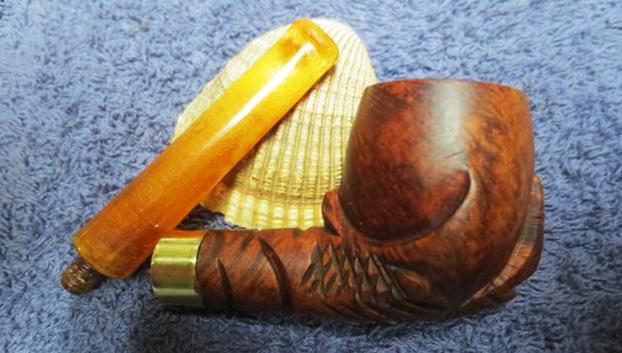
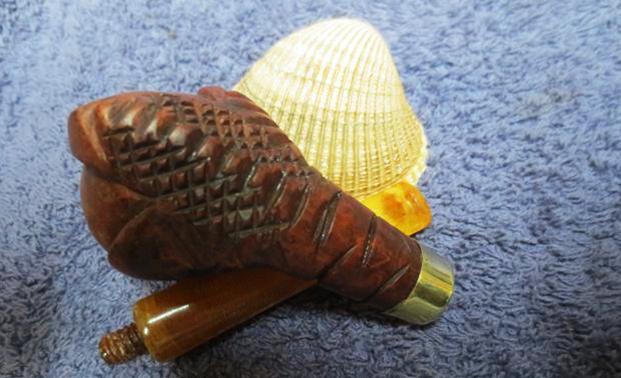
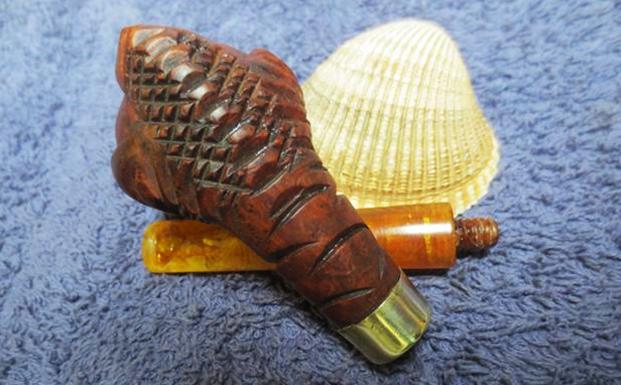
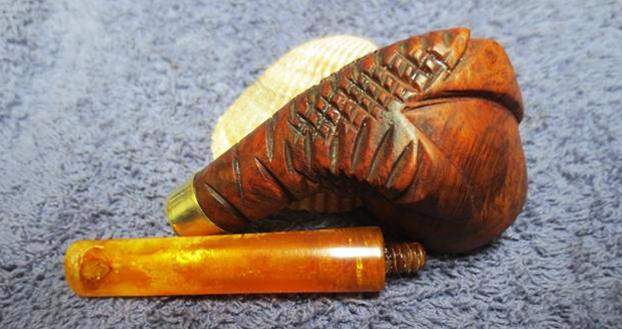
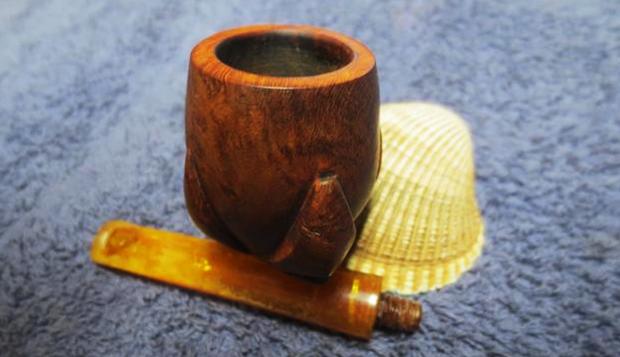
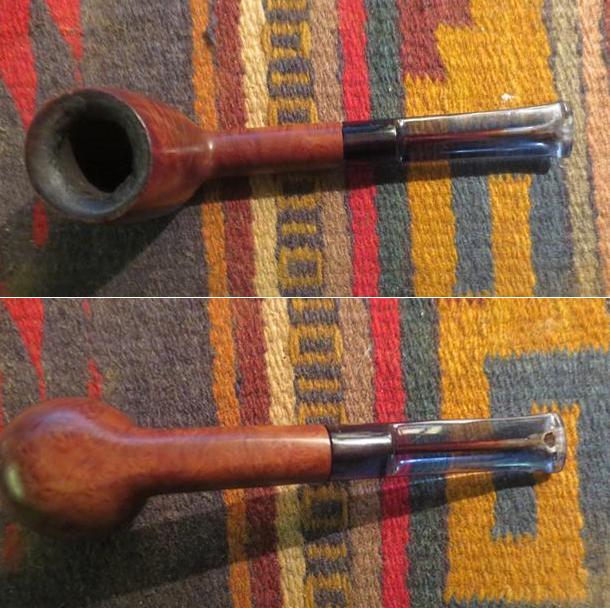 I sent the pipes off to my brother for cleaning. This is the second pipe that I have brought to the work table from the lot of about 50 to rework. I really appreciate his willingness to clean and ream the pipes for me. When he received the pipe he took a series of photos of it to show its condition.
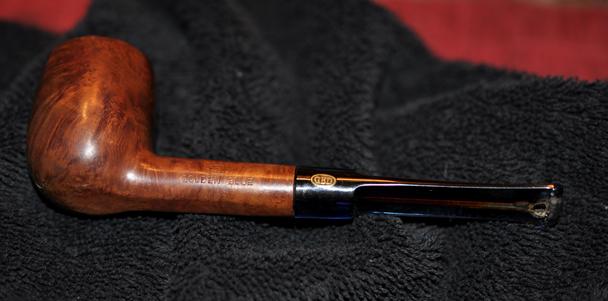
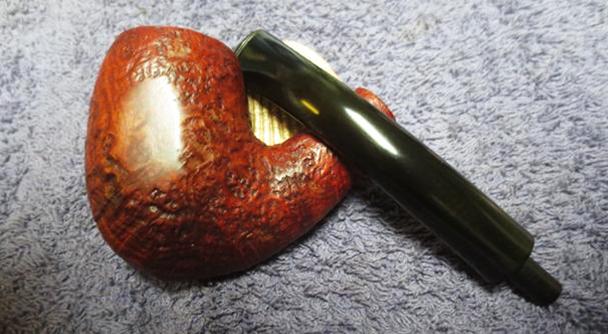
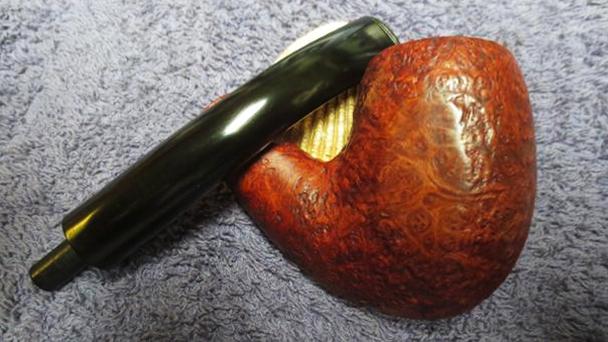
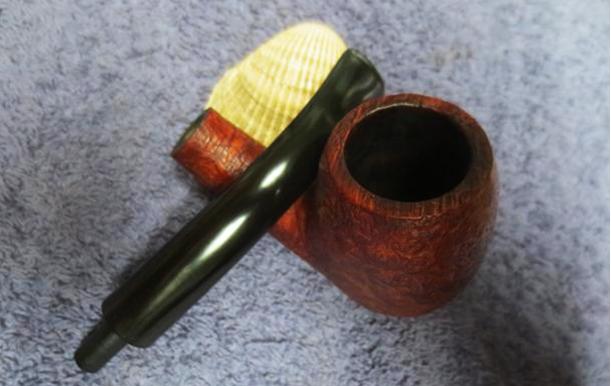
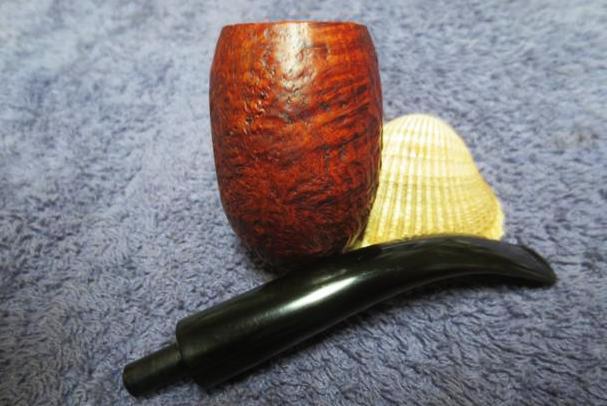
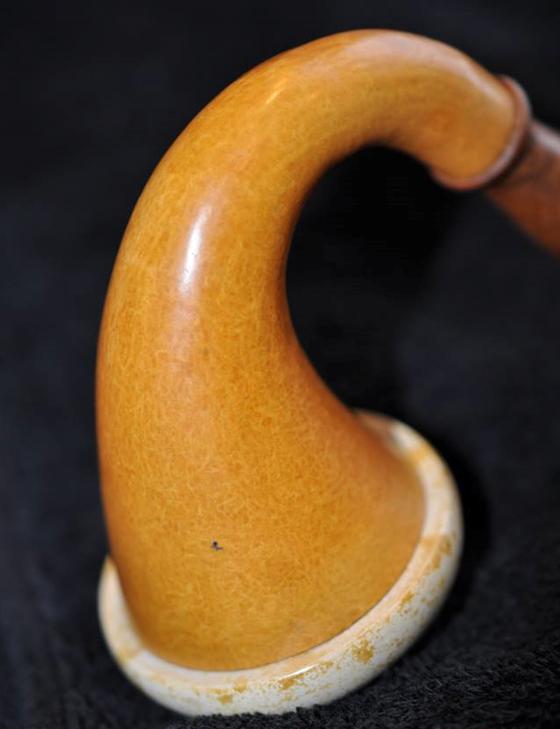
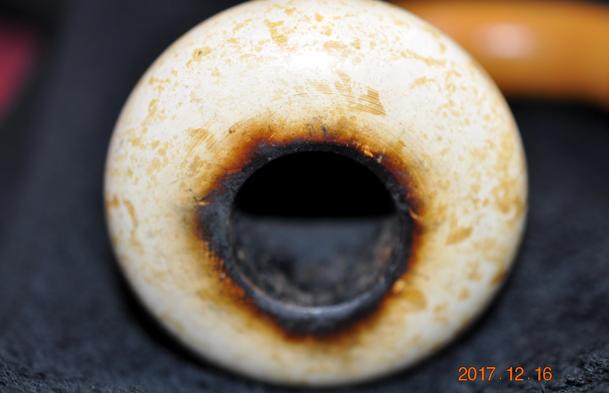
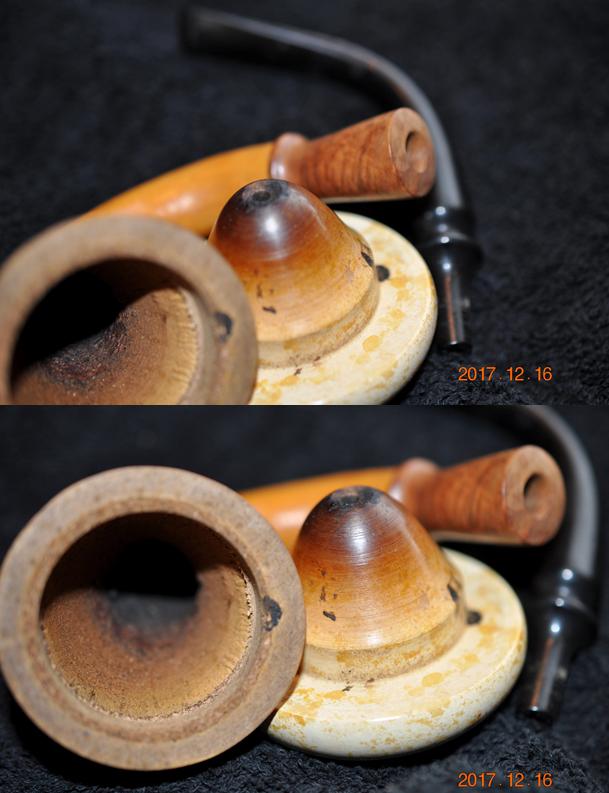
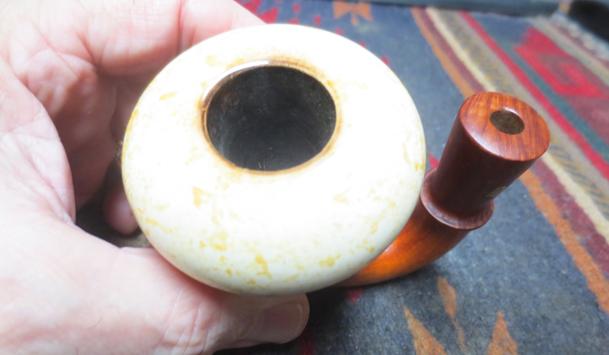
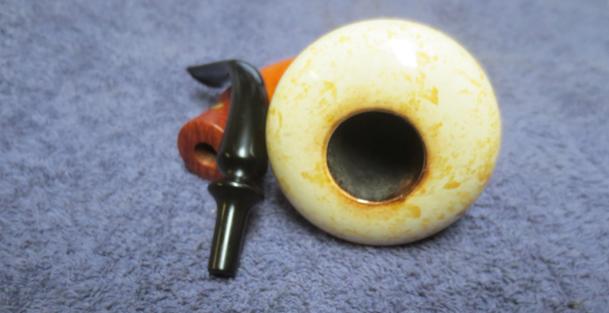
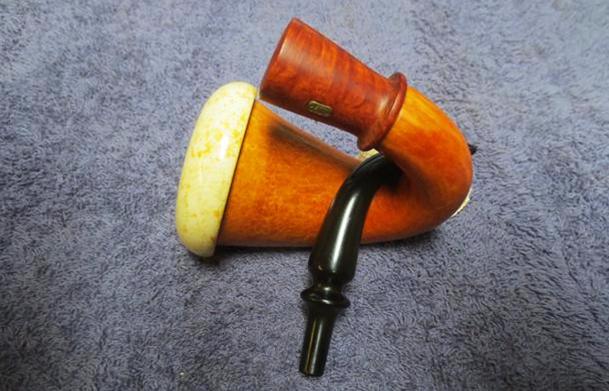
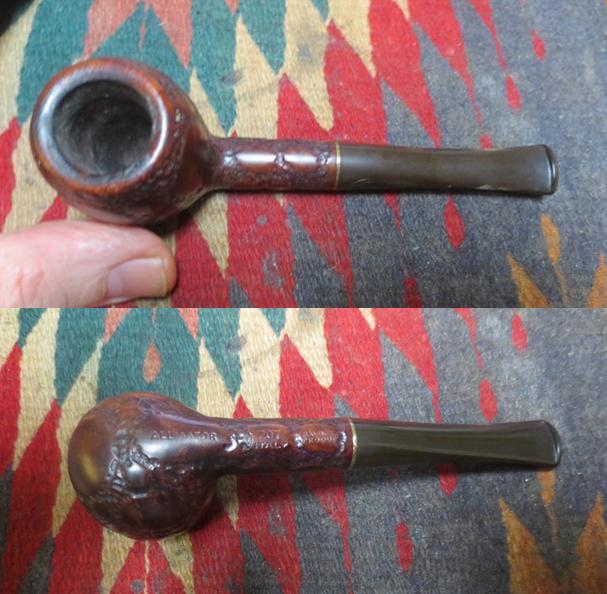
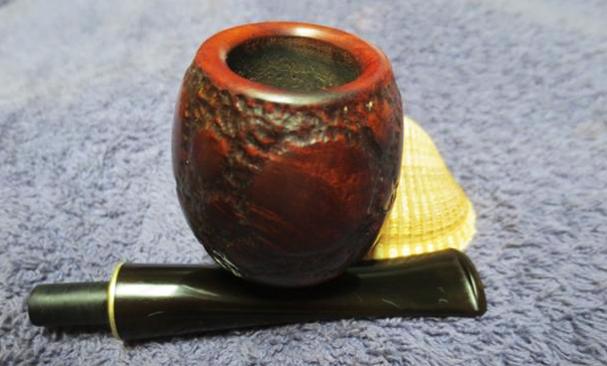
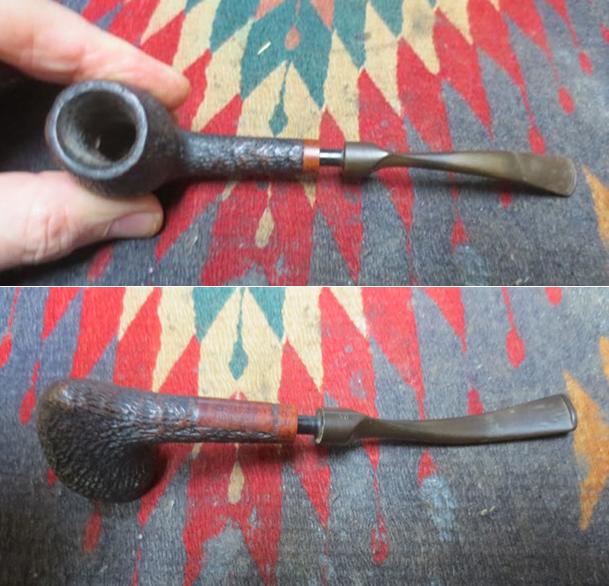
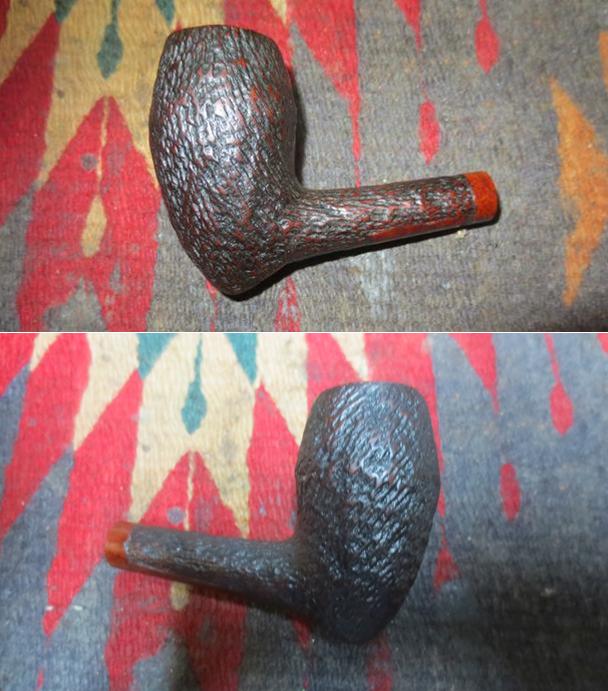
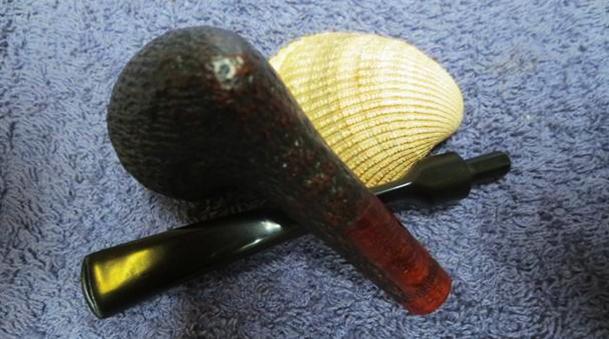
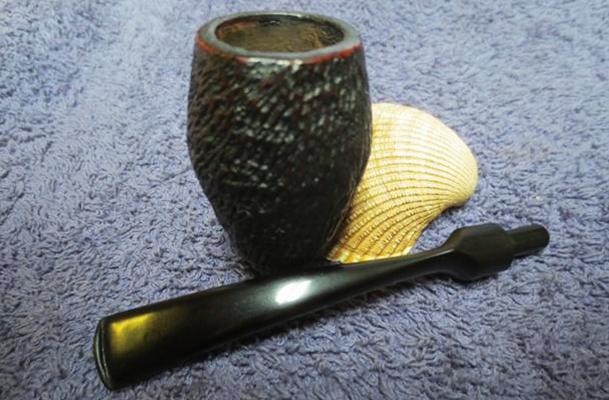
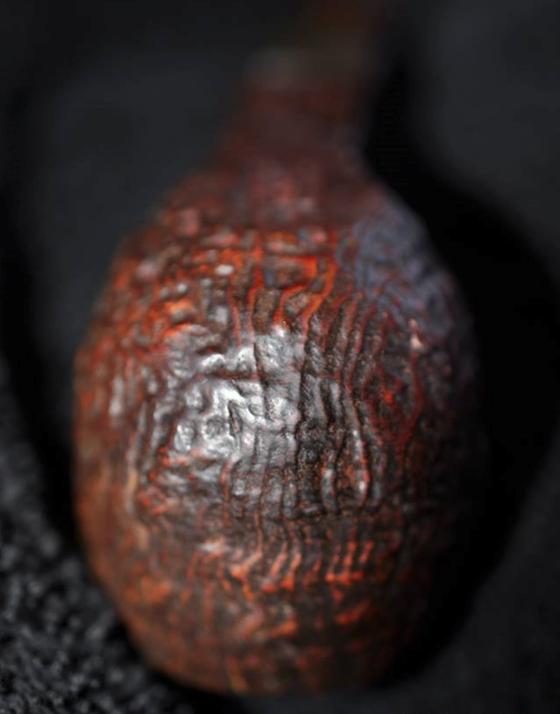
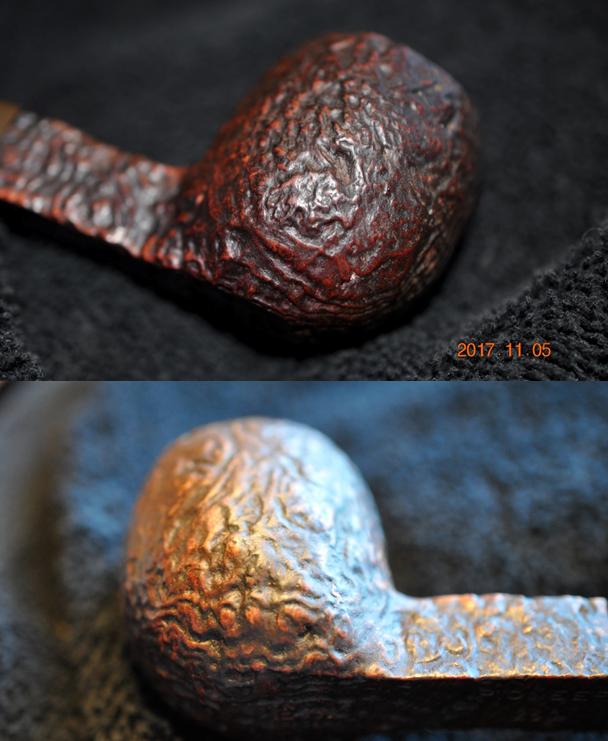
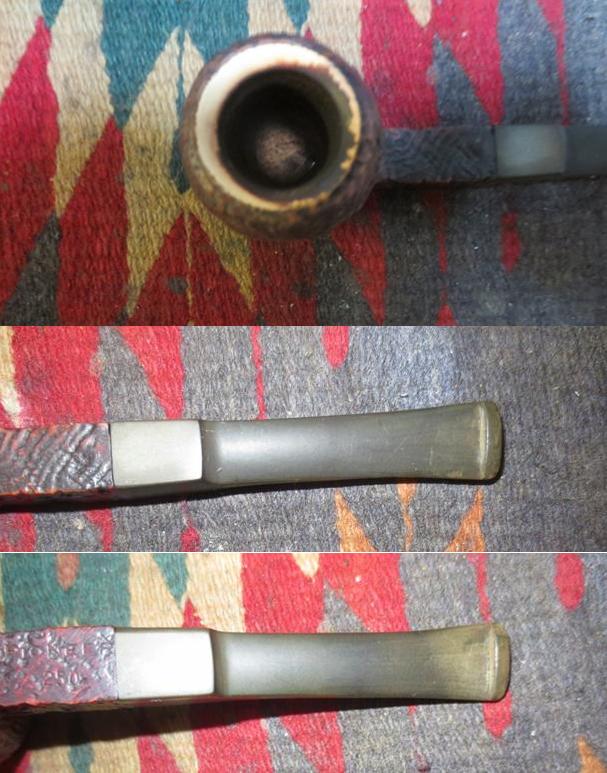
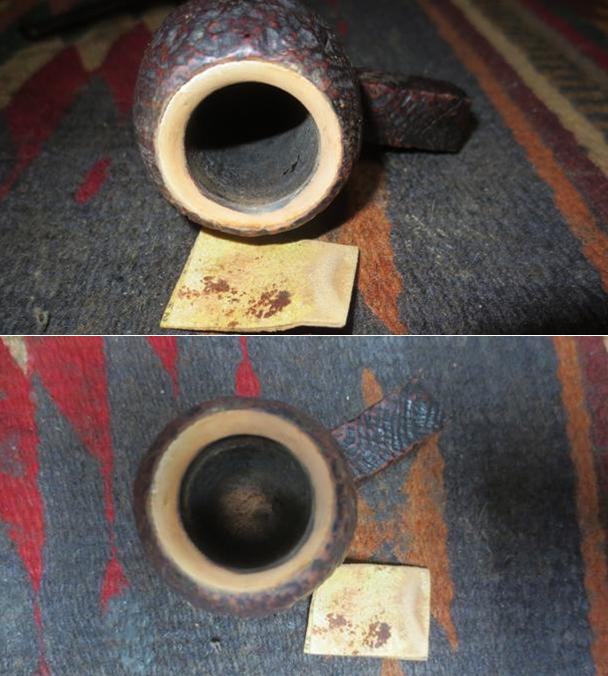
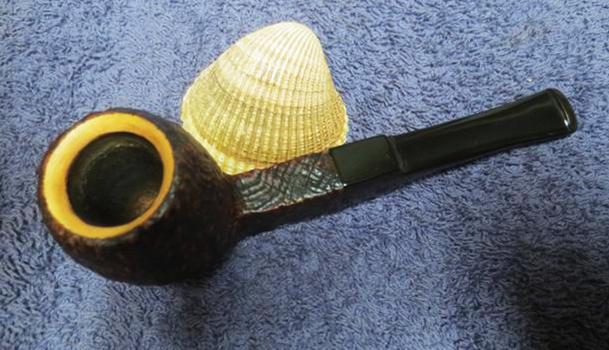
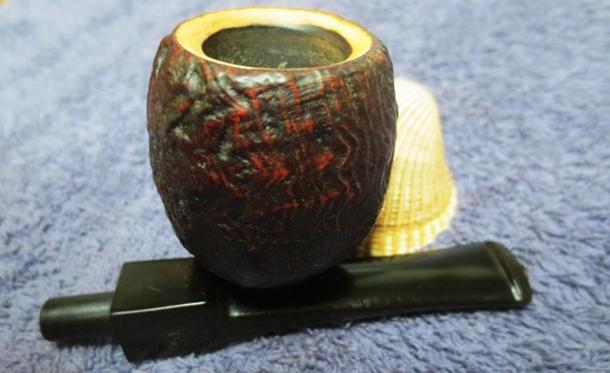
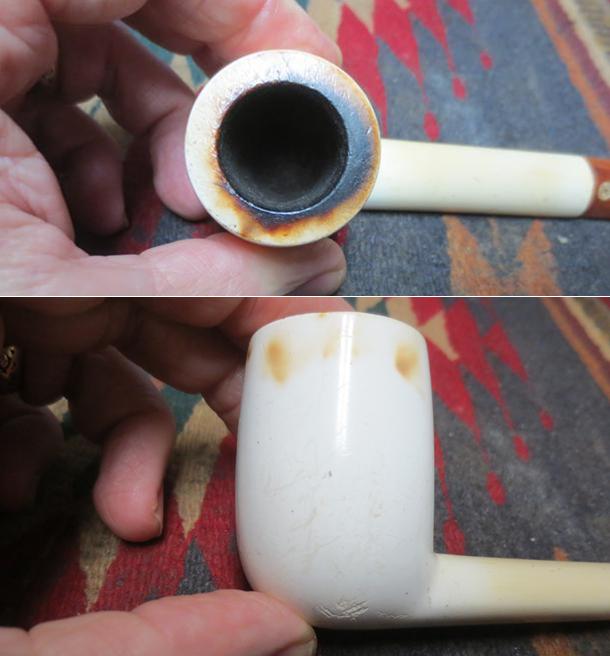
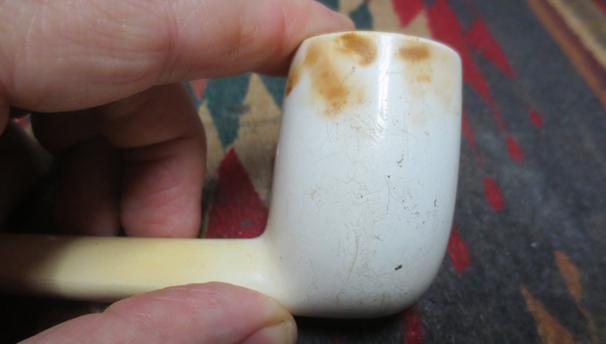
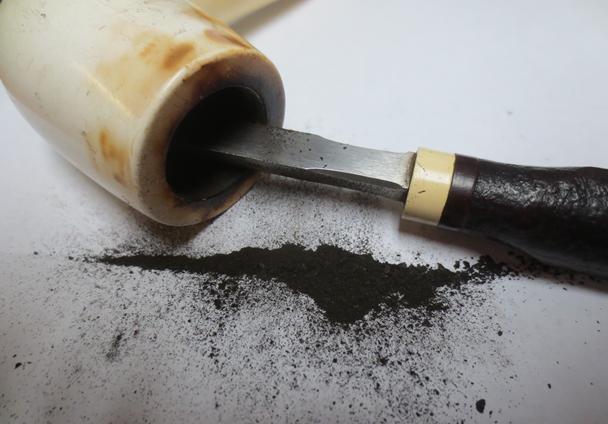
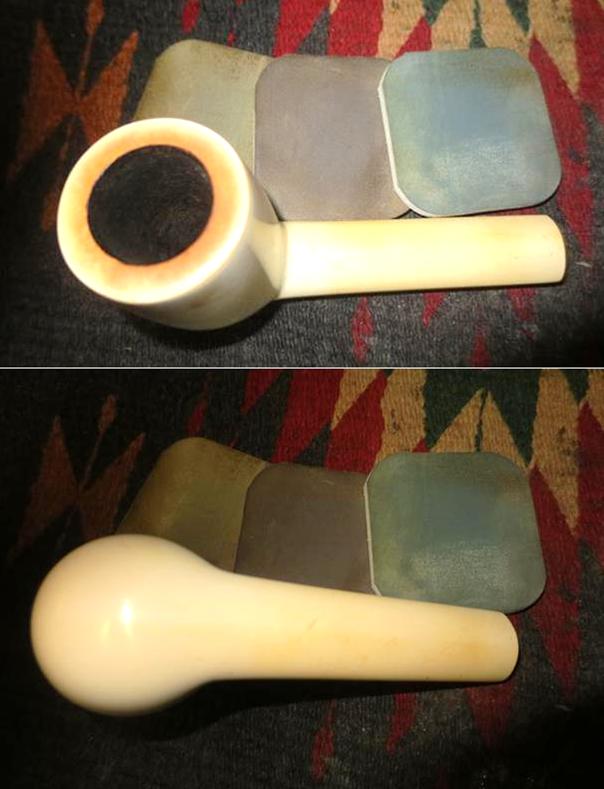
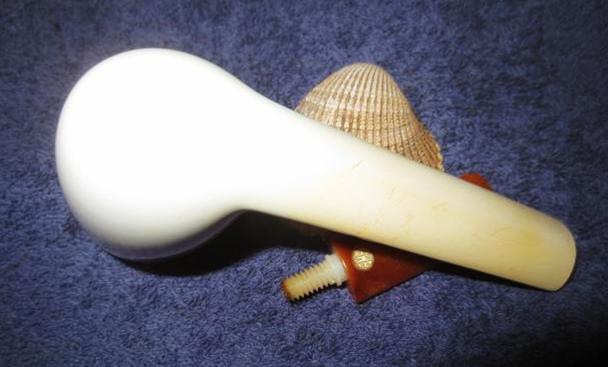
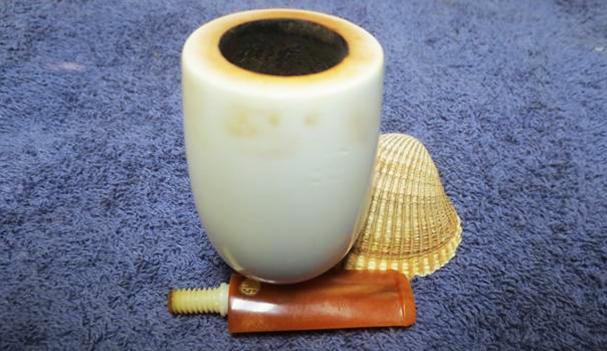
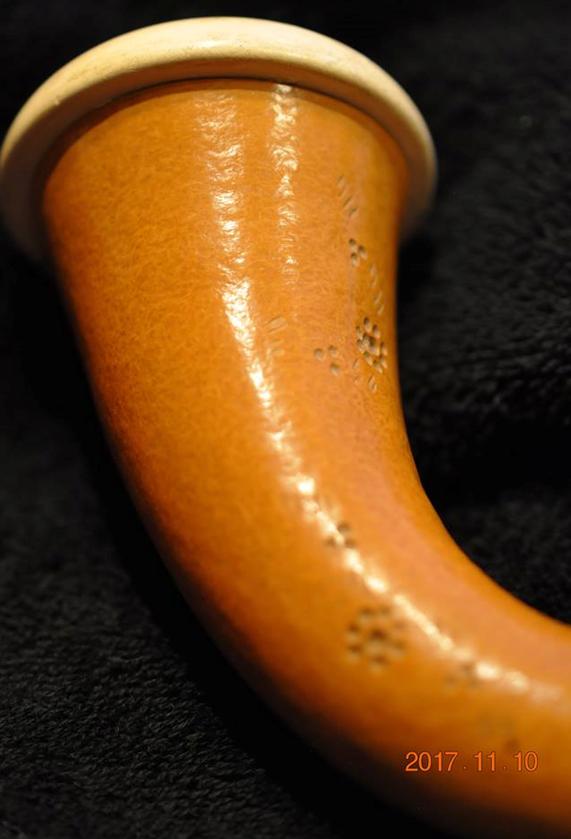
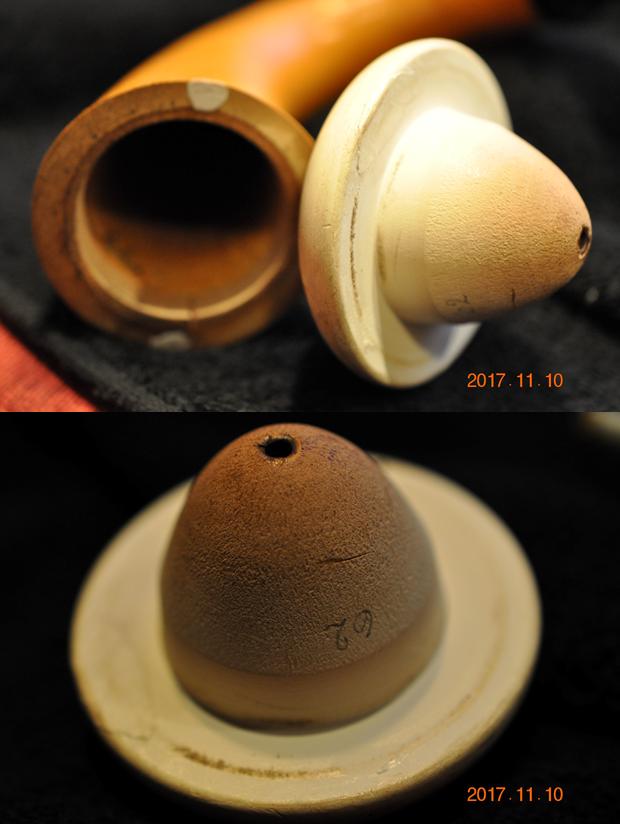
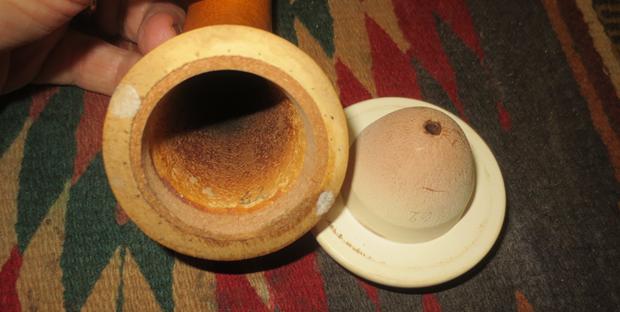
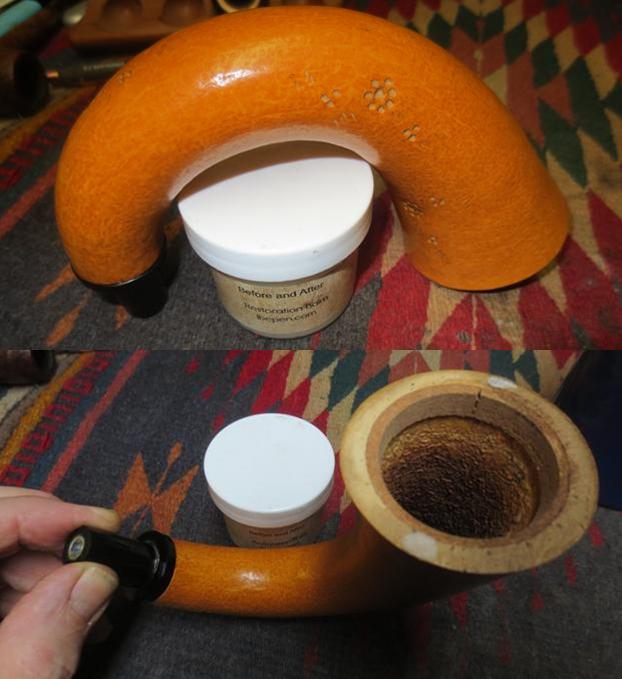
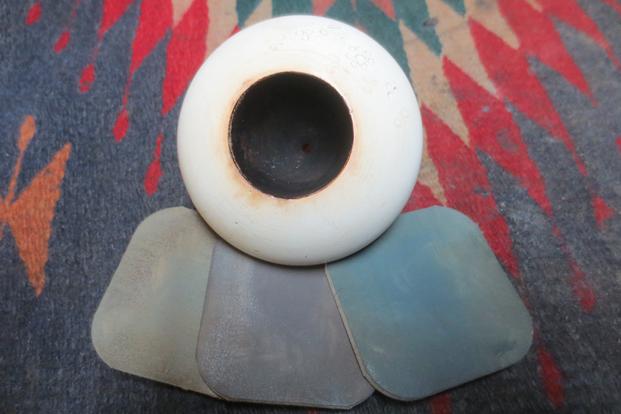
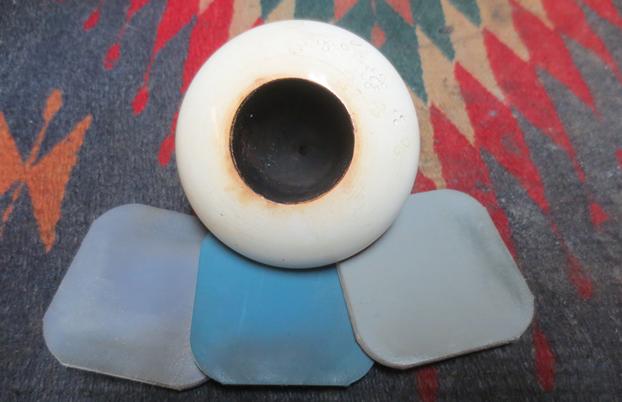
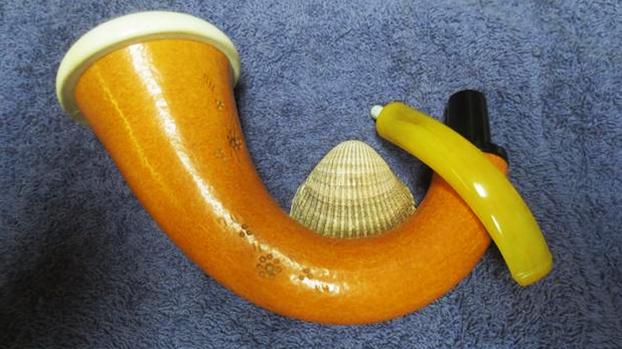
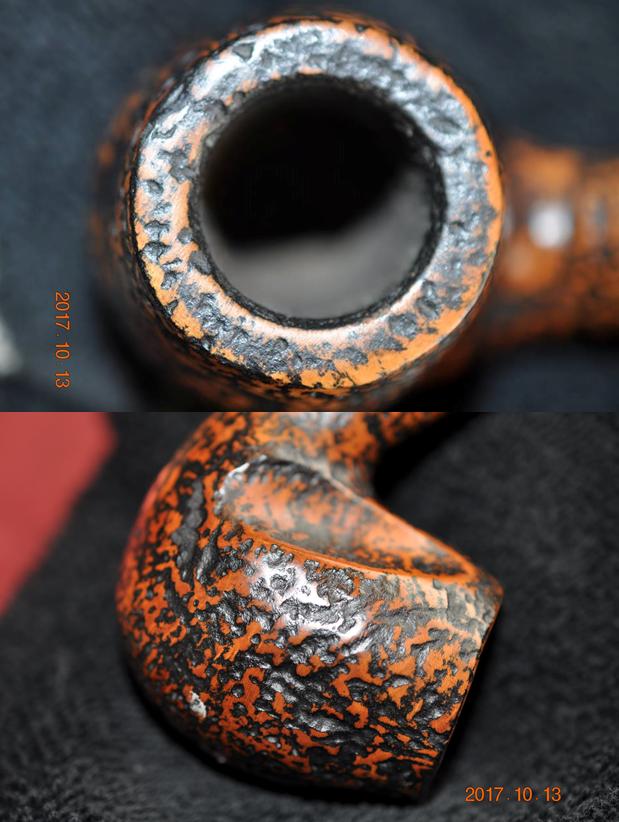
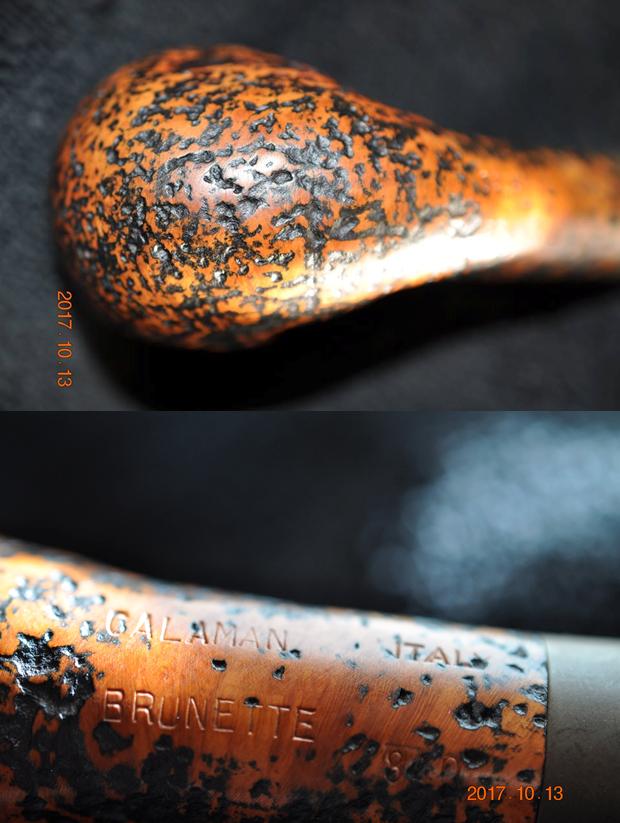
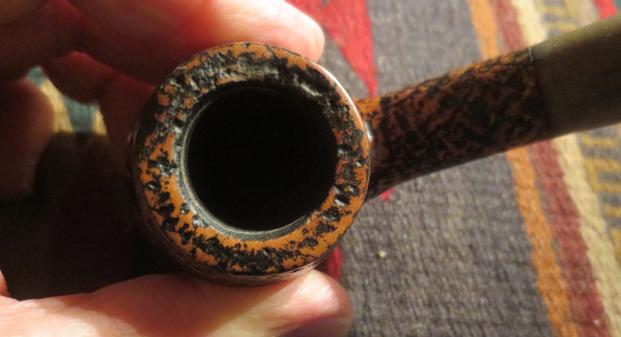
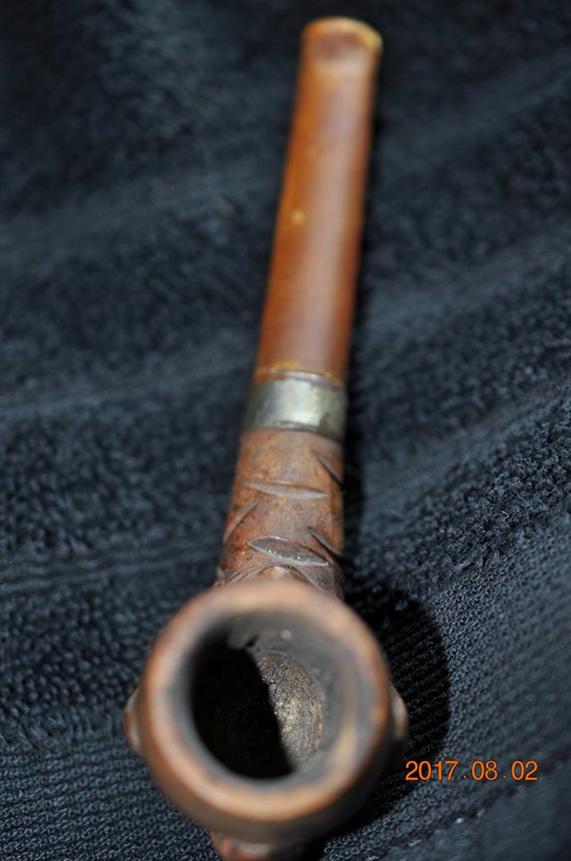
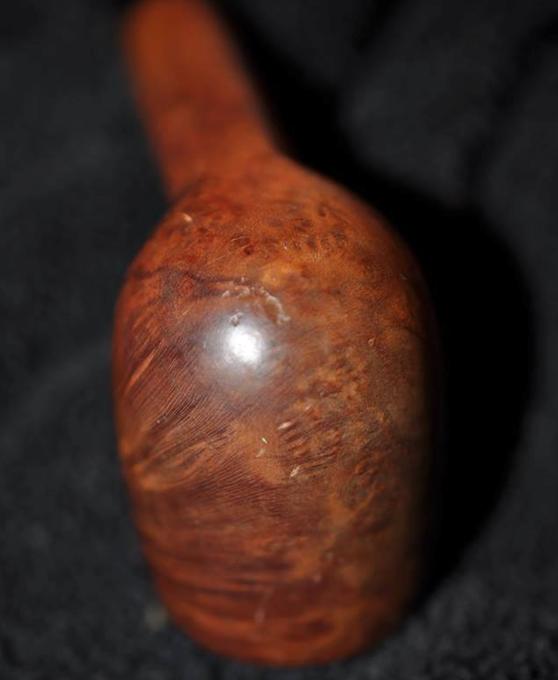
 He took a close up photo of the rim top showing the cake and the overflow of lava on the beveled top of the bowl. The cake is quite thick and the lava has almost leveled the bevel in many spots around the bowl. He also took photos of the bowl sides and underside to show some of the nicks and dents in the finish.
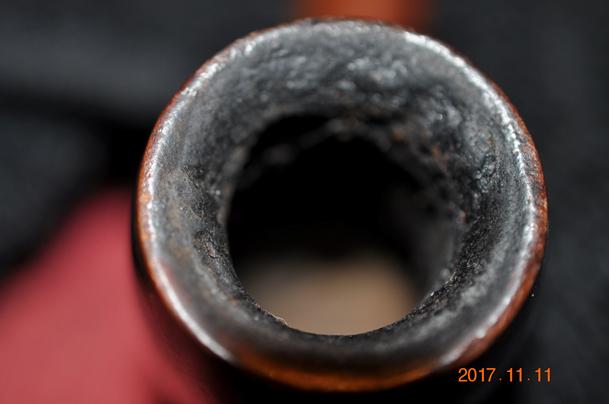
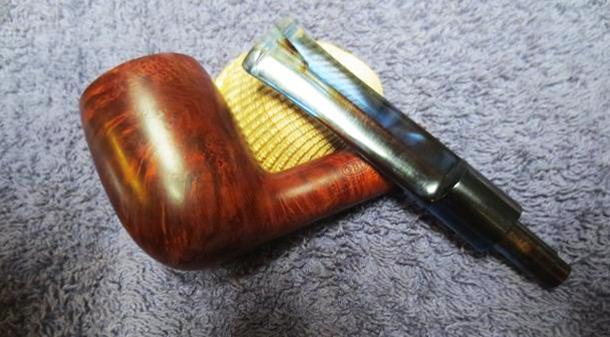
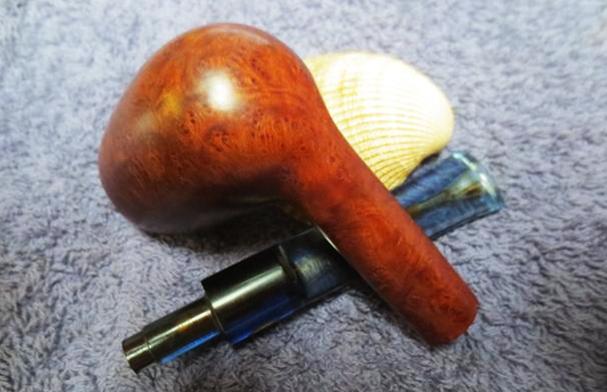
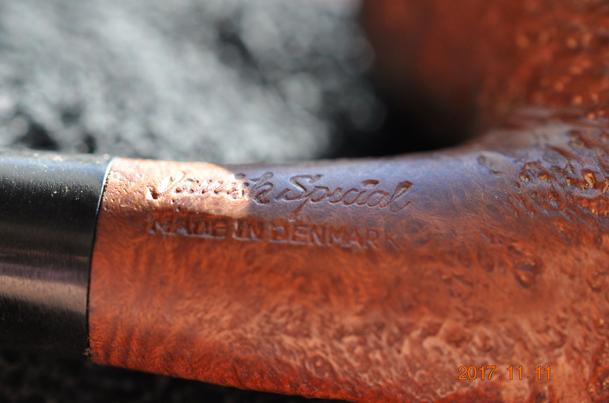
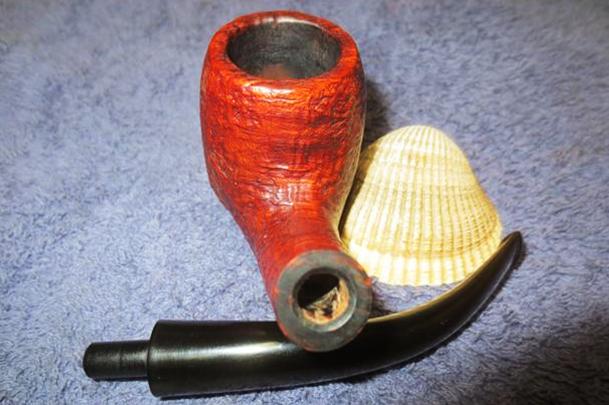
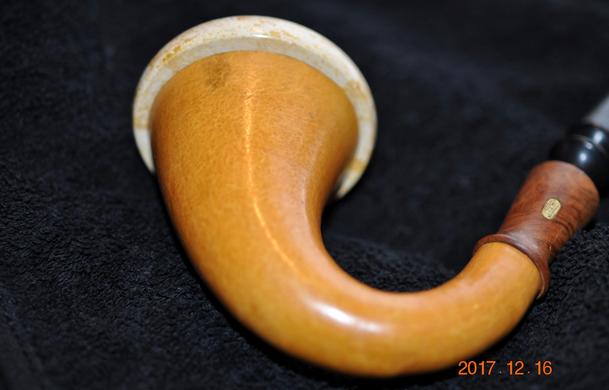
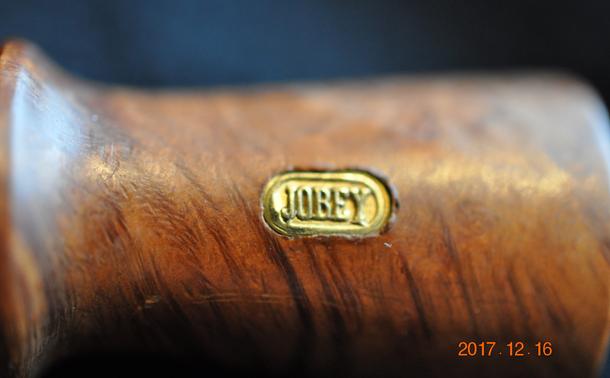
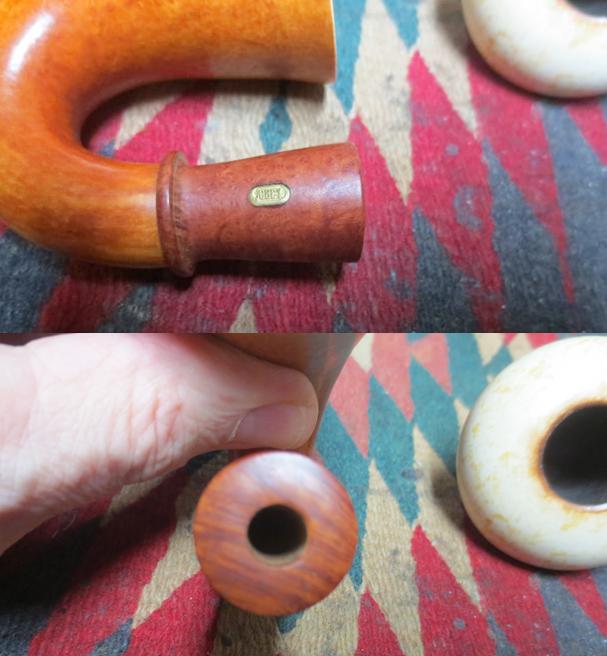
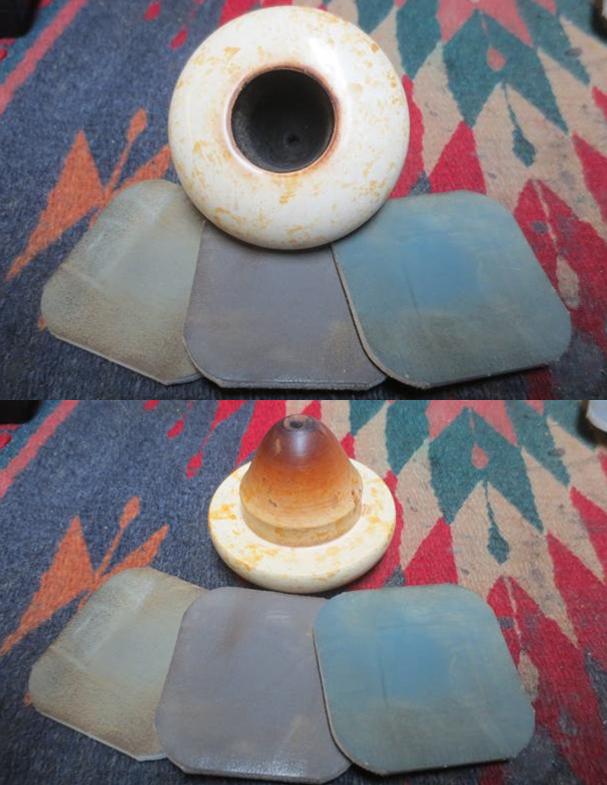
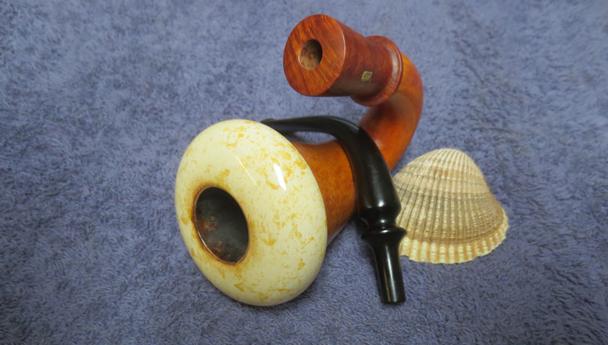
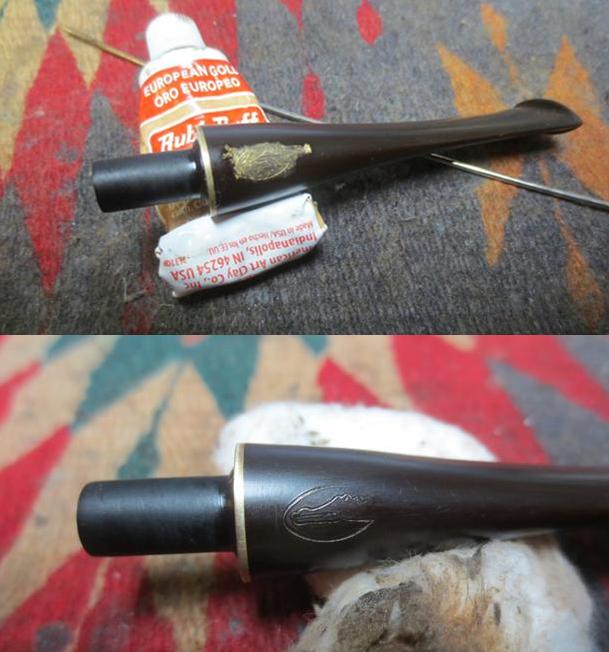
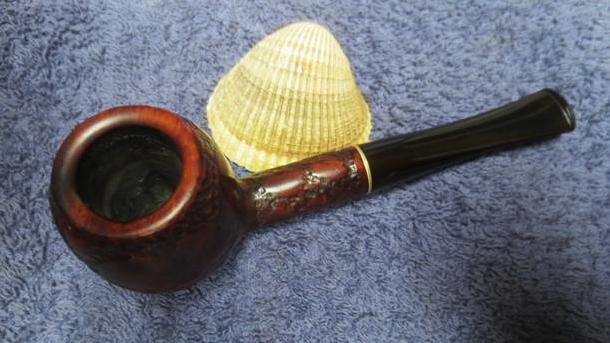
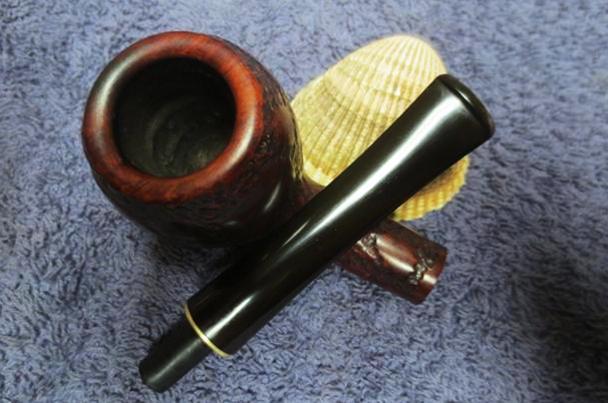
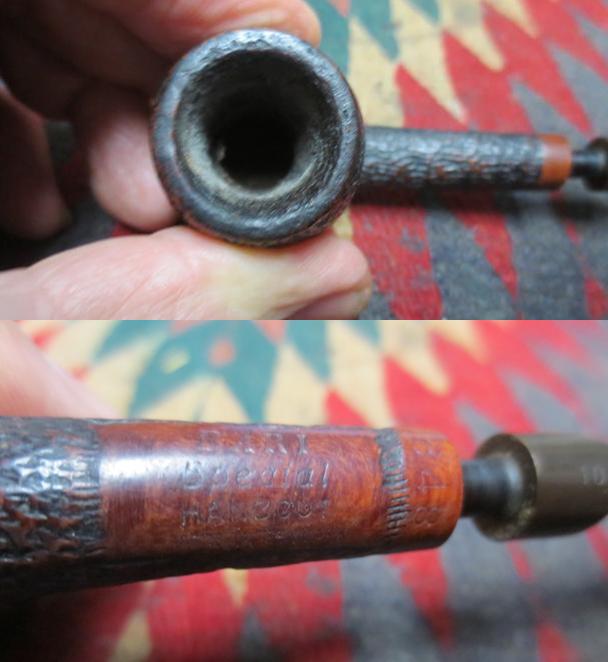
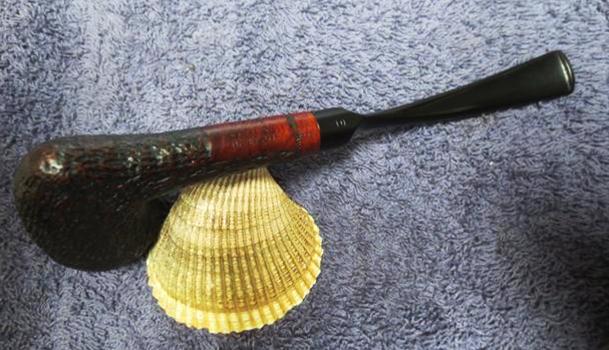
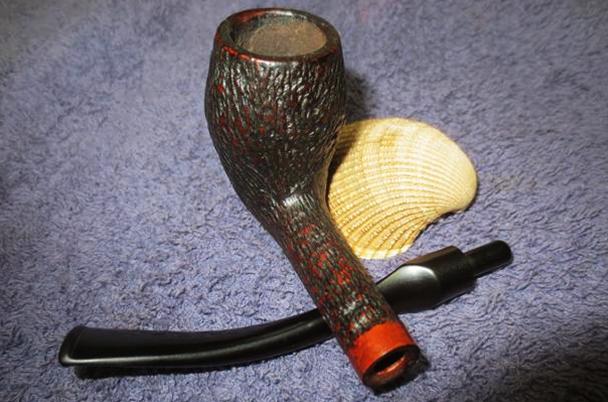
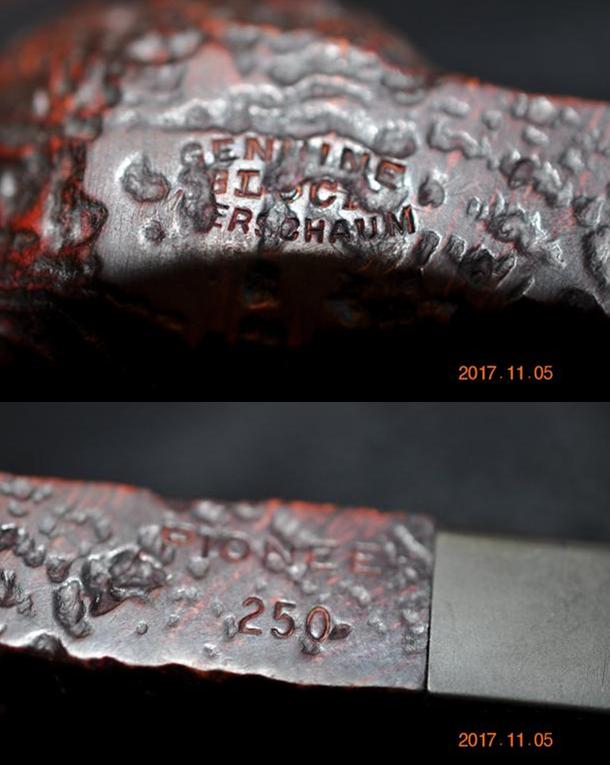
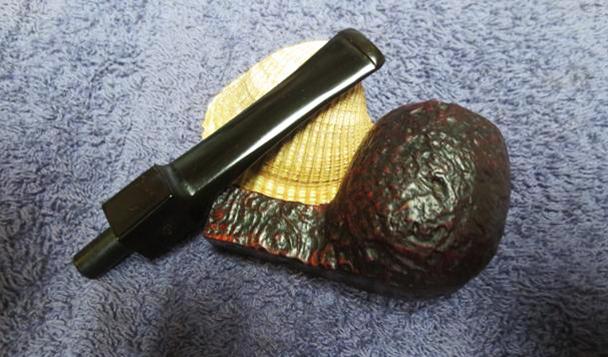
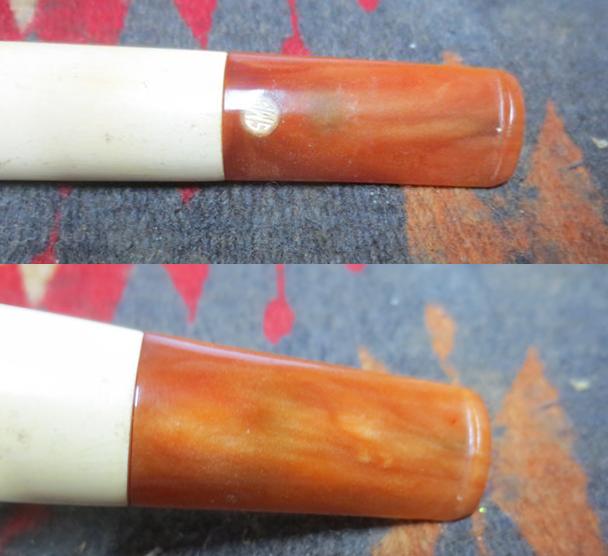
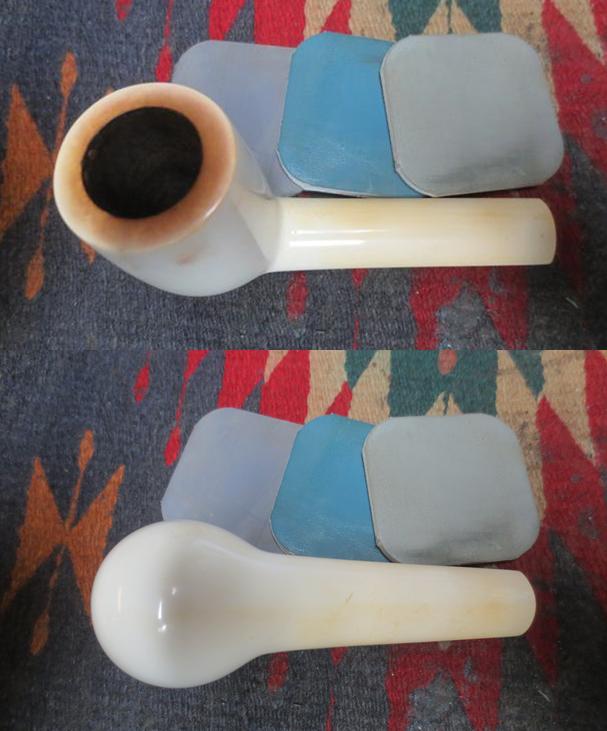
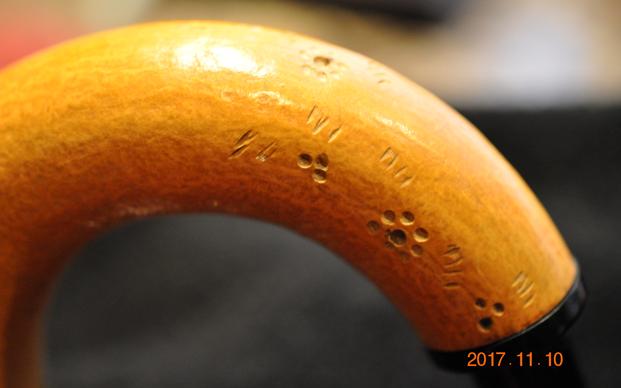
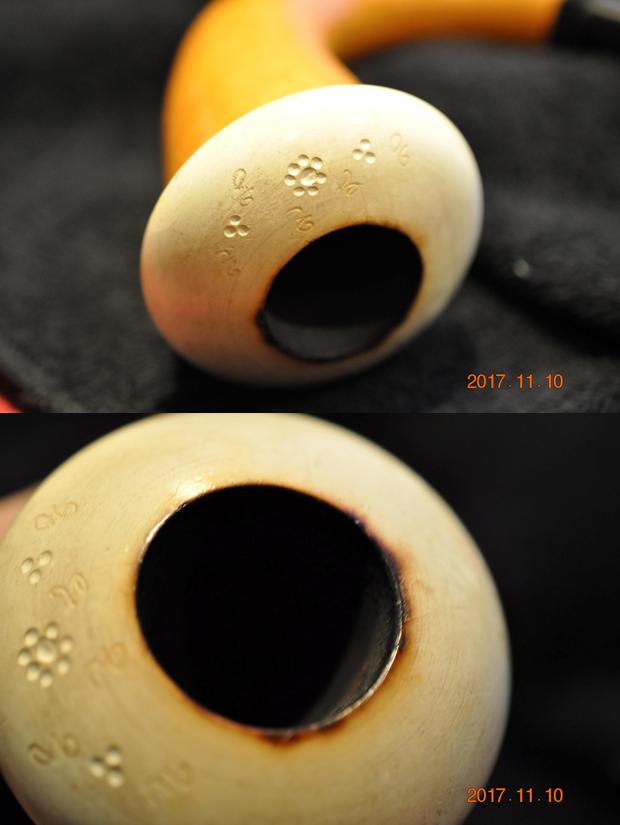
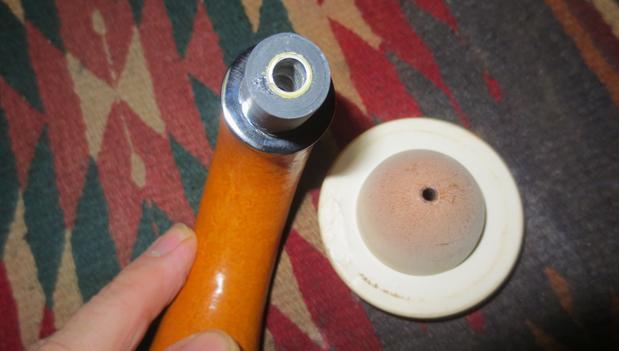
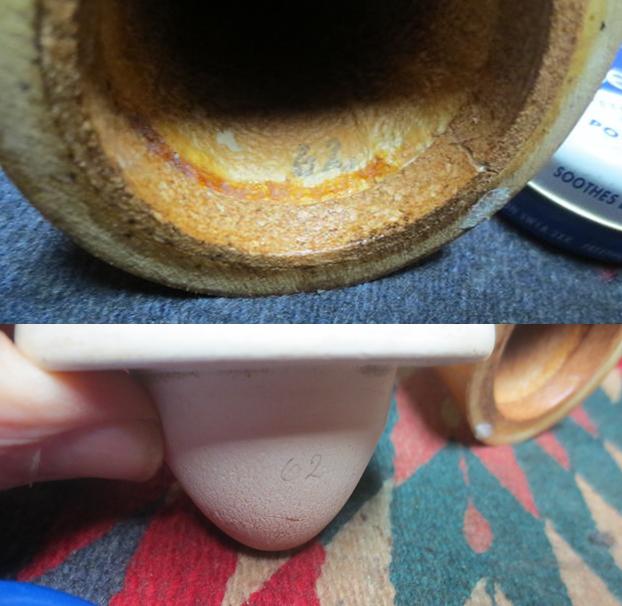
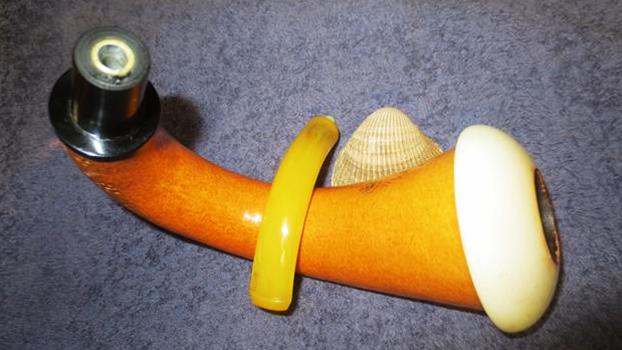
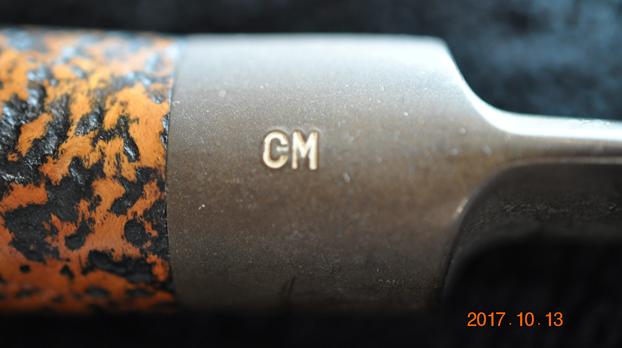
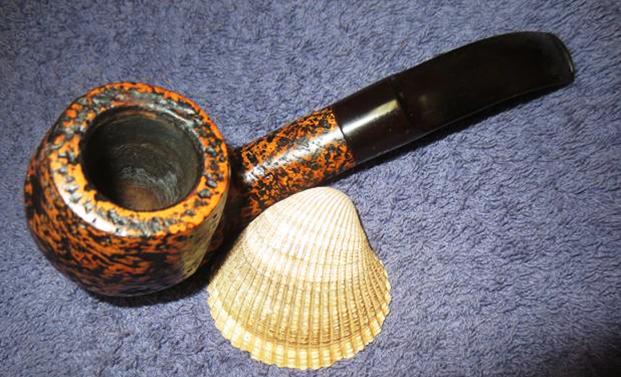
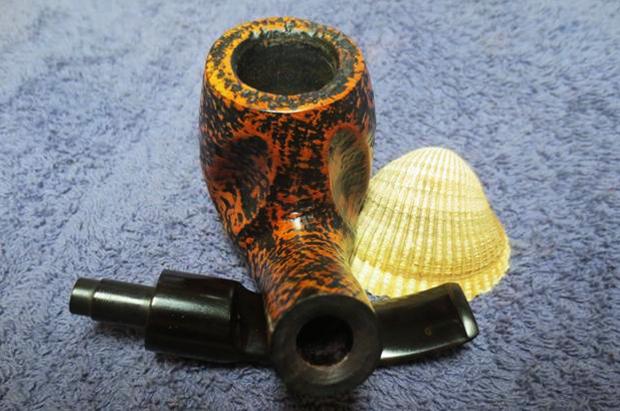
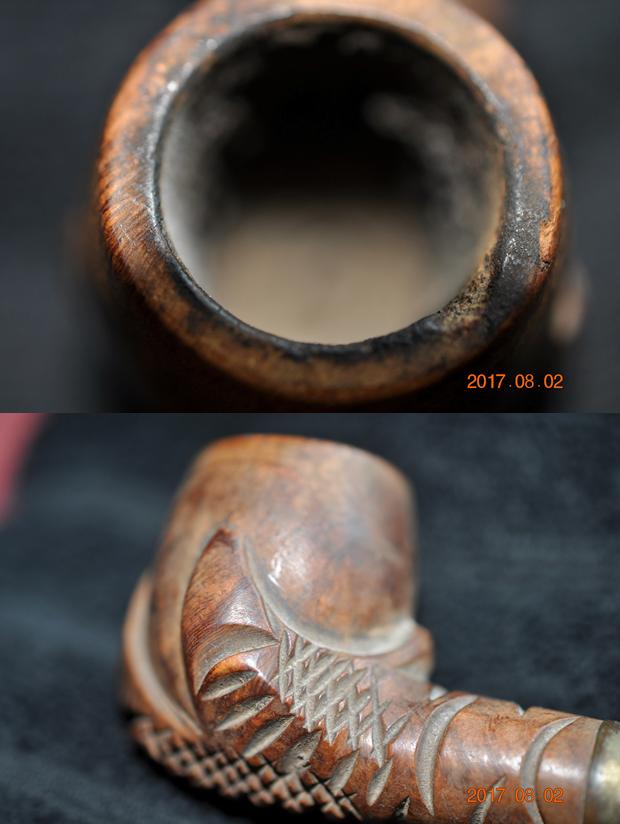
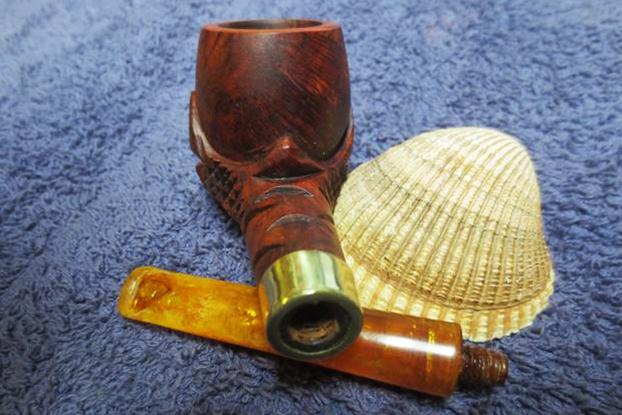
 The next photos show the stamping on the left and the right side of the shank. It is clear and readable. The brass rondel on the left side of the saddle stem is in very good condition and is undamaged.
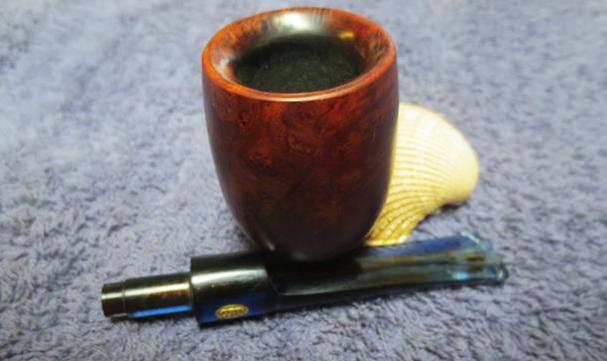
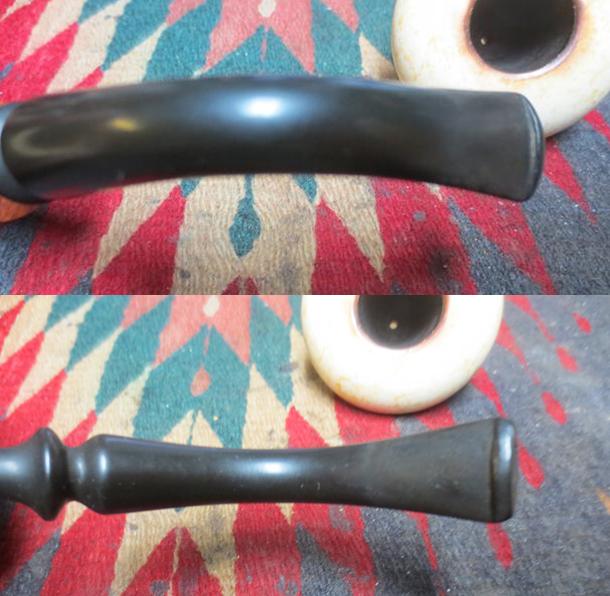
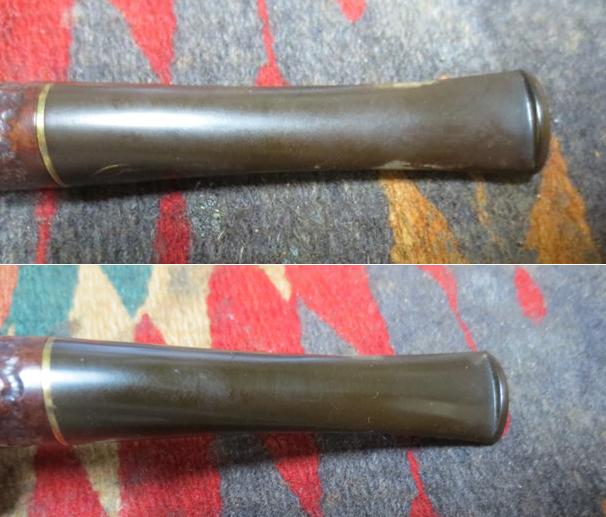
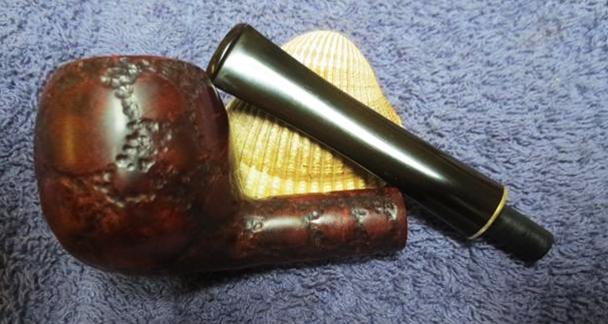
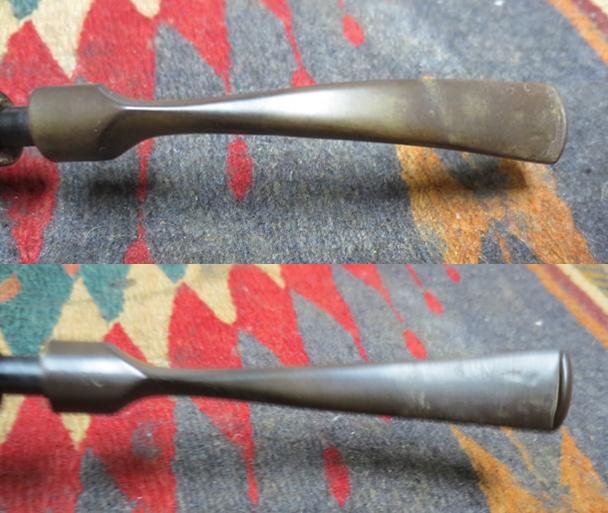
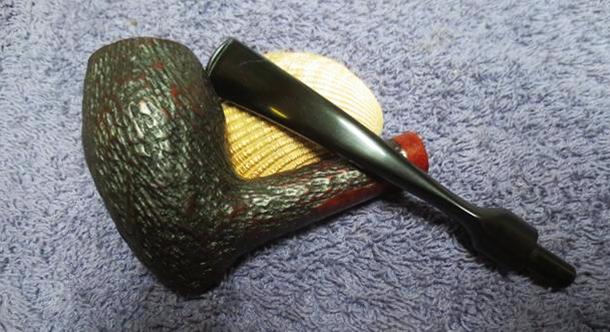
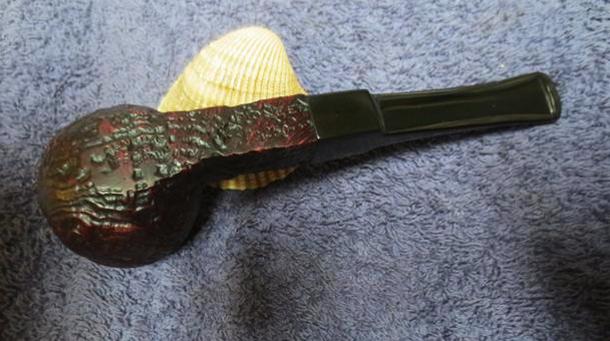
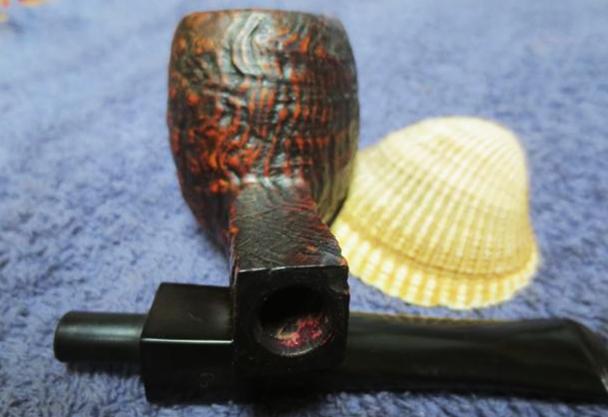
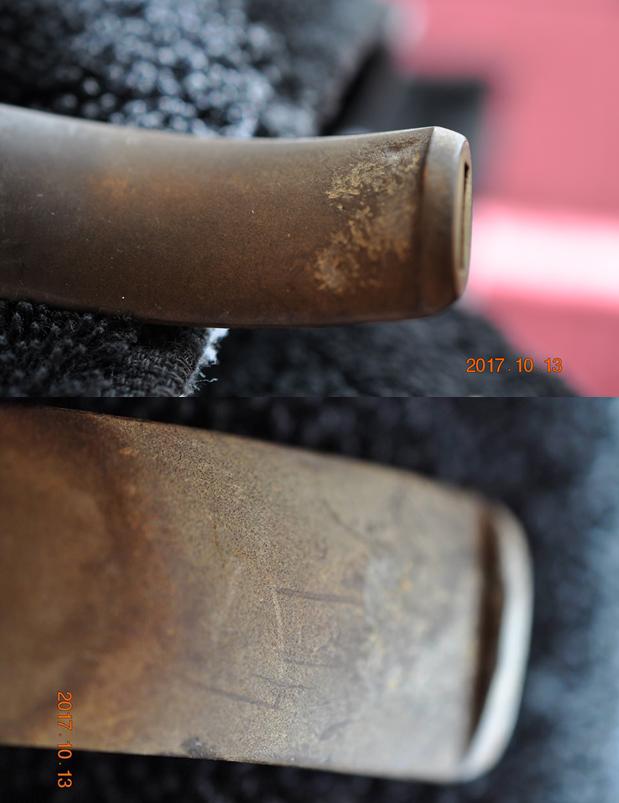
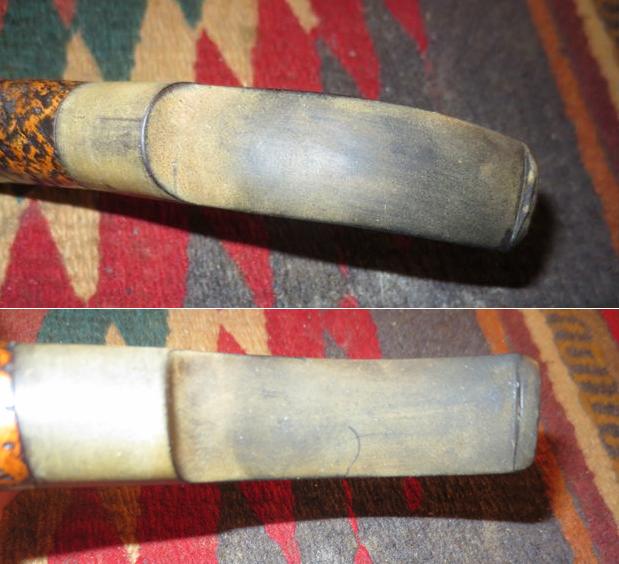
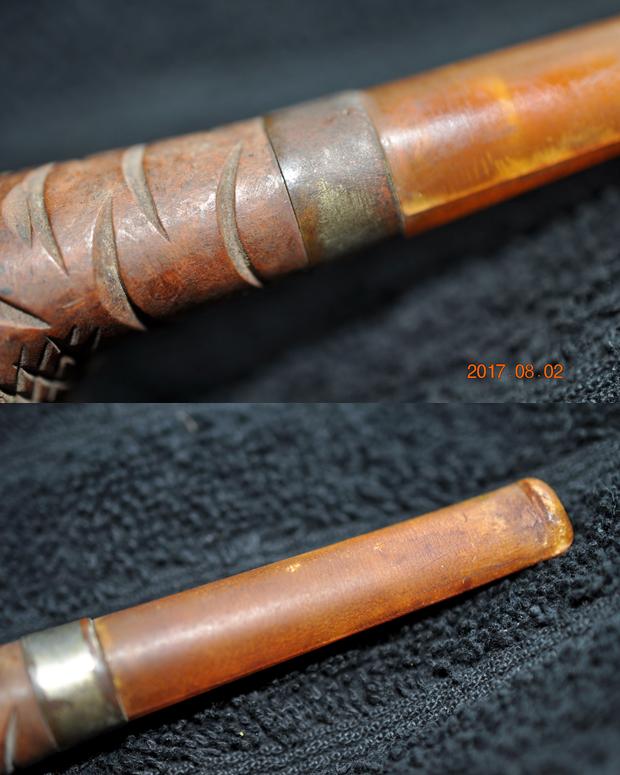
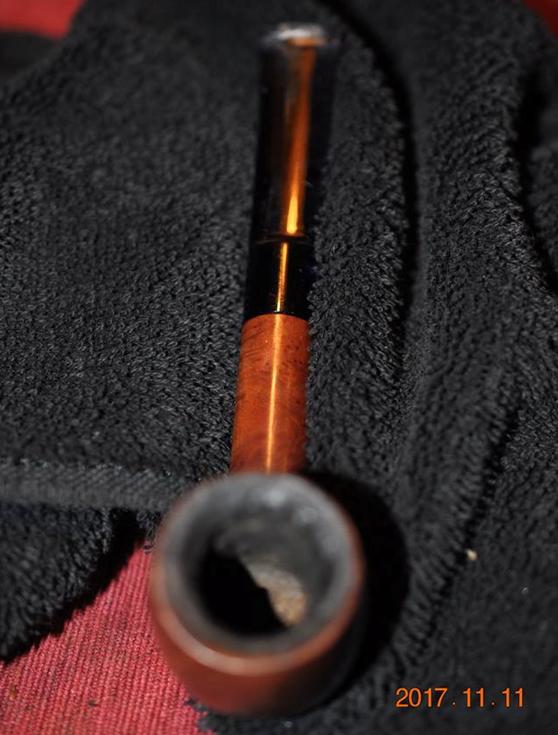
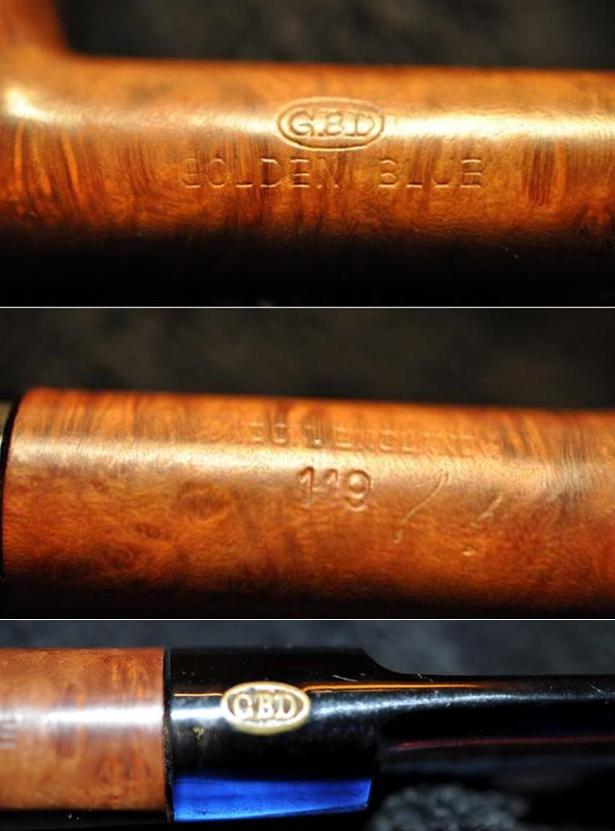 The stem was Blue Perspex and had some deep tooth marks on the top side near the button. They were deep but did not go all the way through the stem. There were scratches and nicks in the surface of the stem all the way around the stem. The button was worn down on both sides. On the underside of the stem there was a large bite through. With the stem being blue it was going to be a challenge to repair. The repair on the bite through would be hard to blend in as there was not a blue super glue or epoxy that I could match.
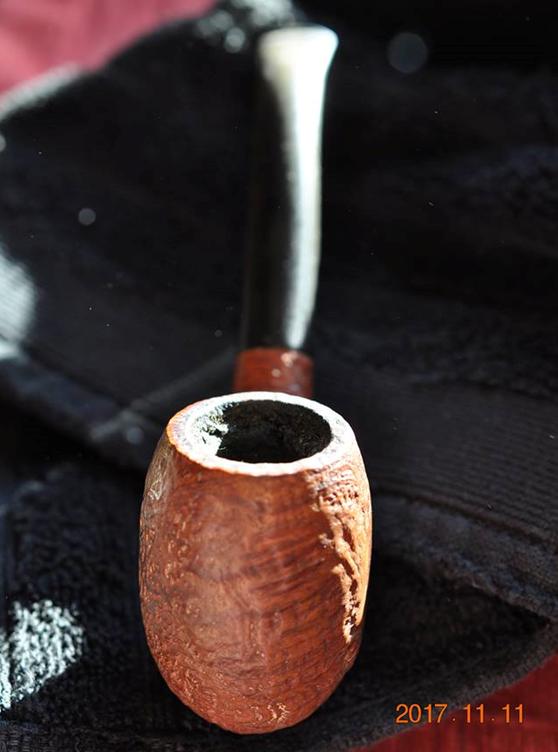
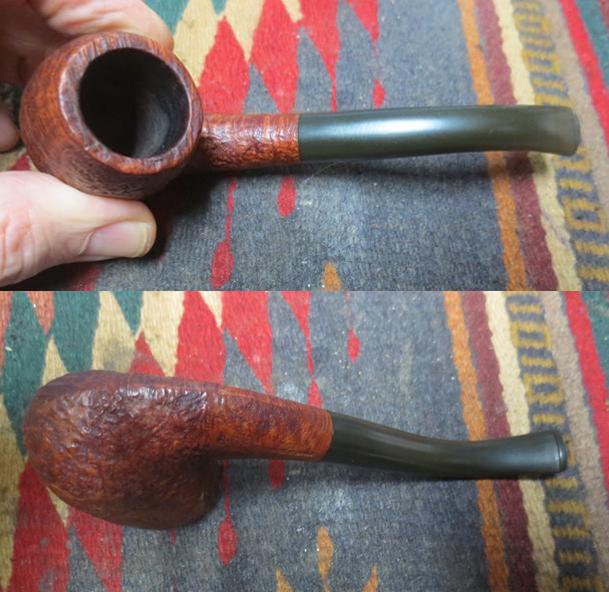
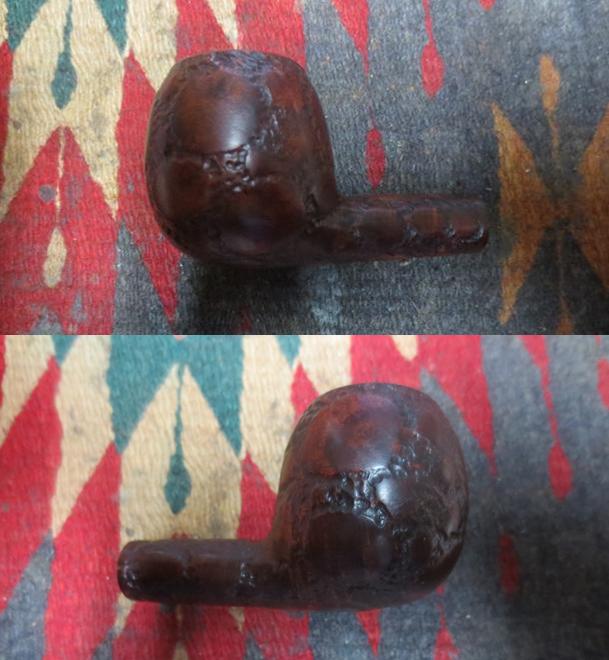
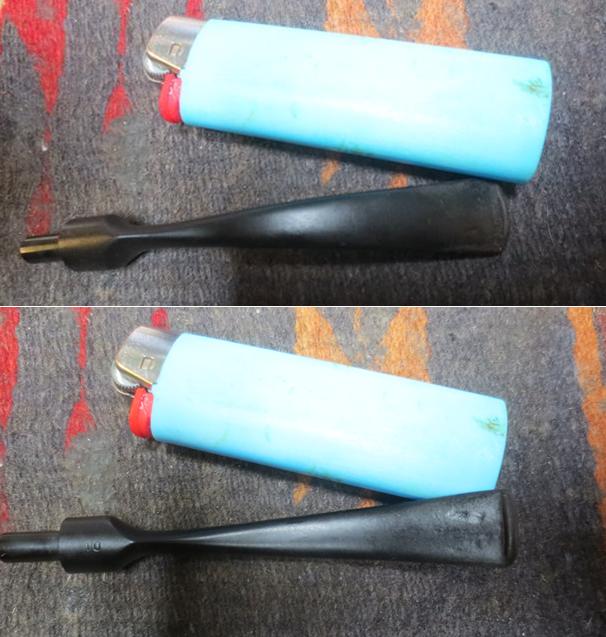
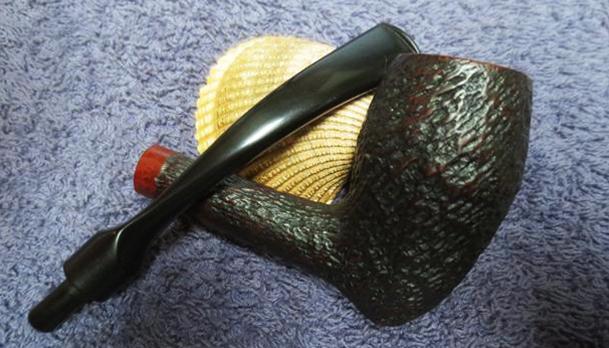
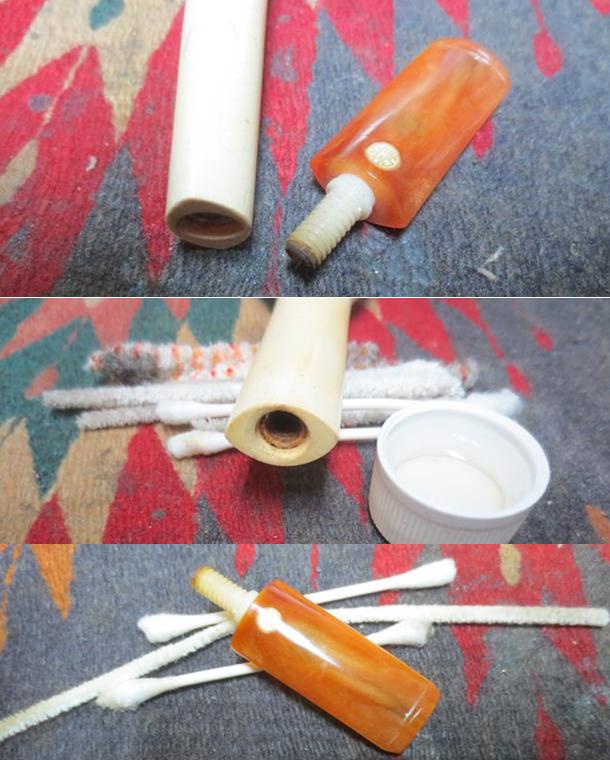
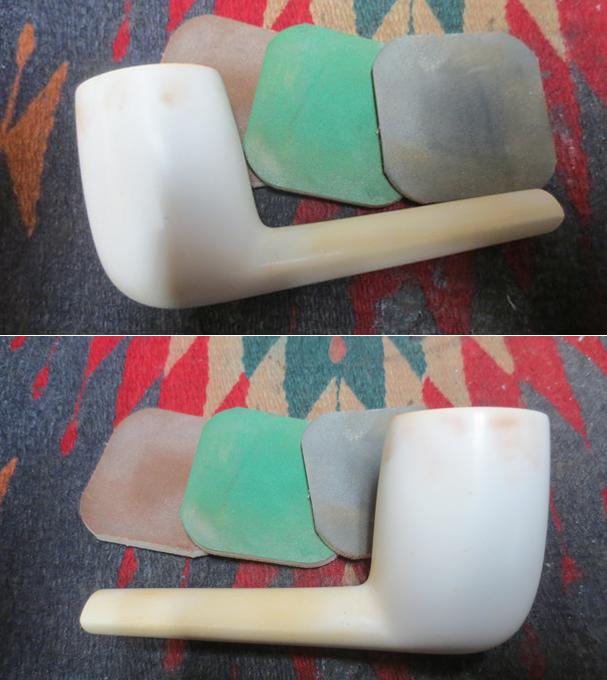
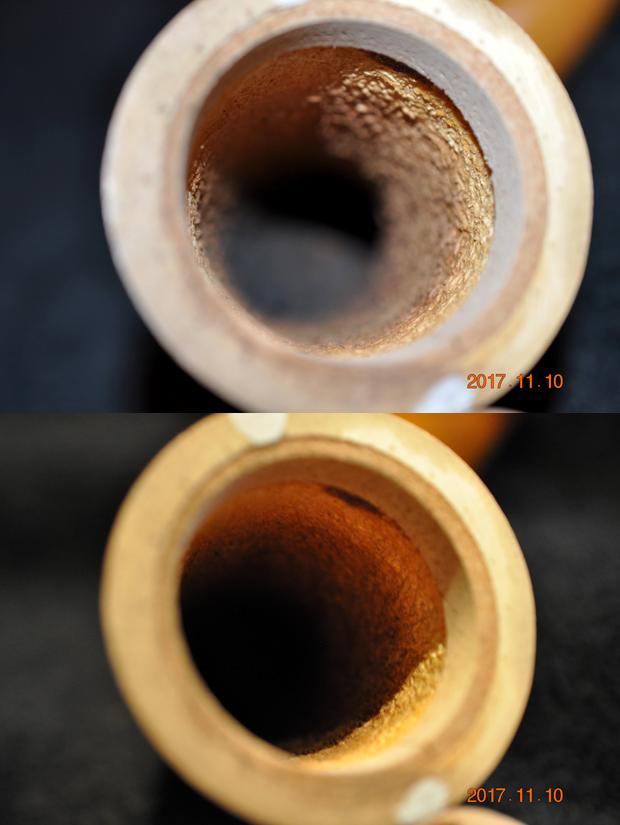
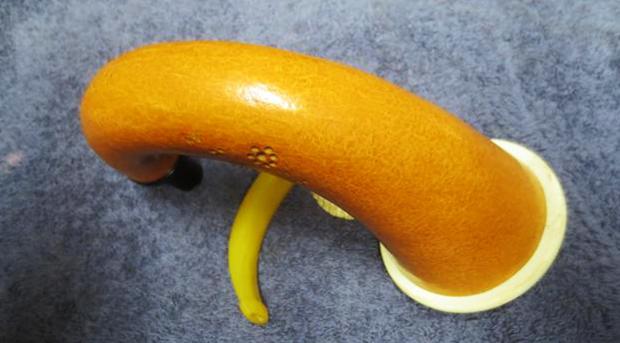
 As I have come to expect, Jeff did his usual thorough cleanup on the bowl and stem. He carefully reamed the bowl back to bare briar with a PipNet Pipe Reamer and cleaned up the remnants with a Savinelli Fitsall Pipe Knife. He cleaned the internals of the bowl with alcohol, pipe cleaners and cotton swabs – scrubbing out the mortise as it was dirty. He scrubbed the exterior of the pipes with Murphy’s Oil soap and a tooth brush and was able to remove all of the oils and dust in the smooth finish on the briar. He was able to remove all of the lava and grime from the beveled rim top and left it looking very clean. The inner edges of the bowl were in excellent condition and outer edges have many small nicks. He soaked the stem in an Oxyclean bath remove the grime in the bite through and the edges of the stem. He cleaned out the blue Perspex with soapy water to remove the tarry oils and grime in the airway. He was able to remove much of the internal grime. When the pipe arrived I took some photos to show how it looked before I did the restoration.
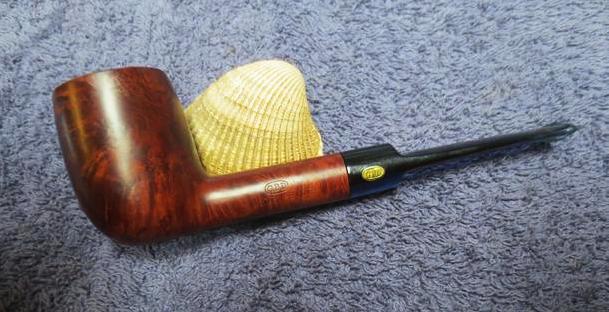
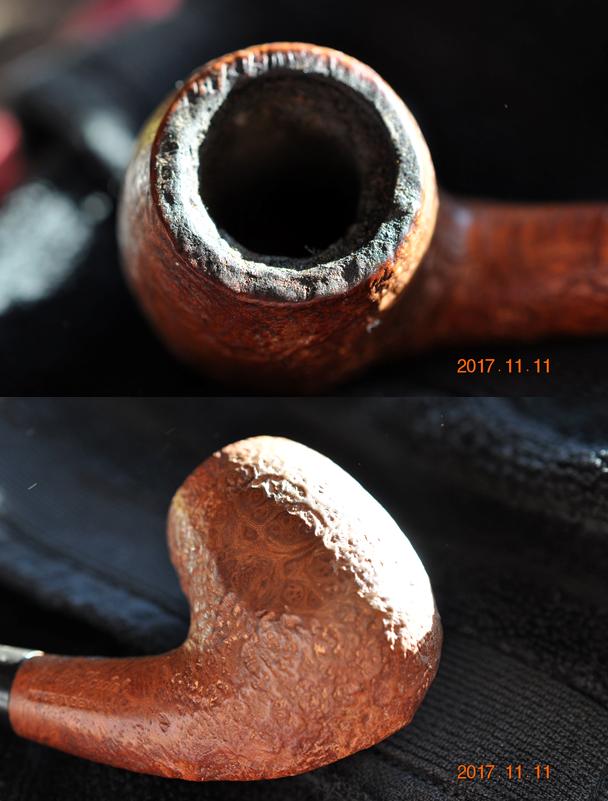
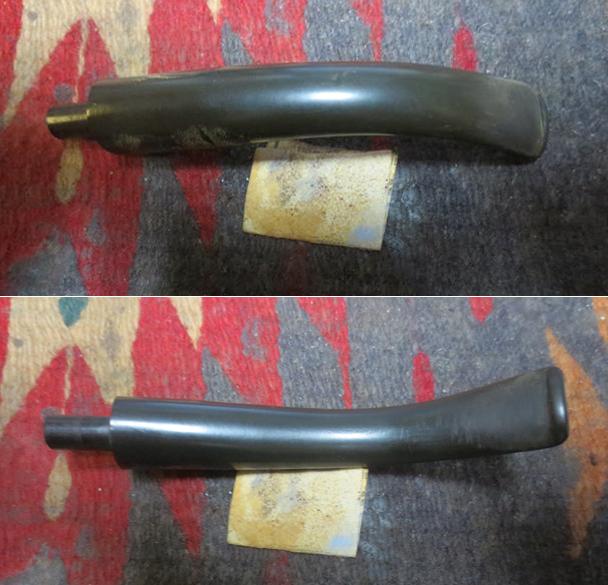
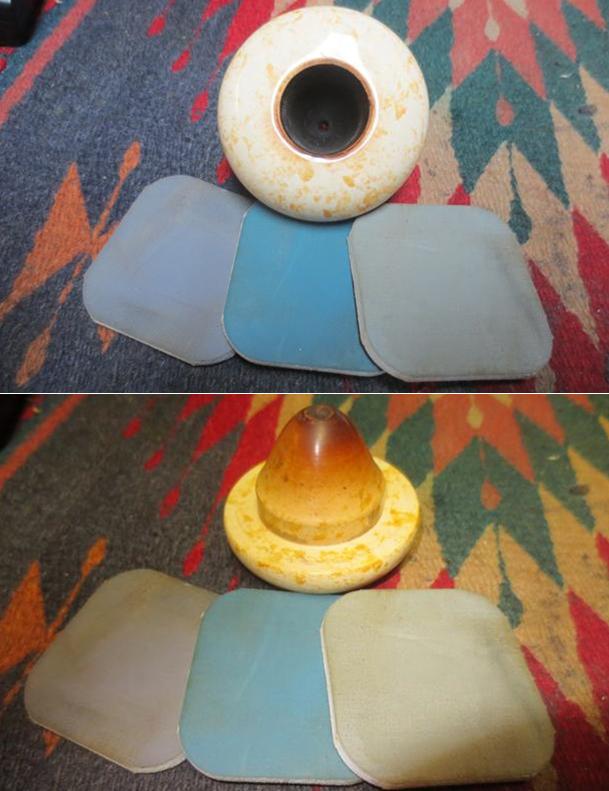
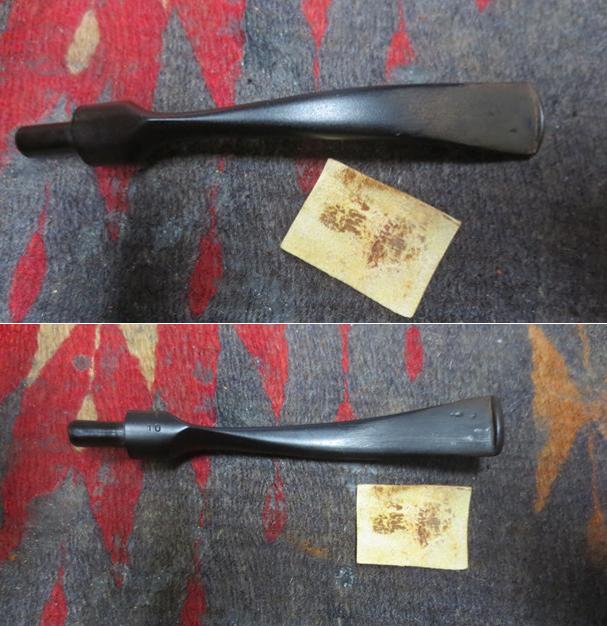
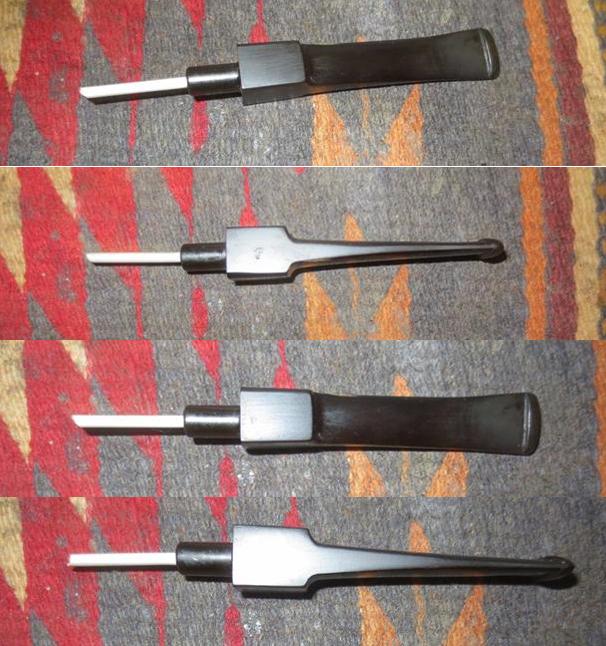
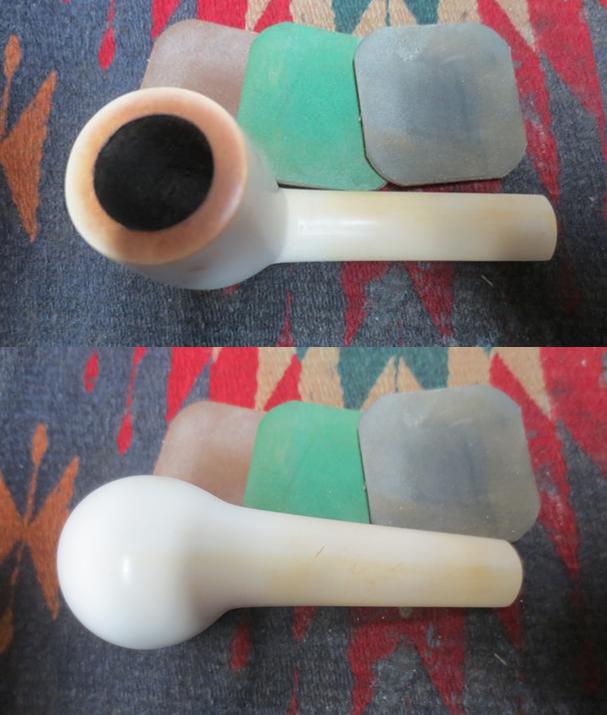
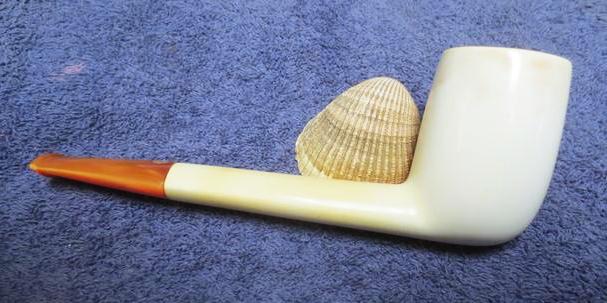
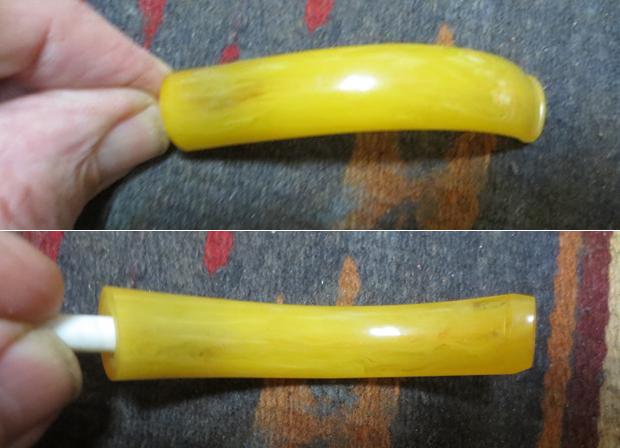
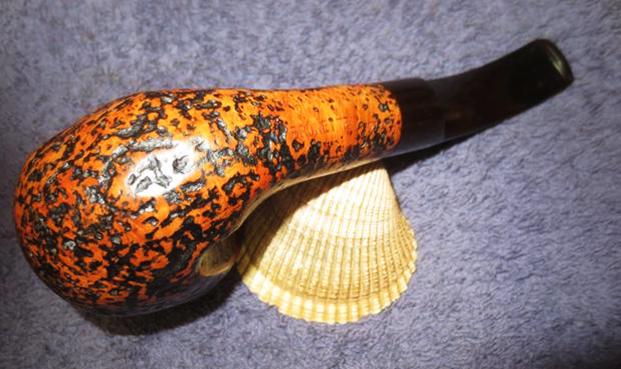
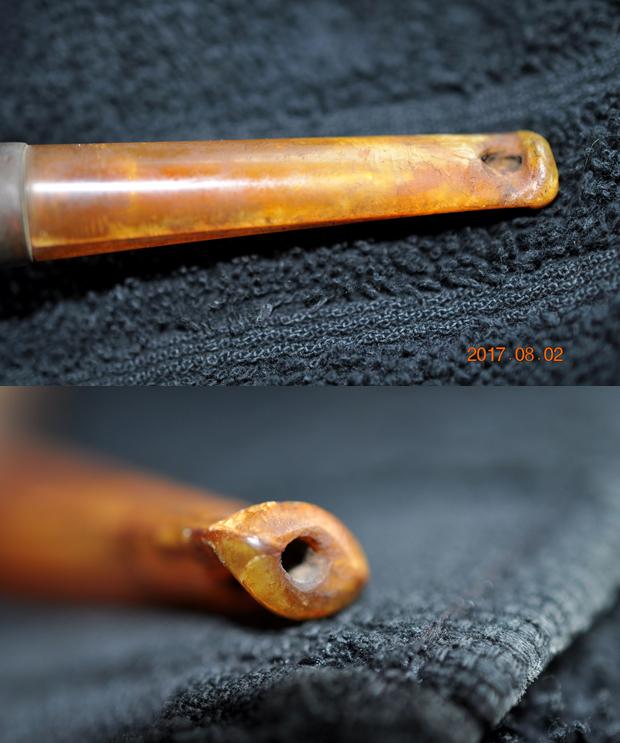
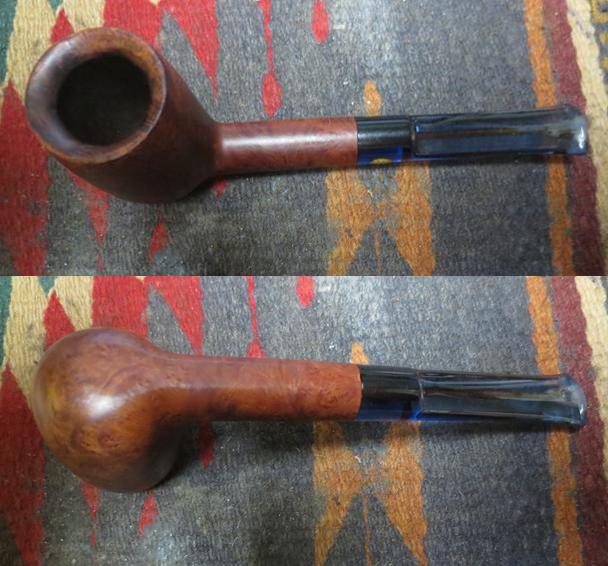 Jeff was able to remove the lava buildup on the beveled rim top and clean off the inner and outer edges of the rim. The inner edge looked very good but the outer edge had nicks and scratches. The top surface of the bevel had some minor darkening but otherwise looked very good. The Blue Perspex stem was in rough condition. There were a lot of scratches and nicks in the surface, tooth marks on the top side and a bite through on the underside. The airway still showed darkening from the tars and oils of the tobacco.
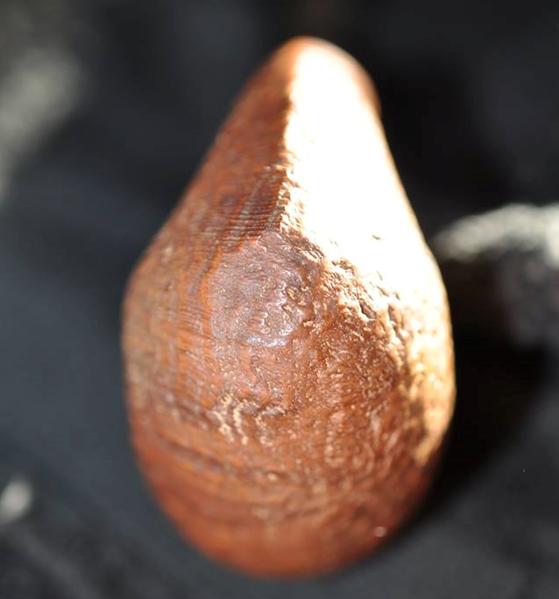
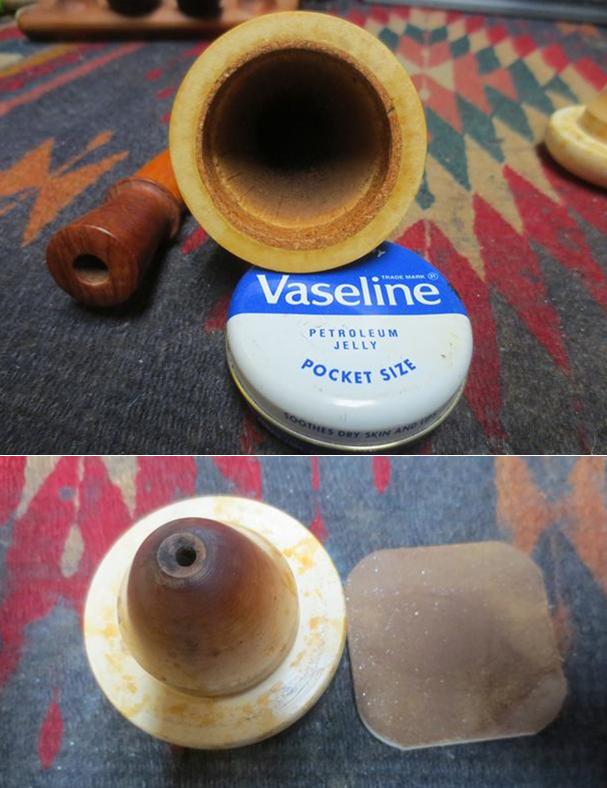
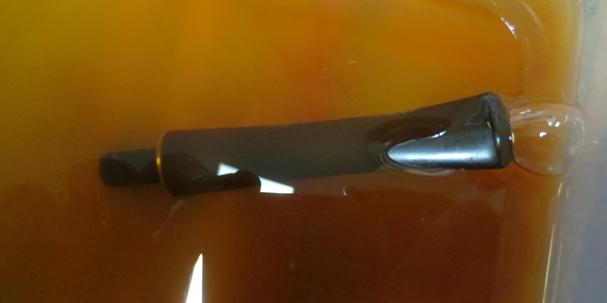
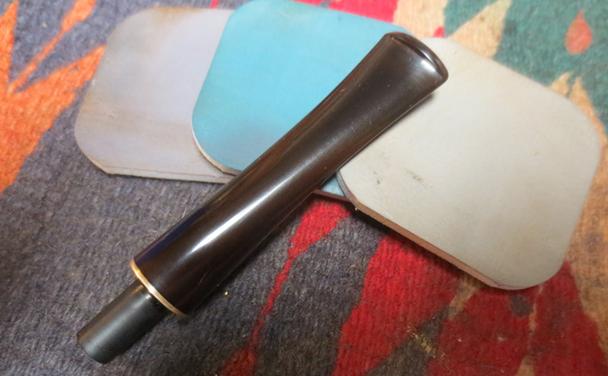
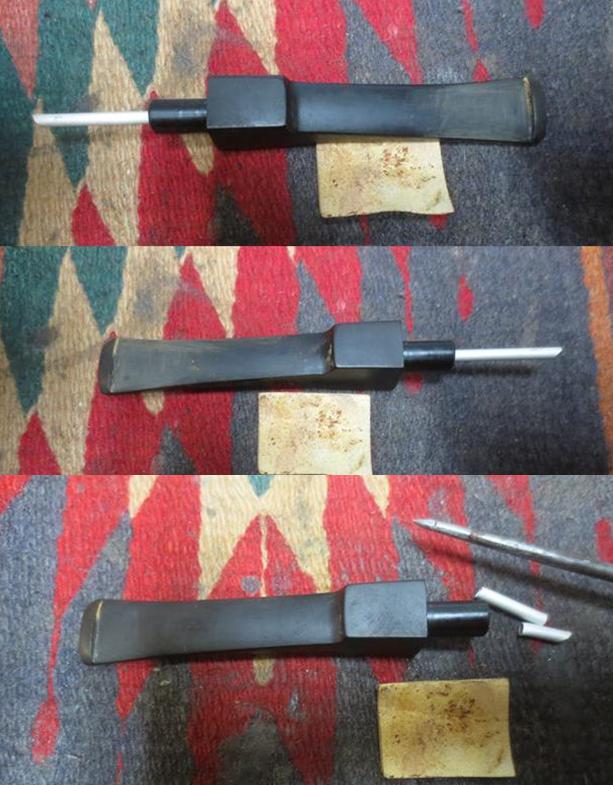
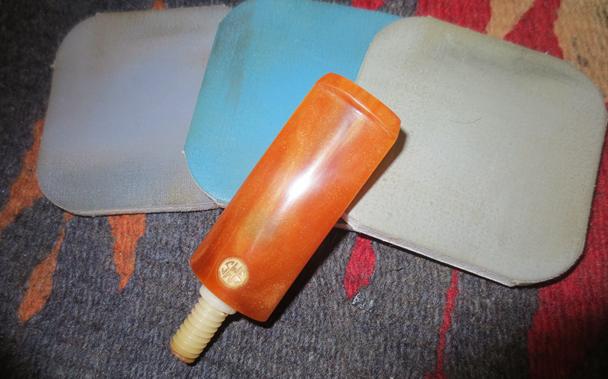
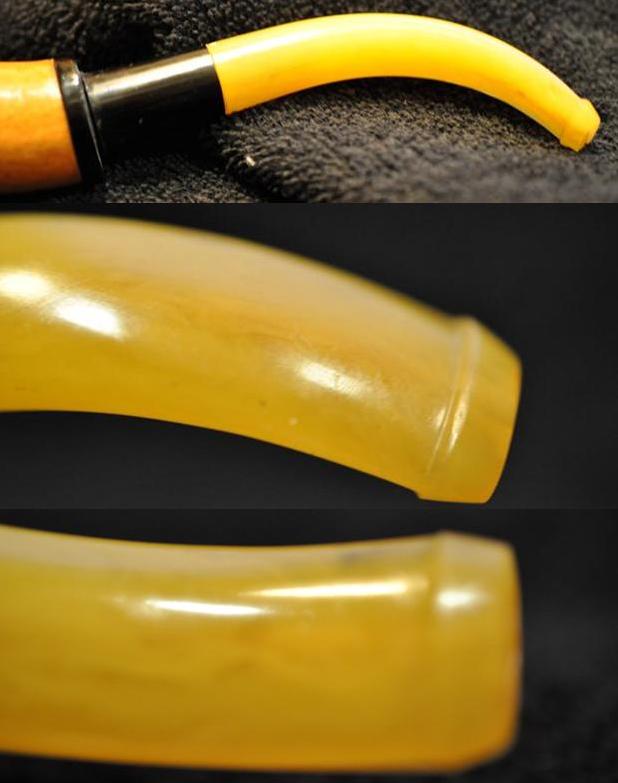
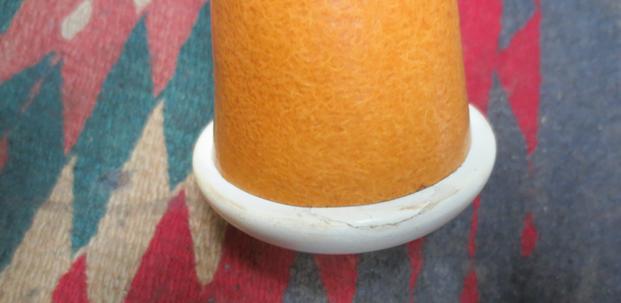
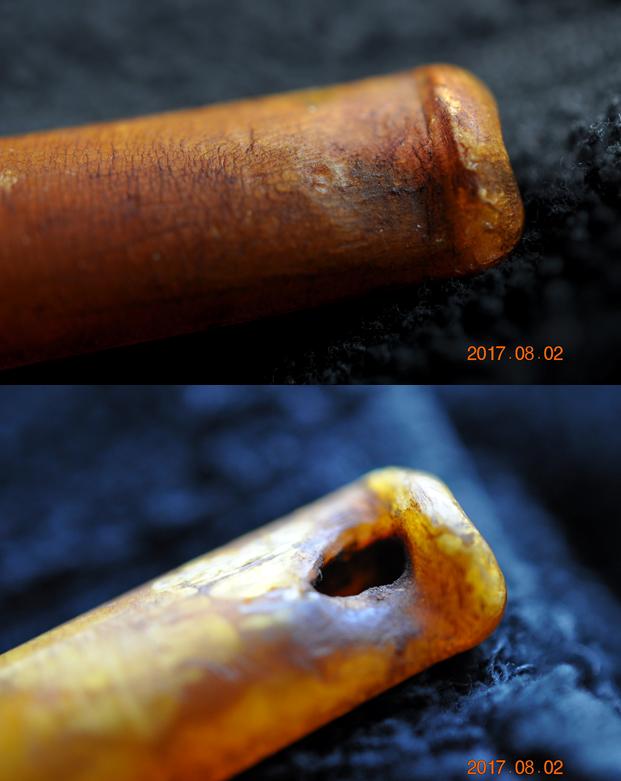
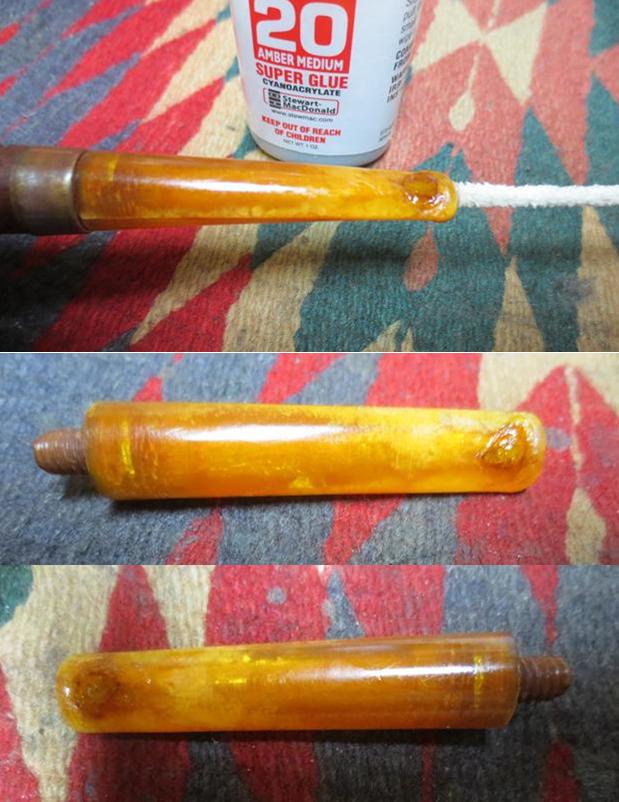
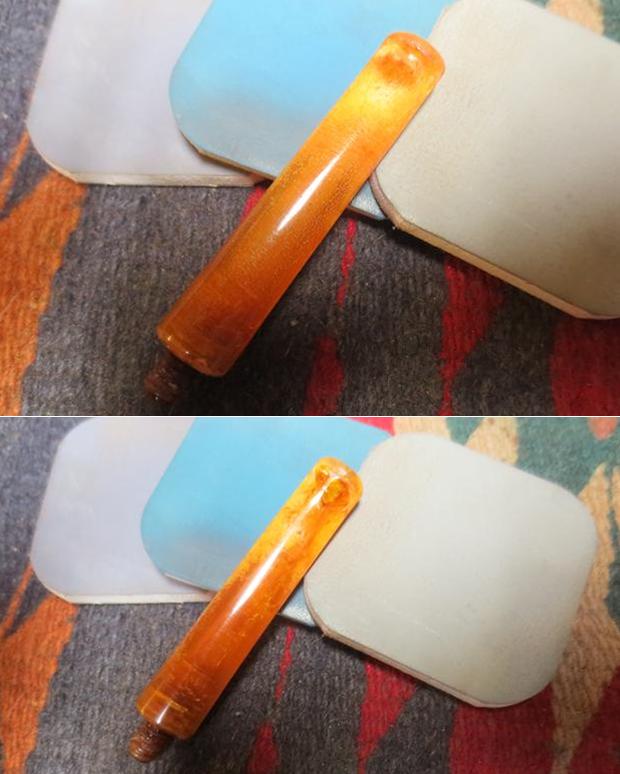
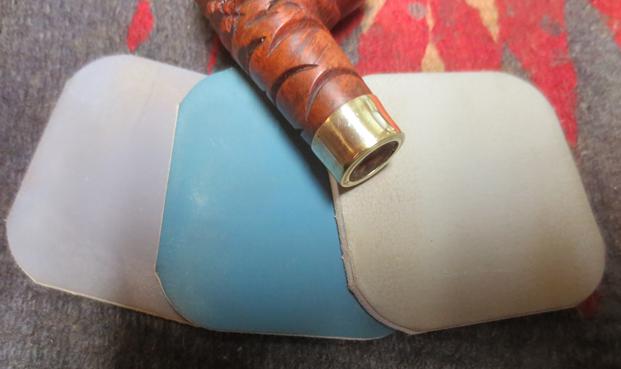
 I took a close up photo of the bite through to show the size and shape of the damaged area on the underside of the stem.
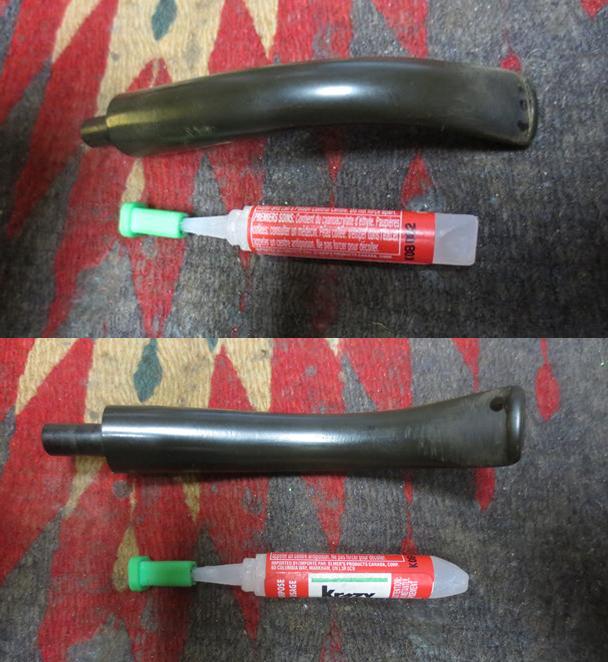
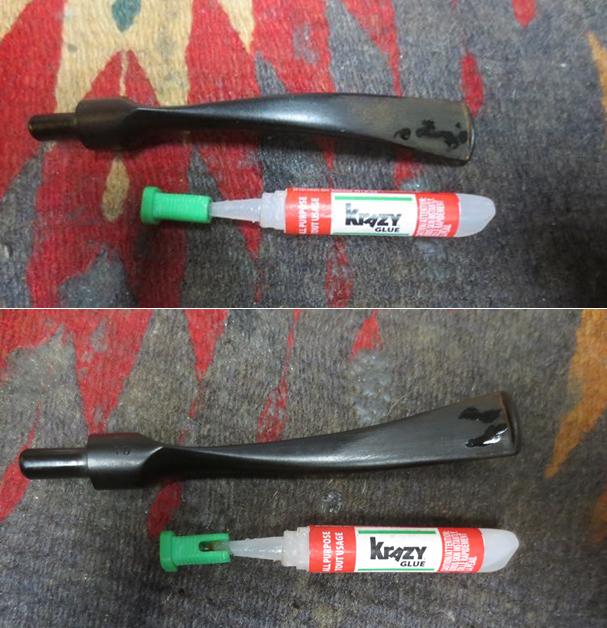
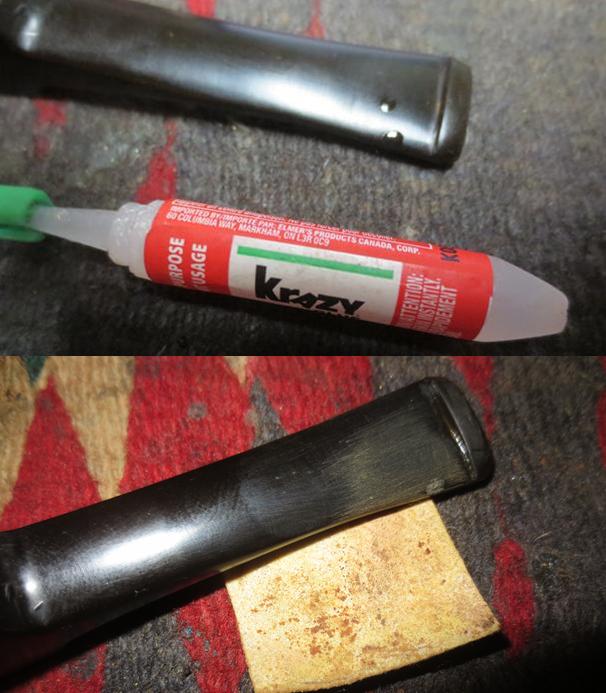
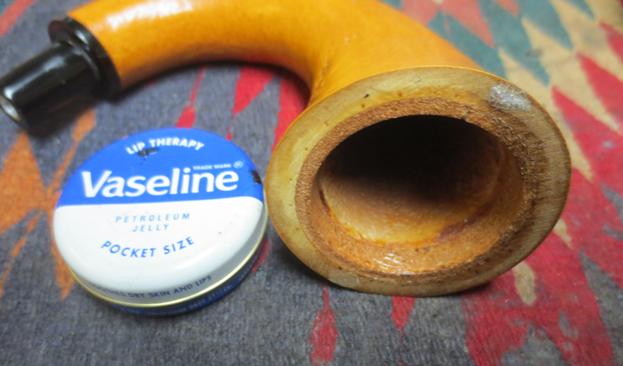
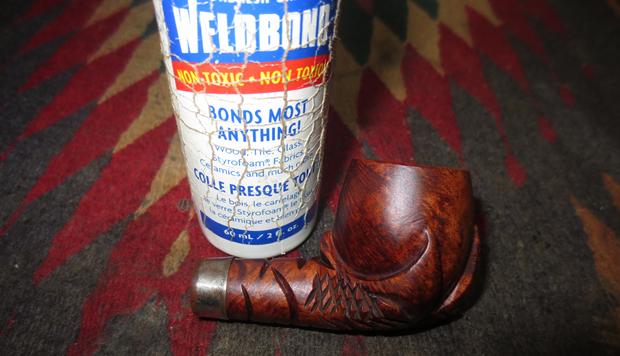
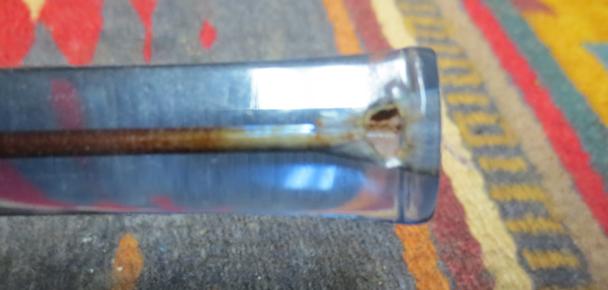 I folded a pipe cleaner and flattened it to fit in the funnel of the airway. I greased it with Vaseline so that it would prevent the glue from sticking to the inside and anchoring the pipe cleaner in the airway. I worked my way inward building up the edges of the hole. I filled in the tooth marks on the top side of the stem and sprayed it with an accelerator. I filled in the remaining hole in the underside of the stem with clear super glue. Once it was filled in I sprayed it with accelerator and removed the pipe cleaner. Filling in the hole with the glue was a messy proposition as the glue was thin and ran up the stem surface.
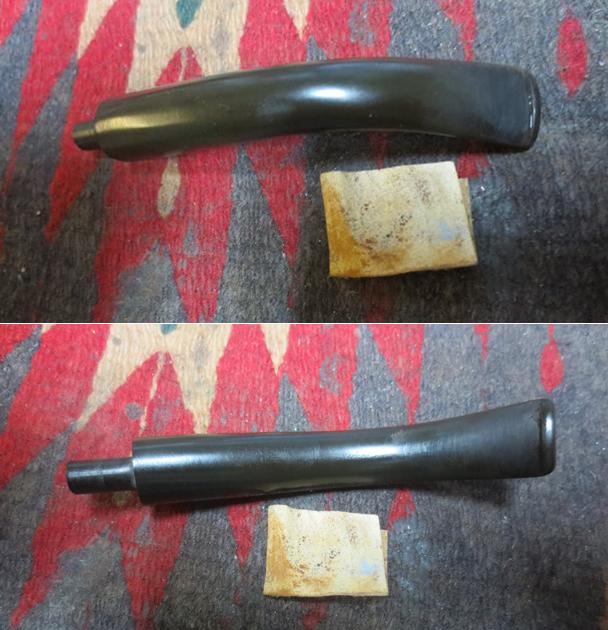
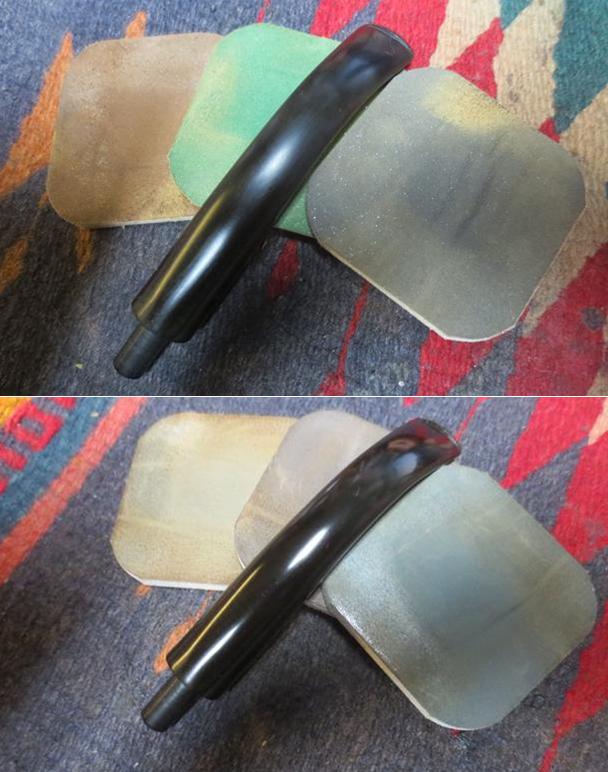
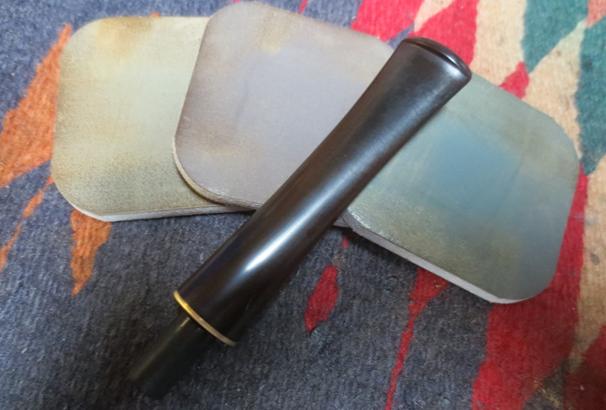
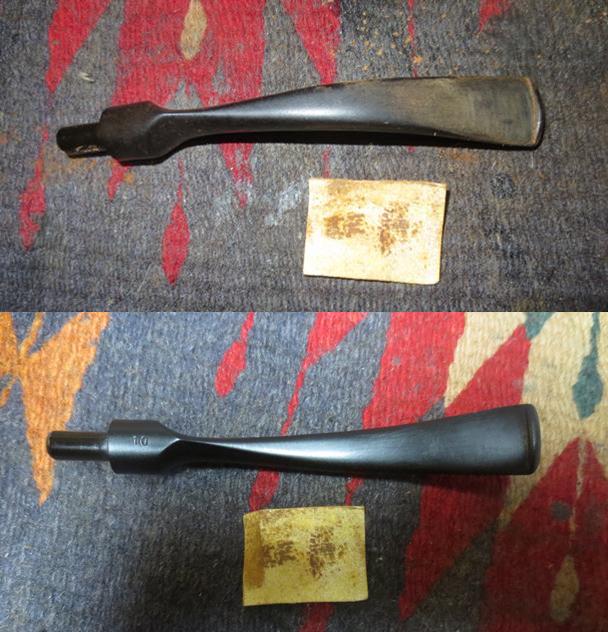
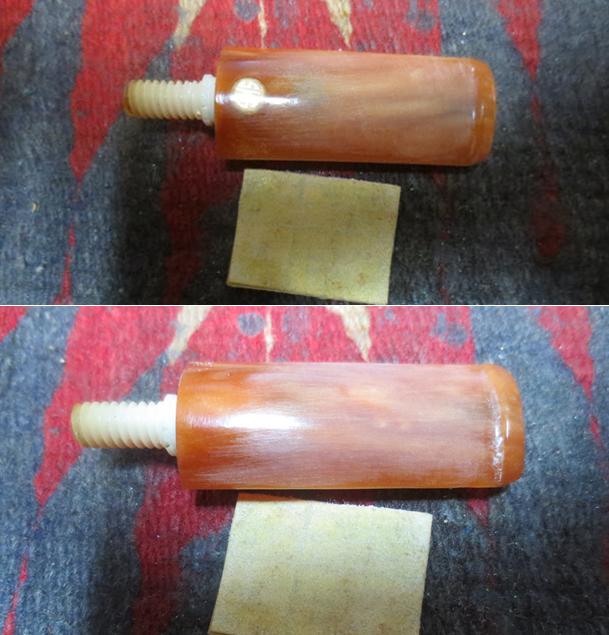
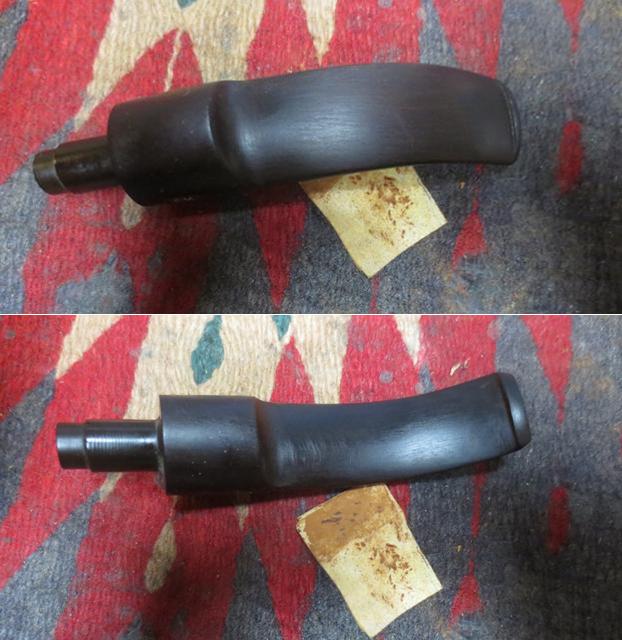
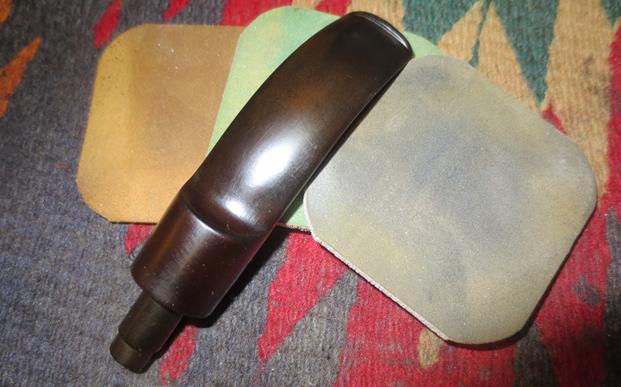
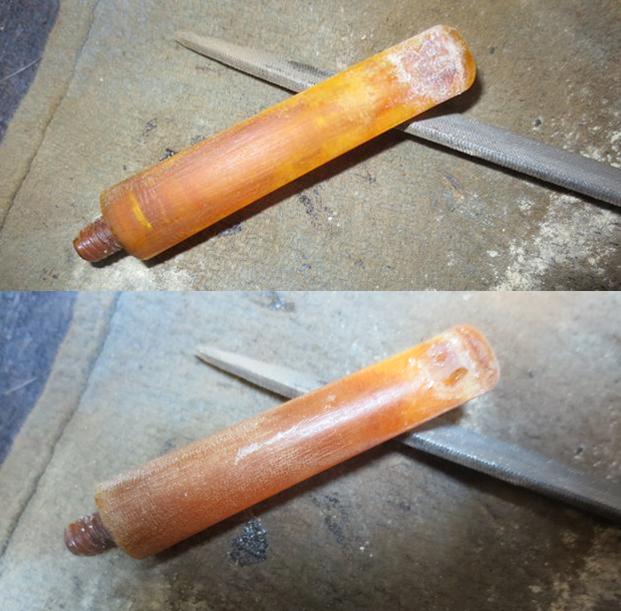
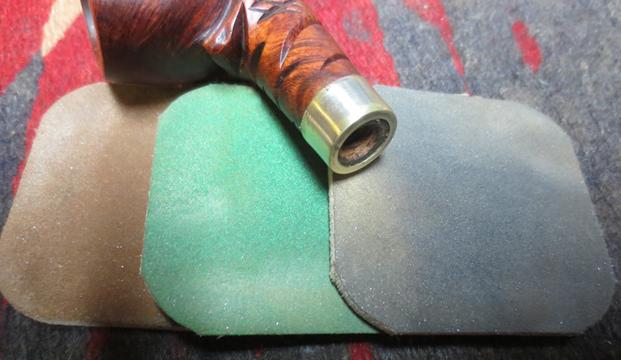
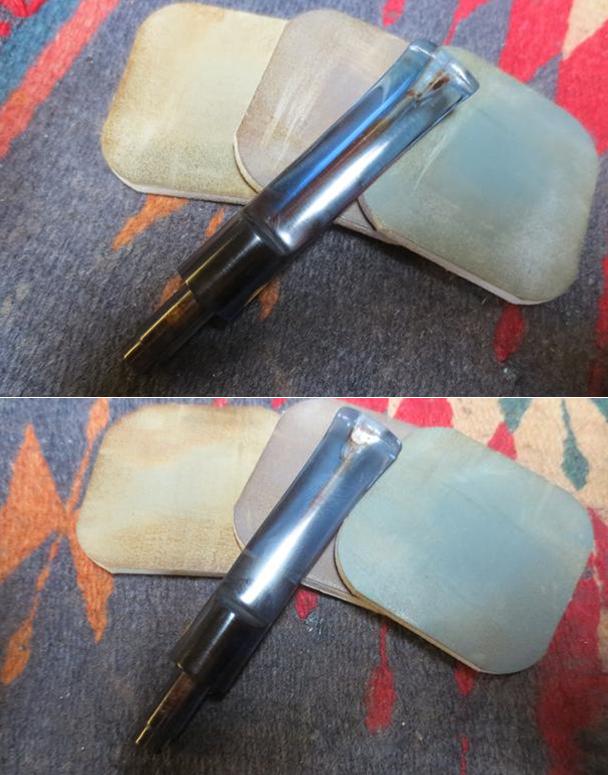
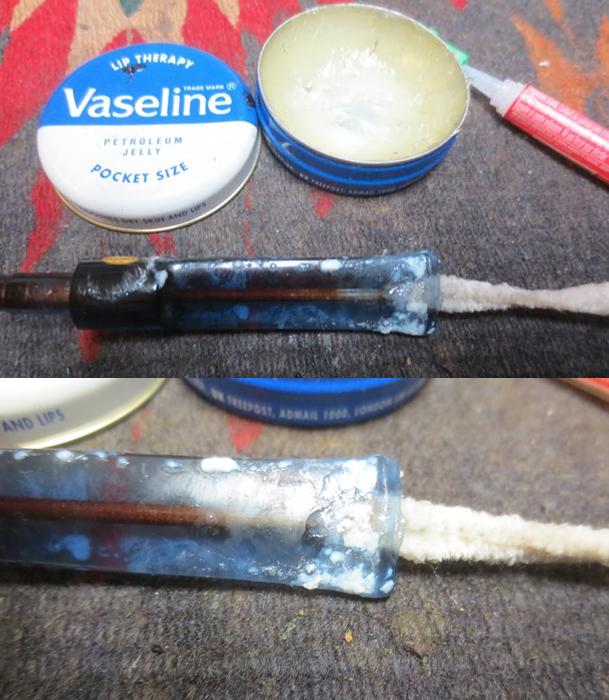 I used a needle file to remove all of the excess glue on the surface of the stem and blend the repairs into the surface. I also reshaped the button on both sides of the stem. I sanded the stem down with 180 grit and 220 grit sandpaper. The photos below show the stem at this point in the process. The top side is in excellent condition now. The tooth marks are gone and the surface is smooth. The underside where the bite through was filled in is solid but visible.
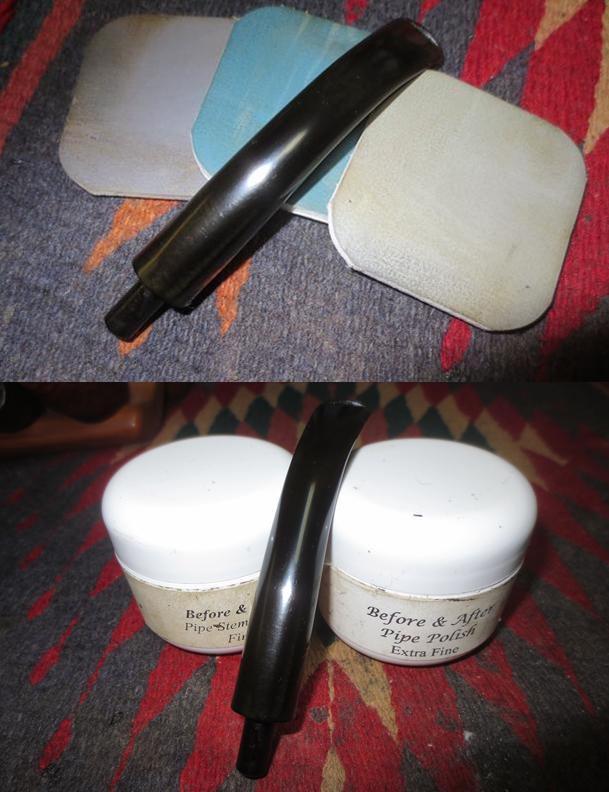
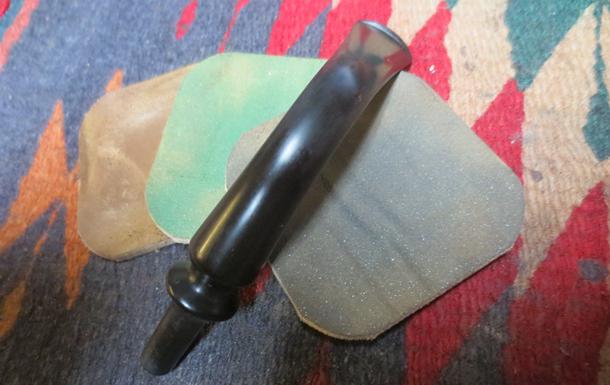
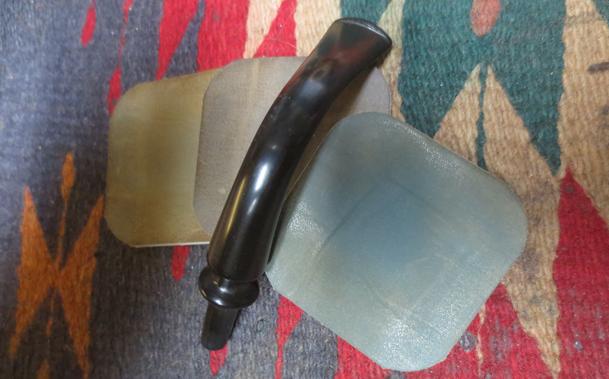
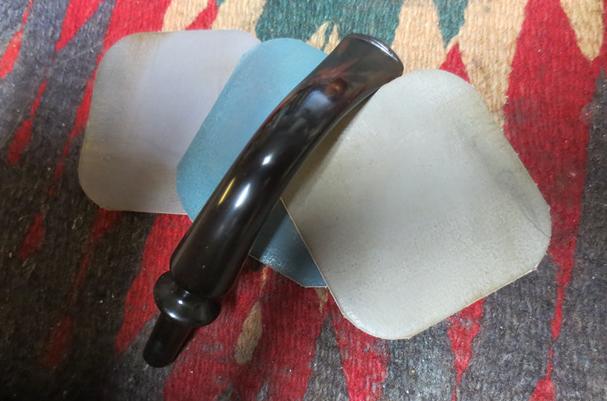
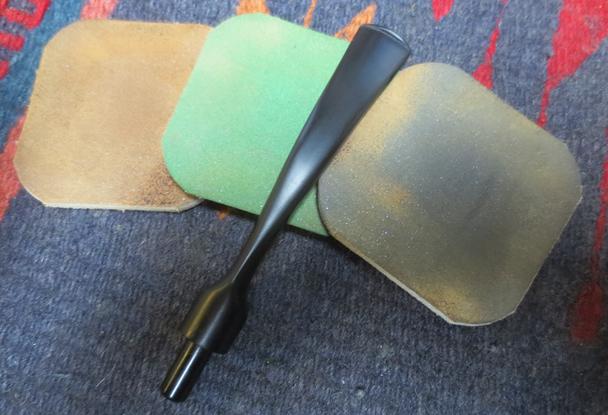
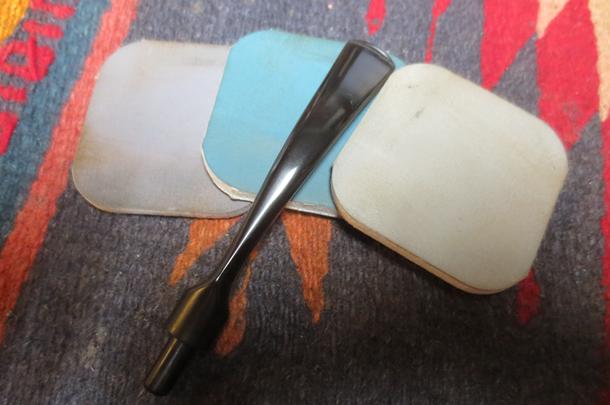
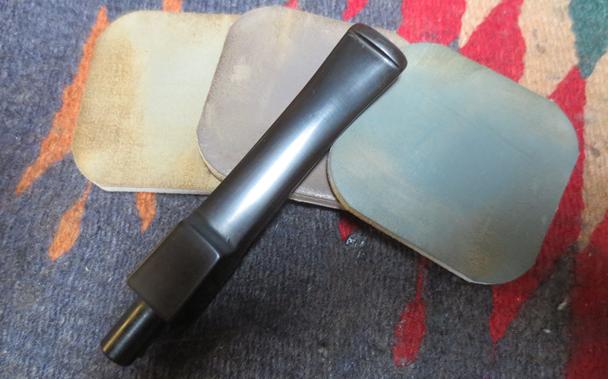
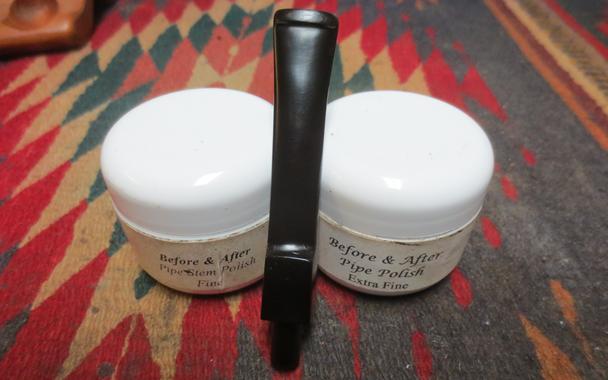
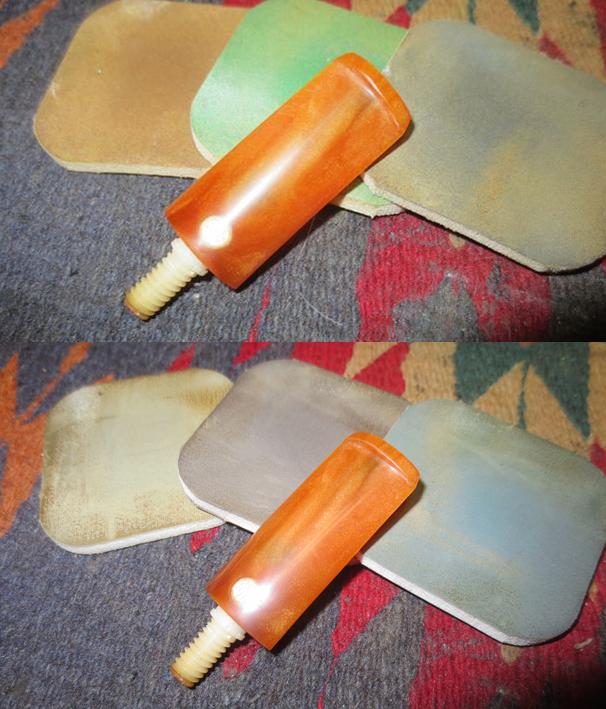
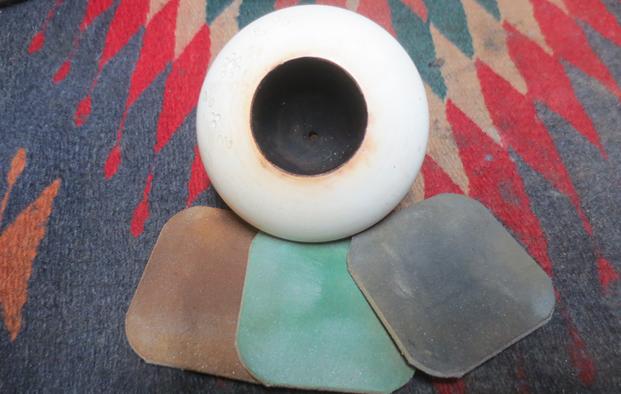
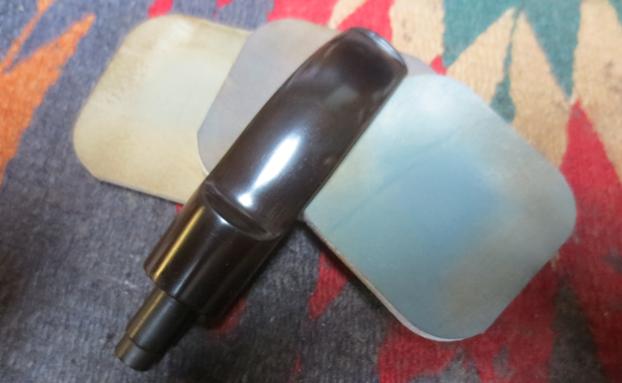
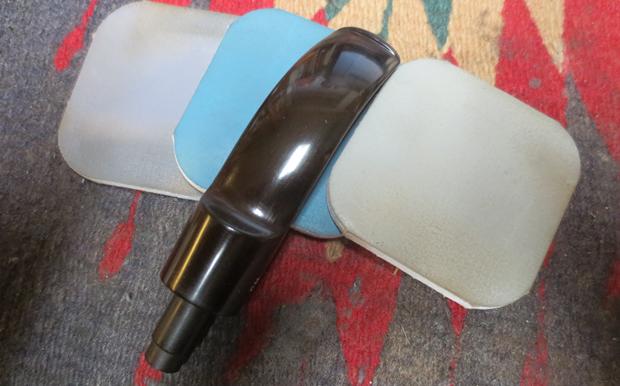
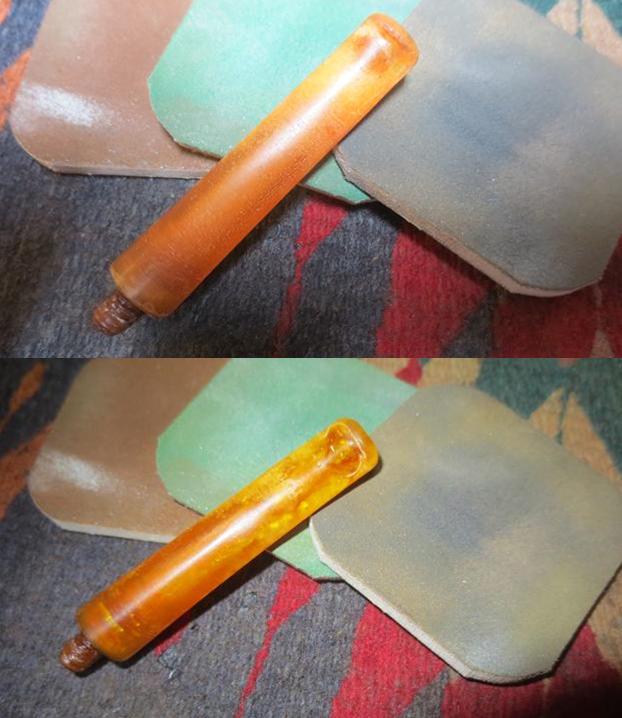
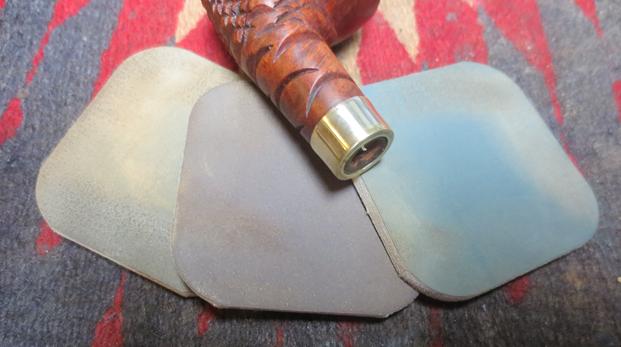
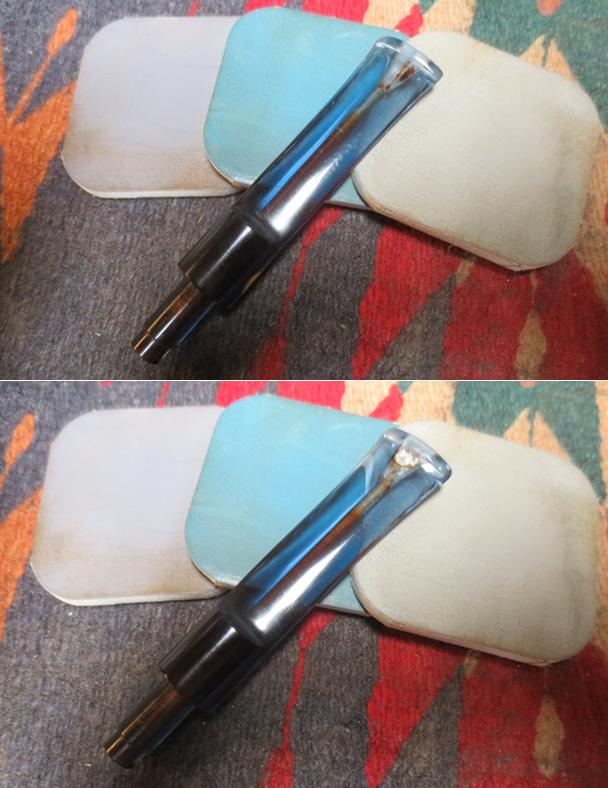
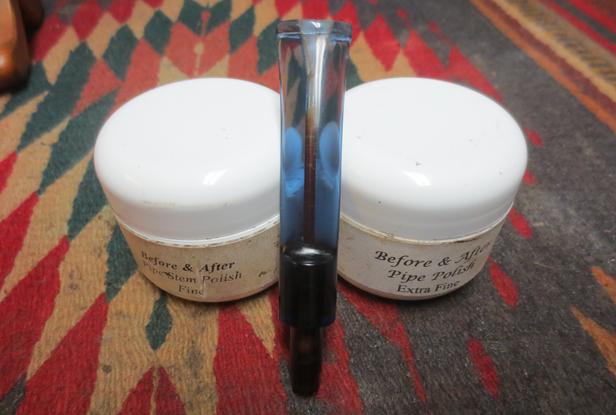
 I worked over the stem with micromesh sanding pads. I polished out the sanding scratches and marks in the Blue Perspex – wet sanding it with 1500-2400 grit pads and dry sanding it with 3200-12000 grit pads and wiped it down with Obsidian Oil after each one. When I finished with the 12000 grit pad I gave it a final coat of oil and set it aside to dry. I polished it with Before & After Stem Fine Polish and wiped it down. I followed that by polishing it with the Extra Fine Polish. I buffed it with a microfiber cloth to raise the shine.
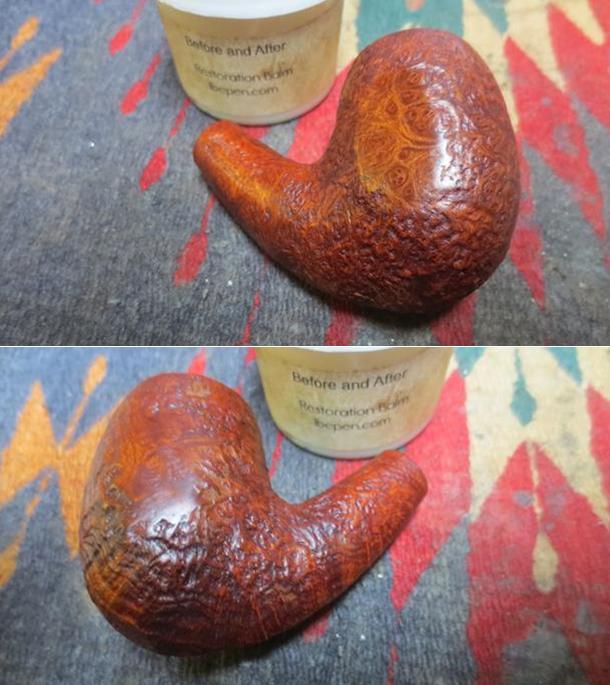
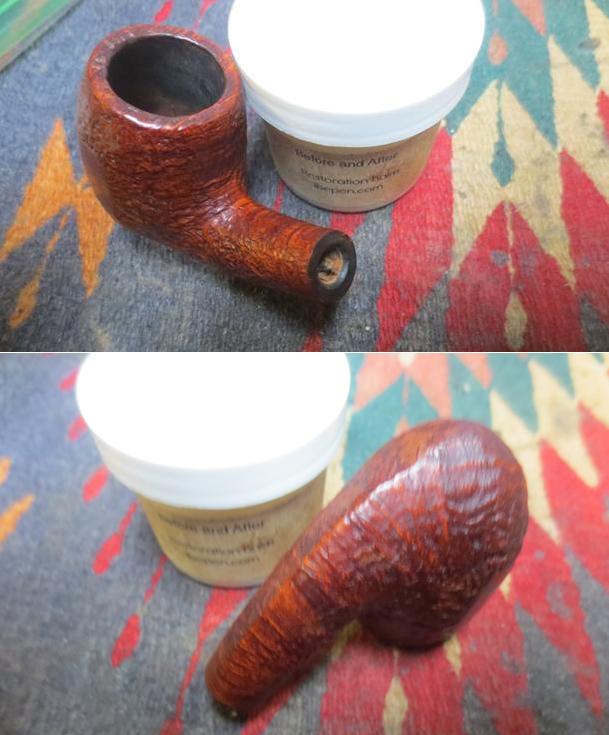
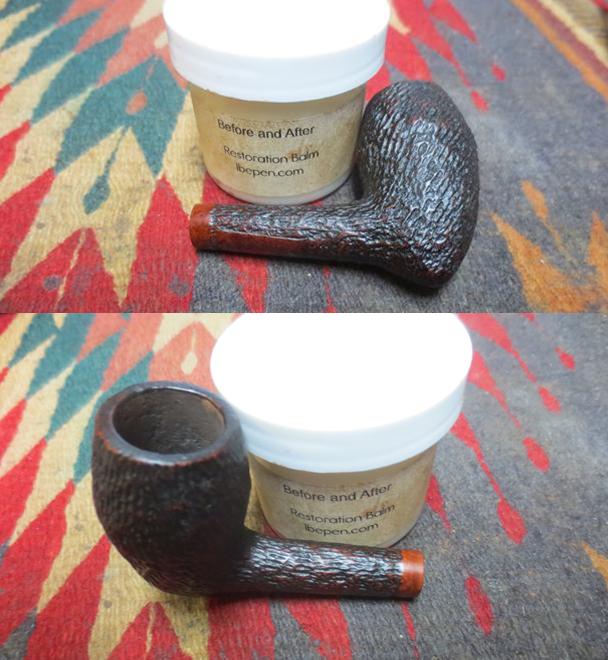
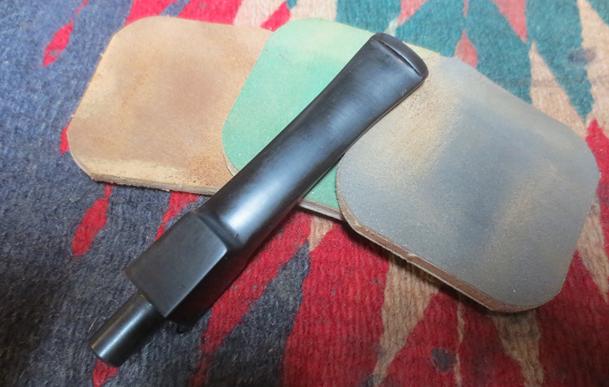
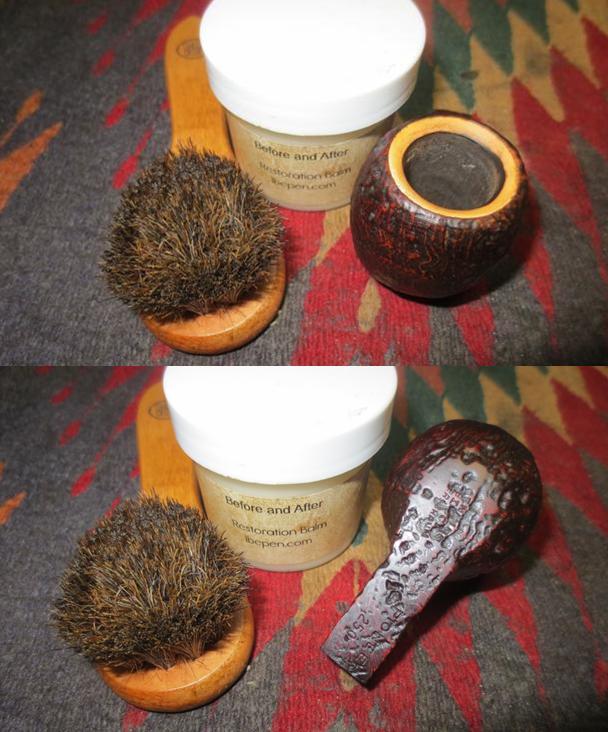
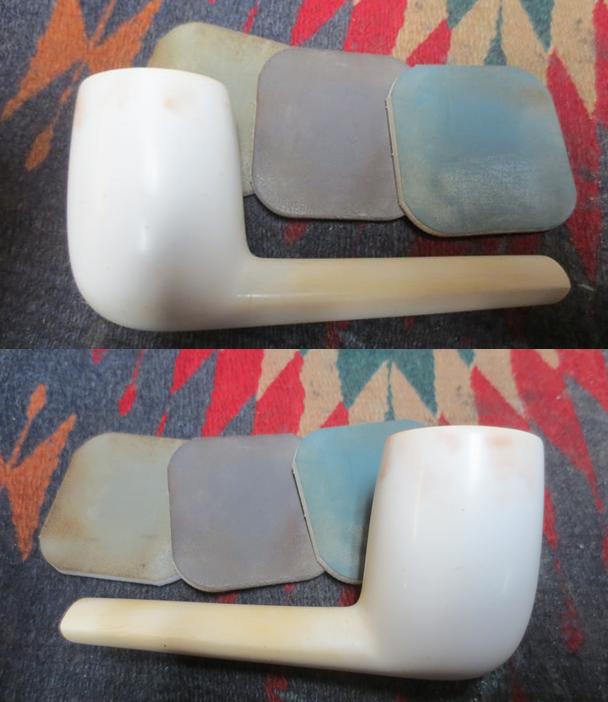
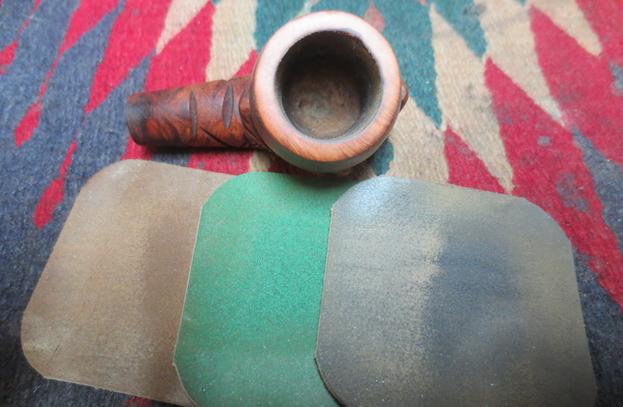
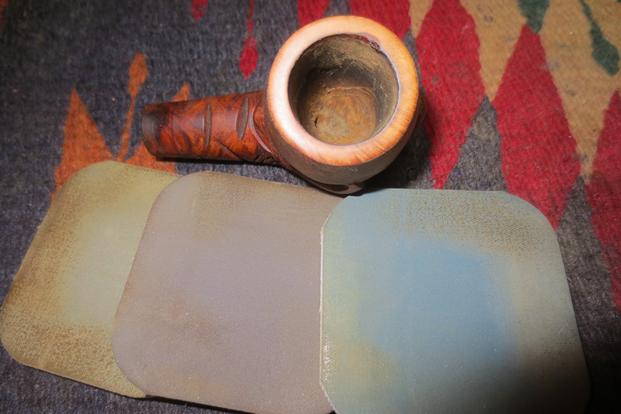
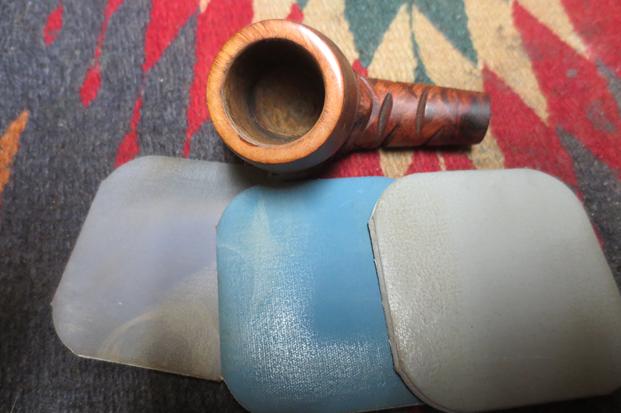
 I sanded the inner edge of the bowl with 220 grit sandpaper to smooth out the surface and remove the darkening. I used a 1500 grit micromesh pad to smooth out the outer edge of the bowl.
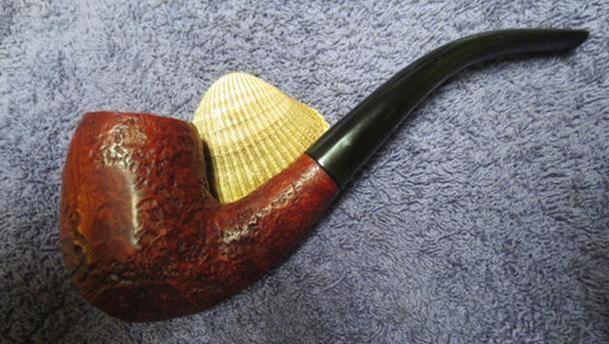
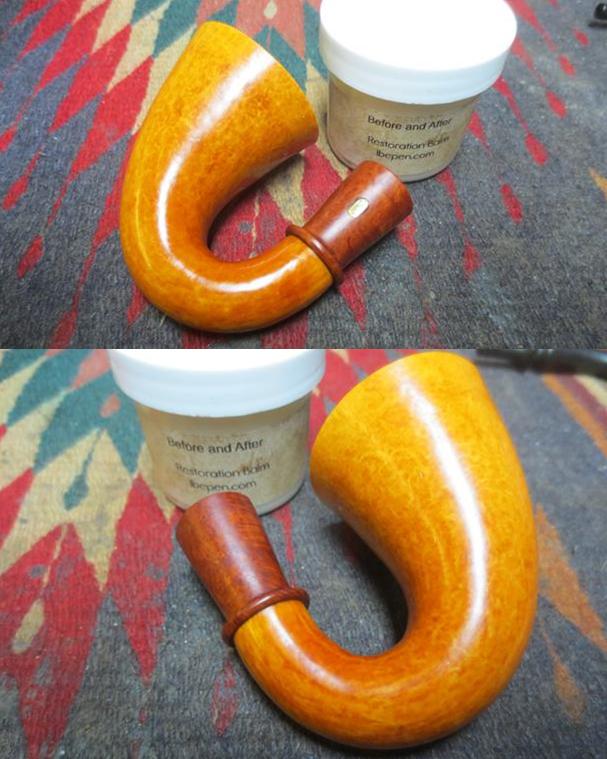
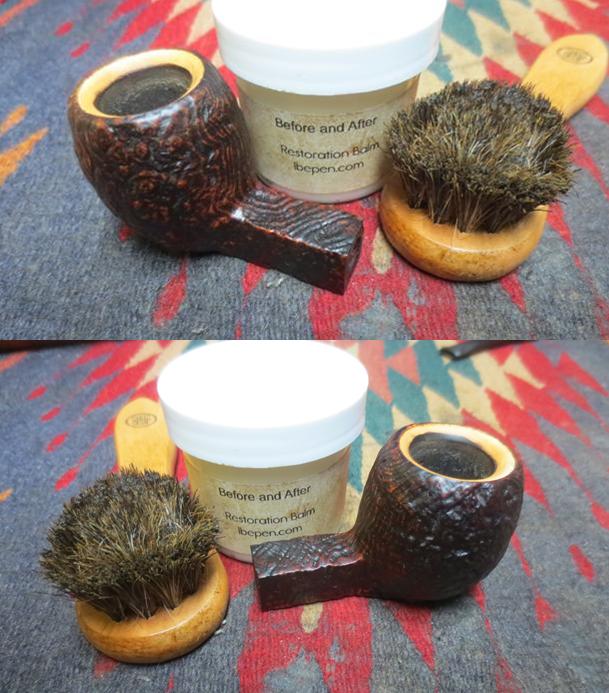
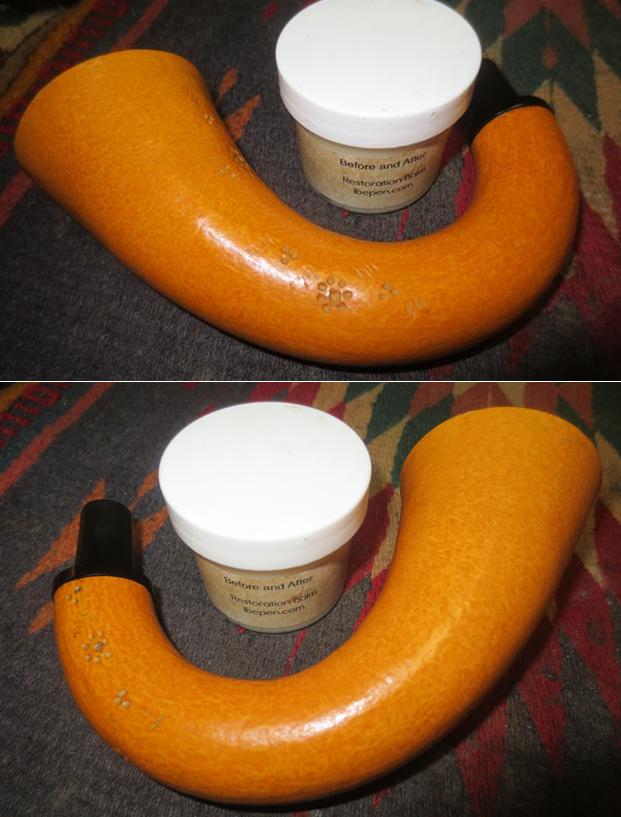
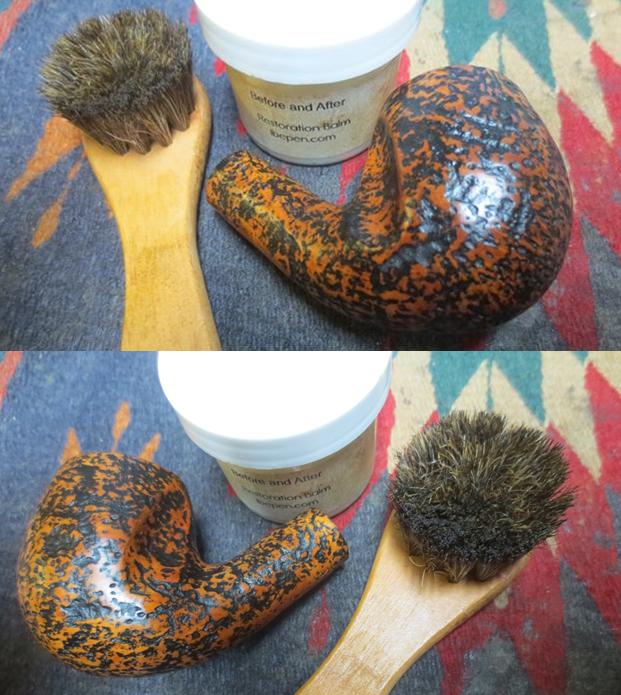
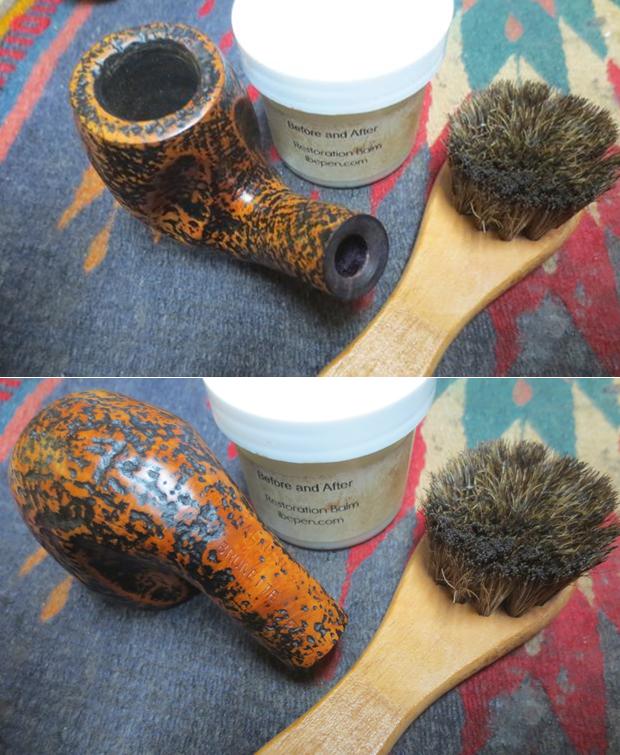
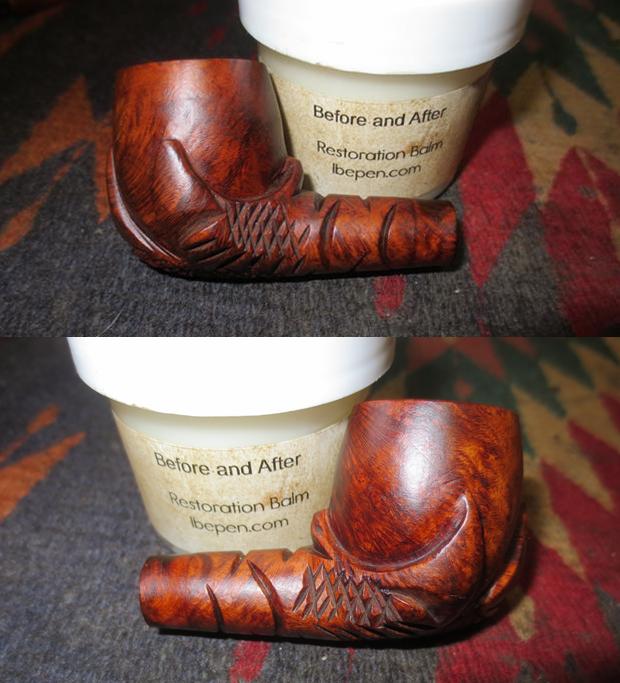
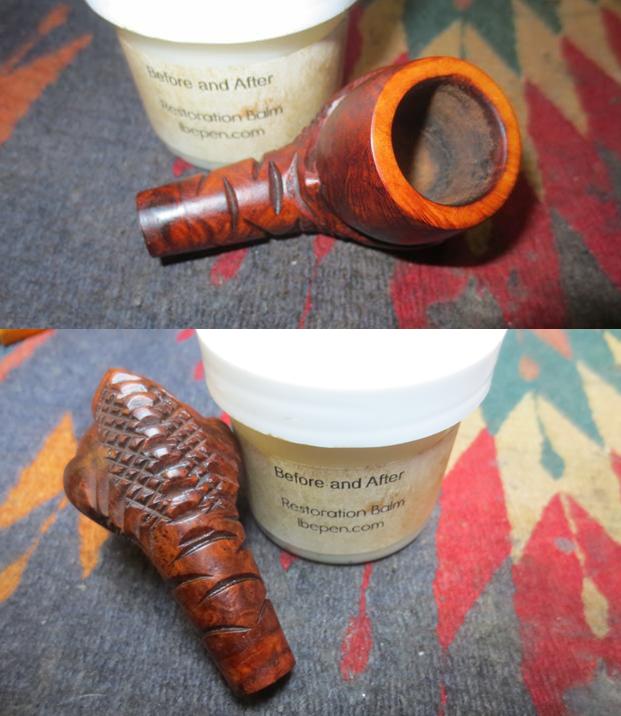
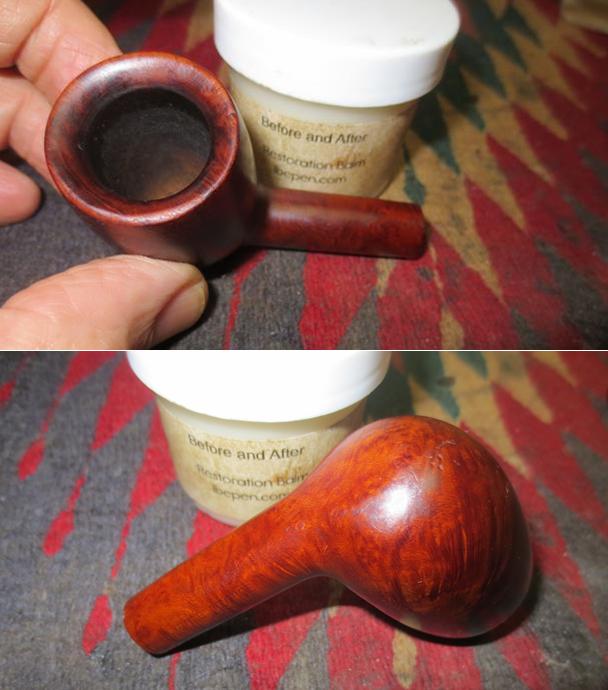
 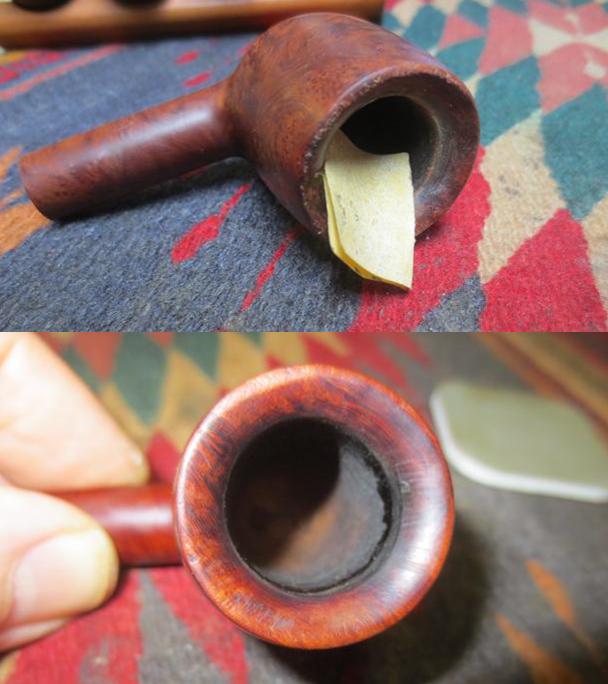 I rubbed the bowl down with Before & After Restoration Balm to deep clean the smooth finish, enliven and protect the briar. I hand rubbed it with my fingers to get it deep into the briar. I let it sit for a few minutes and then wiped it off with a soft cloth and buffed it with a cotton cloth. The briar really began to have a deep shine. The smooth surface showed some nice grain patterns and begun to look really good. I took some photos of the bowl at this point to mark the progress in the restoration.
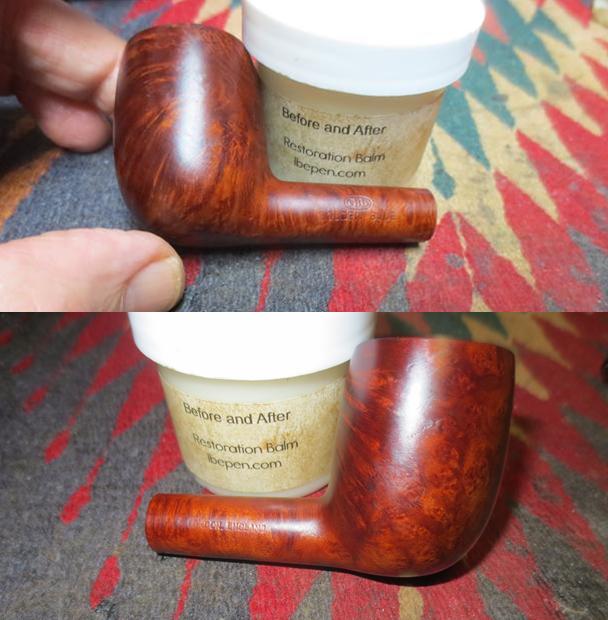
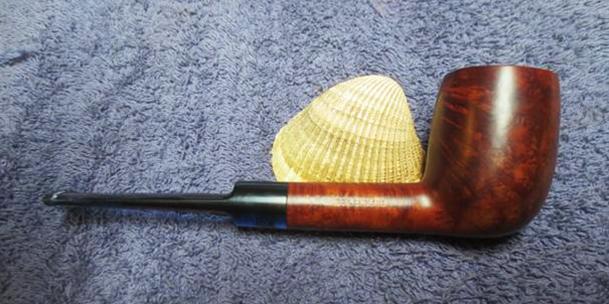
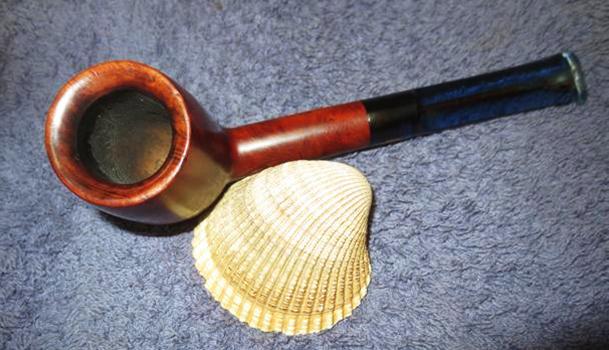
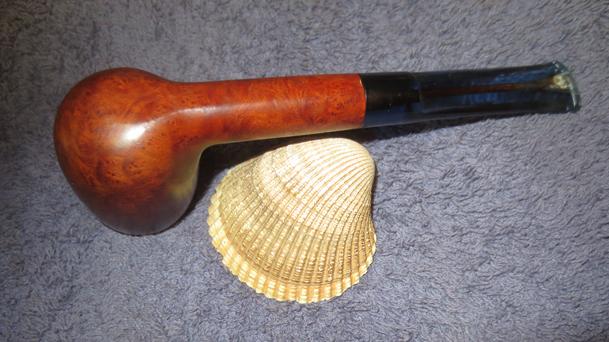
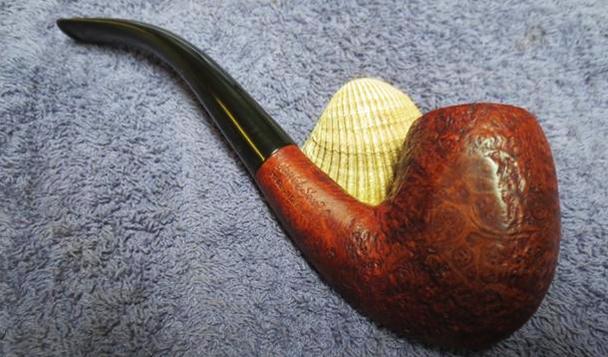
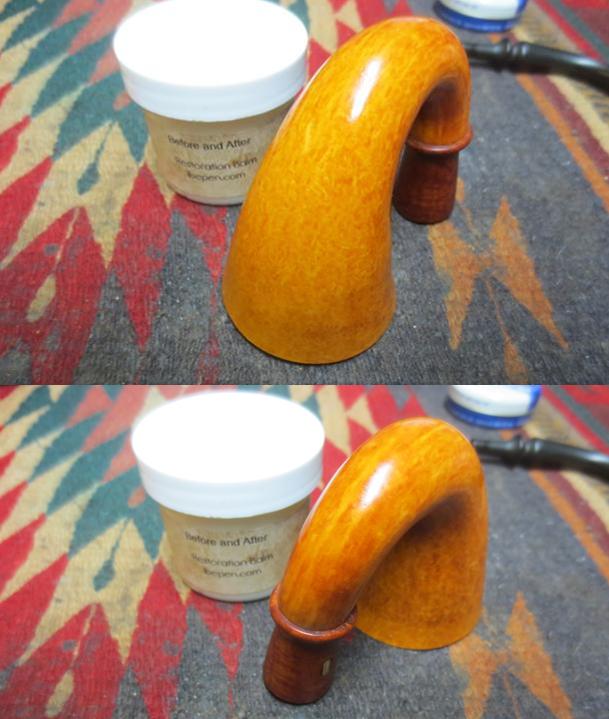
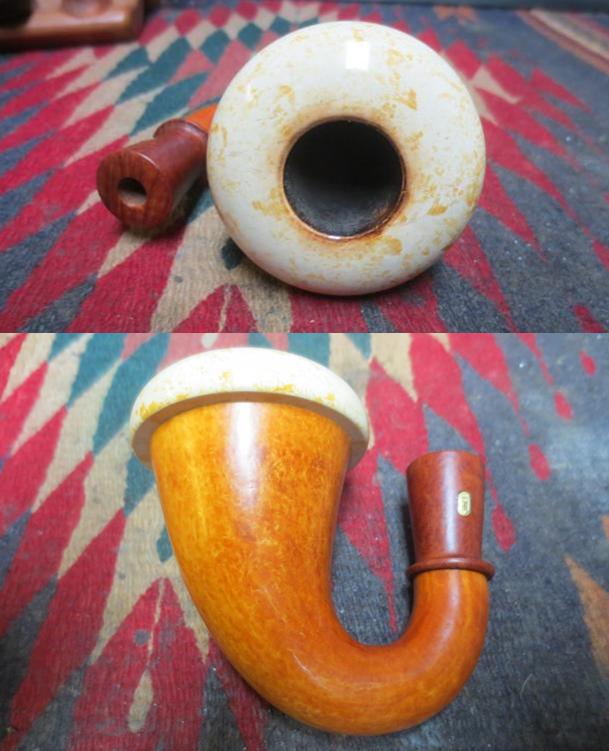
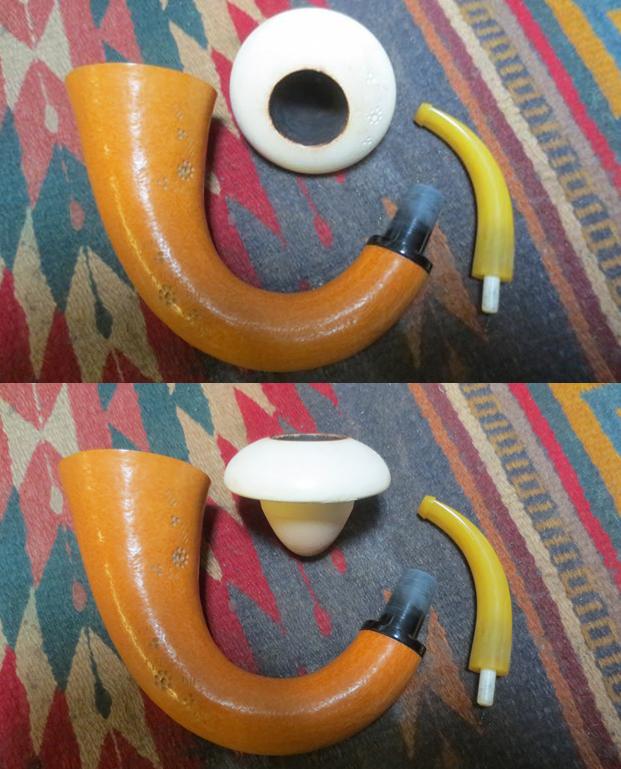
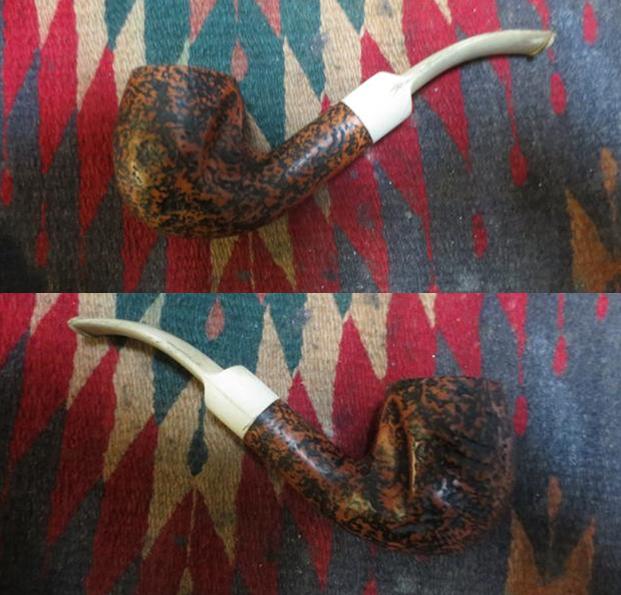
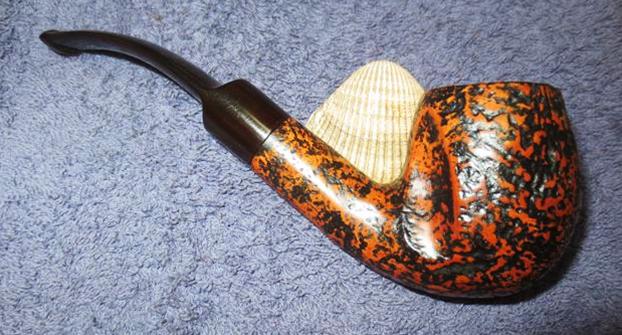
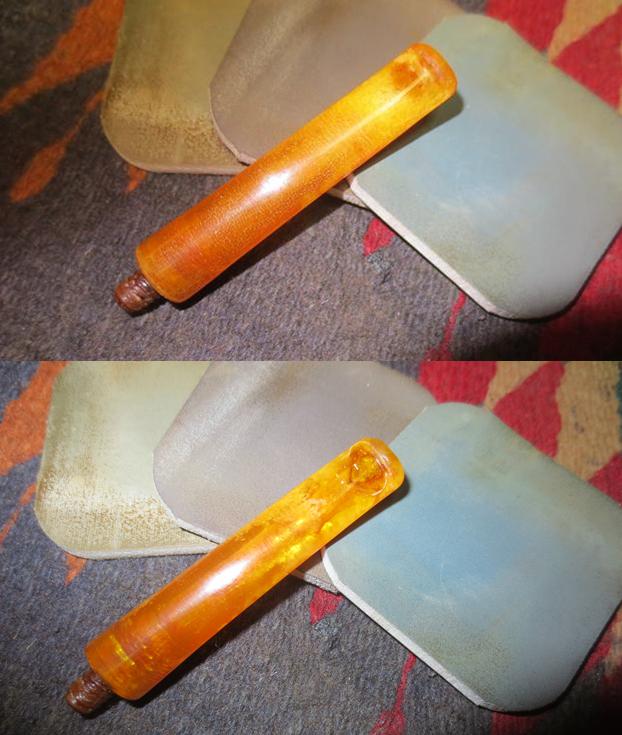
 I put the stem back on the bowl and took the pipe to the buffing wheel to work it over. I buffed the bowl with Blue Diamond to polish the briar. I buffed the stem at the same time to raise the gloss on the Blue Perspex. I gave the bowl and the stem multiple coats carnauba wax. I buffed the entire pipe with a clean buffing pad to raise the shine. I hand buffed it with a microfiber cloth to deepen the shine. The finished pipe is shown in the photos below. It is a beautiful GBD pipe that looks great and feels comfortable in the hand. The reddish brown stain and the Blue Perspex work really well together. Though the repaired area on the bite through is visible it is solid. Thankfully it is on the underside of the stem. It will make a great pipe addition to the rack and should smoke dry and cool. The dimensions of the pipe are: Length: 5 1/2 inches, Height: 1 3/4 inches, Outer Diameter of the Bowl: 1 1/4 inches, Diameter of the Chamber: 3/4 inches. I will be adding this one to the rebornpipes store shortly if you are interested in adding it to your collection. If you are interested email me at slaug@uniserve.com or send me a message on Facebook. Thanks for looking.