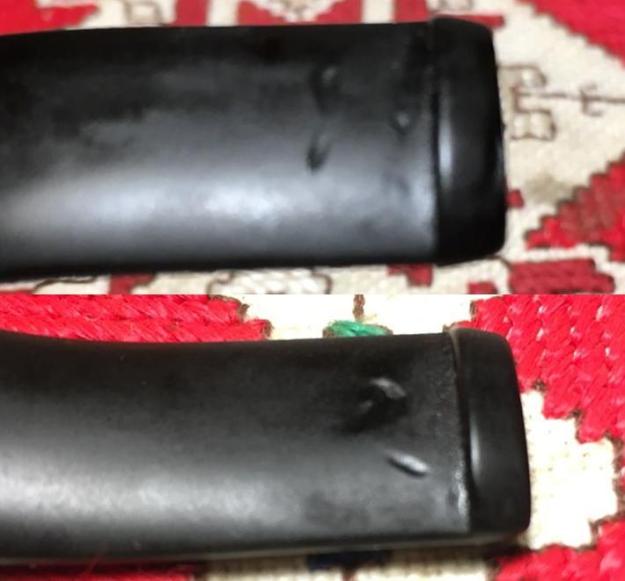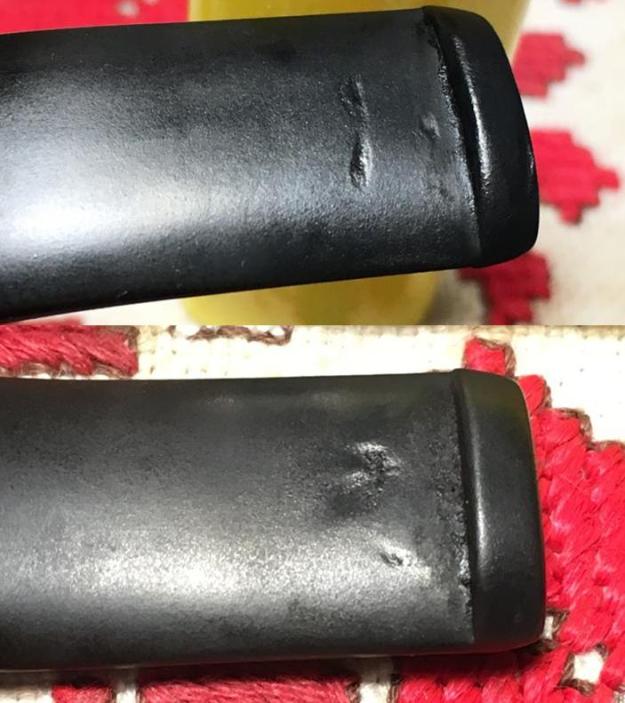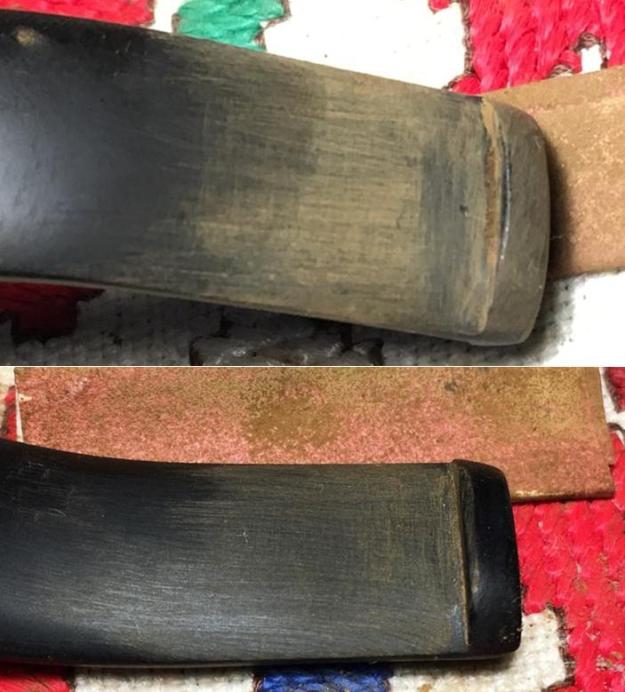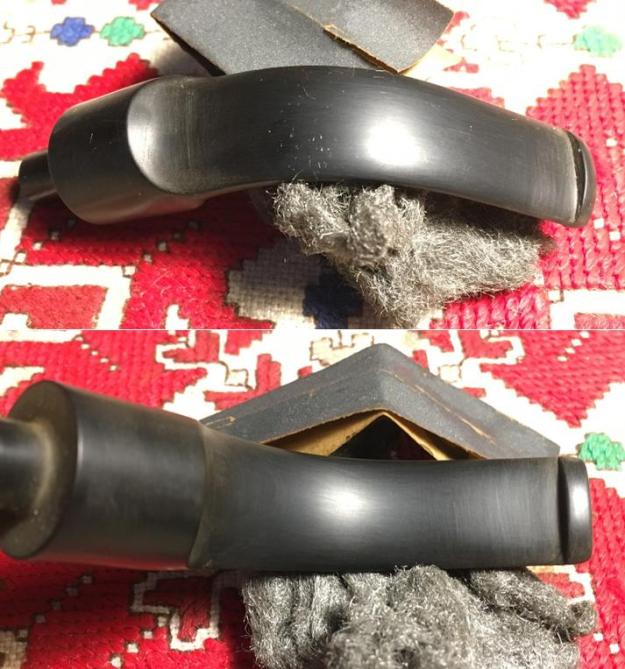
Tag Archives: removing tooth marks

Restoring a STANWELL # 89


Blog by Paresh Deshpande

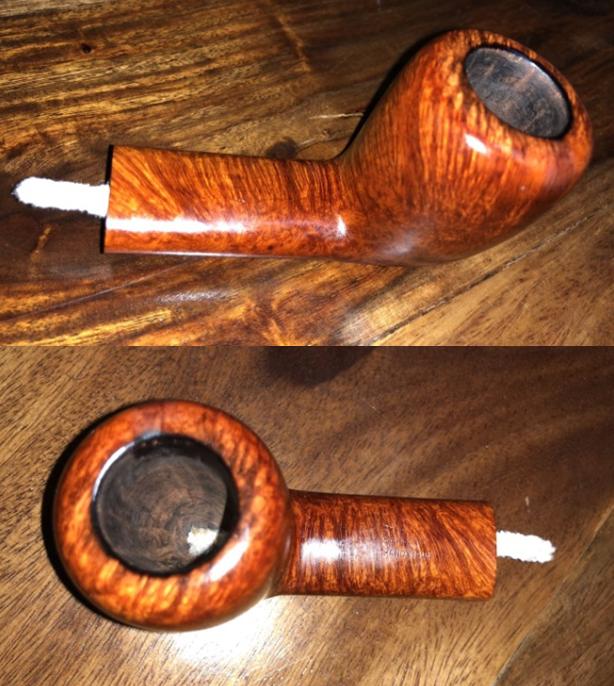
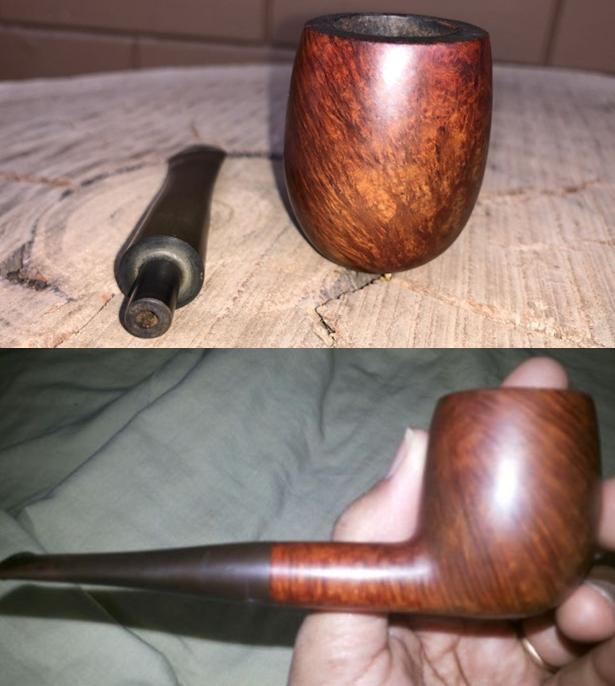
This pipe, because of its interesting Dublin shape with a round rim, beautiful grain and it being a STANWELL, had been attracting my attention for some time now. However, I was always relegating its restoration since the condition was far worse and would require a ton of work as well as time to complete it.

After I had finished the pair of KRISWILLS, I could not think of working on any other pipe but this STANWELL!!!!!! And so, here I am with this pipe, admiring the shape, feel of the pipe in my hand and the beautiful grain that could be seen through all the dirt, oils, tars and grime.

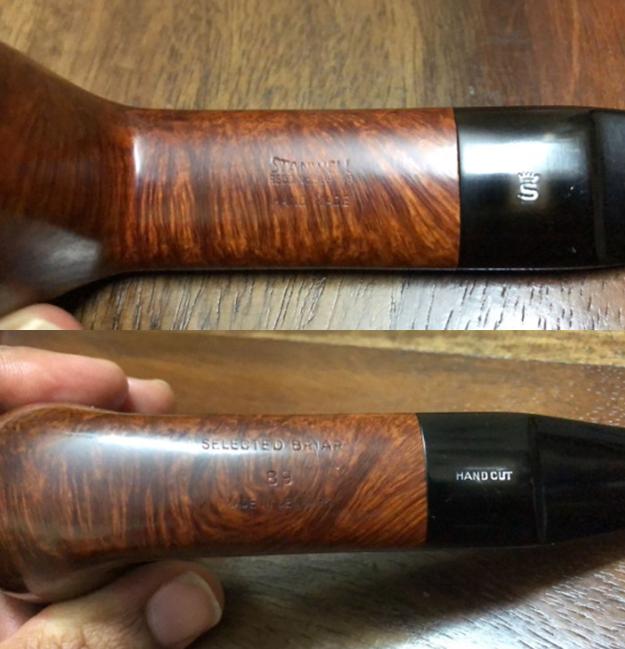
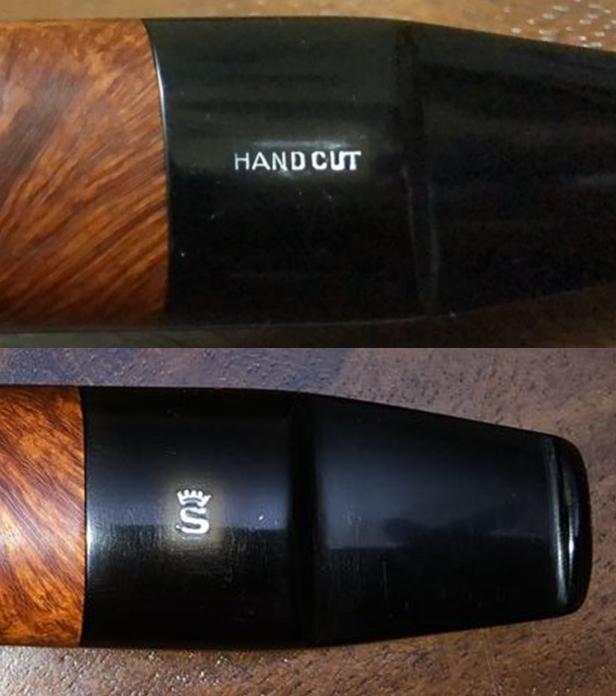
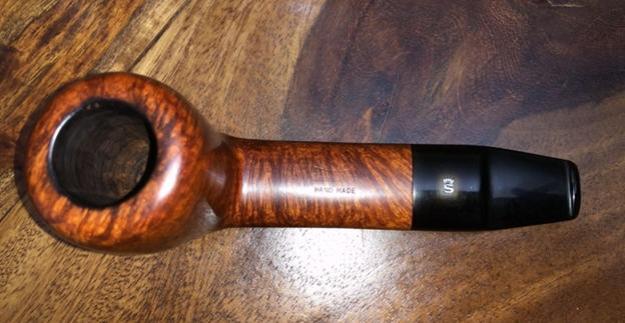
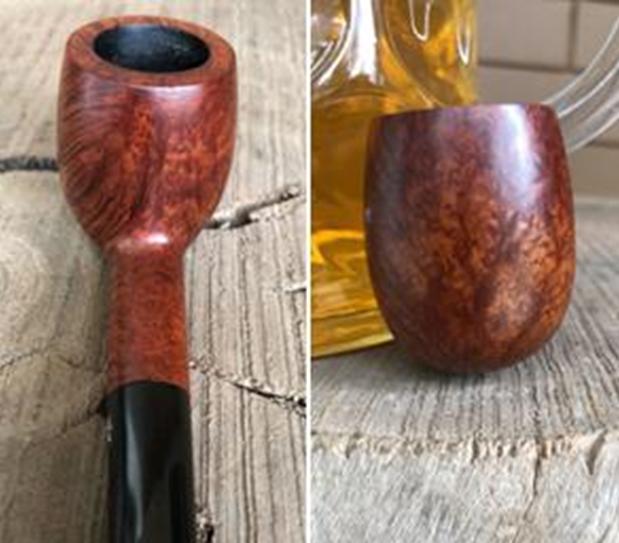
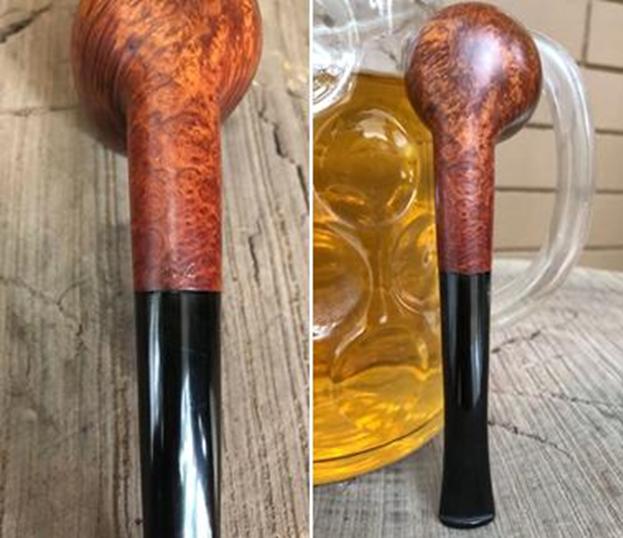
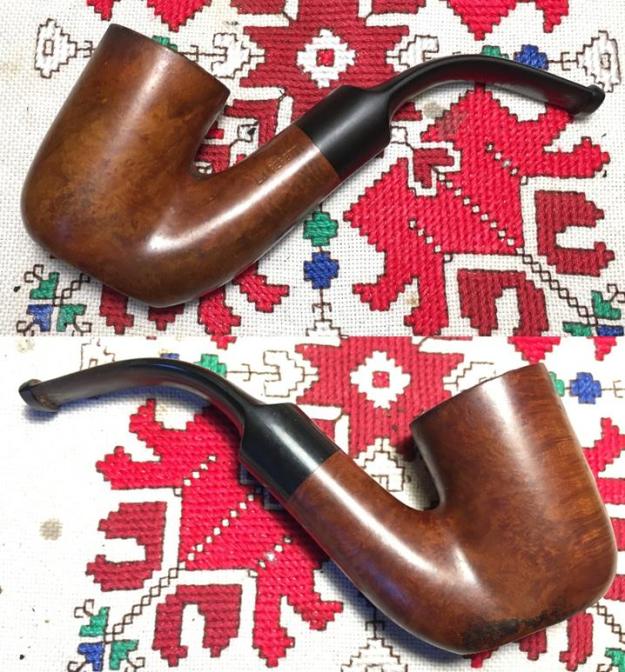
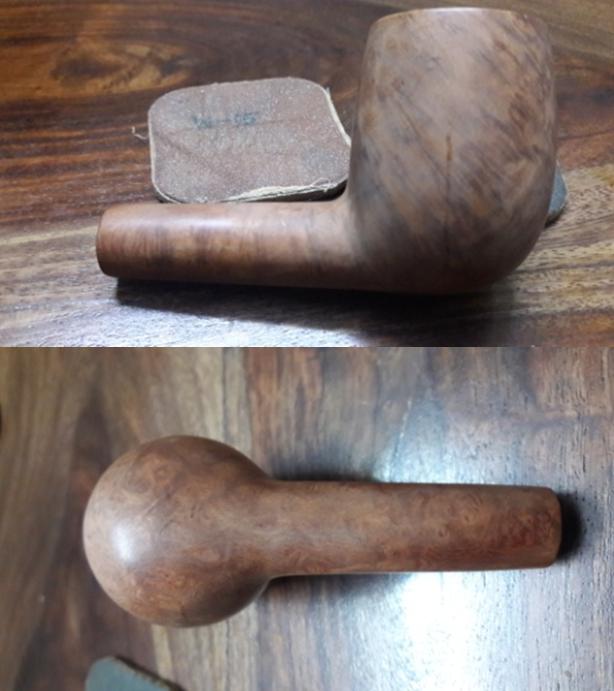
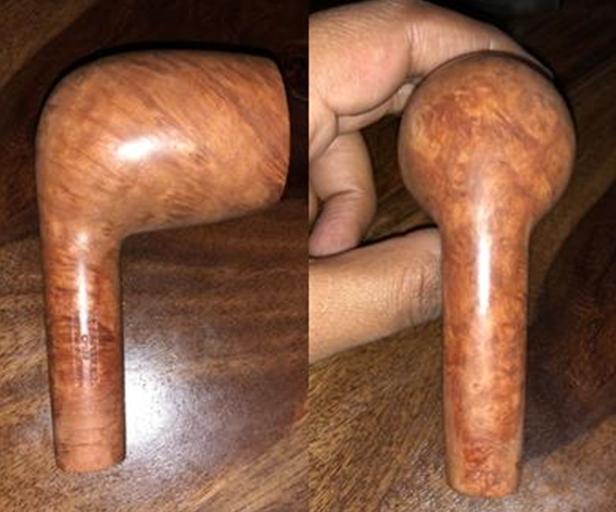
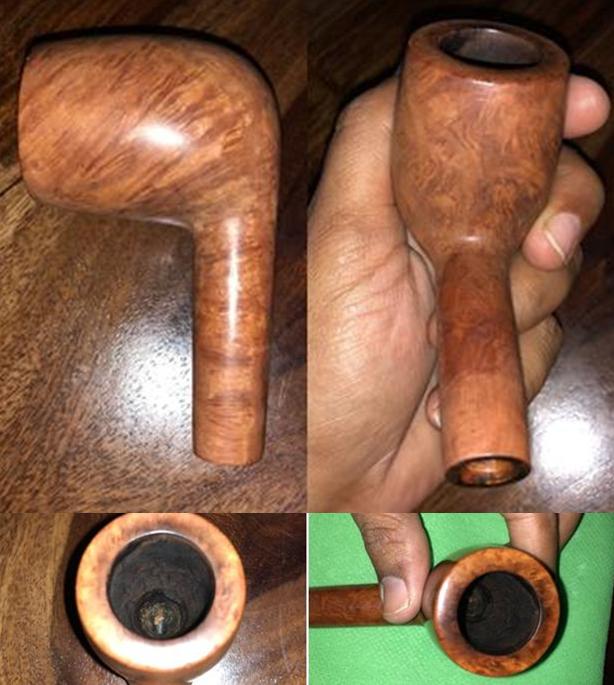
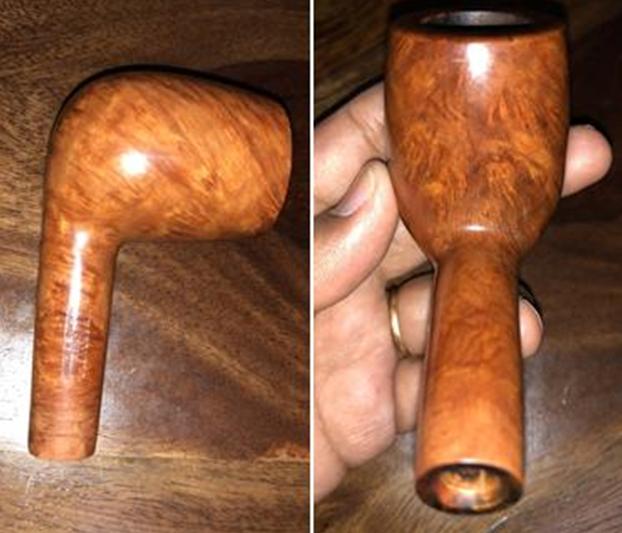
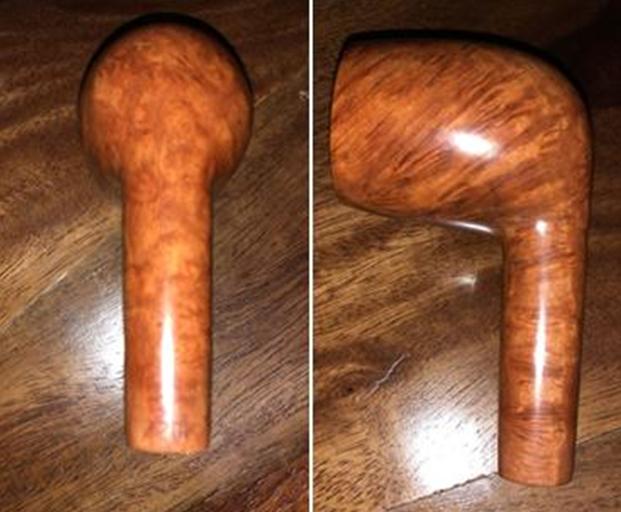
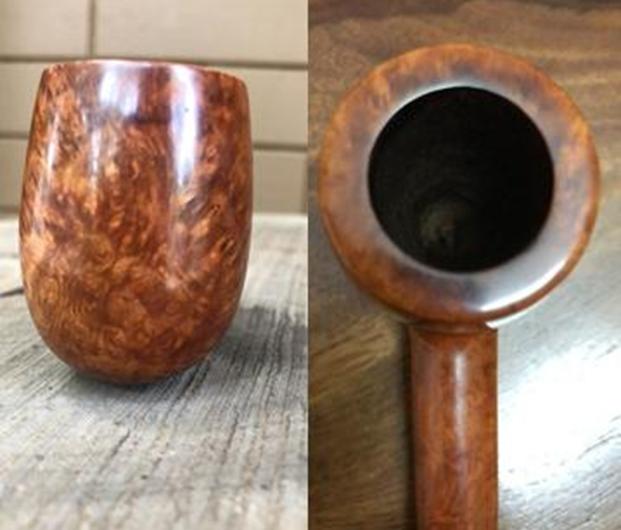
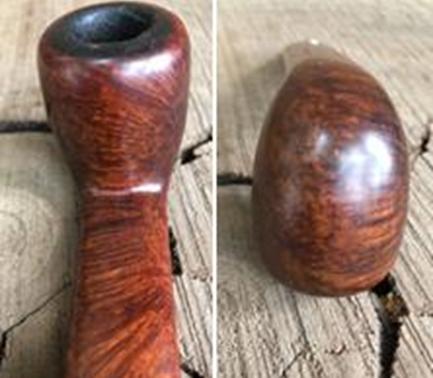
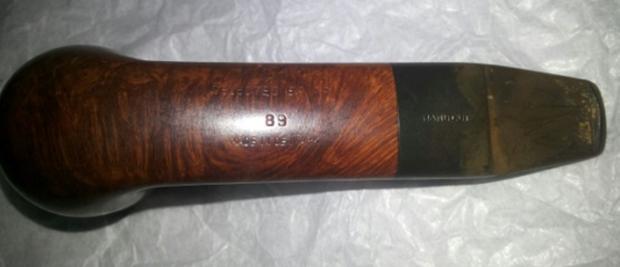
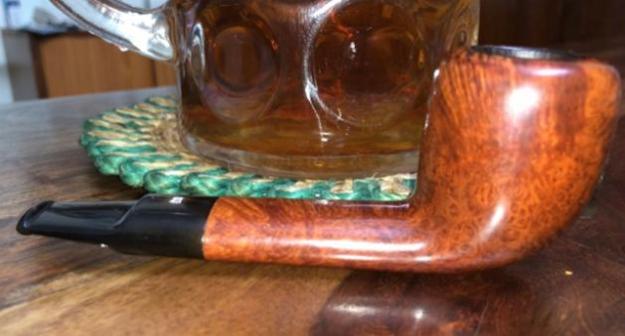
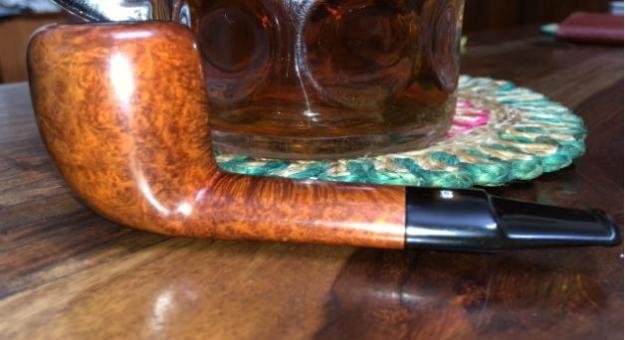
A medium sized fancy Dublin with an oval shank, this pipe has beautiful densely packed birdseye grain on either side of the bowl with lovely cross grain extending from the front of the bowl right down the bottom to the shank end. Similarly, the grain extends from the back of the bowl up to the shank end!!!!! The flattish surface of the shank further accentuates the dense grain. No wonder then that this Stanwell is stamped as “SELECTED BRIAR”!!!!!!!! This beauty is stamped “STANWELL” in an inverted arch over “REGD No. 969- 48” over “HANDMADE” on top of the shank while on the bottom of the shank it is stamped “SELECTED BRIAR” over “89” over “MADE IN DENMARK”. The stem is stamped on the top of the saddle with a crown over “S” and on the bottom of the saddle with “HANDCUT”.All the stampings are crisp and easily readable.
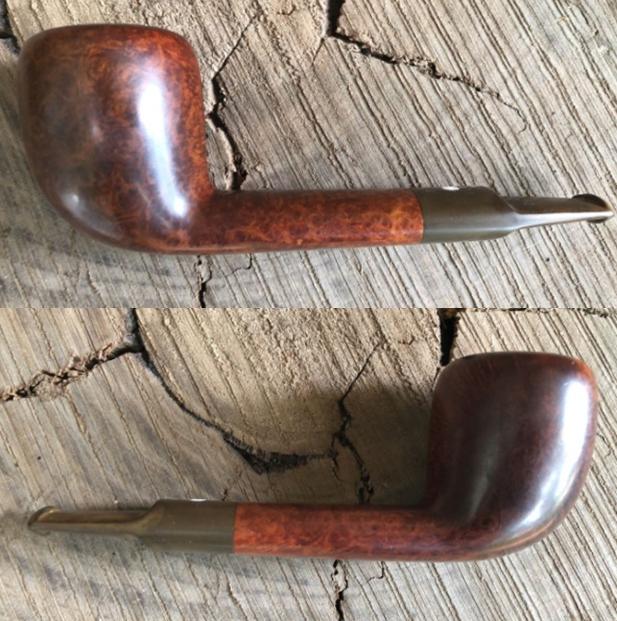
I searched the net for information on this brand in general and this pipe in particular. The first site I always visit is Pipedia. I gathered a lot of information about the brand and some important snippets of information are reproduced below:

Stanwell Article from smokingpipes.com

When pipe smokers talk about pipes that are consistently great smokers, exhibit the creative and beautiful designs that exemplify Danish pipemaking and offer the best value in factory produced pipes, they are talking about Stanwell. We hear time and time again, from customers and top pipe makers from around the world, that Stanwell is the best factory produced pipe in the world. Stanwell maintains the most modern pipe making facility in the world and for many years has enjoyed some unique relationships with many legendary Danish pipe makers. In fact, Stanwell occupies a pivotal place in the history of the world-wide popularity of Danish-made pipes.

At the end of the war, briar became available again, so Nielsen began importing his own briar and started making briar pipes to compete with the English manufacturers. It must be remembered that in 1948, England was the single great center for pipe making. Therefore, Nielsen changed the name of his pipes to “Stanwell”, which sounded much more like a proper English name than “Nielsen”. He also created the horse drawn carriage logo for its English connotations. He later changed his own last name from Nielsen to Stanwell, a testament to his devotion to the pipes he made. Stanwell’s relationships with Danish pipe makers goes back to Sixten Ivarsson, who is considered the originator of modern Danish pipe making. Ivarsson was commissioned to design Stanwell shapes. In 1969, the factory was moved a town called Borup, just outside of Copenhagen to be closer to Ivarsson.

Essentially the goal of Stanwell is, and always has been, to produce high quality pipes at a price that is truly within the reach of the common man. In this they have succeeded admirably, offering perhaps more pipe for the money than any other pipe manufacturer in their price range. Stanwell pipe offers exceptional quality at a remarkably affordable price. Today it often seems that there are few options in between low cost, very low quality pipes and the handmade pipes that fetch hundreds of dollars. Stanwell manages to fill this void commendably by offering pipes close to the quality of the handmade with prices that are only slightly higher than drug store pipes.

Stanwell pipes are a must for any pipe collection. The Stanwell name is a cornerstone of Danish pipe making. In owning a Stanwell, you will not only enjoy beautifully styled, great smoking pipe at a great price, you will own a piece of pipe making history.

Now that I have some historical information about the brand, I went ahead with my attempt at dating this pipe. I had read that Mr. Basil Stevens is generally considered an authority on Stanwell pipes and so that was logical start point for me. I gathered some information from a site, https://www.scribd.com/document/45022903/Stanwell-Dating-Pricing-Information-by-Basil-D-Stevens, which I have reproduced from the above site:-

Dating Information:

1) Regd. No. stamping discontinued in late 1960s to very early 1970s. This is the Stanwell trade mark registration. The “48” indicates that the registration was made in 1948. (info rec’d from Jorgen Grundtvig, Managing Director, Stanwell A/S)

3) Up until the early 1960s only the top pipes, e.g. “Hand Cut” had the stem/mouth pieces stamped with the Stanwell logo of a crown over “S”.

6) “Handcut” stamped on black vulcanite stems have not been done since at least the 1970s and possibly earlier. (info from J.G.).

STANWELL SHAPES
Shape “89”
Two versions of this shape number
a) Freehand, oval stem, short oval saddle mouthpiece, by Sixten Ivarsson.
b) Large pot, thin, long saddle mouthpiece.

From the above information that I have gathered and highlighted in blue, I feel that this particular pipe was from the 1960s and is a freehand made by Sixten Ivarsson. Any variation or additional information or any incorrect assessment on my part may please be conveyed through your comments on rebornpipes.com

Armed with this information, I carried out my detailed initial visual inspection of the entire pipe. This assessment helps me in identifying the issues that are seen as well as understand likely issues that may present themselves subsequently while making a mental map of the entire restoration process.

INITIAL VISUAL INSPECTION
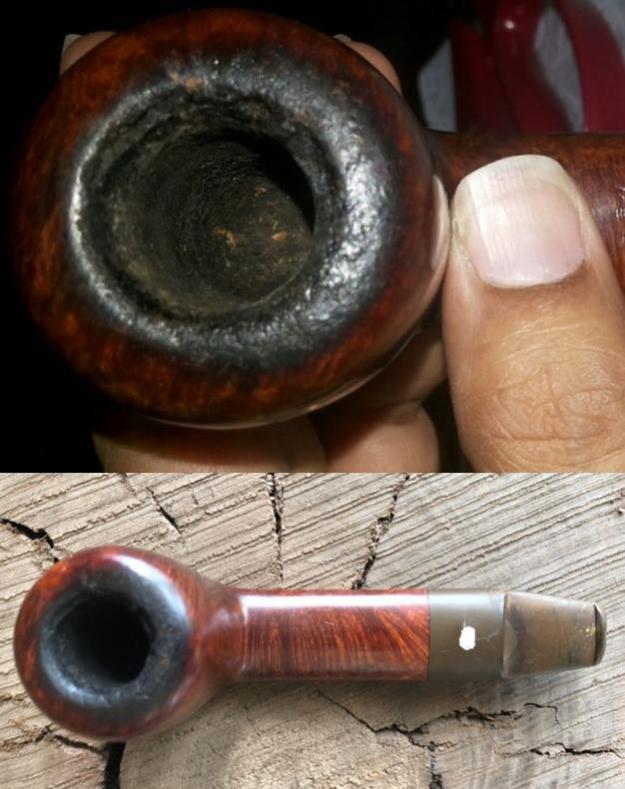
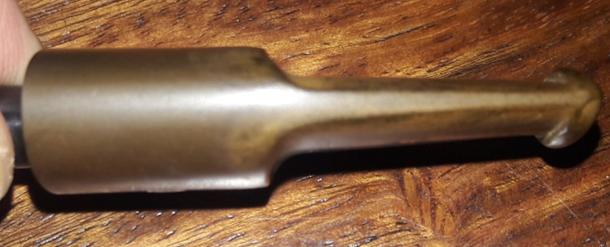
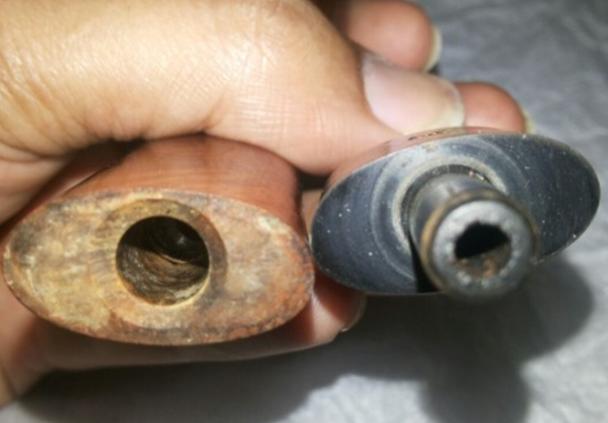
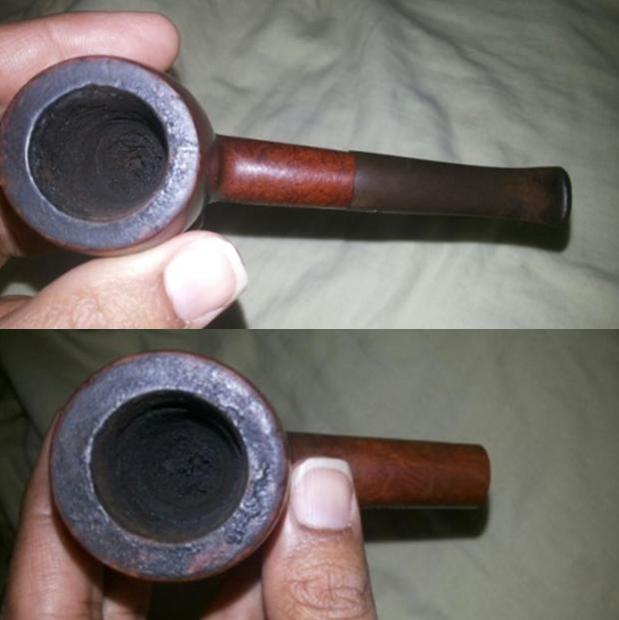
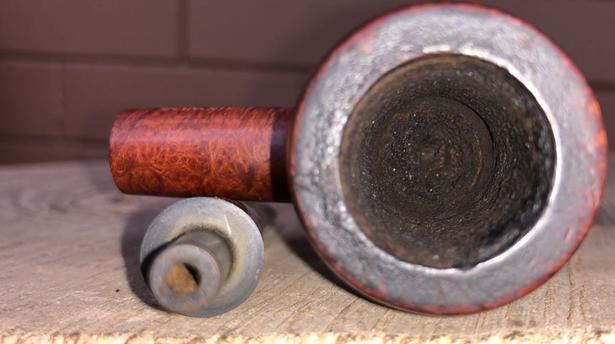
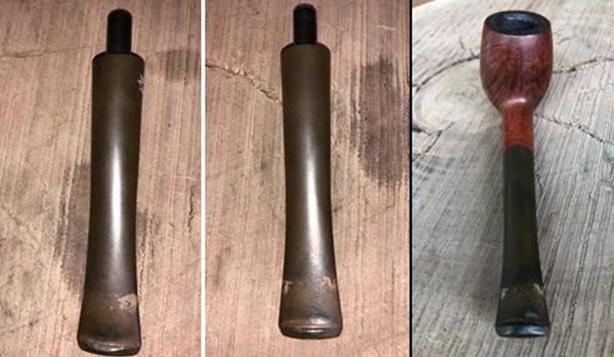
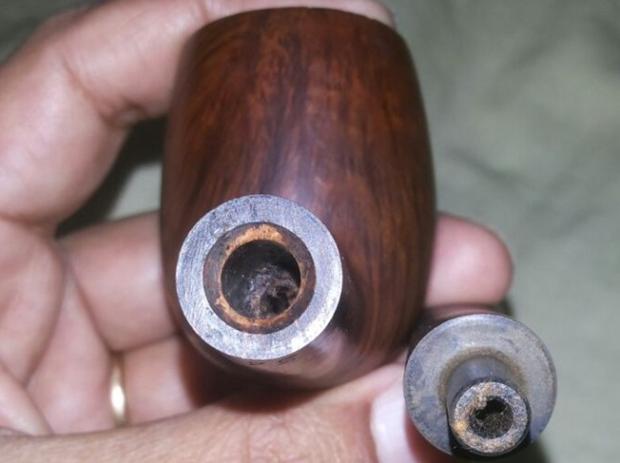
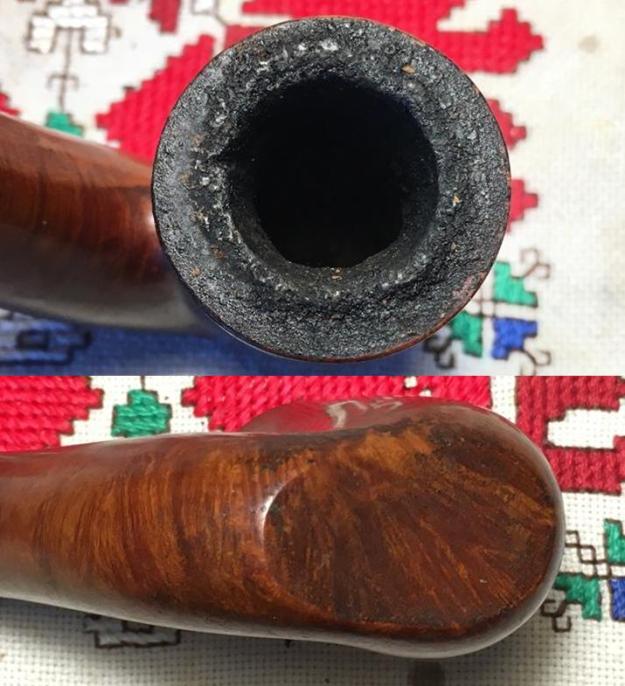
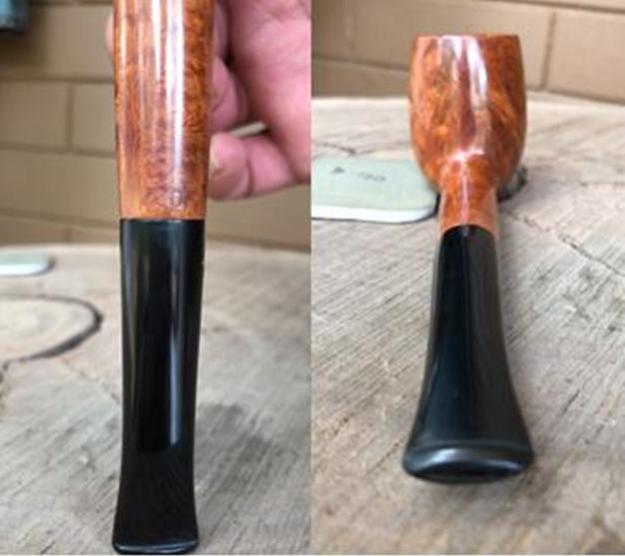
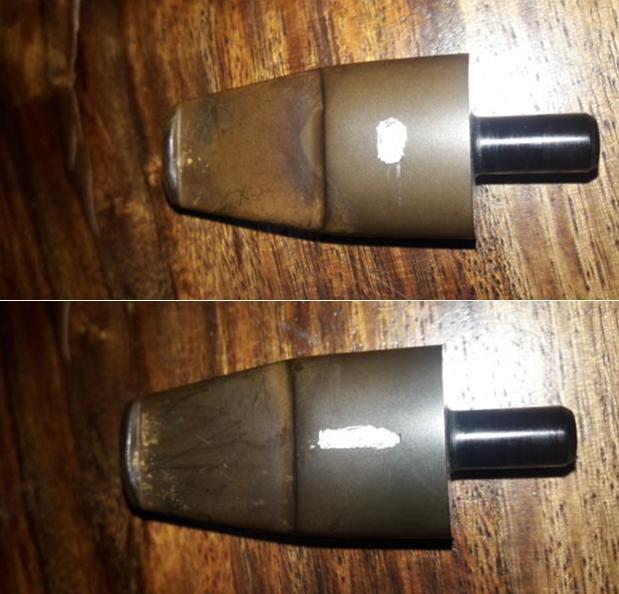
The stummel is covered in oils, tars and grime to such an extent that the bowl is very dull to look at with all the grains hidden and sticky to the touch. This will need thorough cleaning. Whether to sand the bowl with micromesh pads to bring to fore the lovely grain will be decided later. The bowl is heavily caked and has large amounts of lava overflow on top of the rim. The internal condition of the bowl and rim will be ascertained only after the cake has been completely reamed out. There is always the fear of possibility of charred rim edges or burn fissures or charred briar inside the chamber of pipes in this condition. However, the entire stummel appears solid to touch from the outside reducing the probability of any of the above possibilities being present.The short oval saddle stem is heavily oxidized with a number of light tooth chatter on both surfaces. The lips on both sides have been chewed off. I had masked both the stampings on the stem with a whitener pen, you could of course use acrylic paint or any other stuff, but I found the whitener pen to be the best option as it helps to fill the letters at a later stage. As expected, the airway is clogged and a test draw was rewarded with debris and carbon dust. This will have to be cleaned.THE PROCESS
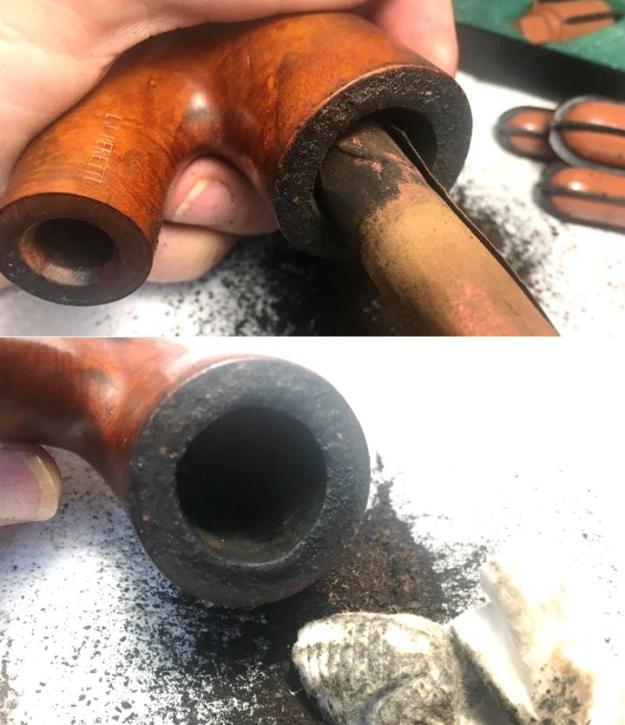
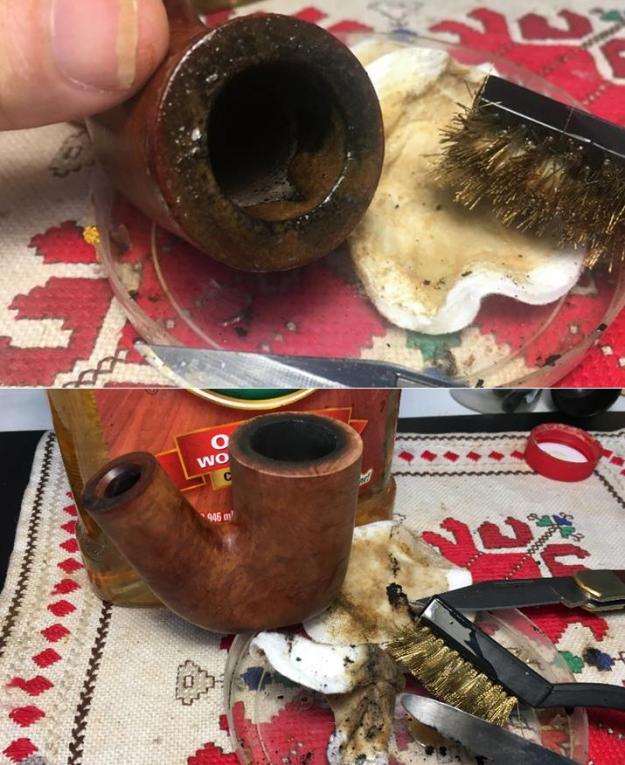
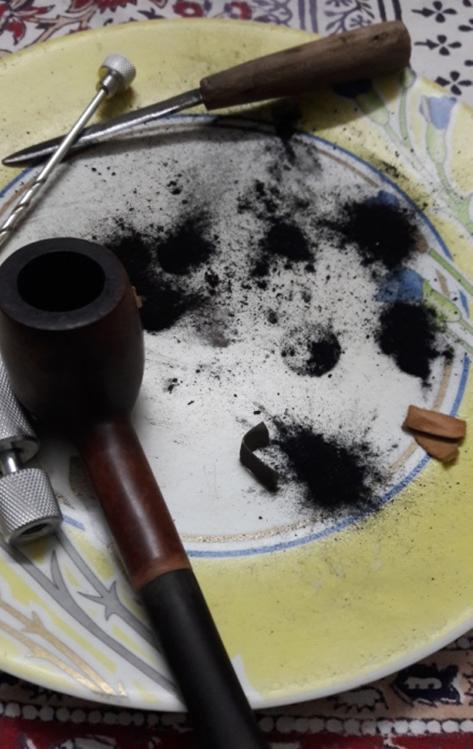
The first step that I usually follow is the reaming of the bowl. Using a Kleen Reem pipe tool and my trusty and effective fabricated knife, Abha, my wife, cleaned out the cake from the chamber. To smooth out the inner surface of the chamber and completely remove the last traces of remaining cake, she sanded the inner surface with a 220 grit sand paper. With a sharp knife, very gently scraped the surface of the rim top and removed the accumulated tars, oils and grime.She cleaned the bowl and rim using undiluted Murphy’s Oil soap and a toothbrush. Thereafter, the bowl was washed under running tap water and immediately dried out using paper towels and a soft cotton cloth.
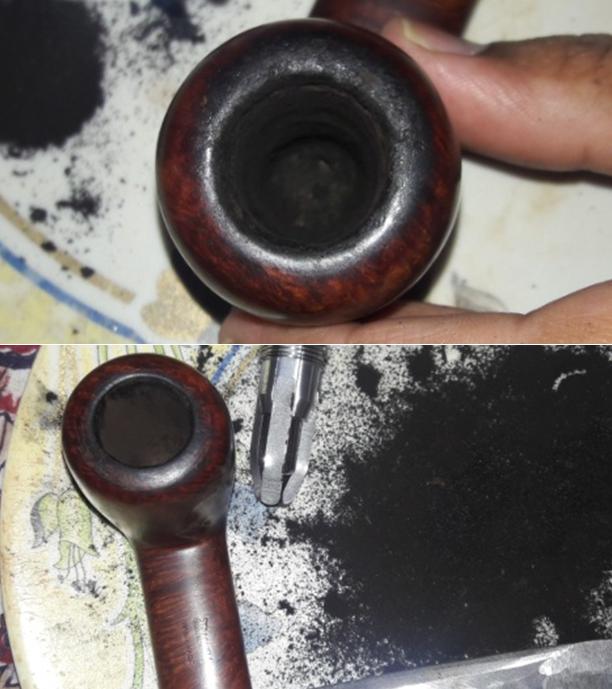
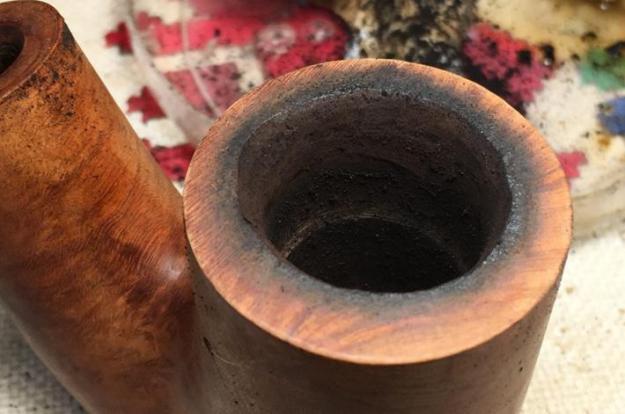
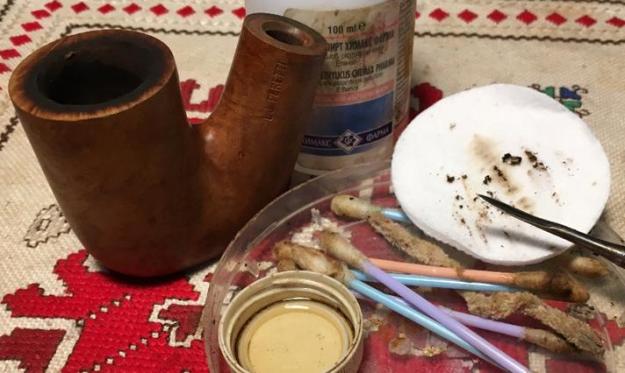
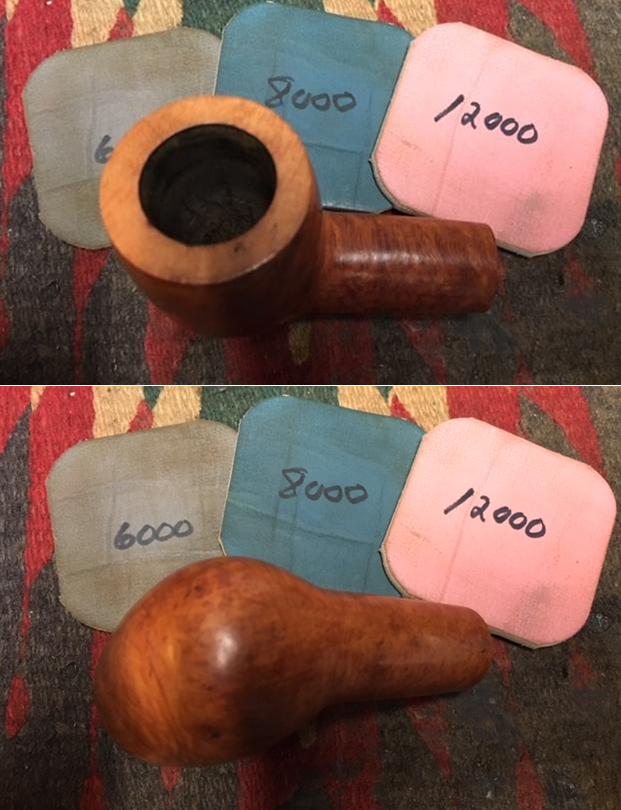
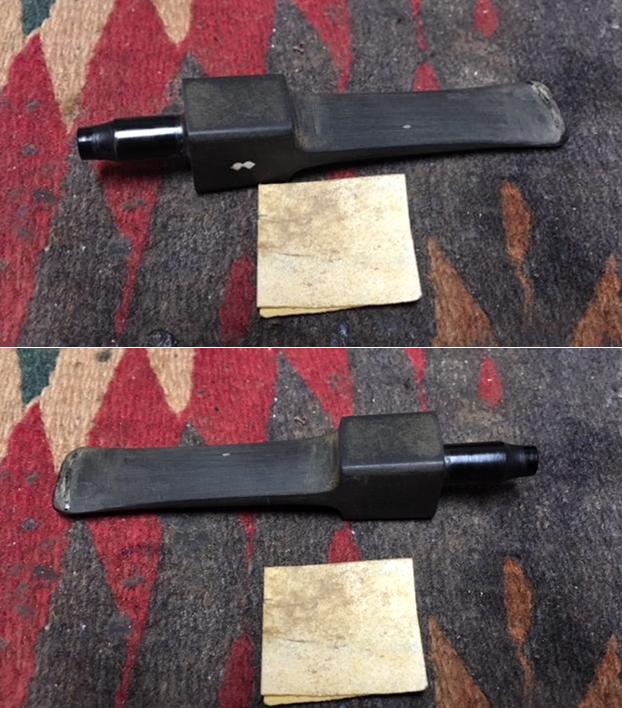
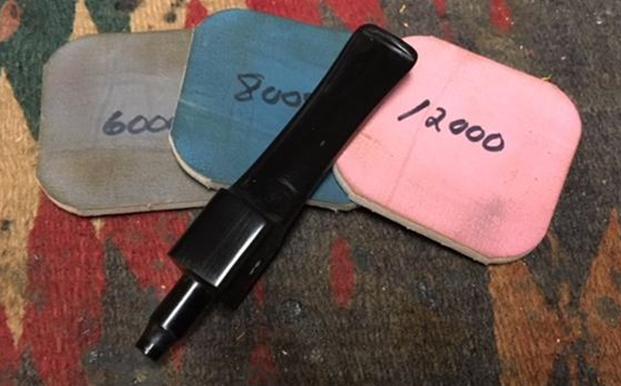
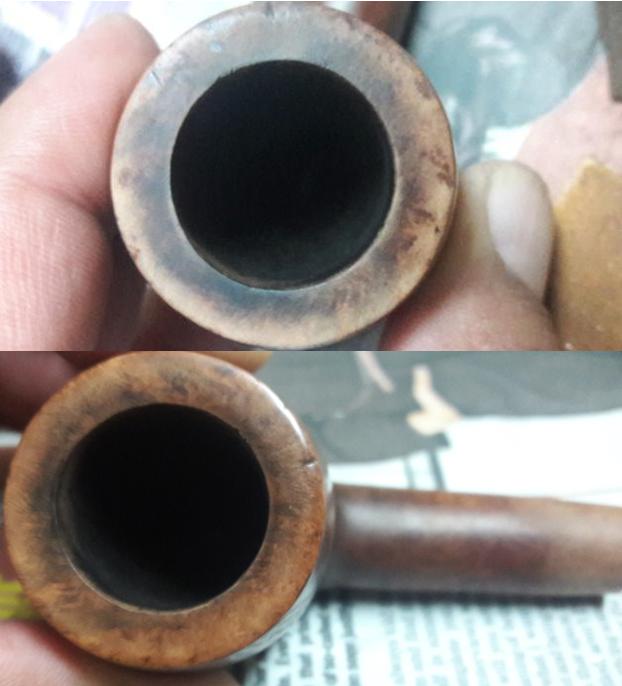
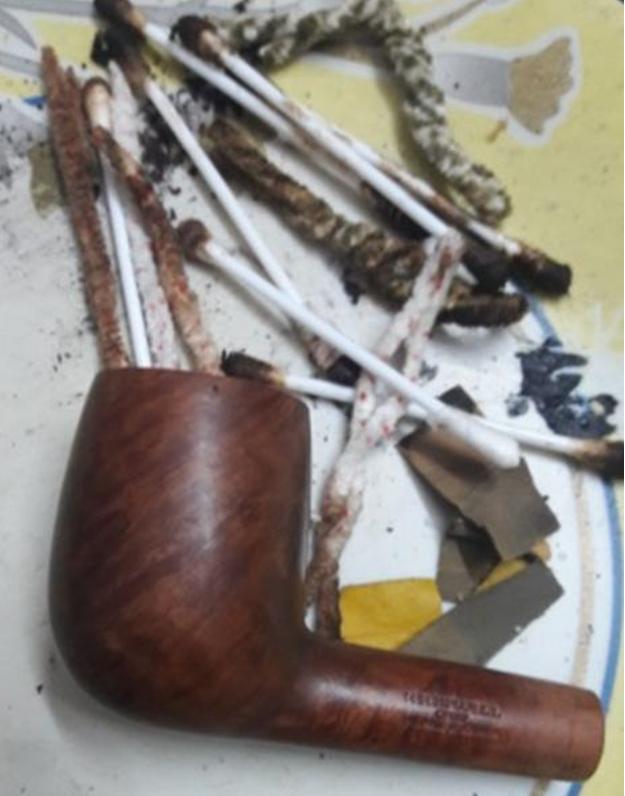
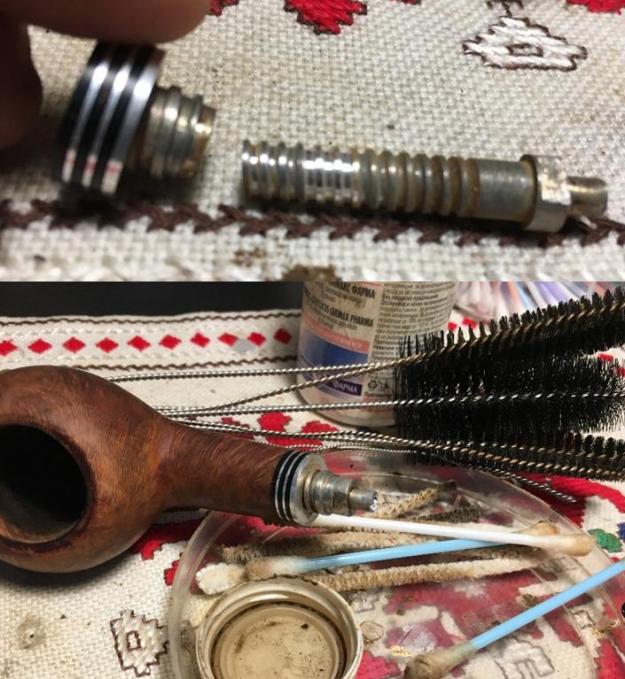
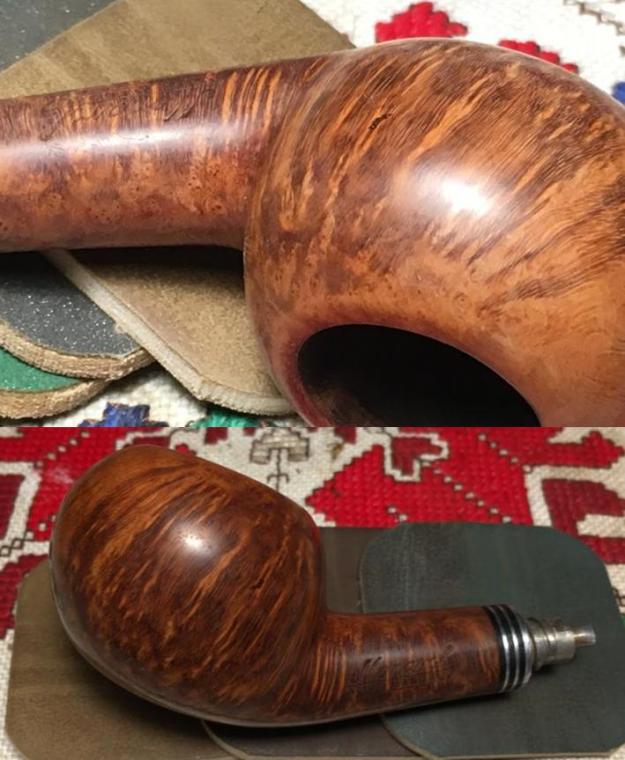
The stummel is now clean and fresh. Inspection of the rim and chamber revealed an intact inner edge and a perfect condition of the inner walls of the chamber. What a relief this was!!!!! The only issue was that the rim top is still blackened and an eye sore. I addressed this issue by sanding the rim and the entire stummel with micromesh pads. I very lightly and briefly wet sanded with 1500 to 2400 pads, gently wiping with a moist soft cloth to remove the dust left behind due to sanding.I dry sanded the rim and stummel using 3200 to 12000 grit micromesh pads. At the end of the dry sanding, I rubbed a small quantity of “Before and After Restoration Balm” with my fingers into the briar. The immediate and incredible transformation that takes place is a worthy reward for all the efforts!!! The bowl now looks fresh and attractive with the grains popping out any which way you look at the briar; it feels somewhat like DIWALI, festival of lights celebrated here in India. I polished off the balm with a soft cloth to a lovely shine. I AM ABSOLUTELY IN LOVE WITH THIS PIPE!!!!!Turning my attention to the stem, I started by sanding the stem with a 220 grit sand paper. I was especially careful around the edges and the stampings. Using the crisp edge of the folded sand paper, I reshaped the buttons and sanded it to even out the surface. Thereafter, I sanded the stem with 320 and 440 grit sand paper. To finish the stem I went through the complete set of micromesh pads, wet sanding with 1500 to 2400 pads and dry sanding with 3200 to 12000 grit pads. I wiped the stem with moist cloth after each pad and rubbed olive oil into the stem after every three pads. I carefully removed excess whitener from the stampings. The stem is now looking nice and shiny with crisp stampings. Having addressed the “appearance” aspects of this beauty, I turned my attention to the “performance” aspect to ensure that this beauty smokes as well as it looks. I thoroughly cleaned the shank internals using shank brush, pipe cleaners, cue tips and isopropyl alcohol. The stem airway was cleaned using regular pipe cleaners and also bristled ones dipped in alcohol. The airway is now clean and the draw is full and open.
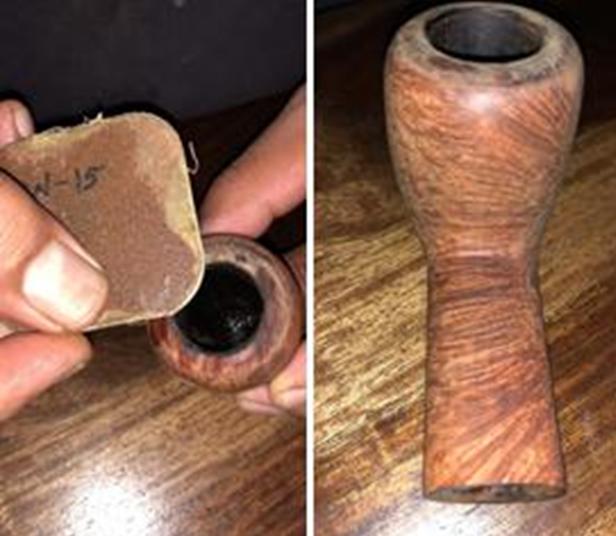
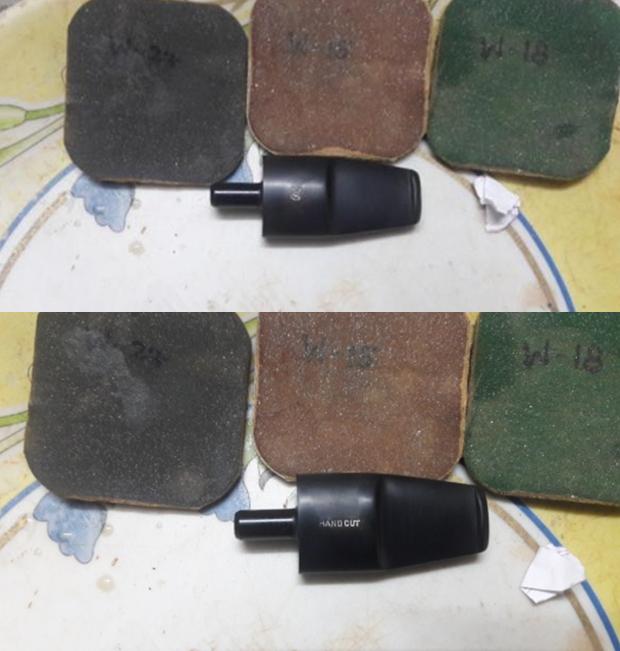
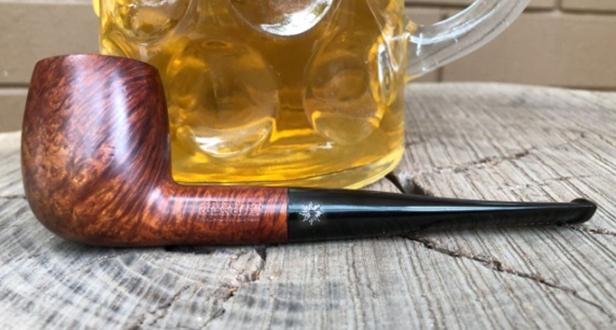
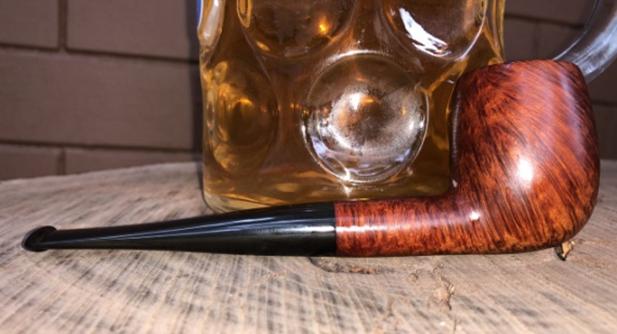
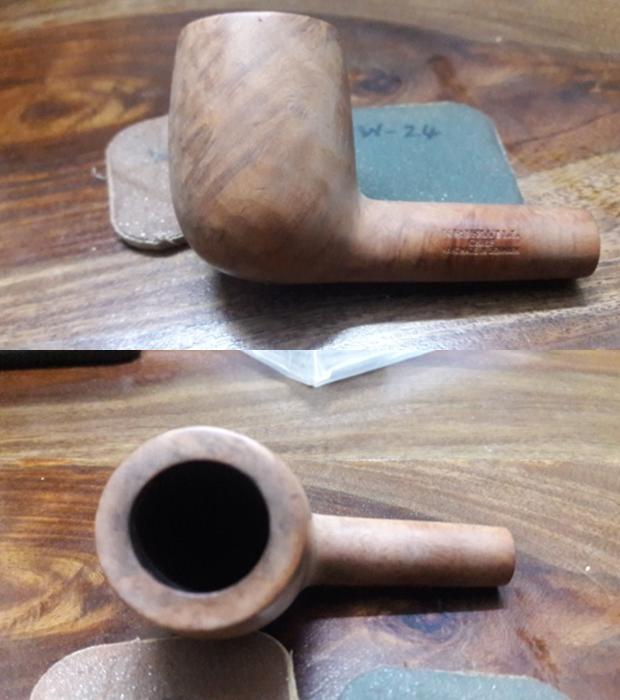
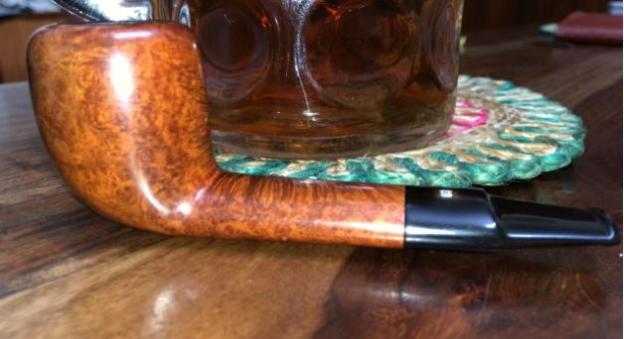
To complete the restoration, I rubbed a minute quantity of PARAGON WAX on the stummel and the stem. After a few seconds, using muscle power and a microfiber cloth, I polished the entire pipe to a lovely shine. Can’t wait to load and fire up this stunning piece of briar!!!! The finished pipe is shown below and yes… for the curious reader, the prop is not Beer filled mug, but a Beer mug filled with GREEN TEA!!!!! Thank you for your valuable time spent in reading my amateurish chronicle.
Restoring a Kriswill “Golden Clipper”


Blog by Paresh Deshpande

“………. and now make me handsome and desirable too!!!!!” This is what the sibling of the Kriswill “CHIEF”, the “GOLDEN CLIPPER” appeared to be demanding of me and who am I to refuse this lovely pipe. So here I am with all my enthusiasm to work on this beautiful pipe with mixed grains.

This was one of the pair of Kriswill pipes which was dug out by my younger daughter from the large pile of pipes, the other being Kriswill “CHIEF”. Both these beauties had an issue with their stems. The stem of the “CHIEF” did not sit flush with the shank and appeared smaller in diameter compared to the shank, while the stem of the “GOLDEN CLIPPER” sat flushed with the shank but was larger in diameter than the shank. I addressed this issue in an ingenious way and completed the restoration of the “CHIEF”. For those interested in knowing the issue of stem in detail, process to address it and the complete restoration, please follow the link https://rebornpipes.com/2018/08/04/breathing-new-life-into-a-kriswill-chief-20/. I am sure you will find it an interesting read.

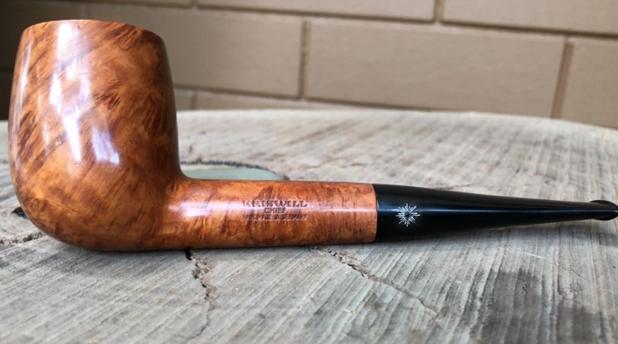
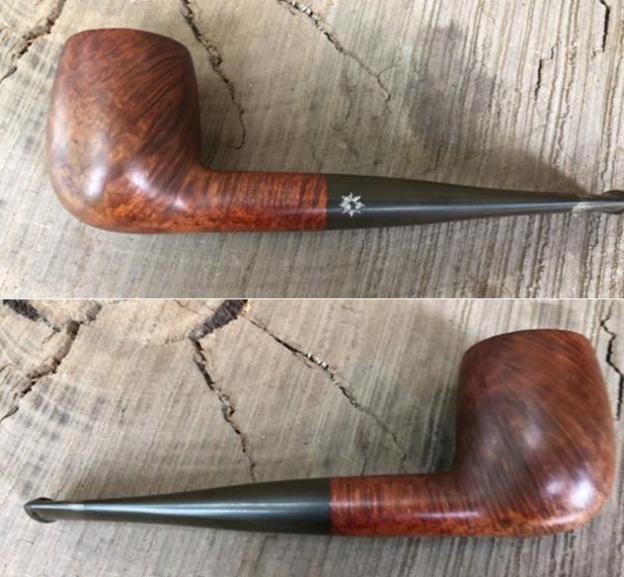
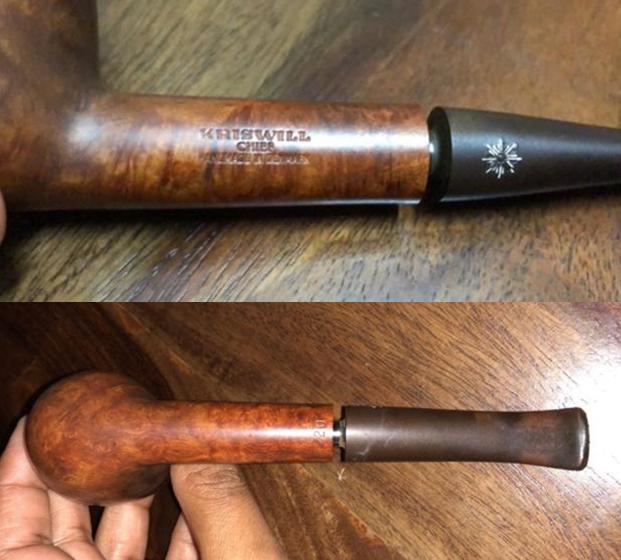
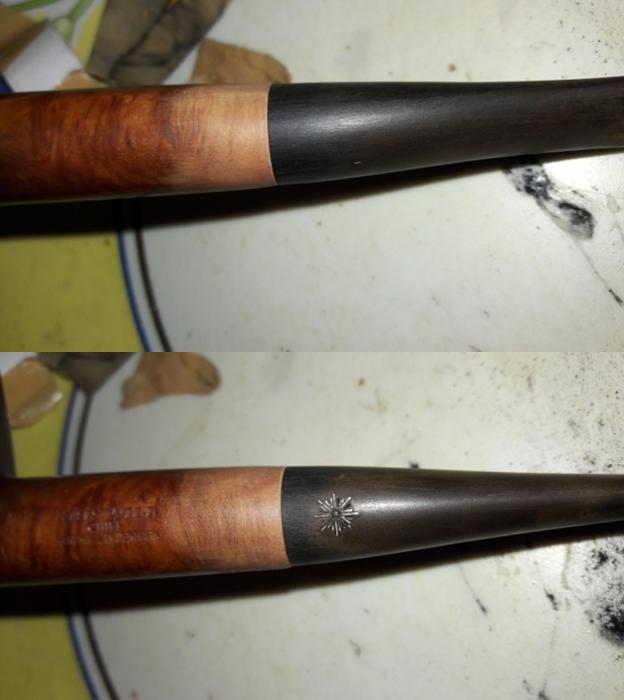
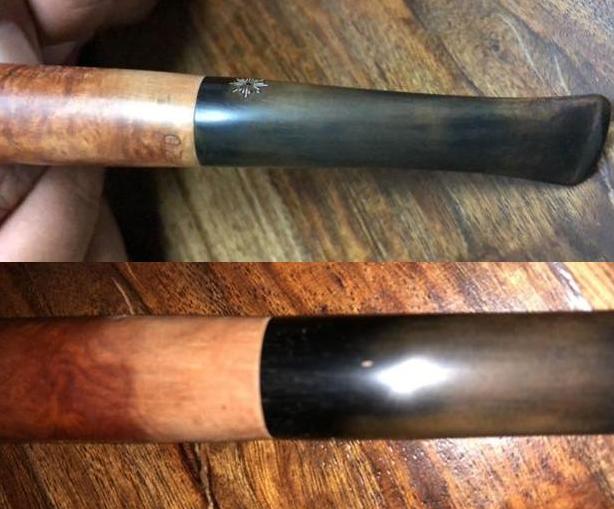
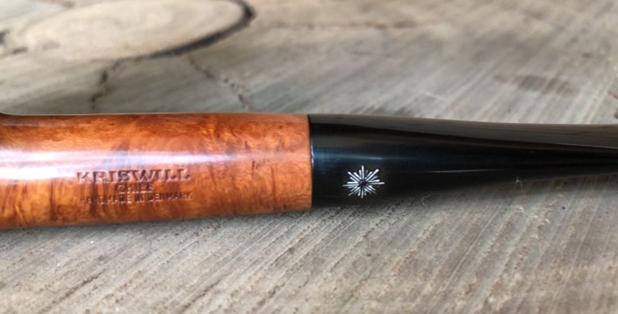
My joys knew no bounds when the “CHIEF’S” stem fit perfectly like a glove in the shank of the “CLIPPER” (the time-consuming, cautious, accurate and nerve-wracking but enjoyable work of matching the stem and shank of the “CHIEF” still fresh in my mind!!!!!!). Here are the pictures of a perfectly matching stem and shank on the CLIPPER.This KRISWILL “GOLDEN CLIPPER” has a medium sized bowl with mixed grain. It is stamped “KRISWILL” over “GOLDEN CLIPPER” over “HANDMADE IN DENMARK” on the left side of the shank. At the bottom of the shank and close to the edge of the shank where it takes the stem, is stamped with number “54”.As I had determined the dating of this pipe, while searching information for the “CHIEF”, from 1970s (the snowflakes stamp on the stem and block letters on the shank were adopted post 1970), I proceeded to carry out a visual inspection of the condition of the pipe in my hand. This helps me map the road to restoring the pipe by identifying the issues involved and identify methods/ options to address the same.

INITIAL VISUAL INSPECTION

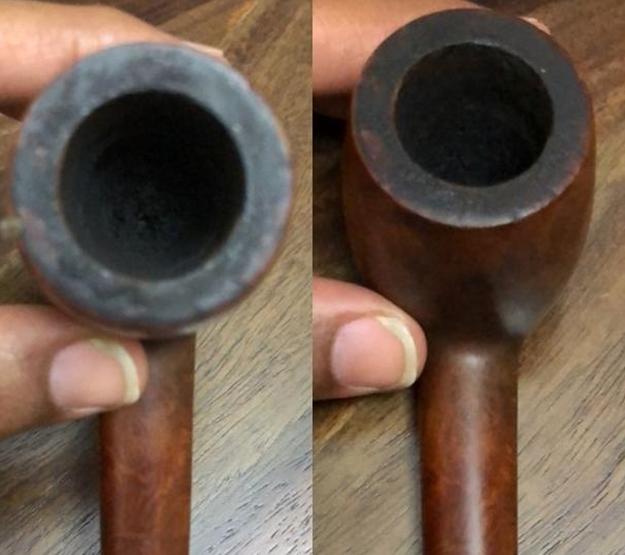
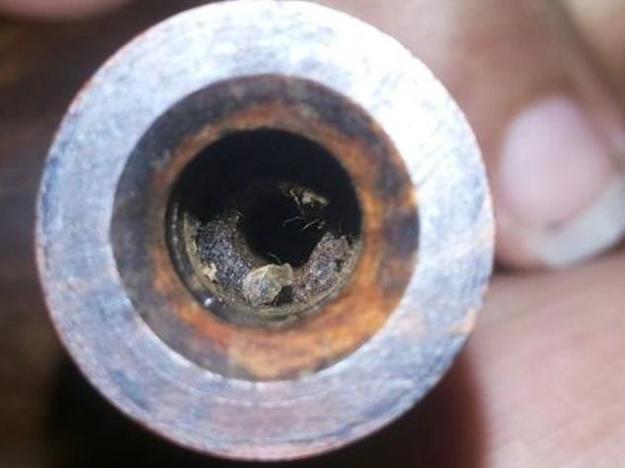
The bowl is covered in dust, oils, tars and grime of yesteryear. It is filled with a thick cake and the lava has overflowed on to the rim. I would still say that this bowl is not as heavily caked as I have gotten used to with my grand old man’s pipes. The cake has completely dried out.The rim surface is pock-marked with few minor dents and dings of being banged around. Exact extent of damage, there appears to be some, to the inner edge will be known after the bowl has been reamed down to its bare briar. The outer edge of the rim appears to be in decent condition.The interchanging of stem with the CHIEF ensured a perfect fit of the stem on this pipe and required no matching the fit to the shank end. The stem is, again comparatively to what I have dealt with before, lightly oxidized with light tooth chatter. The lip has been bitten off at one place and will need to be rebuilt and reshaped. There is some calcification seen around the lip on either surface. As I have come to expect, the airway in the stem is blocked and the mortise is clogged with gunk, debris and tars. I will need to clean both to ensure an open draw.The stummel needs to be cleaned. I will have to decide if I should retain the stain finish or polish it to its natural look and match it to its bigger sibling, the “CHIEF”.
THE PROCESS
Abha, my wife, dealt with the cake by reaming the chamber with a Kleen Reem pipe tool and a British Buttner pipe tool. Using the fabricated pipe knife, she further scraped the cake from the bottom of the bowl and also the walls of the chamber. She was especially very careful while reaming with the knife so as not to damage the inner edge of the rim. Once the solid briar was exposed, she further smoothed the walls and removed remaining cake by sanding with a 180 followed by 220 and 600 grit sand paper. Another advantage of this process is the elimination of traces of ghosting to a great extent. She gently scraped the rim top with the sharp edge of the knife and removed the accumulated overflow of lava. Abha followed this by scrubbing the chamber walls with cotton swab dipped in isopropyl alcohol. This removed the fine cake dust, leaving the chamber clean, fresh and smooth. As can be seen from the picture, after the cleaning, the dents and dings are more pronounced and will need to be addressed. Further, if observed closely, there is a small chip to the inner edge which can be seen on the right side in the 3 o’clock direction. I had the following two courses of action to choose from to address these issues:-
(a)        Create a slight bevel on the inner edge to eliminate the inner edge chip.
(b)        Topping the rim on a topping board.

Abha suggested proceeding with the second option since the “CHIEF” was without a bevel and as these were together, she wanted to maintain the similarities as far as possible. I concurred with her since topping will also address the minor dents and dings seen on the rim top. I gently topped the stummel on a 220 grit sand paper, frequently checking the progress.  This is very important since you do not want to lose too much briar and there is always a fear of distorting the proportions of the pipe due to excessive sanding. How much sanding is sufficient, is a question to which the answer can never be quantified. For me the mantra is, topping or sanding should be kept to the minimum and preserve maximum briar even at the cost of very minute dents/ chips being visible.
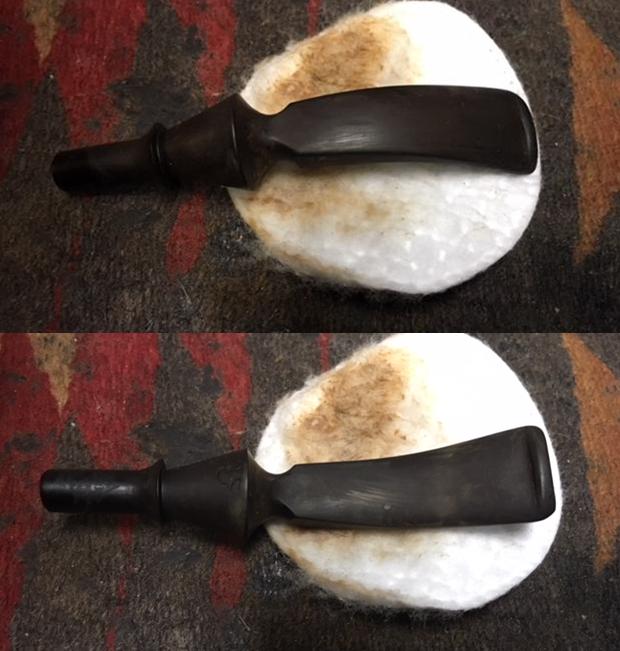
I topped the bowl just enough to address the dents and dings on the rim surface. The small nick to the inner edge of the rim has also been addressed to a great extent, but not completely. It is barely perceptible in person and acceptable to me. Hence, I left it at that!!I cleaned out the internals of the shank/ mortise and airway using pipe cleaners, cue tips and isopropyl alcohol. Thereafter using undiluted Murphy’s oil soap and tooth brush, I cleaned all the tars, oils, dust and grime from the bowl and washed it under running water. I wiped it down with paper towels and a soft cotton cloth.

Using a brown stain pen (Yes!!! I finally have them, thanks to my guru, Mr. Steve who had diligently packed them with the pipes that he had sent me after repairs, when he learnt that I was unable lay my hands on them), I stained the rim to match the rest of the bowl and set it aside to dry out. In my haste to finish the restoration, I forgot to click pictures of the above mentioned process and the look of the pipe at this stage.

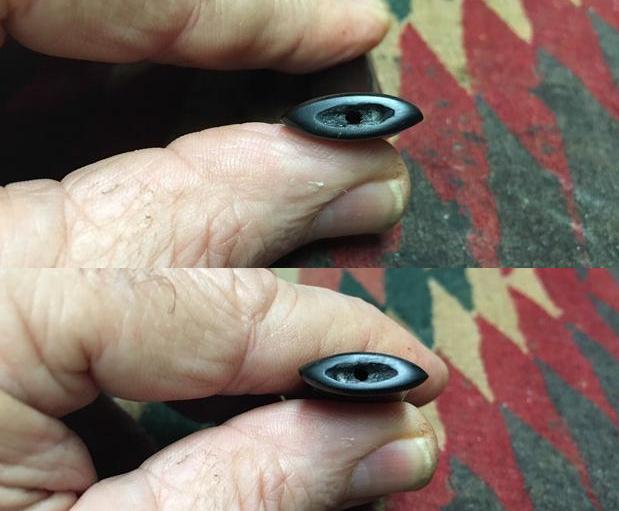
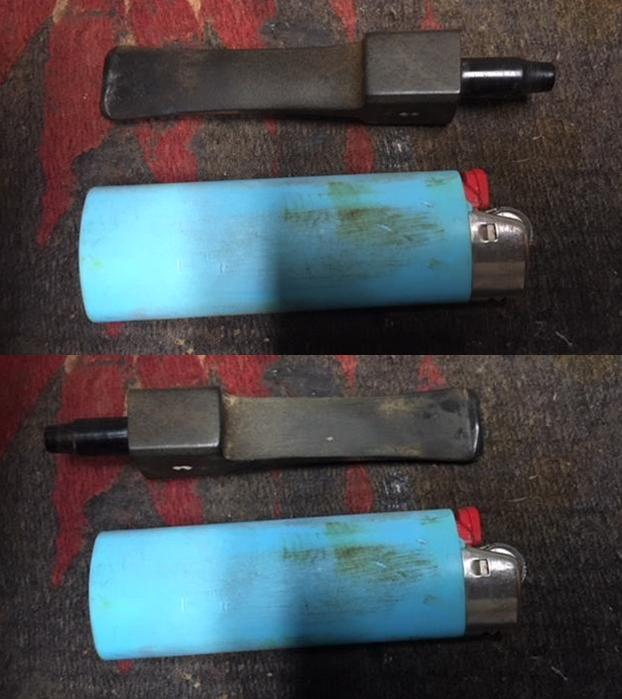
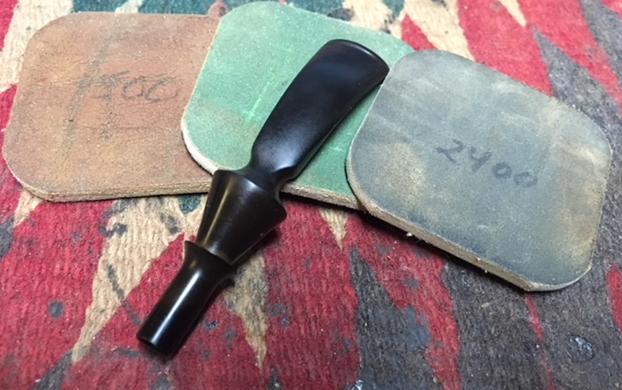
While the stummel was kept aside for drying, I turned my attention to the stem. Starting with the use of Bic lighter, I painted the surface with its flame to raise the tooth chatter and bite marks as much as possible. I scrubbed the stem with a piece of moist Mr. Magic Clean sponge to clean the stem of the calcification. Minor tooth chatter was addressed to a great extent, however, some stubborn and deep bite marks and the bitten off lip stood out like sore thumb!!! Having learnt my lessons and working around the handicap of glue, I spot applied clear CA superglue with a tooth pick and set it aside to cure over night. The next morning, I applied another layer of the superglue and set it aside to cure. The reason I decided to adopt this technique is because the glue I have and available to me is of very thin consistency and hence the layering technique. After 24 hours, I checked the fills and proceeded to sand down the fills and reshape the edge of the button with a flat head needle file to match the surface of the stem. Using a 220 grit sand paper followed by wet 320 grit sand paper, I evened out the fill and removed oxidation from the stem surface. Thereafter, I used micromesh pads, wet sanding with 1500 to 2400 pads and dry sanding with 3200 to 12000 pads. I deeply rubbed a very small quantity of Extra Virgin Olive oil after every three pads. I am pleased with the way the stem has turned out. It is now smooth and shiny.Using normal and bristled pipe cleaners dipped in alcohol, I completely cleaned out the airway in the stem till the pipe cleaners came out nice and clean from the other end. However, when I checked the draw, I found it to be constricted and laborious. It was not a free flowing and open draw. I checked the alignment of the airway in the stem and shank and realized that the airway was not aligned. With a rounded needle file, I file down the tenon hole and the mortise opening in the shank to the point where there are perfectly aligned. Now the draw is full and open.
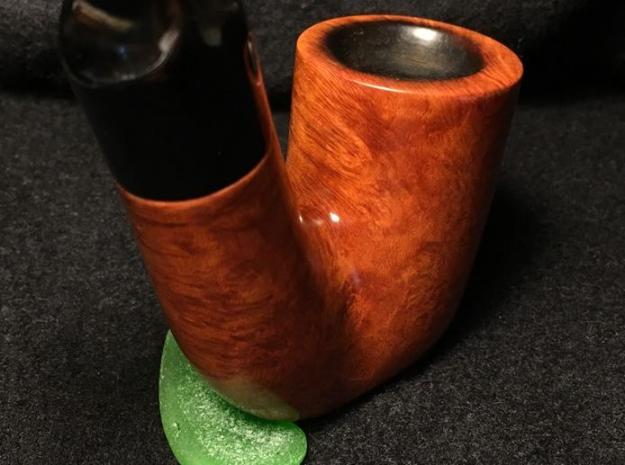
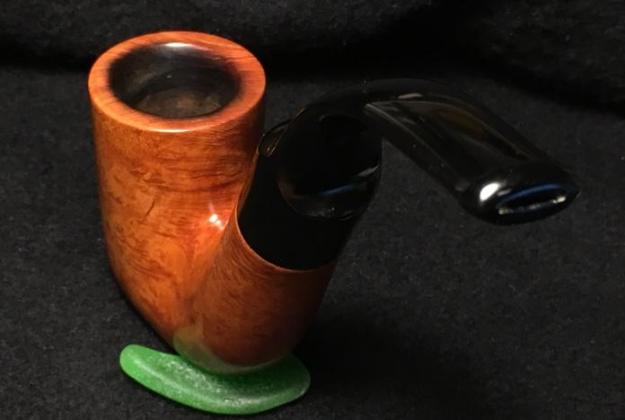
By this time, the stain on the rim top has dried out and I applied a small quantity of Before and After Restoration balm to the entire surface of the stummel, including the rim top. This product is absolutely fantastic as it freshens up the briar and makes the grain to pop out. Using a horse hair shoe brush, I buffed the bowl. Later, with a soft cotton cloth, I polished it to a nice shine. As a final touch, I rubbed a very small quantity of PARAGON wax on to the stem and the stummel. A few seconds later, using muscle power and a microfiber cloth, I polished the entire pipe to a lovely shine. Here are the pictures of the finished pipe. Hope you enjoyed reading the write up and yes, my apologies for the lack of pictures since I had to catch a flight late in the evening to rejoin my duty station, I forgot to take pictures at this stage as completing the restoration was priority task.

This Petite Bari De Luxe Freehand Speaks to me…


Blog by Steve Laug

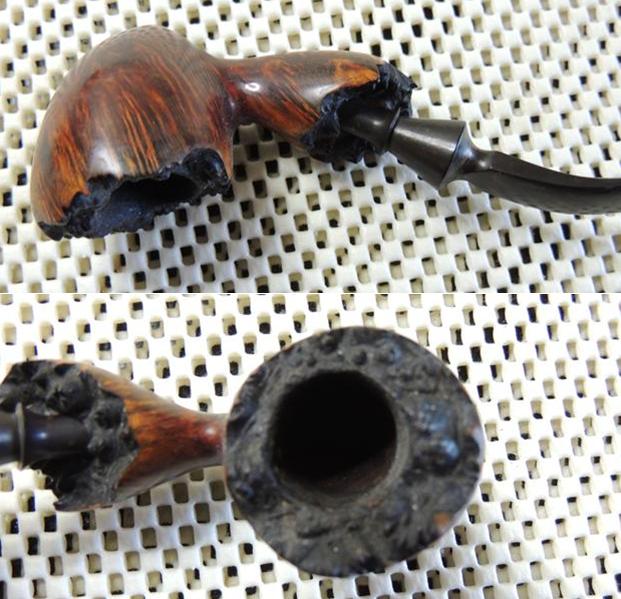
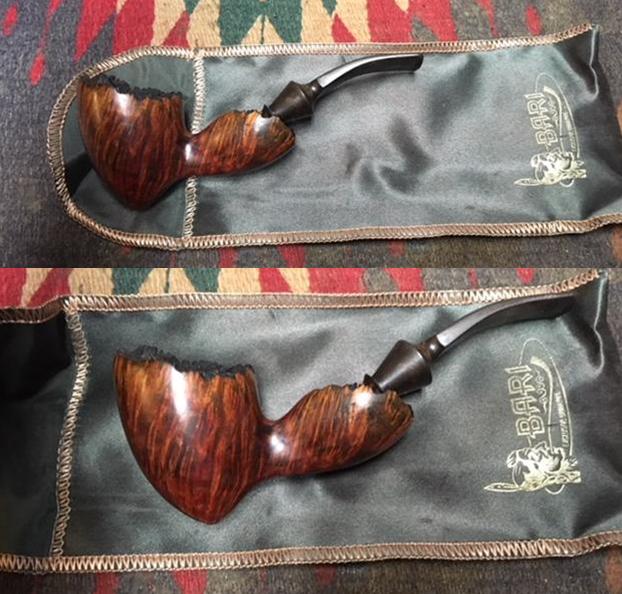
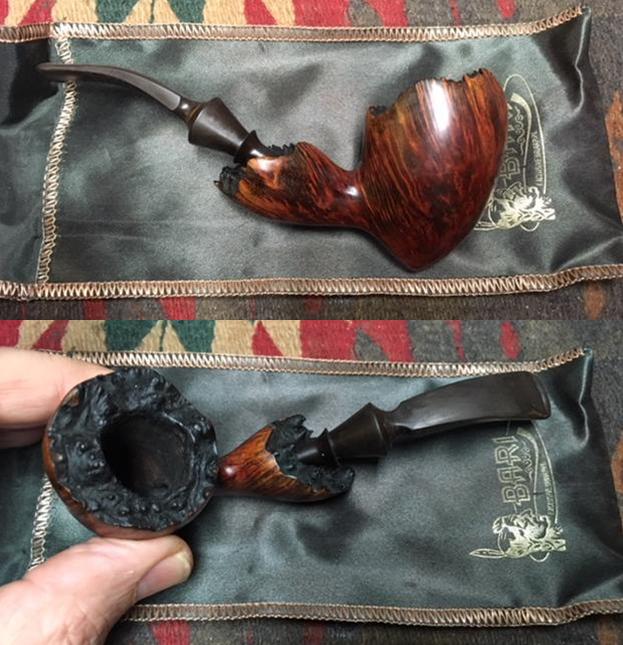
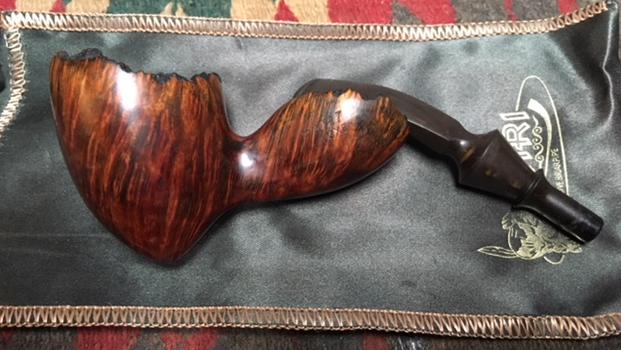
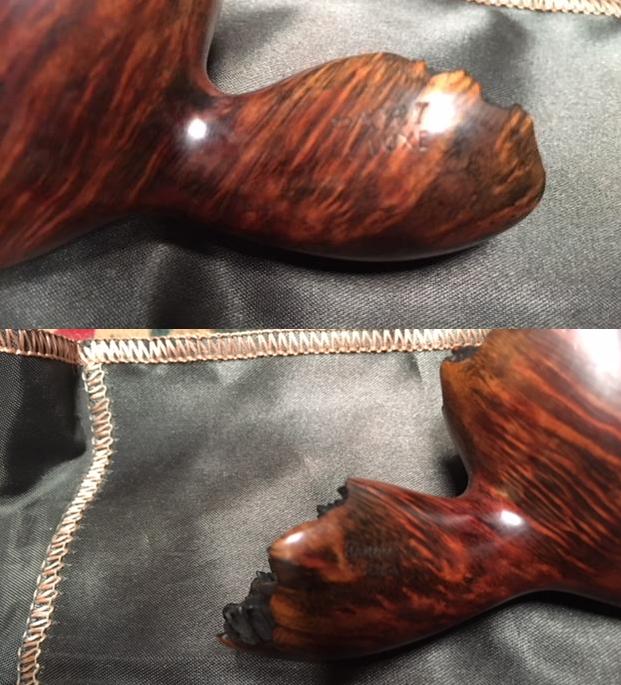
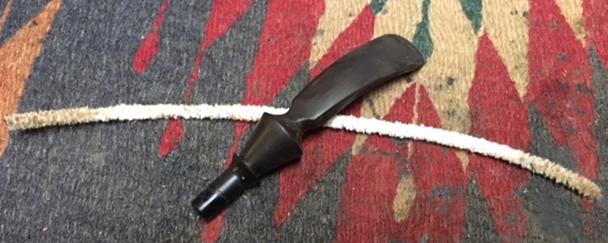
I was emailing back and forth with John, a pipeman in Edmonton who wanted to sell of his pipes. He was cleaning up things and thought he would see if I was interested in them. He said that he had several Bari’s that were in the lot and he wanted to move those out. He sent me photos of the pipes he had and we soon struck a deal. Since we were both in Canada it did not take long for the package to make its way to me. I opened it and went through his pipes to see what I had to work on. There were some pipe racks and accessories in the box as well. I went through the pipes and set them aside. Today I decided it was time to start working on them. I chose a little Bari De Luxe as the first of those Bari’s that I would work on. I have included two of the photos of the pipe that he sent to me before I purchased the lot.You can see that it was a well-loved pipe and one that he smoked often. The finish was in good condition but dirty. The plateau on the shank end and the rim top was dusty and dirty. The rim top had a lot of tars and lava on the surface filling in some of the roughness of the finish. Under the grime the pipe looked to be in good condition. The stain highlighted the beautiful grain on the briar and the plateau was stained black in stark contrast to the reddish brown of the bowl. The bowl was caked and would need to be reamed but otherwise good condition. The stem had a sticky oily substance on it that almost smelled nutty. There was some oxidation under the oil but there were not any tooth marks or chatter on the surface. I took the following photos of the pipe before I began the cleanup. (The pipe came in an original Bari pipe sock. I have included it in the photos to give you an idea of the small, petite size of the pipe.) I took a photo of the pipe with the stem removed to give a look at the style of the fancy stem.I took photos of the stamping on both sides of the shank. On the left it was stamped Bari over De Luxe and on the right side it was stamped Hand Made in Denmark. The stamping was faint toward the bowl on both sides of the shank but was still readable.I went to Pipedia and refreshed my memory on Bari pipes. I was pretty sure that they were connected to Viggo Nielson but wanted a reminder. Here is the link to the article on Pipedia: https://pipedia.org/wiki/Bari. I summarized the material that I found there as it gives a clear picture of the brand. I have been working on several pipes by Viggo Nielsen recently so it was a good reminder.

Pipedia states that Bari Piber was founded by Viggo Nielsen in Kolding, Denmark around the turn of 1950/51. His sons Kai and Jørgen both grew into their father’s business from a very young age and worked there till 1975. Both have become successful pipe makers.

Bari successfully adapted the new Danish design that had been started mainly by Stanwell for its own models. Bari was sold in 1978 to Van Eicken Tobaccos in Hamburg, Germany though the pipes were still made in Denmark. From 1978 to 1993 Åge Bogelund and Helmer Thomsen headed Bari’s pipe production.

Helmer Thomson bought the company in 1993 re-naming it to “Bari Piber Helmer Thomsen”. The workshop moved to more convenient buildings in Vejen. Bogelund, who created very respectable freehands of his own during the time at Bari got lost somehow after 1993. Bari’s basic conception fundamentally stayed the same for decades: series pipes pre-worked by machines and carefully finished by hand – thus no spectacular highgrades but solid, reliable every day’s companions were what they turned out. The most famous series are the smooth “Classic Diamond” and the blasted “Wiking”.

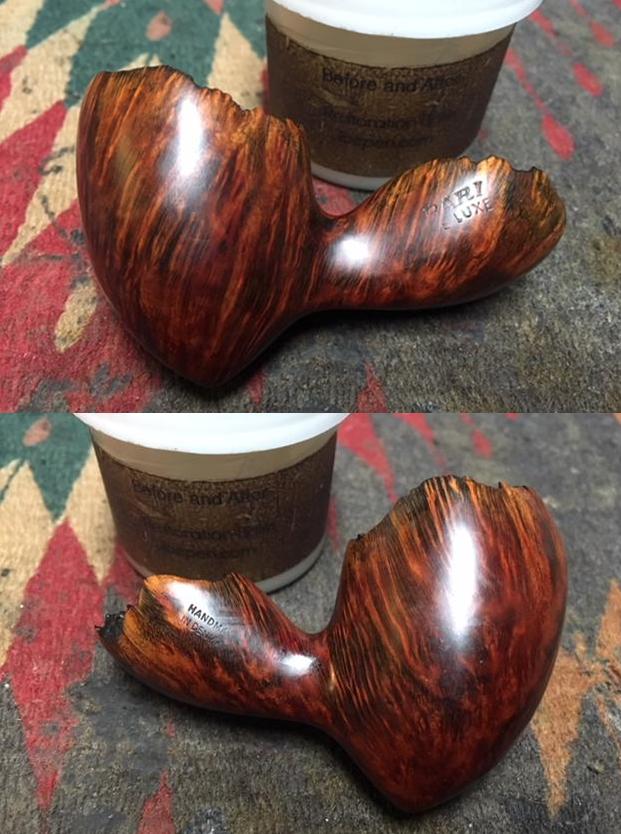
I started my cleanup of this pipe by working on the internals. I scraped out the remaining cake in the bowl with a Savinelli Fitsall Pipe Knife (I totally forgot to take photos of that part of the process). I cleaned out the airway in the shank and the stem with pipe cleaners and alcohol. I cleaned out the mortise in the shank with cotton swabs and alcohol. It was dirty but I was surprised it was as clean as it was. I rubbed some Before & After Restoration Balm into the surface of the briar to enliven, clean and preserve it. I rubbed it in with my fingertips working it into the briar. I worked it into the nooks and crannies in the plateau on the rim and the shank end using a cotton swab. I brushed those areas with a shoe brush to work it in more deeply and spread it out. I set it aside for a little while to let the balm do its work. I buffed it off with a cotton cloth and then buffed it with a microfiber cloth. The photos below show the pipe at this point in the restoration process. I set the bowl aside and turned my attention to the stem. I wiped the oily, sticky stuff off of the surface of the stem with alcohol on a cotton pad. The smell of the stuff was almost nutty, like peanuts or something similar. It needed to go so that I could work on the stem.I sanded the light tooth chatter out of the surface of the stem and also worked over the oxidation that was prevalent in the grooves and spindles of the stem using 220 grit sandpaper. I forgot to take photos of that part of the process. I polished the stem using micromesh sanding pads – wet sanding with 1500-2400 grit pads and then buffing on the wheel with red Tripoli. I dry sanded the stem with 3200-12000 grit pads to further polish it. After each pad I wiped it down with Obsidian Oil to protect and enliven the stem. When I finished the last pad I gave it a final coat of oil and set it aside to dry. This small Bari De Luxe Freehand is a real beauty with straight and flame grain all around the bowl. The shank end and bowl rim are both beautiful plateau that is deep and craggy. The brown of the bowl and the black of the plateau look really good with the black of the turned vulcanite stem. I buffed the bowl and the stem with Blue Diamond polish to raise the shine on the briar and the vulcanite. I lightly buffed the rim top and shank end as well. I was careful to not buff the stamping and damage it. I gave the bowl and stem multiple coats of carnauba wax. I buffed the entire pipe with a clean buffing pad to raise the shine. I hand buffed it with a microfiber cloth to deepen the shine. The finished pipe is shown in the photos below. The dimensions of the pipe are: Length: 5 1/4 inches, Height: 1 3/4 inches, Outside Diameter: 1 1/2 inches, Diameter of the chamber: ¾ of an inch. This is the first Bari De Luxe that I have worked on and the petite size and rugged looking plateau make it a pipe that I may hang on to for a while and enjoy. I am looking forward to enjoying my first bowl in it. Thanks for walking through the restoration with me.


The Last of Boston’s Peretti Oom Paul Sitter Recommissioned


Blog by Dal Stanton

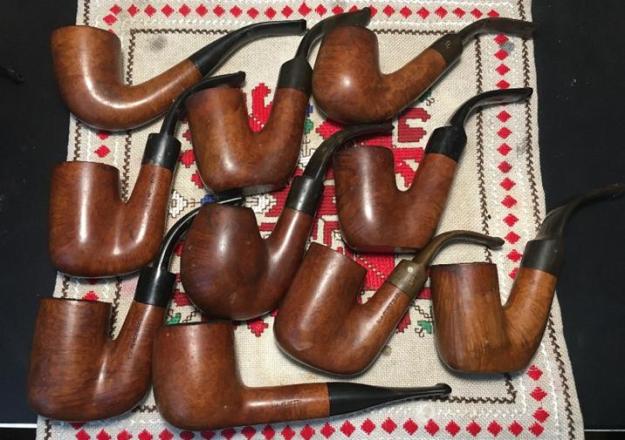
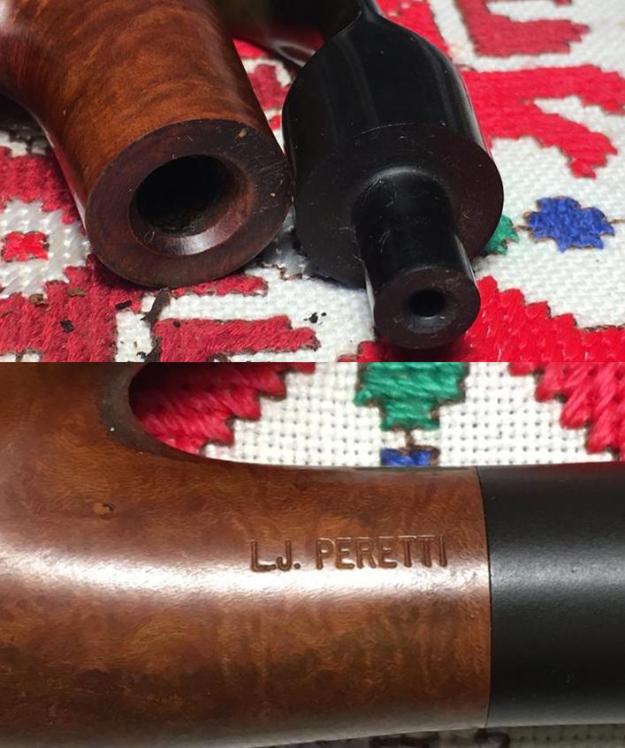
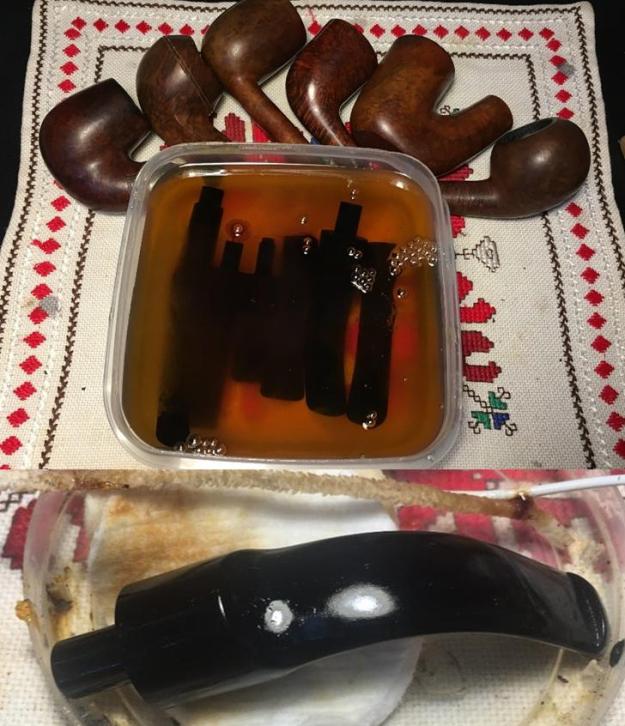
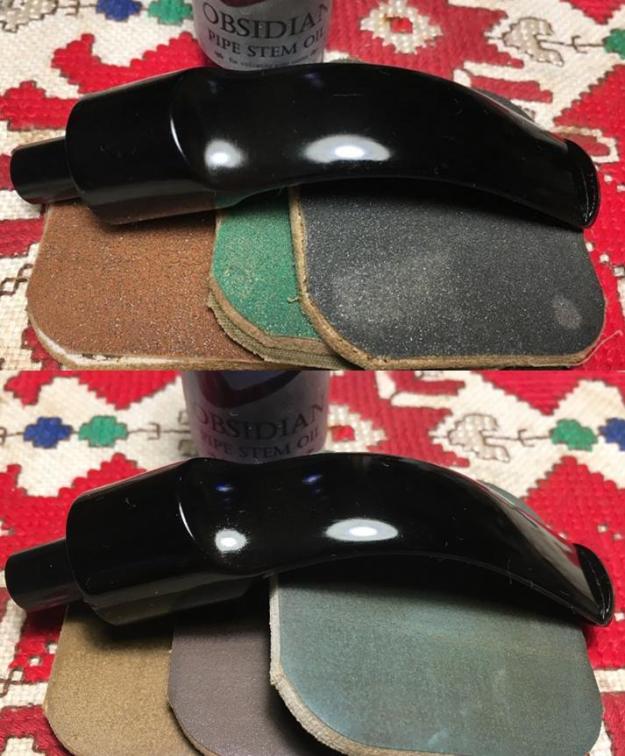
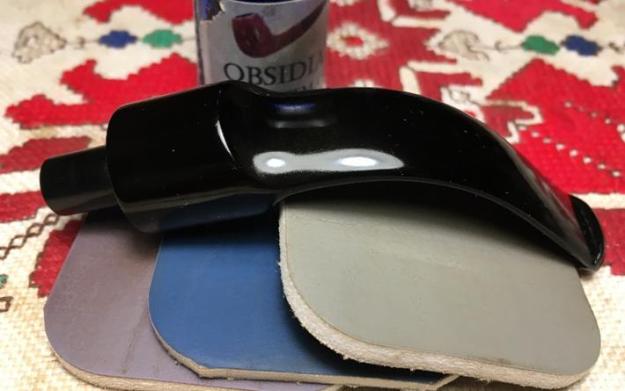
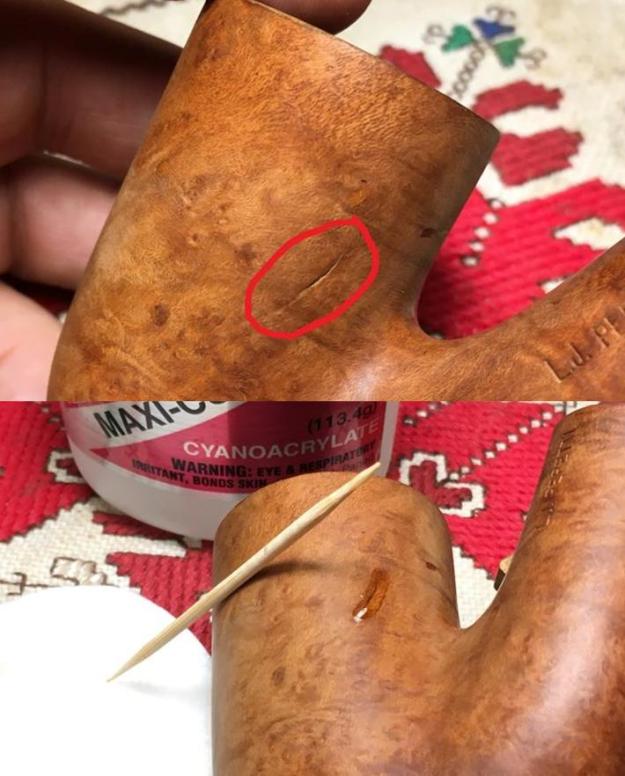
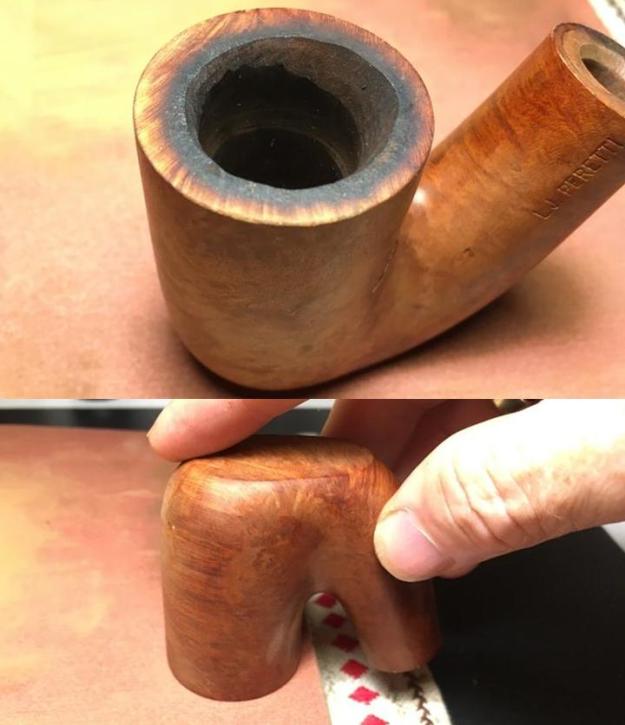
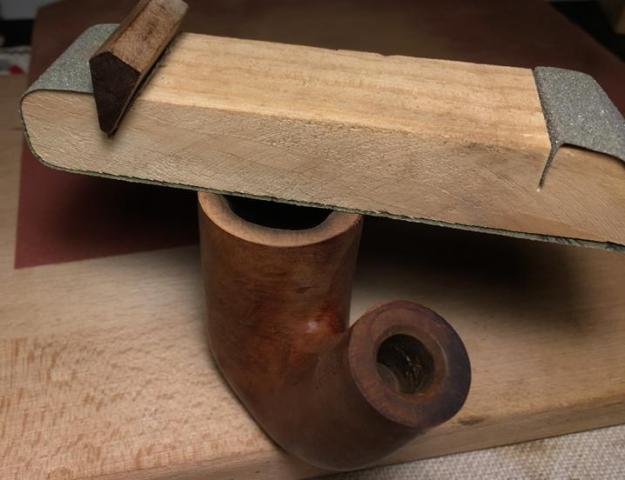
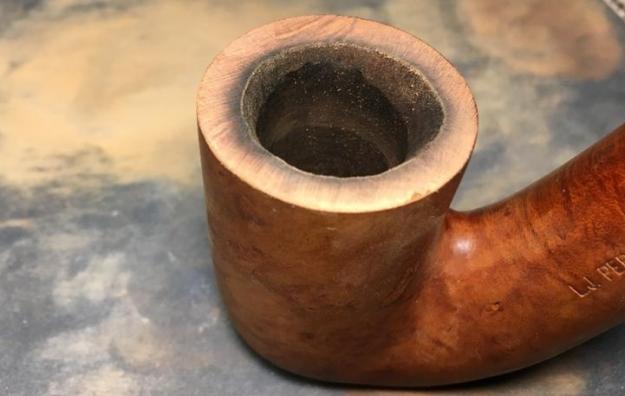
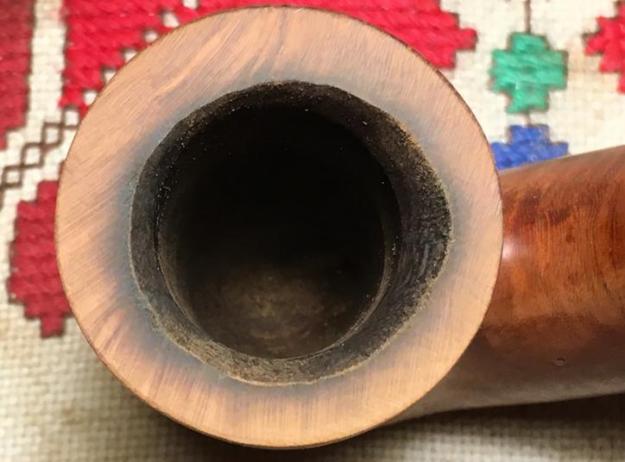
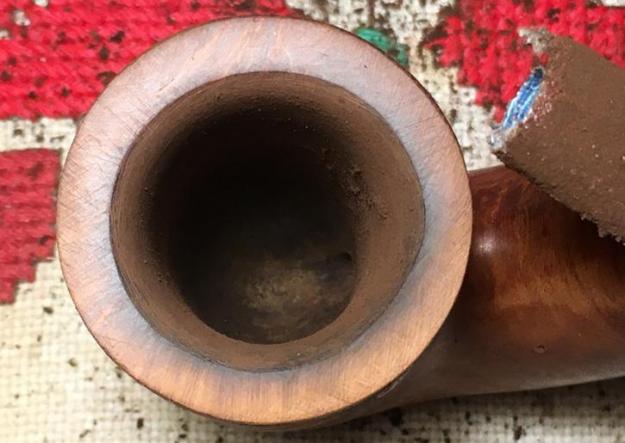
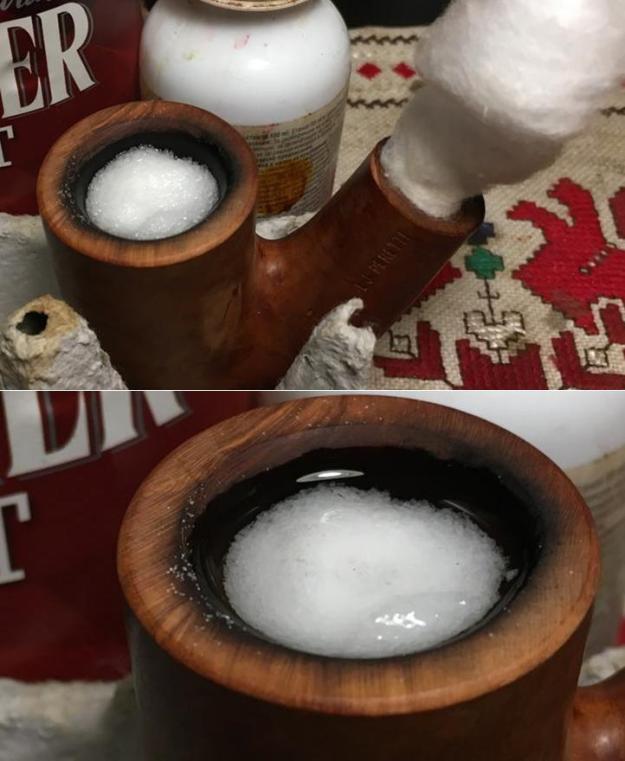
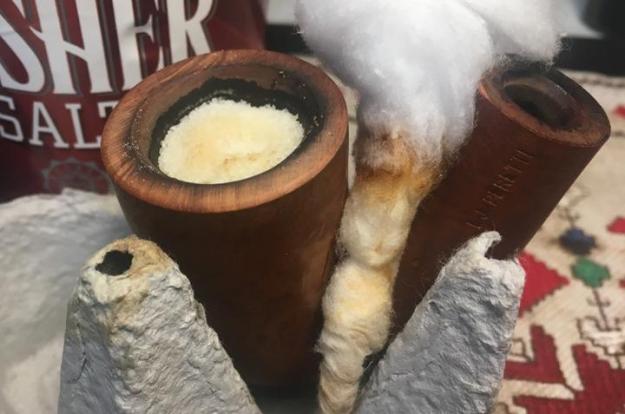
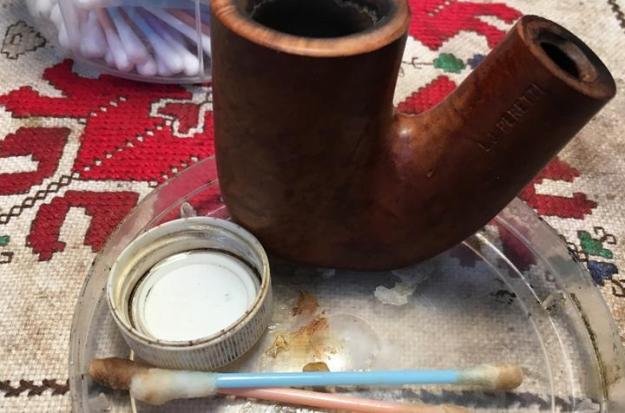
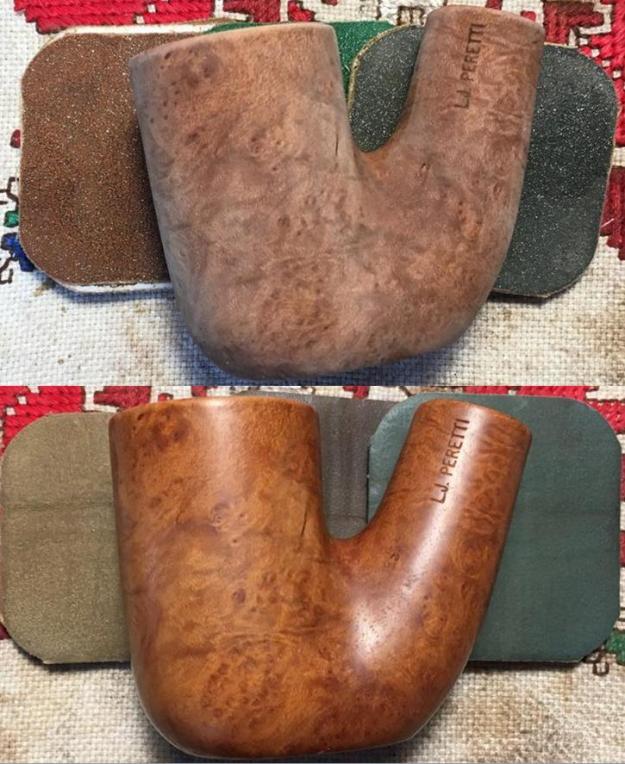
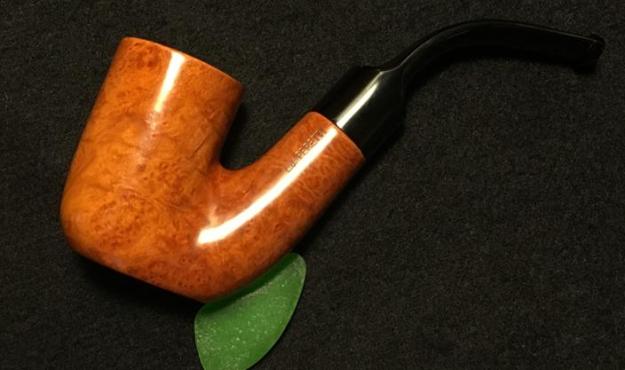
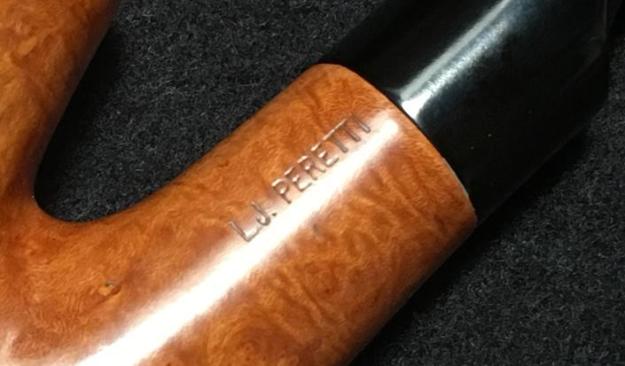
I’ve enjoyed restoring a Lot of 10 Peretti pipes and recommissioning them for new stewards.  All the Oom Pauls in the picture below, except for one which I added to my collection, are in the hands of new stewards except for the one on my worktable now.  I have been pleased to hear back from stewards who have these Oom Pauls and often I’ve heard that they have become favorites in their rotation lineups! I like Perettis myself and have a healthy collection of them.  They are great smokers in my experience and my Peretti Oom Paul is a favorite for me too – he hangs on the chin perfectly, like a good lap dog!  When I began my research on the L J Peretti name, I was surprised to discover that it is not an Italian pipe as one might expect with such a name!  In fact, I discovered the genesis of a significant story of Americana pipe history with the establishment of the L. J. Peretti Company of Boston in 1870 (Pipedia citing: Pipes, Artisans and Trademarks, by José Manuel Lopes), the second oldest tobacco shop in the US, second only to Iwan Ries & Co. of Chicago established in 1857 (See: Link).  The Peretti family originally comes from Switzerland, but the Italian name is explained by the fact that they originated from the southern slopes of the Swiss Alps which flows south toward Italy more easily than to the north – the heart of Switzerland.  The Calabash (upper left) and the Goliath Billiard (bottom) are waiting to be restored to be added to my collection of Perettis.  The hefty Egg in the middle is already in my lineup!Brian commissioned two pipes (See: For ‘Pipe Dreamers’ Only), a nice looking Jobey Hand Rubbed Dublin (next on the worktable) and the Oom Paul Sitter before me – both pipes benefit the Daughters of Bulgaria – helping women and girls who have been trafficked and sexually exploited.  Thanks Brian!  For a close-up look at the Oom Paul Sitter, I take several pictures on my worktable.  The nomenclature is the simple L.J. PERETTI stamp on the left shank.  This Oom Paul shares every single challenge that his former brothers had – the former steward seemed to have a scorched earth policy.  The chamber is heavily caked, and the rim scorched.  The rim challenges are the most daunting for this restoration.  The stummel has a build up of grime and minor nicks from usual wear.  The stem has significant oxidation and bit clenching and chewing which needs addressing.  To begin the restoration of this, the last Peretti Oom Paul Sitter in need of a new steward, after cleaning the internal airway with a pipe cleaner dipped in isopropyl 95%, I put the stem in a soak with Before & After Deoxidizer along with 5 other stems.  After some hours soaking, I fish out the Peretti stem and wipe off the raised oxidation with a cotton pad wetted with light paraffin oil (mineral oil in Bulgaria).  The Deoxidizer seems to have done an adequate job. Next, I attack the chamber carbon cake build up using the Pipnet Reaming Tool.  Putting paper towel down to minimize clean up, starting with the smallest blade head, I use 3 of the 4 blades available to me. I follow the blade heads by using the Savinelli Fitsall Tool to reach down into the chamber to scrape more carbon off the wall.  Then, to clean the chamber and to bring out fresher briar, I sand the chamber using a piece of 240 grit paper wrapped around a Sharpie Pen.  To remove the thick carbon dust left behind, I wipe the chamber with cotton pads wetted with alcohol.  After clearing the cake away, a look into the chamber reveals no problems – no heat cracks or fissures.  Good! Now to scrub the stummel surface and the rim with its thick lava I start with undiluted Murphy’s Oil Soap and cotton pads.  I also use a brass brush on the rim to break up the lava crust.  To scrape the rim, I use a pin knife as well as the straight edge of the Savinelli Fitsall tool.  As I scrape the crust off, I also remove the scorched charcoal that is on the inside of the rim mainly on the left side of the stummel – the area where the former steward damaged all his pipes.  The result is that the left side of the rim is narrower after the cleaning.  The stummel is in great condition – the rim is the challenge. Before moving on with the rim repairs I continue with the internal cleaning of the stummel.  Using pipe cleaners and cotton buds dipped in isopropyl 95% I go to work. I also employ a dental scalpel to scrape the internal wall.  I’m pleased that there wasn’t too much resistance.  At the end of my work day I’ll continue the cleaning process by giving the stummel a kosher salt and alcohol soak.Turning now to the stem, I begin addressing the tooth dents and chatter on the bit.  With his brother Oom Pauls, there usually was some button damage too, but this guy’s in better shape in that regard.  I first use the heat method to raise the vulcanite dents to make them less severe.  By heating the vulcanite, it expands, and the dented vulcanite naturally seeks its original positioning.  I use a Bic lighter and paint the upper and lower bit and after heating several passes, I do see a lessening of the severity of the dents as the vulcanite expands.  As a result, I can sand the remaining dents out with both the upper and lower bit.  Before the heating:After the heating:I sand out the damage using 240 grit paper.I move on to using 600 grit paper by wet sanding the entire stem.  I follow this with 0000 steel wool sanding/buffing the entire stem.Moving forward with the stem, I wet sand using micromesh pads 1500 to 2400 followed by dry sanding with pads 3200 to 4000 and 6000 to 12000.  To revitalize the vulcanite, I apply a coat of Obsidian Oil after each set of 3 pads.  I love the glossy pop! Looking now to the stummel, I see a few very small, nicely camouflaged fills which are in good shape, but I see one significant cut into the briar that needs attention.  To address it, using a toothpick, I lay a line of thick CA glue over the cut.  I set the stummel aside to allow the patch to cure.After a while, the patch has set enough for me to work on the rim.  The bad news is that the loss of briar on the left side of the internal rim from scorching is gone – it can’t be replaced.  The good news is that the aesthetic imbalance of the rim as a result can be mitigated somewhat by creating a bevel around the entire rim.  The bad news – there is additional loss of briar.  In restoring a pipe there’s always this tension between loss and gain.  With this Peretti, as with all his Oom Paul brothers, I did the same thing and they turned out well.  I start the process by taking the stummel to the topping board to remove the damaged wood on the top. Topping an Oom Paul can be a challenge because the shank extends beyond the plane of the rim.  So, to top the rim, the shank needs to hang off the side, so it isn’t unintentionally topped!  I take a picture to mark the start. I turn some rotations on the board and check out the progress.  I also utilize a small sanding block which allow me to focus on a certain area of the rim.  After the 240 paper, I put 600 grit paper on the board and do a few more rotations.  The pictures show this progress. Now, using a tightly rolled piece of coarse 120 grit paper, I begin beveling the internal rim edge – hoping to bring more balance to it.  I take a bird’s eye picture first to mark the progress.  I pinch the paper under my thumb as I move it in the areas of the rim to be reduced.  While I work on equalizing the rim diameter, I’m also sanding down the chamber to taper the walls as they move downwardly.  I’m looking for greater aesthetic balance.  I come to the point where I’ve done all I can do.  I think it looks much better.  I do another bird’s eye shot for comparison. I take the stummel one more time to the topping board using 600 grade paper.  I do this simply to reestablish the lines after the sanding. One more thing I want to do with the rim.  I’ve worked on the inside balance, now I also introduce a very gentle bevel on the outside of the rim.  I do this to soften the edge which is sharp after the topping.  I use 120 grit paper then 240 and finish with 600 – each rolled tightly.  With the rim repair done, I take the flat needle file and begin to file down the patch on the side of the stummel.  When I bring the patch down close to the surface, I switch to using 240 grit paper to remove the excess patch to the briar surface, making the patch area flush with the surface.  I then finish the sanding with 600 grit paper.  The patch will blend well later.My day has ended and I will continue the cleaning process of the stummel with a kosher salt and alcohol soak.  This freshens the briar and draws out more latent tars and oils from the briar.  I fashion a wick from a cotton ball by pulling and twisting it.  I insert it down the mortise and airway.  I then fill the bowl with kosher salt, which has no aftertaste, and then put isopropyl 95% into the bowl until it surfaces over the salt.  I wait a few minutes and top off the alcohol and turn out the lights. The next morning the soak has done the job through the night.  The salt and wick show soiling from the tars and oils.  I clean the stummel of residue salt with paper towel, blowing through the stummel, and to be on the safe side, I run a cotton bud with alcohol through the mortise to clean up any leftover remnants – after a couple of cotton buds I move on. The next step is to address the external briar surface of the Peretti Oom Paul Sitter.  I filled the one cut I saw on the surface that stood out.  There are other nicks and scratches that are normal from use.  To address these, I use micromesh pads.  I first wet sand using pads 1500 to 2400, then dry sanding 3200 to 4000 and 6000 to 12000.  The grain looks good as the micromesh pads coaxed it out.  The one bummer is the darkened wood from the scorching damage around the inner edge of the rim.  That will not go away because it would sacrifice too much briar to accomplish it. Since the rim had been topped and sanded, it is a shade lighter than the rest of the stummel.  To remedy this, I apply a maple color dye stick around the rim.  I forgot to take a starting picture for comparison but here is the aftermath.  It looks good and matches well.As I’ve done with all the other Peretti Oom Pauls (and one Bent Billiard!) I restored, I kept the color true to the original as much as possible.  To do this I used Before & After Restoration Balm on the briar and it does a great job deepening and enriching the color already there.  I do the same with this Sitter.  I squeeze some of the Balm on my fingers and work it into the surface.  The Balm starts with the consistency of light oil but as it is worked into the briar it gradually thickens to a wax-like feel.  After applying it fully and working it in, I set the stummel aside for a while, about 30 minutes to allow the Balm to do its thing and take a picture.After about 30 minutes I use a clean cloth to wipe and buff off the Balm.  I’m pleased with the results.  Turning now to the application of Blue Diamond compound, I rejoin stem and stummel, mount a cotton cloth wheel onto the Dremel, set the speed at 40%, and methodically apply the compound.  After finished, I wipe the pipe with a felt cloth to remove compound dust in preparation for the wax.  I mount a different cotton cloth wheel to the Dremel dedicated to applying carnauba wax, leave the speed at 40% and again, methodically apply a few coats of wax to stem and stummel.  I finish the restoration of the Oom Paul Sitter by giving the pipe a rigorous hand buffing with a microfiber cloth to raise the shine.

I am very pleased with the restoration of this, my last for now, Peretti Oom Paul Sitter.  The grain is rich on the huge, ample bowl which is the reason many pipe men and women desire an Oom Paul in their collections. The added benefit to this Oom Paul is that it is a Sitter.  He can comfortably join his steward at a table playing cards or board games!  Brian commissioned (see For ‘Pipe Dreamers’ Only) this Peretti Oom Paul Sitter and will have the first opportunity to acquire it in The Pipe Steward Store.  This pipe benefits the Daughters of Bulgaria – women and girls who have been trafficked and sexually exploited.  Thanks for joining me!

Repairing a Chipped Button on a ≠ Ago Hand Made In Italy


Blog by Steve Laug

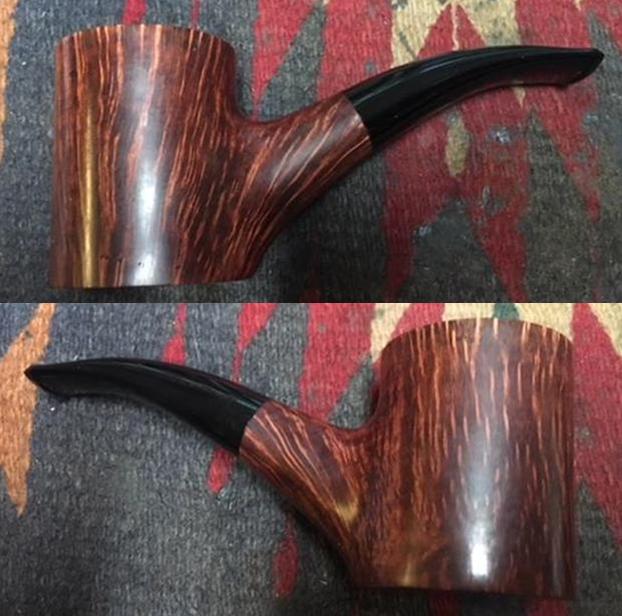
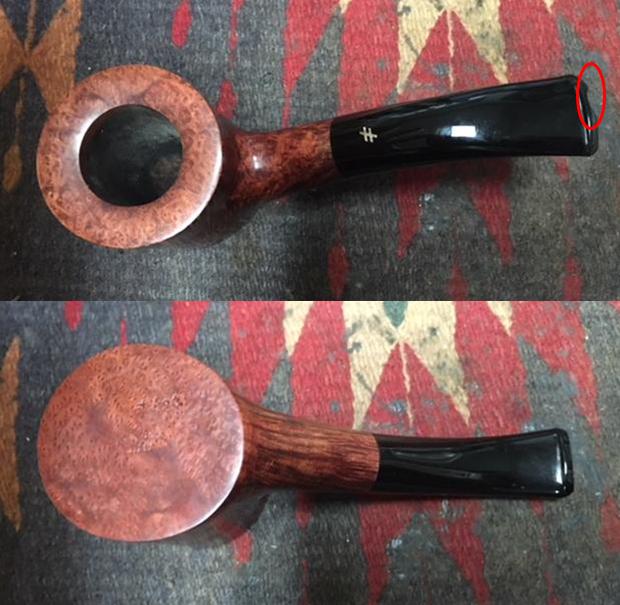
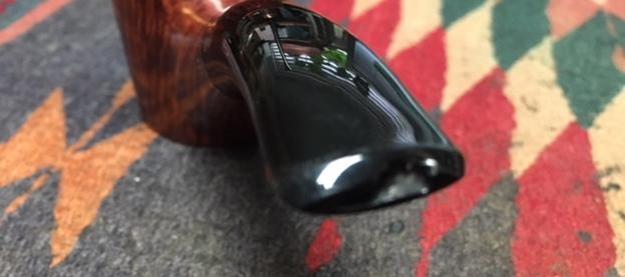
I received an email from Dave, a reader of rebornpipes about a pipe he had purchased recently. It seemed that he had dropped it after just a few smokes and chipped the top edge of the button. I told him I would have a look at the pipe and see what I could do with the chip in the button edge. It would be hard to know until I received the pipe to have a plan of repair but it was worth a shot. When the pipe arrived it was actually a beautiful pipe – well made, beautiful grain, handmade with a black Lucite stem that fit snuggly on the shank. The chip was small but very visible and had sharp edges. I have circled it in red in the second photo. This was the first ≠Ago pipe that I worked on. It was quite impressive. I can see why Dave wanted me to repair it for him. I took some close up photos of the rim top and the stem. The rim top and the bottom of the bowl had some beautiful birdseye grain. The bottom is stamped ≠Ago over Hand Made over Italy. The Lucite stem is well made. The ≠ logo is inset on the top side of the stem. The topside of the button has a chip out of it. I have circled it in red as is shown in the second photo below.I tried to take a close up photo of the chip in the topside of the button. It came out a little blurry but the chipped area is still visible.Once I had looked the pipe over and examined the chipped area I wrote Dave back to let him know that I would be glad to give the repair a try. I also asked him about the brand as it was a new brand to me. He wrote back the following email…

Steve:

Thanks so much. It is a terrific pipe.‎ The guy who makes them — actually he and his staff — is Gianmarco Ago. You won’t find his pipes in any stores. He’s made his name via the Internet, specifically Facebook. If you go online on Facebook, he has 2 pages:

* Gianmarco Ago‎
* Pipe ≠ Ago Hand Made In Italy Lifetime Guarantee

Go to either — or both — and click on “photos” so you can see a couple of years’ worth of his pipes. I have several and they are all very good smokers.

I can’t begin to tell you how much I appreciate your doing your “Lucite” thing and fixing the stem… Again, my thanks.

Best regards, Dave

I went to the Pipe≠Ago page on Facebook to get some background and history on the brand. Here is the link to the page: https://www.facebook.com/pg/gianmarcoagopipe/about/?ref=page_internal. I have included a section from the page that they entitled “Our Story”. I quote:

Pipe ≠ Ago, came into being due to a lucky meeting between Gianmarco Ago and skillful craftsmen. From this meeting ≠ Ago was born, a unique line, devoted and reserved, consisting of few refined items.

The ≠ Ago line has not wished to participate in an already saturated market, but desires to be an emblem, a philosophy of this article is limited to the requirements of friends who embrace the art of pipe smoking and have become enamoured of these small masterpieces reaching out with their shapes, colours and materials to one’s inner depths.

Pipe ≠ Ago is a hymn to the skill of the craftsmen who produce them. The aim of ≠ Ago is to make these works of art a moment of thought and aggregation for all, an area of research and of an opportunity to share… the symbol “different from” is intended as a synonym of a search for values in a congenial essence in becoming, an expression of diversity in the sense, as it were of a spiritual and intellectual enrichment.

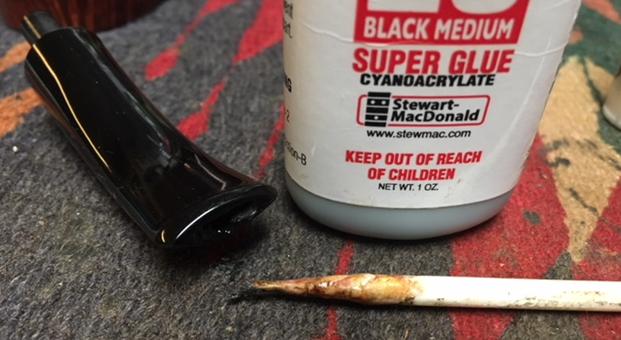
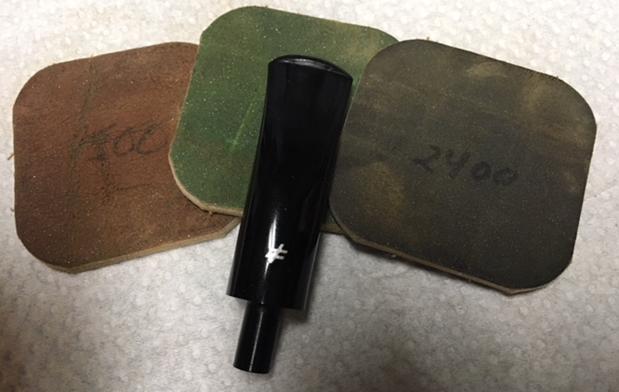
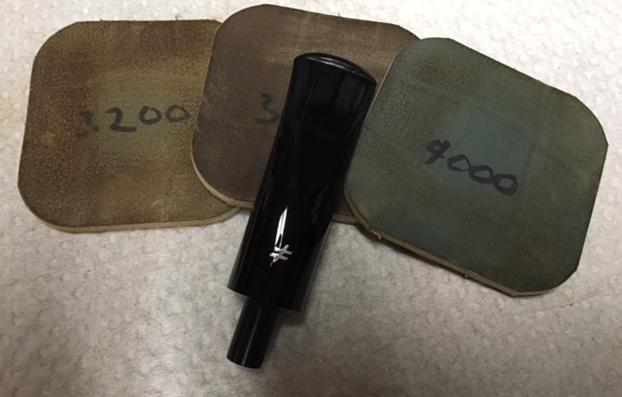
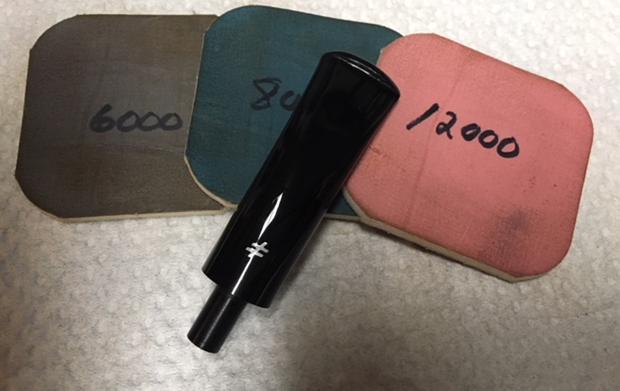
Now that I knew some background on the pipe and the philosophy of the ≠Ago Company it was time to work on the repair and see what I could do with it. I used the sharp end of a sanding stick to start layering the black super glue onto the chipped area. I knew that this would be a process of building layers up until the chipped area had disappeared into the surface of the button area. It took time to build it up because I let the repair cure between each layer. As they cured I would add another layer of the glue.When the repair hardened I shaped the sharp edge of the button with a needle fill to clean up the edge and remove the overflow of glue on the surface. The second photo shows the repair at this point in the process. I still needed to fill in a few spots and to reshape the slot to accommodate the repair.I sanded out the file marks in the surface of the Lucite stem with 220 grit sandpaper to blend it into the surface of the stem. I still need to shape the button a bit more. I started the process with a round and a knife blade needle file.I filled in the damaged areas a bit more with the glue and continued shaping the button with the needle files. I reshaped the repaired areas on the top and underside of the button.I continued to work on the shape of the slot. It was getting close and certainly looking better than when I started the repair.I polished the stem with micromesh sanding pads – wet sanding with 1500-2400 grit pads and dry sanding with 3200-12000 grit pads to polish out the scratches from the sandpaper. I wiped it down with a damp cotton pad after each sanding pad. I continued shaping the slot with files and folded sandpaper. The repair is smooth with the face of the button. The edge is clean on the inside of the slot.I put the stem back on the bowl and buffed the pipe with Blue Diamond on the buffing wheel. I gave the bowl and stem several coats of carnauba wax and buffed the pipe with a clean buffing wheel. I hand buffed it with a microfiber cloth to deepen the shine. The finished pipe is shown in the photos below. Soon I will pack it up and ship it back to Dave. Thanks for reading the blog. It was an interesting challenge.


An email from France brought me another SINA pipe – a Horn Stemmed Chubby Billiard


Blog by Steve Laug

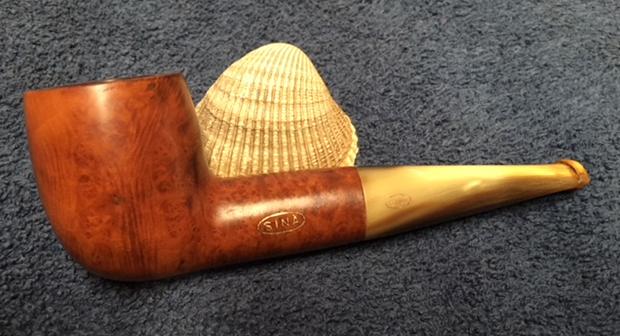
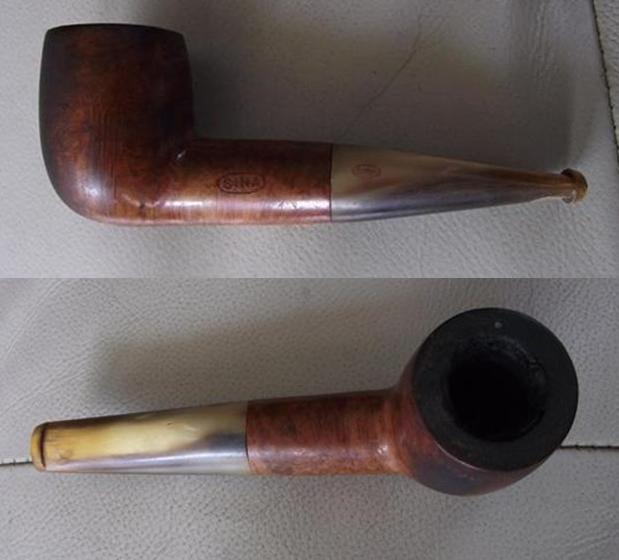
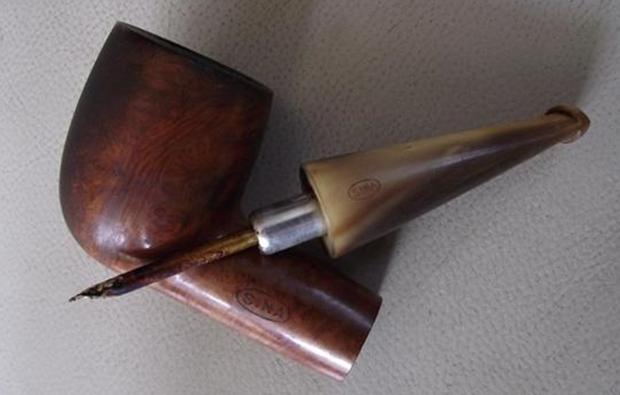
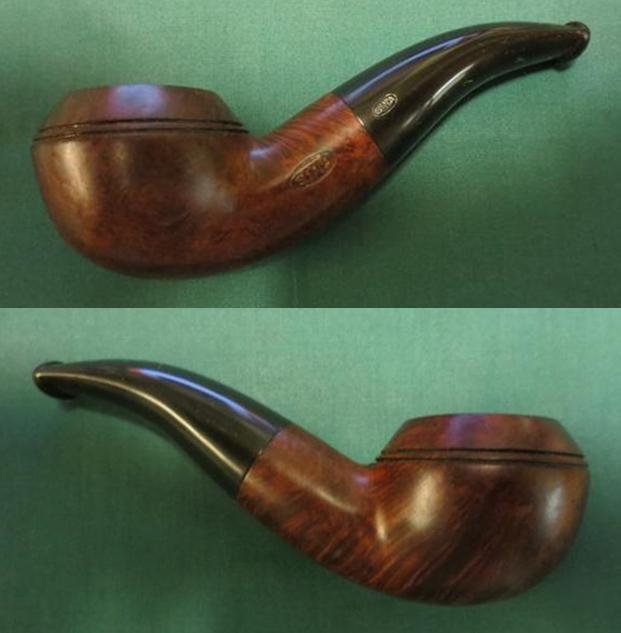
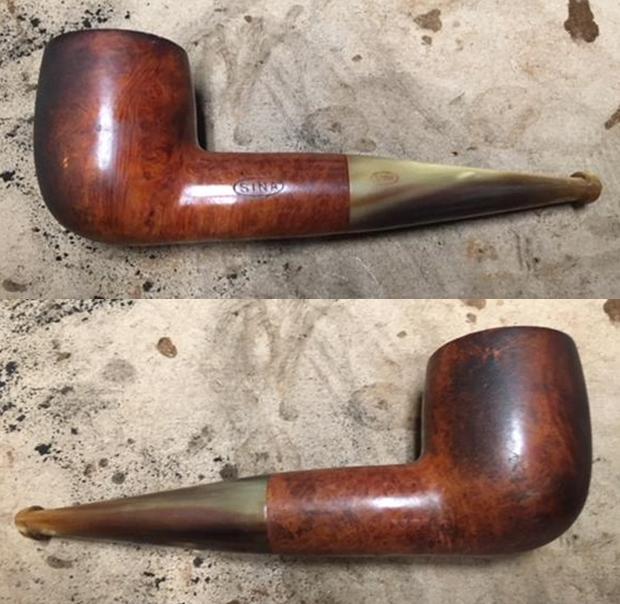
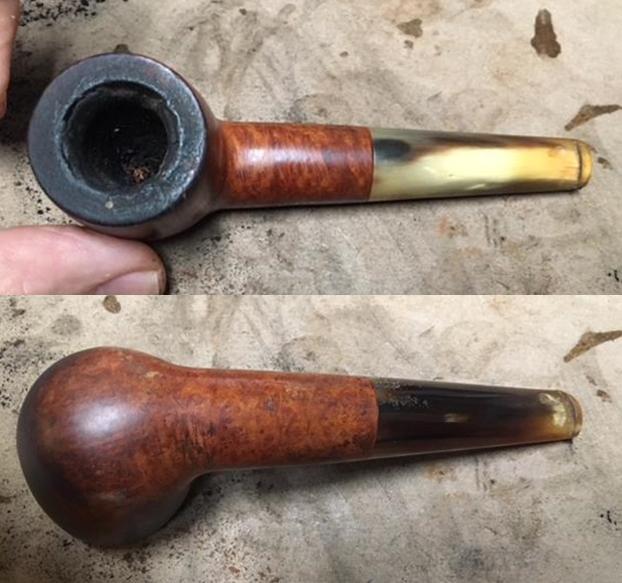
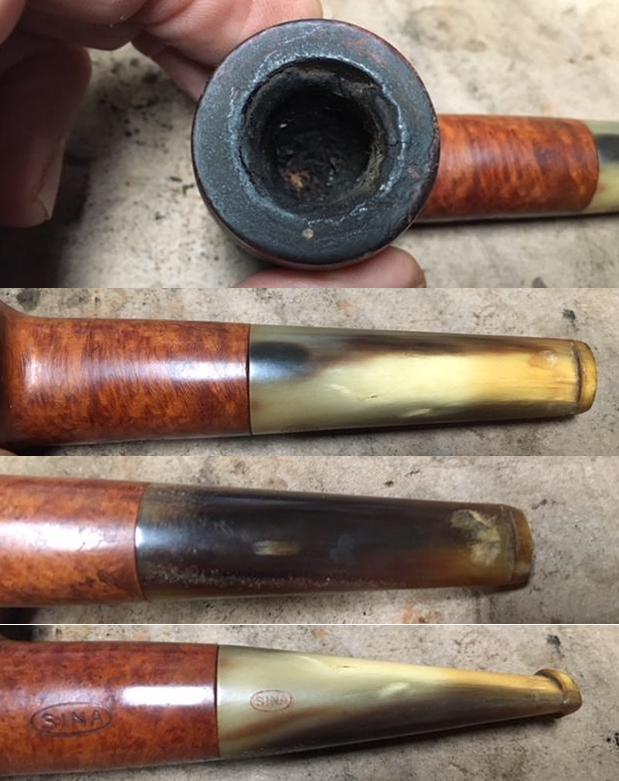
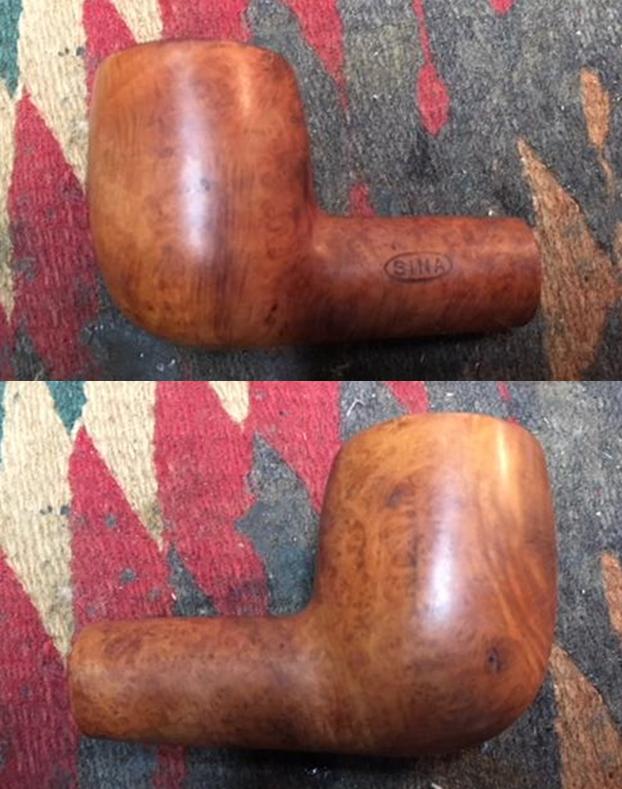
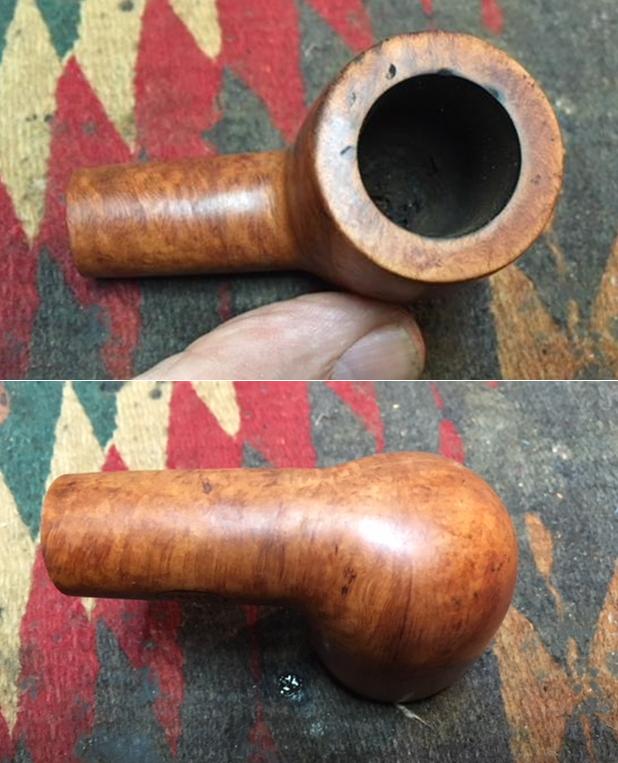
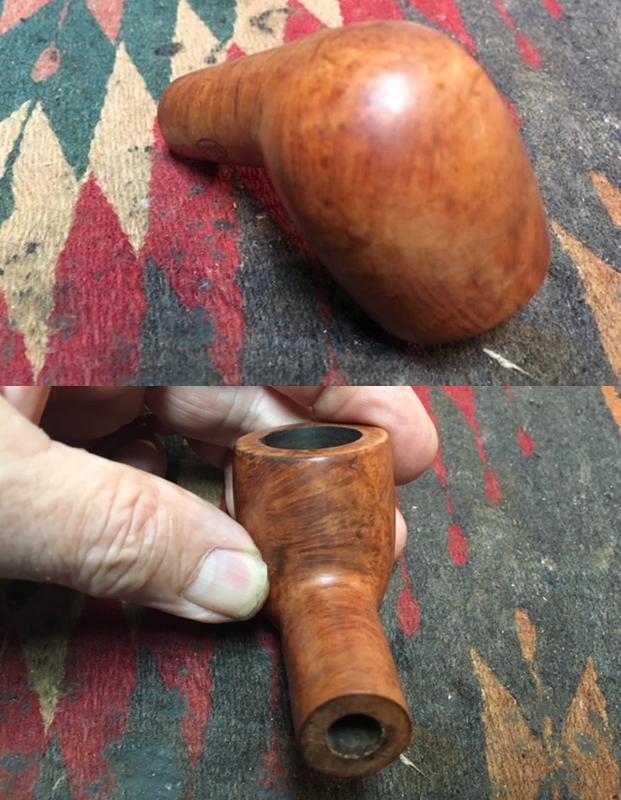
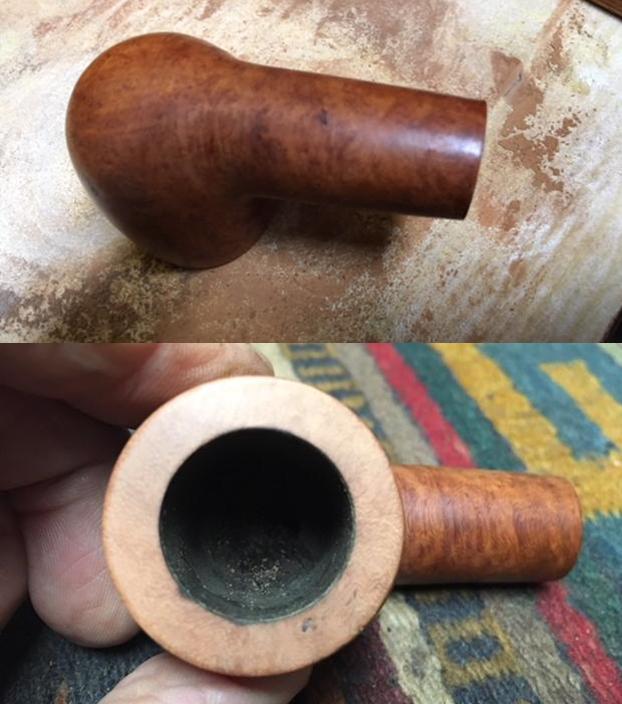
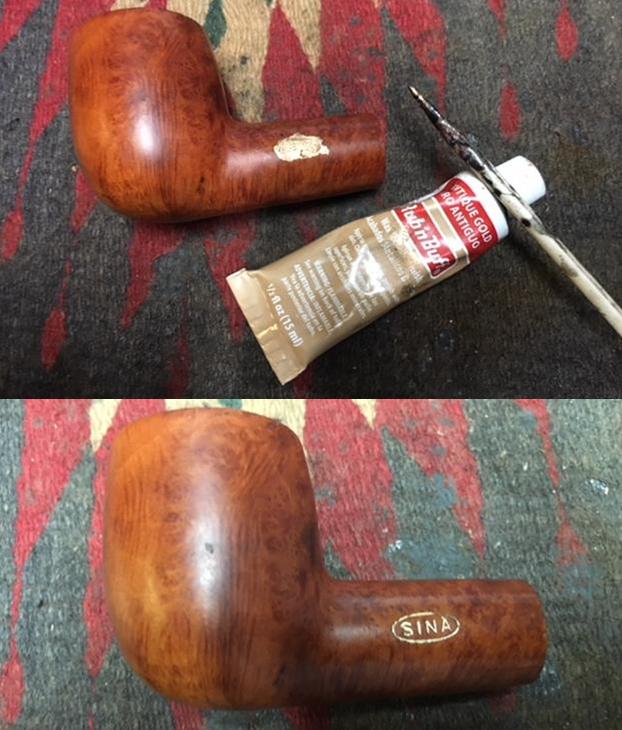
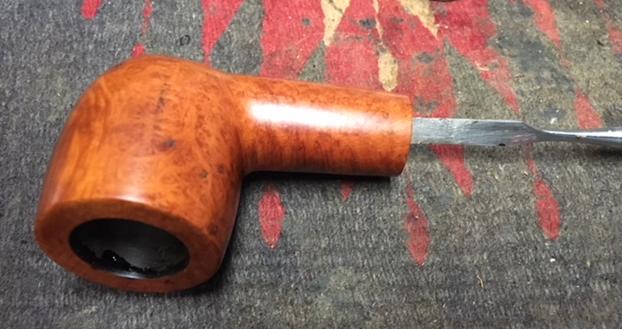
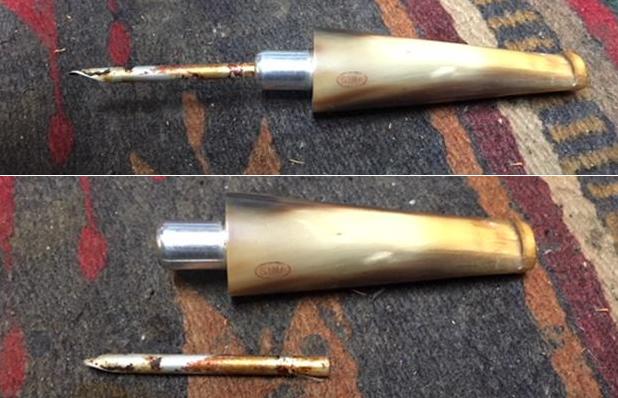
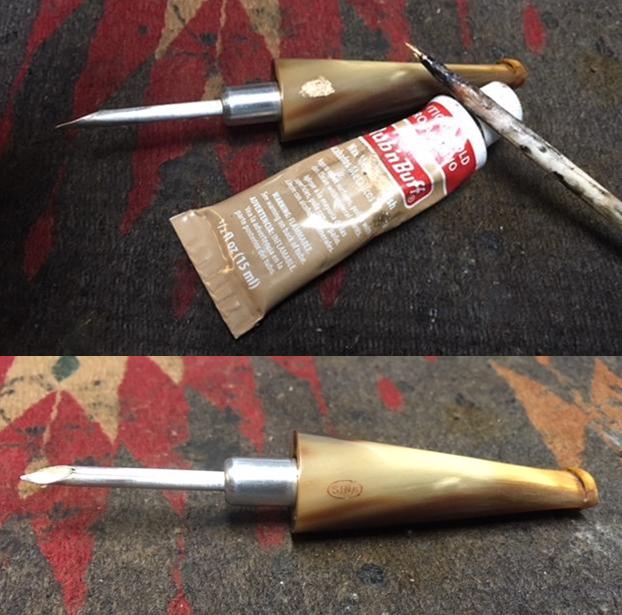
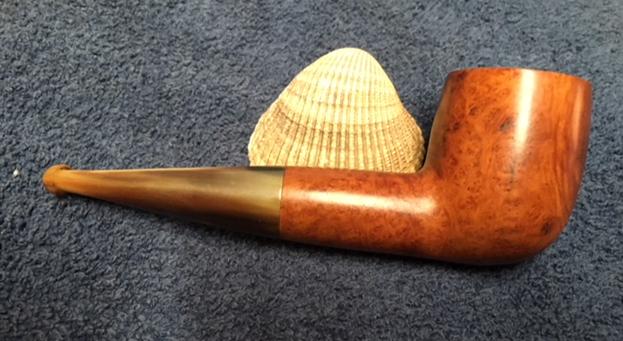
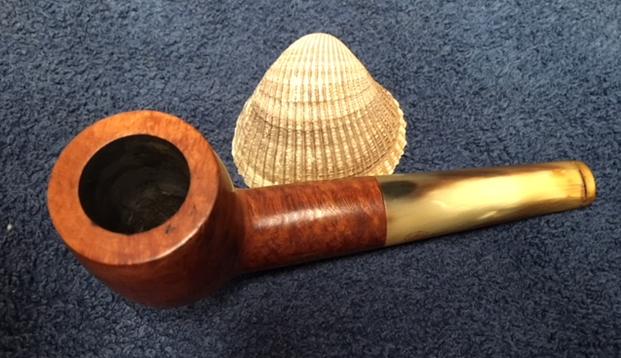
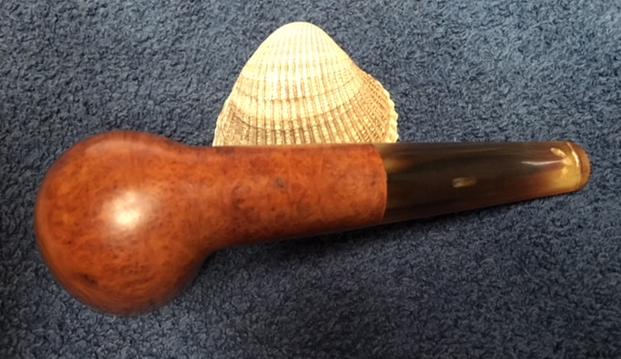
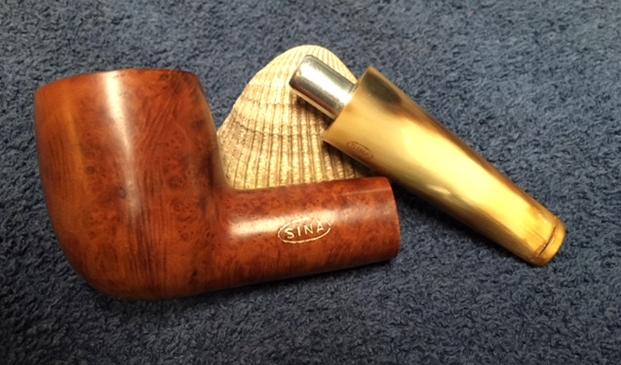
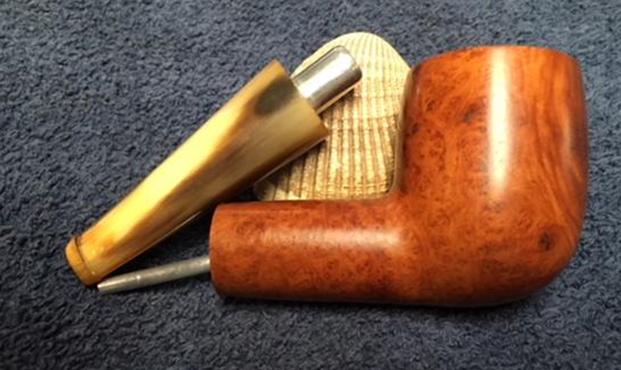
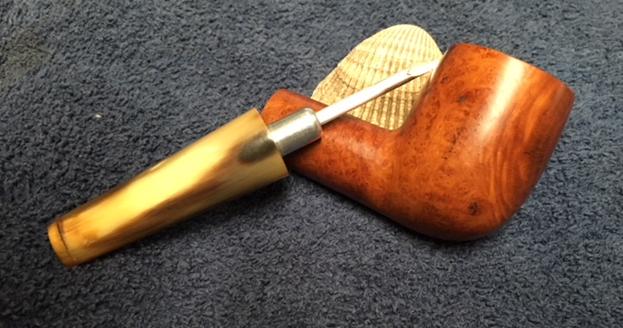
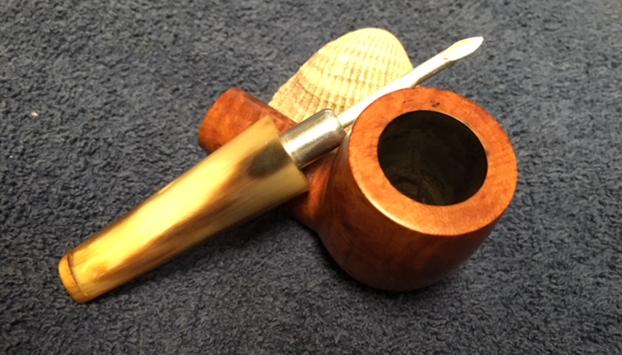
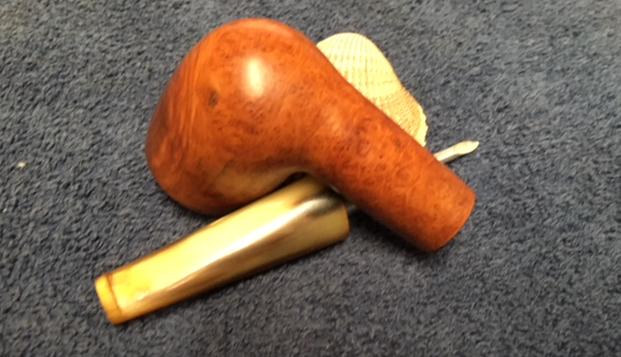
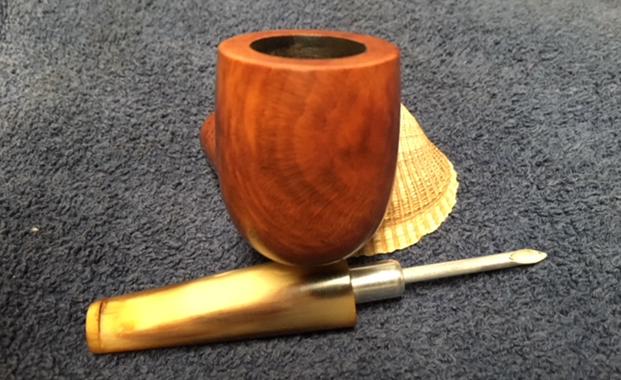
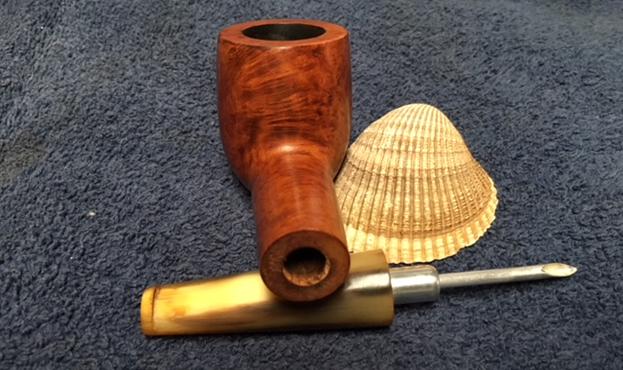
A couple of weeks ago I received an email from Jean Paul in France asking if I was interested in purchasing an old pipe he had. It was stamped SINA on the left side of the shank and on the stem. I asked him to send me some photos of the pipe to show me what he was offering. He sent me the following photos – a left side view, a top view and a photo of the pipe taken apart. The pipe was definitely an old one. The stamping on the left side of the thick shank and on the horn stem had remnants of gold stamping and reads SINA. The rim top was dirty and had a thick looking overflow but it was hard to see what the cake looked like. The inner and outer edges of the bowl looked to be in good condition. The horn stem was in excellent condition with some light tooth chatter on both sides of the stem at the button. There was an inner tube that ran from the tenon end into the bowl. It was heavily lacquered with tobacco oils and tars but otherwise in good condition. I sent another email and a payment via Paypal and the pipe was mine. The pipe was soon on its way across the Atlantic. The SINA brand was not uncommon to me as I have previously worked on another older SINA – a Rhodesian with a hard rubber stem. If you are interested in reading about the restoration of that old pipe the link will take you to the blog (https://rebornpipes.com/2014/08/28/giving-new-life-to-a-sina-rhodesian/). I have included two photos of the other SINA pipe in my collection. It is also an old timer from the same time period. When I worked on that pipe I did a bit of research to find out about the maker of the SINA pipe. I have included the information I found for that blog below. I figured it would be good to have it here as well as in the earlier blog. I quote:

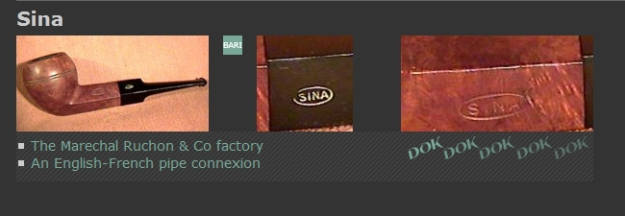
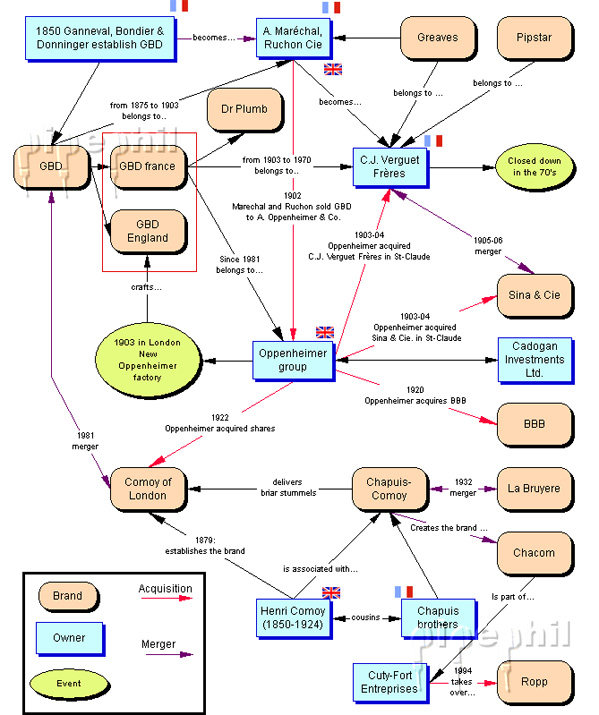
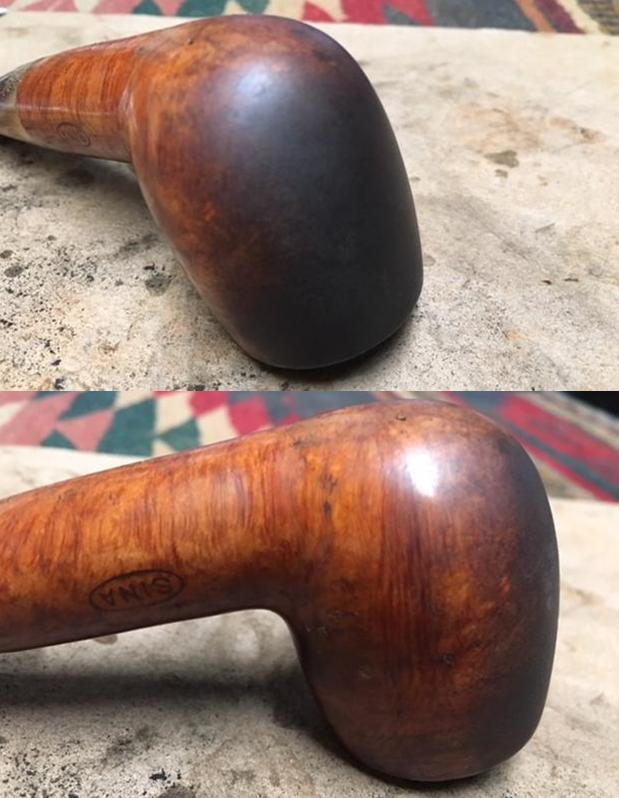
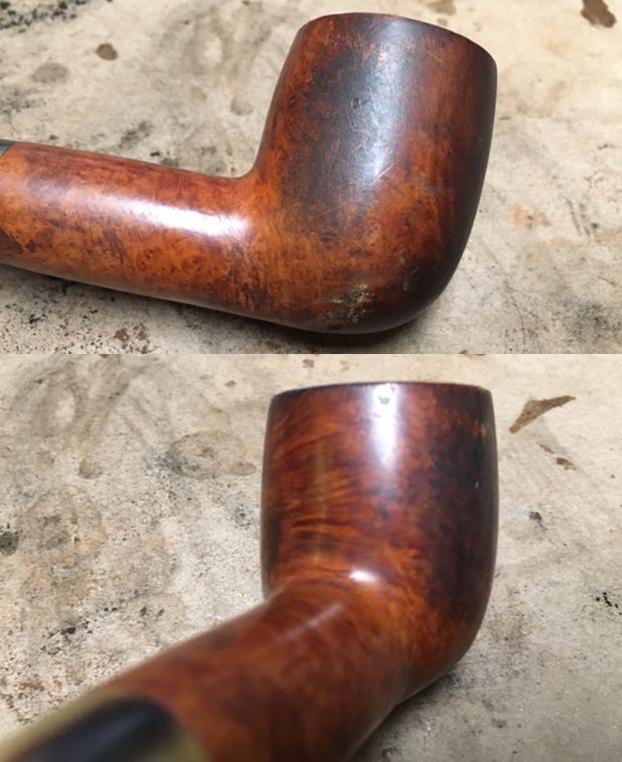
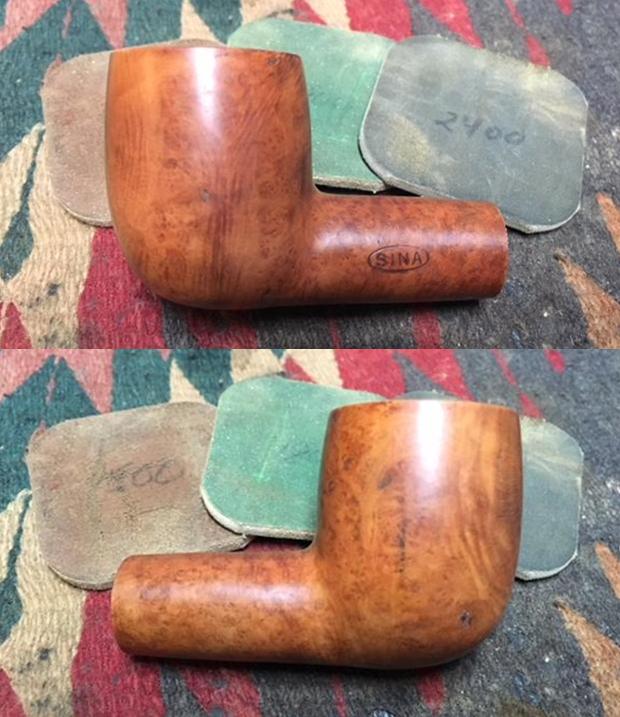
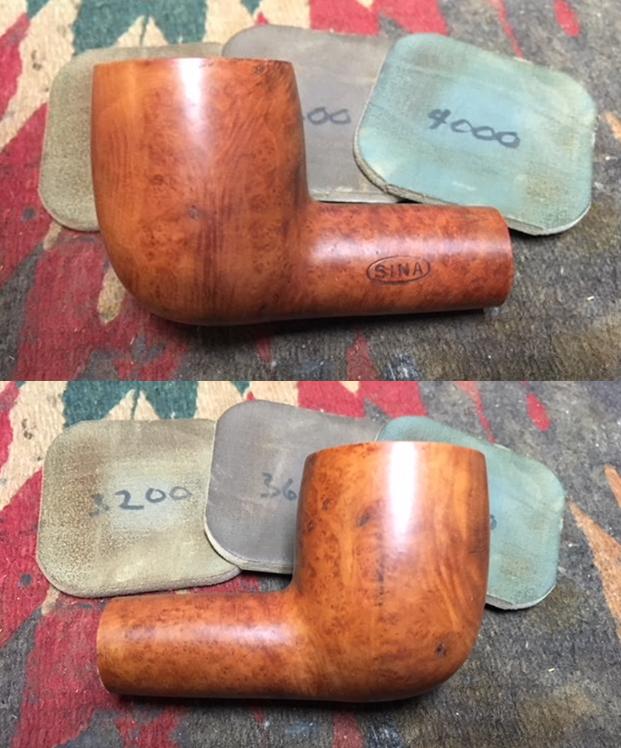
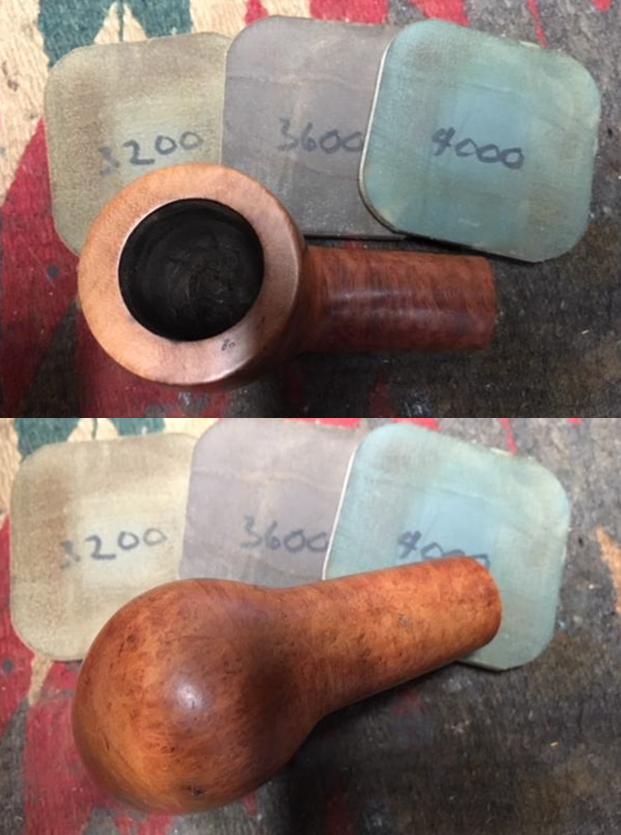
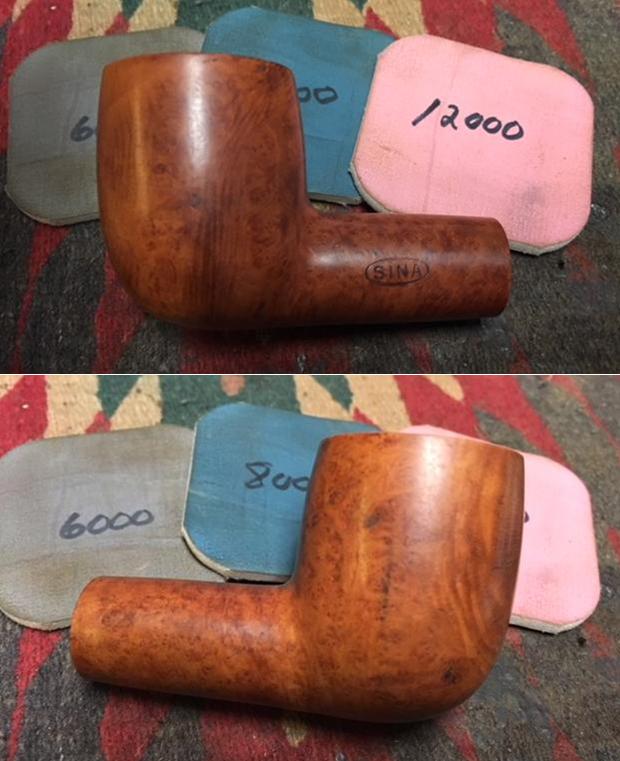
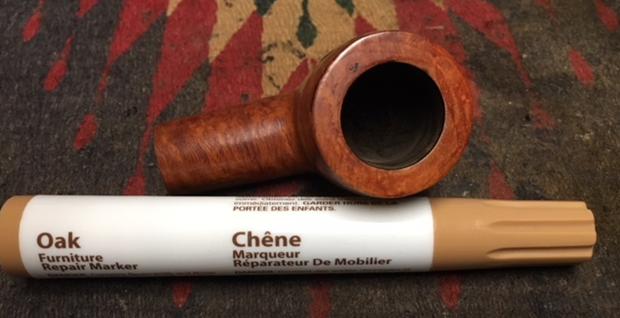
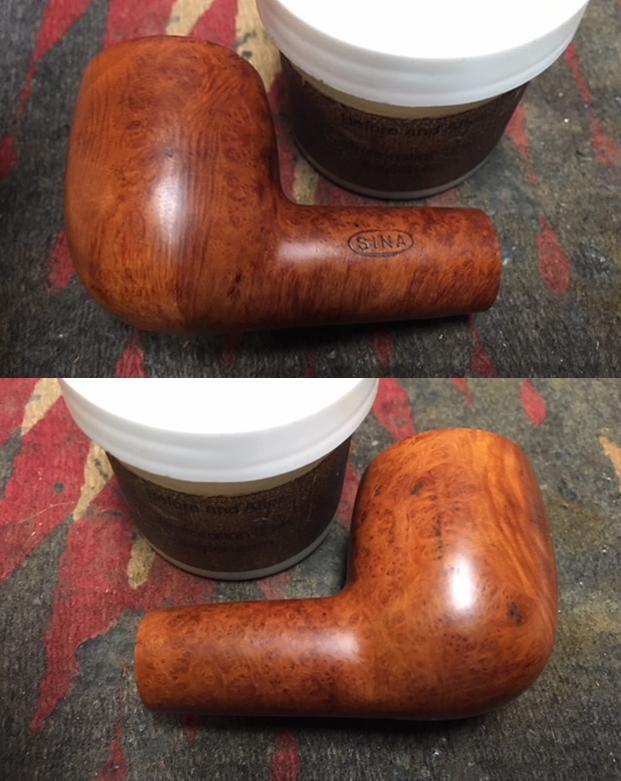
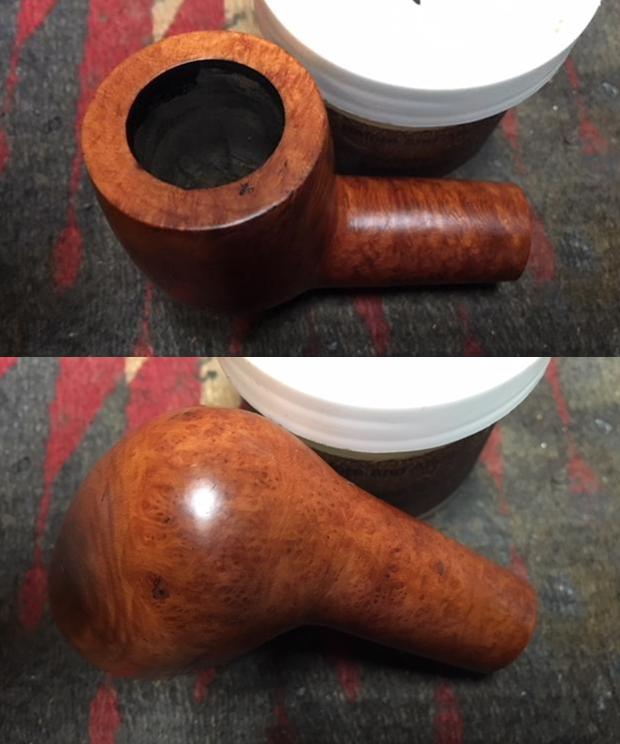
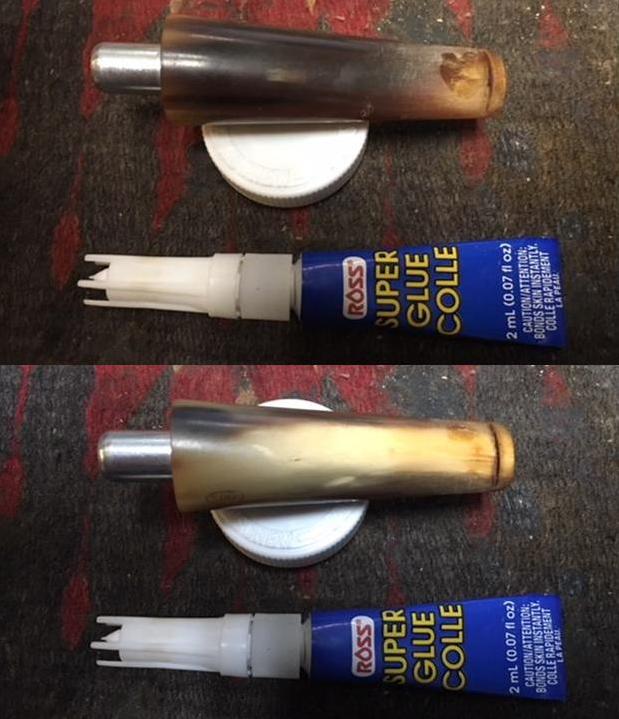
I looked on Pipephil’s site and was able to find out that there was indeed a connection to GBD. The connection was with the French branch of GBD.From the screen capture above you can see the two links under the photo on the left. The first connects the pipe to the Marechal Ruchon & Co. factory that made GBD pipes. They eventually sold out to the Oppenheimer group. The French brand was also connected to C.J. Verguet Freres and to Sina & Cie which were sold to Oppenheimer in 1903-1904. In 1905-1906 Oppenheimer merged the two companies. The accompanying chart gives an overview of the twisted trail of the GBD brand and its mergers and sales. The chart also comes from the Pipephil site and was the second link under the above photo. Once I had refreshed my memory on the SINA brand I knew that this second pipe was made before the 1905-1906 mergers as well. It fits well with the thick horn stem and the shape of the button and narrow slot opening. The thick shank also fits well with the period. I really like the shape and style of this era of pipe history so this one would be a pleasure to clean up. I took the following photos of the pipe when I took it out of the box. It was really dirty as I had guessed from the presale photos. It was in good condition underneath it looked like but it was a mess. The outside of the bowl was very dirty grime and tars covering the front and right side of the bowl. The rim top had a thick coat of lava and tars and there was a thick cake in the bowl. The stem looked pretty decent other than tooth marks on the top and underside near the button. I took close up photos of the rim top and both sides of the stem to show its condition. You can see from the photo the thick cake in the bowl and the overflow on the rim top. The second and third photos show the tooth marks chatter on both sides of the stem at the button. The final photo shows the SINA in a logo stamped on the left side of the shank.I took photos of the bowl from a variety of angles to show the ground in grime and dirt in the briar on the exterior. I reamed the bowl with a PipNet pipe reamer starting with the smallest cutting head and working up to the third cutting head. I took the cake back to the walls of the bowl. I cleaned it up with a Savinelli Fitsall Pipe Knife to remove the cake that remained behind on the walls and on the bottom of the bowl. I sanded the inside of the bowl smooth with 180 grit sandpaper wrapped around a piece of dowel. I scraped the rim top with the Savinelli Fitsall Knife to remove the thick lava that had overflowed onto the rim. I wiped it down with acetone on cotton pads to remove the residual grime on the rim and around the bowl and shank.I took photos of the bowl after I had wiped it down with the acetone. The bowl looked quite good. There was some deep pits and nicks on the rim top and bowl edges as well as some burn marks toward the front of the bowl. I lightly topped the bowl with 220 grit sandpaper on a topping board. I worked over the inner edge of the bowl with a folded piece of 220 grit sandpaper.I polished the rim top and the rest of the bowl with micromesh sanding pads – wet sanding with 1500-2400 grit pads and dry sanding with 3200-12000 grit pads. I wiped the bowl down after each sanding pad with a damp cloth. I touched up the stain on the rim top with an Oak coloured stain pen to match the rest of the bowl. I would blend in the stain later in the process.I rubbed some Before & After Restoration Balm into the surface of the briar to enliven, clean and preserve it. I rubbed it in with my fingertips working it into the briar. I set it aside for a little while to let the balm do its work. I buffed it off with a cotton cloth and then buffed it with a microfiber cloth. The photos below show the pipe at this point in the restoration process. I touched up the gold leaf in the oval SINA logo on the left side of the shank using Rub’n Buff Antique Gold. I rubbed it into the stamping on the shank side and pressed it into the stamp with the sharp point of a sanding stick. Once the gold had dried I buffed it off with a cotton cloth. The second photo shows the stamp after the touch up. It does not look too bad for a pipe made before 1905-06.I scraped out the inside of the shank with a dental spatula to remove the lacquered tars and oils that had hardened in the mortise. I don’t think this pipe had been cleaned since it was first smoked in the early 1900’s.I turned the inner tube in the metal tenon in the stem to remove it. It was pressure fit and the tars and oils had it held tightly in place. With it removed and the shank scraped clean the pipe was ready to be cleaned up.I cleaned out the inside of the mortise and the airway in the shank and stem with pipe cleaners, cotton swabs and alcohol.I used clear super glue to repair the tooth marks on the stem. I sanded the stem surface with 220 grit sandpaper to smooth out the chatter and wiped it down with alcohol on a cotton swab. I filled in the tooth marks with clear glue and set it aside to cure.When the repair had cured, I sanded the surface of the repairs on the stem with 220 grit sandpaper to smooth out the repairs and blend them into the surface of the horn stem. I forgot to take photos of this part of the process as I was anxious to see what the stem looked like polished. I quickly move on to polish the stem with micromesh sanding pads – wet sanding with 1500-2400 grit pads and dry sanding with 3200-12000 grit pads. I wiped the stem down after each sanding pad with Obsidian Oil and after the final sanding pad I gave it a final coat of oil and set it aside to dry. The horn stem was beginning to look really good for a pipe of this age. I put the cleaned inner tube in the tenon and aligned the angle of the spear end so that it would sit on the bottom of the bowl when inserted in the shank. I took photos of stem at this point to show the inner tube.I used the sharp point of a sanding stick to apply Rub’n Buff Antique Gold to the stamping on the left side of the stem. I worked it into the grooves. I let the gold dry and then buffed it off with a soft cloth.This SINA, GBD predecessor is a beautiful pipe with mixed grain all around the bowl sides, top and bottom. The grain really is quite stunning. The rim top looks much better. The horn stem repaired easily and shined up well. I buffed the bowl and the stem with Blue Diamond polish to raise the shine on the briar and the vulcanite. I was careful to not buff the stamping and damage it. I gave the bowl and stem multiple coats of carnauba wax. I buffed the entire pipe with a clean buffing pad to raise the shine. I hand buffed it with a microfiber cloth to deepen the shine. The finished pipe is shown in the photos below. The rich patina of the original finish allows the grain to really stand out on this pipe and it works well with the rich lustre of the polished horn stem. The dimensions of the pipe are: Length: 5 1/4 inches, Height: 2 inches, Outside Diameter: 1 3/8 inches, Diameter of the chamber: 3/4 of an inch. This old and beautiful SINA Chubby Billiard will sit next to the other SINA pipe in my personal collection. I am looking forward to enjoying my first bowl in it soon. Thanks for walking through the restoration with me.

Resurrecting a Badly Damaged BBB ** Billiard


Blog by Victor C. Naddeo

I have been following the Pipe Club of Brasil Group on Facebook for quite a while now and have enjoyed the posted that Victor Naddeo has made about his restoration work. He is the administrator of the Facebook Group and we have chatted back and forth. When he posted this restoration I was intrigued by his solution to the crack in the bowl. He sent me photos on Messenger and we talked about the repair and BBB pipes in general. Seems we are both devotees to BBB pipes. I asked him to write up this repair on an old BBB ** that was in very rough shape before he started. He gladly did so. I am hoping this is just the first of many blogs on rebornpipes by Victor. Welcome to rebornpipes! Now in Victor’s own words.

A few years ago i had my first experience with restorations. As a young man just into adulthood, I had little money to invest in good pipes, and on one fateful day I met an old Bent Apple BBB ** for sale at an antique dealer. The pipe had a very rusty stem, there were beat marks all over the edge of the bowl, and a cake that looked more like the shell of a turtle. Already for some time I followed the blog rebornpipes and the work of Steve, and inspired by him I decided to get involved in this project. Two months later (and after many mistakes made) I finally managed to bring the old warrior back into action. On that day I gained two new passions: Restoration and old BBB’s. This restoration I will show you below began months ago when in an auction I bought this BBB billiard from a not very honest auctioneer who had not reported that the bowl was cracked. After some time waiting in a drawer, I finally decided to do something to bring another warrior to this army of BBBs, I hope you like it!

As you can see, looking from the side he was just an old billiard that needed a bit of polishing and cleaning. Good shapes, harmonious proportions, these are typical features of an old BBB and the main reasons that made me fall in love with the brand. What I did not expect was that his former owner somehow managed to create a large crack in the front of the bowl with about 3cm.The interior of the ducts was also completely clogged with a mass of tar residues derived from years of non-cleaning use. The cake was also quite thick, which led me to believe that the pipe had never been reamed, and if it was, that was many decades ago. To remove the cake, I had to use some chisels first, because as the passage was very narrow, it was impossible to insert my Senior Reamer into the chamber. It took me some time (and I also got some blisters on my hand). In the picture you can see the amount of carbonized material being removed from inside the bowl. After using the chisels and also the senior reamer, I also use a series of sandpaper inside the bowl, starting from grit 220 through 400, 600 and ending with 800, so that the inside of the bowl has a uniform surface.After a 30 minute bath in a solution of Oxyclean and water, I washed the inside of the stem using bristle pipe cleaners and running water. With a Dremel and felt disks, used blue polishing compound to polish the inner tube. I finished cleaning the inside of the stem using cotton pipe cleaner soaked in grain alcohol, removing what was left of residues and possible bacteria. The Oxyclean bath brings the oxidation back to the surface of the stem, which facilitates the polishing and removal of the oxidized material. Returning to the subject of the dreaded crack in the bowl. I decided to use a briar insert to cover it. To prevent cracking from increasing over time and to facilitate insertion of the insert, I used a cutting blade attached to the Dremel to cut the broken part and make a V shape instead of the crack. I used this same disk to also cut out a briar block, an insert of a similar size and I used sanding paper to leave it the perfect size to fit into space. To glue the insert, I used a mixture of briar dust, pigments and super glue. I settled the insert and held it for a few minutes until the glue dried. I waited a few hours to make sure that all the glue was dry and insert was firmly in place. I cut the burrs and used sandpaper to level the insert with the rest of the bowl. I also used brown and black dye to match the colors. I used 220, 400, 600, 800, 1000 and 1200 grit sanding sticks to remake the shapes of the bowl edge that were completely destroyed by the beat marks. As you can see, after reshaping the top of the bowl, you can already see the ancient times of glory of this pipe that once was the faithful companion of some gentlemen.

After dying, it was time for the first polish. I used two different compounds, red and brown, on denim disks and jeans disks, such as a high spin, to remove sediments and dirt that were stuck to the outside of the bowl and excess dyeing of the insert and the new bowl top . I used the same process on the stem to remove the oxidized material, but finalizing with flannel discs using the blue compound and white diamond to give a mirrored sheen.


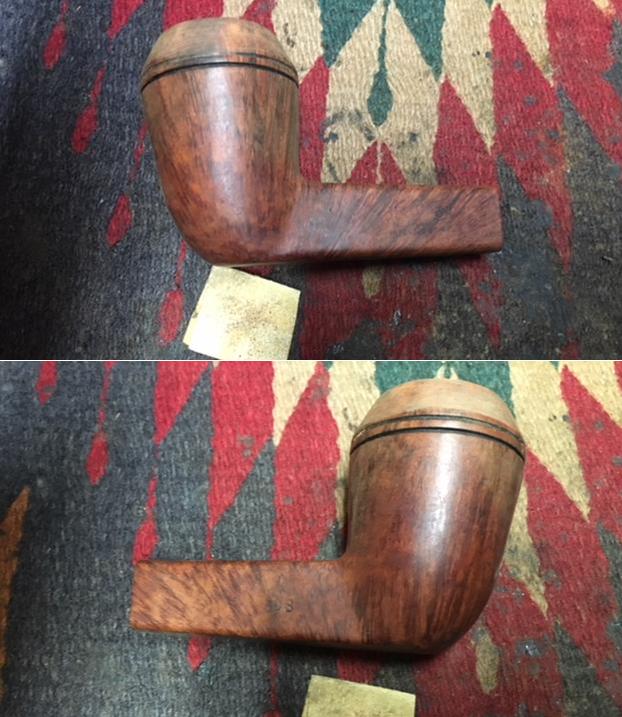
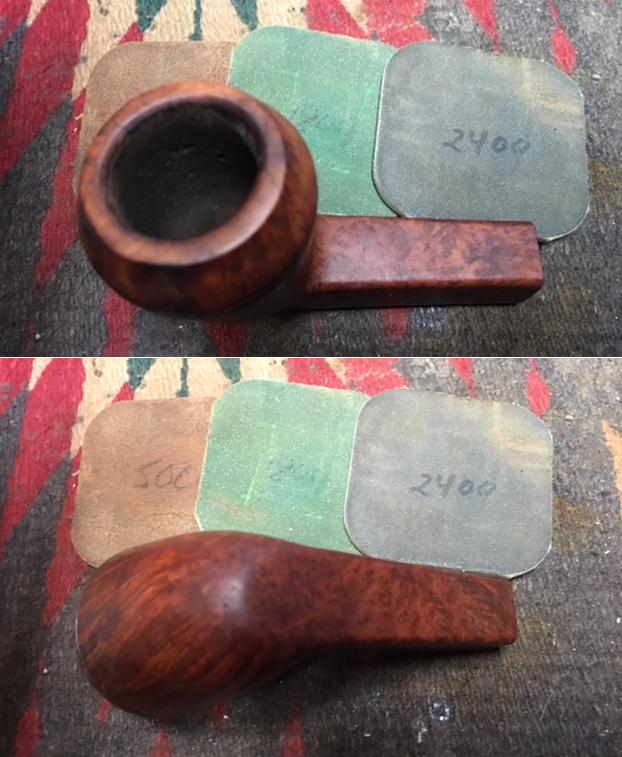
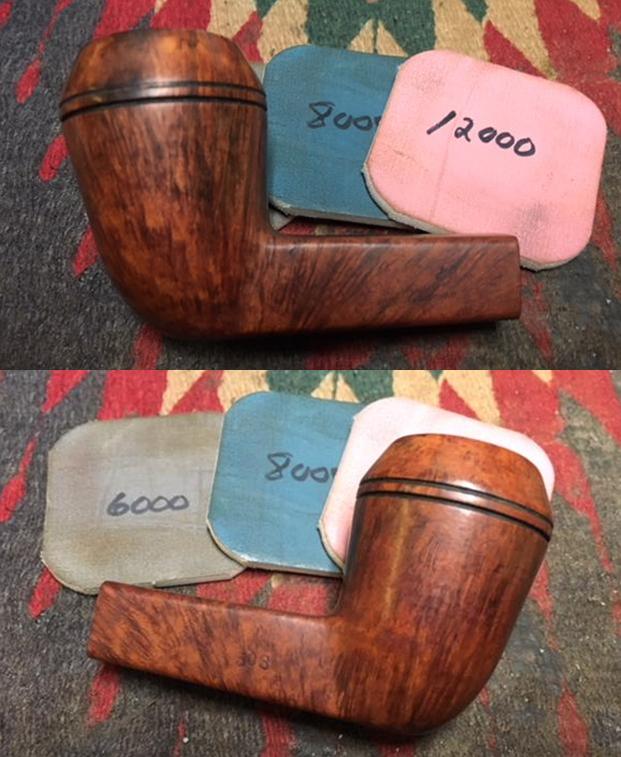
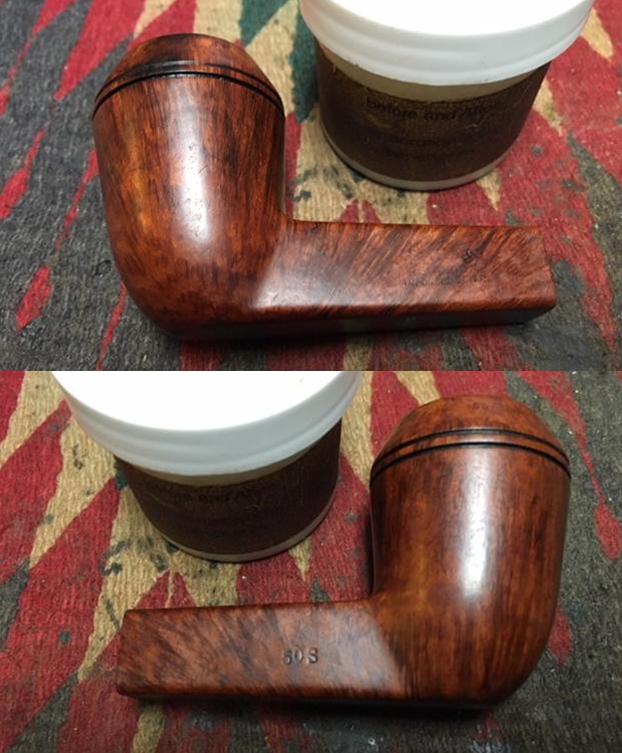
This is a Beautiful Heritage Heirloom Square Shank Tall Bulldog 50S


Blog by Steve Laug

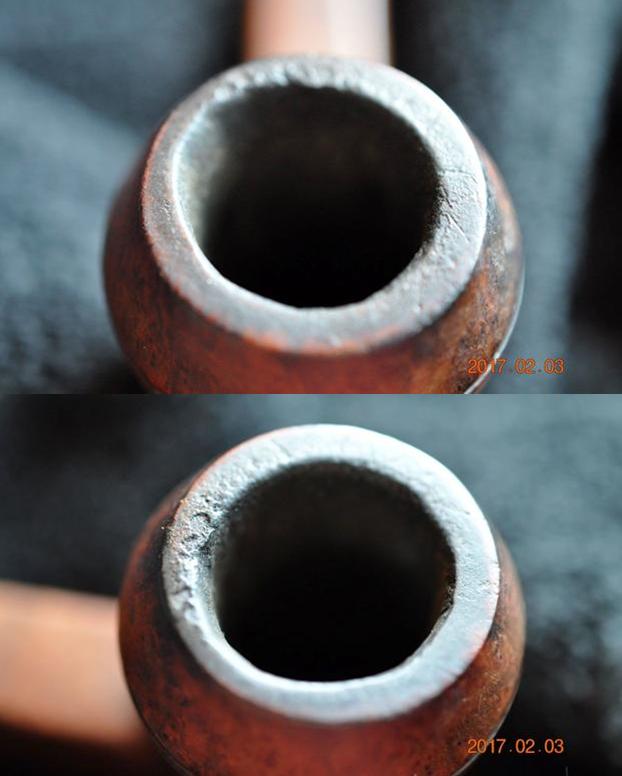
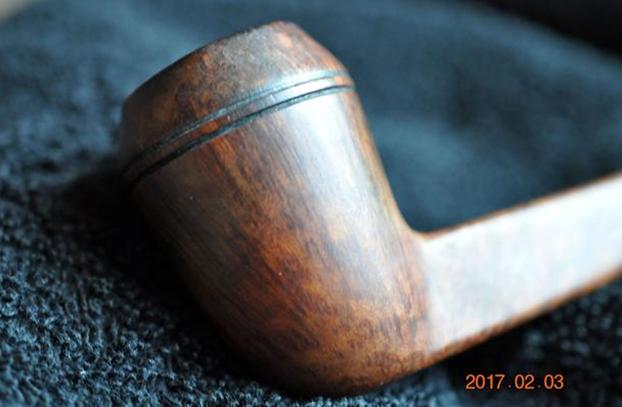
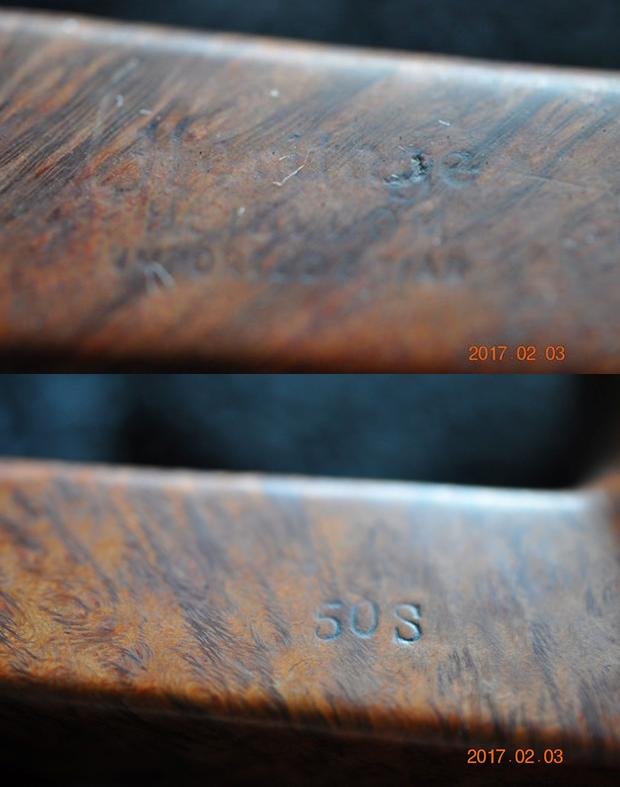
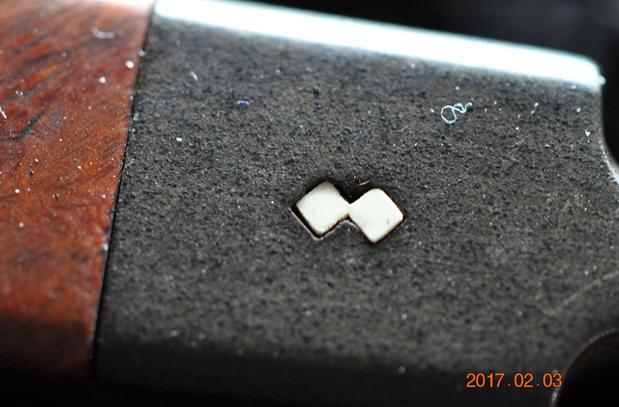
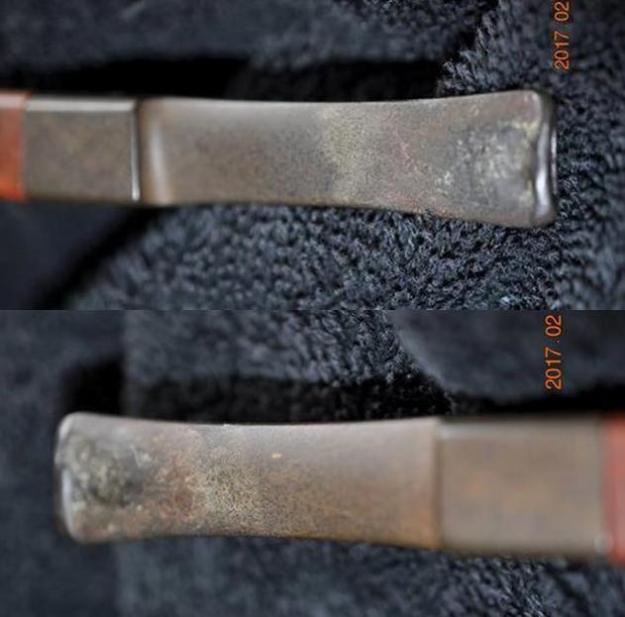
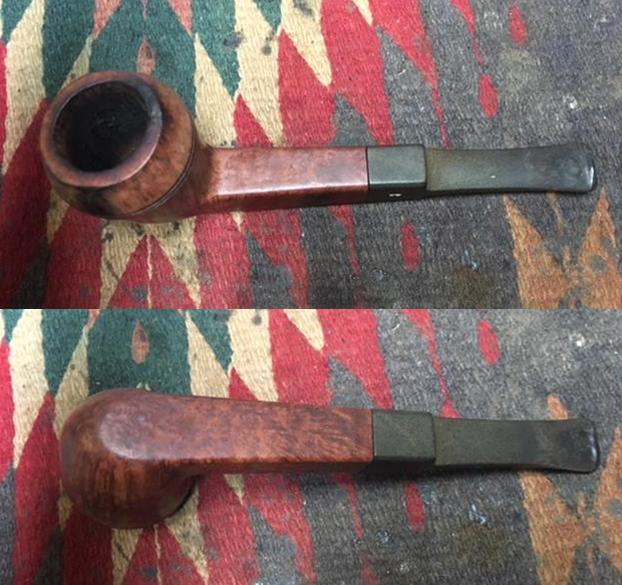
Jeff picked up the latest pipe that I am working from an antique shop in Freeland, Washington, USA in February of 2017. Once again he has proved to have an eye for the unique and unusual. The shape and the look of the pipe caught my eye when I was looking for a pipe to work on next. Jeff took photos of the pipe before he did his cleanup work. The 50S square shank Tall Bulldog pipe was in good condition. There was a thick cake in the bowl and a light overflow of lava on the rim. The inner edge of the rim appeared to have some reaming damage and perhaps some burn damage. The grain on the sides of the bowl is quite stunning and is straight and flame grain on bowl and shank with birdseye on the top and underside of the shank and bowl. The finish was dirty but appeared to be in good condition under the grime and grit the years. The exterior of the bowl and square shank were clean and undamaged. It was stamped Heritage over Heirloom over Imported Briar on the left side of the shank and has the shape number 50S on the right side of the shank. The stem had light oxidation, some tooth chatter and some deeper tooth marks on both sides of the stem just ahead of the button. The double diamond logo on the left side of the stem was in good condition. The quality vulcanite had held up well through the years. Jeff took some photos of the rim top to show the tarry buildup on the flat surface and the potential damage to the inner edge of the bowl. There appears to be some damage on the inner edge at the back side of the bowl.Jeff also took some photos of the sides and bottom of the bowl and shank to show the condition of the pipe and the lovely grain all around. The next photos show the stamping on the shank – both the left and right sides. The stamping is dirty and faint but readable. The left side reads Heritage over Heirloom over Imported Briar. The right side reads 50S which is the shape number. The double white diamond insert on the left side of the saddle stem appears rough under magnification. He took photos to show the condition of the stem – the tooth marks and the worn edge of the button on both sides is very clear in the photos. The stem was also oxidized.I went back and read previous blogs I have written and others have written for rebornpipes on the Heritage brand of pipes. Andrew Selking did a great bit of research on the brand and did several blogs. I quote from his work at this link, https://rebornpipes.com/2014/12/23/refurbishing-a-heritage-heirloom/.

These pipes were made in the Kaywoodie factory, but on a completely separate line. Heritage pipes were Kaywoodie’s answer to Dunhill. According to one of their brochures, Heritage pipes were made from “briar burls seasoned and cured for up to 8 months,” with only “one briar bowl in over 300 selected to bear the Heritage name.” “Heritage stems are custom fitted with the finest hand finished Para Rubber stems. Mouthpieces are wafer thin and concave.”

The Heritage line began in the early 1960’s, with the trademark issued in 1964. The line was started at the request of Stephen Ogden, (who worked for Kaywoodie in 1962). Mr. Ogden had previous experience working for Dunhill, either running the New York store or working for Dunhill North America. Mr. Ogden was made President of Heritage Pi pes, Inc., Kaywoodie Tobacco Co. Inc. and Kaywoodie Products Inc. as well as a Vice President of S.M. Frank & Co. Heritage Pipes were produced from 1964 until 1970 (Source Kaywoodie.myfreeforum.org).

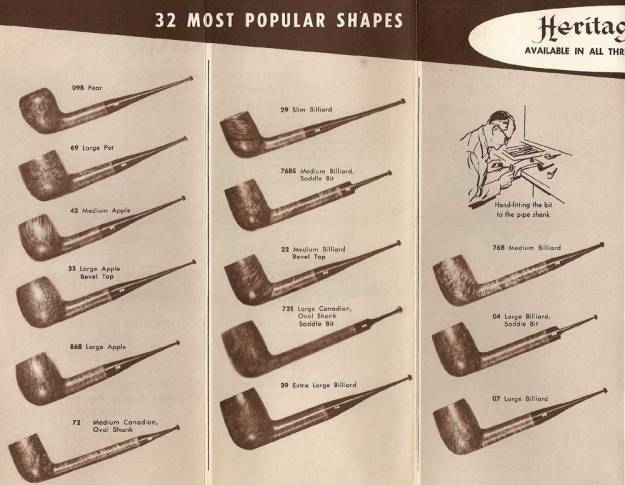
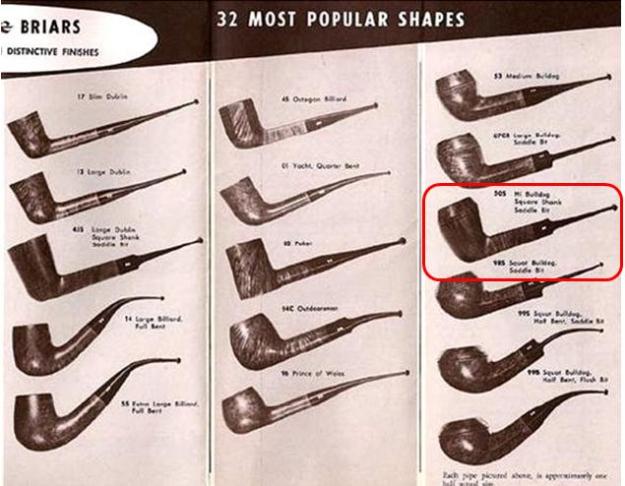
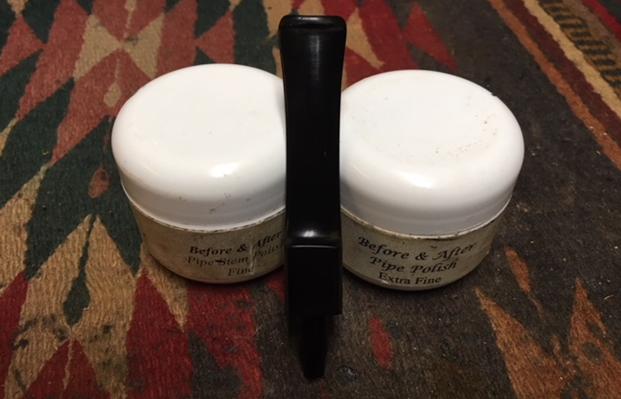
Andrew also included a copy of the Heritage brochure that I am also including below (Courtesy Kaywoodiemyfreeforum). On the fourth page I circled the 50S shaped pipe. This is the one that I am working on. Jeff had worked his magic in cleaning up this pipe. It is nice to work on pipes that he has cleaned up for a change. He reamed it with a PipNet reamer and smoothed the walls of the bowl with a Savinelli Fitsall pipe knife. He scrubbed out the mortise and the airway in the shank and the stem with alcohol, cotton swabs and pipe cleaners. He scrubbed the exterior of the bowl, rim and shank with a tooth brush and Murphy’s Oil Soap to the oils and tars on the bowl, rim and shank. He rinsed it under running water. He dried it off with a soft cloth. Once the grime was removed the finish underneath was in good condition. The rich patina of the older briar and the straight grain around the bowl and shank and the birdseye grain on the top and underside of the shank were beautiful. There were some dark spots on the left side of the cap and at a few spots around the edges. There was some damage to the rim top on the right rear. They appear to be burn marks or at least burn damage though the briar is solid. The cleaning of the stem left a light oxidation in the vulcanite. The tooth marks were clean but visible. I took photos of the pipe to show its condition before I started my work on it. I took some close up photos of the bowl, rim top and stem to show the condition of the pipe before I started to do the restoration work on it.I took close up photos of the burn damage to the left side of the bowl on the cap and double ring around the bowl. Fortunately the burn damage is not deep into the briar. The wood in the darkened portions is solid and not charcoal.To remove the damaged areas on the rim top I topped the bowl on a topping board with 220 grit sandpaper. You can see from the second photo that the damaged area on the right rear of the surface had been removed.  I scraped out the remnants of cake on the walls of the bowl using my Savinelli Fits all Pipe Knife. I sanded the walls of the bowl with sandpaper wrapped around a piece of dowel.I used a folded piece of 220 grit sandpaper to smooth out the inner edge of the rim and give it a light bevel inward to deal with the damage on the edge. I sanded the burned areas on the left side of the bowl cap to try to minimize them and blend them into the surrounding briar. I polished the exterior of the bowl and shank with micromesh sanding pads, carefully avoiding the stamping on the sides of the shank. I wet sanded the bowl with 1500-2400 grit pads and dry sanded it with 3200-12000 grit pads. I wiped the bowl down after each sanding pad with a damp cloth to remove the sanding dust. I rubbed some Before & After Restoration Balm into the surface of the briar to enliven, clean and preserve it. I rubbed it in with my fingertips working it into the briar. I set it aside for a little while to let the balm do its work. I buffed it off with a cotton cloth and then buffed it with a microfiber cloth. The photos below show the pipe at this point in the restoration process. I set the bowl aside to address the issues with the stem. I painted the surface of the stem with the flame of a Bic lighter to lift the tooth dents in the surface of the vulcanite. I was able to lift them quite a bit and then filled in the dents with black super glue. When the repair had cured I recut the edge of the button with a needle file and flattened out the surface of the repair to match the rest of the vulcanite. I sanded the surface of the repairs and the oxidation on the stem with 220 grit sandpaper to smooth out the repairs and shape the button. It also removed the surface oxidation that was on the stem. I polished the stem with micromesh sanding pads – wet sanding with 1500-2400 grit pads and dry sanding with 3200-12000 grit pads. I wiped the stem down after each sanding pad with Obsidian Oil and after the final sanding pad I gave it a final coat of oil and set it aside to dry. I polished it with Before & After Pipe Stem Polish – both Fine and Extra Fine. I used it to polish out some of the remaining scratches. I gave it another coat of Oil and set it aside. This Heritage Heirloom Square Shank Tall Bulldog is a real beauty with straight and flame grain all around the sides of the bowl and shank. It also has some beautiful birdseye on the top and underside of the bowl and shank. The grain really is quite stunning. The rim top looks much better. The Heritage high quality vulcanite stem repaired easily and shined up well. I buffed the bowl and the stem with Blue Diamond polish to raise the shine on the briar and the vulcanite. I was careful to not buff the stamping and damage it. I gave the bowl and stem multiple coats of carnauba wax. I buffed the entire pipe with a clean buffing pad to raise the shine. I hand buffed it with a microfiber cloth to deepen the shine. The finished pipe is shown in the photos below. The rich patina of the original finish allows the grain to really stand out on this pipe and it works well with the rich black of the polished vulcanite stem. The dimensions of the pipe are: Length: 6 inches, Height: 2 1/4 inches, Outside Diameter: 1 1/4 inches, Diameter of the chamber: 7/8 of an inch. In my years of refurbishing pipes I have not seen one quite this shape. I have worked on quite a few Heritage pipes since Andrew brought them to my attention but none have caught my eye like this one. So, this beautiful Heritage Heirloom 50S will fit really nicely into my personal collection for now. I am looking forward to enjoying my first bowl in it soon. Thanks for walking through the restoration with me.

Breathing New Life into a Kriswill “Chief” # 20


Blog by Paresh Deshpande

I had completed the refurbishing of LANE ERA CHARATAN’S MAKE “SPECIAL” and thoroughly enjoyed the process. Apart from preserving memories, the thing that I enjoy the most while refurbishing/ restoring my inherited (and some purchased) pipe collection, is the transformation of the pipe that unfolds before your eyes as you progress. It is something akin to a flower bud that gradually blooms and opens itself in all its beauty for you to feast your eyes upon. This is what I love when I work on a pipe.

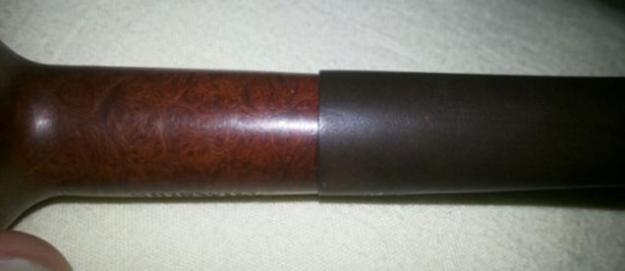
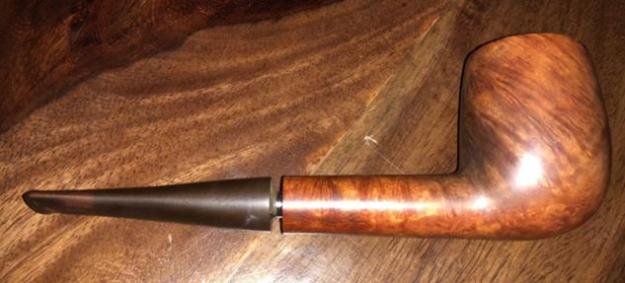
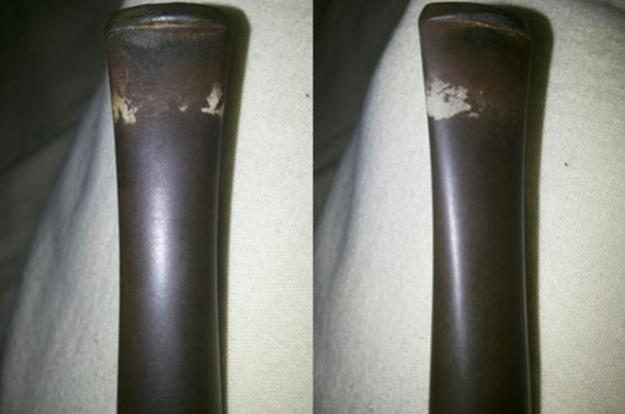
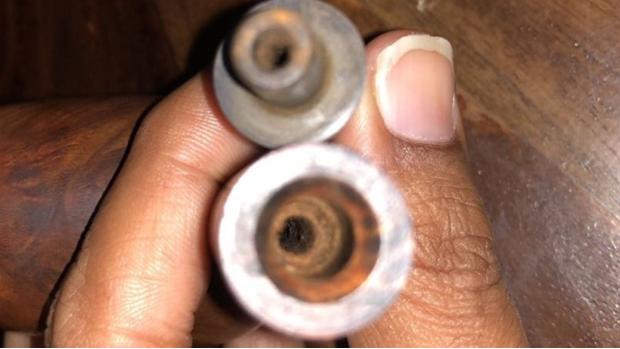
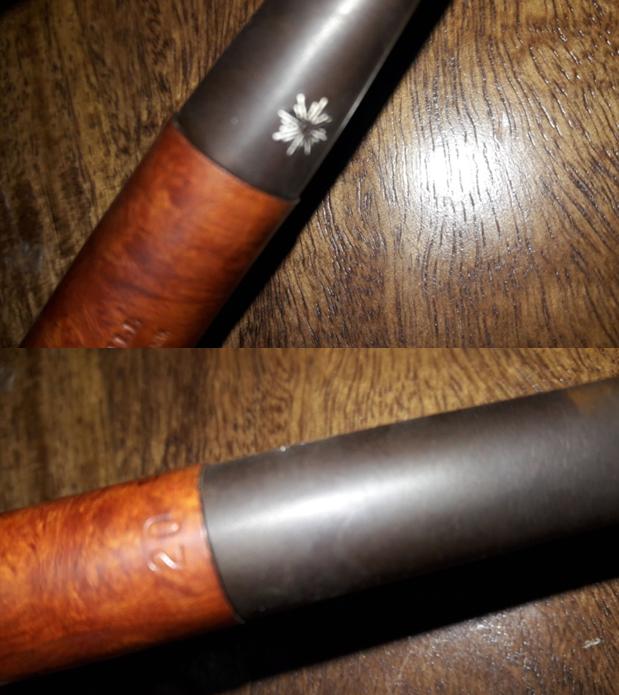
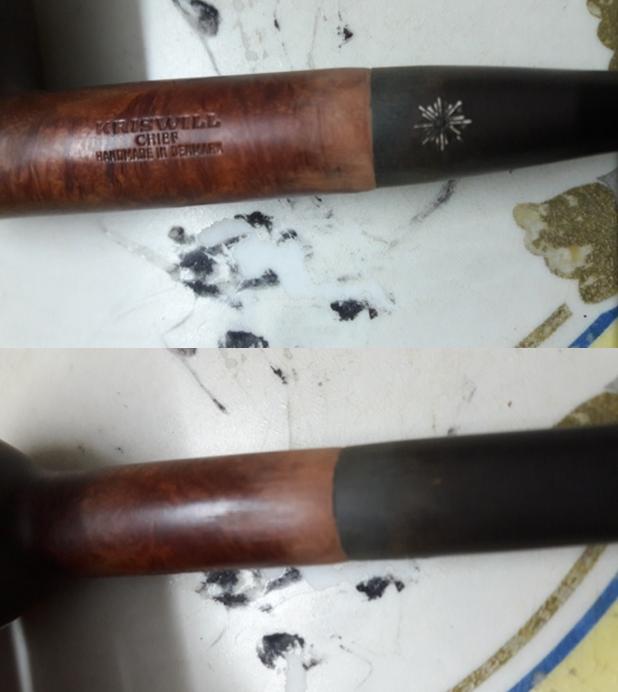
While rummaging through the large box with an equally large number of my inherited pipes with my younger 10 year old daughter, she laid her hands on a pair of pipes with “SHINING SUN”, as she liked to call it, on its stem. With the selection of next two projects decided by her, I had a closer look at these pipes. These were a pair of KRISWILLS, one stamped as “CHIEF” and the other as “GOLDEN CLIPPER”. The first thing that struck me was that there was something amiss with the way the stems sat into the shank of each pipe. The “CHIEF” did not have its stem sitting flush with the shank. Also, the shank’s outer diameter appeared larger than that of the stem. The “GOLDEN CLIPPER” had its stem flush with the shank; however the diameter of the stem was larger than that of the shank. The following picture will clarify what exactly I was faced with……

CLIPPER

CHIEF

As I was wondering what could be done to address this issue and surfing the net for buying new/ used original stems for these pipes, Abha, my wife who was having a closer look at both these pipes simply interchanged the stems and surprise of all surprises, the stem that was on the “CHIEF”, sat flushed and perfectly matching with the shank of the “CLIPPER”. However after considerable effort, though the stem that was on the “CLIPPER” sat flushed with the shank of the “CHIEF”, the diameter of the shank was larger than that of the stem. So now what we have is a KRISWILL “GOLDEN CLIPPER” with a perfectly matching and fitting original stem and a KRISWILL “CHIEF” with a fitting, but mismatched stem diameter.

KRISWILL “CHIEF”

KRISWILL “GOLDEN CLIPPER”

I discussed with Abha and it was decided that since the “CLIPPER” has a perfect stem match, I would work on the “CHIEF” and make the shank match the stem. With this decision made, I kept the CLIPPER aside and took the “CHIEF” into my hands.

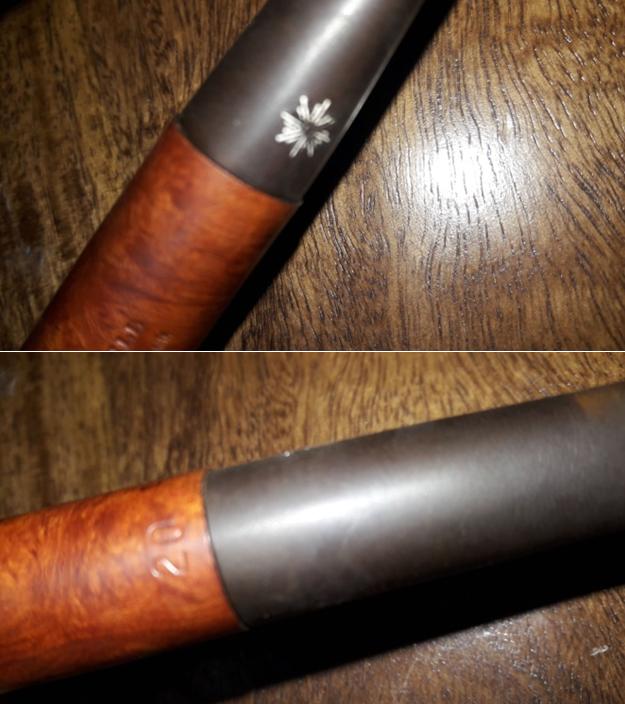
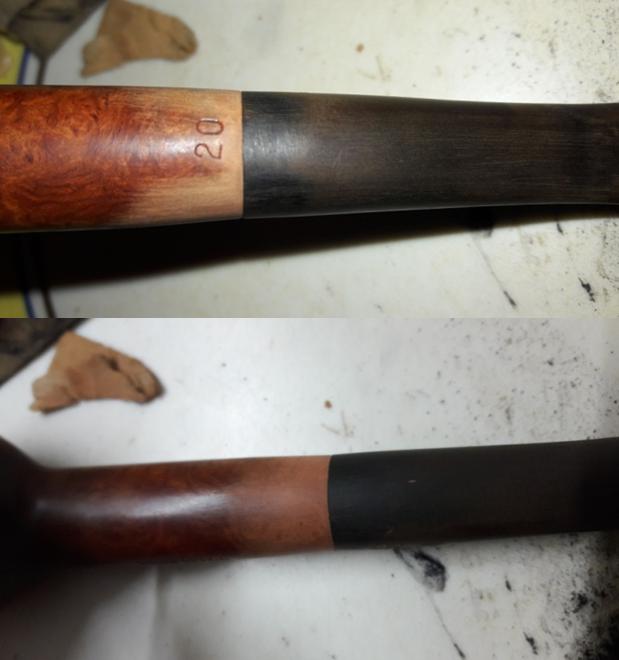
The CHIEF has a nice, deep bowl and nicely fills the hand. The size, weight and heft of the pipe is just beautiful. Beautiful cross grains adorn the sides and the back of the bowl while the front of the bowl boasts lovely mixed grains of swirls, flame and Birdseye. It is stamped “KRISWILL” over “CHIEF” over “HANDMADE IN DENMARK”. At the bottom of the shank where it meets the stem, is the numeral “20” and yes…. this positioning of the number did cause me a great deal of grief during the process of sanding!!! All the stamps are crisp and clear.I was curious to know about the history, geography and carvers for Kriswill while attempting to date this pipe. While referring to “Pipephil” I came across this information which I have reproduced below verbatim (http://www.pipephil.eu/logos/en/logo-k3.html)

“Kriswill is a brand of Kriswork Briar Trading, in Kolding (Denmark) established about 1955. Some of Kriswill pipes were designed by Sigvard Bernadotte, Swedish prince and brother to the late Queen Ingrid of Denmark. He collaborated with his Danish partner Acton Bjørn. When the company went bankrupt in the late 1970s it was on a level with Stanwell. Dan Pipe Cigar & Company (Hafenstrasse 30 D-21481 Lauenburg/Elbe, Ge) bought the rights to use the name and it is Holmer Knudsen and/or Poul Winsløw who make the Kriswill line. Nørding, on its side, bought the plant and introduced a Kriswell line”.

Prior to 1970 the stampings are in script letters on the shank and on the mouthpiece. The star on the stem and block letters on the shank were introduced from that date on.

While researching for more information on Kriswill pipes on “Pipedia”, I came across this additional information which is reproduced below:

Kriswill was one of the large pipe manufacturers in Denmark during the 1960s and 1970s, and I believe closed around 20 years ago. Their catalog cover read “By Appointment to the Royal Danish Court, KRISWILL, Kriswork Briar Trading, Briar Pipes Hand Made in Denmark.”

Thus, from the above information, it is safe to assume that this pipe is post 1970.

INITIAL VISUAL INSPECTION
As with all other pipes, the CHIEF, too is covered in dust, oils and grime of all past years, though comparatively to a lesser extent. The chamber is heavily caked with lava overflowing on to the top of the rim. A few small dents and dings, though minor, are visible on the outer edge of the bowl. The condition of the inner edge and that of the inner surface of the chamber will be ascertained once the bowl has been reamed and the lava removed from the rim top.The airway in the shank is blocked and air does not flow through the shank. Close observation of the shank revealed presence of debris in the mortise. This needs to be cleared and cleaned. Maybe this will also help in a smooth and snug fit of the stem into the mortise.The stem shows calcification near the button and deep oxidation all along the stem. There are bite marks near the button and some deep tooth chatter. The button has been bitten and will need to be reconstructed.THE PROCESS
Since this would be the first time I would be attempting to undertake the process of adjusting the fit of the tenon and matching the diameter of the shank with that of the stem, I Face timed with Mr. Steve who advised me to, firstly, be very careful during the sanding of the shank so as not to lose too much briar making the shank diameter too small, secondly, he told me to ensure that the entire shank should be sanded such that the taper at the shank end is not abrupt and blends well into the overall shape of the pipe. Thirdly, it is most important to exercise a lot of patience and diligence while working and check very frequently the fit, finish and shape of the shank and the stem.

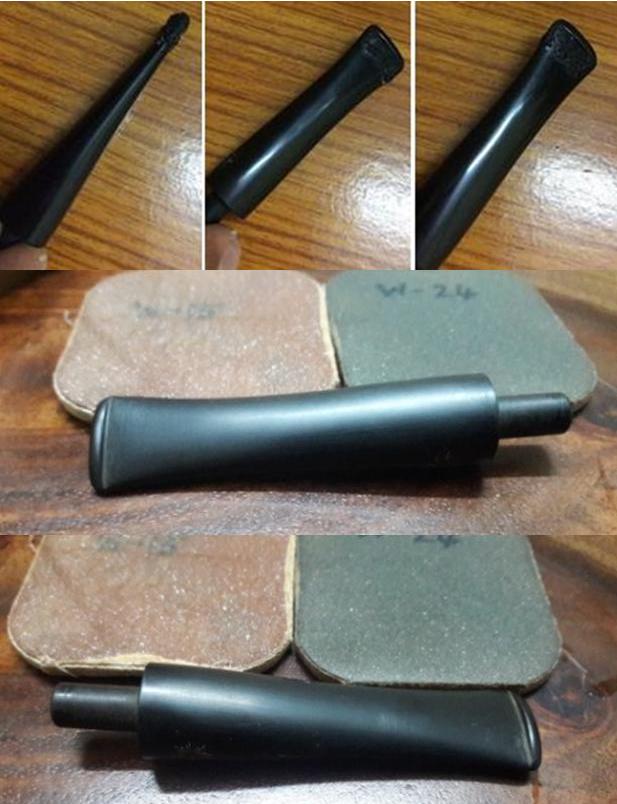
I started with cleaning the shank of all debris using a dental spatula, pipe cleaners, cue tips and isopropyl alcohol. I was surprised to see the amount of gunk that was removed from the shank. I tried to fit the stem on to the shank. Though the tenon has inched further in to the mortise, a prominent gap is clearly visible between the shank end and the stem.Using a 220 grit sand paper, I very carefully began the process of sanding down the tenon, checking ever so frequently for the fit of the tenon into the mortise. Finally I was able to achieve a perfect fit of the stem and the shank with all the right noises!!!!Now that the issue of fit of the stem into the shank has been addressed, I turned my attention to match the size of the diameter of the shank with that of the stem by sanding down the shank. I started this sanding using a 220 grit sand paper. This process was made difficult and uneven at the bottom of the shank due to the stamped number “20” being very close to the shank end.I took care so as not to sand off the stampings on the shank and stem by masking them. Once I was satisfied with the results of sanding with 220 grit paper, I switched to sanding with a 440 grit sand paper to further blend the shank and stem. Mr. Steve’s advice of being very diligent and frequent checking was always ringing in my ears as I progressed towards the goal of matching the shank with that of the stem. A word of caution for first timers like!!!!!!!! During the process of sanding you may notice a considerable dip at the shank end.This signifies that the sanding of the shank end is excessive and thus sanding needs to be done from further up the shank and a bit over the stem too. This will ensure a seamless joint between the shank and the stem.

Using a 220 grit sand paper, I sanded the shank to match the dip at the shank end and also a little of the stem end, all through taking care of the stampings on the shank and stem. I further evened out the shank and the joint with 600 and 800 grit sand paper. Once I was satisfied with the seamlessness of the joint, I showed it to Abha, my wife and she too approved of the job done. Thereafter, I further blended and merged the entire shank and the stem through the joint using micromesh pads, wet sanding with 1500 to 2400 pads and dry sanding with 3200 through to 12000 pads. I wiped the sanded area with alcohol after each pad to remove the sanding dust. Boy!! Was I pleased with the results, hell YEAH!!!! I shared pictures of the end result with Mr. Steve on What’sApp and he too approved of the seamless joint. Next I turned my attention to the stem and painted the surface of the stem with the flame of a Bic lighter to raise the tooth chatter and minor bite marks. The deeper tooth bites with a mixture of activated charcoal and clear CA superglue and let it cure for 24 hours. Using a flat head file needle, these fills were blended into the surface of the stem. For a better blending of the fill, I further sanded the entire stem with 220 followed by 400 and 800 grit sand paper. This helps to reduce the sanding marks left behind by the more abrasive 220 grit paper. To bring a deep shine to the vulcanite stem, I went through the complete set of micromesh pads, wet sanding with 1500 to 2400 grit pads and dry sanding with 3200 to 12000 grit pads. I wiped the stem with alcohol after each pad and rubbed it down with Extra Virgin Olive oil. The internals of the stem was cleaned out using alcohol and pipe cleaners. The finished stem is shown below.With the stem taken care of, I once again turned my attention to the stummel. The sanded shank was lighter hued as compared to the rest of the stummel. Since I was still awaiting my stain pens, which have been held back in custom clearance for the last 50 odd days and also since I have not yet graduated to use of aniline stains/ dyes, I was contemplating what could be done to blend the finish of the shank with that of the stummel. Being the intelligent of the two, Abha suggested that the bowl could be sanded using micromesh pads to match the finish of the shank.  That decided, Abha reamed the chamber using Kleen Reem pipe tool and with the fabricated pipe, she removed the remaining cake from the chamber.With the same knife, she gently removed all the overflow of lava, oils and tars from the rim surface. She further sanded the interiors of the chamber with a 220 grit sand paper to get rid of the last traces of the remaining cake. She also topped the rim on 220 grit sand paper and evened out all the remaining lava and minor dings and dents that were revealed after the lava was removed.  Using isopropyl alcohol, hard bristle and normal pipe cleaners, she completely cleaned out the internals of the shank.I cleaned the external surface of the bowl with undiluted Murphy’s Oil soap and tooth brush to remove all the grime and dirt and rinsed it under running water. I took care that no water enters the chamber and the shank. Using paper napkins and soft cotton cloth, I completely dried the surface. Thereafter began the entire process of sanding down with micromesh pads as enumerated while working on the shank. I also worked on the rim top to match it with the rest of the bowl. The bowl has some interesting grains and patterns.   I rubbed in some Before and After Restoration balm in to the briar to bring out the shine and enliven the briar. After a few minutes, I rubbed and polished the bowl with a soft cloth. Finally, I finished the pipe by rubbing a small quantity of Paragon wax and polishing it using raw and undiluted muscle power and a microfiber cloth. I am very pleased and happy with the way the complete project has turned out. It was an exhilarating experience to be able to appreciate the transformation and a sense of accomplishment that accompanied it. I must thank Abha and Mr. Steve for walking with me through this project. Here are the pictures of the finished pipe.

Recommissioning a Monarch Pat. 1989069 – 1074H Bent Ball


Blog by Dal Stanton

This nice-looking Monarch Bent Ball shape came to me along with 65 pipes in an eBay acquisition which I’ve called the Lot of 66.  The Bowl shape has a very nice feel in the palm with the dimensions an adequate: Length: 6 1/4 inches, Height: 1 1/4 inches, Bowl width: 1 3/4 inches, Bowl depth: 1 3/8 inches, Chamber width: 15/16 inches.  This pipe got Andy’s attention in the special section on my blog site called “For ‘Pipe Dreamers’ Only!” where pipe men and women (and their significant others looking for special gifts!) can commission pipes.  Andy is from the state of Maryland in the US and he and his wife attend church where I used to be the pastor – in a former life many, many years ago!  Andy reached out to me via Facebook Messenger:

I really enjoy your posts with the restored pipes, and I’m wondering what might be available now and what the costs are. I really like the Oom Paul’s (and some of the other Peretti’s), and the Savinelli from May 29. Many years ago, I had a small collection which included a Comoy, and, if I recall correctly, a Peretti and a Savinelli. Sadly, they were lost somewhere along the way. Thanks for reigniting my interest (no pun intended). I looked at your website and found the answers I needed. What can you tell me about the Monarch Pat. 1989069 – 1074H Bent Ball shape on the Pipedreamer’s page? It looks very similar to one I had many years ago, and I might be interested in commissioning it if it’s still available. Thanks!

It’s amazing how pipes become so much a part of memories and associations in our lives!  Andy and I dialogued, and he commissioned the Monarch and will have the first opportunity to acquire the Bent Ball when it is restored and placed in The Pipe Steward Store, benefiting the Daughters of Bulgaria.  Here are the pictures that caught Andy’s attention. The stampings on the pipe are distinctive: on the left side of the shank is stamped ‘Monarch’ in cursive script with swirly tail, over ‘PAT. 1989069’.  The right side of the shank has ‘1074H’ stamped which I assume is a shape number.  The stem has a dot marked on the top which I notice actually appears to be a vent – the black center of the dot is not solid but a hole.  Interesting. A quick trip to Pipedia in search of ‘Monarch’ turns up useful information.

Monarch Pipe Co. was established in Hartford Con, most likely in the late 1930 by Fred Warnke, who obtained a patent on the system pipe on January 22 1935. The company moved to Tulsa Oklahoma at some point in the 1950s, after which Monarch Pipe Co was moved to Bristow, Oklahoma. The Monarch Pipe Co. also makes E.A.Carey Magic Inch and Duncan Hill Aerosphere Pipes.

So, the question in my mind was, are pipes still being produced by the Monarch Pipe Co. in Bristow, Oklahoma?  After searching the internet, I found an interesting newspaper article from the The Oklahoman, published January 15, 1995, entitled, ‘Bristow Manufacturer Lives on Pipe Dreams Pipe Fitting As Fragile as a Smoke Ring, The Art Still Burns in Bristow’ (LINK).   Excerpts from the article are enlightening and interesting:

Monarch has manufactured pipes in Bristow for 32 years. Once it employed 12 workers and produced 5,000 pipes a month; now the workforce is four, including Austin (a manager mentioned earlier).

Monarch was founded in 1929 in Connecticut. In 1962, a Tulsa businessman who ordered his pipes from Monarch discovered his source might close down, so he bought it. He and his partners moved it to Bristow…. Some 15 years ago, Carey bought the little enterprise.

This excerpt mentions Monarch’s parent company was the E.A. Carey of Ohio, company most well known for the ‘Carey Magic Inch’ pipes which boasts of a system that produces a drier, cooler smoke.  Still wondering if Monarch currently was producing pipes, I search again, “Monarch Pipe Co.” and found an old business link from Buzzfile.com that gave information and a ,mailing address – no email or website.  I plugged the Bristow, OK, mailing address in Google Maps and found this picture of the Monarch Pipe Co.  The date of the photograph from Google is July 2012 – now six years ago. Still desiring to know if Monarch pipes were being manufactured, I decided to try one more angle.  The 1995 Oklahoman Newspaper article above said that E. A. Carey bought out the small Monarch enterprise 15 years earlier, in 1980.  I searched for the Magic Inch E. A. Carey of Ohio name and found a website: http://www.eacarey.com.  As I’ve successfully done many times in the past, I went to the sites ‘Contact Us’ page and used the email provided to see if anyone there knew anything about the Monarch Pipe Company?  I received a reply from Danielle: 

Thank you for the email.  We are sorry, but the Monarch pipe company closed a few years ago.  The woman who ran it has retired.  We do still sell magic inch pipes, they can all be found on our website: www.eacarey.com   Any pipes she made for us, we no longer have.

In reply, I went out on a limb asking if they had a Monarch Shapes Chart…. We’ll see what happens! (Addendum: Danielle responded in a few days to say that they had no information on Monarch pipes.  Oh well!)

The closing lines in the 1995 Oklahoman article proved to be prophetic.  The former manager of Monarch Pipe Co., Francis Austin was quoted:

Still, he said, Carey “realizes the stability of the smoking industry” is as fragile as a smoke ring, and is diversifying into such areas as children’s safety toys and goose down products.

Someday, concedes Austin, who’s 60, his artful pipes will be collectors’ items.

This Monarch Bent Ball is now a collectible!  The other interesting aspect of the Monarch nomenclature is the patent number given: ‘PAT. 1989069’ which is for the system evident in the fittings of the Monarch ‘System’ pipe.  I took the patent number to the United States Patent and Trademark Office site searched the patent number.  I found that the patent was approved January 22, 1935 and a diagram that is also referenced by Pipedia, showing a cutout of a pipe with the system that remains in the Monarch on my worktable. I was also intrigued by reading the full patent document submitted by Fred L. Warnke in 1931.  I clipped the header from that document and placed it below.  The first several paragraphs describes how the system would provide the holy grail of pipe technology – a cooler and dryer smoke! One last interesting item to note which I referenced earlier.  The dot on the top of the stem is a hole or a vent air regulator which is labeled #25 in the Fig. 1 1931 patent diagram.  I found this caption that I clipped from the patent document interesting as it describes the purpose of the vent and how it contributes to a ‘dryer and cooler’ smoking experience as it regulates the introduction of fresh air to the to the smoke.  I really wish I could try out some of the pipes I restore to experience these inventions in practice!As I take a close look at the Monarch Bent Ball, the chamber has light cake buildup with some lava flow on the rim, but light.  The stummel looks to be in good shape. I see no fills and only the normal grime that builds on the surface.  I’m not quite sure how the internals of this system pipe work, I’ll have to experiment to see how to clean it.  The stem has mild oxidation and some tooth chatter.  So, with a better understanding of the provenance of this Monarch Bent Ball and the technology of the patent, I begin the restoration by cleaning the internal airway and air chamber of the stem with pipe cleaners and cotton buds then I add the Monarch stem to Before & After Deoxidizer along with five other pipes’ stems to address the oxidation.After some hours, I fish the stem out of the Deoxidizer and wipe off the Deoxidizer and oxidation with a cotton pad and light paraffin oil (mineral oil).  I also clear the airway of Deoxidizer using a pipe cleaner dipped in isopropyl 95%.  The Before & After Deoxidizer did a good job – the stem’s oxidation is removed.Turning to the stummel, I begin to clear the light cake using the Pipnet Reaming Kit.  I take a picture to mark the start and spread paper towel to minimize cleaning. I jump over the smallest blade head with this large chamber and use the next blade to the largest blade head.  I then use the Savinelli Fitsall Pipe Tool to fine tune the reaming by scraping the chamber walls where the blade heads missed.  To get down to fresher briar, I then sand the chamber by wrapping a piece of 240 grade paper around a Sharpie Pen.  Finally, to clean the chamber removing the carbon dust, I wet a cotton pad and wipe the chamber.  Looking at the chamber wall – I see no problems.  The pictures chronicle the progress. Turning to the external surface, I use undiluted Murphy’s Oil Soap to scrub with cotton pads and I also utilize a brass brush on the rim.  After cleaning I rinse the bowl under tap water.  The rim came out well with most of the lava removed.

I decide to explore the internals of the Monarch’s mortise.  I first clean the nickel mortise airway tube with pipe cleaners and shank brushes.  The tube was easily cleaned.  After looking at the patent diagram again, mainly at figure five which shows the mortise fitting, I decide to see if it will come out.  The base appears to be threaded.  Carefully, I clamp down on the flat sided flange shown as #26, and gently rotate the stummel holding the mortise fitting stationary.  It starts a bit sticky but then gradually loosens up until it is removed.  What I’m looking at looks close to the 1935 patent diagram.  I find that #15 is loose and comes off of the main threaded insert.  I read in the patent document that this hardware was designed to enable an exact adjustment to position the stem with the stummel.  We’ll see after I clean everything and reassemble how this works.  I wanted to see if there was a crud trap at the end of the tubing near the draft hole.  I am pleased to see that there wasn’t after plunging a few cotton buds down through the opened mortise.  After cleaning and reassembling the mortise insert, it did take a bit to figure out how to work the adjustment mechanism. It was a combination of rotating the threaded insert (#14) so that the flange (#15) was loosened and could rotate a degree or so and tightened to change the alignment of the stem that would then be screwed on….  After a few tightenings and loosenings, I was able to align the stem as it should be!  The new steward will have to figure this out!  I take a picture to show the alignment. To address the stem’s tooth chatter, I first use the heating method to expand the vulcanite, thus reducing the severity of the indentations.  I use a Bic lighter and paint both the upper and lower bit.  I follow that by using a flat needle file to re-shape the button lips, both upper and lower, then I sand using 240 grit paper to erase the file scratches and to sand out the tooth chatter.  Following the 240 grit paper, I use 600 grit paper to erase the scratches of the 240.  Then, over the entire stem, I sand/buff using 0000 grade steel wool.  The tooth chatter is removed, and the button’s new lines look good. The stem is ready for the micromesh process.  Using micromesh pads 1500 to 2400, I wet sand the stem.  Following this, I dry sand using pads 3200 to 4000 and 6000 to 12000.  After each set of 3 pads, I apply a coat of Obsidian Oil to rejuvenate the vulcanite.  The stem looks good – the glossy pop is what we aim for! The stem is waiting in the wings and I now look to the stummel.  To begin, I decide to do a very light topping using 600 grade paper on the chopping board to refresh the rim lines and to remove the remaining lava traces. Inverting the stummel onto the board I only go a few rotations and I’m satisfied with the results. To remove the minor cuts and nicks on the stummel from normal wear, I use micromesh pads 1500 to 2400 and wet sand the stummel.  Following this, I dry sand using pads 3200 to 4000 then 6000 to 12000.  Well, at the beginning of the second set of micromesh pads while sanding, I spied a blemish in the briar that I hadn’t seen before (second picture below).  It was a bit too large for me to be happy with the finished restoration, so I take a little detour.  I apply a drop of clear CA glue on the spot.  I spray it with an accelerator to instantly cure the patch.  I keep the drop as small as possible so not to impact the surrounding briar.  Surgically, I file and sand the patch down with a flat needle file, then use 240 and 600 grade papers and then play catchup with the spot with the first 3 micromesh pads.  Finally, I then complete the micromesh process with the final six pads.  The grain is looking good on this Monarch Bent Ball! At this point I decide to add a stain to darken the stummel, but to give it a nudge in a reddish direction. I decide to use Fiebing’s Saddle Tan Pro Dye to do this.  For the staining process, I remove the Monarch System insert in the mortise.  I then wipe the stummel with a cotton pad and alcohol to clean the surface.  Using a hot air gun, I warm the bowl causing the briar to expand.  This helps the grain be more receptive to the dye.  After the bowl is heated, I use a folded pipe cleaner to apply the Saddle Tan dye to the briar.  After I coat the stummel thoroughly, I flame the stain with a lit candle.  This causes the alcohol in the dye to combust and to set the pigment in the briar.  After a few minutes, I repeat the process of applying dye and flaming.  I set the stummel aside to rest through the night.  It’s a good idea, and I turn out the lights. The next morning has arrived and I’m anxious to ‘unwrap’ the flamed Saddle Tan crust encasing the stummel.  I mount a felt buffing wheel on the Dremel and set the speed at the slowest and I use Tripoli compound to remove the layer.  The felt wheel, coupled with the Tripoli, a coarser compound, removes the leftover stain as well as finely buffs the briar surface.  I work the Tripoli compound methodically ‘sweeping’ the briar surface revealing the grain beneath.  With my wife’s help, I include a picture of the process.  At the end of the application of Tripoli compound, I give the stummel a light wipe with a cotton cloth wetted with isopropyl 95% to blend the new stain. Next, I rejoin stem and stummel and I mount a cotton cloth buffing wheel on the Dremel, turn up the speed to about 40% and apply Blue Diamond compound, a less abrasive compound.  Completing this, I use a felt cloth and wipe the pipe removing the compound dust in preparation for applying wax.  I mount another cotton cloth wheel to the Dremel, maintain the 40% speed and apply a few applications of carnauba wax to both stem and stummel.  I complete the waxing with a rigorous hand buffing using a microfiber cloth.

My goodness!  The grain on this Monarch Bent Ball just stands up and shouts!  As one traces the patterns around the Ball’s bowl, there’s flame grain, some bird’s eye and a rippled stream of grain that reminds me tiger fur – a landscape of grain pleasing to the eye.  The Monarch Ball shape fits naturally in the palm.  Andy from Maryland commissioned this Monarch Bent Ball and he will have first dibs on it when it’s placed in The Pipe Steward Store.  This pipe benefits the Daughters of Bulgaria – helping women and girls who have been trafficked and sexually exploited.  Thanks for joining me!