Blog by Steve Laug
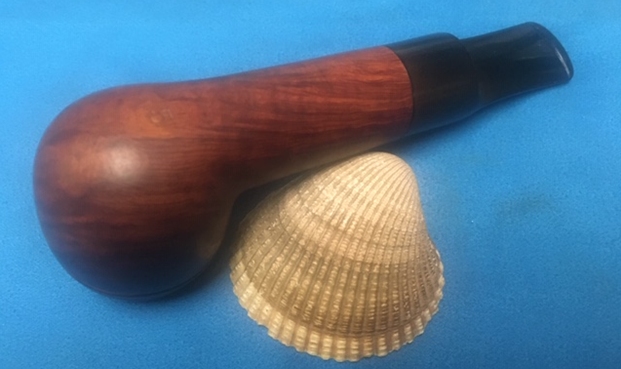
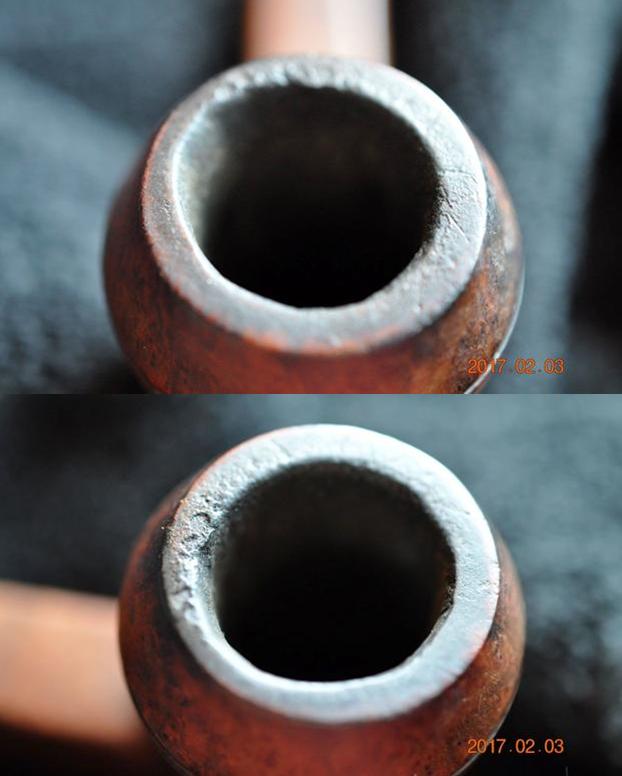
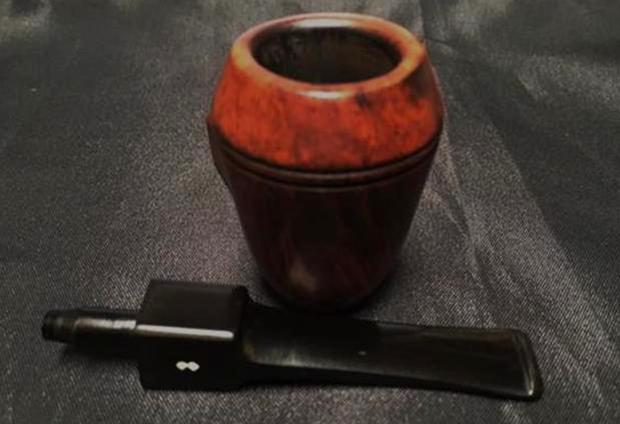
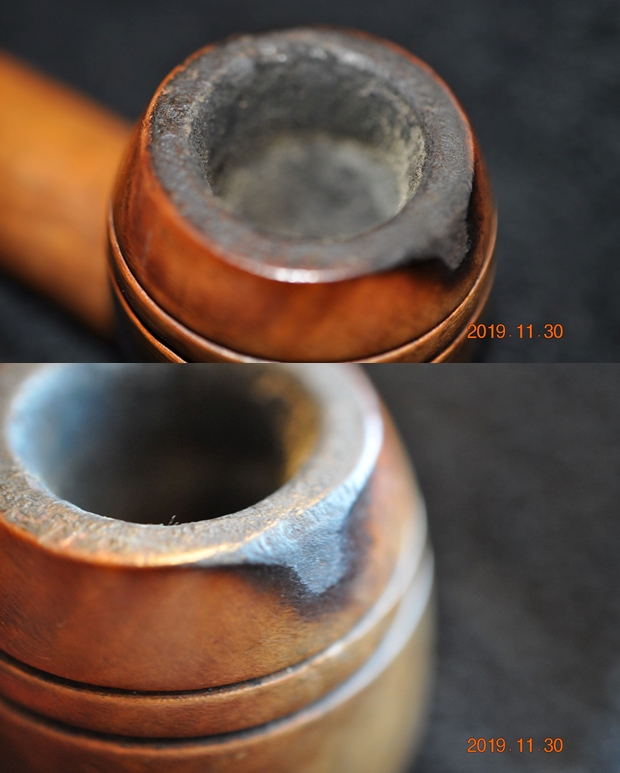
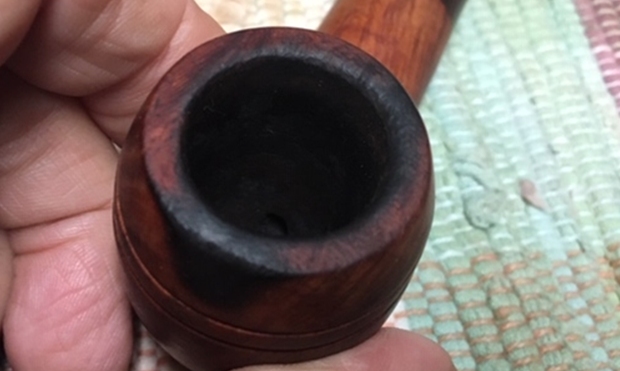
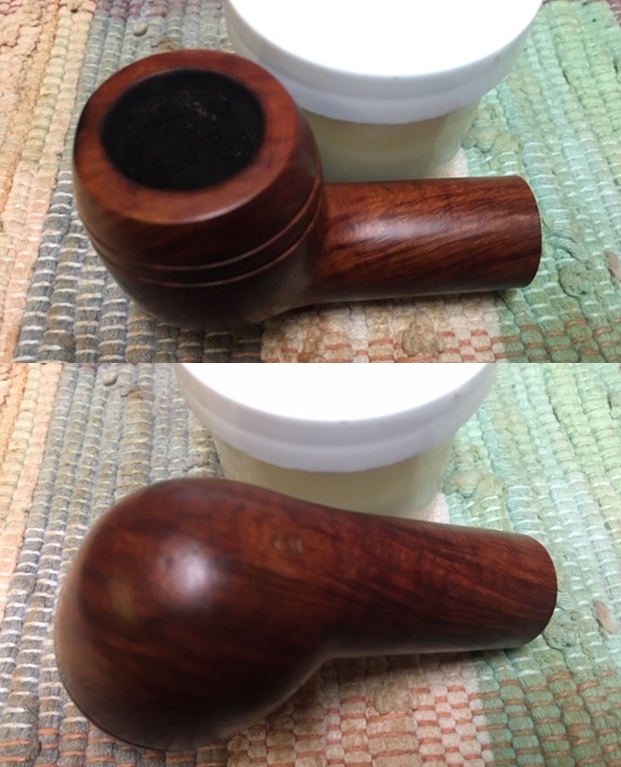
The next pipe on the table is one Jeff and I picked up on eBay. It is a thick round shank with a Bull cap on the top of the bowl. I would call the shape a Rhodesian though I am sure some will disagree. The pipe has a smooth finish. The pipe was dirty and caked with lava flowing onto the rim top and some darkening on the inner edge of the bowl. The bowl had a thick rough surfaced cake. There is a burn mark on the rim top and on the outside front of the cap. It does not look deep but it is very present. The exterior was dirty with grime and oils in the crevices of the finish. The stamping on the left side of the shank read “MALAGA” and the right side the stamping read Imported Briar. There is also a number 5 stamped on the heel of the bowl. The vulcanite saddle stem was oxidized and had tooth marks and chatter on both sides. Jeff took photos of the pipe before he started the cleanup work.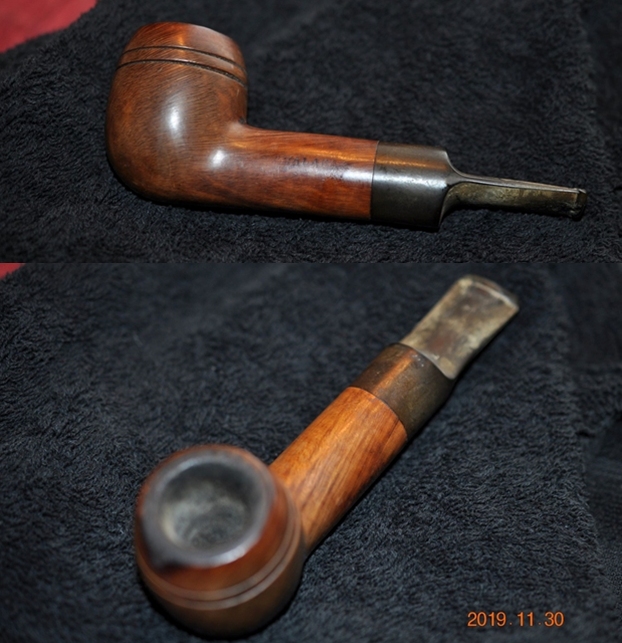 Jeff took close up photos of the rim top and bowl from various angles to show the damage on the rim top as well as the cake and lava. You can also see the burn on the top of the rim and on the front of the bowl in the photos.
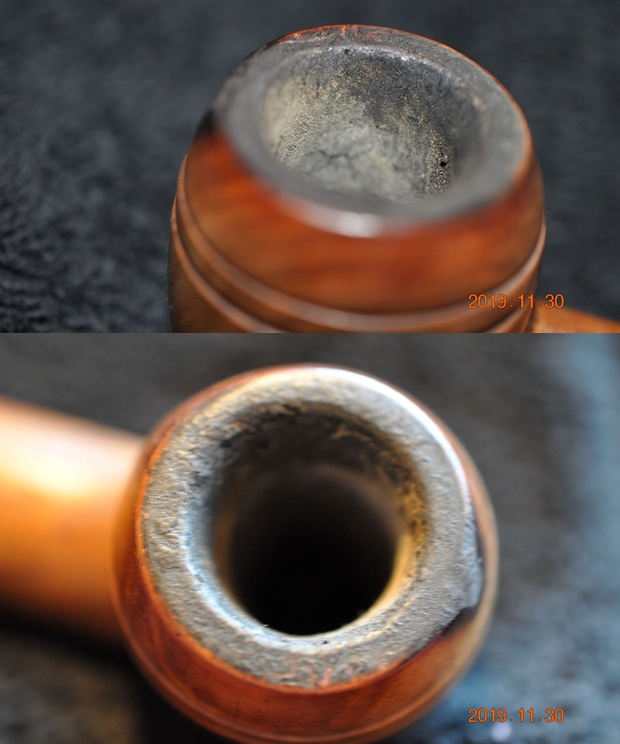
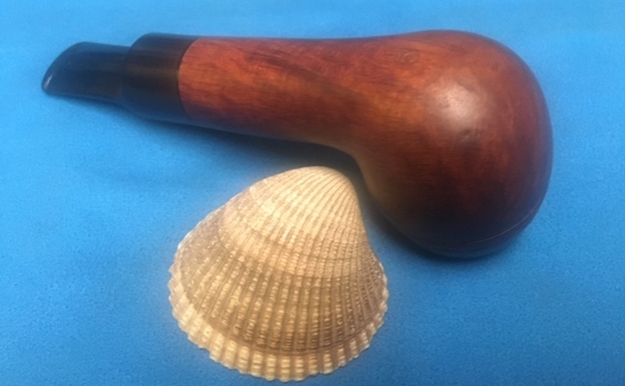
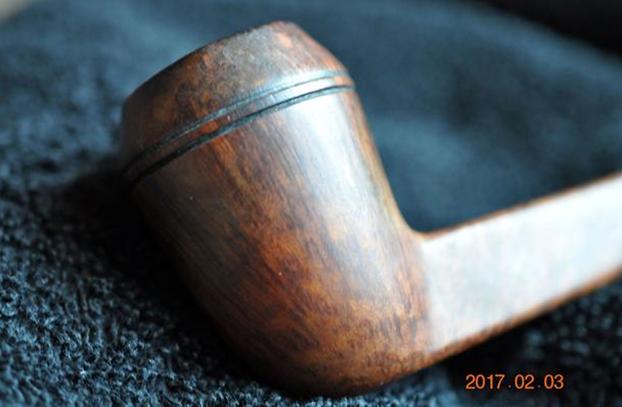
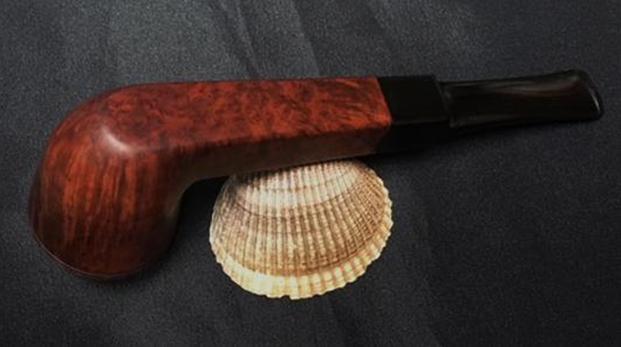
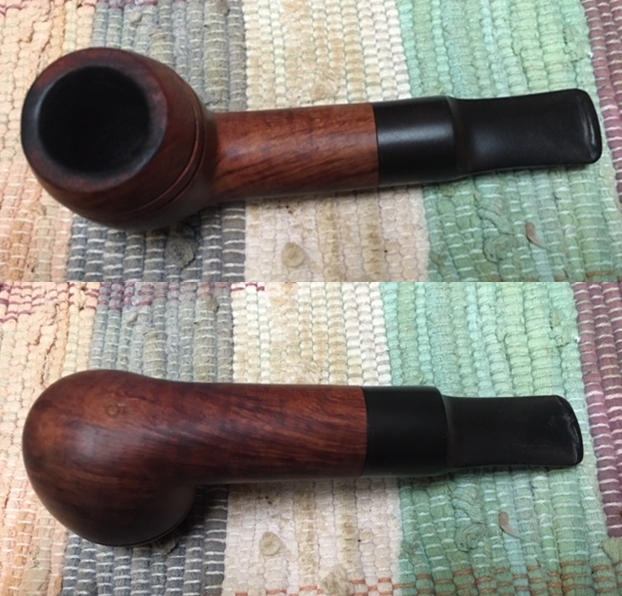
 He took photos of the sides and heel of the bowl to show the interesting grain pattern that was under the grime. I call that cross grain!
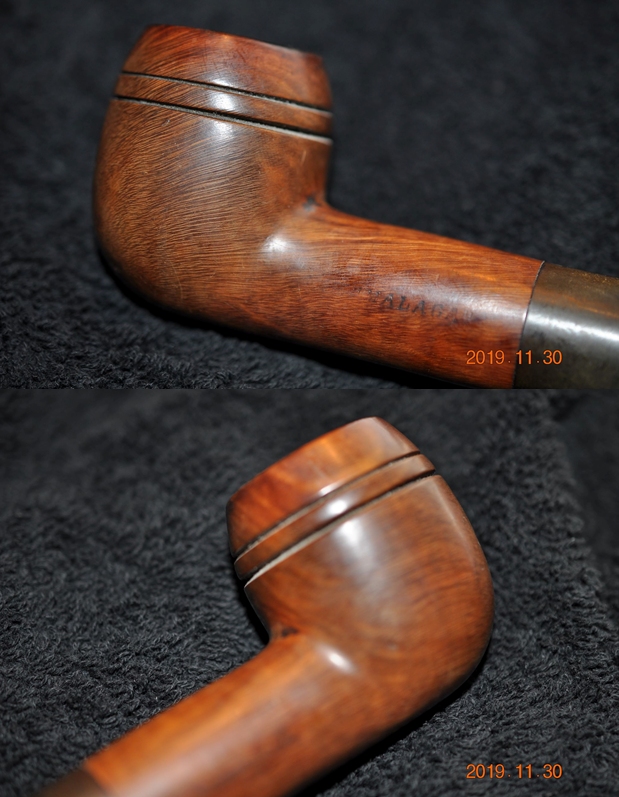
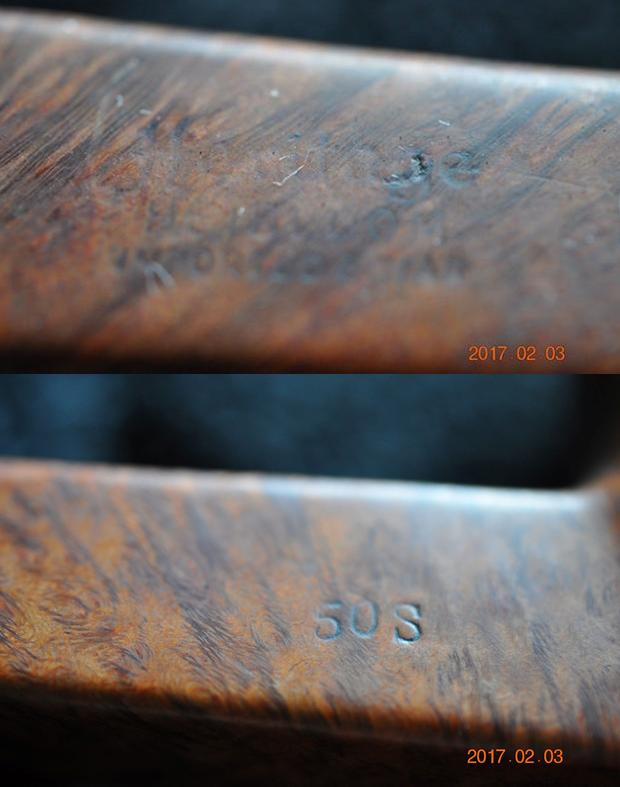
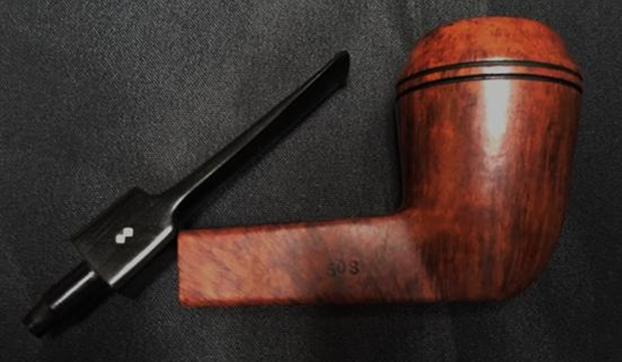
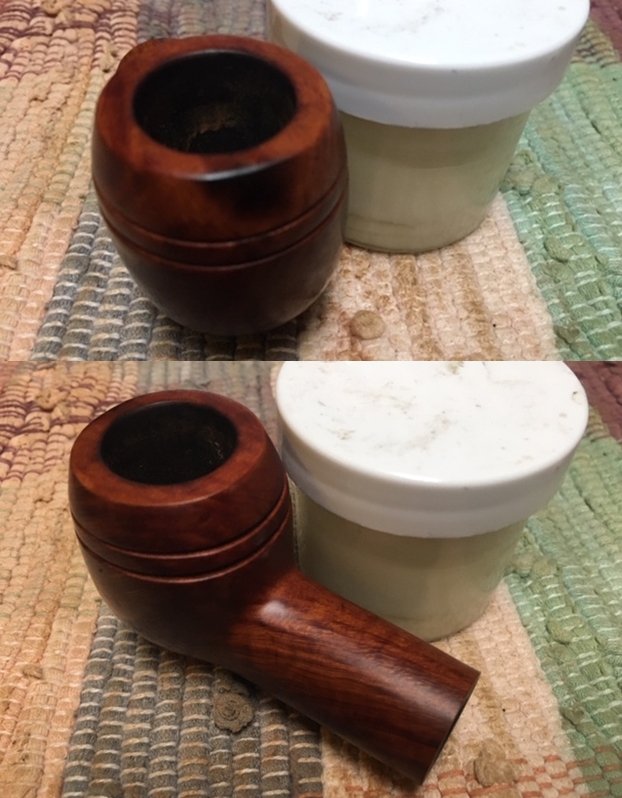
 He also took photos of the stamping on the shank and the underside of the bowl. The stamping on the left side of the shank read “MALAGA”. He did not get a photo of the stamp on the right side but it read Imported Briar. The number 5 is stamped in the heel of the bowl.
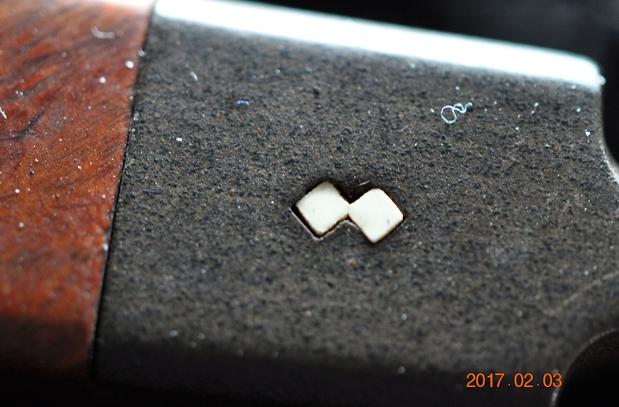
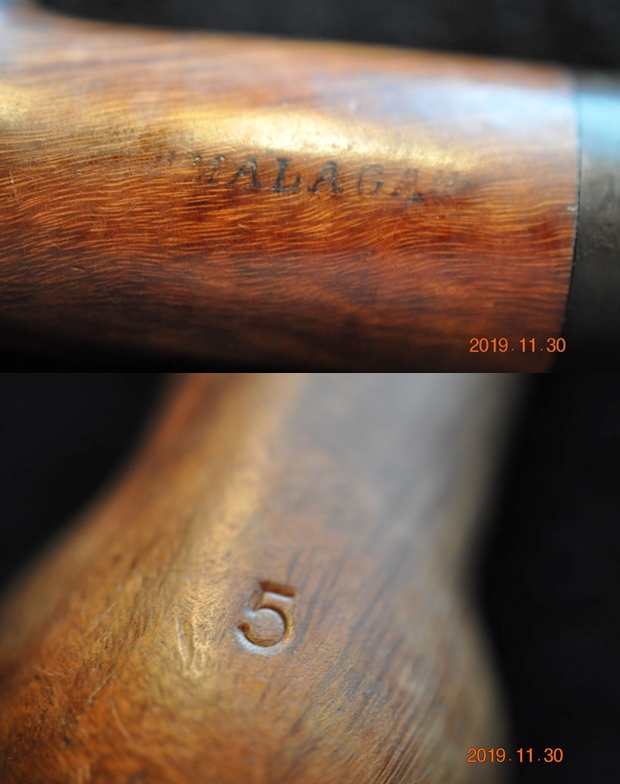 Jeff also took photos of the stem. The first one shows the top side and you can see the damage on the button edge itself. The second photo shows the underside of the stem and again the damage is very clearly shown.
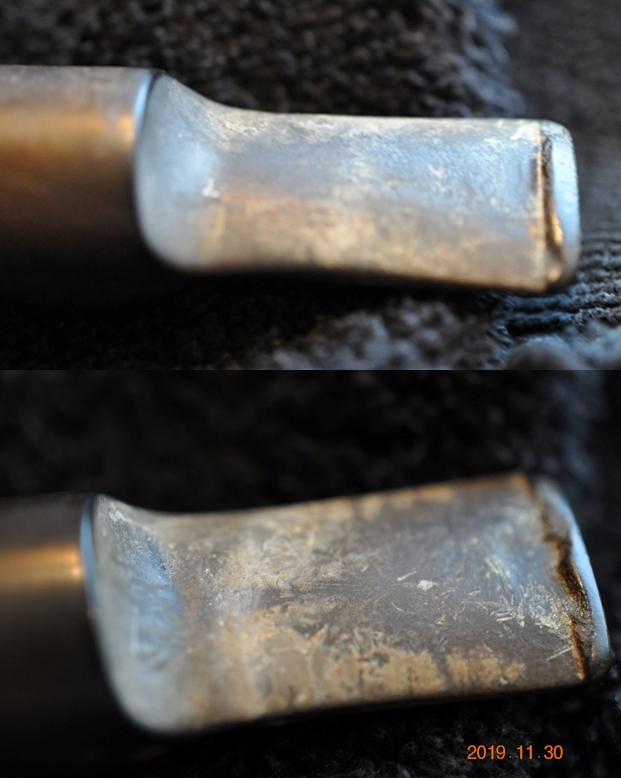
 If this is the first of the Malaga restorations that you have read about then you should know the backstory of the brand. I am including the link to a blog that I wrote that gives some of the history of the Malaga brand and the Malaga Pipe Shop in Royal Oak, Michigan in the USA. I have written an earlier blog to give a little history of the Malaga Brand and the pipemaker, George Khoubesser. Here is the link – https://rebornpipes.com/tag/malaga-pipes/.That blog also includes links to a catalogue and the history of the pipemaker George Khoubesser. Follow the link to get a feel for the brand and the pipemaker.
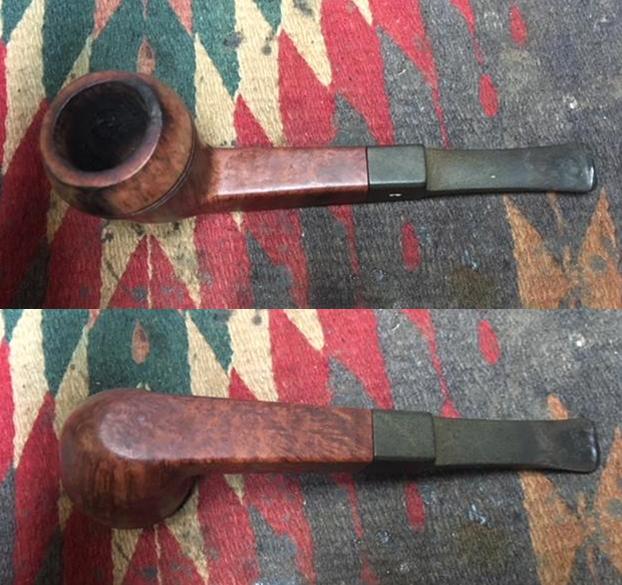
Jeff cleaned this filthy pipe with his usual penchant for thoroughness that I really appreciate. This one was a real mess and I was looking forward to seeing what he had done with this one when I took it out of his box. It looked amazing and CLEAN. He reamed it with a PipNet pipe reamer and cleaned up the reaming with a Savinelli Fitsall Pipe Knife. He scrubbed out the internals with alcohol, pipe cleaners and cotton swabs until the pipe was clean. He scrubbed the exterior of the bowl with Murphy’s Oil Soap and a tooth brush to remove the grime and grit on the briar and the lava on the rim top. The finish looks good with great looking grain around the bowl and shank. The rim top and front of the bowl was severely damaged with burns. The condition of the inner and outer edges was rough. The stem looked a lot better but damage was evident on the button. Jeff soaked the stem in Before & After Deoxidizer to remove the oxidation on the rubber. The pipe was ready for me to carry on the next part of the process. 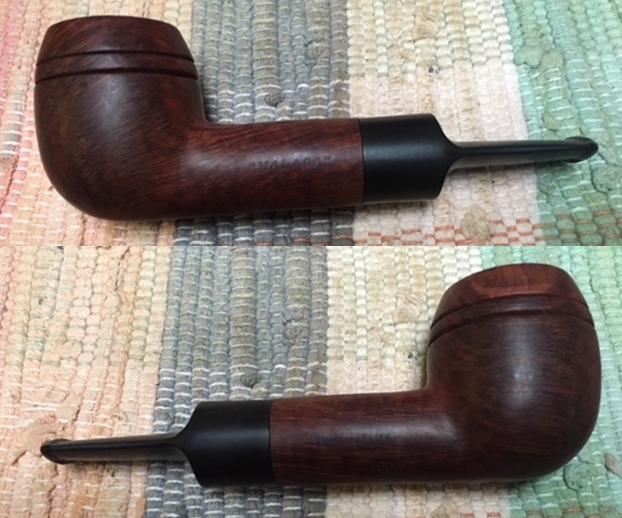
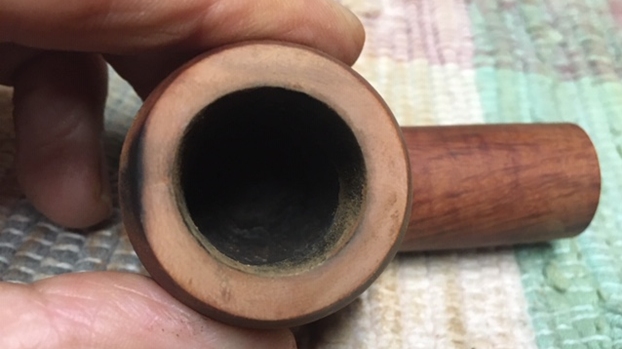
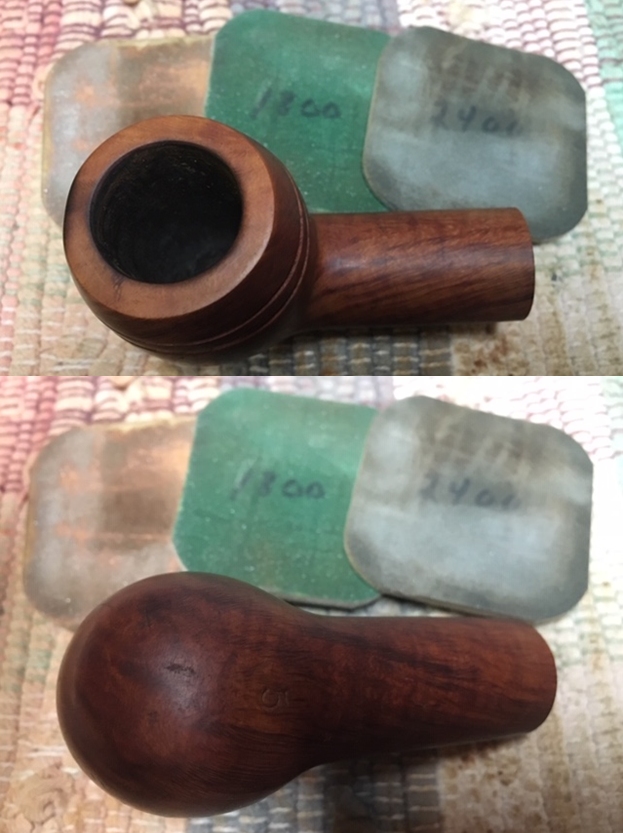
 I took some close up photos of the rim top and also of the stem surface. I wanted to show how well it had cleaned up and what needed to be done. The rim top was clean but damaged. You can see the darkening around the edge and on the rim top. The outer edge looked good except for the burn on the front of the cap. I also took close up photos of the stem to show the tooth marks on the button surface. The last photo below shows the burn damage on the front of the bowl.
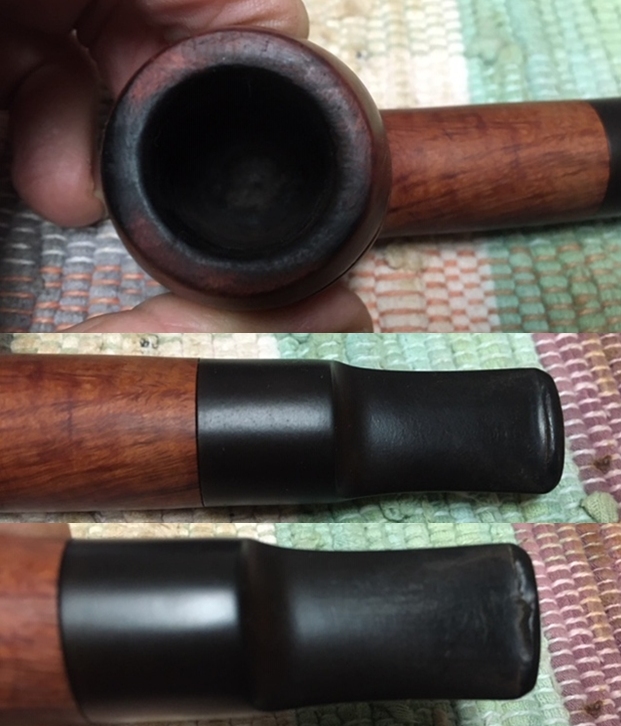
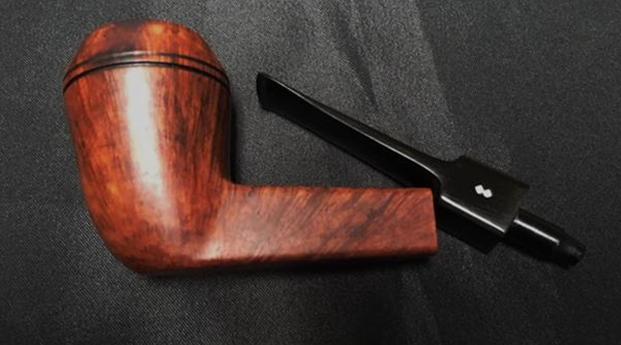
 The stamping appeared to be even clearer than it was before the cleanup work. This is just one of the things I appreciate about Jeff’s cleanup is that he works to protect and preserve the nomenclature on the shank of the pipes that he works on. I took some photos to show the stamping.
 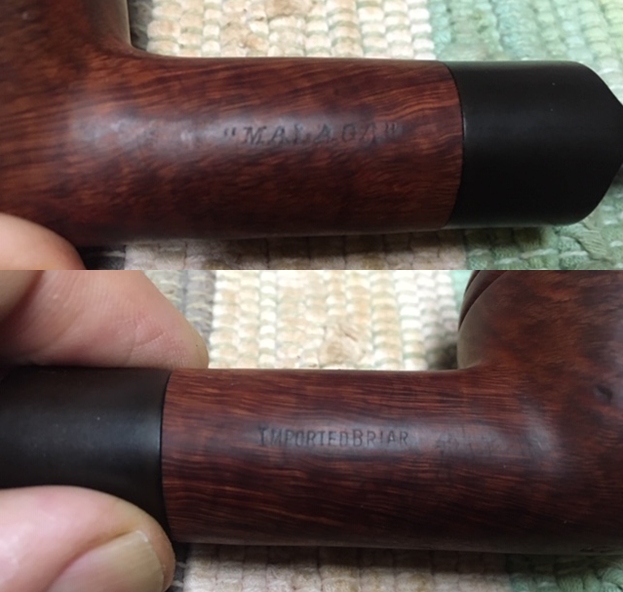 I decided to start my restoration work on this one by addressing the burn damage on the rim top and bowl front. I topped the bowl to minimize the damage on the rim and bring the inner edge back to round. It did not take too much topping to achieve that. I finished the inner edge by giving it a slight bevel with a folded piece of 220 grit sandpaper. The bowl top looks much better. I still need to address the burn on the outer bowl.
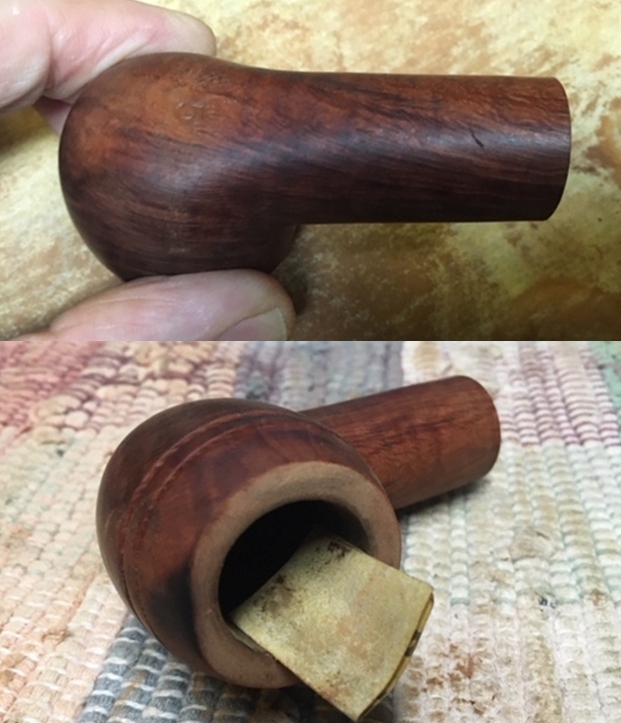
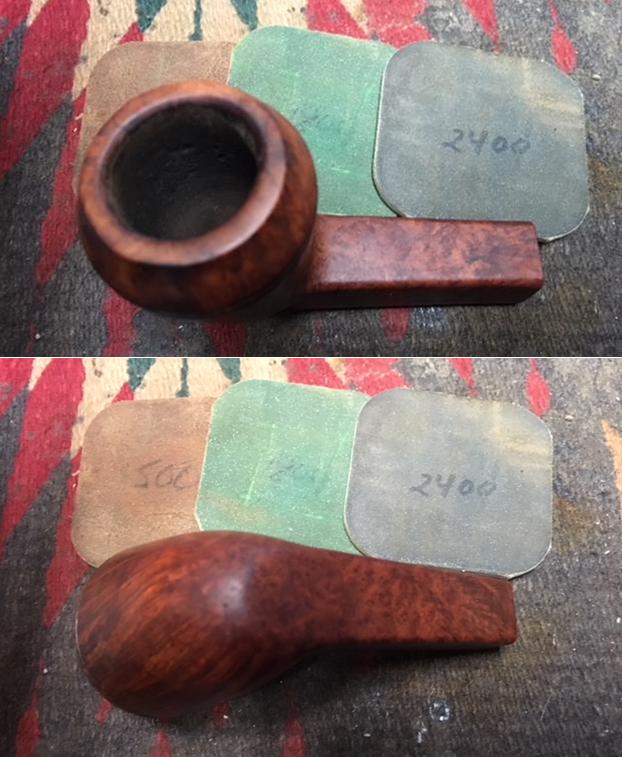
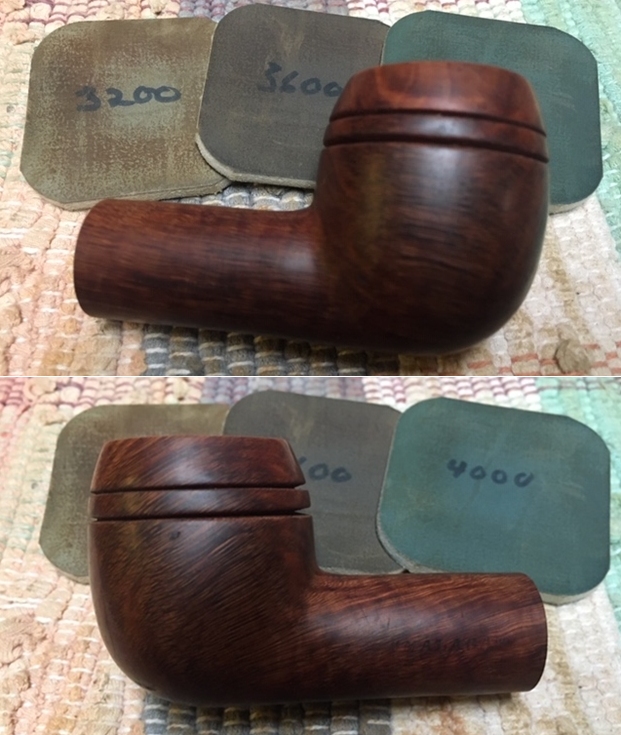
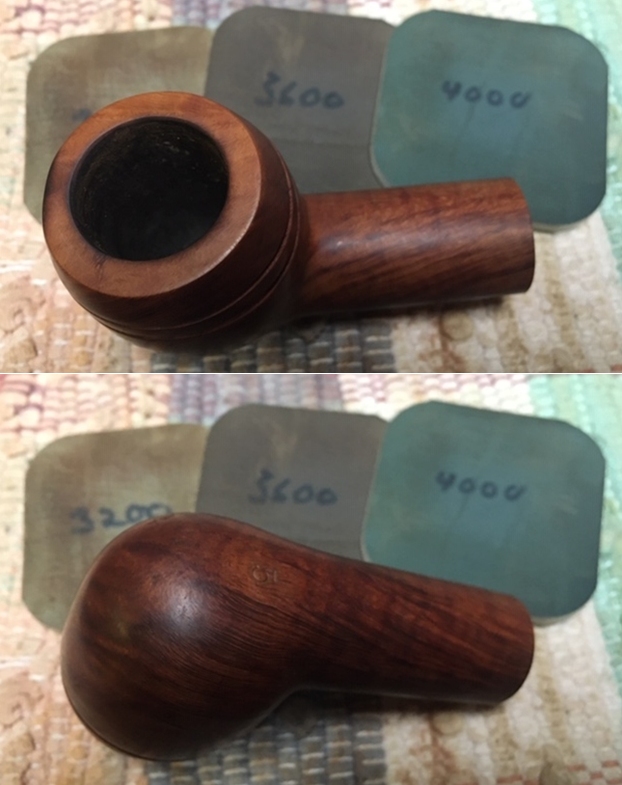
 I sanded the burn mark with 220 grit sandpaper and polished it with 400 grit wet dry. I was not able to remove the damage but I was able to minimize and lighten it a bit by sanding.
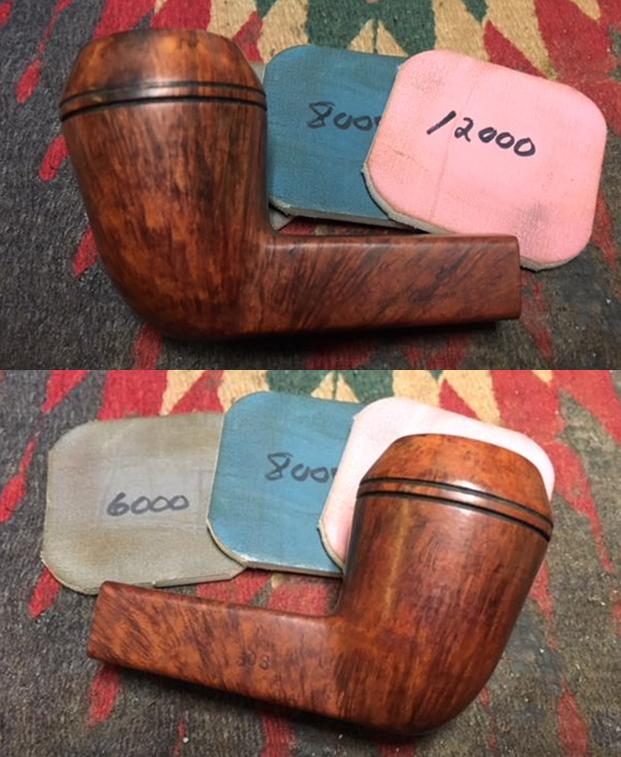
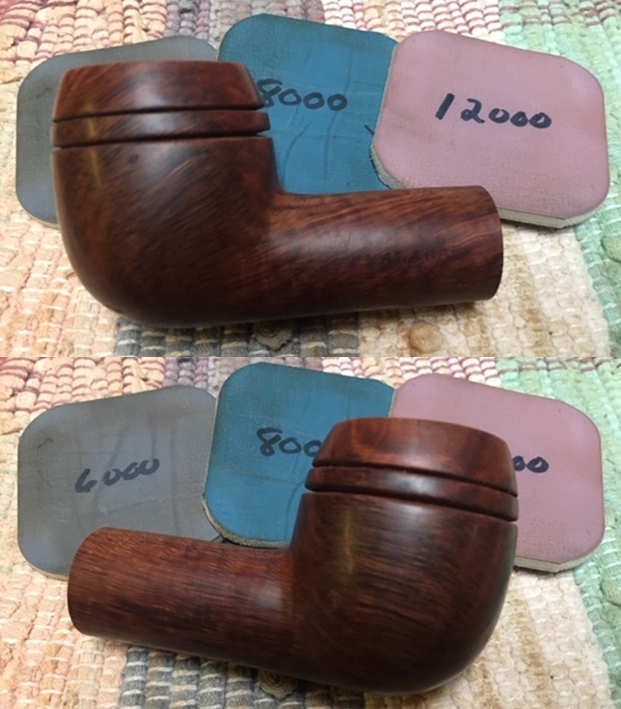
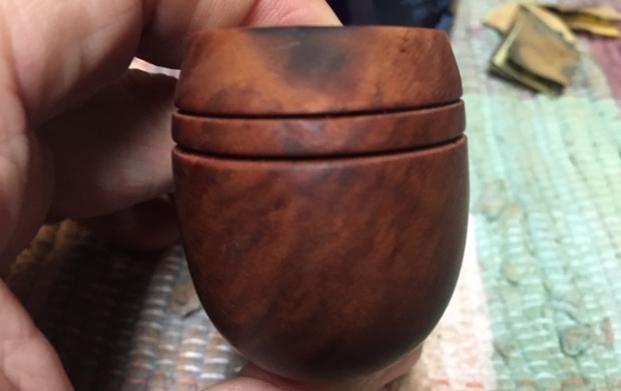 I polished the smooth rim top bowl with micromesh sanding pads – wet sanding with 1500-12000 grit sanding pads. I wiped down the bowl after each sanding pad with a damp cloth.
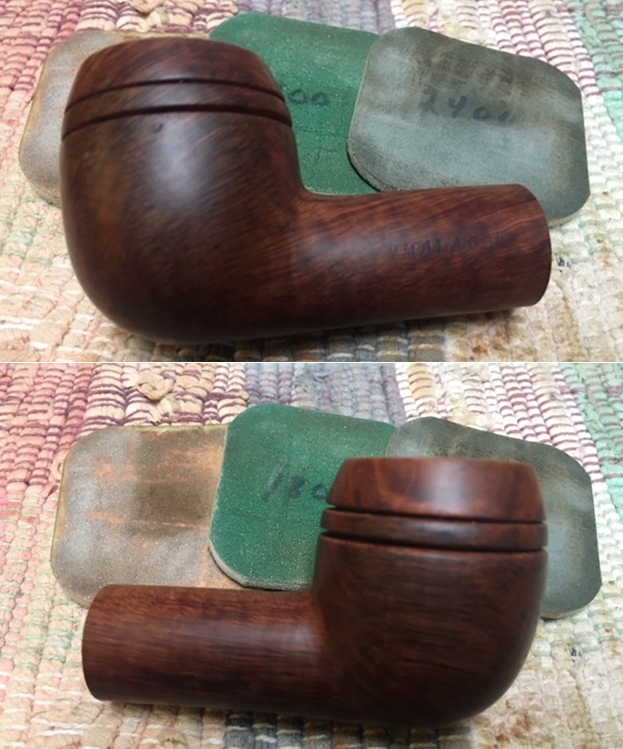
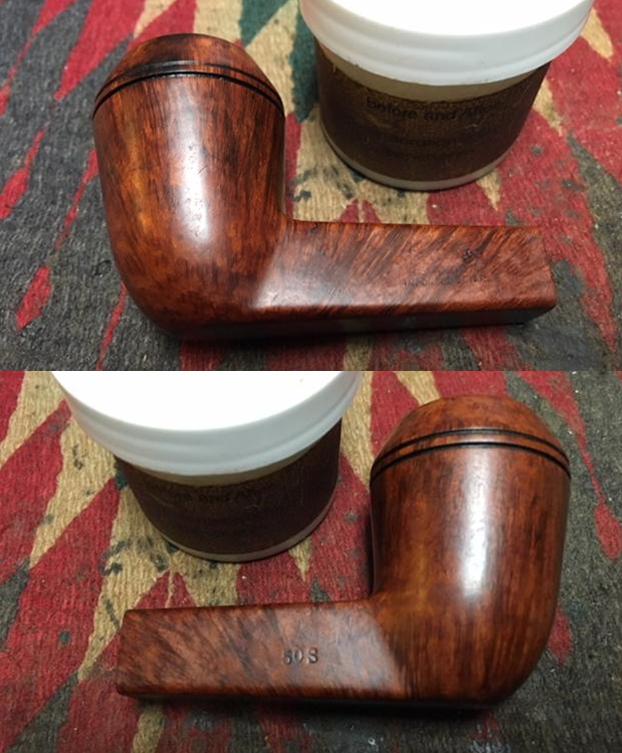
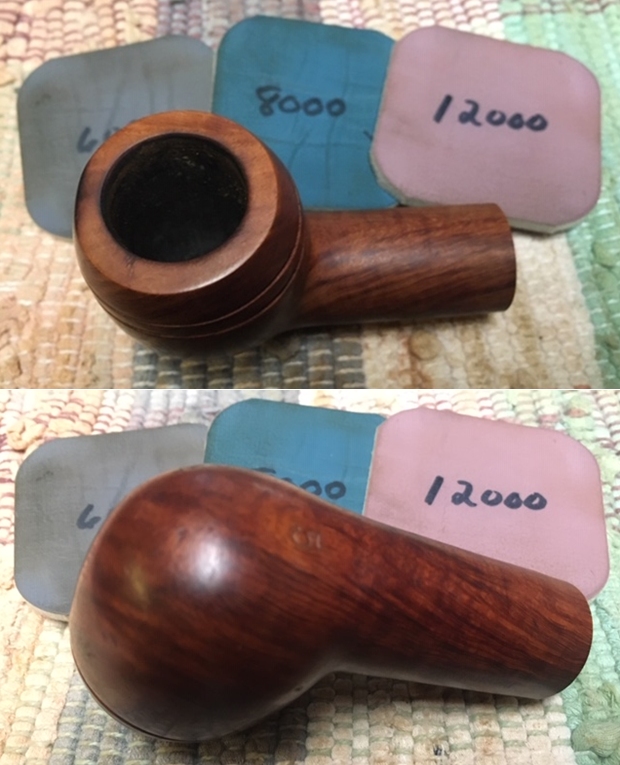 I worked some Before & After Restoration Balm into the surface of the briar with my fingertips to clean, enliven and protect it. I let the balm sit for a little while and then buffed with a cotton cloth to raise the shine. The photos show the bowl at this point in the restoration process.
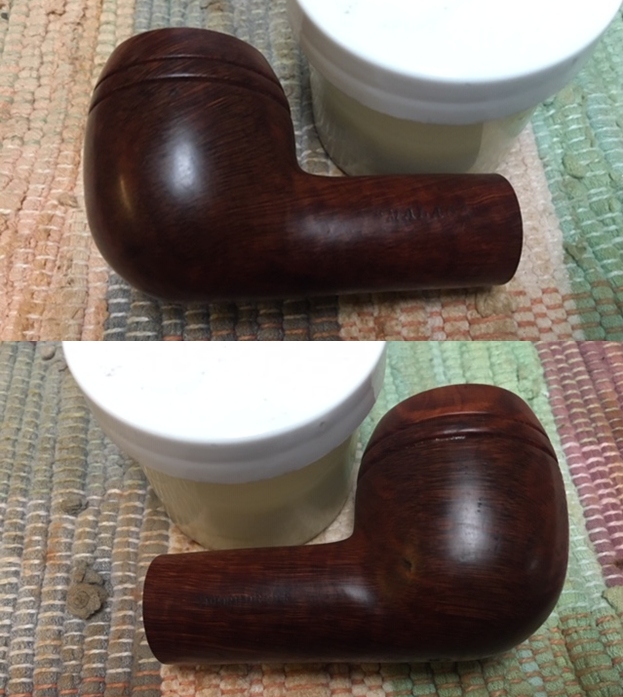
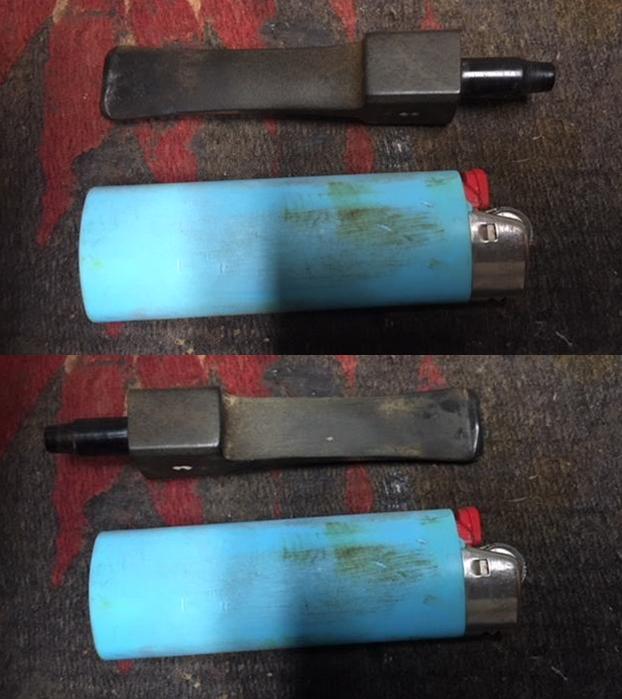
 I set the bowl aside and turned my attention to the stem. Since Jeff had cleaned the stem I did not need to do that. I wiped off the damaged areas with a cotton swab and isopropyl alcohol to remove debris and dust and filled in the tooth damage on the button and the stem surface with black super glue. I was heading to bed so it did not matter that the glue takes over night to cure.
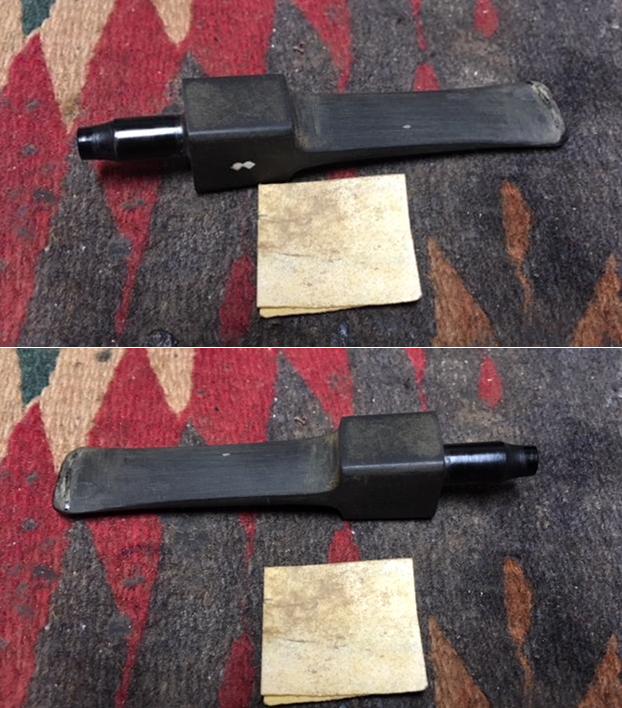
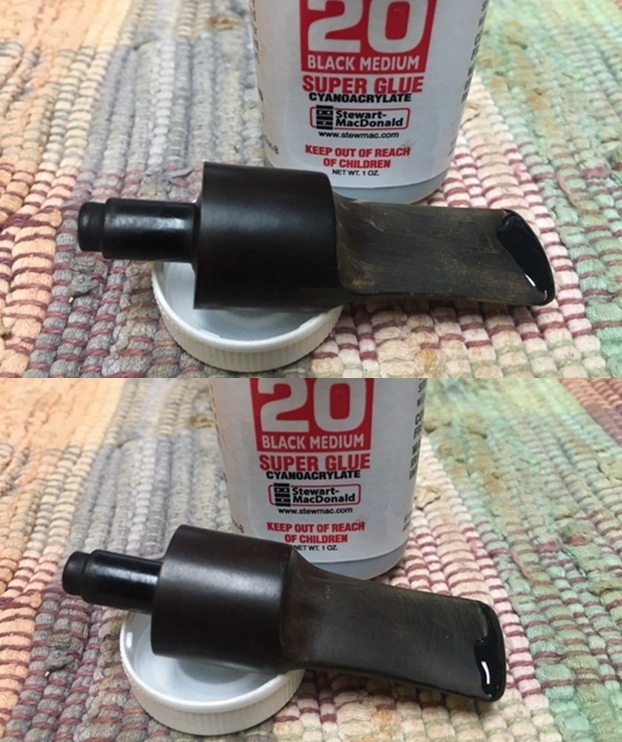 In the morning I reshaped the button edges and stem surface with a needle file to smooth out the repairs. I still need to do some more sanding but the stem is shaping up to be quite nice. I still need to remove the oxidation on the surface but it is getting there.
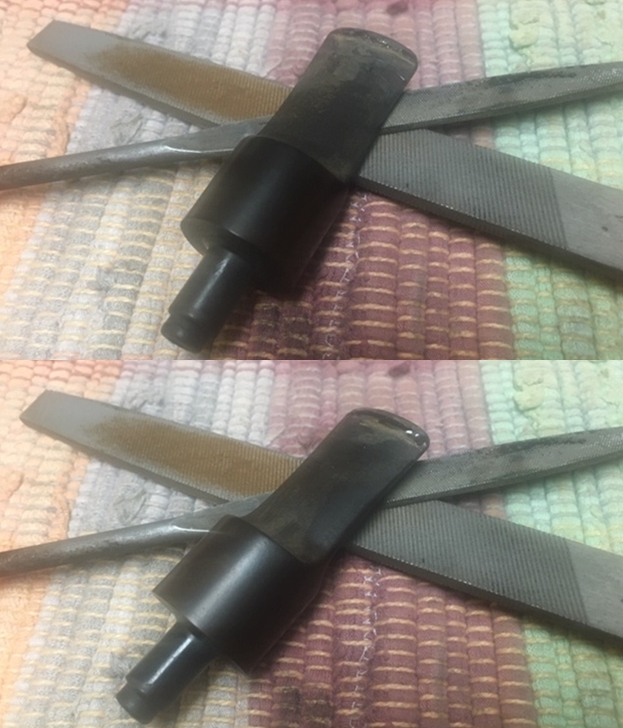 I sanded out the repaired with 220 grit sand paper to blend them into the rest of the stem surface. I started to polish it with a folded piece of 400 wet dry sandpaper. Once it was finished it had begun to shine.
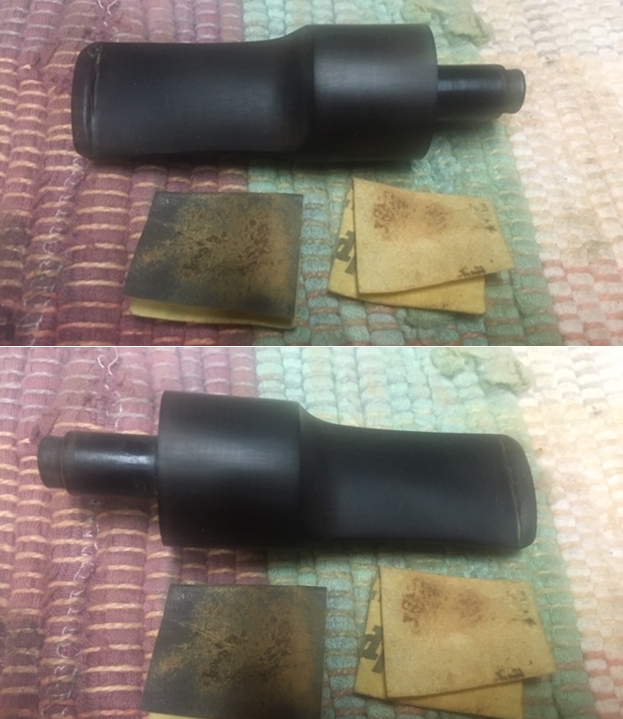 I polished the stem with Denicare Mouthpiece Polish from a tin of it I have in the drawer here. It is a gritty red paste that I rub on with my finger tips and work into the surface of the stem and button and buff off with a cotton pad. It gives me a bit of a head start on the polishing work.
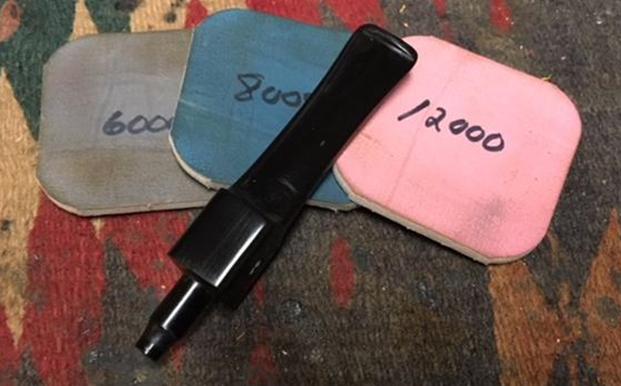
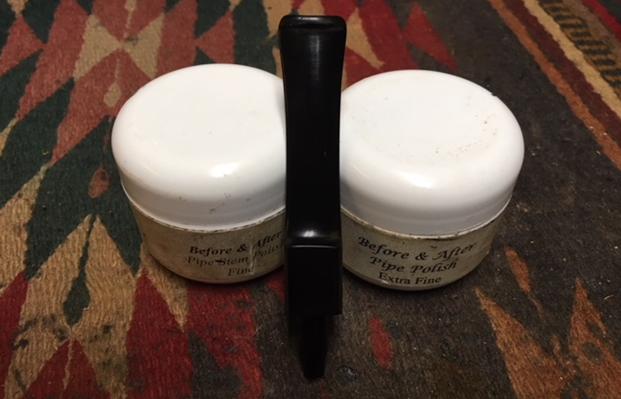
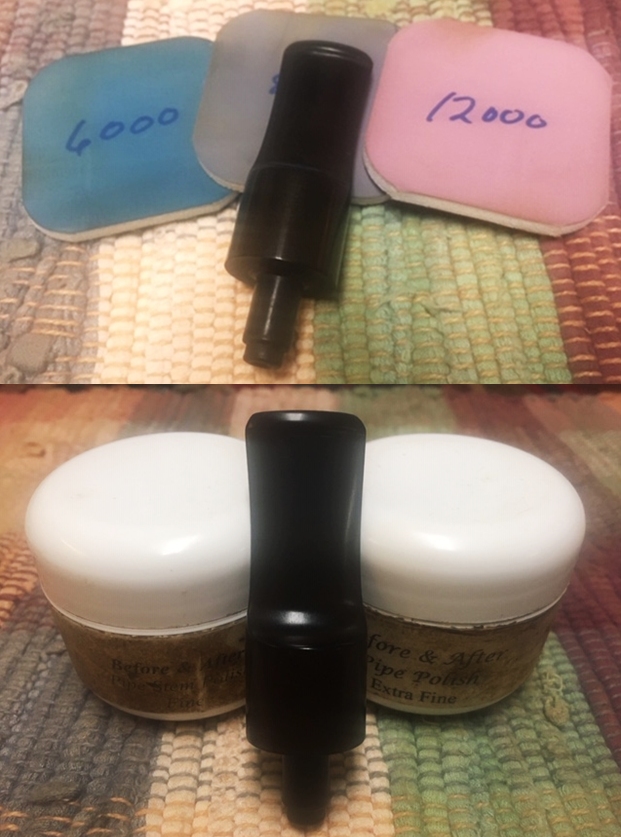
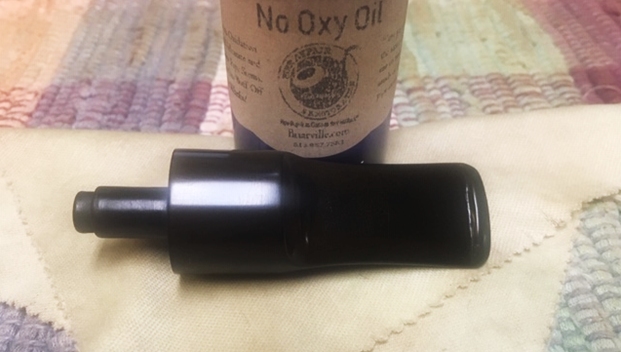
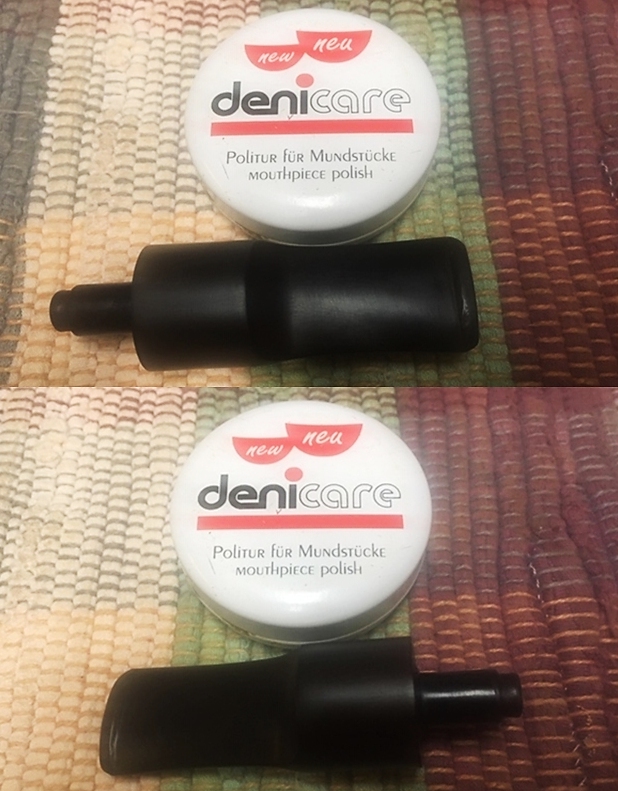 I polished the stem with micromesh sanding pads – wet sanding with 1500-12000 grit sanding pads. I wiped it down after each sanding pad with Obsidian Oil. I polished it with Before & After Pipe Stem Polish – both Fine and Extra Fine. I am continuing to experiment with Briarville Pipe Repairs new product, No Oxy Oil so I rubbed the stem down with the oil on the cloth that was provided with it.
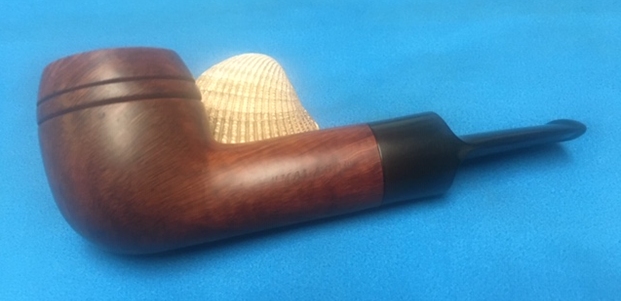
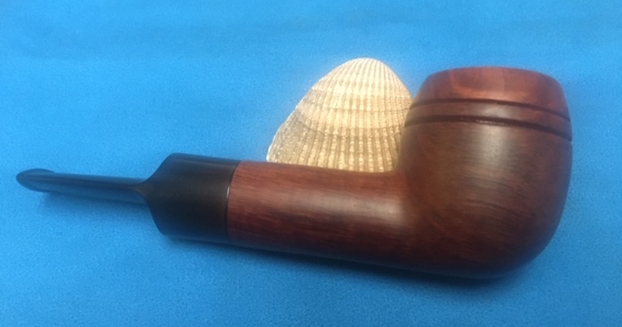
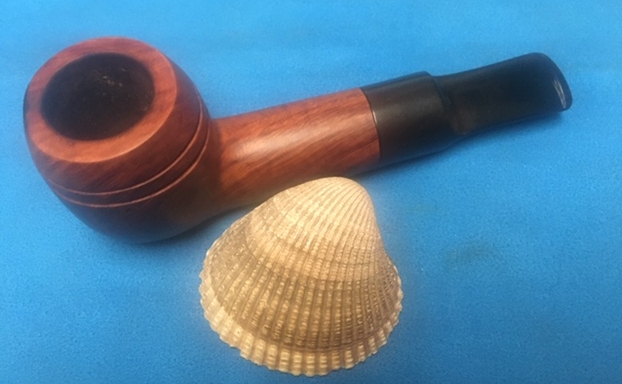
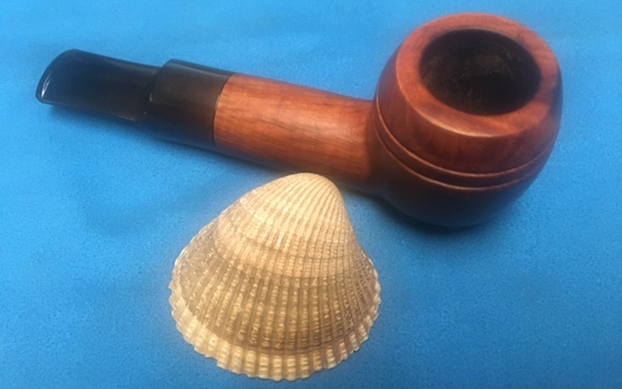
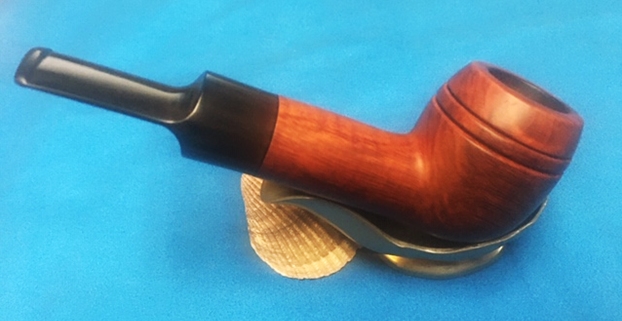
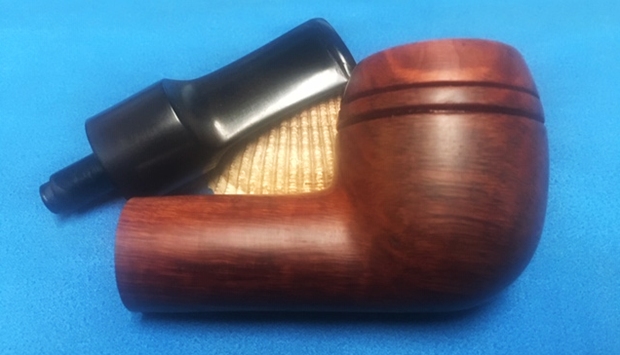
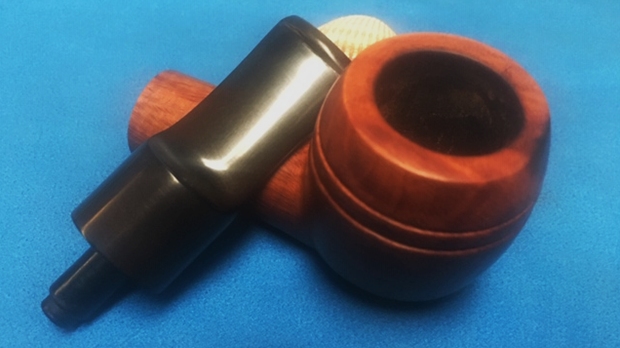
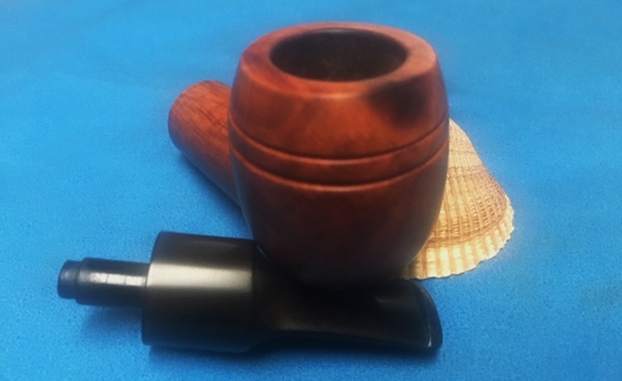
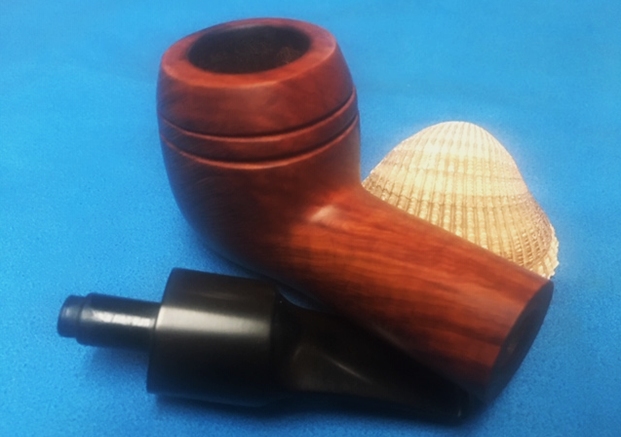
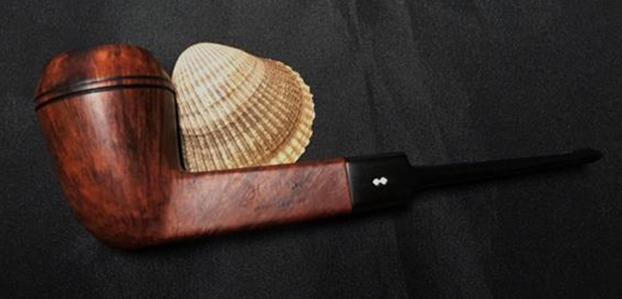
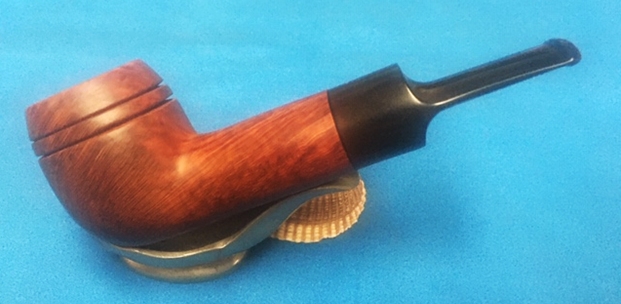
 This is another interestingly shaped “Malaga” pipe – what I would call a Rhodesian. It has a short, stubby black vulcanite saddle stem. The cleaned up rim top look really good in comparison to where it started. There are still remnants of the story of the pipe’s journey but that is the way it should be. It has a great look and feel. The shape is very tactile and fits well in the hand. I polished stem and the bowl with Blue Diamond polish on the buffing wheel. I gave the bowl and the stem multiple coats of carnauba wax. I buffed the pipe with a clean buffing pad to raise the shine. I hand buffed it with a microfiber cloth to deepen the shine. The pipe polished up pretty nicely. The rich oil cured briar took on life with the buffing. The rich brown colour of the briar works well with the polished vulcanite stem. The finished pipe has a rich look that is quite catching. Have a look at it with the photos below. The shape, finish and flow of the Rhodesian pipe and stem are very well done. The dimensions are Length: 5 ¼ inches, Height: 2 inches, Outside diameter of the bowl: 1 3/8 inches, Chamber diameter: ¾ of an inch. It is a beautiful pipe and has a lot of promise for the Malaga collector. Thanks for walking through the restoration with me as I worked over this pipe.