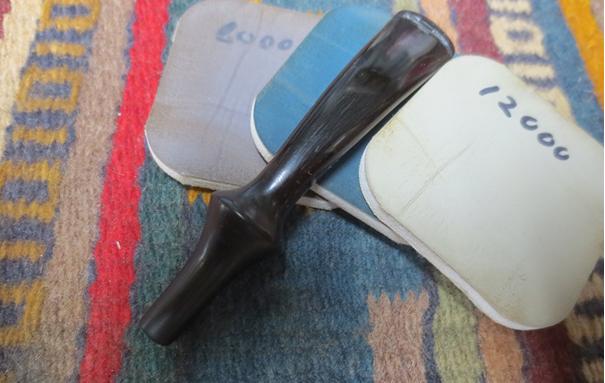
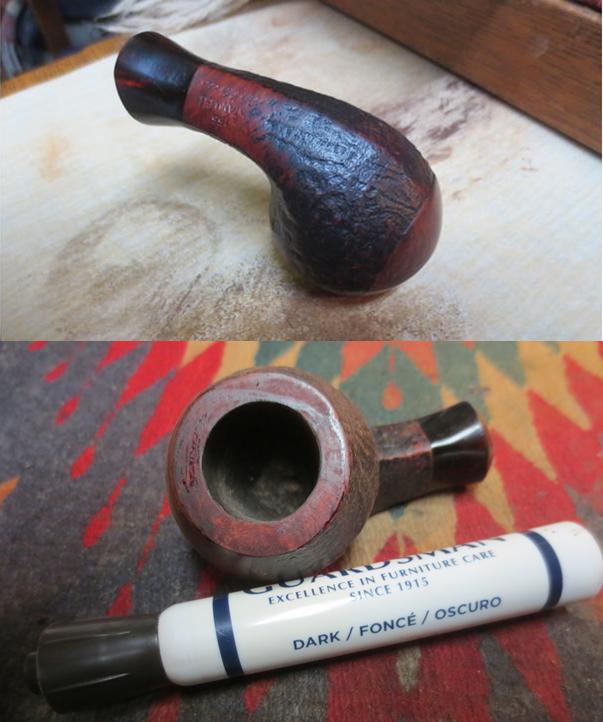
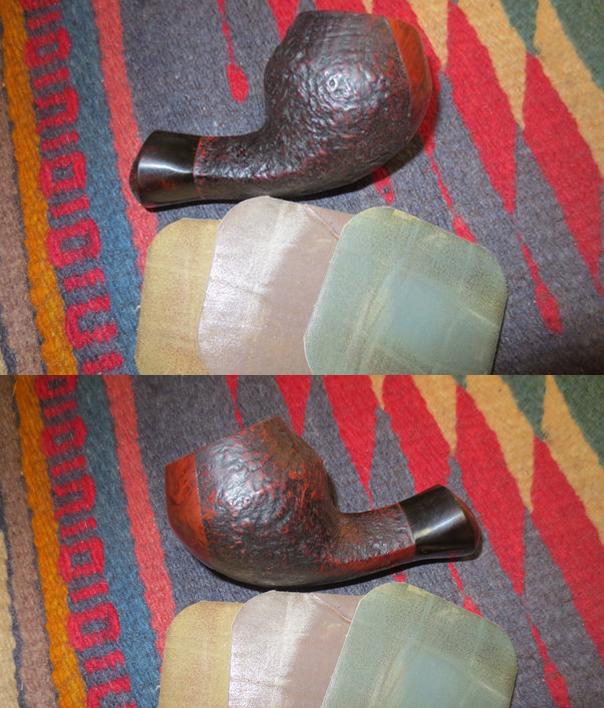
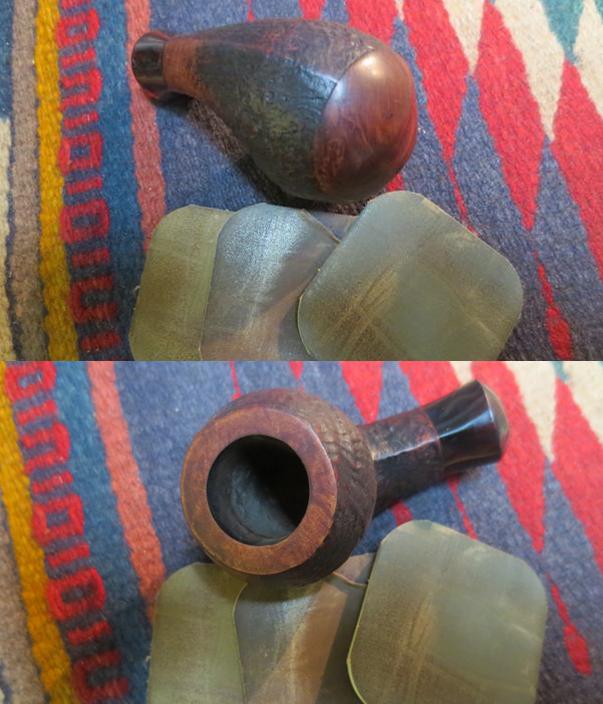
Tag Archives: removing oxidation

I have always wanted to see one up close – an Aristocob


Blog by Steve Laug

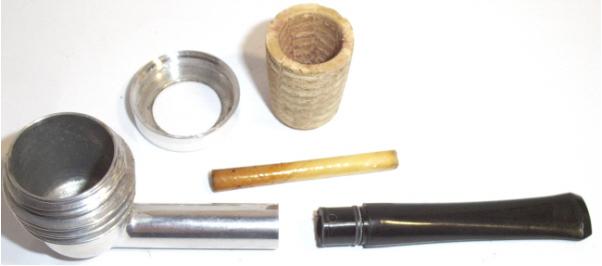
Over the years I have spent quite a bit of quiet time scanning through the smokingmetal.co.uk website reading over all of the various metal pipes that have been made. I love reading and looking at the inventive creations made to capture that illusive grand smoke. One of the pipes that stood out to me on the site was the Aristocob metal bowl that came with two corn cobs that fit inside the bowl, held in place by the screw on metal cap. I wanted to see one of those but somehow always missed them on eBay at the last minute or at an antique shop by a matter of minutes. I included two of the photos from the website. The first one showed a plastic box with a form fitted purple velvet nest for the pipe and the pair of cob inserts that came with it. The pipe had a black nylon stem that held a Medico paper filter in place in the metal shank of the pipe. cobaThe second photo showed the pipe taken apart with a pretty good descriptive view of the metal bowl and cap, the cob insert, the filter and the stem with an O-ring on the tenon to keep it in the metal shank.cobbI remember first reading this description years ago when I looked up the pipe on the site. I was struck then as I am now that I could not have described it any better. I have included it here in full with a link for you to look it up should you desire to do so:

The ARISTOCOB is an American made system pipe with corn cob bowl inserts. Originally the AL-COB CORPORATION out of Grand Haven, Michigan, which later became ARISTOCOB INCORPORATED from Caledonia, Michigan. Later still they were bought out by Missouri Meerschaum Company

Apparently available in the first place in a plastic case containing one pipe, 2 replacement corn cob bowl inserts and instructions for use. The cob inserts were made for some time by The Missouri Meerschaum Company, manufacturer of corn cob pipes in Washington, MO. The box shown is their box. They made the inserts from the early 1970’s until 1983. They are no longer available from that source but do appear on eBay at times

The top of the vaned outer bowl unscrews to enable easy replacement of the bowl insert. An inline filter can be used in the stem. The mouthpiece has been seen in two version, with and without an ‘O’ ring. The patent was filed on 20 Dec 1966 with the US patent # 3,292,639. The inventor was Joesph W. Zarikta of Grand Haven, Michigan USA – the assignor was the Al Cobb Corp. (http://smokingmetal.co.uk/pipe.php?page=56).

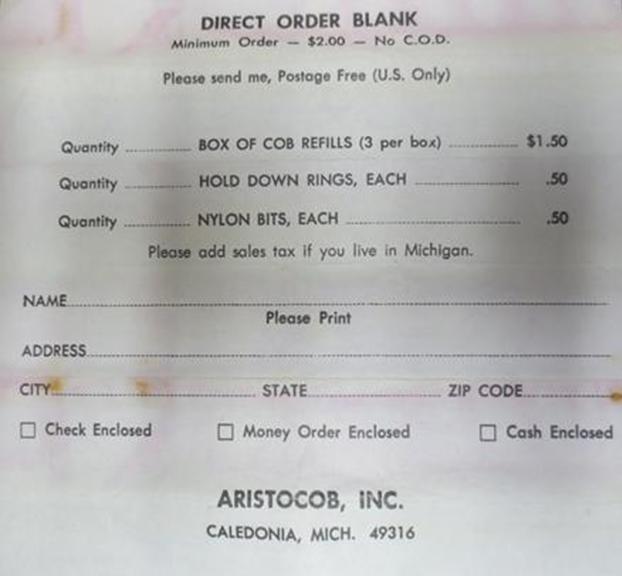
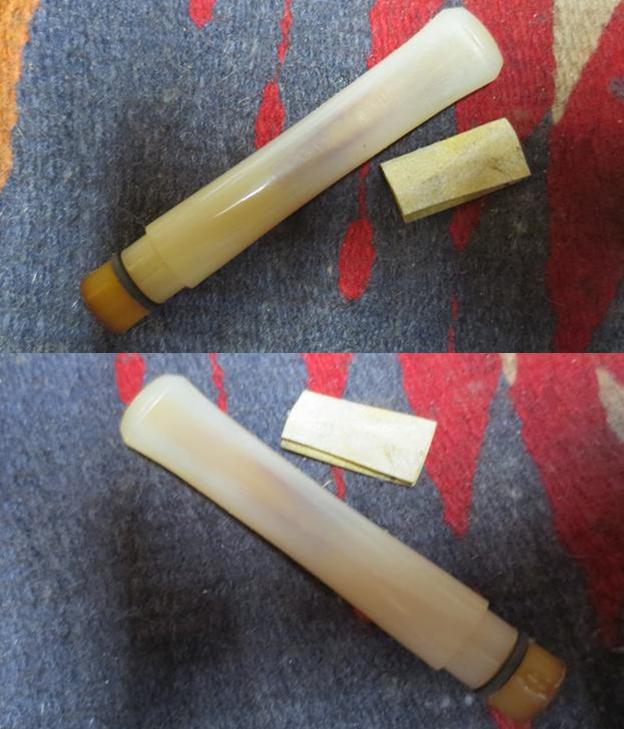
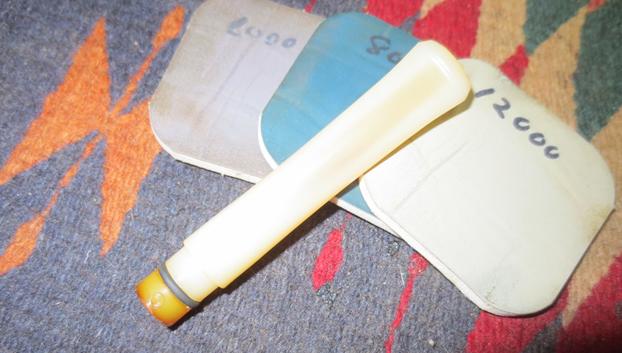
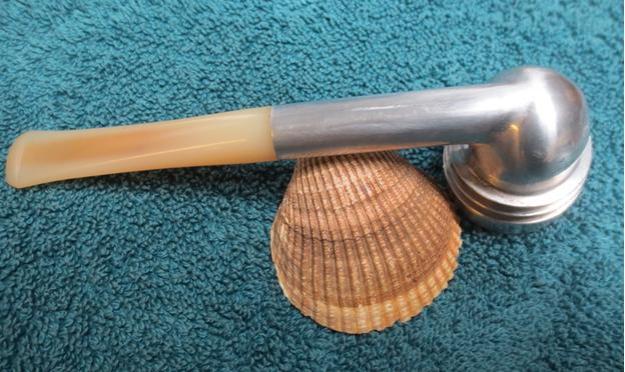
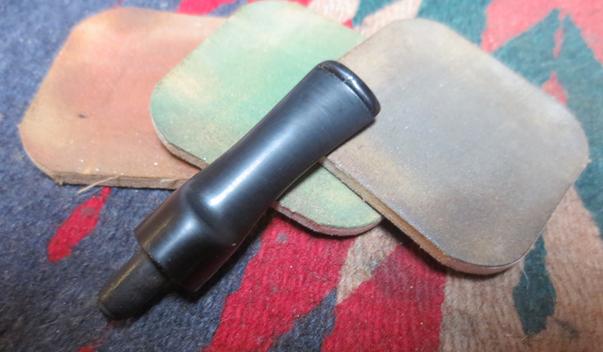
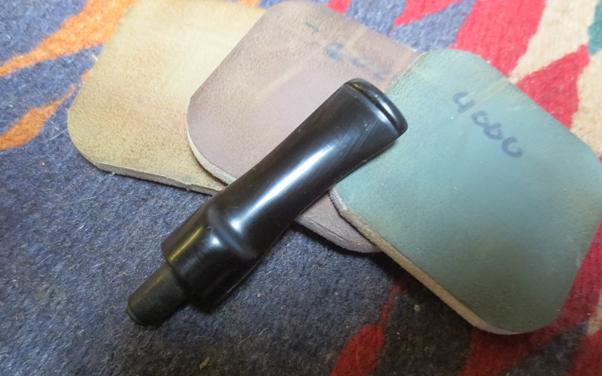
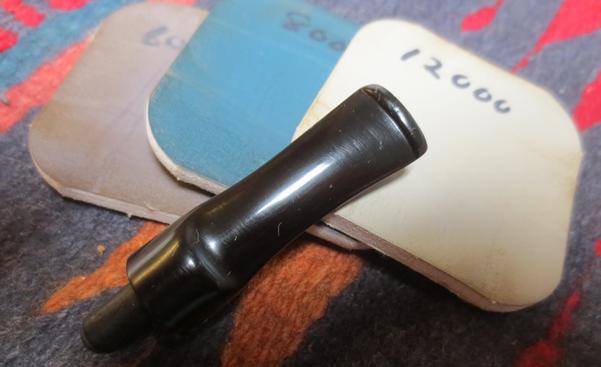
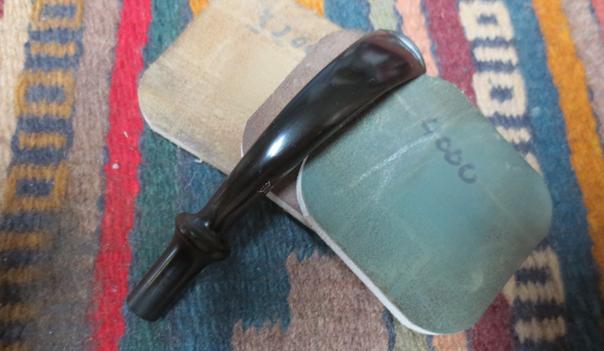
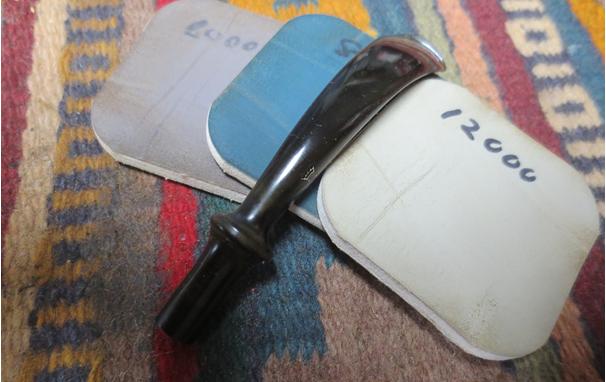
I mentioned to my brother to keep an eye open for one of these never expecting him to find what he did. I have not seen a cased version of the pipe in my hunts but have only found the pipe with the inserted cob bowl if I was lucky. He happened to find a boxed set and bought it. He sent me the following photos of the pipe. The next set of photos are the ones that the seller posted on the eBay sale.cob1 cob2 cob3 cob4When the pipe arrived in Idaho my brother took some photos before he cleaned it up. I have included a few of those photos next. The pipe was quite dirty. The rim cap had a buildup of tars and oils on the top. The cob insert was dirty and crumbling on the top edge. The aluminum pipe body was oxidized and dirty as well.cob5When he took it apart, the inside of the aluminum body had also built up tars in the bottom and on the inside walls.cob6The inner edge of the insert was in rough condition. The rest of the bowl appears to be solid. The aluminum disk on the bottom of the bowl was dirty but undamaged.cob7The stem was darkened on the tenon end. The O-ring was still in good condition. The paper Medico Filter in the tenon was dirty and would need to be replaced. The top and undersides of the nylon stem had some tooth chatter on the surface near the button. The inside of the shank was dirty and there was some tarry buildup on the walls of the aluminum.cob8 cob9My brother cleaned up the cap and the interior of the aluminum bowl holder and shank. He cleaned the aluminum with Murphy’s Oil Soap inside and out. He scrubbed out the airway in the shank and stem. He cleaned up the damaged edge of the cob insert. When it arrived in Vancouver, I brought it to the work table and took some photos of the condition it was in before I started.cob10 cob11Inside the plastic box there was a pamphlet that explained the function of the pipe and all of its parts. The description of the pipe and how to use it was a marketing document that sold the pipe and all of its design as the best smoking pipe available.cob13 cob14I polished the aluminum with micromesh sanding pads. I started polishing with 1500-2400 grit pads and wiped it down with a damp cotton pad. I continued to polish it with 3200-12000 pads and the finish began to shine.cob15 cob16I sanded the stem to remove the tooth marks and chatter from the top and bottom sides of the stem. I ran a pair of bristle pipe cleaners and alcohol through the airway in the stem to remove the residue that still remained in the stem.cob17 cob18I polished the stem with micromesh sanding pads – wet sanding with 1500-2400 grit pads and dry sanding with 3200-12000 grit pads. I wiped it down with a damp cotton pad after each set of three pads.cob19 cob20 cob21Because the stem was nylon I decided not to use the buffing wheel. I gave it several coats of Conservator’s Wax and hand buffed it with a microfibre cloth. I lightly buffed the aluminum on the Blue Diamond wheel and then with a clean buffing pad to raise the shine. The finished pipe is shown in the photos below. It makes a great piece of pipe history in the ongoing search for the illusive perfect smoke. It will hold a place in my collection of tobacciana. Thanks for walking through this restoration with me.cob22 cob23 cob24 cob25 cob26 cob27 cob28 cob29

Breathing Life into a Comoy’s Spectrum Boxed Bent Billiard


Blog by Steve Laug

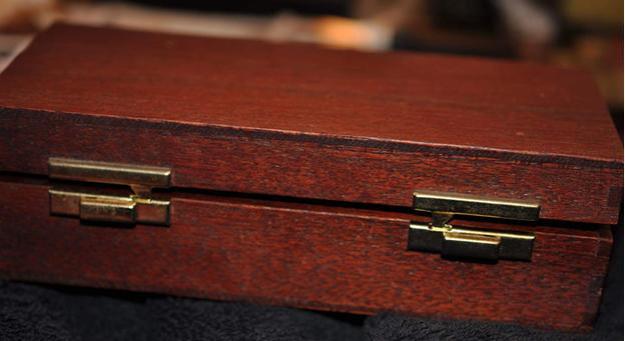
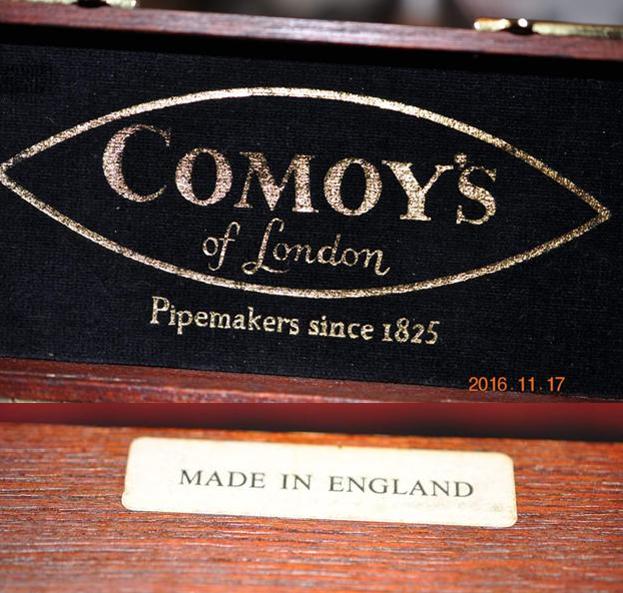
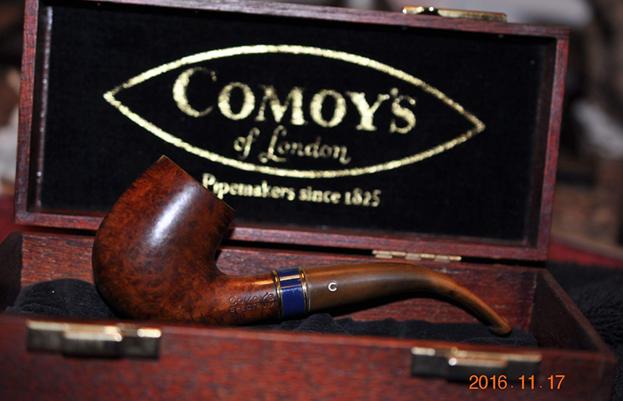
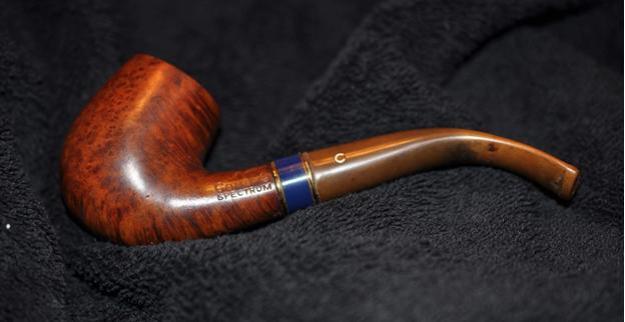
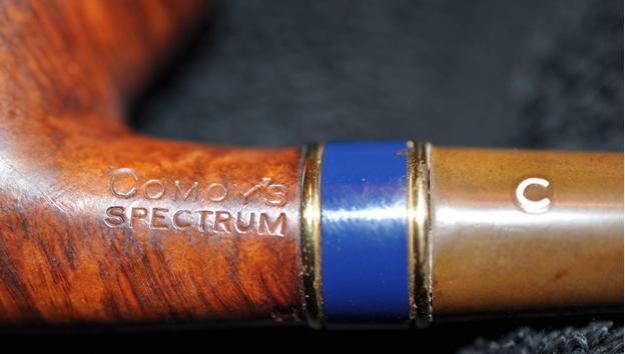
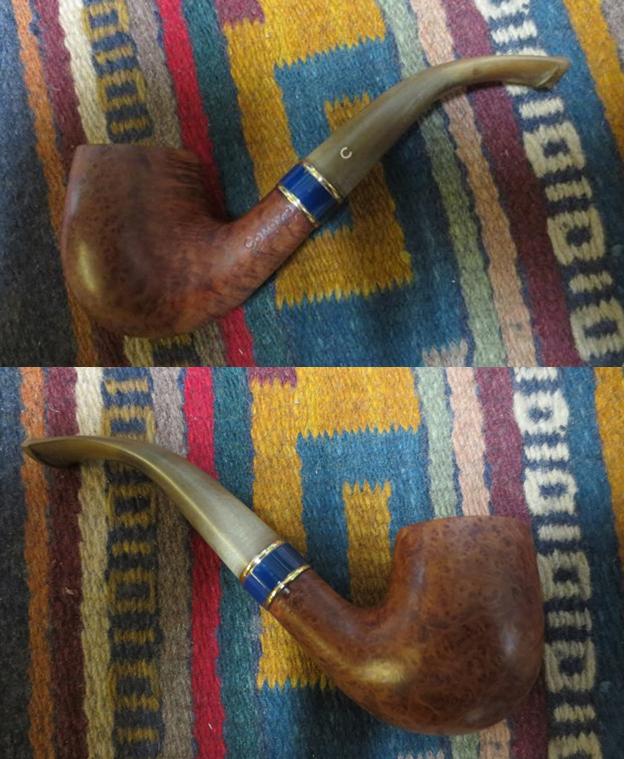
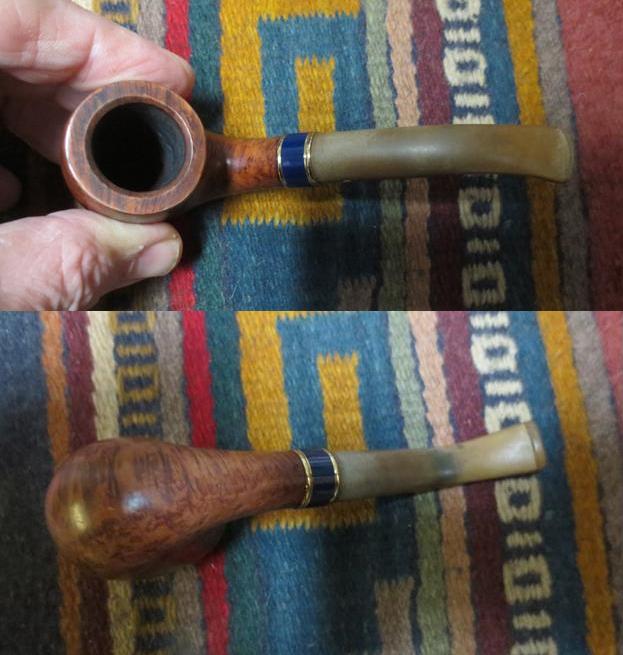
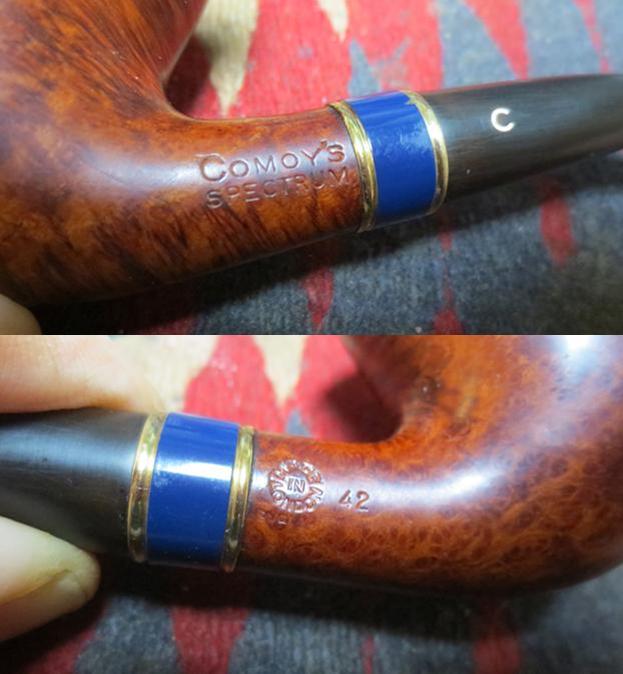
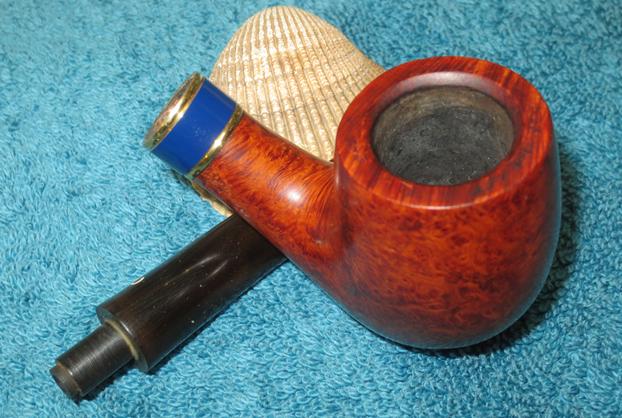
My brother picked an interesting Comoy’s pipe. It is from a line of Comoy’s that I was unfamiliar with. I could not find much information in my online searches either. It was a nicely made Comoy’s with a single drilled letter C on the stem side. It came in a black velvet lined presentation box with the Comoy’s of London logo and Pipemakers since 1825 in gold on black felt on the inside of the lid. The well-made box with dovetailed corners is mahogany that is stained with a rich cherry stain. The gold latches and hinges look very good with the red stain of the wood. On the underside the box is stamped Made in England.comoy1 comoy2Once the box was opened and the pipe visible it clear to see it is a beautiful pipe. I am actually surprised that there is not more information on the line available. It is stamped Comoy’s over Spectrum on the left side of the shank and the COM stamp on the right shank is the expected Made in London circle over England. Next to that the shape number 42 is stamped. Looking that up on Comoy’s Shape Charts shows that it is the number for a medium sized ½ bent billiard. This is exactly what I have here. There is also an H stamped on the underside of the shank next to the brass and blue band.comoy3The pipe appears to have some nice grain in the photos that my brother sent to me. The front, underside and back and top of the shank are beautiful cross grain. The sides of the bowl are full of birds-eye grain. The pipe has a brass band that had a wipe enameled strip of royal blue in between two ridges of polished brass. The stem was oxidized in the early photos but the single drilled C stamp is very clean.comoy4 comoy5My brother took some close up photos of the bowl and rim to give me a clear picture of the pipe. It appeared that the bowl had been reamed and well care for. The rim looked very good – a little bit of lava overflow from the bowl but the inner beveled edges and the outer edges of the rim were both very clean. The rim itself was also undamaged. The underside of the bowl and shank showed beautiful cross grain.comoy6The stamping on the pipe was deep and sharp. It had not been over buffed or damaged. It was readable and clean. The finish was dirty and the buildup of grime and grit on the surface of the bowl and band seemed to be the only major issue on the pipe. You can also see the single drilled C logo on the stem in the photo below.comoy7From the next photos you can see the deep oxidation on the stem. What is not visible at this point is if there was any tooth chatter or damage to the stem. That would have to wait until the pipe arrived in Vancouver.comoy8While I was waiting for the pipe to arrive in Vancouver I did some hunting for information on the Spectrum line of Comoy’s pipes on the internet. Sadly I was unable to find much that was definitive. There was a similar pipe for sale on smokingpipes.com that had a brief write up. From that I learned that the pipe dates after 1980 because of the single drilled C. Evidently that was when Comoy’s no longer used the three-part inlaid C on the stem. I wrote to a friend of mine and writer on rebornpipes, Al Jones and asked what he knew about the line. He wrote back that “they are early post-merger, with the single drill C logo. They usually have an adornment of some kind and box. It was the go-go 80’s, right! They’re most likely made with good stock leftover from pre-merger, so she should be a good smoker. As an added bonus, this pipe comes in wooden box complete with matching tamper.”

This confirmed what I had gleaned online so far. I Googled and found a question and short discussion on alt.smokers.pipes community regarding the line and found some more information from friend, Mike Stanley. He wrote: “The only thing I can pass along is what R.C. hacker wrote in his Ultimate Pipe Book. The Spectrum came with a wooden box and matching tamper with the same brass and enameled ring as the pipe. They were, I suppose, “firsts and fairly pricey. I had one I picked up from ebay. It had no tamp or box. It was a fine enough looking pipe. No putty or sand pits. It was too big for my taste. I re sold it. I would guess that they were made up until the late seventies or early eighties. Just a guess though.” (http://alt.smokers.pipes.narkive.com/yA8KASQj/comoy-s-spectrum)

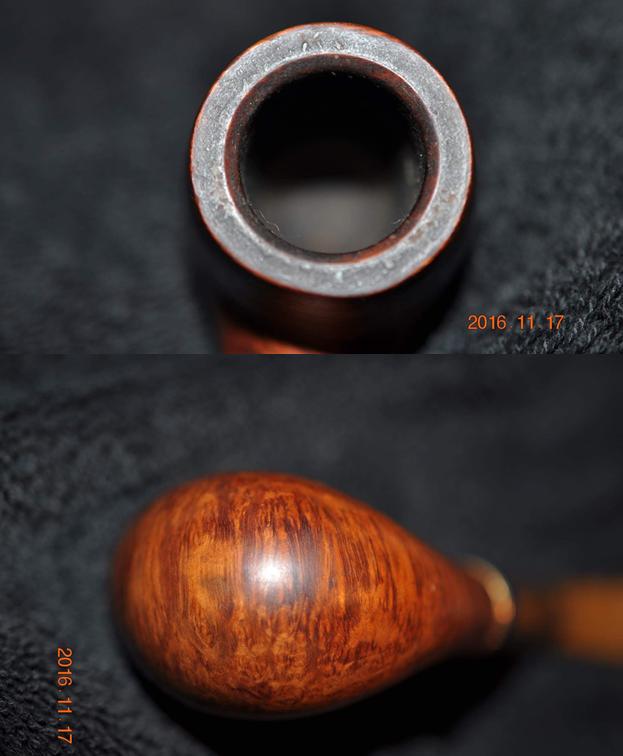
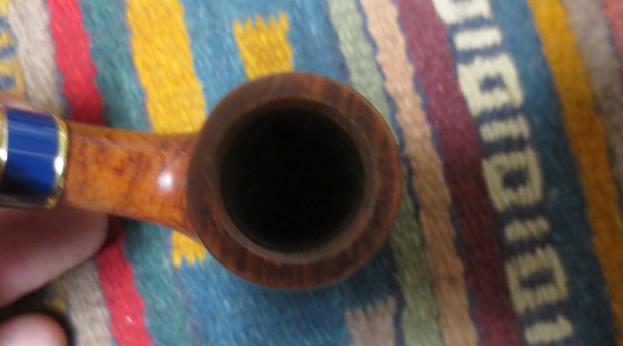
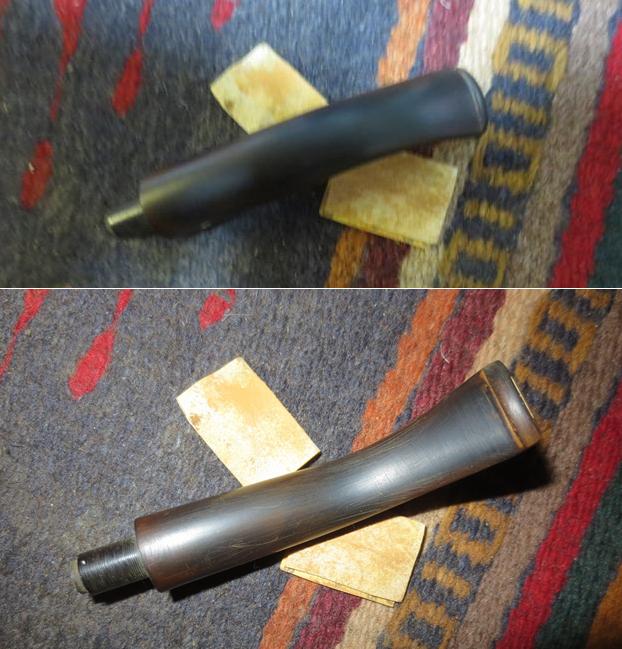
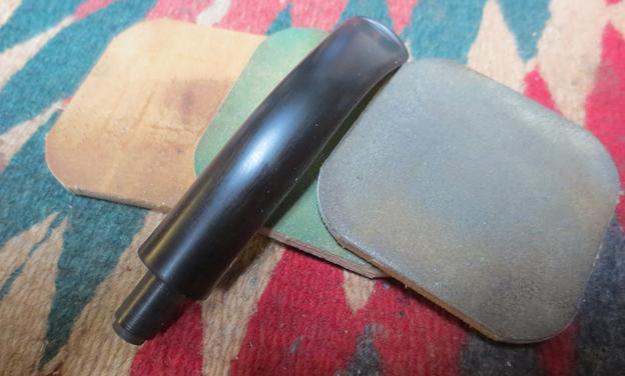
When the pipe arrived in Vancouver and I unpacked it I was amazed at how clean my brother Jeff had gotten the rim and the bowl. The finish was very clean. The enameled band was also clean an undamaged. The oxidation had really come to the surface on the stem. However, all that being said, the briar on the pipe is very stunning. I took some photos of the pipe before I began to work on it to try to capture what it looked like when it arrived.comoy9 comoy10The next picture is a bit out of focus. It will teach me to have a look at the photos before moving on with the cleanup. However, you can see that the rim is spotless. He was able to get all of the darkening and debris off the rim and also ream the bowl clean.comoy11I took photos of the stamping on both sides of the shank. You can see in the first photo the stamping on the left side of the shank. The second shows the COM stamp and shape number on the right side.comoy11aI took photos of the stem to show the oxidation and to try to capture the tooth chatter and tooth marks on both sides of the stem near the button. They are hard to see through the oxidation. The ones on the topside of the stem are not too bad. The ones on the underside are a little deeper. Once I clean off the oxidation a bit I will be able to assess how bad they are.comoy12I sanded the stem with 220 grit sandpaper to break up the oxidation on the surface and also to sand out the tooth chatter and tooth marks on the stem. I was able to remove all of them as they proved to be fairly shallow and superficial.comoy13I polished the stem with micromesh sanding pads – wet sanding with 1500-2400 grit pads and dry sanding with 3200-12000 grit pads. I rubbed the stem down with Obsidian Oil after each set of three pads. After rubbing it down with the final coat of oil I set the stem aside and let it dry.comoy14 comoy15 comoy16I buffed the bowl and stem with Blue Diamond on the buffing wheel. I avoided buffing the enameled band on the shank. I gave the stem and bowl multiple coats of carnauba wax and buffed it with a clean buffing pad to shine it. I hand buffed it with a microfibre cloth to deepen the shine. The finished pipe is shown in the photos that follow. It is a beautiful pipe with stunning grain. The contrast of the black vulcanite, the blue and brass enameled band and the cross grain and birds-eye grain formed a great contrast. It comes with the velvet lined mahogany case with brass clasps and hinges. The only thing lacking was the tamper that originally came with the pipe. Thanks for walking through this restoration with me.comoy17 comoy18 comoy19 comoy20 comoy21 comoy22 comoy23 comoy24 comoy25

Cleaning a Turkish SMS Meerschaum Churchwarden


Blog by Steve Laug

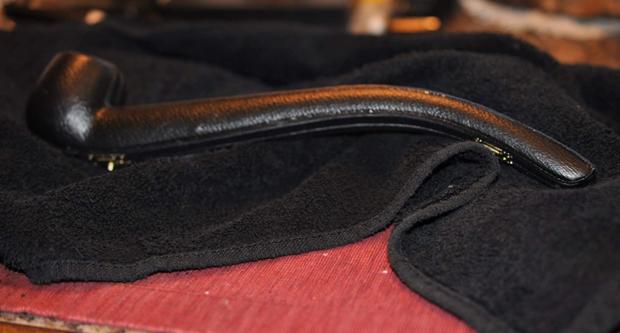
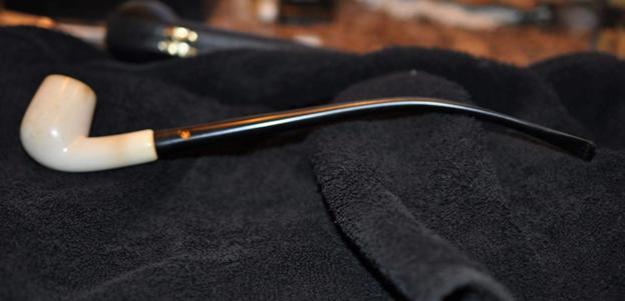
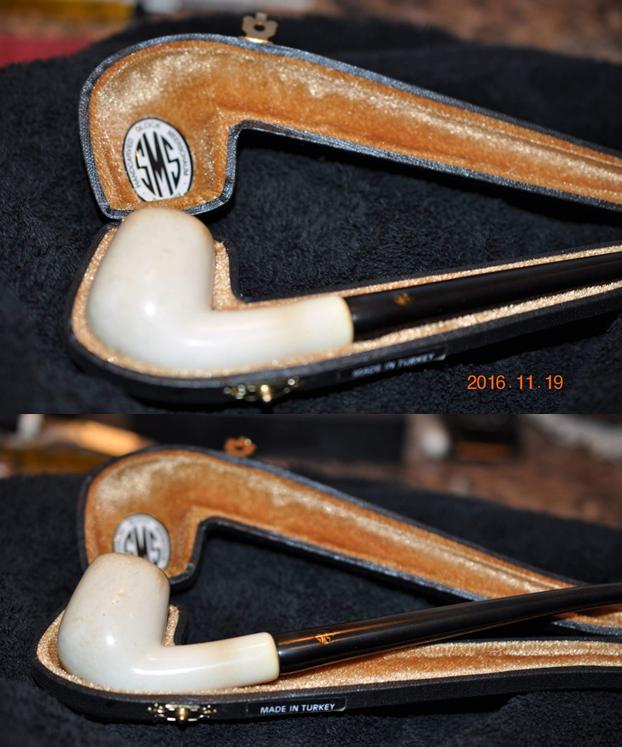
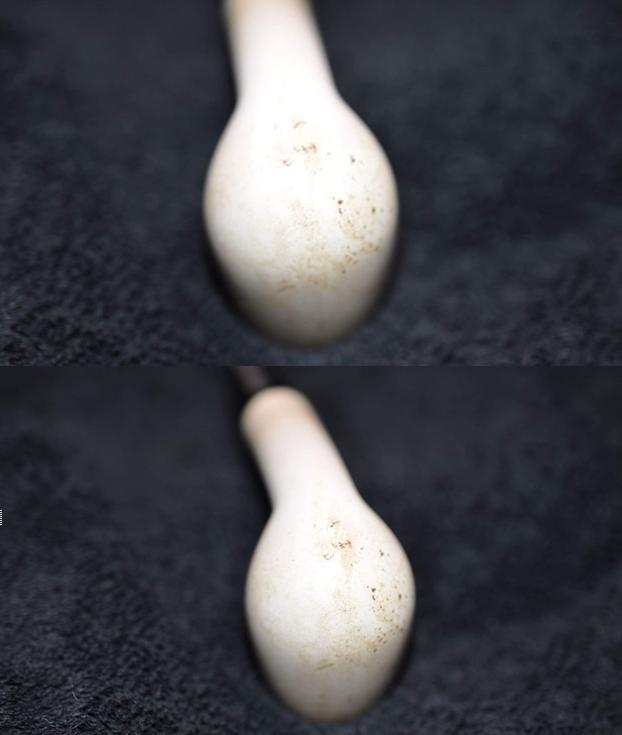
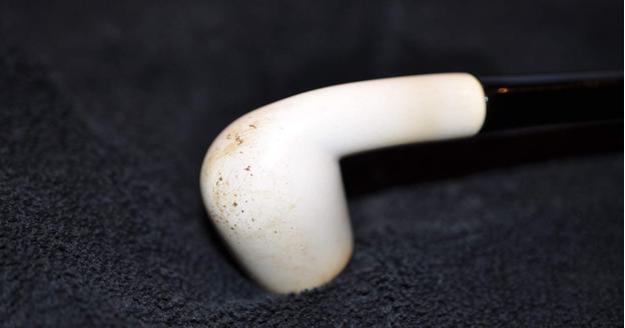
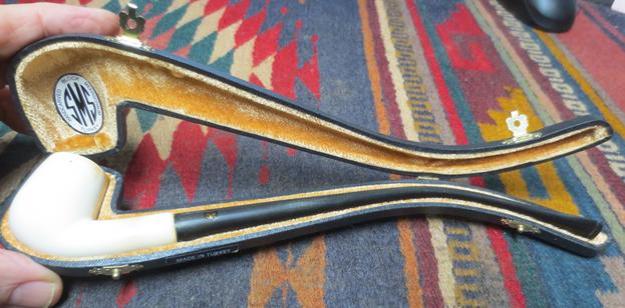
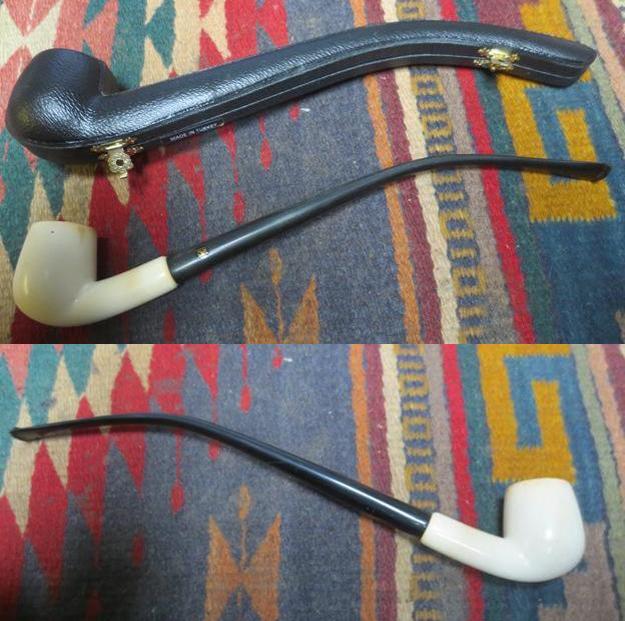
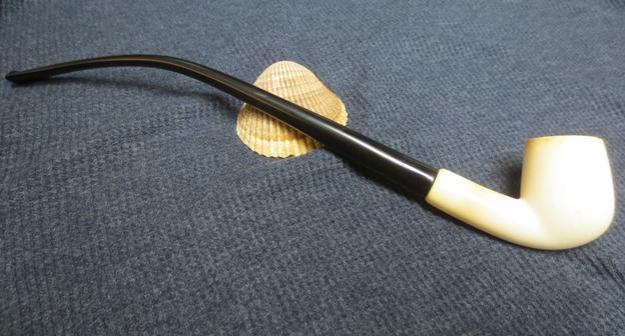
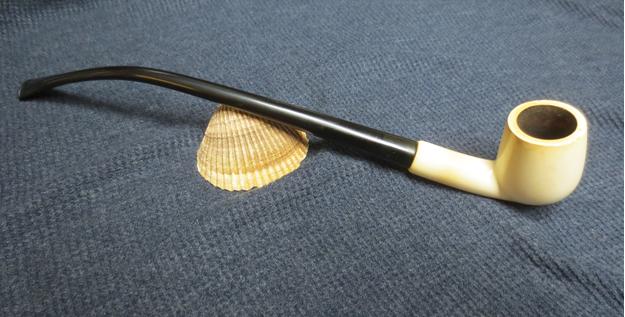
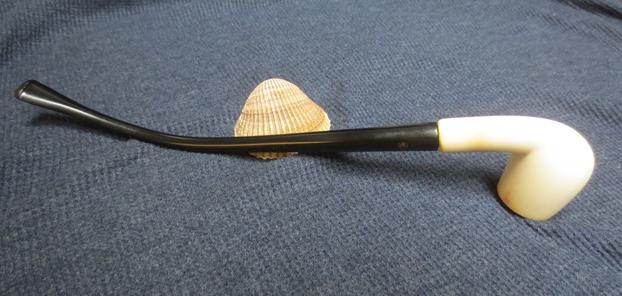
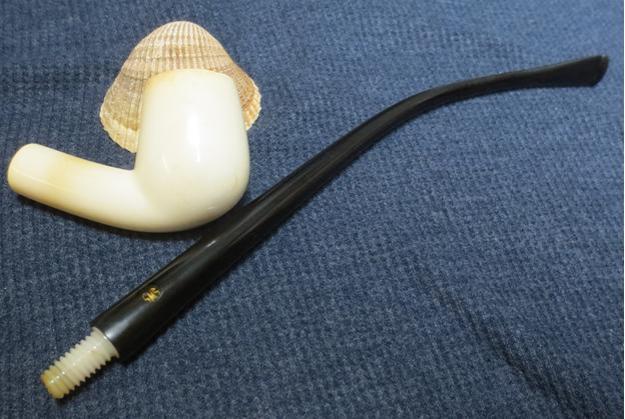
This long stemmed Meerschaum Churchwarden is another one of my brother’s finds at the estate sale in the Boise, Idaho area. He found the case sitting on the table of pipes and pipe racks and has been hunting long enough that I think he must have expected it to be empty when he picked it up to have a look.chu1Those of you who have gone pipe hunting enough know the rush that goes with opening an old leather covered pipe case like this and finding the Churchwarden that the case was made for still resident inside. There are a lot of empty pipe cases selling on eBay daily that give witness to the fact that the case and the pipe that should be inside often have parted company. In this case though when he opened the case I think he was surprised. I certainly was when he sent me a text with the photo. Inside was a smooth block meerschaum pipe with a long stem that was in relatively decent shape. The stem was intact and there were no large nicks or bumps on the bowl sides or shank. The stem aligned correctly with the shank and the whole thing appeared to be functional. These are the kinds of finds right up there with finding that illusive $10 Dunhill that keep me always looking inside cans, boxes and even pipe cases to see if something has been overlooked. You never know what kind of treasure might be hidden awaiting your discovery.

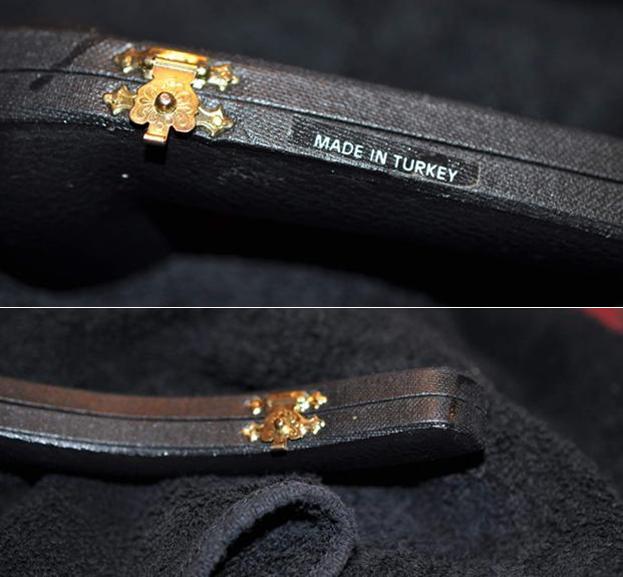
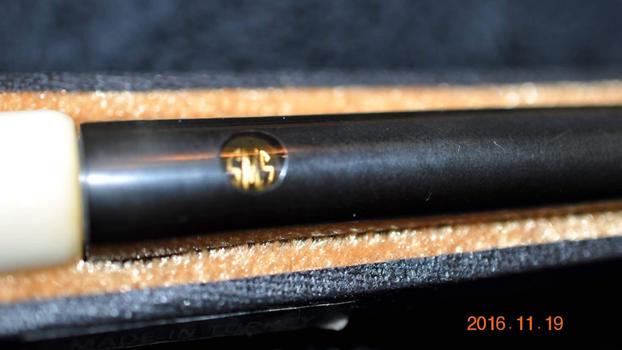
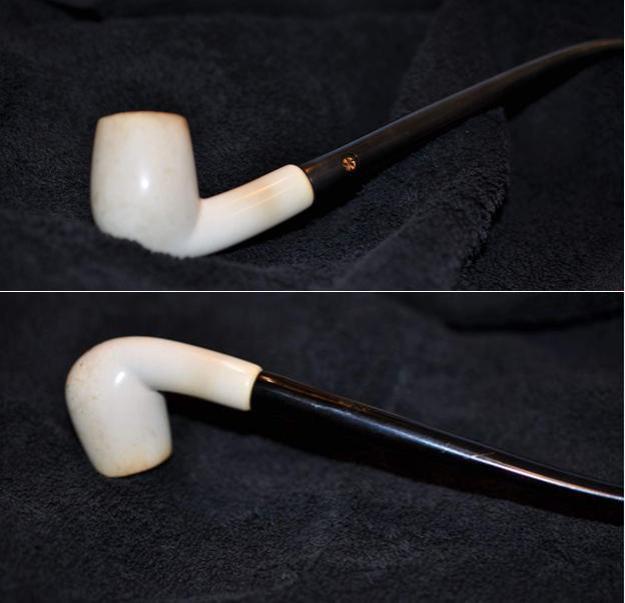
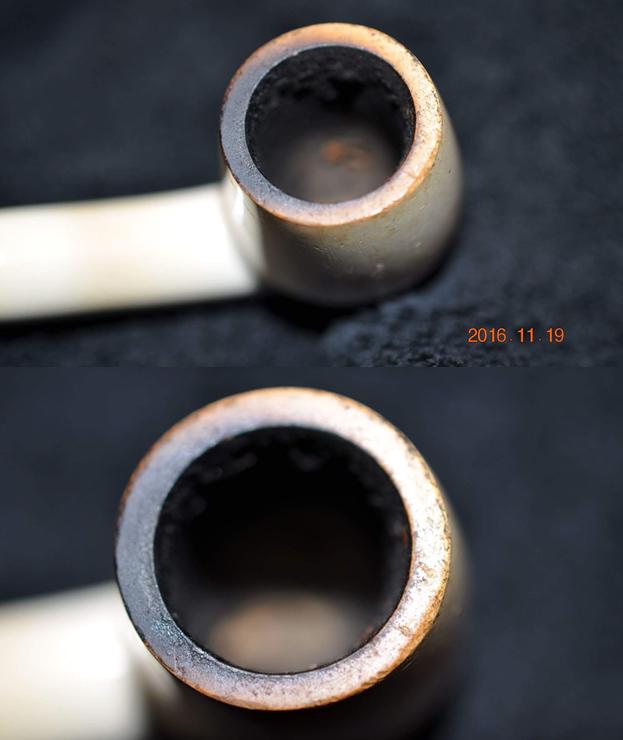
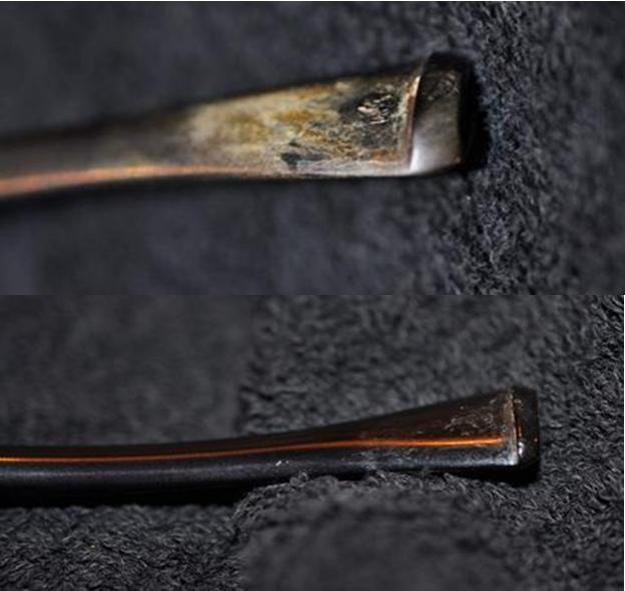
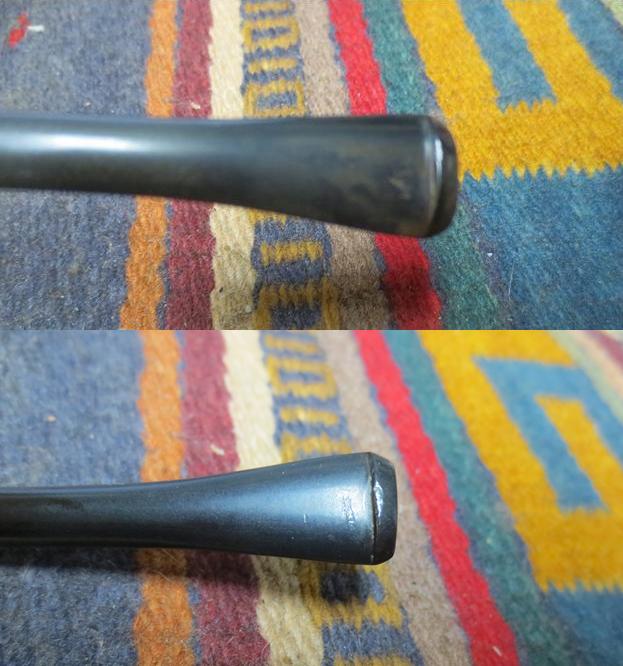
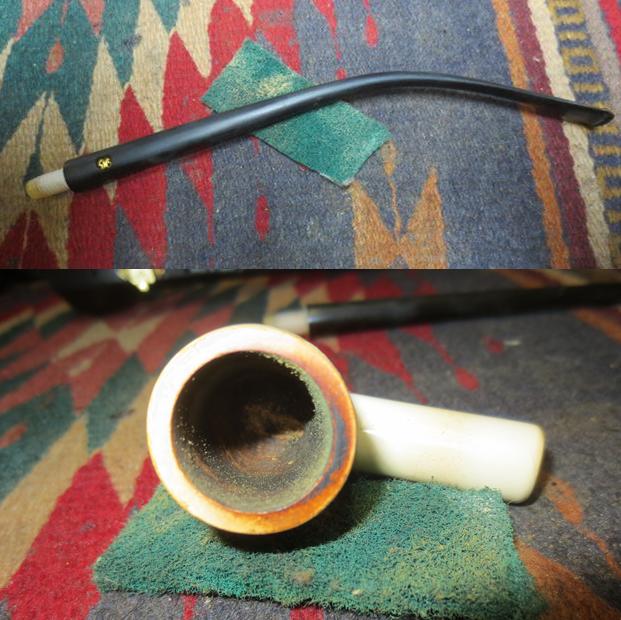
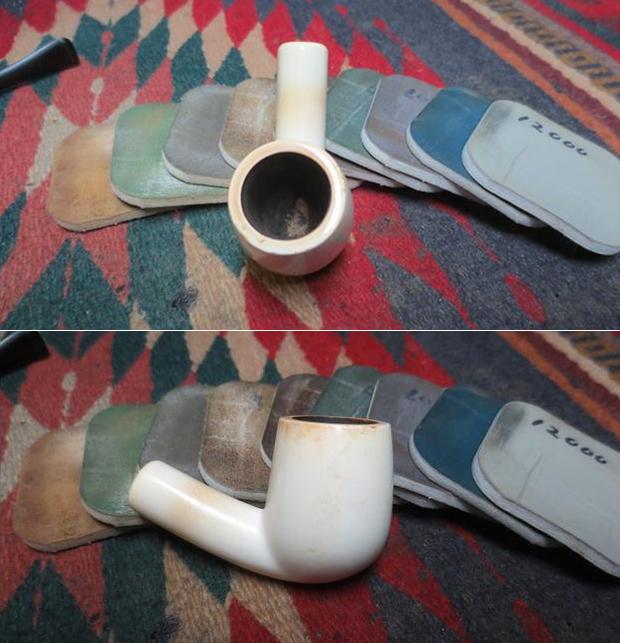
The next photos show what the pipe looked like when he found it and before he cleaned it up a bit to send my way. It is an elegant looking pipe in the photos and even more so in hand.chu2The leather (probably a leather like vinyl) covered case was in great shape. The exterior was not even worn. The polished brass hinges and clasps looked good with the shiny leather. The front of the case had two clasps and next to the left one is the tag reading Made in Turkey. On the back side there are two hinges that are hidden beneath the leather. Four small brass brads hold each hinge in place. The hinges are not sprung or damaged in any way.chu3My brother took a few photos of the pipe in the case to give an idea of what he saw when he opened the lid. The inside was lined with a rich golden coloured soft fabric that protected the meerschaum and held the pipe firmly in place. In the inside top cover there was the SMS logo that reads Handcarved Block Meerschaum Turkey around the stylised SMS. On the left side of the stem is the same logo inset in clear acrylic in the vulcanite.chu4 chu5He removed the pipe from the case and you can see the beauty and simplicity of the shape. The shank and the rim edge are starting show some colour with a faint brown hue.chu6He took some close up photos to show the condition of the rim. The bowl had a cake developing in it that went about half way down the bowl sides. The tars had darkened the rim on the back side and the outer edges of the rim had a few nicks and scratches. It would be interesting to see how much of this was surface damage once I had the pipe in hand in Vancouver.chu7He took photos of the underside of the bowl and the sides as well to show some of the spotty dirt and debris that were there. It was hard to tell from the photos if these were merely on the surface or had penetrated the surface and left scratches on the bowl sides and bottom. I would see once I had it in hand.chu8 chu9The stem appeared to be in pretty decent shape but the first inch on both sides of the stem at the button had some tooth marks, chatter and calcification. It appeared that the previous owner had smoked the pipe with a Softee Bit to protect the stem from his bite but even that had not kept all the tooth marks off the stem. Perhaps he or she had smoked it, seen the damage and put the rubber Softee on to protect it from further damage.chu10My brother did a great clean up on the stem and shank internals and cleaned out the cake in the bowl with his Savinelli Fitsall Knife. He had removed some of the tars and oils on the top of the bowl and scrubbed the exterior with a soft cloth and Murphy’s Oil Soap. When it arrived in Vancouver it looked far better than it had in the earlier photos. I took the next five photos to record my first look at the pipe as I opened the case and removed it from its nest.chu11 chu12 chu13I took some close up photos of the bowl, rim and stem to show what it looked like after my brother’s work on it. He had been able to get a lot of the tars and oils off the rim top and had cleaned the sides of the bowl. The second photo shows the SMS logo in acrylic on the left side. The stem showed some oxidation spots and a spot where obviously a label had been glued. He had been able to get the calcification off the stem at the button and also had managed to lift out some of the tooth chatter. The top edge of the button on both sides showed some wear.chu14 chu15I started cleaning the exterior of bowl and stem with a green nylon scrubber. It is a great tool that I learned the use of through Troy (one of the contributors to the blog). I scrubbed the exterior of the stem and was able to remove much of the oxidation. I also used it to scrub the rim. I wet the scrubber with tap water to help with the scrubbing and it did a great job on the rim and stem.chu16I continued to scrub the rim with the pad and then shifted to polishing the bowl and rim with micromesh sanding pads. I wet sanded the entirety of the pipe with 1500-2400 grit sanding pads and dry sanded it with 3200-12000 grit pads. The finished bowl and rim are shown in the next four photos. I was able to remove the tars and the scratches from the bowl and rim and leave behind a polished bowl that still maintained the patina that had begun to develop.chu17 chu18I ran a pipe cleaner with alcohol through the stem and the shank of the pipe and as usual my brother had done a thorough job removing the oils and tars from those places.chu19I sanded the tooth marks and chatter on both sides of the stem at the button with 220 grit sandpaper to remove the damaged areas. I was fortunate that none of the tooth marks were deep enough to warrant repairs. I removed all of them by sanding the stem.chu20I wet sanded the stem with 1500-2400 grit micromesh sanding pads and dry sanded it with 3200-12000 grit pads. I rubbed the stem down with Obsidian Oil after each set of three pads. After the final rub down I set the stem aside to dry.chu21 chu22 chu23I buffed the bowl and stem with Blue Diamond on the buffing wheel and gave the stem several coats of carnauba wax. I gave the bowl a few coats of Clapham’s Beeswax Polish (a white beeswax polish) and buffed bowl and stem with a clean buffing pad. I hand buffed the pipe with a microfibre cloth to put the final touches on it. The finished pipe is shown in the photos below. It really is a nicely made meerschaum and the fact that it is a Churchwarden is bonus. The weight of the pipe and the feel of it in the hand will make this pipe a winner. Thanks for looking.chu24 chu25 chu26 chu27 chu28 chu29 chu30 chu31 chu32

A Gold Banded Stanwell Copenhagen Calabash


Blog by Steve Laug

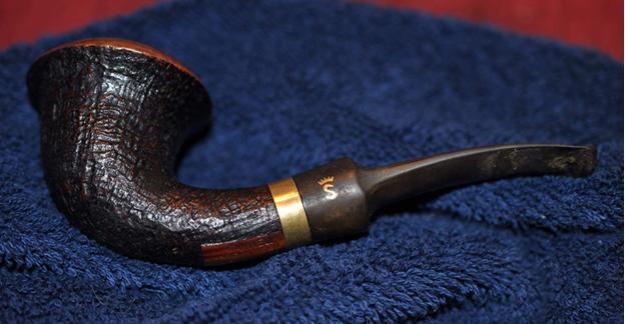
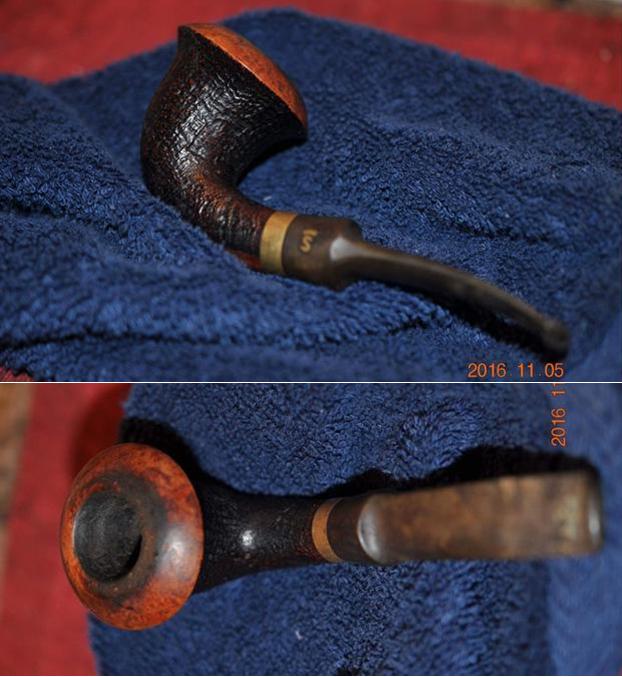
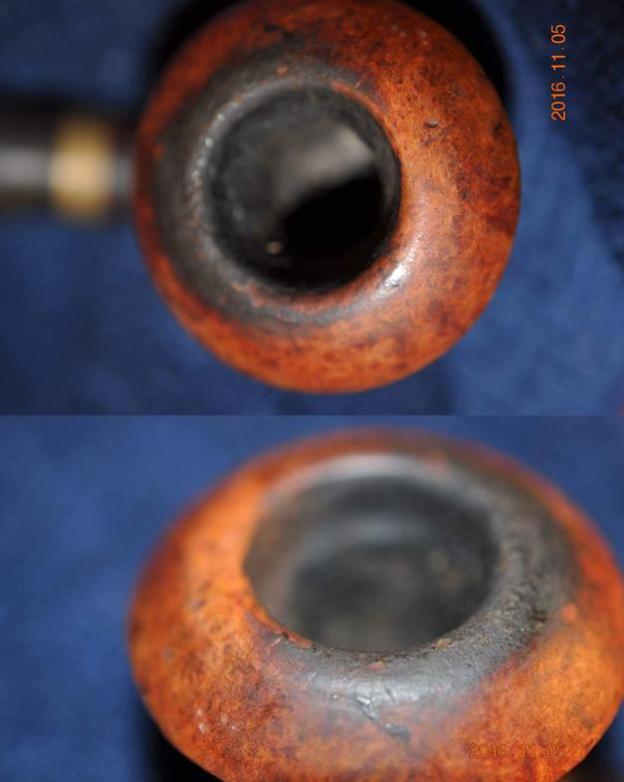
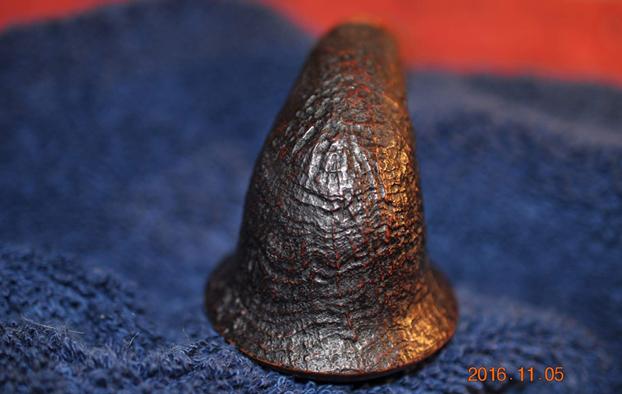
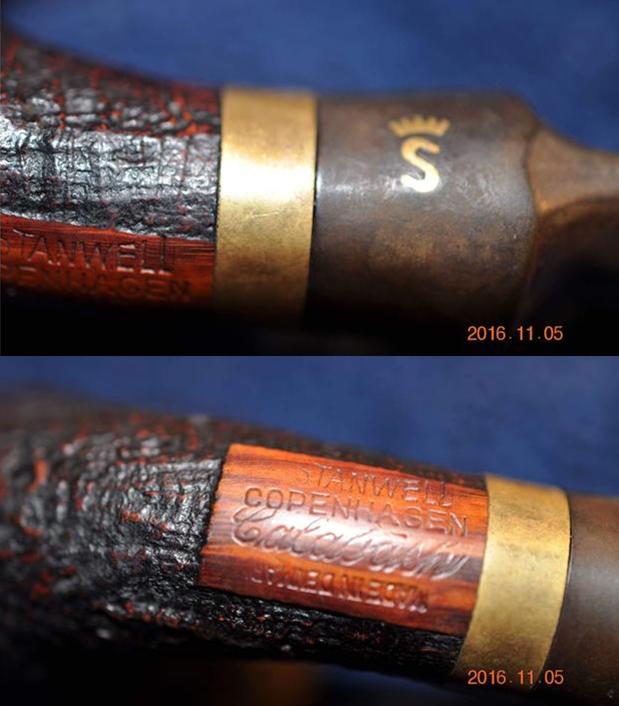
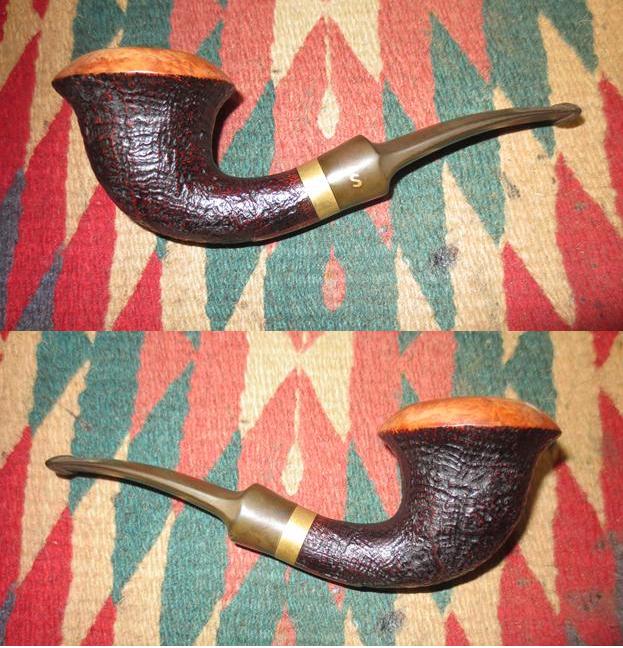
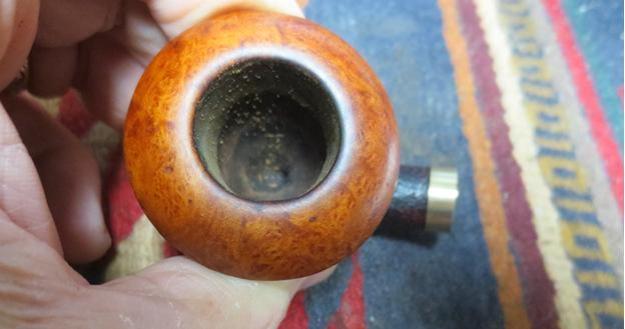
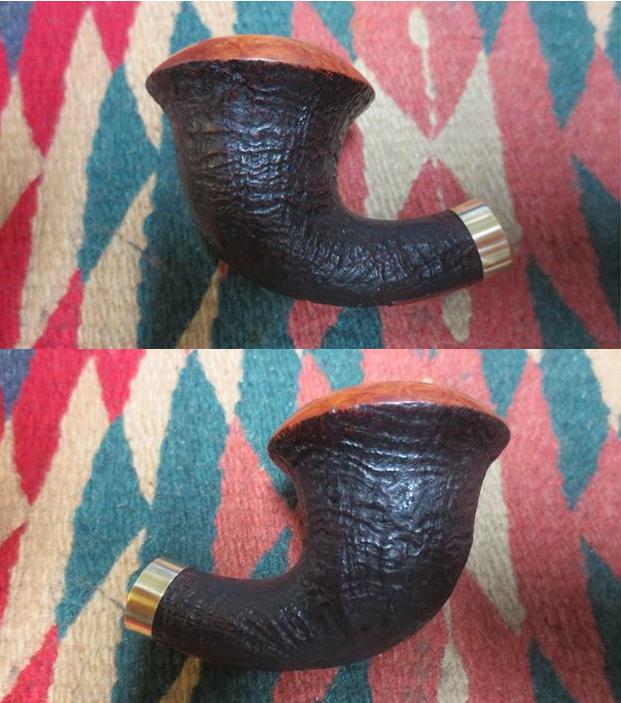
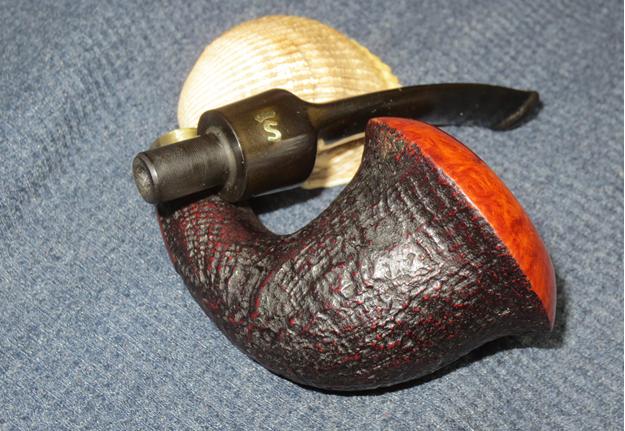
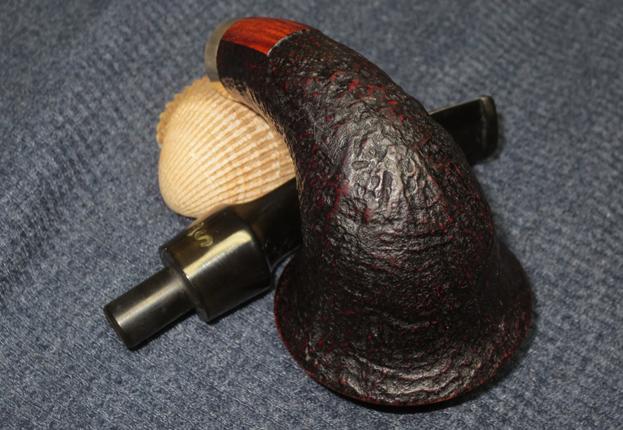
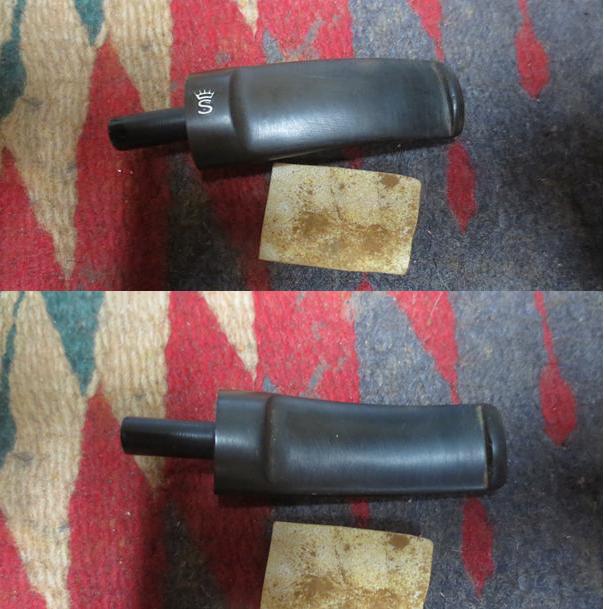
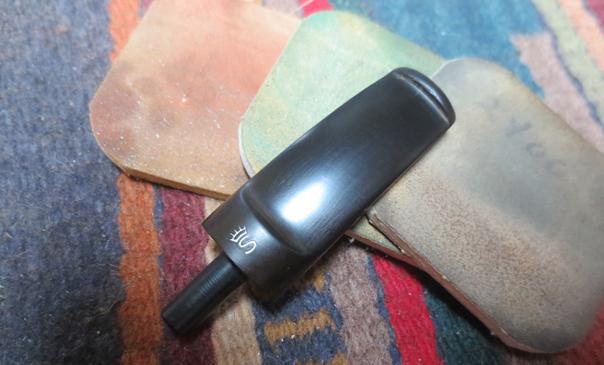
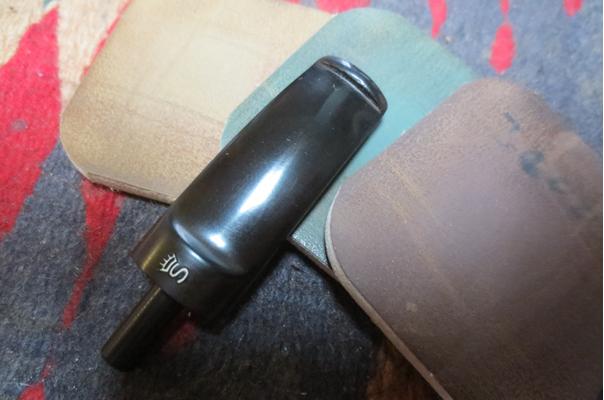
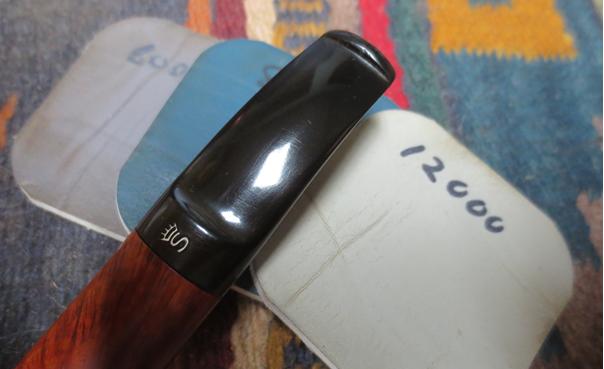
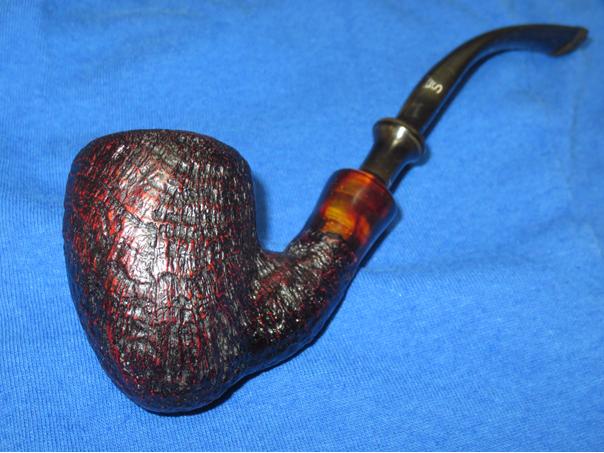
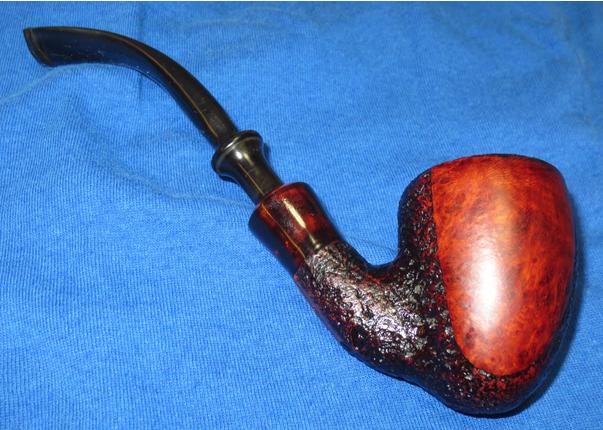
The next pipe on the work table is a striking Stanwell Calabash pipe with sandblasted body and smooth capped rim. The sandblast has exposed some wonderful ring grain around the bowl. The smooth wide rim typical of the calabash shape is wonderful birds-eye grain. The brass collar ring contrasts nicely with the dark stain of the sandblast shank. The gold crown S logo on the left side of the saddle stem combines with the other parts of the pipe to give this one a classic look. My brother Jeff found this Stanwell in an antique shop in Astoria, Oregon. It was on consignment by a widow who was selling her pipe collector husband’s collection. He bought a few of the pipes from her consignment and this is the second one that I have worked on. The first one was also a Stanwell – it was a shape 180 that was designed by Tom Eltang that I wrote about in an earlier blog (https://rebornpipes.com/2016/12/14/a-shape-you-gotta-love-a-stanwell-majestic-180/).cope1The finish on the sandblast portion was in great shape – just dirty with grit and grime. The rim cap however was another story. It had the overflow onto the top of the thick cake that was in the bowl. There was also some darkening of the inner edge of the rim. The brass band and the brass crown S logo on the stem were also dull and lifeless due to tarnishing. The stem was oxidized and had a buildup of calcification on both sides near the button. There were tooth marks and chatter on both sides of the stem and on the button. The slot in the button was nearly closed off with a thick tar.cope2My brother took two close up photos of the rim cap to show the condition of the inside of the bowl and the cap itself. There was a thick coat of tars and oils that is visible flowing over the back side of the cap. There were also several dings and dents in the cape itself though there was some nice birds-eye grain showing through the grime.cope3He also took a photo of the bowl bottom side up. The lovely bell shape of the pipe is visible from this view from the front.cope4The side view of the band and the shank/stem union shows that the connection is tight and clean. There is nothing wrong that a little polishing on the band and some elbow grease to remove the oxidation on the stem won’t take care of. The second photo below shows the stamping on the underside of the shank. It is very sharp and readable. It has the Stanwell stamp over Copenhagen over Calabash in script (it appears to have been double stamped). Beneath that it reads Made in Denmark (it is upside down in orientation to the rest of the stamping).cope5The next photos show the condition of the stem. You can see the tooth marks on the stem itself and the damage marks against the button on both sides. The calcification on the stem may have come for a Softee bit that the original owner had on the stem to protect it from more bite marks.cope6My brother Jeff again did a magnificent job cleaning up the pipe. He was able to get the grim out of the grooves and the majority of the buildup off the rim. He reamed and cleaned the interior of the pipe and stem with alcohol, cotton swabs and pipe cleaners. I took the following photos to show the condition of the pipe when I received. It was on its way to being clean.cope7 cope8I took a close up photo of the rim to show how much of the tars and oils he removed. It is pretty clean. There was some darkening on the inner edge of the rim on the back side that would need to be dealt with.cope9He also removed much of the calcification on the stem and some of the debris on the surface of both sides. The photos also show the tooth marks and chatter that was on the stem.cope10I sanded the stem to remove the rest of the debris and calcification and then wiped the stem down with alcohol on a cotton pad. I cleaned out the tooth marks with cotton swabs and alcohol and then filled them in with black super glue. I set the stem aside to let the repairs dry.cope11I sanded the inner edge of the bowl with 220 grit sandpaper to remove the darkening and then worked over the rim with 1500-1800 micromesh sanding pads to clean up the inner edge and begin polishing the rim cap. You can see the grain on the cap begin to pop and reveal the beautiful birds-eye grain.cope12When the glue had cured I sanded the patches smooth, blending them in with the surface of the stem using 220 grit sandpaper. I sanded the entire stem to work on more of the oxidation that was present on the surface. The photos below tell the story of the repairs and sanding to this point in the process.cope13I polished the bowl rim with 3200-12000 grit micromesh sanding pads and gave the sandblast bowl several coats of Conservator’s Wax. I buffed it with the shoe brush to raise the shine. The photos below show the bowl at this point.cope14 cope15I touched up the stain on the rim with a dark brown stain pen. I buffed it with a microfibre cloth and then polished it with micromesh sanding pads using 1500-12000 grit pads to polish and raise a shine.cope16 cope17I probably should have done this earlier in the process but my brother has been doing such a good job in his cleaning that I honestly forgot. I decided to give the internals of the stem and the mortise and shank a quick cleanup with pipe cleaners, cotton swabs and alcohol.cope18I polished the stem with micromesh sanding pads – wet sanding it with 1500-2400 grit pads and dry sanding it with 3200-15000 grit pads. I rubbed the stem down with Obsidian Oil after each set of three pads. I gave it the last coat of oil and set it aside to dry.cope19 cope20 cope21I polished the pipe and stem with Blue Diamond on the buffing wheel avoiding the sandblast portions of the bowl. I did not want to get the polishing compound in the grooves of the sandblast. It would be hard to get out of the grooves. I gave the sandblast portion several coats of Conservator’s Wax and buffed it with a shoe brush. I gave the stem and rim several coats of carnauba wax and buffed the entire pipe a clean buffing pad to raise the shine. I hand buffed it with a microfiber cloth. The finished pipe is shown in the photos below. It has come a long way from the pipe I started on in the first photos above. It is a classic looking calabash pipe with a great contrast between the smooth briar, the sandblast briar, the gold band and the vulcanite stem. (The brass is so shiny now that it is hard to get the vulcanite not to reflect the brass colour. In person the oxidation is gone and the stem is shiny black.) Thanks for walking through the process with me.cope22 cope23 cope24 cope25 cope26 cope27 cope28 cope29


A Shape You Gotta Love – A Stanwell Majestic 180


Blog by Steve Laug

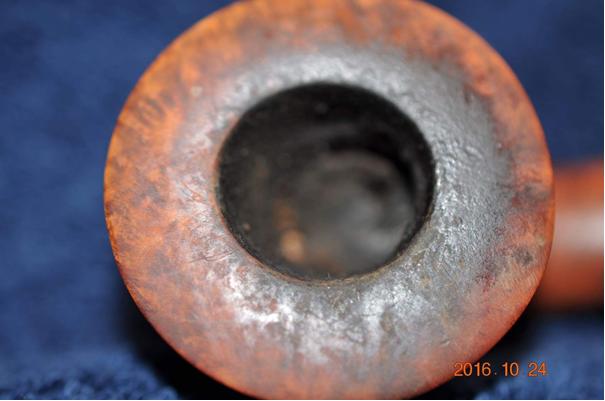
There are certain shapes that Stanwell just nails – they get them absolutely perfect. There is nothing that could be done to make the shape even more stunning than it is. The shape 180 is one of those shapes for me. It is a Dublinesque freehand with a conical bowl, an oval shank and stem that has a short saddle before flowing into the blade. According to a chart by the late Bas Stevens this shape was designed by Tom Eltang (https://rebornpipes.com/tag/shape-numbers-and-designers-of-stanwell-pipes/). It has the appearance of some of the Eltang’s that I have seen. In a write up for a Stanwell 180 sandblast pipe on smokingpipes.com Adam Davidson says this about the shape: “I would bet that this Stanwell shape was designed by Tom Eltang, who has designed quite a few for the company over the years.” So having known Bas Stevens personally I can confirm that it is definitively an Eltang designed pipe. (https://www.smokingpipes.com/pipes/estate/denmark/moreinfo.cfm?product_id=101503)

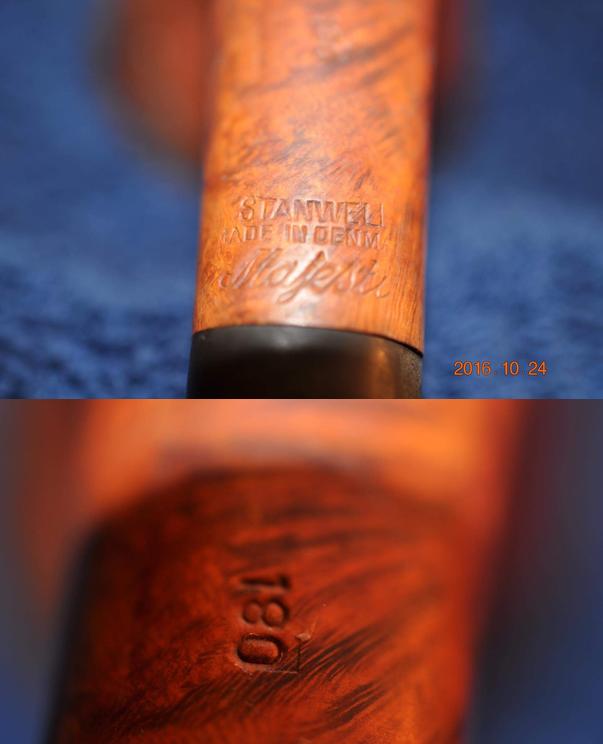
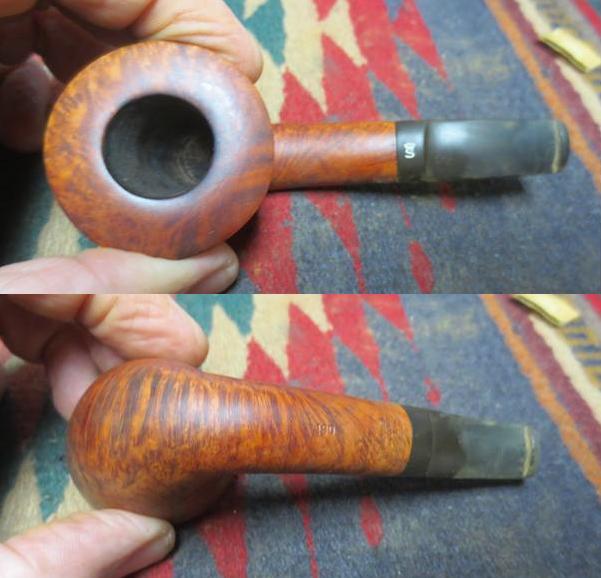
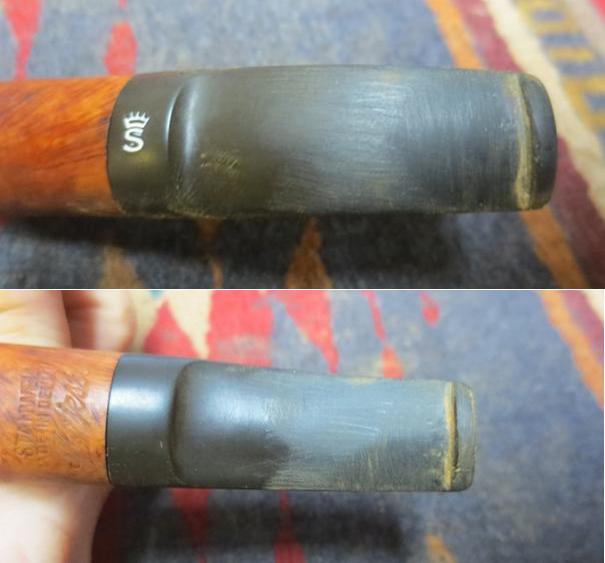
My brother Jeff found this Stanwell in an antique shop in Astoria, Oregon. It was on consignment by a widow who was selling her pipe collector husband’s collection. He bought a few of the pipes from her consignment and this is the first I have worked on. He took the following photos of the pipe to show what it looked like when he found it. It was truly a mess but looking beneath the grime he had found a gem that only needed some TLC. The grain on this pipe is truly stunning and the lay out of the pipe follows the grain amazingly well.eltang1 eltang2He took some close up photos of the rim and the underside of the bowl to show what it looked like up close. The rim was pretty tarred with overflow from the cake in the bowl. The bowl had a cake but obviously it had been trimmed back somewhere along the way. The pipe smelled strongly of aromatic vanilla tobacco and would take some serious cleaning to bring the briar back to neutral.eltang3The cross grain on the underside of the bowl is quite stunning. It would only stand out more once the pipe was cleaned and polished.eltang4The stamping on the pipe was on the underside of the shank near the stem and was sharp and clear. It reads Stanwell over Made in Denmark over the script of Majestic. Further up the shank toward the bowl it was stamped with the 180 shape number.eltang5The stem was oxidized and had tooth chatter on both sides. It seemed to have some calcification around the button. None of the marks looked to deep so it had some promise. The Crown S Stanwell logo on the topside of the small saddle portion of the stem was in excellent condition.eltang6My brother reamed the bowl and cleaned the internals of the shank and stem with pipe cleaners, cotton swabs and alcohol. He scrubbed the exterior of the pipe and stem with Murphy’s Oil Soap and was able to remove the build up on the rim and also on the stem. The finish was in very good shape under the grime on the bowl. There appeared to be a dark spot on the left side of the bowl. The next four photos show the condition of the pipe when I received it from my brother.eltang7 eltang8He was able remove the build up and calcification on the stem. You can see from the photos below that other than oxidation the stem was very clean.eltang9I worked on the stem with 220 grit sandpaper to remove the oxidation and reshape the button edges. It did not take too much work to get the oxidation that was on the surface of the stem.eltang10I polished the stem with micromesh sanding pads – wet sanding with 1500-2400 grit pads and dry sanding with 3200-12000 grit pads. I rubbed the stem down with Obsidian Oil after each set of three pads. After the third set of pads I gave it another coat of oil and set it aside to dry.eltang11 eltang12 eltang13I used a dental pick to clean out the slot in the end of the button. There was some build up in that area that had hardened. I ran a pipe cleaner through the stem and used cotton swabs and alcohol to clean out the inside of the shank and the airway to the bowl. I polished the exterior of the rim, bowl and shank with micromesh sanding pads using 1500-12000 grit pads.eltang14I buffed the bowl and stem with Blue Diamond on the buffing wheel to polish the vulcanite and the briar. I gave them both several coats of carnauba wax and buffed with a clean buffing pad to raise a shine. I hand buffed the pipe with a microfibre cloth to deepen the shine. The finished pipe is shown in the photos below. You can see from the photos of the left side of the bowl that I was able to remove the darkened spot on upper portion of the bowl. The rich finish and the comfortable shape of the pipe give the Majestic stamping on the shank a well-chosen appellation. Thanks for walking with me through the restoration.eltang16 eltang17 eltang18 eltang19 eltang20 eltang21 eltang22 eltang23

Finishing Touches on an Interesting Bambu Egg


Blog by Steve Laug

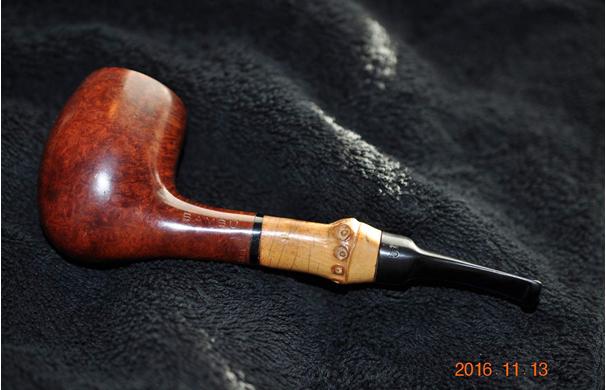
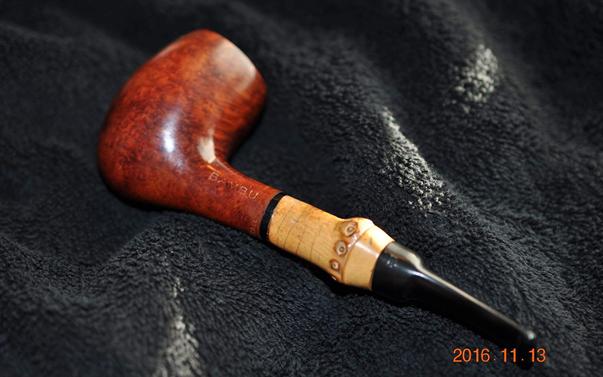
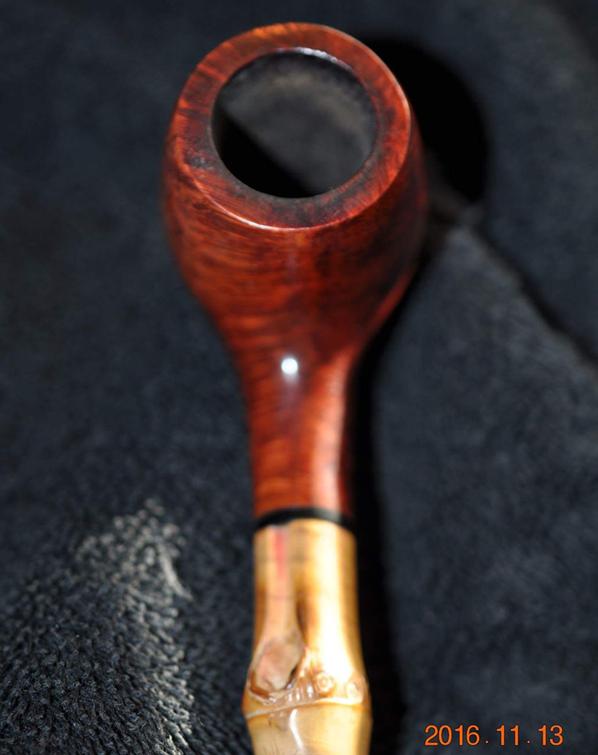
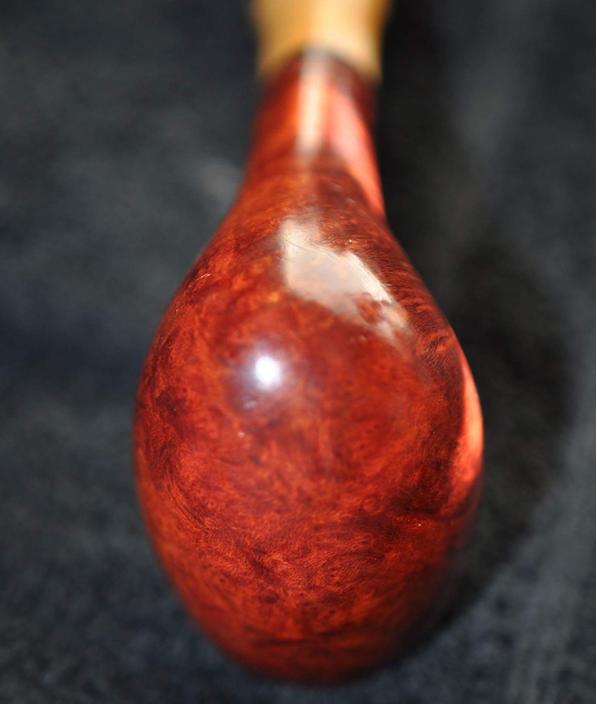
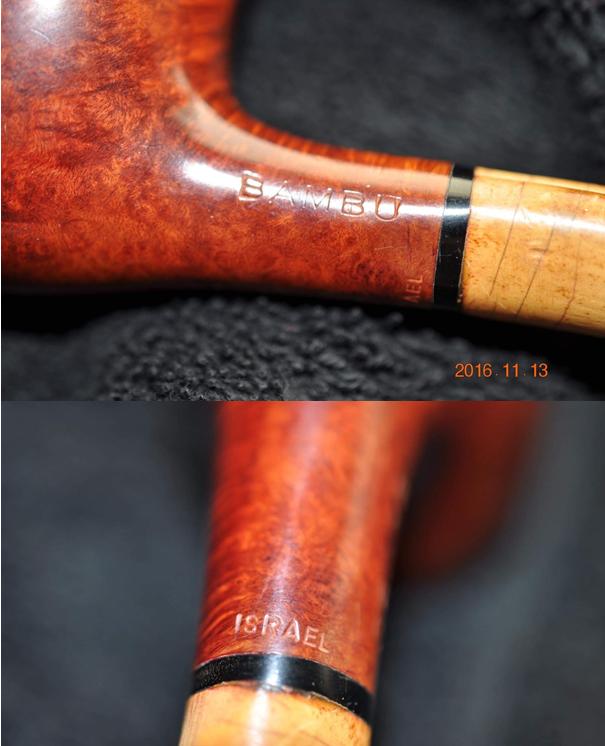
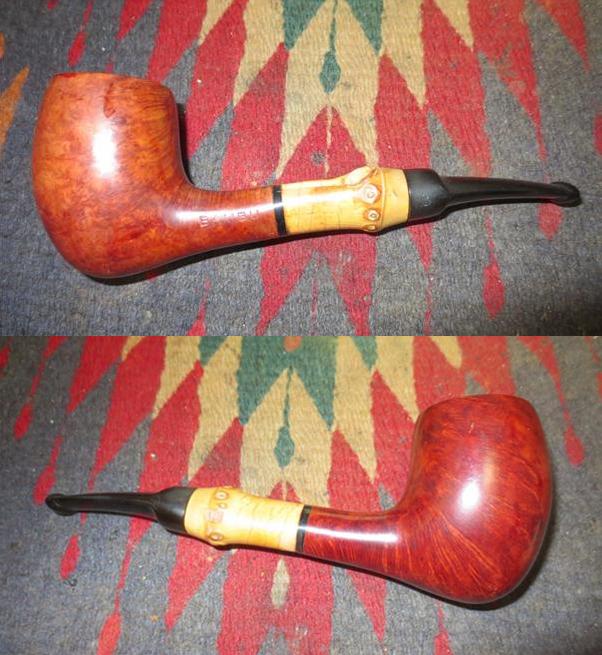
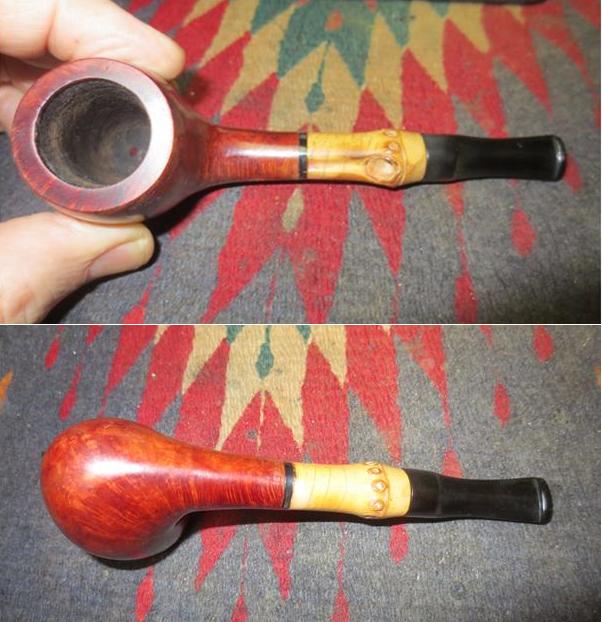
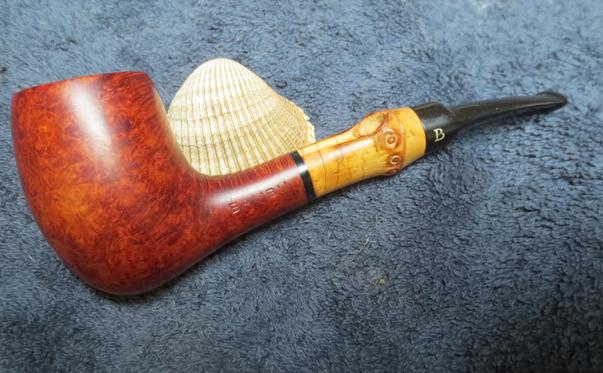
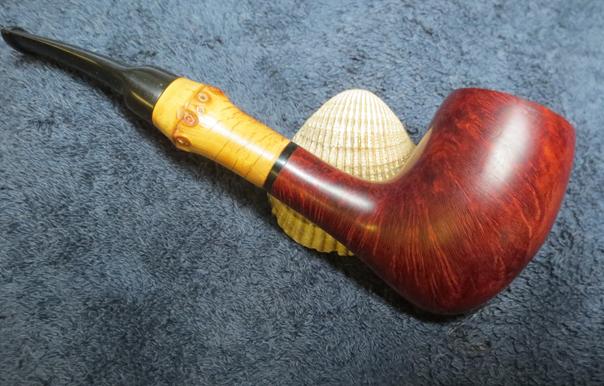
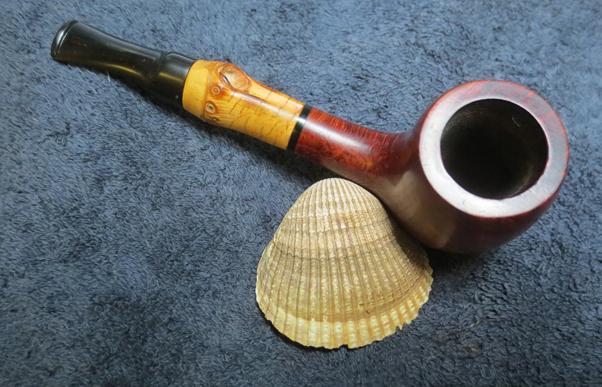
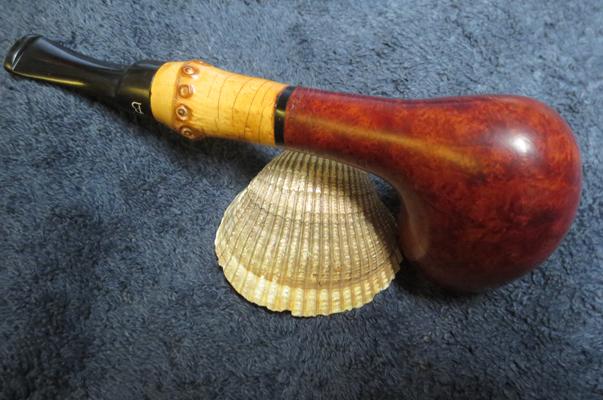
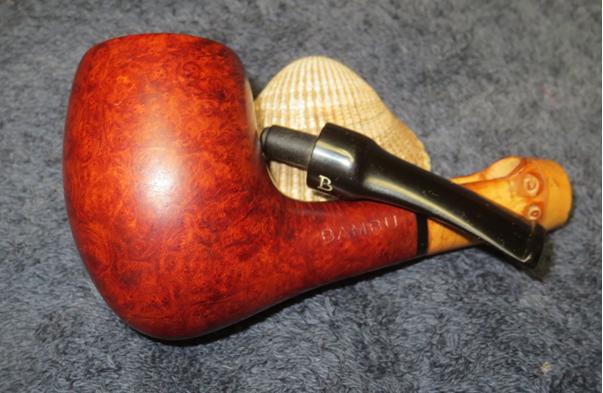
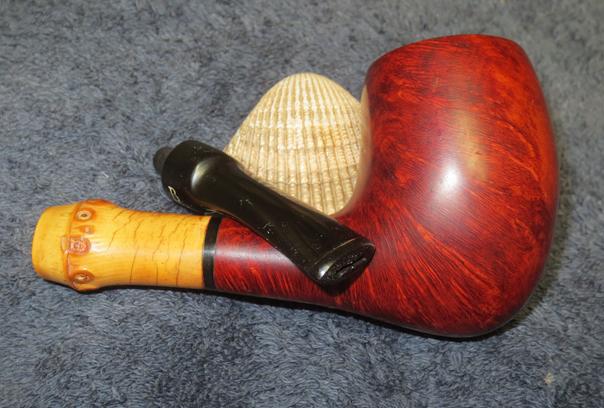
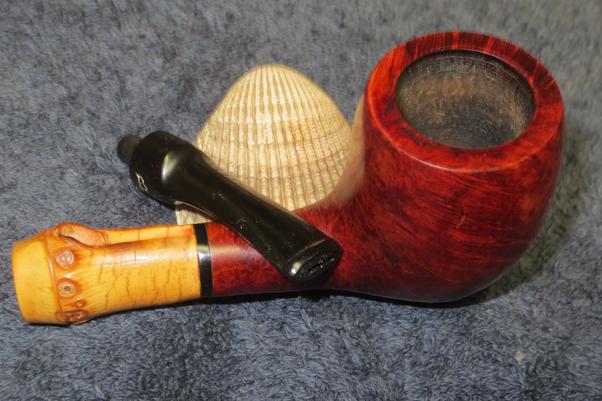
This pipe came up for sale on the Gentleman’s Pipe Smoking Society on Facebook. It was being sold by a friend of Dal’s and I liked the shape and the look of it. I honestly was thinking it was a smaller Stanwell like egg even though I knew it was not a Stanwell pipe. The pipe is stamped Bambu on the left side of the shank and on the underside it is stamped Israel which leads me to believe that it was crafted by the Shalom Pipe Factory. There is nothing online that I can find regarding the stamping or the brand but it is similar in stamping to my early Alpha Israel pipes. That is all the information that I can surmise from the pipe itself. I paid for the pipe and had it shipped to my brother instead of to Canada over a month ago and he received it really quickly. I told him to hold onto it and ship it up when he sent another box of pipes to me.

This week it arrived and I expectantly took it out of the box of other pipes. I unwrapped it from the bubble wrap to have a look at it. My brother had sent along a few photos of the pipe to show me what I was in for once it arrived so I was kind of excited to see it up close. In the next two photos he shows the overall look of the pipe. It was really quite nice.bamboo2 bamboo3Whenever I buy an estate pipe, no matter who has done the restoration, I always add my own touches to the restoration to make it mine and to remove the things that will bug me as I use the pipe. I don’t know if you all do that but it is part of my own pathology that I have to go over every estate I get with a fine tooth comb before I even load a bowl and fire it up. This was no exception to my habit. I took the bowl and turned it over in my hands to examine it closely. As usual I noted a few issues that I knew would bug me unless I addressed them. (No criticism of the seller as I am sure many folks would have been absolutely fine with the as it was when I got it.)

  1. The finish on the bowl was spotty. The left side of the bowl appeared to have been stripped of its varnish or shellac coat and there were shiny spots left on the bowl side toward the top edge of the rim. The front, back and right side of the bowl still had the shiny finish coat. I knew I would need to remove the finish and smooth things out. Call me anal but that kind of thing bugs me.
  2. The rim still had some residual lava spots from the bowl that would need to be cleaned off and the darkening of the rim appeared to be on top of the shiny top coat. I was pretty sure that I could remove much of the issue by removing the shiny coat.
  3. The underside and sides of the bowl had some dents and nicks in the finish that needed to be steamed out.
  4. The transition between the briar, the black insert and the bamboo was rough to the touch and there was debris collected in the rough edges of the transition.
  5. There was a red mark in the groove of the bamboo on the top side of the shank. It stood out and it bugged me – kind of like lipstick on the collar of a good shirt.
  6. The bamboo also had a thick seal coat that seemed to have brush marks in the finish and I could feel them with my thumb as I ran it over the bamboo.
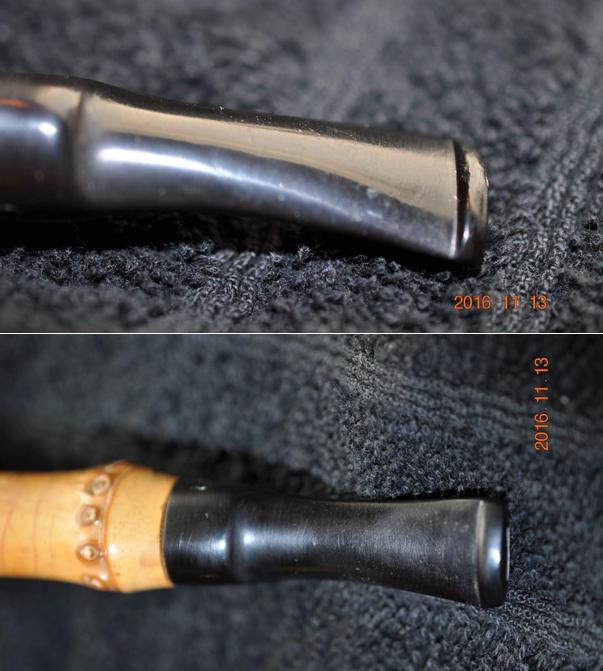
  7. The stem had a lot of pits and small tooth chatter that had been polished but was still present on both the top and the bottom sides.
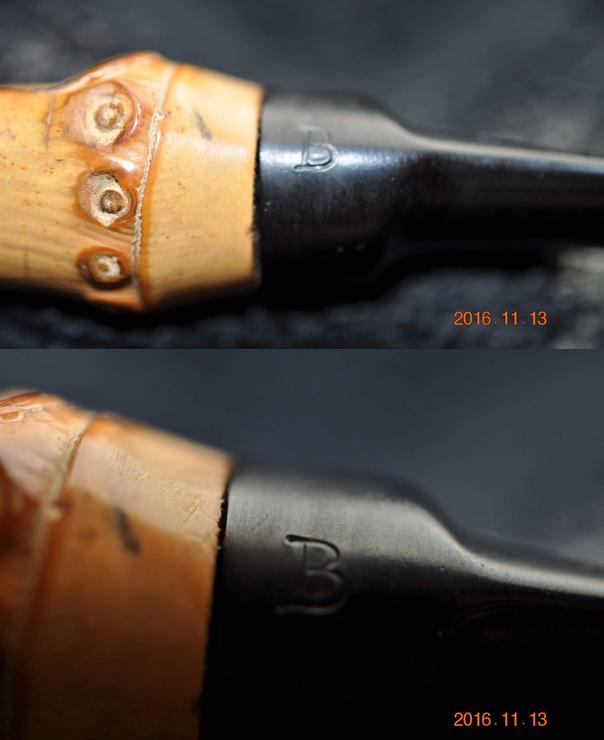
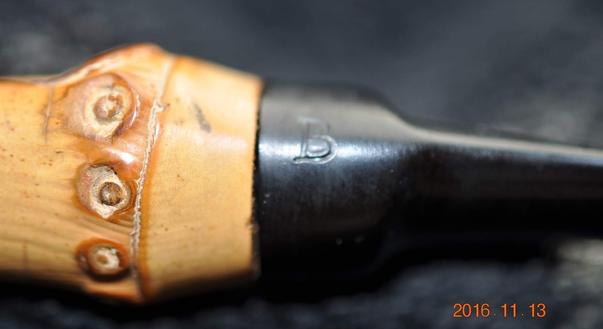
  8. The stamped B logo on the stem was in great shape but I wanted to paint it and make it stand out a bit more on the saddle portion.
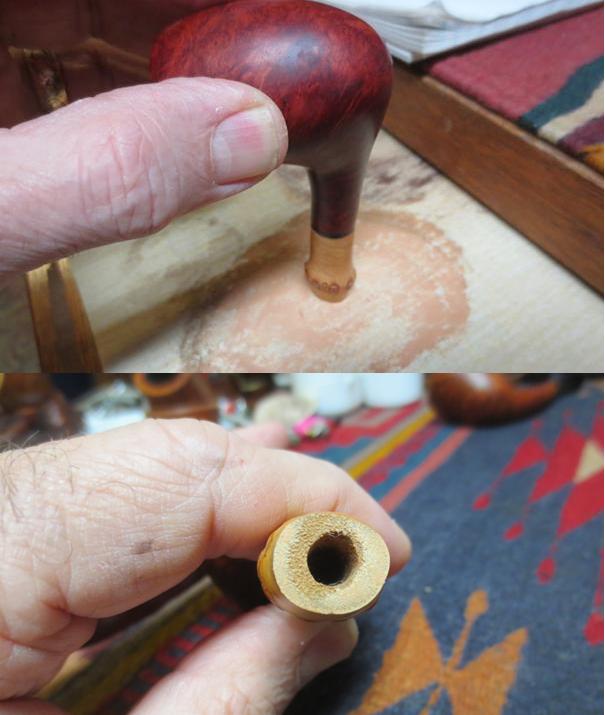
  9. The stem also did not sit correctly in the shank leaving a gap on the underside of the joint when it was properly aligned.

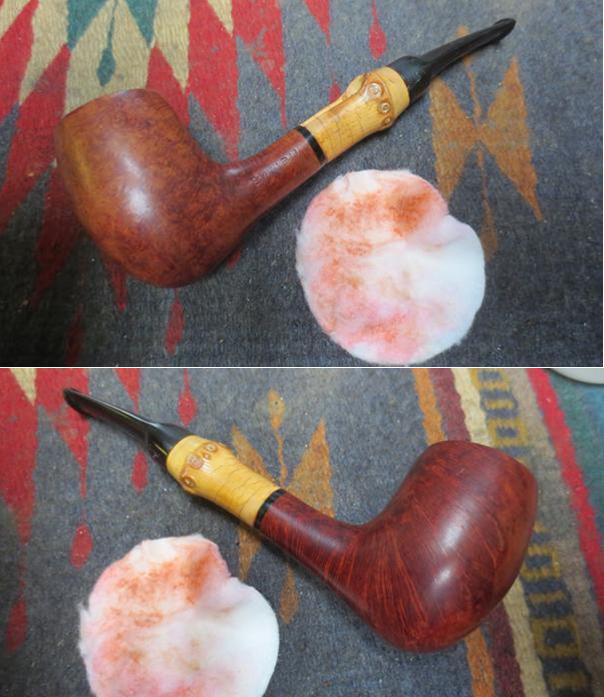
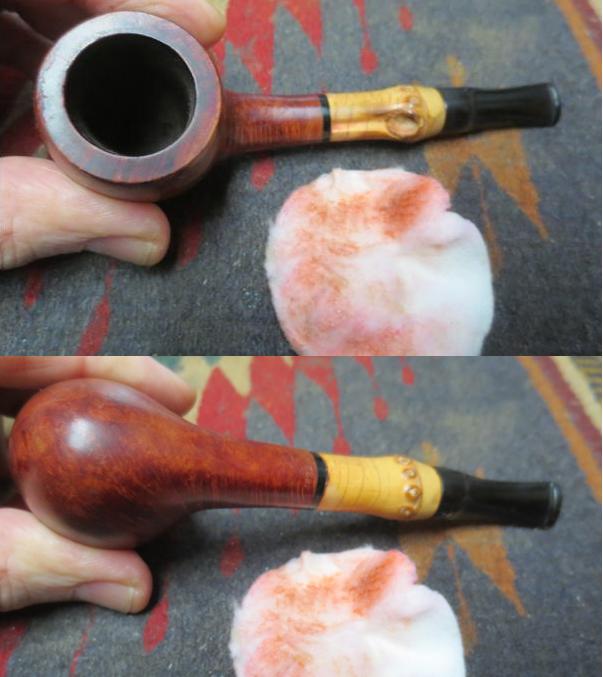
My brother included some close up photos of the bowl, the underside, the shank and the stem that highlight some of the issues I raised above.bamboo4 bamboo5 bamboo6The next photos show the stamping on the left side of the shank and on the underside. It reads Bambu as noted above and Israel on the underside.bamboo7In the next two close up photos of the stem you can see the tooth chatter and scratches on the vulcanite stem.bamboo8The final photo shows the B stamp on the side of the saddle portion of the stem. It is in decent shape and would be easily filled in. The fit of the stem against the bamboo was a bit off as well. I would need to adjust this fit.bamboo9In adding my own touches to the restoration of the pipe I decided to work through remedying each of the issues noted above individually. You can be the judge if the finished pipe is better than when I started. The first four photos show the pipe as it appeared when I unwrapped it. You can see the shiny spots on the left side of the bowl near the top and toward the bottom of the bowl. You can also see the dents in the bowl sides.bamboo10 bamboo11The issue raised above in number 1 involved the spotty finish on the bowl. The above photos highlight that issue clearly. The left side of the bowl appeared to have been stripped of its varnish or shellac coat and there were shiny spots left on the bowl side toward the top edge of the rim. The front, back and right side of the bowl still had the shiny finish coat. I scrubbed the finish on the bowl with acetone on cotton pads to remove the shiny topcoat. I was pretty sure it was a varnish or shellac coat and that it had been partially removed somewhere along the way. It did not take too much effort to remove it from the surface of the bowl.

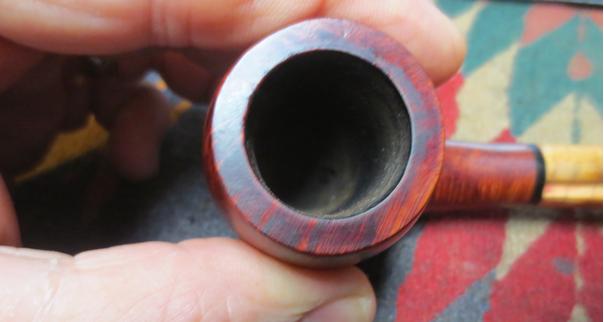
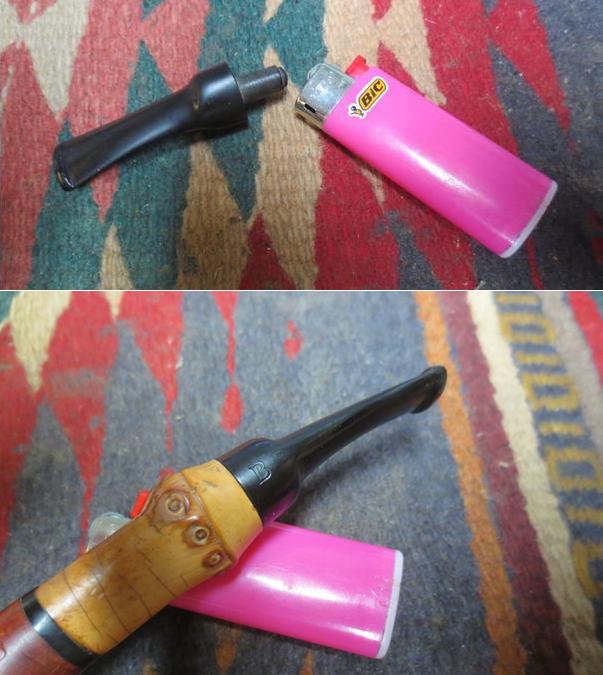
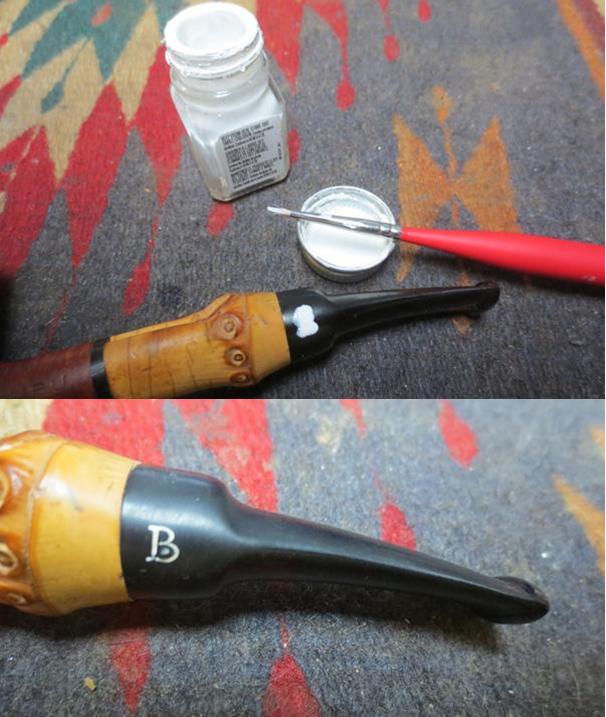
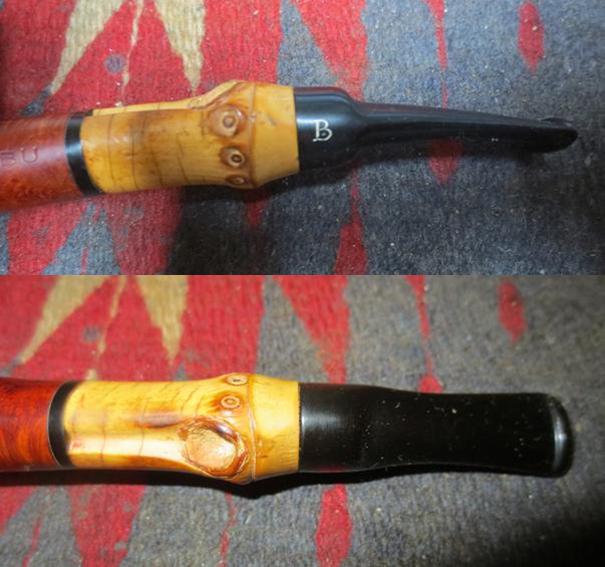
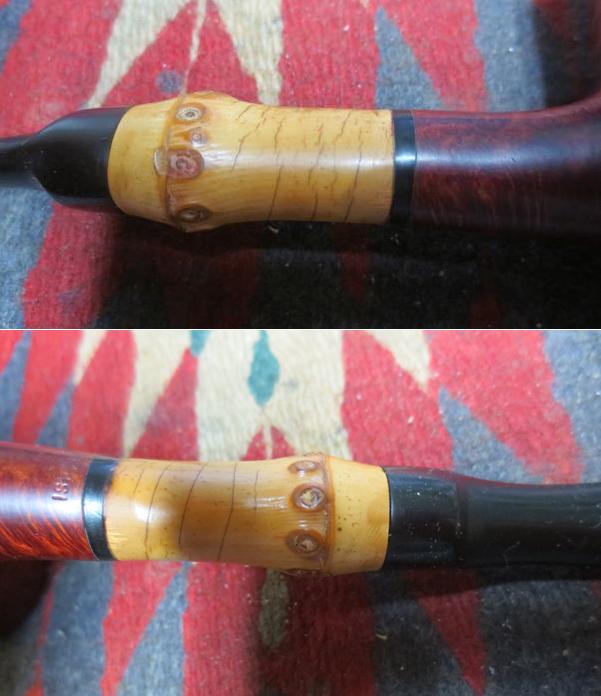
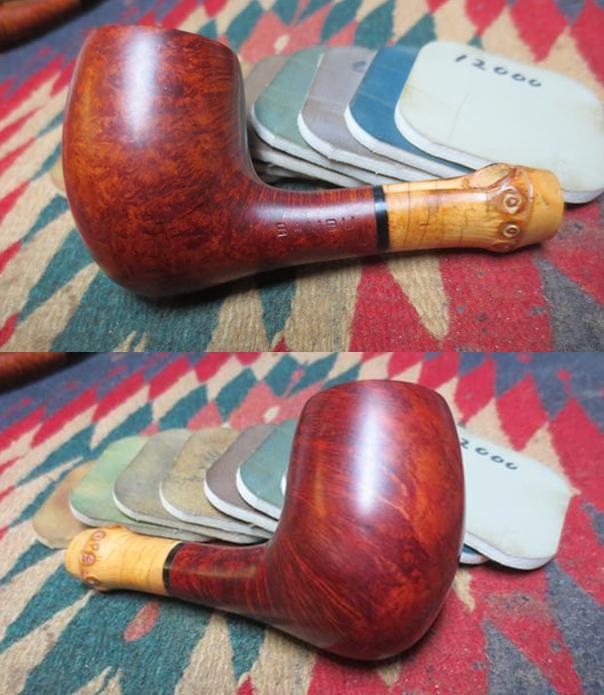
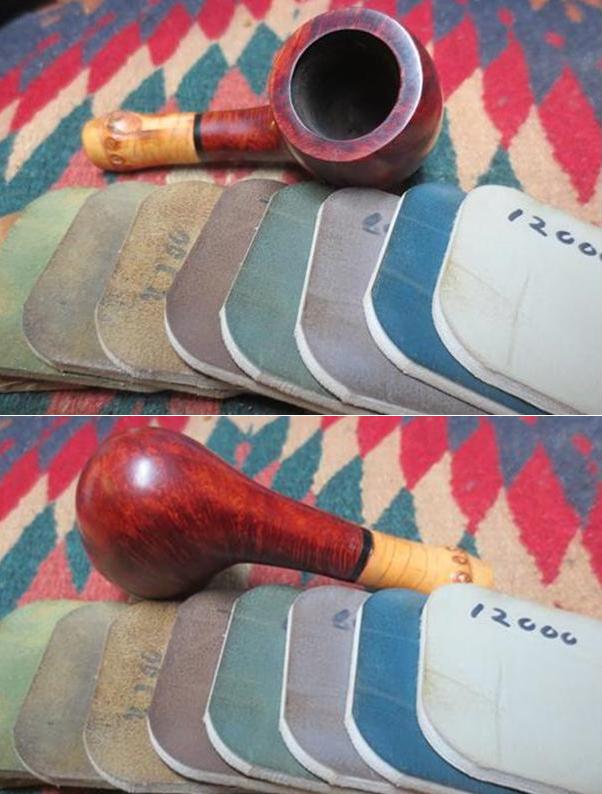
I also addressed issues number 2 and 3 noted above. To take care of the second issue of the rim surface I scrubbed the rim of the bowl with the acetone on the cotton pad and the bits of lava came off along with the shiny coat. The rim was smooth to the touch and some of the darkening also was removed in the process. To take care of the dents and nicks in the finish I steamed them out with a hot knife and wet cloth to raise them. I was able to remove all of the dents and nicks leaving the bowl smooth.bamboo12 bamboo13The next photo is a close up of the rim after the scrubbing with acetone.bamboo14Next I decided to address issue number 9 noted above – the improper alignment of the stem in the shank. When it was correctly aligned in the shank it left a gap on the underside of the joint. It is visible at the bottom of the stem in the photo below.bamboo15I removed the stem from the shank and faced the end of the shank on the topping board using 220 grit sandpaper. You can see from the second photo below where the topping at removed high spots on the end of the shank leaving the center unsanded. This was only the first step in the process of this repair.bamboo16When I put the stem back in the shank it was clear that the angle of the tenon was incorrect in terms of the drilling in the bamboo. I heated the tenon with a Bic lighter to soften the vulcanite of the tenon and then pushed it back into the mortise in the bamboo. Because the tenon was pliable I was able to align the stem edge with the edge of the bamboo to remove the gap in the fit. I held the stem in place while the tenon cooled. Once finished the alignment remained and the gap was gone.bamboo17Once I got the stem alignment corrected I decided to touch up the B stamp on the side of the stem to address issue number 8 noted above. I use some white acrylic paint and applied it with a fine bristle paint brush to fill in the stamping on the stem. Once the paint dried I scraped it off with a soft cloth and sanded it with a 2400 grit micromesh sanding pad.bamboo18To address the issues noted in numbers 4-6 above – all dealing with the bamboo shank extension I worked specifically to deal with the varnish coat on the bamboo. I wiped it down with a cotton pad and acetone to remove the buildup and brush marks on the surface of the bamboo. I cleaned out the “lipstick” that was in the groove in the bamboo using a cotton swab and acetone. There is just one small spot left next to the spacer between the bamboo and the briar. I sanded the transition between the briar, the insert and the bamboo to smooth it out and to also clean up some of the debris that seemed to have collected at that point on the shank. With the removal of the thick varnish the bamboo began to take on its natural patina and the stress marks stood out giving an aged look.bamboo19 bamboo20The final issue, number 7 above, to be addressed was the stem. It had some tooth chatter and marks on the top and underside that needed some attention. They were not too bad but they stood out and bugged me. I sanded the stem with 220 grit sandpaper to remove the tooth chatter and smooth out the tooth marks. I polished the stem with micromesh sanding pads – wet sanding with 1500-2400 grit pads and dry sanding with 3200-12000 grit pads. I rubbed the stem down with Obsidian Oil after each set of three pads. After the final set I gave it a final coat of oil and set it aside to dry.bamboo21 bamboo22 bamboo23I polished the bowl and the bamboo with micromesh sanding pads as well – all grits 1500-12000 to remove any remaining scratches or small nicks in the finish.bamboo24 bamboo25I buffed bowl and stem with Blue Diamond on the buffing wheel to further polish the pipe and then gave the entire pipe several coats of carnauba wax. I buffed it with a clean buffing pad to polish the wax and then hand buffed it with a microfibre cloth to deepen the shine. The finished pipe is shown in the photos below. The rich finish now highlights the beautiful grain on the pipe and the smooth feel in the hand satisfies my desire for that in a pipe. It is now ready to fire up a bowl of some Christmas tobacco and the distractions that irritated me when I received the pipe are taken care off and all the distractions removed. So goes the life of a pipe refurbisher – never finished and rarely satisfied with the end product – I always see more imperfections that need to be addressed. Thanks for humouring me as I took you through this journey I appreciate it!bamboo26 bamboo27 bamboo28 bamboo29 bamboo30 bamboo31 bamboo32 bamboo33

Short Snorter Imported Briar


Blog by Dal Stanton

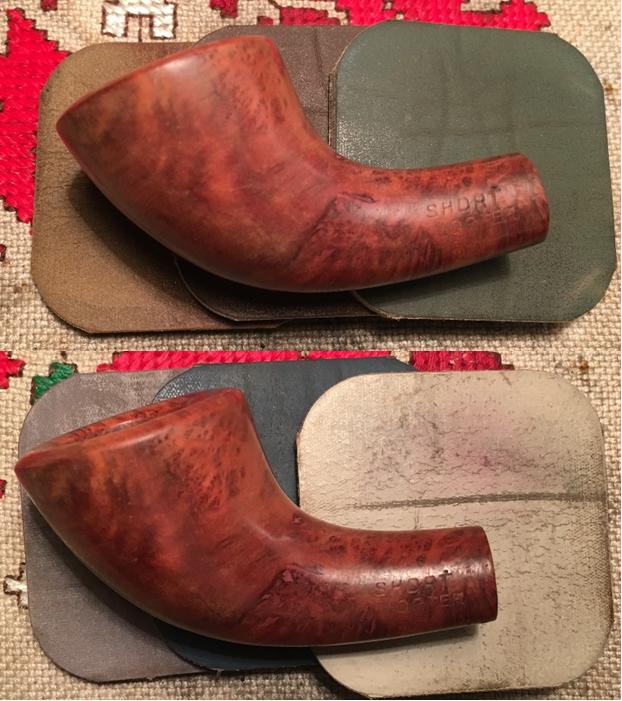
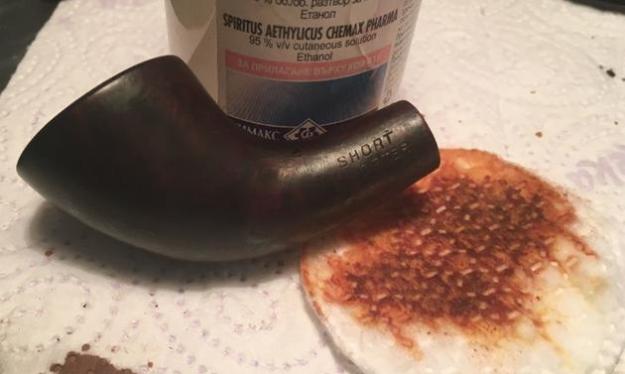
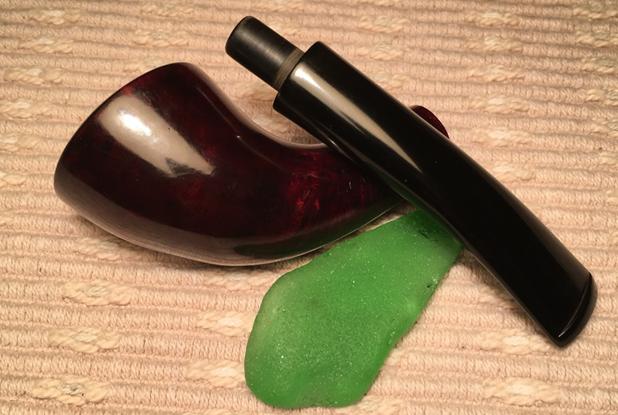
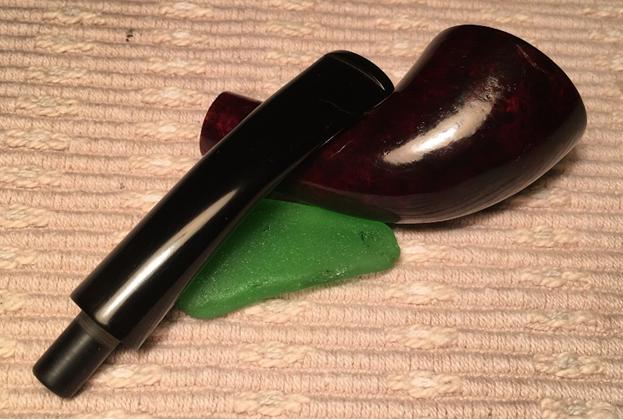
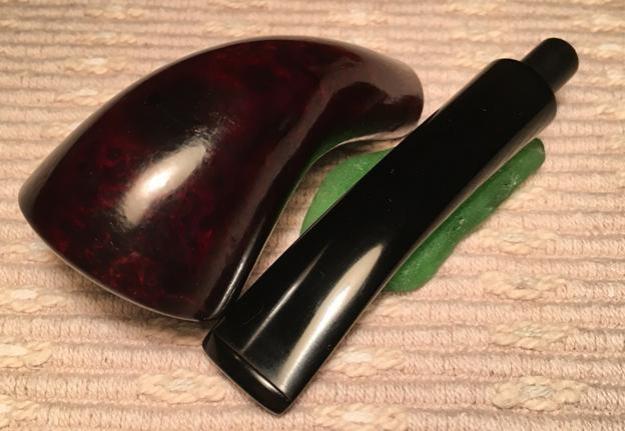
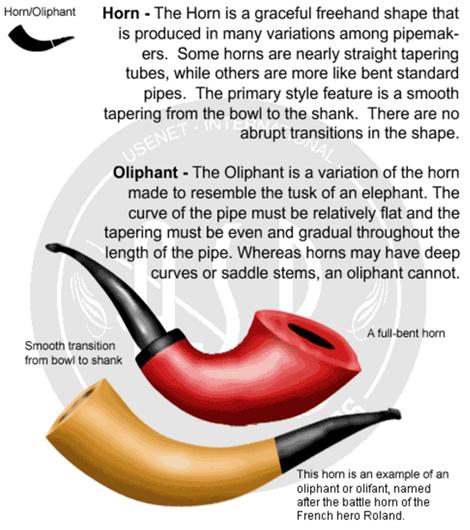
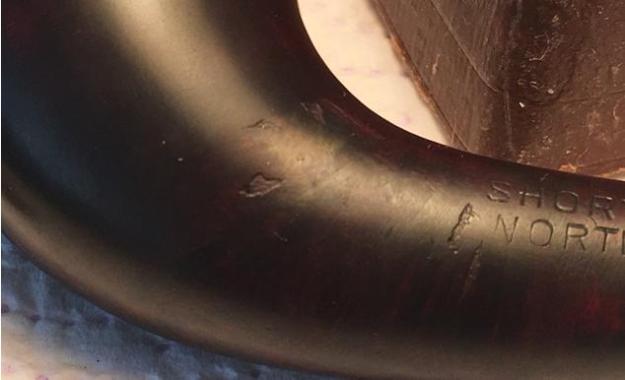
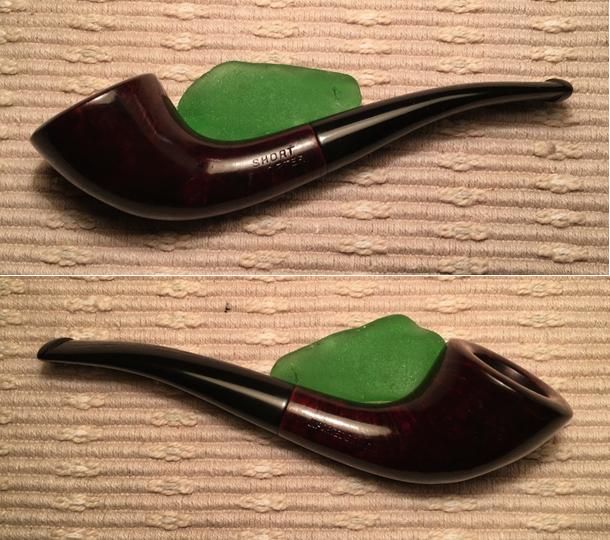
When I landed this little pipe last March, I rolled together 3 other pipes from the same seller, reducing postage costs – I’m always happy when I can save!  The eBay seller listed the pipe as a ‘Short Norter’ stamped on the left side of the shank.  The right side was stamped, Imported Briar.  The pipe’s petite size listed was 5 1/4″ long 1 1/4″ tall and 3/4″ bowl opening.  Even though she was so small, the shape was what drew me in.  This is what I saw.short1 short2Poor quality of photography notwithstanding, all the potential was there – the unique shape that I had yet to identify or collect, the rich briar grain peeking out here and there and the petite demeanor – perhaps this is a ladies’ pipe?  But then, the name?  Short Norter – the eBay nomenclature.  Despite the less than feminine name, I liked the pipe.  With a quick trip to Pipedia’s shape chart, I found what I believed matched the Short Norter – the Horn shape.short3When I took the Short ‘Norter’ Imported Briar out of the ‘Help me!’ basket now months later, I am still struck by the size and I really like the sleek contour of this Horn shape.  When I started research on the pipe in preparation for her restoring, I ran into a brick wall trying to find Short ‘Norter’ in all the usual places, but I did run across other references which were close.  One was, ‘Short Snorter’ and it was a pipe.  After taking another close look at the stamping, I discovered that the ‘S’ was almost totally obliterated by a divot in the briar.  Only a small peek remained of the top of the ‘S’. Finally, my beautifully shaped Horn ladies’ pipe is officially christened, Short Snorter – a pipe any high classed pipe woman would covet, or it would seem!  Here are pictures filling in the gaps from my work table here in Sofia, Bulgaria.short4 short5 short6 short7 short8 short9In the little I found on the internet about the Short Snorter, it is described as a nose burner or as a pocket pipe, but most often with other shapes than the horn.  Steve looked up the Short Snorter in the book, Who Made That Pipe, and it indicates that it was made by Weber or Wally Frank.  With that information, I looked at old Wally Frank catalogues, but did not see the Short Snorter.  I suppose the name is apropos, but I think a lady pipe smoker would give this pipe a look see.
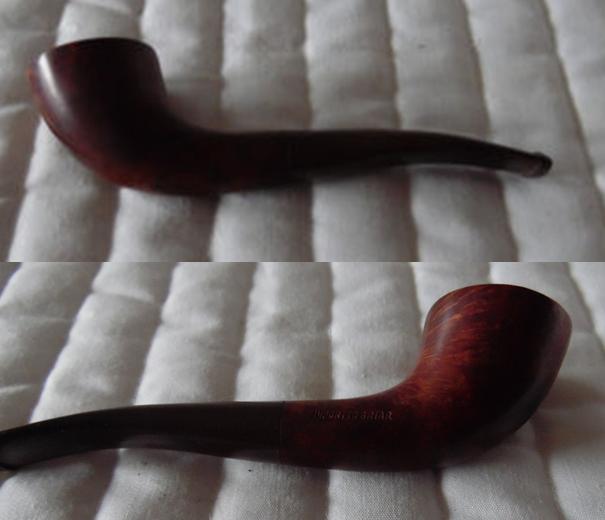
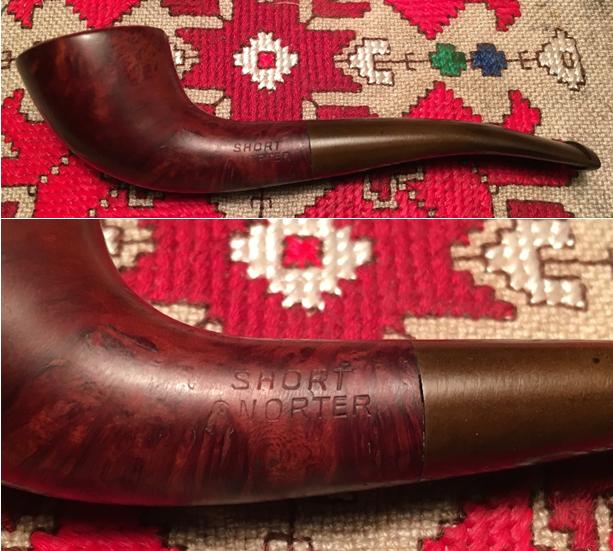
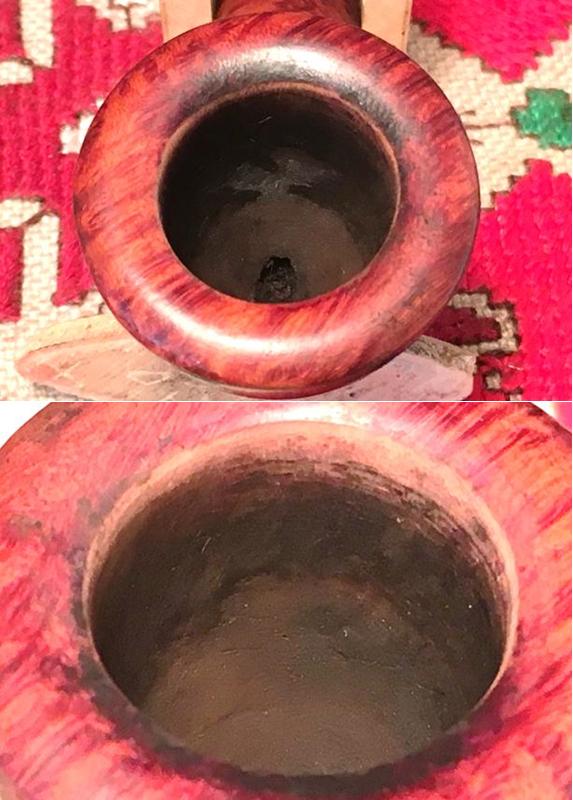
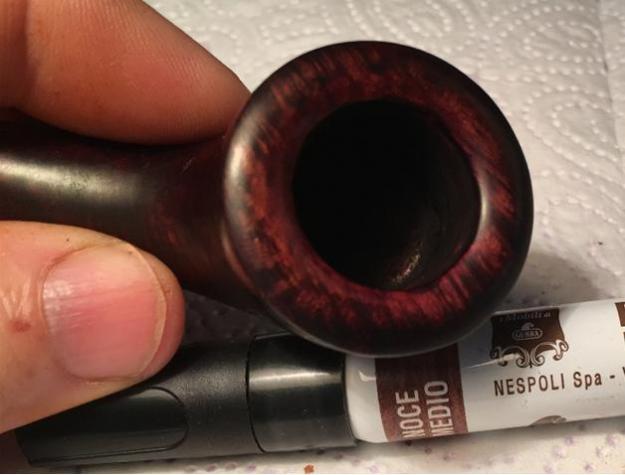
The stummel surface is generally in very good shape and the briar grain has much appeal for a smaller pipe.  The rim has an attractive oval bevel but a moderate burn area covers a portion where I presume the flame was drawn over the briar in lighting the tobacco.  The one troubling spot is the burn mark on the front of the bowl.  The last steward appears to have been a heavy puffer heating up the briar enough to cause the burn.  I’ll need to check the internal front fire chamber area to detect possible thinness and potential for a burn through.  To remove the scorched area the old finish needs to come off.  The stem is heavily oxidized but there is not much tooth chatter to speak of on the bit.  The button appears to be in good condition.

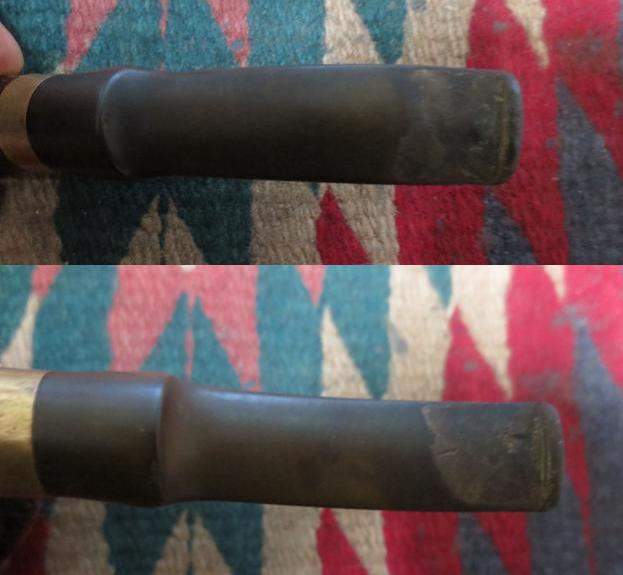
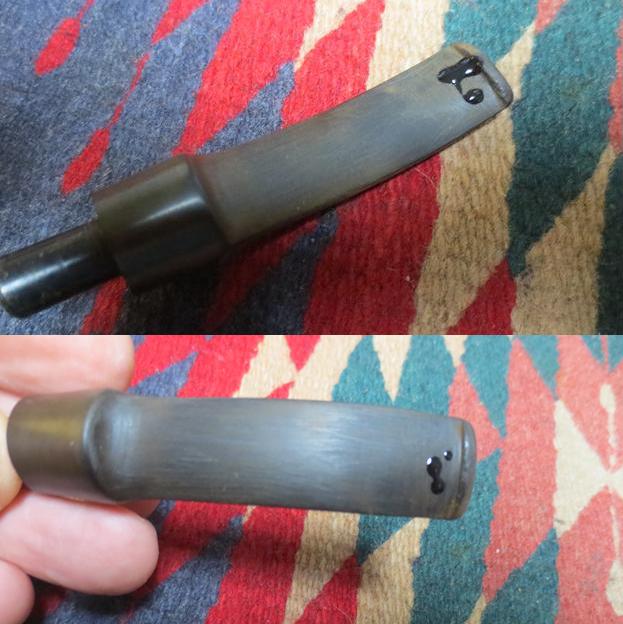
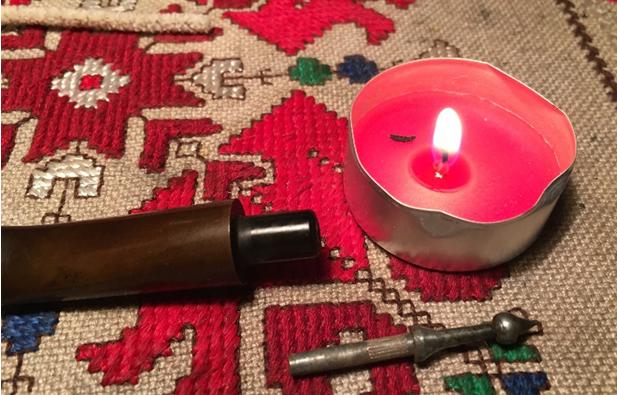
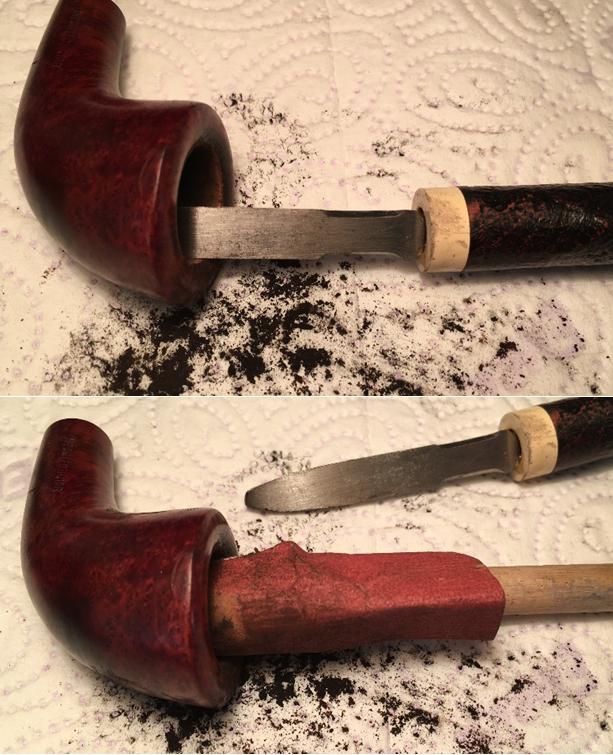
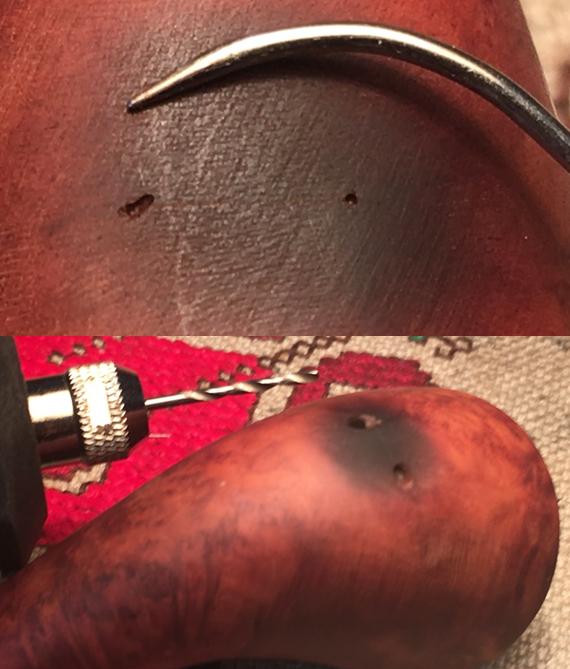
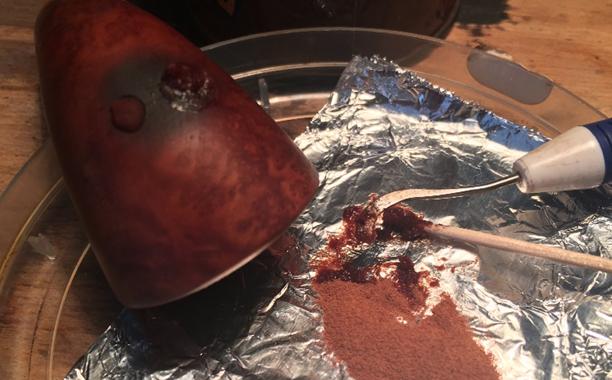
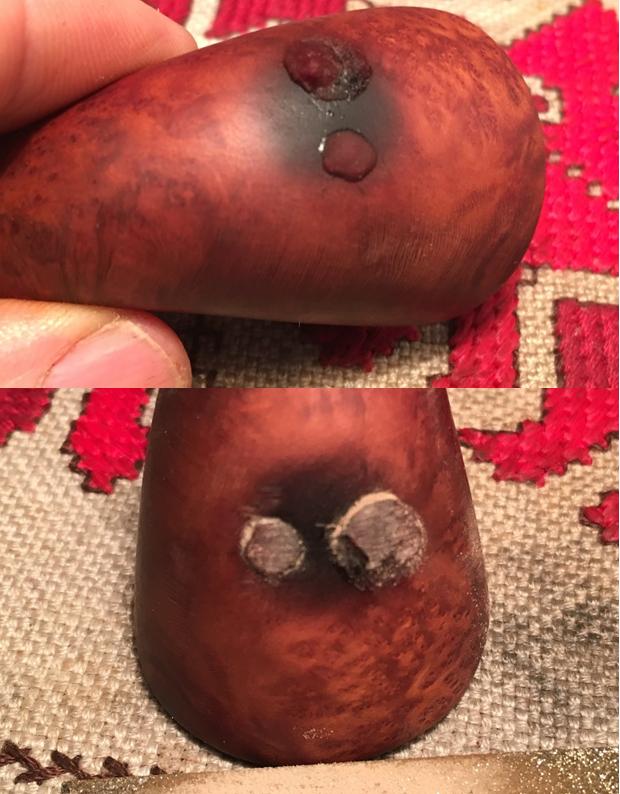
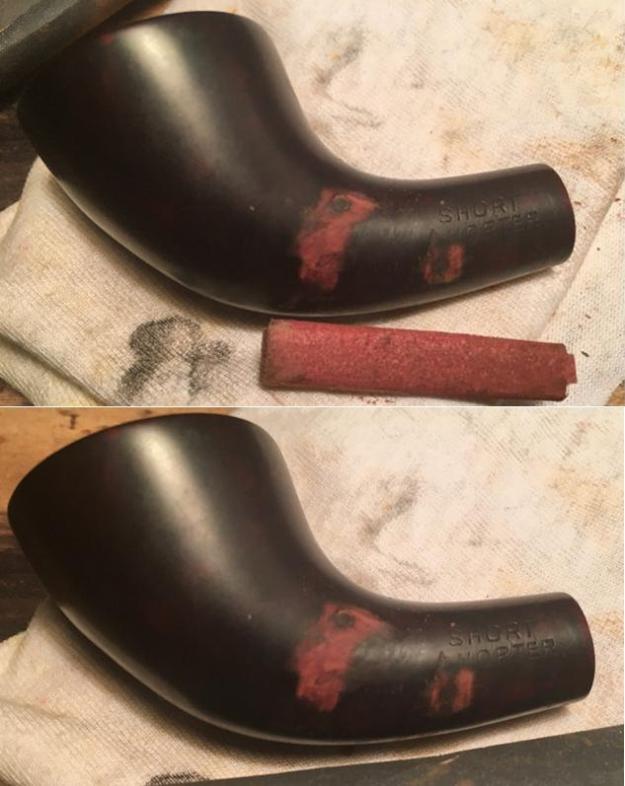
The first order of business in the rebirth of this Short Snorter Imported Briar Horn is to plop the stem into a bath of Oxiclean to begin the process of raising the oxidation out of the vulcanite.  Before I do this I try to remove the stinger, resembling the cupola of a Russian Orthodox Church.  I don’t much like stingers in general, but I’m not able to coax a pipe cleaner through it to help retrieve the stem from the Oxiclean bath.  I try pulling on the stinger but it doesn’t budge.  After a few failed attempts, I light a candle and warm the stinger which expands the stingy vulcanite holding it in place.  Whoa!  When I finally extract the stinger, it’s the longest stinger I’ve seen to date – especially in such a small pipe!  I’m not sure why it’s so long but I wonder if it has anything to do with the small design and the intent to restrict the airflow?   Perhaps, the burn was a result of poor movement of air and the steward had to puff harder therefore more heat???  Speculation, but the stem is now in the bath working on the oxidation and the stinger is official retired to the stinger bottle.short10 short11With the stem in the bath, I want to ream the fire chamber to bring it down to the briar for a fresh start but also to examine the front of the chamber corresponding to the external burn area.  Since there was almost no cake build up on the wall, I use the Savinelli Pipe Knife to clean what remains.  I then take 240 grit sanding paper rolled around a dowel rod to sand the fire chamber wall and to clean the remaining residue.  I finished with a quick wipe of the cotton pad with a bit of alcohol on it to remove the carbon dust.  The pictures show the progress.short12 short13With the fire chamber cleaned I take a few close-ups looking specifically at the integrity of the wall.  The second picture below is oriented to the front where the burn would be.  Using my pinky finger, I feel the texture of the wall and I don’t detect any internal burns or soft spots but there is a bit of a rounded area toward the external burn area – thinning wall?  The natural ‘horn’ curvature could potentially lean toward a thinning of the front of the stummel if the fire chamber expands – burns or excessive reaming?  I will need to add a protective layer with either Pipe Mud or a Sour Cream/Yogurt Charcoal mix to coat the fire chamber wall – especially in the front area. This will be necessary if this little pipe tends to overheat.  short14Cleaning the stummel’s external surface, I take a cotton pad with Murphy’s Oil Soap undiluted and scrub the stem surface. I also employ a brass brush to work on the tar deposit on the backside of the rim.  Following the scrub, I rinse the stummel with warm tap water, careful to not allow water in the enter the stummel.  The rim cleans up very nicely.  To address the burn blotch on the front of the stummel and I use a medium grade sanding sponge to remove the dark area.  After a time of working on the burn spot, a troubling question starts to dog me:  Does this burn spot go through to the fire chamber?  Or is it only on the external…  If it goes all the way through, then all I’m doing is further thinning an already thin patch of briar with sanding.  Steve confirmed that I was indeed making things worse.  The last picture in the set below I sent to Steve and it was he who identifies in that photo the crack crossing laterally in the middle of the burn spot.  Ugh.short15 short16 short17Another opportunity to hone in on the various skills necessary in restoring pipes!  I had the opportunity to fix a crack previously and it is necessary to drill holes on the far ends of the crack to stop the crack creep.  Armed with a magnifying glass to see the crack clearly, I use the sharp dental probe to mark the ends of the crack hopefully to provide a guide for the drill.  I use a 1.5mm bit in the Dremel and I need to drill the holes without going through into the fire chamber.  Well, it was going so well, until it wasn’t.  I suppose it was the combination of the texture of the briar being more crusty feeling, drilling free-hand, or the thin wall that I already suspected – one or any combination of all three….  The first hole is successful, but the second finds day-light.  The briar is much thinner than I had guessed.  The question now is the extent of the burn impact. Is this Short Snorter’s life about to be cut shorter than we all thought!  I use the dental probe to scratch around the holes and pressing to find soft charred briar to reveal more weakness.  I do not find anything other than the hole that I created. short18 short19So, the worst that can happen is that this beautiful little Short Snorter becomes a ‘technique pipe’.  I decide to proceed with filling the drill holes with a mixture of briar dust and super glue.  For the external surface, I’ll need to sand down the hole patch areas during the finishing process, then dark staining the stummel to blend and mask the burned area.  For the internal wall, I will mix a batch of the Charcoal and Sour Cream lining paste and apply it to the firewall.  Hopefully, this will provide enough additional heat buffer to protect the thin condition of the briar in the front.  The protective coating will also provide a basis for a protective cake to develop.
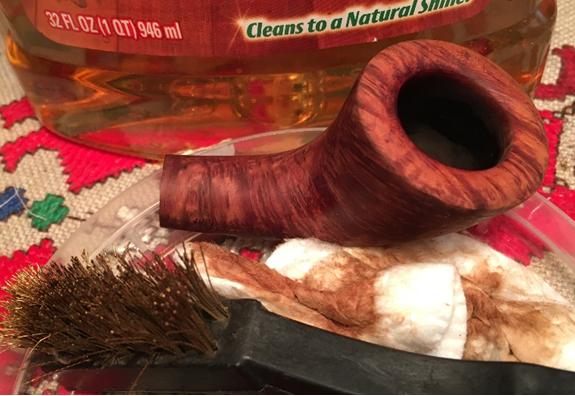
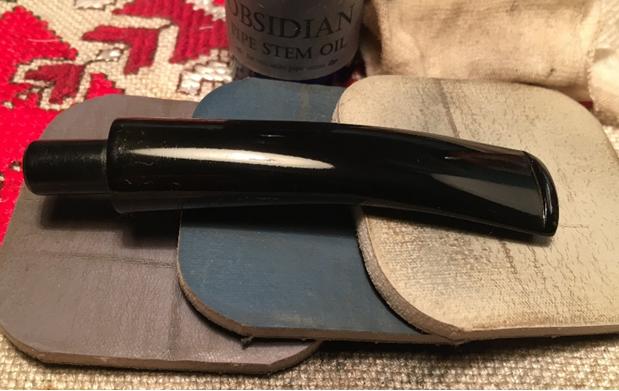
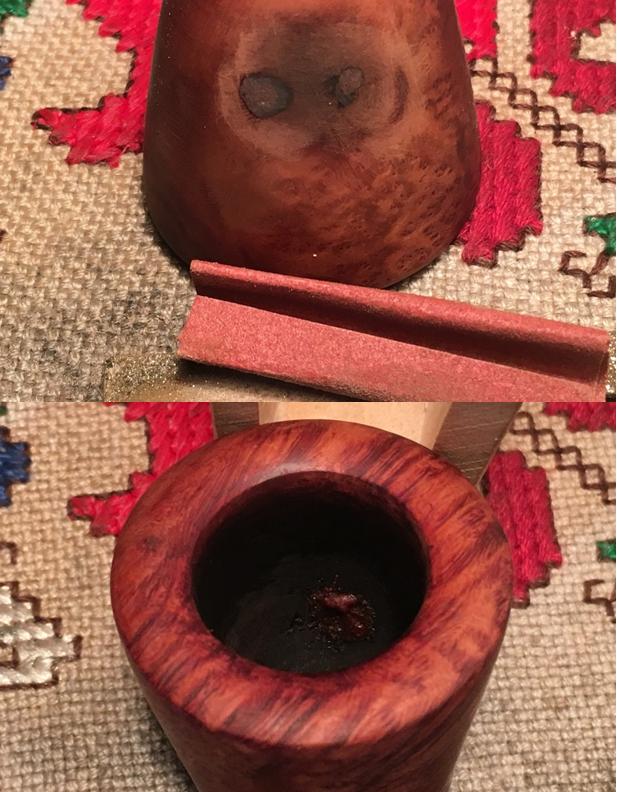
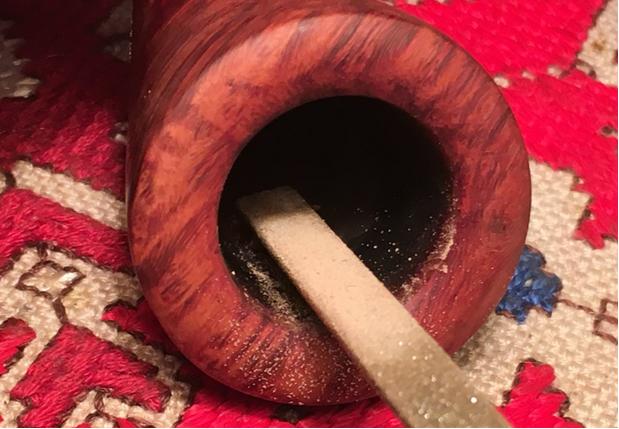
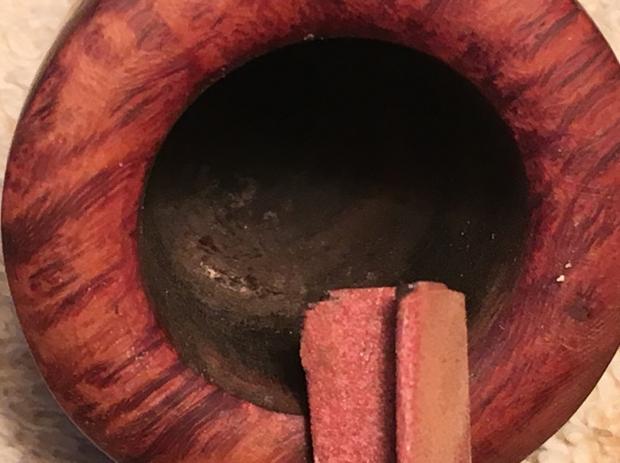
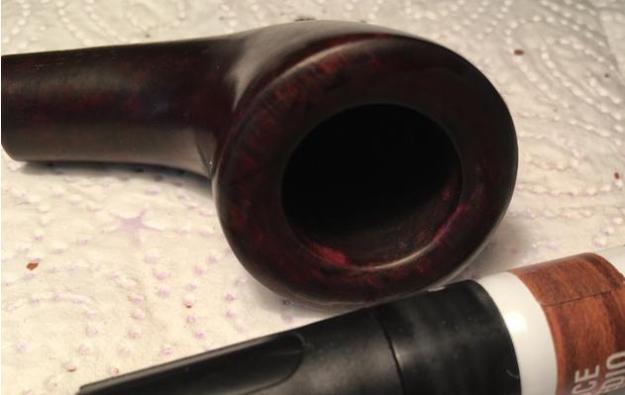
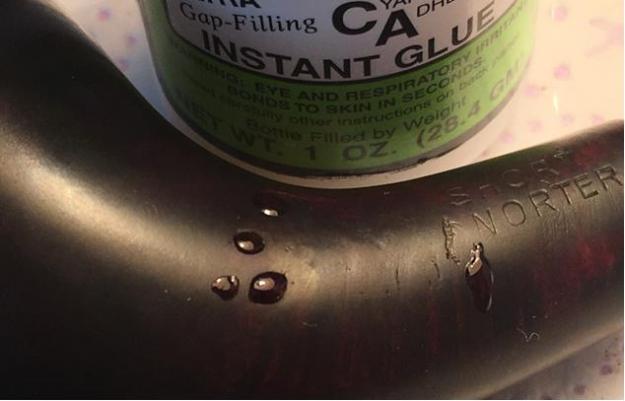
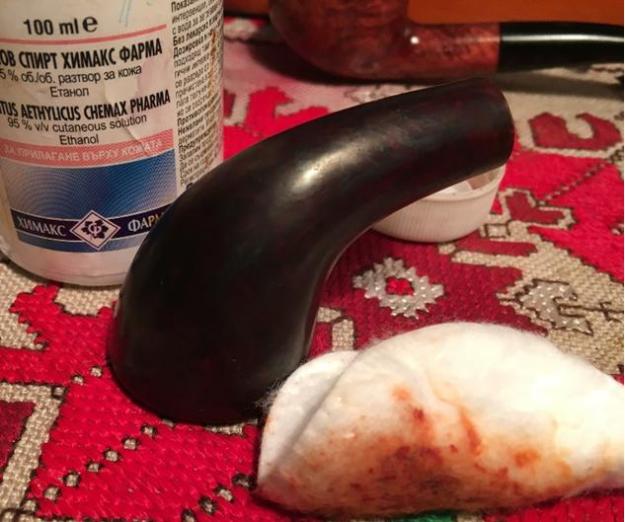
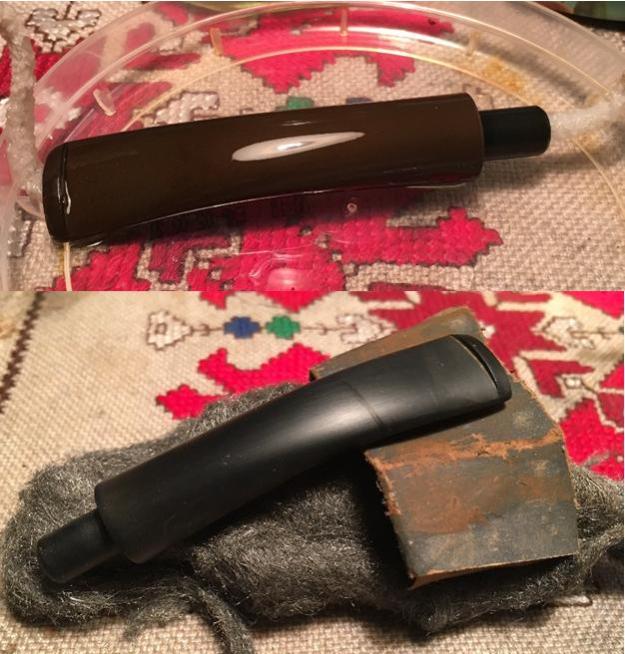
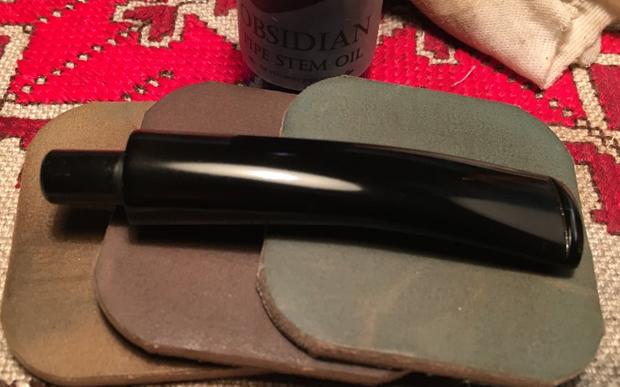
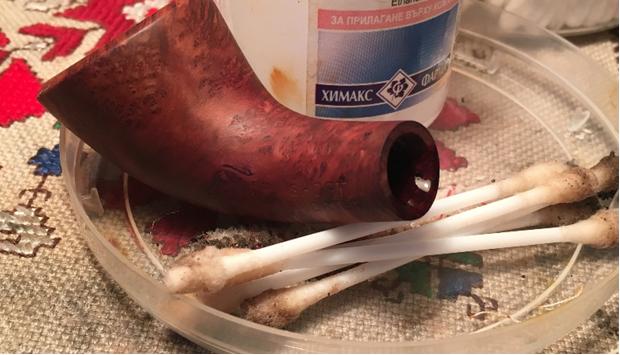
With the stummel on the mat, I need a change of scenery to think things through.  I retrieve the stem from the Oxiclean bath and take 600 grit paper, wet sanding the stem to remove the raised oxidation on the vulcanite stem.  I follow this with 0000 steel wool preparing the surface for moving to the micromesh polishing later.  Then I take pipe cleaners dipped in isopropyl 95% and clean the internal airway of the stem.  It was not very dirty.short20Ok, back to the stummel.  I use a cotton pad with isopropyl 95% to clean both the external surface as well as the fire chamber.  I take briar dust and mix it with super glue to form a putty.  I use a dental spatula and tooth pick to scoop some of the putty and apply it to the holes.  I’m not concerned that the putty goes through to the internal wall – I want to build a little protective mound of hardened briar putty.  Later it will be covered by the Charcoal/Sour Cream layer of insulation.  The pictures show the progress with the regress!short21 short22With the briar dust putty curing, I take up the stem and begin the micromesh process first by wet sanding the stem with pads 1500 to 2400.  When complete I apply a coat of Obsidian Oil to the stem to rejuvenate the vulcanite.  I follow this dry sanding with pads 3200 to 4000 and then 6000 to 12000 and I follow each set with an additional application of Obsidian Oil.  I put the stem aside to dry. I never tire witnessing the shiny pop of vulcanite after the micromesh process.  The pictures show the progress.short23 short24 short25With the briar dust superglue cured after a full 24 hours, I take another close-up of the work areas and then take a flat needle file and file strategically the fills in the two crack holes that were drilled – one well, the other one breaking through the firewall.  After bringing both fills almost to the briar surface level, I use 240 grit paper, rolling it into a very tight tube, I remove all the excess fill bringing the patch to the surface.  Then, turning to the Briar dust putty in the fire chamber, I use the flat needle file and reach into the bowl and take off most the overflow.  Then, with the 240 grit paper I smooth the patch but I leave a small briar dust patch over the internal wall breach.  I hope this adds protection underneath the insulation layer that I will do later.  The pictures tell the story.short26 short27 short28 short29With all the attention with the crack repair, I realize I have yet to clean the internals of the stummel.  I do that with Q-tips and pipe cleaners dipped in isopropyl 95%.  Thankfully, there was very little work to do.short30At this point the question that presents itself is, do I proceed with mixing up a charcoal and sour cream (or yogurt) insulation paste and coat the chamber or do I proceed with working on the external briar of the Short Snorter.  Since I will need to have a thumb and cork in fire chamber for all the external briar projects, I need to wait to do the fire chamber work near the end – probably before the final polishing phases.
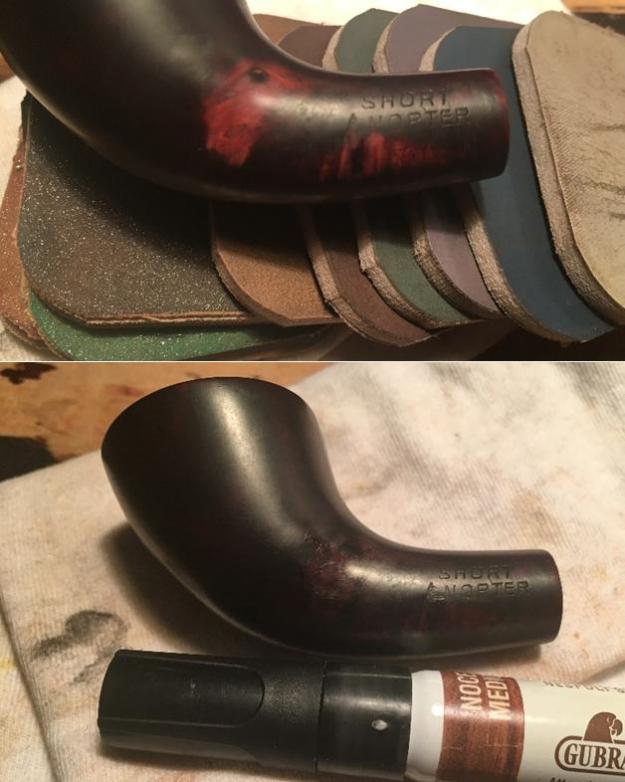
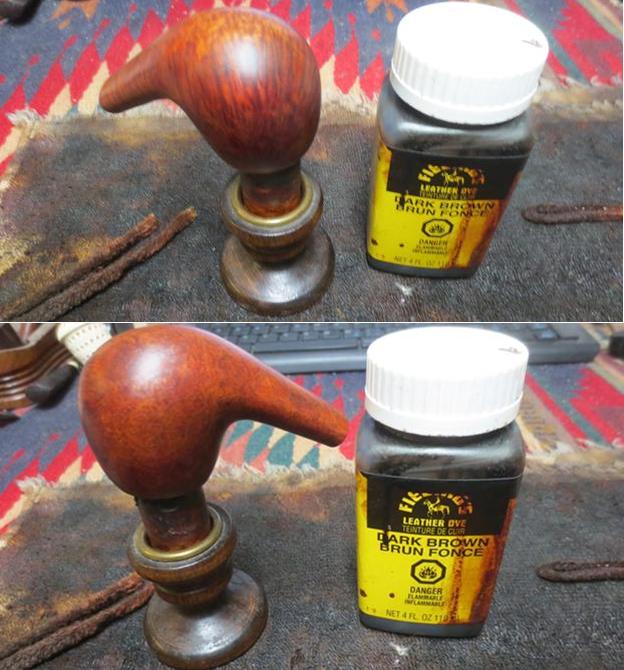
I take a close look at the stummel surface and detect some shiny spots revealing the presence of the old finish.   I want to remove all the old finish left behind by the Murphy Oil Soap cleaning.  Using the light sponge sand I sand down the surface followed by wet sanding with micromesh pads 1500 to 2400, then 3200 to 4000 and finishing with pads 6000 to 12000.  The pictures show the progress.short31 short32To mask and blend the burn spot on the front of the stummel, I use aniline-based Dark Brown Leather Dye hopefully to accomplish this.  With a cork stuck snuggly in the fire chamber to serve as a handle to rotate the stummel, using a bent non-bristled pipe cleaner, I apply the dye liberally around the stummel, rotating it to be sure the dye reaches the inverted rim.  After the application, I flame it using a lit candle waiting for that purpose. The alcohol in the dye burns off quickly setting the hue in the grain.  When cooled, I apply a second coat of dye to the stummel surface and again I flame it.  I let the dye set overnight.  The picture shows the flamed crusted state.short33The next morning, anxious to see the ‘unwrapped’ stummel and the results of Fiebing’s Dark Brown Leather Dye, I take the Dremel and mount the hand-held extender with a felt wheel and apply Tripoli to the stummel surface to remove the dye crust.  The dark stain did well in blending the burn spot on the stummel.  That is looking good.  Two problem areas emerge – the rim showed a gap in the coverage of the dye on the inner rim.  It must have been the overhang of the cork I was using….  An easy patch worked well as I use a dark walnut stain stick and paint the rim. short34 short35After the Tripoli buff with the Dremel felt wheel, I also detect pits in the briar surface in the upper left joint of the shank and stummel – not sure how I missed these but I see them now and I don’t like seeing them now.  Of course, it would have been easier addressing these during an earlier stage of restoration, but I’ll make a go at a patch now.  I take Hot Stuff Special ‘T’ CA Glue, a bit thicker than regular CA glue, and apply a dribble on the end of a toothpick then I dab a bit of the glue from the toothpick strategically on a pit.  The thicker glue beads up nicely on the pit and doesn’t run over the surface.  Using the toothpick, instead of applying glue straight from the bottle spout, allows a better control of the amount of glue in play.  I put the stummel aside to let the ‘T’ CA Glue cure and then later I’ll strategically sand these patches – hopefully keeping the patch area to a minimum. I didn’t do anything with the crevice obliterating the ‘S’NORTER’.  The pictures show the progress.short36 short37After the ‘T’ CA Glue cures, I use 240 grit paper to sand tightly on the glue mounds – trying to keep the patch area to a minimum.  After the 240 I use 600 grit paper on the area and then a very quick run through the complete set of 9 micromesh pads, 1500 to 12000.  I then apply Dark Walnut with a stain stick to the sanded areas.  After drying a bit, I use a cotton pad with isopropyl 95% to wipe down the stummel to blend the stain of the entire surface along with the patch area.  This helps but I’m wishing I would have done this earlier and not missed them!!!  The pictures show the progress.short38 short39 short40I want to apply one final coat of stain to the stummel to blend further the patches but also to tweak the hue toward the red ranges.  I mix Fiebing’s Dark Brown Leather Dye 1 part to 2 parts of Fiebing’s Oxblood.  As before, I apply the dye mixture with a folded pipe cleaner to the surface liberally and flame it.  After the surface is cool to the touch, I apply a second coat of Dark Brown Oxblood and flame it.  I set the stummel aside for the night and the next day clear the flamed crust with the Dremel felt wheel using Tripoli compound.  To blend the stained surface and give an even effect, I lightly wipe down the surface with a cotton pad with isopropyl 95%.  I’m pleased with the hue that is emerging.  The pictures show the progress!short41 short42Rejoining stummel and stem I use the Dremel with a felt wheel to buff them with Blue Diamond compound.  Following this, I mount the cotton wheel on the Dremel and increase the speed of the Dremel from the slowest RPM for the felt wheels and compounds, to the next higher speed.  I apply carnauba wax over stem and stummel several times to build up a shine as well as a protective layer.  I’m pleased with the transformation of this pipe.
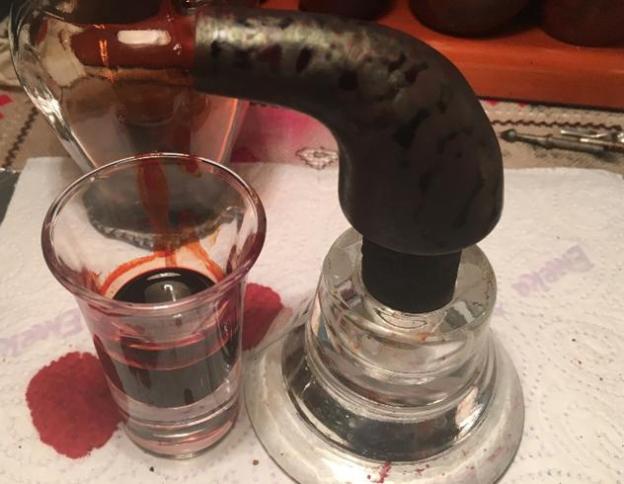
After consulting with Steve, I decided that this Short Snorter’s one last challenge would be better addressed in the US.  The front fire chamber wall needs a better solution than what I can provide here in Bulgaria.  Steve recommended I consider the solution that Charles Lemon, of DadsPipes.com, has used with good success – applying JB Weld to the area in need of greater reinforcement.  Since JB Weld is not on the shelves here (yet!) and I can’t find a satisfactory alternative, this little pipe is going for a long ride in about a week to Denver, where my wife and I will be celebrating Christmas with our family!  I’ll add a Christmas Addendum later!

When I look at this Short Snorter Imported Briar Horn before me, I still think this is a beautiful ladies’ pipe!  Of course, with a name like ‘Short Snorter’, the pipe lady smoking this elegant, petite horn shaped pipe, packed with her preferred aromatic blend, will undoubtedly have a bit of attitude and spunk!  Or, at least as it would seem to me.  Thank you for joining me!short43 short44 short45 short46 short47 short48 short49
Replacing a Stem on a Stanwell Antique 156 Bulldog


Blog by Steve Laug

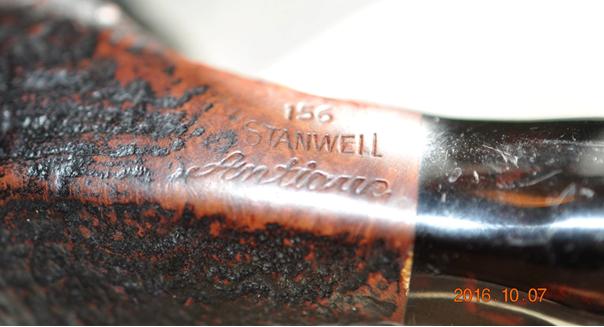
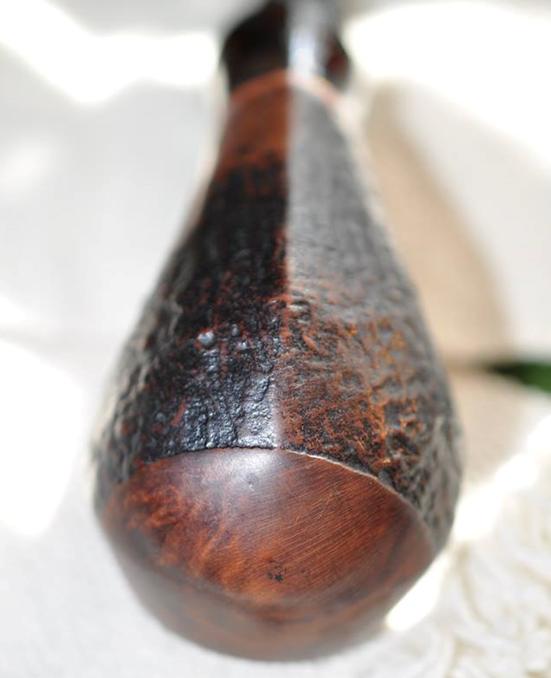
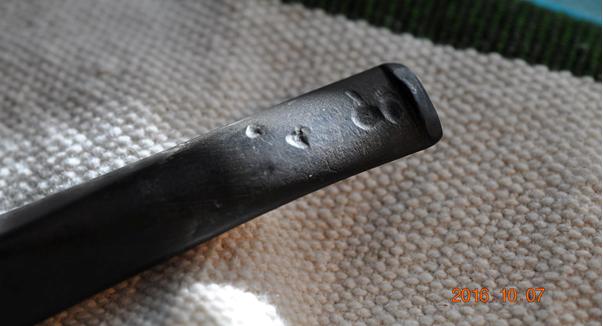
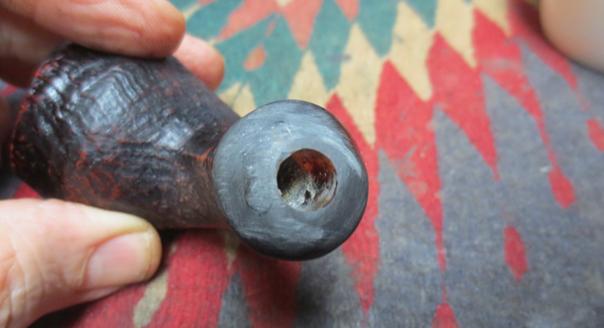
The next pipe I brought to my work table is another Stanwell Antique. This one is stamped on the underside of the shank with the words Stanwell over the script Antique and over the top of them both is the number 156 which is the shape number. This one came in the same lot as the two victims of Jaws that I have already written about on the blog – the Estella and the GBD Midnight (https://rebornpipes.com/2016/12/06/jaws-and-an-estella-non-pareil-%c2%bc-bent-9606-stack-by-savinelli/ and https://rebornpipes.com/2016/12/09/another-jaws-victim-a-gbd-midnight-788-oval-shank-apple/). This Stanwell Antique Bulldog had a poorly fit replacement stem – a diamond shaped stem from a classic bulldog shape. The stem had many deep tooth marks on both the top and the underside of the stem. anti1The finish on the bowl was in decent shape though the rim had some tarry buildup and there was a thick cake in the bowl. The first photo shows the mixture of sandblast and smooth on this pipe was a nice contrast. The front of the pipe was smooth and joined the smooth rim. The second photo shows that the front outer edge had nicks and dents in it as did the surface of the rim. The close up photo of the rim shows the condition of the pipe when my brother received it.anti2The Lucite shank extension is amber coloured. The thickness of the extension makes it hard for the light to shine through it. The mortise had been damaged – it is my thought that whoever put the new stem in place redrilled the mortise and damaged the inner edge and the bottom of the mortise. anti3The stamping on the underside of the shank is better than the stamping on the previous Antique I just finished. The shape number is very clear and sharp. The Stanwell logo is lighter on the left side and the Antique stamping is also very clear and sharp.anti4The next photo shows the transition from the smooth front of the bowl to the sandblast on the rest of the bowl. You can see some of the grit in the grooves and crevices of the blast and the grime on the smooth portion.anti5The last photo that my brother sent me shows the bite marks on the diamond stem. They are identical in pattern to the ones on the previous two “Jaws” pipes.anti6My brother cleaned up the pipe with his usual thoroughness. When the pipe arrived in Vancouver the finish was clean and the grooves and crevices clean. The rim was better though it show the damage to the front edge and the dents to the top of the rim. He had reamed and cleaned the mortise and the airway in the replacement stem so the pipe was very clean and ready for me to work on.

I cleaned up the shank extension end and used clear super glue to rebuild the damage portion of the Lucite. I sanded it with 180 grit sandpaper and also with 220 grit sandpaper to smooth out the repairs. I cleaned out the shank with a cotton swab and warm water to remove the debris in the shank. I took photos of the bowl after I cleaned it up and scrubbed it with Murphy’s Oil Soap.anti7 anti8The rim shows some damage to the top and the back edge in the photo below.anti9The stem was an obvious replacement so I put it in my can of stems and looked for a stem that would be a good candidate for a replacement. I had one in a lot of stems that my brother sent me. It was a Danish looking freehand stem that had a long tenon and a step up toward the ring in the middle. I forgot to take a photo of the stem before I worked on it but I had another example of one that was similarly shaped that is shown in the next photo.anti10I sanded the stem with a Dremel and sanding drum to shorten and remove the step down area. I wanted to have a smooth transition from the tenon end to the mid ring. I also wanted to make the slope to the ring more abrupt that it was in the one above. The stem was in pretty rough shape. There was deep tooth mark on the topside of the stem from the damaged button forward. There was also some tooth damage on the underside of the stem in the middle and on one side. The button was also damaged on the underside. There was a missing chunk of vulcanite on the button edge. I filled in the damaged areas with black superglue to build them up. I let the glue dry and once it was dry I sanded it smooth to match the surface of the rest of the stem. I filled in the damaged button and built up the edge on the top and bottom sides. I sanded the button as well once it had cured and reshaped it.anti11I sanded the diameter of the tenon area on the new stem until the fit in the mortise was correct. The stem still looked a little long but I would take care of that shortly. I put it in the mortise and took photos of the pipe with the new stem.anti12 anti13I sanded the stem with 180 grit and 220 grit sandpaper to smooth out the repairs and reshape the stem to match the rest of the stem.anti14I polished the stem with micromesh sanding pads – wet sanding with 1500-2400 grit sanding pads and rubbed it down with Obsidian Oil and dry sanding with 3200-12000 grit sanding pads and rubbing it down with the oil after each set of three pads. After the final set I gave it a final coat of the oil and set the stem aside to dry.anti15 anti16 anti17To remove the damage to the front edge and the top of the rim I topped the bowl with 220 grit sandpaper on the topping board. I sanded it with 1500-6000 grit micromesh sanding pads to sand out the scratches in the rim surface. I restained the rim to match the front of the bowl using a dark brown stain pen. I buffed it lightly with a microfibre cloth.anti18I sanded the smooth portions of the bowl face and the rim with 1500-6000 grit micromesh sanding pads to polish them.anti19 anti20I buffed the rim and smooth part of the bowl and the stem with Blue Diamond polish on the wheel. I gave the stem multiple coats of carnauba wax and gave the bowl several coats of Conservator’s Wax. I buffed the pipe with a clean buffing pad and hand buffed it with a microfibre cloth to deepen the shine. The finished pipe is shown in the photos below. The repairs on the stem show under the bright lights of the flash but in person they are pretty well blended into the surface of the stem. Thanks for walking through the restoration with me.anti21 anti22 anti23 anti24 anti25 anti26 anti27 anti28

A Stanwell Antique 127 with an Amber Shank Extension


Blog by Steve Laug

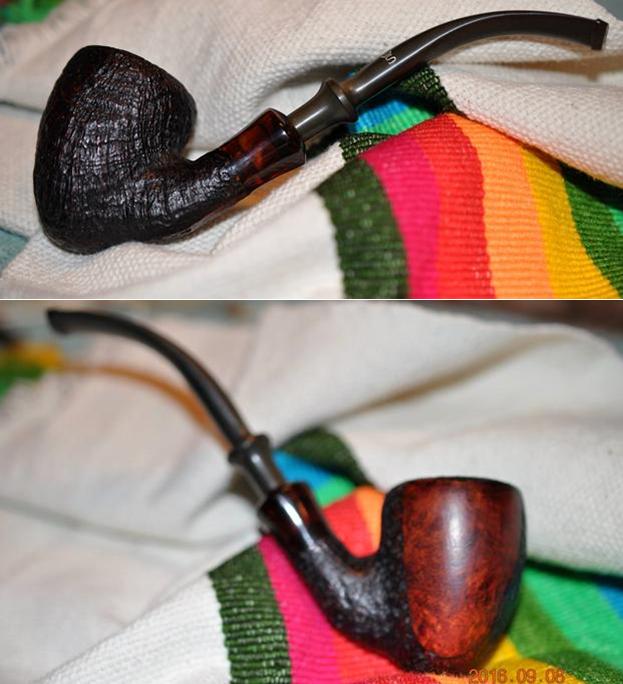
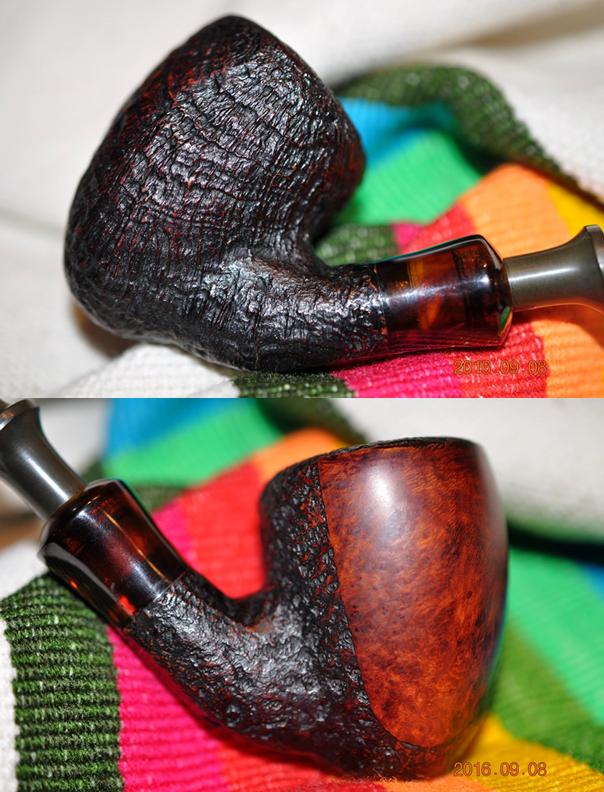
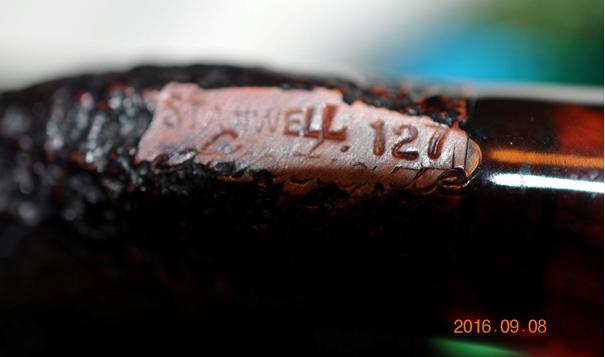
The next pipe on the work table is a beautiful little Stanwell Acorn. The finish on the pipe was in excellent condition. There were some tars and oil that had overflowed the bowl onto the rim but it was pretty clean. The cake was not too thick. The inner and outer edge of the rim was in excellent shape. The amber Lucite shank extension was in excellent shape and the mortise hole was in perfect condition. The underside of the shank is stamped with the Stanwell logo over the word Antique in script. To the right of it was stamped 127 which is the shape number. The stem was clean with some tooth chatter and quite a bit of oxidation on the top and the underside. The white Stanwell Crowned S logo was stamped on the left side of the stem.

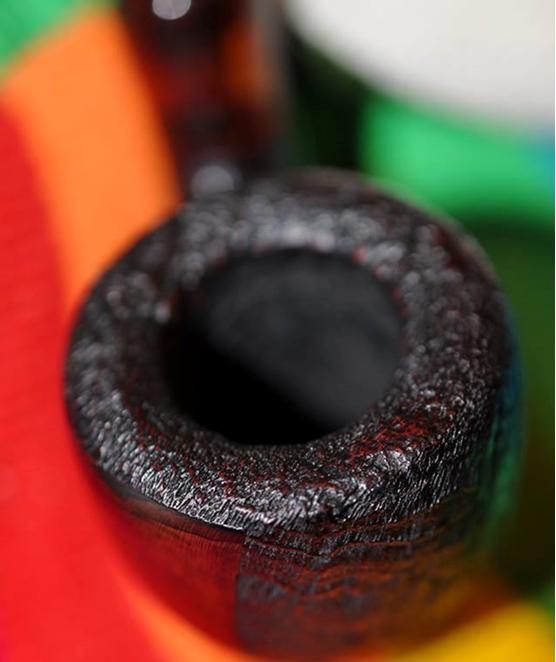
The next series of photos were taken by my brother before he cleaned up the pipe. He did his usual thorough job of cleaning the inside and the outside of the pipe. He reamed the bowl and cleaned out the airways in the shank and stem with alcohol, cotton swabs and pipe cleaners.antique1The next two photos show the two sides of the bowl. The left side of the bowl is a beautiful tight sandblast finish. The rim is also sandblasted as is the entire shank. The right side of the bowl is a smooth medium brown patch of briar that is on all of the Antique line of Stanwell pipes that I have seen.antique2The photo of the rim shows the condition and the thin cake in the bowl. The pipe was well cared for and did not need to have a lot of work done to bring it back.antique3The next photo shows the underside of the shank and the stamping. You can read the Stanwell stamping even though it is a bit faint on the left side. The Antique stamping is also light but the shape number is clear and deep.antique4The last two photos show the condition of the stem and the light oxidation and tooth chatter on the top side near the button. The Crown S stamping on the stem is in perfect condition.antique5The next four photos show the condition of the pipe when it arrived in Vancouver. I took the photos to show what the pipe looked like before I began the cleanup.antique6 antique7I took a close-up photo of the rim and the shank extension to show the contrast in colours and the condition of the rim at the point I received the pipe.antique8I also took some close up photos of the stem to show the oxidation and the light tooth chatter on both sides of the stem.antique9I gave the bowl and shank several coats of Conservator’s Wax and hand buffed the pipe with a shoe brush and then a microfibre cloth to raise and deepen the shine on the briar. I ran a pipe cleaner through the airway and the mortise and it came out clean.antique10 antique11The stem was lightly oxidized so I decided to only use micromesh sanding pads to clean it up. I wet sanded it with 1500-2400 grit sanding pads and gave it a coat of Obsidian Oil. I dry sanded it with 3200-12000 grit pads and gave it a rub down with Obsidian Oil after each set of three pads. I set it aside after the final set of pads to dry.antique12 antique13 antique14I buffed the pipe with Blue Diamond on the buffing wheel to polish it. I gave the bowl several coats of Conservator’s Wax and buffed it with a clean buffing pad. I gave the stem multiple coats of carnauba wax and buffed it with a clean buffing pad. I hand buffed the pipe with a microfibre cloth to deepen the shine. The finished pipe is shown in the photos below. The complexity of the contrast of dark and medium browns as well as a hint of black gives a dimensionality to this pipe that is quite stunning. It did not take a lot of work to bring it back but it was a pleasure to work on it. Thanks for walking with me through the process.antique15 antique16 antique17 antique18 antique19 antique20 antique21 antique22 antique23

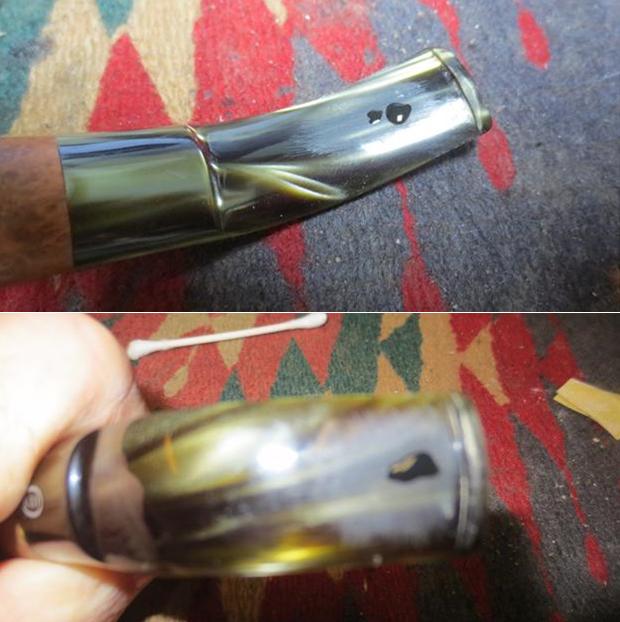
Another Jaws Victim – A GBD Midnight 788 Oval Shank Apple


Blog by Steve Laug

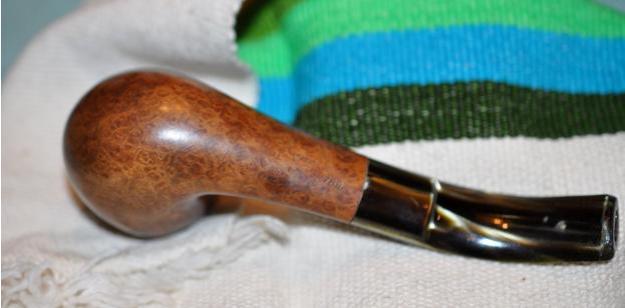
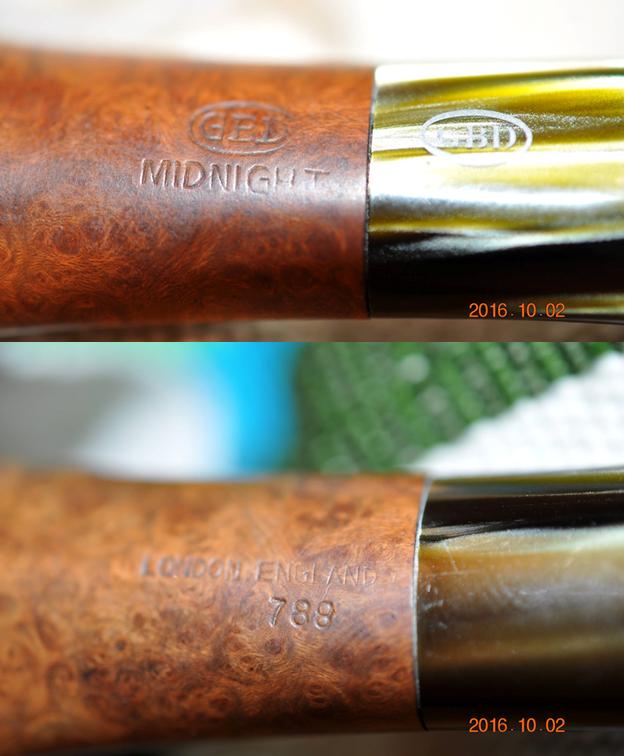
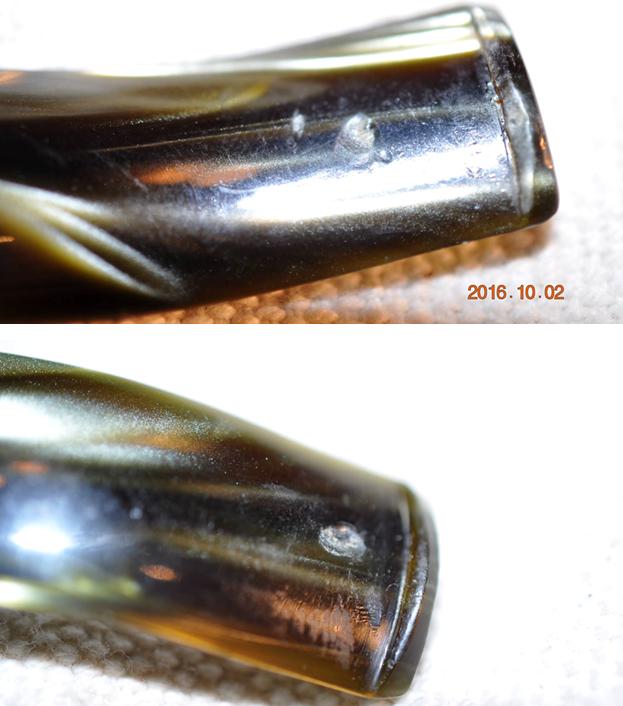
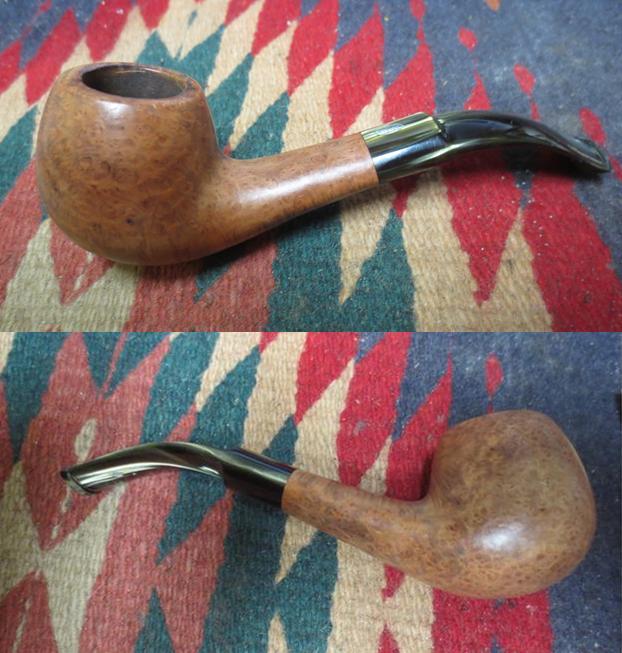
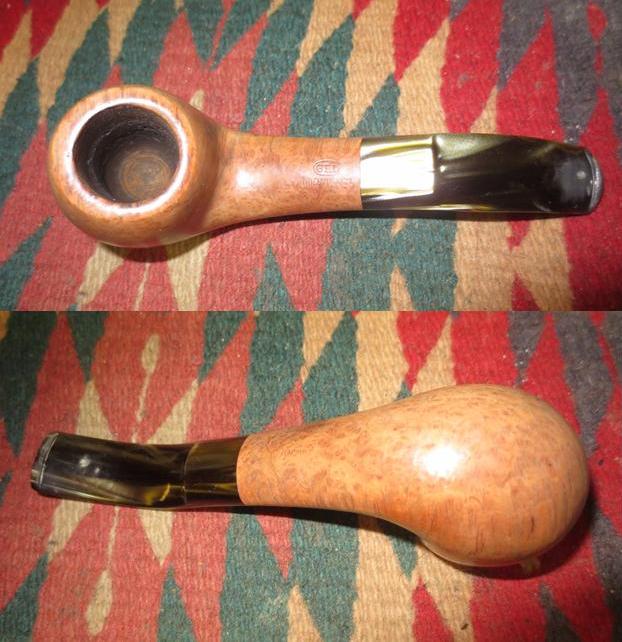
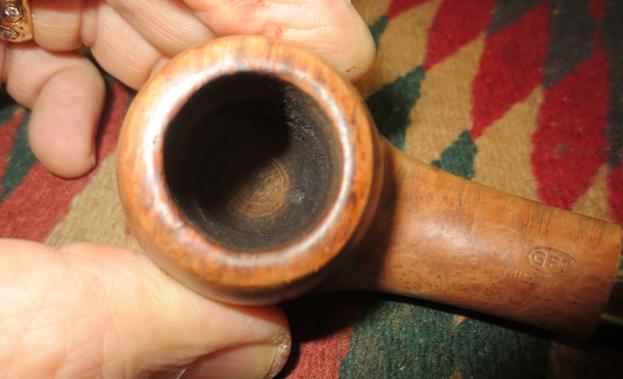
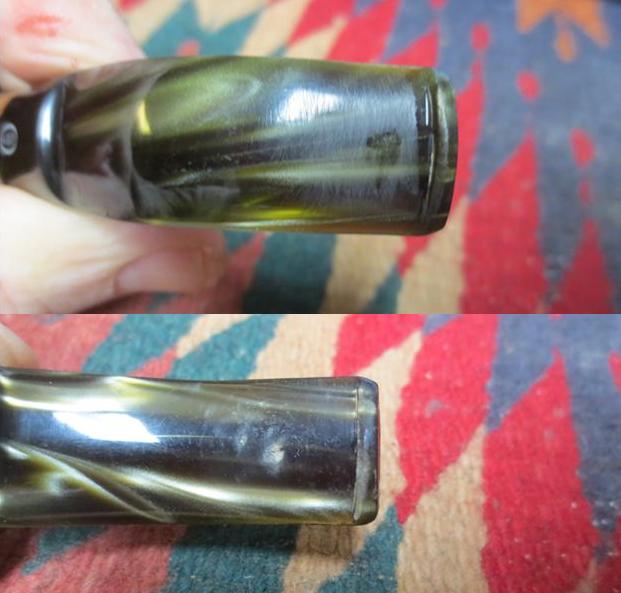
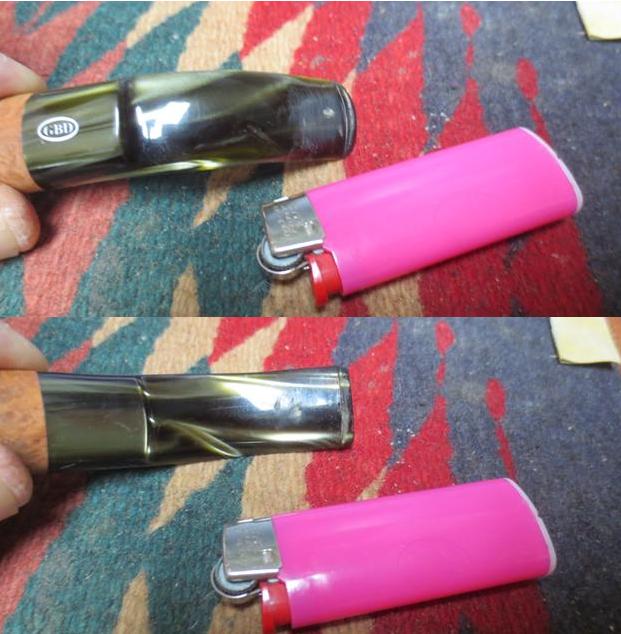
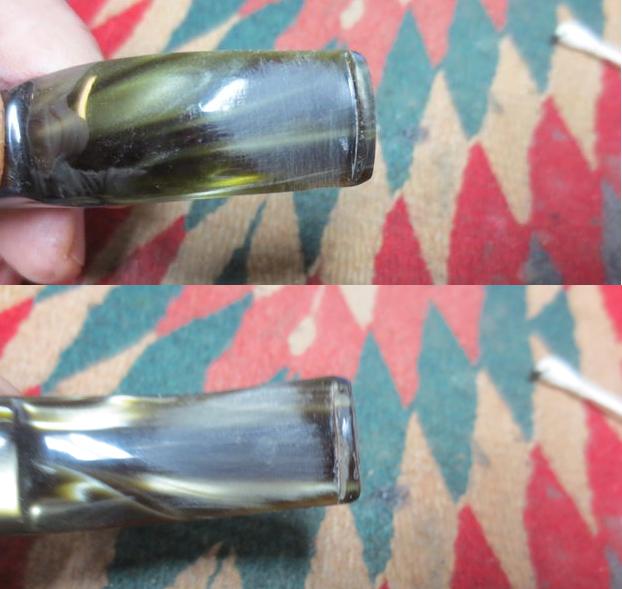
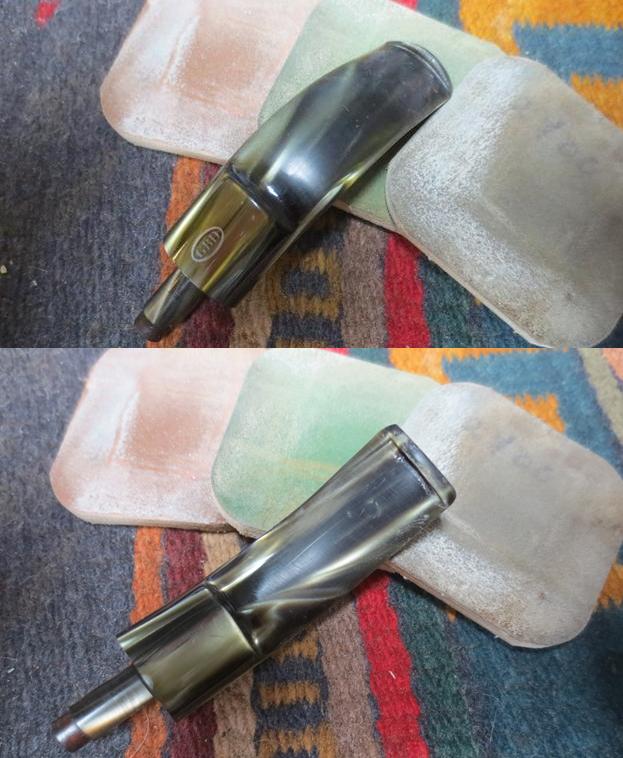
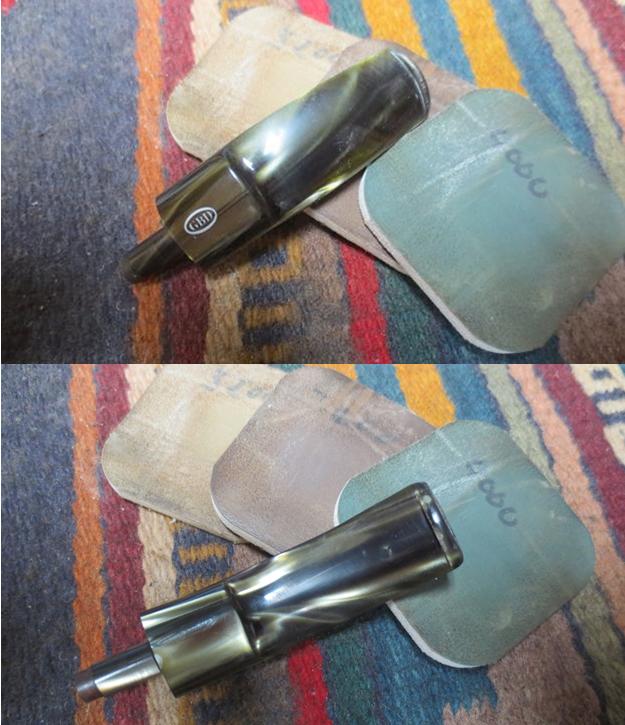
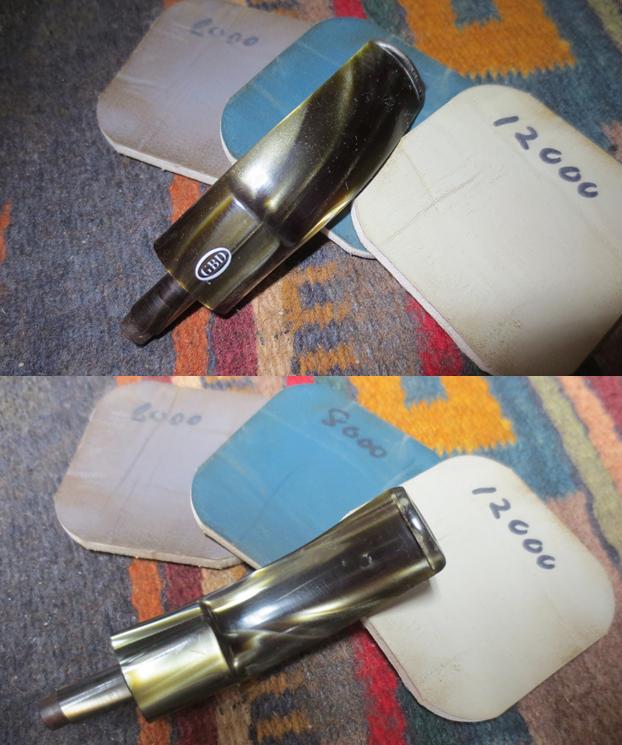
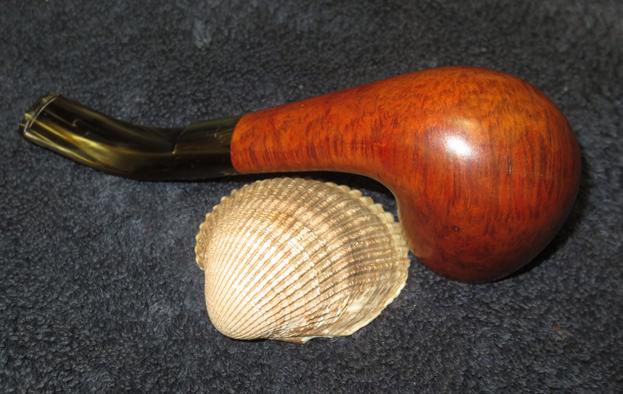
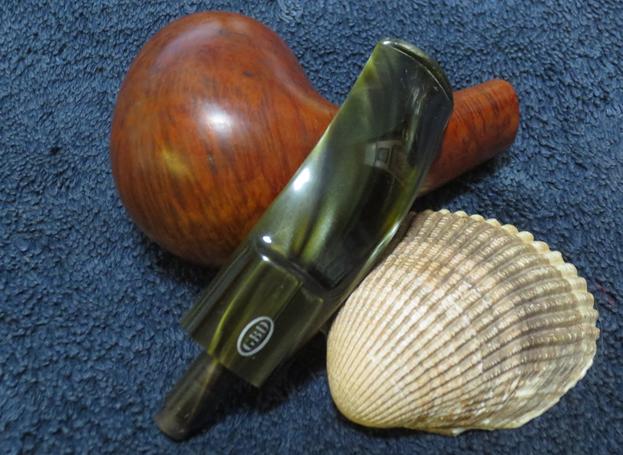
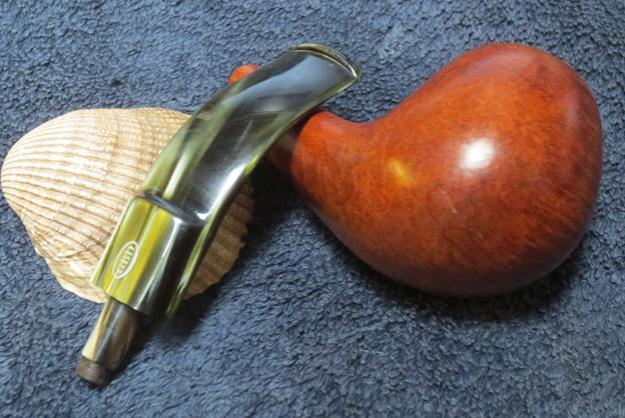
I love old GBD pipes no matter what era they come from. I gave my brother a list of pipes to keep an eye open for in his treasure hunts as he travels and on his eBay forays as well. GBD has been at the top of that list. He found a newer generation GBD recently and sent it my way. It is a nicely grained apple that is stamped GBD in the oval over MIDNIGHT on the top of the shank. On the underside it is stamped London England over 788 which is the shape number for an oval shank apple. The stem is a green swirled Lucite saddle shape with the GBD Oval stamped on the top of the saddle portion. The pipe was in decent shape. The finish was dirty and there was a buildup of cake in the bowl that had overflowed onto the rim. There were some dents in the outer edge of the rim on the back left side and some nicks and scratches on the left side of the bowl. The stem was another one that Jaws had gotten a hold of just like the Estella Non Pareil that I just finished and wrote about (https://rebornpipes.com/2016/12/06/jaws-and-an-estella-non-pareil-%c2%bc-bent-9606-stack-by-savinelli/). The top side had some deep dents and the underside had them as well. There were better situated in that they were in the blacker portion of the stem so blending in the repairs would be simpler.jaws1The photos my brother Jeff sent me really show the grain on the pipe. It has some stunning swirls of grain on the sides and some stunning birdseye on the top and the bottom of the shank and bowl.jaws2 jaws3The next photos show some close ups of the rim and the bowl bottom. The top of the rim was thickly coated with the overflowing cake in the bowl. The birdseye on the bowl bottom is stunning.jaws4The stamping on the shank and the stem was clear though lighter to the right edge on the topside of the shank. The fit of the stem to the shank was messy due to the build up of tars and oils in the shank and the mortise. I was pretty certain that once the pipe was cleaned up the fit would be back to normal.jaws5The next two photos show the work of Jaws on the Lucite. I can only say that I am thankful that the stem was not vulcanite or it would have been destroyed!jaws6My brother did his usual thorough clean up and was able to remove all of the tars and oils from the rim and the cake from the bowl. He scrubbed the grime and oils from the finish with Murphy’s Oil Soap and cleaned out the internals with alcohol, cotton swabs and pipe cleaners. The next four photos show the pipe when it arrived on my work table in Vancouver. I am getting spoiled by him doing all the grunt work of reaming and scrubbing. The pipes I get are all cleaned and reamed and ready to be restored. It is a great arrangement!jaws7 jaws8I took a close up photo of the bowl and rim to show how clean it was when it got to me.jaws9The tooth dents in the stem are shown in the next two photos. After the stem had been cleaned up they did not look as daunting as the ones in the Estella. The button had been worn down some as well by the chomper.jaws10I “painted” the dents in the stem with the flame from a Bic lighter. I was able to raise them quite a bit on this stem. On the top side only one deep tooth mark remained and on the underside there were three left.jaws11I sanded the dented areas with 220 grit sandpaper to smooth out the surface around the dents. I washed it down with alcohol on a cotton swab to make sure I did not leave any of the white sanding dust in the tooth marks. I decided to use black superglue to fill in the tooth dents as they were in the darker portion of the stem. I filled them in and let the glue dry.jaws12Once the glue had dried I sanded the patches smooth with 220 grit sandpaper to blend them into the surface of the stem. The patch on the topside disappeared into the dark green/black of the rest of the stem. The ones on the underside were a little more temperamental and showed some light areas on some small parts of the patches.jaws13I polished the stem with micromesh sanding pads – wet sanding with 1500-2400 grit pads and dry sanding with 3200-12000 grit pads. I wiped the stem down with a damp cotton pad after each set of three pads.jaws14 jaws15 jaws16I set the stem aside and worked on the bowl. I used 1500-2400 grit micromesh sanding pads to work over the nicks in the rim and on the left side of the bowl. I was able to minimise them so that they blended into the briar better. I stained the bowl with a dark brown aniline stain cut 50/50 with isopropyl alcohol and flamed it with a lighter. I repeated the process until the coverage was even on all sides of the bowl.jaws17I buffed the bowl and stem with Blue Diamond on the buffing wheel and gave the pipe multiple coats of carnauba wax to protect it. I buffed it with a clean buffing pad to polish the carnauba and give it a shine. I hand buffed the pipe with a microfibre cloth to deepen the shine. The finished pipe is shown in the photos below. The rich brown of the stain is a great contrast to the green of the Lucite stem. The overall look of the pipe is rich and the feel in the hand is perfect. This one will be available on the store in the days ahead. Thanks for journeying with me in this refurb.jaws18 jaws19 jaws20 jaws21 jaws22 jaws23 jaws24 jaws25