
Blog by Steve Laug
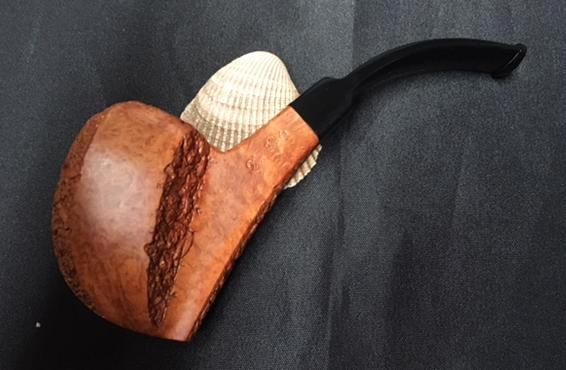
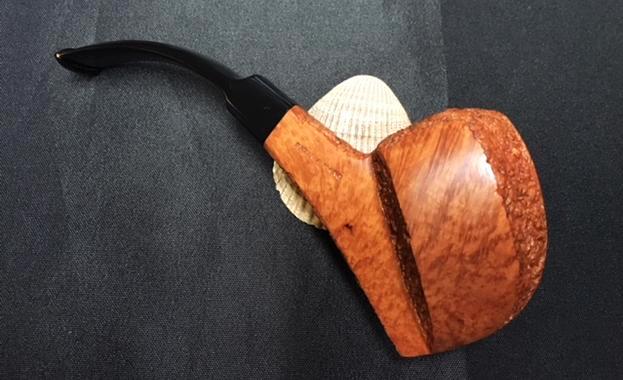
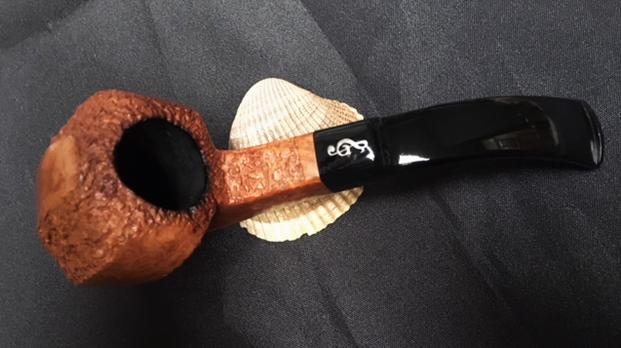
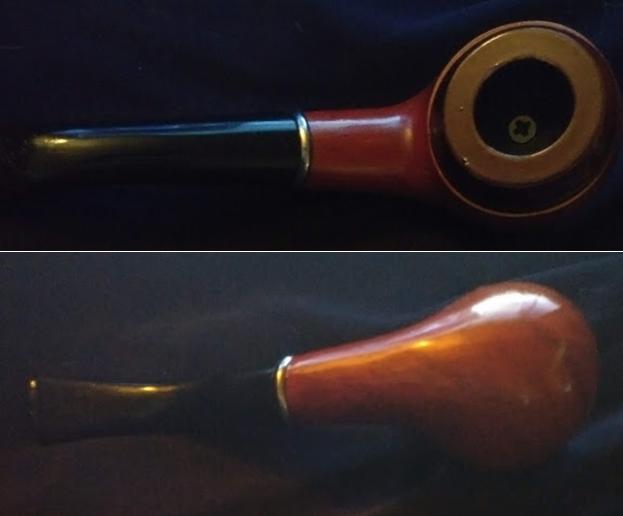
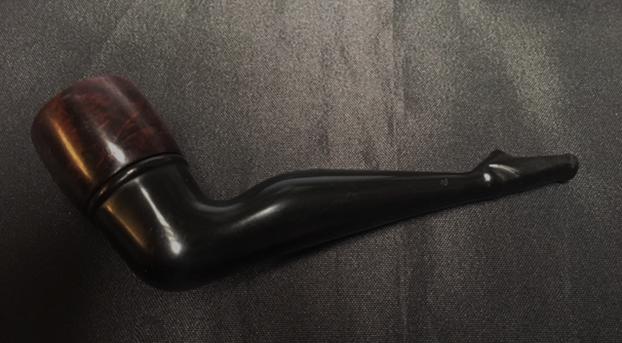
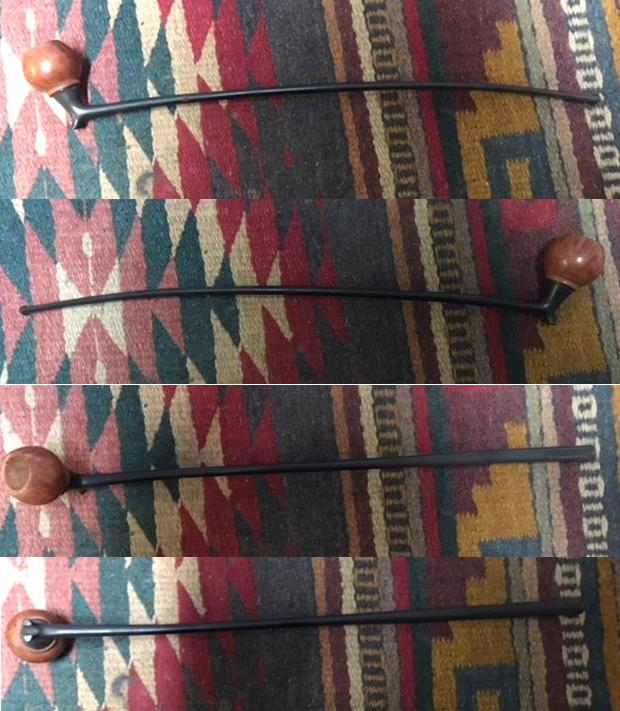
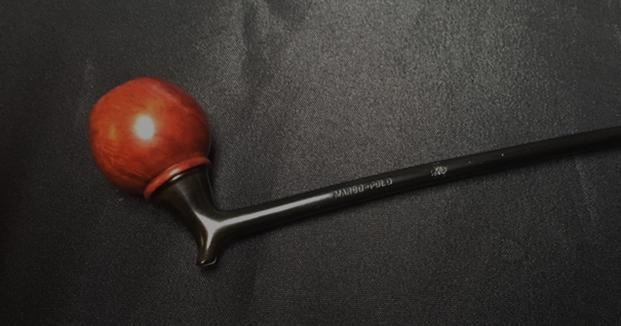
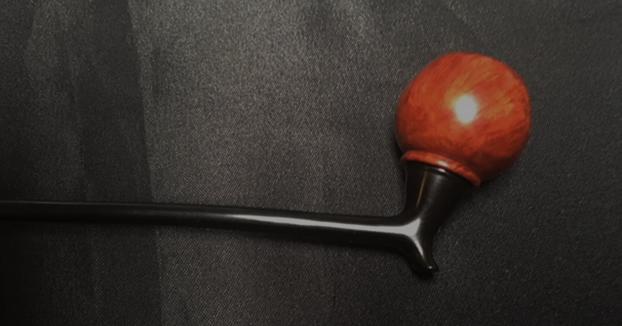
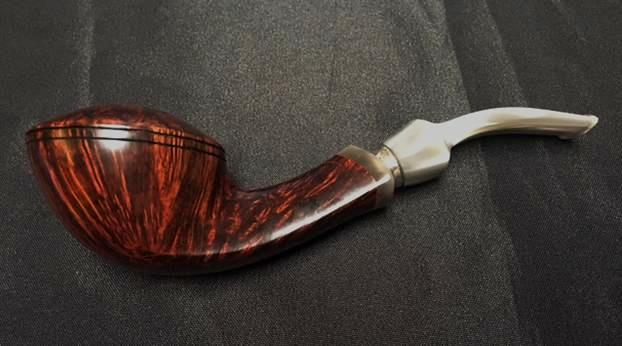
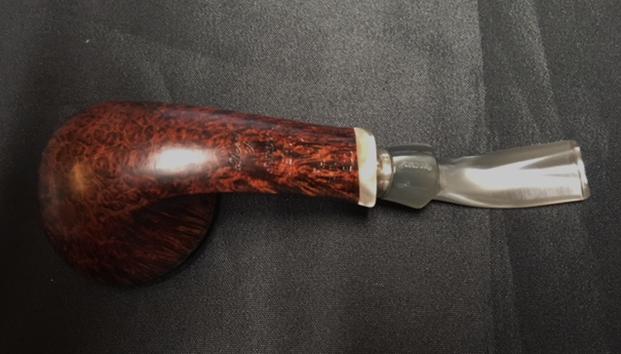
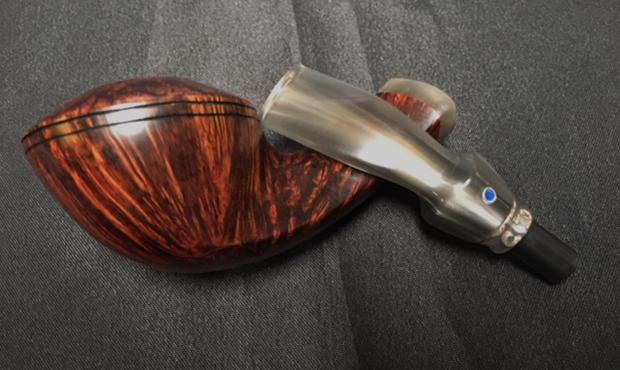
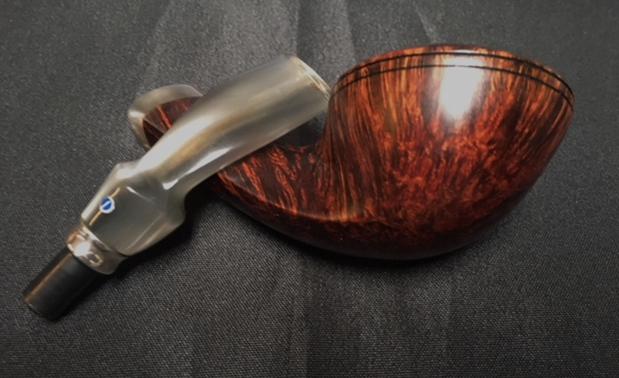
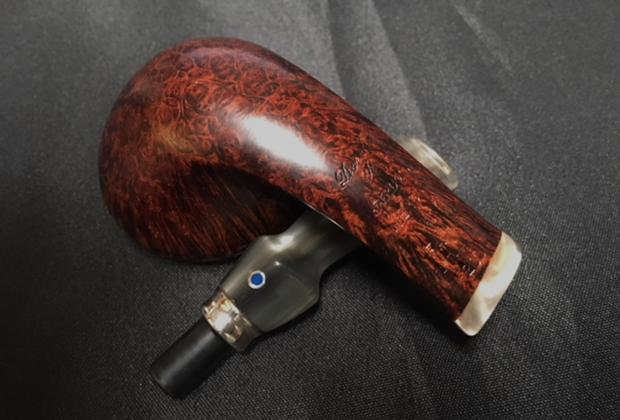
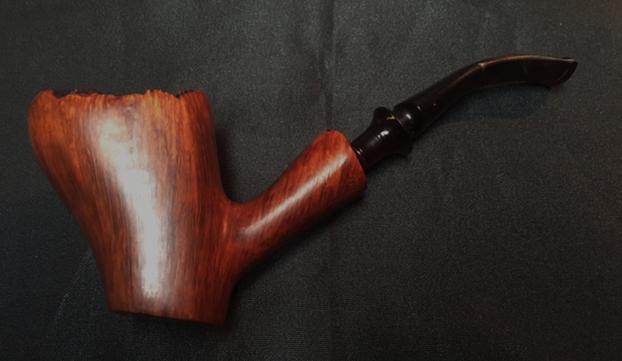
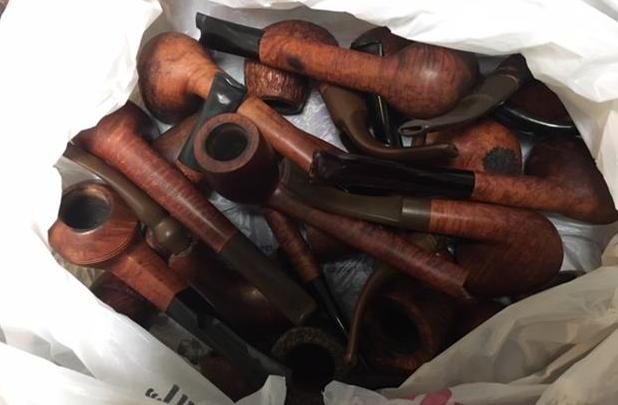
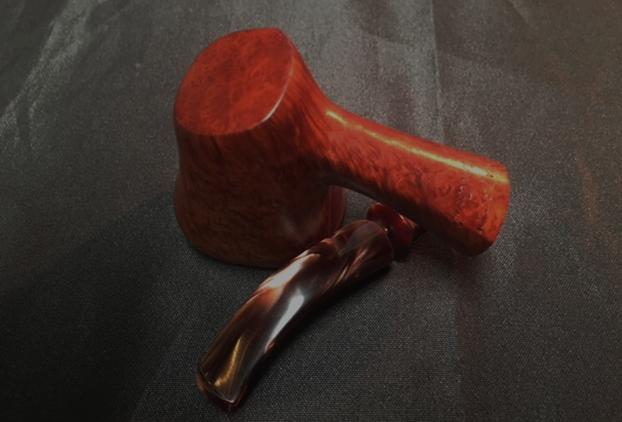
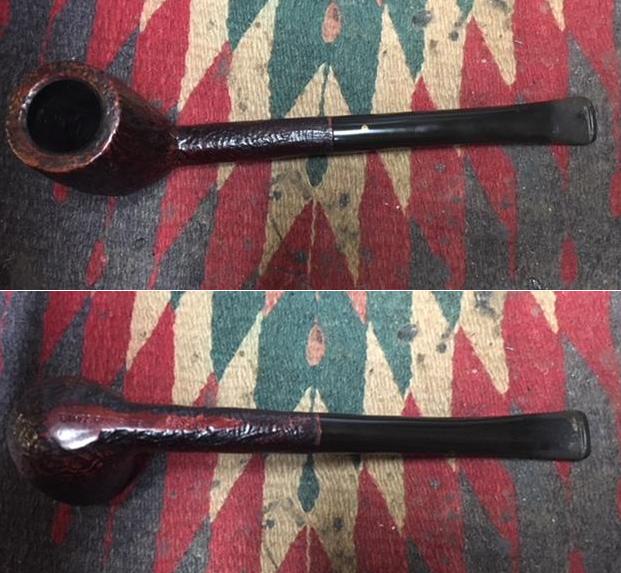
In the past weeks I finished up some pipes for a guy here in Vancouver and when he came to pick them up he brought some more for me to work on for him. I finished up some of the ones on the worktable so I decided it was time to work on these. The third of them is a Bjarne bent apple nosewarmer with a short stem. It is another really beautiful pipe. The shape, the rich reddish brown finish along with the black acrylic stem with the bj logo all combine to make this a uniquely beautiful pipe. 
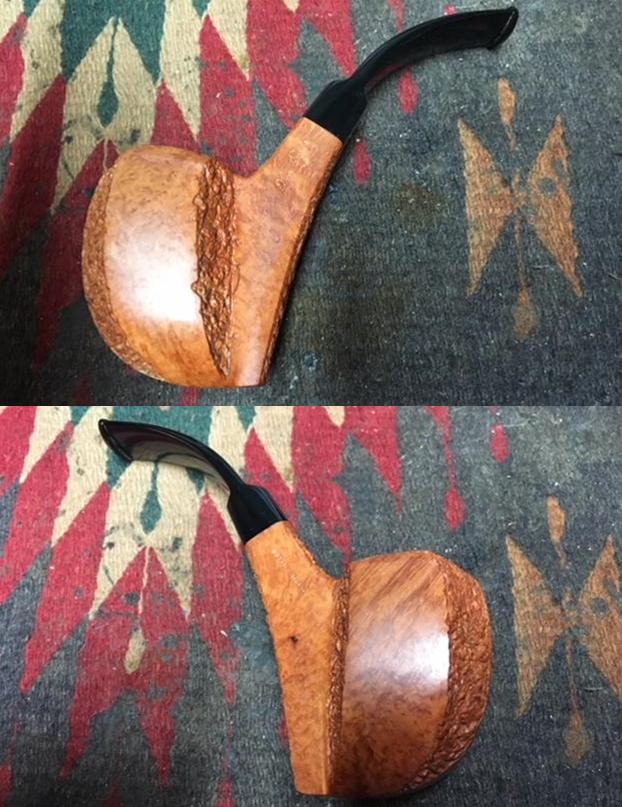
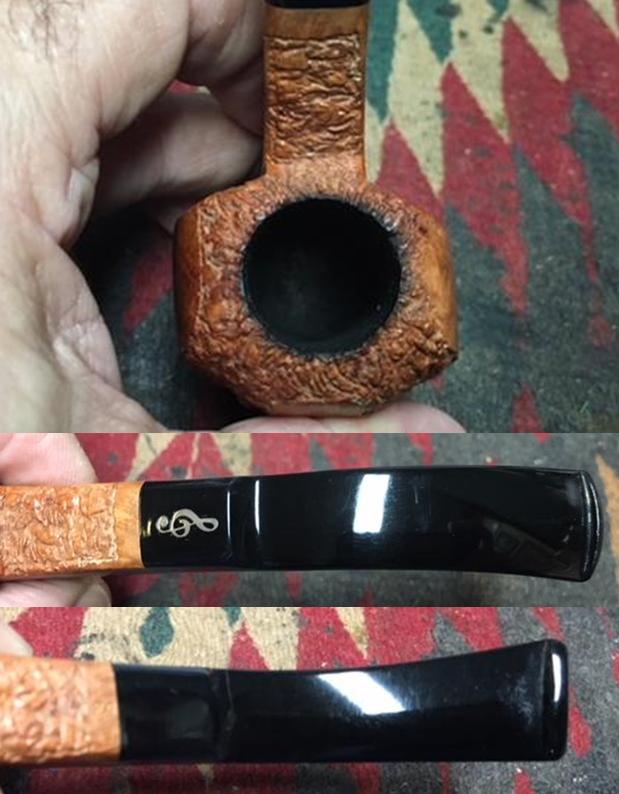
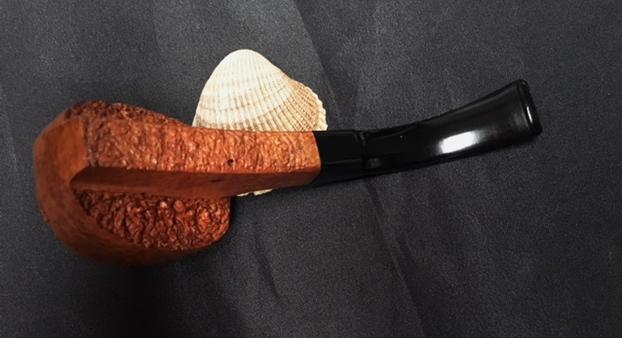
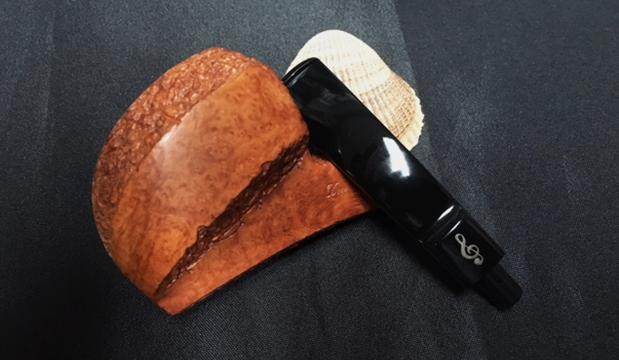
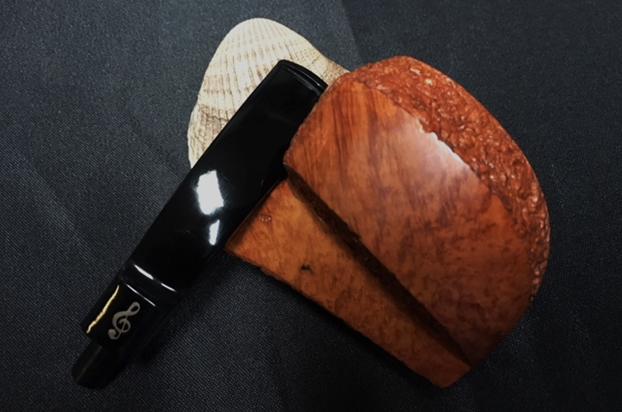
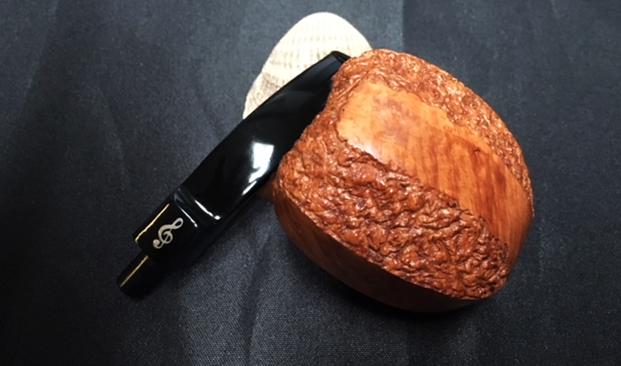
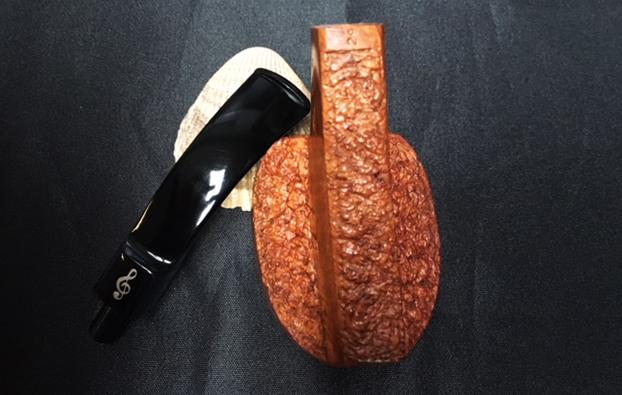
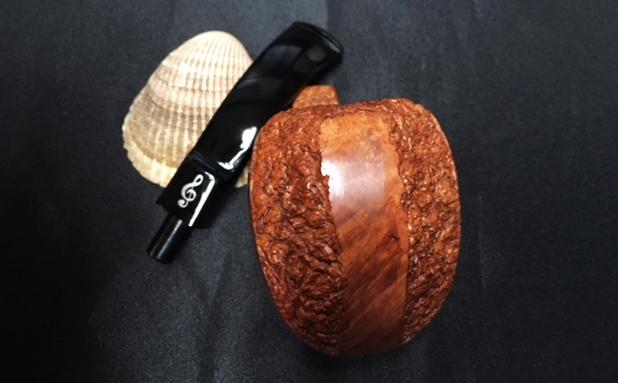
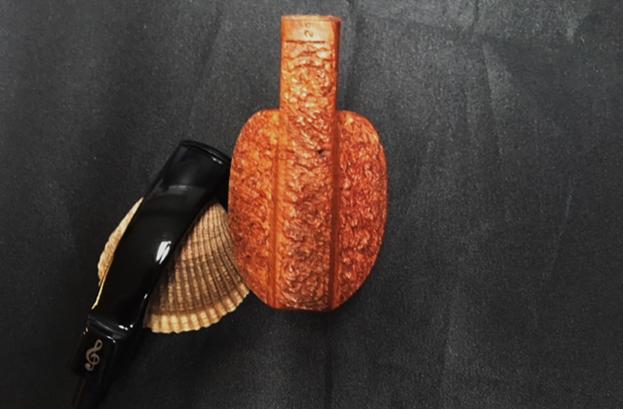
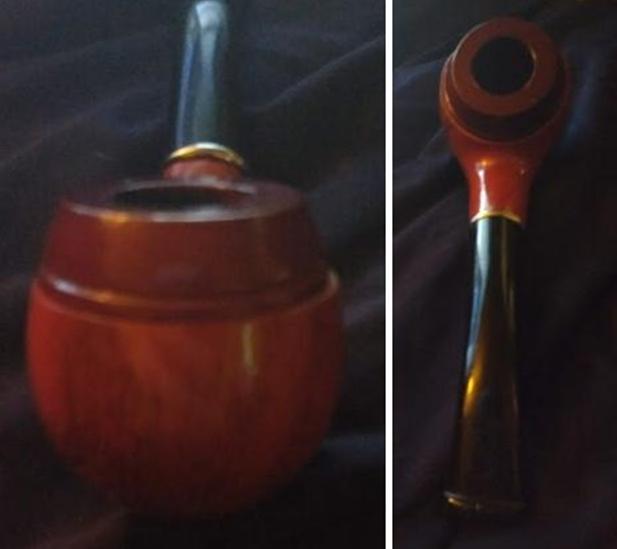
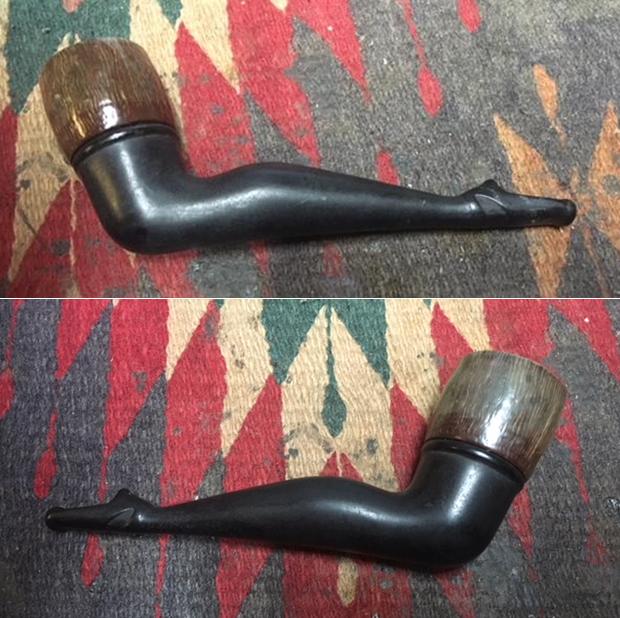
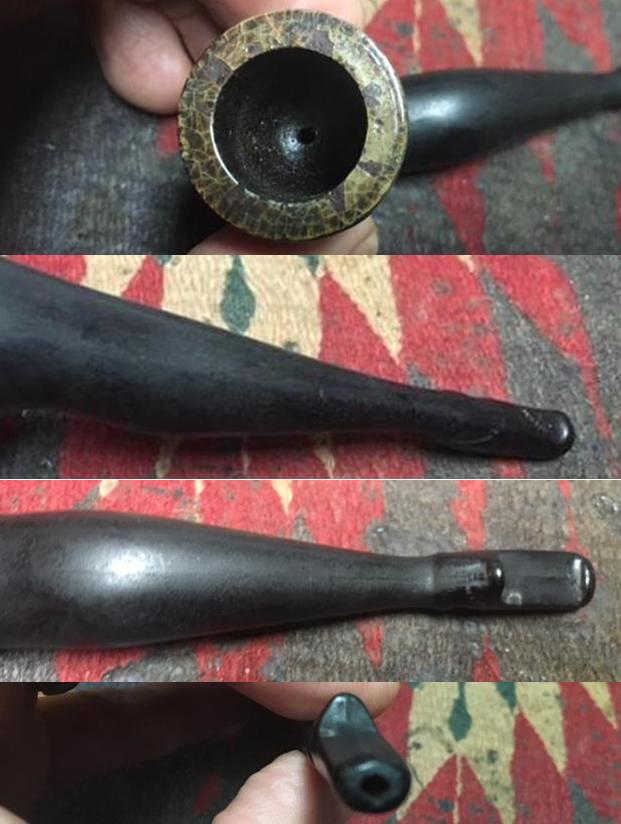
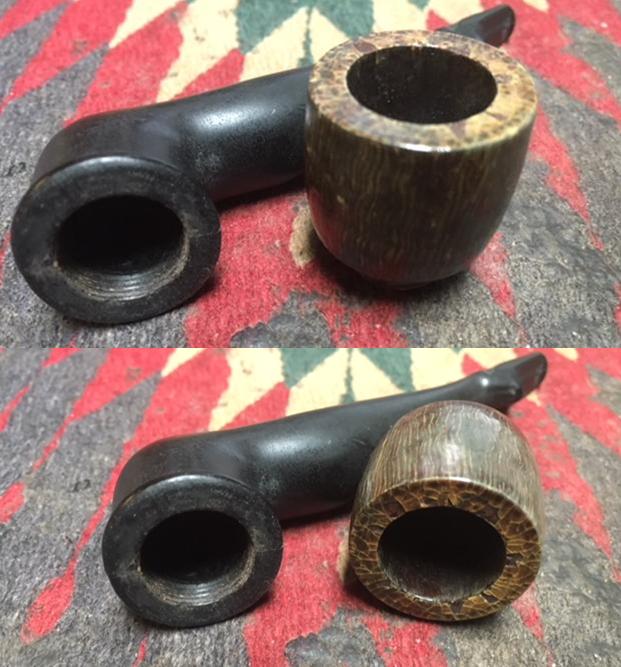
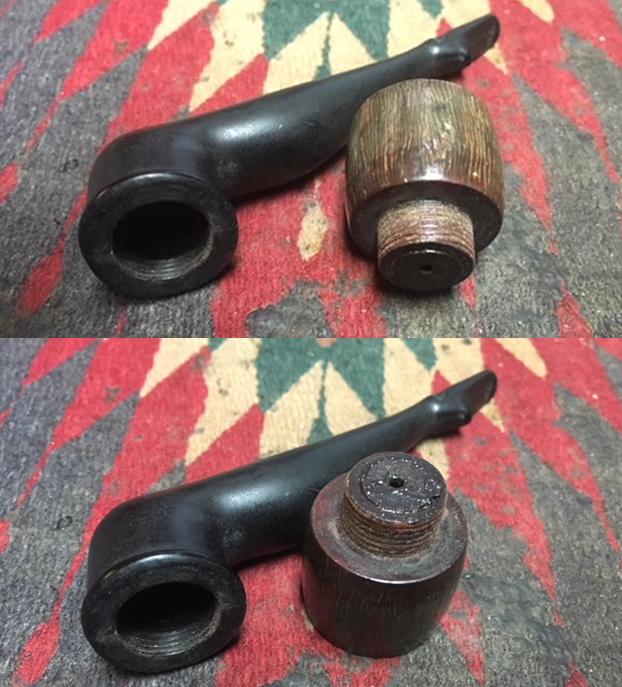
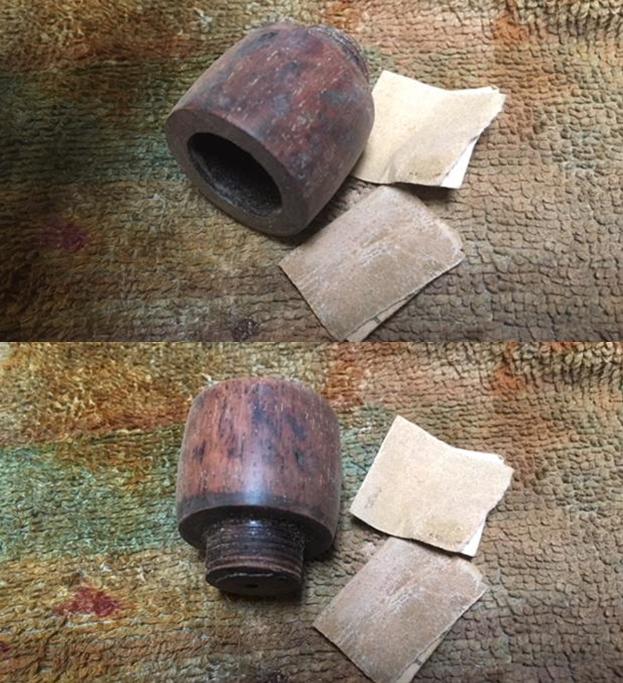
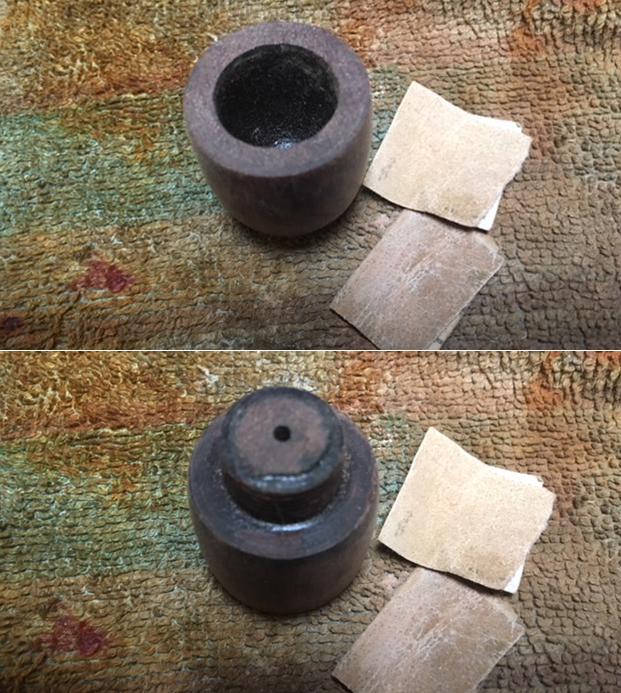
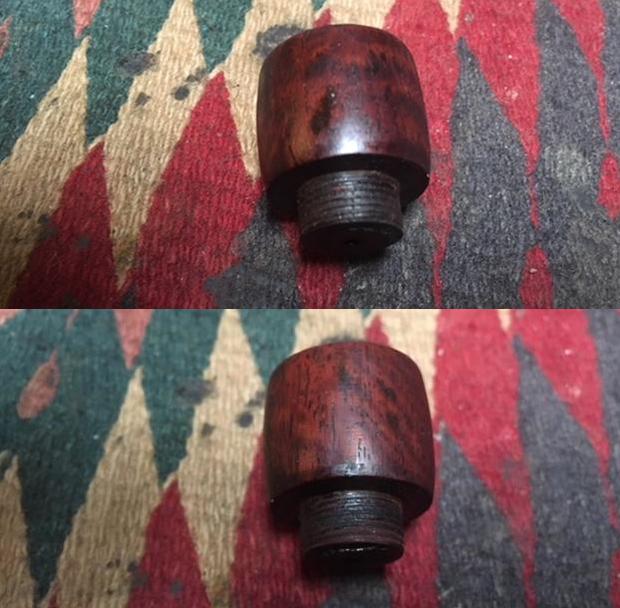
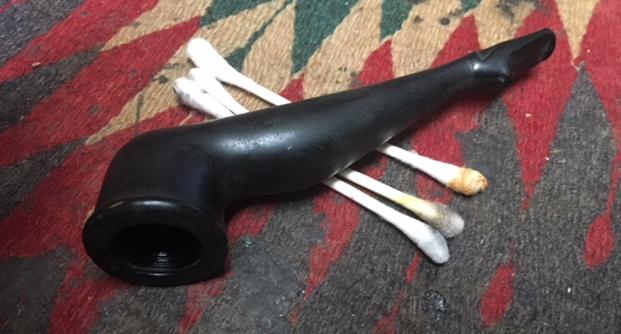
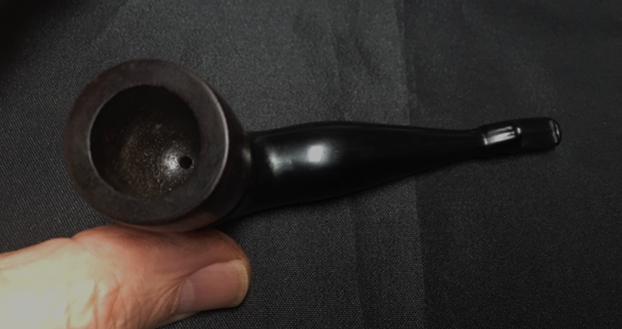
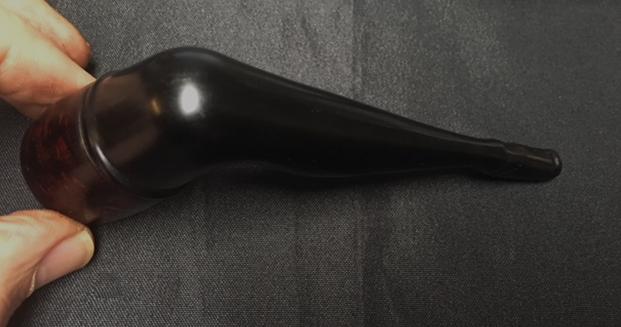
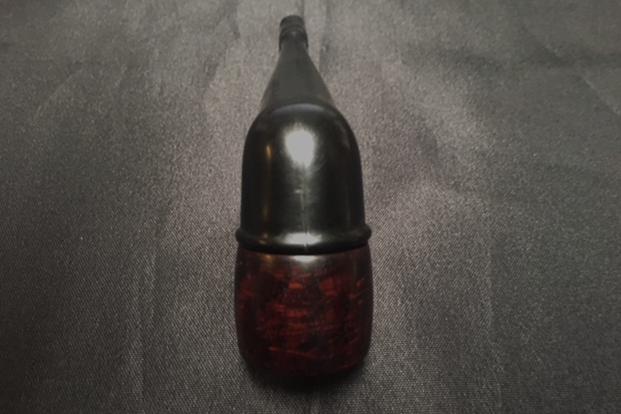
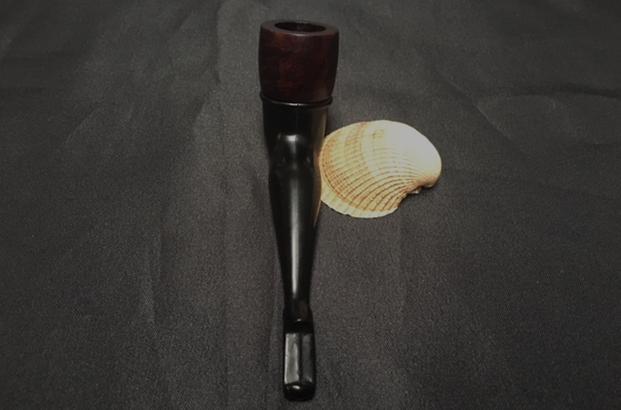
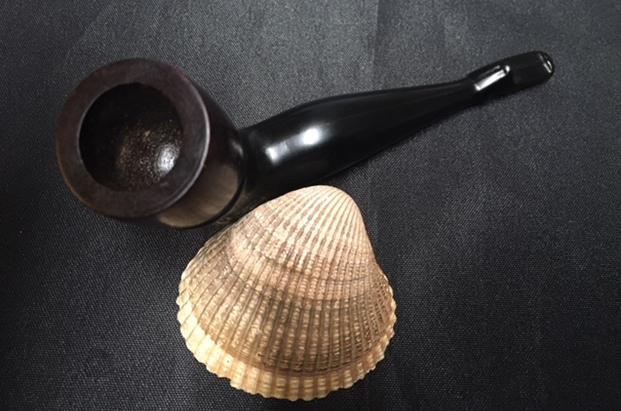
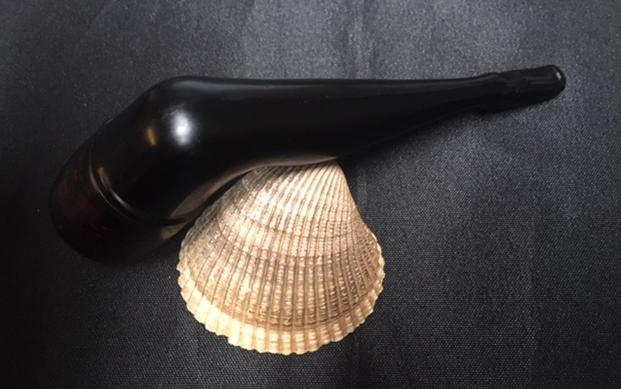
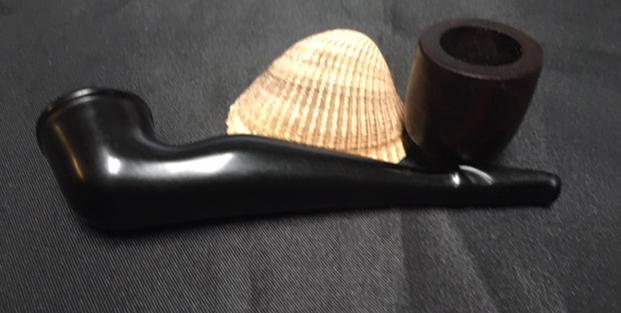
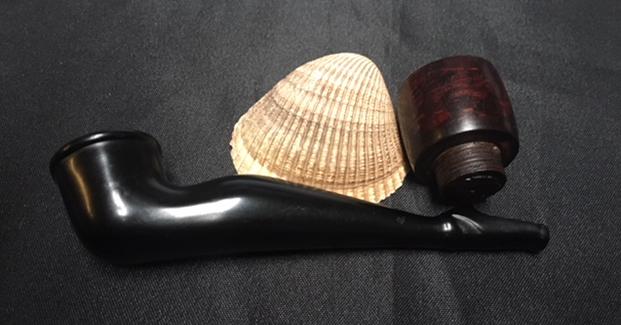
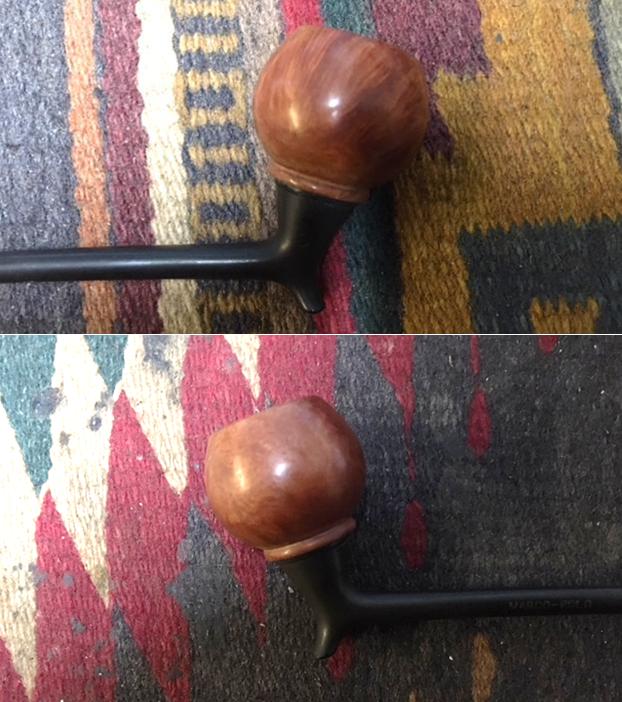
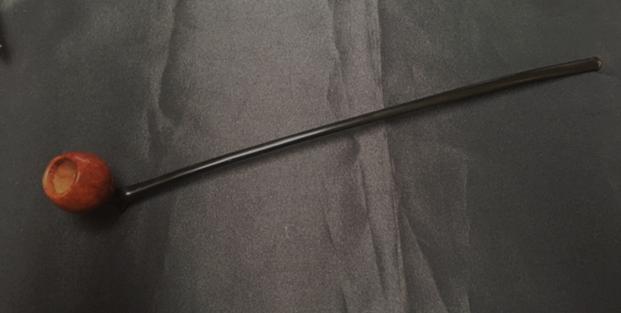
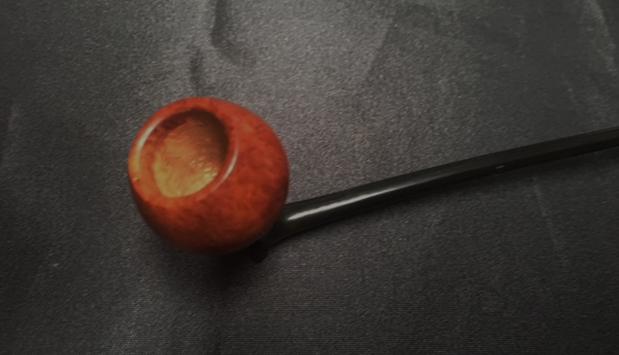
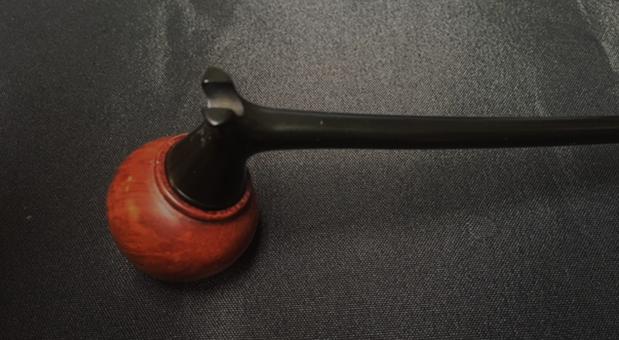
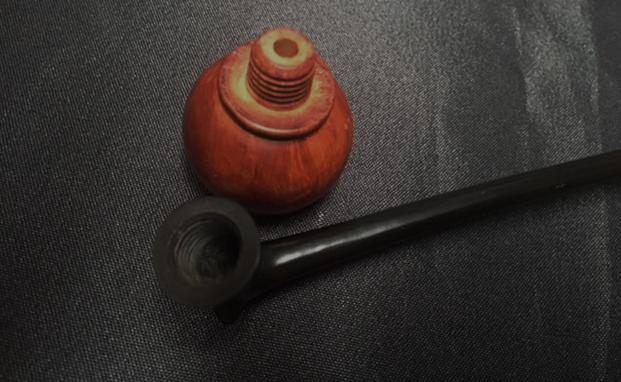
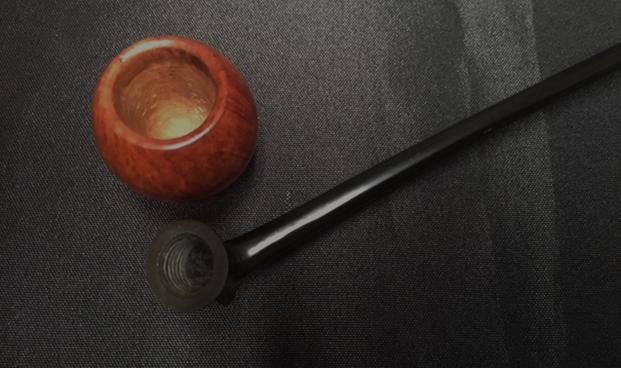
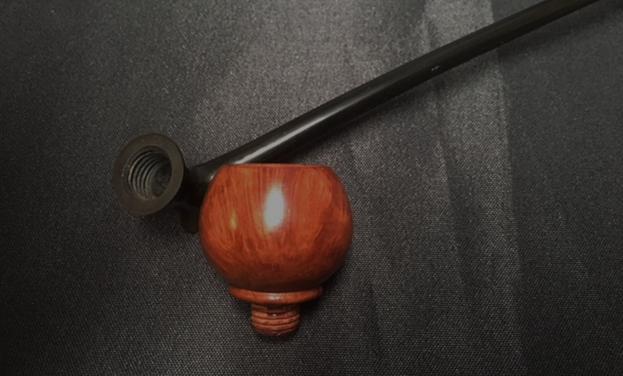
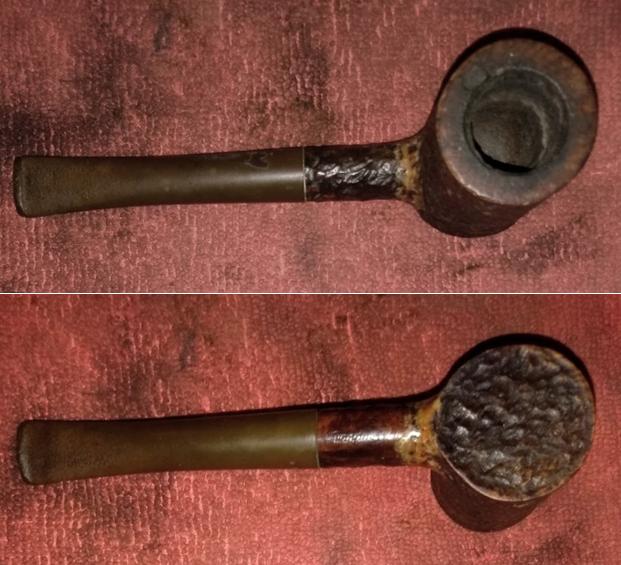
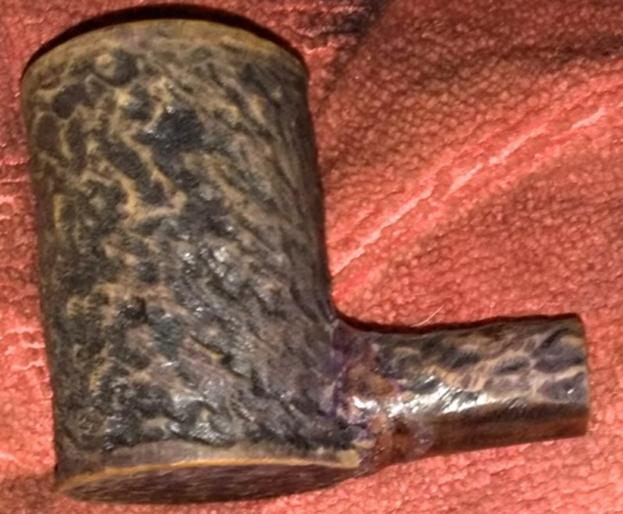
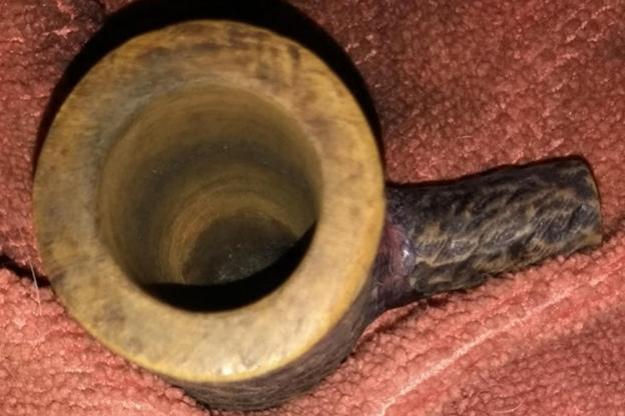
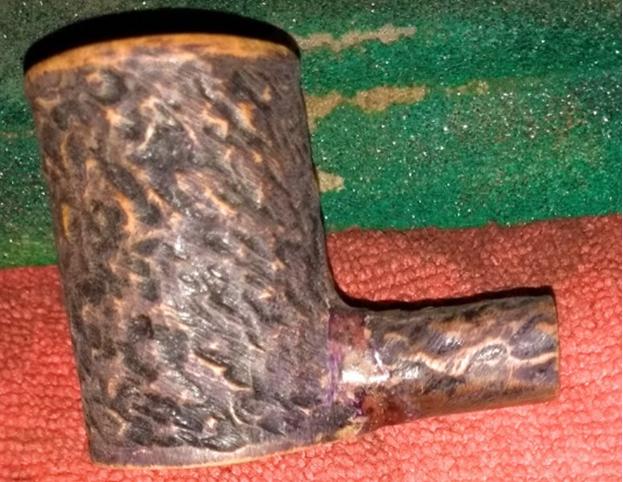
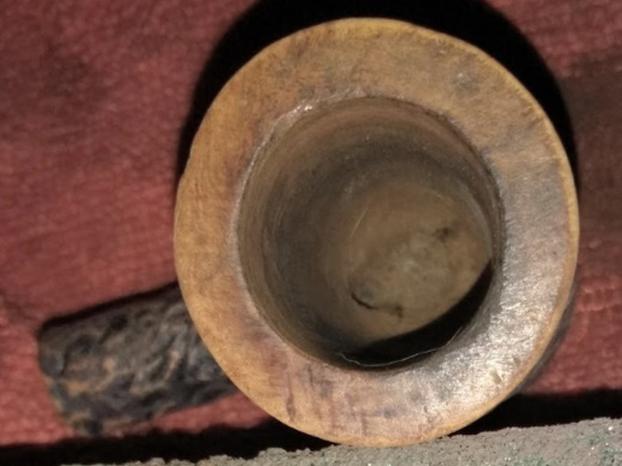
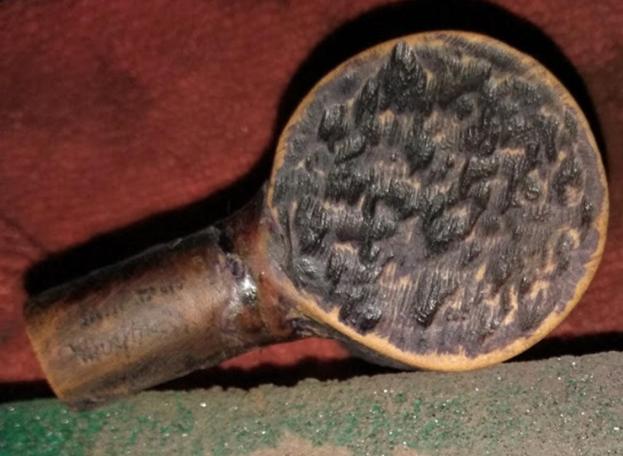
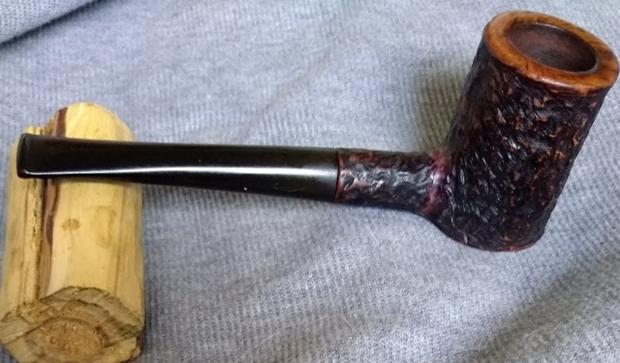
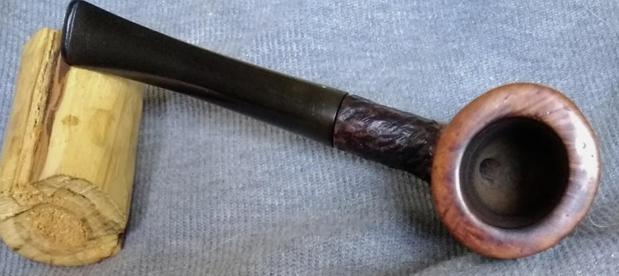
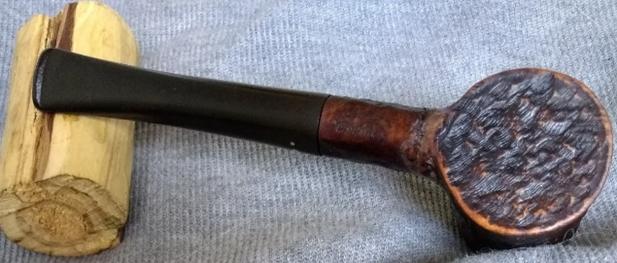
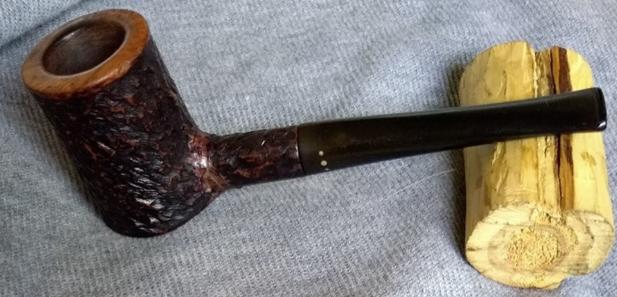
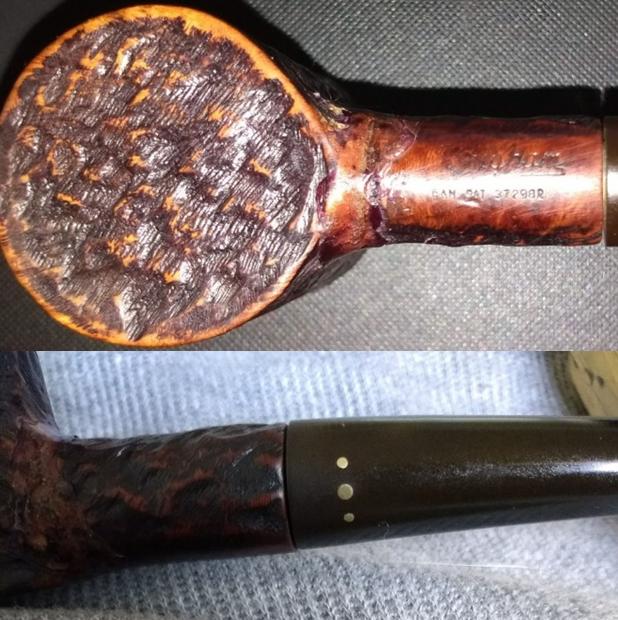
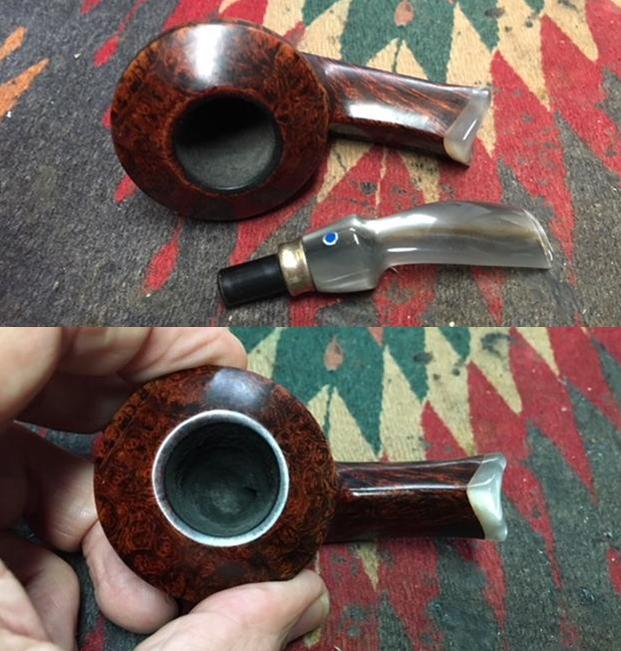
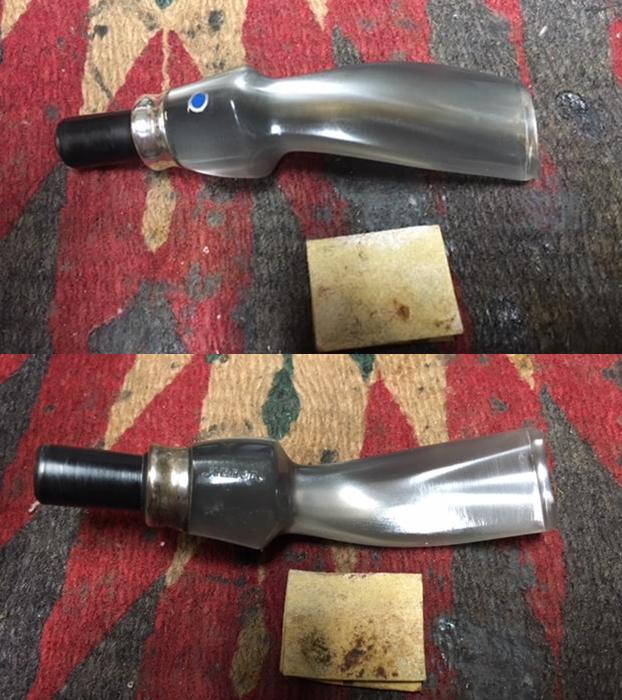
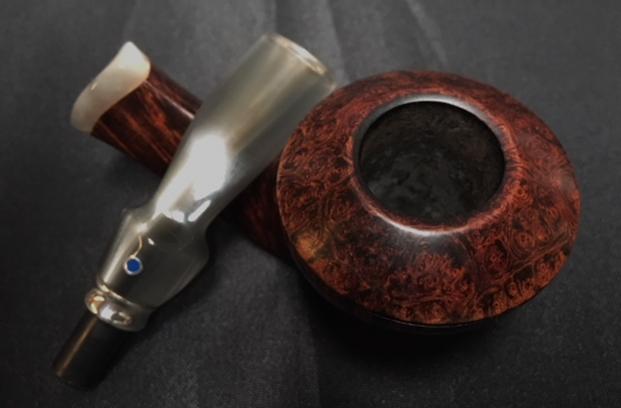
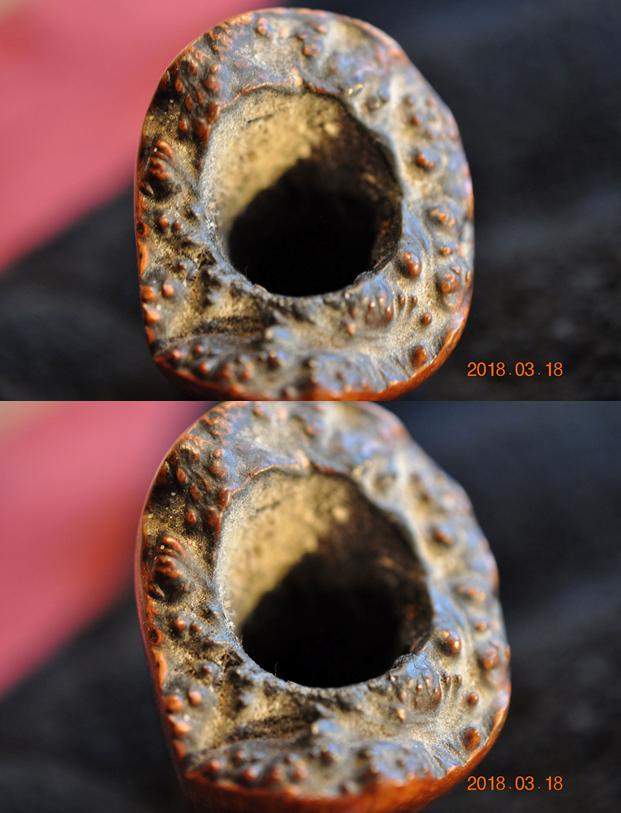
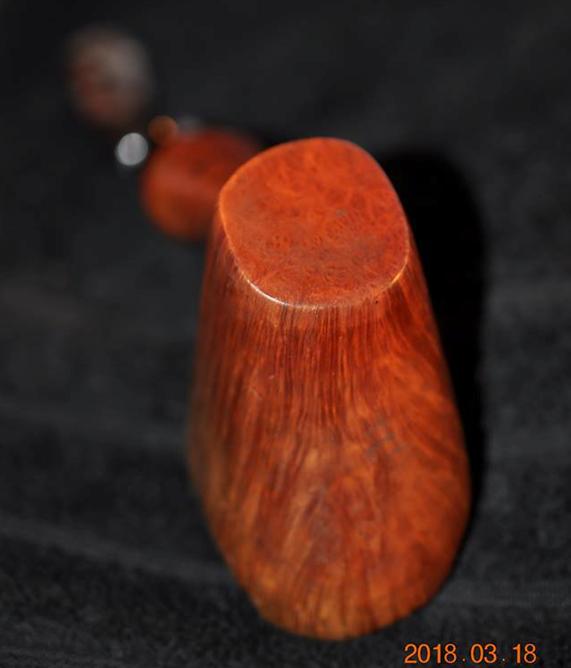
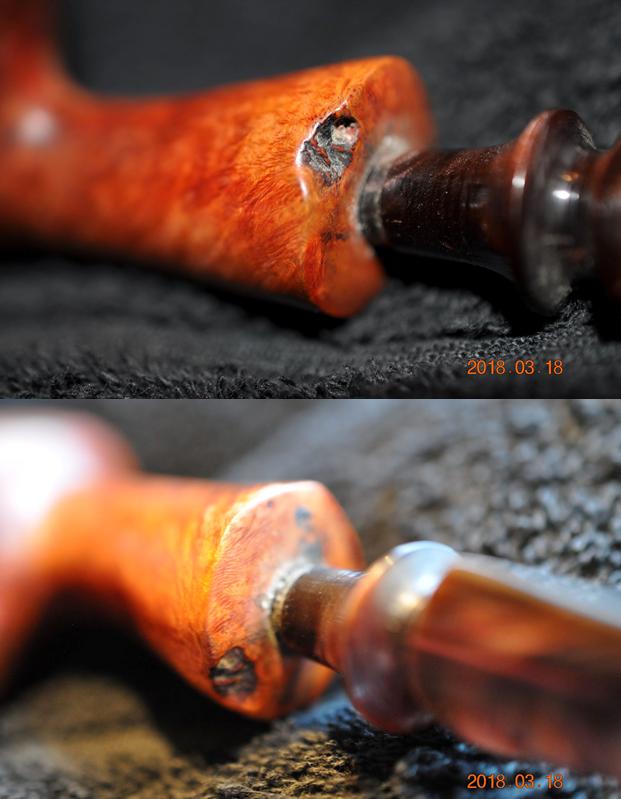
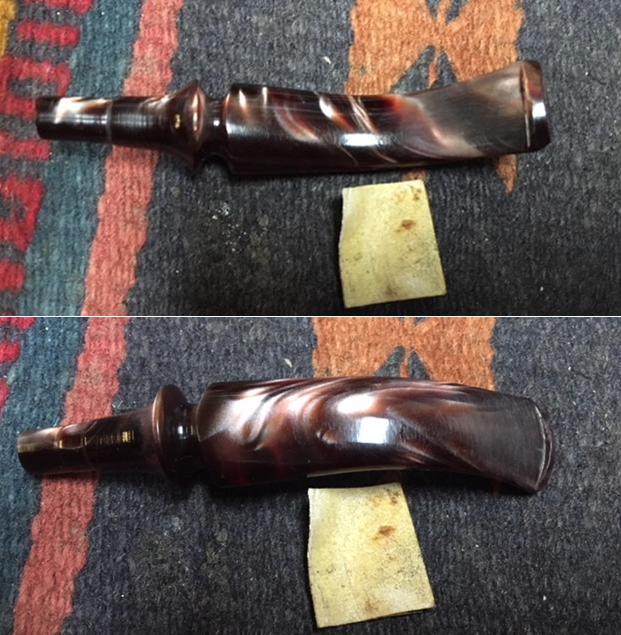
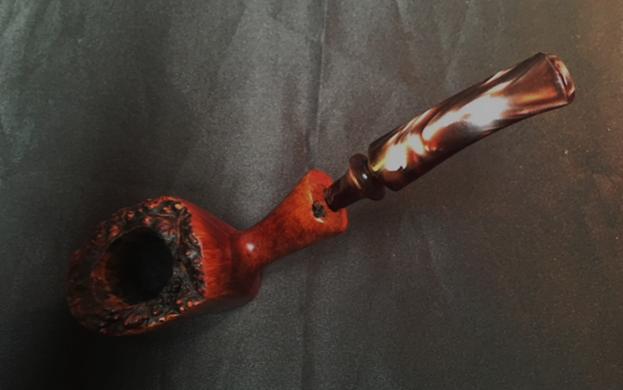
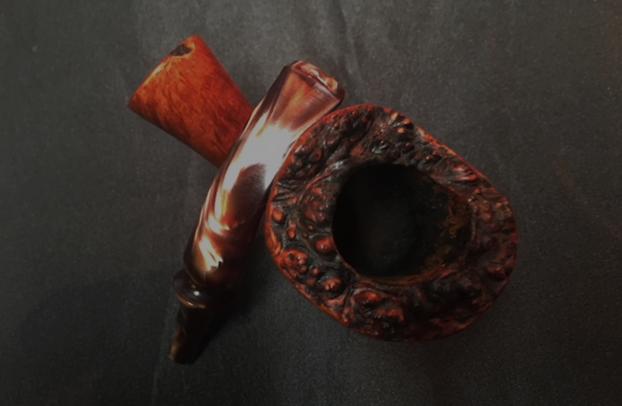
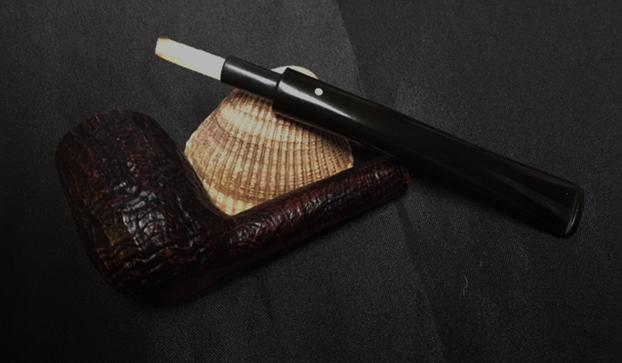
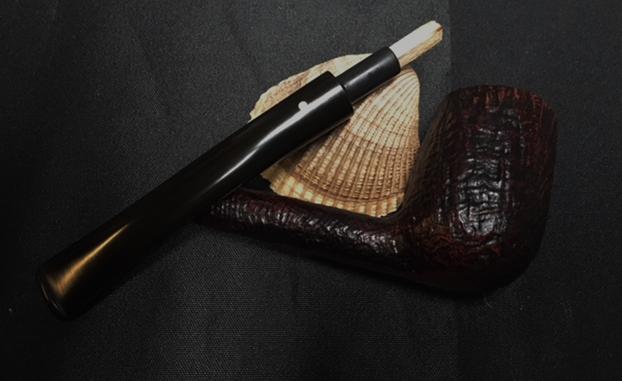
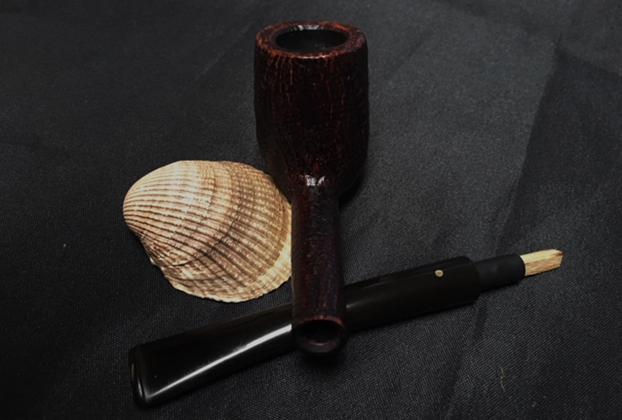
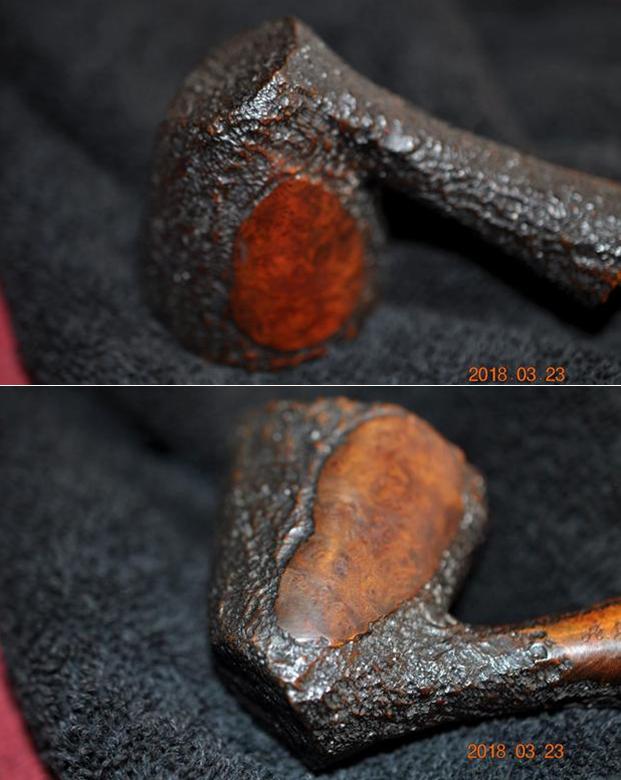
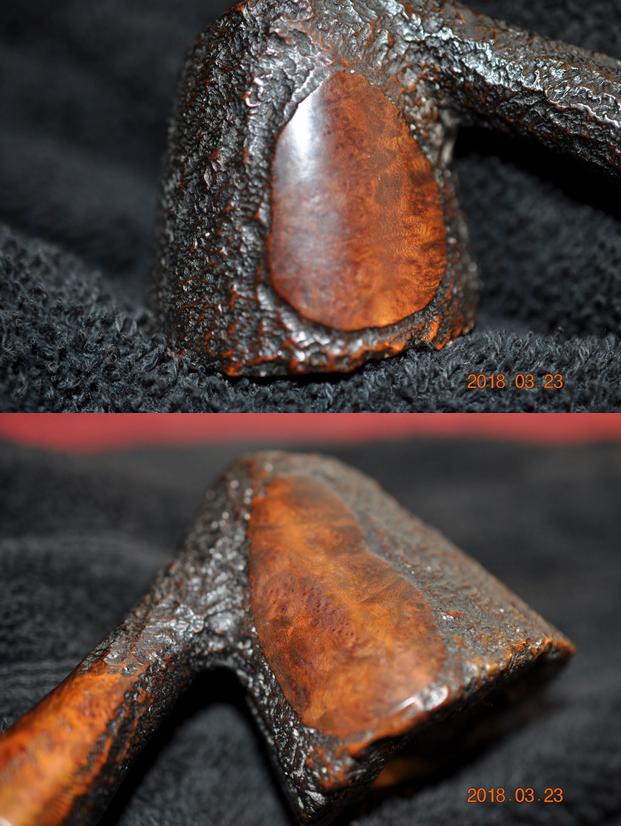
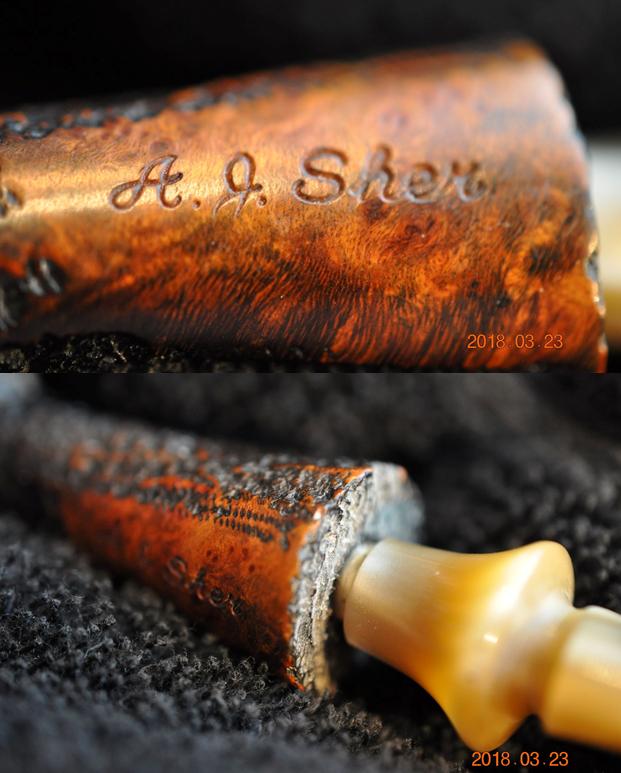
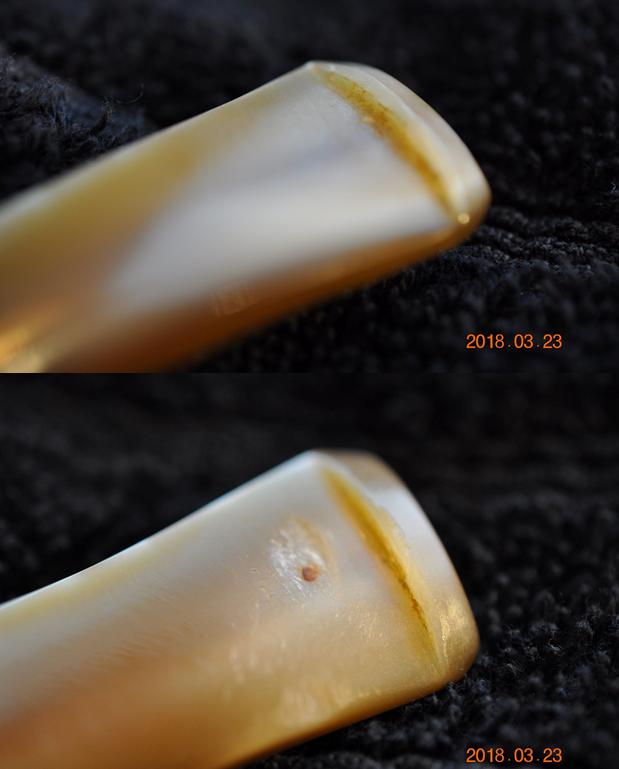
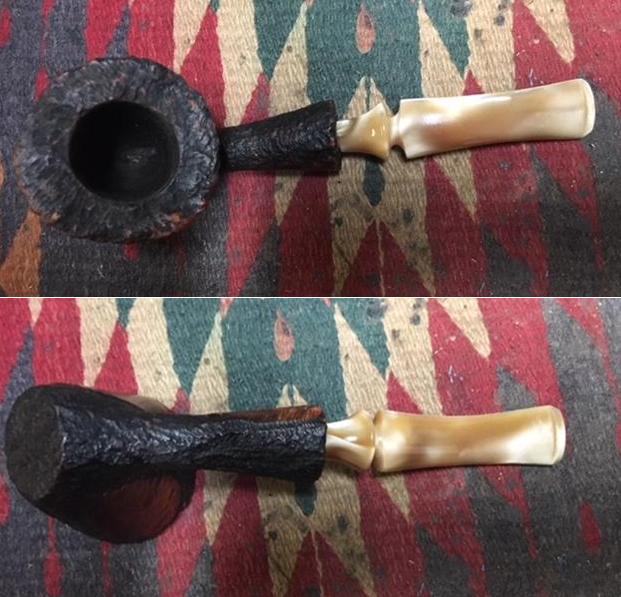
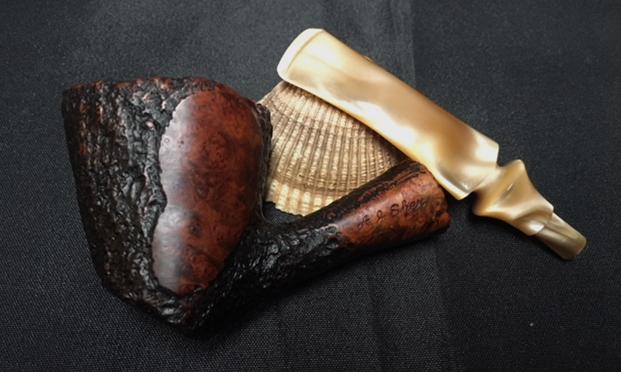
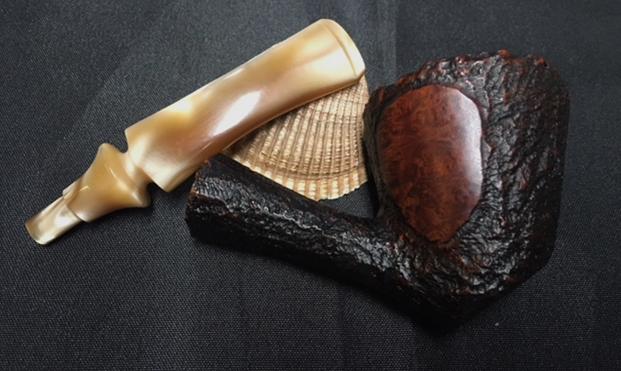
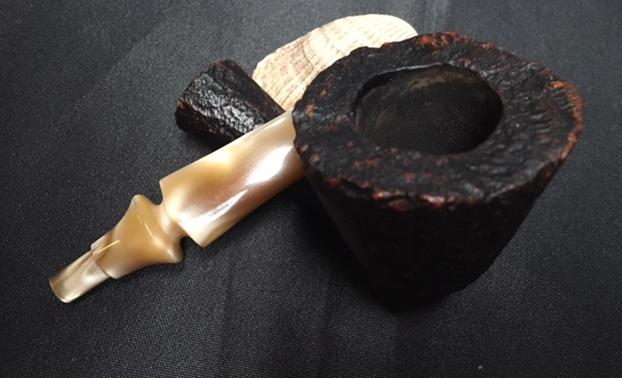
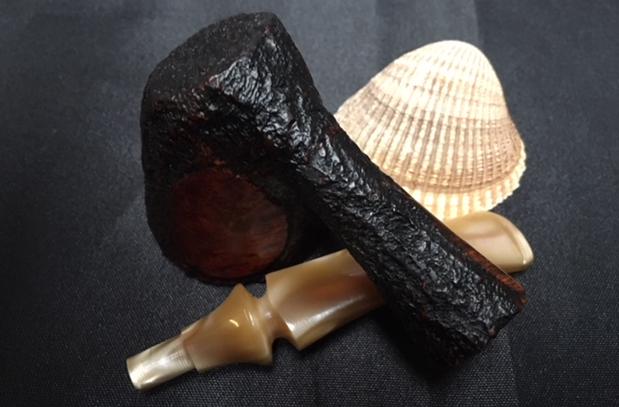
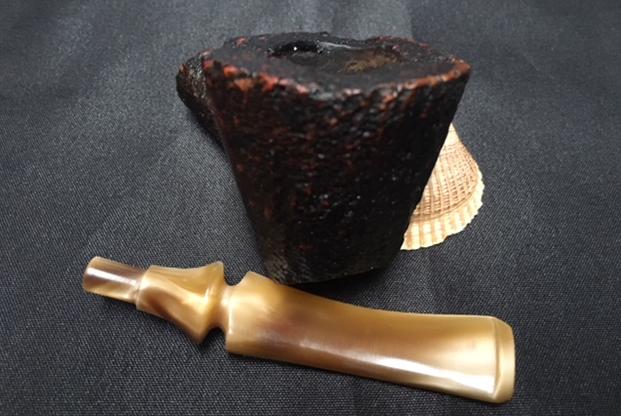
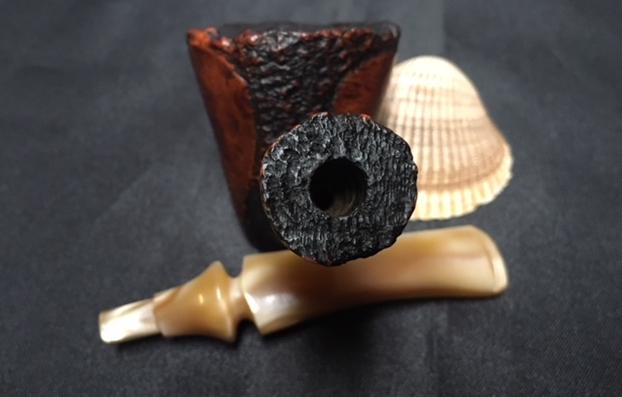
 The bowl had a thin and uneven cake. The upper half of the bowl was more thickly caked than the bottom half. I would need to ream it to even out the cake. There was some slight darkening on the rim top as well as dents and nicks in the top of the rim. The inside of the shank was dirty and needed to be cleaned. The black Lucite stem had tooth marks and chatter on the top and underside of the stem near the button. There was one deep tooth mark on the top edge of the button. The short saddle stem looked good otherwise. I took photos of the bowl and stem to give a clear picture of the condition of the pipe before I started to work on it.
 I did a quick review of the history of the brand by turning to Pipedia. Here is the link https://pipedia.org/wiki/Bjarne. I quote from part of that article to give a short synopsis of the history of the brand.
With a demanding job it was hard to find time to make pipes in that quantity, and Bjarne had to choose. His dream had always been to have a company of his own, and if he wanted fo fulfill that dream, now was the time to do it. But to leave a promising career, in which he probably would have become a Danish ambassador in some foreign country, was indeed a big step to take. “Many thought I was crazy”, Bjarne says, “and one of them was my wife. But she supported my decision anyway.”
He made that decision in 1973, and became a fulltime pipemaker. But he soon realized that it was impossible for one person to handle all of it–he could not make a lot of pipes, sell them and collect money for them all by himself. So he decided to find some pipemakers to help him. In those days Preben Holm was one of the biggest makers of fancy pipes, and he employed a great number of pipemakers. But not all of them were happy to work for Preben,m so Bjarne recruited a few of those.
During the first years all of Bjarne’s pipes were sold in the USA, but at the end of the 1970s he visited the pipe show in Frandfurt and found that there was a market for his there as well. However, he found that the Germans wanted a completely different style of pipes–pipes in traditional shapes. So if he wanted to be successful there, he had to add a completely new line to his production. “It was not easy, we learned it the hard way,” Bjarne says. But they certainly succeeded, and for a number of years Germany became the top-selling market for Bjarne’s pipes.
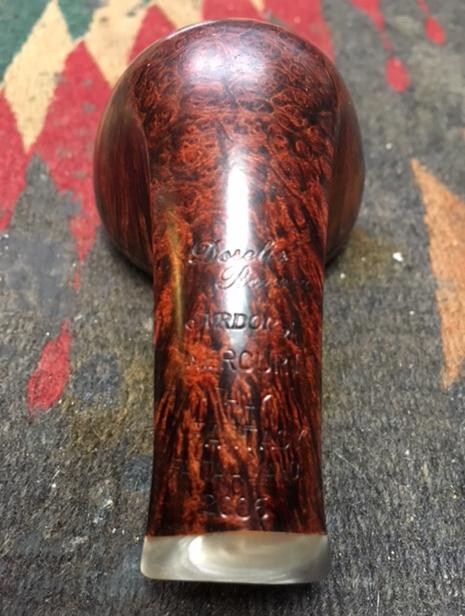
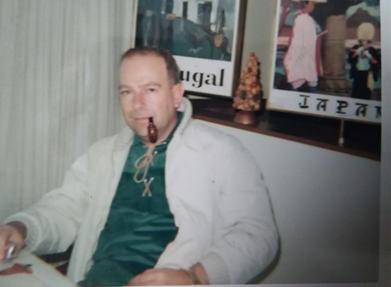
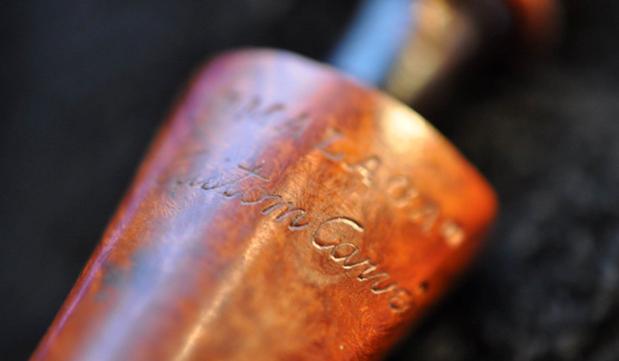
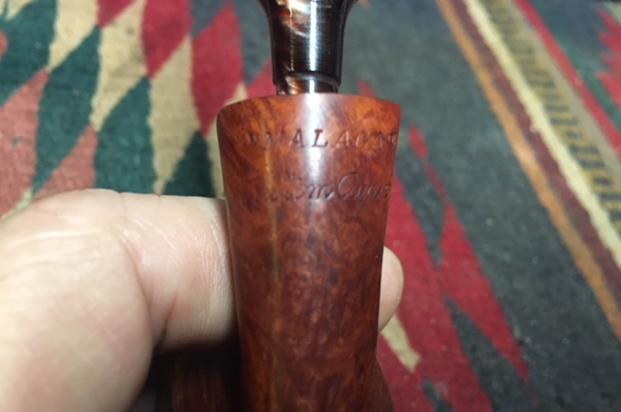
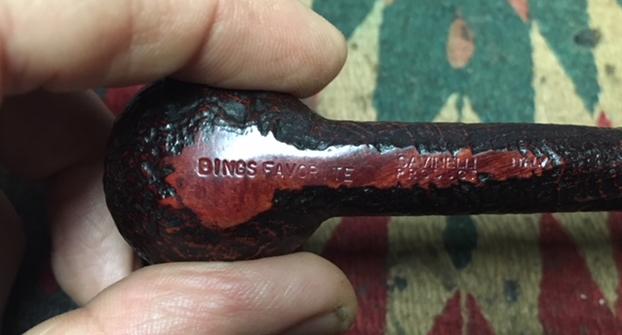
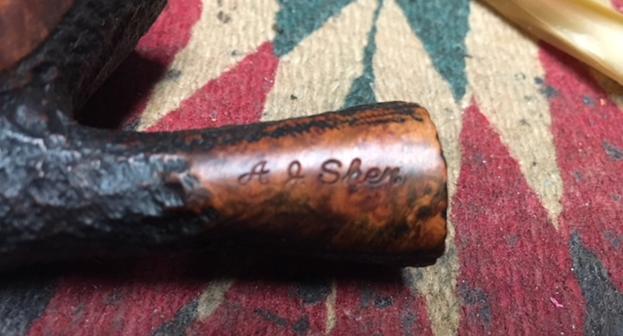
The photo below shows pictures of Bjarne Nielsen. The photo is from the Pipedia article and comes from Doug Valitchka as noted below the photo. I then turned to the Pipephil website – http://www.pipephil.eu/logos/en/logo-b5.html and did a screen capture of the article there on Bjarne pipes. Bjarne Nielsen distributed his own brand of pipes carved by Danish Pipemakers. It is stamped on the underside of the shank with Bjarne over Hand Made in Denmark. There are no other stampings or numbers on the shank. The pipe was obviously made prior to 2008 when Nielsen died.
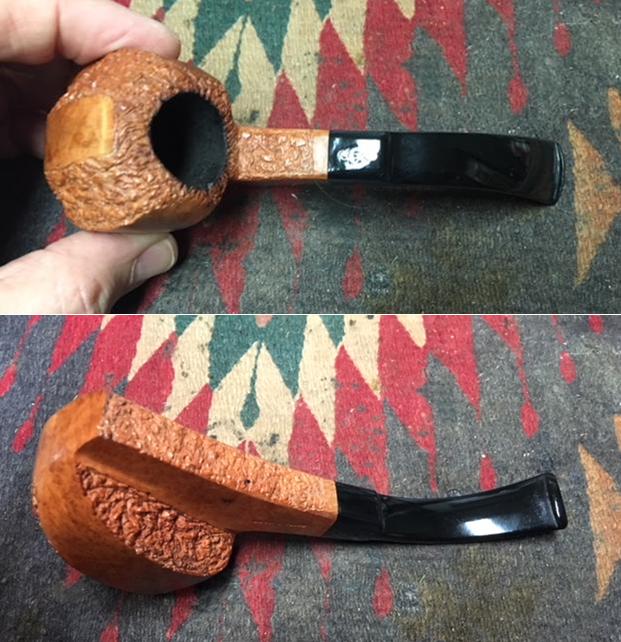
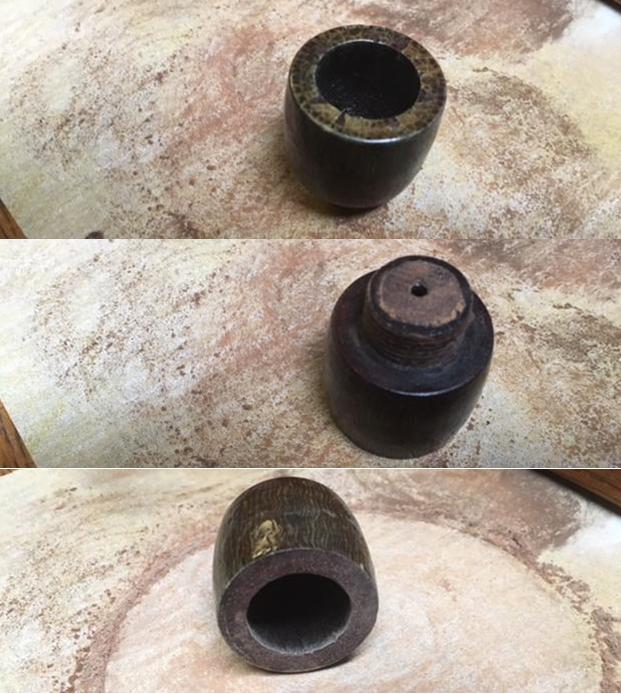
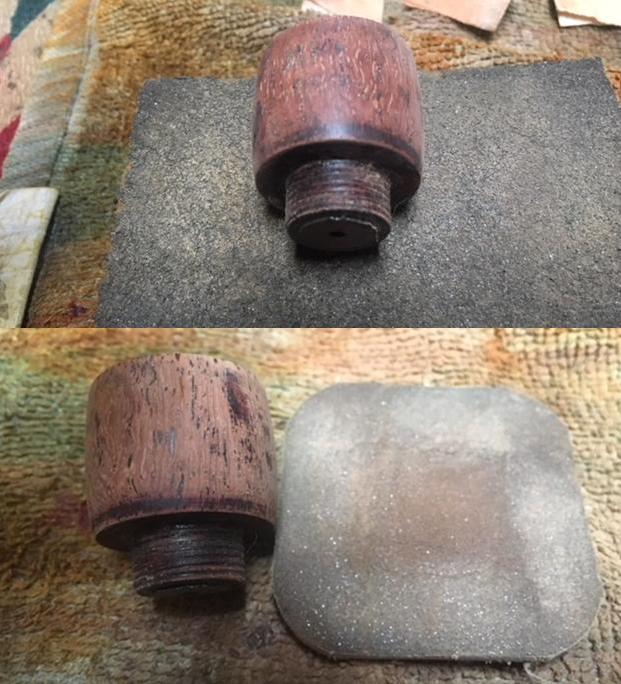
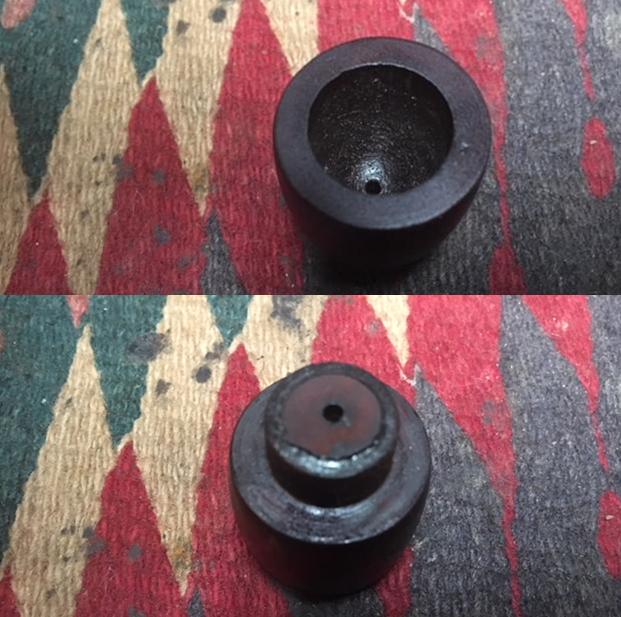
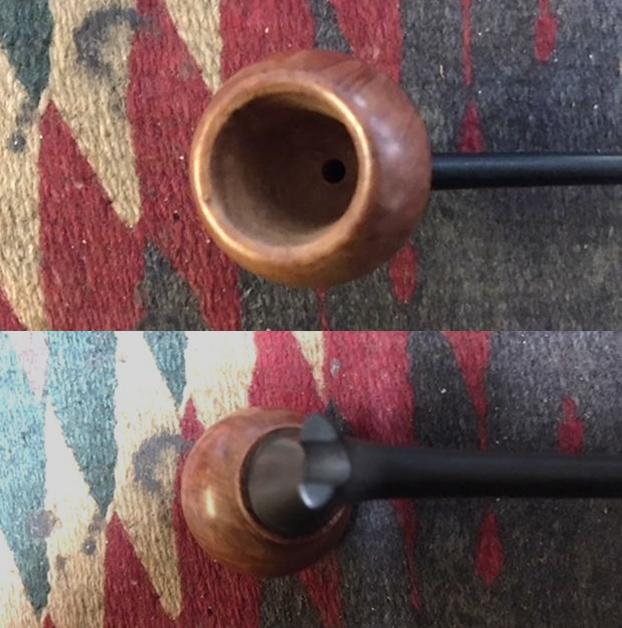
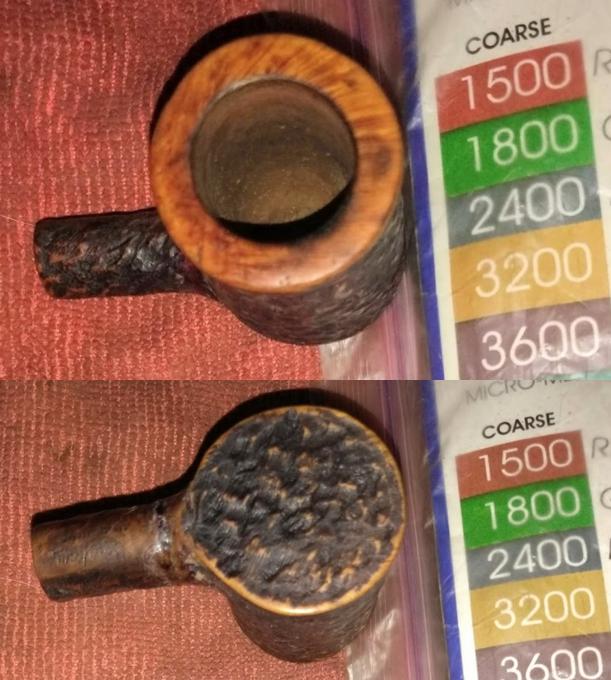
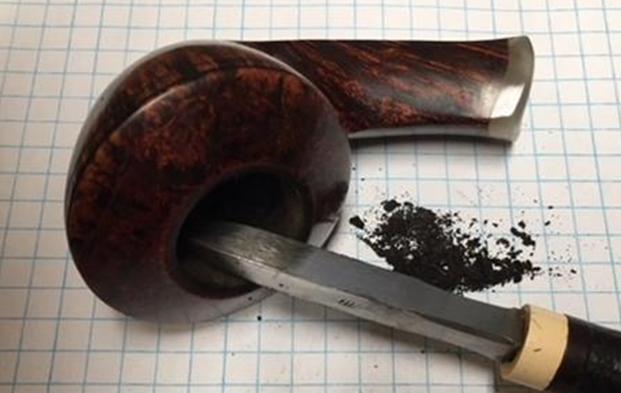
 I started my clean up on this pipe by reaming out the bowl and smoothing out the cake on the walls. I reamed it back with a Savinelli Fitsall Pipe Knife. I sanded it smooth and even with a dowel wrapped in 220 grit sandpaper. Once that was finished the walls were smooth and undamaged and the surface ready for a new cake.
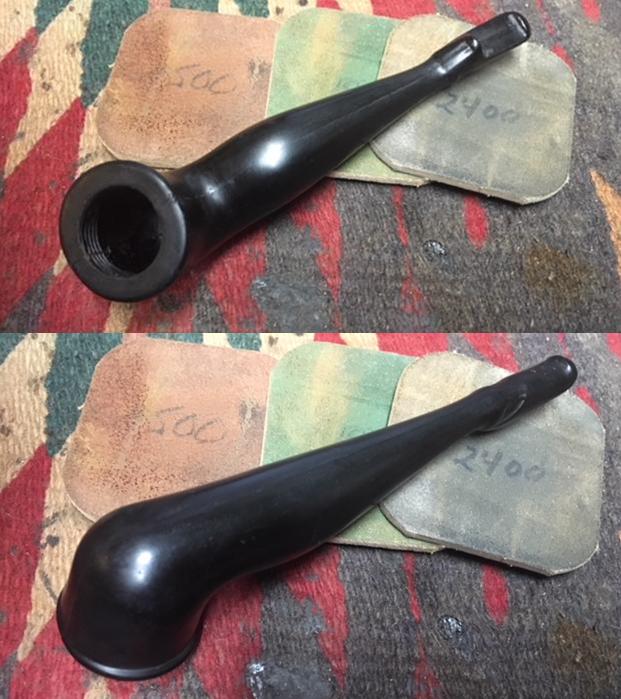
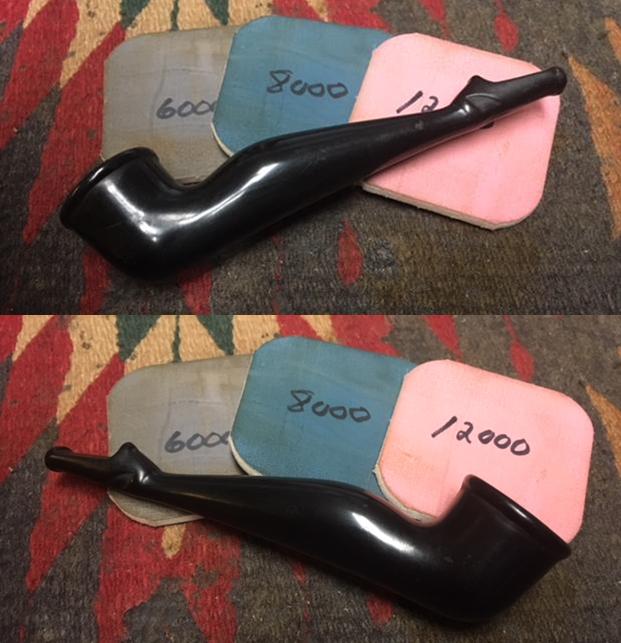
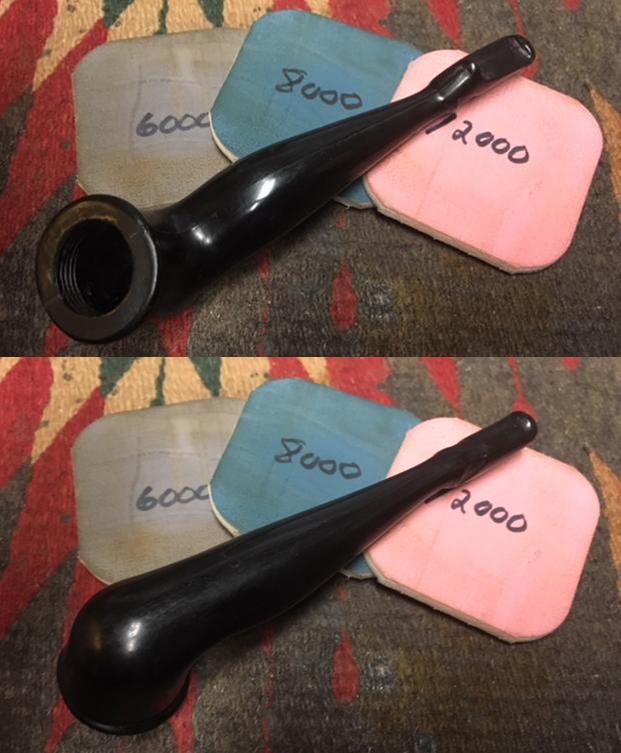
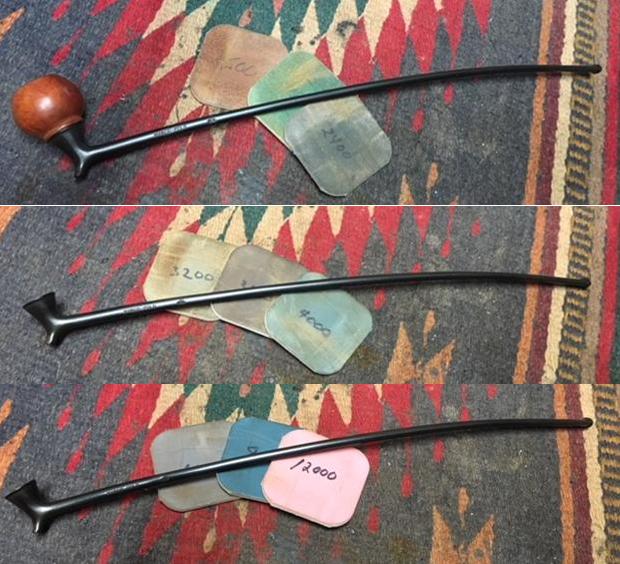
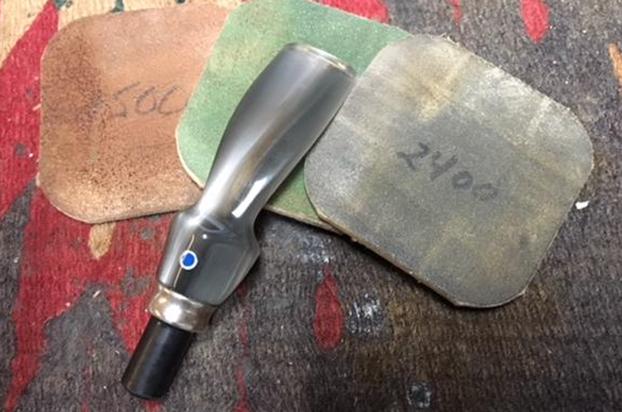
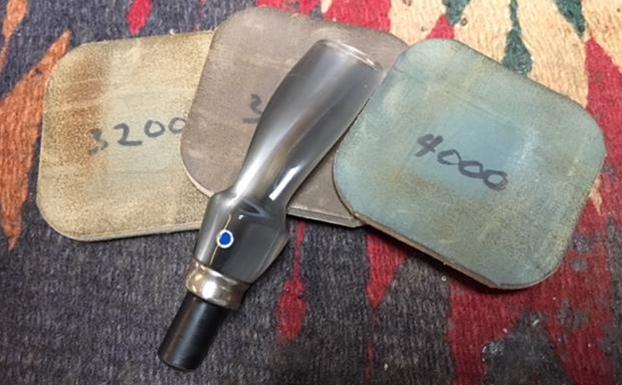
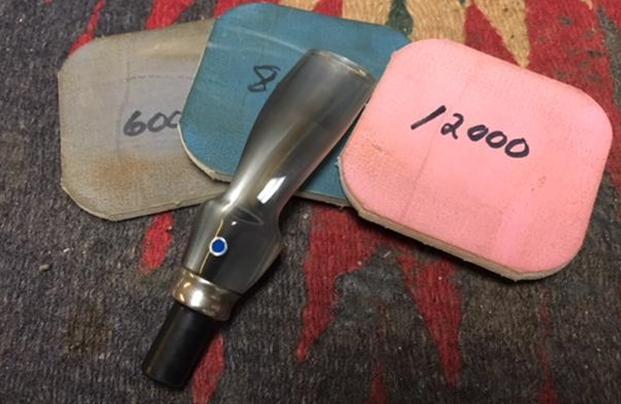
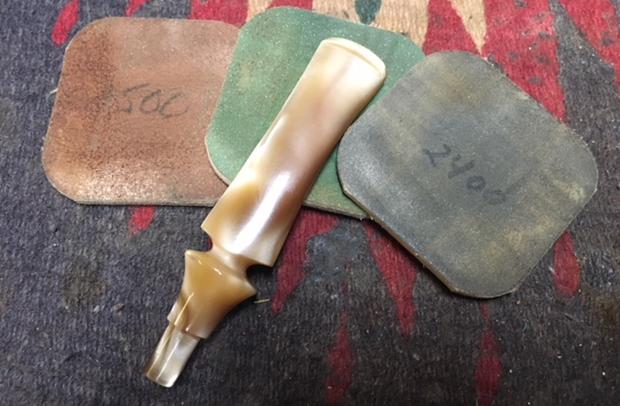
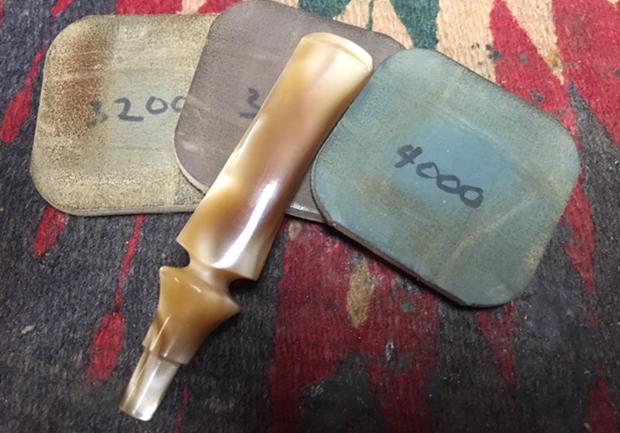
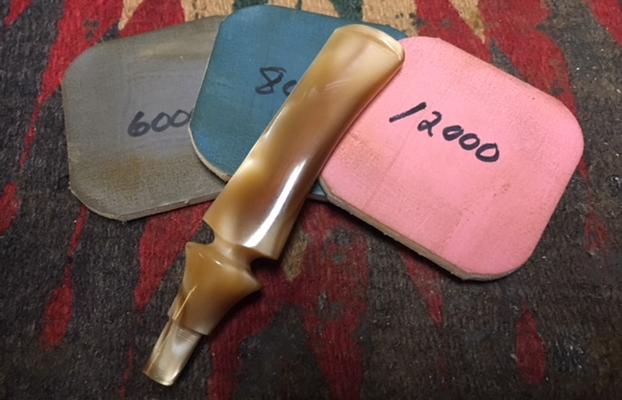
 I worked over the rim top with micromesh sanding pads – wet sanding with 1500-2400 grit pads and dry sanding with 3200-12000 grit pads. I removed the most of the damage to the rim top with the micromesh sanding pads. I removed the area on the rear that had been darkened. I polished the exterior of the bowl with the pads at the same time. I wiped the bowl down after each pad with a damp cloth.


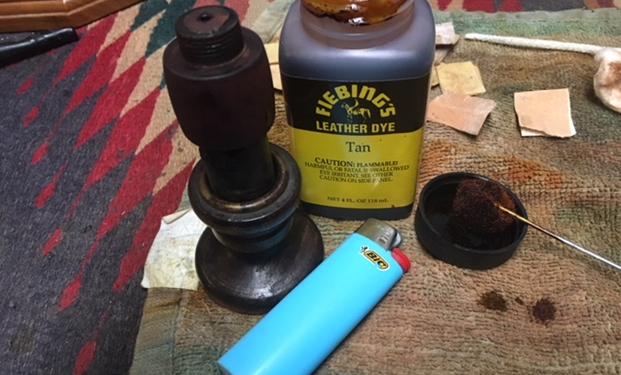
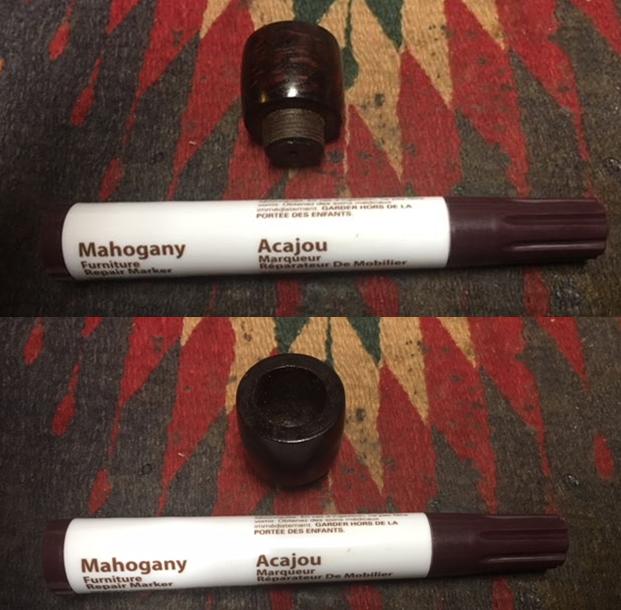
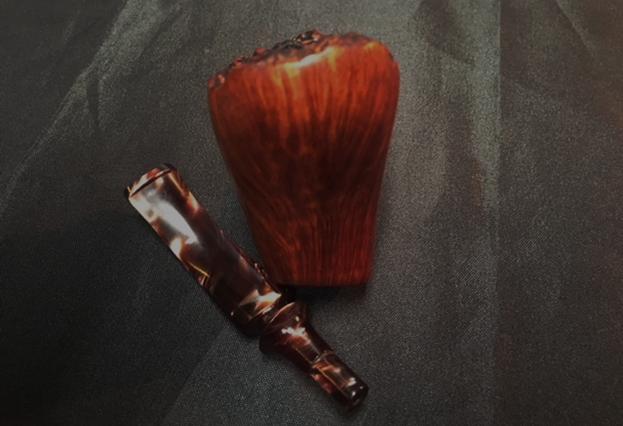
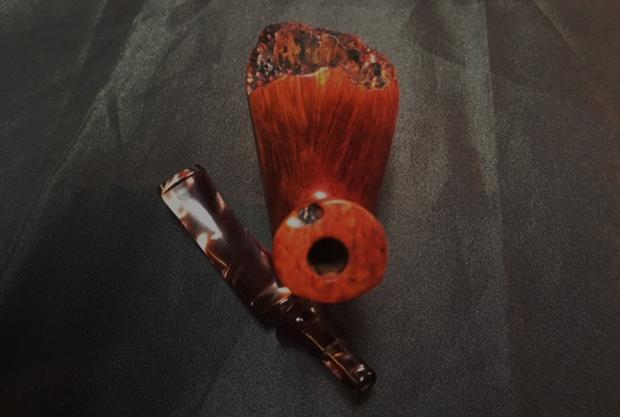
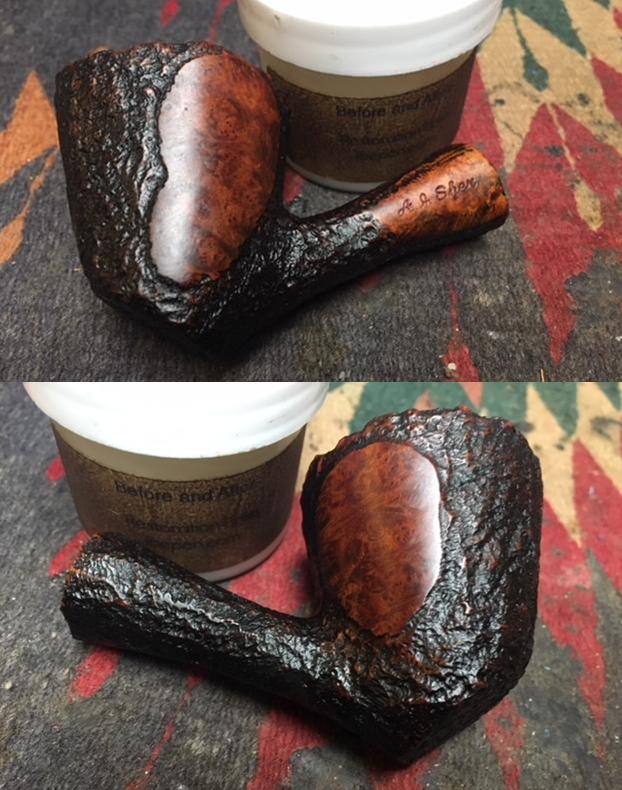
 I touched up the cleaned up rim top with a Maple stain pen to match the colour of the rest of the bowl. The match was perfect and once the bowl was waxed and polished would be indistinguishable from the rest.
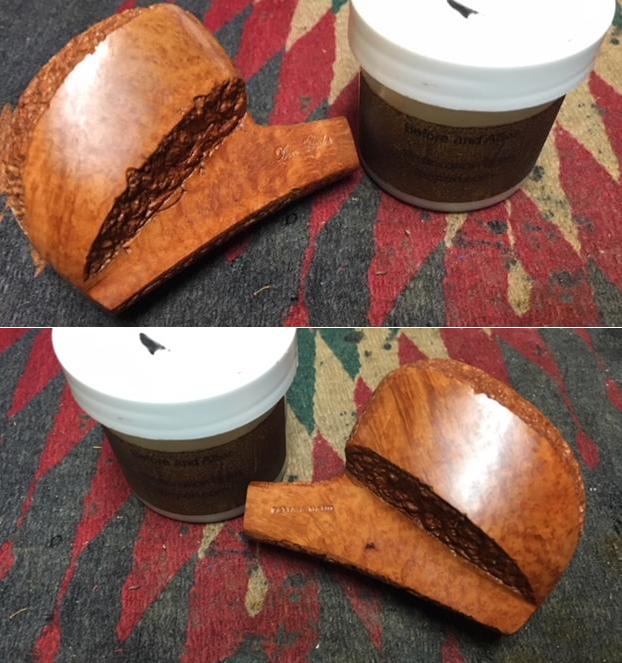
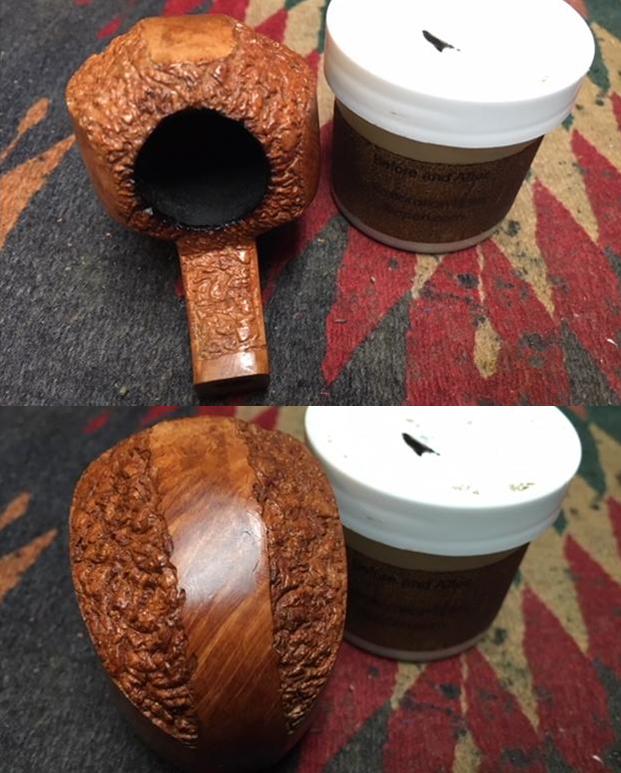
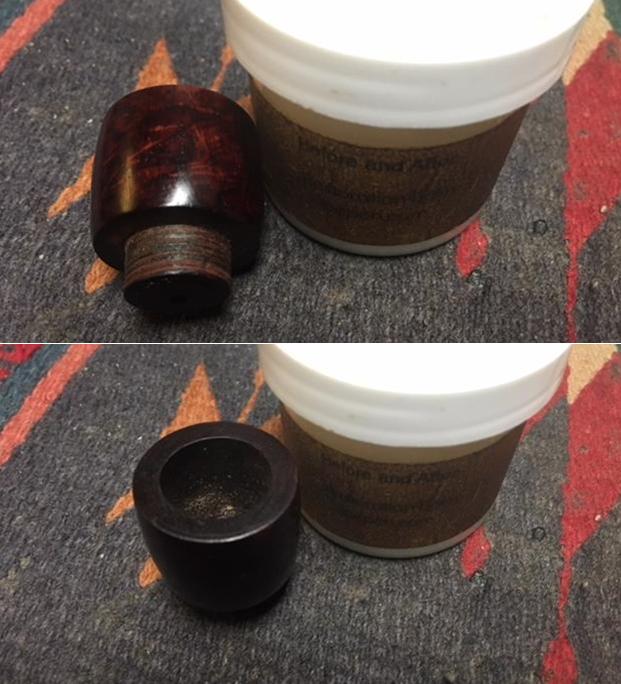
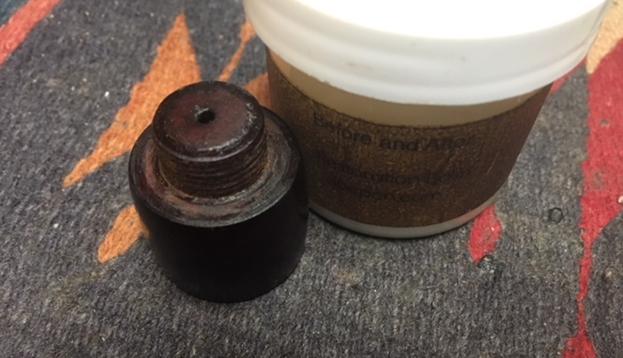
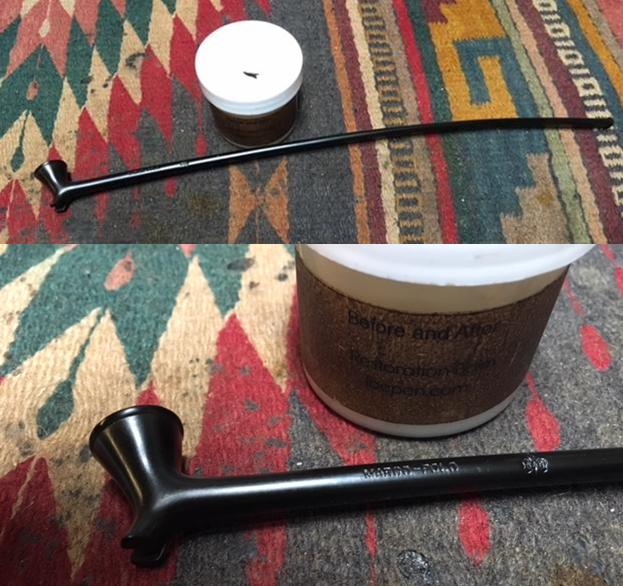
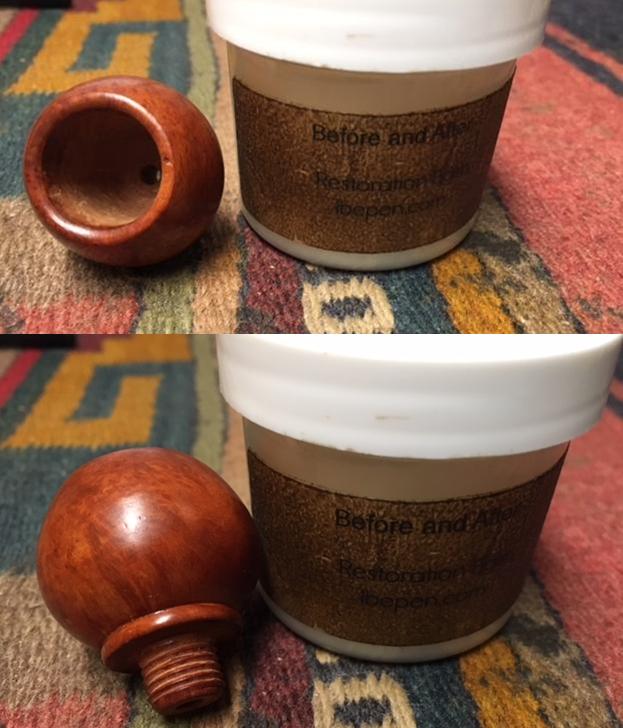
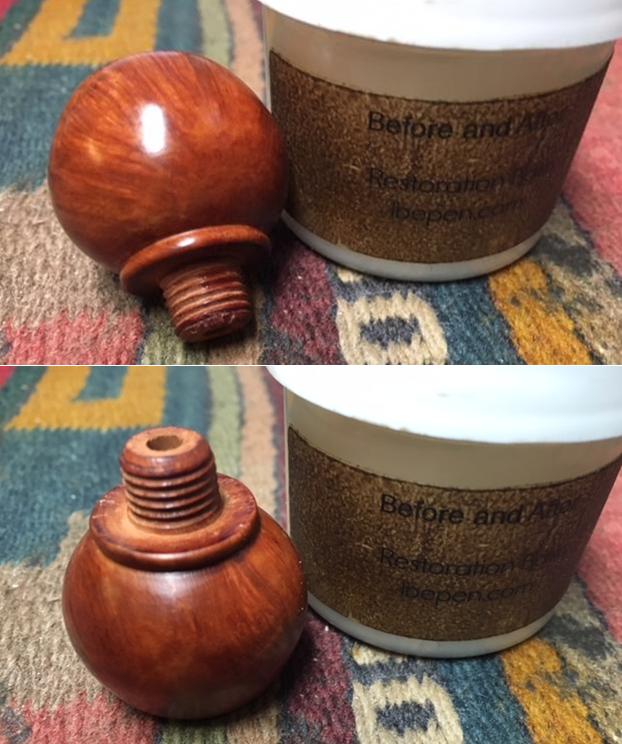
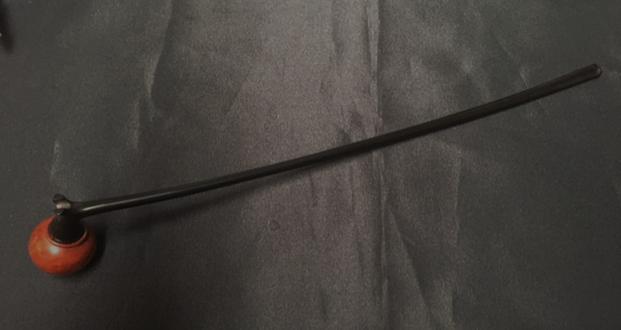
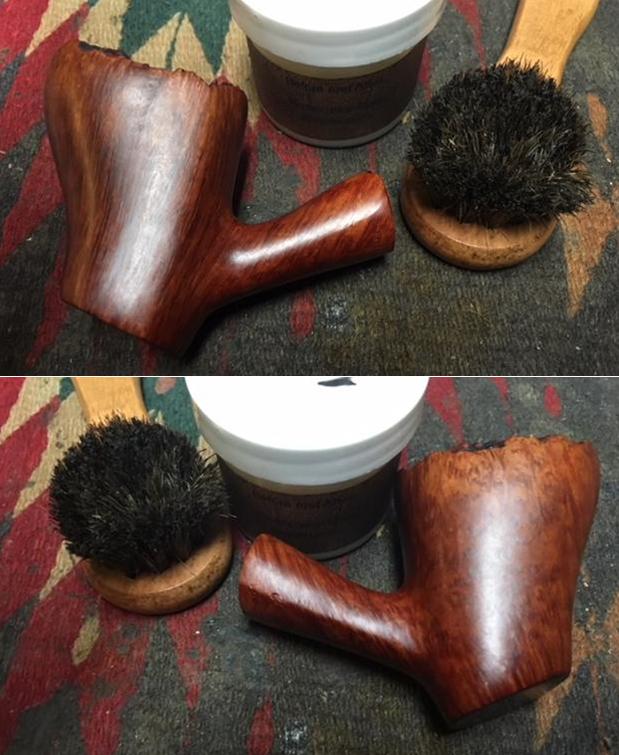
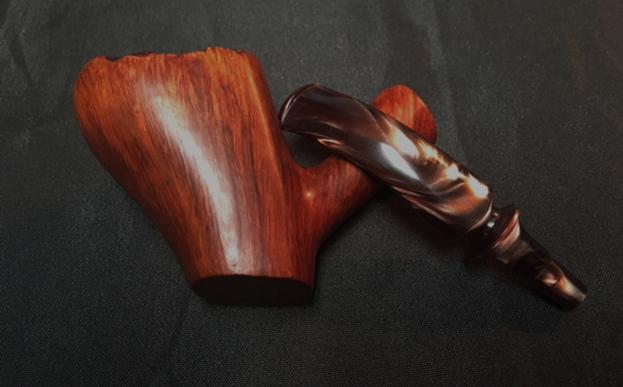
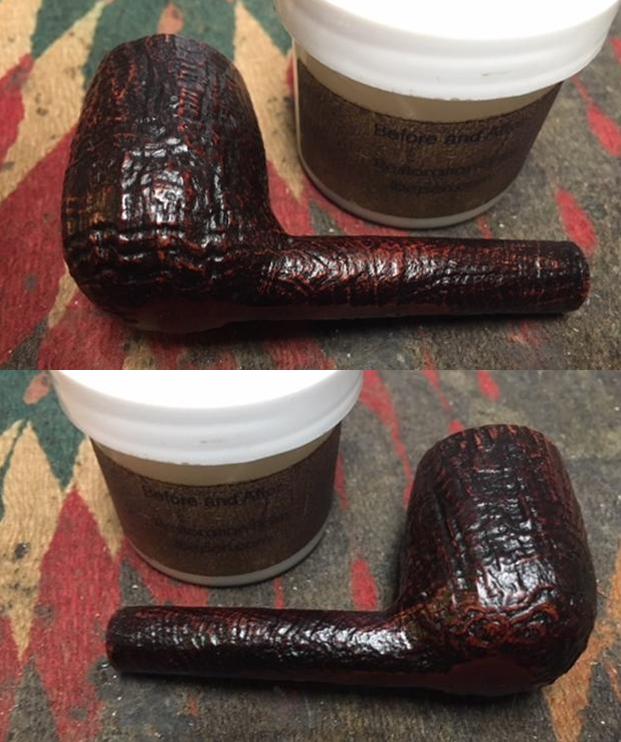
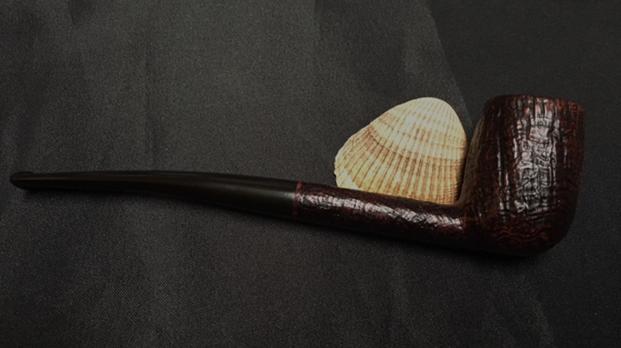
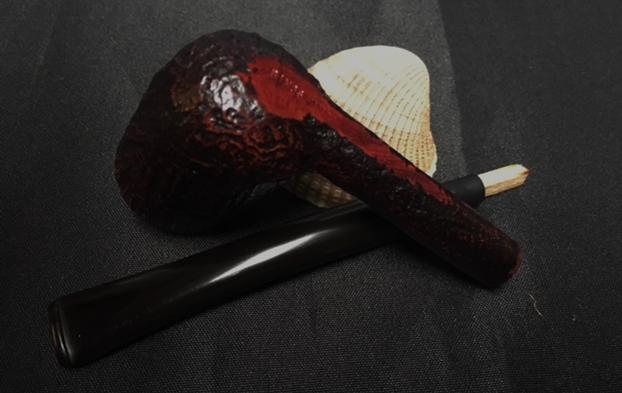
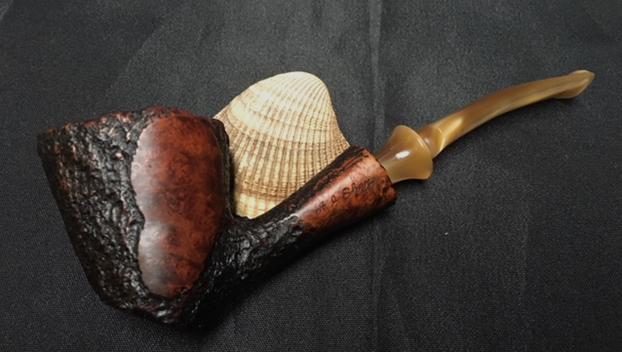
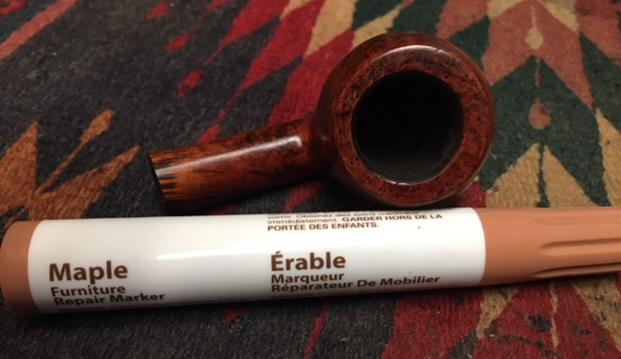 I rubbed down the briar with Before & After Restoration Balm. I worked it into the finish with my fingertips and finished working it in with a shoe brush. I worked over the rim top to blend it into the rest of the stain. The balm works to clean, preserve and enliven the briar. I really like the effect of the product on briar so I took some photos of the pipe at this point.
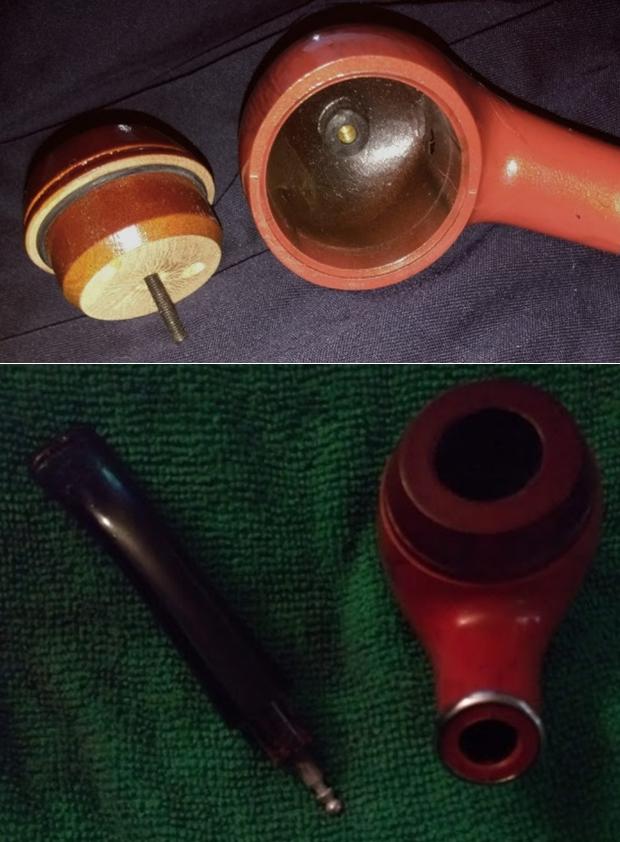
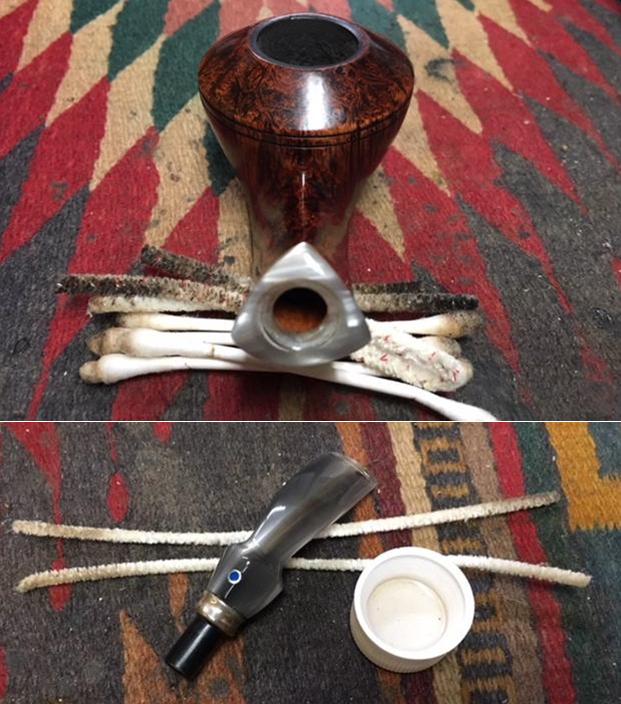
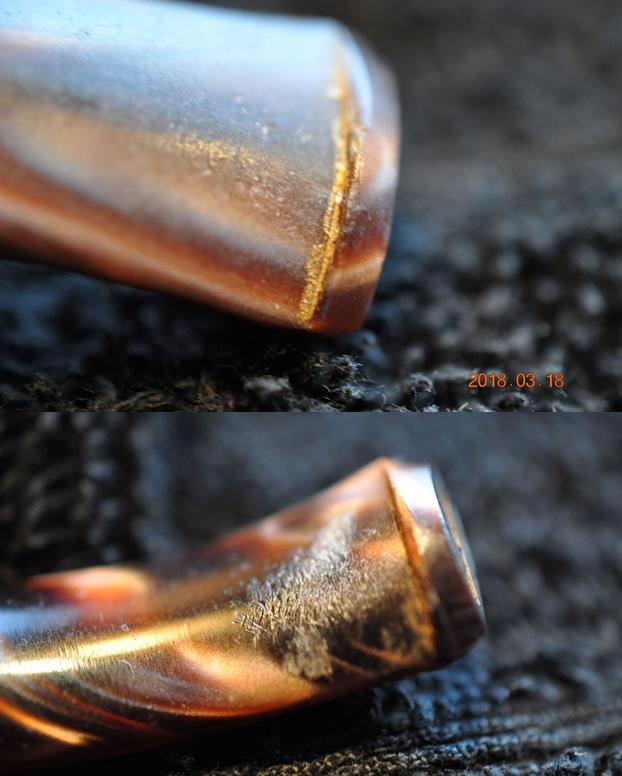
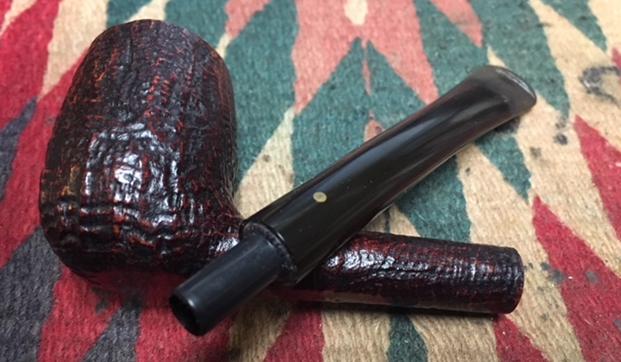
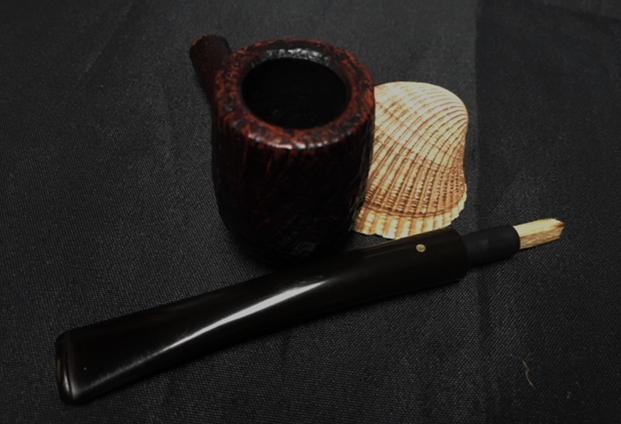
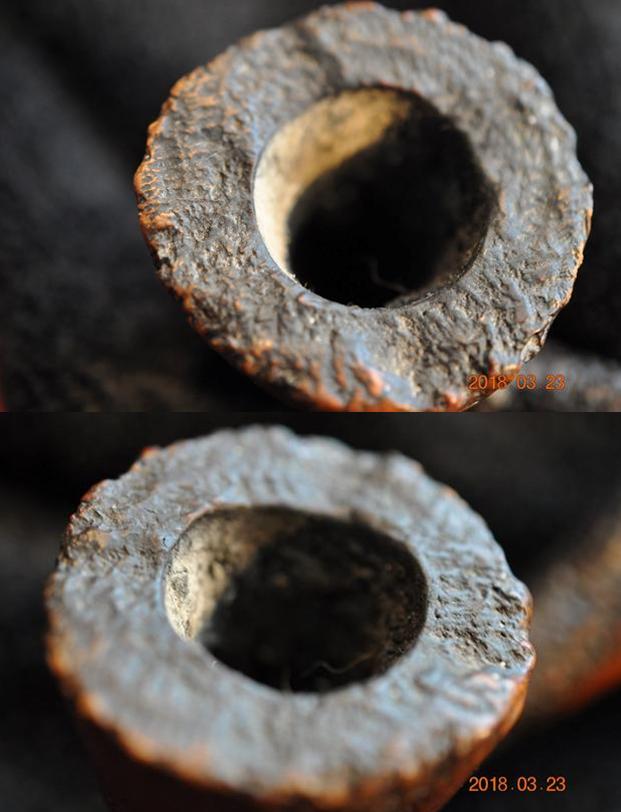
 I cleaned out the airway in the stem and shank, the mortise and shank interior with pipe cleaners, cotton swabs and alcohol. It did not take as much as I expected to remove all the tars and oils in the shank and mortise. The stem had some debris in the edges of the slot in the stem.
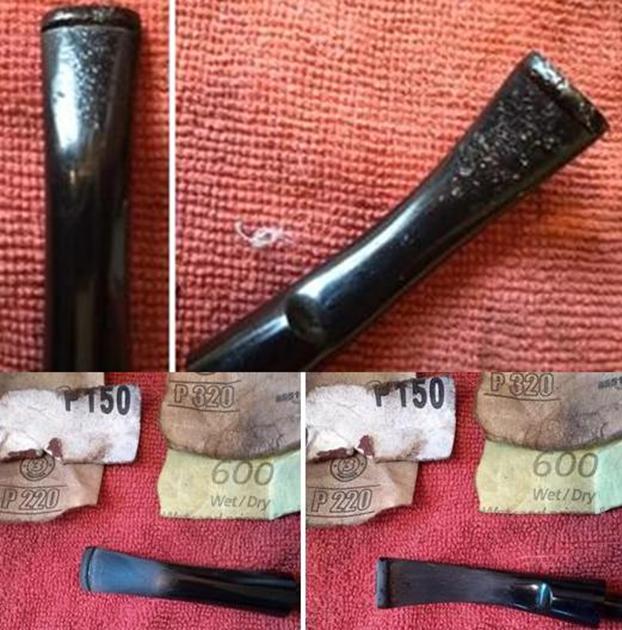
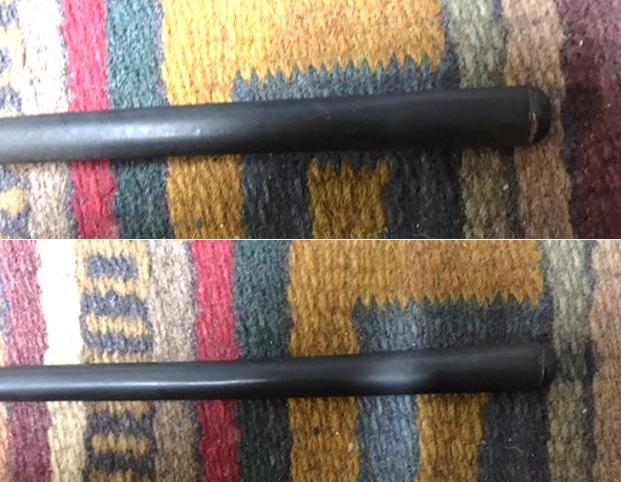
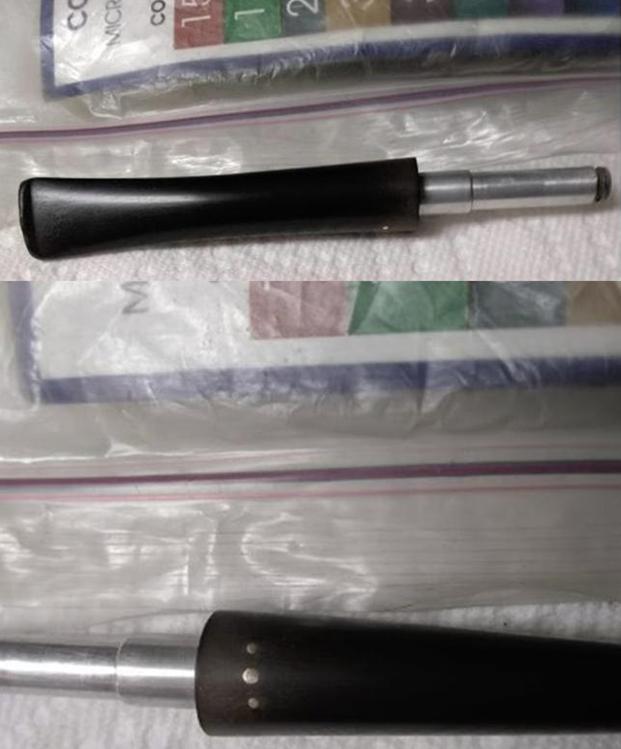
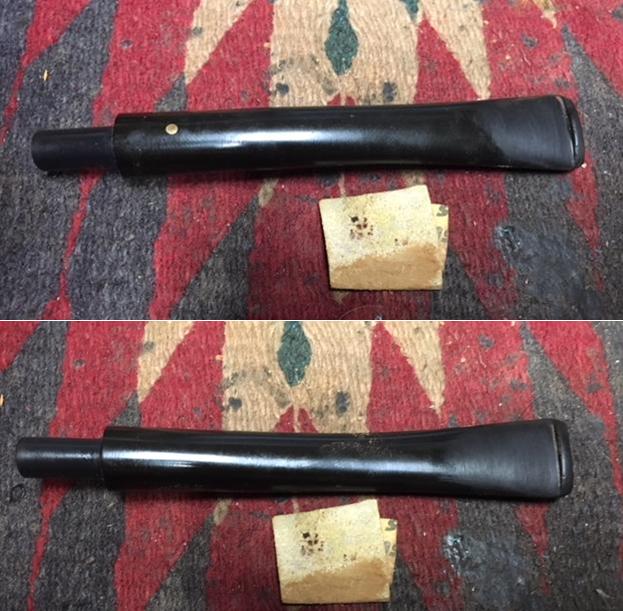
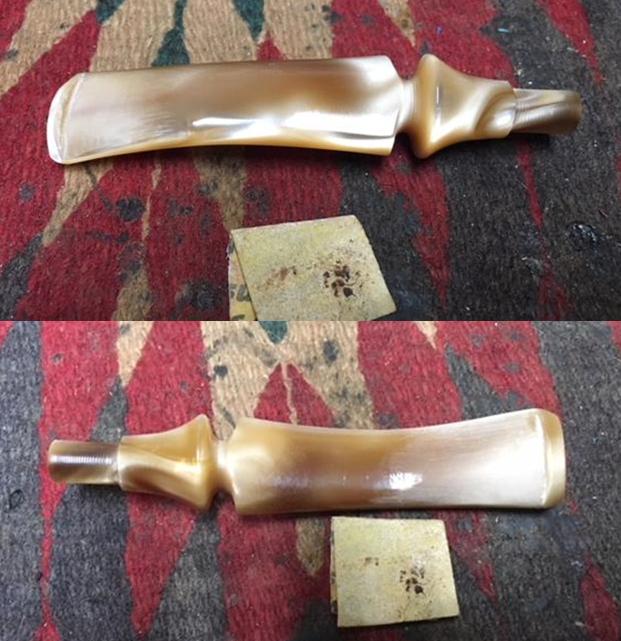
 I set the bowl aside and turned to address the stem. I sanded the tooth marks and chatter out of the stem surface with some folded 220 grit sandpaper.
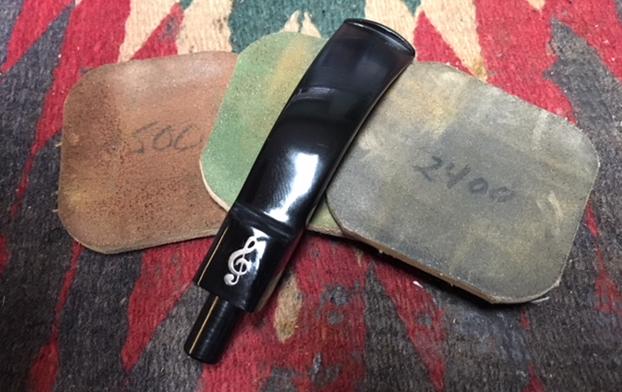
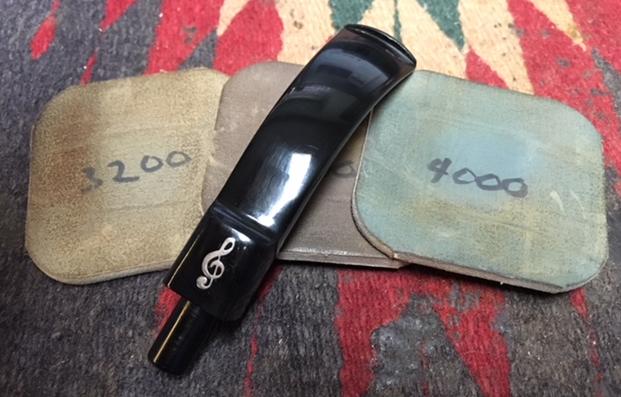
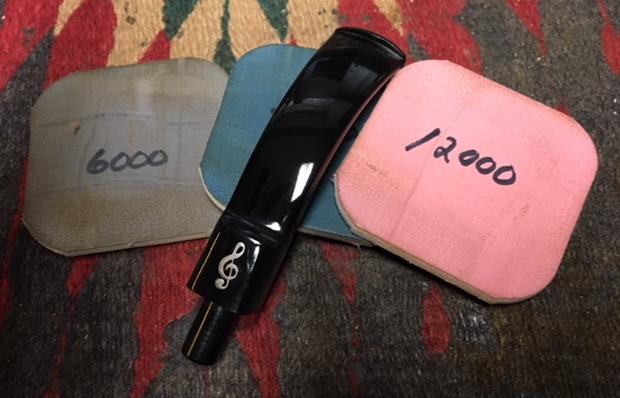
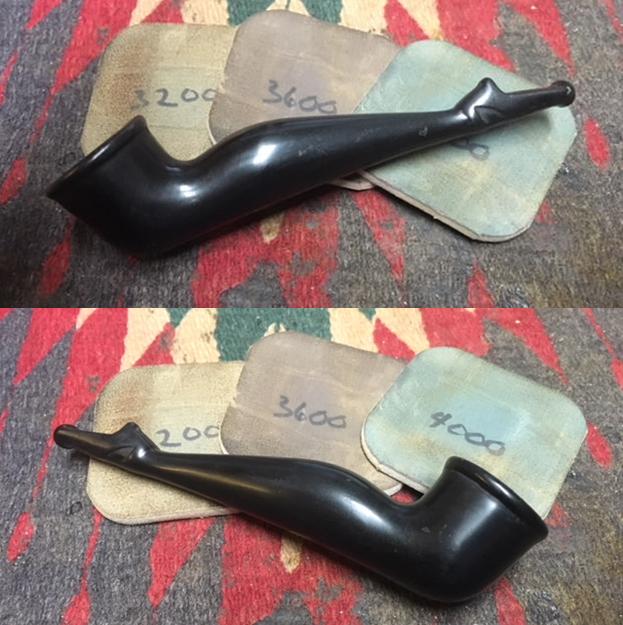
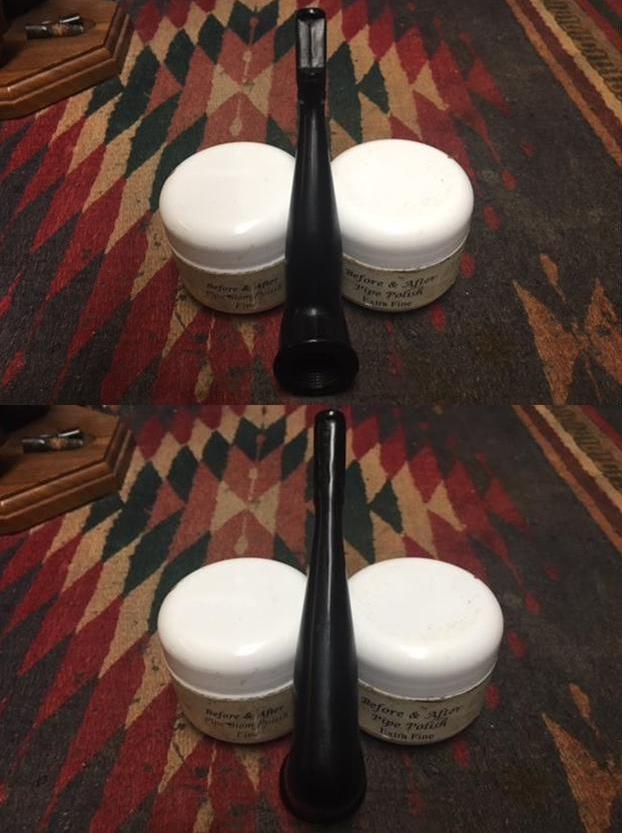
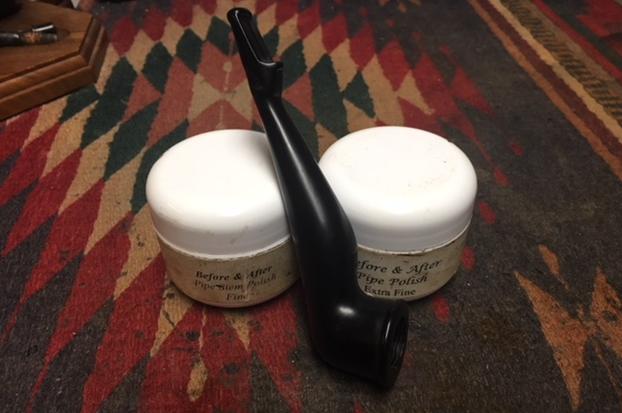
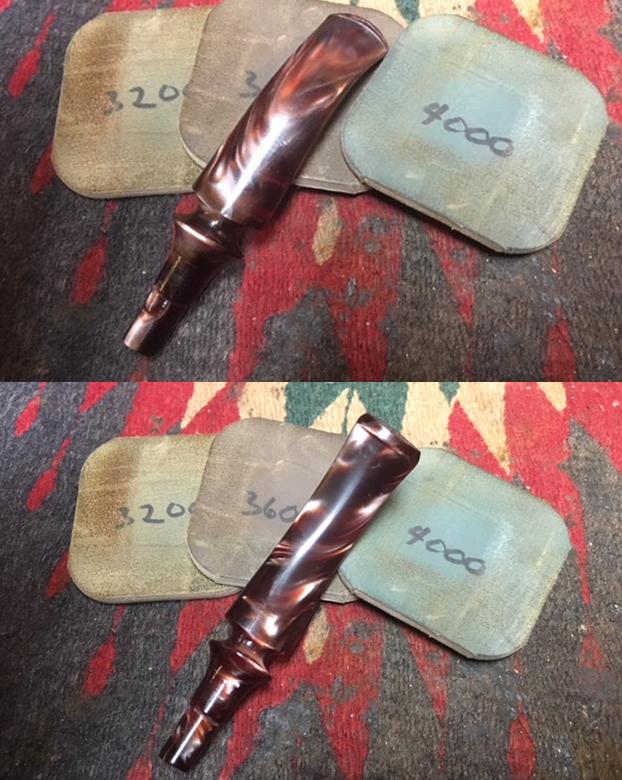
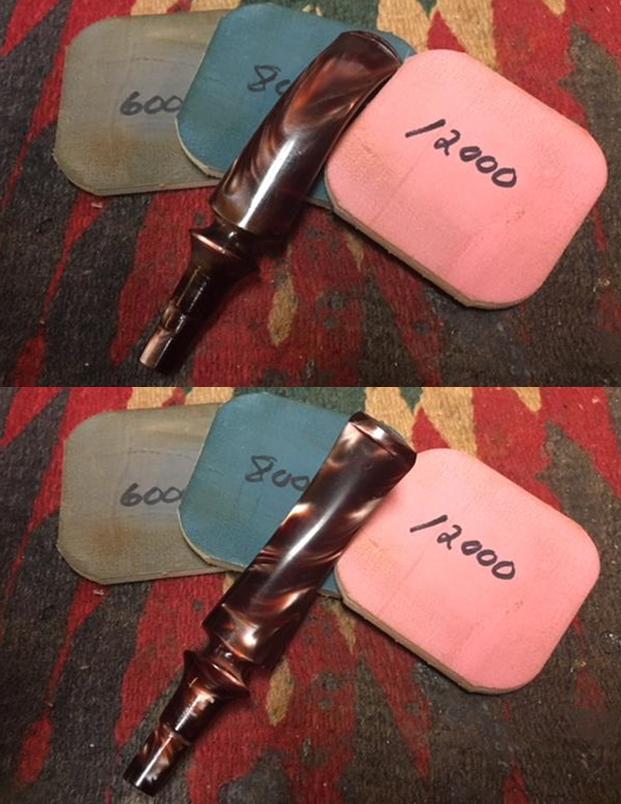
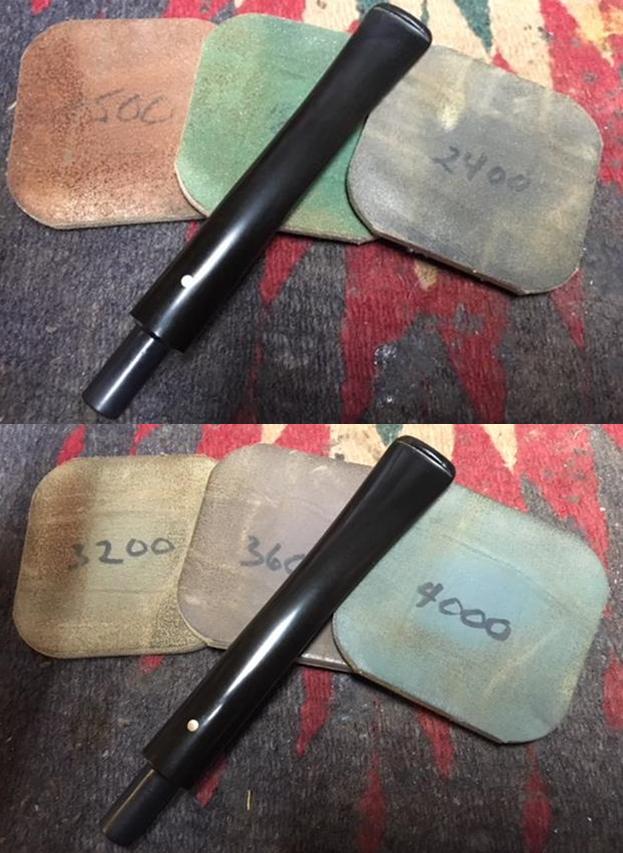
  I polished the stem with micromesh sanding pads to remove the scratches in the acrylic. I wet sanded it with 1500-2400 grit pads and dry sanded it with 3200-12000 grit pads. I wiped the stem down with a damp cloth after each sanding pad. I polished the stem with Before & After Pipe Stem Polish – both Fine and Extra Fine polishes. I wiped it down with a cotton pad and gave it a final coat of Obsidian Oil. I set the stem aside to dry.
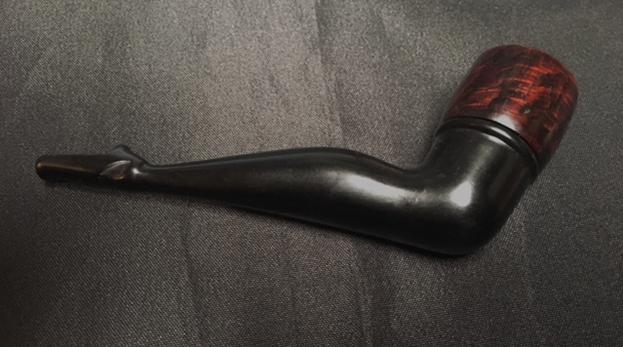
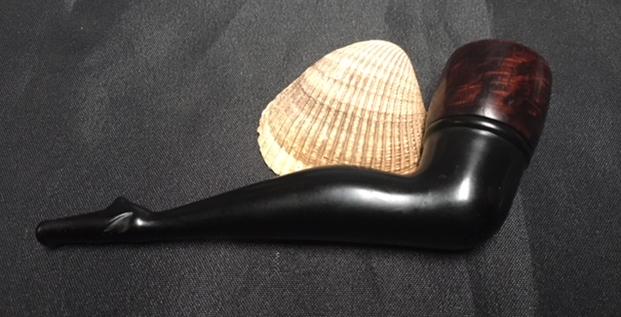
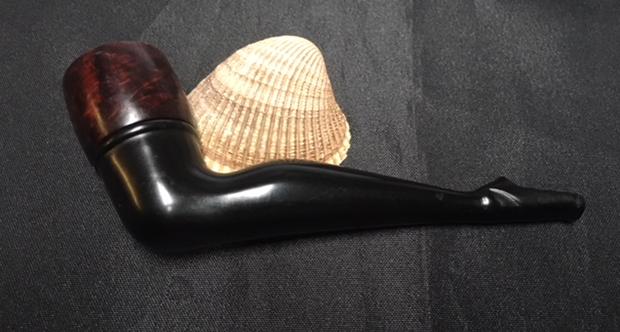
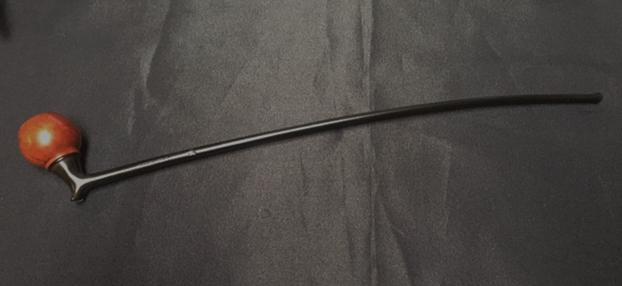
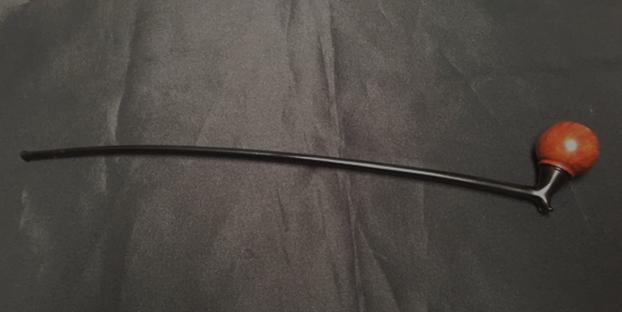
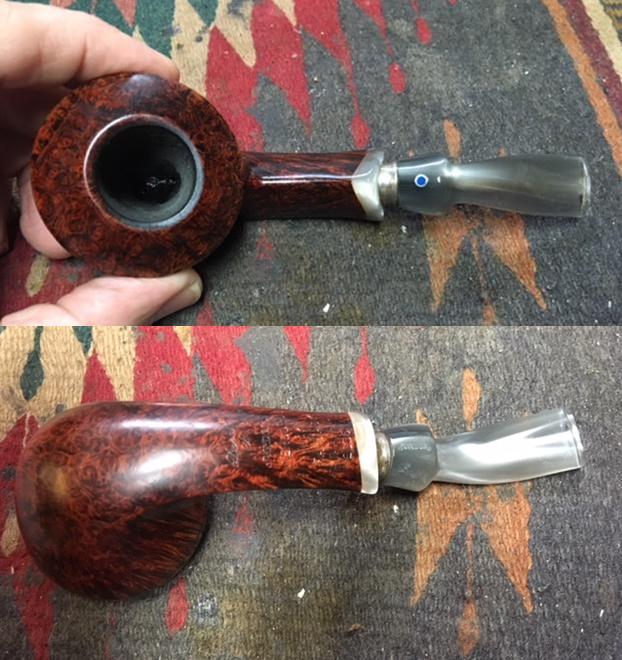
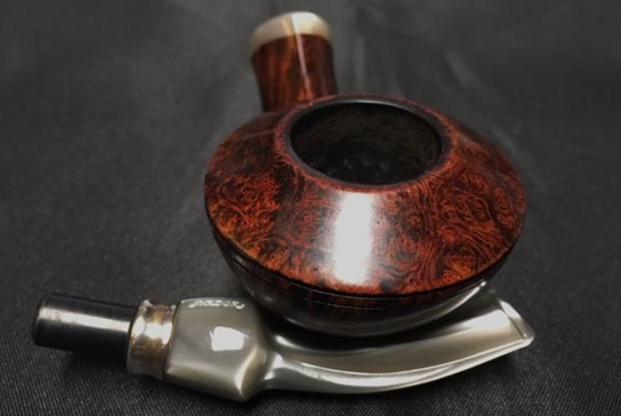
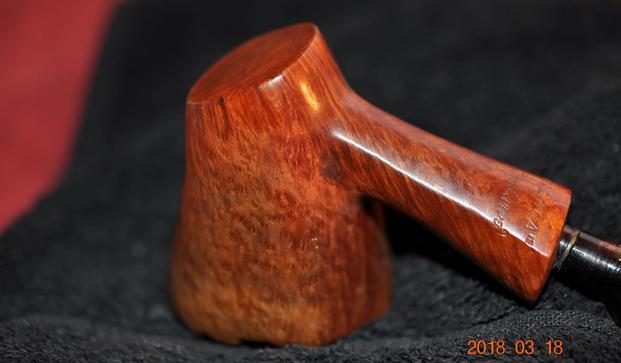
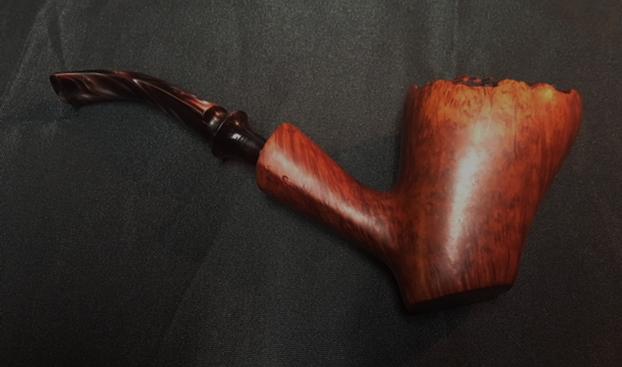
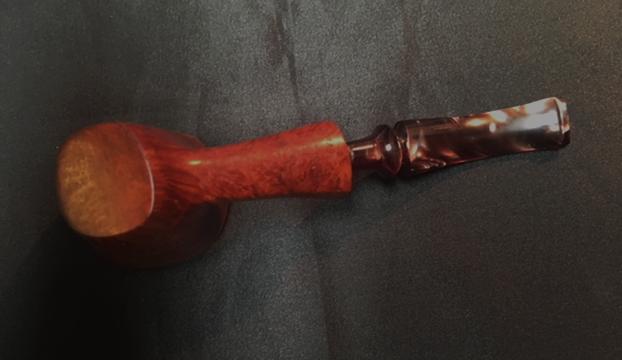
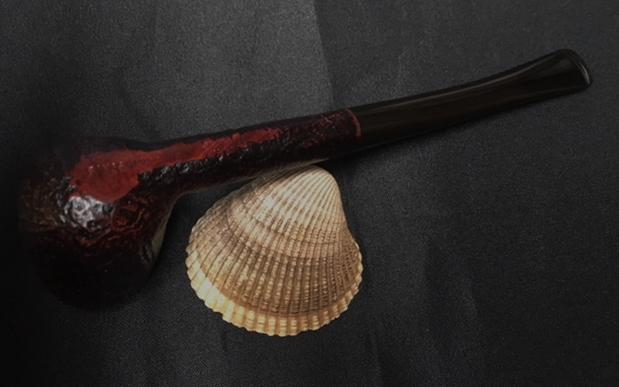
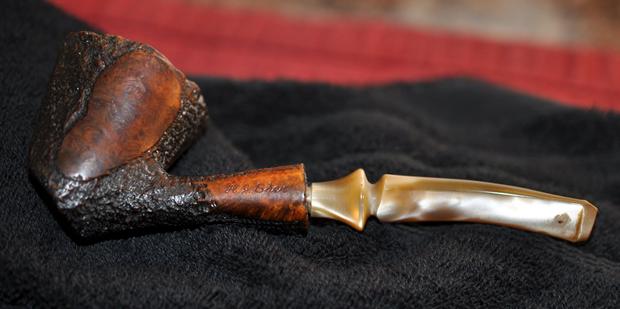
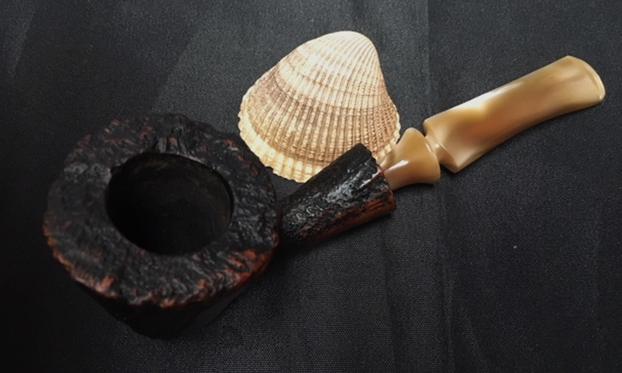
 I put the stem back on the bowl and buffed the pipe with Blue Diamond polish on the buffing wheel. I carefully avoided the stamping on the underside of the shank. I gave both the smooth bowl and the stem multiple coats of carnauba wax and buffed the pipe with a clean buffing pad to raise the shine. I hand buffed it with a microfiber cloth to deepen the shine. The finished pipe is shown in the photos below. I have five more pipes to finish for him – one move from his personal rotation and four of them that are some finds he made while pipe hunting. This is a fun bunch of pipes to work on. I look forward to moving through the rest of them. Thanks for looking.


