Blog by Steve Laug
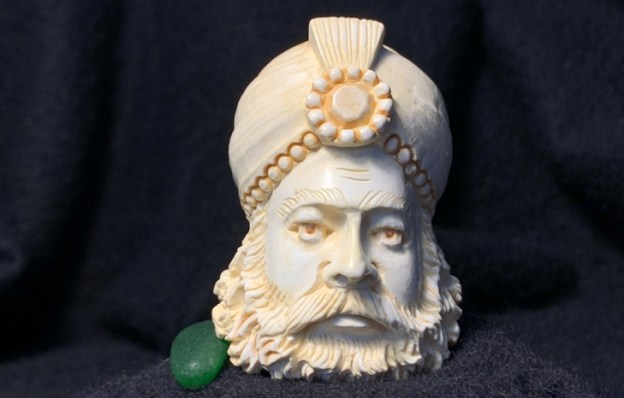
 After brief foray into restoring a couple of other pipes I am back to Bob Kerr’s estate (his photo is to the left). If you have not “met” the man and would like to read a bit of the history of the pipeman, his daughter has written a great tribute that is worth a read. Because I have included it in over 60 restorations to date I thought that I would leave it out this time. Be sure to check out some of the recent Dunhill restoration blog (https://rebornpipes.com/2020/01/01/restoring-the-last-of-bob-kerrs-dunhills-a-1962-dunhill-bruyere-656-f-t-bent-billiard/).
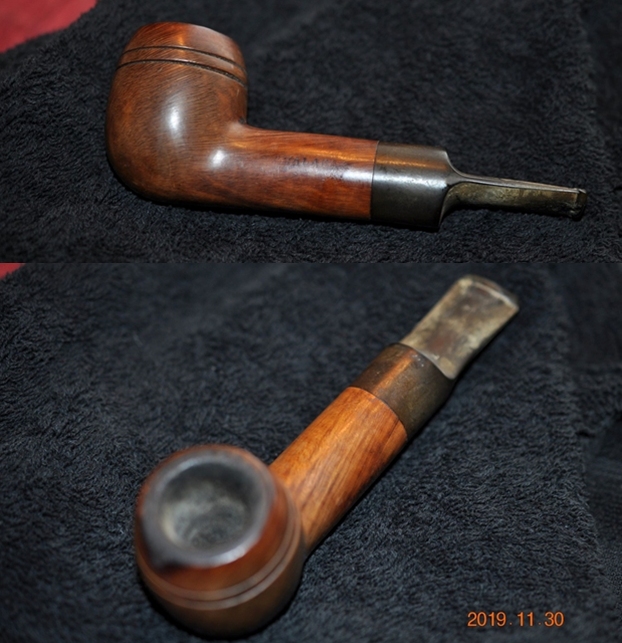
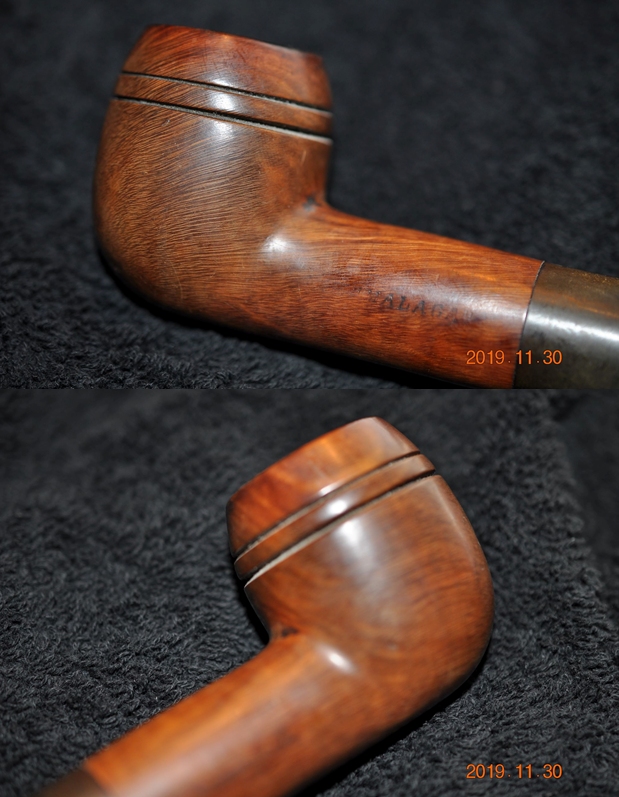
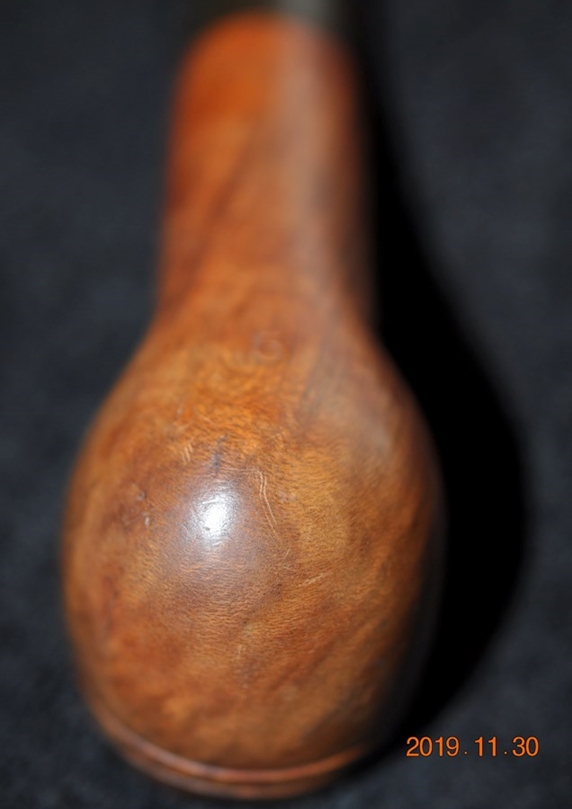
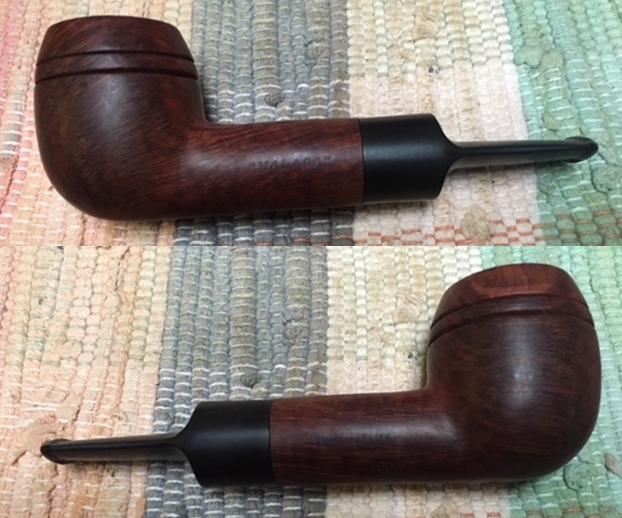
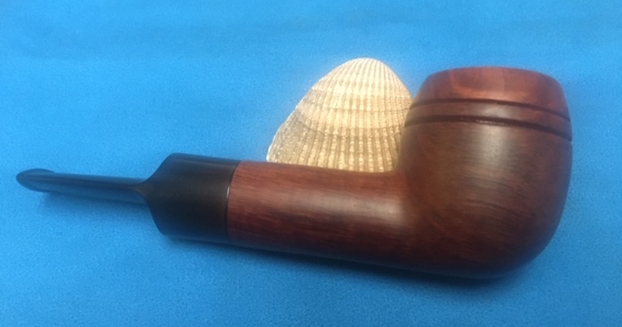
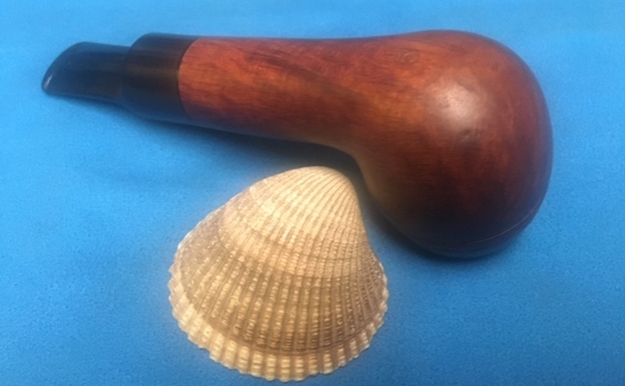
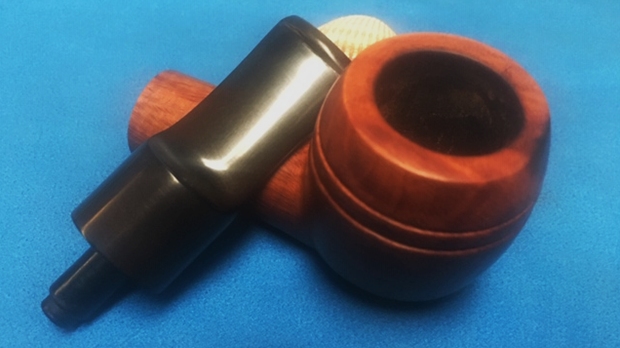
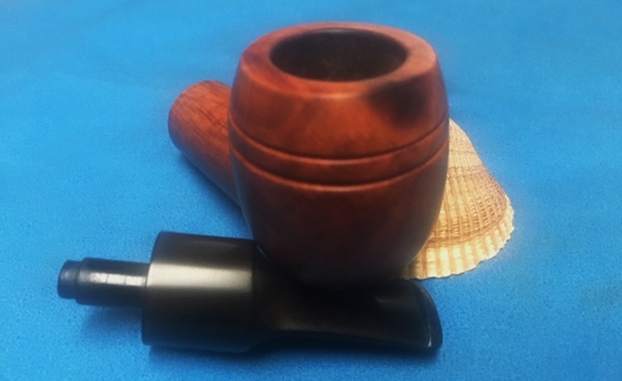
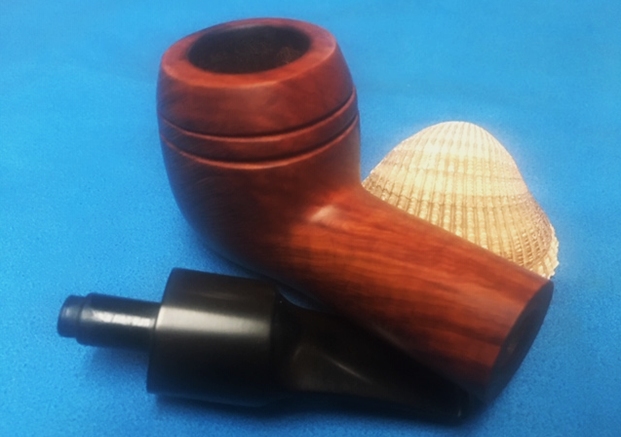
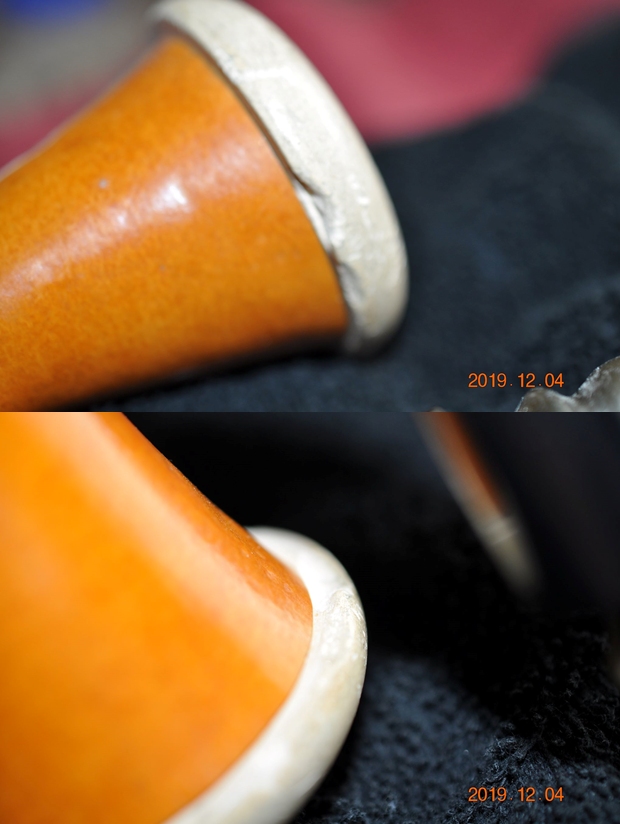
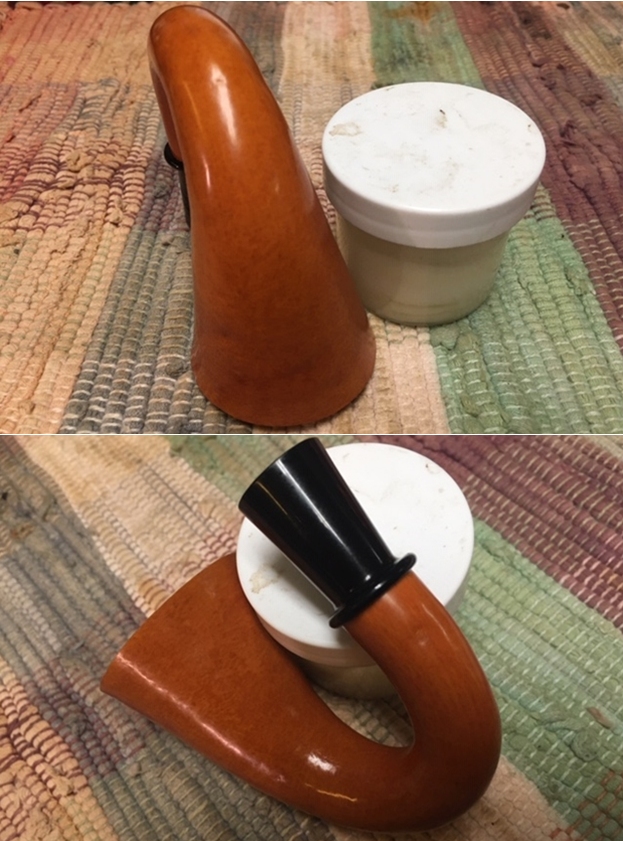
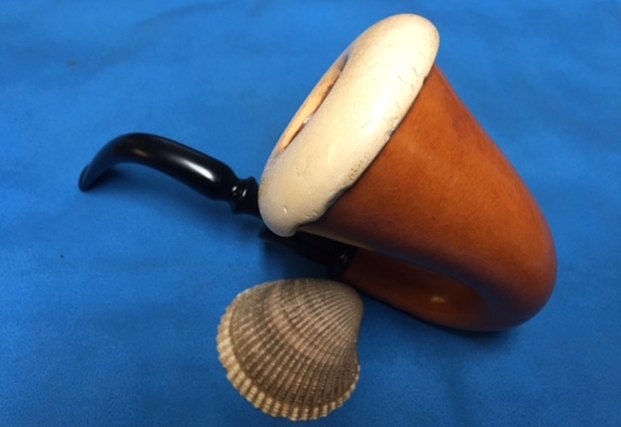
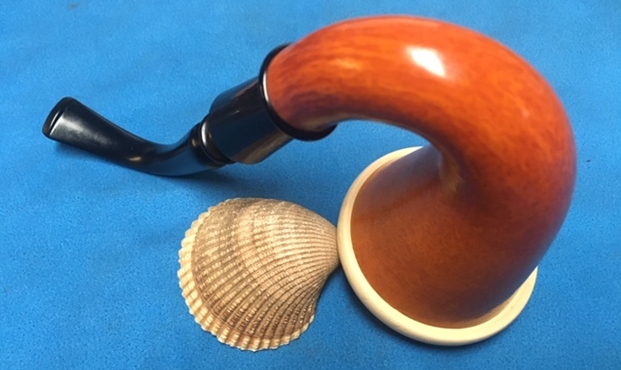
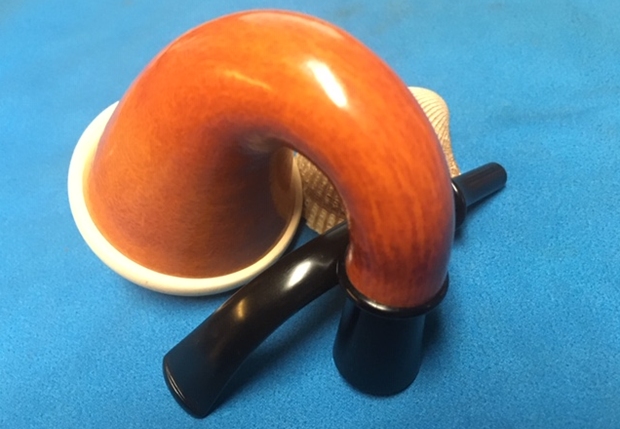
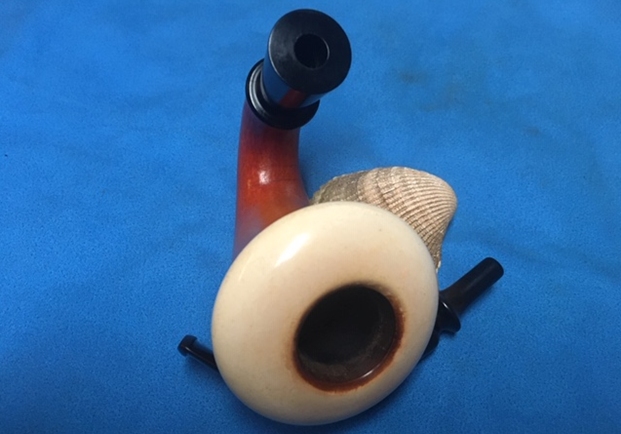
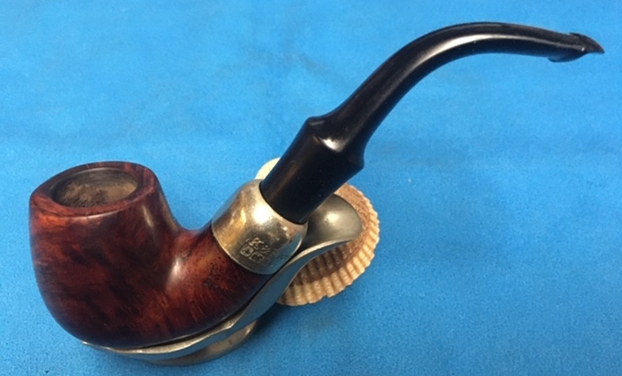
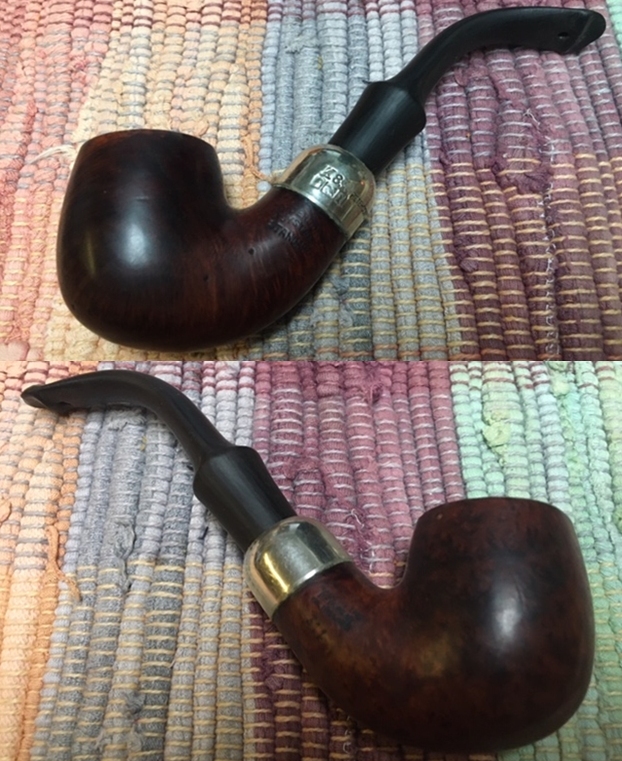
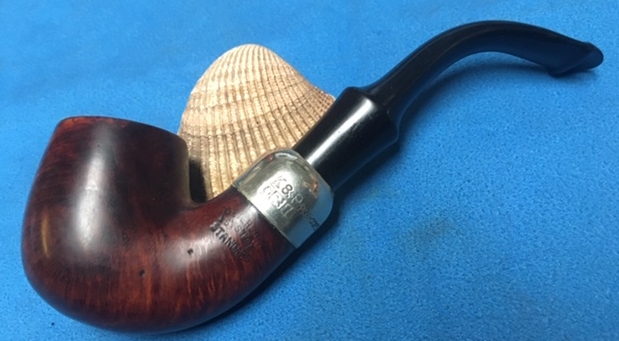
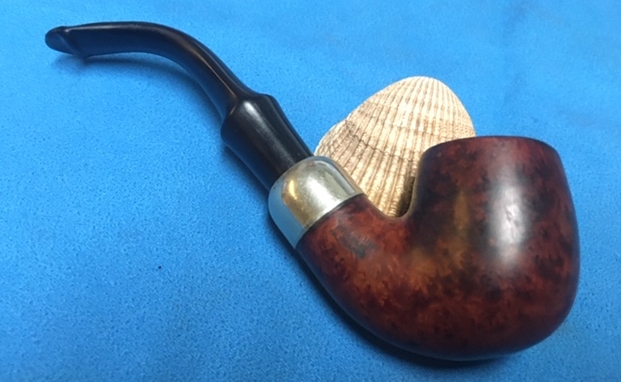
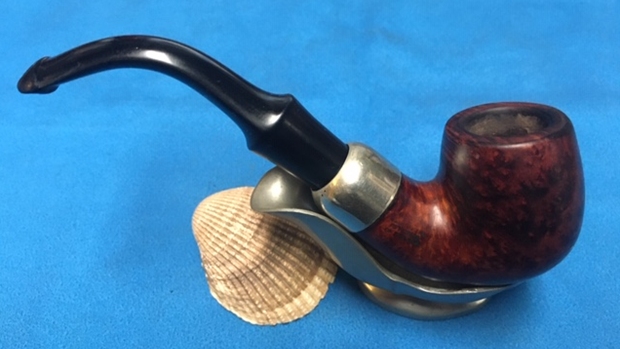
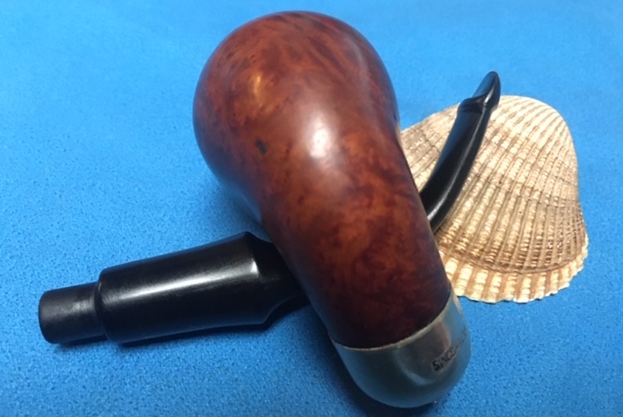
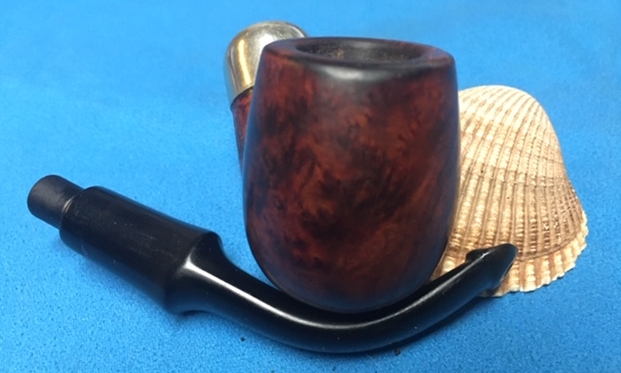
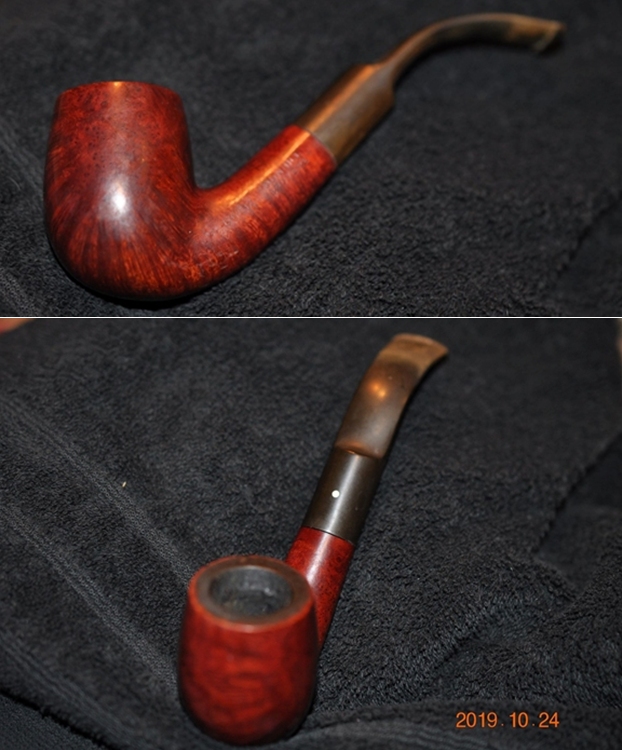
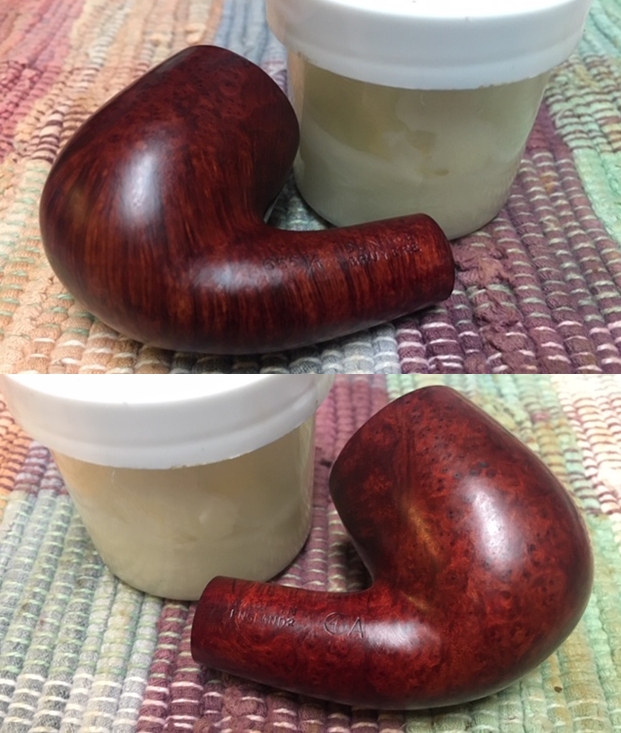
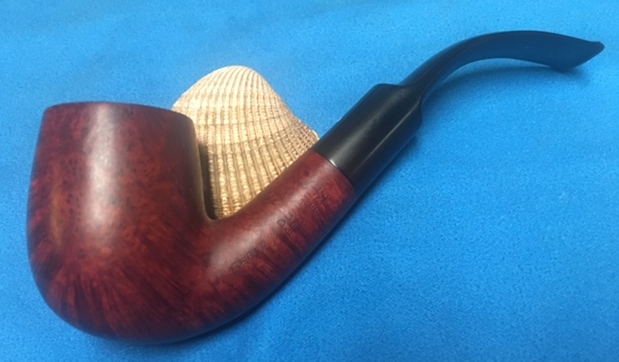
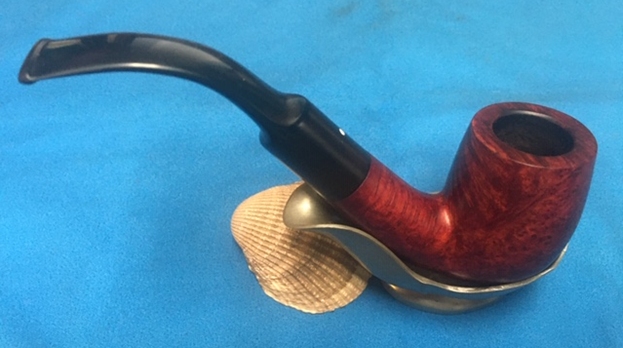
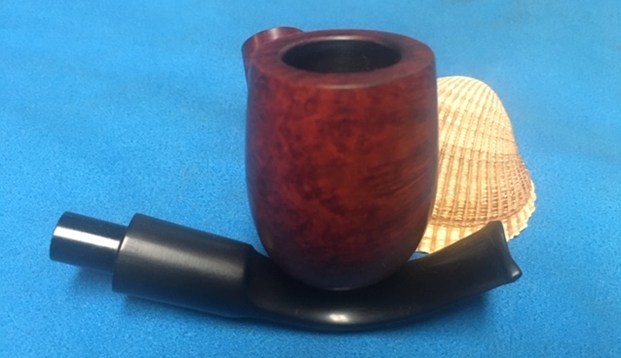
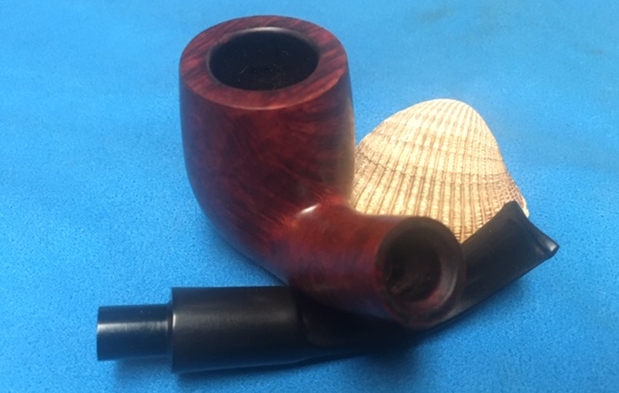
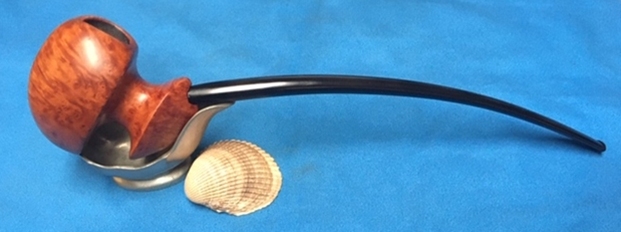
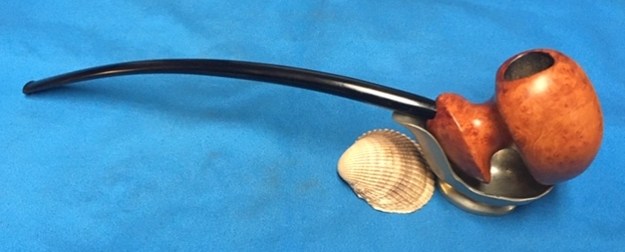
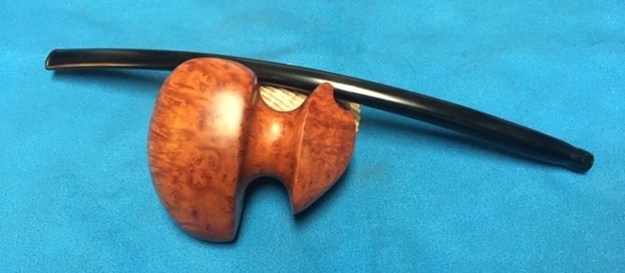
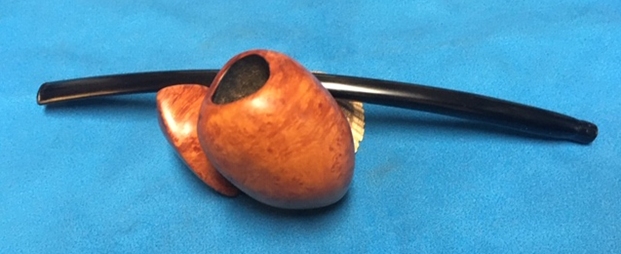
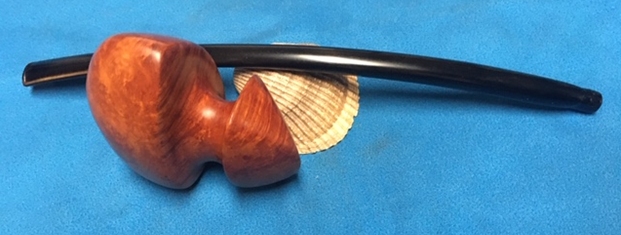
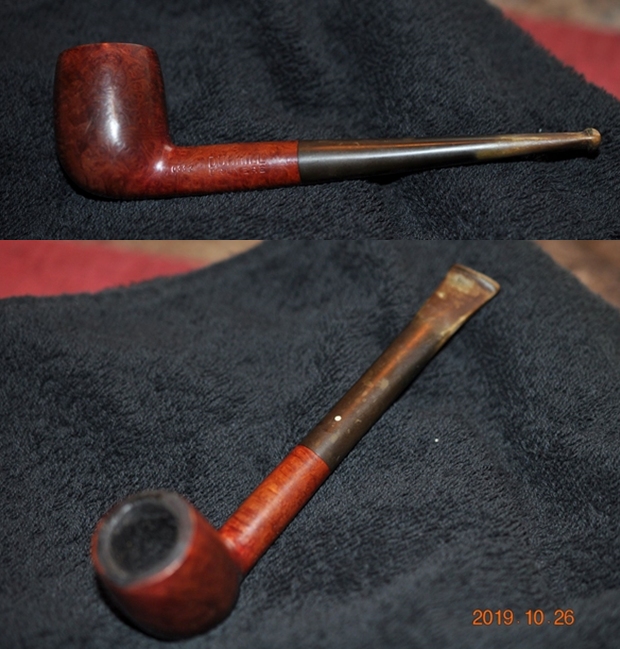
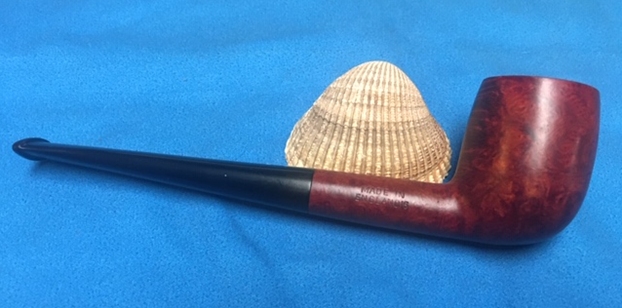
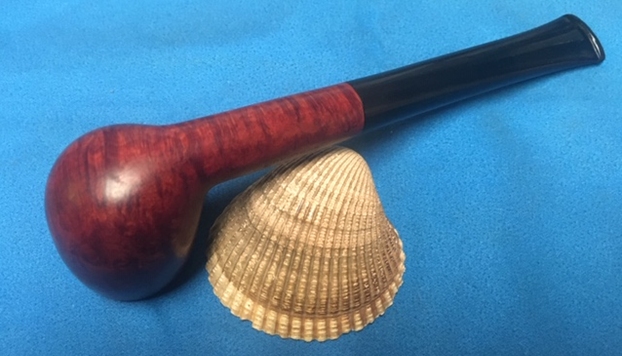
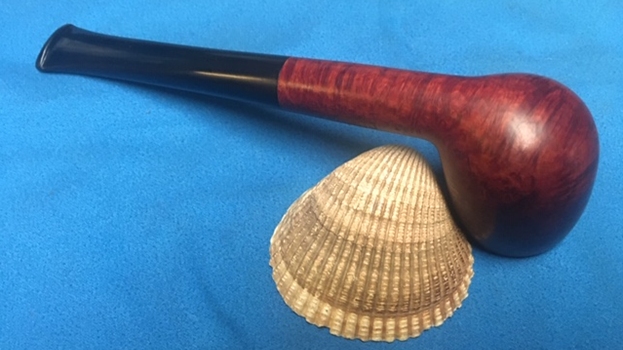
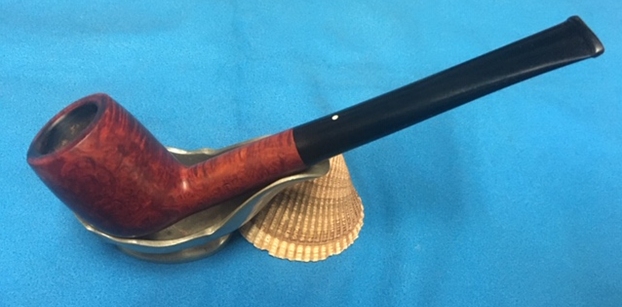
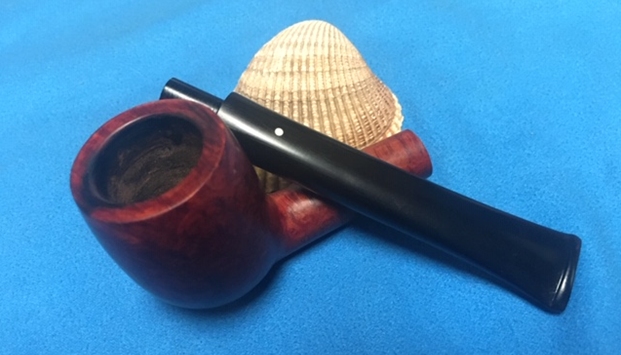
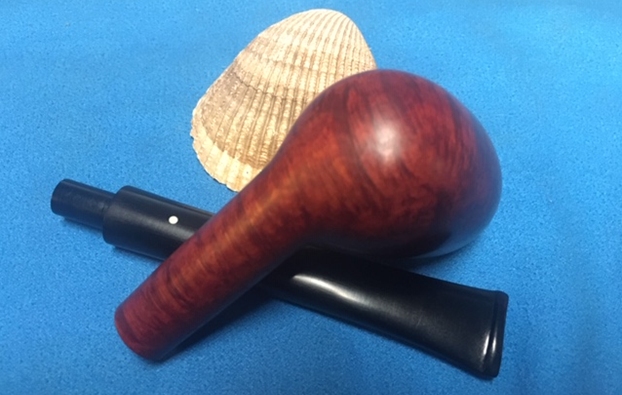
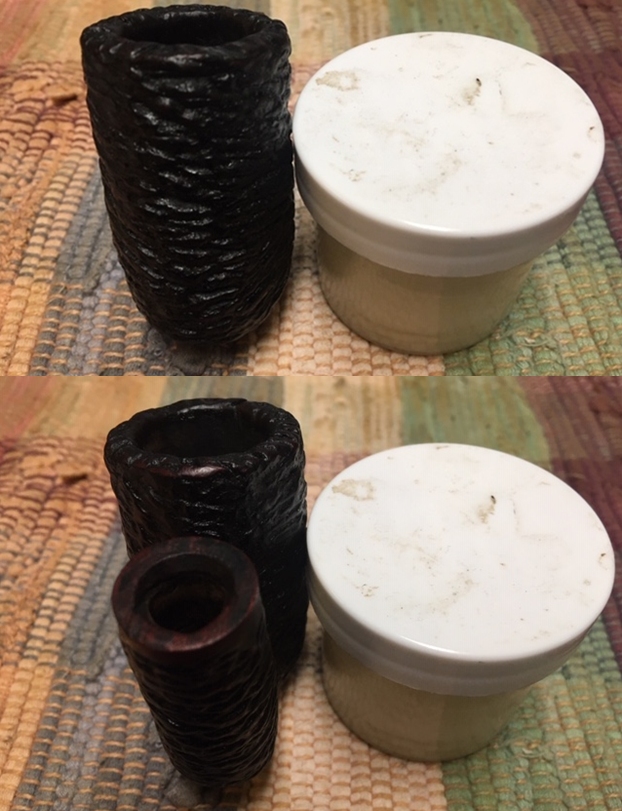
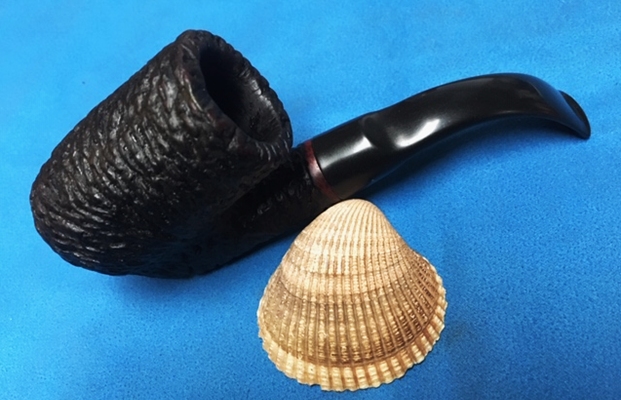
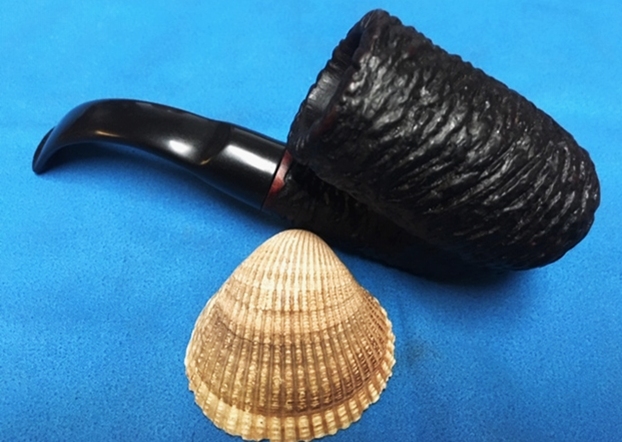
I enjoy collecting Canadian pipes and have a good representation of many of the carvers in my collection. John Calich, Micheal Parks, Stephen Downie, Paradis Brothers (SLC) and older Brigham pipes are a few of those that are in cupboard alongside of two older Blatter and Blatter pipes. When I was cataloging Bob Kerr’s Estate and came across a pipe that looked like a Blatter made pipe I was definitely interested. I examined it with a light and lens and at first I could not read the stamping on the heel of the bowl. The heel was dirty and the stamping damaged but the more I studied it the more I was sure it read Blatter Bros. Montreal. Bob’s pipe was an Oom Paul with the same style of rustication and stamping that was on a large Blatter Bros. Lovat that I have in my collection. I have included some pictures of the pipe in my collection along with photos of Bob’s pipe that Jeff took before his cleanup for comparison sake. Look at the rustication on both mine and Bob’s and I think you will see the similarity. Check out the stamping on the heel of each pipe and I think that you will agree that they came from the same hand at the Blatter shop in Montreal.

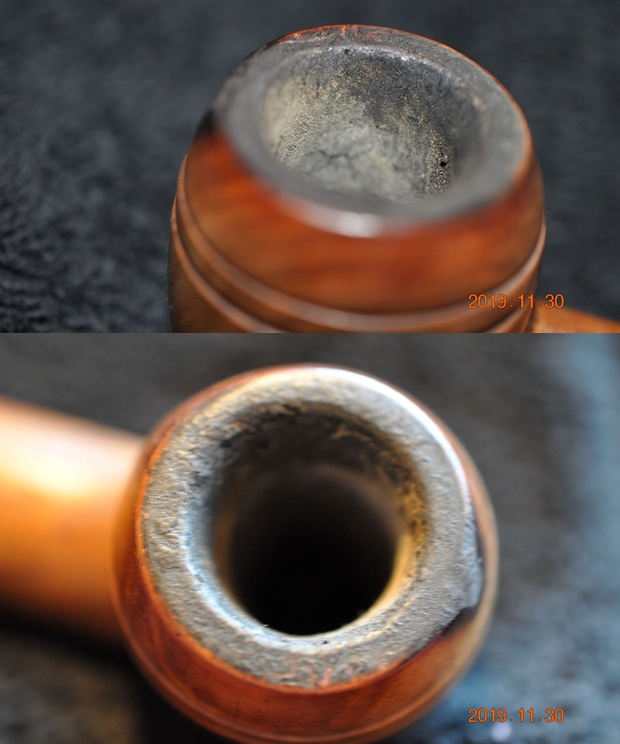
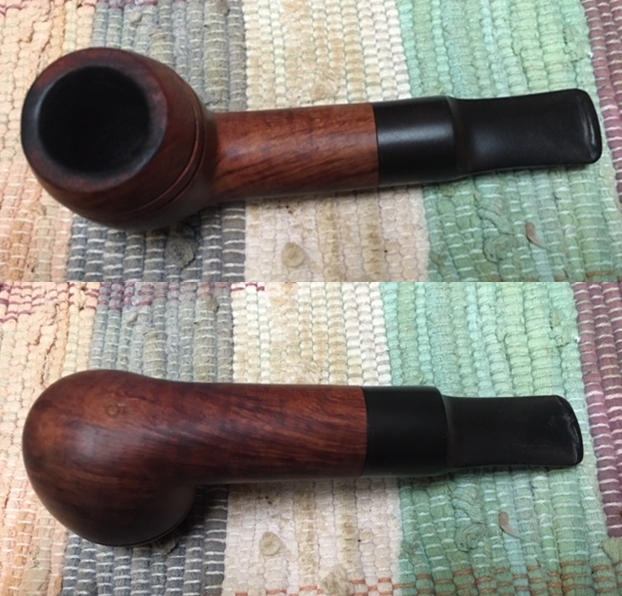
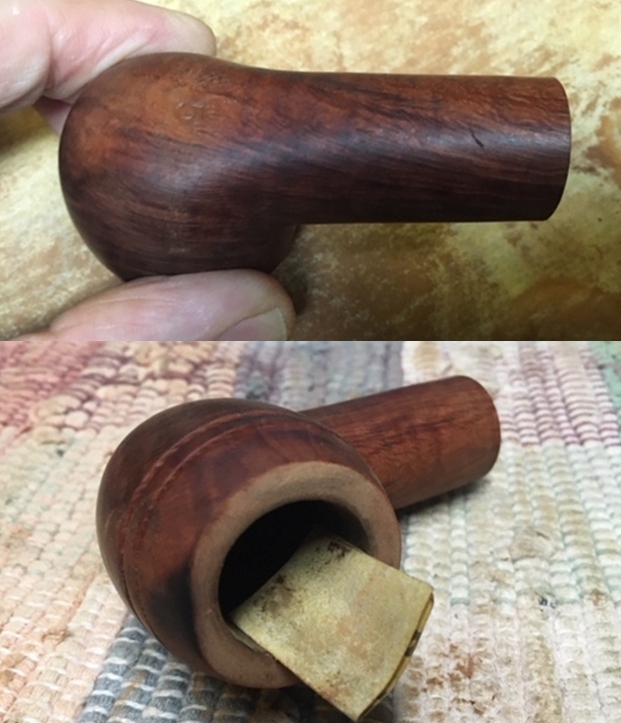
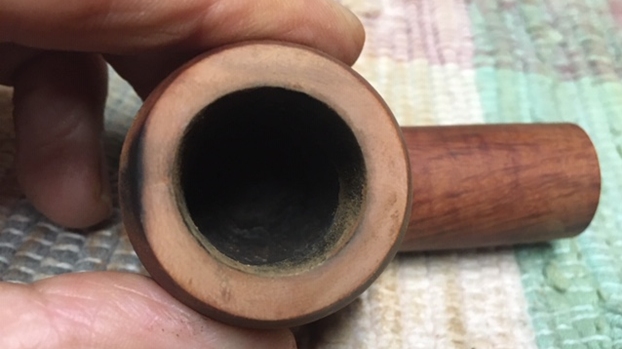
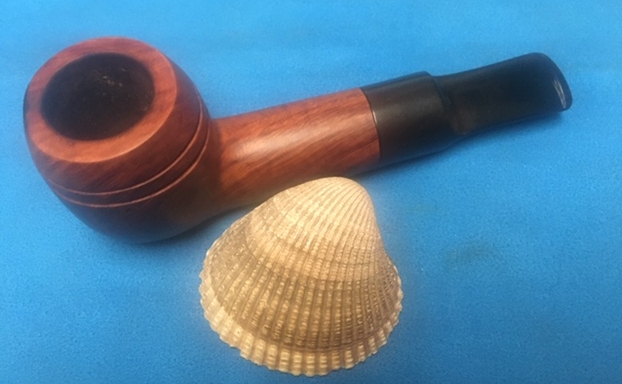
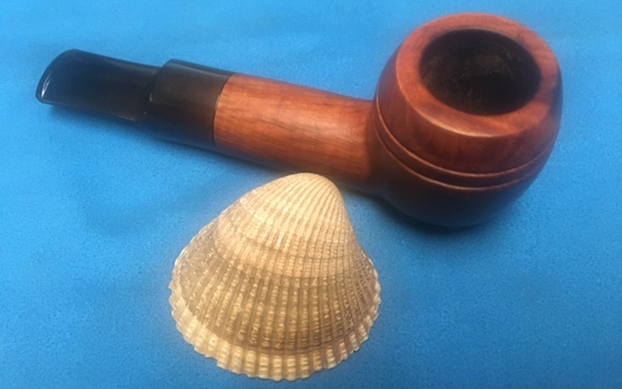
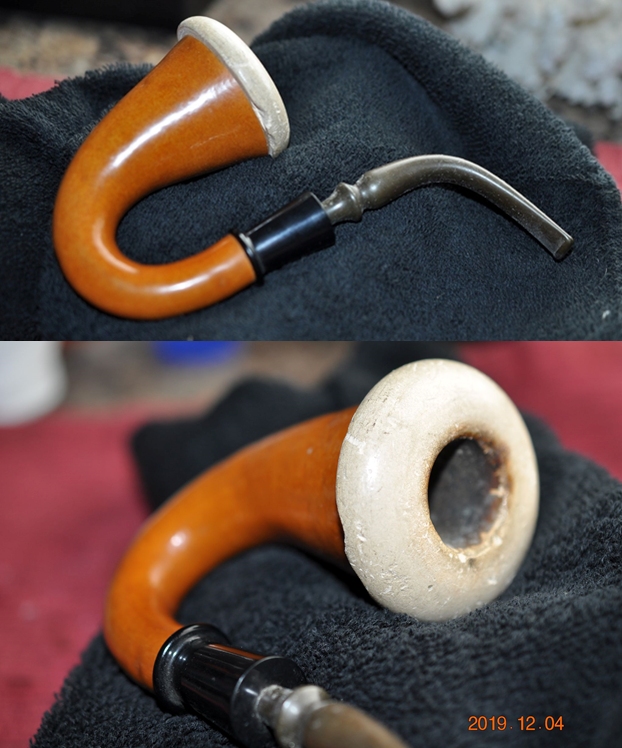
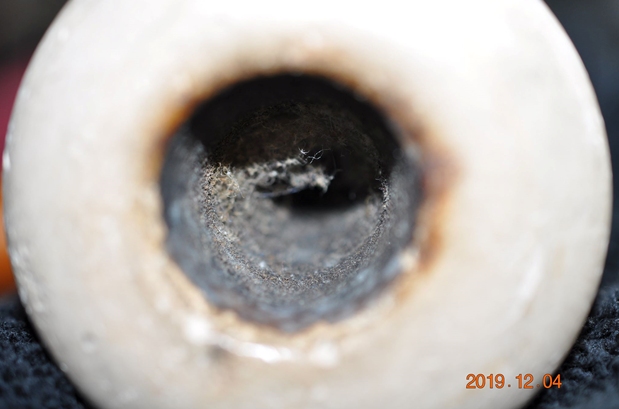
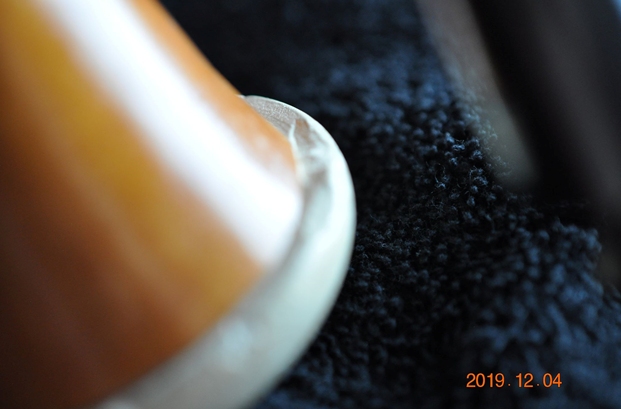
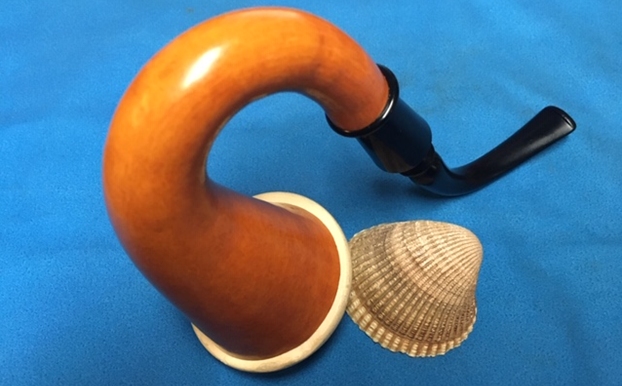
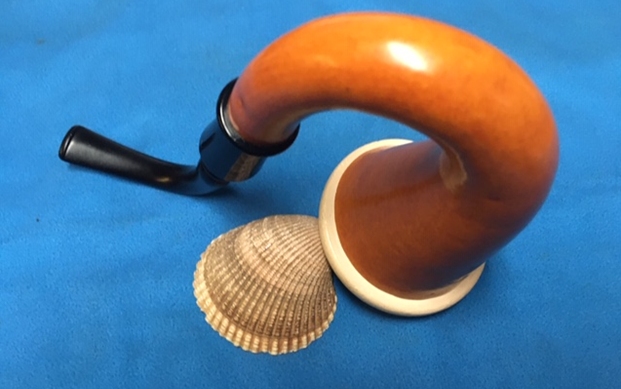
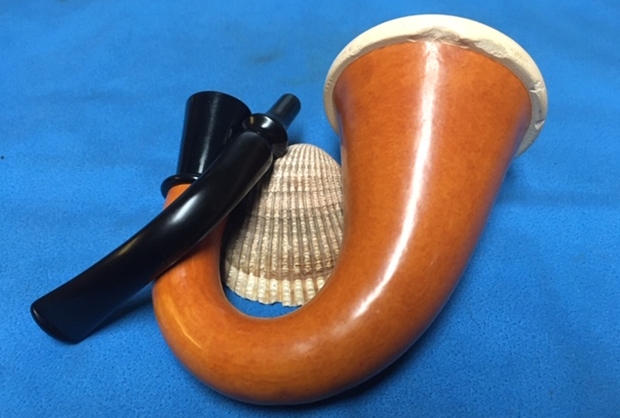
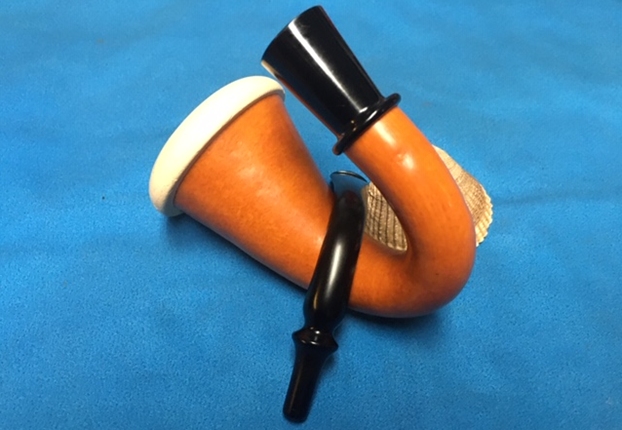
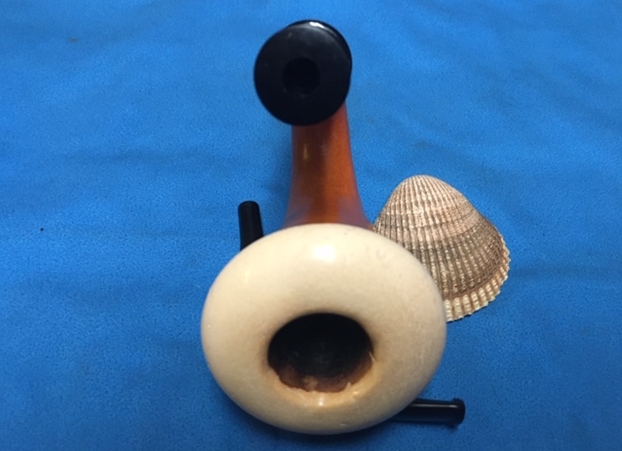
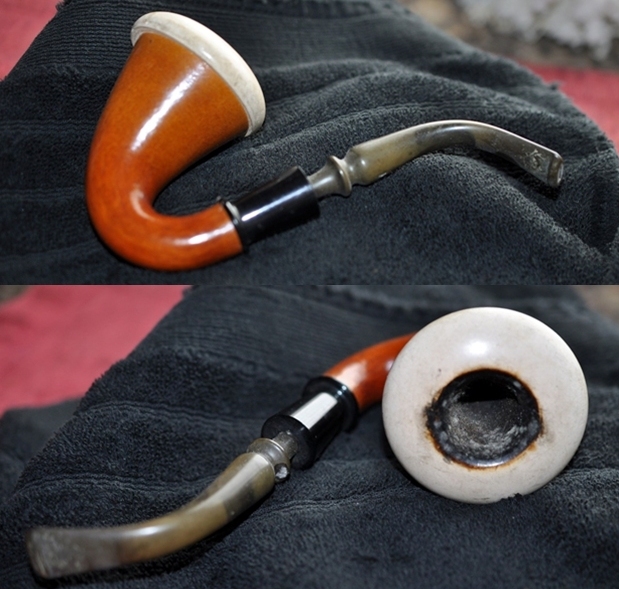
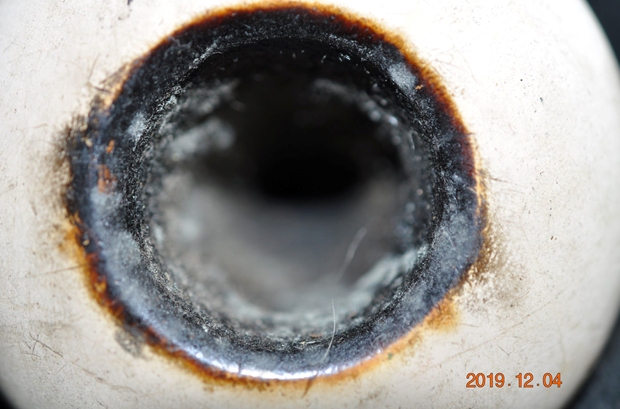
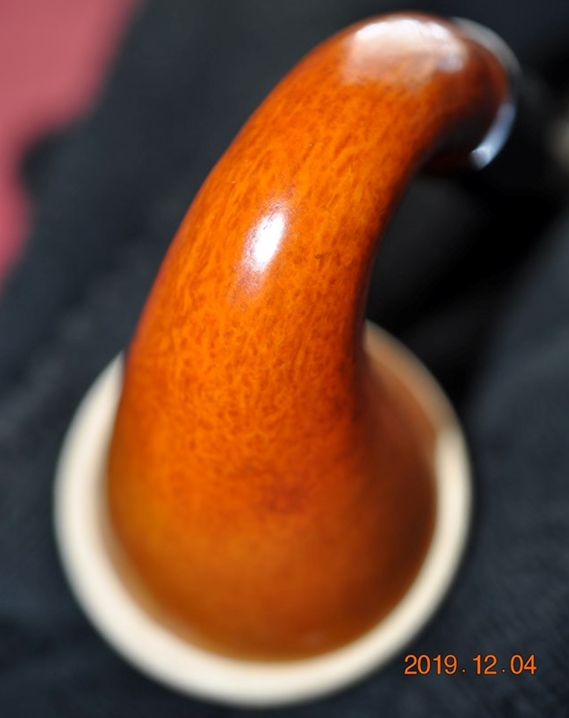
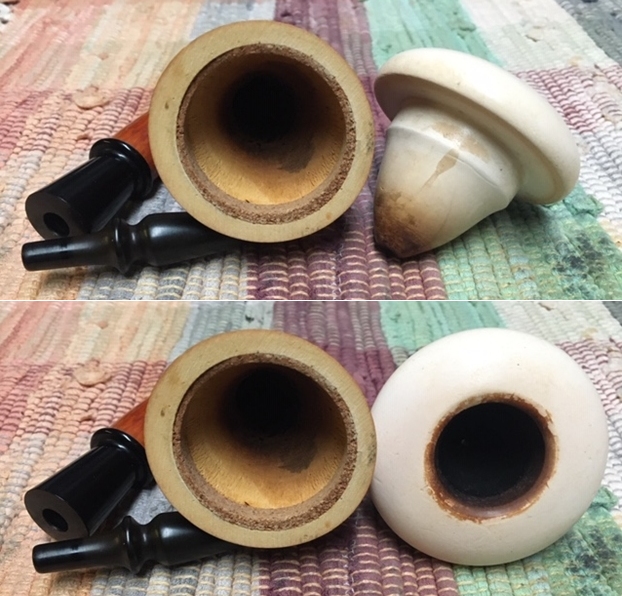
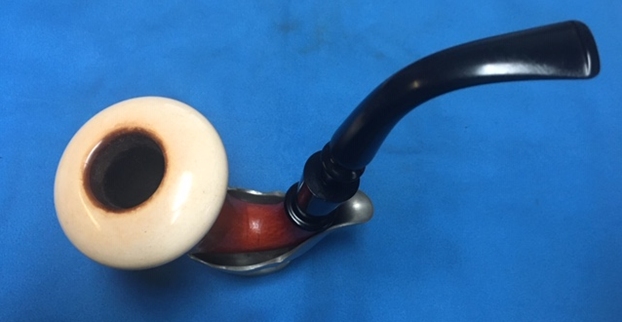
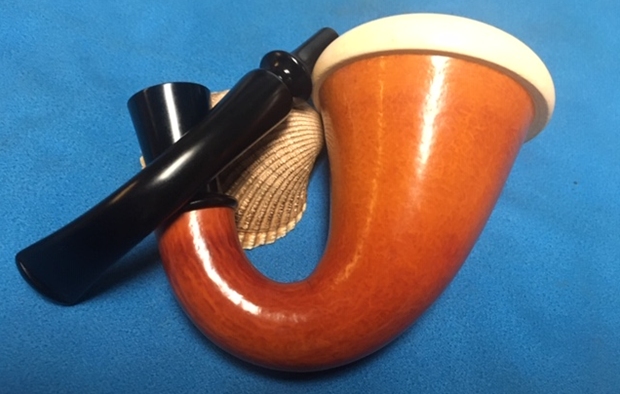
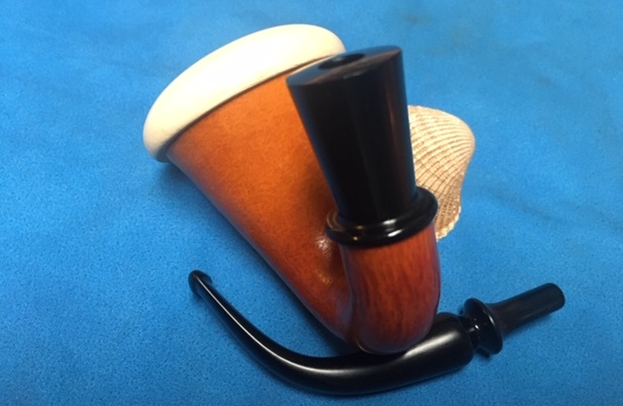
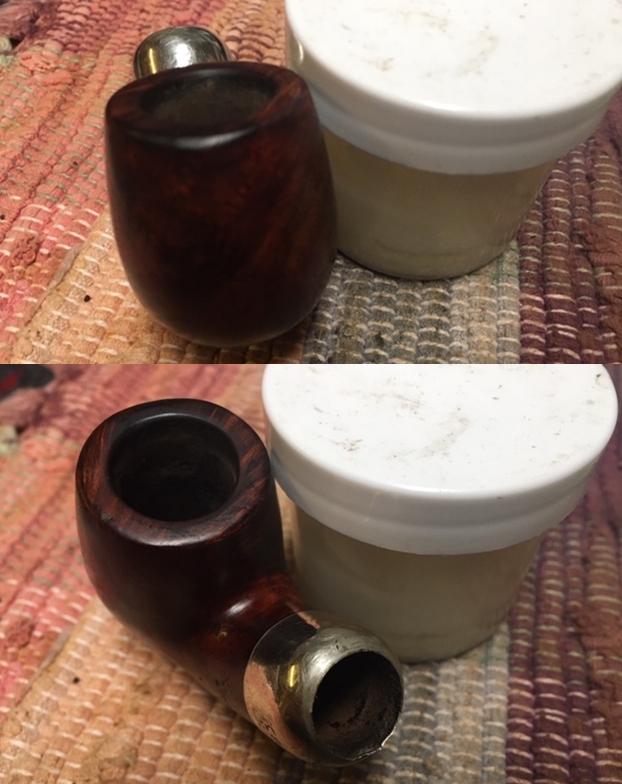
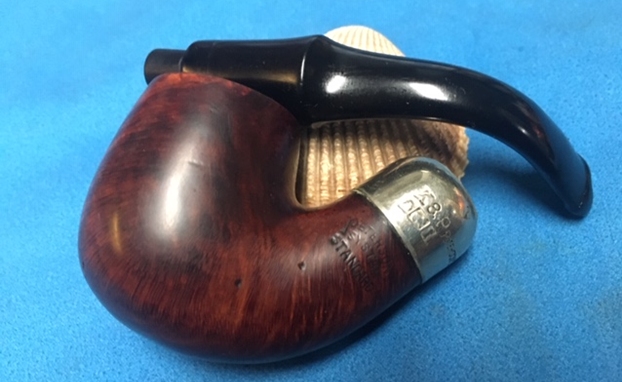
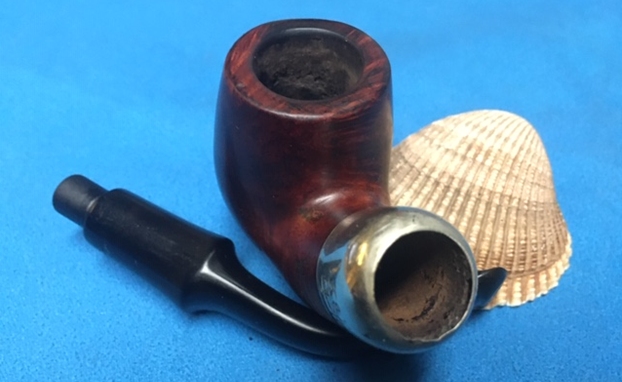
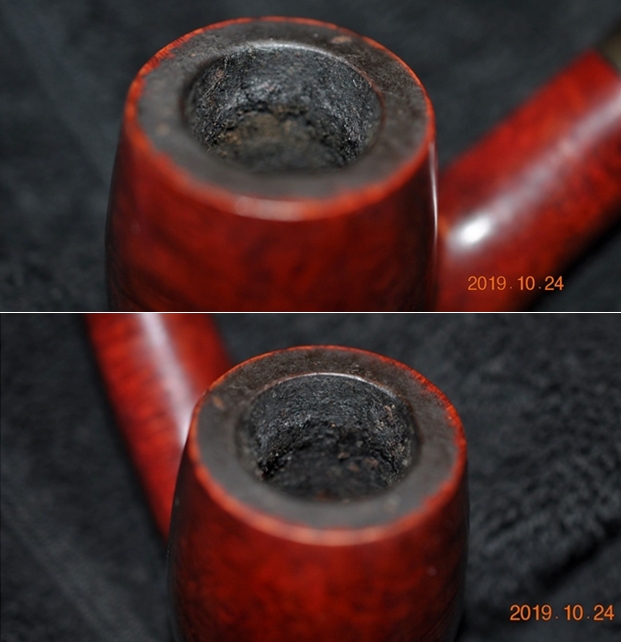
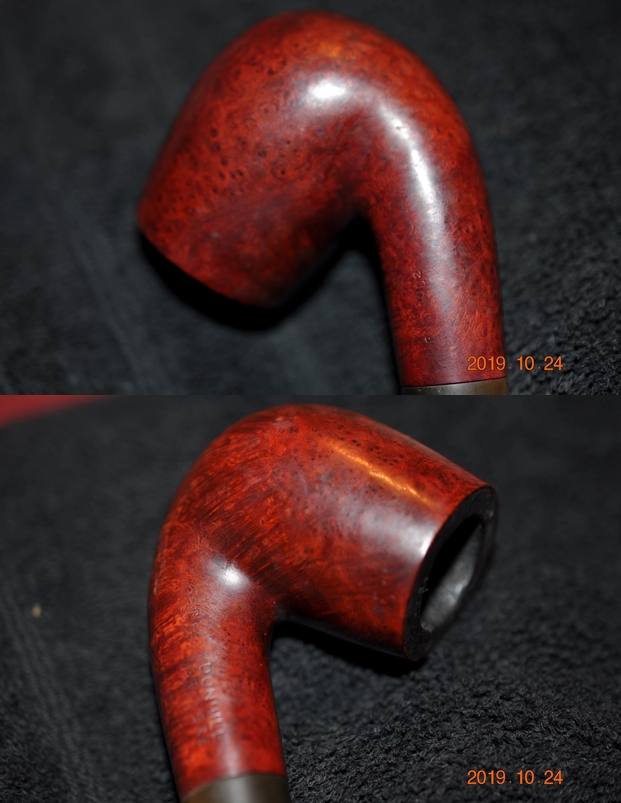
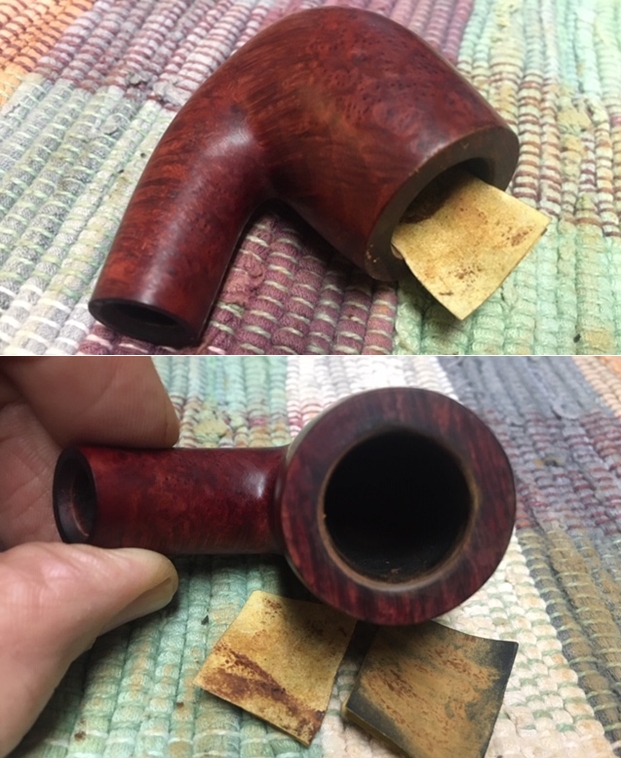
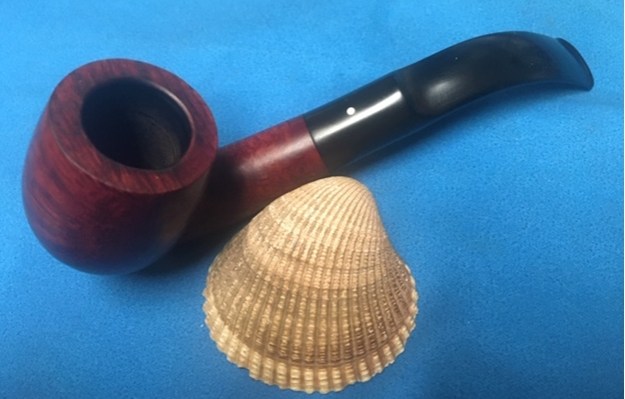
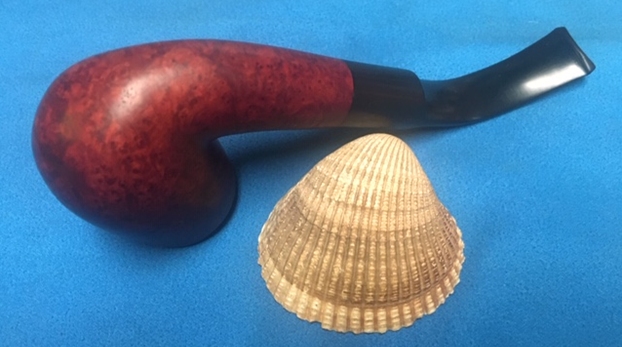
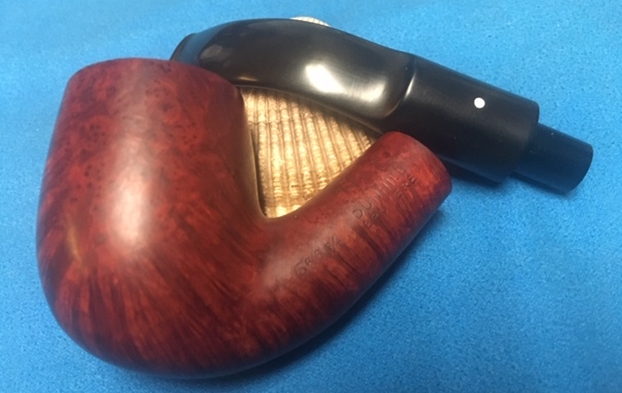
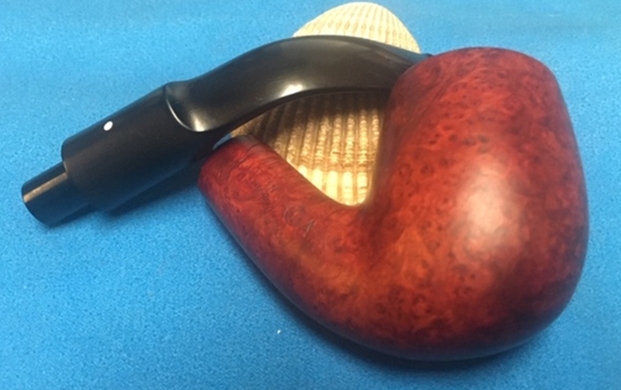
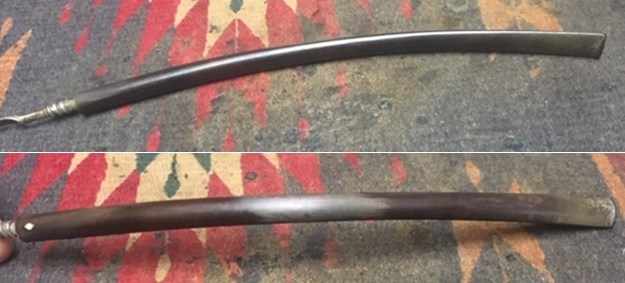
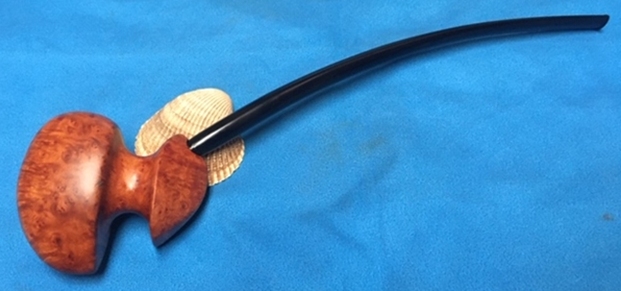
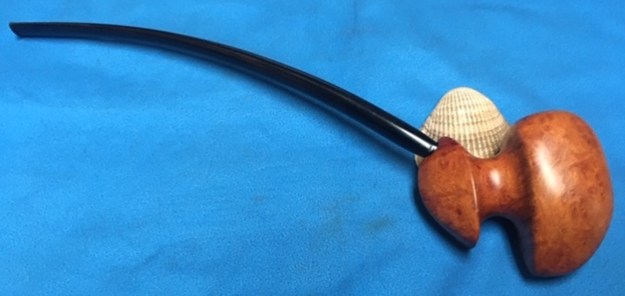
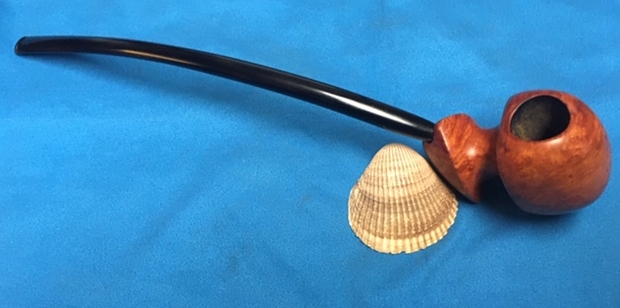
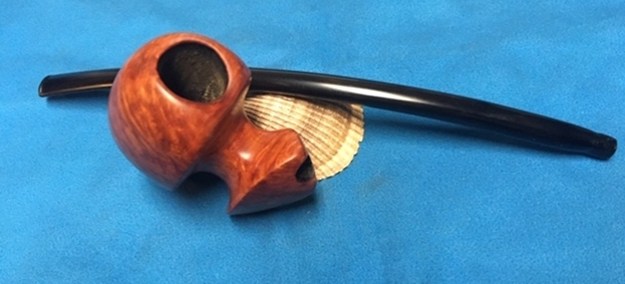
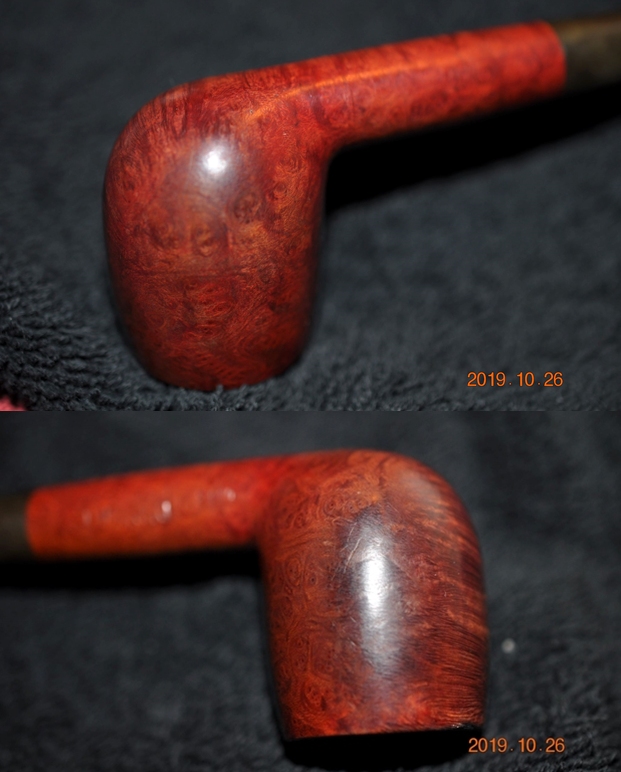
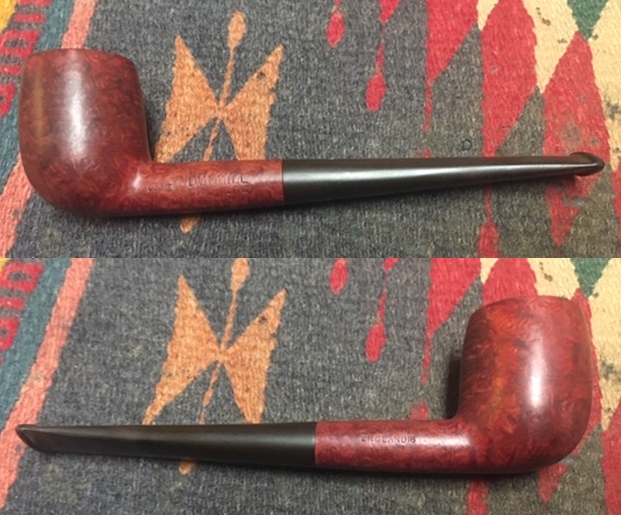
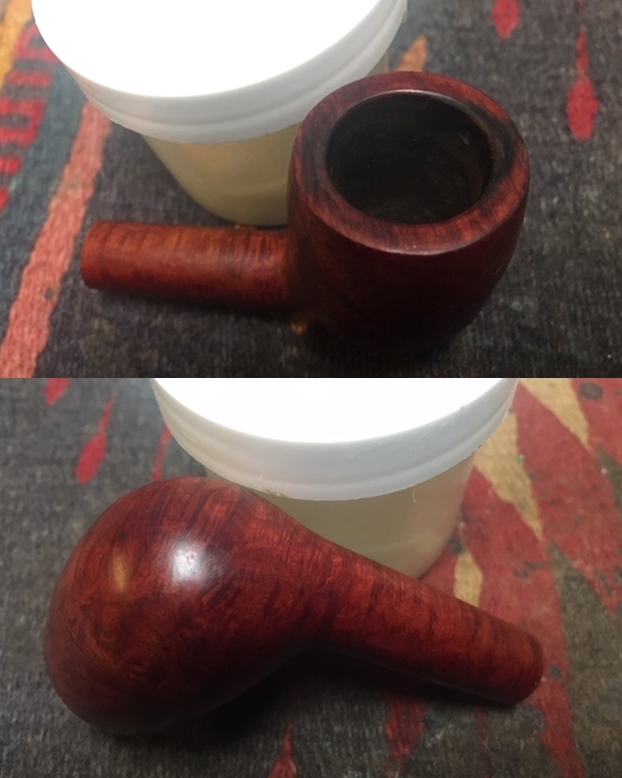
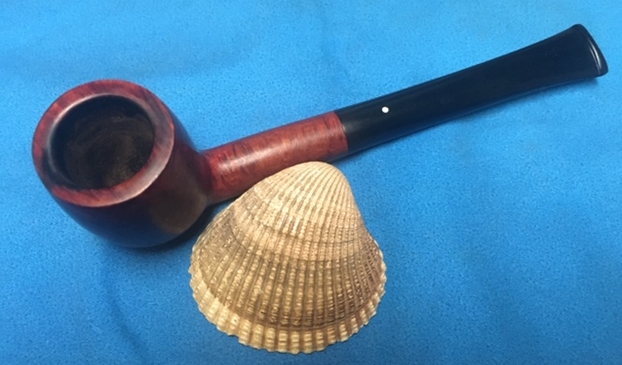
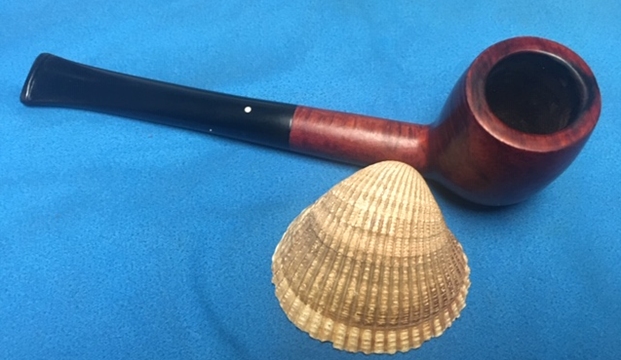
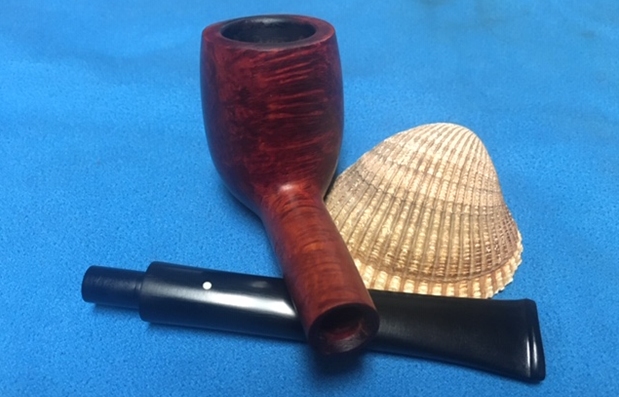
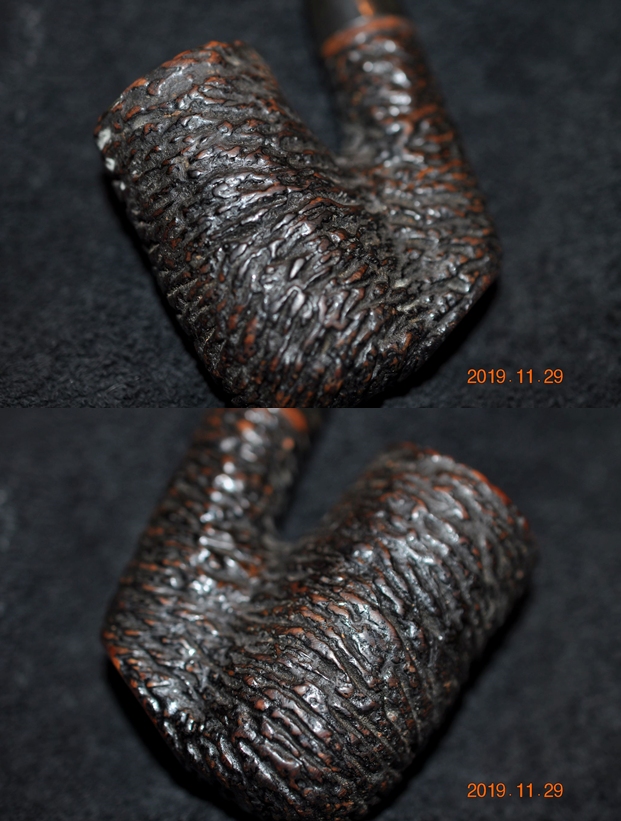
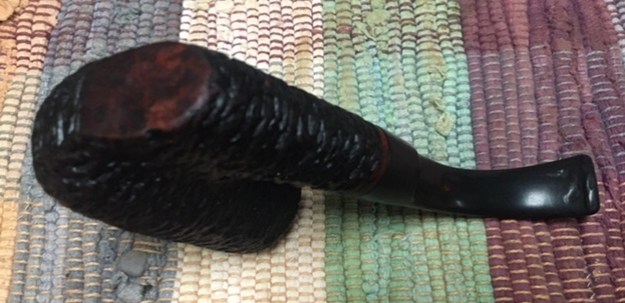
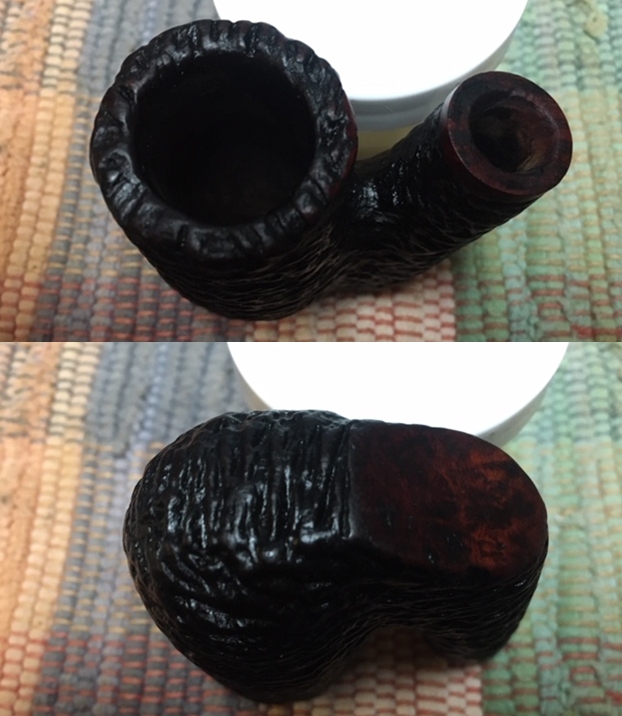
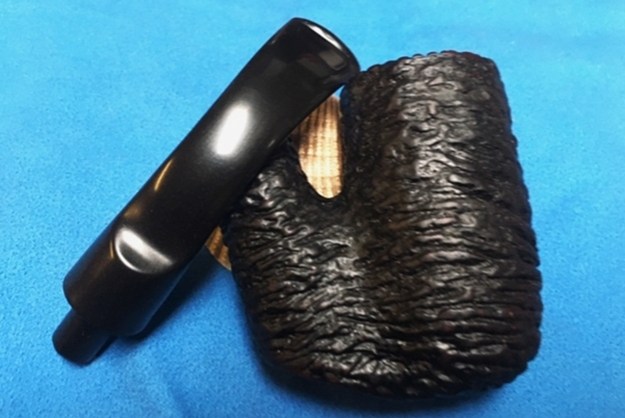
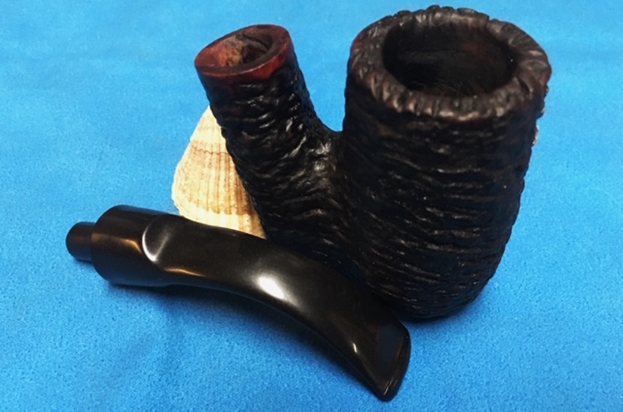
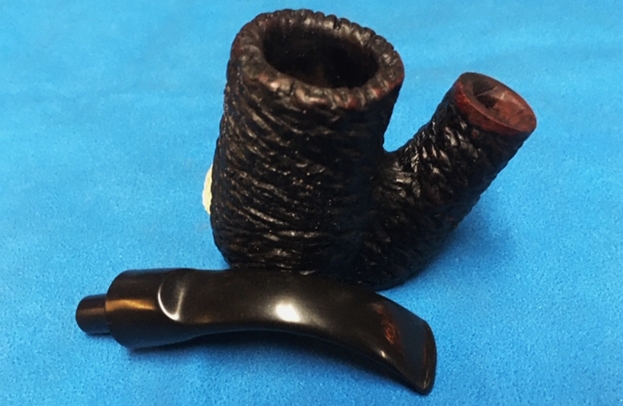
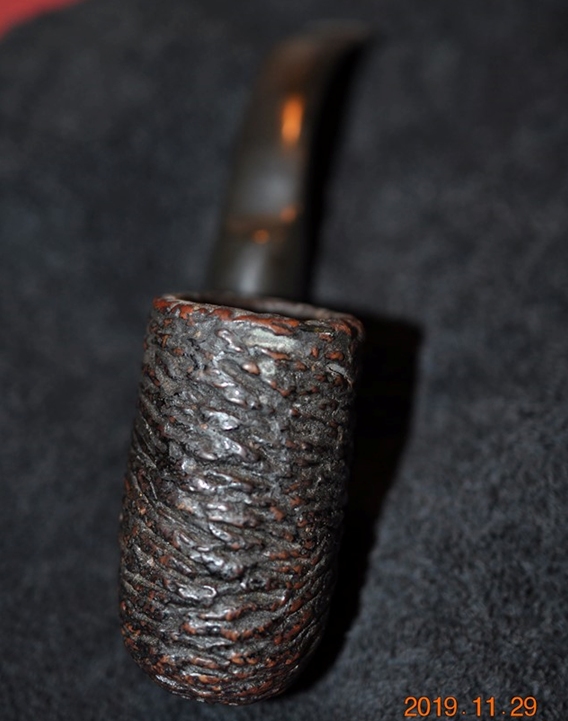 Jeff took the previous three photos and more to show the general condition of the pipe before he started his work on the pipe. The finish on the pipe was very dirty – grime and grit from years of use and sitting fill the crevices in the rustication. The rim top was covered with a coat of thick lava that overflowed the bowl. It was primarily on the backside of the bowl. The rustication on the rim was also dirty. The bowl itself had a thick cake with flecks of tobacco stuck in the cake on the sides. Jeff took photos of the sides of the bowl to give a better feel for the rustication on the bowl. Hopefully you can see the similarity to the Lovat included above.
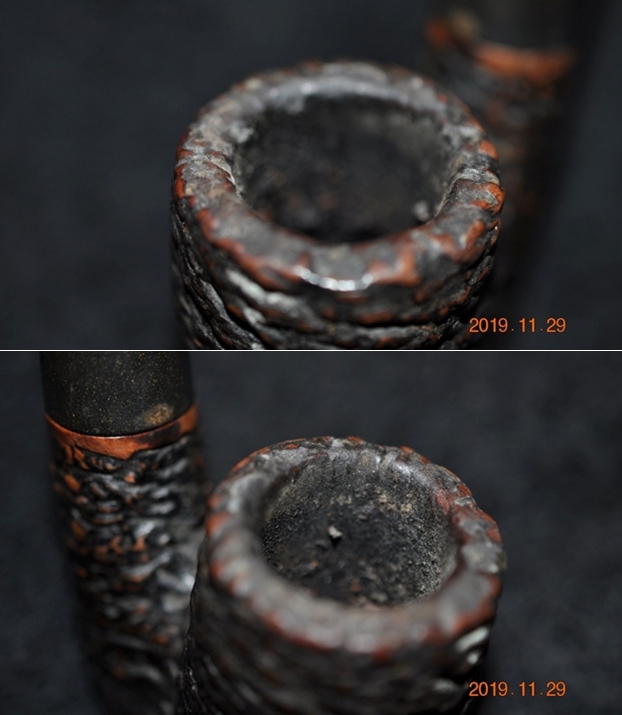
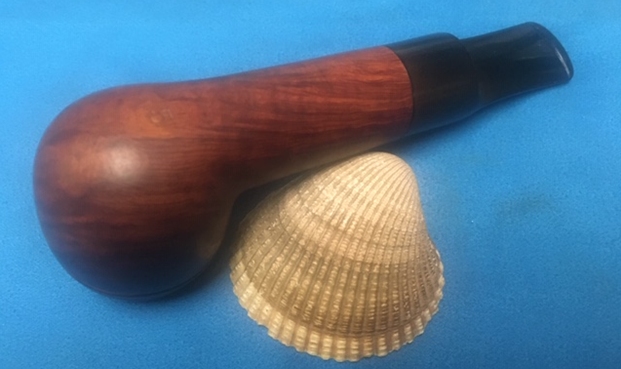
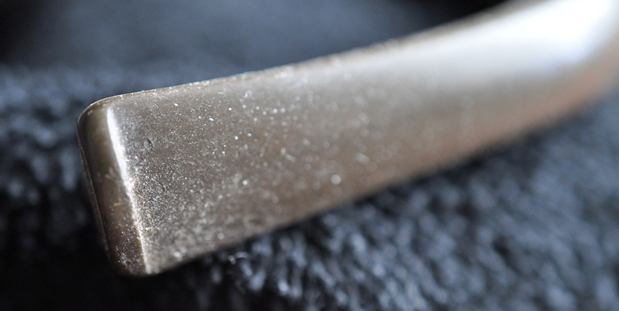
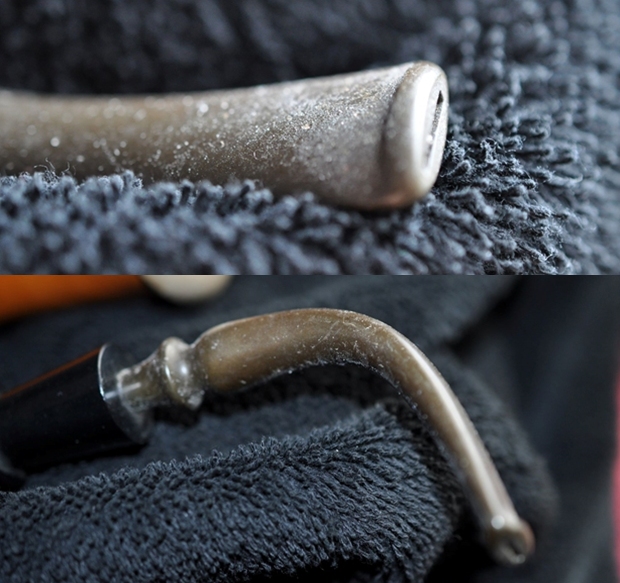
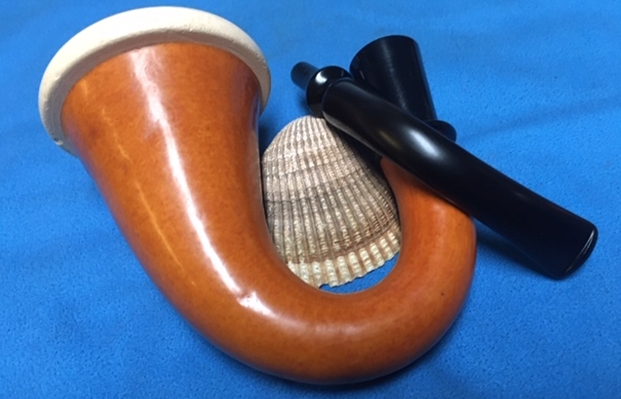
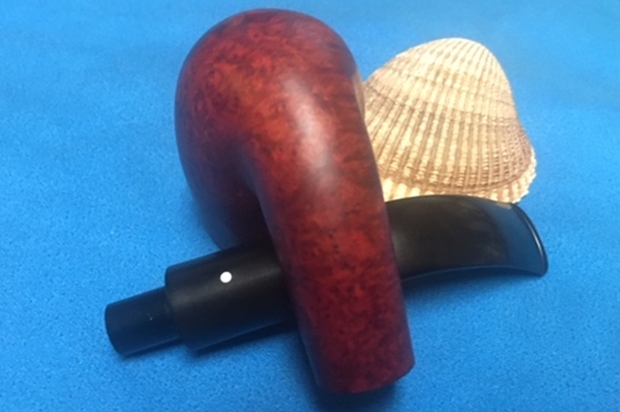
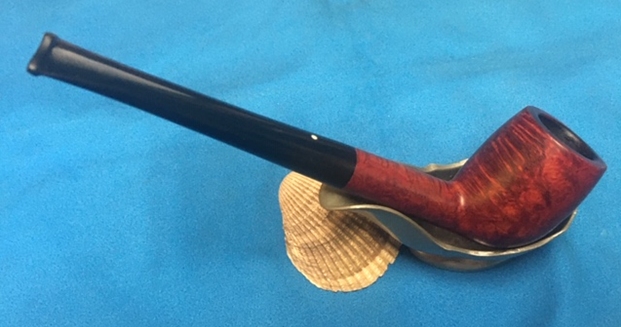
 The stem was dirty and very oxidized. The stem appeared to be a replacement and was a Twin Bore or Bite Proof one. But even that had stopped Bob from leaving his characteristic chomp marks on the stem and button edges.
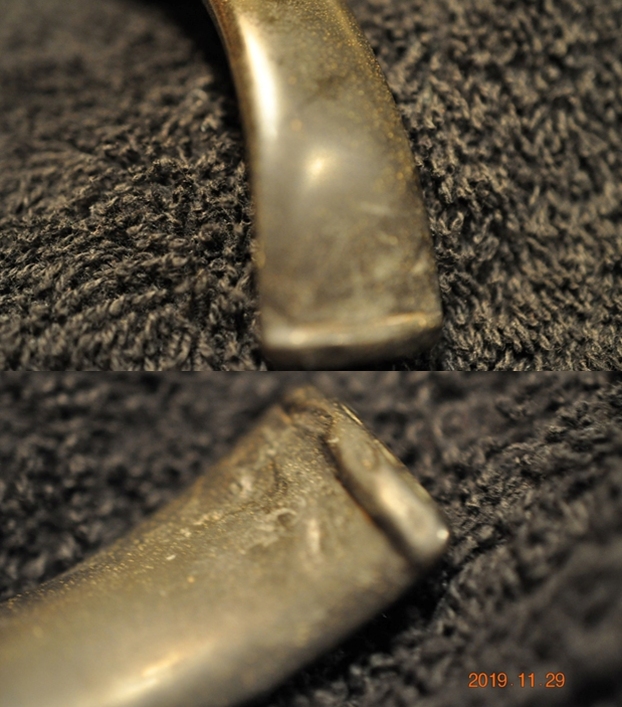 To help establish the connection with my Lovat further I quote from the blog I wrote in May of 2013 to connect this new pipe I am working on to the previous Lovat.
I called and talked with Robert Blatter who asked about the colour of the dot on the stem and the stamping. He was pretty certain that the pipe was old and made by his grandfather. I cannot remember the dates at this time but it was at least three generations back as the shop was currently managed by him and his sons were working with him. He was keen to see the pipe as it was a piece of his family history (https://rebornpipes.com/2013/05/19/two-of-my-older-blatter-and-blatter-pipes-of-montreal/).
From that I information on the previous Lovat restoration and Robert’s response I would say that this pipe is also one that was made by his Grandfather. Unfortunately the Oom Paul I am working on has a replacement stem that does not have the Blatter dot on it but I would guess that it was originally a green dot like my Lovat.
I turned to their website which has a great summary of the history of the brand in both English and French (http://www.blatterpipes.com/English.html). I quote a portion of the history of the brand from that succinct summary.
In the late 1890’s Frederic Blatter owned and operated a pipe factory in London, England, home of some of the great pipemakers and smokers of the time. After a fire destroyed the Blatter pipe factory, the family made a decision to move to Cape Town, South Africa with the prestigious mandate to make pipes for certain French Generals. After opening a factory and several retail stores in the cities of Cape Town and Durban, the family was once again on the move. This time Montreal, Canada.
Ernest Blatter and family moved from South Africa to Montreal in 1907. Once again the brothers opened a pipemaking factory on St-Hubert street and a retail store at 190 St. Catherine street West. Cigars and pipes were very popular in the 1930’s and the Blatters operated five stores. The St. Catherine street location operated for sixty three years until it moved to 365 President Kennedy avenue, in 1970. Mr. Peter Blatter began working with his father, Henri-Georges, in 1964. Mr. Henri-Georges Blatter passed away in 1967. Mr. Robert Blatter, Peter’s brother, joined the firm in 1968 and took over the pipemaking duties.
Today, the family business specializes in the finest briar pipes, which are all handmade on the premises, and the finest quality cigars from Cuba and around the world. In 1982 Pierre and Robert Blatter were inducted in the prestigious “Confrérie des Maîtres-Pipiers de Saint-Claude”. After major renovations to their store, they have recreated that much sought after ambiance of their original location.
In the summer of 2000, Patrick, son of Pierre Blatter joins the family business and slowly learns the careful art of pipmaking under the watchful eye of his uncle Robert. In 2013, Patrick is invited to Saint-Claude and finally is honored and inducted, just like his father and Uncle, into the prestigious Confrérie des Maîtres-Pipiers de Saint-Claude!…
I would recommend that you visit their site and see some of beautiful pipes they make and some of the great smoking blends from their shop on 375 President Kennedy Avenue, Montreal, Quebec. They are a pleasure to do business with and are well worth a visit should you find yourself in Montreal.
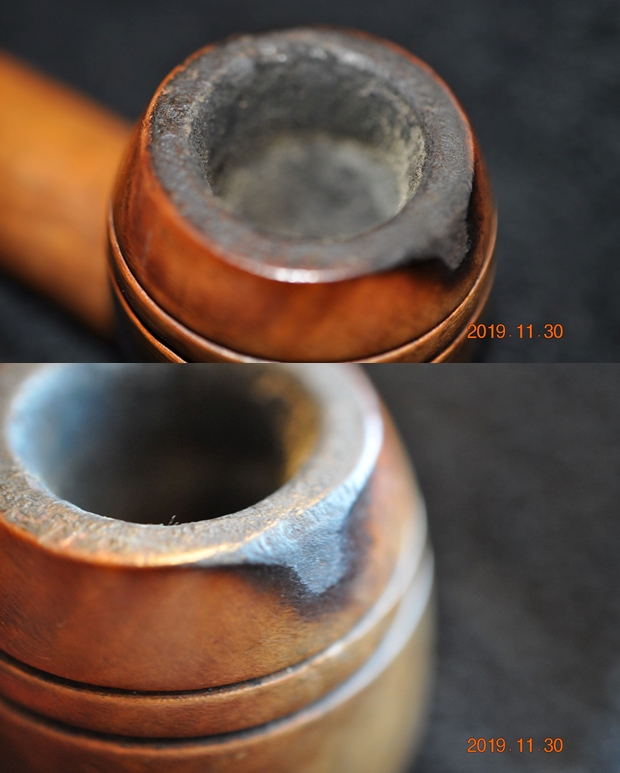
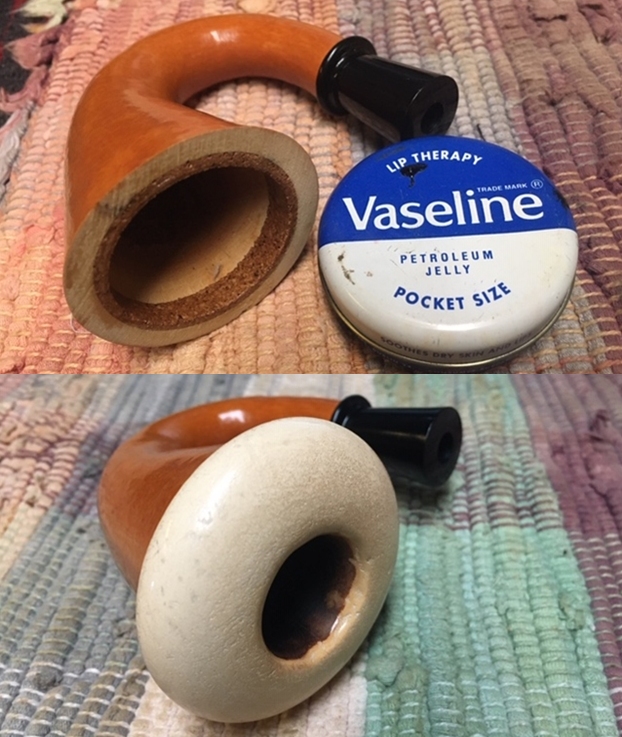
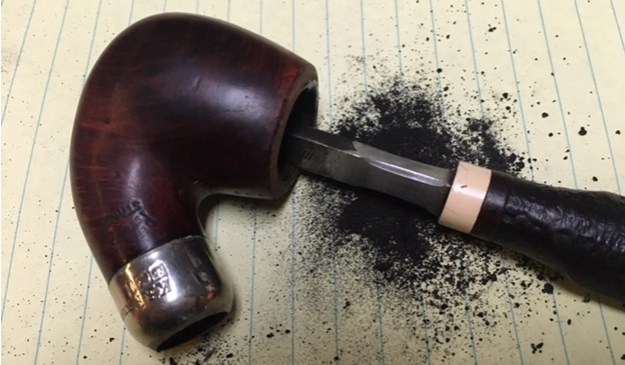
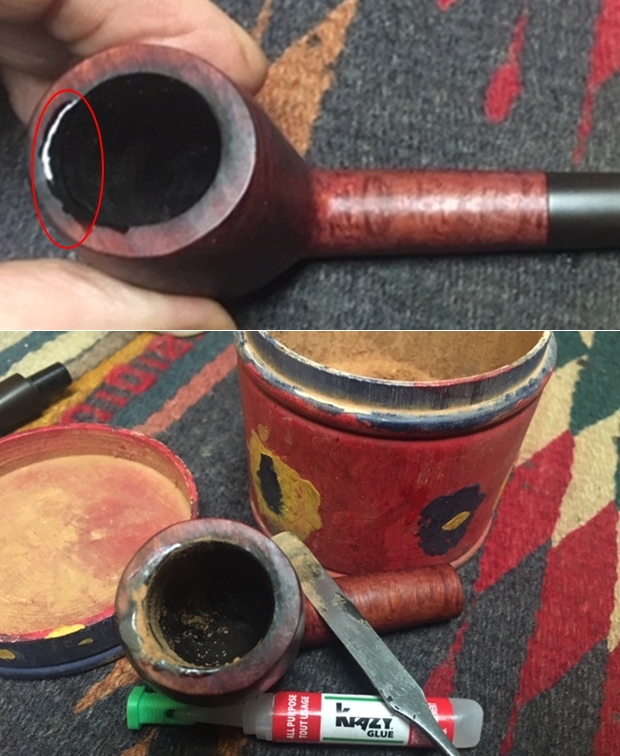
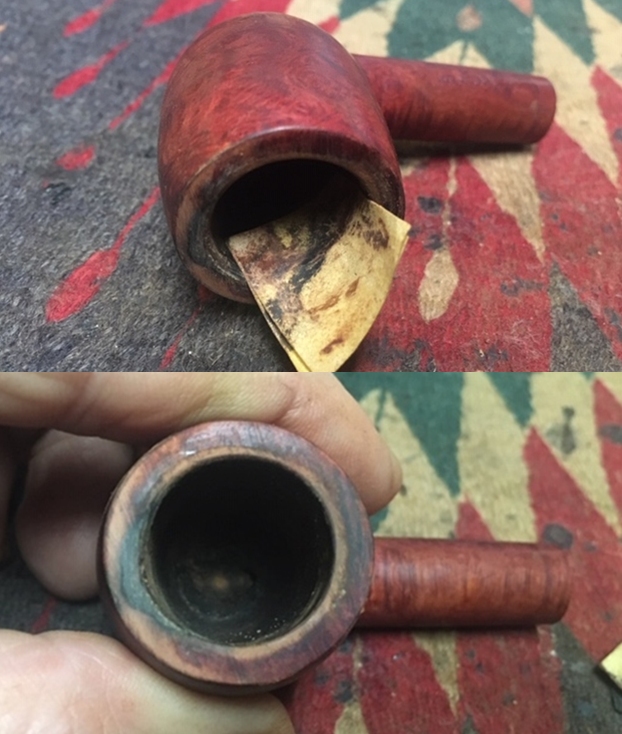
Turning now to the restoration of this beautiful rusticated Blatter Bros. Montreal Oom Paul. Jeff cleaned this filthy pipe with his usual penchant for thoroughness that I really appreciate. This one was a real mess and I was looking forward to seeing what he had done with this one when I took it out of his box. It looked amazing and CLEAN and other than the stem work needing very little effort on my part. He reamed it with a PipNet pipe reamer and cleaned up the reaming with a Savinelli Fitsall Pipe Knife. He scrubbed out the internals with alcohol, pipe cleaners and cotton swabs until the pipe was clean. He scrubbed the exterior of the bowl with Murphy’s Oil Soap and a tooth brush to remove the grime and grit on the briar and the lava on the rim top. The finish looks good with great looking grain around the bowl and shank. The rim top and front of the bowl was severely damaged with burns. The condition of the inner and outer edges was rough. The stem looked a lot better but damage was evident on the button. Jeff soaked the stem in Before & After Deoxidizer to remove the oxidation on the rubber. The pipe was ready for me to carry on the next part of the process. 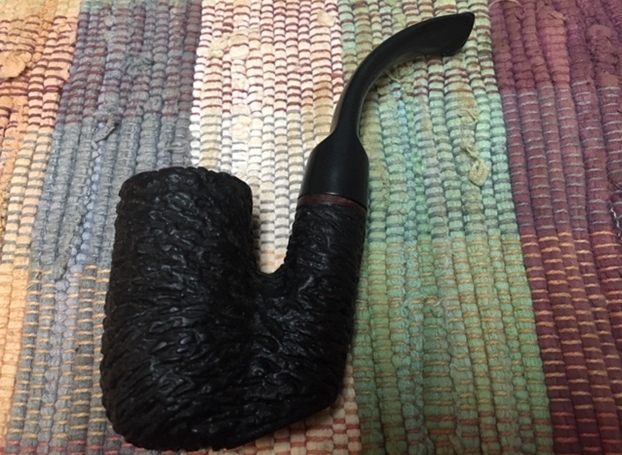

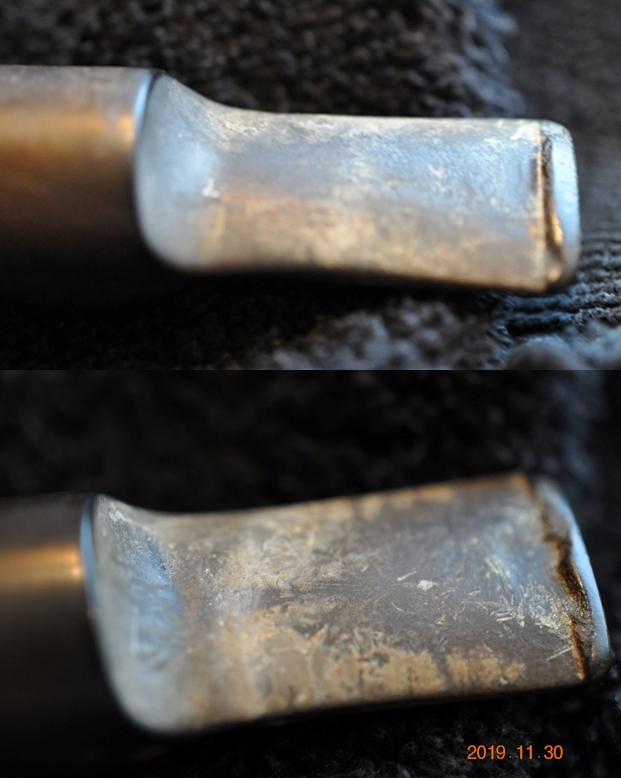
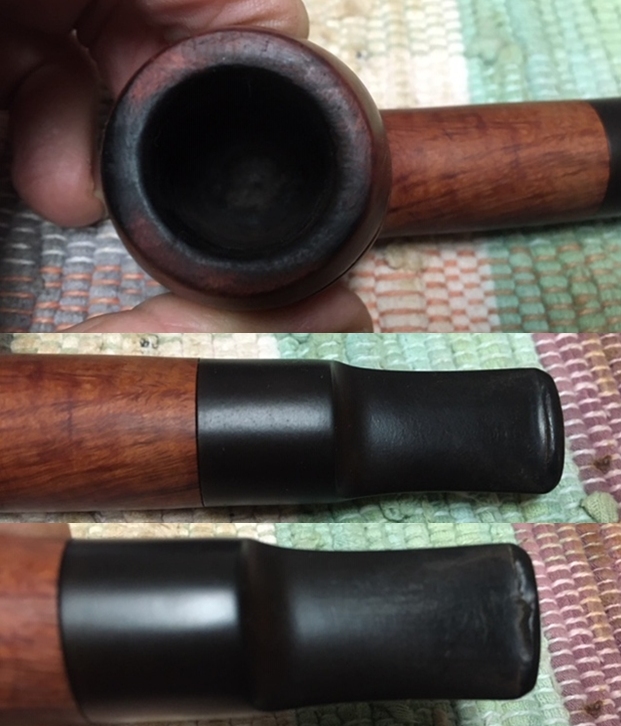
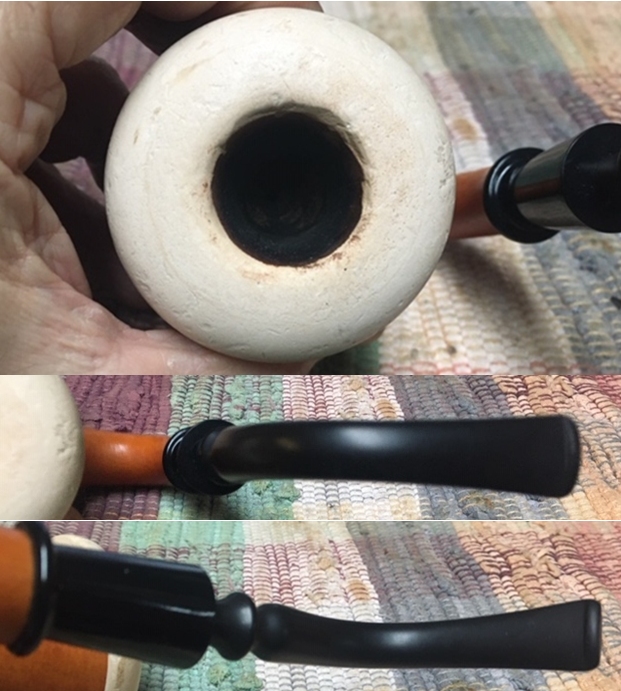
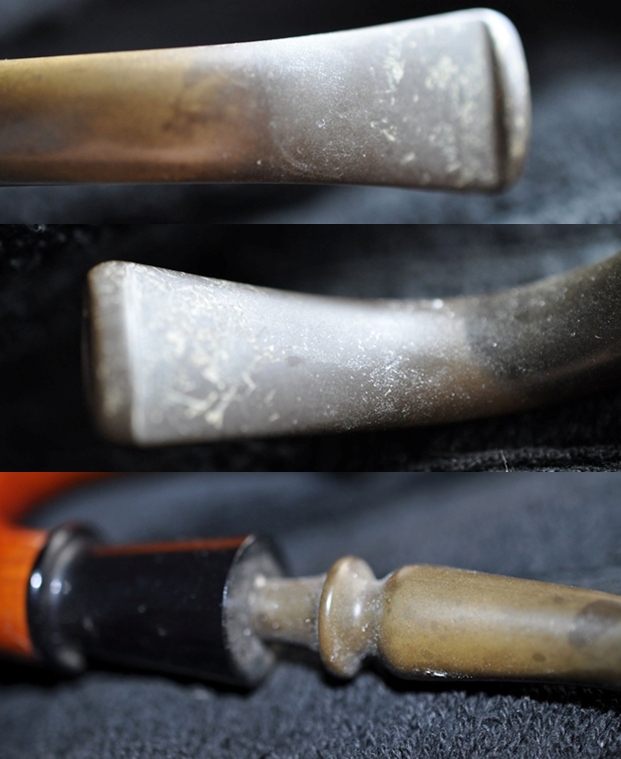
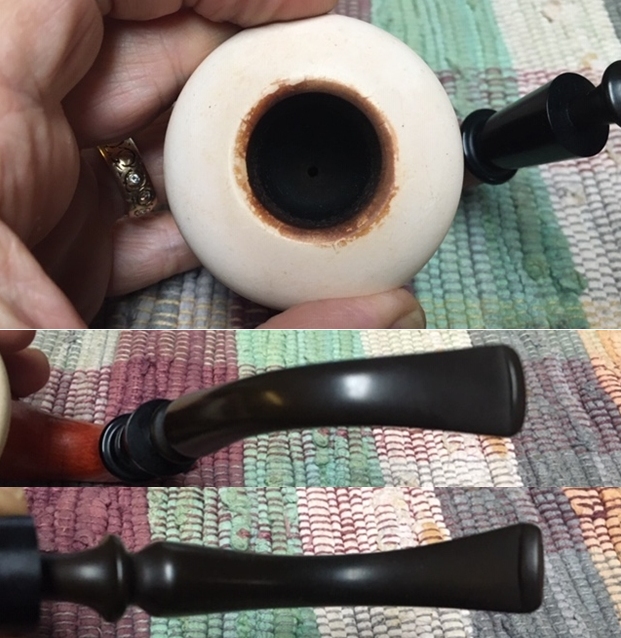
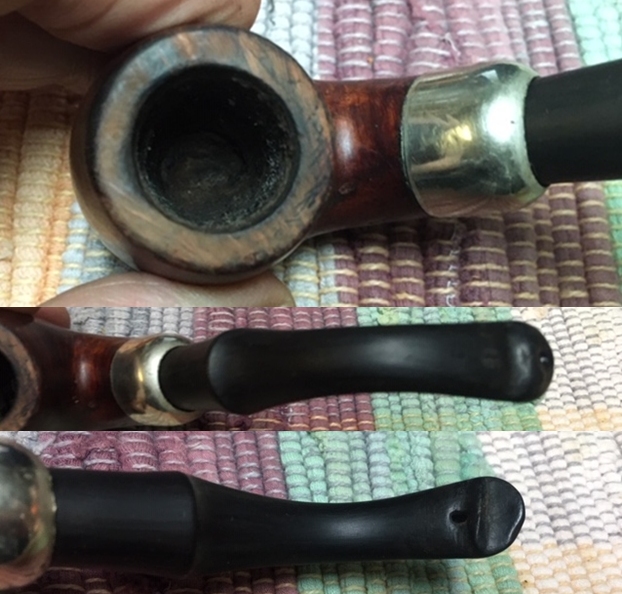
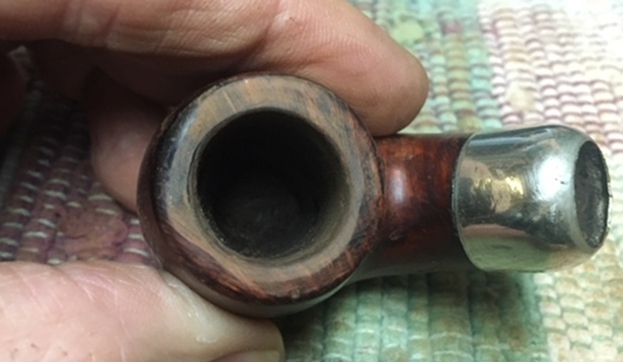
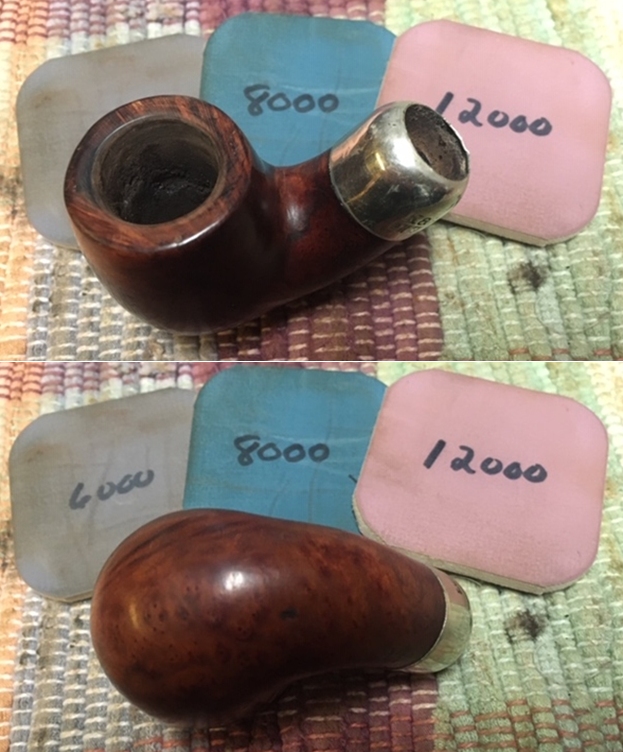
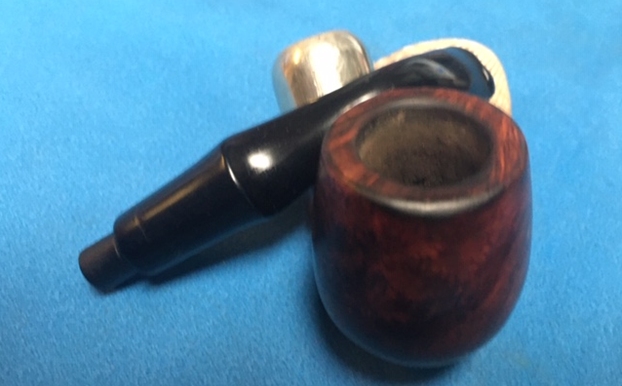
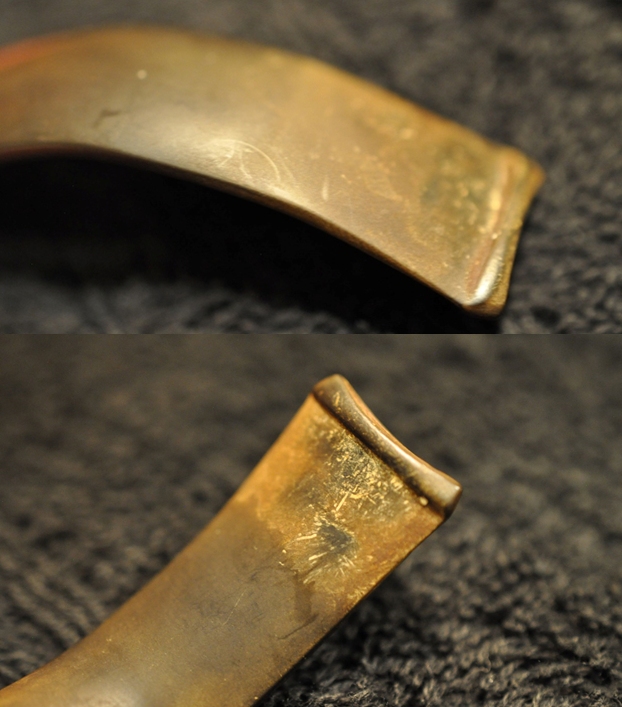
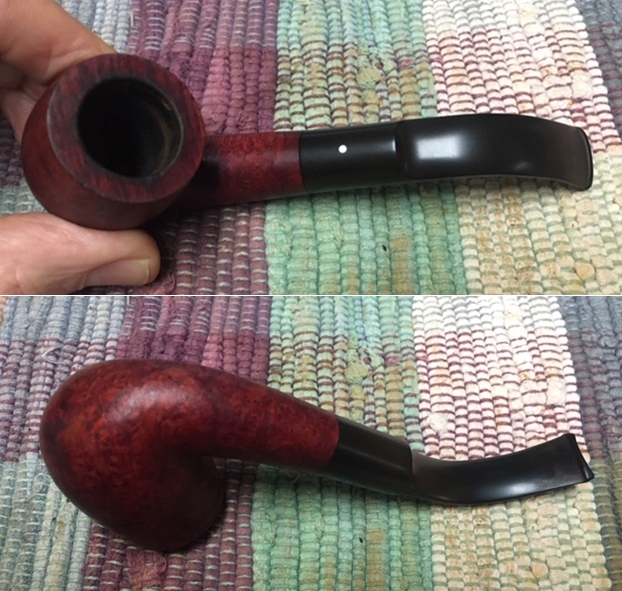
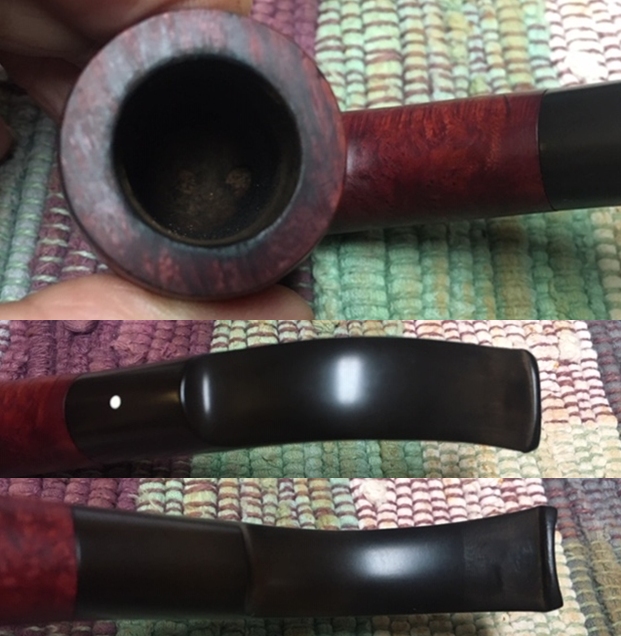
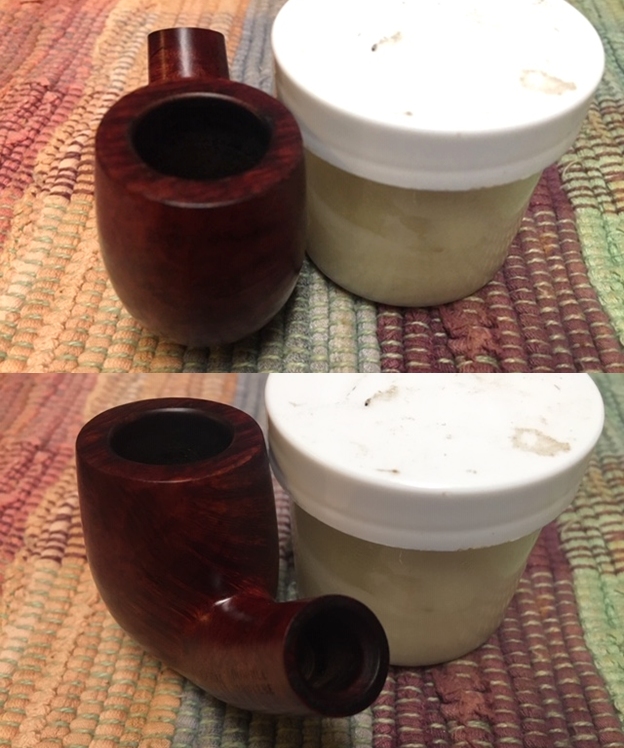
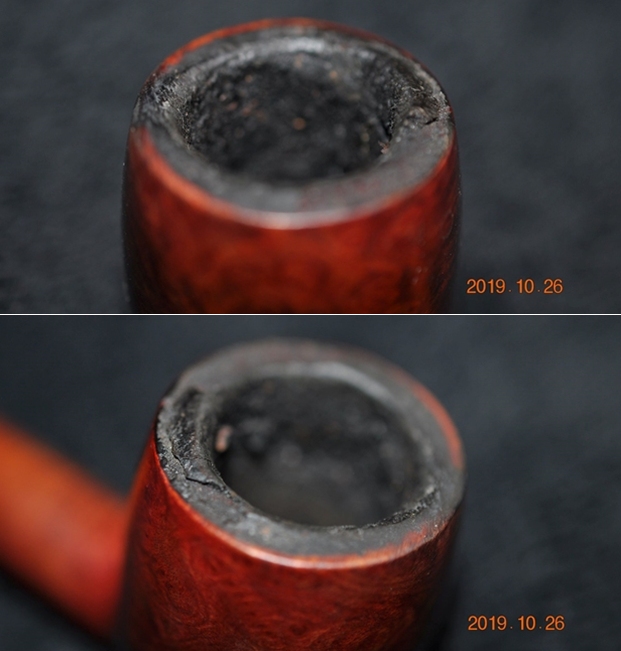
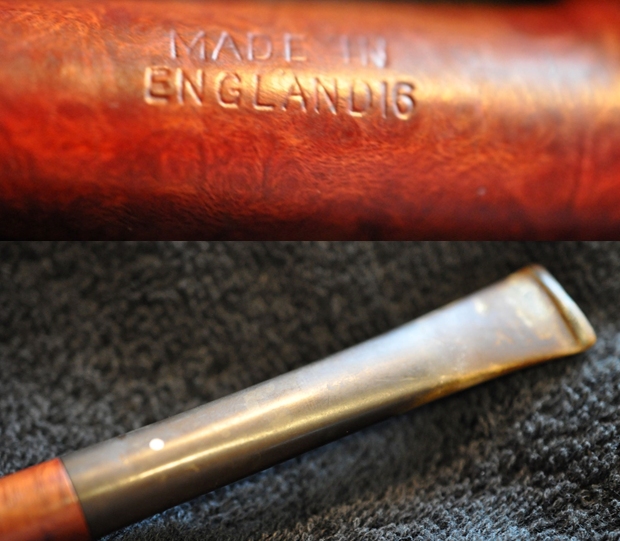
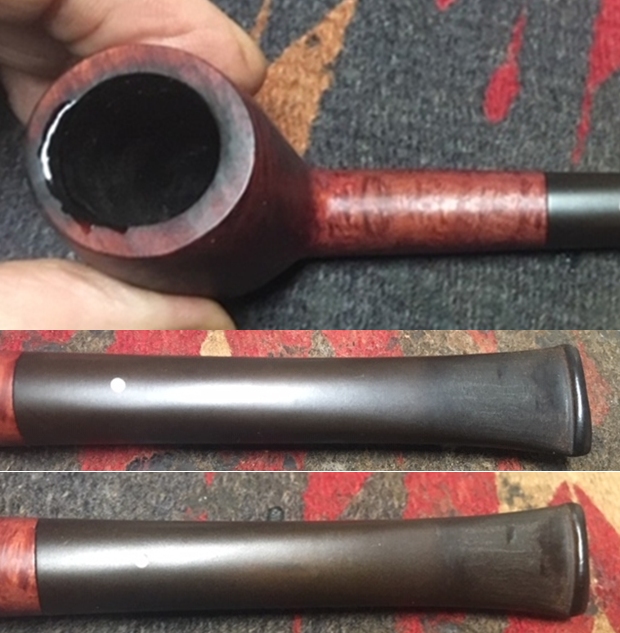
 I took some close up photos of the rim top and also of the stem surface. I wanted to show how well it had cleaned up. The rim top was clean and undamaged. Both the inner and the outer edges looked good. I also took close up photos of the stem to show the tooth marks on the stem and the button surface. The last photo shows the twin bore stem with the twin airways coming out in the button.
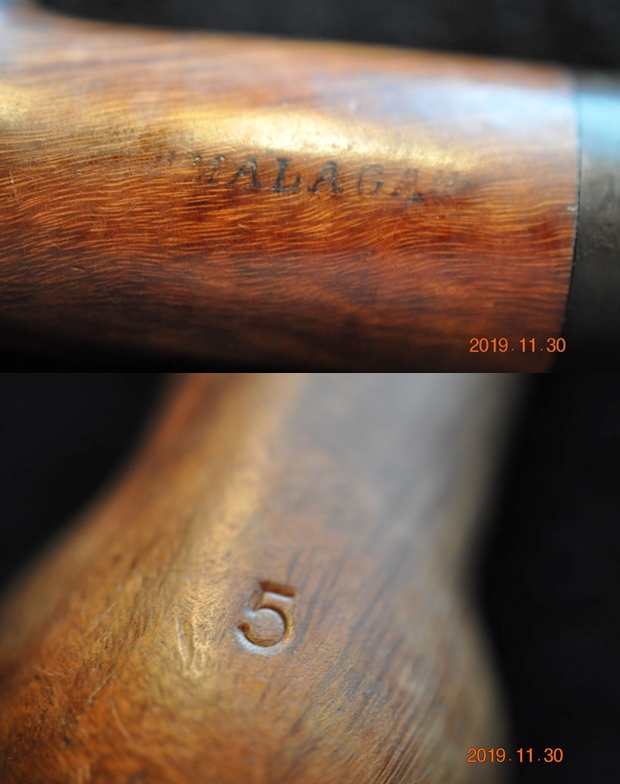
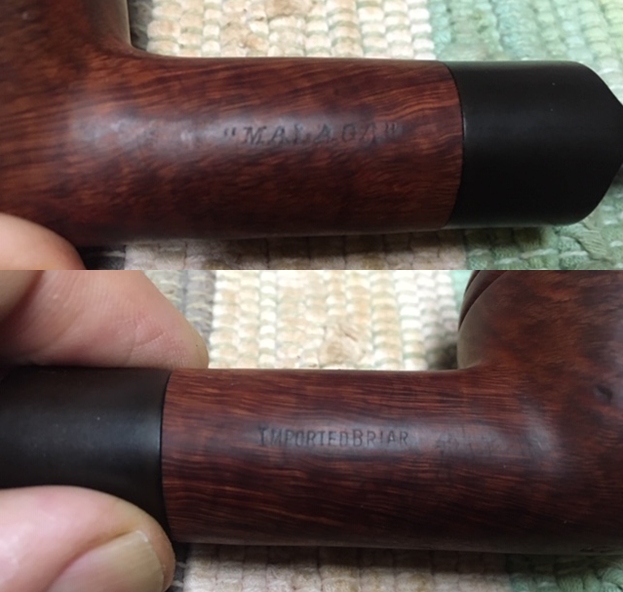
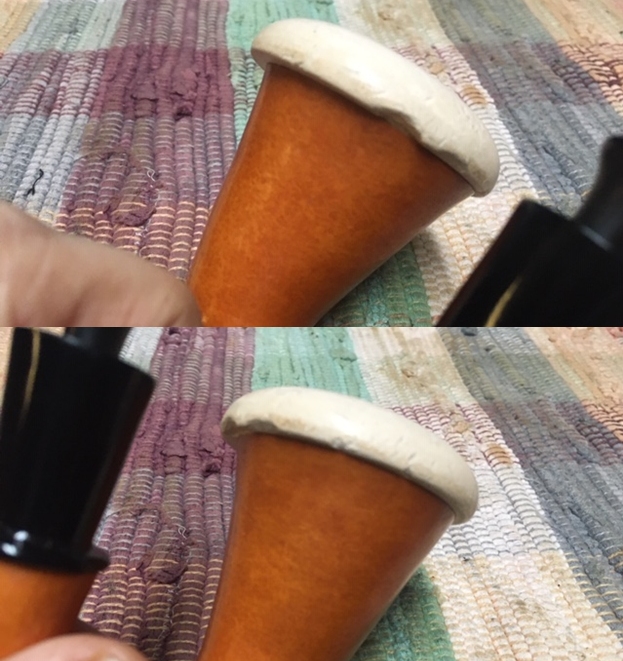
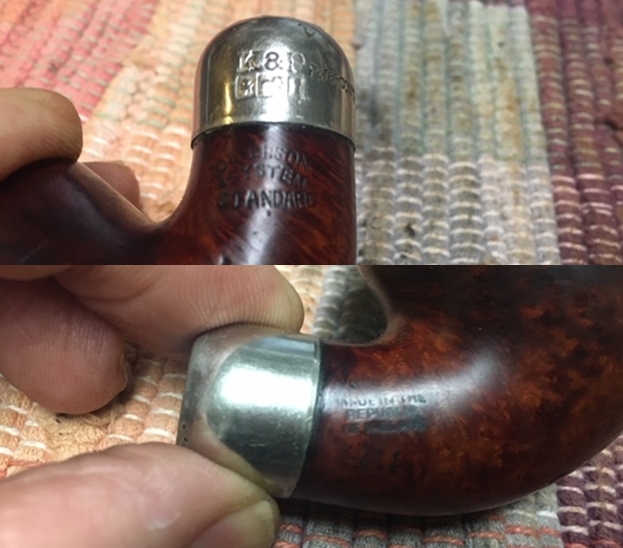
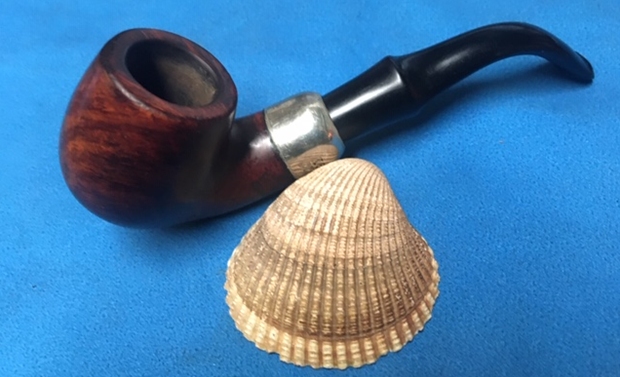
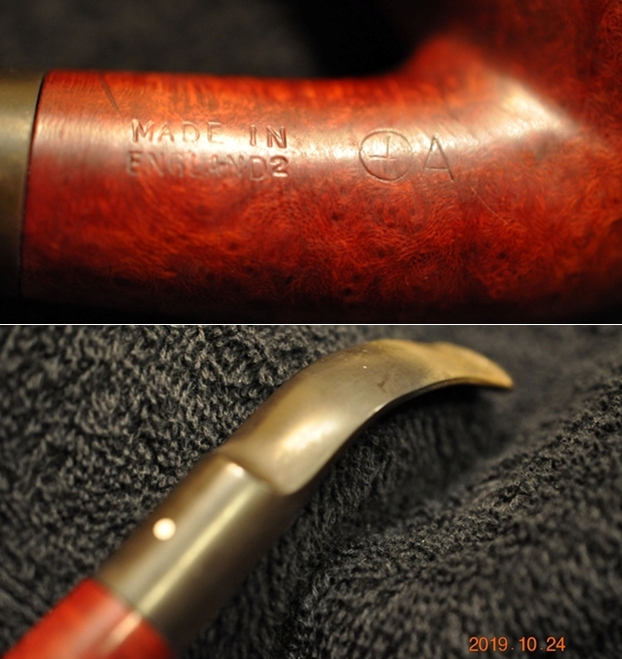
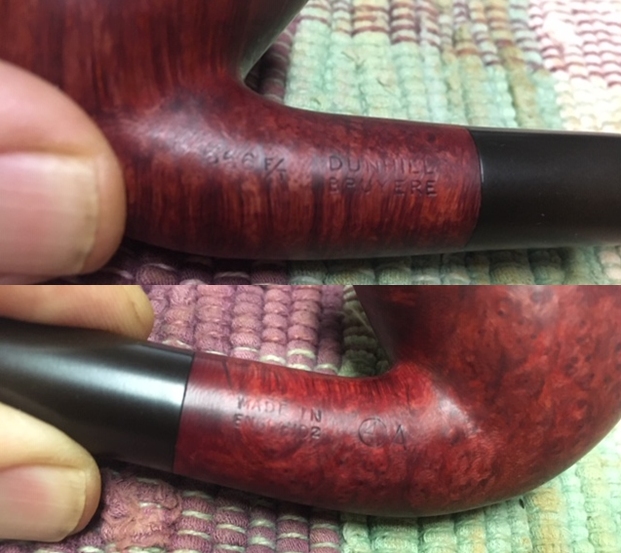
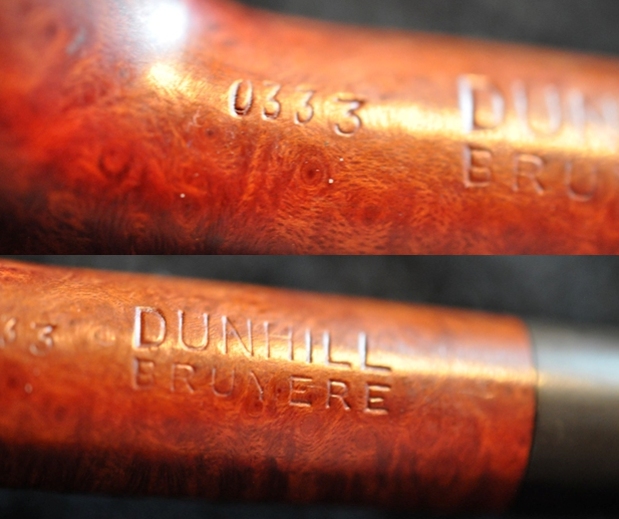
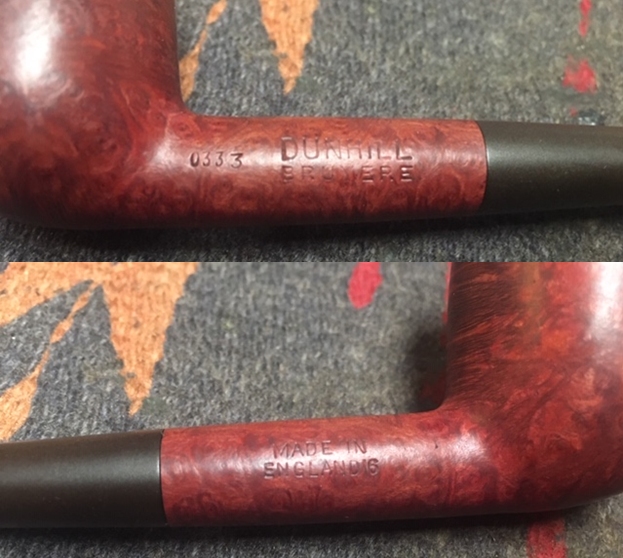
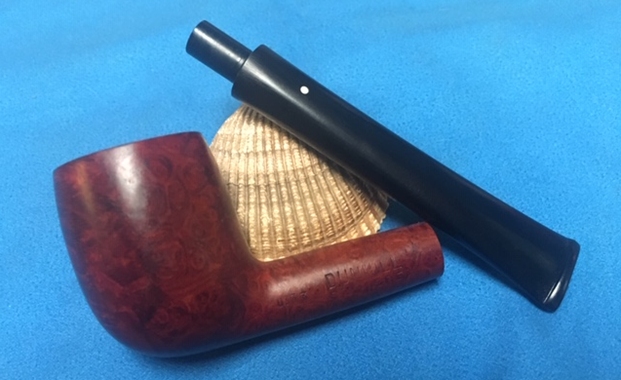
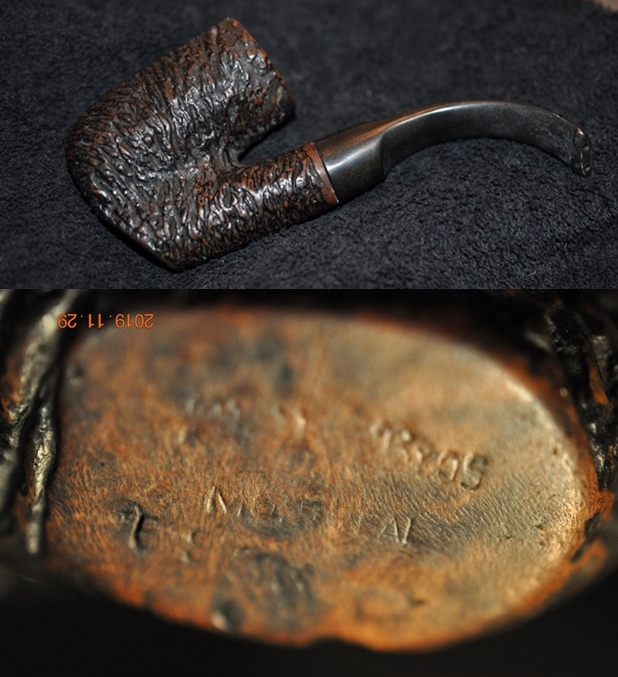
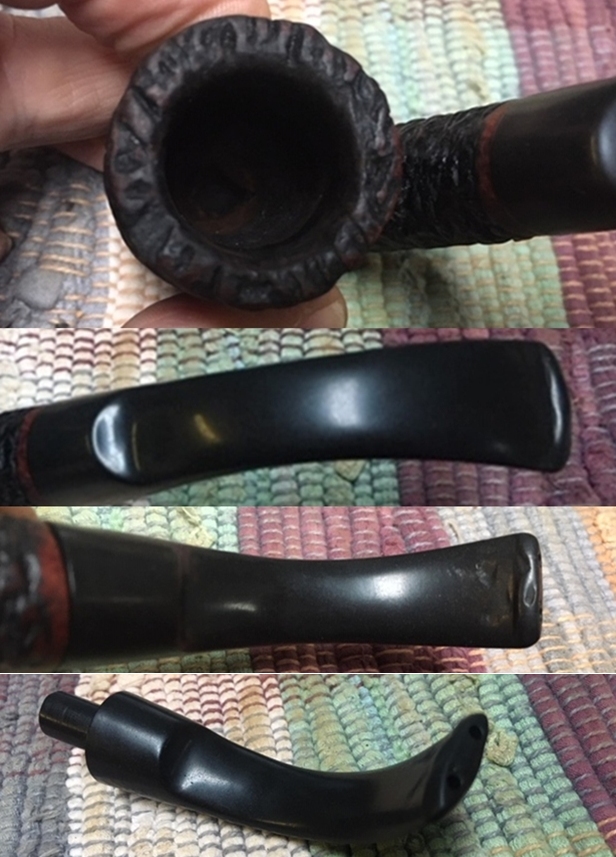 I took a photo of the stamping on the underside of the bowl. You can make out that it says Blatter Bros. over Montreal. There appears to be a shape number under that but I cannot make it out clearly.
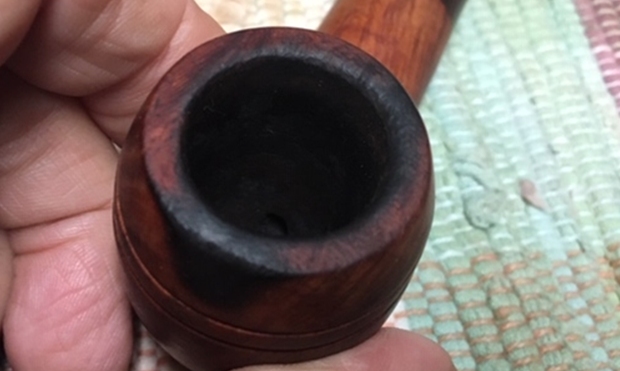
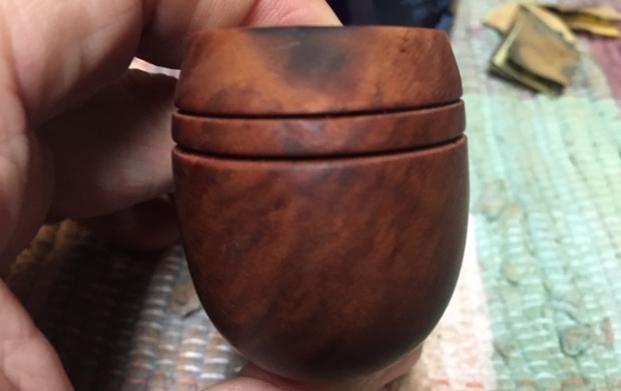
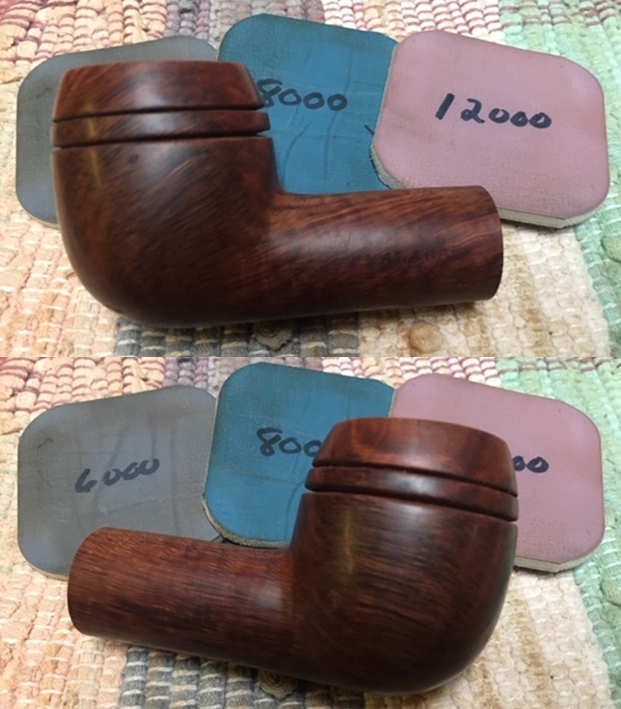
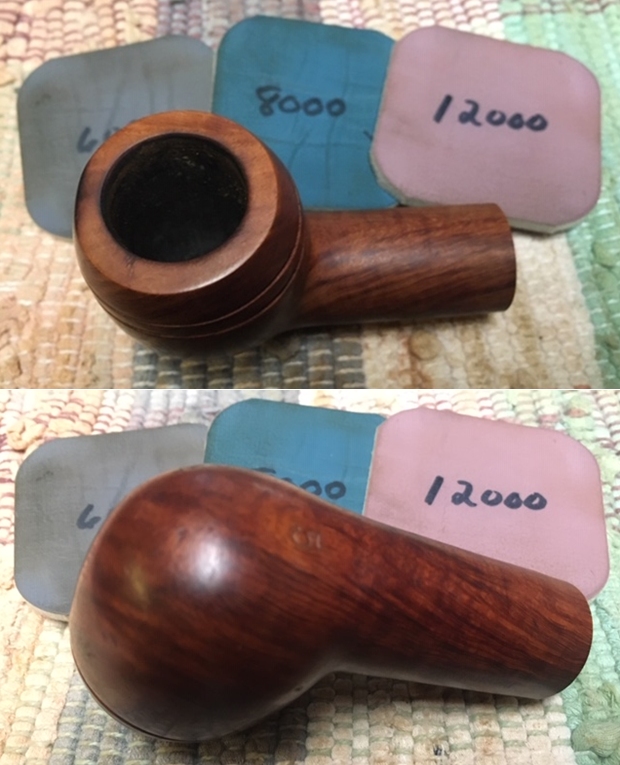
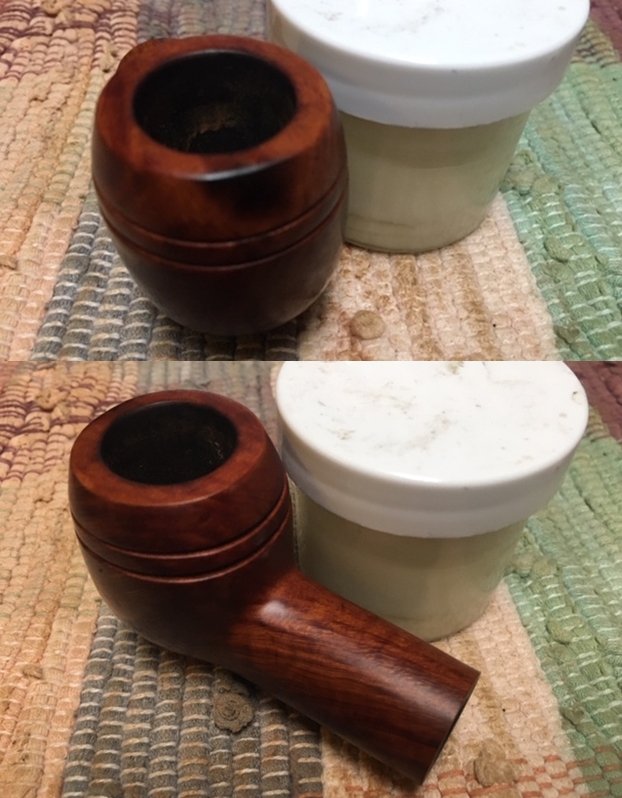
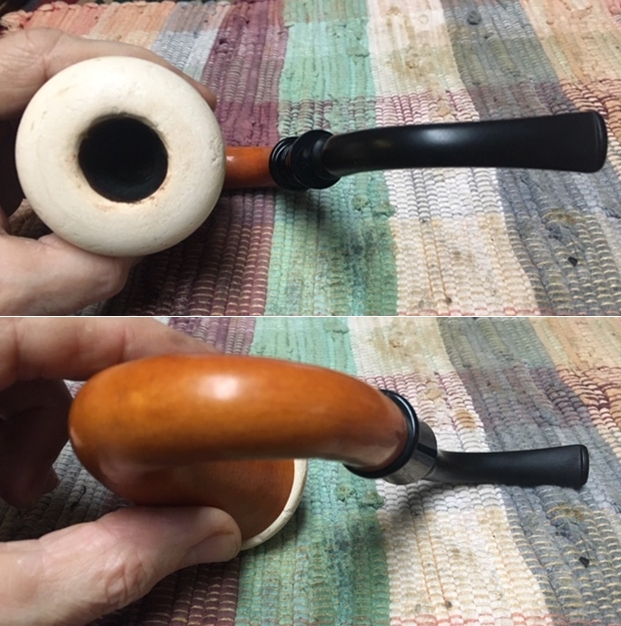
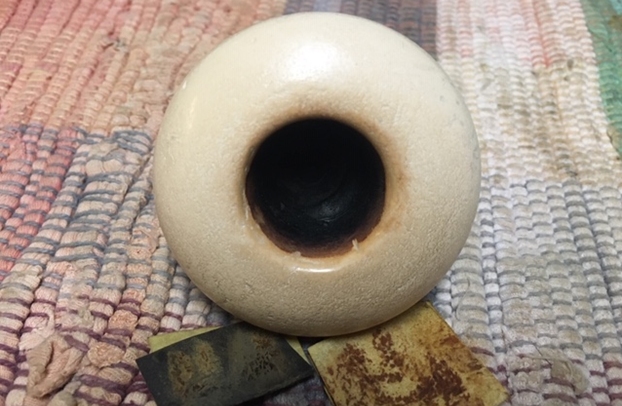
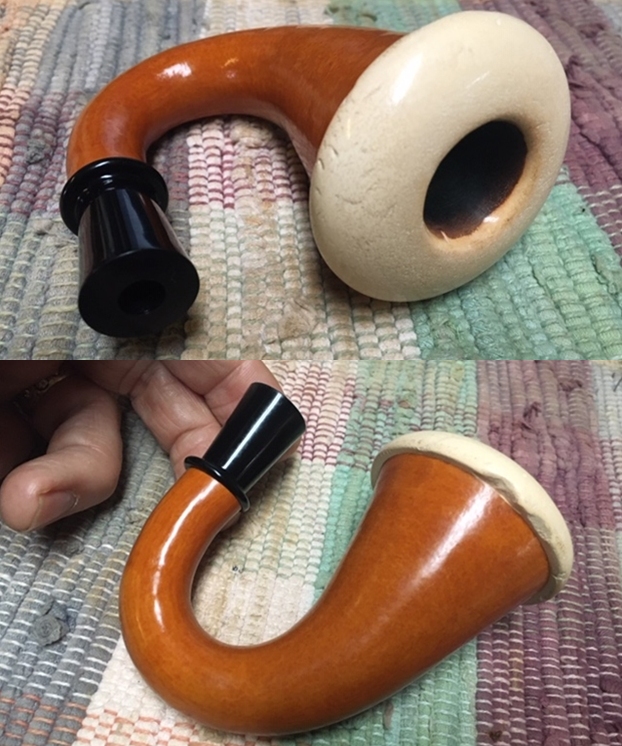
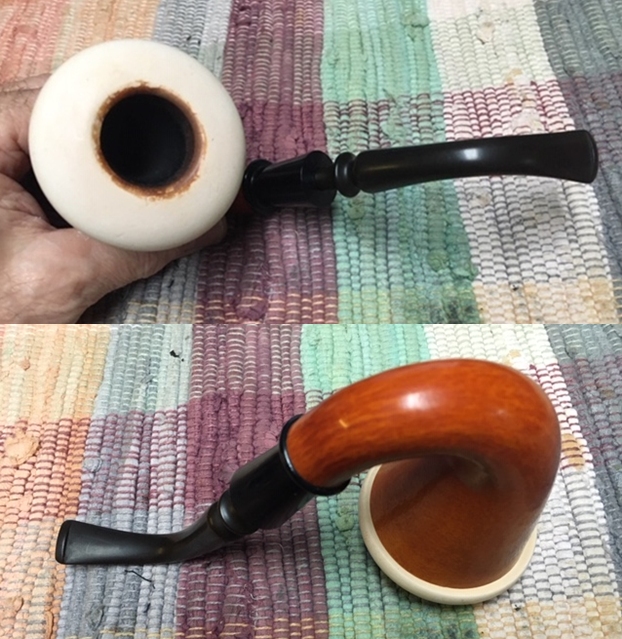
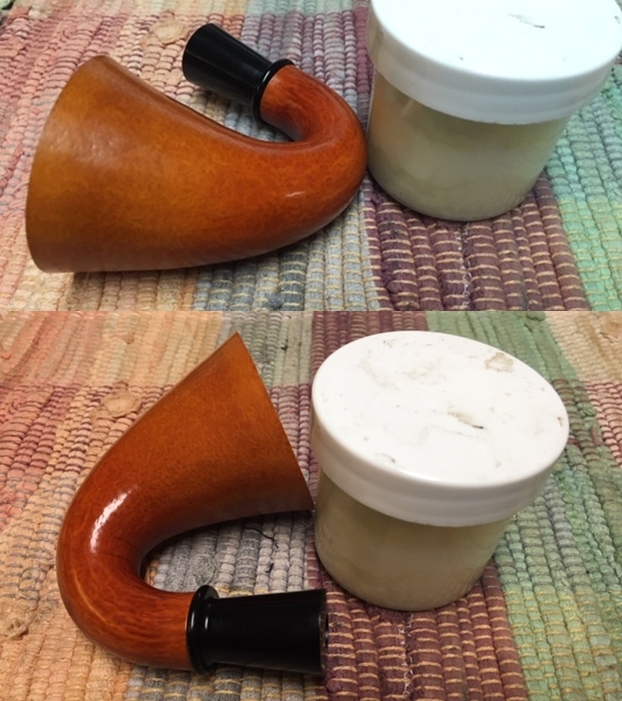
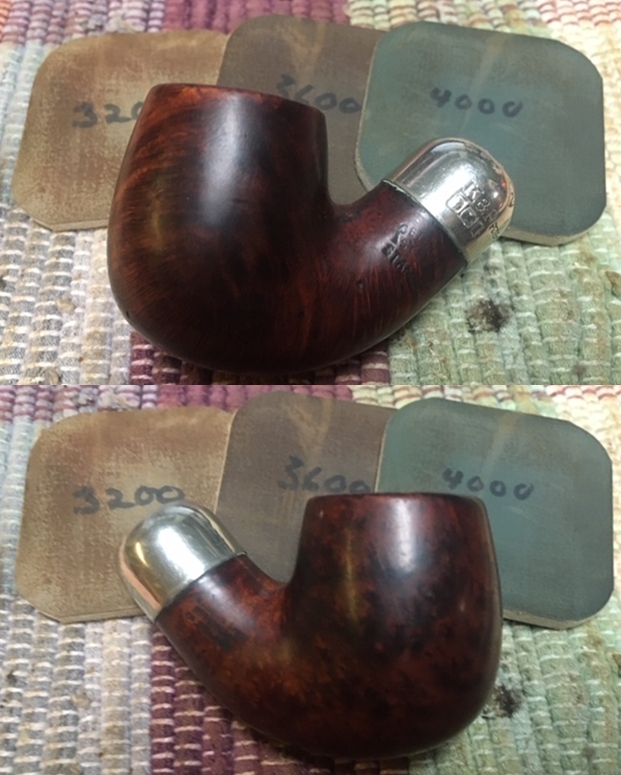
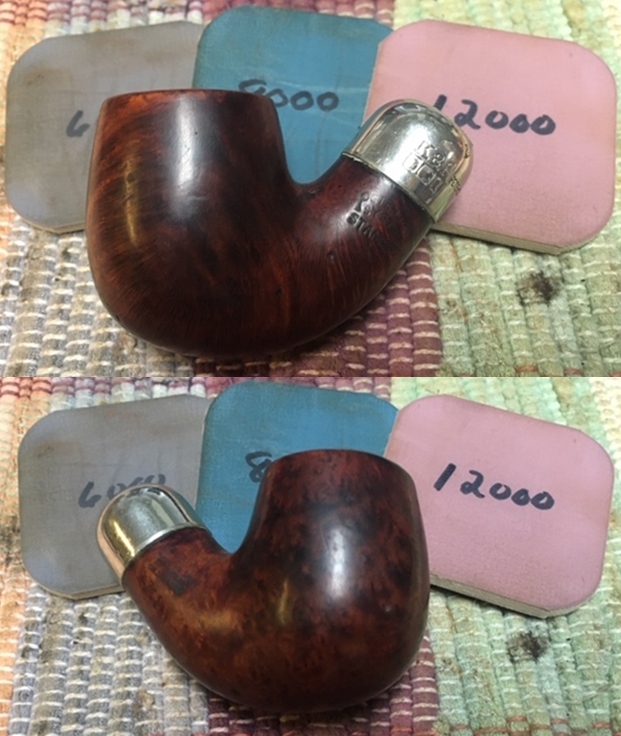
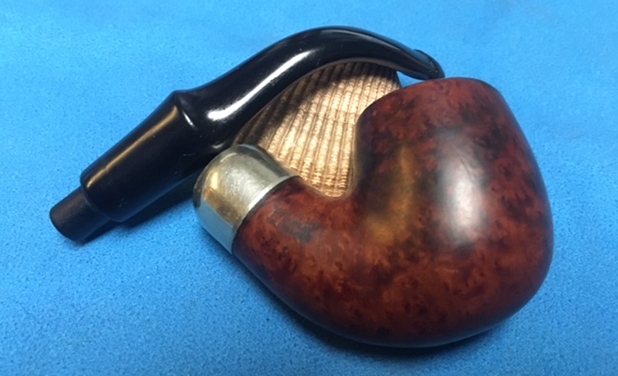
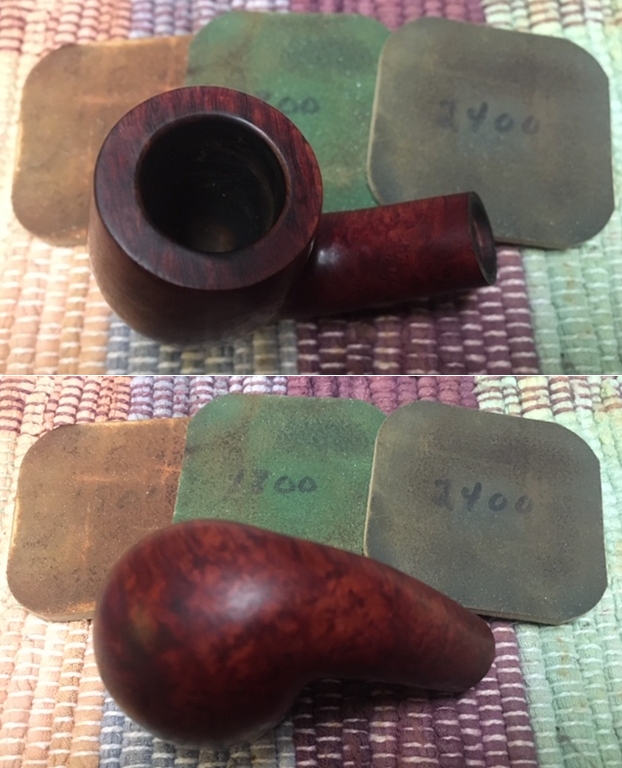
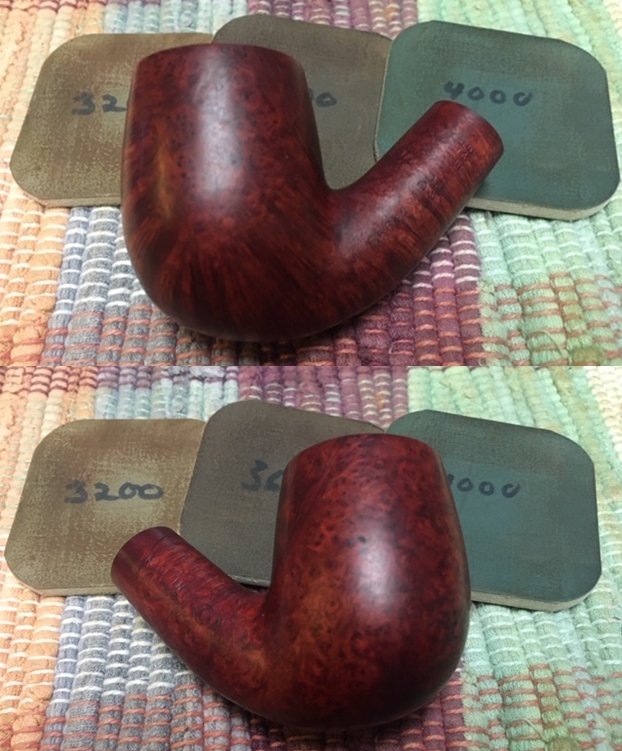
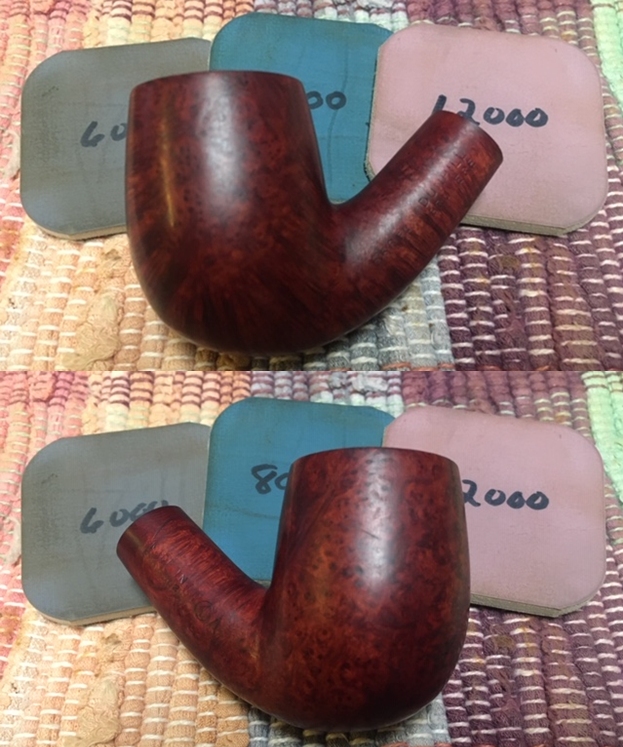
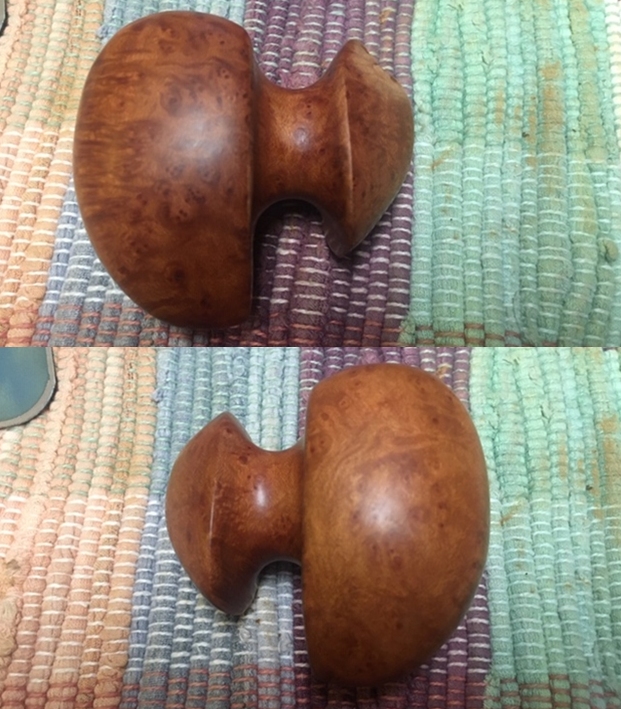
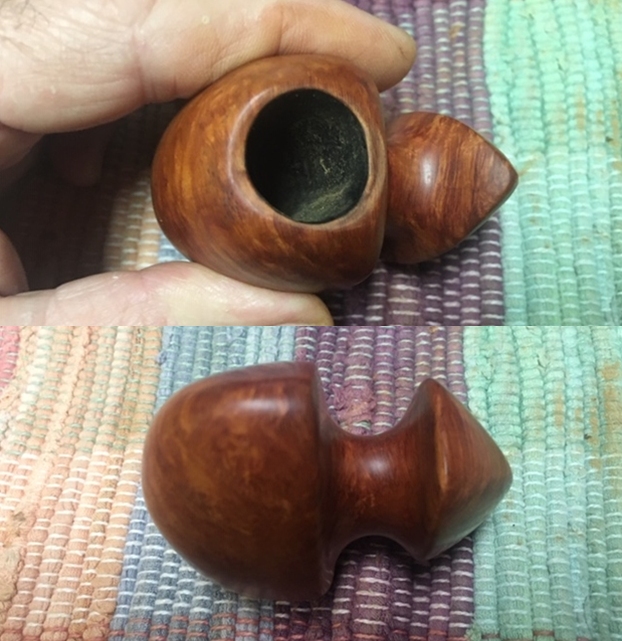
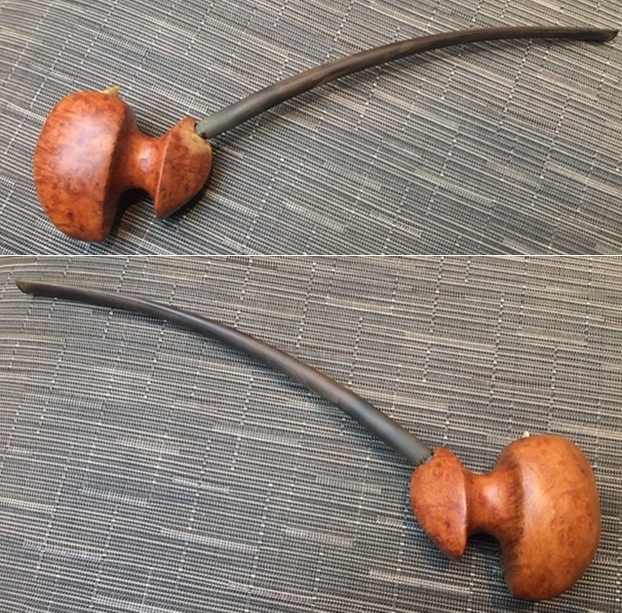
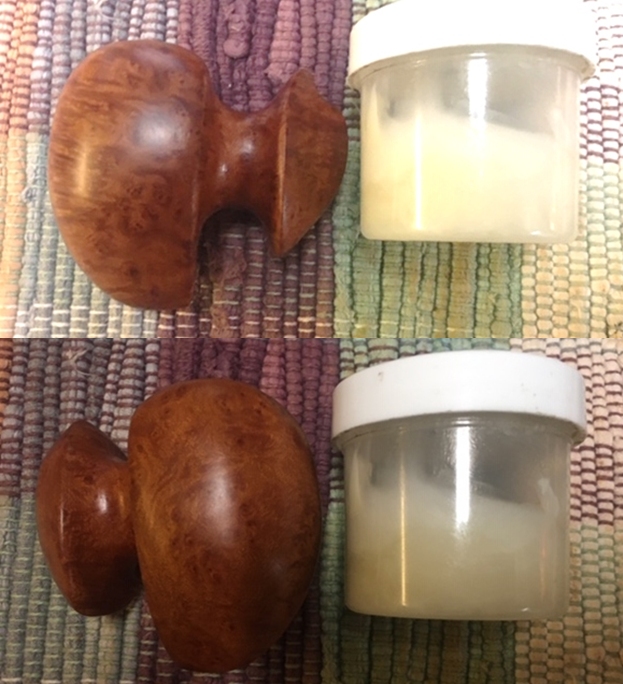
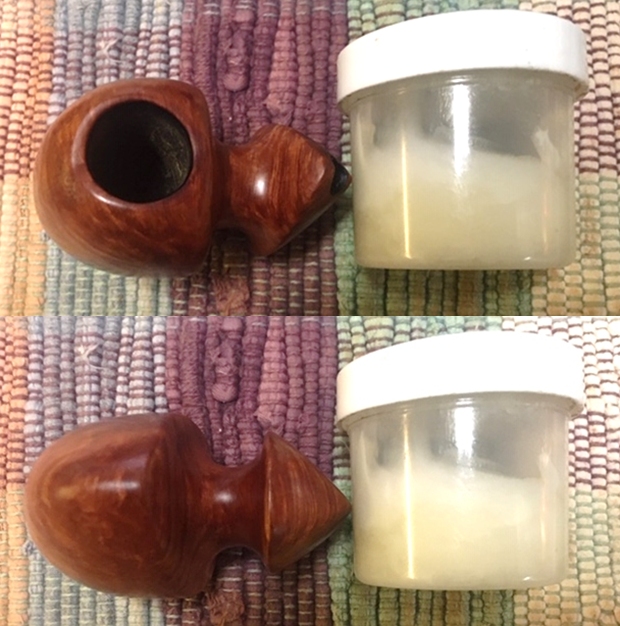
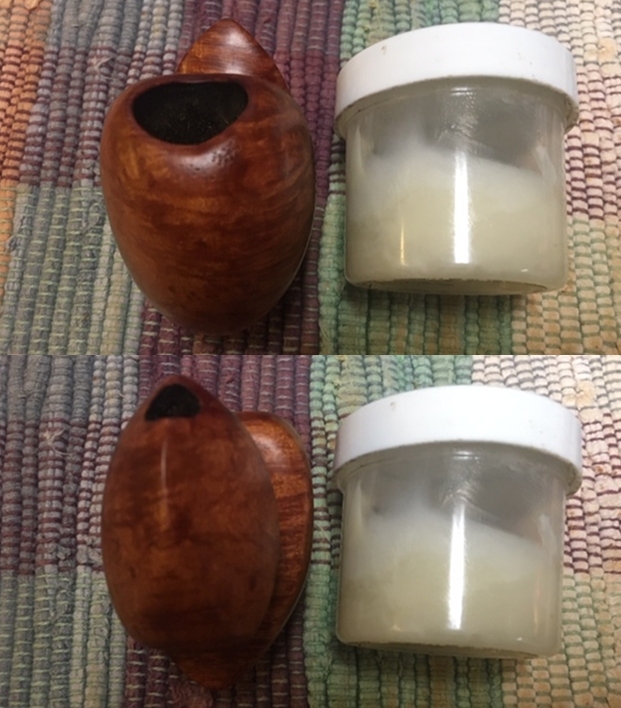
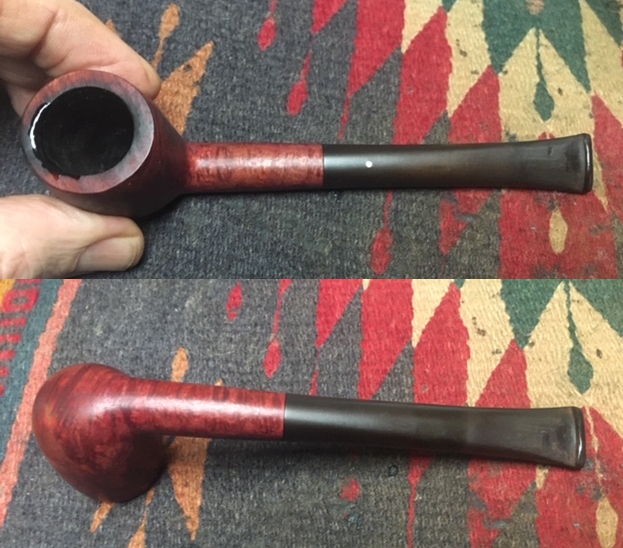
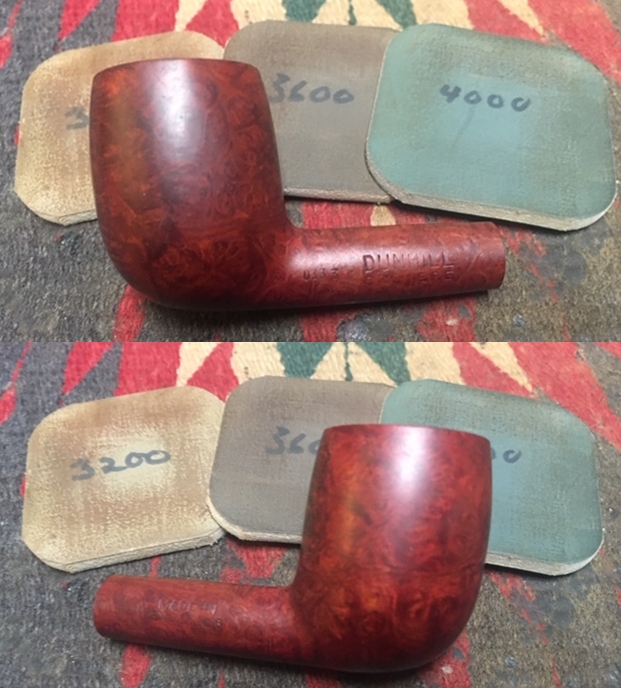
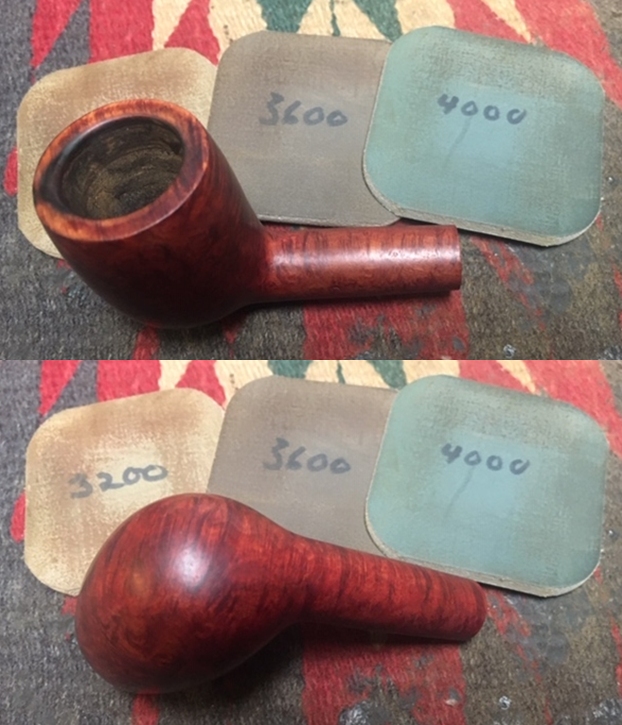
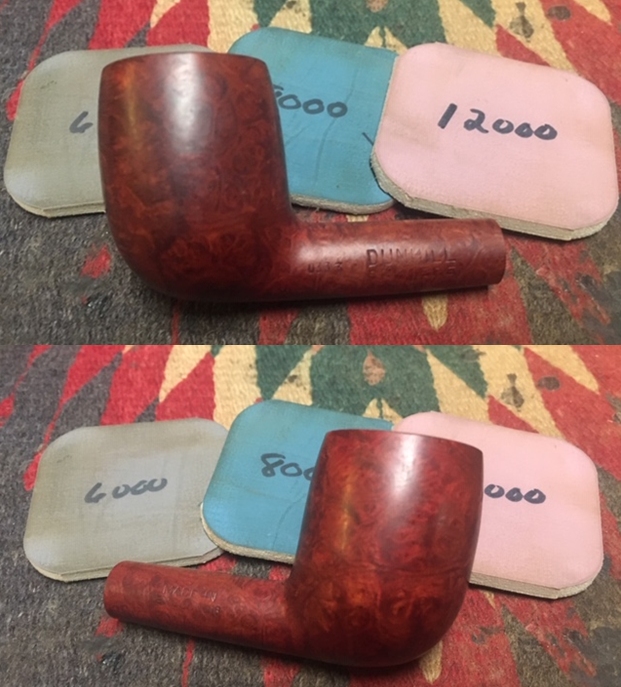
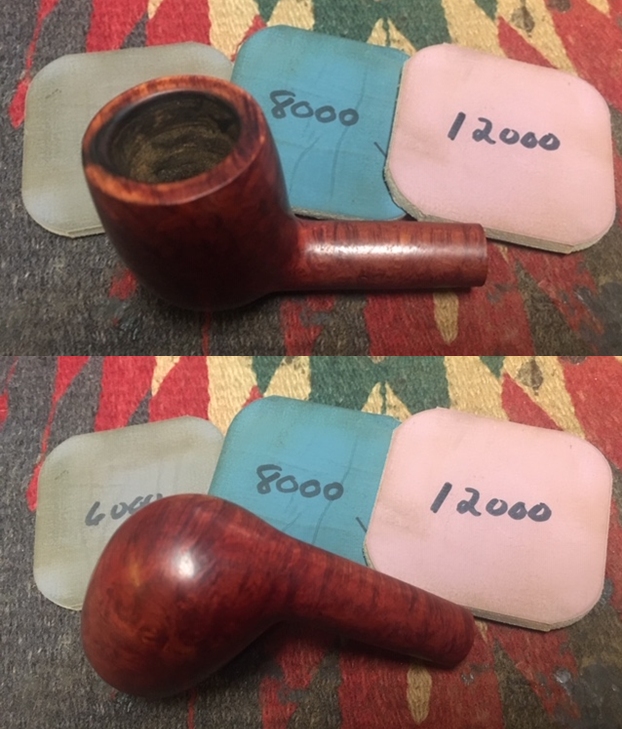
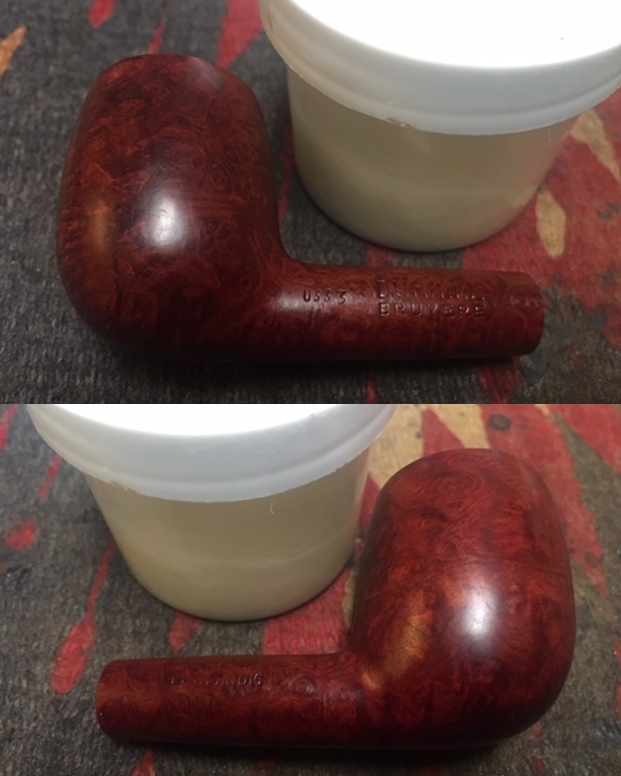
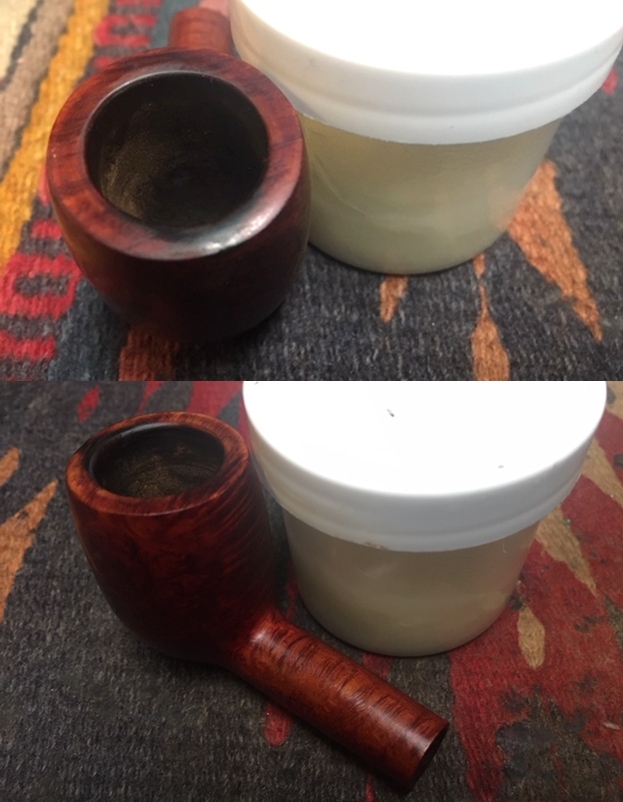
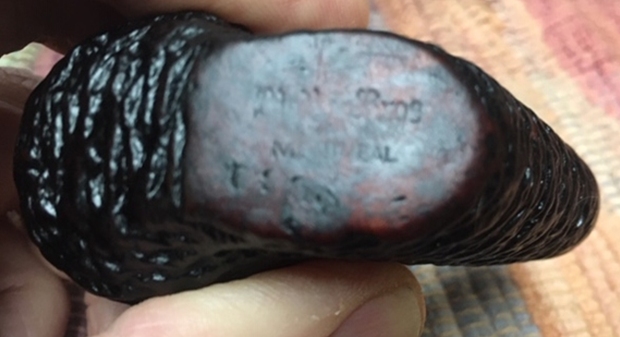 I decided to start my restoration work on this one by dealing with the bowl. There was not much that needed to be done with since it was in excellent condition after Jeff’s cleanup job. I worked some Before & After Restoration Balm into the surface of the briar with my fingertips and a horsehair shoe brush to get it deep in the rustication. The product works to clean, enliven and protect the briar. I let the balm sit for a little while and then buffed with a cotton cloth to raise the shine. The photos show the bowl at this point in the restoration process.
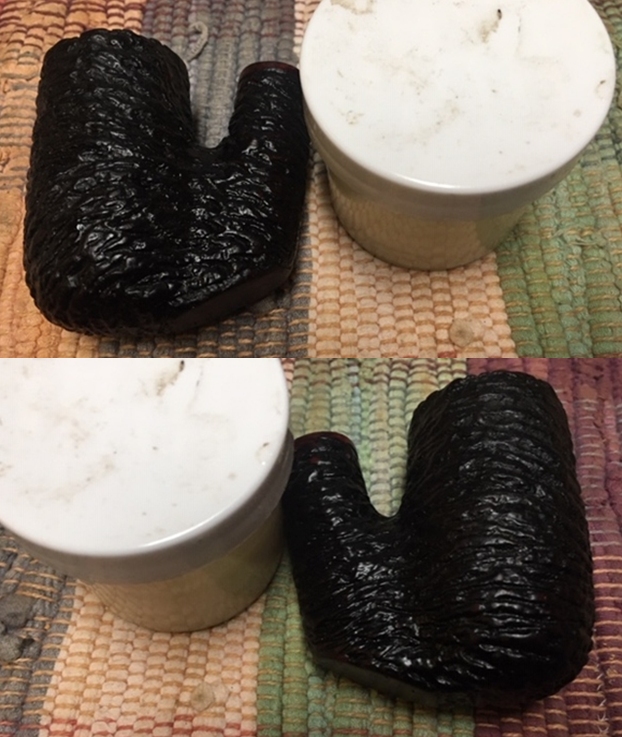
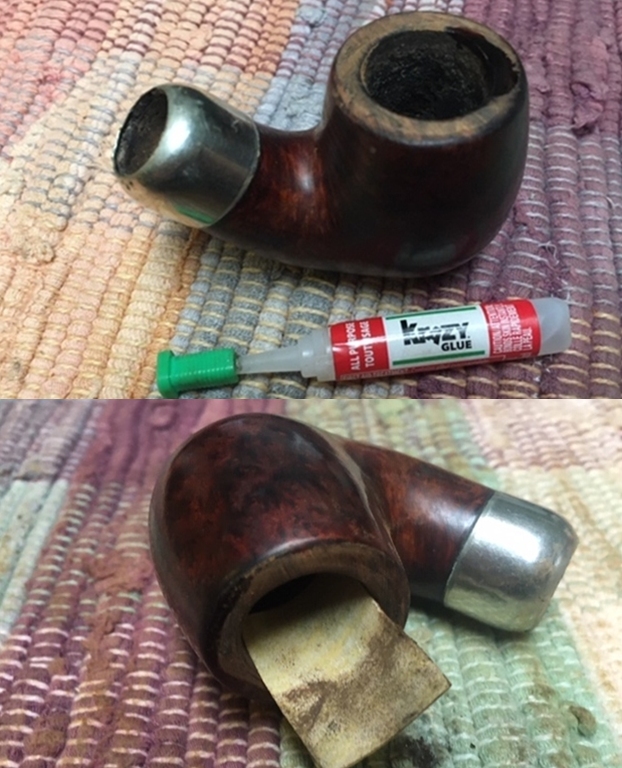
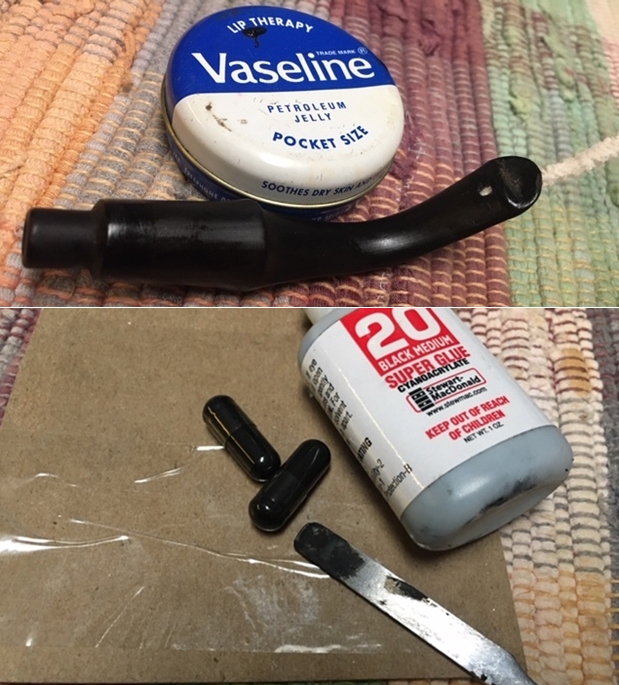
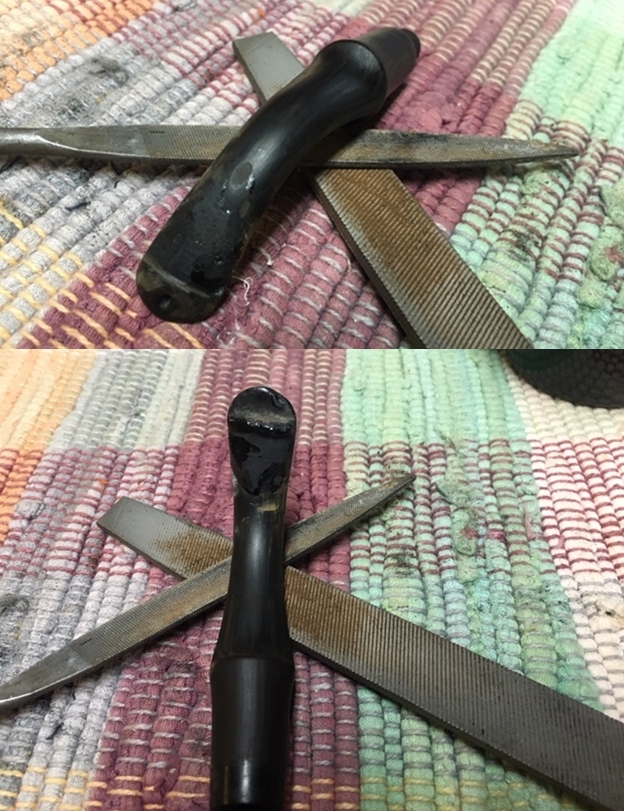
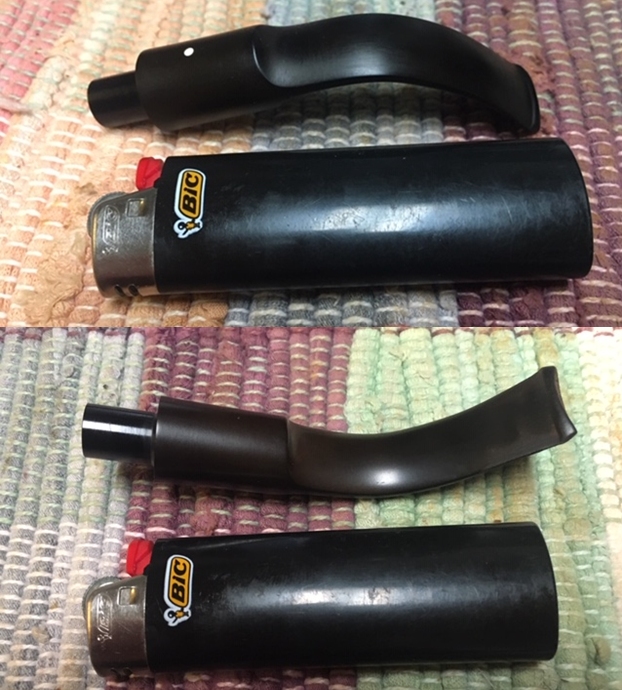
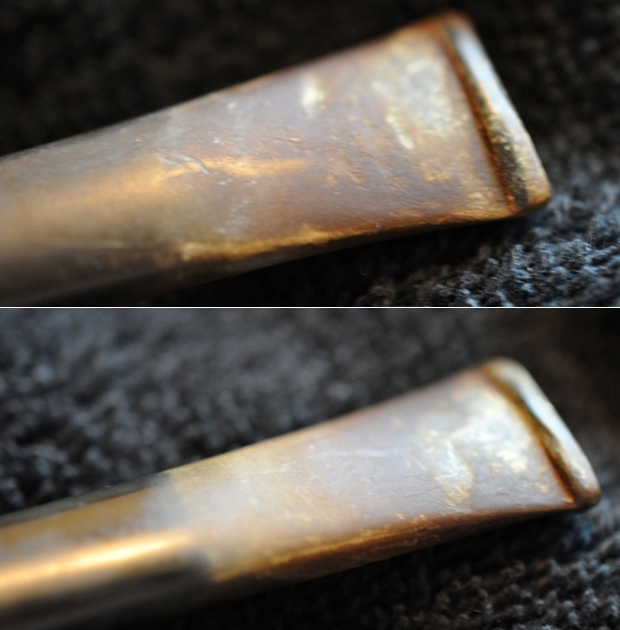
 With that done the bowl was finished other than the final buffing. I set it aside and turned my attention to the stem. I “painted” the surface of the stem with the flame of a lighter to see if I could raise the deep tooth marks at all. The effort with the lighter was unsuccessful. The dents were deep and they had sharp edges so they did not lift.
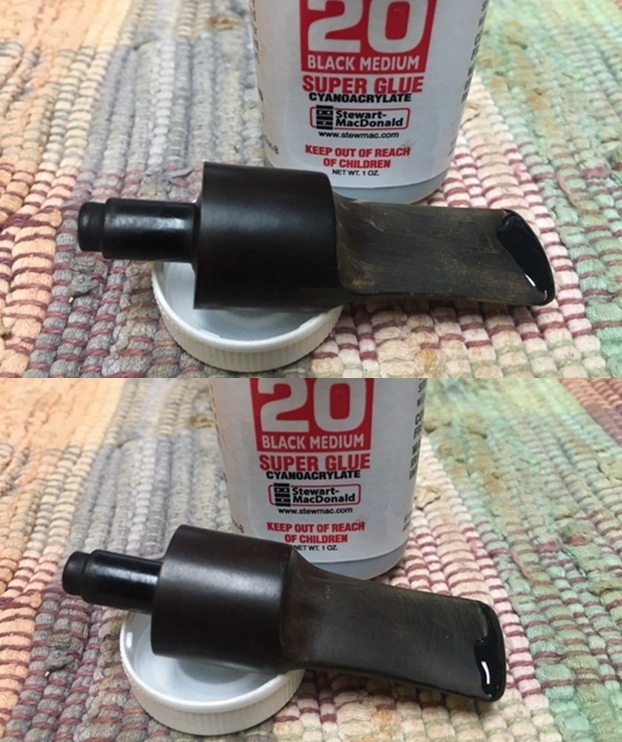
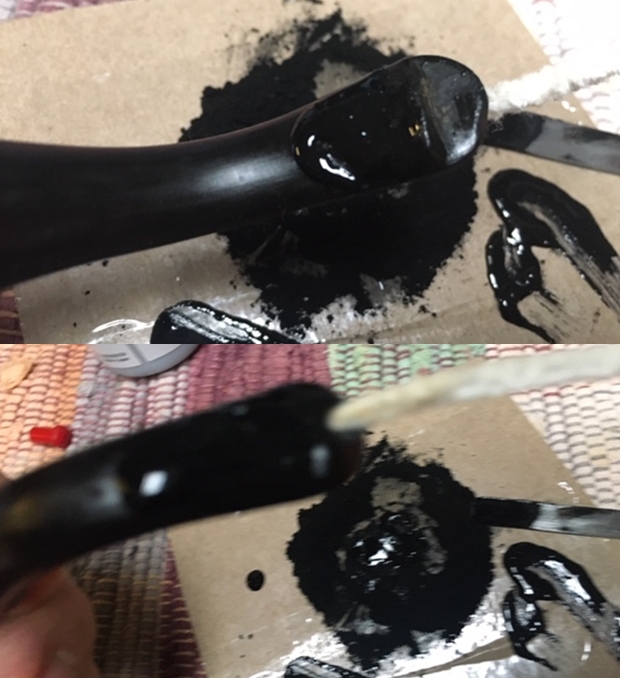
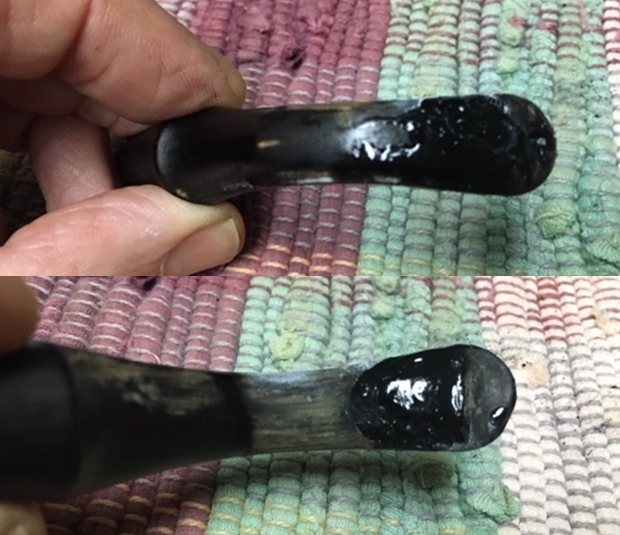
 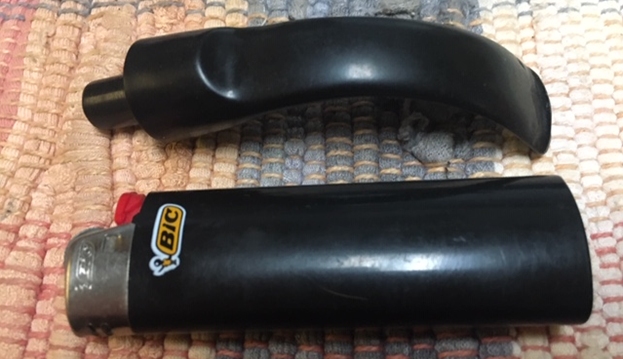 I wiped off the damaged areas with a cotton swab and isopropyl alcohol to remove debris and dust and filled in the tooth damage on the button and the stem surface with clear Krazy Glue. I use both the black super glue and this Krazy Glue for the same thing. For me the deciding factor is the time constraint. I wanted to keep working on this stem rather than letting it cure for 6-8 hours.
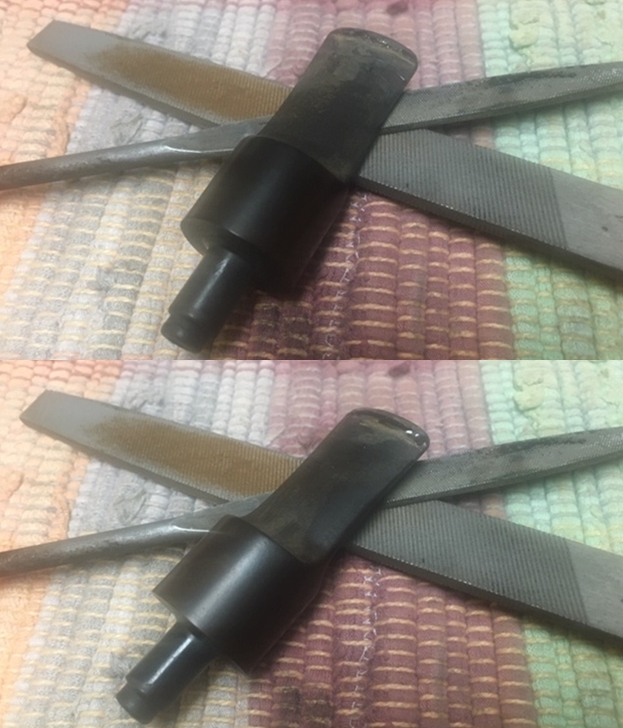
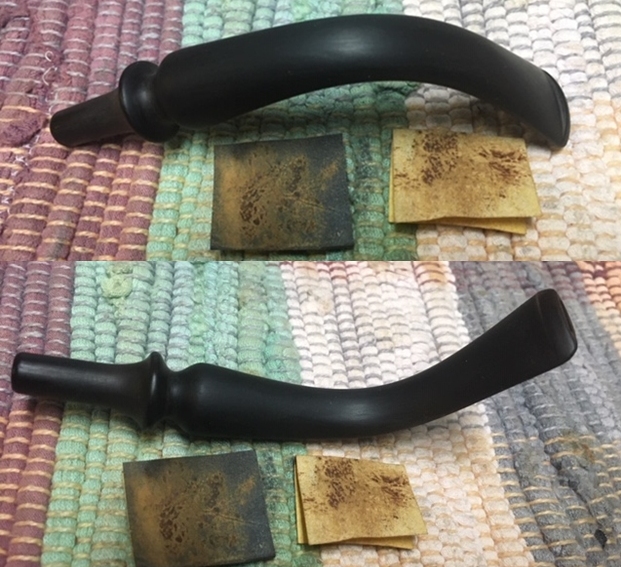
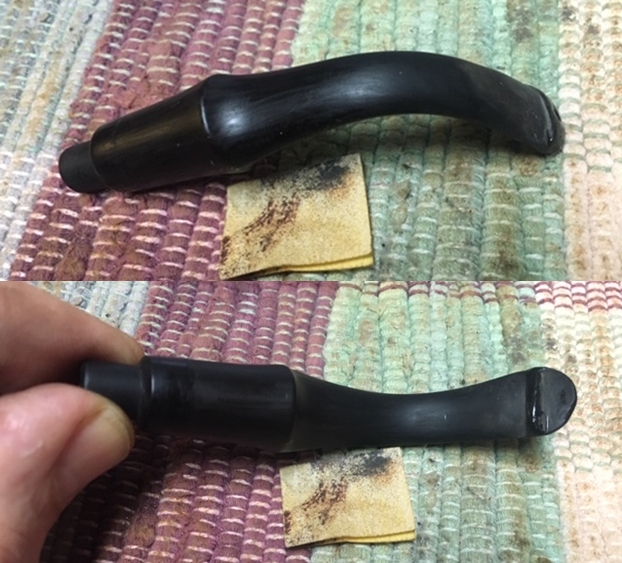
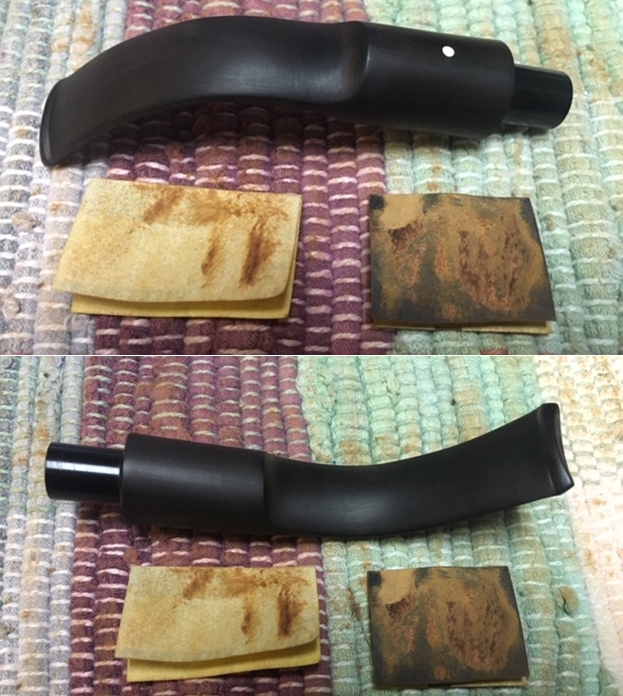
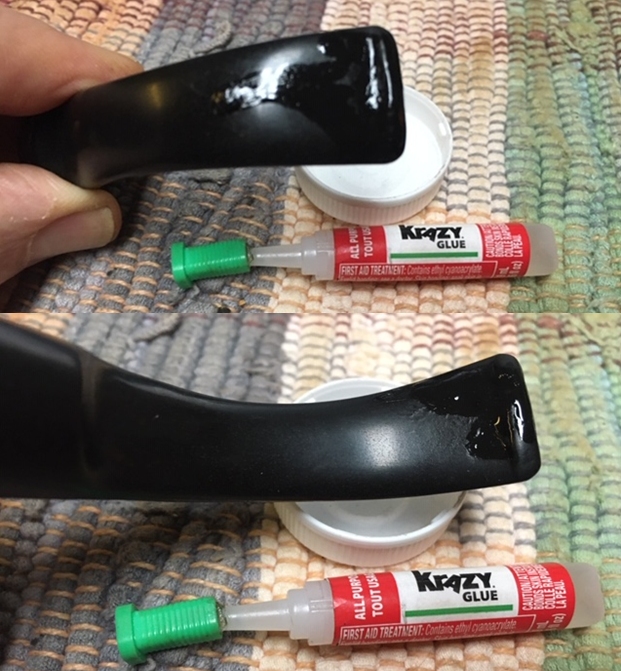 Once the repair had hardened I reshaped the button edges and stem surface with a needle file to smooth out the repairs. I still need to do some more sanding but the stem is shaping up to be quite nice.
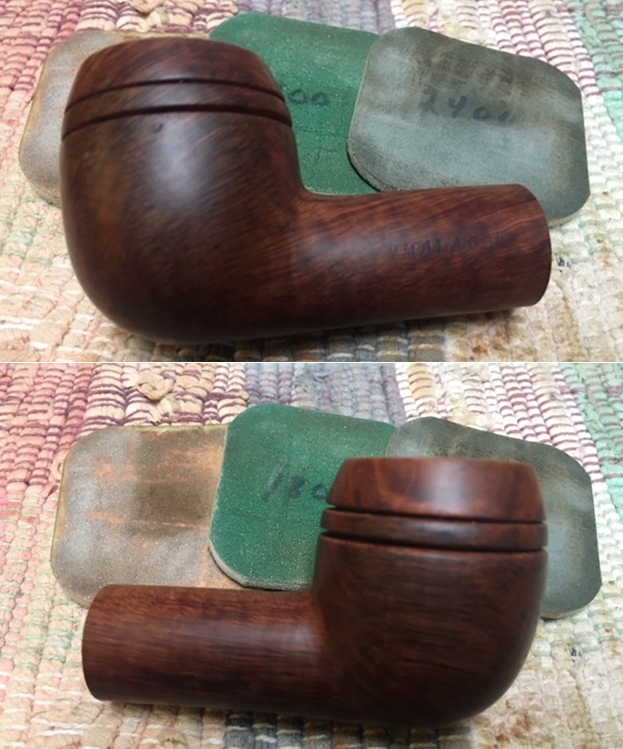
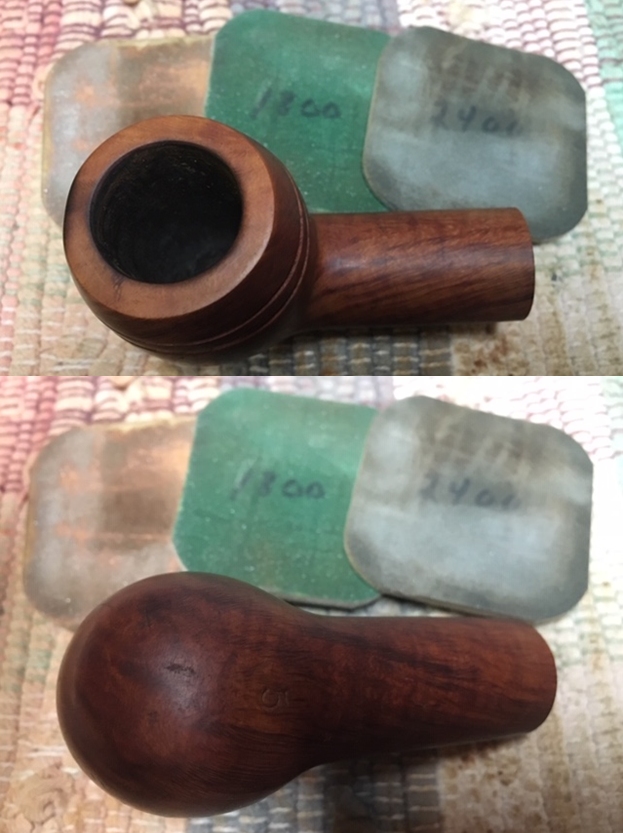
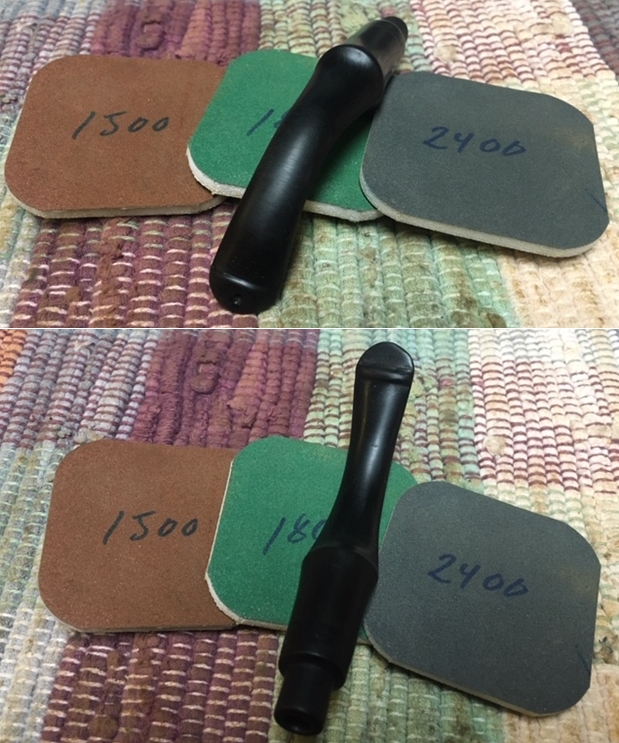
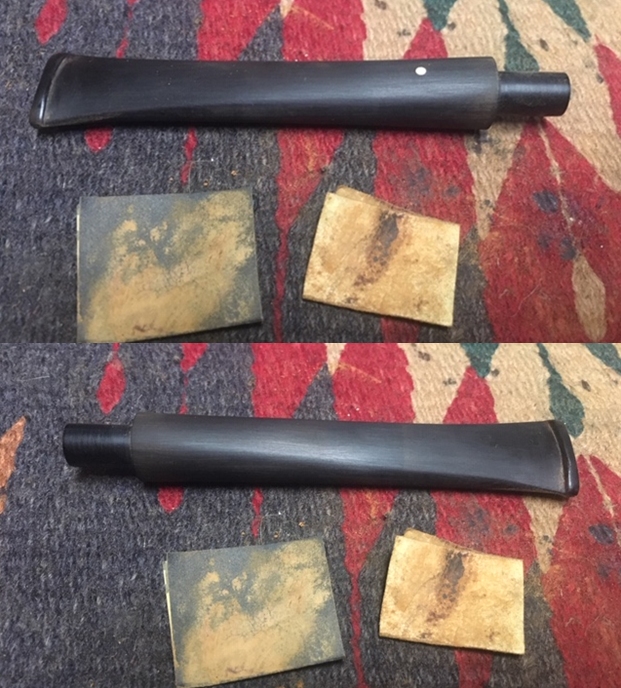
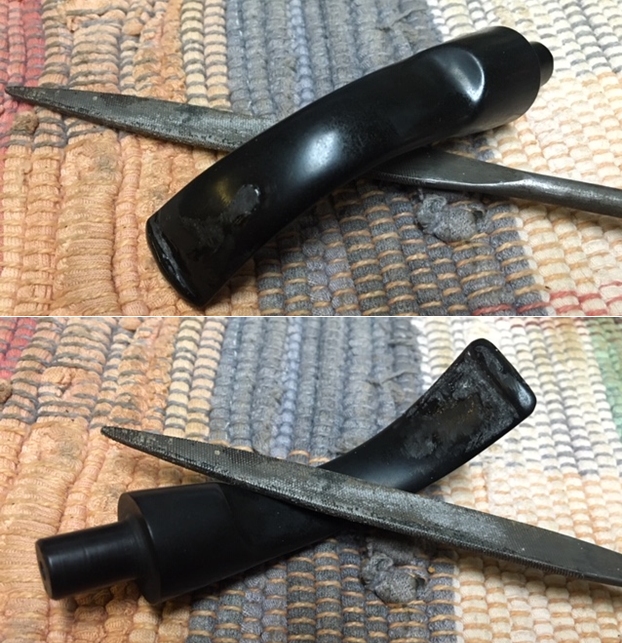 I sanded out the repaired with 220 grit sand paper to blend them into the rest of the stem surface. I started to polish it with a folded piece of 400 wet dry sandpaper. Once it was finished it had begun to shine.
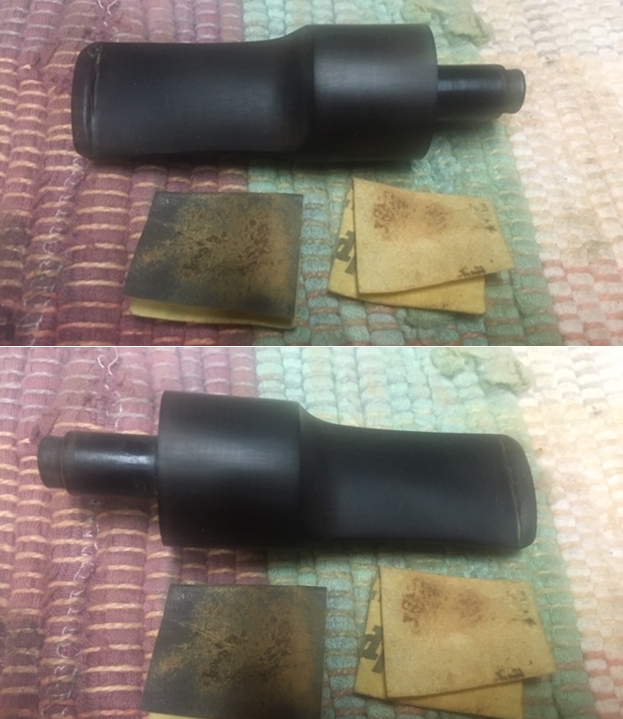
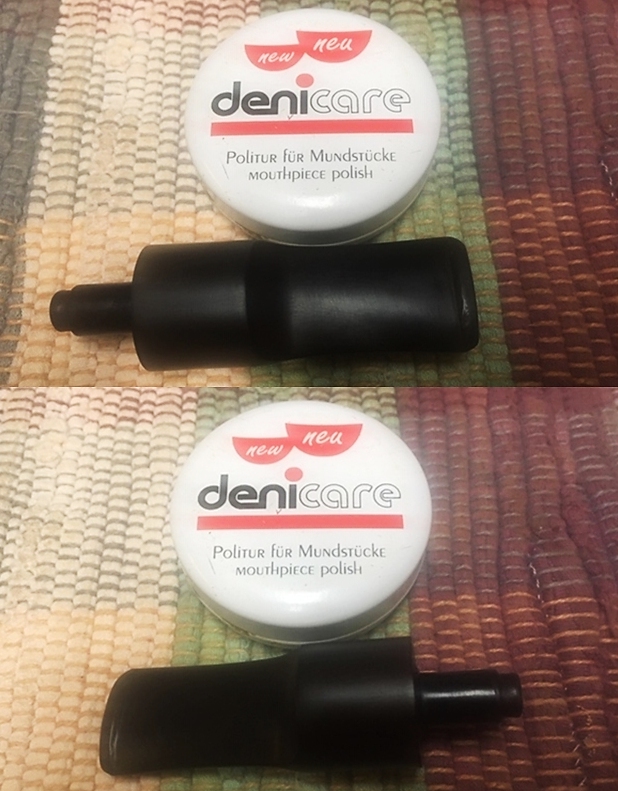
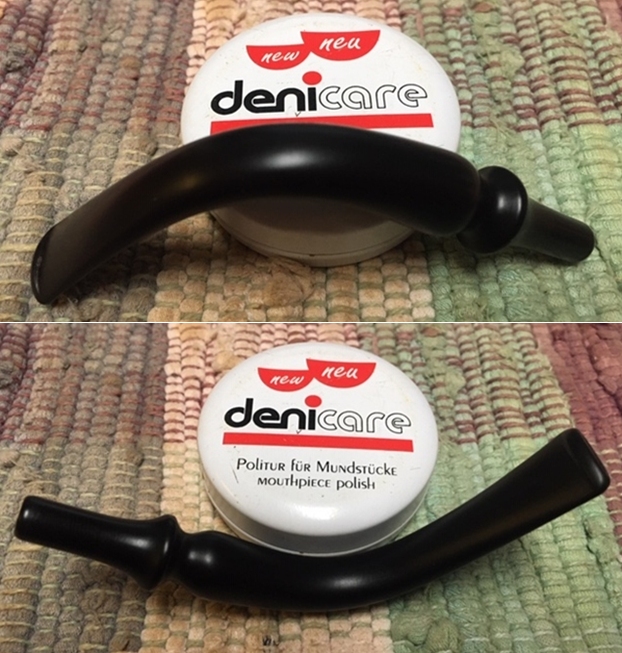
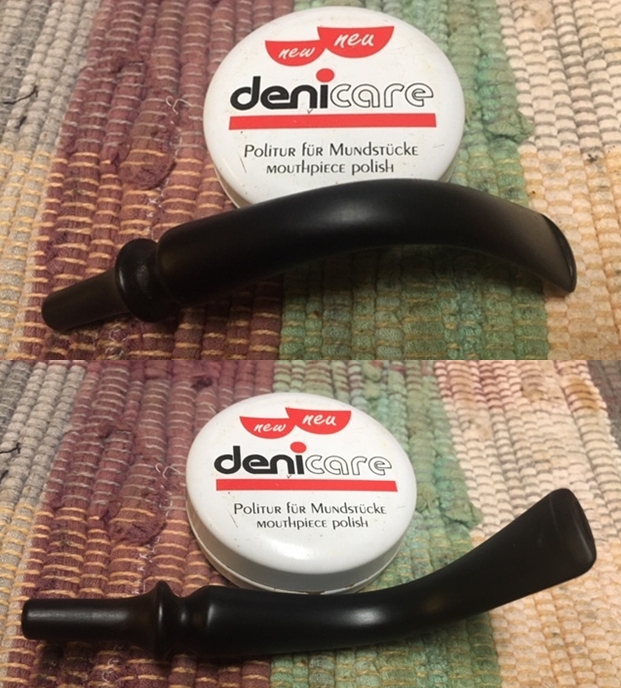
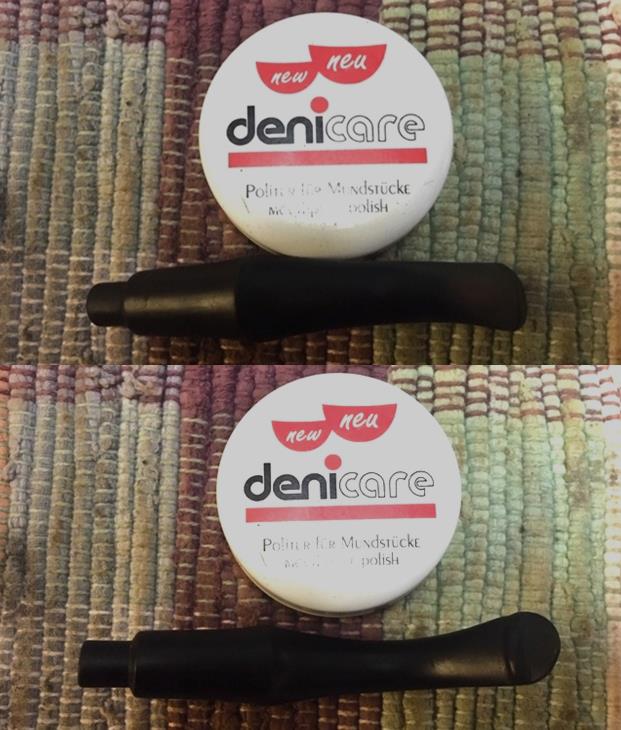
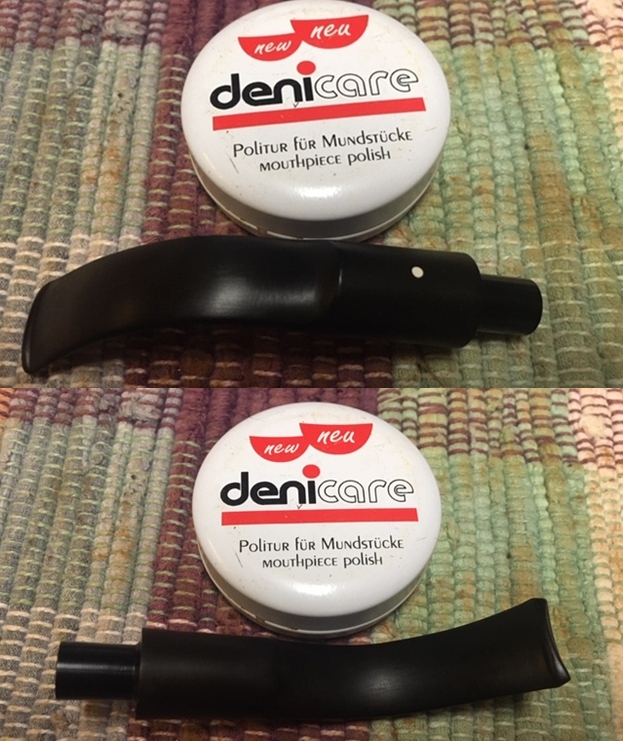
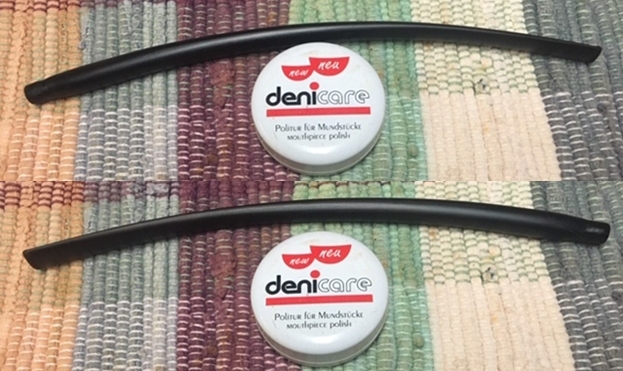
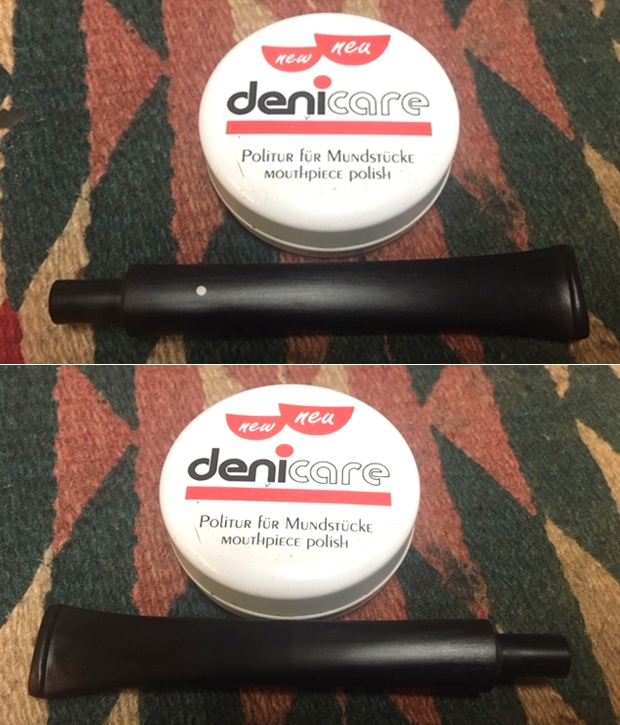
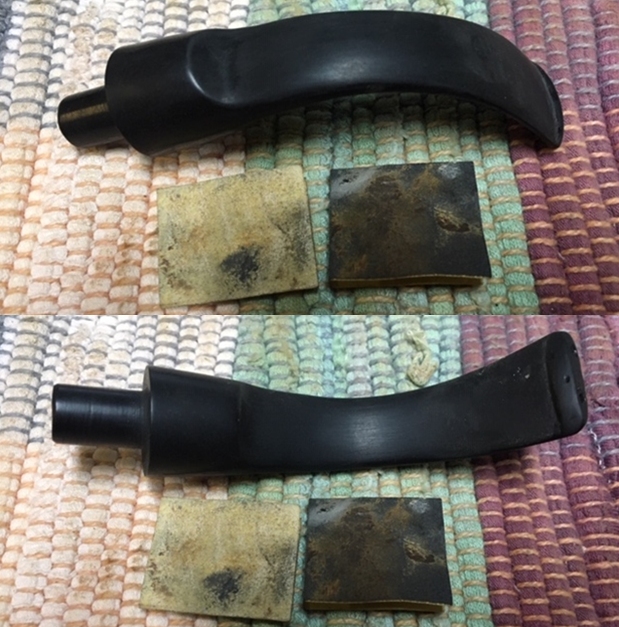 I polished the stem with Denicare Mouthpiece Polish from a tin of it I have in the drawer here. It is a gritty red paste that I rub on with my finger tips and work into the surface of the stem and button and buff off with a cotton pad. It gives me a bit of a head start on the polishing work.
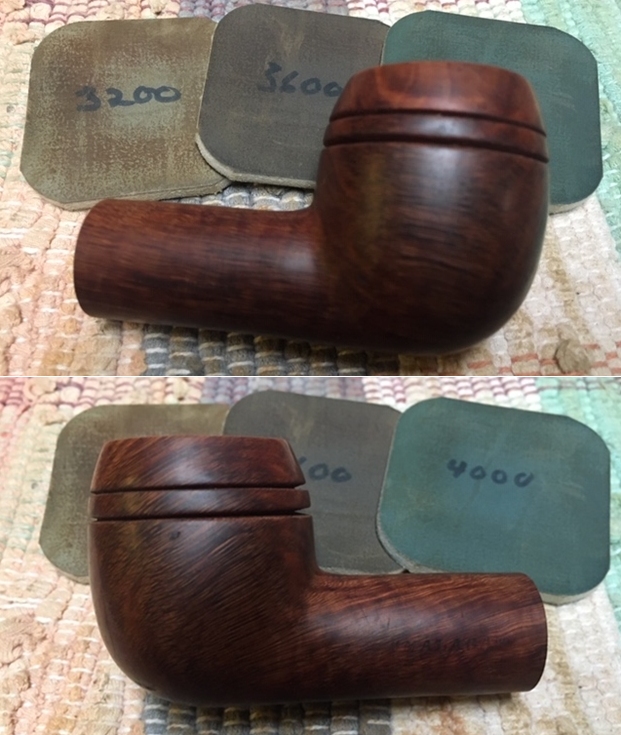
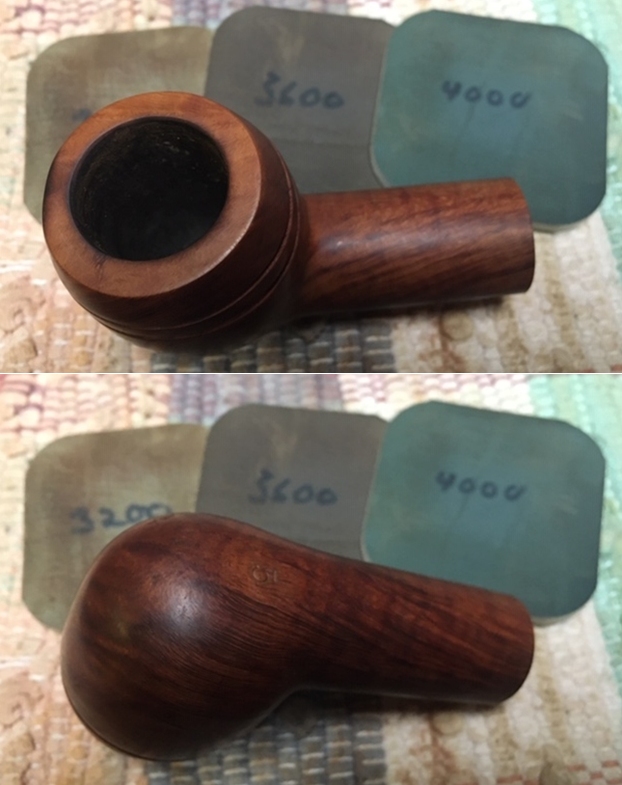
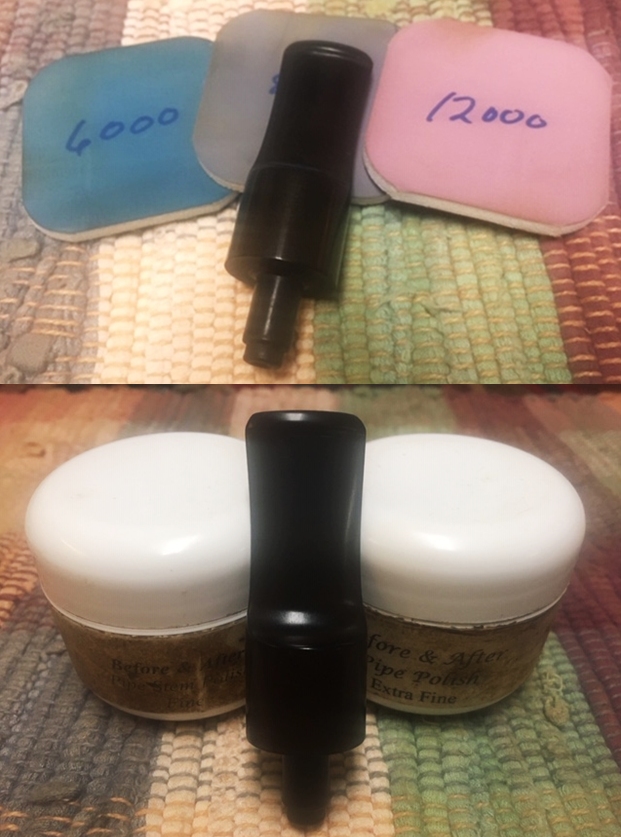
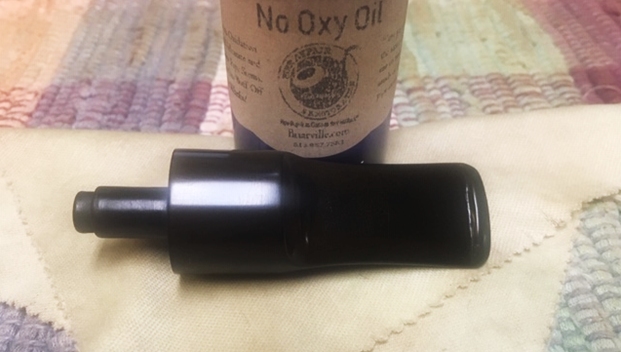
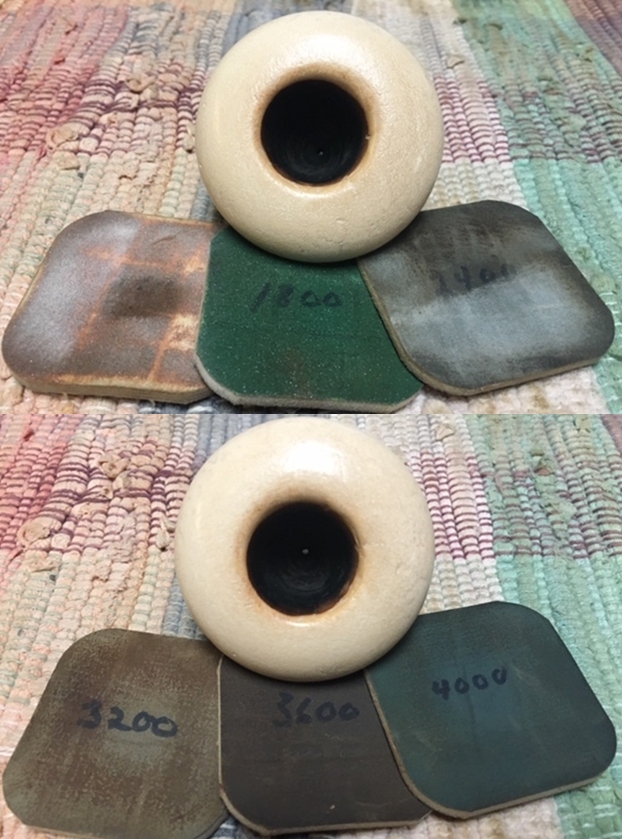
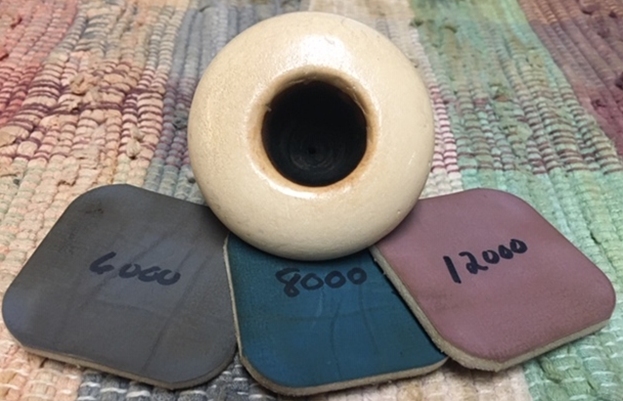
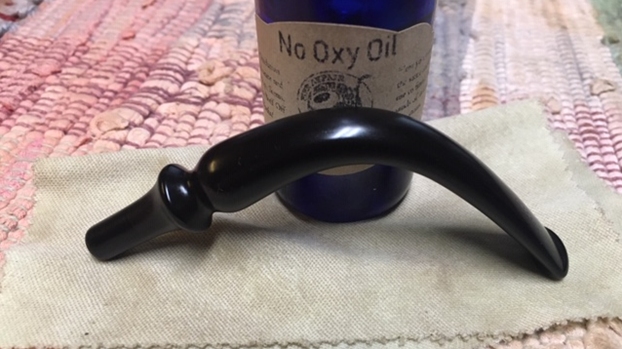
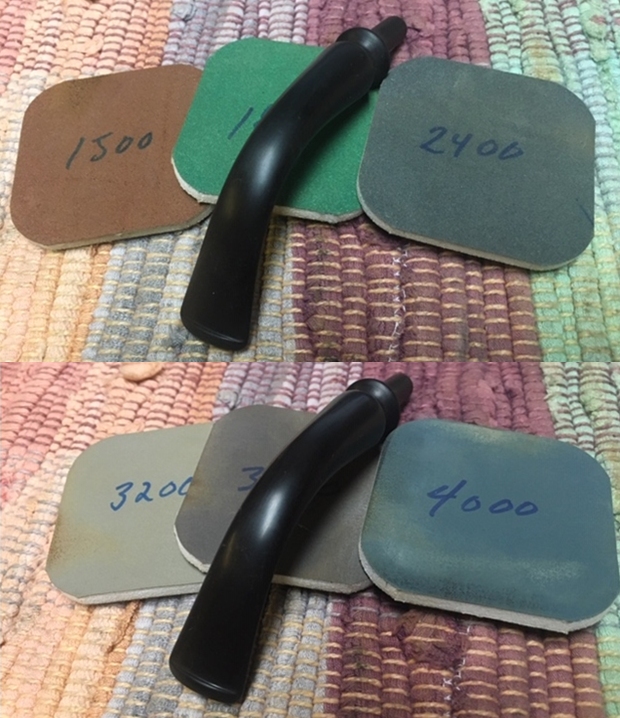
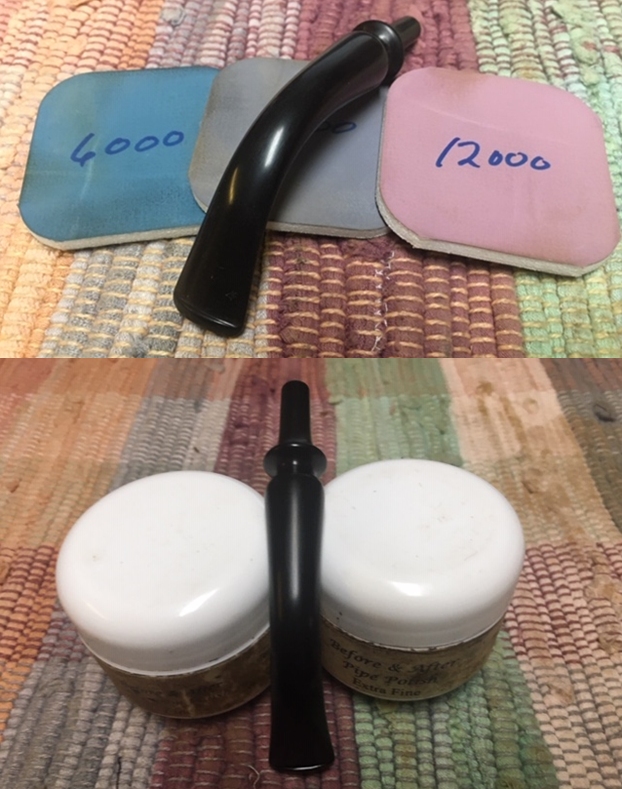
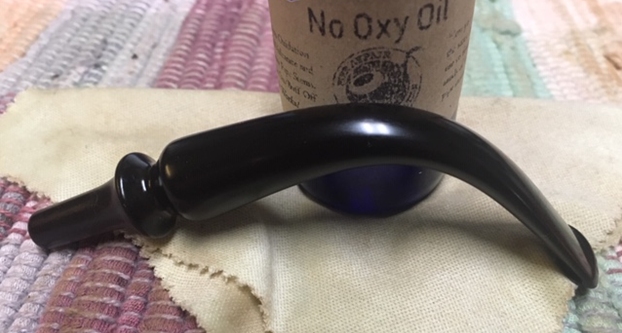
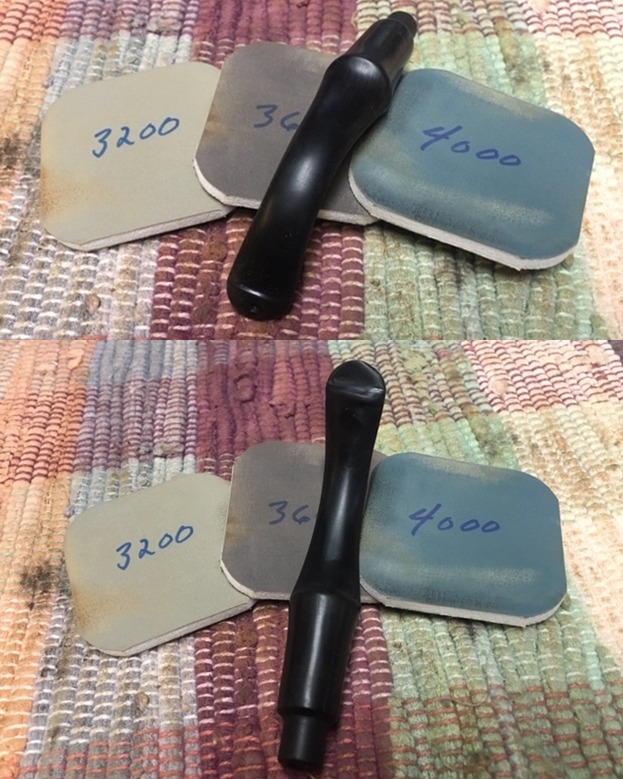
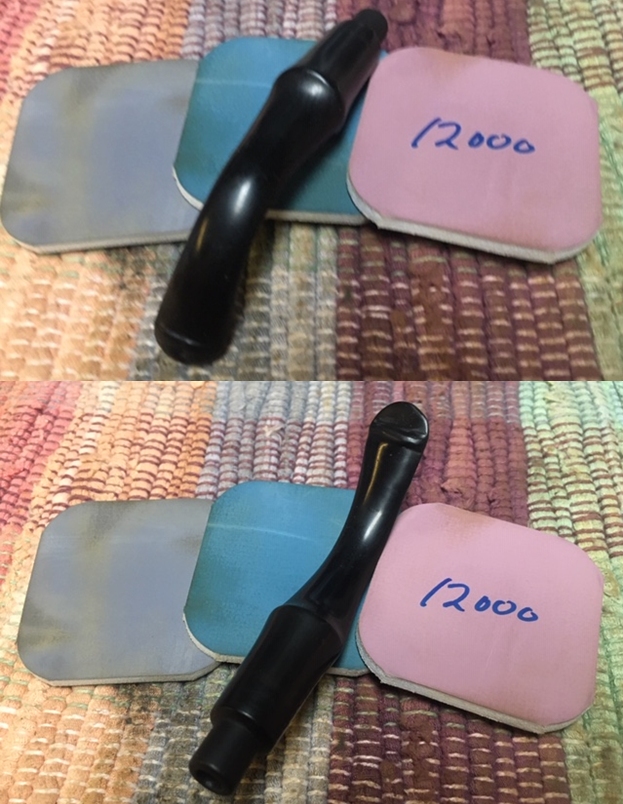
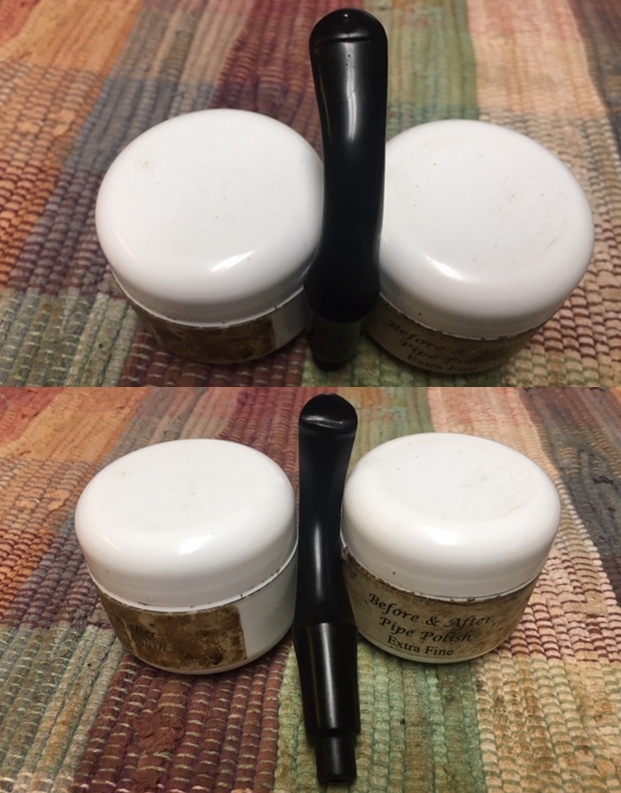
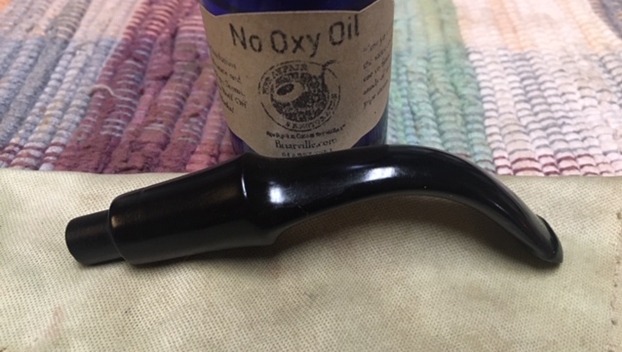
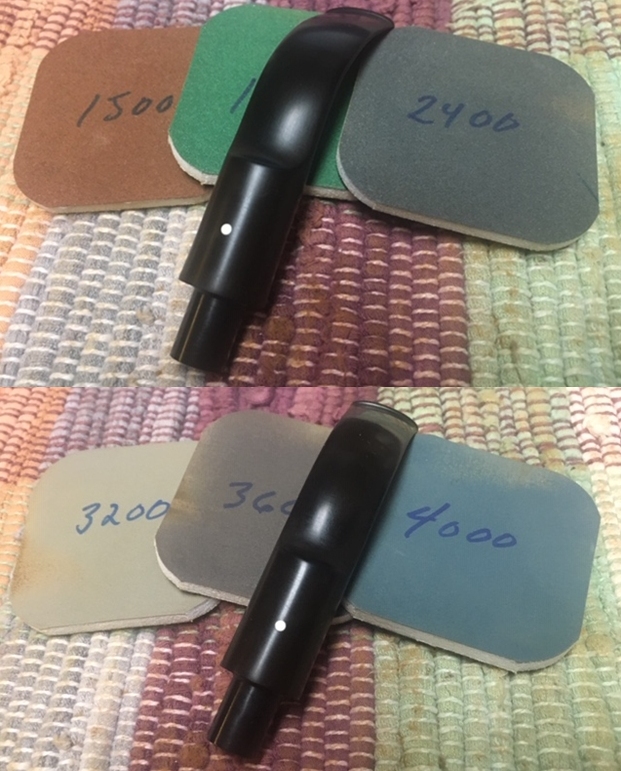
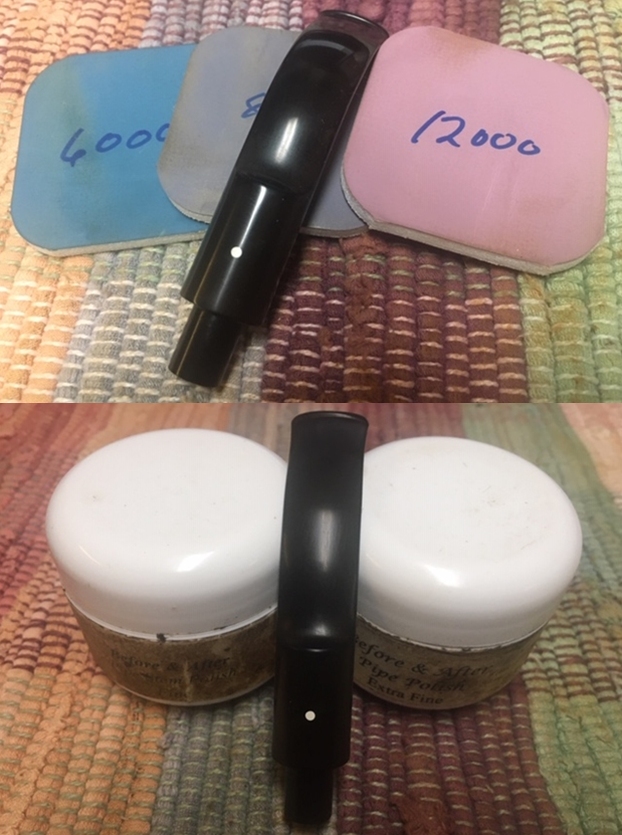
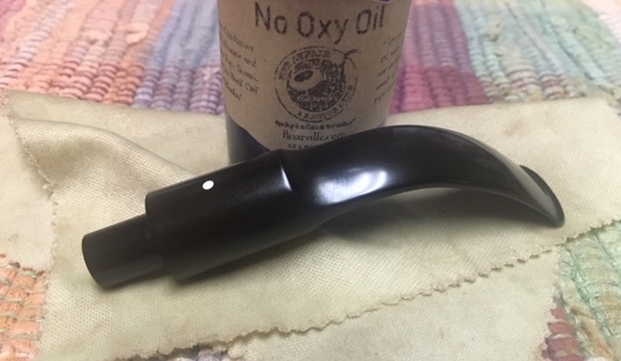
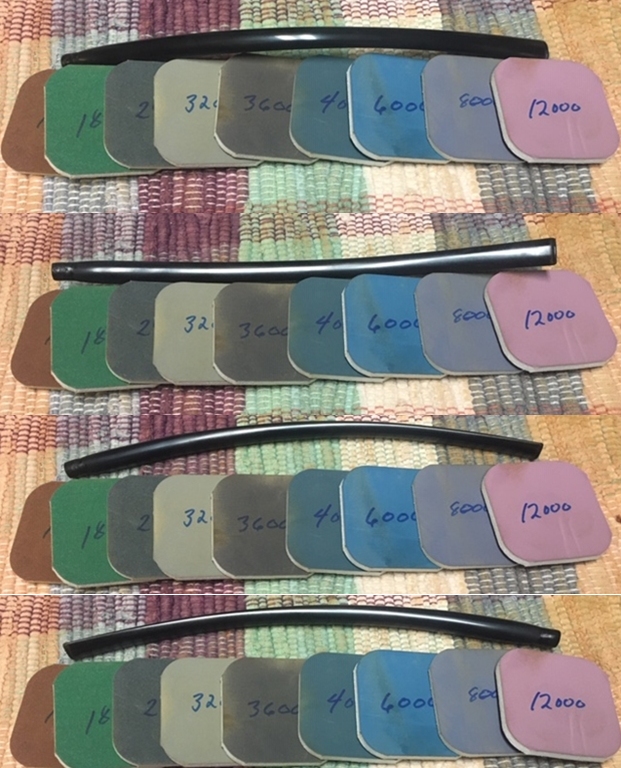
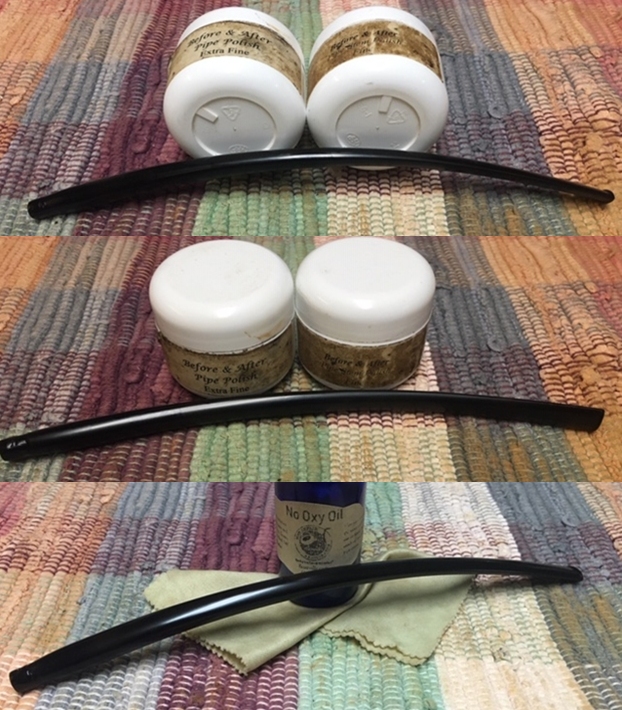
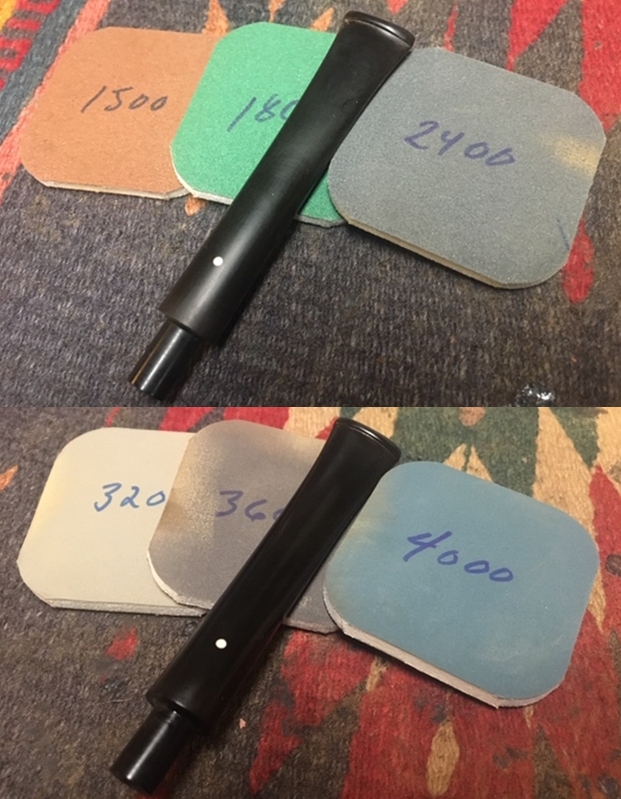
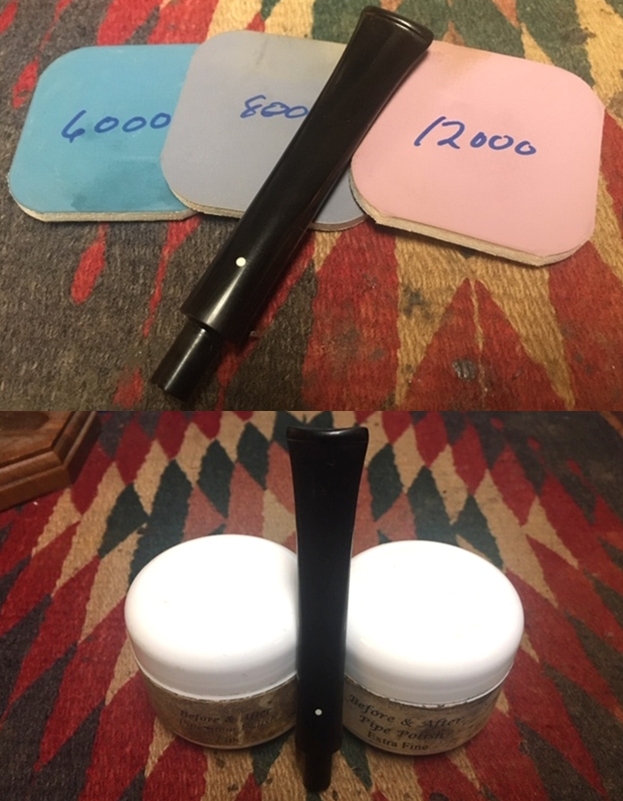
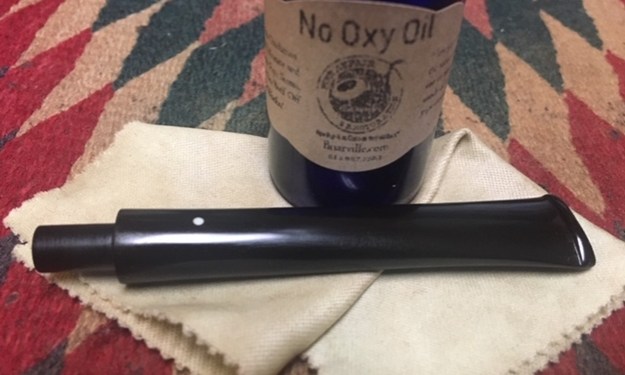
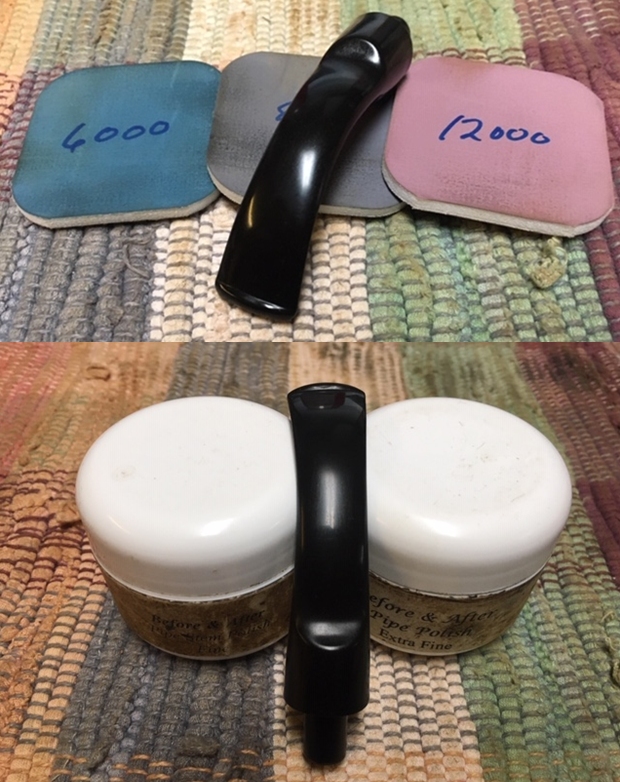
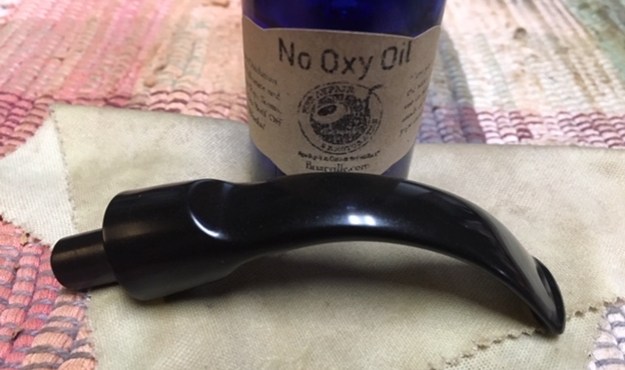
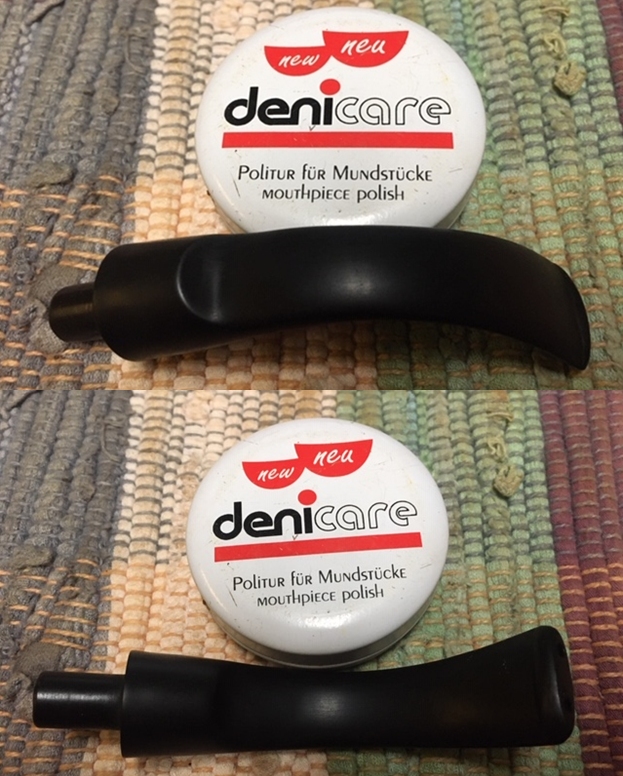 I polished the stem with micromesh sanding pads – wet sanding with 1500-12000 grit sanding pads. I wiped it down after each sanding pad with Obsidian Oil. I polished it with Before & After Pipe Stem Polish – both Fine and Extra Fine. I am continuing to experiment with Briarville Pipe Repairs new product, No Oxy Oil so I rubbed the stem down with the oil on the cloth that was provided with it.
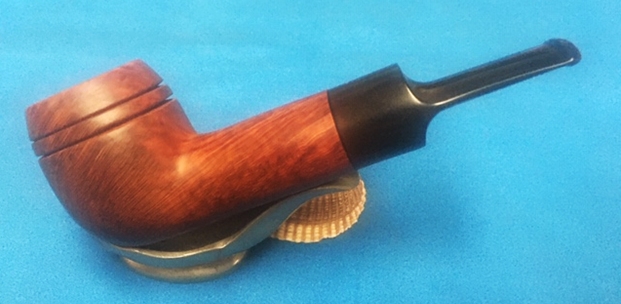
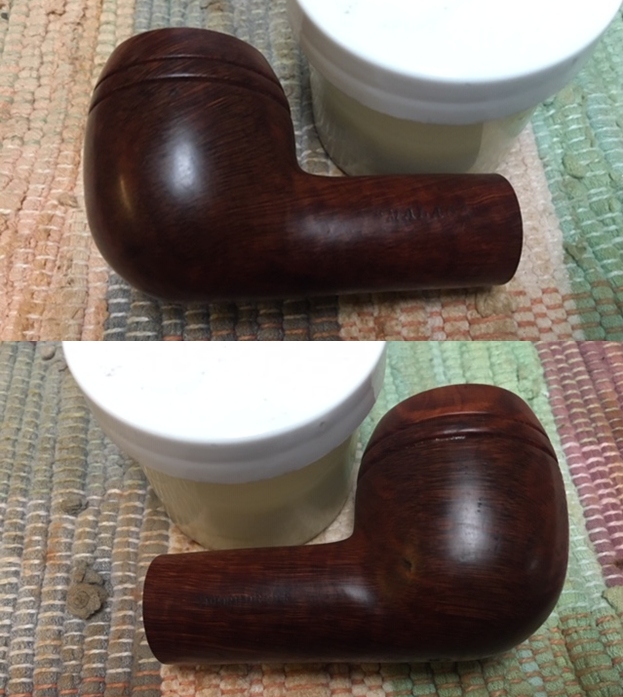
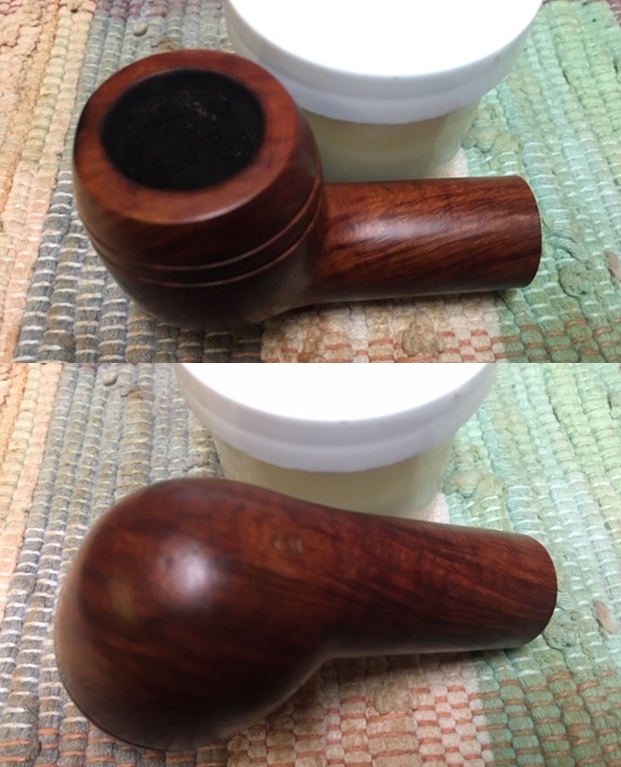
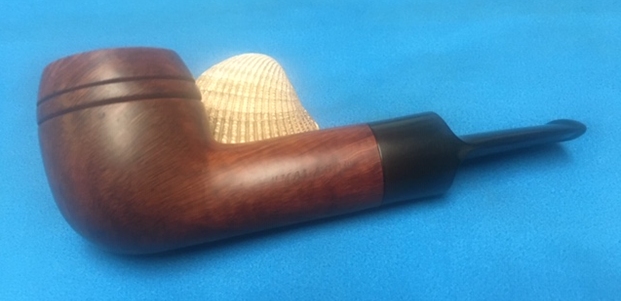
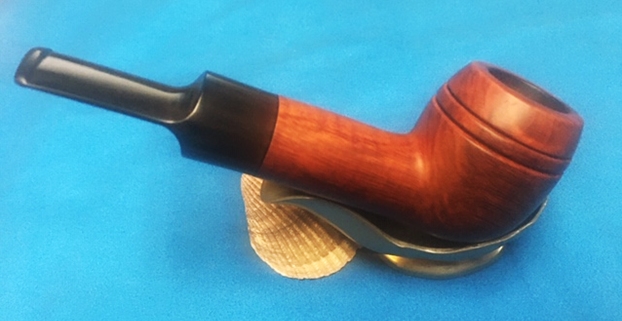
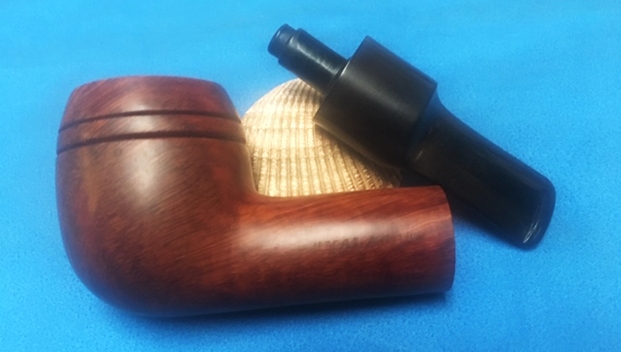
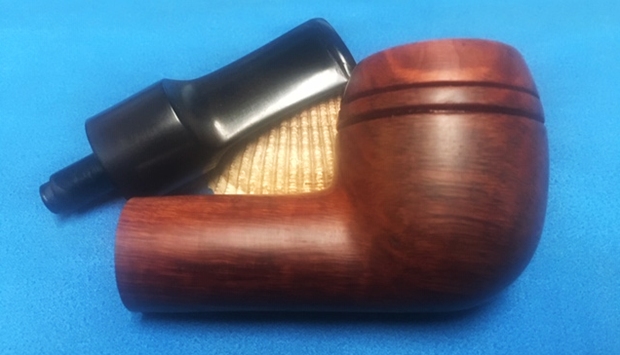
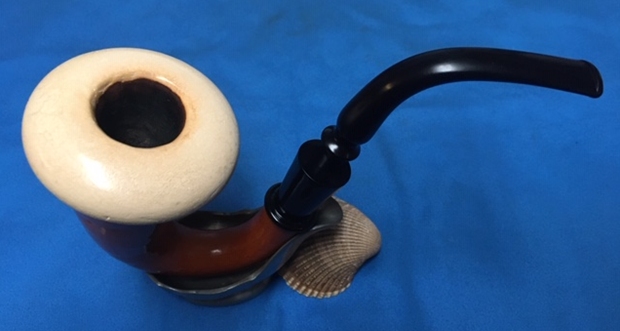
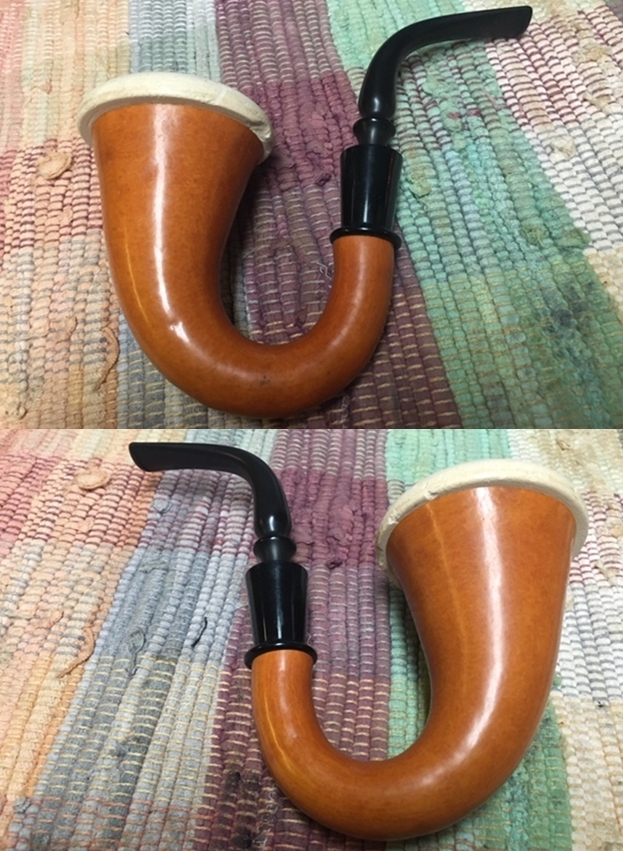
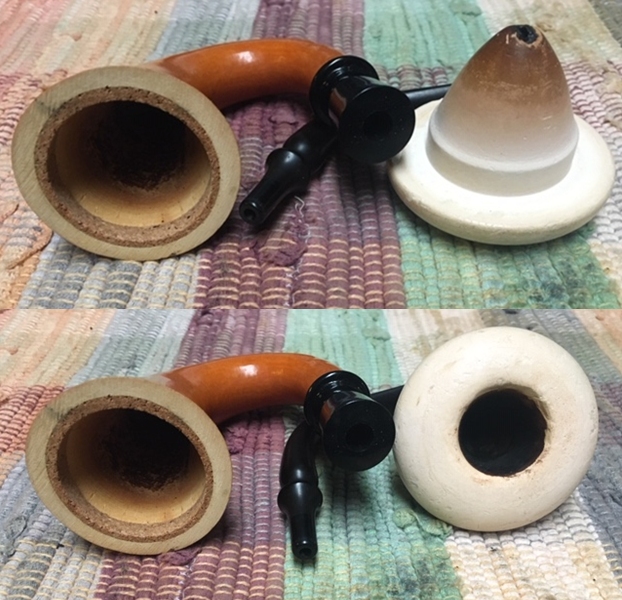
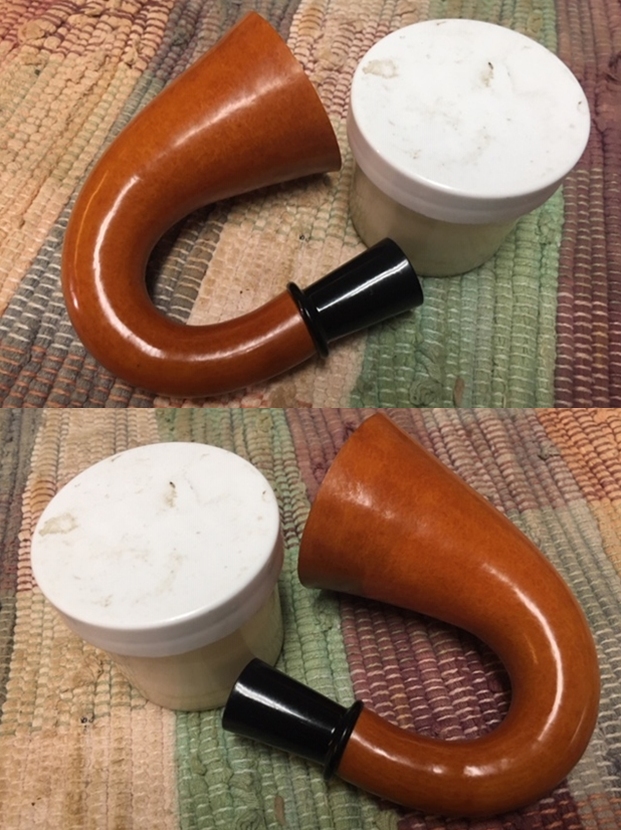
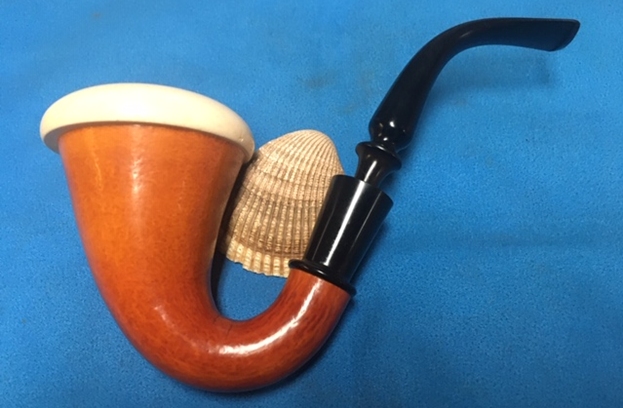
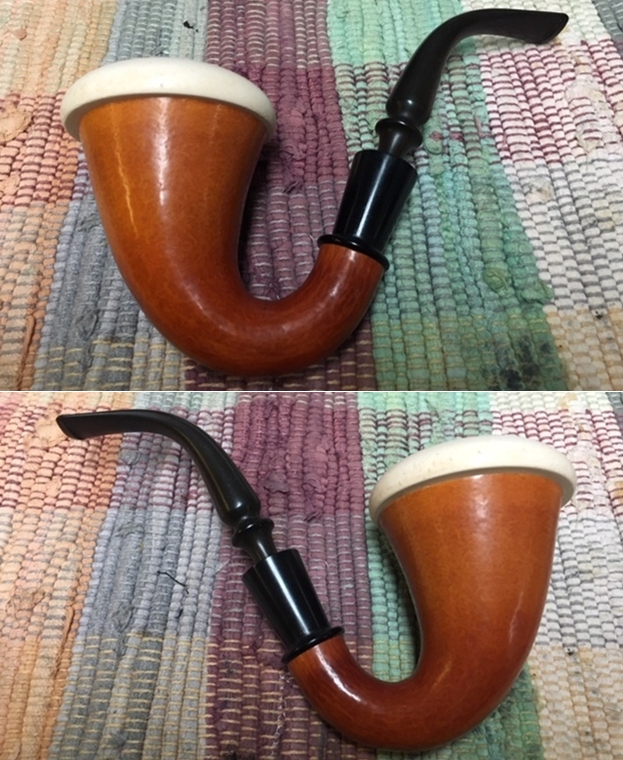
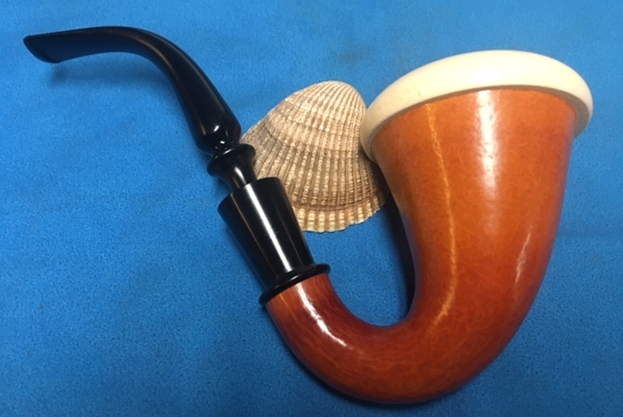
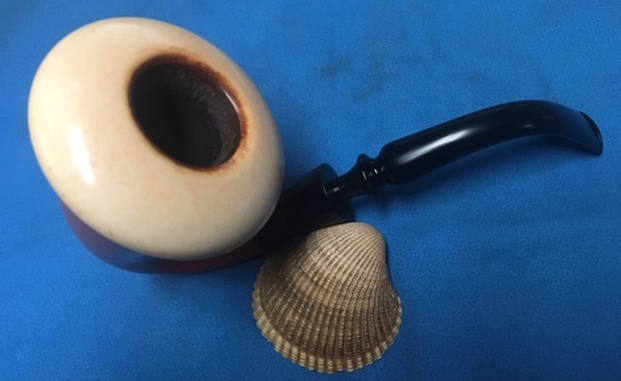
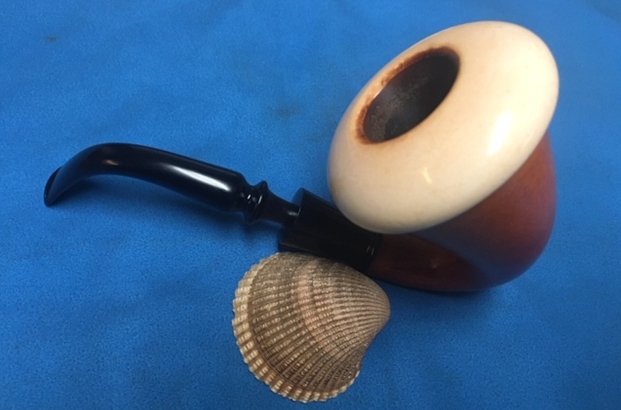
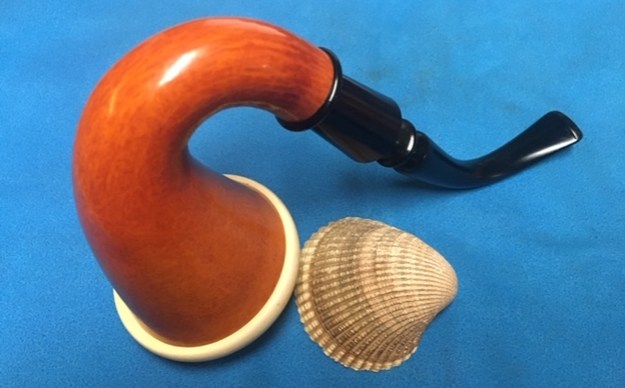
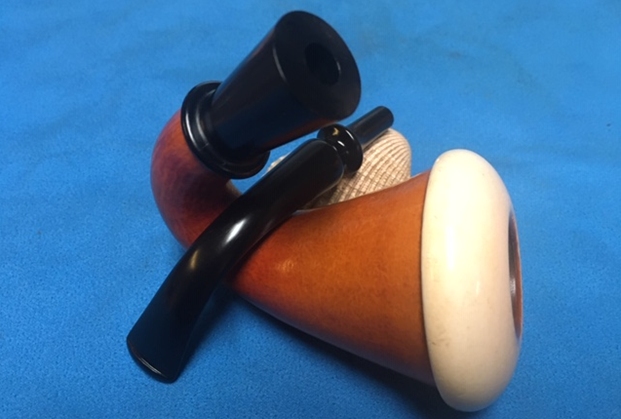
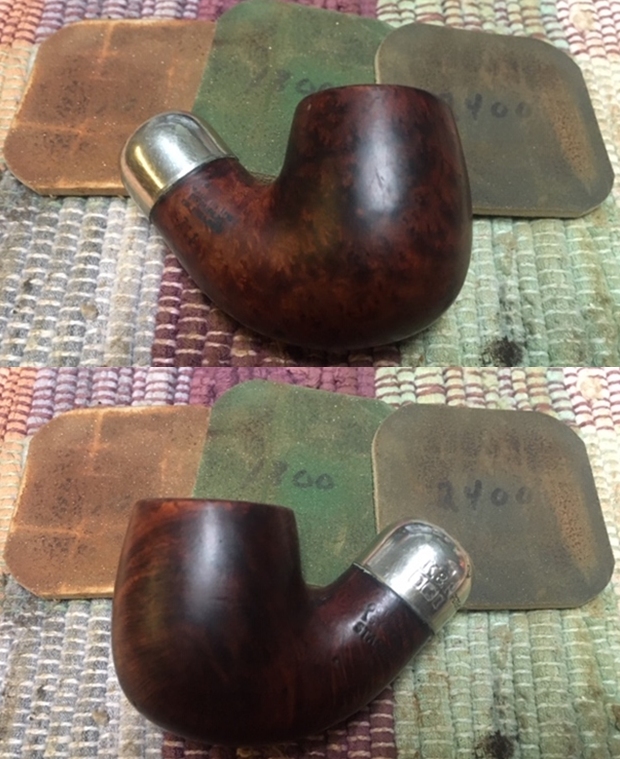
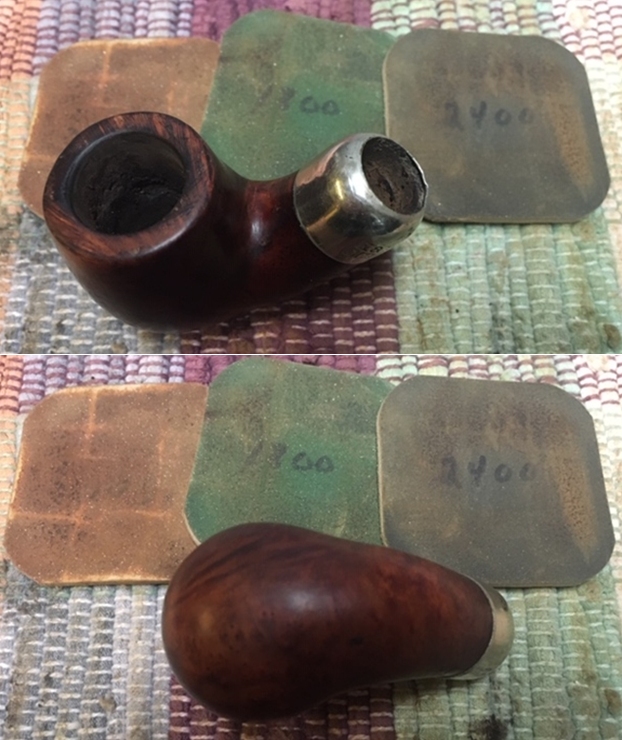
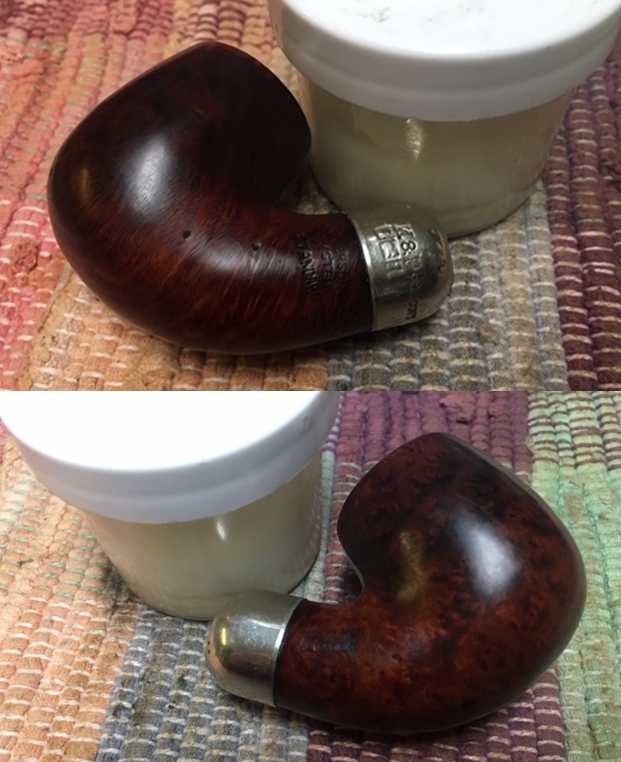
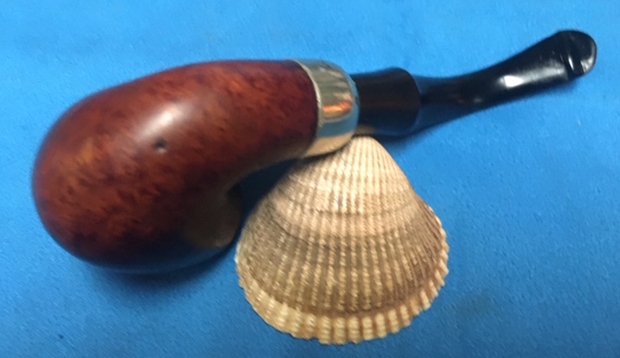
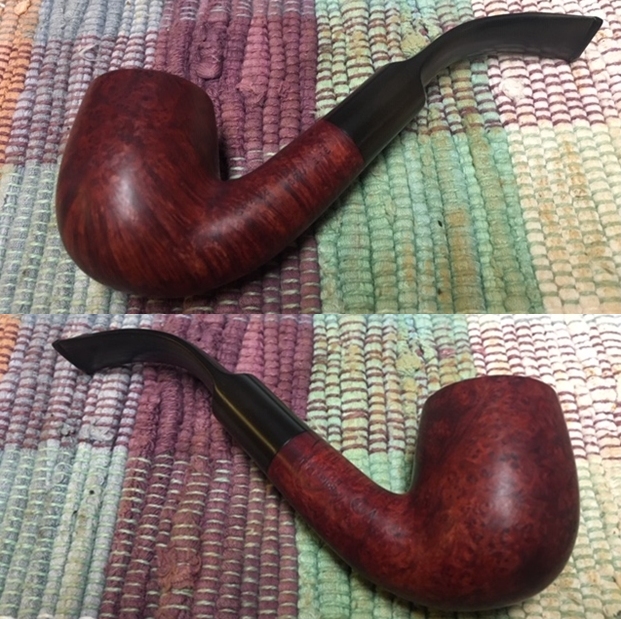
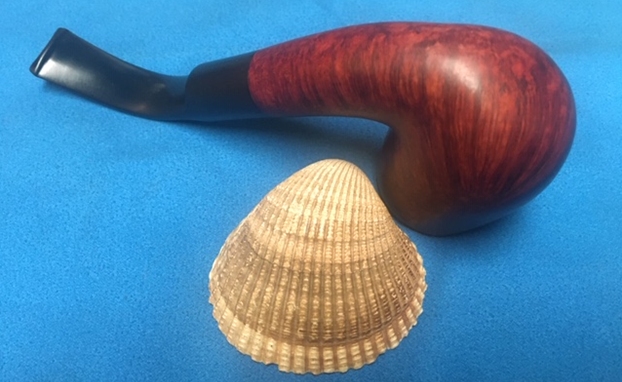
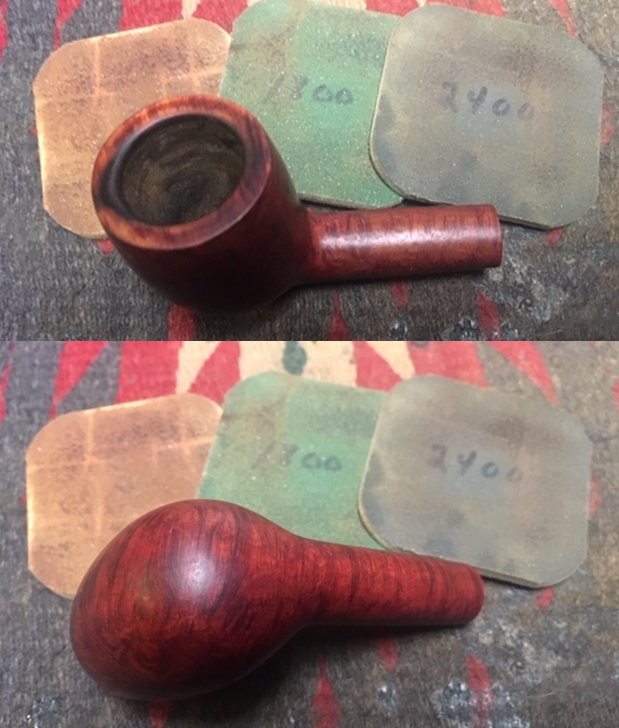
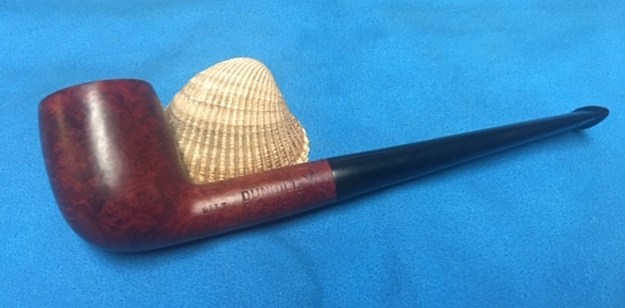
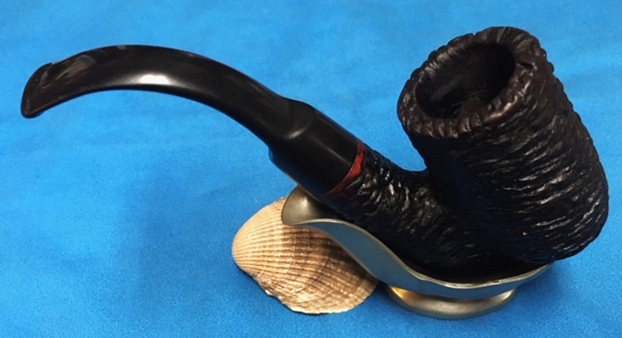
 Because of my love for Blatter & Blatter or Blatter Bros. pipes this was another interesting pipe to work on. It is a well-shaped Uncle Paul or Oom Paul. It has a Bite Proof, or Twin Bore saddle vulcanite stem that I am pretty certain is a replacement stem. The rustication is very nice and the shape has a great look and feel in the hand. The finish is very tactile and I figure as it heats up while smoking it will be amazing. I polished stem and the bowl with Blue Diamond polish on the buffing wheel. I gave the bowl multiple coats of Conservators Wax and the stem multiple coats of carnauba wax. I buffed the pipe with a clean buffing pad to raise the shine. I hand buffed it with a microfiber cloth to deepen the shine. The pipe polished up pretty nicely. The deeply rusticated briar took on life with the buffing. The rich dark brown and black colour of the briar works well with the polished vulcanite stem. The finished pipe has a rich look that is quite catching. Have a look at it with the photos below. The shape, finish and flow of the Oom Paul are very well done. The dimensions are Length: 6 inches, Height: 2 ¾ inches, Outside diameter of the bowl: 1 3/8 inches, Chamber diameter: 7/8 of an inch. It is a beautiful pipe and one I am debating keeping as I only have one Oom Paul and this one is a match to my Lovat. I will see if Blatter & Blatter can restemm it for me with an original stem if I keep it. Thanks for walking through the restoration with me as I worked over this pipe.


UPDATE on the pipe: I emailed Robert Blatter in Montreal to ask for his help in dating this pipe and helping me with the stamping on the heel of the bowl. (I am intending to send it to Robert to have him restem it with a proper Blatter Stem.) Here is his response.
Dear sir, when I see the pipe it I will confirm, but it looks kike 78-05
witch means made in 1978, 5th pipe in that year. Made by me. Boy, that was a
long time ago! –R. Blatter
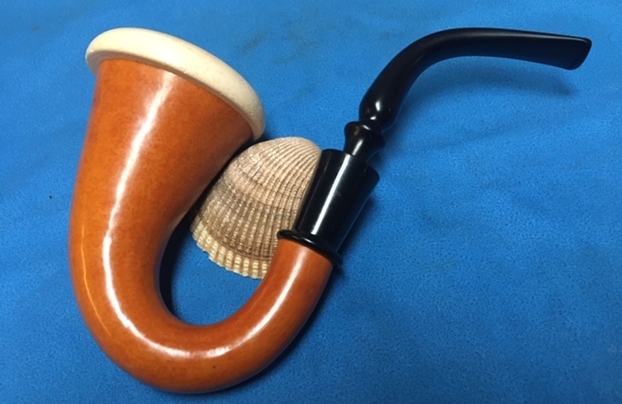
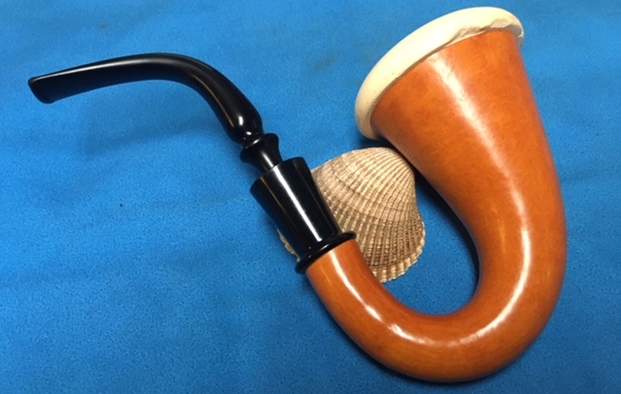
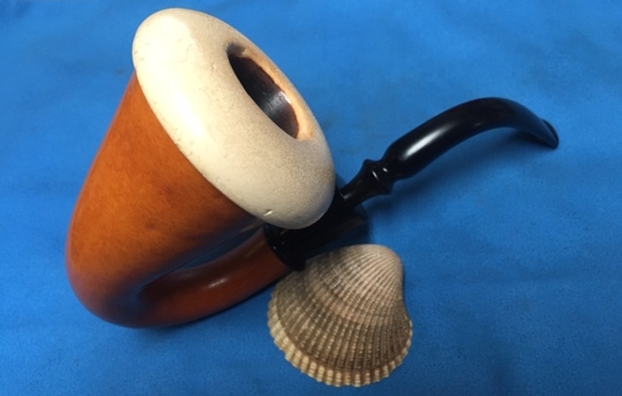
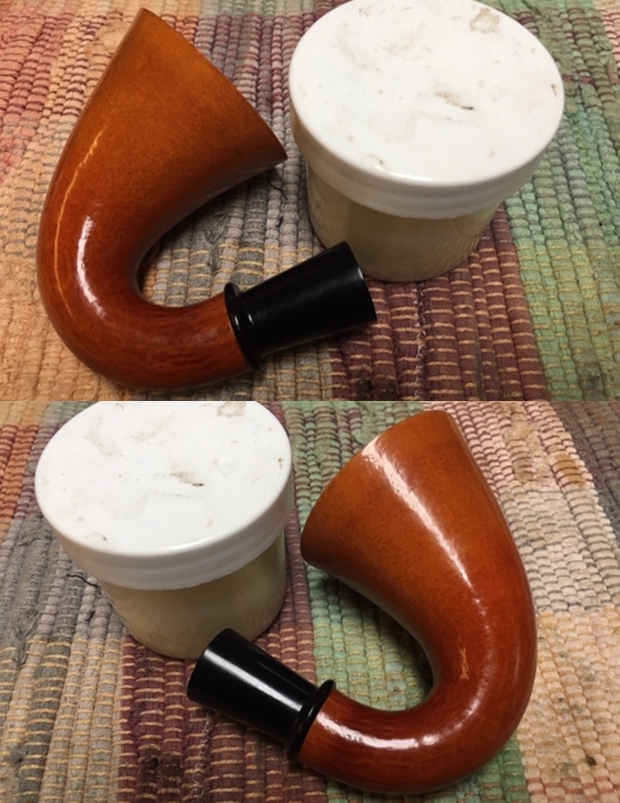
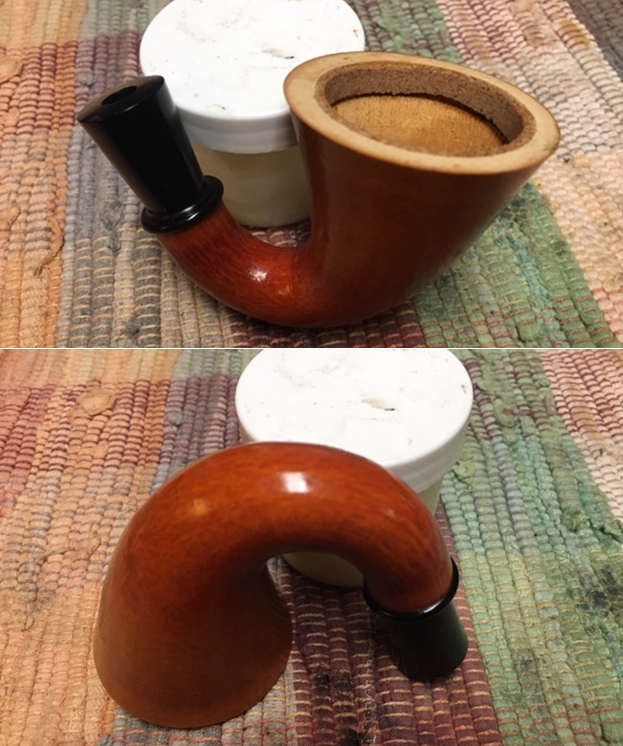
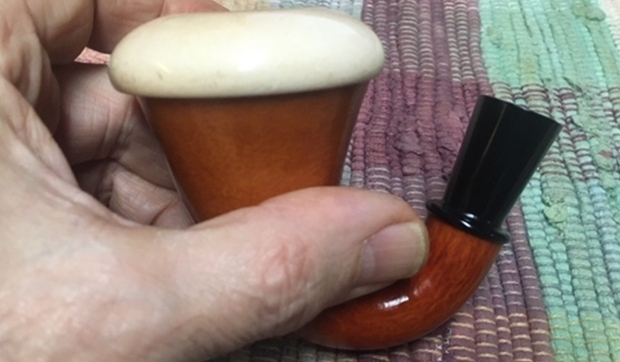
I sent the finished pipe off to Robert in Montreal to have him make a stem like the one that was on the pipe when it was sold. I received it in the mail today 01/28/20. It is amazing and it is perfectly balanced as a sitter. Here are some photos.