by Steve Laug
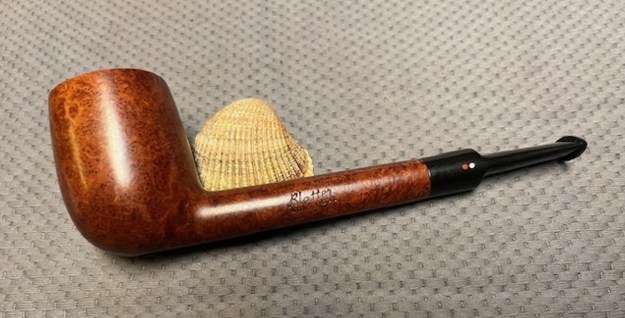
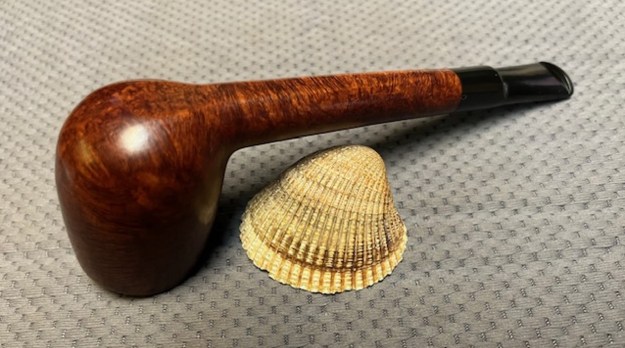
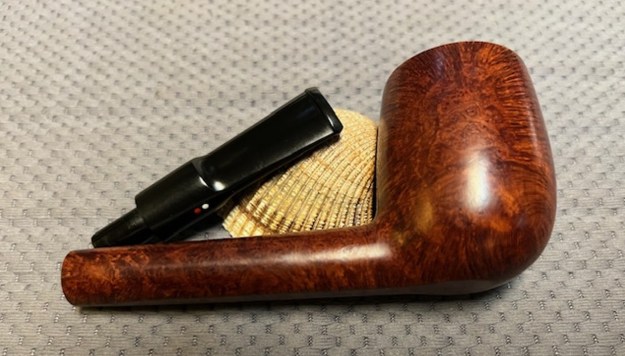
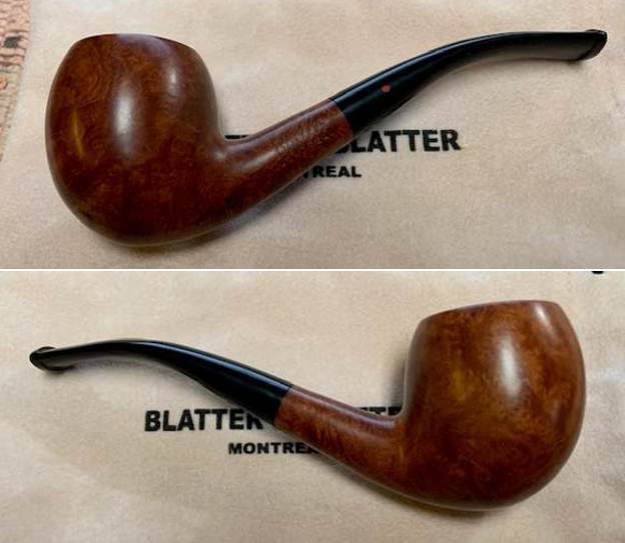
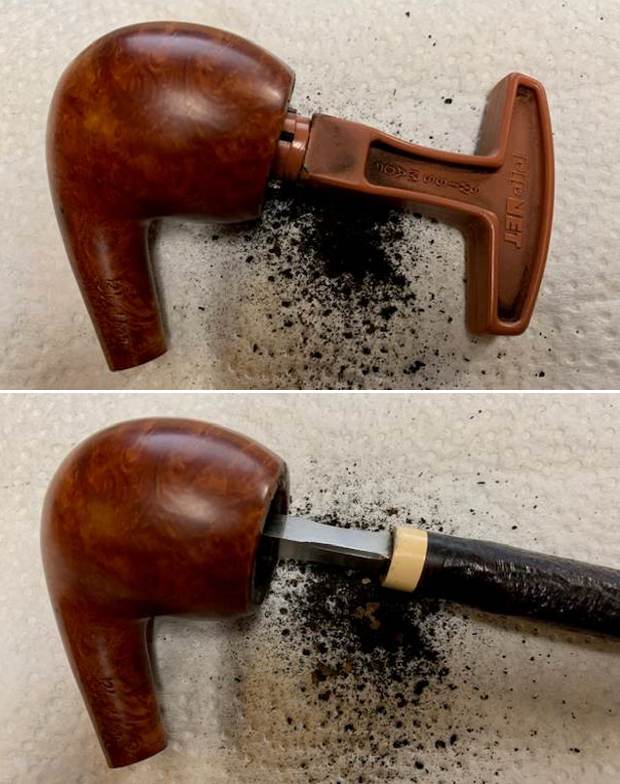
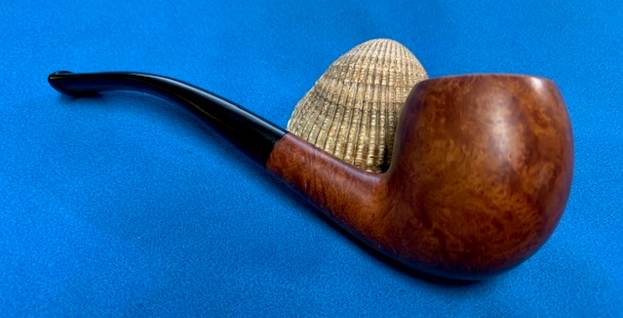
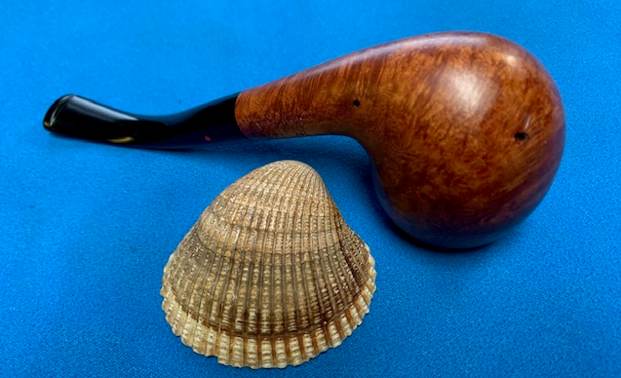
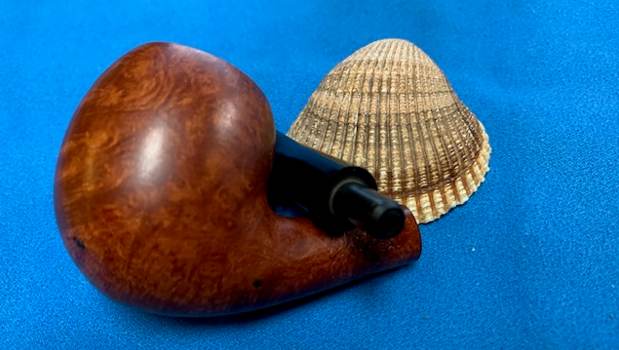
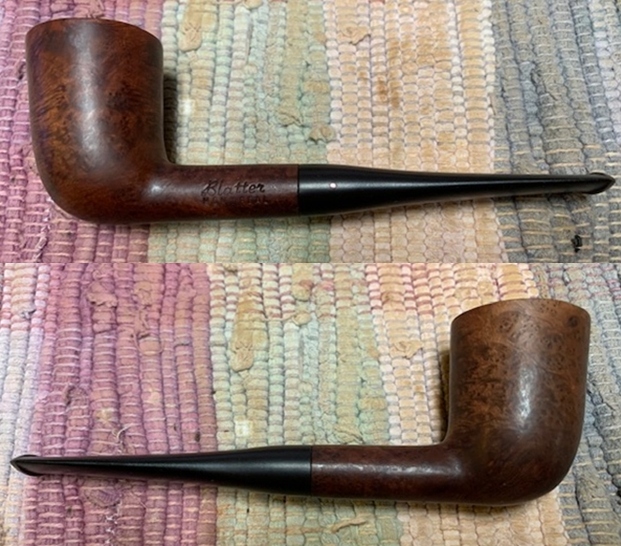
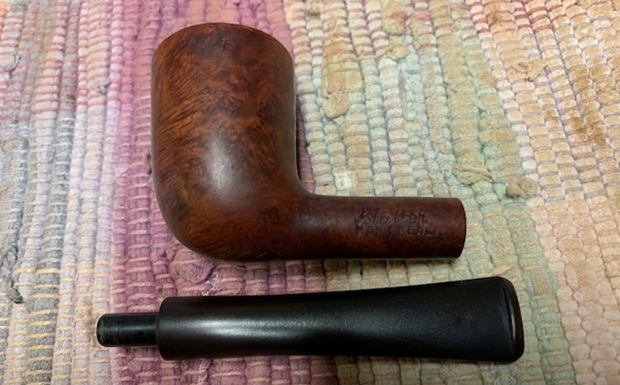
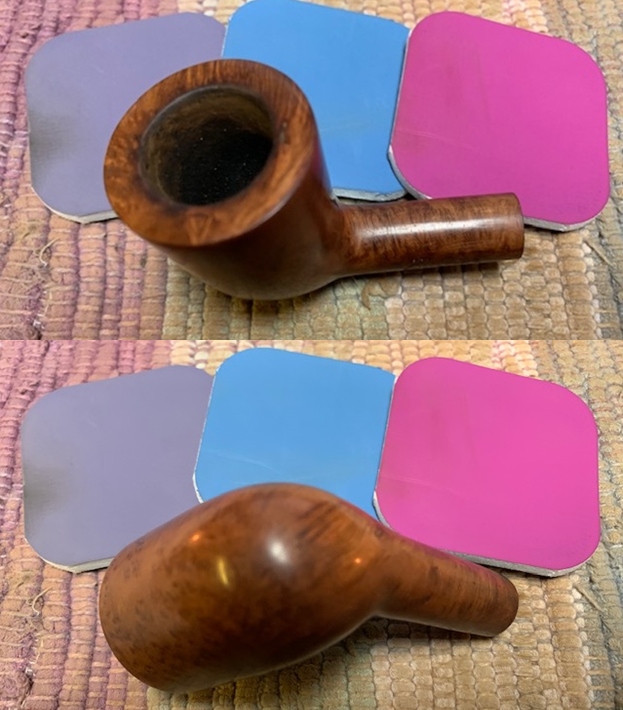
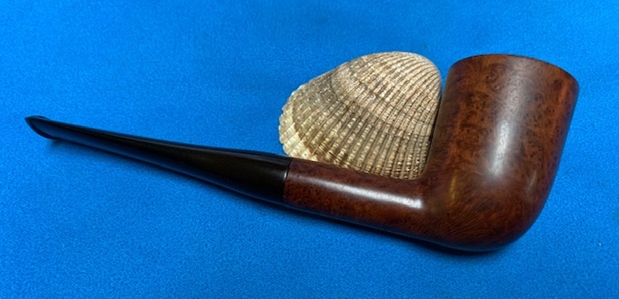
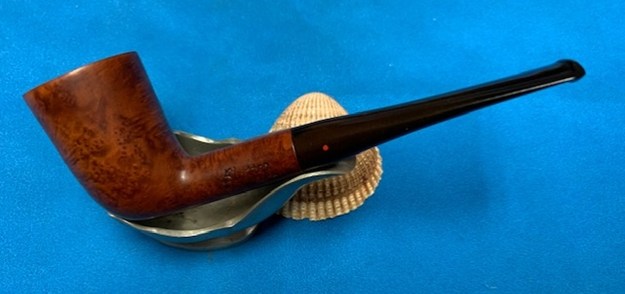
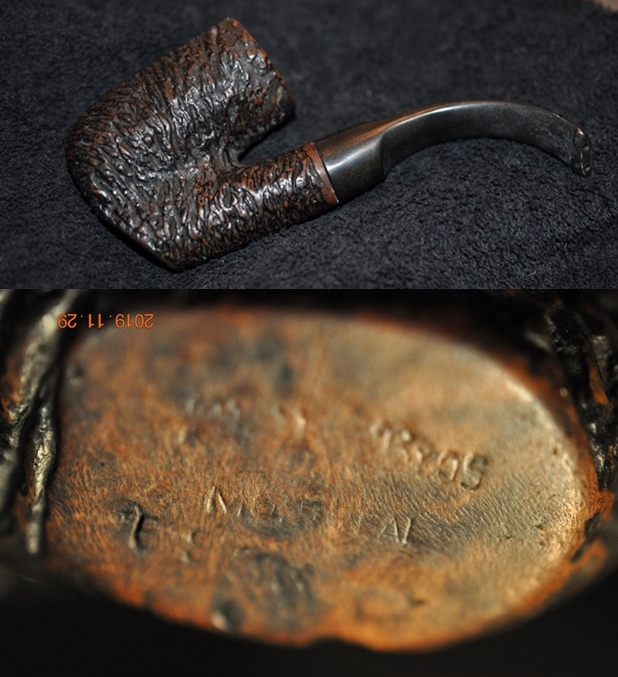
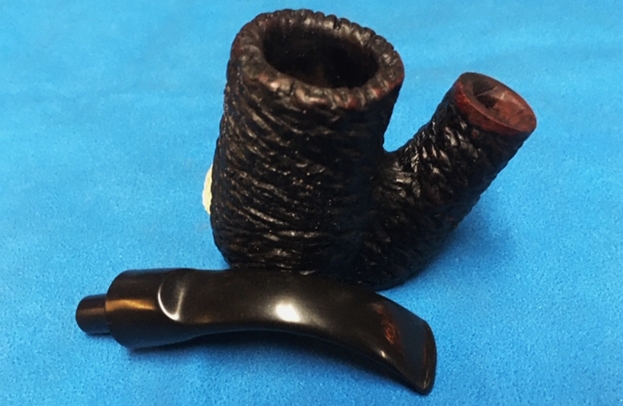
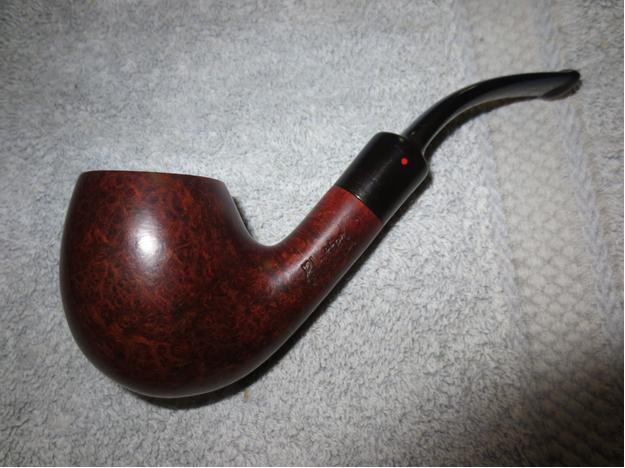
The next pipe on the table is one that we picked up in the lot from a seller in Barrington, Rhode Island, USA on 08/22/2024. The smooth finish on this Canadian made pipe and the Blatter stamping are what caught our eye. It is stamped on the left side of the shank and reads Blatter [over] Montreal. It has a classic Medium Brown stain on the smooth finish that is a stark contrast to the short vulcanite saddle stem. It is a long Lumberman shaped pipe with a vulcanite stem. The bowl appears to have been recently reamed and cleaned at first glance. The seller told us that he had cleaned it before selling it to us. The inner edge and the top look very good. The stem is lightly oxidized. It does not show any tooth marks or chatter on the top and underside ahead of the button. It is dirty with some sticky substance on the stem surface. The Blatter two spot logo – a white and a grey dot are on the left side of the stem and looks to be in good condition. Jeff took some photos of the pipe to show the general condition of the pipe before he started his clean up. 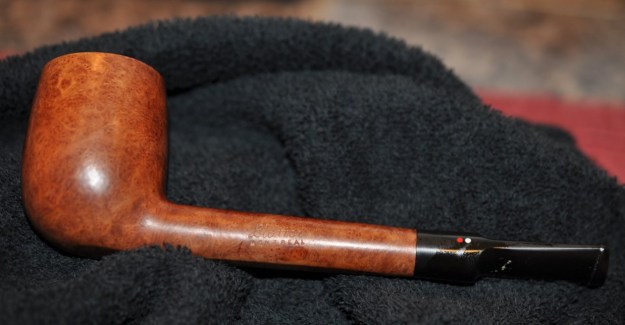
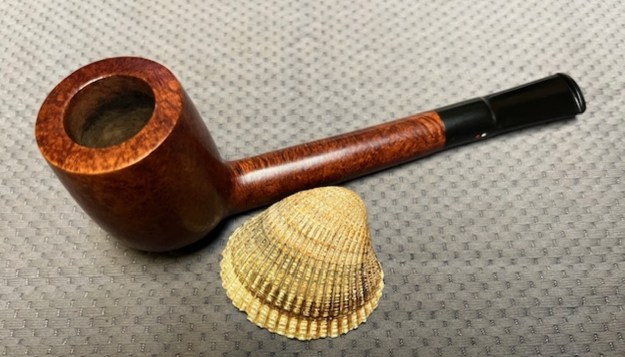
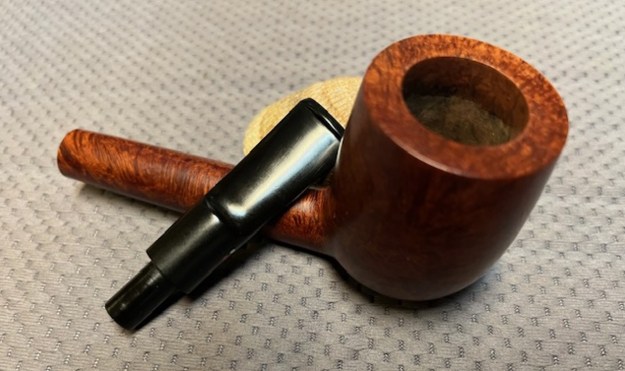
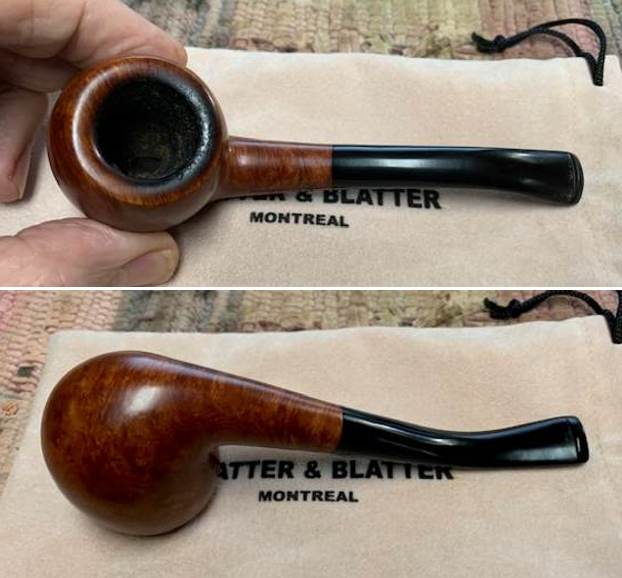
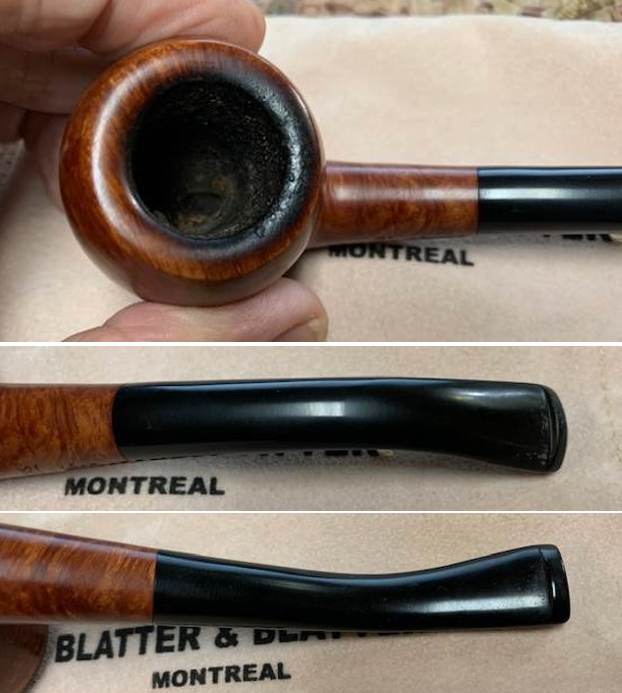
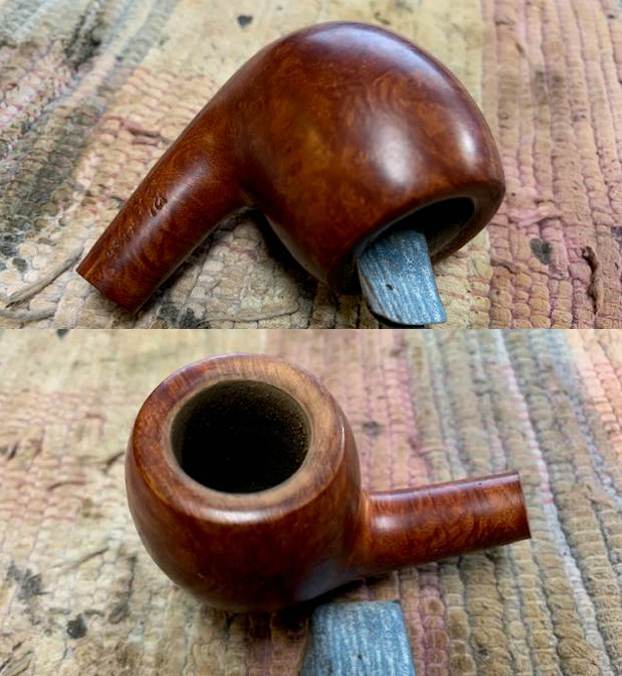
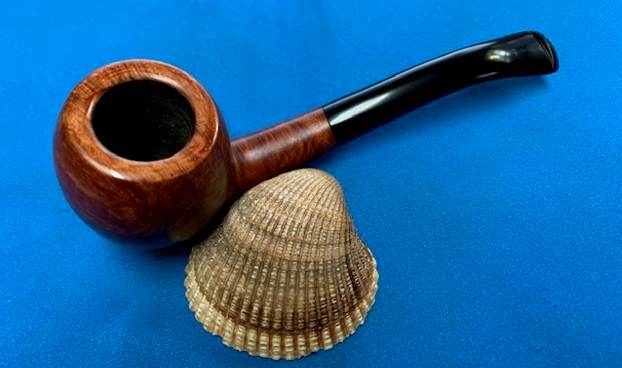
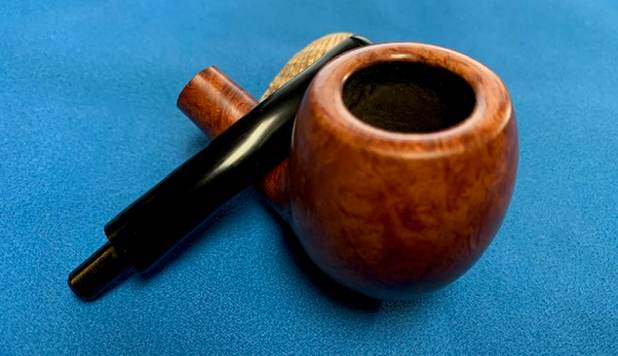
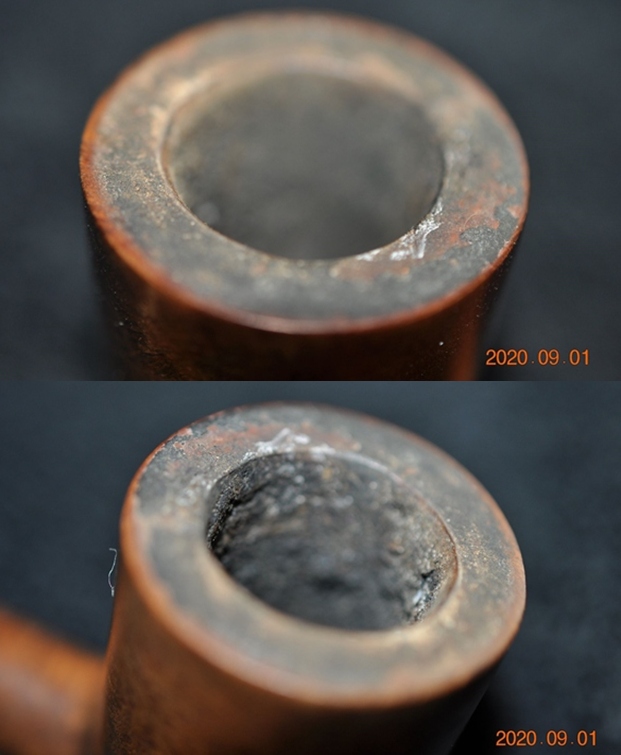
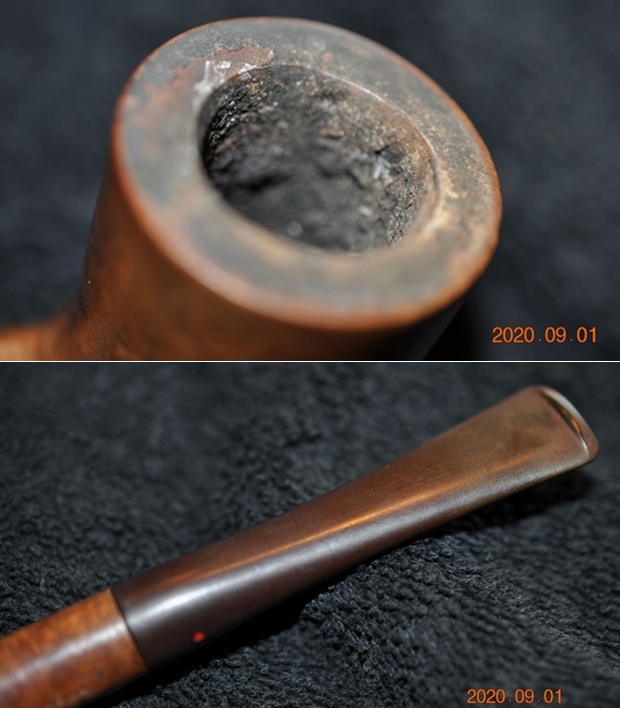
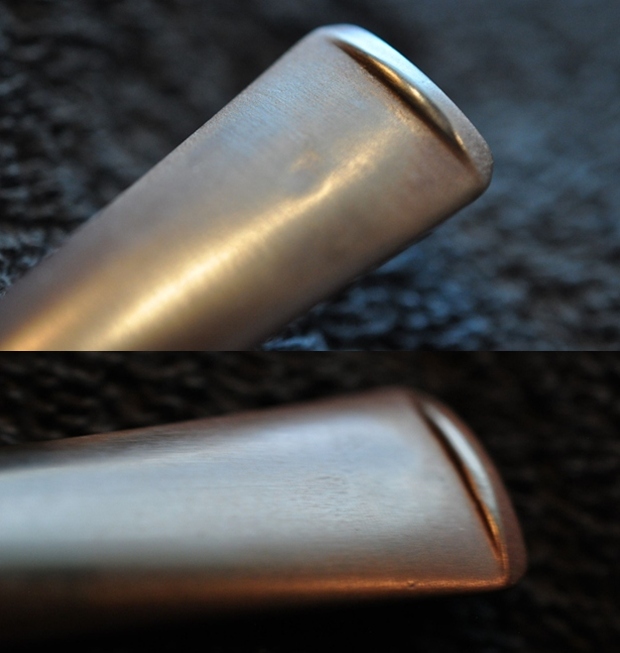
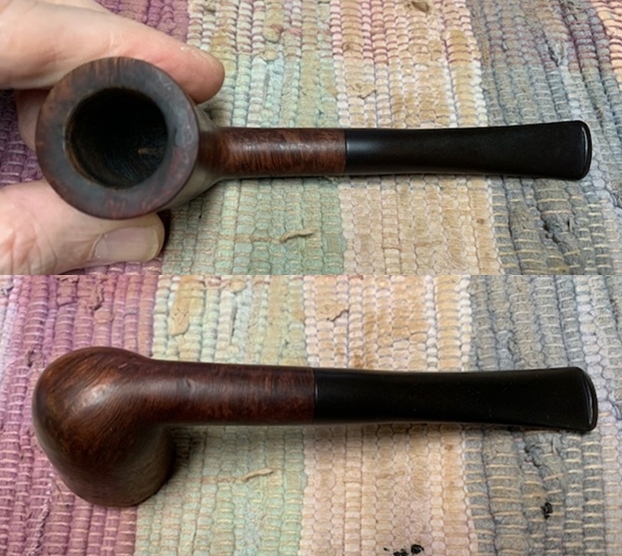
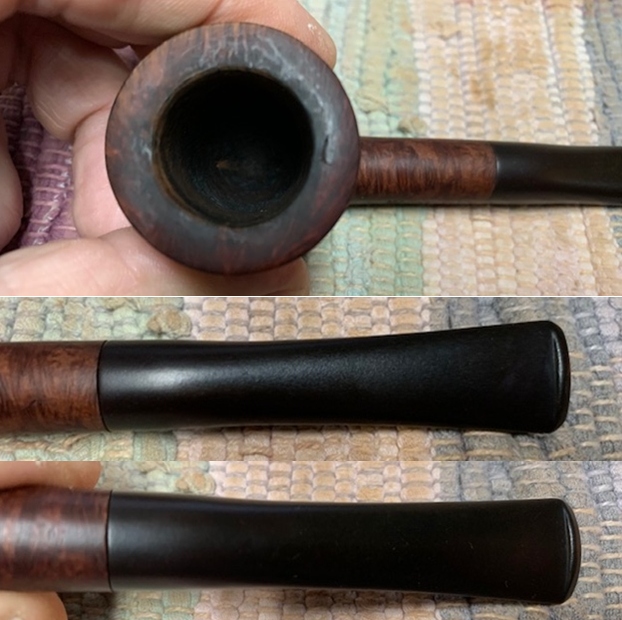
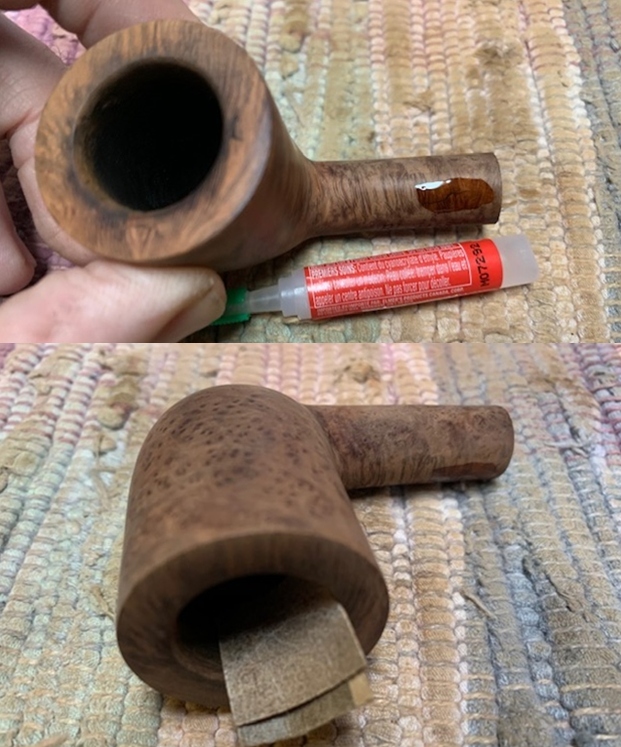
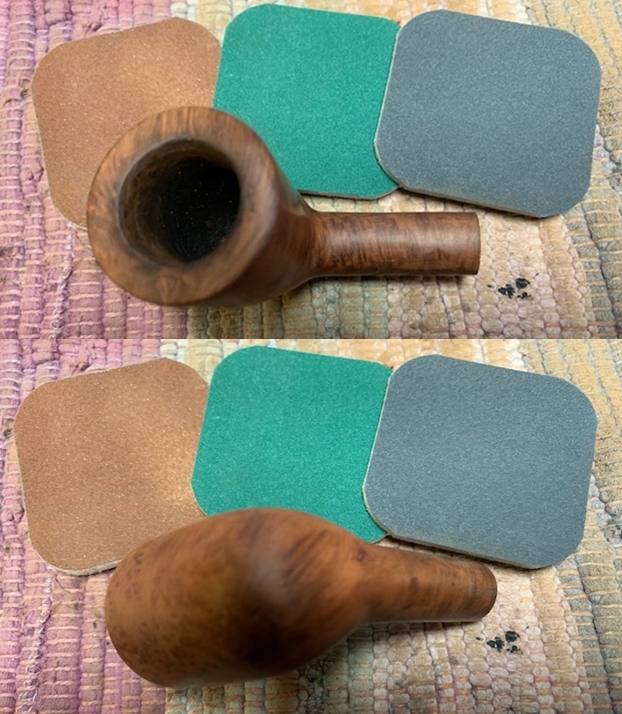
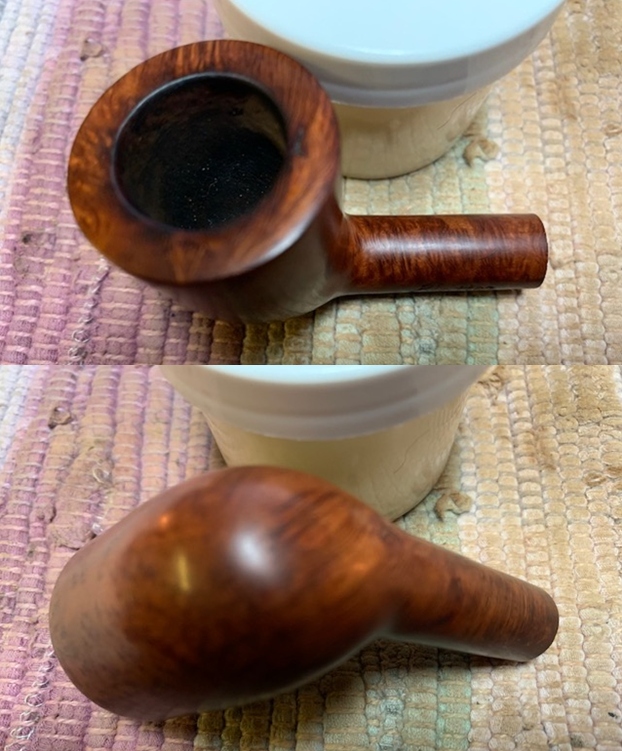
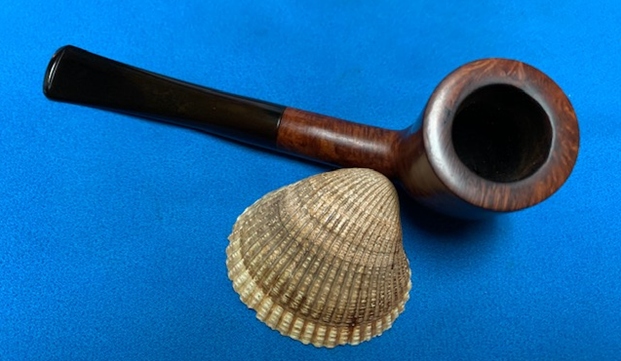
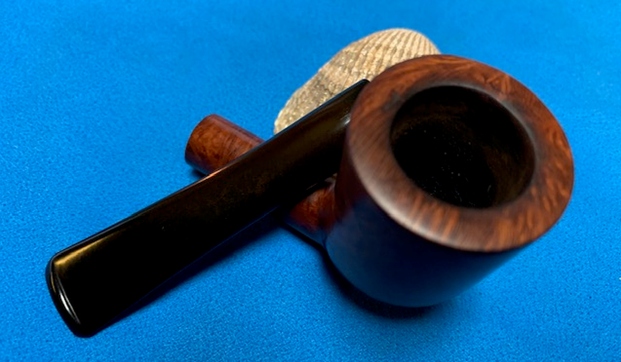
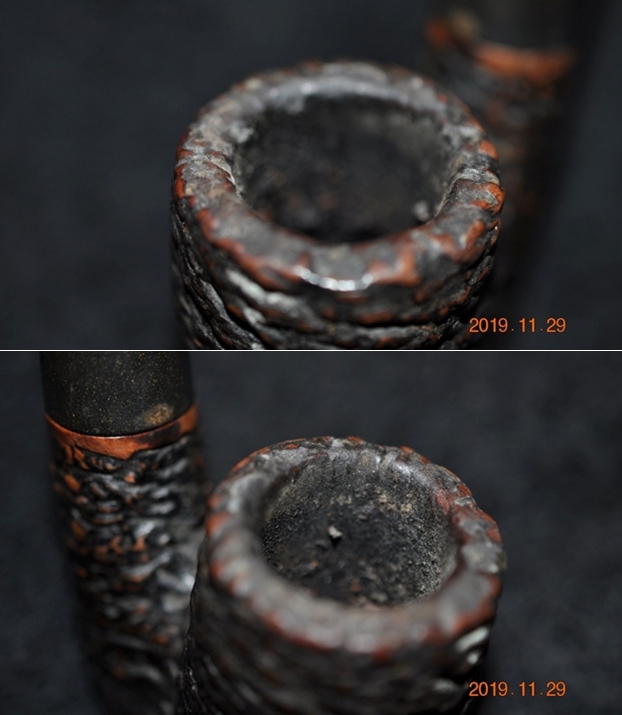
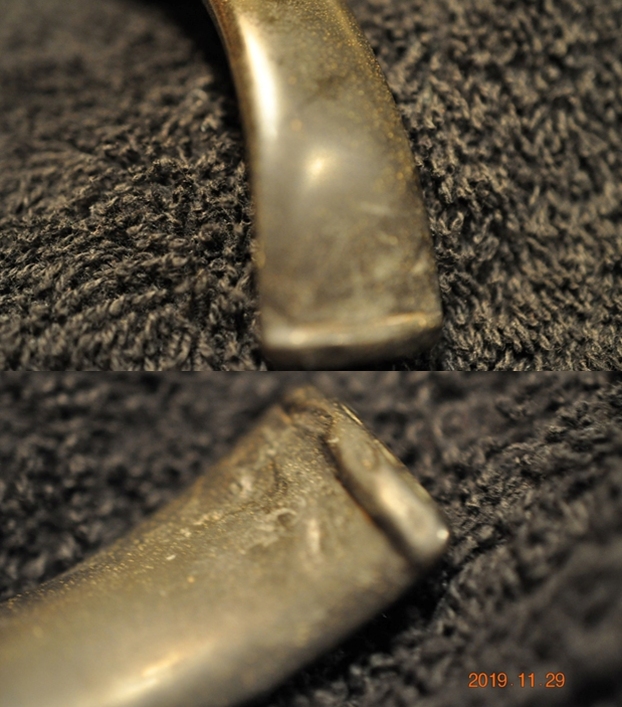
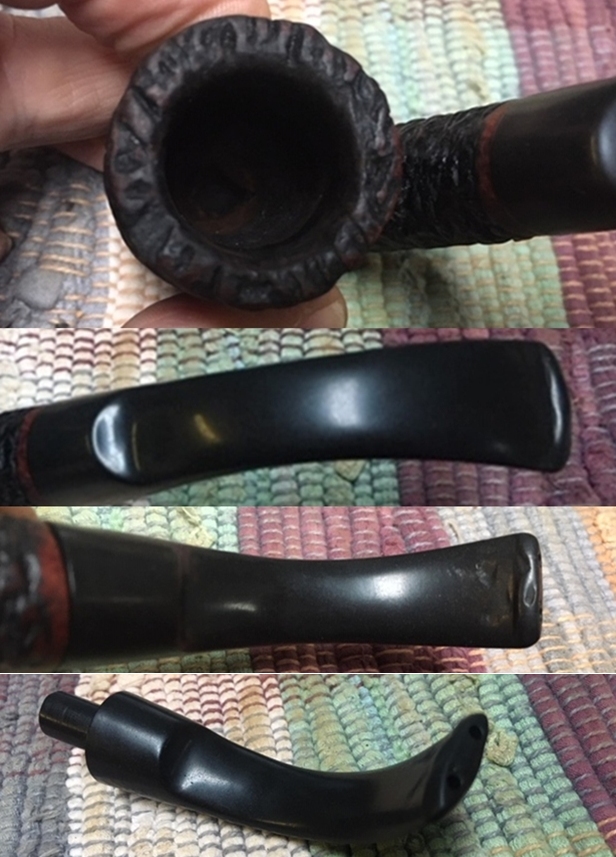
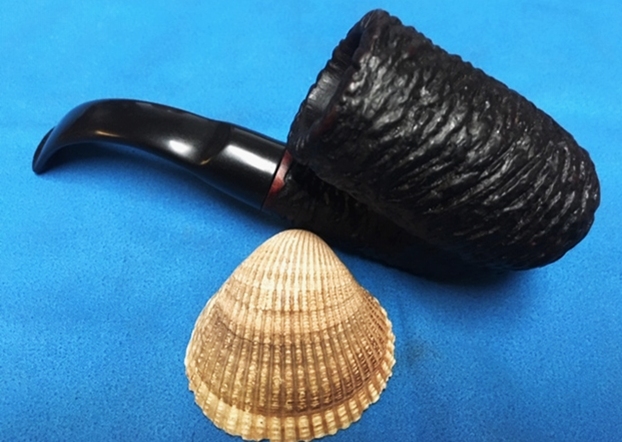
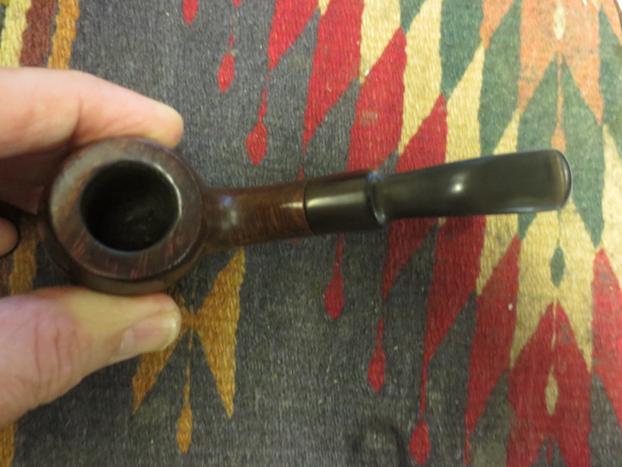
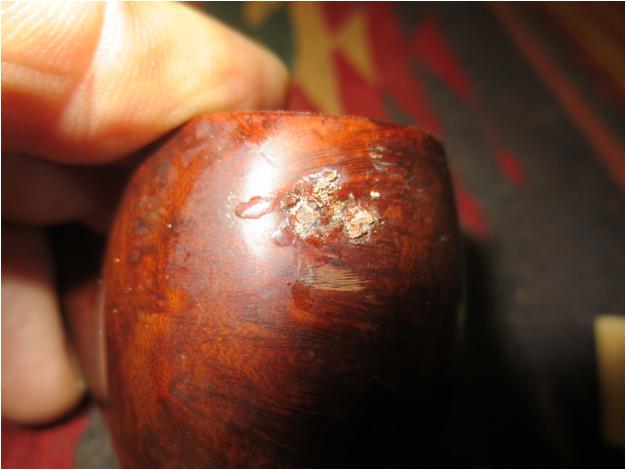
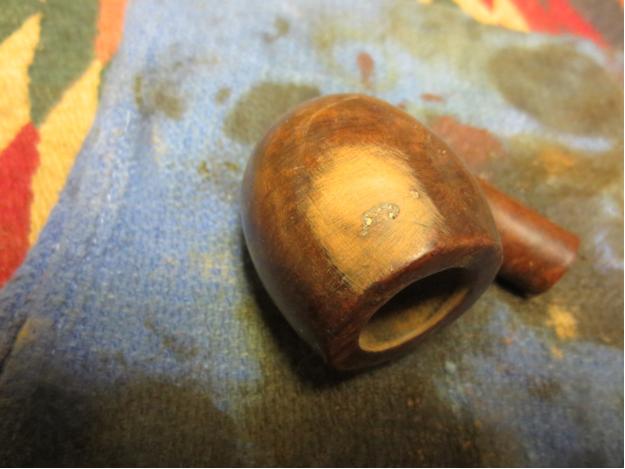
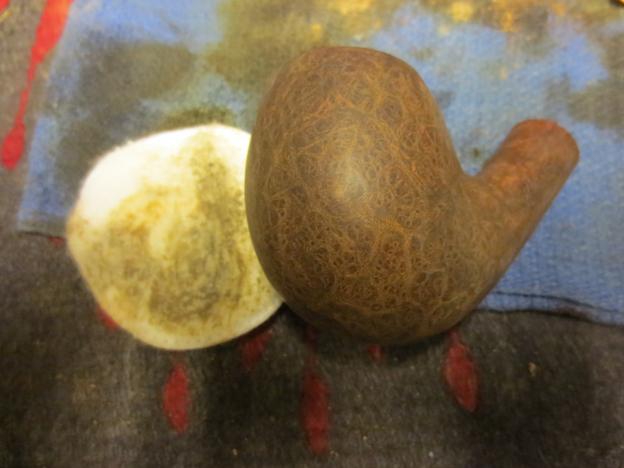
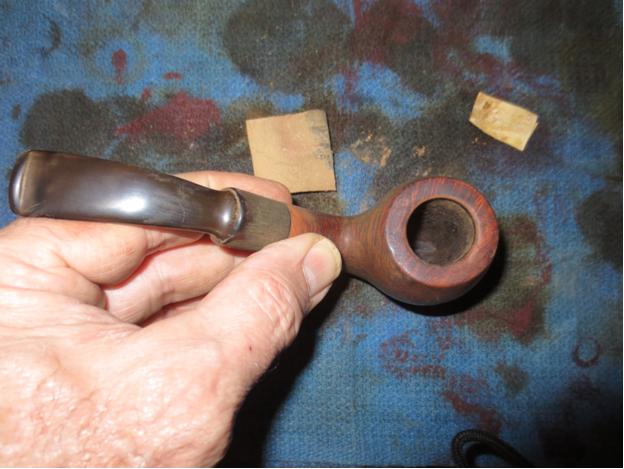
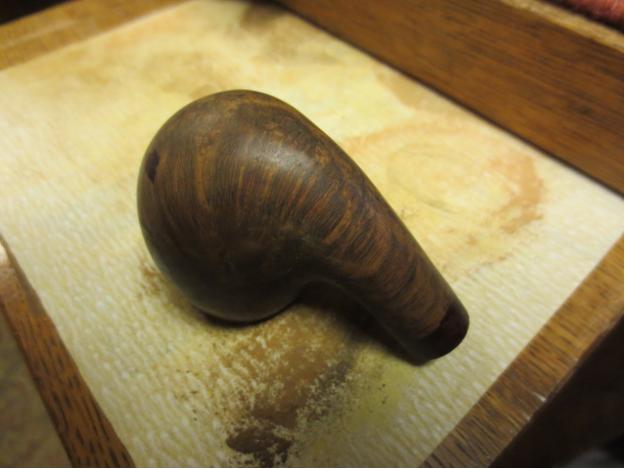
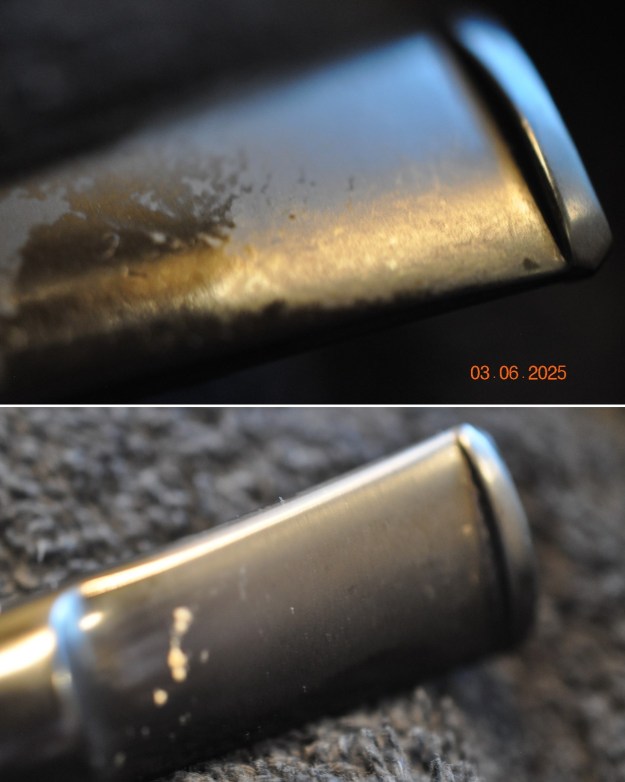
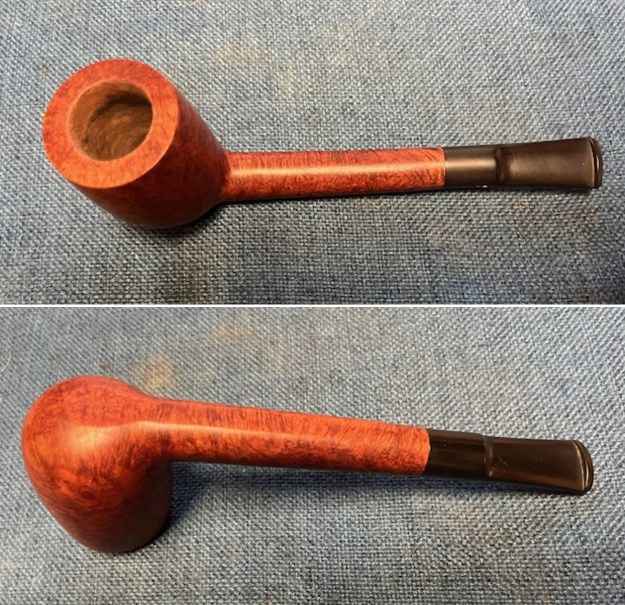
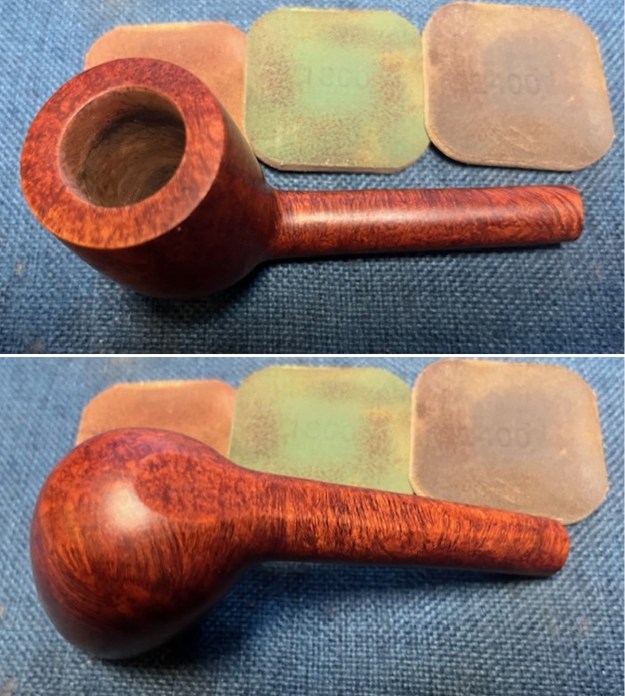
 He took some photos of the rim top and bowl from various angles to give me a clear picture of the condition of the rim top and bowl. It is quite clean and the inside of the bowl is very clean and shows that the pipe has been lightly smoked. He included photos that show the top and underside of the stem. It is as described above.
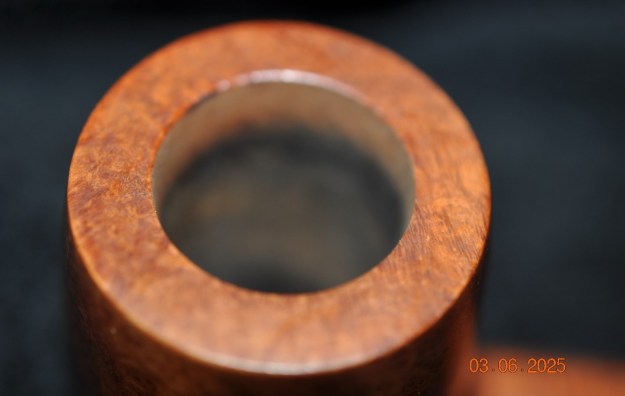

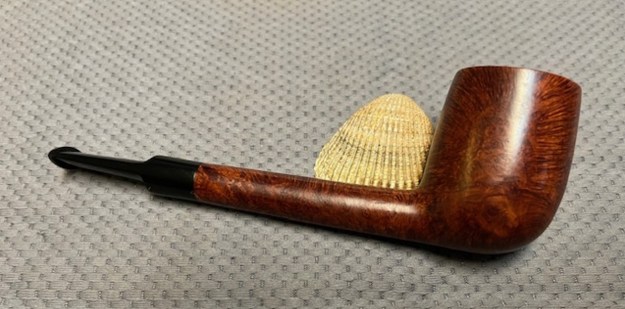
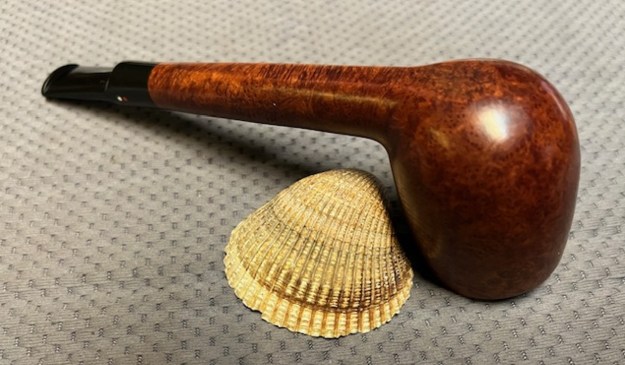
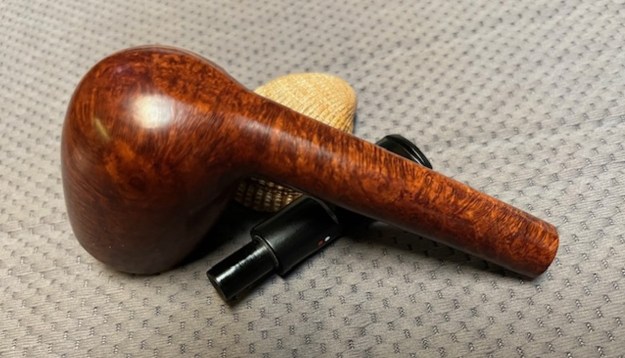
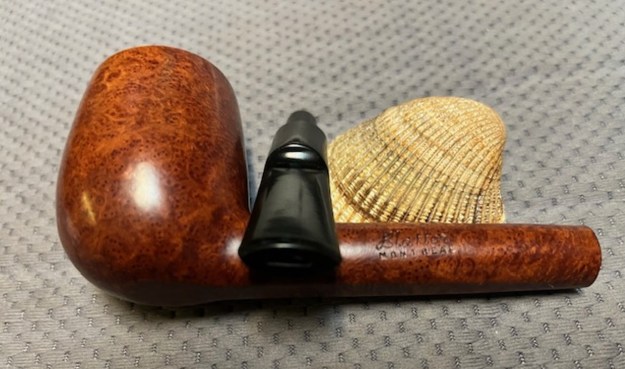
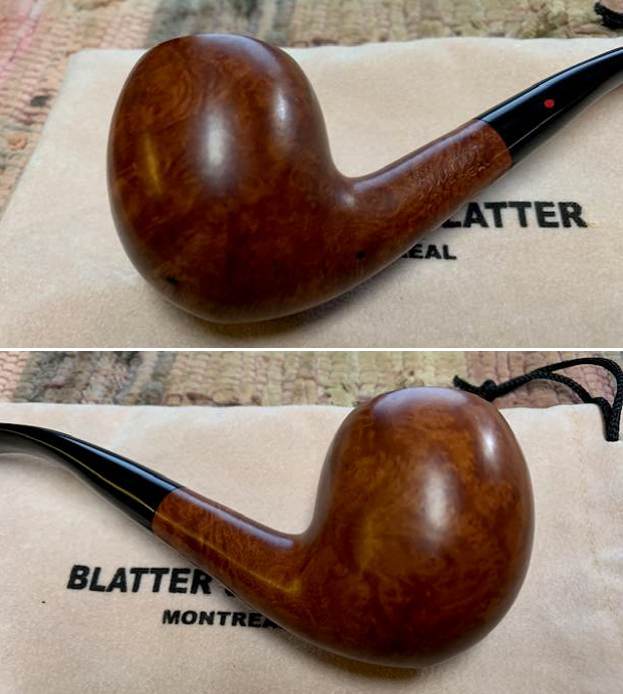
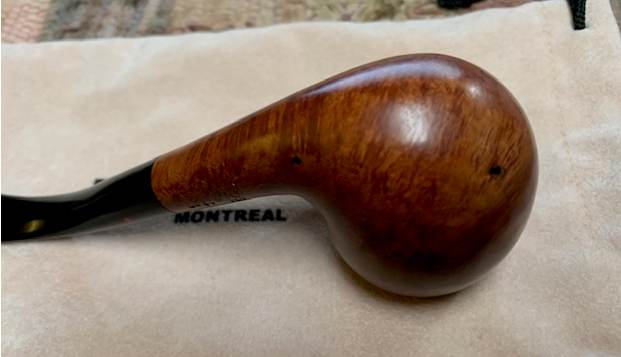
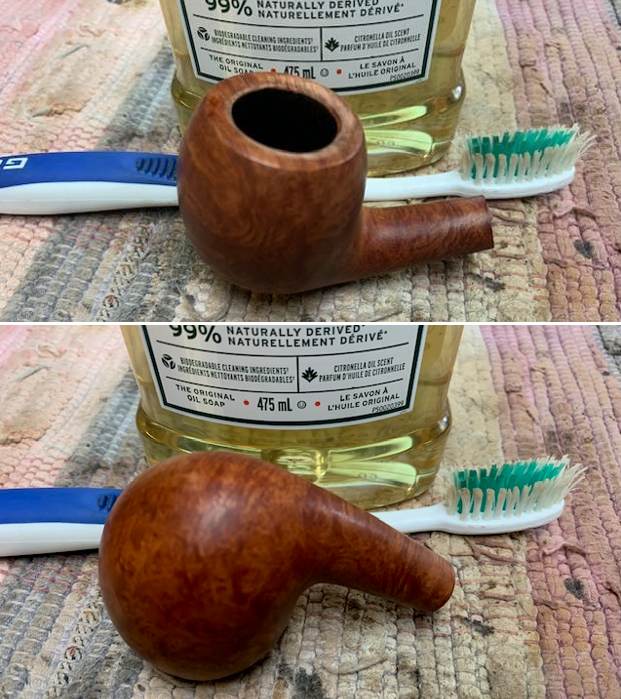
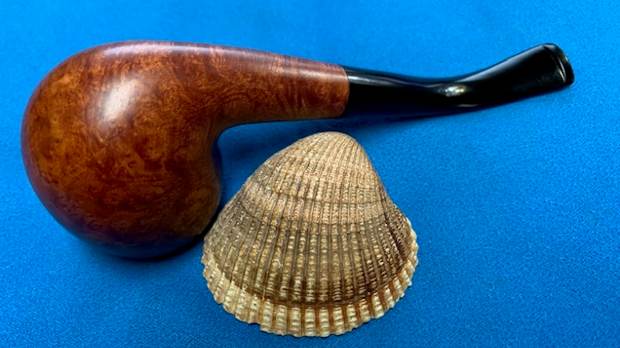
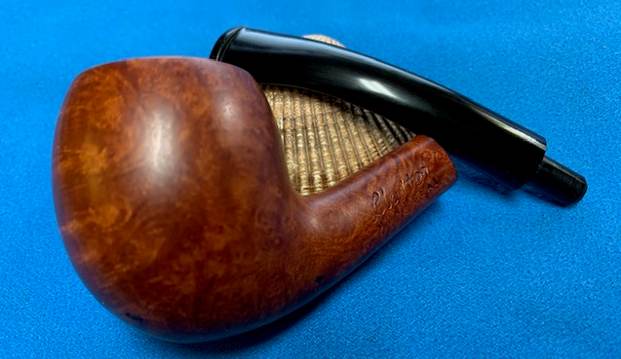
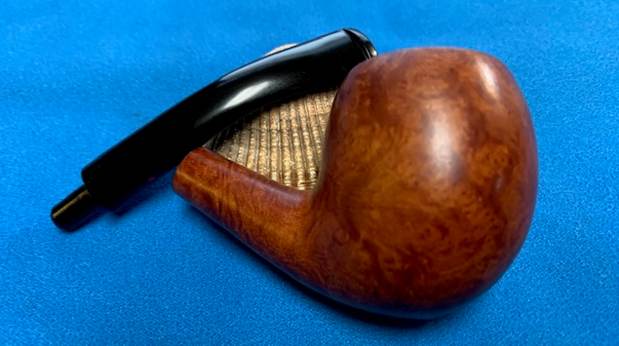
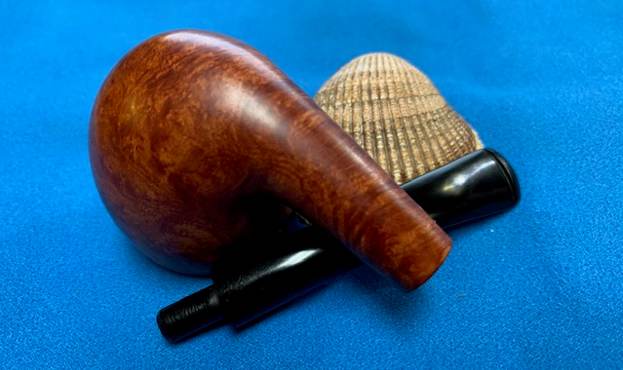
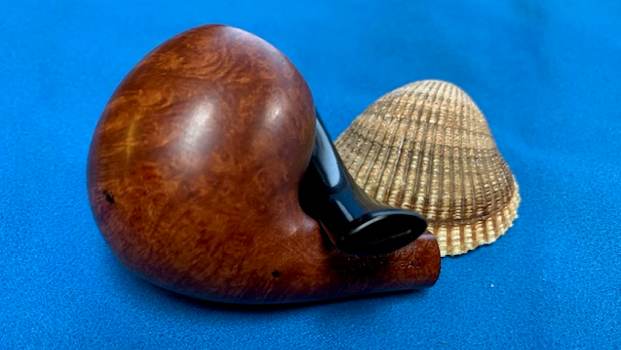
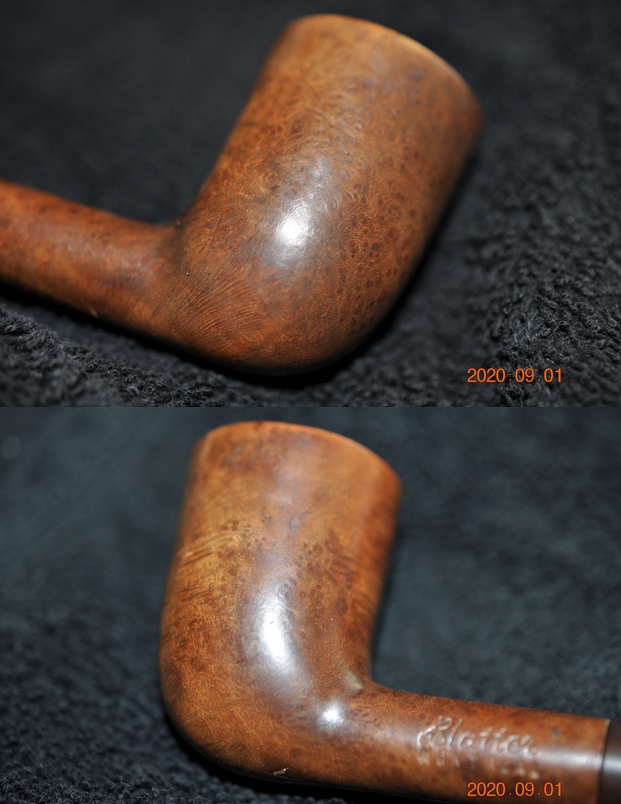
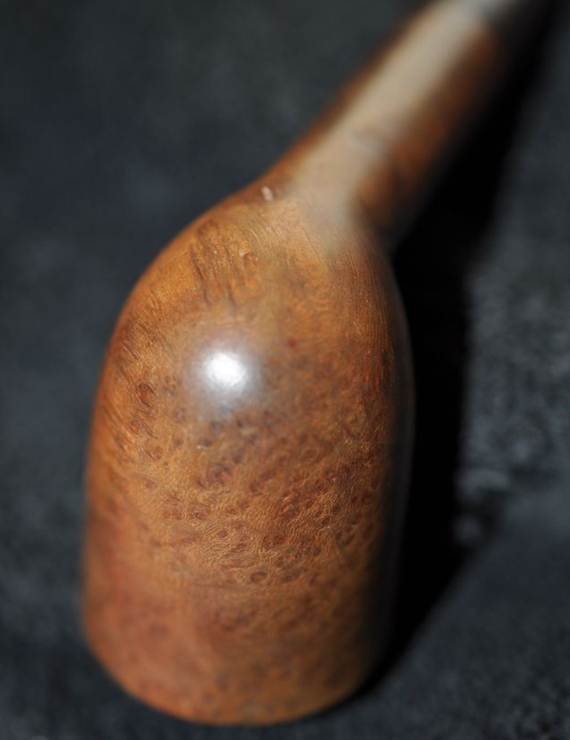
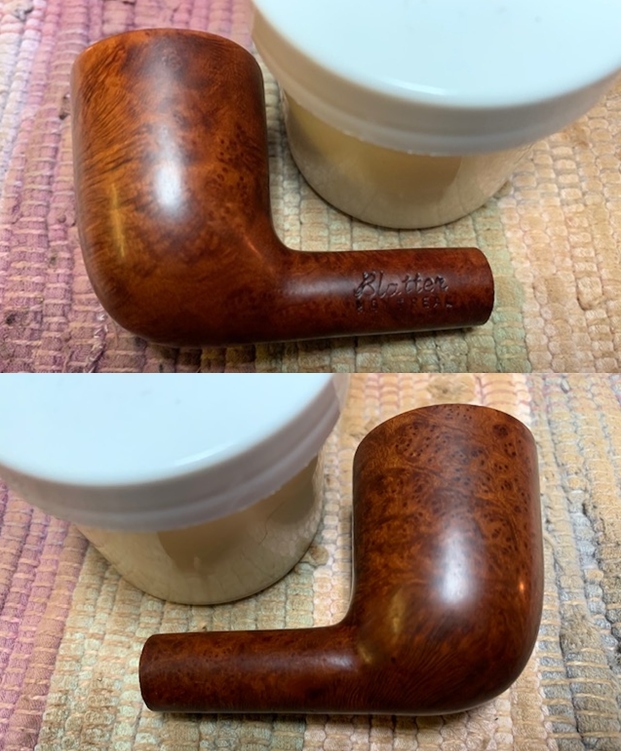
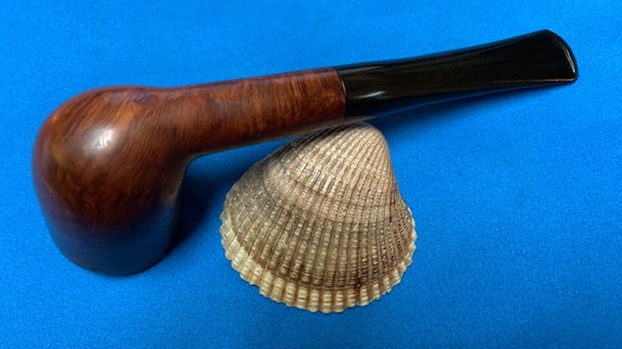
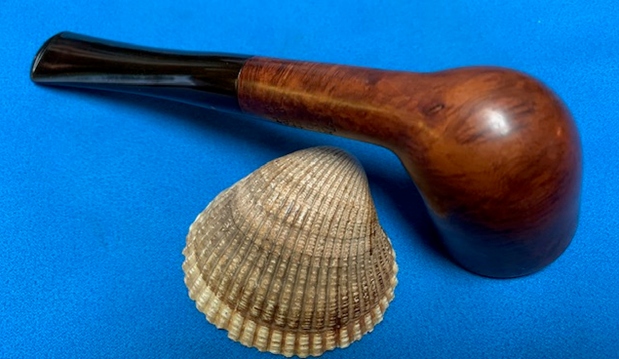
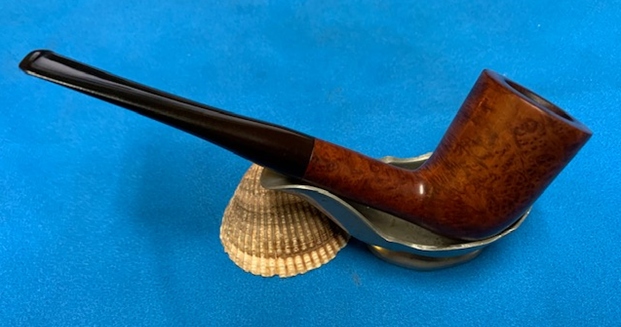
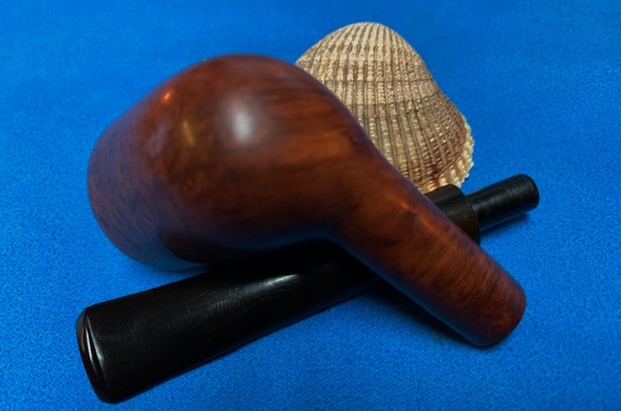
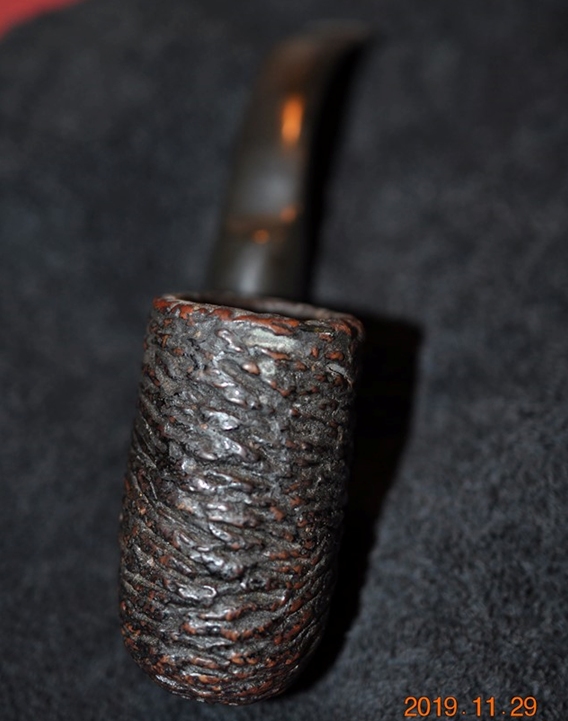
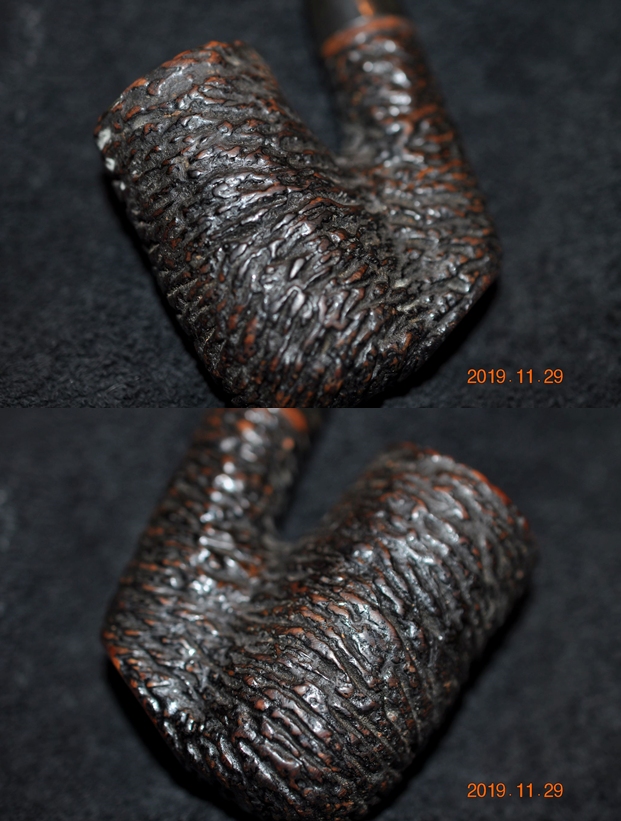
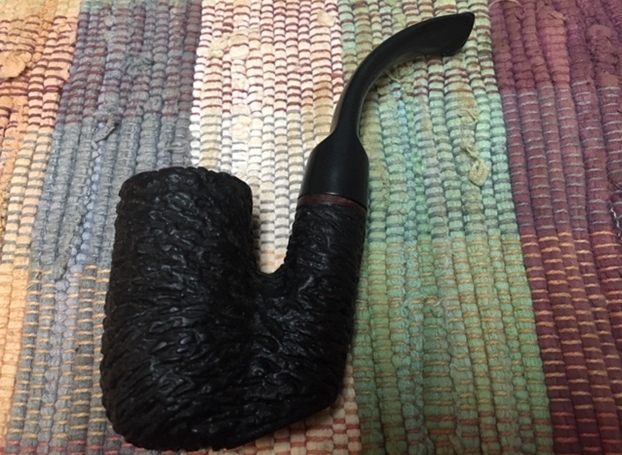
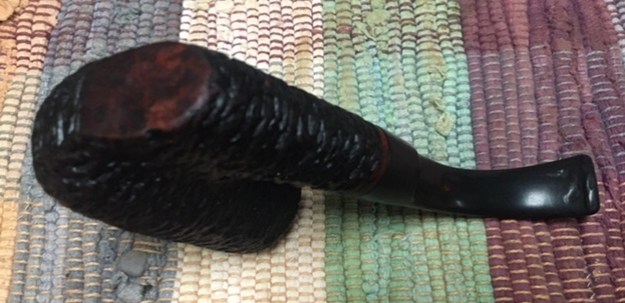
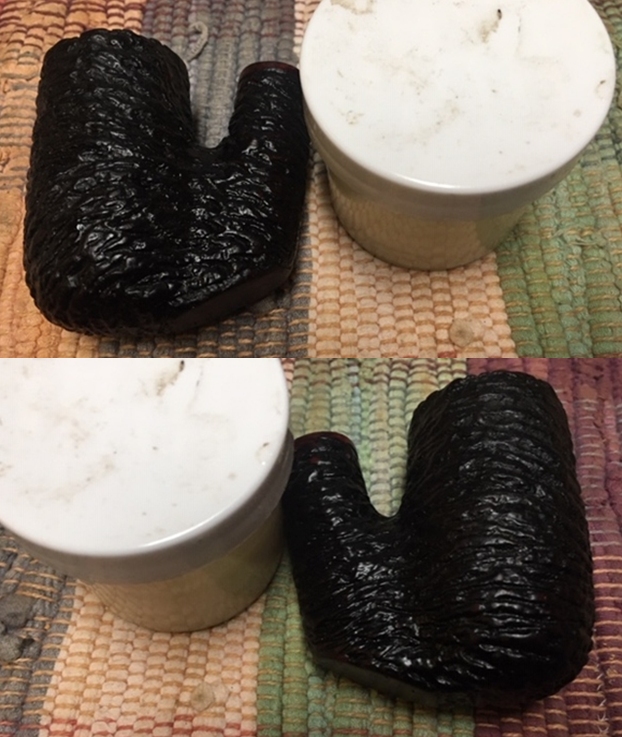
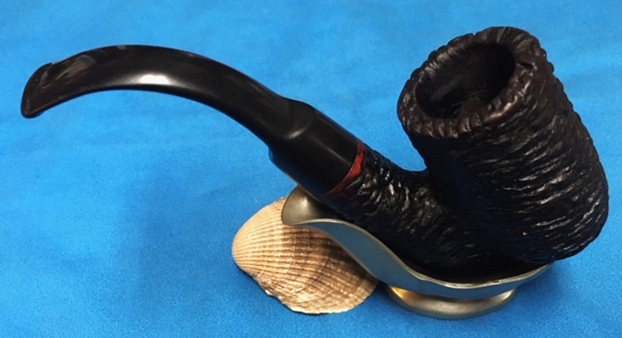
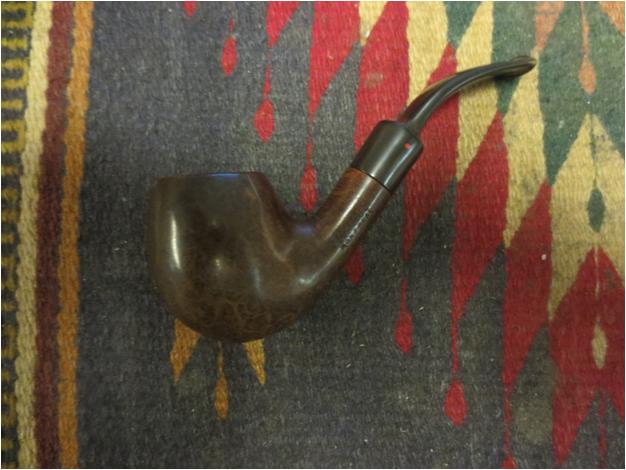
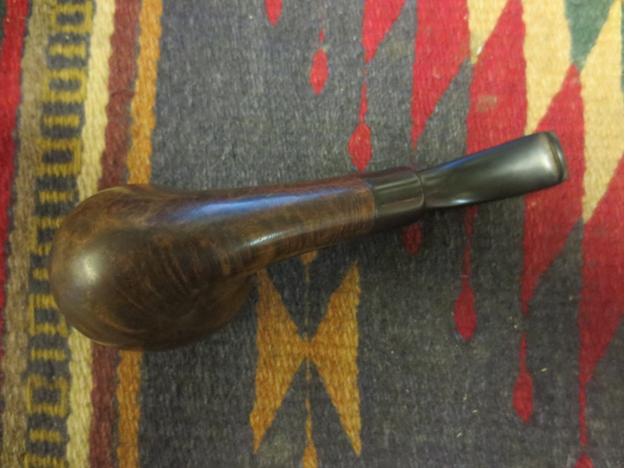
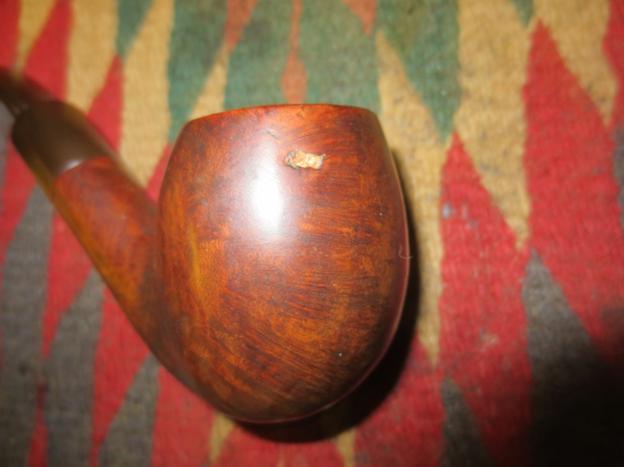
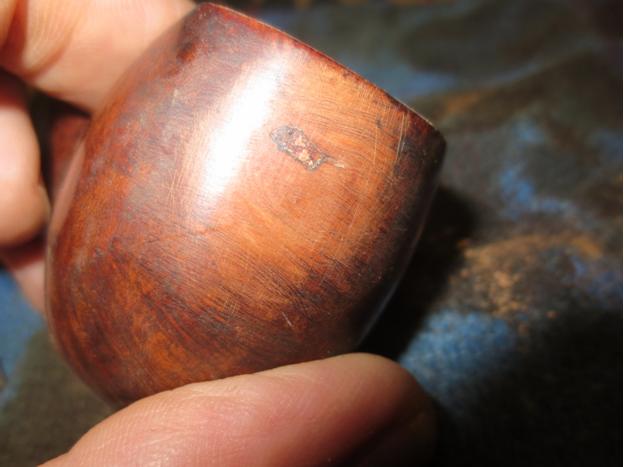
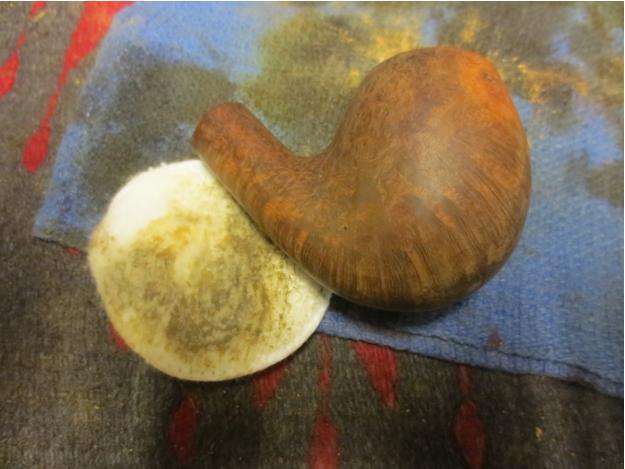
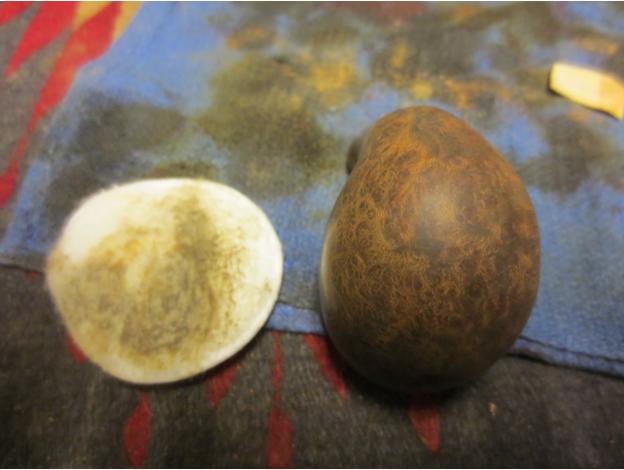
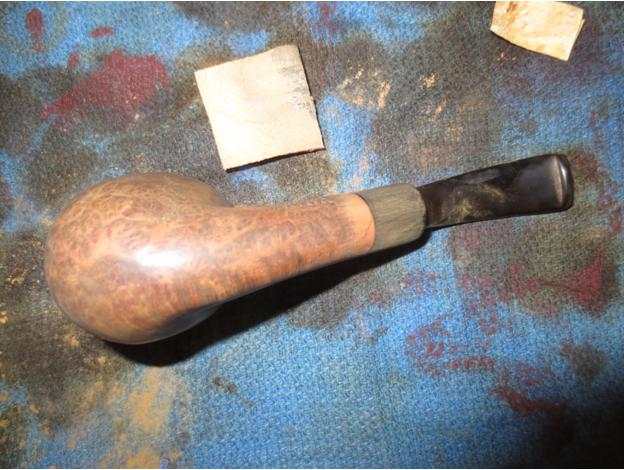
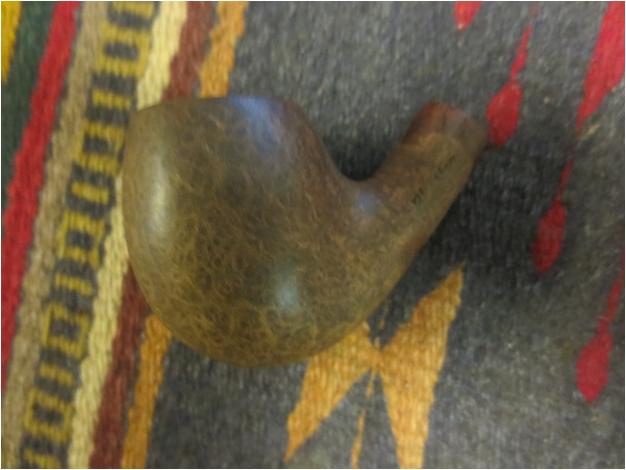
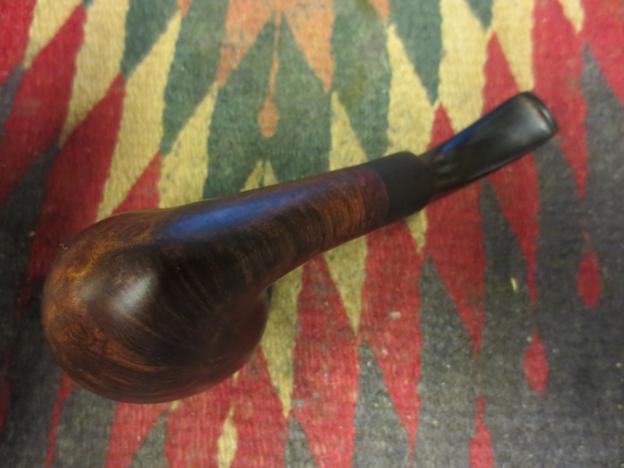
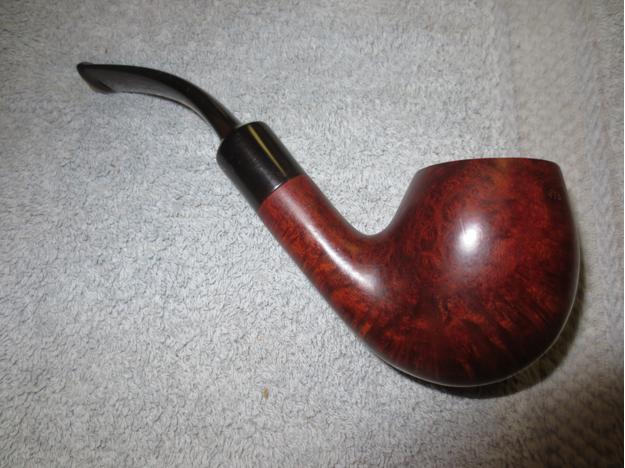
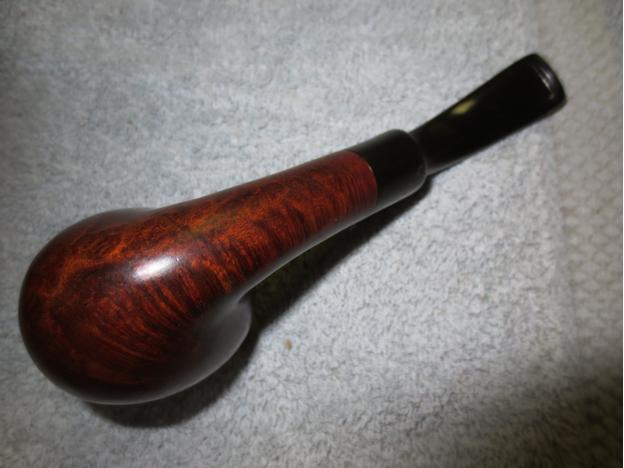
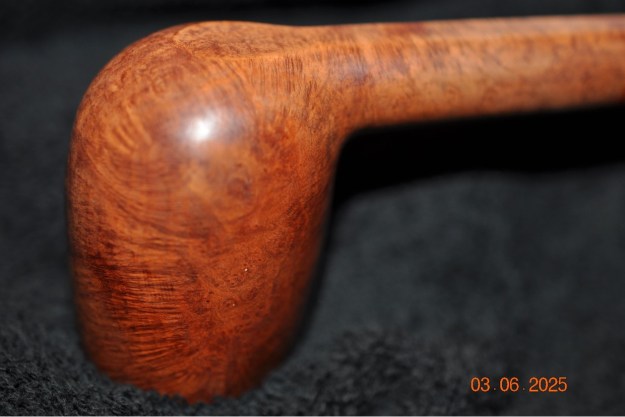
 Jeff took some photos of the sides and heel of the bowl to show the condition of the finish on the pipe. The photos showed some great grain around the bowl and shank. It is a great looking piece of briar.
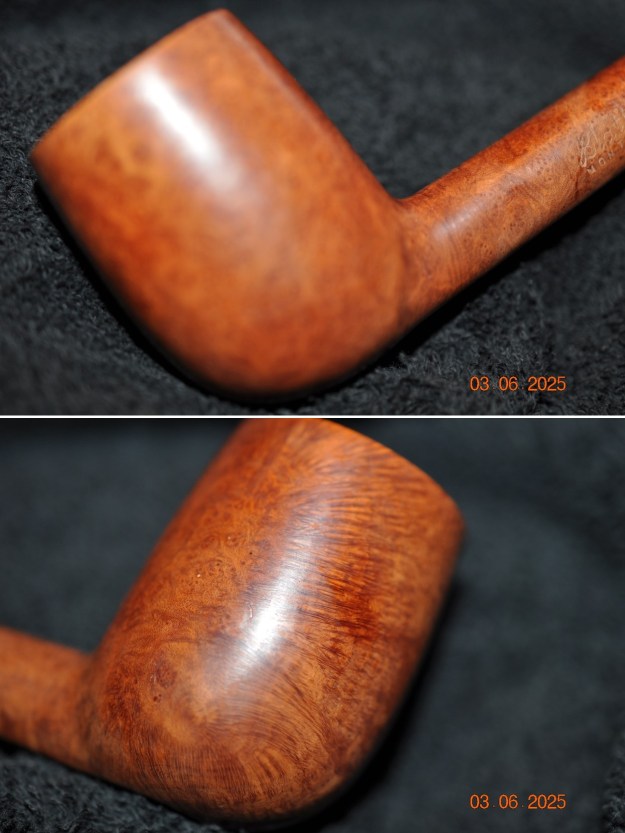
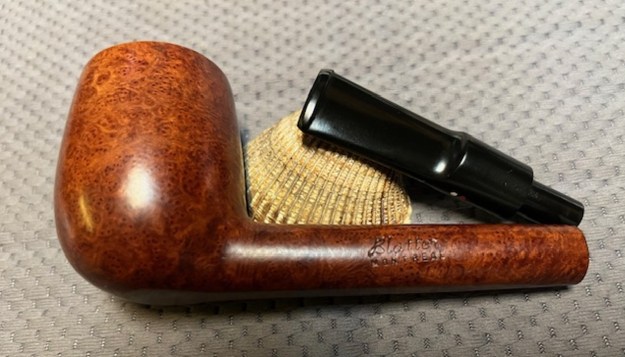
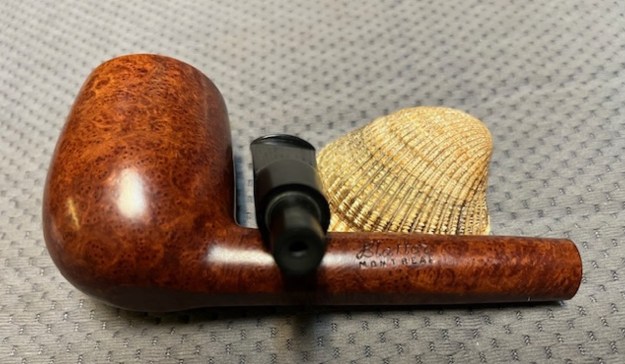
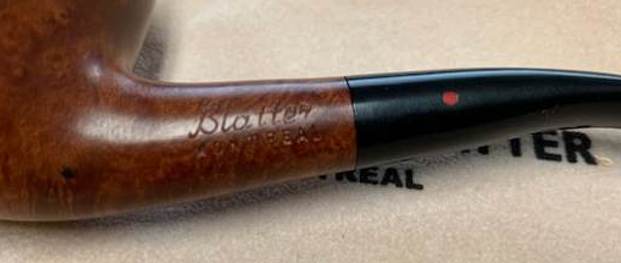
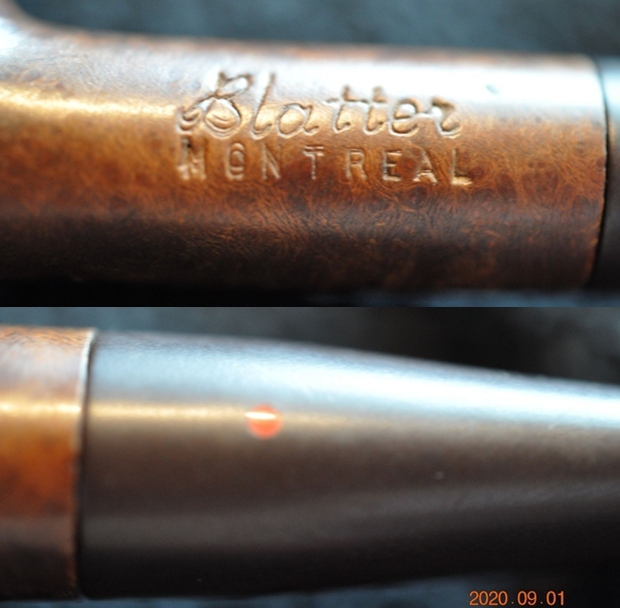
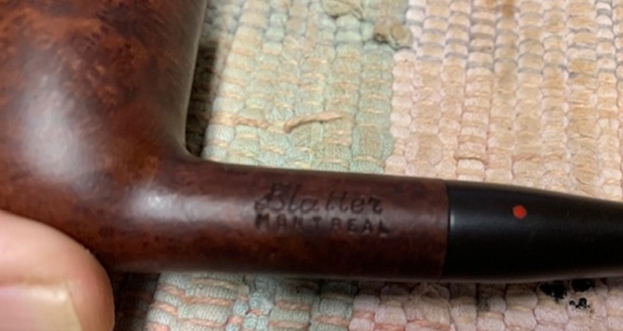
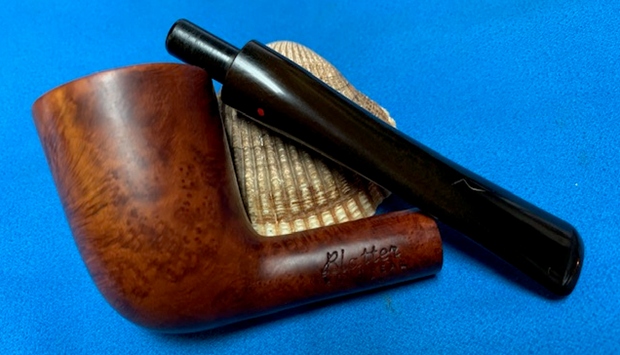
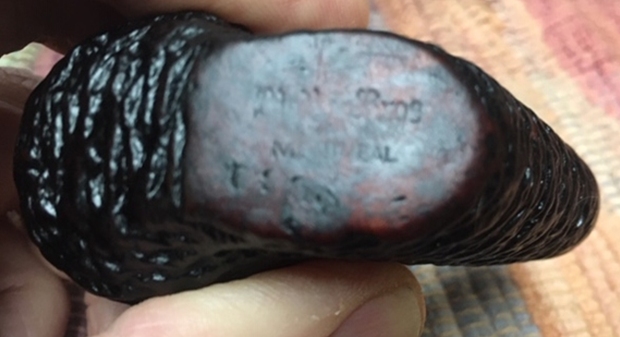
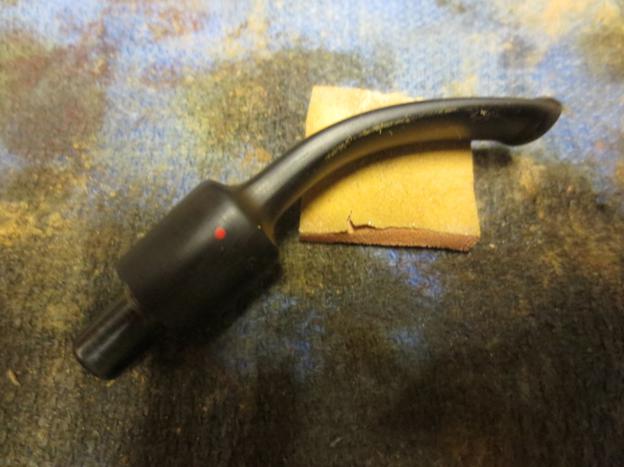
 He took a photo of the stamping on the left side of the shank. The stamping was clear and readable as noted above. He also took a photo of the two dot logo on the left side of the saddle stem.
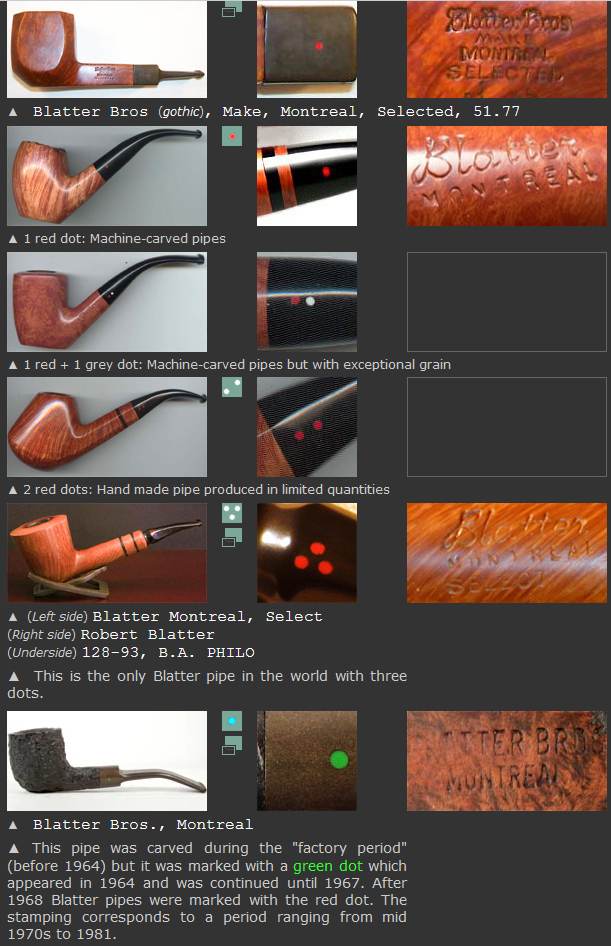
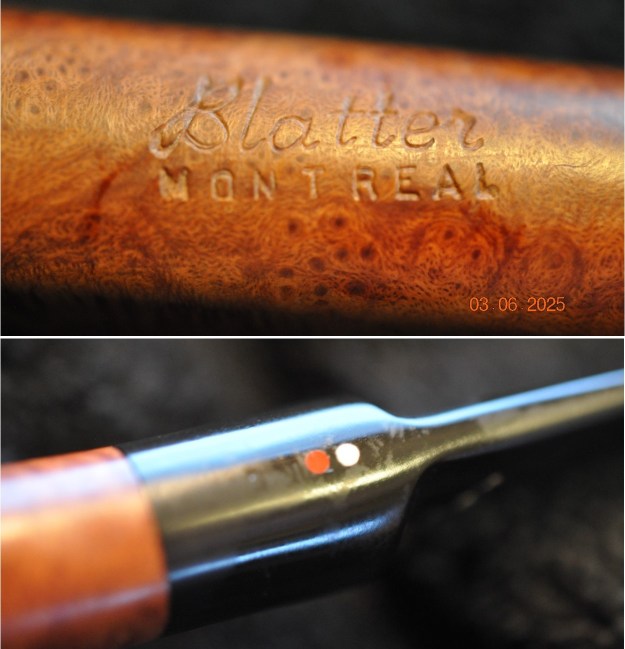 Before I started my part of the restoration, I turned to Pipephil to confirm what I remembered about Blatter of Montreal. I wanted to read a bit of the history (http://pipephil.eu/logos/en/logo-b5.html). I have included a screen capture of information on the site below. I have also included information from the sidebar below the screen capture.
 Blatter & Blatter Inc. Pipemakers since 1907. Artisan: Robert Blatter See also: Rettalb
I learned from the above information on the screen capture that the pipe I am working on was a 1 red dot + 1 grey dot: Machine carved pipe but with exceptional grain.
I turned to the section on Pipedia on Blatter (https://pipedia.org/wiki/Blatter_%26_Blatter).  I quote from the site below with the aid of Google Translate:
The Blatter house (first known as “Blatter bros.”) was founded in 1907 in Montreal. Handmade Blatter pipes (“Select”) have been signed by Robert Blatter since 1968 and, more recently, also by Patrick Blatter. A Blatter is characterized by a classic, polished design: little extravagance or sculptural prowess. Pipes first thought for the use that will be made of them: smoking! They are sometimes even more beautiful.
History of the House:
Blatter was founded in Montreal in 1907 by Frédéric-Georges Blatter. Originally from France, Mr. Blatter had learned his craft as a pipe-maker in his country of origin. He had subsequently practiced his art in England, then in South Africa where the excellence of his work had also been highlighted. In 1907, the company had a factory and a store.
Frédéric-Georges is supported by his son, Ernest Blatter, and his half-brother, Henri Blatter. In the years that followed, the company grew rapidly. Soon, the factory employs fifty employees who supply pipes to five stores. But the years of the Great Depression and those of the Second World War were not kind to the company, which had to reduce its activities. At the turn of the 1950s, production and sales activities were brought together in a single establishment.
In the meantime (in the 1930s) Ernest Blatter’s son, Henri-Georges, joined the team and led its destiny until his death in 1967. One of his sons , Pierre, who had been there for a few years, then took up the torch, soon (1968) supported by his brother, Robert, who had since been making Blatter pipes.
In 1997, Patrick, one of Pierre’s sons, joined the duo and learned the rules of the trade from his uncle.
Thus, for 100 years now, five generations of Blatters have succeeded in managing this company, recognized since then by pipe smokers for the excellence of its achievements and the quality of the various services (choice of tobacco, repairs and maintenance, advice) that it offers to its customers.
In 1993, the firm (which clients simply call “the Blatter Brothers”) deserved to be among a select group of a few companies recognized in Quebec for the excellence of their commercial services.
The current production of Blatter pipes is some 300 pieces per year, entirely handmade by Robert Blatter who has acquired, over the years, an excellent reputation among smokers who own one or more of the remarkable objects he makes. For a few years, Patrick has also been making them, under the supervision of Robert.
The firm sources its raw materials from major manufacturers in Saint-Claude (France), with whose managers the Blatter brothers have established, over the years, cordial relations that substantially go beyond the status of simple business relations. Blatter pipes are, to a large extent, sold in the Montreal market (although the firm has a few customers in the United States and Europe), and house regulars often fight over the new pieces.
The demand for these pipes far exceeds the production capacity of the company and on a few occasions in recent years opportunities to relaunch the business on a larger scale have presented themselves. But the Blatter brothers (in good pipe smokers that they are first and foremost!) preferred to give up their big dreams of glory in order to keep intact the quality control they can exert on a small production of pieces. unique.
Pierre and Robert Blatter were inducted into the Confrérie des maîtres-pipiers de Saint-Claude in 1982. (yc)
Here is the information to enable you to connect with the shop.
Blatter & Blatter Inc. Fabricants de pipes depuis
375 President Kennedy
Montreal, Quebec, CANADA
Tel / Fax: 514-845-8028
Website: Blatter & Blatter Inc.
E-mail: mailto:info@blatterpipes.com
I have worked on quite a few Blatter pipes (and enjoyed a fair number in my own collection) through the years and it is always a pleasure as they are well engineered and made.
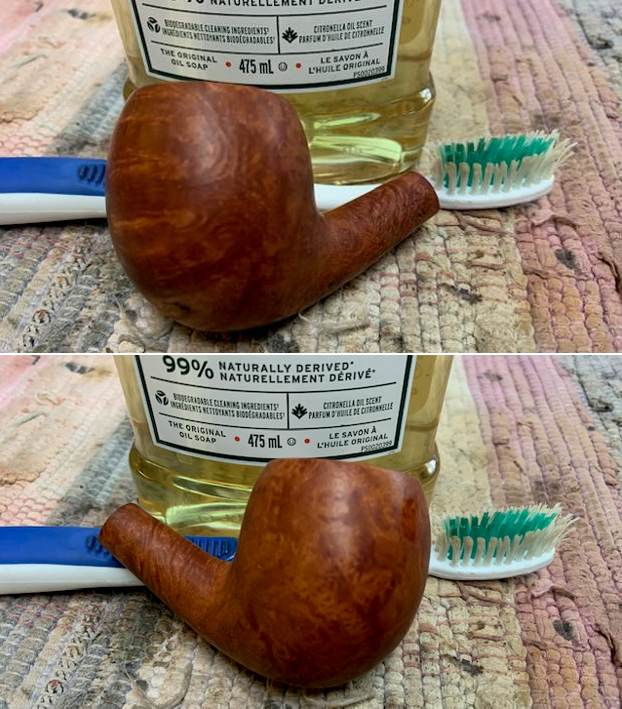
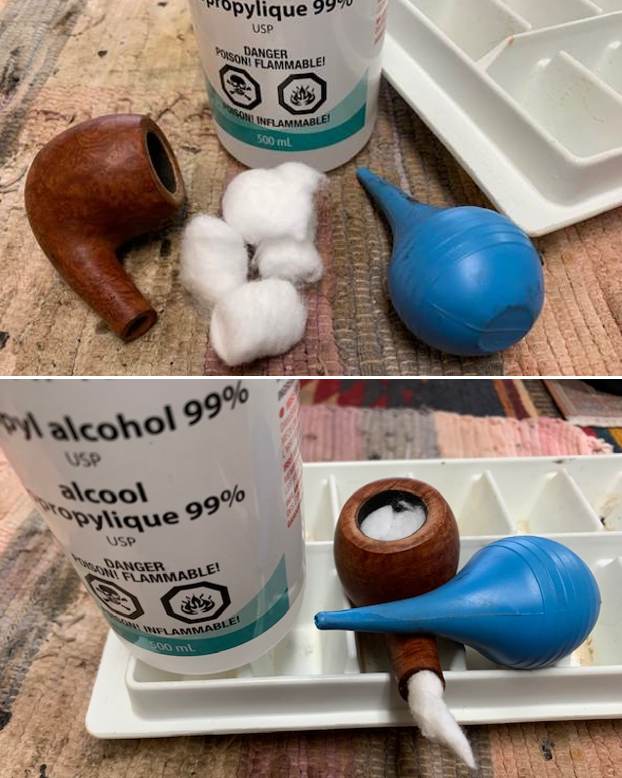
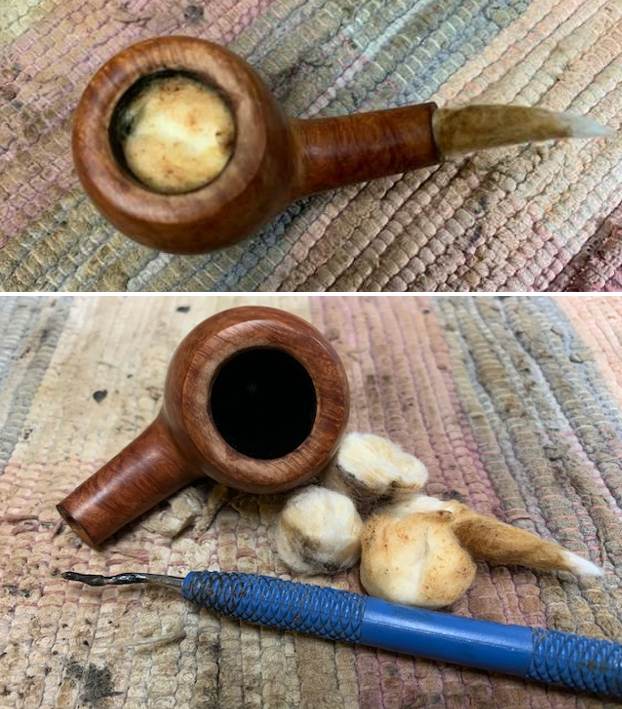
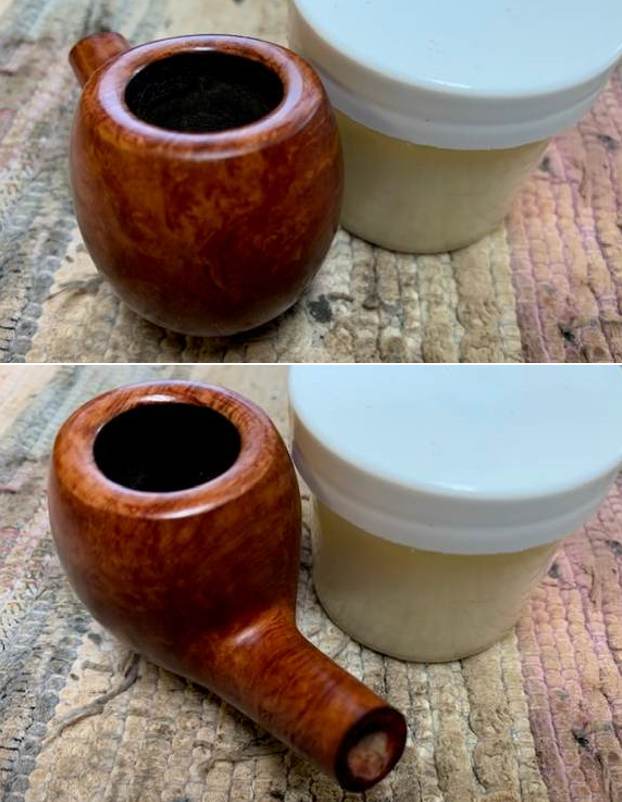
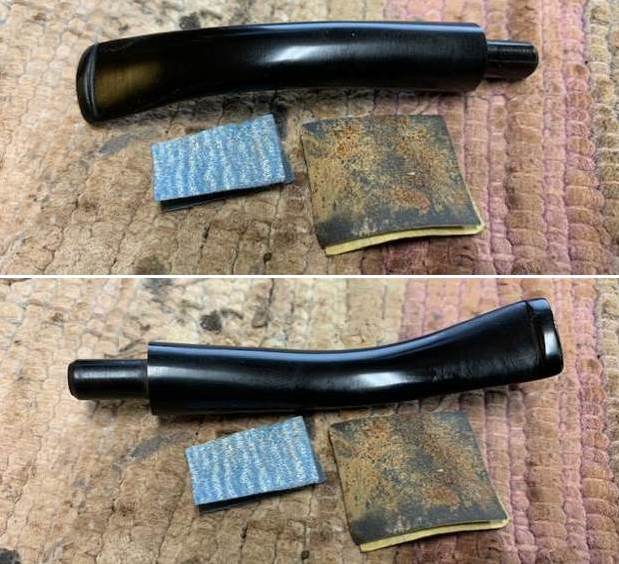
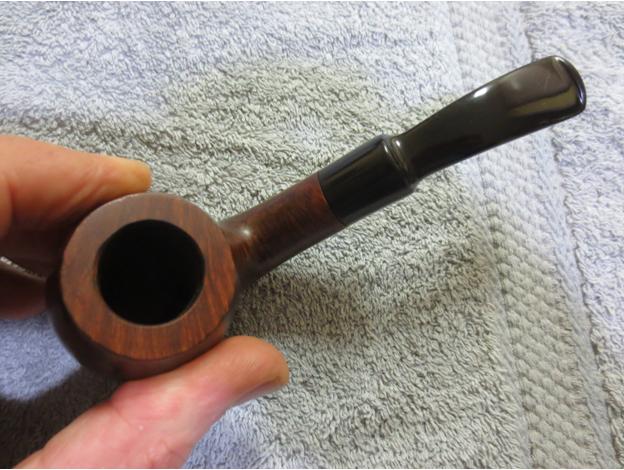
Armed with that information I turned to work on the pipe itself. Jeff had done a great job cleaning up the pipe as usual. He cleaned up the inside of the bowl with a Savinelli Fitsall Pipe Knife. The rim top and the inner edge of the bowl are in excellent condition. The bowl walls looked very good. He scrubbed the interior of the bowl and shank with shank brushes, pipe cleaners, cotton swabs and alcohol to remove the tars and oils. He scrubbed the exterior of the pipe with Murphy’s Oil Soap and a tooth brush to remove the grime from the finish. He scrubbed the inside of the stem with alcohol and pipe cleaners. He scrubbed the exterior with Soft Scrub and then soaked it in Briarville’s Pipe Stem Deoxidizer. He washed it off with warm water to remove the deoxidizer. The stem looked very good. I took photos of the pipe before I started working on it. 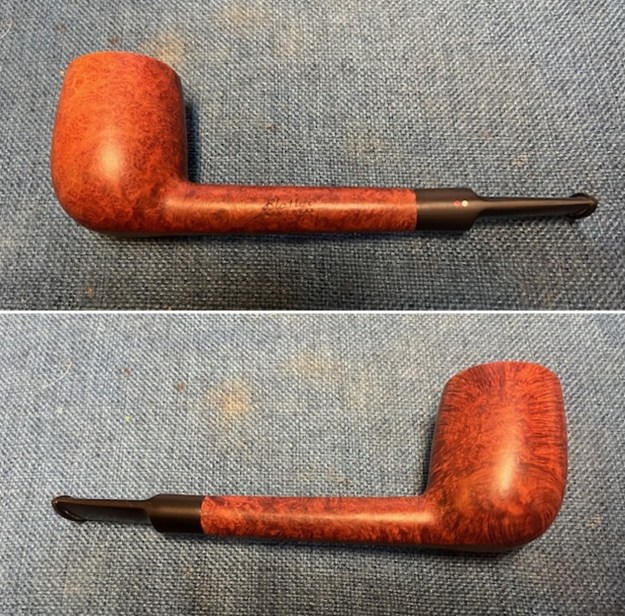
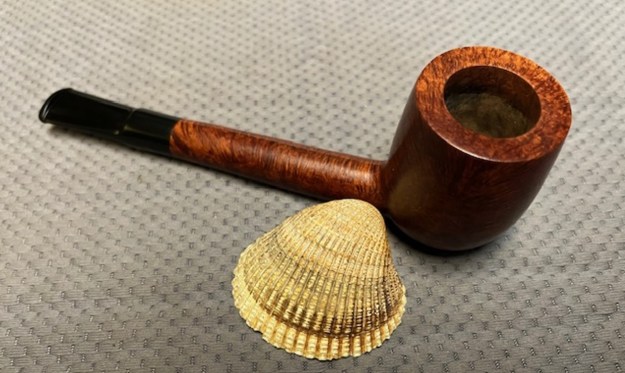
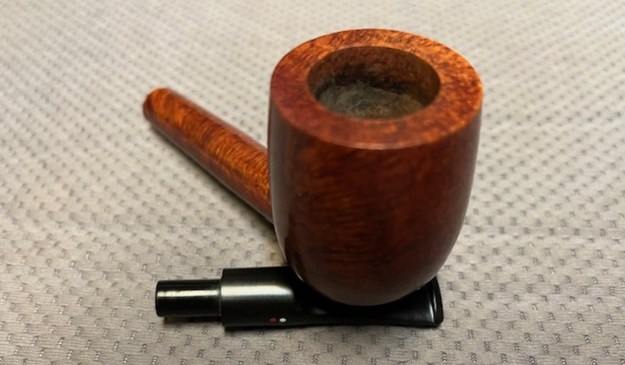
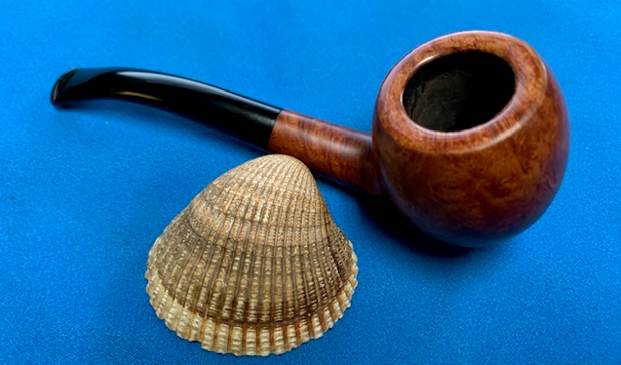
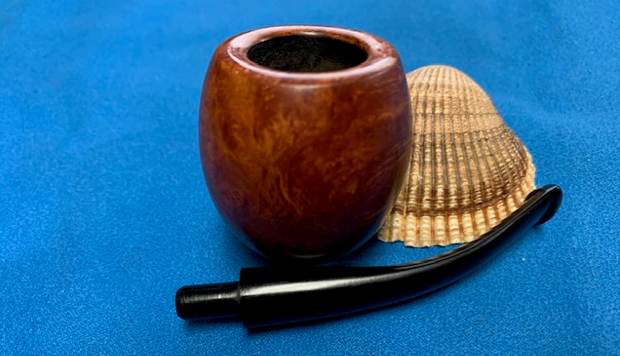
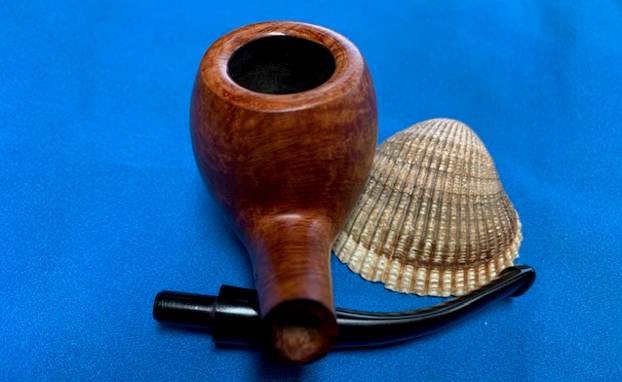
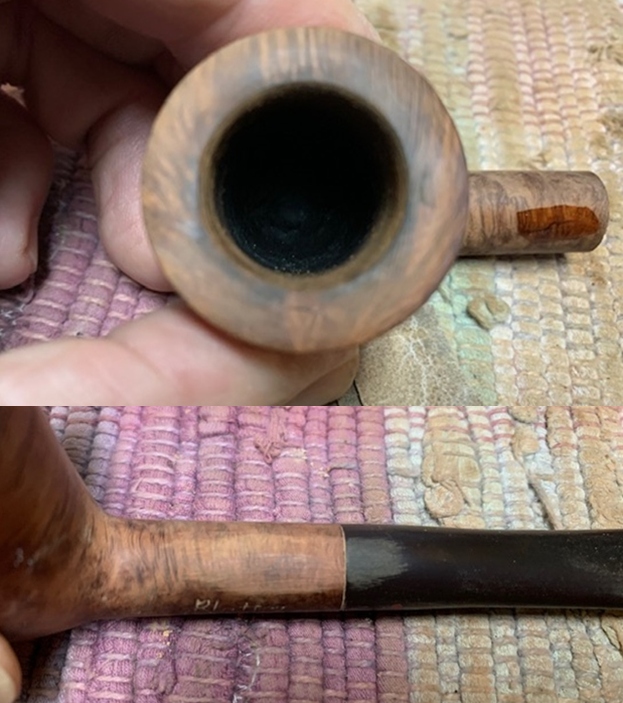
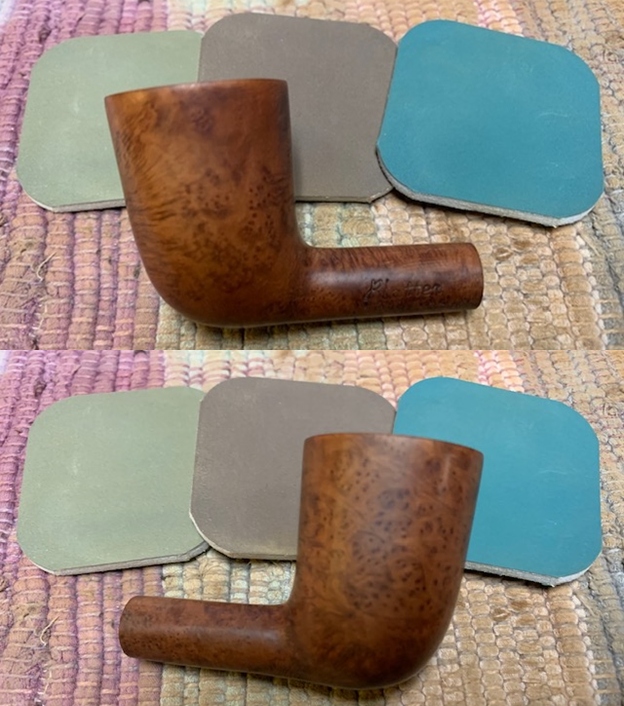
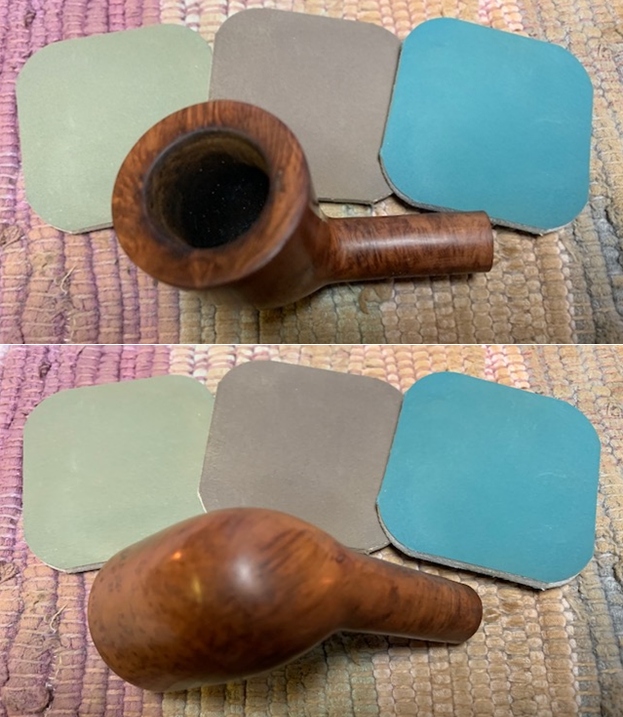
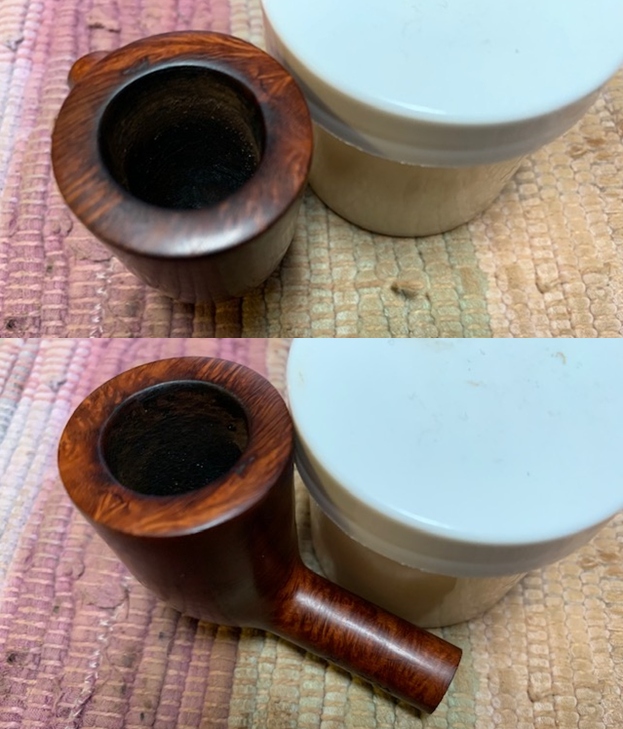
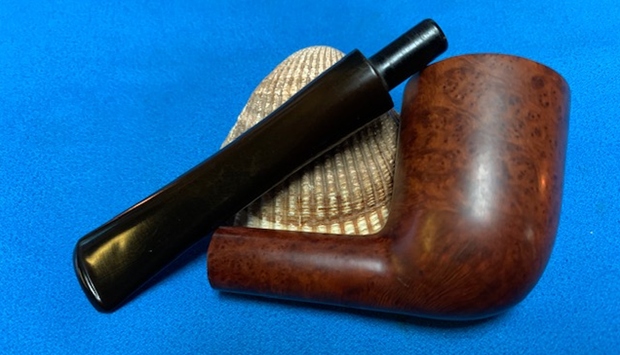
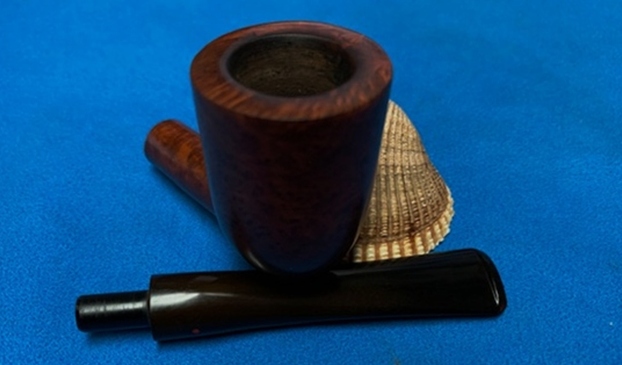
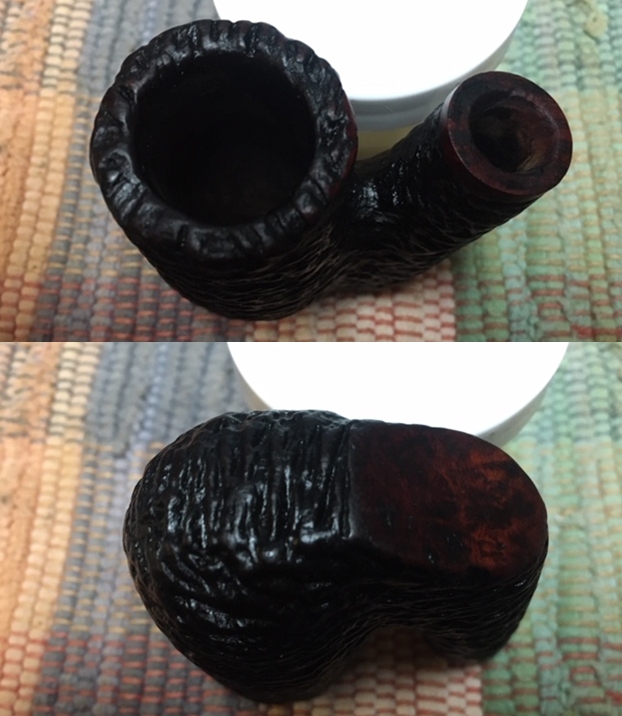
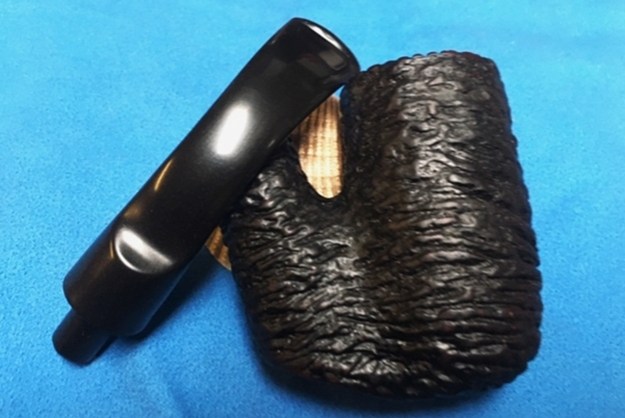
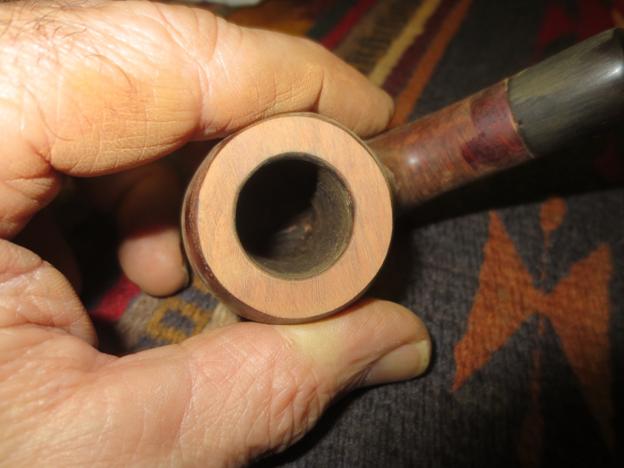
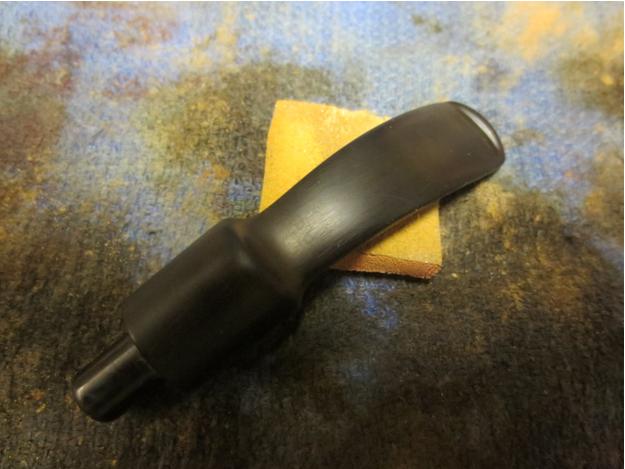
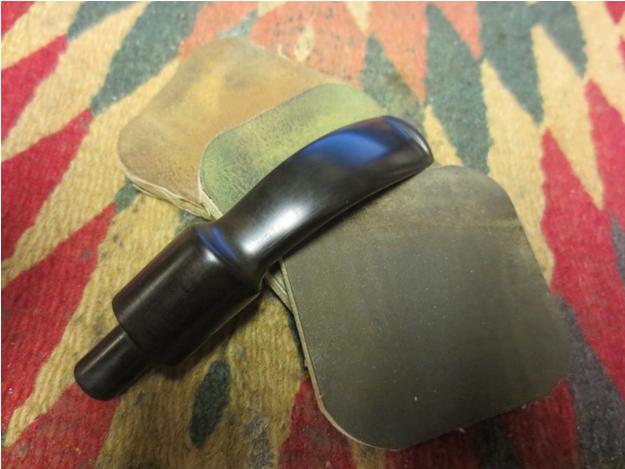
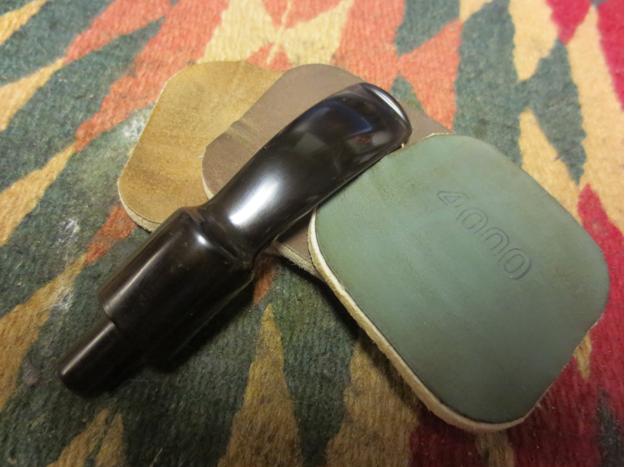
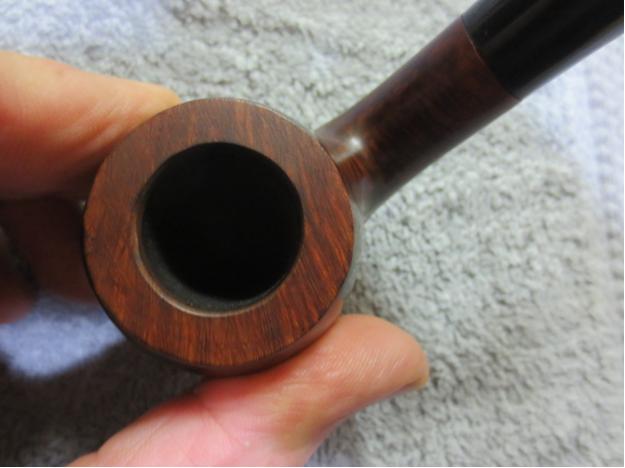
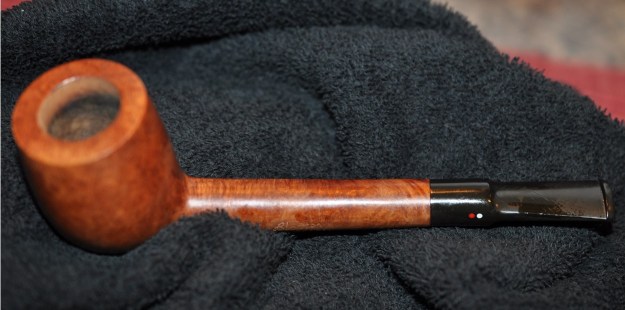
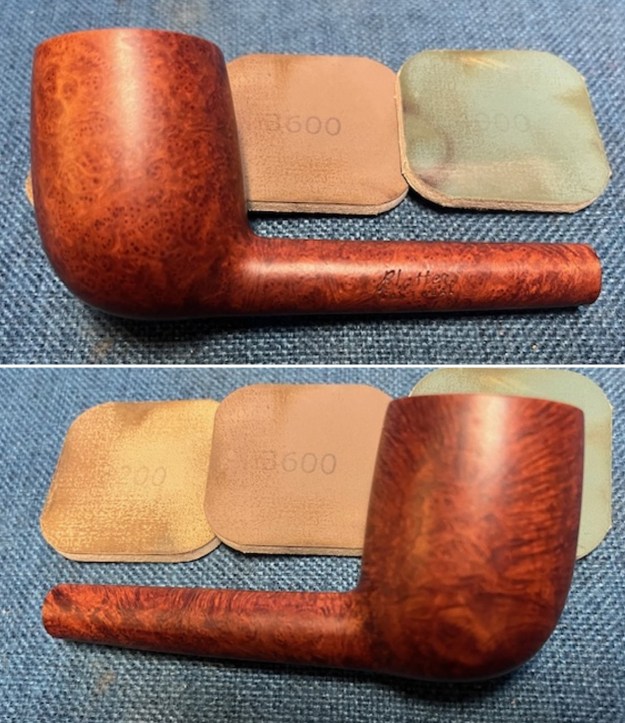
 I took close up photos of the bowl, rim top and stem to show how clean the pipe was. The bowl was clean and the rim top and the inner edge look beautiful. The stem was clean and did not show either tooth marks or chatter.
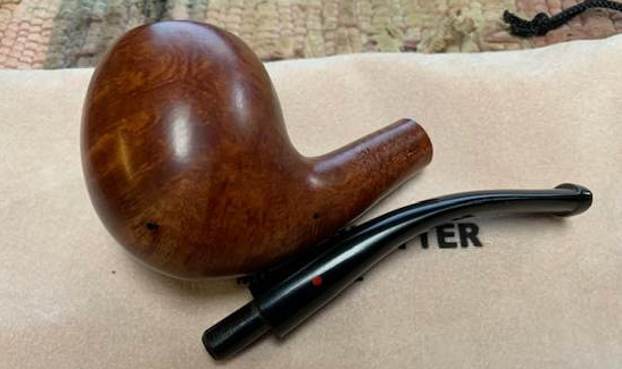
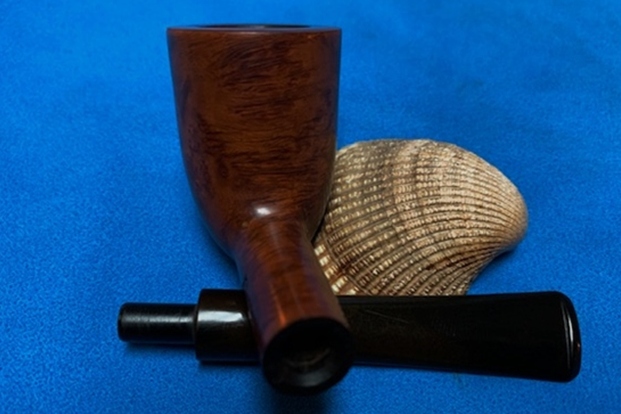
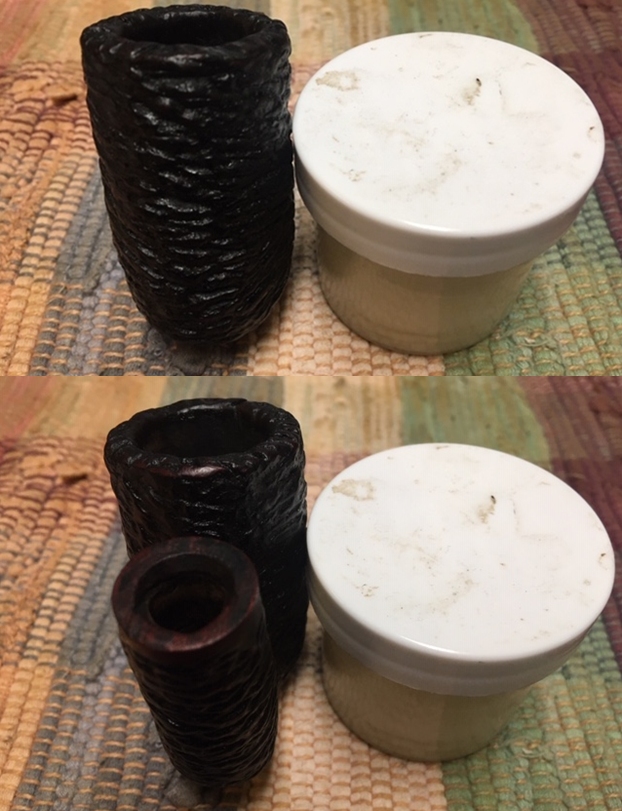
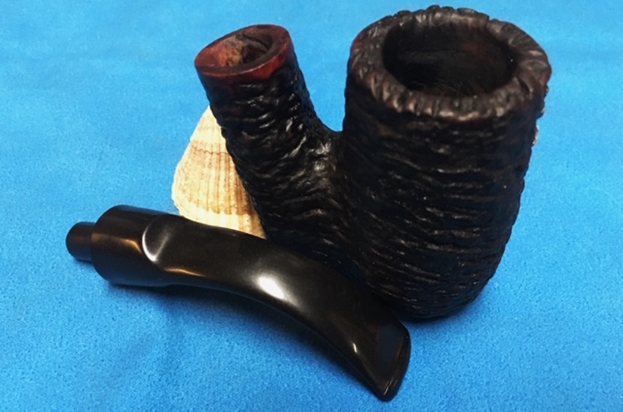
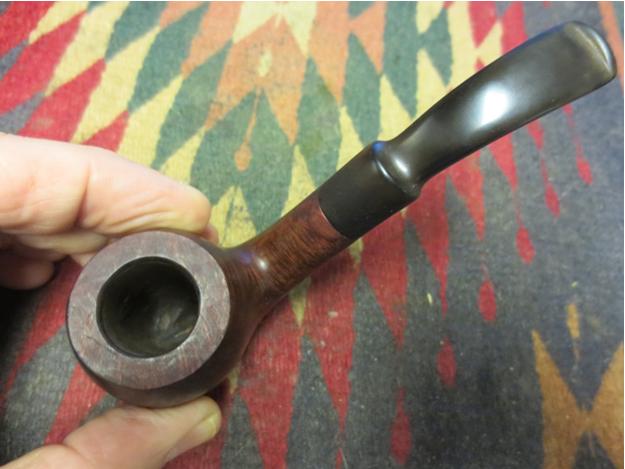
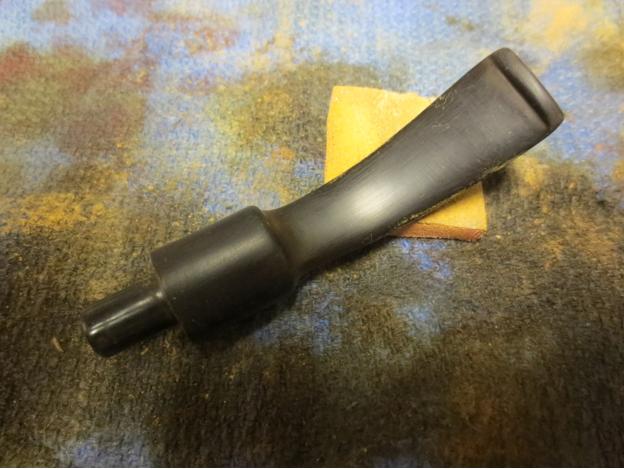
 I took a photo of the stamping on the side of the shank. It is very clear and readable and read as noted above. I also removed the stem from the shank and took photos of the pipe to show the look of the parts.
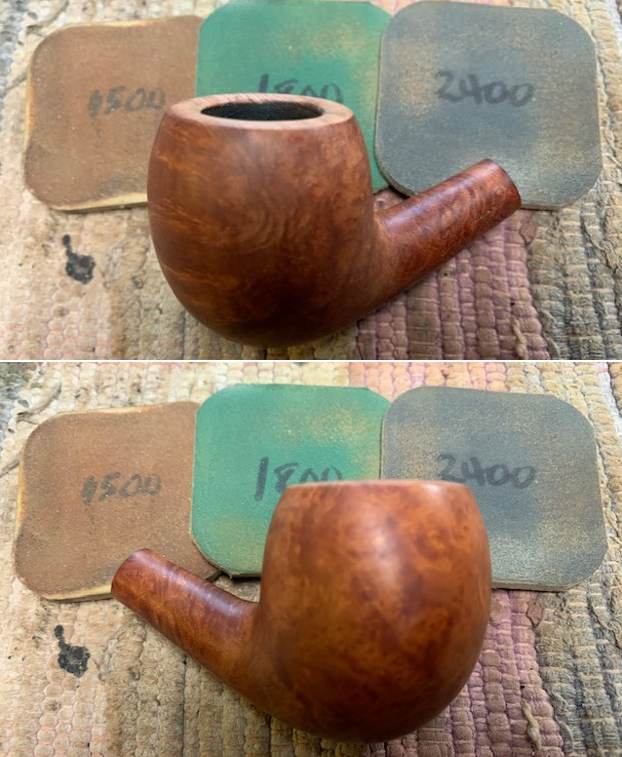
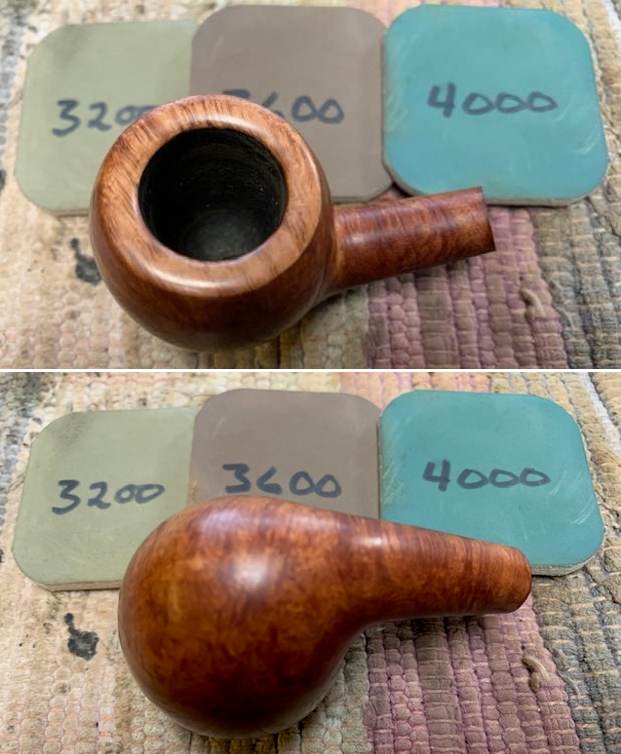
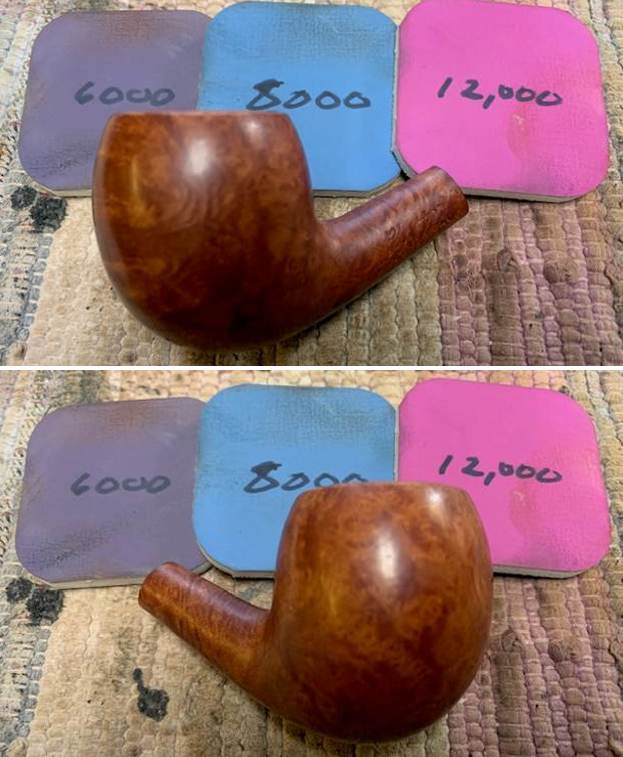
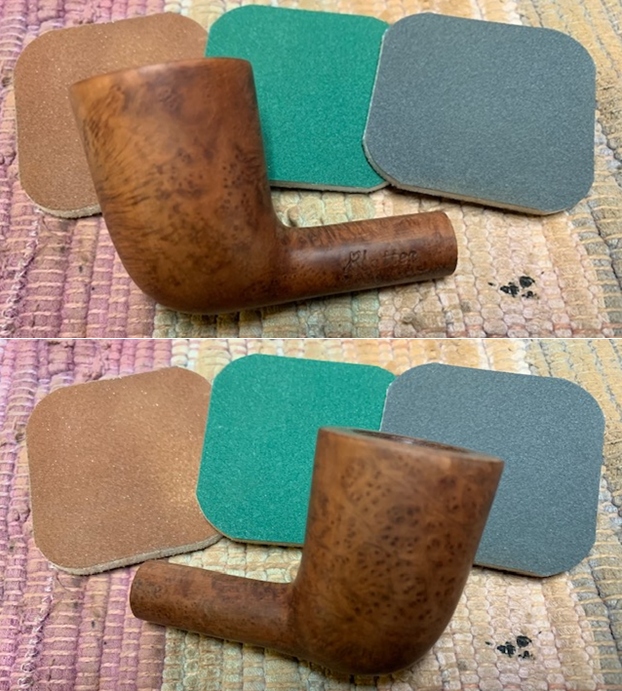
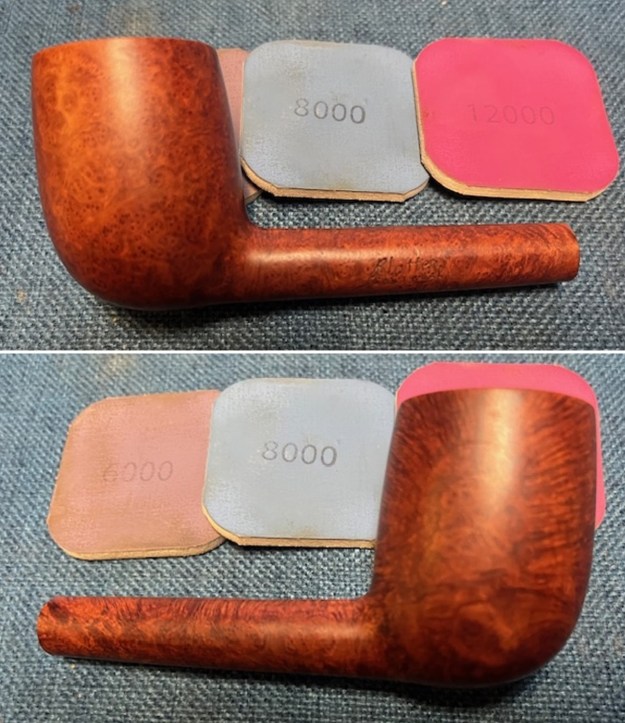
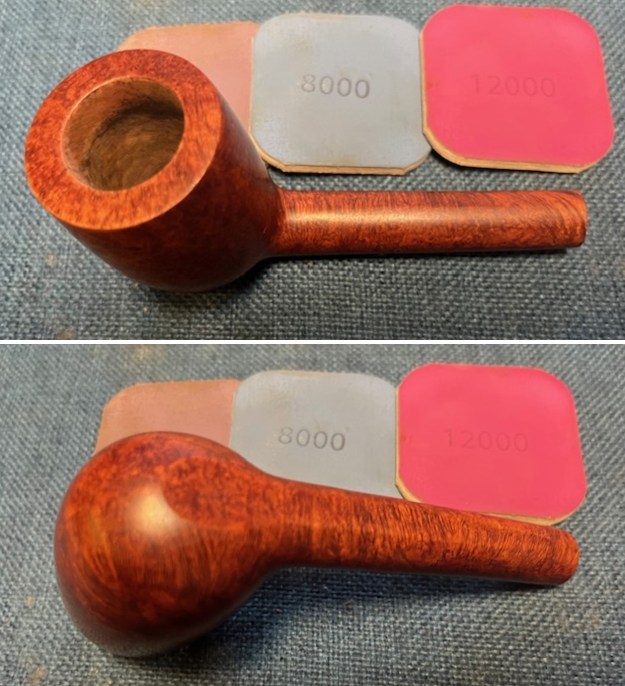
 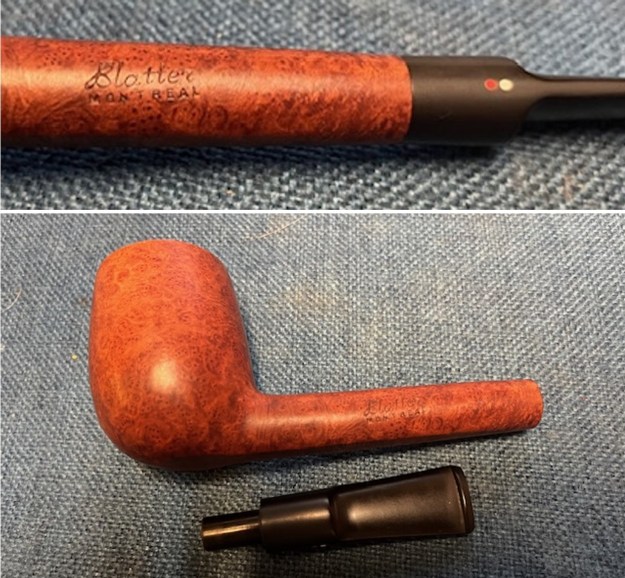 I polished the bowl and shank with 1500-12000 grit micromesh sanding pad – dry sanding it with the pads. I wiped the bowl down with a damp cloth after each pad. It began to take on a deep shine.
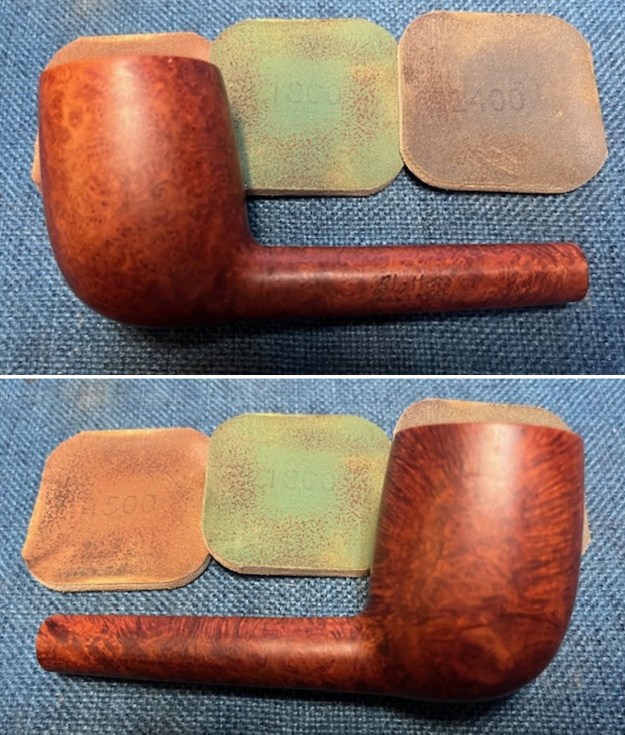
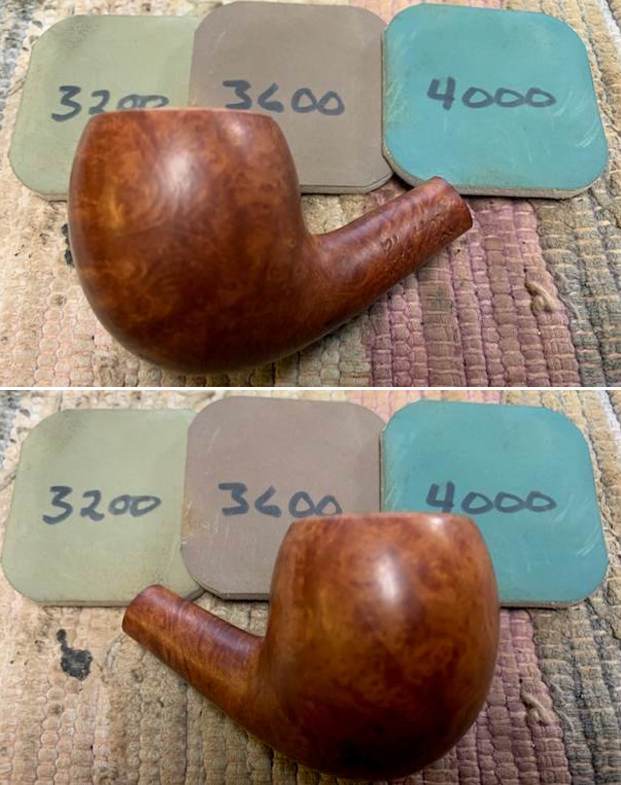
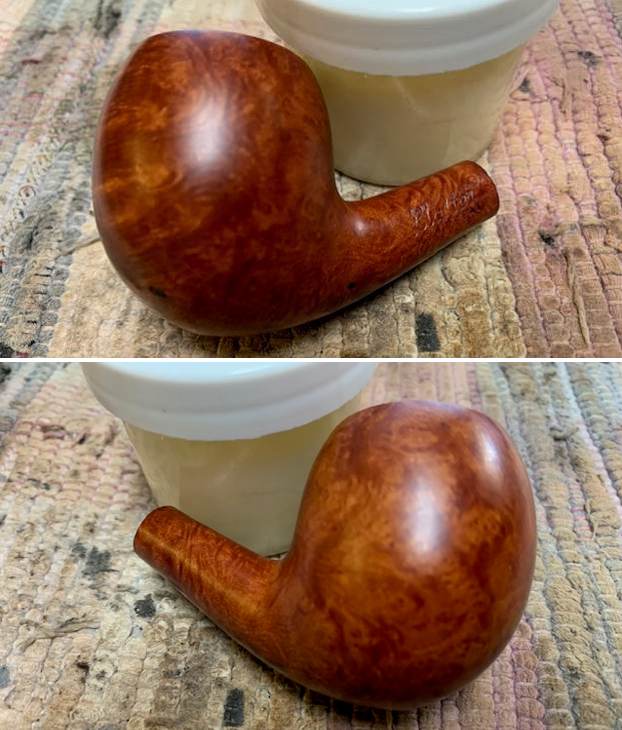
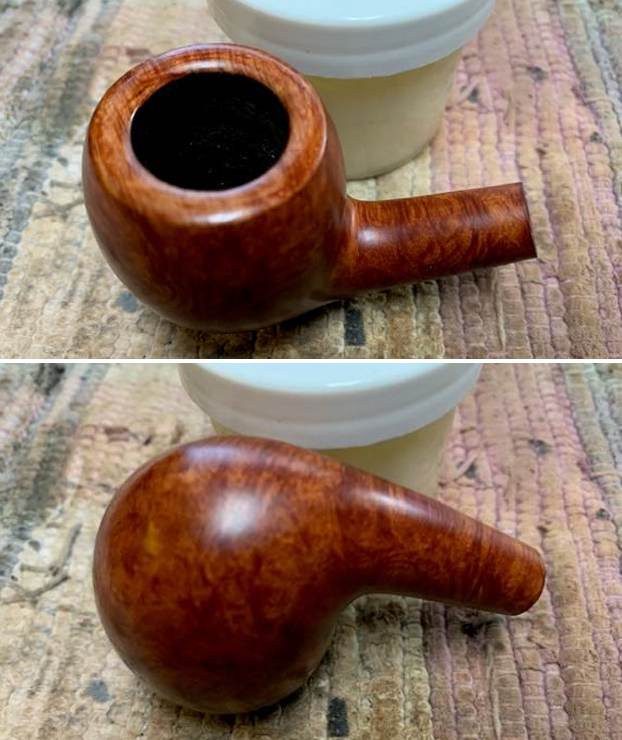
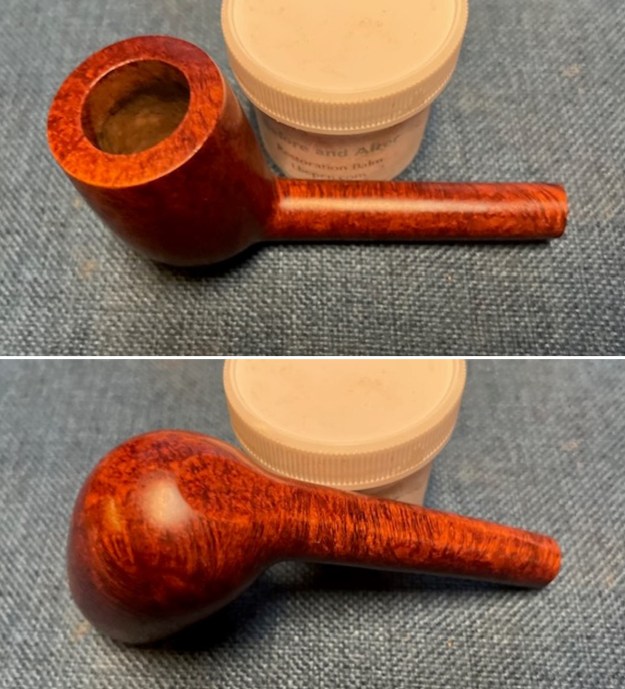
 The exterior of the bowl look better after sanding. I worked some Before & After Restoration Balm into the briar with my finger tips. I let it sit on the bowl for 10 minutes and then buffed it off with a paper towel and soft cloth. The product is a great addition to the restoration work. It enlivens, enriches and protects the briar while giving it a deep glow. It is a product I use on every pipe I restore.
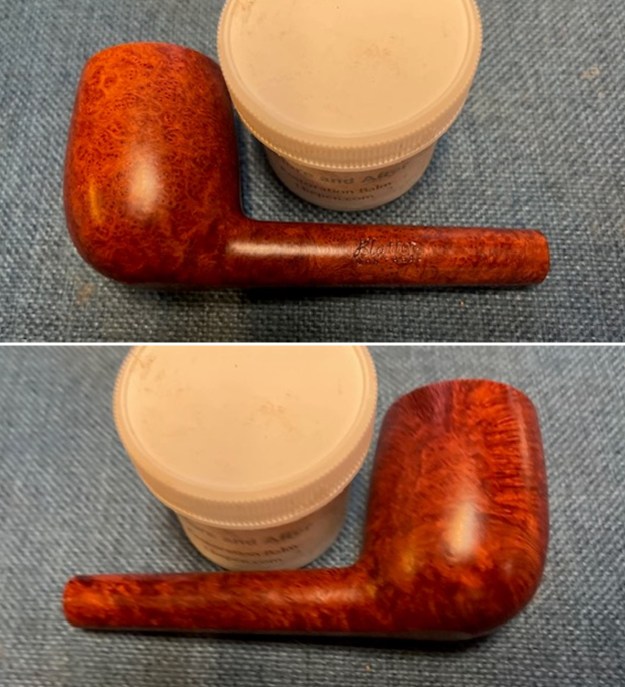
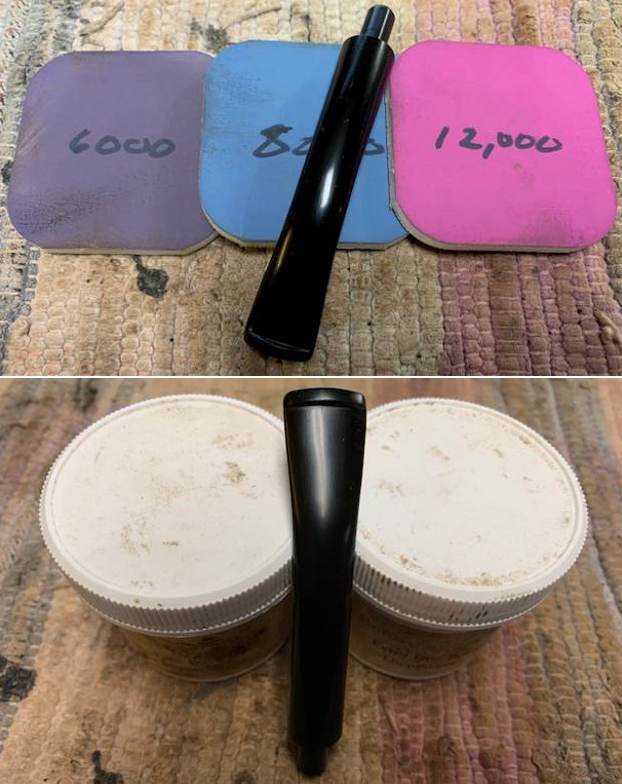
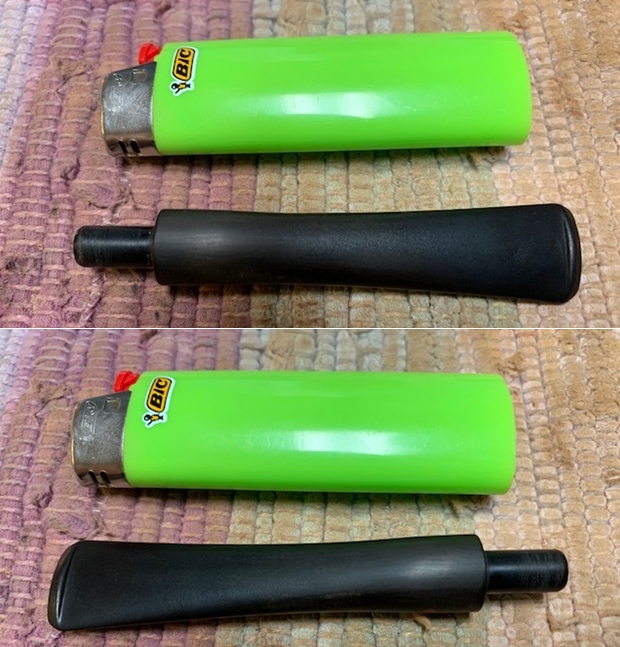
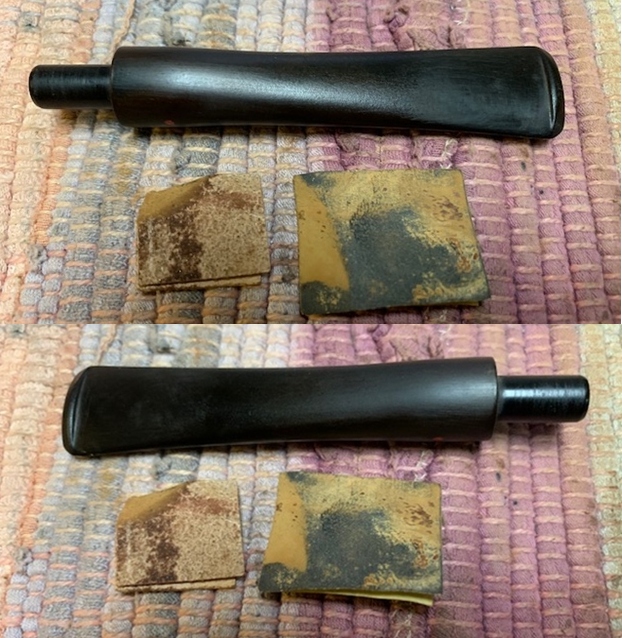
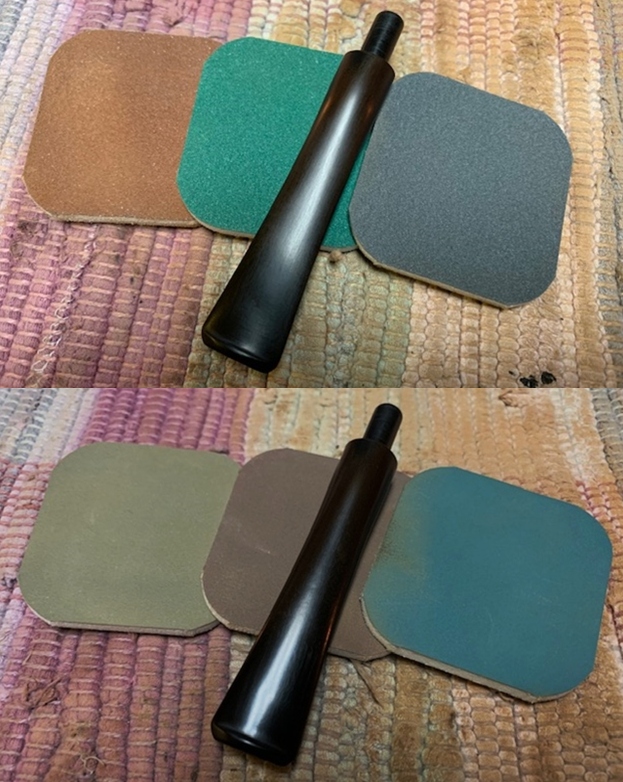
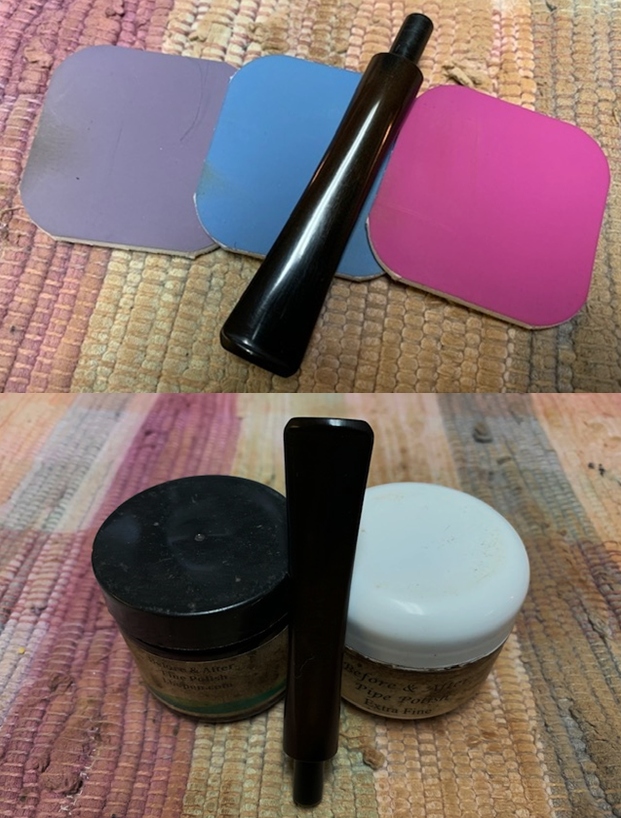
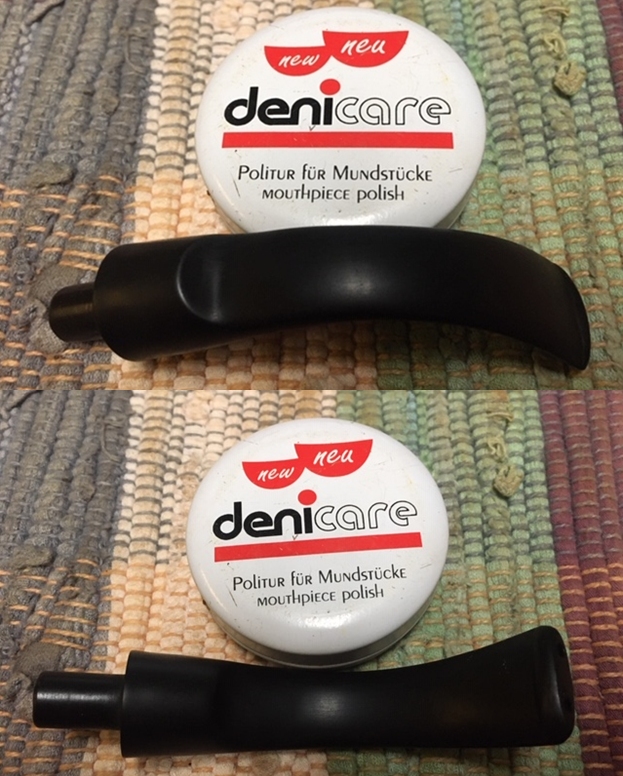
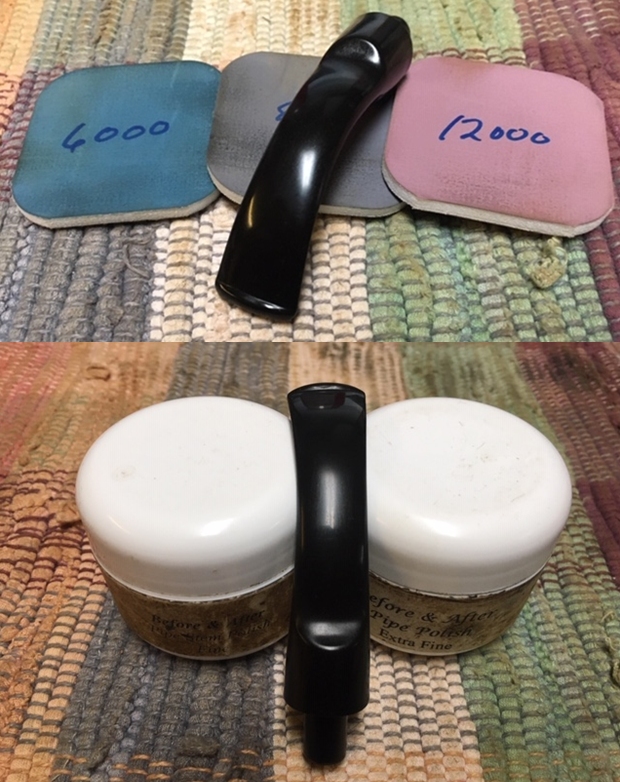
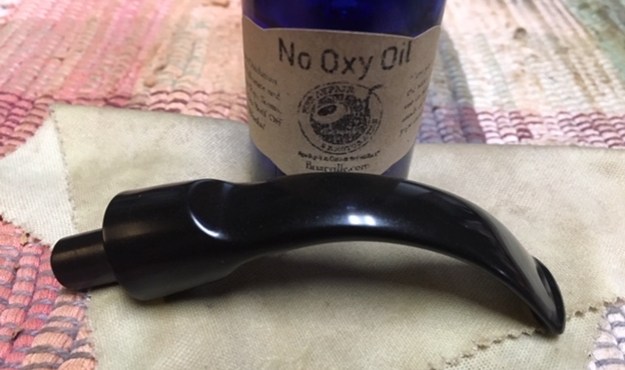
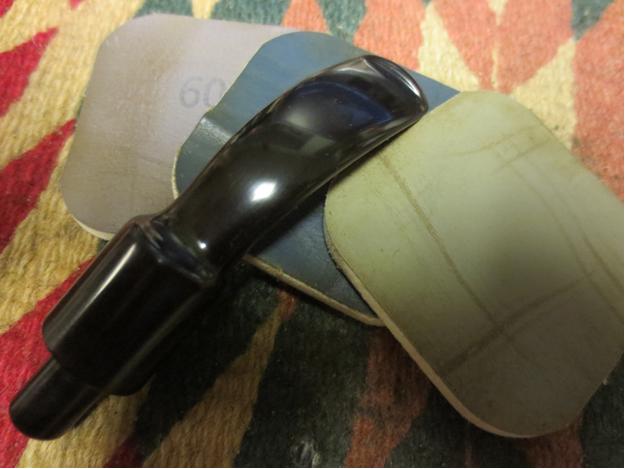
 It was ready for the next step. I polished it with micromesh sanding pads – dry sanding with 1500-12000 grit pads and wiping the surface down with Obsidian Oil after each sanding pad. It is really shining. I polished it further with Before & After Stem Polish – both Fine and Extra Fine. I gave it another coat of Obsidian Oil to finish this step.
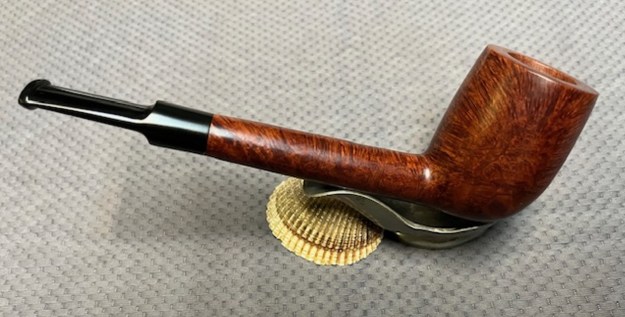
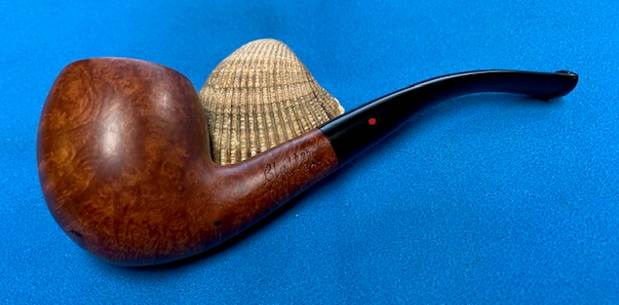
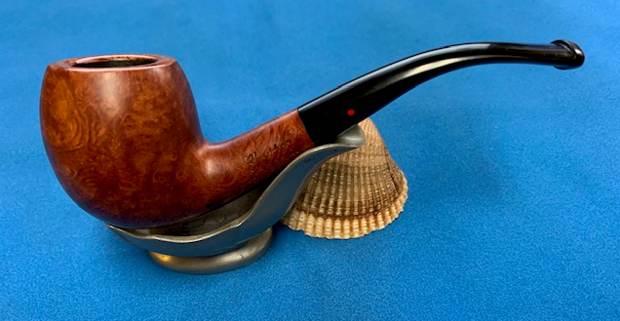
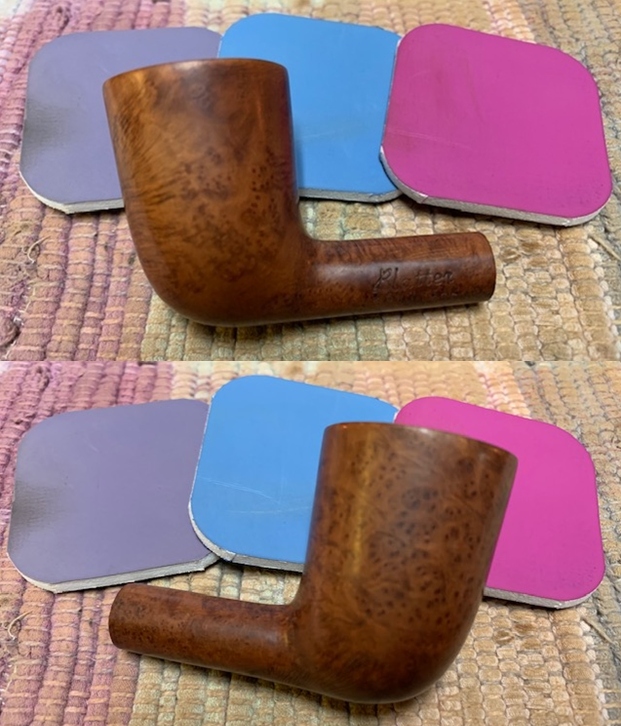
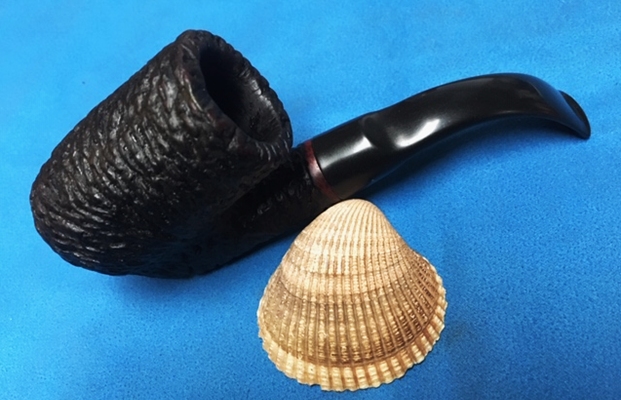
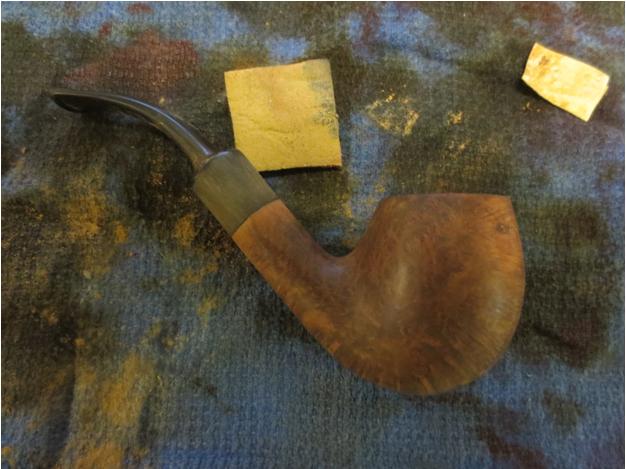
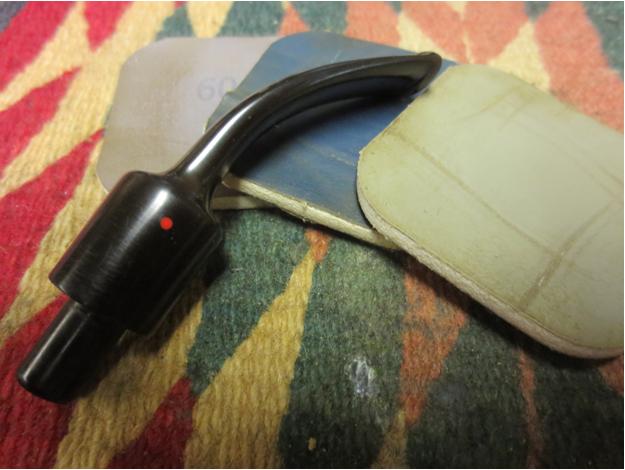
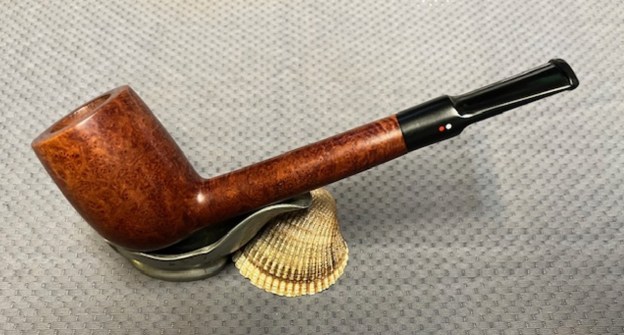
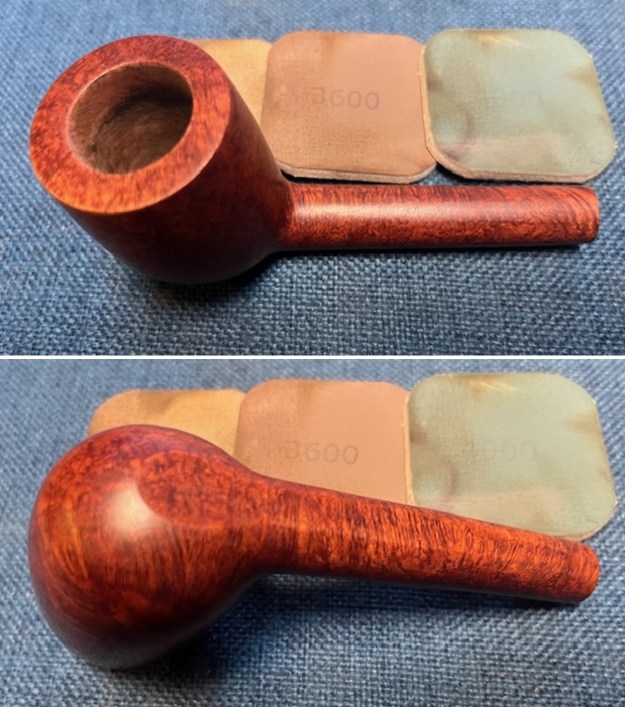
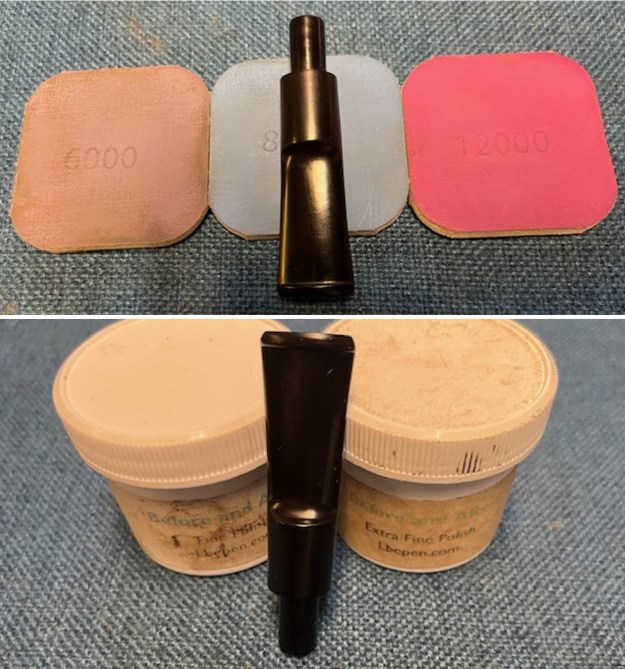 It was great to finish this Blatter Montreal Lumberman. I put the pipe back together and buffed it with Blue Diamond on the buffing wheel. I gave the bowl multiple coats of carnauba wax. I buffed the pipe with a clean buffing pad to raise the shine. I hand buffed the pipe with a microfiber cloth to deepen the shine. It is fun to see what the polished bowl looks like with deep sandblast all around it. Added to that the polished black, vulcanite, saddle stem was beautiful. This Blatter Montreal Lumberman is great looking and the pipe feels great in my hand. It is light and well balanced. Have a look at it with the photos below. The dimensions are Length: 6 ½ inches, Height: 2 inches, Outside diameter of the bowl: 1 ½ inches, Chamber diameter: ¾ of an inch. The weight of the pipe is 58 grams/2.05 ounces. It is a beautiful pipe and one that will soon be on the rebornpipes store in the Canadian Pipe Makers Section of the store. If you want to add it to your collection let me know. Thanks for walking through the restoration with me as I worked over this pipe.
As always, I encourage your questions and comments as you read the blog. Thanks to each of you who are reading this blog. Remember we are not pipe owners; we are pipe men and women who hold our pipes in trust until they pass on into the trust of those who follow us.