Blog by Anthony Cook
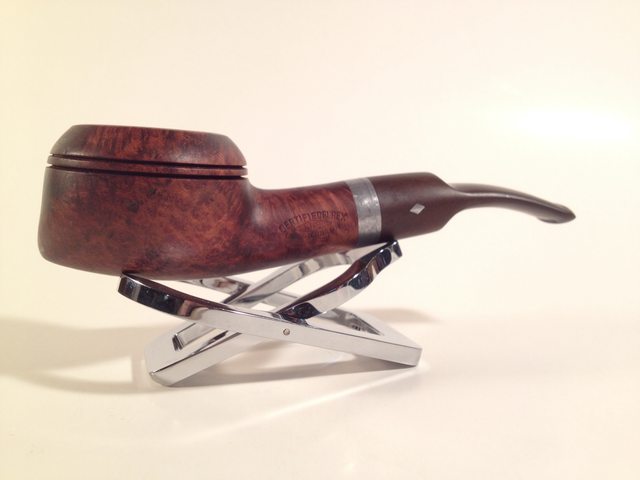
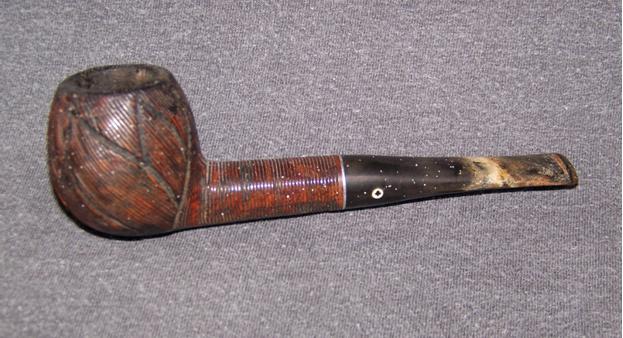
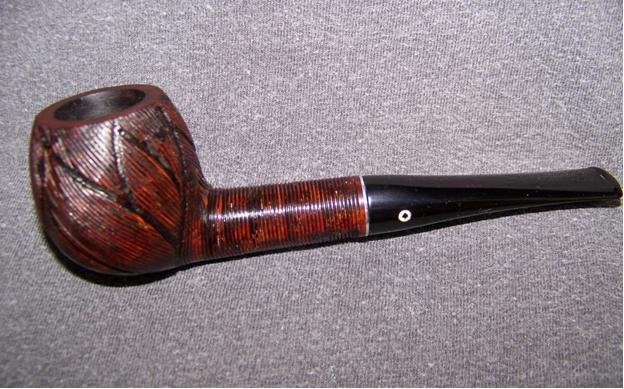
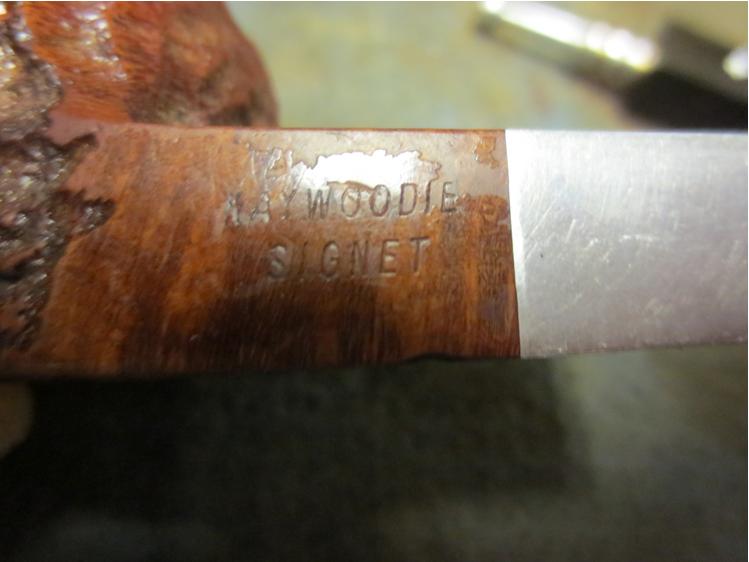
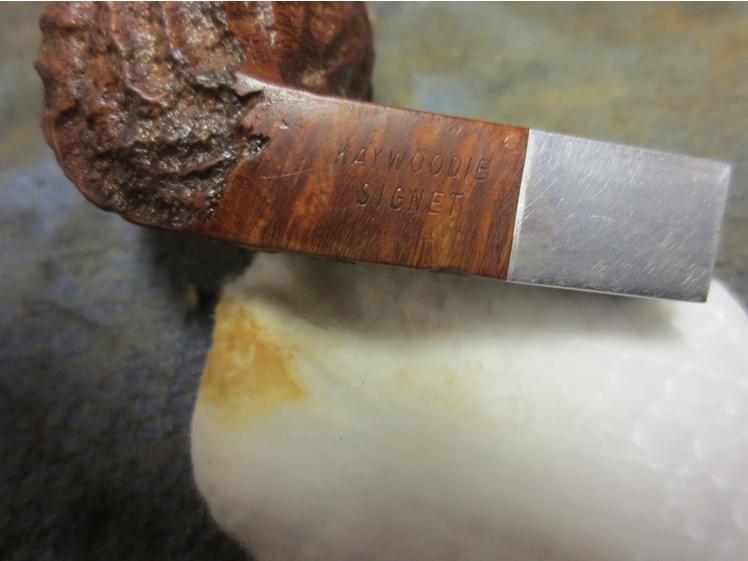
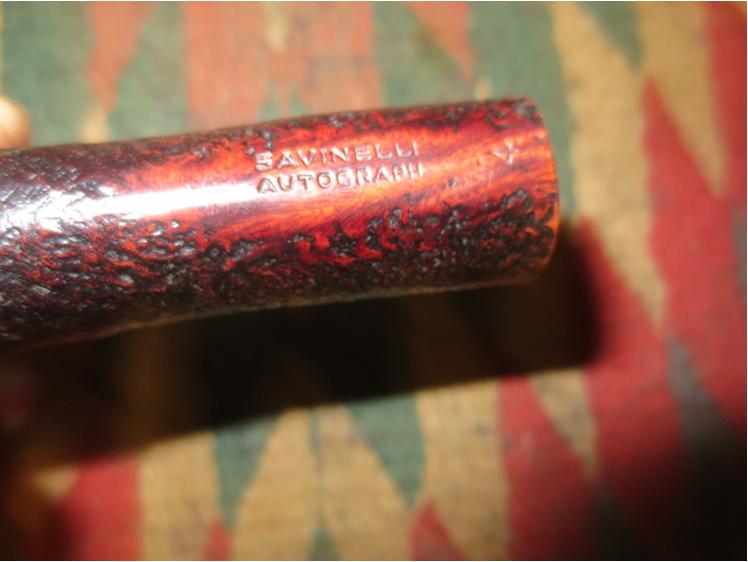
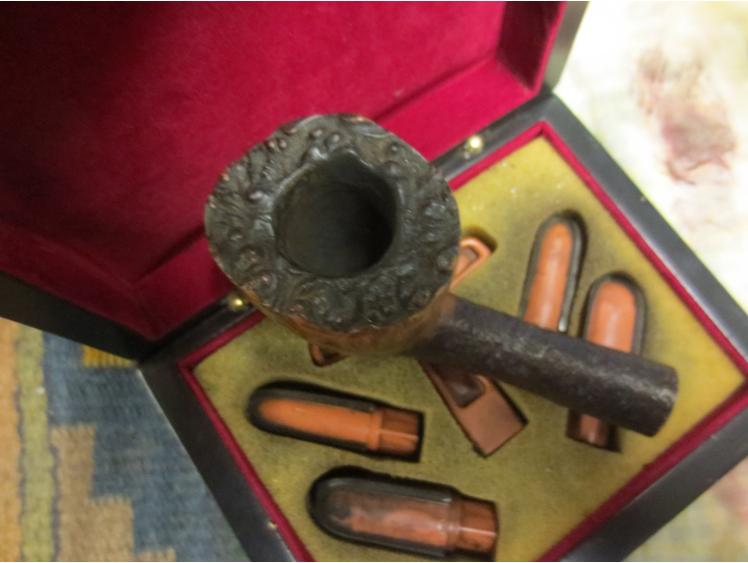
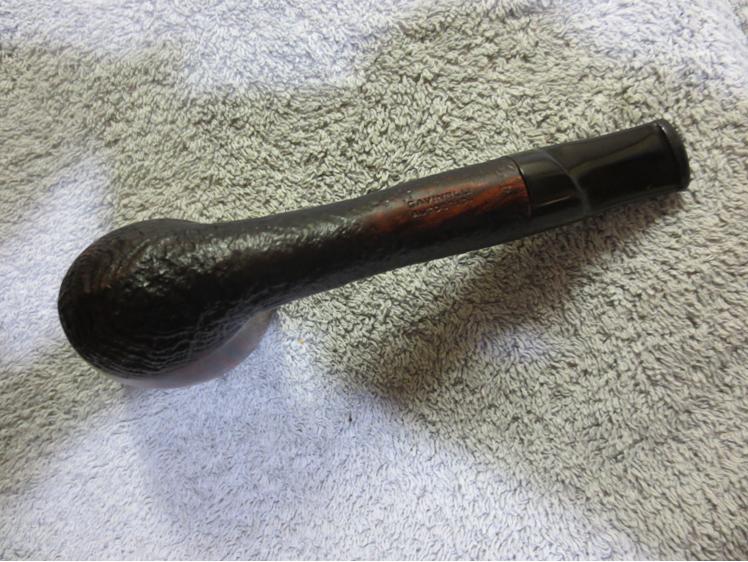
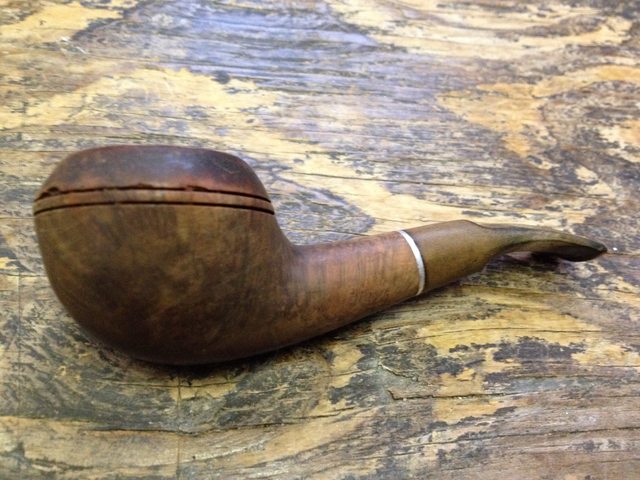
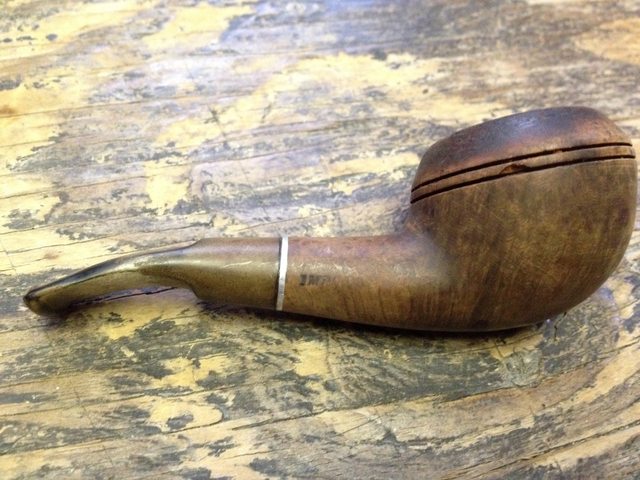
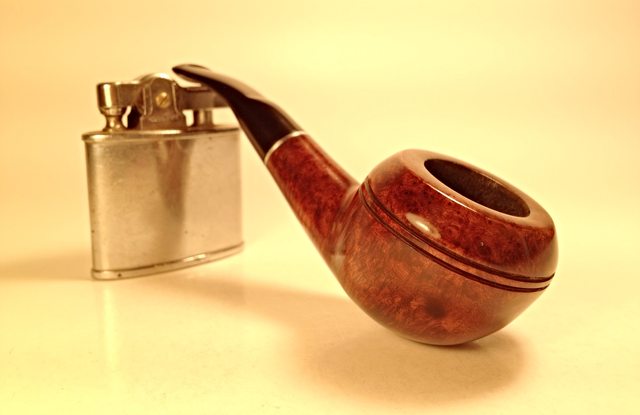
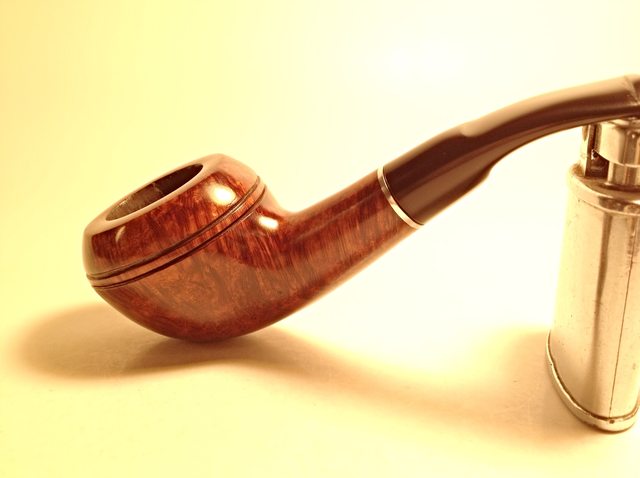
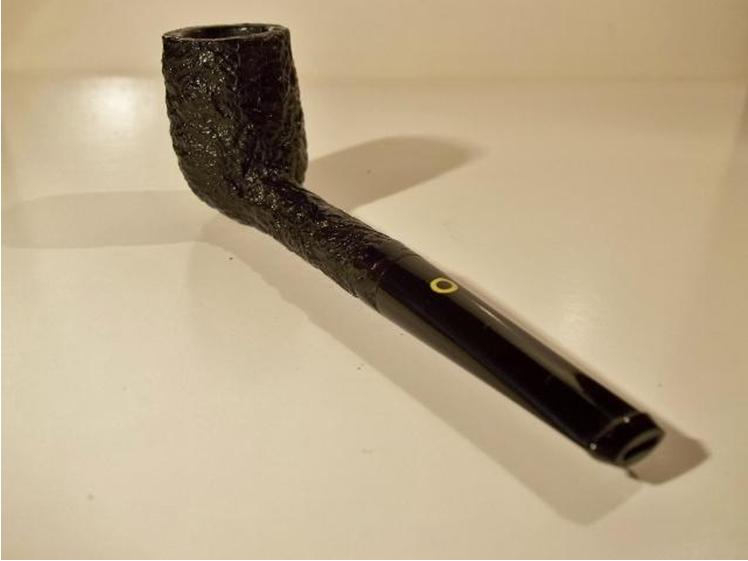
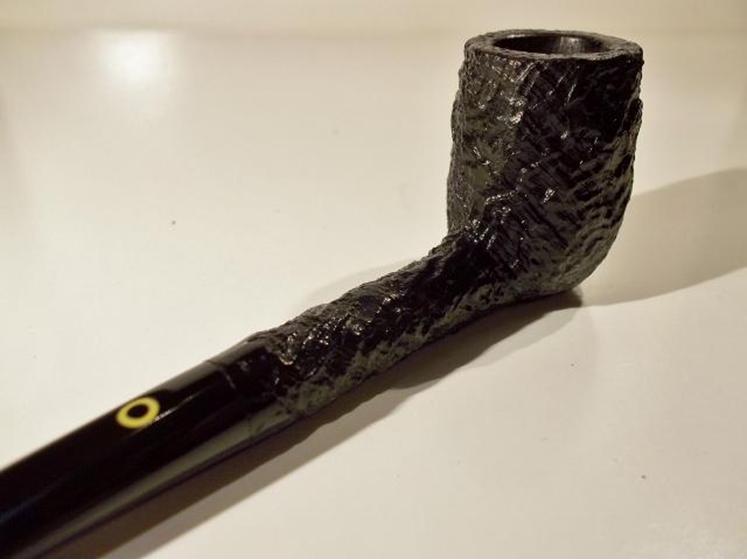
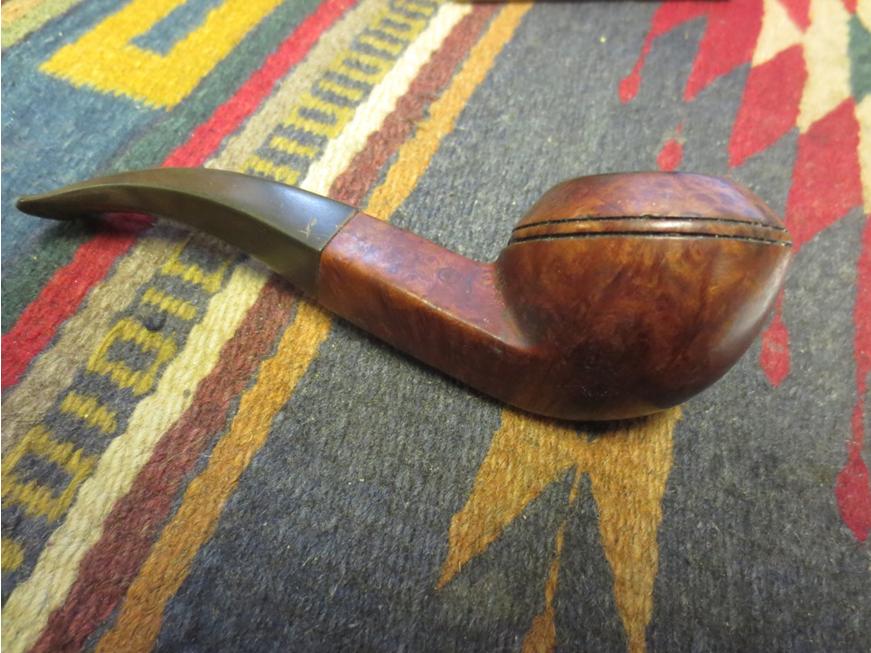
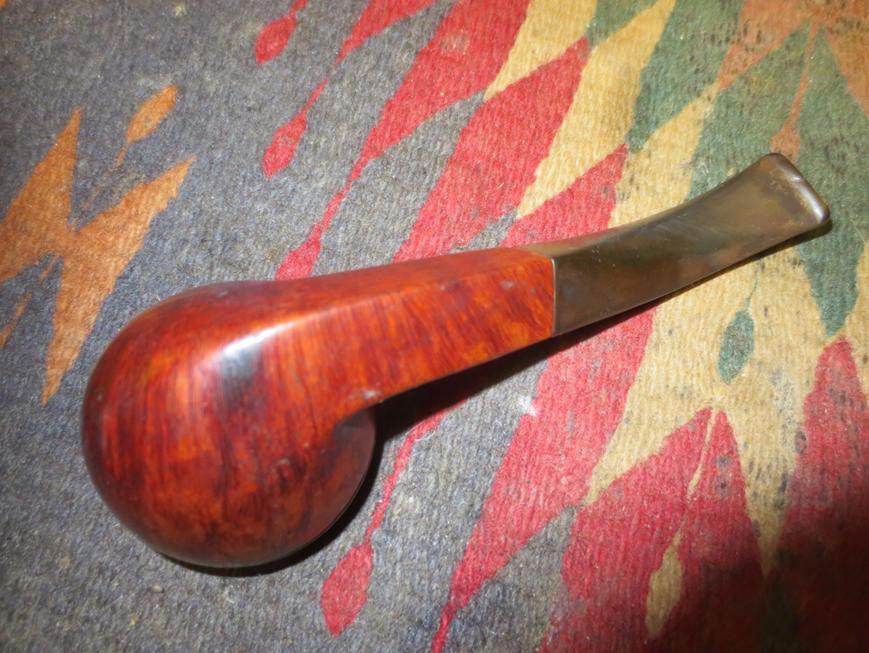
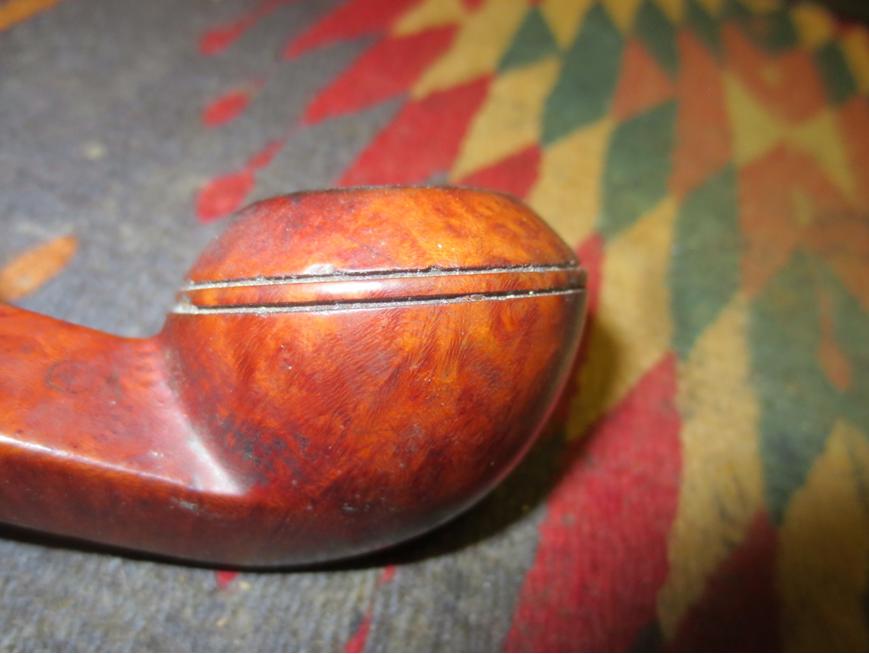
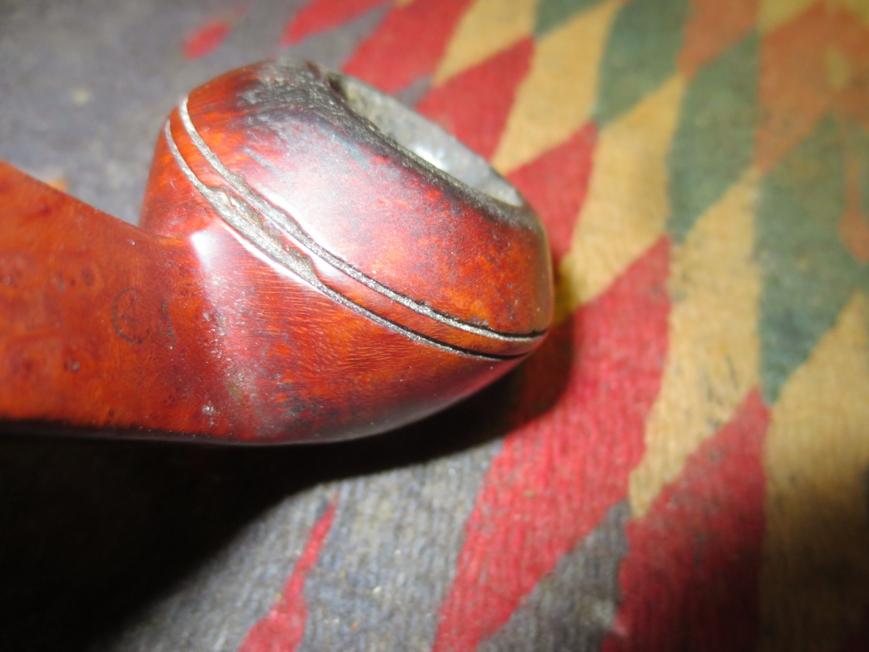
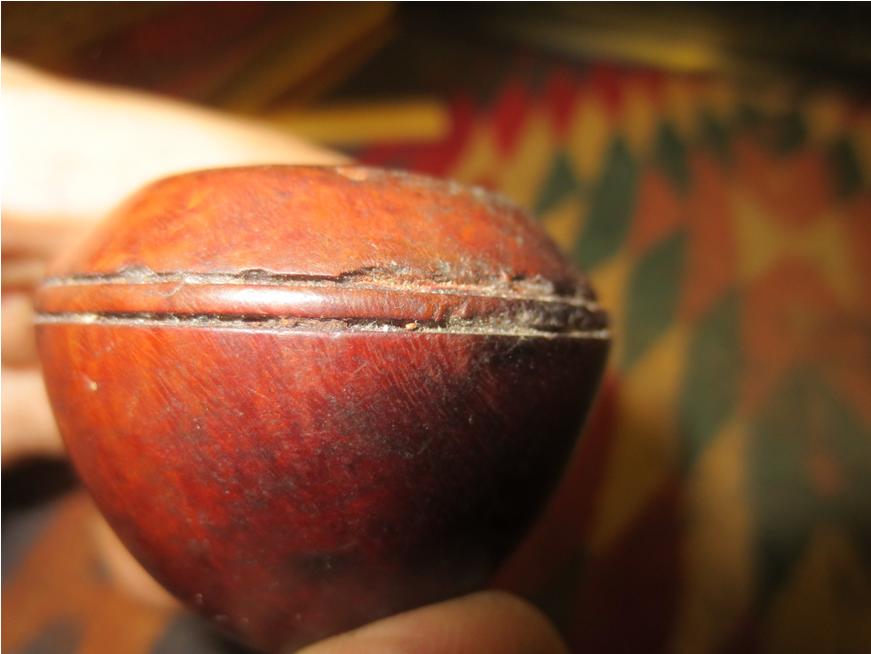
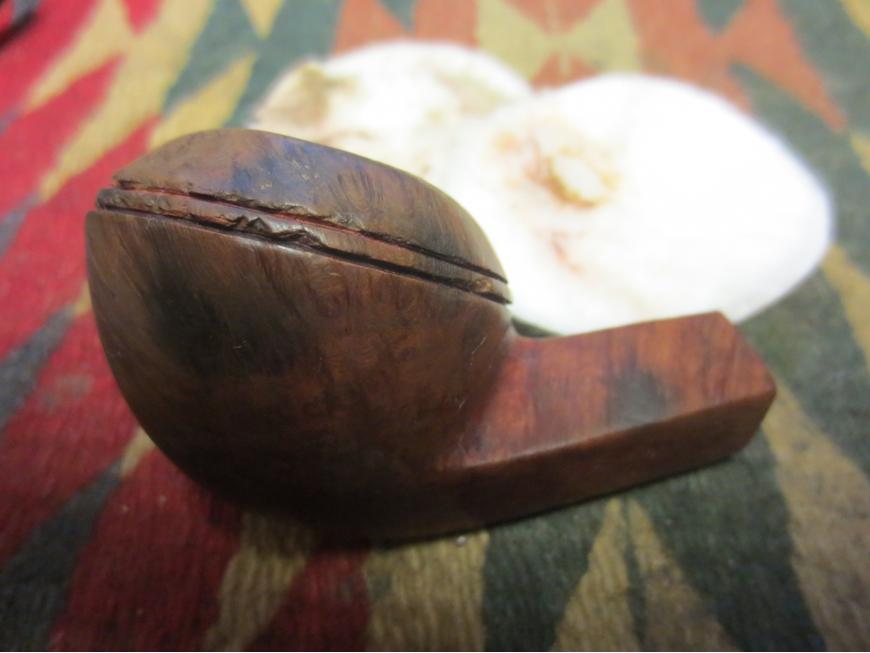
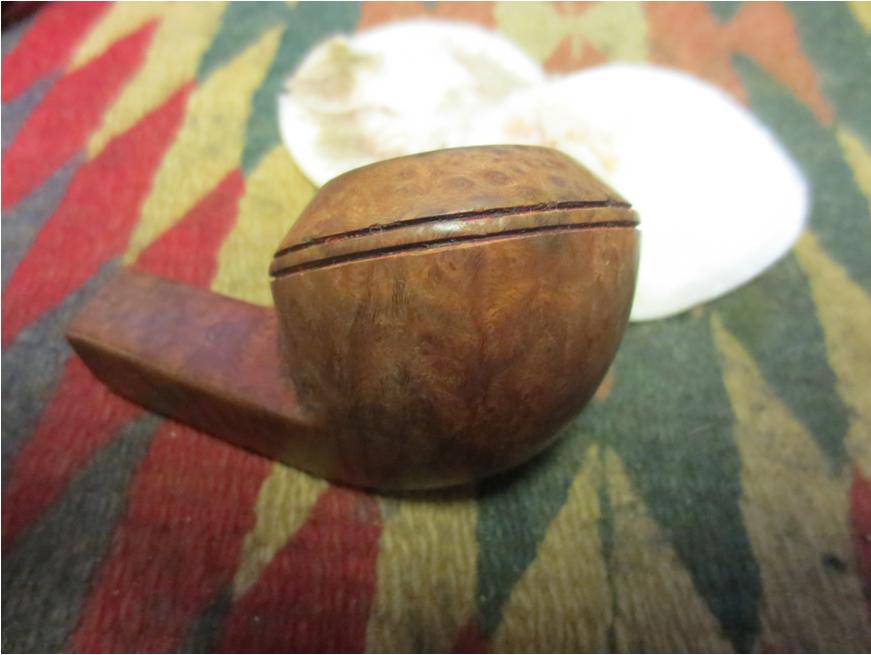
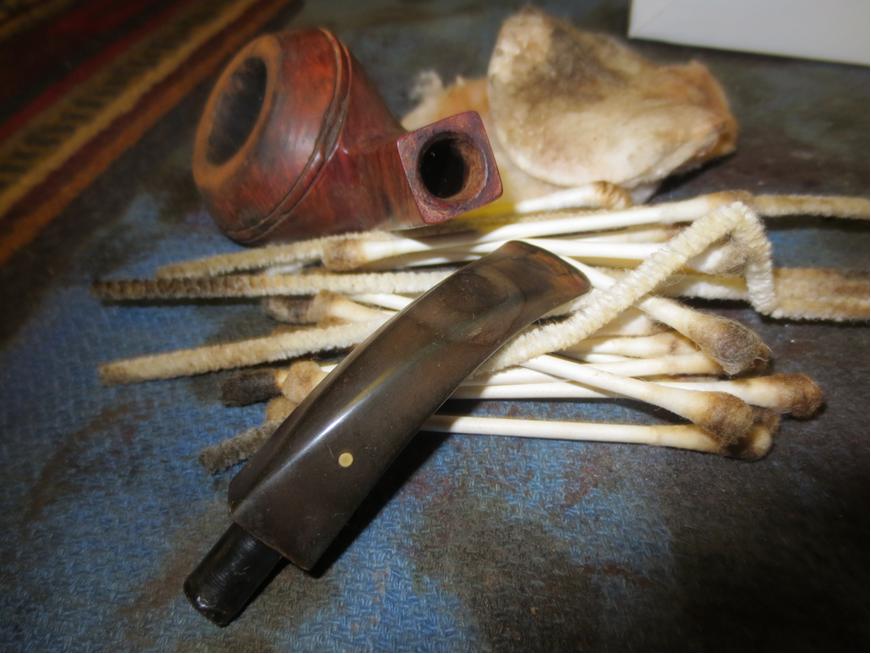
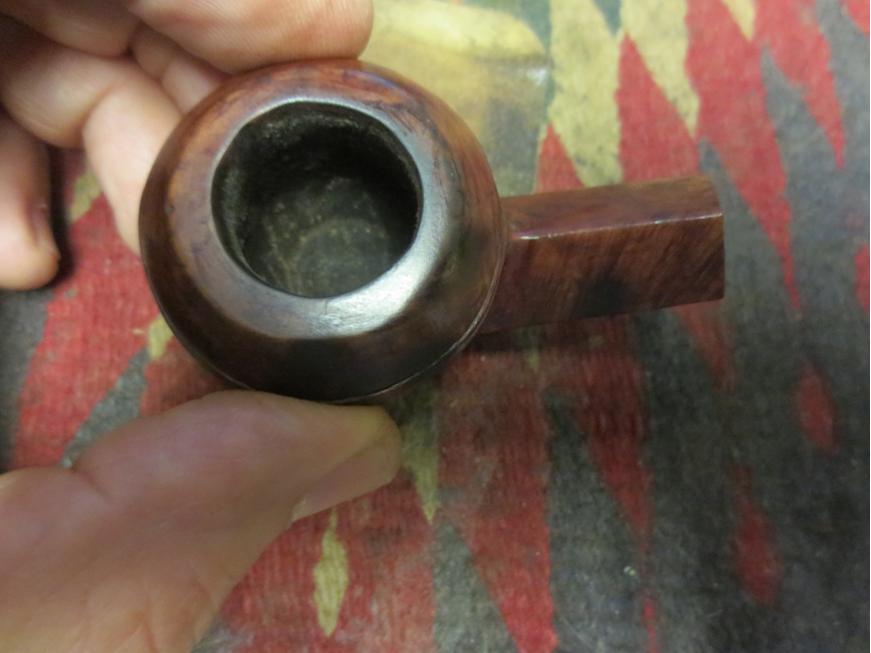
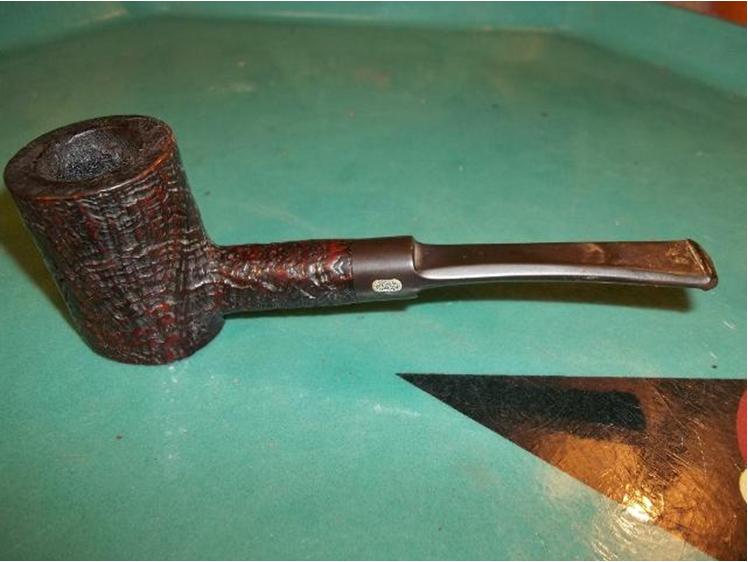
It’s time for the fourth and final midterm exam! This one is an “unknown” bent bulldog that I picked up from eBay. I snagged it because I liked the shape and it was cheap. What I didn’t know at the time, but became immediately apparent when the pipe arrived, was that the end of the shank had been shattered into at least three pieces and glued back together. There was no stamping on the pipe, but I don’t think that was always the case. It was likely sacrificed during the shank repair. The repair is fairly obvious in my photos below, but I assure you that it was not nearly so in the seller’s. The right combination of lighting and angles can cover up a multitude of sins, folks. Caveat emptor.
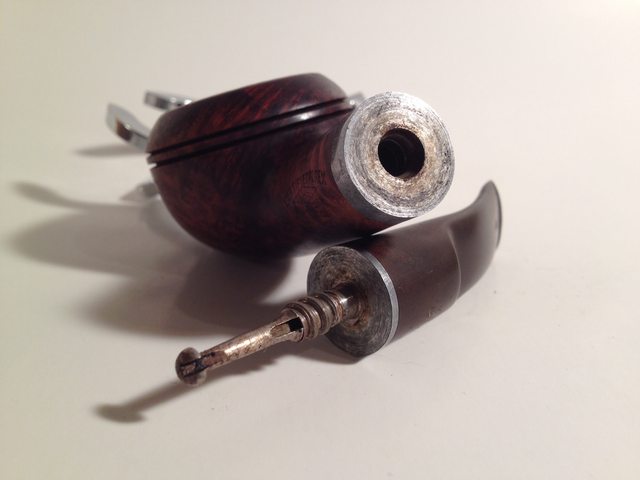
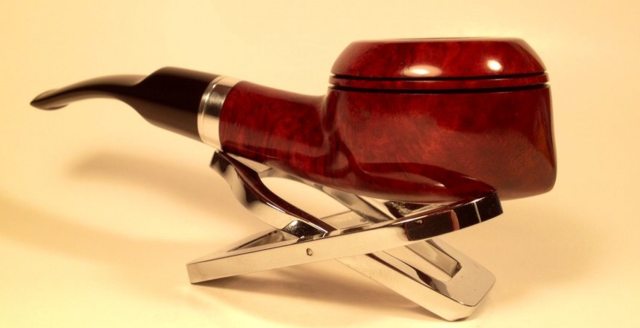
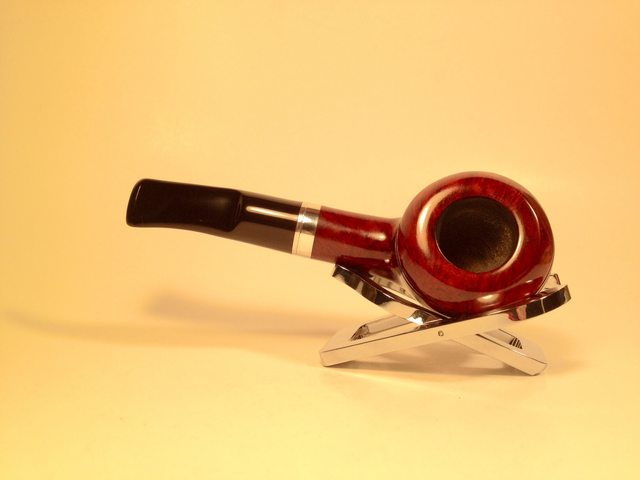
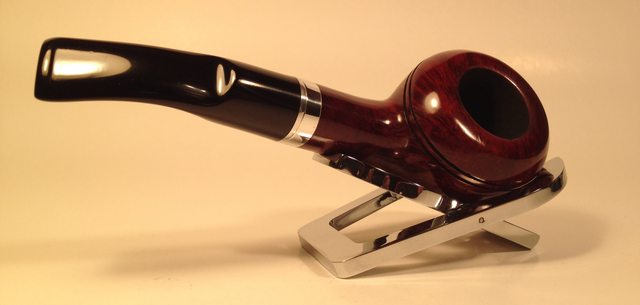
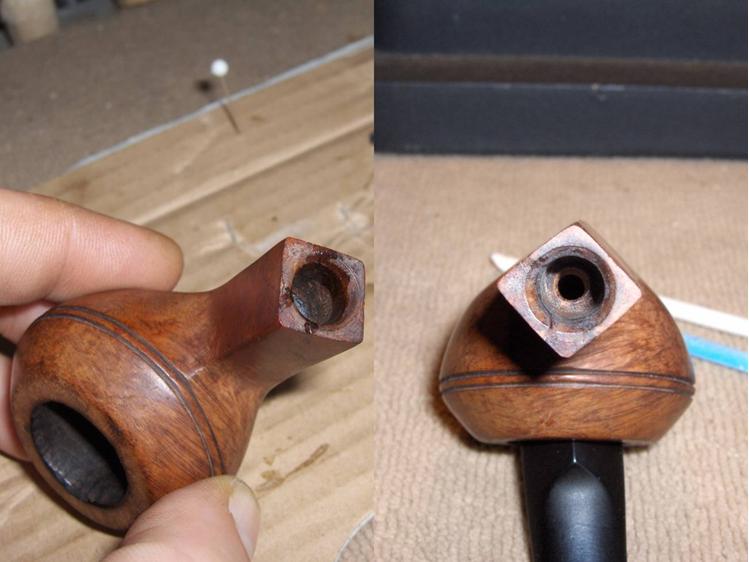
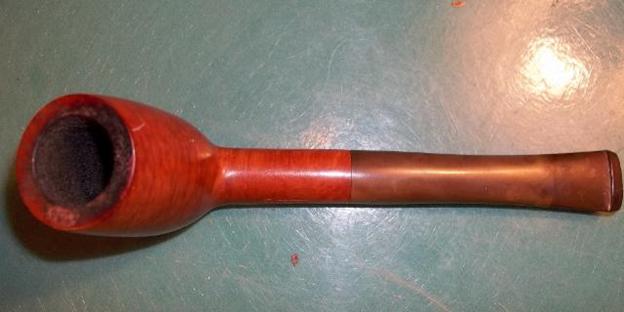
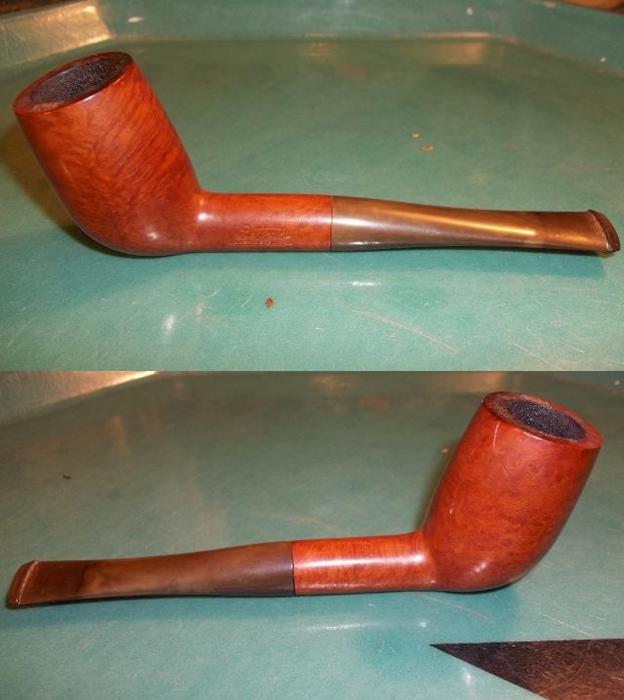
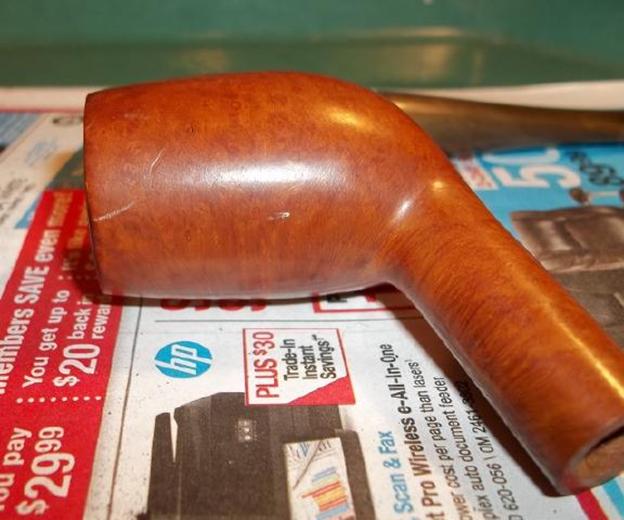
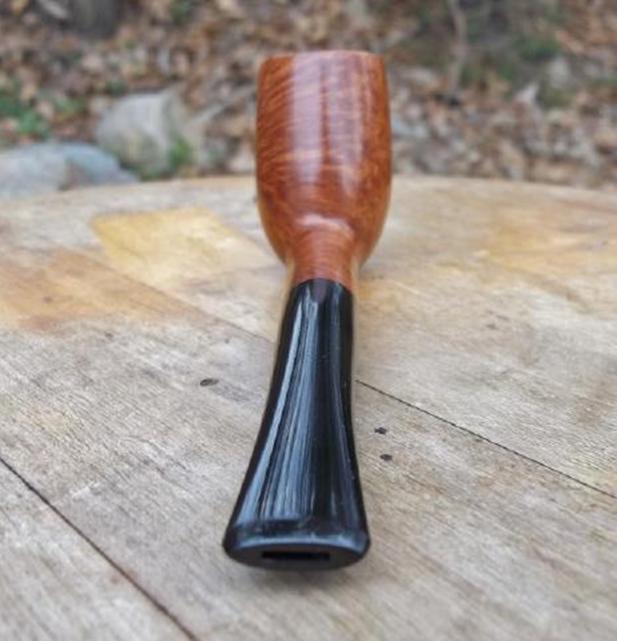
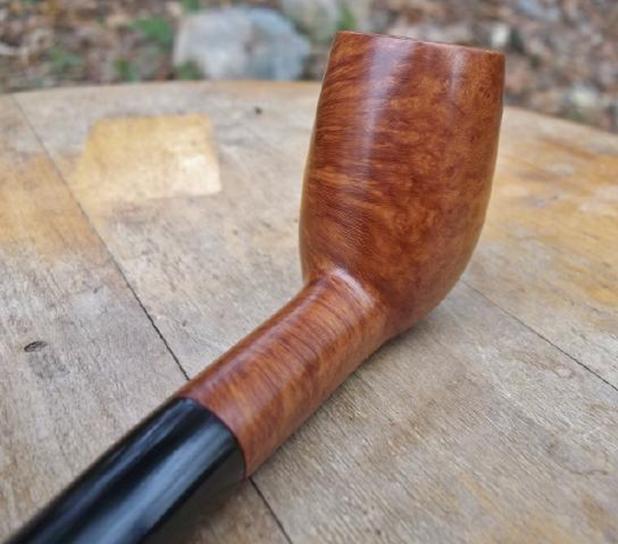
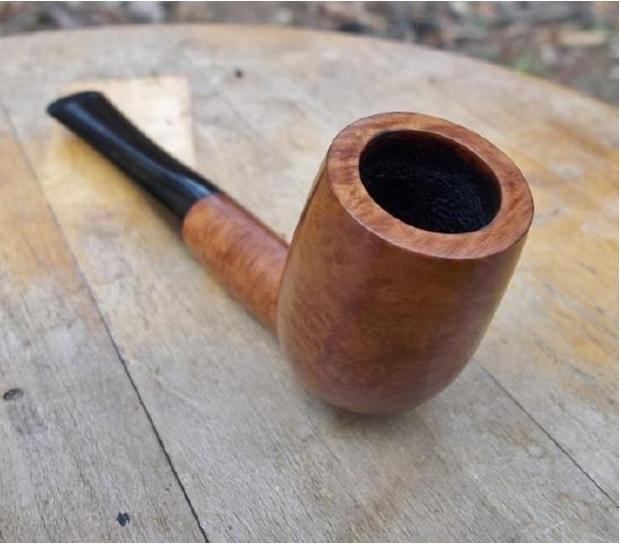
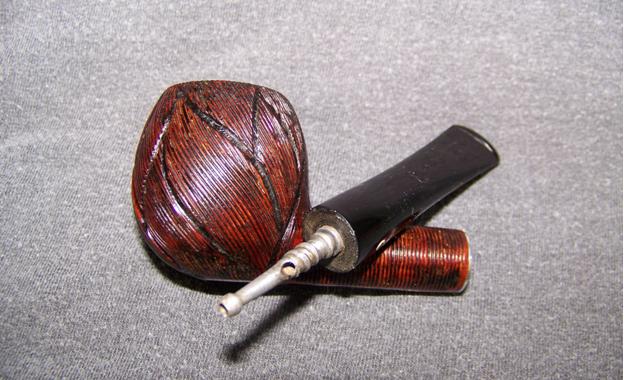
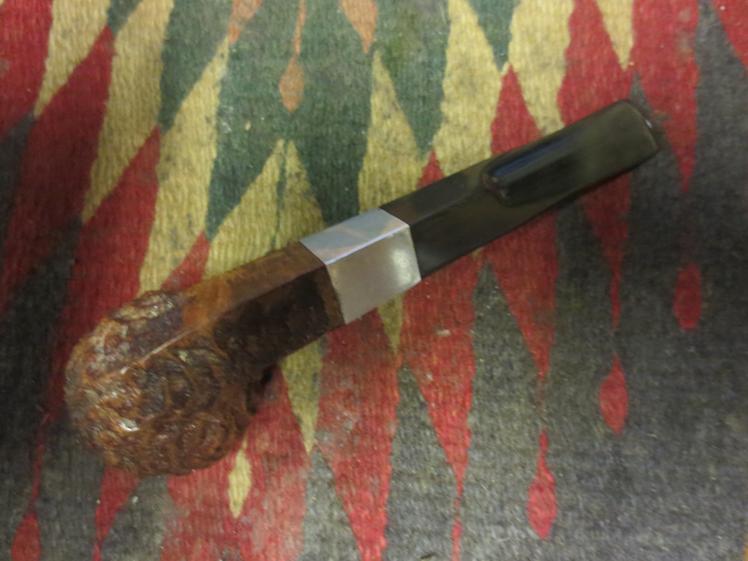
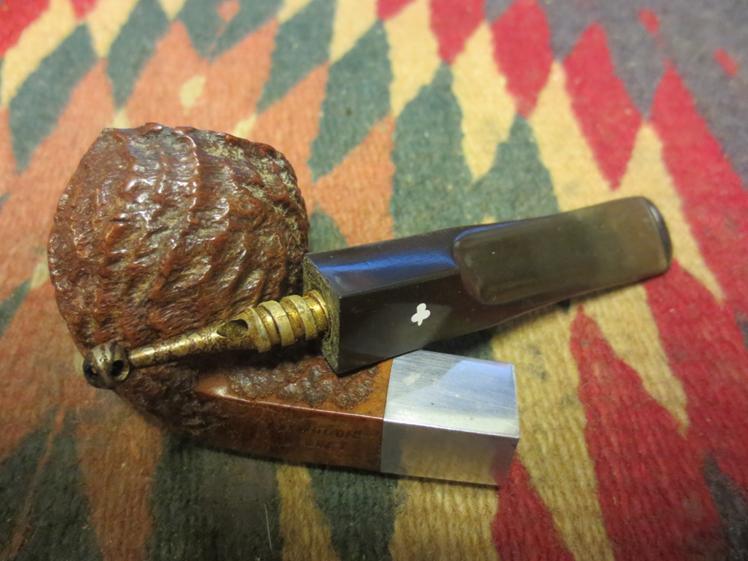
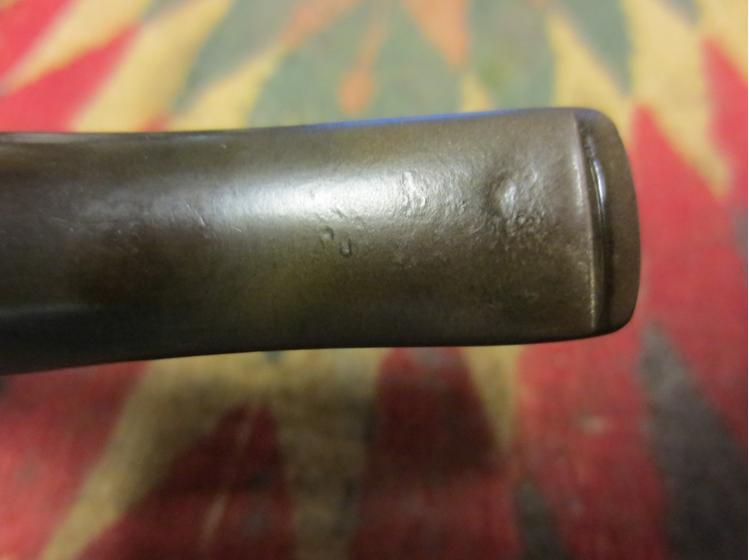
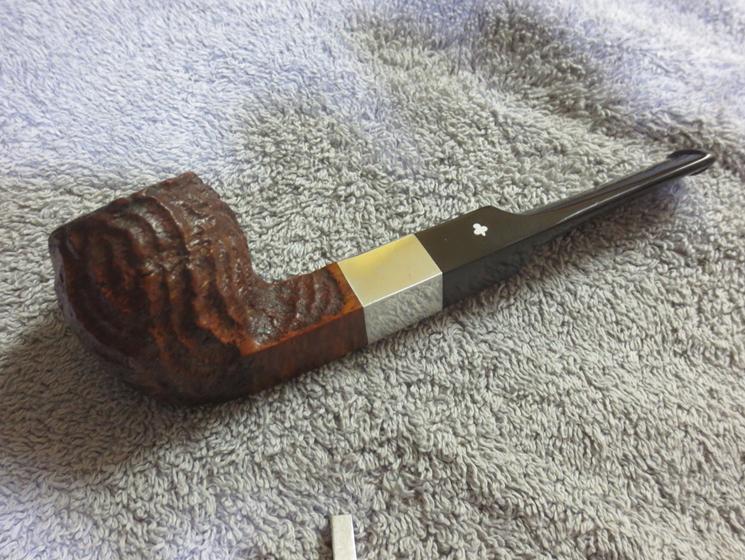
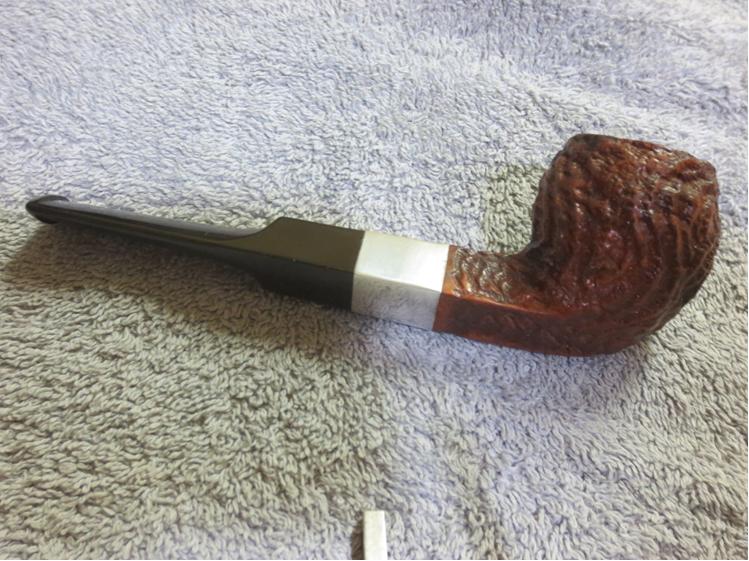
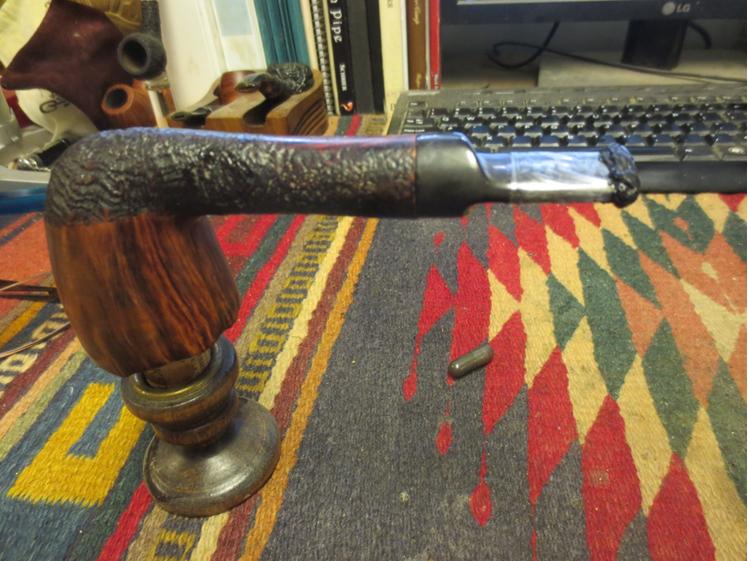
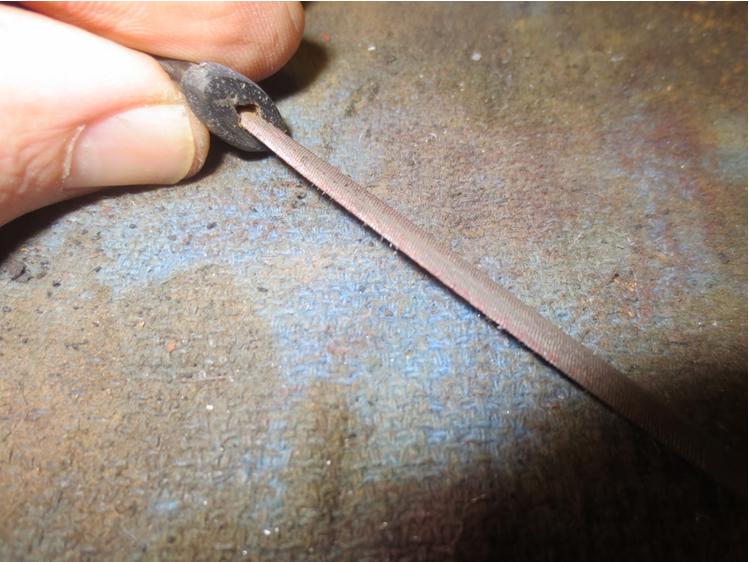
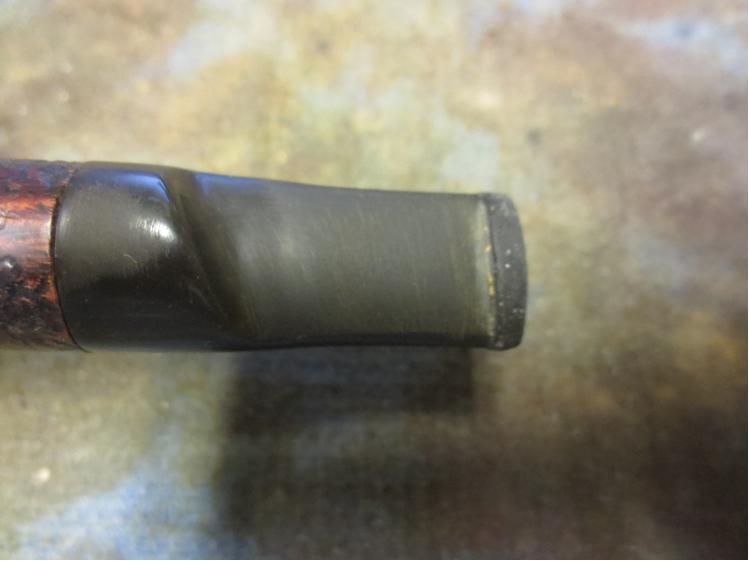
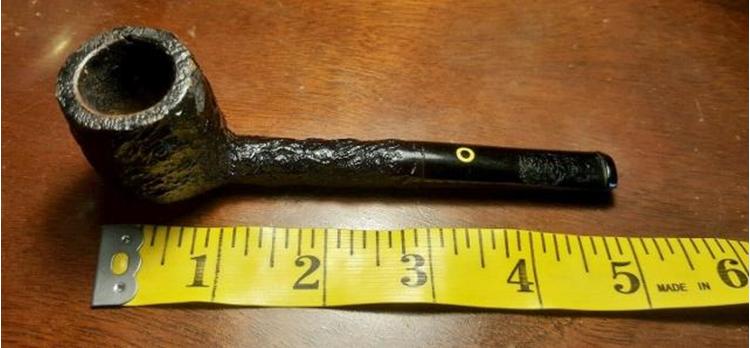
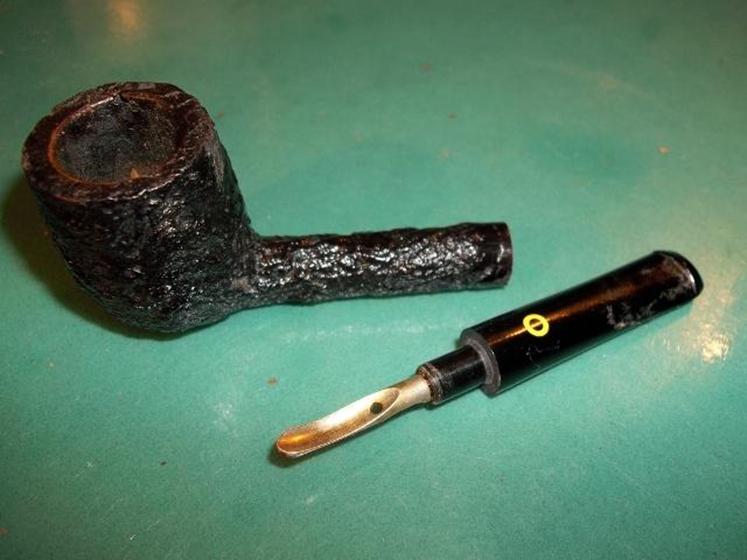
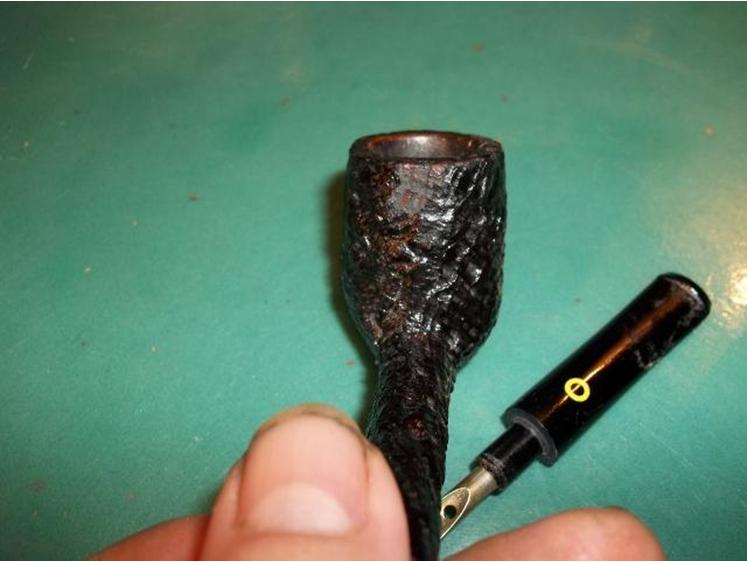
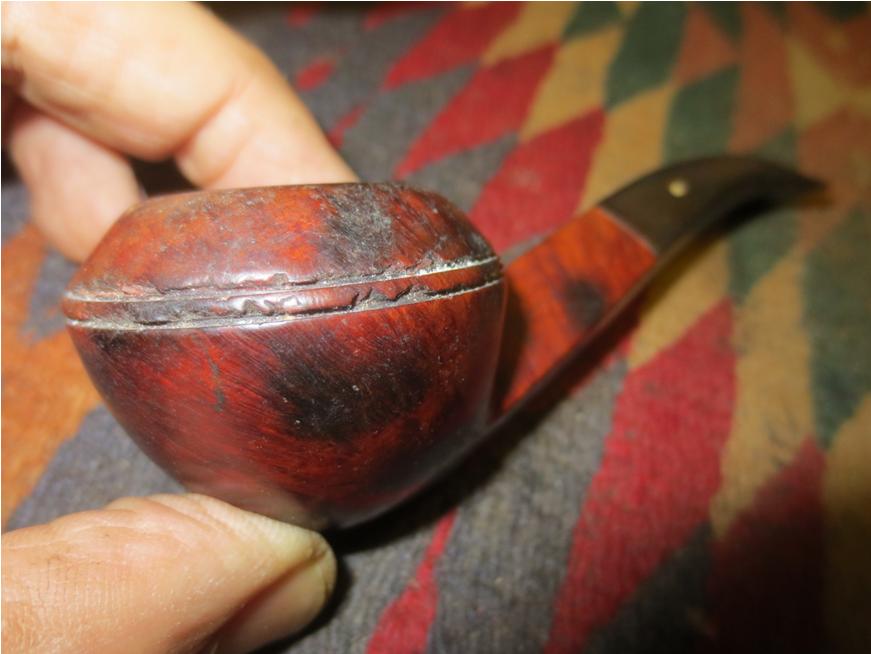
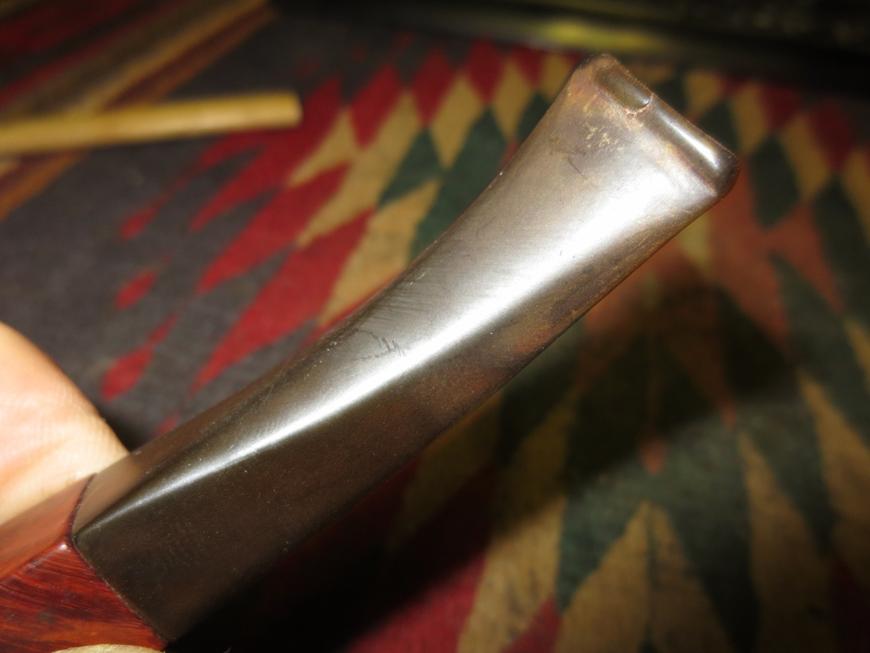
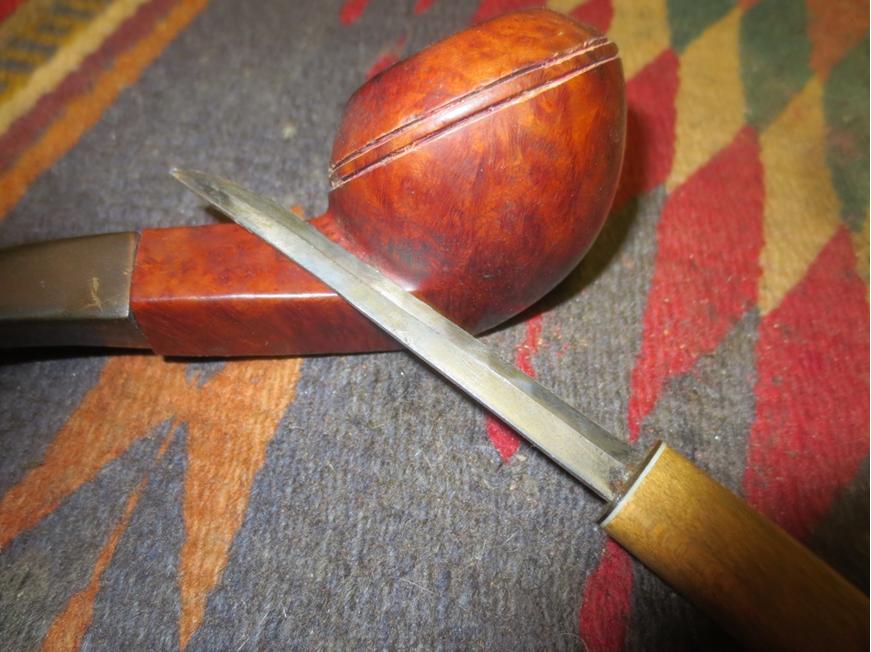
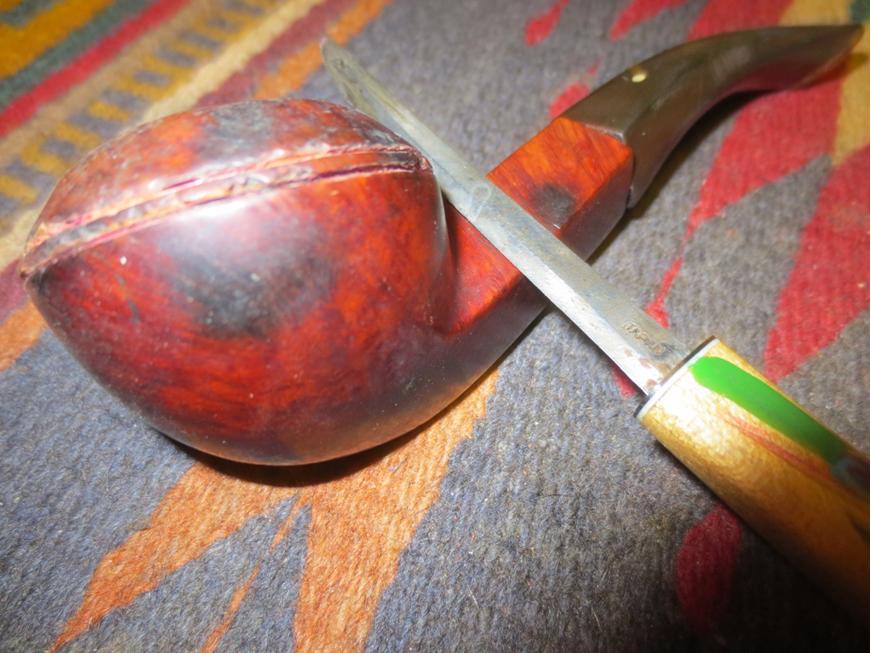
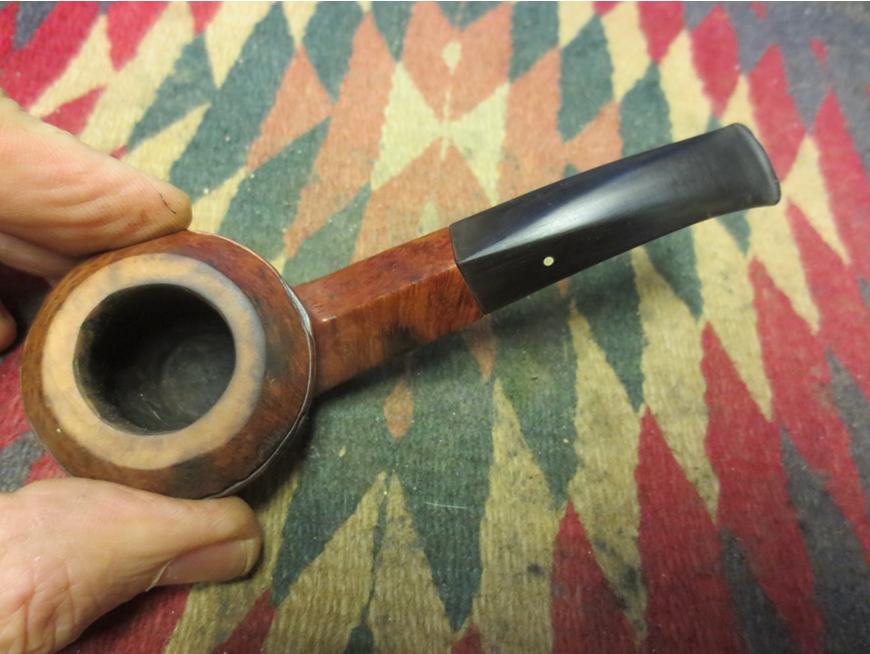
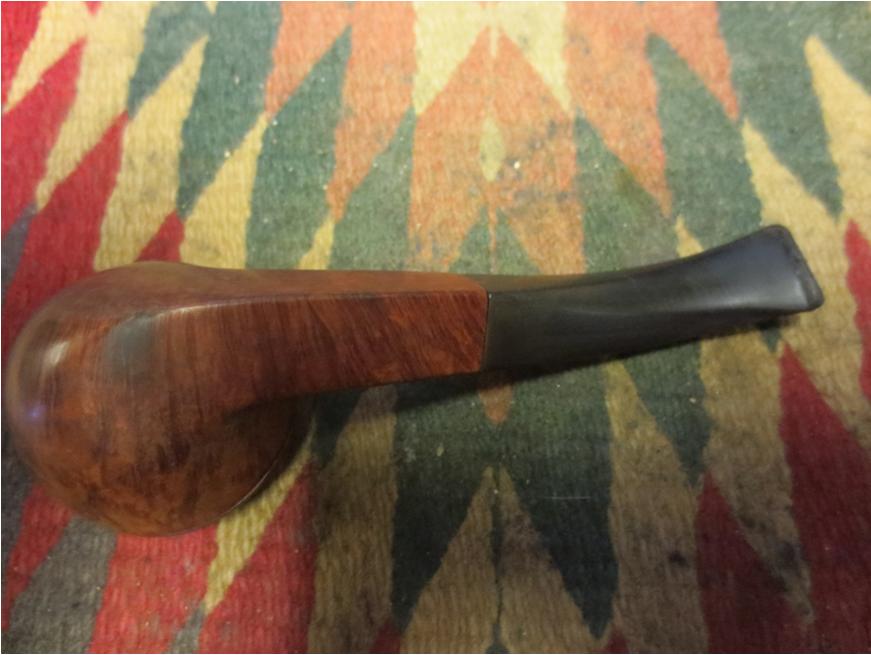
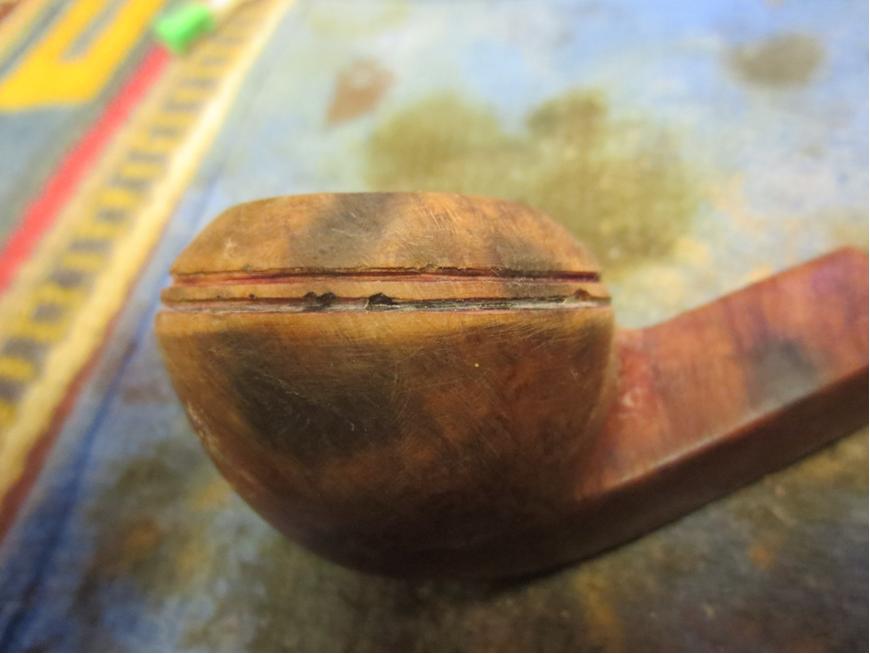
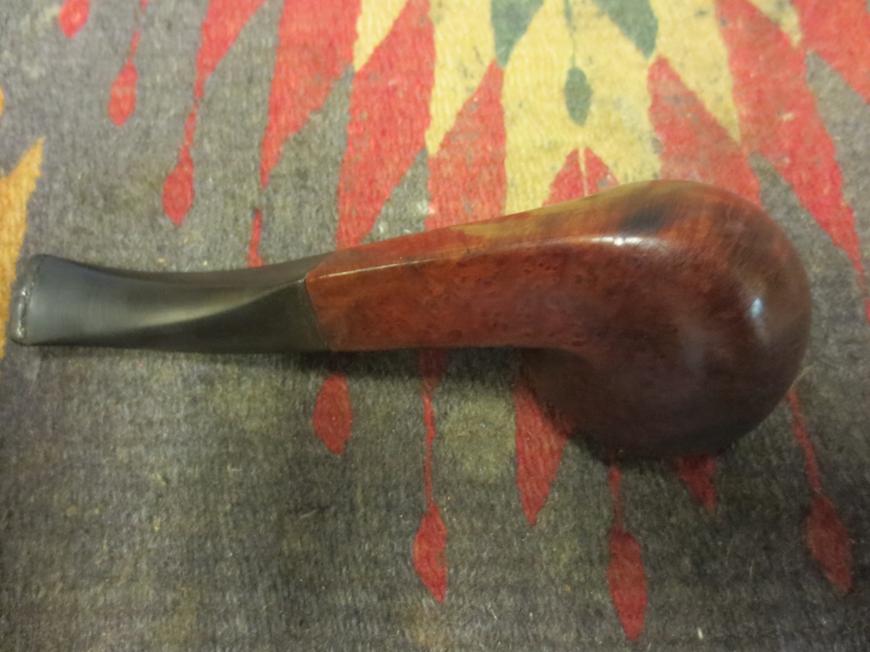
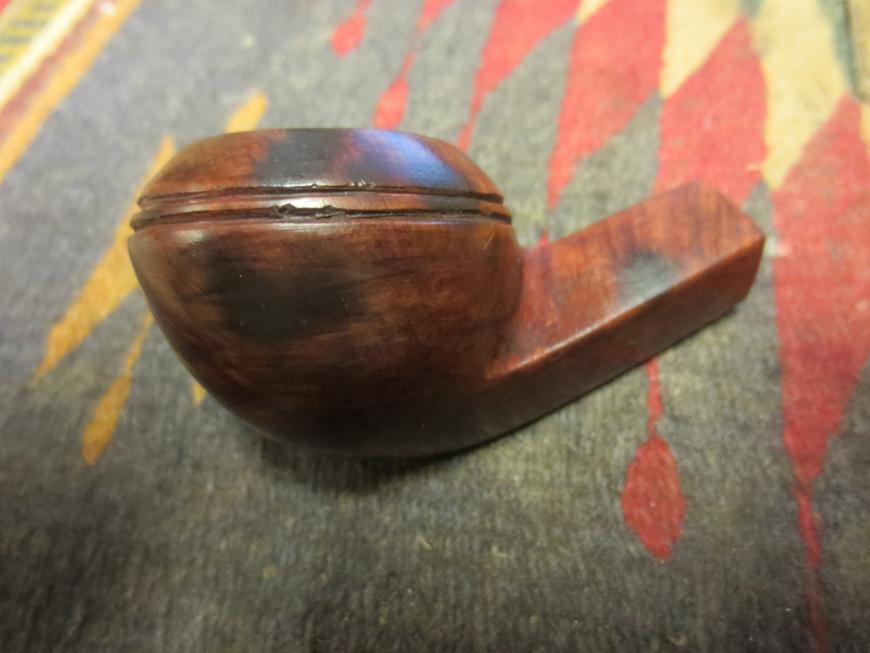
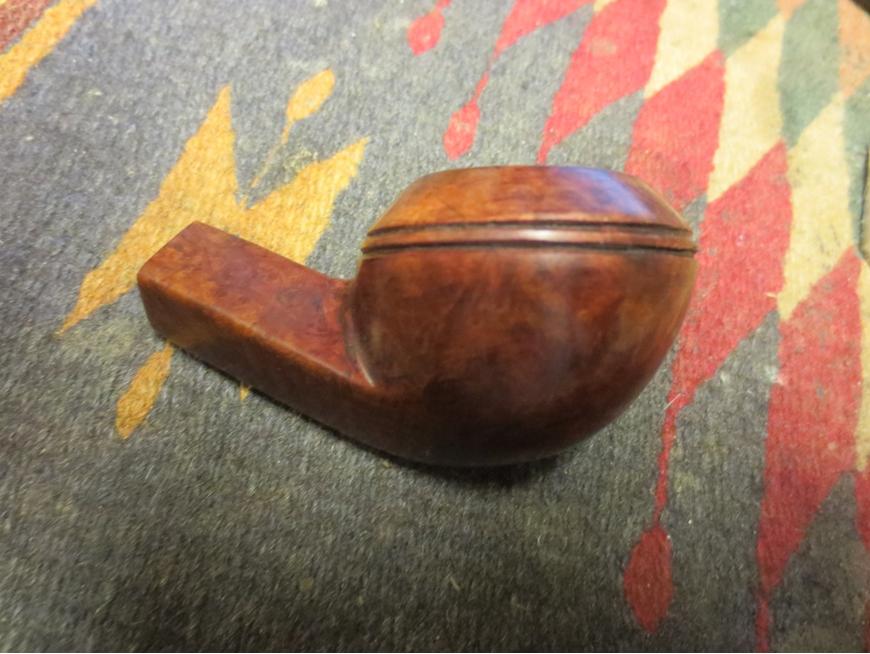
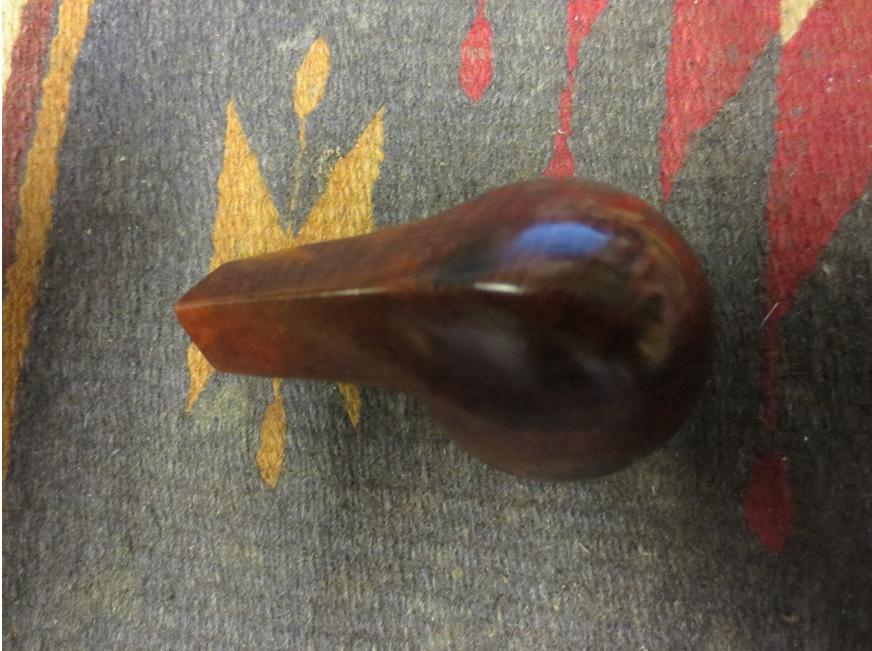
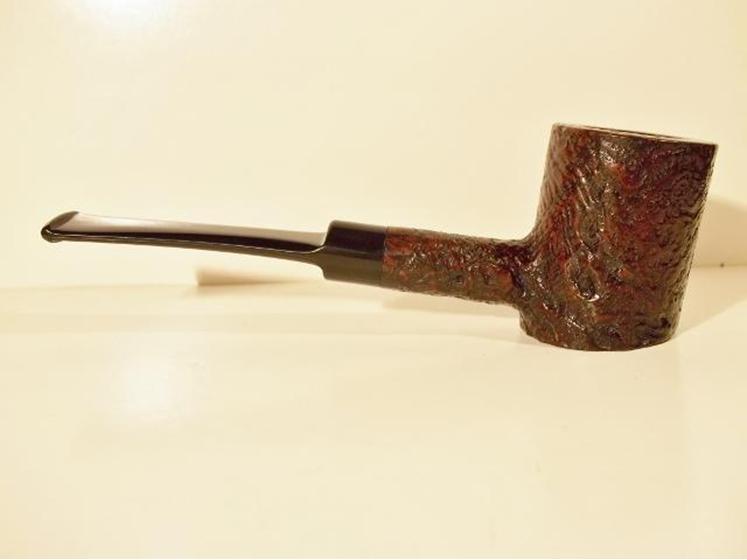
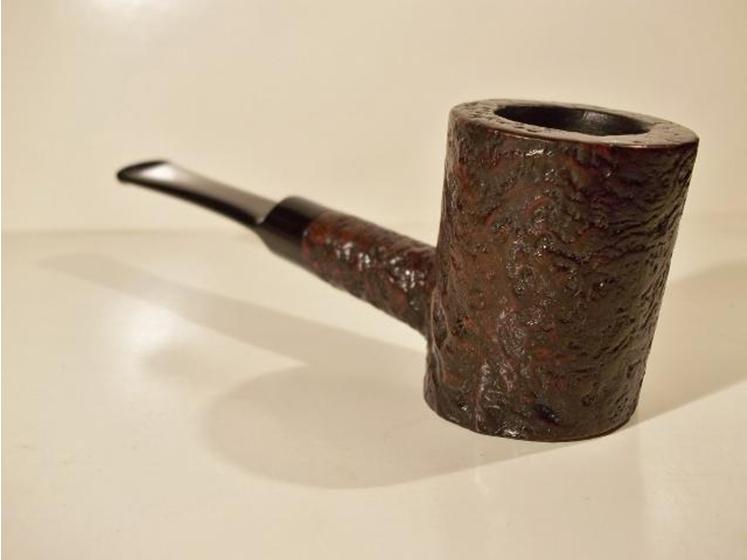
The exposed cracks weren’t the worst part of the story though. The repair did as much damage to the pipe as the crack did. An alarming amount of material had been taken off while sanding out the excess glue. It’s difficult to see in the photos, because from any one angle everything looked correct. However, if you held the pipe in hand and rolled it around you would notice that no two faces on the shank were equal. The shank was no longer a diamond shape; it was a trapezium. The repairman hadn’t paid much attention to keeping the surfaces level either. So, there was a subtle undulation to the line of the shank as it went from thick to thin and back again several times along its length. There was also very little effort made to blend the repaired area into the rest of the pipe, and several shallow “steps” were visible where the two surfaces met. There was at least an attempt to match up the stem to the shank, but that only gave the stem the same odd angles and even they didn’t quite match up to the ones on the shank. All in all, it was a bit of a travesty. Here are a few photos taken just after it arrived.

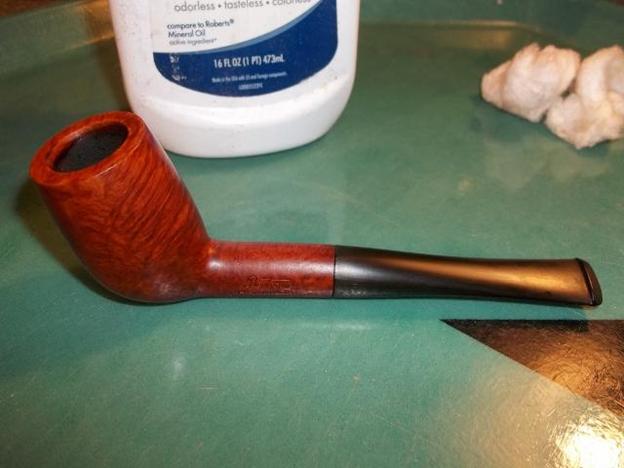
 That was all far more than my tender, noobie hands could handle at the time. So, I cleaned the internals of the pipe and put it away for later, but not before adding a bit of bend to the stem that it seemed to have lost over time.
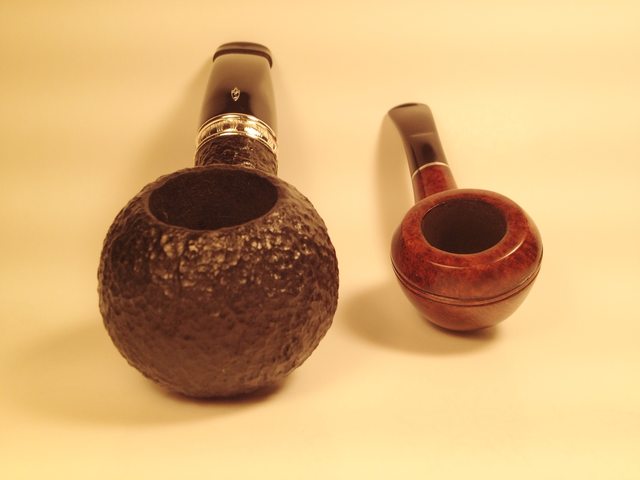
I’ve finished up work on all the rest of the pipes in that first batch. So, this week it was time to put a collar on that dog and turn in my final midterm.
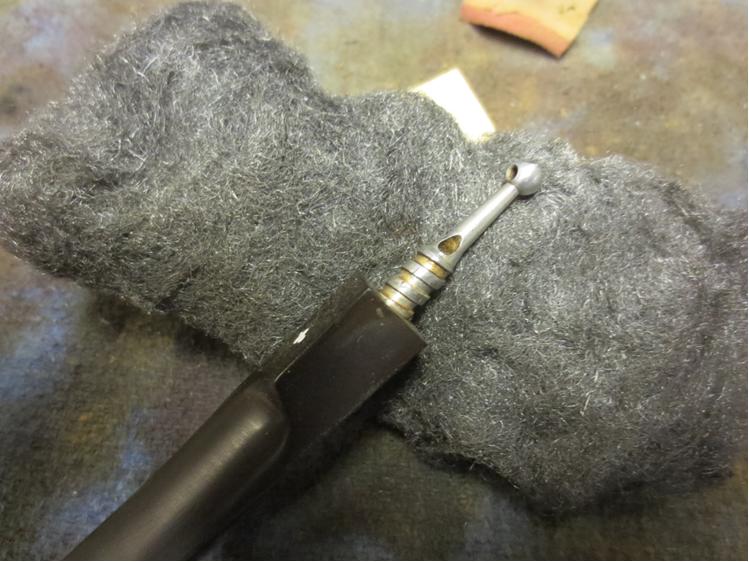
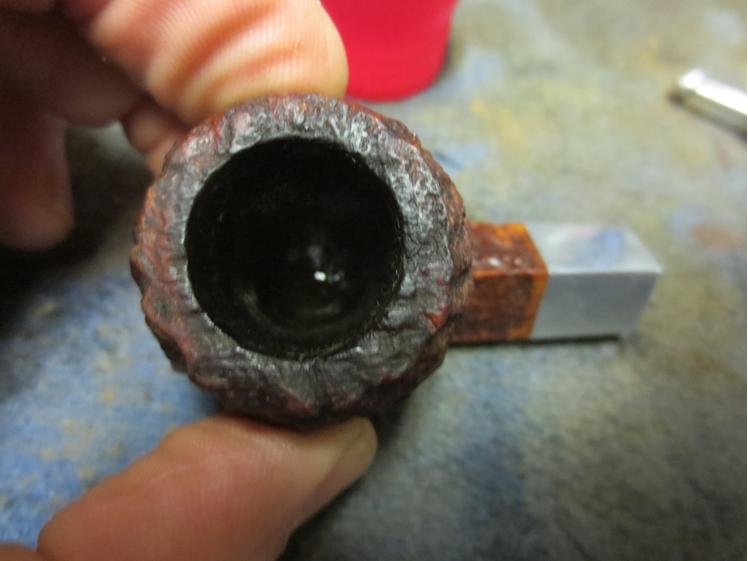
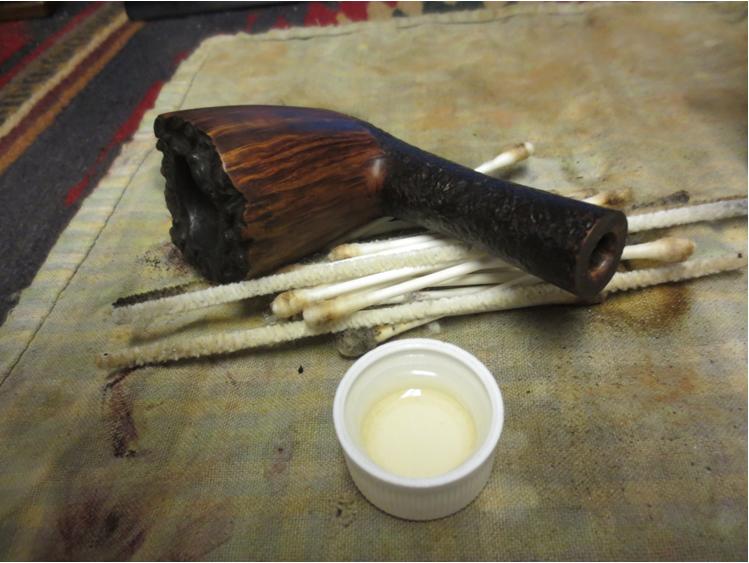
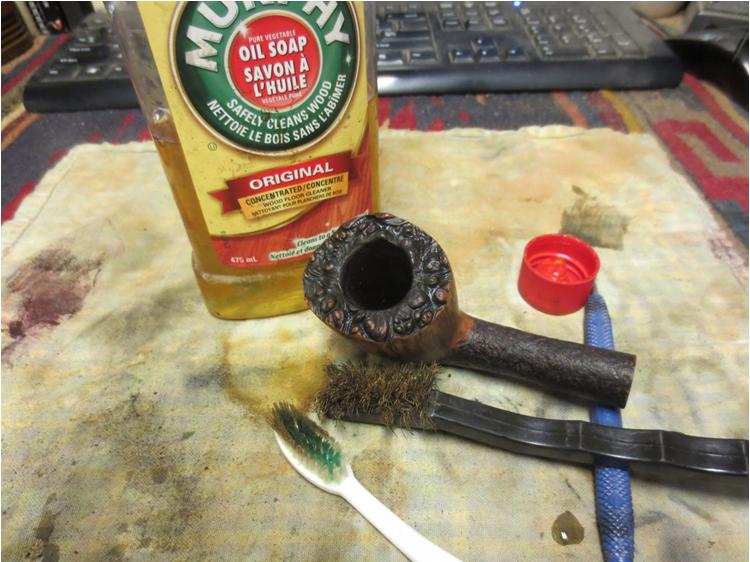
I started (or restarted I should say) by dropping the stummel into an alcohol bath for a couple of hours to soften any coating that might be on the pipe. I had quite a surprise when I removed it later on. It looked fine when it was fresh from the bath, but a hazy, white glaze began to form on the surface as it dried. I hadn’t seen anything like this before and I’ll admit to a brief moment of panic. I assumed that this was probably the result of some type of coating reacting to the alcohol. So, I wiped the stummel down with acetone taking extra care around the shank repair, since acetone will break down superglue. That did the trick and the stummel cleaned up nicely. I set up the retort to see if I could remove any more tar buildup from the pipe. I flushed the shank about 10 times with boiling alcohol before allowing the pipe to cool. I noticed that the vial appeared to be losing a lot of liquid during the retort. The cotton wasn’t discolored. So, it wasn’t gassing out through the bowl. It really had me scratching my head until I saw a spot of moisture on the shank when I was removing the retort. For some reason, it wasn’t sealing well at the mortise and I’d need to look into that before I went much further.
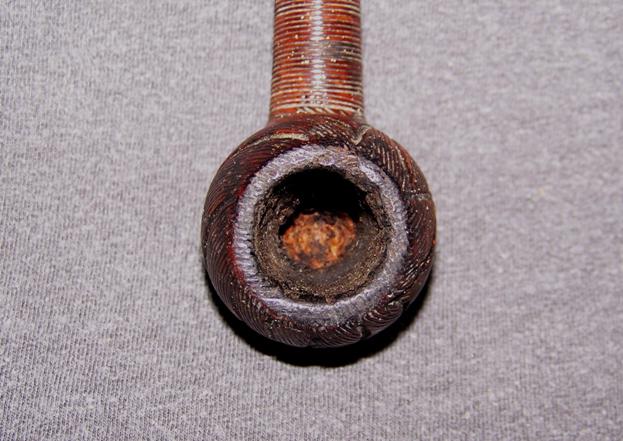
 I gave the pipe a post-retort scrub of the stem and shank, and then inspected the crack repair for gaps. The surface of the glue joints looked airtight, but I noticed that the glue hadn’t penetrated very deep. The joints left shallow fissures inside the mortise and along the shank face. I used a small pushpin to place a little super-thin CA glue directly into the fissures, and then used a toothpick to apply a thin layer of the CA around the end of the mortise to create a seal inside as well as out.
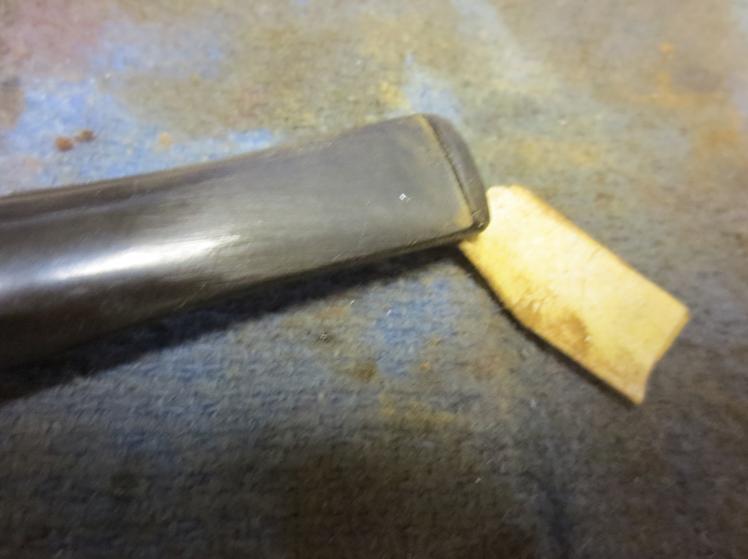
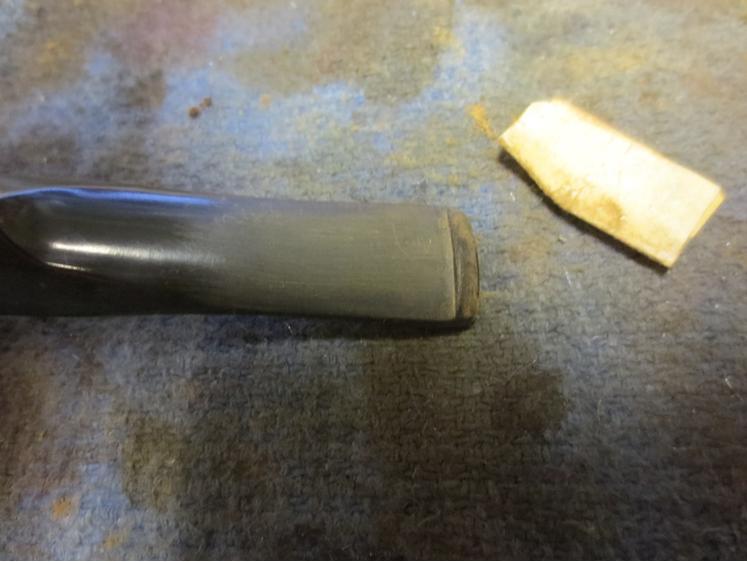
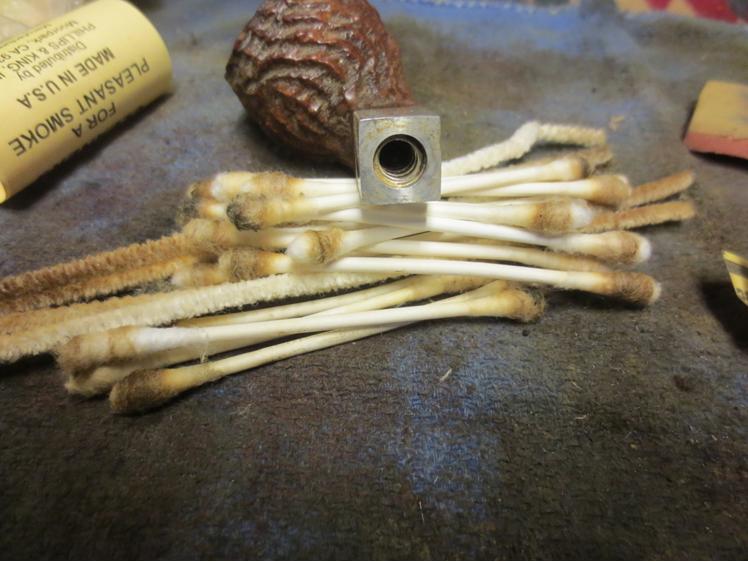
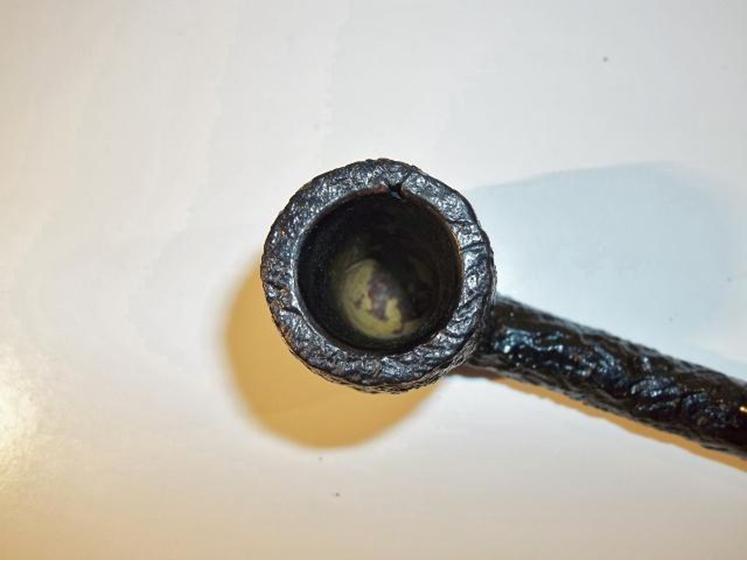
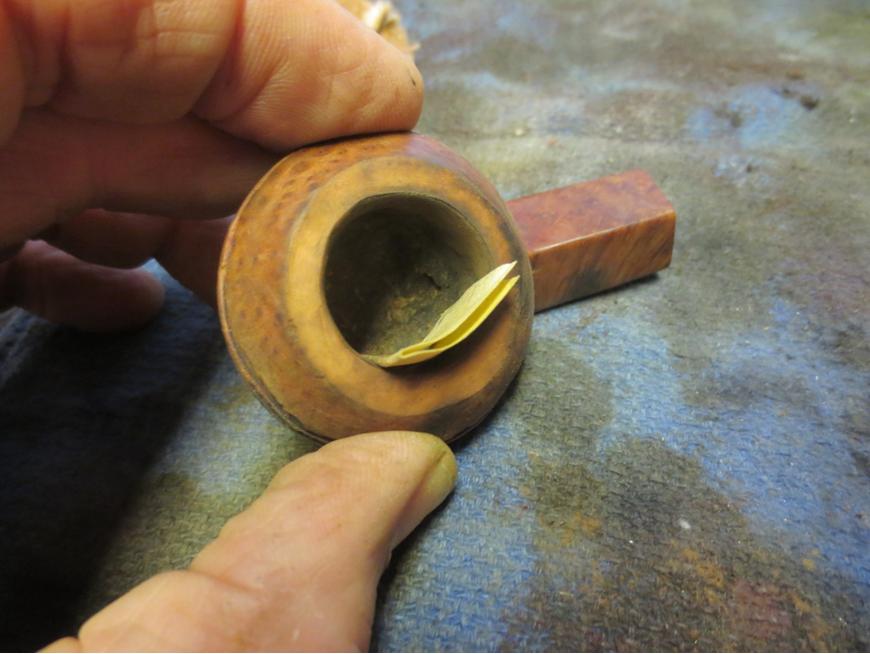
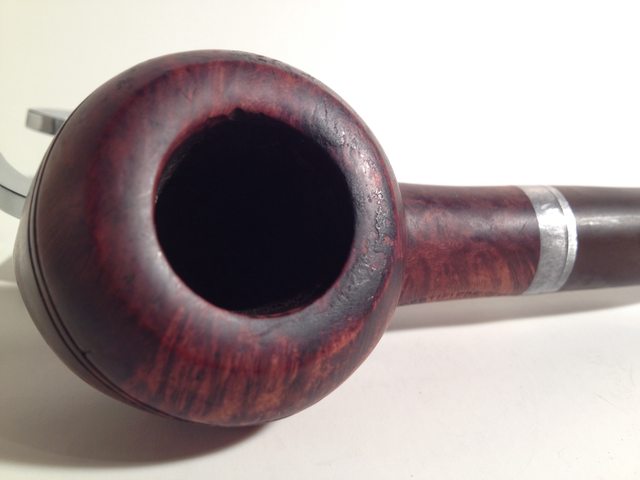
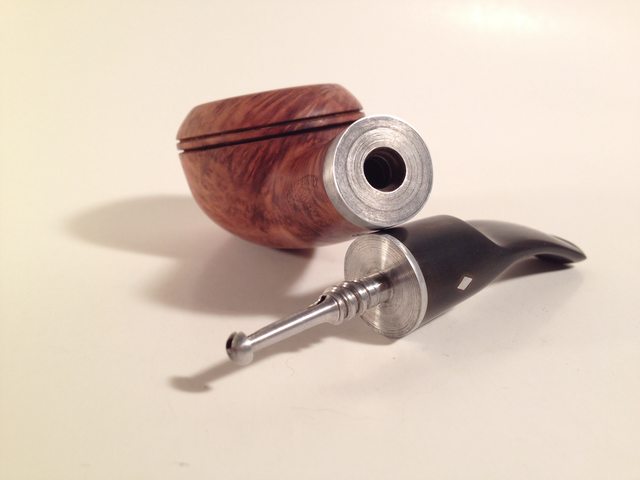
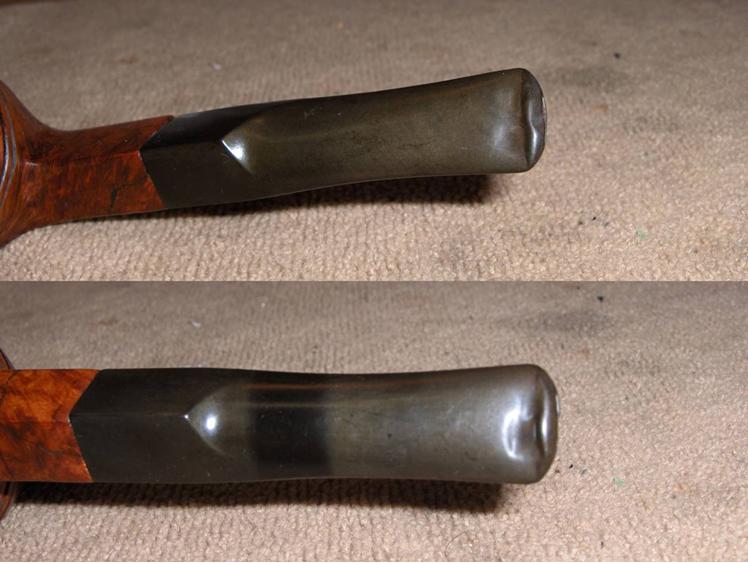
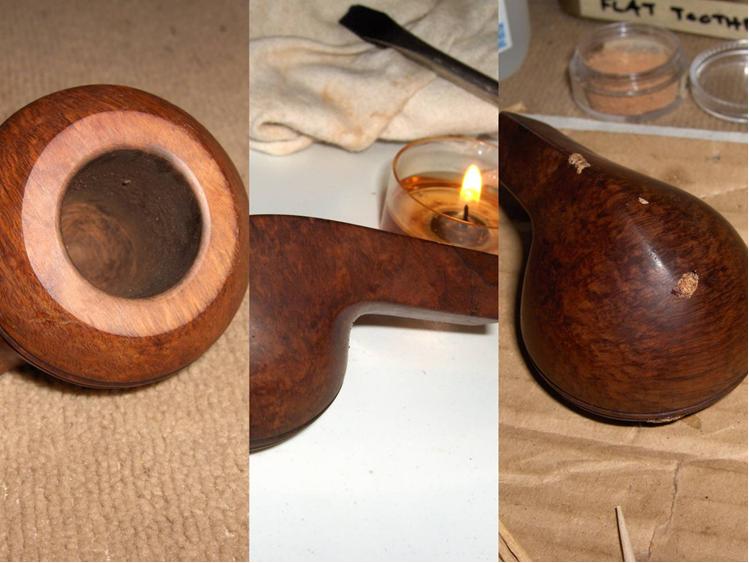
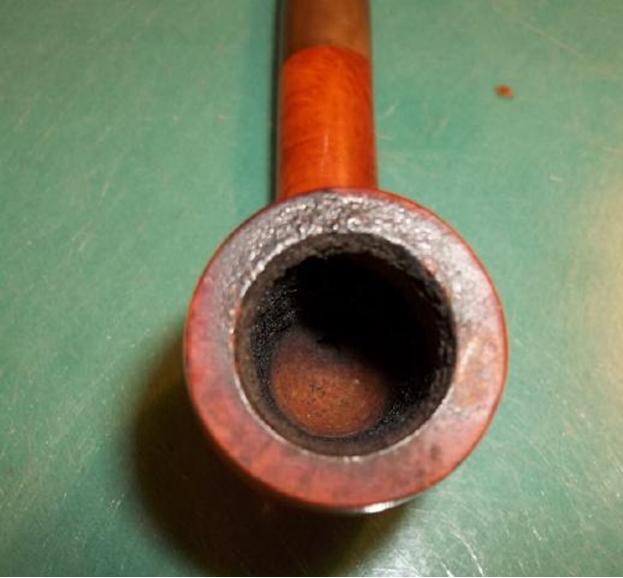
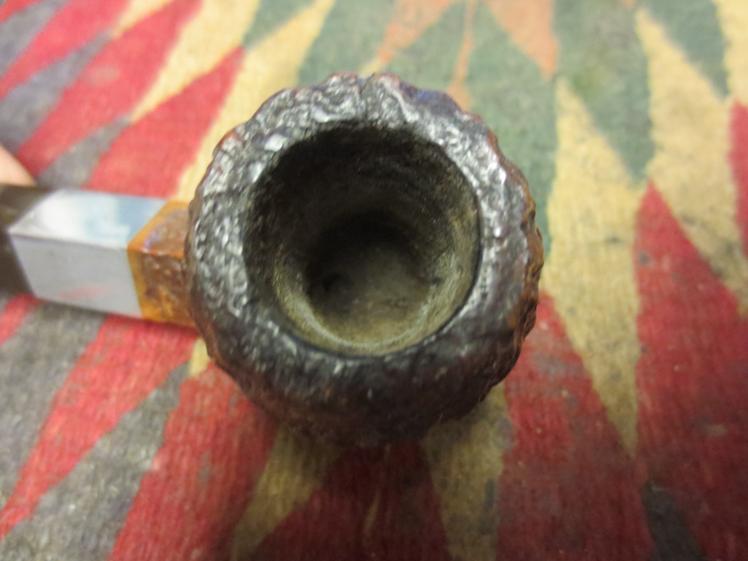
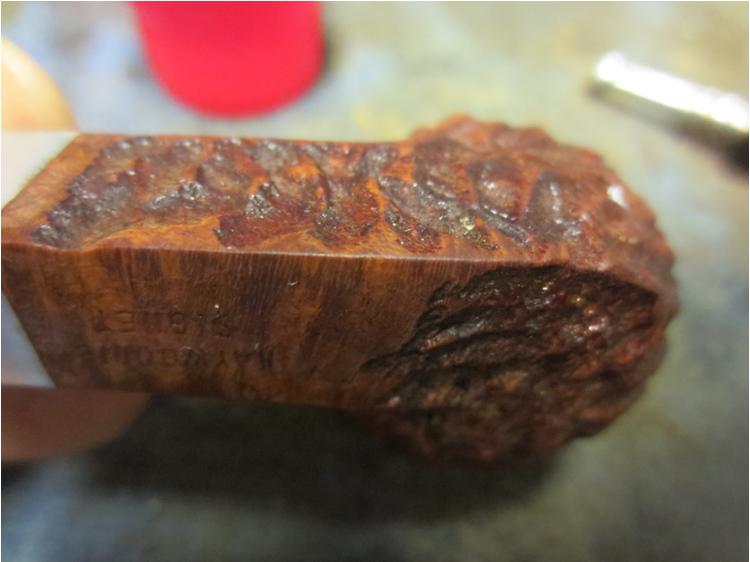
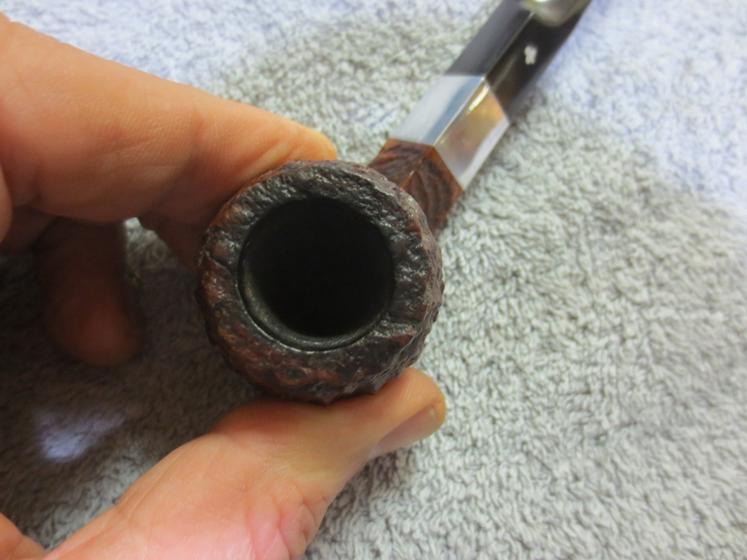
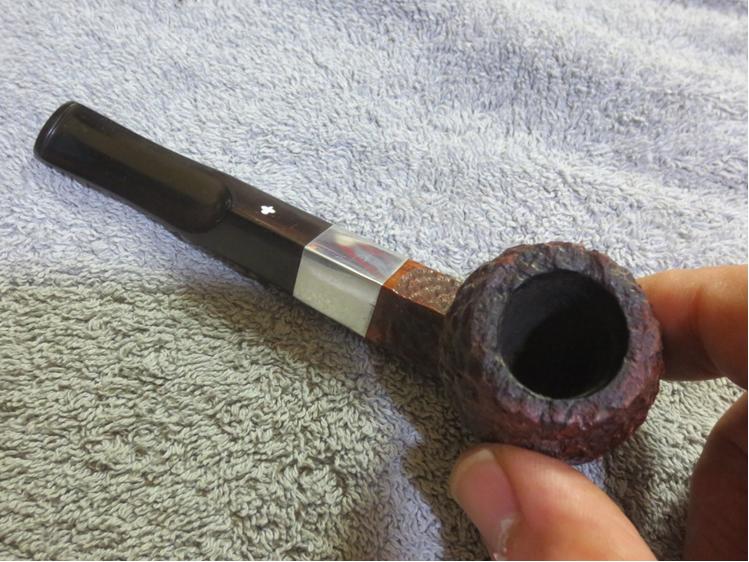
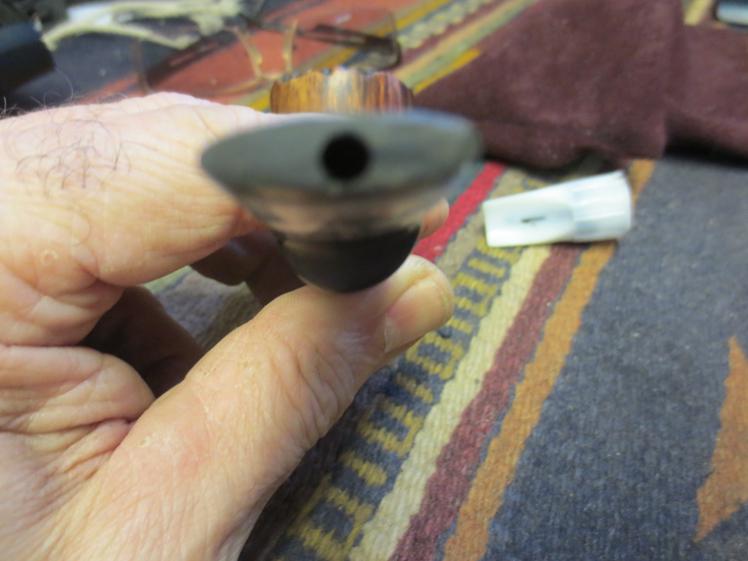
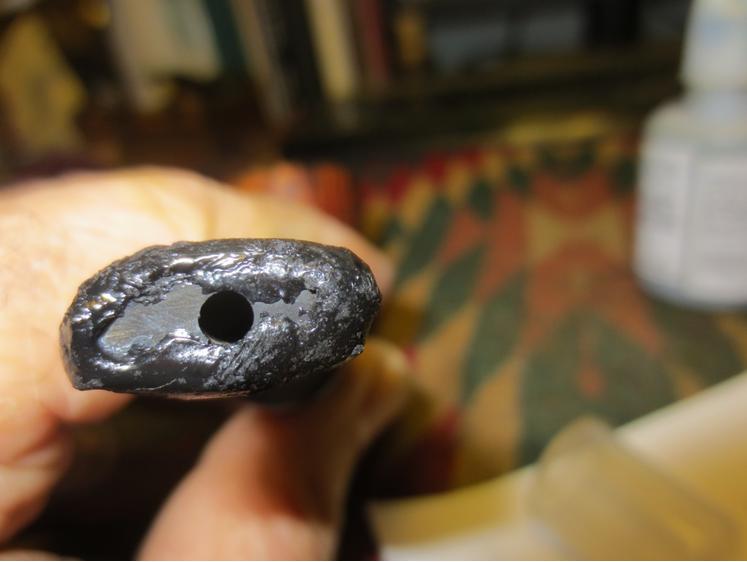
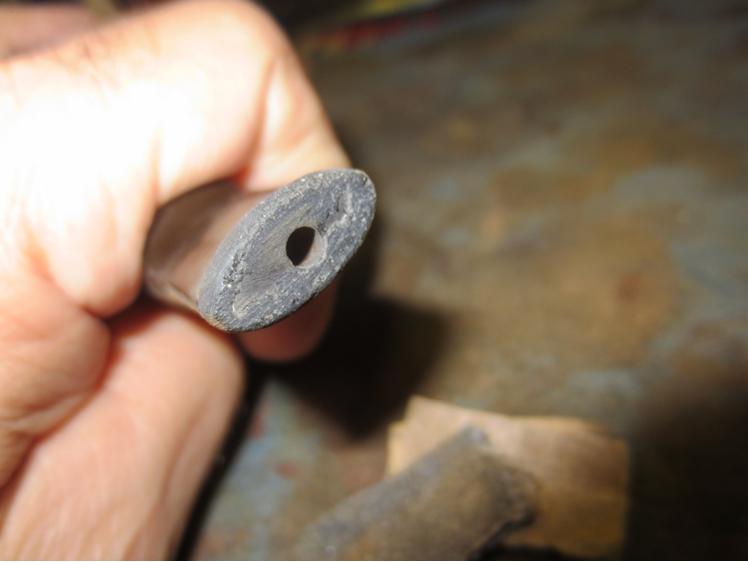
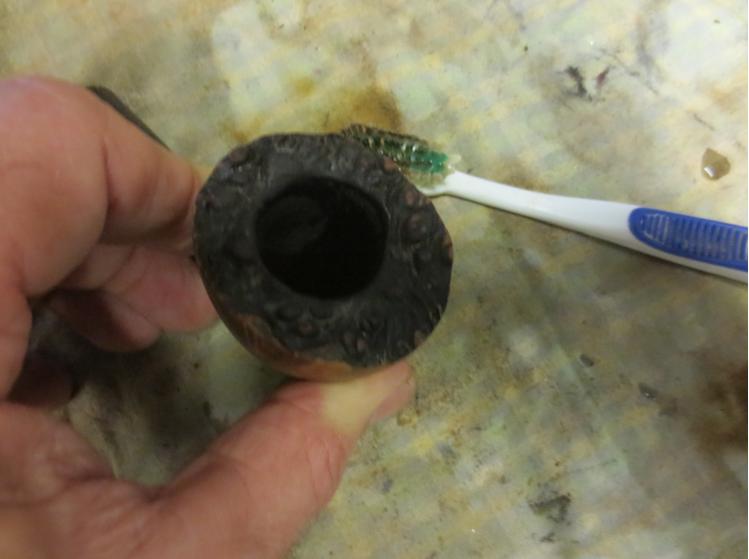
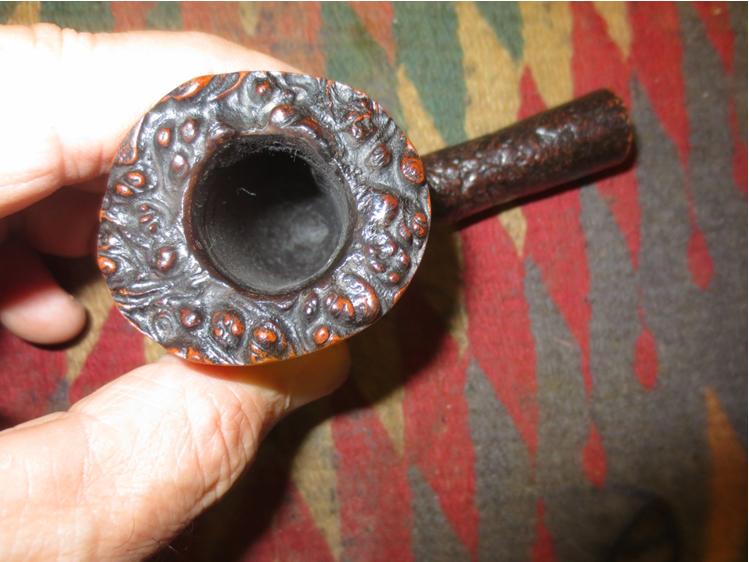
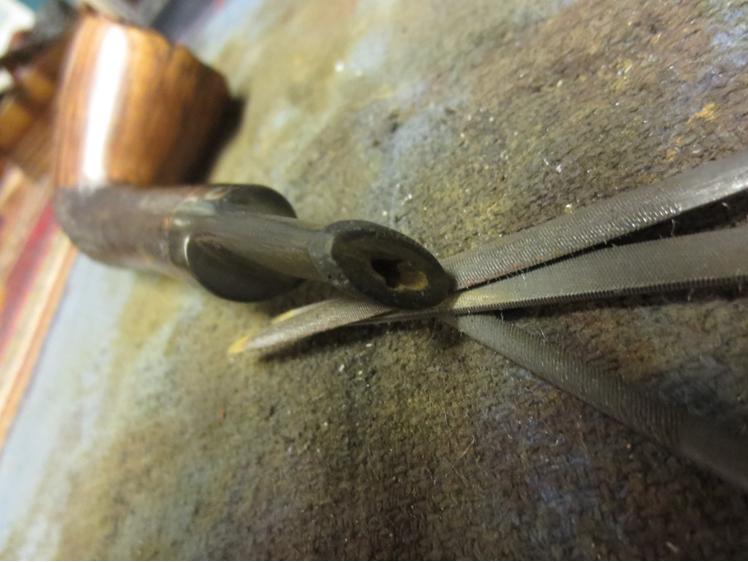
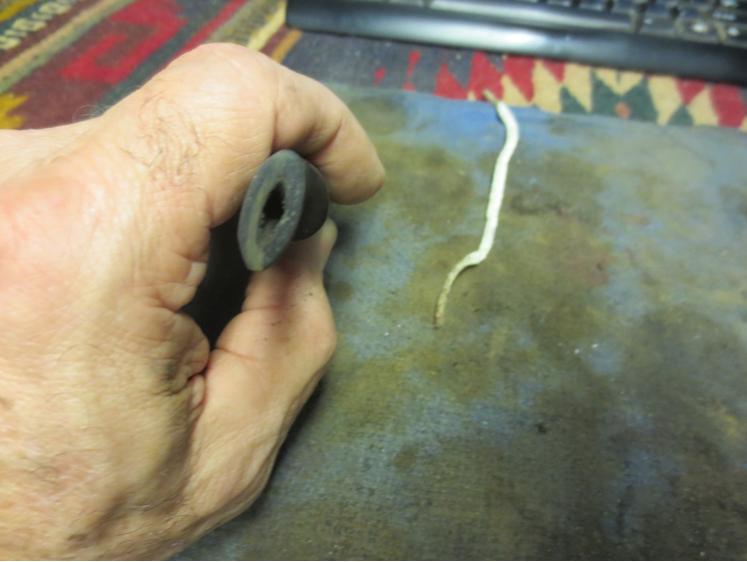
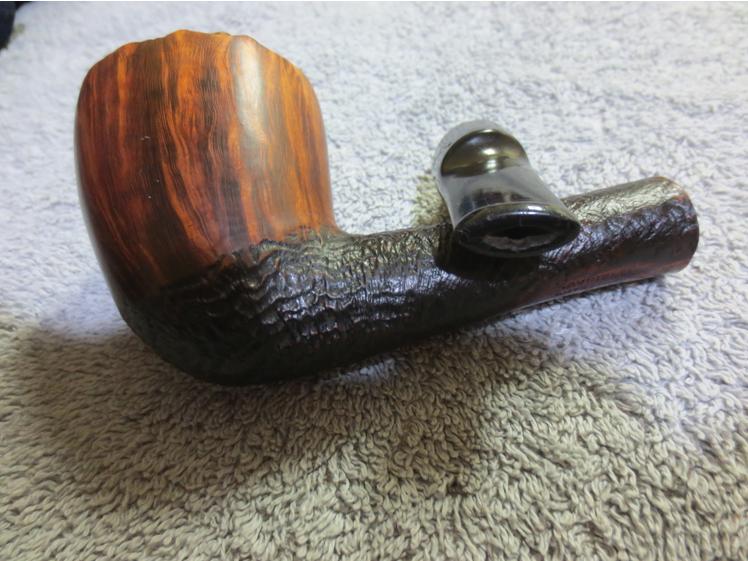
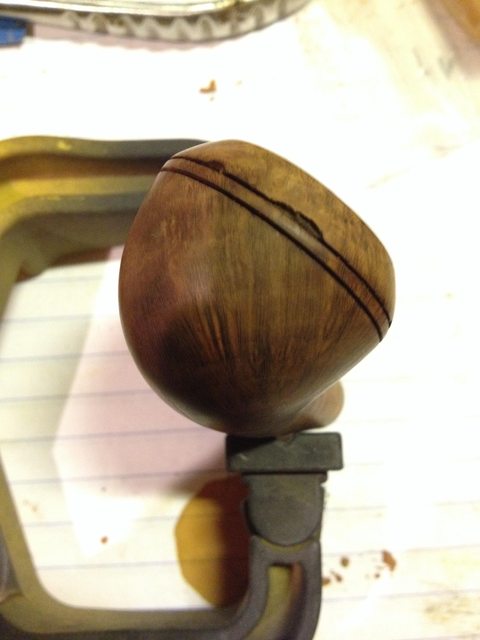
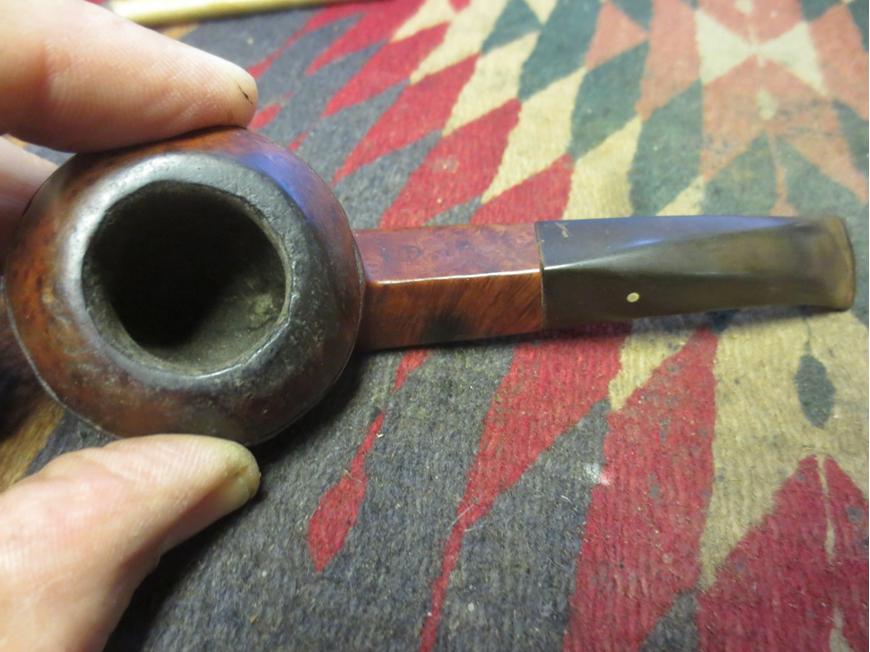
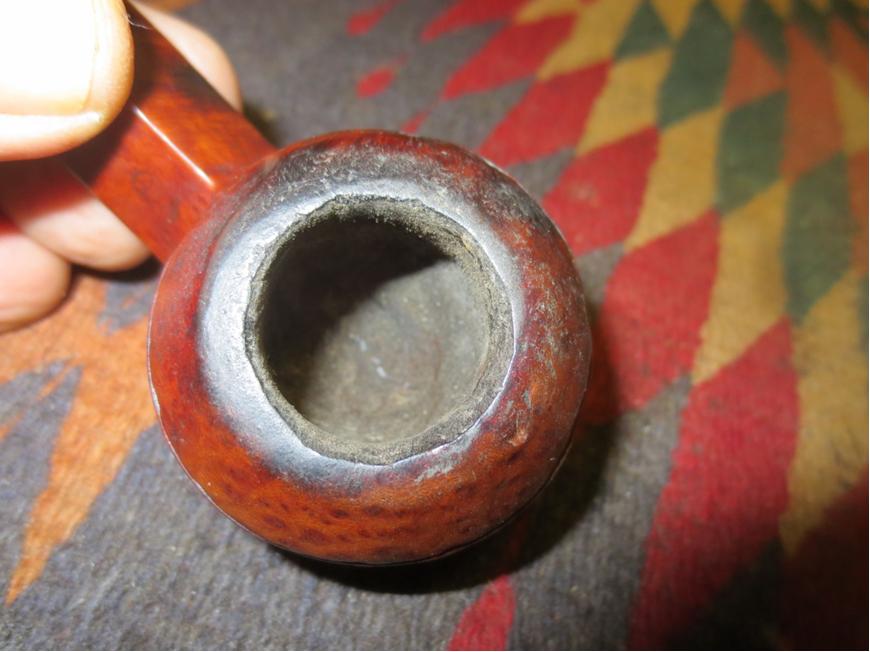
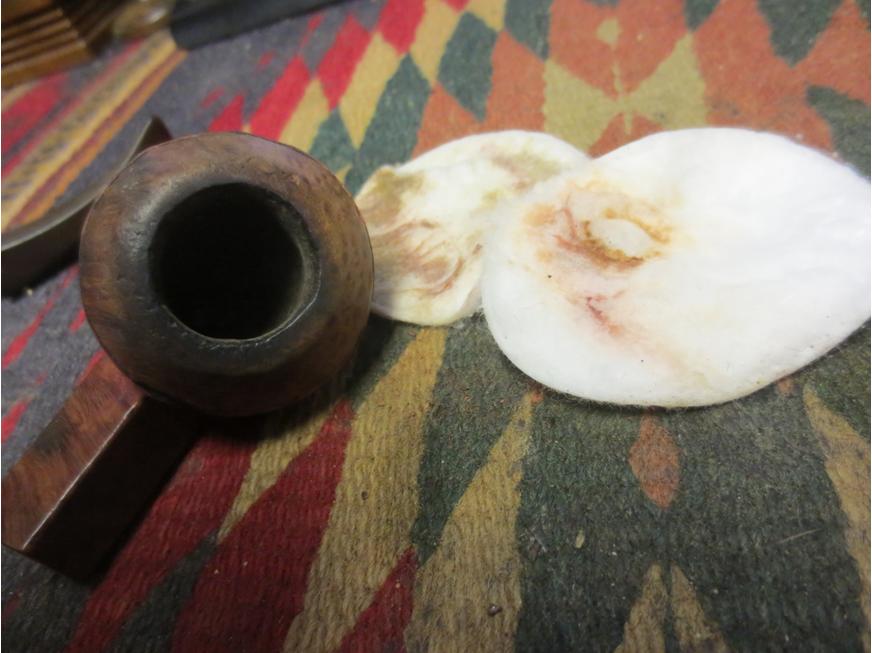
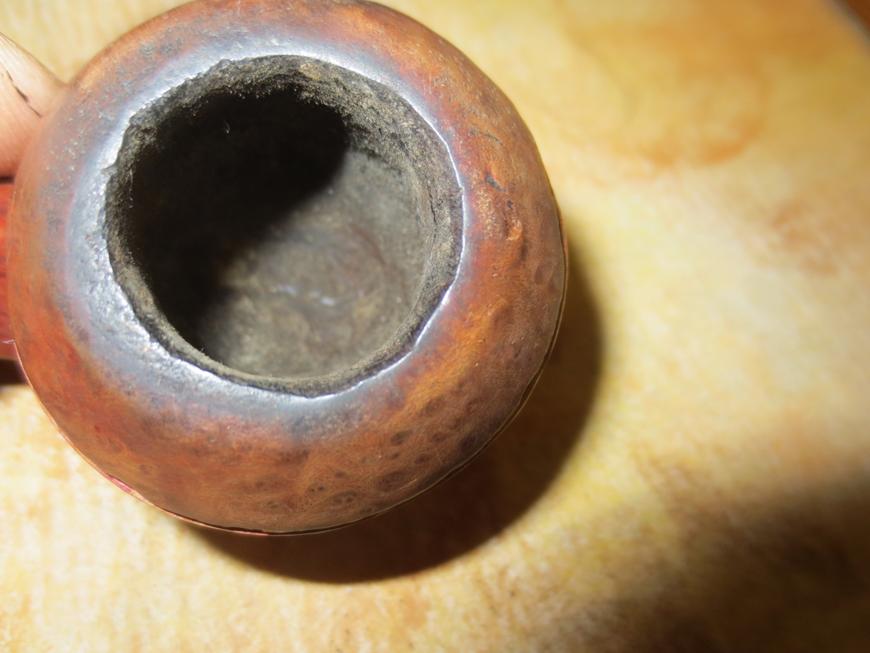
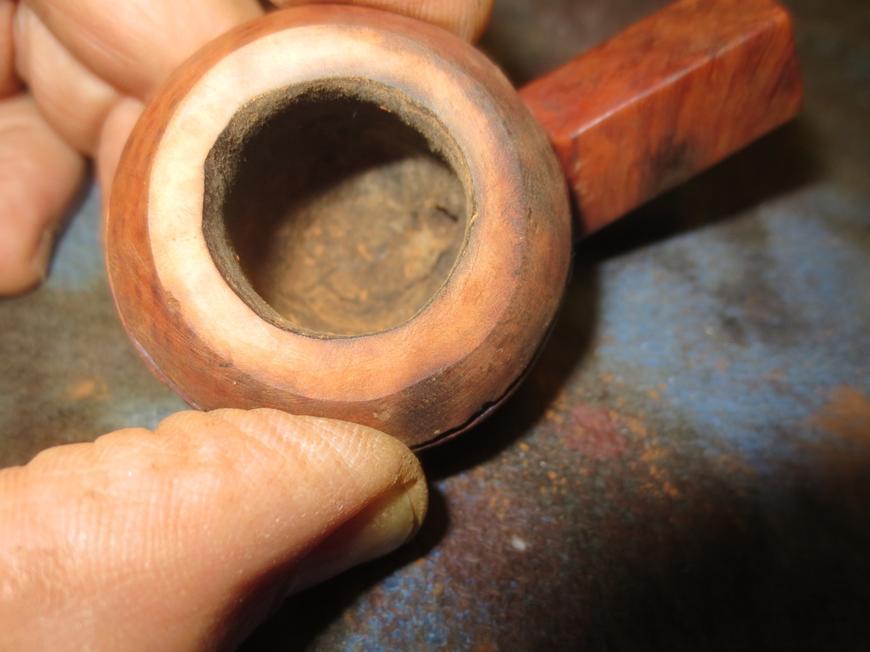
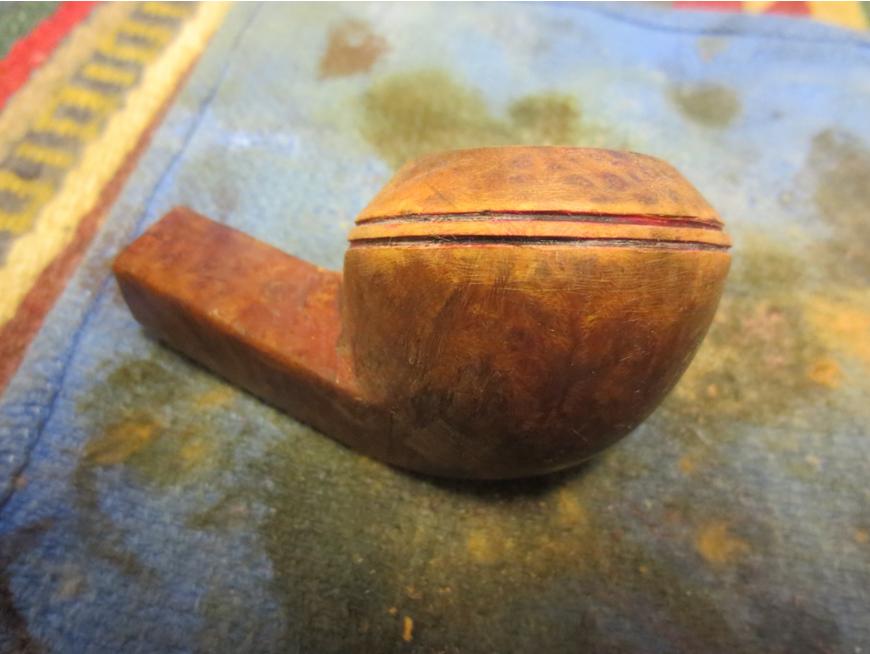
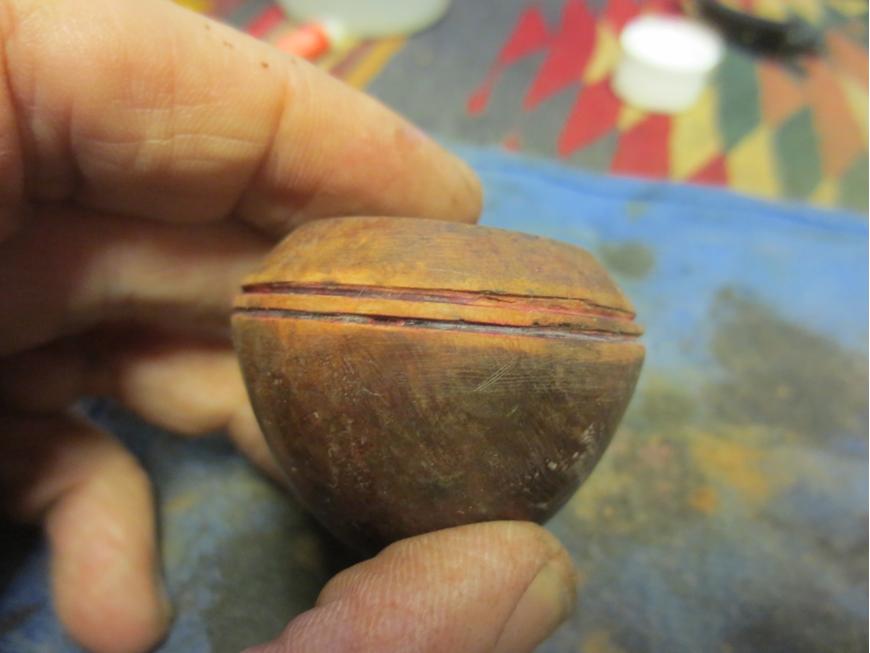
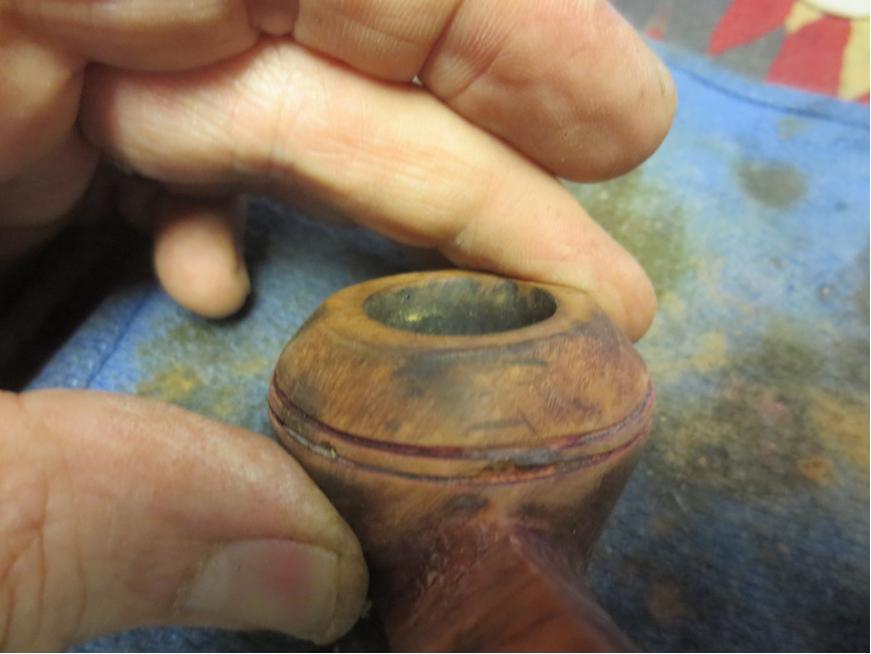
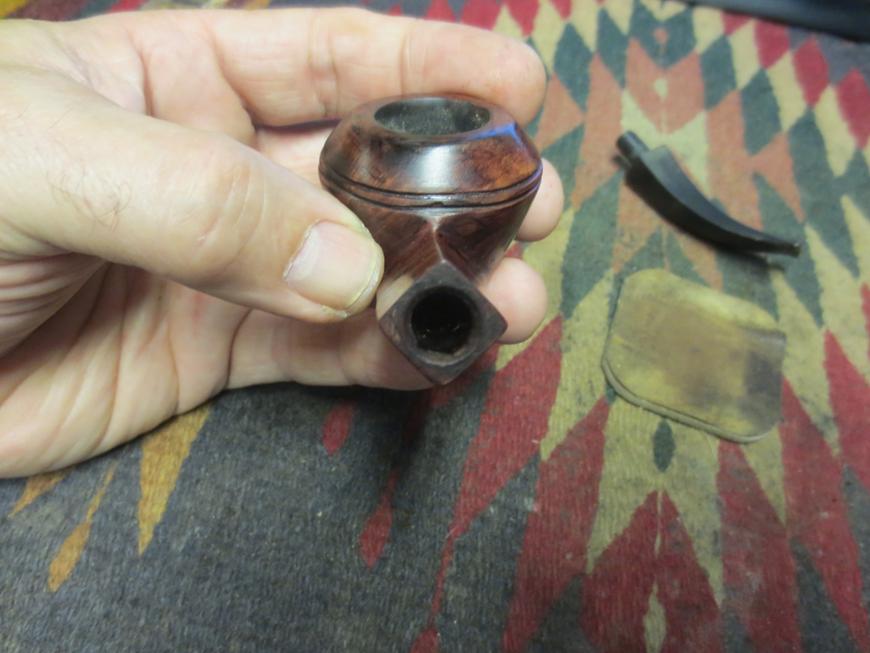
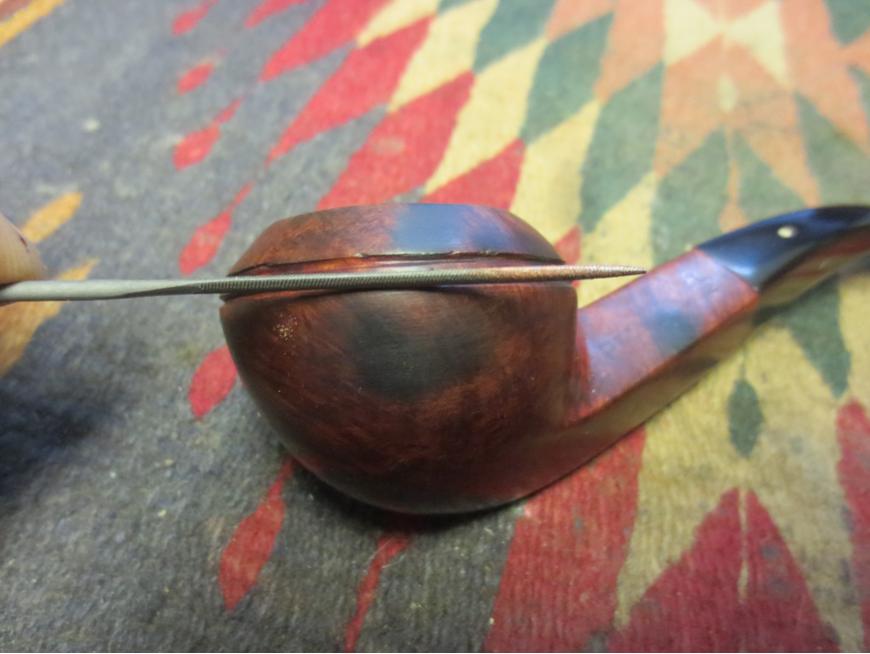
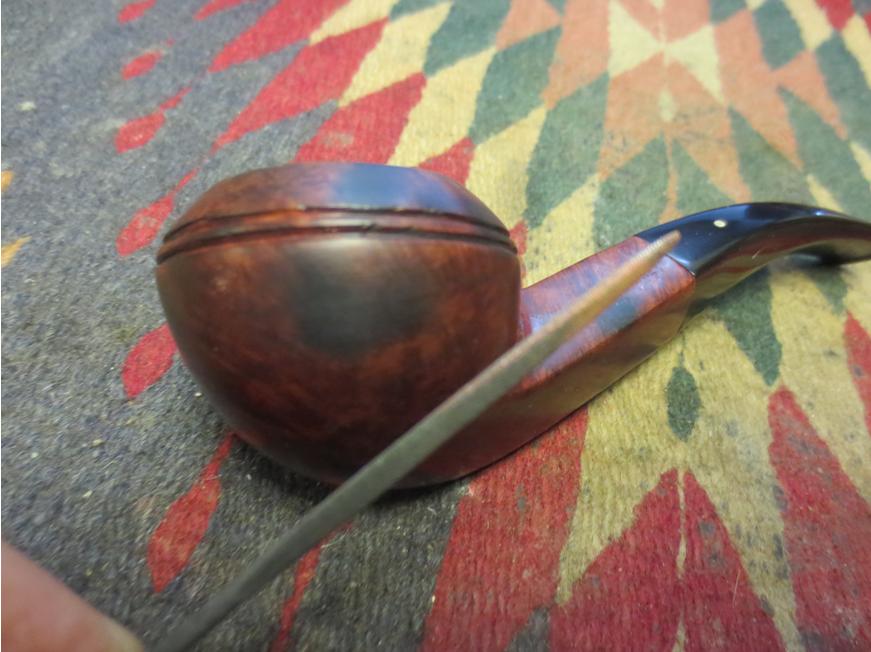
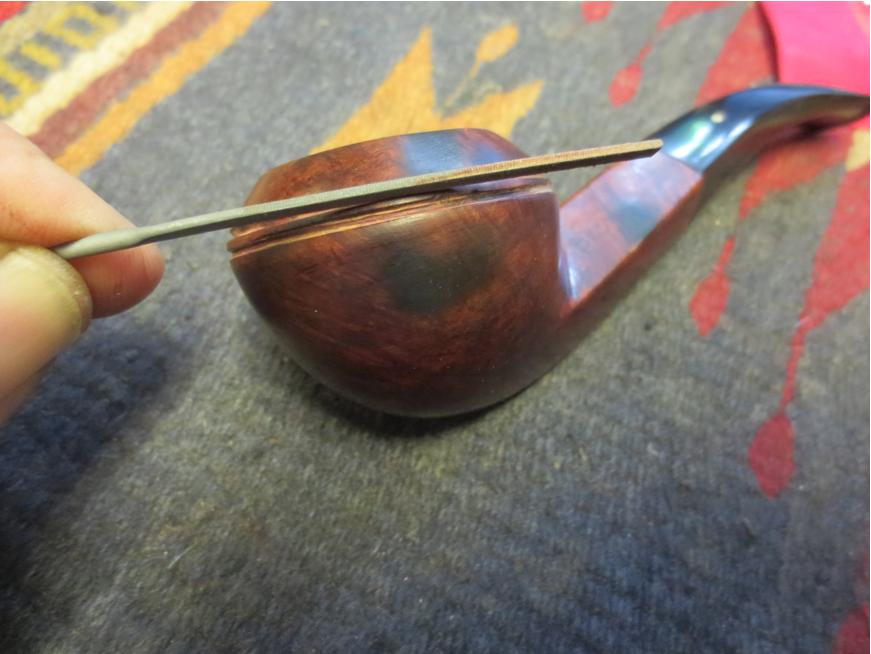
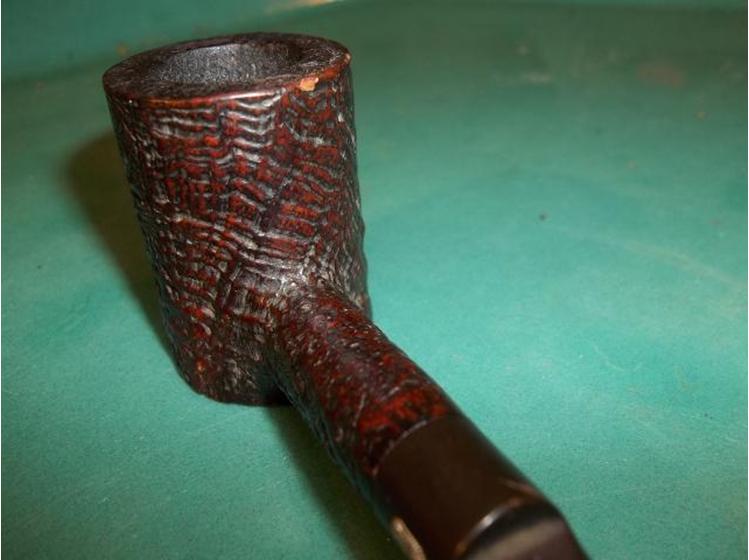
When the glue was dry, I sanded out the interior patches with sanding needles and a piece of 400-grit sandpaper wrapped around a small dowel. I refaced the shank on my topping surface in a manner similar to how I would top a bowl (pressing lightly into the paper and using a circular motion). The following pictures show the patches when fresh and after they had been sanded out. You can also get some idea of the irregularities in the shank by comparing the differences in the face angles and wall thickness around the mortise. After that, I reattached the stem and ran a retort through it again to test for leaks. The outside of the stem and shank stayed dry as a bone through the whole process. So, I began addressing the pipe’s cosmetic issues.
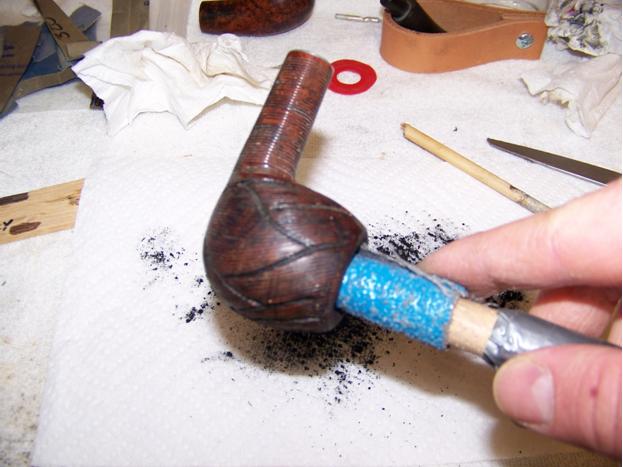
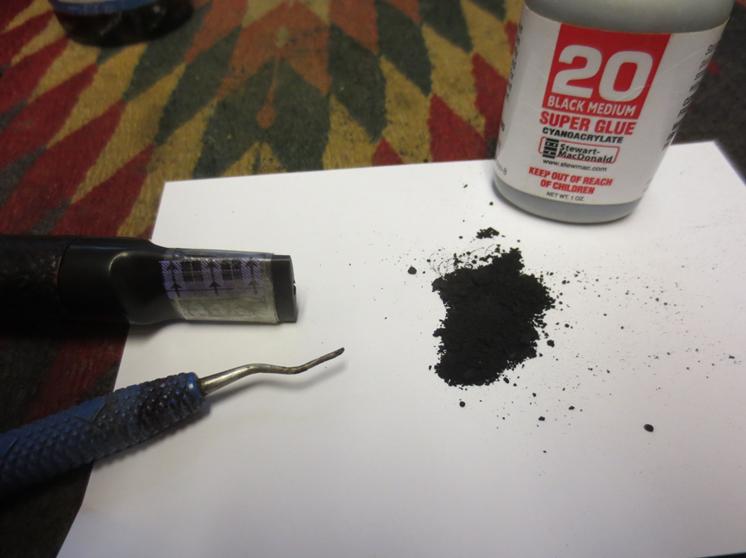
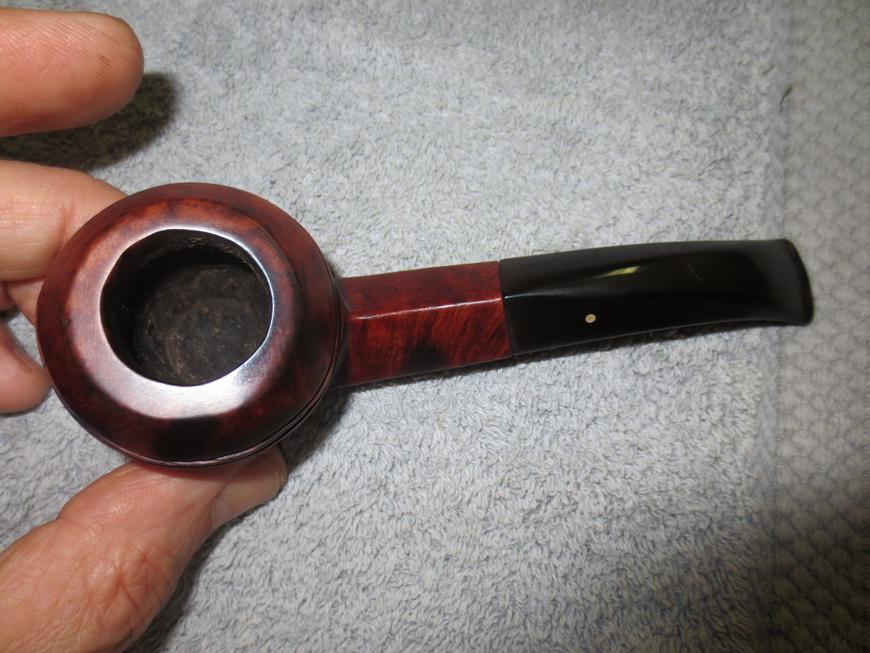
I lightly topped the bowl and chamfered the inner rim to remove the scratches and dings. Then, I steamed a few dents out of the finish by pressing a screwdriver that had been heated over a tea candle into a wet cloth placed over the dents. Finally, I used CA glue and briar dust to patch a few, small gouges and missing fills and sanded them out with 220-grit and 320-grit sandpaper. While I worked on the stummel, the stem had been soaking in an Oxyclean bath. I removed it and scrubbed it down with a Magic Eraser to remove any oxidation. I used black CA glue to fill the tooth dents on the top and bottom of the stem. Once that had dried I sanded it down with 220-grit paper.
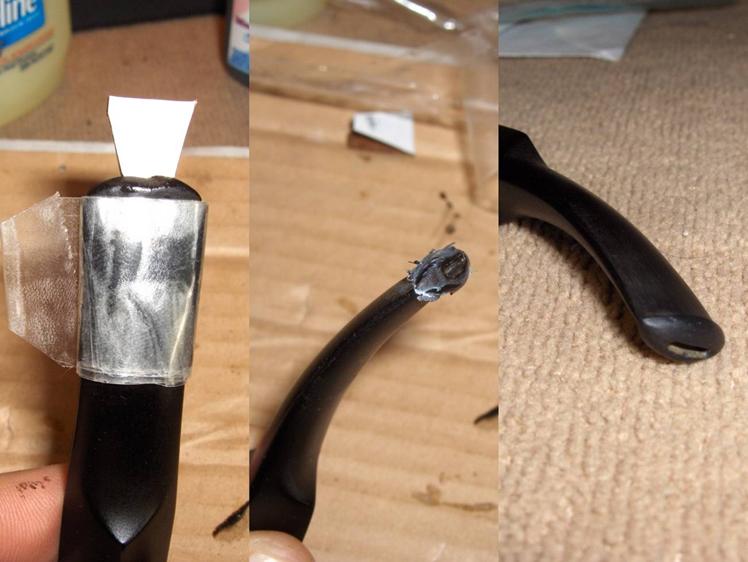
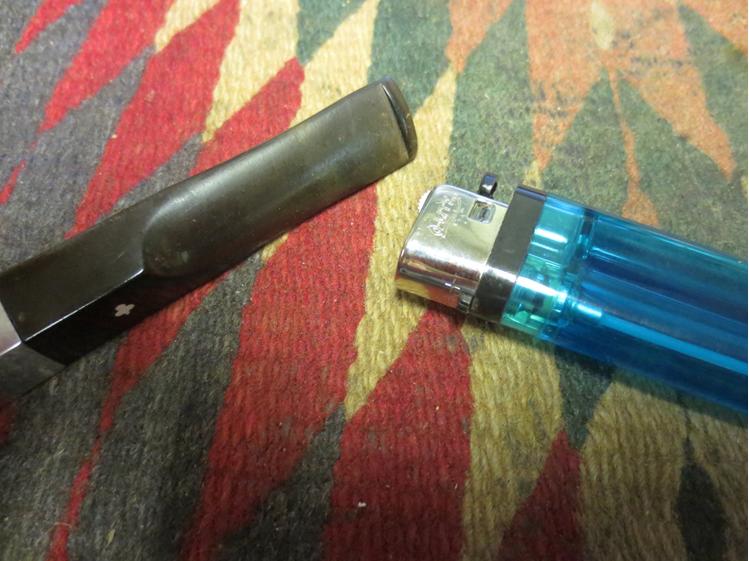
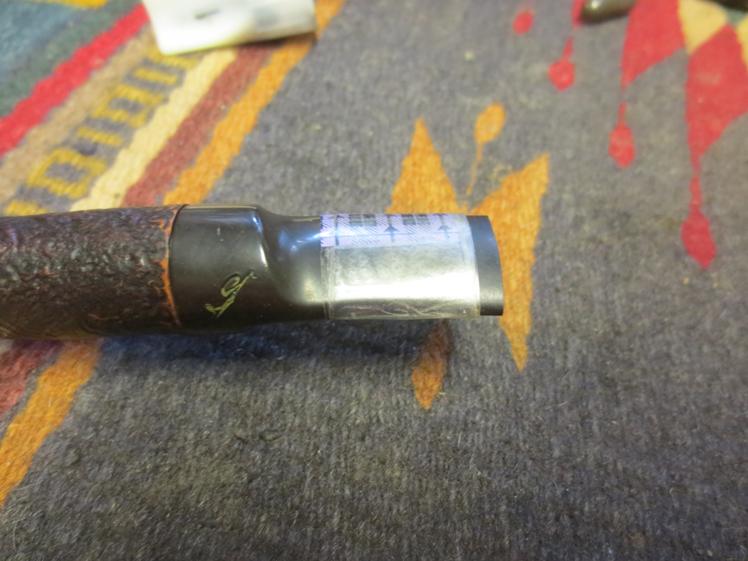
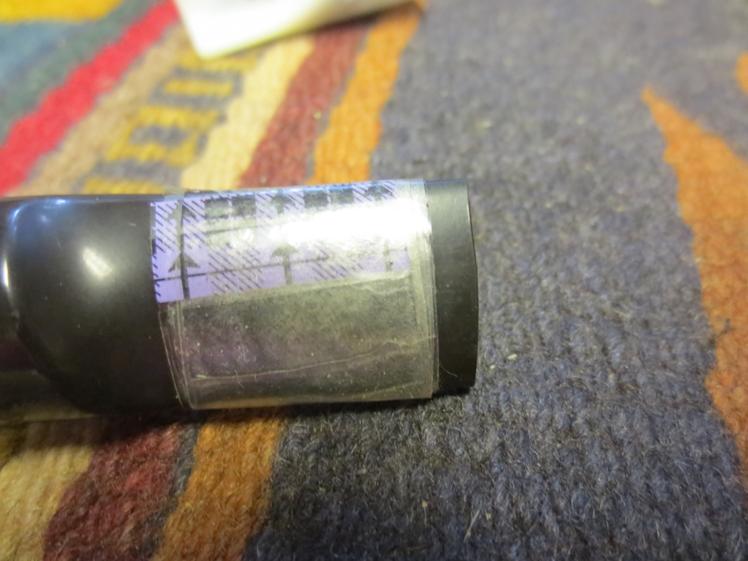
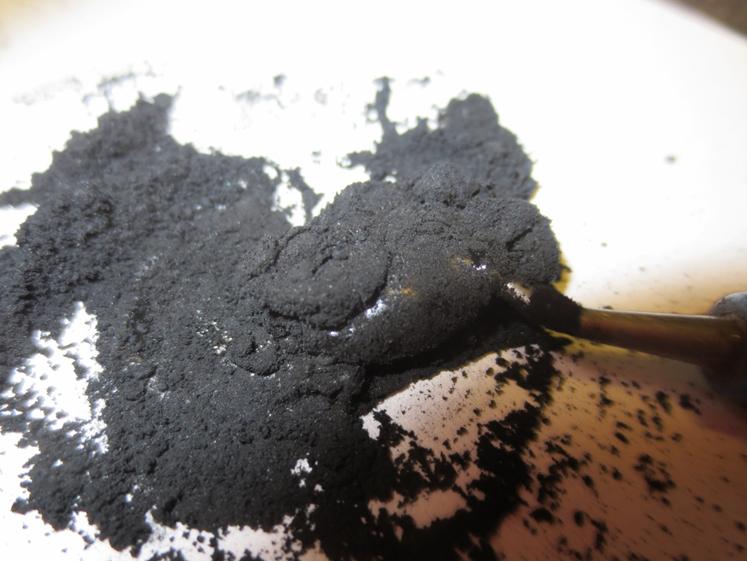
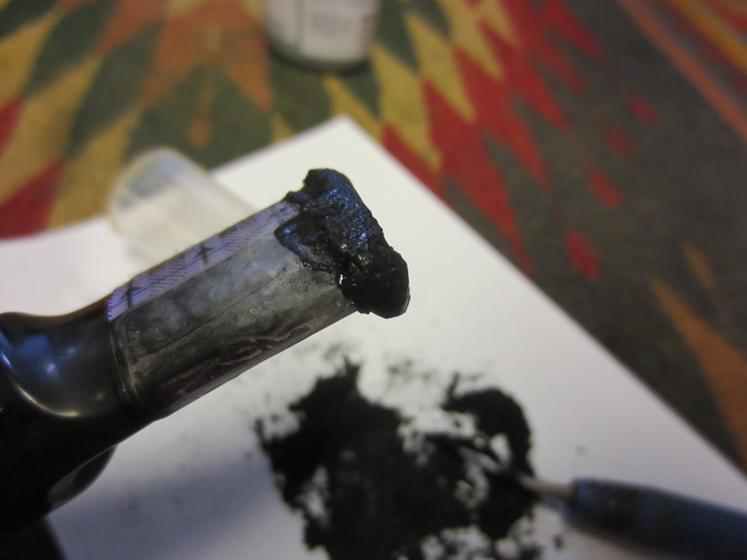
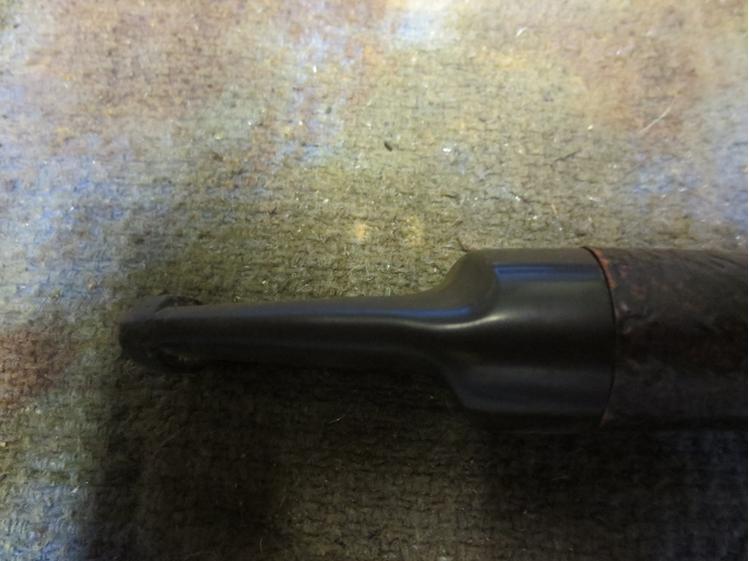
 The stem button needed to be rebuilt since it was worn and dented. I wrapped several layers of clear tape around the stem just below the button to create a form to make a crisp edge and also inserted a Vaseline smeared wedge of cardboard into the slot to seal it. Then, I applied thick, black CA glue in several layers to the end of the stem to begin building the new button. It wasn’t a pretty thing to look at when I removed the tape, but the edge was sharp and there was enough material to work with. I trimmed away the glue artifacts created by the tape molding with an X-Acto blade and rough-shaped the new button with 220-grit paper.
 Once the button started taking shape, it was time to do something about the other end of the stem and also the deformity of the shank. This was the part of the exam that I had not been looking forward to. Up to this point, everything had been the equivalent to multiple-choice or fill-in-the-blank questions. There were a couple of challenges, but nothing too rough. The next part was more like the essay section.
After a lot of thought, I finally decided that there just wasn’t enough material left around the stem to square everything back up. So, I thought I’d try some trickery of my own. If I couldn’t make everything right, maybe I could use a little more finesse and subtlety than the original repairman did to make it at least look “righter”. If ya can’t beat ‘em, join ‘em.
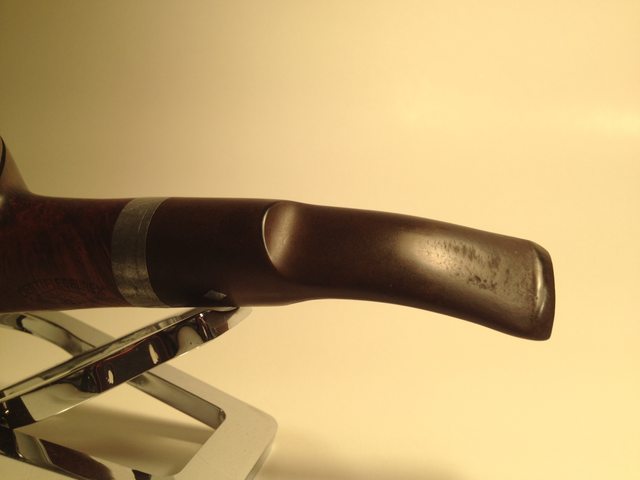
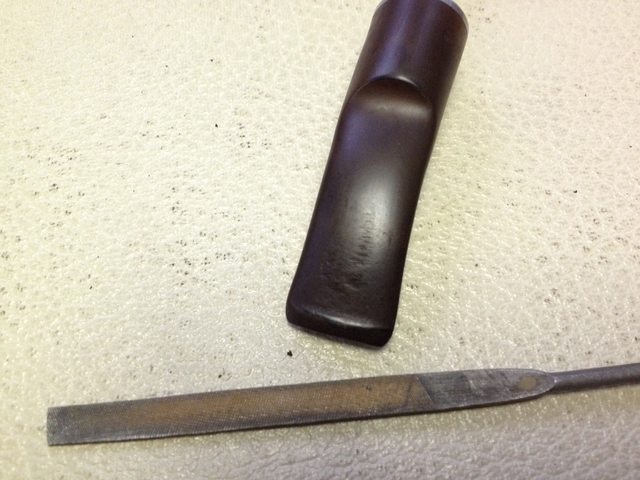
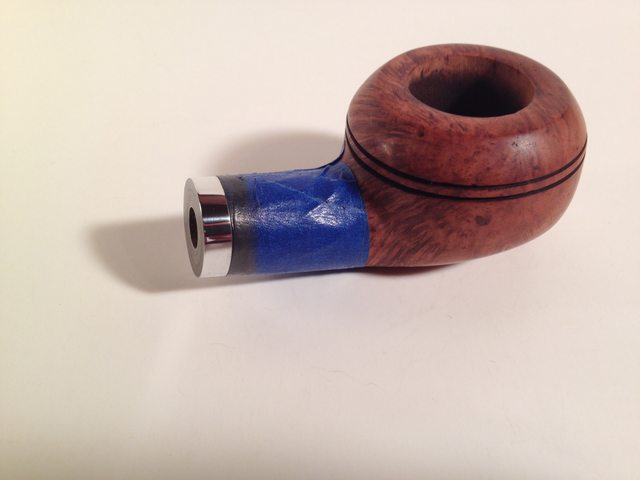
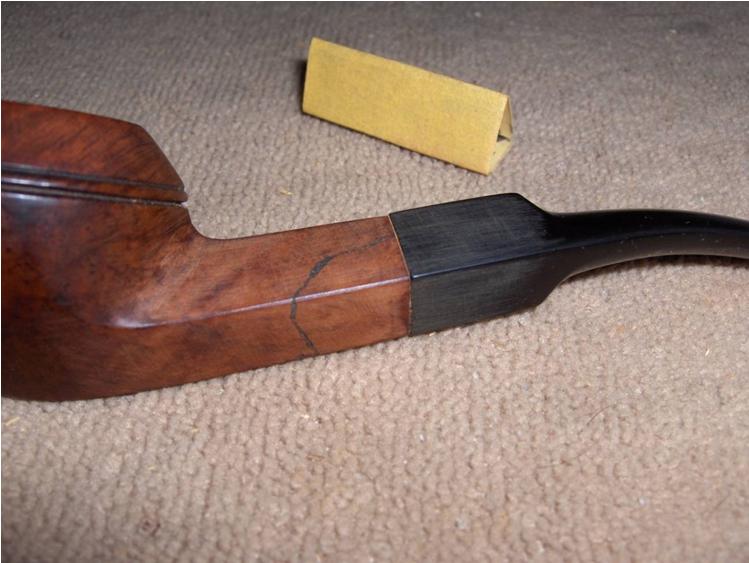
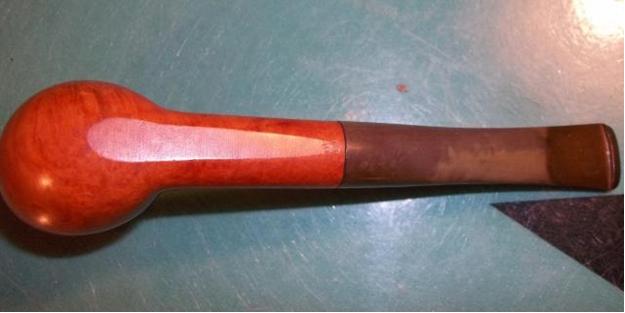
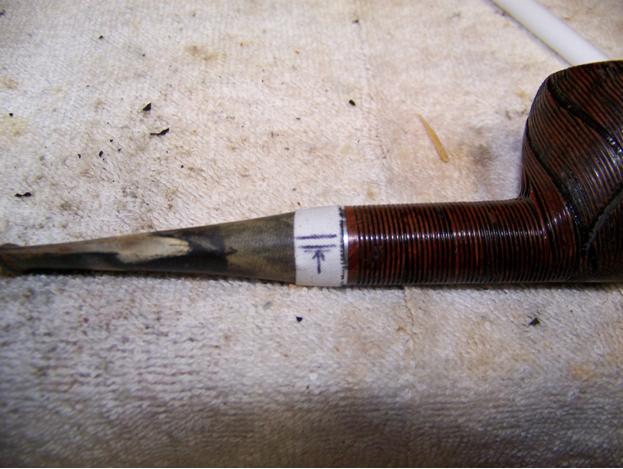
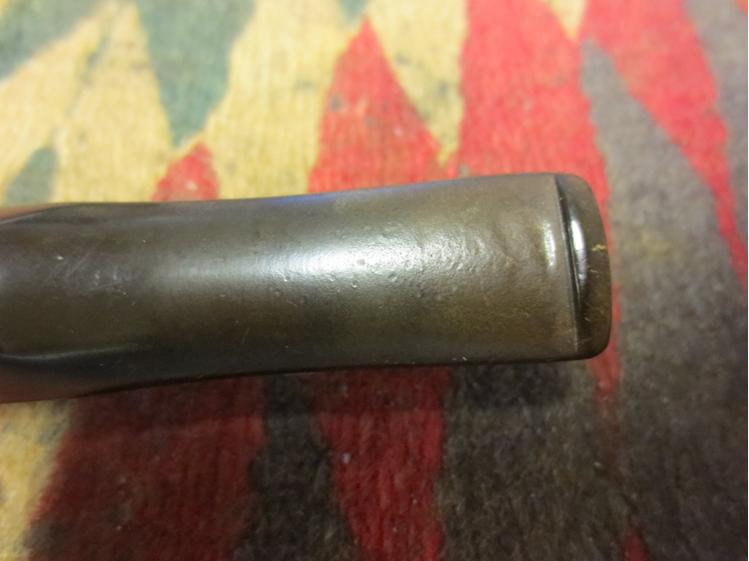
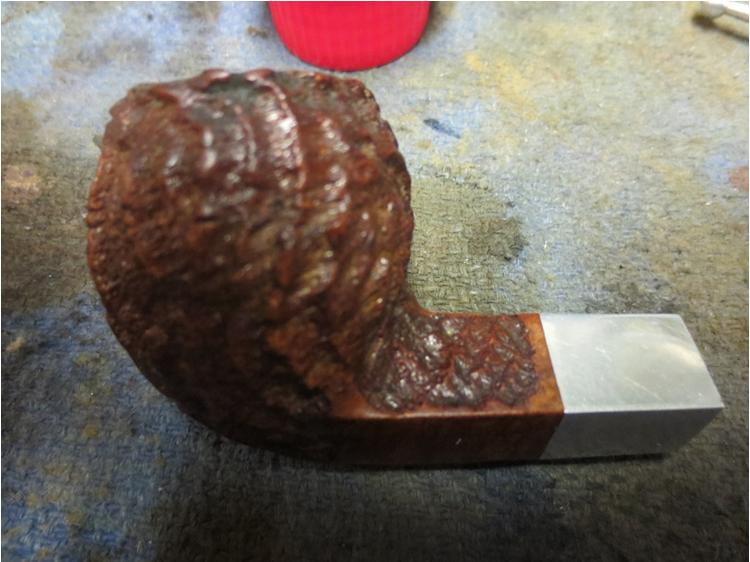
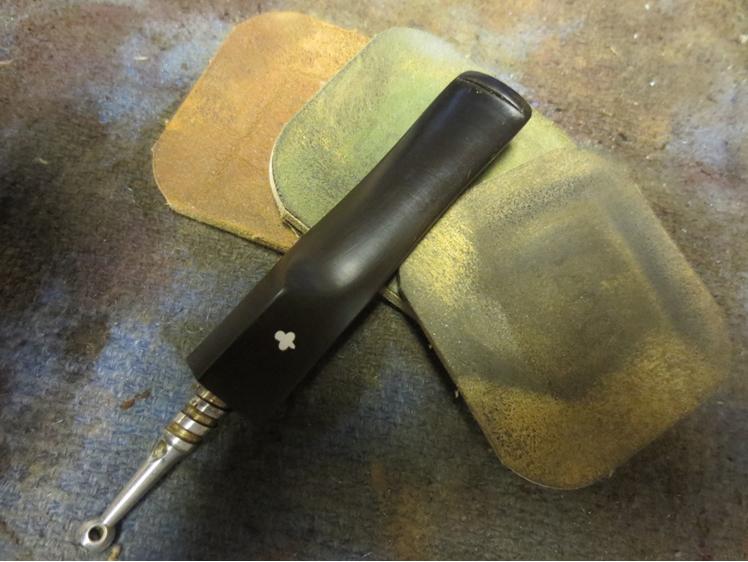
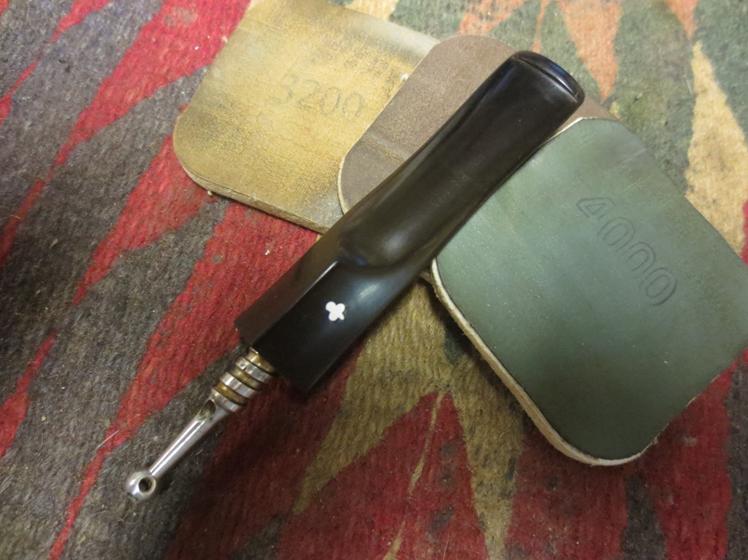
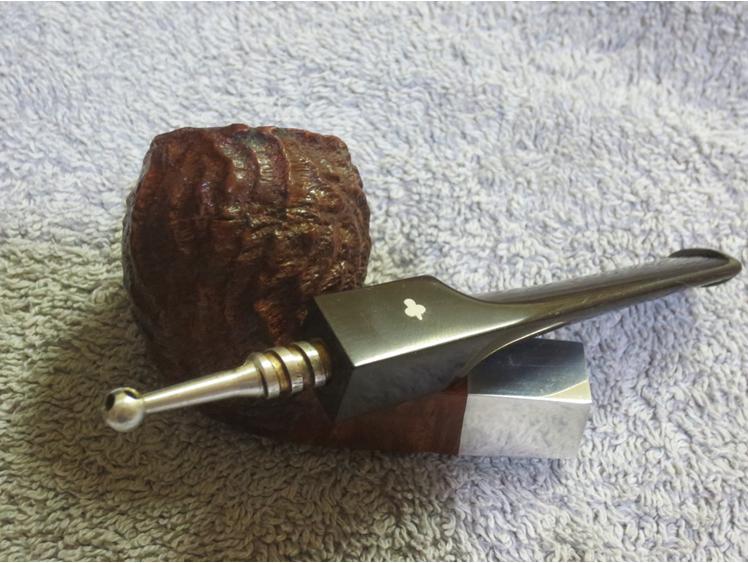
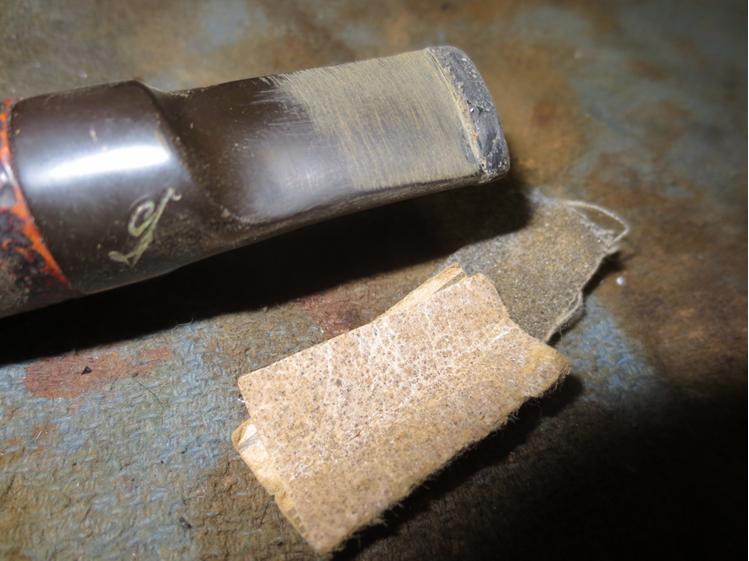
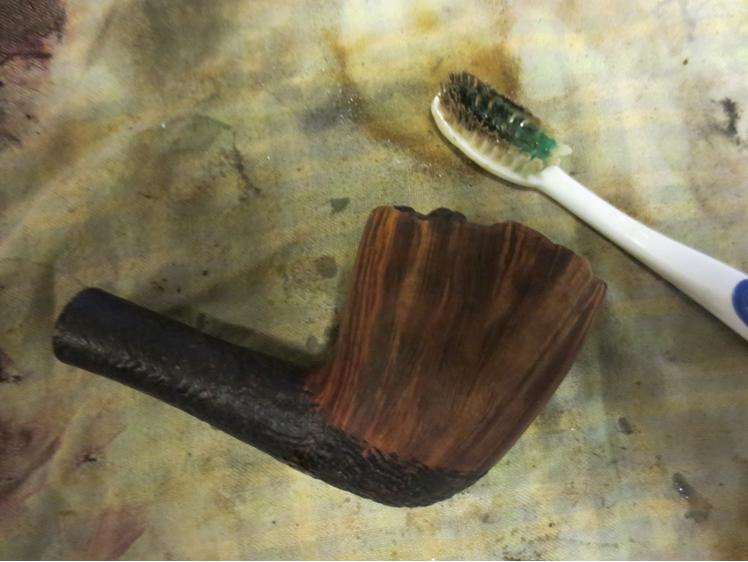
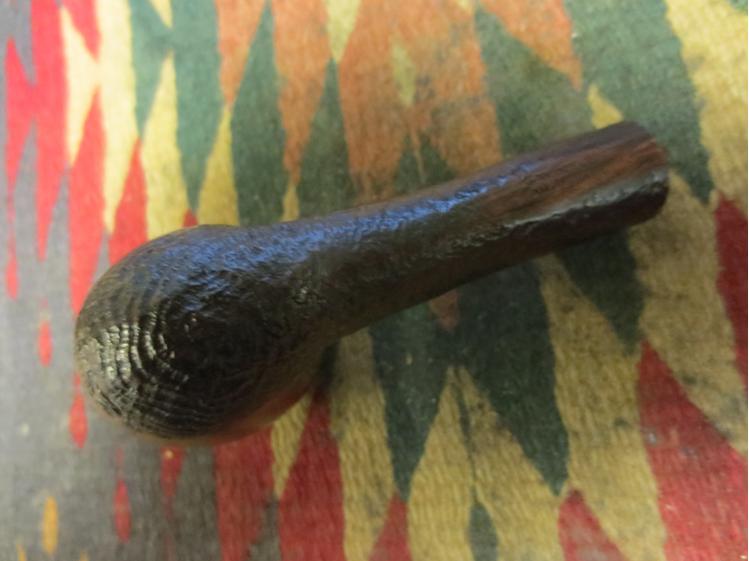
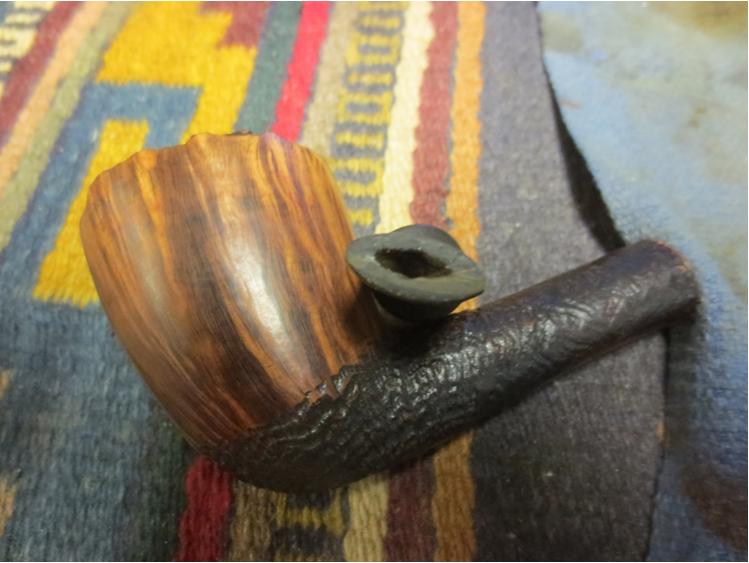
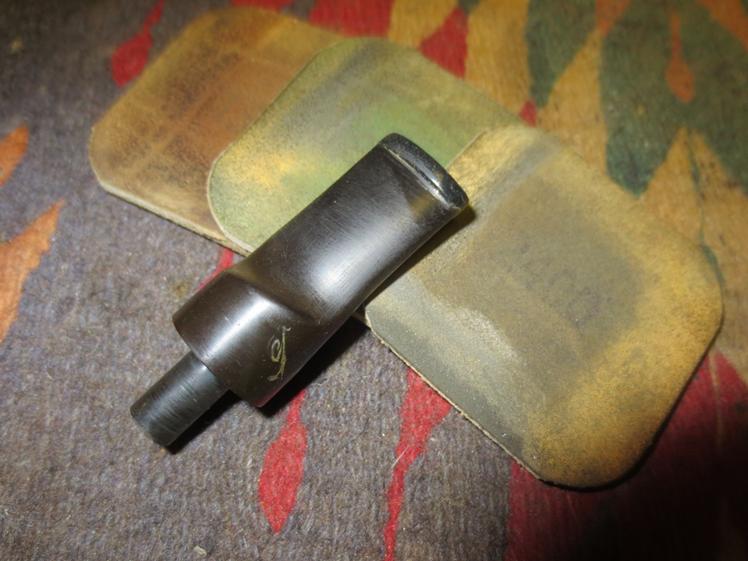
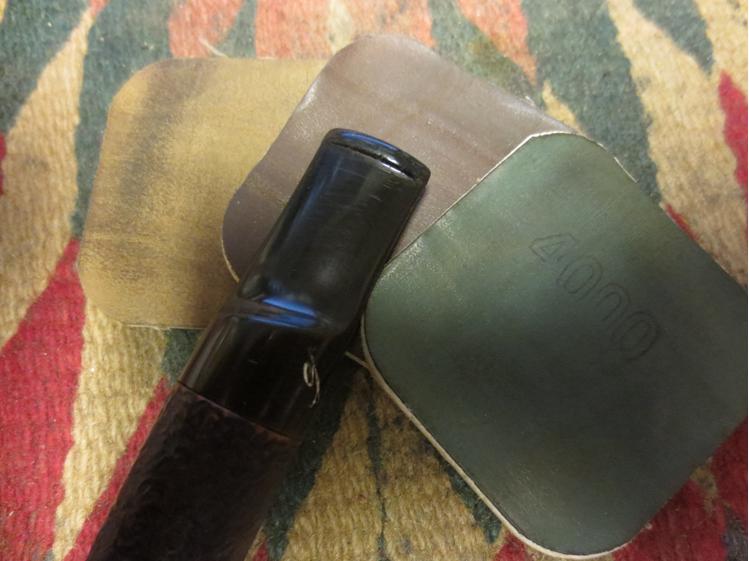
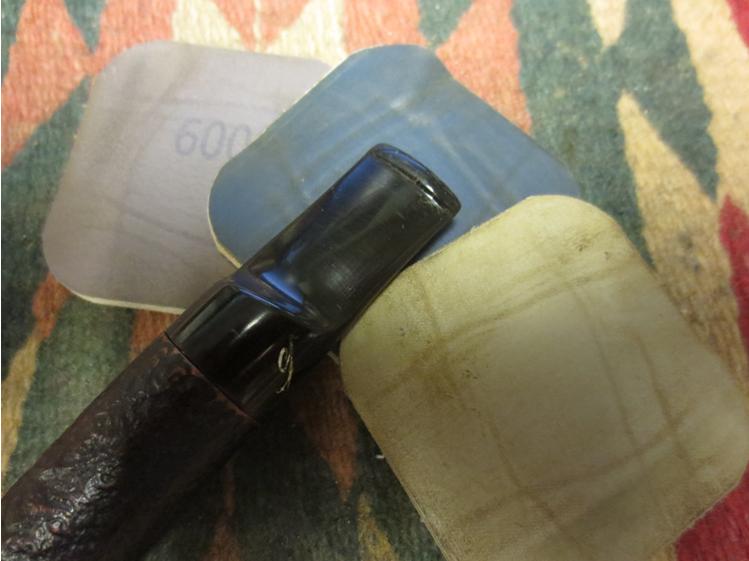
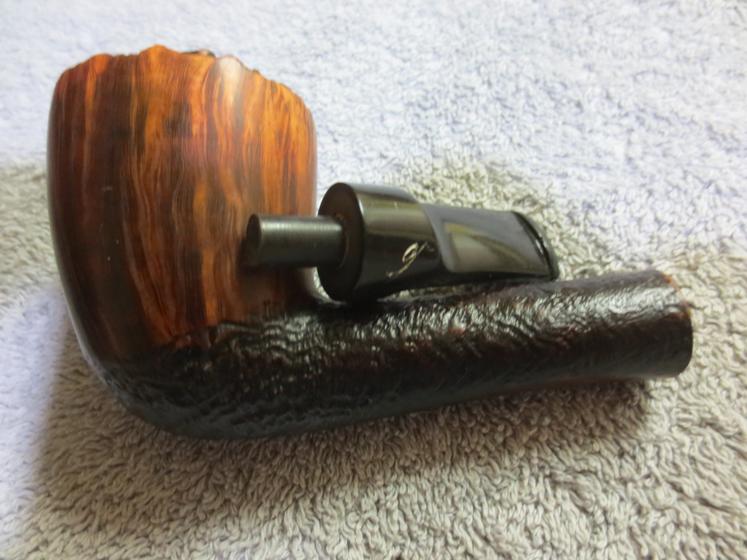
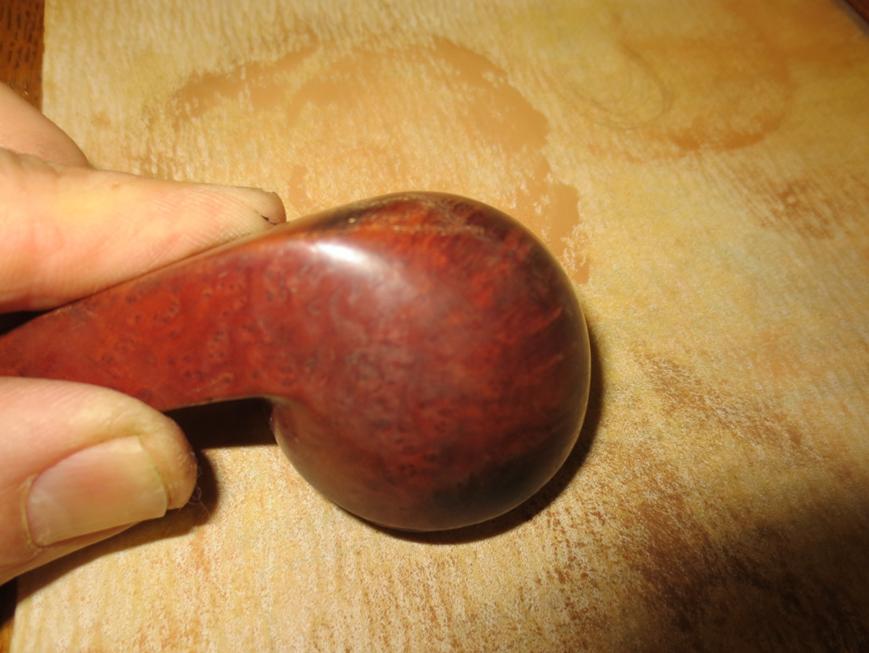
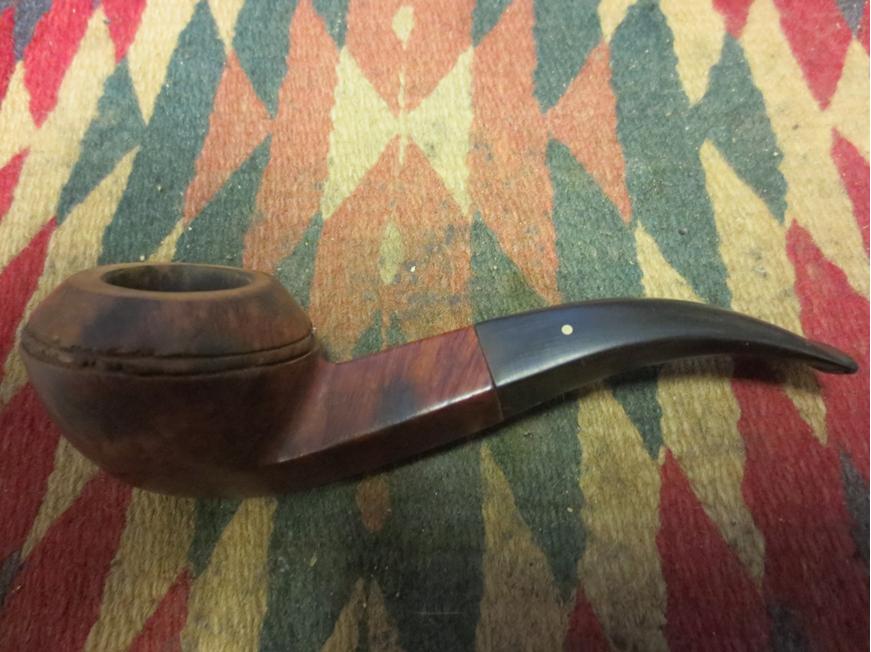
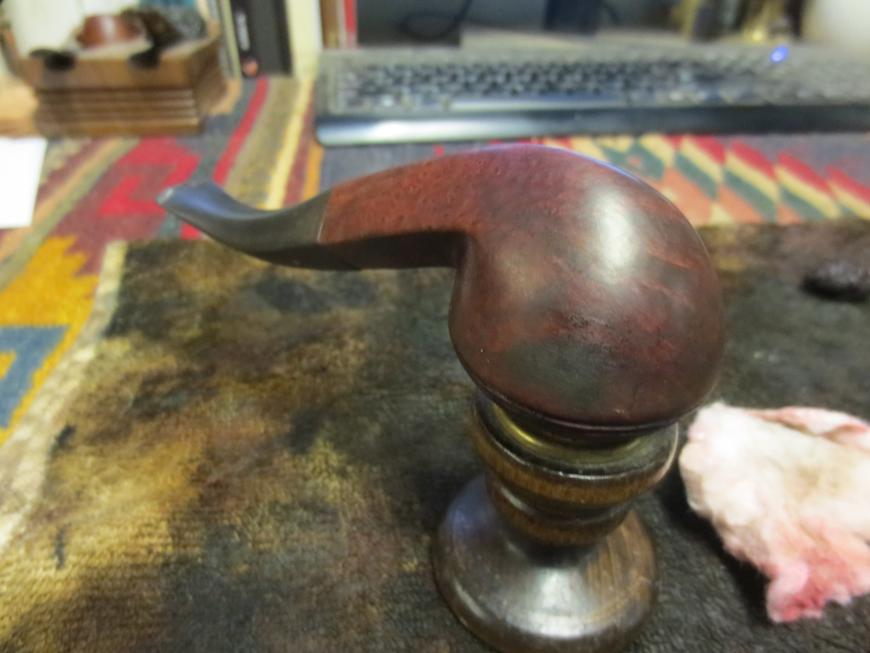
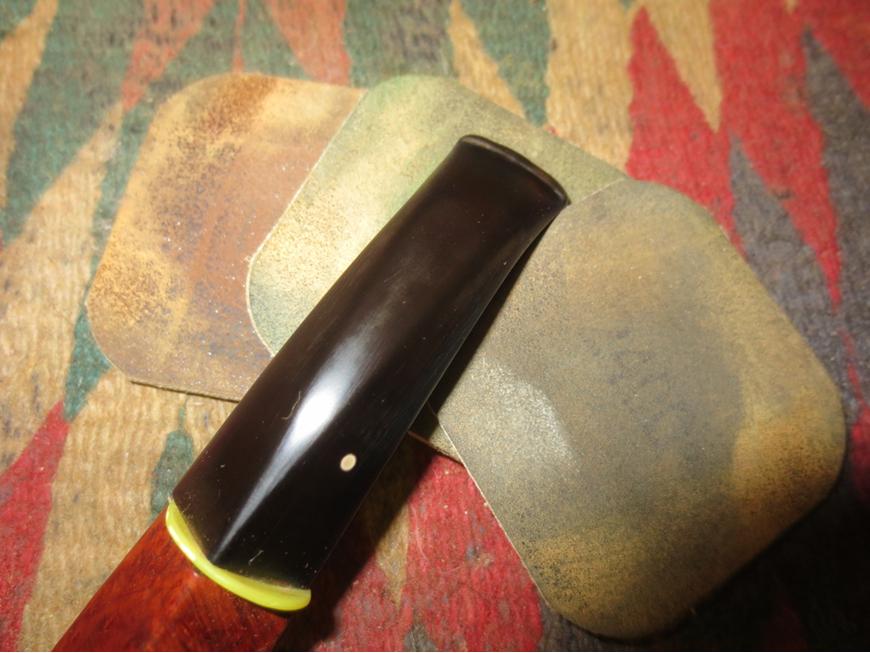
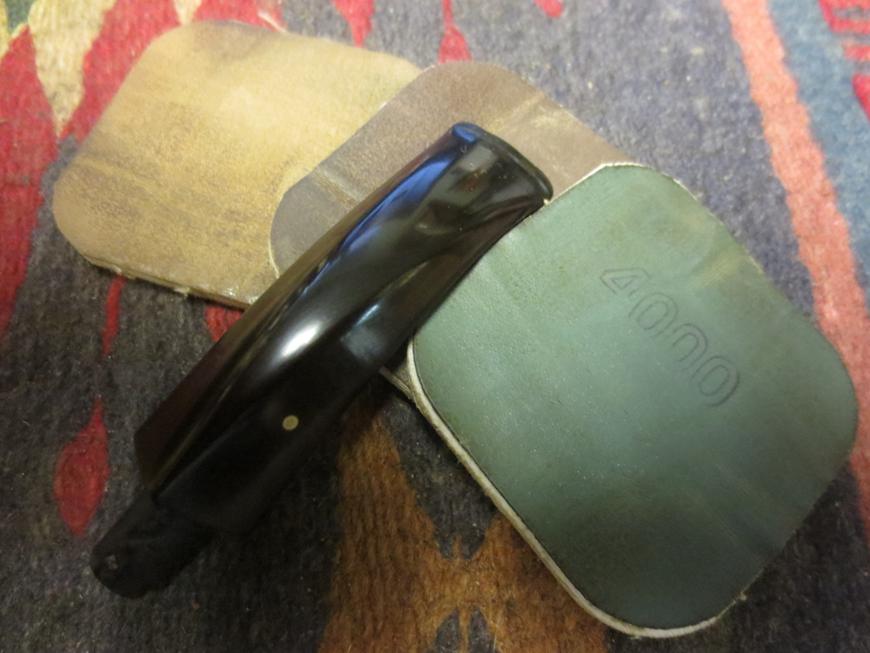
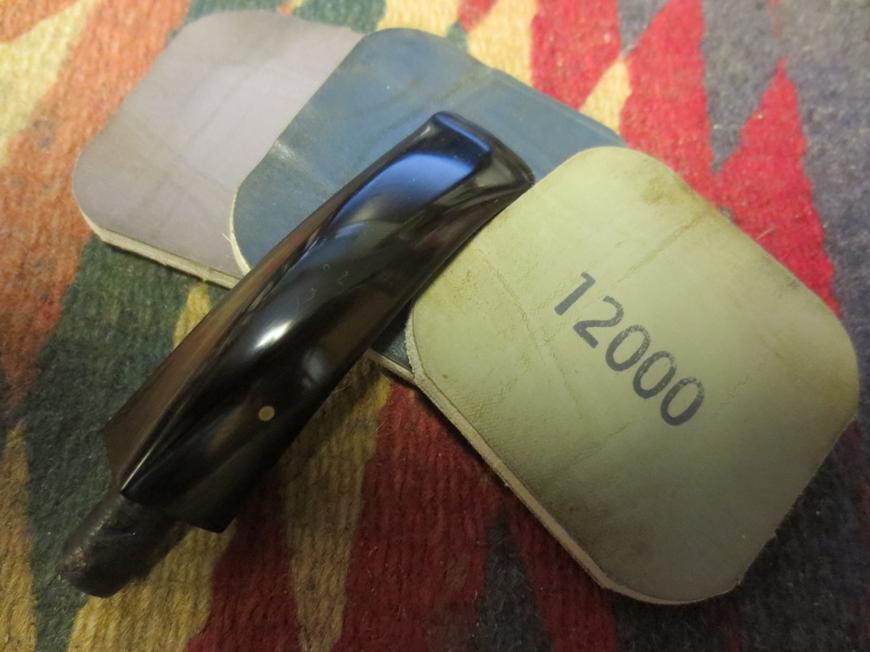
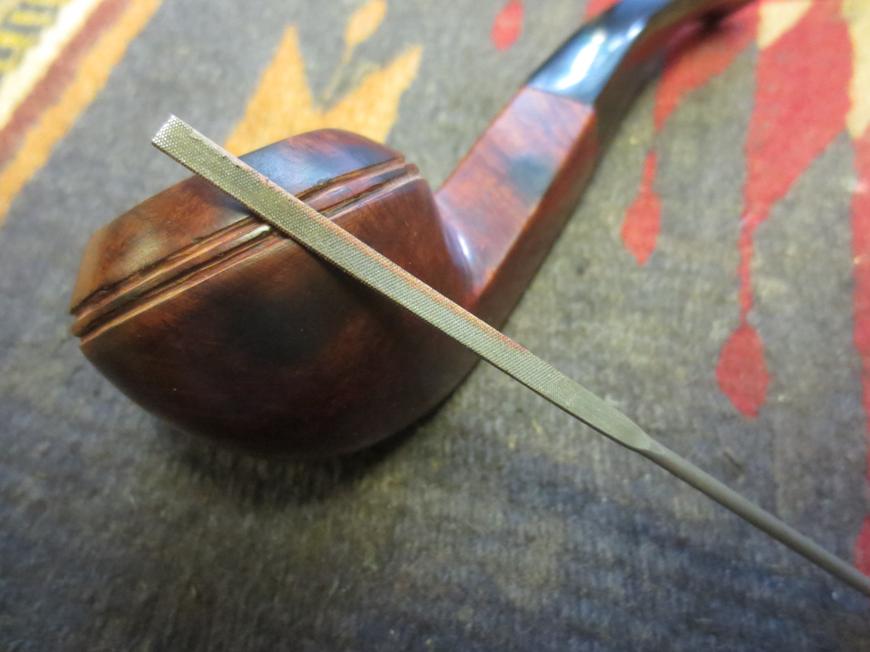
I used 220-grit sandpaper to start carefully nudging the edges of the shank and stem saddle this way and that to give them an appearance of alignment. All the while I paid special attention to keep the faces as level and even as I could. There was very little technical skill involved. I was basically just freehanding. Once I had corrected the lines as much as I could, I began blending the reworked areas into the rest of the pipe with 320-grit. The photo below shows the progress somewhere early in the reshaping phase. Honestly, I was at this for a while and kind of lost myself in the middle of it. So, I didn’t get many photos. When I was as satisfied as I was likely to be with the shape of the shank and saddle, I went back to work on the rest of the stem to finish it up. I continued shaping the button with 320-grit and 400-grit paper. Then, I smoothed the entire surface by lightly sanding with 600-grit and 1200-grit paper. Finally, I polished the stem with micro-mesh pads 1500-12000.
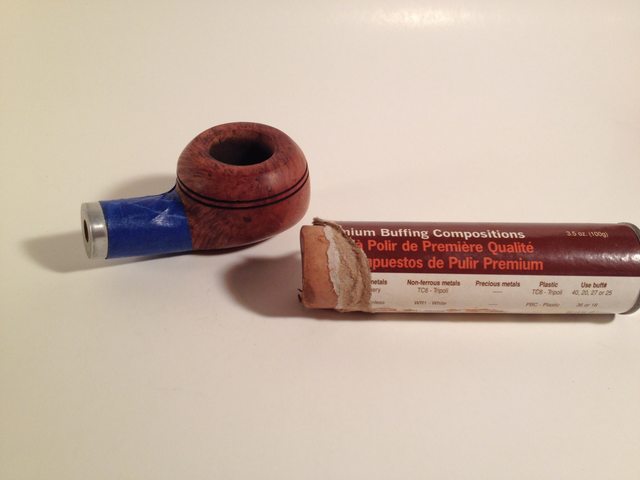
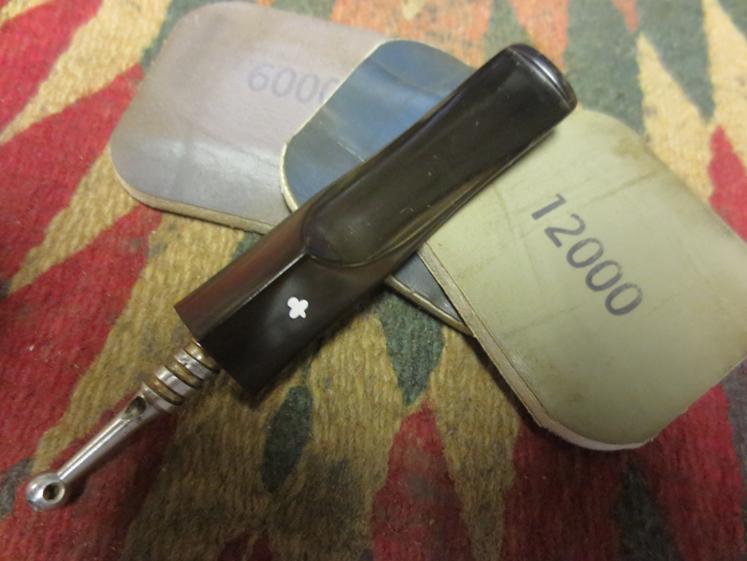
 The stem work was wrapped up. So, it was time to do the same for the stummel. The off-kilter shape of the shank made it difficult to find a band that would fit well. It took three attempts before I found one that would work. I used a method for shaping a round band for the diamond shank similar to what Steve has previously written about here, but it took quite a bit of reworking to get it to conform to the now strange dimensions of the shank. I’m still not quite happy with how it fits, but I’m not sure what I could have done differently.
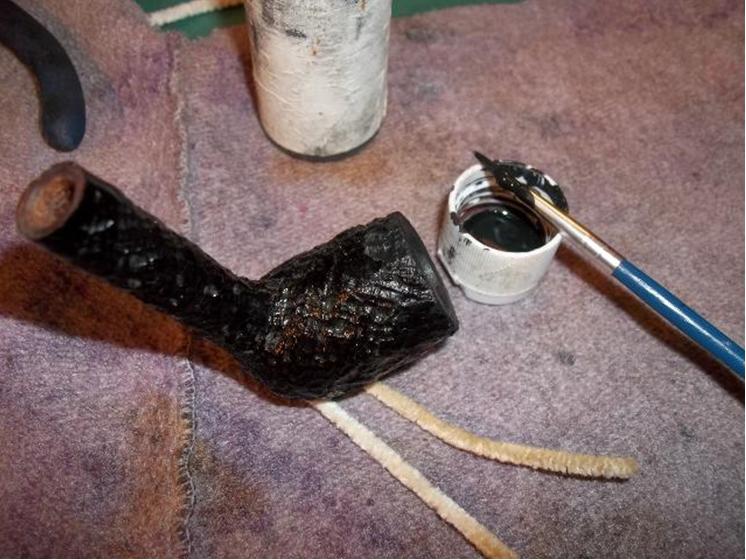
 There was nothing left to do at that point but to address the finish of the stummel. I wanted the final color to be close to the original but a little darker to help hide the bit of crack repair that was still visible. I heated the stummel over the heat gun to open the grain and then applied Fiebing’s black dye to the stummel. I then sanded down the surface with 400-grit paper to remove the remaining scratches and most of the black stain, except for what had set in the grain and recesses of the rings. Next, I applied a mahogany stain before sanding with 600-grit and 1200-grit paper. I took the stummel to the buffer and gave it a quick Tripoli buff, and then applied a final stain of British Tan.
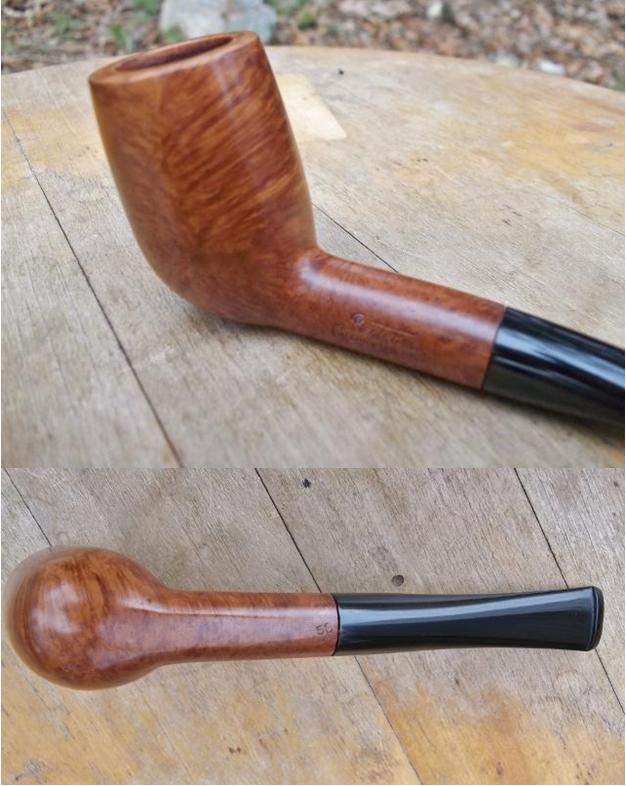
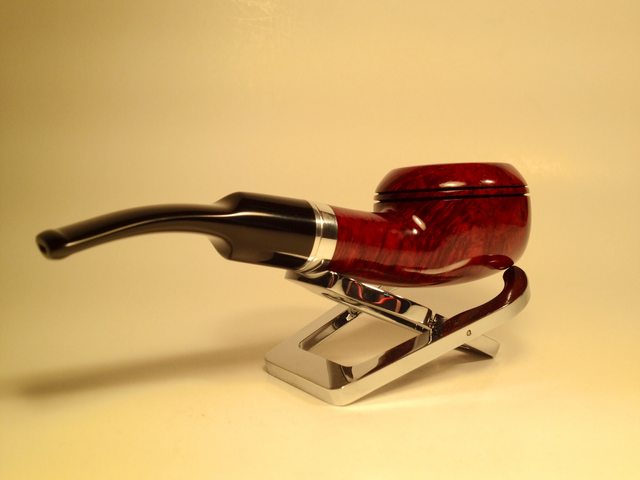
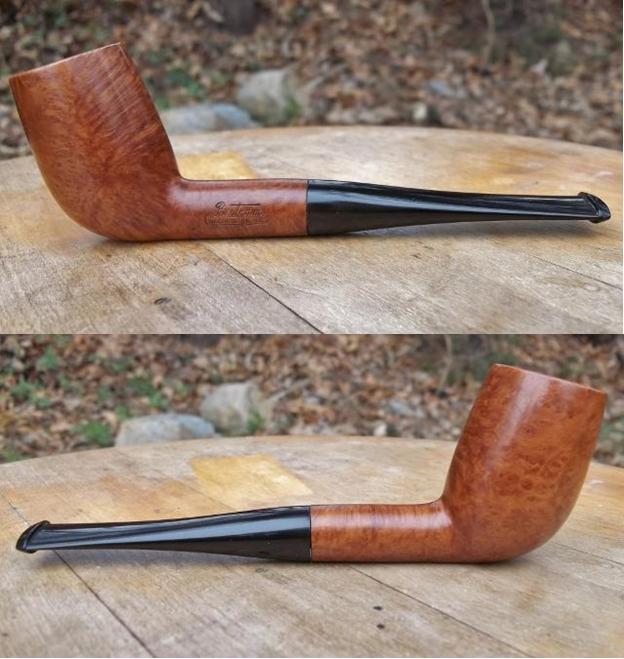
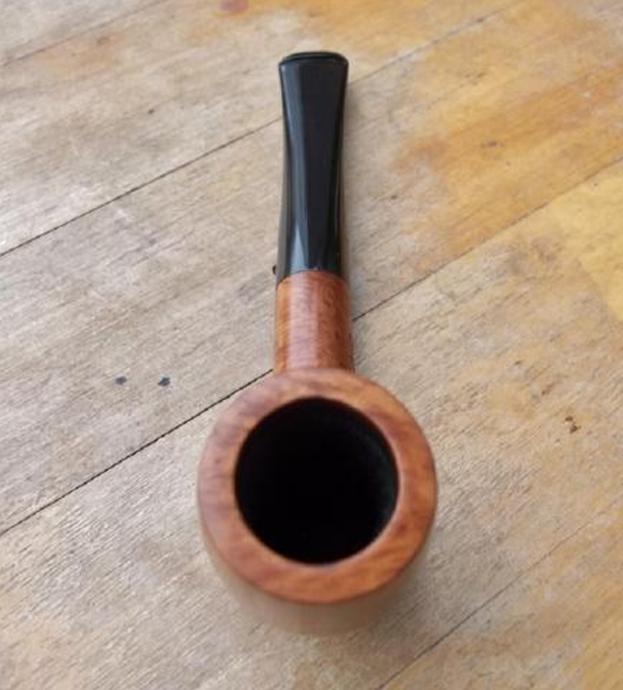
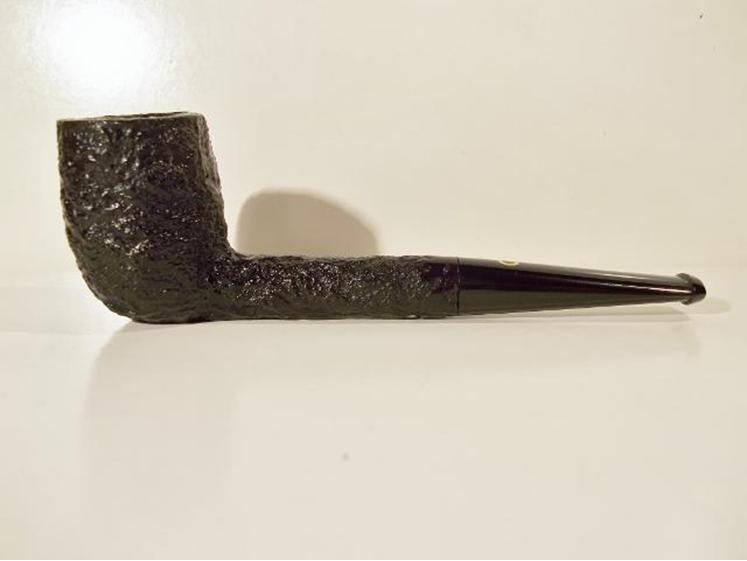
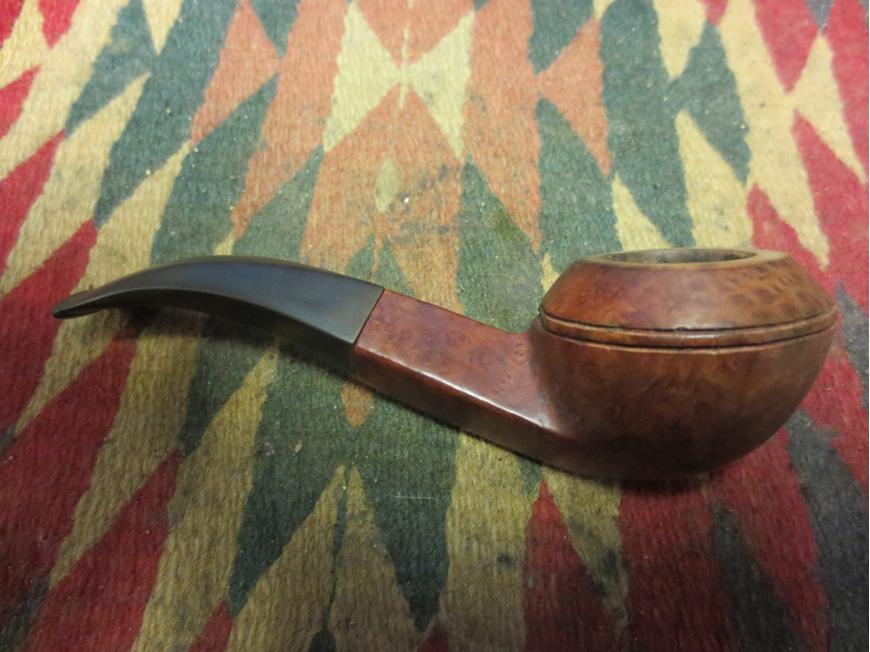
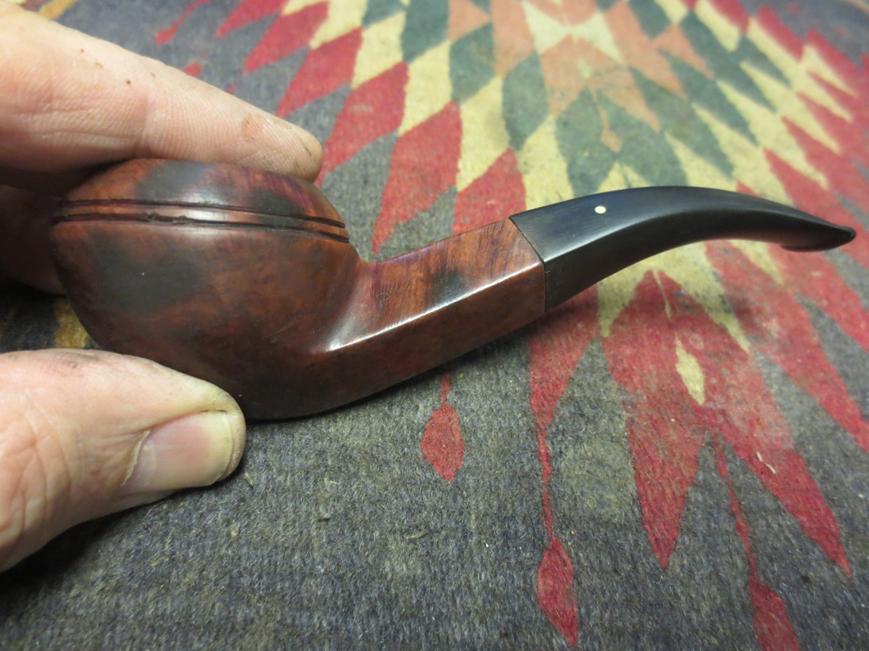
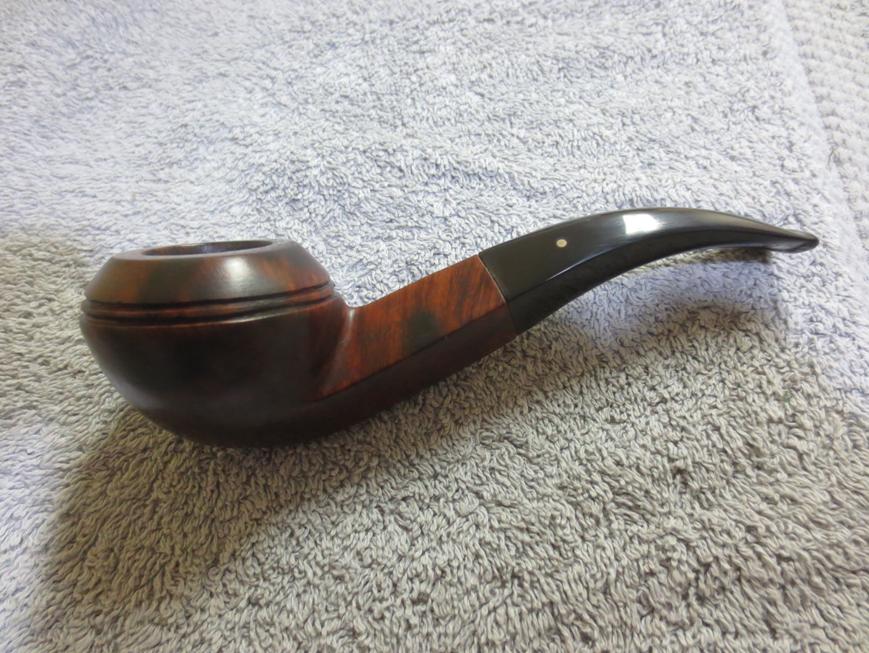
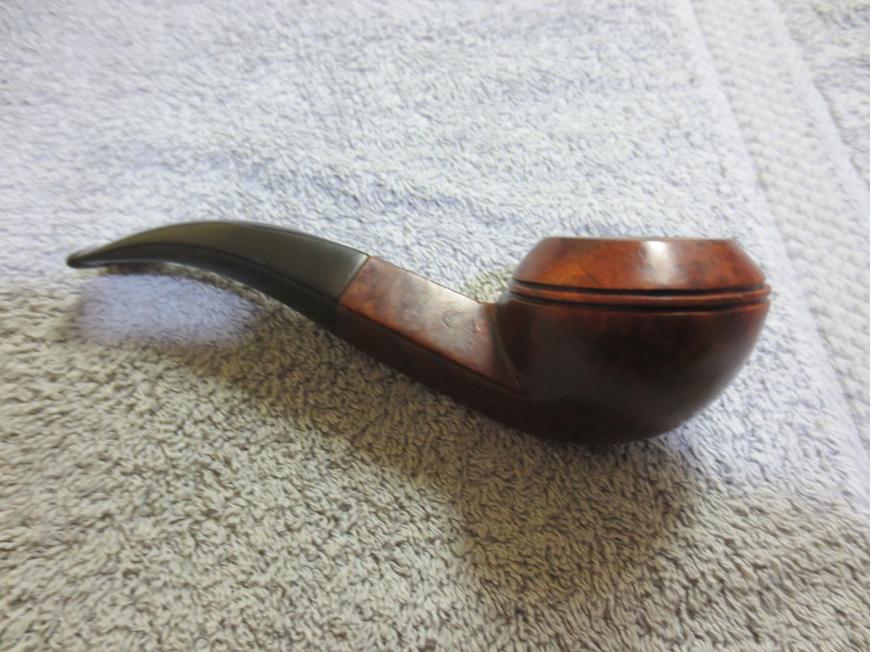
The stummel was polished with micro-mesh pads starting with 3600-grit and working through to 12000-grit. I then buffed the entire pipe with white diamond compound and gave it several coats of carnauba wax to finish it up.
I leaned back in my chair and checked the clock on the wall. There were only minutes to go and most of the other seats were already empty. I had to admit that this was really as good as it was going to get. So, with a sigh, I stood up from my chair, gathered my exam materials, and delivered them to the desk at the front of the room…


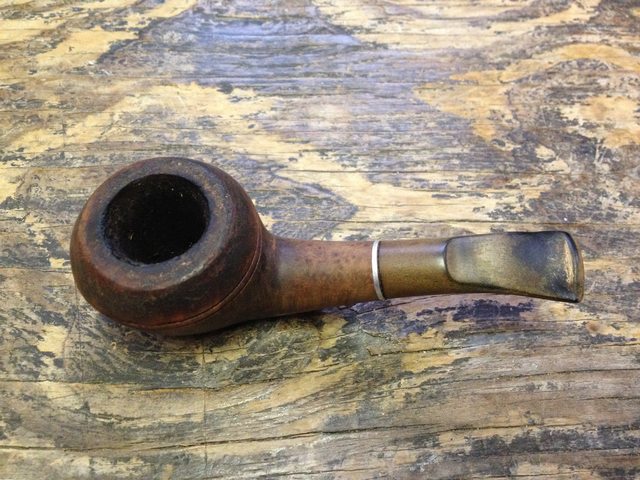
 It had a crack on the bottom which in my “Best Offer” bid I noted my concern over it and got the pipe for much less than the amount they wanted.
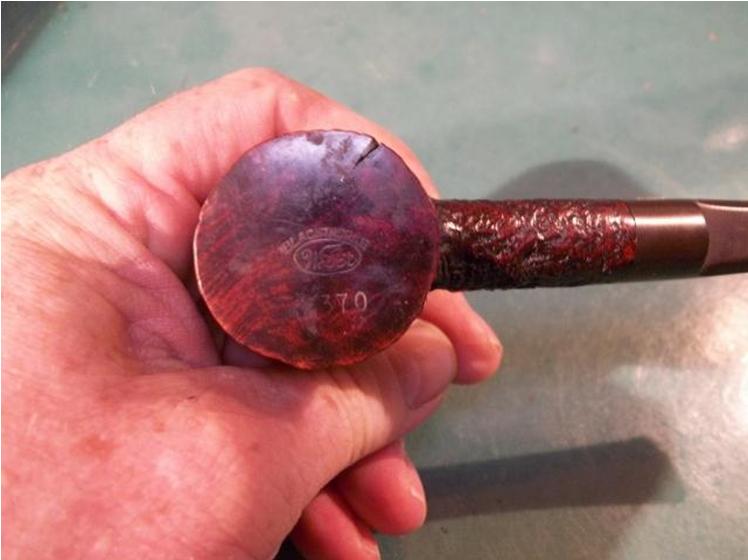
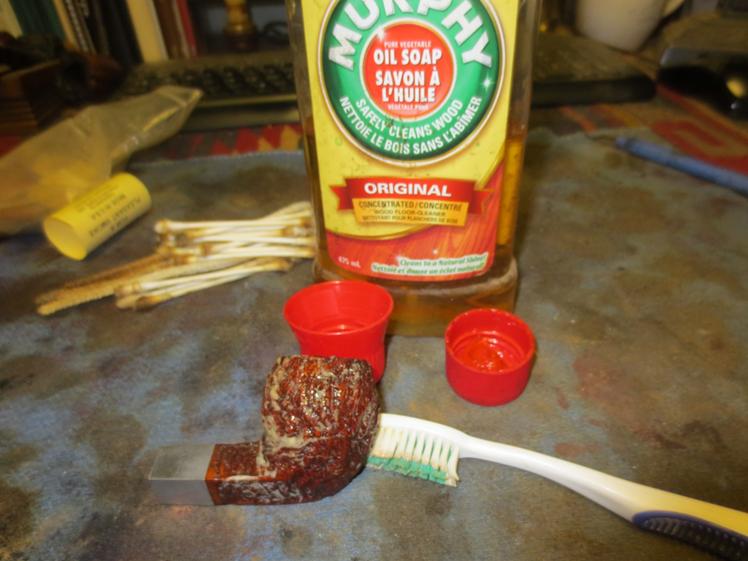
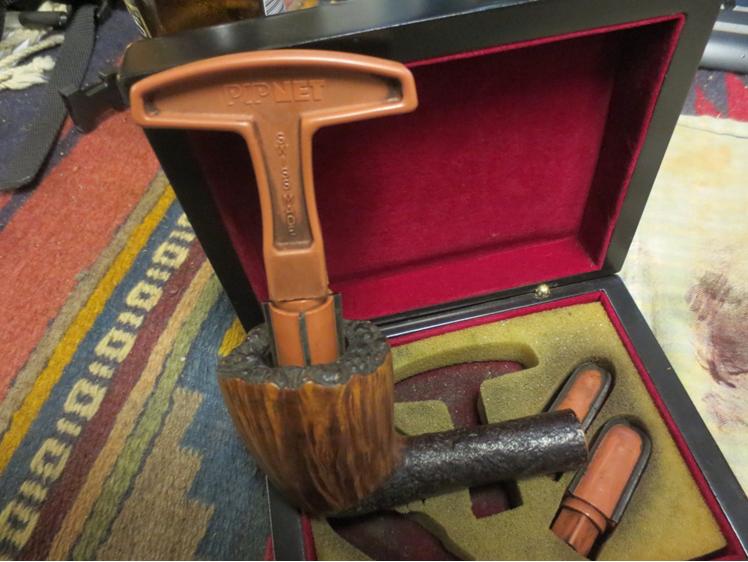
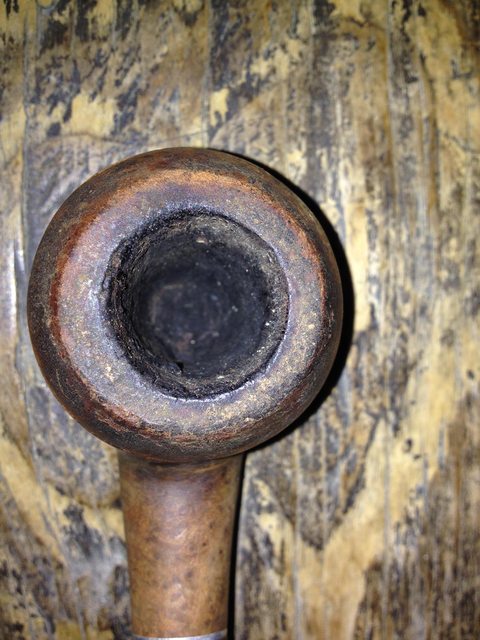
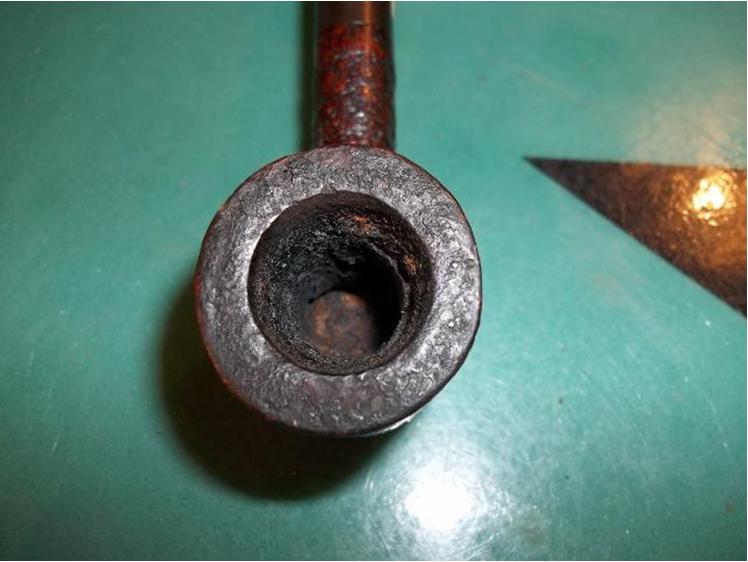
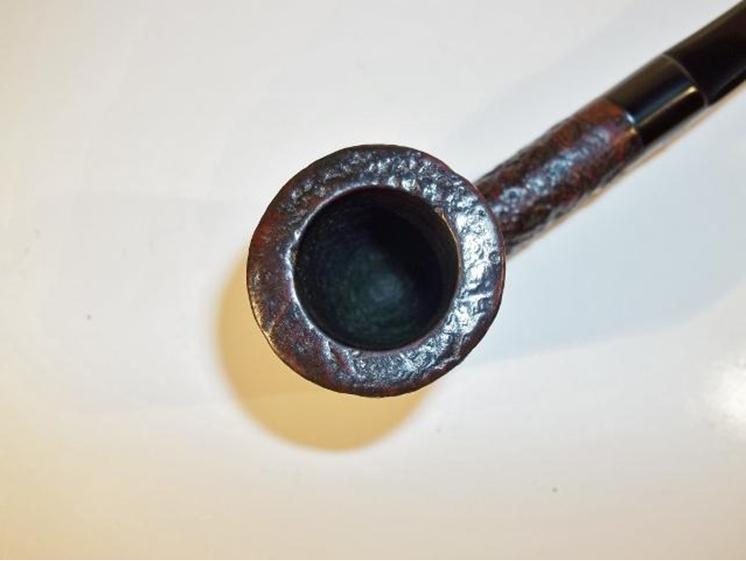
 The pipe was pretty dirty and the cake was set like concrete.
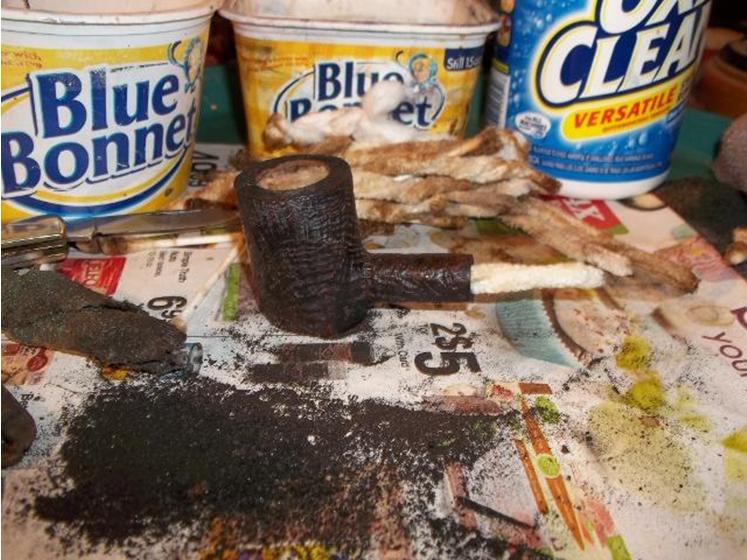 After getting cake out and shank cleaned I stripped off the old wax and grime.
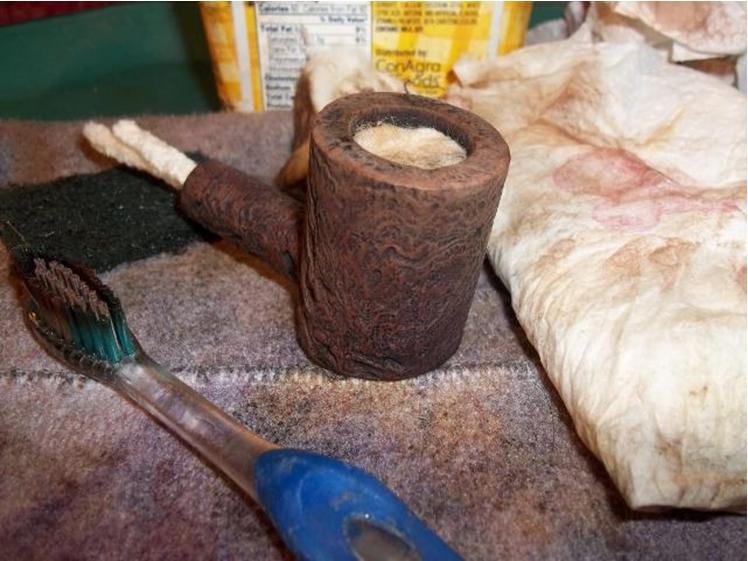 I dug out all the trash from the crack with a sewing needle. I was thinking this damage was from abuse from a smoker. I dug out old filler so I think it may have come from factory with it.
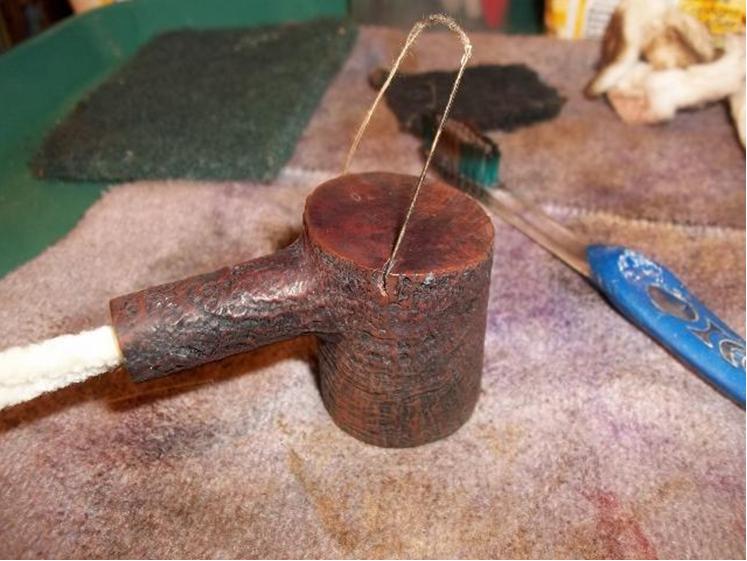 After cleaning out crack I taped it up with some packing tape.
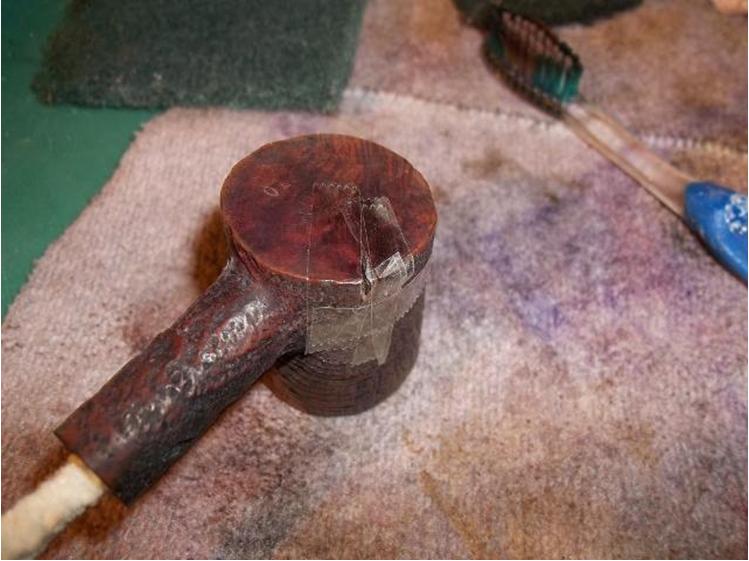 I then filled it with glue and briar dust and hit it with a file when dried.
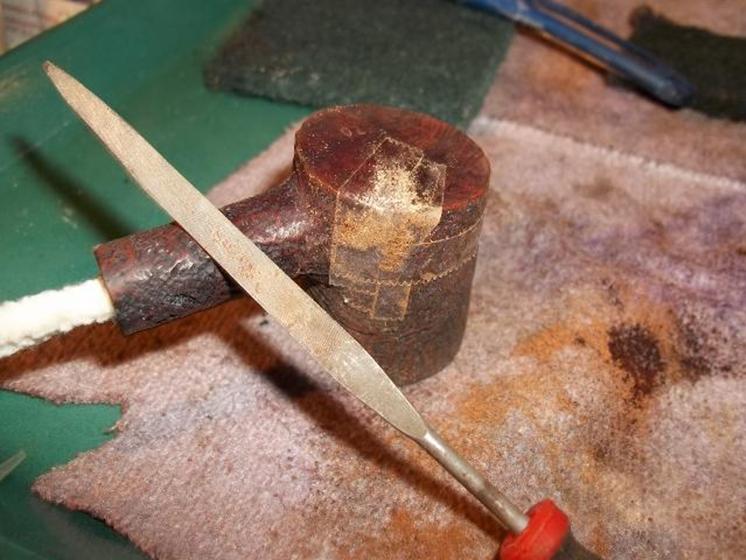
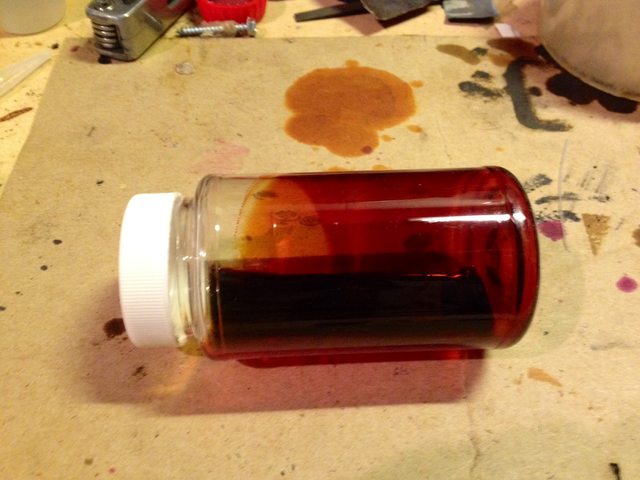
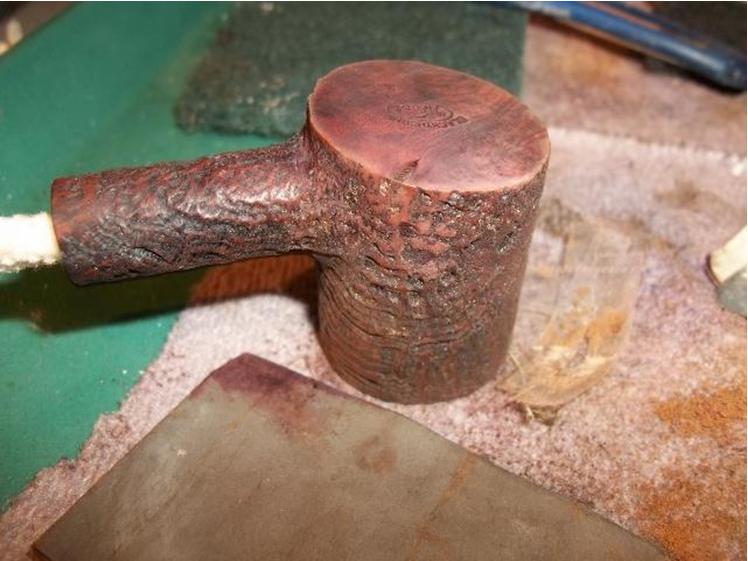 I mixed up a thin color match to the factory color and applied a couple of coats.
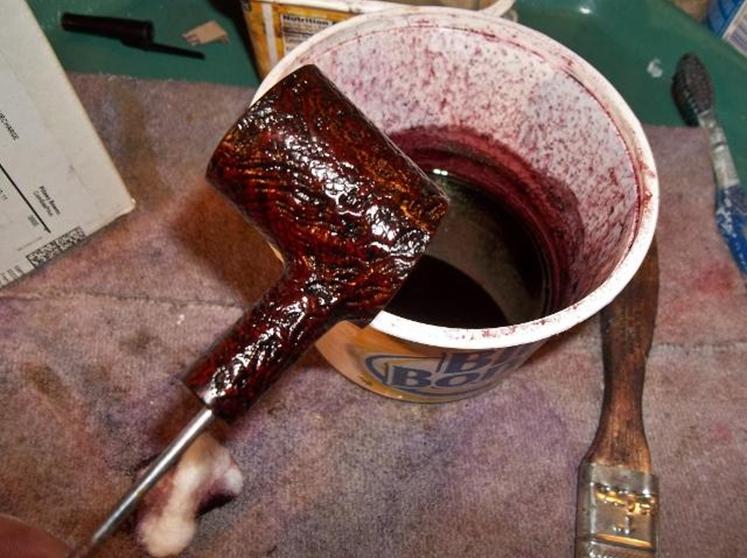 After a soak in Oxy Clean I worked on stem. The owner had teeth like a house cat. All were small round and deep. What a pain they were. I haven’t done a Cherrywood Poker in a while and I had forgotten what a chore it was doing these thin little saddle bits.
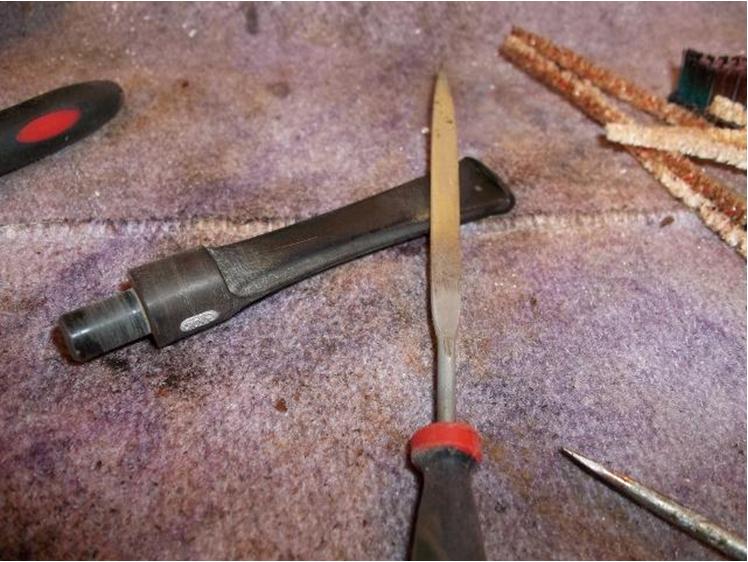 I colored in the Weber emblem with black sharpie to be taken off when I buffed it.
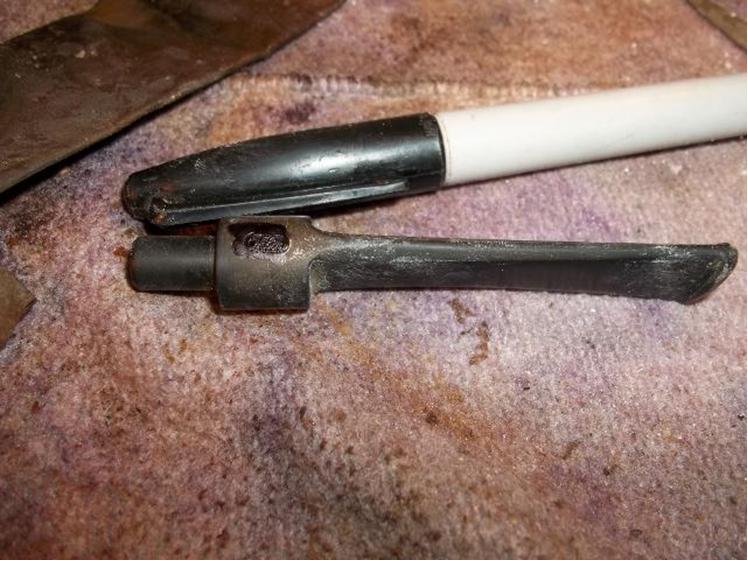 After the dye dried I scuffed it with a Scotch Brite pad and mineral oil to highlight the blast.
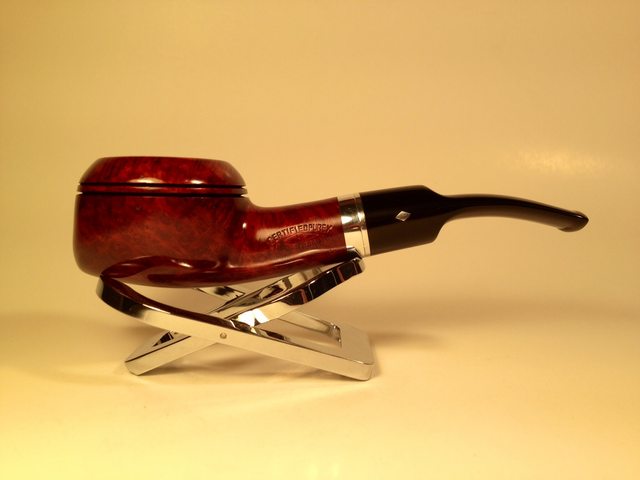
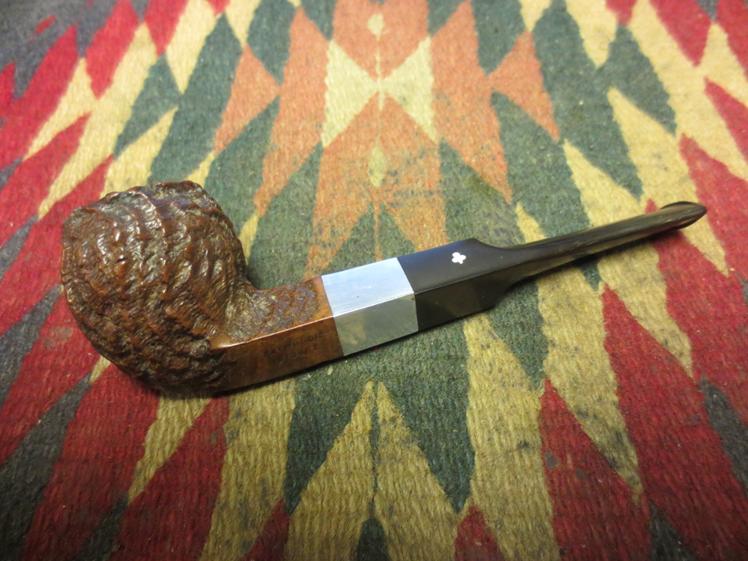
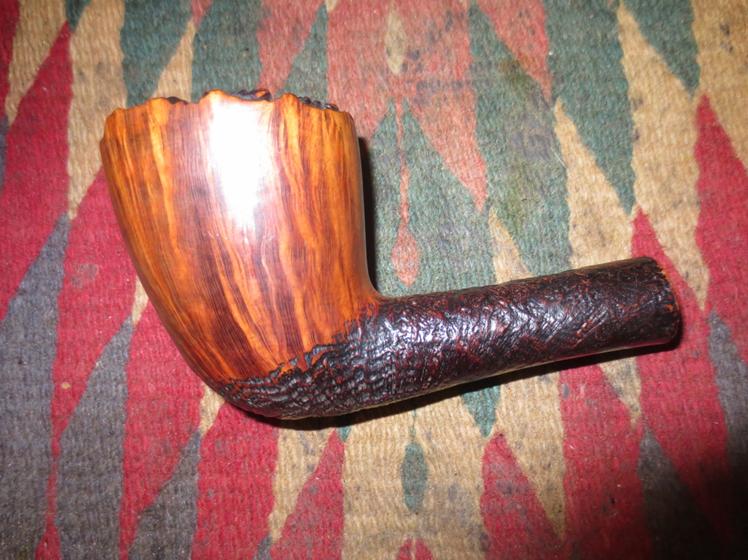
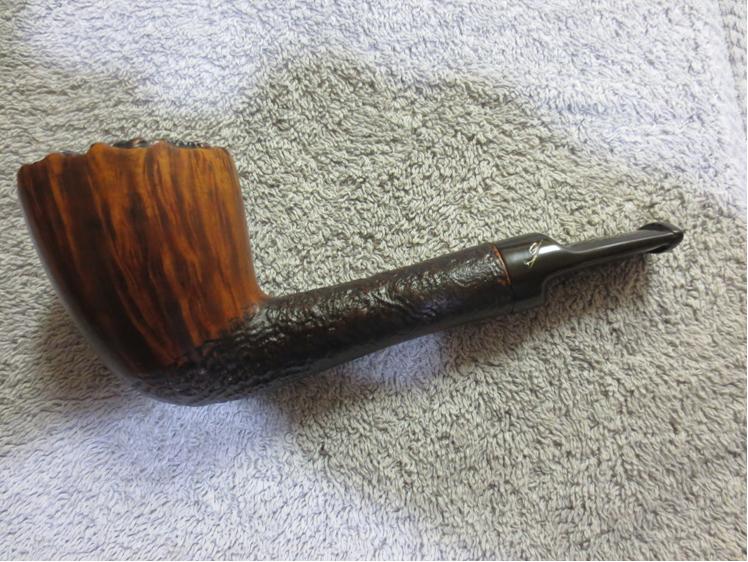
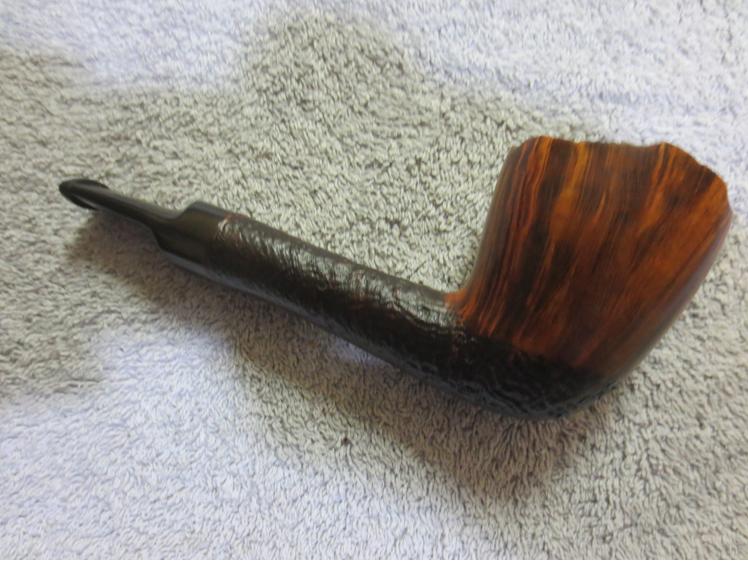
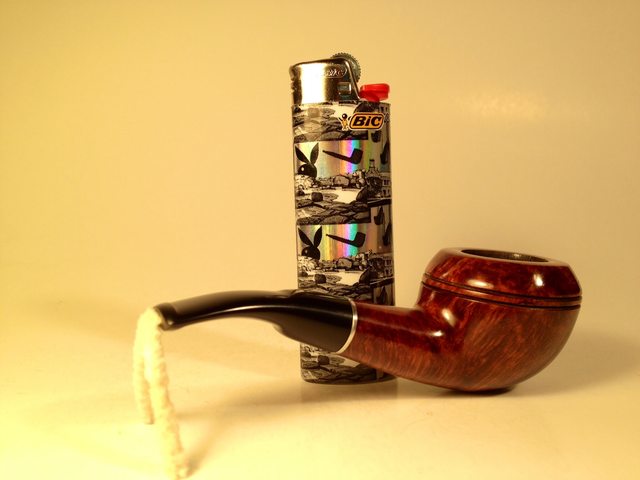
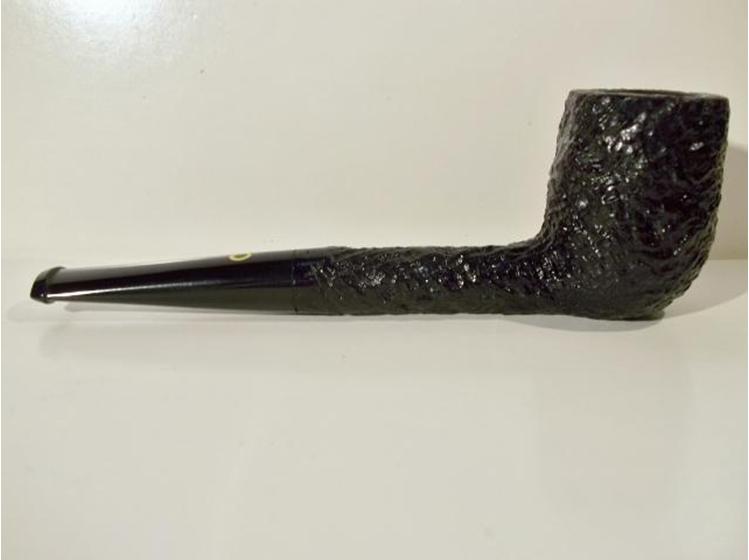
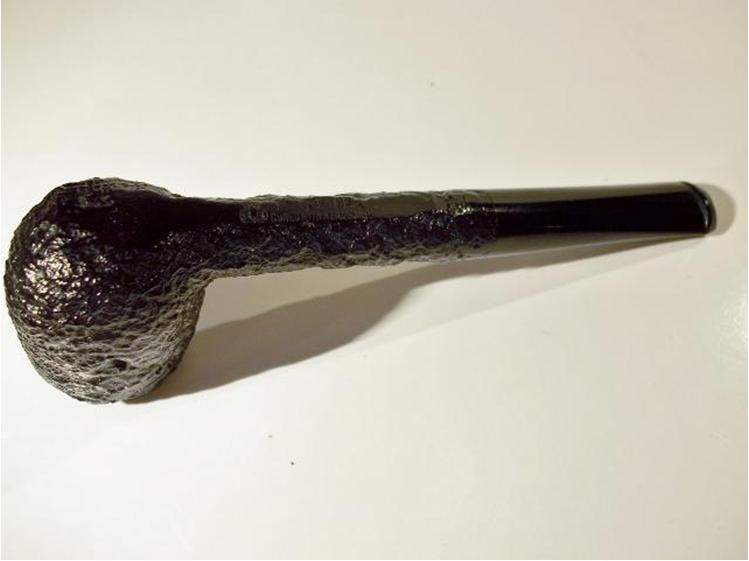
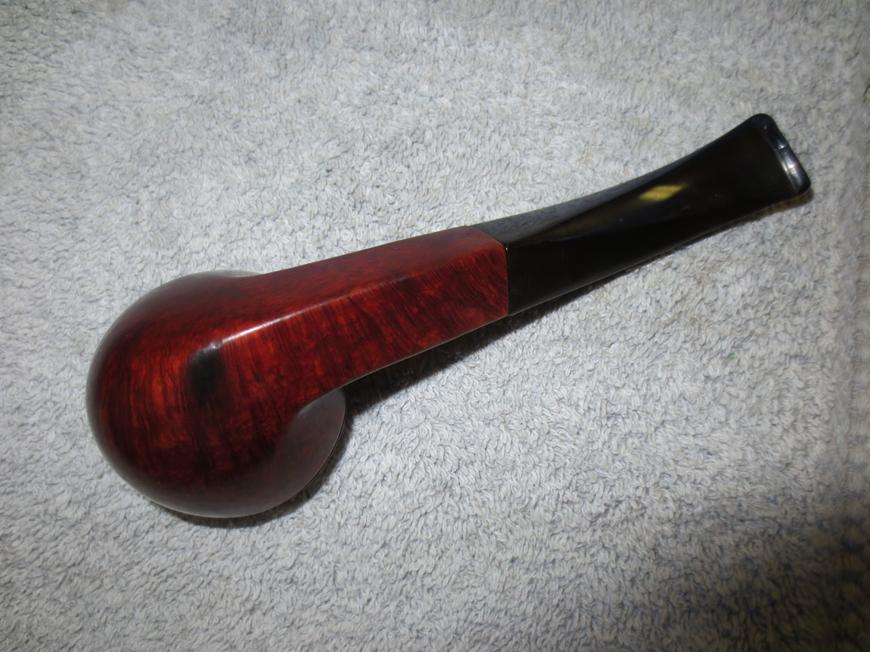
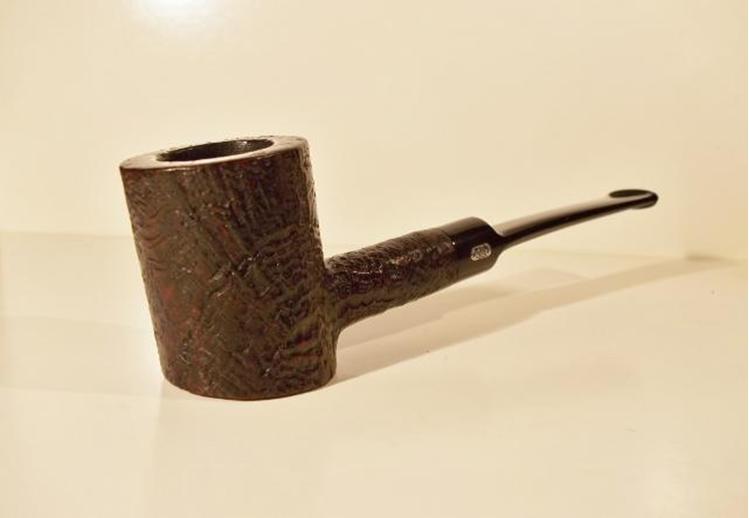
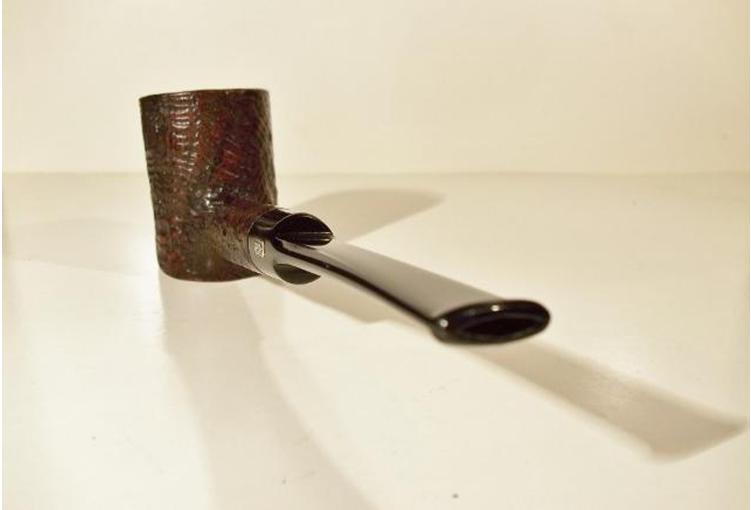
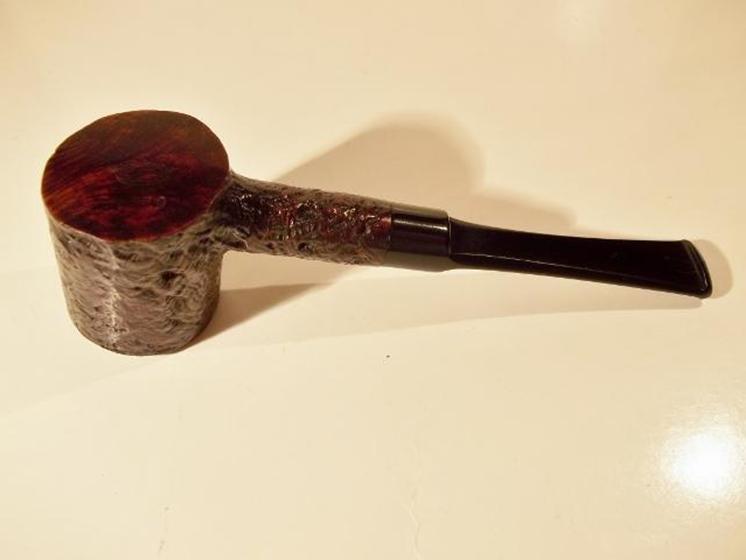
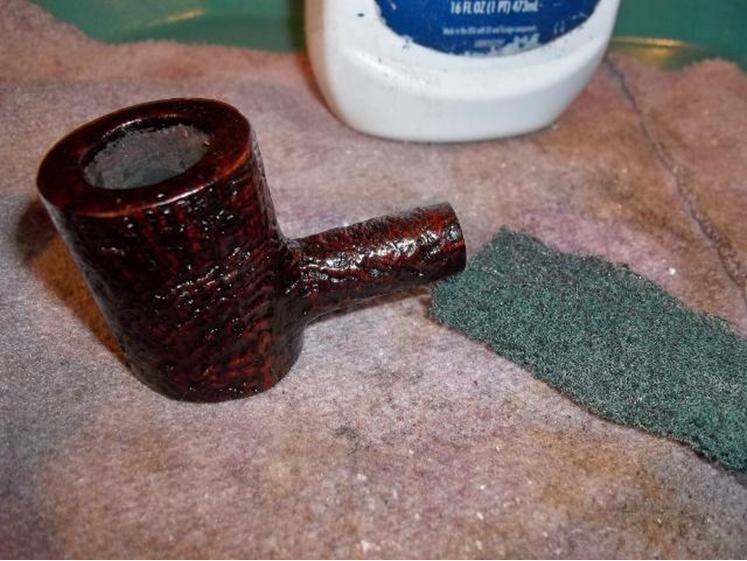 Here is the finished pipe, buffed and waxed.
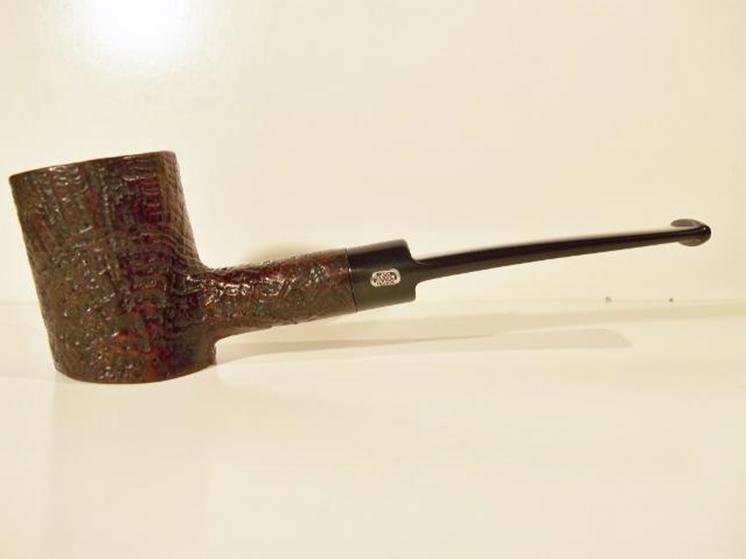

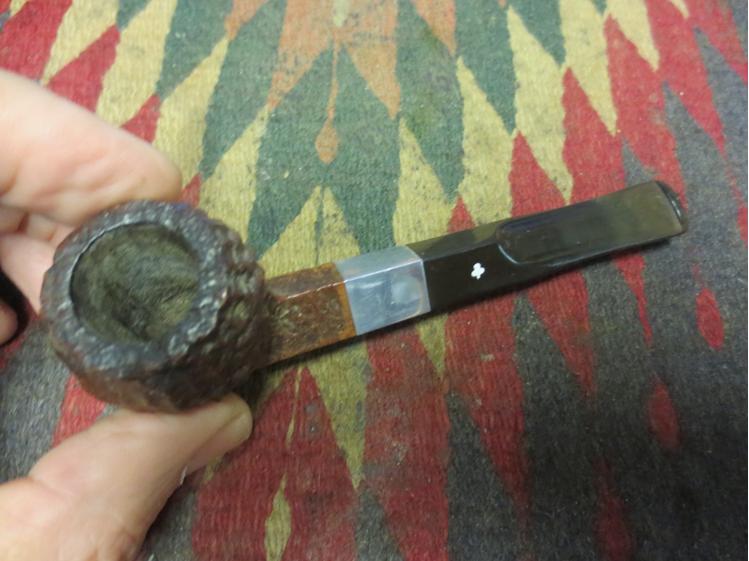
 I had a hard time getting a picture of stamping and repair on bottom of bowl with the glare. This was best out of several attempts.
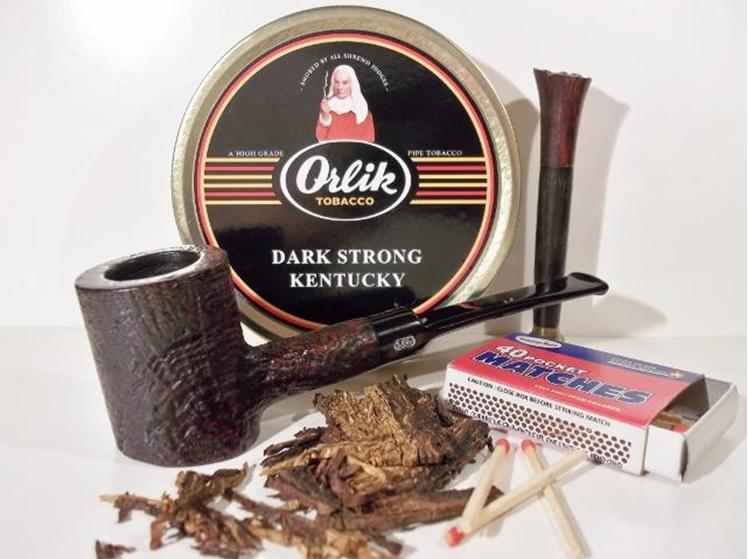
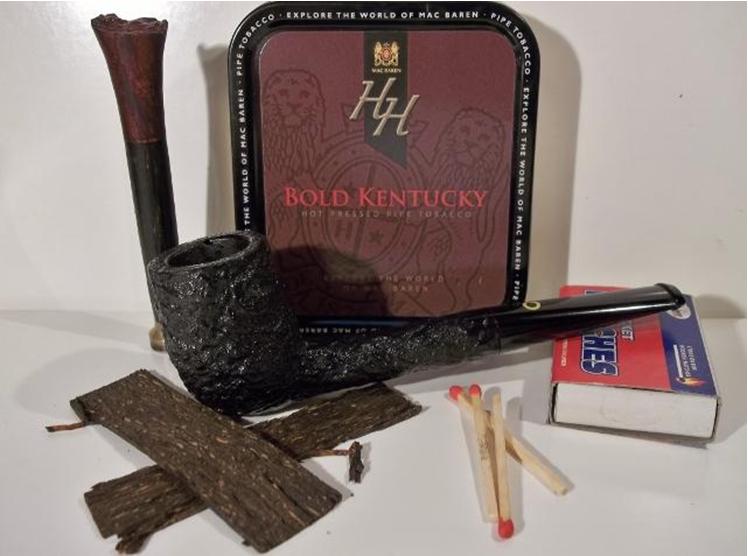
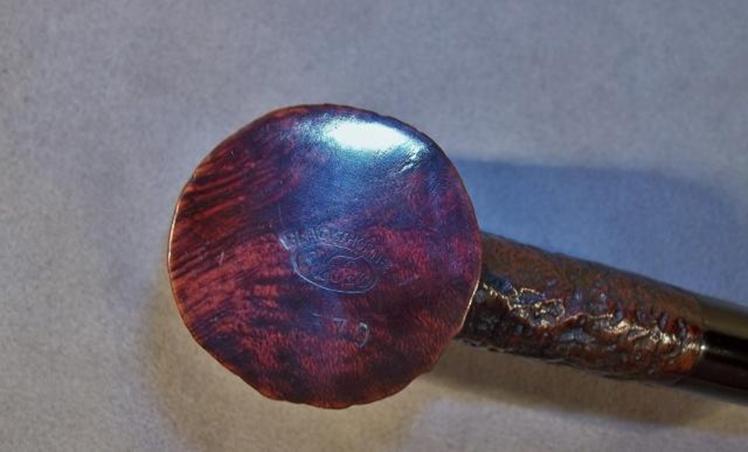 Now it’s time to try this ol gal out with some Dark Strong Kentucky:).