Blog by Steve Laug
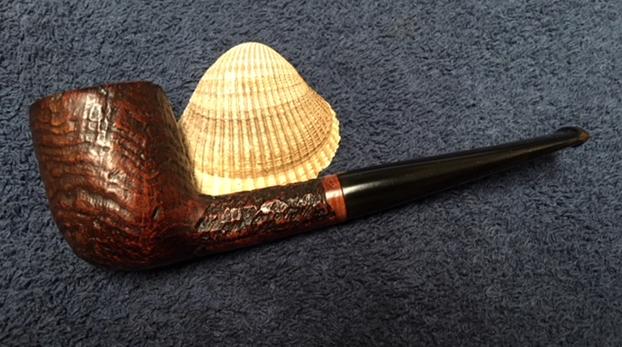
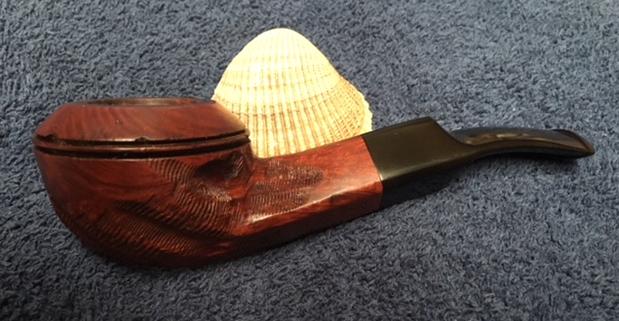
Sometimes a voice from the past is a good thing for both parties. Many years ago now, here in Vancouver I met Eric at the Vancouver Pipe Club. We talked at pipe club meetings and had a common calling as ministers in within different Christian Churches. Over time Eric moved to Eastern Canada and I moved on to work for an NGO here in Vancouver. Not too long ago I received an email from Eric about some pipes that he had that he wanted me to work on for him. We made arrangements and soon a box with three of his pipes was traveling to me from Ontario. It arrived quite quickly and I opened it when it arrived. Eric had thoughtfully included a tin of Samuel Gawith’s Commonwealth Mixture Full Strength for me to smoke and I was looking forward to cracking it open. Included in the box were three pipes – a Danbark Hand Carved from Denmark that was quite stunning, a Bewlay Sandblast Billiard and a Le Nuvole Long Shank Dublin. Each had different challenges to address but each was a beautiful example of the pipe maker’s craft. The final pipe was the Bewlay Sandblast London Made Billiard.
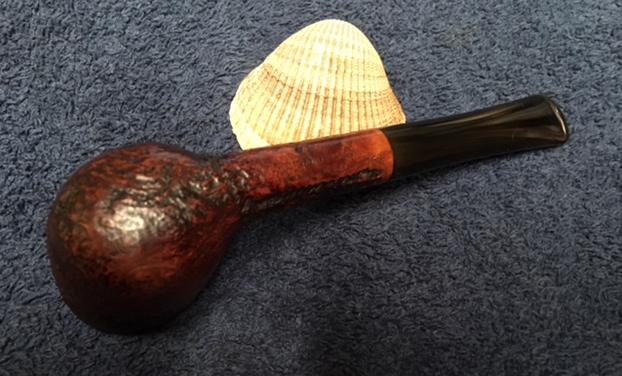
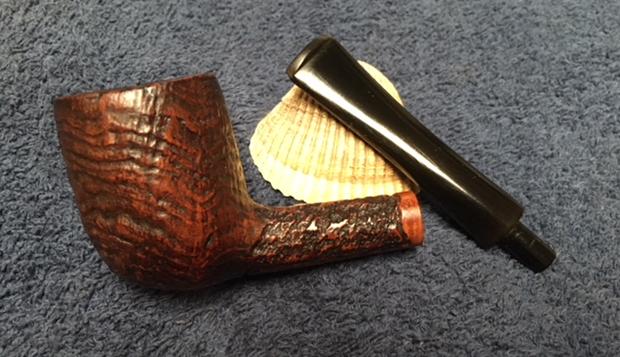
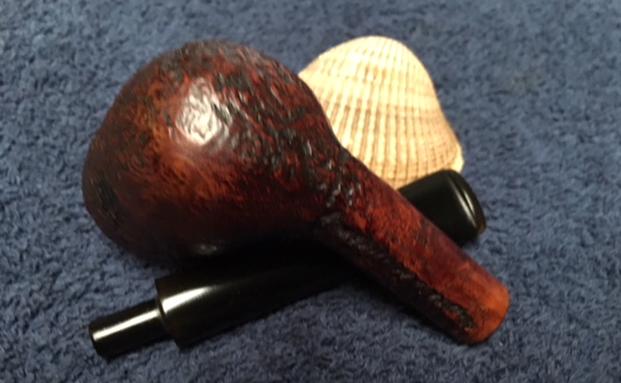
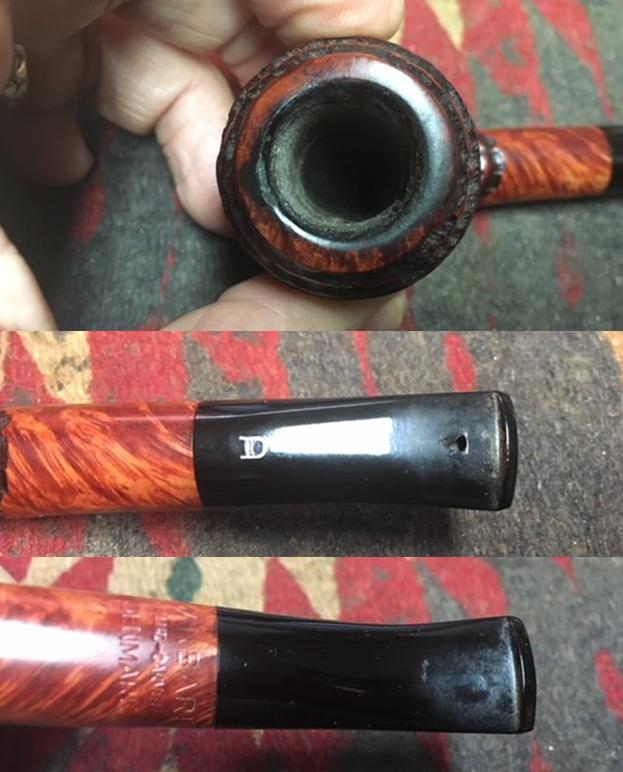
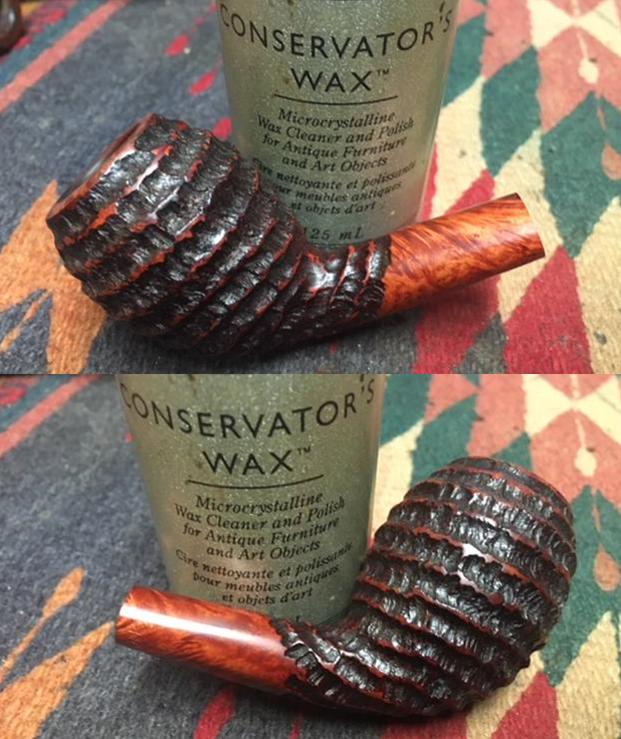
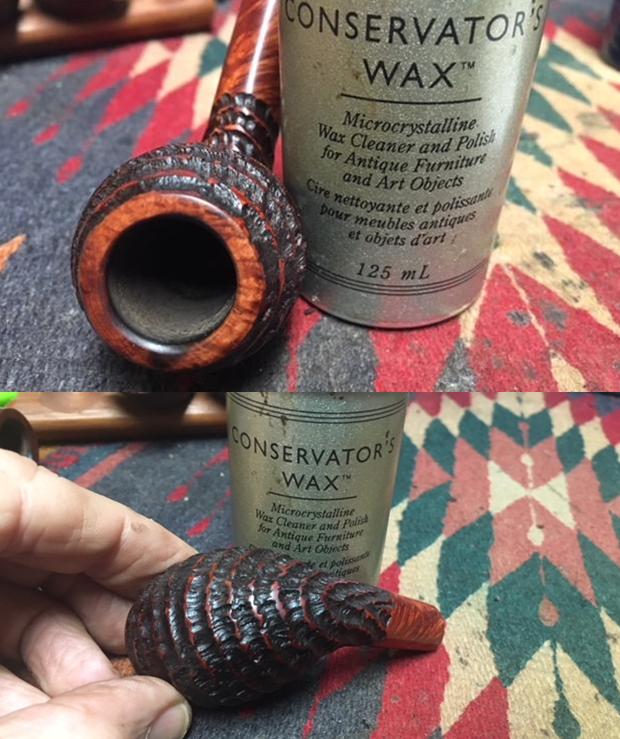
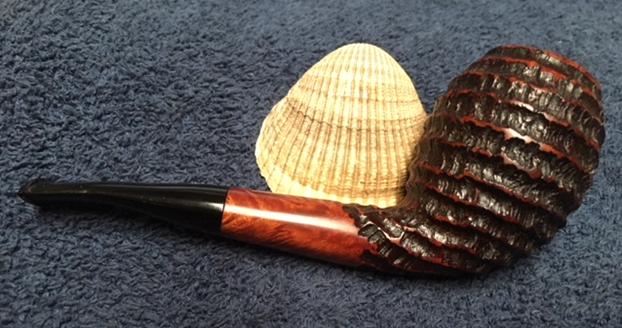
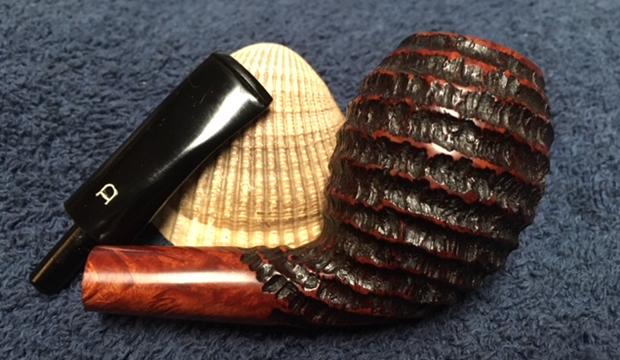
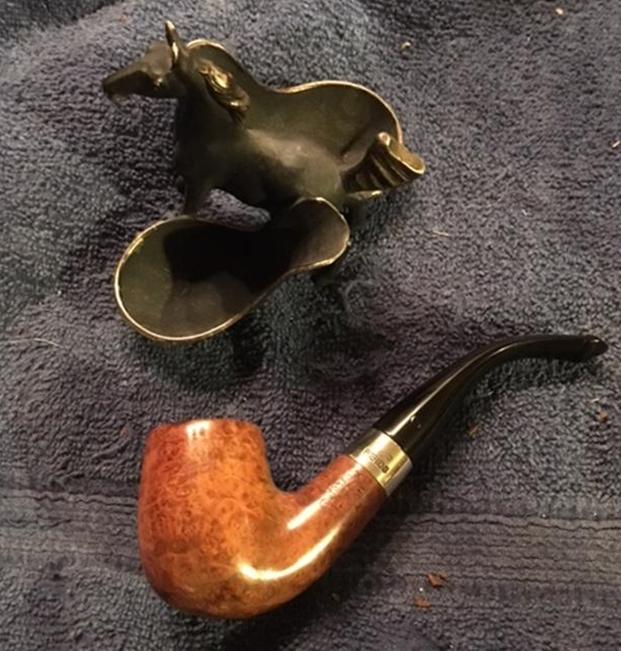
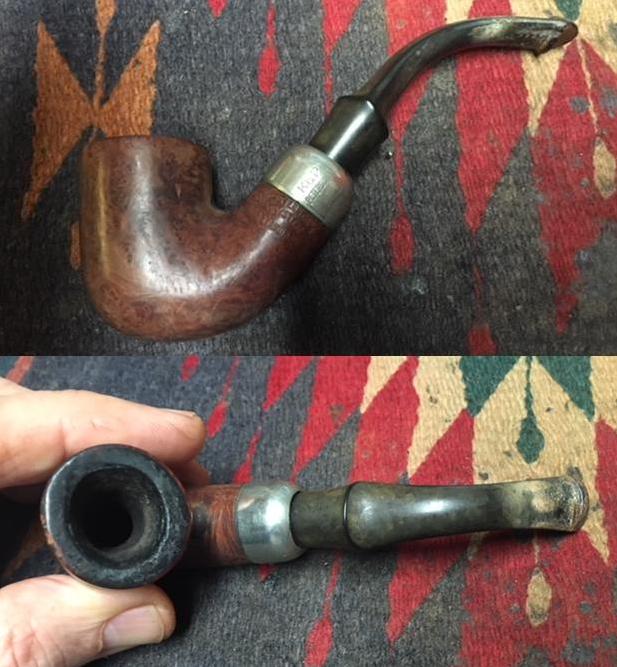
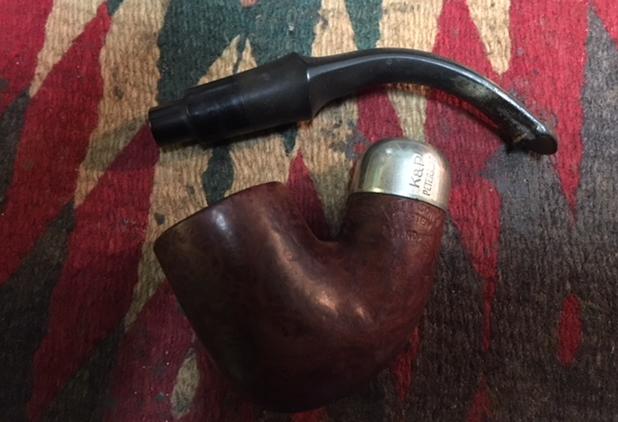
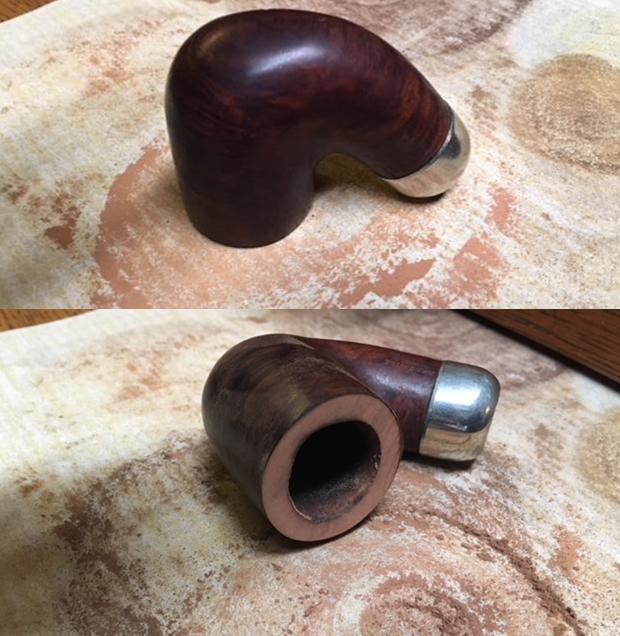
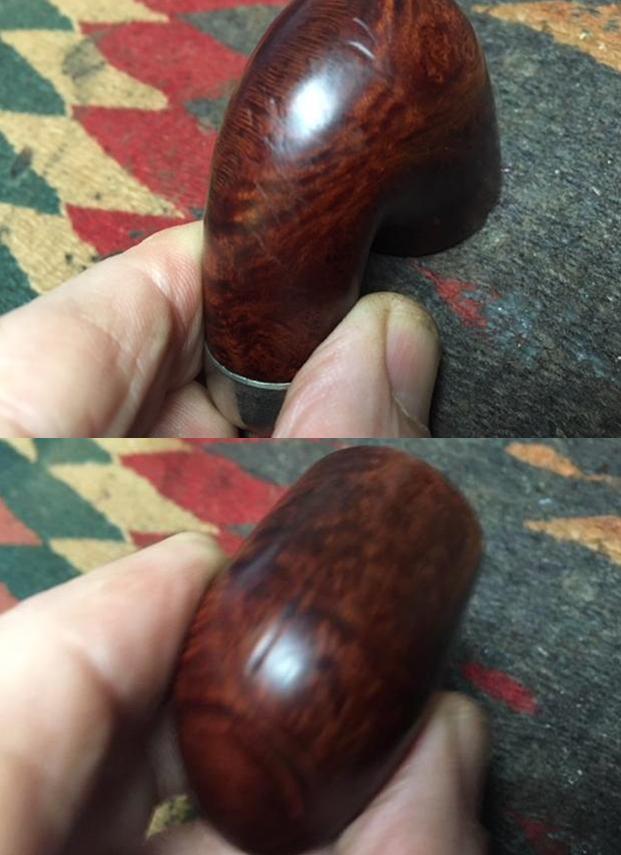
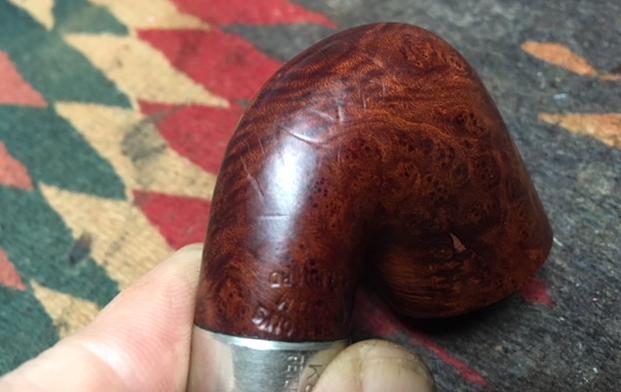
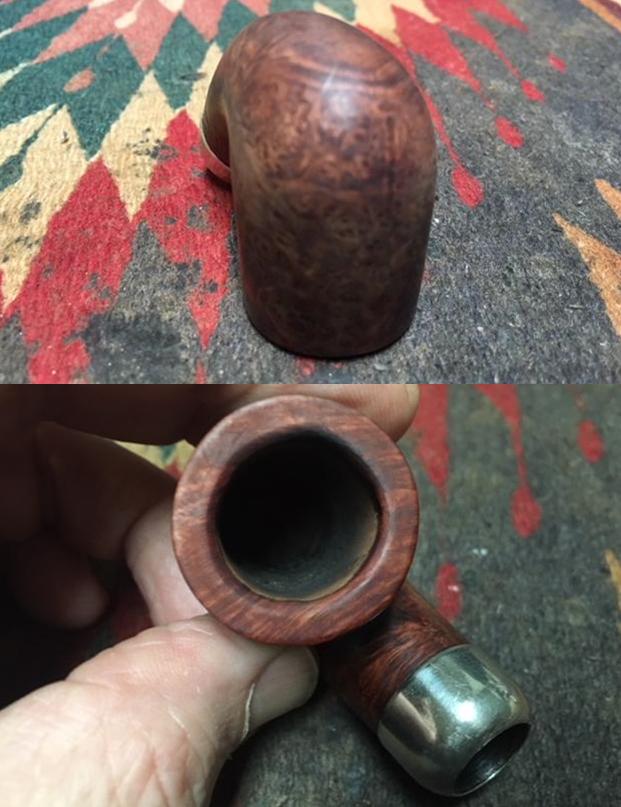
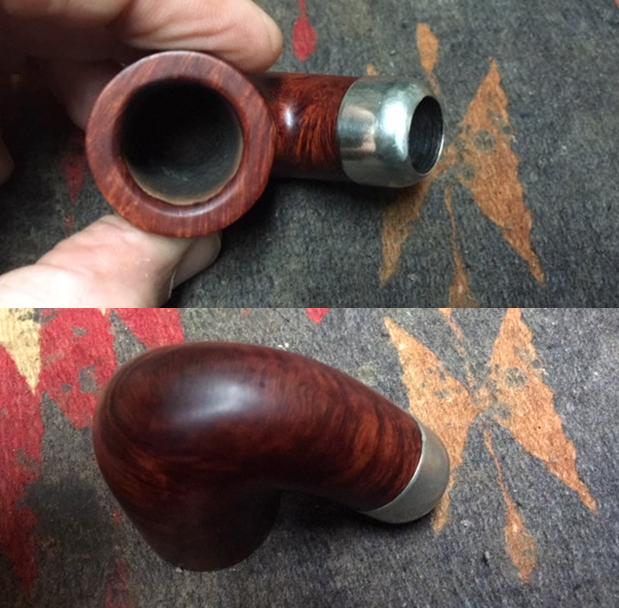
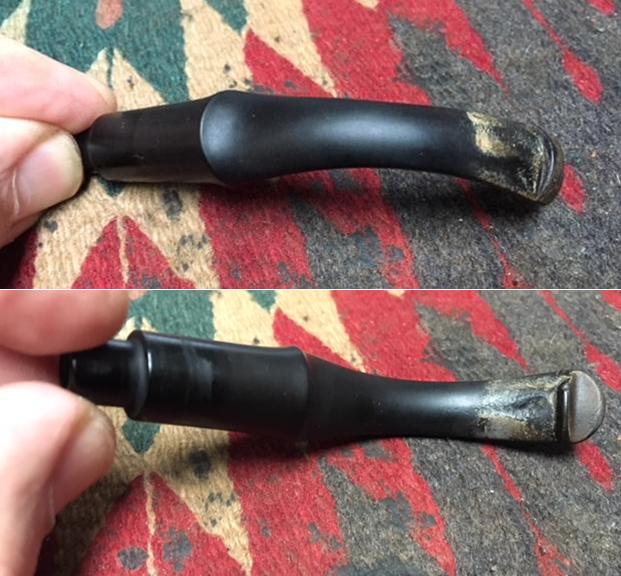
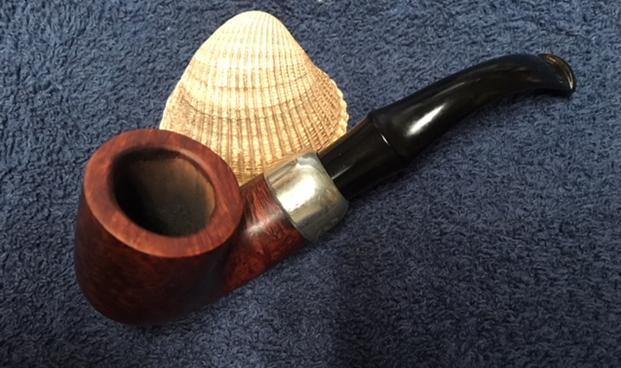
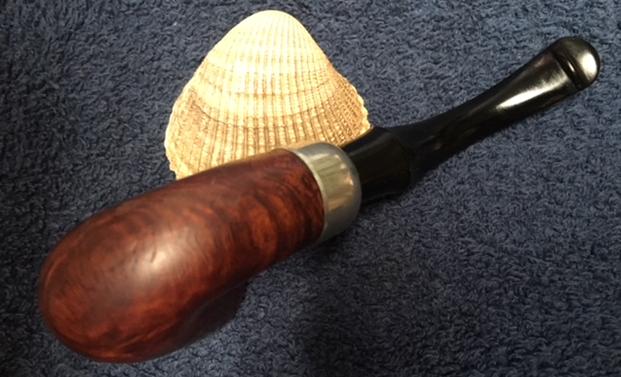
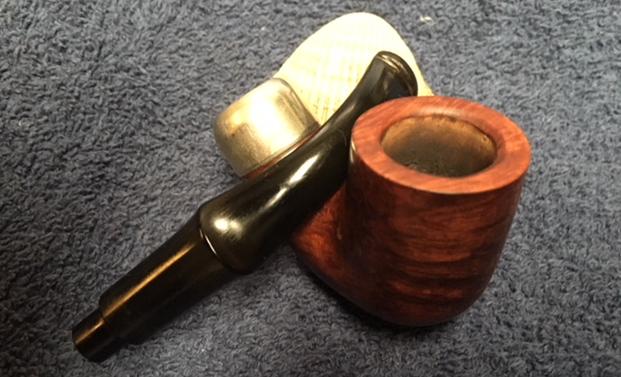
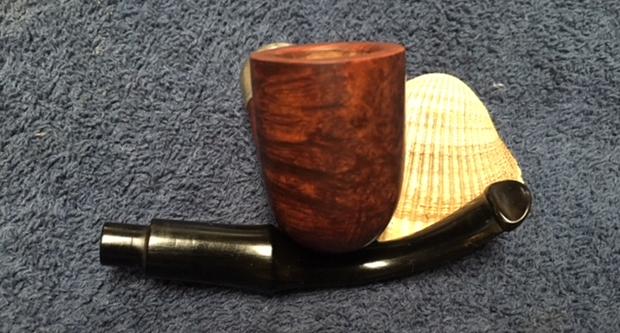
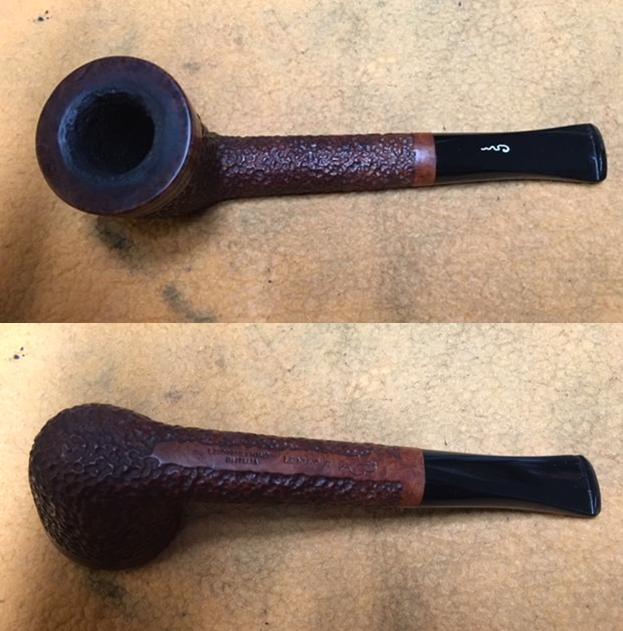
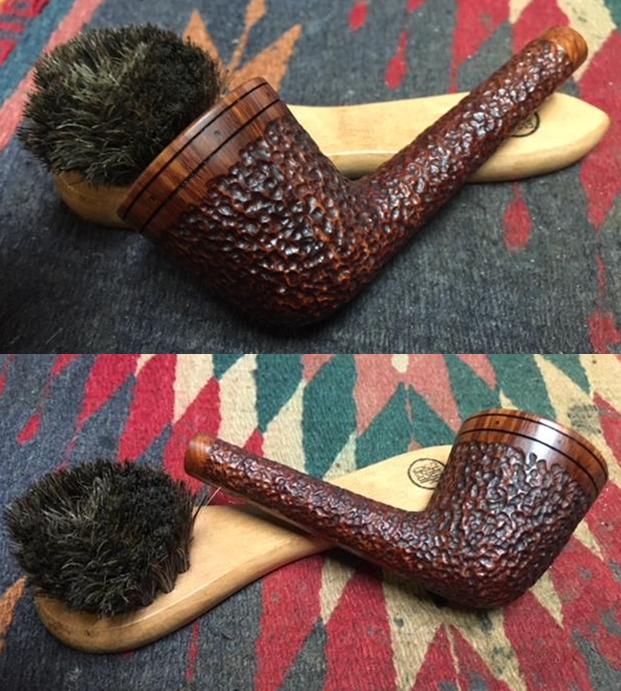
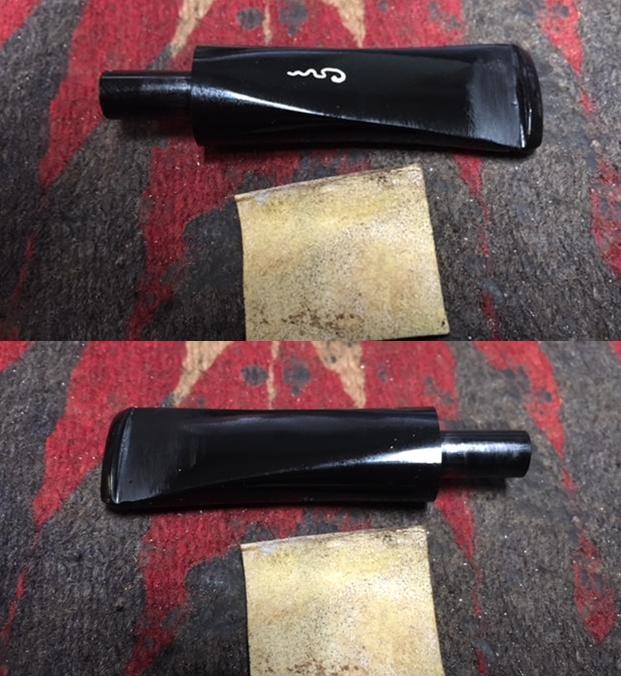
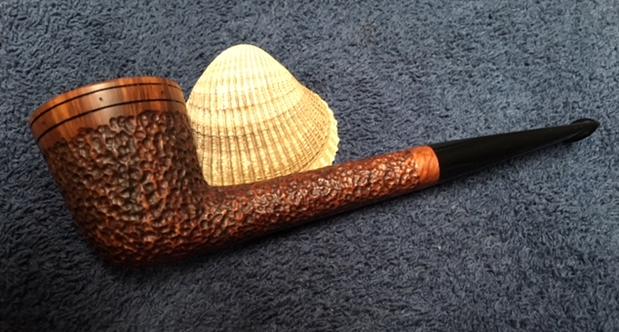
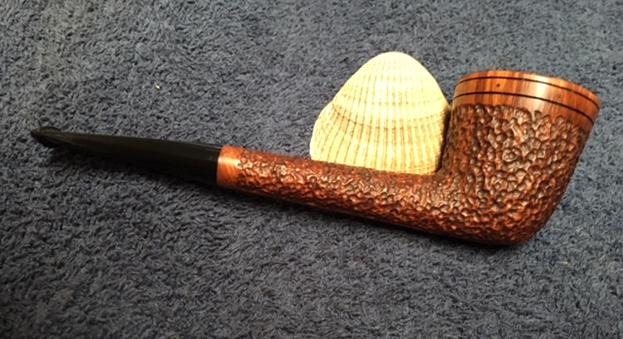
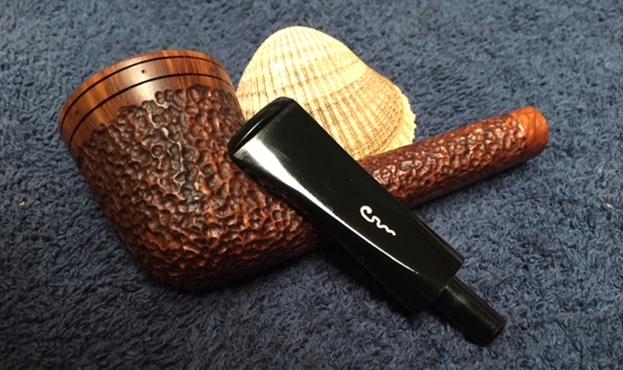
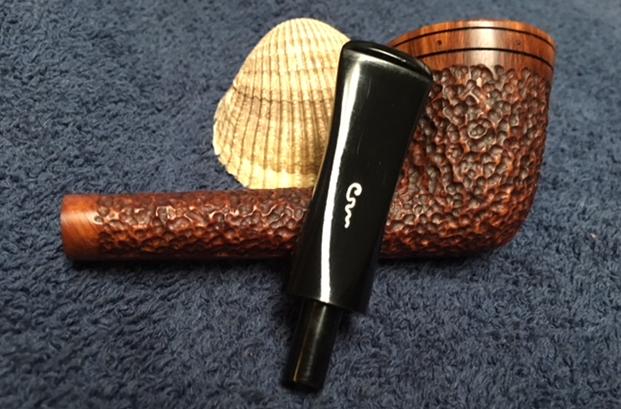
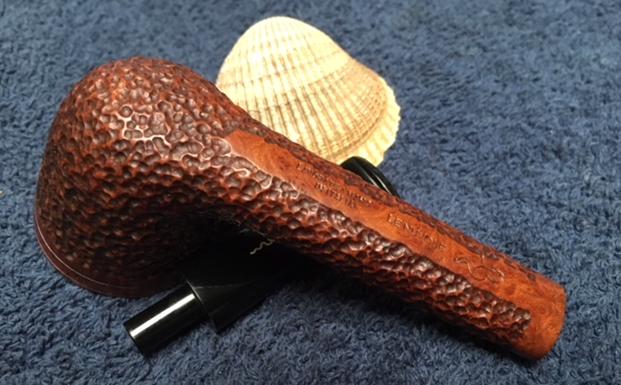
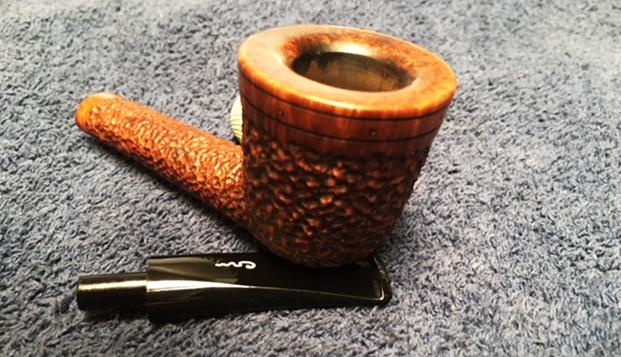
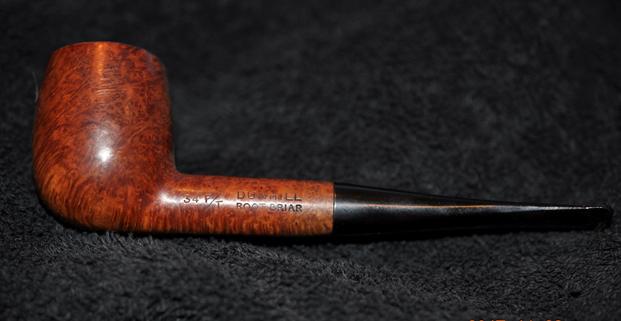
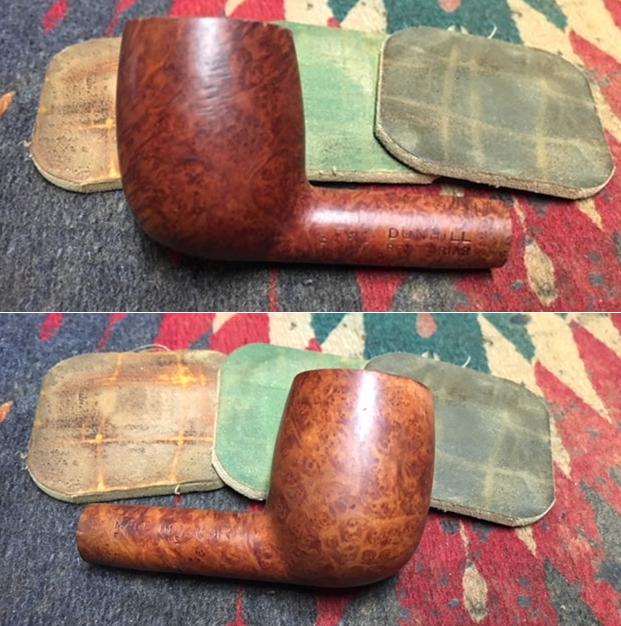
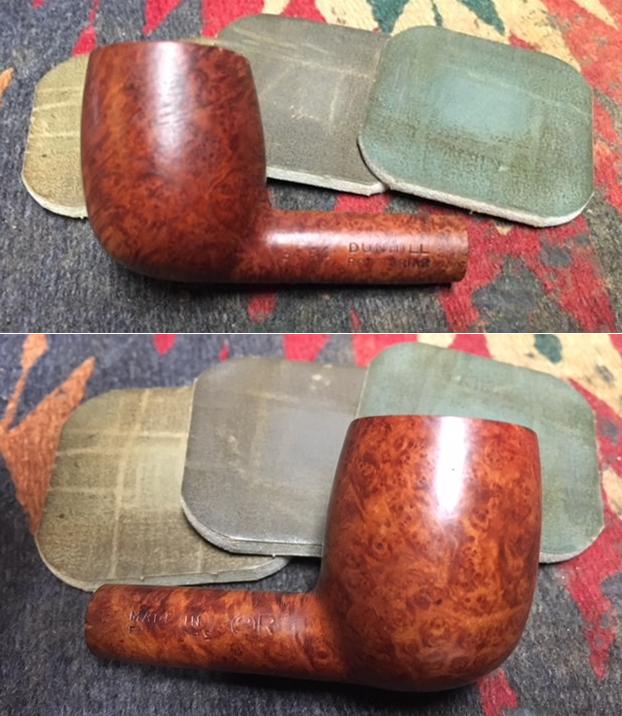
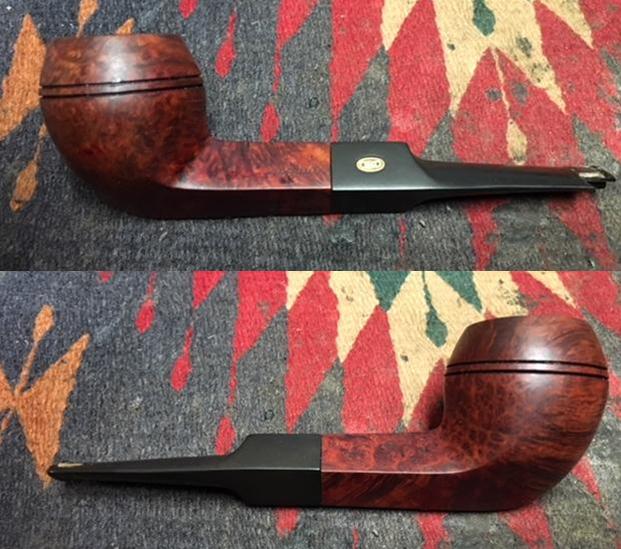
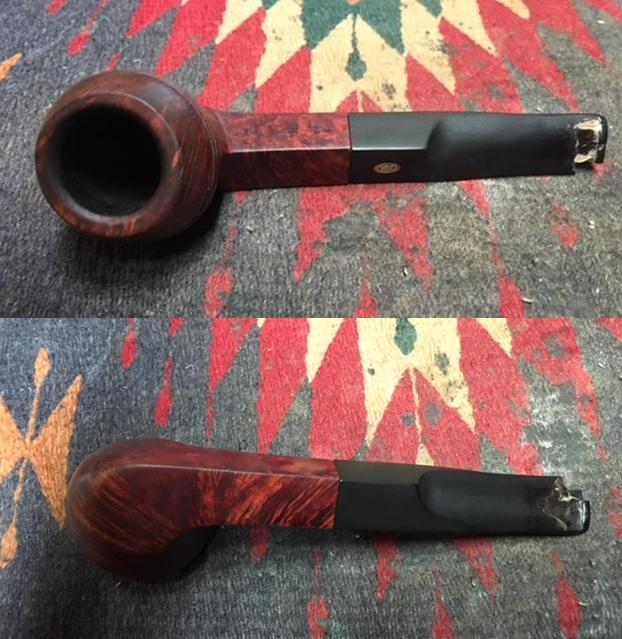
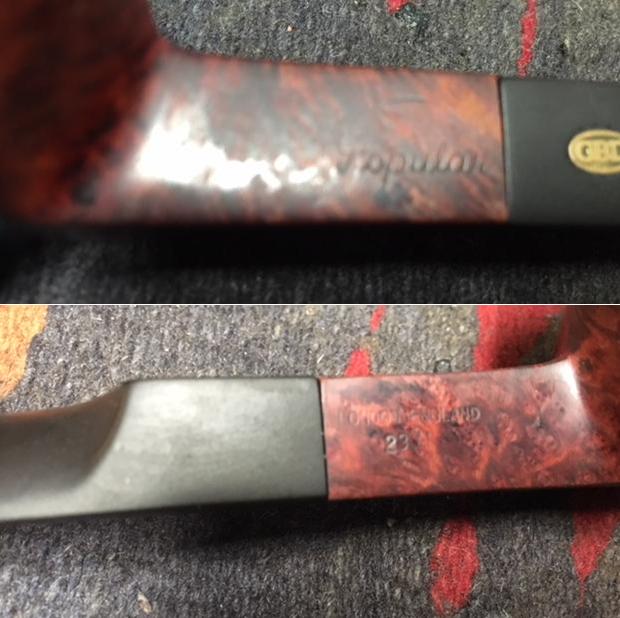
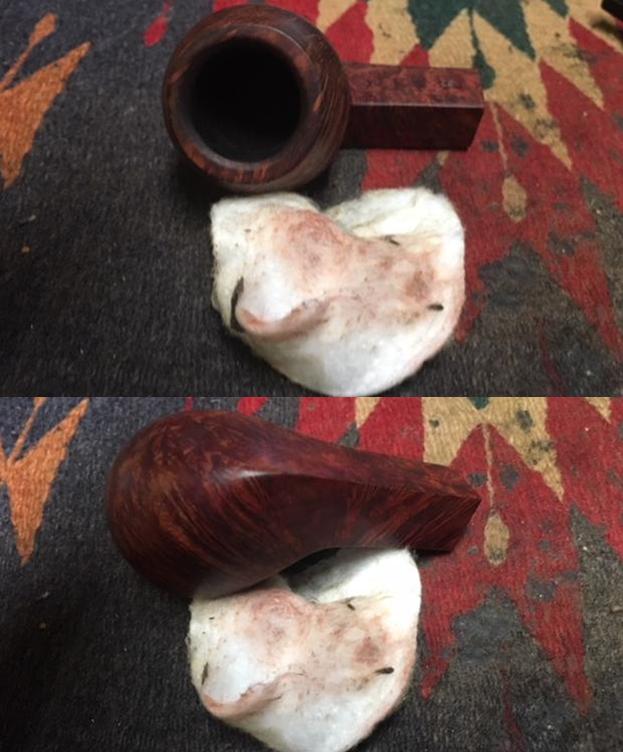
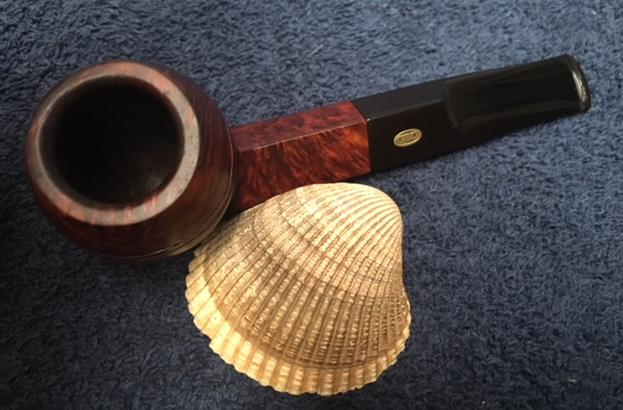
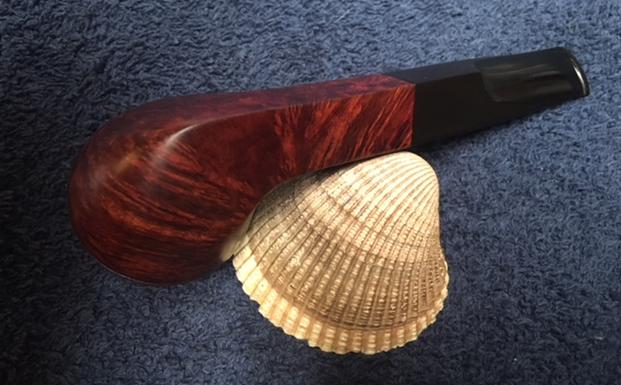
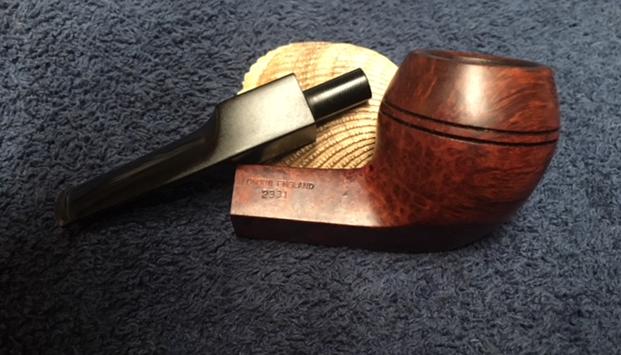
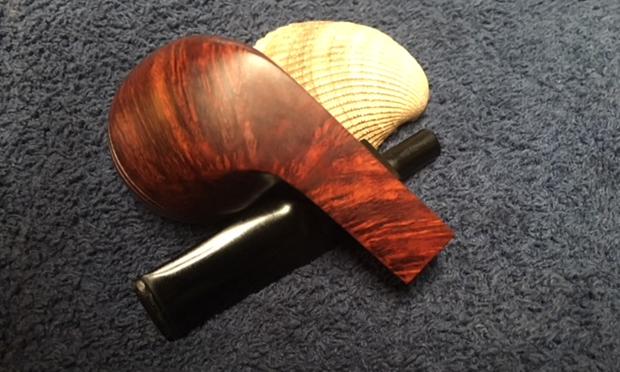
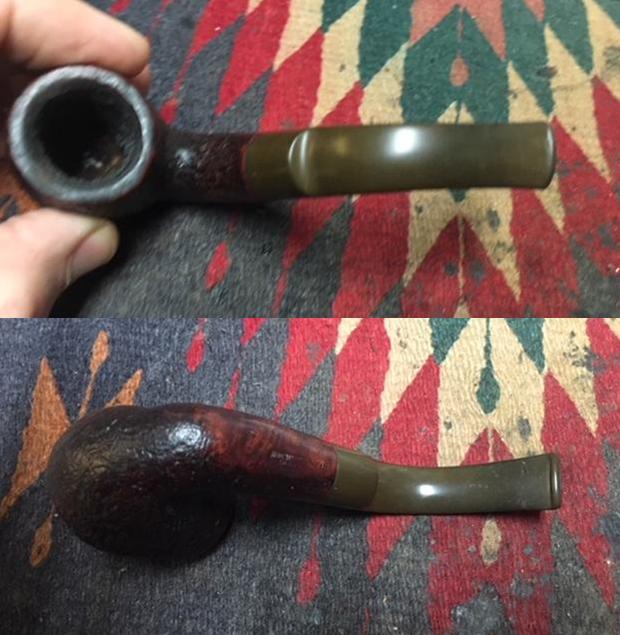
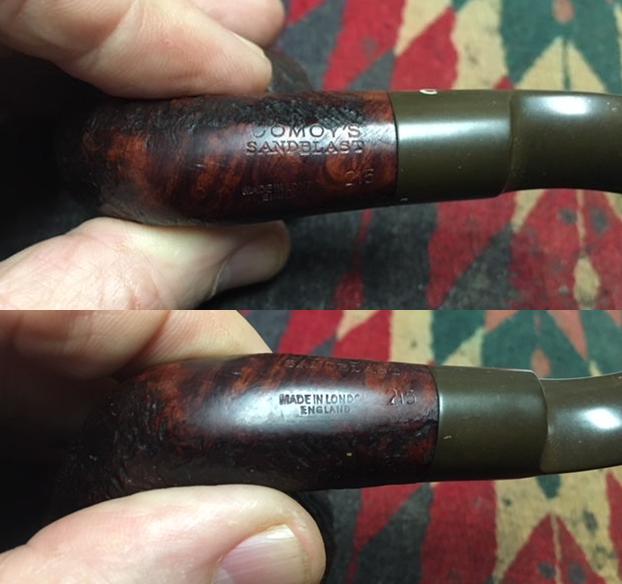
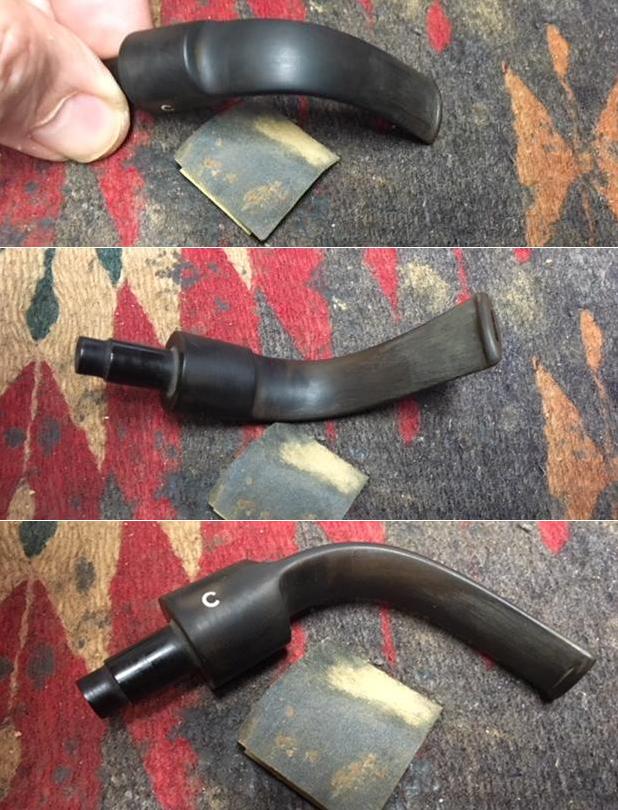
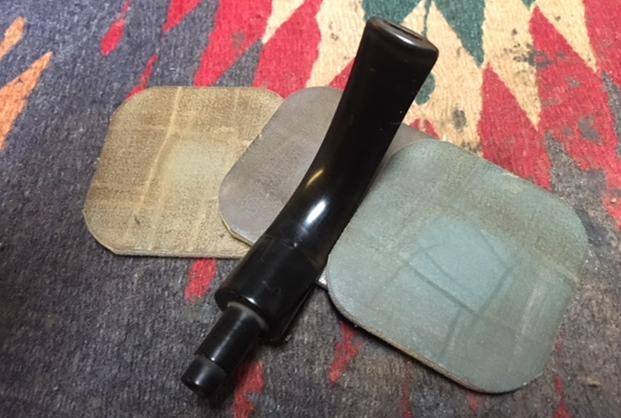
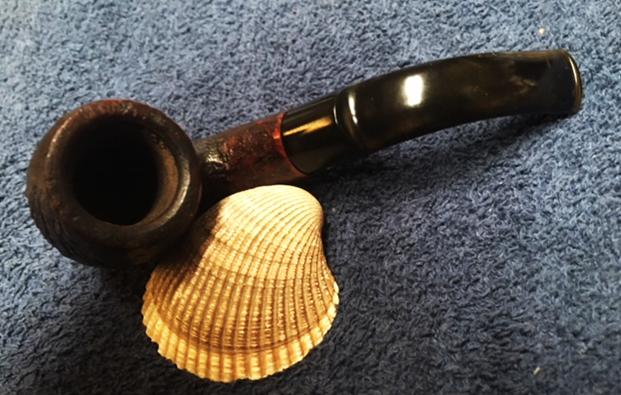
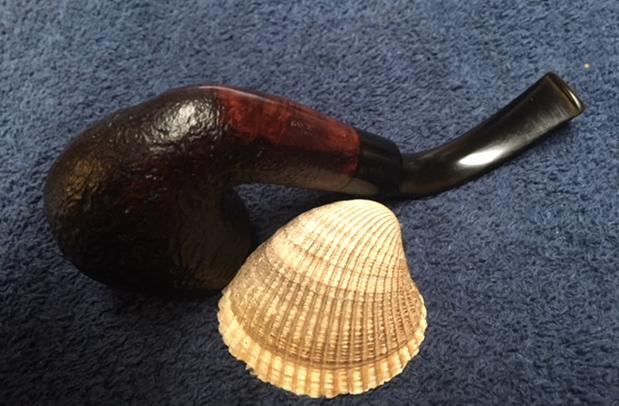
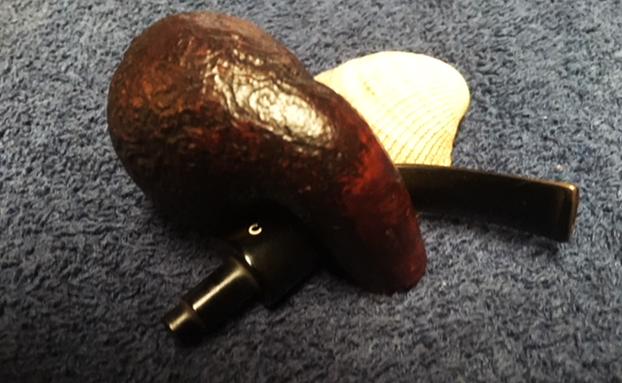
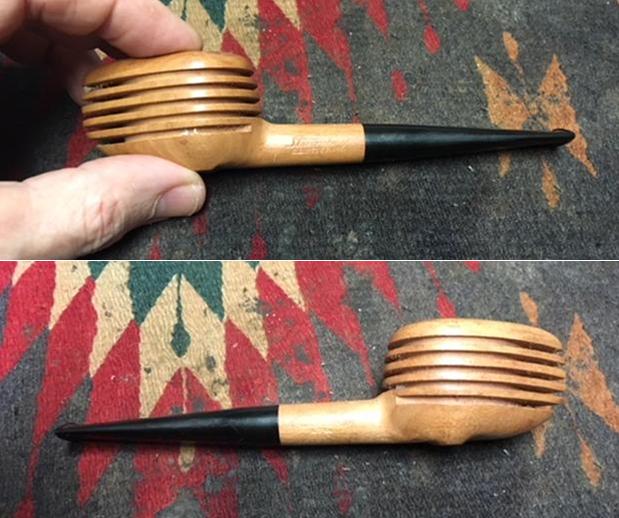
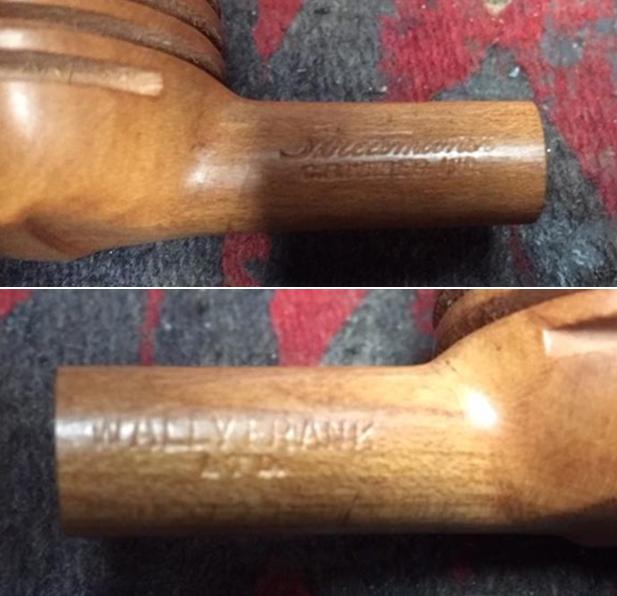
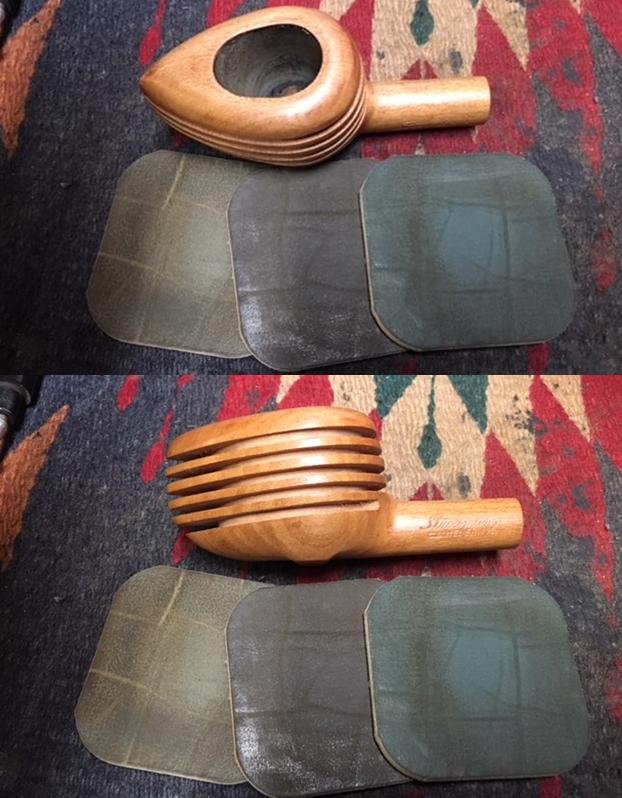
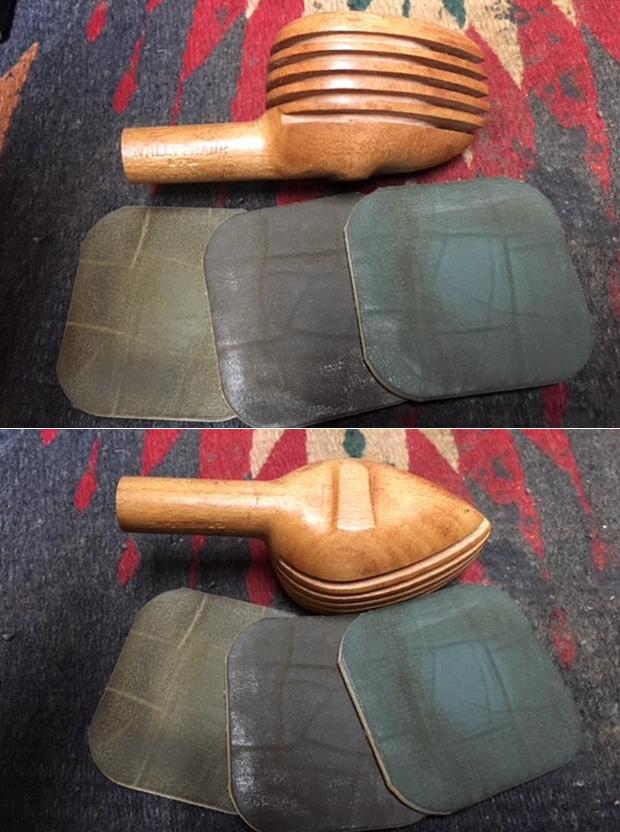
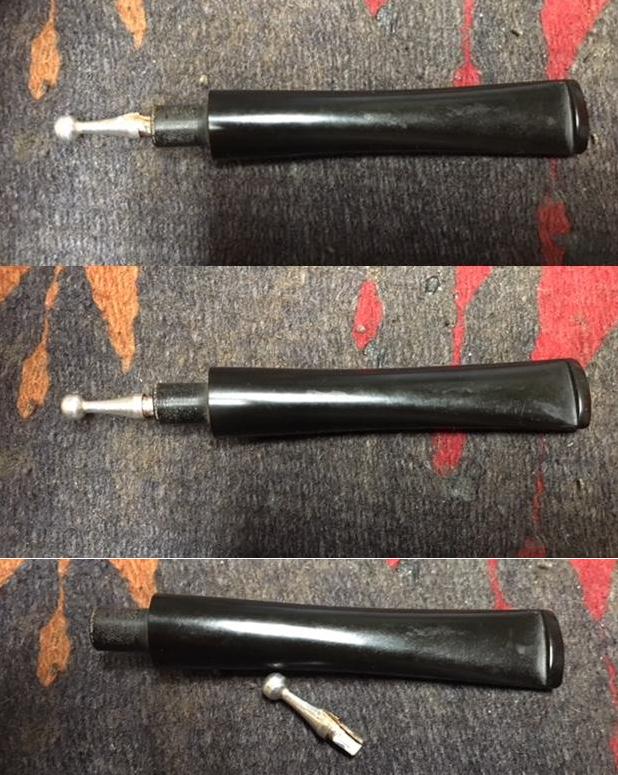
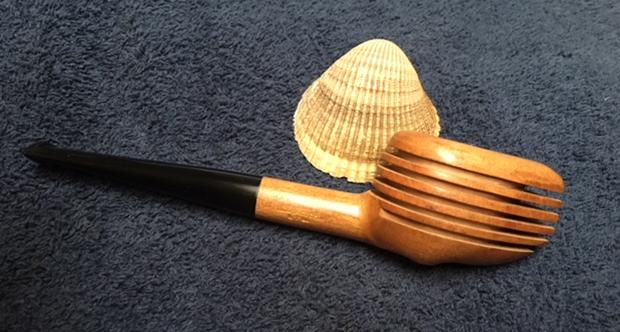
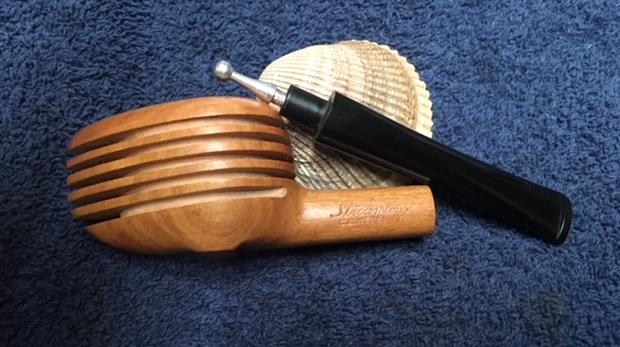
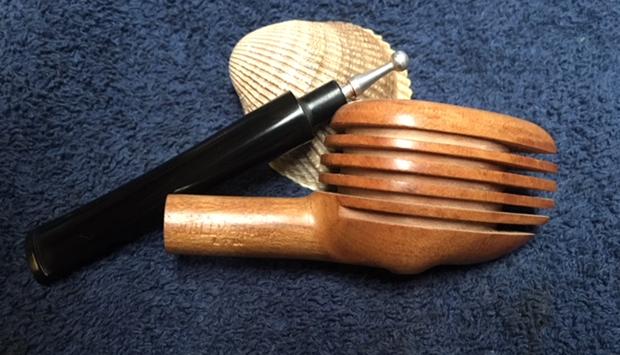
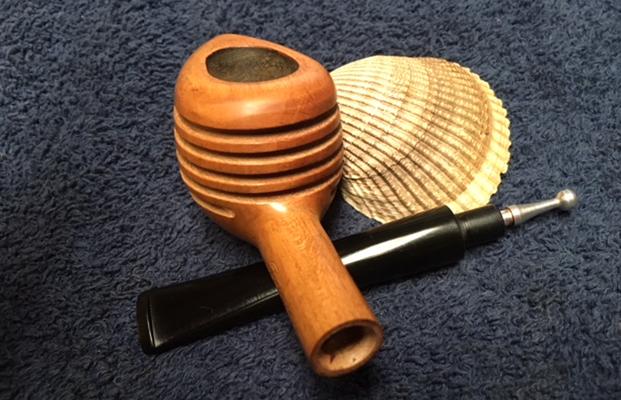
The finish on the pipe was very dirty with a lot of grit and grim in the grooves and crevices of the sandblast. The shank appeared to be rusticated to look like the sandblast around the bowl sides. The rim top was also rusticated to look like a sandblast finish but it is similar to the one that I carved with a dental burr. The rim top was dirty but it did not have a lot of lava overflow. There was a fairly thick cake in the bowl that was soft and brittle. The edges – both inner and outer were in excellent condition other than just dirty. The grain on the sandblast portions was really quite nice and there were places that the finish was worn almost smooth. The underside of the shank was stamped Bewlays in script over Sandblast over London Made followed by what looks like an O. Just below that and toward the stem is the shape number 156. The vulcanite stem had light tooth marks and chatter on both sides at the button. It also had some discolouration on the first inch of the stem that I have come to associate with pipe Softee bits. The pipe was not as dirty and this one smelled of aromatics rather than English blends as the first pipe of Eric’s I worked on. I took photos of the pipe to show the condition it was in when it arrived. 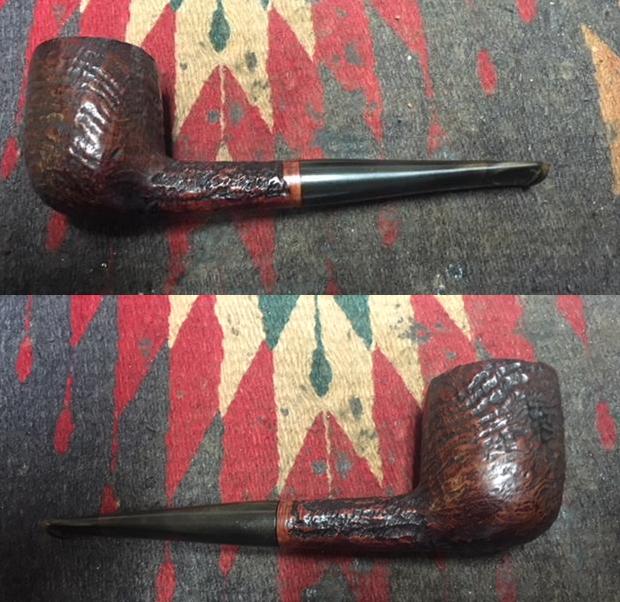
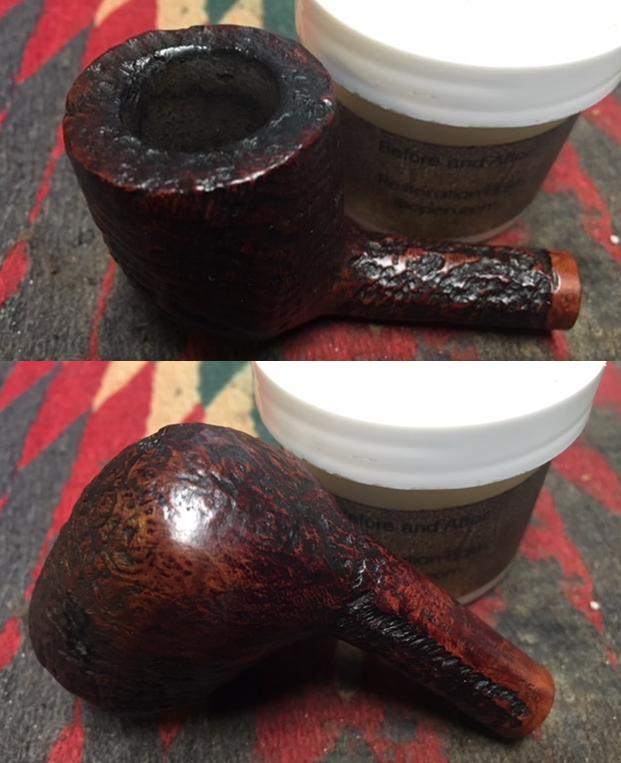
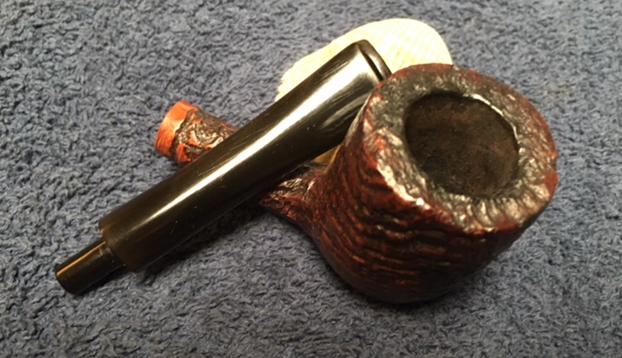
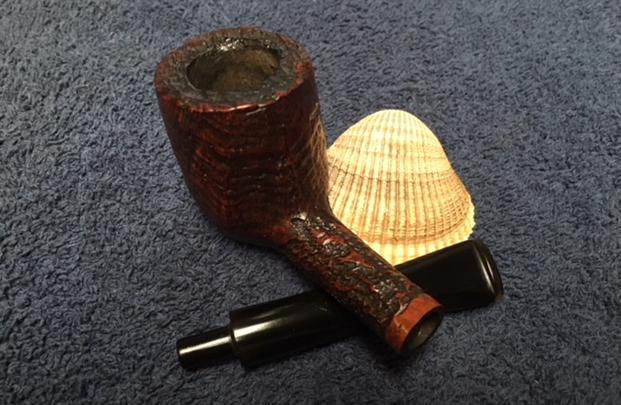
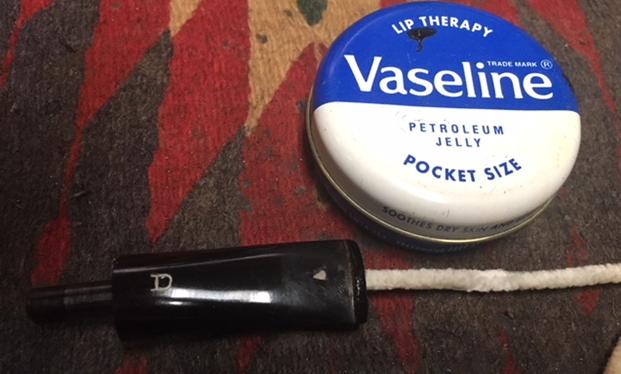
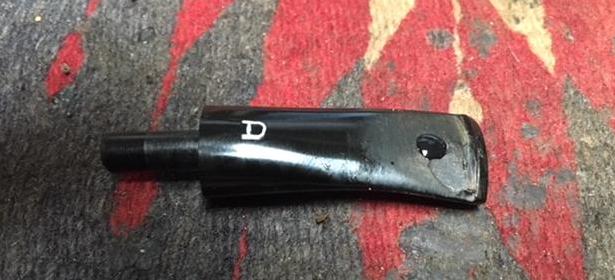
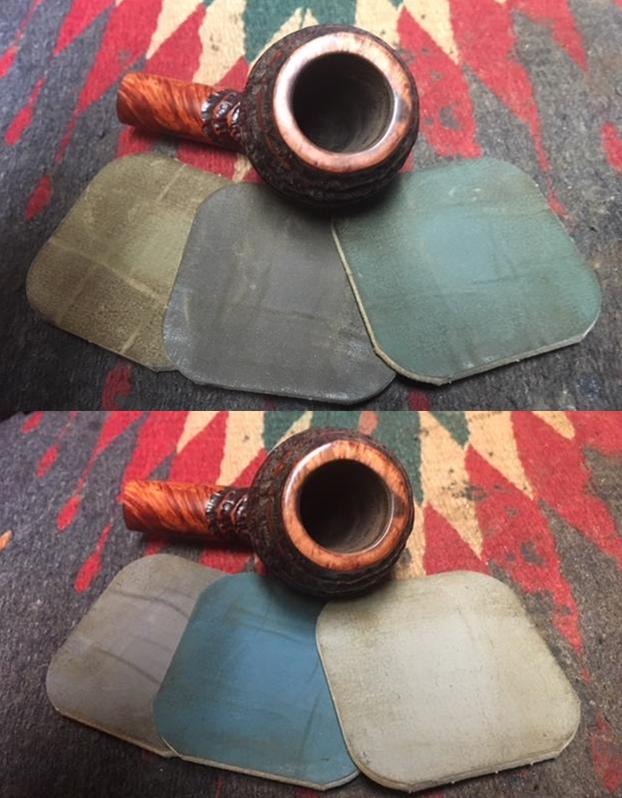
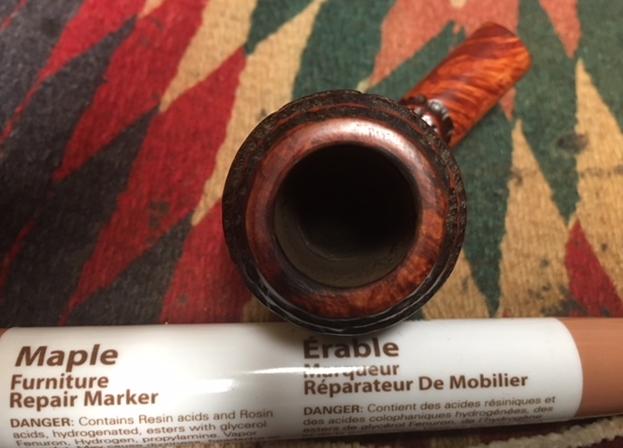
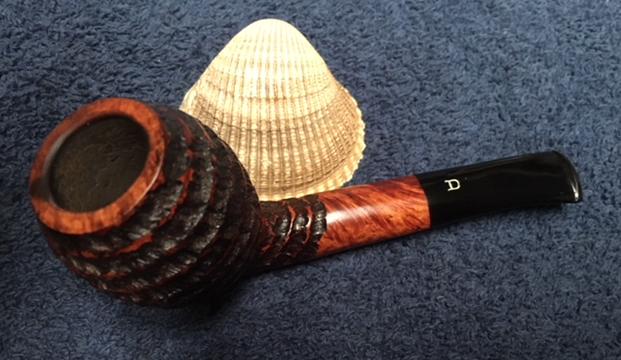
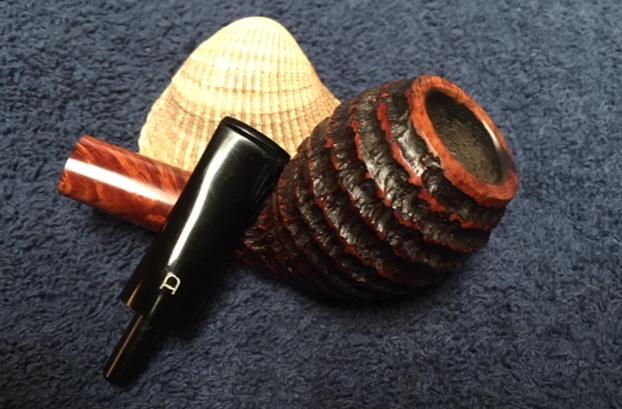
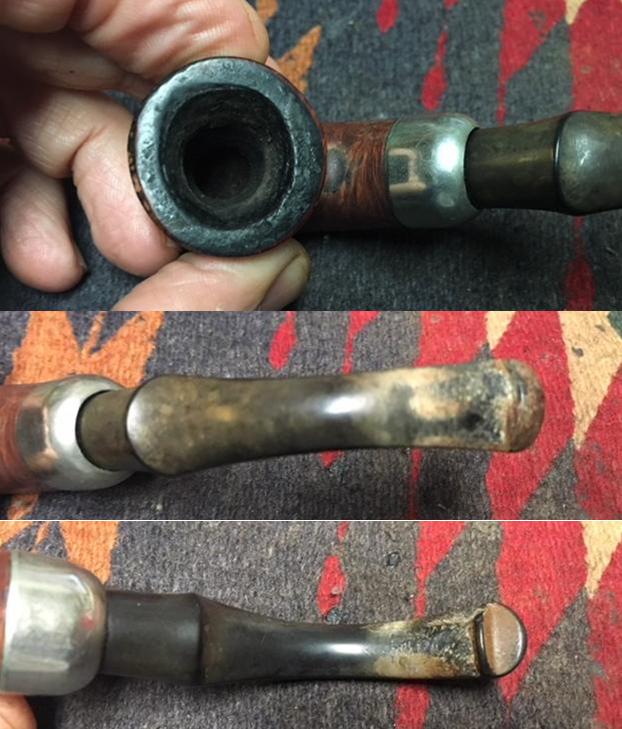
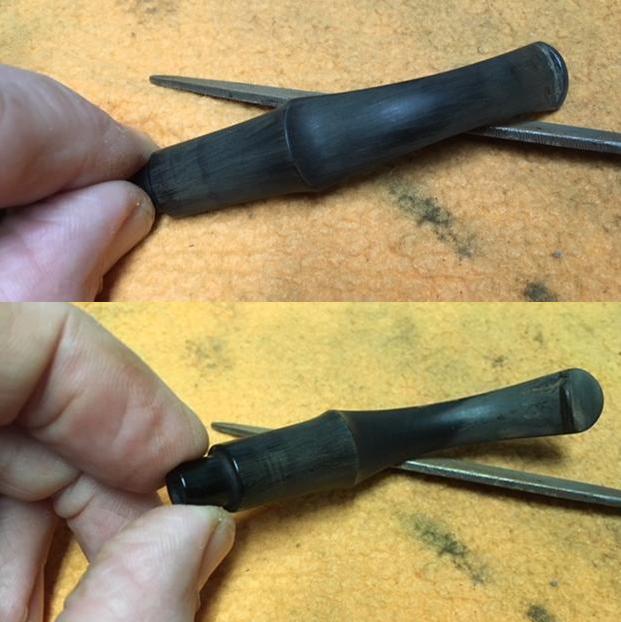
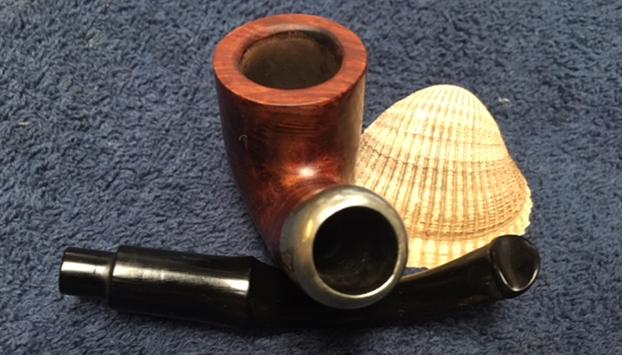
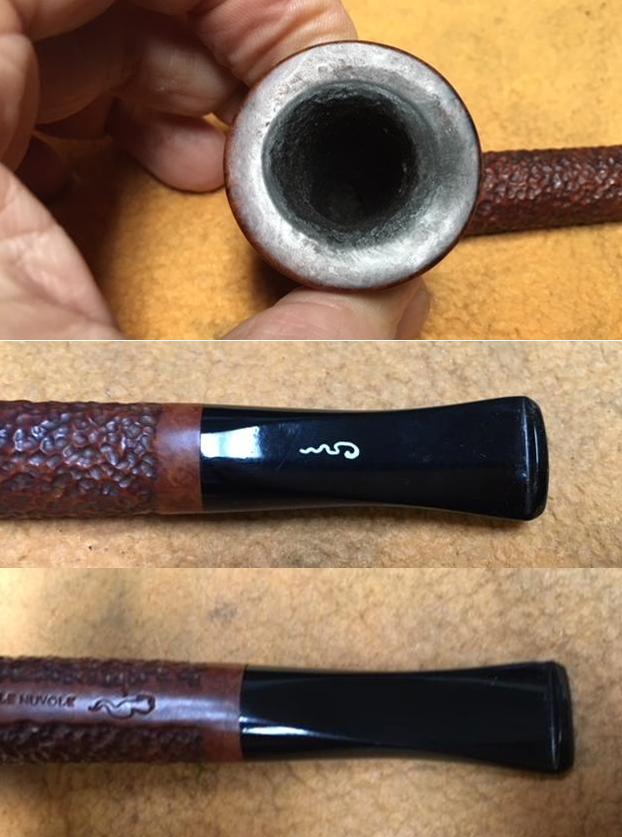
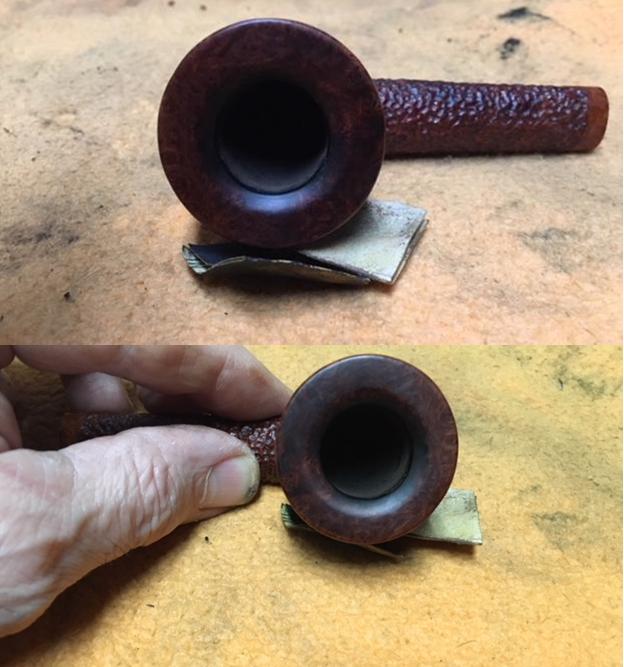
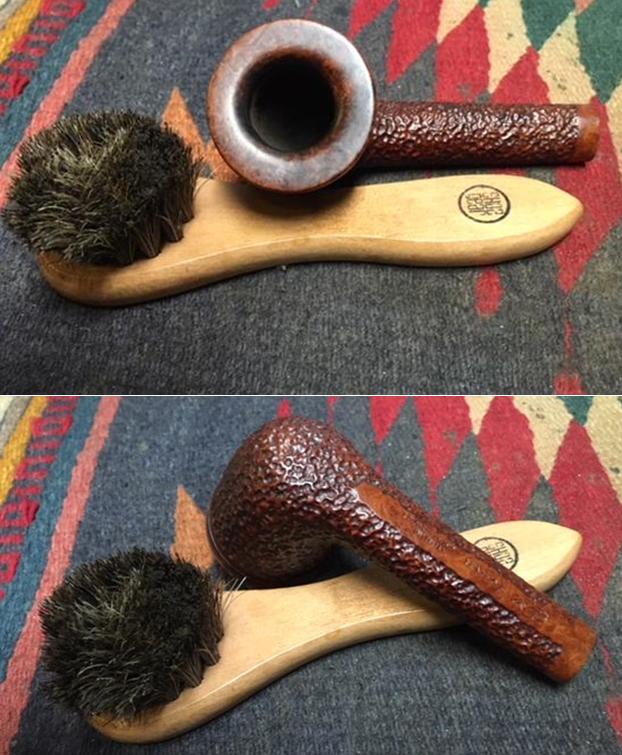
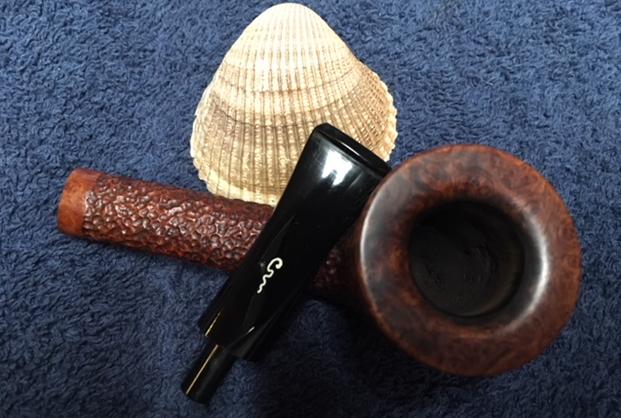
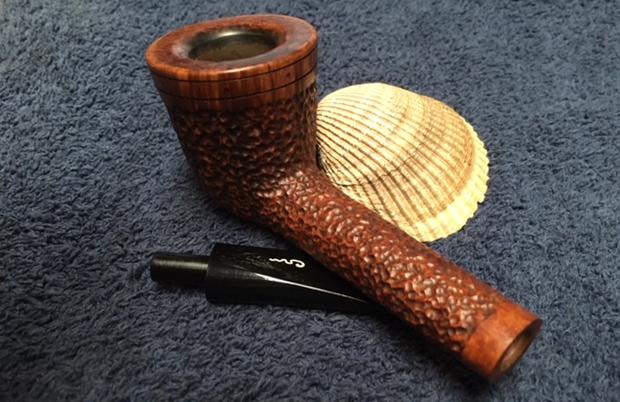
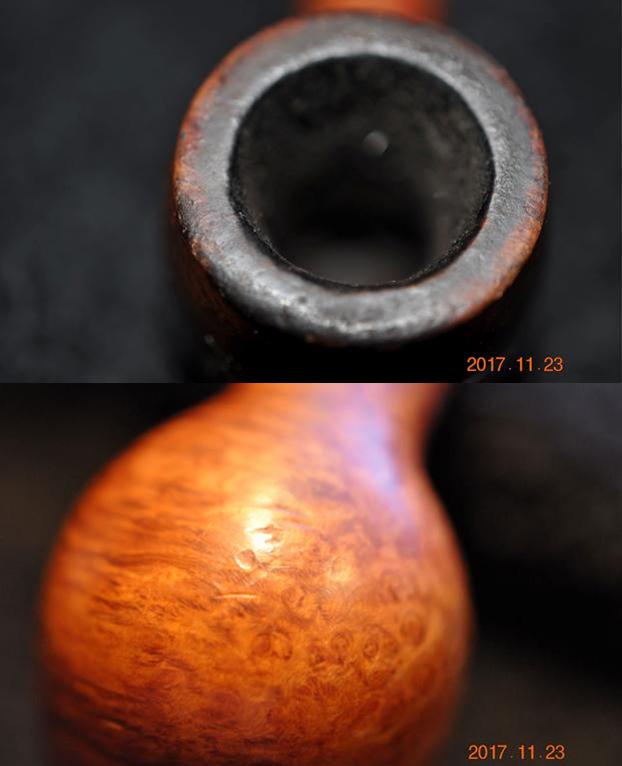
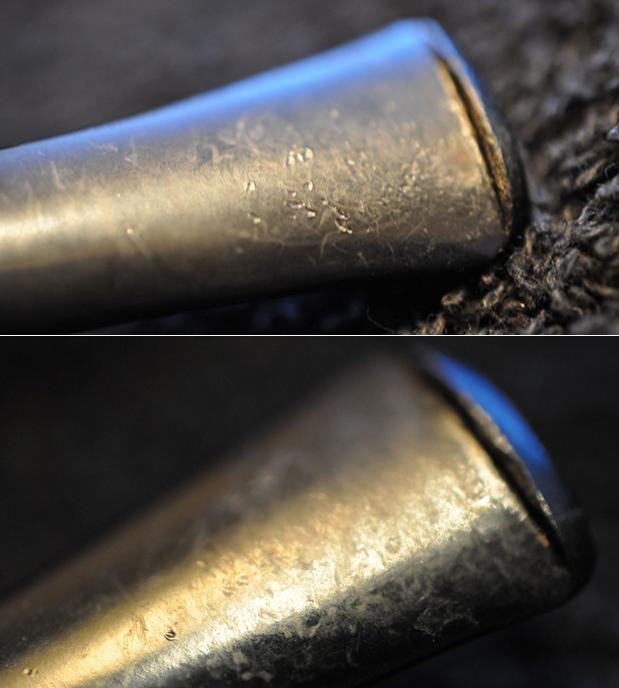
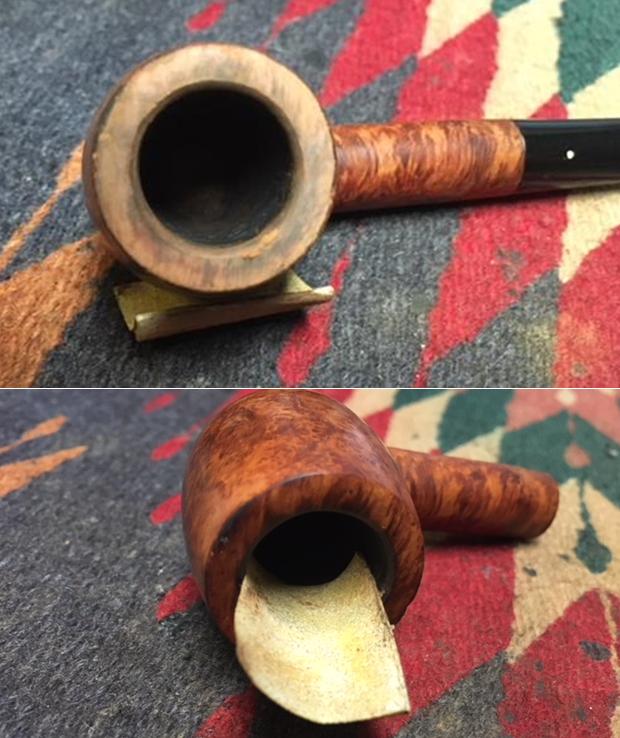
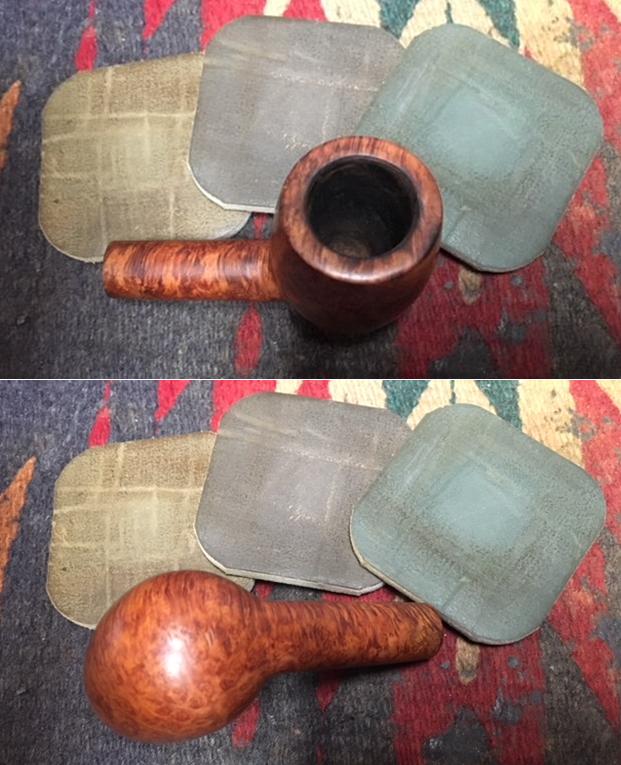
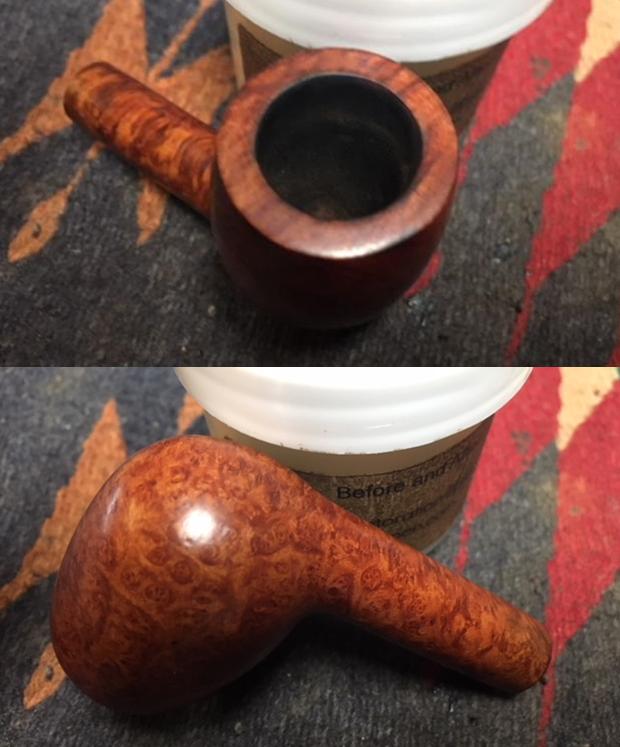
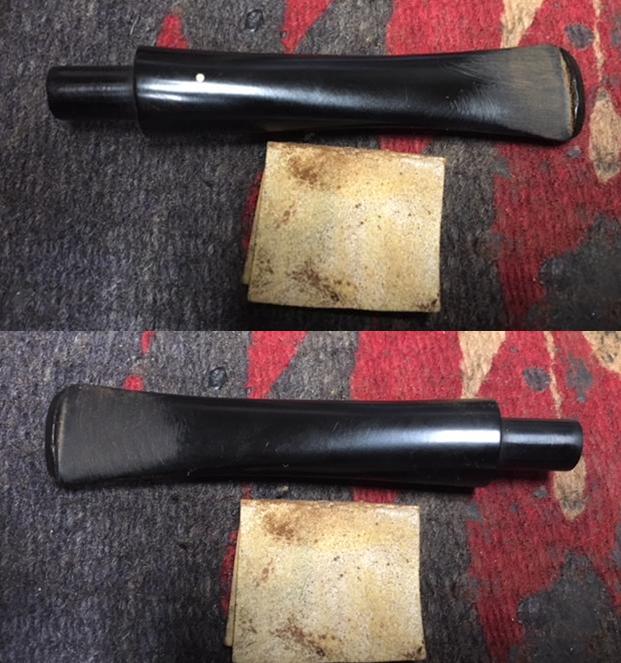
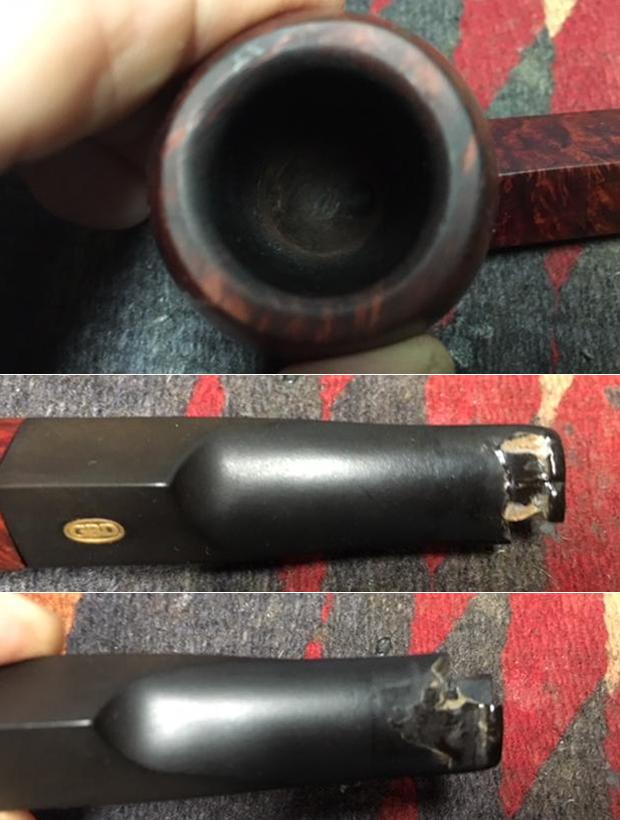
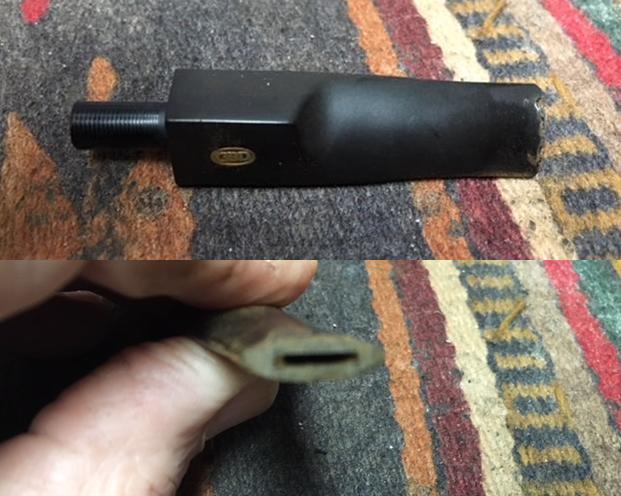
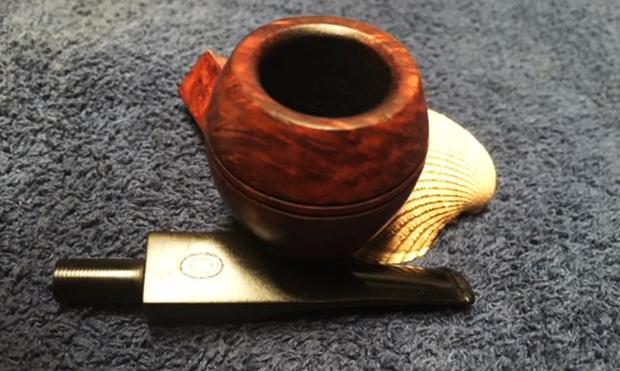
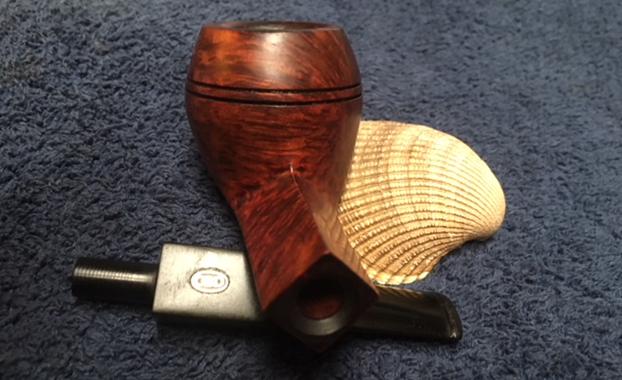
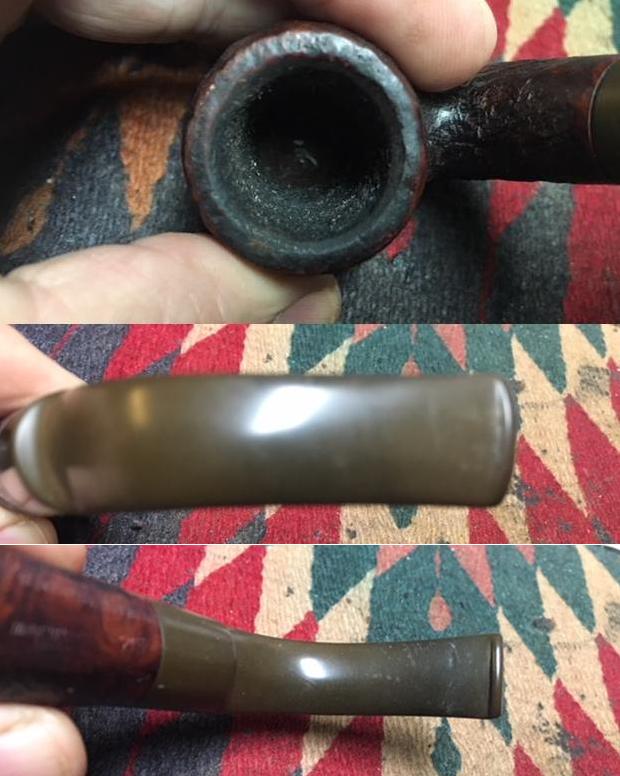
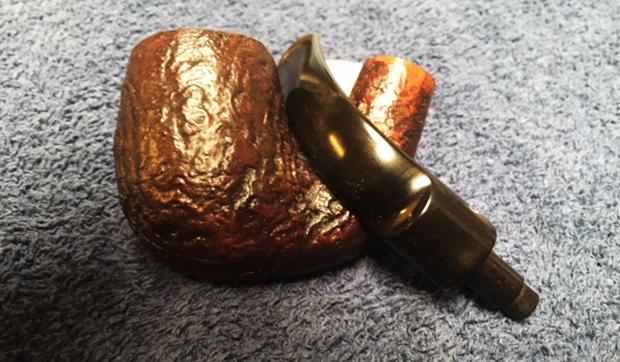
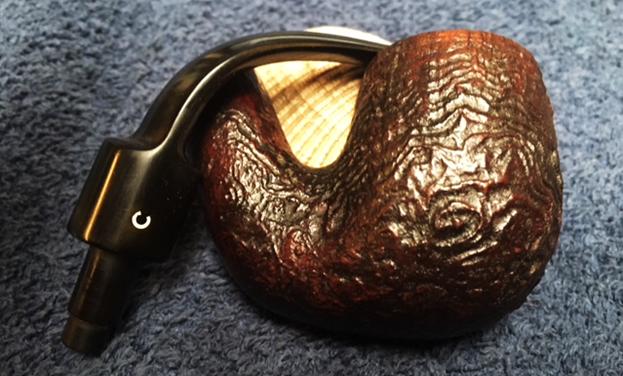
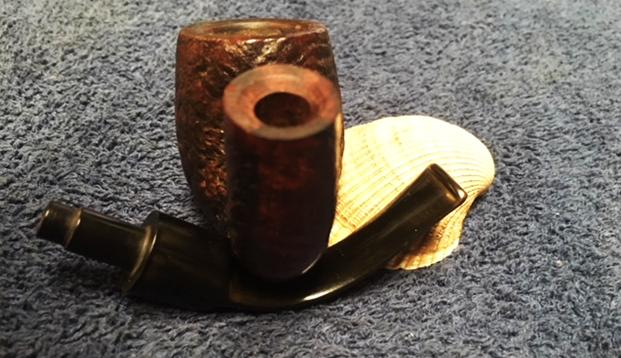
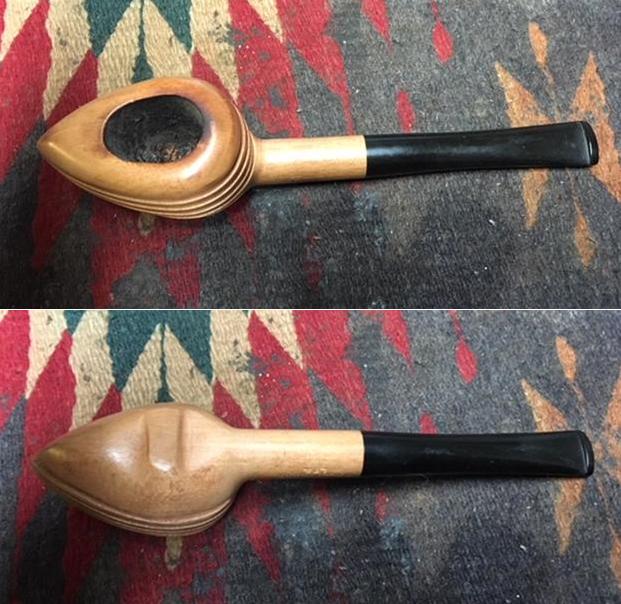
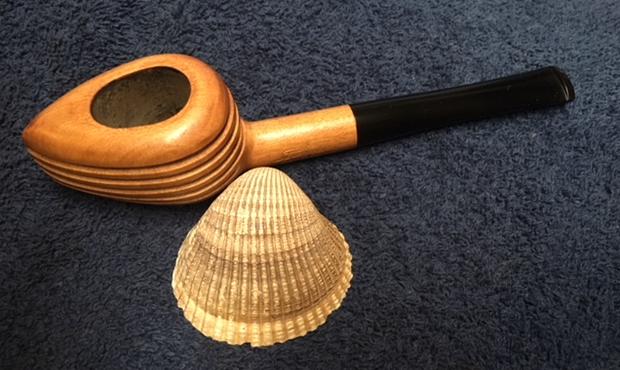
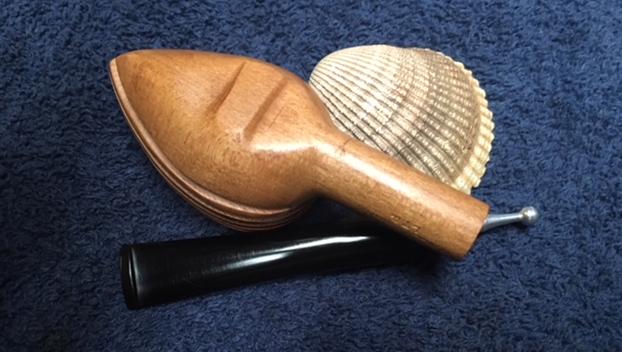
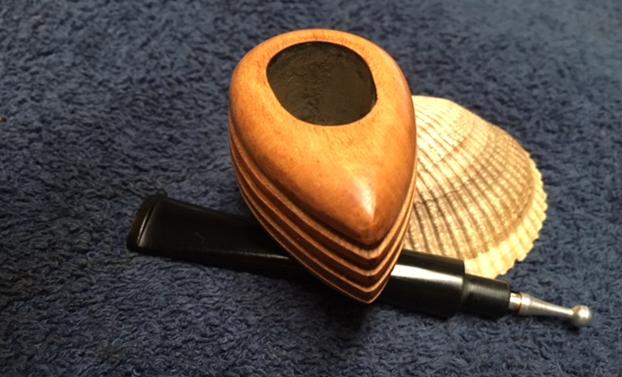
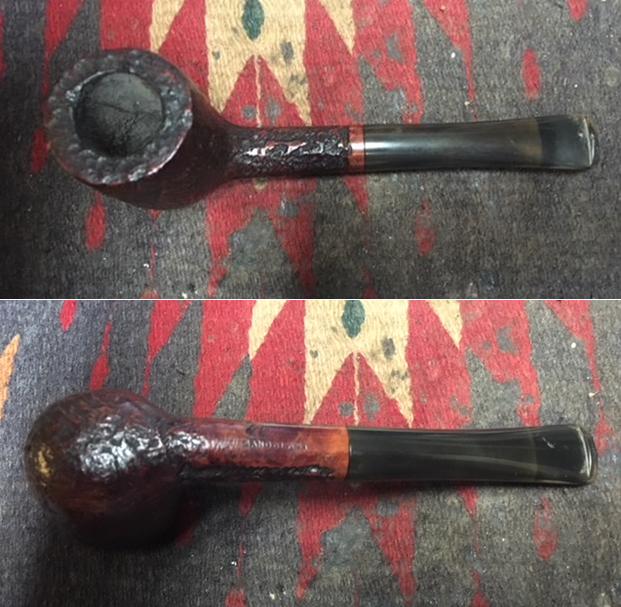 I took close up photos of the bowl and rim top to show its condition. You can see the cake in the bowl and the darkening and dust in the rim top grooves, nooks and crannies. The rim does not look damaged on the inner or outer edge in this photo. I also took photos of the stem to show the general condition it was in as well. It looked pretty good other than chatter on both sides ahead of the button and the puncture on the topside of the stem.
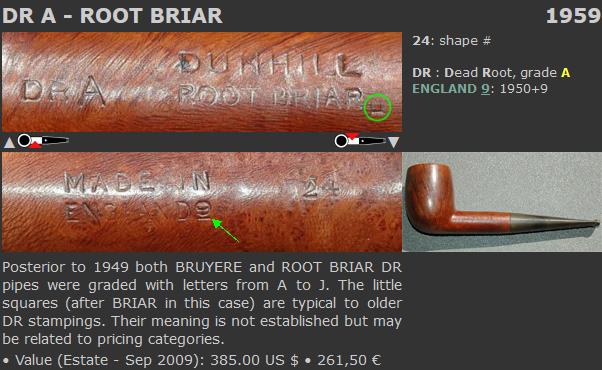
 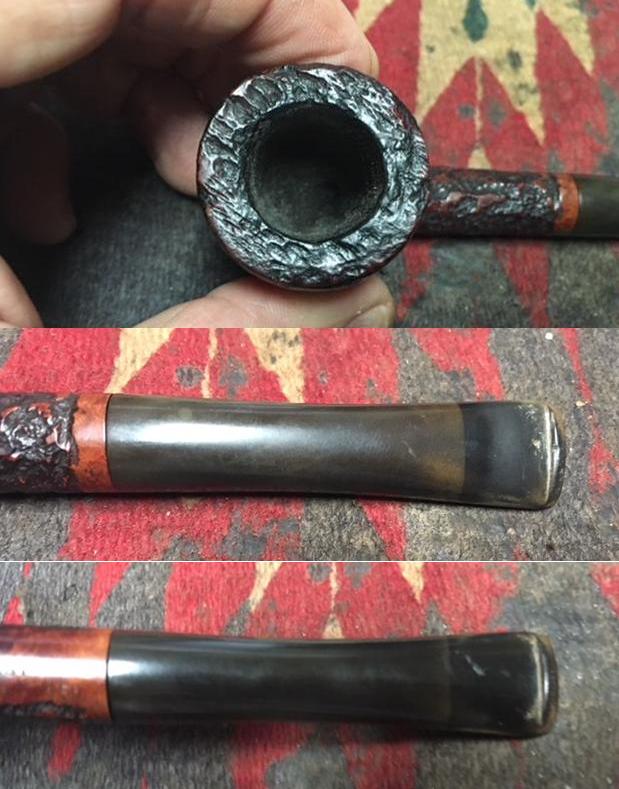 I decided to read a little about the Bewlay brand to refresh my memory. On the PipePhil site I found out information on the brand. The brand was distributed by Bewlay & Co. (a chain of pipe stores in England) until the 50’s when it was taken over by Imperial Tobacco & Co. I took a screen capture of the Bewlay brand. The stamping on the one I am working on is shown in the second photo below and you can see that it is the same as this other than the shape number.
 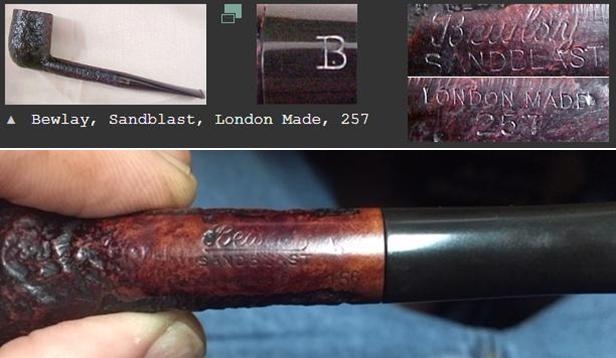 http://www.pipephil.eu/logos/en/logo-d2.html
I did some searching on Pipedia and found a short write up on the brand and found a photo and some helpful information that I have included below.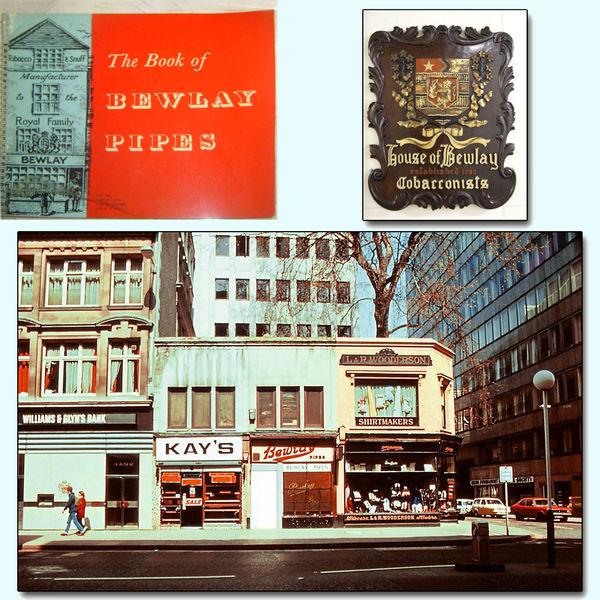 The English brand of Bewlay & Co. Ltd. (formerly Salmon & Gluckstein Ltd.), was in business from the early 20th century until the 1950’s. The brand ended up being sold and taken over by Imperial Tobacco Co. The shop chain closed in the 1980’s but there seems to be one shop still in business on Carr Lane in the city of Hull.
Bewlay pipes were made by numerous prestigious firms. Notably Barling, Charatan, Loewe & Co., Sasieni, Huybrecht, and Orlik. So understandably, the English considered a Bewlay pipe a quality pipe. https://pipedia.org/wiki/Bewlay
The article also cross referenced a thread on the Pipesmagazine.com forum that gave further information on the various makers and shapes. (http://pipesmagazine.com/forums/topic/a-bewlay-pipe-thread-with-pictures). There was one responder there that referred to a pipe that had the same shape number as the one I am working on. He wrote the following: One of my nicest Bewlay’s is a 156 billiard which, it turns out, correlates with nr. 156 on the Orlik shape chart.
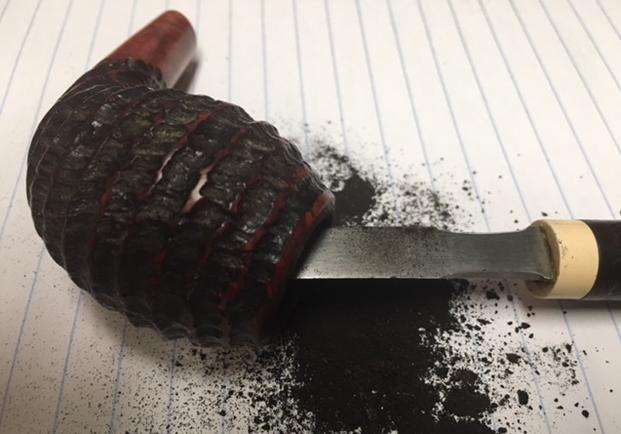
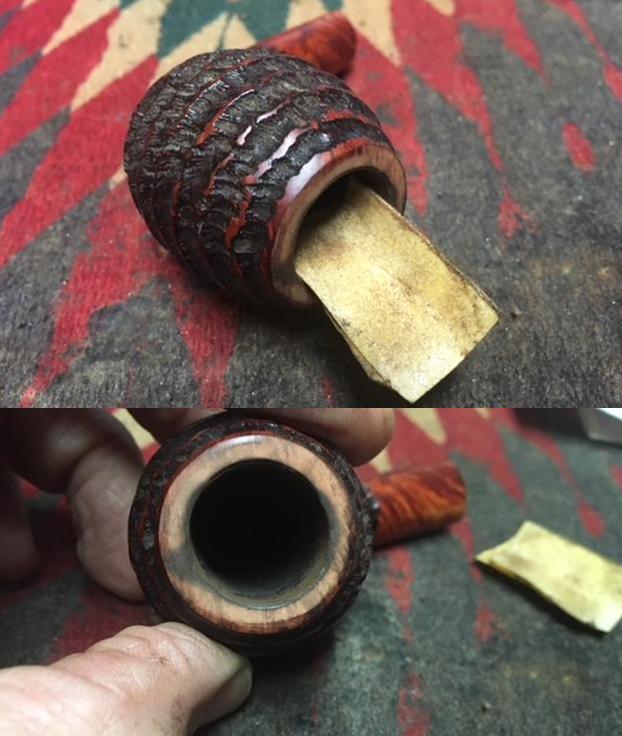
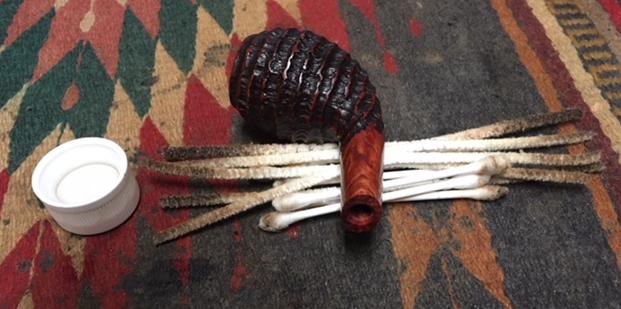
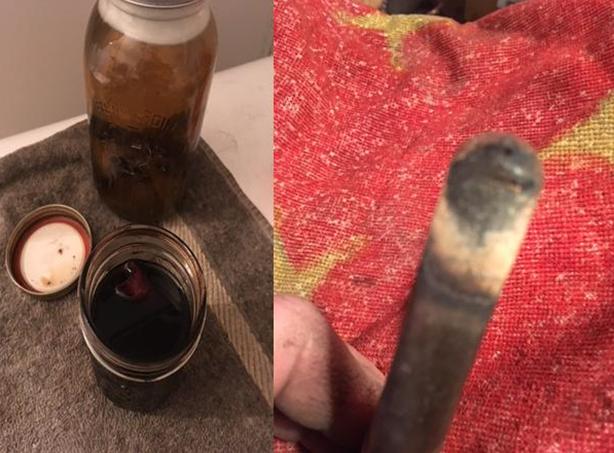
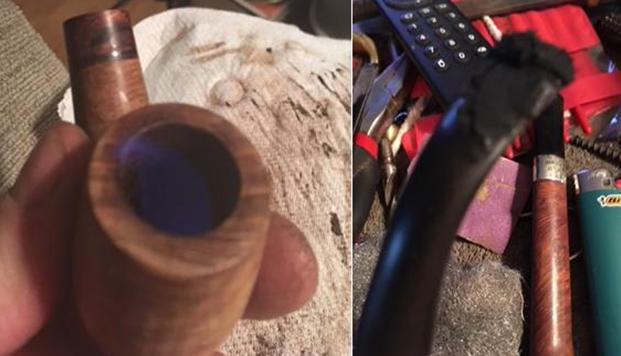
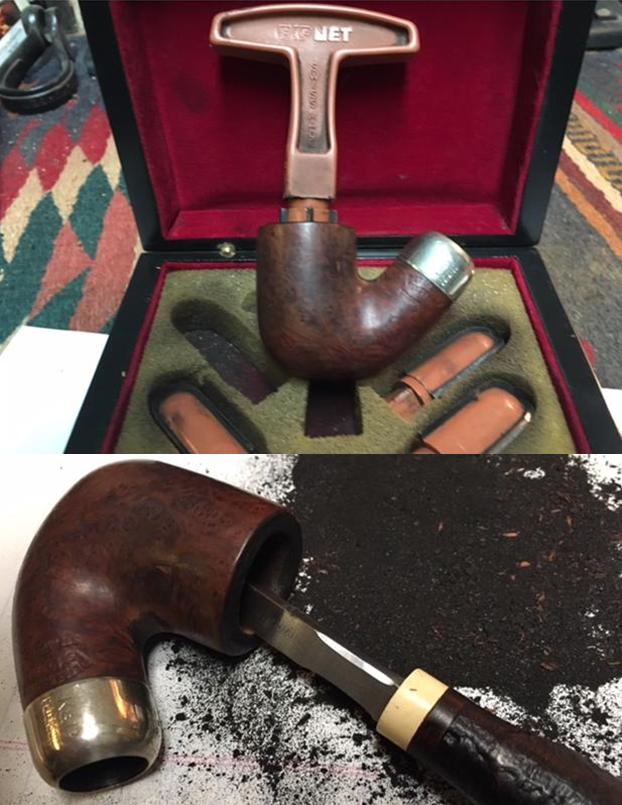
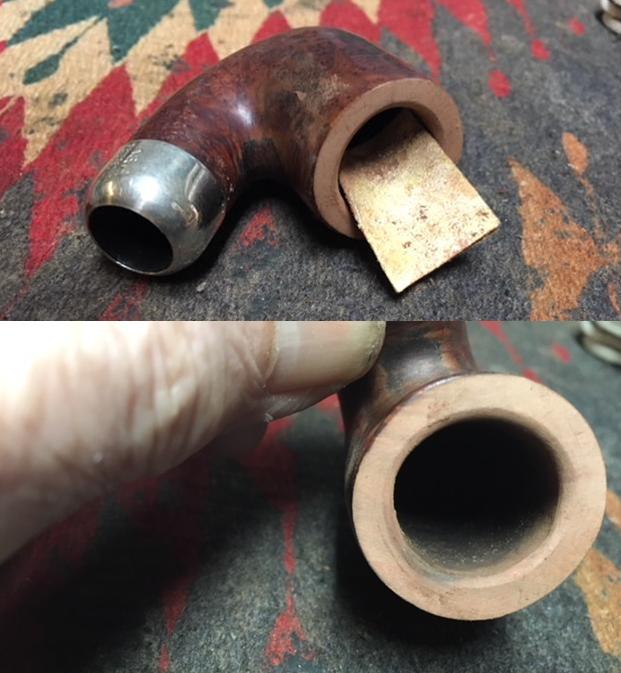
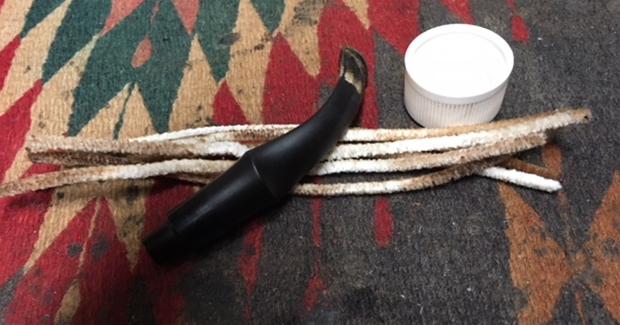
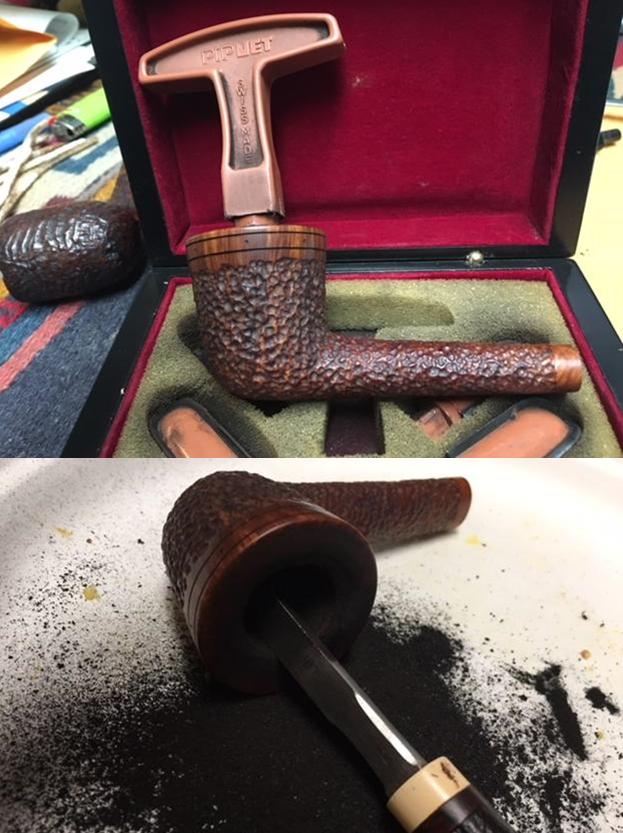
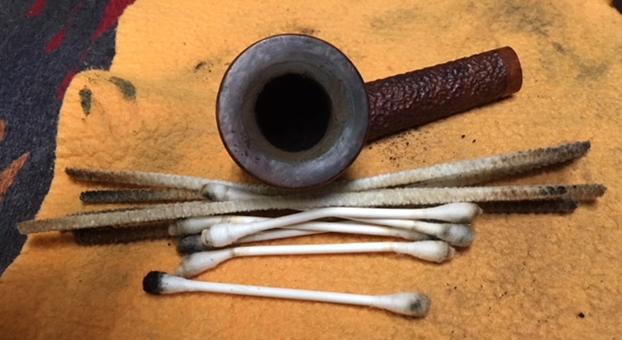
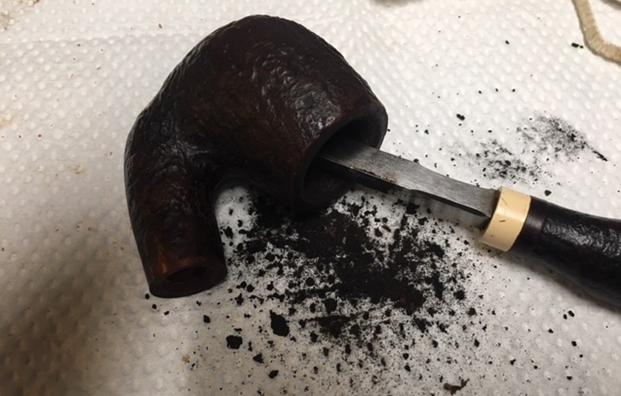
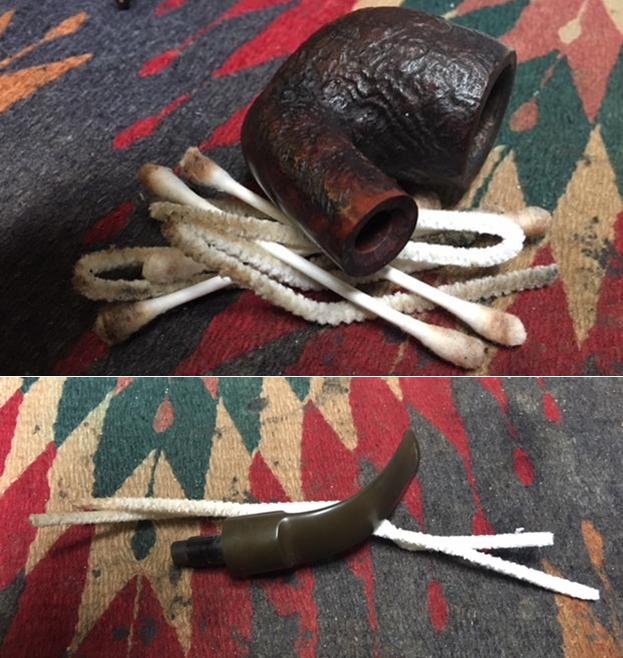
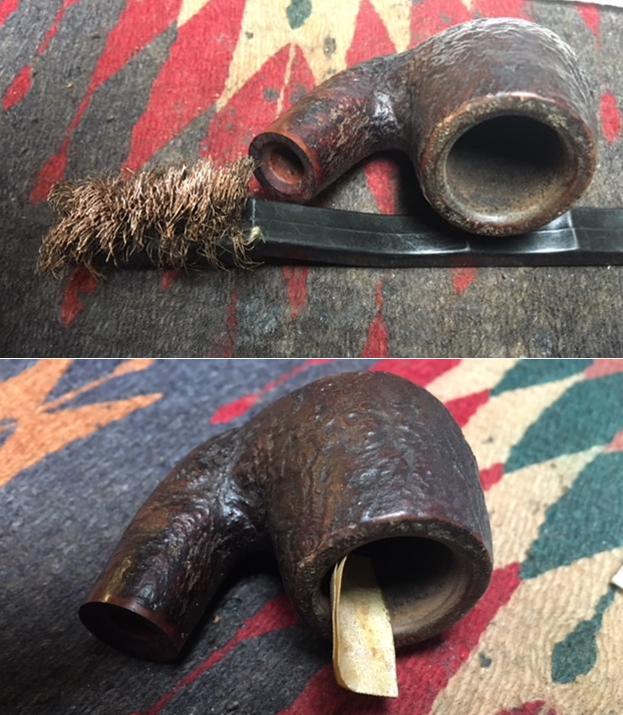
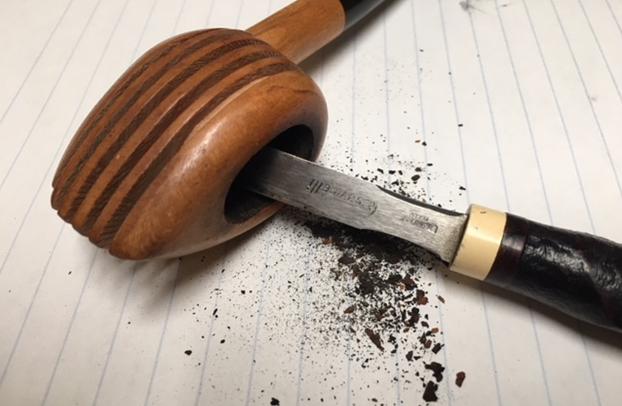
I started my restoration of this pipe by reaming it with a PipNet pipe reamer starting with the smallest cutting head to remove the initial cake and then moving up to the second cutting head to take the cake back to bare briar. I cleaned up what remained with a Savinelli Fitsall Pipe Knife to take back what remained of the cake to bare briar. 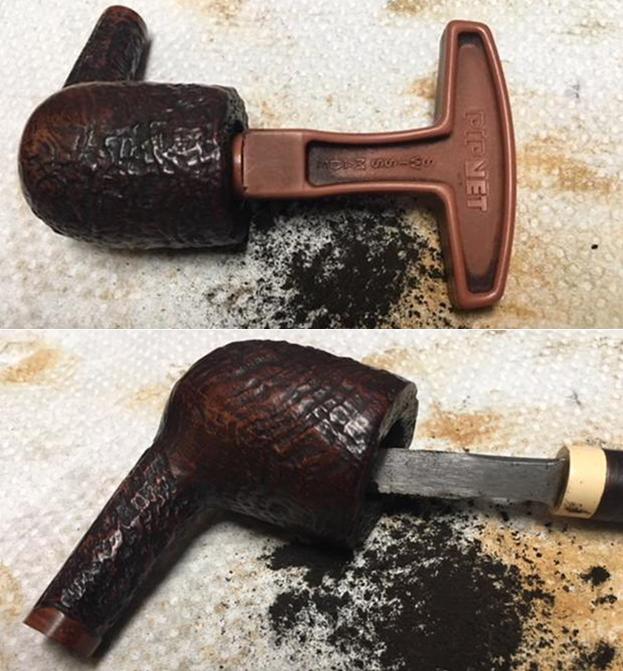 I scraped the inside of the shank with a pen knife to remove the tars and oils on the inside of the mortise. I followed that up by cleaning out the interior of the mortise and the airway in the shank and the stem with alcohol, cotton swabs and pipe cleaners. Cleaning the stem took the same amount of pipe cleaners as the shank but I forgot to include a photo of that. I cleaned it until the cleaners came out white.
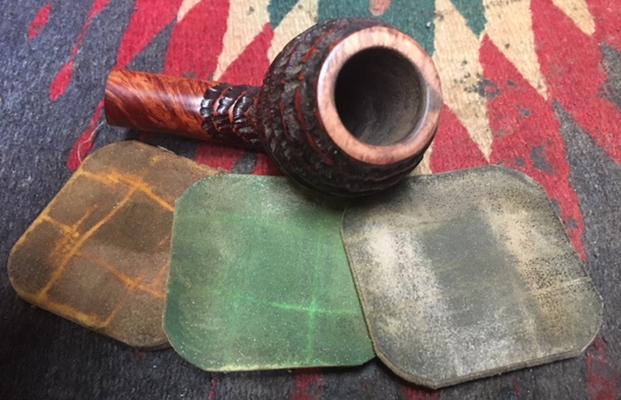
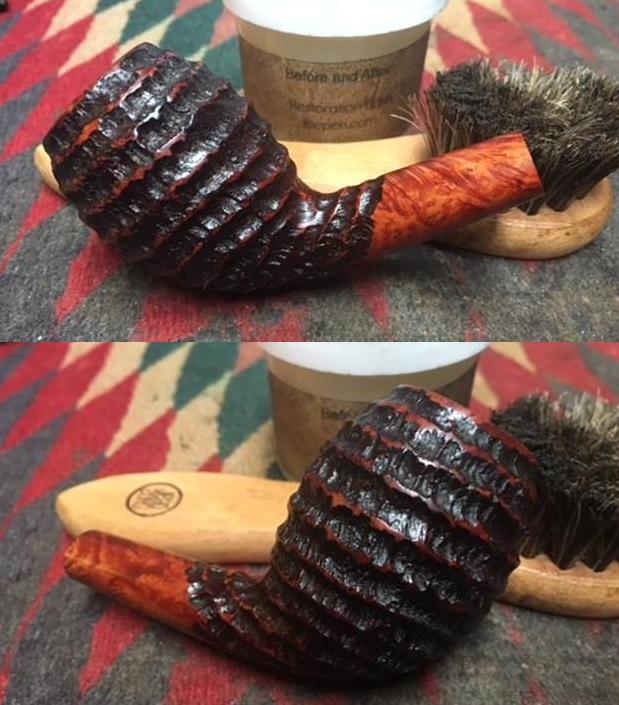
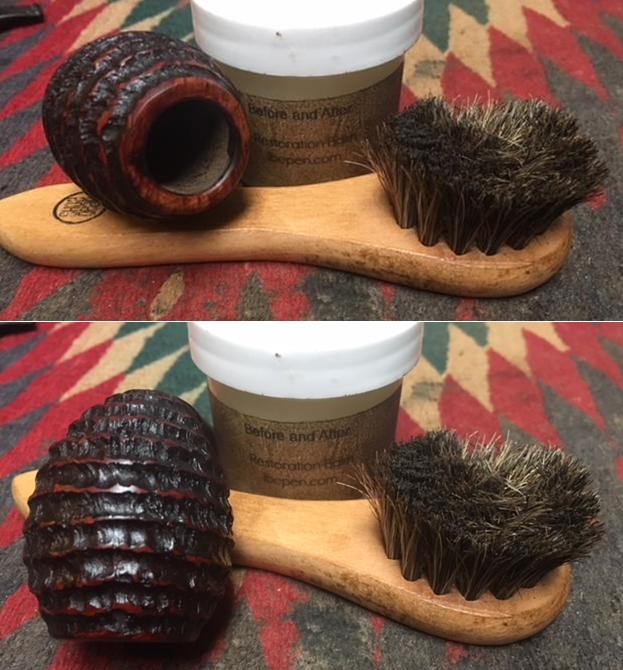
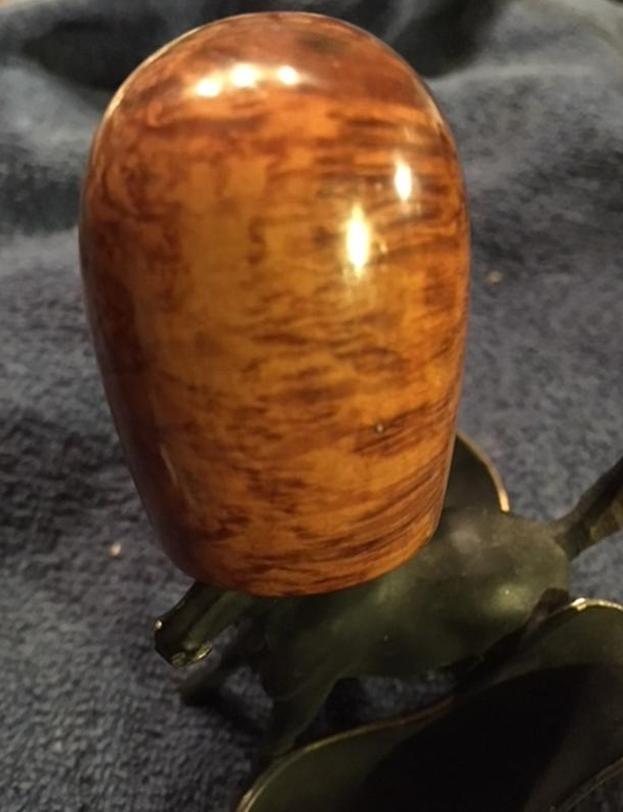
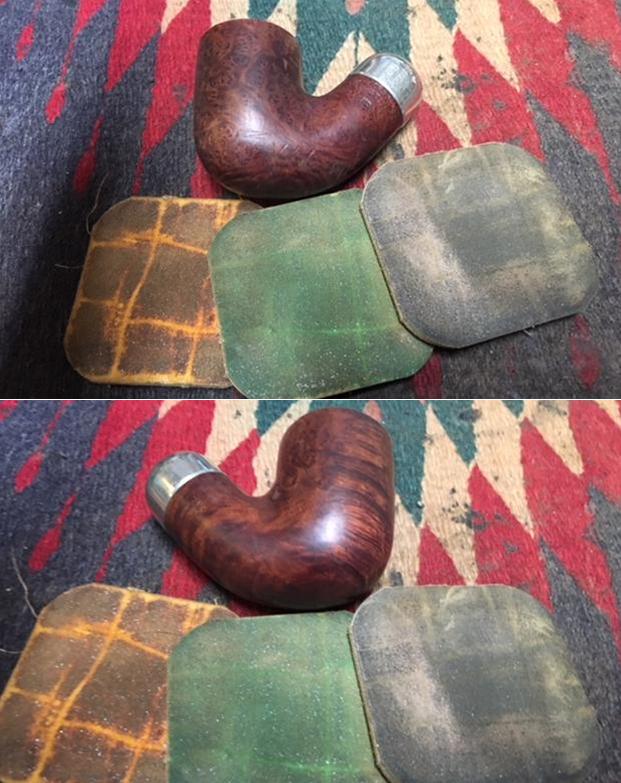
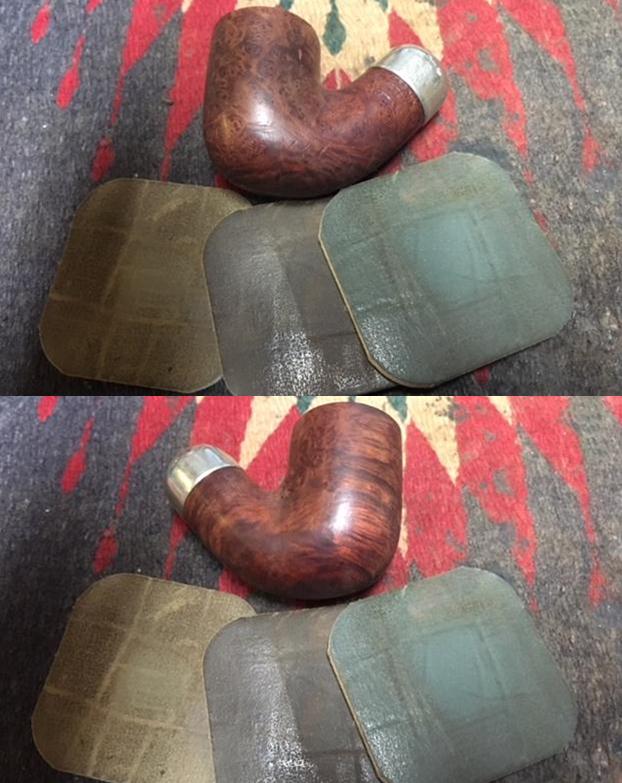
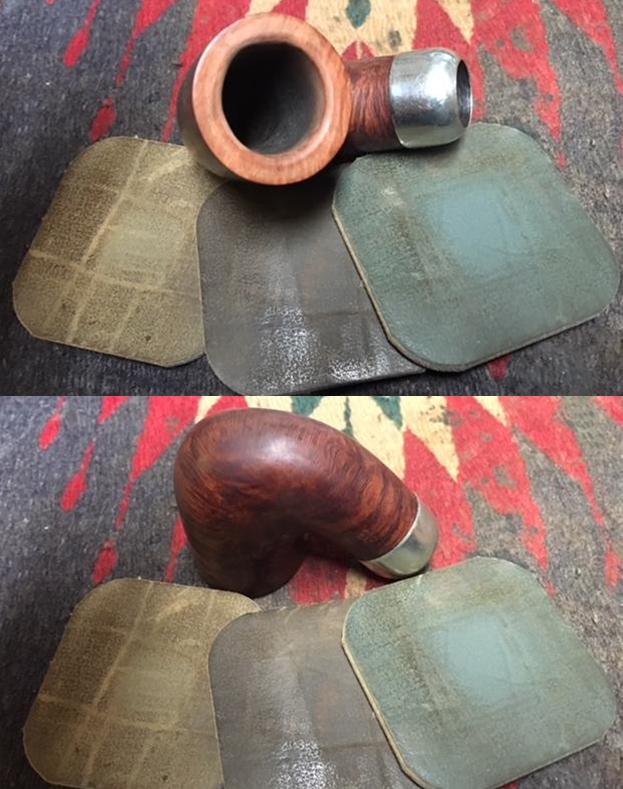
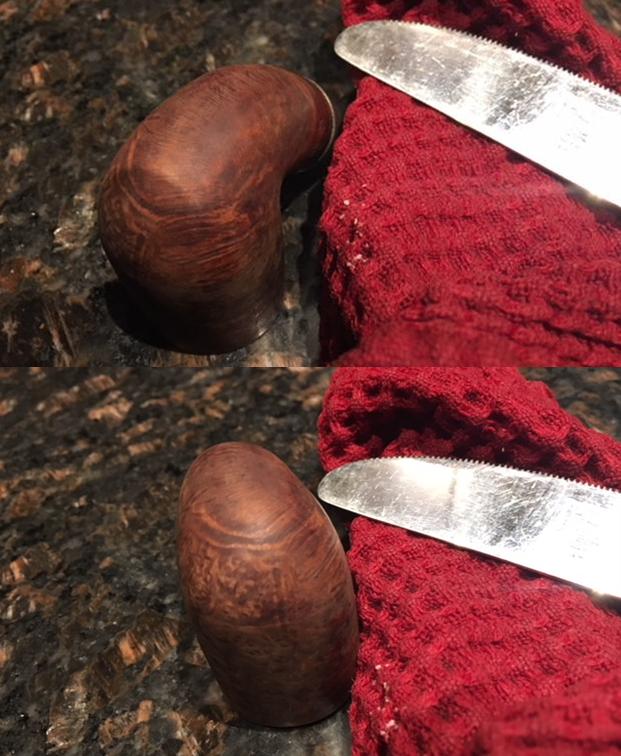
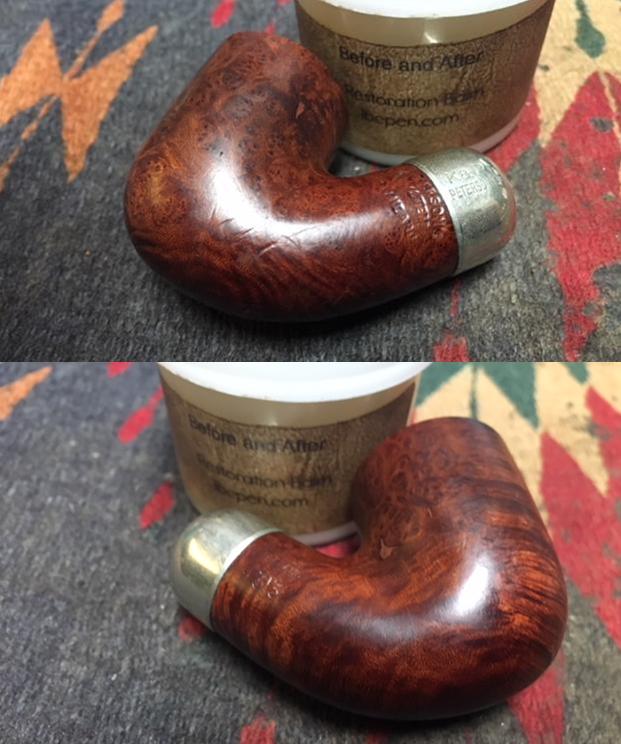
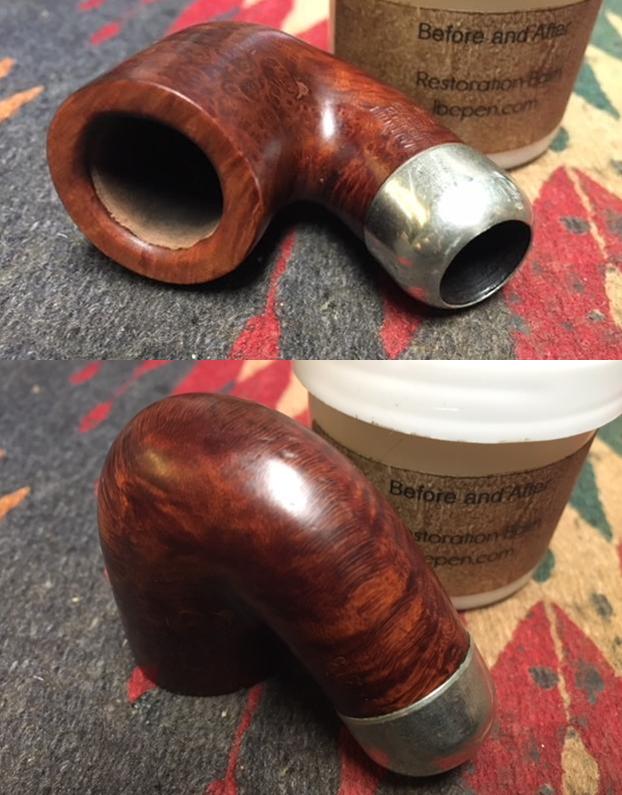
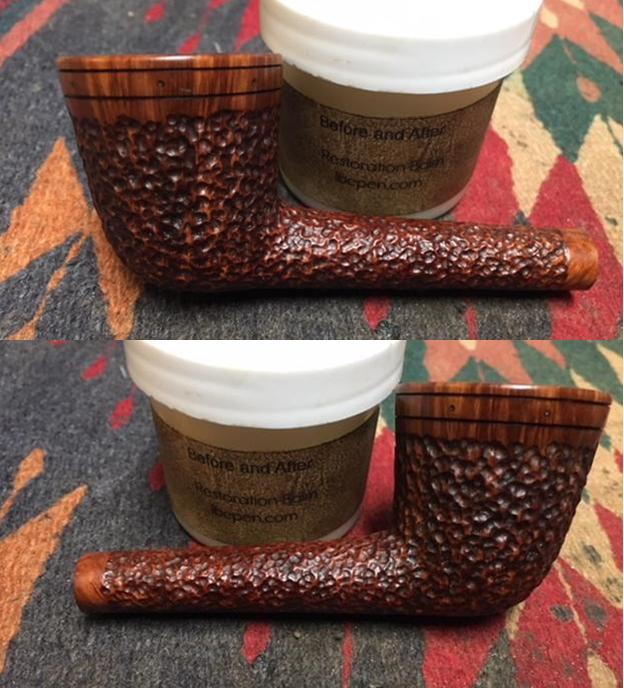
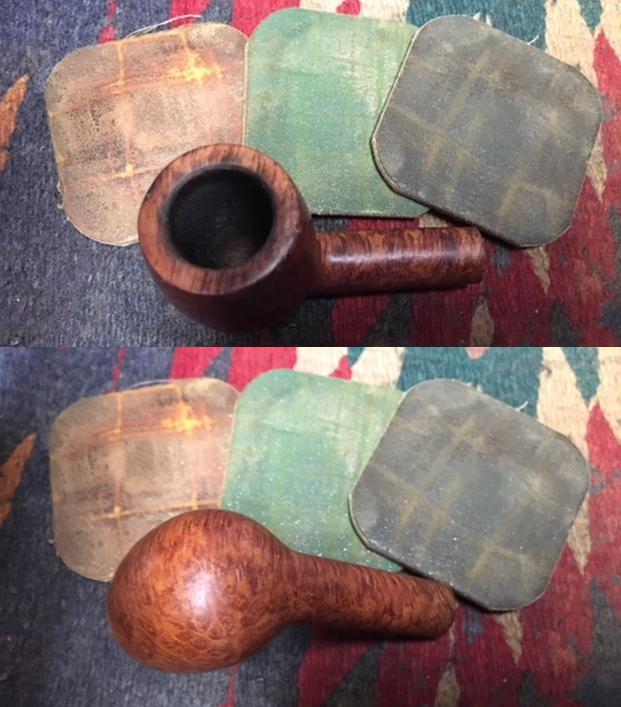
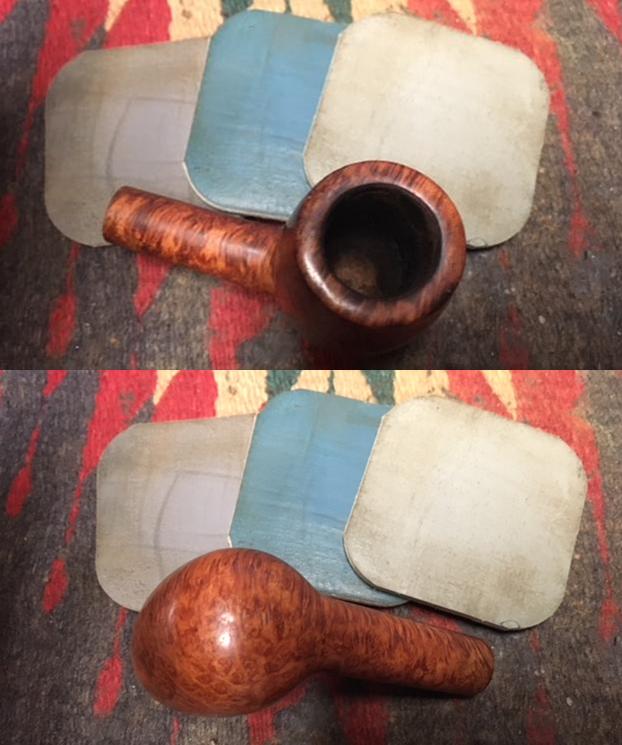
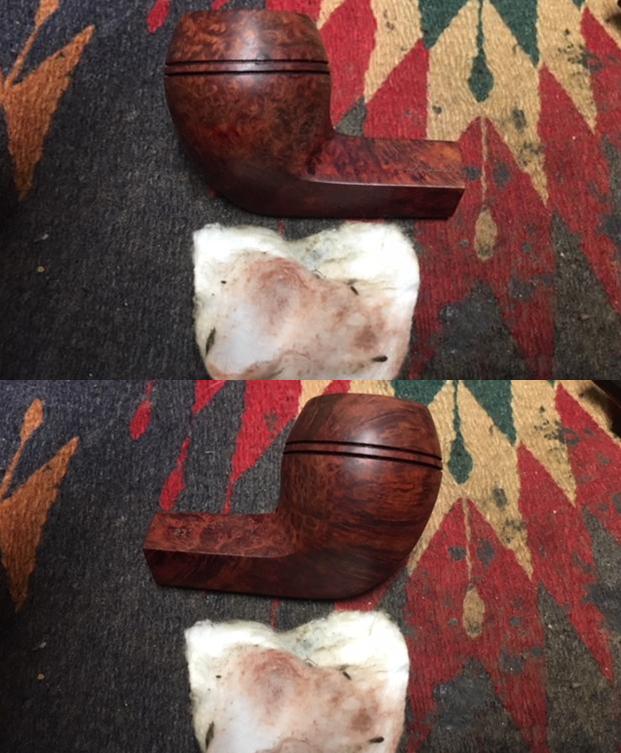
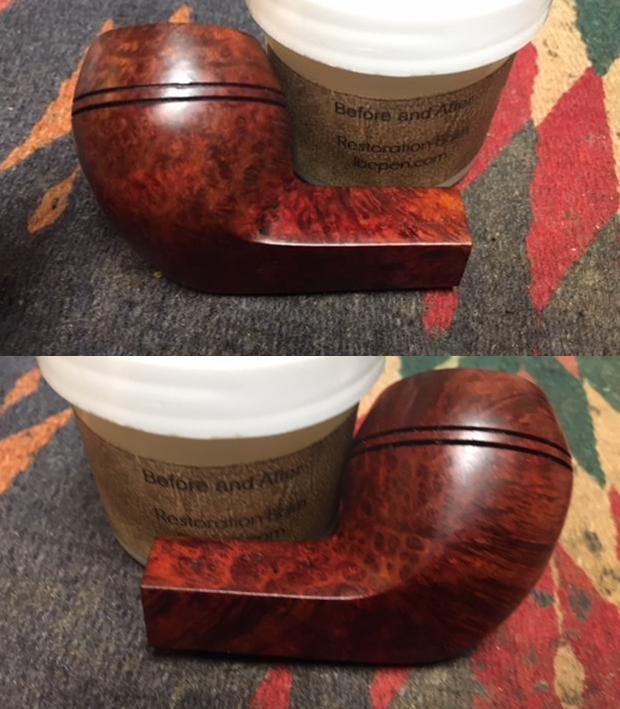
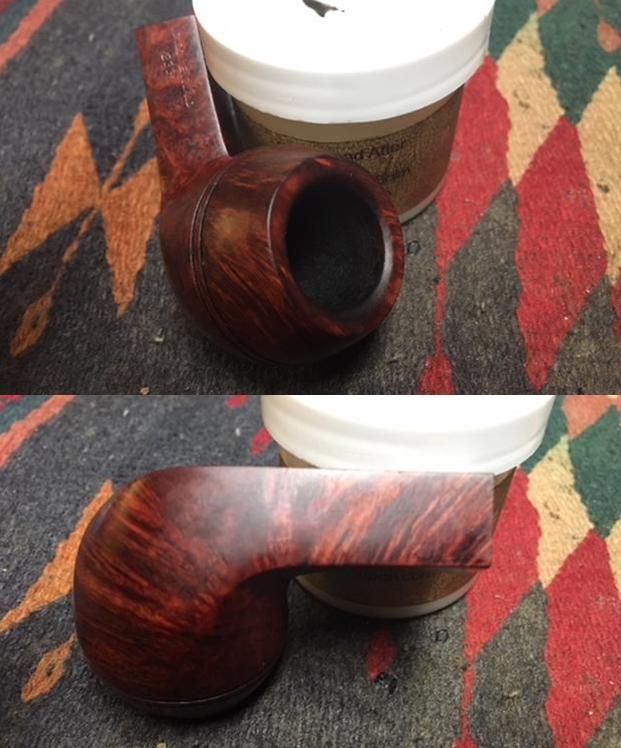
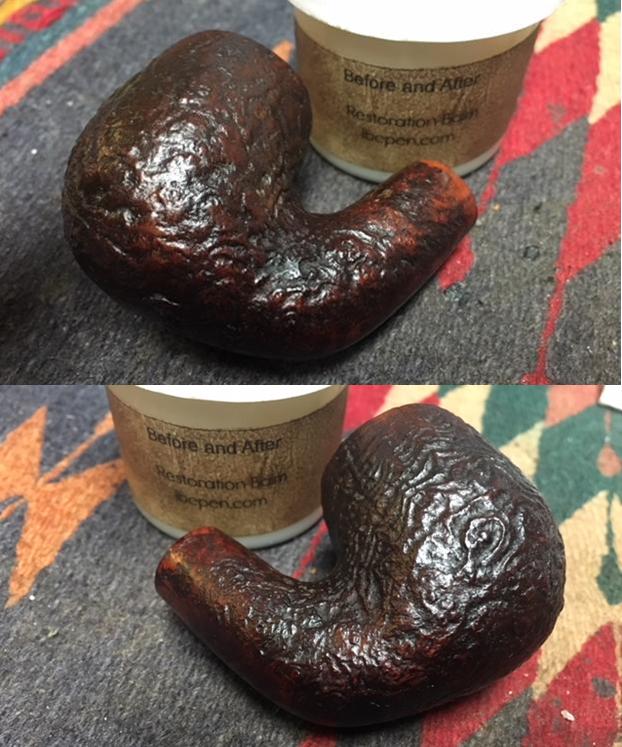
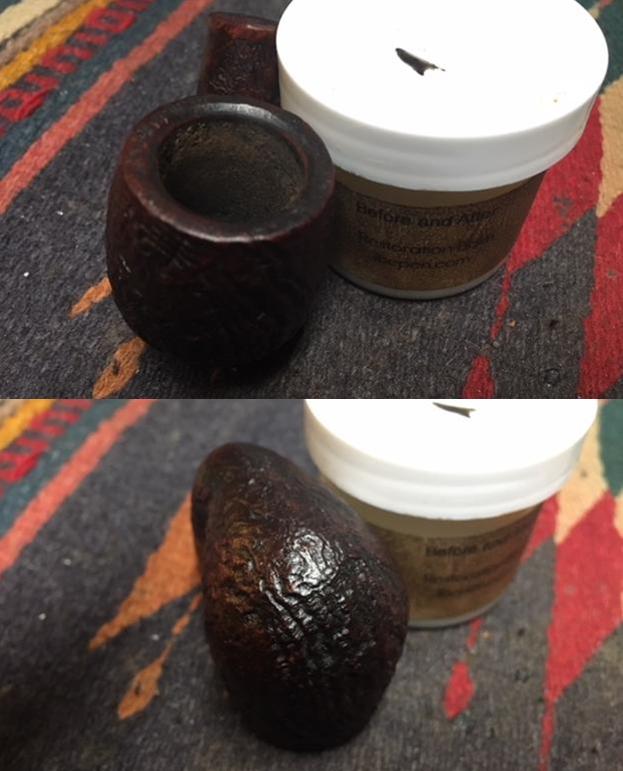
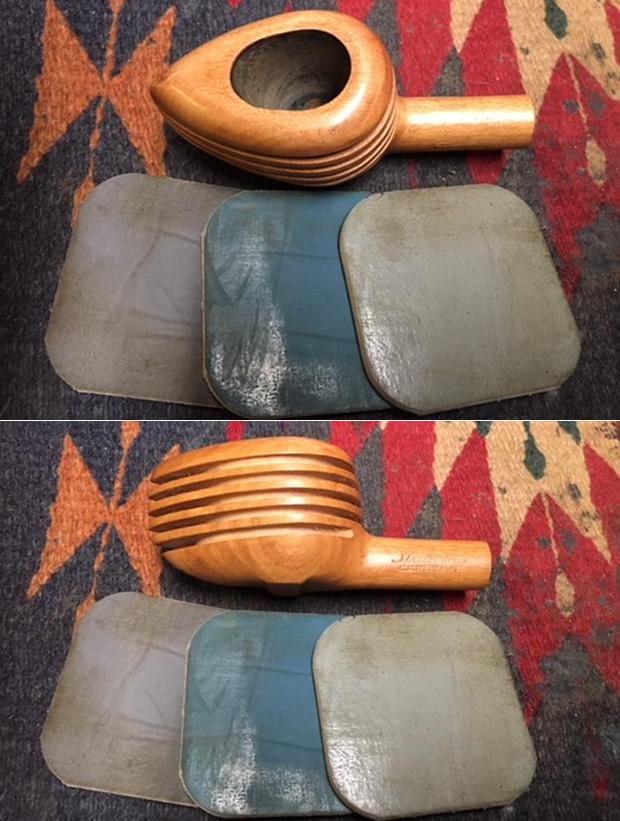
 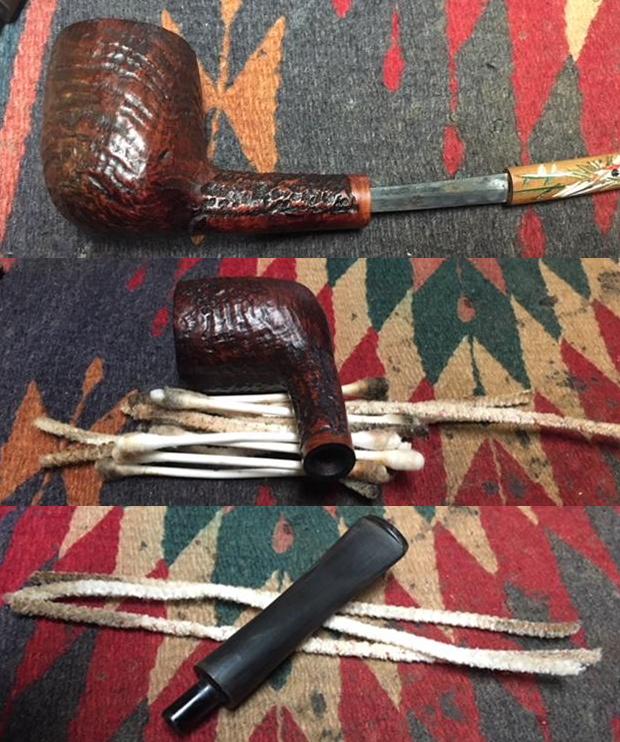 I scrubbed the briar with Before & After Restoration Balm working it into the nooks and crannies of the sandblast and rusticated finish. The balm cleans, enlivens and protects the briar and removes the dust and debris in the rustication. It also brought new life to the bowl and the rim top. I rubbed it in and let it sit for a little while then buffed it with a horse hair shoe brush to work it into the finish. I buffed it with a cotton cloth to remove the excess and the debris. The photos below show the progress of the polishing.
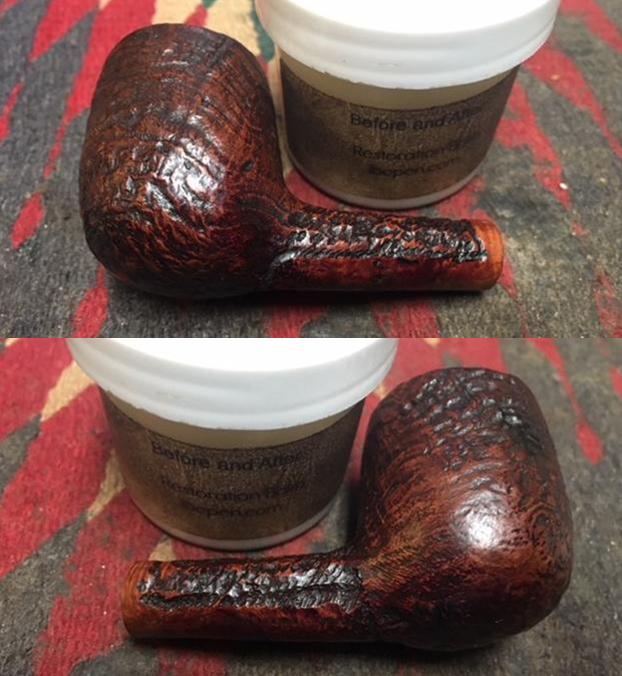
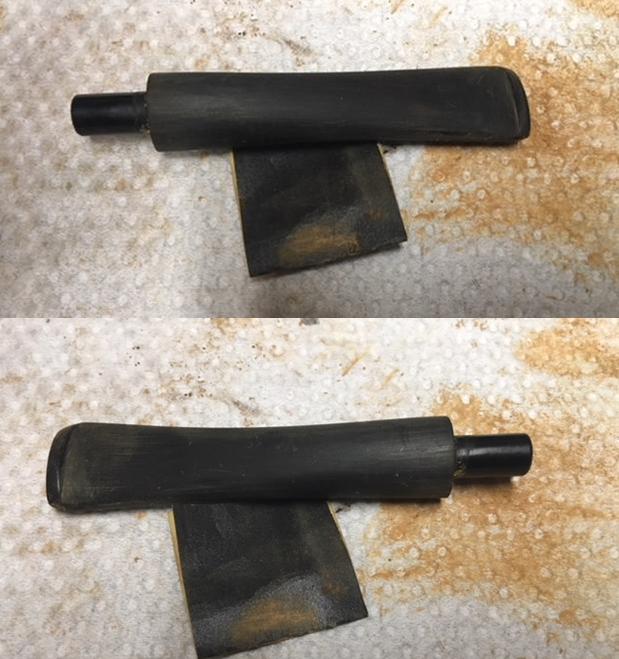
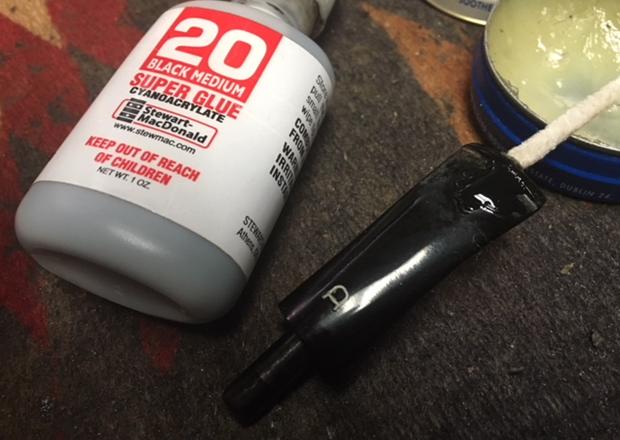
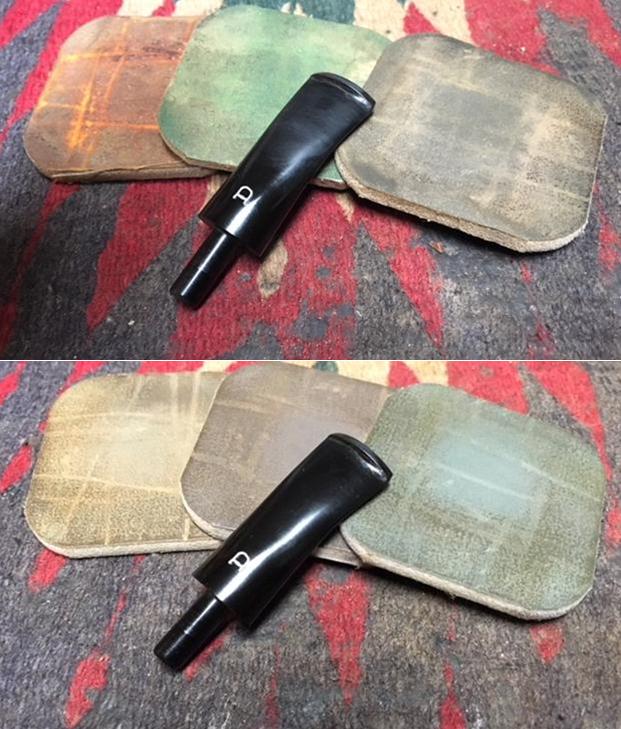
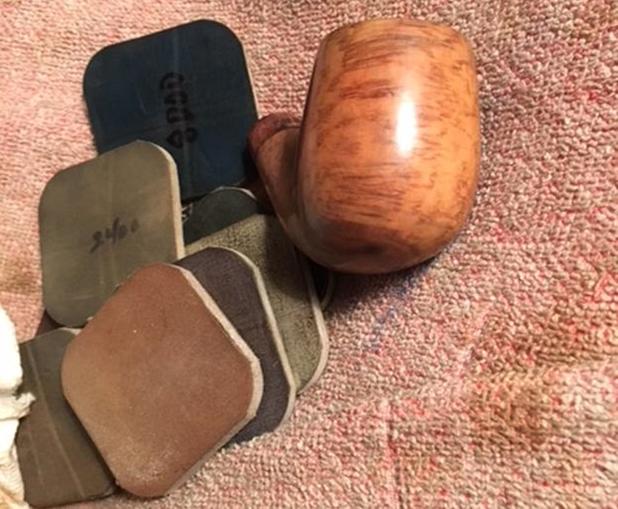
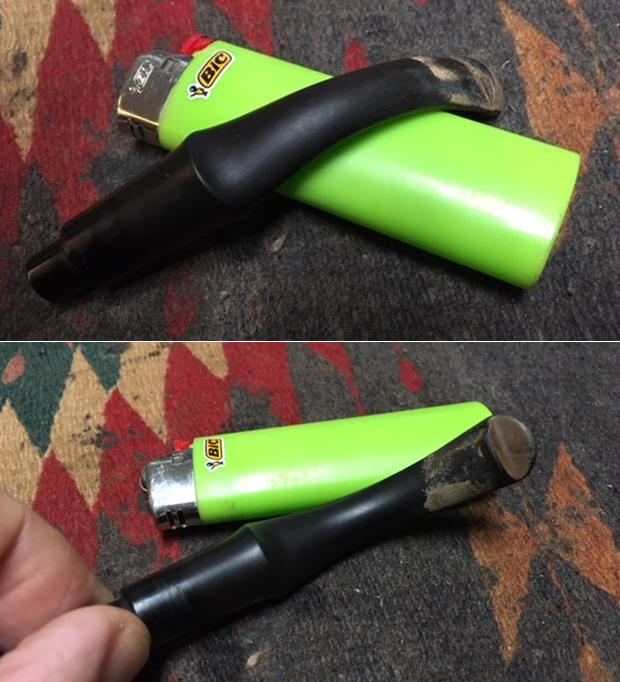
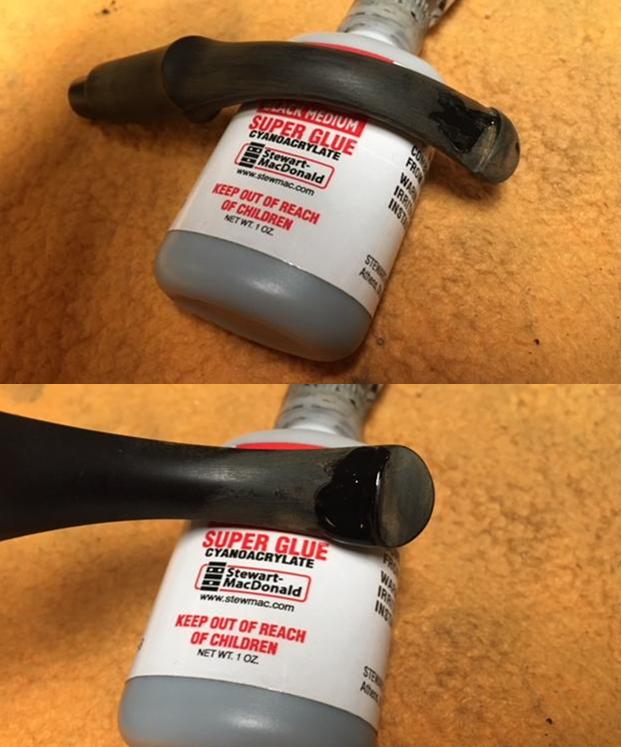
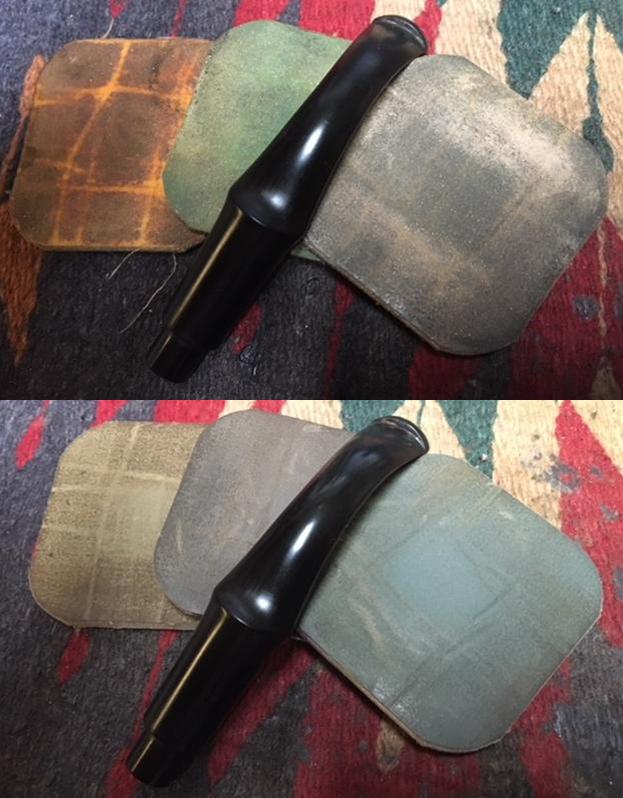
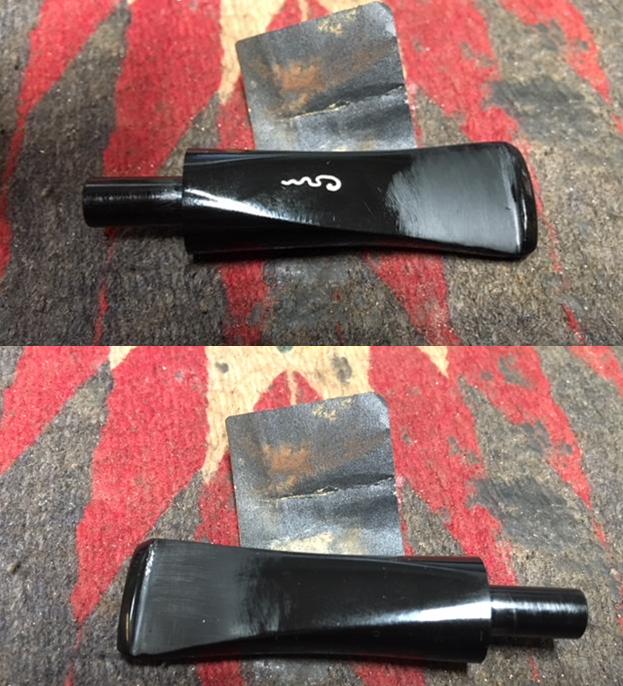
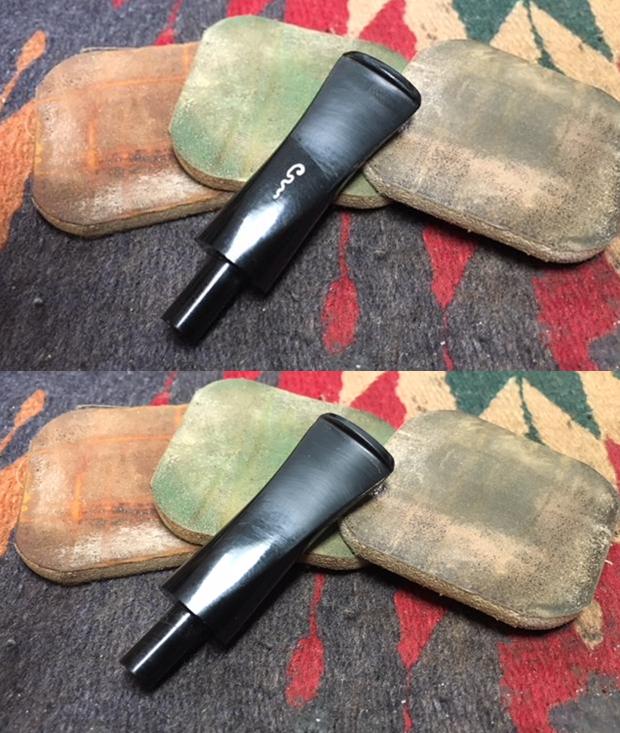
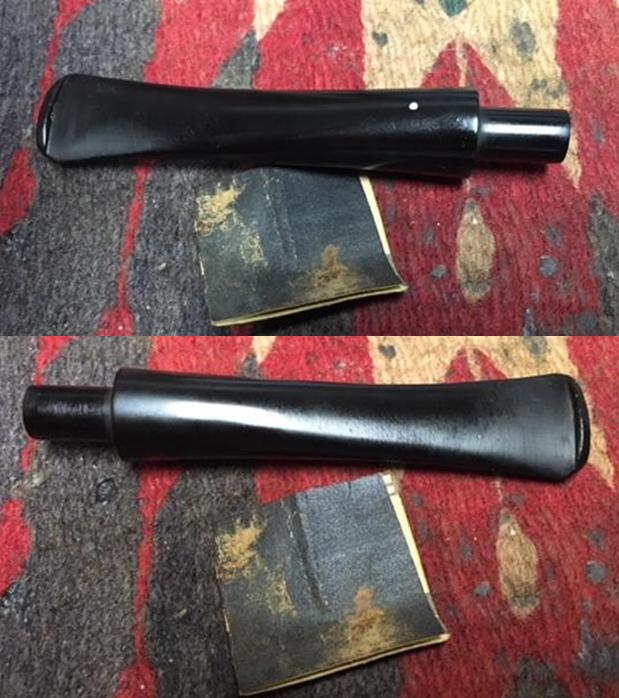
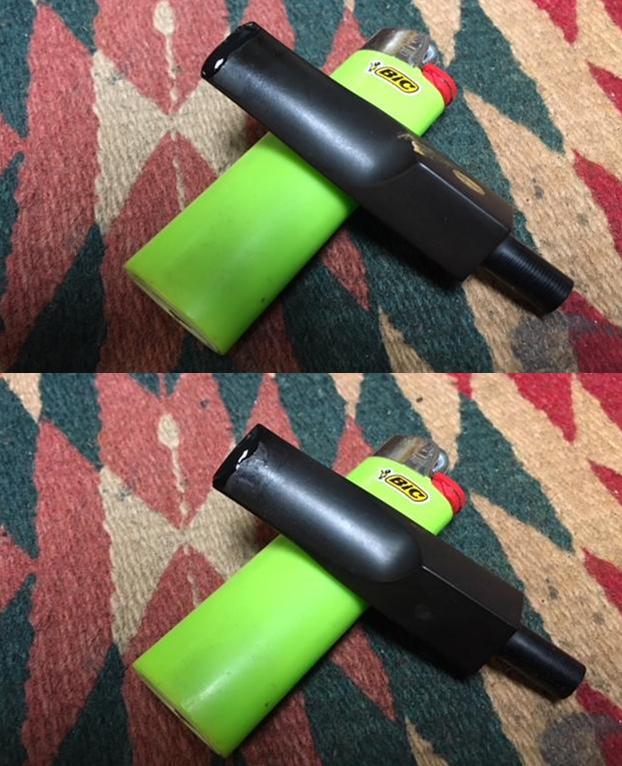
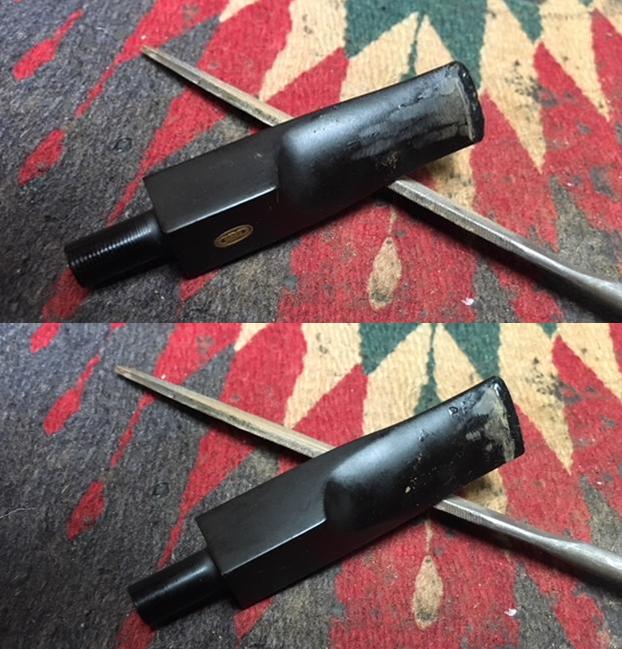
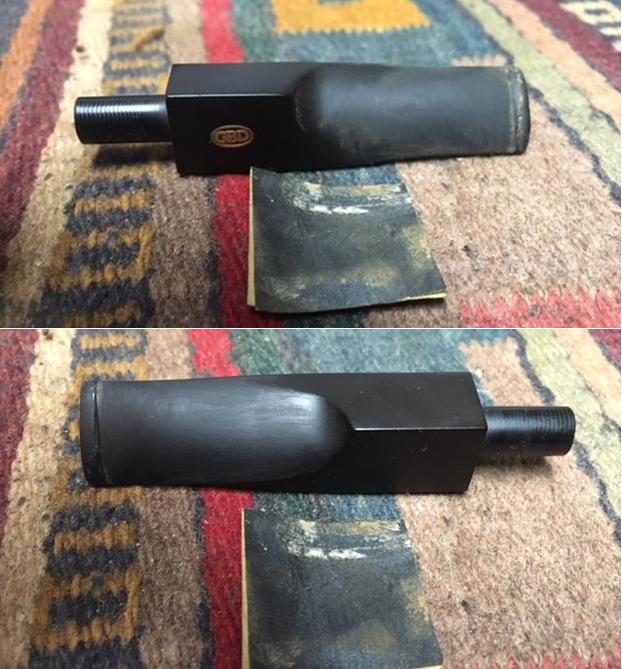
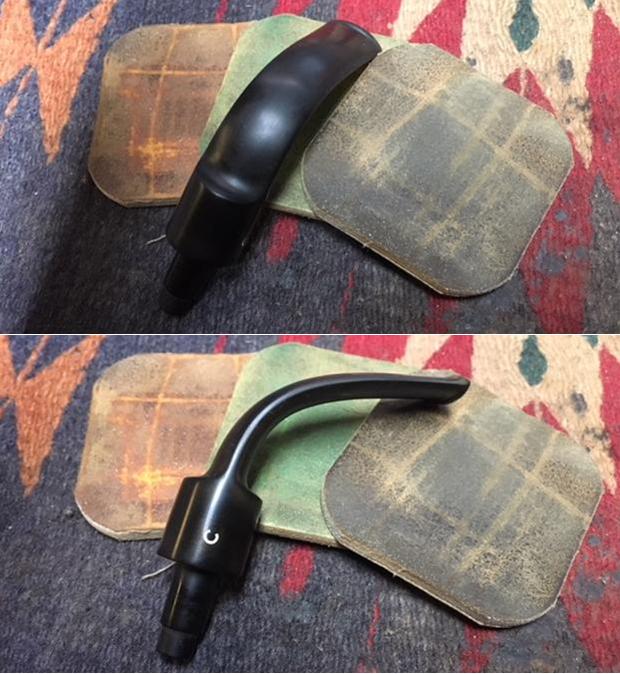
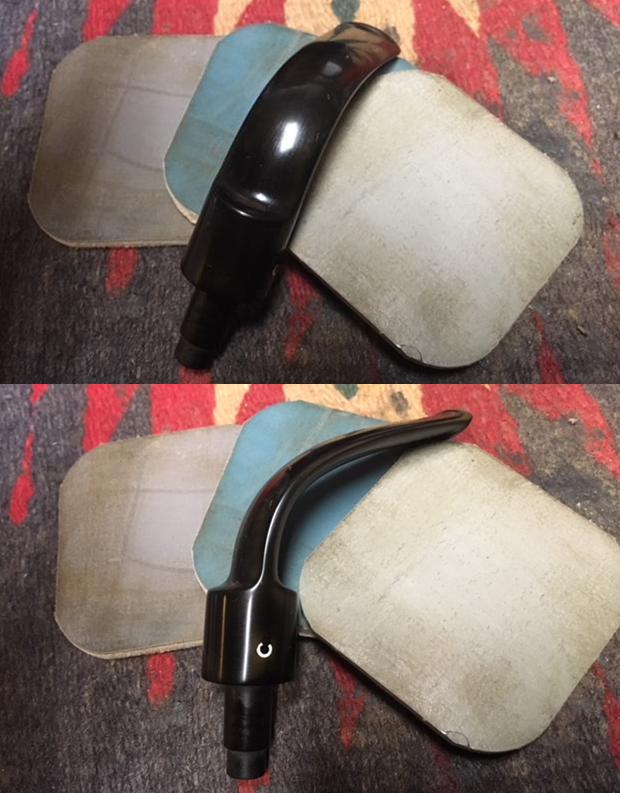
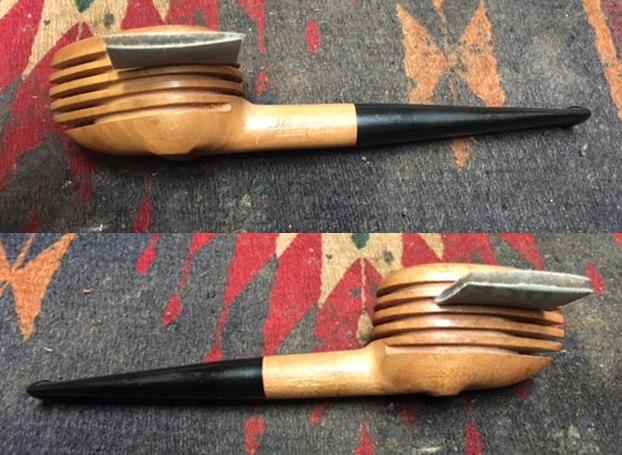
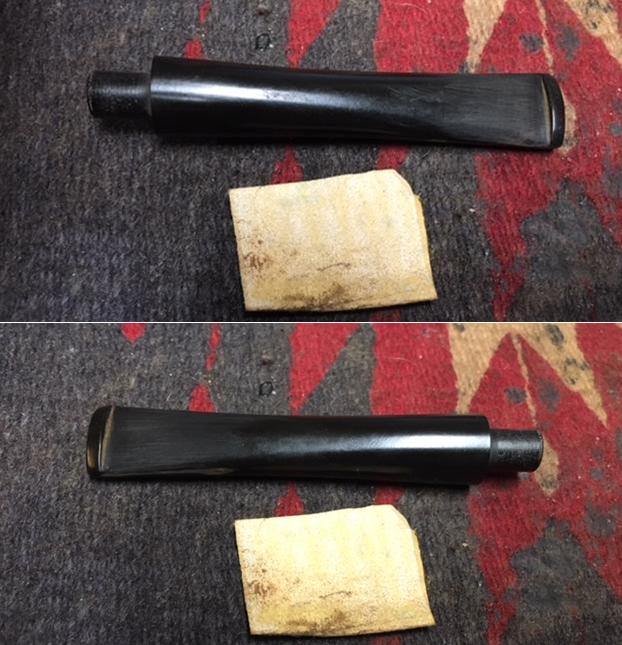
 I set the bowl aside and sanded the repair with 220 grit sandpaper to remove the tooth marks and chatter on the surface of the vulcanite stem. I followed that with 400 grit wet/dry sanded paper – wet sanding until the scratches and repair had begun to blend into the surface of the vulcanite.
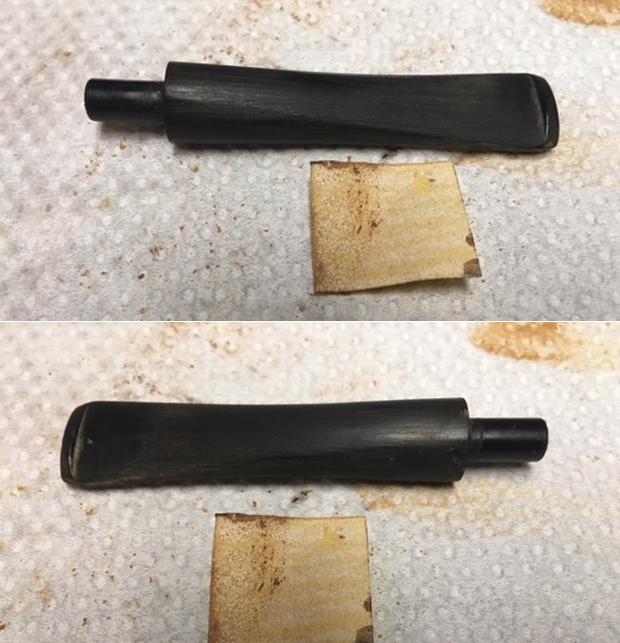
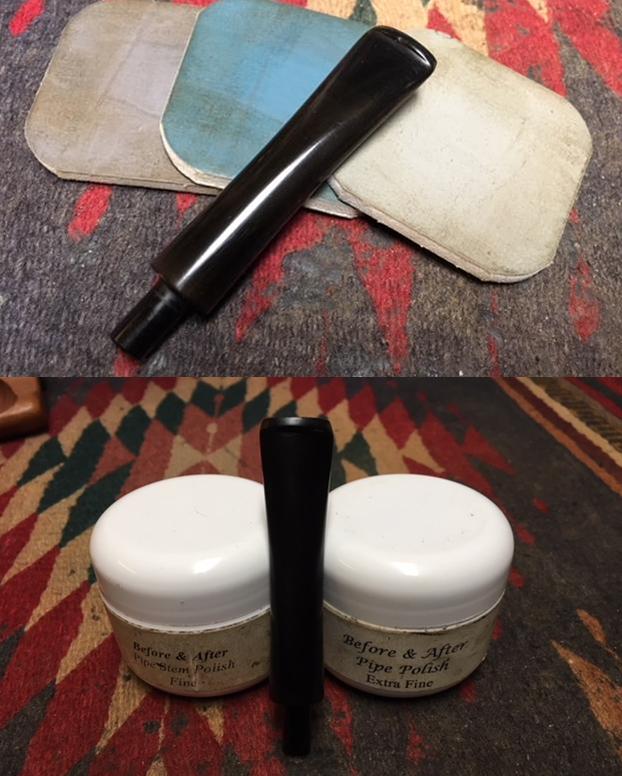
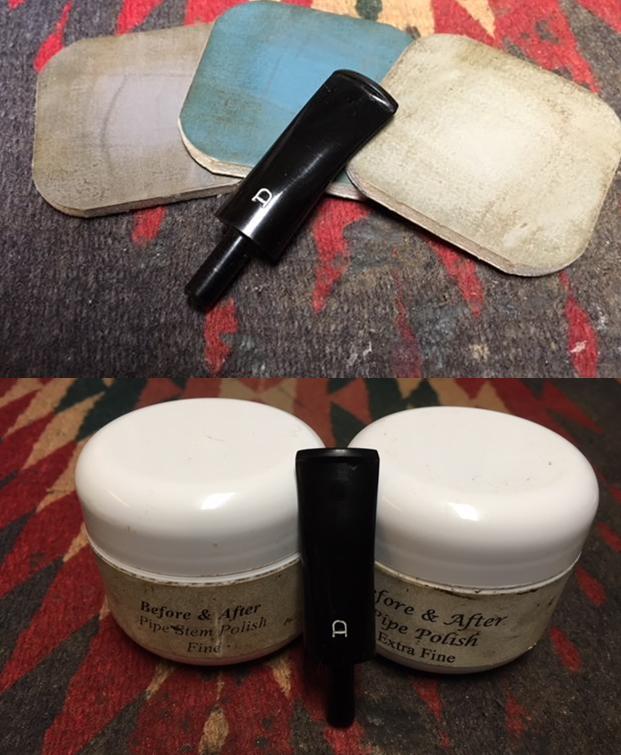
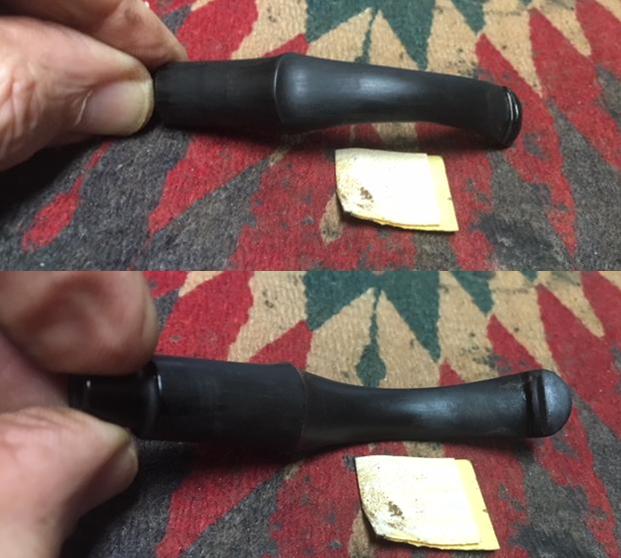
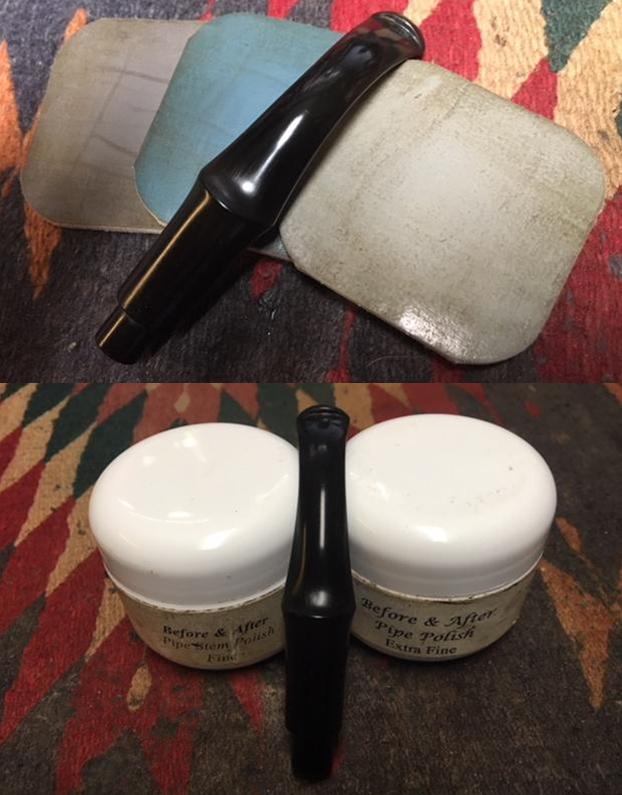
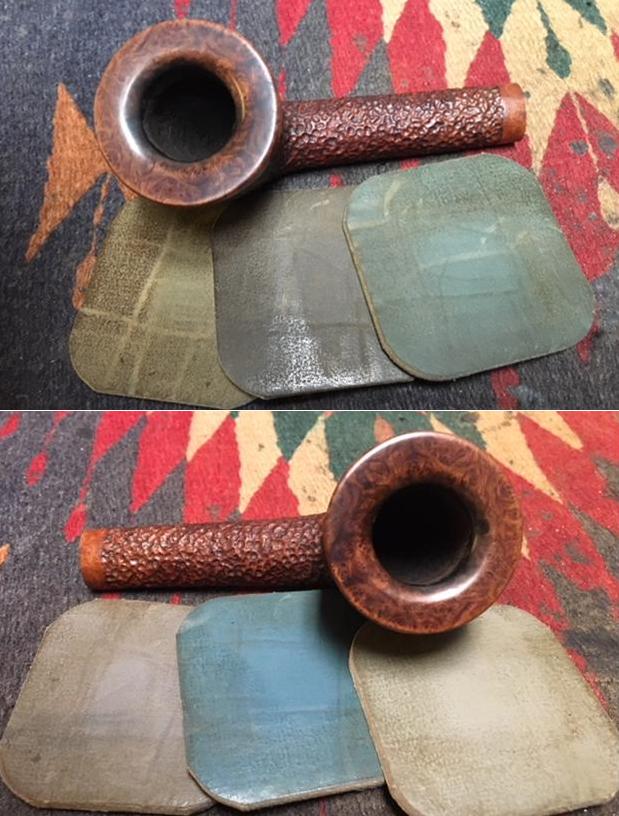
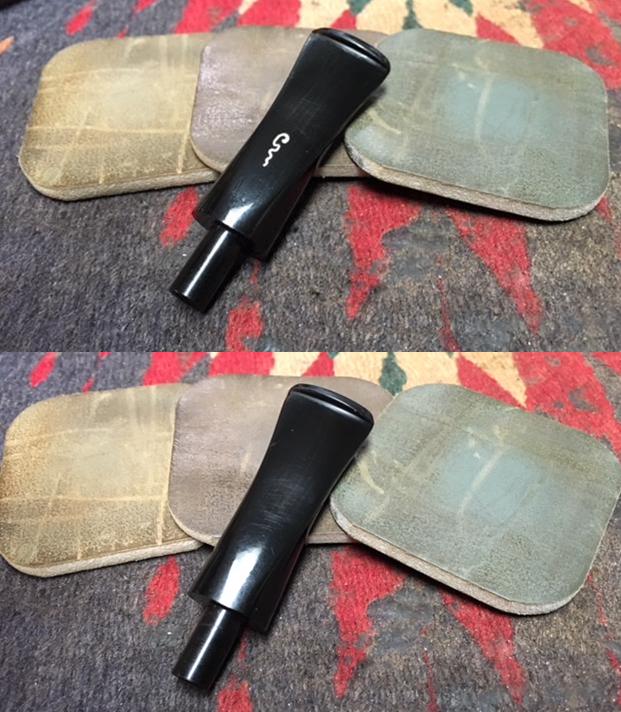
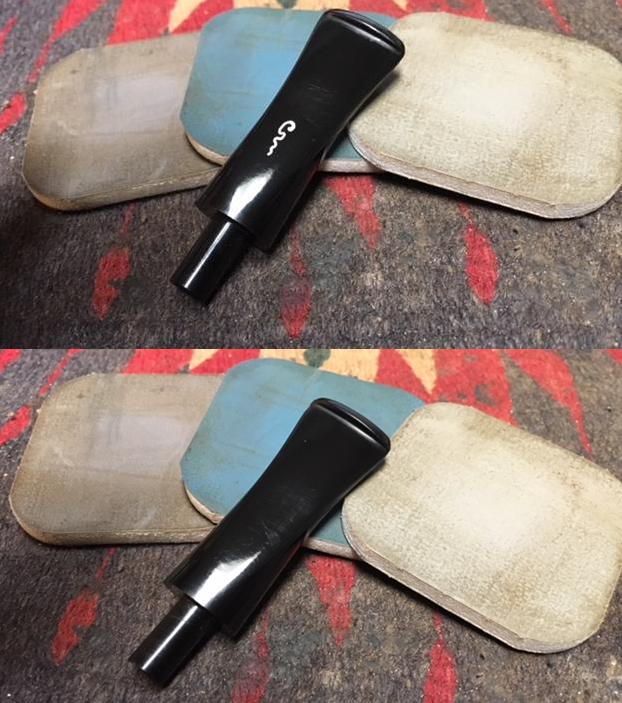
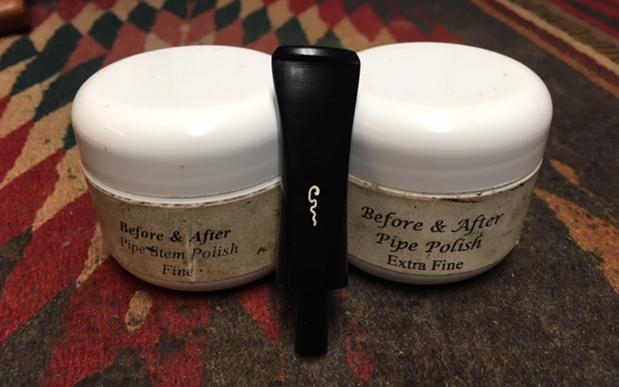
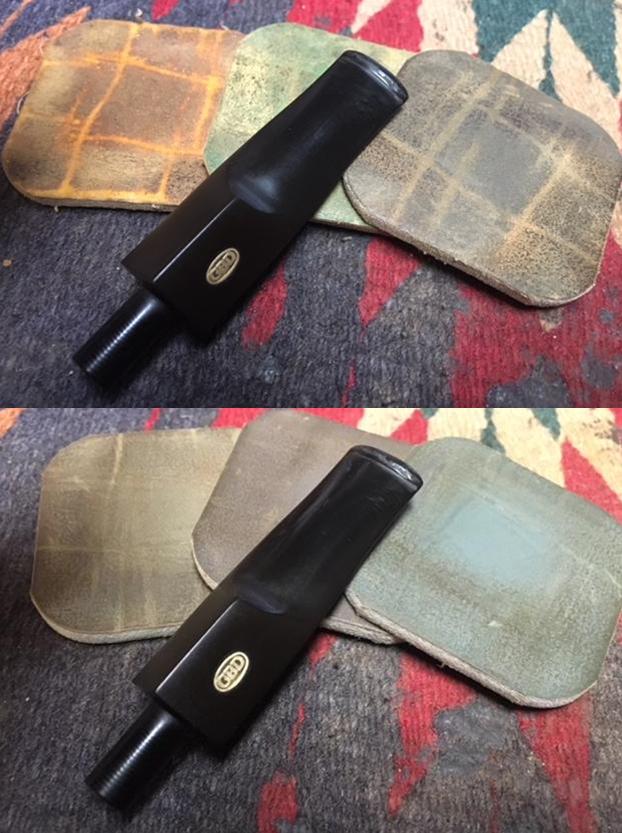
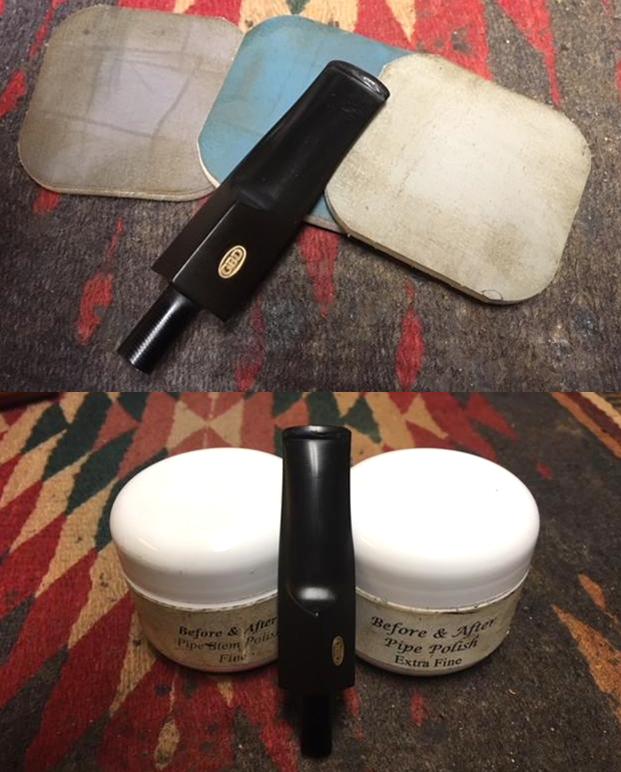
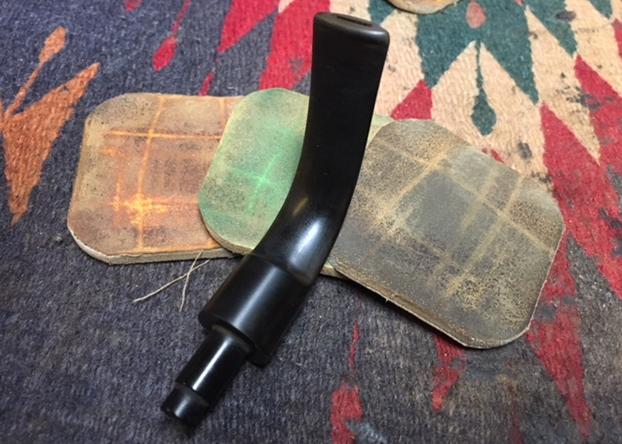
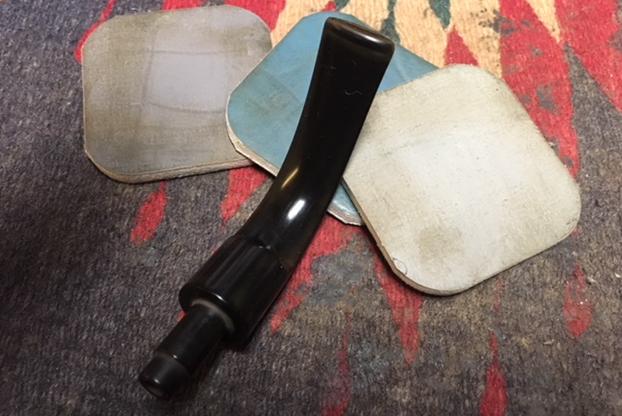
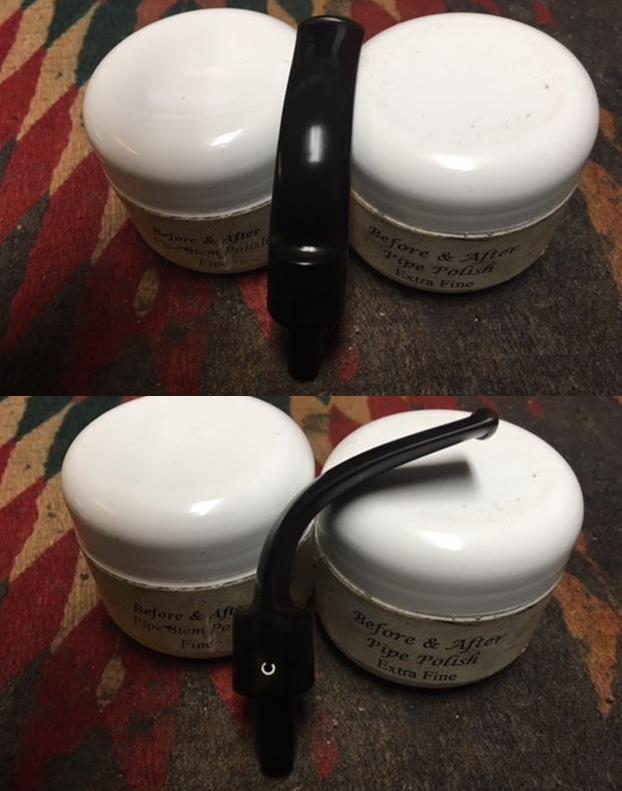
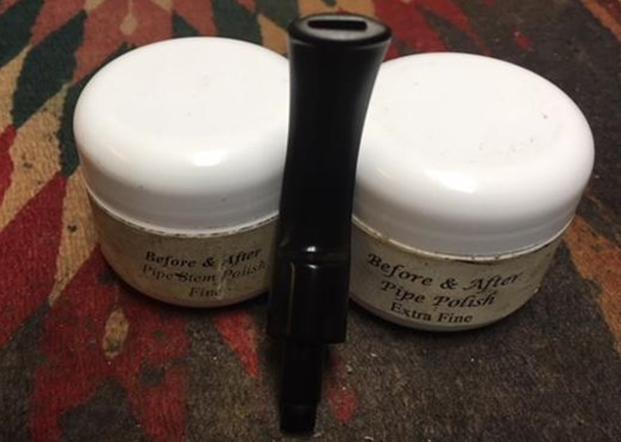
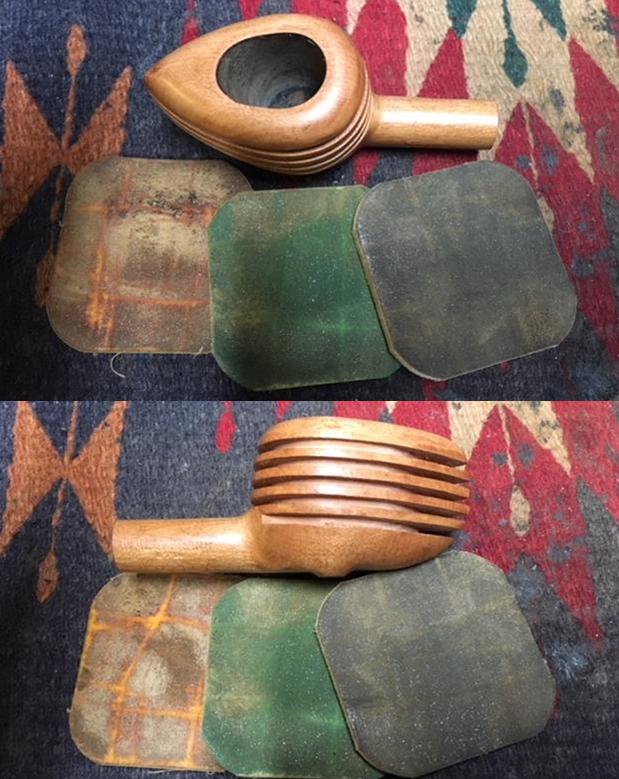
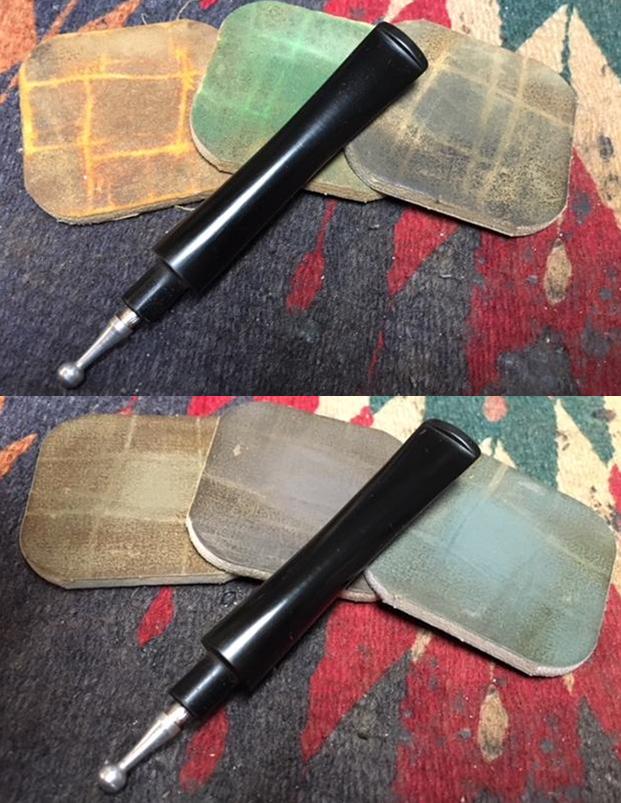
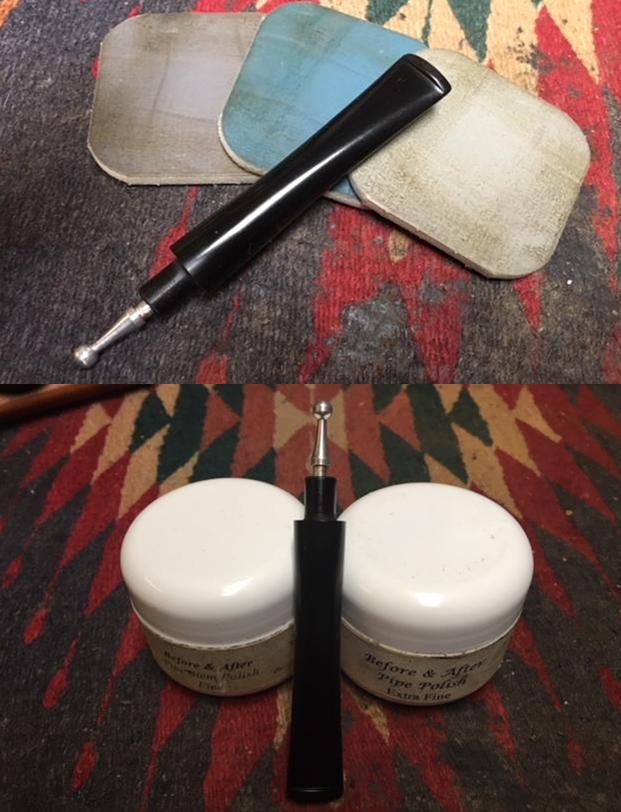
 I polished the acrylic with micromesh sanding pads – wet sanding with 1500-2400 grit pads and dry sanding with 3200-12000 grit pads. I wiped it down after each pad with a damp cloth. I polished it further with Before & After Pipe Stem Polish – both the Fine and Extra Fine. I wiped it down and gave it a shine with some Obsidian Oil.
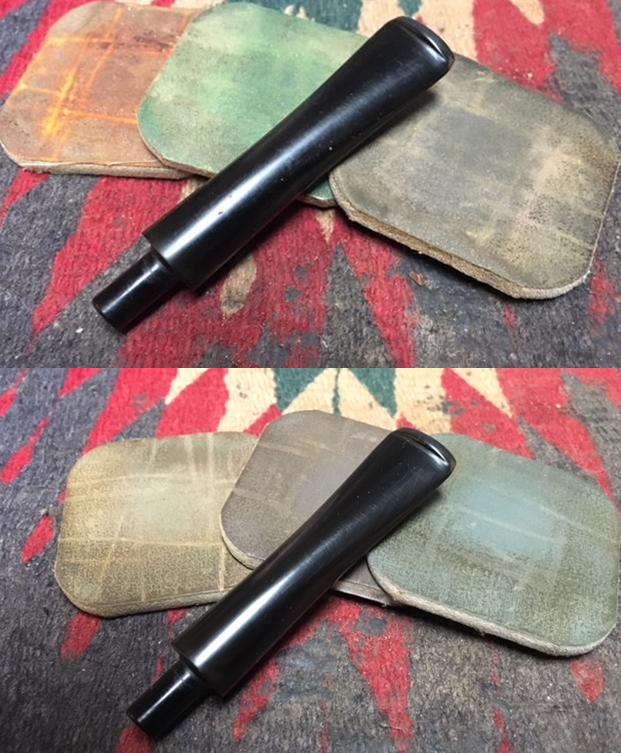
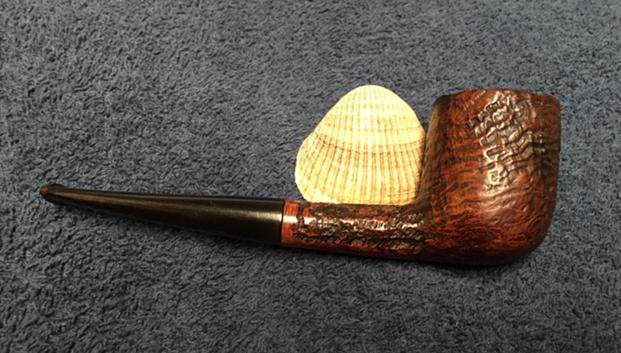
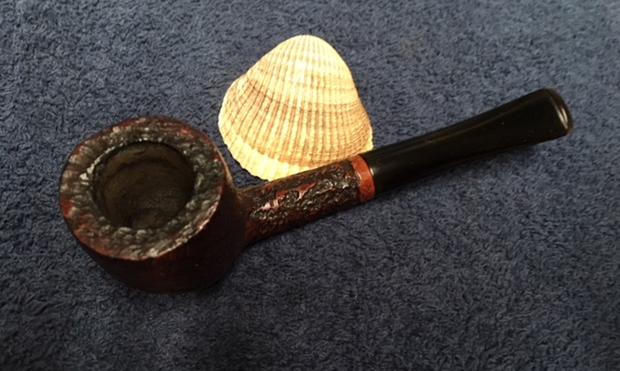
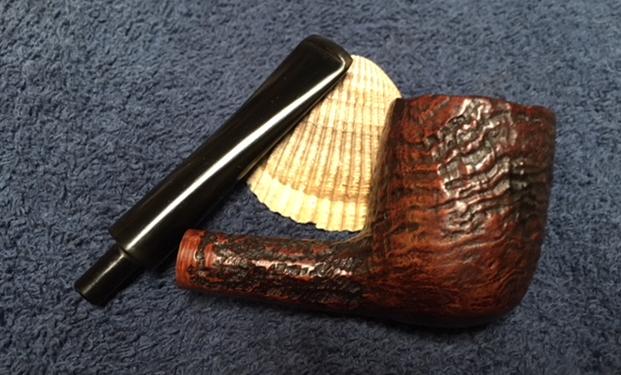
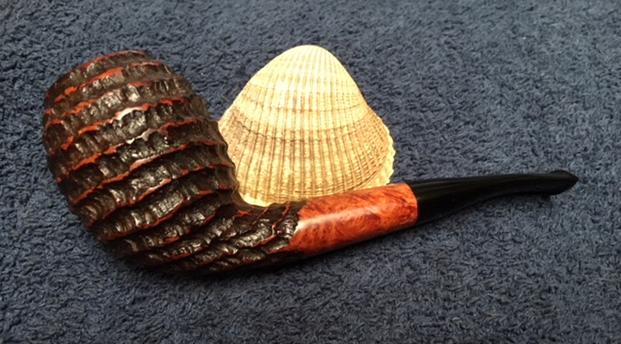
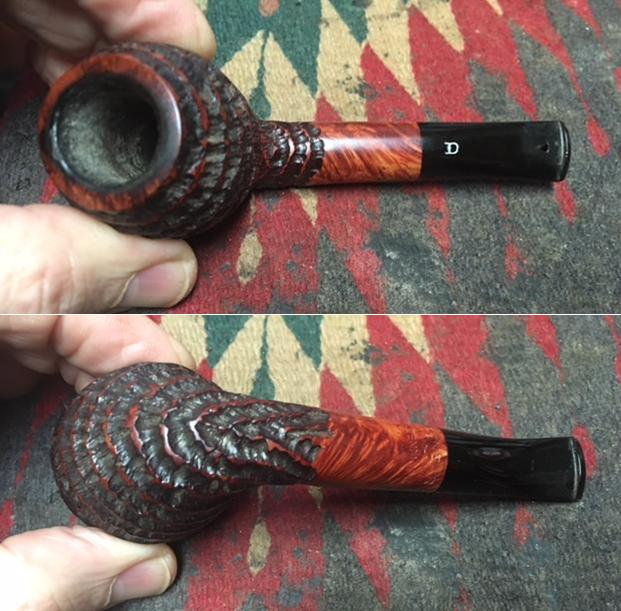
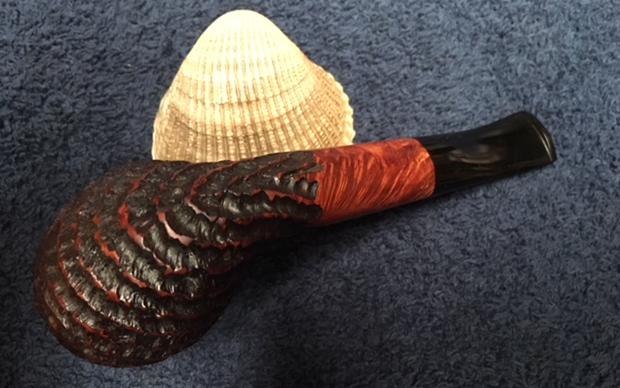
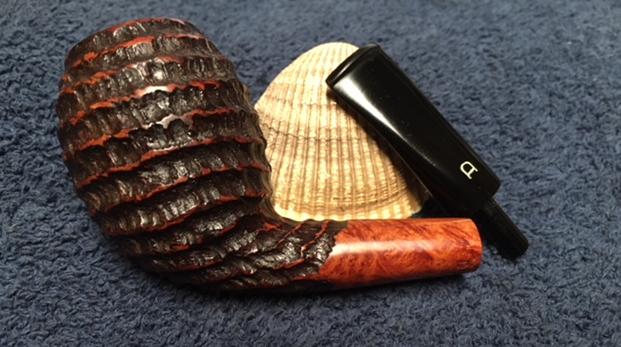
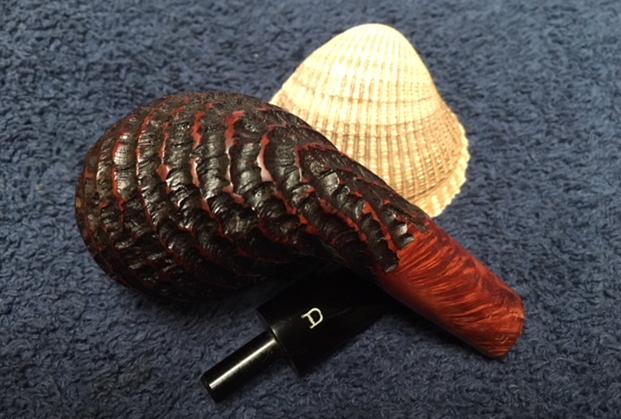
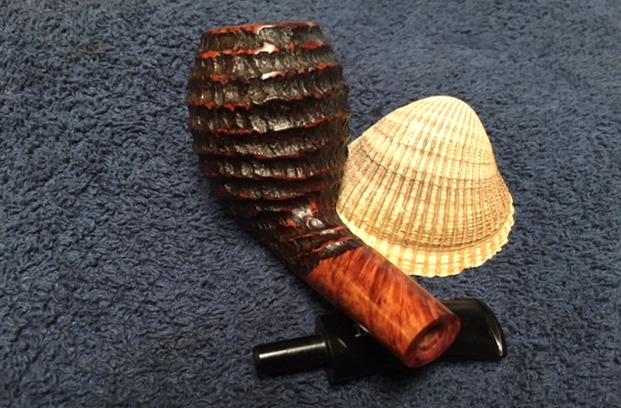
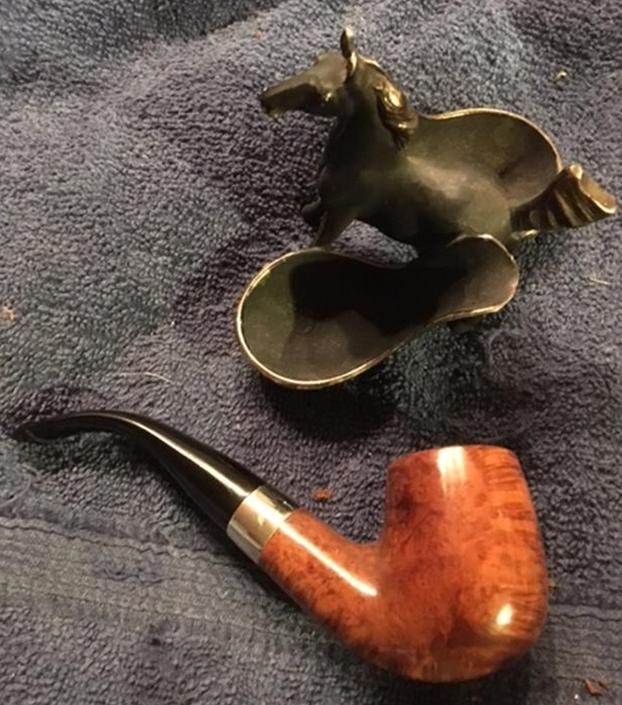
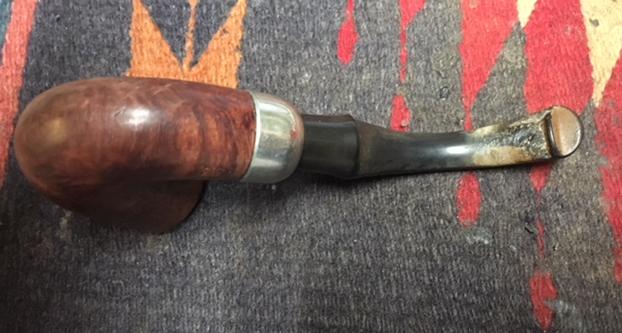
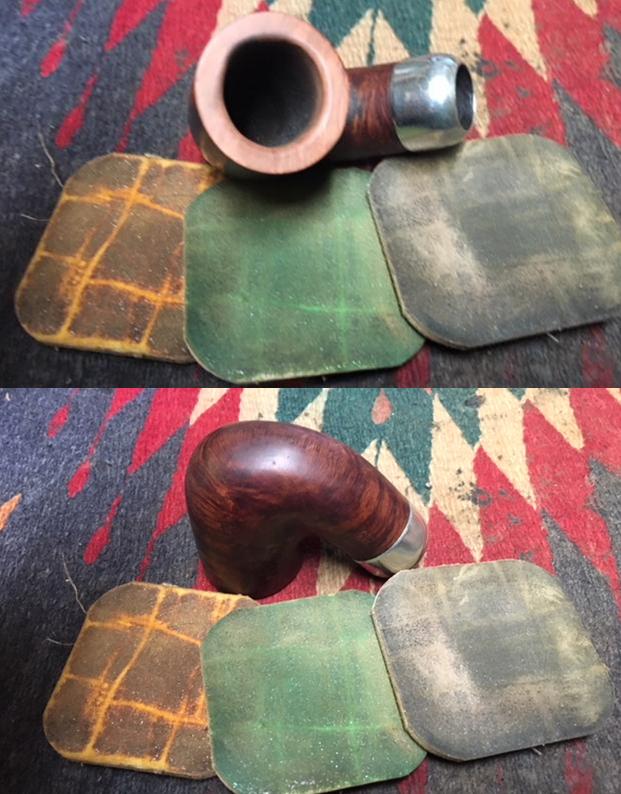
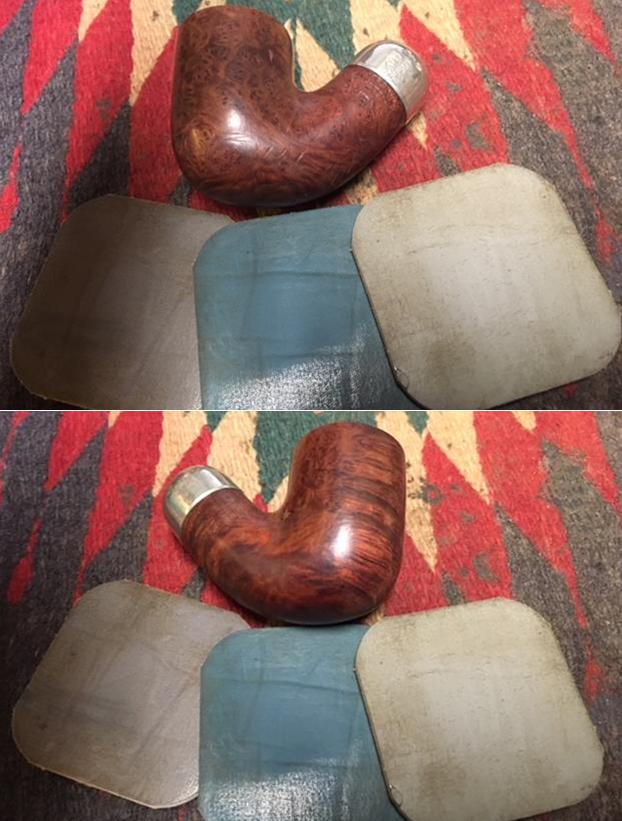
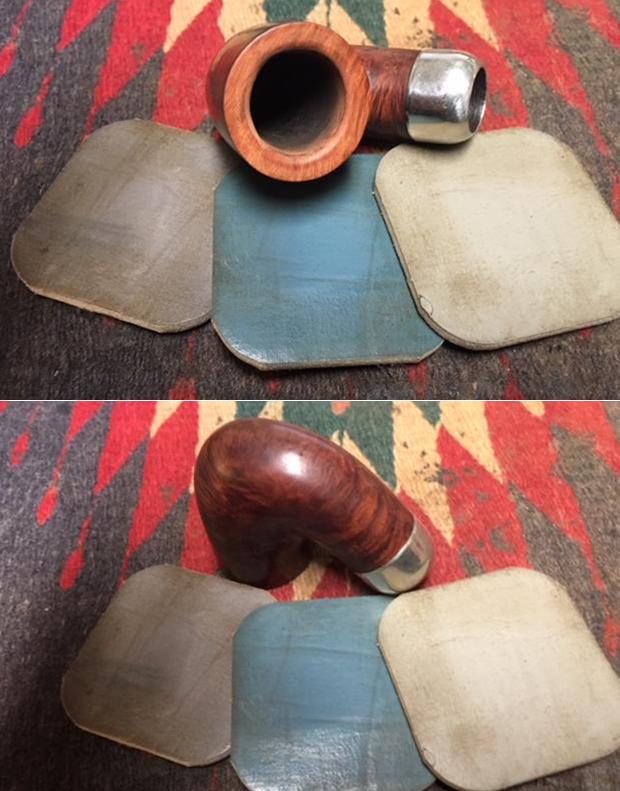
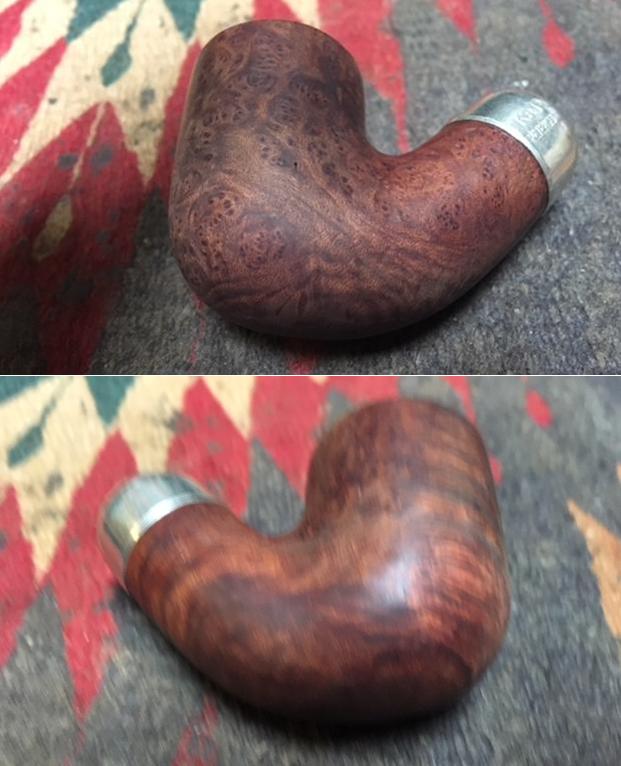
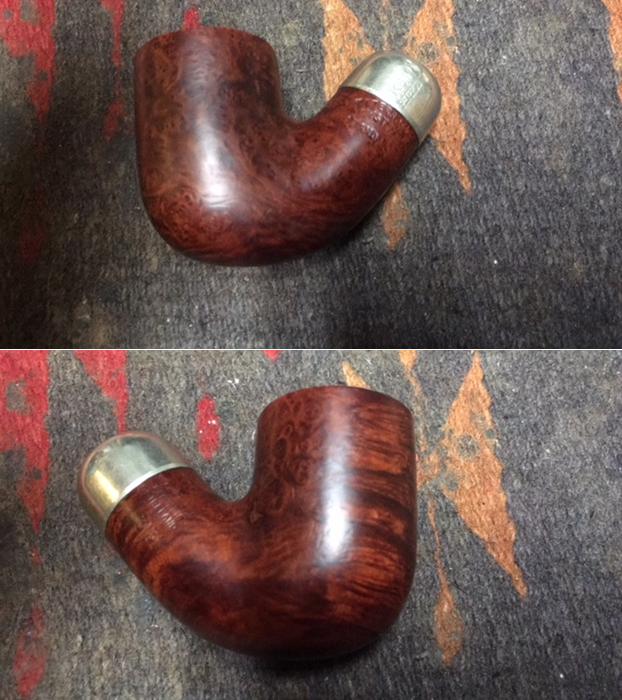
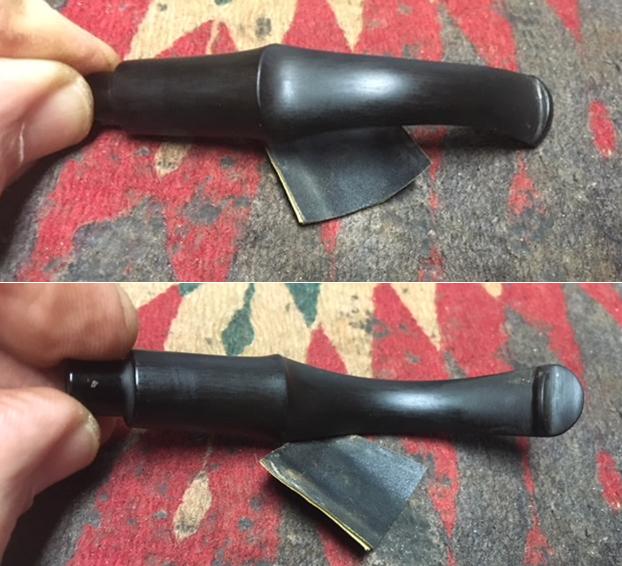
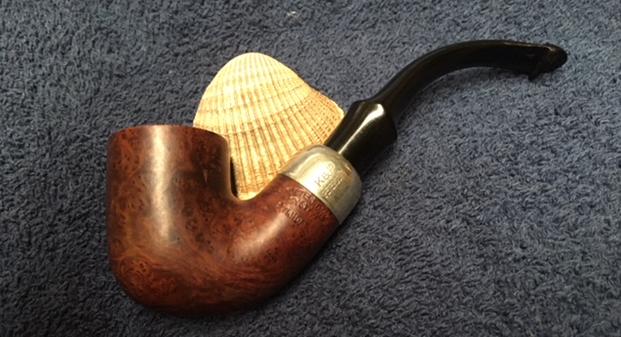
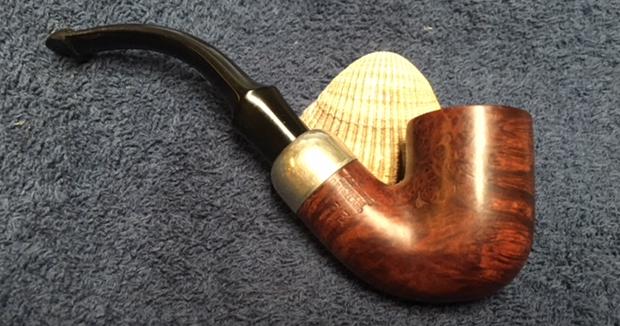
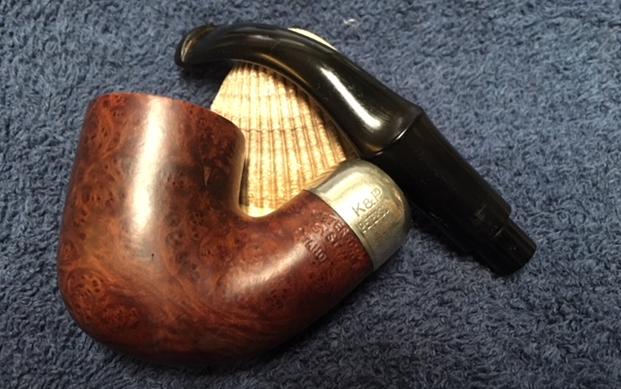
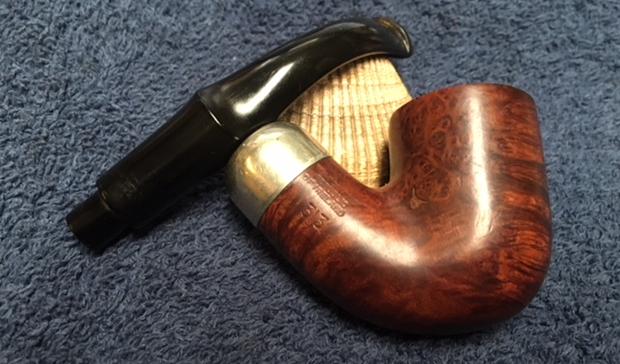
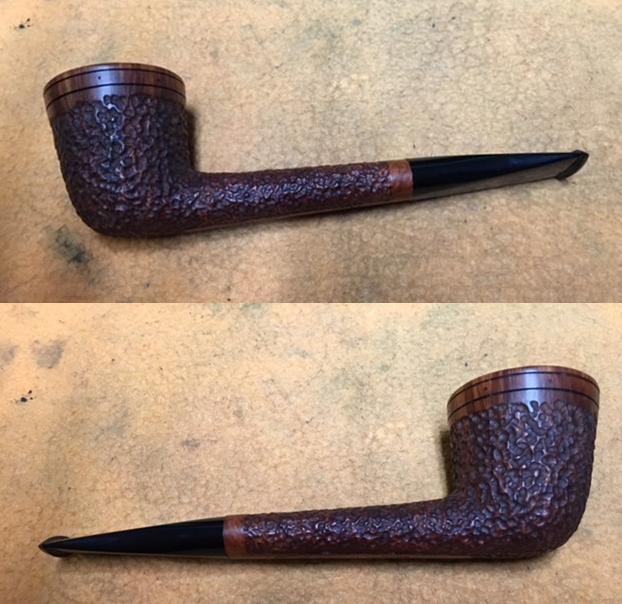
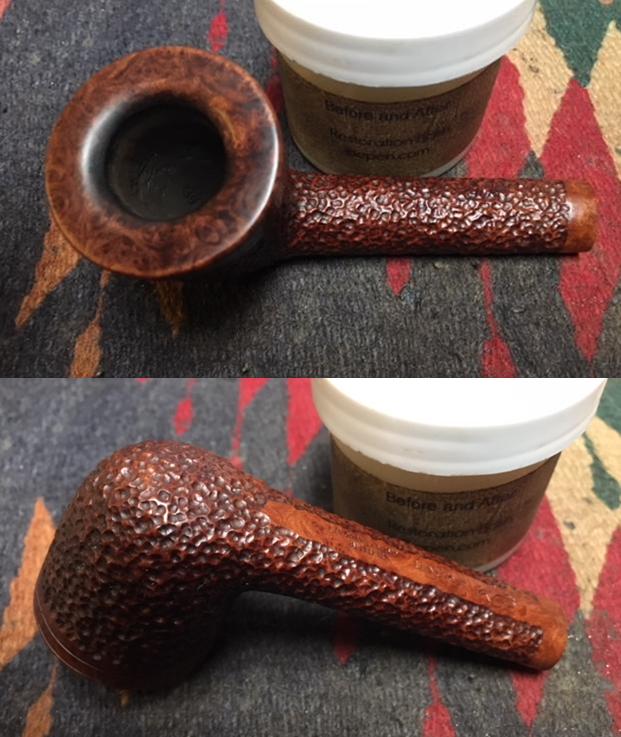
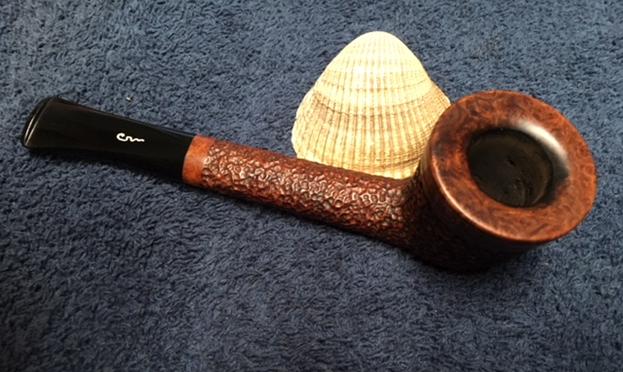
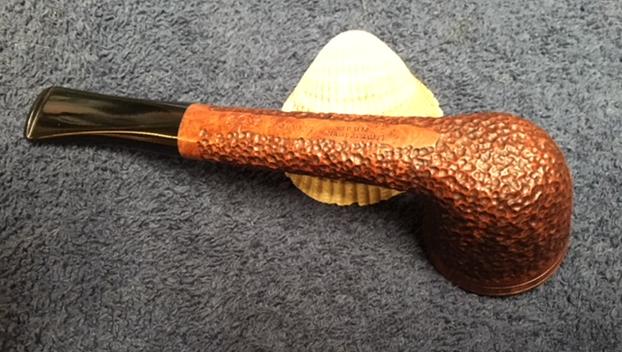
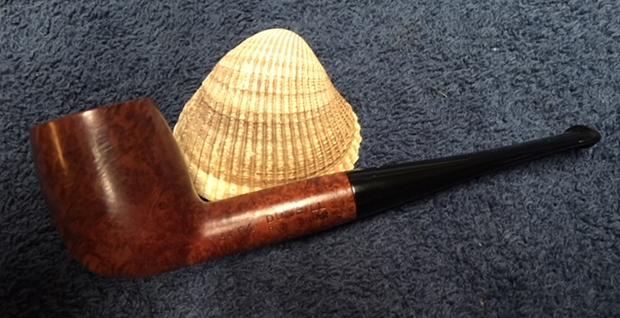
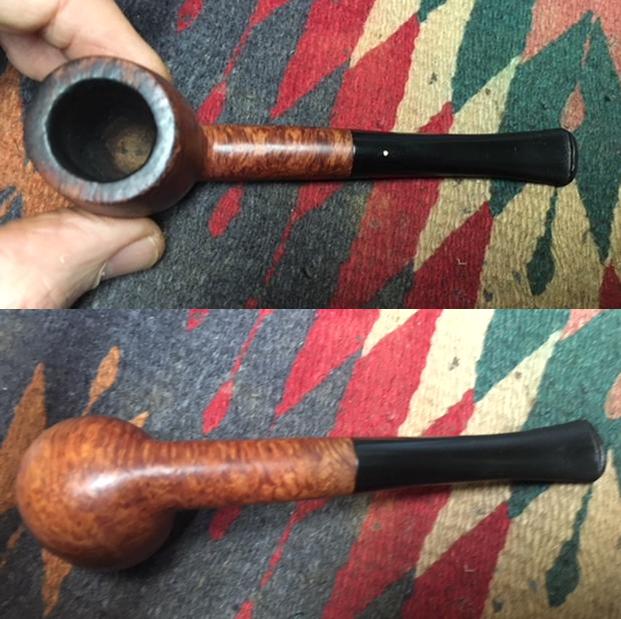
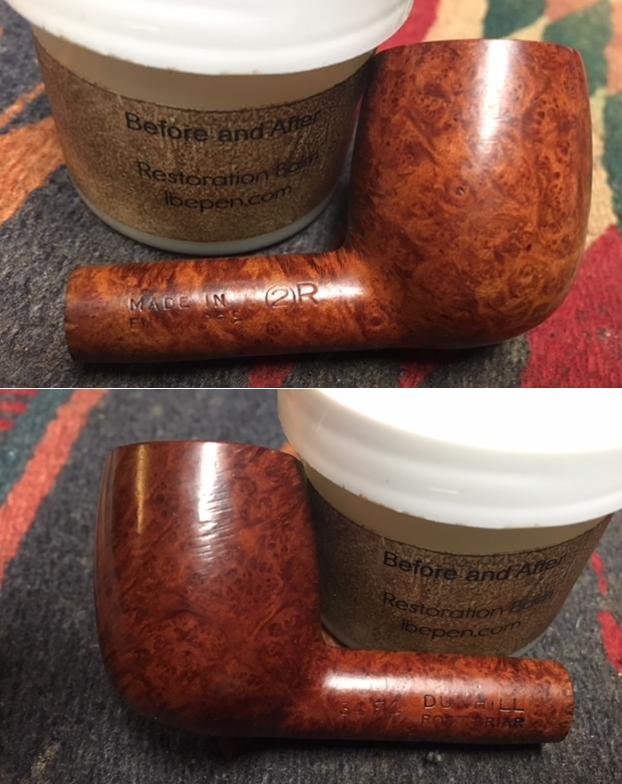
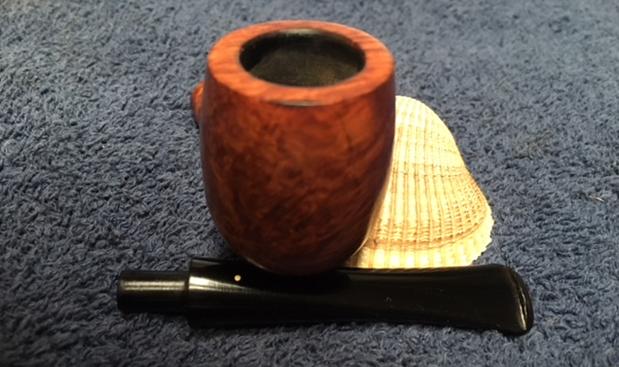
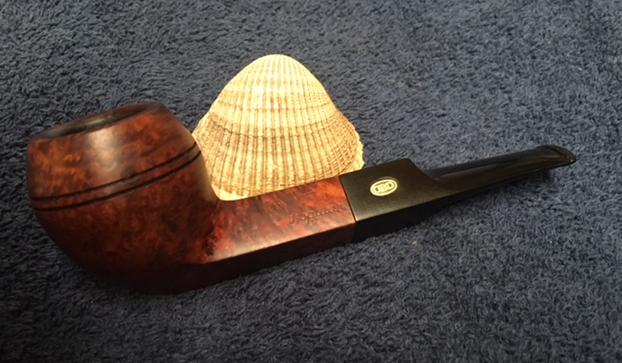
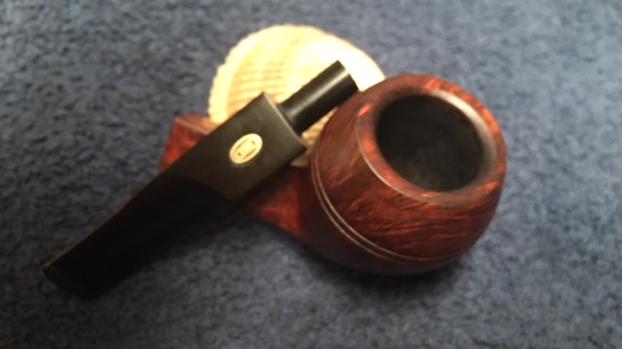
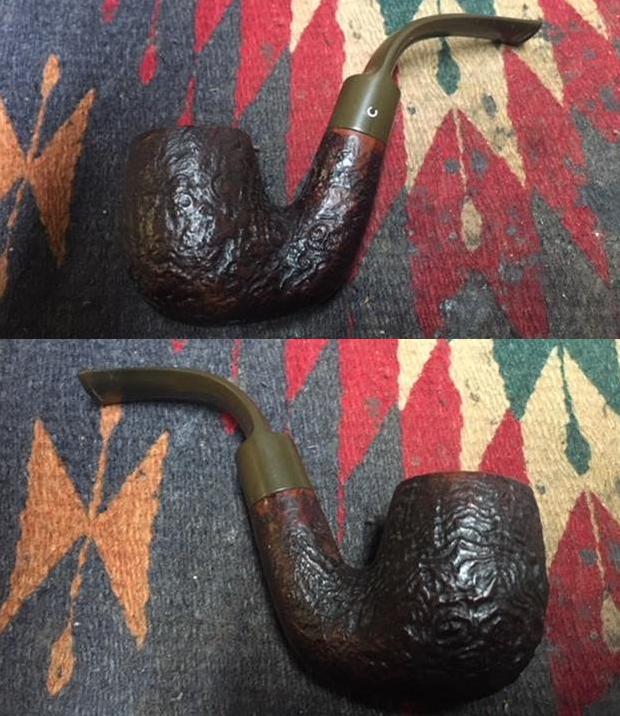
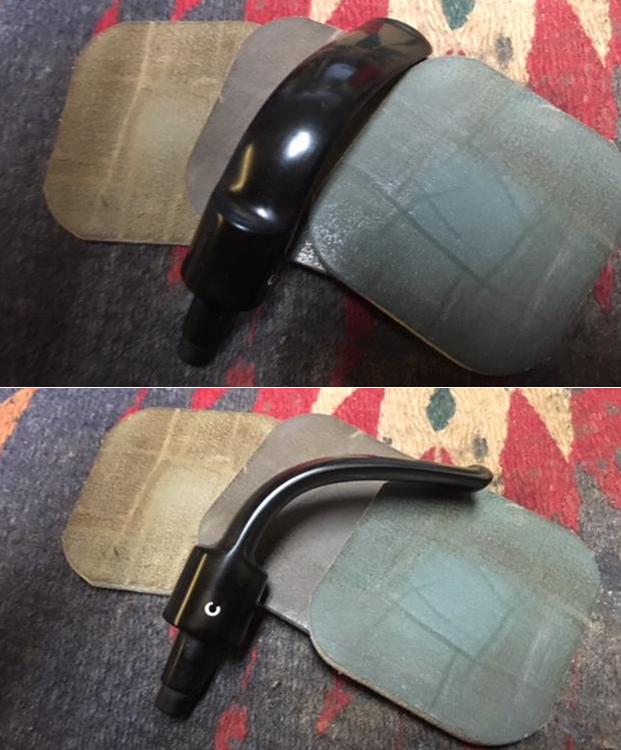
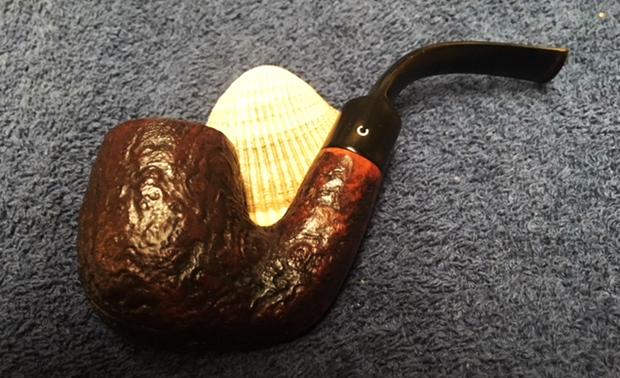
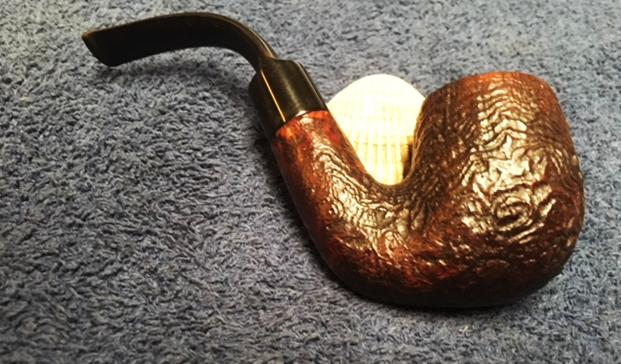
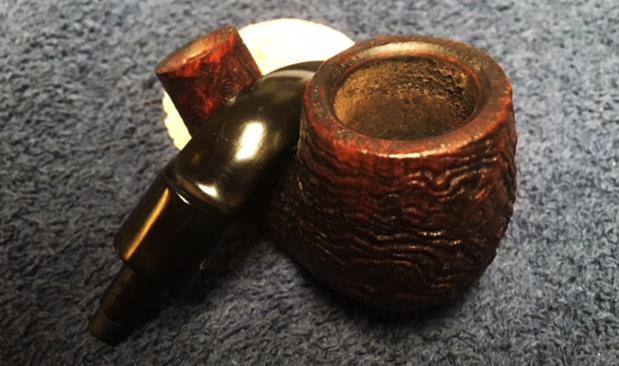
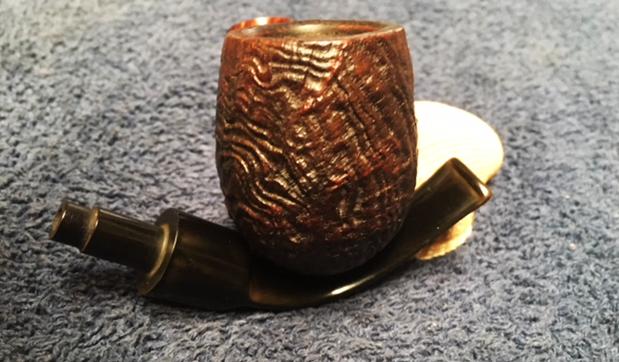
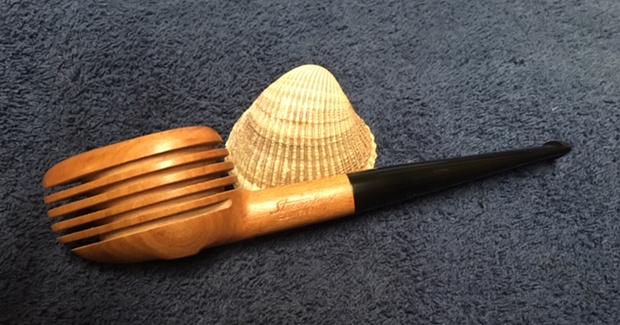
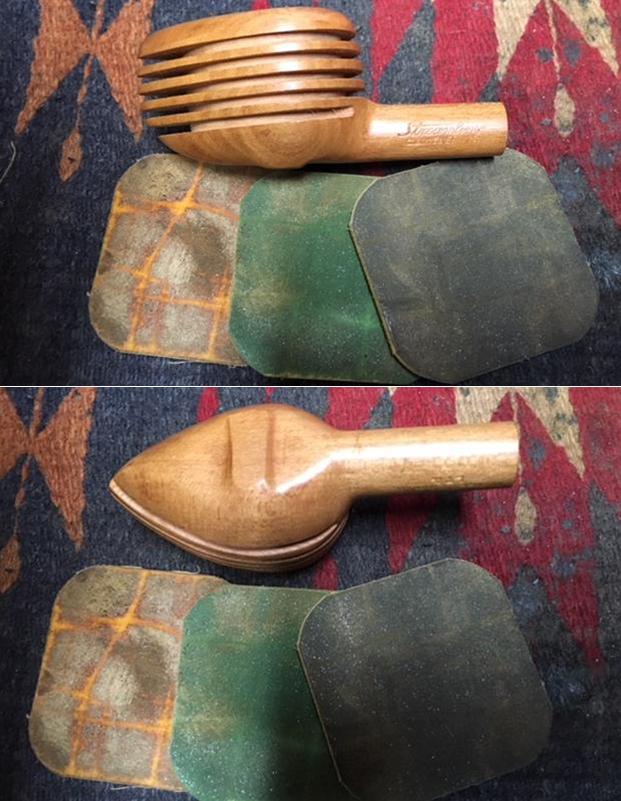
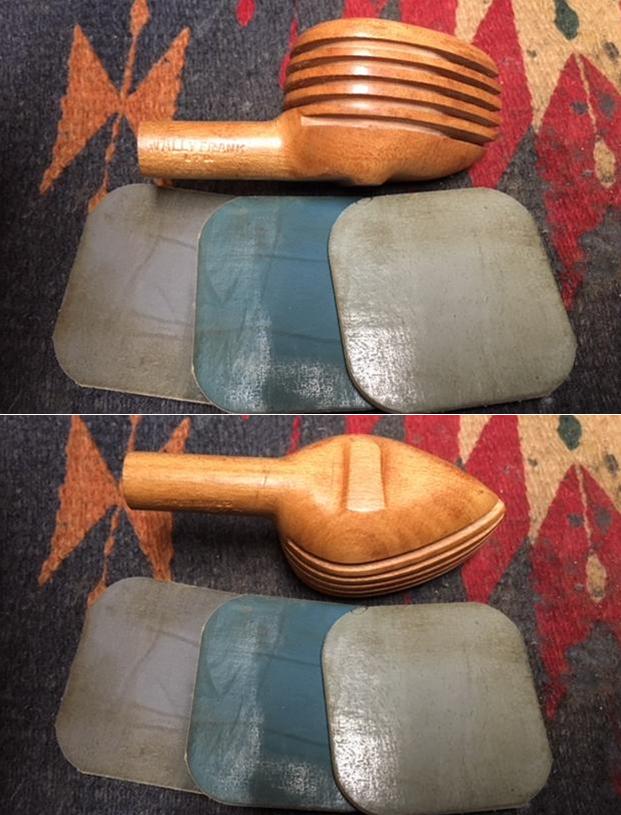
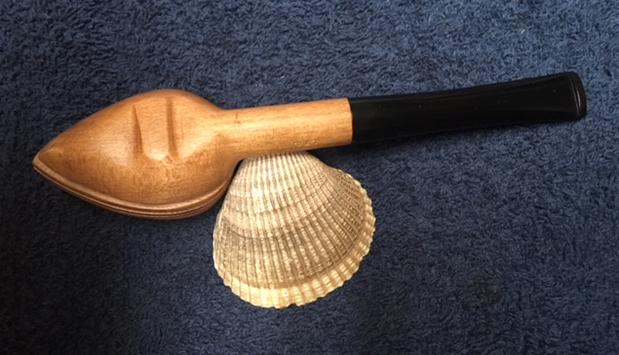
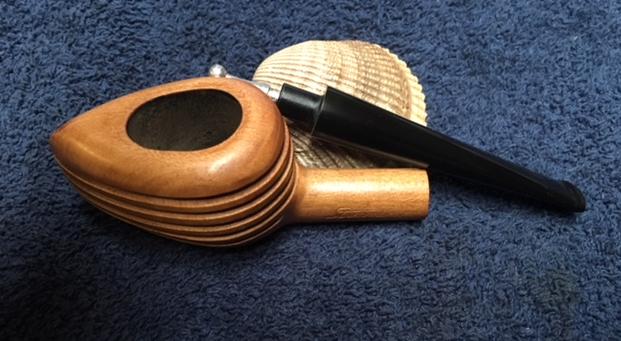
 With the stem polished I put it back on the shank and polished the bowl and stem with Blue Diamond on the buffing wheel. I used a light touch on the briar so as not to fill in the sandblast buffing compound and a slightly heavier touch on the vulcanite stem. I gave the bowl multiple coats of Conservator’s Wax by hand rubbing it into the finish and the stem multiple coats of carnauba on the buffing wheel. I buffed the entire pipe with a clean buffing pad to raise the shine on the briar and the vulcanite. I hand buffed it with a microfiber cloth to deepen the shine. The finished pipe is shown in the photos that follow. It is another beautiful piece of pipe crafting. I am sure Eric will enjoy this beauty once it heads back to Ontario. This is the last of his pipes that I had to work on so now I can pack them up and send them on their journey east. Thanks for walking with me through the restoration. Cheers.


