Blog by Steve Laug
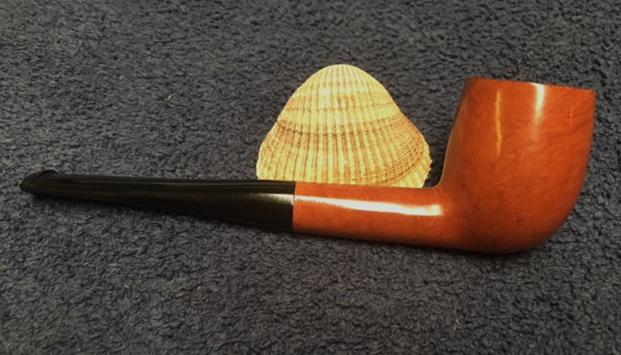
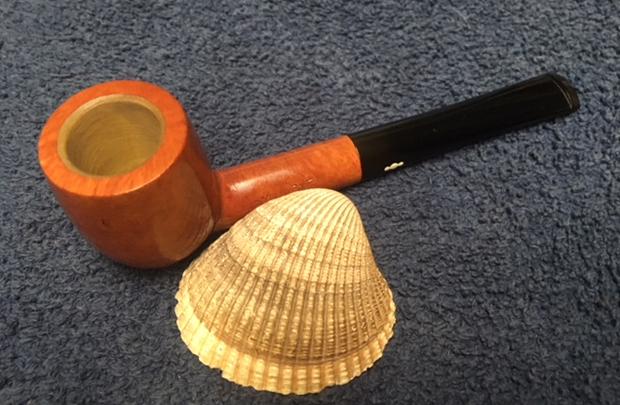
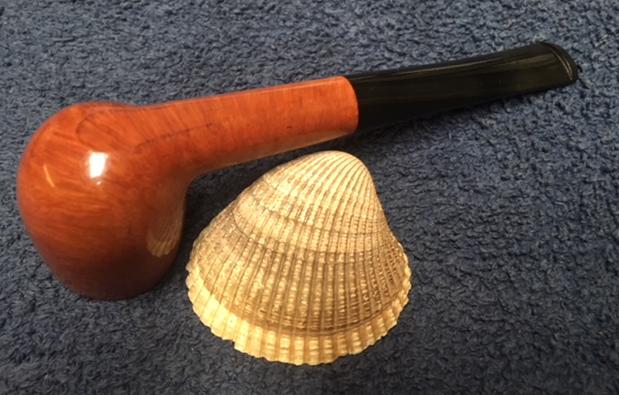
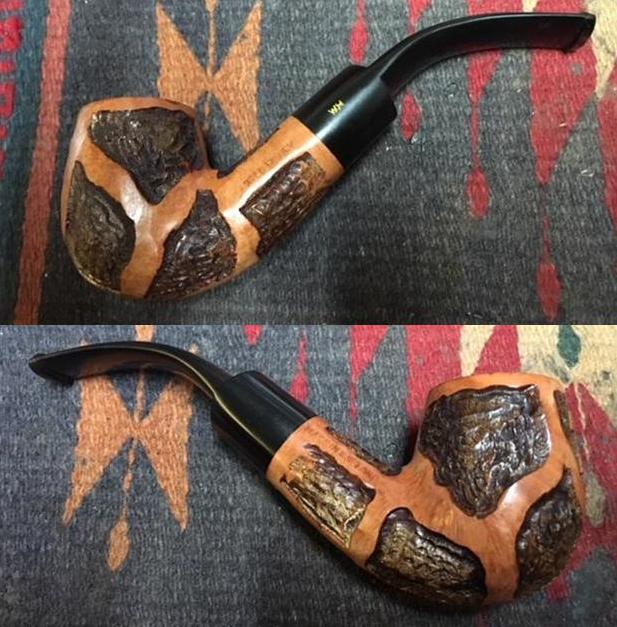
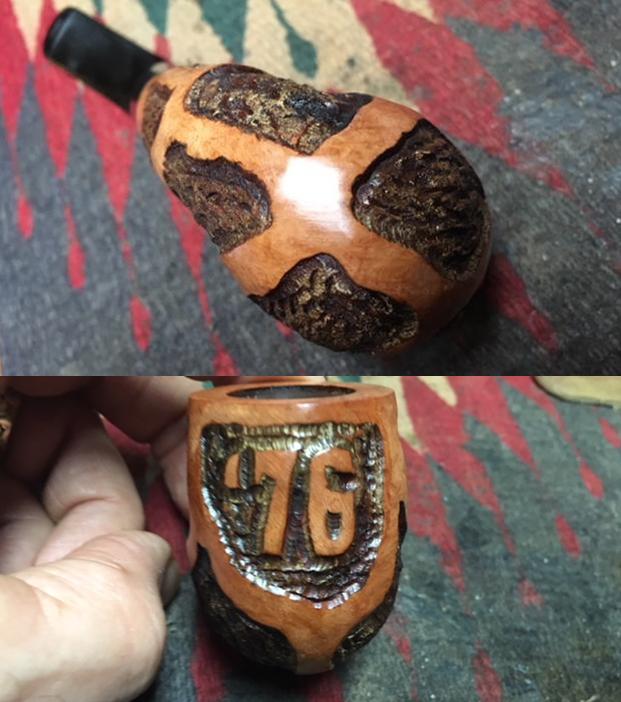
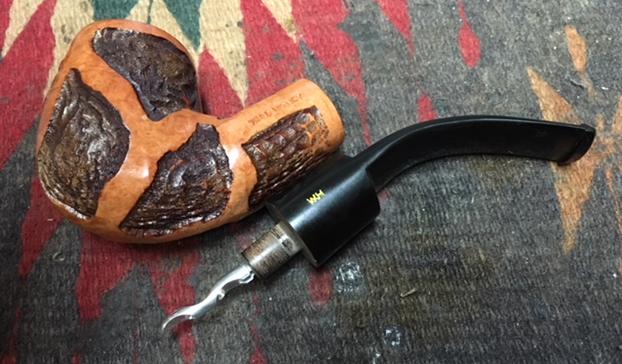
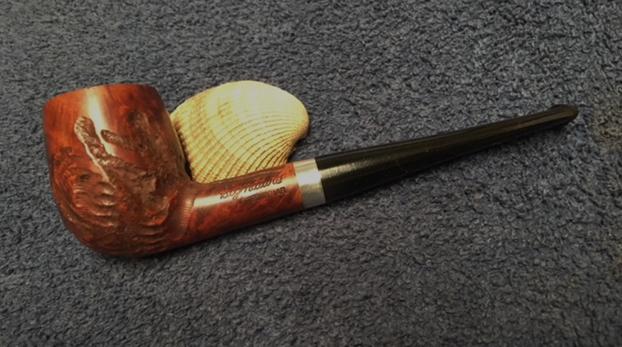
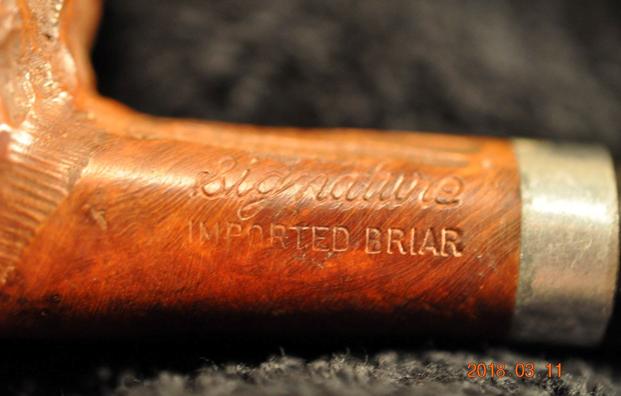
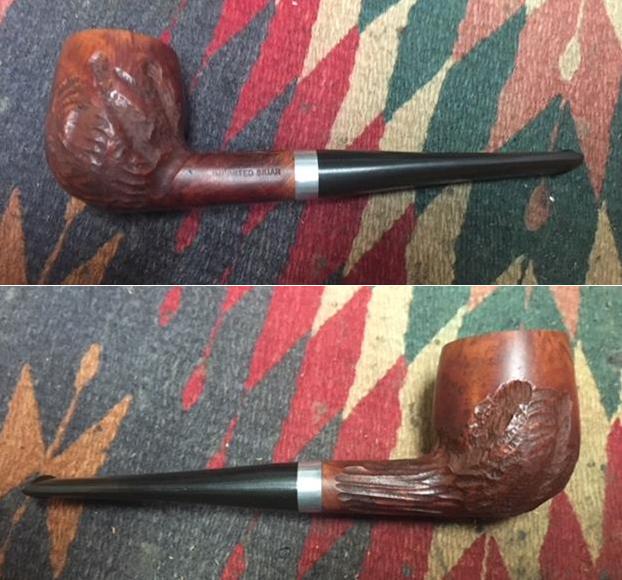
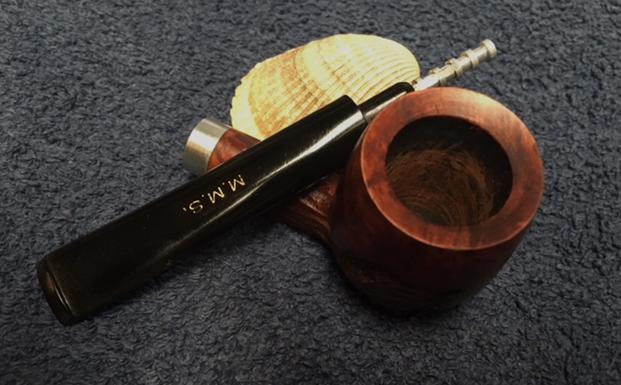
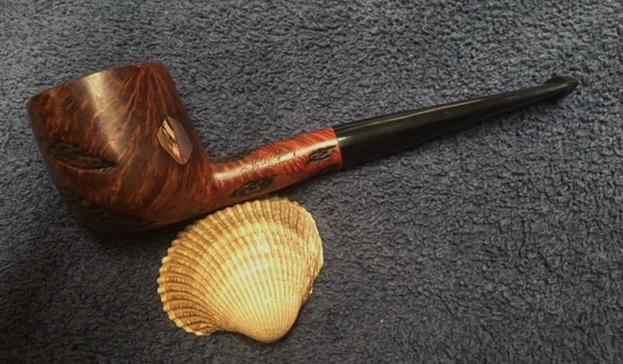
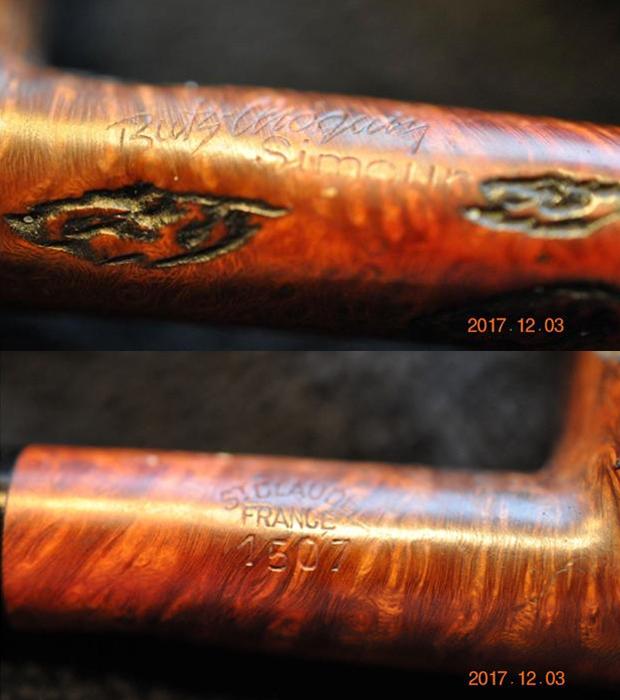
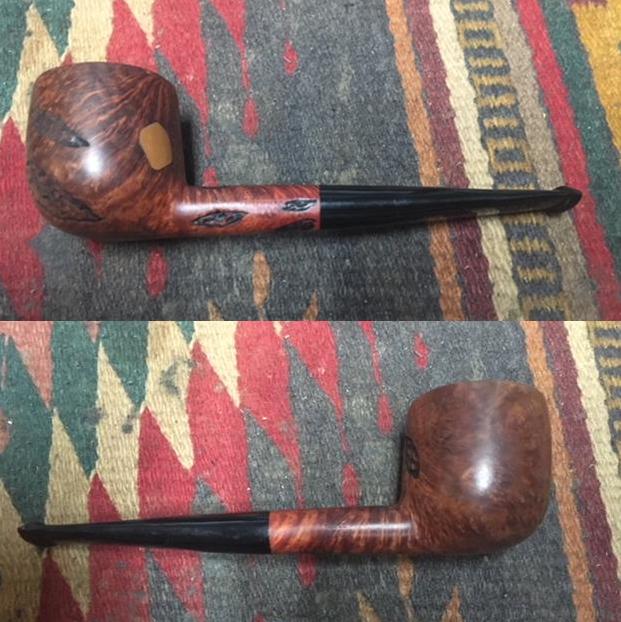
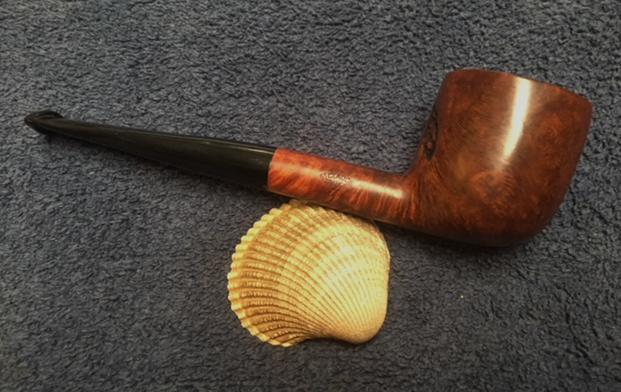
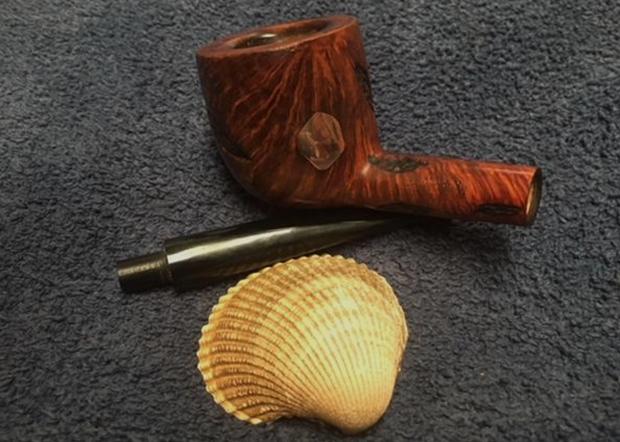
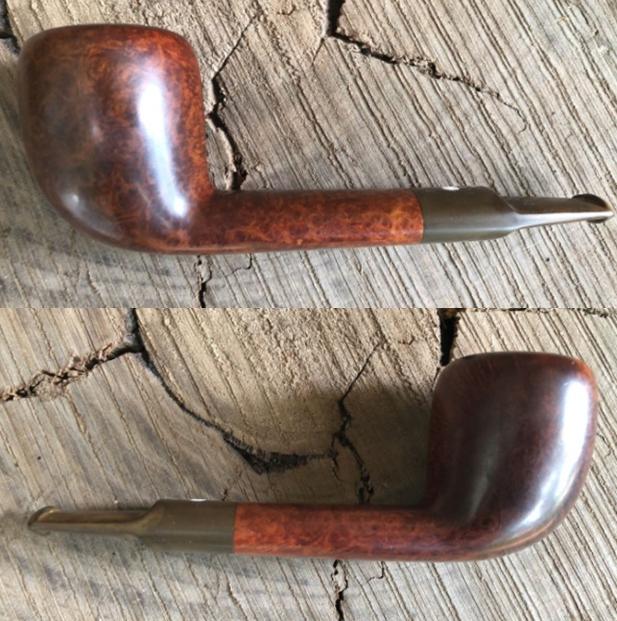
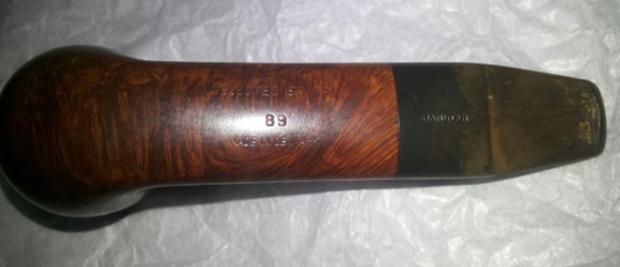
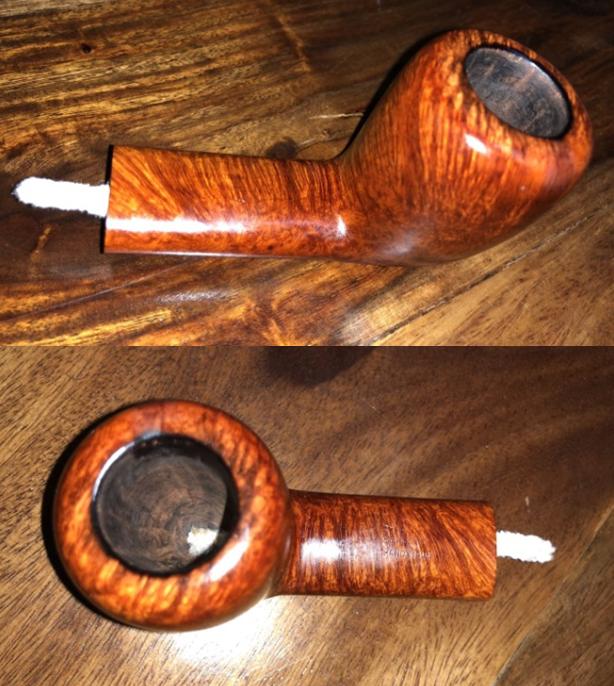
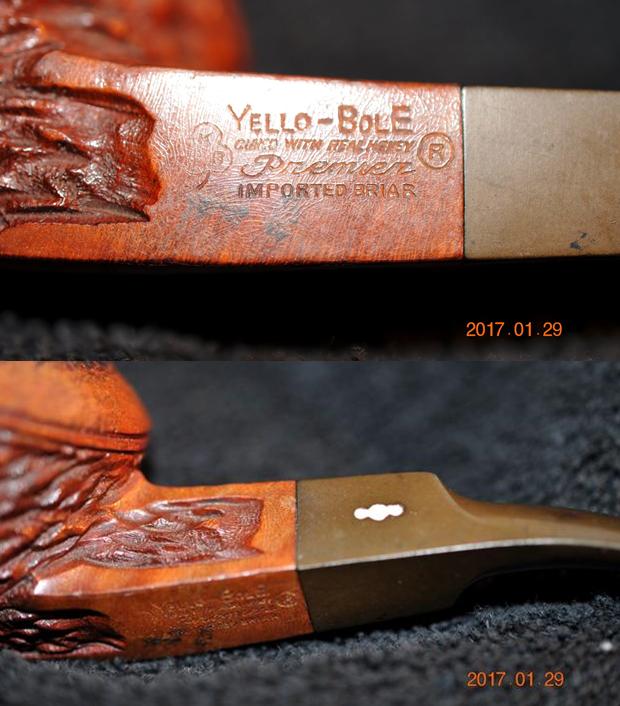
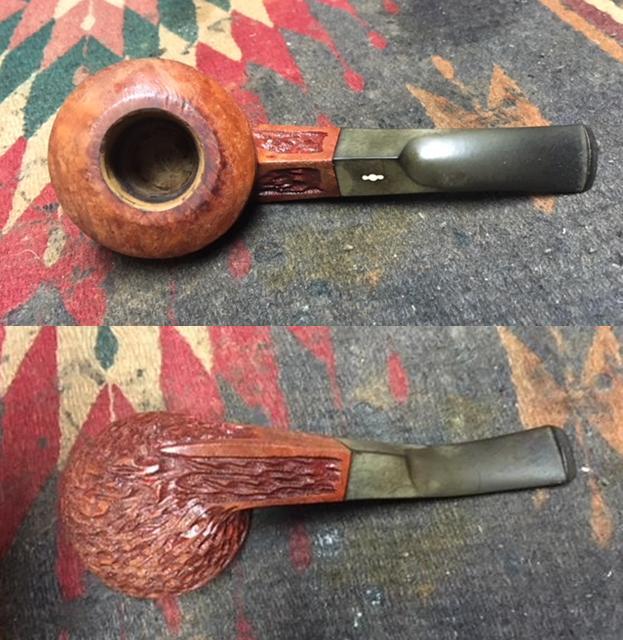
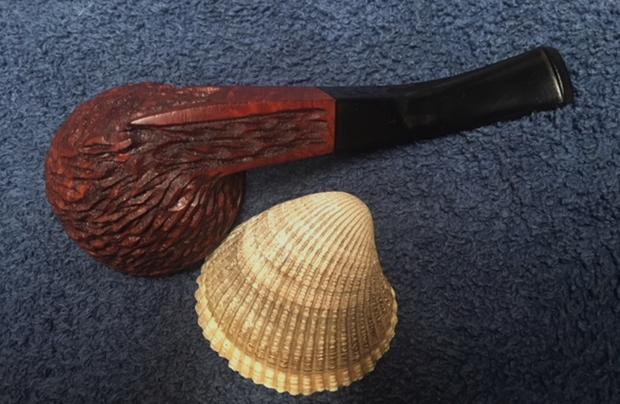
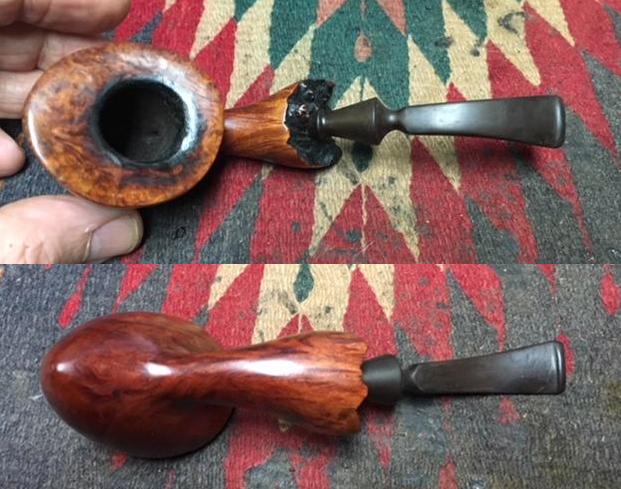
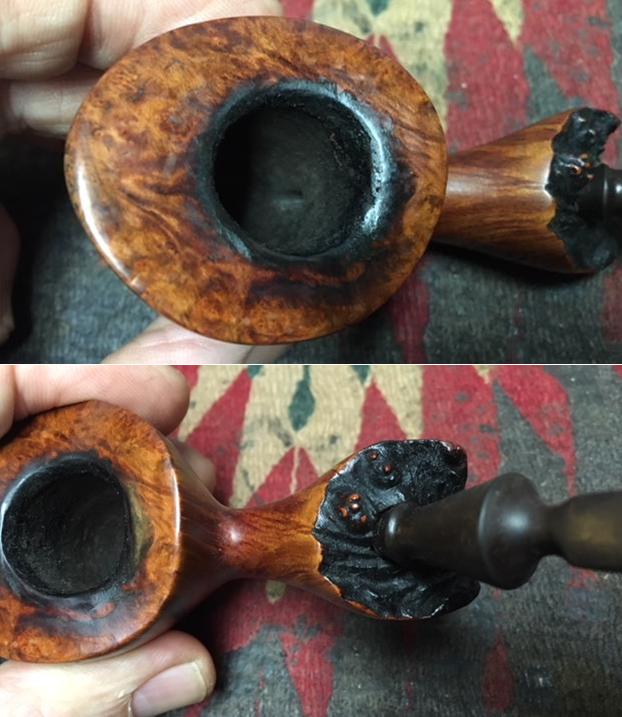
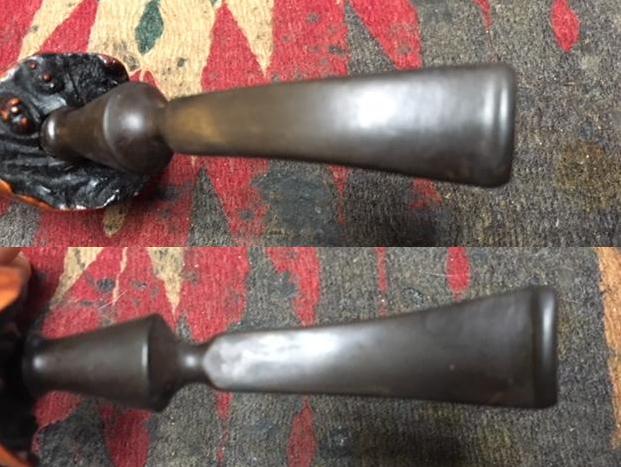
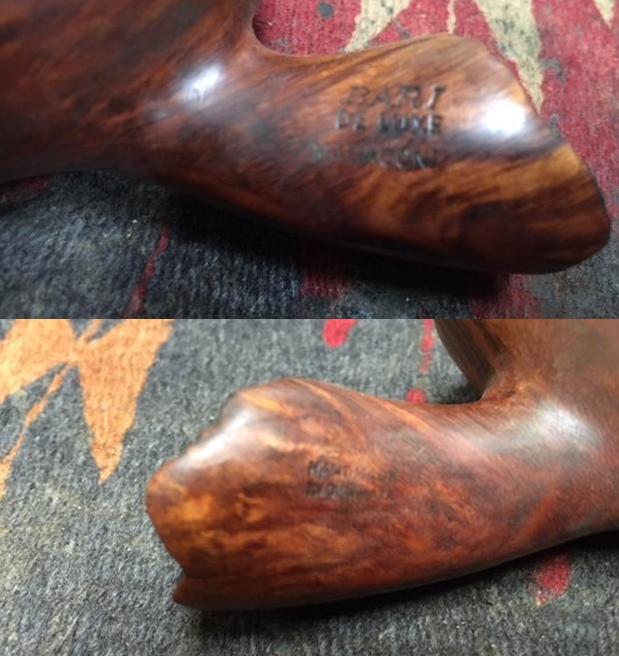
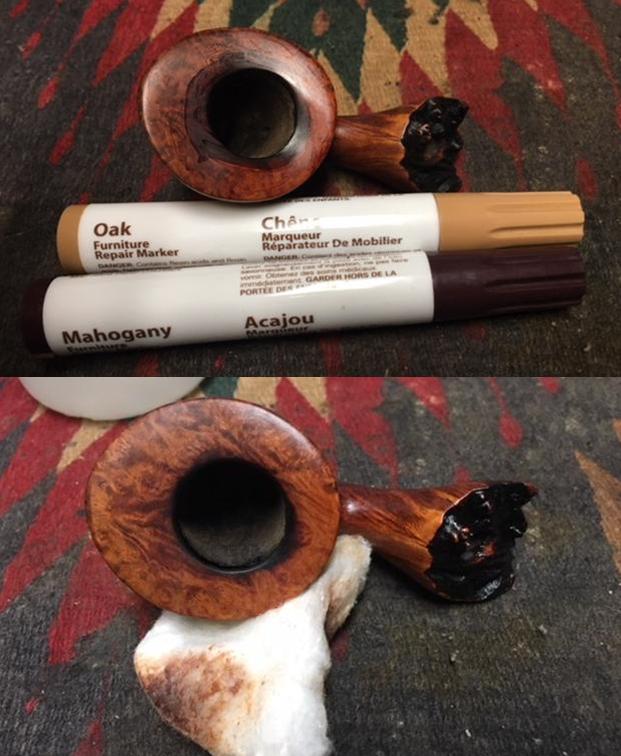
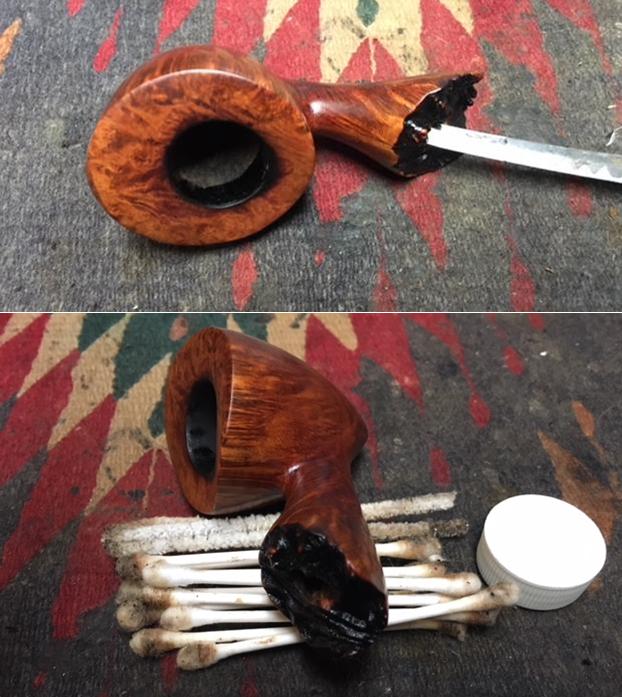
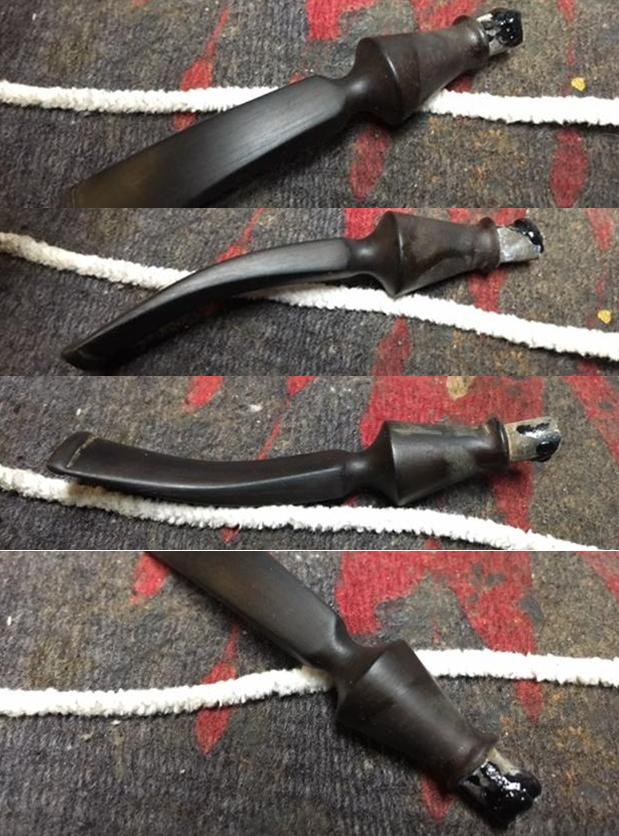
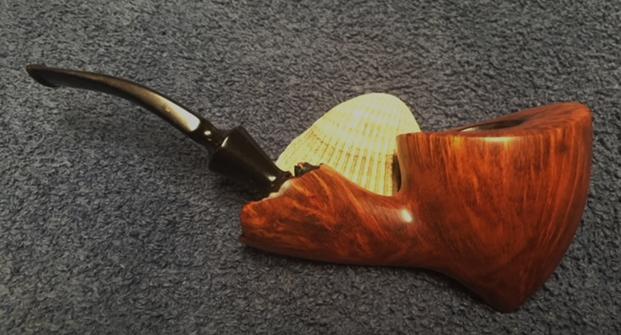
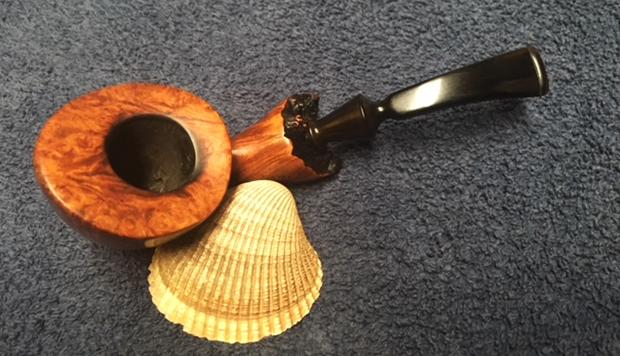
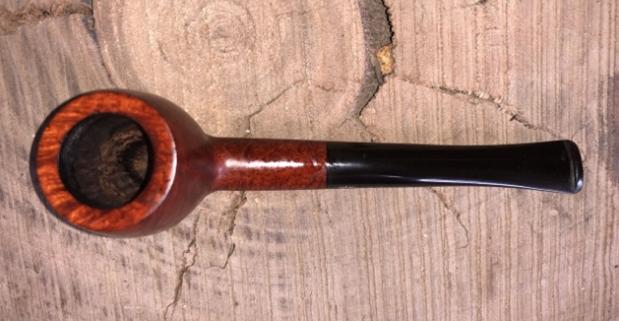
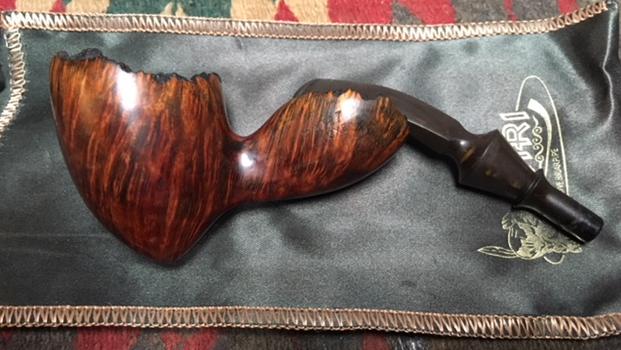
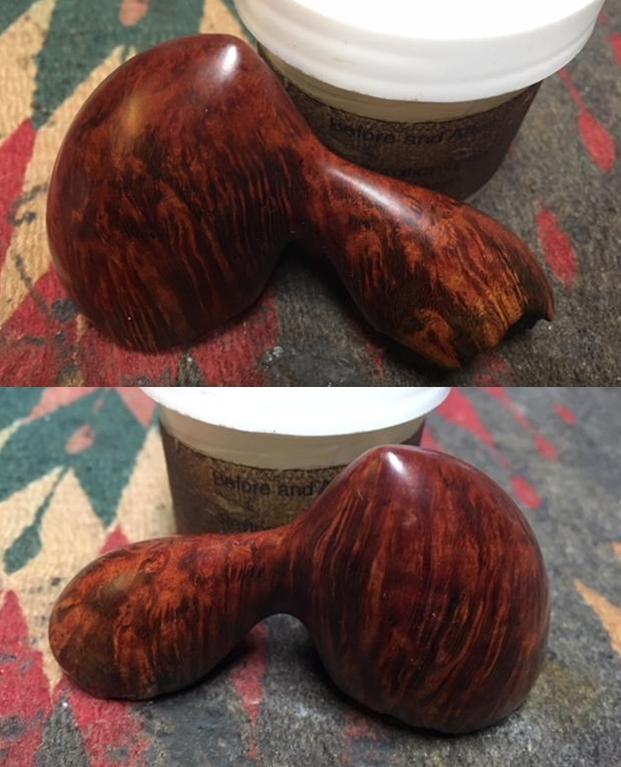
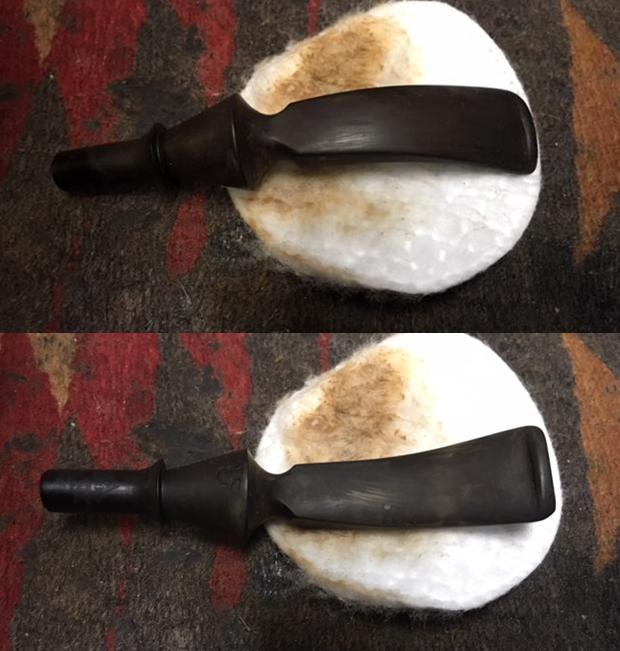
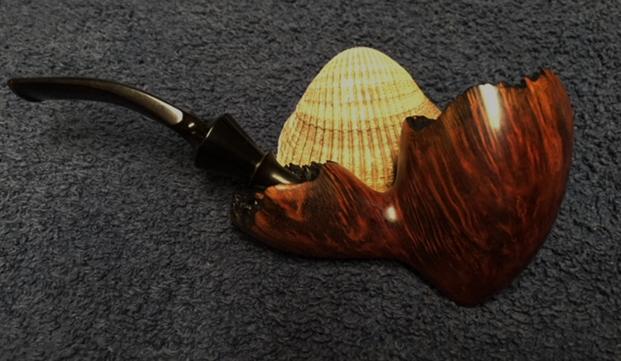
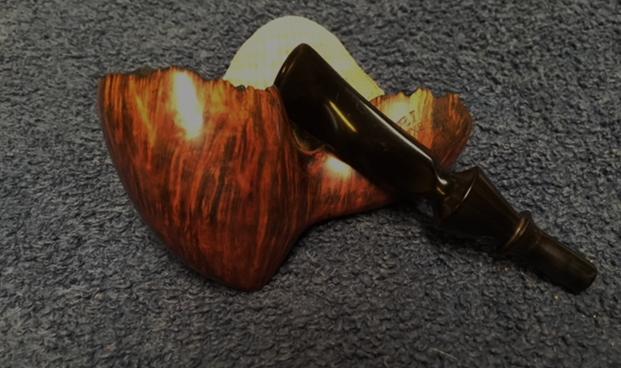
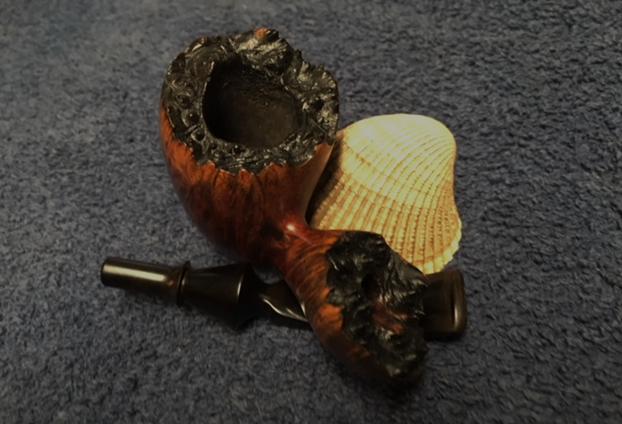
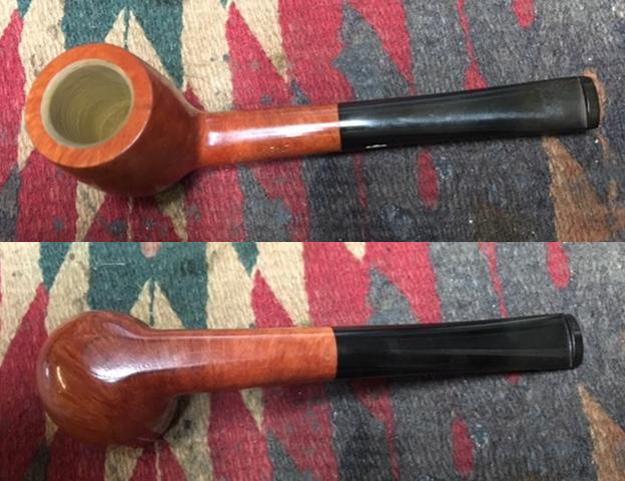
My brother has picked up quite a few older, unsmoked, NOS (New Old Stock) pipes recently. This one is a nice older KBB Yello-Bole Billiard. It has the KBB in a cloverleaf and next to that it reads Yello-Bole over Cured with Real Honey. Next to that is the symbol for a registered trademark ® (R in a circle). Underneath it reads Premier over Imported Briar. On the stem is the propeller inset logo that appeared on older Yello-Bole pipes. There is no other stamping on the shank. The finish is in perfect condition with a light varnish coat as it was when it left the factory. The bowl has the Yello-Bole Honey Coating. This pipe is new and unsmoked – New Old Stock. The finish is a light brown or tan stain. The propellered logo tapered stem is in excellent condition with some light oxidation on the topside and just needs a quick polish. The tenon holds the classic Yello-Bole spade stinger. It is removable and is pressure fit in the tenon. I took some photos of the pipe before I did a quick refresh of the bowl and stem. 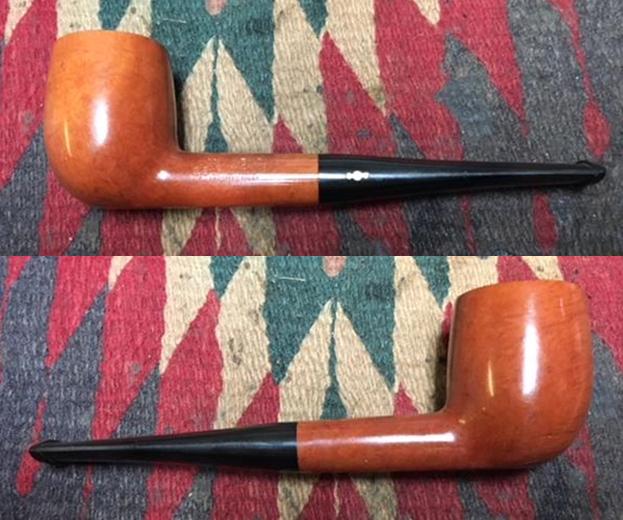
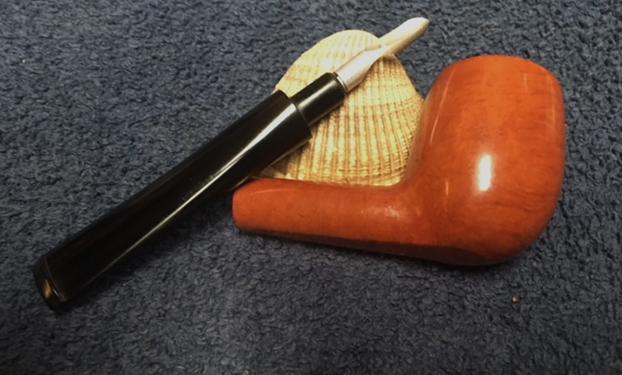
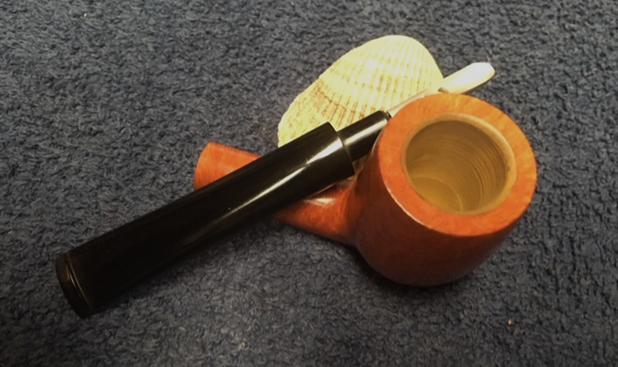
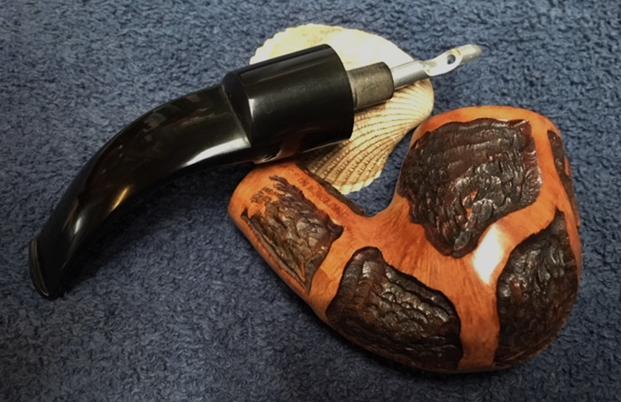
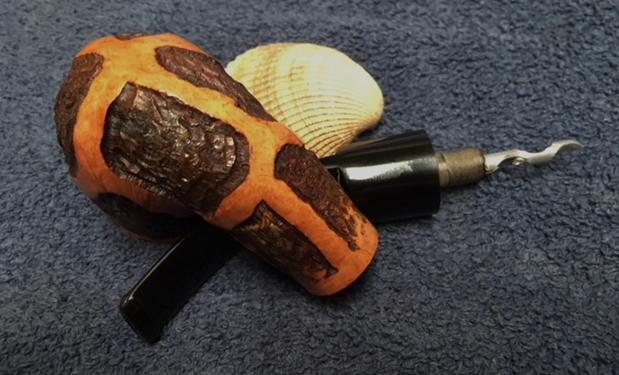
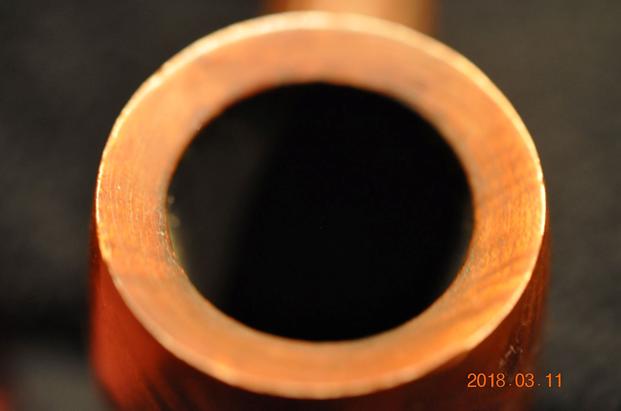
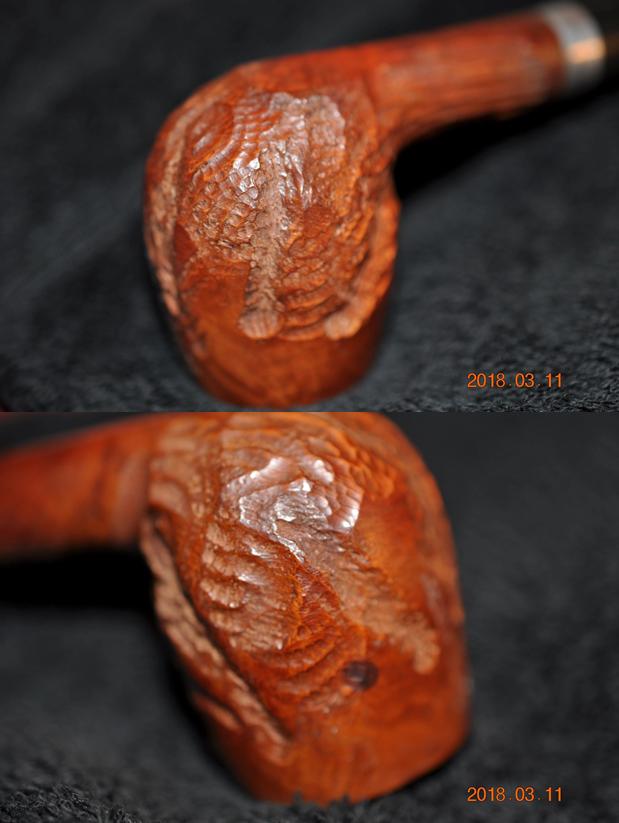
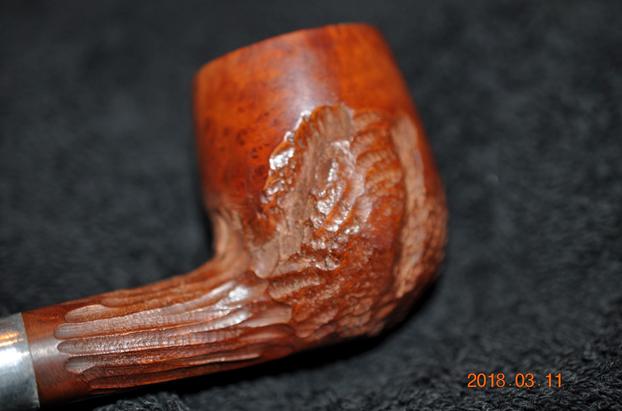
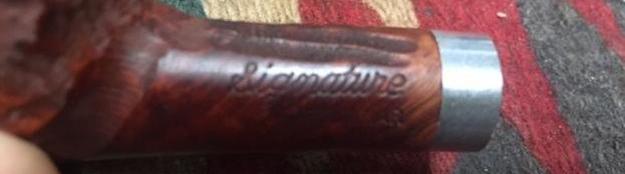
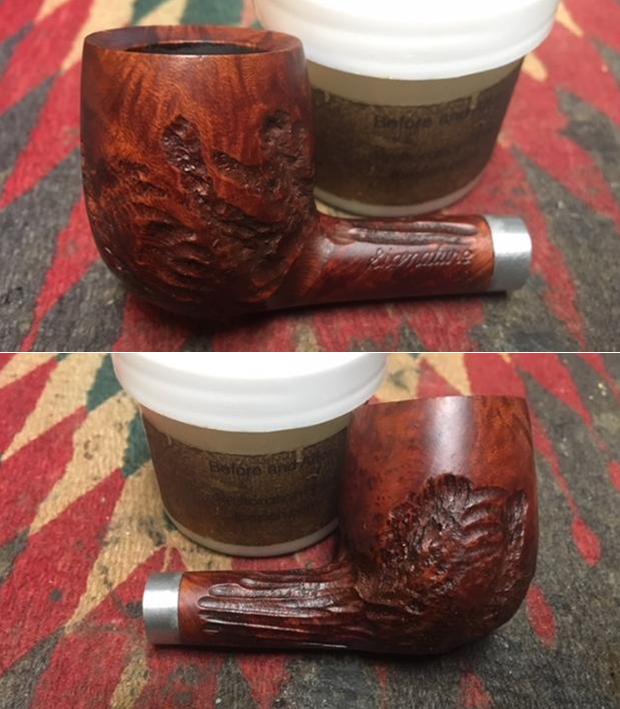
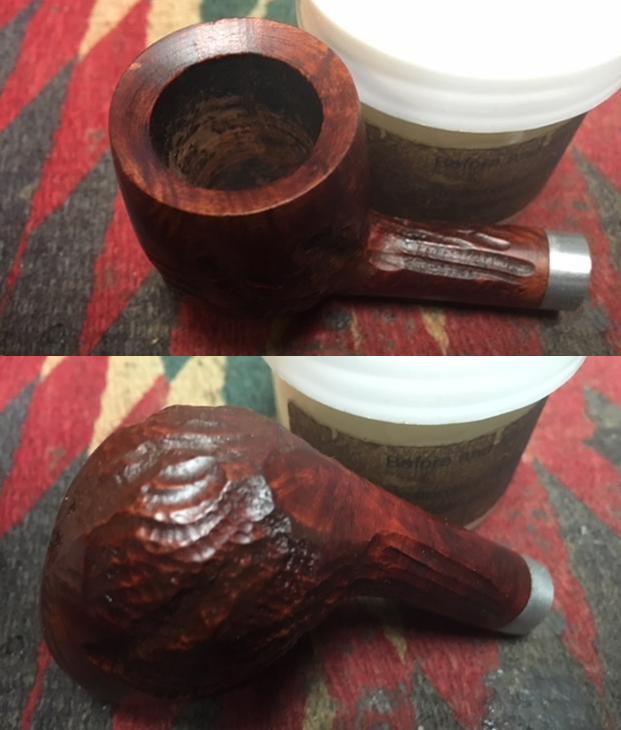
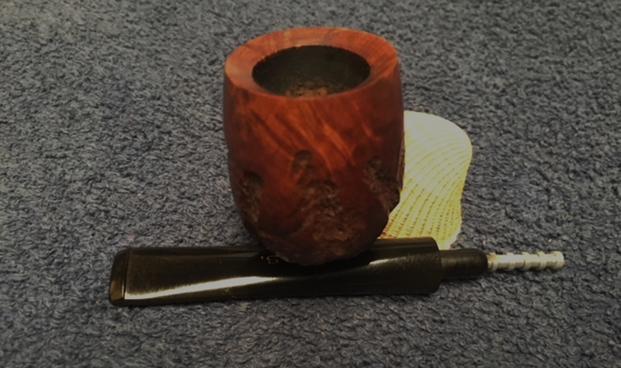
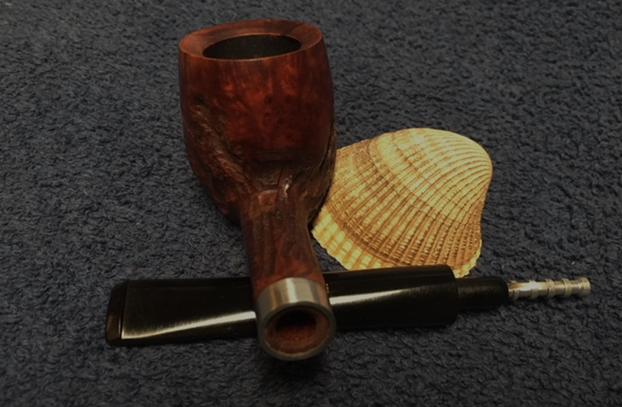
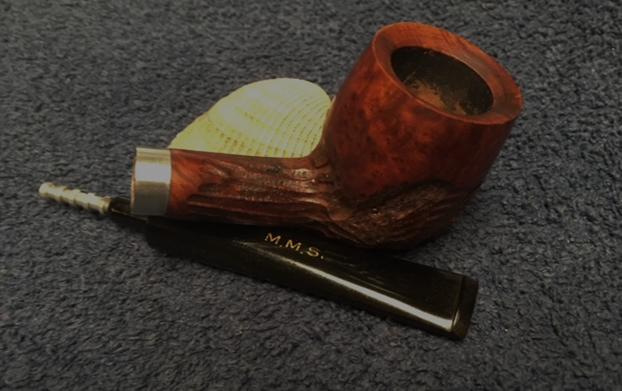
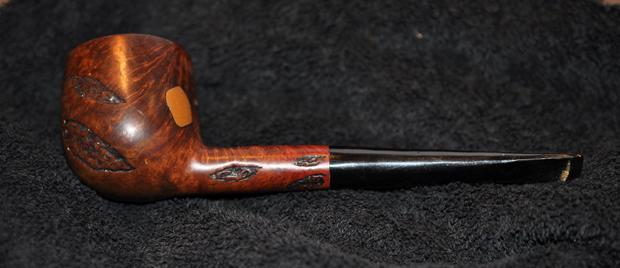
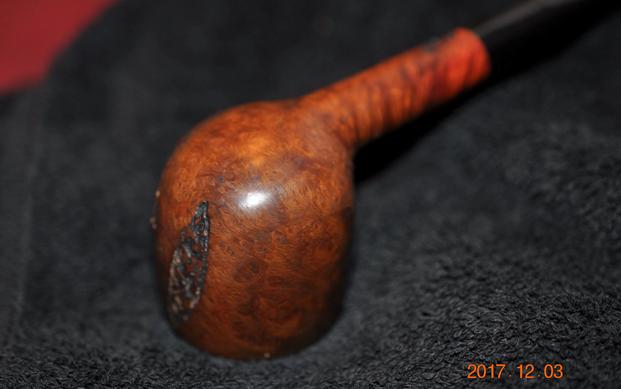
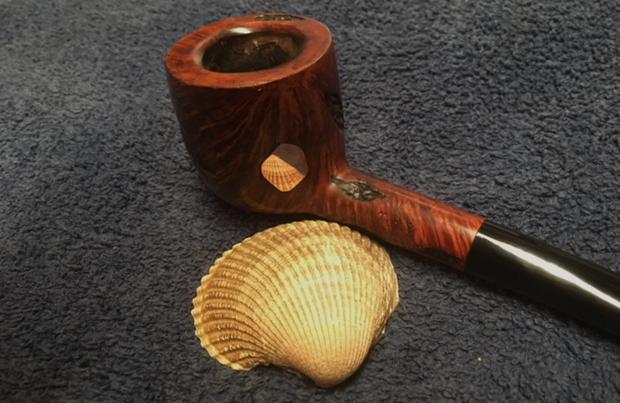
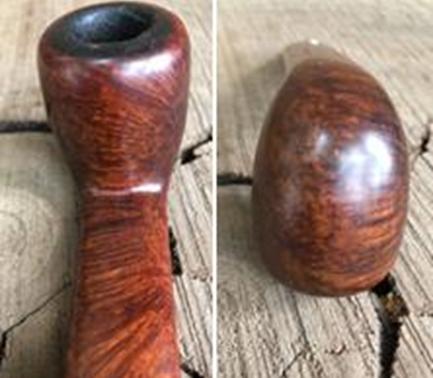
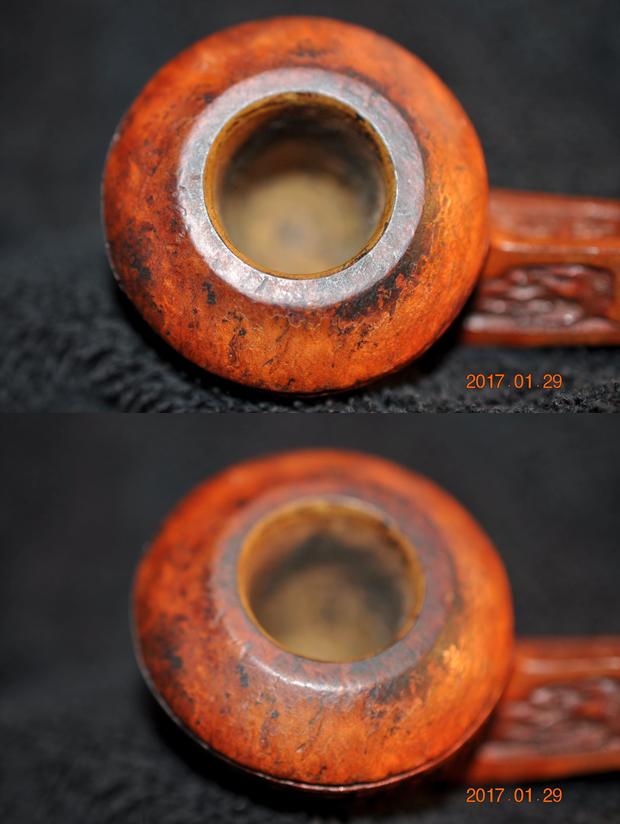
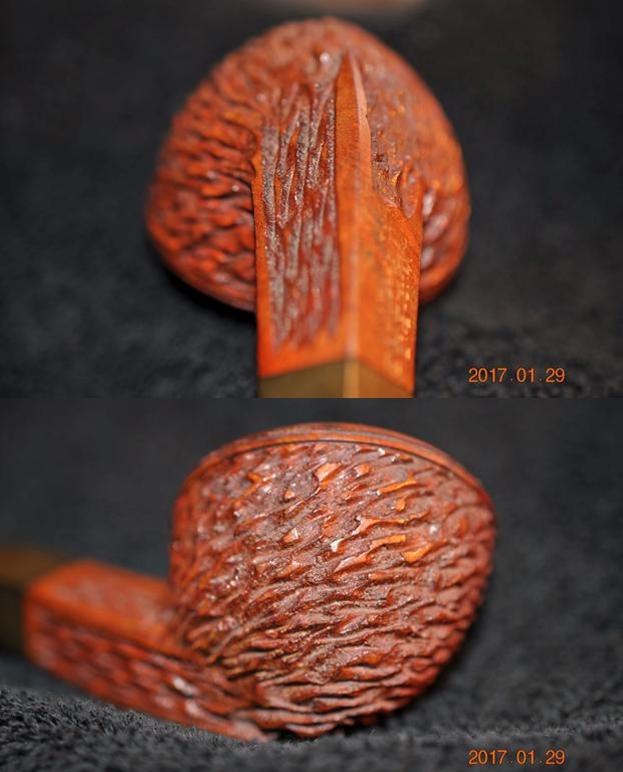
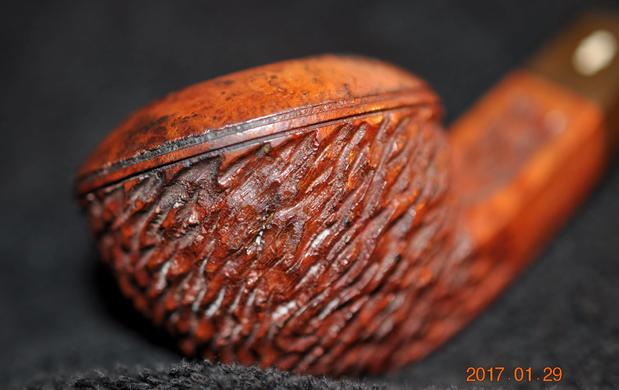
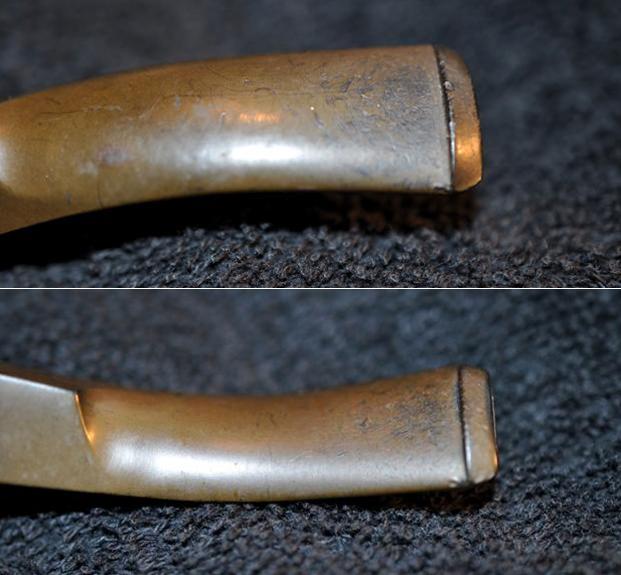
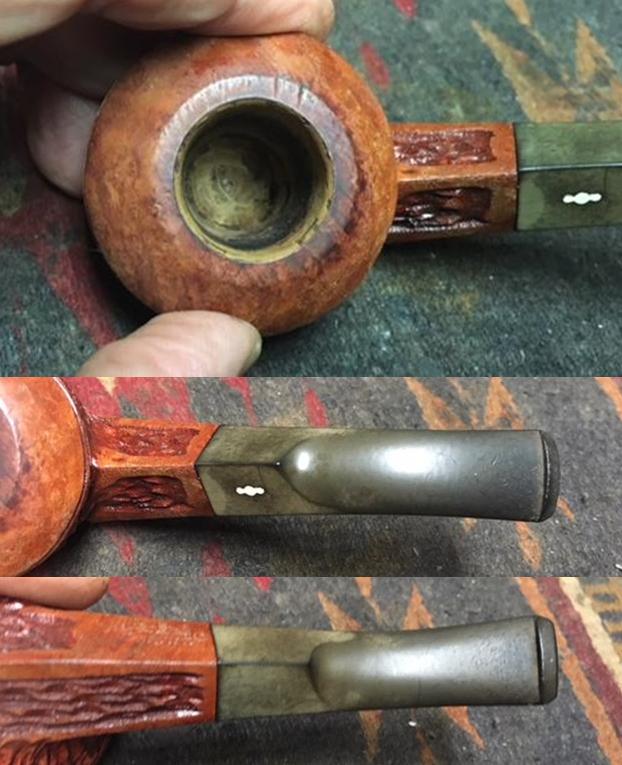
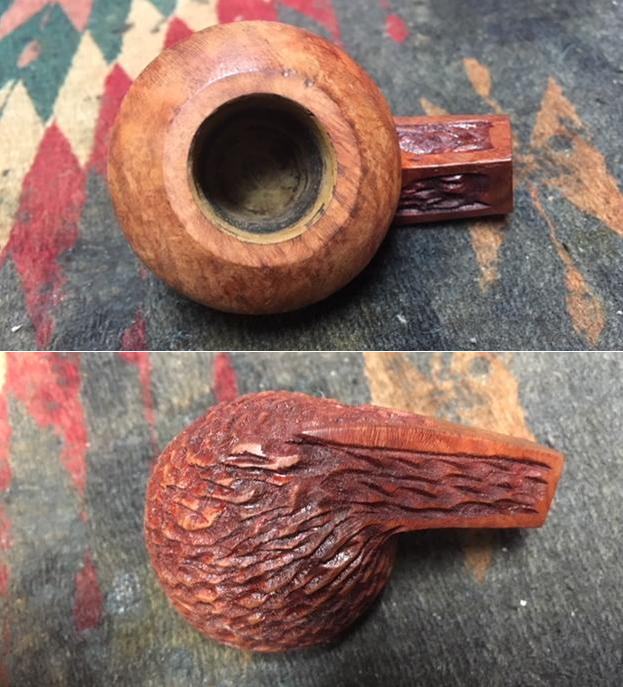
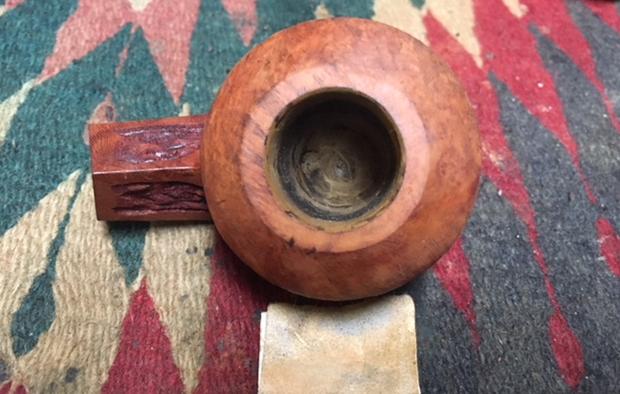
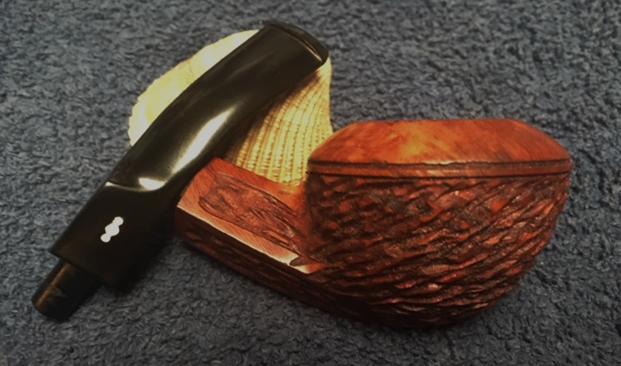
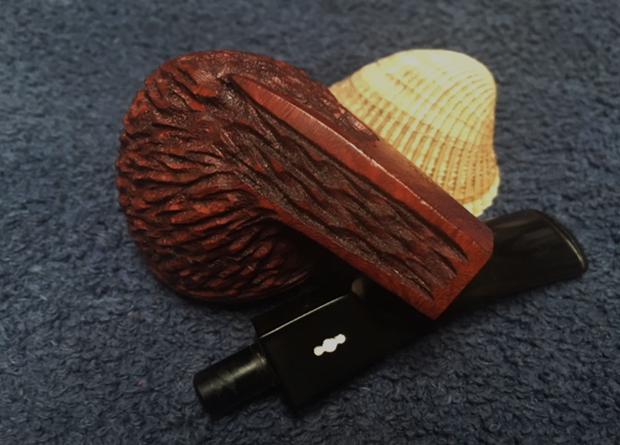
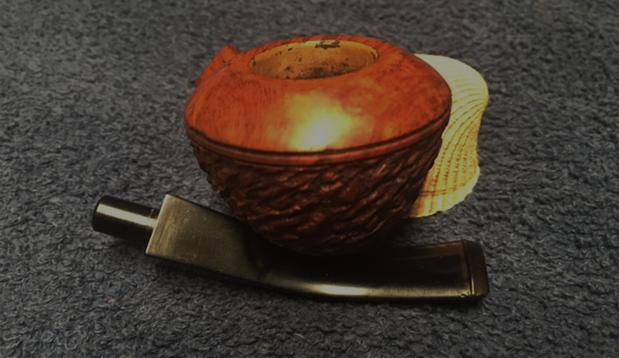
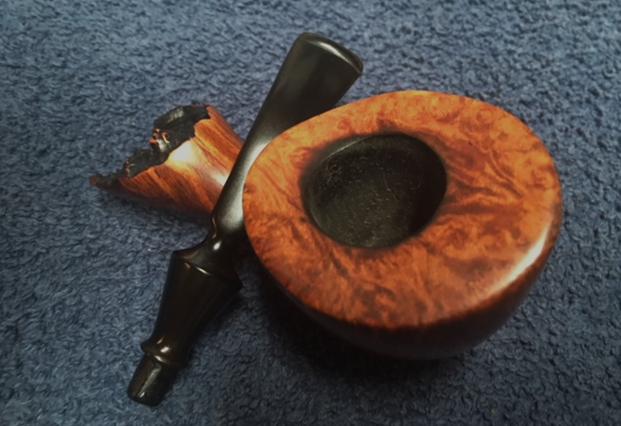
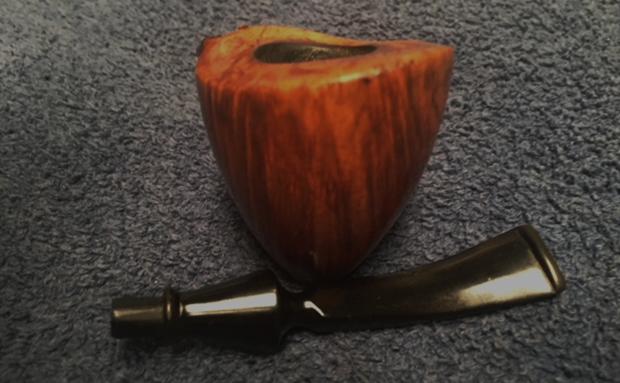
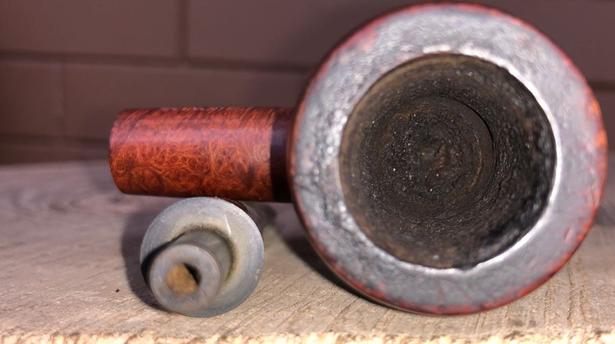
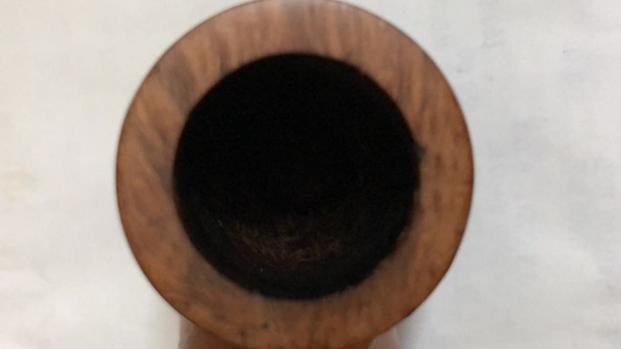
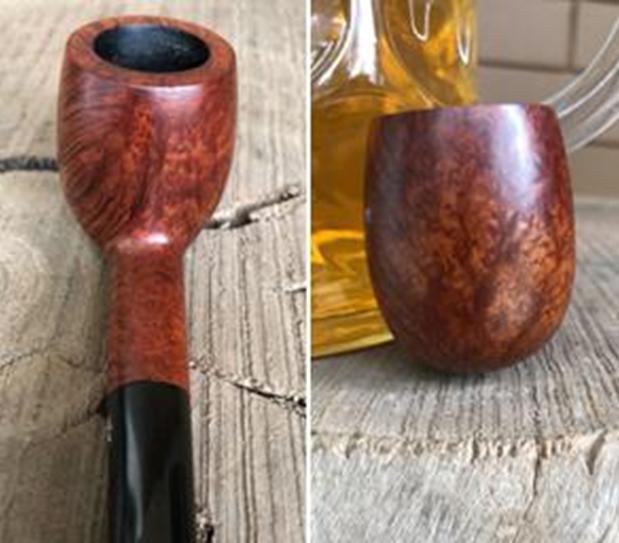
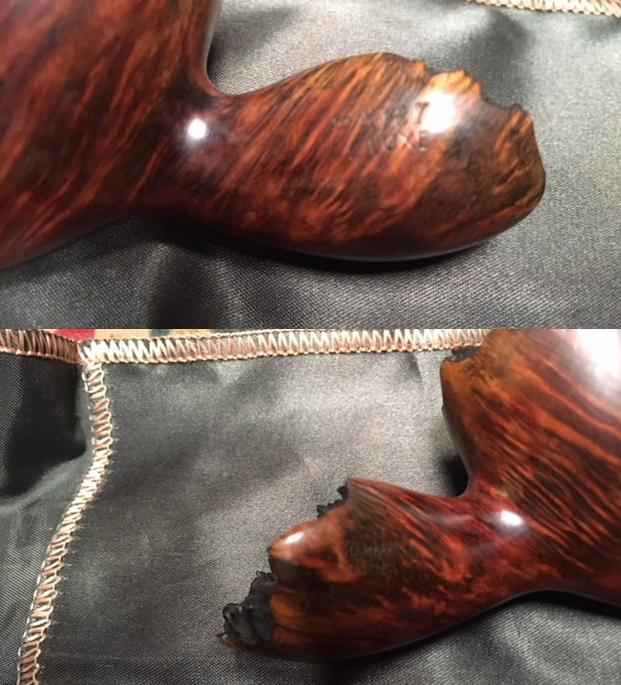
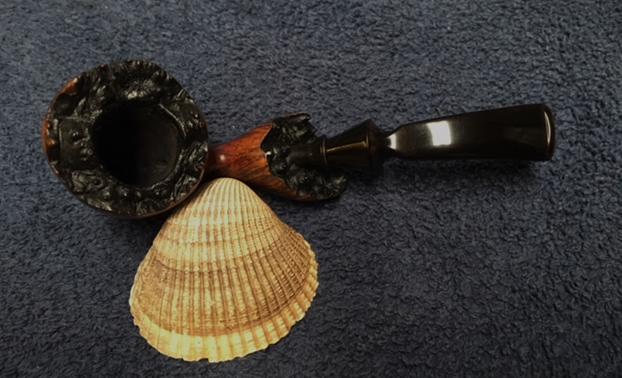
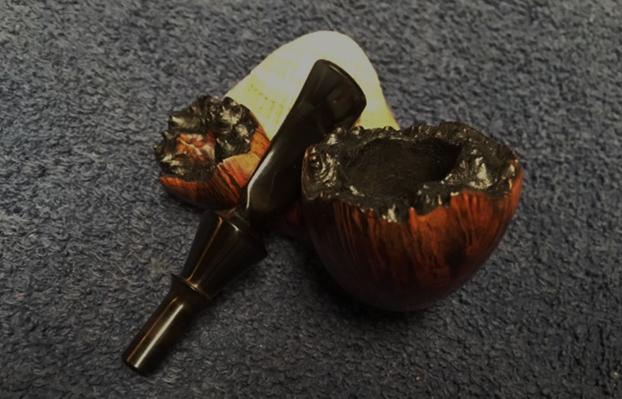
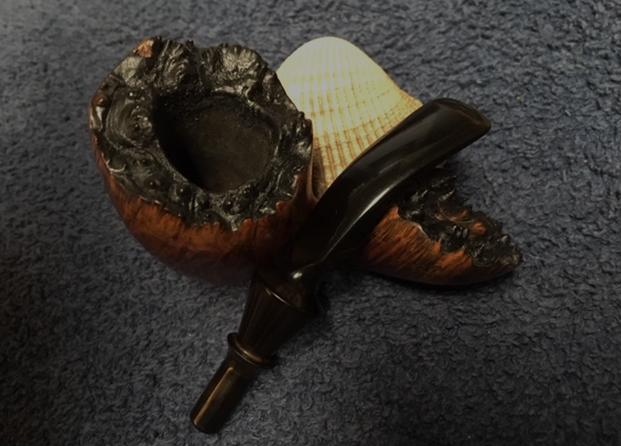
 I took some close up photos of the rim top, bowl and stem to show the new condition of the pipe. I also took some photos of the bowl from the top down to show the Yello-Bole honey coating. The stem photos also show the propeller logo on the left side of the taper stem and the light oxidation on the top side.
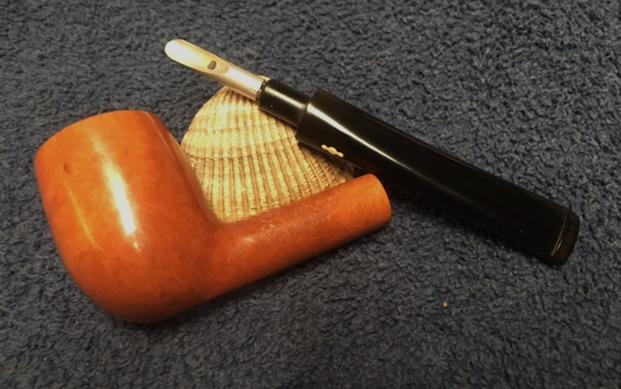
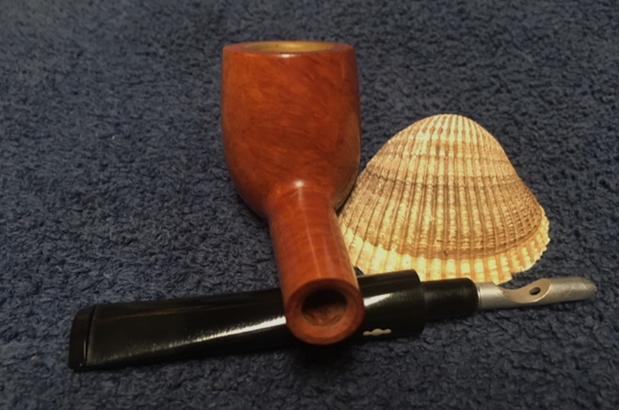
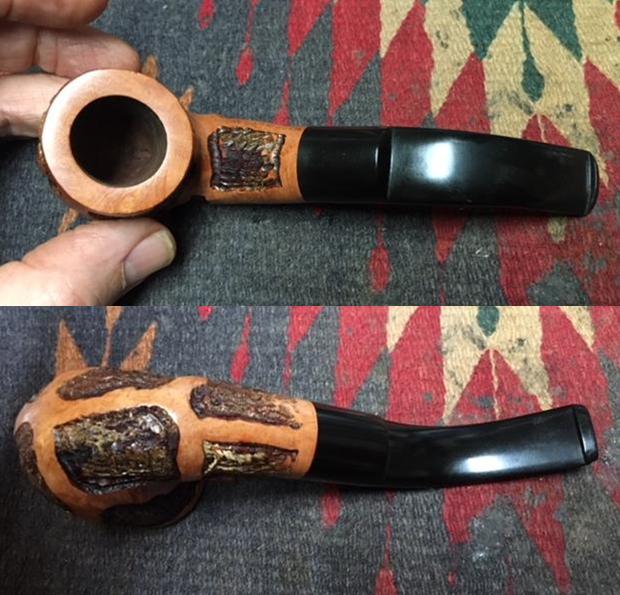
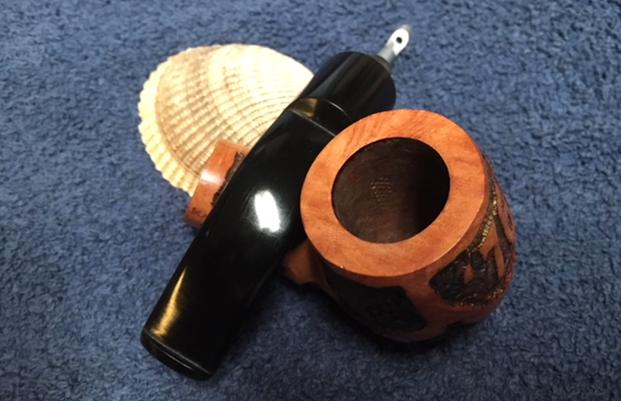
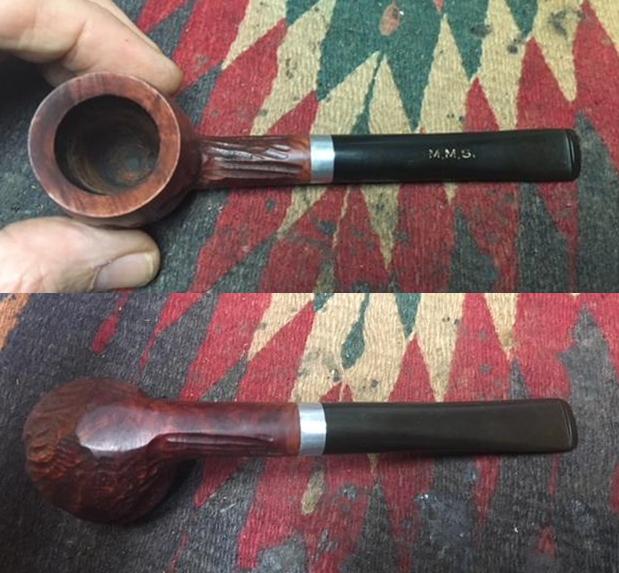
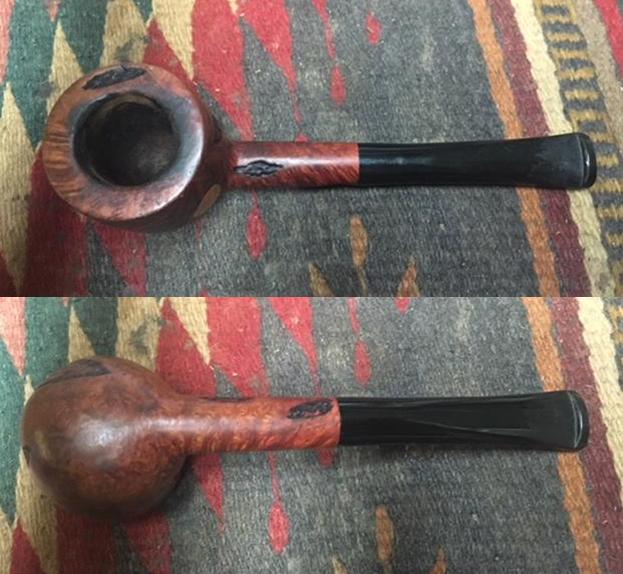
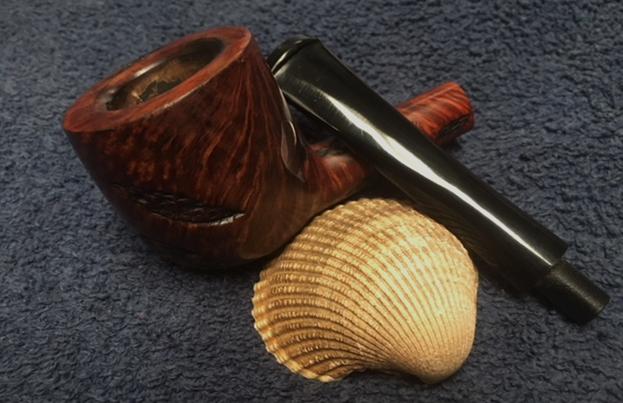
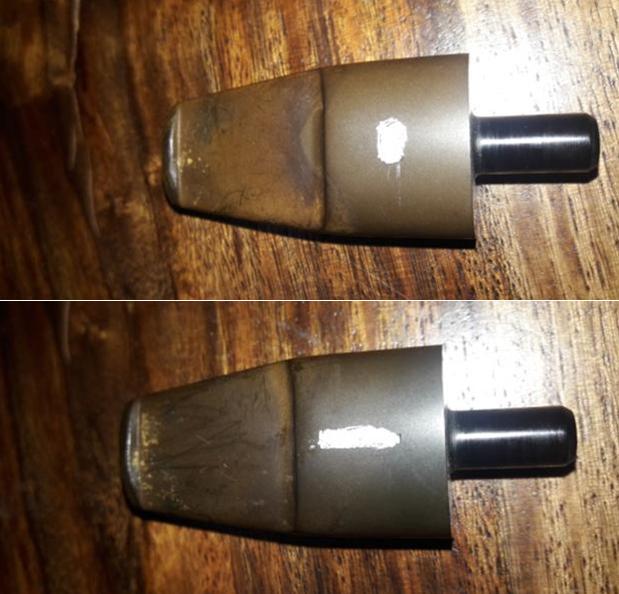
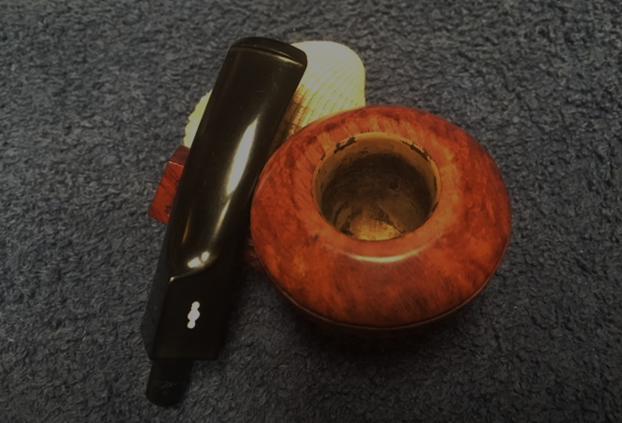
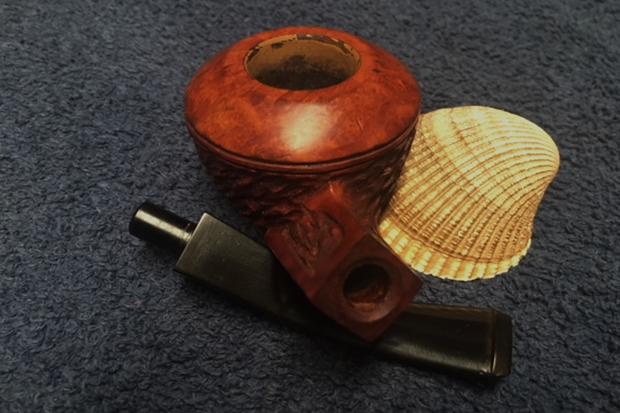
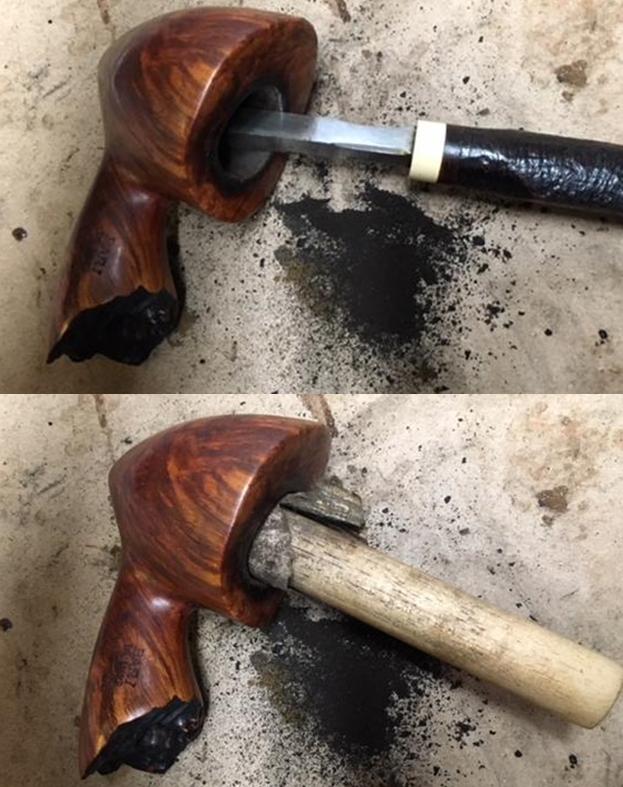
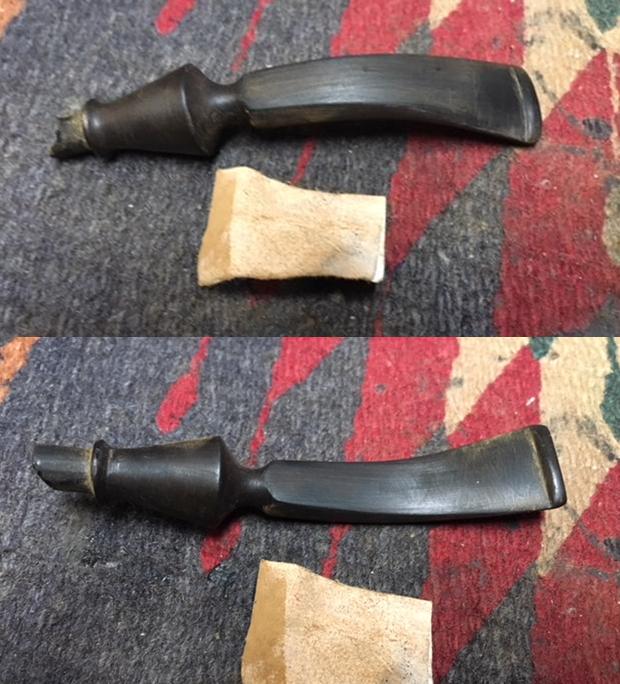
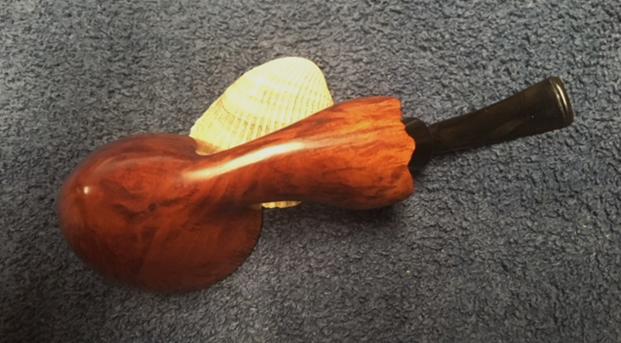
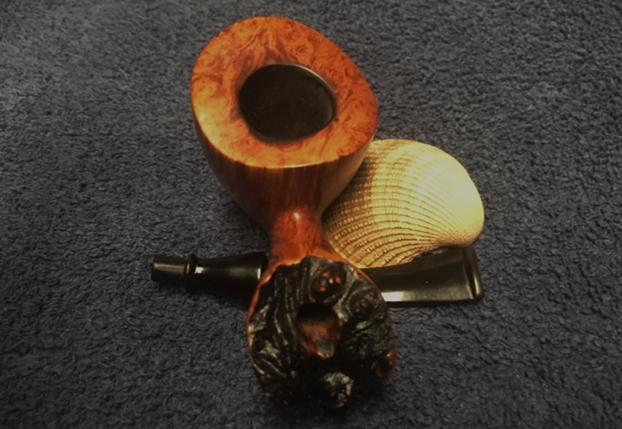
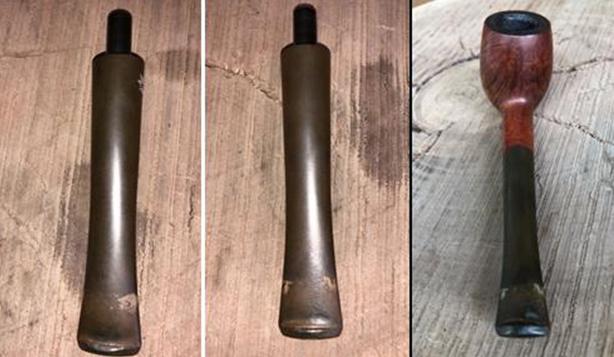
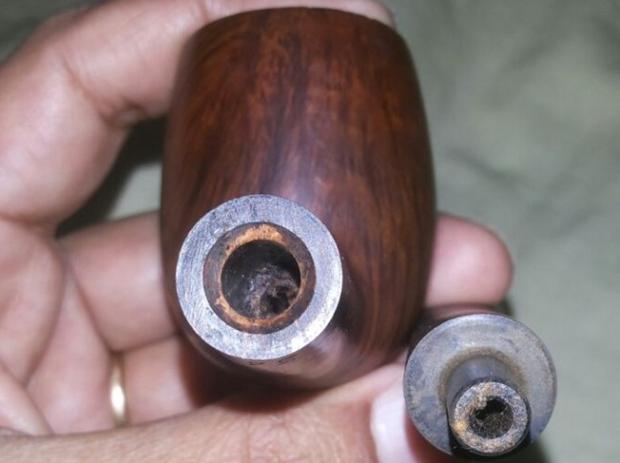
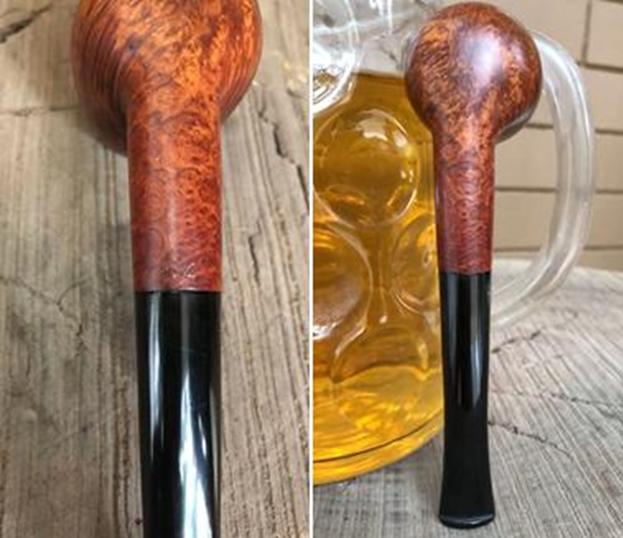
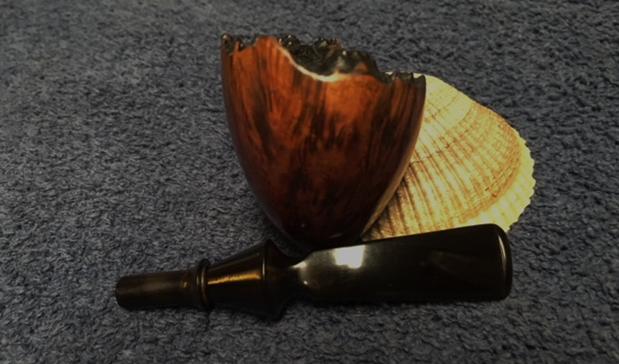
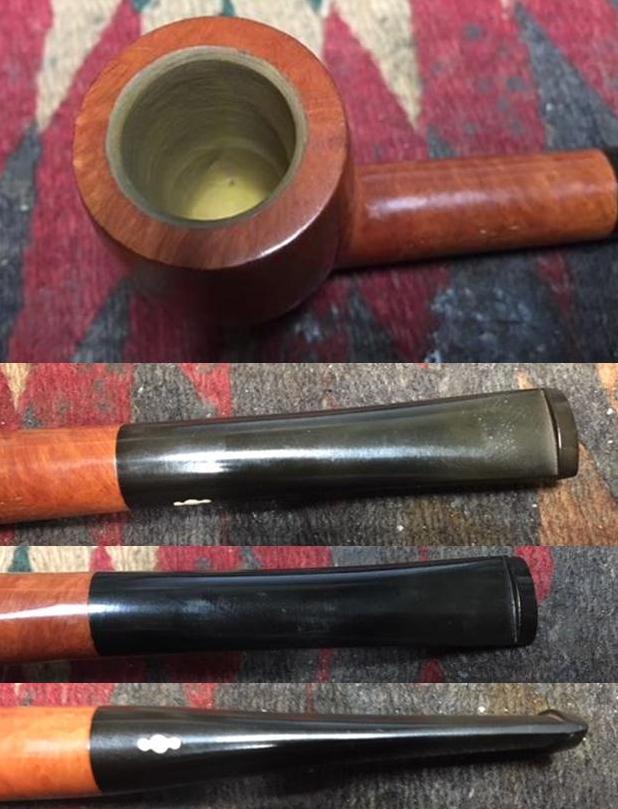 I took a photo of the stem with the classic Yello-Bole spade style stinger in place. It is a push fit stinger and is easily removed should the new owner wants to remove it.
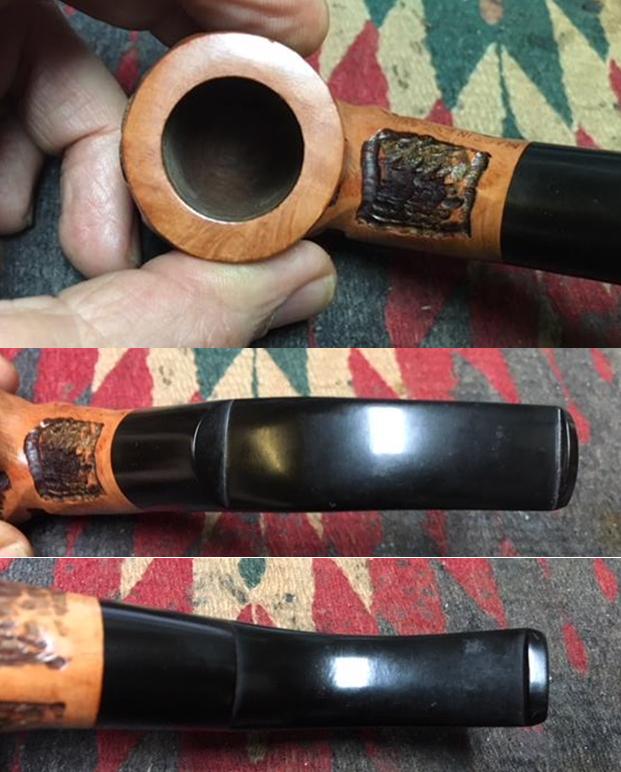
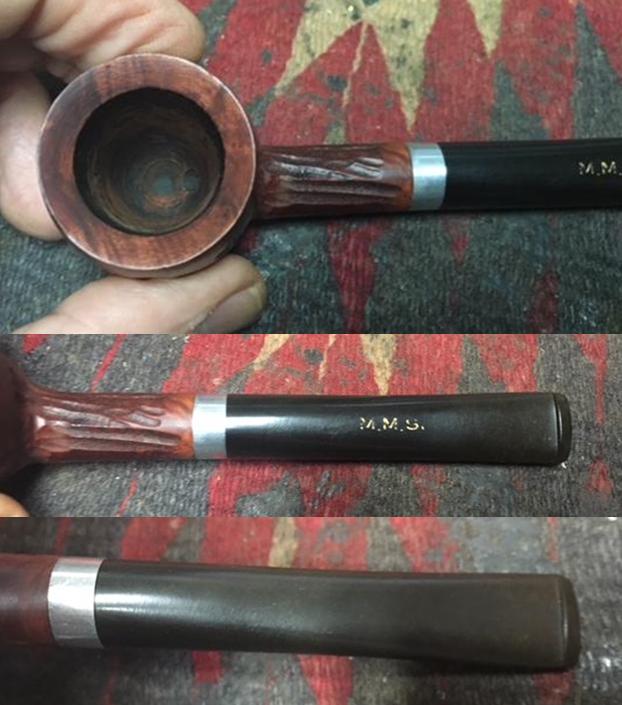
 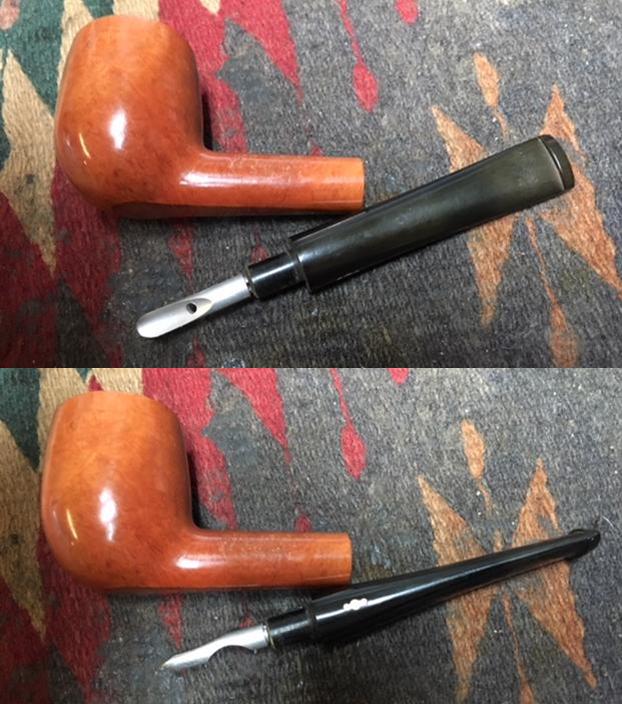 I recently restored a Yello-Bole Bulldog so I went back and read that blog again (https://rebornpipes.com/2018/08/12/cleaning-up-a-fascinating-kbb-yello-bole-premier-bulldog/). On that blog I quoted a section from a previous blog that I turned to try to narrow down a date for the pipe (https://rebornpipes.com/2013/01/25/yello-bole-logos-from-my-collection-of-old-yello-bole-pipes/).
There was a comment on that blog that came from Troy who I consider my go to guy for Yello-Bole information (he has written on rebornpipes and also has a blog of his own). Troy wrote as follows on dating Yello-Bole pipes by the stamping and logos.
“I have a large KBB Yello-Bole collection. They are some of my most favorite pipes and the best smokers for the money (briar wise) you can find in my opinion. I have restored and researched them quite a bit. I have several listed on my blog that I have cleaned or restored. I own about 30-40 KBB Yello-Boles now.”
“Here is a little guide to dating KBB Yello-Boles. If it has the KBB stamped in the clover leaf it was made 1955 or earlier as they stopped the stamping after being acquired by S.M. Frank. From 1933-1936 they were stamped Honey Cured Briar. Pipes stems stamped with the propeller logo they were made in the 30s or 40s no propellers were used after the 40s. Yello-Bole also used a 4 digit code stamped on the pipe in the 30s. If the pipe had the Yello-Bole circle stamped on the shank it was made in the 30s this stopped after 1939. If the pipe was stamped BRUYERE rather than briar it was made in the 30s.” (NB. The portions above in bold and underlined were highlighted as they pertain to the present pipe.)
From that information I ascertained the following. The NOS Premier billiard that I had was stamped with KBB in the cloverleaf on the left side of the shank which told me that the pipe was made before 1955. It had a propeller logo on the stem which further placed it in the period of the 30s and 40s. With all of that collected I knew the pipe was made between 1930 and 1949 which means that this NOS Premier Billiard has been sitting unsmoked for a very long time. I wish it could tell its story.
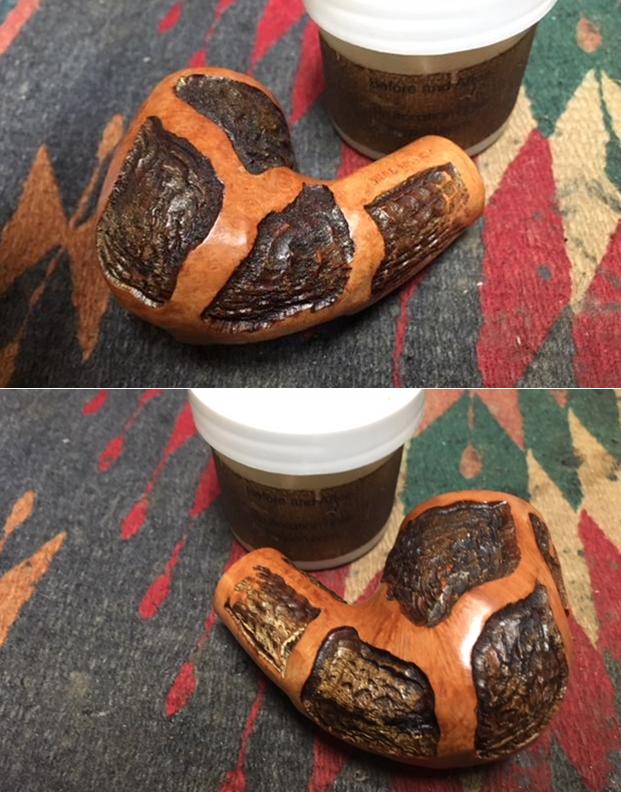
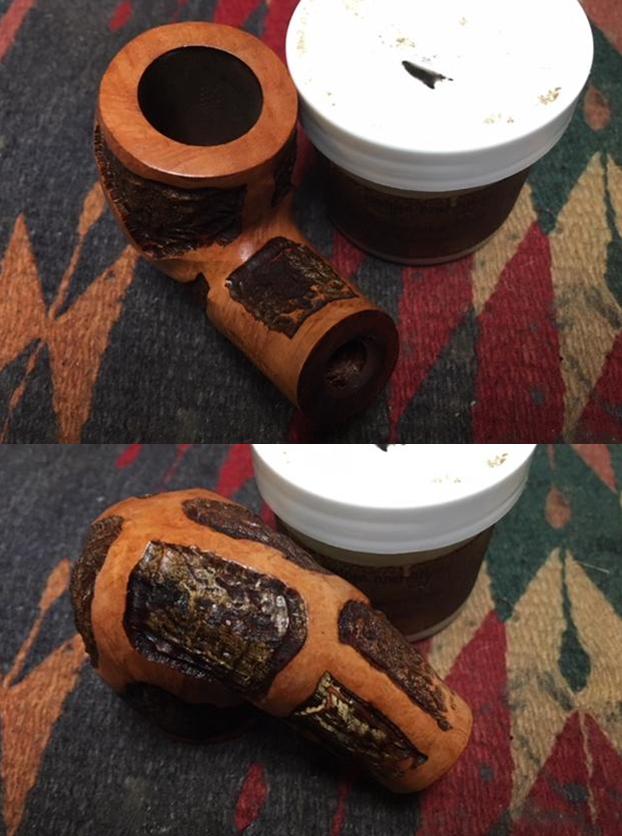
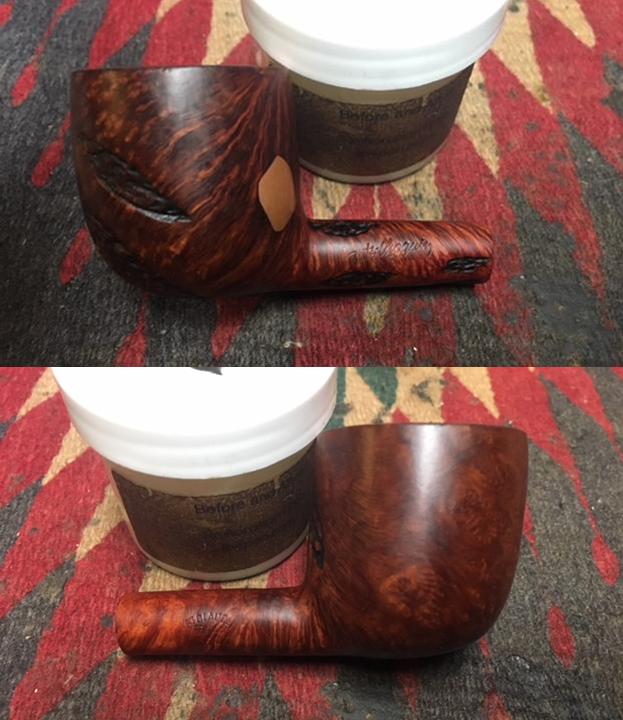
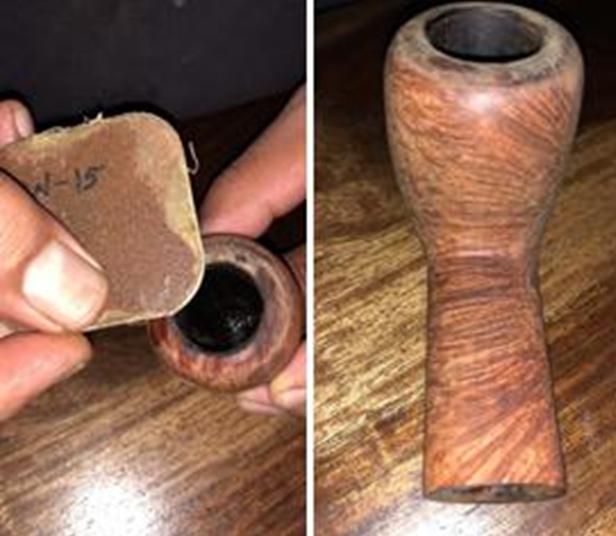
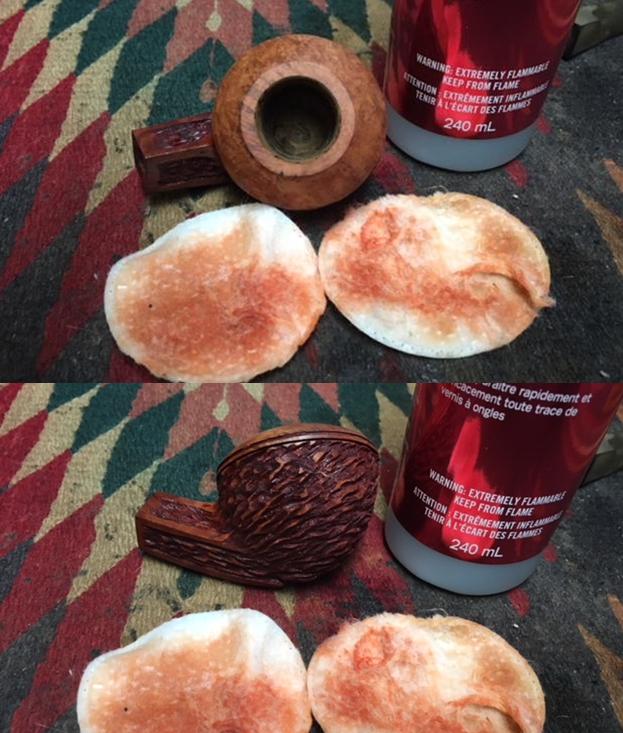
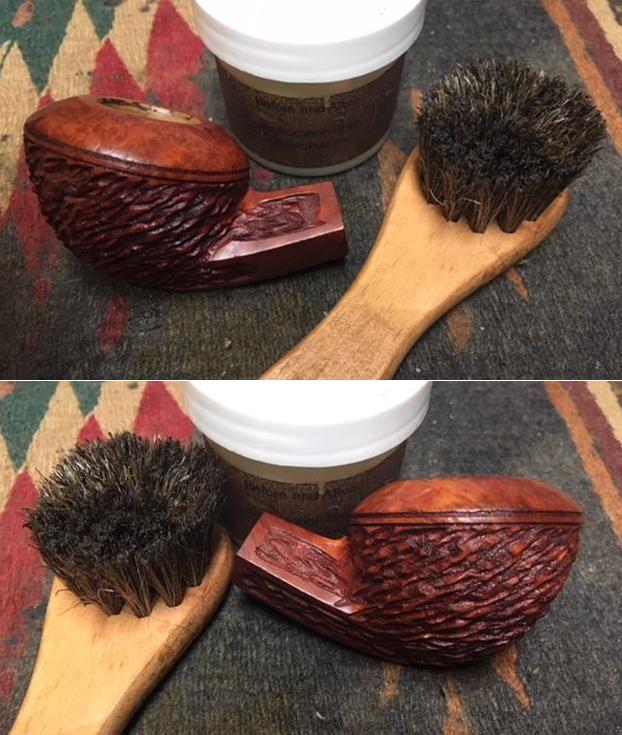
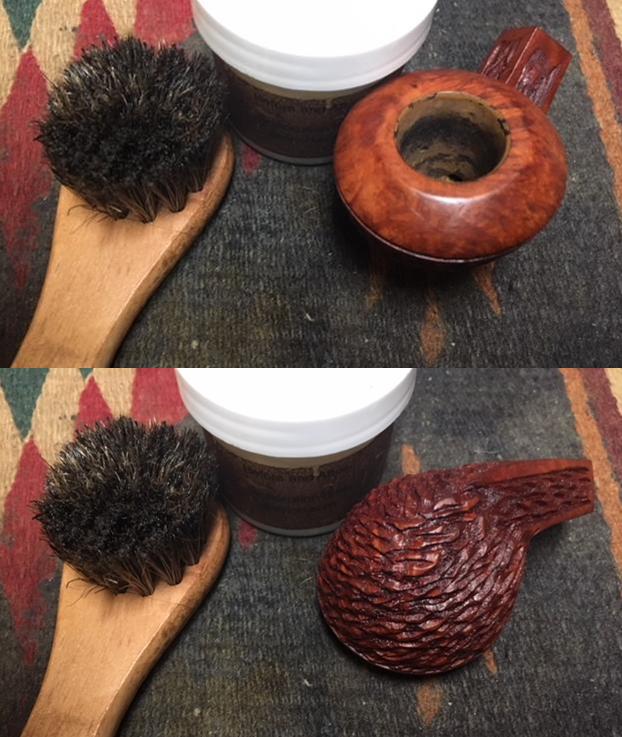
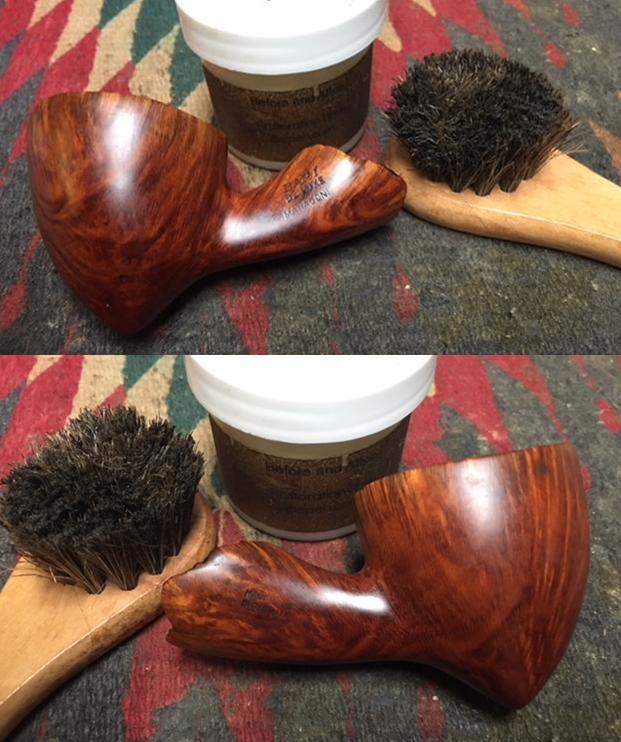
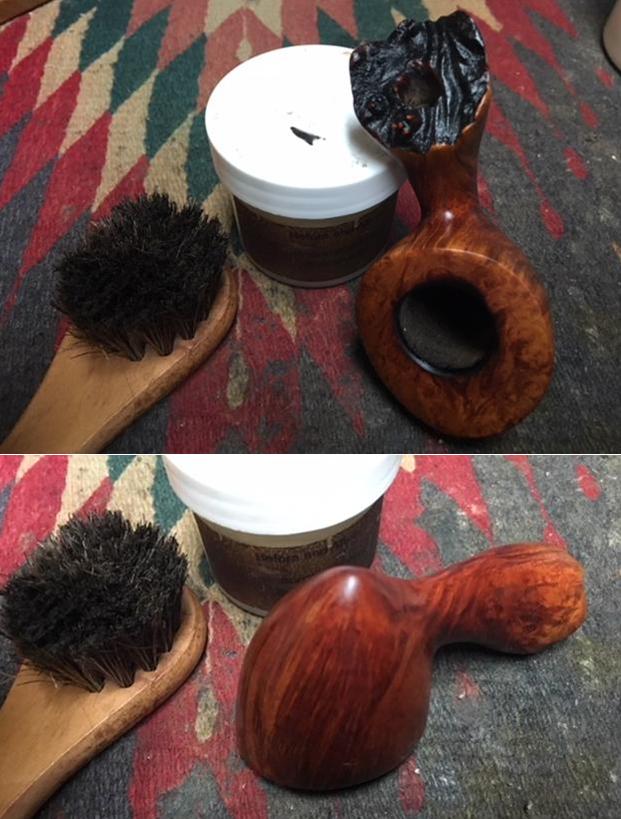
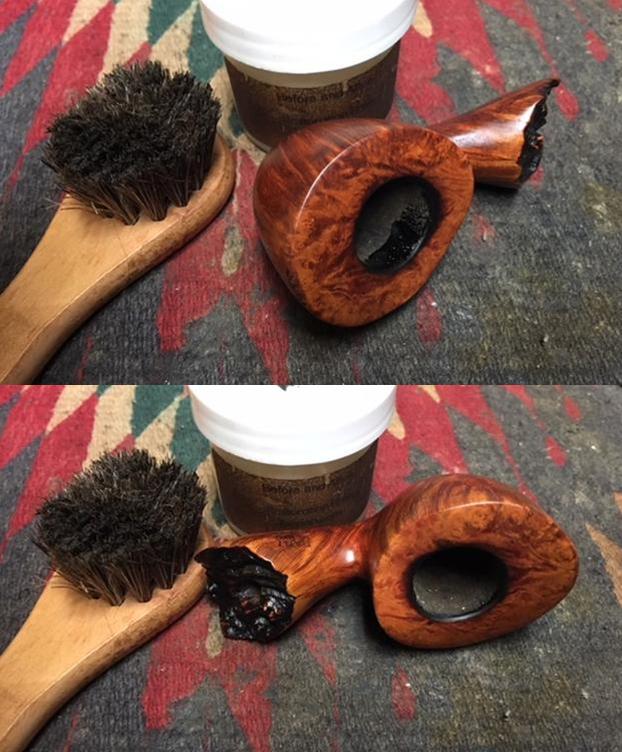
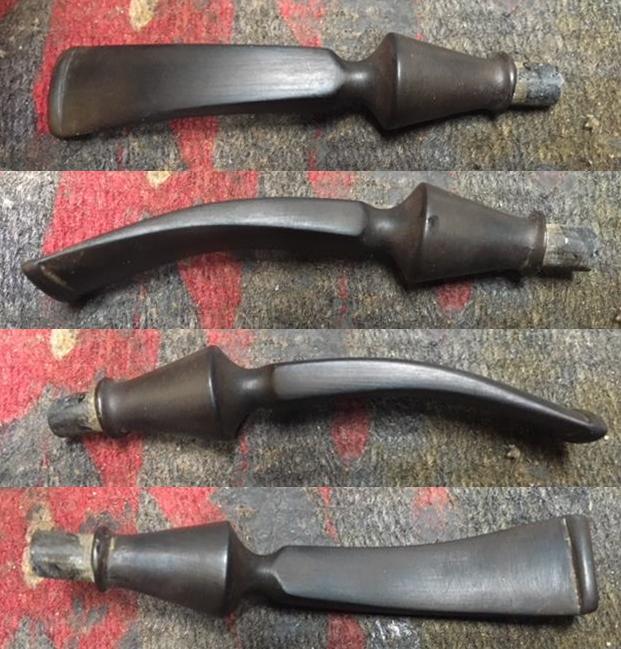
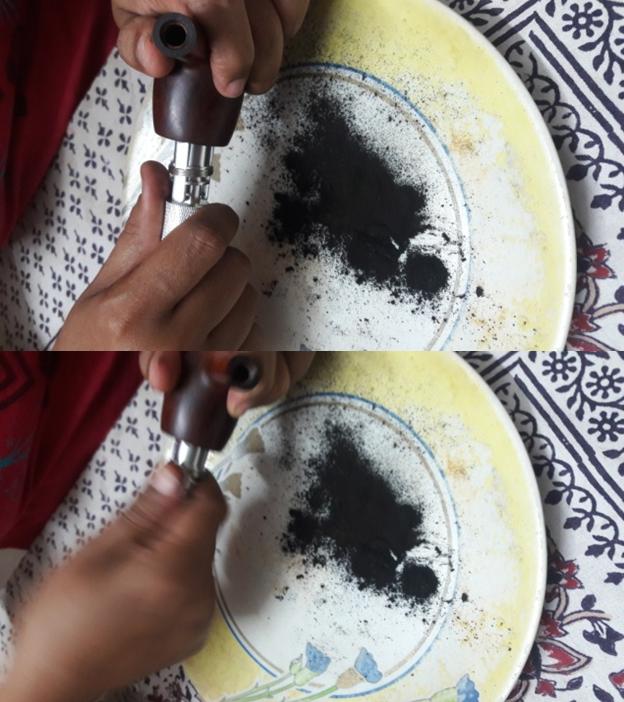
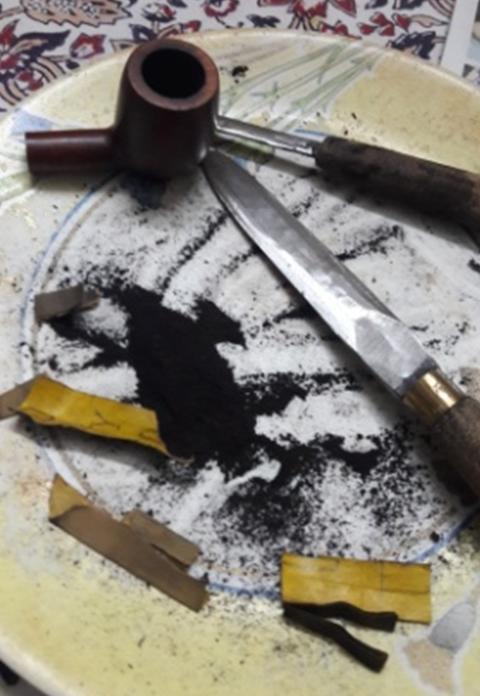
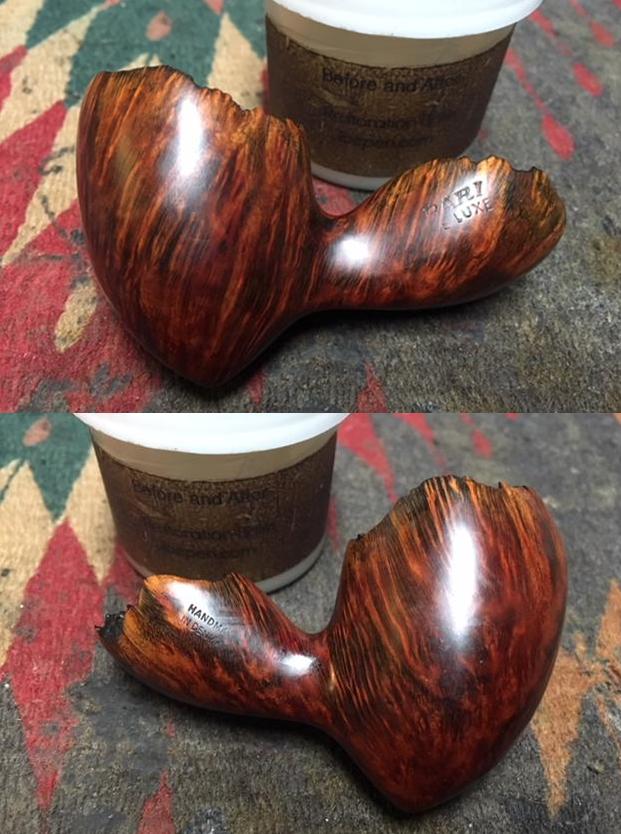
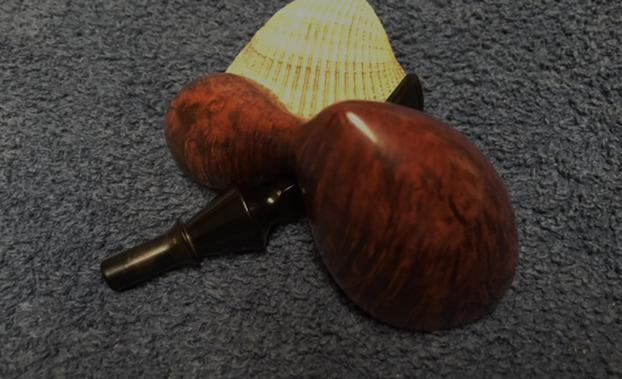
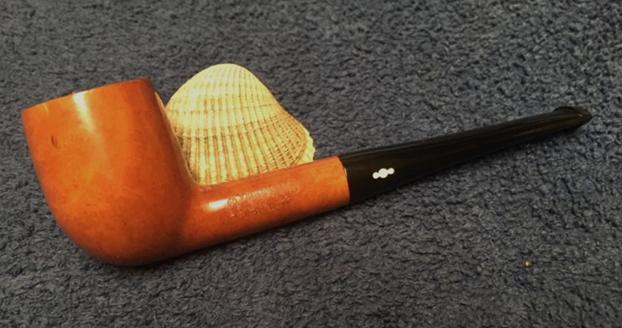
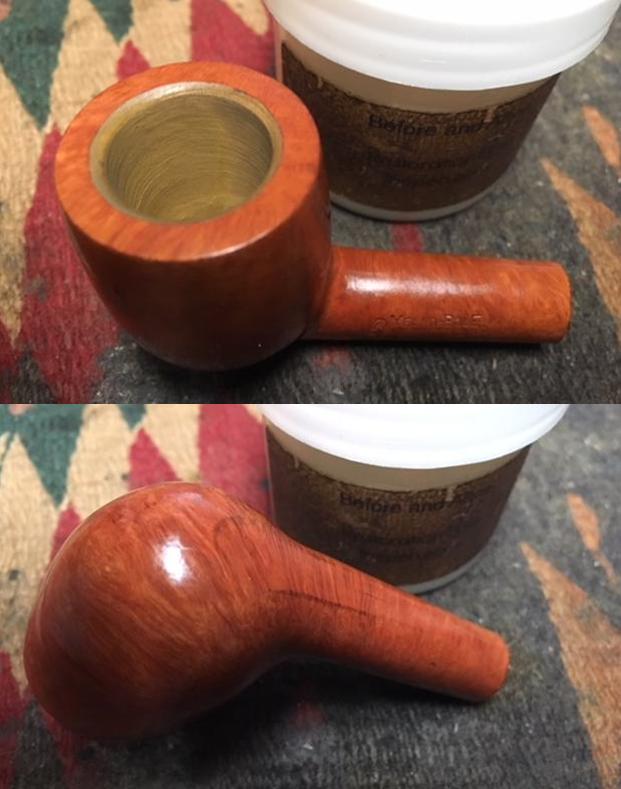
Ah well… I don’t know for sure where it came from or what previous pipeman had purchased this pipe and then decided not to smoke it but I was glad to have a look at it. Since it was an unsmoked pipe it did not need a lot of cleanup. I rubbed down the briar with Before & After Restoration Balm. I worked it into the smooth finish with my fingertips. The Balm works to clean, enliven and protect the briar. I let the balm sit for a little while and then buffed with a cotton cloth to raise the shine. I took the following photos to give a picture of the pipe at this point in the process.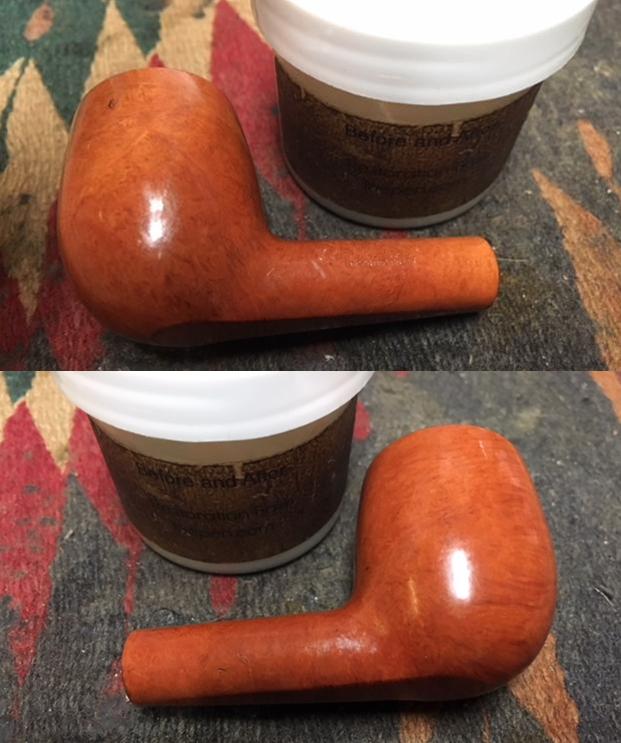
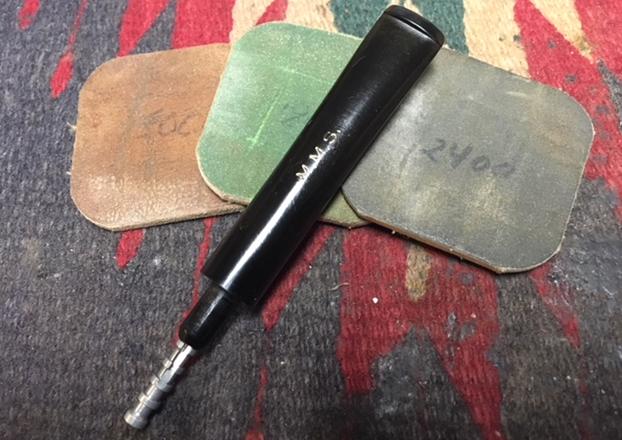
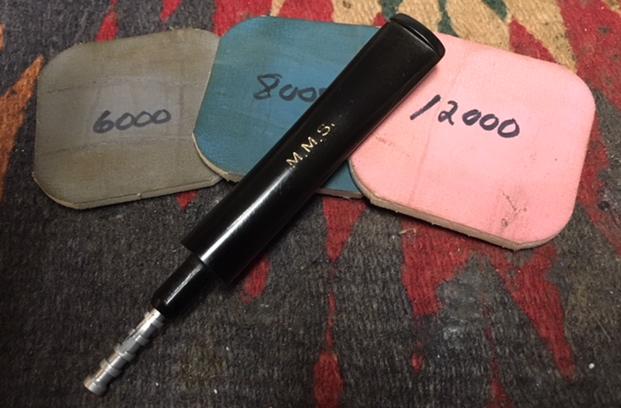
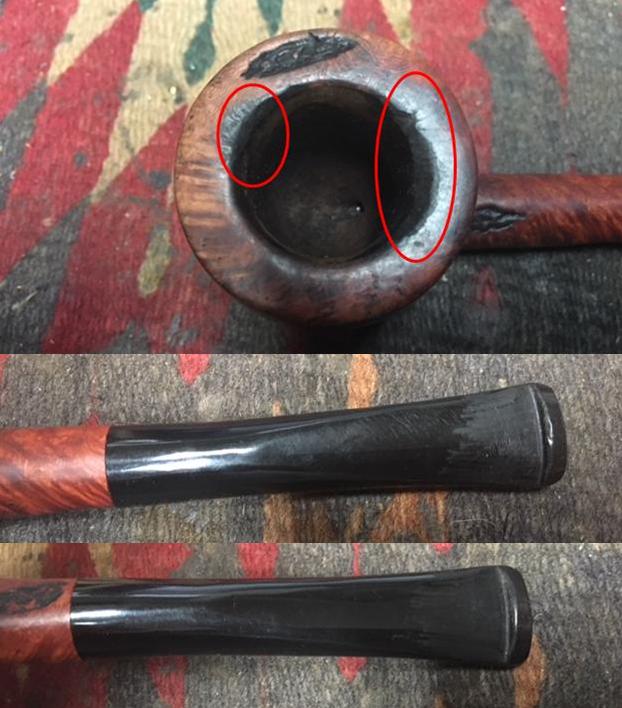
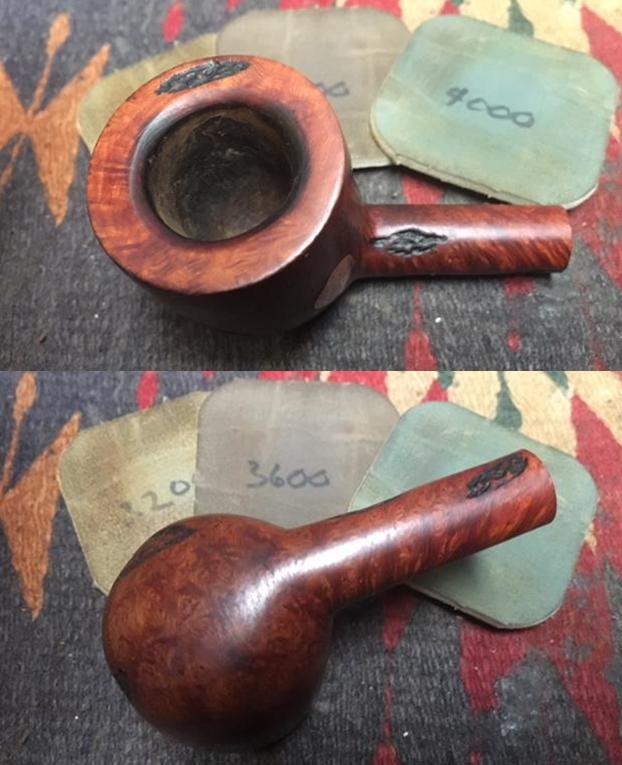
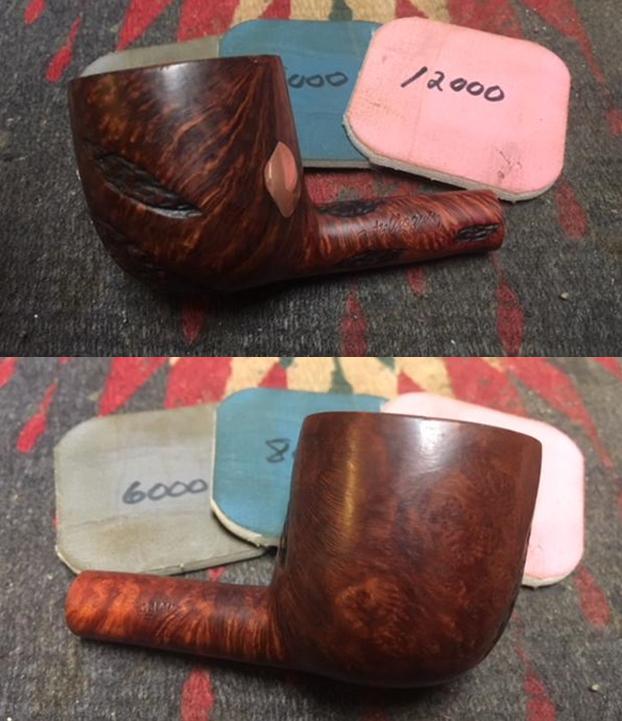
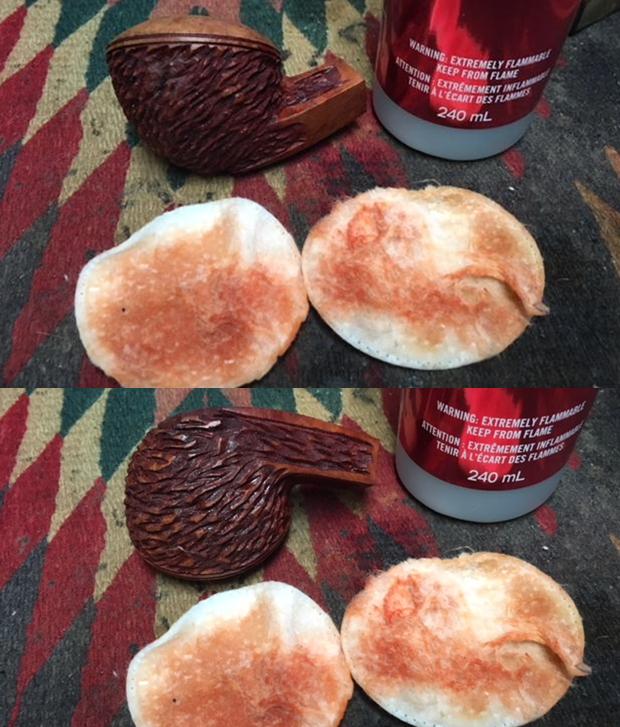
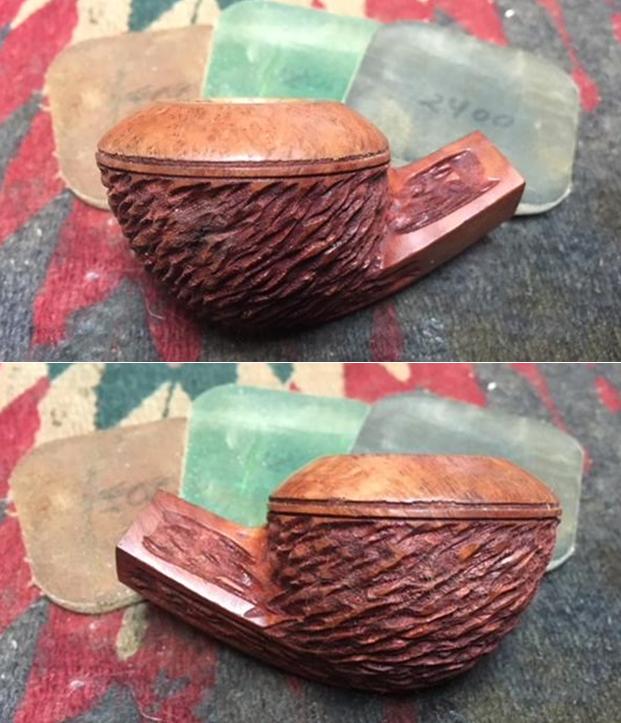
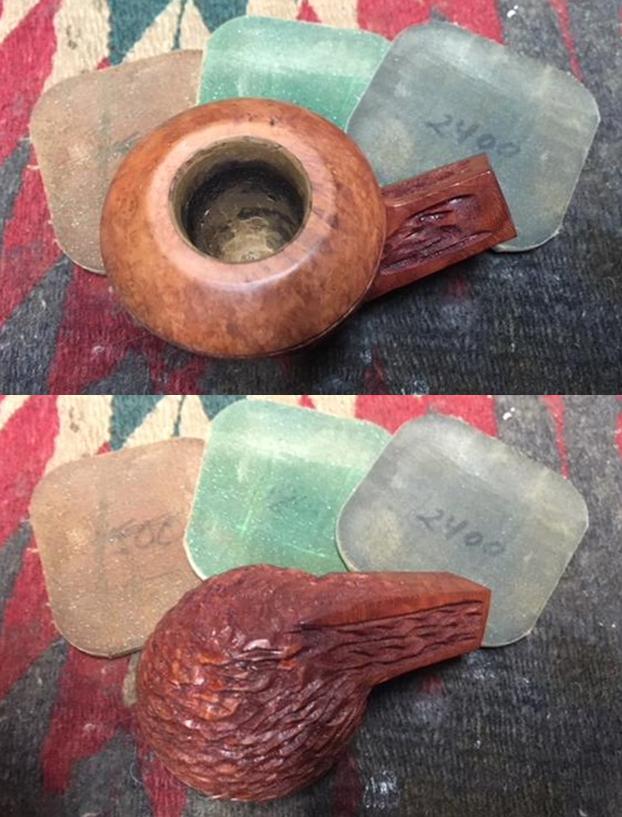
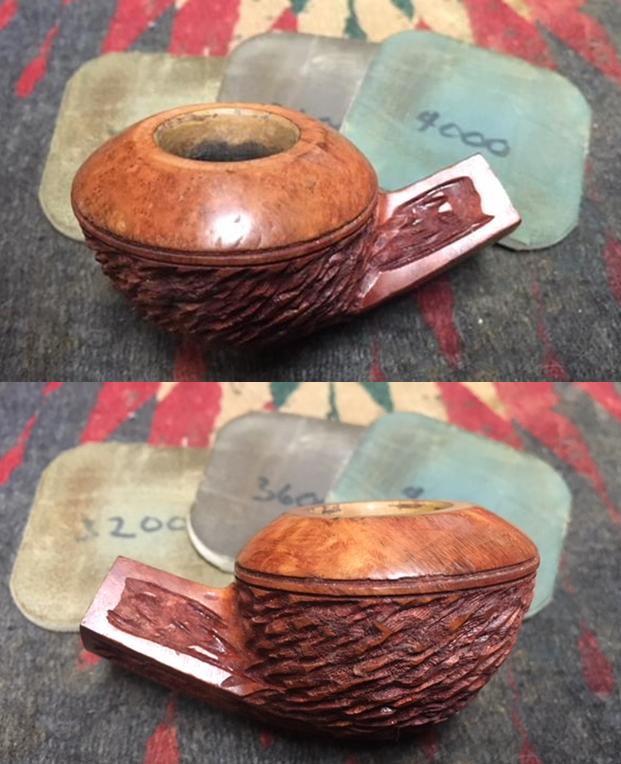
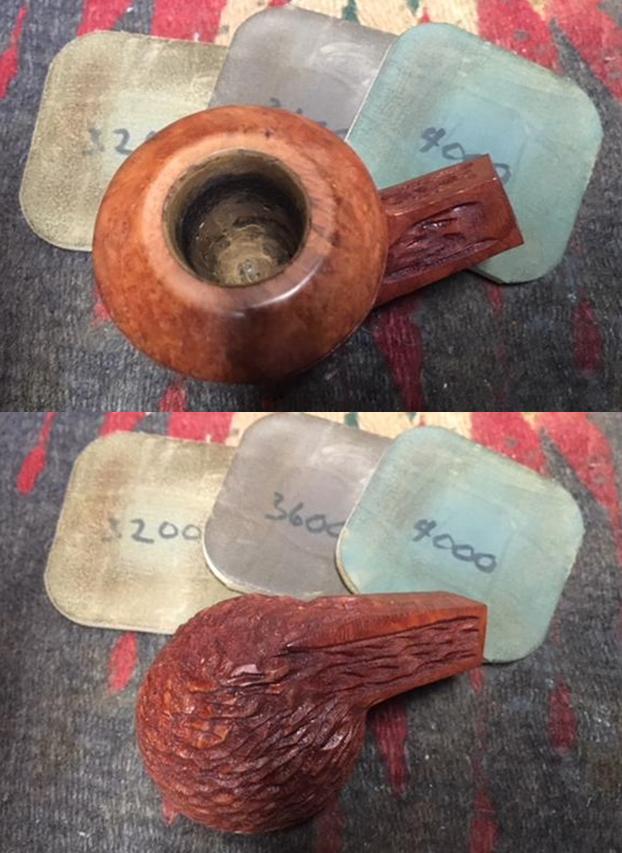
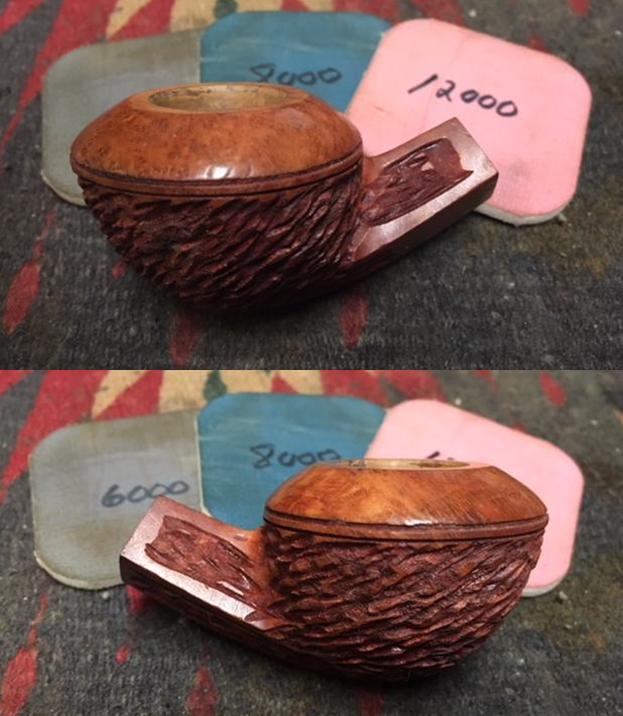
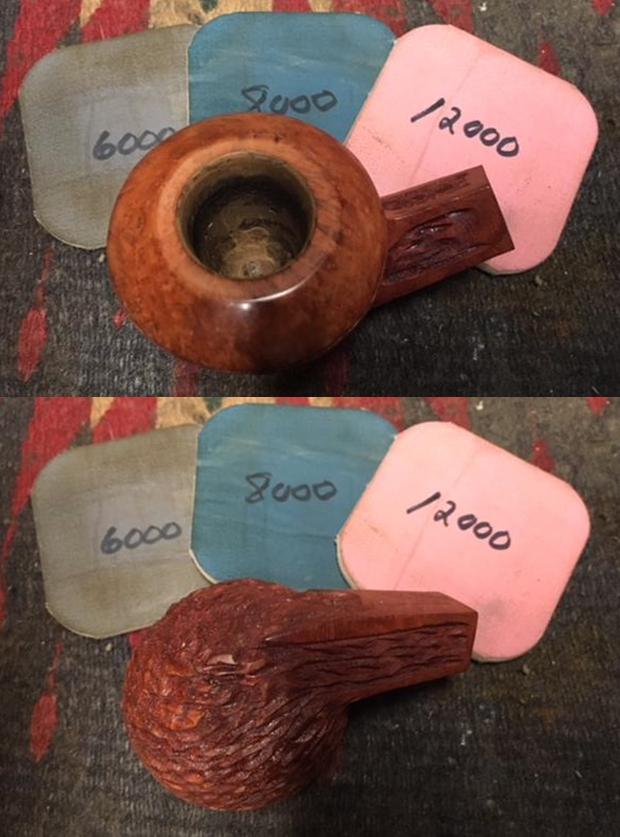
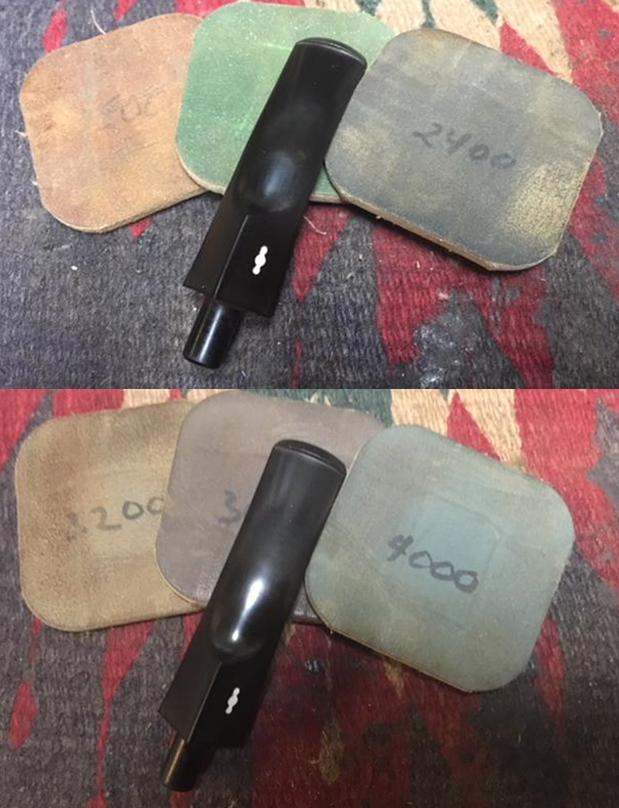
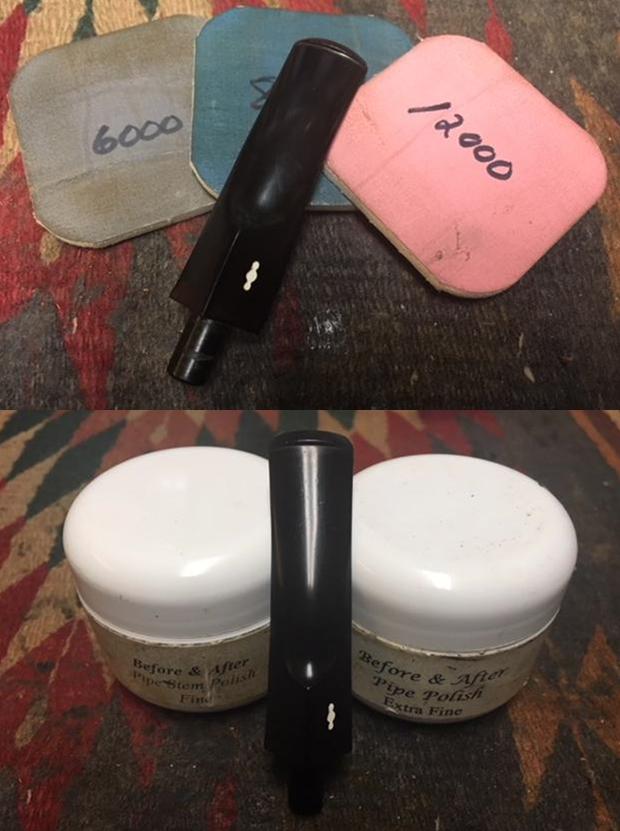
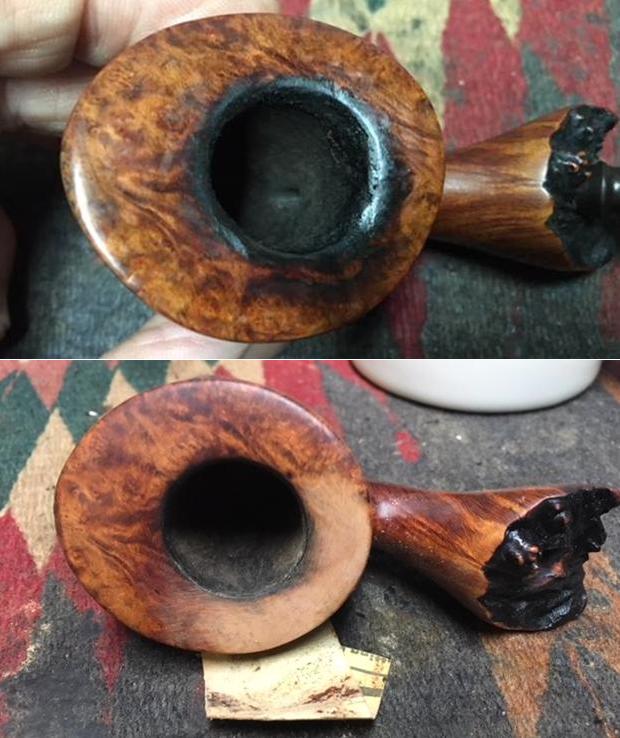
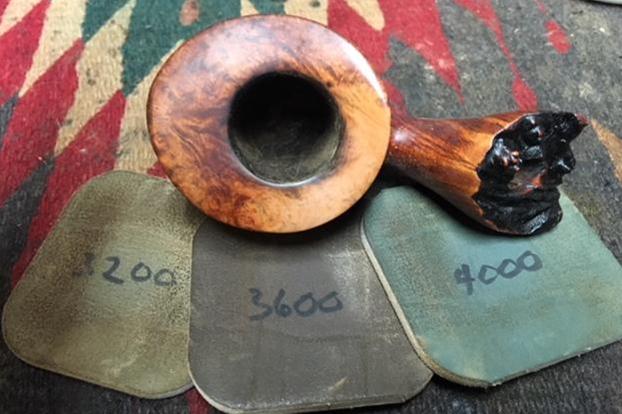
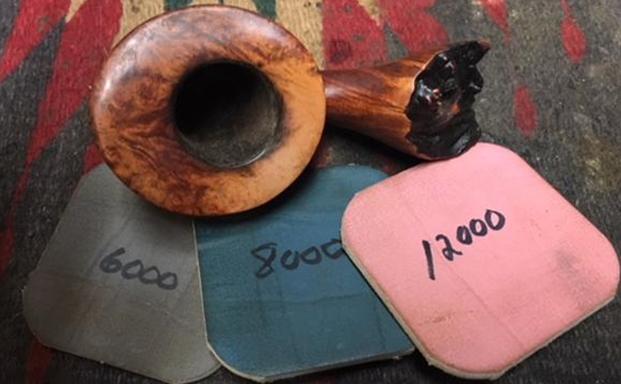
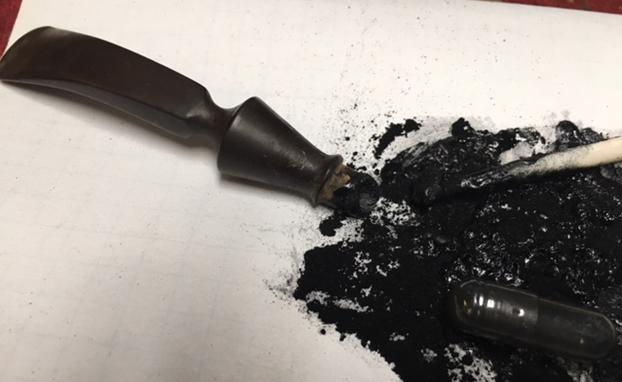
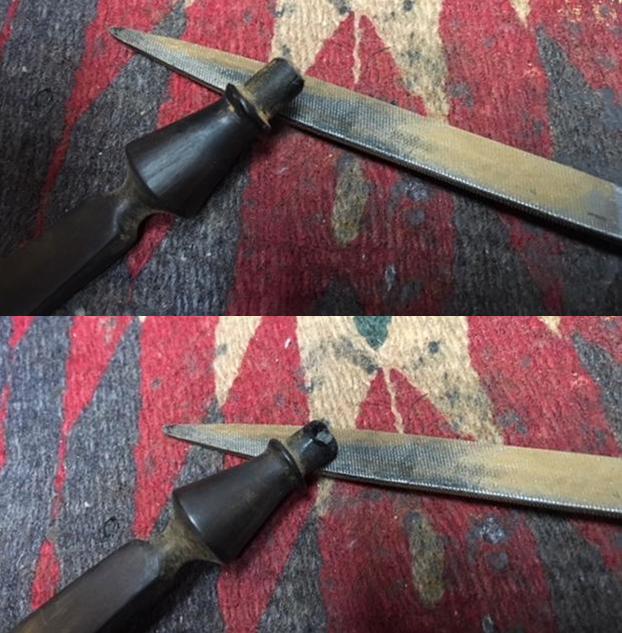
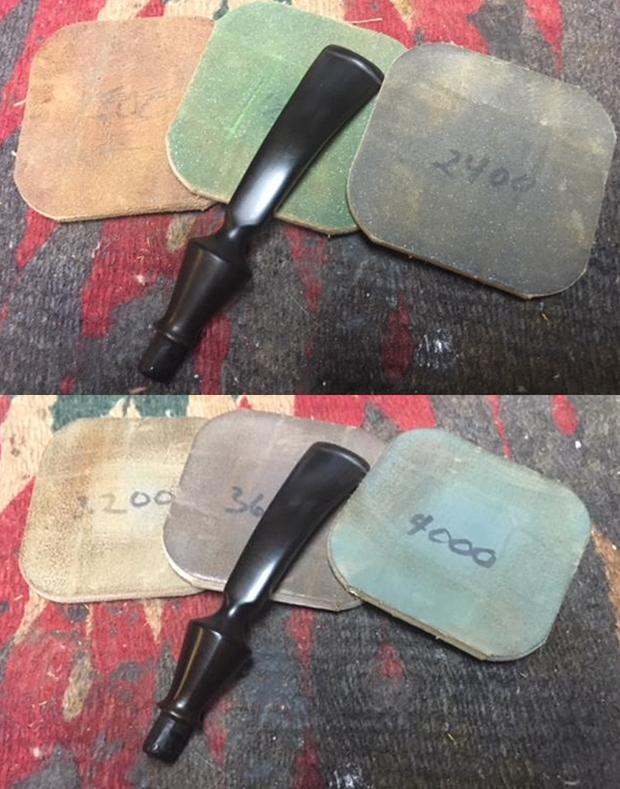
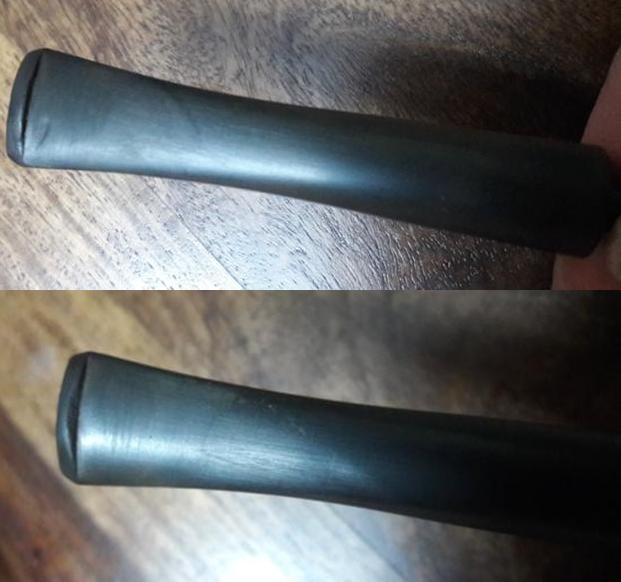
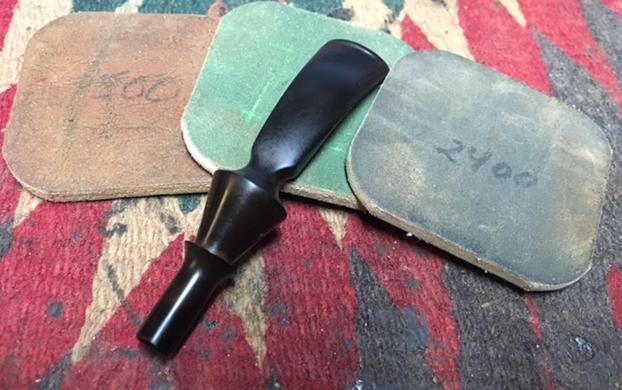
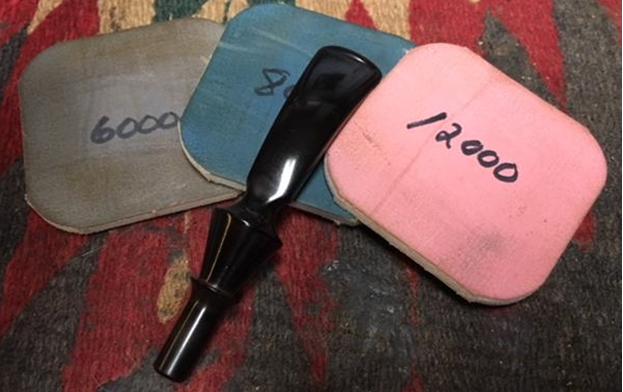
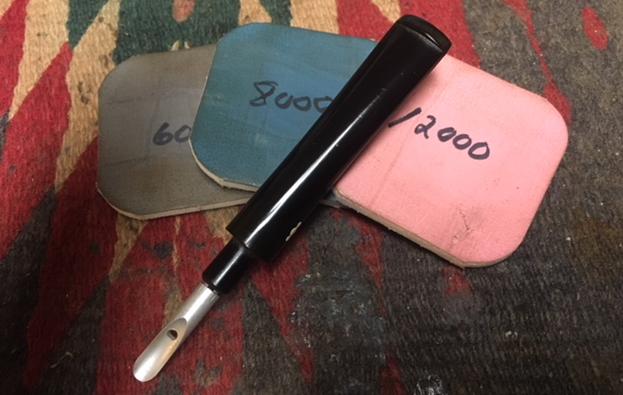
 I worked on the top side of the vulcanite stem to remove the oxidation. I figured that the oxidation came from sitting in sunlight in a display case or board. It did not take too much work to remove it. I polished the stem with micromesh sanding pads, wet sanding it with 1500-2400 grit pads and dry sanding it with 3200-12000 grit pads. I wiped it down with Obsidian Oil after each sanding pad. After the final pad I gave it a final rub down of oil.
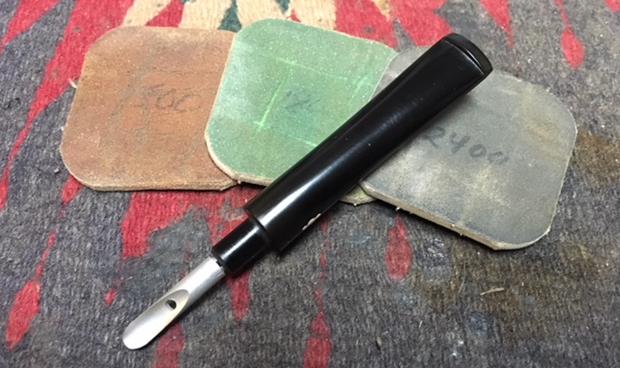

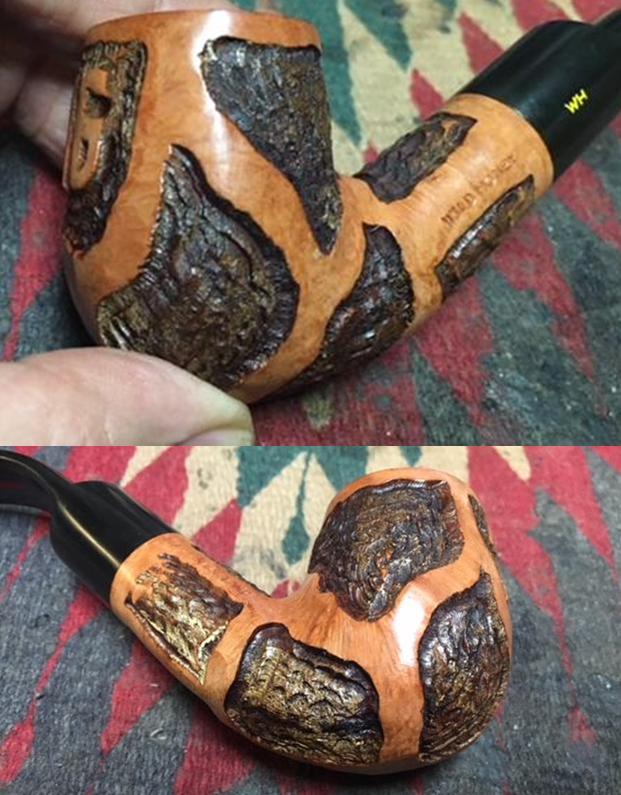
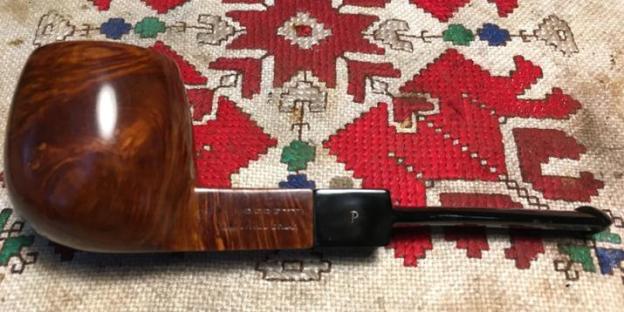
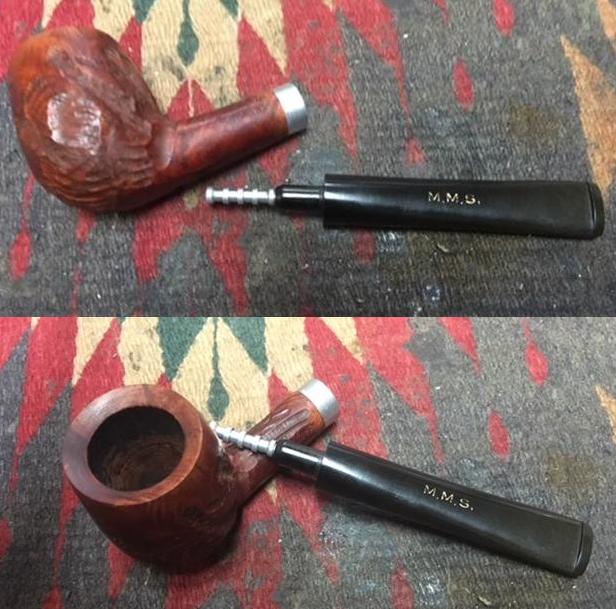
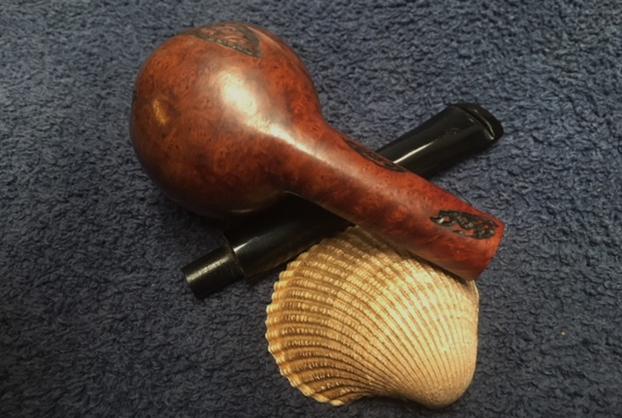
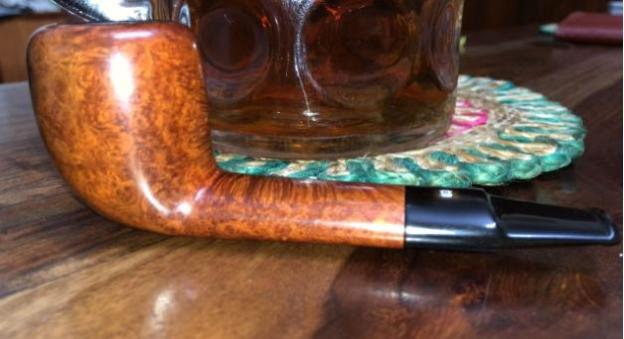
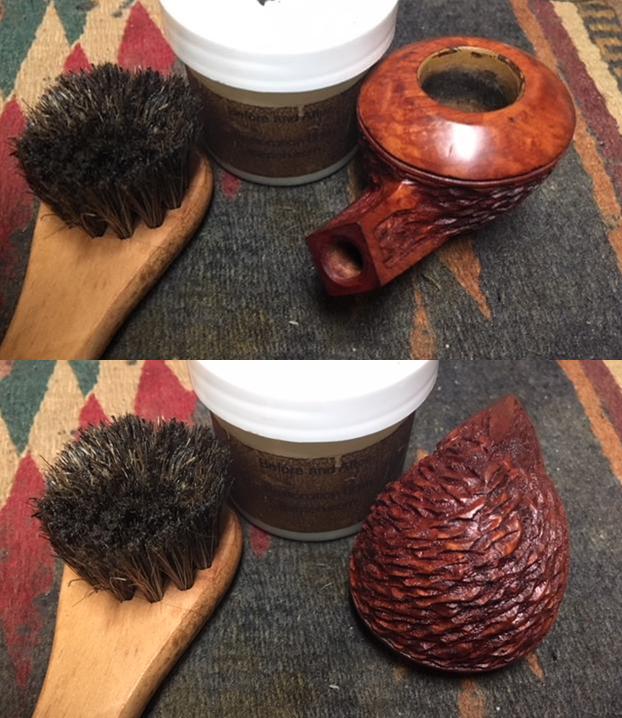
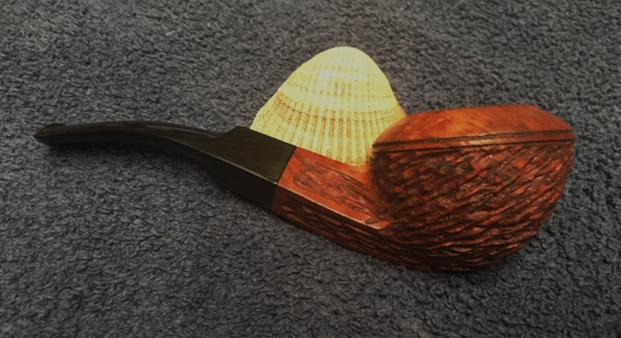
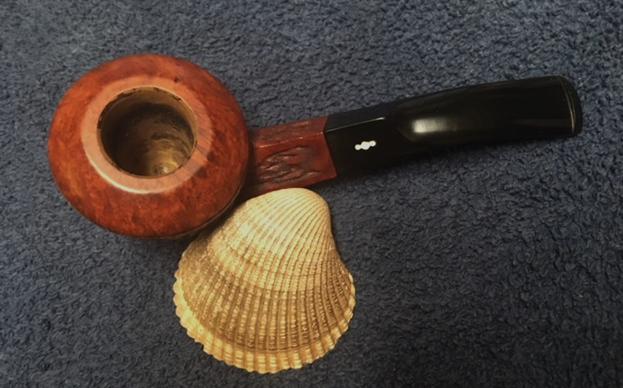
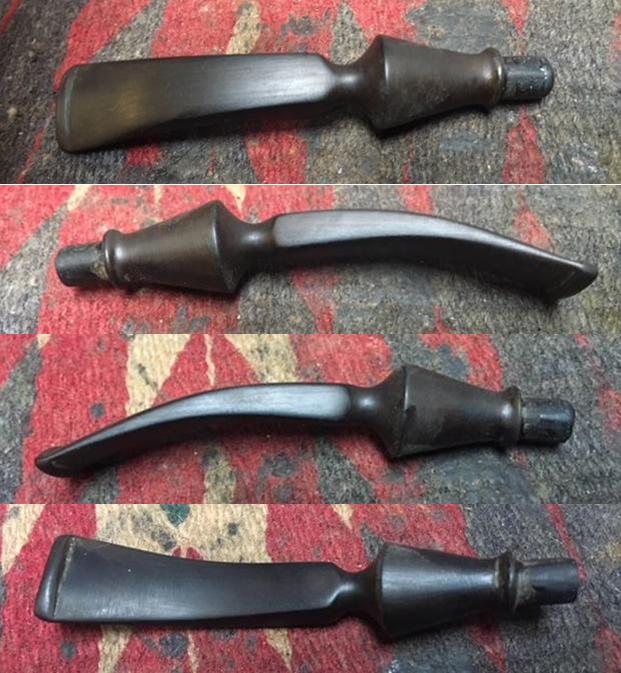
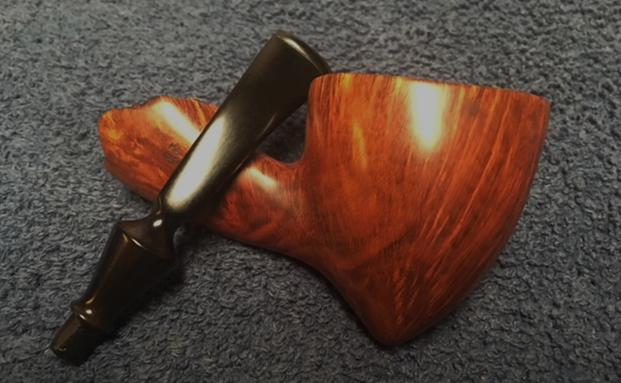
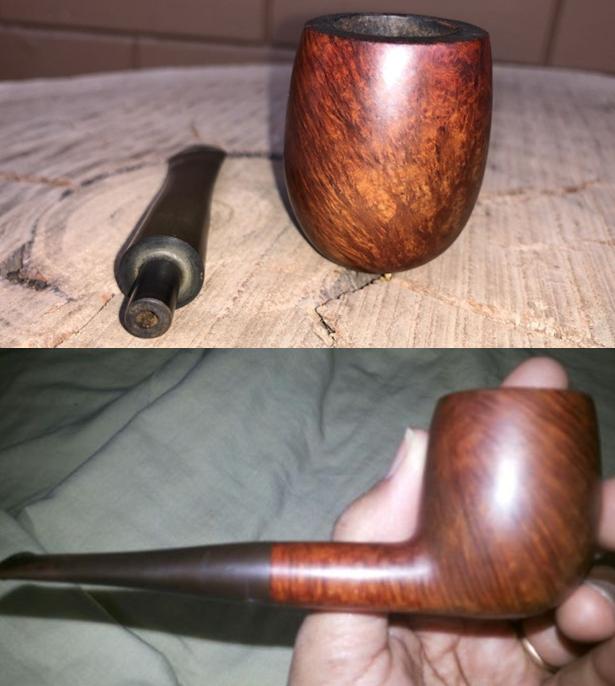
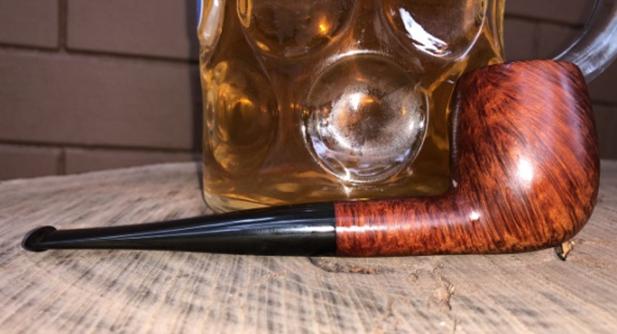
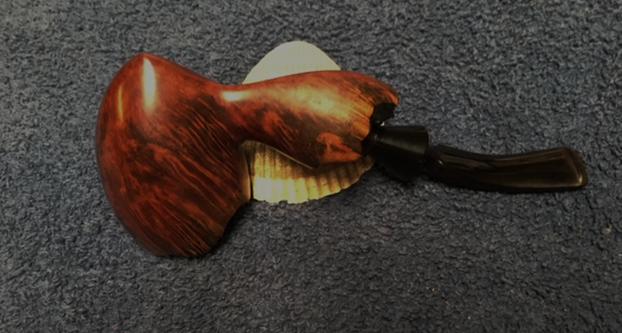
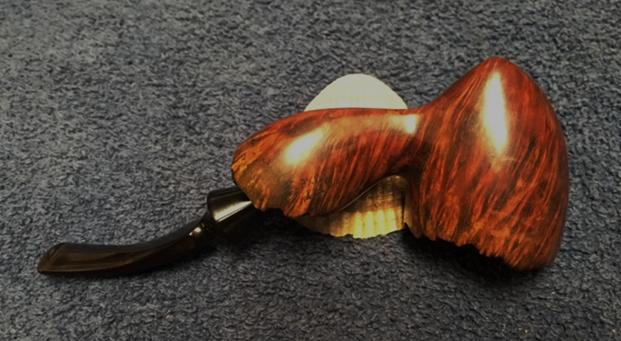
 I put the stem back on the shank and polished the bowl and stem on the buffing wheel using Blue Diamond polish to raise the shine. I gave the bowl and stem multiple coats of carnauba wax and buffed the entire pipe with a clean buffing pad to raise the shine. I hand buffed it with a microfiber cloth to deepen the shine. The pipe polished up pretty nicely. It is a beautiful pipe in terms of shape and finish. The finished pipe is shown in the photos below. The dimensions are Length: 5 1/4 inches, Height: 1 3/4 inches, Outside diameter of the bowl: 1 1/4 inches, Chamber diameter: 3/4 of an inch. Thanks for walking through the quick refresh on this one. If you are looking for an older piece of pipe history that you can break in and make your own then this might be the pipe for you. I will be adding it to the rebornpipes store shortly so if you are interested in adding it to your collection send me an email or a message on Facebook. Thanks for looking.