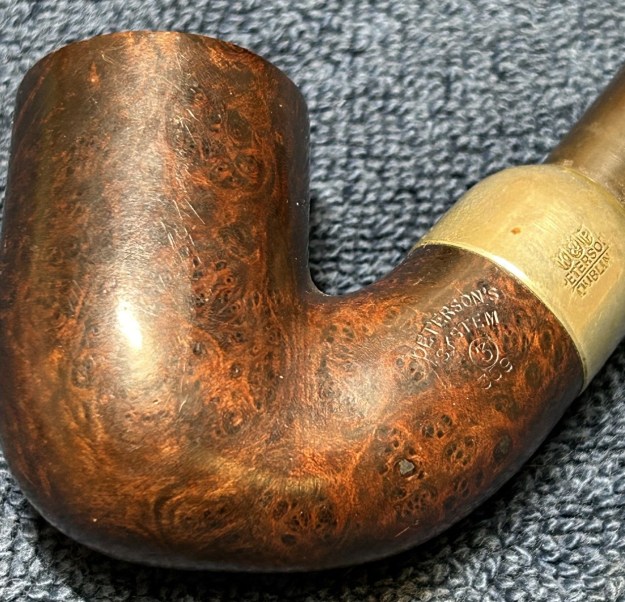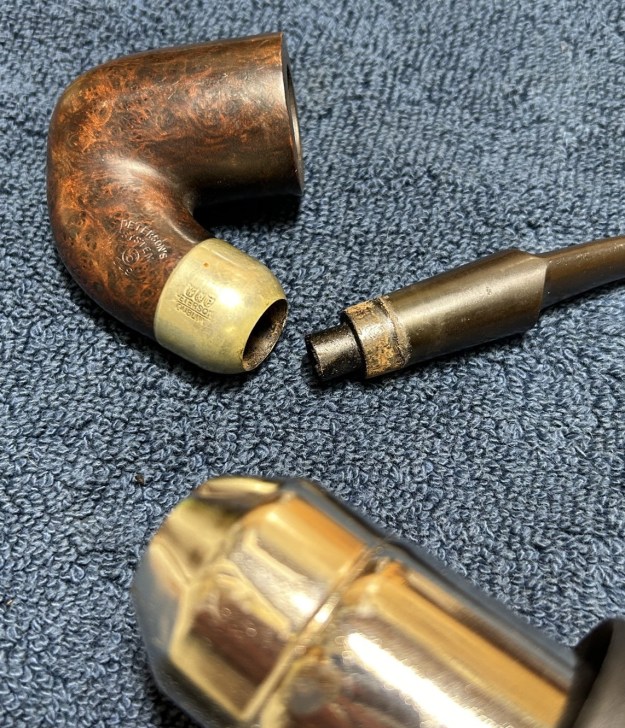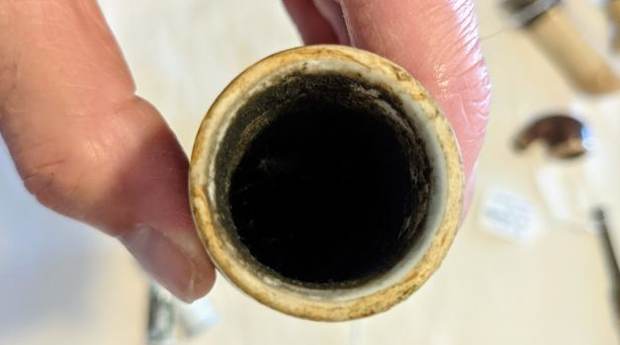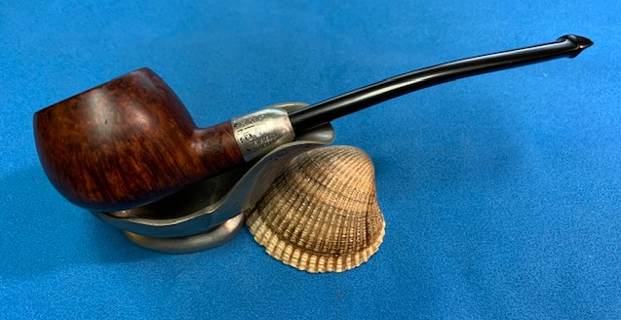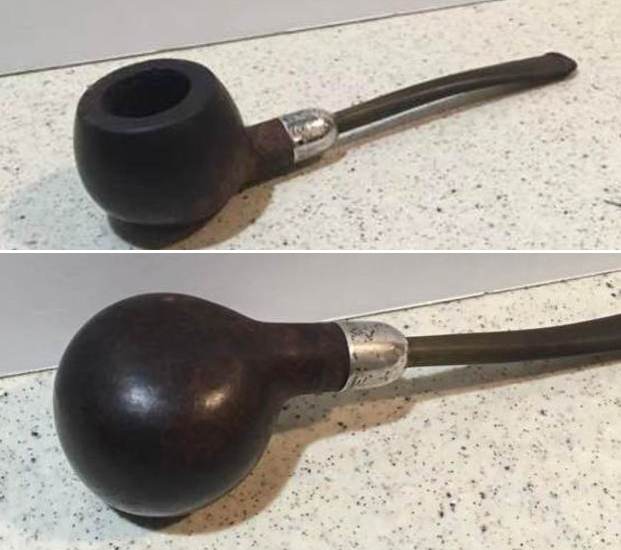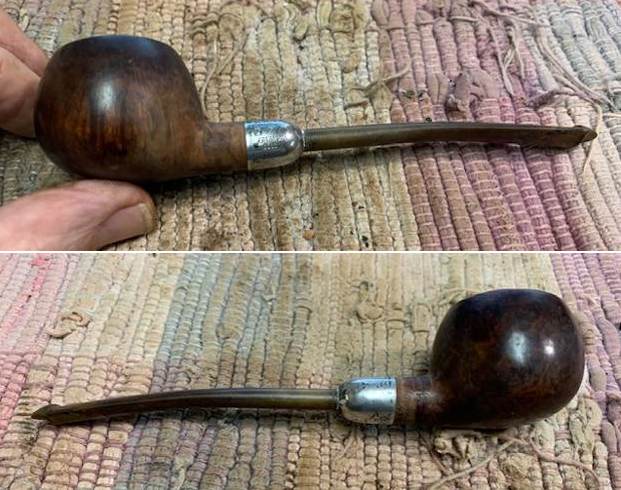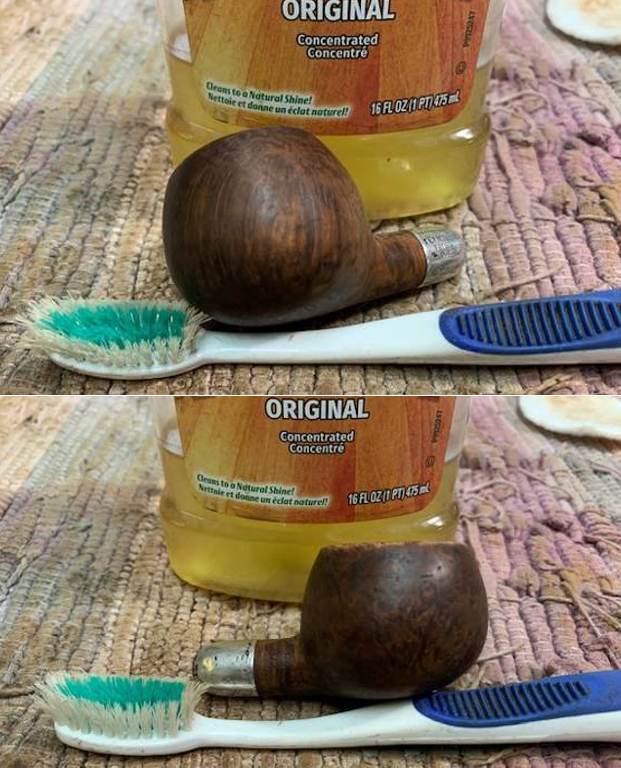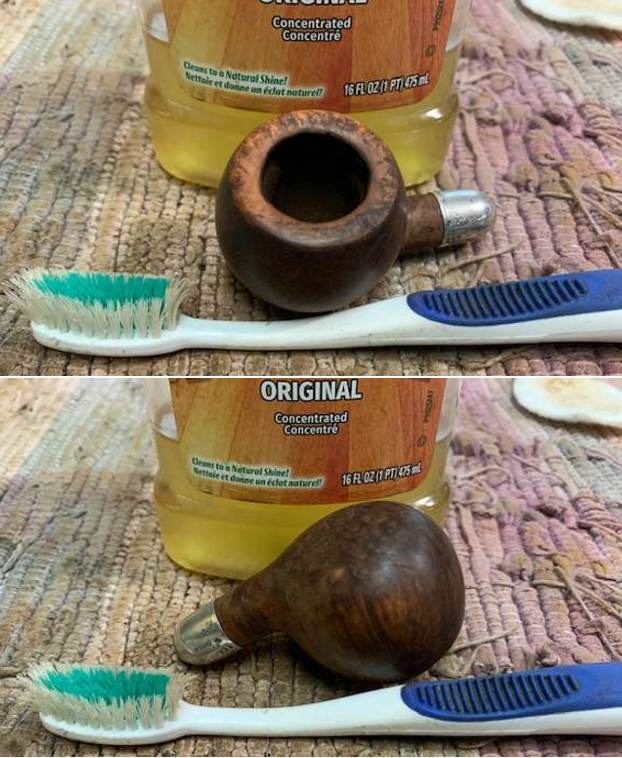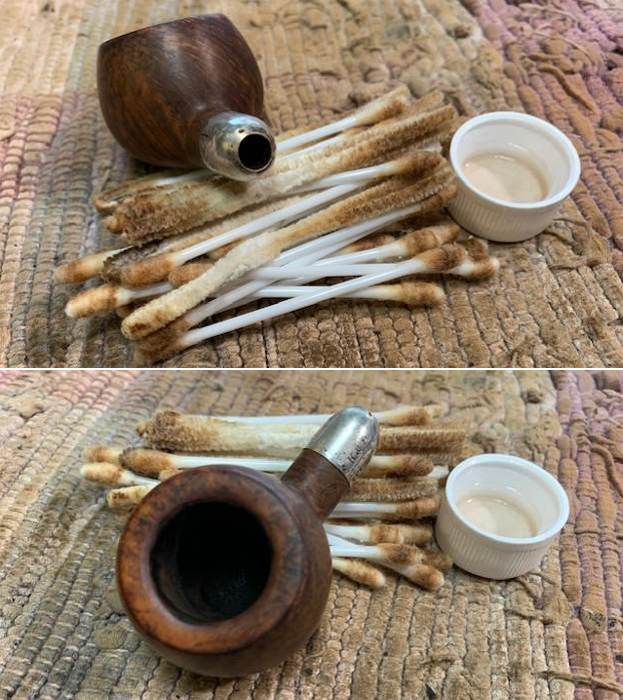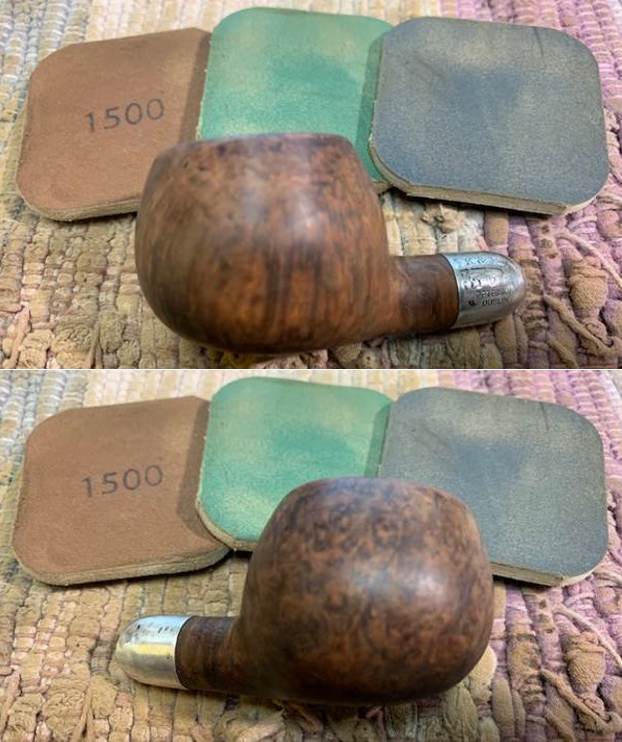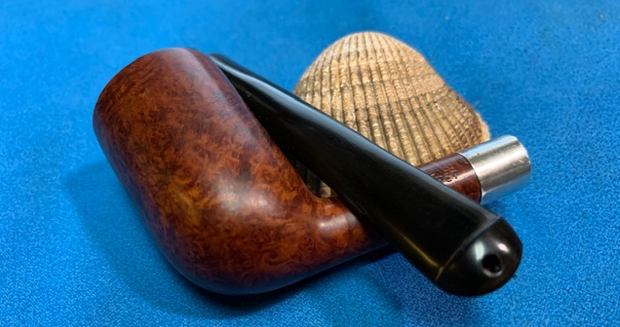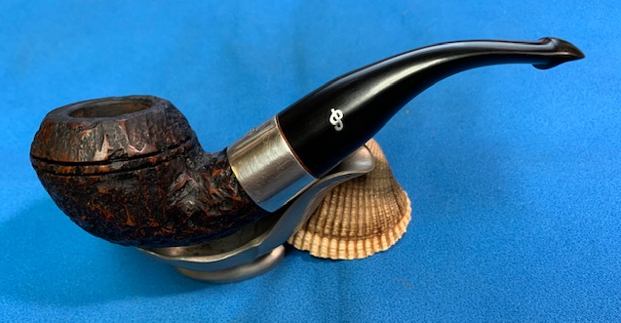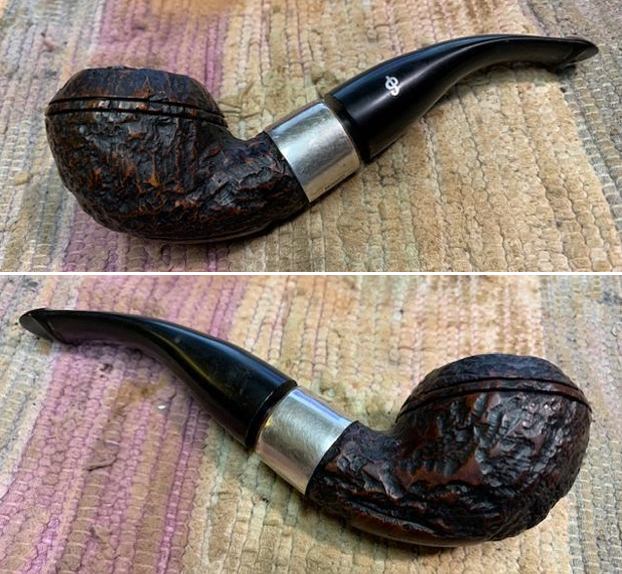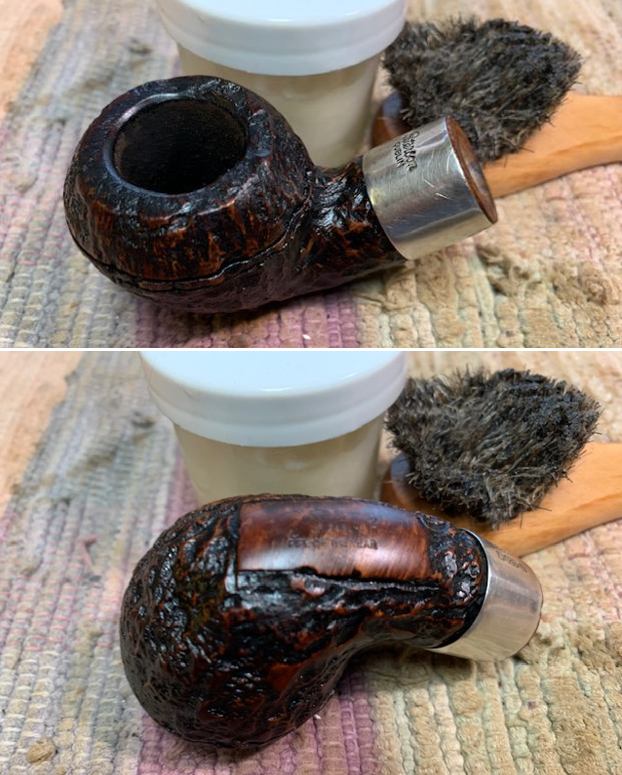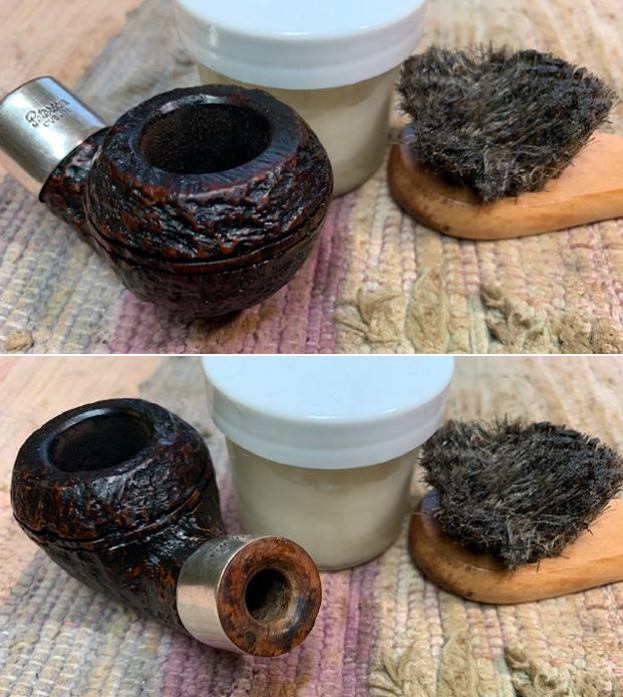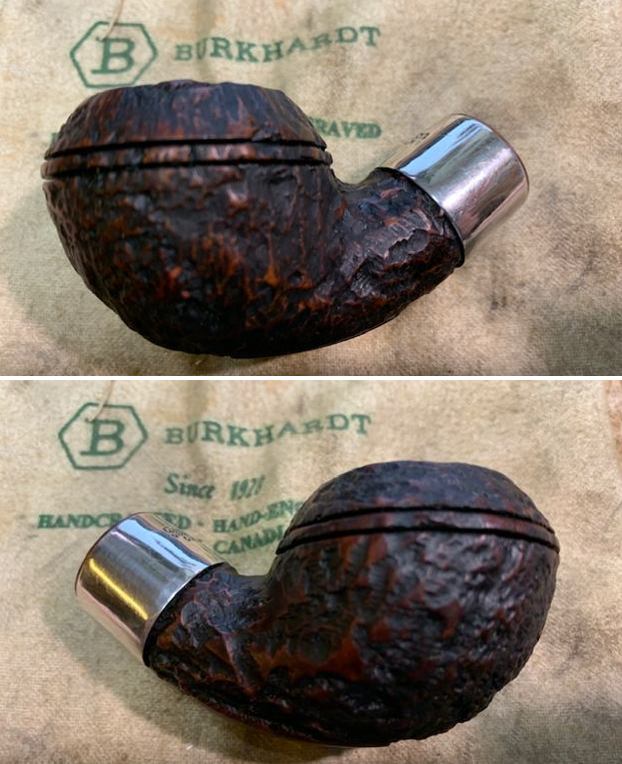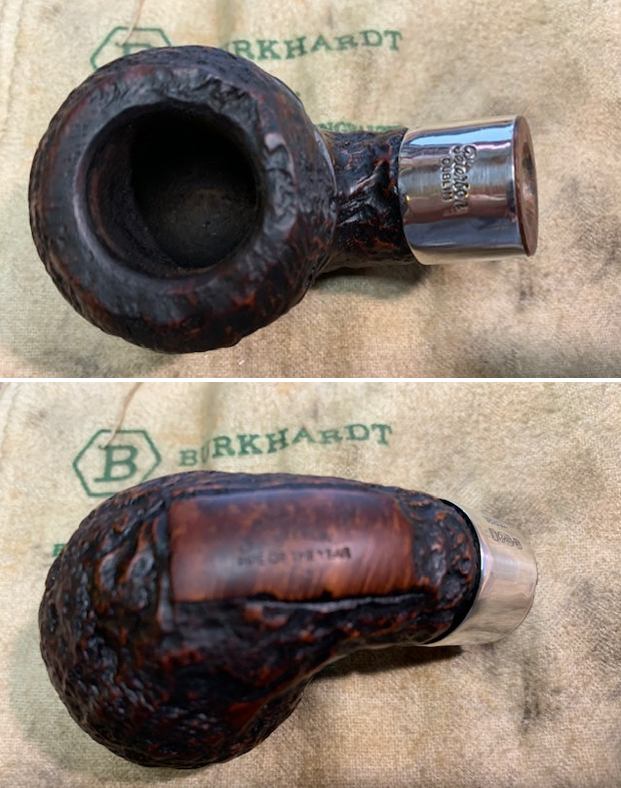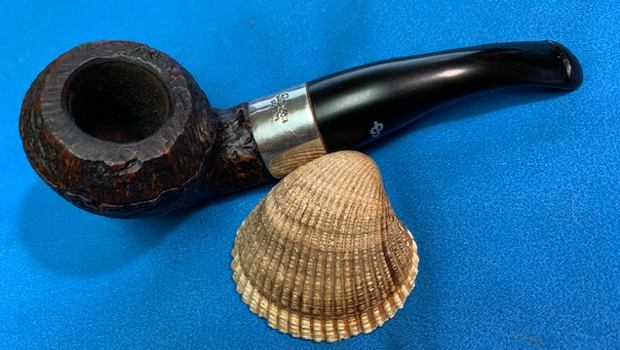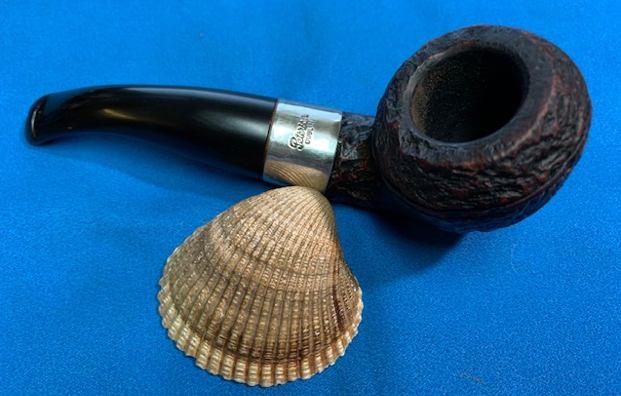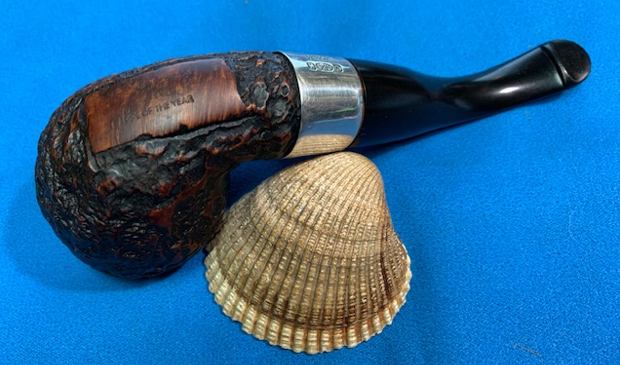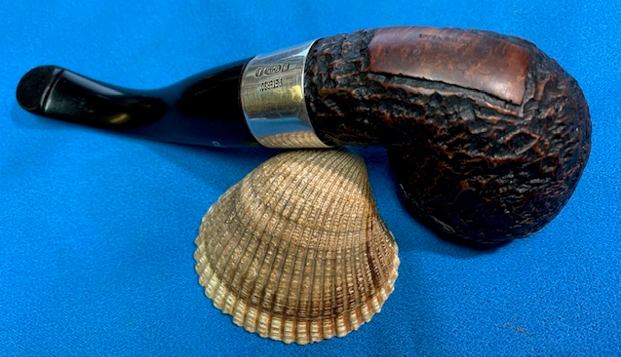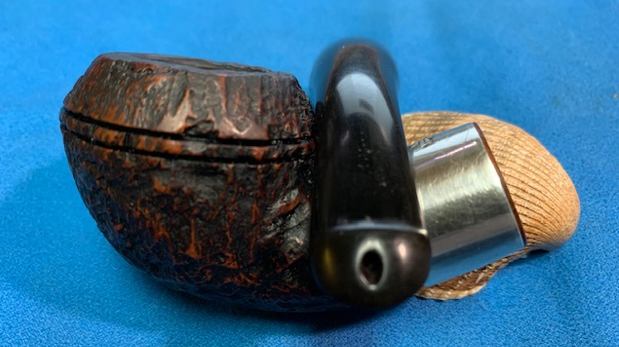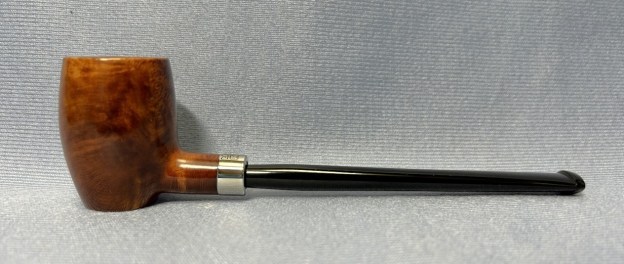
Tag Archives: Peterson Pipes

Restemming a Wonderful Peterson Specialty Barrel


by Kenneth Lieblich

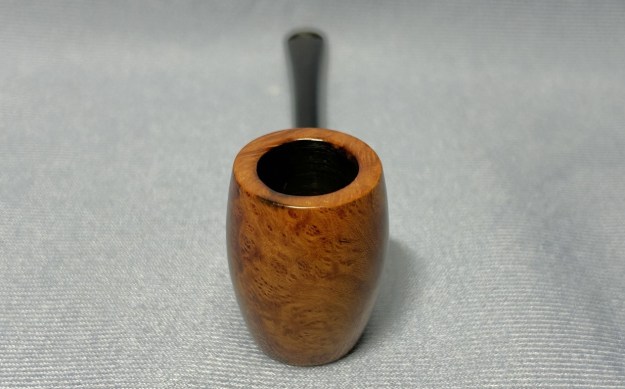
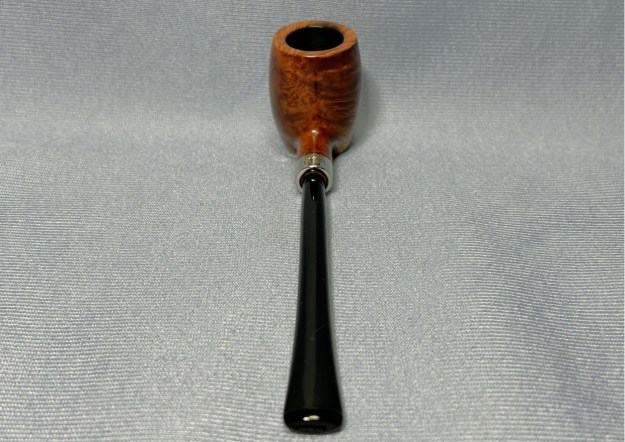
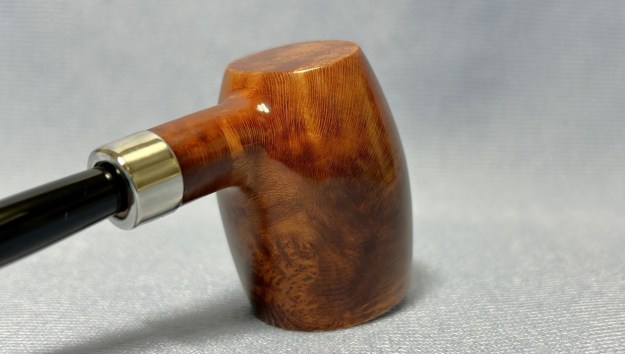
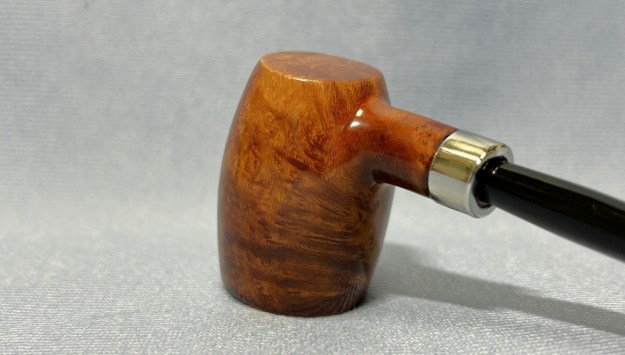
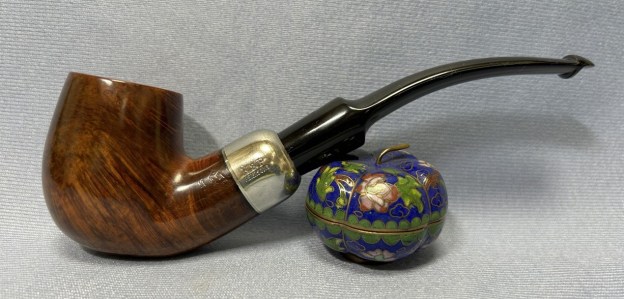
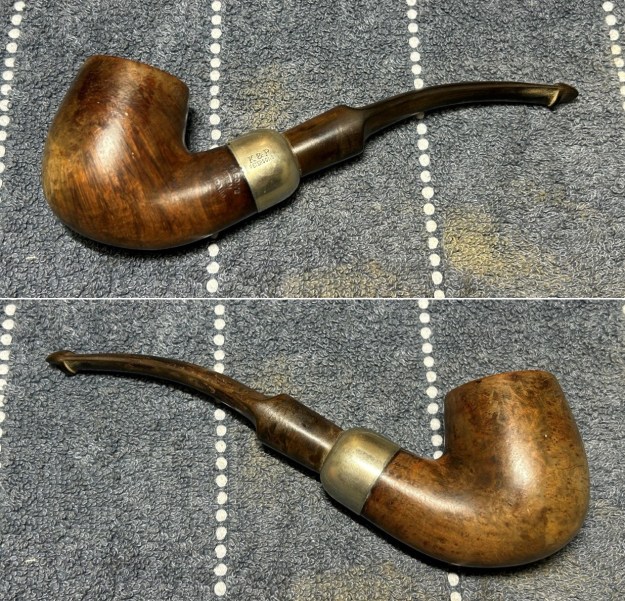
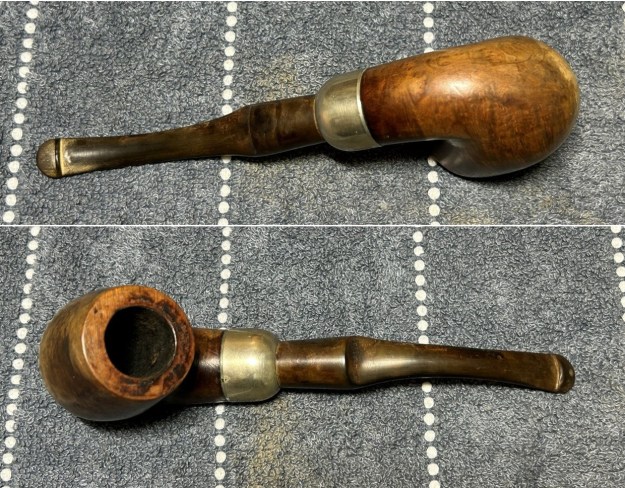
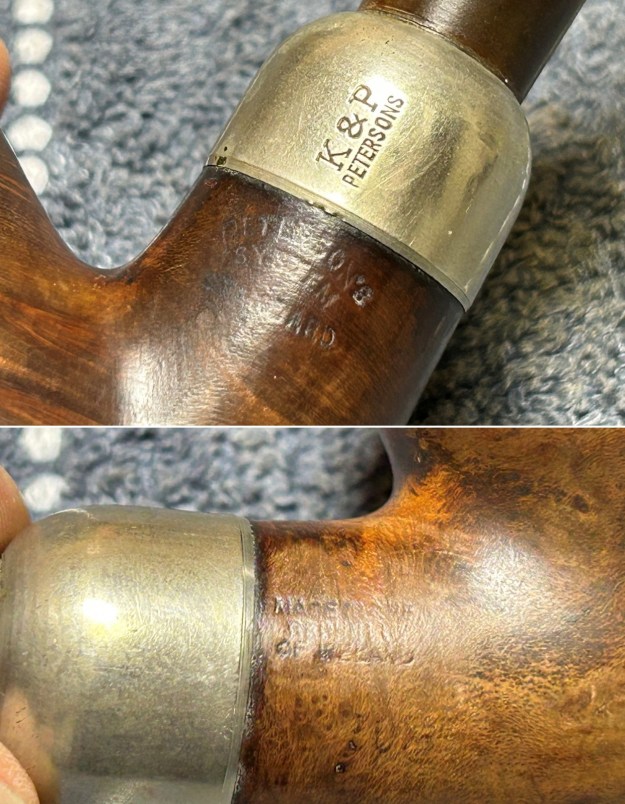
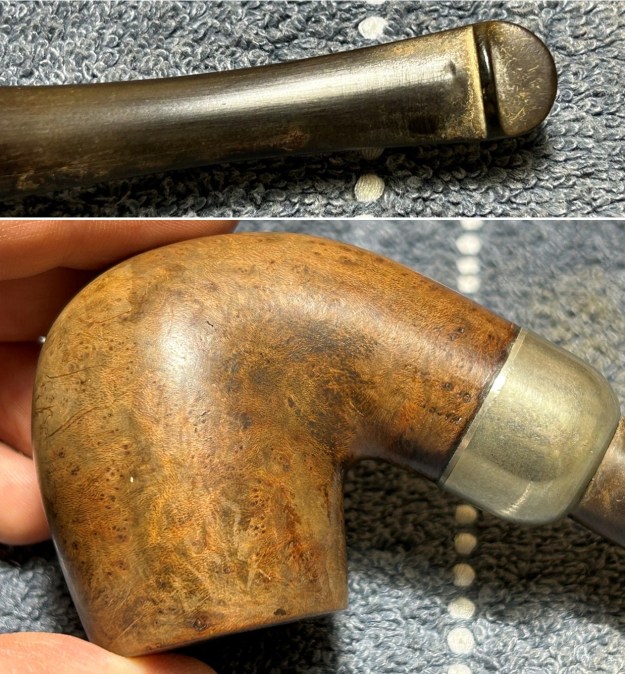
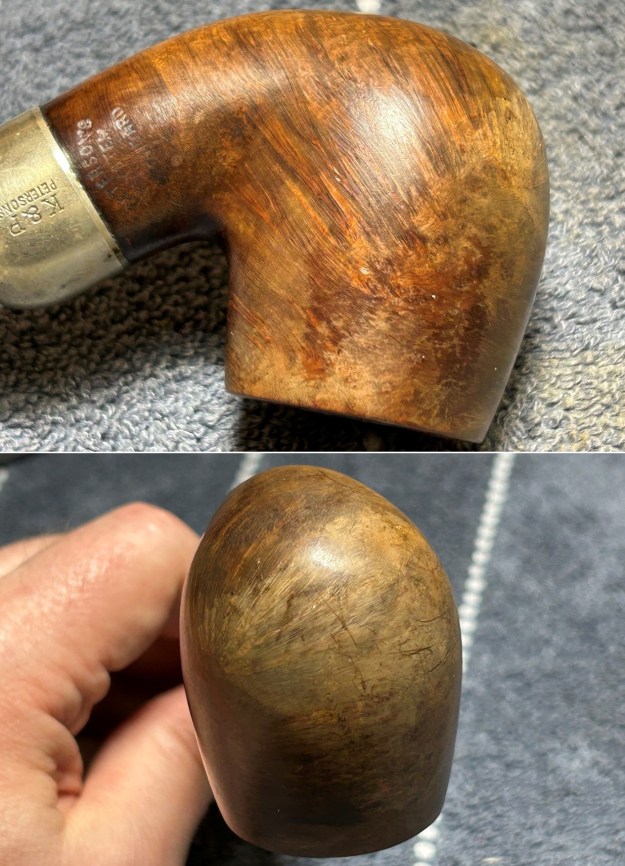
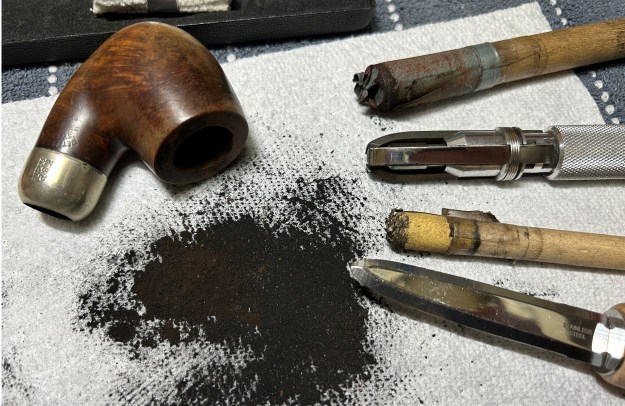
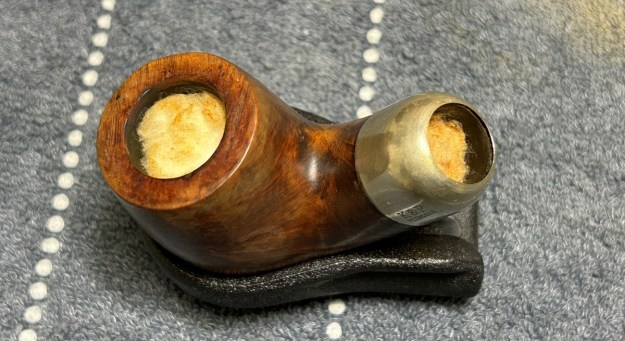
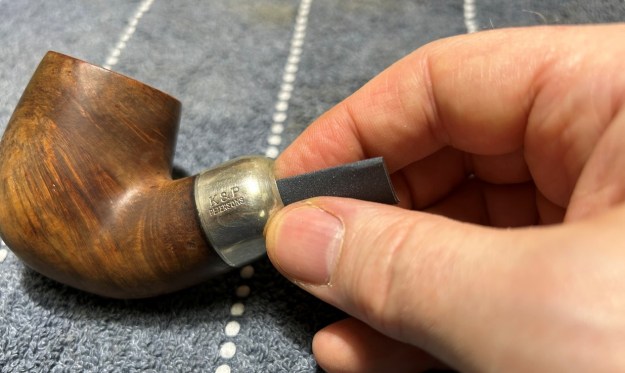
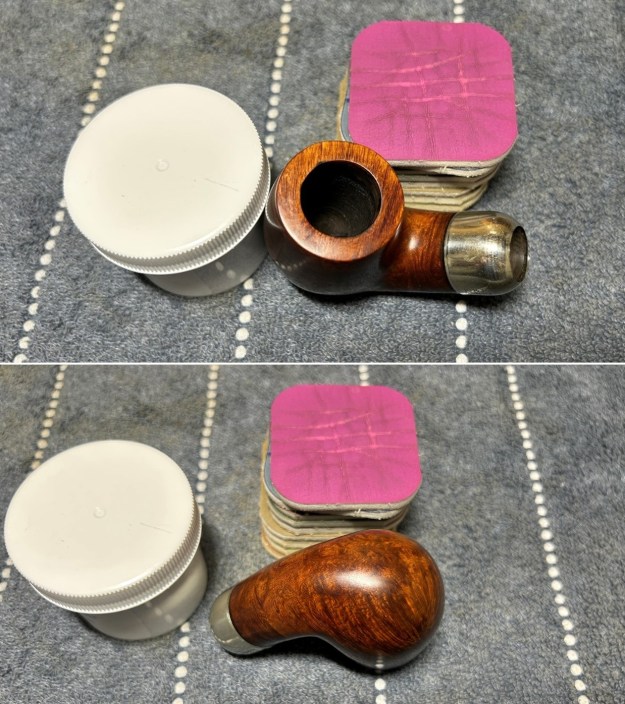
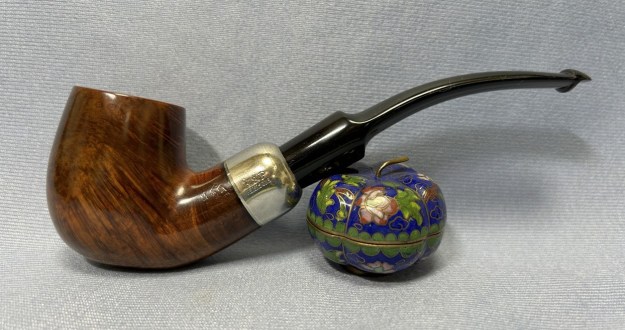
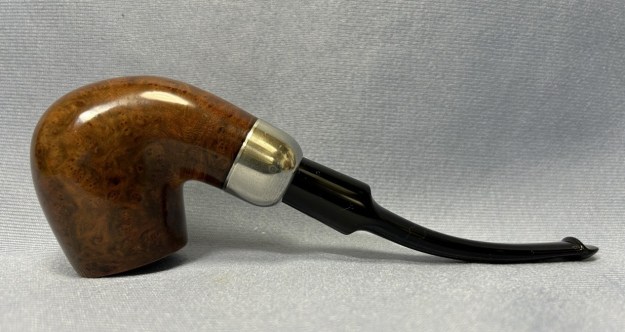
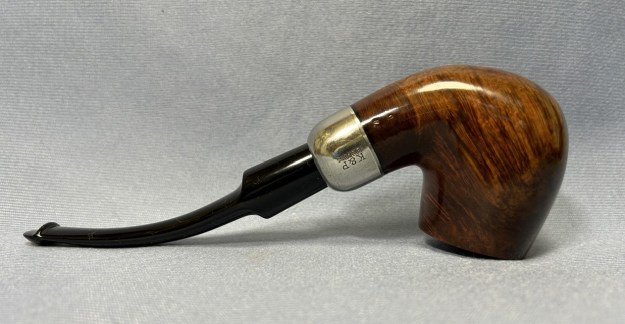
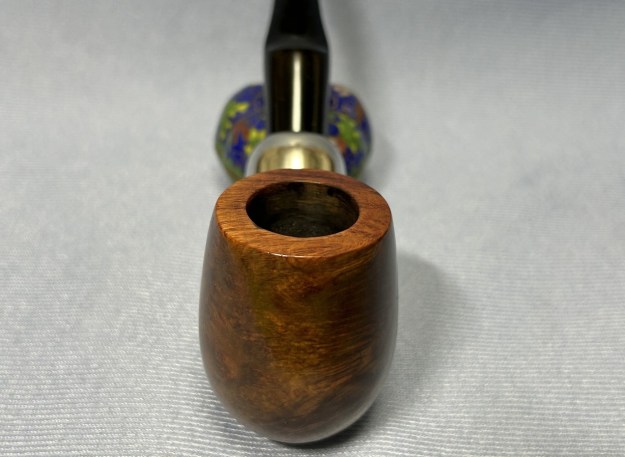
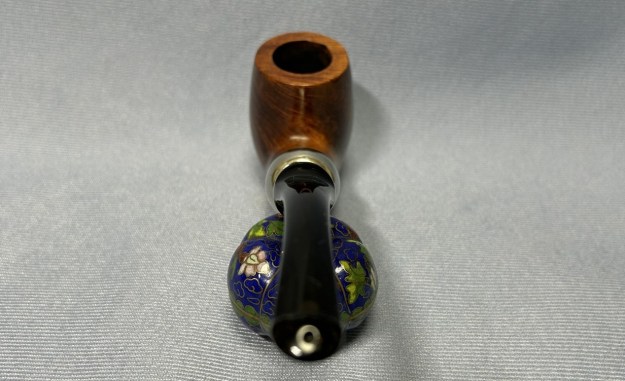
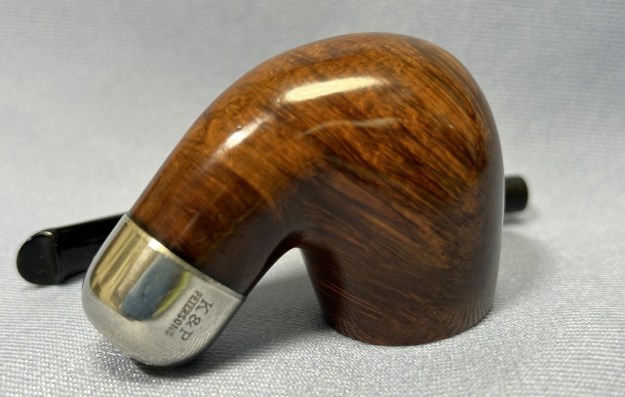
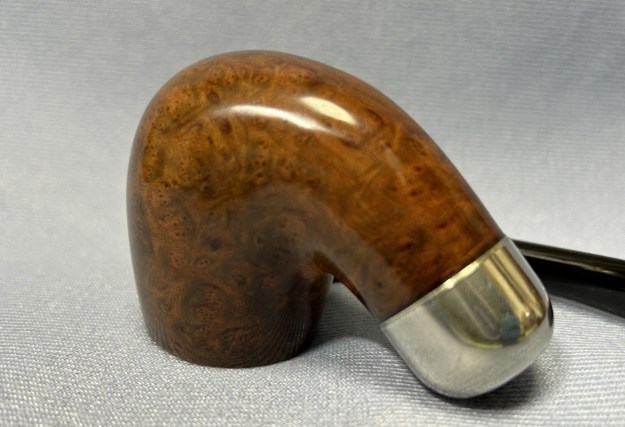
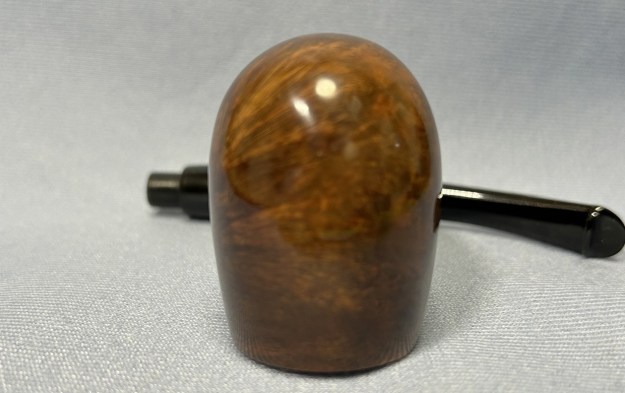
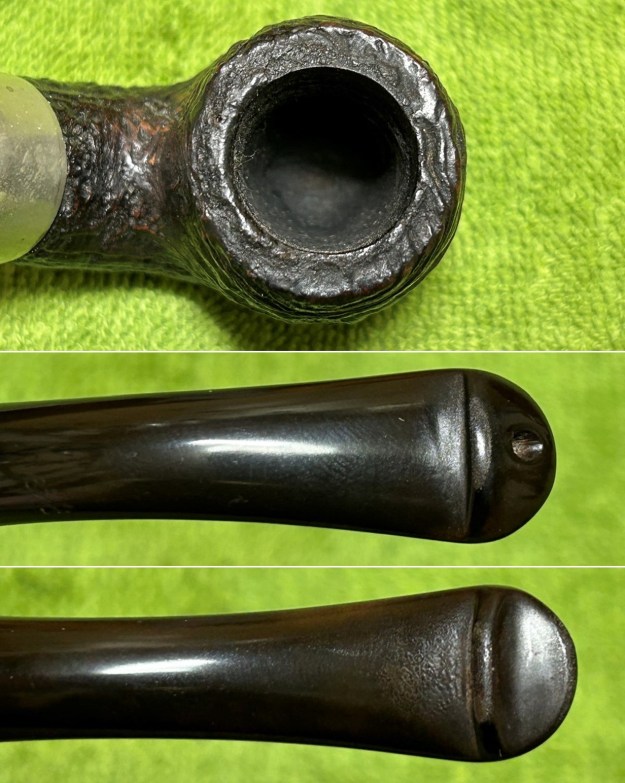
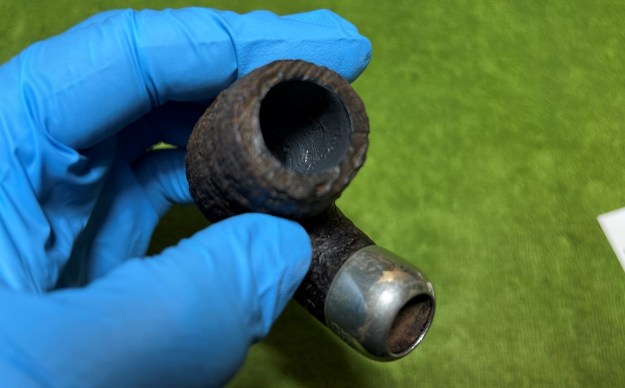
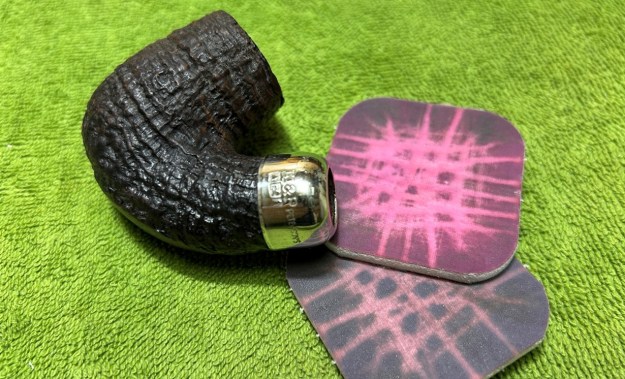
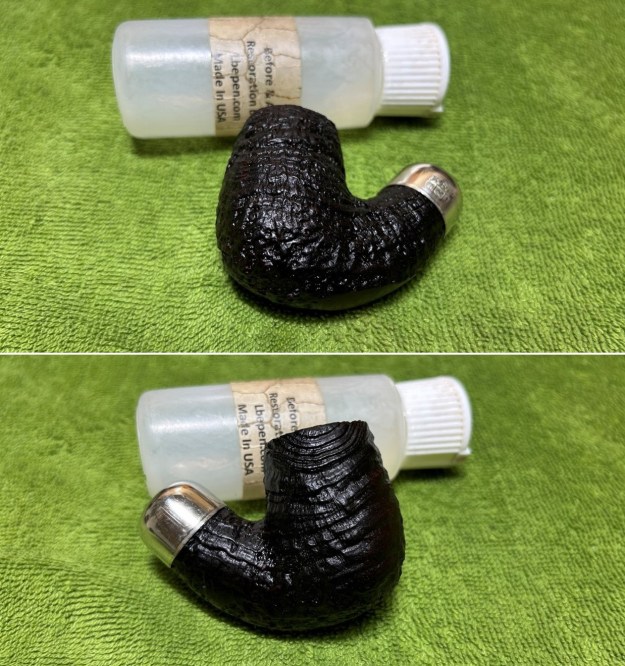
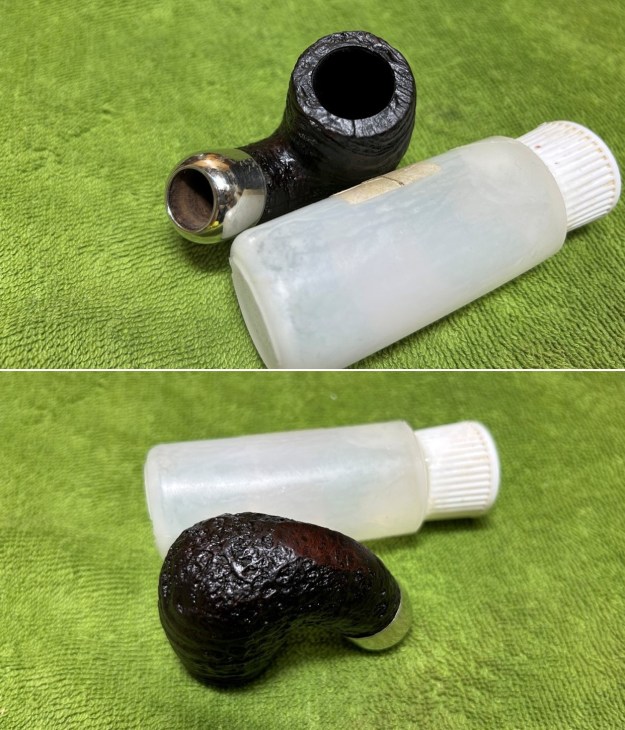
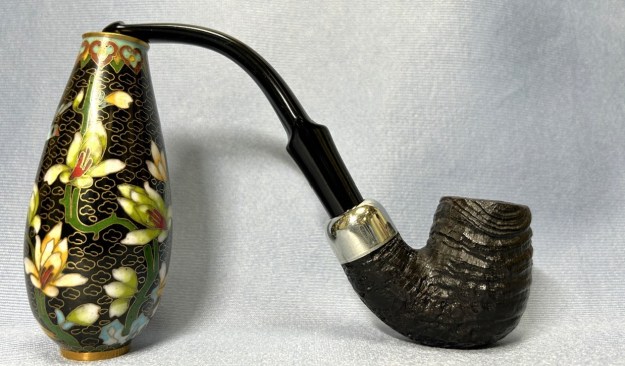
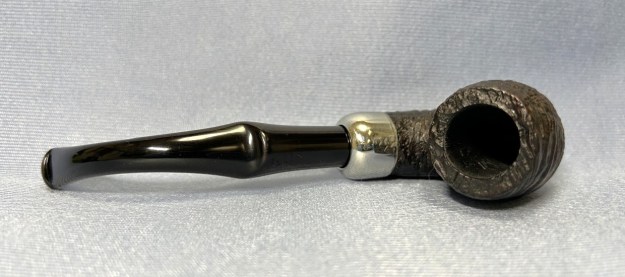
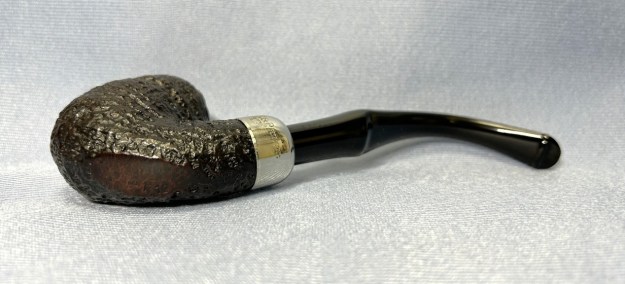
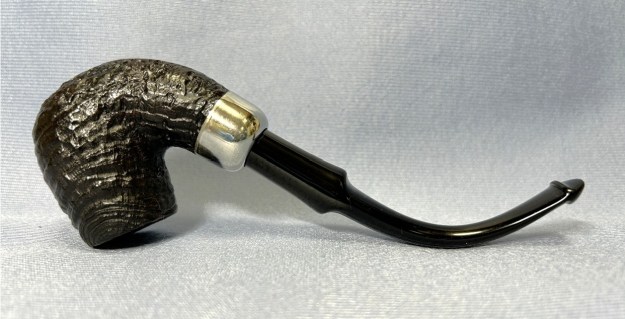
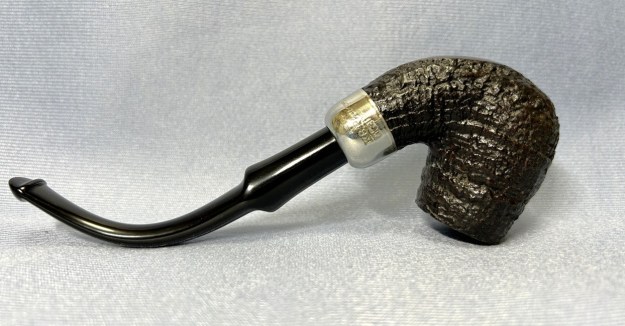
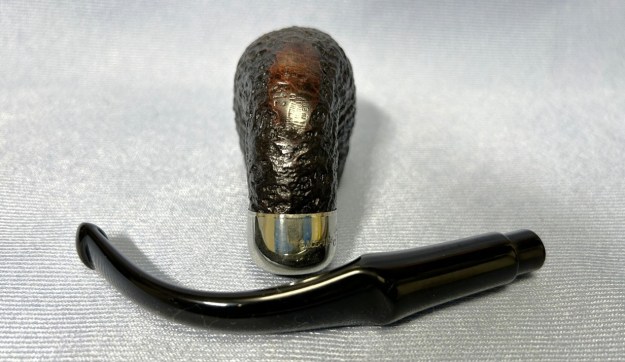
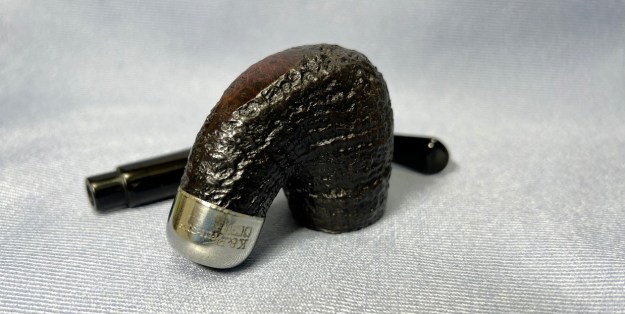
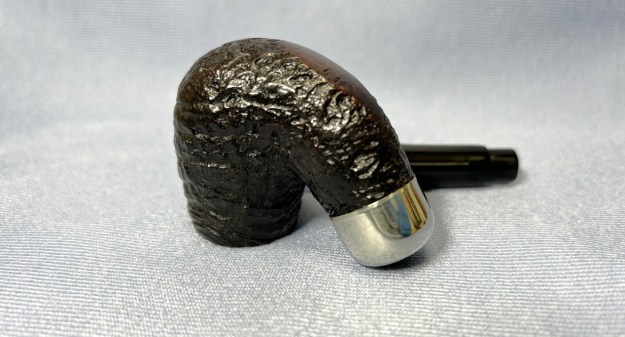
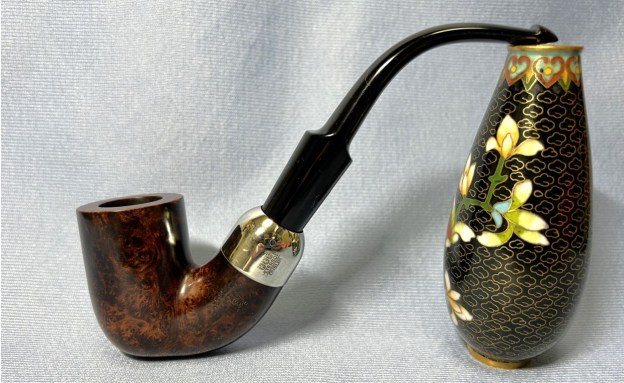
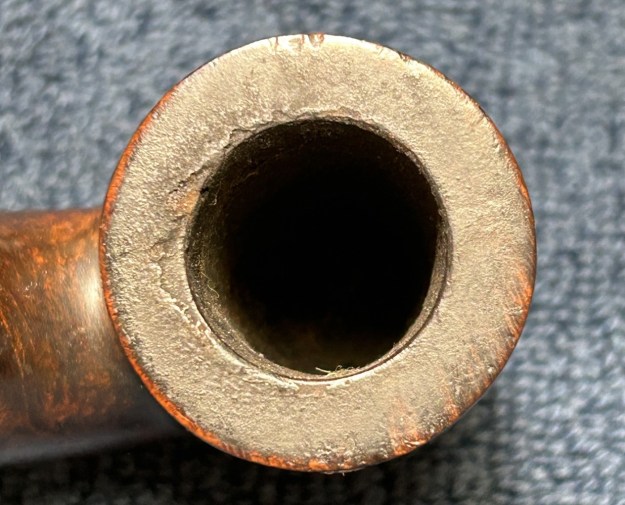
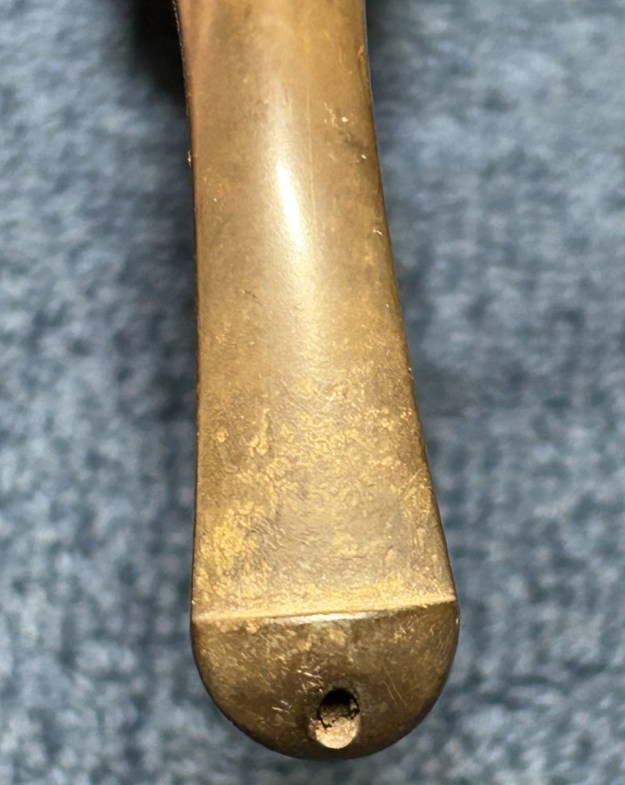
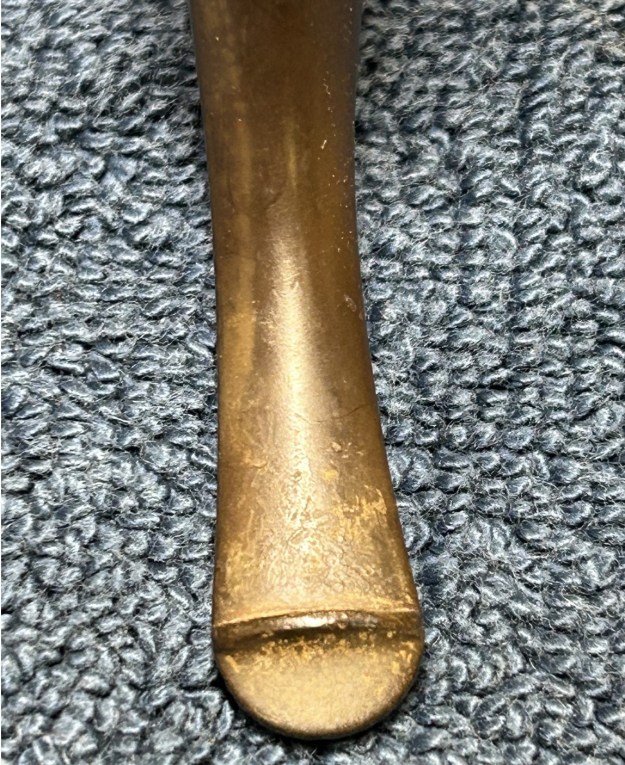
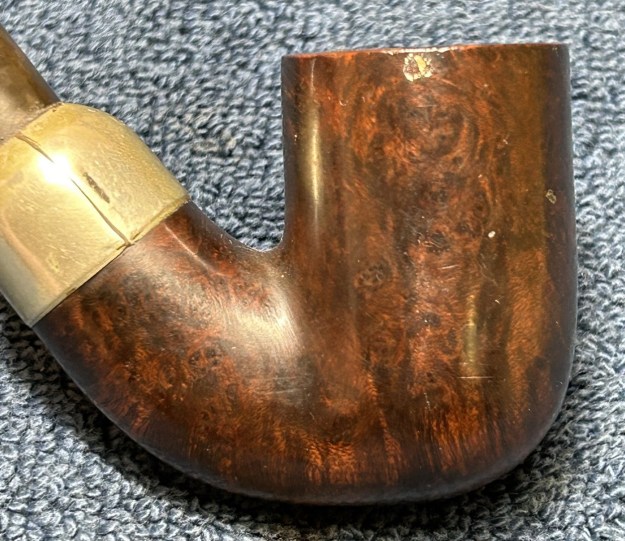
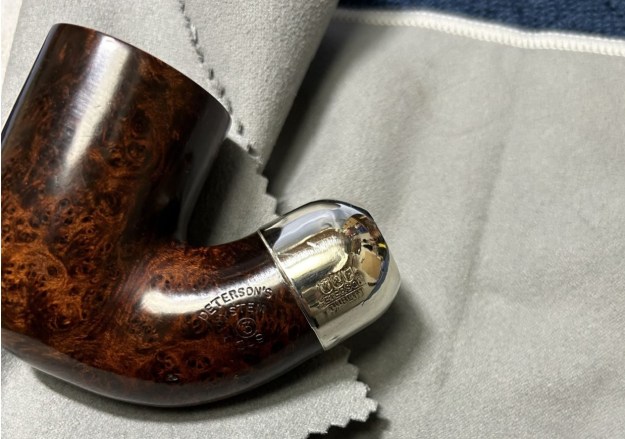
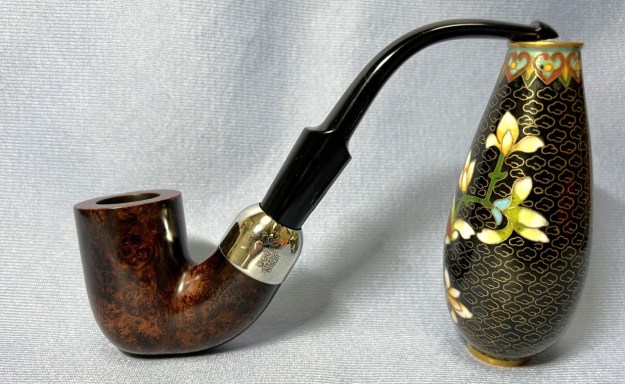
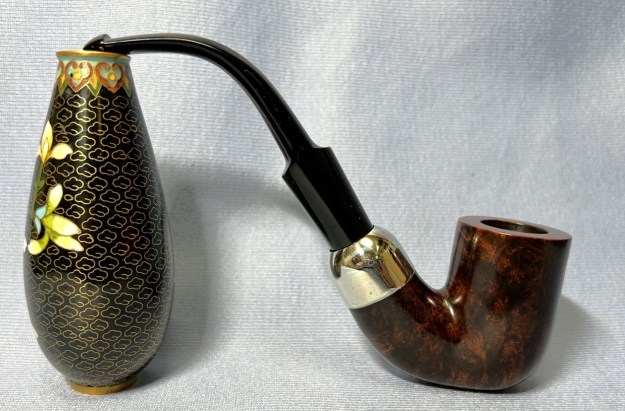
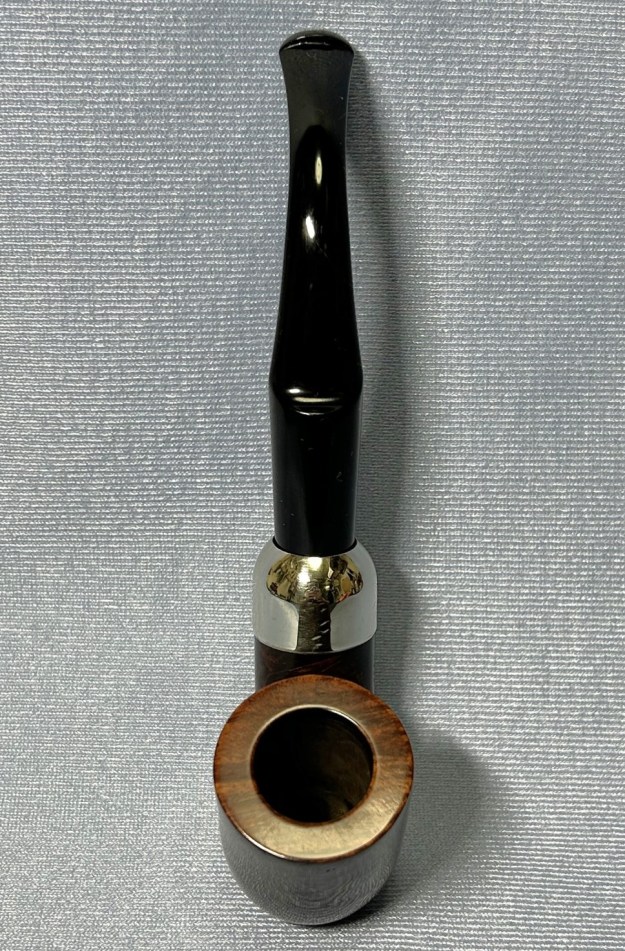
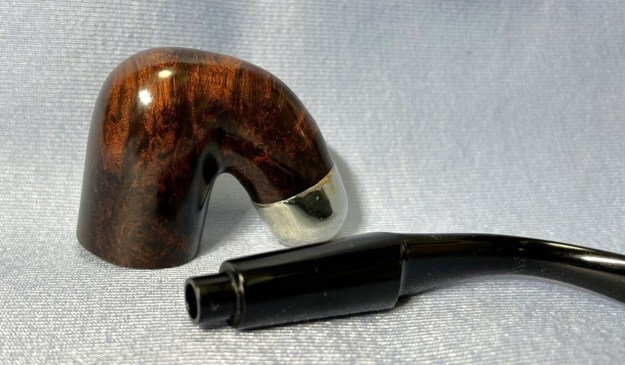
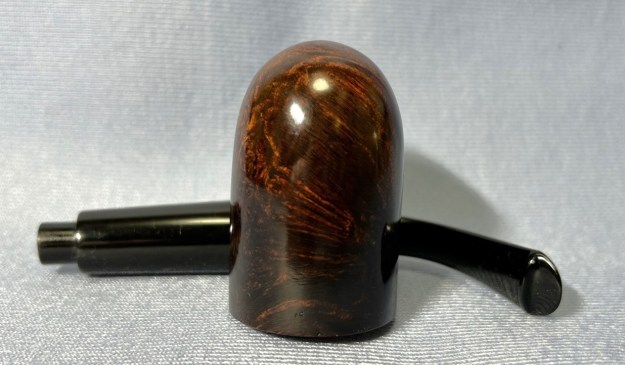
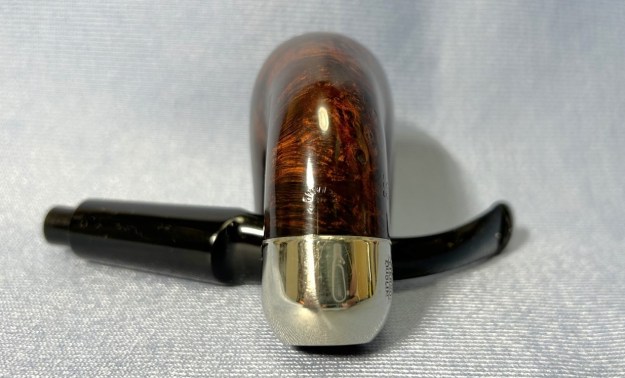
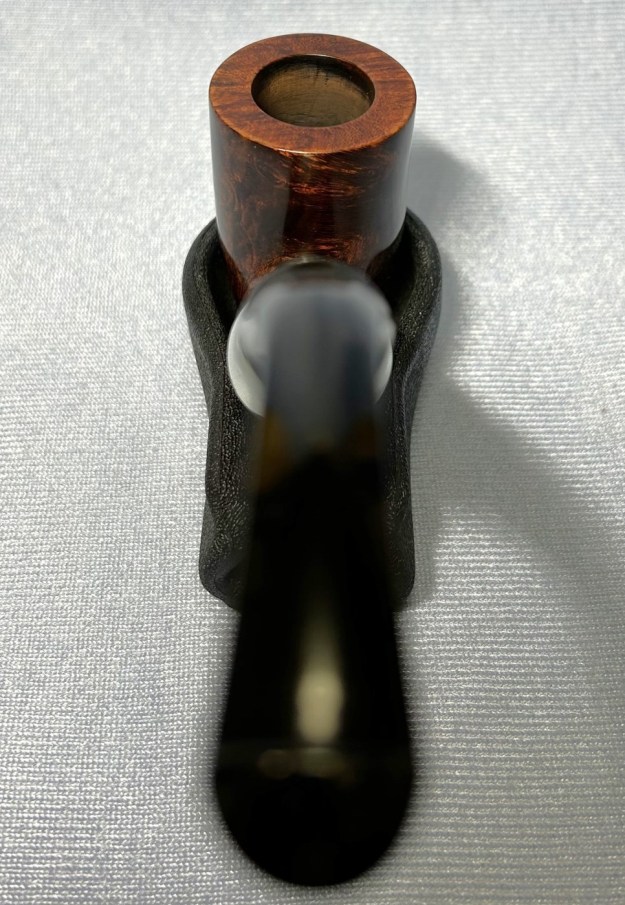
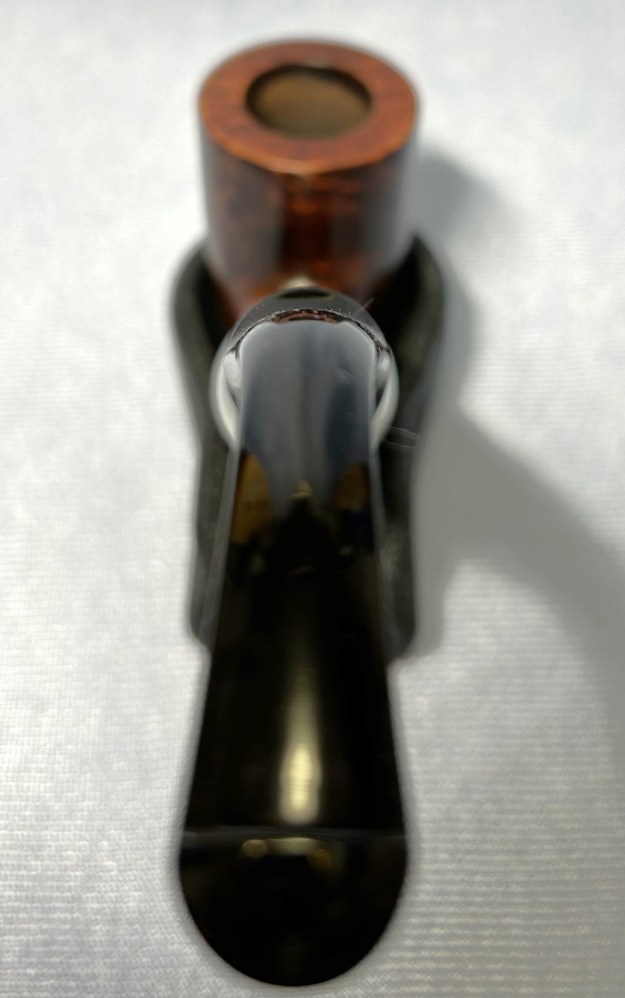
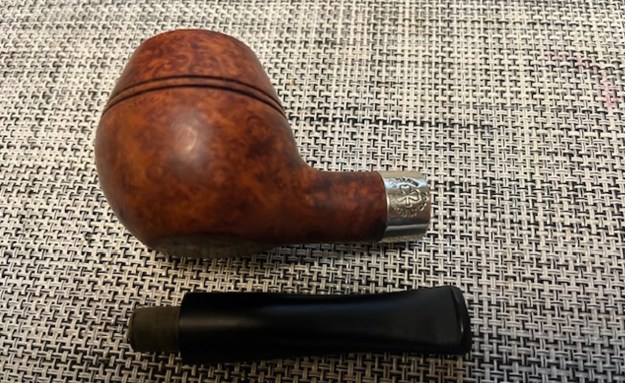
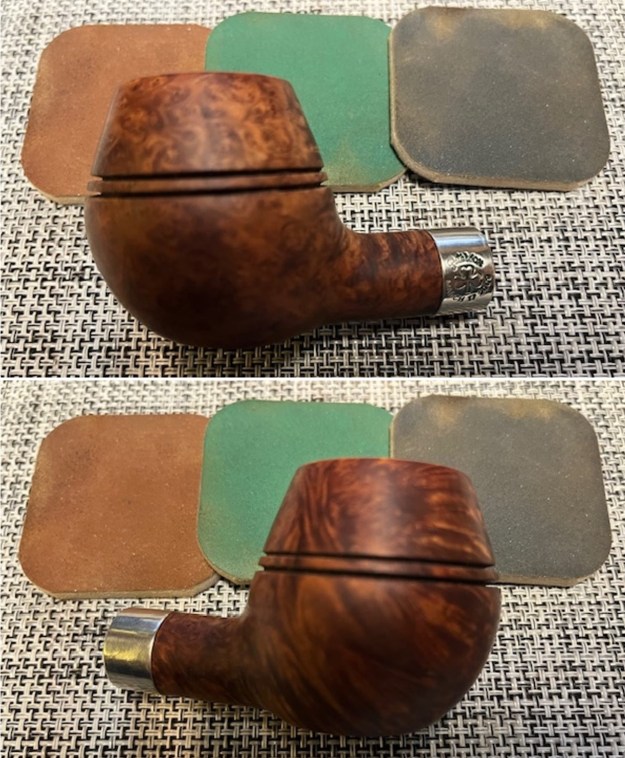
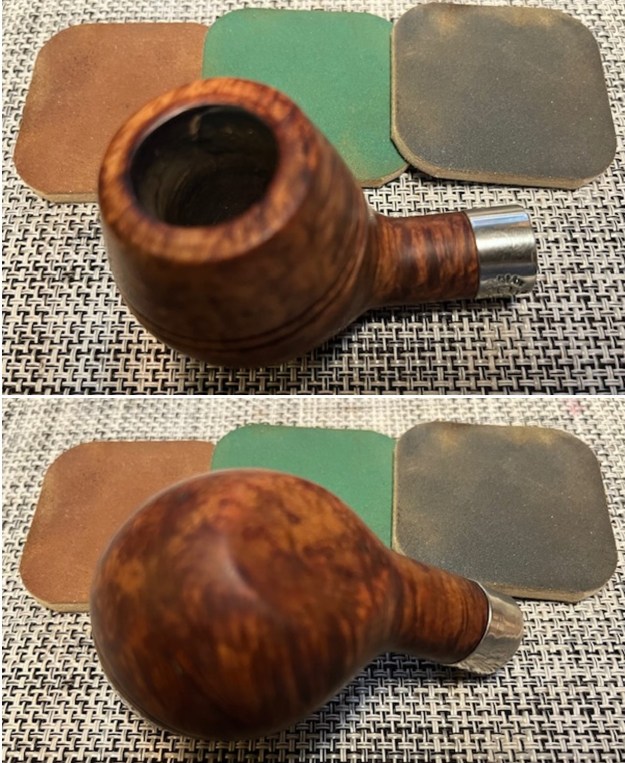
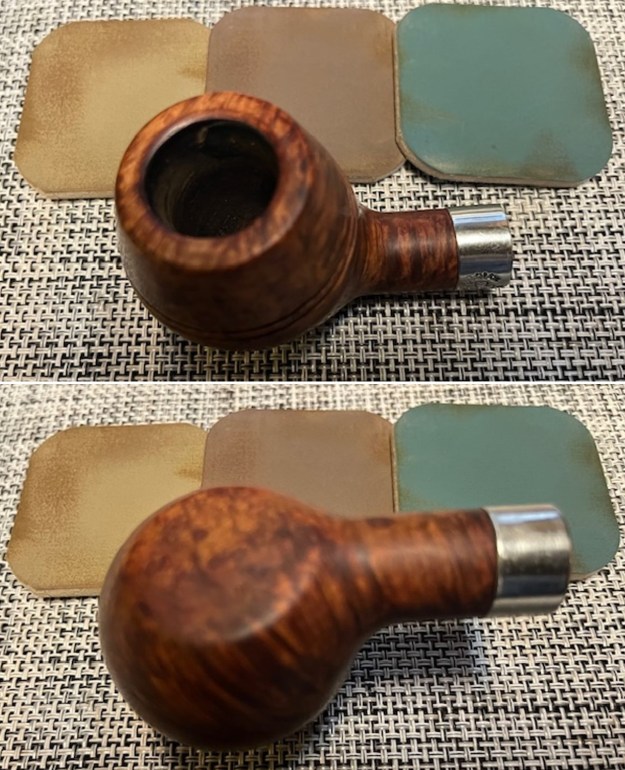
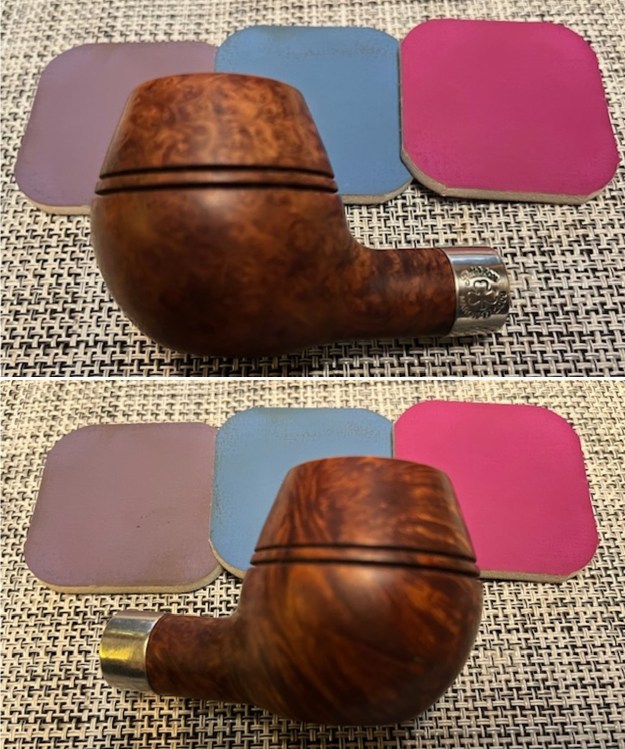
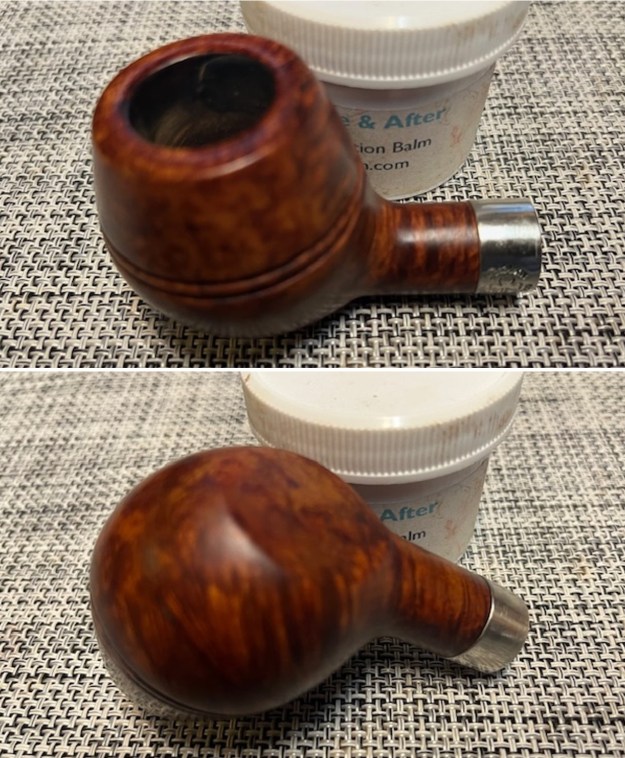
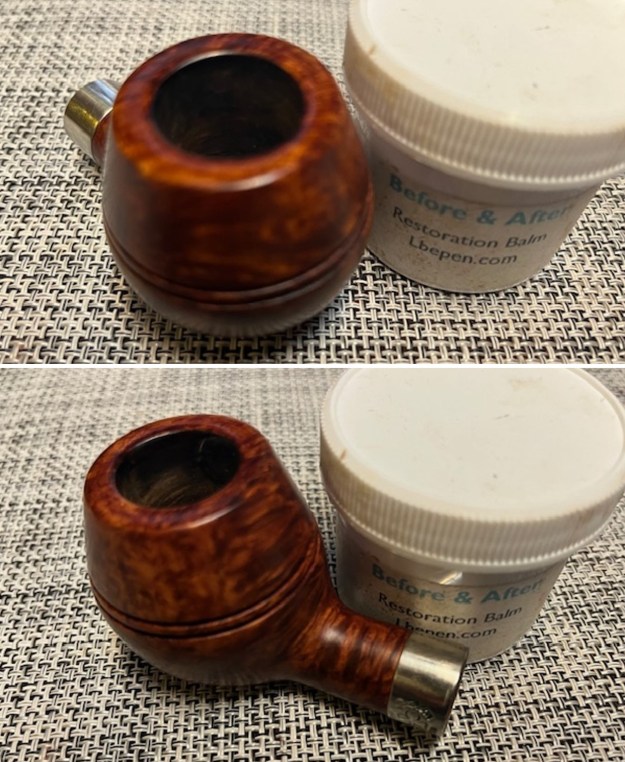
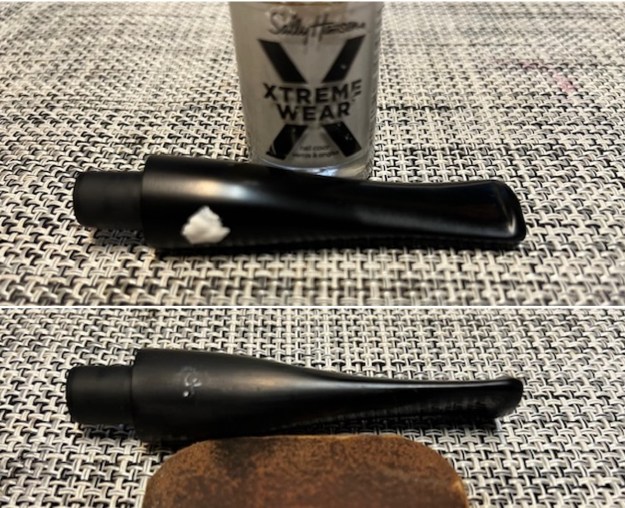
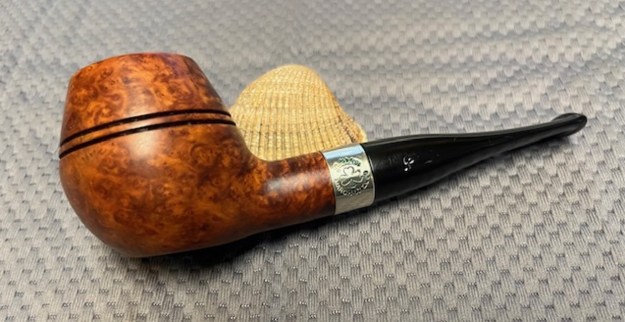
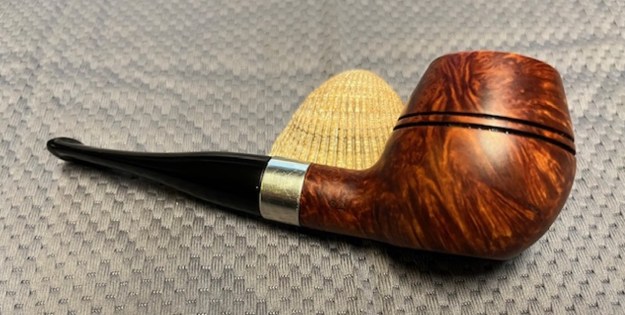
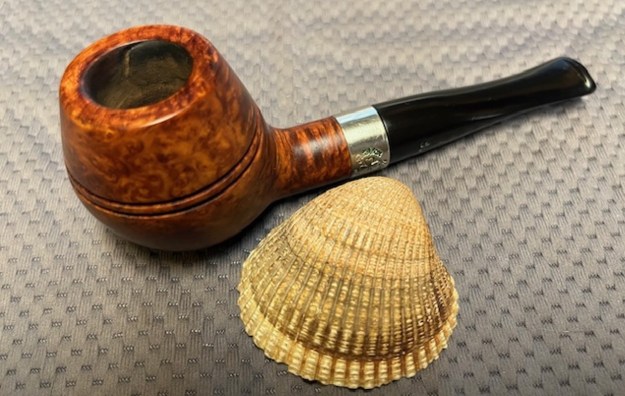
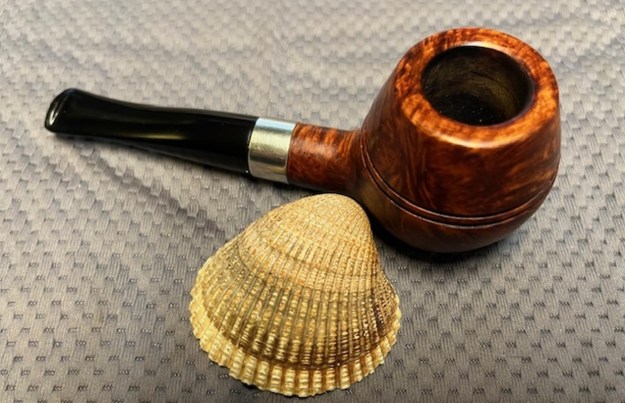
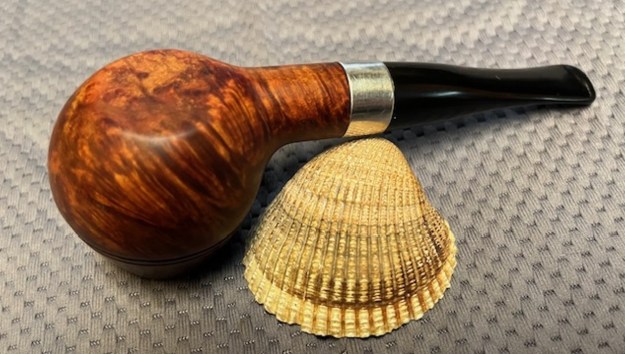
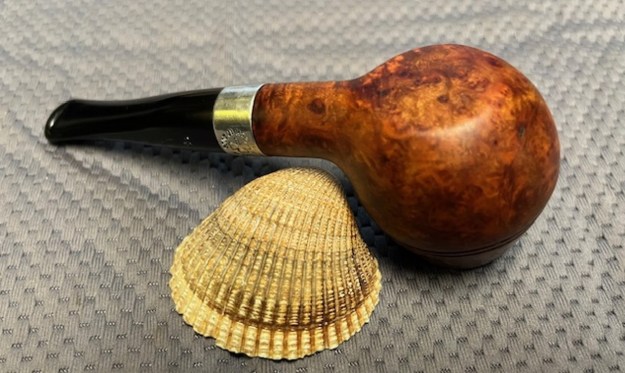
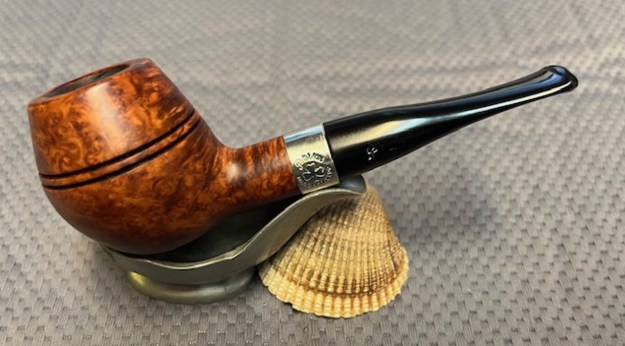
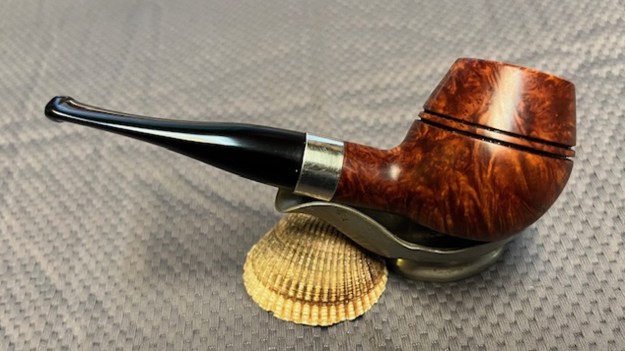
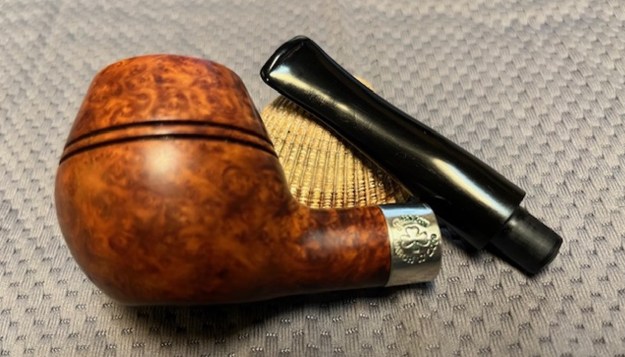
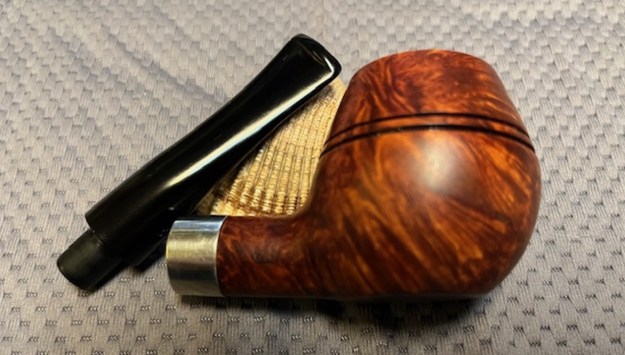
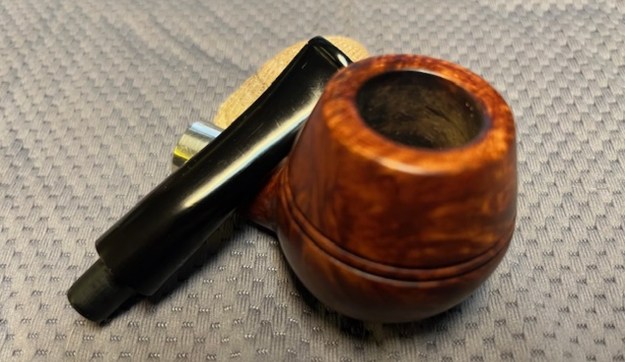
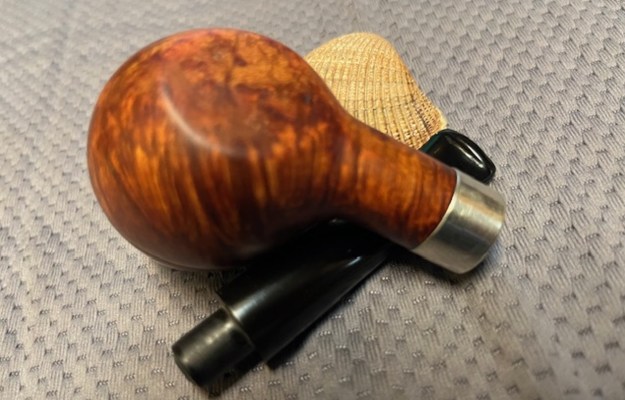
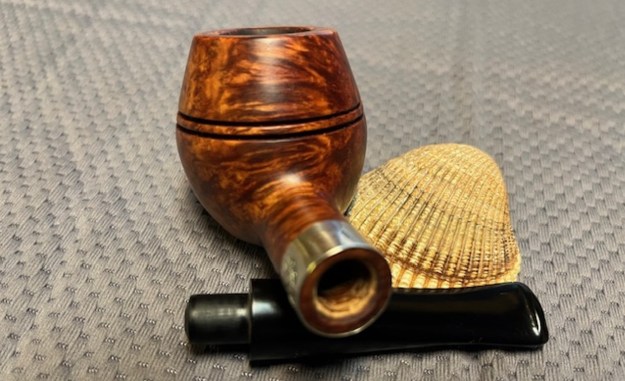
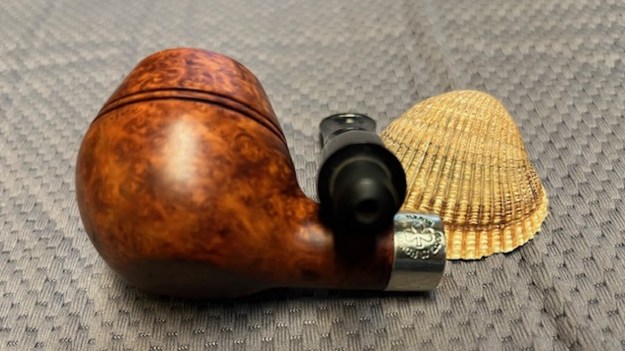
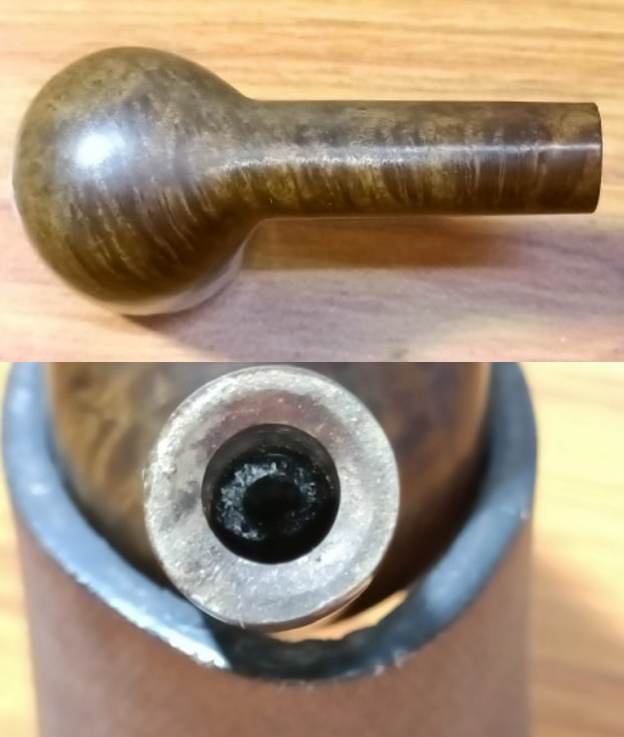
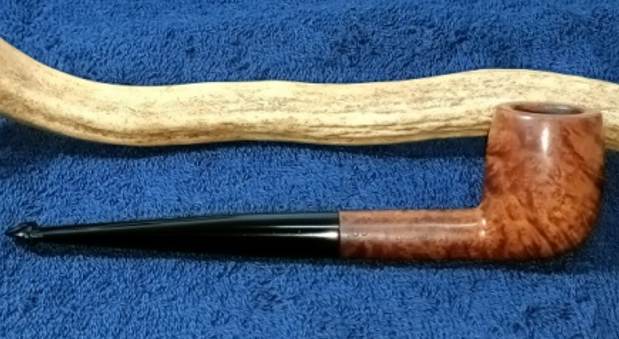
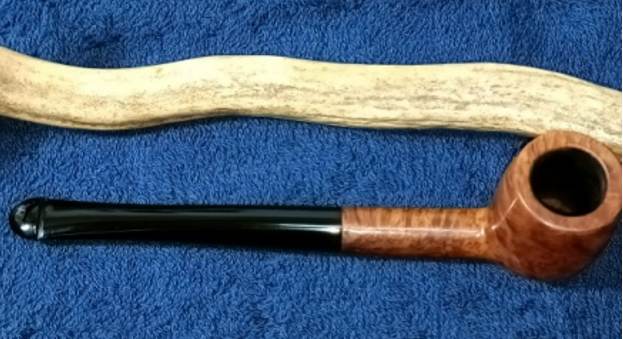
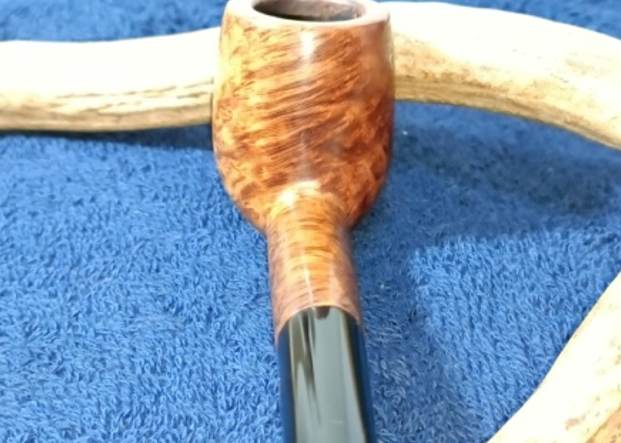
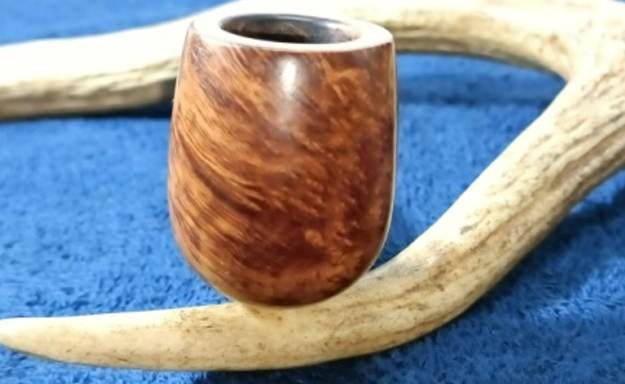
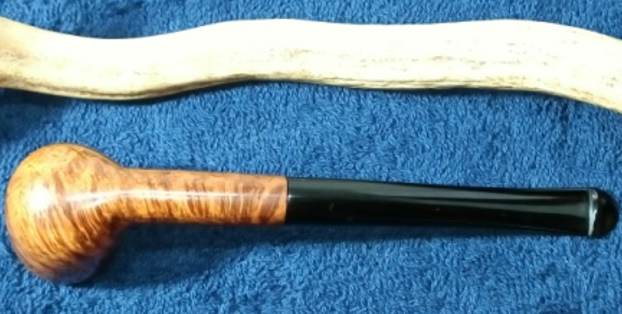
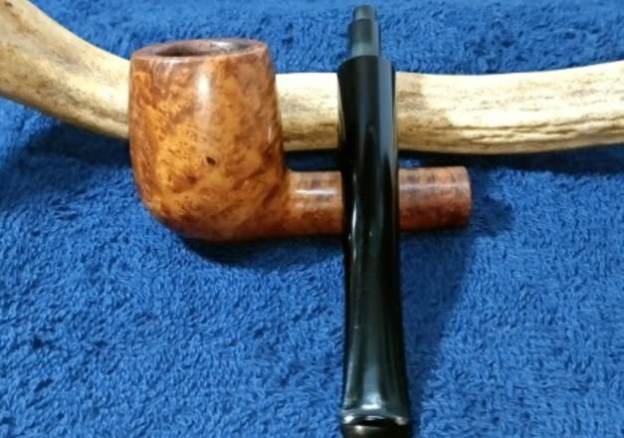
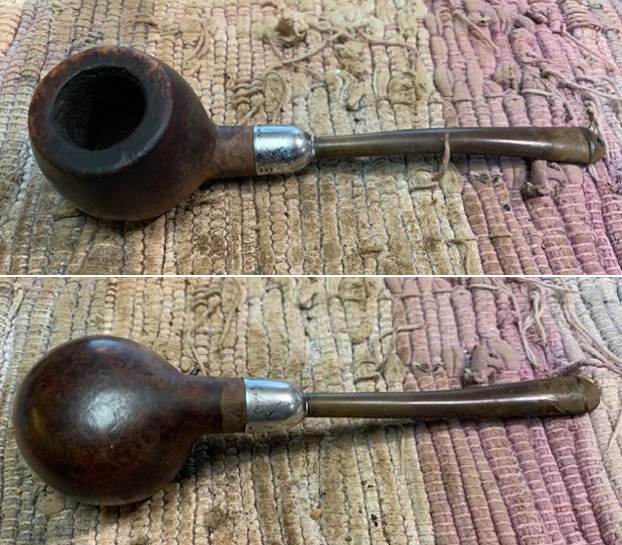
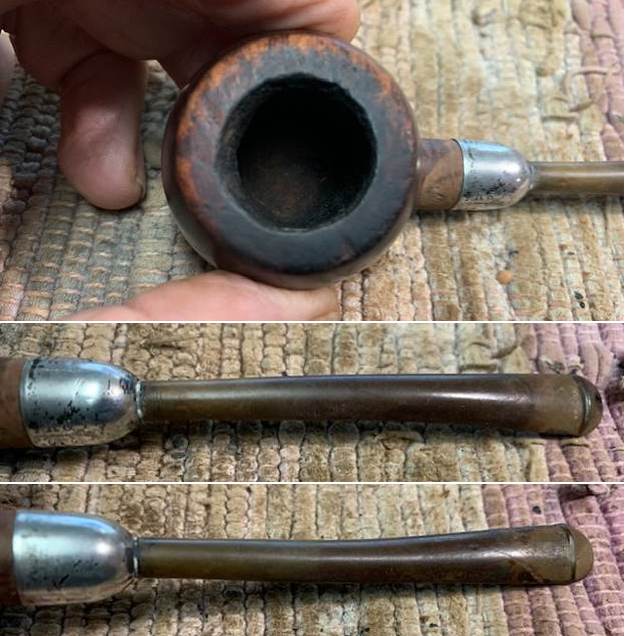
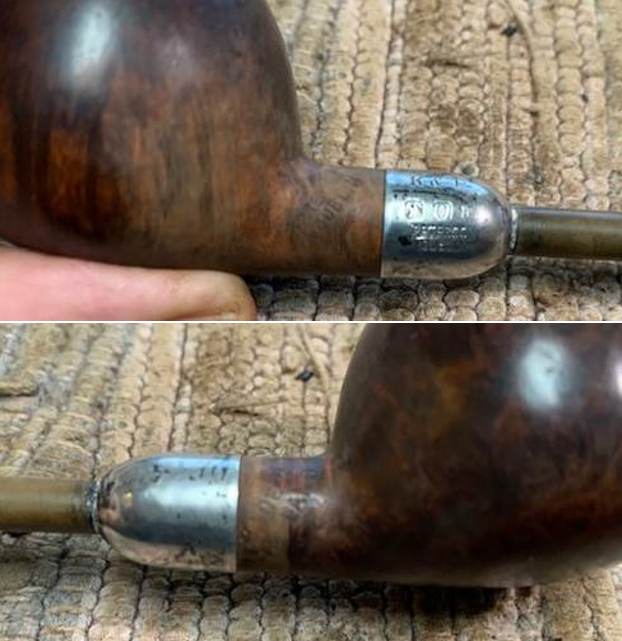
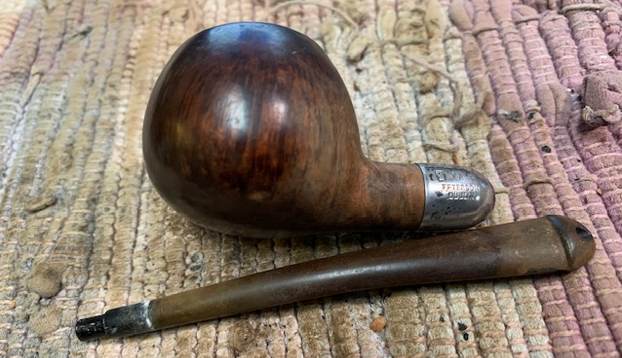
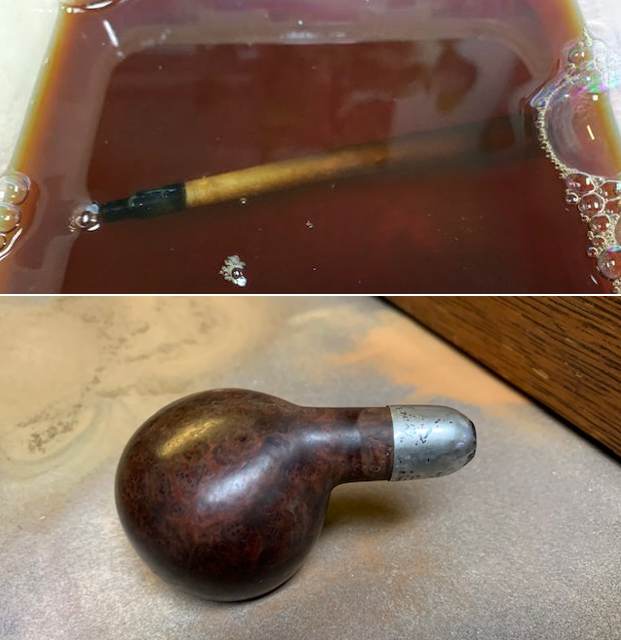
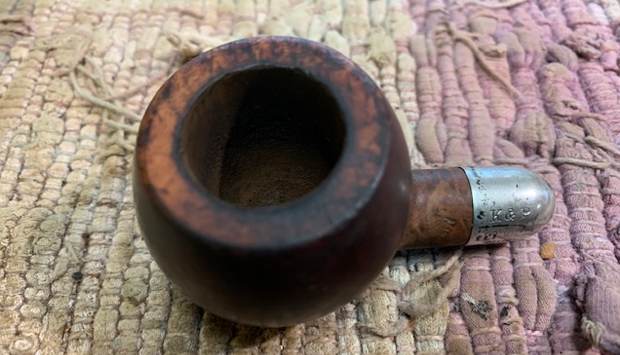
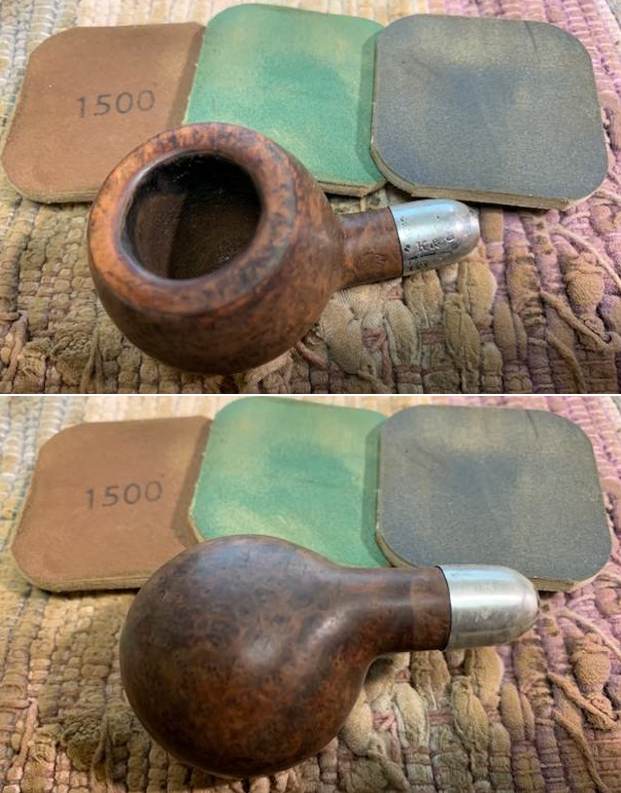
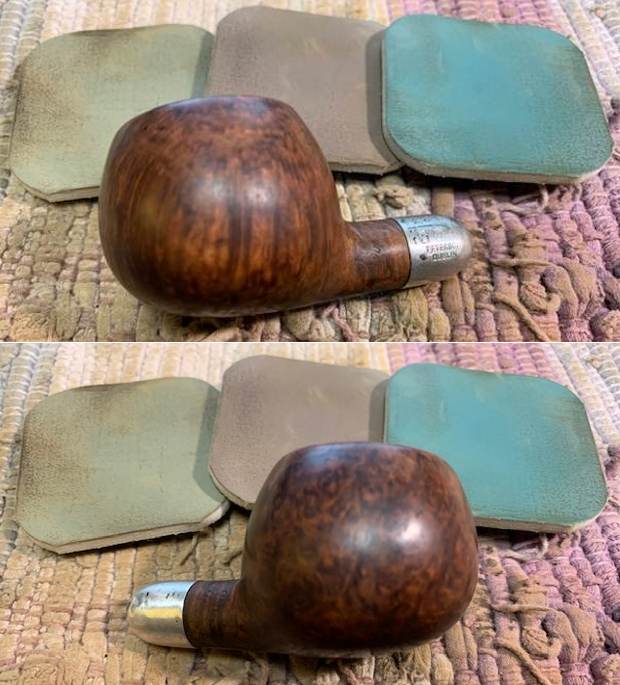
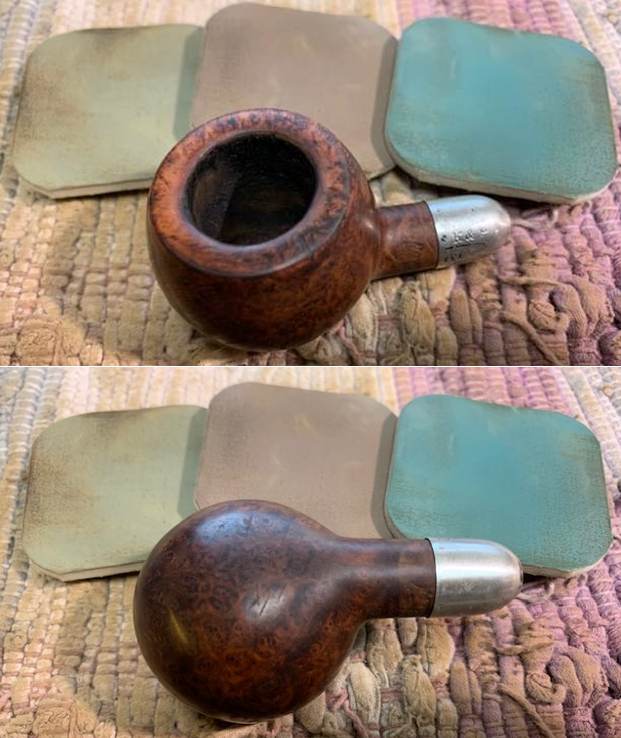
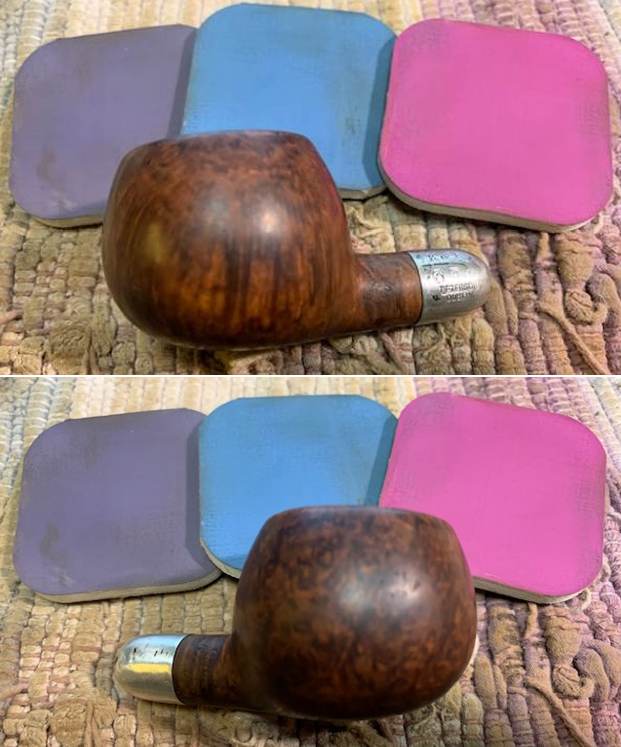
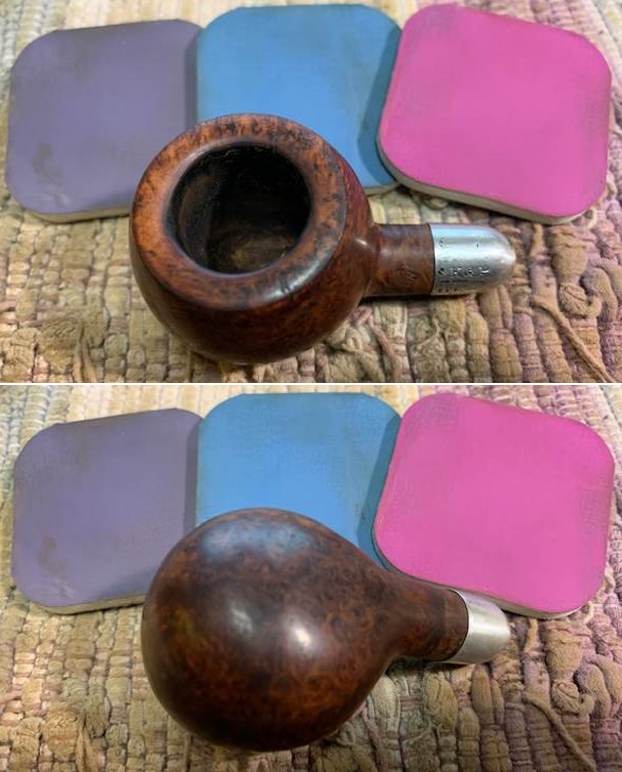
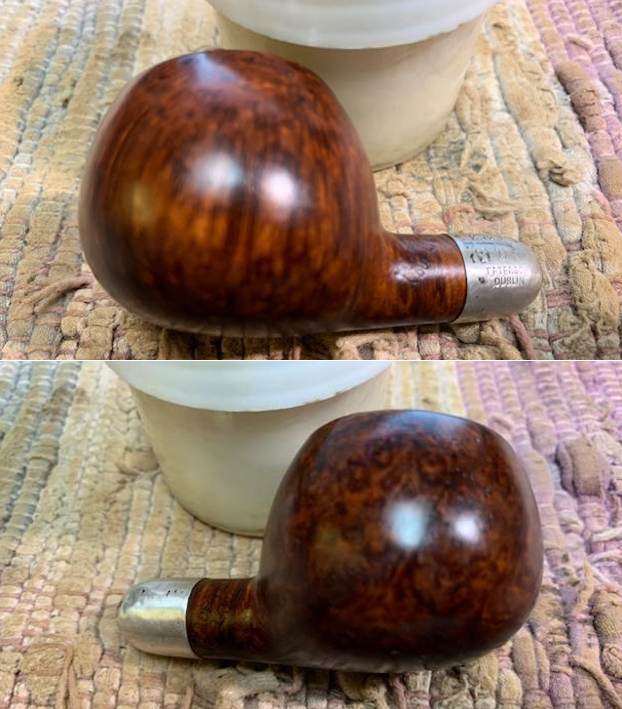
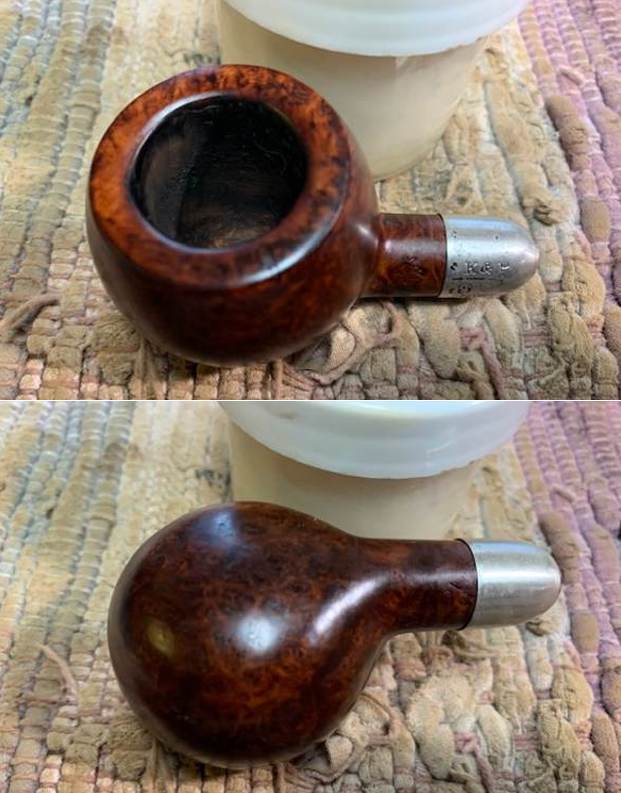
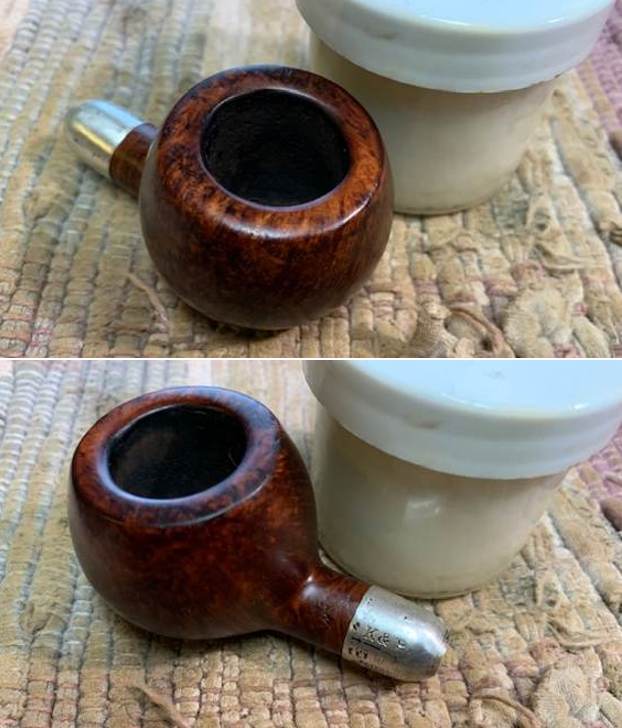
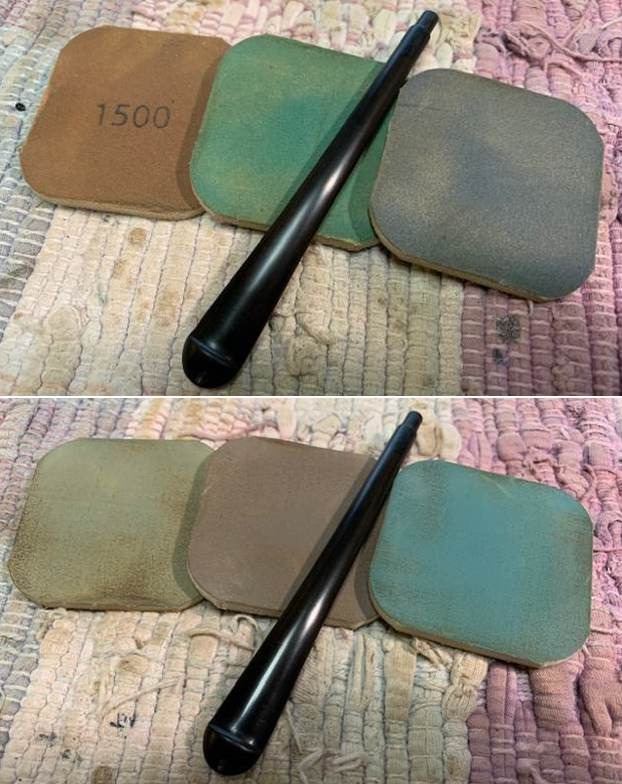
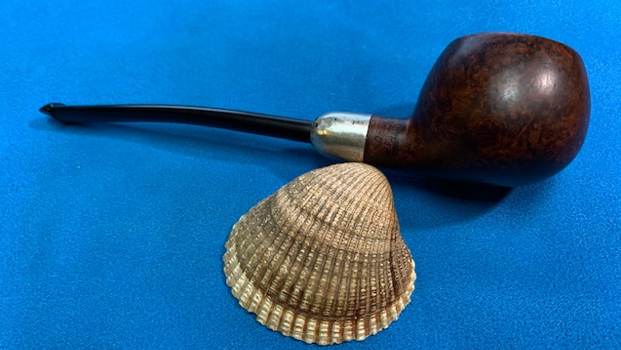
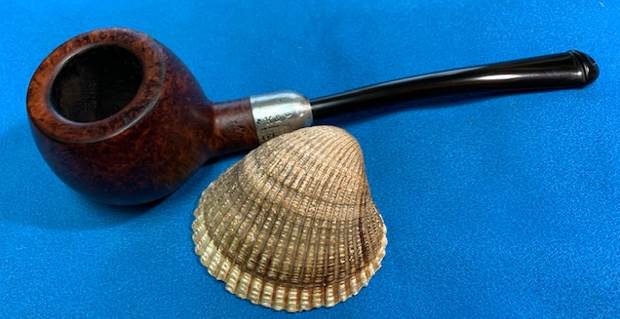
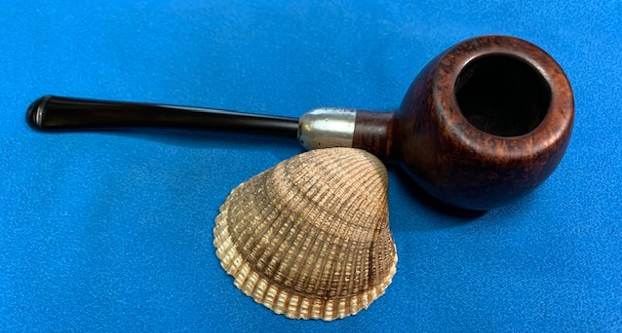
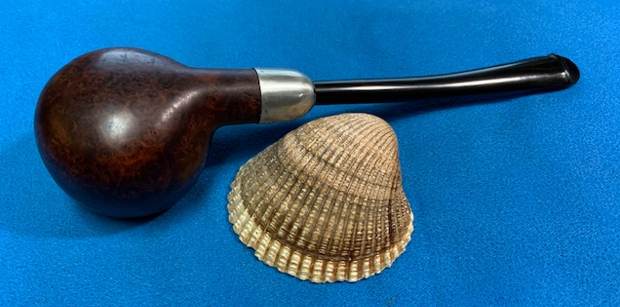
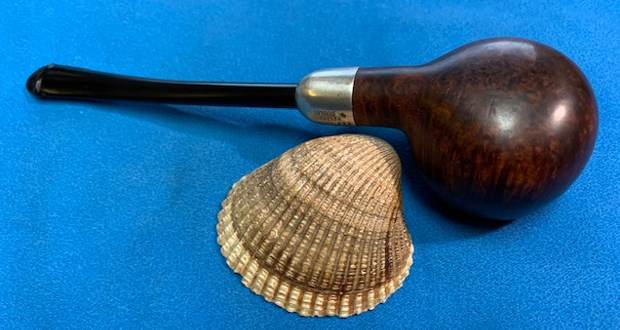
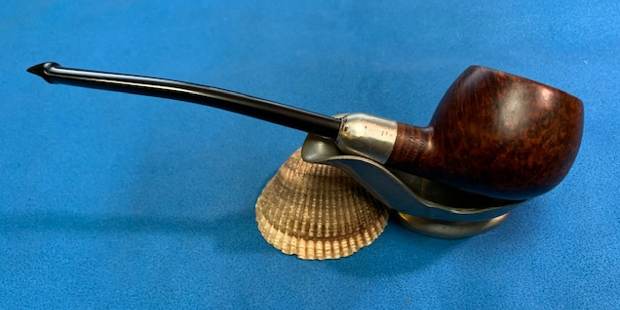
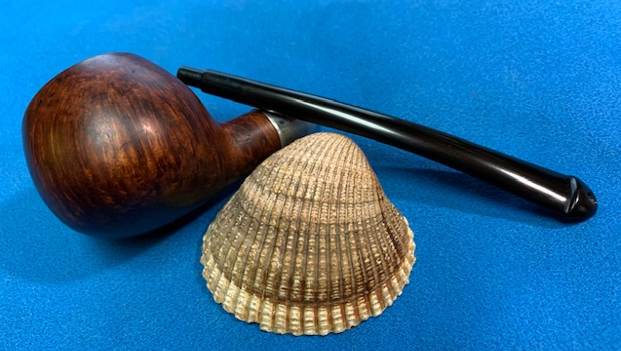
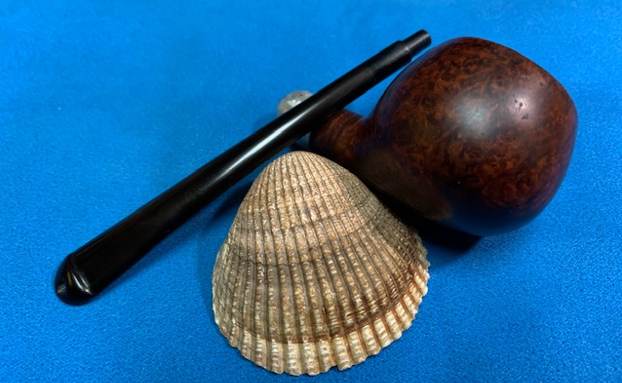
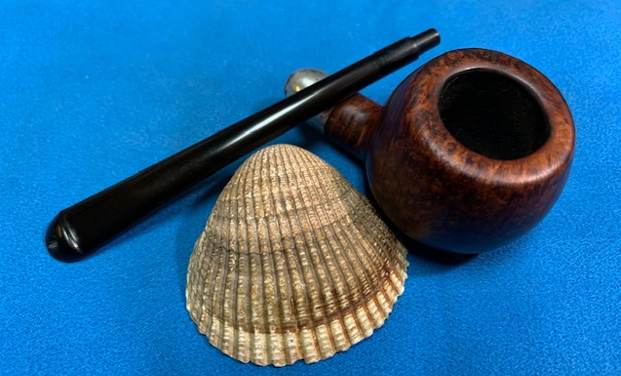
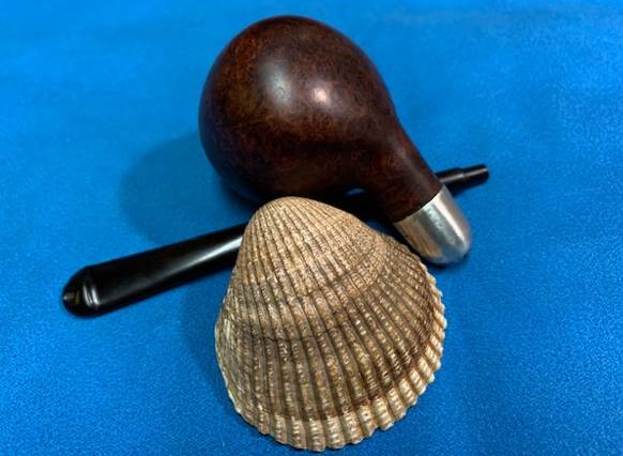
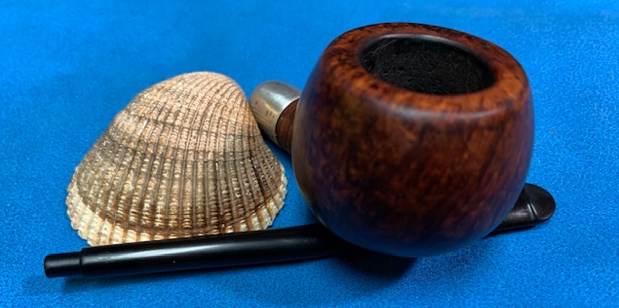
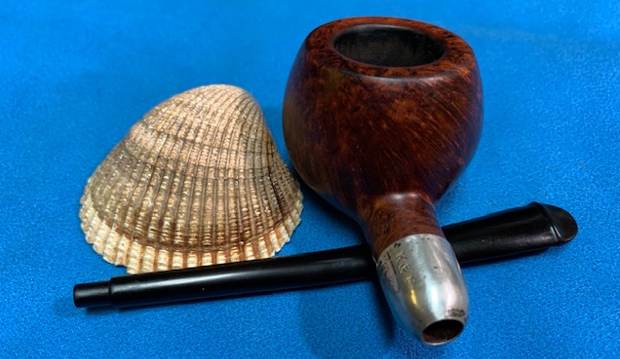
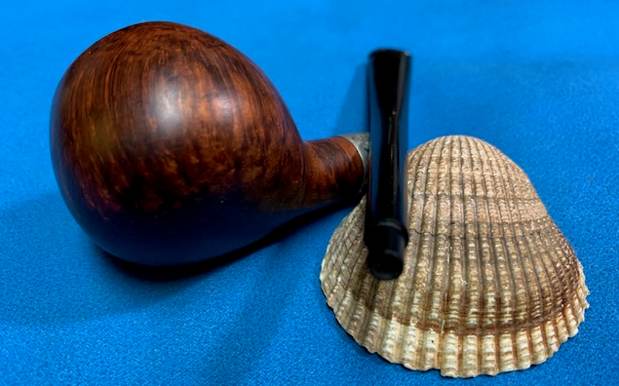
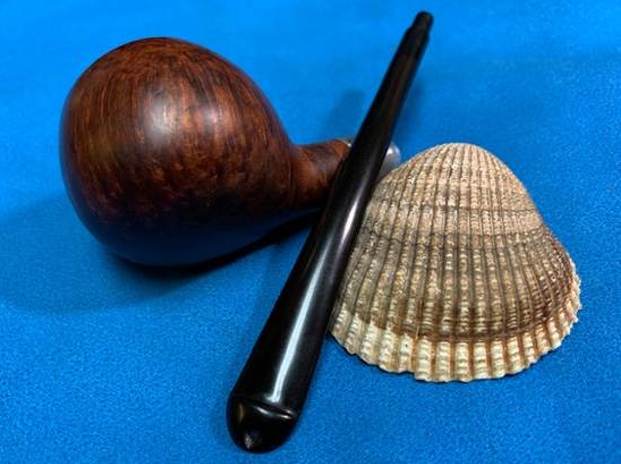
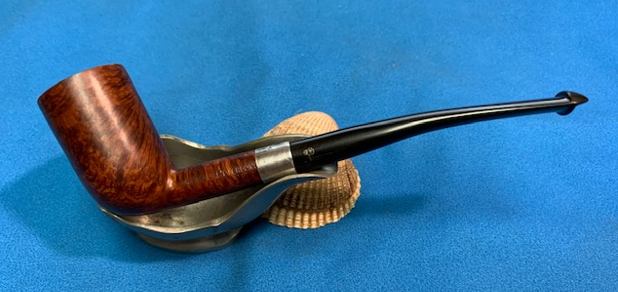
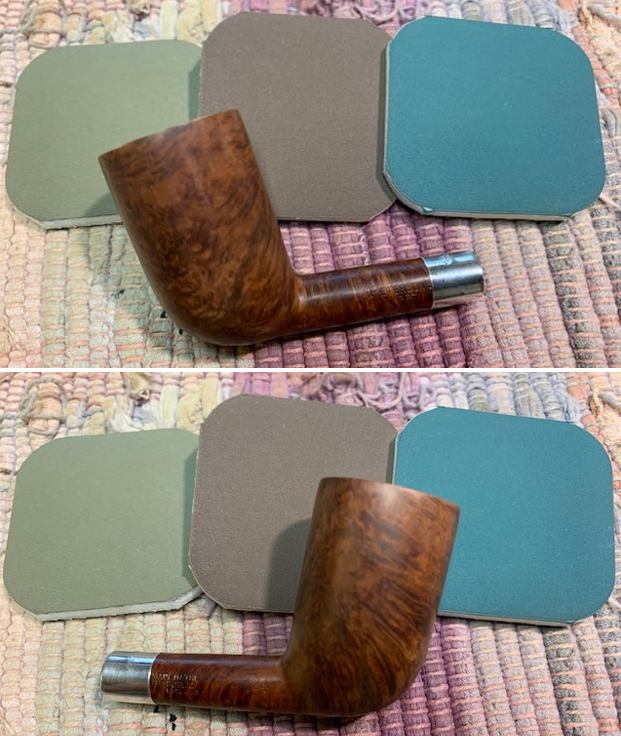
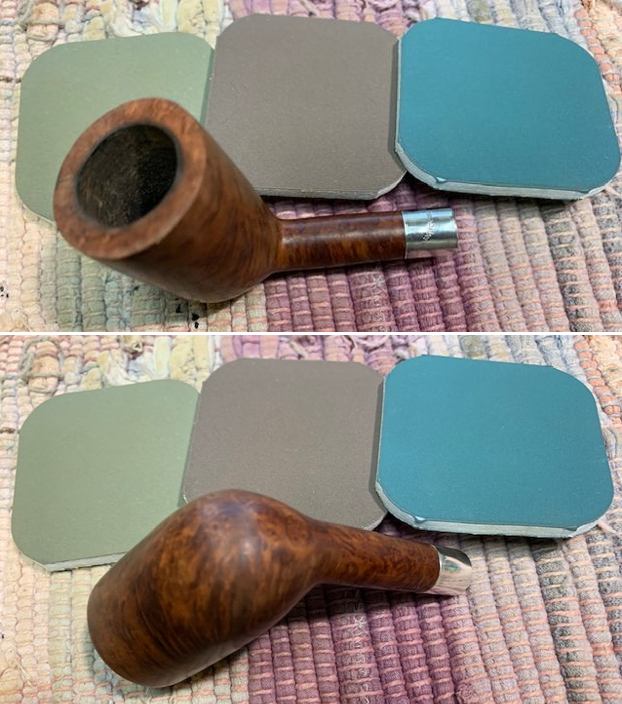
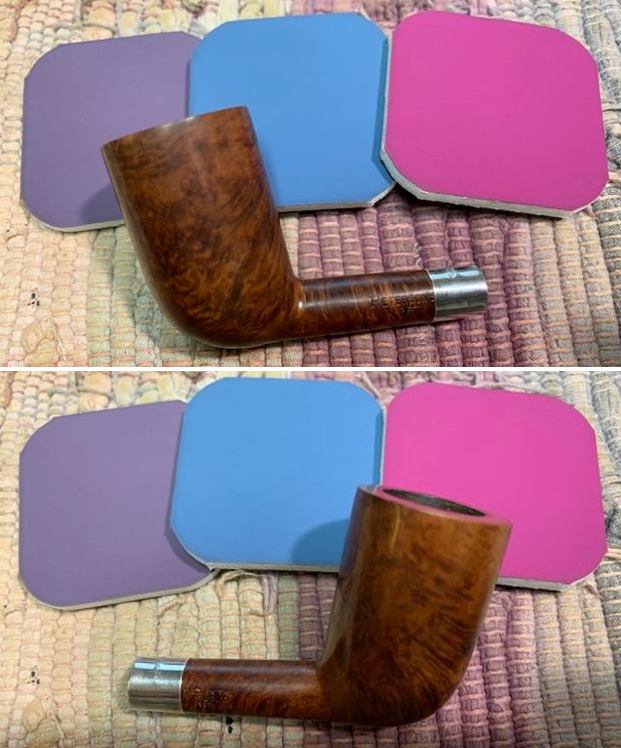
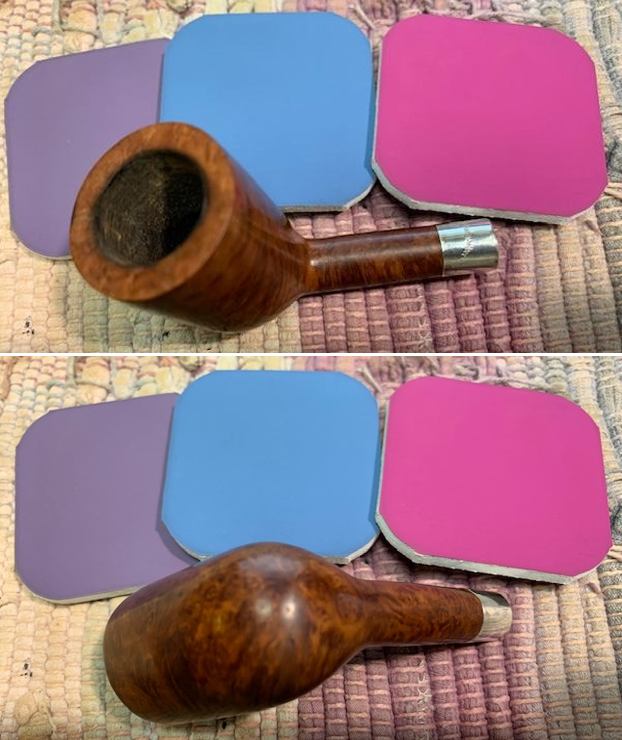
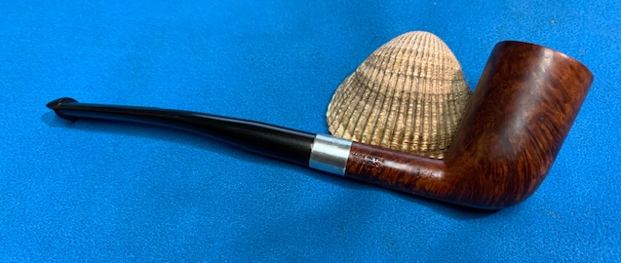
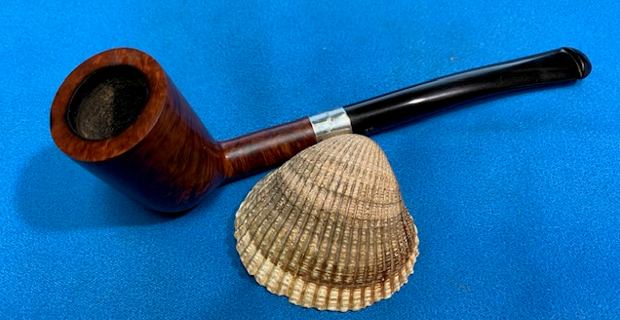
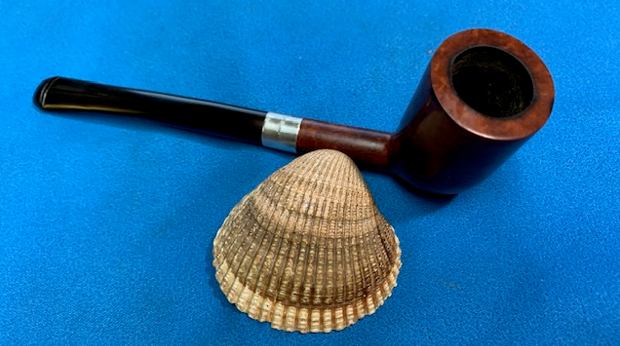
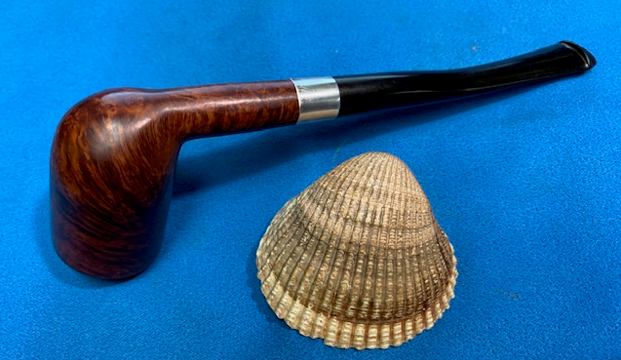
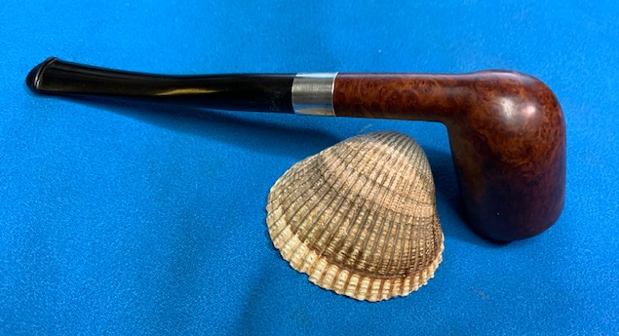
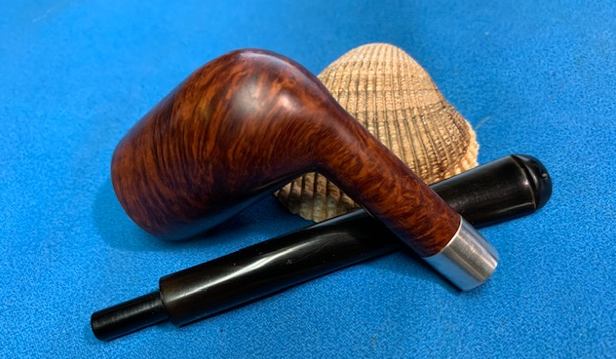
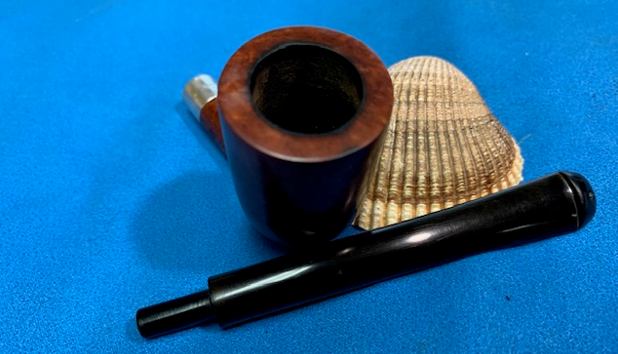
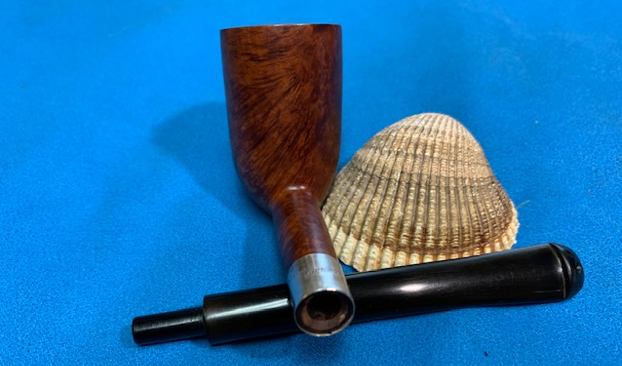
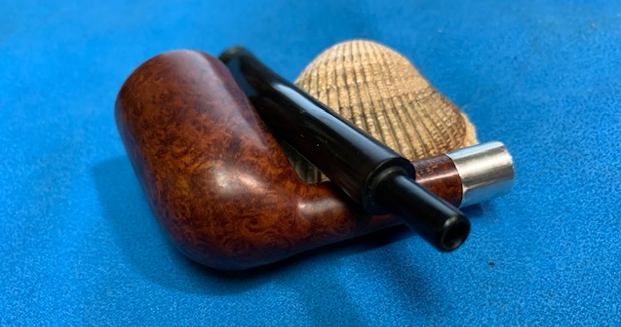
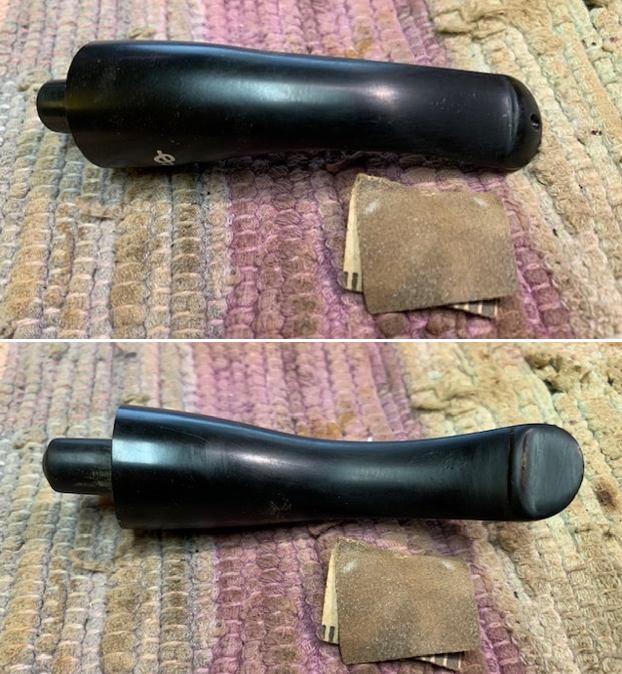
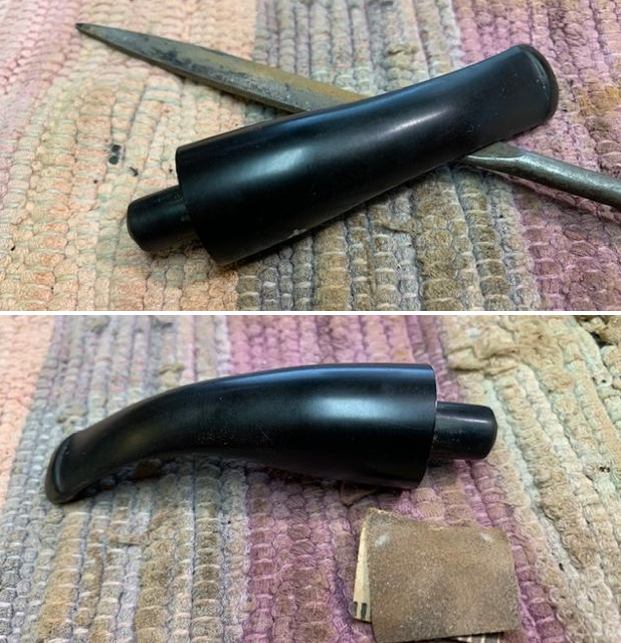
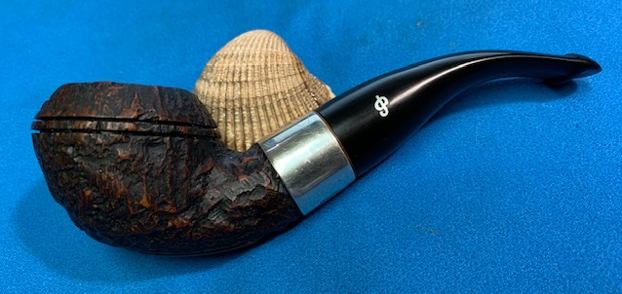
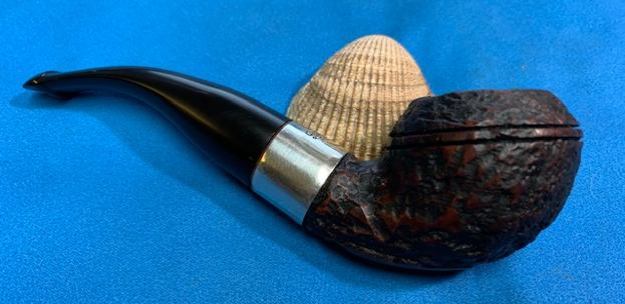
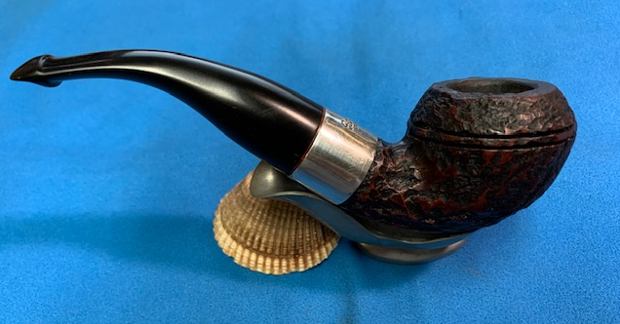
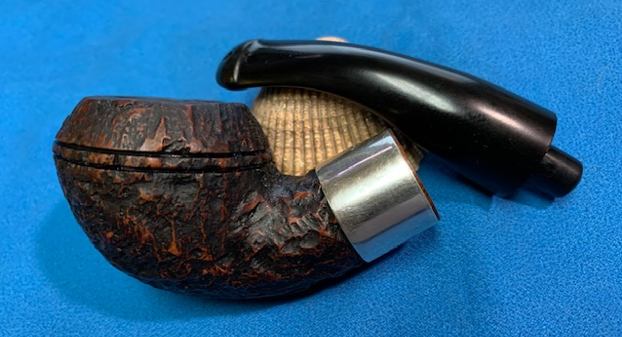
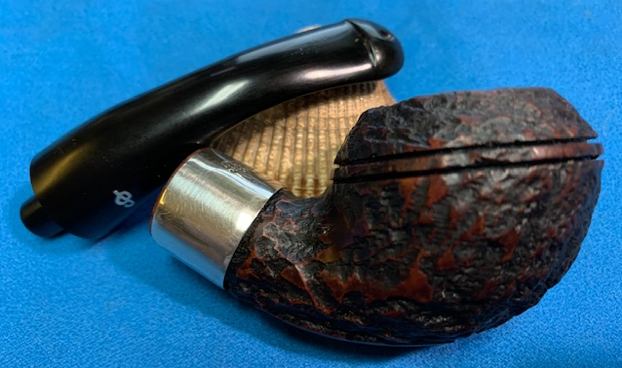
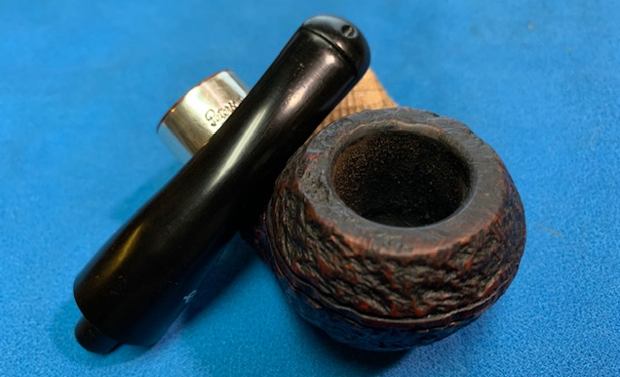
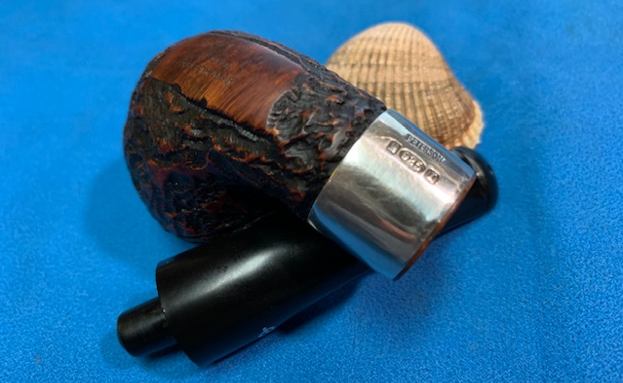
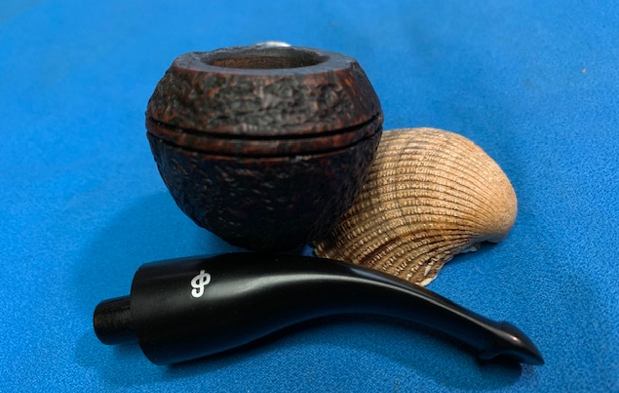
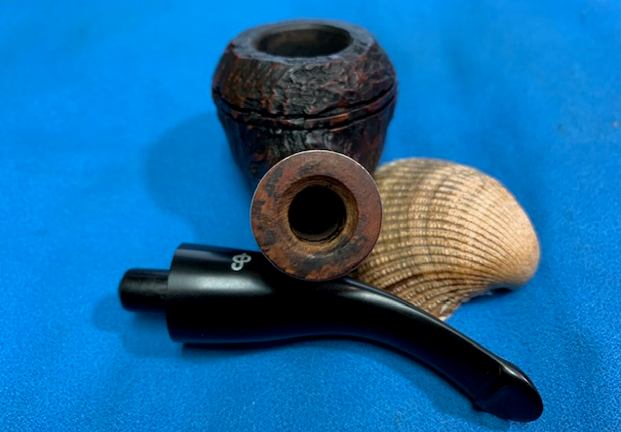
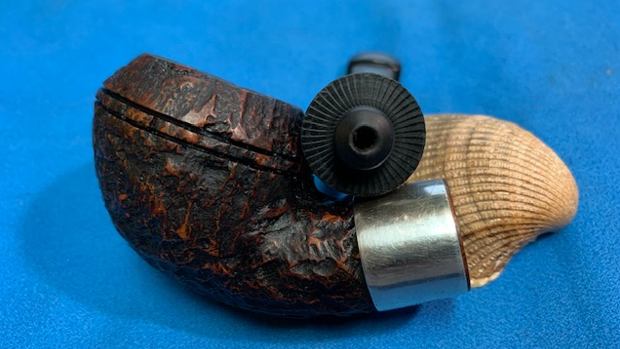
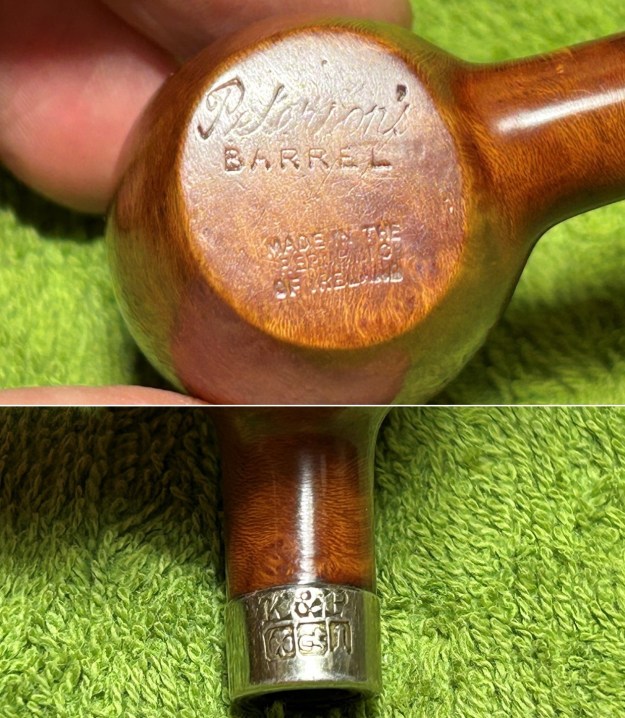
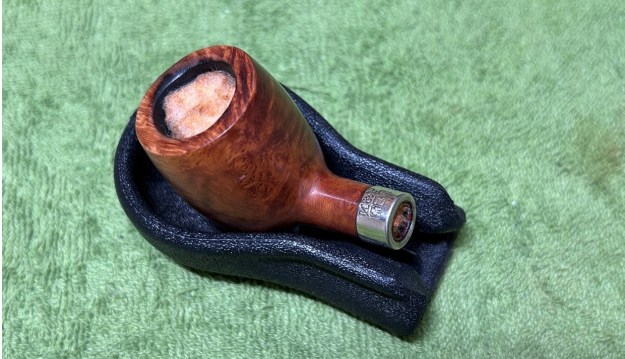
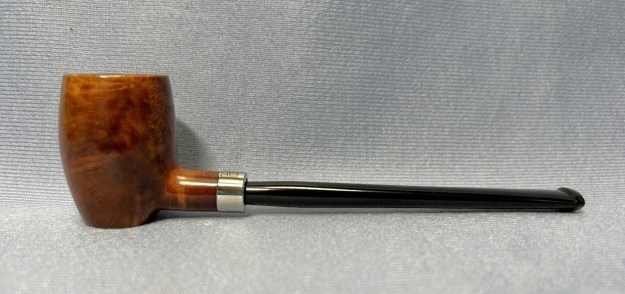
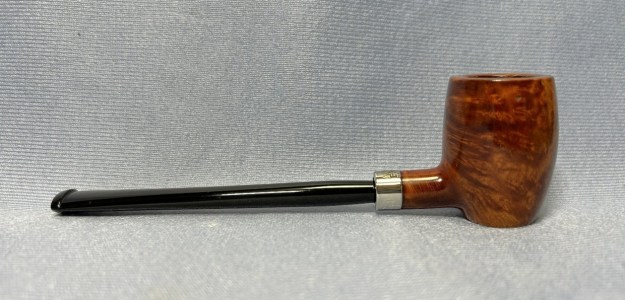
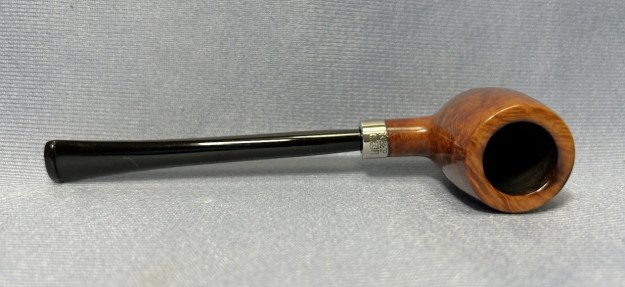
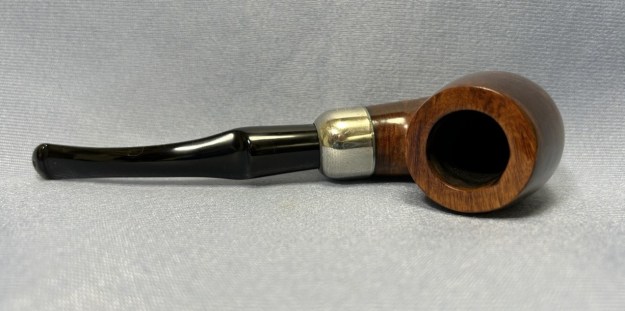
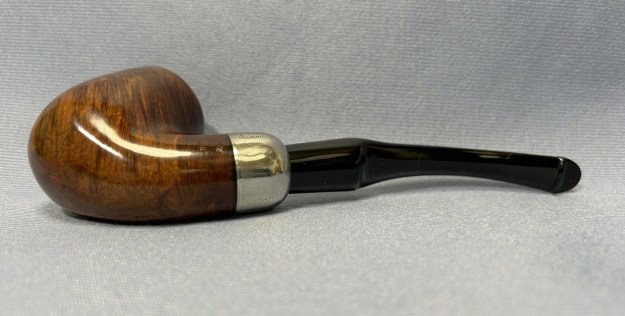
Now we’re talking! This terrific republic-era Peterson Barrel came to me in a box of pipes and pipe parts. It looked so engaging, but it was missing its stem. No problem – I can solve that! The Peterson barrel is not common, but it isn’t a rarity either. Regardless, it is a consistently popular and attractive shape – and it’s not hard to see why. No doubt, someone will be pleased to add this to their collection. Let’s look at the markings. On the underside of the stummel, it reads Peterson’s [over] Barrel [over] Made in the [over] Republic [over] of Ireland. On the nickel band, we see K&P engraved over images of the Shamrock, Wolf Hound and Round Tower. To be clear, these are not silver marks, they are nickel-mount markings of Peterson.Naturally, the Peterson brand is well-storied among collectors and I encourage you to read the Pipedia article about them: https://pipedia.org/wiki/Peterson. Obviously, I was particularly interested in learning more about the barrel, so I referred to The Peterson Pipe book, written by Mark Irwin and Gary Malmberg. It had a couple of very helpful tidbits. On page 136, we read
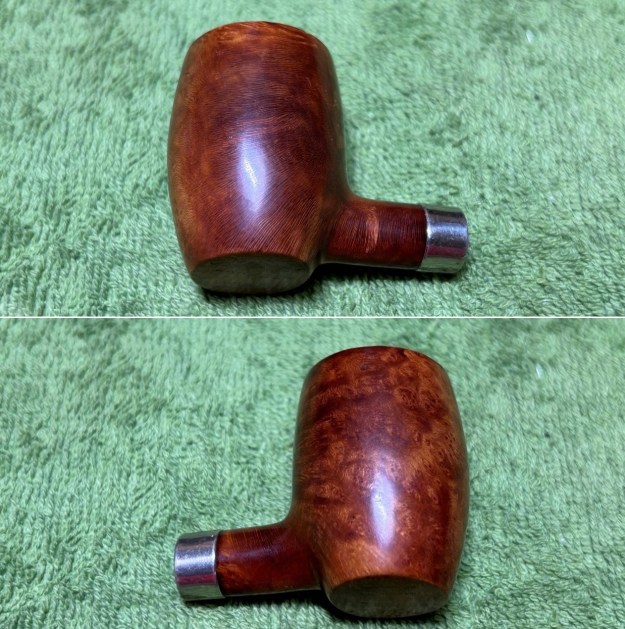
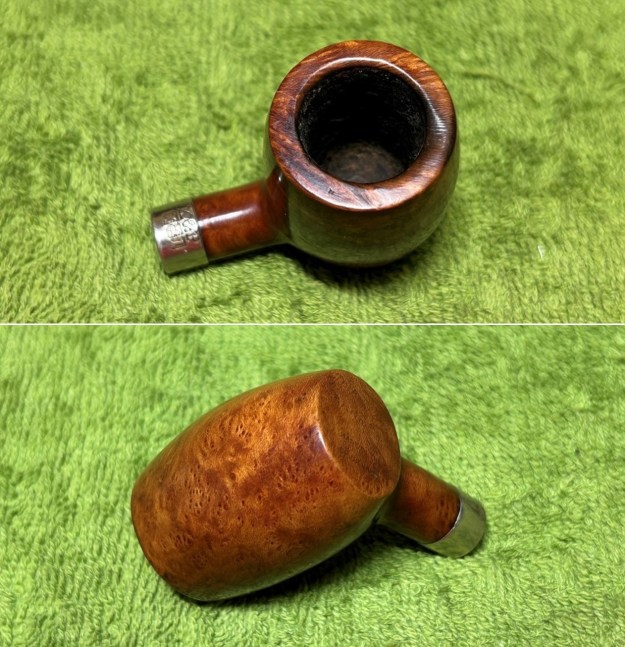
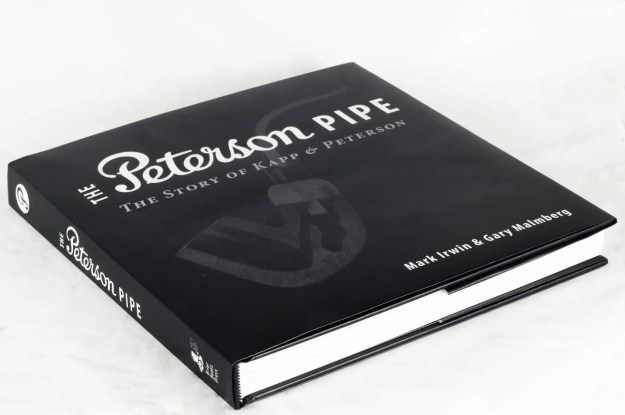
One collection … making its first appearance in the 1945 catalog is the line of Specialty shapes that have been Peterson favorites for nearly 70 years: the tankard and barrel, calabash and Belgique, and churchwarden.

Also, over on page 313, the following information can be found:

Barrel (1945-). P-lip or fishtail mouthpiece; smooth or rustic finish, sandblast offered in 1970.

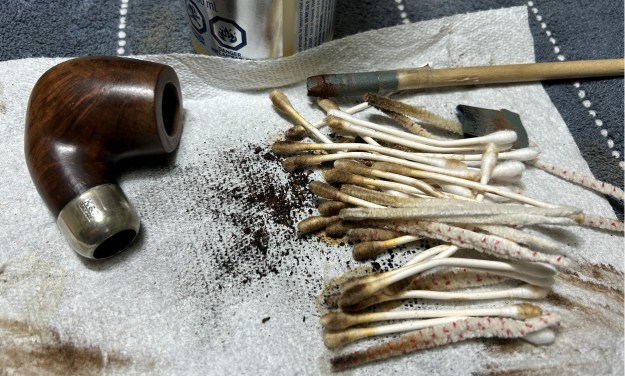
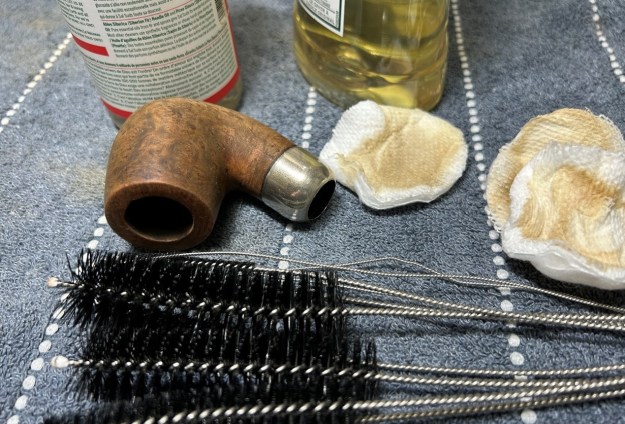
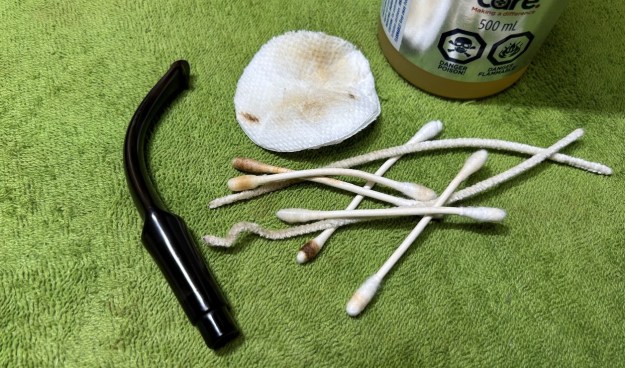
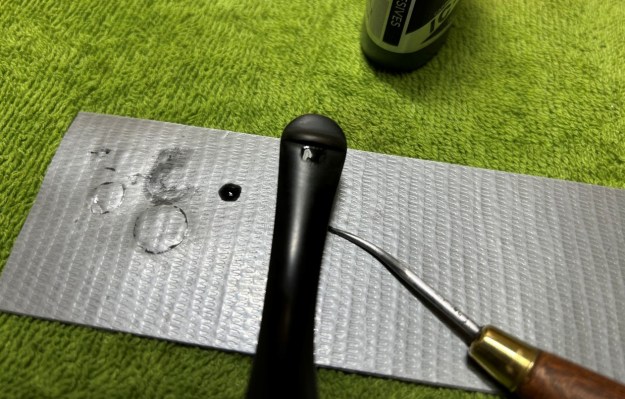
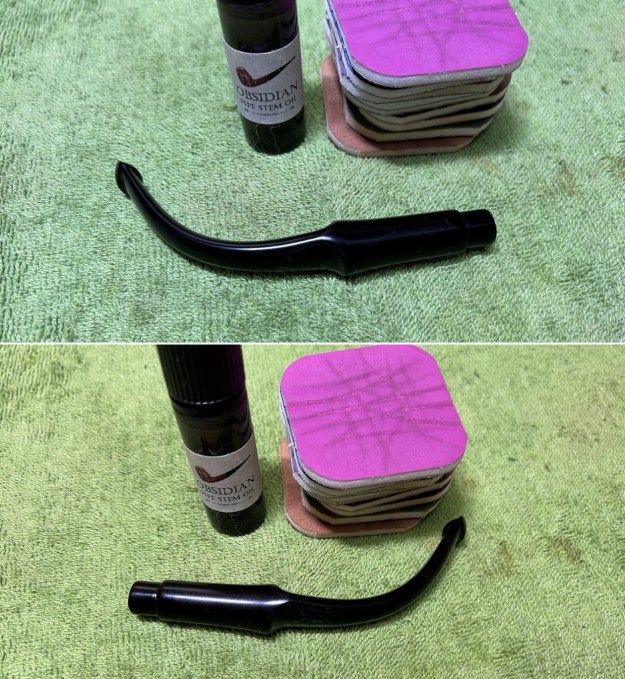
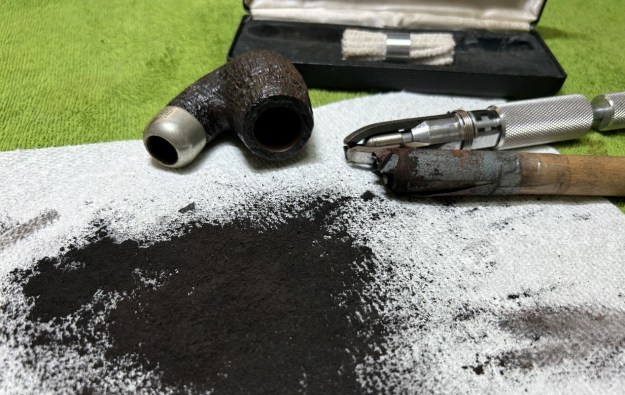
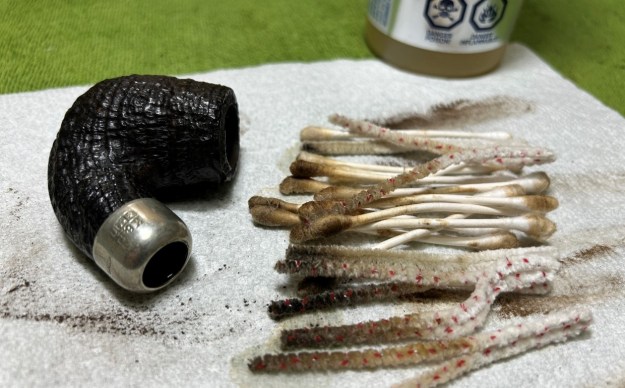
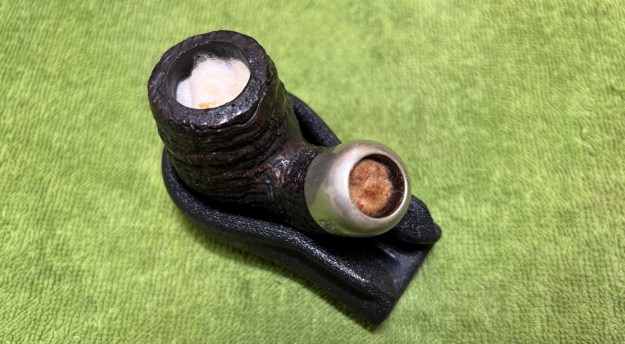
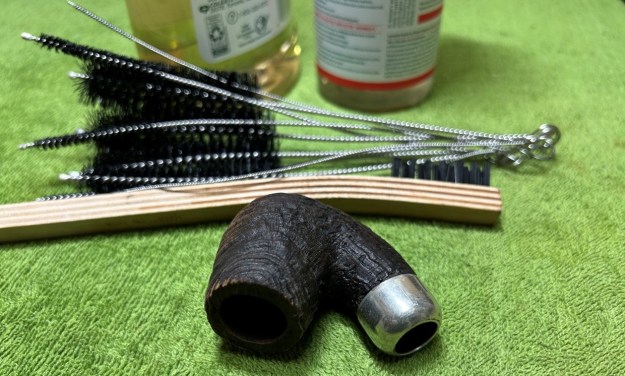
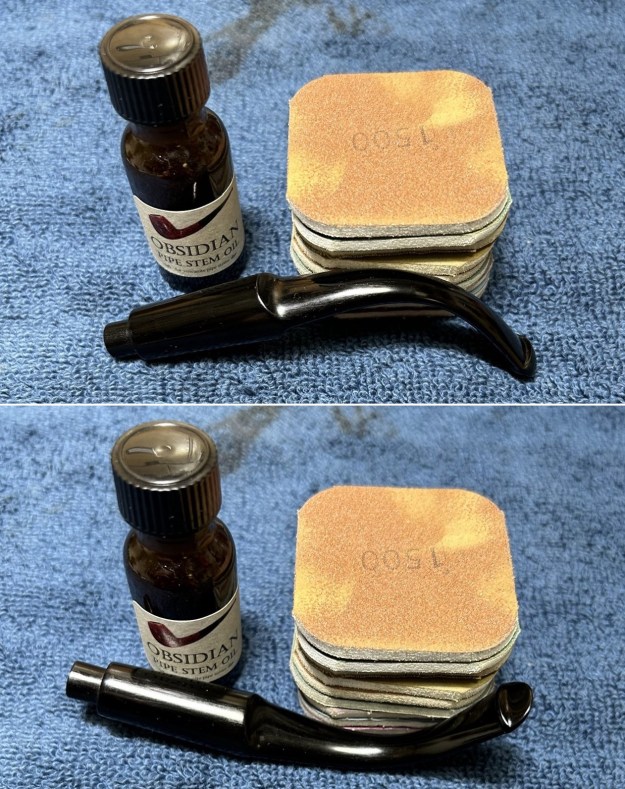
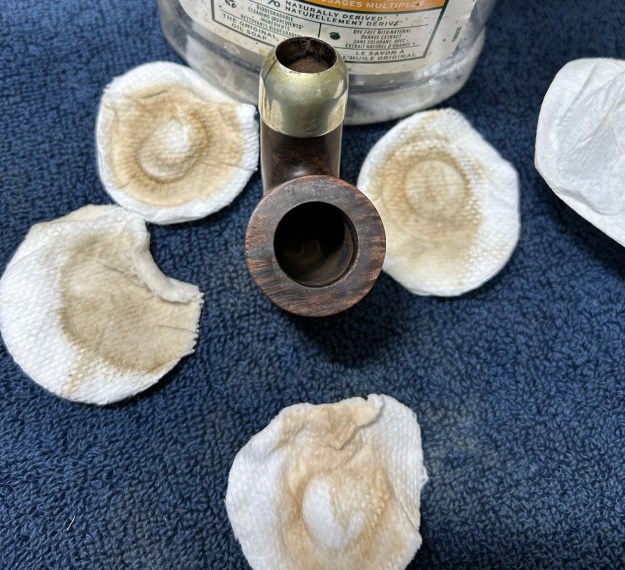
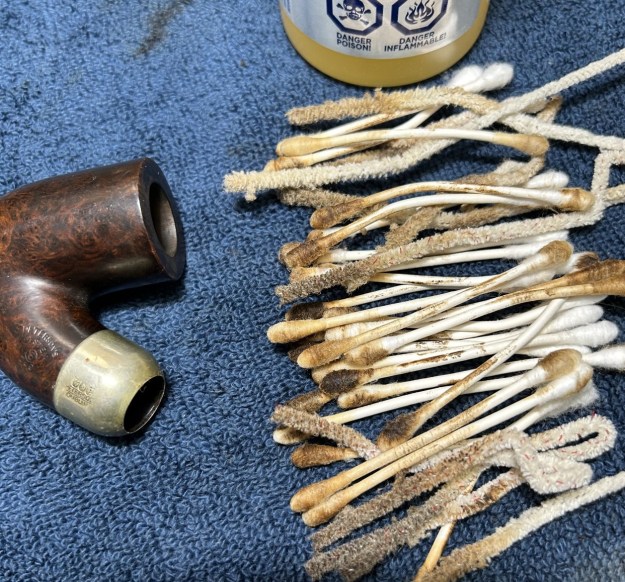
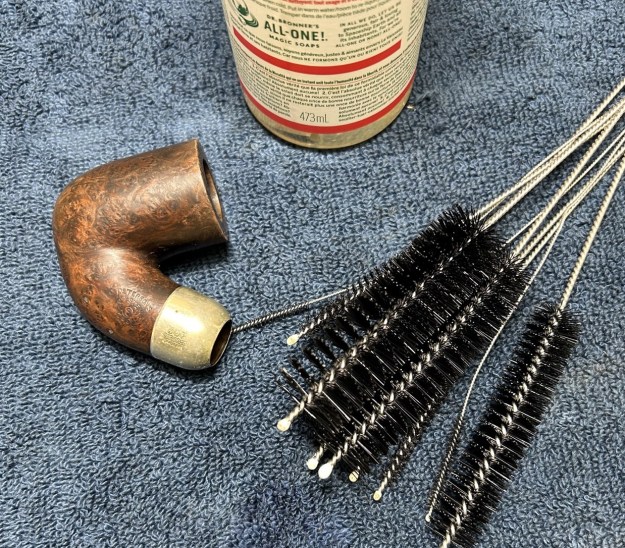
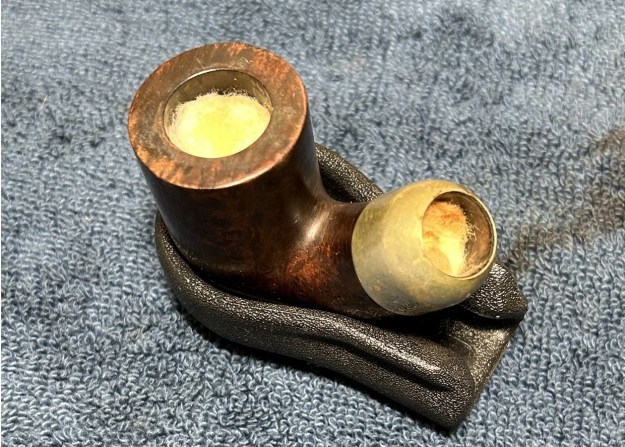
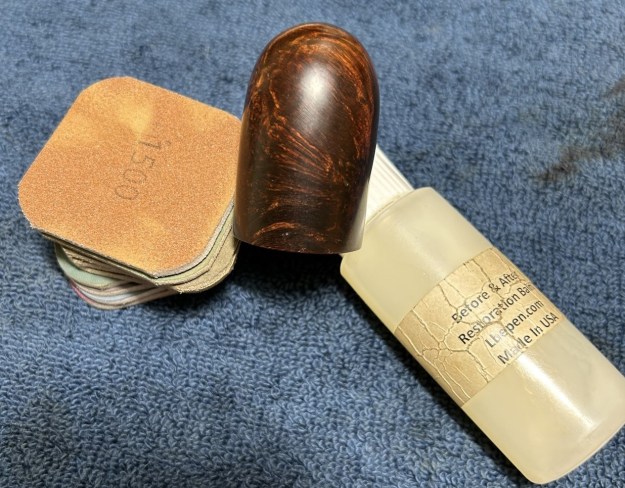
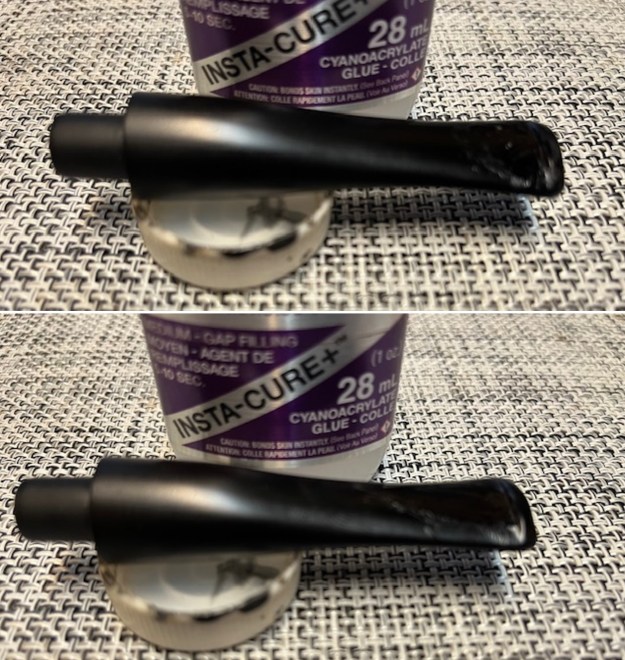
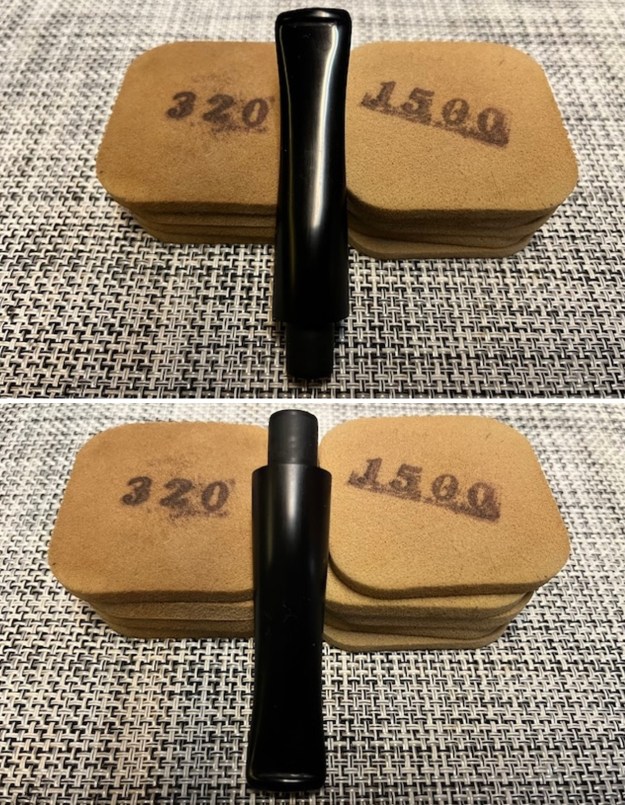
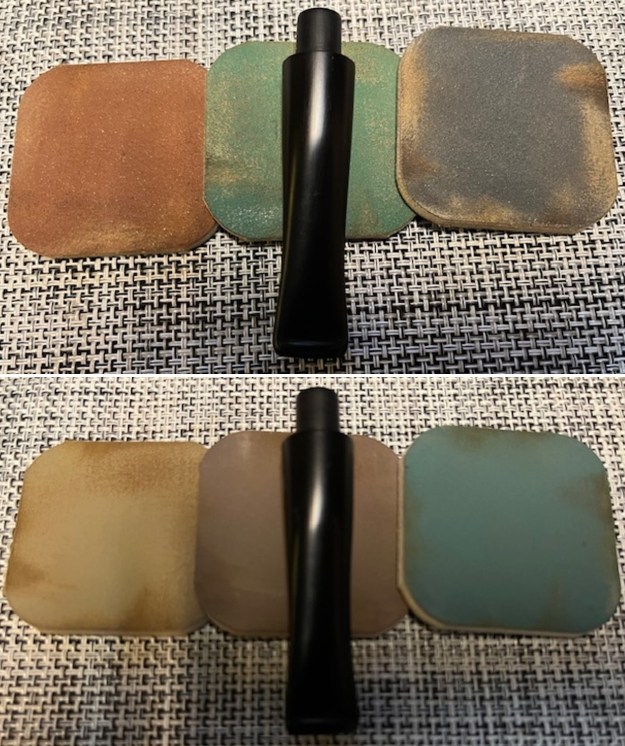
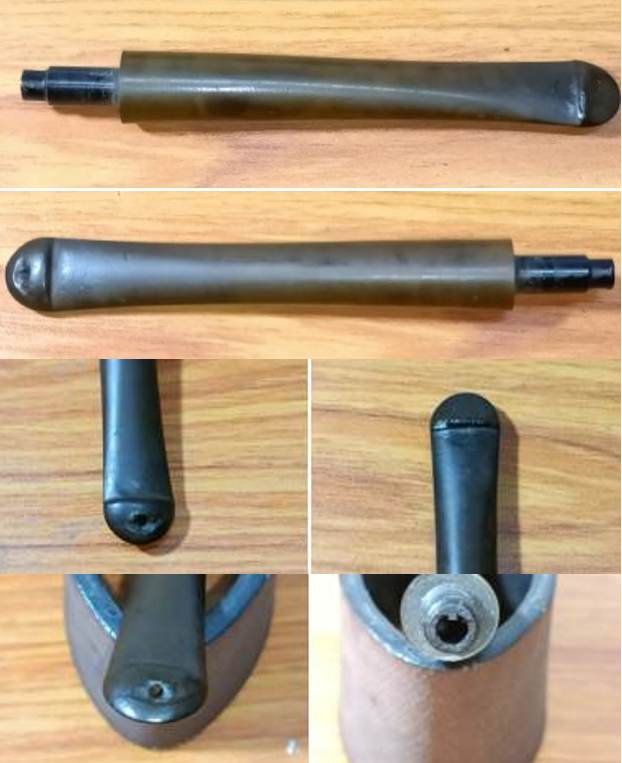
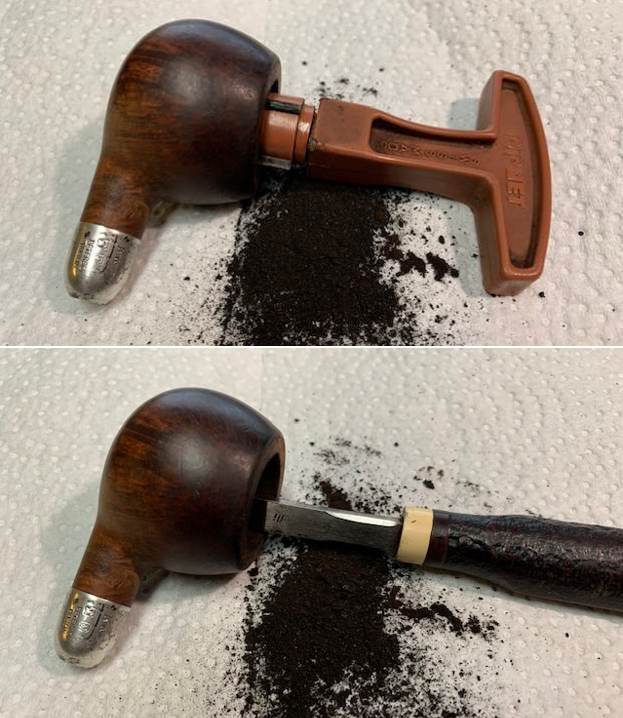
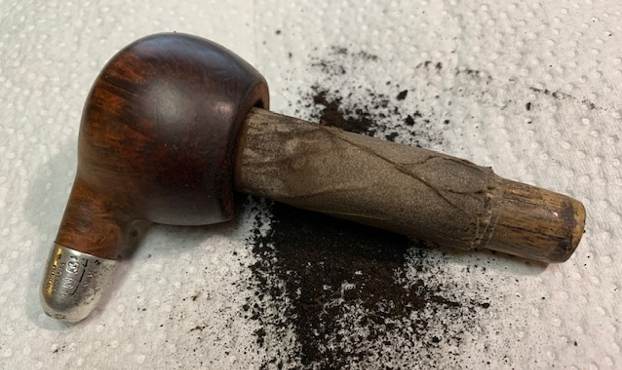
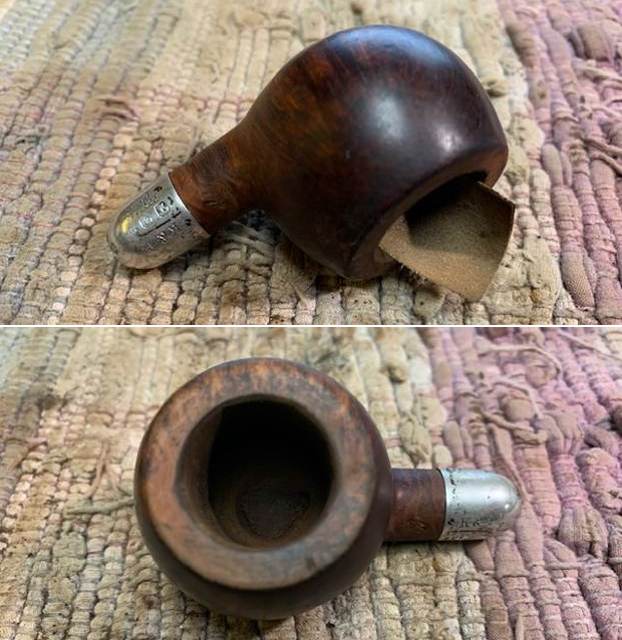
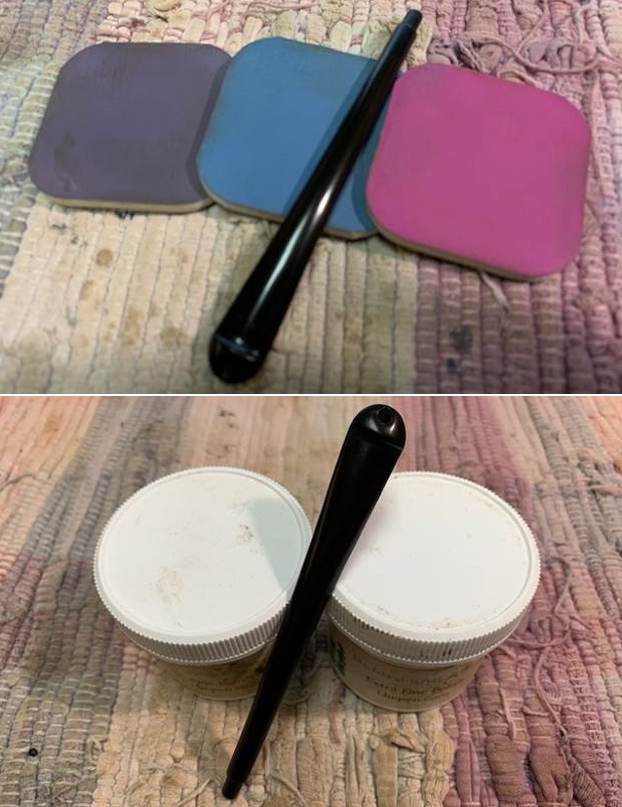
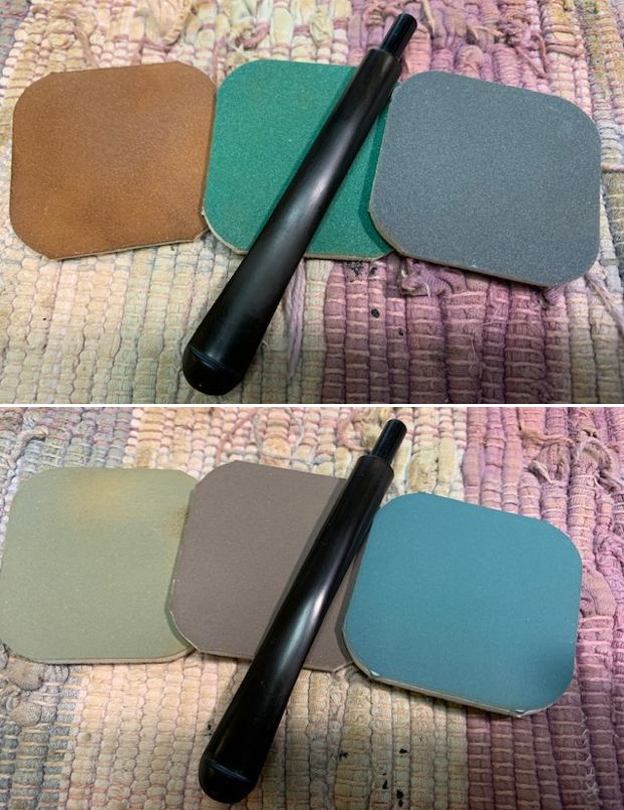
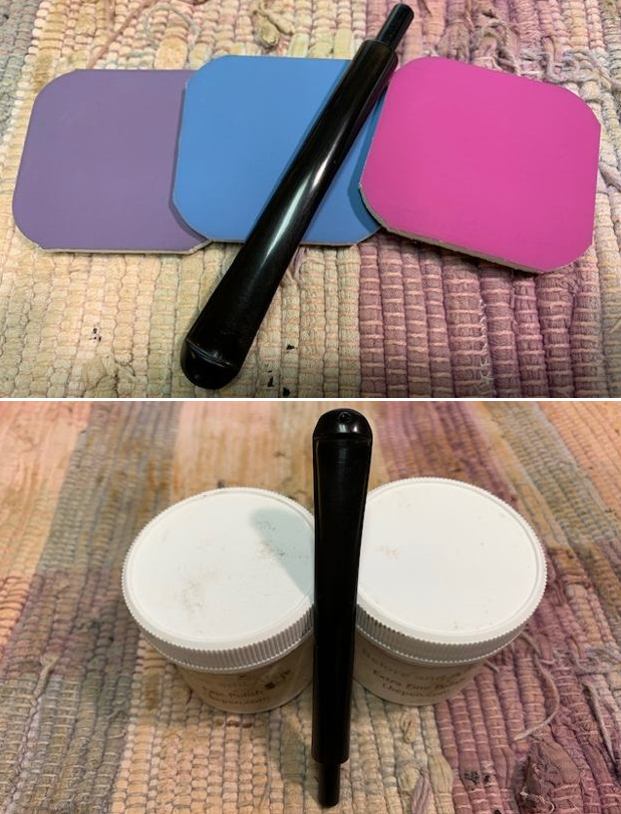
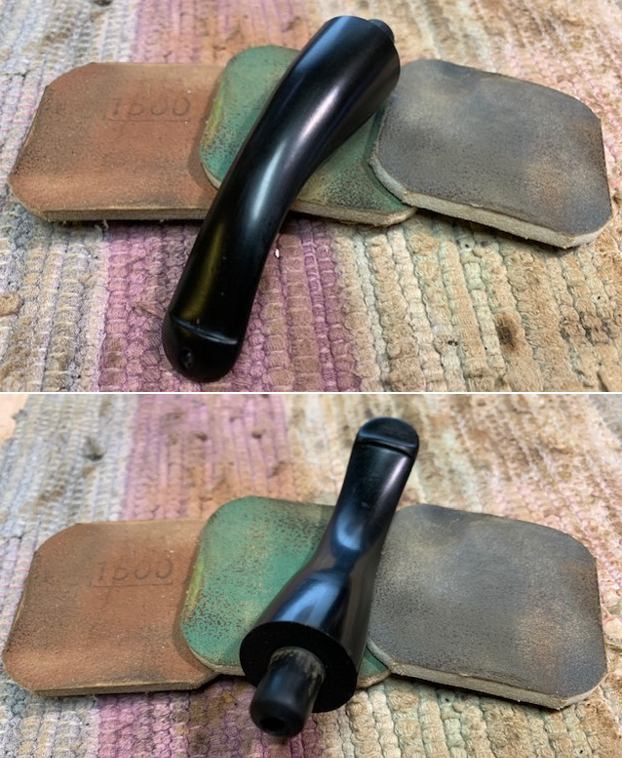
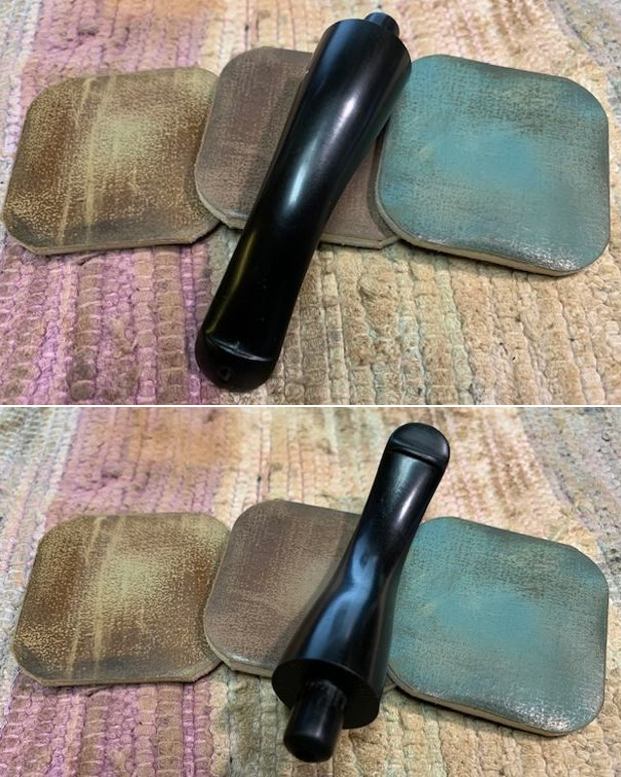
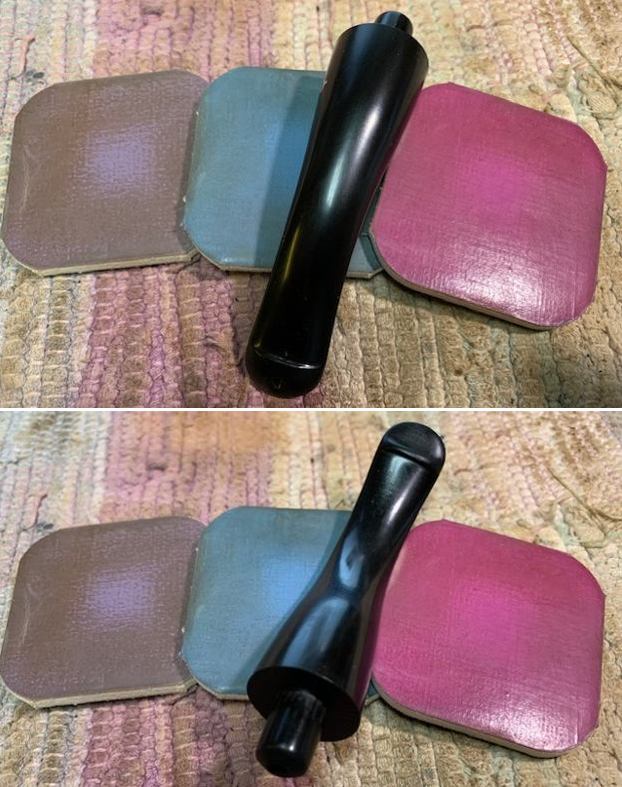
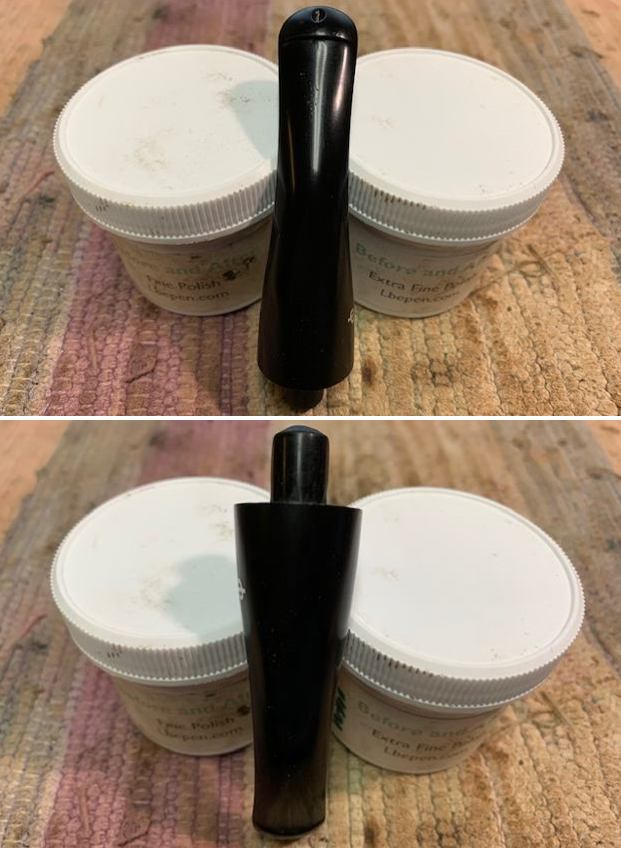
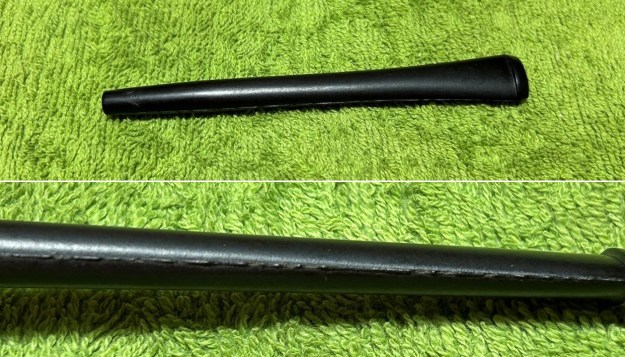
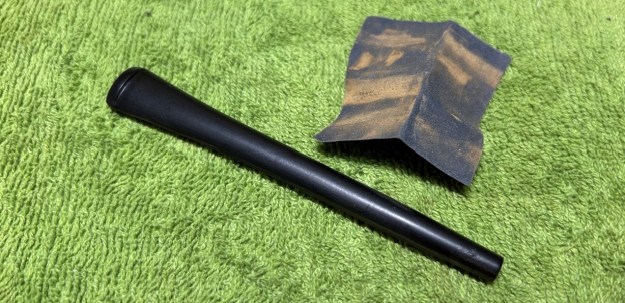
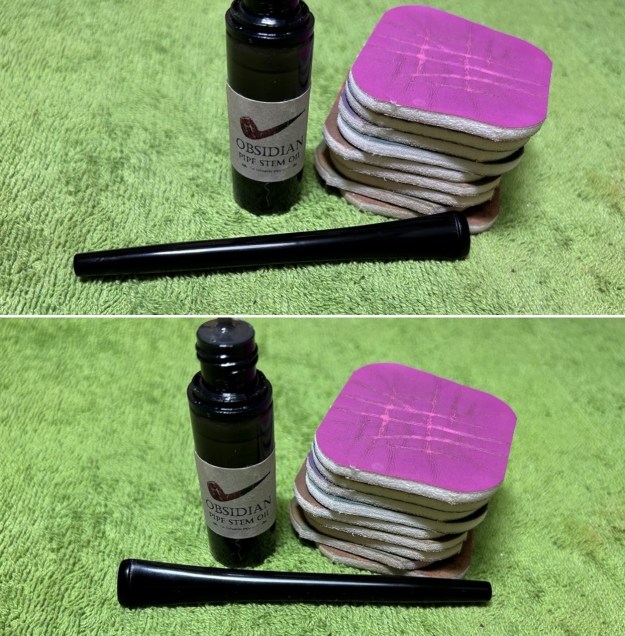
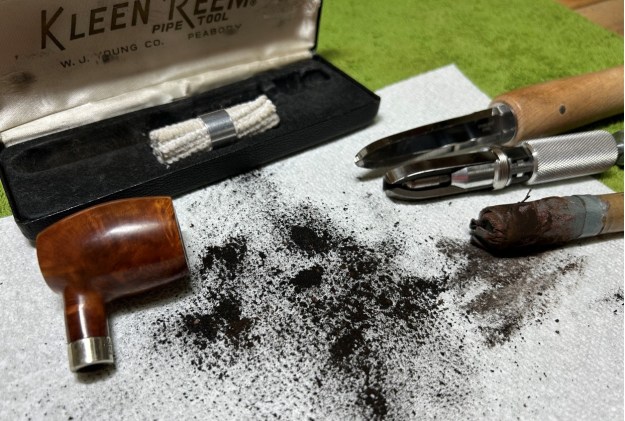
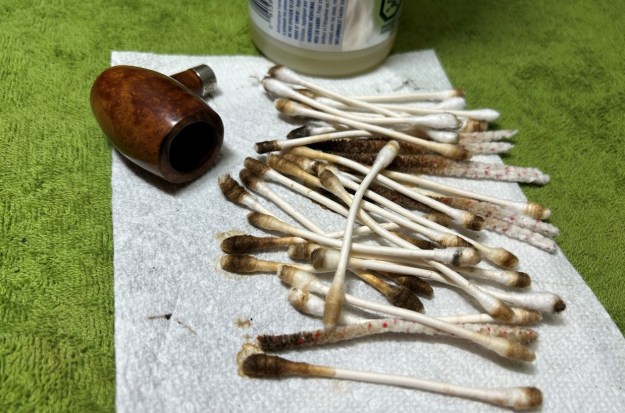
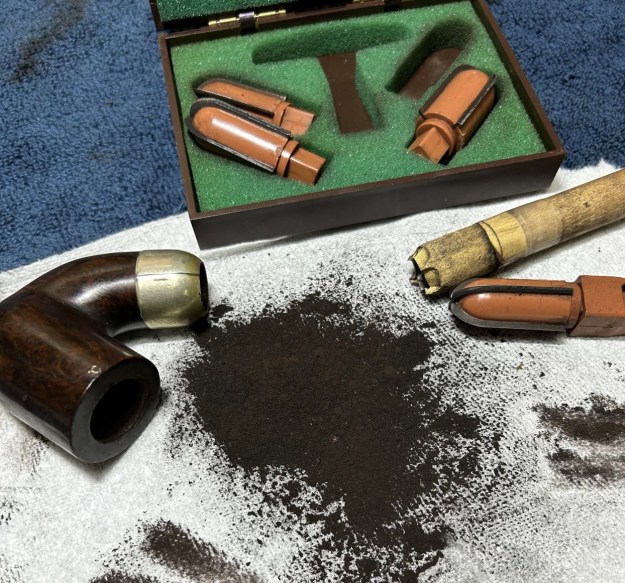
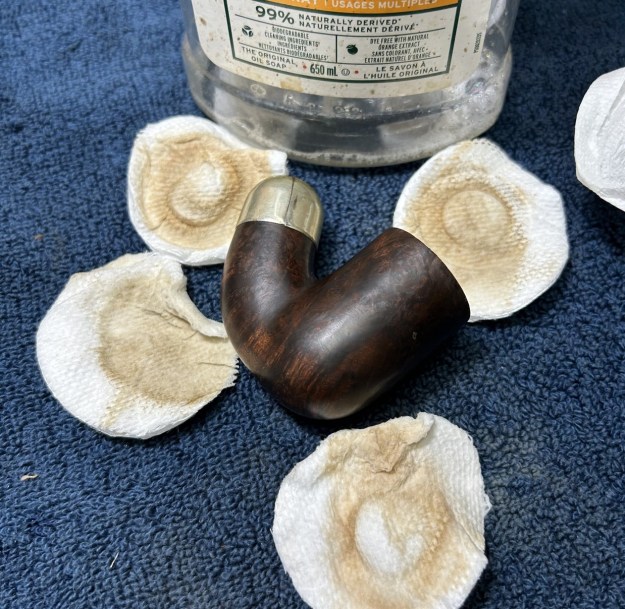
So, beyond saying that it is newer than 1945, I can’t quite tell how old this pipe is. Good to know, however, that the fishtail was an option.Let’s work on the pipe. The first thing I did was to hunt down a suitable replacement stem. It needed to be a military mount and it could be either a P-lip or fishtail. In this case, I didn’t have a P-lip that worked with this pipe – but I found a terrific fishtail, which you can see below. The stem is brand new – it even still has its casting marks!I took some sandpaper and gently sanded away those casting marks. Following that, I used all nine of the micromesh sanding pads (1,500 through 12,000 grit) to sand out flaws, even out the vulcanite, and provide gentle polishing of the finished surface. I also applied pipe-stem oil while using the last five micromesh pads. There was a wonderful, deep black shine to the stem when I was done. Over to the stummel – and they were some issues. It was very dirty and had a significant burn on the rim. The first step was to ream out the bowl – that is to say, remove all the cake inside the bowl. This accomplished a couple of things. First (and most obviously), it cleaned the bowl and provided a refurbished chamber for future smoking. Second, when the old cake was removed, I could inspect the interior walls of the bowl and determine if there was damage or not. I used a reamer, a pipe knife, and a piece of sandpaper taped to a wooden dowel. Collectively, these ensured that all the debris was removed. I then cleaned the stummel with both pipe cleaners and cotton swabs dipped in lemon-infused 99% isopropyl alcohol. With a pipe this dirty, it took quite a while and much cotton to get clean. It’s a small pipe, but so, so dirty.I then decided to ‘de-ghost’ the pipe – that is to say, exorcize the remaining filth from the briar. I filled the bowl and the shank with cotton balls, then saturated them with 99% isopropyl alcohol. I let the stummel sit overnight. This caused the remaining oils, tars and smells to leach out into the cotton.To tidy up the briar, I wiped down the outside, using a solution of a pH-neutral detergent and distilled water, with cotton rounds. This did a good job of cleaning any latent dirt on the surface of the briar. The last step of the cleaning process was to scour the inside of the stummel with some mild detergent and tube brushes. This was the culmination of a lot of hard work in getting the pipe clean.
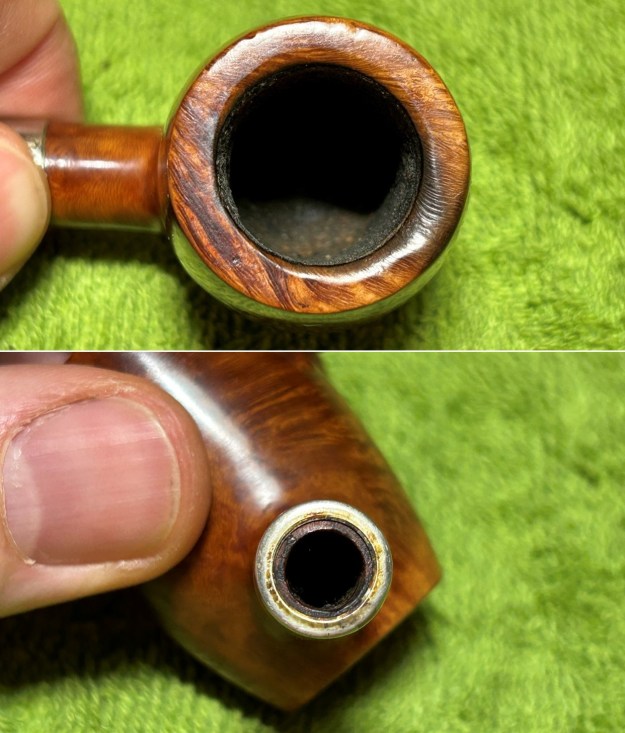
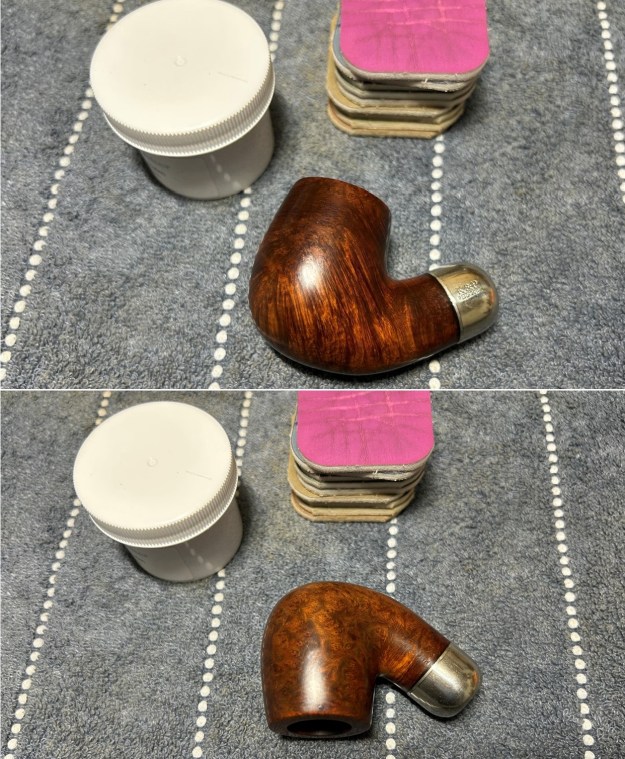
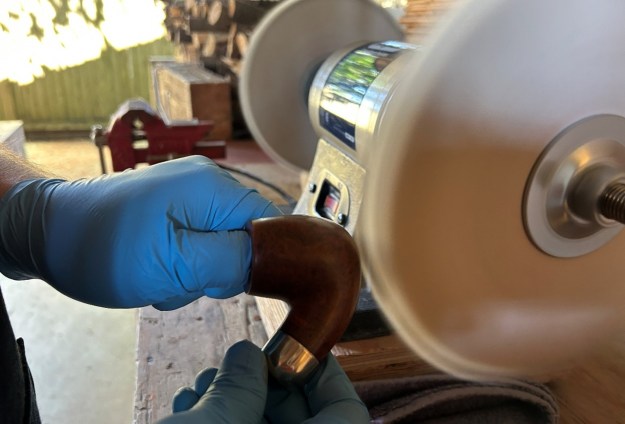
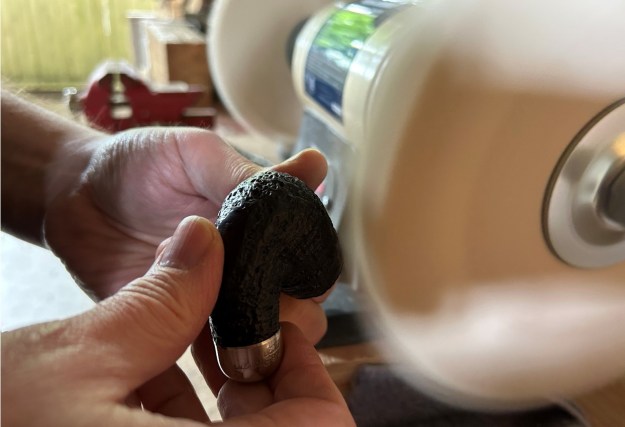
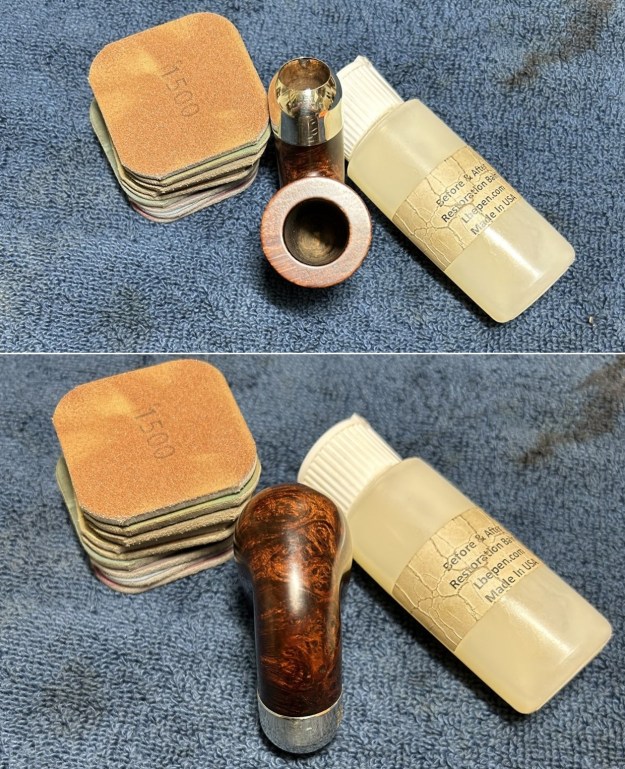
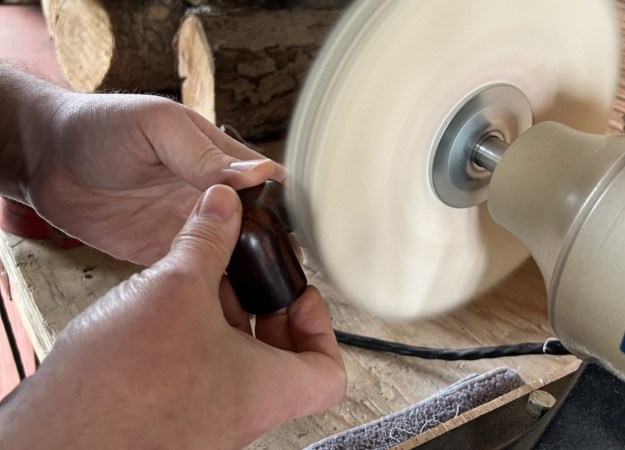
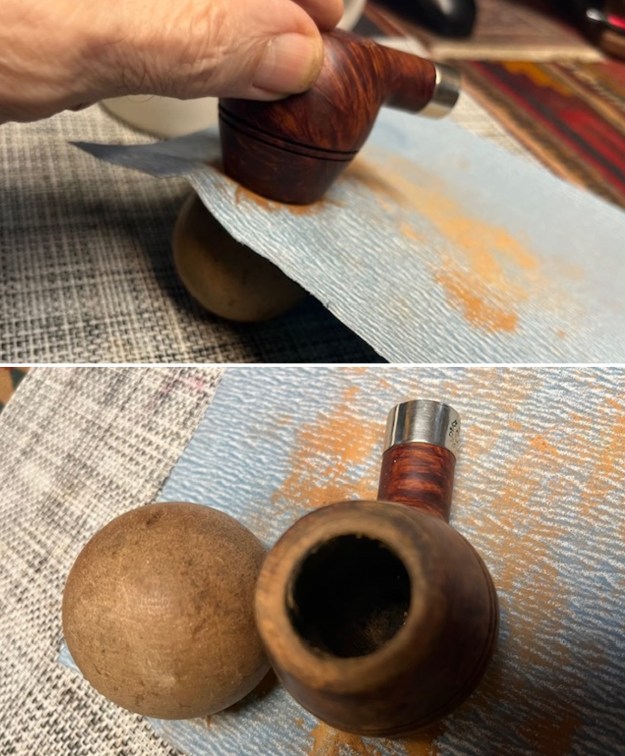
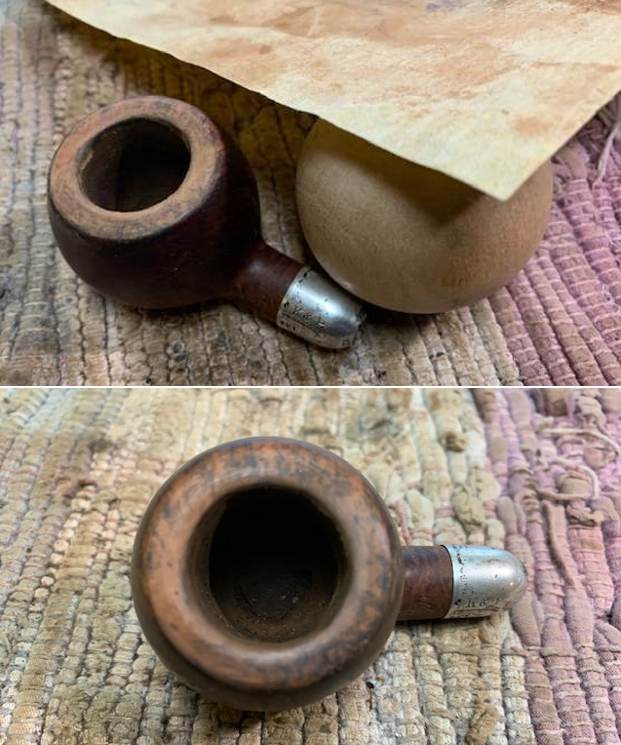
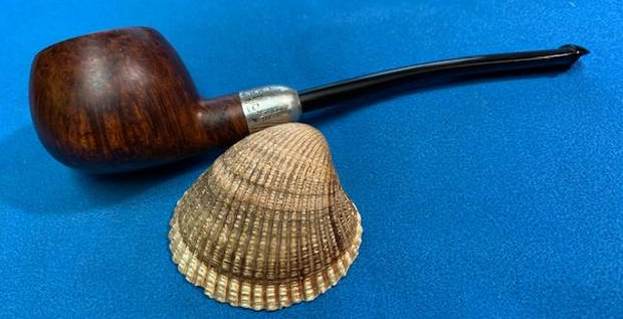
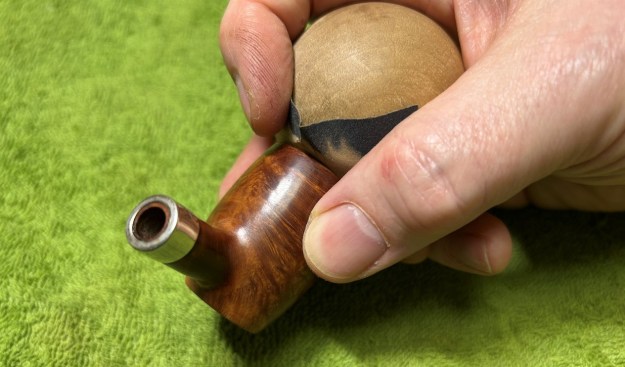
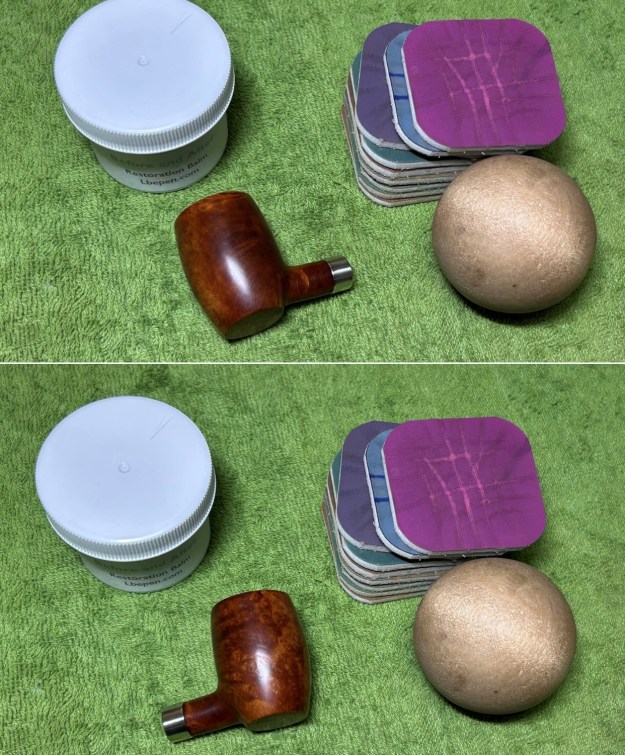
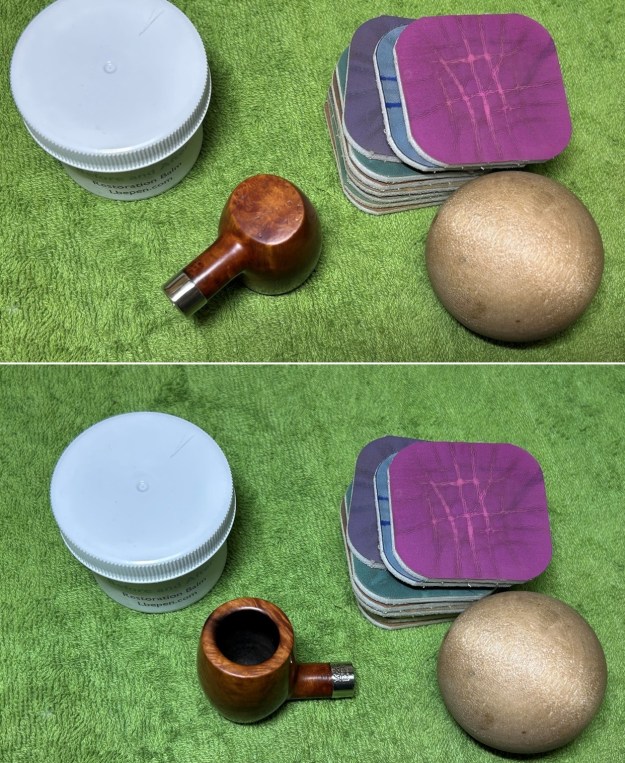
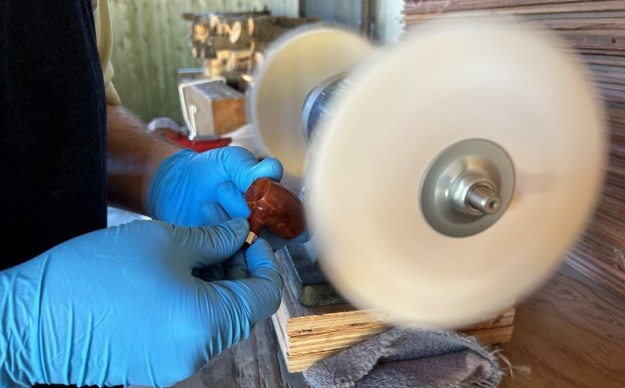
Some burn remained on the rim, so I took some crystalized oxalic acid and dissolved it in warm water. I took some cotton swaps, dipped in the solution, and rubbed the burned spot vigorously. The weak acid works very nicely to alleviate superficial burns (burns where the integrity of the wood is still sound). I took a solid wooden sphere, wrapped a piece of 400-grit sandpaper around it, and sanded the inner edge of the rim. This achieved two things: first, it removed some of the burn marks; and second (and more importantly), the circular shape and motion of the sphere gradually returned the edge to a perfect circle.I used all nine micromesh pads (1,500 through 12,000 grit) to sand the outside of the stummel and finish it off. This sanding minimizes flaws in the briar and provides a beautiful smoothness to the wood. I rubbed some LBE Before & After Restoration Balm into the briar and let it sit for 30 minutes or so. The balm moisturizes the wood and gives a beautiful depth to the briar. I then buffed the stummel with a microfibre cloth. For the final step, I took the pipe to my bench polisher and carefully buffed it – first with a blue diamond compound, then with three coats of carnauba wax. This procedure makes the pipe look its best – the stummel sings and the stem glows.This Peterson Specialty Barrel looks fantastic again and is ready to be enjoyed by its next owner. I am pleased to announce that this pipe is for sale! If you are interested in acquiring it for your collection, please have a look in the ‘Irish’ pipe section of the store here on Steve’s website. You can also email me directly at kenneth@knightsofthepipe.com. The approximate dimensions of the pipe are as follows: length 5¾ in. (147 mm); height 1⅔ in. (42 mm); bowl diameter 1¼ in. (32 mm); chamber diameter ⅔ in. (18 mm). The weight of the pipe is ⅞ oz. (25 g). I hope you enjoyed reading the story of this pipe’s restoration as much as I did restoring it. If you are interested in more of my work, please follow me here on Steve’s website or send me an email. Thank you very much for reading and, as always, I welcome and encourage your comments.
There’s a Beautiful Peterson 307 Under There!


by Kenneth Lieblich

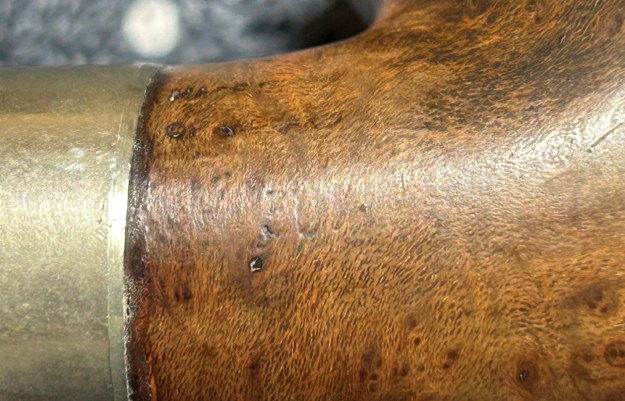
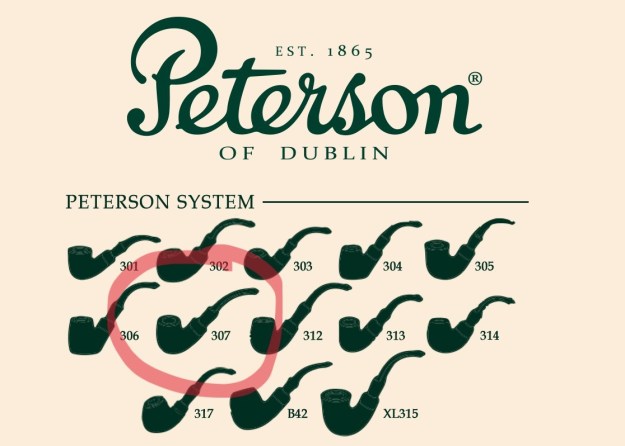
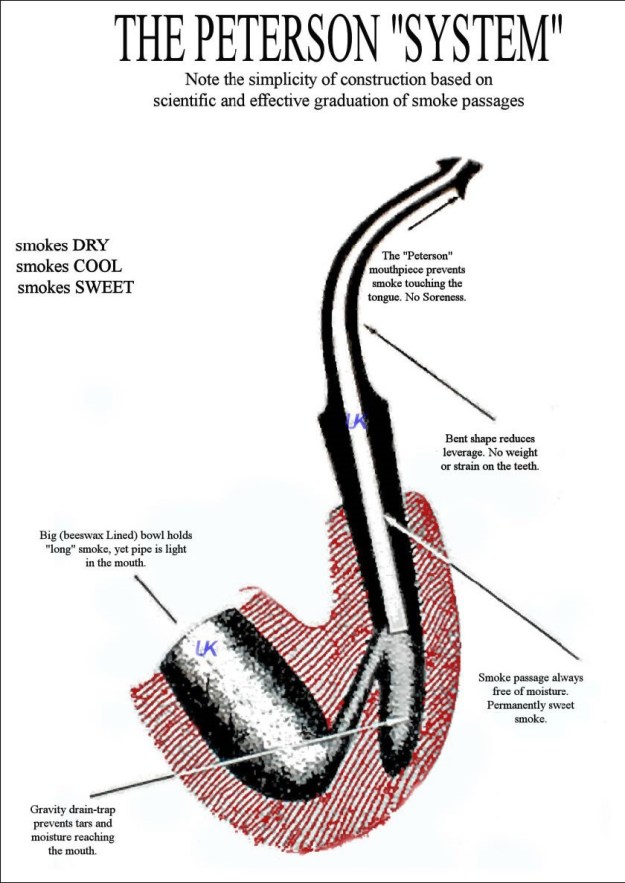
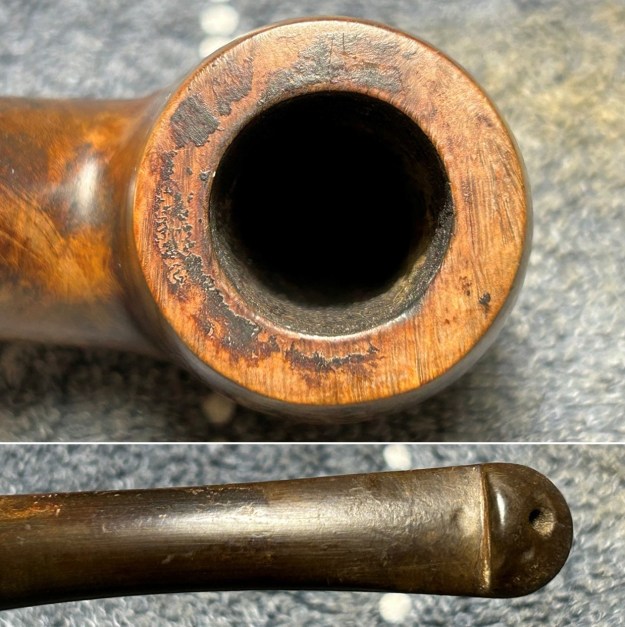
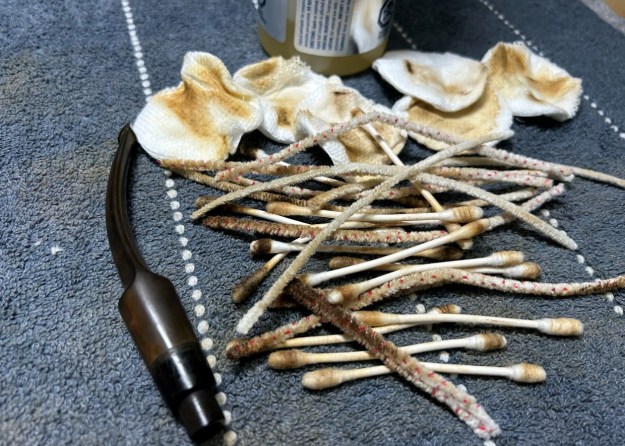
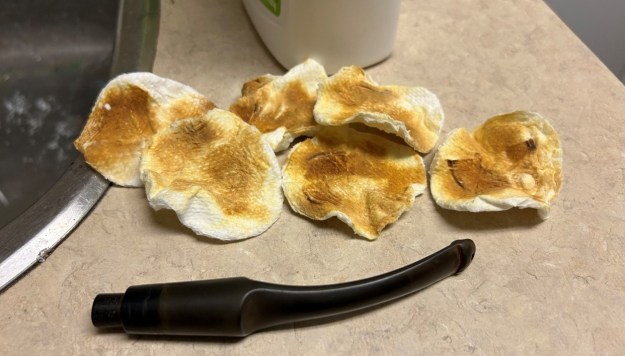
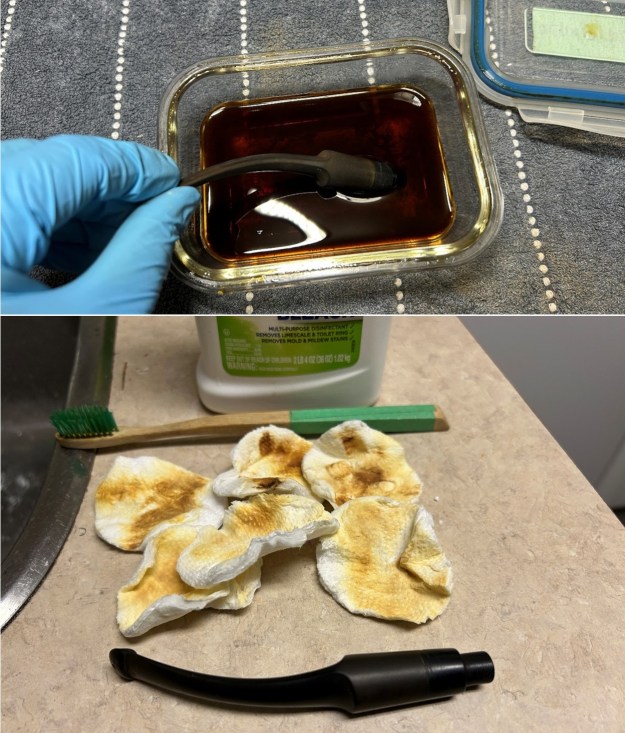
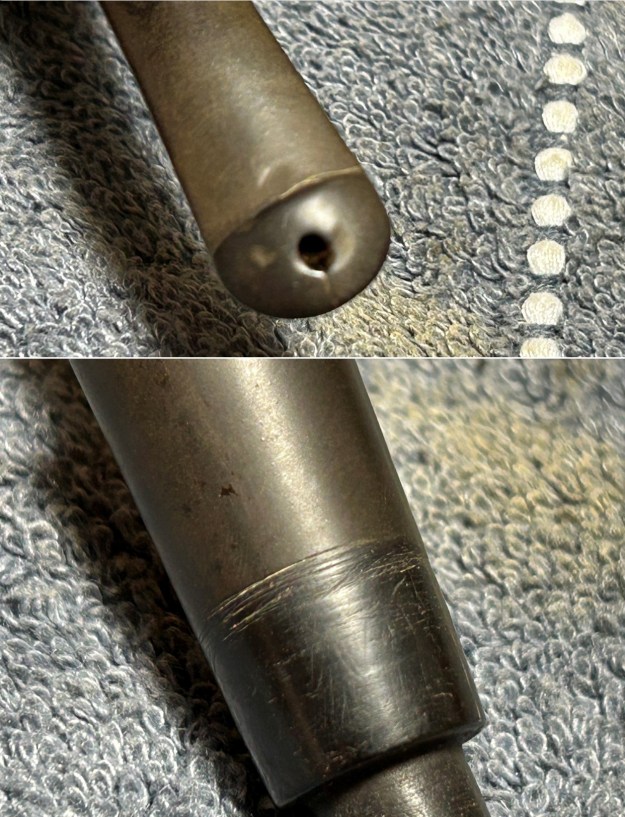
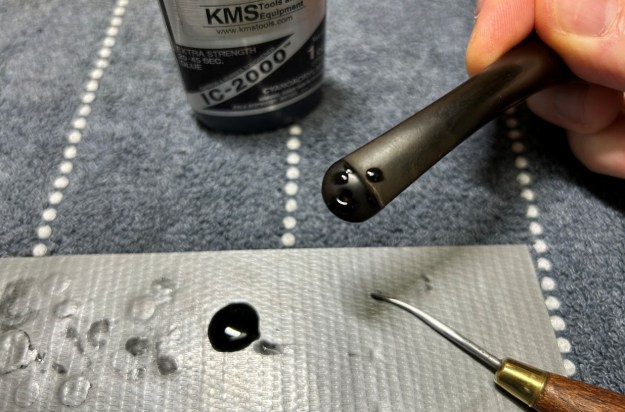
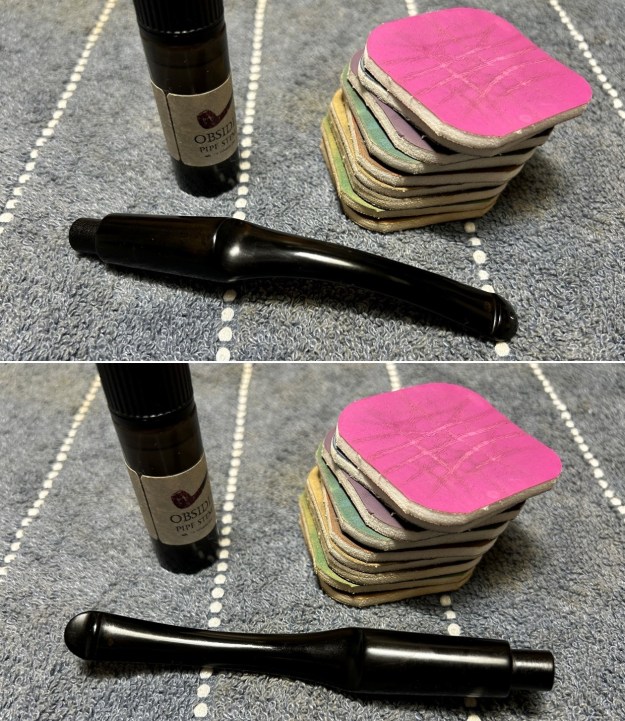
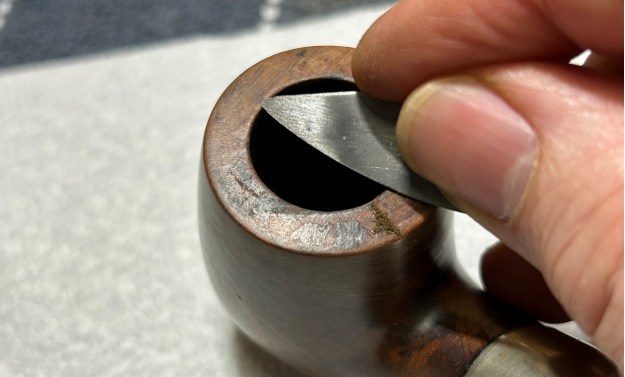
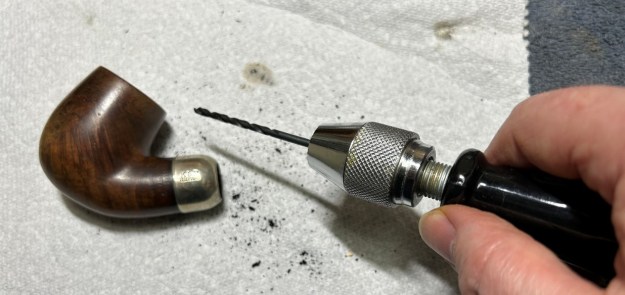
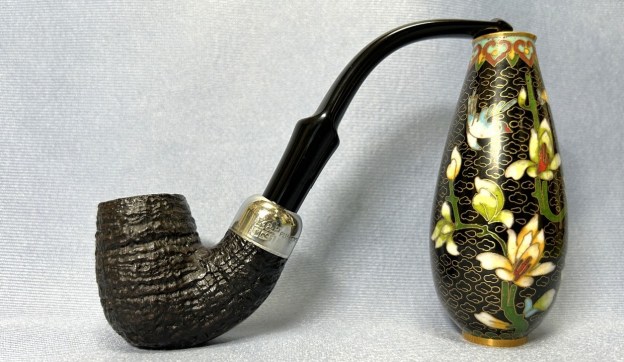
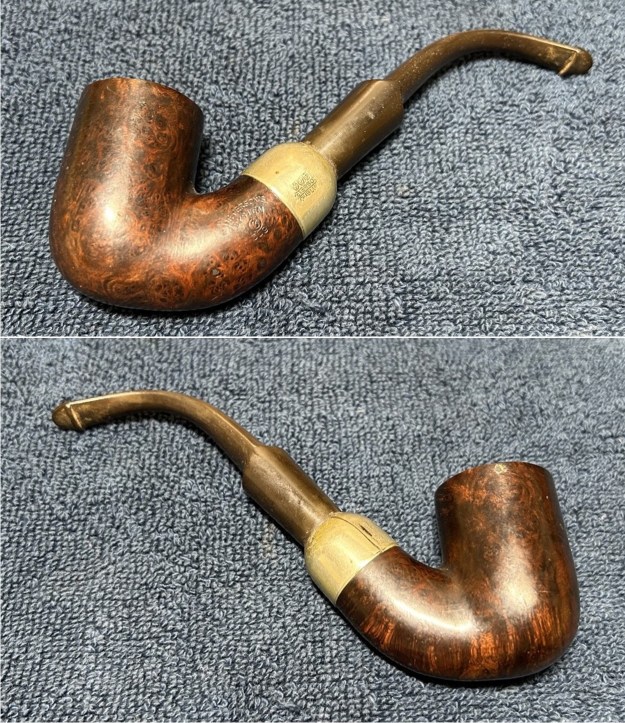
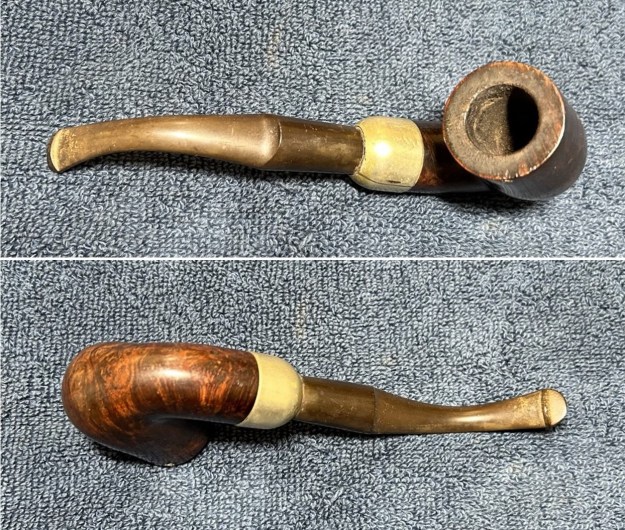
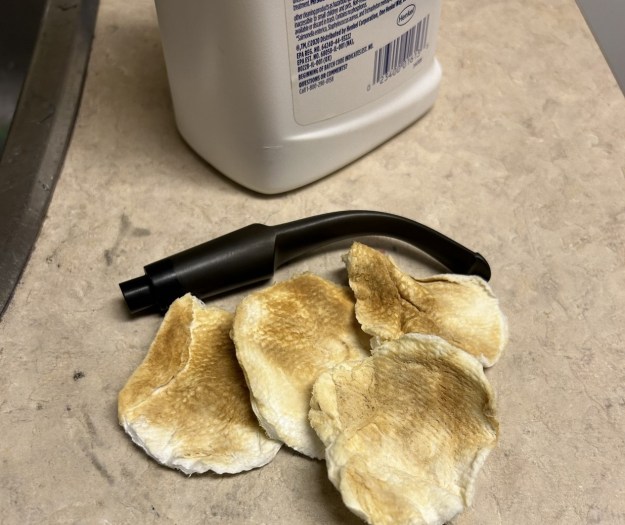
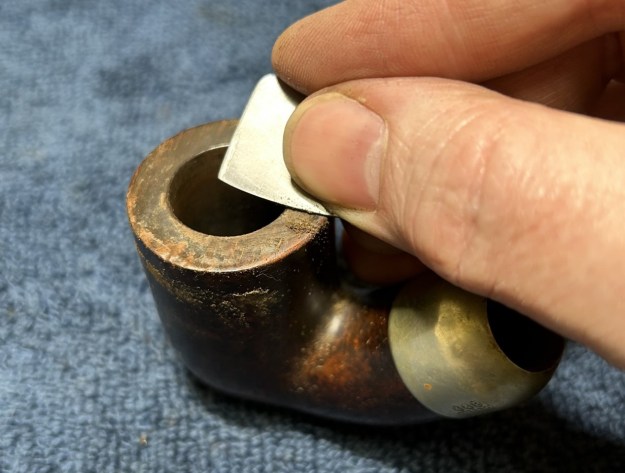
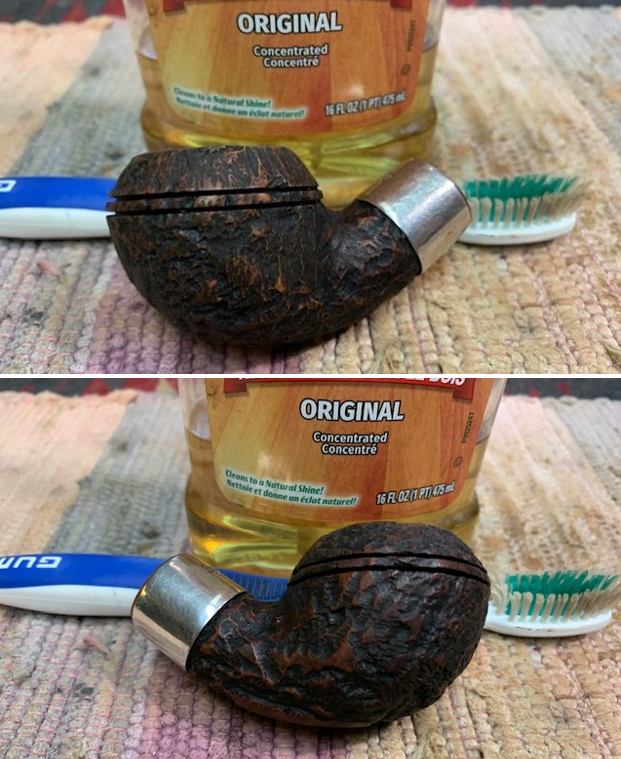
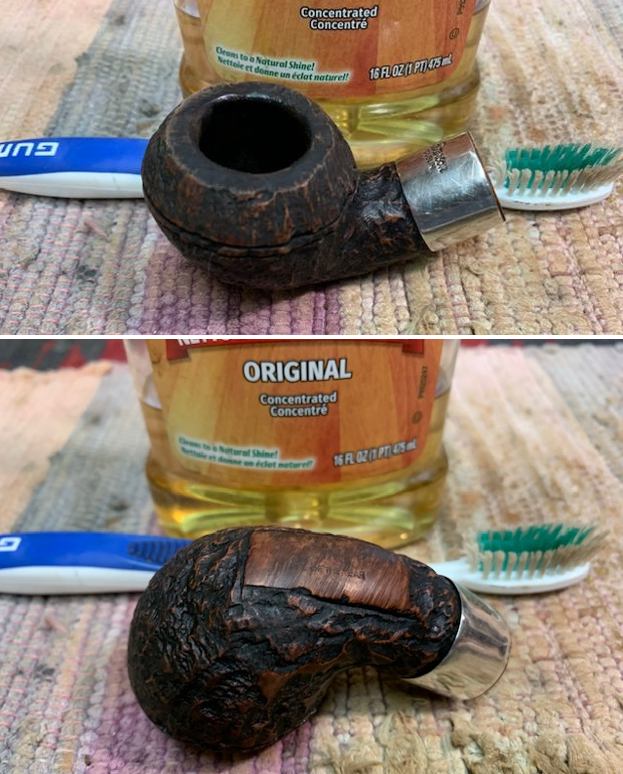
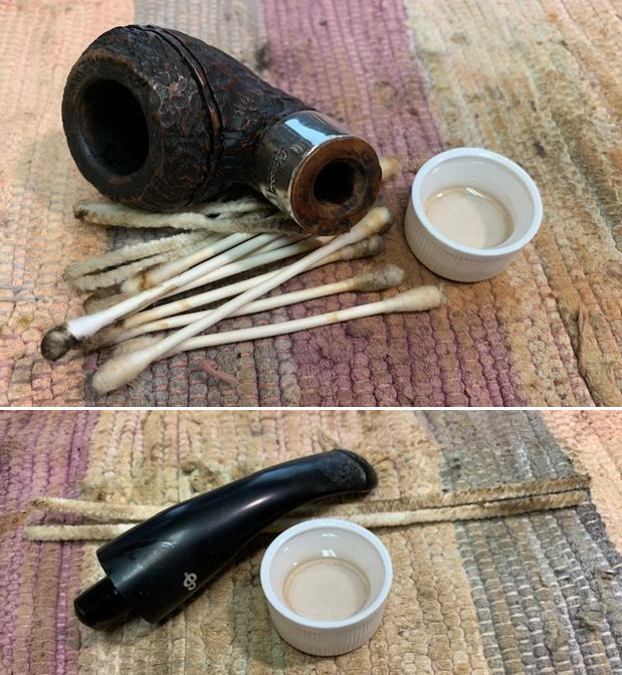
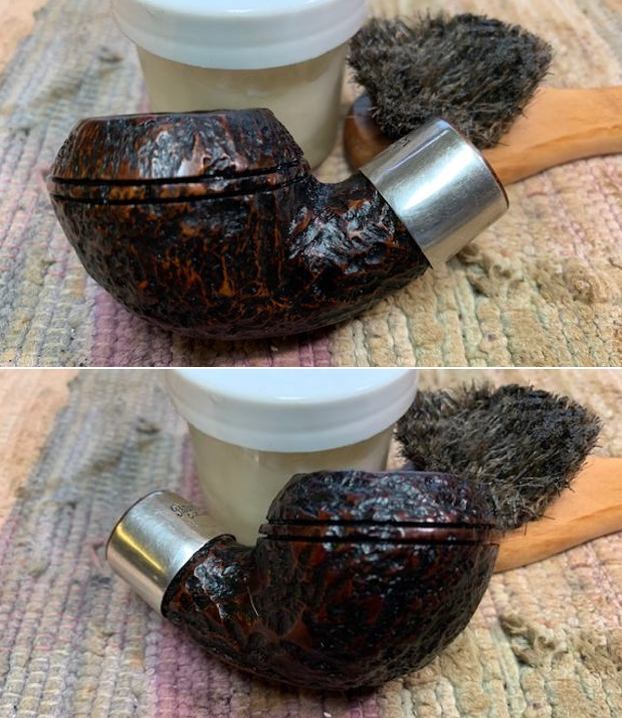
What a handsome pipe! This republic-era Peterson Standard System 307 came to me in a large lot and I was charmed by it right away. It’s a good-sized pipe and the look of it gives one a feeling of confidence. It is satisfying and comfortable in the hand. Despite its rather shabby appearance when I found it, the pipe held great promise – and I was sure that I could tease out its beauty with a little TLC. Let’s have a closer look. This Peterson 307 pipe has the classic ‘System’ look: bent shape, nickel mount, and tapered, army-style stem. Of course, it also had the traditional Peterson P-lip stem. The markings are somewhat worn, but still perfectly readable. The markings on the left side of the shank are Peterson’s [over] System [over] Standard. The right side of the shank showed Made in the [over] Republic [over] of Ireland [over] 307. The nickel mount on the shank had K&P [over] Petersons. There were no markings on the stem. The Peterson System pipes are well-storied among Peterson collectors/admirers. I took the opportunity to read the article on Pipedia, specifically about the System pipes, by Jim Lilley. There is lots of good information there and I encourage you to read it: https://pipedia.org/wiki/A_closer_look_at_the_famous_Peterson_Standard_System_PipeOn to the pipe itself: the stem was in average condition – not super dirty, but it had been well used. It had a few tooth dents, too. I also noticed that there were significant scratches at the shank-end of the stem, where I assume the stem had rubbed against the nickel mount on the shank. The bowl was quite dirty and had some lava on the rim, and there was plenty of cake. The outside of the bowl was fine. The nickel mount was in decent shape, but it was dull and needed some polishing. I also wanted to smooth the sharp edge that obviously caused the scratches on the stem. To work! The stem was first on my list. I wiped the outside down with oil soap on some cotton pads. I also took a disposable lighter and ‘painted’ the stem with its flame to lift the few bite marks and dents. Sadly, however, this did not do much. The primary cleaning came next. I disinfected the inside of the stem with both pipe cleaners and cotton swabs dipped in lemon-infused 99% isopropyl alcohol. I scrubbed thoroughly to make sure the interior was very clean. I used so many pipe cleaners and cotton swabs – it was very dirty.The goal of the next step is the removal (or minimization) of oxidation. Going to my sink, I used cream cleanser, cotton rounds, and a toothbrush, and scoured the stem to remove as much surface oxidation as possible. As the photos show, the result was a hideous, brownish mess – but better off the stem than on it.Once the stem was reasonably clean, I soaked it overnight in some Briarville Stem Oxidation Remover. This solution works to draw oxidation in the stem to the surface of the vulcanite. This is a major aid and an important step in ensuring a clean stem. The following day, I drew out the stem from its bath and scrubbed the lingering fluid with a toothbrush. Due to the intensity of the oxidation, I then repeated the scrubbing with the cream cleanser for maximum effect.As the stem was now clean and dry, I set about fixing the marks, dents, and scratches in the vulcanite. This included not only the tooth marks, but also a small nick at the draught hole and those scratches at the shank-end of the stem. Have a look at the photos. This was done by filling those divots with black cyanoacrylate adhesive, impregnated with carbon and rubber. I left this to cure and moved on. The penultimate step for the stem is sanding. First, with my set of needle files, I reduced the bulk of the cyanoacrylate (CA) repairs. I removed the excess adhesive as near to the surface as possible, without cutting into the vulcanite. Following that, I used all nine of the micromesh sanding pads (1,500 through 12,000 grit) to sand out flaws, even out the vulcanite, and provide gentle polishing of the finished surface. I also applied pipe-stem oil while using the last five micromesh pads. There was a wonderful, deep black shine to the stem when I was done.As the stem was (nearly) complete, I moved on to the stummel. The first step was to ream out the bowl – that is to say, remove all the cake inside the bowl. This accomplished a couple of things. First (and most obviously), it cleaned the bowl and provided a refurbished chamber for future smoking. Second, when the old cake was removed, I could inspect the interior walls of the bowl and determine if there was damage or not. I used a reamer, a pipe knife, and a piece of sandpaper taped to a wooden dowel. Collectively, these ensured that all the debris was removed.My next step was to remove the lava on the rim. For this, I took a piece of machine steel and gently scraped the lava away. The metal’s edge is sharp enough to remove what I need, but not so sharp that it damages the rim. This work revealed a beautiful rim and no damage.The inside of the stummel needed to be cleaned thoroughly. However, this pipe was so clogged, that I first needed to open the horribly occluded airway. So, I took a long drill bit, held in a drill chuck, and hand-cranked it to dislodge the dreadful detritus inside. Hand cranking is essential because it provides a precision and caution that a power drill cannot provide.Similar to the stem, I then cleaned the stummel with both pipe cleaners and cotton swabs dipped in lemon-infused 99% isopropyl alcohol. With a pipe this dirty, it took quite a while and much cotton to get clean.I then decided to ‘de-ghost’ the pipe – that is to say, exorcize the remaining filth from the briar. I filled the bowl and the shank with cotton balls, then saturated them with 99% isopropyl alcohol. I let the stummel sit overnight. This caused the remaining oils, tars and smells to leach out into the cotton.To tidy up the briar, I also wiped down the outside with some oil soap on cotton rounds and used a toothbrush in the crevices. This did a good job of cleaning any latent dirt on the surface of the briar. The last step of the cleaning process was to scour the inside of the stummel with some soap and tube brushes. This was the culmination of a lot of hard work in getting the pipe clean.I then took a piece of 600-grit sandpaper and very gently smoothed the sharp edge of the nickel mount – I want to make sure that it doesn’t scratch the stem in future.I used all nine micromesh pads (1,500 through 12,000 grit) to sand the outside of the stummel and finish it off. This sanding minimizes flaws in the briar and provides a beautiful smoothness to the wood. This included buffing up the nickel mount to a beautiful shine! I rubbed some LBE Before & After Restoration Balm into the briar and let it sit for 30 minutes or so. The balm moisturizes the wood and gives a beautiful depth to the briar. I then buffed the stummel with a microfibre cloth. Off to the bench polisher! A dose of White Diamond and a few coats of carnauba wax were just what this pipe needed. Boy-oh-boy, this is one good-looking pipe! I’m pleased with the results. This Peterson Standard System 307 looks fantastic again and is ready to be enjoyed by its next owner. I am pleased to announce that this pipe is for sale! If you are interested in acquiring it for your collection, please have a look in the ‘Irish’ pipe section of the store here on Steve’s website. You can also email me directly at kenneth@knightsofthepipe.com. The approximate dimensions of the pipe are as follows: length 6¼ in. (158 mm); height 2 in. (51 mm); bowl diameter 1⅝ in. (40 mm); chamber diameter ¾ in. (20 mm). The weight of the pipe is 2½ oz. (72 g). I hope you enjoyed reading the story of this pipe’s restoration as much as I did restoring it. If you are interested in more of my work, please follow me here on Steve’s website or send me an email. Thank you very much for reading and, as always, I welcome and encourage your comments.
Restoring a Handsome Peterson System 1312 Sandblast


by Kenneth Lieblich

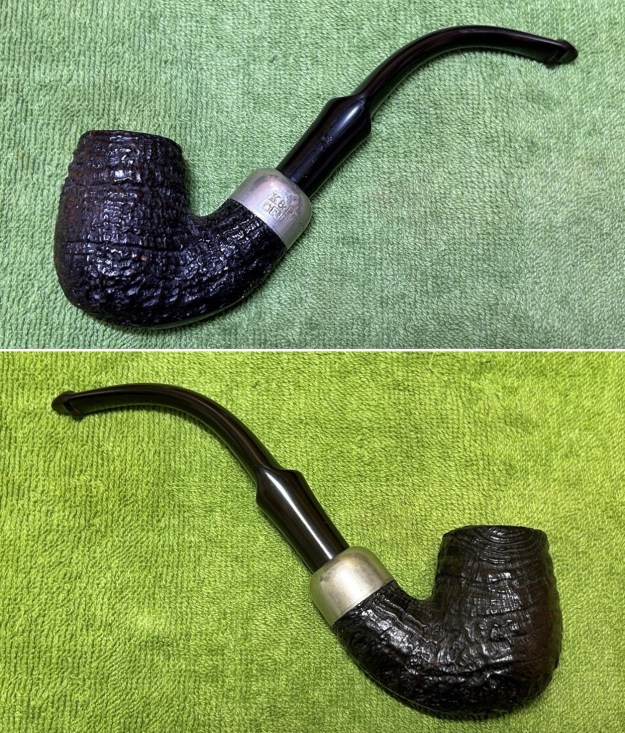
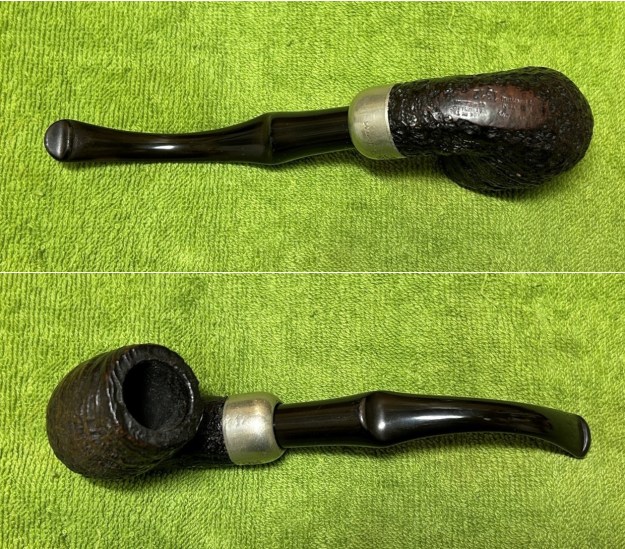
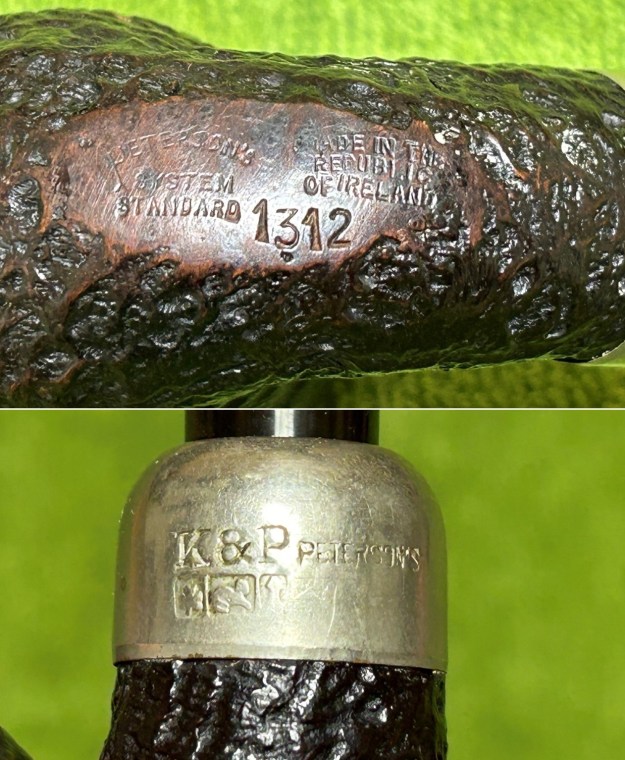
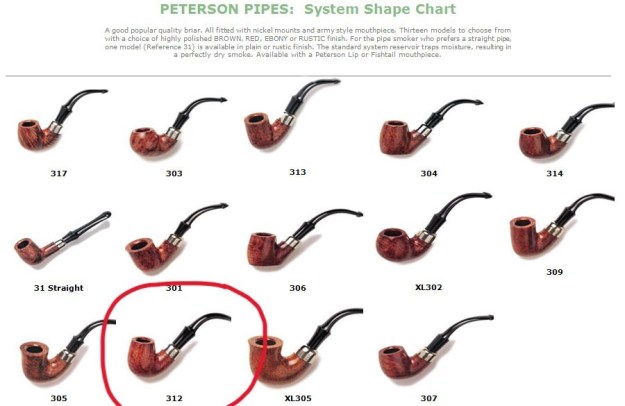
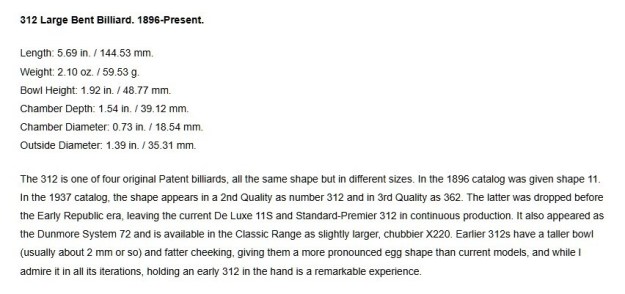
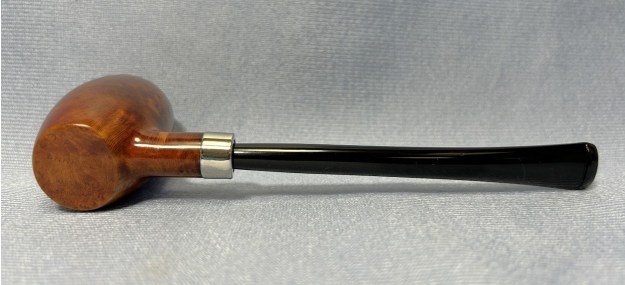
Next up is a pipe that came in a recent lot I acquired – and it’s a classic. This is a republic-era Peterson System Standard 1312 bent billiard. The sandblast on it is really craggy, attractive, and satisfying. Naturally, the stem has the classic Peterson P-lip. The 1312 is exactly the same pipe shape as the 312 – the initial ‘1’ simply indicates that it was made for the Canadian market. Looking on the underside of the stummel, we can see the marks. First, we have Peterson’s [over] System [over] Standard. To the right of that we see Made in the [over] Republic [over] of Ireland. Then the shape number 1312. On the nickel ferrule, there are more marks. K&P [over] the symbols (not hallmarks) of a shamrock, a lion and a standing figure. Next to that is the name Peterson’s.Steve and I have written about the Peterson System many times in many blogs. The Peterson System pipes are well-storied among Peterson collectors/admirers. I took the opportunity to read the article on Pipedia, specifically about the System pipes, by Jim Lilley. There is lots of good information there and I encourage you to read it: https://pipedia.org/wiki/A_closer_look_at_the_famous_Peterson_Standard_System_Pipe.As usual, I owe a debt of gratitude to Mark Irwin of Peterson Pipe Notes. He has a very interesting article on the various System shapes and I highly recommend having a look: https://petersonpipenotes.org/146-a-guide-to-system-shapes-1896-2019-part-1-the-300-shape-group/. Here is a screenshot of the relevant bit:On to the pipe itself. It appears to be in very good shape, albeit a bit drab from use. There’s cake inside the bowl, but the outside looks perfectly sound. The stem has a bit of tooth chatter, but (fortunately) very little oxidation or calcification.I used oil soap on a few cotton rounds and wiped down the stem to provide an initial cleaning of filth before moving on to the next steps. The primary cleaning came next. I disinfected the inside of the stem with both pipe cleaners and cotton swabs dipped in lemon-infused 99% isopropyl alcohol. I scrubbed thoroughly to make sure the interior was very clean.The goal of the next step is the removal (or minimization) of oxidation. Going to my sink, I used cream cleanser, cotton rounds, and a toothbrush, and scoured the stem to remove as much surface oxidation as possible. As the photos show, the result was a hideous, brownish mess – but better off the stem than on it.Once the stem was reasonably clean, I soaked it overnight in some Briarville Stem Oxidation Remover. This solution works to draw oxidation in the stem to the surface of the vulcanite. This is a major aid and an important step in ensuring a clean stem. The following day, I drew out the stem from its bath and scrubbed the lingering fluid with a toothbrush.As the stem was now clean and dry, I set about fixing the marks in the vulcanite. This was done by filling those spots with black cyanoacrylate adhesive, impregnated with carbon and rubber. I left this to cure and moved on.The penultimate step for the stem is sanding. I used all nine of the micromesh sanding pads (1,500 through 12,000 grit) to sand out flaws, even out the vulcanite, and provide gentle polishing of the finished surface. I also applied pipe-stem oil while using the last five micromesh pads. There was a wonderful, deep black shine to the stem when I was done.As the stem was (nearly) complete, I moved on to the stummel. The first step was to ream out the bowl – that is to say, remove all the cake inside the bowl. This accomplished a couple of things. First (and most obviously), it cleaned the bowl and provided a refurbished chamber for future smoking. Second, when the old cake was removed, I could inspect the interior walls of the bowl and determine if there was damage or not. I used a reamer and a piece of sandpaper taped to a wooden dowel. Collectively, these ensured that all the debris was removed. However, I did notice a few small craze lines on the inside. Someone must have been smoking with great gusto! No problem – I can fix that.Similar to the stem, I then cleaned the stummel with both pipe cleaners and cotton swabs dipped in lemon-infused 99% isopropyl alcohol. With a pipe this dirty, it took quite a while and much cotton to get clean.I then decided to ‘de-ghost’ the pipe – that is to say, exorcize the remaining filth from the briar. I filled the bowl and the shank with cotton balls, then saturated them with 99% isopropyl alcohol. I let the stummel sit overnight. This caused the remaining oils, tars and smells to leach out into the cotton.To tidy up the briar, I also wiped down the outside with some oil soap on cotton rounds and used a nylon-bristle brush in the crevices. This did a good job of cleaning any latent dirt on the surface of the briar. The last step of the cleaning process was to scour the inside of the stummel with some soap and tube brushes. This was the culmination of a lot of hard work in getting the pipe clean.To deal with the little craze lines, I used an epoxy adhesive that is extremely hard, resistant to high temperatures, and completely inert when cured. It worked superbly. I thinly applied it to the affected area and let it cure for a full 24 hours. The next day, I roughened up the epoxy’s surface with 220-grit sandpaper for the next step. I thinly coated the inside of the bowl with a mixture of my wife’s homemade yogurt and activated charcoal. Once hardened, this provided a good, faintly rough surface for a new cake to build.I then buffed the nickel ferrule with a couple of very gentle Micromesh pads, then then buffed it with a jewellery cloth.I rubbed some LBE Before & After Restoration Balm into the briar and let it sit for 30 minutes or so. The balm moisturizes the wood and gives a beautiful depth to the briar. I then buffed the stummel with a microfibre cloth. For the final step, I took the pipe to my bench polisher and carefully buffed it – first with a blue diamond compound, then with three coats of conservator’s wax. This procedure makes the pipe look its best – the stummel sings and the stem glows.All done! This Peterson System Standard 1312 bent billiard looks fantastic again and is ready to be enjoyed by its next owner. I am pleased to announce that this pipe is for sale! If you are interested in acquiring it for your collection, please have a look in the ‘Irish’ section of the store here on Steve’s website. You can also email me directly at kenneth@knightsofthepipe.com. The approximate dimensions of the pipe are as follows: length 5⅔ in. (143 mm); height 4 in. (102 mm); bowl diameter 1⅓ in. (34 mm); chamber diameter ¾ in. (19 mm). The weight of the pipe is 1½ oz. (46 g). I hope you enjoyed reading the story of this pipe’s restoration as much as I enjoyed restoring it. If you are interested in more of my work, please follow me here on Steve’s website or send me an email. Thank you very much for reading and, as always, I welcome and encourage your comments.
Restoring a Classic Peterson System 359


Blog by Kenneth Lieblich

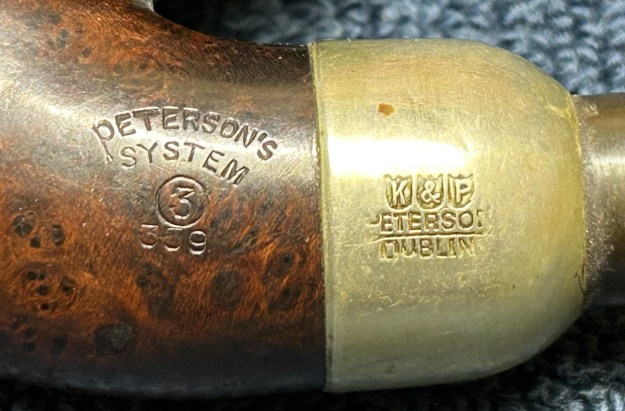
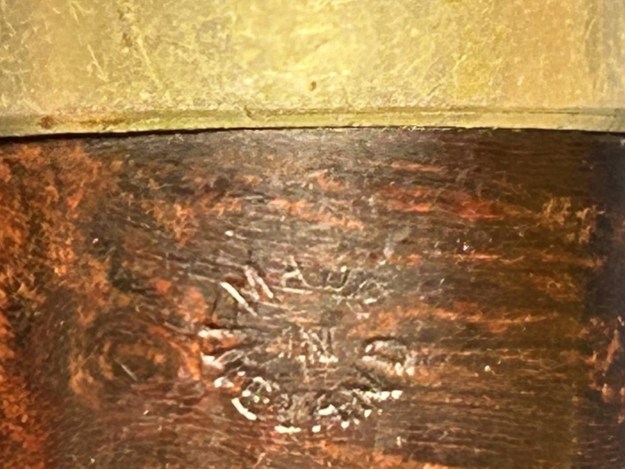
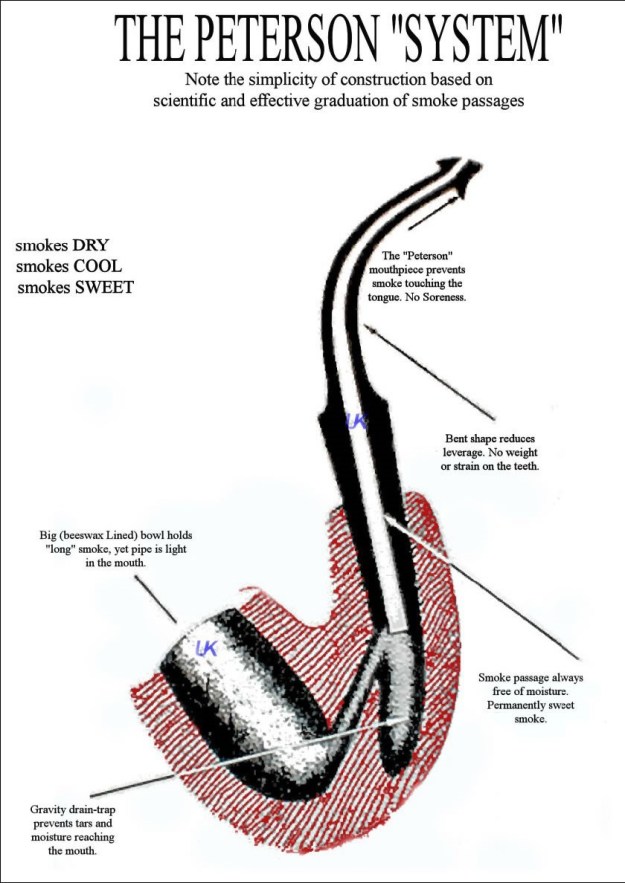
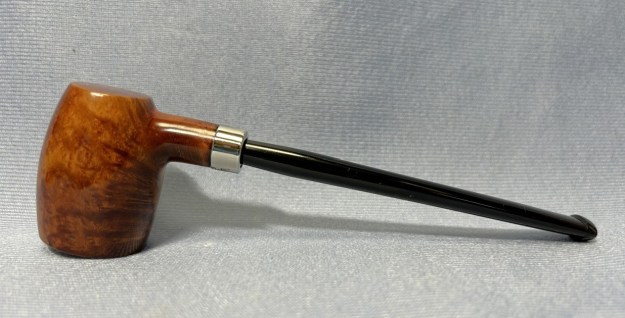
What a handsome pipe! I found this PRE-republic-period Peterson System 359 at a local antique shop and I was charmed by it right away. It’s a handsome devil and the look of it gives one a feeling of comfort. It is satisfying and comfortable in the hand – like a mug of tea. There was a lovely patina on this old timer and I really wanted to get this into the hands of Peterson lover. Let’s have a closer look. This Peterson 359 pipe has the classic “System” look: bent shape, nickel mount, and tapered, army-style stem. Of course, it also had the traditional Peterson P-lip stem. The markings on the left side of the shank are Peterson’s [over] System [over] ③ [over] 359. The underside of the shank showed Made in Ireland in a circle. The nickel mount on the shank had K&P (in shields) [over] Peterson [over] Dublin. There were no markings on the stem. The Peterson System pipes are well-storied among Peterson collectors/admirers. I took the opportunity to read the article on Pipedia, specifically about the System pipes, by Jim Lilley. There is lots of good information there and I encourage you to read it: https://pipedia.org/wiki/A_closer_look_at_the_famous_Peterson_Standard_System_Pipe.Having seen that the words “Made in Ireland” were in a circle, I knew that I was dealing with an older pipe. Precisely how old would require some elementary research. The main Pipedia article on Peterson included a few interesting lines:

“Charles Peterson applied for a patent for an improved tobacco pipe on the 8th of August 1890. He was awarded patent number 12393 on the 16th of June 1891 for Great Britain and Ireland. This came to be known as the famous ‘System Pipe’ patent.”

“Later they stamped their pipes with “Made in Ireland” in a circle format 1945-1947…”

This is awfully helpful in dating this pipe. I can comfortably say that this pipe dates from 1945 through 1947, that is to say, just short of 80 years (at the time of writing).

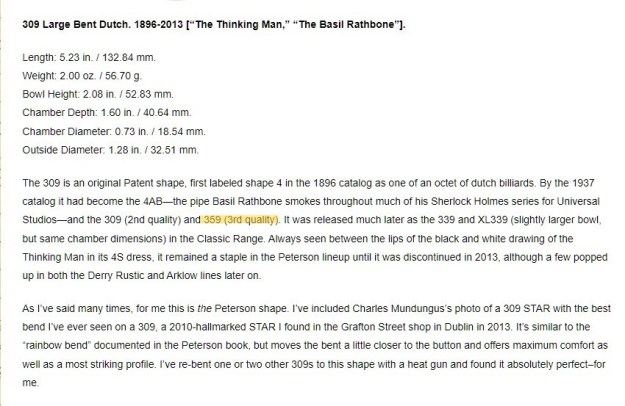
As usual, I also owe a debt of gratitude to Mark Irwin of Peterson Pipe Notes. He has a very interesting article on the various System shapes and I highly recommend having a look: https://petersonpipenotes.org/146-a-guide-to-system-shapes-1896-2019-part-1-the-300-shape-group/. Here is a screenshot of the relevant bit:In addition, Mark has an article on an older 359 that he picked up: https://petersonpipenotes.org/tag/peterson-359-system/.

On to the pipe itself: the stem was in average condition – not especially dirty, but it had been well used. It had a few dents. The bowl was moderately dirty and had quite a bit of lava and plenty of cake. Aside from some small fills, the outside of the bowl was very nice. The nickel mount was in good shape – only some very slight dents. To work! The stem was first on my list – and I couldn’t get it out of the mortise! I grabbed the heat gun and gently warmed up the goo inside until it had softened enough to let go of the stem. I wiped the outside down with Murphy’s Oil Soap on some cotton pads. I also took a BIC lighter and ‘painted’ the stem with its flame to lift the few bite marks and dents. Sadly, however, this did not do much. Then I cleaned out the inside with pipe cleaners and isopropyl alcohol. I used some SoftScrub on the outside of the stem to remove some oxidation. Then, the stem went for an overnight soak in the Pipe Stem Oxidation Remover. The following day, I cleaned the de-oxidizing mess off with alcohol, pipe cleaners, et cetera. The oxidation had migrated to the surface and would be fairly straightforward to remove. I scrubbed again with SoftScrub on some cotton pads to remove the leftover oxidation. I built up the dents on the stem with black cyanoacrylate adhesive and let them cure. I then sanded the adhesive down with some sandpaper to level out with the stem. I then used all nine Micromesh pads (1,500 through 12,000 grit) to polish it and highlight the black lustre. I also used Obsidian Pipe Stem Oil in between each pad scrubbing. Moving on to the stummel, I first decided to ream out the bowl. I used the PipNet Reamer to remove the built-up cake and followed that with 220-grit sandpaper taped to a dowel to eliminate as much as possible. I took the chamber down to bare briar to ensure there were no hidden flaws in the wall. Fortunately, there were none.I used cotton rounds and some Murphy’s Oil Soap to scrub the outside of the stummel and a toothbrush with Murphy’s for the lava on the pipe’s rim. I took a close look at the rim. In order to save as much of the rim as possible, I used a piece of machine metal to very delicately scrape away as much lava as I could. I do this before automatically jumping to my topping board. This worked well.I then proceeded to clean out the insides of the shank with Q-tips, pipe cleaners, and lemon-infused isopropyl alcohol. There was quite a bit of filth inside this stummel, and it took a fair amount of cotton to get it clean. I followed that up by cleaning the insides with some dish soap and tube brushes. I decided to de-ghost the pipe in order to remove any lingering smells of the past. I thrust cotton balls into the bowl and the shank and saturated them with 99% isopropyl alcohol. I let the stummel sit overnight. This caused any remaining oils, tars and smells to leach out into the cotton. The bowl was nice and clean after this.There were a couple small fills and nicks around the bowl. I opted to leave them as they are – they are minor and are part of the history of this pipe. I felt that I had interfered enough and didn’t want to interfere anymore. Then, I used most (but not all) of my Micromesh pads on the stummel to finish it off. This included buffing up the nickel mount to a beautiful shine with my jewelry cloth. I also applied some Before & After Restoration Balm and let it sit for 20 minutes to do its magic. It adds that certain je ne sais quoi to the wood. Then it was off to the bench polisher! A dose of White Diamond and a few coats of carnauba wax were just what this pipe needed. Boy-oh-boy, this is one good-looking pipe! I’m pleased with the results. This Peterson Standard System 359 looks fantastic again and is ready to be enjoyed by its next owner. I am pleased to announce that this pipe is for sale! If you are interested in acquiring it for your collection, please have a look in the Ireland pipe section of the store here on Steve’s website. You can also email me directly at kenneth@knightsofthepipe.com. The approximate dimensions of the pipe are as follows: length 5⅞ in. (149 mm); height 4⅛ in. (105 mm); bowl diameter 1⅓ in. (33 mm); chamber diameter ¾ in. (19 mm). The weight of the pipe is 1⅞ oz. (55 g). I hope you enjoyed reading the story of this pipe’s restoration as much as I did restoring it. If you are interested in more of my work, please follow me here on Steve’s website or send me an email. Thank you very much for reading and, as always, I welcome and encourage your comments.
A Rather Sad, Well Used Peterson March 17, 2009 B2 Bulldog


Blog by Steve Laug

In January Jeff found out about an estate sale in Pocatello, Idaho, USA. It turned out that the sale was for a fellow Jeff and I had purchased pipes from in the past, Gene. He had been the owner of Outwest Tobacco in Pocatello (long closed now) and I bought tobacco and other smoking items from him in the past. As I think about it now, it seems that I had known Gene for over 30 years Jeff and I had been to his home and enjoyed coffee and a few pipes together. I have no idea how many pipes we bought on those visits as well as to the antique shop of his daughter. I know that there were many pipes. When we heard that it was Gene’s personal collection that was for sale and that he had passed away we decided for Jeff to go to the house and have a look. He went on January 25, 2024 to scope it out as we had seen his personal collection of pipes and there were definitely some among those well smoked old warriors that would be great to pick up. Perhaps there would even be one that could join my own collection in memory of Gene.

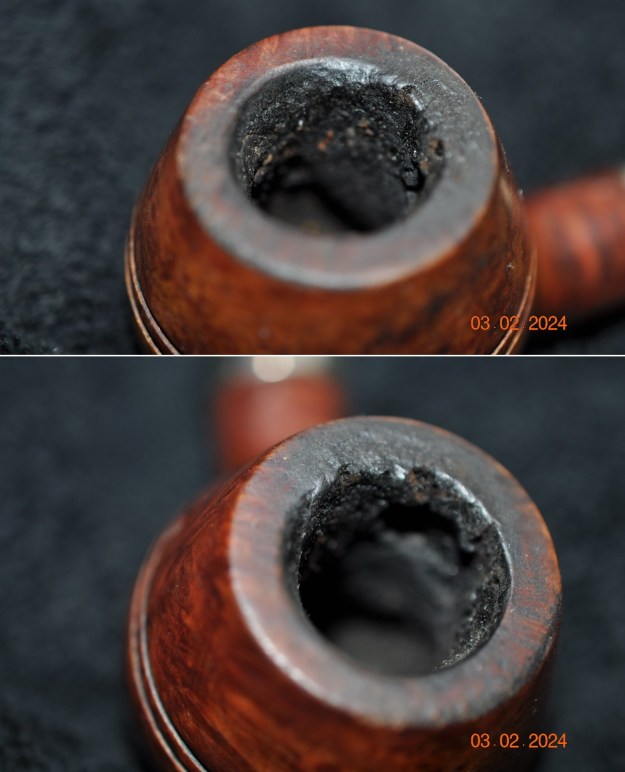
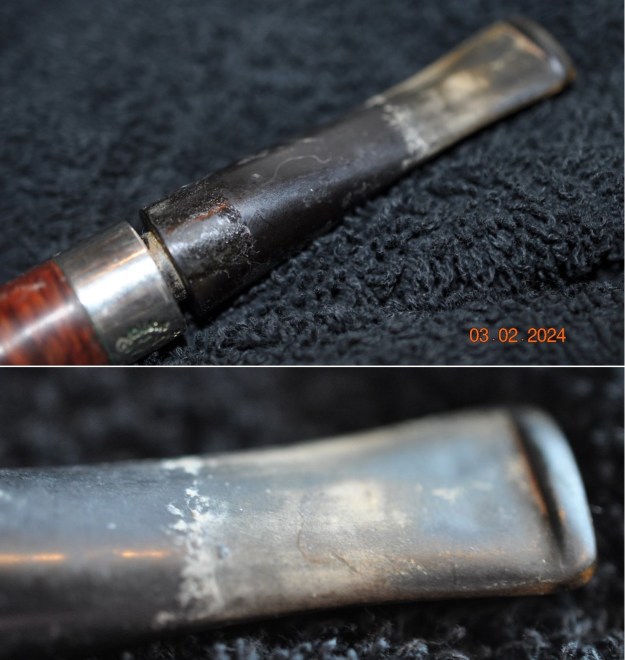
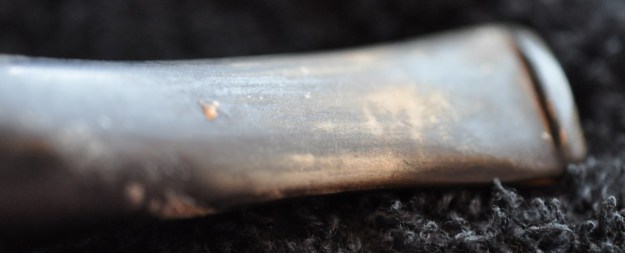
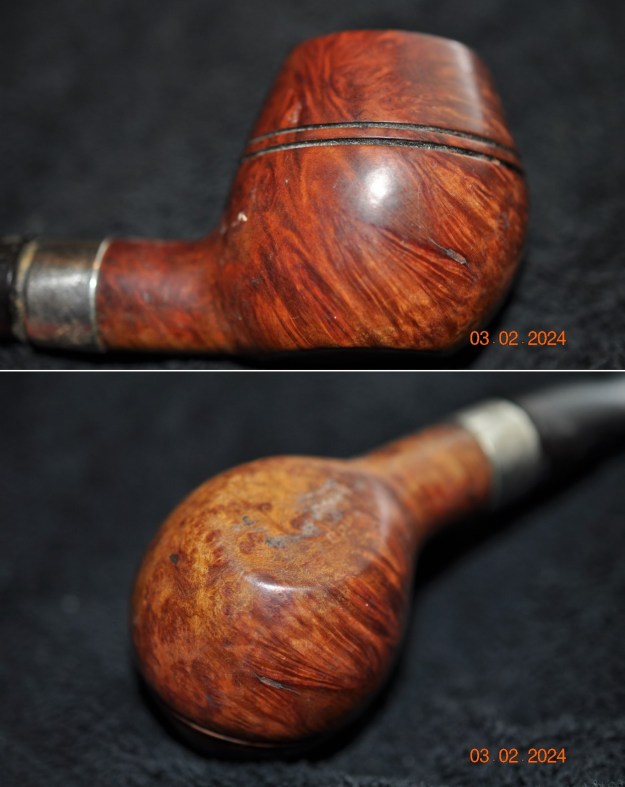
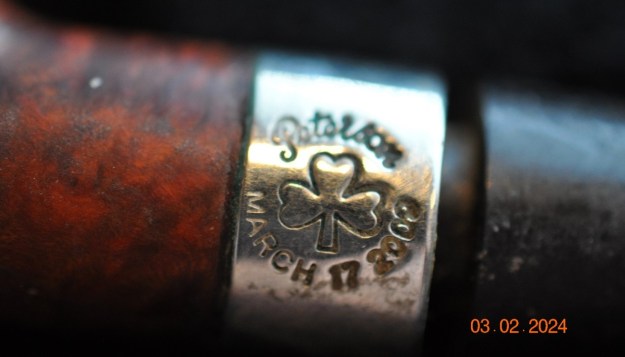
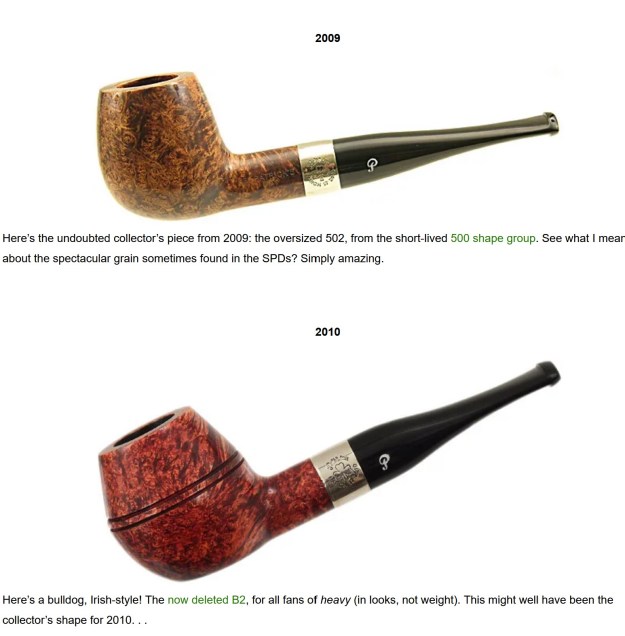
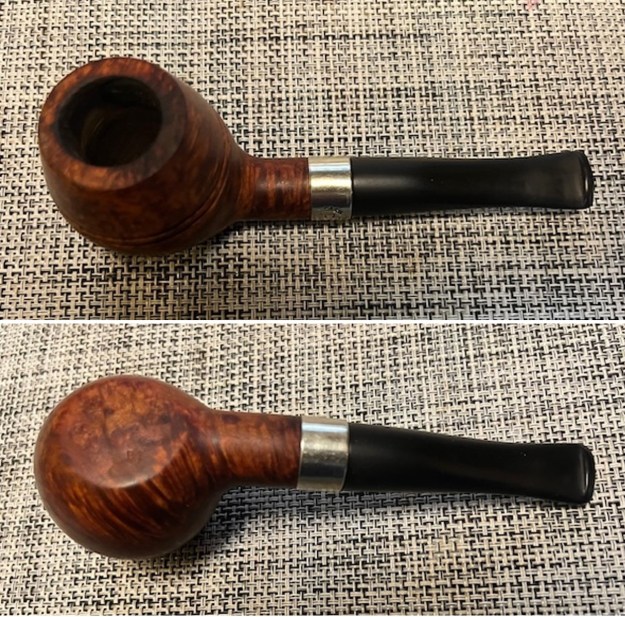
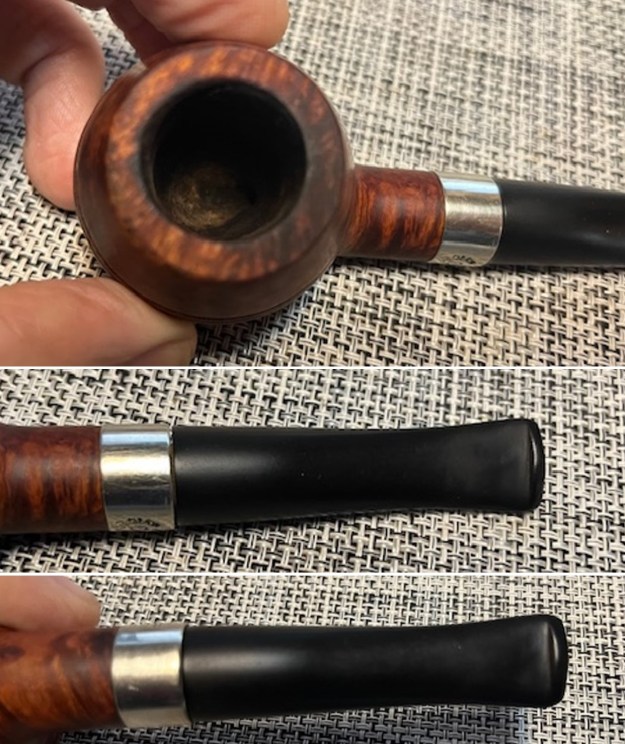
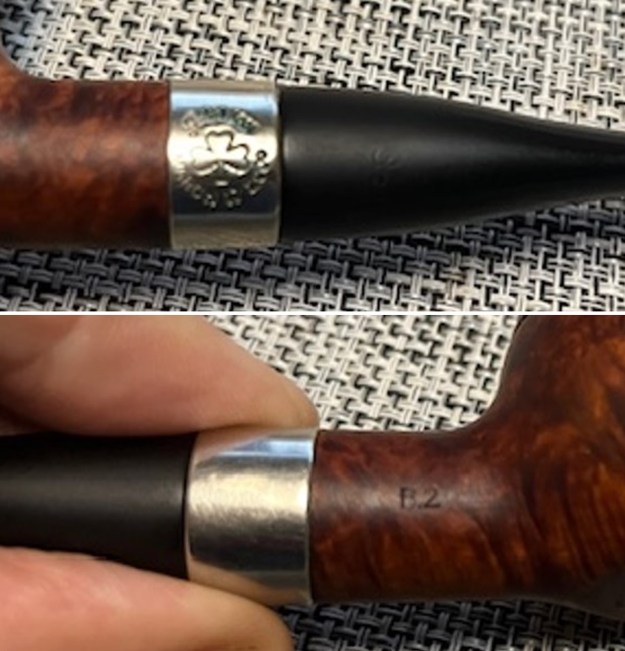
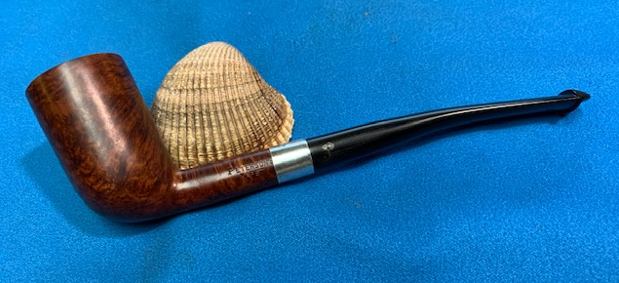
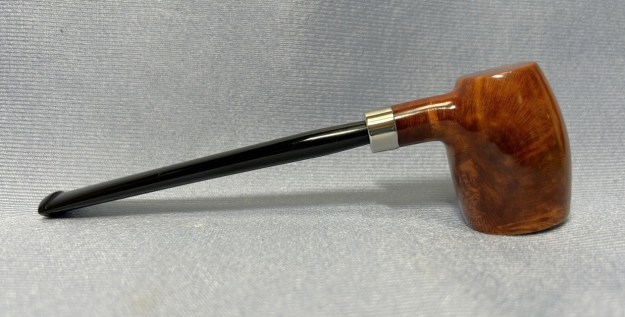
Jeff went to the house and looked through the racks, pipe bags, tobacco – both bulk and tinned as well as a variety of pipes. All the pipes were well smoked and needed serious cleaning. Another one of the pipes that he picked up was this Peterson March 17 2009 with a black vulcanite taper fish tail stem. It was very dirty and was a reddish, brown coloured pipe when it started. The smooth finish around the bowl was dirty and had hand oils ground into the grooves. The bowl had a thick cake that overflowed in lava onto the rim edge and top of the bowl. The bottom of the bowl was flattened so the pipe could be set on a desktop. The stem was vulcanite that was very dirty and had the marks of a rubber Softee Bit on the end. It had become discoloured and there was a line where the debris from smoking had accumulated along the edge and under the bit protector. The good news was that there were only light tooth marks or chatter. The rest of the stem was dirty and had lost the characteristic shine. The pipe was stamped on the polished nickel band on the shank and read Peterson [arched over] a Shamrock with March 17 2009 arched underneath. On the right side of the shank it was stamped with the shape number B2. Jeff took photos of the pipe so I could have a sense of what it looked like before he started his work on it.Jeff took photos of the stem surfaces and the bowl and rim to give a sense of condition of the pipe. You can see the thick cake in bowl and the lava overflow on the edges and rim top of the bowl. It is had to know if there is any damage as the cake and lava is quite thick. The stem surface is very dirty and you can see the area on the end of the stem where the Softee Bit had protected it from chewing but had left it dirty and discoloured. The stem no longer fit in the shank correctly. He also took photos of the sides of the bowl and the heel to show the interesting grain that went around the bowl. There were a few spots on the right side of the bowl that seemed to have a flaw or a shrunken fill. The grain is beautiful and you can see the oils and debris in the grooves of the rim cap.  He took photos of the stamping on the nickel band on the left side of the shank. He did not capture shape number on the right side. The stamping on the band is clear and readable as noted above.I did a bit of searching on the internet to see what I could find. Interestingly turning to Peterson’s Pipe Notes I found the pipe I have in my hand (https://petersonpipenotes.org/tag/st-patricks-day-pipe-2009/). Note that in Mark Irwin’s information below the date he gives for the shape I have is 2010 but the band on mine is definitely marked 2009. Ah well another Peterson anomaly. Either way it is a nicely shape Irish Bulldog.Now it was my turn to work on the pipe. Jeff had done an amazing cleanup of the pipe. He reamed the light cake with a PipNet reamer and cleaned up that with a Savinelli Fitsall Pipe Knife. He scrubbed the internals of the bowl and stem with alcohol, cotton swabs and pipe cleaners. He scrubbed the externals with undiluted Murphy’s Oil Soap and rinsed the bowl off with running water. He soaked the stem in Briarville’s Pipe stem Deoxidizer and once it had soaked rinsed it off with warm water to remove the residual solution. He dried it off and rubbed it down to remove any oxidation that was still on the stem. The pipe looked very good when I received it. I took a photo of the rim top to show the condition. You can see the clean bowl. The bowl is in excellent condition and is clean. The rim top has a small burn mark on the front inner edge and darkening on the back of the rim top and edges. The stem came out looking good. There were definitely light tooth marks and chatter on both sides. I took a photo of the stamping on the shank. The first photo shows that there is no stamping on the briar but the nickel band stamp is very clear. The shape number, B2 on the right side of the shank is also very clear. There was a faint remnant of the P stamp on the left side of the stem.  I removed the stem from the shank and took a photo of the pipe parts to show what I was working with. I also took photos of the pipe with the longer Churchwarden stem in place. It is a nice looking pipe. I started my work on the pipe by addressing the damage on the inner edge of the rim. I used a folded piece of 220 grit sandpaper to smooth out the roughness. I then used 220 grit sandpaper and a wooden ball to give the inner edge of the bowl a slight bevel. It looked much better at this point in the process. I touched up the stain on the rim top with a Cherry Stain Pen and the match to the rest of the bowl is perfect. Once the bowl is finished it will blend very well.I sanded the briar rim top and the sides of the bowl with 320-3500 grit sanding pads. I wiped the bowl down with a damp cloth after each pad. By the time I finished with the 3500 grit pad the briar had taken on a rich glow. The pipe had cleaned up so well that I turned to polish the briar with micromesh sanding pads. I dry sanded it with 1500-12000 grit sanding pads and wiped the bowl down after each pad with a damp cloth. By the final pads the briar really had a shine. I rubbed the briar down with Before & After Restoration Balm. I worked it into the briar with my fingertips and a horsehair shoe brush to work it into the nooks and crannies of the sandblast finish. The product works to clean, enliven and preserve the briar. I let it sit for 10 minutes then I buffed it with a cotton cloth to deepen the shine. The pipe really comes alive with the balm. I set aside the bowl and turned my attention to the stem. I “painted” the stem surface with the flame of a lighter. I was able to lift the tooth marks significantly. Those that remained were more like waves in the stem surface. I filled them in with a coat of clear CA glue and spread it across the surface with a dental spatula. Once the repairs cured I sanded it with a folded piece of 220 grit sandpaper to flatten it further. I sanded it with 320-3500 grit sanding pads to further blend them in and smooth out the surface of the stem.The P stamp on the left side of the stem was faint but I thought I would give it a shot and see how it work. I painted the stamp with white acrylic fingernail polish and let it dry. Once it had dried I scraped off the excess and polished it with a worn 1500 grit micromesh sanding pad. It was faint though it is still readable.I polished the vulcanite with micromesh sanding pads – 1500-12000 grit pads. I wiped it down with Obsidian Oil after each sanding pad. I used Before & After Pipe Polish – both Fine and Extra Fine to further polish the stem. I put the stem back on the Peterson March 17 2009 B2 Bulldog and took it to the buffer. I worked it over with Blue Diamond to polish out the remaining small scratches. I gave the bowl and the stem several coats of carnauba wax and buffed the pipe with a clean buffing pad to raise the shine. I hand buffed it with a microfiber cloth to deepen the shine. The pipe polished up really well and the rim top looked good. I was happy with the look of the finished pipe. The photos below show what the pipe looks like after the restoration. The Peterson St. Patrick’s Day March 17, 2009 Irish Bulldog is a beautiful and unique take on a classic shape. The polished vulcanite taper stem looks really good with the browns of the briar. The dimensions of the pipe are Length: 5 ½ inches, Height: 2 inches, Outside diameter of the bowl: 1 ¼ inches, Chamber diameter: ¾ of an inch. The weight of the pipe is 2.08 ounces/60 grams. This is another pipe that I will be putting it on the rebornpipes store in the Irish Pipe Makers Section shortly, if you are interested in adding it to your collection. The long shank and tall bowl look and feel great in the hand. This one should be a great smoker. Thanks for walking through the restoration with me on this beauty!

Refurbishing a beautiful classic billiard from Peterson’s – a Kapet # 150, London Made, England


Blog by Paresh Deshpande

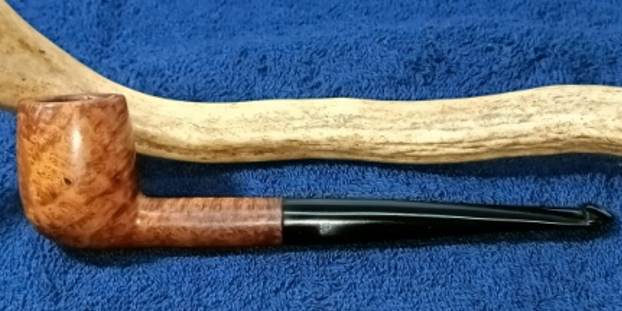
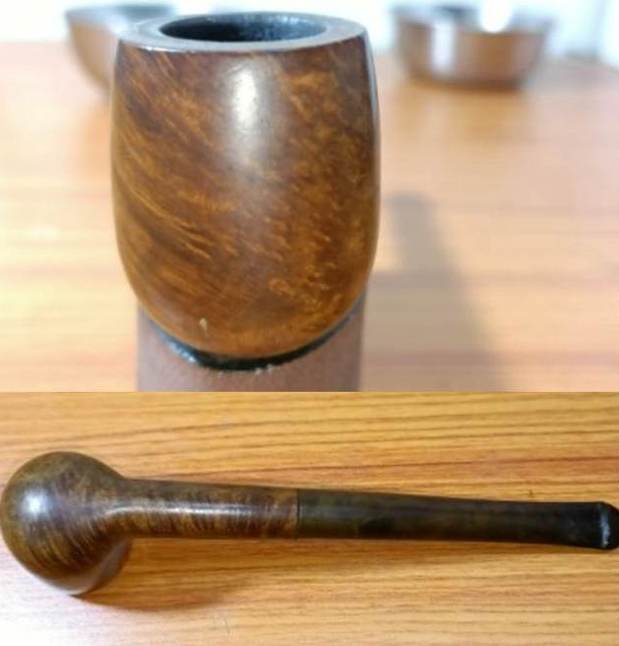
The next pipe that I selected to work on is a beautiful classic billiard shaped Peterson’s pipe with a P-lip tapered stem. The very appearance of this pipe shouted “ol’ timer” to me even before I saw the stampings. The size also indicated that this pipe was from an era when large bowl were not in vogue, specifically the English made.

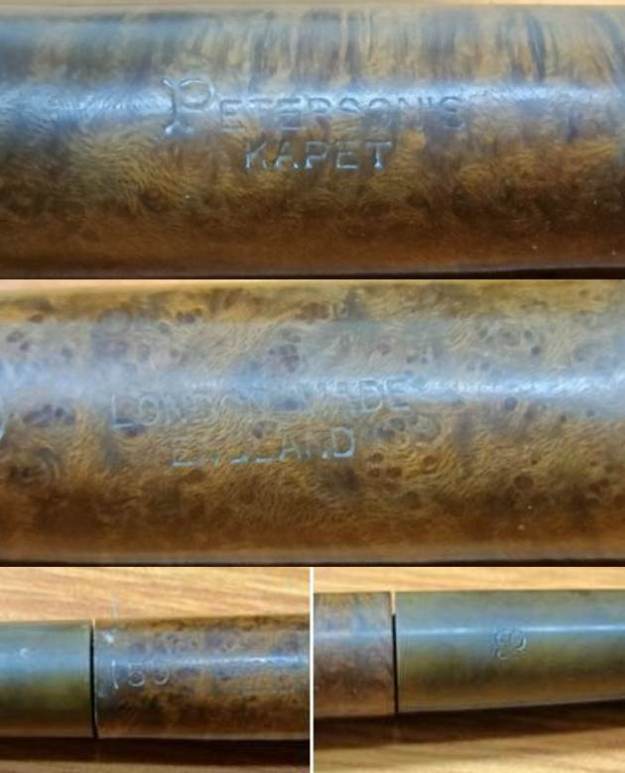
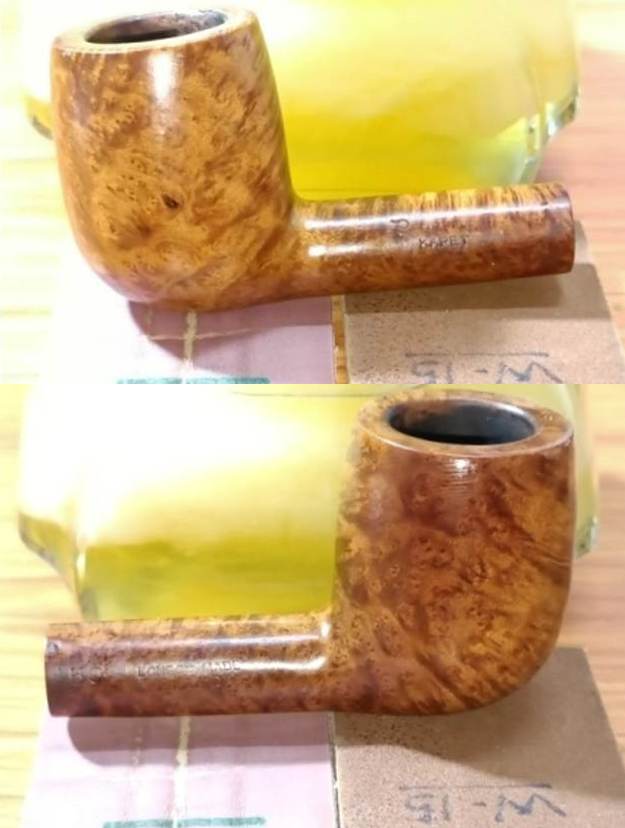
The pipe boasts of some beautiful mixed grains of bird’s eye and cross grains hidden beneath the layer of dirt and grime. That this pipe is from a quality pipe maker is evident from the quality of fit, finish and the briar used. There are only a couple of small fills that I could identify. The tapered P-lip vulcanite stem also oozes quality and points it to be a Peterson’s pipe. The pipe is stamped on the left side of the shank as “PETERSON’S” with a forked P over “KAPET”, all in capital letters. The left side of the shank is stamped as “LONDON MADE” over “ENGLAND” and followed by shape code “150” towards the shank end. The stem has the trademark letter P in cursive hand over the left side.I have worked on quite a few Peterson’s from pre-1960s and from those researches; I know that this pipe is from the classic range of pipes from Peterson’s and belongs to the period when Peterson’s had an office in London up to late 1950s when the shop was closed. I referred to pipedia.org just to refresh my knowledge about the history of Peterson’s pipes. It always does make for an interesting read and is highly recommended. Given below is the link to this detailed history of the brand Peterson’s.

https://pipedia.org/wiki/Peterson

Given below is the link to the Dating Guide for Peterson’s pipes at the end of the article on pipedia.org.

https://pipedia.org/wiki/A_Peterson_Dating_Guide;_A_Rule_of_Thumb

To summarize, this pipe is from the classic range of Peterson’s, an entry level Pete pipe. This is evidenced from the KAPET stampings and a couple of fills in the briar surface. The COM stamp points to a period between 1895, when Peterson’s opened a shop in London, and late 1950s when this shop was closed. Thus this pipe definitely dates to pre-1960s.

INITIAL VISUAL INSPECTION
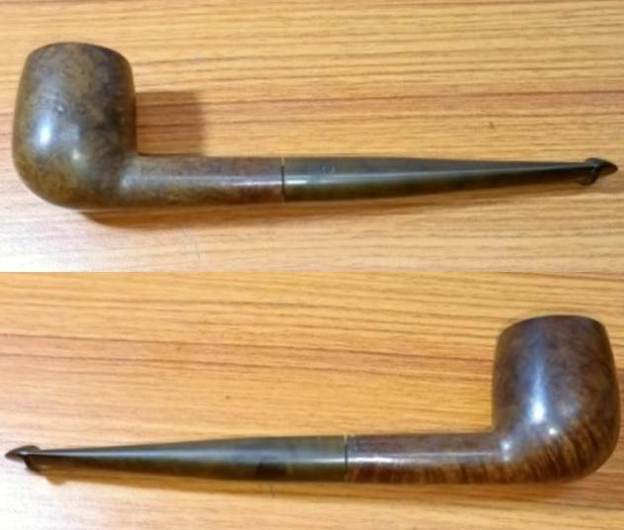
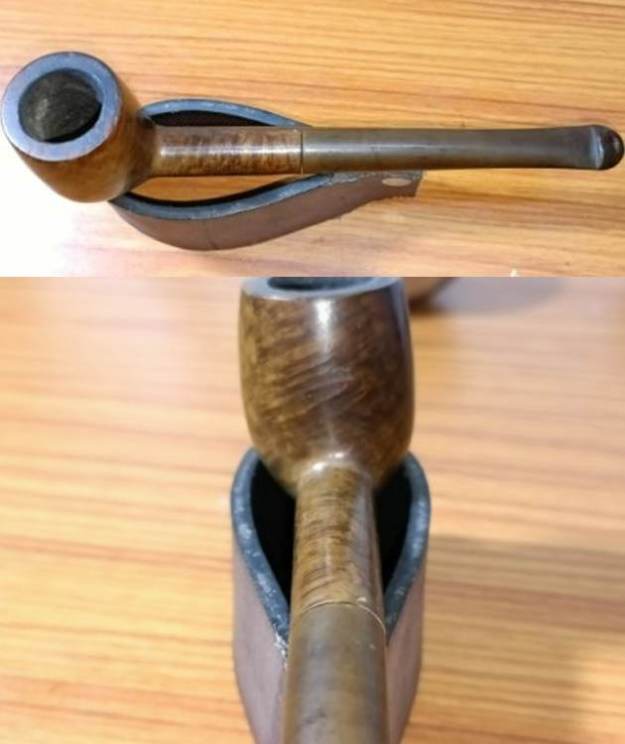
The chamber of this classic billiard shaped pipe has a thick coat of even cake with small traces of lava flow over the rim top surface. The rim top itself has a few dents and dings along its surface. The stummel surface is dull, dry and covered in grime giving it a lackluster appearance. The shank shows accumulation of old oils, tars and gunk. The vulcanite stem does not sit flush with the shank face. The stem bite zone has signs of deep tooth indentations over the button edges and around the round slot end. Here is how the pipe appears as it sits on my work table. Detailed Inspection
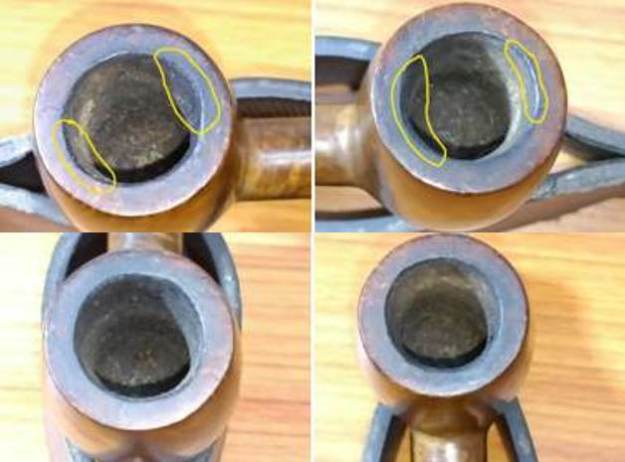
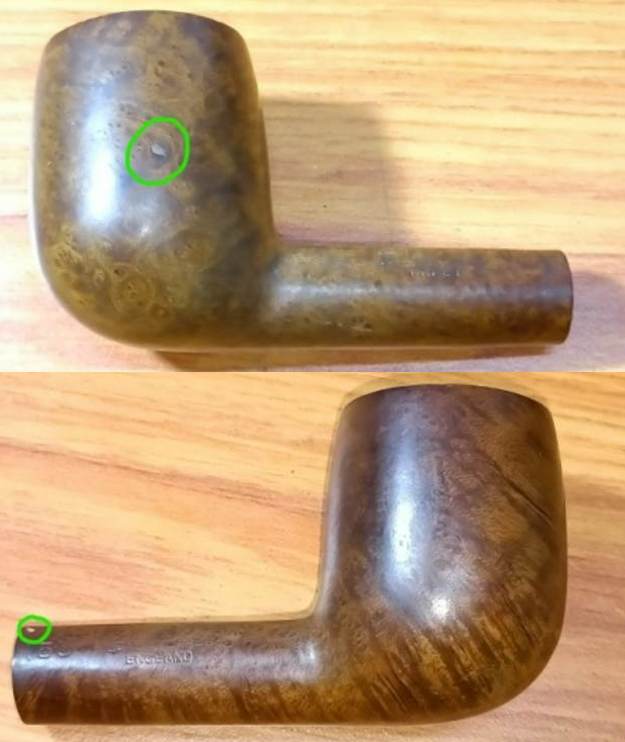
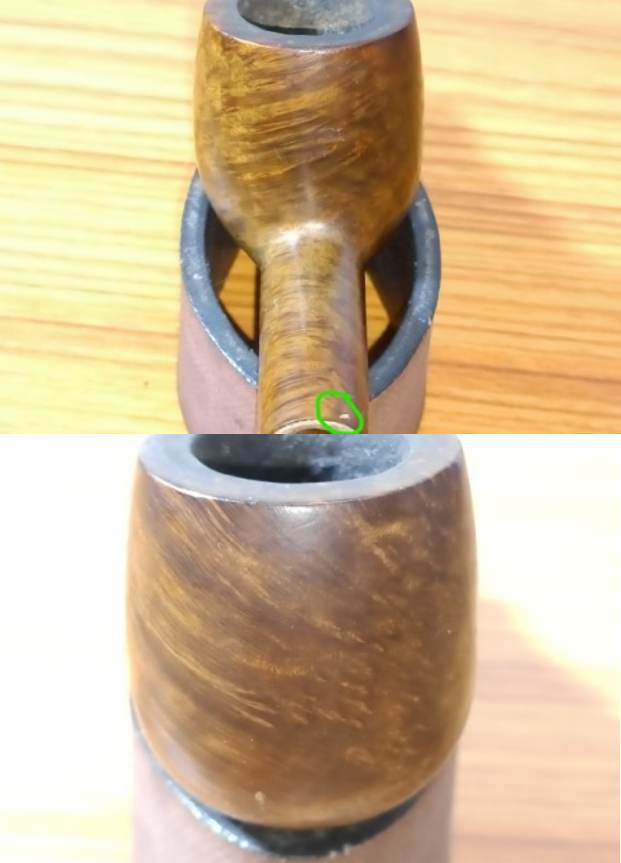
The chamber has a decent layer of even cake that lightly overflows over the rim top surface. The condition of the chamber walls can be commented upon once the cake has been completely taken down to the bare briar. The inner rim edge is charred in 6 o’clock and 11 o’clock directions (encircled in yellow). The rim top itself is dotted with dents and dings. The outer rim edge too has a few minor chipped areas, but nothing serious.The stummel is covered in dust and grime of all the years of use. There are a couple of fills (marked by green). The shank is filthy with the accumulated old oils, ash and grime. This clogging could be the reason for the seating of the stem not being flush with the shank face.  Other than these issues, the stummel is in a decent condition. The P-Lip straight vulcanite stem is oxidized with severe tooth indentations on the button edge on either surfaces of the stem in the bite zone to the extent that the round slot at the top is completely deformed. The step tenon end shows heavy traces of dried oils and tars and remnants of ash and the heavy draw through the stem airway convinces me that there is heavy accumulation of gunk throughout the airway.The Process
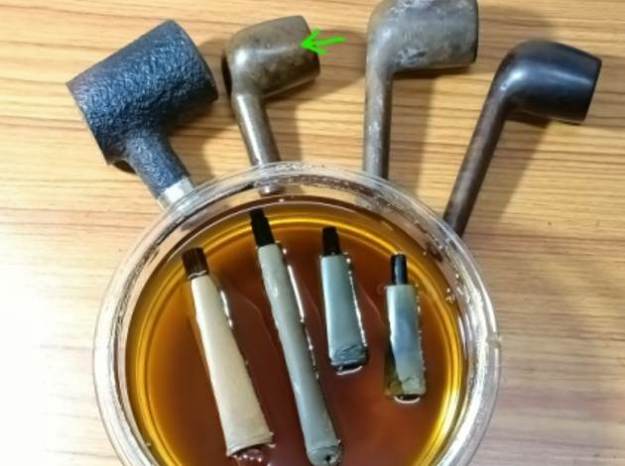
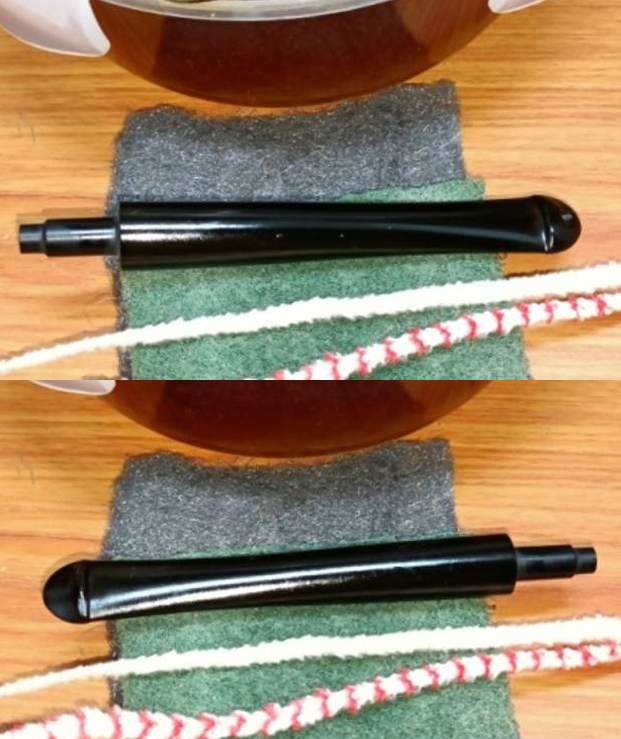
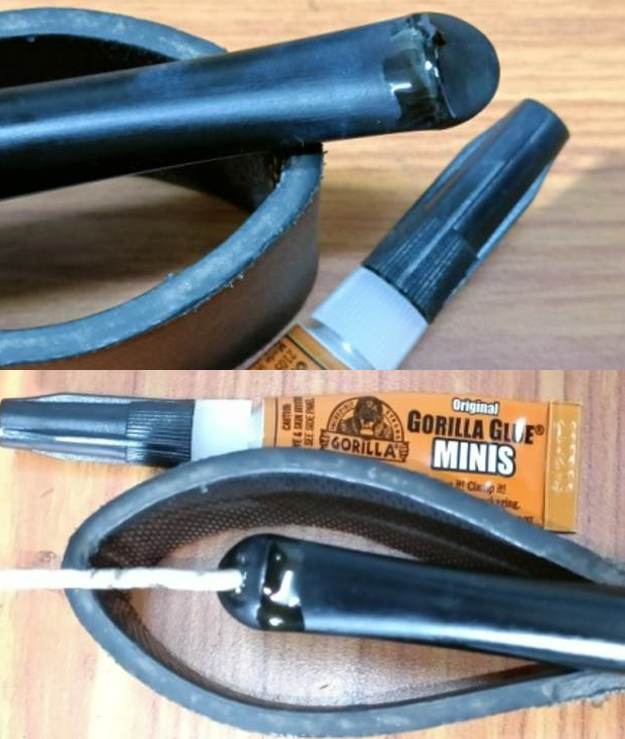
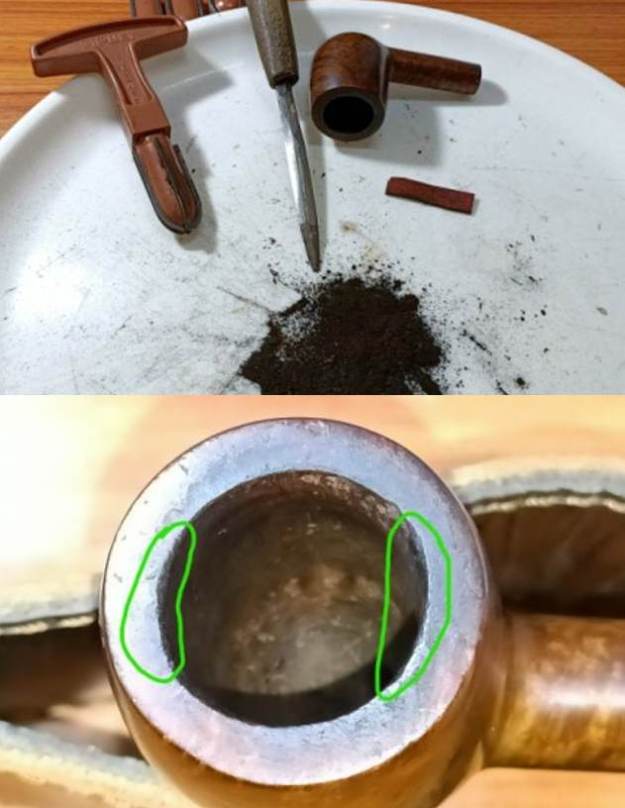
I started the process of restoration by first cleaning the stem internals with anti-oil dish cleaning soap and thin shank brushes. The stem air way was filthy to say the least. I further cleaned the stem internals with hard bristled and regular pipe cleaners and isopropyl alcohol. A lot of elbow grease and a pile of pipe cleaners later, the pipe cleaners emerged white and I knew that the stem internals were now clean and fresh. I dunked the stem into the deoxidizer solution have overnight for the oxidation to be pulled out to the surface. I usually have around 4-5 pipes lined for restoration and this Pete is indicated by a green arrow.The next afternoon, Abha fished out the stem from the deoxidizer solution and scrubbed it with a Scotch Brite pad to get rid of the loosened oxidation from the surface. She followed this scrub with a second scrub using 0000 grade steel wool and this helped in further removal of raised oxidation from the surface and even out the minor scratches resulting from using the Scotch Brit pad. She rinsed the stem under warm running water to completely remove the solution from the airway and slot end. She ran a couple of pipe cleaners to remove the last traces of residual deoxidizer solution from the airway and dry out the airway.With the external and internal cleaning of the stem completed, Abha handed over the stem to me to complete the repairs. Continuing with the stem refurbishing, I heated the bite zone with the flame of a lighter to raise the tooth indentations to the surface. Though the results were not what were expected, the vulcanite was raised a little leaving behind deep tooth compressions over the button edge on either surfaces. These surfaces of the stem were filled with a mix of CA Gorilla superglue and activated charcoal powder and set aside for the fill to cure. I really hope that this time around I get better results with using this new CA glue. With the stem repairs set aside to harden, I started with the stummel repairs by reaming the chamber with the smallest of the PipNet reamer blade. I used my fabricated knife to remove cake from areas inaccessible to the reamer blade and completed the process by sanding the walls smooth with a folded piece of 180 grit sandpaper. I wiped the chamber with a cotton swab wetted with alcohol to clean the residual carbon dust. The chamber walls are solid with decades of residual service life. However, the rim has slightly deformed due to charring at 6 and 12 o’clock directions and encircled in green. I cleaned the external surface of the stummel with undiluted Murphy’s oil soap and a hard bristled toothbrush. I cleaned the smooth rim top surface with the soap and Scotch Brite pad. The darkened inner rims edge in the 6 o’clock direction is now clearly visible (marked in red) and confirms a charred rim edge. Simultaneously, I thoroughly cleaned the mortise with shank brush and anti-oil dish washing soap. This ensured that the stummel now smells clean and fresh. I dried the stummel internals and externals with paper towels and soft absorbent cotton cloth and set it aside overnight to completely dry out before I worked on it any further.By next afternoon, the stummel had dried out and I decided to address the issue of fills over the surface. With a sharp dental tool, I extracted the old and loosened fills and cleaned the area with a cotton swab and alcohol. Using clear CA superglue, I filled up the pits over the stummel surface and set it aside to cure. Once the fill had hardened, I first sand the fills with a needle file to roughly match the fill with the rest of the surface followed by sanding with a folded piece of 220 grit sand paper to further blend in the fills with the rest of the briar surface.Next, I moved on to address the charred edges over the rim top surface. I topped the rim over a piece of 220 grit sand paper by slowly rotating the rim over the sand paper. I hate to lose briar any more than absolutely necessary and so frequently checked the progress I was making. I was quite pleased with the appearance of the stummel at this stage in restoration.With a folded piece of 220 grit sandpaper pinched between my forefinger and thumb, I imparted a nice bevel to the inner rim edge. This eliminated the minor charring that had remained over the inner rim edges.Now that the stummel repairs were complete, Abha took over the bowl to work her magic and bring alive the grains over the briar surface. She went through the complete set of micromesh pads, wet sanding through 1500 to 12000 grit pads. Next, she rubbed a small quantity of “Before and After Restoration Balm” deep in to the briar with my finger tips and let it rest for a few minutes. The balm almost immediately works its magic and the briar now has a nice vibrant appearance with the beautiful grain patterns displayed in their complete splendor. I really like the looks of the stummel at this point in restoration. The grains and the clean lines of this piece of briar is really appreciable. While Abha was polishing the stummel, I worked on the stem repairs. The fill had cured and with a flat head needle file, I worked on the filling till I had achieved a rough match with the surrounding surface and had sufficiently sharpened the button edges. For a better blending, I further sand the entire stem with 320.Next, to impart a nice shine, I dry sanded the entire stem with 320, 600 and 800 grit sand papers followed by wet sanding using 1000, 1500 and 2000 grit sand papers. This progressive use of higher grit sandpapers helps to, firstly,  reduce the sanding marks left behind by the more abrasive ones, secondly, completely eliminates the oxidation while imparting a clean shine to the stem surface. Thirdly, this also helped to even out the minor imperfections from the bite zone. I applied a little EVO and set the stem aside for a few minutes for the oil to be absorbed in the stem surface. To bring a deep shine to the vulcanite stem, I went through the dry sanding with 3200 to 12000 grit micromesh pads, and wiped the stem with Extra Virgin Olive oil to rehydrate the vulcanite. The repairs have blended in very well and the stem now looks shiny black and beautiful. The finished stem is shown below.To refresh the stem logo, I coat the stem logo with white correction ink and let it dry out completely. Once the ink had dried out, with a toothpick, I gently removed the excess ink from the surrounding surface. Though the logo is not very crisp, this is the best that was possible given how worn out the stamping was to start with.This is that part in pipe refurbishing that I love and enjoy the most. I began the final polishing cycle by mounting a cotton cloth buffing wheel on to my hand held rotary tool and applying a coat of Blue Diamond to the entire pipe to polish out the minor scratches. With a cotton buffing wheel that I use for carnauba wax, I apply a coat of carnauba wax to the stummel and stem and continued to work on it till the complete coat of wax had been polished out. I mount a clean cotton cloth buffing wheel and gave the entire pipe a once over buff. I finished the restoration by giving the entire pipe a rigorous hand buffing using a microfiber cloth to deepen the shine further. This classic Billiards shape pipe from Peterson’s oozes a solidity and beauty that draws you to it. Here are a couple of pictures of the pipe at the end of the restoration process. P.S. I shared the pictures of this pipe on our club’s WhatsApp group and was immediately snatched up by one of the members. As I completed the write up, I have received a fantastic feedback on the smoking qualities and aesthetics of this pipe…..and this is truly the most satisfying experience of the entire process!!

There are some interesting pipes that I have lined up next…..keep following rebornpipes for the write ups. Stay safe and keep the pipe lit.

A Collection of older Pipes that we will be working on soon


Blog by Steve Laug

Jeff and I picked up this collection of older pipes that came from an older professor who taught in Eastern Europe and still does when he can get there. There are a broad assortment of meerschaums, clays and some briars.

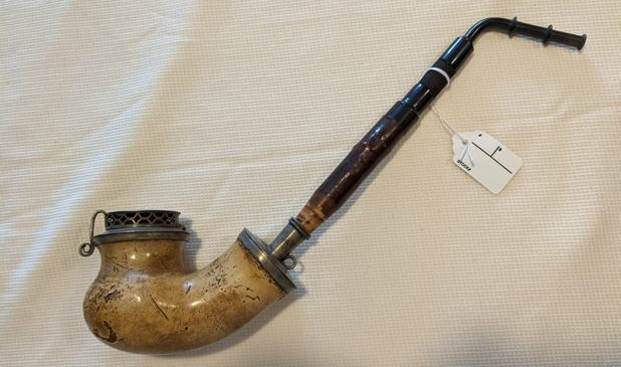
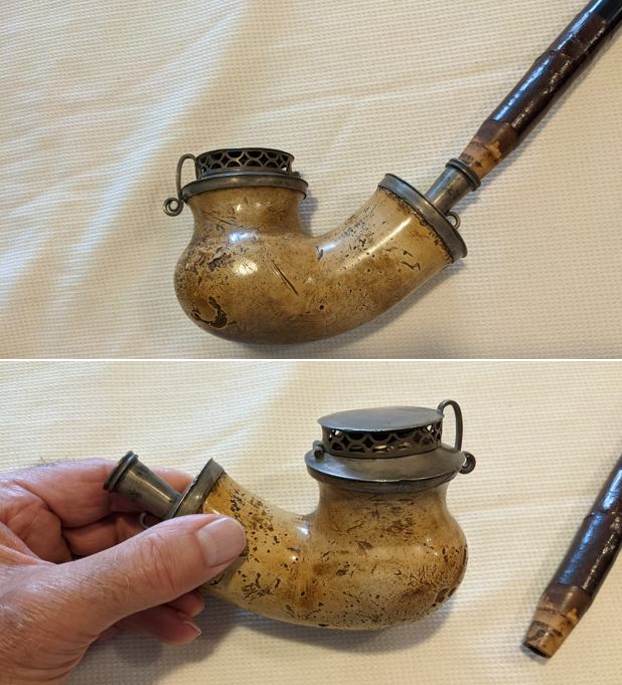
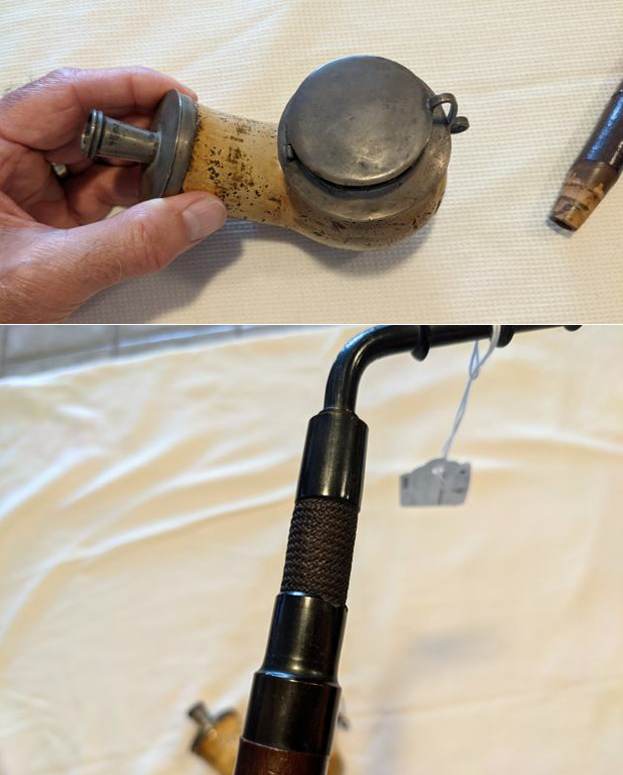
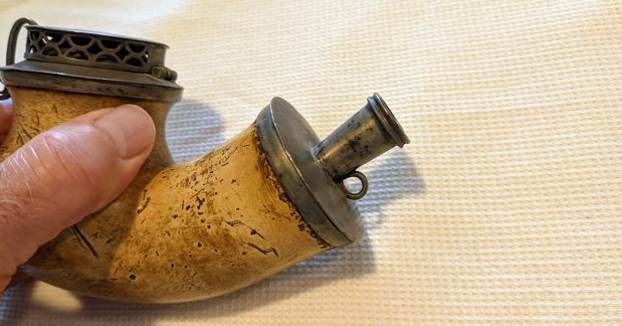
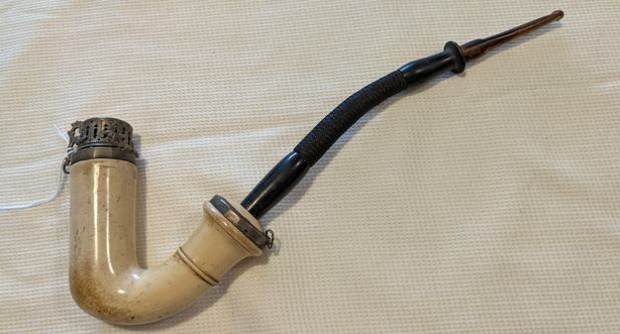
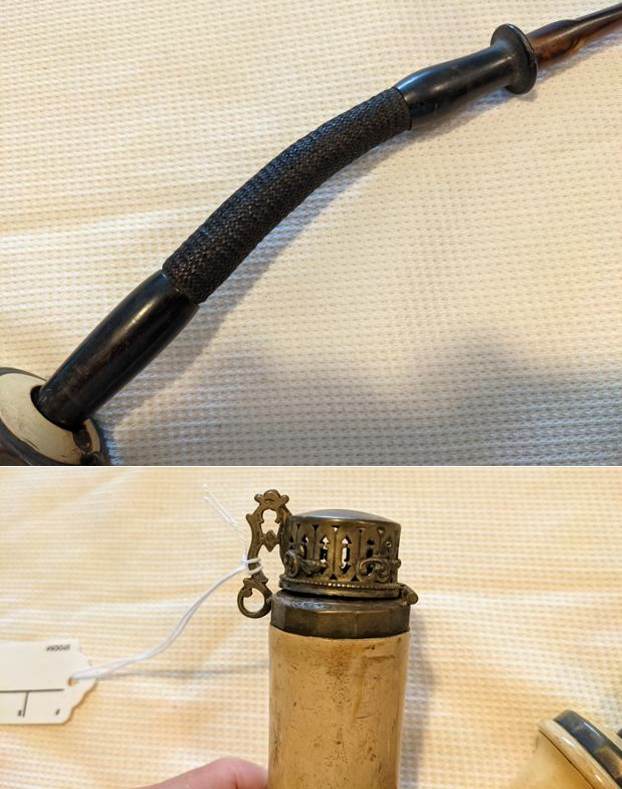
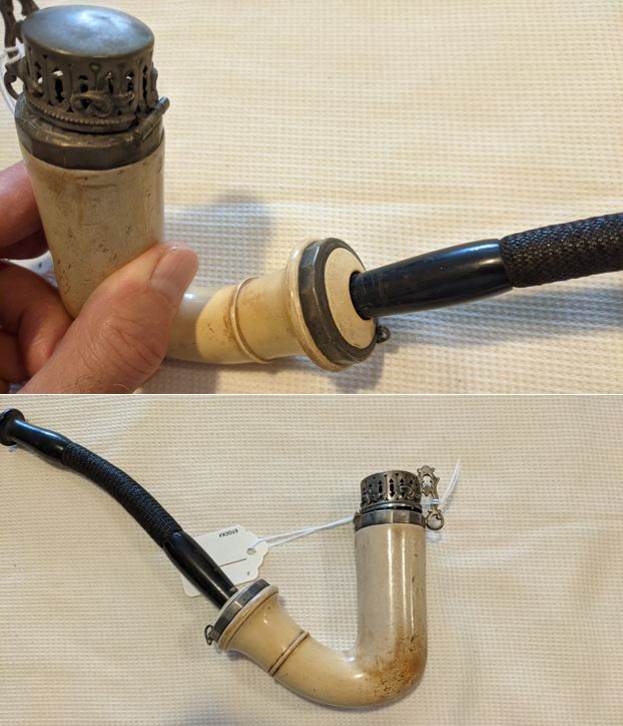
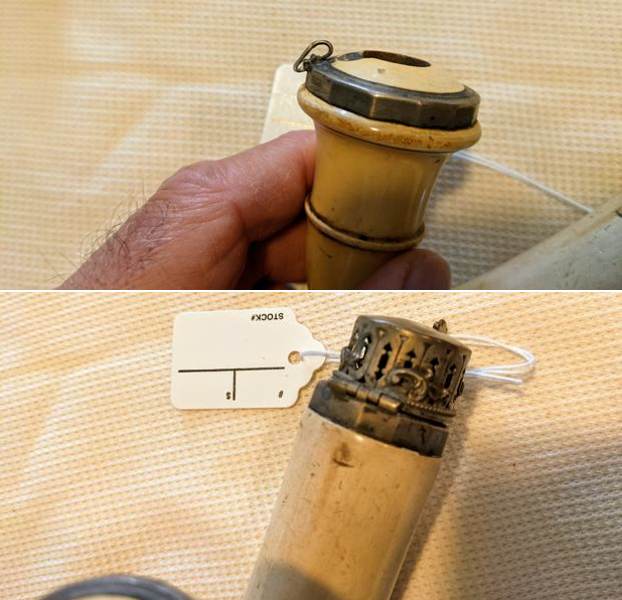
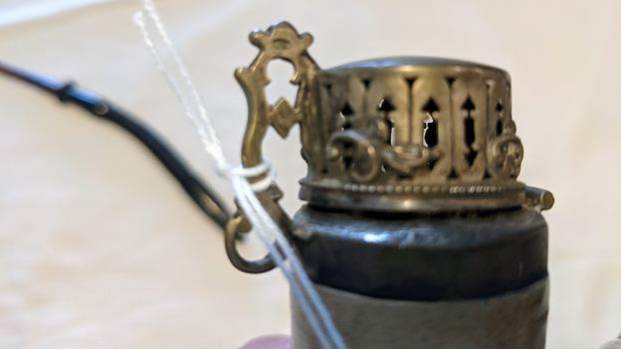
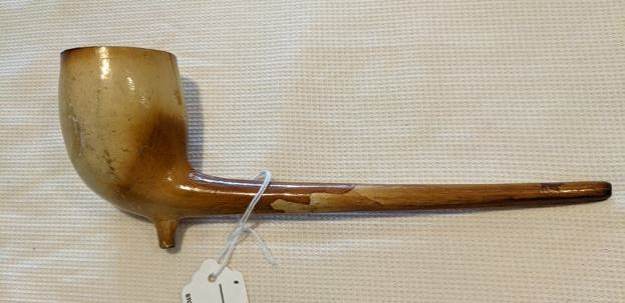
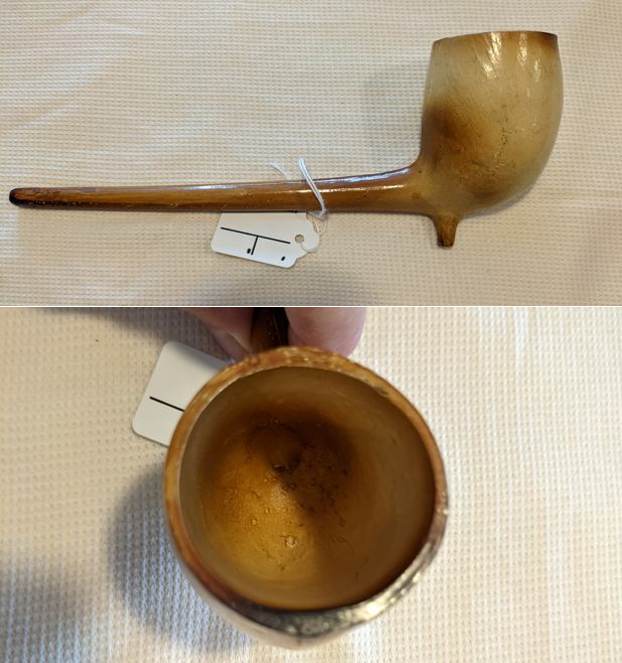
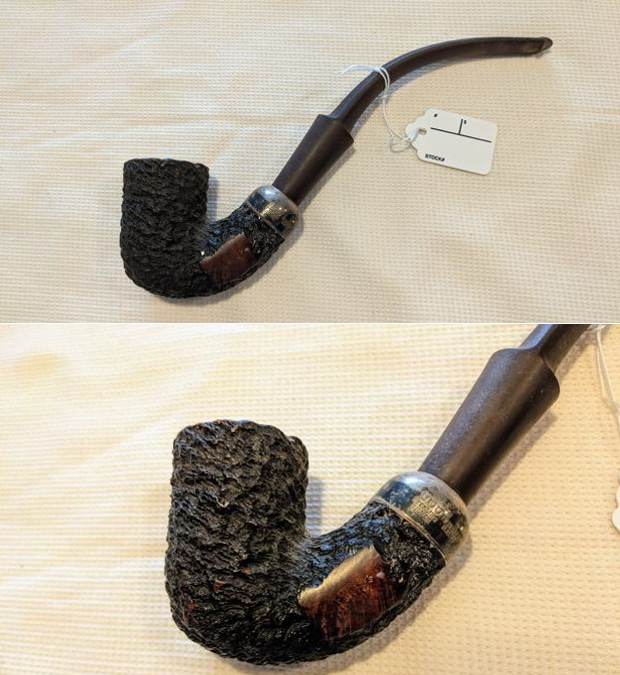
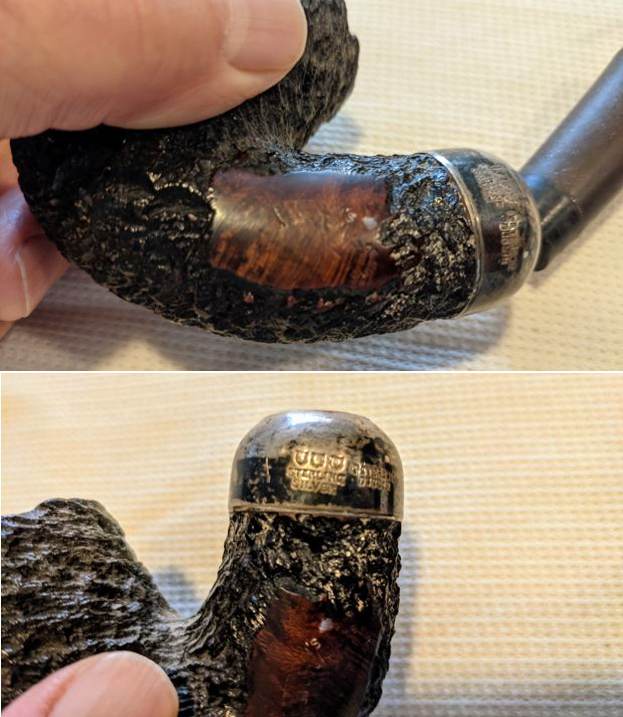
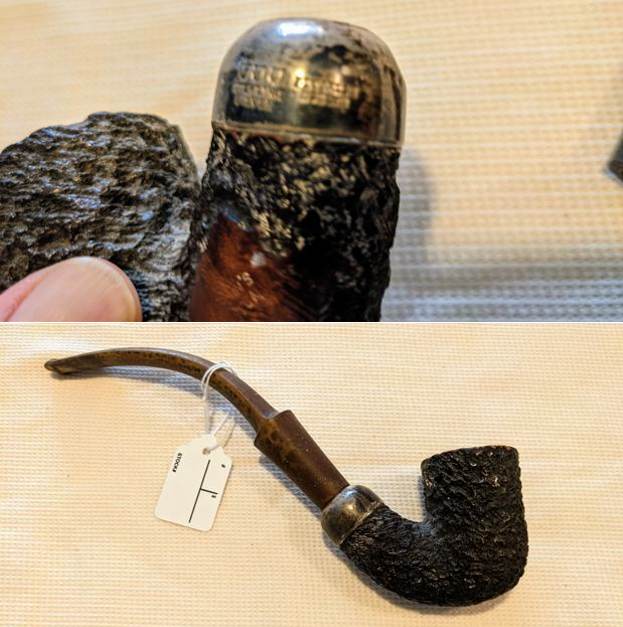
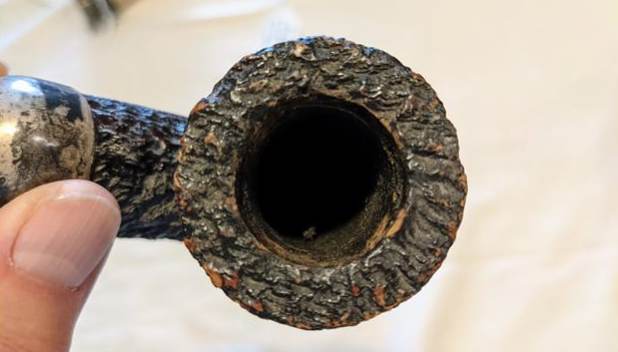
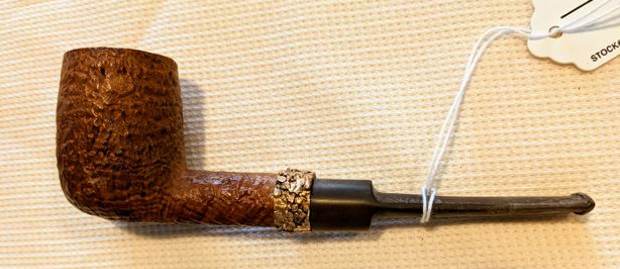
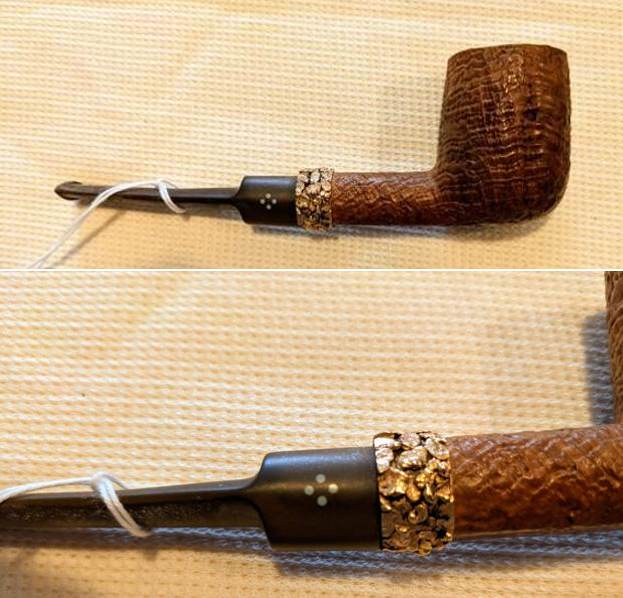
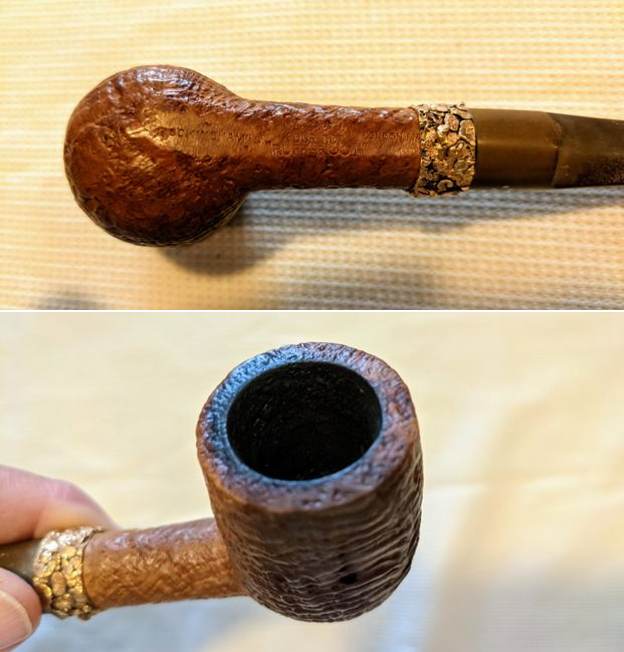
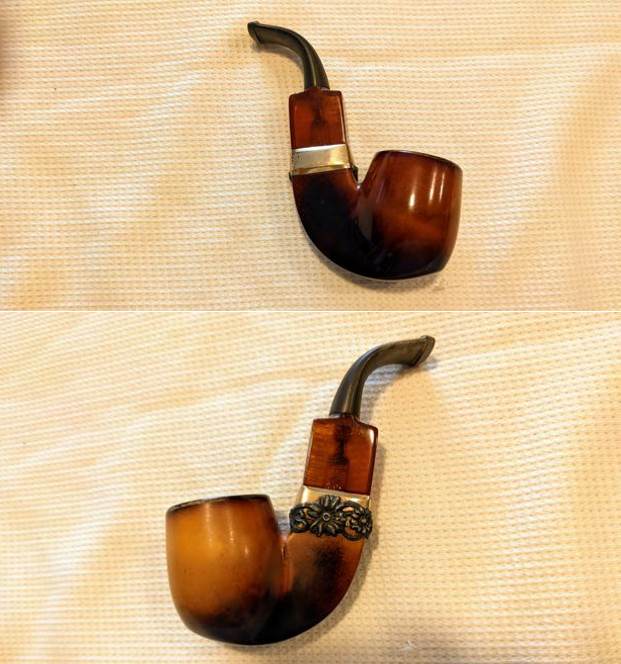
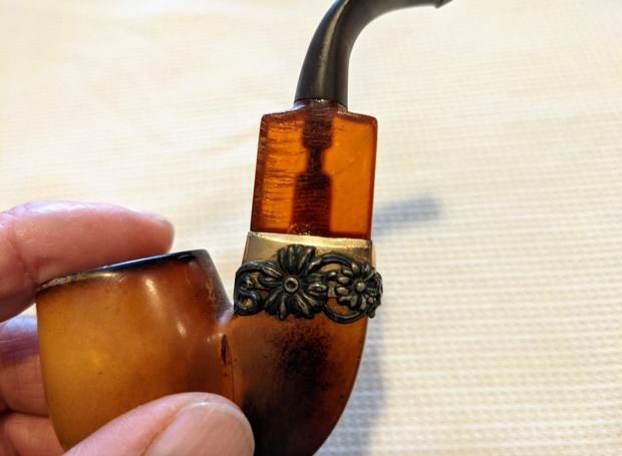
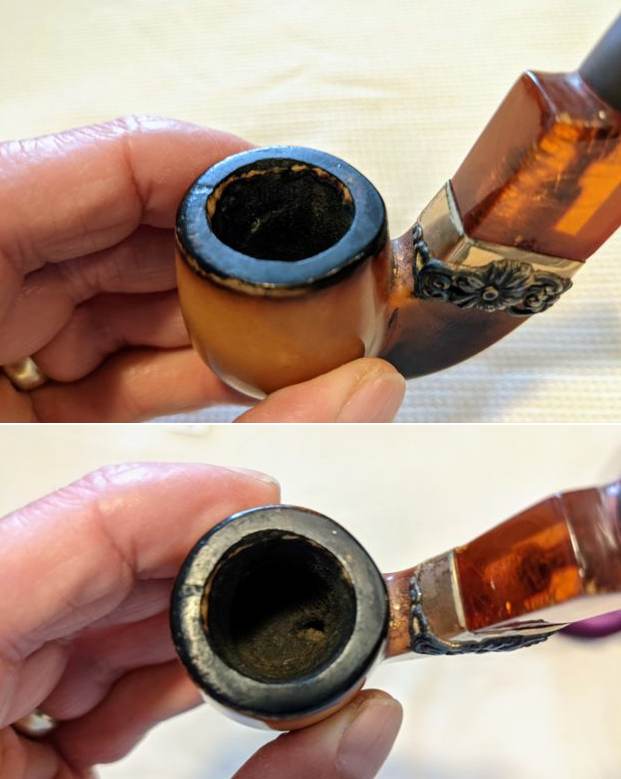
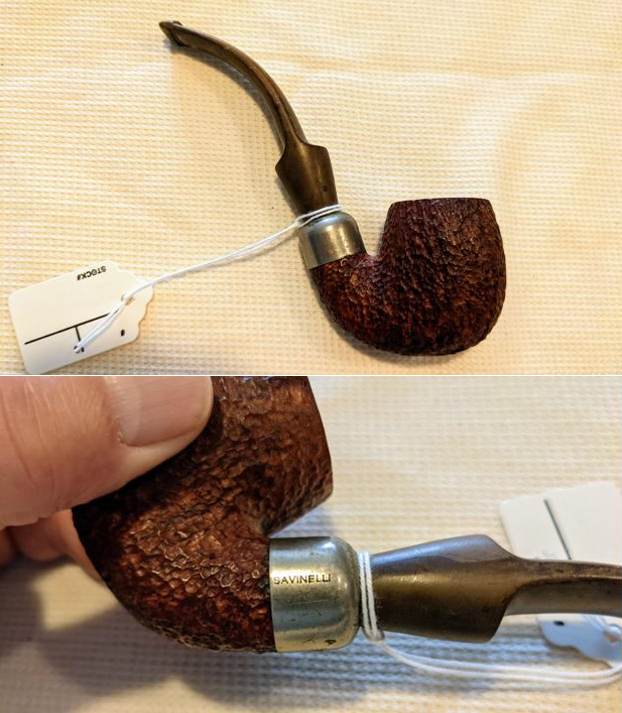
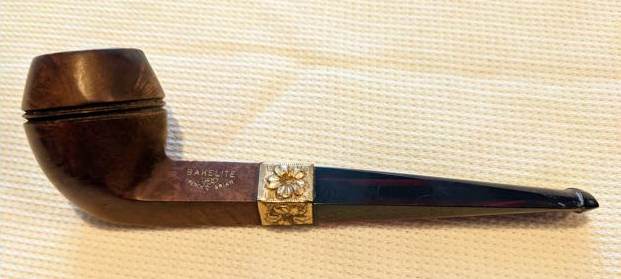
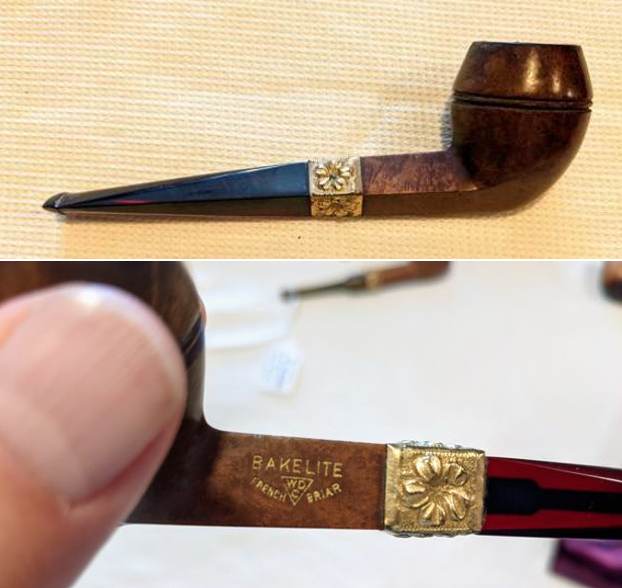
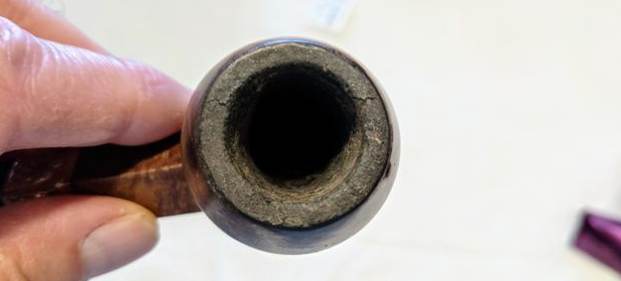
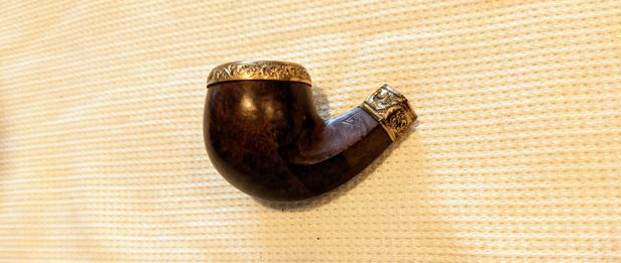
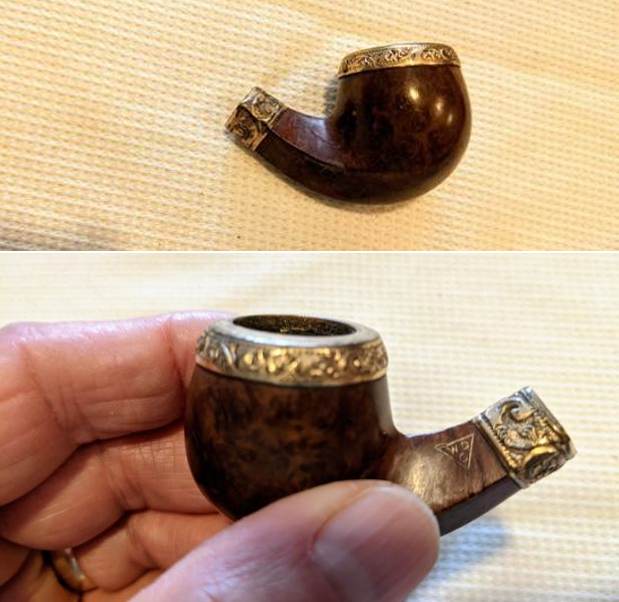
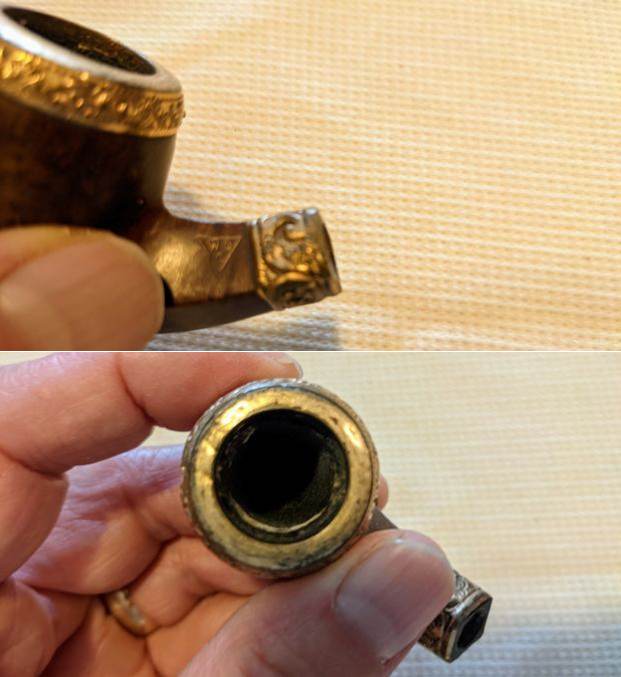
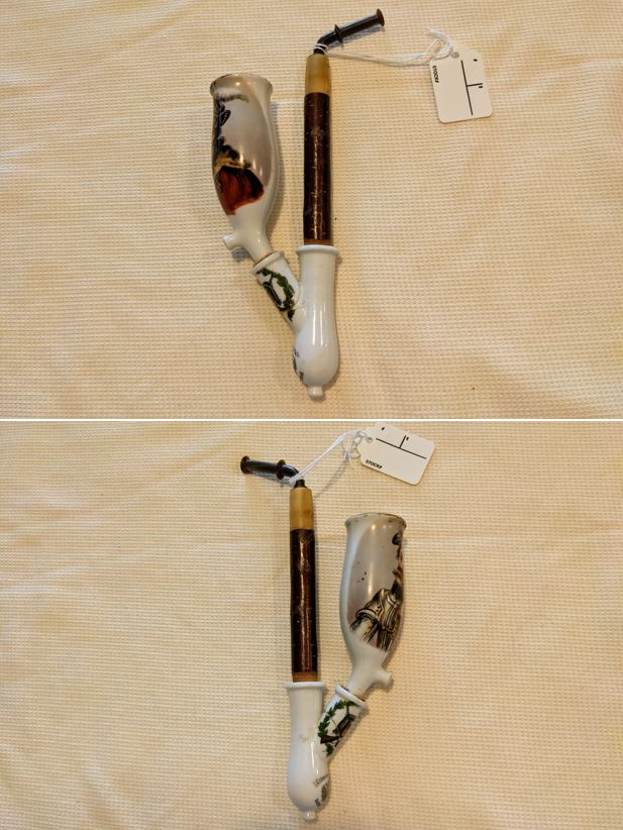
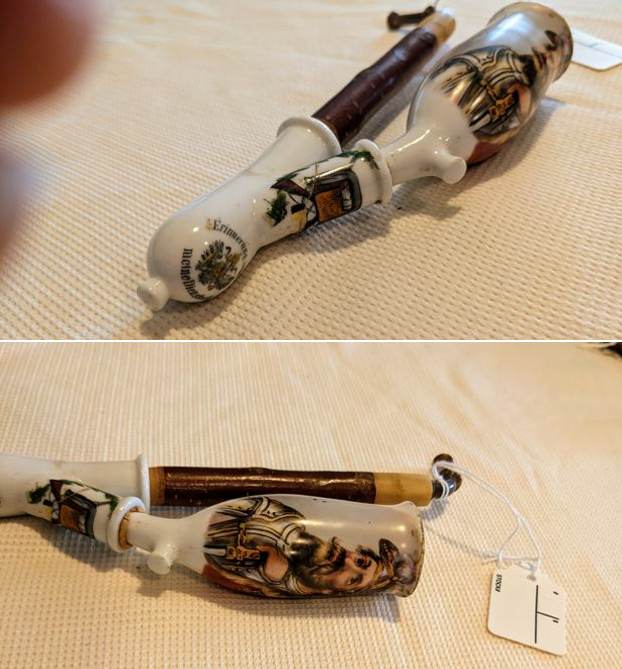
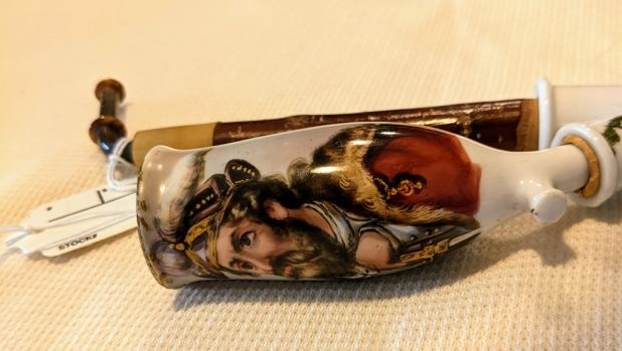
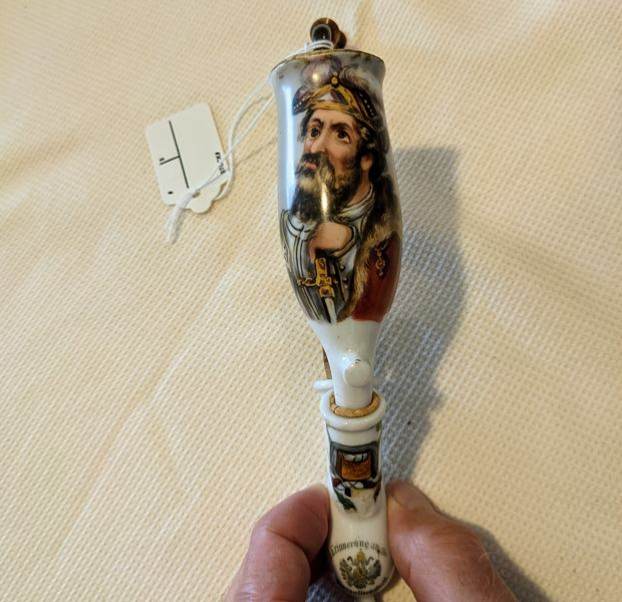
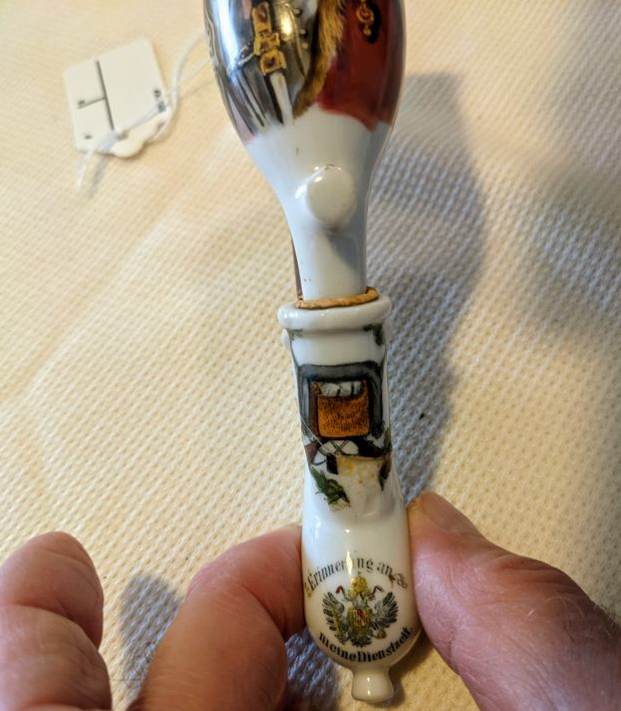
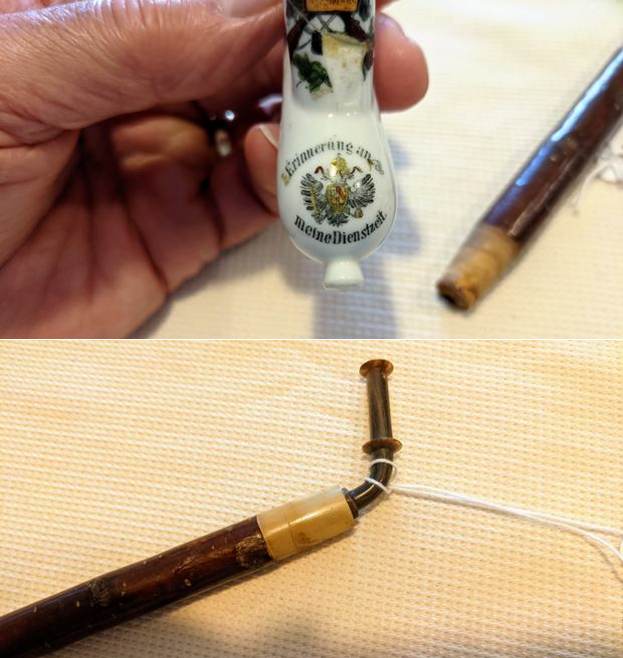
The first of these is an Ulm pipe I believe. The bowl is meerschaum and quite large and heavy. It has a metal wind cap over a rim cap as well as a shank cap and ferrule to hold the carved Cherry wood stem with a horn end, flexible hose portion and horn stem. It is an old timer that comes from that area of Europe. It is dirty and scratched but every kilometer of its journey can be seen in the bowl and shank of the pipe. I am looking forward to working on it. Here are some photos that were included by the seller. The second pipe is also a meerschaum. It has a wind and rim cap that is quite fancy. There is a shank end cape as well. The stem has a horn end and horn mouth piece with a flexible hose portion in the middle that is in quite good condition. The photos below show the pipe from a variety of angles and close up views. It will be another fun one to work on. The third one is a clay cutty or tavern pipe. It has some rich patina developing along the shank and bowl. It is quite delicate so I am quite amazed that it is still undamaged. Next is an older Peterson and one of the briar pipes in the collection. It is hard to read the silver hallmarks on the ferrule but the shape speaks of it being older. Here is the second briar pipe – a Sasieni Four Dot with a gold (coloured?) band that is like a pile of nuggets. Not my favourite pipe but look at the sandblast on the bowl and the condition of the stem. It is a pretty looking billiard with an ugly band. Back to another meerschaum. This one is a bent billiard with a rectangular shank, band and saddle stem. The stem is probably Bakelite but I am not sure. I will know more once I have it in hand to clean and restore. The third briar is a Savinelli Dry System pipe. The bowl has a great sandblast. The nickel ferrule is made for the filter style stem that holds a Savinelli Balsa Filter. Another of the older briars was made sometime between the late 1890s and early 1900s. It is a WDC (William DeMuth and Co. Bakelite French Briar straight Bulldog. The band around the shank is rolled gold with a floral pattern around the sides. The stem is ruby Bakelite and it is an attractive looking pipe. The last briar pipes was a bent apple bowl with a rolled gold rim cap and band on the shank. The pattern on both seems to be leaves or floral. I will know more for sure when it arrives here. The shank is stamped WDC in a triangle same as the pipe above. It was a well smoked with a thick cake in the bowl. The next pipe is a porcelain pipe that has come to be known as a wine pipe. The bowl and the base are porcelain and are fired with a beautiful figure on the bowl and accoutrements on the base. The shank is cherrywood and the top is horn that has a horn stem screwed into it. It is a fascinating pipe that I want to know more about once I start working on it. These are all with Jeff at the moment for him to work his magic. It will be a fun haul to work on as all have a fair bit of age on them and all have differing issues that will need to be dealt with. Keep an eye out on the blog for these pipes once I start working on them. There are really some fascinating pieces here that I can’t wait to ferret out the history about. Thanks for sharing in my excitement. Cheers.
Breathing Life into a 1921 Peterson’s Dublin Prince


Blog by Steve Laug

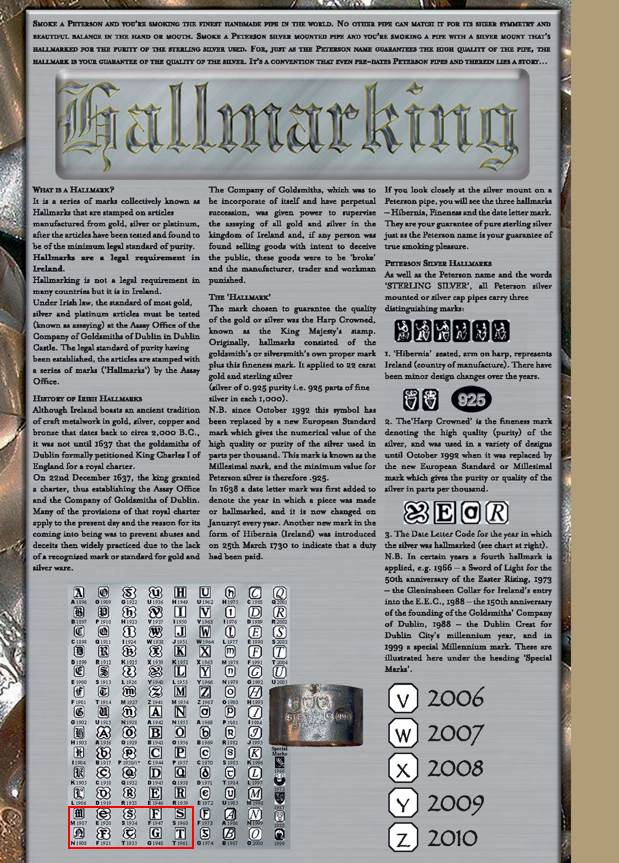
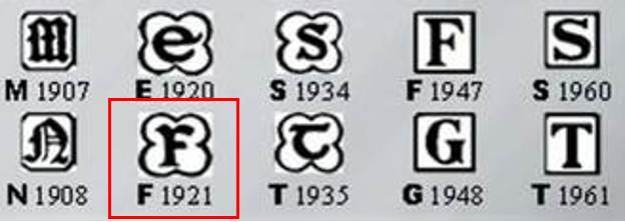
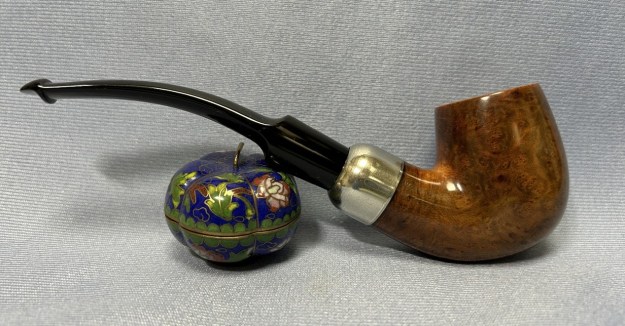
The next pipe came to me for work from a friend of mine. It is a nice looking Peterson’s Prince that was quite a mess. The finish was worn and tired with fading on the left side of the bowl and shank. The rim top was damaged and darkened with a lava build up. The inner edges of the rim were damaged and worn. The silver ferrule was tarnished but the stamping was readable. The stamping on the shank sides was readable with a lens. It is stamped diagonally on the left side and reads Peterson’s [over] Dublin. On the right side it is also stamped diagonally and reads Made In [over] Ireland. The silver ferrule is stamped K&P [over] three hallmarks -1. Hibernia seated on a throne (represents Ireland) 2. Crowned harp (signifying the quality of the silver) 3. The letter “f” (giving the year of manufacture). All are in scalloped square shaped cartouches. Under these it is stamped Peterson [over] Dublin. I will need to confirm the date stamps and the stamping to confirm the dating of the pipe. I have included the pictures of the pipe that my friend sent to me early on in our conversation.It took nearly a month for the pipes to arrive in Canada for me to work on. I took photos of them to have an idea of what I was dealing with. You can see from the photos what I saw. The finish is really worn and faded on the left side mid bowl back to the ferrule on the shank. The older finish was dark on the rest of the bowl. Rim top showed darkening as noted above and there were cuts or marks on the top of the rim. The inner edge had some damage and nicks at the front side of the bowl. There was a build up of lava on the rim top and a light build up of cake in the bowl. The silver ferrule was tarnished but readable. I took some photos of the rim top and bowl to capture the condition of the pipe. You can see the cake in the bowl. There is heavier lava on the top left and back of the rim than on the rest. There was damage all around the inner edge of the bowl that included reaming and burn damage. The military stick bit style stem was heavily oxidized and there was some calcification on the top and underside of the stem near the button. There were tooth marks and chatter on both sides.I took photos of the stamping on the shank sides and the silver ferrule to try and capture them as best as I could. They were weak but they are readable with a lens. They read as noted above.I removed the stem from the bowl and took a photo of it to show its appearance. The tenon end of the stem has some calcification (or possibly some dried silver polish) where it sat against the silver.Before I started the restoration process on the pipe I wanted to confirm the date that my friend had sent to me for this pipe. I turned to Peterson’s Hallmark Chart that I have on rebornpipes to pin down the date (https://rebornpipes.com/tag/peterson-hallmark-chart/). I have include a copy of that chart below. I drew a red box around the date stamp that matches the one on the pipe. It is indeed a 1921 Peterson. I expanded the chart above and captured the section that included the section from 1907-1961 below. It confirms that the date is indeed 1921.Now I knew that I was working on a Peterson Prince made in 1921 and the Dublin stamp tells me it was made in Dublin.

I turned to Peterson’s Dublin in the book, The Peterson Pipe by Mark Irwin & Gary Malmberg. I quote from that section below:

 Dublin (1906-2003) Although DUBLIN appears under PETERSON’S on many pipes over the decades, it has served mostly as part of the brand name. The word first appeared on pipes hallmarked 1906-11, stamped PETERSON’S over PATENT OVER DUBLIN. The simpler PETERSON’S over DUBLIN first appeared on pipes hallmarked 1912 after the expiration of the patent. Illustrations of pipes in the ’37 catalogue show a random dispersion of the stamp PETERSON’S over OF DUBLIN together with the ordinary PETERSON’S over DUBLIN on every model offered. Specimen of the former will bear either an Irish COM or LONDON MADE over ENGLAND COM and almost certainly date from 1945-62. It was first mentioned in print as part of a model name in the ’68 price list, as K&P DUBLIN, in ’92 for a Danish market line…

Armed with this information I started working on the pipe. I put the stem in a bath of Briarville’s Pipe Stem Deoxidizer to deal with the thick oxidation on the surface. I would let it sit for about 6 hours and then remove it and work on it in the mean time I decided to work on the bowl. I lightly topped it with  220 grit sandpaper on a topping board to remove the damage on the rim top and the thick lava coat.I reamed the bowl with a PipNet pipe reamer to remove the cake from the bowl. I cleaned up the remaining cake with a Savinelli Fistall Pipe Knife. I sanded the bowl with 220 grit sandpaper wrapped around a piece of dowel to smooth out the inside of the bowl. The walls looked very good with no checking or heat damage. After reaming the bowl I turned my attention back to the rim edge and top of the bowl. I worked over the edge of the bowl with 220 grit sandpaper to smooth out the burned edge and the rim top. I wrapped a small wood ball in sandpaper and used it to sand the top and inner edge and give it a light bevel to minimize the inner edge. I scrubbed the bowl with Murphy’s Oil Soap to clean off the thick oils and grime ground into the surface of the briar. I scrubbed it on undiluted and rinsed it off with warm water to remove the soap and the grime. The bowl looked much better and the grain really began to stand out clearly. I cleaned out the shank with pipe cleaners, cotton swabs and 99% alcohol to remove the oils from the walls. It was filthy and when I was finished it smelled clean and fresh.I polished the briar (carefully avoiding the areas where the pipe is stamped on the shank sides) with micromesh sanding pads. I dry sanded it with 1500-12000 grit sanding pads. I wiped it down after each pad with a damp cloth to remove the sanding debris. I worked some Before & After Restoration Balm into the surface of the smooth briar with my finger tips. The product is amazing and works to clean, enliven and protect the briar. I let it sit on the briar for 10 or more minutes and then buff it off with a soft cloth. It really makes the grain sing. I polished the silver ferrule with a jewelers cloth to remove the remaining tarnish/oxidation and protect it against further tarnishing. There are a few dings in the silver but I chose to leave them as part of the story of the pipe. I set the bowl aside and turned my attention to the stem. I took it out of the Briarville Pipe Stem Deoxidizer and cleaned off the outside and the inside of the stem. I rubbed the stem down with a paper towel to clean off the remaining oxidation. I cleaned out the inside of the stem with alcohol and pipe cleaners.I “painted” the tooth marks in the vulcanite with the flame of a Bic lighter and was able to life the tooth marks to the surface. The surface looked really good.I polished the vulcanite with micromesh sanding pads. I used 1500-12000 grit pads to polish the vulcanite. I wiped down the stem with Obsidian Oil after each sanding pad. I have an oil impregnated piece of cloth that I use after each pad. I polished it further with Before & After Stem Polish both Fine and Extra Fine polishes. I gave it a further coat of Obsidian Oil and set it aside to dry.I put the pipe back together – the bowl with its new stem. This smooth finished 1921 Peterson’s Dublin Prince is a real beauty with great grain around the bowl. The thin P-lip style vulcanite stem works very well with silver ferrule and the medium brown briar. This Irish made Prince is a very collectible part of Peterson’s history. The grain on the bowl is quite beautiful and came alive with the buffing. I used Blue Diamond on the buffing wheel on both the bowl and stem. I gave both multiple coats of carnauba wax on the wheel then buffed it with a clean buffing pad to raise the shine. I hand buffed it with a microfibre cloth to deepen the shine. The Peterson’s Prince feels great in the hand. It is lightweight and the contrast in the browns of the briar, the sterling silver ferrule and the polished vulcanite stem is quite amazing. The dimensions of the pipe are Length: 6 inches, Height: 1 ½ inches, Outer diameter of the bowl: 1 ¼ inches, Chamber diameter: 7/8 of an inch. The weight of the pipe is 1.20 ounces/34 grams. It really is a beauty. I have three other pipes to work on from my friends collection and then I will send them all back to him. Thanks for walking through the restemming and the restoration with me. Cheers.

Restoring a Republic Era Peterson’s Kapet 124


Blog by Steve Laug

A while back I received a small box of pipes from a fellow pipeman who wanted to donate them to support  the non-profit organization I work for – the SA Foundation (www.safoundation.com). The organization has been providing long term recovery, housing and job training for women who have escaped sexual exploitation and trafficking. For over thirty years the work has gone on and thousands of young women and their children have been empowered to start over with skills and options. The work is currently in 7 countries and 12 cities around the world. If you are interested give the website a look.

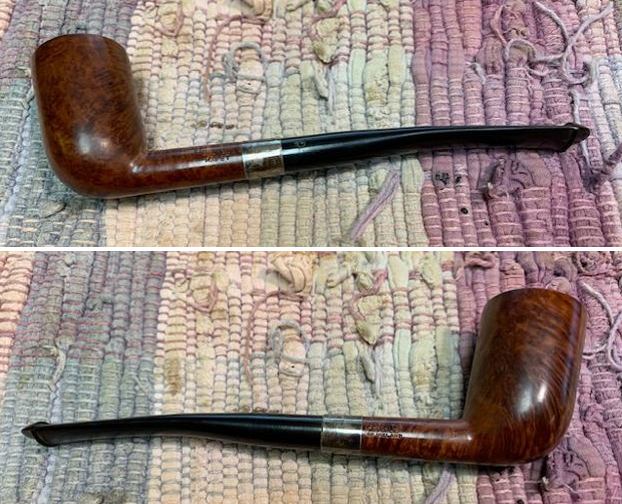
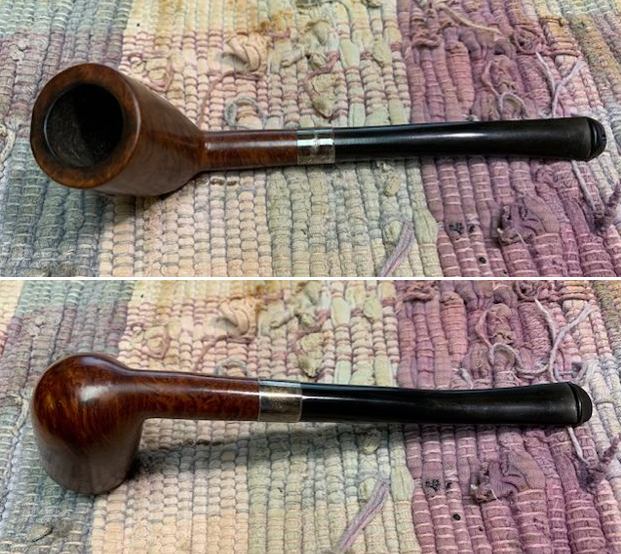
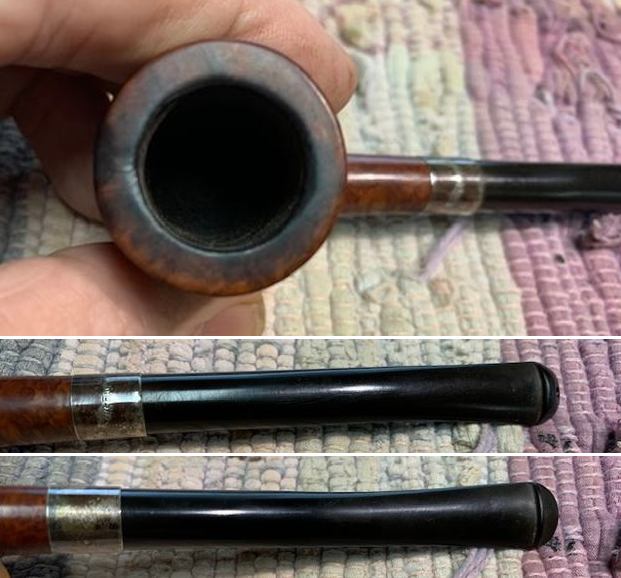
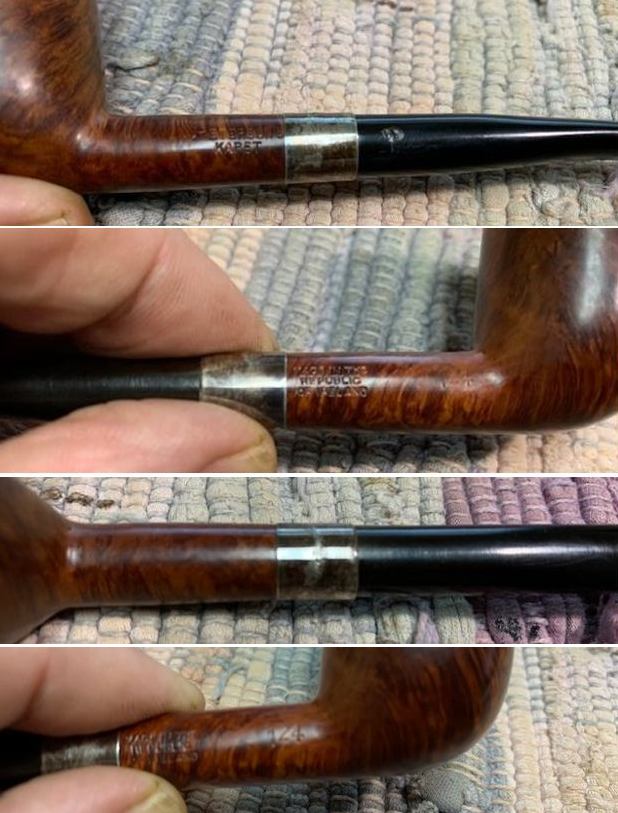
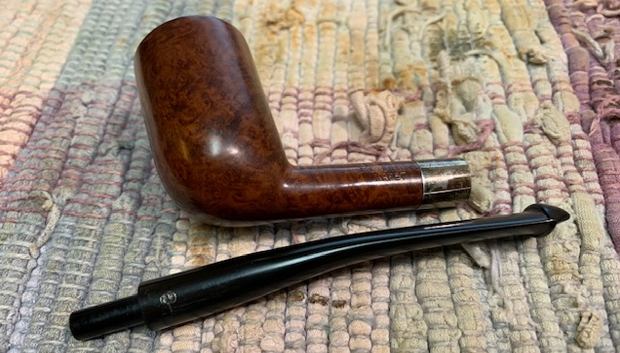
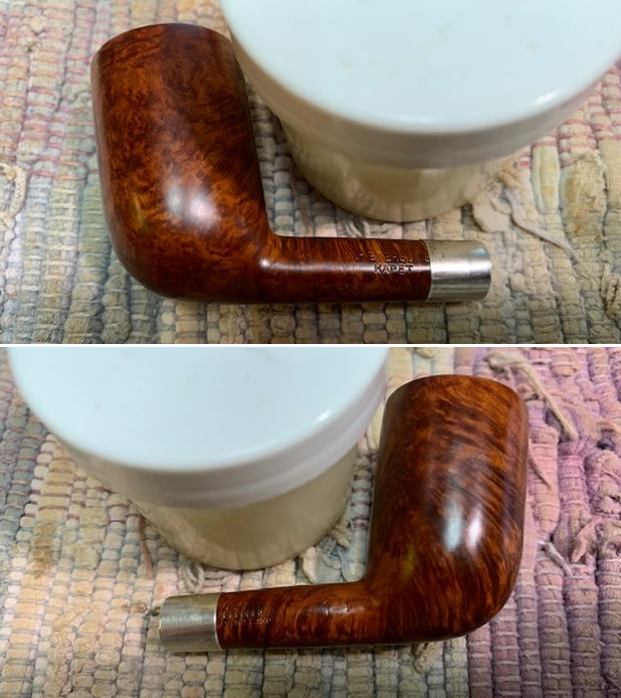
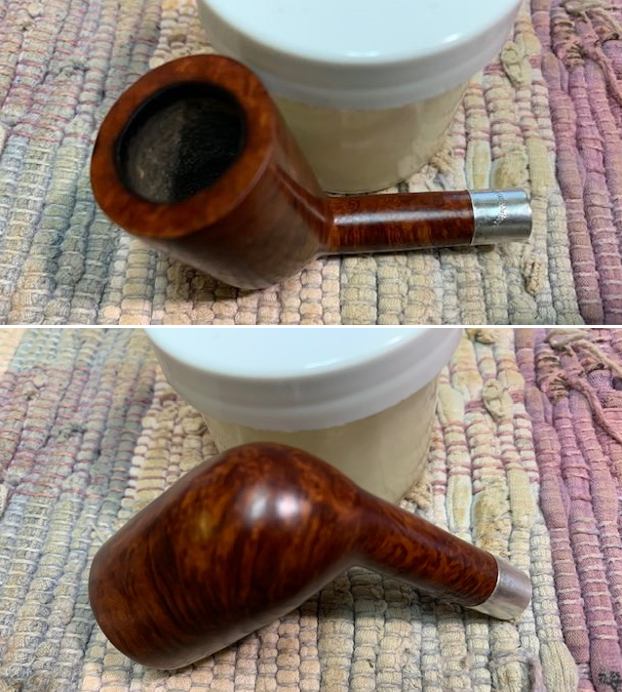
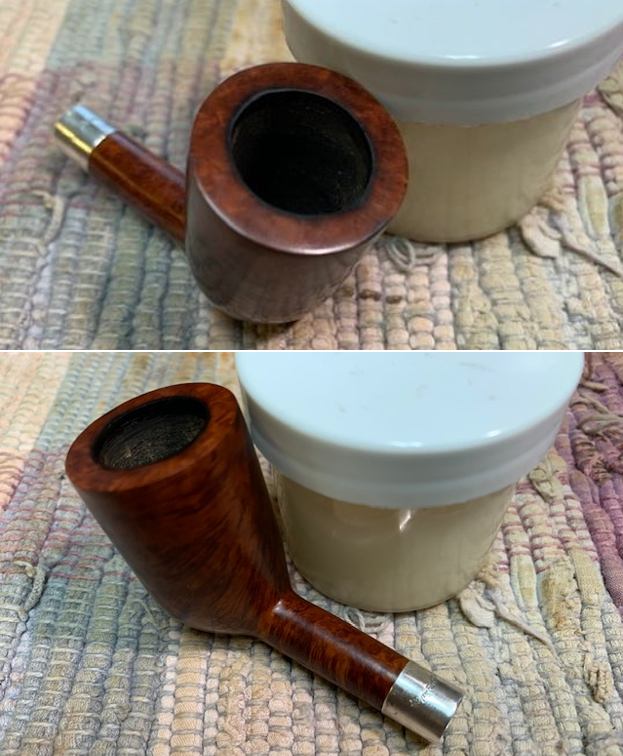
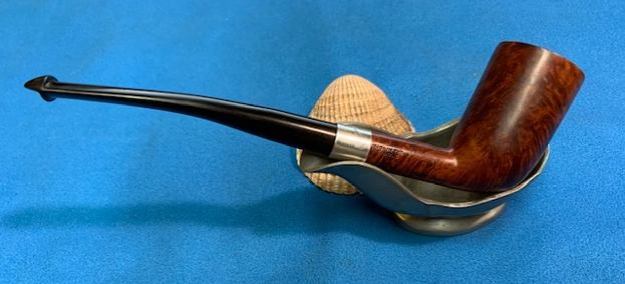
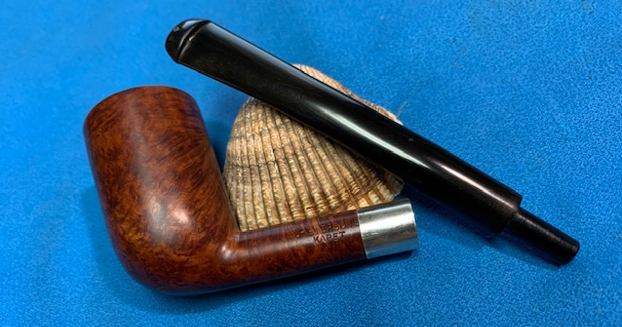
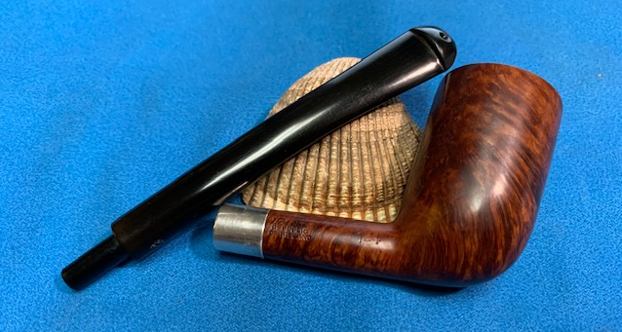
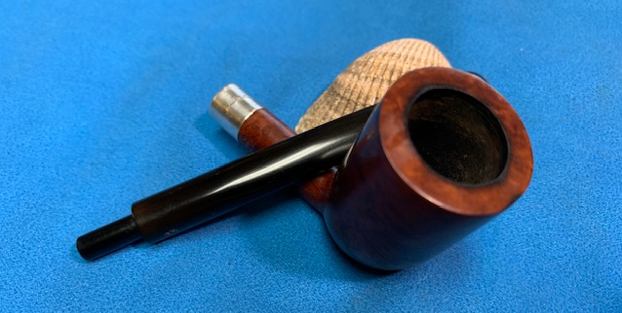
Now back to the pipes. The first one I restored was a large Irish Second 05 Calabash that will be going to the fellow I repaired the cracked one for. This will give him another option to smoke should that one give him further issues. Today I took on a second pipe from the lot. It is a very unique looking Peterson’s Kapet pipe in a shape 124 – a shape I have not seen or worked on before and one that I want to learn about as I worked on it. All of the pipes were in clean condition and had been reamed. This long canted looking pipe that is kind of a cutty had some burn marks on the front and back outer edge of the rim. The bowl was quite clean but I could smell the tobacco. The pipe was stamped on the left side and read Peterson’s [over] Kapet and on the right side it read Made in the Republic of Ireland. There was a silver band on the shank that was oxidized but otherwise in good condition and bears a Sterling Silver stamp on the top side. I think it is an after market band but I do not see any cracks in the shank that would say it was a repair. The stem was lightly oxidized and had tooth chatter on both sides ahead of the P-lip. The gold P stamp on the left side of the stem was faded.

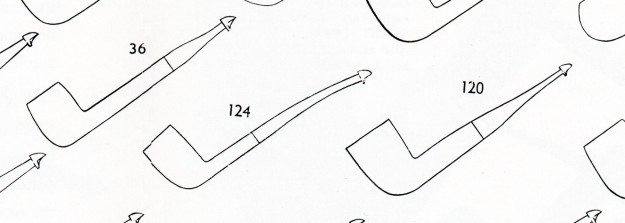
I took some photos of the pipe before I started my clean up work on it. It is a very unique and interesting looking pipe. The bowl is forward canted and has a pencil shank. It is similar in terms of shank and style to the line of Specialty Briars that Peterson put out – the Tankard, the Barrel, the Calabash and the Belgique. It could easily fit in that line of pipes but I would need to do a bit of research to see where it fit. I took photos of the bowl and rim top as well as the stem to show the condition of the pipe. The rim top had burn damage on the top and also damage on the inner and outer edge of the bowl. The stem itself were in good condition other than a few light tooth marks and some chatter.I took photos of the stamping on the sides of the shank. It was clear and readable as noted above. The photo of the silver band shows the Sterling Silver Stamp on the top of the band.I removed the stem from the shank and took photos of the look of the pipe. The long pencil stem and shank are really well done and quite stunning. The grain around the bowl is very nice.I turned to an article that Mark Irwin had written on his Petersonpipenotes.org blog on the shape number 124 (https://petersonpipenotes.org/tag/peterson-shape-124/). I have included the first few paragraphs from Mark’s site and encourage you to read it further. Mark also included a shape chart that I have also included below.

This is the short story of a small, pencil-shanked shape that’s peculiarly Irish yet rarely seen, even in the Peterson catalog. The shape’s name seems to depend on what type of stem is attached to the end of the bowl—zulu, churchwarden or dublin.

After World War II, or “The Emergency” as it was known in Ireland, Peterson re-established their trade ties and, like other pipe-makers, found the demand for their pipes even greater than it had been seven years before. At some level of consciousness in the Irish spirit there was a nostalgia for something older and more secure, something that spoke of home, stillness, and rest.

Charles Peterson’s favorite Oversize house pipes, with their 7 and 12-inch mouthpieces, were a thing of distant memory. The smaller-bowled straight “reading pipes” of the Patent Era, which also symbolized a leisurely evening’s smoke at home, were also forgotten.  But the ache for what they represented must have returned, eventuating in Peterson’s first batch of Specialty Briars “church wardens,” illustrated in the 1945 catalog and 1947 shape chart with the iconic 124, which Peterson dubbed a “dublin.”From Mark’s article it seemed that the shape came and went over the years. There were long periods where it was not made. Then periodically it came out in the mid 1960s, 1983, 1993-2018. I really think that this pipe is either the mid 1960s era or the 1983 period pipe. Both would fit in the Republic Era. Even the 1993-2018 would also fit that time frame. Now it was time to work on the pipe.

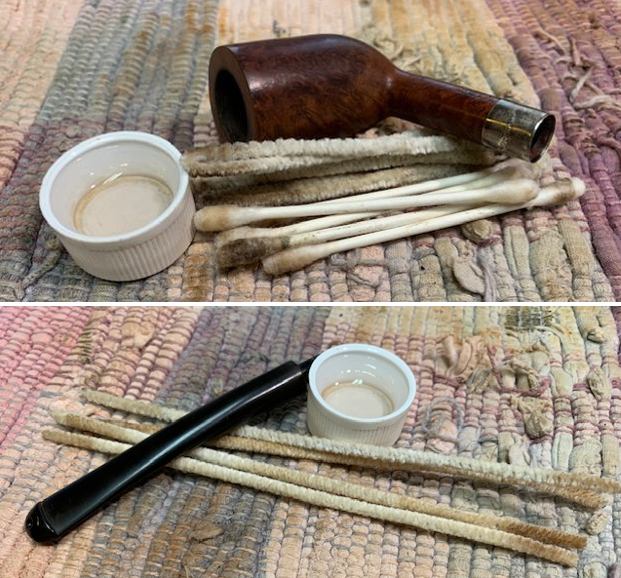
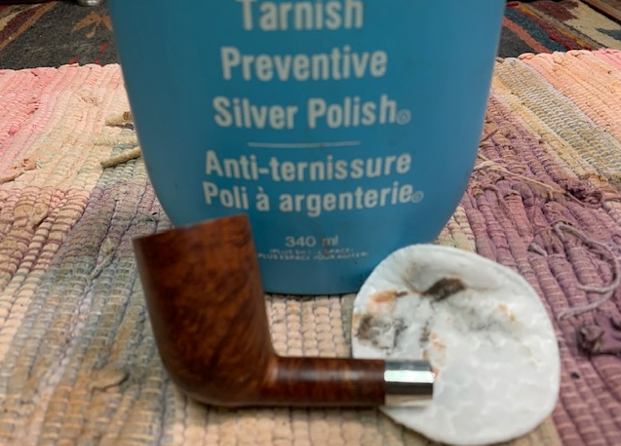
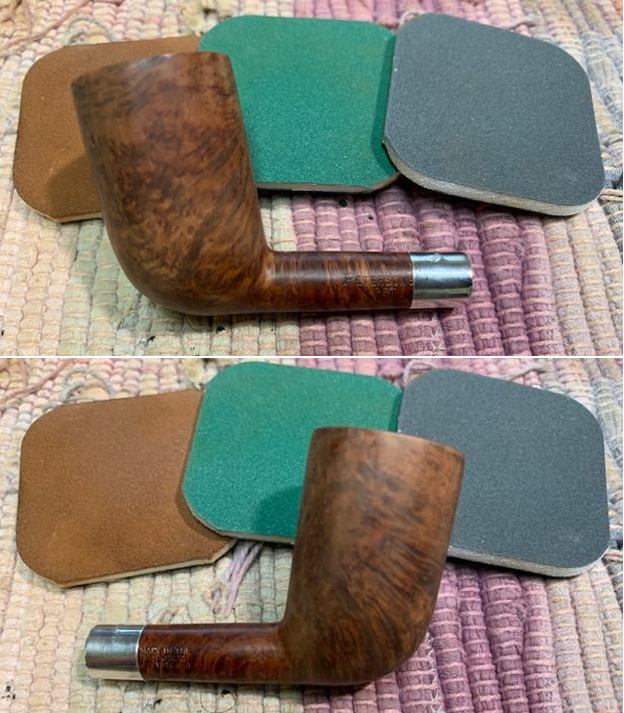
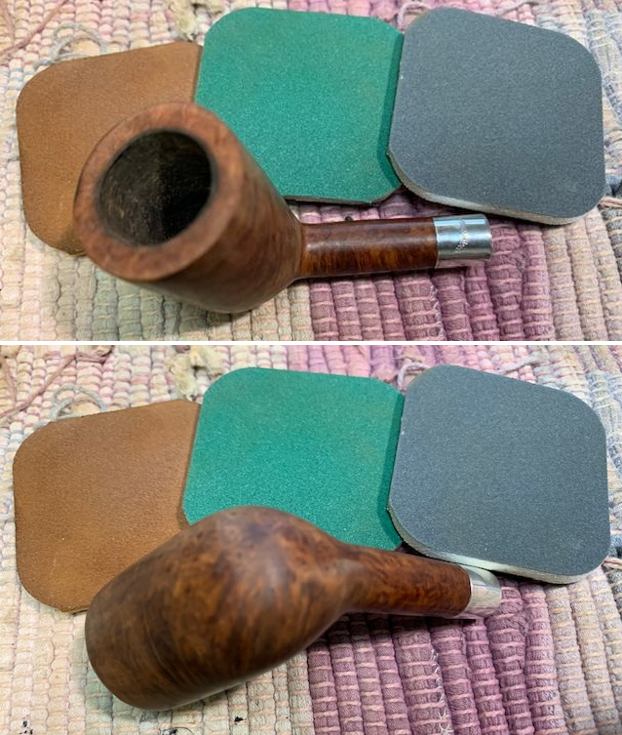
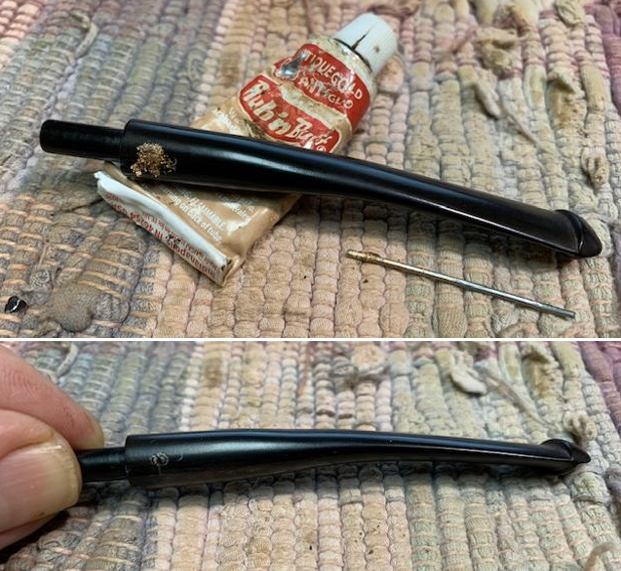
I started my work on the pipe with the interior of the pipe. I cleaned the bowl, the shank and the airway in both the stem and shank with alcohol, pipe cleaners and cotton swabs until the interior of the pipe was very clean.I polished the tarnished silver band with a tarnish preventive silver polish until the tarnish was gone and the band shone! It is a pretty addition to this charming pipe.I polished the briar with micromesh sanding pads – dry sanding with 1500-12000 grit pads. I wiped the briar down with a damp cloth after each sanding pad. The briar really began to take on a deep shine by the end of the cycle of pads. I rubbed the bowl and shank down with Before & After Restoration Balm. I worked it into the surface of the bowl sides and shank with my fingertips to clean, enliven and protect the briar. I let the balm sit for ten minutes then buffed the bowl with a cotton cloth to raise the shine. I used some Rub’n Buff Antique Gold to touch up the P stamp on the left side of the taper stem. The stamping is faint but still very readable and the gold made it stand out better. I rubbed it into the stamp with a piece of paper clip and then buffed it off with a cotton pad.I polished the stem with micromesh sanding pads – 1500-12000 grit pads. I wiped it down with Obsidian Oil after each sanding pad. I used Before & After Pipe Polish – both Fine and Extra Fine to further polish the stem. This Republic Era Peterson’s Kapet 124 is a great looking pipe now that it has been restored, whatever you call the shape. The rich, brown stained finish around the bowl is quite beautiful and highlights grain very well. The finish works well with the Sterling Silver shank band and the  polished vulcanite taper stem. I put the stem back on the bowl and carefully buffed the pipe with Blue Diamond on the buffing wheel using a light touch on the briar. I gave the bowl and the stem multiple coats of carnauba wax on the buffing wheel and followed that by buffing the entire pipe with a clean buffing pad. I hand buffed the pipe with a microfiber cloth to deepen the shine. The finished Peterson’s Kapet 124 is very light and sits nicely in the hand and feels great. Give the finished pipe a look in the photos below. The dimensions of the pipe are Length: 6 ¼ inches, Height: 1 ¾ inches, Outside diameter of the bowl: 1 1/8 inches, Chamber diameter: ¾ inch. The weight of the pipe is 24 grams/.85 ounces. I will be putting it on the rebornpipes store shortly in the Irish Pipe Makers Section. If you are interested in adding this pipe to your collection send me a message or an email. Thanks for reading this blog and my reflections on the pipe while I worked on it. There are many more to come!

Restoring a Peterson’s of Dublin 1994 Pipe of the Year in a 999 Shape


Blog by Steve Laug

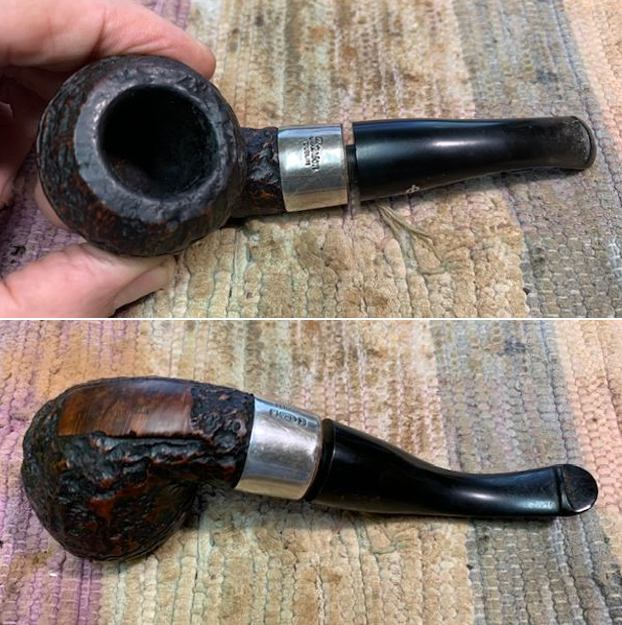
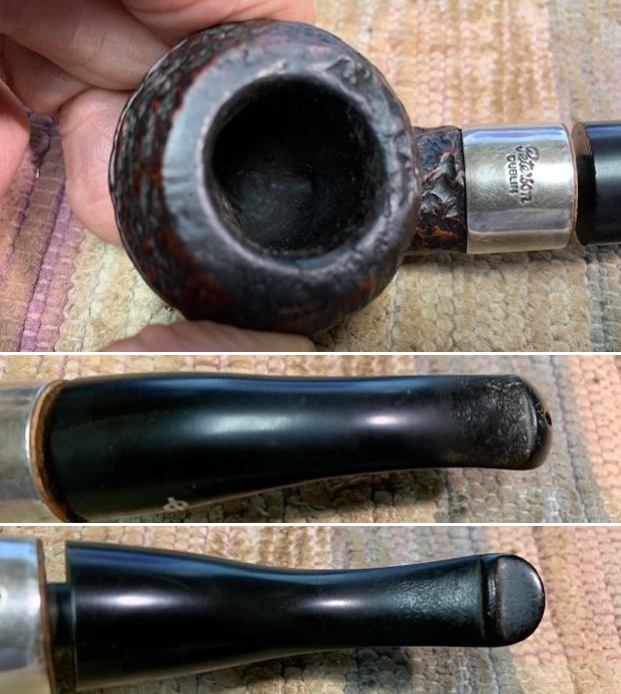
Yesterday a friend stopped by with a pipe he wanted me to have a look at and “spruce up” for him. He arrived in the heat of the day just before 5pm which is when it seems to be the hottest time here in Vancouver. He took the pipe out of his back pack and it was in the classic green Peterson of Dublin bag. He told me that he had picked it up at the Peterson’s shop in Dublin when he was there. It was hot out and he was with a friend so we did not go into details. The pipe appeared to be rusticated and looked to me like a Donegal Rocky in one of my favourite shapes – a Rhodesian 999. The bowl had a moderate cake and some lava on the rim top that needed attention. The rustication was dirty with dust of time ground in to the finish. The stem did not fit correctly in the shank. It should have been snug against the silver band but it was not. The silver “P” logo-ed stem was not too bad – no oxidation or build up. It had tooth chatter on both sides around the button. I took the pipe in and told him I would work on it and get back to him.

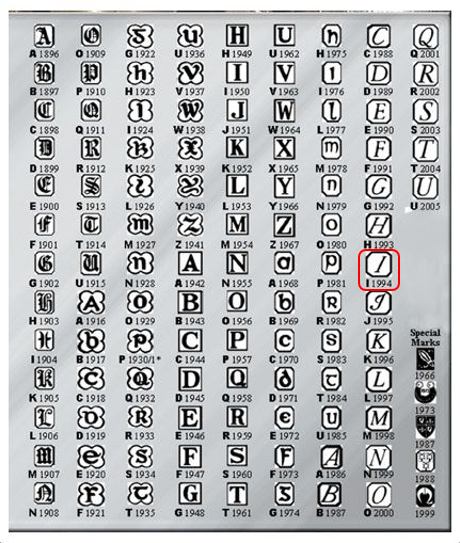
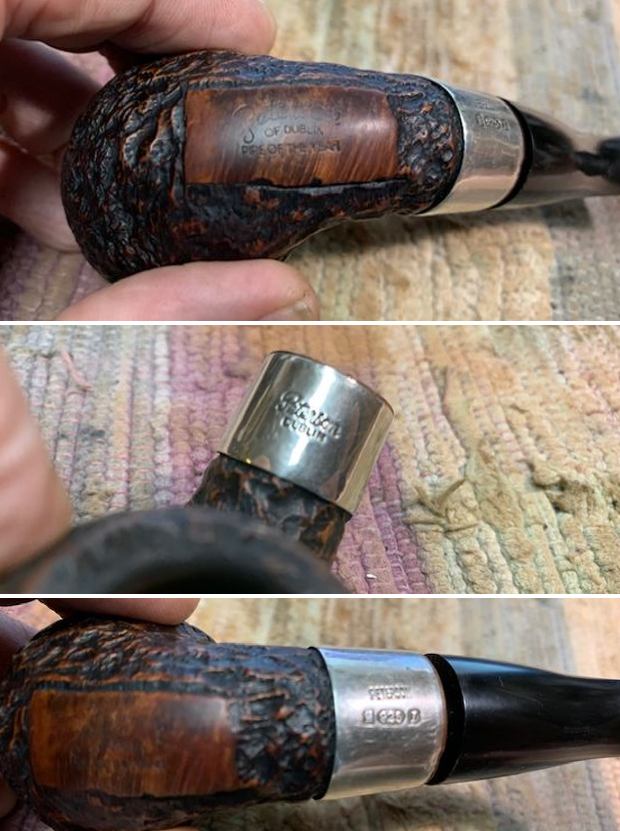
It was only later the next morning that I started working on it. I wanted to know what I was dealing with so I examined the faint stamping on the smooth panel on the underside of the shank. It read Peterson [arched over] OF DUBLIN [arched over] PIPE OF THE YEAR. There was no other stamping on the shank – no shape number and no year! I turned my attention to the silver band on the shank. It was a band and not a ferrule. It was stamped on the top and read Peterson [over] Dublin. On the underside it was stamped Peterson over three hallmarks – Hibernia seated (on the left) followed by 925 in an oval followed by an italic upper case “I”. That gave me the needed information. The Hibernia stamp identified it as made in Ireland, the 925 stamp was the quality of the silver and the italic I was the year. From the chart above that identified it as having been made in 1994 – at least the band was! I have drawn a red box around it in the above photo.

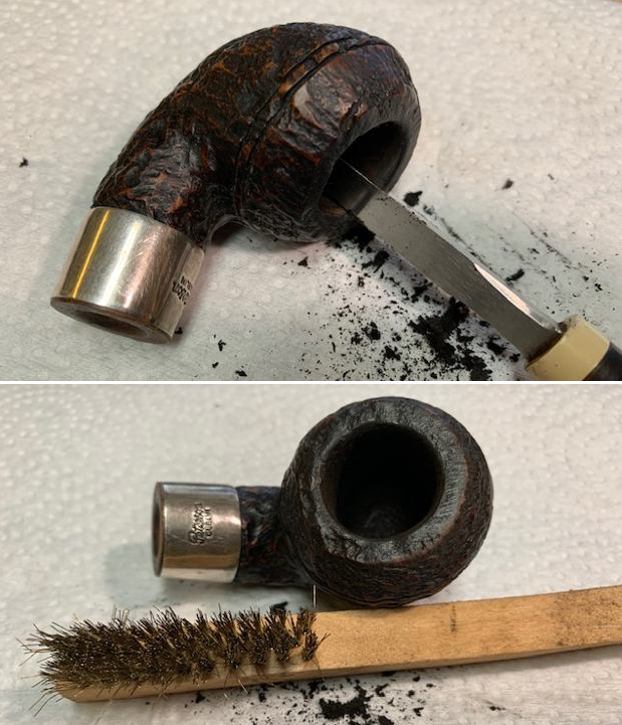
I took photos of the pipe before I started my work on it. These photos confirm the conditions noted above. The stem did not fit properly and my friend said it had been that way since he purchased it. The bowl was caked and the rim top had some lava overflow. The stem was clean other than the tooth chatter on both sides ahead of the P-lip button. It really was a nice looking pipe with a rugged rustication like the Donegal Rocky.I took a photo of the rim top and bowl to show the cake and the lava on the top. The first photo shows the gap where the stem does not fit the shank correctly. The stem photos show the tooth chatter on both sides.I took photos of the stamping on the underside of the shank and the band. They read as noted above. You can see the shape of the cartouche on each of the hallmarks.I started my work on the pipe by reaming the bowl with a Savinelli Fitsall Pipe Knife. I scraped the uneven cake back to bare briar so I could examine the walls on the bowl. It was in good condition. I used a brass bristle wire brush to scour off the lava on the rim top. It had filled in some of the rustication so the brush removed much of that. I scrubbed the rim top and the outside of the bowl and shank with a tooth brush and undiluted Murphy’s Oil Soap. I rinsed the bowl under running water to rinse off the soap and the debris. The bowl is beginning to take on a great look and the contrasting stains show well. I cleaned out the airway in the shank and the stem with 99% isopropyl alcohol, cotton swabs and pipe cleaners. I cleaned out the mortise carefully and was able to remove some stain and rubbish there that kept the stem from seating properly.I worked some Before & After Restoration Balm into the surface of the briar with my finger tips. I worked it into the crevices of the rustication with a horsehair shoe brush. The product continues to amaze me with it capacity to clean, enliven and protect the briar. I let it sit on the bowl for 10 minutes and then buffed it off with a soft cotton cloth. It is looking very good at this point.I polished the silver band with a jewelers cloth to remove the light tarnish and give it a deep shine. I set the bowl aside and turned my attention to the stem. I sanded out the tooth marks on the top and underside with a folded piece of 220 grit paper.I noticed that the tenon was a little larger in diameter at the stem end than the shank end. I would need to reduce it to the same diameter the entire length of the tenon for the fit to be right in the shank. I used a small file to work over the tenon. Once it was the right diameter I started the polishing of the tenon with 220 grit sandpaper.I polished the stem surface and the surface of the tenon with micromesh sanding pads – dry sanding it with 1500-12000 grit micromesh sanding pads. I wiped the stem down after each pad with some Obsidian Oil and finished the polishing it with Before & After Pipe Polish – both Fine and Extra Fine.I put the stem on the shank and lightly buffed the bowl and shank with Blue Diamond polish. I used a light touch so as not to get build up in the rustication. I used a heavier touch on the stem. The finished pipe with the properly fitted stem is a beauty. The Peterson Pipe of the Year from 1994 is a 999 shaped Rhodesian. The rusticated finish looks a lot like a Donegal Rocky. The fit of the stem to the shank is now flush and the feel in the hand is perfect. The pipe looks really good and has a rich shine. The dimensions of the pipe are – Length: 6 inches, Height: 1 ½ inches, Outside diameter of the bowl: 1 ¼ inches, Chamber diameter: 7/8 of an inch. The weight of the pipe is 60 grams/2.12 ounces. Give the finished pipe a look. I will be cleaning up my friend’s second pipe then giving him a call so he can pick them up. Thanks for walking with me through the blog. Cheers.