Blog by Steve Laug
Jeff and I picked up this collection of older pipes that came from an older professor who taught in Eastern Europe and still does when he can get there. There are a broad assortment of meerschaums, clays and some briars.
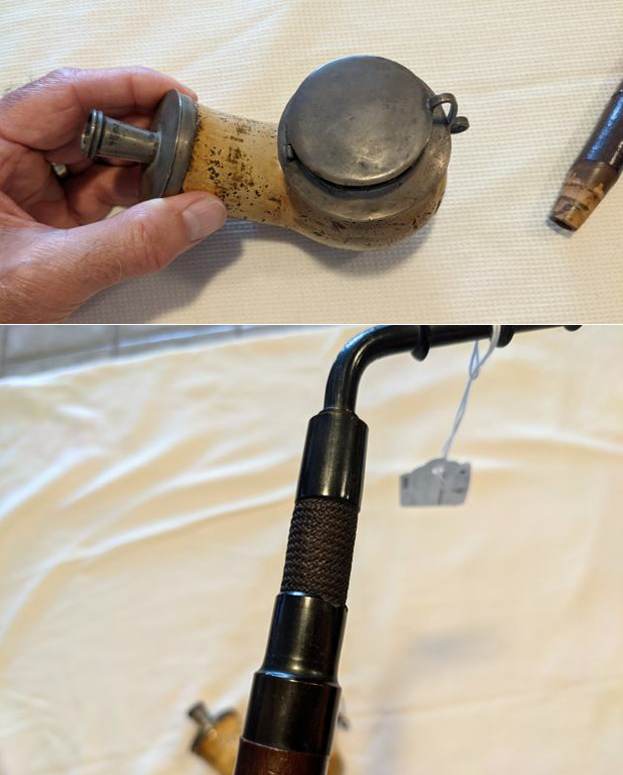
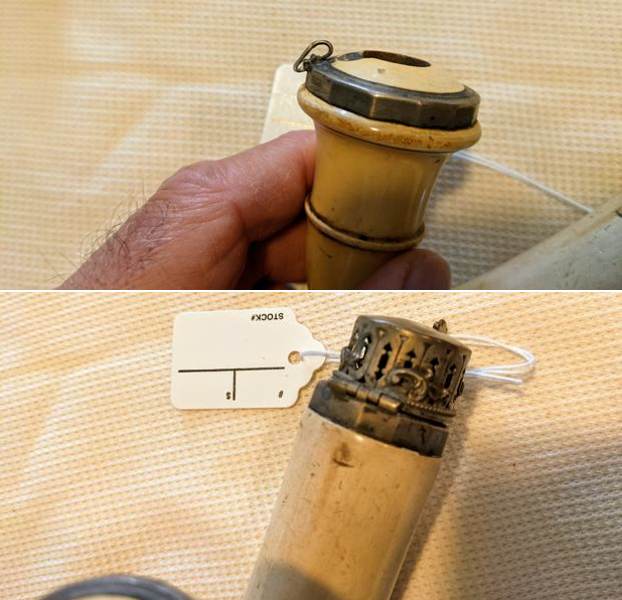
The first of these is an Ulm pipe I believe. The bowl is meerschaum and quite large and heavy. It has a metal wind cap over a rim cap as well as a shank cap and ferrule to hold the carved Cherry wood stem with a horn end, flexible hose portion and horn stem. It is an old timer that comes from that area of Europe. It is dirty and scratched but every kilometer of its journey can be seen in the bowl and shank of the pipe. I am looking forward to working on it. Here are some photos that were included by the seller.
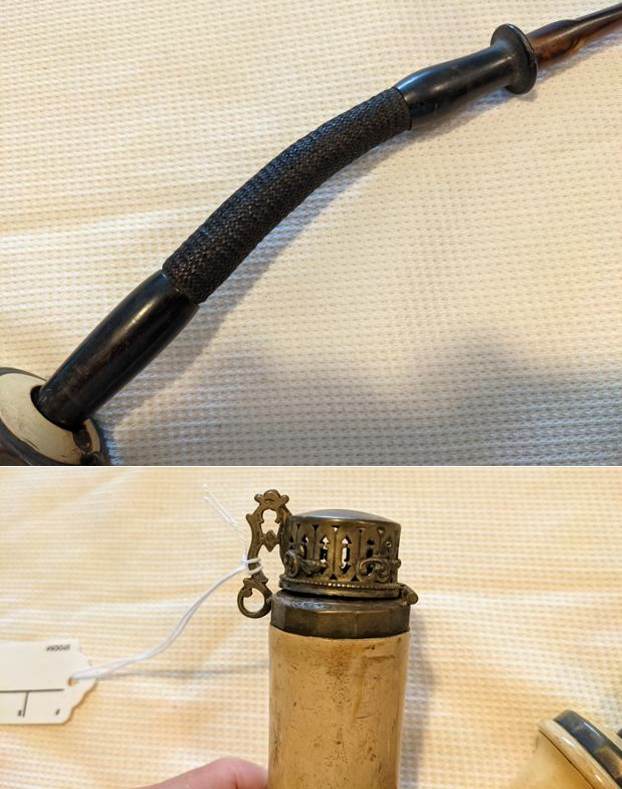
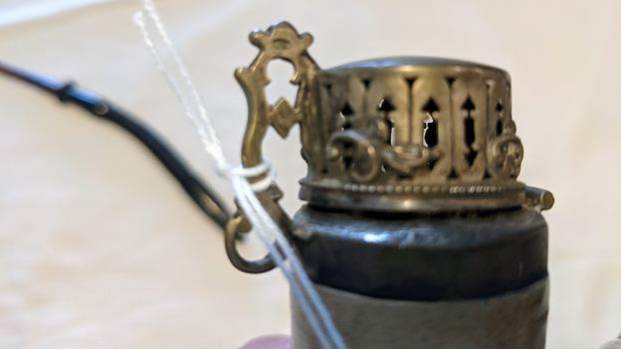
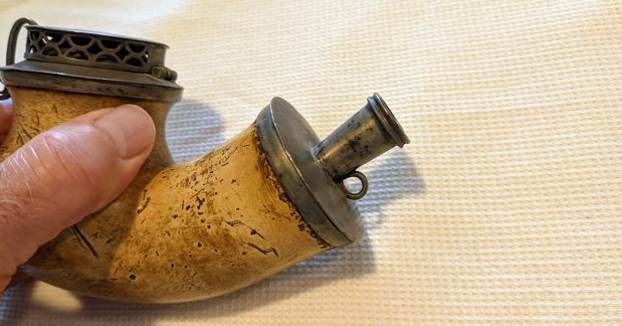 The second pipe is also a meerschaum. It has a wind and rim cap that is quite fancy. There is a shank end cape as well. The stem has a horn end and horn mouth piece with a flexible hose portion in the middle that is in quite good condition. The photos below show the pipe from a variety of angles and close up views. It will be another fun one to work on.
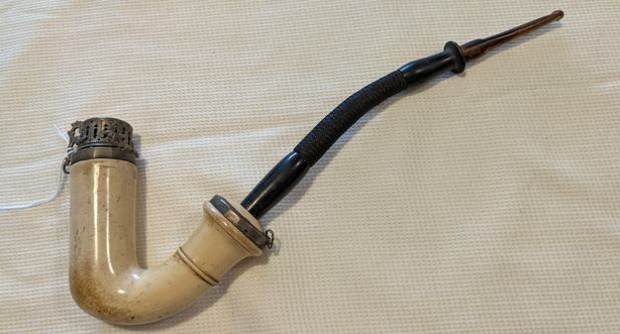

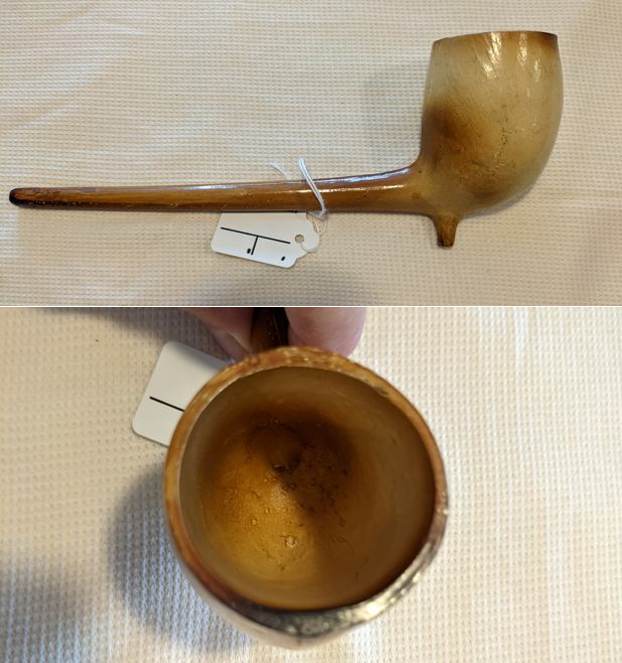
 The third one is a clay cutty or tavern pipe. It has some rich patina developing along the shank and bowl. It is quite delicate so I am quite amazed that it is still undamaged.
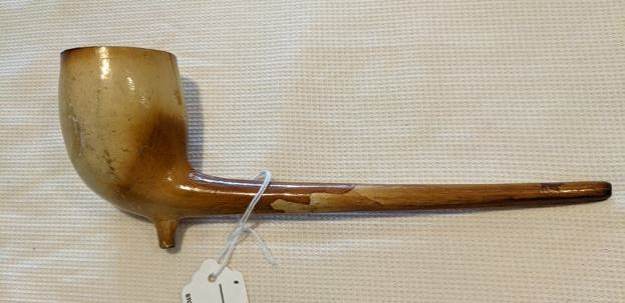
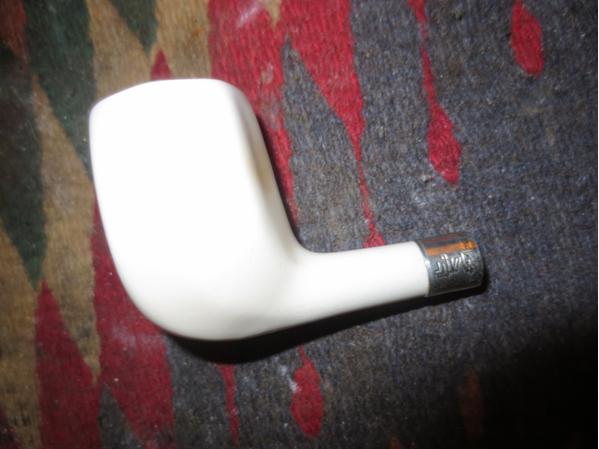
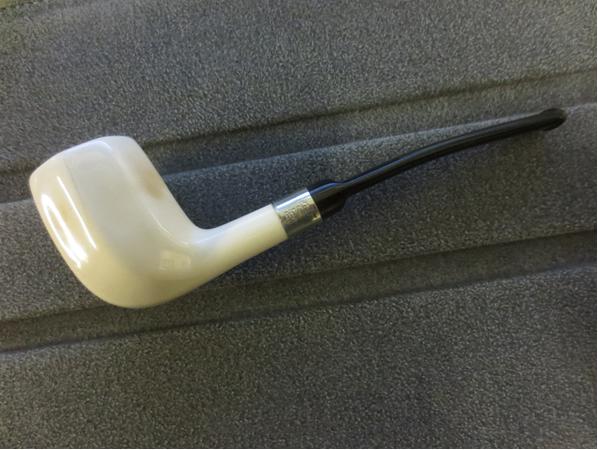
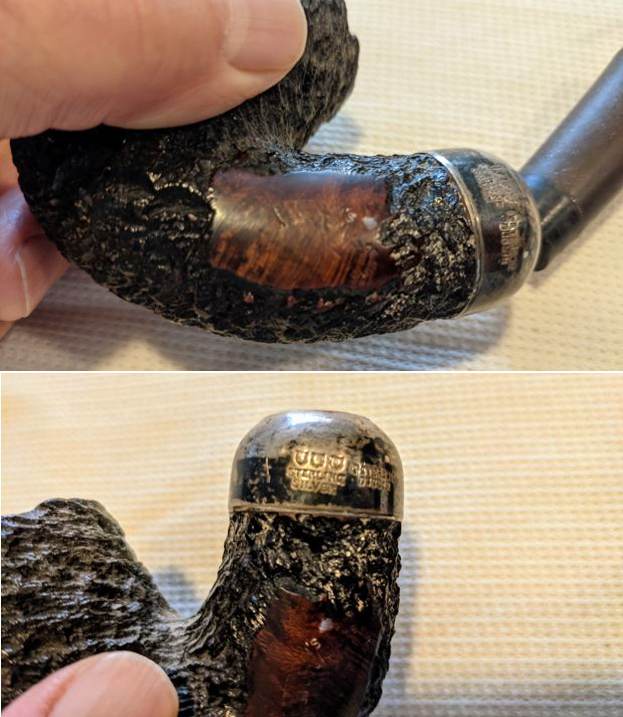
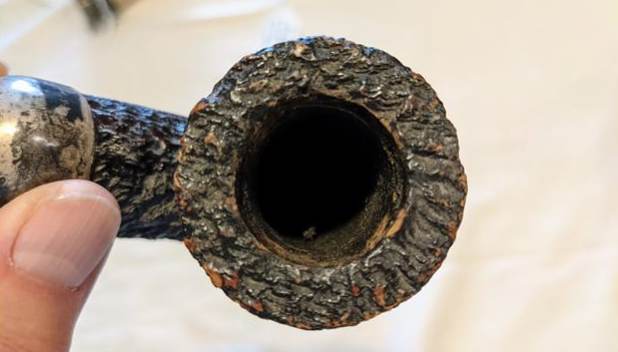
 Next is an older Peterson and one of the briar pipes in the collection. It is hard to read the silver hallmarks on the ferrule but the shape speaks of it being older.
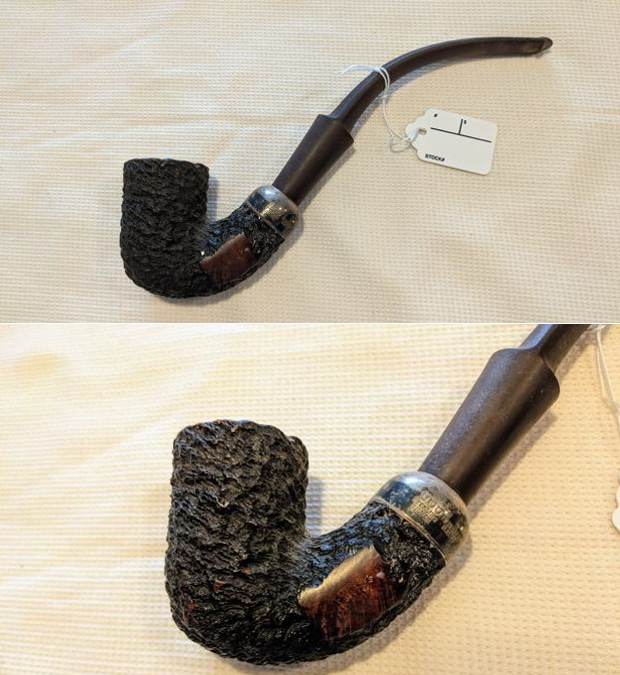

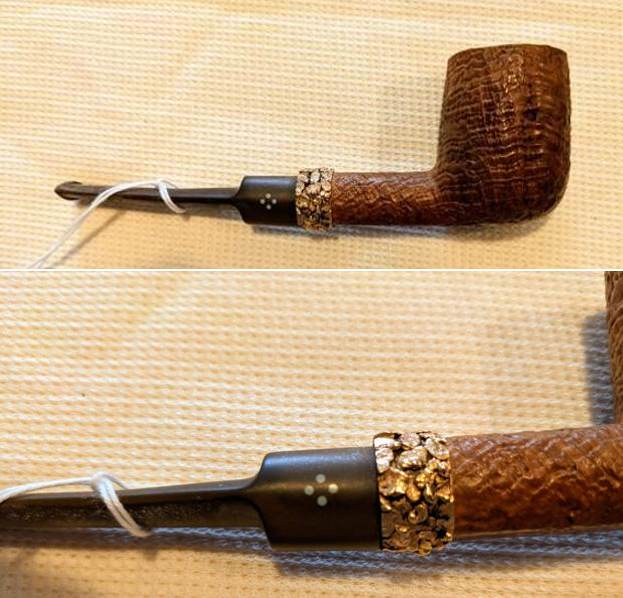
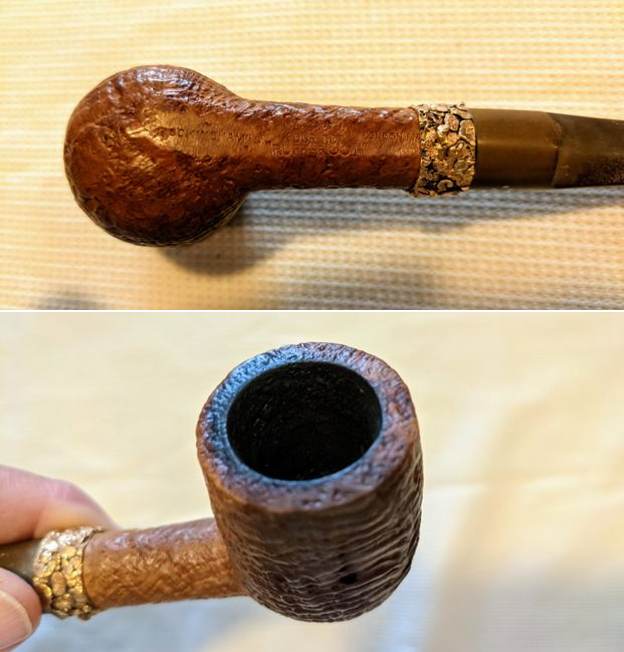
 Here is the second briar pipe – a Sasieni Four Dot with a gold (coloured?) band that is like a pile of nuggets. Not my favourite pipe but look at the sandblast on the bowl and the condition of the stem. It is a pretty looking billiard with an ugly band.
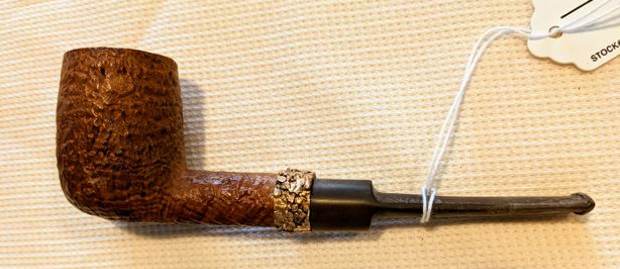
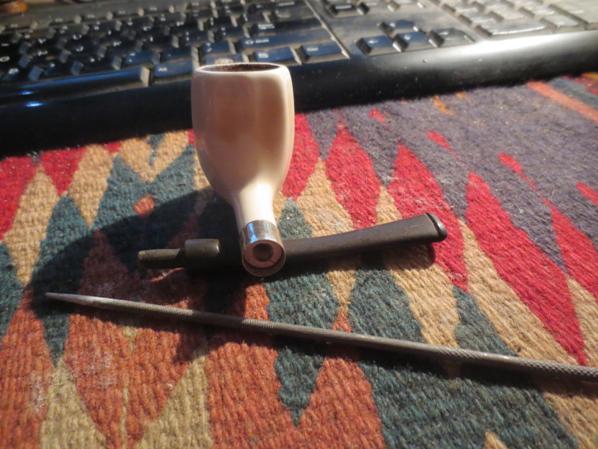
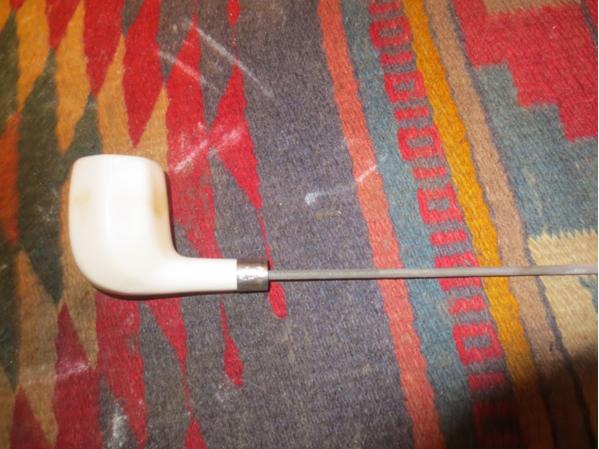
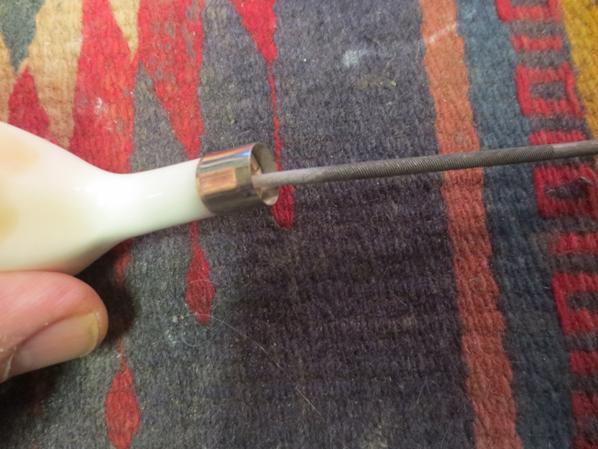
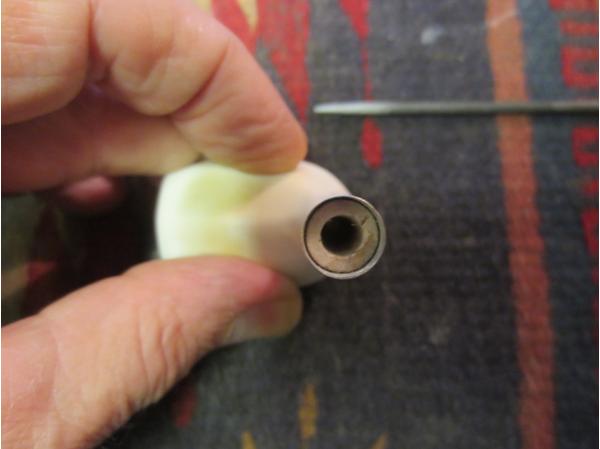
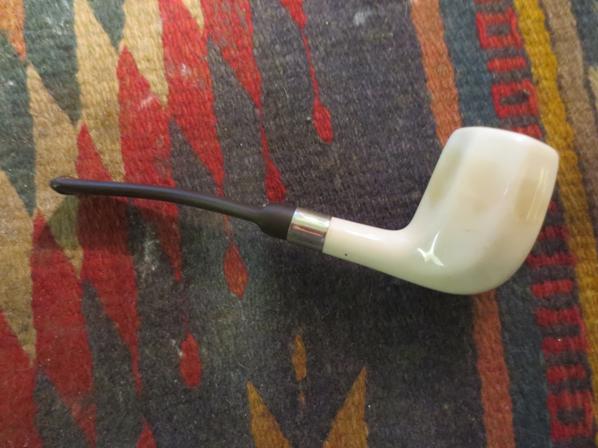
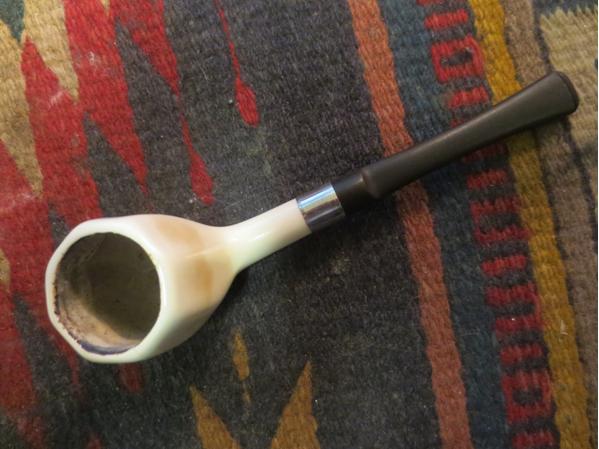
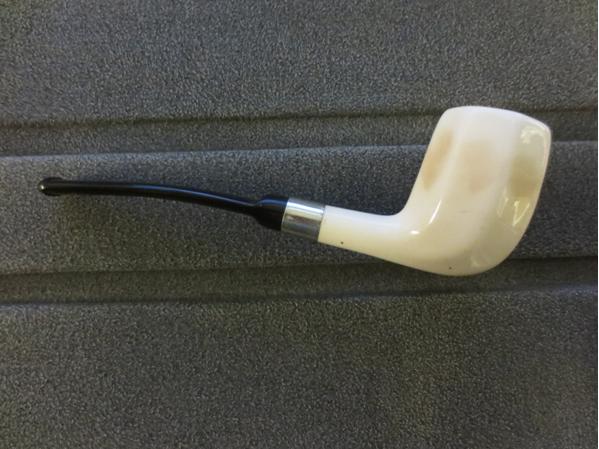
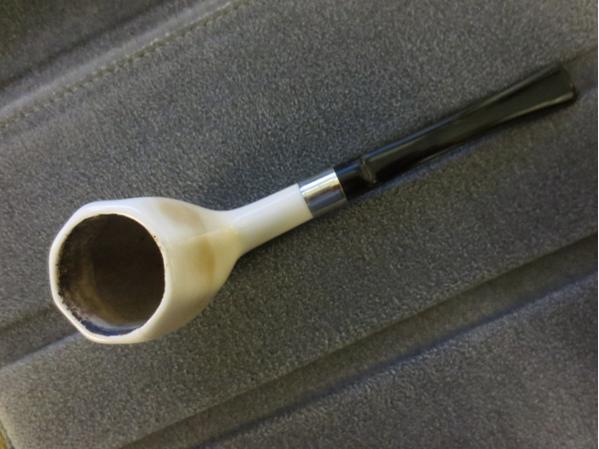
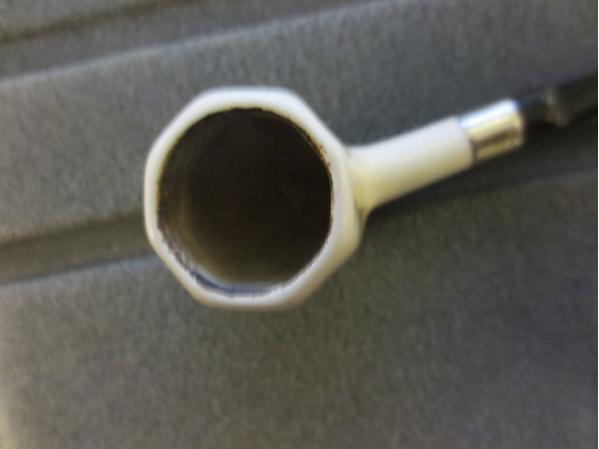
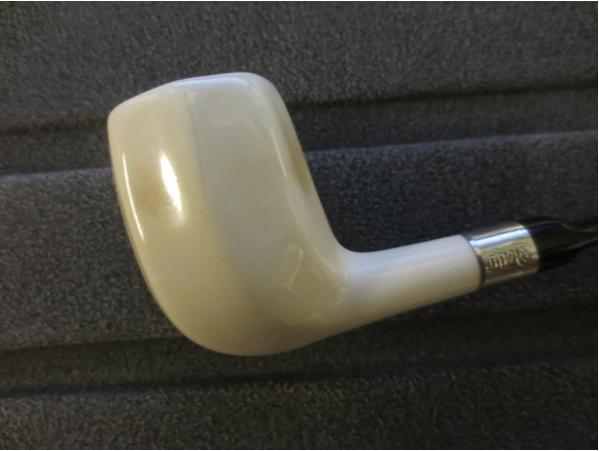
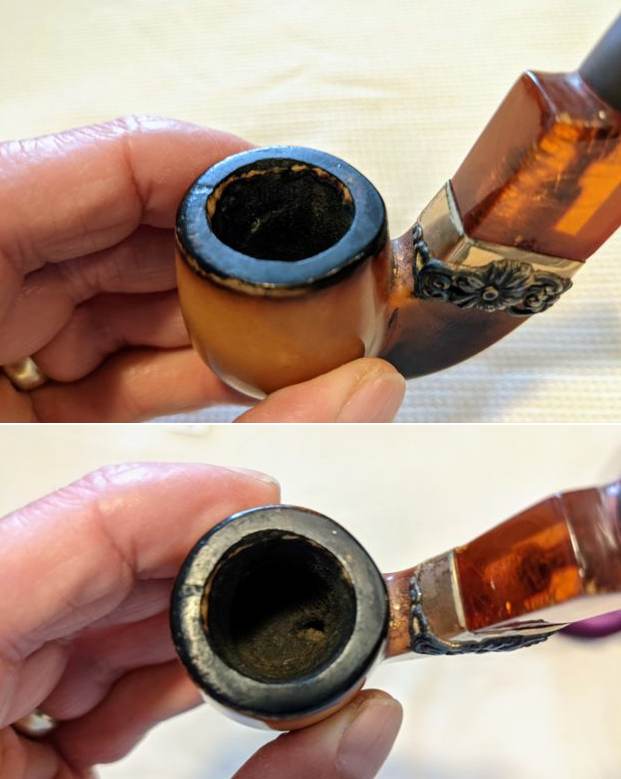
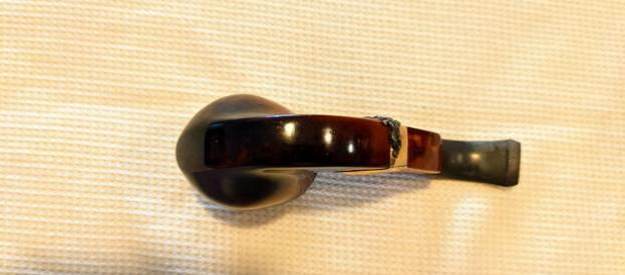
 Back to another meerschaum. This one is a bent billiard with a rectangular shank, band and saddle stem. The stem is probably Bakelite but I am not sure. I will know more once I have it in hand to clean and restore.
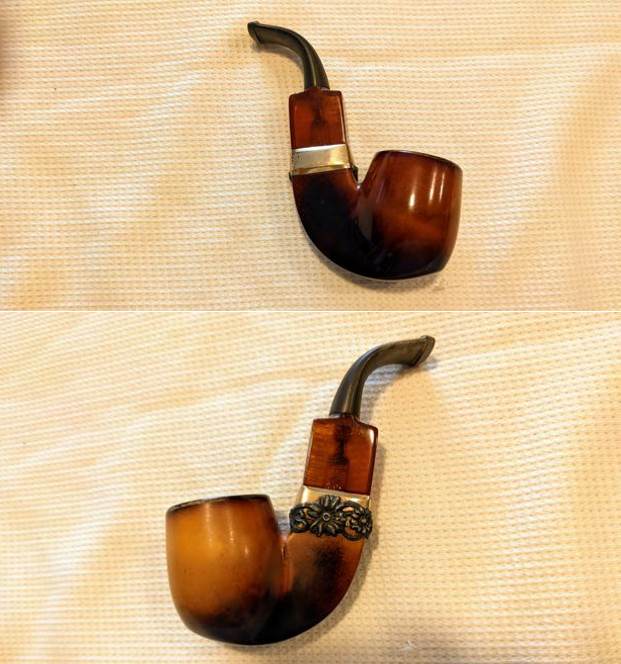
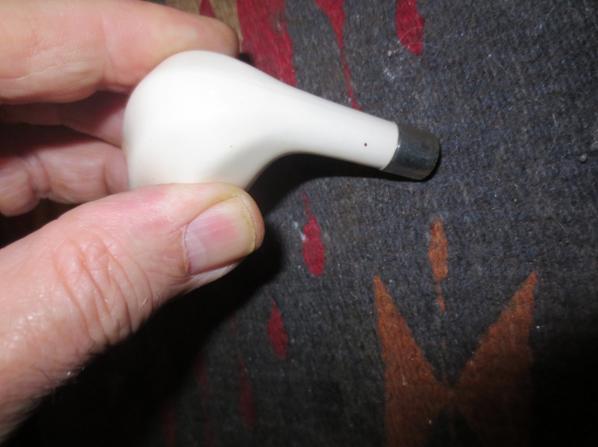
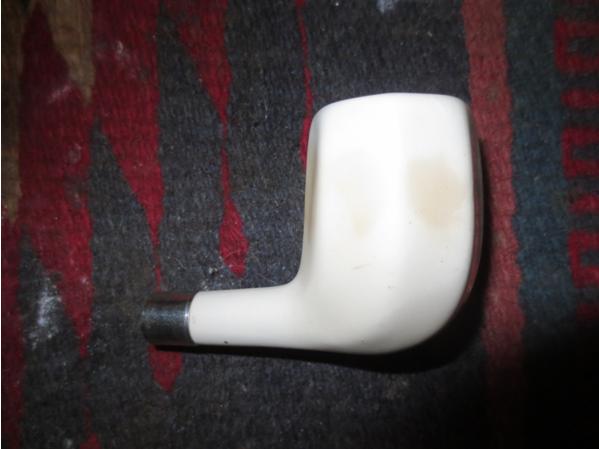
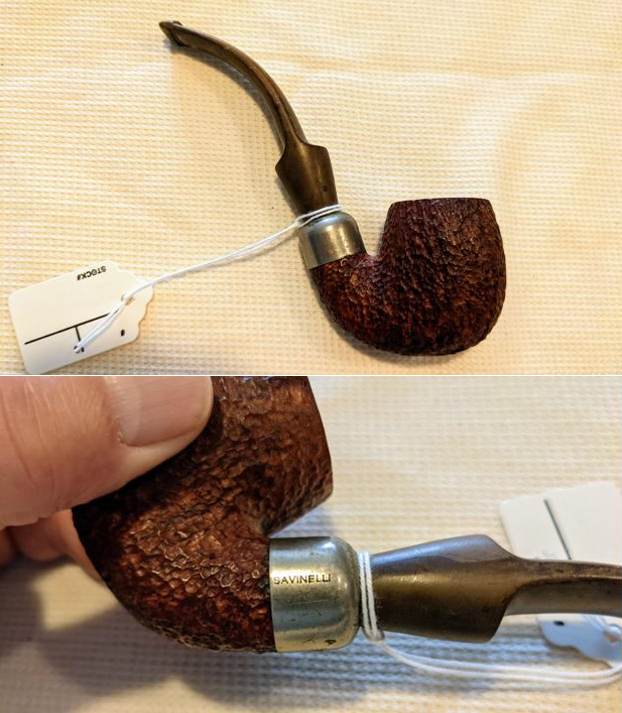
 The third briar is a Savinelli Dry System pipe. The bowl has a great sandblast. The nickel ferrule is made for the filter style stem that holds a Savinelli Balsa Filter.
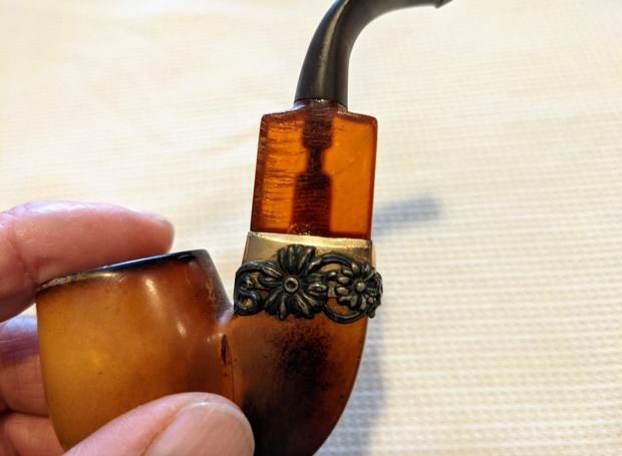
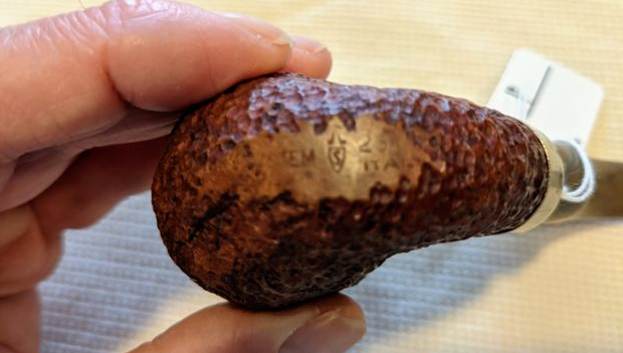 Another of the older briars was made sometime between the late 1890s and early 1900s. It is a WDC (William DeMuth and Co. Bakelite French Briar straight Bulldog. The band around the shank is rolled gold with a floral pattern around the sides. The stem is ruby Bakelite and it is an attractive looking pipe.
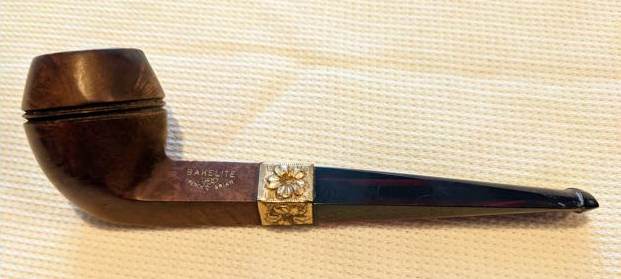

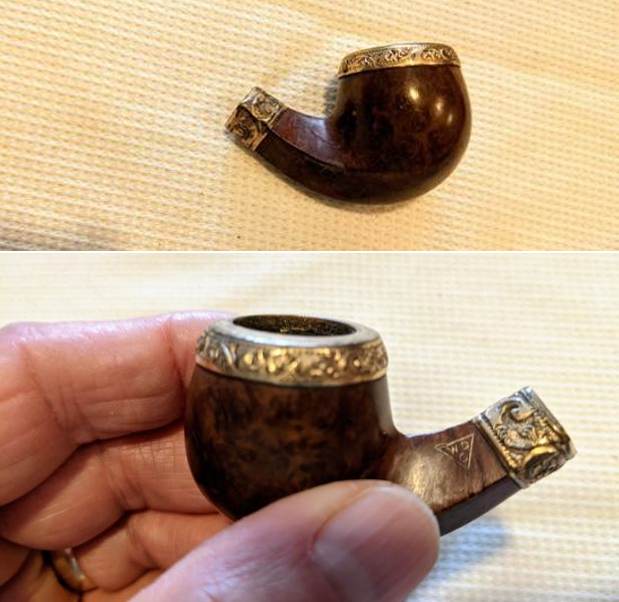
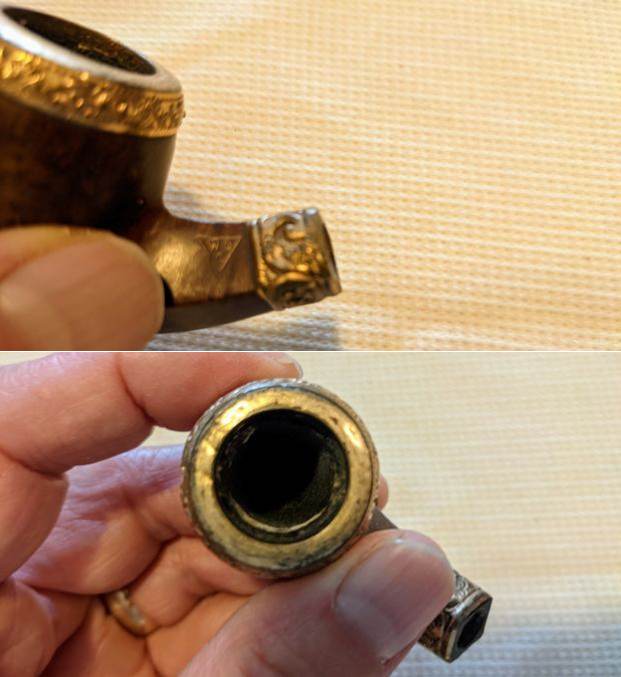
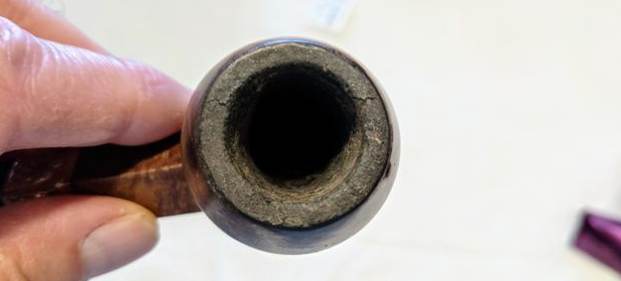 The last briar pipes was a bent apple bowl with a rolled gold rim cap and band on the shank. The pattern on both seems to be leaves or floral. I will know more for sure when it arrives here. The shank is stamped WDC in a triangle same as the pipe above. It was a well smoked with a thick cake in the bowl.
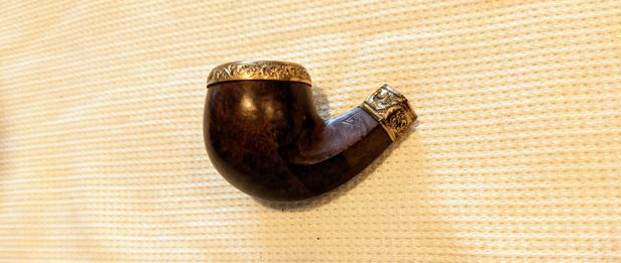
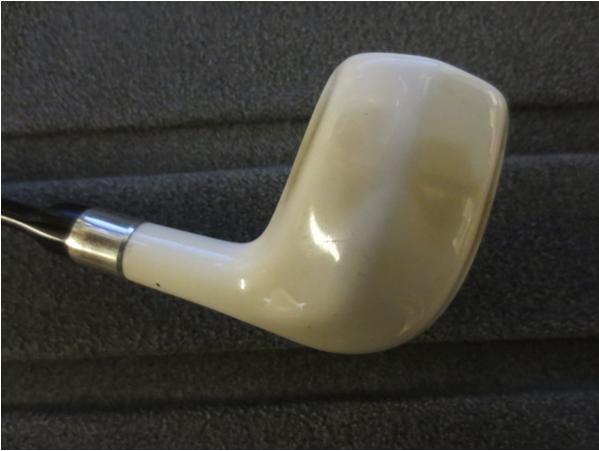
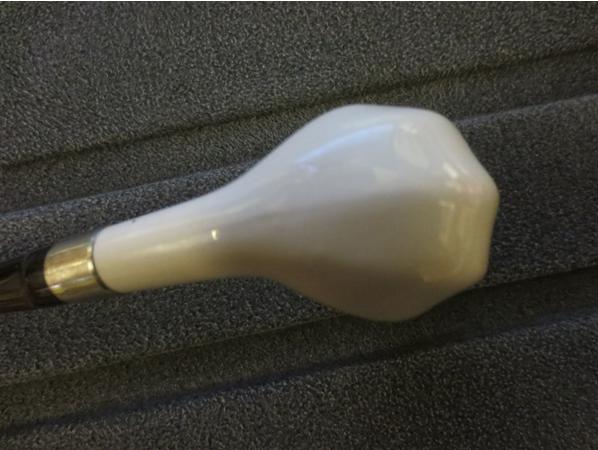
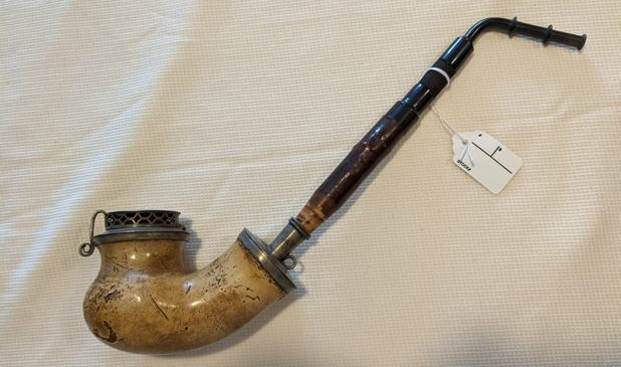
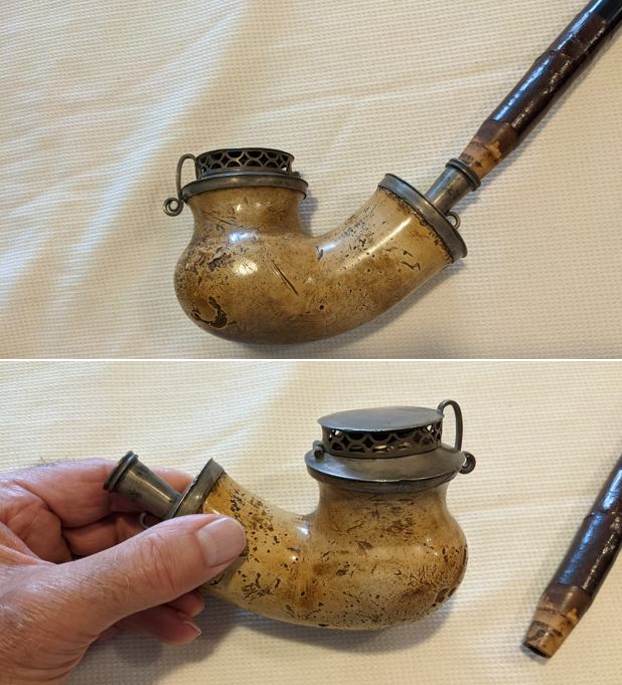
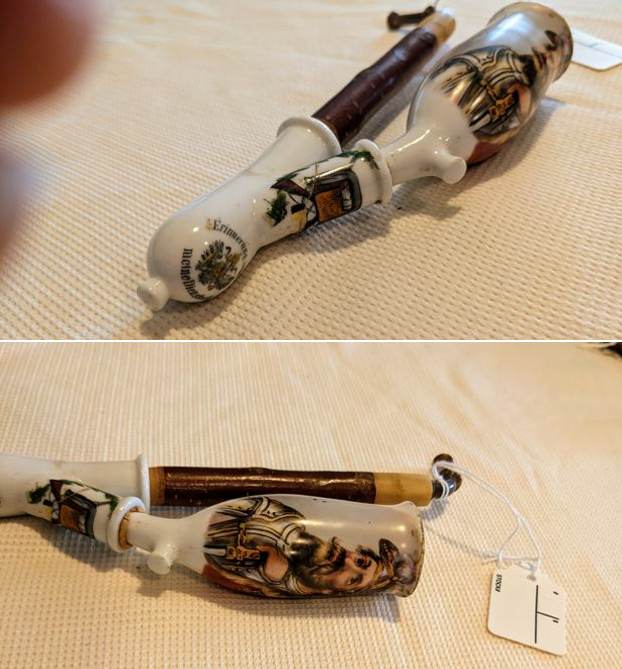
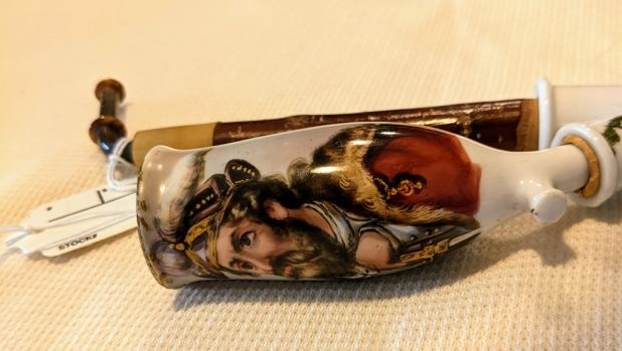
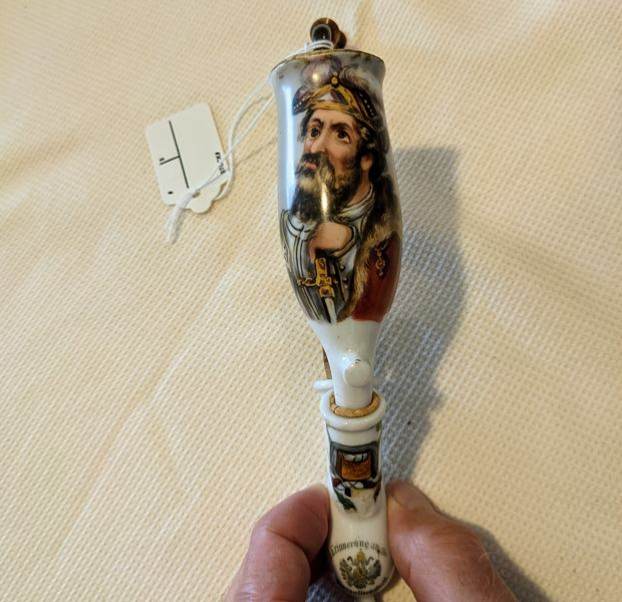
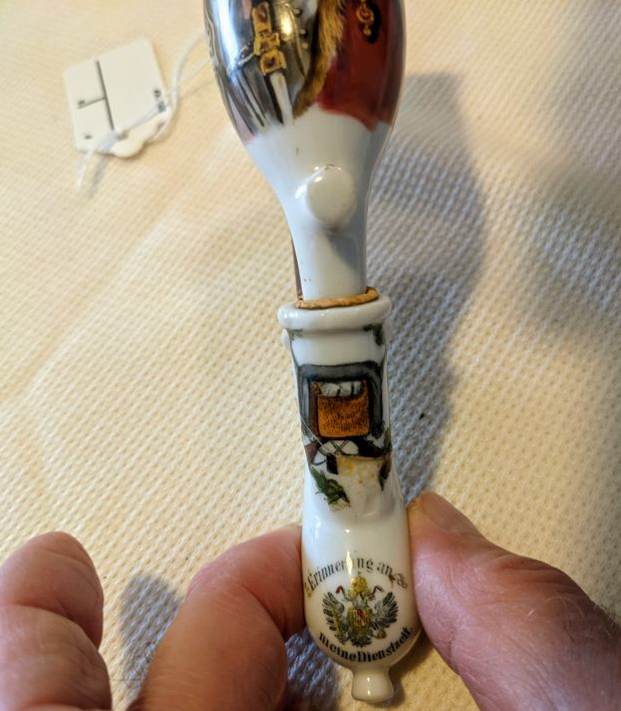
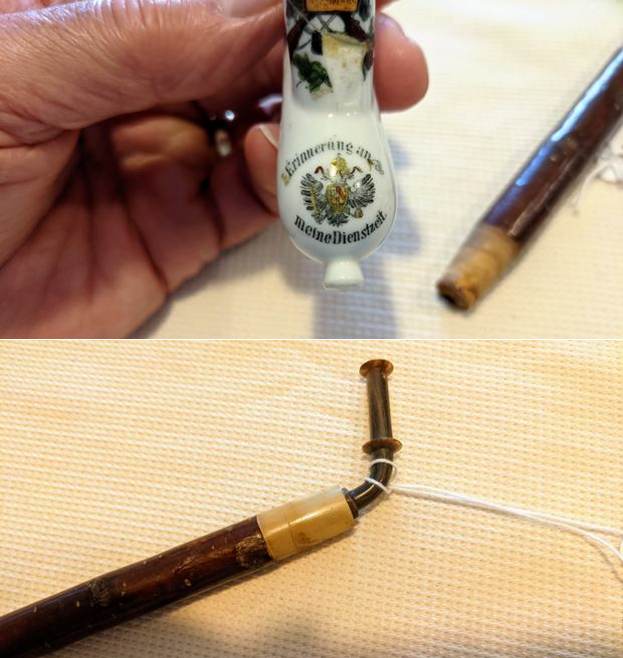
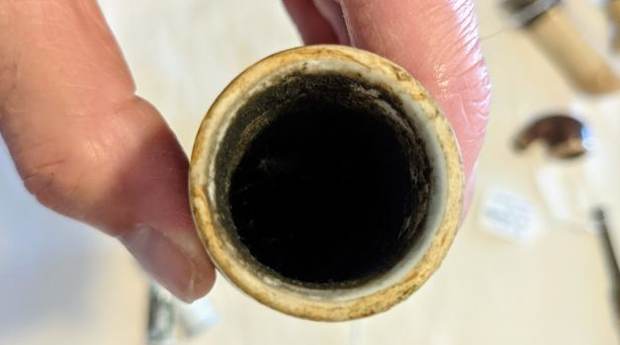
 The next pipe is a porcelain pipe that has come to be known as a wine pipe. The bowl and the base are porcelain and are fired with a beautiful figure on the bowl and accoutrements on the base. The shank is cherrywood and the top is horn that has a horn stem screwed into it. It is a fascinating pipe that I want to know more about once I start working on it.
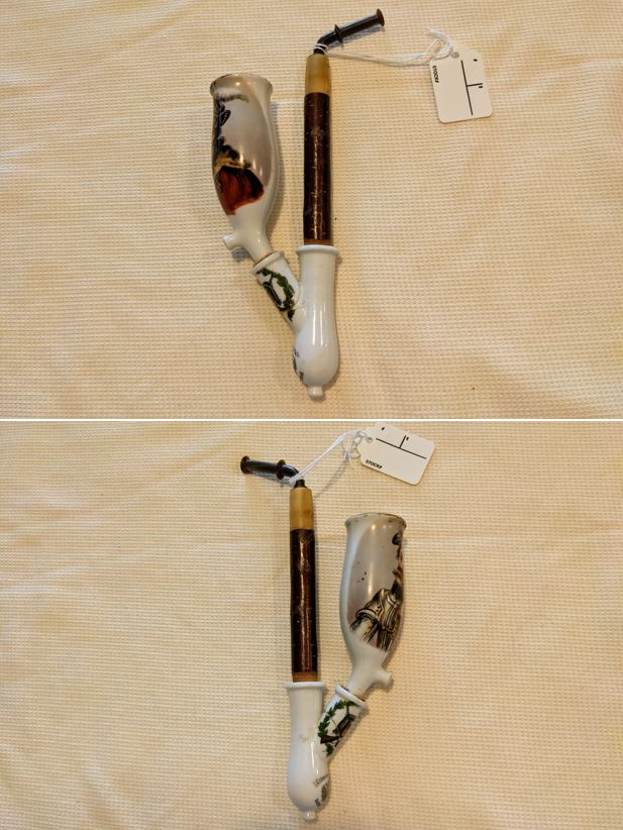
 These are all with Jeff at the moment for him to work his magic. It will be a fun haul to work on as all have a fair bit of age on them and all have differing issues that will need to be dealt with. Keep an eye out on the blog for these pipes once I start working on them. There are really some fascinating pieces here that I can’t wait to ferret out the history about. Thanks for sharing in my excitement. Cheers.