Blog by Steve Laug
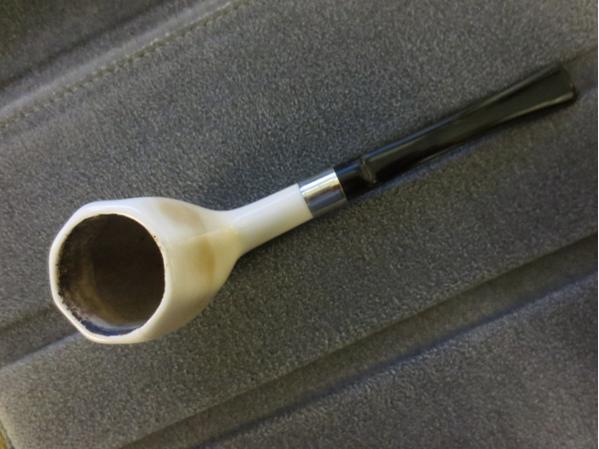
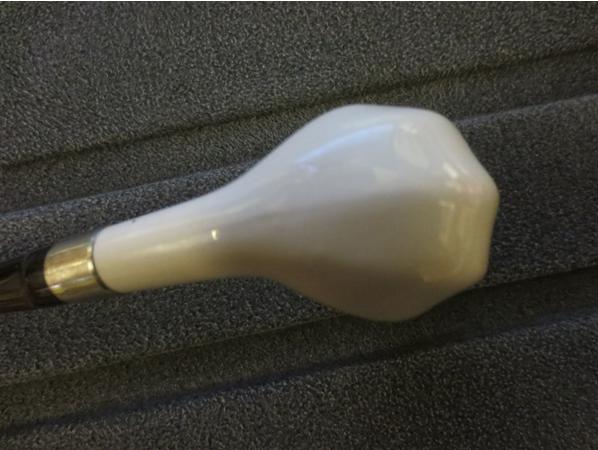
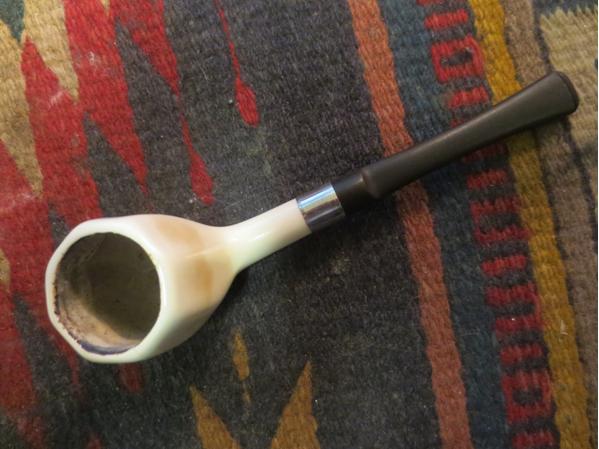
In a box of pipe parts I was given was a hexagonal shaped ceramic/porcelain pipe bowl with a thin pencil shank. It was cut off mid-shank at a slight angle. Looking at it I decided that it would be an interesting looking pipe to restem. The finished pipe would be unique and well worth the work to restem. I am guessing that the pipe originally had been longer and possibly had a bit on the end. There was a tiny chip cracked in the end of the shank. I reglued that and held it in place until it dried. Since the shank had been cut at an angle, I used a topping board to flatten the edge and square the end of the shank as much as possible. I then used a nickel band that I had in my box of bands and heated it and pressed it in place on the shank. I left a small portion of the band extending beyond the end of the shank to help square the fit of the stem to the shank. I went through my can of stems and found one that was the perfect diameter for a match to the shank. The tenon would need to be made smaller to fit in the shank and the mortise would need to be opened further with needle files for the stem to fit well.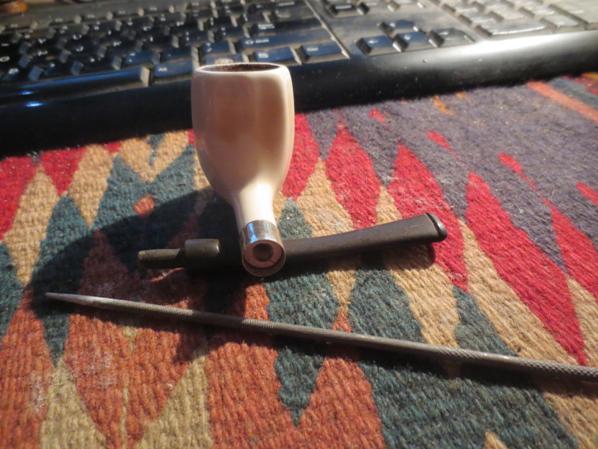 I scrubbed the bowl with Murphy’s Oil Soap and polished it with a microfibre cloth. There was a small hairline crack on the left side of the bowl coming from the rim downward about one half-inch. It was sealed so it was not currently a problem that I would need to deal with. I took some photos of the newly banded stem and the polished bowl to show the new look of the pipe. The bowl is quite thin so it will be a hot one to hold. It will need to be smoked slowly to keep it cool.
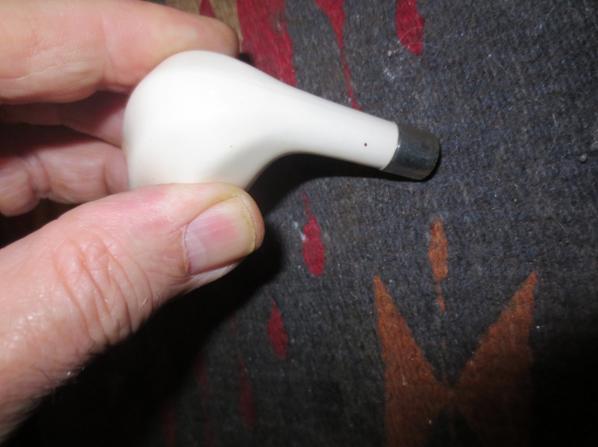

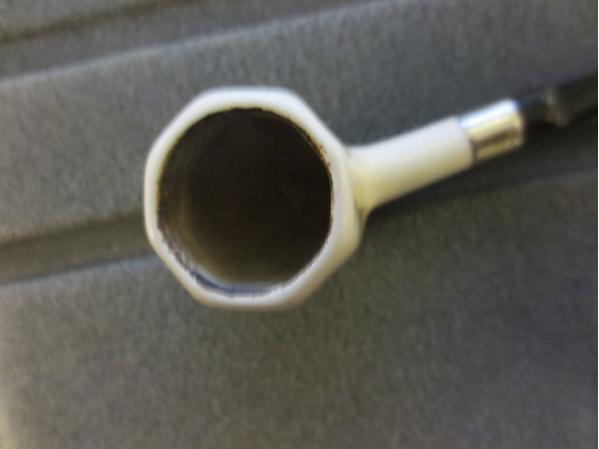
 I used a coarse needle file to open up the mortise in the shank to accommodate the tenon. I used a Dremel with a sanding drum to reduce the tenon as much as possible. I worked on the mortise to file down the inside of the shank. It took some careful file work to keep the mortise round so that once the opening was sufficient the tenon would not be loose inside.
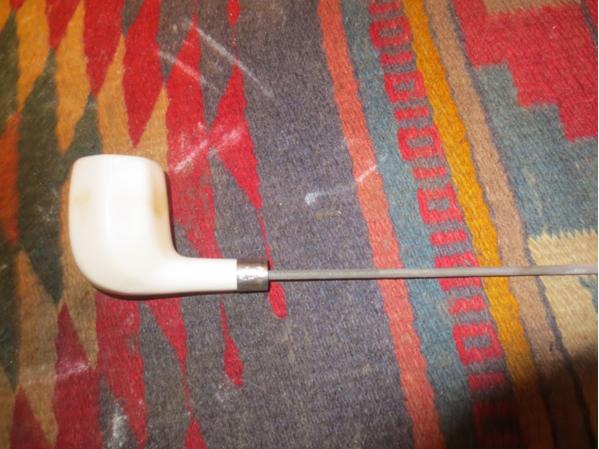
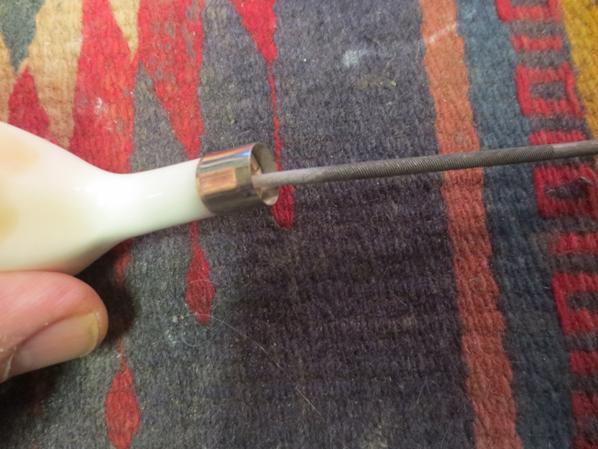 The next photo shows the finished mortise. The files worked well and the newly shaped tenon fit the shank perfectly.
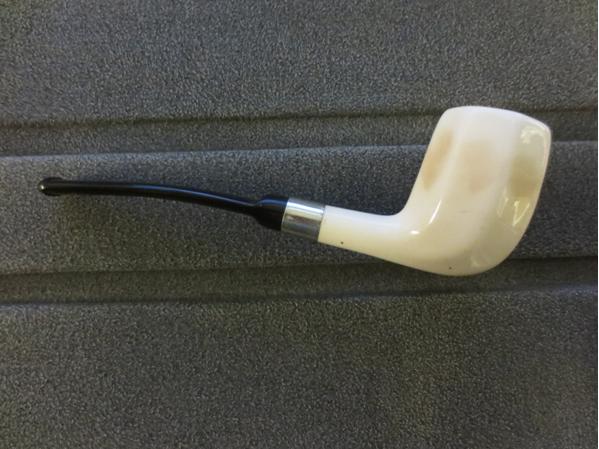
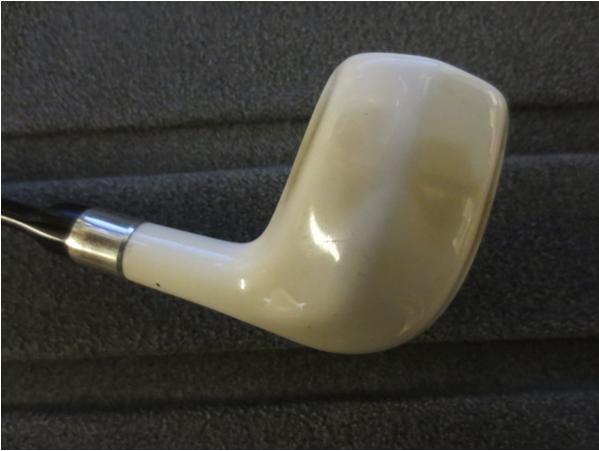
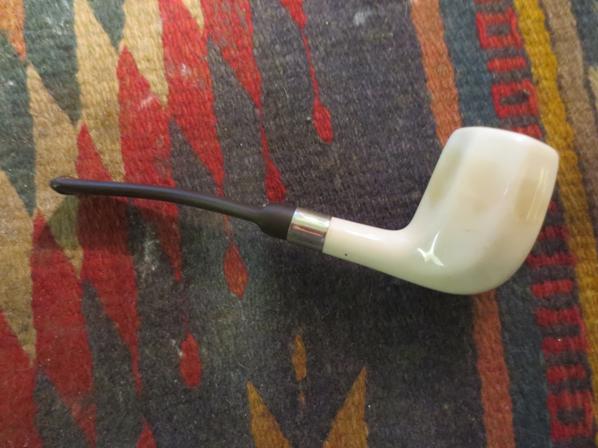
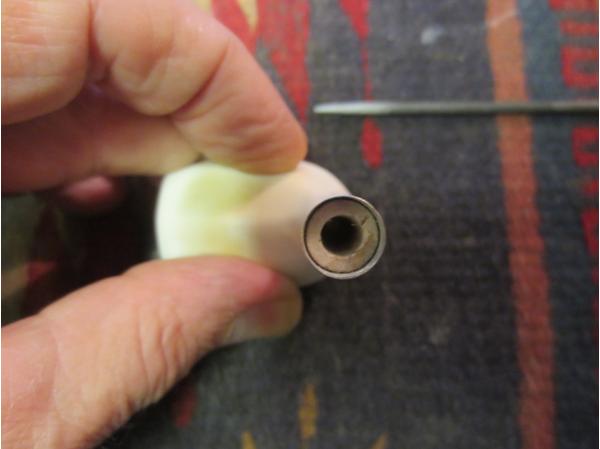 I put the stem in place on the bowl and took some photos to get a better look at the new pipe. The newly stemmed pipe actually looked very good. I loved the delicate look of it. The slight bend in the stem worked well with the bowl and allows the pipe to sit upright on a flat surface.
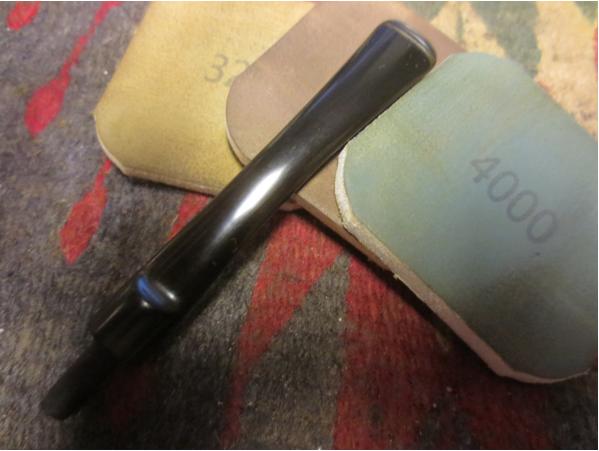
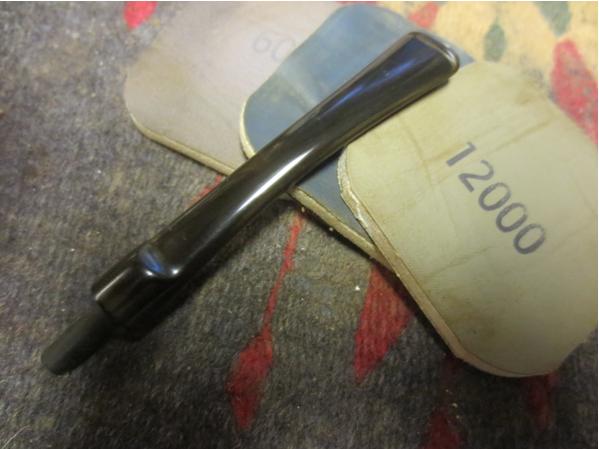
 The stem was rough and lightly oxidized. I sanded it with 220 grit sandpaper to loosen the oxidation and then used a medium and a fine grit sanding sponge to smooth out the scratches on the stem. I then wet sanded the stem with 1500-2400 grit micromesh sanding pads and rubbed the stem with Obsidian Oil. I dry sanded it with 3200-4000 grit pads, gave it another coat of oil and then finished sanding with 6000-12000 grit pads. I gave the stem a final coat of Obsidian Oil and let it dry.
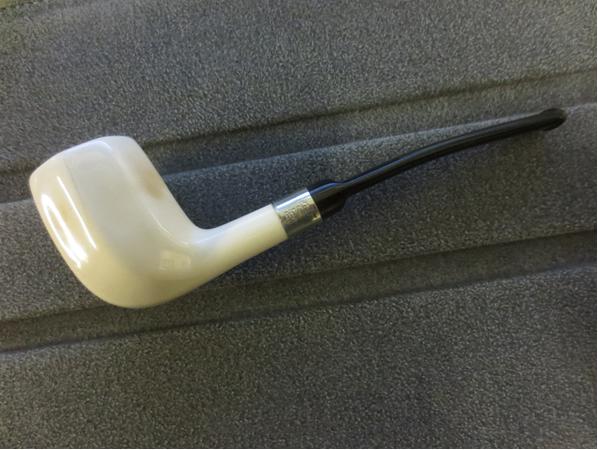
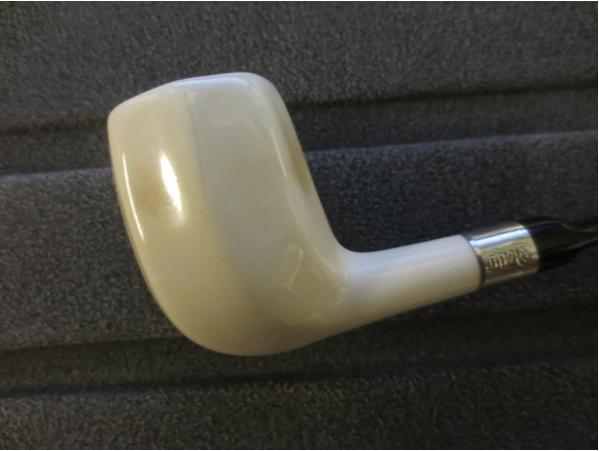
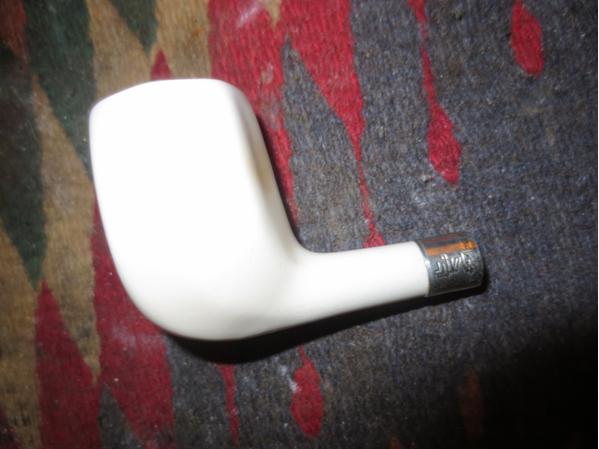
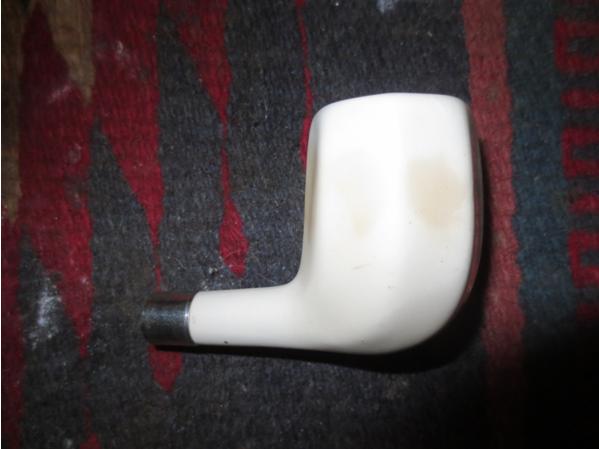
 I buffed the stem and bowl lightly with Blue Diamond polish on the wheels and then gave the stem and bowl multiple coats of carnauba wax. I polished it with a clean flannel buff on the wheel making sure to hold the bowl tightly. To have the buffer grab this one and throw it would be a disaster that the pipe would not survive. Once I finished the buffing on the wheel I hand buffed it with a microfibre cloth to raise the final shine. The finished pipe is shown in the photos below. There is some slight coloring forming on the sides of the bowl midway down from the top. I am wondering if the rest of the bowl will also colour with use. The pipe looks really good with the new stem and band. It will fit well in my collection of unique older pieces.
Thanks for looking.