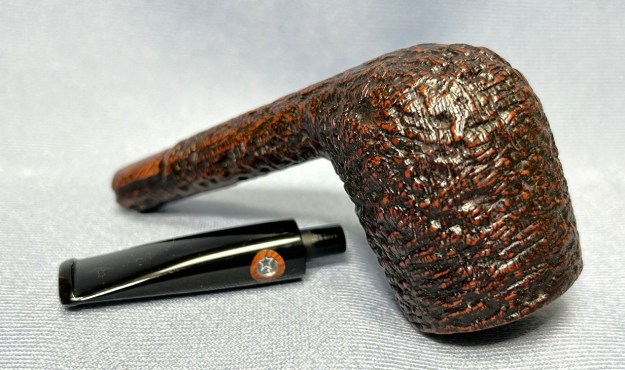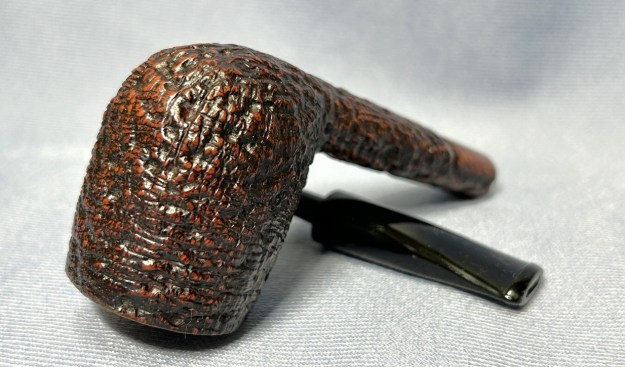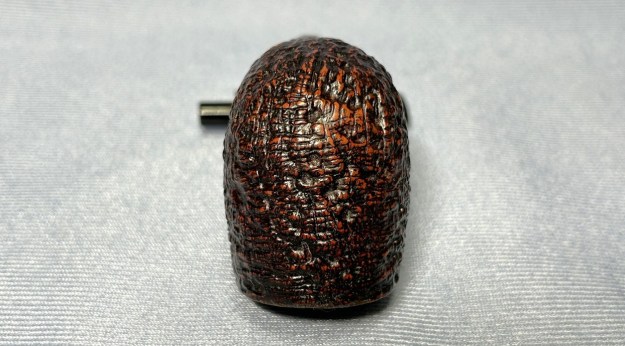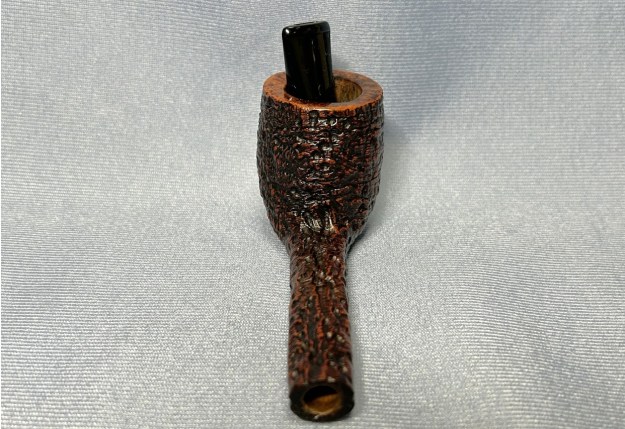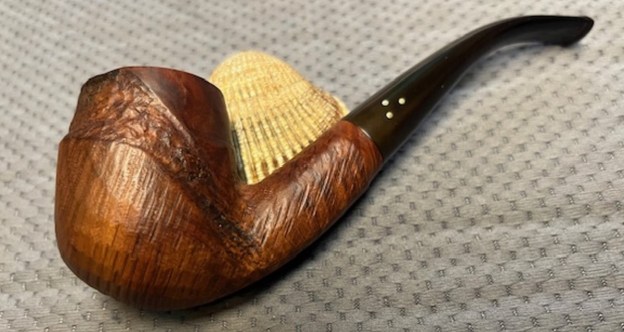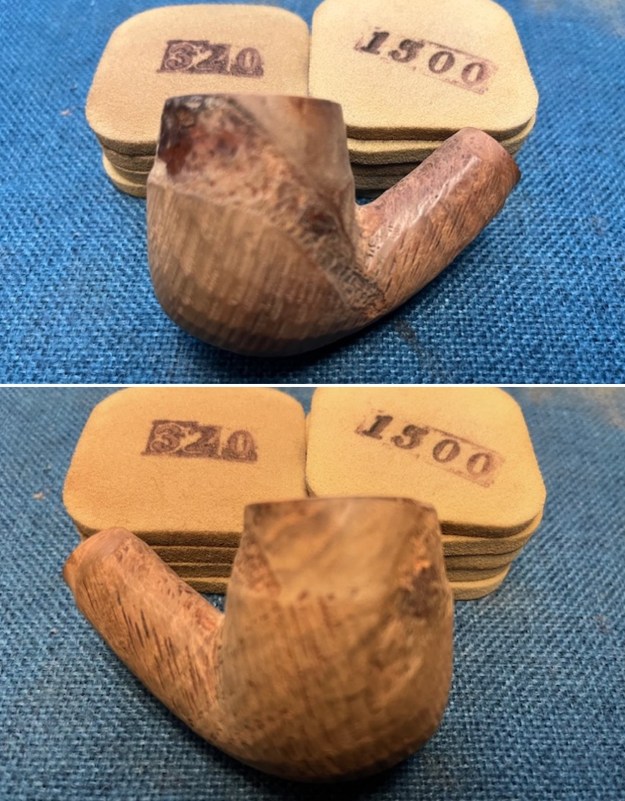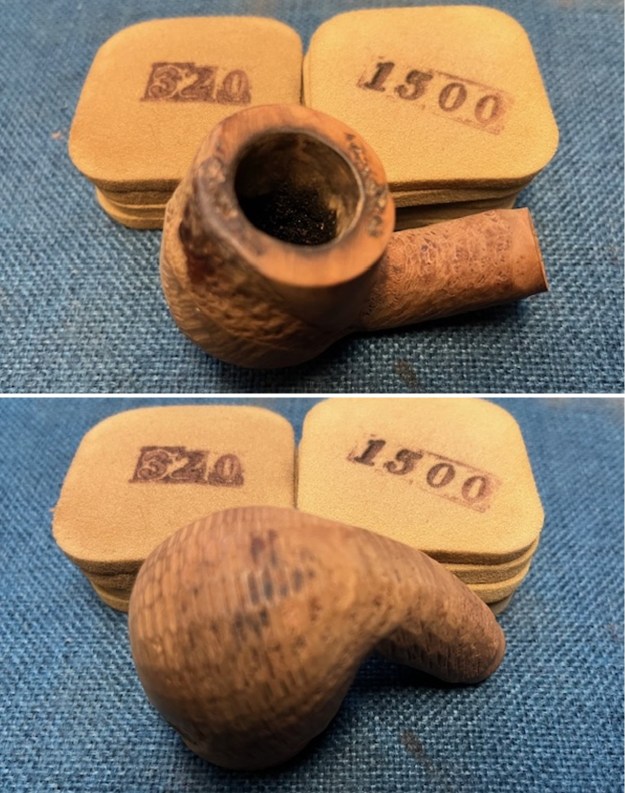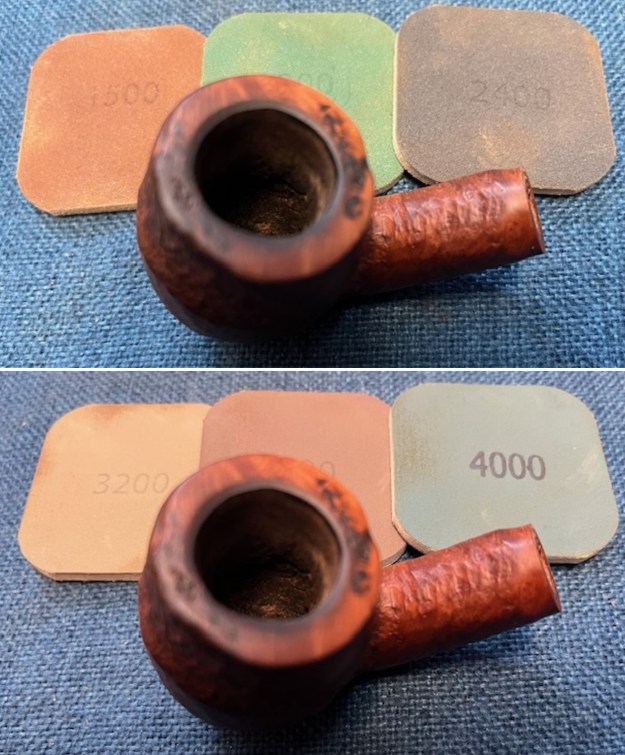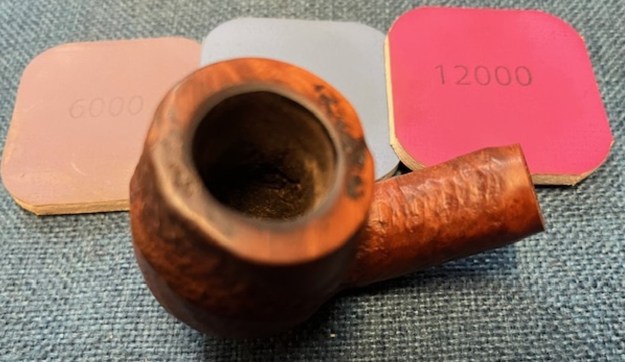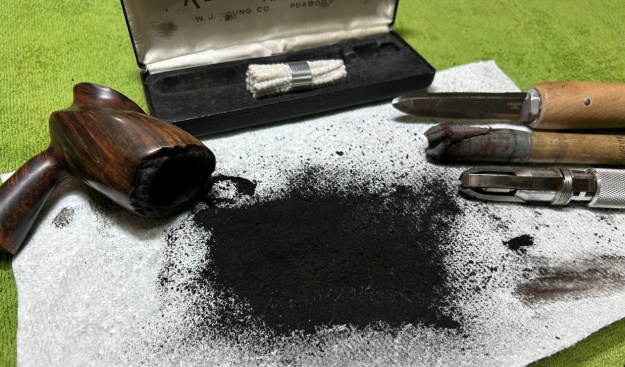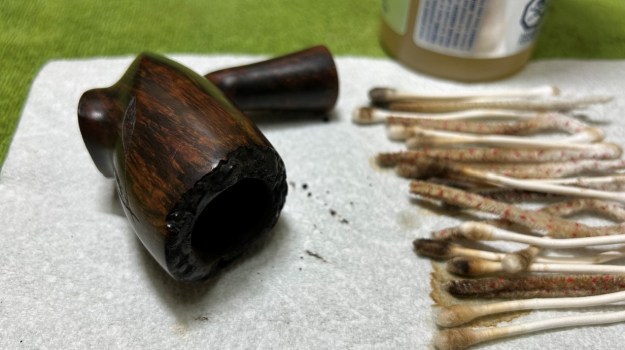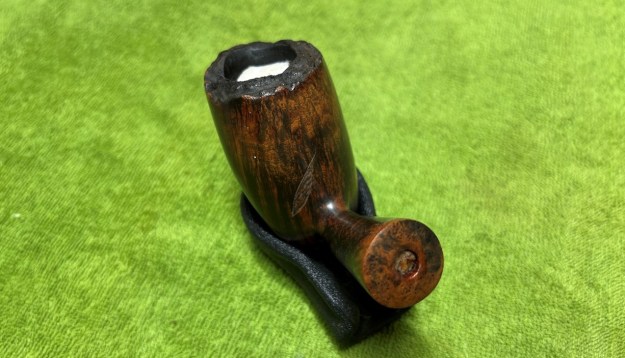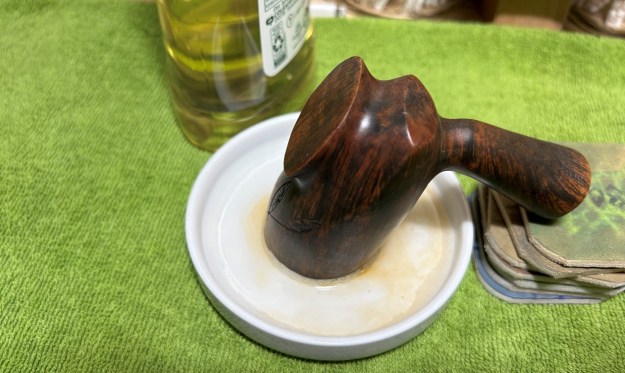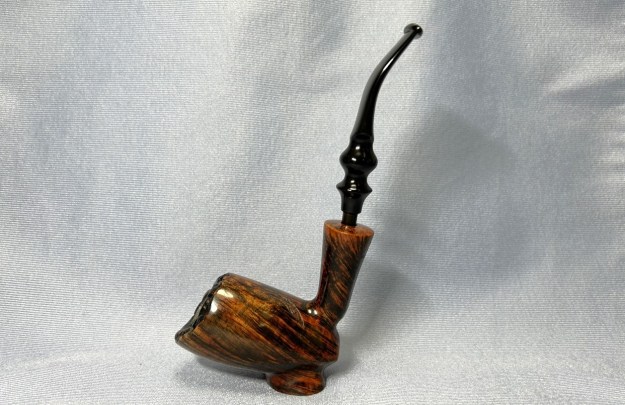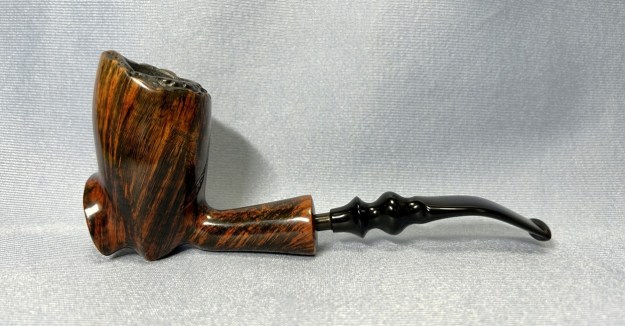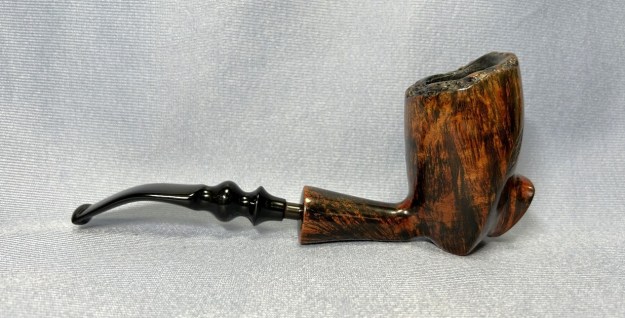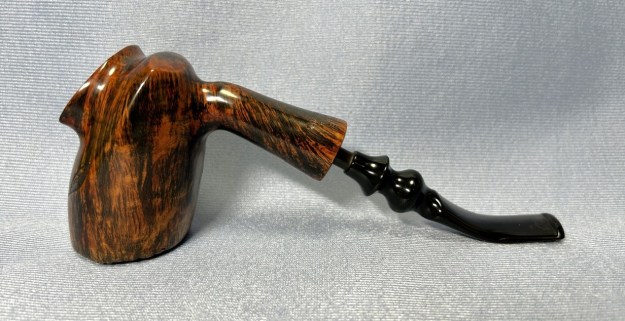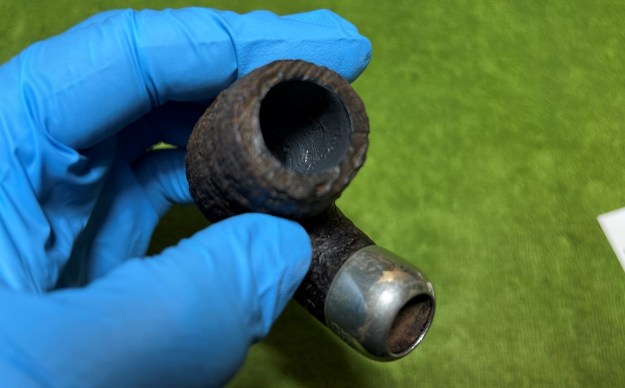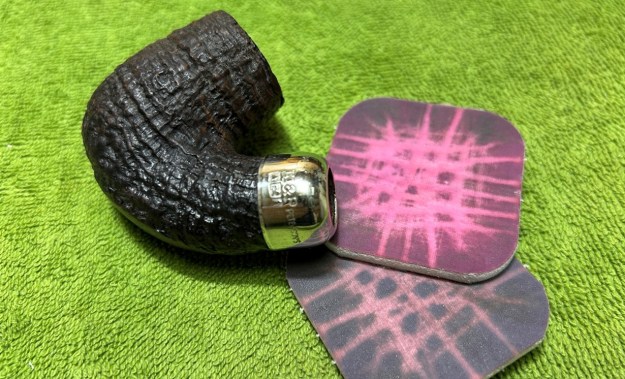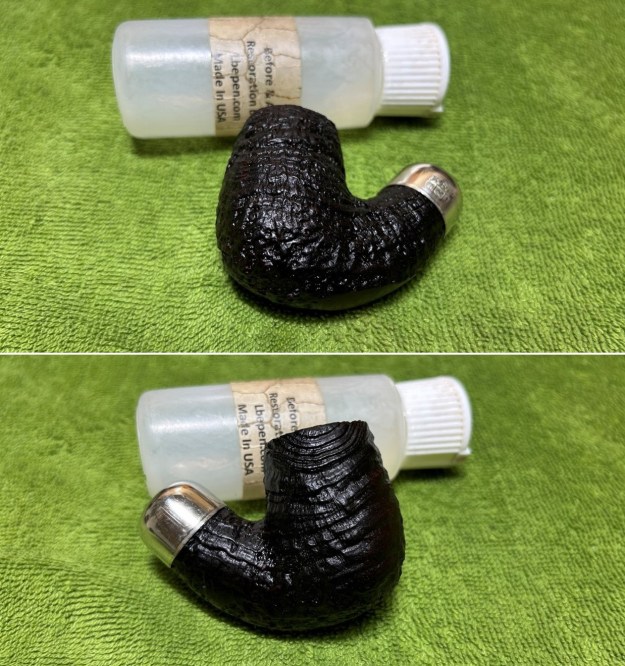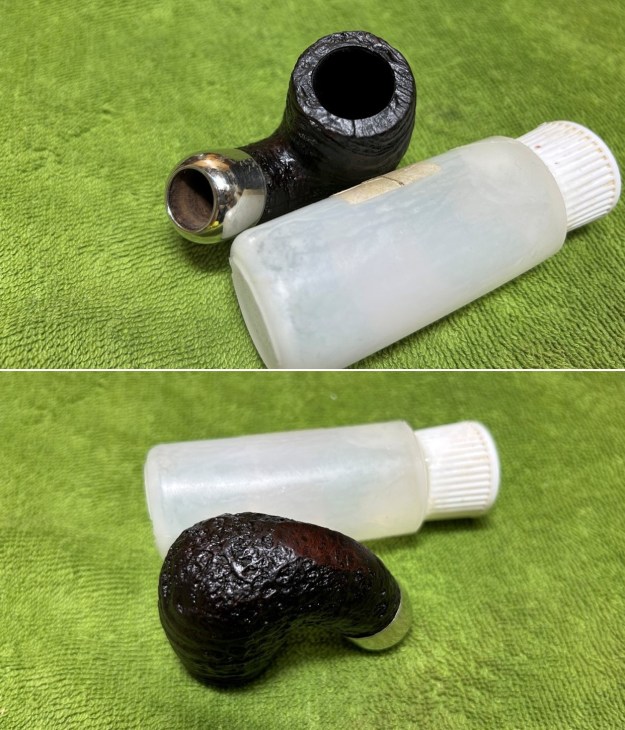
Tag Archives: Oxidation

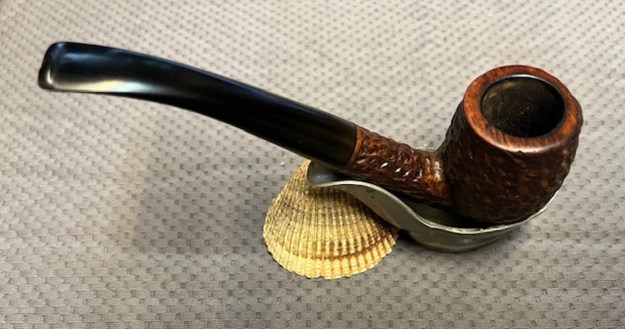
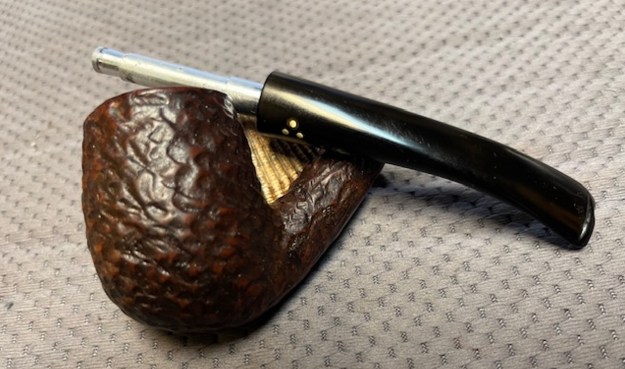
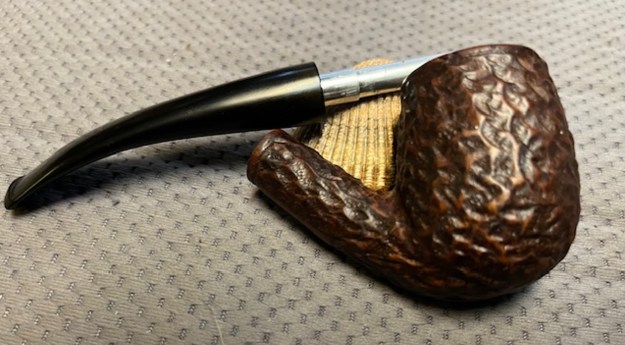
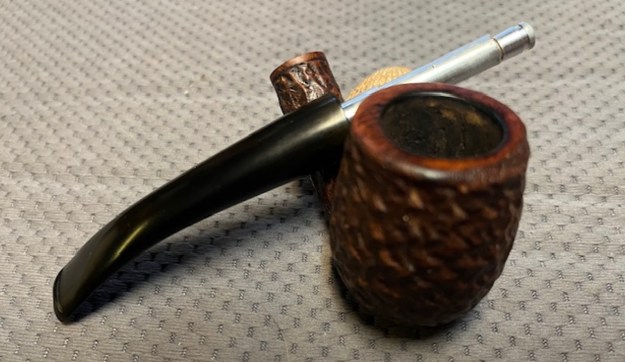
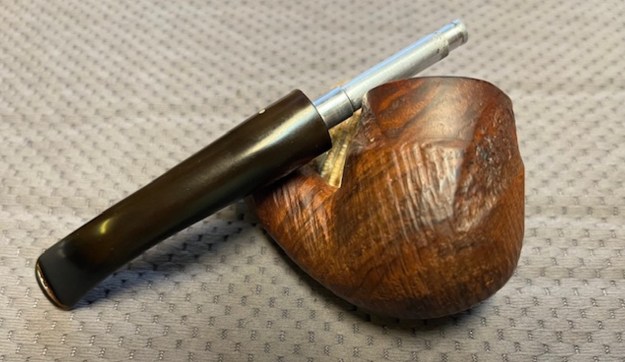
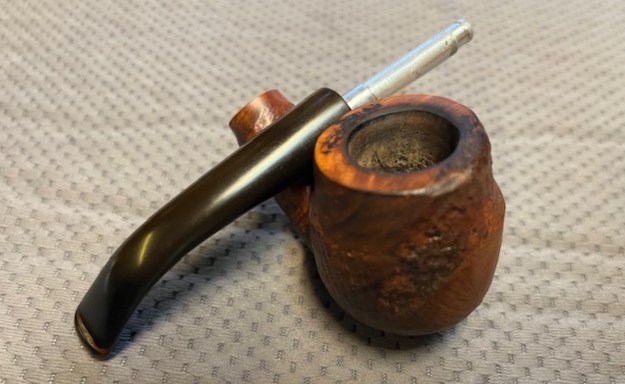
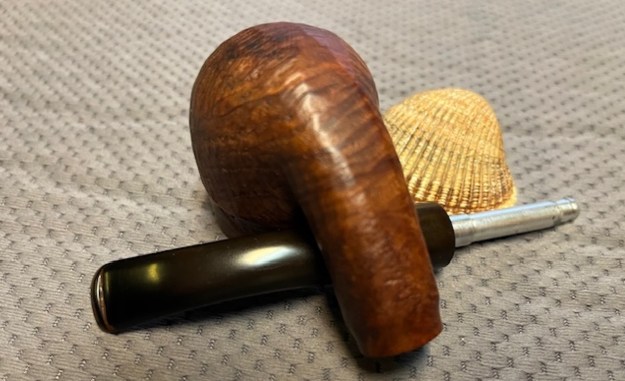
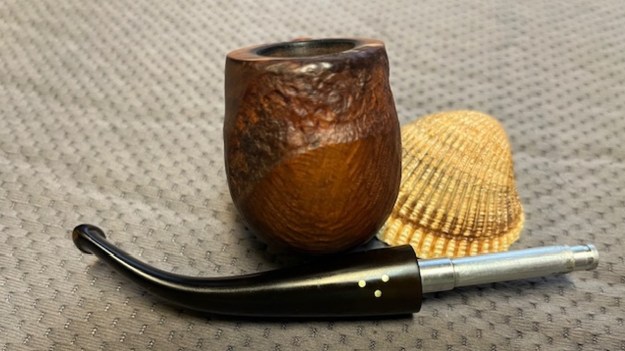
Clearing and Restoring a Clogged Brigham Made in Canada Bent Billiard


by Steve Laug

The next pipe on the table was one that the local pipe shop contacted me about repairing. I have included the email from the shop regarding this pipe. I quote:

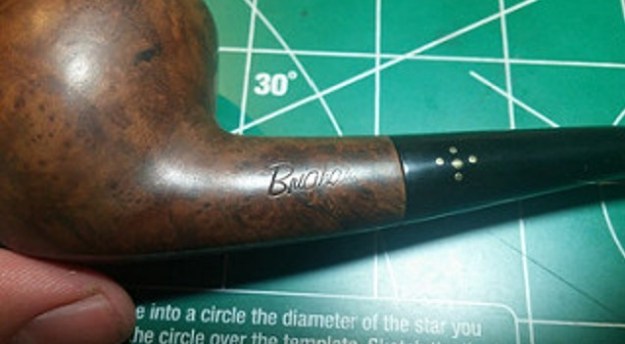
Good evening Steve! Hope all is well. I’ve got yet another pipe here in need of your expertise! It’s a beautiful hundred year old (according to our client) Brigham 3 dot with something stuck in the stem. I included a few photos showing the issue and some of the more unique features of the pipe. If you’re available in the next little while, would it be possible to drop by? Cheers, Joe.

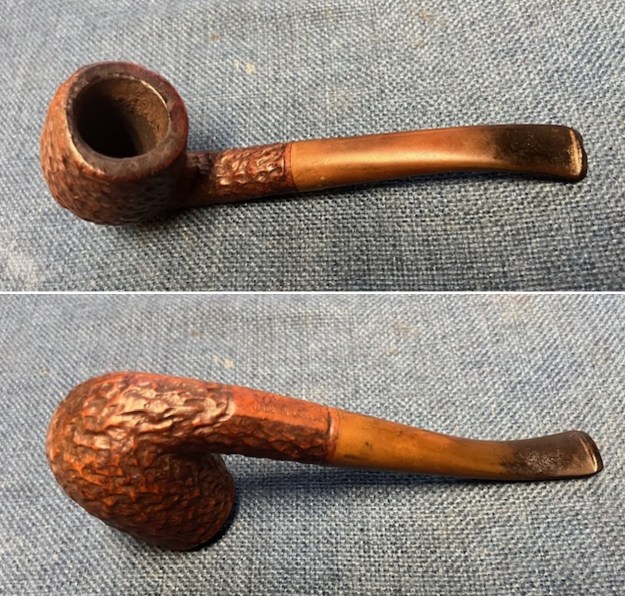
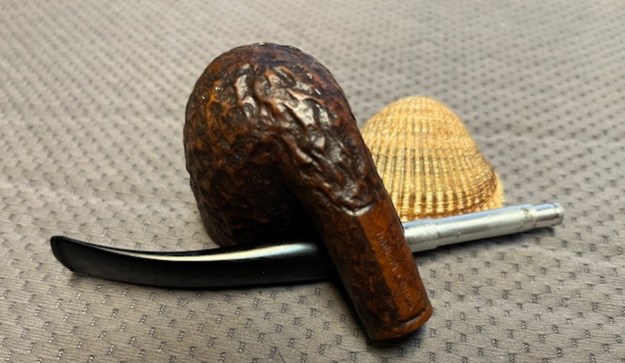
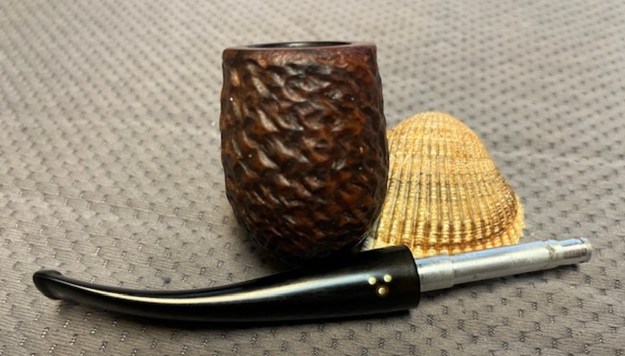
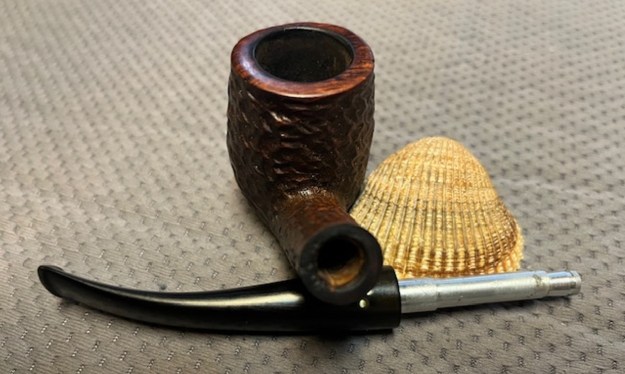
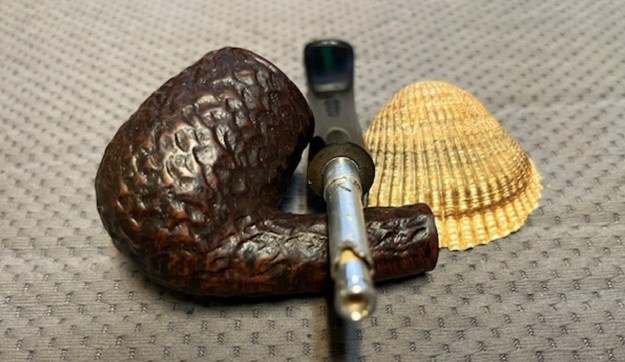
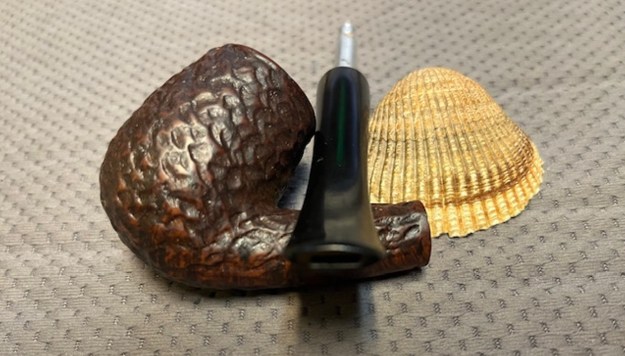
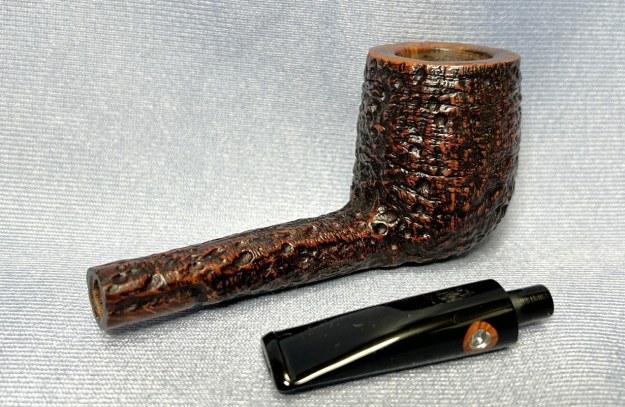
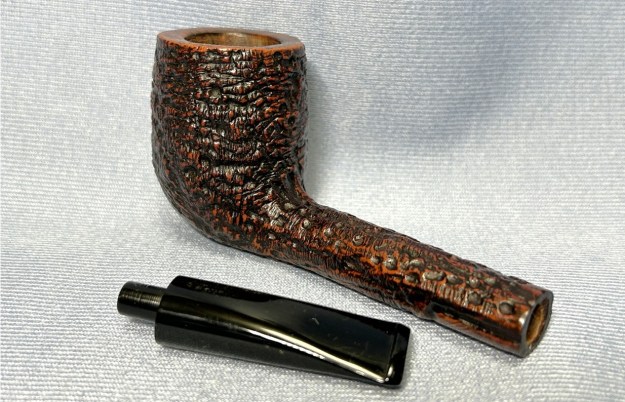
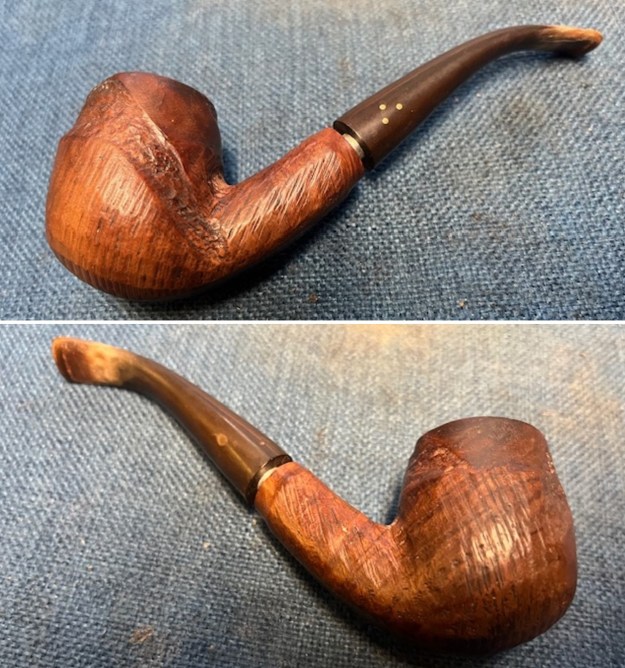
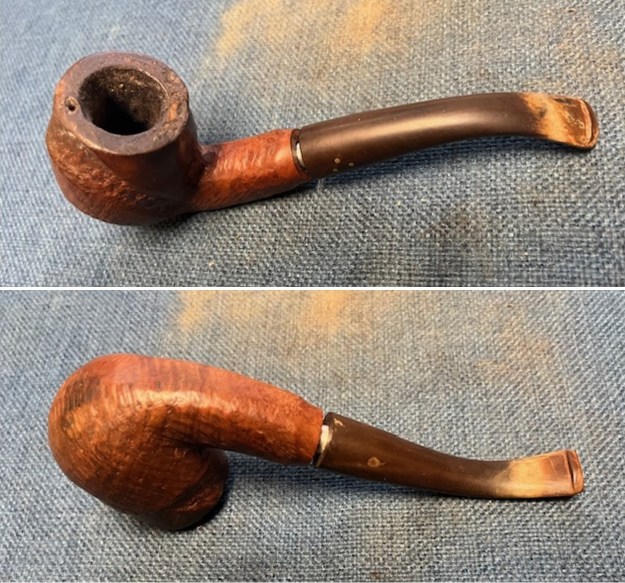
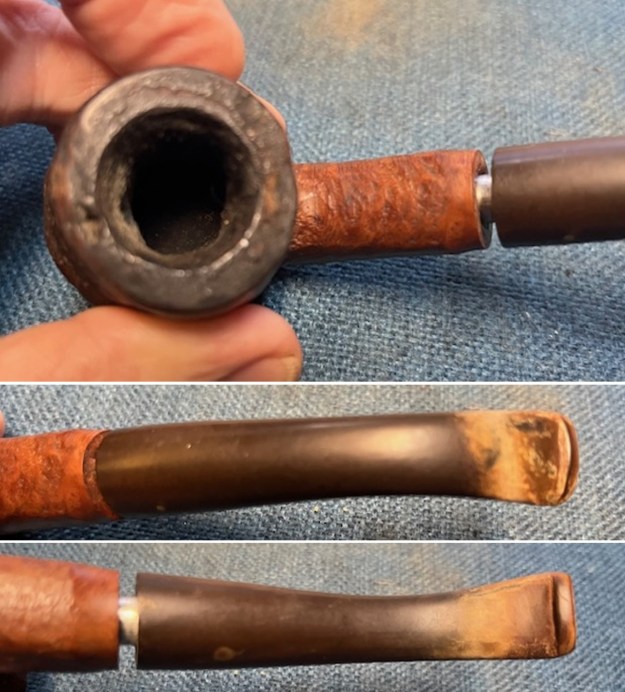
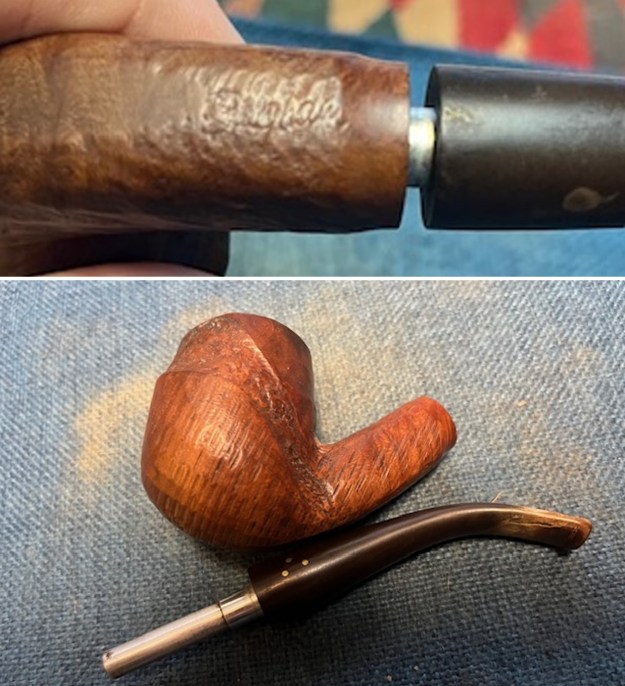
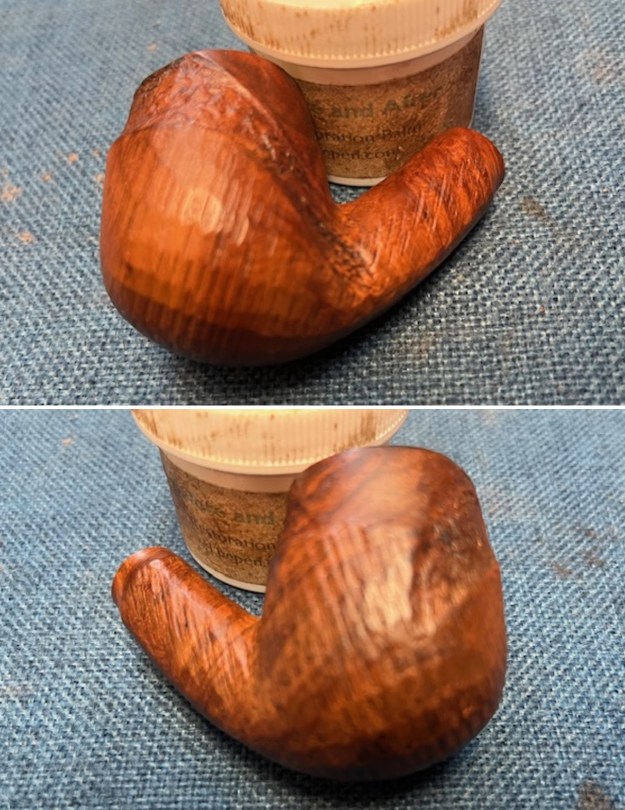
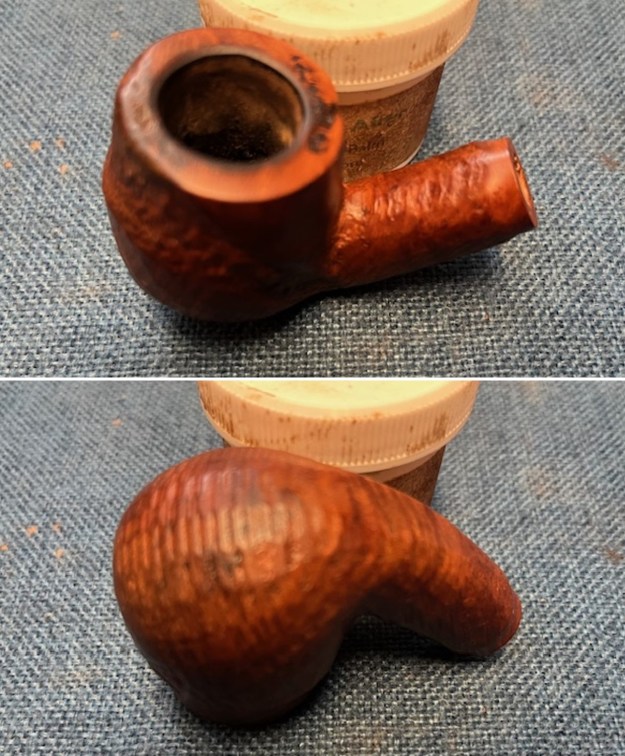
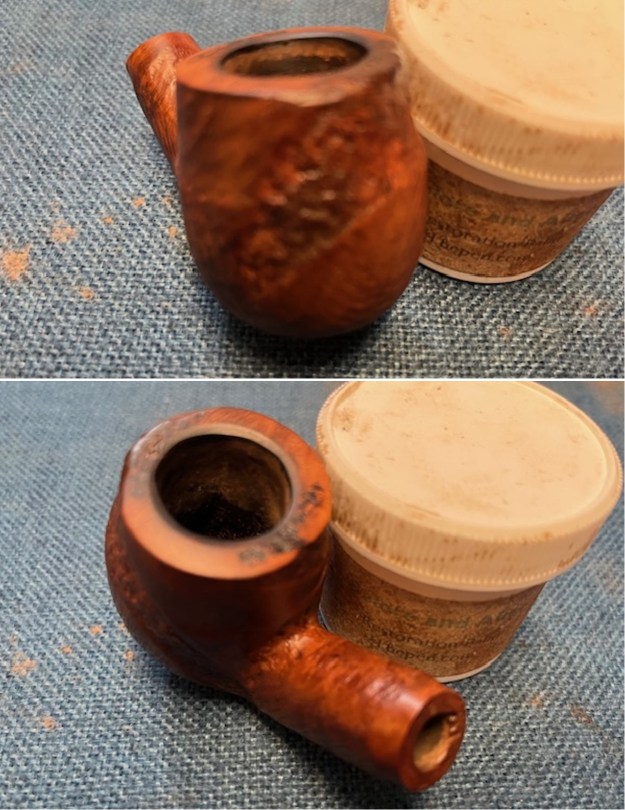
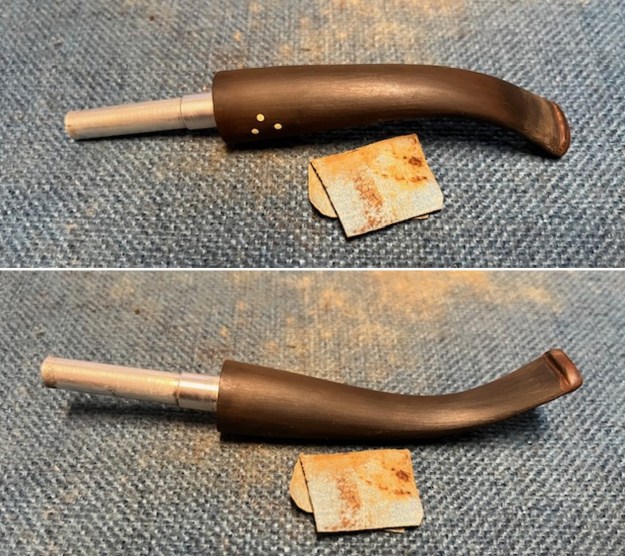
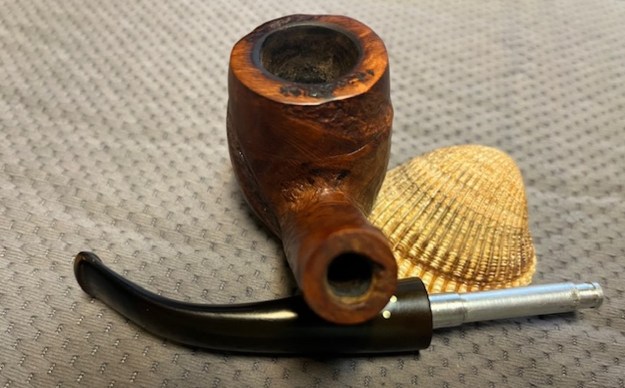
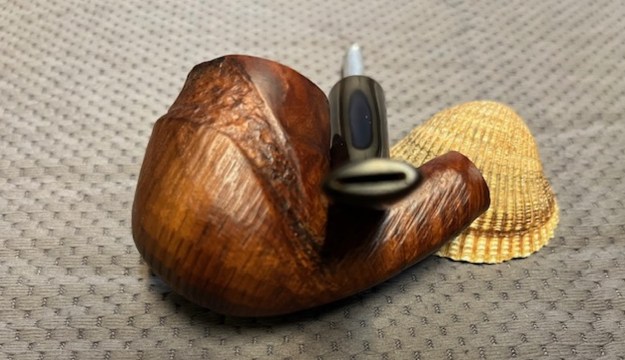
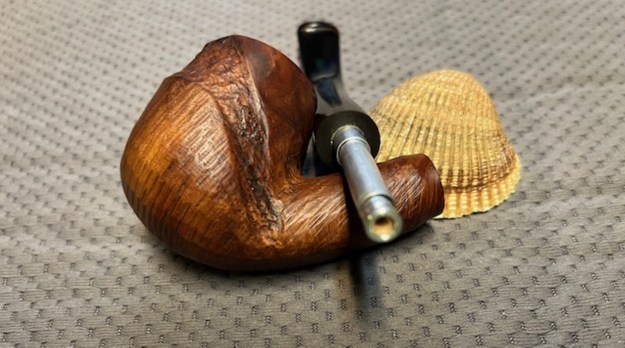
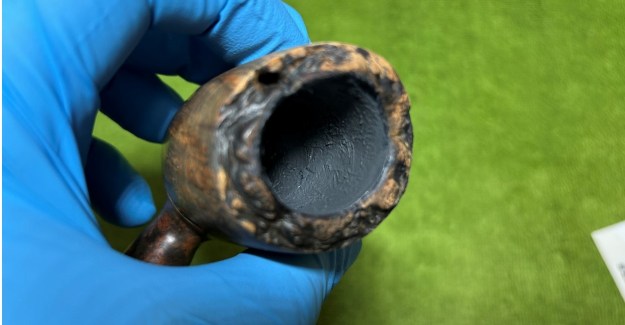
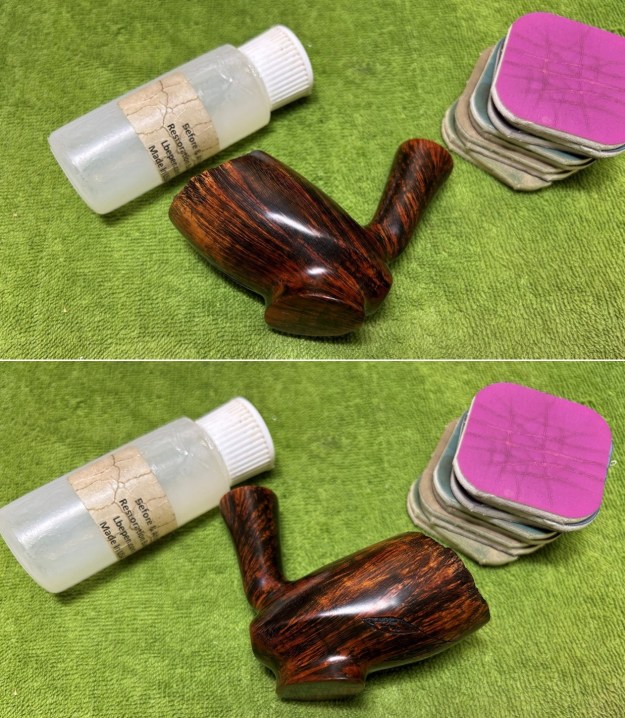
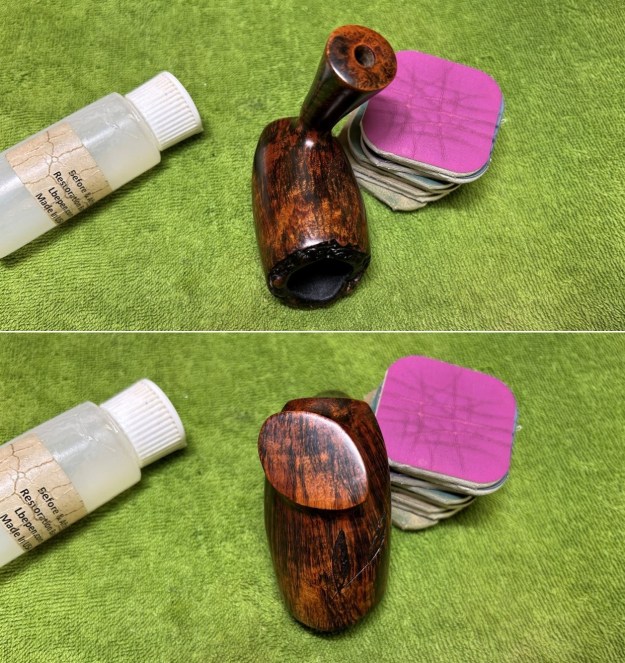
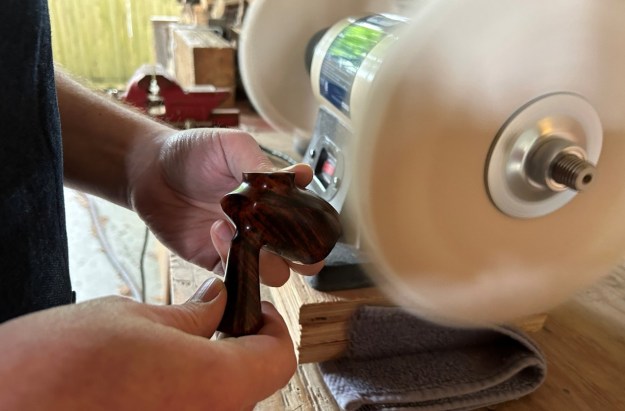
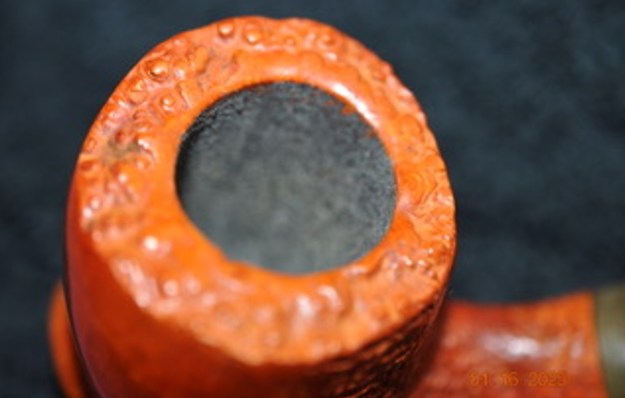
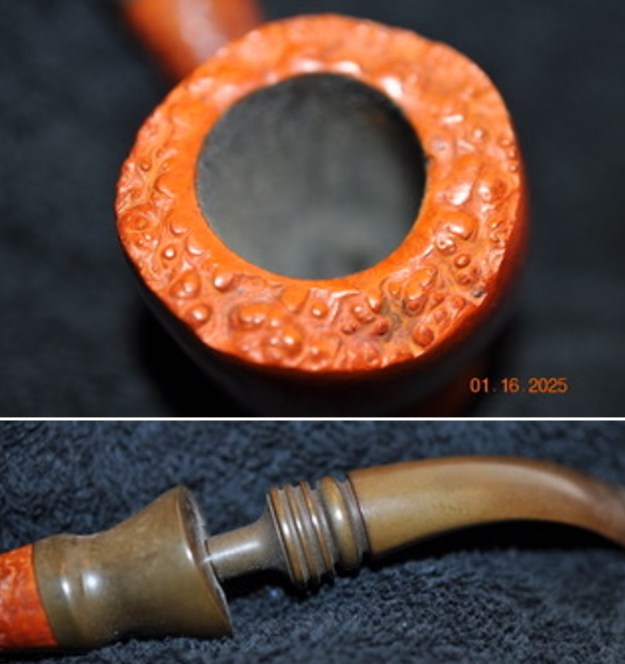
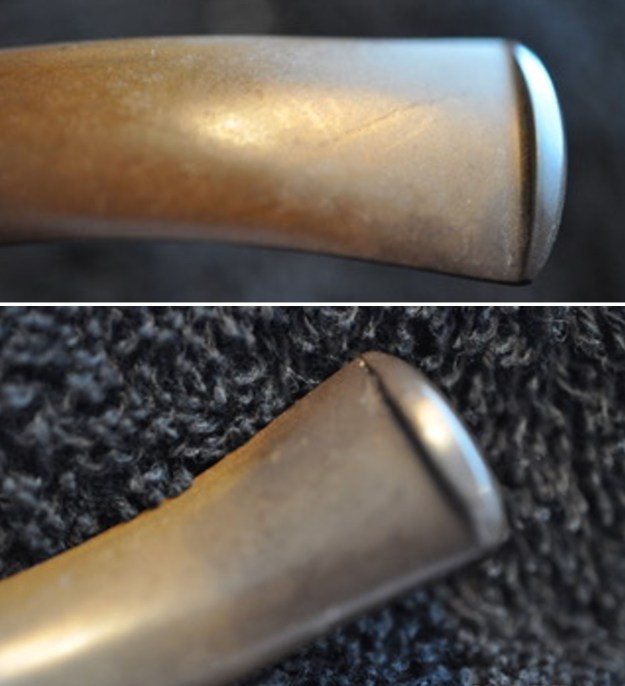
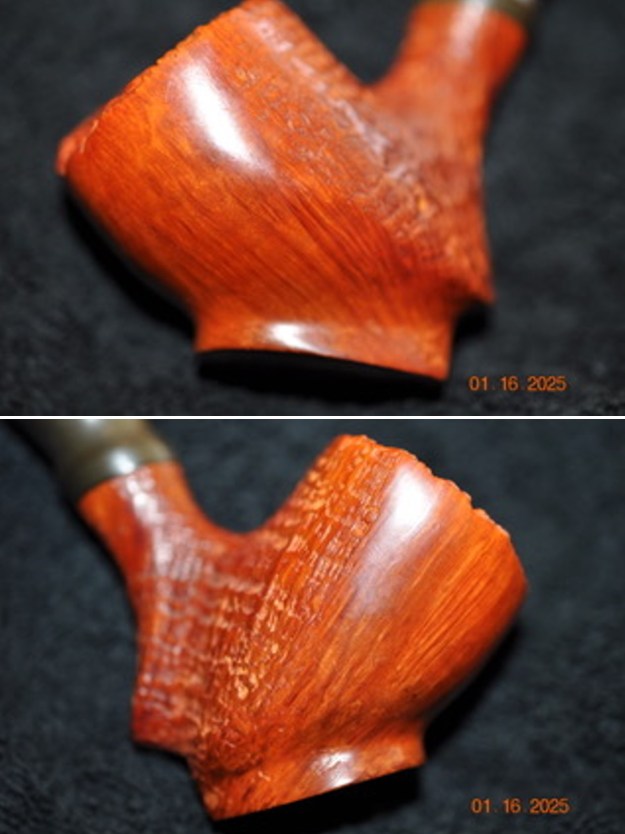
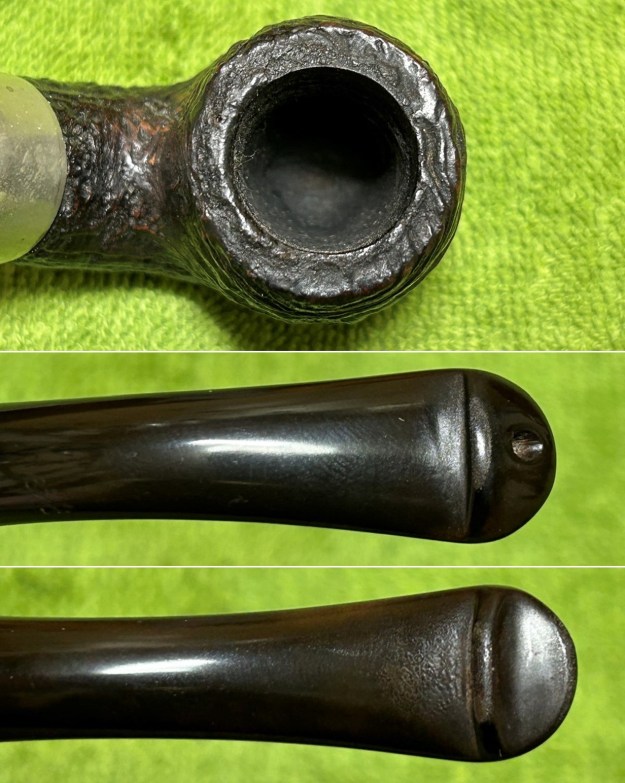
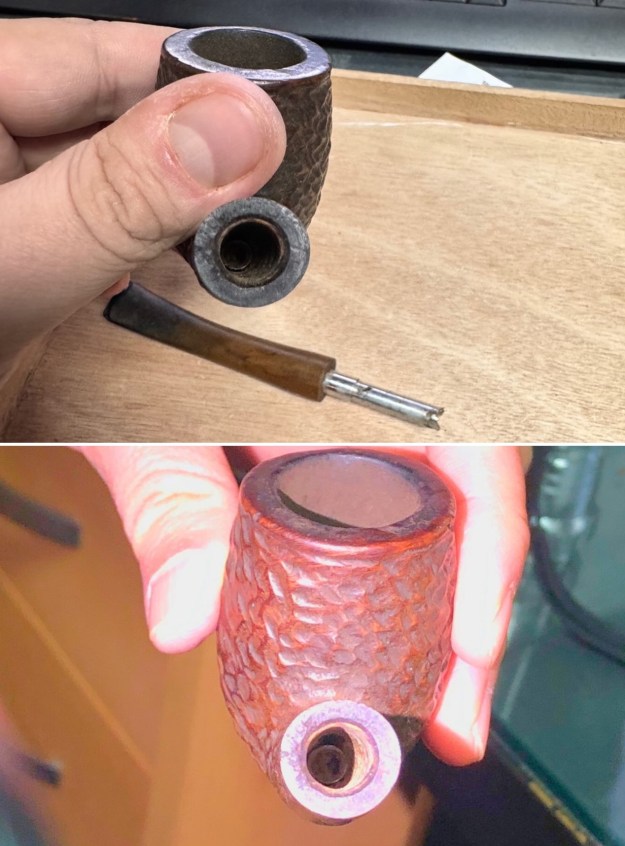
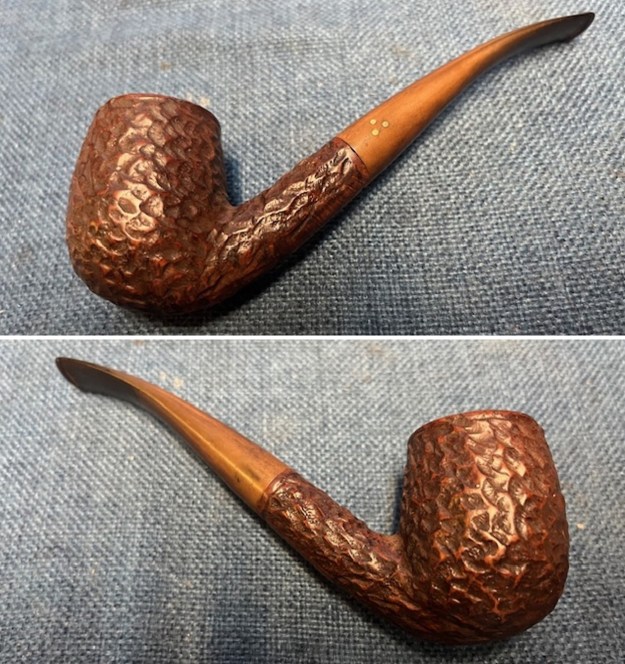
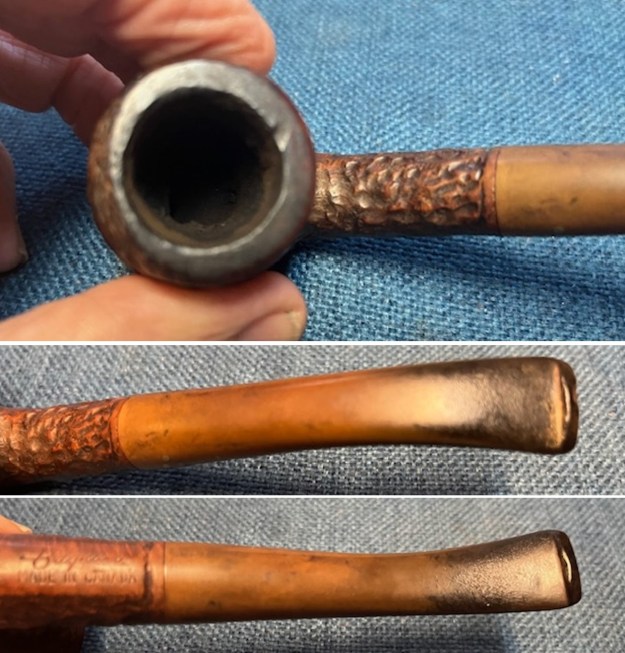
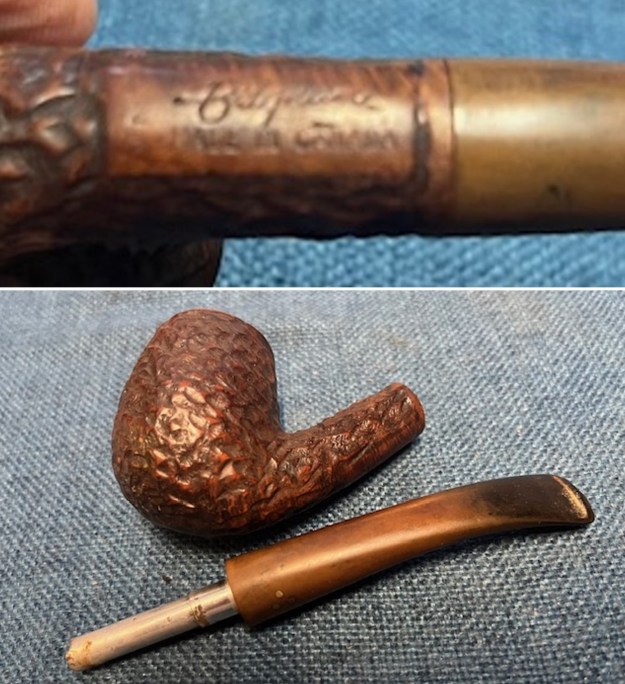
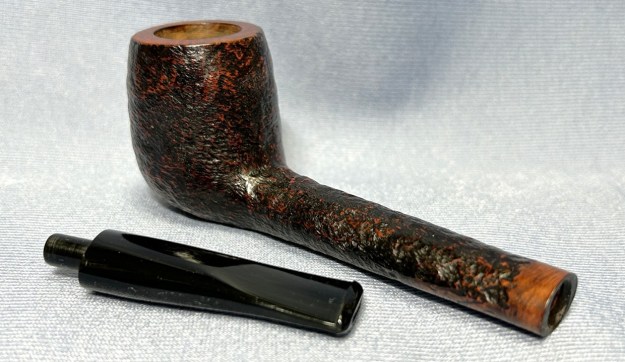
He included the following photos of the pipe. The third photo shows the item stuck in the shank. From the photo it appears to be the metal end of the Brigham Rock Maple Distillator. I have seen this happen before when the aluminum breaks off the wooden distillator. I could also see some corrosion to the aluminum tenon that held the distillator. I let Joe know that once I returned from my visit to my Father in the US I would let him know. Today, Joe dropped pipe by for my work. It was stamped on the underside of the shank and read 323 [followed by] Brigham [over] Made in Canada. The 323 was the shape number of the pipe. The style of the stamping would also help me identify when the pipe was made. The rusticated finish was classic Brigham. There was a thick cake in the bowl and some lava on the rim top. The rim top also had some nicks in the top and the front edge was damaged from knocking the pipe out against a hard surface. The bowl was slightly out of round. The clog in the shank did not allow the shank to be cleaned of the tars and oils and it was very dirty. The stem was oxidized and had tooth marks and chatter on both sides ahead of the button. The end of the metal tenon was also corroded and damaged. I would need to either smooth it out or replace the stem if I could. It had three brass dots on the left side of the taper. I took photos of the pipe before I worked on the pipe. I took close up photos of the bowl and rim top to show the condition of the bowl and damage to the rim edge as well as the cake and lava overflowing onto the rim top. I also took close up photos of the stem to show its condition as mentioned above.I took a photo of the stamping on the underside of the shank and it is very clear and readable. I took the stem off the shank and took a photo of the pipe to show the overall look of the pipe.For the needed background I am including the information from Pipedia on Brigham pipes. It is a great read in terms of the history of the brand (https://pipedia.org/wiki/Brigham_Pipes). Charles Lemon (Dadspipes) has written book on the history of the brand. This article is a good summary. I have included it below.
Roy Brigham, after serving an apprenticeship under an Austrian pipesmith, started his own pipe repair shop in Toronto, in 1906. By 1918 the business had grown to include five other craftsmen and had developed a reputation across Canada for the high quality of workmanship. After repairing many different brands of pipes over the years, Roy noted certain recurring complaints by pipe smokers, the most common referred to as “tongue bite”. Tongue bite is a burning sensation on the smoker’s tongue, previously thought to be due to the heat of the smoke (i.e. a “hot smoking pipe”).

He soon began manufacturing his own pipes, which were lightweight, yet featured a more rugged construction, strengthening the weak points observed in other pipes. The problem of tongue bite intrigued him, and he decided to make overcoming it a future goal.

About 1938, Roy’s son Herb joined him to assist in the business. The business barely survived the great depression because pipes were considered to be a luxury, not a necessity, and selling pipes was difficult indeed. In approximately 1937 [1], after some experimentation, Roy and Herb discovered that tongue bite was in fact a form of mild chemical burn to the tongue, caused by tars and acids in the smoke. They found that by filtering the smoke, it was possible to retain the flavour of the tobacco and yet remove these impurities and thereby stop the tongue bite.

Just as Thomas Edison had searched far and wide for the perfect material from which to make the first electric light bulb filaments, Roy & Herb began experimenting with many materials, both common and exotic, in the quest for the perfect pipe filter. Results varied wildly. Most of the materials didn’t work at all and some actually imparted their own flavour into the smoke. They eventually found just two materials that were satisfactory in pipes: bamboo and rock maple. As bamboo was obviously not as readily available, rock maple then became the logical choice.

They were able to manufacture a replaceable hollow wooden tube made from rock maple dowelling, which when inserted into a specially made pipe, caused absolutely no restriction to the draw of the pipe, yet extracted many of the impurities which had caused tongue bite. The result was indeed a truly better smoking pipe…

I then turned to a second article by Charles Lemon called, “A Closer Look at the Dots, Dates, and Markings of Brigham Pipes” to be able to pin down the time frame that the pipe was made in and to help interpret the stampings and shape number on the pipe. Here is the link to his article (https://pipedia.org/wiki/Brigham_Pipes_%E2%80%93_A_Closer_Look_at_Dots,_Dates_and_Markings). I quote the pertinent information below to establish the date on the pipe.

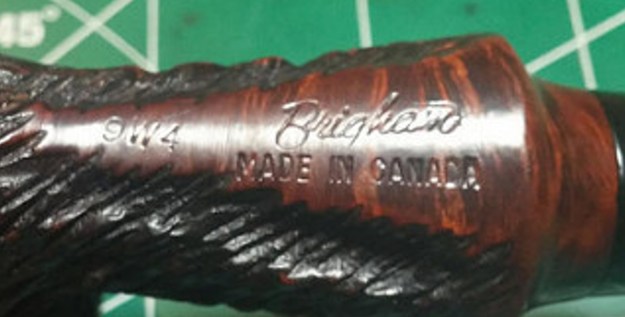
Around the late 1960s or early 1970s, at the beginning of what I’ve called the Canadian Era (roughly 1970 – 1980), the stampings changed again as Brigham moved to modernize its logo. Pipes are stamped with the 3-digit shape number and “Brigham” over “Made in Canada”. Note these two variants of this stamping.

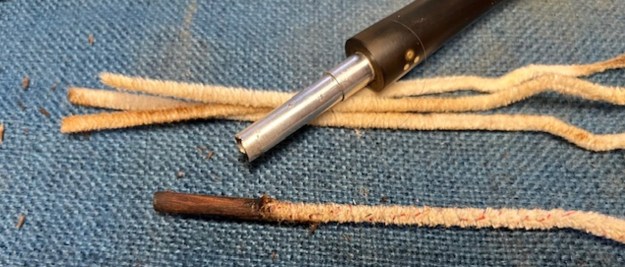
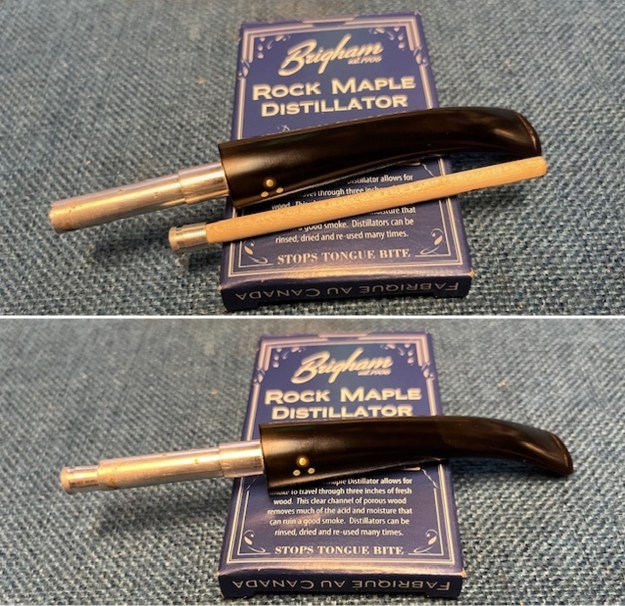
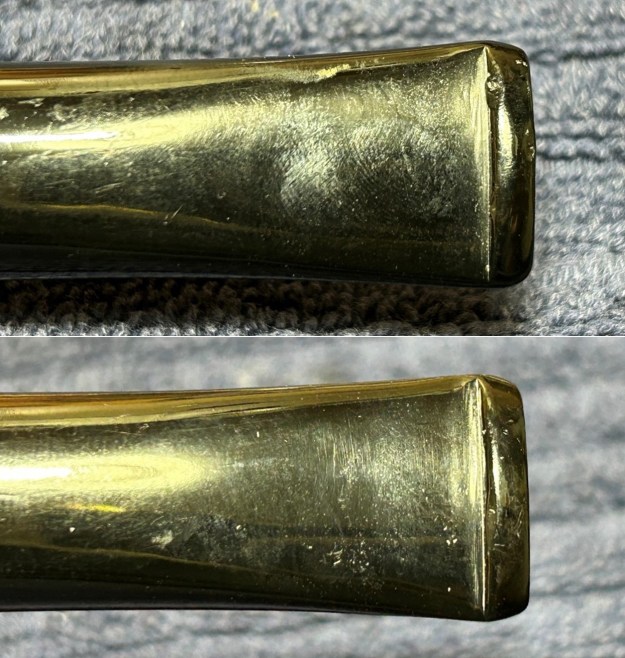
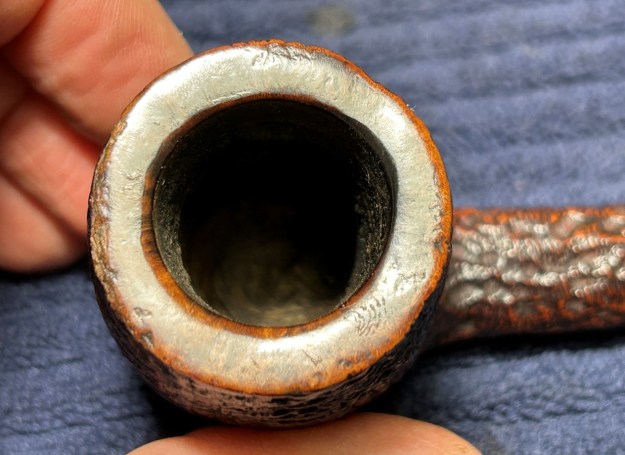
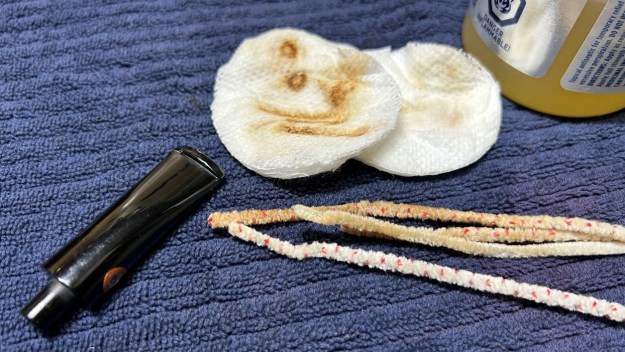
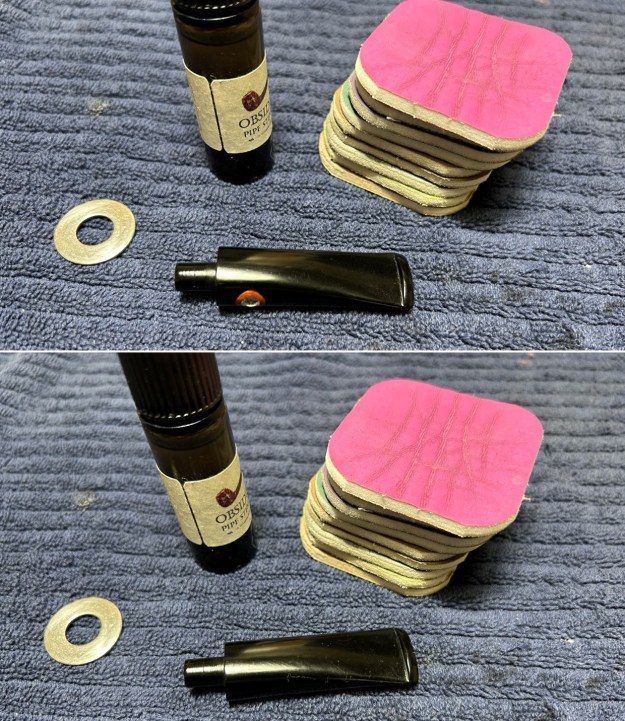
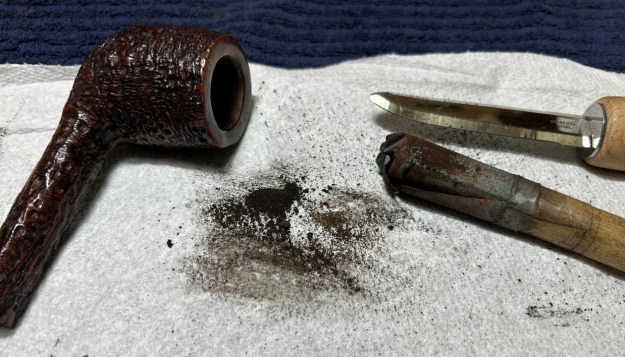
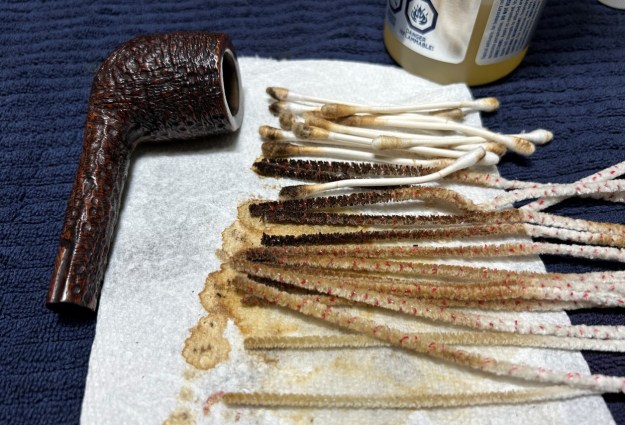
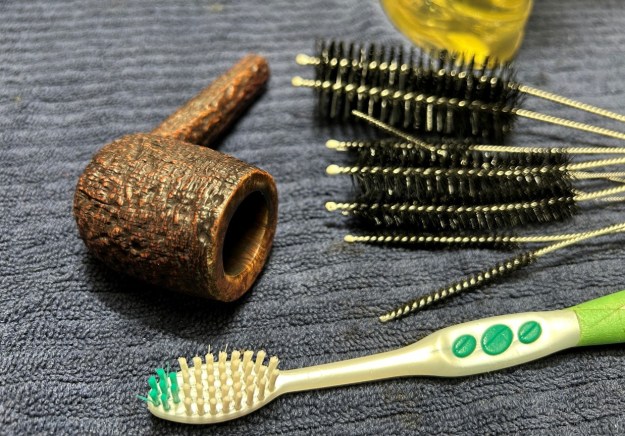
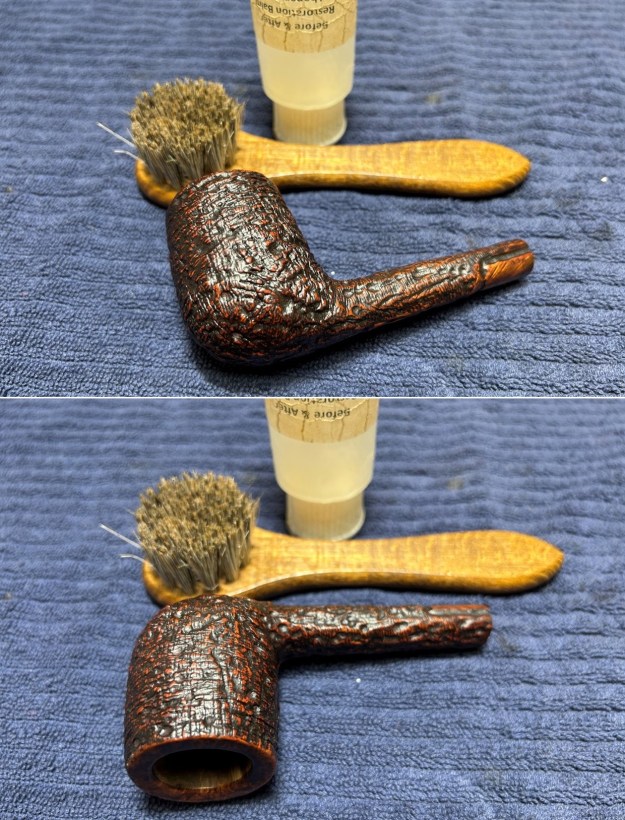
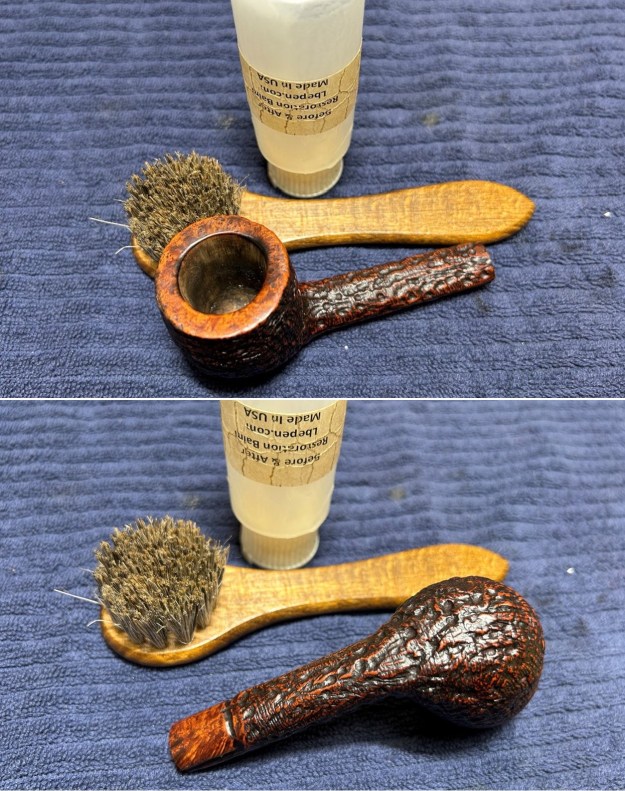
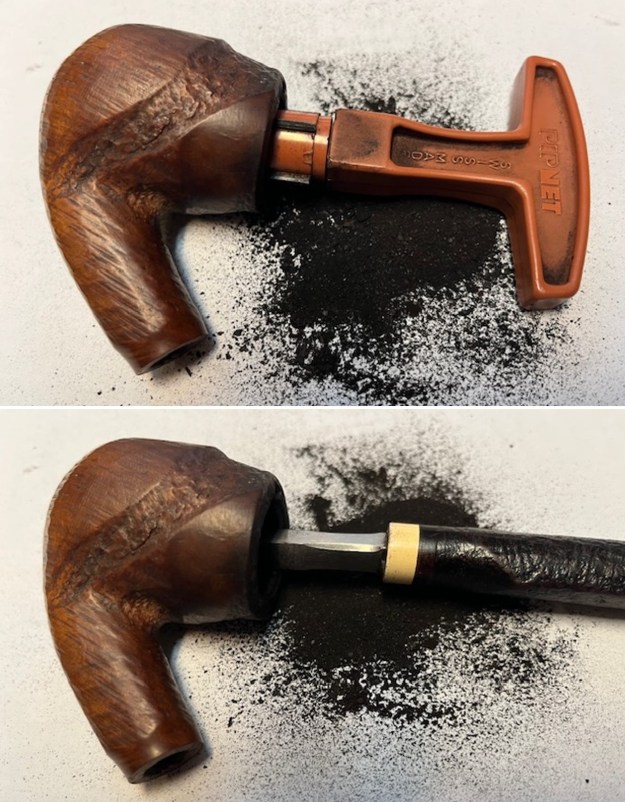
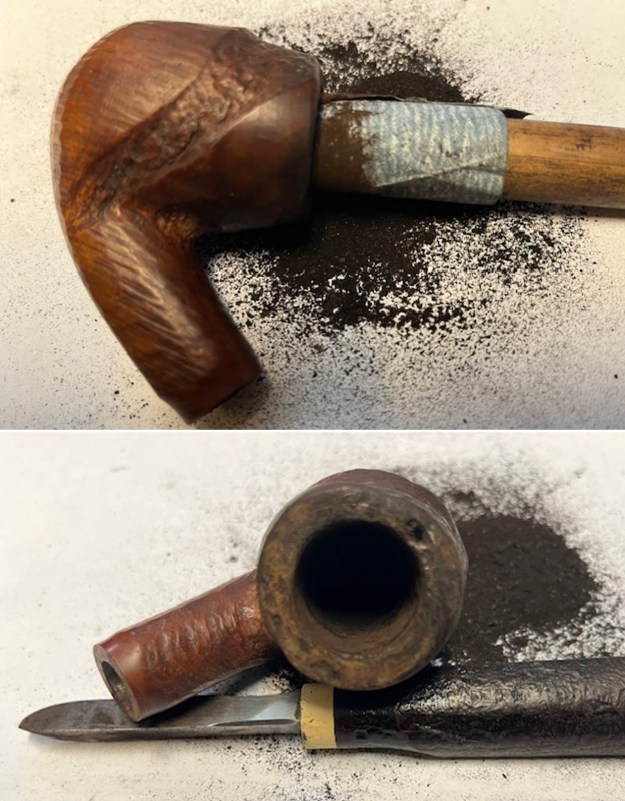
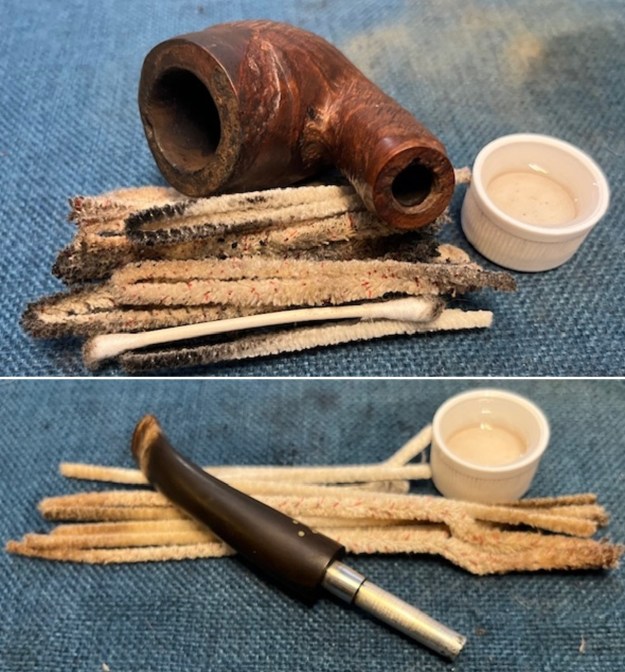
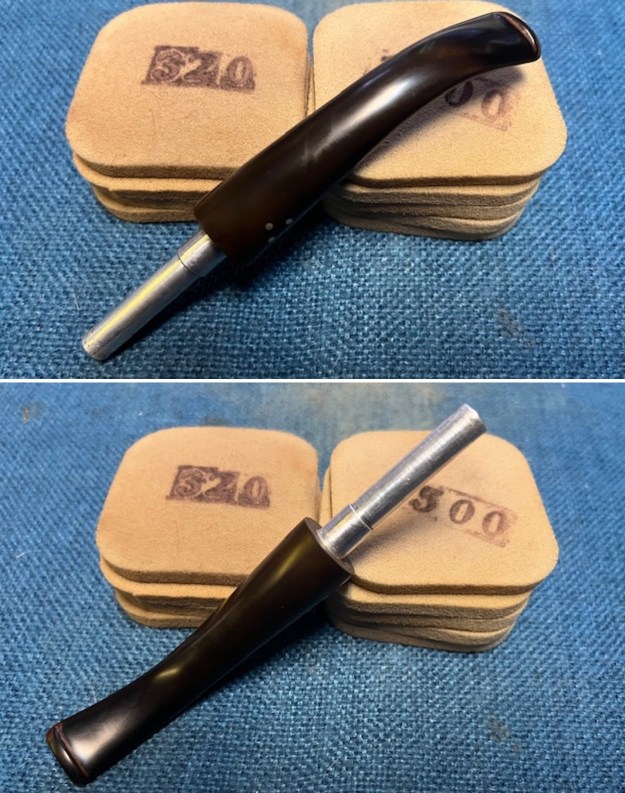
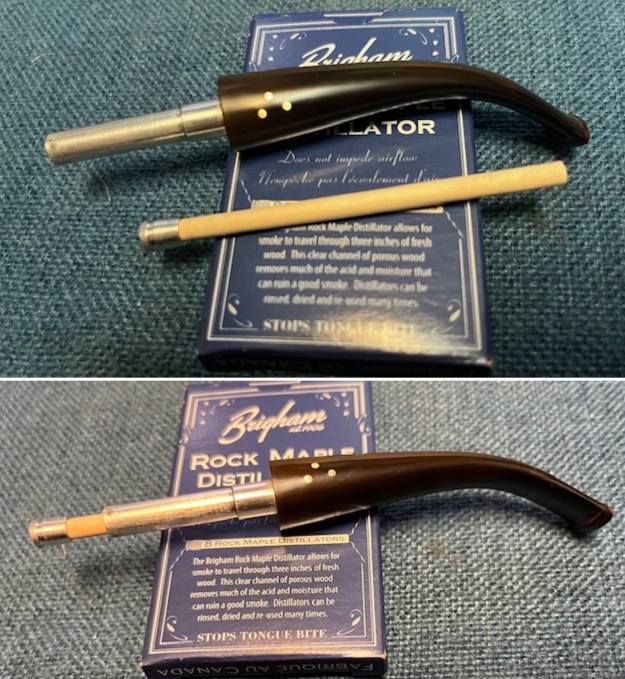
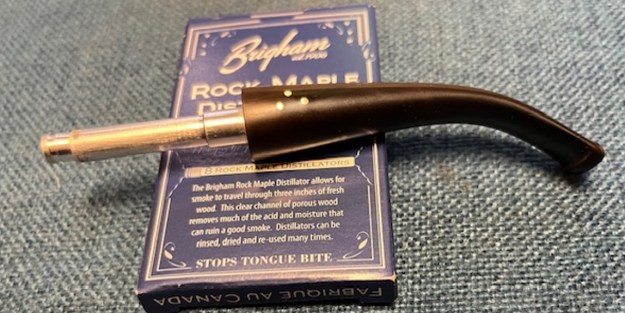
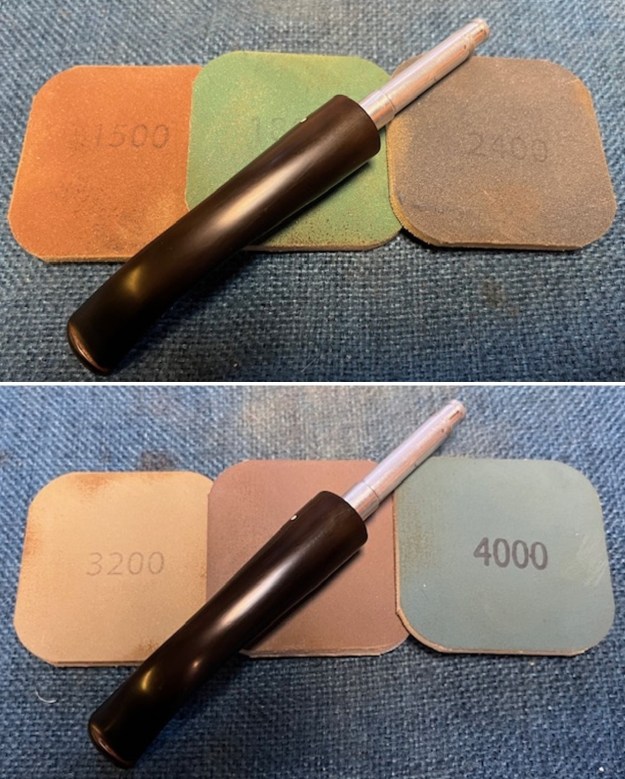
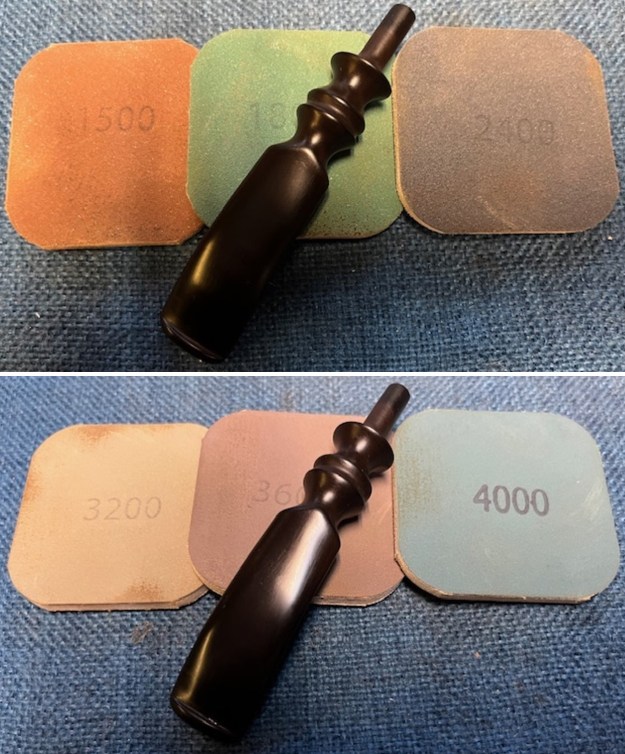
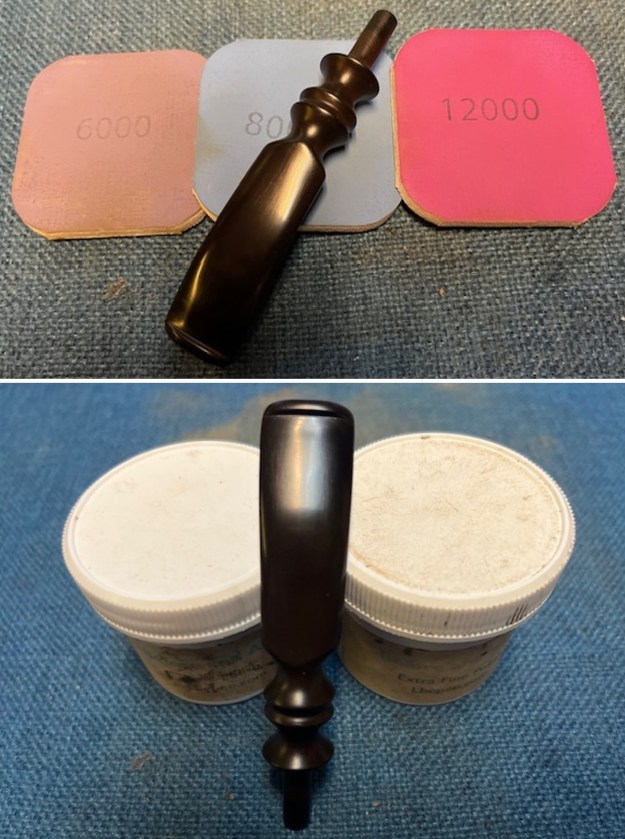
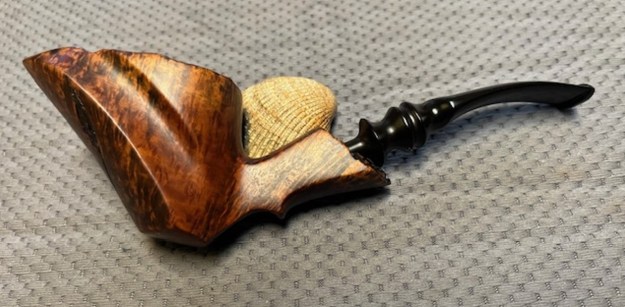
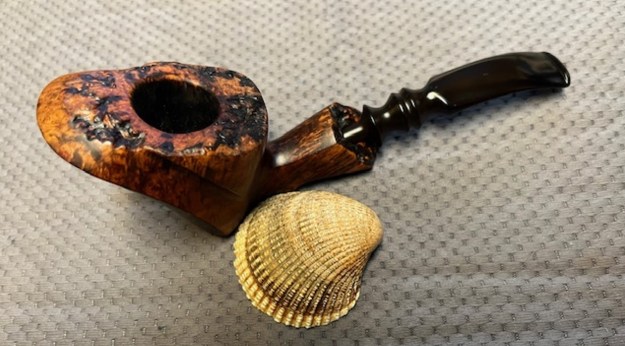
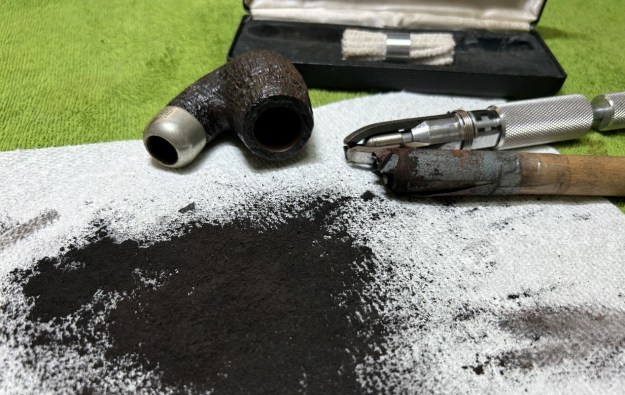
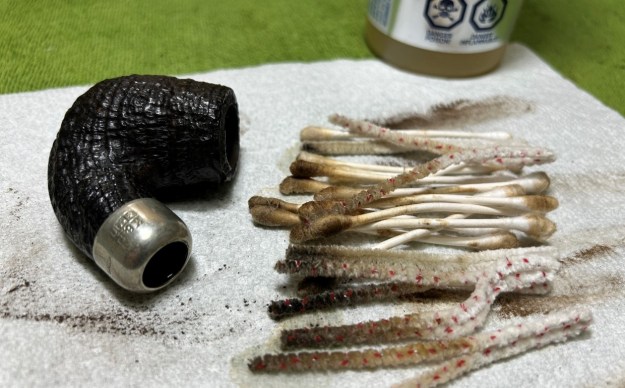
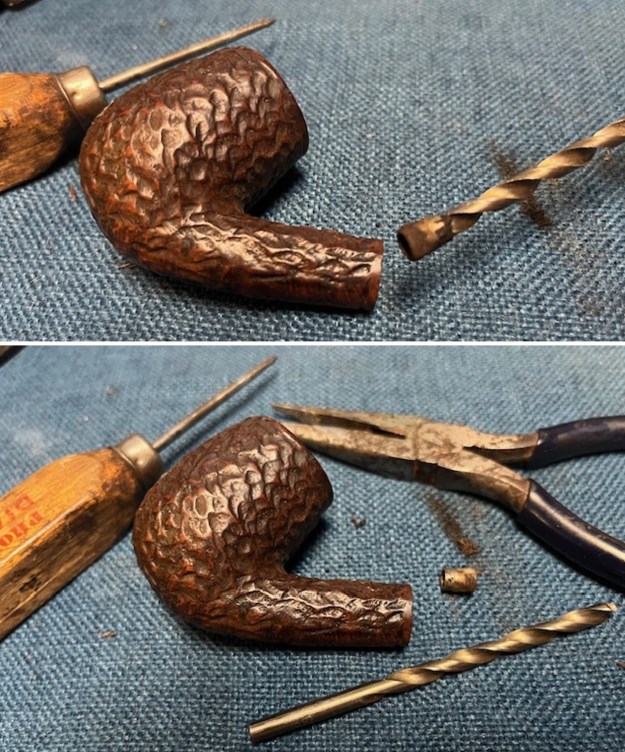
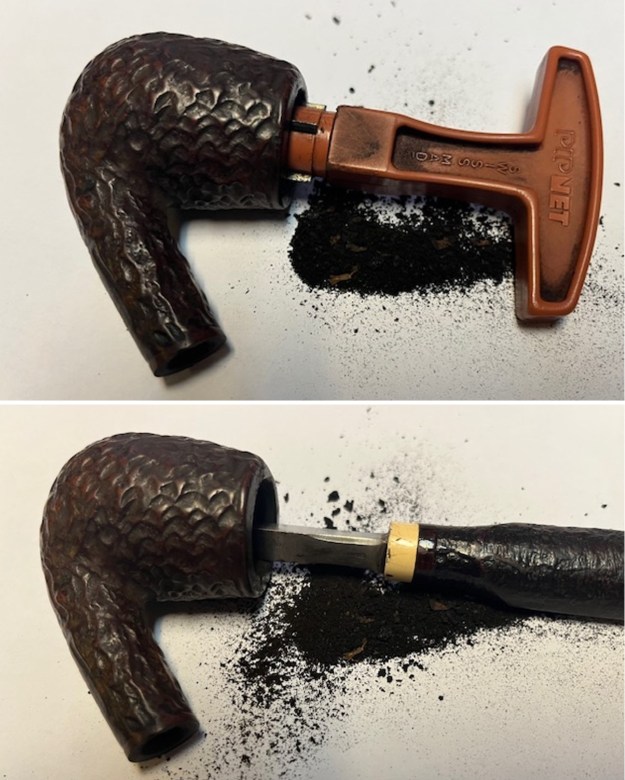
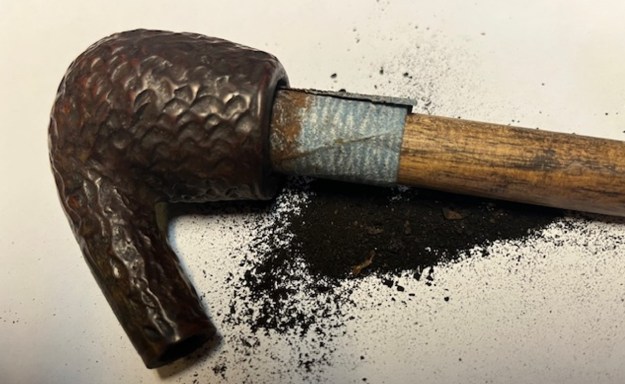
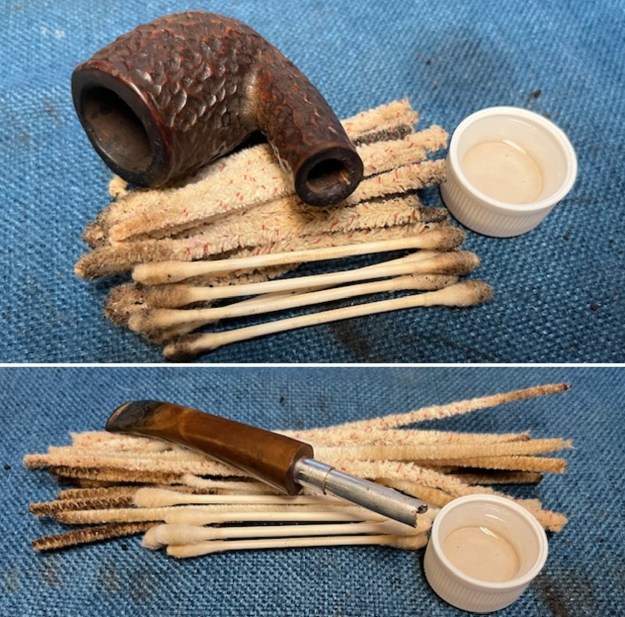
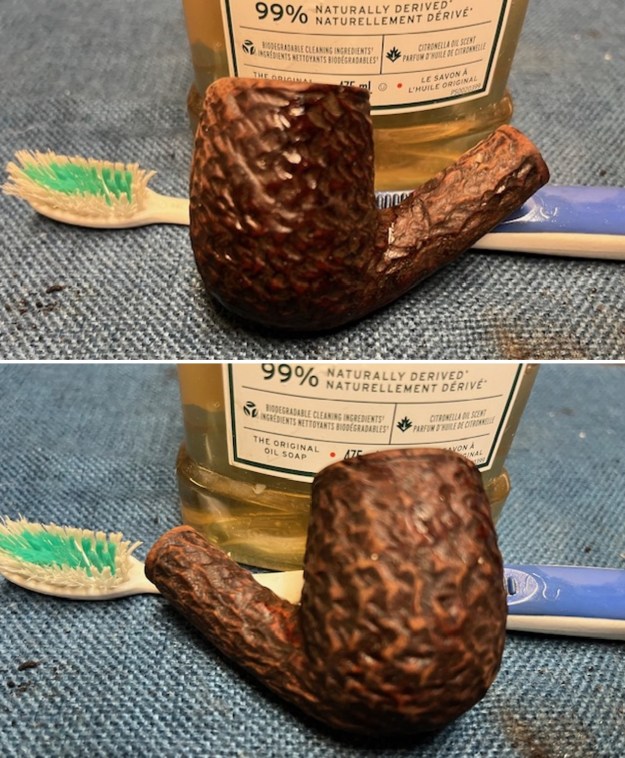
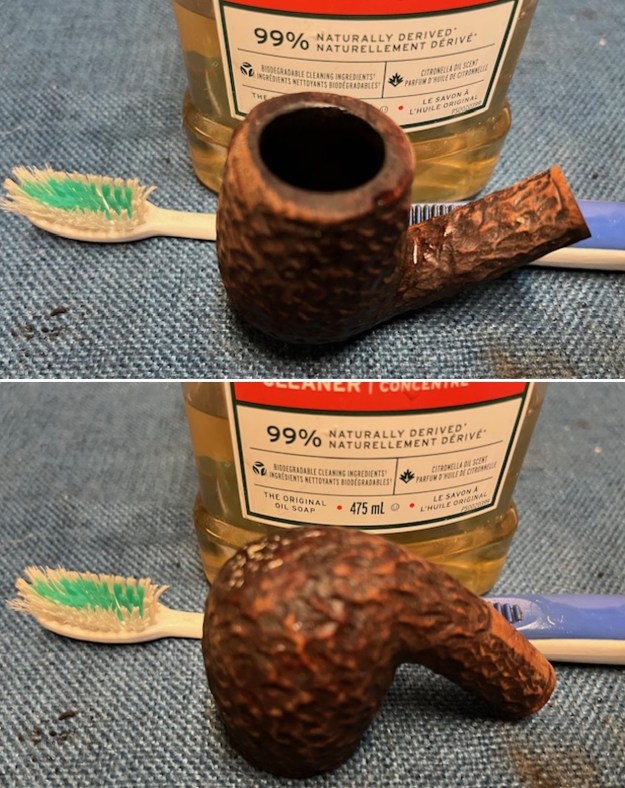
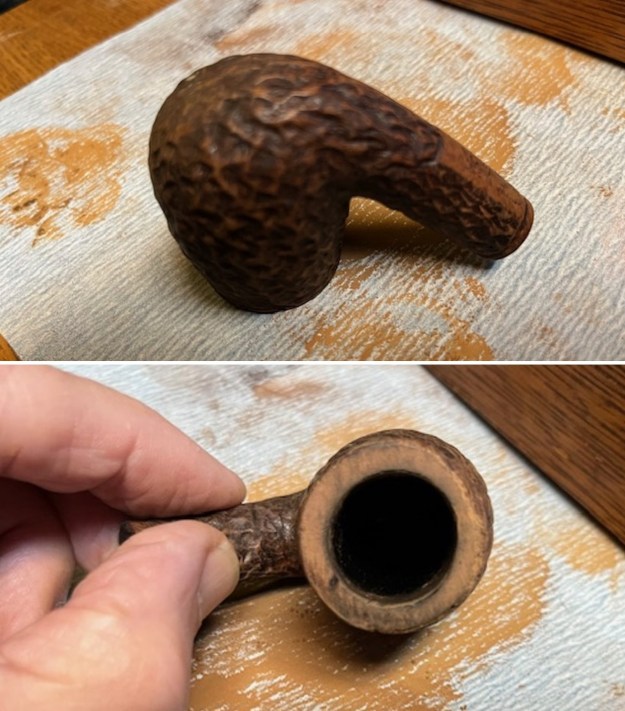
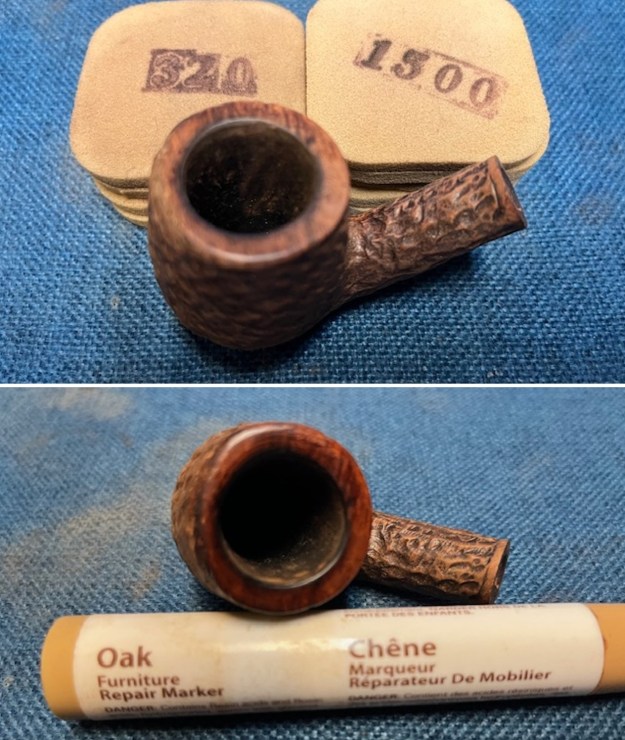
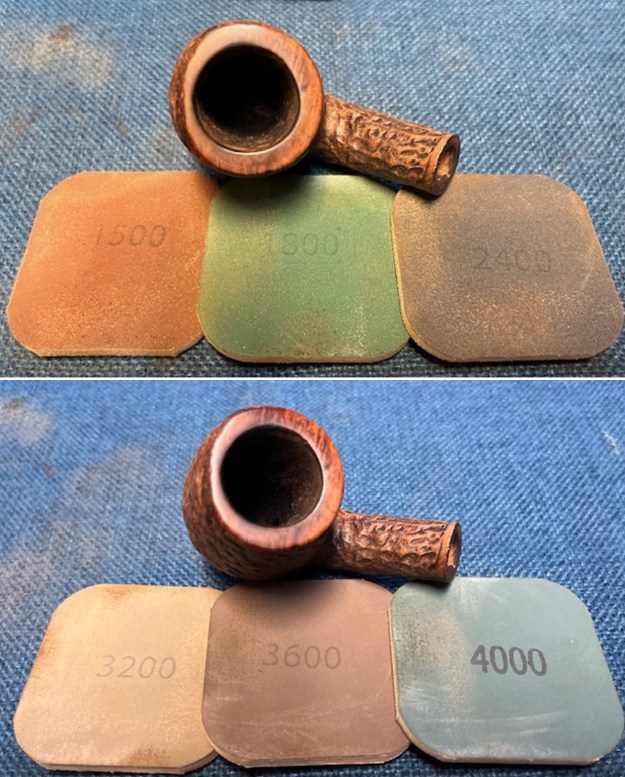
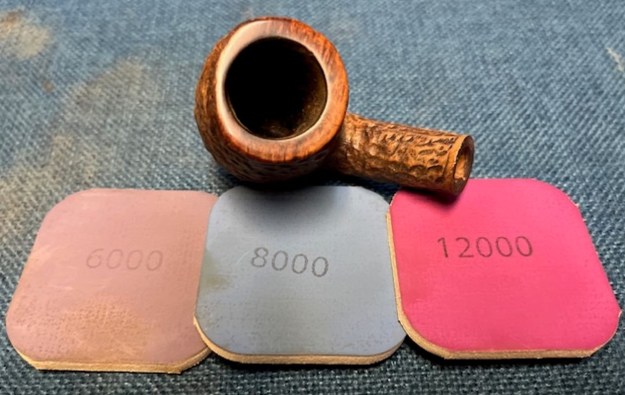
The stamping on the one I am working on is like that shown in the photo below. From the information above I know that the pipe I am working on was made between the late 1960s and the 1980s which makes the pipe approximately 45-65 years old. Now it was time to work on the pipe. I decided to pull the metal blockage in the shank end. I knew it was broken off the Hard Maple Distillator. I tried to pull the metal piece with an ice pick and it was too tight in the shank to come out that easily! Always seems to be the case for me. I used drill bit slightly larger than the airway in the metal piece. I carefully turned it into the metal with a cordless drill. Once it bit I was able to pull it free from the shank. It is shown on the end of the drill bit in the first photo below and free of the bit in the second photo below.I reamed the bowl with a PipNet reamer. I used the first and second cutting heads and took the cake back to bare briar. I cleaned up the reaming with a Savinelli Fitsall Pipe Knife and removed all the remnants of the cake. I scraped the rim top with the flat edge of the blade at the same time and removed most of the thick lava build up. I sanded the walls of the bowl with a piece of dowel wrapped in 220 grit sandpaper. The walls look very good at this point in the process. I cleaned out the shank, the airway and the deep mortise with alcohol, cotton swabs, hard bristle and soft bristle pipe cleaners. It was a very dirty pipe which just meant that it had really been enjoyed and used. I cleaned the inside of the aluminum tenon and the airway in the stem with alcohol, cotton swabs and pipe cleaners in the same way as I did the shank. It was clogged with debris and there was no airflow. It took some work with a paper clip but eventually it opened up so I could clean it well.I scrubbed the exterior of the bowl and shank with a tooth brush and undiluted Murphy’s Oil Soap. I scrubbed the lava on the rim top and overflow on the outside of the bowl with the soap. I rinsed the briar with warm water to remove the grime and debris of the scrubbing. It looked significantly better after the scrubbing. I cleaned up the inner edge of the rim and the rim top with a folded piece of 220 grit sandpaper. I removed the darkening as much as possible and smoothed out the top of the rim. I lightly topped the bowl on a topping board with 220 grit sandpaper to smooth out the damage on the top and minimize the damage on the front outer edge. I sanded the rim top with 320-3500 grit sanding pads to remove the marks, scratches and darkening and to help shrink and minimize the damage on the front outer edge of the bowl. I used an oak stain pen to blend the top colour into the finished colour of the bowl once polished. It looks a bit darker at this point but it will match very well.I polished it with micromesh sanding pads – dry sanding it with 1200-15000 grit pads. I wiped the bowl down with a damp cloth after each sanding pad. It began to look very good. While the damage on the front of the bowl is visible, in person it is less so. I rubbed the bowl and shank down with Before & After Restoration Balm to deep clean the finish on the bowl and shank. The product works to clean, enliven and protect the briar. I worked it in with my fingers to get it into the briar. I used a horsehair shoe brush to work it into the rustication around the bowl and shank. I let it sit for 10 minutes then I wiped it off and buffed it with a soft cloth. The briar really began to have a rich shine. I took some photos of the bowl at this point to mark the progress in the restoration. It is a beautiful bowl. I set the bowl aside and turned my attention to the stem. I scrubbed the oxidation on the stem with Soft Scrub cleanser and was able to remove a large amount of it. Even after cleaning the inside of the stem the airflow was still quite restricted. I had a hunch the other end of the hard Maple Distillator was stuck in the stem. It made sense. I worked on it with the wire and some bristle pipe cleaners and finally the piece of maple came free and the stem was open as it should have been.I sanded the area around the button edge and the remaining oxidation with a folded piece of 220 grit sandpaper. Progress was happening!I sanded the surface of the vulcanite with the 2 x 2 inch sanding pads. I dry sanded with each pad between the grits 320-3500. I worked on the surface until I had removed all of the oxidation and the stem started to really shine.I polished the stem with micromesh sanding pads – dry sanding with 1500-12000 grit pads. I wiped the stem down after each sanding pad with Obsidian Oil. I polished the stem with Before & After Pipe Stem Polish – both Fine and Extra Fine. I gave it a coat of Obsidian Pipe Stem Oil. It works to protect the stem from oxidizing. I set it aside to dry. I refit the damaged aluminum tenon with the new Brigham Rock Maple Distillator. It is a unique and cool smoking experience.The final steps in my process involve using the buffer. I buffed the bowl and stem with Blue Diamond to polish out the light scratches in the briar and the vulcanite. I gave the bowl and the stem multiple coats of carnauba wax. I have found that I can get a deeper shine if I follow up the wax buff with a buff with a clean buffing pad. It works to raise the shine and then I hand buff with a microfiber cloth to deepen the shine. It is always fun for me to see what the polished bowl looks like with the polished stem. It really is a nice pipe. The smooth tall bowl sides and the rusticated blaze on the left shank side looks great with the yellow acrylic stem. The Brigham 323 Bent Billiard with a vulcanite taper stem feels great in my hand. It is a well-balanced pipe. Have a look at it with the photos below. The dimensions are Length: 5 ½ inches, Height: 2 inches, Outside diameter of the bowl: 1 ¼ inches, Chamber diameter: ¾ of an inch. The weight of the pipe is 1.62 ounces/46 grams. It is a beautiful pipe that I will soon be sending back to the local shop to give back to the owner. It is obviously one that he enjoys.
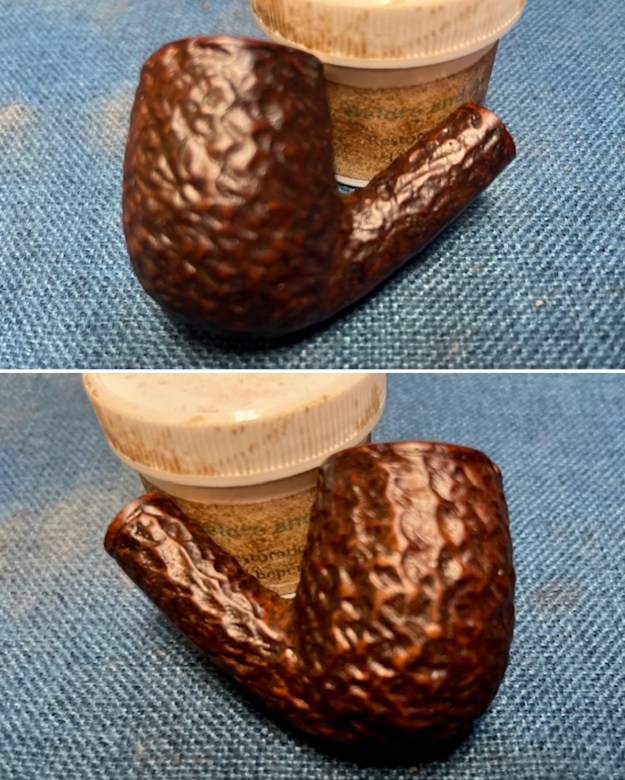
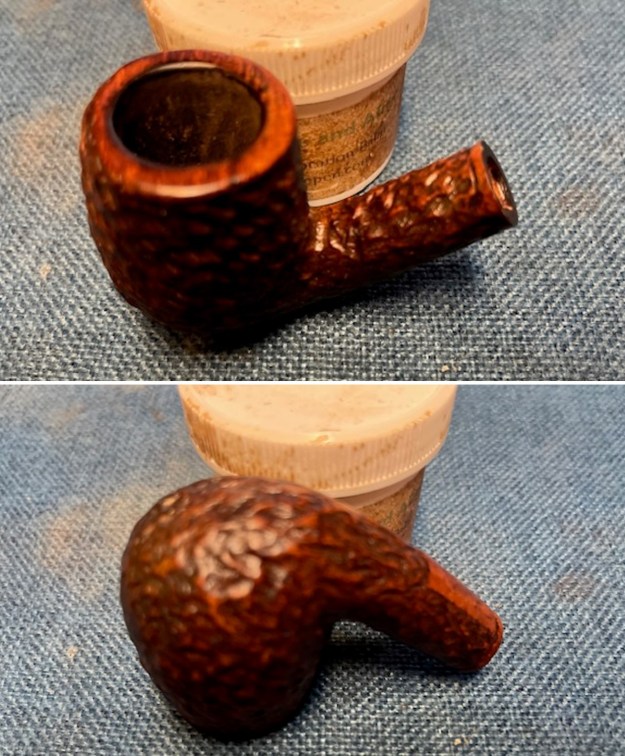
As always, I encourage your questions and comments as you read the blog. Thanks to each of you who are reading this blog. Remember we are not pipe owners; we are pipe men and women who hold our pipes in trust until they pass on into the trust of those who follow us.

A Blast-from-the-Past Pipe by Mark Tinsky


by Kenneth Lieblich

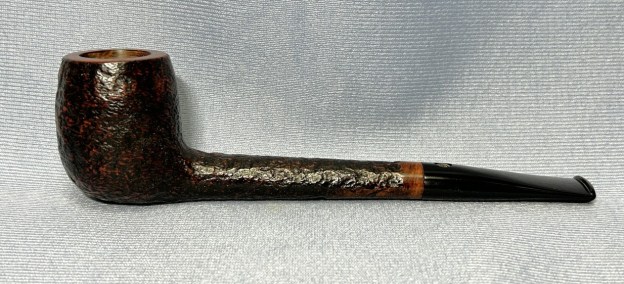
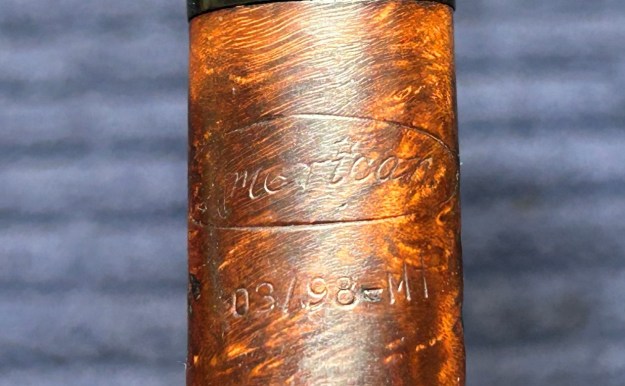
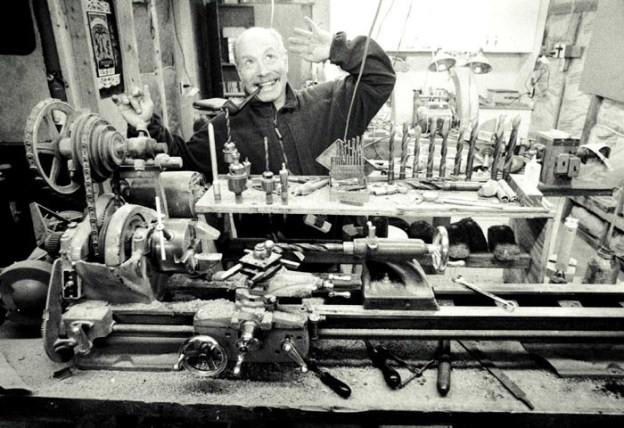
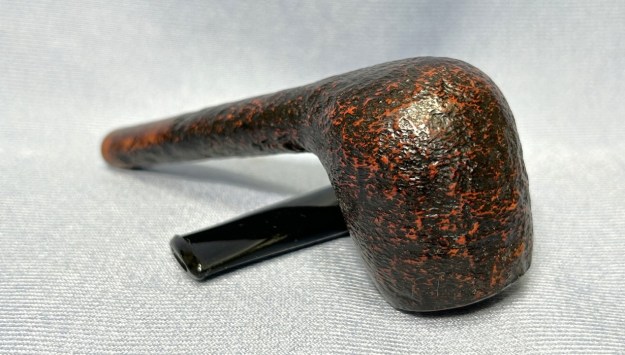
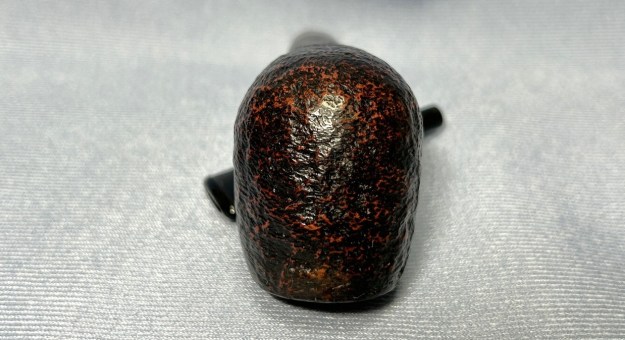
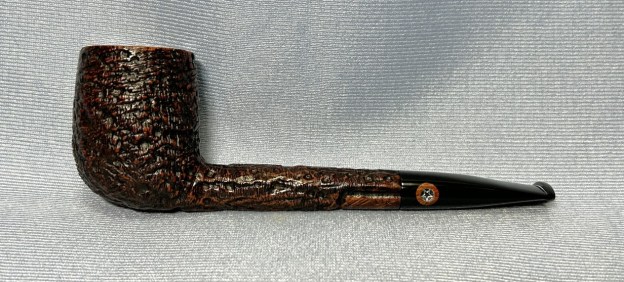
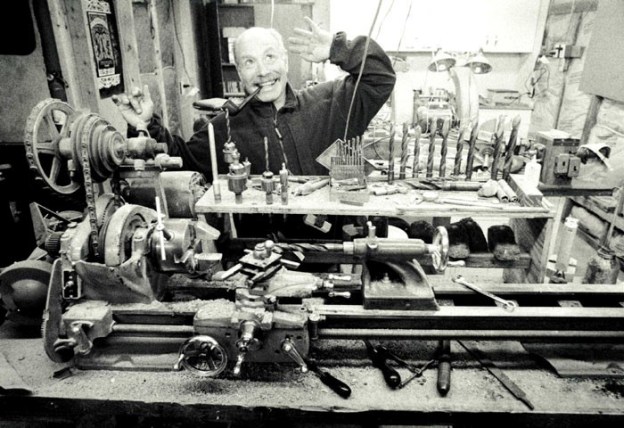
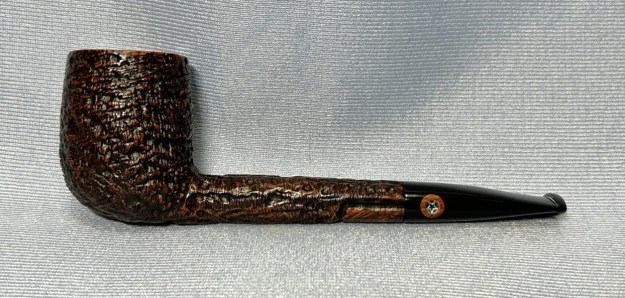
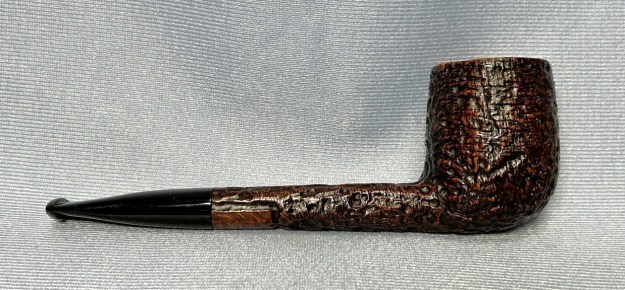
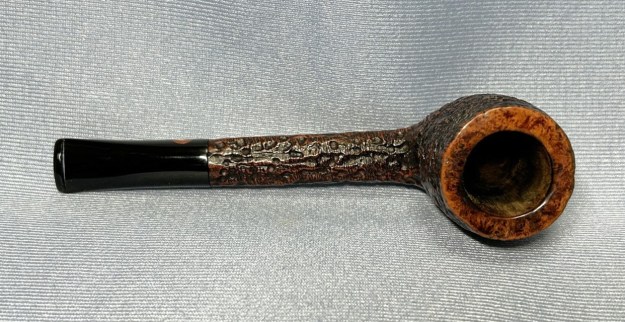
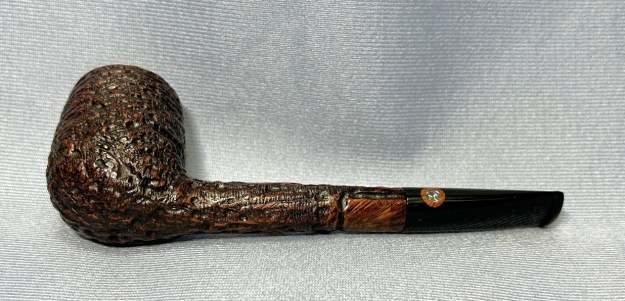
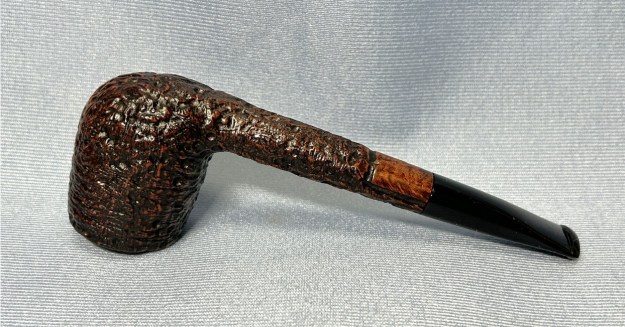
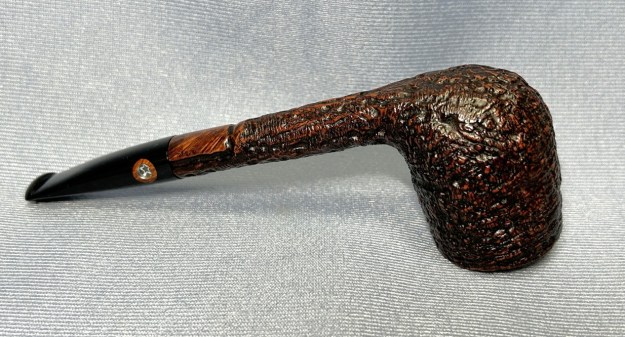
Recently, I was given the opportunity to purchase a small group of pipes by master pipemaker, Mark Tinsky. How could I say no? The answer, of course, is that I could not and I happily acquired them. There are some real beauties here and I am going to restore them all and then turn them over to you. Interestingly, all of the pipes are in the Canadian family of pipe shapes. I’m sure you’ll enjoy seeing them, and here is a link to the first one in case you missed it. Let’s move on to the second pipe. This is a beautiful Canadian – well-proportioned bowl with a long, oval shank and a handsome taper stem made from acrylic. It’s a bit longer than the first one I worked on. It has a nice sandblast that as a wonderful, leathery feel to it. It’s obviously not made of leather, but the texture is really satisfying. There is a lovely star logo on the top of the stem. Under the shank are the markings and they read: American [over] 03/98-MT. This tells us that the pipe was made in March 1998 by Mark Tinsky himself.As I’m sure you know, Mark Tinsky is one of the great names in American pipe making. He is best summed up in this quotation from Erwin Van Hove:

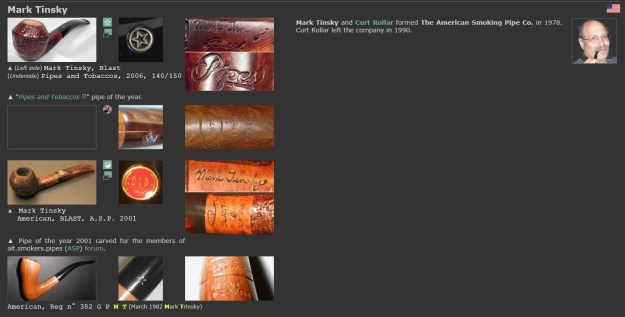
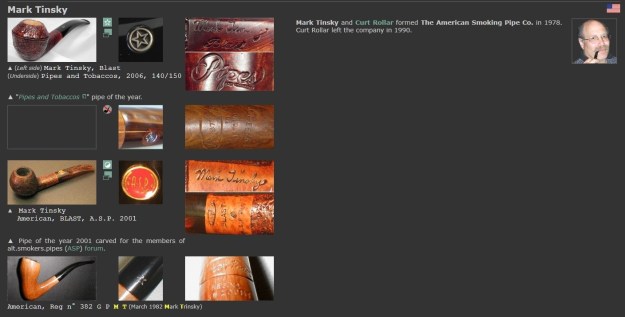
His more than reasonable prices, and his good-natured personality, have made Mark [Tinsky] the favorite of many Americans. It is difficult to find an amateur who does not possess at least one pipe made by the American Smoking Pipe Company, that Tinsky founded in 1978 with his friend Curt Rollar. In 1990, after the departure of his associate, Tinsky continued on by himself building a solid reputation using quality briar from Greece and stem blanks imported from Italy, offering collectors a vast assortment of models and finishes. In short, his pipes are beautiful and well-made pieces that produce a taste beyond reproach. Neither off-the-shelf nor haute couture, they are solid hand mades for an affordable price.There is a wonderful and extensive article on Tinsky, Rollar, and the American Smoking Pipe Company at Pipedia. I highly recommend reading it here. You can also visit his website: http://www.amsmoke.com/. There’s also a small blurb about him at Pipephil:This pipe was in generally very nice shape – there were a few nicks on the rim – but that didn’t require too much work. In fact, the stem didn’t require any work from me at all! When I got this pipe, the stem was nowhere to be seen – there was only a stummel. So, I sent the pipe to Mark Tinsky and had him fashion a new stem for this pipe. The new stem is a perfect match from the man himself.I moved straight on to the stummel. The first step was to ream out the bowl – that is to say, remove all the cake inside the bowl. This accomplished a couple of things. First (and most obviously), it cleaned the bowl and provided a refurbished chamber for future smoking. Second, when the old cake was removed, I could inspect the interior walls of the bowl and determine if there was damage or not. I used a pipe knife and a piece of sandpaper taped to a wooden dowel. Collectively, these ensured that all the debris was removed – but it was very clean inside.I then cleaned the stummel with both pipe cleaners and cotton swabs dipped in lemon-infused 99% isopropyl alcohol. It took quite a while and much cotton to get clean.To tidy up the briar, I also wiped down the outside with some oil soap on cotton rounds and used a toothbrush in the crevices. This did a good job of cleaning any latent dirt on the surface of the briar. The last step of the cleaning process was to scour the inside of the stummel with some soap and tube brushes. This was the culmination of a lot of hard work in getting the pipe clean.Having completed that, I was able to address the nicks on the rim. I dug out my iron and a damp cotton flannel cloth. By laying the cloth over the affected areas and applying the iron to it, the hot and moist steam can cause the wood to swell slightly and return to shape. There was some significant improvement! Not everything was removed, but most of it was. I also gave it a light topping on my topping board to finish off the rim. I used all nine micromesh pads (1,500 through 12,000 grit) to sand the smooth rim and the smooth part of the shank. This sanding minimizes flaws in the briar and provides a beautiful smoothness to the wood. I rubbed some LBE Before & After Restoration Balm into the briar and let it sit for 30 minutes or so. The balm moisturizes the wood and gives a beautiful depth to the briar. I then buffed the stummel with a microfibre cloth. For the final step, I took the pipe to my bench polisher and carefully buffed it with three coats of conservator’s wax. This procedure makes the pipe look its best – the stummel sings and the stem glows.

All done! This Mark Tinsky 03-98 sandblasted Canadian looks fantastic again and is ready to be enjoyed by its next owner. I am pleased to announce that this pipe is for sale! If you are interested in acquiring it for your collection, please have a look in the ‘American’ section of the store here on Steve’s website. You can also email me directly at kenneth@knightsofthepipe.com. The approximate dimensions of the pipe are as follows: length 6¼ in. (170 mm); height 1⅞ in. (48 mm); bowl diameter 1½ in. (38 mm); chamber diameter ¾ in. (20 mm). The weight of the pipe is 1¾ oz. (52 g). I hope you enjoyed reading the story of this pipe’s restoration as much as I enjoyed restoring it. If you are interested in more of my work, please follow me here on Steve’s website or send me an email. Thank you very much for reading and, as always, I welcome and encourage your comments.

A Terrific American-Canadian Pipe from Mark Tinsky


by Kenneth Lieblich

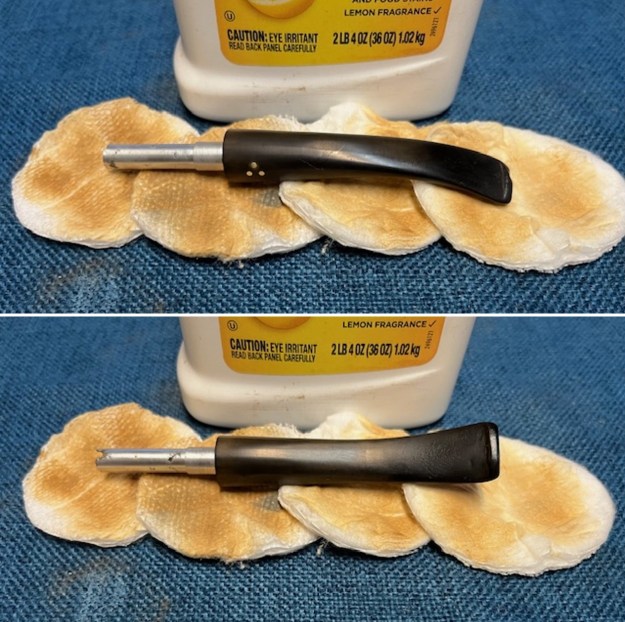
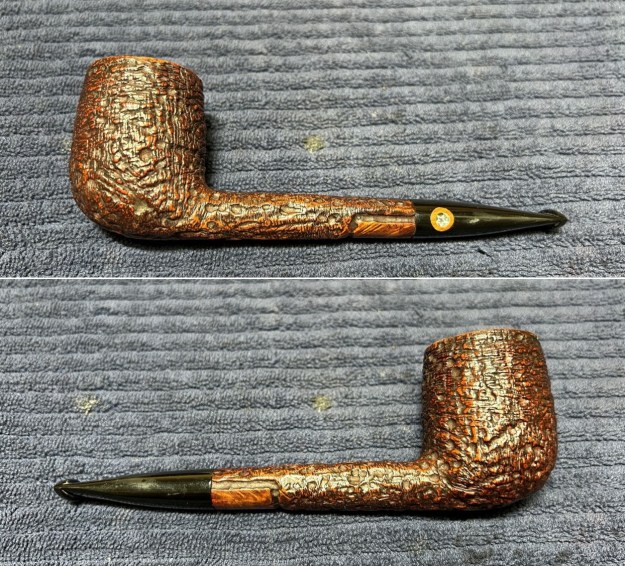
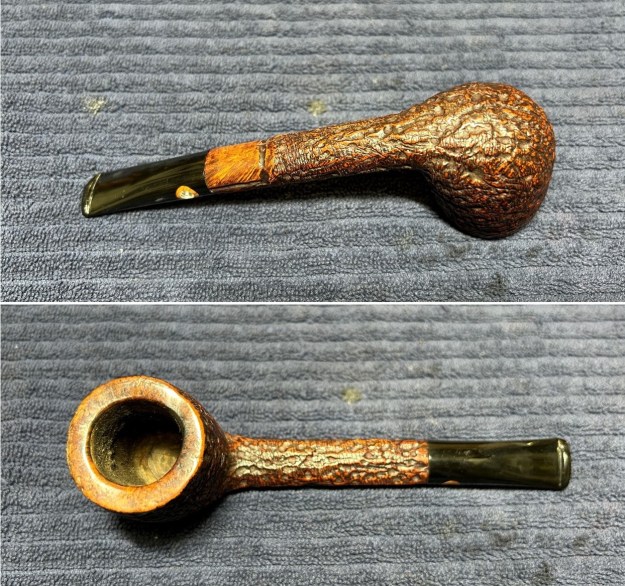
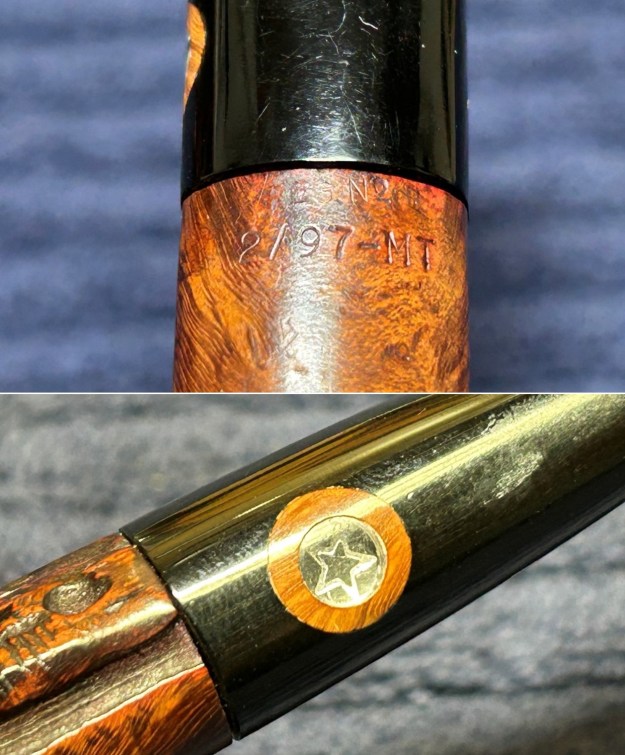
Recently, I was given the opportunity to purchase a small group of pipes by master pipemaker, Mark Tinsky. How could I say no? The answer, of course, is that I could not and I happily acquired them. There are some real beauties here and I am going to restore them all and then turn them over to you. Interestingly, all of the pipes are of the Canadian family of pipe shapes. I’m sure you’ll enjoy seeing them, so – in no particular order – let’s get started with the first one. This is a beautiful Canadian – well-proportioned bowl with a long, oval shank and a handsome taper stem made from acrylic. It has a finish that Steve calls ‘blasticated’ – sort of a hybrid of sandblasted and rusticated. There is a lovely star logo on the side of the stem, encircled with inlaid briar. Under the shank are the markings and they read: Reg. No. [over] 2/97-MT. This tells us that the pipe was made in February 1997 by Mark Tinsky himself.As I’m sure you know, Mark Tinsky is one of the great names in American pipe making. He is best summed up in this quotation from Erwin Van Hove:

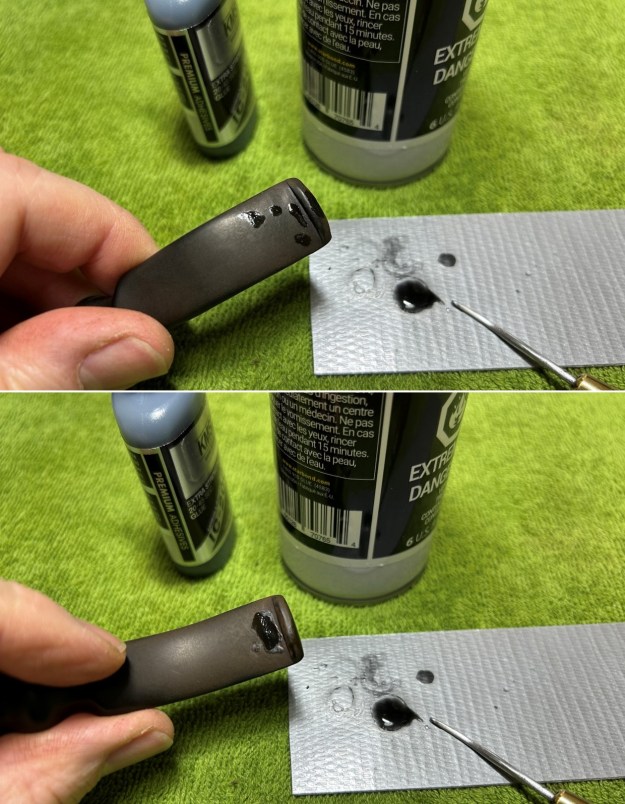
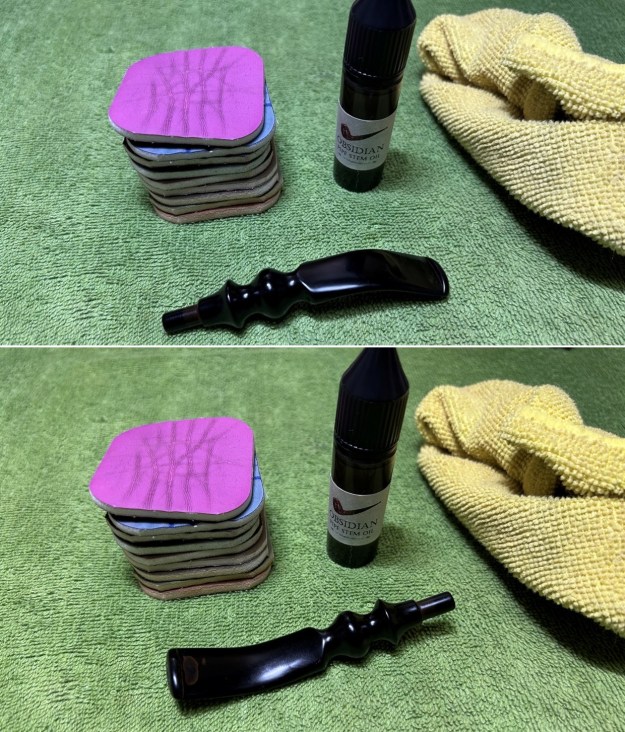
His more than reasonable prices, and his good-natured personality, have made Mark [Tinsky] the favorite of many Americans. It is difficult to find an amateur who does not possess at least one pipe made by the American Smoking Pipe Company, that Tinsky founded in 1978 with his friend Curt Rollar. In 1990, after the departure of his associate, Tinsky continued on by himself building a solid reputation using quality briar from Greece and stem blanks imported from Italy, offering collectors a vast assortment of models and finishes. In short, his pipes are beautiful and well-made pieces that produce a taste beyond reproach. Neither off-the-shelf nor haute couture, they are solid hand mades for an affordable price.There is a wonderful and extensive article on Tinsky, Rollar, and the American Smoking Pipe Company at Pipedia. I highly recommend reading it here. You can also visit his website: http://www.amsmoke.com/. There’s also a small blurb about him at Pipephil:This pipe was in generally very nice shape and didn’t require too much work. I used oil soap on a few cotton rounds and wiped down the stem to provide an initial cleaning before moving on to the next steps. The primary cleaning came next. I disinfected the inside of the stem with both pipe cleaners and cotton swabs dipped in lemon-infused 99% isopropyl alcohol. I scrubbed thoroughly to make sure the interior was very clean.As the stem was now clean and dry, I set about fixing the marks and dents in the acrylic. This was done by filling those divots with black cyanoacrylate adhesive, impregnated with carbon and rubber. I left this to cure and moved on.The penultimate step for the stem is sanding. First, with my set of needle files, I reduced the bulk of the cyanoacrylate repairs. I removed the excess adhesive as near to the surface as possible, without cutting into the acrylic. Following that, I used all nine of the micromesh sanding pads (1,500 through 12,000 grit) to sand out flaws, even out the acrylic, and provide gentle polishing of the finished surface. I also applied pipe-stem oil while using the last five micromesh pads. There was a wonderful, deep black shine to the stem when I was done.As the stem was (nearly) complete, I moved on to the stummel. The first step was to ream out the bowl – that is to say, remove all the cake inside the bowl. This accomplished a couple of things. First (and most obviously), it cleaned the bowl and provided a refurbished chamber for future smoking. Second, when the old cake was removed, I could inspect the interior walls of the bowl and determine if there was damage or not. I used a pipe knife and a piece of sandpaper taped to a wooden dowel. Collectively, these ensured that all the debris was removed.Similar to the stem, I then cleaned the stummel with both pipe cleaners and cotton swabs dipped in lemon-infused 99% isopropyl alcohol. It took quite a while and much cotton to get clean.To tidy up the briar, I also wiped down the outside with some oil soap on cotton rounds and used a toothbrush in the crevices. This did a good job of cleaning any latent dirt on the surface of the briar. The last step of the cleaning process was to scour the inside of the stummel with some soap and tube brushes. This was the culmination of a lot of hard work in getting the pipe clean.I used all nine micromesh pads (1,500 through 12,000 grit) to sand the smooth rim and the smooth part of the shank. This sanding minimizes flaws in the briar and provides a beautiful smoothness to the wood. I rubbed some LBE Before & After Restoration Balm into the briar and let it sit for 30 minutes or so. The balm moisturizes the wood and gives a beautiful depth to the briar. I then buffed the stummel with a microfibre cloth. For the final step, I took the pipe to my bench polisher and carefully buffed it with three coats of conservator’s wax. This procedure makes the pipe look its best – the stummel sings and the stem glows.

All done! This Mark Tinsky 02-97 Canadian looks fantastic again and is ready to be enjoyed by its next owner. I am pleased to announce that this pipe is for sale! If you are interested in acquiring it for your collection, please have a look in the ‘American’ section of the store here on Steve’s website. You can also email me directly at kenneth@knightsofthepipe.com. The approximate dimensions of the pipe are as follows: length 6⅛ in. (156 mm); height 2 in. (52 mm); bowl diameter 1⅝ in. (41 mm); chamber diameter ⅞ in. (23 mm). The weight of the pipe is 1¾ oz. (54 g). I hope you enjoyed reading the story of this pipe’s restoration as much as I enjoyed restoring it. If you are interested in more of my work, please follow me here on Steve’s website or send me an email. Thank you very much for reading and, as always, I welcome and encourage your comments.

Restoring a Father’s Legacy of 10 Brigham Pipes Gathered throughout his life #7


by Steve Laug

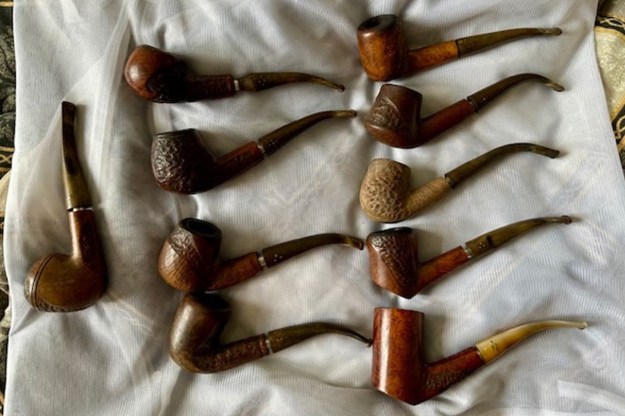
Last month I was contacted by Donna to see if I knew anyone interested in purchasing her father’s pipes. She wrote as follows: “I am wondering if you would be interested in my father’s collection of Brighams.” She further spelled out what he had in the collection. He had 1 – 2 dot pipe, 3 – 3 dot pipes, 2 – 4 dot pipes and 4 – 5 dot pipes. There was a total of 10 pipes. I asked for a photo of the pipes and she sent the photo below. I was very interested.We emailed back and forth and the short story is that I paid for the collection and she shipped the pipes to me. On Tuesday after Easter the box arrived and I was happy to be able to see them up close. They were obviously well-loved pipes and in varying degrees of needing work. I wrote her and told I received them and that I was pleased with the lot. I was looking forward to working on them. She aske me to send her photos along the way as I finished the pipes. I will be sending her the links to the blog so she can see the work and the process of bringing them back to a semblance of their original beauty. Thanks Donna for the opportunity to work on your Dad’s pipes.

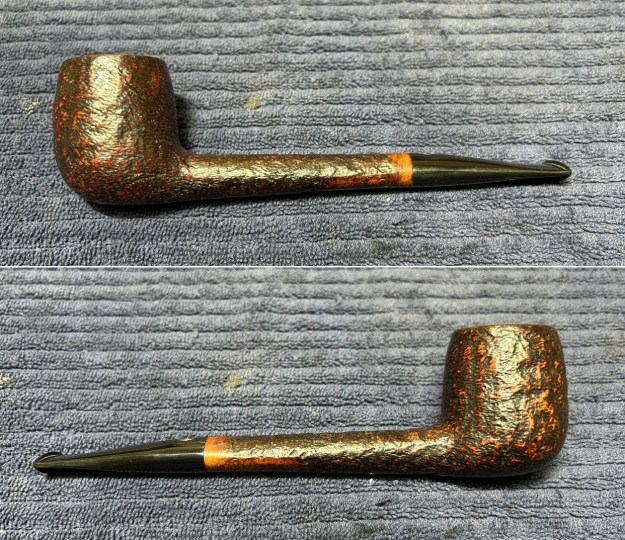
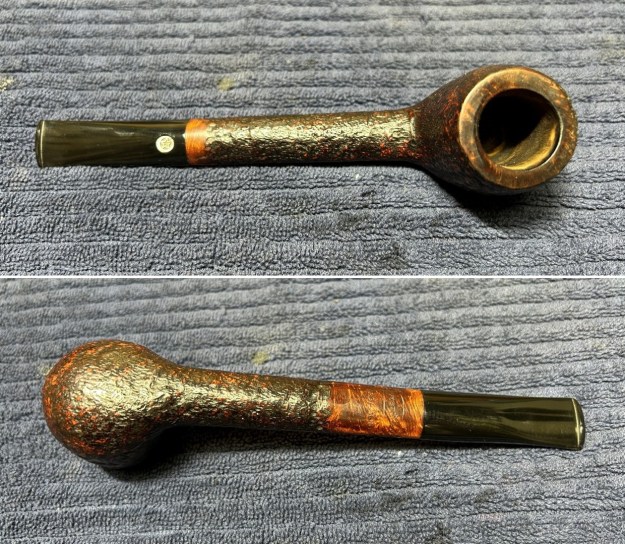
The seventh pipe I have chosen to work on from the lot was the one sitting three down on the left column in the photo above. I would call the pipe a Bent Billiard shaped pipe with a vulcanite taper stem. It is stamped on the underside of the shank and reads Brigham in script on the rustication. There is no shape number that I can see. It appears to be a Brigham Sportsman pipe – rough finished or even a bit unfinished in carving. From the cake in the bowl and the other pipes I could tell her Dad loved aromatic tobaccos. This pipe was heavily caked with an overflow of lava on the rim top and on the inner and outer edges of the bowl. There was burn damage on the rim top and inner edge on the front of the bowl. The rim top had some rustication areas on the front and back that are dark in the photos. The shank end even that had a coating of tar build up. The finish was smooth with a rusticated panel on the left side of the bowl. The finish was incomplete – rusticated, smooth, rough and uncarved portions. The stem did not sit all the way in the shank so I assumed it was very dirty in the shank. I removed the stem and the Hard Rock Maple Distillator that was missing from the tenon. The shank was black, tarry and oily. The stem was dirty, calcified and oxidized with thick oil and tar in the airway from the tenon to the button. There were light tooth marks and chatter on both sides ahead of the button. The left side of the taper stem bore three brass. That would also help with identifying the pipe. I took some photos of the pipe before I started my work on it. I took a photo of the bowl and rim top to show the cake in the bowl. The rim top had a thick coat of lava overflowing down the crowned top with heavy burn damage around the top, inner and outer edge. I took photos of the top and underside of the stem showing the light tooth chatter on the vulcanite stem surface. It is heavily oxidized and calcified and is quite dirty on the surface of the vulcanite.The stamping is very, very faint and hard to read in the photo below. With a bright light and lens, it reads as noted above. I removed the stem from the shank and took a photo of the parts to show the parts of the pipe. The finish on the pipe is very worn and tired looking. The brass dots on the stem are hidden under the grime and oxidation.For the needed background I am including the information from Pipedia on Brigham pipes. It is a great read in terms of the history of the brand (https://pipedia.org/wiki/Brigham_Pipes). Charles Lemon (Dadspipes) has written book on the history of the brand and well worth the price. The Pipedia article is a good summary.

I turned to Charles Lemon’s book, Brigham Pipes A Century of Canadian Briar, page 24-25. I quote the section on Brigham Sportsman Pipes below:

The Toronto Sportsman’s Show has been an annual tradition since the late 1940s, catering to all manner of outdoor pursuit. Brigham began renting a booth at the show in the early 1950’s and created the Sportsman series of rugged, rough-and-ready pipes available exclusively at the Sportsman’s Show.

The Sportsman pipes were essentially semi-shaped (or half-finished) briar bowls with vulcanite stems, complete with the Brigham System. The smoking characteristics of the Sportsman models were identical to regular Brigham pipes, and the rough exterior and simple wax finish gave the series a rugged, outdoorsy appearance that many pipe smokers found appealing.

Special show prices allowed pipe smokers to buy a 4-Dot pipe for the price of a 3-Dot pipe, a 3-Dot pipe for the price of a 2-Dot pipe, or a 2-Dot pipe for the price of a 1-Dot pipe. Soon Sportsman pipes could be found in golf bags, backpacks, tackle boxes, and camping trailers across the country.

Initially available only at the annual Toronto Sportsman Show, retailers began requesting Sportsman models to sell in their shops. Alphie’s in Timmons, ON, has claimed the honour of being the first retail shop to carry the semi-finished Sportsman line. Others soon followed, including Albion Smoke and Gift Shop, though the pipes remained available only for a short period in the Spring of each year.

A good number or Brigham Sportsman pipes can be found on the estate market, in a multitude of shapes and sizes ranging from the basic Billiards to rough-carved versions of Brigham’s freehand-style pipes.

Brigham continued to sell Sportsman pipes at both the Toronto Sportsman’s Show and through its independent retailers until the late 1990s when the company began winding down domestic production. Demand for the rugged, semi-shaped pipes remained strong, however, and in 2011, Brigham relaunched the line using rough-carved pipes from its European producers.

I then turned to the Pipedia article by Charles Lemon called, “A Closer Look at the Dots, Dates, and Markings of Brigham Pipes” to be able to pin down the time frame that the pipe was made in and to help interpret the stampings and shape number on the pipe. Here is the link to his article (https://pipedia.org/wiki/Brigham_Pipes_%E2%80%93_A_Closer_Look_at_Dots,_Dates_and_Markings). I quote the pertinent paragraphs below.

I have dubbed the decades between 1980 and 2000 the Late Canadian Era, a period that saw several changes at Brigham that are of note to the collector. First, the traditional 8-grade pinning system (the famous Brigham “Dots” which denoted the quality of the pipe) was changed to a 7-grade system to simplify pinning (more on this below), and the Norsemen and Valhalla series were merged to form the President Series, which represented the very finest pipes coming out of the Toronto factory. Early pipes from this era (left, below) are stamped with a shape number and “Brigham” over “Canada”; later pipes (late 1980s+, on right below) are stamped simply with a shape number and the Brigham logo.

I knew that the pipe I was working on was from the Sportsman Line and was probably made between the 1980s-1990s. It sports 3 dot Sportsman Series pipe which gives the grade of the pipe. There is not a shape number on the pipe. Now to do a bit of spiffing with the pipe itself.

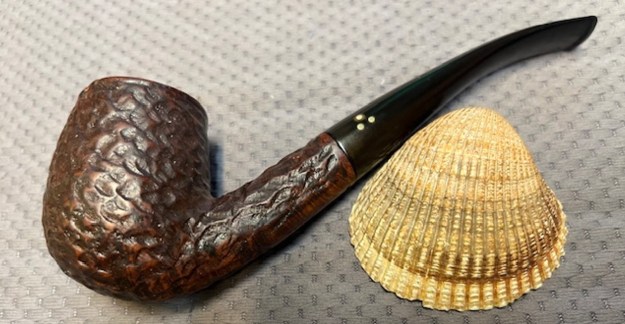
I started my work on the pipe by reaming the bowl with a PipNet reamer. I used the first and second cutting heads and took the cake back to bare briar. I cleaned up the reaming with a Savinelli Fitsall Pipe Knife and removed all the remnants of the cake. I scraped the rim top with the flat edge of the blade at the same time and removed most of the thick lava build up. I sanded the walls of the bowl with a piece of dowel wrapped in 220 grit sandpaper. The walls look very good at his point in the process. I cleaned out the shank, the airway and the deep mortise with alcohol, cotton swabs, hard bristle and soft bristle pipe cleaners. It was a very dirty pipe which just meant that Donna’s Dad had really enjoyed and used this pipe. I cleaned the inside of the aluminum tenon and the airway in the stem with alcohol, cotton swabs and pipe cleaners in the same way as I did the shank. It also was very dirty.I scrubbed the exterior of the bowl and shank with a tooth brush and undiluted Murphy’s Oil Soap. I scrubbed the lava on the rim top and overflow on the outside of the bowl with the soap. I rinsed  the briar with warm water to remove the grime and debris of the scrubbing. It looked significantly better after the scrubbing. The damage on the bowl front and rim top is very clear. The burn damage on the front of the rim top, the outer and the inner bevelled edge were going to take a lot of shaping work. There was a spot on the top of the rim toward the front appeared to be a flaw in the briar. I cleaned up the inner edge with a piece of sandpaper. I topped the bowl on a 220 grit sheet of sandpaper on a topping board. I used a piece of 220 grit sandpaper and a half wooden sphere to clean up the inner and bevel it slightly. I finished that and moved on to it with 320-3500 grit sanding pads to finish minimizing the burn damage and reshape the rim top and the top half of the bowl. The briar began to take on a rich shine and the burn damage was by and large gone. The photos tell the story. I polished the smooth rim top with micromesh sanding pads – dry sanding it with 1200-15000 grit pads. I wiped the bowl down with a damp cloth after each sanding pad. The grain started to rise to the surface as I polished it. The rusticated portions looked very good as well. I rubbed the bowl and shank down with Before & After Restoration Balm to deep clean the finish on the bowl and shank. The product works to clean, enliven and protect the briar. I worked it in with my fingers to get it into the briar. I used a horsehair shoe brush to work it into the rusticated portions. I let it sit for 10 minutes then I wiped it off and buffed it with a soft cloth. The briar really began to have a rich shine. I took some photos of the bowl at this point to mark the progress in the restoration. It is a beautiful bowl. I sanded the calcification, oxidation and tooth chatter with a folded piece of 220 grit sandpaper. Progress was happening! I sanded the surface of the vulcanite with the 2 inch sanding pads – 320-3500 grit pads to remove the remaining oxidation. I dry sanded the surface until I have removed all of the oxidation and the stem started to really shine.I refit the aluminum tenon with the new Brigham Rock Maple Distillator. It is a unique and cool smoking experience. I polished the stem with micromesh sanding pads – dry sanding with 1500-12000 grit pads. I wiped the stem down after each sanding pad with Obsidian Oil. I polished the stem with Before & After Pipe Stem Polish – both Fine and Extra Fine. I gave it a coat of Obsidian Pipe Stem Oil. It works to protect the stem from oxidizing. I set it aside to dry. The final steps in my process involves using the buffer. I buffed the bowl and stem with Blue Diamond to polish out the light scratches in the briar and the vulcanite. I gave the bowl and the stem multiple coats of carnauba wax. I have found that I can get a deeper shine if I follow up the wax buff with a buff with a clean buffing pad. It works to raise the shine and then I hand buff with a microfiber cloth to deepen the shine. It is always fun for me to see what the polished bowl looks like with the polished stem. It really is a nice pipe. The smooth, nicely grained bowl sides and the rusticated blaze on the left bowl side looks great with the vulcanite stem. The Brigham Sportsman Bent Billiard with a vulcanite taper stem feels great in my hand. It is a well balanced pipe. Have a look at it with the photos below.  The dimensions are Length: 6 inches, Height: 1 ¾ inches, Outside diameter of the bowl: 1 ¼ inches, Chamber diameter: ¾ of an inch. The weight of the pipe is 1.45 ounces/41 grams. It is a beautiful pipe that I will soon be adding to the rebornpipes store in the Canadian Pipemakers Section. If you would like to add it to your collection let me know. It should be a great smoking pipe.
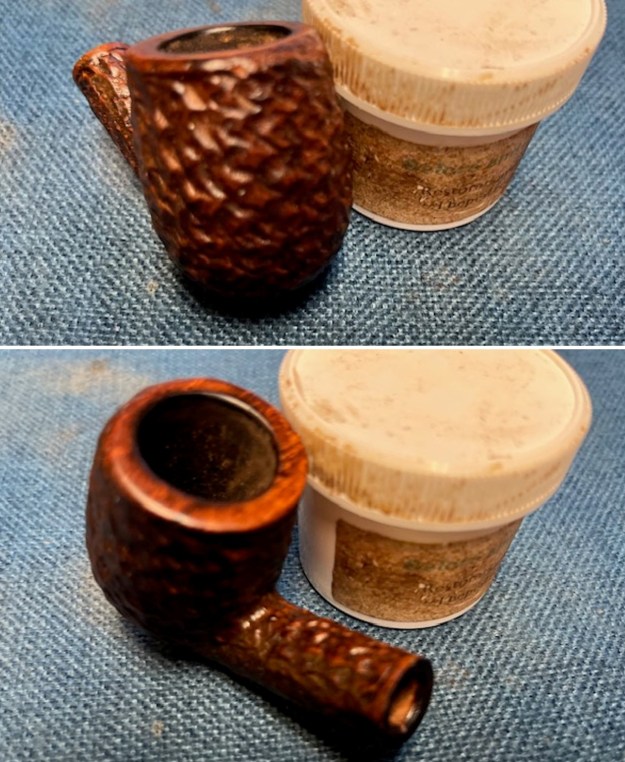
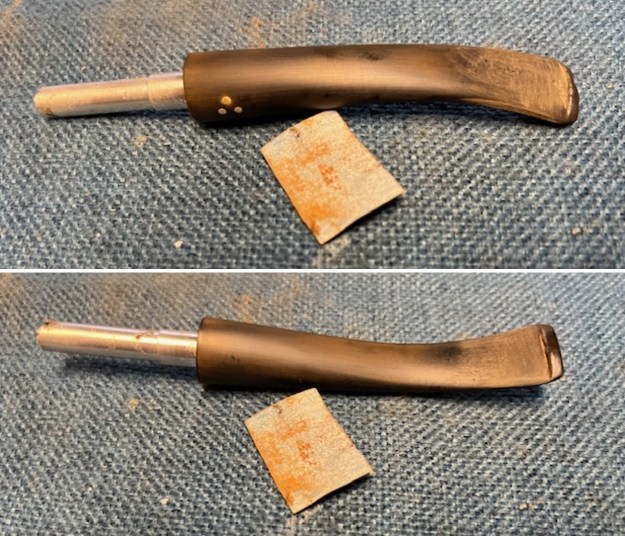
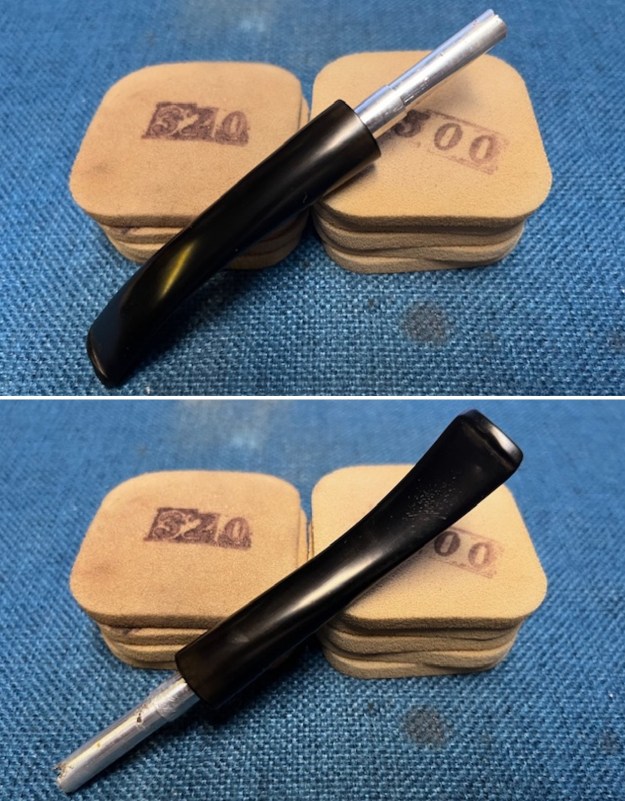
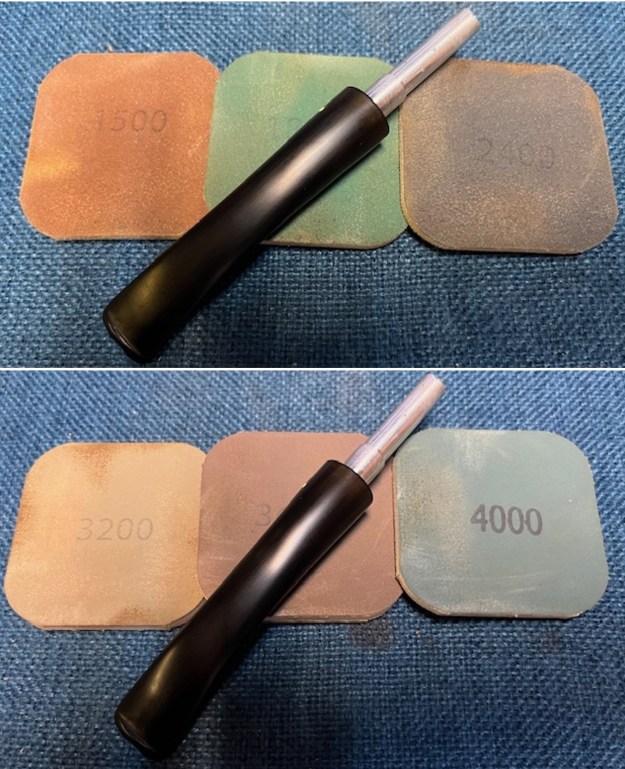
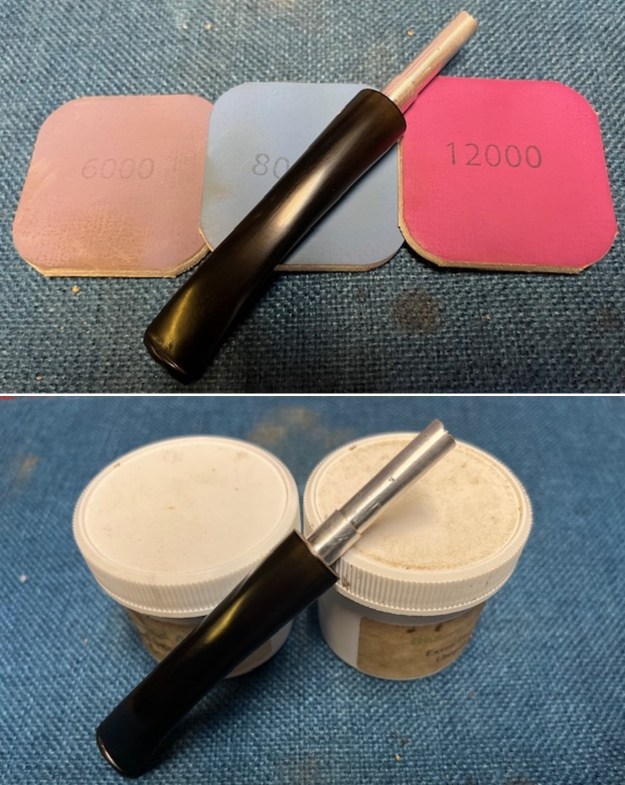
As always, I encourage your questions and comments as you read the blog. Thanks to each of you who are reading this blog. Remember we are not pipe owners; we are pipe men and women who hold our pipes in trust until they pass on into the trust of those who follow us.
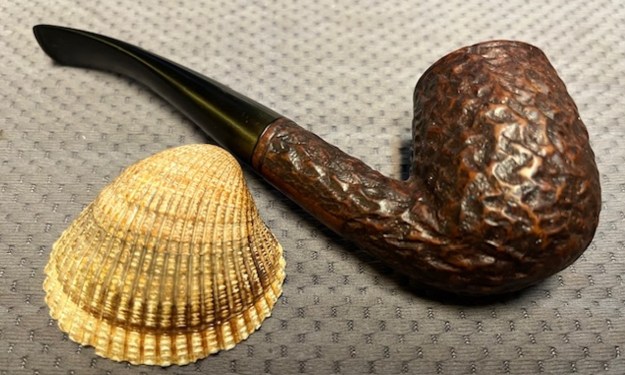
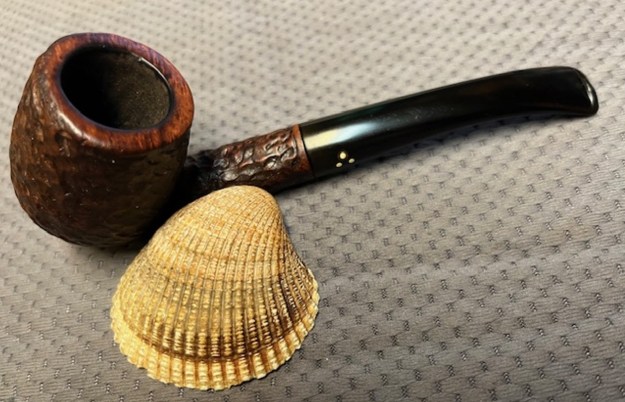
Reborn Soren Hand Carved Made in Denmark Freehand Sitter


by Steve Laug

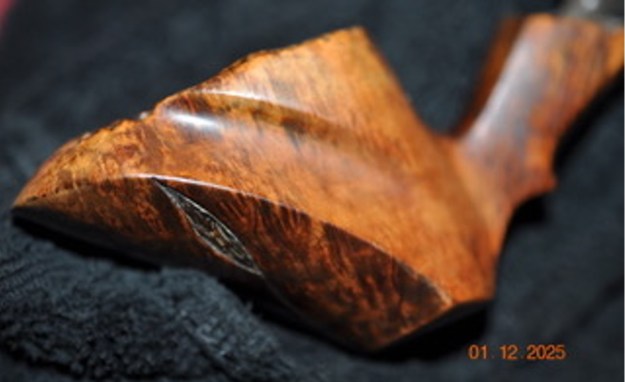
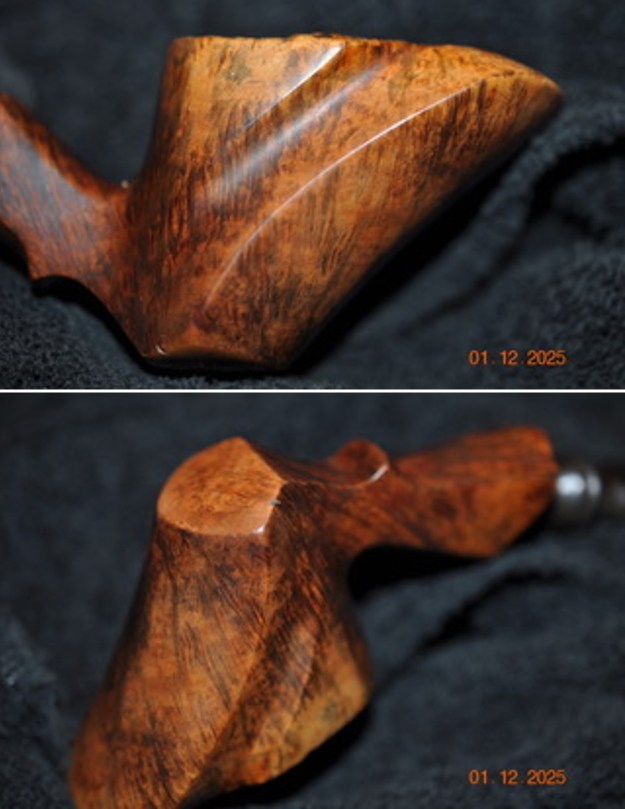
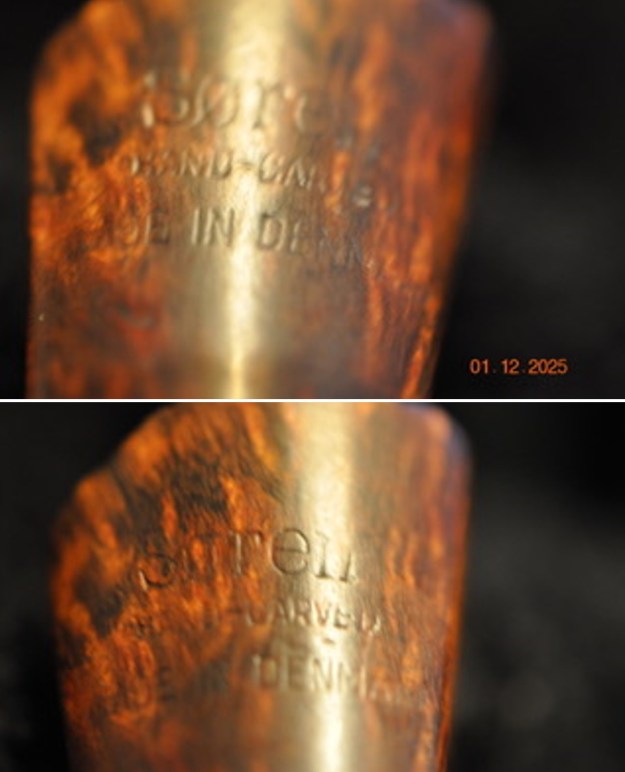
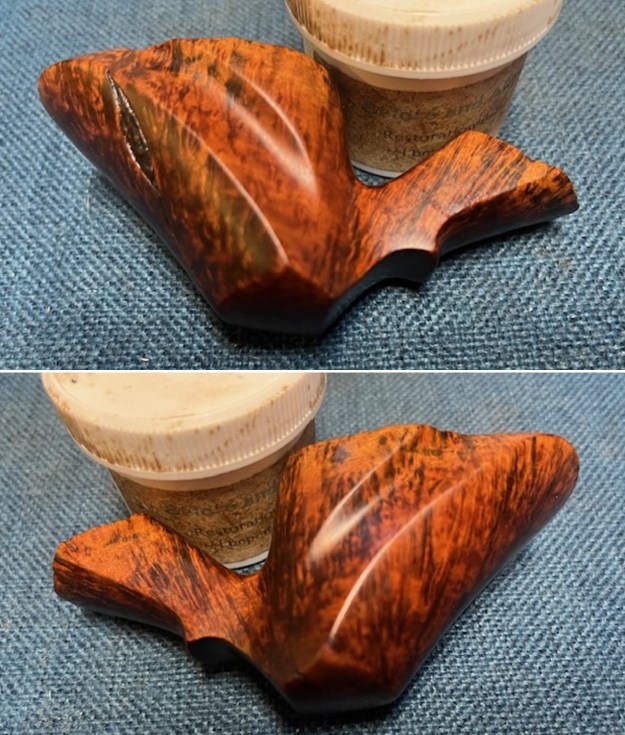
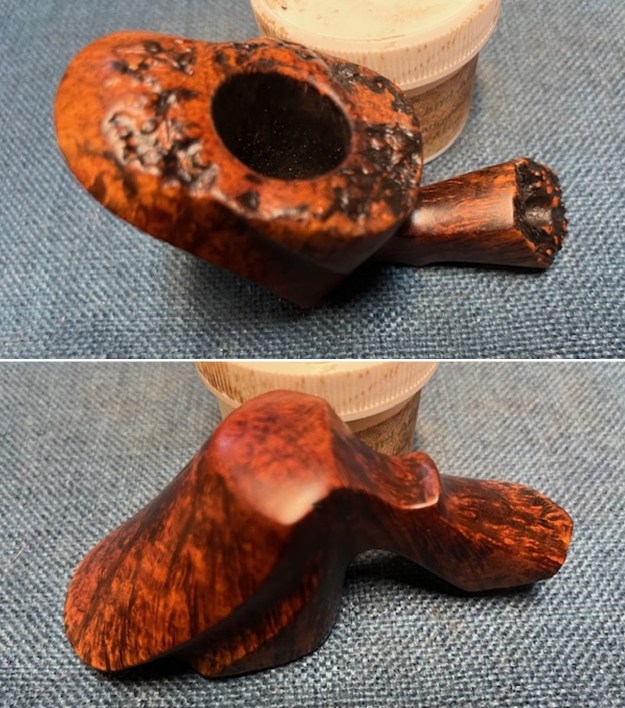
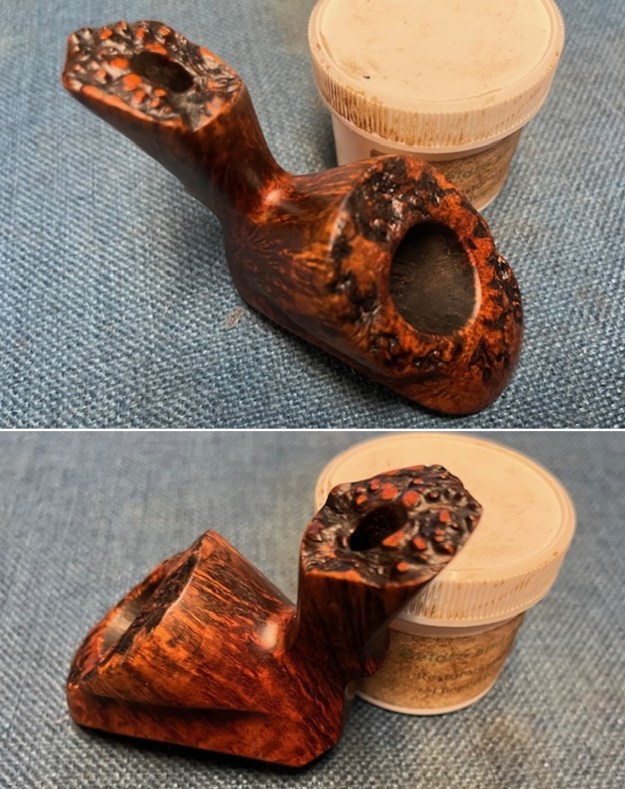
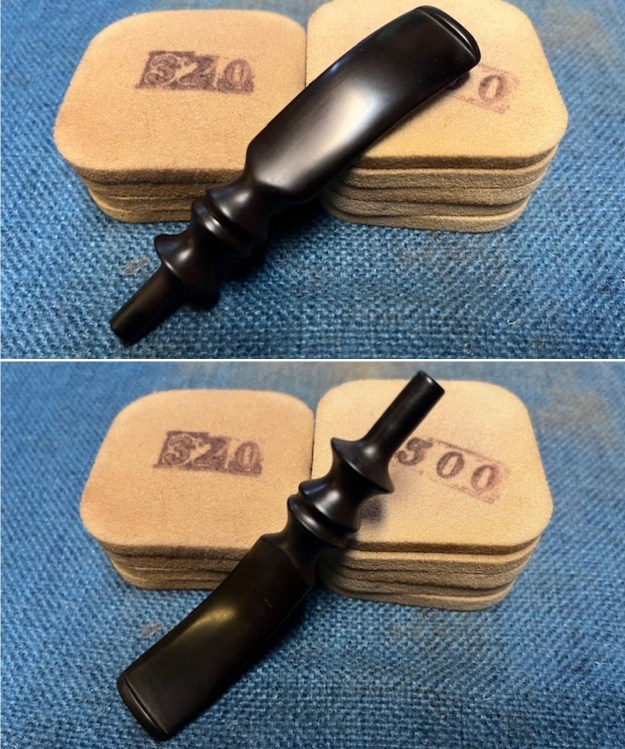
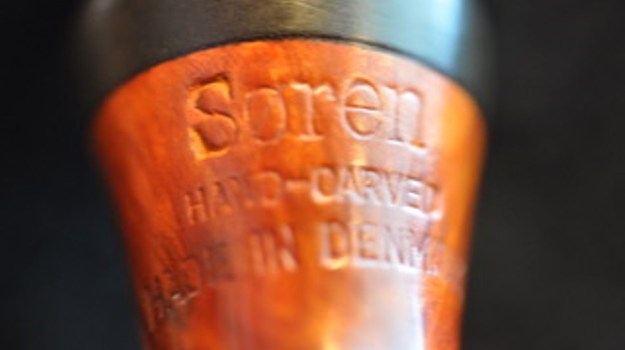
This particular Freehand pipe was purchased from seller in Holden Barr, Missouri, USA on 04/20/2021. It really is a Freehand pipe that combines a plateau rim top and shank end with a flat bottom making it a sitter. The bowl is smooth with fluted sides and a few carved feathers on the bowl sides. It is stamped on the underside of the shank and reads Soren [over] Hand-Carved [over] Made in Denmark. The finish is dirty but does not hide the beautiful grain around the bowl and shank. There is a vulcanite shank extension. The pipe had a moderate cake in the bowl some light lava on the rim top and inner edge of the bowl. There is some dust in some of the plateau. There was grime ground into the finish and dust and debris in the carved feathers and the plateau valleys. The fancy vulcanite saddle stem was oxidized and had light tooth marks and chatter on both sides near the button. Jeff took photos of the pipe before he started his work on it. Jeff took photos of the rim top and the stem to show the condition of the pipe when we received it. You can see the moderate cake in the bowl and the dust and lava in the plateau rim top and inner edge of the bowl. The turned vulcanite stem was oxidized, dirty and had light chatter and tooth marks on both sides near the button. He took photos of the sides and the heel to give an idea of the shape and the condition of the briar around the bowl. It really is a uniquely shaped pipe with the fluted sides on the bowl. The next photos Jeff took shows the stamping on the underside of the shank. It is clear but faint in spots and read as noted above.I went to a previous Soren restoration blog and reread what I had written to reconnect the dots for me https://rebornpipes.com/2016/09/12/repairing-and-rejuvenating-a-soren-danish-freehand/. I quote from that blog post:

I looked up the brand on Pipephil (http://www.pipephil.eu/logos/en/logo-s10.html) and found that the brand was carved by Søren Refbjerg Rasmussen. Pipes that he made for the European market were mostly stamped “Refbjerg” while those made for the US market were stamped “Soren”. Thus, I knew that one I was working on was imported into the US market.

I was once again working on a pipe made by Soren Refbjerg Rasmussen for the US market as it was stamped Soren. I continued to do reading on another of my go to websites, Pipedia. Here is the link for the article there. https://pipedia.org/wiki/Refbjerg. I quote some of the more pertinent information.

Søren Refbjerg Rasmussen founded a company in 1969, which employed an average of 8 – 12 craftsmen in the 1970’s. The semi-freehands they produced were traded under his prename Søren. Rasmussen himself finished only the very best pipes. So, his way of pipemaking closely resembled the ways of Preben Holm, Karl Erik Ottendahl or Erik Nørding. Altogether more than 1,000,000 pipes were sold.

From that I knew that the pipe in my hands came from the 1970s. It bears the Soren signature stamp which also says that it was made for sale in the American pipe market. Armed with that information I turned my attention to restoring the pipe.

Jeff had cleaned up the pipe following his normal cleaning process. In short, he cleaned up the reaming with a Savinelli Fitsall Pipe Knife.  He scrubbed the bowl with undiluted Murphy’s Oil Soap with a tooth brush. He worked over the lava and debris on the plateau rim top and shank end and was able to remove it. He rinsed it under running warm water to remove the soap and grime. He cleaned out the inside of the shank and the airway in the stem with alcohol, cotton swabs, shank brushes and pipe cleaners. He scrubbed the stem with Soft Scrub and cotton pads to remove the debris and oils on the stem. He soaked it in Briarville’s Pipe Stem Deoxidizer. He rinsed it with warm water and dried it off. The pipe looked very good and I was excited to start working on it. I took pictures of the pipe to show how it looked when I brought it to the worktable. I took some photos of the rim top and stem to show the condition of them both when the pipe arrived. It looked very good. The stem had some light chatter and tooth marks ahead of the button on both sides. I took a photo of the stamping on the heel of the bowl. It is readable and in great condition. I removed the stem from the shank and took a photo of the pipe to show the look of the pipe.I sanded the darkening on the smooth portions of the rim top and the bevelled inner edge of the bowl with a folded piece of 220 grit sandpaper to remove it. The process worked very well and the rim top looked much better.I touched up the valleys in the plateau with a black Sharpie pen to match the other valleys in the finish. It looked very good with the touch up. I polished the smooth portions of the bowl and the high points in the rustication and plateau with micromesh sanding pads – dry sanding with 1500-12000 grit pads. I wiped the briar down after each pad with a damp cloth. The bowl is starting to look very good. I worked some Before & After Restoration Balm into the surface of the briar with my fingertips and into the plateau rim top and shank end with a horsehair shoe brush to clean, enliven and protect it. I let the balm sit for a little while and then buffed with a cotton cloth to raise the shine. The photos show the bowl at this point in the restoration process. I set the bowl aside and turned my attention to the stem. I sanded it with 320-3500 grit sanding pads. I wiped the stem down with an Obsidian Oil cloth after each sanding pad. Once I was finished it looked much better.I polished the stem with micromesh sanding pads – wet sanding with 1500-12000 grit sanding pads. I wiped it down after each sanding pad with some Obsidian Oil. I finished polishing it with Before & After Pipe Stem Polish – both Fine and Extra Fine and buffed it off with a cotton cloth. This is a beautiful Soren Hand Carved Freehand with a fancy saddle stem. It has a great look and feel. The shape of the bowl, the mix of plateau, smooth and rusticated finishes and the cut of the briar work well to highlight the grain around the bowl sides. I polished stem and the bowl with Blue Diamond polish on the buffing wheel. I gave the bowl and the stem multiple coats of carnauba wax. I buffed the pipe with a clean buffing pad to raise the shine. I hand buffed it with a microfiber cloth to deepen the shine. The Soren Hand Carved Freehand polished up pretty nicely. The grain took on life with the buffing. The rich stains work well with the polished vulcanite stem. The finished pipe has a rich look that is quite catching. Have a look at it with the photos below. The shape, finish and flow of the pipe and stem are very well done. The dimensions are Length: 6 ½ inches, Height: 2 ¼ inches, Outside diameter of the bowl: 2 ½ inches x 1 ½ inches, Chamber diameter: ¾ of an inch. The weight of the pipe is 2.15 ounces/61 grams. It is a beautiful pipe. I will be putting it on the rebornpipes store shortly in the Danish Pipemakers Section if you are interested in adding it to your collection. Thanks for walking with me through the restoration.

New Life for someone’s obvious favourite Jobey Dansk Handmade in Denmark 2 Freehand


by Steve Laug

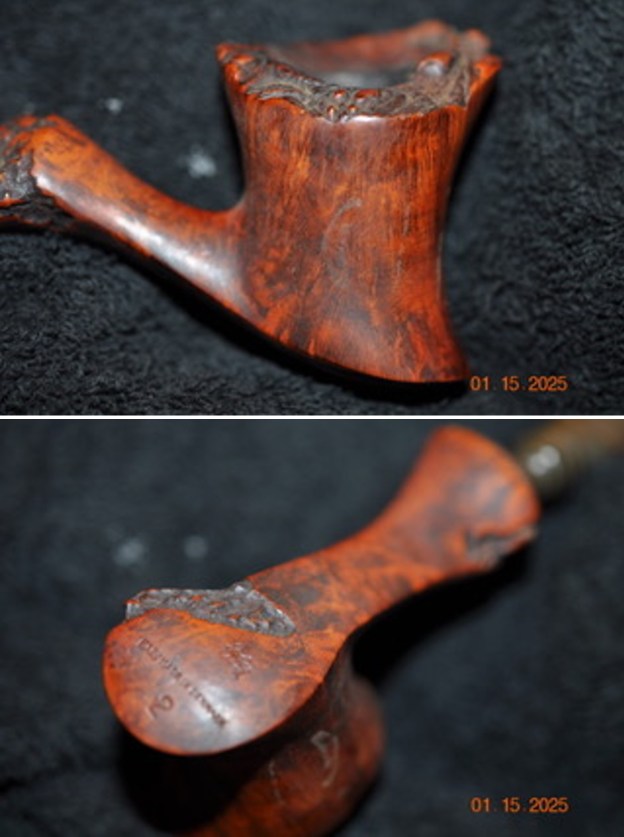
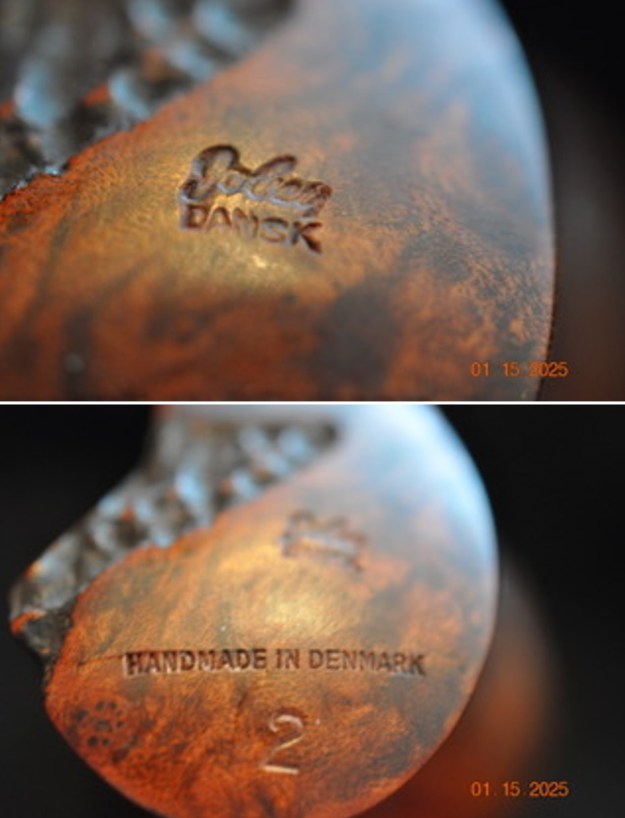
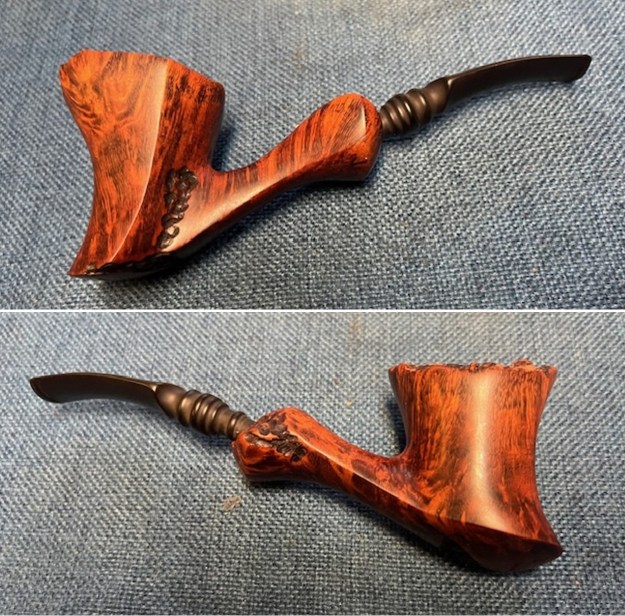
My brother Jeff picked up another Jobey Dansk 2 Freehand pipe on April 12, 2024 from a seller in Saint Cloud, Florida, USA. It had really unique shape and some nice grain with spot carvings around the bowl and shank. There was some plateau on the top of the rim and on the end of the shank. There was a rustication on the left side of the bowl and on the heel of the bowl. I have worked on enough of these to know that were Danish Freehand pipes were carved by Karl Erik Ottendahl. This one was stamped on the heel of the bowl and read Jobey in script [over] Dansk [over] Handmade in Denmark [over] 2. The finish on this pipe was very dirty with dust filing in the plateau top. There was some lava and darkening on the top as well. The bowl had a thick cake. There were oils and grime ground into the finish of the bowl and the shank. The fancy vulcanite stem fit the well. The stem was oxidized, calcified and there were light bite marks and chatter on both sides of the stem ahead of the button. Jeff took of the pipe to show the overall condition of the bowl and stem. He took close up photos of the bowl and rim top from different angles to show the condition of the bowl and the plateau finish. You can see the thick cake in the bowl and the darkening and lava build up on the plateau rim top and edges of the bowl. The next photos show the condition of the vulcanite stem which is oxidized and calcified. You can see the light chatter and tooth marks on the surface of both sides ahead of the button. He took photos of the sides and heel of the bowl to show the lay of the grain and the oils and dust in the finish around the pipe. It is a nice piece of briar with a unique shape and patches of rustication on the bottom left side of the bowl toward the heel and the heel itself. Jeff took a photo of the stamping on the underside of the shank to capture it. It was clear and read Jobey Dansk at the top. Under that it read Handmade in Denmark. Underneath that it is stamped with a number 2I have included the information that the pipes were carved by a Danish carver known as Karl Erik. I looked up the Jobey listing on Pipedia (https://pipedia.org/wiki/Jobey) and found the following information. I quote a portion of the article that is pertinent as follows.

English – American – Danish – French… Information about the brand Jobey are only to be found in form of smithereens…

Probably established in England around 1920(?) the brand hiked into the USA later. In the course of time owner, distributor and manufacturer changed repeatedly. As far as known:

George Yale Pipes & Tobacco, New York (1942)

Norwalk Pipe Co., New York (1949)

Arlington Briar Pipes Corp., Brooklyn (when?)

Hollco International, New York (1969).

Weber Pipe Co., Jersey City, NJ (1970’s)

The Tinder Box, (1970’s – 80’s).

Throughout decades Jobey pipes were mainly sold in the USA, Canada and England but remained almost unknown in continental Europe. The bulk of Jobeys was predominantly made according to classical patterns and mainly in the lower to middle price range. The predominant judgment of the pipe smokers reads: “A well-made pipe for the price.” So there is hardly anything very special or exciting about Jobey pipes although a flyer from ca. 1970 assures: “The briar root Jobey insists upon for its peer of pipes is left untouched to grow, harden and sweeten for 100 years. […]Jobey uses only the heart of this century old briar and only one out of 500 bowls turned measures up to the rigid Jobey specifications.” 99.80% of cull… that makes the layman marveling!

Yet then there are partially really exciting Freehands mainly in the seventies, that Jobey – Weber owned back then – bought from Danish pipe genius Karl Erik Ottendahl. These pipes were offered as Jobey Dansk – ’70’s pure! (BTW waning sales caused Ottendahl to discontinue exports to the United States in 1987.)

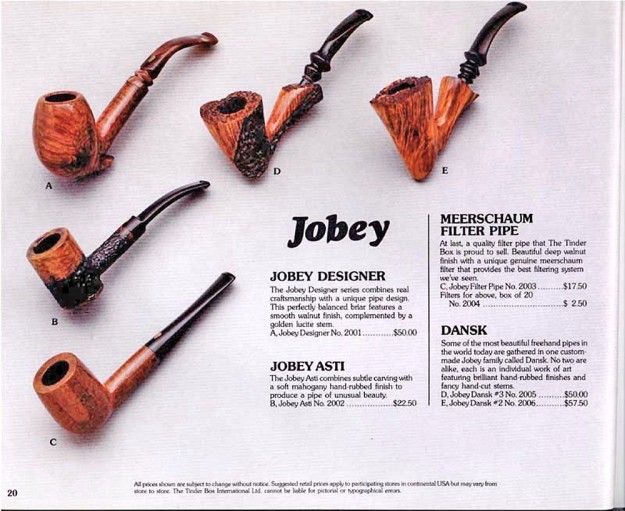
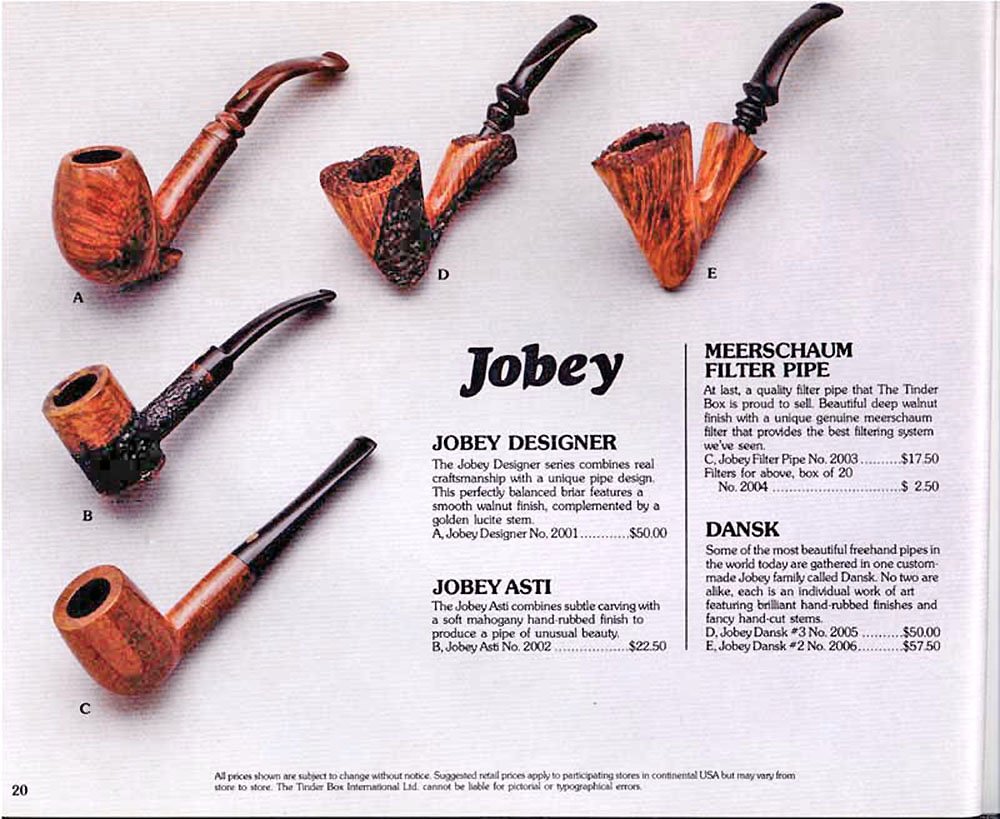
There was also an interesting Tinderbox catalogue page, provided courtesy of Doug Valitchka, that includes a note about the Jobey Dansk (https://pipedia.org/images/7/7a/Jobey1979.jpg).From that information I confirmed that the pipe that I was working on was carved by Karl Erik Ottendahl. There were some similarities to the Karl Erik pipes that I have worked on in the past. The dating of the pipe line in the 70s fits well with the pipe I have in hand.

Now it was time to work on the pipe on my end. When I received it, Jeff had once again done an amazing job cleaning the pipe. He reamed it with a PipNet pipe reamer and got rid of the cake. He cleaned up the reaming with a Savinelli Fitsall Pipe Knife so that we could see the walls of the bowl and assess for damage. It was in good condition. He cleaned the internals of the shank and stem with cotton swabs, pipe cleaners, shank brushes and alcohol. He scrubbed the exterior with undiluted Murphy’s Oil Soap and a tooth brush. He rinsed the pipe under warm water. He dried it off with a cloth and then let it air dry. The stem was scrubbed with Soft Scrub and soaked in Briarville’s Stem Deoxidizer. It came out looking clean but the hole in the stem called for a replacement once again. The finish on the bowl and the rim top cleaned up nicely. I took pictures of the pipe to show how it looked when I brought it to the worktable. I took some photos of the rim top and stem to show the condition of them both when the pipe arrived. It looked very good. The stem had some light chatter and tooth marks ahead of the button on both sides. I took a photo of the stamping on the heel of the bowl. It is readable and in great condition.   I removed the stem from the shank and took a photo of the pipe to show the look of the pipe.I sanded the darkening on the smooth portions of the rim top and the bevelled inner edge of the bowl with a folded piece of 220 grit sandpaper to remove it. The process worked very well and the rim top looked much better.I touched up the valleys in the plateau with a black Sharpie pen to match the other valleys in the finish. It looked very good with the touch up.I polished the smooth portions of the bowl and the high points in the rustication and plateau with micromesh sanding pads – dry sanding with 1500-12000 grit pads. I wiped the briar down after each pad with a damp cloth. The bowl is starting to look very good. I worked some Before & After Restoration Balm into the surface of the briar with my fingertips and into the plateau rim top and shank end with a horsehair shoe brush to clean, enliven and protect it. I let the balm sit for a little while and then buffed with a cotton cloth to raise the shine. The photos show the bowl at this point in the restoration process. I set the bowl aside and turned my attention to the stem. I “painted” the stem with a lighter flame and then filled in the remaining tooth damage with black rubberized CA glue. I set it aside to let the repair cure. Once cured, I flattened out the repairs with a flat file and then sanded it with 220 grit sandpaper to blend it into the surface of the surrounding vulcanite. I sanded the stem with 320-3500 grit sanding pads. I wiped the stem down with an Obsidian Oil cloth after each sanding pad. Once I was finished it looked much better.I polished the stem with micromesh sanding pads – wet sanding with 1500-12000 grit sanding pads. I wiped it down after each sanding pad with some Obsidian Oil. I finished polishing it with Before & After Pipe Stem Polish – both Fine and Extra Fine and buffed it off with a cotton cloth. This is a beautiful Jobey Dansk 2 Handmade Freehand by Karl Erik with a fancy, turned, vulcanite stem. It has a great look and feel. The shape fits well in the hand with the curve of the bowl and shank junction a perfect fit for the thumb around the bowl when held. I polished stem and the bowl with Blue Diamond polish on the buffing wheel. I gave the plateau on the rim top and shank end multiple coats of Conservator’s Wax. I gave the bowl and the stem multiple coats of carnauba wax. I buffed the pipe with a clean buffing pad to raise the shine. I hand buffed it with a microfiber cloth to deepen the shine. The pipe polished up pretty nicely. The rich combination of browns and black in the smooth finishes and the plateau areas took on life with the buffing. The rich colour of the briar works well with the polished vulcanite stem. I like the grain and finished look of this Jobey Dansk 2 pipe. Have a look at it with the photos below. The shape, finish and flow of the pipe and stem are very well done. The dimensions are Length: 6  inches, Height: 2 ¼ inches, Outside diameter of the bowl: 1 ½ wide, Chamber diameter: 7/8  of an inch. The weight of the pipe is 43 grams/1.52 ounces. This Danish Freehand is a real beauty. Thanks for walking through the restoration with me as I worked over another beautiful pipe. This one will be going on the rebornpipes store in the Danish Pipe Making Section shortly if you would like to add it to your collection. Thanks for your time.

You’ve Come a Long Way, Baby!


by Kenneth Lieblich

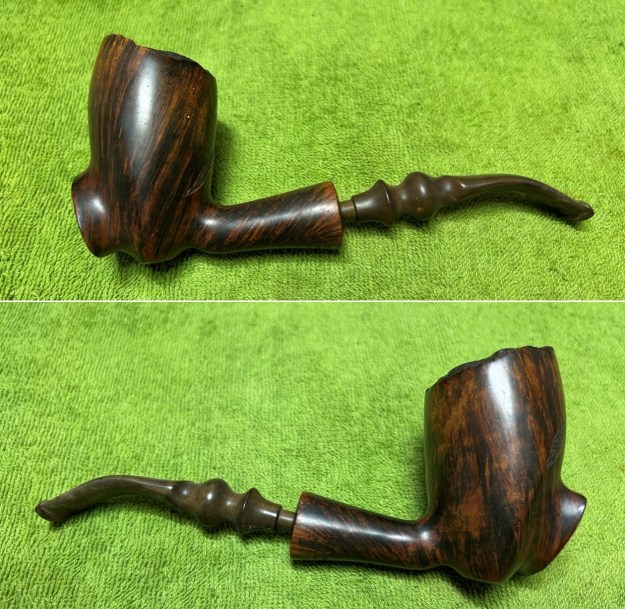
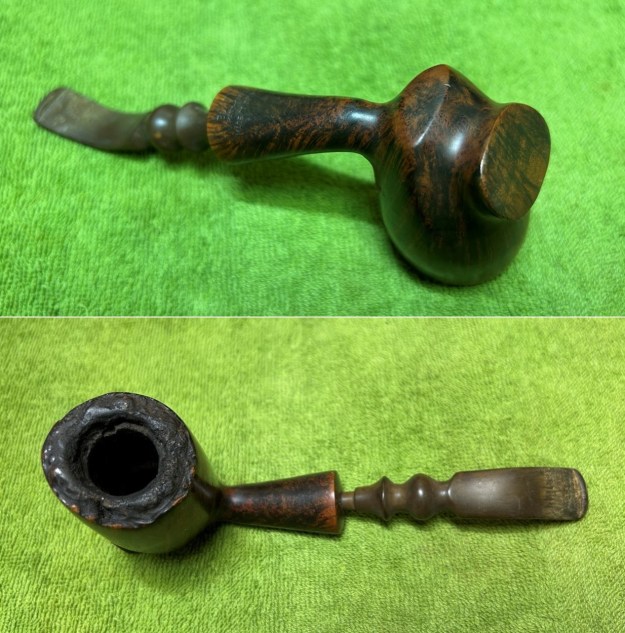
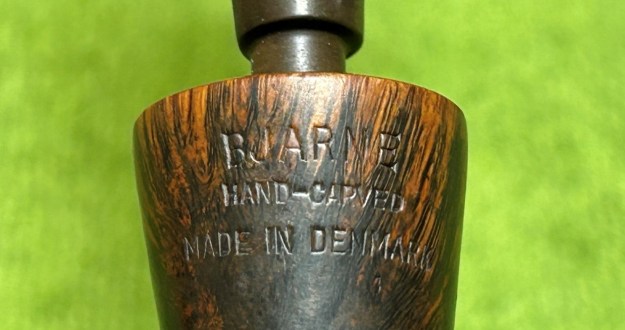
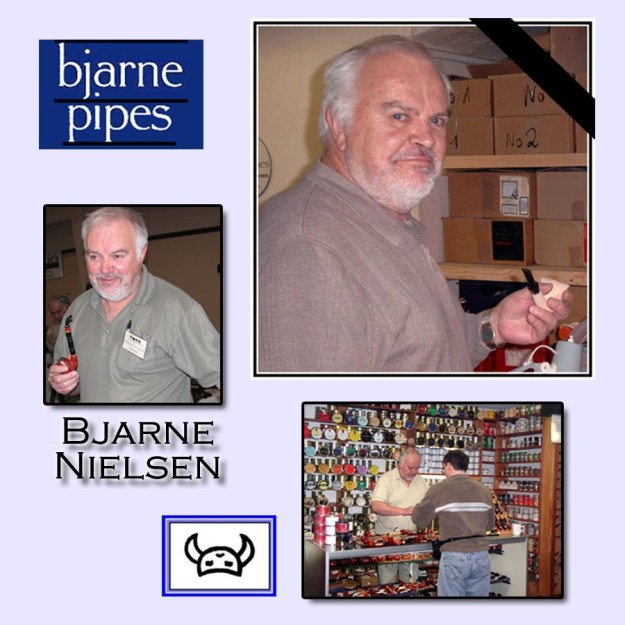
Hold on to your hats, folks – you’re in for a wild ride of pipe restoration. This amazing pipe has had quite a life, and its latest chapter includes coming into my possession. This is a Bjarne Hand-Carved freehand sitter from one of the great characters of the Danish pipe industry, Bjarne Nielsen. This pipe found its way to me through an auction and I was immediately besotted. It is a wonderful piece of briar, with a spacious bowl, and a charming, bent vulcanite stem. It’s a beauty and really makes an impression. Underneath the shank, the following words are engraved: Bjarne [over] Hand-Carved [over] Made in Denmark. There is no logo on the stem. Given the absence of a logo, I suspect that this is an older Bjarne pipe.Pipedia has a good article on Bjarne Nielsen and I recommend reading it here. For now, here is a part of that biography:

Bjarne Nielsen was born in 1941, and started smoking a pipe when he was 16 years old, and he also made some pipes for his own use at that time. He liked the pipes and made some more, giving some away as presents to friends. At the University of Copenhagen he obtained an MBA degree and found work at the Danish Ministry of Foreign Affairs where he helped Danish companies that were exporting their products establish contacts in foreign countries. That was in the 1960’s when the high demand for Danish freehand pipes started, so Bjarne was often asked if he knew of any companies that could sell those types of pipes. But all those companies had their order-books filled, so Bjarne always had to give a negative answer. One day he decided to send some pictures of his own pipes, and the response was overwhelming. He was asked how many pipes he could make and how quickly he could deliver them, and at once Bjarne had order for more pipes than he could make. What had been a relaxing hobby now became much more than that.

With a demanding job it was hard to find time to make pipes in that quantity, and Bjarne had to choose. His dream had always been to have a company of his own, and if he wanted fo fulfill that dream, now was the time to do it. But to leave a promising career, in which he probably would have become a Danish ambassador in some foreign country, was indeed a big step to take. “Many thought I was crazy”, Bjarne says, “and one of them was my wife. But she supported my decision anyway.”

He made that decision in 1973, and became a fulltime pipemaker. But he soon realized that it was impossible for one person to handle all of it–he could not make a lot of pipes, sell them and collect money for them all by himself. So he decided to find some pipemakers to help him. In those days Preben Holm was one of the biggest makers of fancy pipes, and he employed a great number of pipemakers. But not all of them were happy to work for Preben,m so Bjarne recruited a few of those.

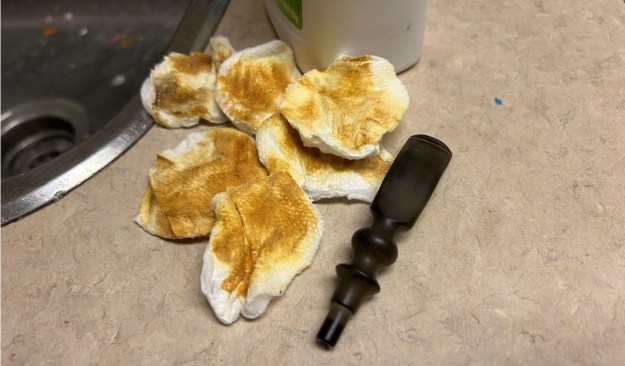
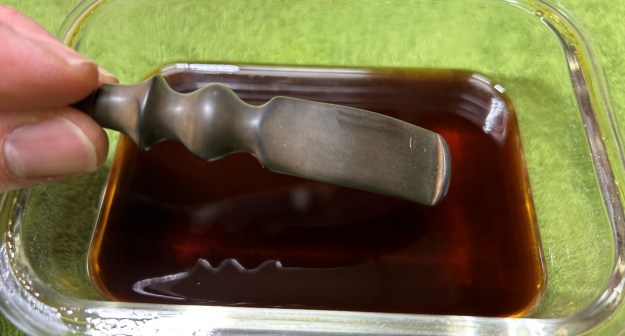
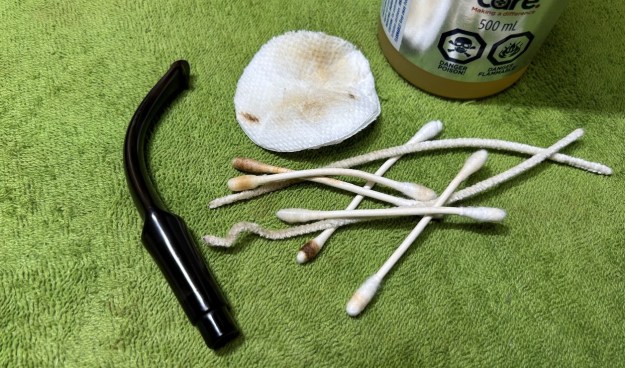
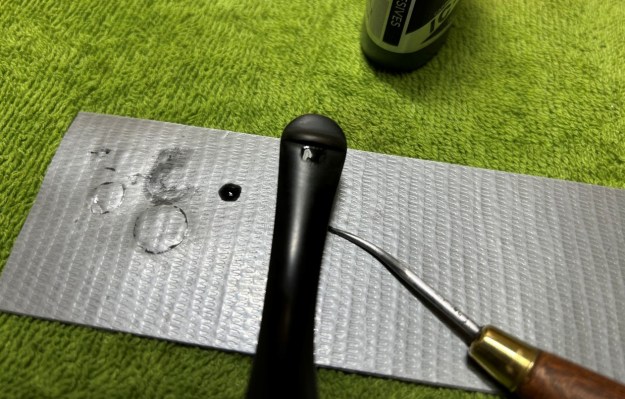
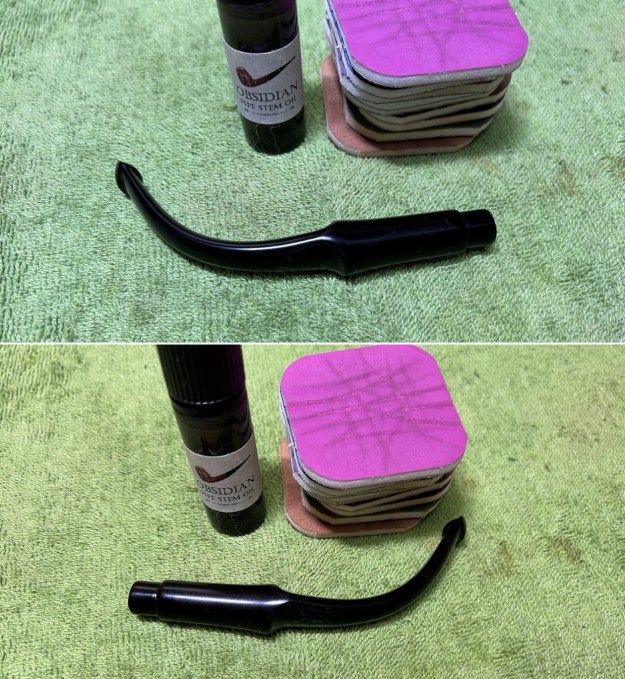
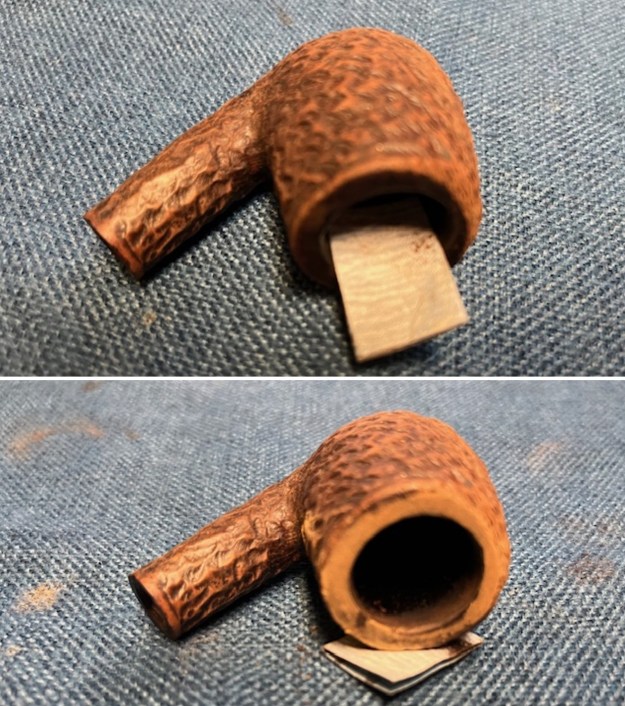
During the first years all of Bjarne’s pipes were sold in the USA, but at the end of the 1970s he visited the pipe show in Frankfurt and found that there was a market for his there as well. However, he found that the Germans wanted a completely different style of pipes–pipes in traditional shapes. So if he wanted to be successful there, he had to add a completely new line to his production. “It was not easy, we learned it the hard way,” Bjarne says. But they certainly succeeded, and for a number of years Germany became the top-selling market for Bjarne’s pipes.Let’s take a closer look at this pipe’s condition. It was obvious right away that this was a terrific pipe – but, boy, was it dirty. The stem was heavily chewed, with some significant dents in the vulcanite. There was a lot of calcification and oxidation. The stem will be fine in the end – it’ll just take some hard work. Similarly, the stummel needed help. The briar was dirty and tired. The rim was coated in lava, and the bowl was full of cake. I just needed to uncover the beauty of this baby. Let’s get on with it. To begin, I used a disposable lighter and ‘painted’ the stem with its flame. The gentle heat of the flame can cause the dents in the vulcanite of the stem to expand back into shape. In this case, it worked quite well and I got some lift in the dents. Not perfect, but definitely some improvement. The stem’s calcification was quite substantial. I used an old butter knife and gently scraped some of the thicker accretion off. Doing this now helps later in removing the oxidation. I used oil soap on a few cotton rounds and wiped down the stem to provide an initial cleaning of filth before moving on to the next steps.The primary cleaning came next. I disinfected the inside of the stem with pipe cleaners dipped in lemon-infused 99% isopropyl alcohol. I scrubbed thoroughly to make sure the interior was very clean. I used a good numbers of pipe cleaners.The goal of the next step is the removal (or minimization) of oxidation. Going to my sink, I used cream cleanser, cotton rounds, and a toothbrush, and scoured the stem to remove as much surface oxidation as possible. As the photos show, the result was a hideous, brownish mess – but better off the stem than on it.Once the stem was reasonably clean, I soaked it overnight in some Briarville Stem Oxidation Remover. This solution works to draw oxidation in the stem to the surface of the vulcanite. This is a major aid and an important step in ensuring a clean stem. The following day, I drew out the stem from its bath and scrubbed the lingering fluid with a toothbrush. Due to the severity of the oxidation, I then repeated the scrubbing with the cream cleanser for maximum effect. This really helped a lot.As the stem was now clean and dry, I set about fixing the marks and dents in the vulcanite. This was done by filling those divots with black cyanoacrylate adhesive, impregnated with carbon and rubber. I left this to cure and moved on.The penultimate step for the stem is sanding. First, with my set of needle files, I reduced the bulk of the cyanoacrylate repairs. I removed the excess adhesive as near to the surface as possible, without cutting into the vulcanite. Following that, I used all nine of the micromesh sanding pads (1,500 through 12,000 grit) to sand out flaws, even out the vulcanite, and provide gentle polishing of the finished surface. I also applied pipe-stem oil while using the last five micromesh pads. There was a wonderful, deep black shine to the stem when I was done.As the stem was (nearly) complete, I moved on to the stummel. The first step was to ream out the bowl – that is to say, remove all the cake inside the bowl. This accomplished a couple of things. First (and most obviously), it cleaned the bowl and provided a refurbished chamber for future smoking. Second, when the old cake was removed, I could inspect the interior walls of the bowl and determine if there was damage or not. I used a reamer, a pipe knife, and a piece of sandpaper taped to a wooden dowel. Collectively, these ensured that all the debris was removed. However, it was clear that there were a few heat fissures inside the bowl that would need to be repaired. It’s difficult to tell from the photo below, but the quantity of debris removed was enormous. It must have been a well-loved pipe!Similar to the stem, I then cleaned the stummel with both pipe cleaners and cotton swabs dipped in lemon-infused 99% isopropyl alcohol. With a pipe this dirty, it took quite a while and much cotton to get clean.I then decided to ‘de-ghost’ the pipe – that is to say, exorcize the remaining filth from the briar. I filled the bowl and the shank with cotton balls, then saturated them with 99% isopropyl alcohol. I let the stummel sit overnight. This caused the remaining oils, tars and smells to leach out into the cotton.My next step was to remove the lava on the rim. For this, I normally take a piece of machine steel and gently scrape the lava away. However, a jackhammer would have been more appropriate in this case! Instead, I soaked the rim in some oil soap and this softened things up enough for me to scrub the debris off with a nylon-bristle brush. To tidy up the briar, I also wiped down the outside with some oil soap on cotton rounds and used a toothbrush in the crevices. This did a good job of cleaning any latent dirt on the surface of the briar. The last step of the cleaning process was to scour the inside of the stummel with some soap and tube brushes. This was the culmination of a lot of hard work in getting the pipe clean. Additionally, there was a minuscule line on the bottom of the stummel. It was so small, in fact, that I couldn’t really determine if this was a craze line in the briar or just a little scratch. Just to be on the safe side, I applied a tiny bit of clear cyanoacrylate adhesive and sanded it down.To address the heat fissures inside the bowl, I used an epoxy adhesive that is extremely hard, resistant to high temperatures, and completely inert when cured. It worked superbly. I gently filled the affected area with the epoxy and let it cure for a full 24 hours. The next day, I roughened up the epoxy’s surface with 220-grit sandpaper for the next step. I thinly coated the inside of the bowl with a mixture of my wife’s homemade yogurt and activated charcoal. Once hardened, this provides a good, faintly rough surface for a new cake to build.I used all nine micromesh pads (1,500 through 12,000 grit) to sand the outside of the stummel and finish it off. This sanding minimizes flaws in the briar and provides a beautiful smoothness to the wood. I rubbed some LBE Before & After Restoration Balm into the briar and let it sit for 30 minutes or so. The balm moisturizes the wood and gives a beautiful depth to the briar. I then buffed the stummel with a microfibre cloth. For the final step, I took the pipe to my bench polisher and carefully buffed it – first with a blue diamond compound, then with three coats of carnauba wax. This procedure makes the pipe look its best – the stummel sings and the stem glows. You can now see why I called this article ‘You’ve Come a Long Way, Baby!’All done! This Bjarne Hand-Carved freehand sitter looks fantastic again and is ready to be enjoyed by its next owner. I am pleased to announce that this pipe is for sale! If you are interested in acquiring it for your collection, please have a look in the ‘Danish’ section of the store here on Steve’s website. You can also email me directly at kenneth@knightsofthepipe.com. The approximate dimensions of the pipe are as follows: length 6¾ in. (175 mm); height 3 in. (75 mm); bowl diameter 1¾ in. (44 mm); chamber diameter 1 in. (25 mm). The weight of the pipe is 2½ oz. (74 g). I hope you enjoyed reading the story of this pipe’s restoration as much as I enjoyed restoring it. If you are interested in more of my work, please follow me here on Steve’s website or send me an email. Thank you very much for reading and, as always, I welcome and encourage your comments.
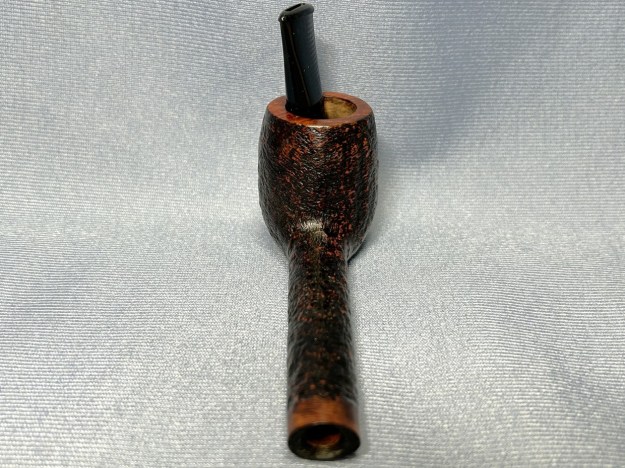
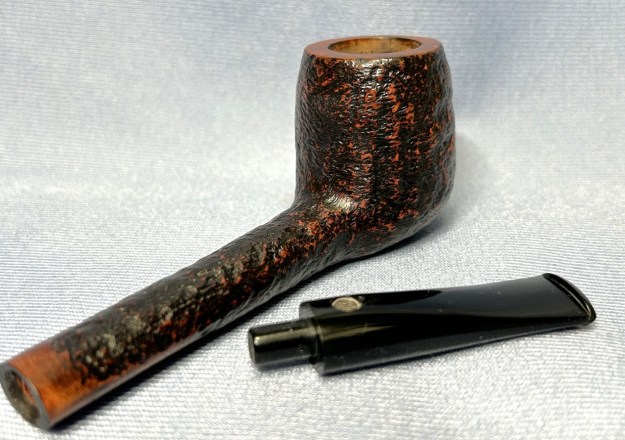
Restoring a Soren Hand Carved Made in Denmark Freehand Sitter


by Steve Laug

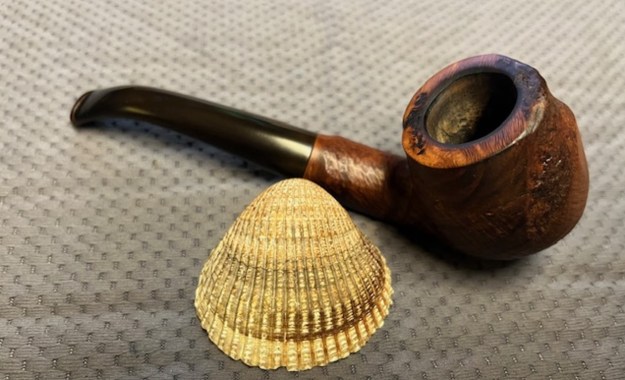
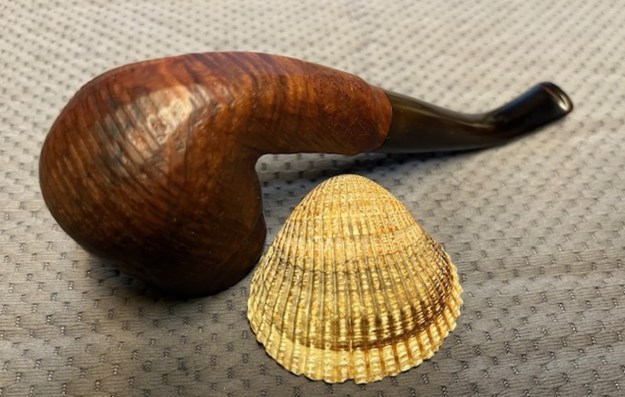
This particular Freehand pipe was purchased as part of a lot from seller in Wilkes Barre, Pennsylvania, USA on 09/26/2018. It really is a Freehand pipe that combines a plateau rim top and shank end with feet like the fins of a rocket on the bottom making it a sitter. The front of the bowl is smooth and the back is sandblast. The blast carries through the shank as well. It is stamped on a smooth panel on underside of the shank and reads Soren [over] Hand-Carved [over] Made in Denmark. The finish is dirty but does not hide the beautiful grain around the bowl and shank. There is a vulcanite shank extension. The pipe had a moderate cake in the bowl but the rim top and inner edge of the bowl looked good. There is some dust in some of the plateau. It is heavier toward the back half of the bowl. There was grime ground into the sandblast finish and dust and debris in the plateau valleys. The fancy vulcanite shank extension and the saddle stem was oxidized and had light tooth marks and chatter on both sides near the button.  Jeff took photos of the pipe before he started his work on it. Jeff took photos of the rim top and the stem to show the condition of the pipe when we received it. You can see the moderate cake in the bowl and the dust and debris in the plateau rim top and inner edge of the bowl. The turned vulcanite stem was oxidized, dirty and had light chatter and tooth marks on both sides near the button. He took photos of the sides and the heel to give an idea of the shape and the condition of the briar around the bowl. It really is a uniquely shaped pipe with the pedestal base on the bottom front of the bowl.The next photos Jeff took shows the stamping on the underside of the shank. It is clear but faint in spots and read as noted above. I went to a previous Soren restoration blog and reread what I had written to reconnect the dots for me https://rebornpipes.com/2016/09/12/repairing-and-rejuvenating-a-soren-danish-freehand/. I quote from that blog post:

I looked up the brand on Pipephil (http://www.pipephil.eu/logos/en/logo-s10.html) and found that the brand was carved by Søren Refbjerg Rasmussen. Pipes that he made for the European market were mostly stamped “Refbjerg” while those made for the US market were stamped “Soren”. Thus, I knew that one I was working on was imported into the US market.

I was once again working on a pipe made by Soren Refbjerg Rasmussen for the US market as it was stamped Soren. I continued to do reading on another of my go to websites, Pipedia. Here is the link for the article there. https://pipedia.org/wiki/Refbjerg. I quote some of the more pertinent information.

Søren Refbjerg Rasmussen founded a company in 1969, which employed an average of 8 – 12 craftsmen in the 1970’s. The semi-freehands they produced were traded under his prename Søren. Rasmussen himself finished only the very best pipes. So, his way of pipemaking closely resembled the ways of Preben Holm, Karl Erik Ottendahl or Erik Nørding. Altogether more than 1,000,000 pipes were sold.

From that I knew that the pipe in my hands came from the 1970s. It bears the Soren signature stamp which also says that it was made for sale in the American pipe market. Armed with that information I turned my attention to restoring the pipe.

Jeff had cleaned up the pipe following his normal cleaning process. In short, he cleaned up the reaming with a Savinelli Fitsall Pipe Knife.  He scrubbed the bowl with undiluted Murphy’s Oil Soap with a tooth brush. He worked over the lava and debris on the plateau rim top and shank end and was able to remove it. He rinsed it under running warm water to remove the soap and grime. He cleaned out the inside of the shank and the airway in the stem with alcohol, cotton swabs, shank brushes and pipe cleaners. He scrubbed the stem with Soft Scrub and cotton pads to remove the debris and oils on the stem. He soaked it in Briarville’s Pipe Stem Deoxidizer. He rinsed it with warm water and dried it off. The pipe looked very good and I was excited to start working on it. I forgot to take my usual photos of the pipe.

I started my work on the pipe by sanding the vulcanite shank extension with 320-3500 grit sanding pads to remove the residual oxidation that remained. I was able to remove it for the most part and what remained would come off with the micromesh pads and the Before and After Pipe Stem polish. It was a pretty pipe. I polished the vulcanite shank extension and the smooth portions of the bowl on the front and heel. I dry sanded it with 1500-12000 grit sanding pads. I wiped the sanded portions of the bowl off with a damp cloth to remove the sanding debris. I wiped down the shank extension with an Obsidian Oil cloth. I worked some Before & After Restoration Balm into the surface of the briar with my fingertips and a horsehair shoe brush to get into the plateau and the sandblast. The product works to clean, enliven and protect it. I let the balm sit for a little while and then buffed with a cotton cloth to raise the shine. The following photos show the bowl at this point in the restoration process. I am very happy with the results. I set the bowl aside and turned to the stem. I used 320-3500 grit sanding pads to smooth out the roughness on the surface of the vulcanite and remove the tooth marks and chatter. I wiped the stem down with an Obsidian Oil cloth after each sanding pad.I polished the stem with micromesh sanding pads – wet sanding with 1500-12000 grit sanding pads. I wiped it down after each sanding pad Obsidian Oil. I finished by polishing it with Before & After Pipe Stem Polish both fine and extra Fine and then wiped it down with a final coat of Obsidian Oil. This is a beautiful Soren Hand Carved Freehand Sitter with a vulcanite shank extension and a fancy saddle stem. It has a great look and feel. The shape of the bowl, the mix of sandblast and smooth finishes and the cut of the briar work well to highlight the grain around the bowl sides. I polished stem and the bowl with Blue Diamond polish on the buffing wheel. I gave the bowl and the stem multiple coats of carnauba wax. I buffed the pipe with a clean buffing pad to raise the shine. I hand buffed it with a microfiber cloth to deepen the shine. The Soren Hand Carved Freehand polished up pretty nicely. The grain took on life with the buffing. The rich stains work well with the polished vulcanite stem. The finished pipe has a rich look that is quite catching. Have a look at it with the photos below. The shape, finish and flow of the pipe and stem are very well done. The dimensions are Length: 6 ½ inches, Height: 2 ¼ inches, Outside diameter of the bowl: 1 ½ inches, Chamber diameter: 7/8 of an inch. The weight of the pipe is 2.43 ounces/69 grams. It is a beautiful pipe. I will be putting it on the rebornpipes store shortly in the Danish Pipemakers Section if you are interested in adding it to your collection. Thanks for walking with me through the restoration.

Restoring a Danish Mr. Andersen Hand Crafted 3 Freehand with acrylic saddle stem


by Steve Laug

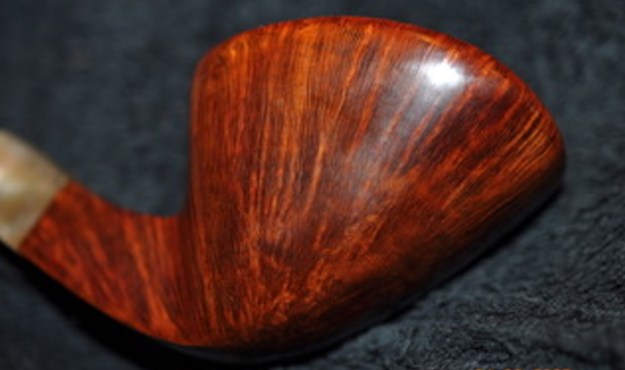
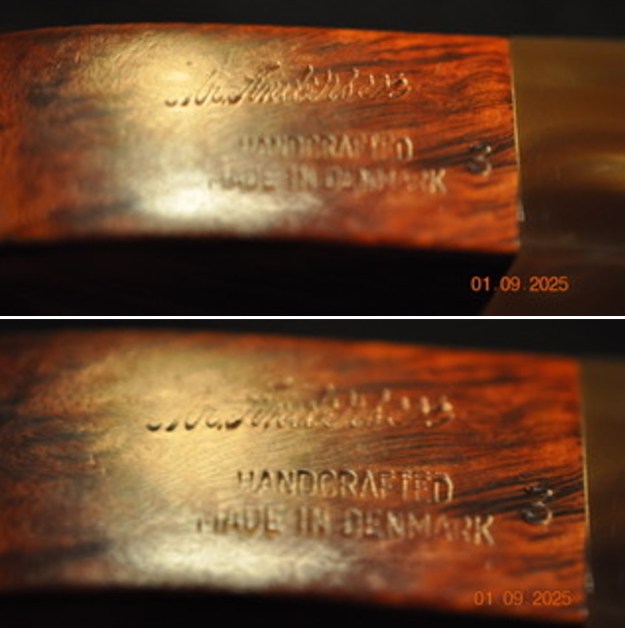
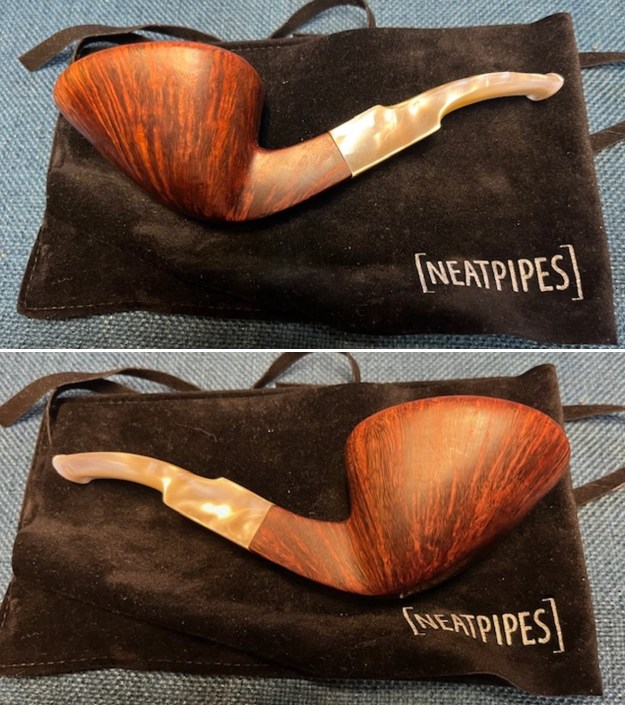
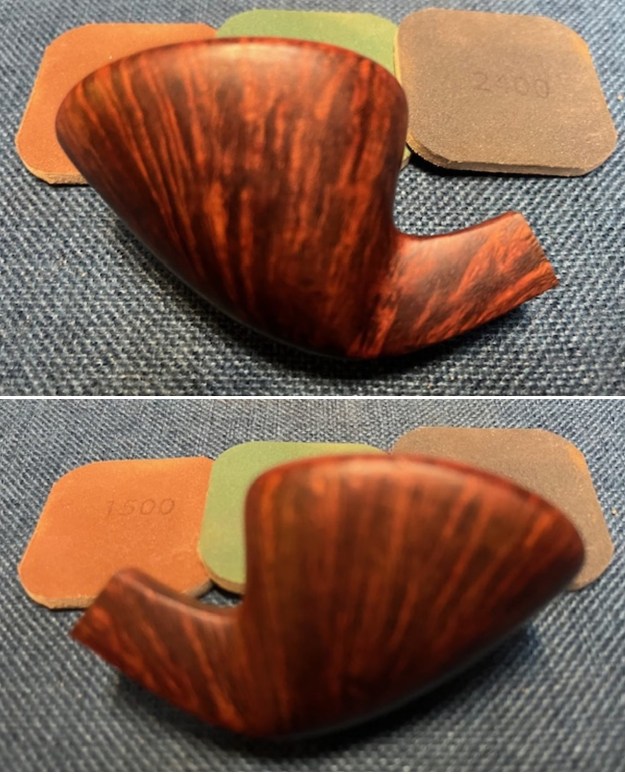
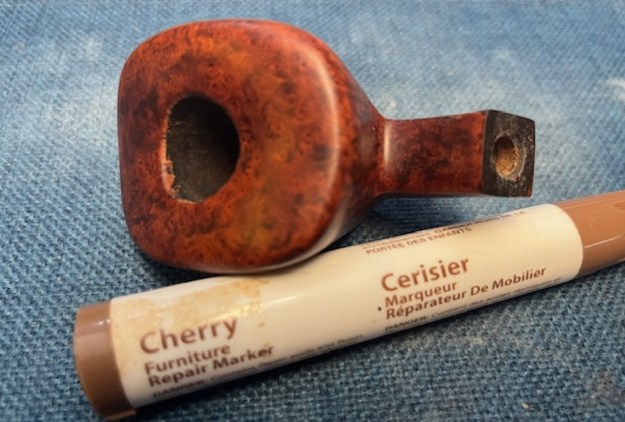
The next pipe on the table is a beautiful freehand in a brand we had not seen before. We picked the pipe up from a seller in Wellsville, Kansas, USA on 12/09/2024. Probably the fact that it is a Danish and Hand Crafted caught our eye on this one. It is stamped on the underside of the shank and reads Mr. Andersen in script [over] Hand Crafted [over] Made in Denmark followed by the number 3. It is a nice looking Freehand “Dublinesque” Freehand that had great grain around the bowl and shank. The rim top was smooth and rectangular with a bit of scoop running from front to back of the bowl. The finish looked good other than the usual dust. The bowl had been recently reamed and the rim top was quite clean other than some oils. The edge of the bowl looked to be in good condition. The acrylic saddle was a bit off at the shank end in terms of a smooth transition between the shank and stem and there was tooth chatter and light tooth marks on both sides near the button. There is no logo stamp on the stem. The surface of the button looks very good on both sides. Jeff took some photos of the pipe to show the general condition of the pipe before he started his clean up. Jeff took photos of the rim top and stem to show the general condition of the pipe. The bowl is clean and the rim top looks good. The inner edge of the bowl is in excellent condition. The stem has some fitting issues at the shank and there is light tooth chatter and marks on the top and underside near the button. Jeff took photos of the bowl sides and heel to show the condition of the smooth finish around this bowl. The grain is quite beautiful and it is a nice looking pipe. He took photos of the stamping on underside of the shank. It is clear and readable as noted above. I removed the stem and took photos of the part to give a sense of the look of the pipe.Before I started working on the pipe I wanted to get a sense of the provenance of the pipe. It was a brand with which I was unfamiliar. I turned first to Pipephil’s site and there was nothing on that brand. I turned then to Pipedia (https://pipedia.org/wiki/Mr._Andersen). The was some interesting information on the brand and help with the carver of the pipe. I quote:

It had previously been reported that Jørgen Larsen made Mr. Andersen pipes. However David Field, the importer for Larsen states, “Jørgen Larsen never made Mr. Andersen pipes to my knowledge.”

As it turns out, there are two Jørgen Larsens making pipes!

Søren Eric Andersen writes, “the brand MR: ANDERSEN was introduced by Remo Sørensen, a well known pipe dealer in Copenhagen. The pipes were made by several pipemakers, although I personally only knew one of them, Jørgen Larsen, formerly with Larsen & Stigart. It is unlucky that there are TWO Jørgen Larsens in this small trade, but the name is rather common in Denmark. I was not happy with [them using] that brand [name] for obvious reasons, but Andersen is quite a common name too. With my best regards, Søren Eric Andersen.”

José Manuel Lopes states in Pipes, Artisans and Trademarks that these pipes were also made by Jarl and Chieftan.

Nikolaj Nielsen, proprietor of The Danish Pipes Shop reports that Finn Andersen was the maker (or perhaps one of the makers) of Mr. Andersen pipes for Remo Sørensen. It is unclear if this Finn Andersen, is Finn Meyan Andersen, who was instrumental in setting up the machinery at the Briar Workshop, but that seems possible, if not likely.

Now I knew the pipe was probably sold by Remo Sorensen a well known pipe dealer in Copenhagen. Jorgen Larsen of Larsen & Stigart was probably the carver. Now it was time to work on the pipe.

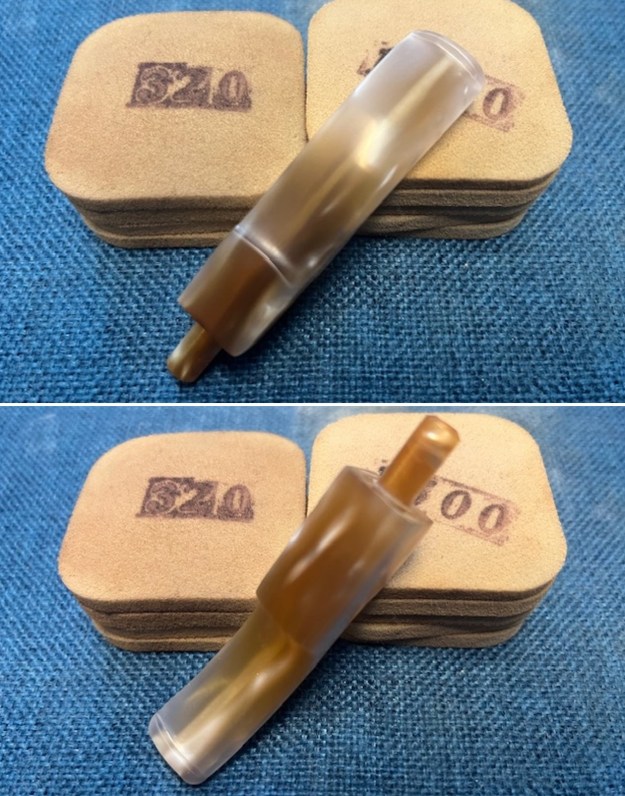
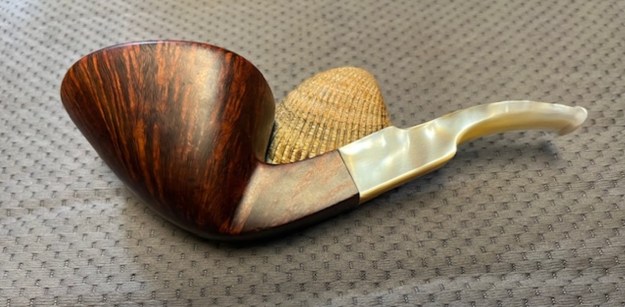
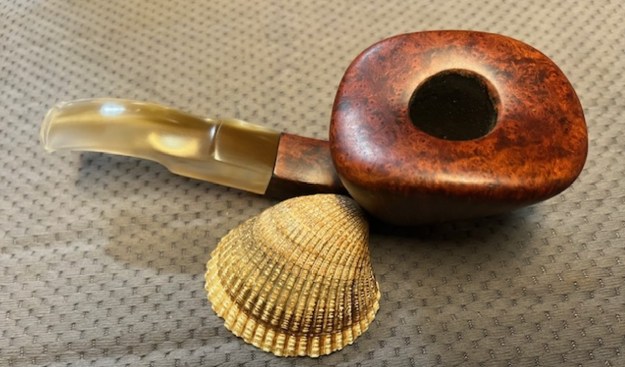
Armed with that information I turned my attention to the pipe itself. Jeff had cleaned the pipe with his usual penchant for thoroughness that I really appreciate. He cleaned up the reaming with a PipNet pipe reamer and a Savinelli Fitsall Pipe Knife. He scrubbed out the internals with alcohol, pipe cleaners, shank brushes and cotton swabs until the pipe was clean. He scrubbed the exterior of the bowl with undiluted Murphy’s Oil Soap and a tooth brush to remove the grime and grit on the briar and the light lava on the rim top. The finish looks very good with good looking grain around the bowl and shank. He cleaned the acrylic stem alcohol and pipe cleaners to remove the oils and tars. He scrubbed the surface with some Soft Scrub to clean up the surface. When the pipe arrived here in Vancouver for the second stop of its restoration tour it looked very good. I took photos before I started my part of the work. I took close up photos of the bowl and rim top as well as the stem. You can see the condition of the rim top and bowl in the first photo. Jeff was able to remove all of the dust and oils on the top and the edges of the bowl. It looked very good. The stem had a sloppy fit to the shank and there was light tooth chatter on both sides ahead of the button.I took a photo of the stamping on the shank sides to show the condition. The stamping was clear and readable as noted above. I removed the stem and took a photo to show the parts of the pipe. It is a beauty.I polished the briar with 1500-12000 grit sanding pads. I wiped down the bowl with a damp cloth to remove the sanding debris and dust. The bowl began to look amazing. I worked some Before & After Restoration Balm into the surface of the briar with my fingertips to clean, enliven and protect it. I let the balm sit for a little while and then buffed with a cotton cloth to raise the shine. The following photos show the bowl at this point in the restoration process. I am very happy with the results. I worked on the fit to the shank with a folded piece of 220 grit sandpaper. I was able to smooth the stem on the sides and underside to match the flow of the shank. The topside took a bit more work to flatten the transition and smooth the flow. I smoothed out the sanded area with 320-3500 grit sanding pads. Once it was smooth I stained the top of the shank with a Cherry Stain pen.I sanded the stem with 320-3500 grit sanding pads. I wiped the stem down with an Obsidian Oil cloth after each sanding pad. The tooth marks and chatter had disappeared.I polished the stem with micromesh sanding pads – wet sanding with 1500-12000 grit sanding pads. I wiped it down after each sanding pad Obsidian Oil. I finished by polishing it with Before & After Pipe Stem Polish both fine and extra Fine and then wiped it down with a final coat of Obsidian Oil. This is a beautiful Mr. Andersen Hand Crafted Freehand Dublin with a square shank and square acrylic saddle stem. It has a great look and feel. The shape of the bowl, the scooped rim top and the cut of the briar work well to highlight the grain around the bowl sides. I polished stem and the bowl with Blue Diamond polish on the buffing wheel. I gave the bowl and the stem multiple coats of carnauba wax. I buffed the pipe with a clean buffing pad to raise the shine. I hand buffed it with a microfiber cloth to deepen the shine. The Mr. Andersen Freehand Dublin polished up pretty nicely. The grain took on life with the buffing. The rich stains work well with the polished vulcanite stem. The finished pipe has a rich look that is quite catching. Have a look at it with the photos below. The shape, finish and flow of the pipe and stem are very well done. The dimensions are Length: 6 inches, Height: 2 inches, Outside diameter of the bowl: 1 ¾ inches wide x 2 ½ inches long, Chamber diameter: ¾ of an inch. The weight of the pipe is 2.33 ounces/66 grams. It is a beautiful pipe. I will be putting it on the rebornpipes store shortly in the Danish Pipemakers Section if you are interested in adding it to your collection. Thanks for walking with me through the restoration.

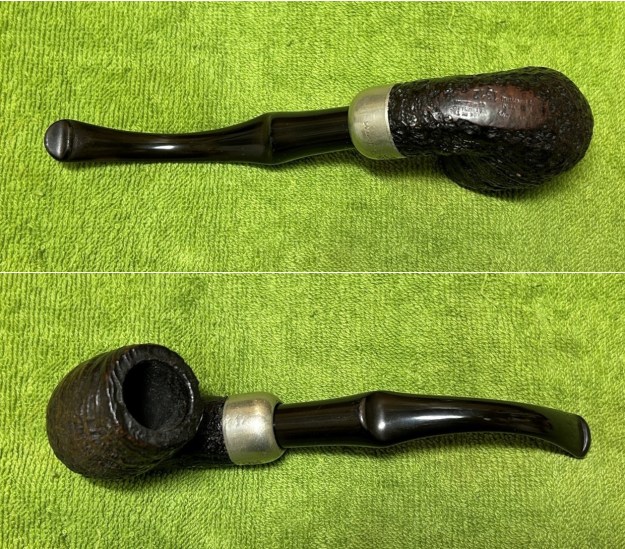
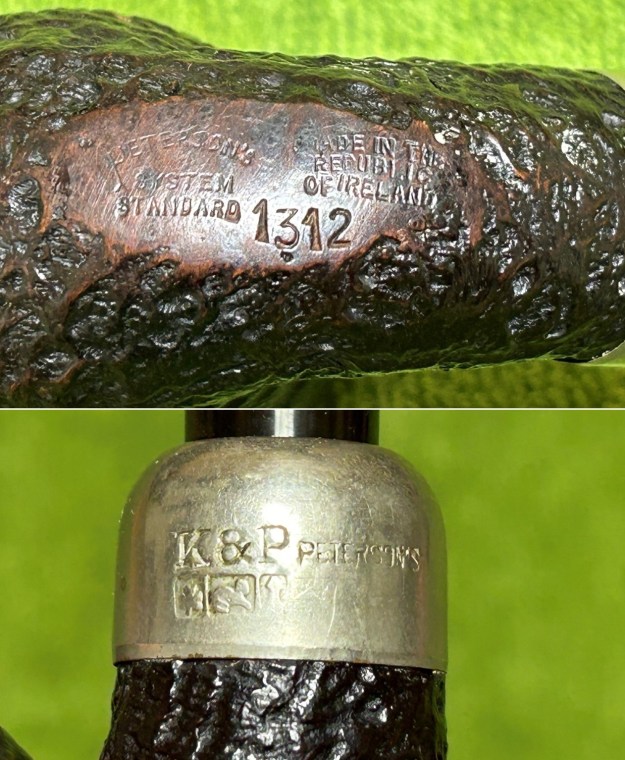
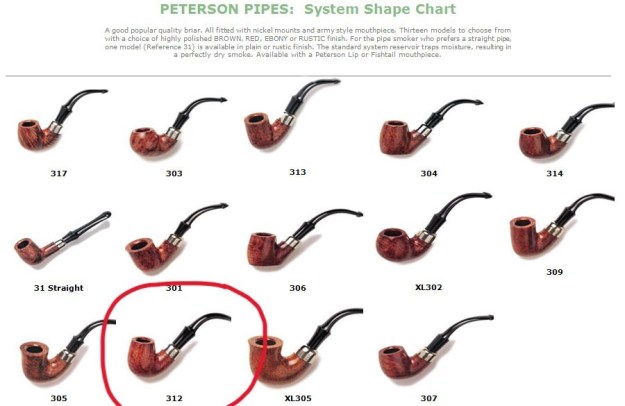
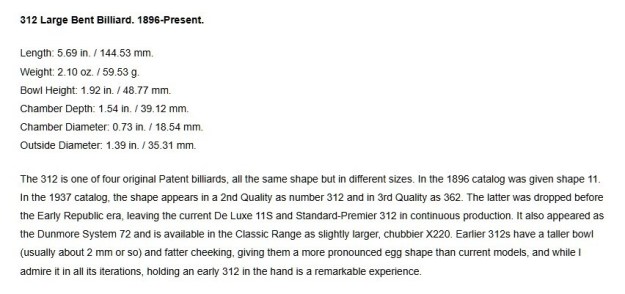
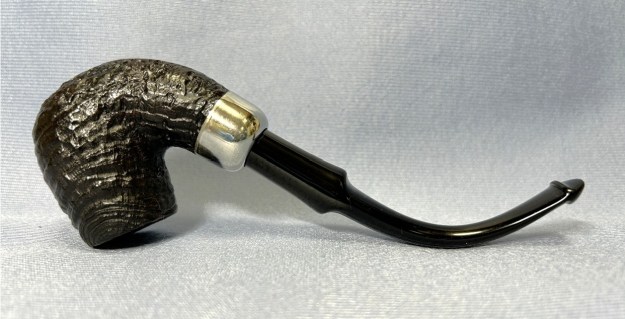
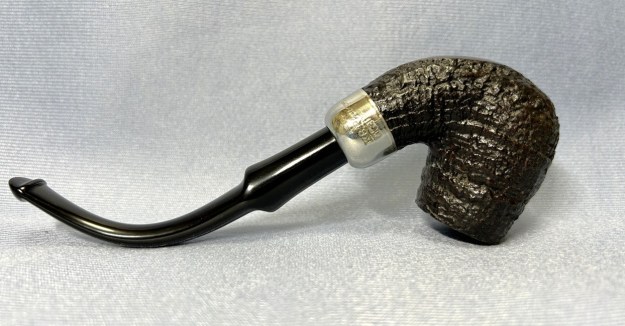
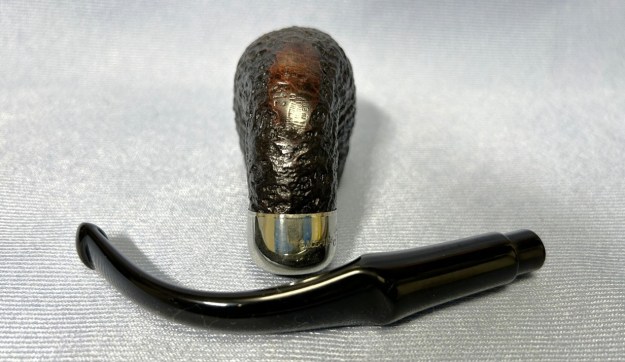
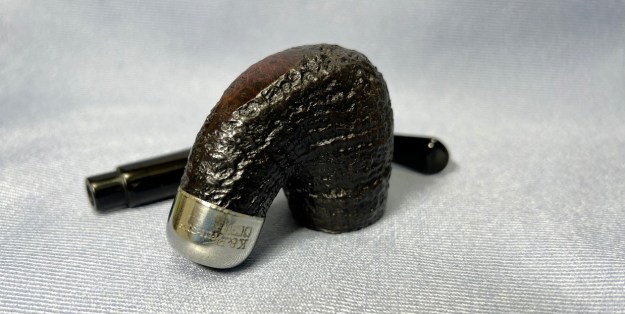
Restoring a Handsome Peterson System 1312 Sandblast


by Kenneth Lieblich

Next up is a pipe that came in a recent lot I acquired – and it’s a classic. This is a republic-era Peterson System Standard 1312 bent billiard. The sandblast on it is really craggy, attractive, and satisfying. Naturally, the stem has the classic Peterson P-lip. The 1312 is exactly the same pipe shape as the 312 – the initial ‘1’ simply indicates that it was made for the Canadian market. Looking on the underside of the stummel, we can see the marks. First, we have Peterson’s [over] System [over] Standard. To the right of that we see Made in the [over] Republic [over] of Ireland. Then the shape number 1312. On the nickel ferrule, there are more marks. K&P [over] the symbols (not hallmarks) of a shamrock, a lion and a standing figure. Next to that is the name Peterson’s.Steve and I have written about the Peterson System many times in many blogs. The Peterson System pipes are well-storied among Peterson collectors/admirers. I took the opportunity to read the article on Pipedia, specifically about the System pipes, by Jim Lilley. There is lots of good information there and I encourage you to read it: https://pipedia.org/wiki/A_closer_look_at_the_famous_Peterson_Standard_System_Pipe.As usual, I owe a debt of gratitude to Mark Irwin of Peterson Pipe Notes. He has a very interesting article on the various System shapes and I highly recommend having a look: https://petersonpipenotes.org/146-a-guide-to-system-shapes-1896-2019-part-1-the-300-shape-group/. Here is a screenshot of the relevant bit:On to the pipe itself. It appears to be in very good shape, albeit a bit drab from use. There’s cake inside the bowl, but the outside looks perfectly sound. The stem has a bit of tooth chatter, but (fortunately) very little oxidation or calcification.I used oil soap on a few cotton rounds and wiped down the stem to provide an initial cleaning of filth before moving on to the next steps. The primary cleaning came next. I disinfected the inside of the stem with both pipe cleaners and cotton swabs dipped in lemon-infused 99% isopropyl alcohol. I scrubbed thoroughly to make sure the interior was very clean.The goal of the next step is the removal (or minimization) of oxidation. Going to my sink, I used cream cleanser, cotton rounds, and a toothbrush, and scoured the stem to remove as much surface oxidation as possible. As the photos show, the result was a hideous, brownish mess – but better off the stem than on it.Once the stem was reasonably clean, I soaked it overnight in some Briarville Stem Oxidation Remover. This solution works to draw oxidation in the stem to the surface of the vulcanite. This is a major aid and an important step in ensuring a clean stem. The following day, I drew out the stem from its bath and scrubbed the lingering fluid with a toothbrush.As the stem was now clean and dry, I set about fixing the marks in the vulcanite. This was done by filling those spots with black cyanoacrylate adhesive, impregnated with carbon and rubber. I left this to cure and moved on.The penultimate step for the stem is sanding. I used all nine of the micromesh sanding pads (1,500 through 12,000 grit) to sand out flaws, even out the vulcanite, and provide gentle polishing of the finished surface. I also applied pipe-stem oil while using the last five micromesh pads. There was a wonderful, deep black shine to the stem when I was done.As the stem was (nearly) complete, I moved on to the stummel. The first step was to ream out the bowl – that is to say, remove all the cake inside the bowl. This accomplished a couple of things. First (and most obviously), it cleaned the bowl and provided a refurbished chamber for future smoking. Second, when the old cake was removed, I could inspect the interior walls of the bowl and determine if there was damage or not. I used a reamer and a piece of sandpaper taped to a wooden dowel. Collectively, these ensured that all the debris was removed. However, I did notice a few small craze lines on the inside. Someone must have been smoking with great gusto! No problem – I can fix that.Similar to the stem, I then cleaned the stummel with both pipe cleaners and cotton swabs dipped in lemon-infused 99% isopropyl alcohol. With a pipe this dirty, it took quite a while and much cotton to get clean.I then decided to ‘de-ghost’ the pipe – that is to say, exorcize the remaining filth from the briar. I filled the bowl and the shank with cotton balls, then saturated them with 99% isopropyl alcohol. I let the stummel sit overnight. This caused the remaining oils, tars and smells to leach out into the cotton.To tidy up the briar, I also wiped down the outside with some oil soap on cotton rounds and used a nylon-bristle brush in the crevices. This did a good job of cleaning any latent dirt on the surface of the briar. The last step of the cleaning process was to scour the inside of the stummel with some soap and tube brushes. This was the culmination of a lot of hard work in getting the pipe clean.To deal with the little craze lines, I used an epoxy adhesive that is extremely hard, resistant to high temperatures, and completely inert when cured. It worked superbly. I thinly applied it to the affected area and let it cure for a full 24 hours. The next day, I roughened up the epoxy’s surface with 220-grit sandpaper for the next step. I thinly coated the inside of the bowl with a mixture of my wife’s homemade yogurt and activated charcoal. Once hardened, this provided a good, faintly rough surface for a new cake to build.I then buffed the nickel ferrule with a couple of very gentle Micromesh pads, then then buffed it with a jewellery cloth.I rubbed some LBE Before & After Restoration Balm into the briar and let it sit for 30 minutes or so. The balm moisturizes the wood and gives a beautiful depth to the briar. I then buffed the stummel with a microfibre cloth. For the final step, I took the pipe to my bench polisher and carefully buffed it – first with a blue diamond compound, then with three coats of conservator’s wax. This procedure makes the pipe look its best – the stummel sings and the stem glows.All done! This Peterson System Standard 1312 bent billiard looks fantastic again and is ready to be enjoyed by its next owner. I am pleased to announce that this pipe is for sale! If you are interested in acquiring it for your collection, please have a look in the ‘Irish’ section of the store here on Steve’s website. You can also email me directly at kenneth@knightsofthepipe.com. The approximate dimensions of the pipe are as follows: length 5⅔ in. (143 mm); height 4 in. (102 mm); bowl diameter 1⅓ in. (34 mm); chamber diameter ¾ in. (19 mm). The weight of the pipe is 1½ oz. (46 g). I hope you enjoyed reading the story of this pipe’s restoration as much as I enjoyed restoring it. If you are interested in more of my work, please follow me here on Steve’s website or send me an email. Thank you very much for reading and, as always, I welcome and encourage your comments.