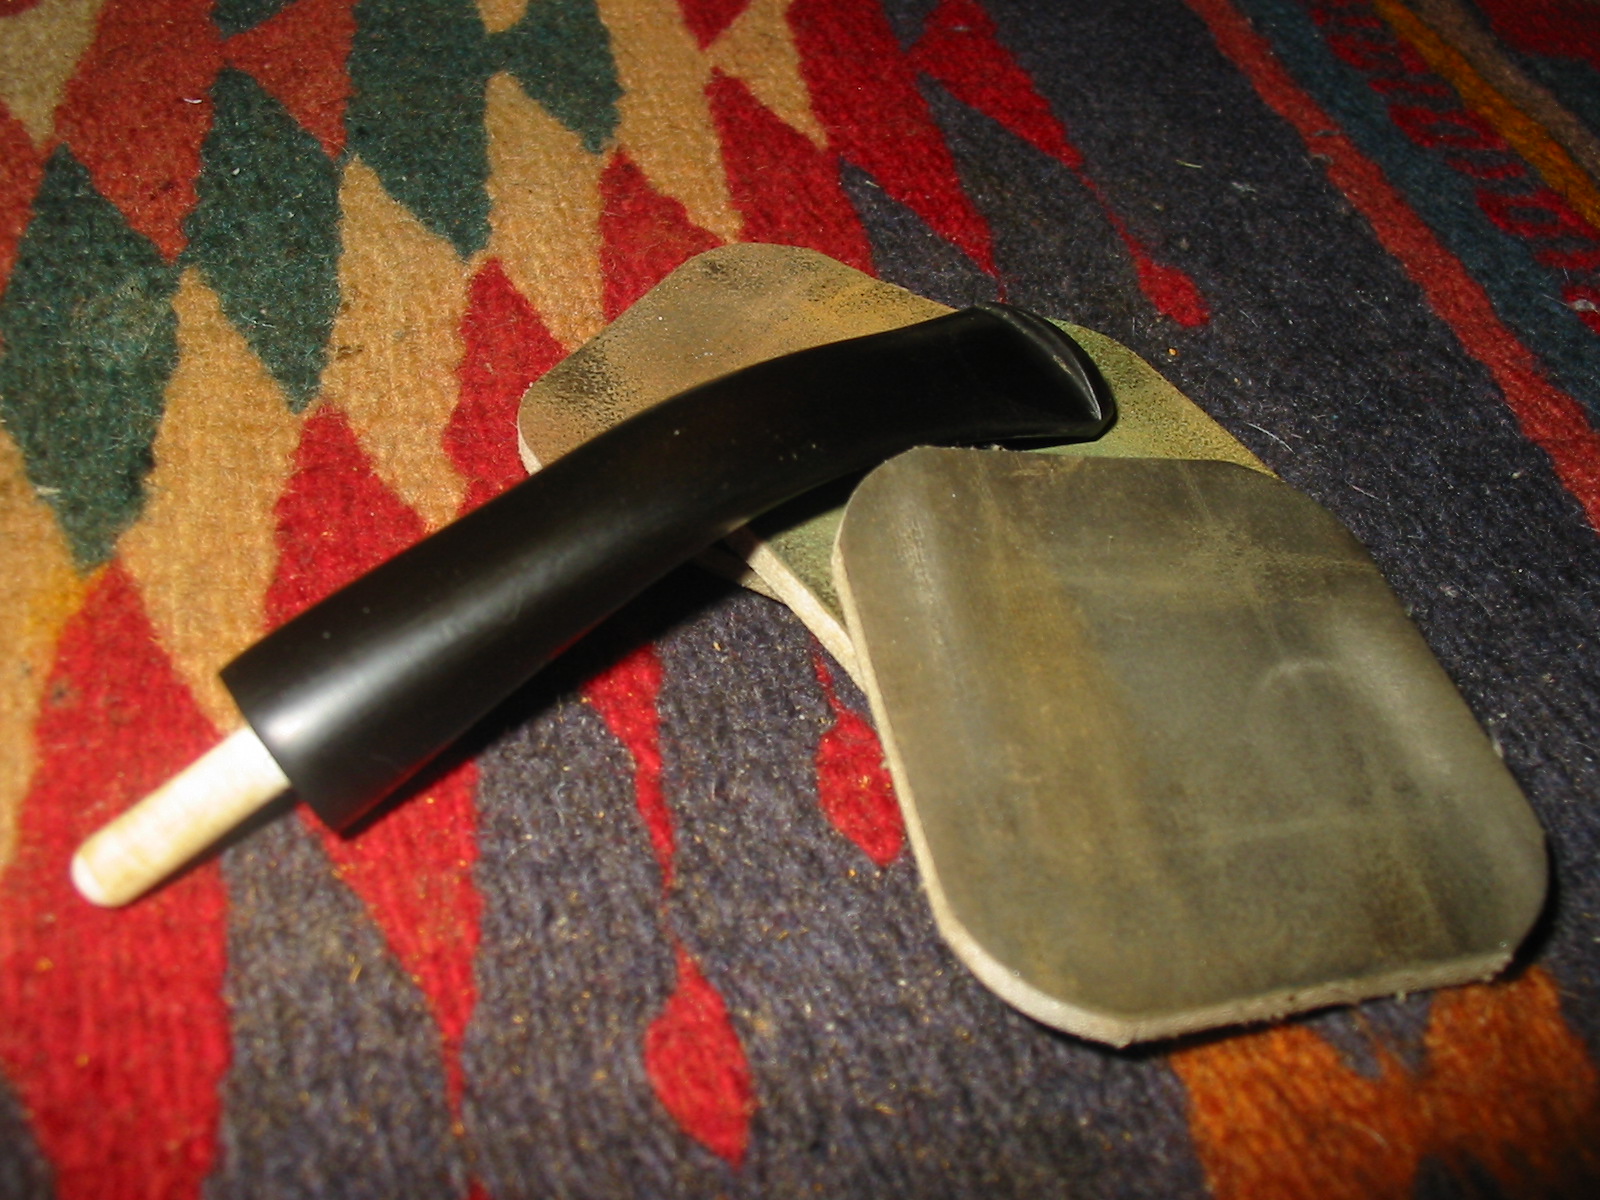
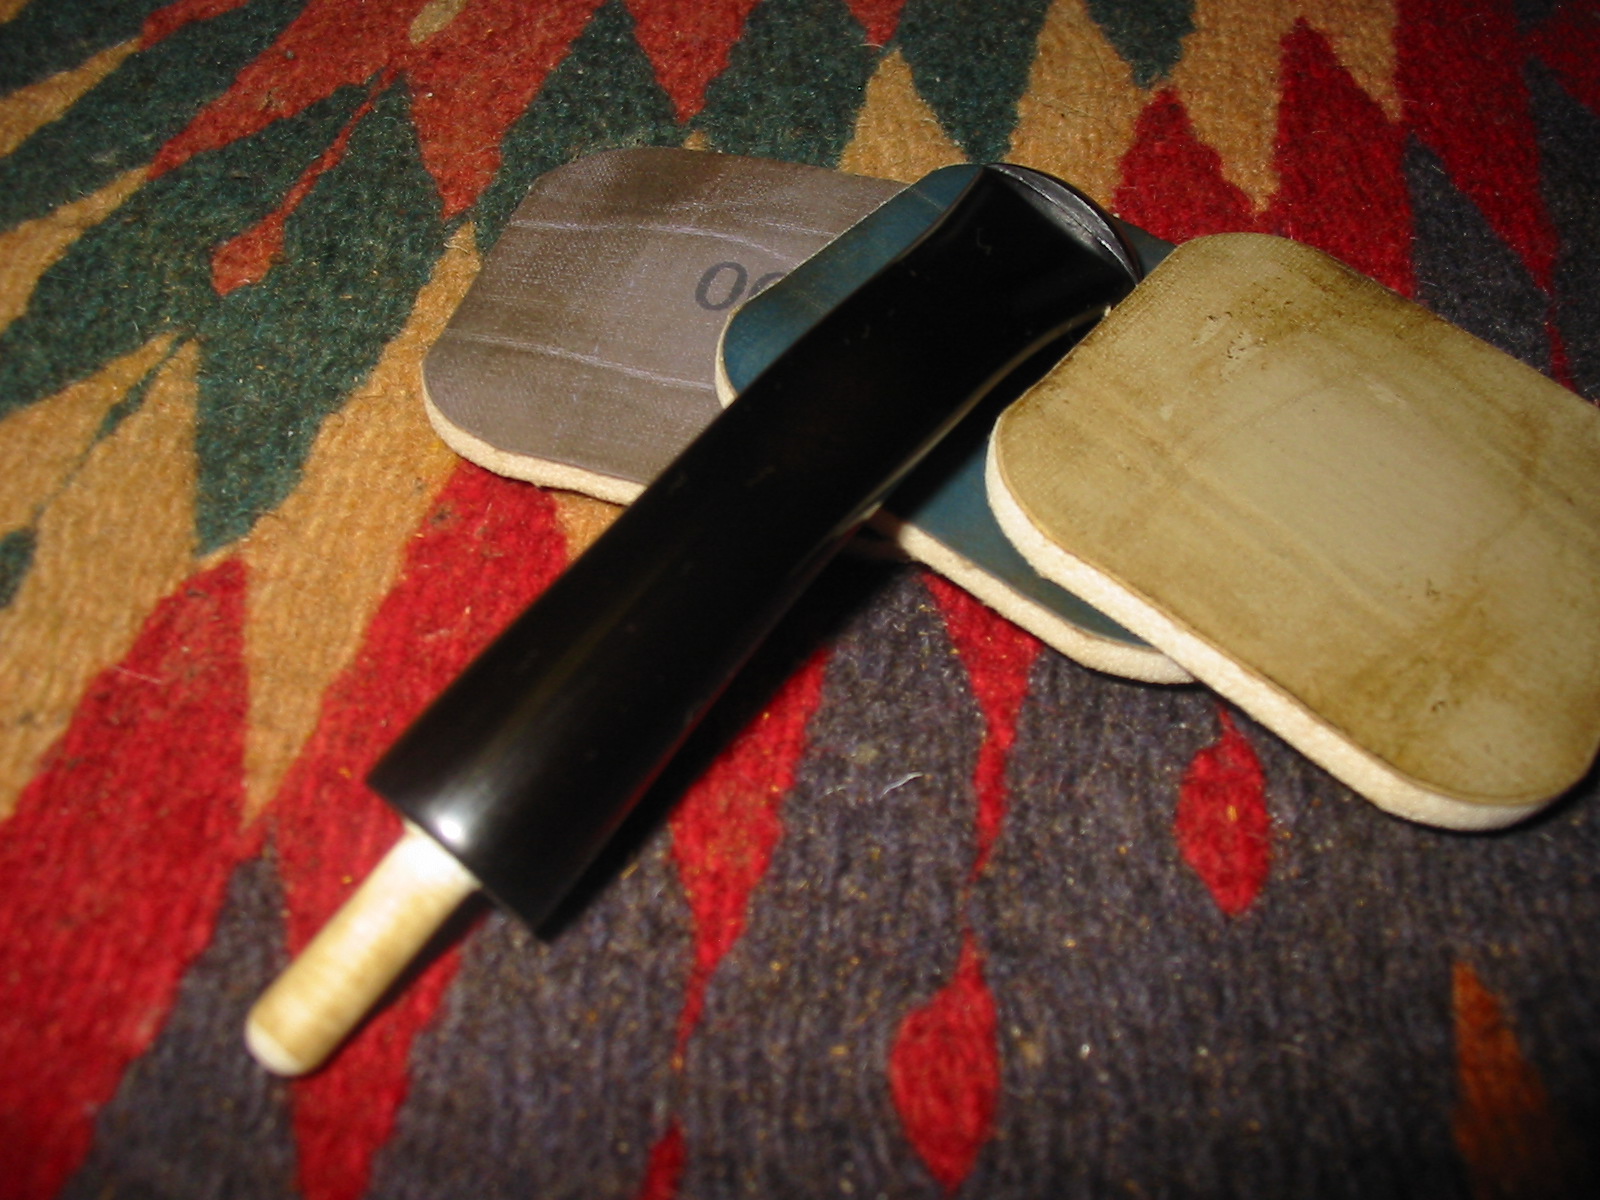
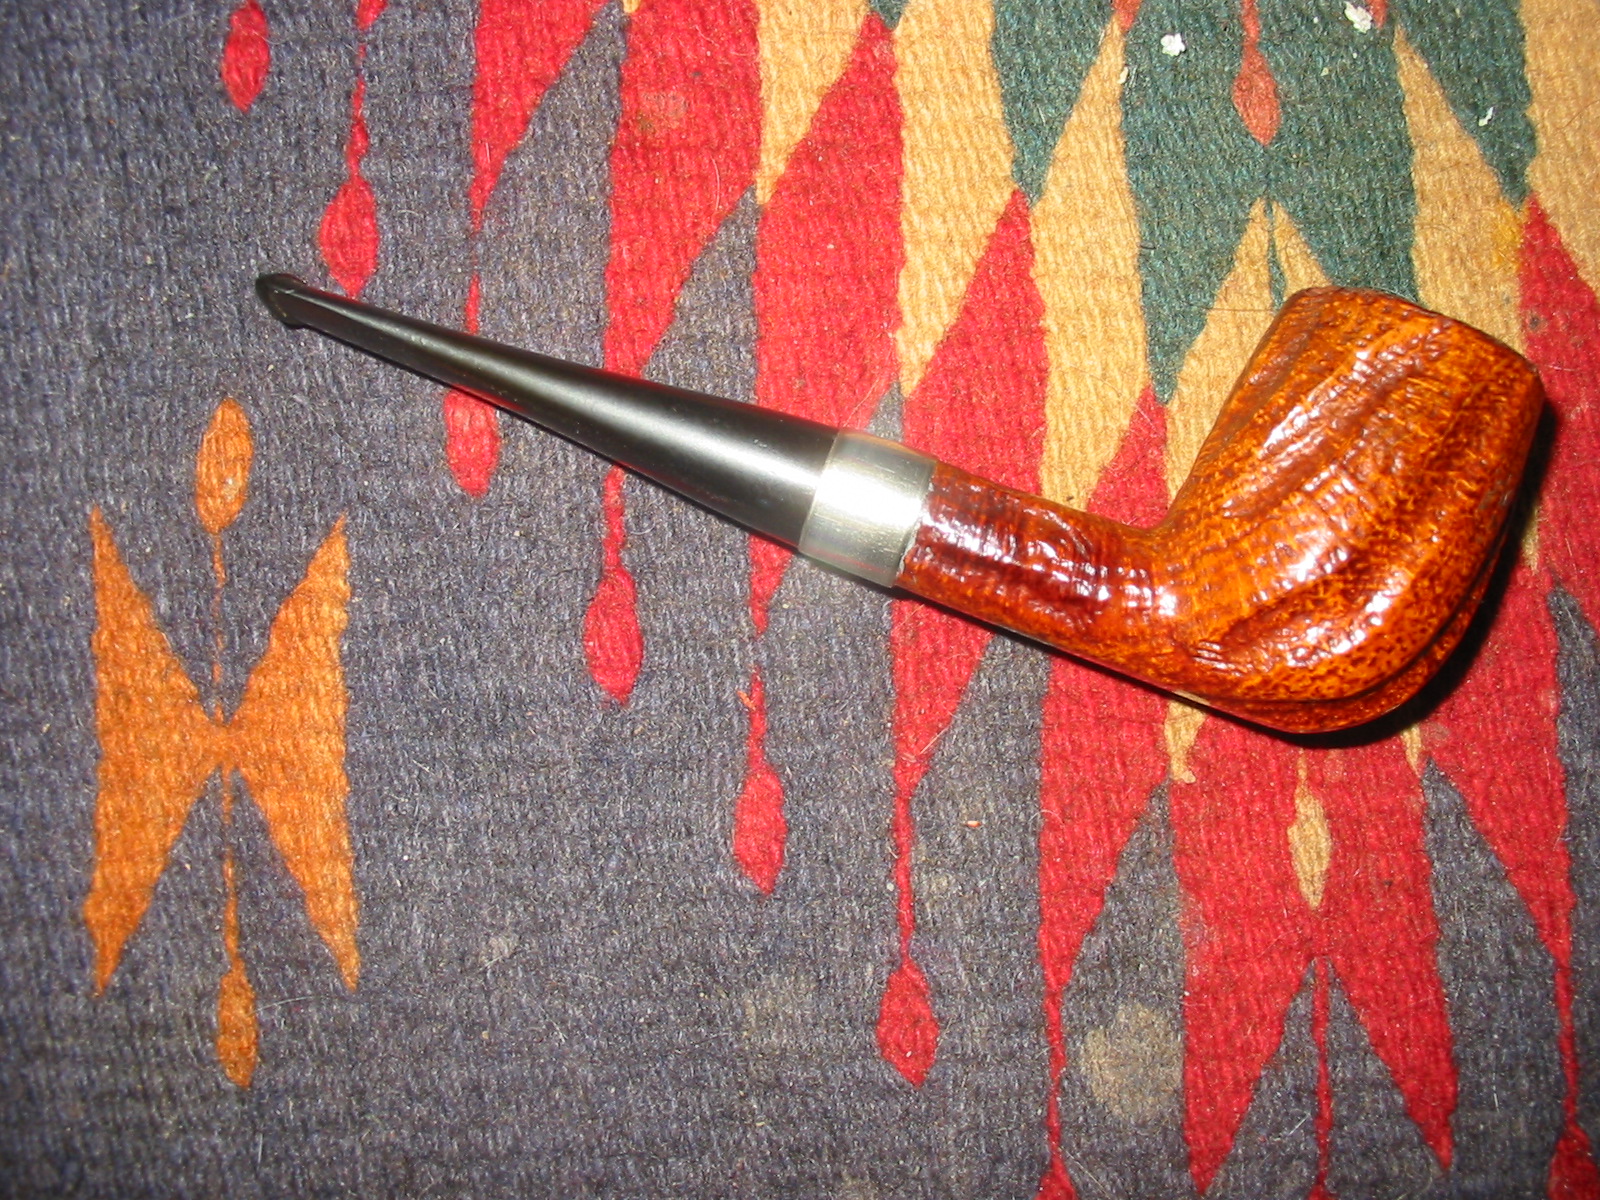
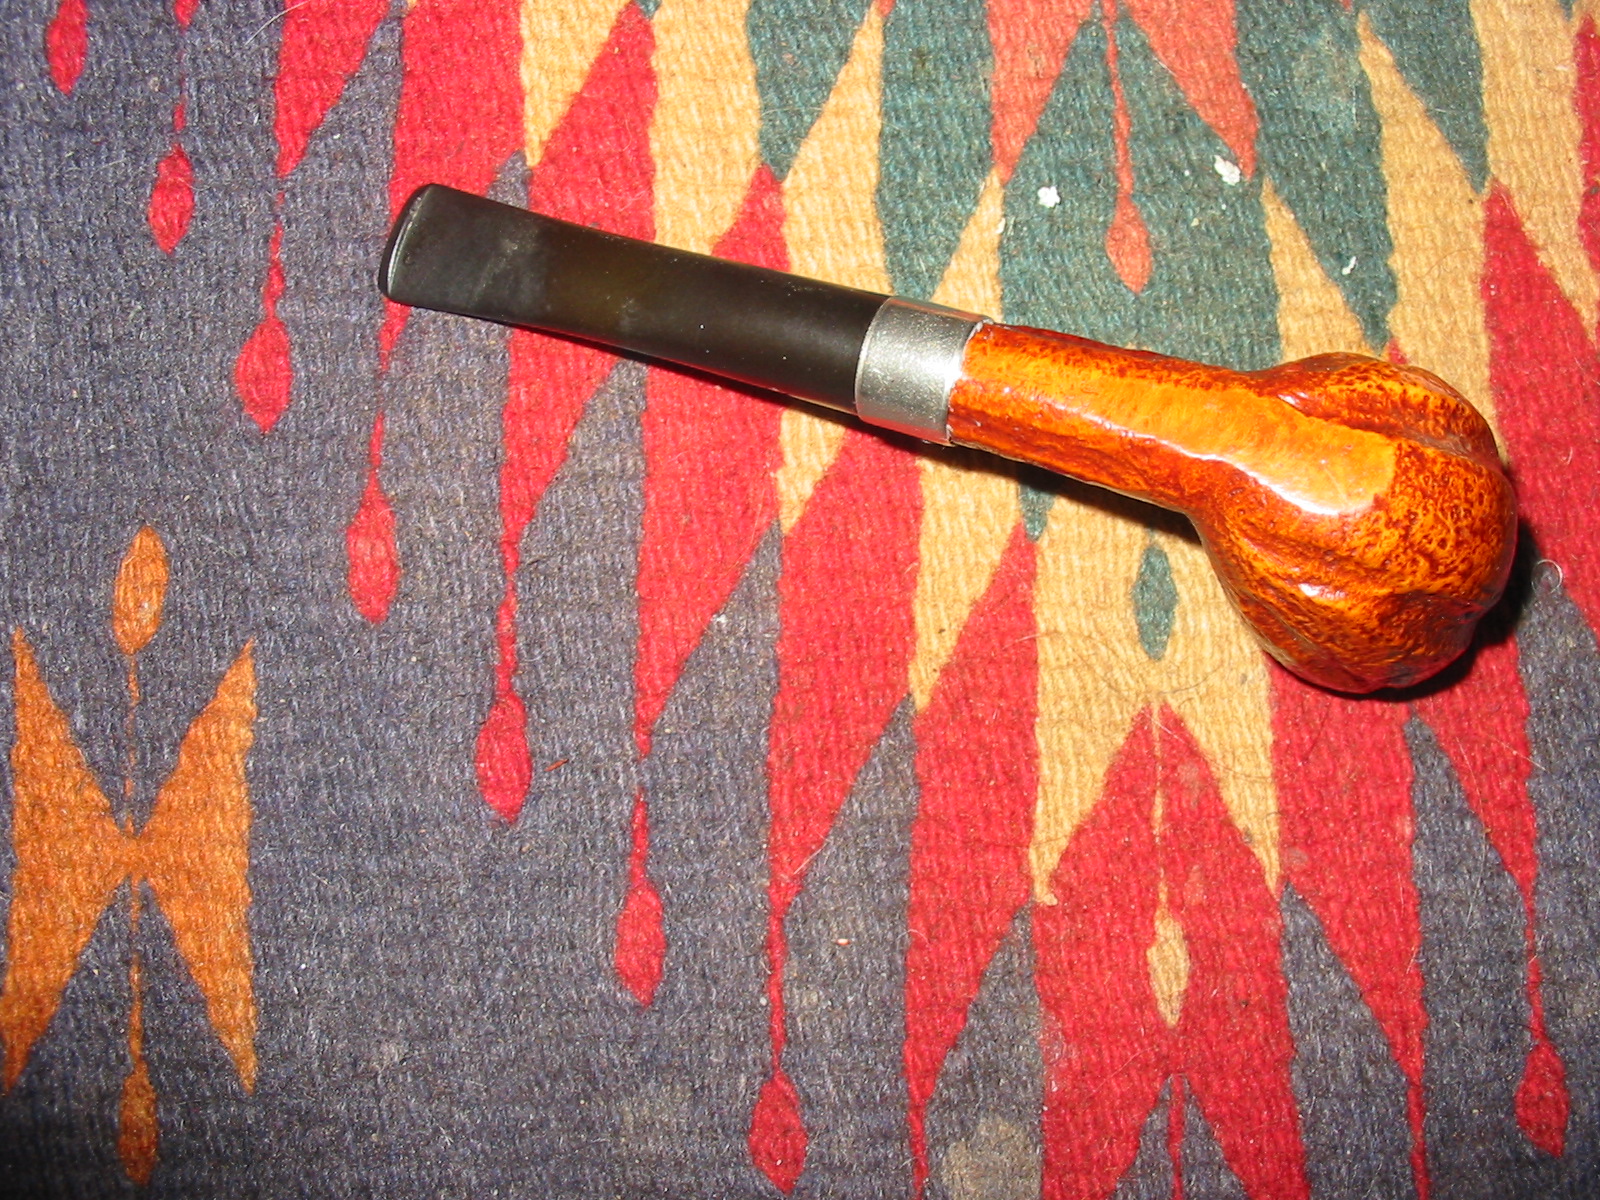
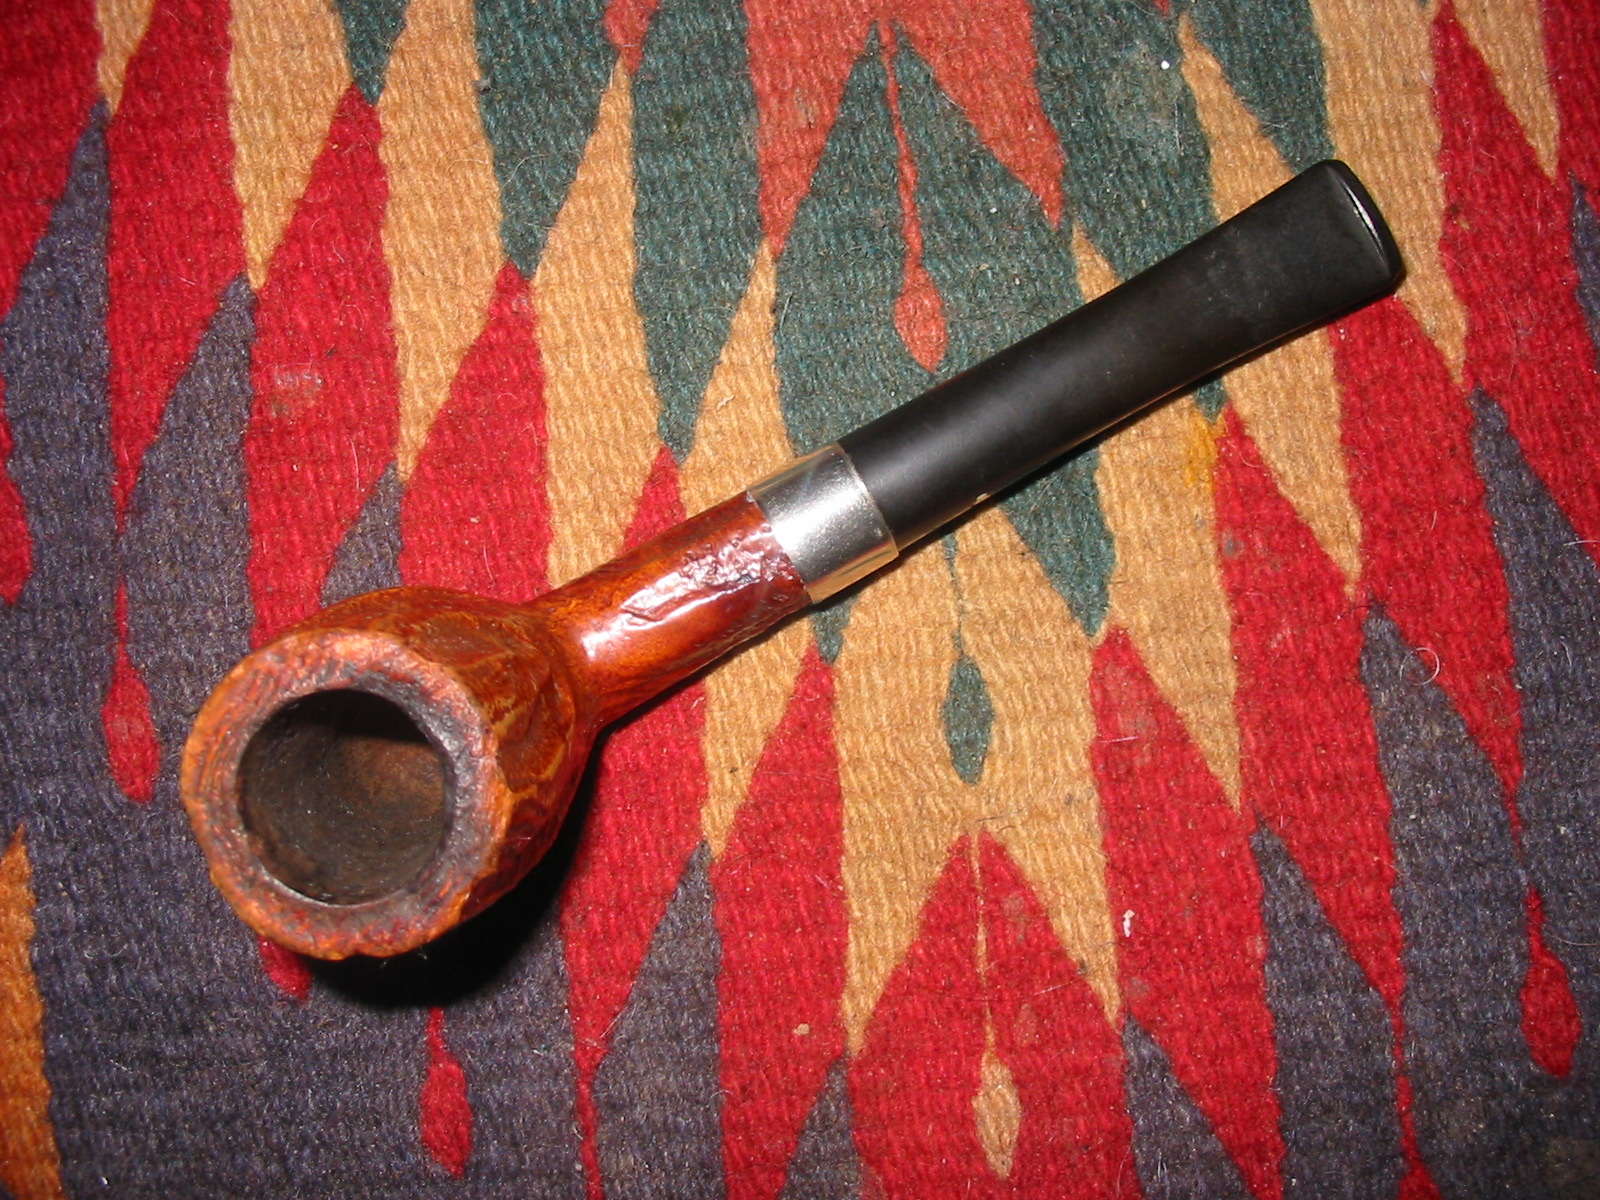
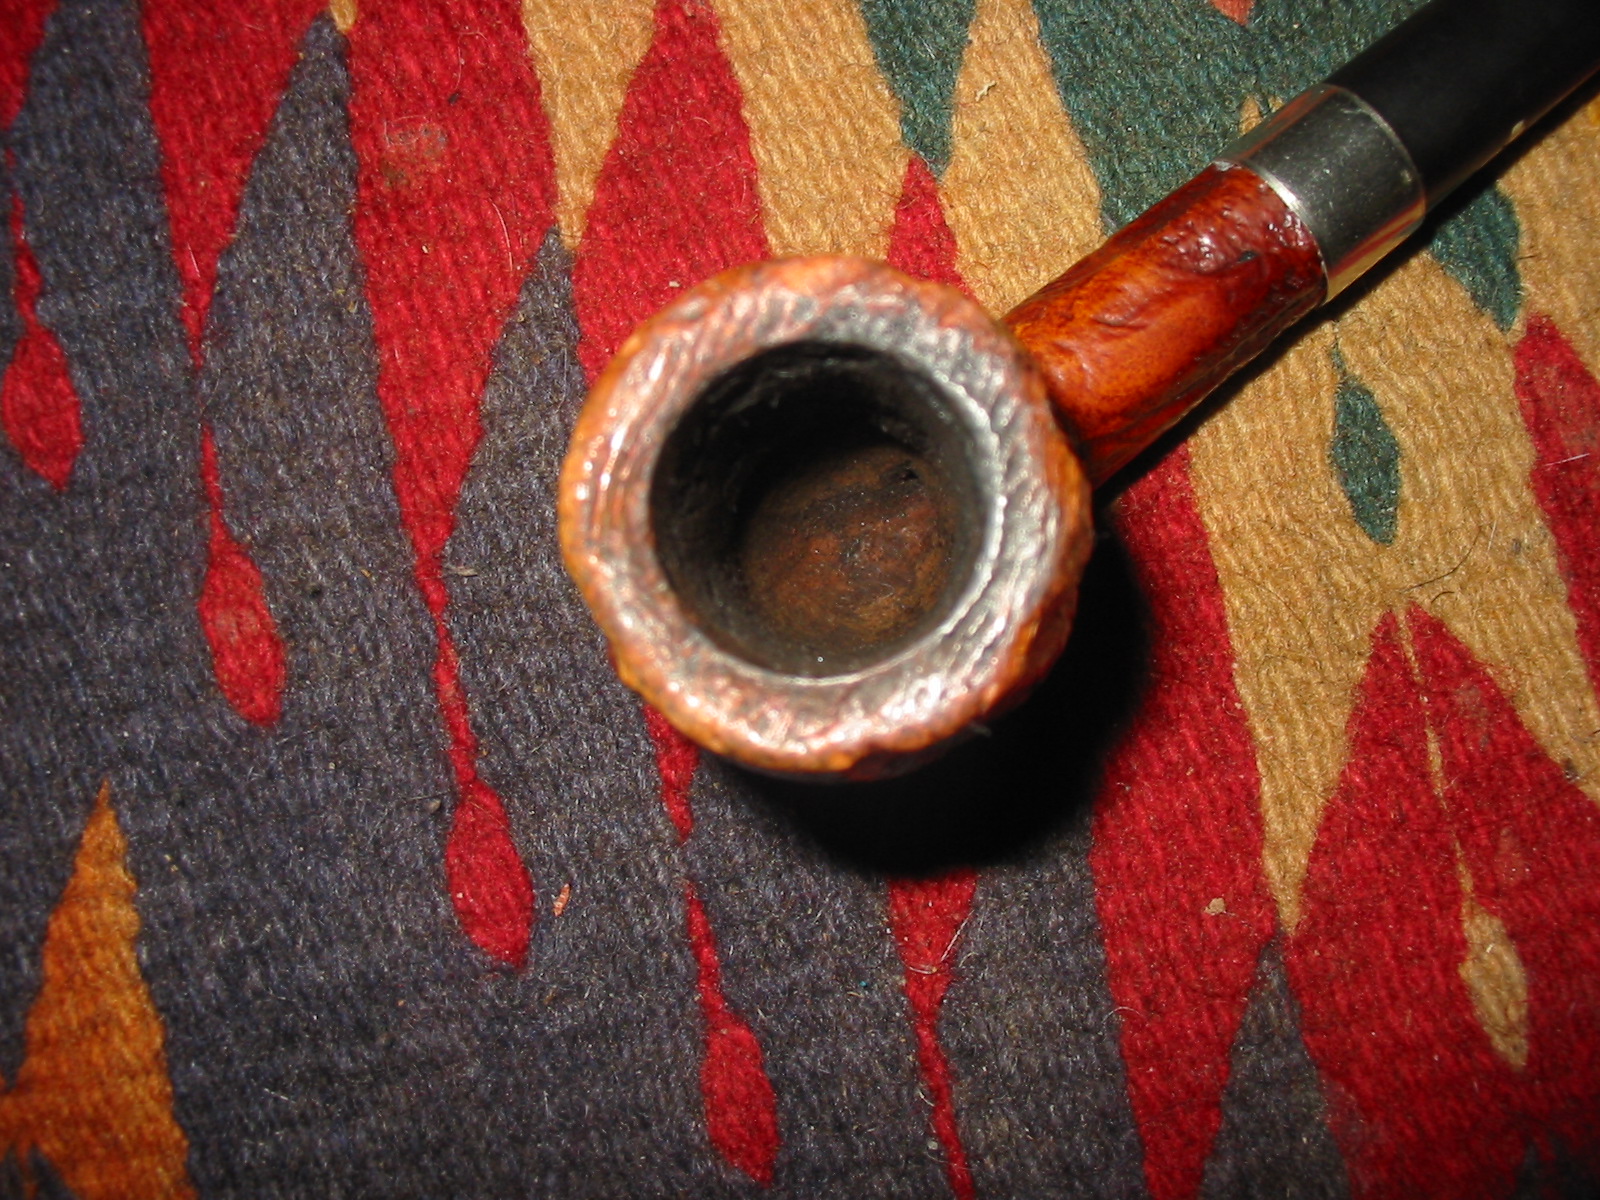
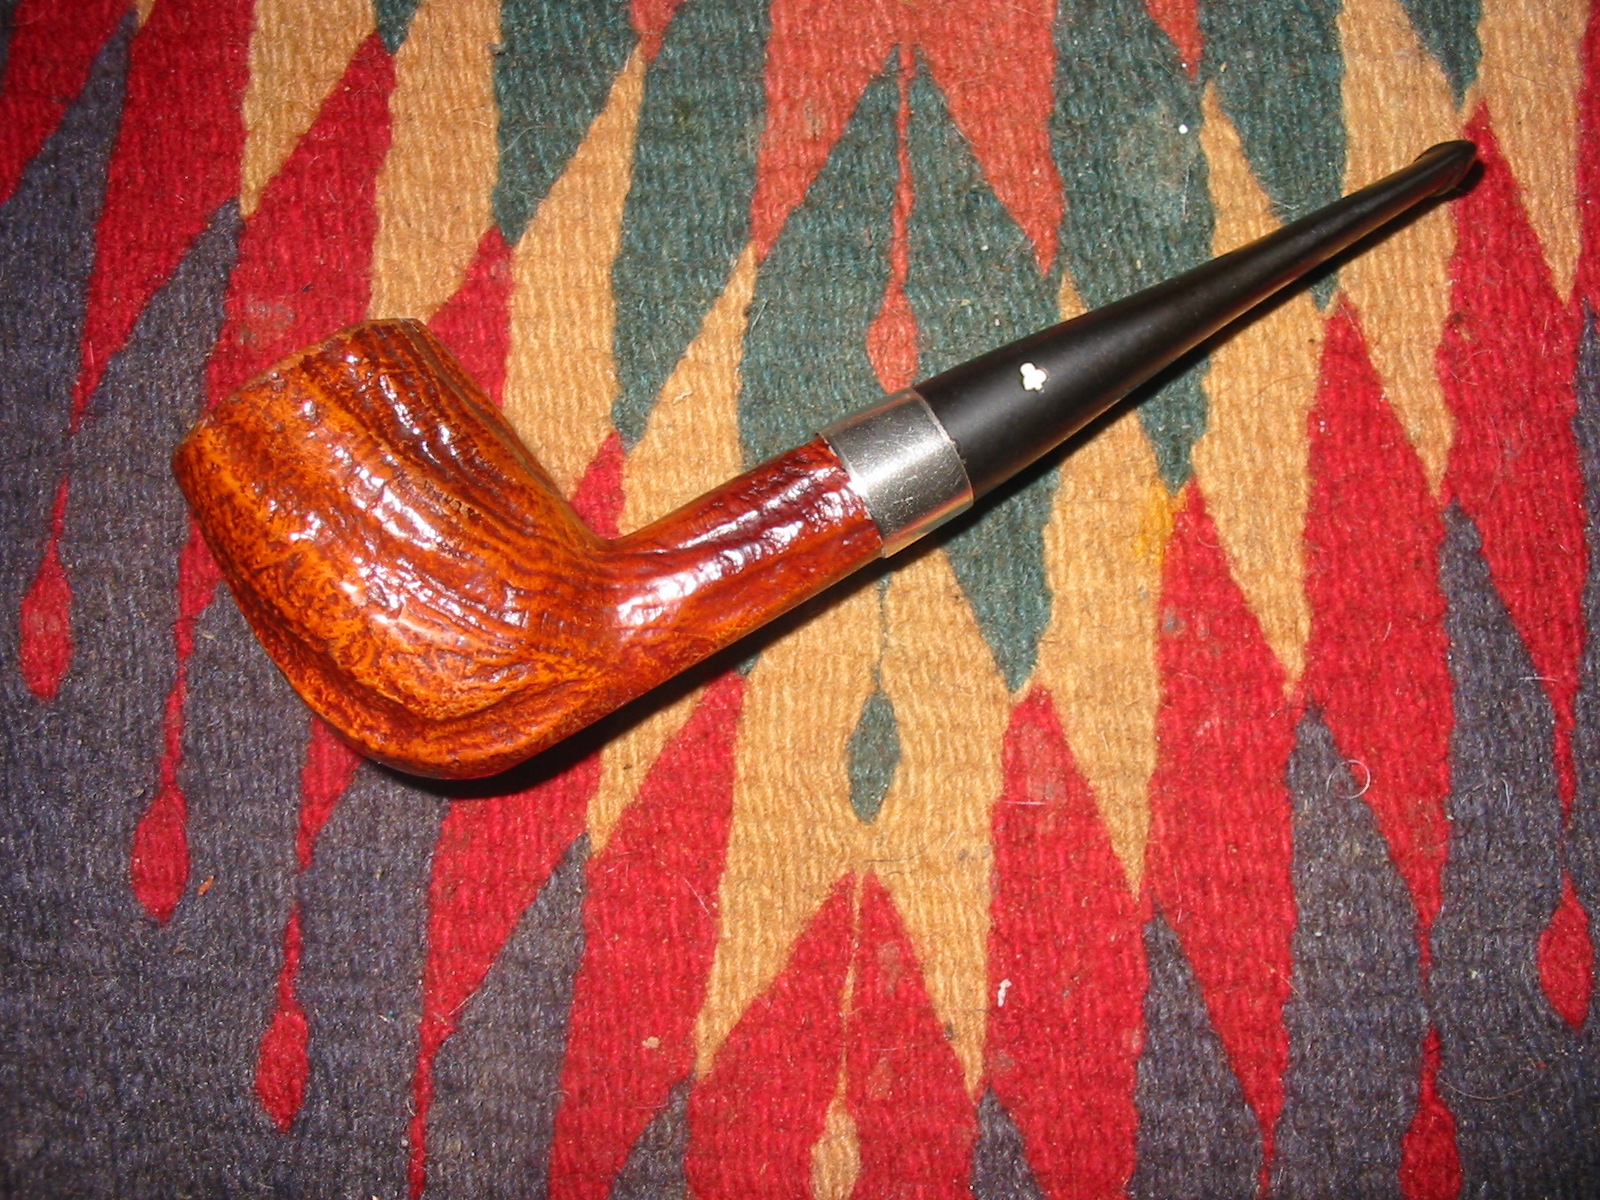
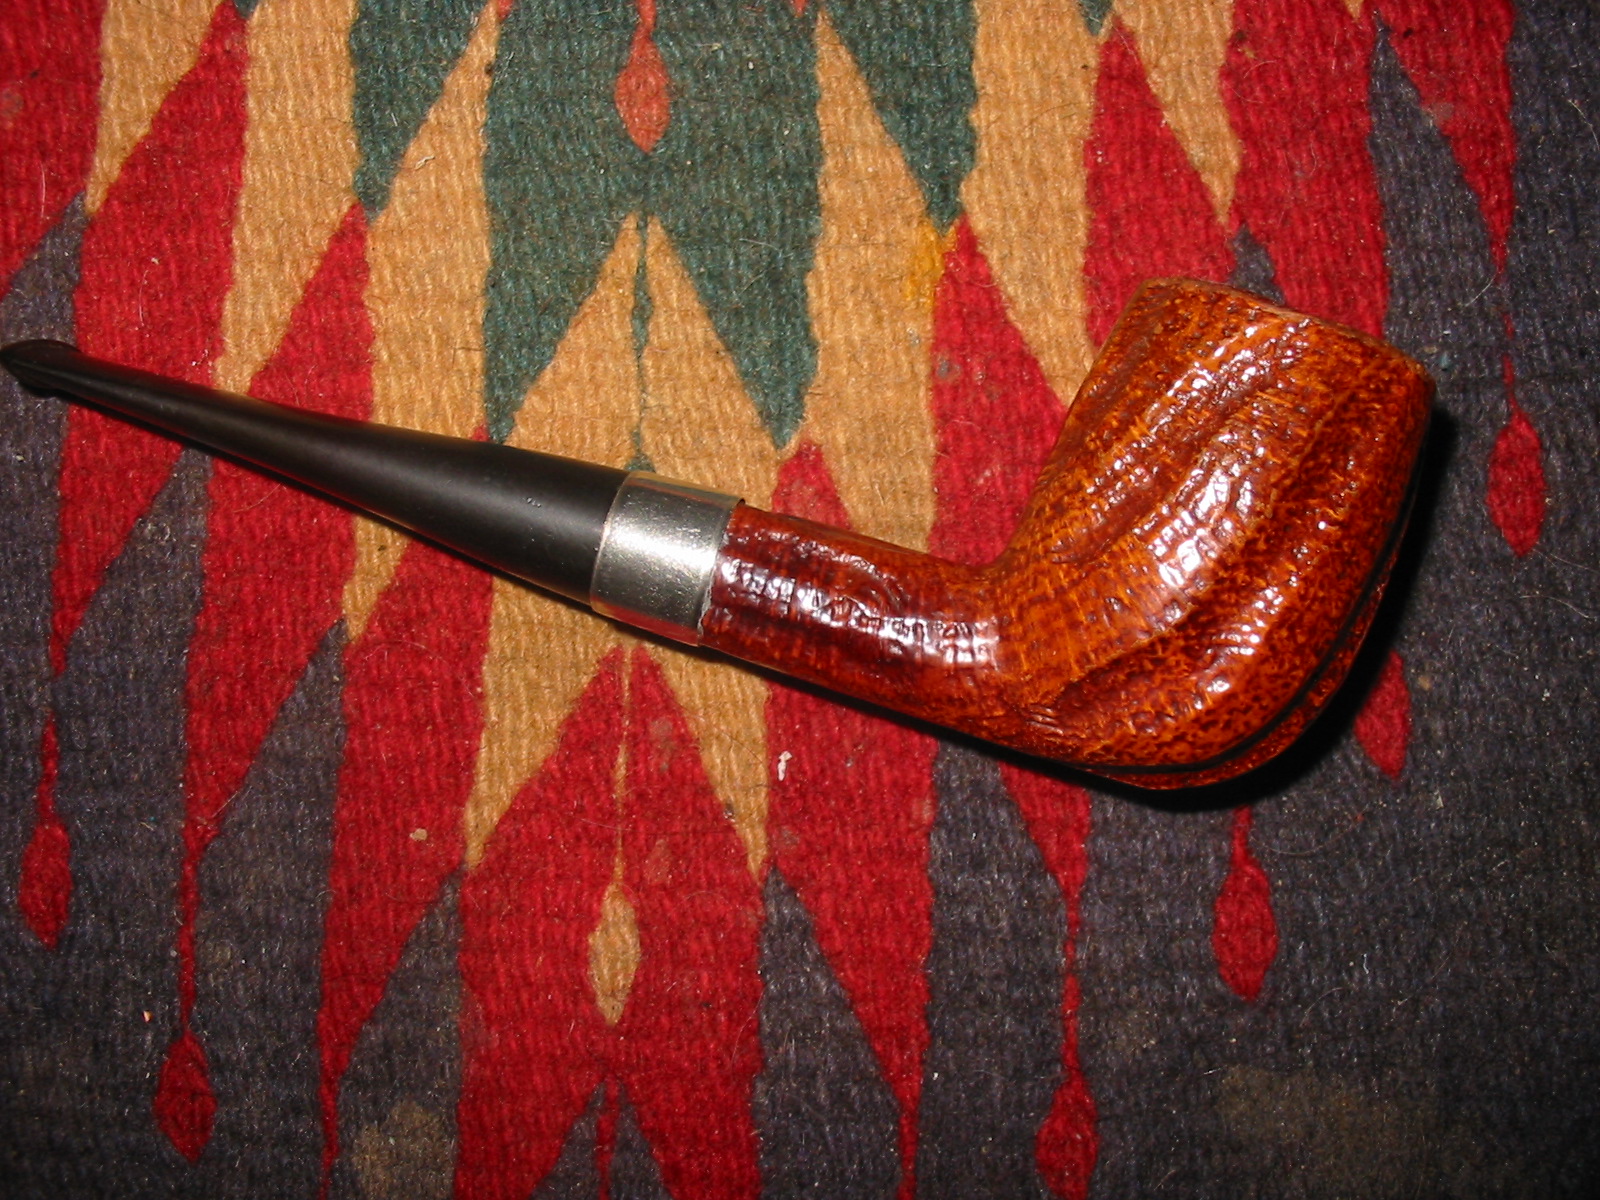
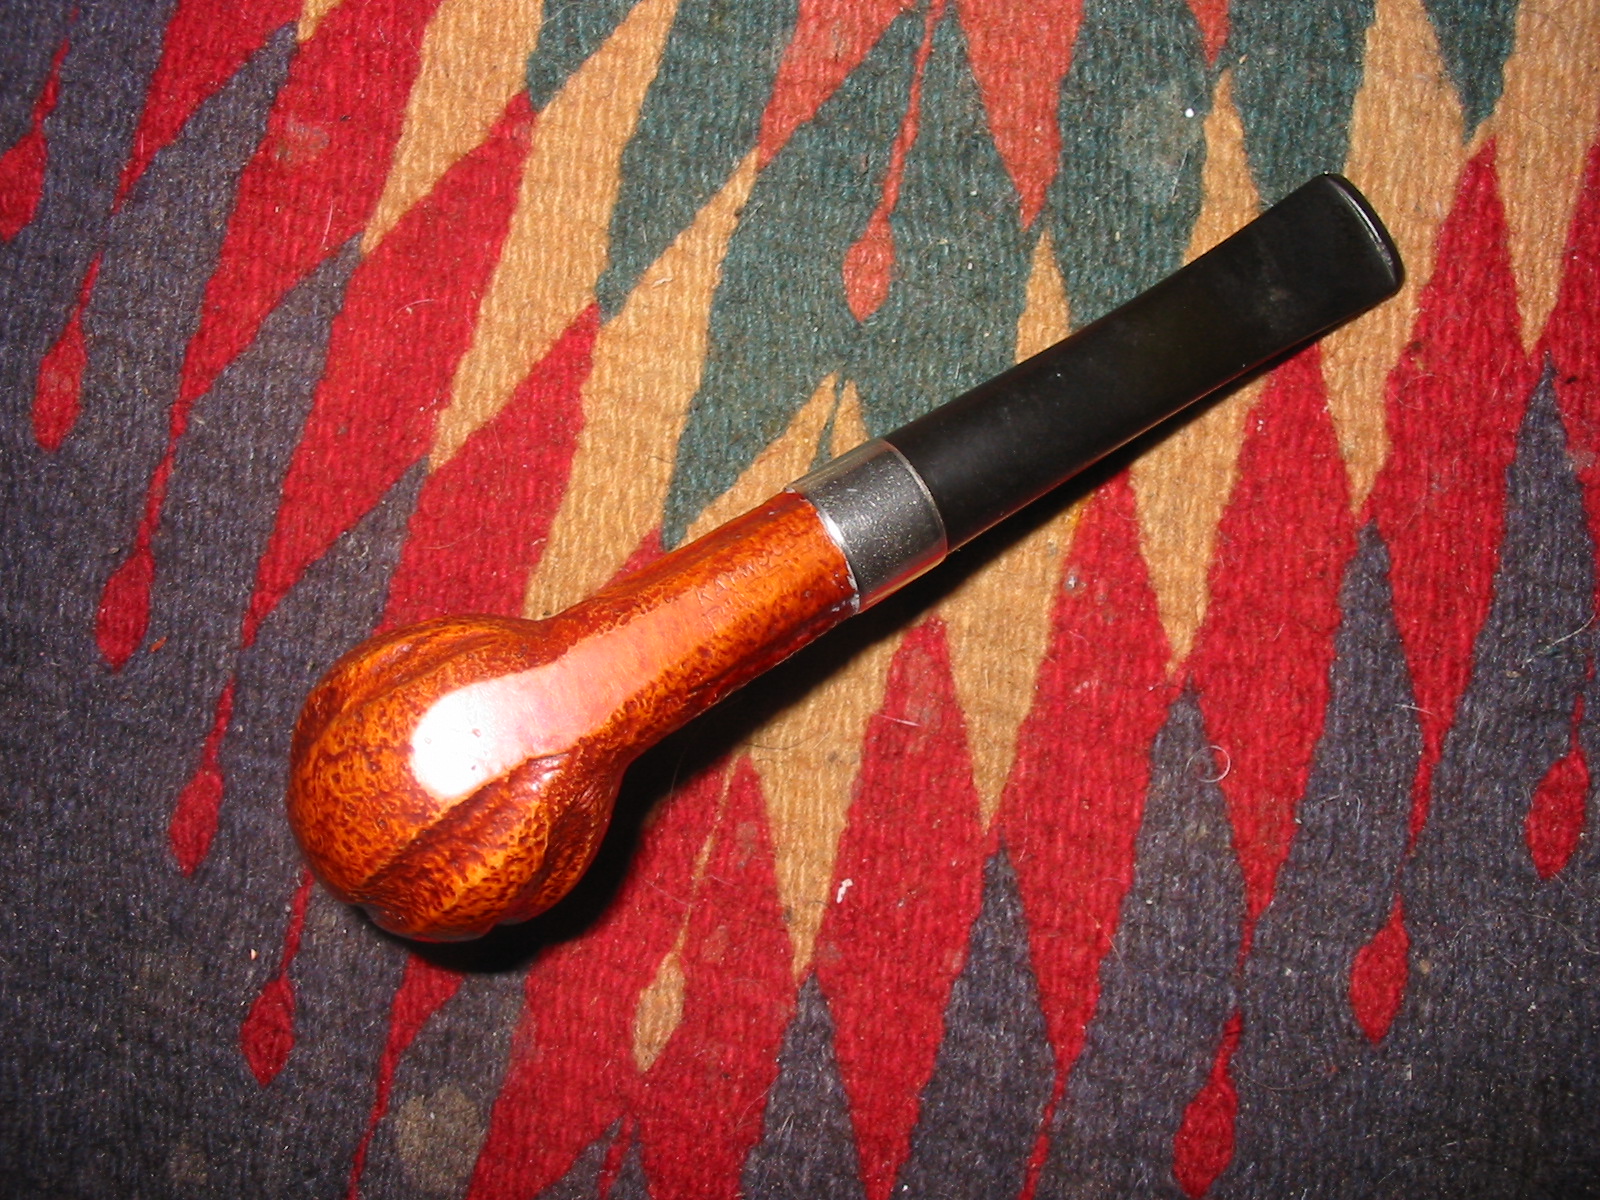
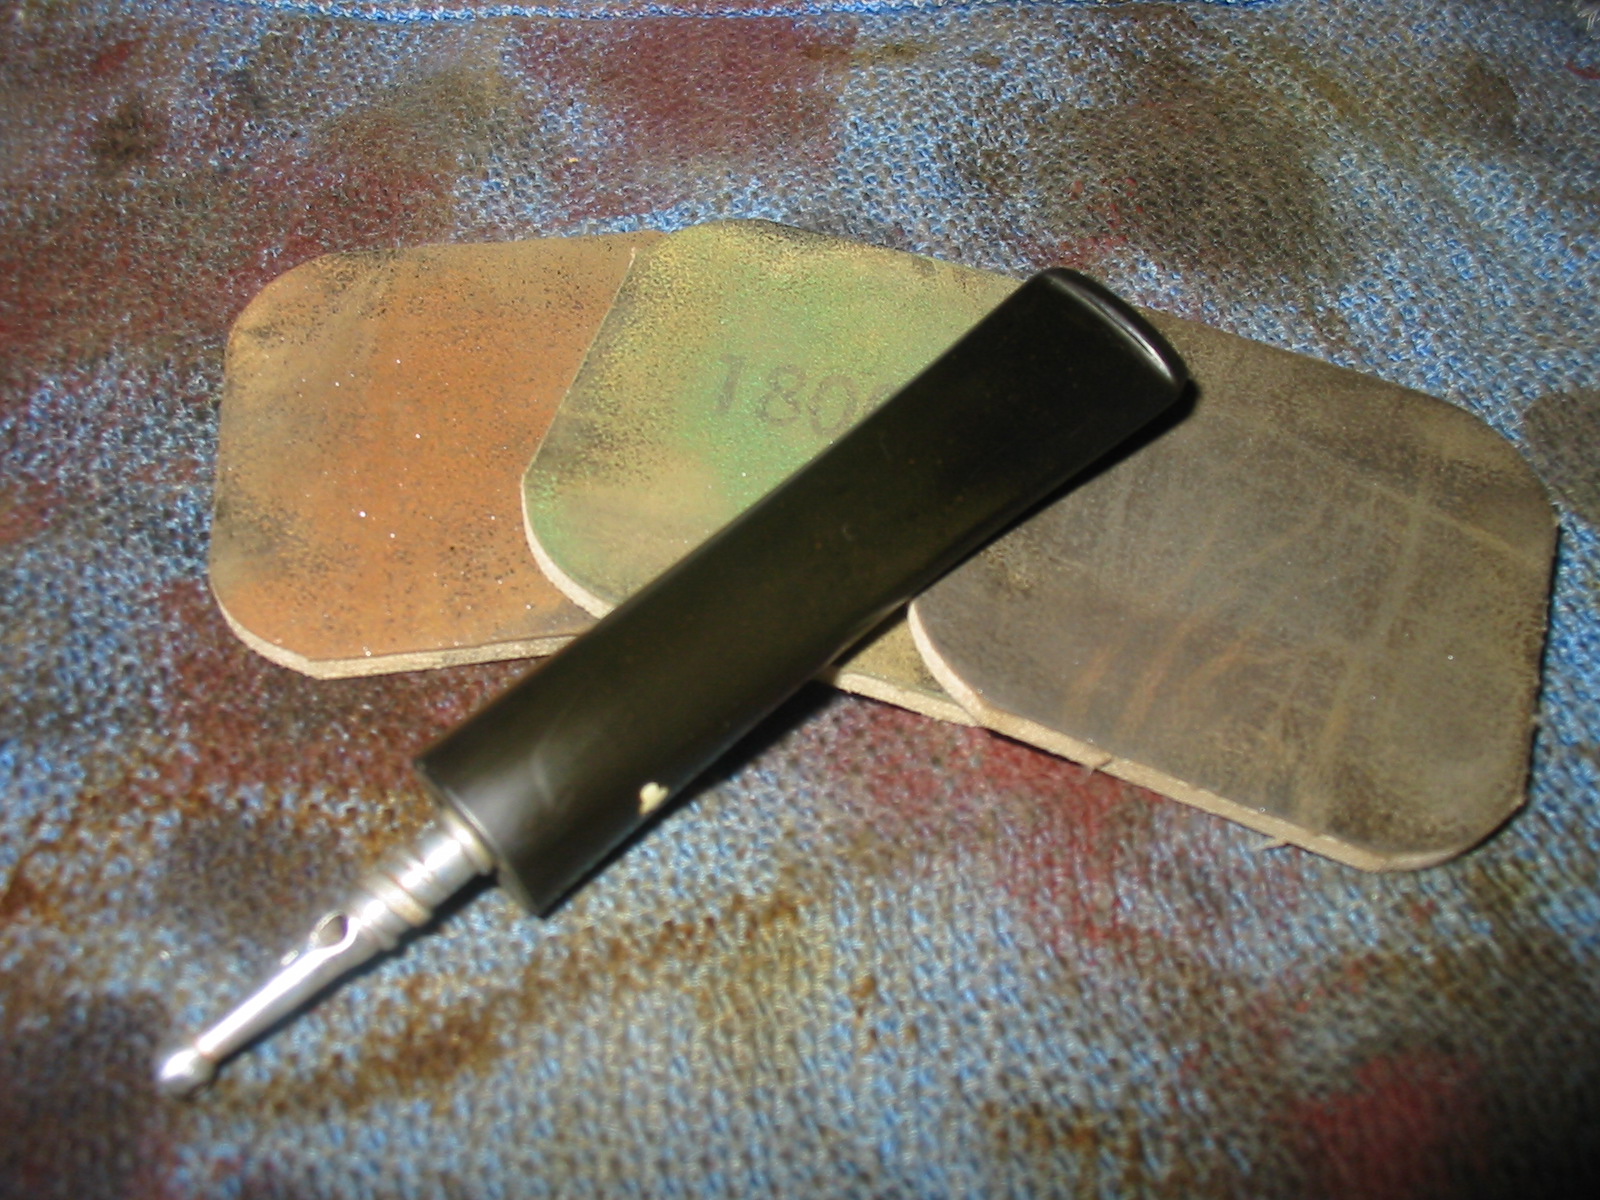
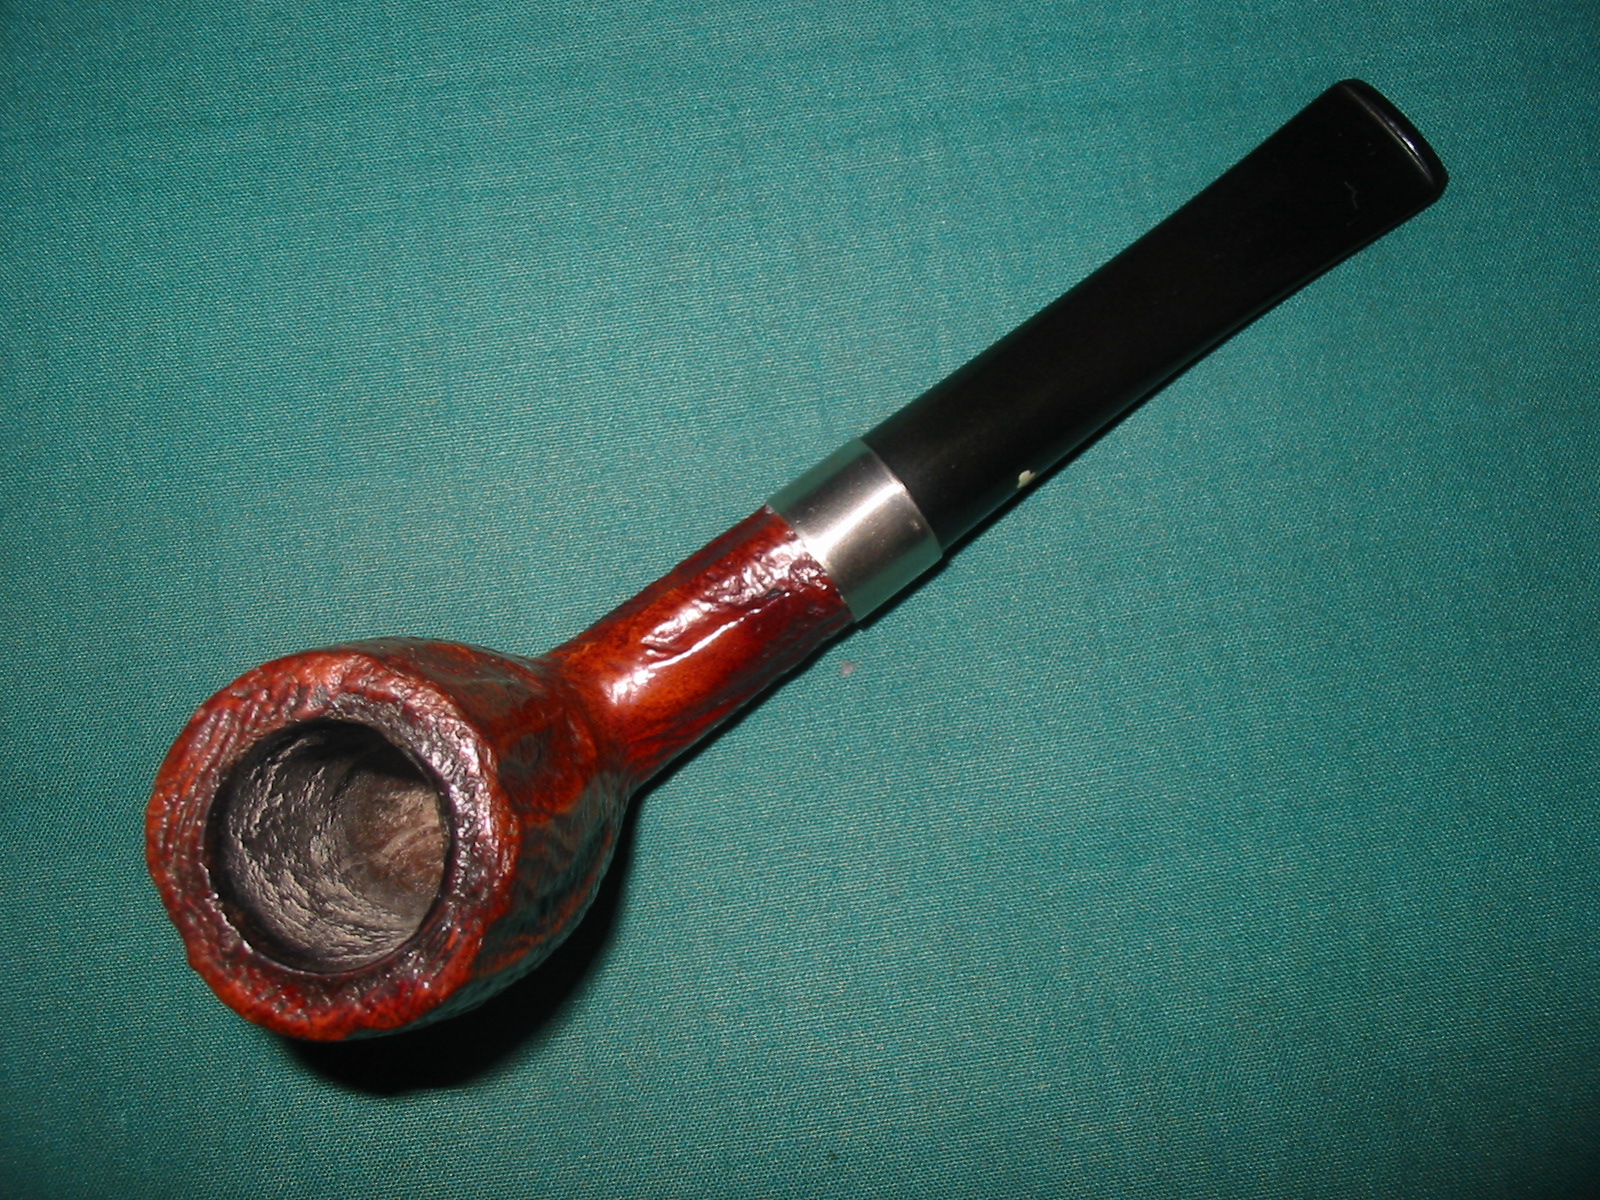
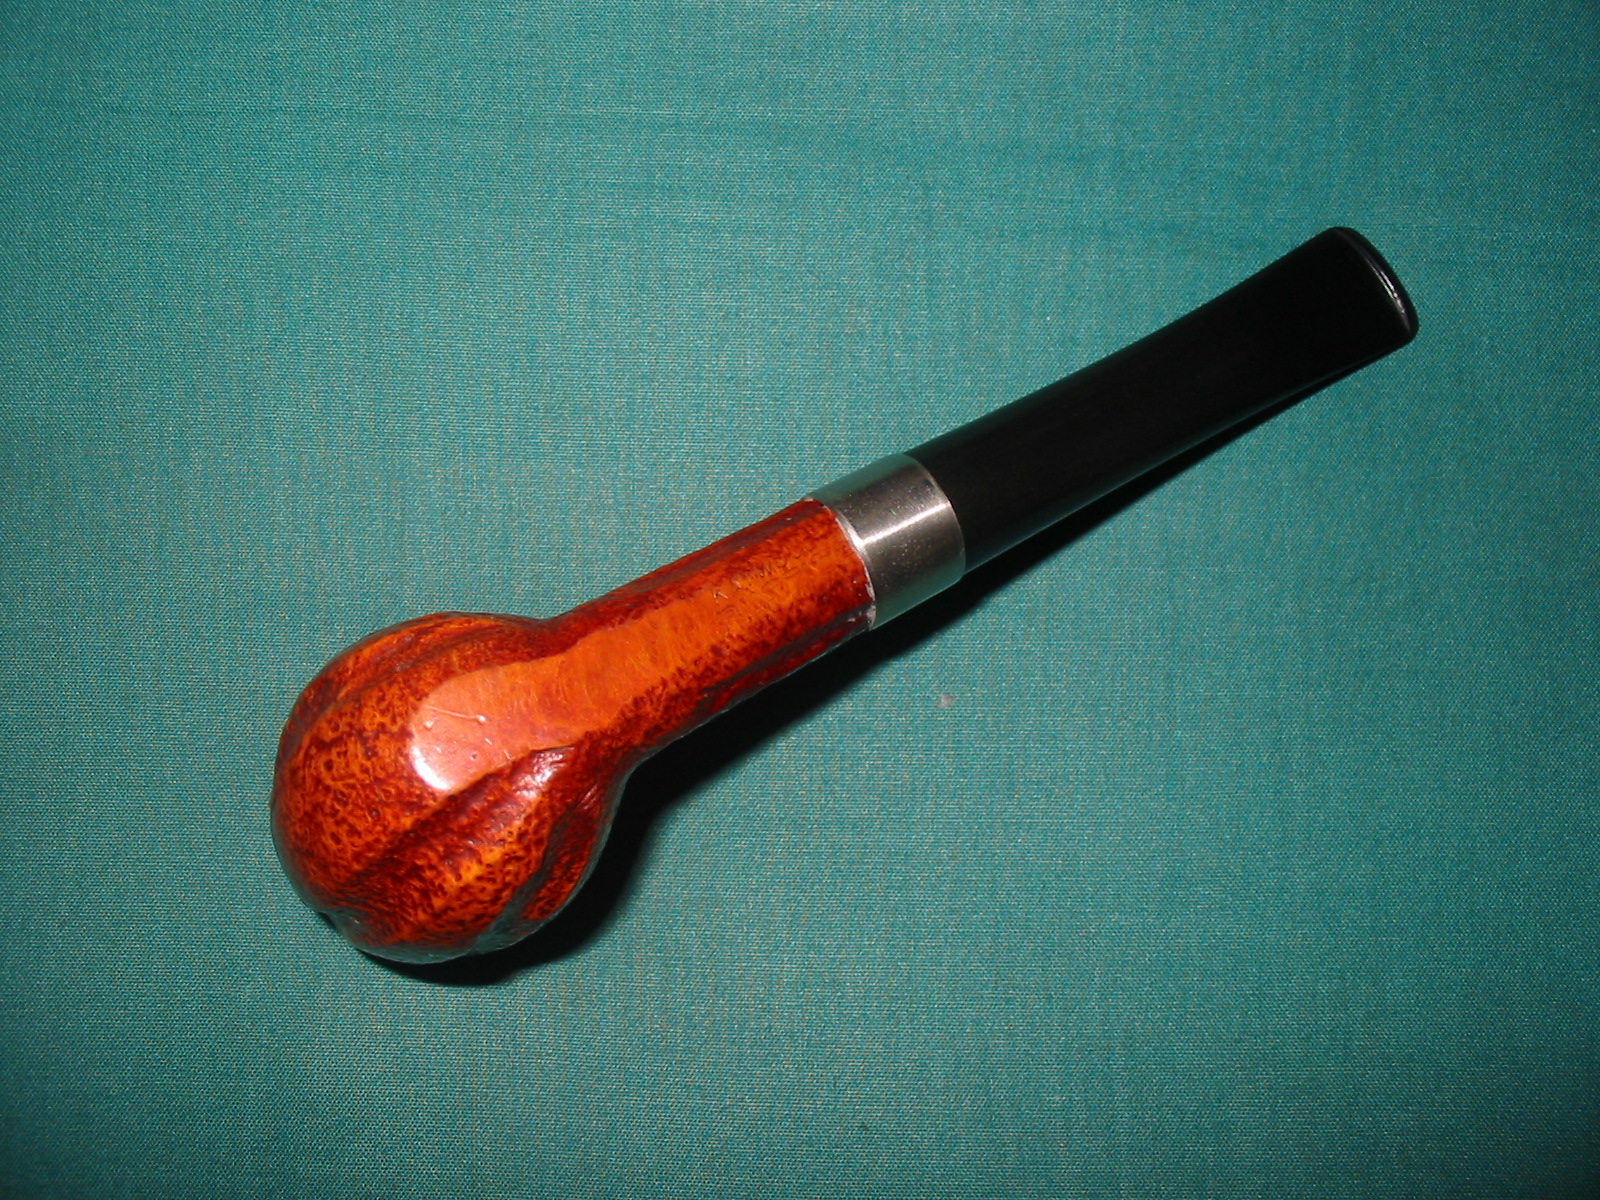
Tag Archives: micromesh sanding pads

Black Superglue Patches (ring around the collar) – by Joyal Taylor aka holymolar


Blog by Joyal Taylor

This is the third article by Joyal (known online as holymolar). Again it is with pleasure that I put this on the blog. Joyal had emailed me that he was working on this piece for the blog. I was looking forward to reading his thoughts on this. Others have mentioned the problem to me when they used the black super glue. Joyal has done some good experimenting and I am pretty certain he has gotten to the root of the problem. Thanks Joyal for taking time to write-up your experience and tips on this patching process. This is a what rebornpipes is all about – taking ideas and experimenting and improving them. Without further introduction have a read on what Joyal has learned.

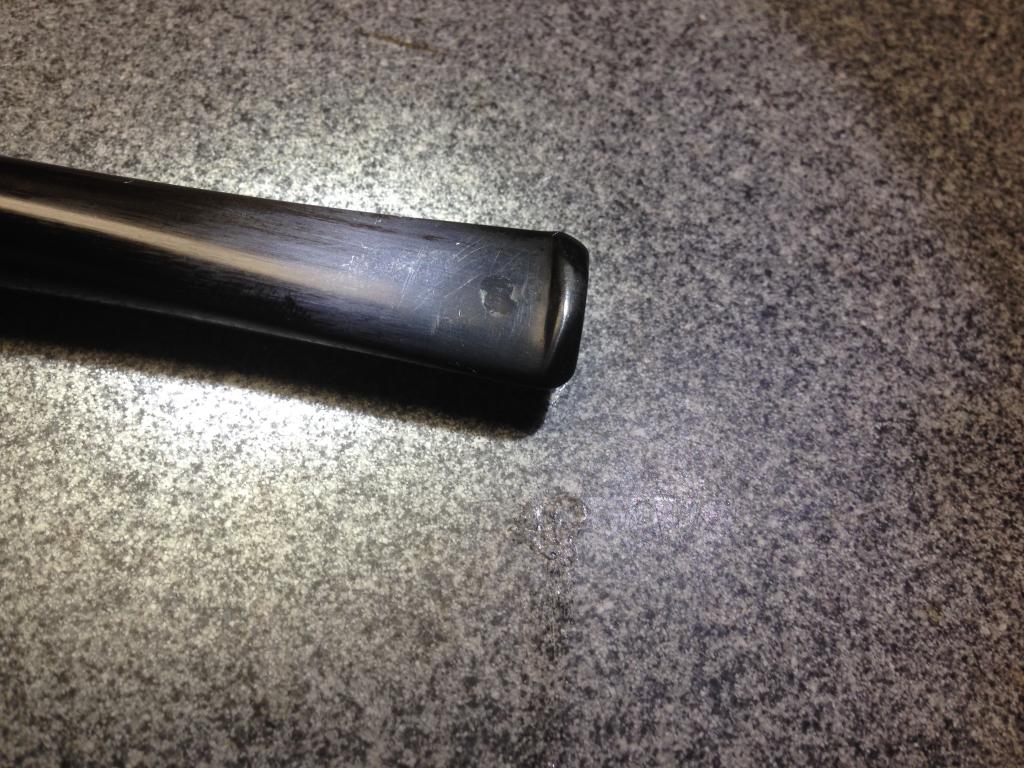
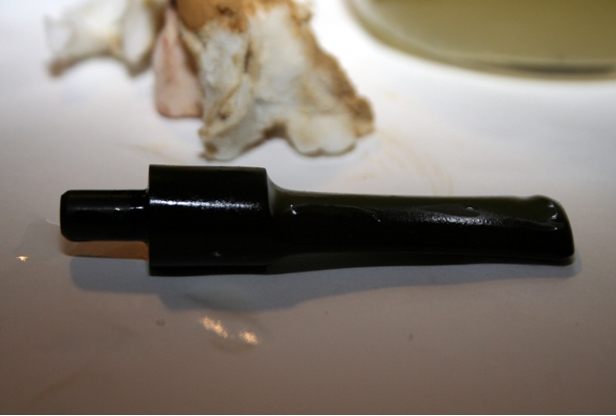
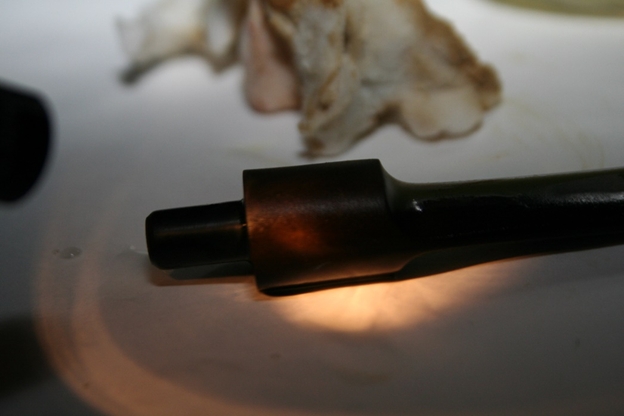
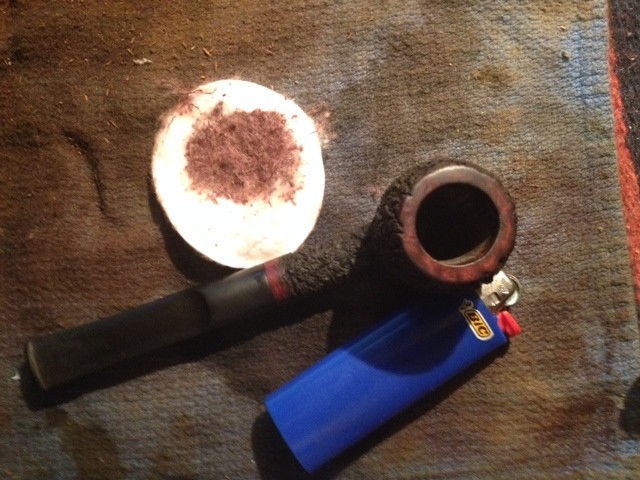
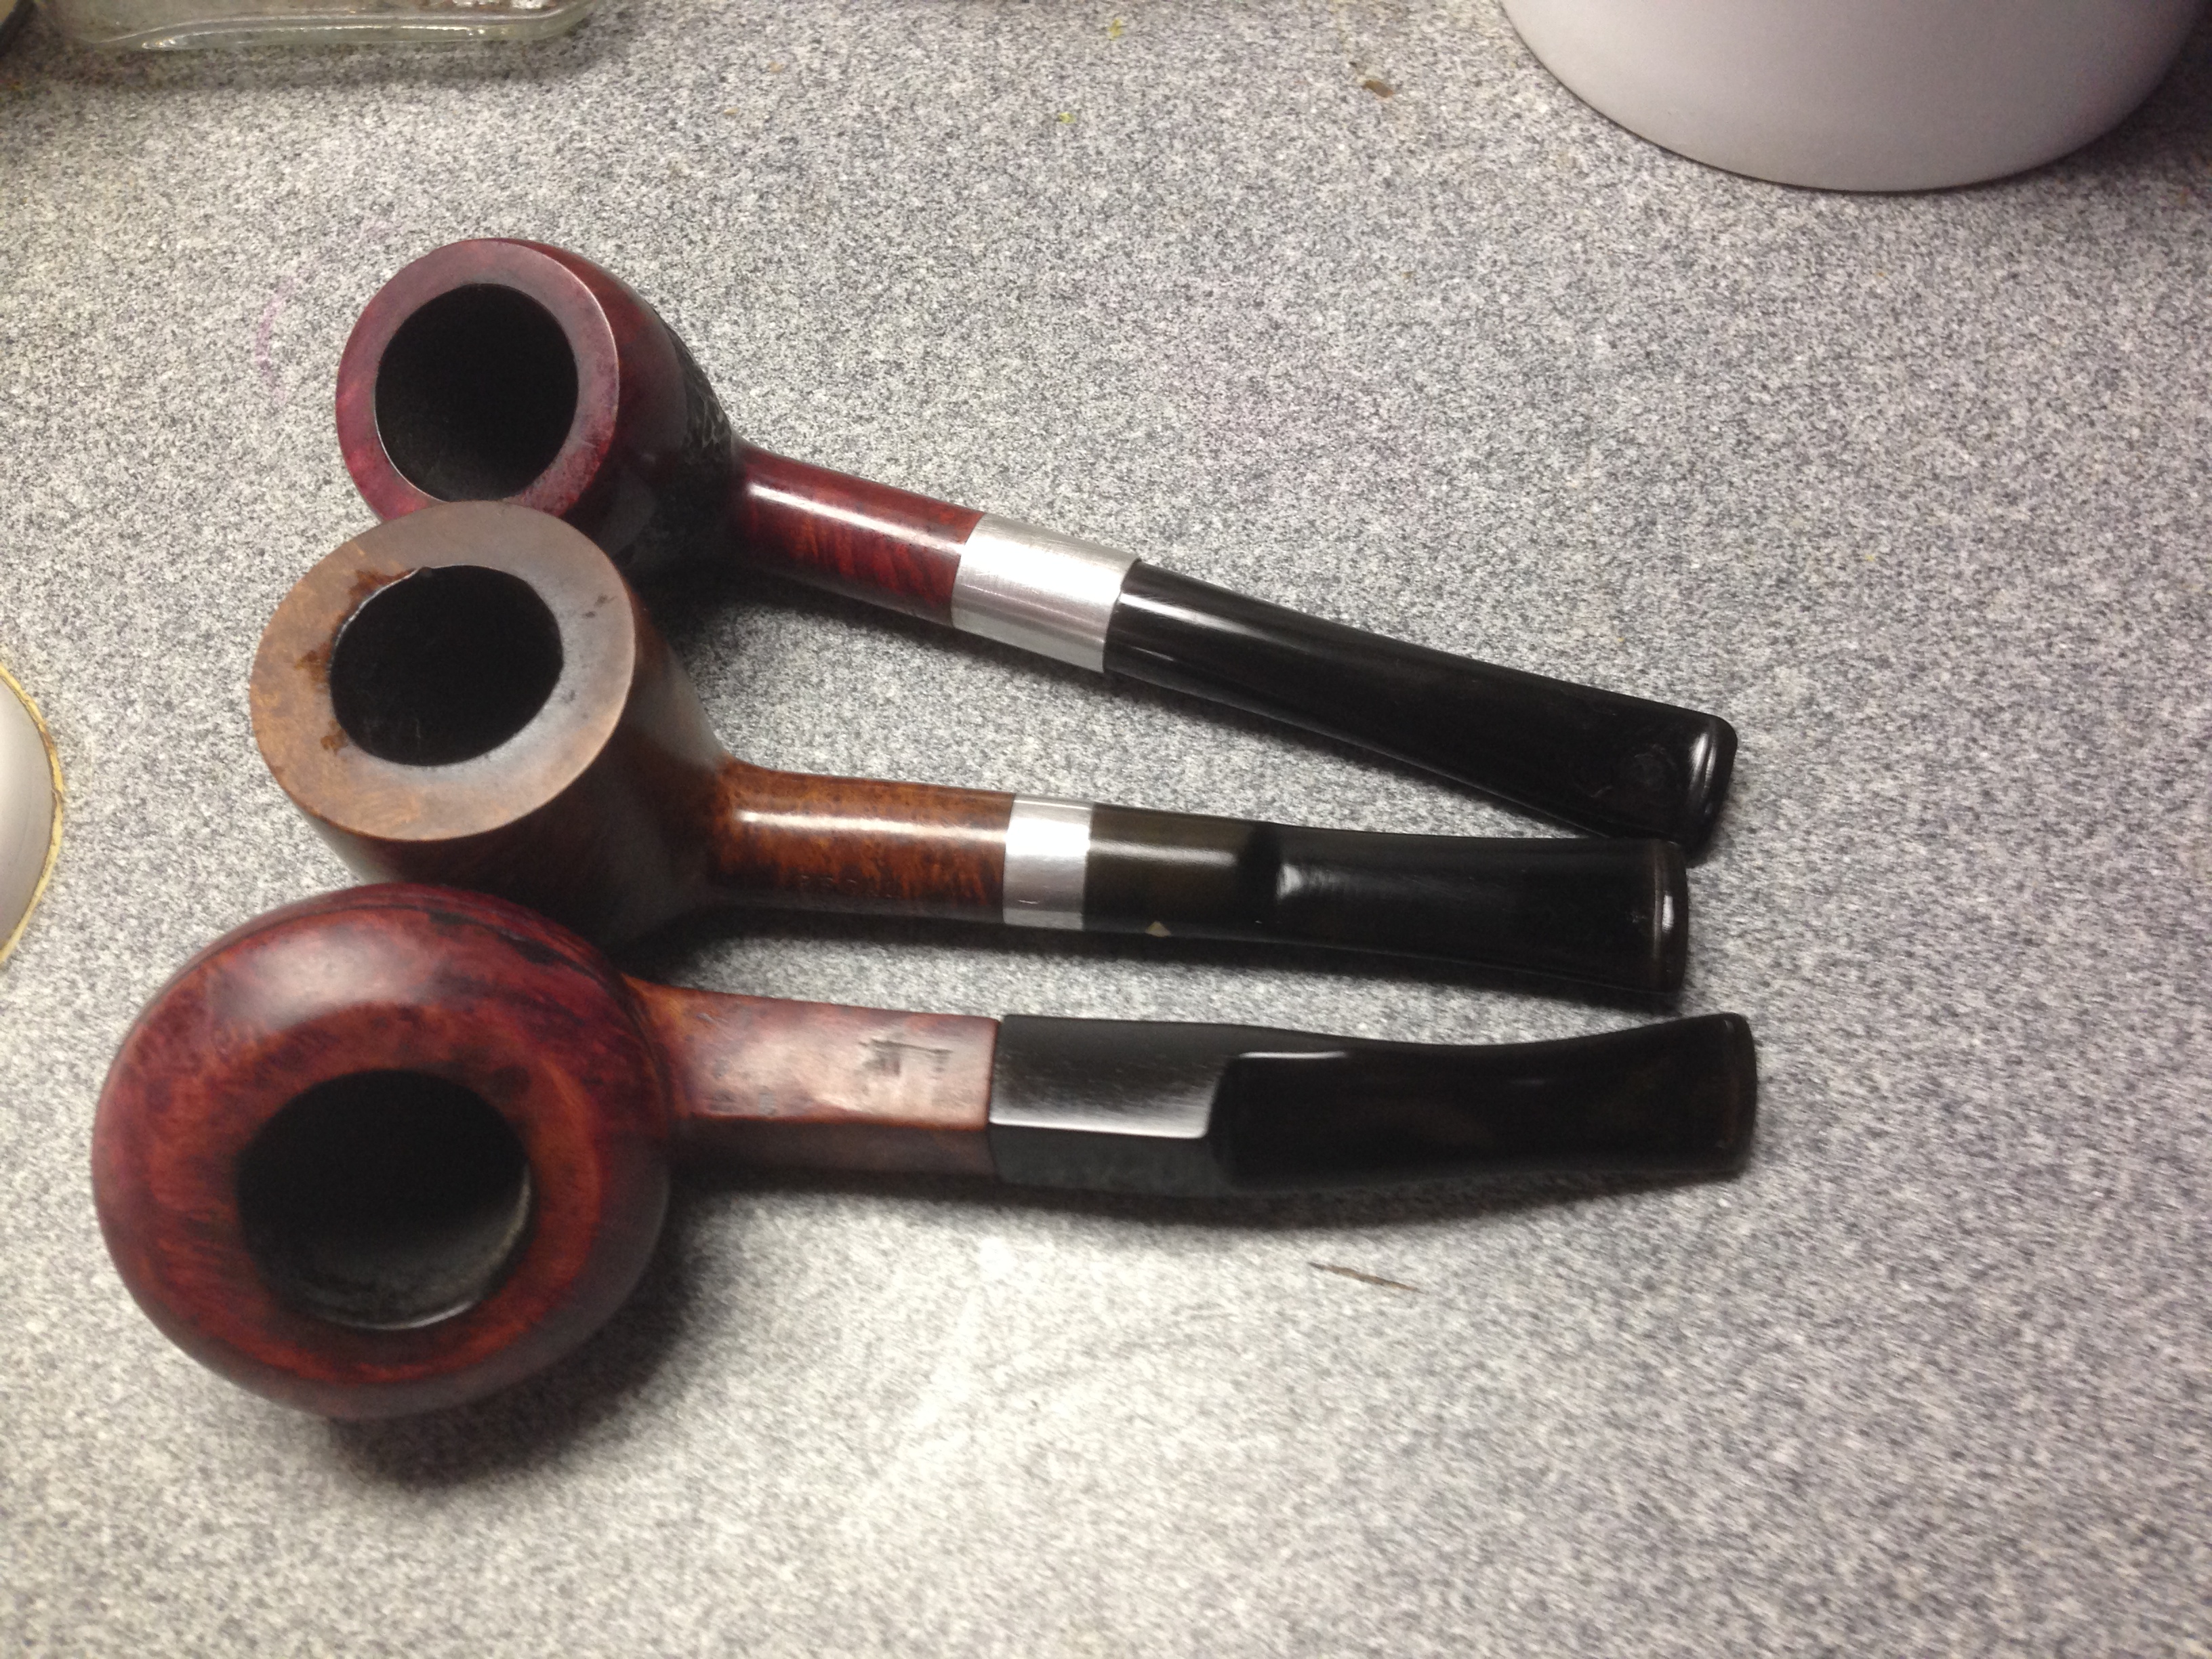
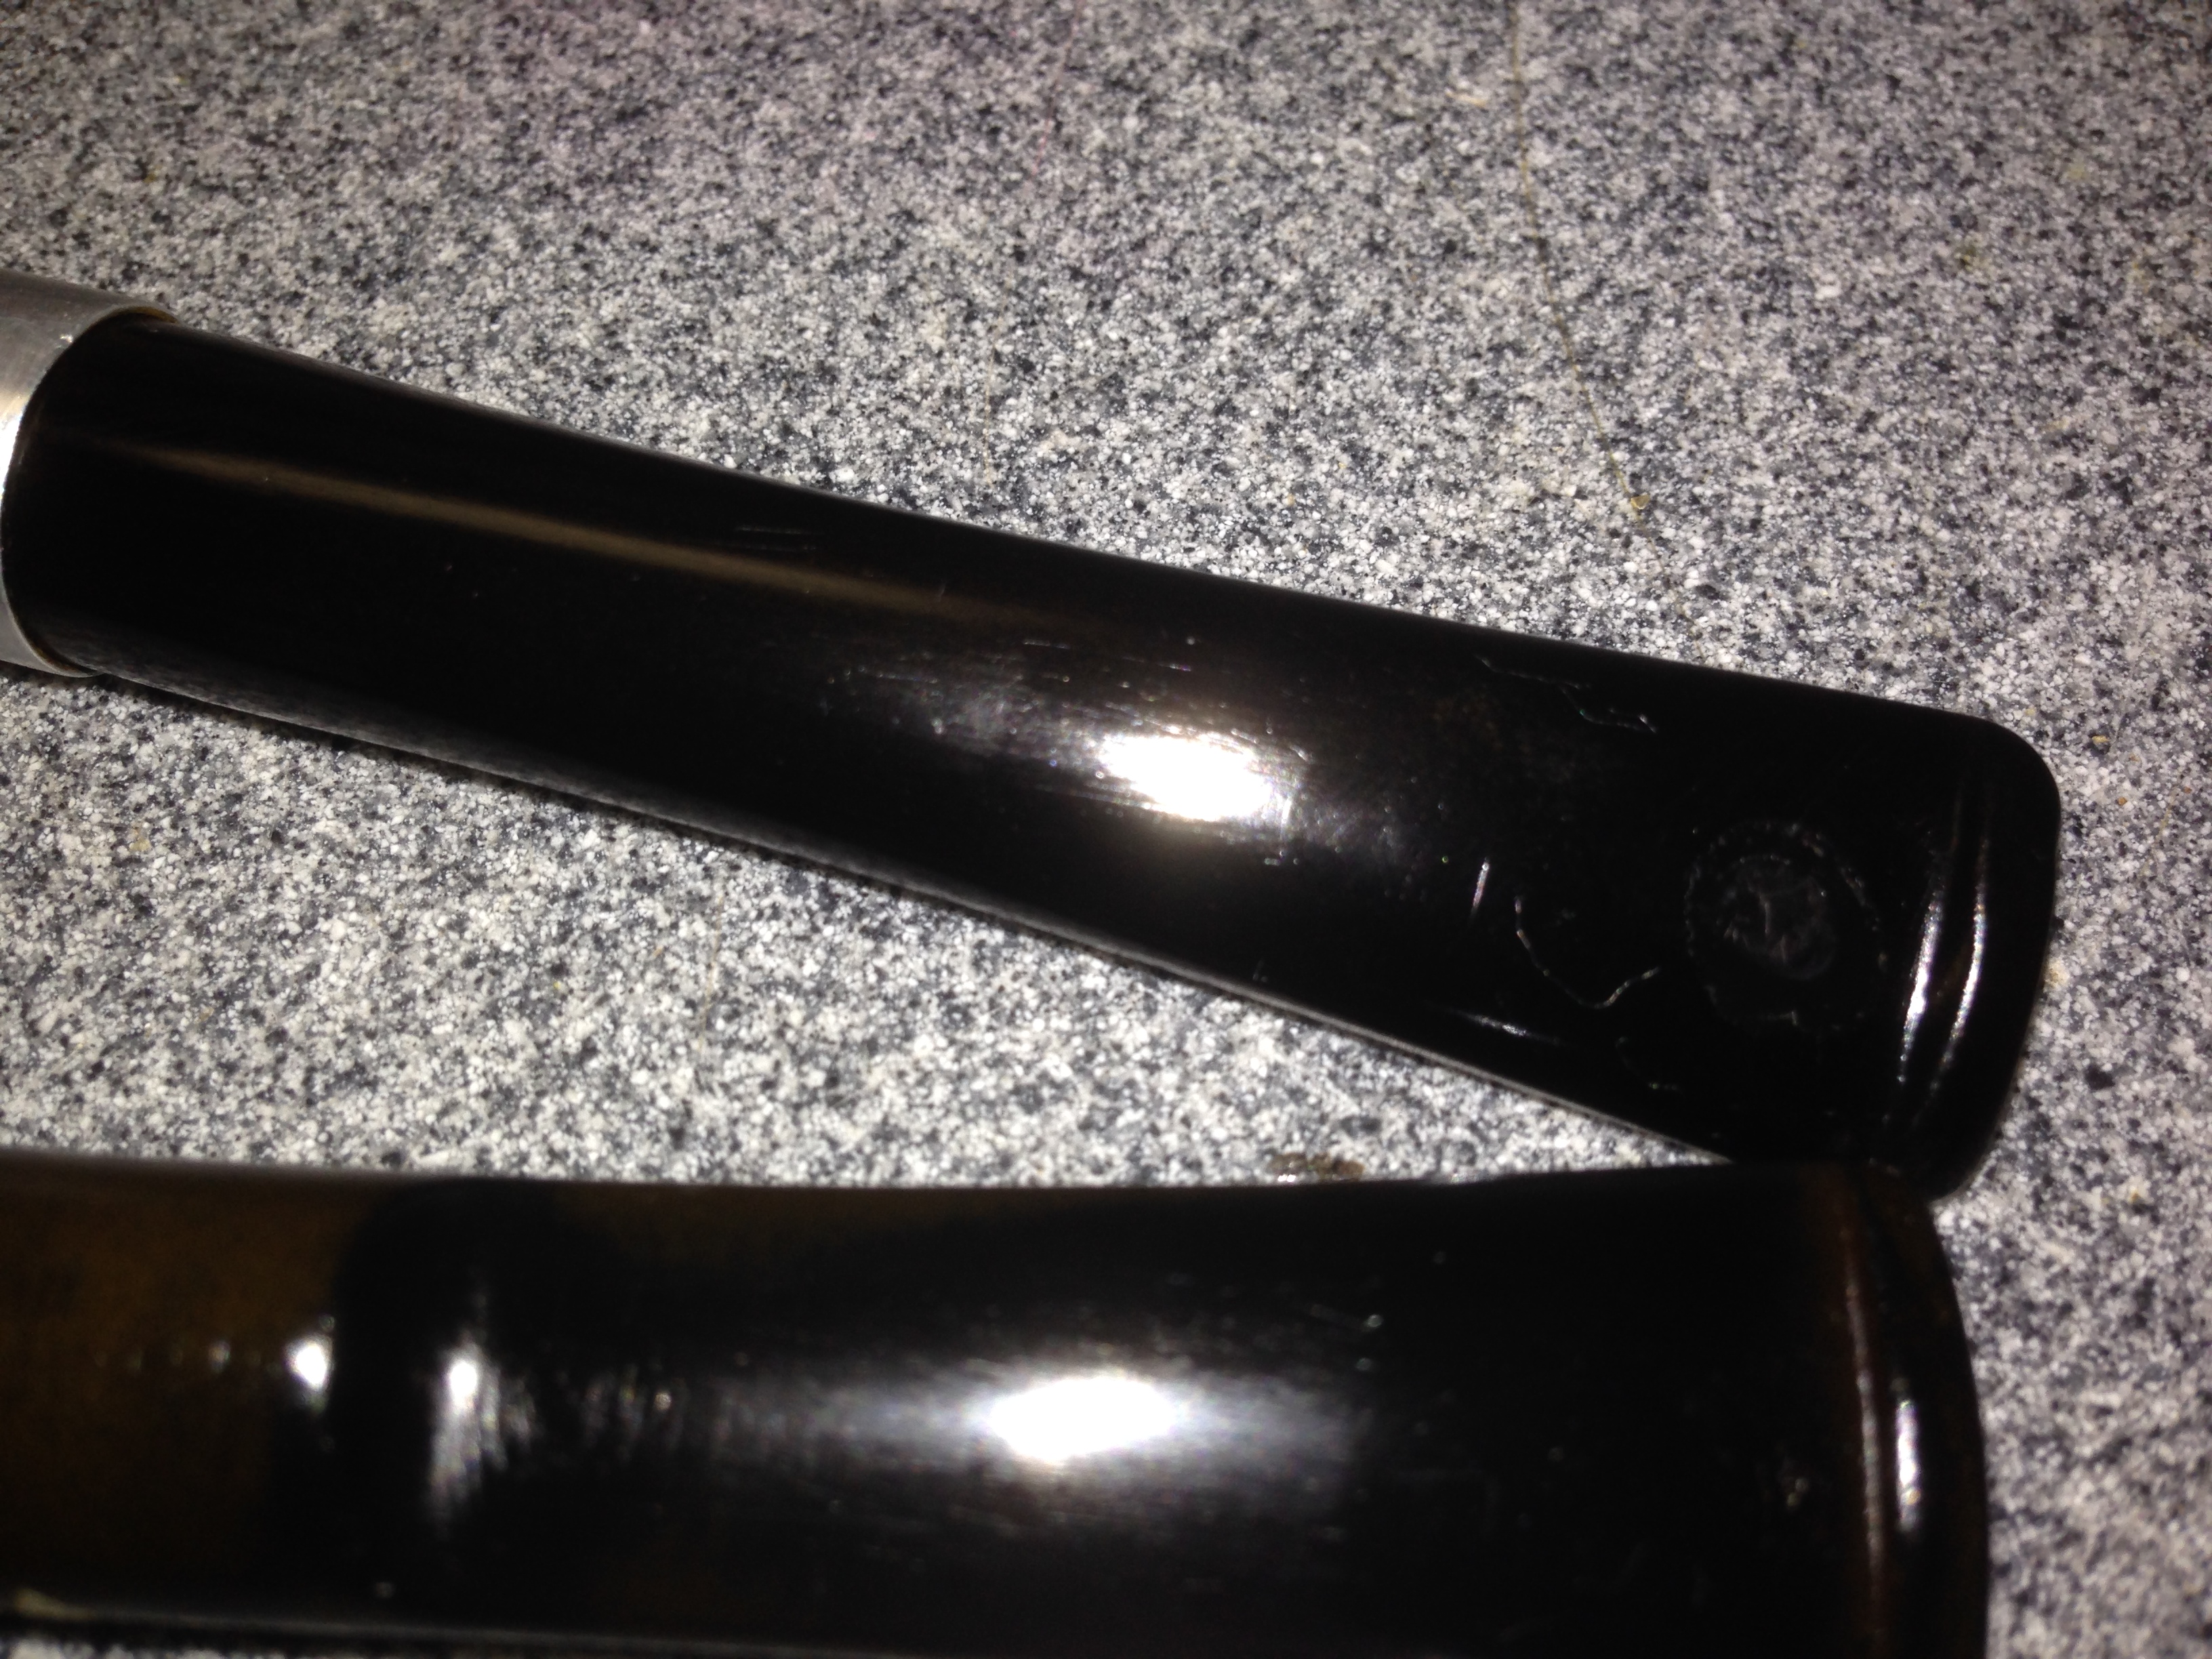
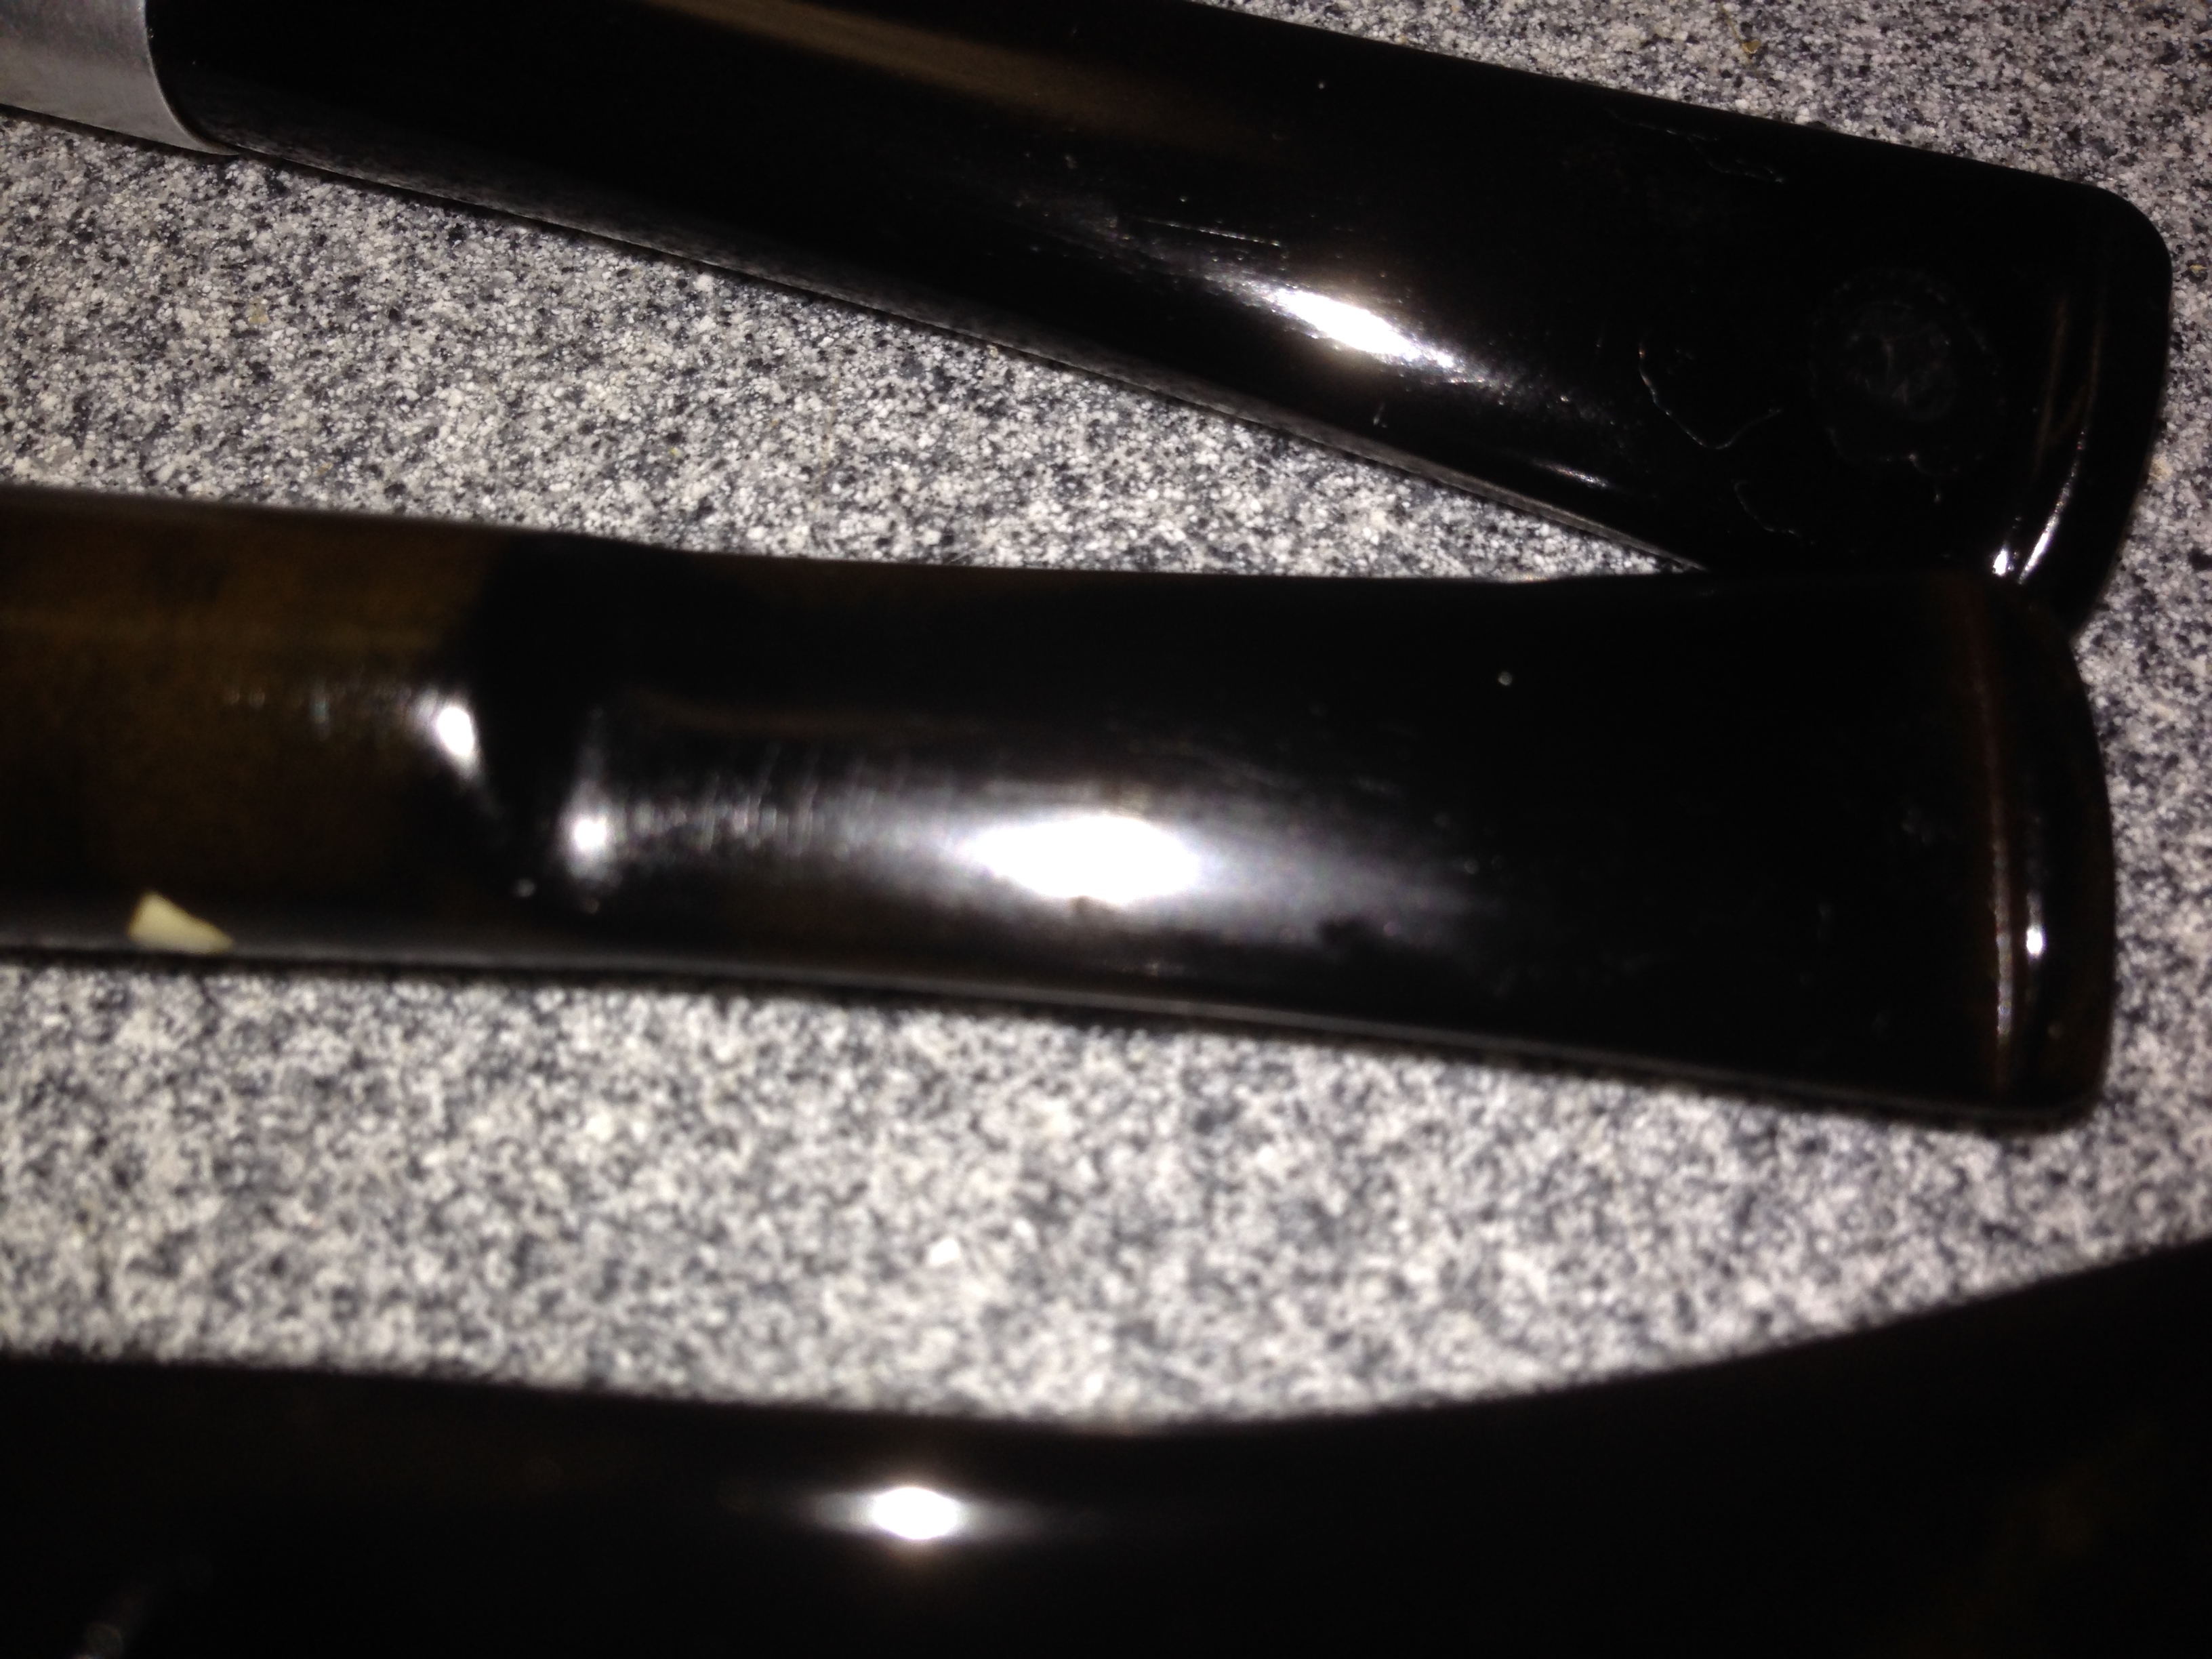
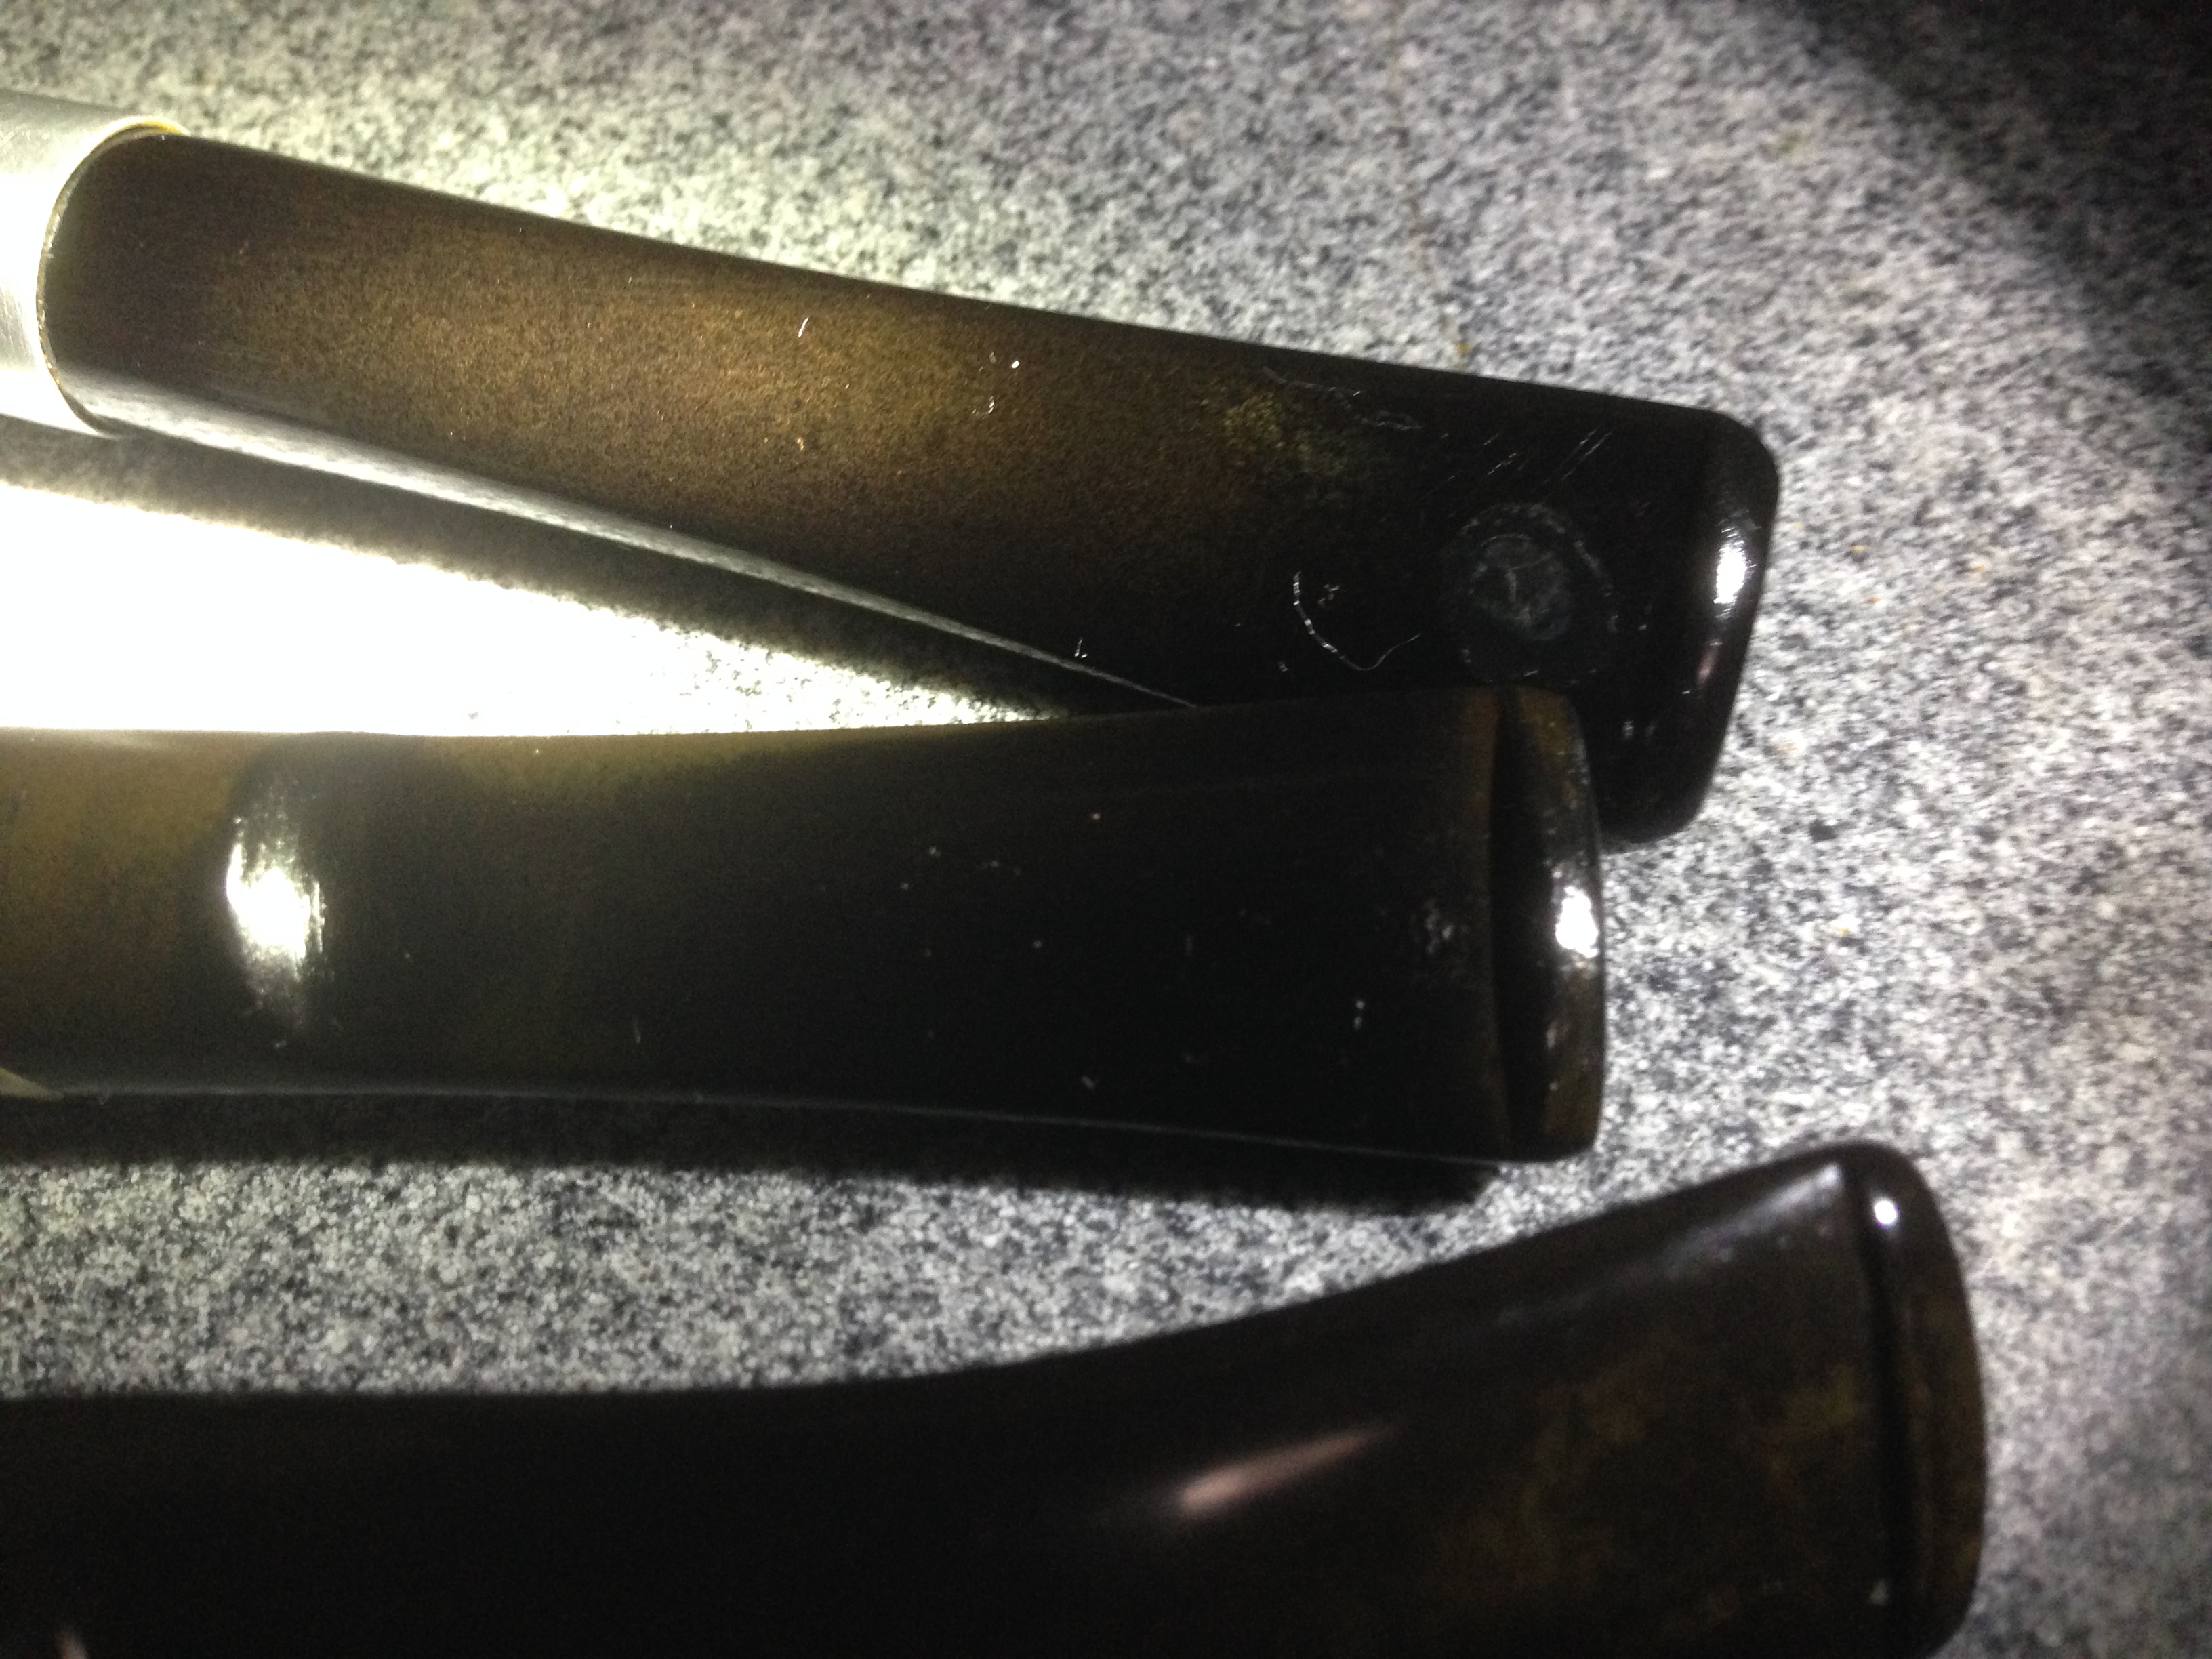
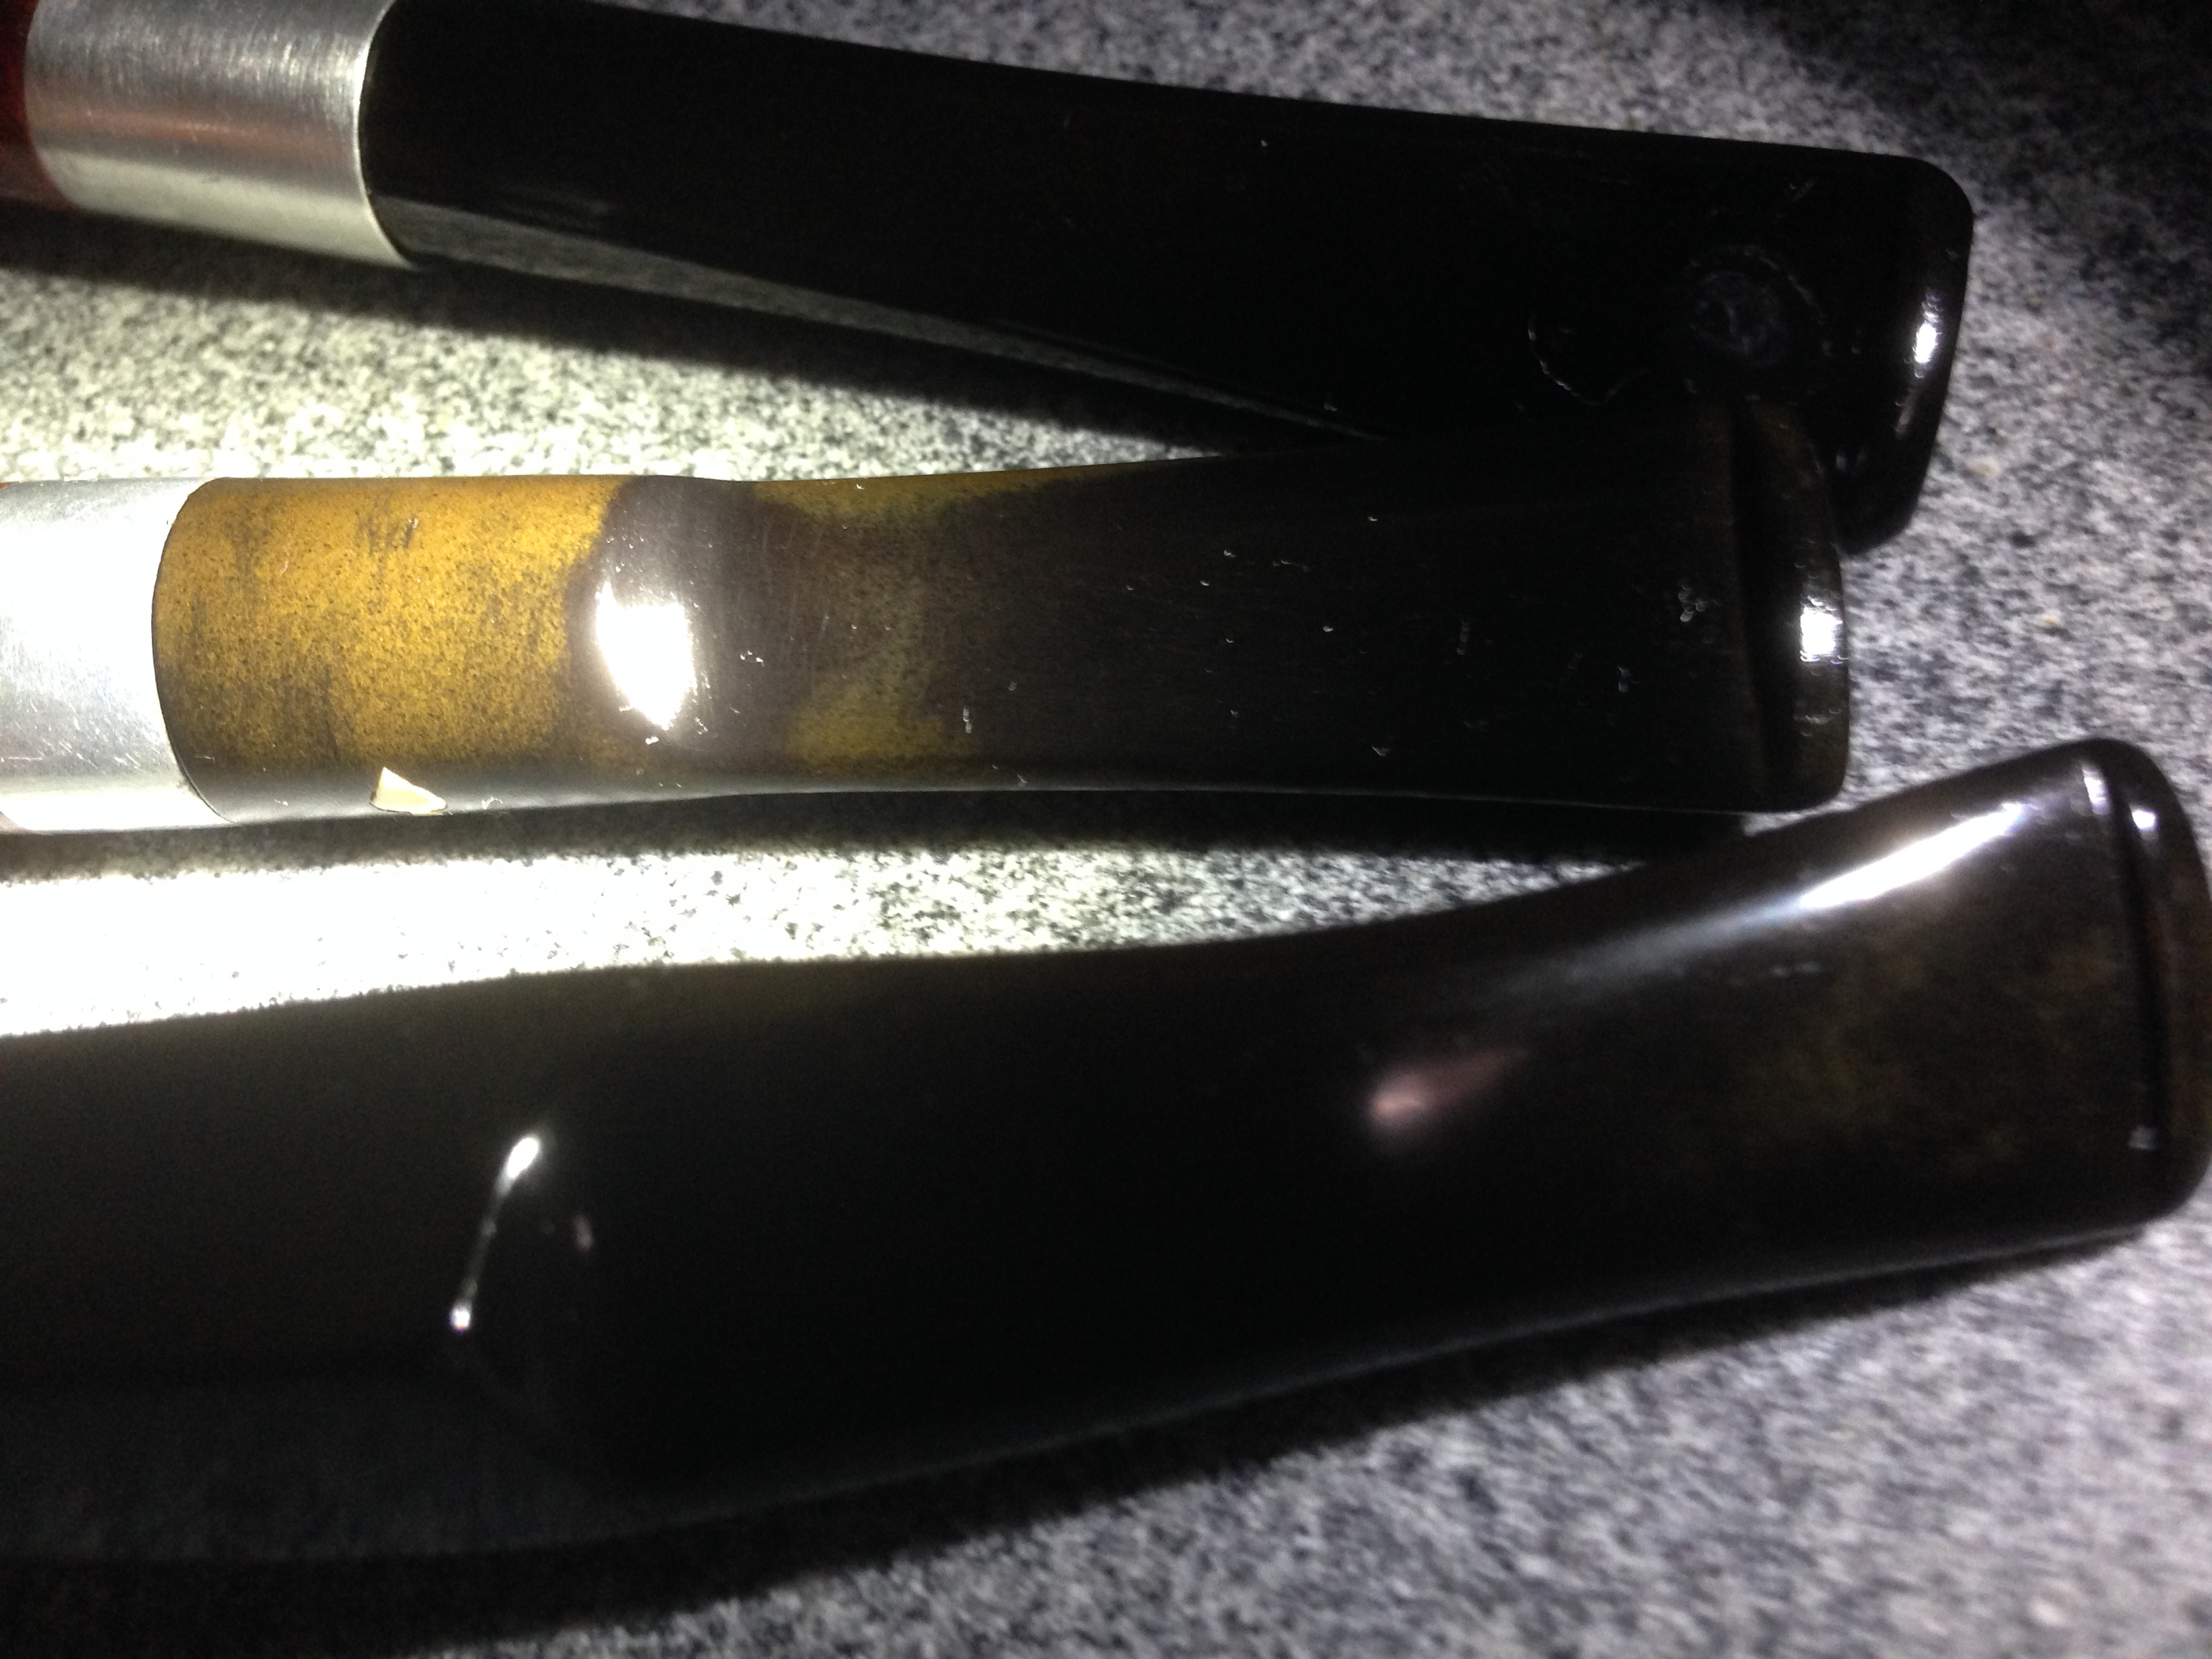
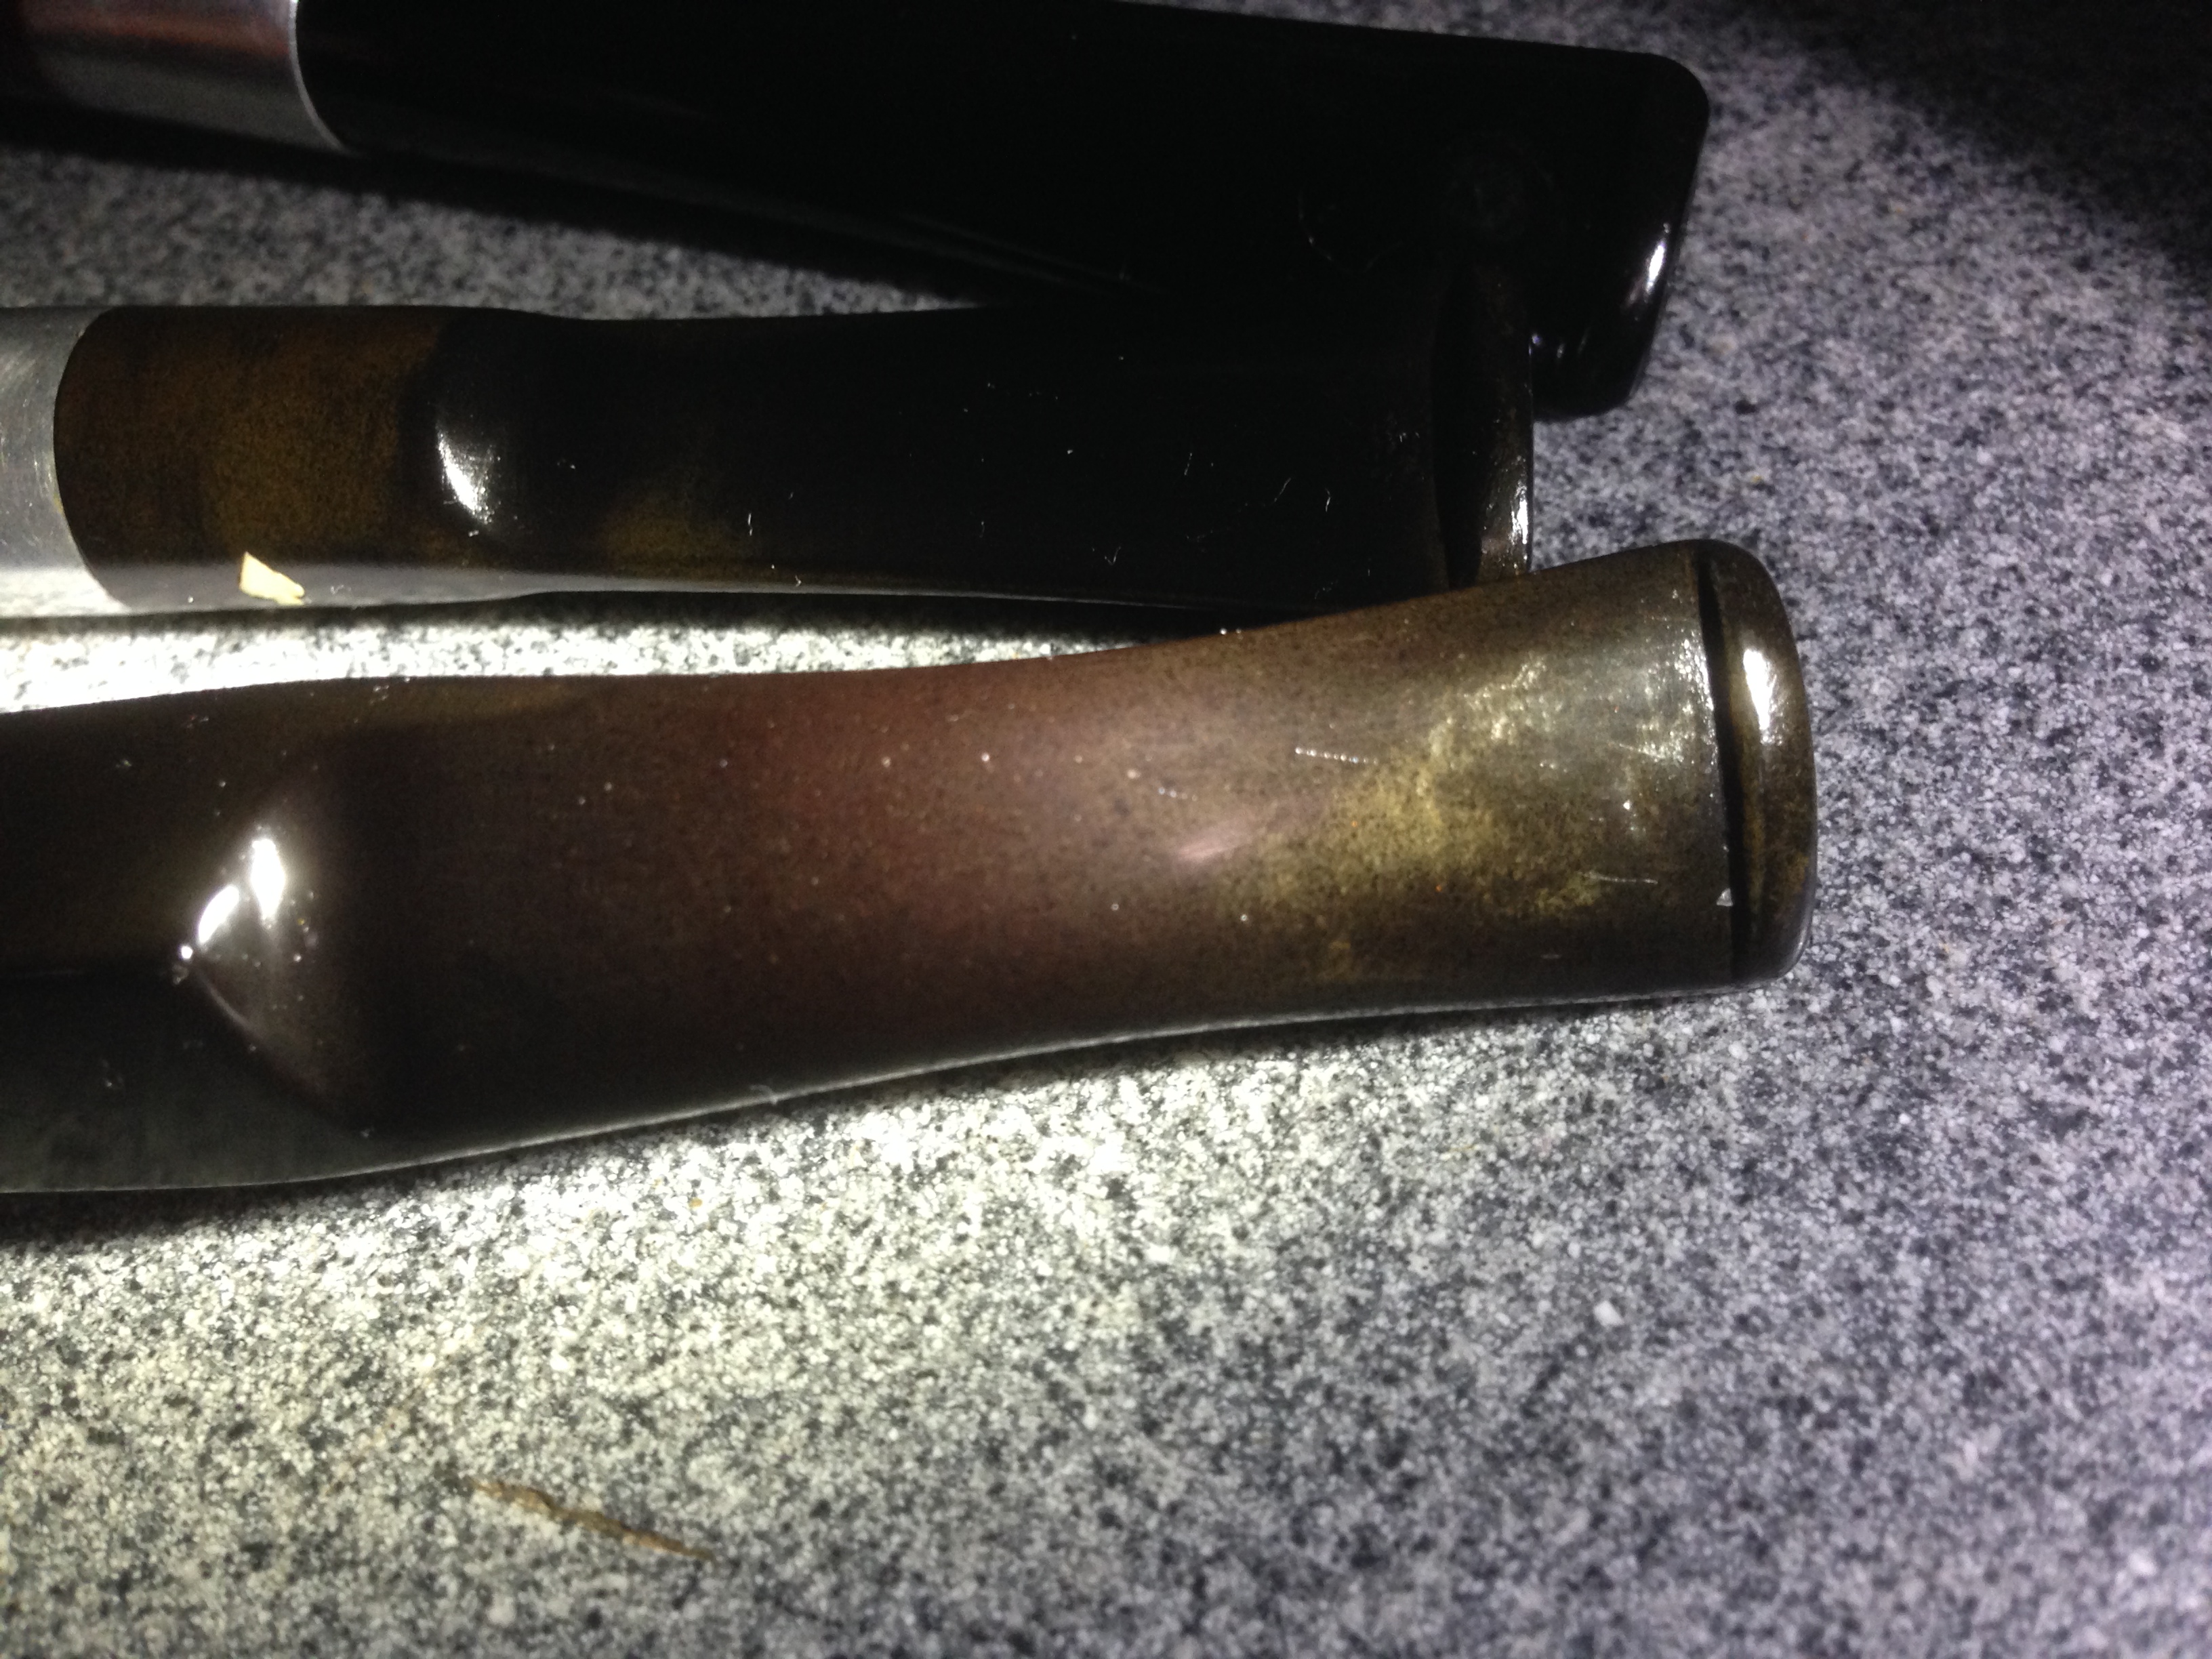
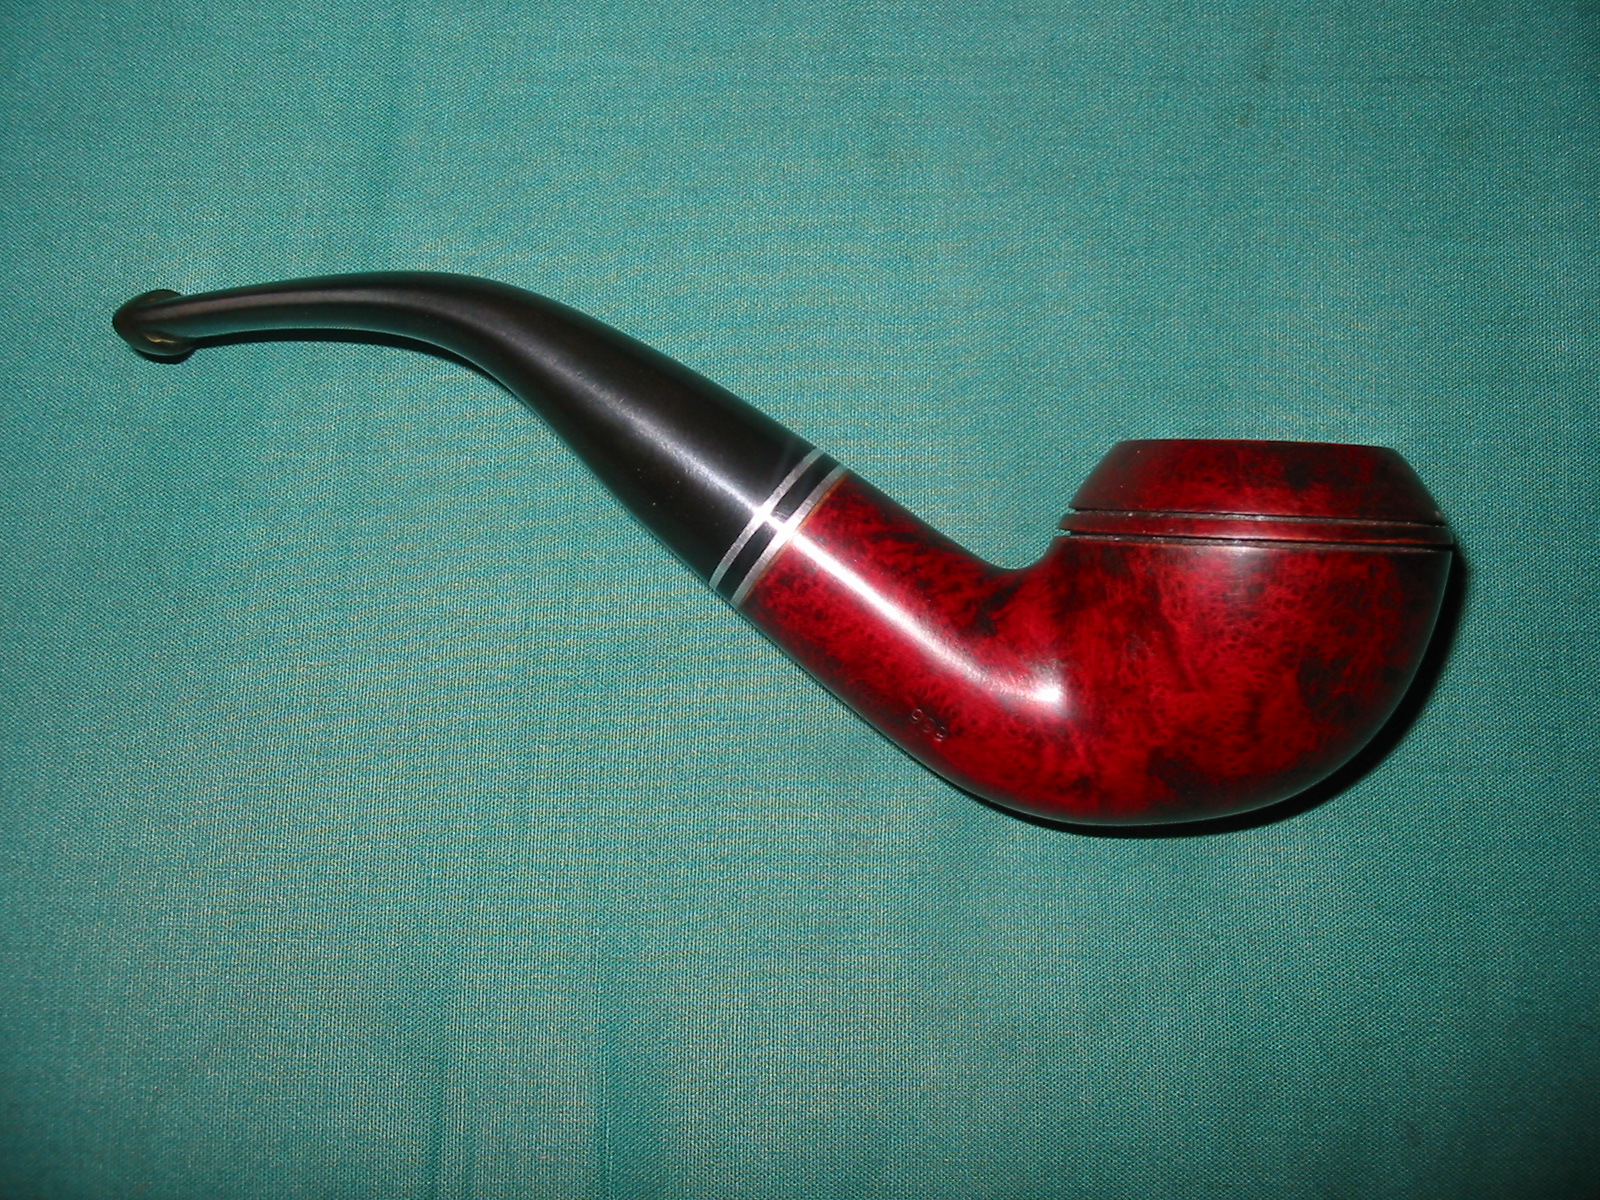
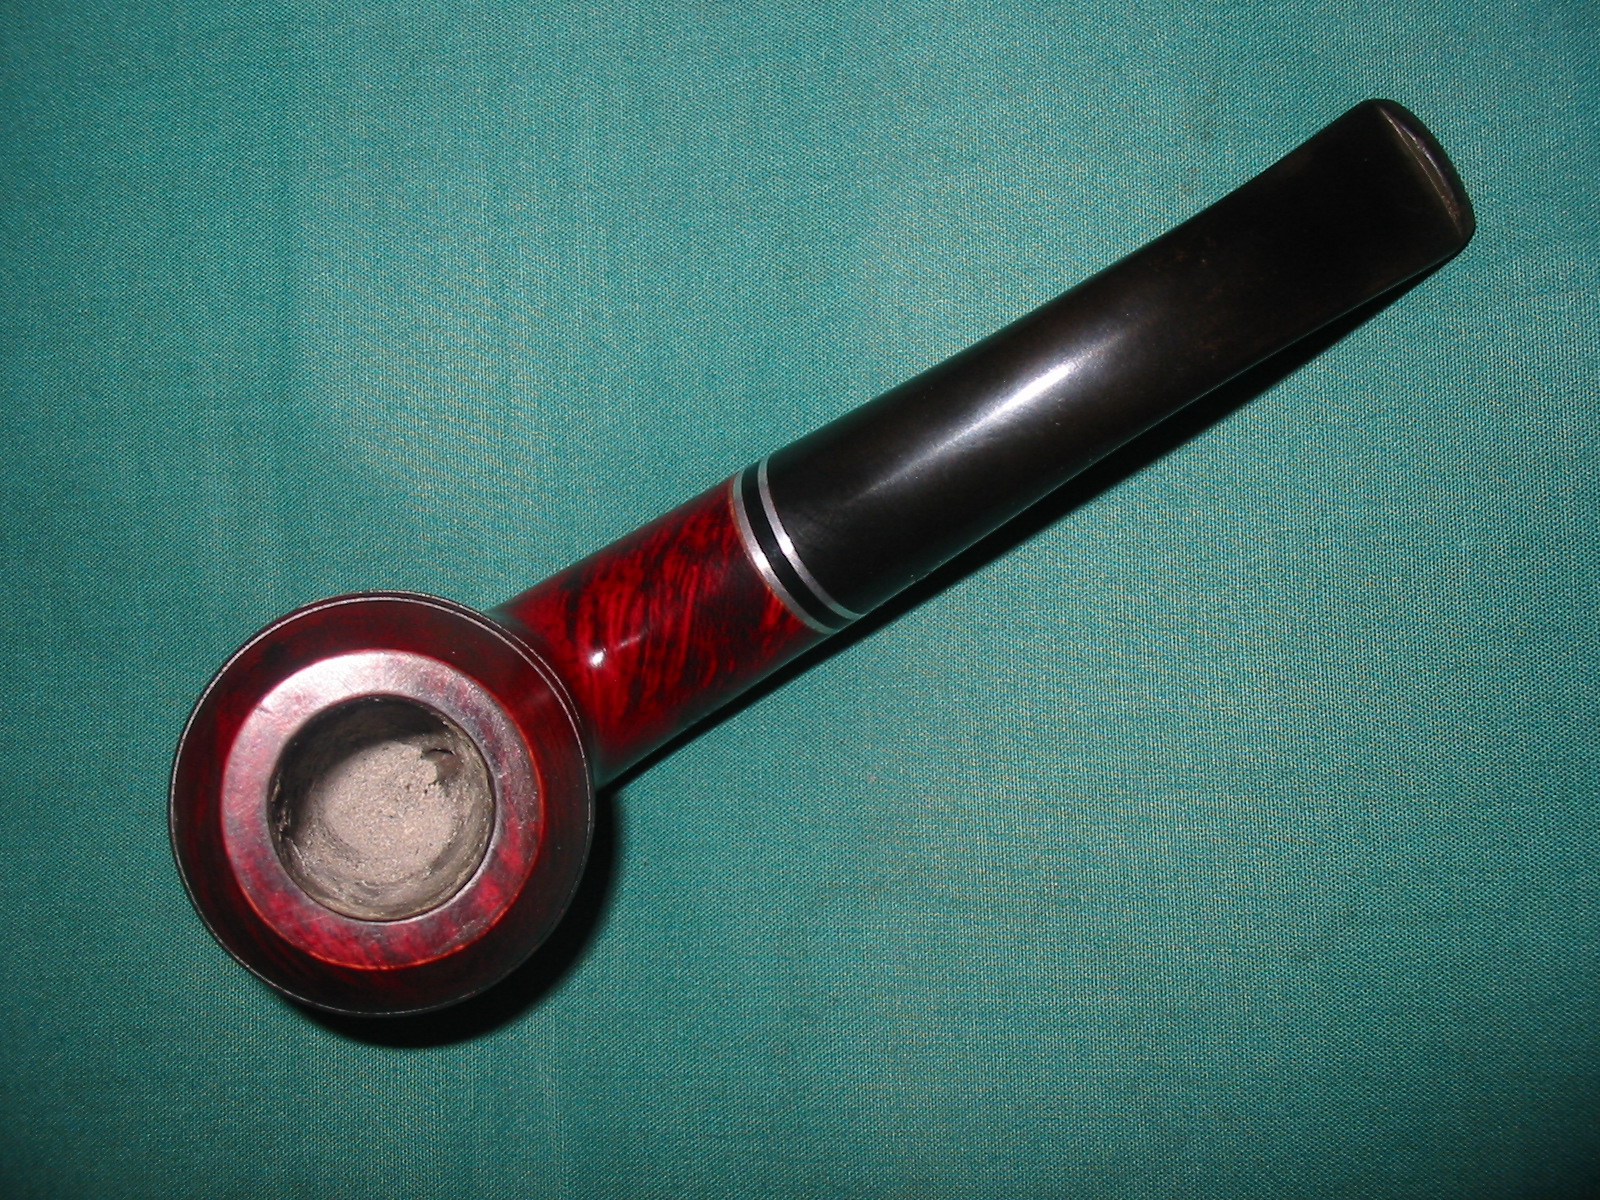
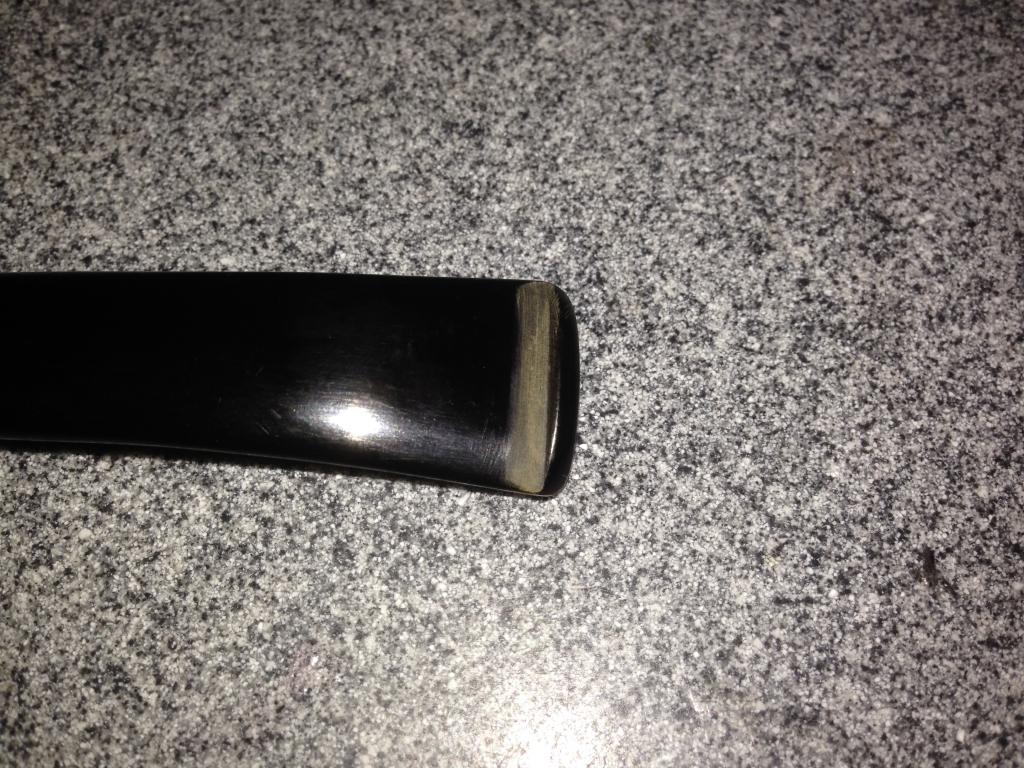
The first few times that I patched stem holes and deep tooth marks with black superglue, I ended up with white margins like these: (very evident when a flashlight is shined on the patch at an angle).
Photo #1

Photo #2
At first, I thought that I must have contaminated it by sanding before the glue had totally set. But now, I’m convinced it was because I didn’t remove all of the oxidation beforehand. I’ve learned a few tricks with black superglue patching.

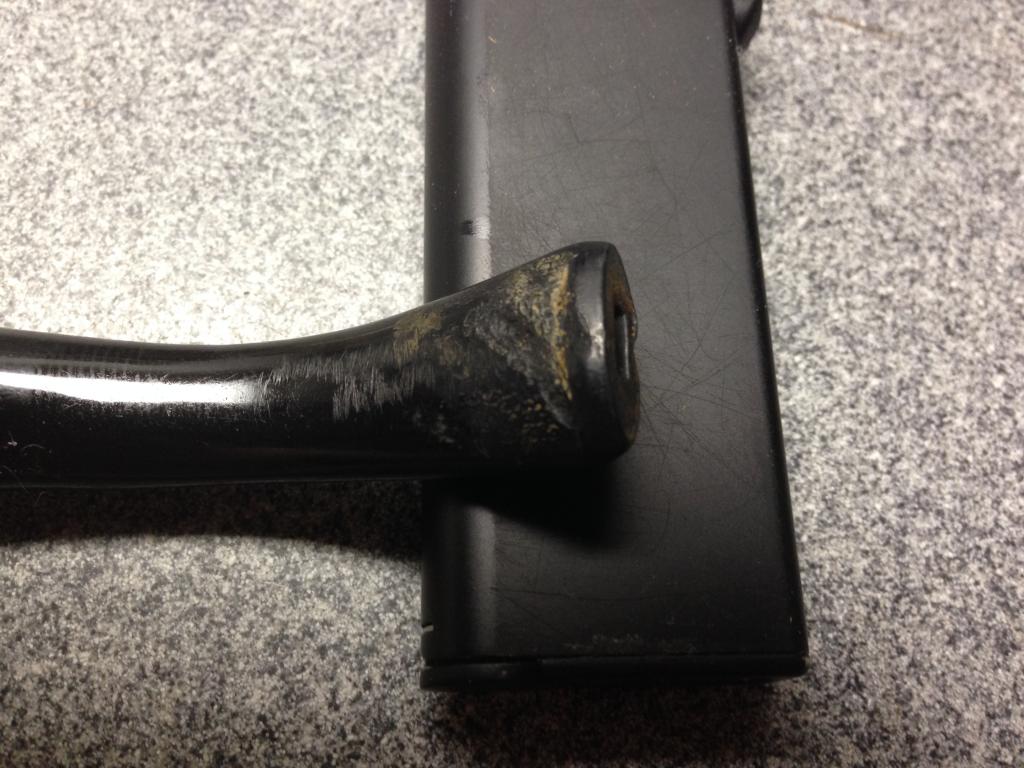
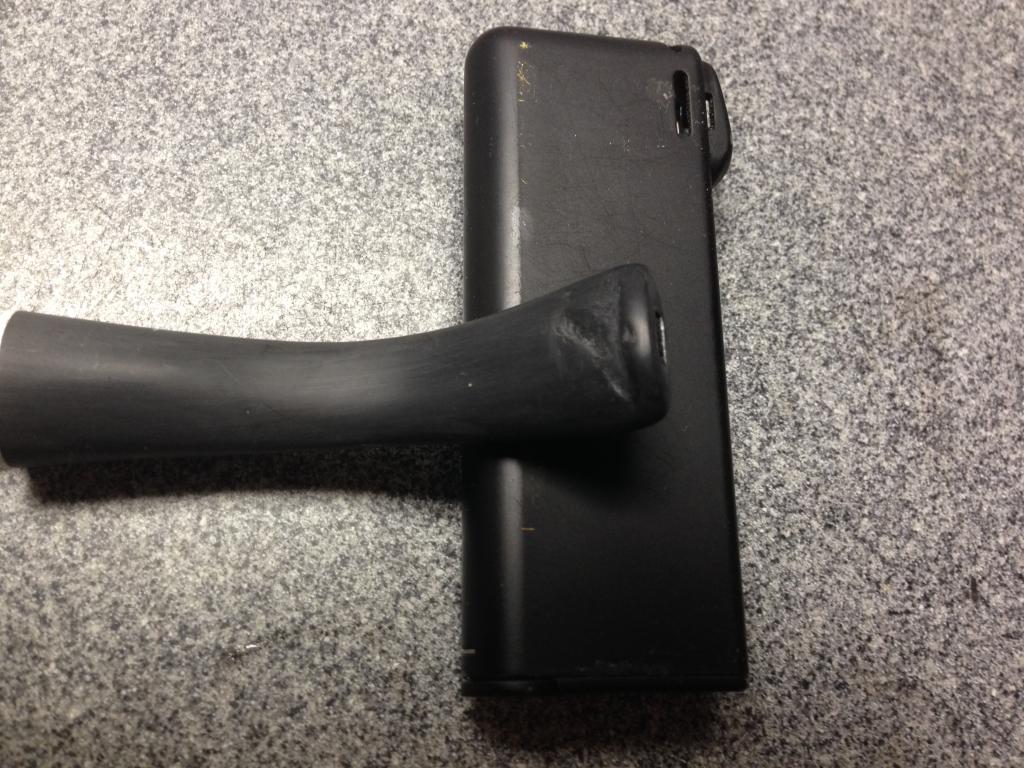
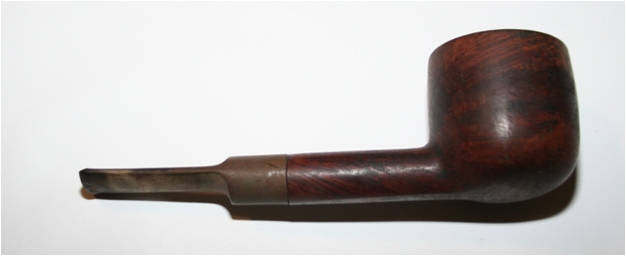
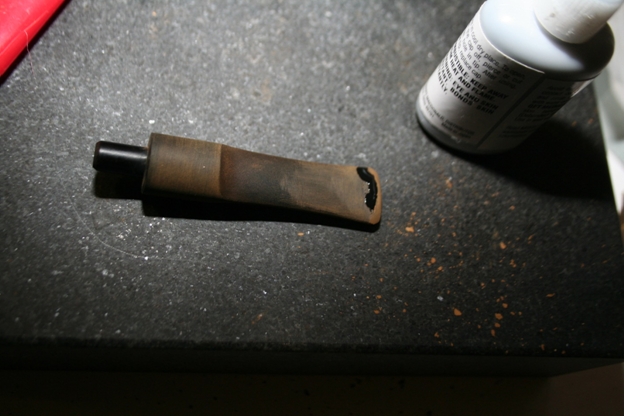
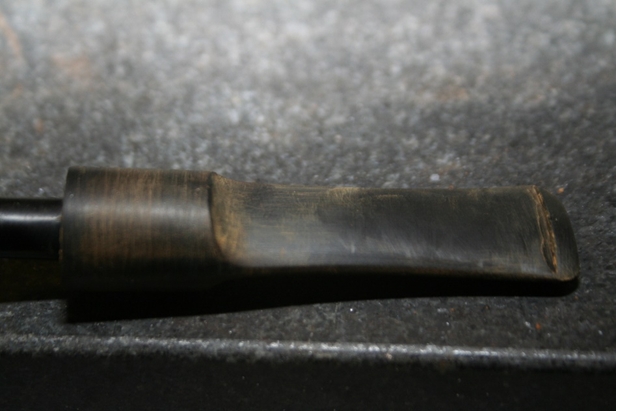
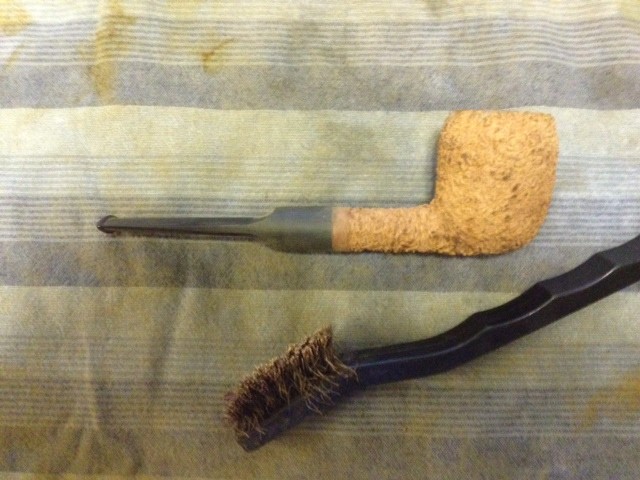
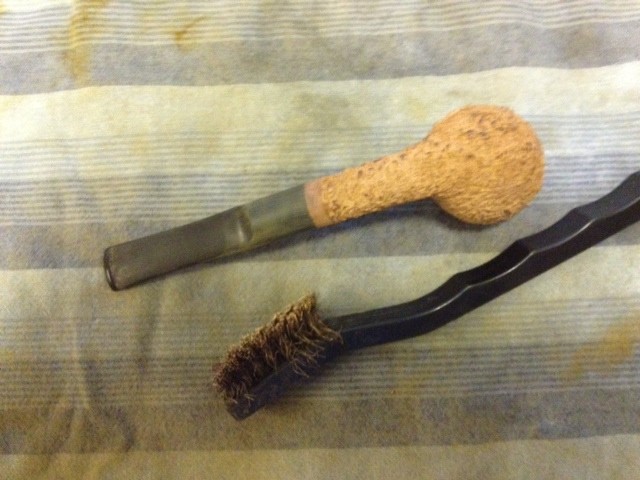
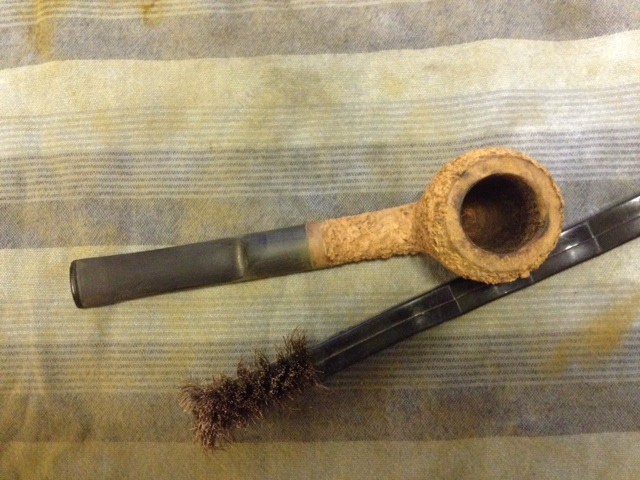
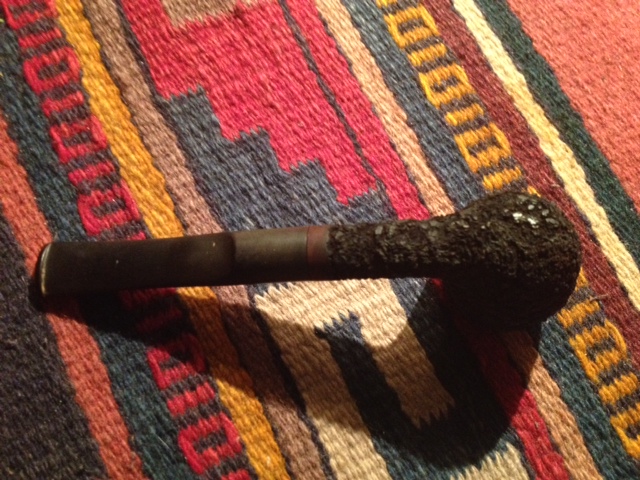
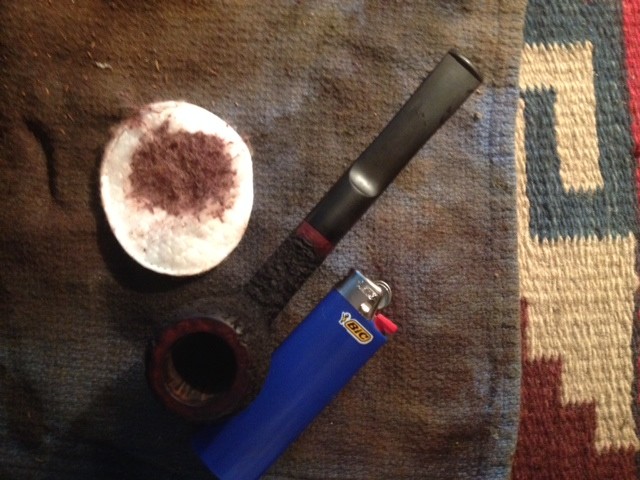
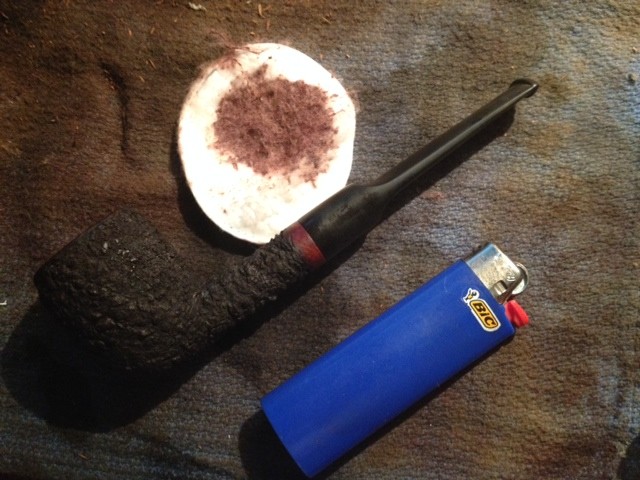
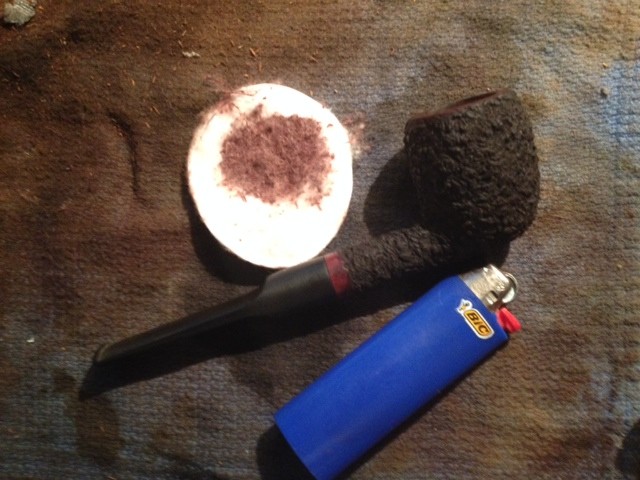
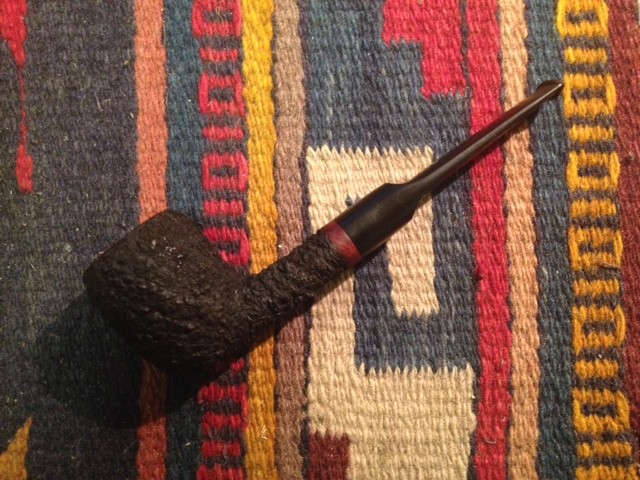
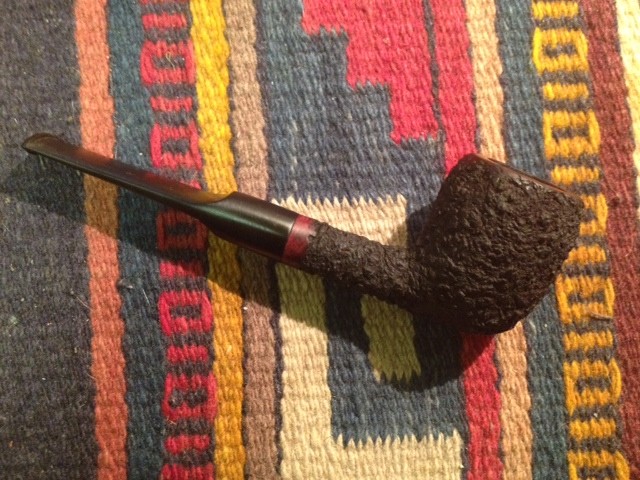
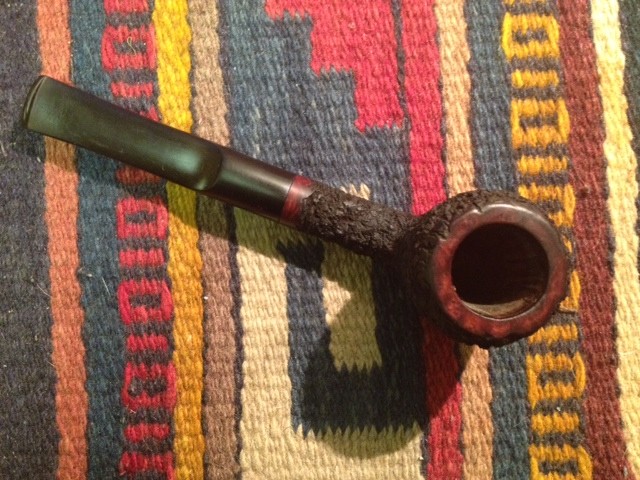
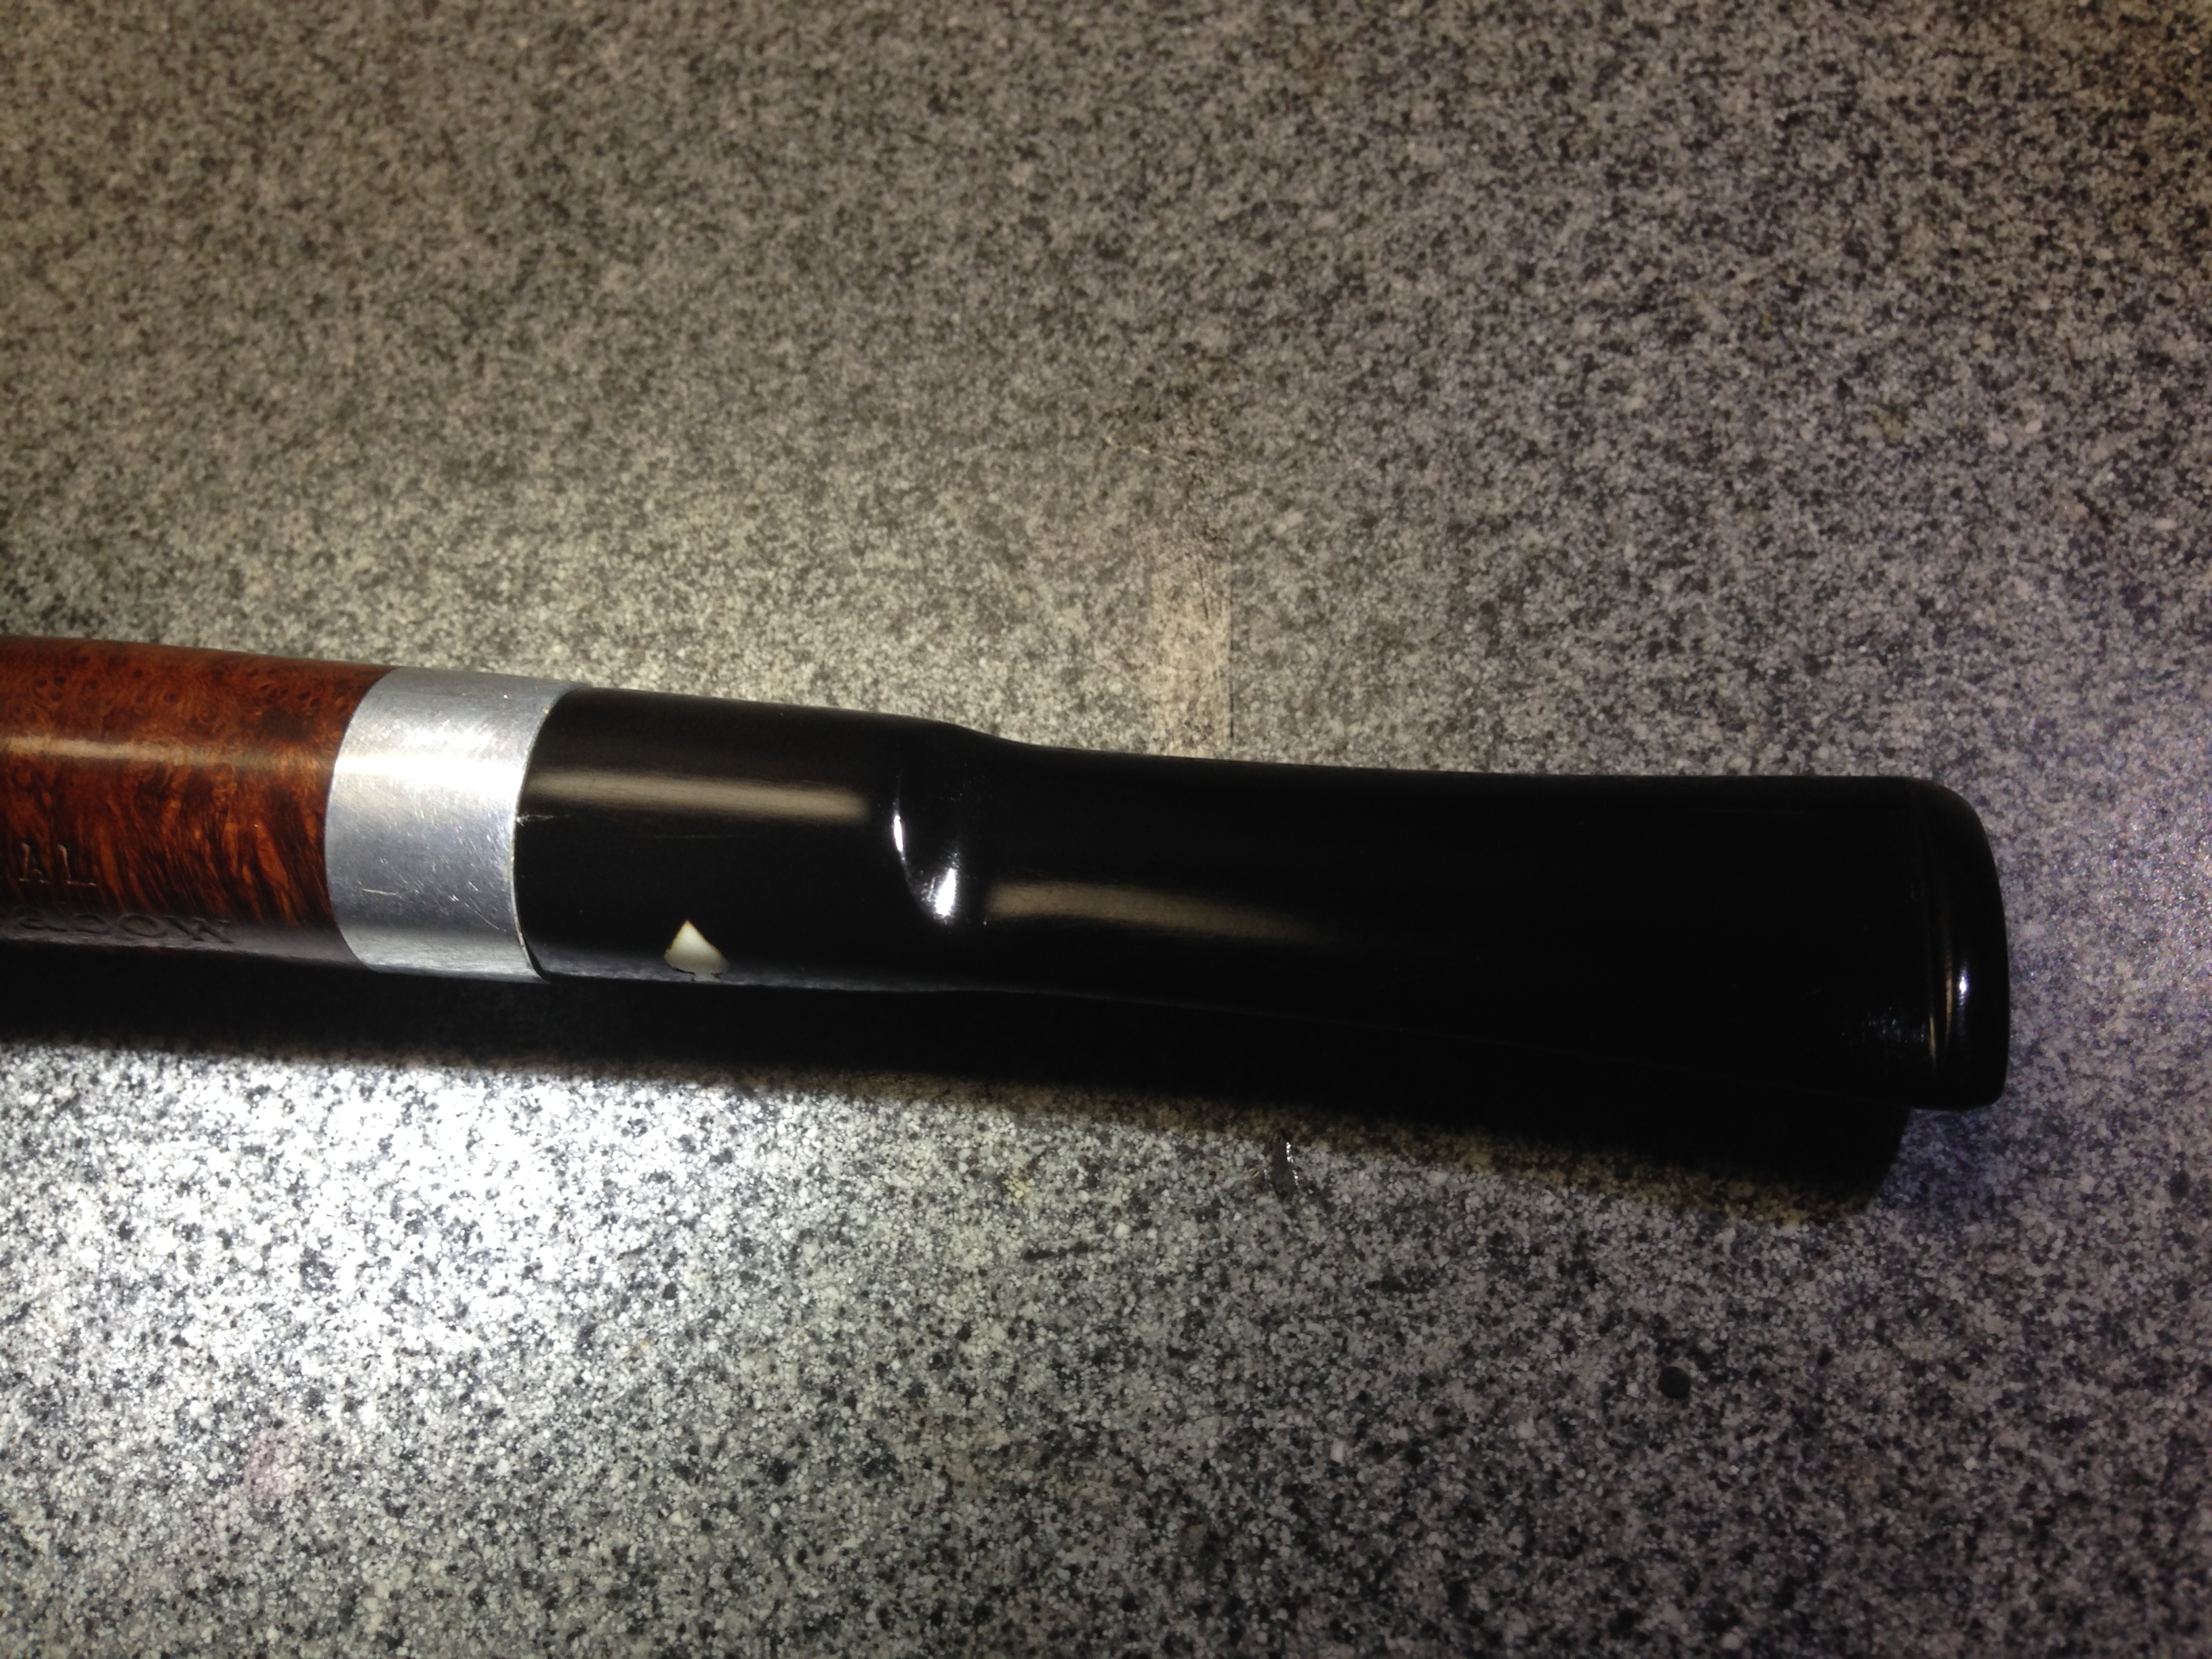
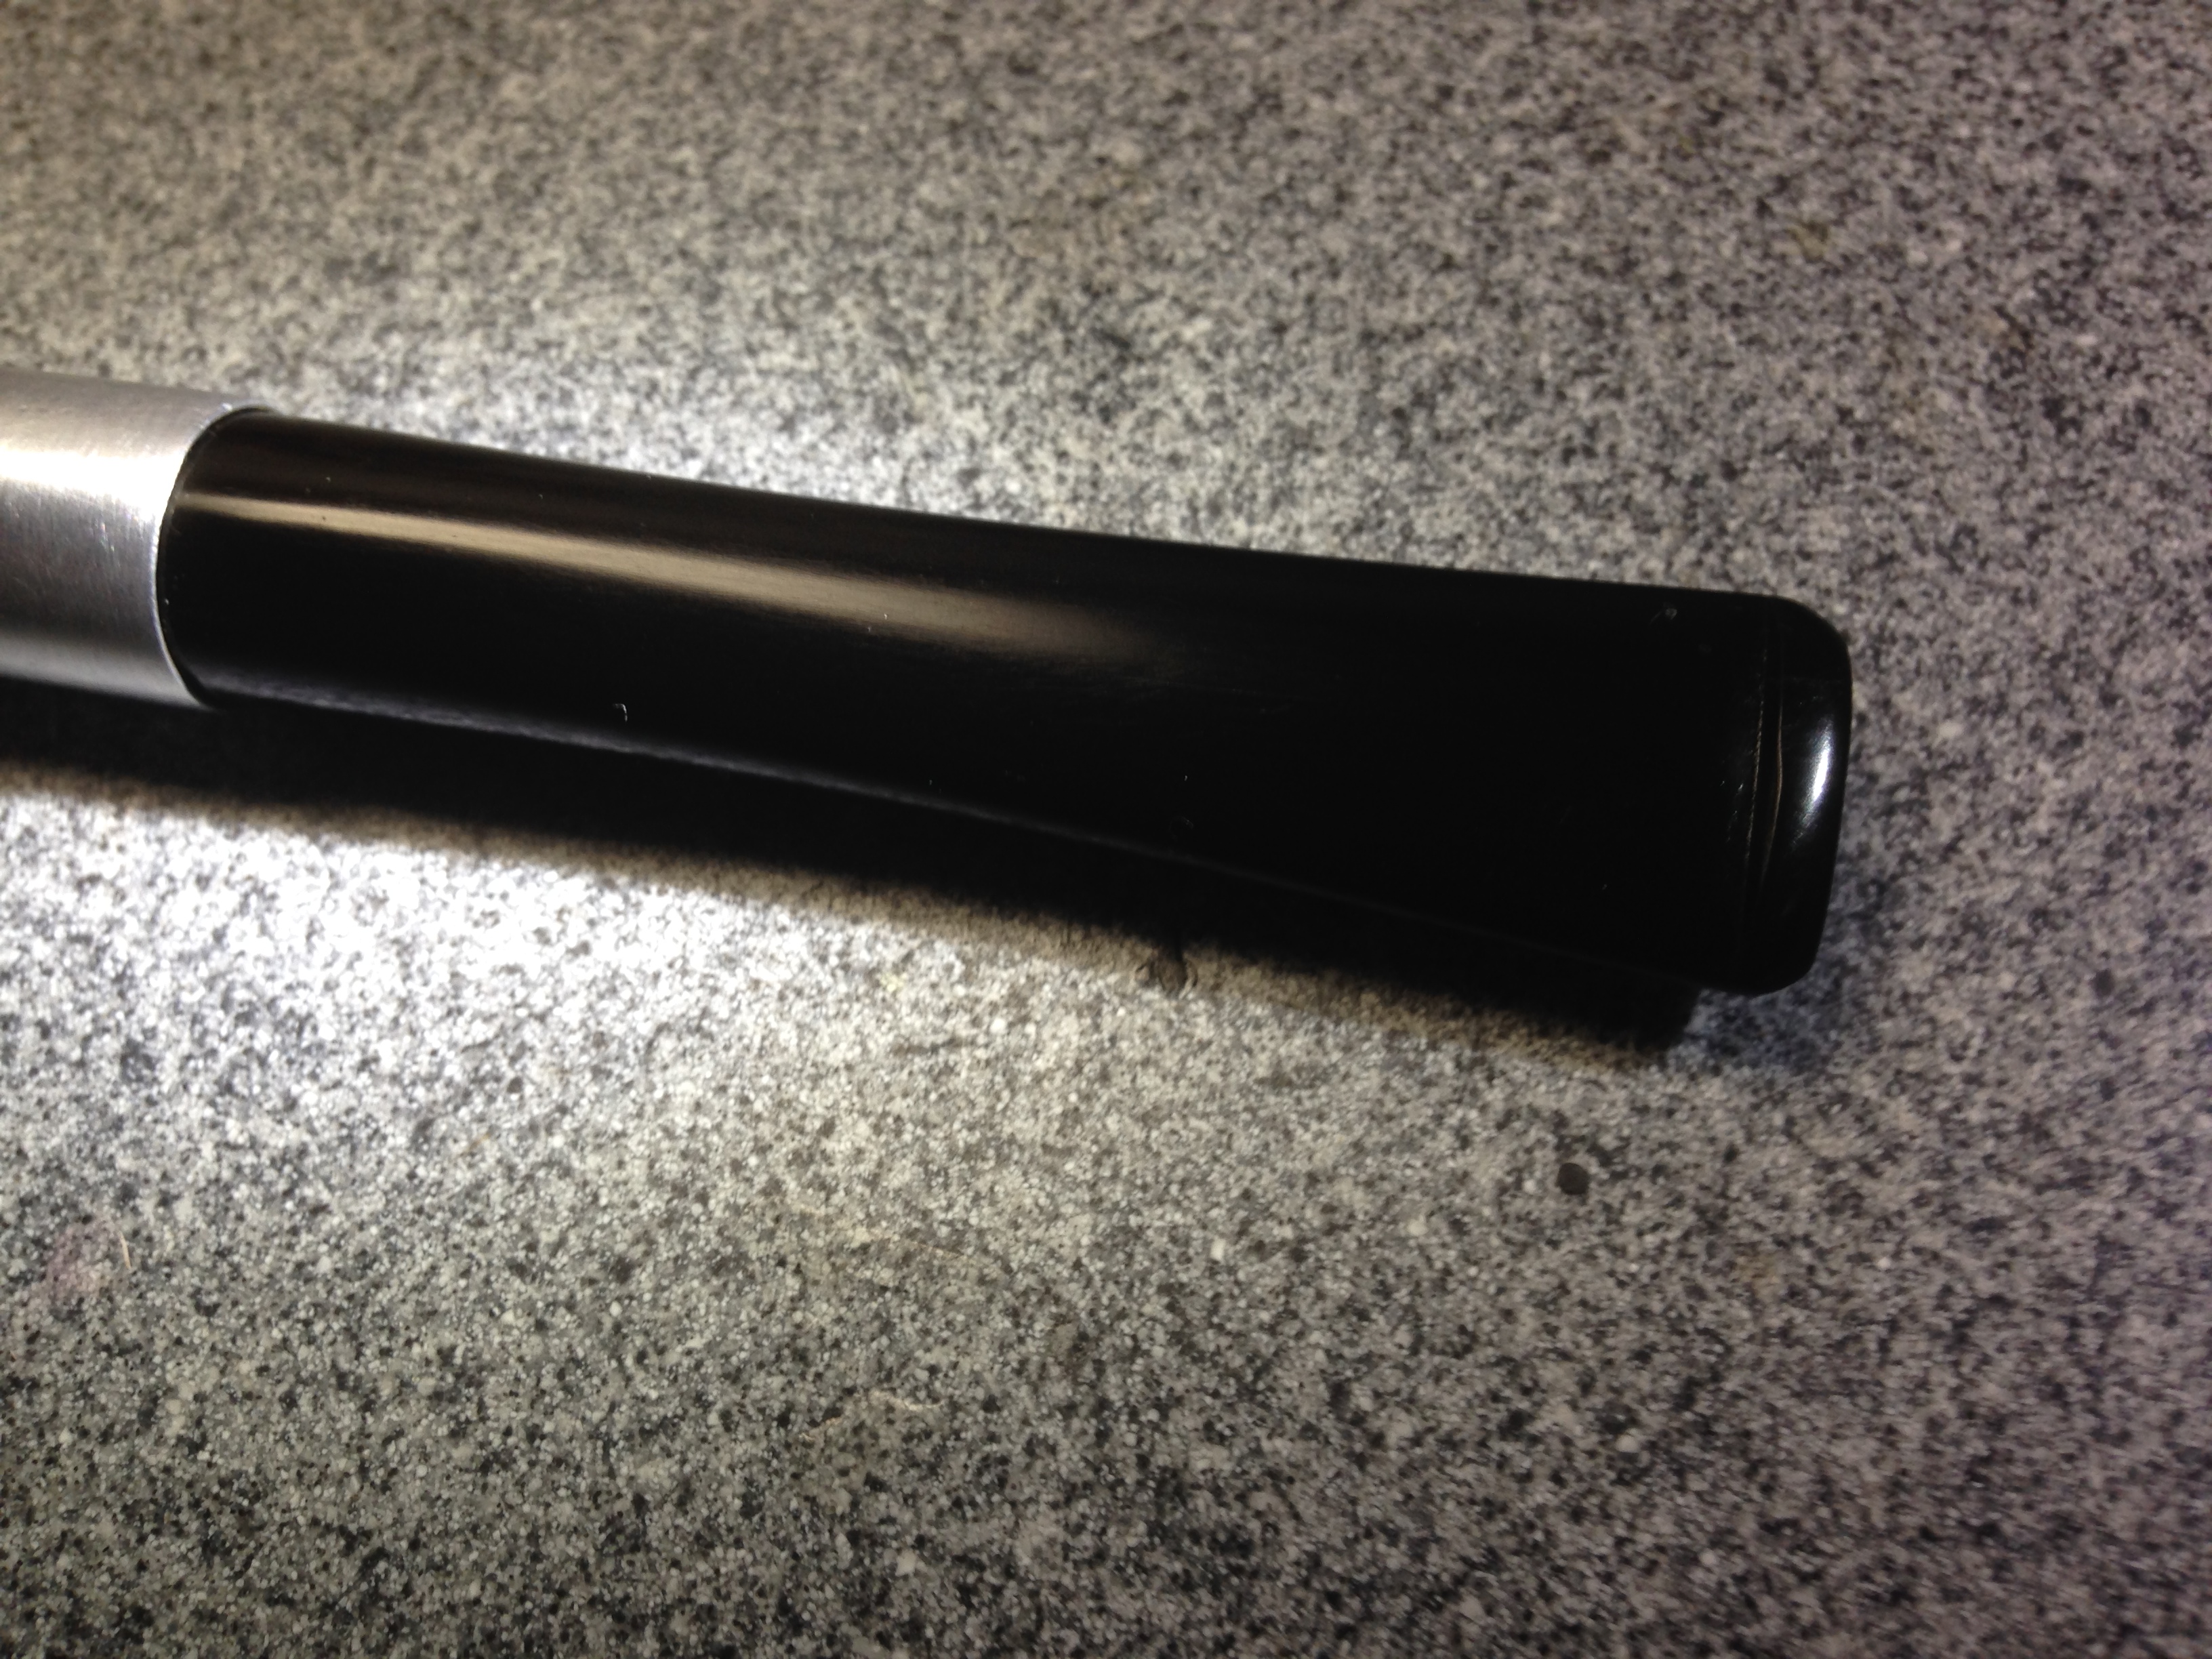
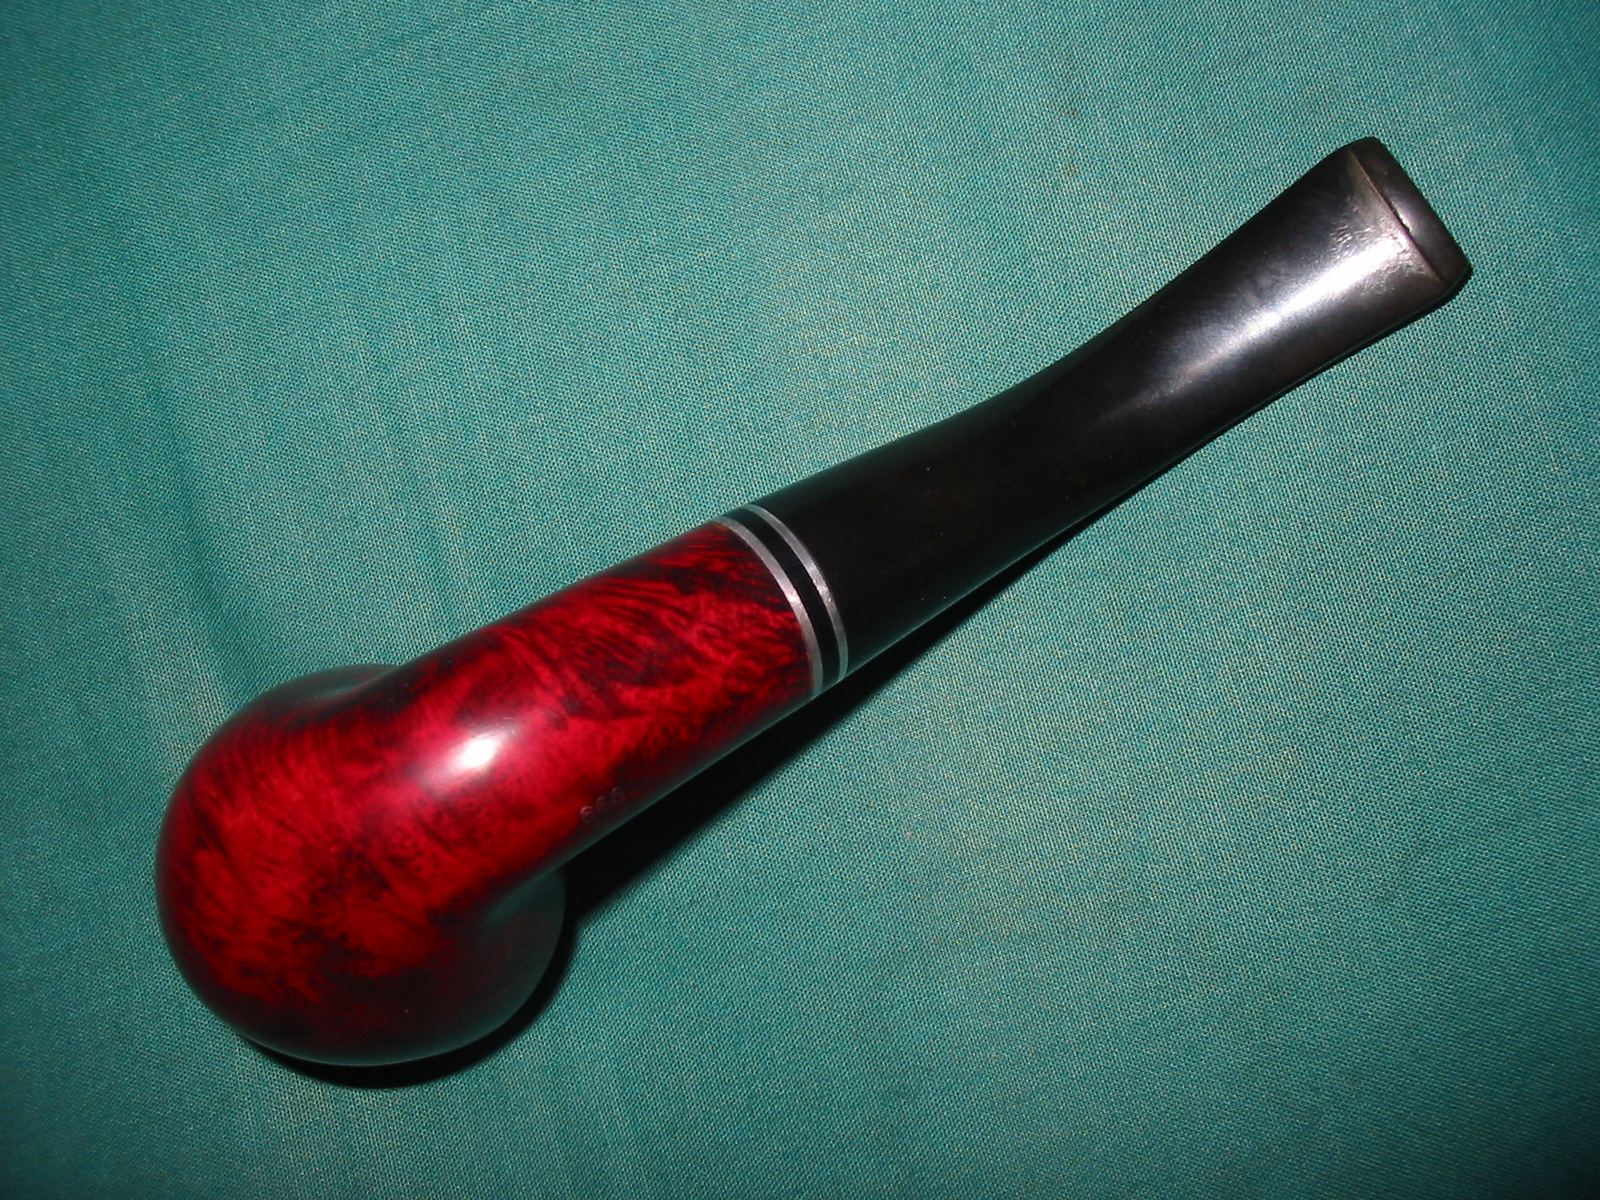
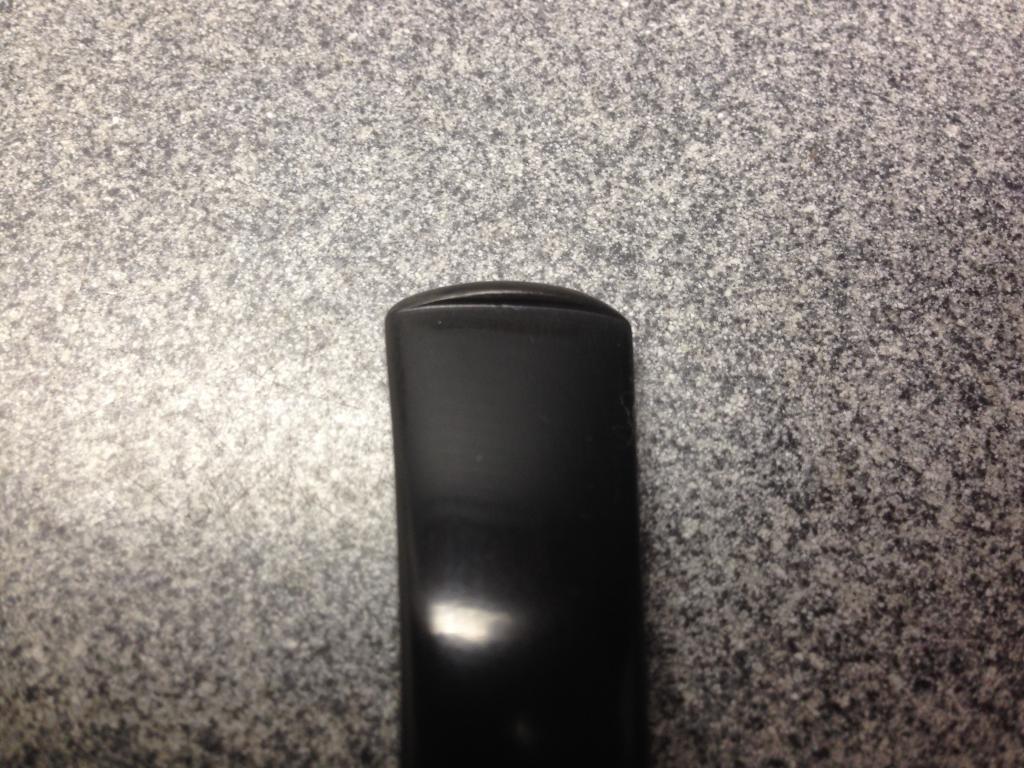
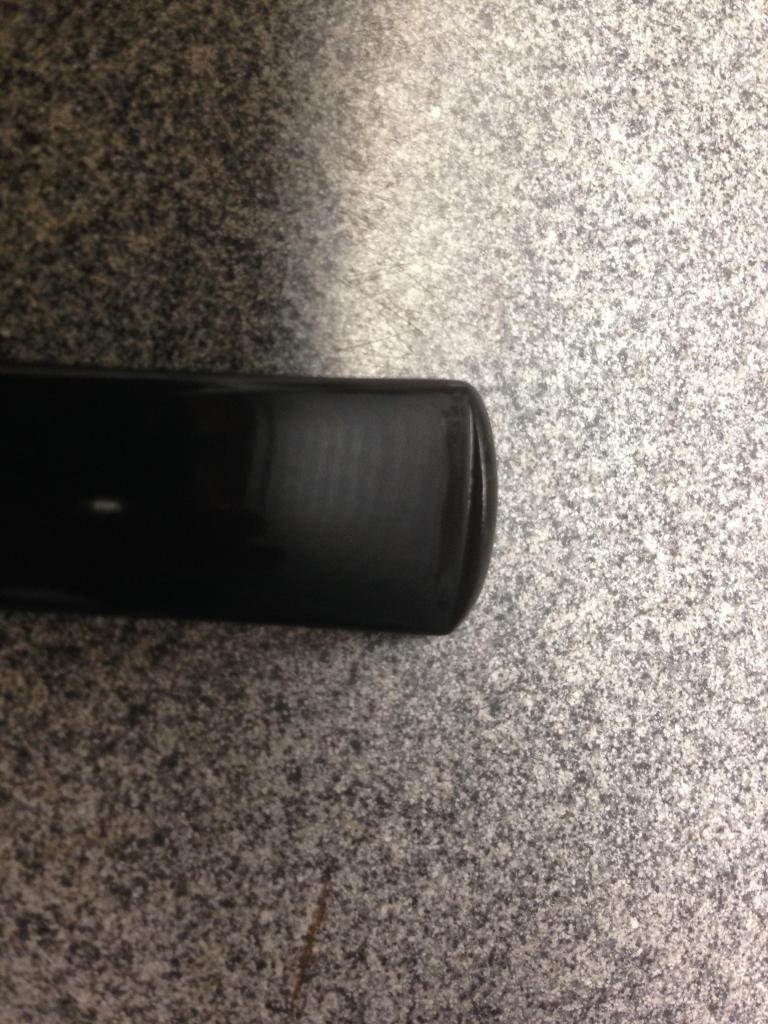
Here’s the before photos of a Dr Grabow stem that I recently patched. It’s not a high quality vulcanite but a relatively soft rubber.
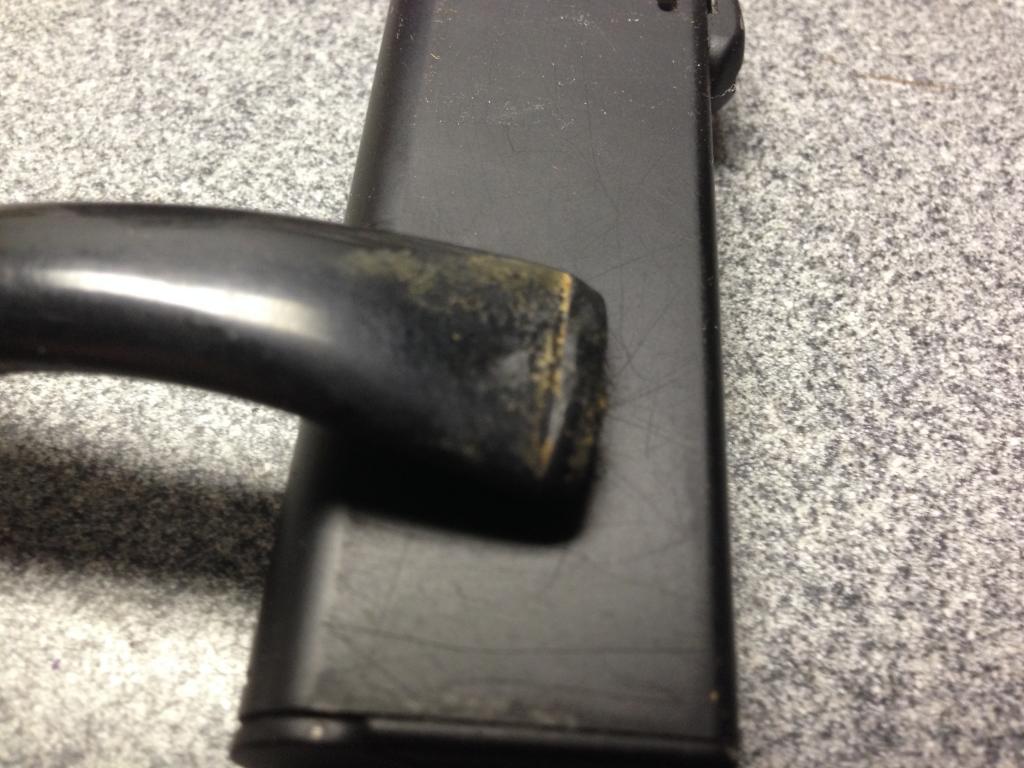
Photo #3

Photo #4
Tip #1 – Absolutely ALL oxidation and oils must be removed before patching. There are many ways to remove oxidation but, for this, I prefer the most aggressive method that I know – A bleach bath for an hour or more. Then a 1 hour alcohol bath to remove the bleach smell and taste. The bleach causes surface pitting but, in my mind, that means it has removed the deepest oxidation. (Sometimes I’ll follow with a Oxyclean bath as well). After the bleach and alcohol, lots and lots of sanding is necessary to smooth down the pitting. I use 220-800 grit with water.
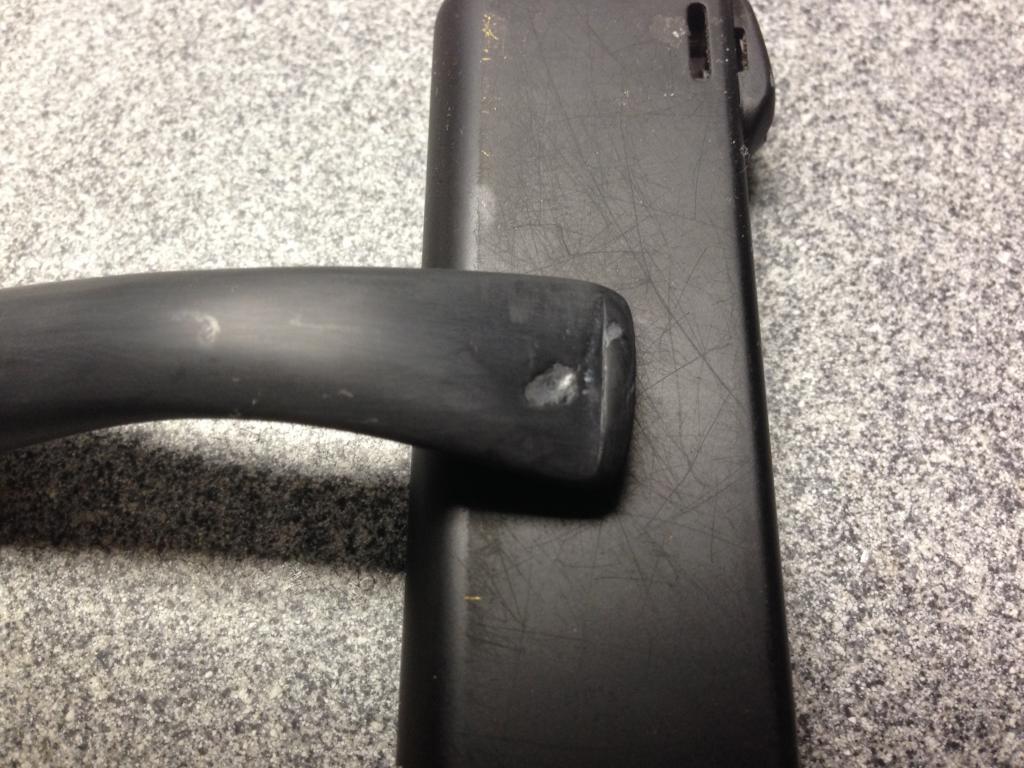
Photo #5

Photo #6
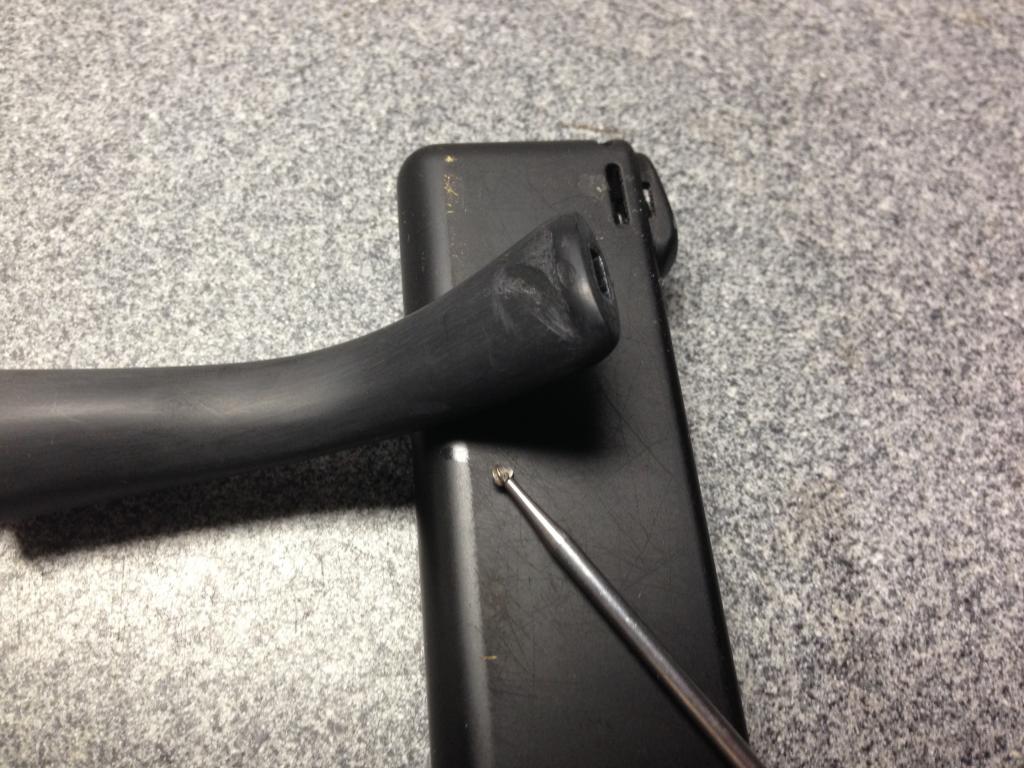
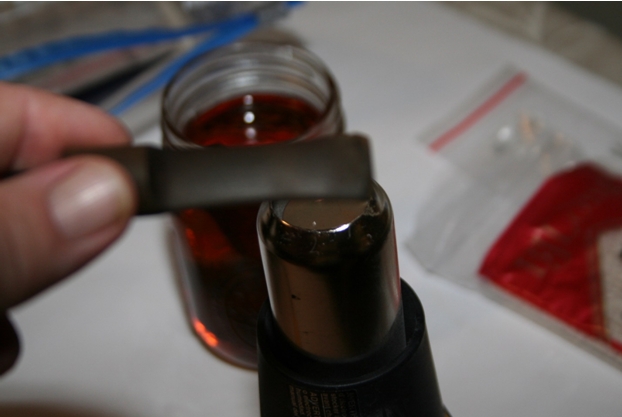
Tip #2 – Clean out the hole with a small round burr in a Dremel. Remove all oxidation and discolorations from inside the hole. “Feather” the edge which makes for better blending of the glue/stem junction and it also removes any microscopic particles of oxidation that may be hiding in the ragged edges.
Photo #7

Photo #8
Tip #3 – Now use 1000 grit sandpaper on the edges to smooth it out some more. Remove any dust or oils with an alcohol wipe.
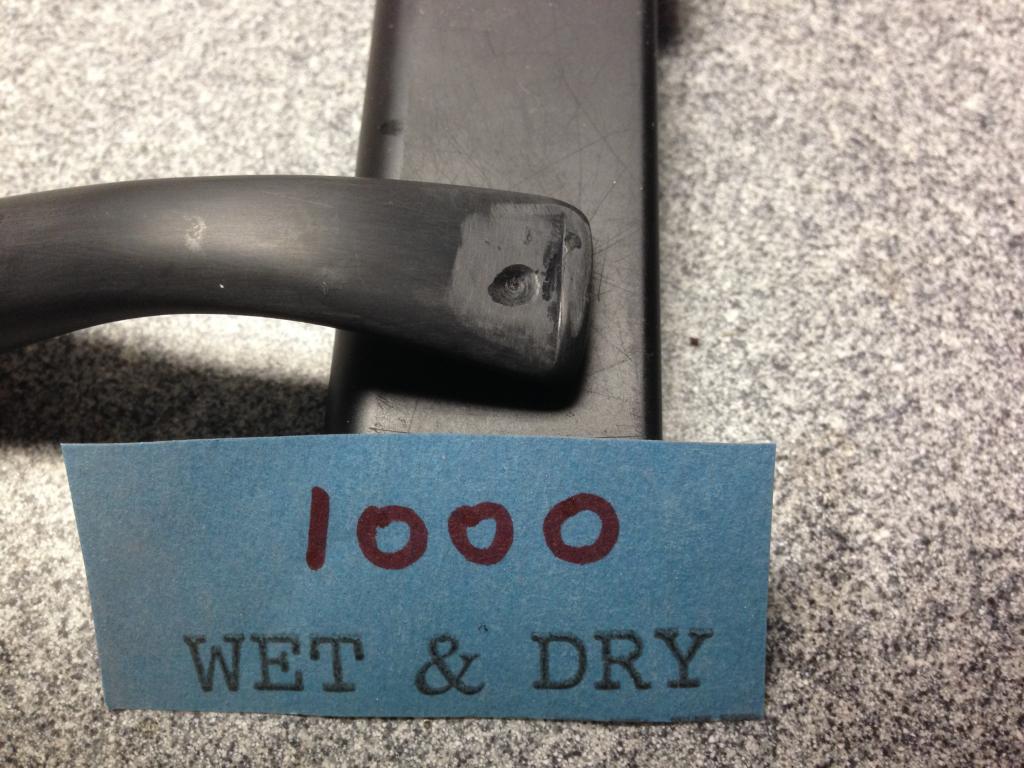
Photo #9

Photo #10
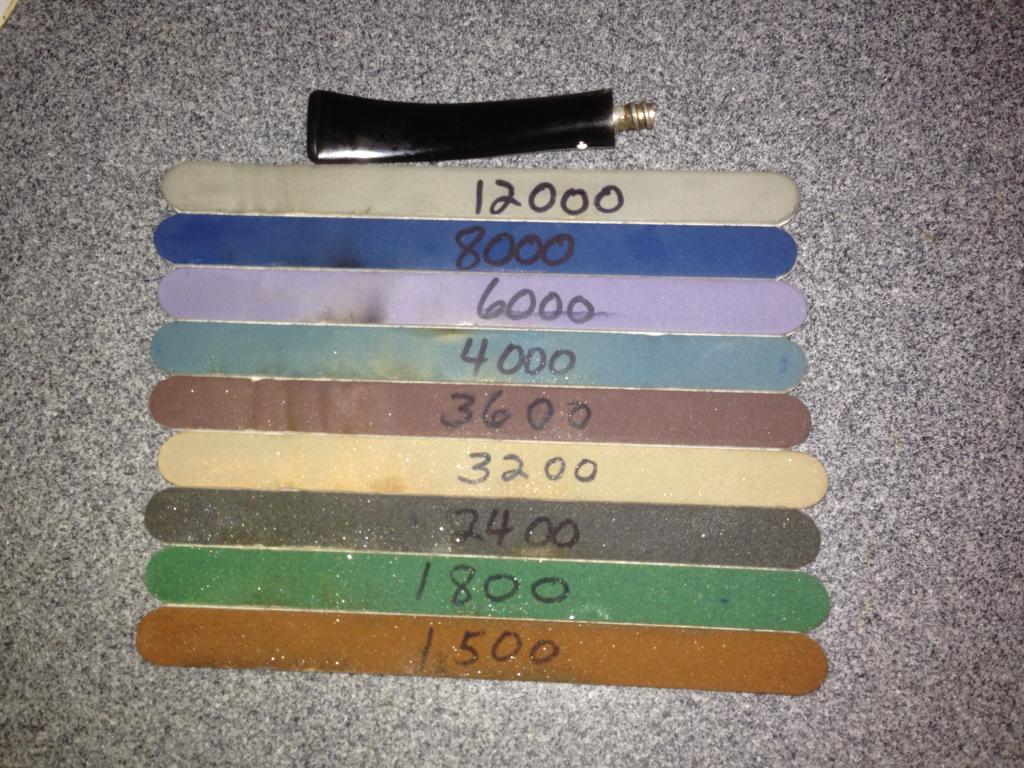
I sand down the overfill (220-2500 grit) until it’s even with the surface. (If necessary, I’ll freshen up the bit with needle files). Then micro mesh (4000 -12000), carnauba, and buff.

Here’s the after photos on that Dr Grabow stem before final polishing/waxing – .so it can be seen better without the glare of the camera flash on fully polished stems. No more “ring around the collar”.
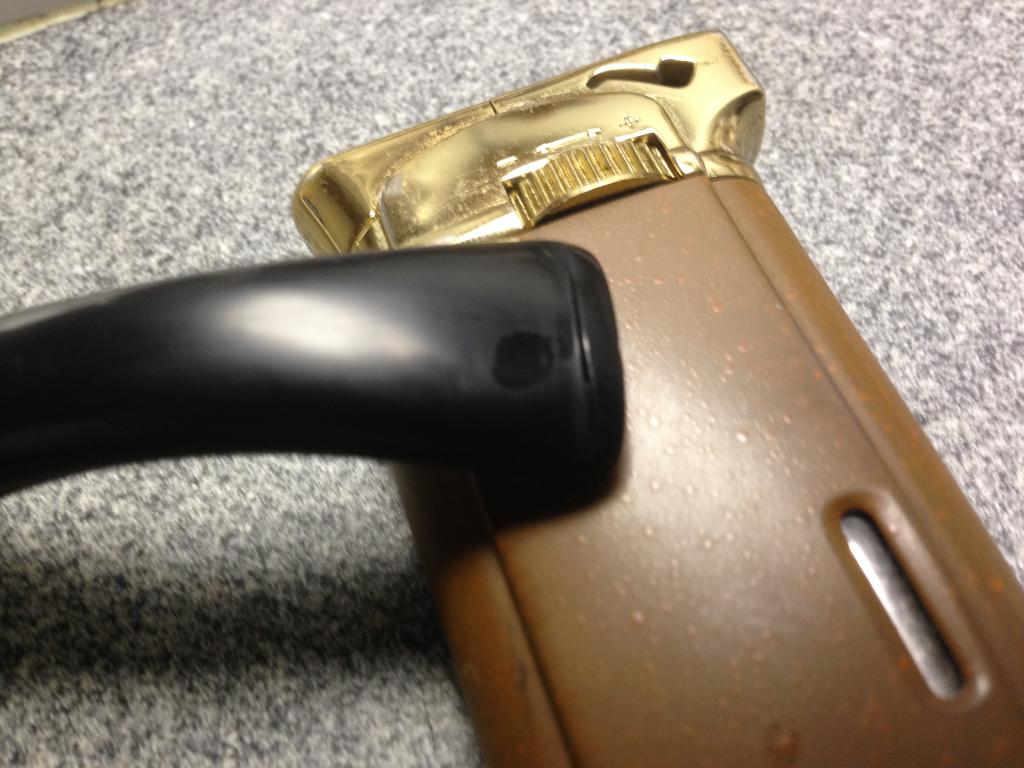
Photo #11

Photo #12
Sometimes, on good quality vulcanite, I have difficulty seeing where the patches were.
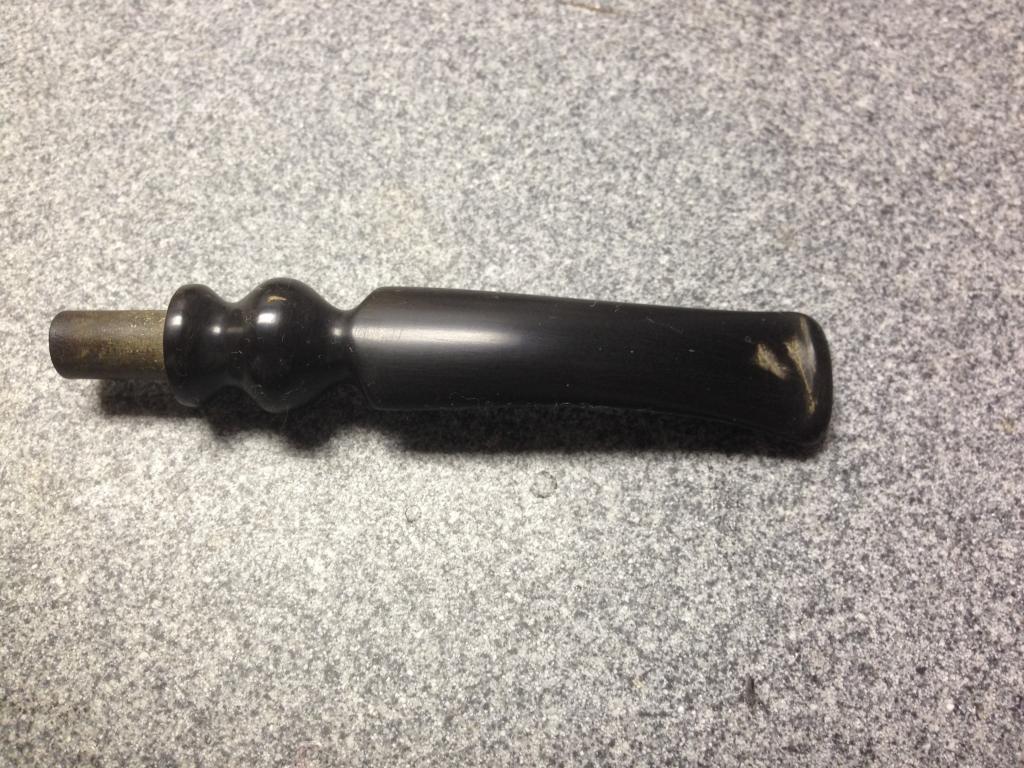
Photo #13

Photo #14

Restoring a Second set of Twins – English Made Tinder Box Liverpools


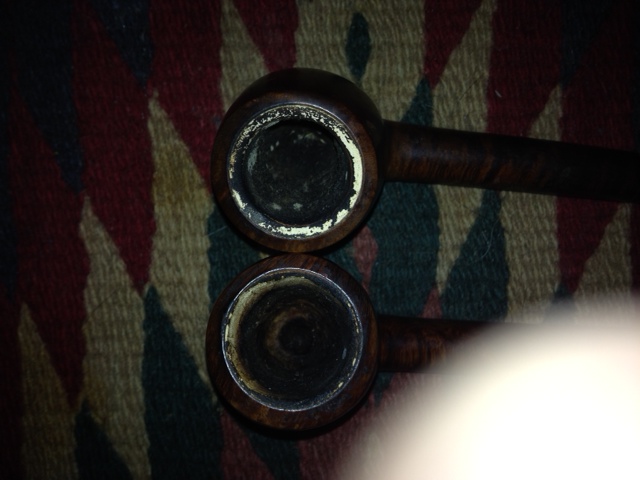
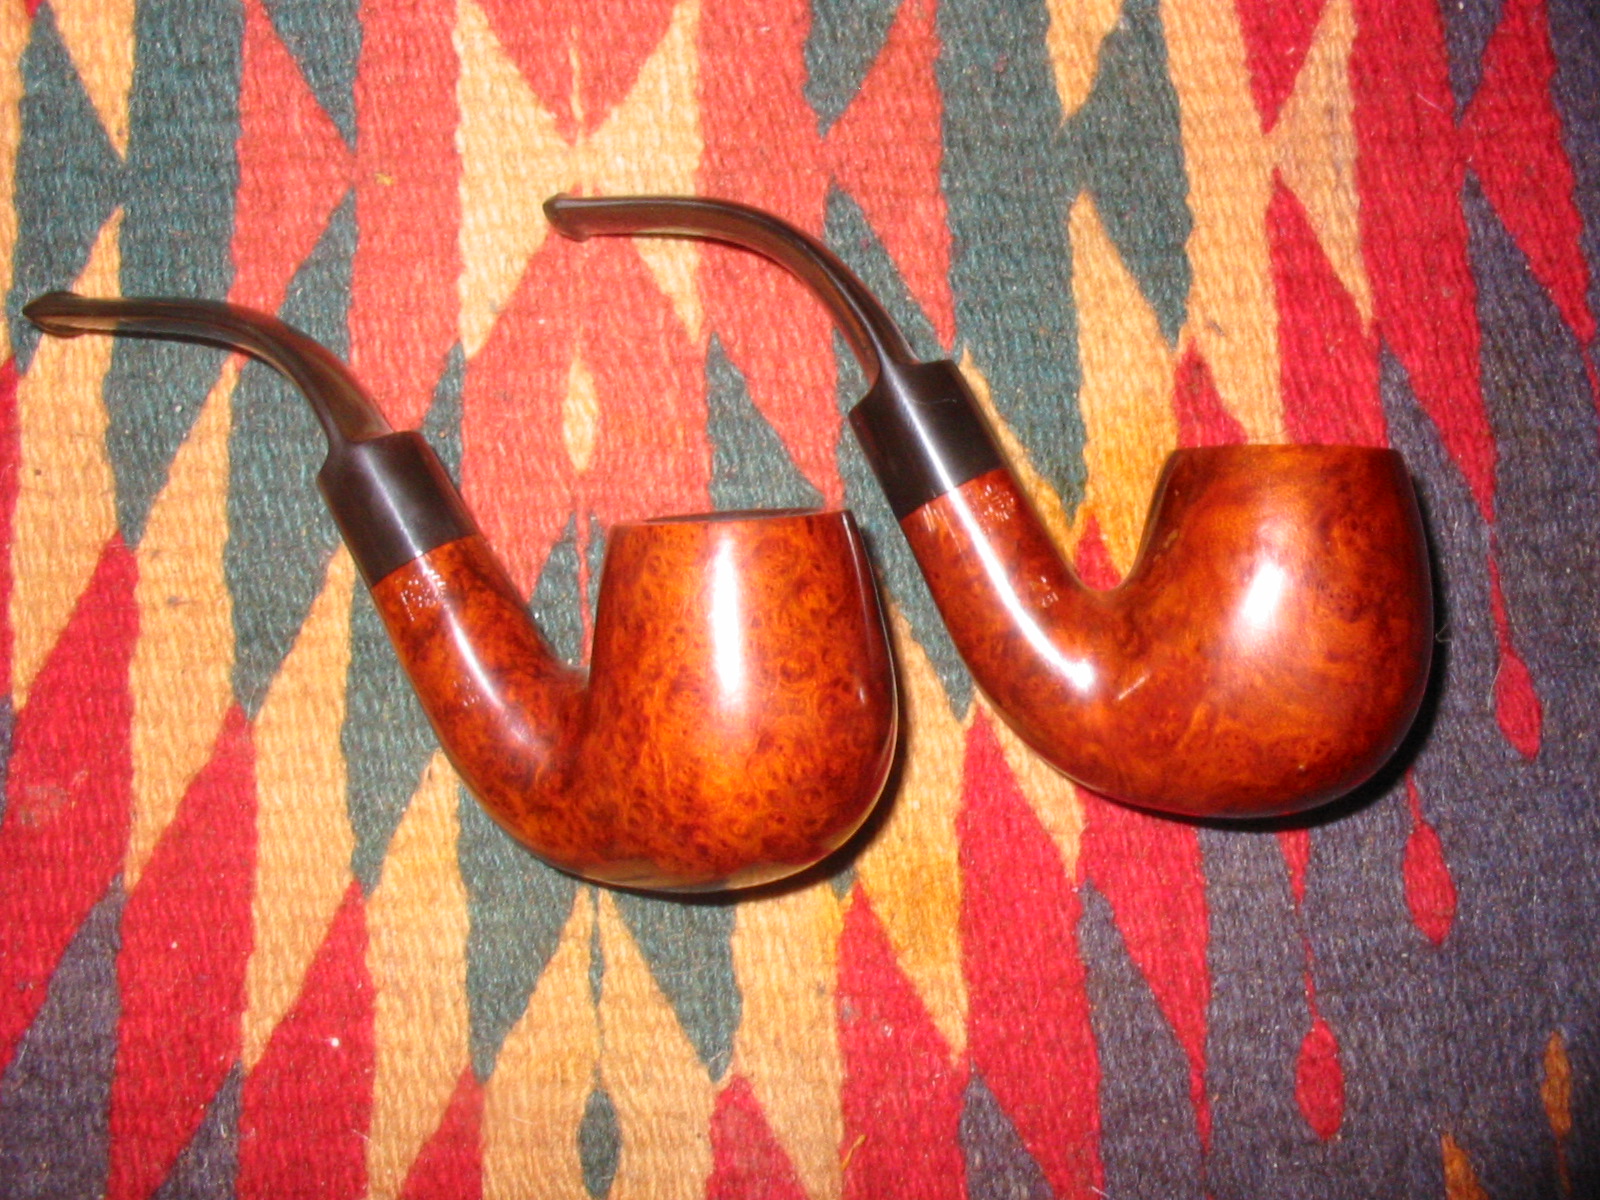
In a recent pipe hunt I picked up this second set of twin pipes. They came from the same collection as the pair of Royal Coachman bent billiards. These are stamped The Tinder Box over Meerschaum Lined on the left side of the shank and Imported Briar on the right side of the shank. I stated in the title that they are English-made and I came to that conclusion by the shape, size, staining and overall look of the pipe. Though I cannot definitively prove that, they are very similar to an older Orlik pipe of the same shape that I repaired and restored. The staining and finish were in very good shape. There were relatively few dents and dings in the bowl and shank though both were very grimy and greasy. The rims were clean other than the slight tar build up on the meer portion. The briar outer rim was in great shape with no nicks of dents. The stems were oxidized and had calcium build up all over the surface. There were also sticky places on the stem that looked like the residue from a sales label. Since they did not have a label when I bought them I am thinking this maybe the original labels on the pipe stems. Inside the bowl was slightly caked and had tobacco residue stuck to the walls. The inside of the shank and stem were very dirty with tarry buildup. The slot on both mouthpieces had narrowed with the tars.
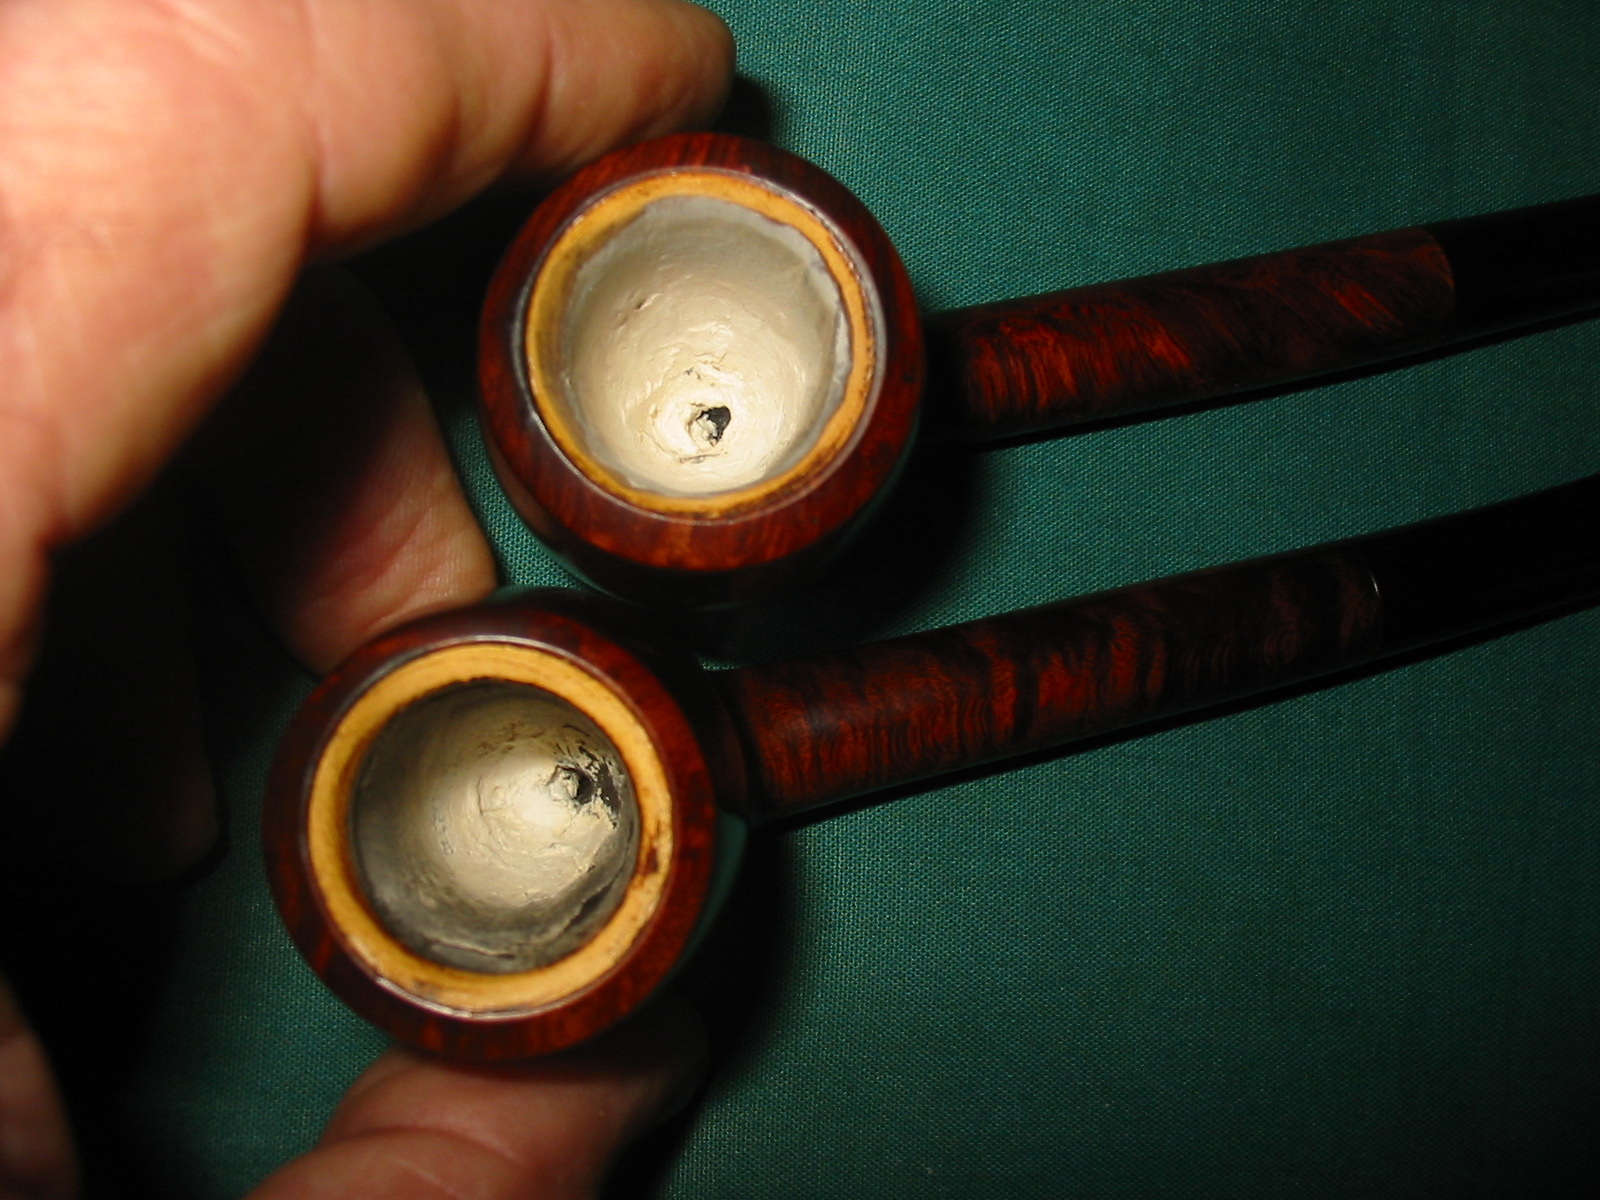
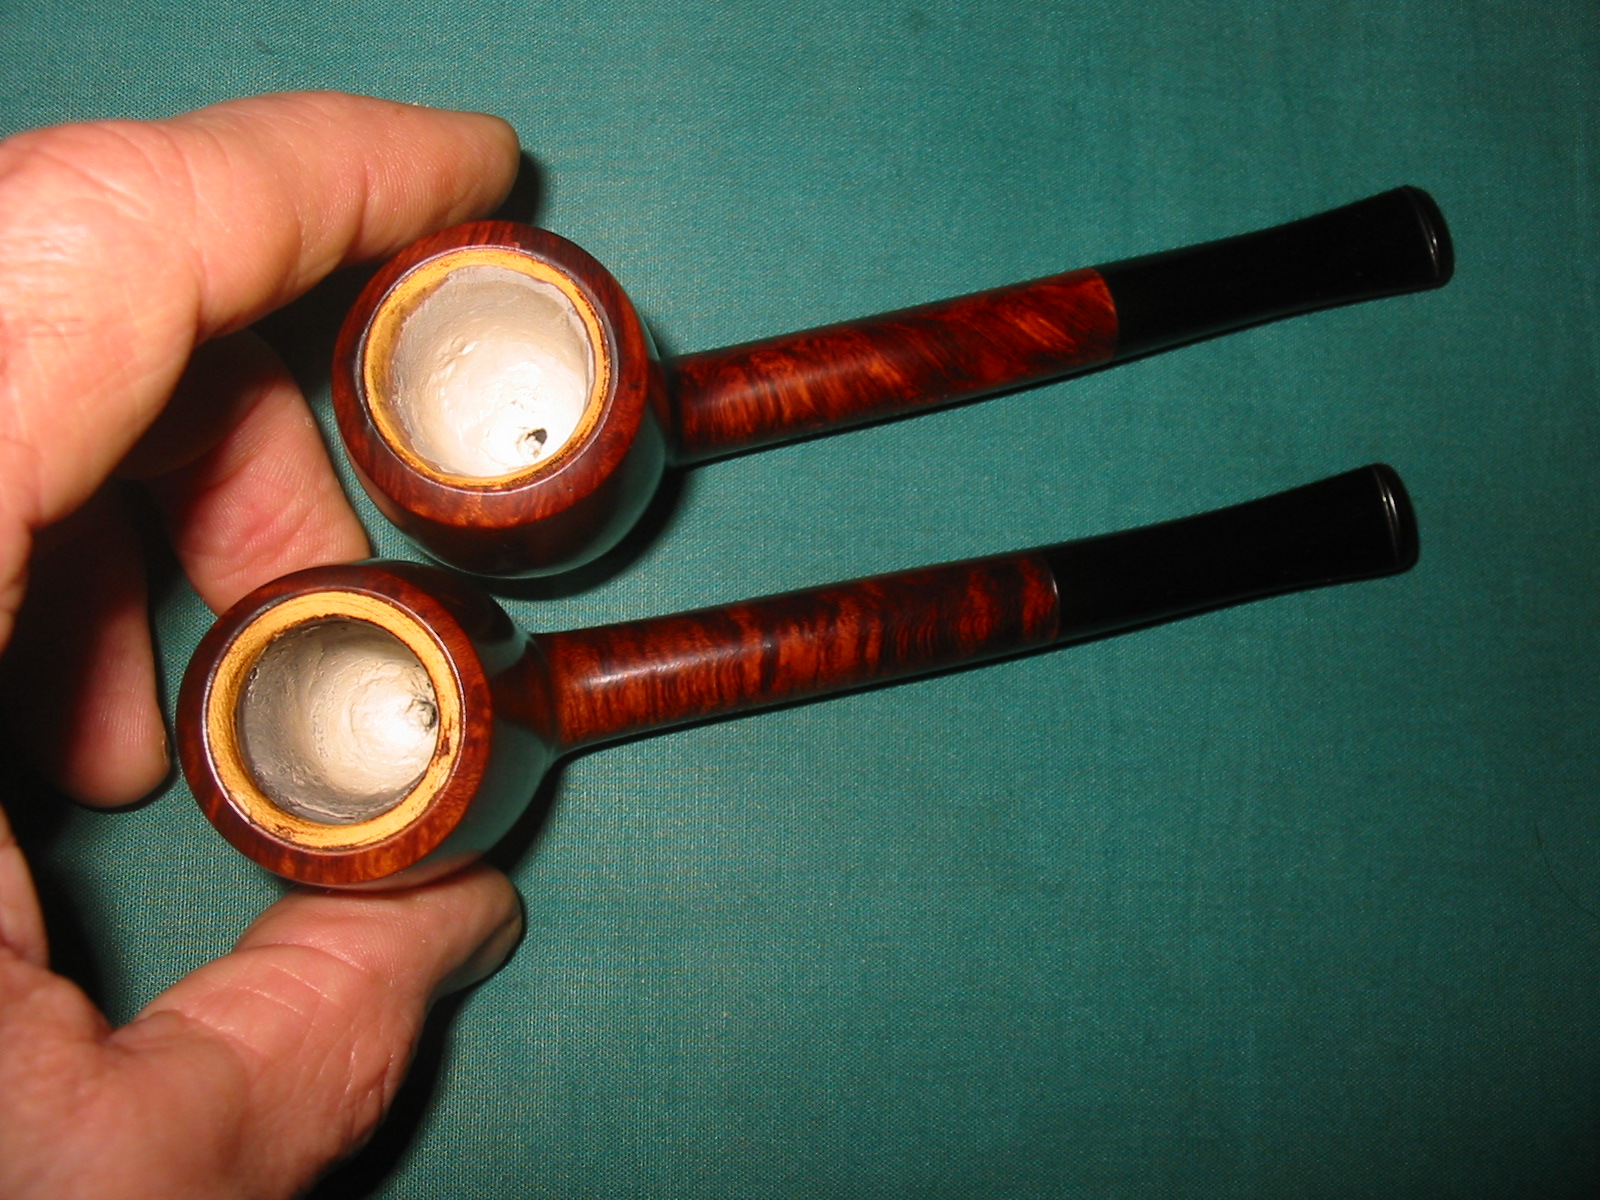
meer1meer2meer3meer5The meerschaum lining on the two was in great shape except for the bottom of the bowl. The lining on the bowl of the top pipe above and below shows the break through on the lining. It was worn all the way through to the briar. The size of the hole was about the size and shape of a pencil. The lining on the bottom pipe was not as worn but was significantly below the airway and showed damage. It was very thin if my measurements were correct. Both of these bowls would need to be addressed in a restoration.
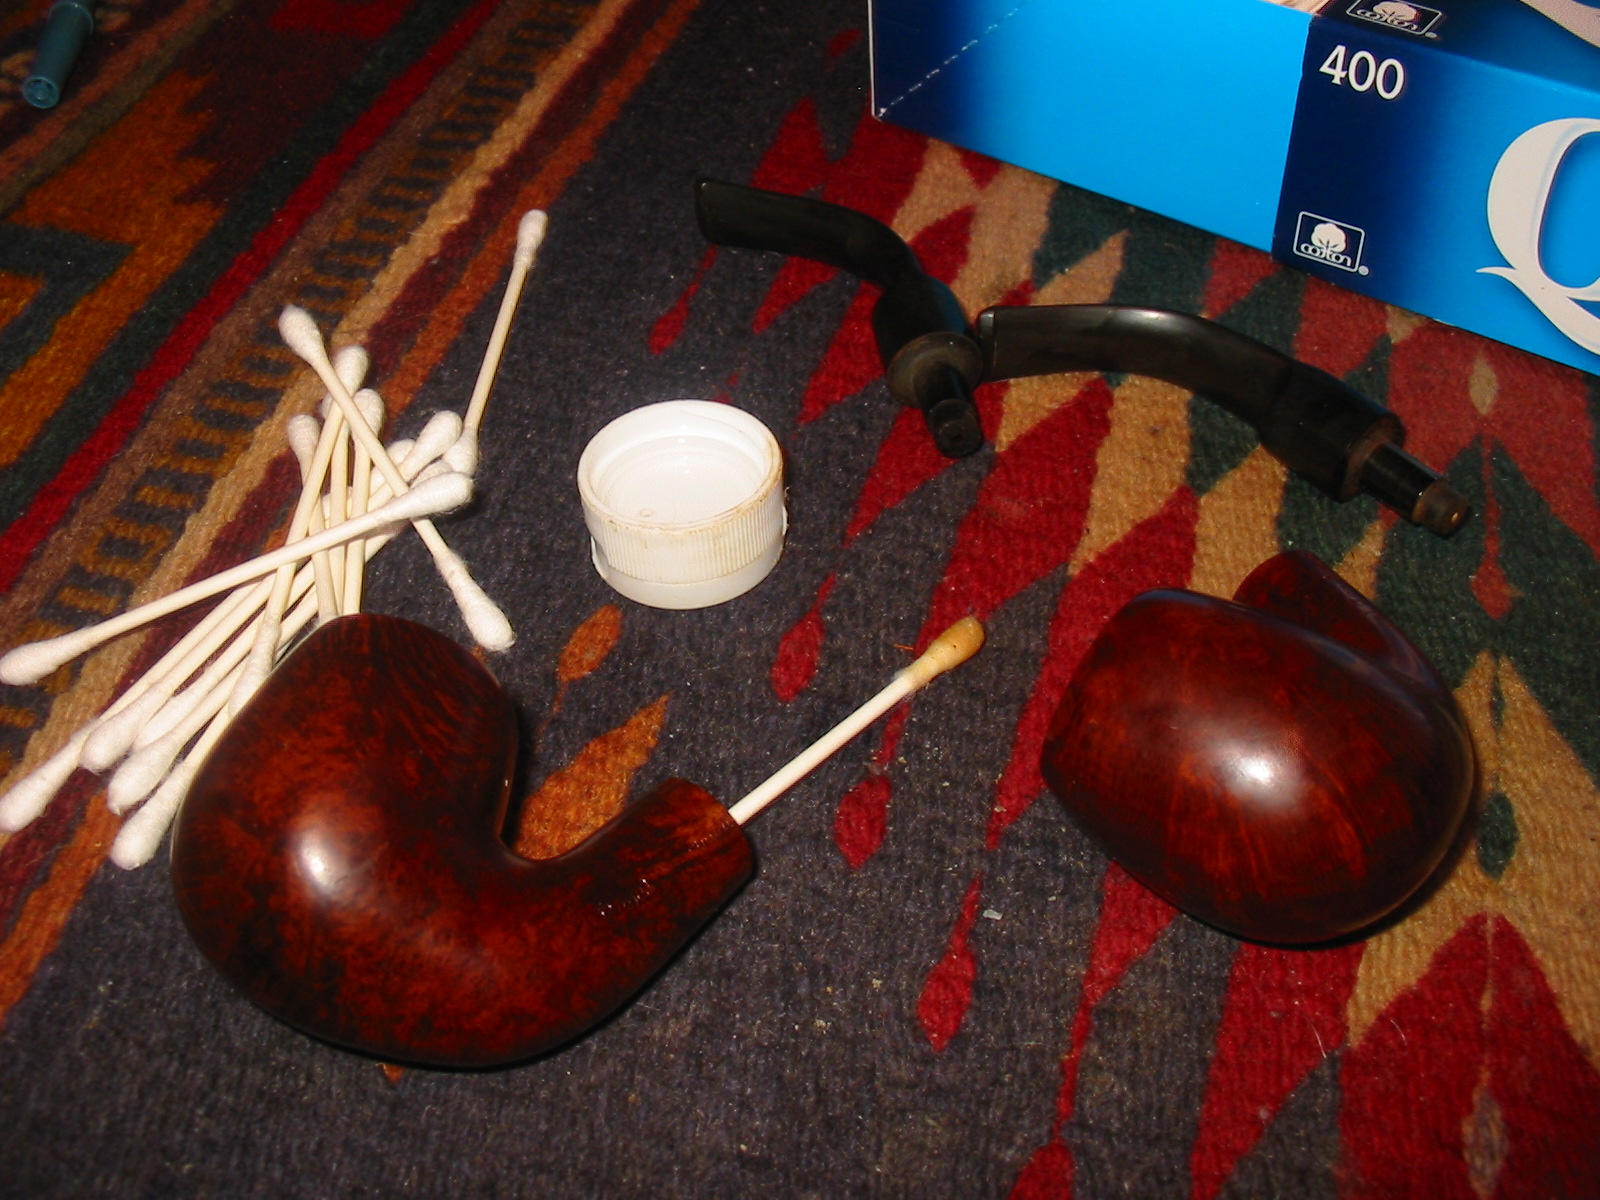
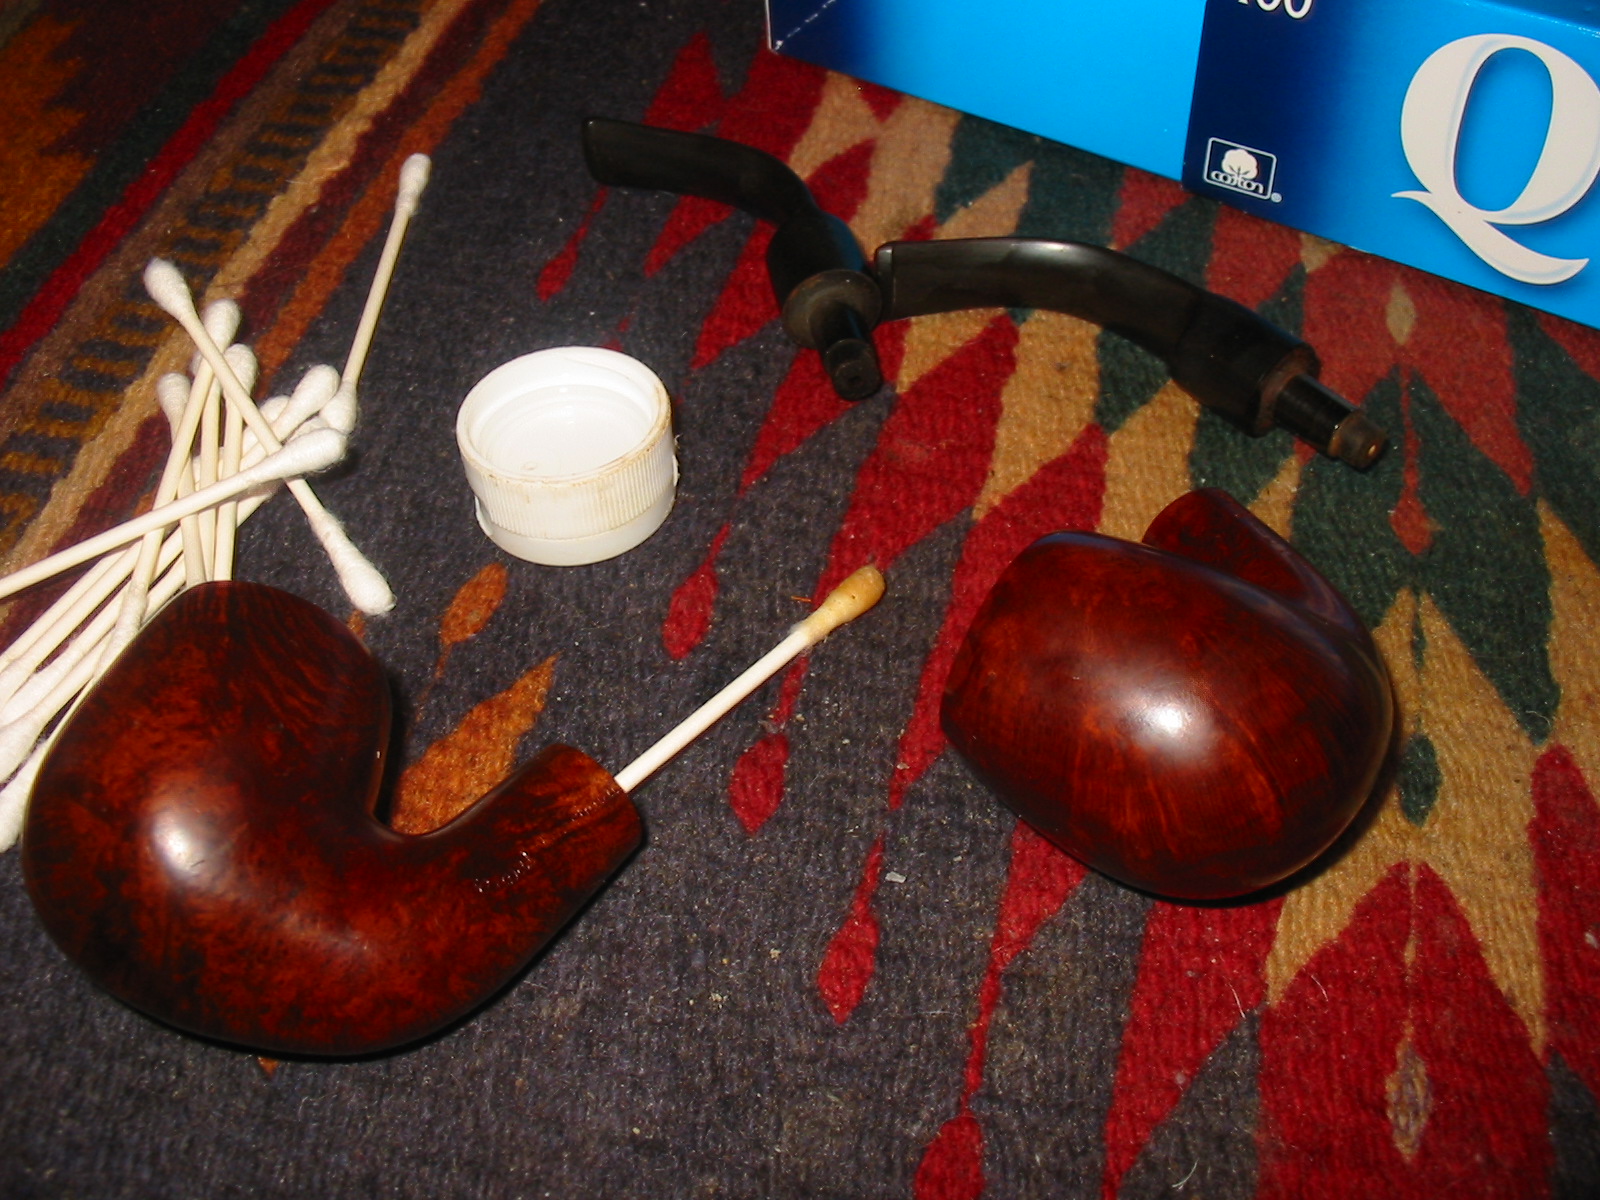
meer4I cleaned out the inside of the bowl and the shank to prepare for patching the bottom of each bowl. I used cotton swabs, isopropyl alcohol and pipe cleaners to remove the tars and grime from the inside of both. I also used a fine sanding sponge to remove the tars from the top of the rim and the meer lining. All of this was done to prepare for the repairs I was planning for the inside of the bowl.
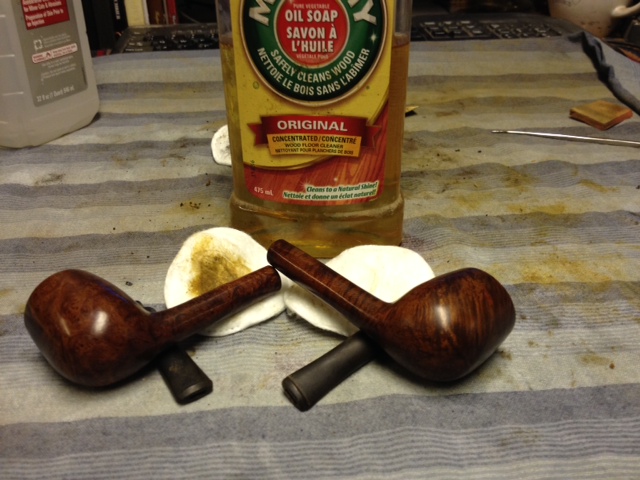
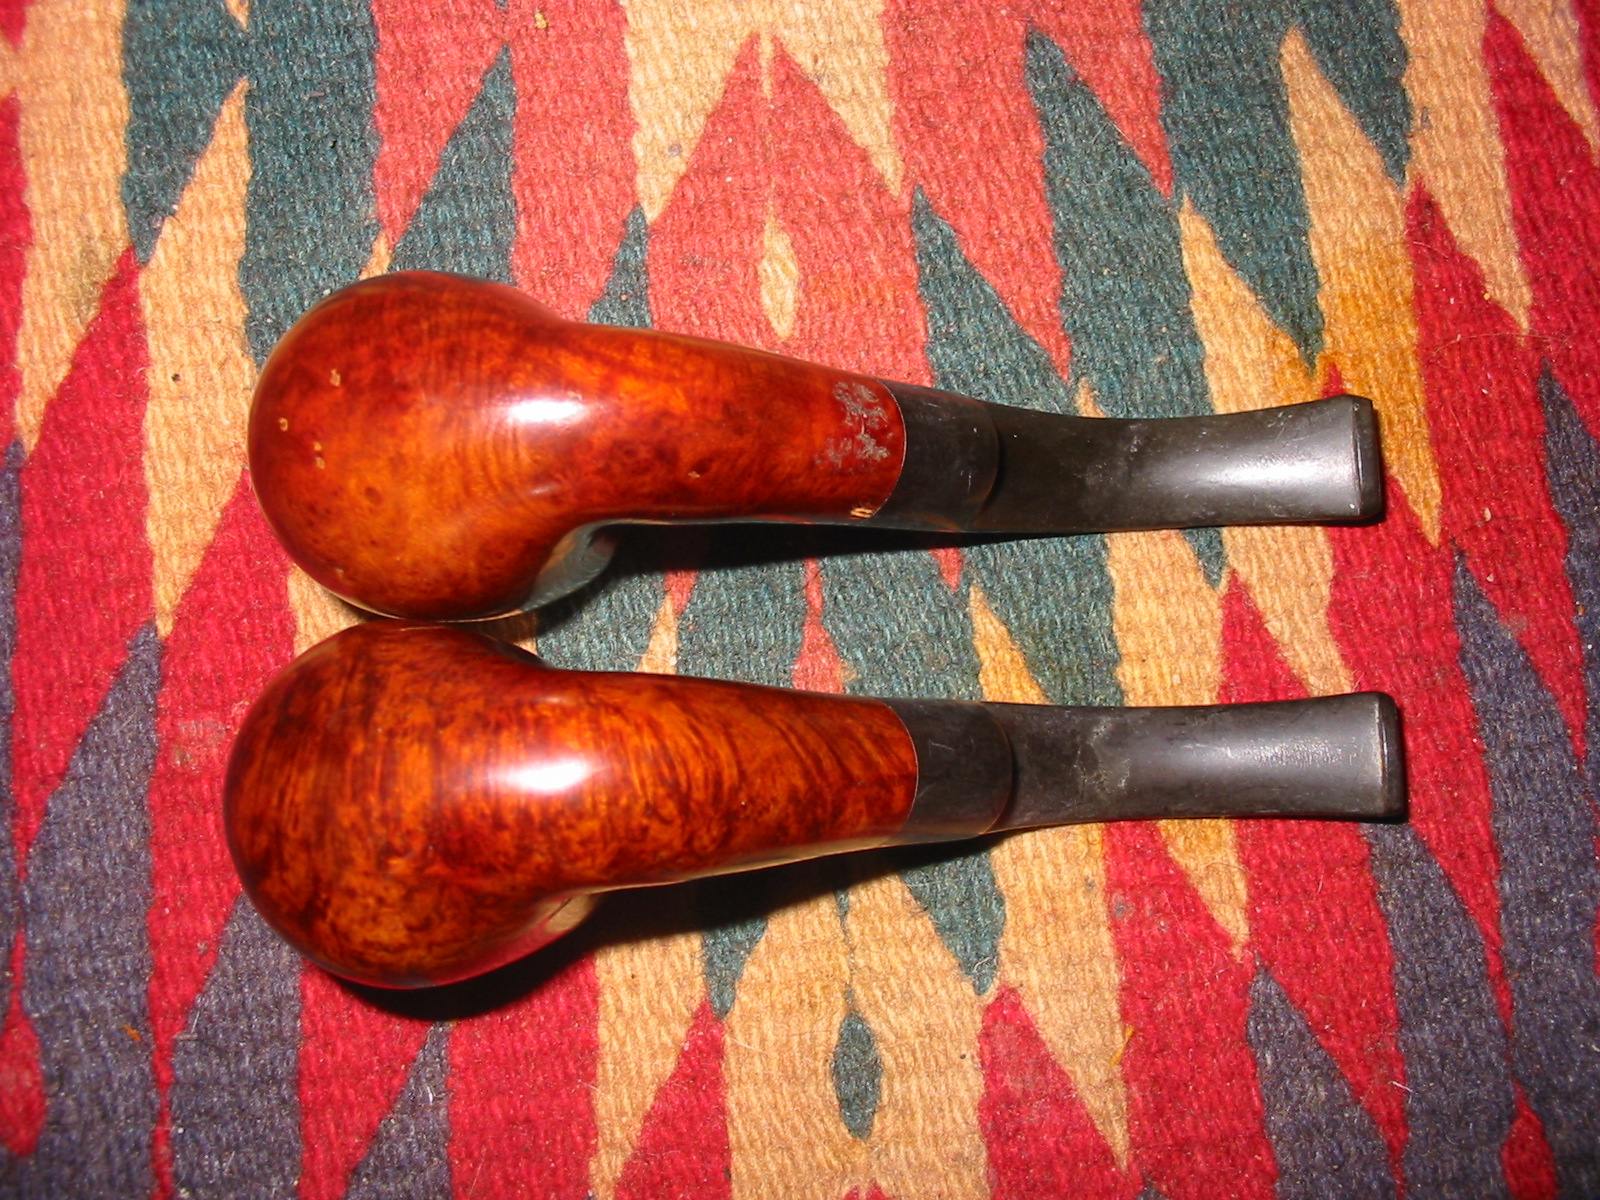
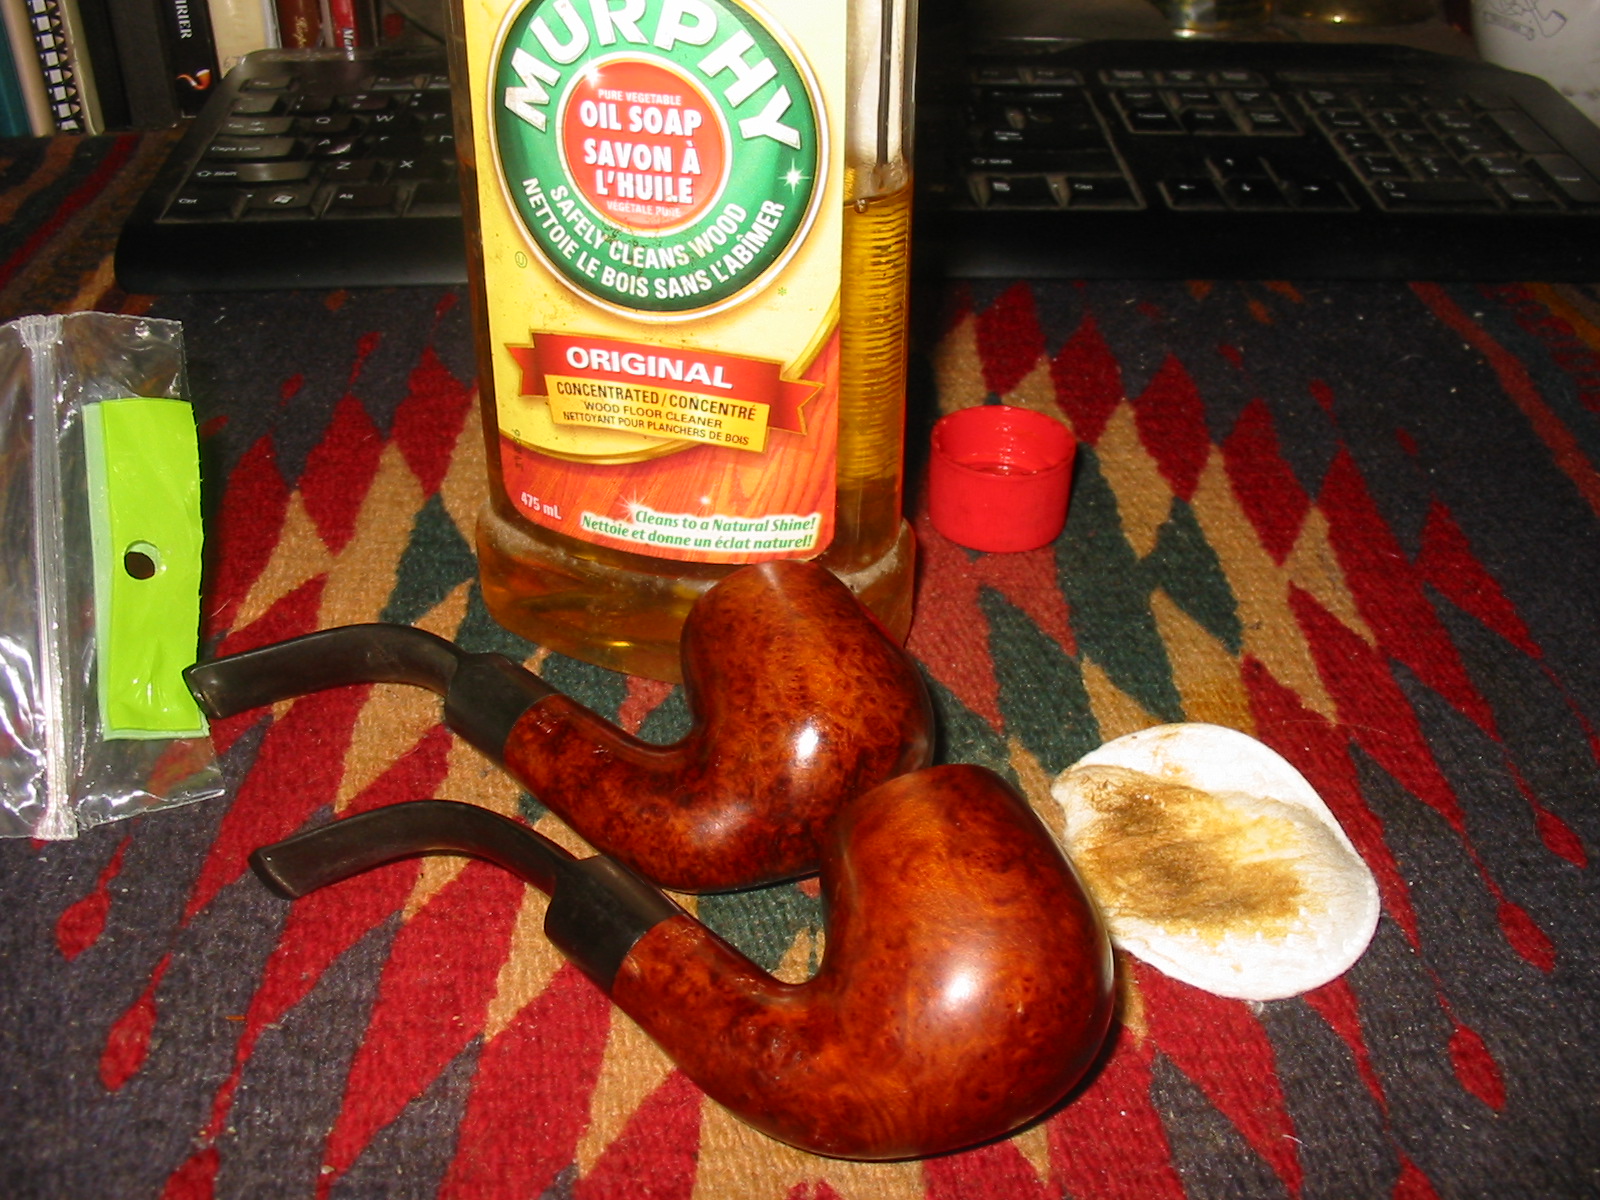
meer6I scrubbed the outside of the bowl and shank with Murphy’s Oil Soap on cotton pads to remove the grime and sticky substances on them both. I also rubbed down the stem with the oil soap.
meer7I mixed a small batch of Plaster of Paris in a plastic bowl that I use for mixing and cleaning pipes. I generally pour in the dry powder and then use an ear syringe to add water slowly to the mix to get the right consistency for a patch. I learned the hard way to do this. I used to pour in the powder and then pour in water. I had to keep adding back and forth to get the mix right and always ended up with excess material. This way I can actually mix it in very minute batches, and add water as needed to keep it workable.
meer9I inserted a pipe cleaner into the airway and into the bottom of the bowl to keep the airway from clogging with the mixture. I then pressed the mixture into the bottom of each bowl with the spoon end of a pipe nail and a dental pick. The trick is to push into the bottom and use the dental pick to push it into the holes. Once it is tightly packed by the pick I use the spoon to smooth it out on the walls of the bowl and the flat head to press the bottom of the bowl. In this case the bowl was somewhat conical so I used the spoon the entire time.
meer10I cleaned up the bowl and smoothed out the surface of the repair with my finger. I wet the end of it with water and then rubbed it against the walls and bottom. I do this to knock down the ridges left behind by the spoon. I cannot get it absolutely smooth but it is smooth enough that after a few smokes it matches the surface of the meer lining. In the photo below the top pipe shows that it took the largest amount of patching. It was the bowl that was worn through at the bottom. The crack at the airway is actually not a crack but a pipe cleaner end pushed into the bowl. The bottom bowl took far less of the mixture to patch. I set them aside to cure overnight. The last photo of the bowls shown below shows the bowls after the plaster had cured. They were hard and slightly rough to the touch. I wet my finger again and rubbed down the ridges on the sides and bottom of the bowl until the surface was smoother. I sanded the patch with 220 grit sandpaper and with a medium and fine grit sanding sponge. I wiped down the inside of the bowl with a wet cotton swab to remove the dust from the sanding.
meer12IMG_6899I sanded the stems with 220 grit sandpaper and then a medium and a fine grit sanding sponge. I buffed the stems with red Tripoli and then took them back to the work table. I sanded them both with my usual micromesh sanding pads. I wet sanded with 1500-2400 grit pads and then dry sanded with 3200-12,000 grit pads. I had to stop several times and go back to the sandpaper and sponges to get the deep oxidation. I repeated the sanding with the micromesh pads. I wiped the stems down with Obsidian Oil. When it had dried I buffed the stems and bowls with White Diamond and then gave the pipes a buff with carnauba wax. I finished by buffing with a soft flannel buffing pad to polish. The photos below show the finished pipe. I will let them cure for a few days longer before loading them and giving them a first smoke. I have found that as the plaster heats when smoking it becomes harder and even more cured. It makes a durable and lasting repair.
IMG_6895IMG_6896IMG_6897IMG_6898

Restoring a Savinelli De Luxe 132EX Pot


Blog by Flatticus

It is with pleasure that I introduce you to Flatticus. Flatticus is the designer and fabricator of the rustication tool that I wrote about a few posts back. We met via Smokers Forums and also through the blog. We exchanged quite a few messages and emails back and forth over the past months on refurbishing pipes and in building the rusticator. Flatticus has been reading the blog for quite a while now and I have asked him to feel free to write-up some of his work for us to read. Flatticus is a great communicator and does some excellent work in his refurbishing. Without further ado I will let Flatticus introduce himself and this pipe that he has restored.

Hi all, Flatticus here, an amateur to this wonderful hobby. This blog has taught me everything I know about restoration (but far from everything Steve knows, yet) and I’m excited to have a chance to share some of my recent efforts, all with methods learned right here at Reborn Pipes. I recently came across a large lot of pipes with some hidden gems, including this enormous Savinelli De Luxe 132 EX Pot. Even through the grime, it was clear at the outset that this was a beautiful piece of briar. I was a bit hesitant from the outset, though, because I’ve never meddled with a pipe this nice. Still, there’s only one way to learn!
Chris1As you can see, the oxidation was extremely heavy, enough to hide the significant tooth damage to the button and bite zone. The pipe itself was grimy in the extreme, and while a touch of murphy’s oil soap took enough grime off to assure me this wasn’t heat damage, it wouldn’t touch the majority of the blackening on the pipe. First step, then, was to put the pipe in my alcohol bath, a technique I first read about in Steve’s post here. So I reamed the excess cake, and dropped it in the bath. The stem got a quick scrub with some pipe cleaners, and was already pretty clean, so into the Oxyclean it went for 2.5 hours.
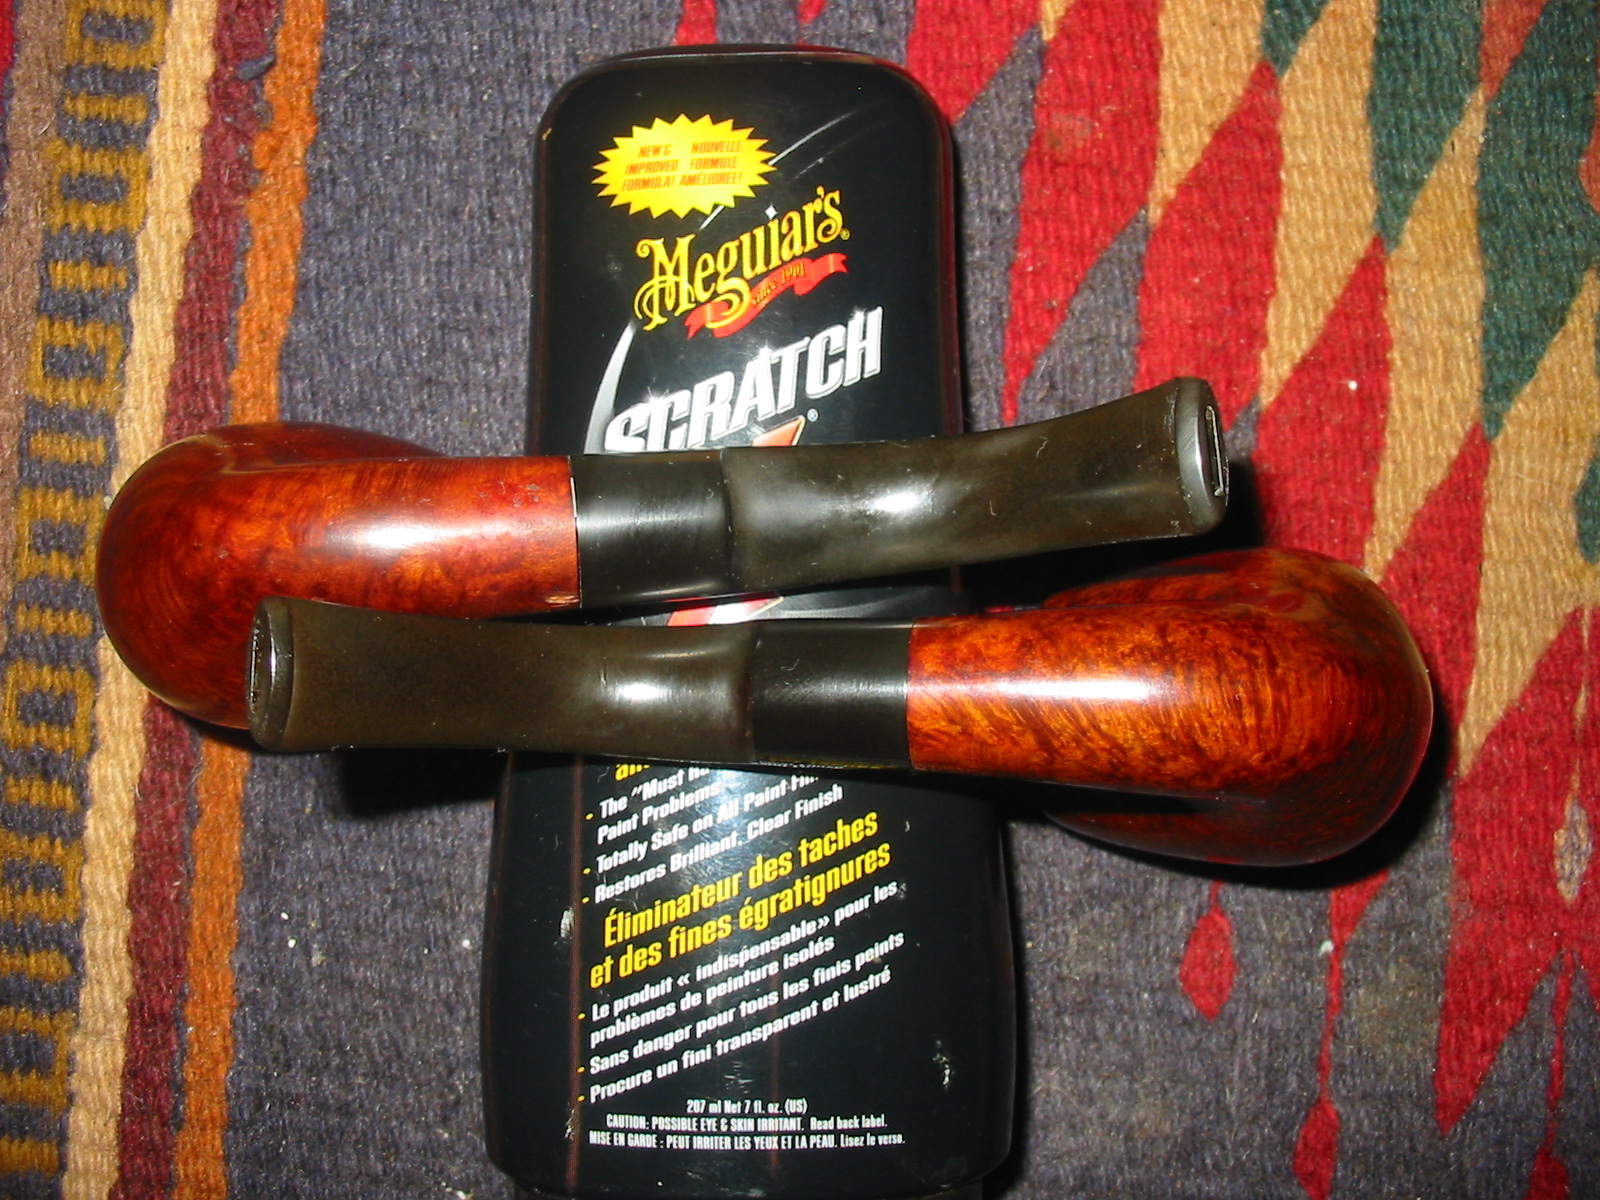
Chris2Chris3After the soak and a little scrubbing on with the Magic Eraser pads, actually bought as melamine foam on the cheap off eBay, but it’s the identical product, the stem looked great! At least unless you’ve read the recent post by Joyal Taylor here. Luckily, I had, so I knew to grab my trusty flashlight.
Chris4Oxidation was everywhere, and under an angled flashlight I could see it through the length of the stem. Ok, then I knew I had to sand. But first to address the bite marks. Step one was to try the heat gun, as I learned first here.
Chris5Unfortunately the marks were too deep to come out completely from the heat, so I filled them with black superglue, a technique I found an in-depth explanation of, among other places on the site, here. In the meantime I turned to the stummel itself while the glue was drying.
Chris6The bowl top was scratched pretty badly, and had some definite darkening to contend with. I knew I’d have to top it like Steve showed me in many posts like this one. I grabbed my topping board, actually a granite surface plate I bought from woodcraft years ago for lapping wood plane soles, and now use almost exclusively for pipes.
Chris7At 320 grit, my preferred poison for this procedure, the rim cleaned up quickly, but I soon enough decided that to eliminate all of the darkening I’d have to top the bowl lower than I liked. I came close, but left some of the color rather than lose the original shape. As you can see, the bowl was also a bit out of round (and still is, to a degree), which I went after with folder sandpaper to smooth out the curve without reshaping the bowl. The pipe had 2-3 fills, but I was confident they’d blend into the stain.
Chris8After this was done I gave the bowl one coat, applied twice with flame, of a medium brown Fiebing’s Dye, diluted to about 75/25 with isopropyl alcohol and set it to dry while I turned back to the stem.

Unfortunately after a quick bit of sanding it was clear the stem needed more glue to be built back up, so I added some and tried to be patient while it dried.
Chris9Once it had, I began sanding at 320 again, at this level with an eye towards shaping more than polishing. This is definitely a weak spot for me, so I’m glad for the practice, but I need more!
Chris10After a lot of trial and error (mostly error) I finally had the stem shaped properly and sanded through 320, 600, 800, 1000 grit in sandpaper and the full range of micromesh pads from 1500 to 12000. It was looking nice and shiny, so I gave it a thick rubbing with obsidian oil and set it out to dry for about a half hour.
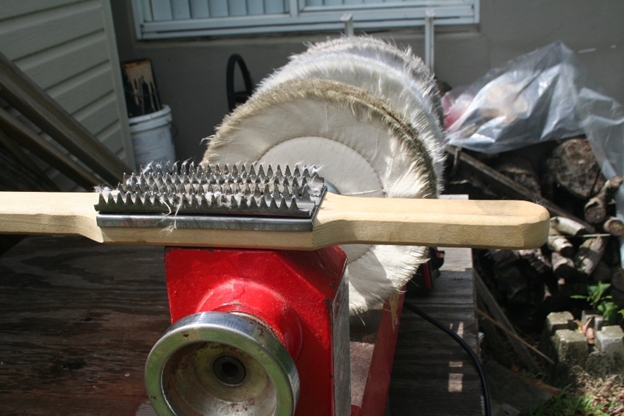
Chris11At this point it was time to hit the buffing wheels. As you can see, I buff on the lathe, with a three wheel mandrel not made by Beall but suspiciously similar, and with tripoli, white diamond, and carnauba wax. One thing I’ll point out is that odd tool in the foreground, which is a wheel rake. You can get the job done with a hacksaw blade, but if you want clean buffing wheels, these are hard to beat.
Chris12After the three-part buffing, I chucked a 4” flannel wheel into my cordless drill for a final polish by hand. For a rank amateur, I must say myself, this turned out to be a very beautiful pipe.

Some pictures of the finished product:
Chris13Chris14Chris15
Looking back, I still have an awful lot to learn, that much is clear. For one thing, that rim fill didn’t blend quite as well as I was confident it would. All in all, though, I’m pleased as punch at having learned how to do any of this, and I have Steve and the great contributors to this site to thank for it.

A Set of Twins – Bent Royal Coachman Billiards by Comoys


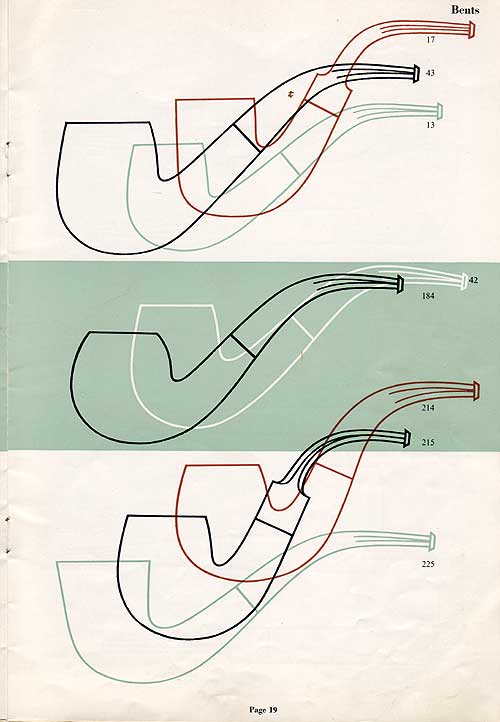
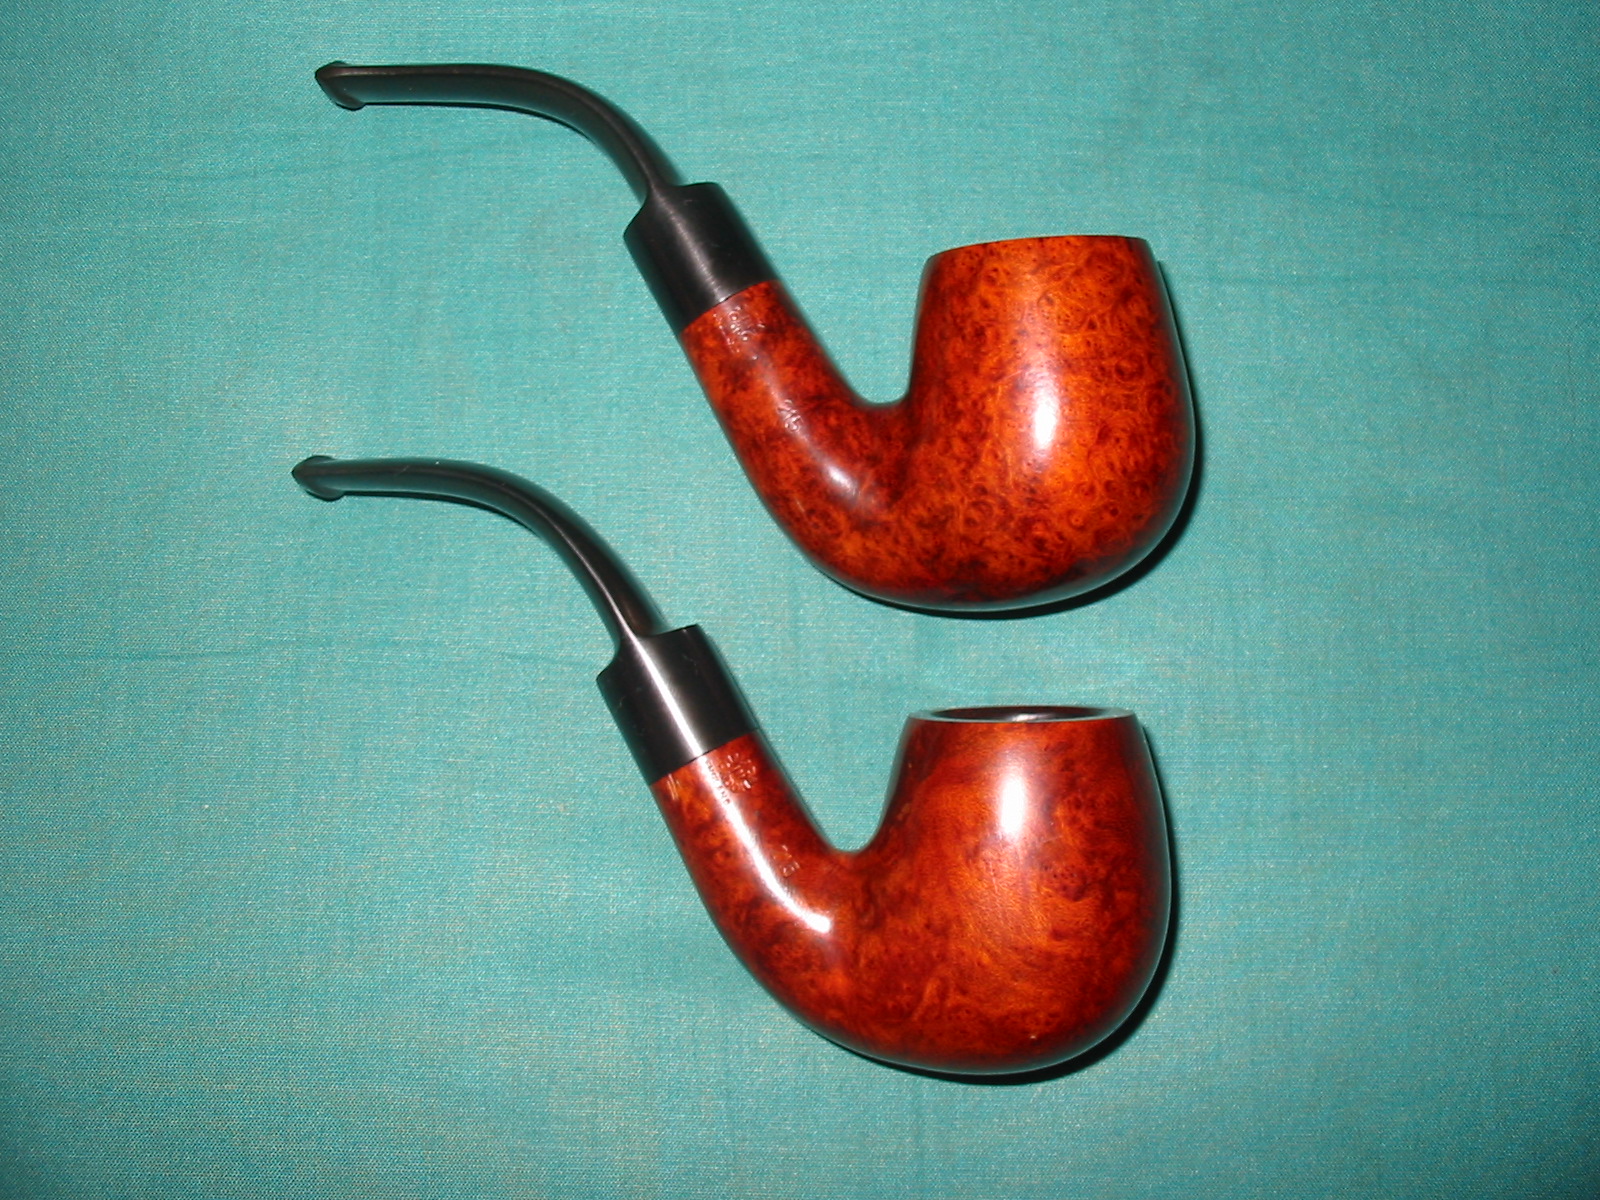
On a recent adventure I found a pair of bent billiards that had the Made in London England circle stamp on the right side of the shank and the Germanic script stamping, Royal Coachman on the left side of the shank. They were also stamped with a shape number 215. I did a bit of research to see if I could identify the maker. From the markings I was pretty confident that I was dealing with a Comoy’s seconds line but wanted to make certain I was right. The circle stamp on the right side of the shank was a giveaway to that identification. The shape number looked very familiar to me and the overall look said Comoys. So I looked in two the places that I always go to when beginning a hunt for info. The first is a website set up by Pipephil called Logos and Stampings. There I found that the Royal Coachman was indeed a Comoys brand. The site showed that the pipes were made by Chapuis-Comoys. The second site I looked at was Chris’ pipe pages http://pipepages.com/64com19s.htm . Chris has collected old catalogues and documents that give shape charts and many historical materials that cannot be found in other places. I have copied a page from the shape chart below and you can see that the 215 shape number matches not only the Comoys number but also the shape.
64com19
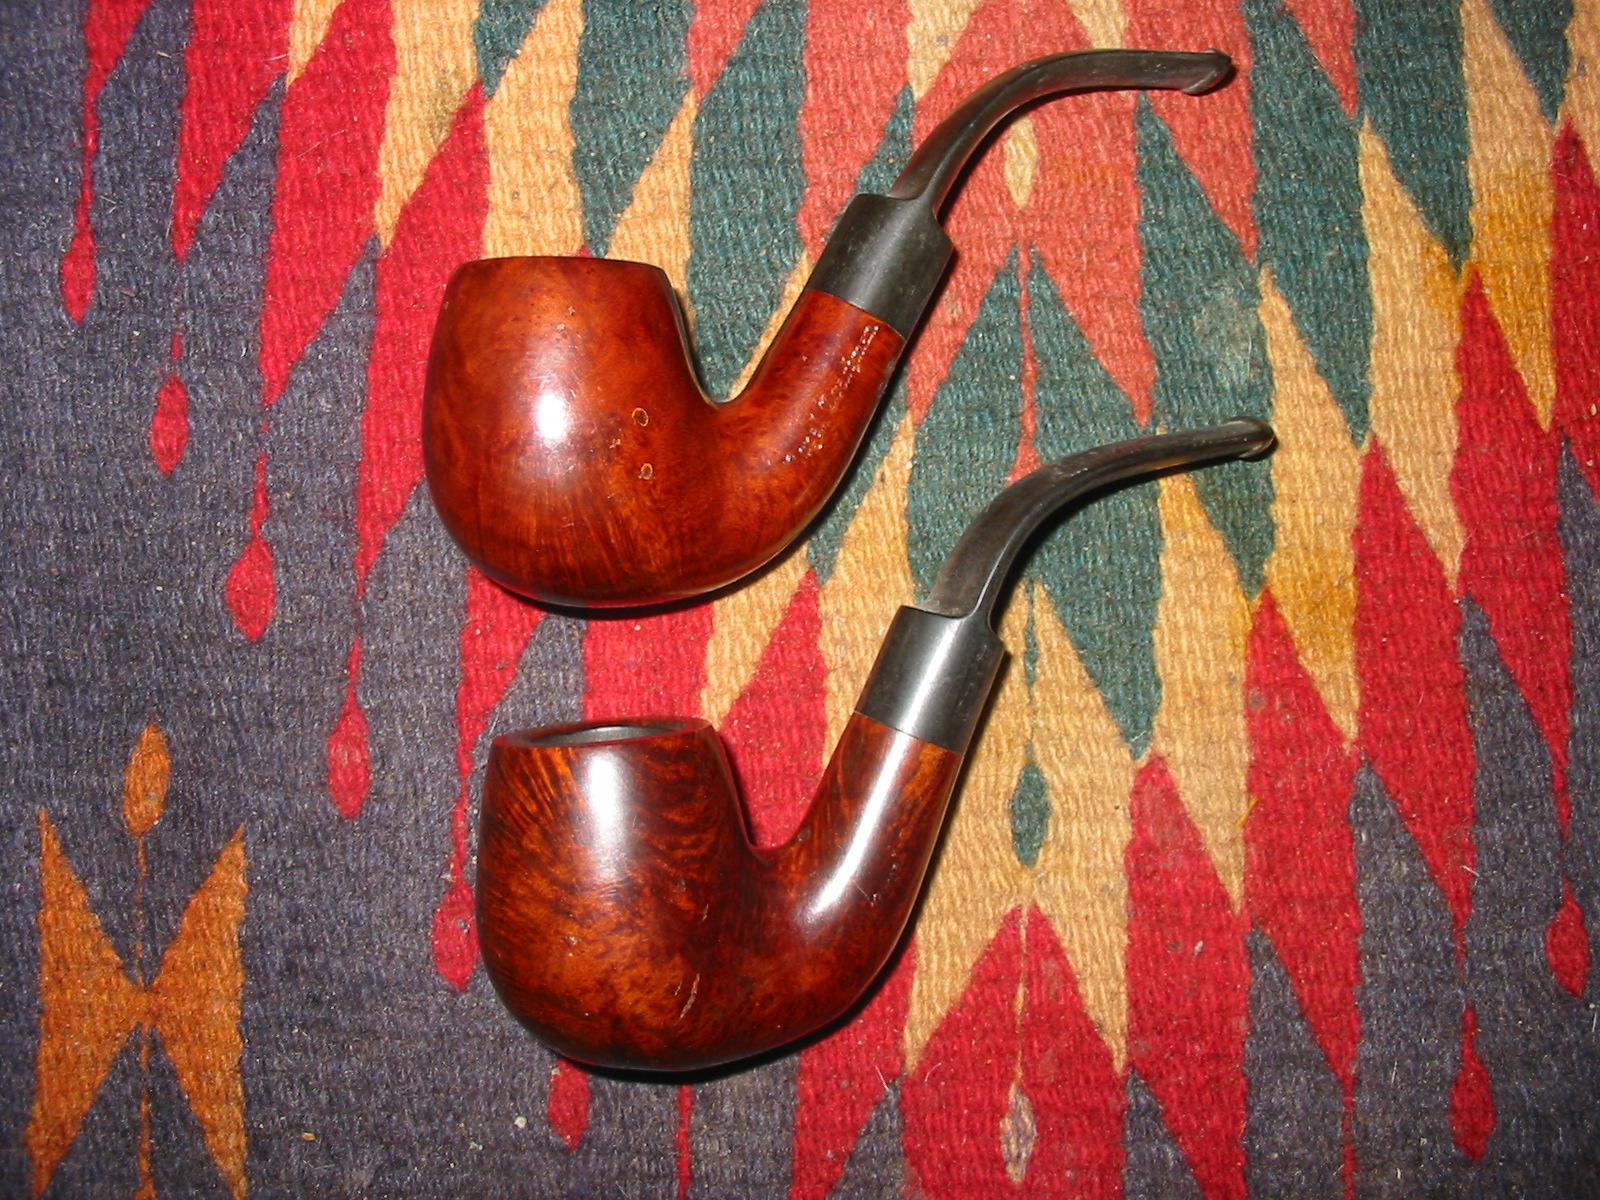
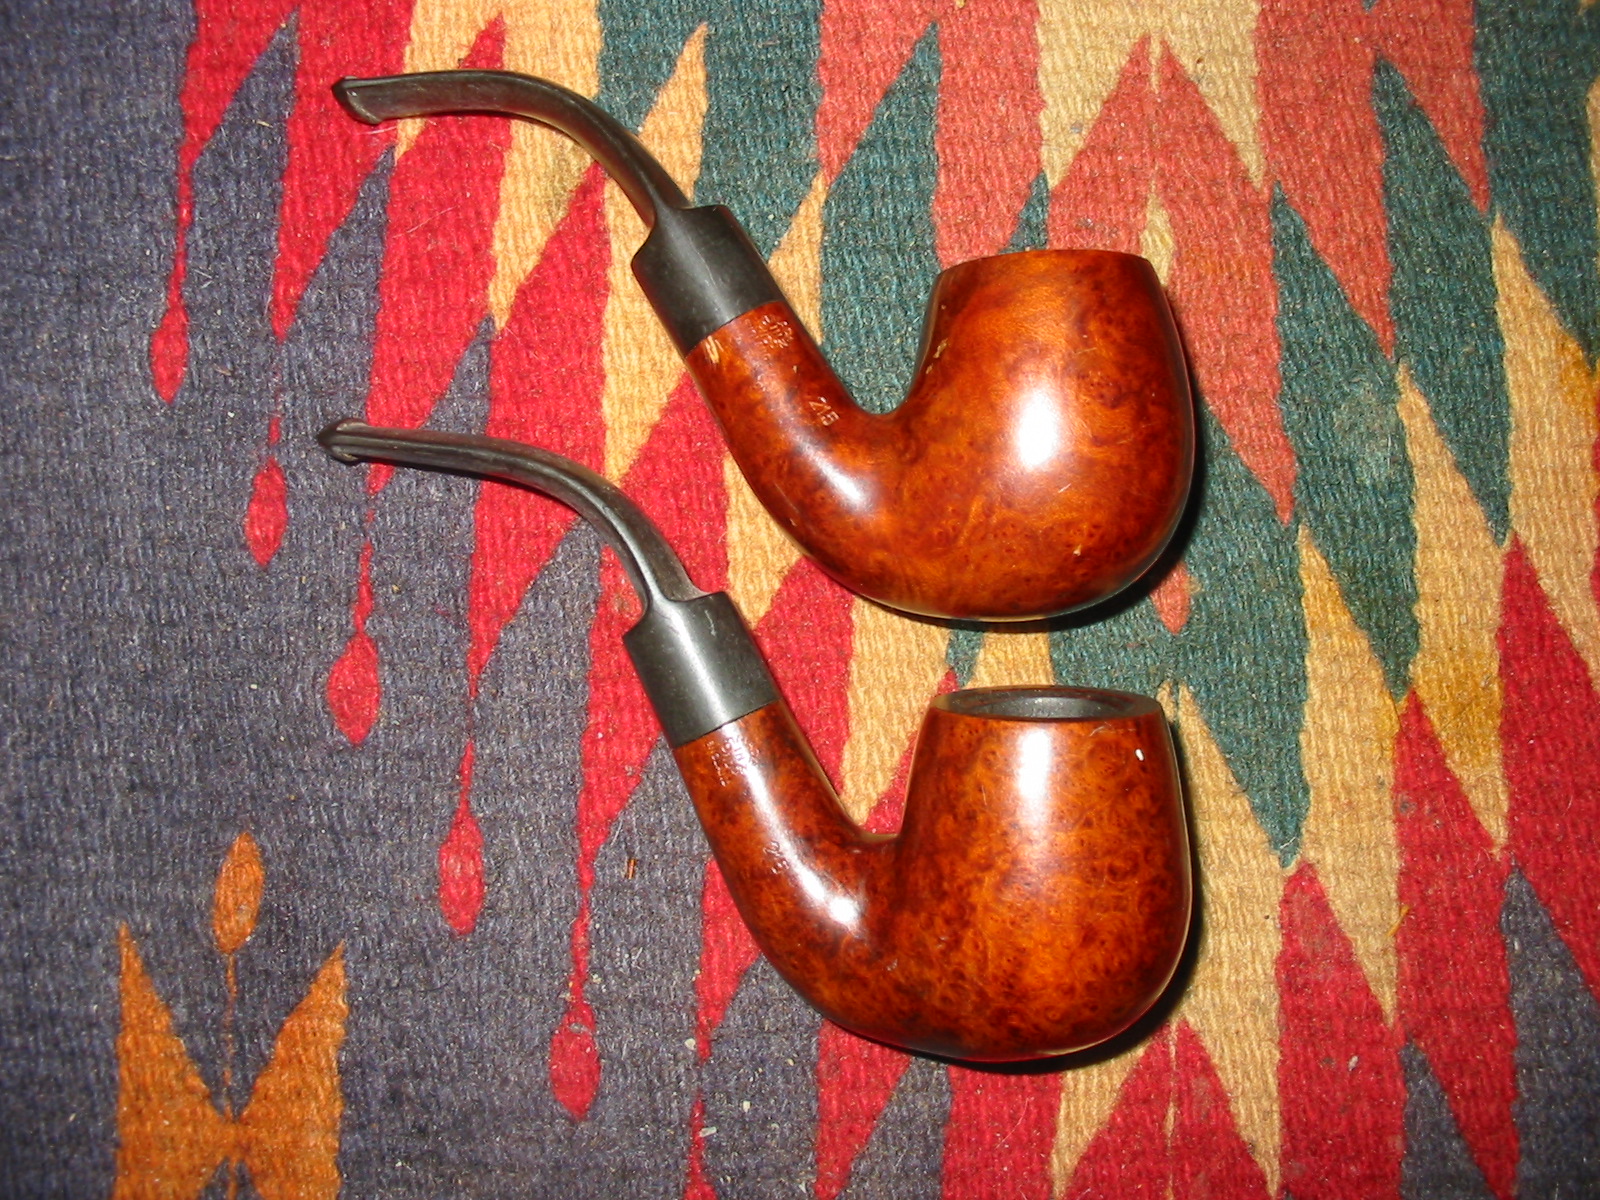
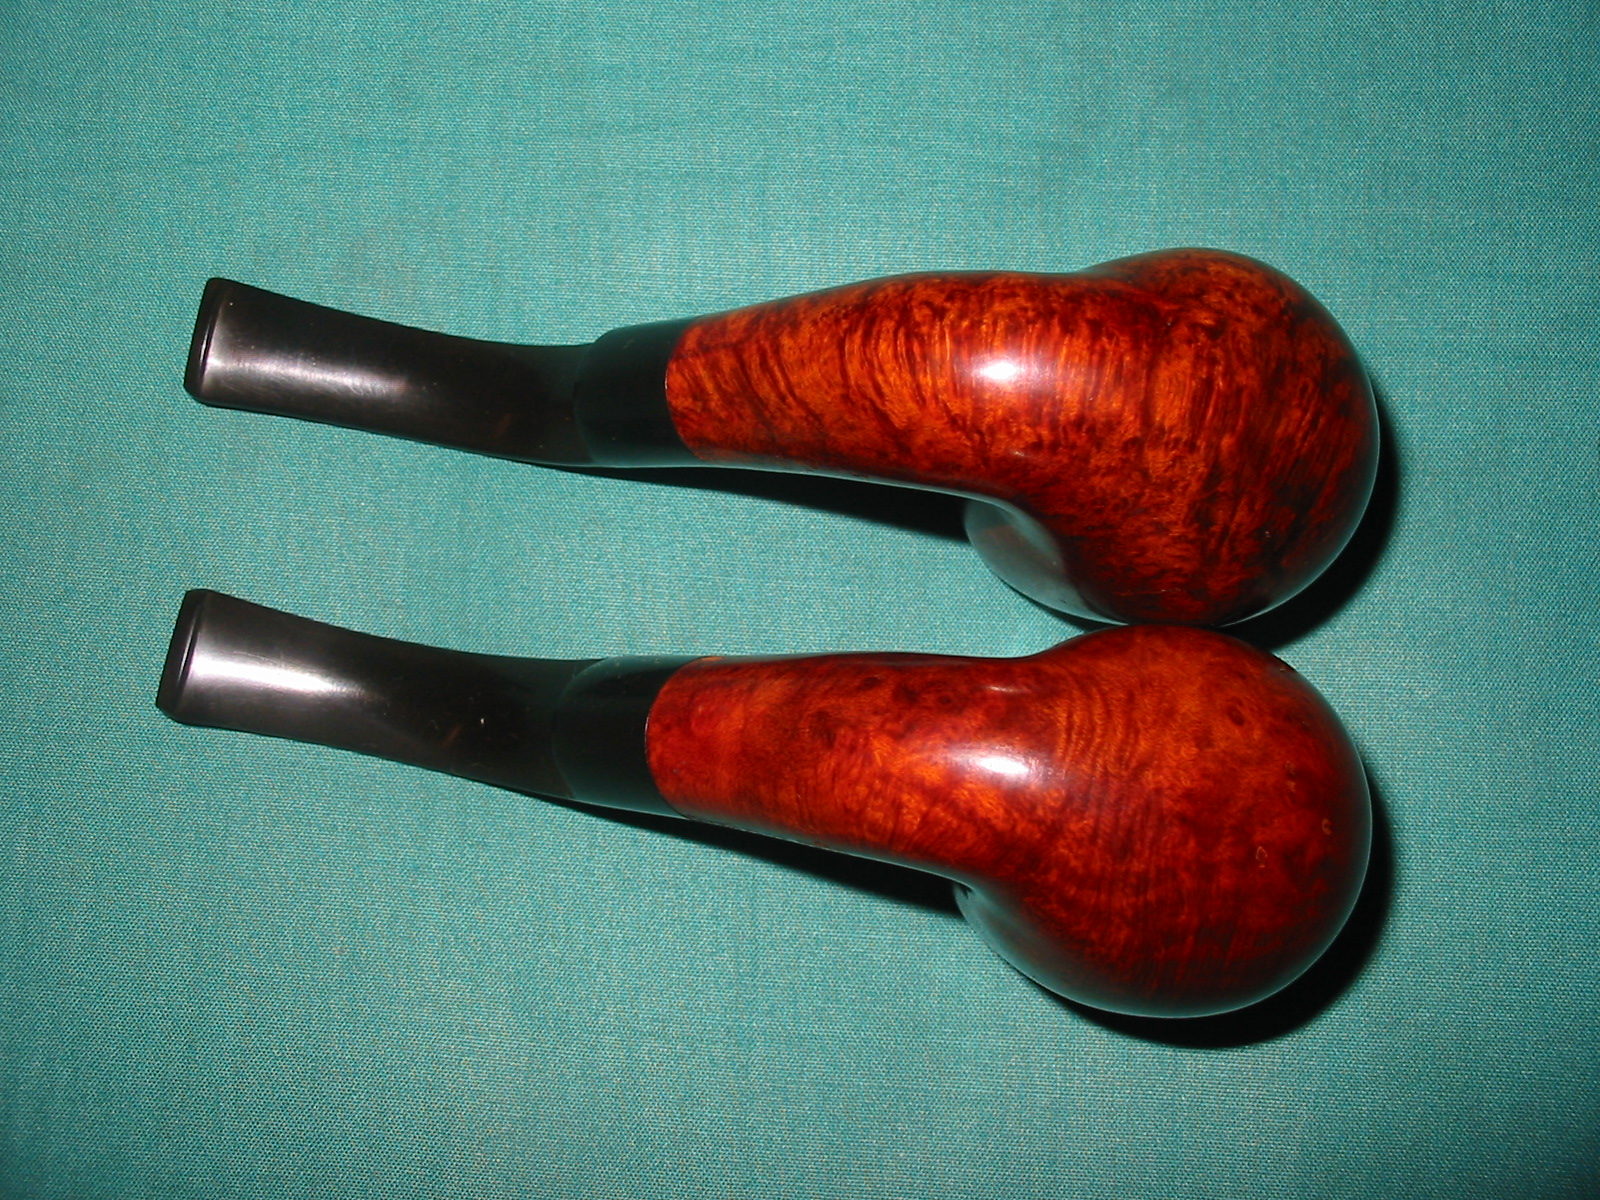
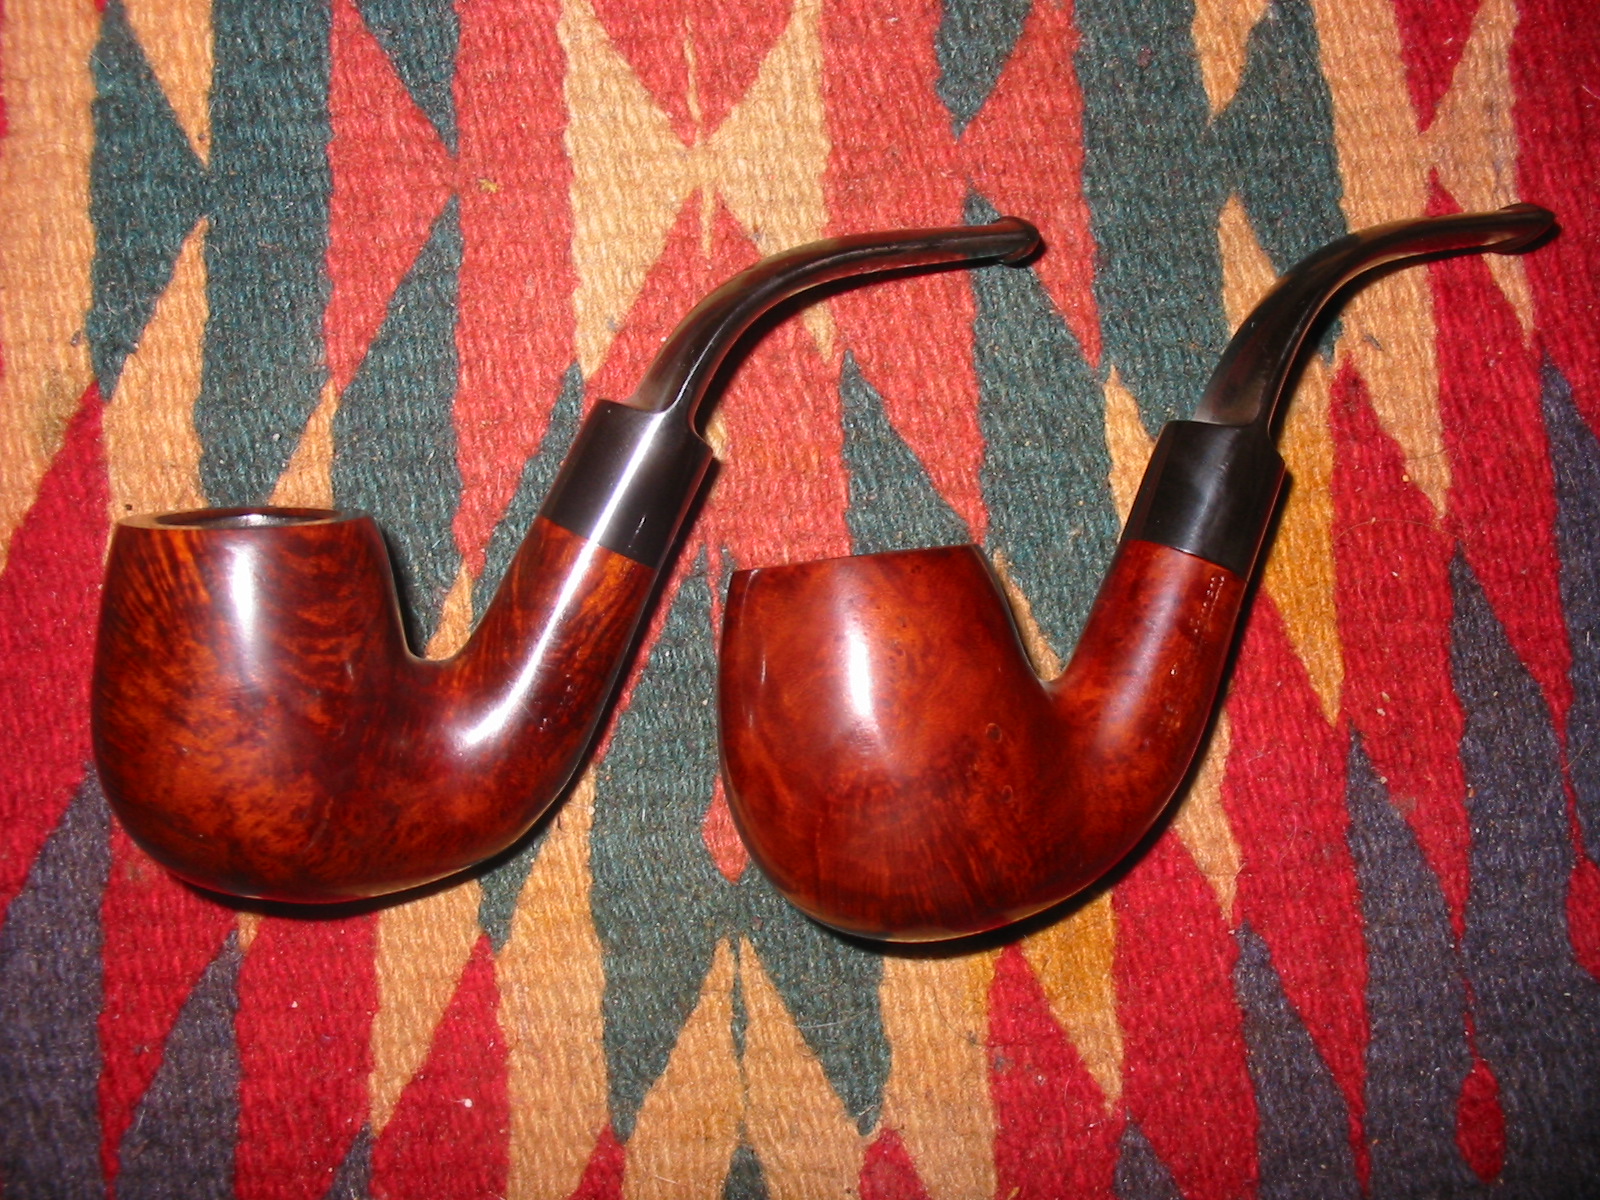
When I brought the pipes home from the antique shop they looked like the photos below. There were actually in pretty good shape for their age. The dealer said that he bought these along with 20 other pipes from a widow who was selling off her late husband’s estate. He had some interesting old pipes and I was able to pick through them and brought six of them home with me. These are the first pair of the bunch. The bowls were lightly smoked with a bare minimum of cake. The top pipe in the picture below was less smoked than the bottom one. Both pipes were grimy on the outside of the bowl and had some oxidation on the stems. There were no tooth marks on the top pipe and only a little tooth chatter on the underside of the bottom pipe. The top pipe has three small fills that are visible in the first photo below and a slight nick in the shank on the right side near the stem. The second pipe has a few fills as well with the largest of them visible low on the left side of the bowl in the photo below. The rims on both were clean and undamaged and showed no tar build up. On the right side of the bowl of both pipes there was a small spot of white paint.
IMG_6852

IMG_6853

IMG_6854

IMG_6855
I reamed the bowls with a PipNet reamer to remove the slight cake build up and clean out the bowl. I wiped down the exterior of the bowl with Murphy’s Oil Soap to remove the grime and grease build up. It also took off the paint spots on the right side of the bowl. I use the soap undiluted as I find it does not remove the finish on the bowl as much as when it is diluted with water. I rubbed it on and scrubbed it with cotton pads and wiped it off with the same pads.
IMG_6856

IMG_6860
I cleaned out the inside of the shank on both pipe using cotton swabs and isopropyl alcohol. Both had a slight reservoir in the shank with the drilling being quite high in the shank to accommodate the bend in the shank to bowl junction. I cleaned out the airway with pipe cleaners and then the inside of the bowl with folded pipe cleaners and cotton swabs.
IMG_6861

IMG_6862
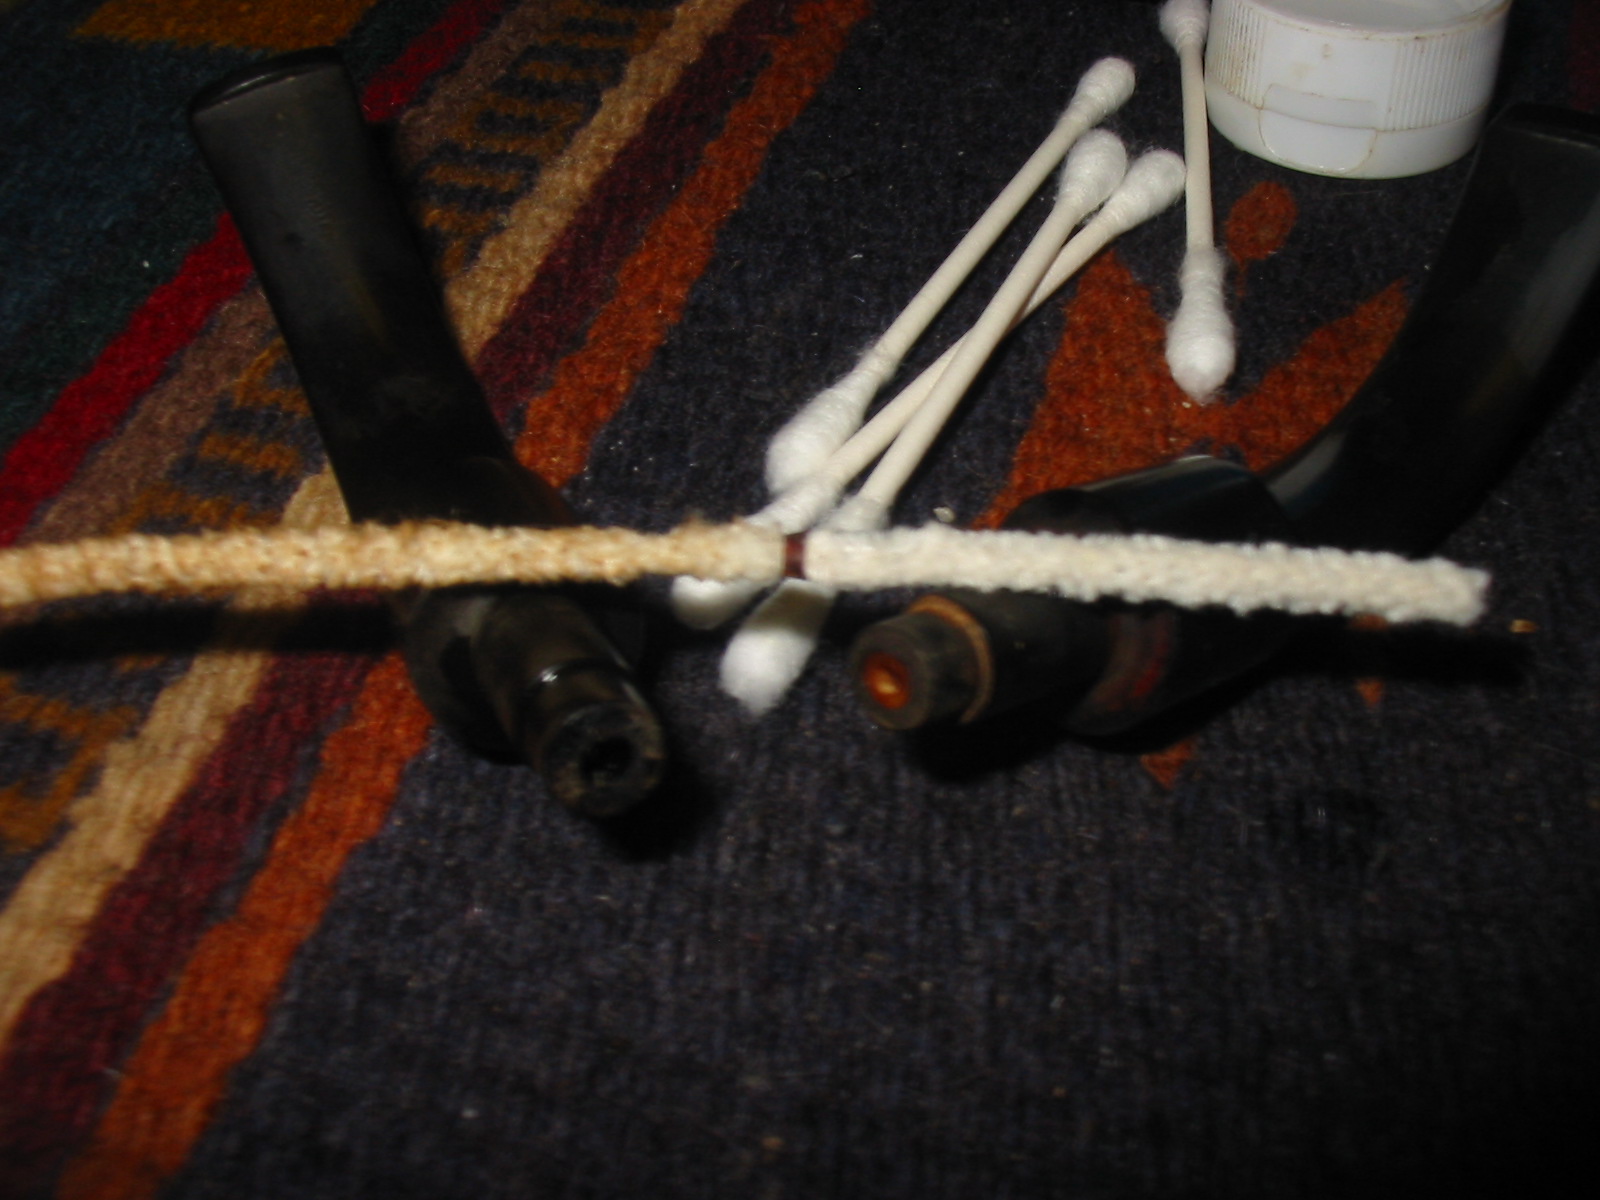
I wiped down the stems with isopropyl alcohol on a cotton pad and then cleaned out the inside with pipe cleaners. The opening/airway on the end of the tenon was very small so I had to work to push the pipe cleaner into place. I had not seen an airway this constricted in a long time. The draw on the pipe was very tight; it was like pulling air through a coffee stirrer. When I pulled the pipe cleaner out a small ring came out with it. It is visible in the photo of the pipe cleaner below. The stem on the left is the one that the ring came out of and the stem on the right still has the ring. It appears to be made of brass and is a thin ring that constricts the airway for about 1/16th of an inch. With the ring removed the draw was very open. I continued to clean out the stem and airway until it was spotless and the pipe cleaners came out clean. I cleaned the end of the tenon with cotton swabs and isopropyl alcohol.
IMG_6863
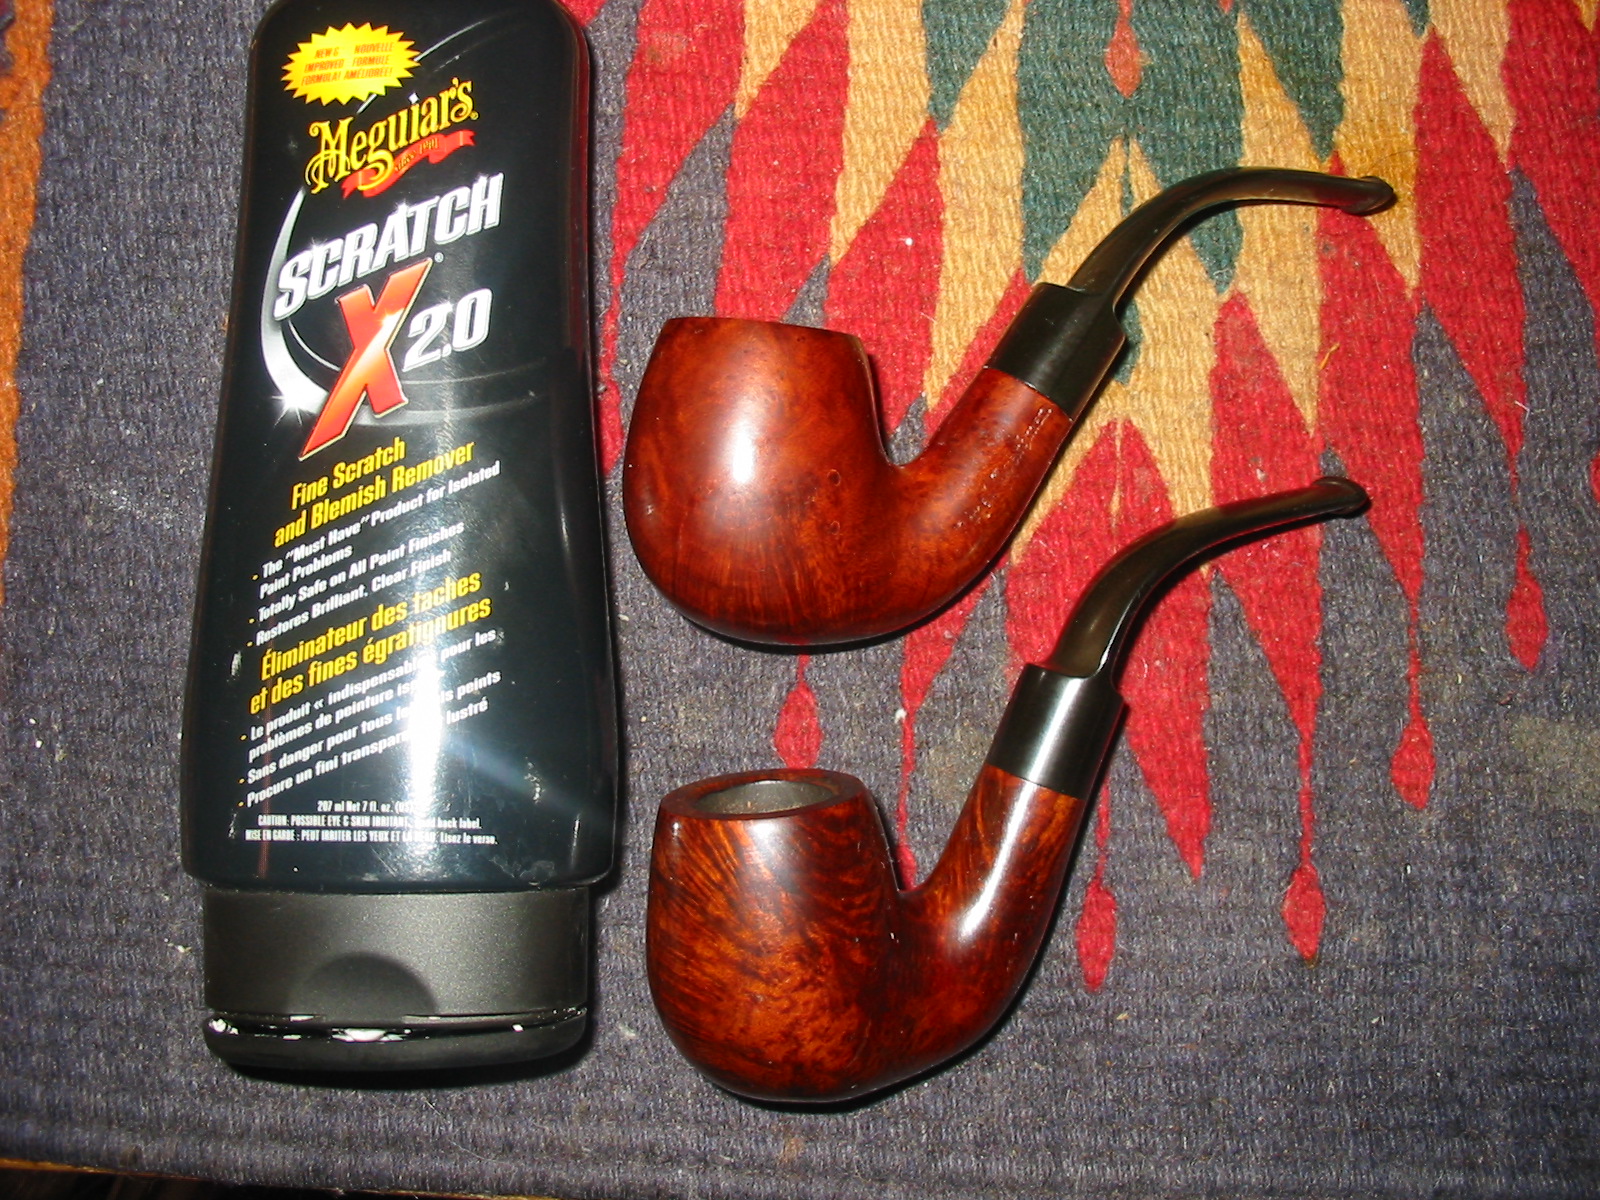
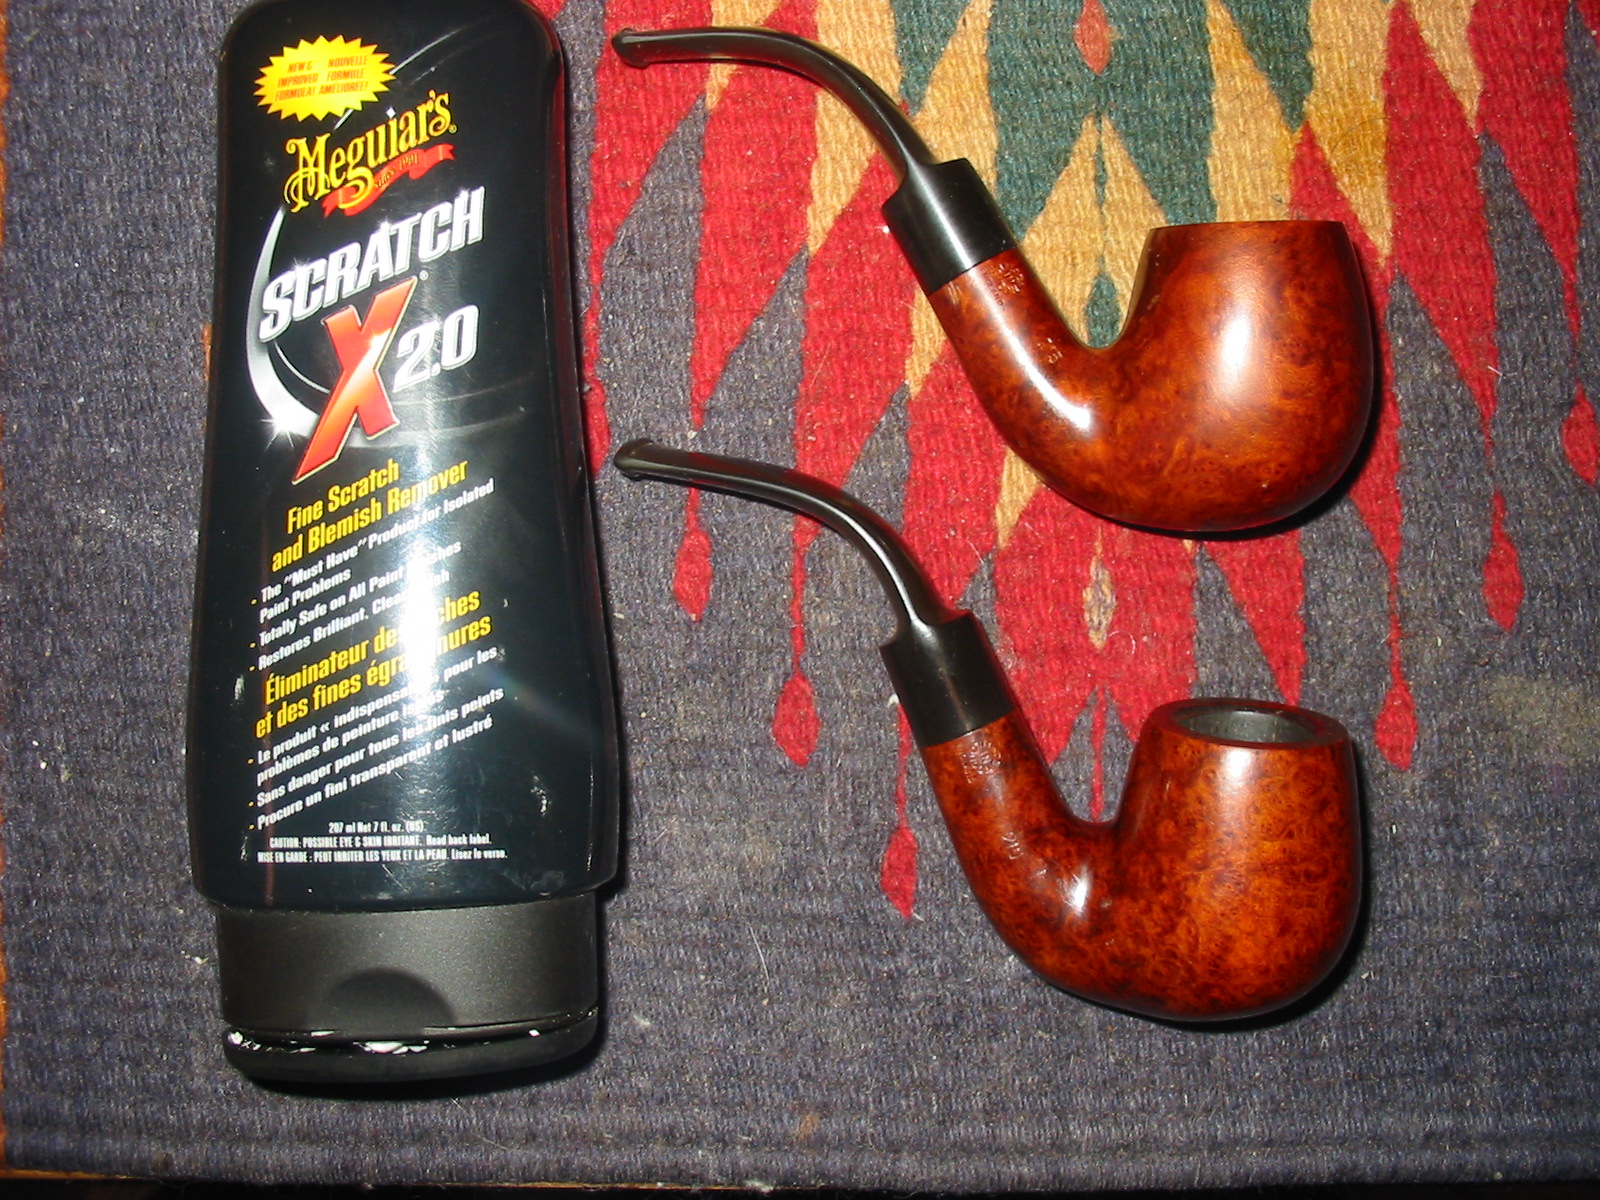
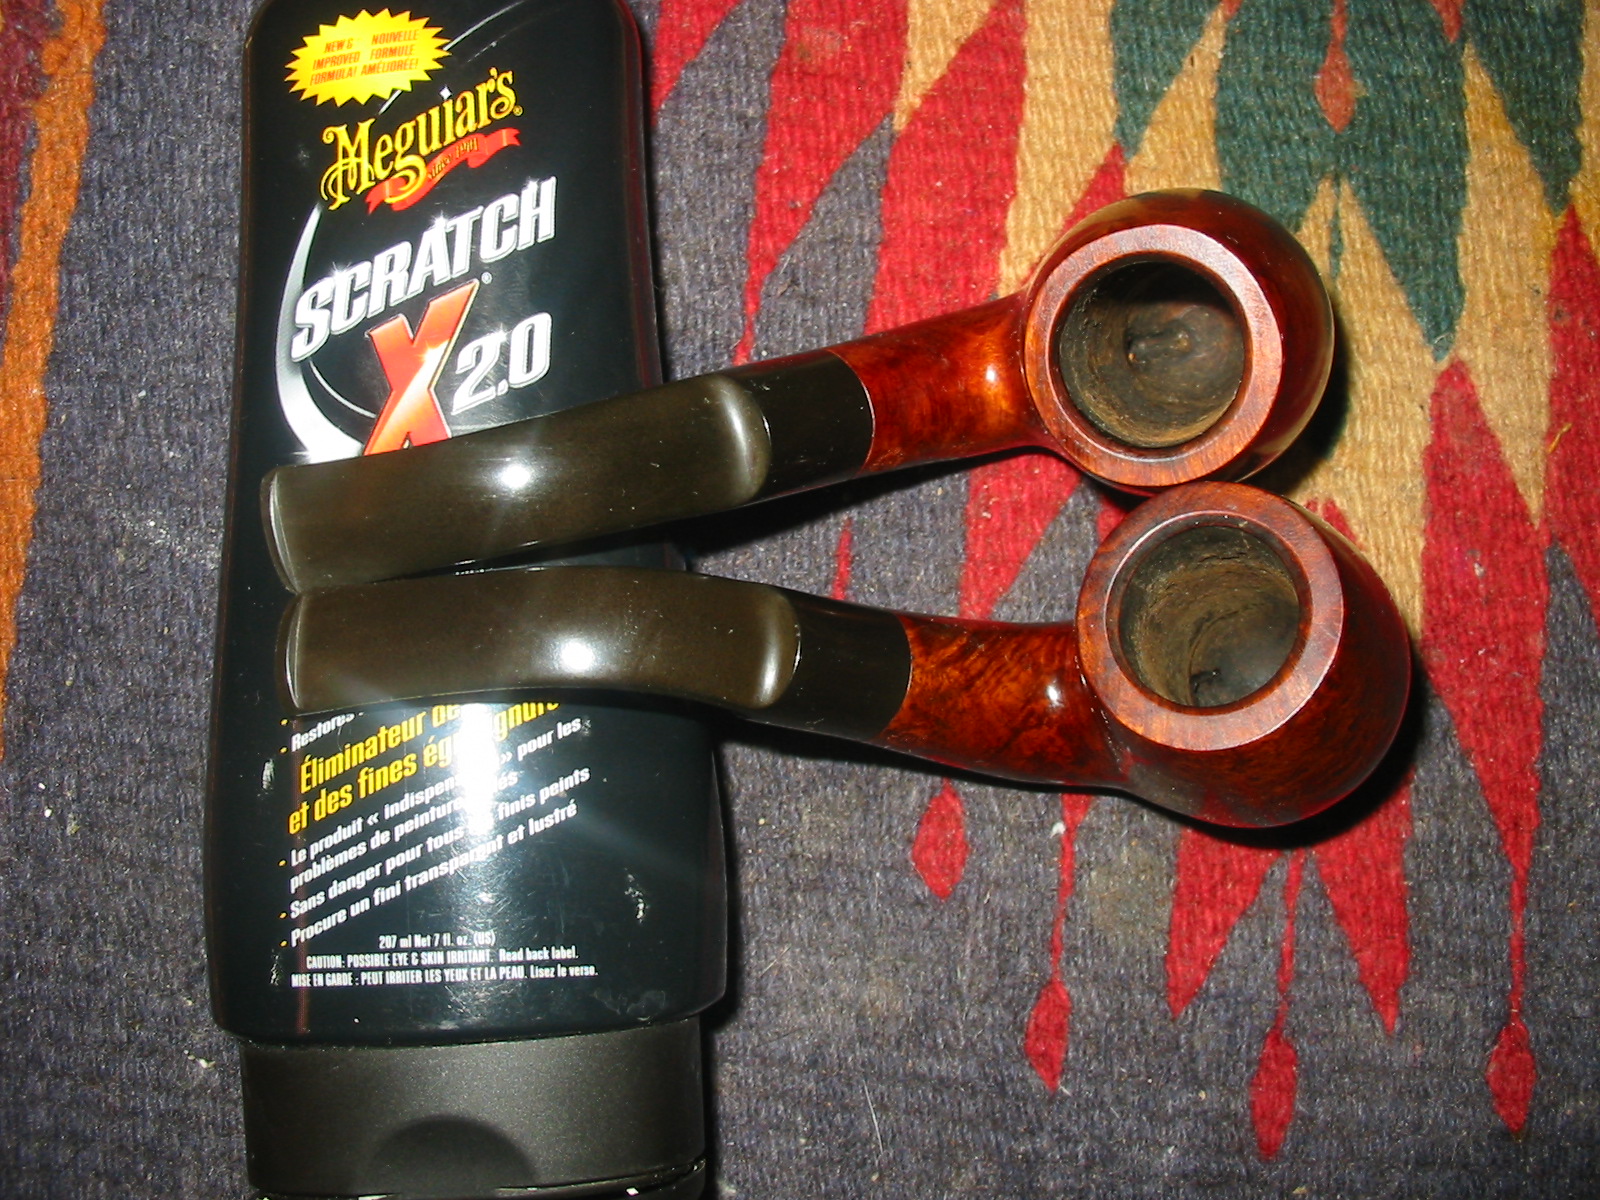
I then used some Meguiar’s Scratch X2.0 on the stems to scrub the scratches and polish the stems. I applied it with a cotton pad and scrubbed and rubbed it off. The photos below show the stems after the polishing. There was some deep seated oxidation that came to the surface of the stems. There was more oxidation on the top of the stems than on the underside.
IMG_6866

IMG_6867

IMG_6868

IMG_6869
I buffed the stems with red Tripoli on my buffer to remove more of the oxidation. I followed that up with White Diamond polish on the buffer as well. I also buffed the bowl with White Diamond. The shine really came out.
IMG_6870

IMG_6871
There was still oxidation that came up on the stems. I sanded it with a medium and a fine grit sanding sponge and then wet sanded with 400 and 600 grit sandpaper. This removed the remaining oxidation in the stem. I then wet sanded them with 1500-2400 grit pads. I dry sanded them with 3200-12,000 grit pads. I rubbed the stems down with Obsidian Oil and when it had dried I buffed them with White Diamond and then gave both the bowls and stems multiple coats of carnauba wax and buffed them with a soft flannel buff on the buffer. The finished pipes are shown below. They are ready to enter the next phase of their lives.
IMG_6877

IMG_6878

IMG_6879

IMG_6881

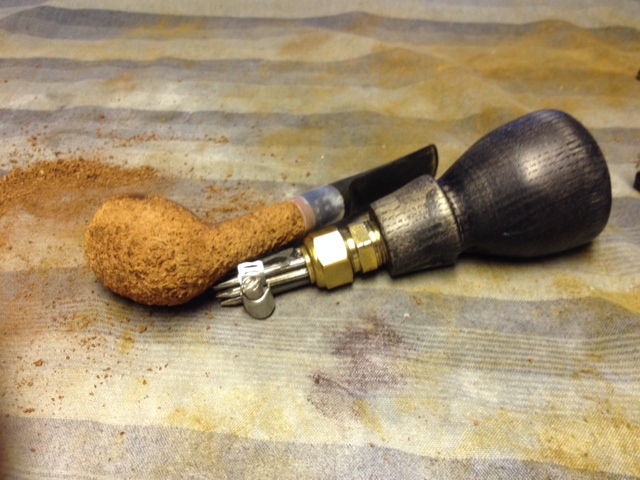
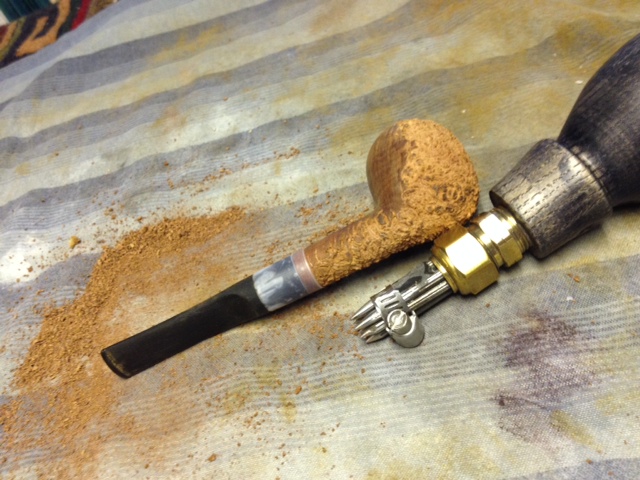
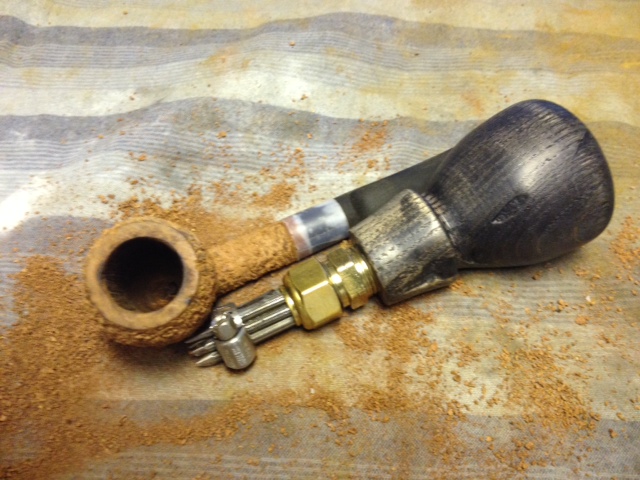
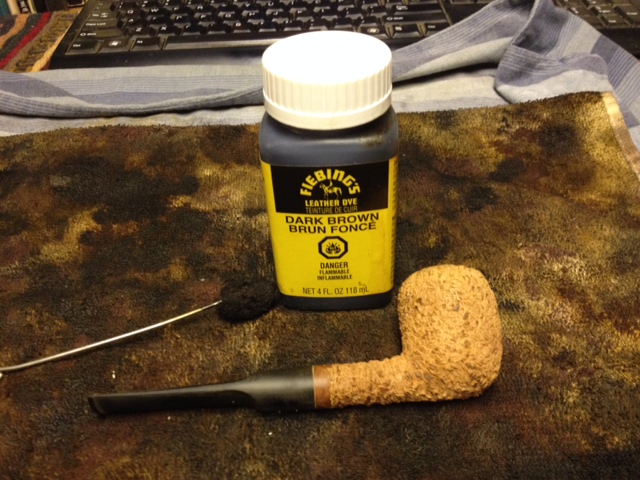
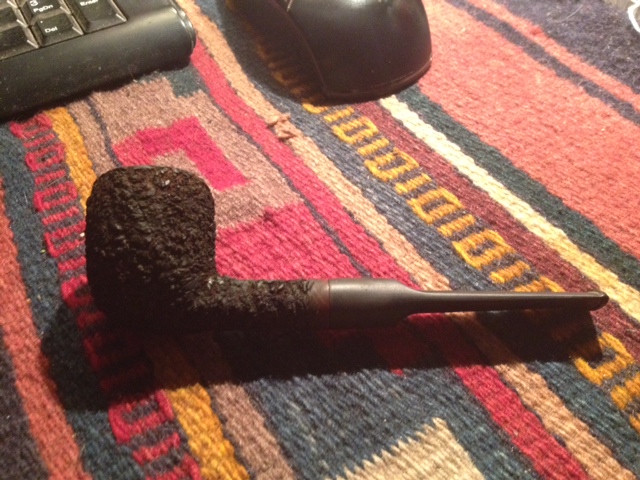
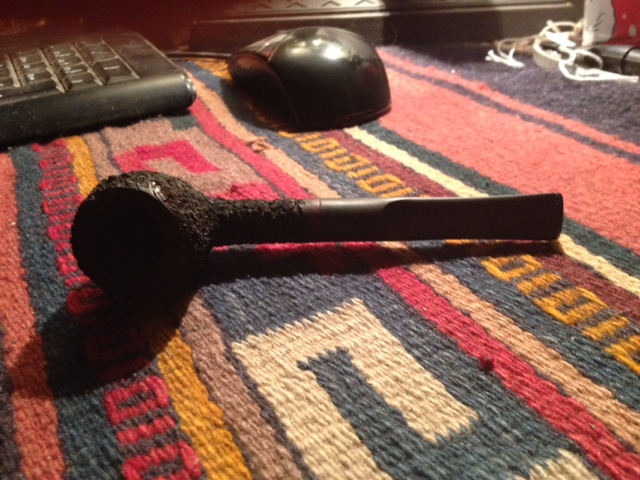
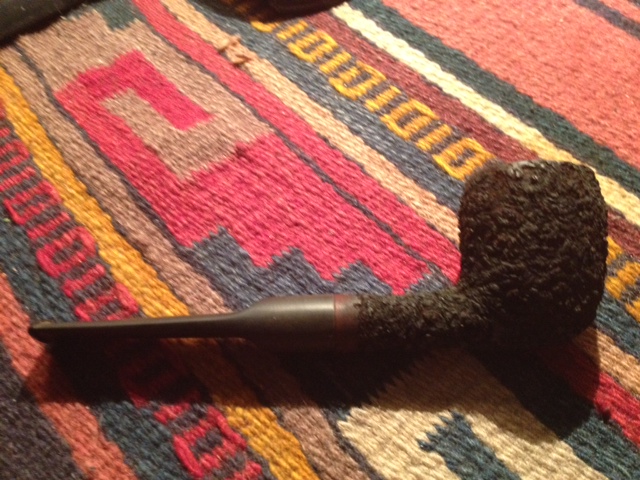
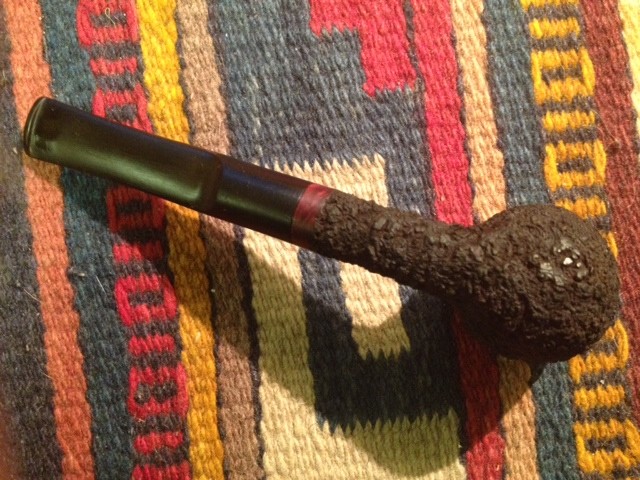
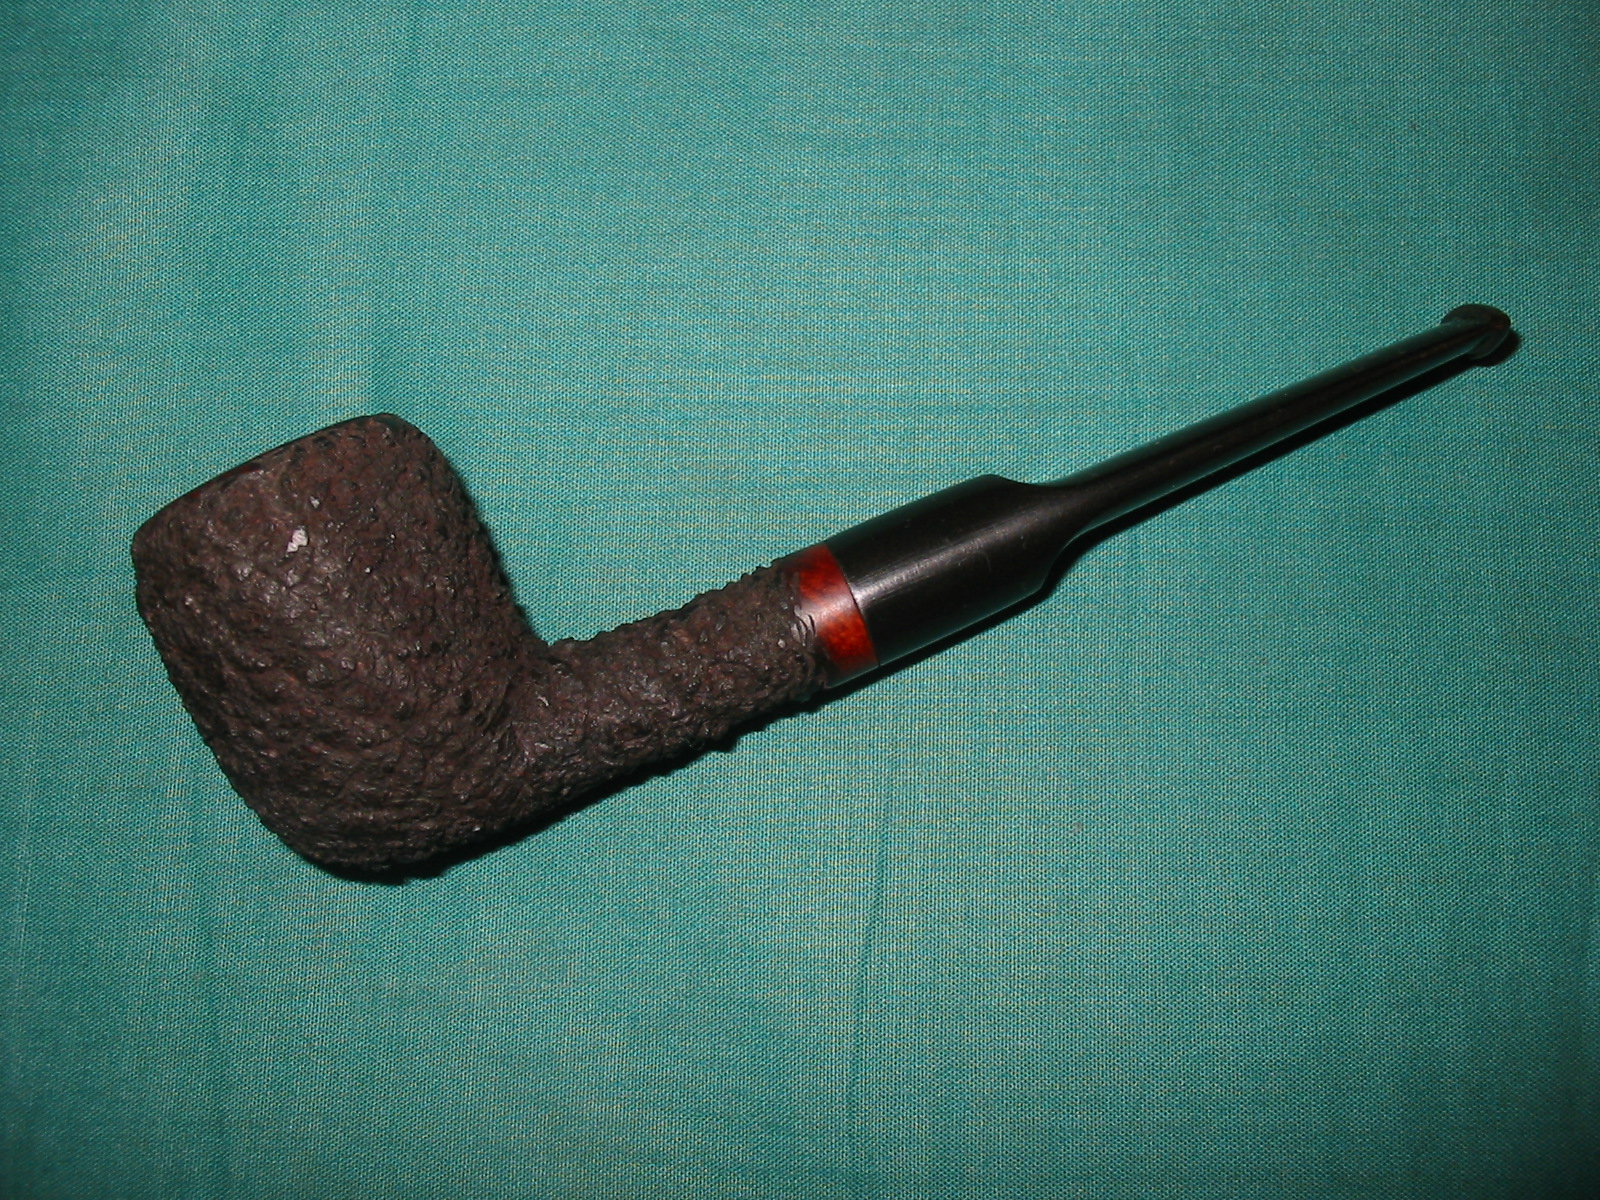
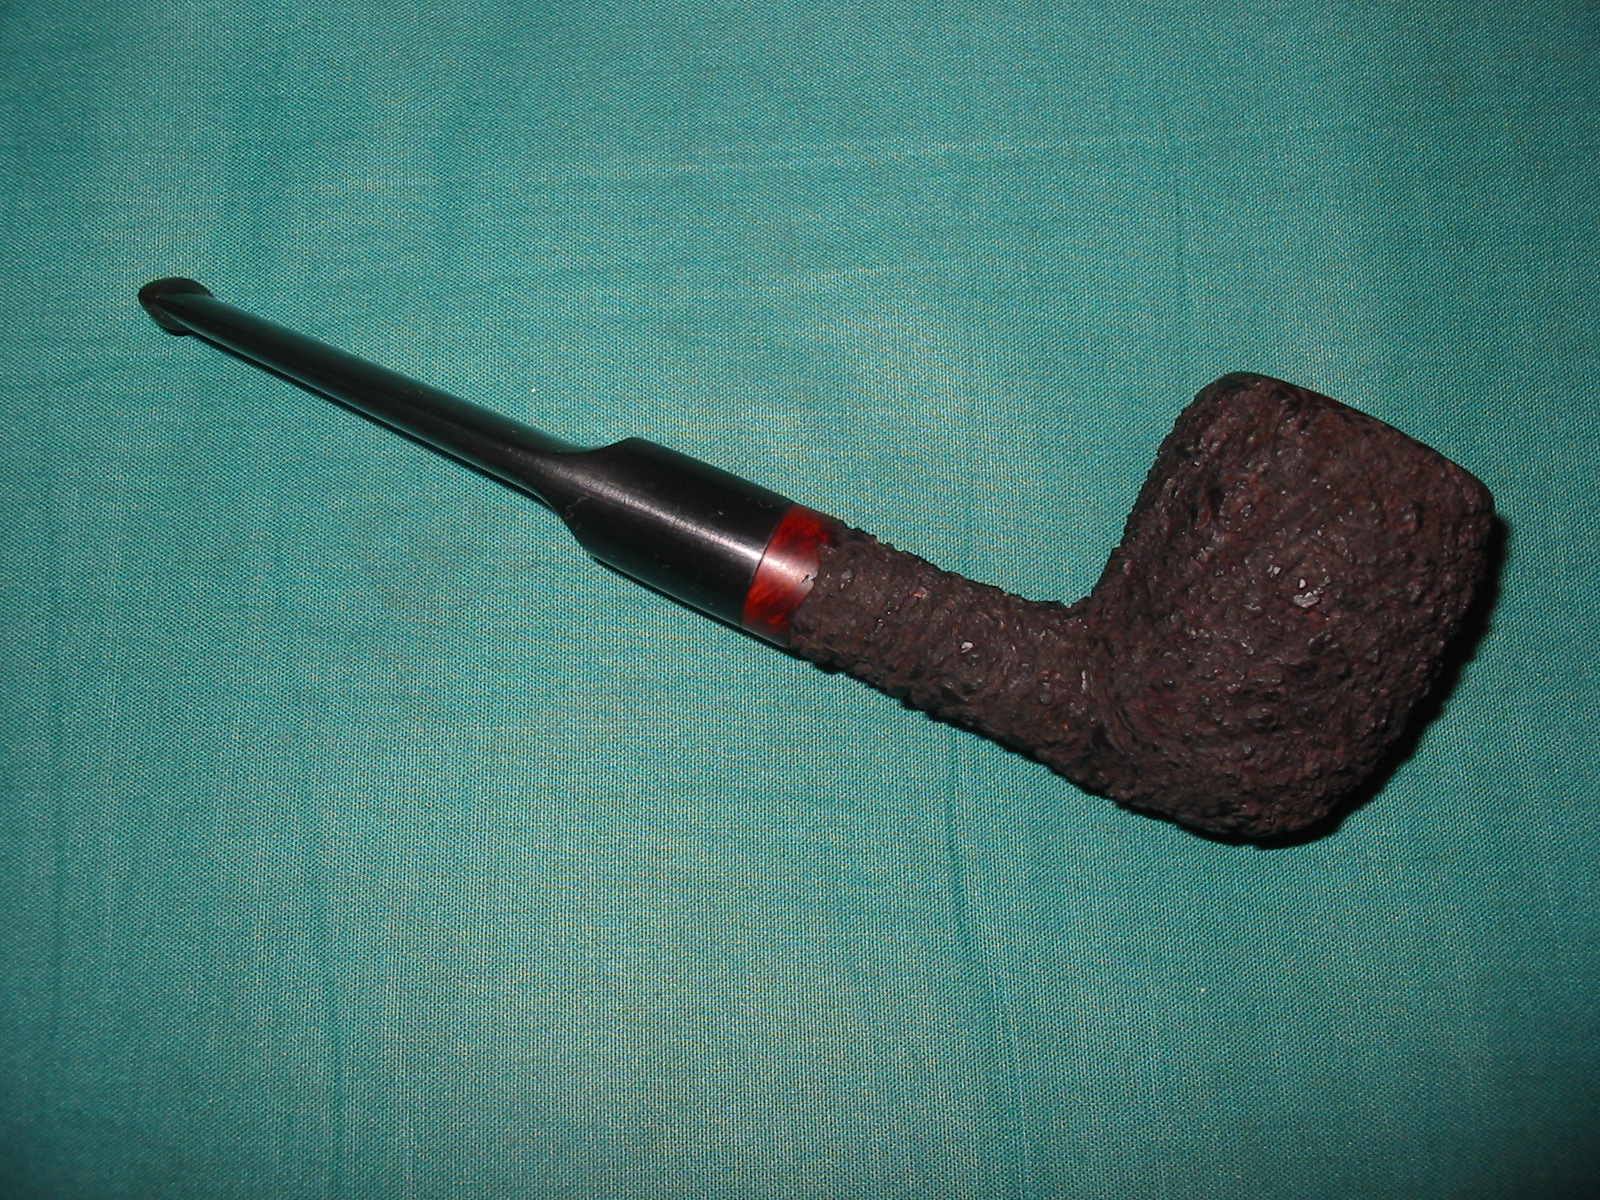
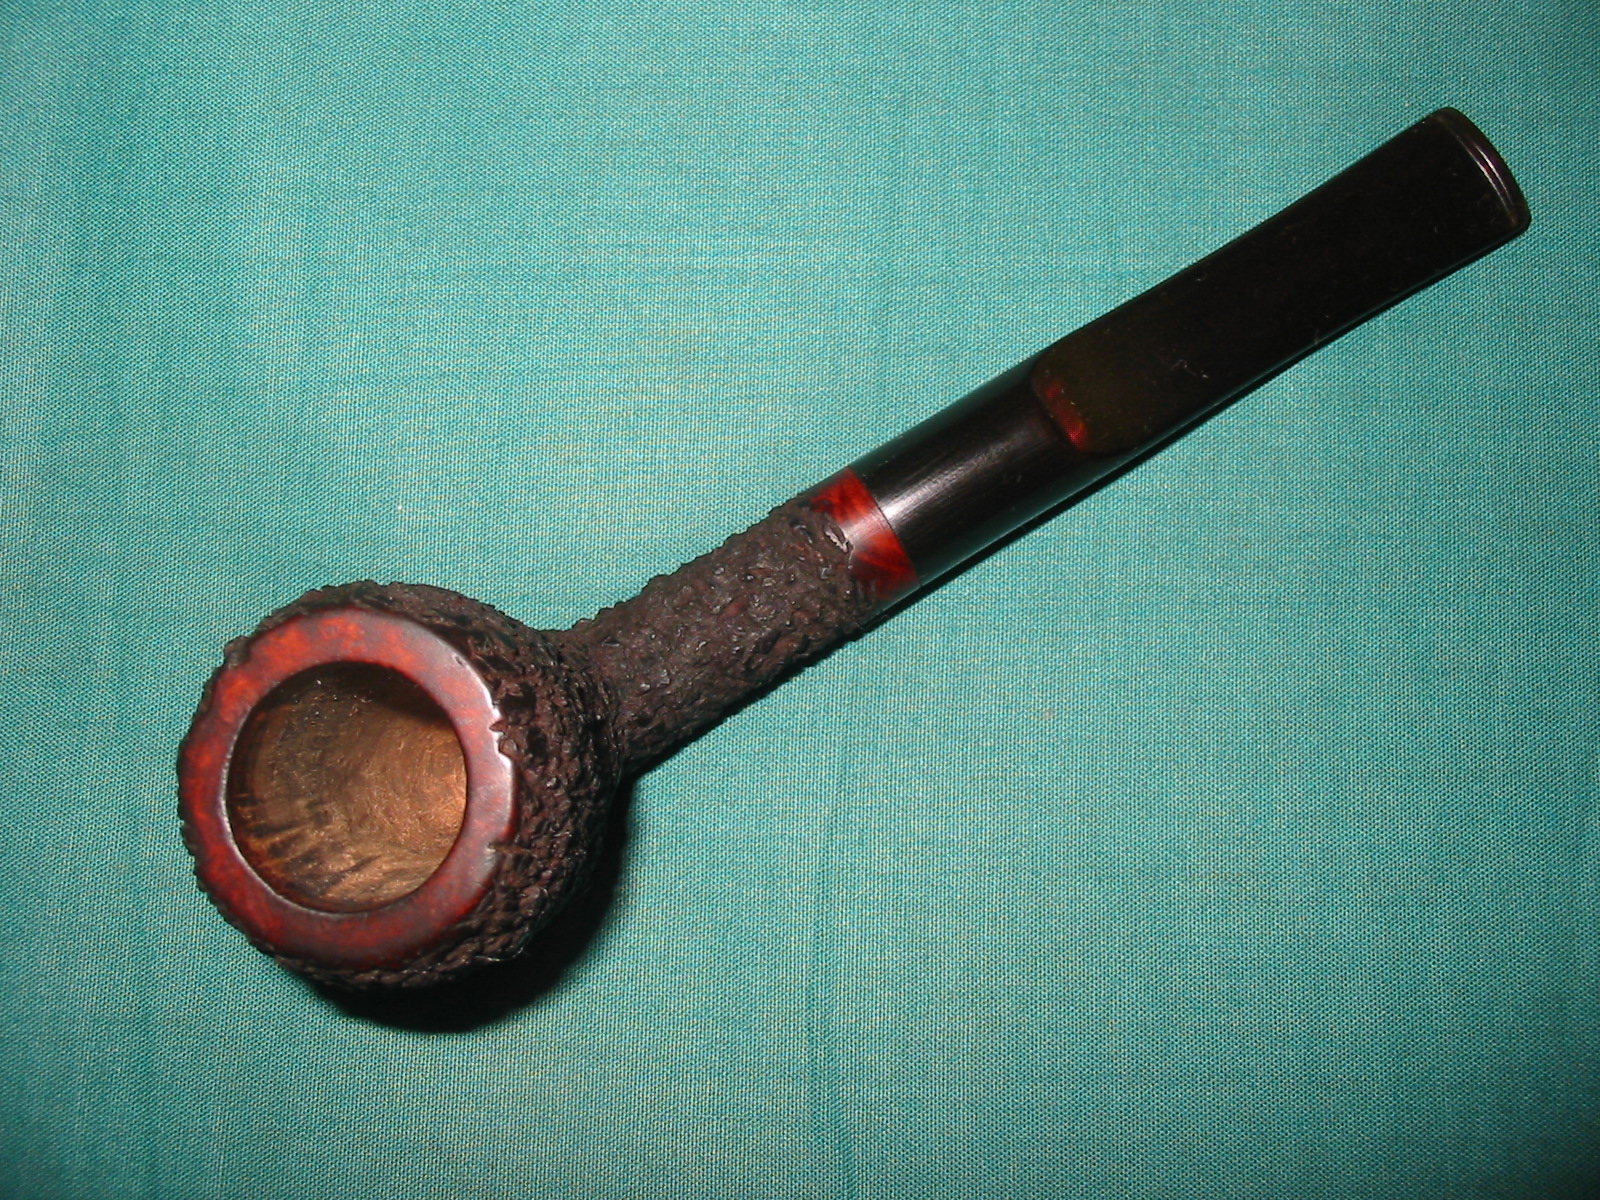
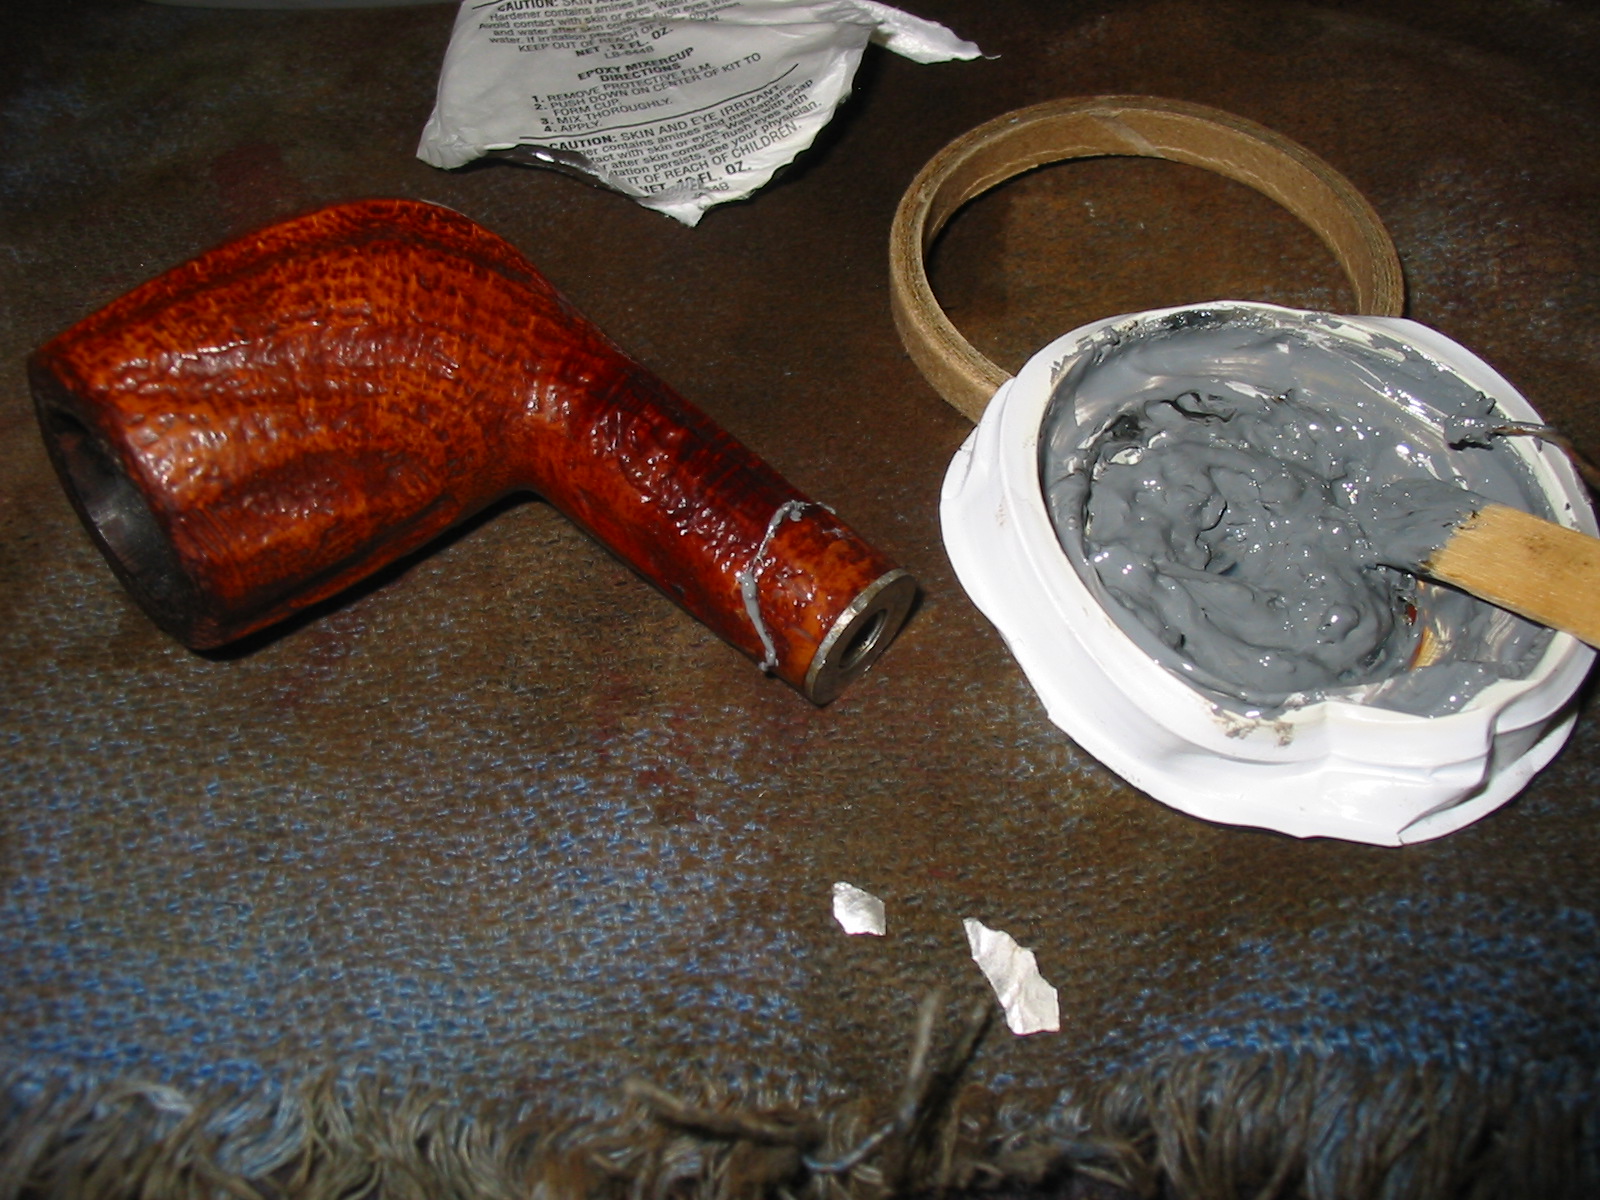
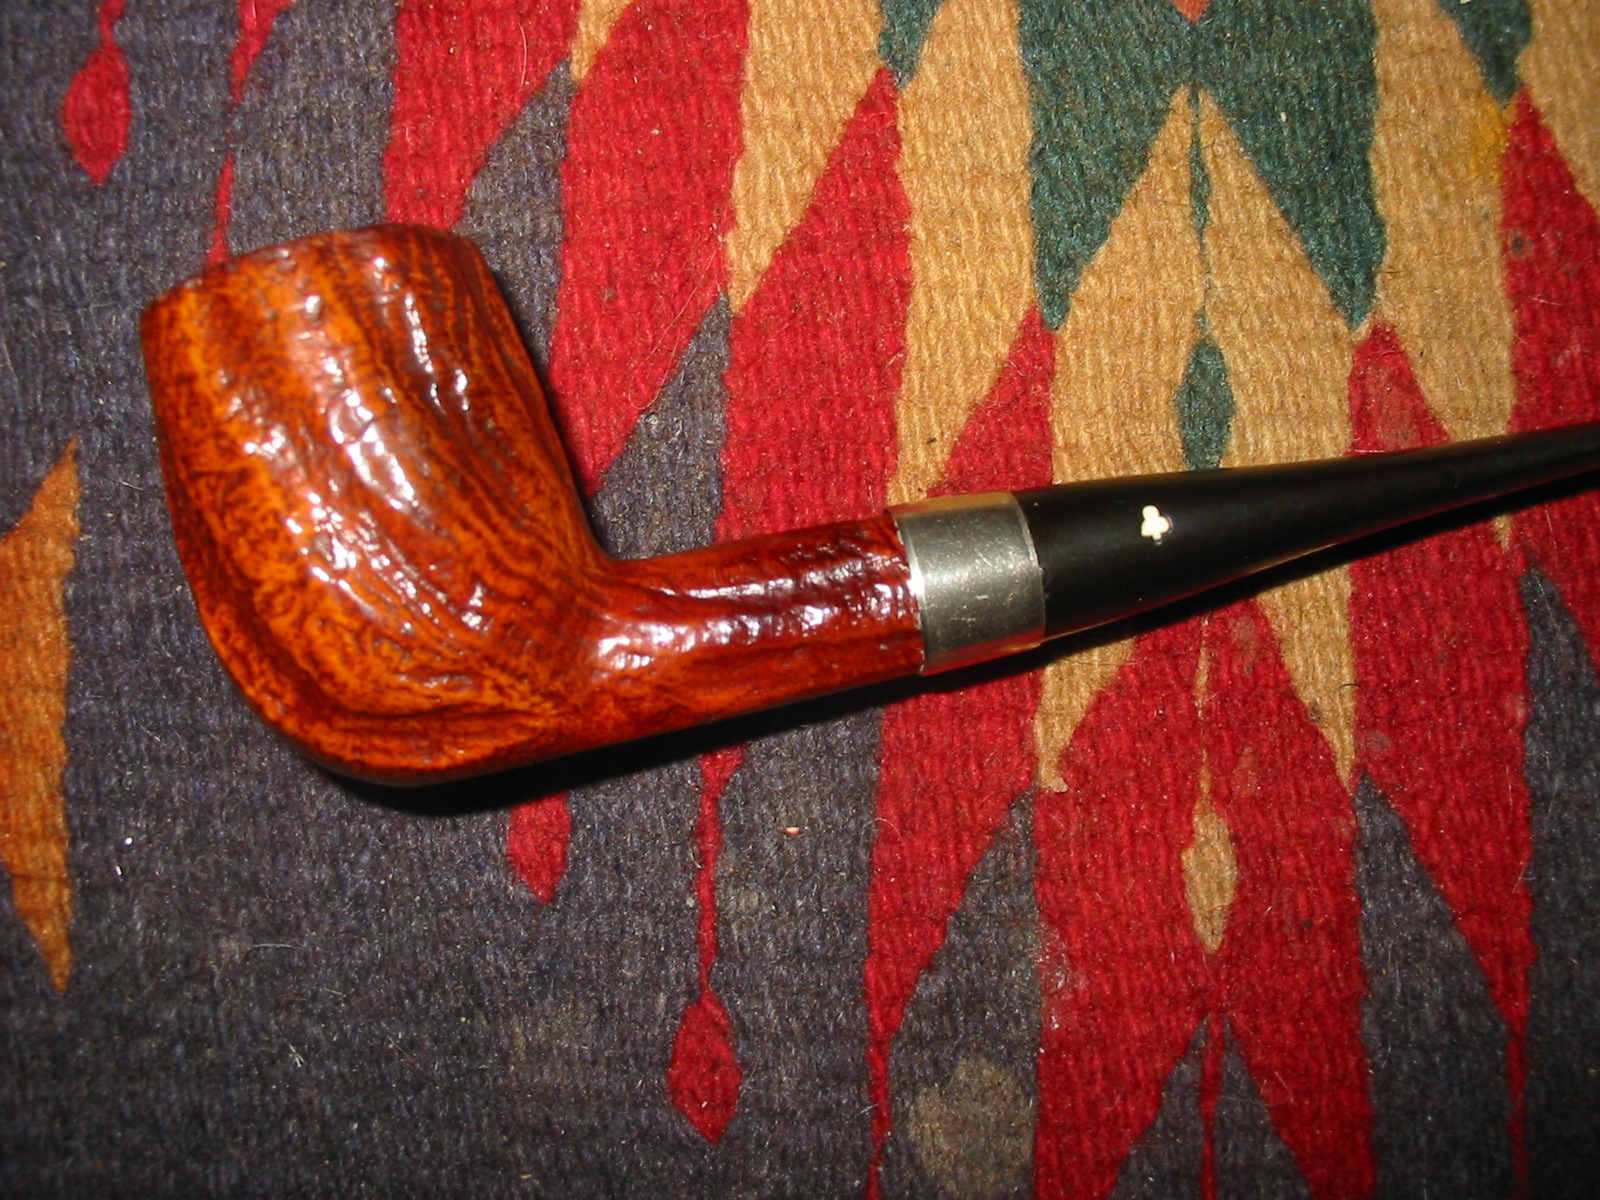
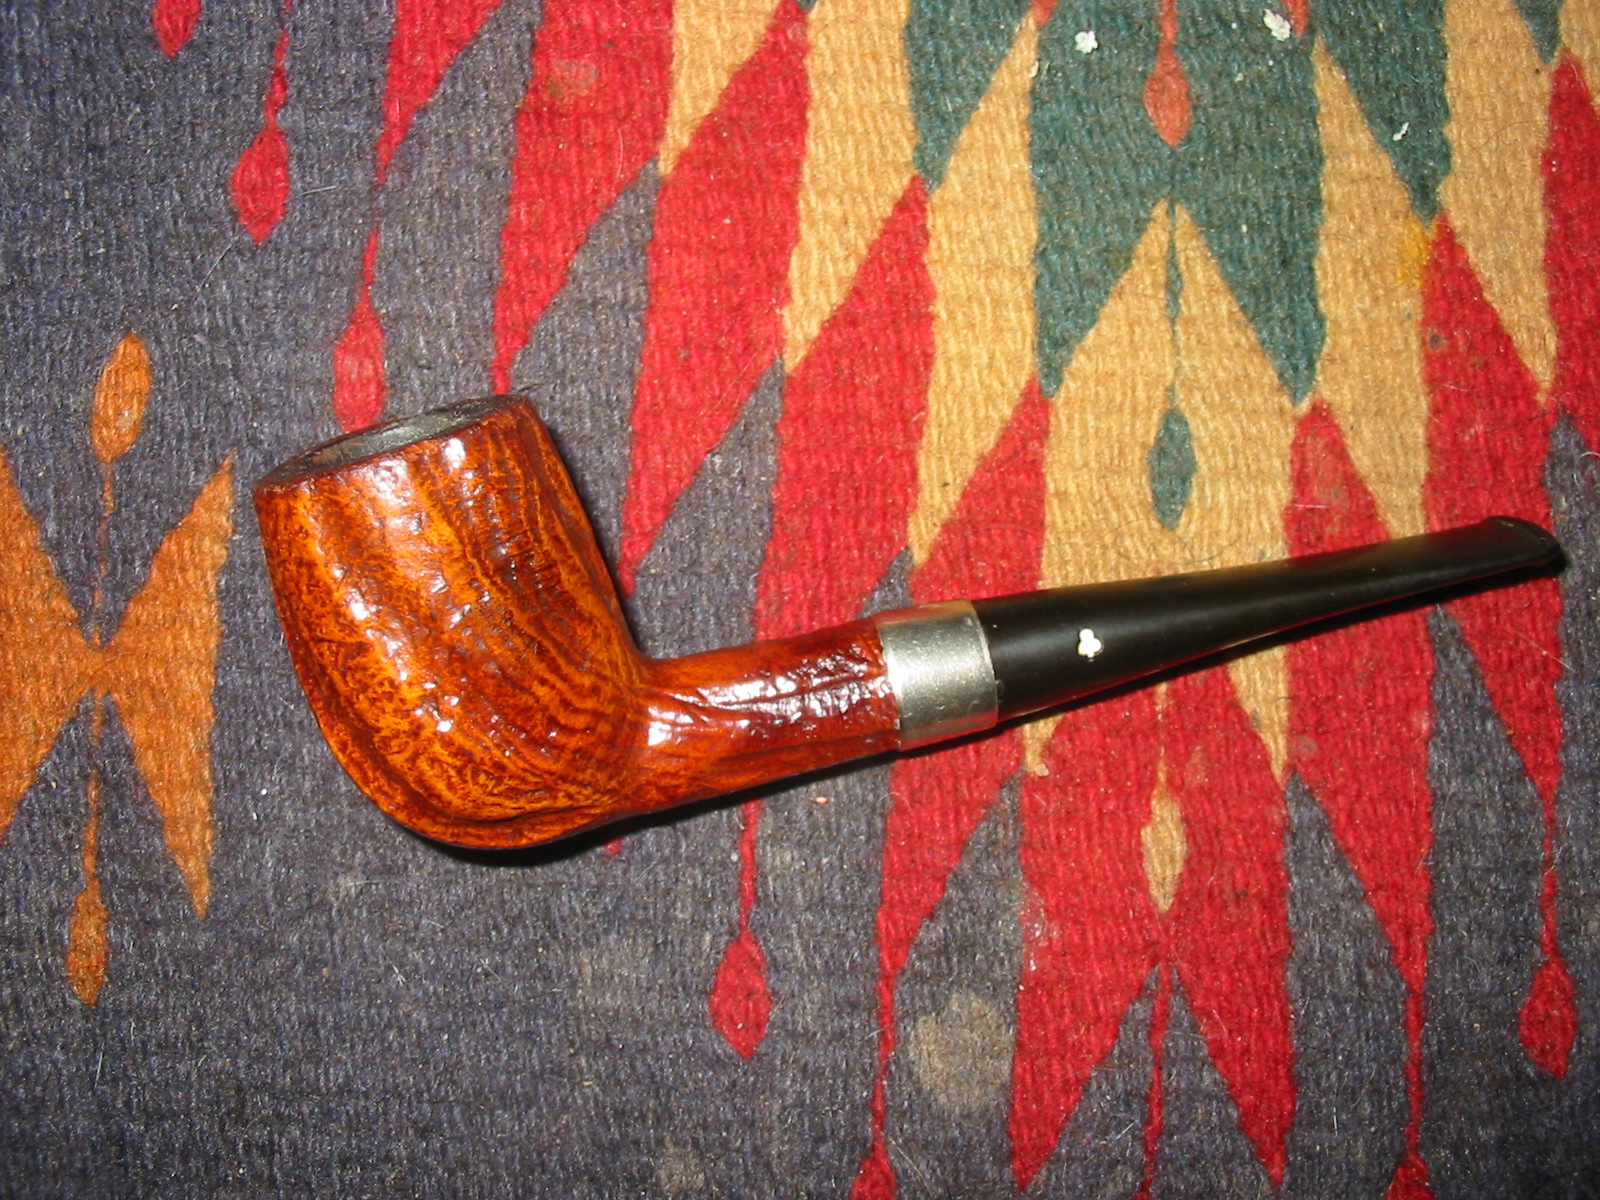
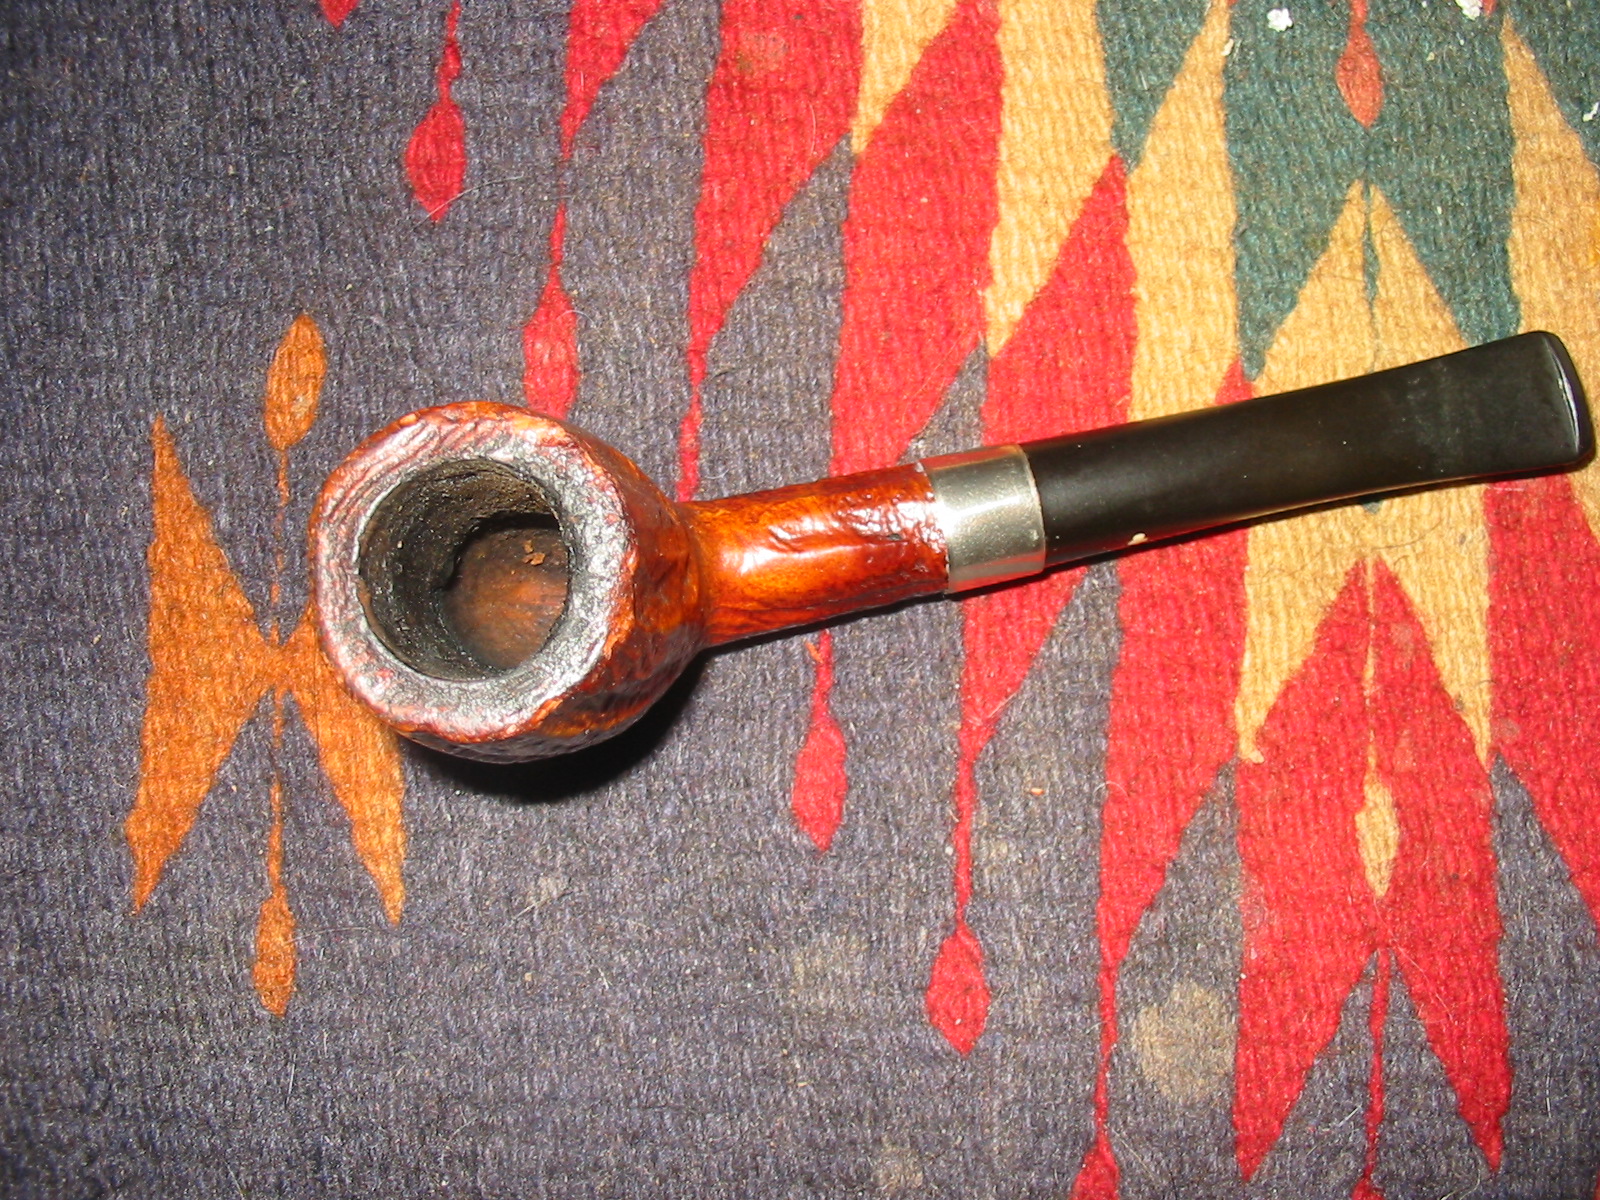
Now that the pipe has been restemmed it is time to rusticate it


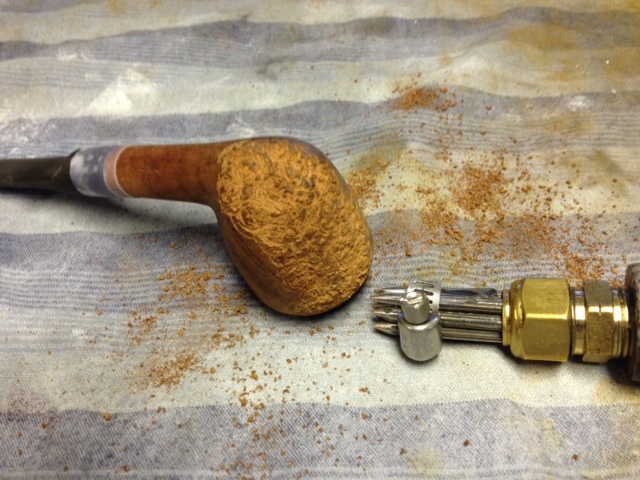
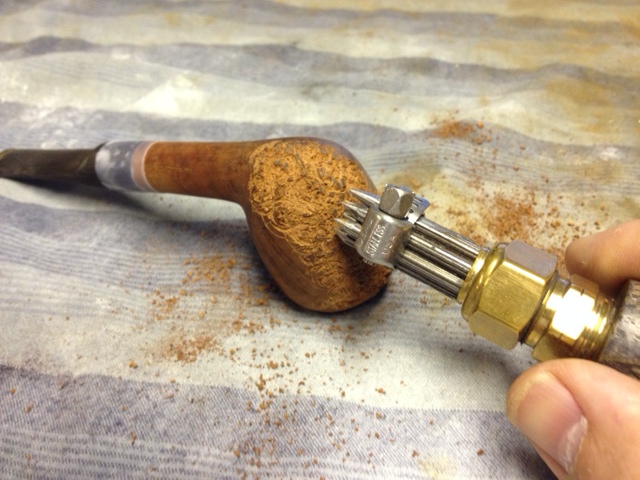
I wrote about restemming this pipe in the post on Replacing a tenon in a stem with a minimum of tools (https://rebornpipes.com/2014/06/15/replacing-a-tenon-in-a-stem-with-a-minimum-of-tools/). The thing I forgot to mention is that the bowl originally had a threaded metal stem and a metal insert in the shank. I was able to remove the insert from the shank with no trouble and craft a push stem for the shank as a replacement. The stem came out great and with some work came out looking like new. In figuring out how to finish the bowl I was faced with a few choices. The briar was not terrible, I have seen worse but there were fills in the bowl. I could have picked them out and refilled them as I have done on many occasions but somehow that just did not attract me with this bowl. I had been given a rustication tool by Chris and had not used it yet so that was very attractive to me for this bowl (https://rebornpipes.com/2014/06/07/a-handmade-rustication-tool-gifted-by-a-friend-and-reader-of-rebornpipes/). The stamping on the shank was virtually buffed away so it was not something that needed to be preserved. So the decision was made. I would get to try out the new tool and see what kind of rustication pattern it would make on the briar and how comfortable it was in the hand as I pressed and twisted it into the wood. I also wanted to see if I could use it in tight spots up against the bowl and shank and close to the stem/shank junction.
rustic1
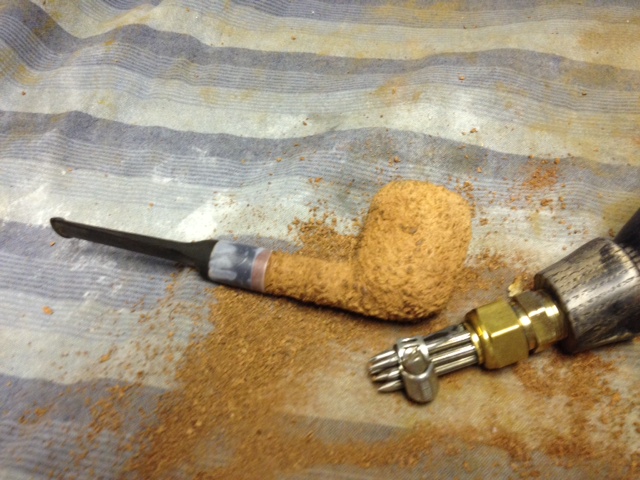
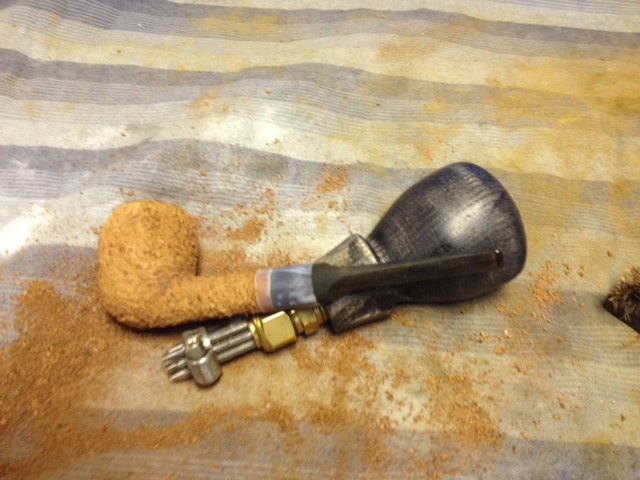
I started on the front of the bowl and pressed and turned the tool into the briar. It worked like a charm. The nails were sharp, the grouping tight and workable on the pattern, the handle was extremely comfortable and spread out the pressure across my palm. This was going to be a piece of cake. It would be no problem to finish rusticating this pipe with a lot less pain in my hands. I wrapped a strip of scotch tape around the shank to make a protective line to work toward on the shank. I wanted to leave a smooth band on the shank so this would remind me where to quit twisting the tool into the wood. The next series of eight photos show the process from start to completion. It probably took me the better part of an hour and a half to rusticate the bowl and shank. I worked it over several times during that time to get a rough finish. I wanted it to be very tactile and rough kind of like a sea rock finish so I pressed hard when I worked over the wood. I left the rim smooth as I wanted to stain it to match the band I was leaving around the shank. The two would provide some contrast to the rustic finish on the rest of the pipe.
rustic2

rustic3

rustic4

rustic6

rustic7

rustic8

rustic9

rustic10
When I finished rusticating the briar unwrapped the scotch tape from the shank. The line was fairly straight and provided a nice contrast of finishes between the stem and the rustication. Then I used a brass tire brush to knock off any loose pieces of briar on the bowl. I find that using the tire brush evens out the finish and cleans up the briar once I have finished with the hard work.
rustic11

rustic12

rustic14

rustic15
I sanded the band on the shank and the rim with a medium and a fine grit sanding sponge and a fine grit sanding sponge to prepare them for staining. I decided to use two different stains on the bowl to get some depth to the finish. I began with a dark brown aniline stain. I applied it with a wool dauber and let the stain permeate deep into the briar. I flamed it to set it. Reapplied the stain a second time and then flamed it again.
rustic16

rustic17

rustic20

rustic21

rustic22

rustic23
I wiped the bowl down with acetone and isopropyl alcohol on a cotton cloth to remove the stain from the highpoints on the bowl finish and on the band and the rim. I repeated the wash until I had the stain coat the colour I wanted. The dark brown sat deep in the grooves and the high spots were lighter in colour. I then stained the bowl with the second colour, a oxblood or cherry coloured aniline stain. I applied it with a cotton pad and daubed it onto the band, the rim and the high spots on the bowl. I flamed it, reapplied it and flamed it again. Once it was dry to the touch I hand buffed it with a soft cotton cloth.
rustic25

rustic27

rustic29

rustic30
The cherry/oxblood stain worked well on the band and the rim. It made them stand out against the darker brown of the rustication. In the light the texture of the rustication has both a dark brown look in the crevices and a reddish tint on the high spots. The contrasts in the stain on the rustication came out well and the smooth band and the rim work well with the rest of the pipe. Interestingly, and this does not always happen for me, the stain came out exactly the way I was hoping it would when I started the process.
rustic31

rustic32

rustic33

rustic34
At this point all I had left to do was to work over the stem with the micromesh sanding pads and then give it a buff to polish it. I followed my normal process on the stem. I wet sanded it with 1500-2400 grit micromesh sanding pads and dry sanded with 3200-12,000 grit pads. I rubbed the stem down with Obsidian Oil and then took it to the buffer to give a light buff with White Diamond and a blue plastic polish. I finished by giving the rim, the band and the stem multiple coats of carnauba wax and a final buff with soft flannel buffing pad. The finished pipe is shown below. It has come a long way from the neglected bowl that sat in my refurbishing box for a long time with no stem. Now it is ready to fire up and enjoy.
IMG_6848

IMG_6849

IMG_6850

IMG_6851

Oxidation – Warning. You’ll Wish You Hadn’t Seen This – by Joyal Taylor (aka holymolar)


Blog by Joyal Taylor

This is the second article by Joyal (known online as holymolar). It is with pleasure that I put this on the blog. Joyal does some great work in restoration and in his own words “You’ve probably realized already that I particularly like restoring stems”. Thanks Joyal for your take on the process of cleaning up deeply oxidized stems. I look forward to more articles on your work. Without further introduction here is Joyal.

Check out the stems on these 3 restored estate pipes. They look OK, don’t they? Polished, shiny, no obvious oxidation.
001
Let’s look closer.

The upper stem seems OK.
002
On the middle stem, is that oxidation near the shank end and also in the bit crease?
003
On the lower stem, how did I miss that oxidation toward the bit end?
004
Let’s turn out the lights and shine a flashlight (at an angle) onto the stems.
005

006

007
HOLEY MOLEY, BATMAN!

Where did all of that oxidation come from?

I’ve got to start all over on these stems.

That deep oxidation can be removed – if you’re willing to spend a lot of time sanding, especially with the coarser grits. Start with a 2 hour Oxyclean bath to soften the oxidation. Then 220 grit wet/dry sandpaper with water. Then follow with 400, 600, maybe 800 and 1000 grit. Finally micro mesh pads (1500-12000), then final polish and buff.

Is it worth it to go after that deep oxidation? Maybe, maybe not. That’s up to you.

Followup on removing the oxidation on the stems.
Since I had already used Oxyclean on these stems, I got more aggressive the second time around. I put the stems in a bleach bath (50% diluted with water) for 1 hour. One of the stems wasn’t done so it went back in the bleach (at full strength) for 2 additional hours. Then I soaked the stems in an alcohol bath for 1 hour to neutralize the bleach smell and taste. Then I spent about 1 hour, on each stem, wet sanding (220, 400, 600, 800 grit) and micromesh (1500-12000). The following photos were taken before carnauba wax polishing/buffing. It was a lot of work but time well spent because the stems feel as smooth as satin to my lips and tongue.
Photo #1

Photo #2

Photo #3

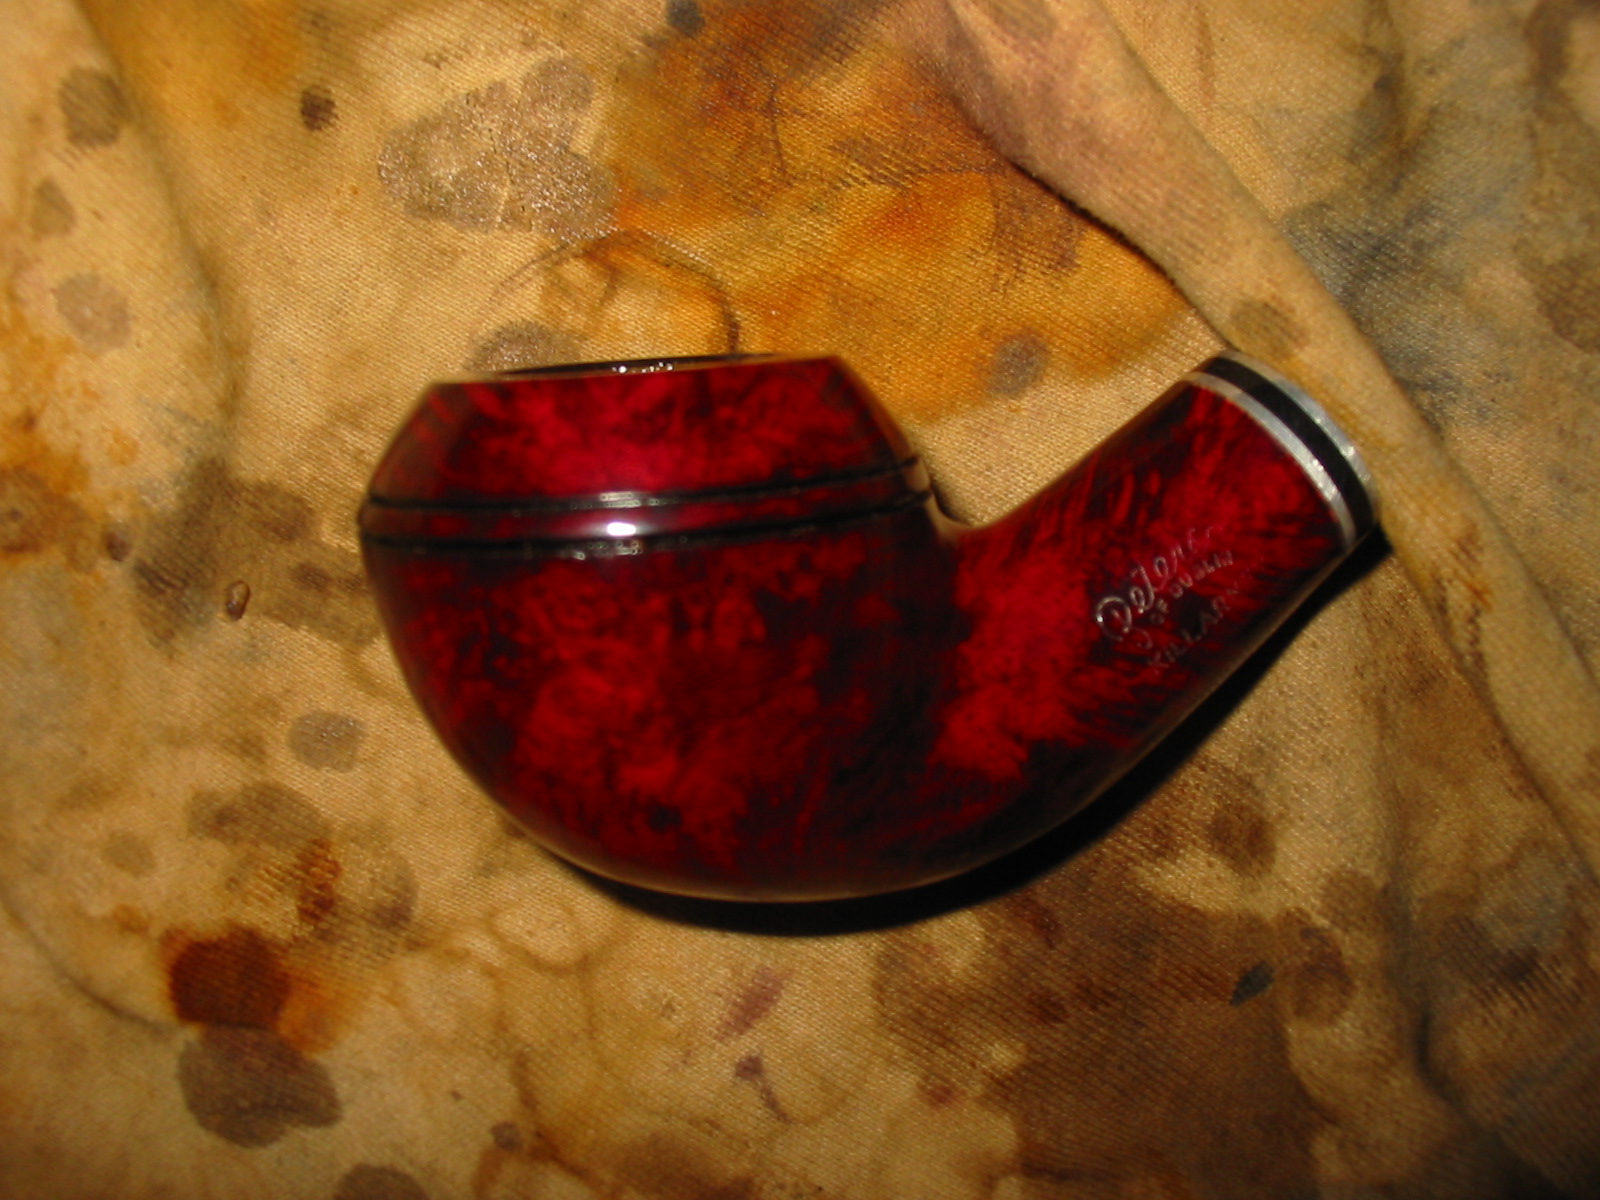
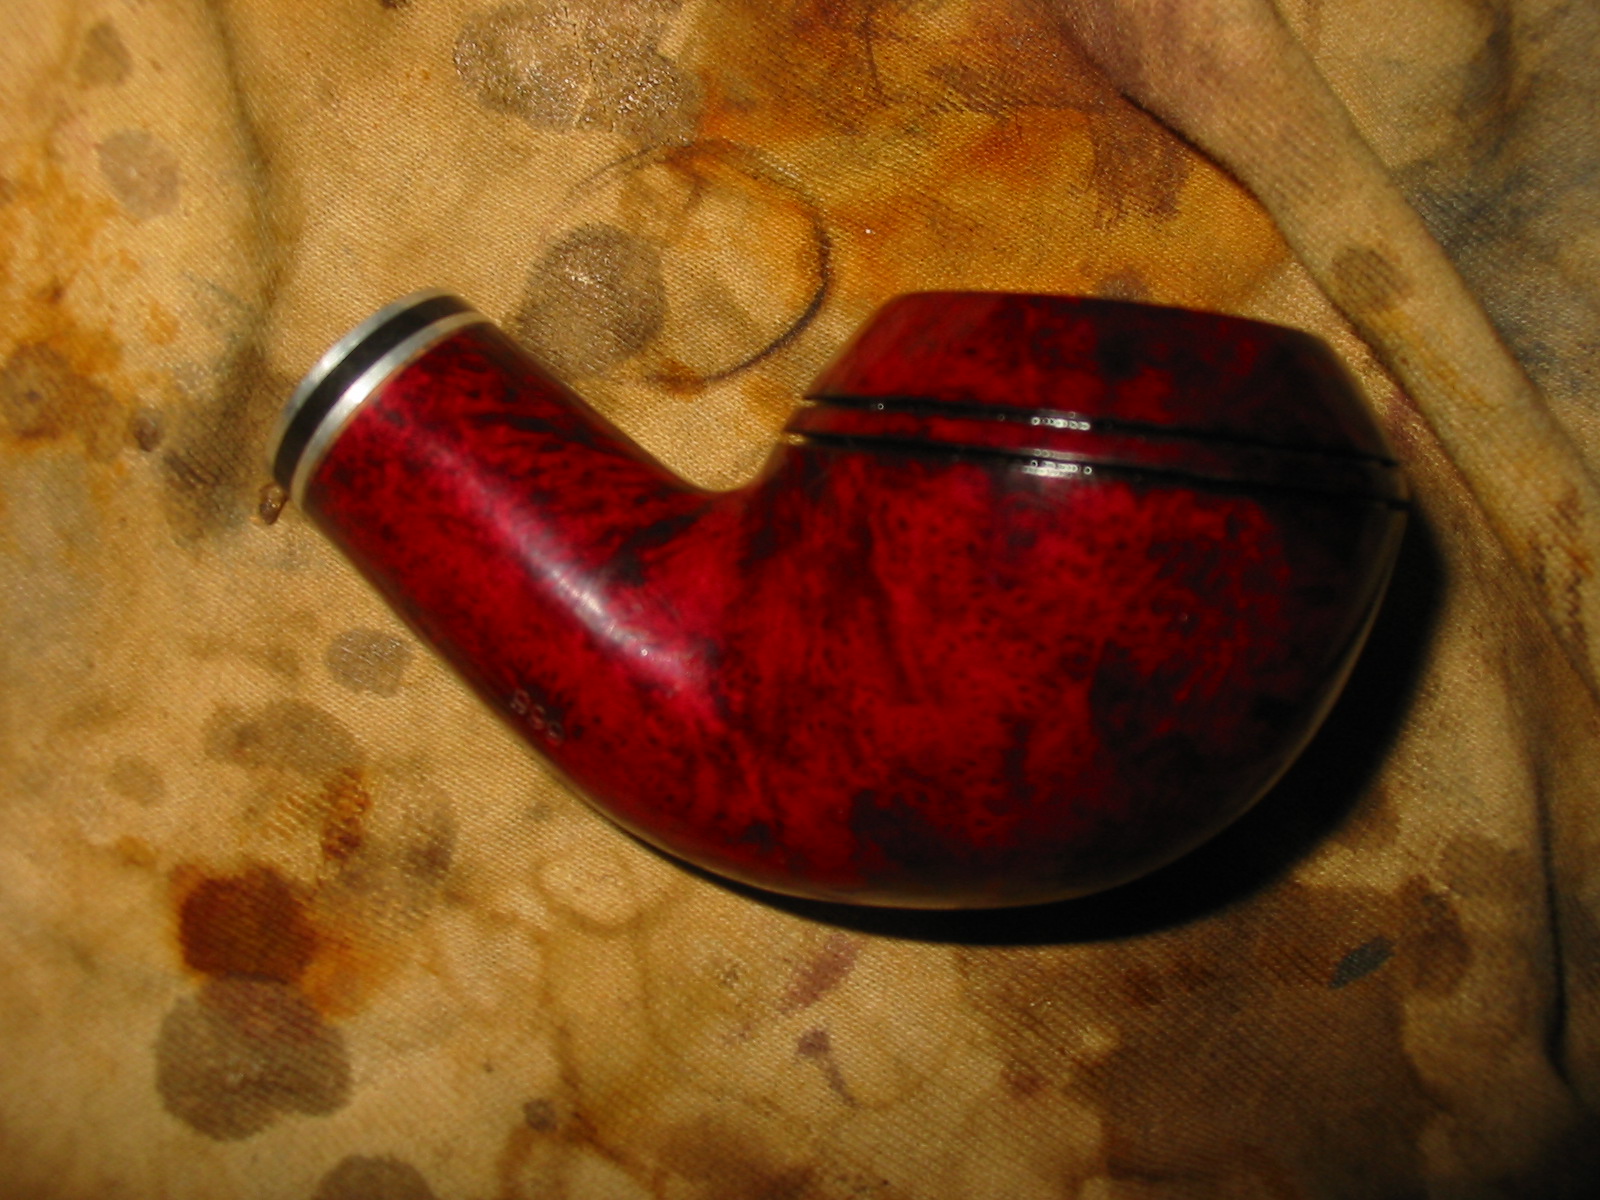
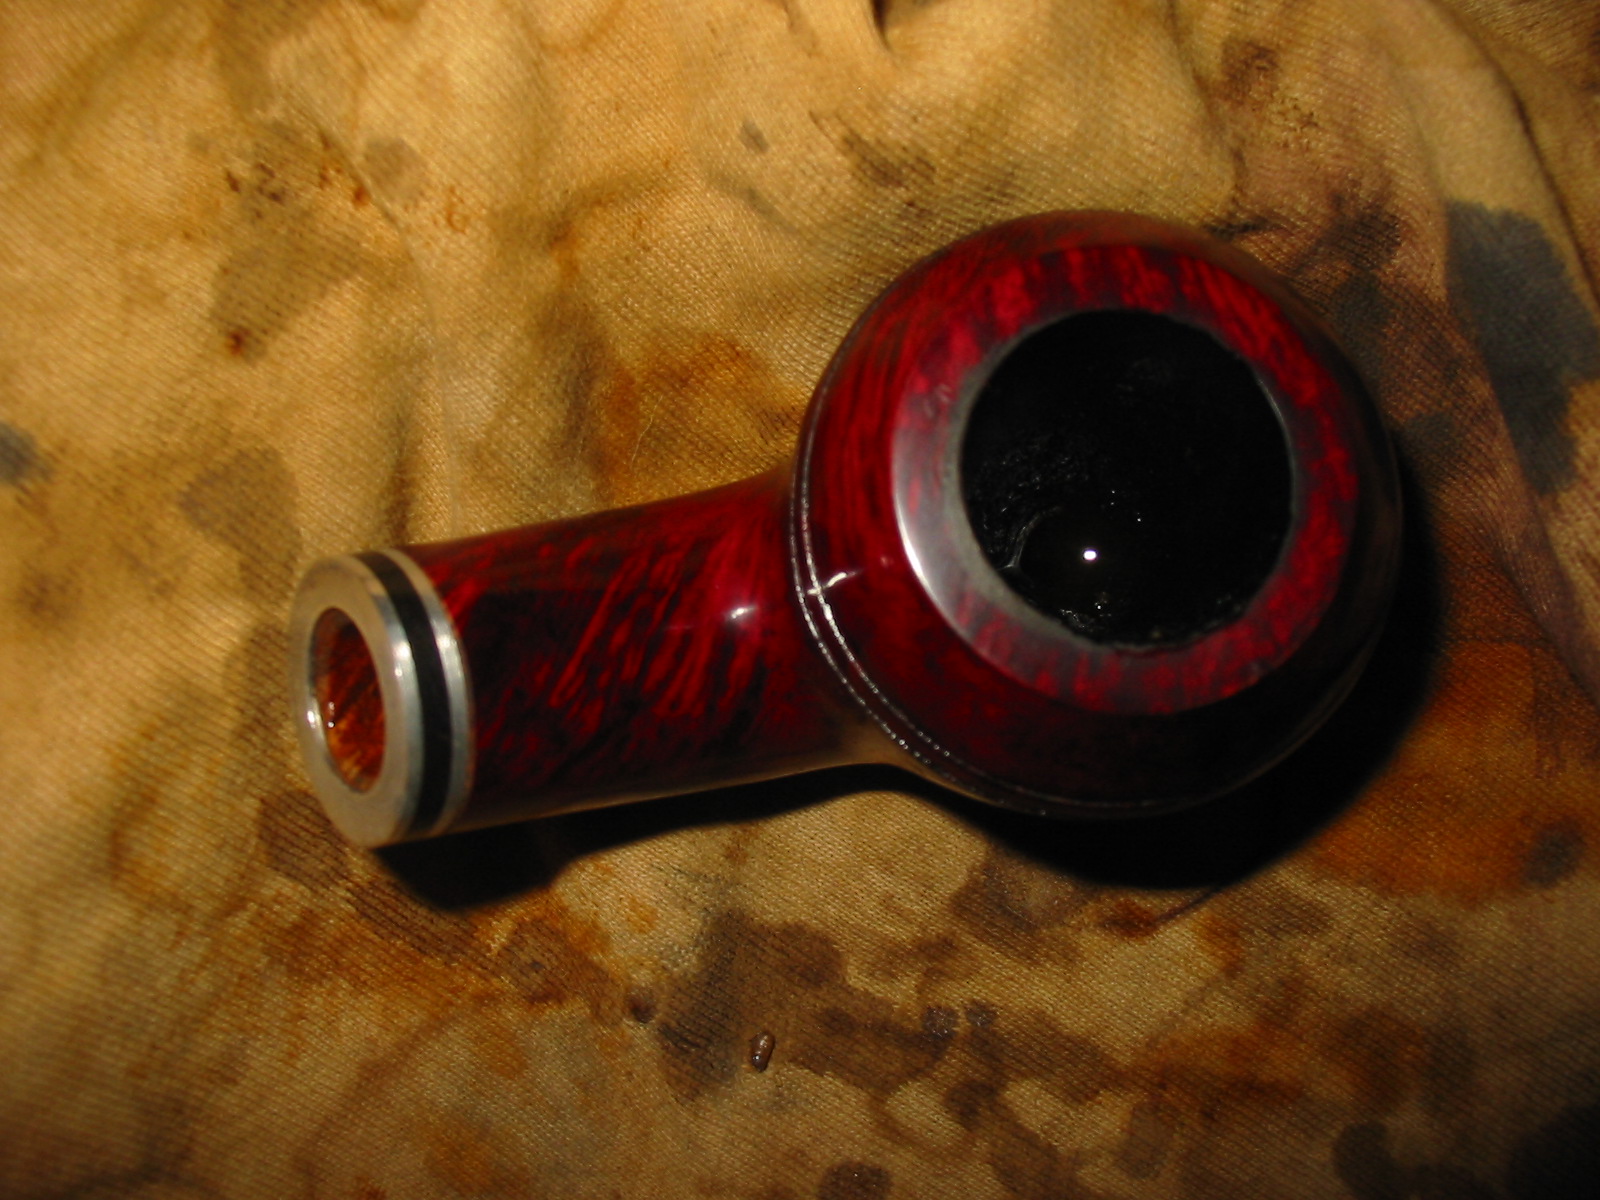
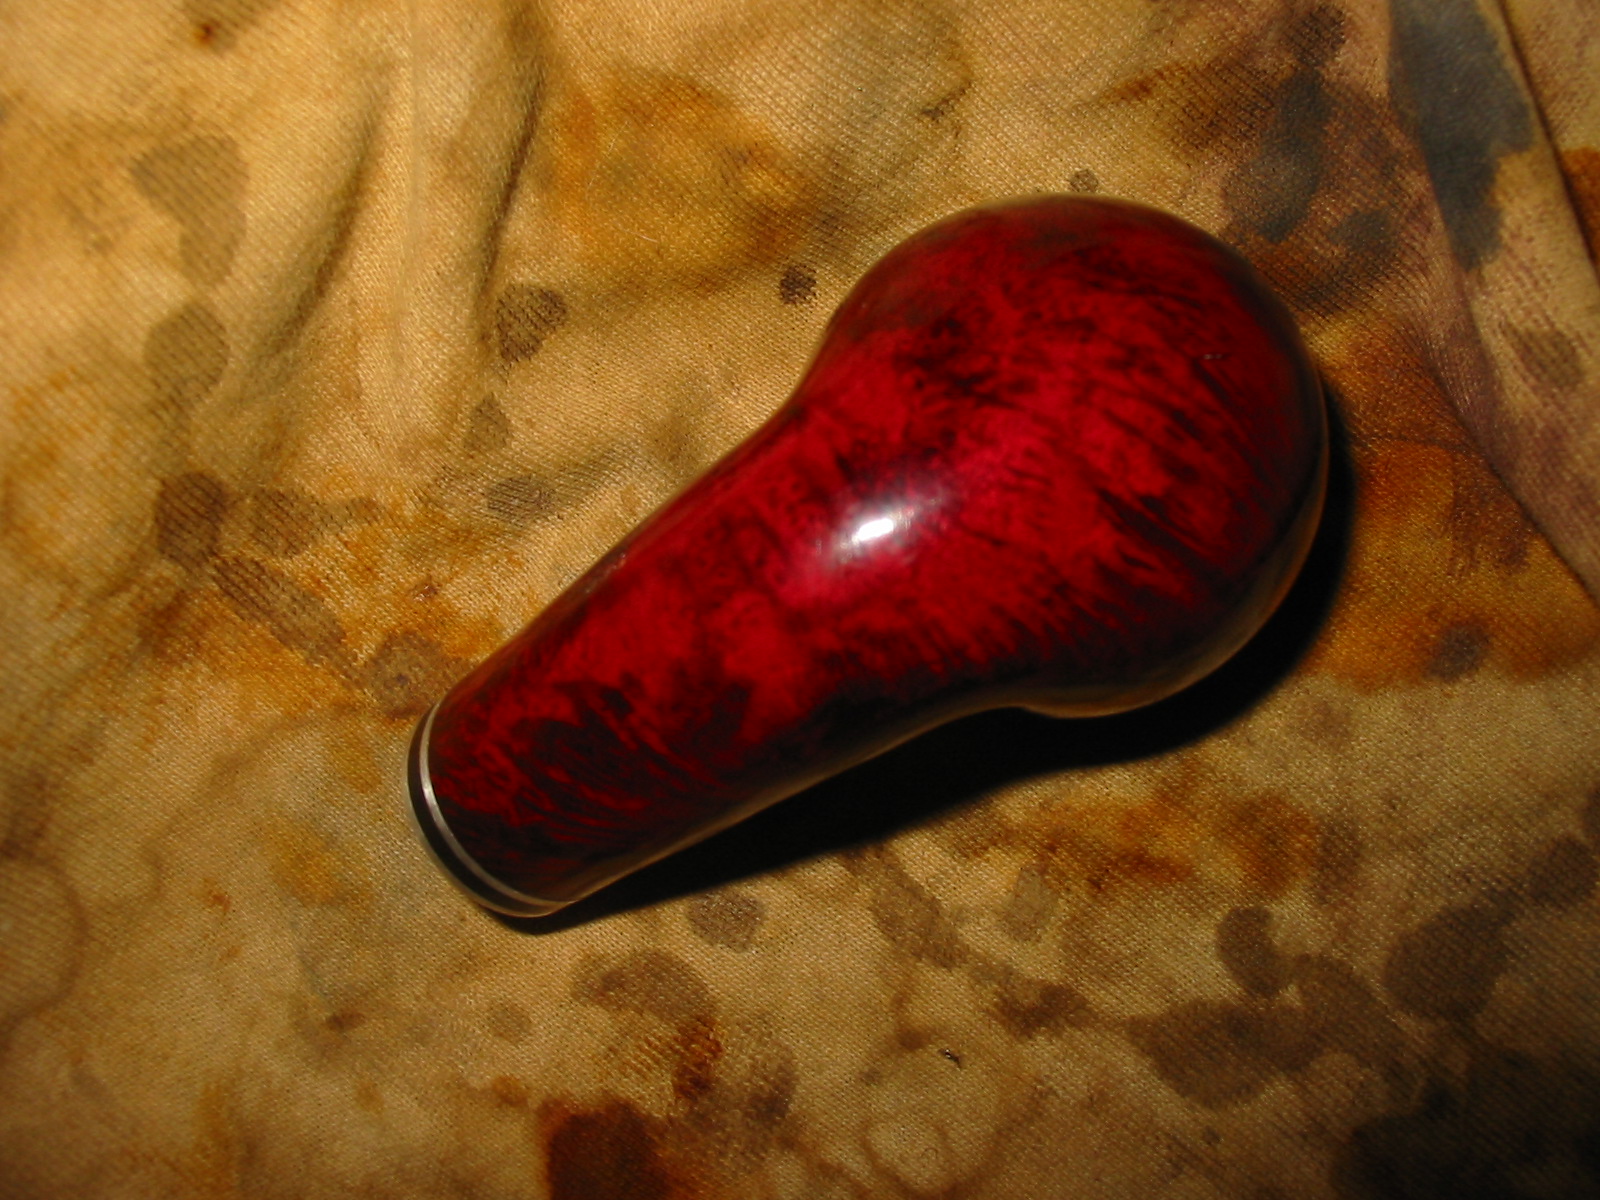
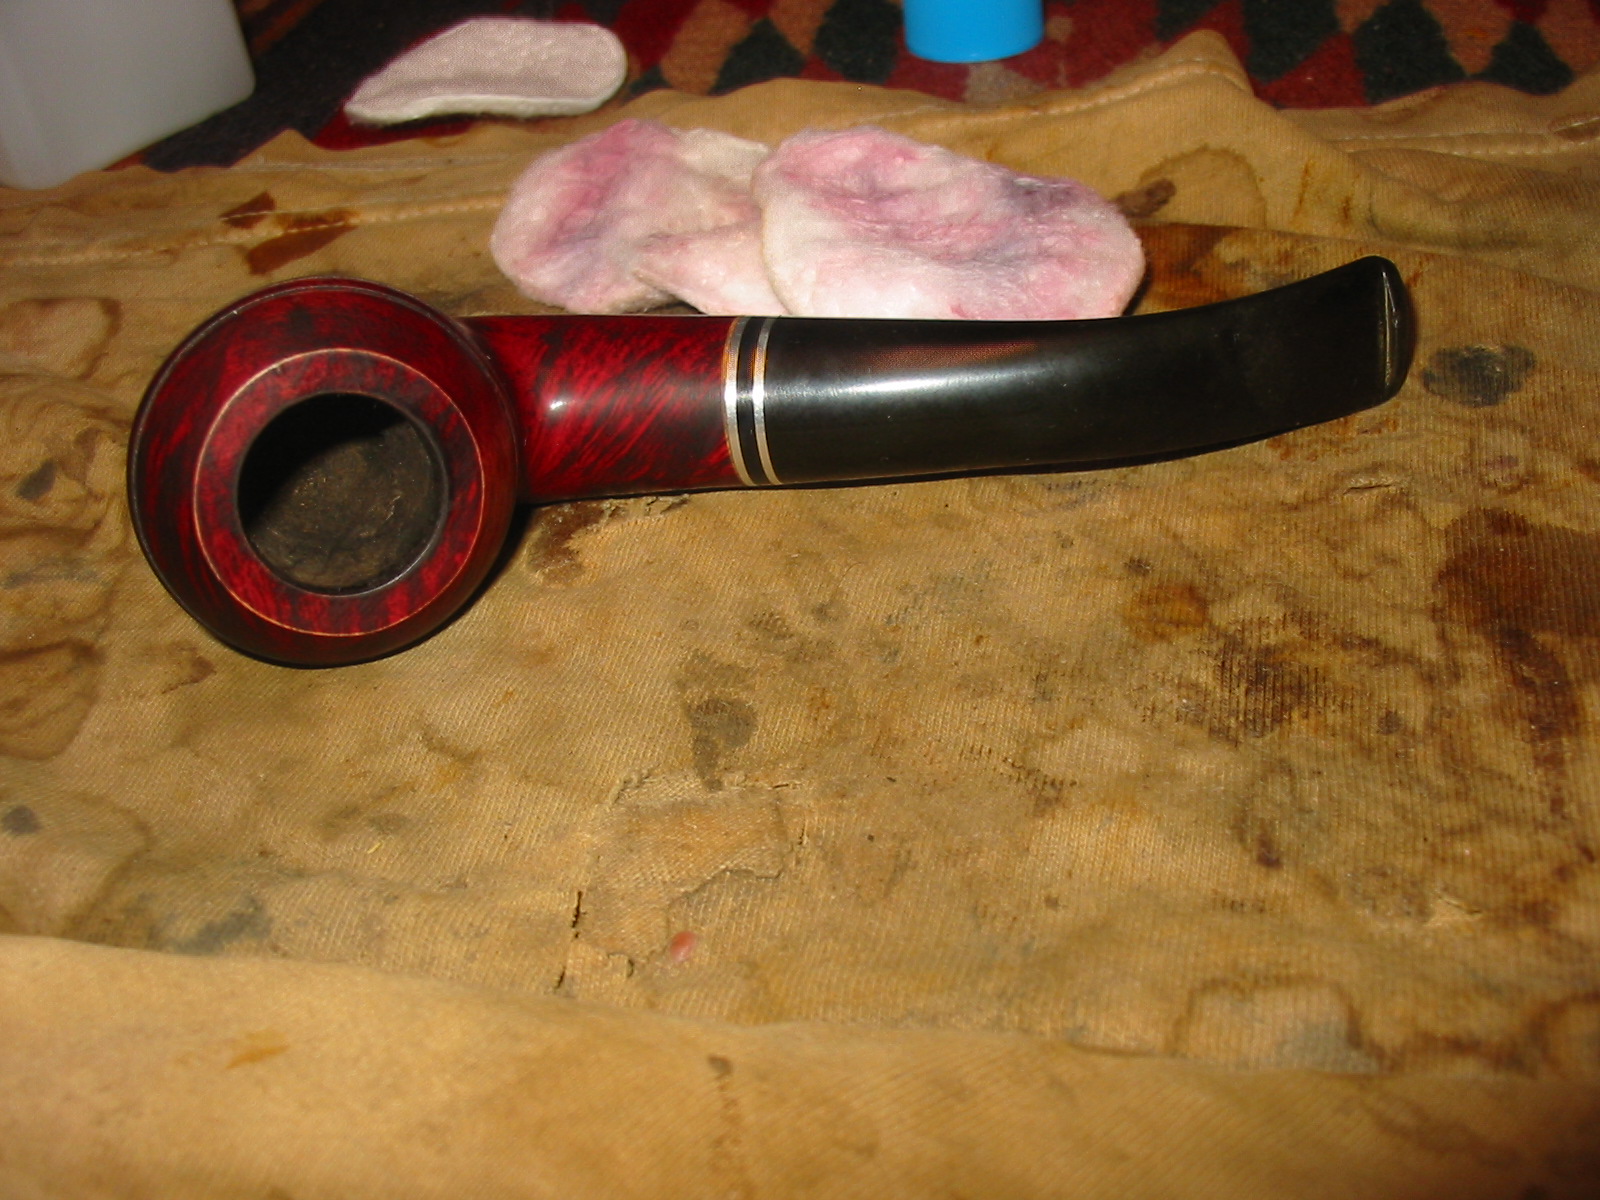
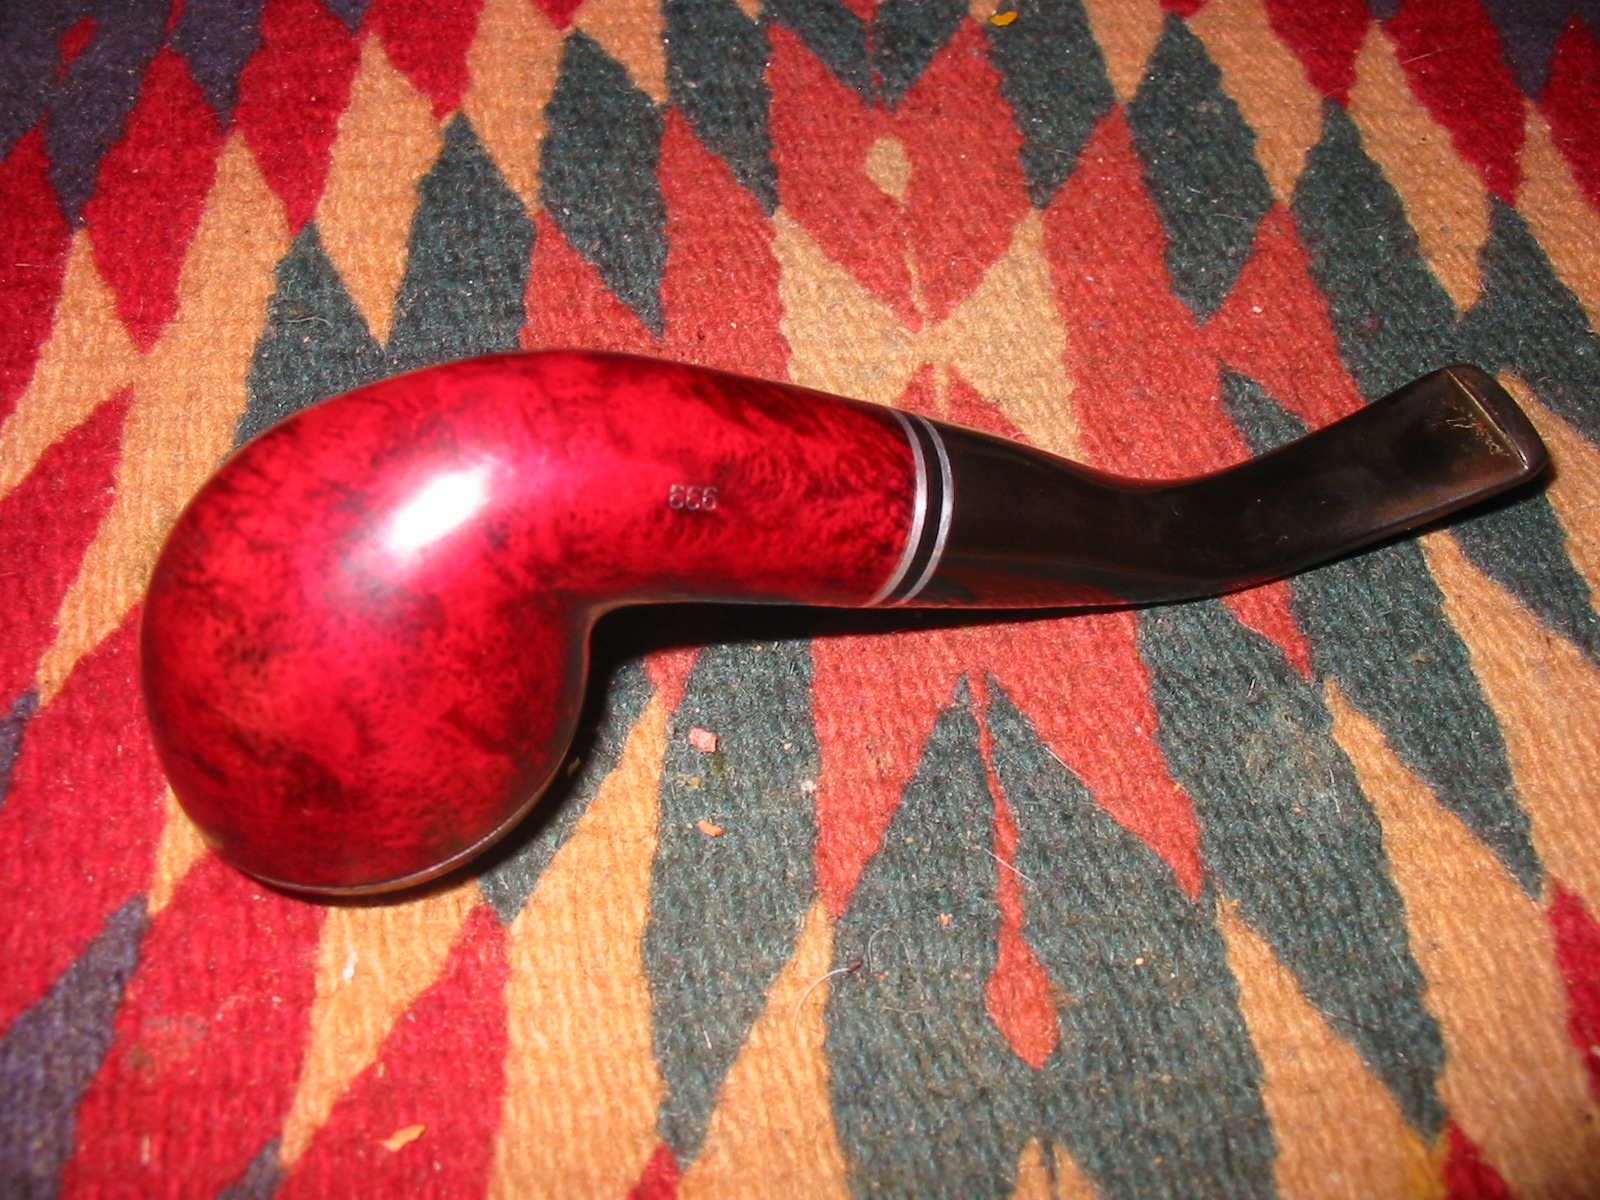
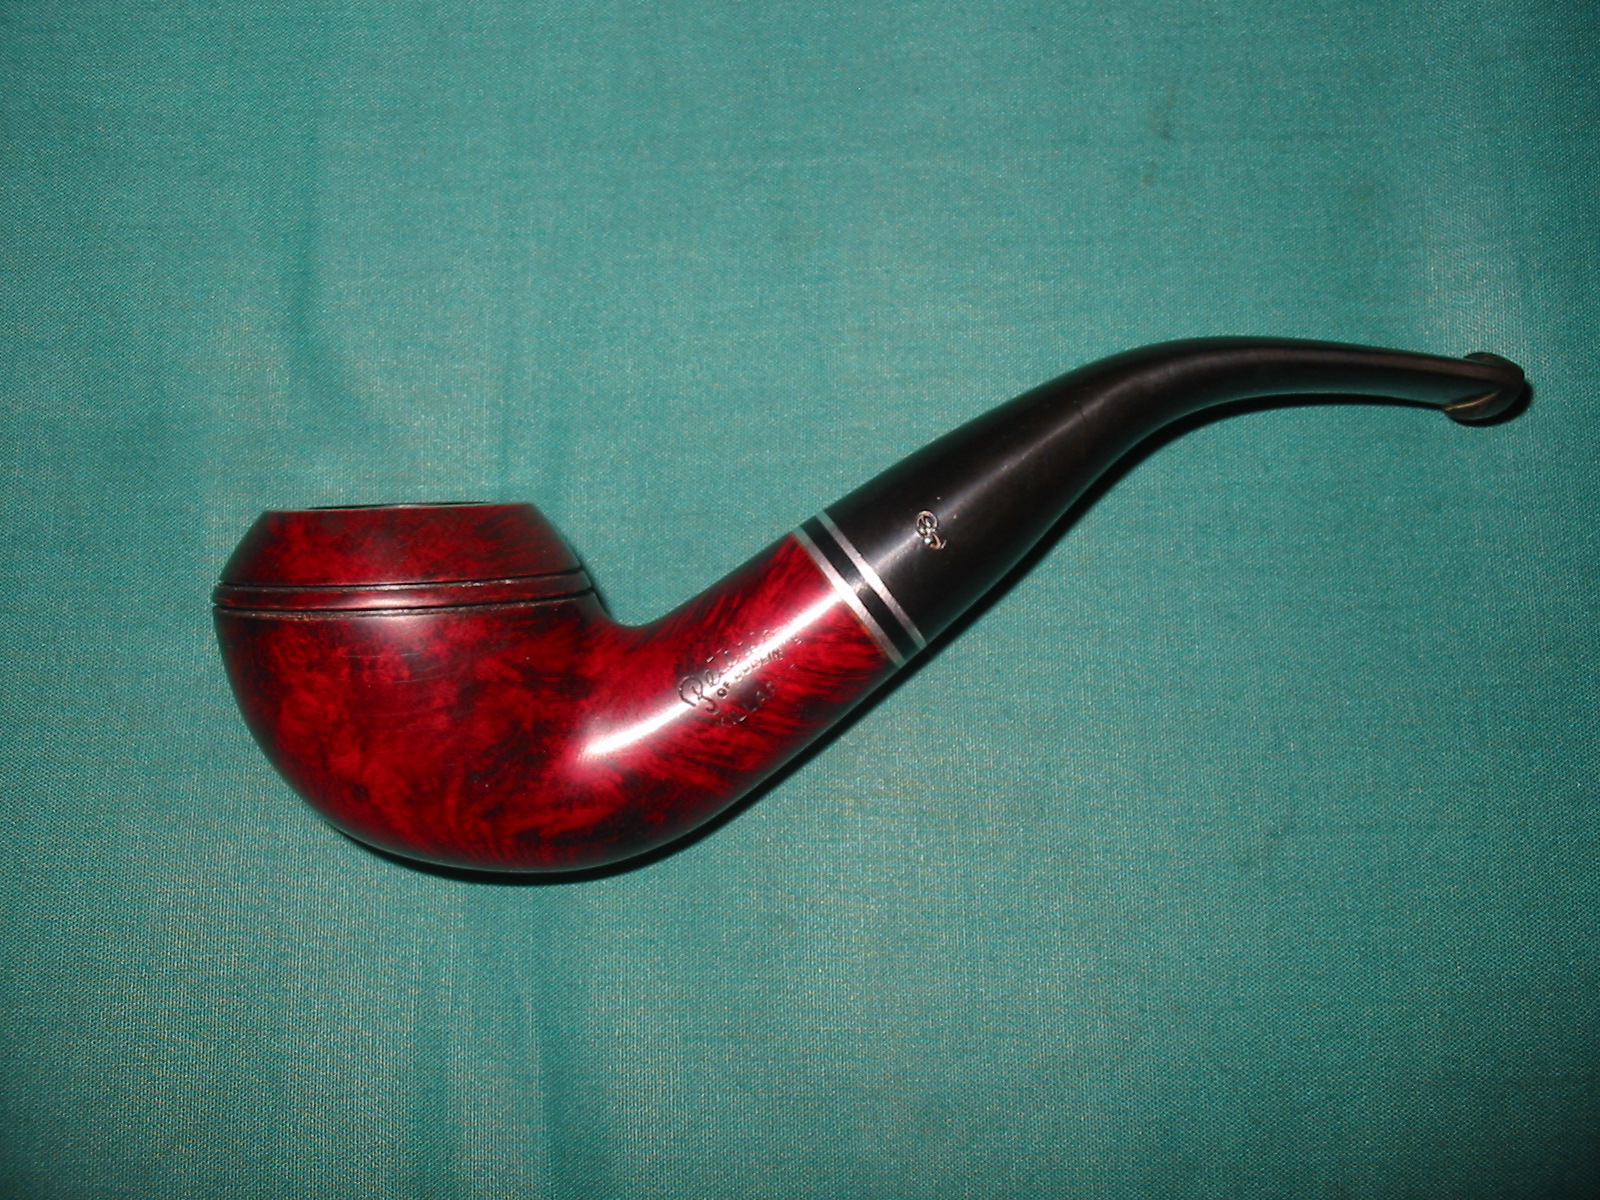
Trying to Remedy a Hot Smoking Peterson Killarney 999


I recently received an email from a friend here in Vancouver about a new Peterson Killarney 999 that he had purchased. He said that though it was a beauty and was quite a good smoking pipe it smoked so hot that he did not enjoy smoking it. He explained to me that when he smoked it the pipe became too hot to hold. He has been a pipeman for many years and never has this issue with his pipes so I knew it was not a technique issue. He explained to me that he had posted about it online seeking advice and everyone told him that it had to be the finish on the pipe. Many suggested that he needed to strip the finish off the bowl, restain it and it would be better. I have learned that there are other causes for a pipe smoking hot. All of them can conspire against a cool smoke. A thick coat of varnish or sealer could possibly be one of those contributing causes but I was just not sure if removing that would cure the issue. We emailed back and forth with questions that I had on the drilling of the pipe, the depth of the bowl, the thickness of the walls etc. He patiently responded to them and finally dropped the pipe by for me to look over. When I got it on the work table and took it apart to have a look I could see that there were multiple issues that would need to be dealt with. Hopefully as each part was addressed the end result would be a cooler smoking pipe.
IMG_6810

IMG_6811

IMG_6812

IMG_6813
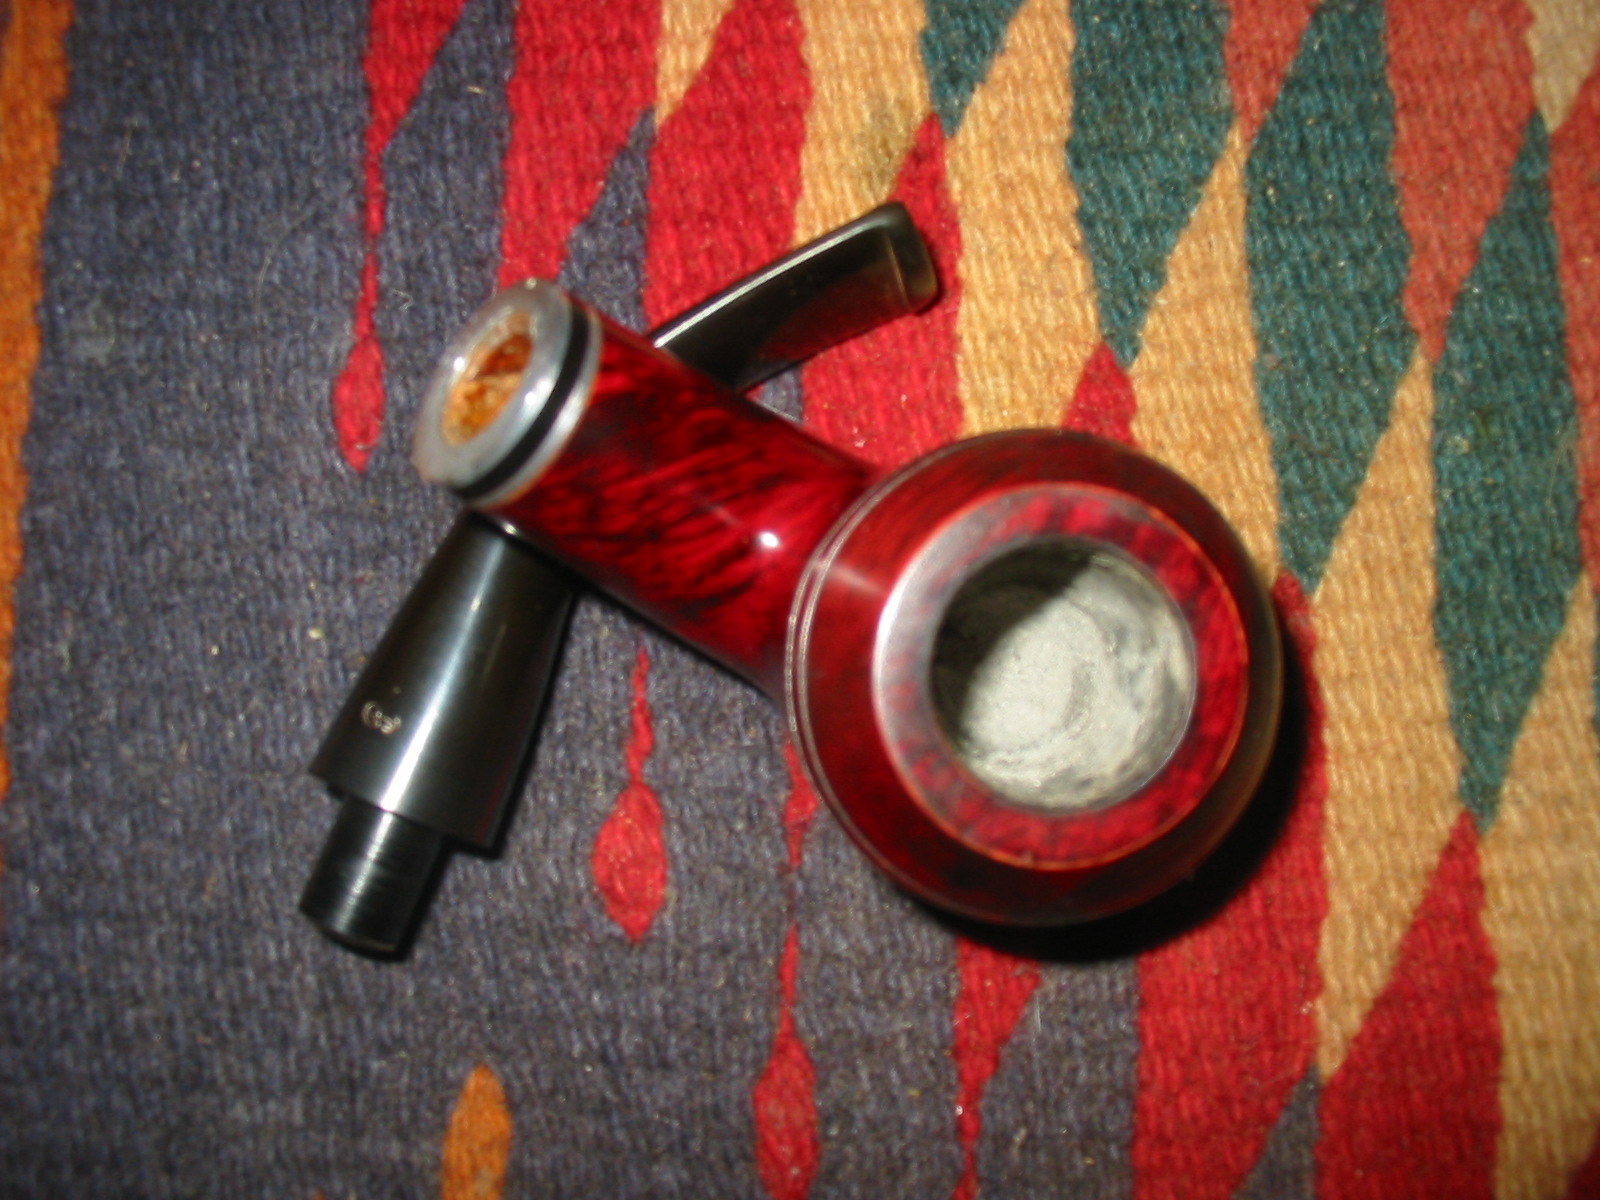
The first thing I saw was that the bowl had been over drilled and the entrance of the airway was high on the side of the bowl. This left the bottom of the bowl and bottom sides quite thin. This would need to be addressed. Then I removed the stem and shone a light down the shank. It too had been drilled very high in the shank and the briar on the top of the shank was also quite thin. I know that on the Peterson pipes there is often a reservoir left for collecting moisture but this was not for that. The end of the mortise was smooth and drilling was very high. I had taken a draw on the pipe and found that it was quite restricted so I was not surprised to see the high drilling. The airway in the tenon was significantly below the airway in the mortise. The way the tenon sat in the shank very little of the airway in the stem contacted the airway in the mortise. Finally I looked at the finish on the pipe. The stain was a dark cherry red. The bowl seemed to have a coat of varnish or something on it. Examining it carefully it became clear that it was more of a plastic coat than just varnish – possibly a urethane finish. To my thinking each of these contributed toward making it a very hot smoking pipe. I was not certain that I could do a lot to change that but I could address each of the issues and see if combined the reworking would make the pipe smoke cooler.
IMG_6826
I started with the stem and beveled or chamfered the end of the tenon with a wide funnel. I used a knife to do this rather than a countersink. I wanted to control the angle of the funnel and widen the opening without thinning down the walls of the tenon. I have found in the past that when the airway is high in the mortise, that a funneled end on the tenon can open up the air flow. I believed that in this case the restricted draw could be relieved. Once it was finished I sanded the newly opened funnel to smooth things out and then pushed the stem back in place on the shank. The draw was significantly improved. By opening the airway the flow of air from the bowl would not require as much puffing and pulling by the smoker. The first step in the process was complete.
IMG_6827
I then worked on removing the plastic finish on the pipe. This turned out to be far more difficult than I had expected. I wiped the bowl down with alcohol on cotton pads to see if I could break through the top coat. That did absolutely nothing to break the finish. In fact the cotton pad came away clean other than removing the slight oil build up on the bowl. Once the alcohol evaporated the shiny surface still gleamed unscathed. I wiped it down with acetone to see if that would break through. This time I expected the surface to yield to the acetone. If you guessed that this would do nothing in breaking the surface you guessed correctly. The pads came away white –the finish was not even marred by the acetone. It continued to gleam brightly!

With neither of my previously proven ways of removing the finish working I resorted to a more intrusive measure. I sanded the surface with a fine grit sanding sponge to try to break through the shiny surface of the finish. This took time and care, particularly around the stamping on the shank. The sanding dust that came off was a fine white powder – plastic powder not unlike what I get when I sand a Perspex or Lucite stem. I did not want to sand the briar just the topcoat. I sanded until the whole surface was covered with a fine white dust. I wiped it down with the acetone once again. This time the cotton pad came back with a pink wash. Yes! I had finally broken through the finish. I washed the bowl down and then sanded it again and washed it again – repeating the process until the shine was gone. The acetone worked well after that to remove the remaining topcoat. At this point I dropped the bowl in an alcohol bath and left it for the day while I went to work. In the past when I had done this I would return in the evening and find the finish gone and the briar had a nice clean patina to it so I was hoping for the best.
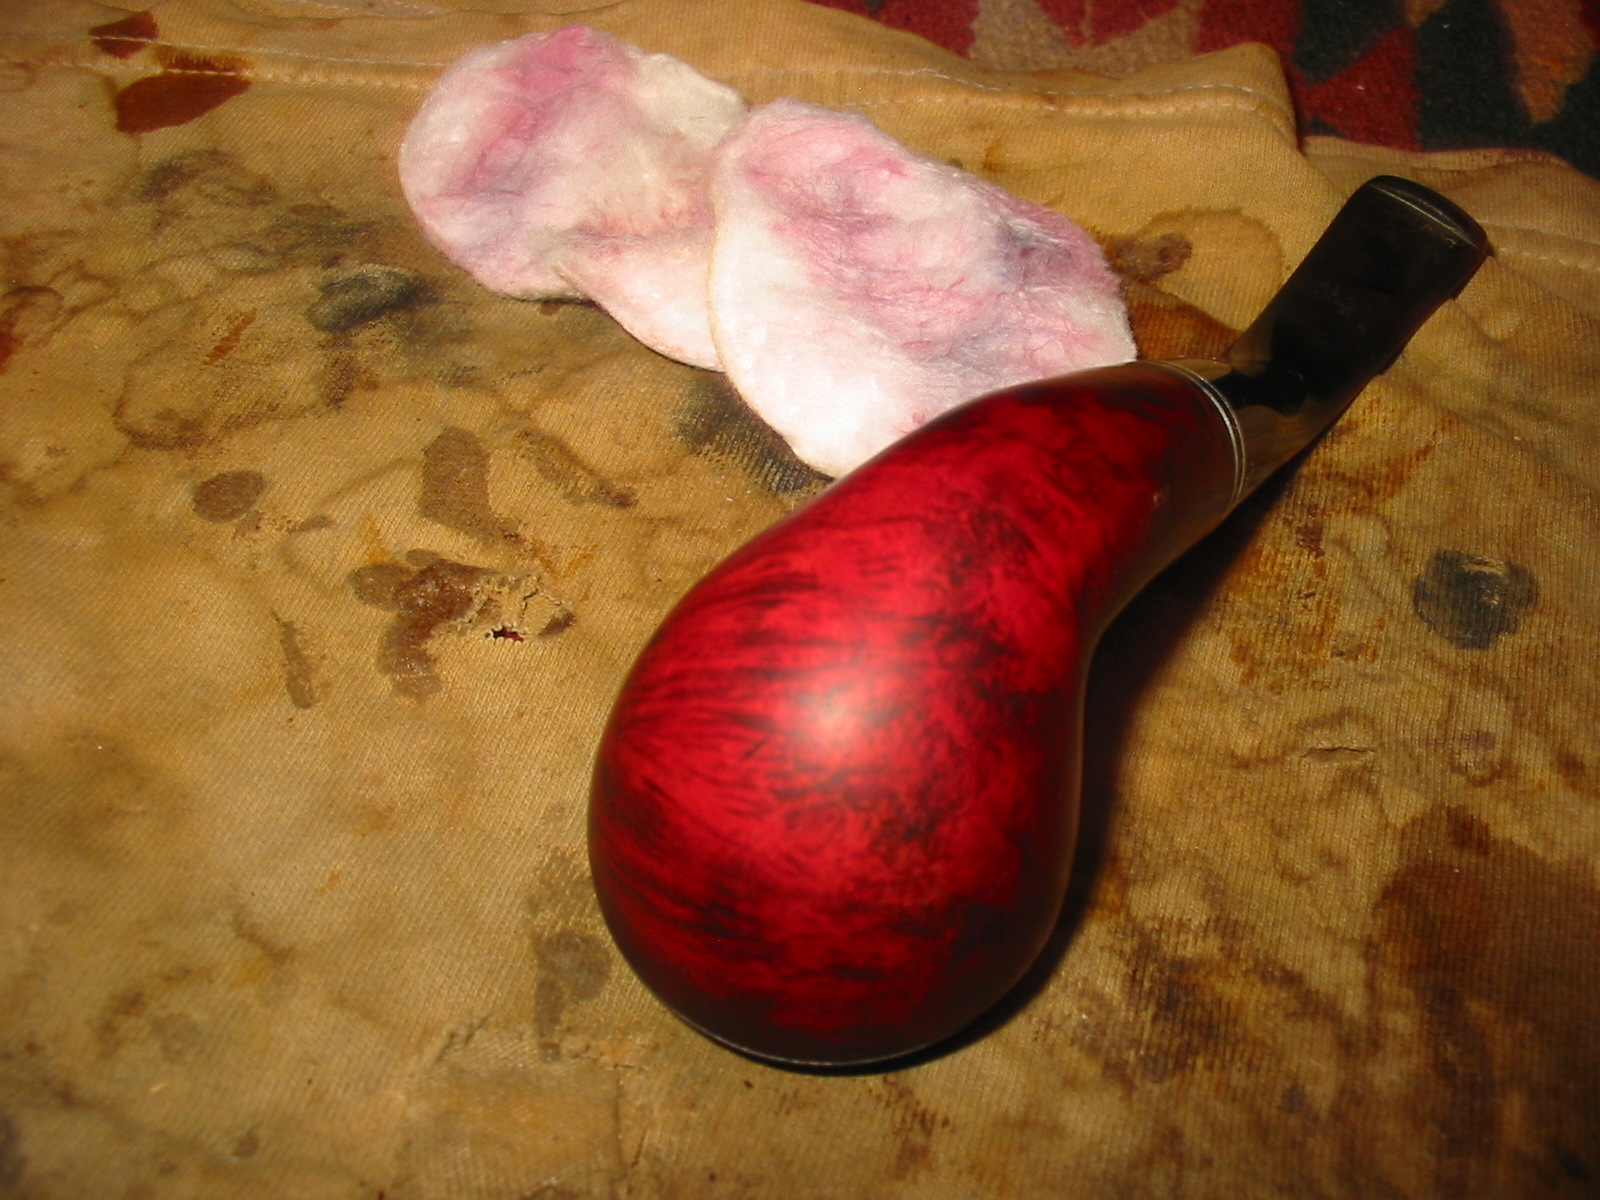
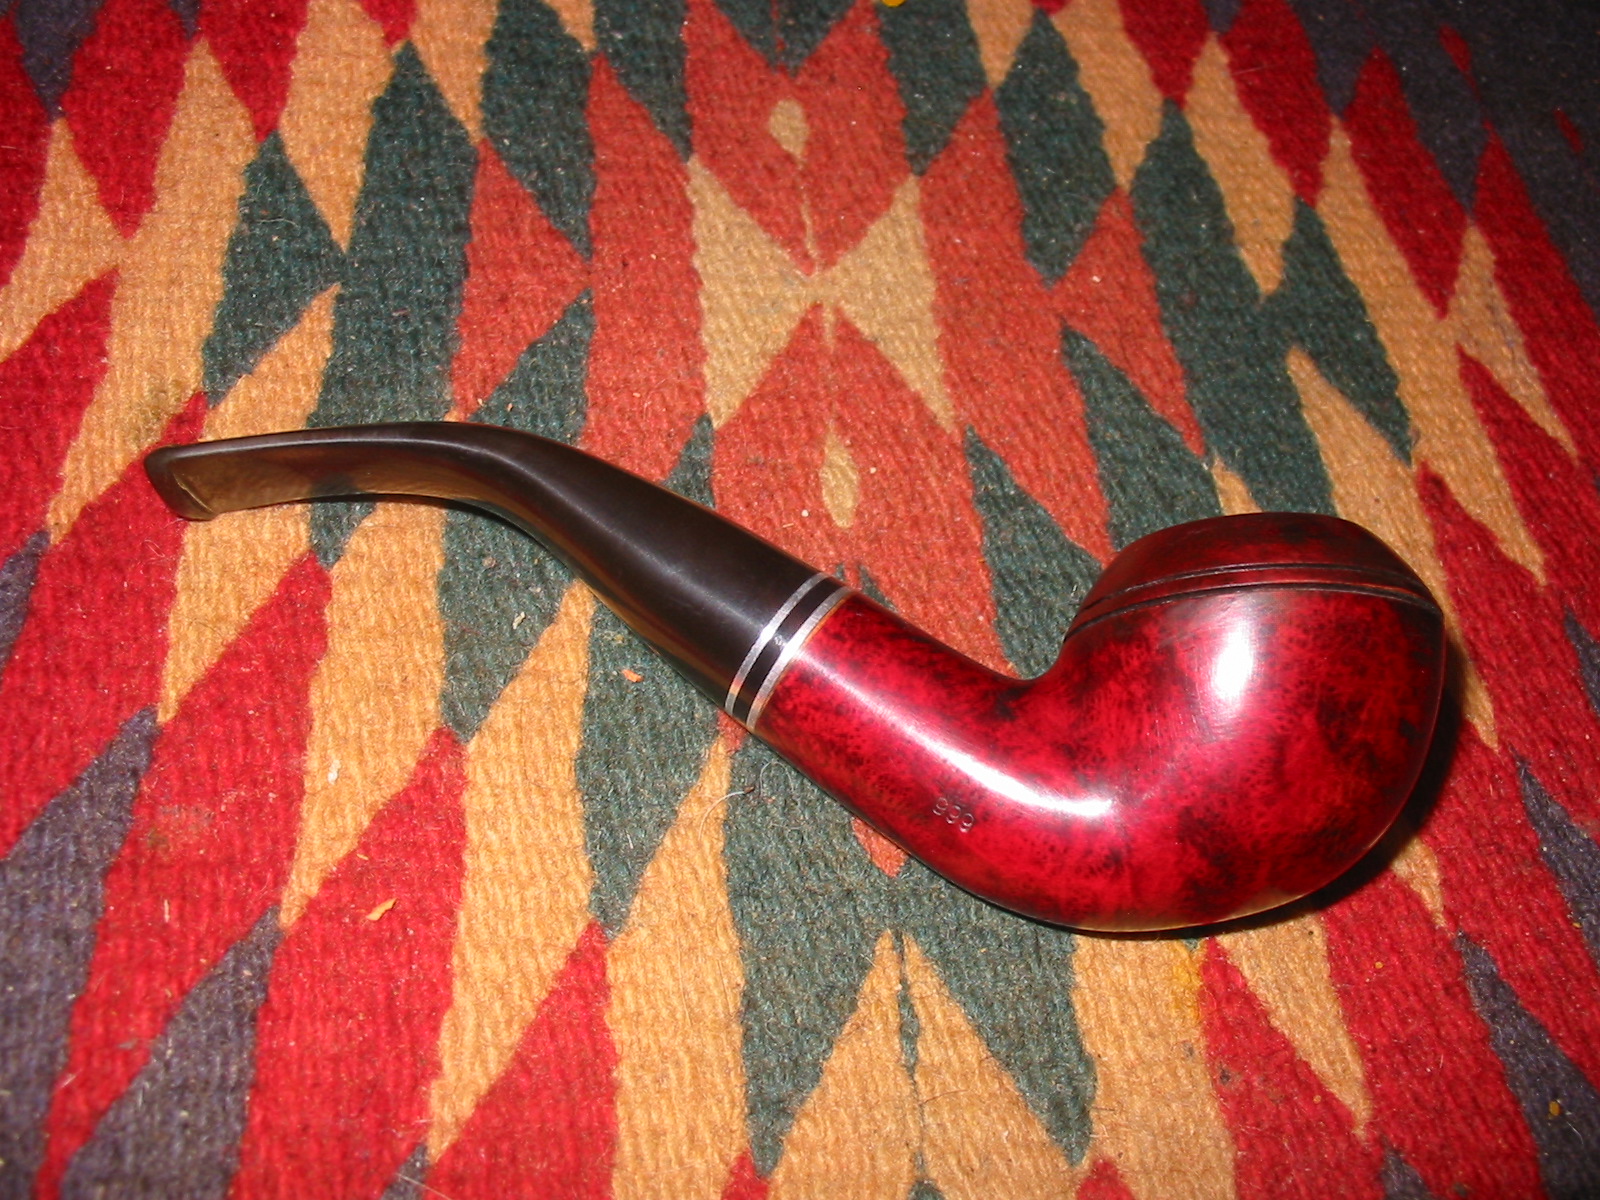
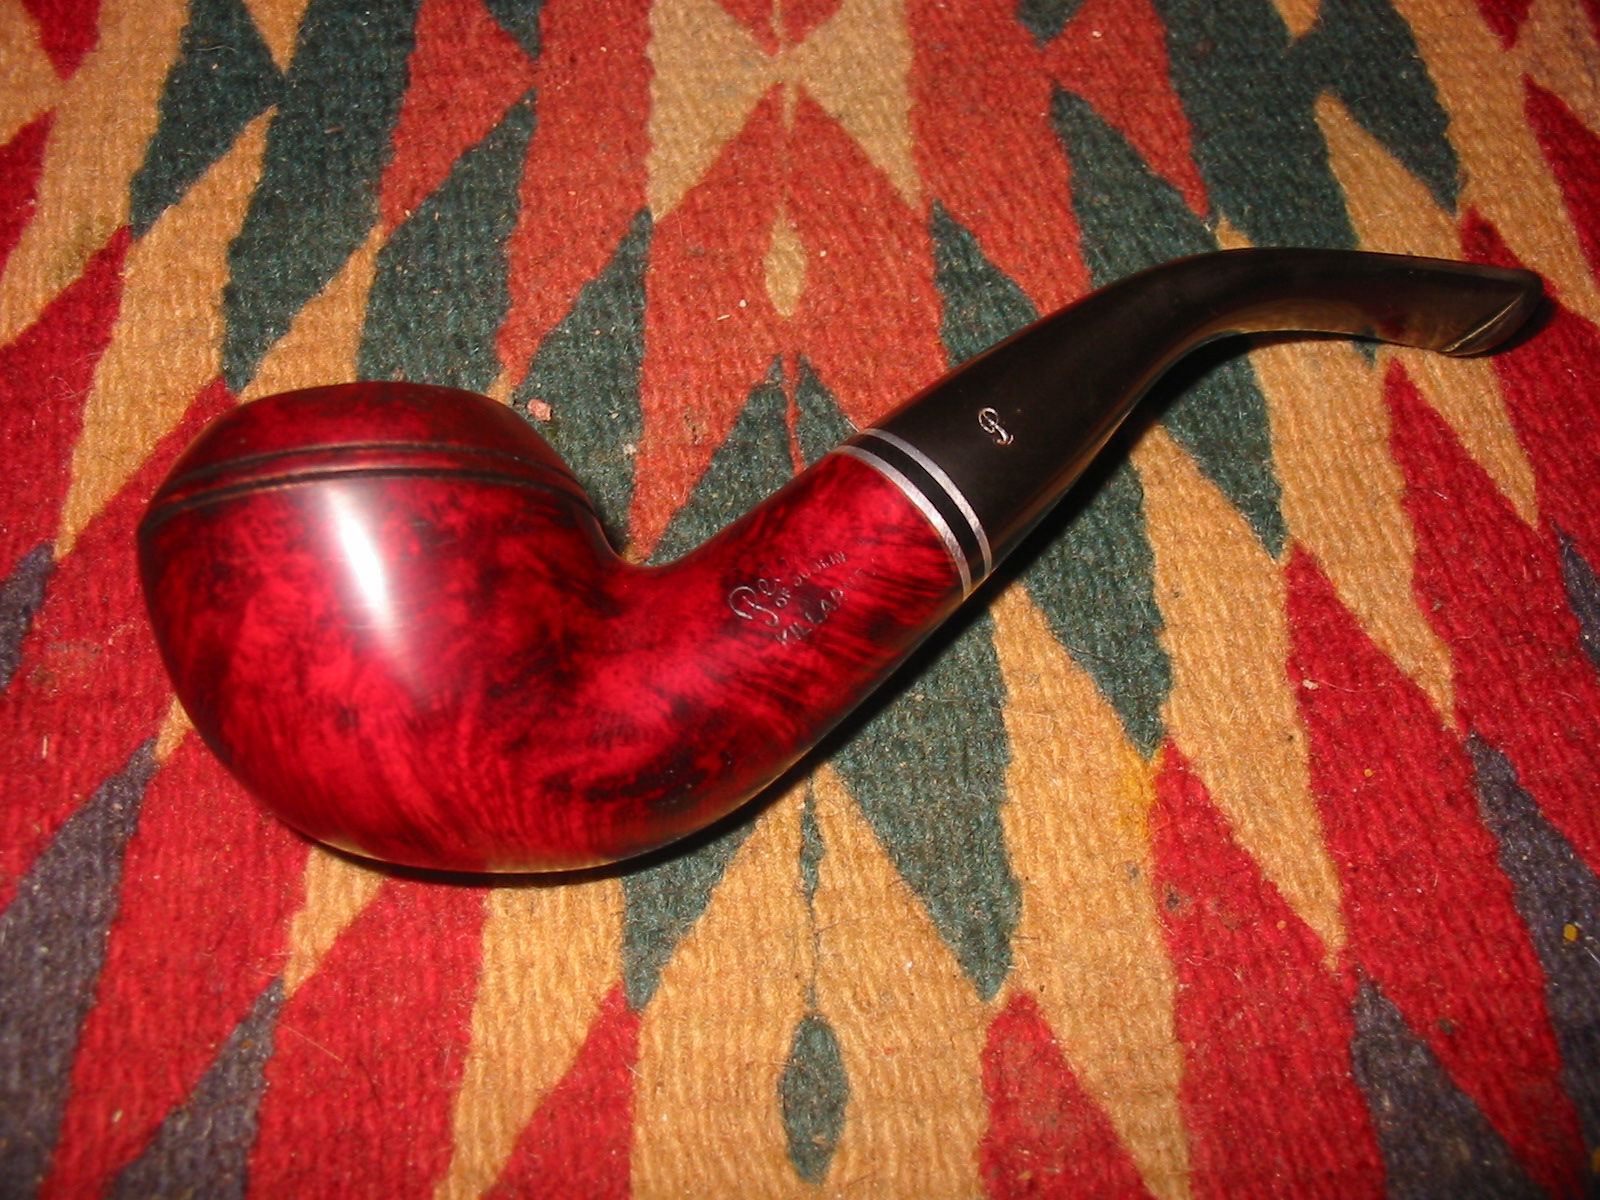
When I got home I took it out of the alcohol bath and dried it off. The finish was gone! The shiny coat had finally given up. The stain had lightened slightly but the grain was nicely visible. I was surprised to find that there were not any highly visible fills under the plastic coat.
IMG_6814

IMG_6815

IMG_6816

IMG_6817
I sanded the bowl with micromesh sanding pads to remove the minute scratches in the briar left behind by the fine grit sanding pads. I had been fairly careful in my sanding to only break through the top coat of plastic so these were not significant. I wiped the bowl down with acetone on cotton pads after sanding to remove the sanding dust and see where the finish was now. I put the stem back in place and took the following photos to get a look at the pipe at this point in the process.
IMG_6818

IMG_6819

IMG_6821

IMG_6822
I like the way the grain was beginning to poke through the stain. I wiped it down several more time with the acetone and then buffed the pipe with Tripoli and White Diamond to polish and further remove some of the finish. The pipe was looking very good. I touched up the finish with a dark cherry stain to even out some of the light spots on the finish. I lightly buffed it with White Diamond when the stain was dry. I liked the look of things at this point.
IMG_6823

IMG_6824

IMG_6825
I mixed a batch of pipe mud and packed it into the bottom of the bowl to raise the bottom to meet the entrance of the airway in the bowl. I painted the mud around the bottom portion of the bowl to protect it where it was the thinnest. I set the bowl aside to cure overnight. This morning I took the following photo to show the new look of the inside of the bowl.
IMG_6828
With all of the renovations complete the pipe was ready for a final buff and polish with carnauba wax. I took it to the wheel and put multiple coats of wax on it. I wanted it to shine but not have the high gloss shine that it had previously. I finished by buffing it with a soft flannel buffing pad. The new look was good in my eyes – the grain shone through nicely and the stain was more transparent than before. The contrast between the black that had been used to highlight the grain and the red topcoat was nice. The wax gave it just the right glow. Now I am hoping that when my friend fires it up that it will smoke cooler than it did before. Here are some photos of the finished pipe.
IMG_6829

IMG_6830

IMG_6832

IMG_6833

UPDATE:
I returned the Pete to its owner at lunch today. He took it with him to smoke a bit later. I was curious to know if the problem had been solved. I asked that he email me once he had smoked it. I just received and email from him. He reports as follows: “The revision is a HUGE improvement!! It smokes much better — not super cool, but quite acceptable. The draw is definitely better and I think once it breaks in it will be a good smoke! Many thanks again for your work!” So while it is not super cool is not as hot as it was before. Enjoy your “new” pipe.

Cleaning/Polishing the Stem Crease Area by Joyal Taylor


Blog by Joyal Taylor

It is a pleasure to be able to introduce this first blog post by Joyal here on rebornpipes. I read with interest several of Joyal’s posts on Pipe Smokers Unlimited online forum. His love of refurbishing and his abilities were something that I immediately resonated with. When I read the post he made about the use of the sanding sticks and micromesh sanding sticks to clean up the crease on a stem I was hooked. I thanked him for the research and creativity that lead to these new to me tools of the trade. I asked if he would mind writing this up for the blog and this afternoon I received the post. Thanks Joyal. I look forward to reading many more of your posts here and on the forums. Without further introduction here is Joyal’s post.

I’ve smoked pipes for about 30 years. A few years ago, I semi-retired and started looking for hobbies. Fishing is great but not for an everyday activity, at least for me. One day I looked at some of my pipes and realized that they were looking beat up and abused. I tried restoring one but quickly realized that I didn’t know what I was doing. So I began researching pipe restoration and tried again and again. Soon I was fully into it with various tools and dyes. It has become an everyday activity that gives me things to do with all of my semi-retired free time.

I find that the most frustrating area to clean up, on an oxidized stem, is the 1-2 mm in front of the bit. Sometimes oxidation and dirt gets in that area and it’s difficult to get it out. I’m always trying to find better, quicker, and easier ways to do various aspects of pipe restorations. If you don’t need to use needle files and dead edge files to reshape the bit, here’s an alternative to cleaning up the crease area in front of the stem bit, without really altering it.

Before photo of a stem that needs a little cleaning/polishing in front of the bit. There are more dramatic examples but this is the only one I had at this time.
Photo #1
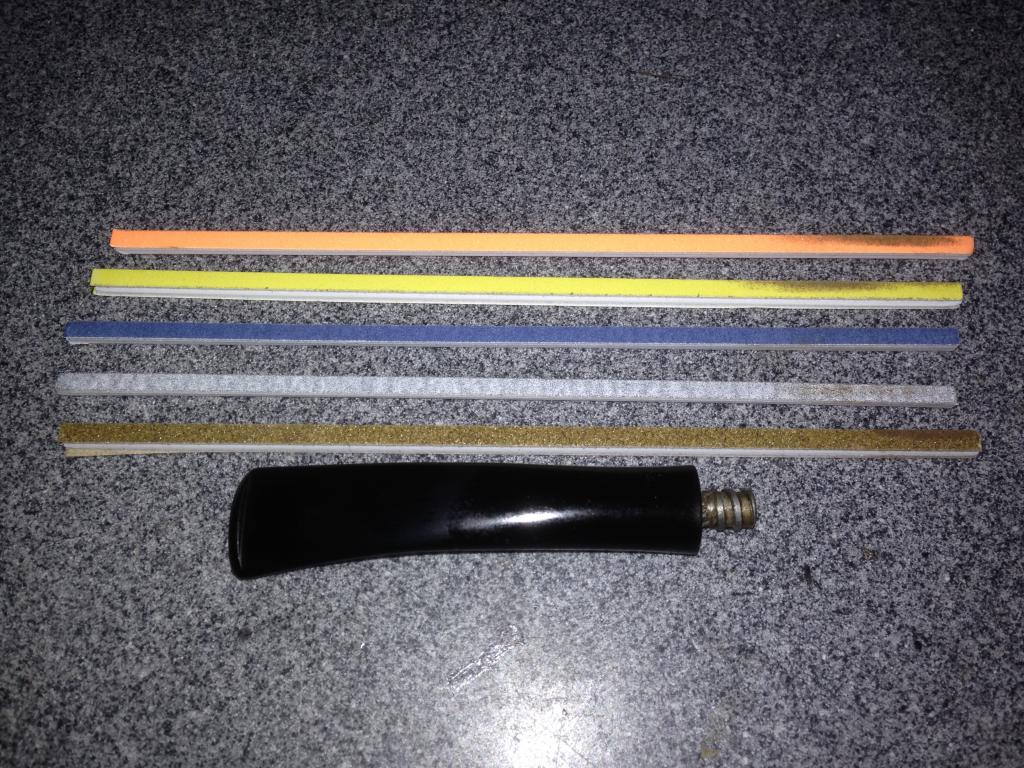
I found some small thin sanding sticks that fit nicely into the area (100,180,240,320,400 grit) http://www.billingboatsusa.com/803-flx0101-mini-hobby-and-craft-sanding-sticks.html
Photo #2
Here’s what the area looks like after using all of the sticks – gently.
Photo #3
Next I polished the area with micro mesh sticks (1,500-12,000). I find that these are easier to use in this small area than the micro mesh pads. http://www.woodcraft.com/Product/2080764/29708/Micro-Mesh-12-x-5-34-Colored-Sanding-Sticks.aspx
Photo #4
These final two photos were taken before wheel polishing/buffing because the shine doesn’t allow for a good photo.
Photo #5

Photo #6
This entire cleaning/polishing doesn’t take as long as it may seem – probably less than 10 minutes.

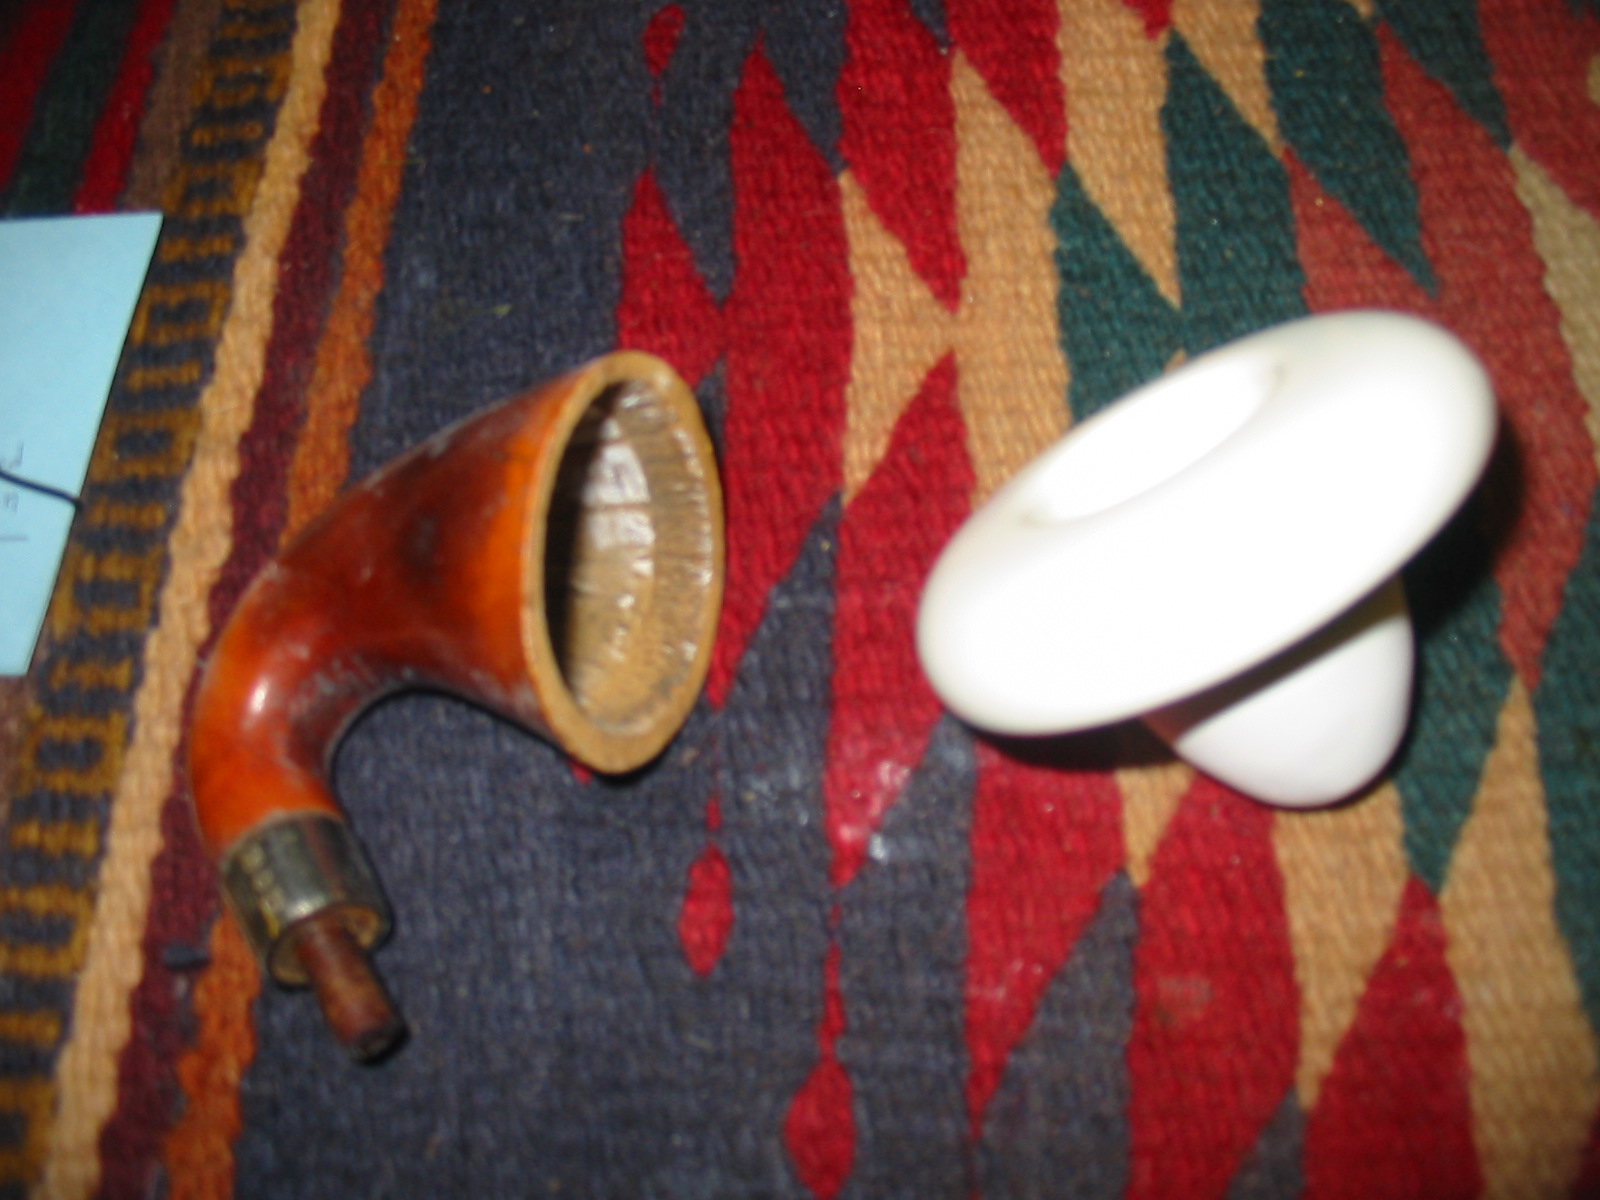
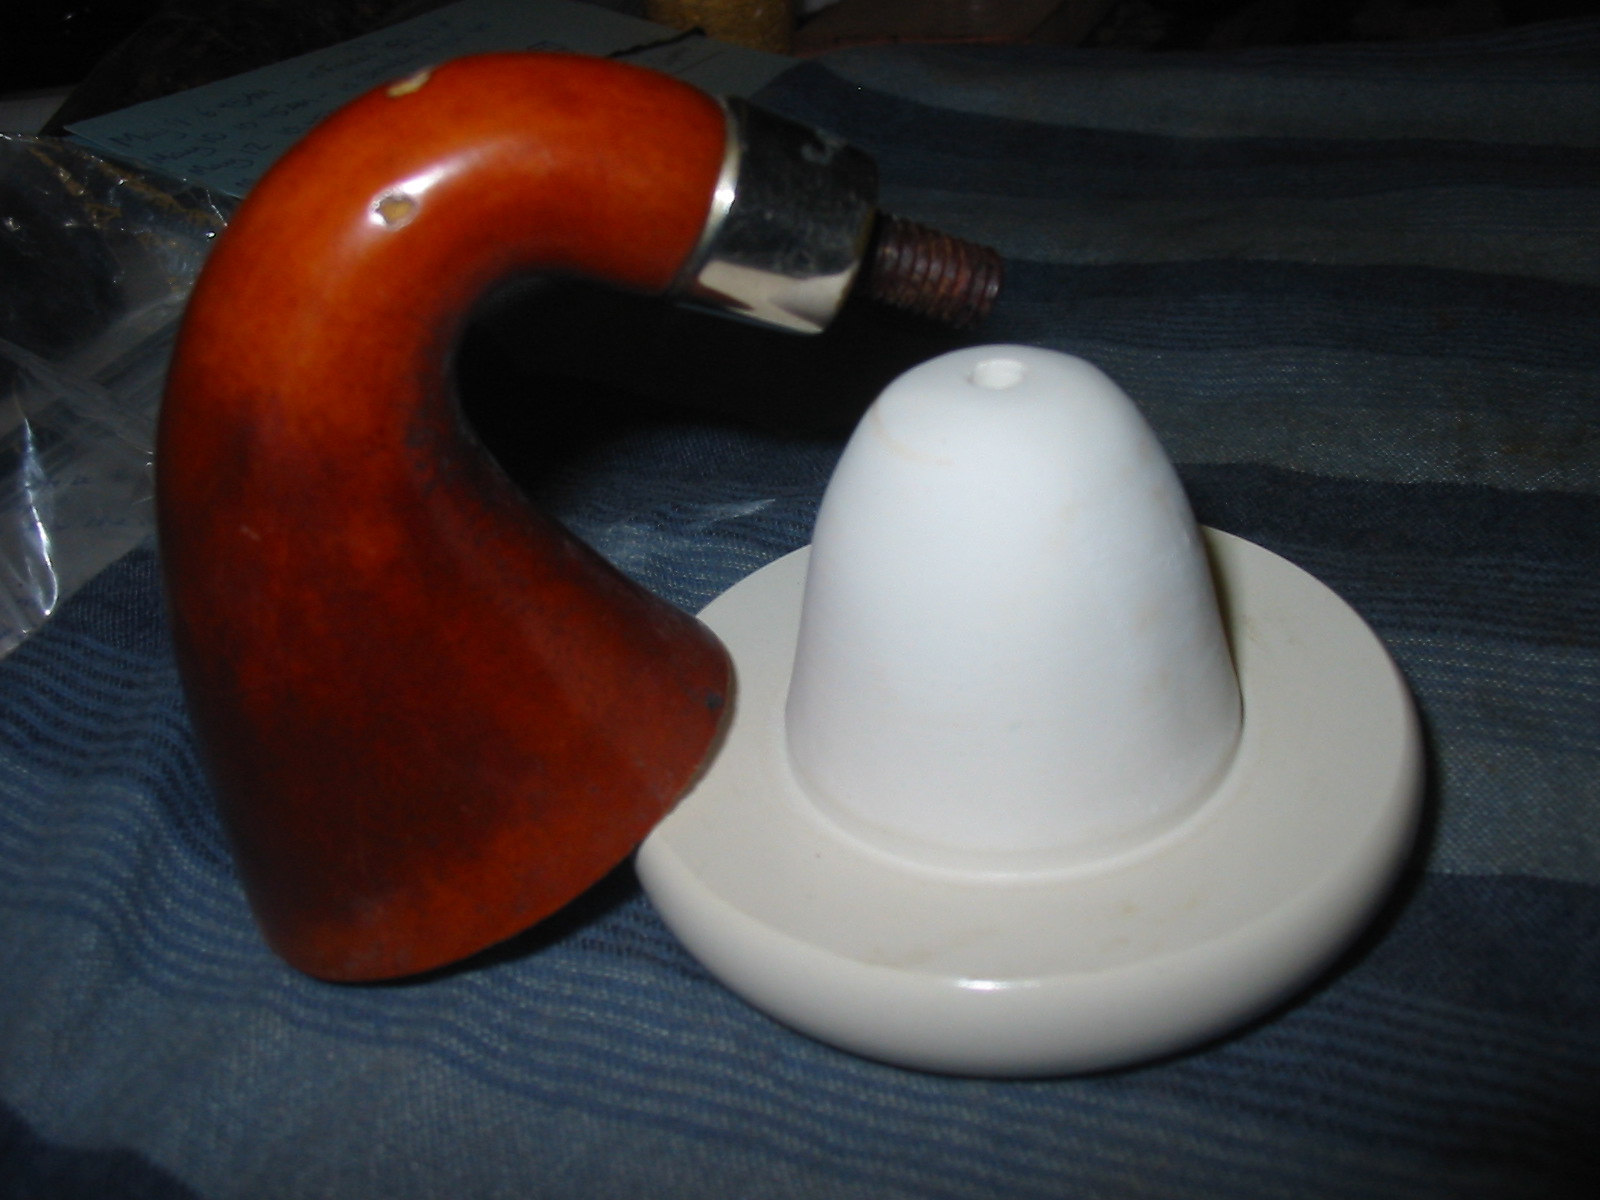
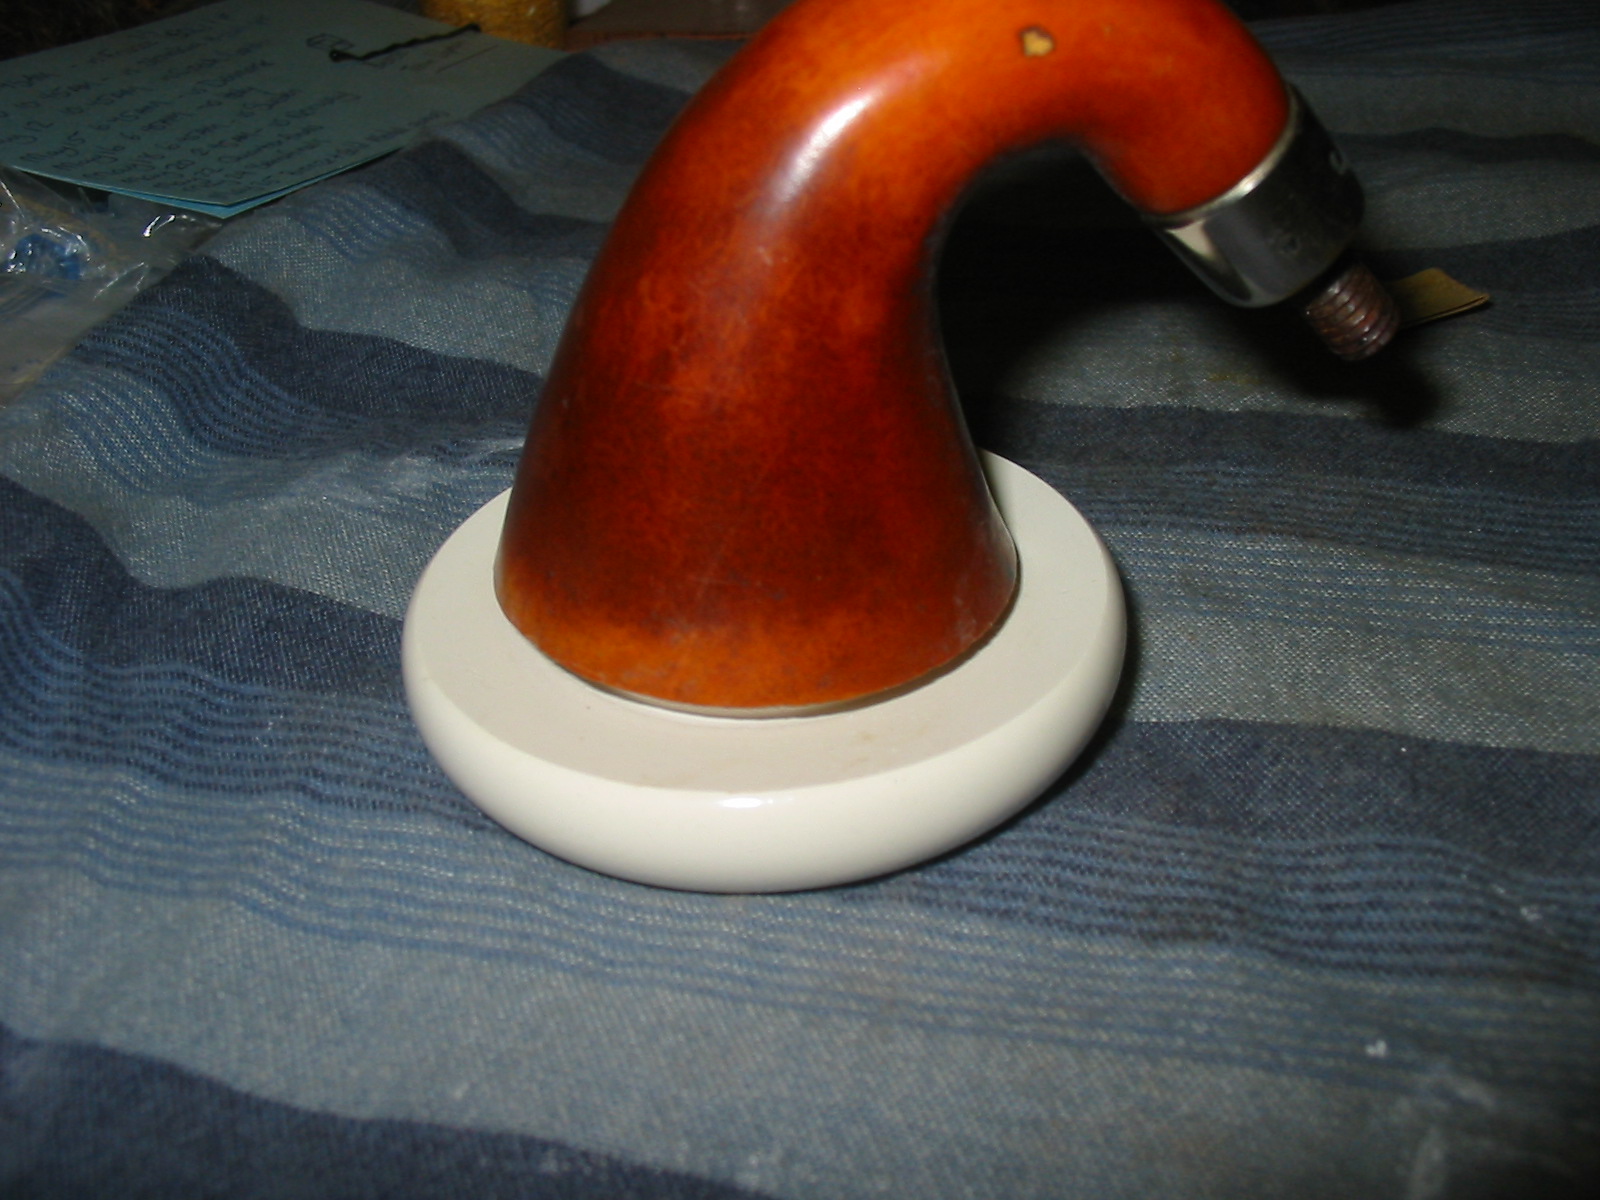
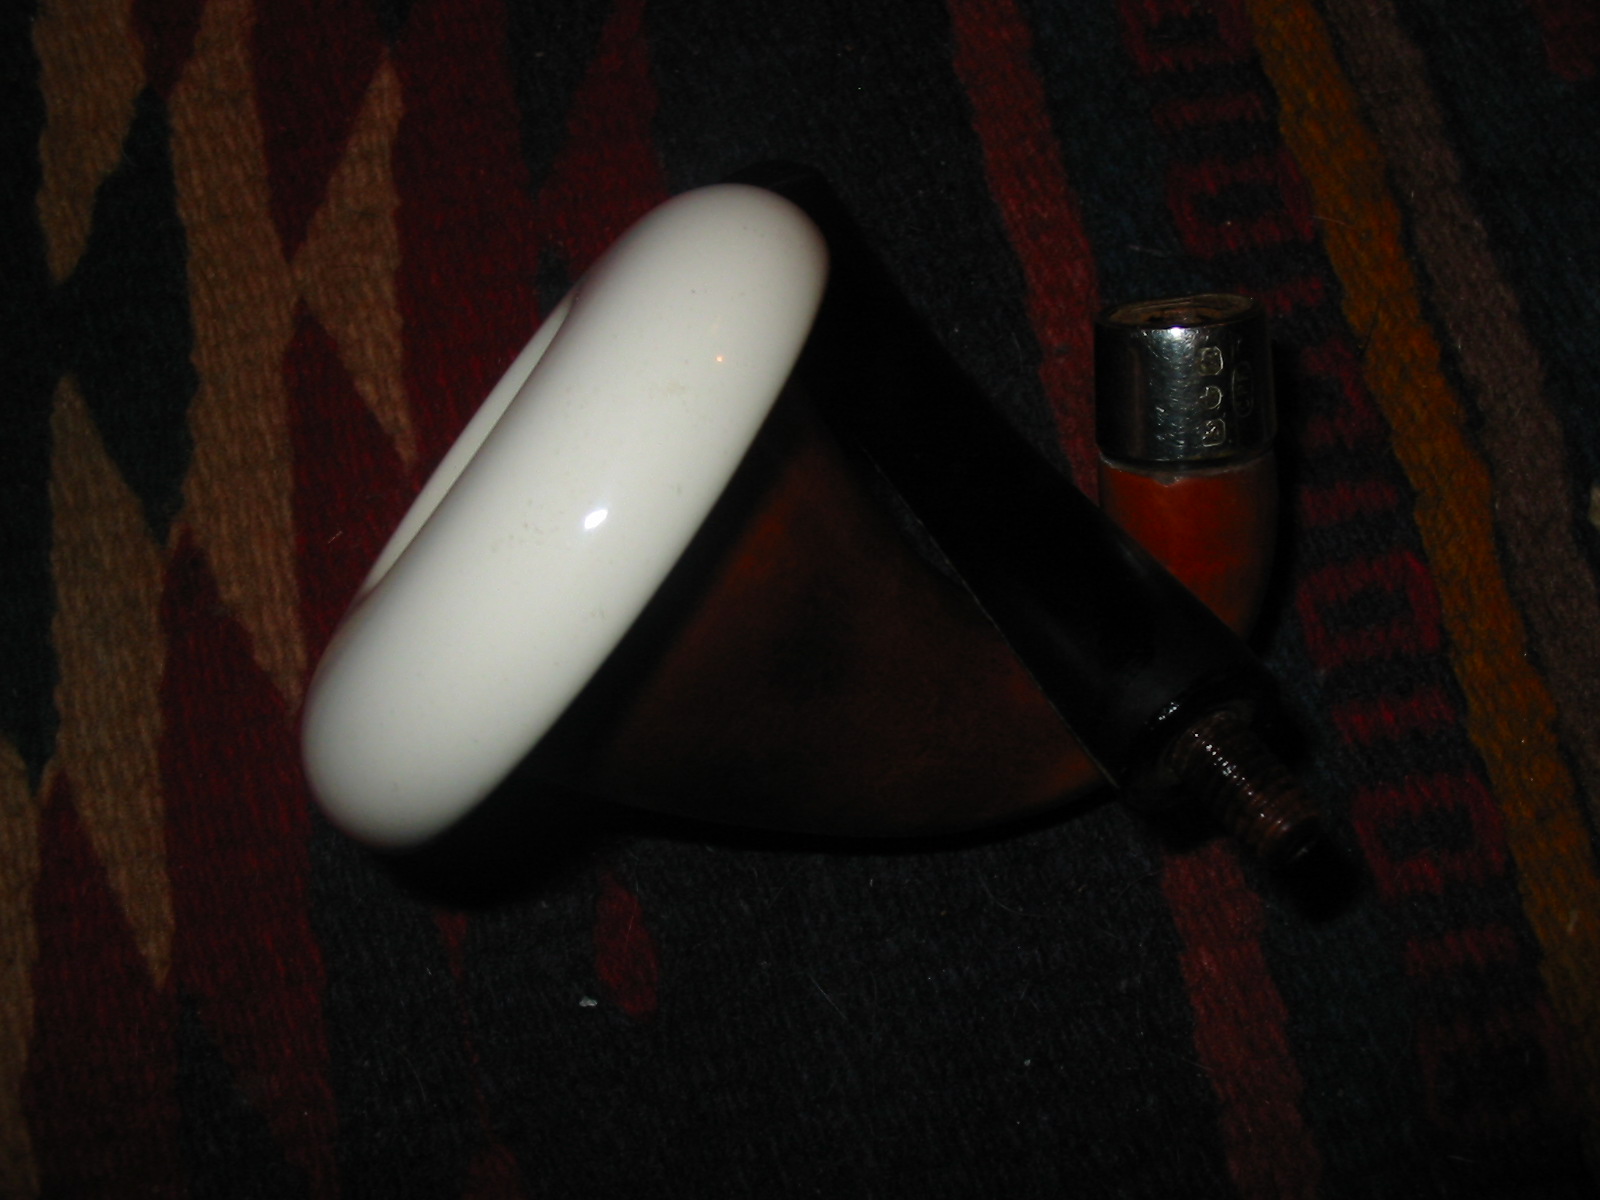
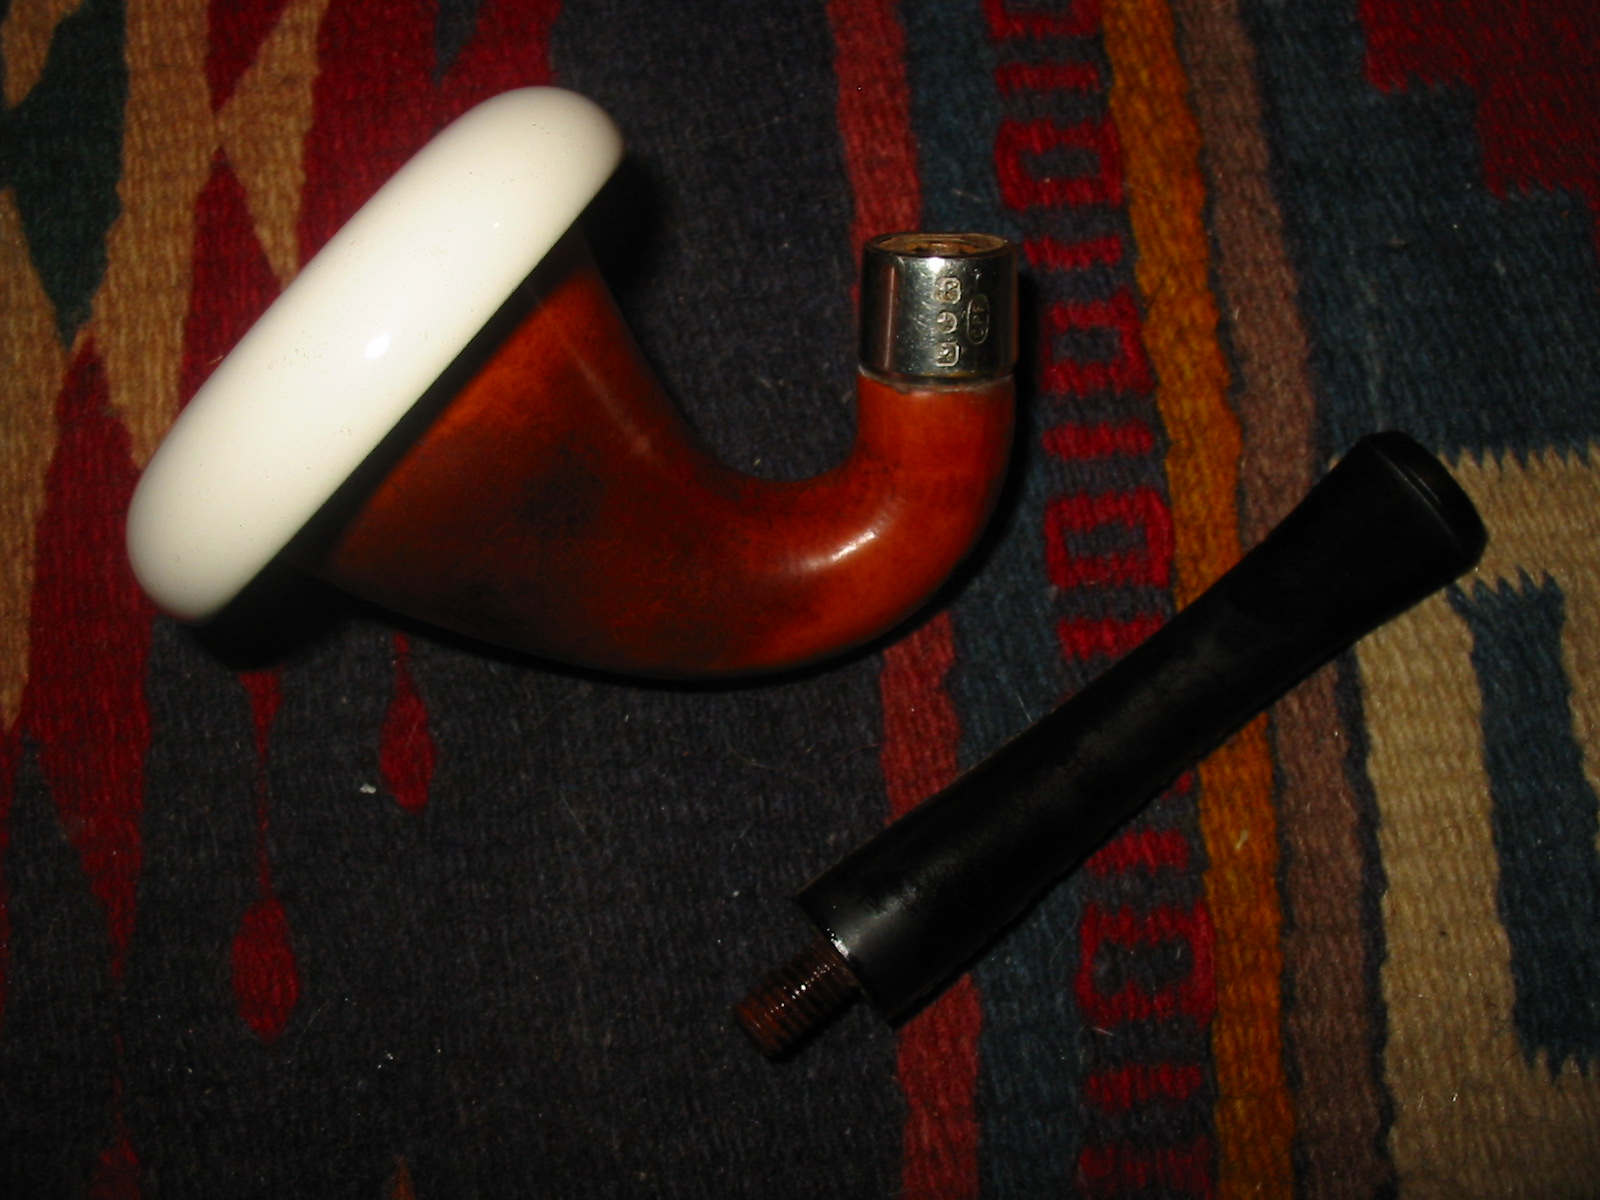
Restoring an old CPF Gourd Calabash Pipe


Blog by Steve Laug

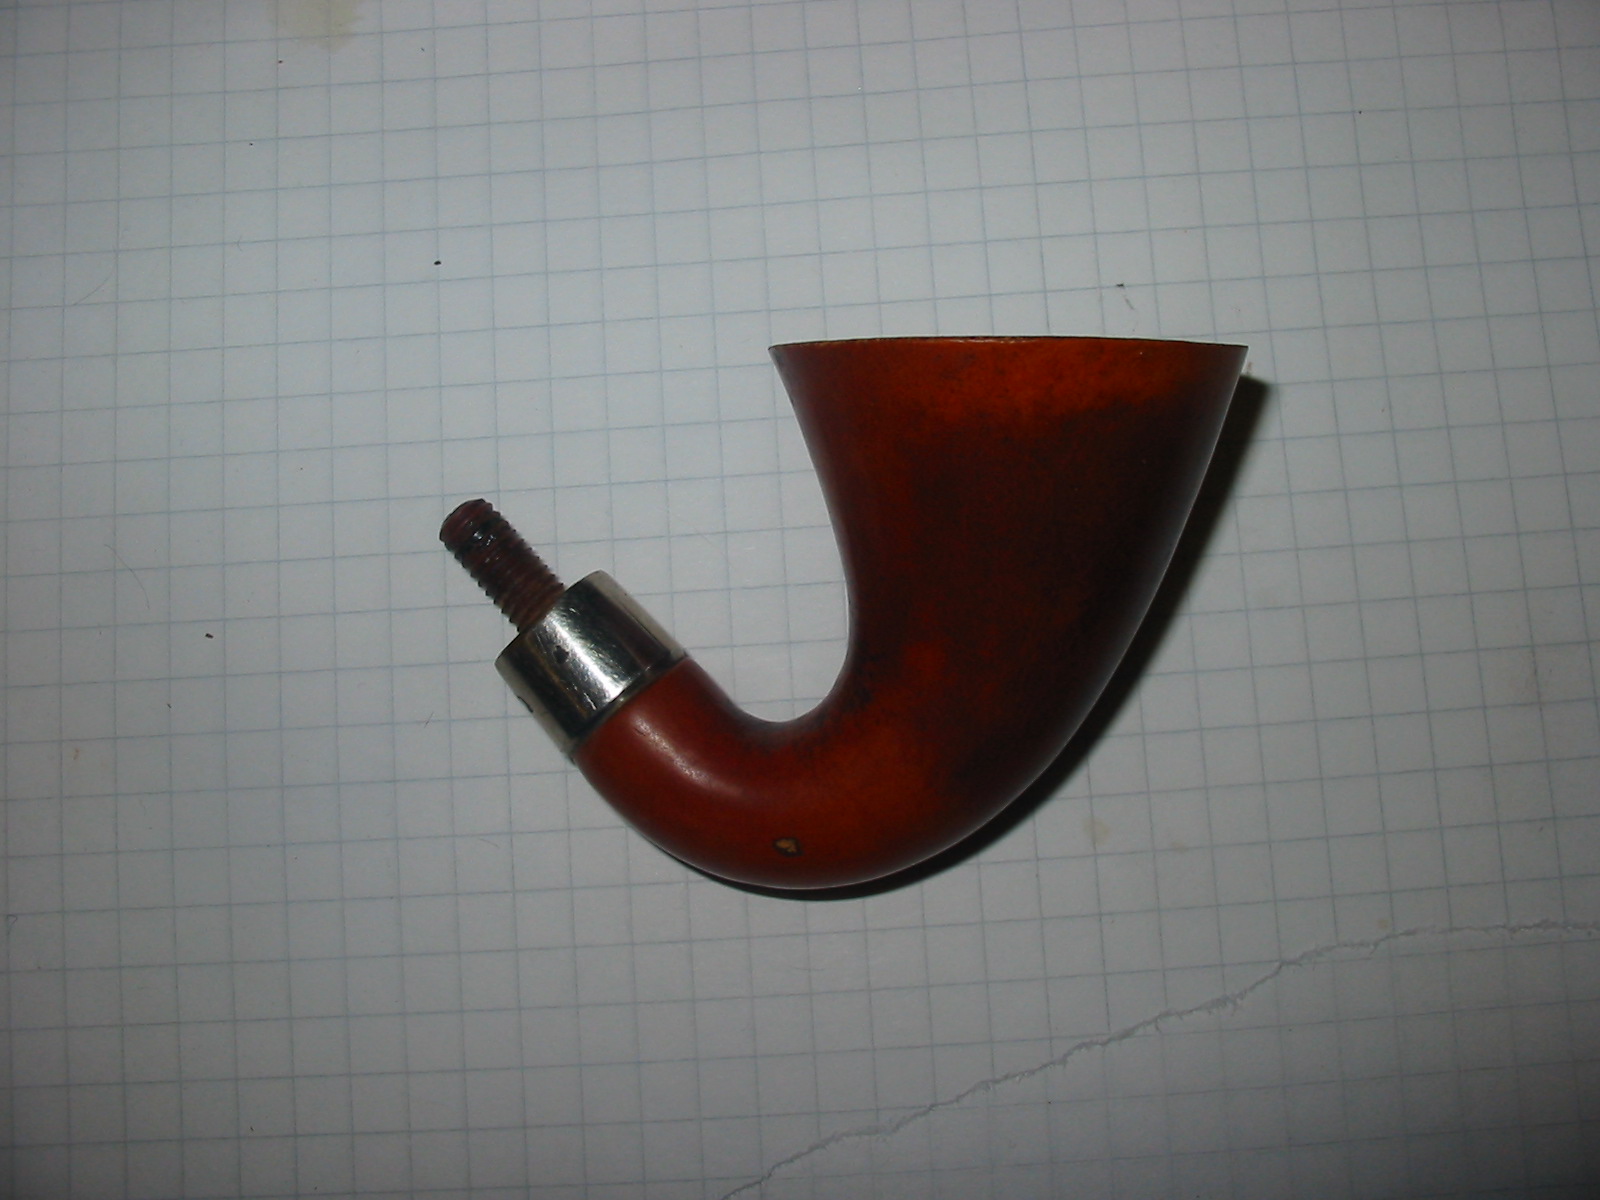
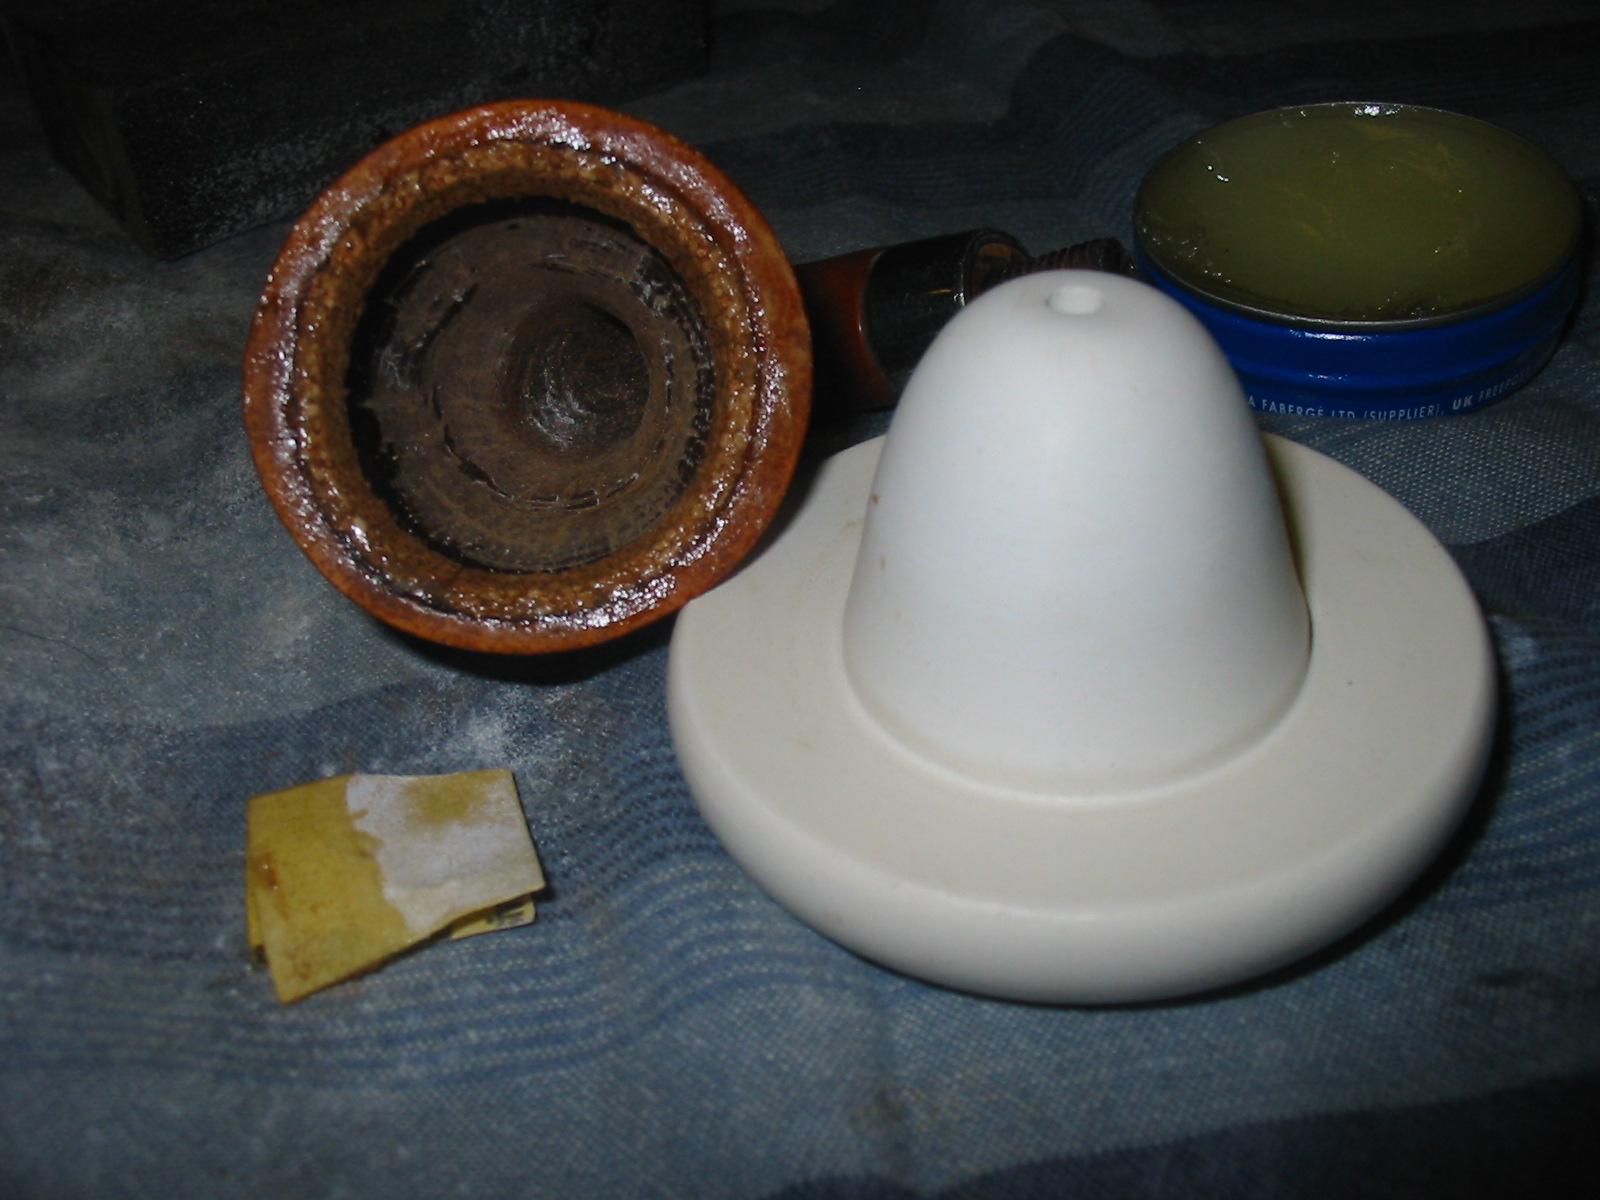
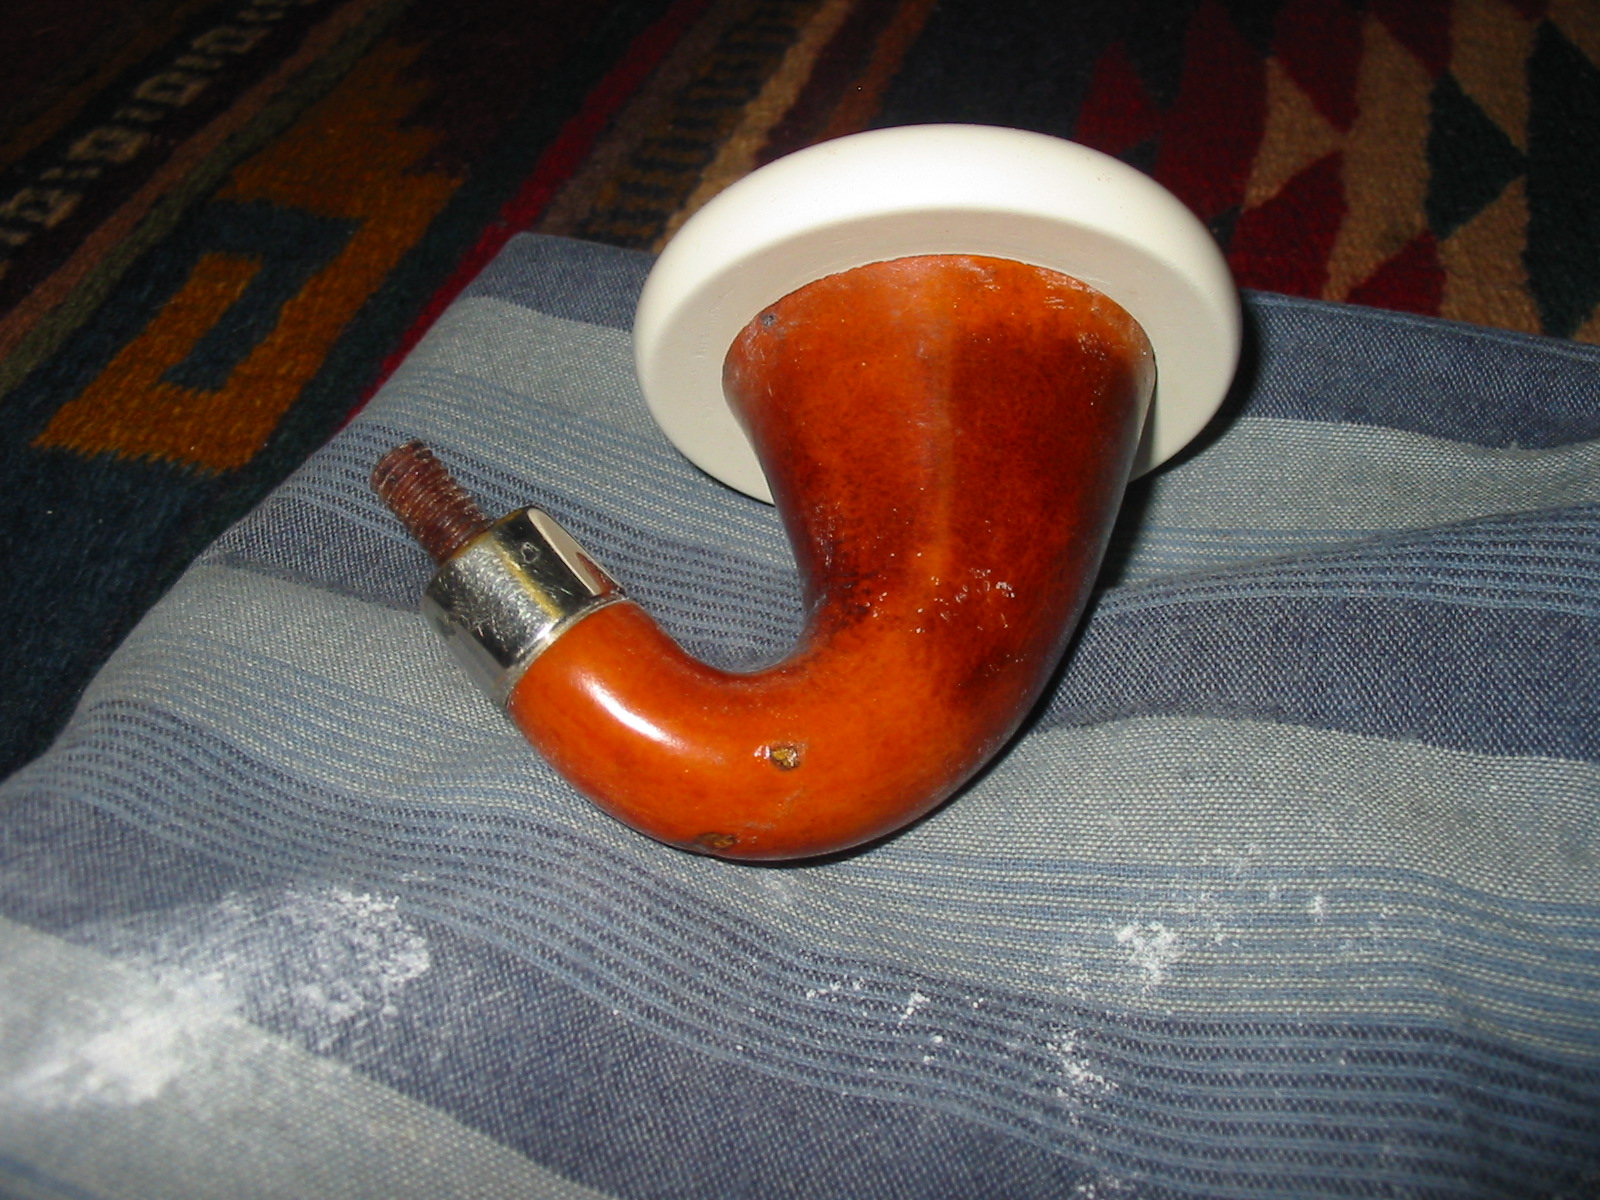
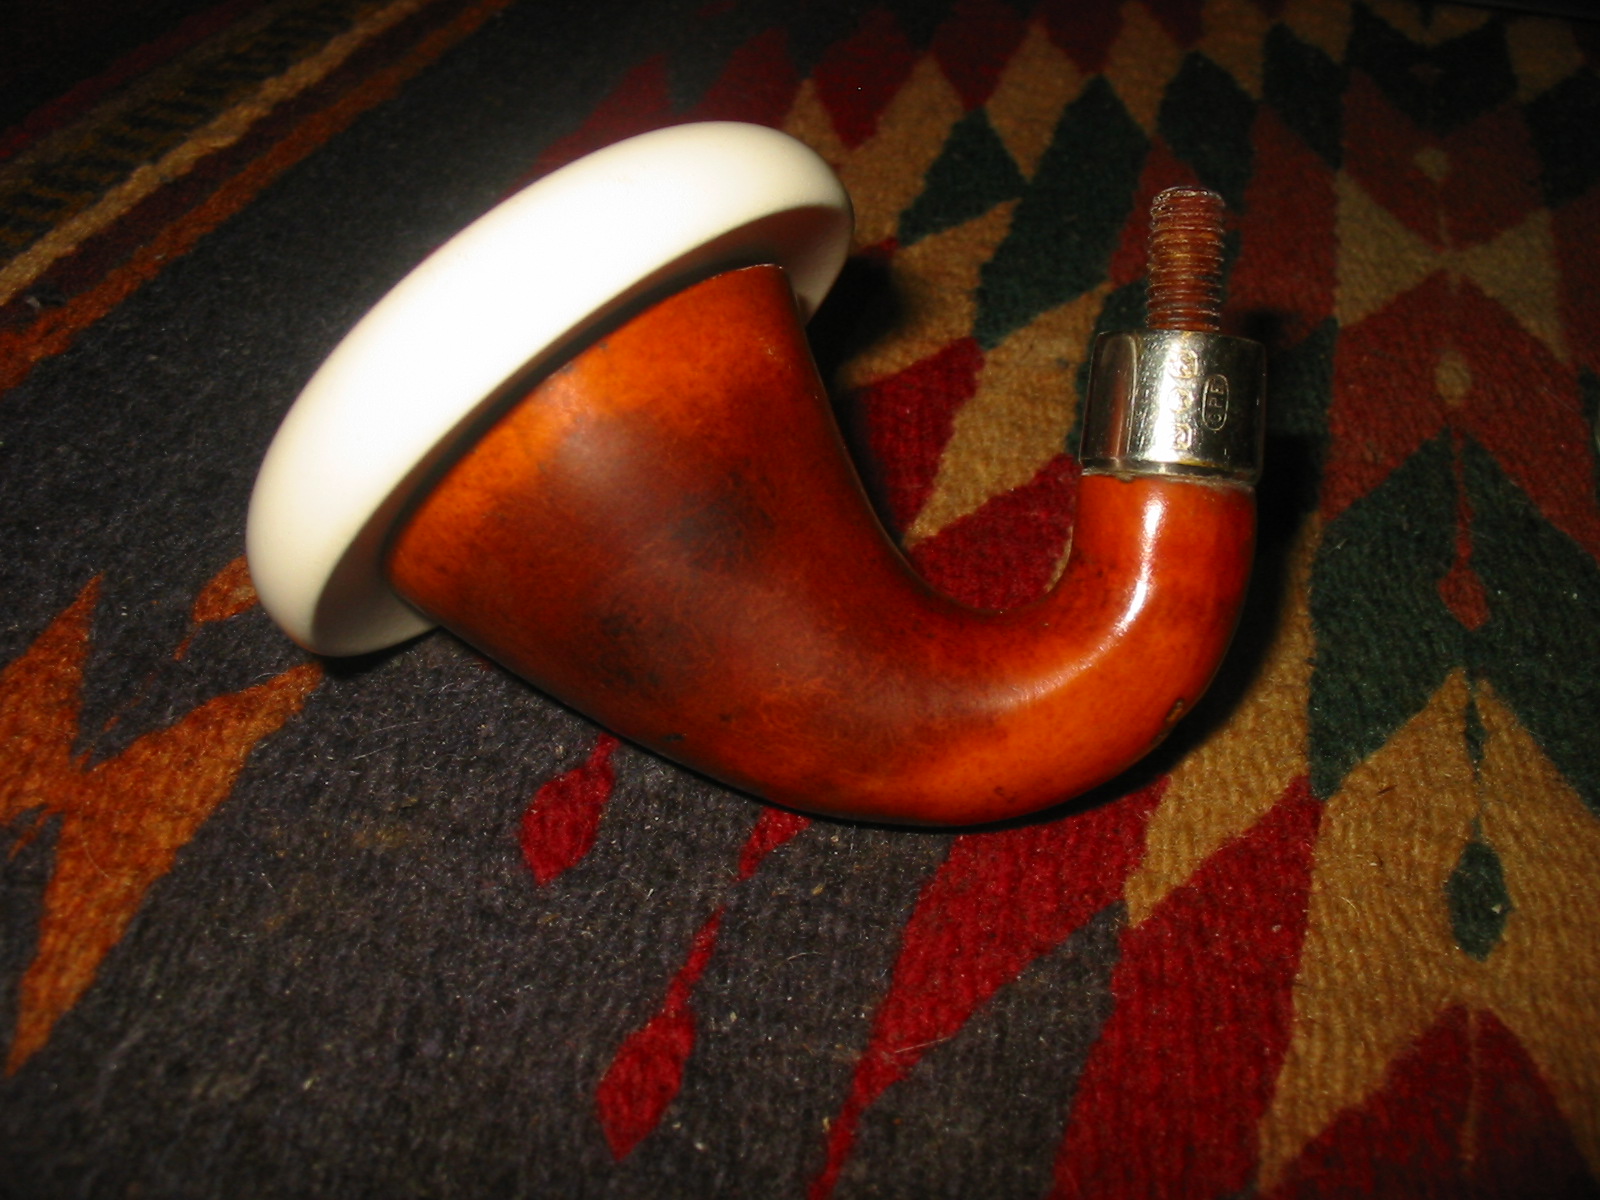
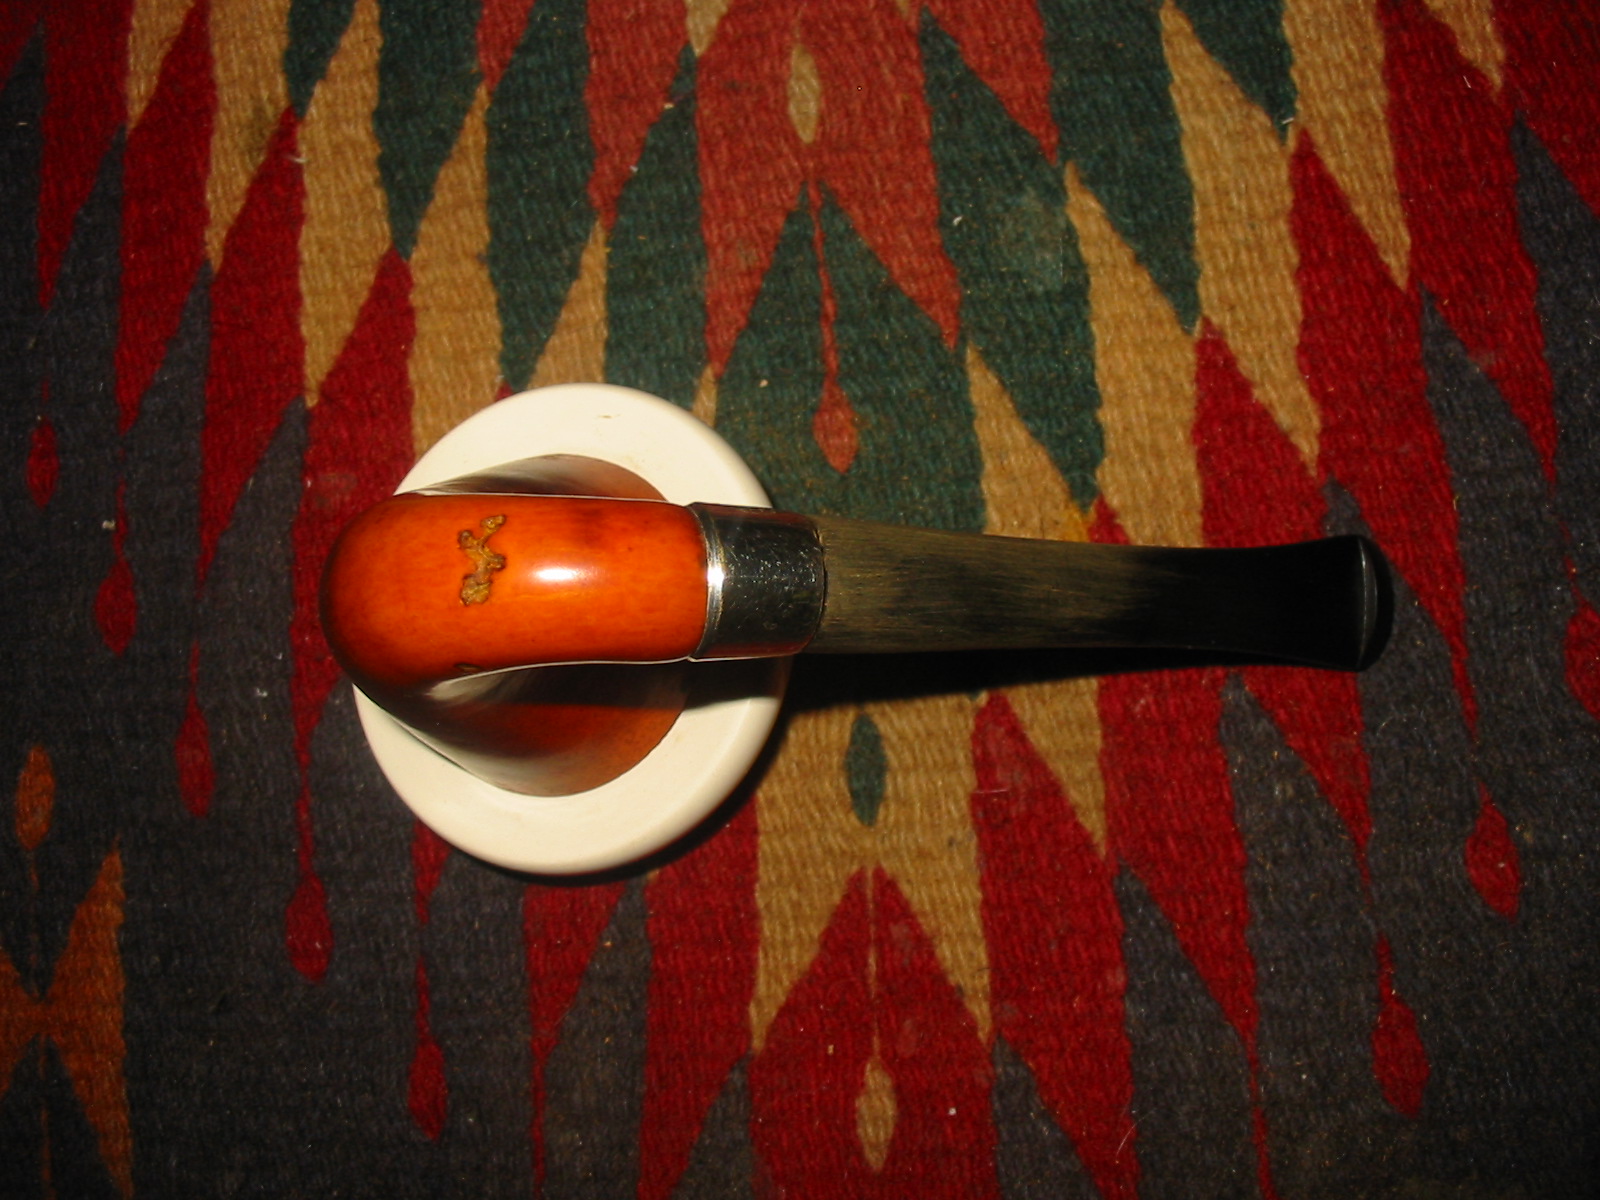
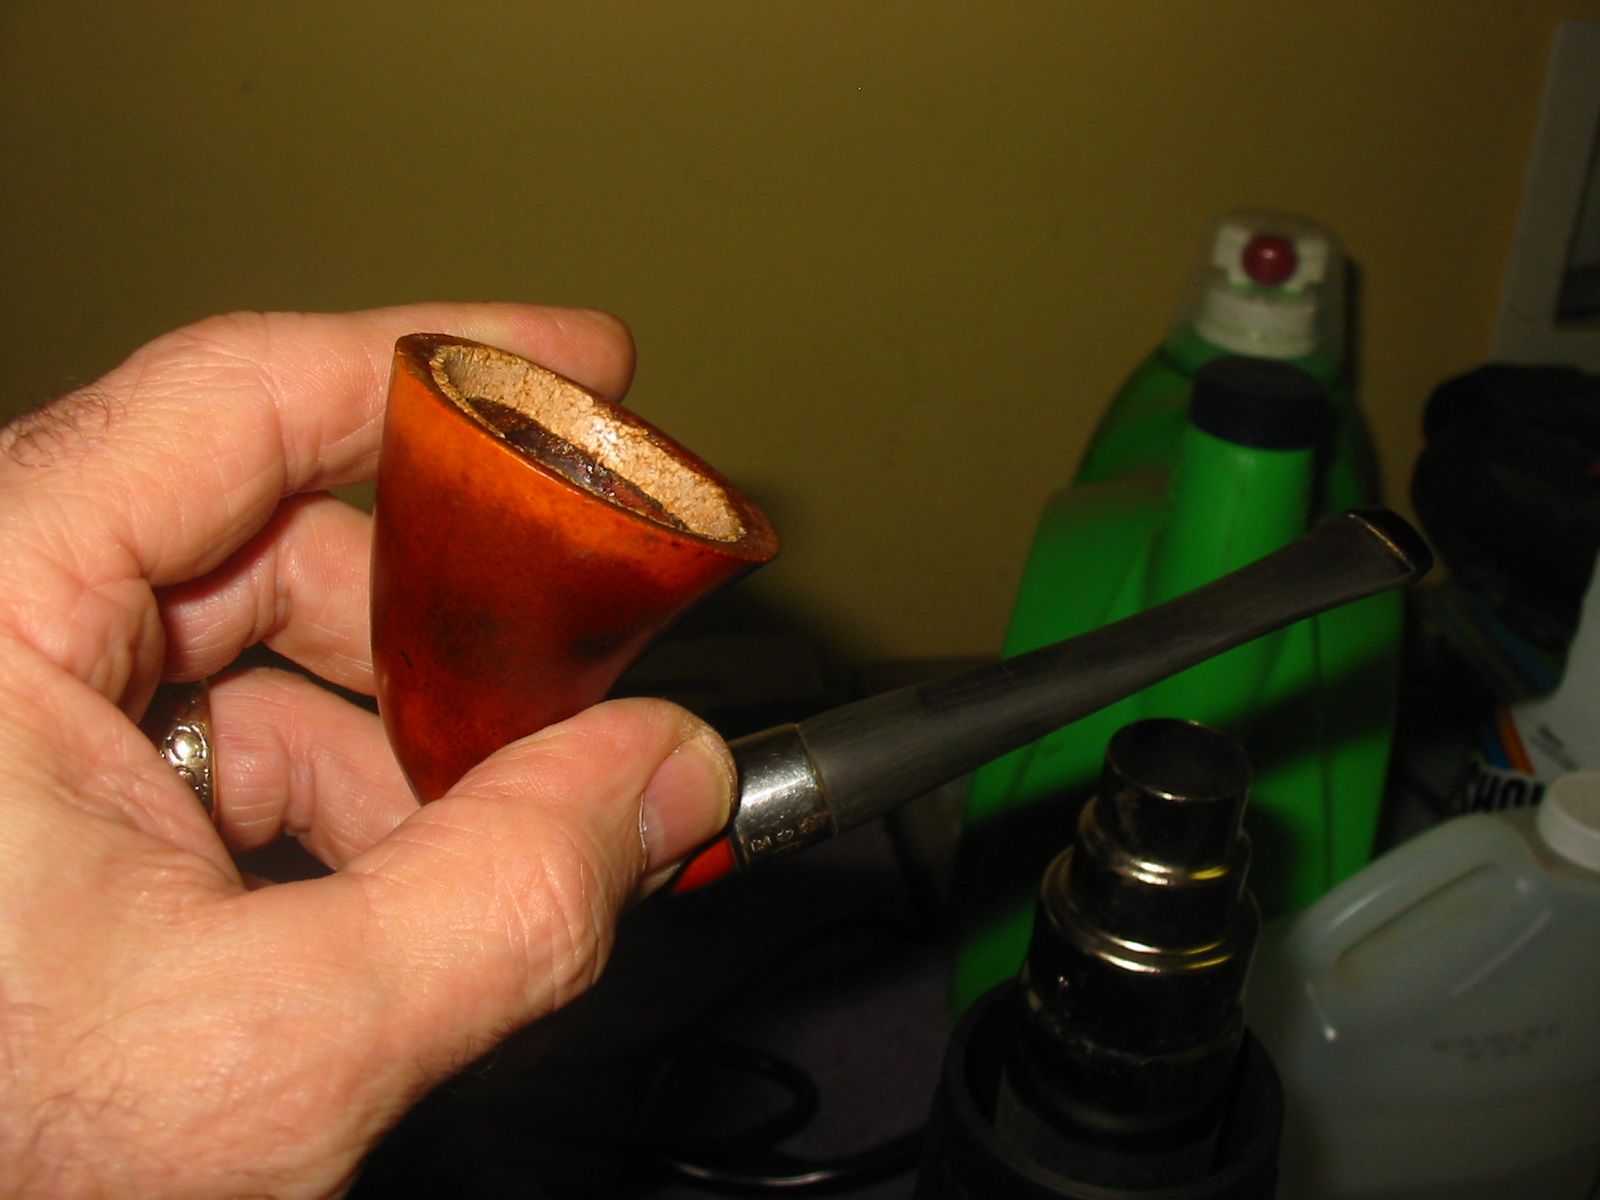
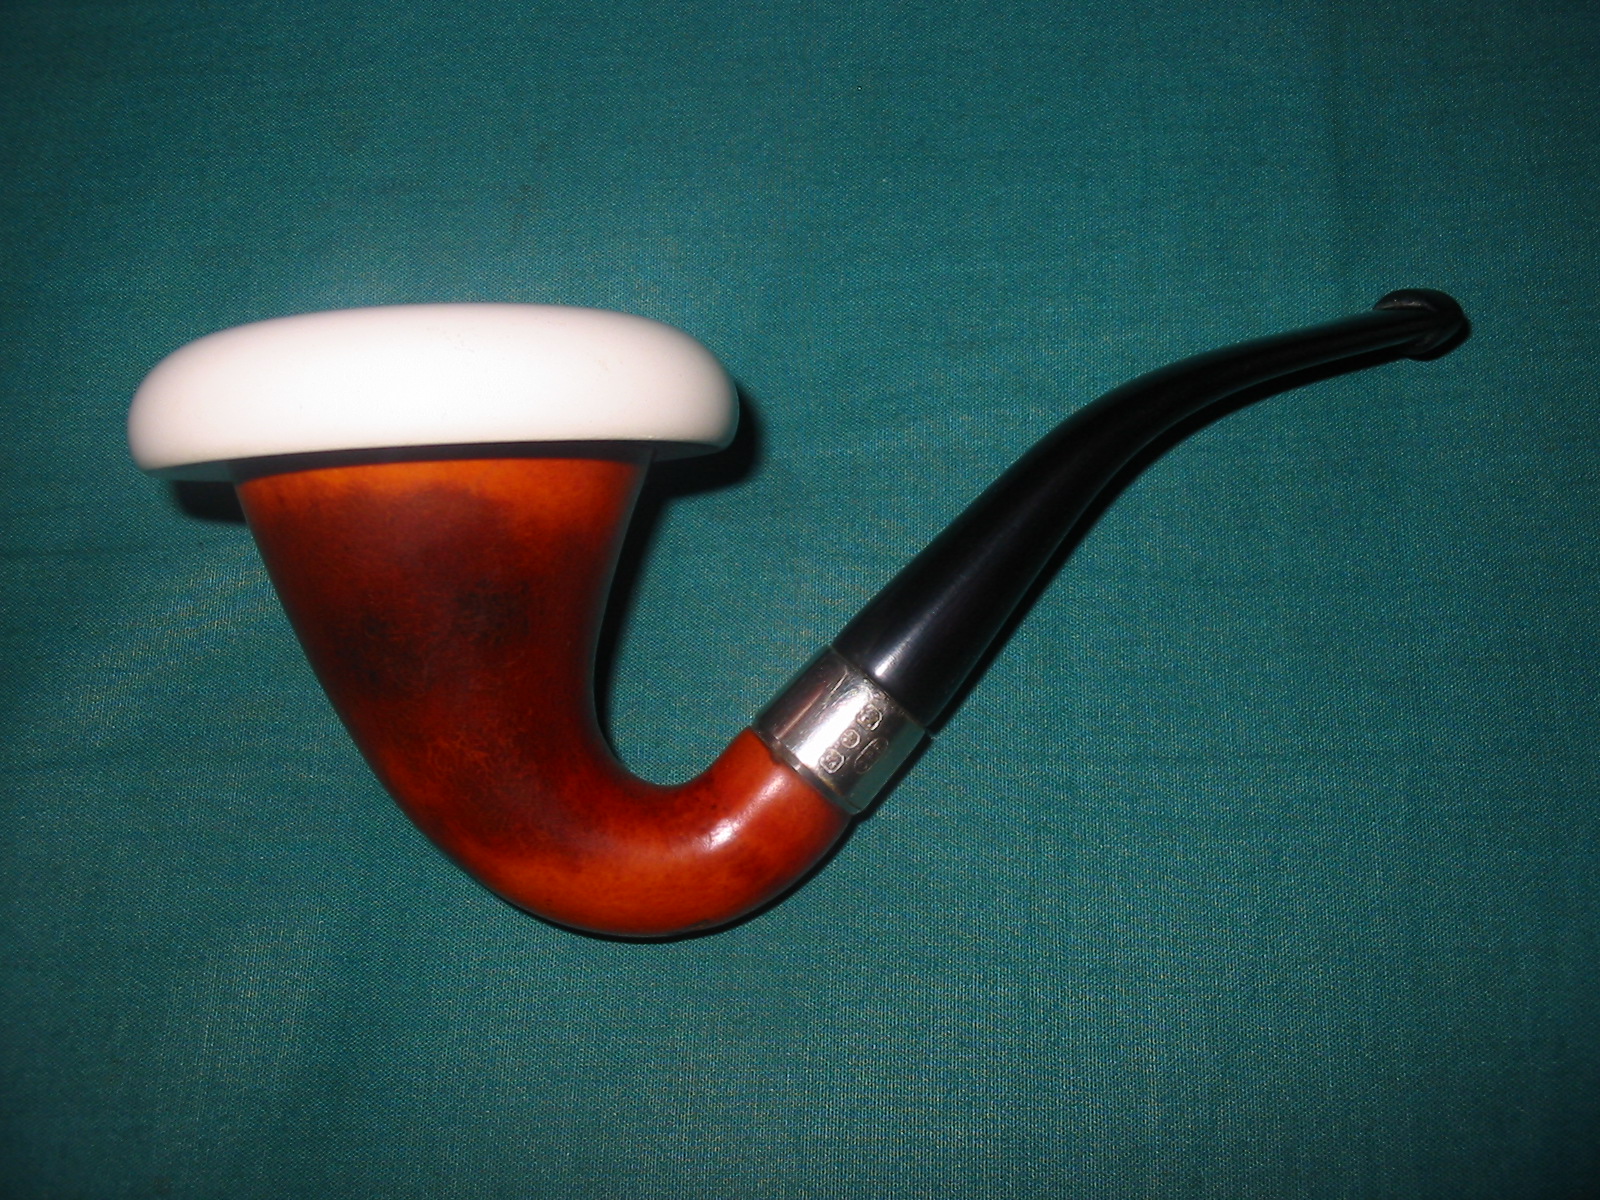
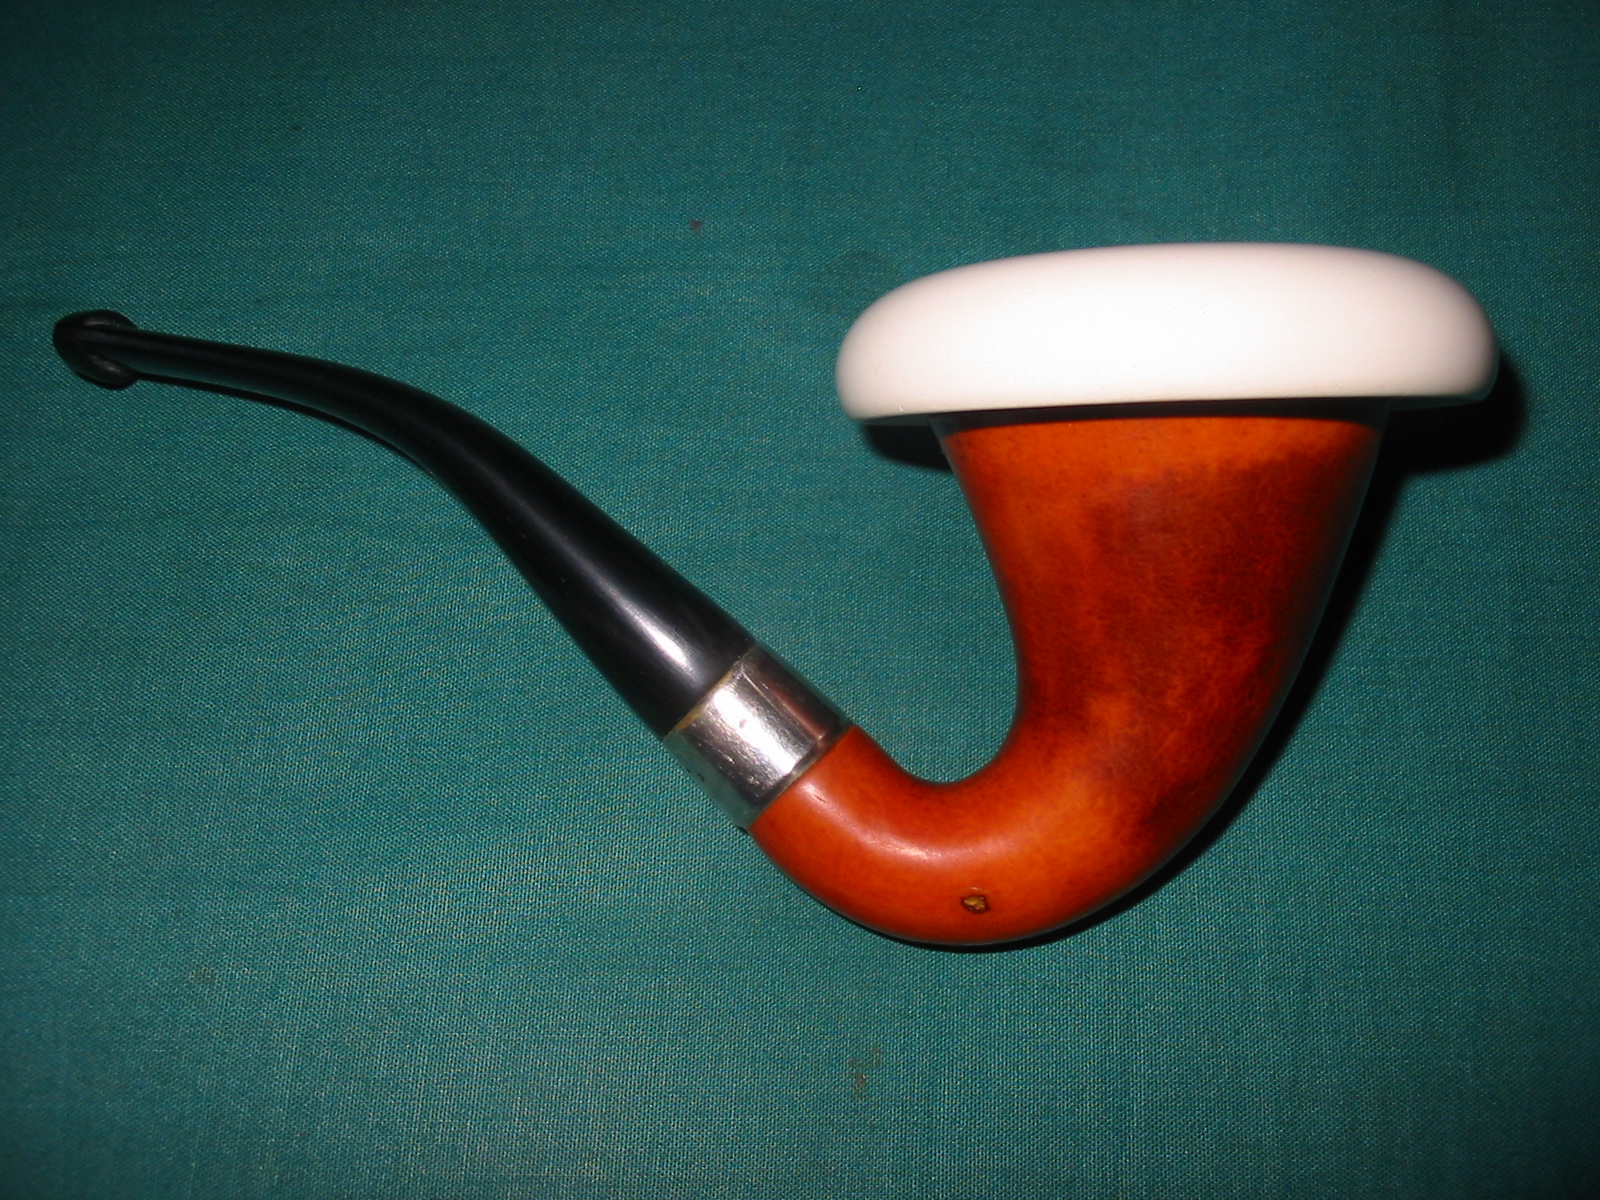
In my grab bag from the antique mall was a gourd calabash bowl. It has the original silver band with the CPF logo stamped on it and some faux hallmarks – an anchor, star and a figure. The CPF stands for Colossus Pipe Factory – a brand I researched and wrote about previously on the blog – https://rebornpipes.com/2013/04/14/so…-on-cpf-pipes/. The hallmarks on the band are an anchor with chain, a star and a figure of a man. From my research these are faux hallmarks. CPF pipes were made in New York and later became linked with KB&B pipes. Here is a link to an old catalogue linking the brand to KB&B that I posted previously on the blog https://rebornpipes.com/2014/03/05/an…cpf-catalogue/. Sadly there are no meerschaum pipes in the catalogue so I cannot ascertain the date for sure. I am fairly confident from comparing the band with others that I have which have similar bands that the pipe can conservatively be dated to the early 1900s or late 1890s. So it is a gourd bowl that has some age on it.
IMG_6432
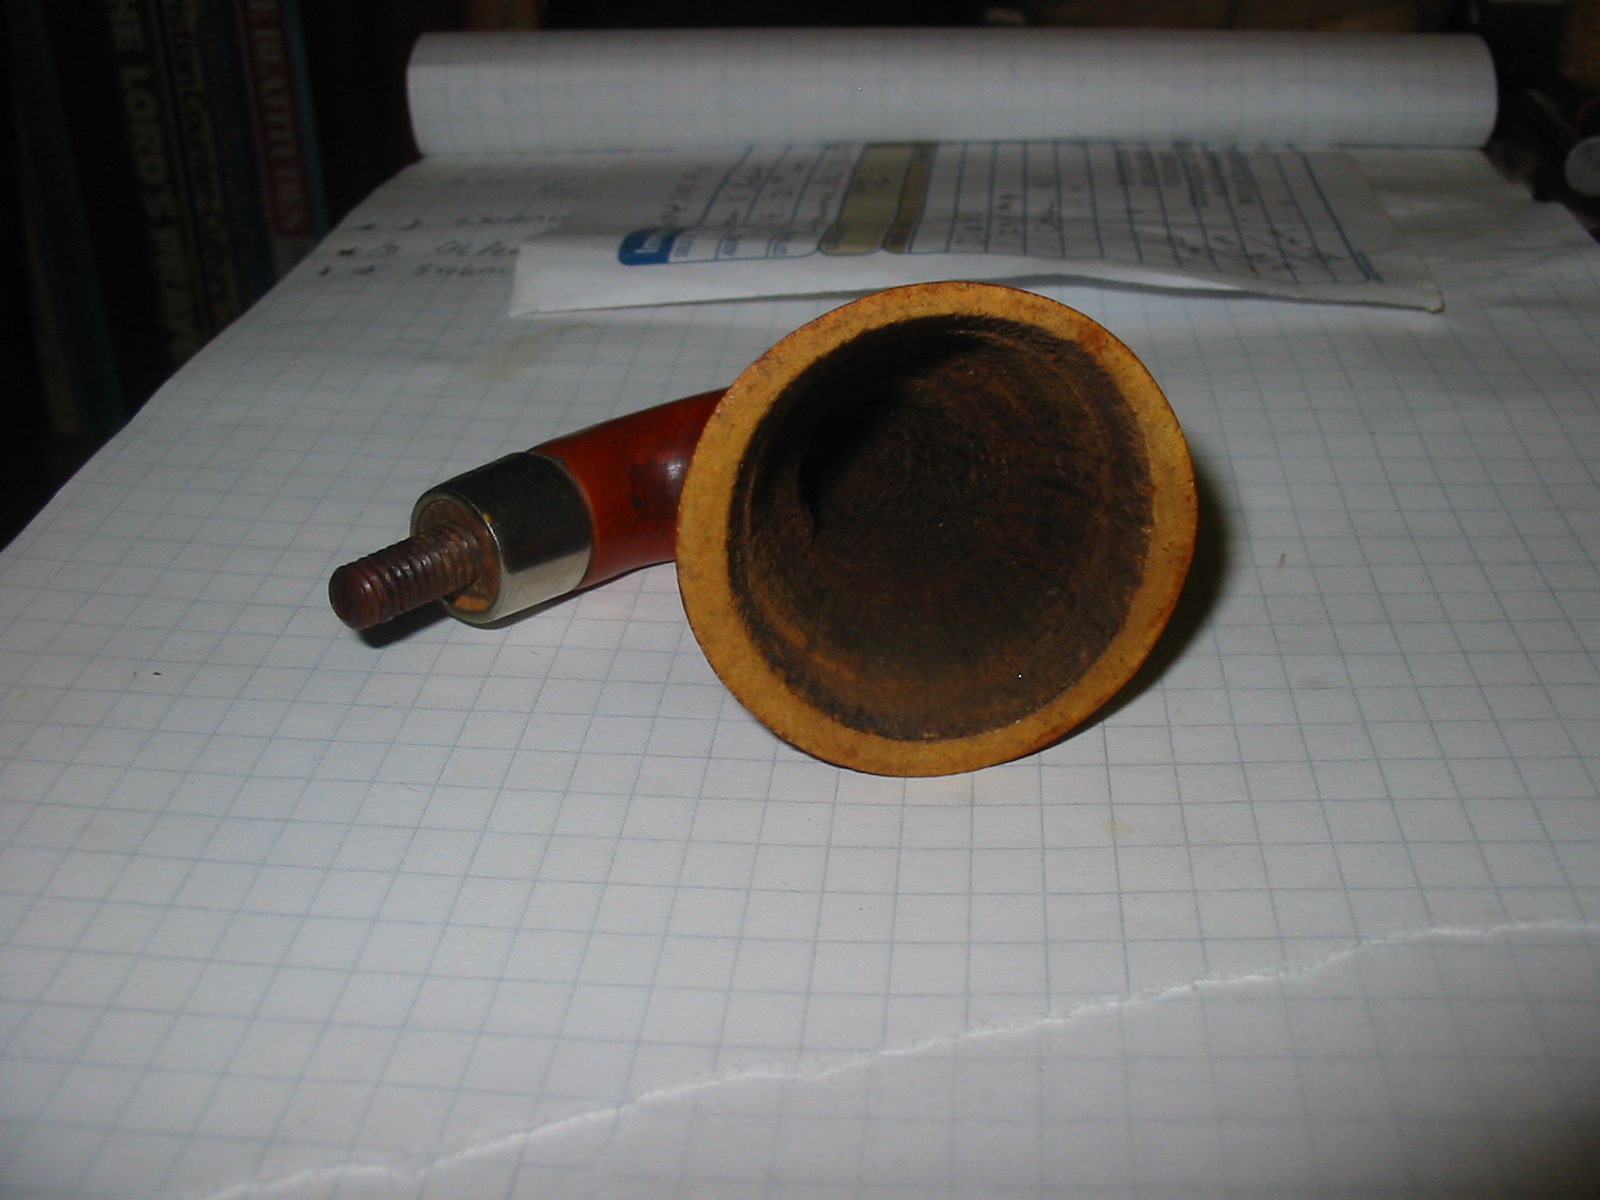
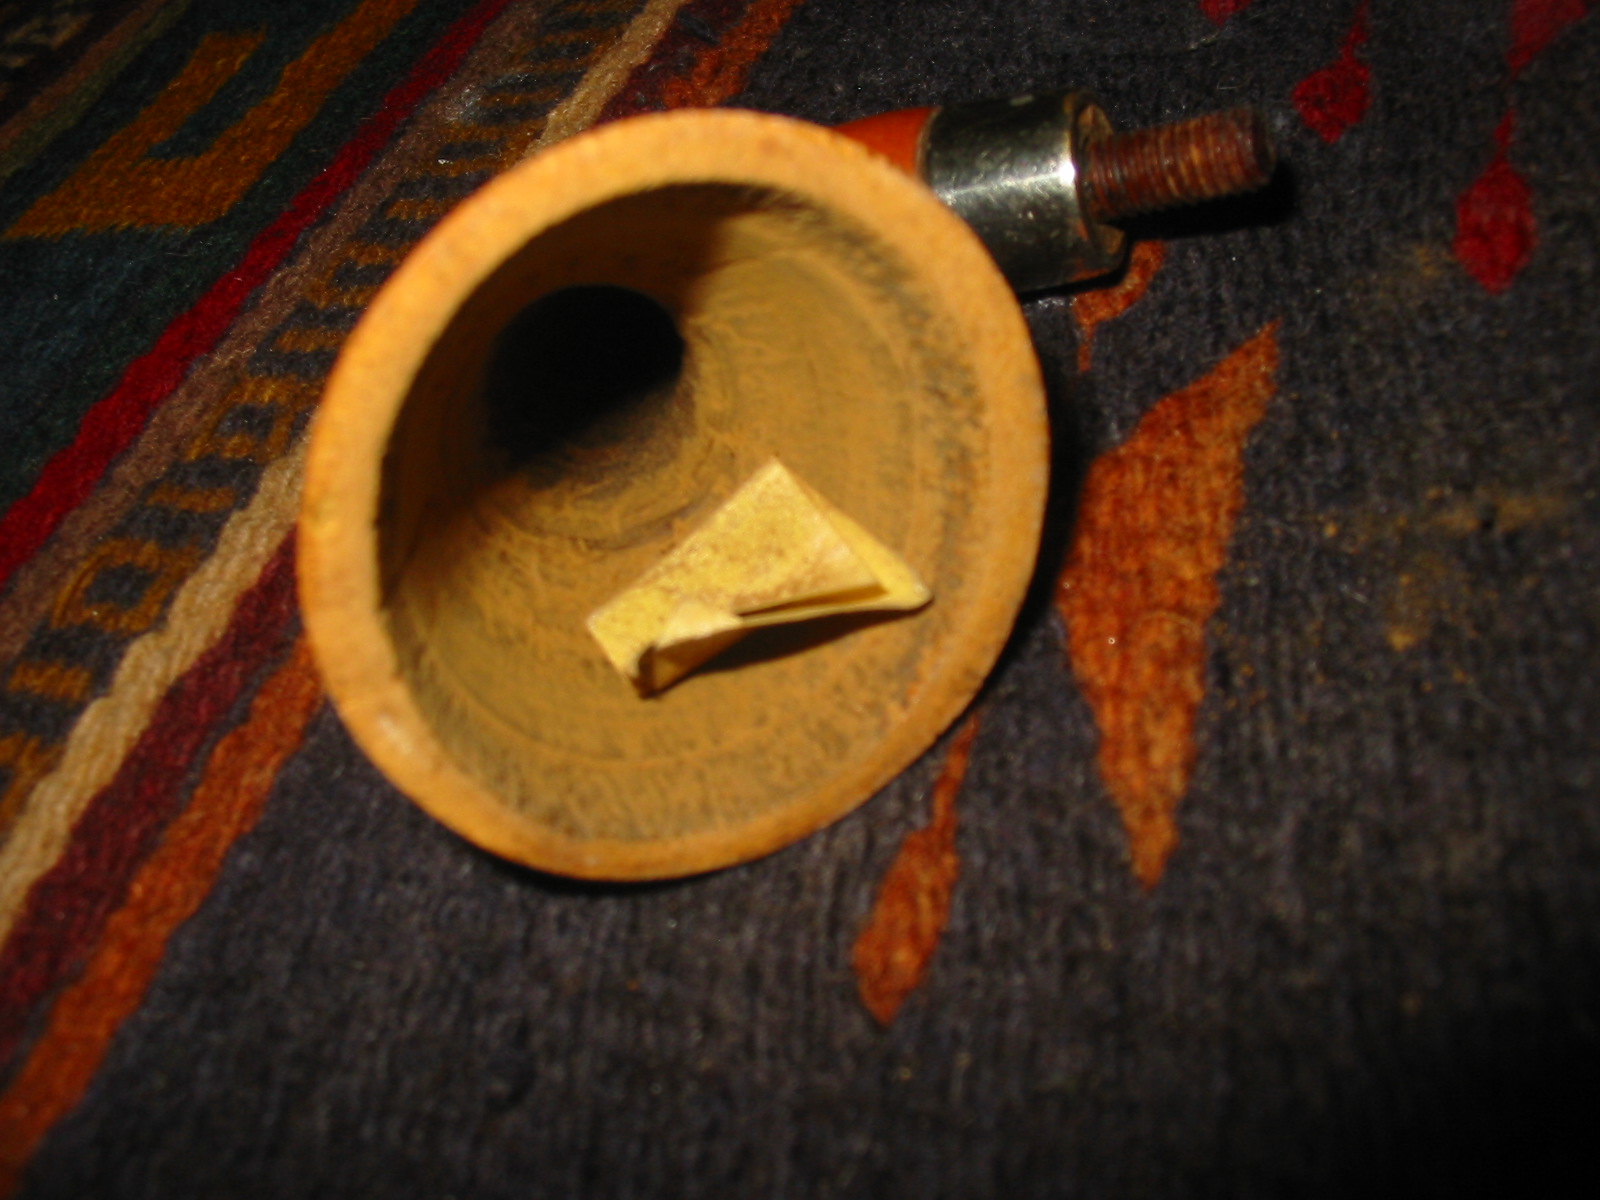
The bowl came with the band and a threaded bone tenon that was easily removed from the mortise. The gourd had darkened areas around the exterior of the bowl from the hand of the previous owners. There were several nicks in the gourd on the bottom of the shank next to the band and on the right side next o the band. The band had been pressed onto the gourd and it was obvious from the fit and the way it pressed into the shank ahead of it that it was original. The inside of the gourd had hard tars and tobacco oils on the walls down into the shank itself. There was nothing soft or sticky in either the shank or bowl. A pipe cleaner came out clean regardless of whether it was dry or wet. The top edge of the rim was pristine with no dents or nicks. There was a slight crack that ran down about ½ inch on the front of the bowl. I liked the shape of the gourd from the moment I took it out of the bag. It was not oddly shaped but was elegant in both the flare of the bowl and the curve of the shank. It would be well worth bringing back to life.
IMG_6430

IMG_6431
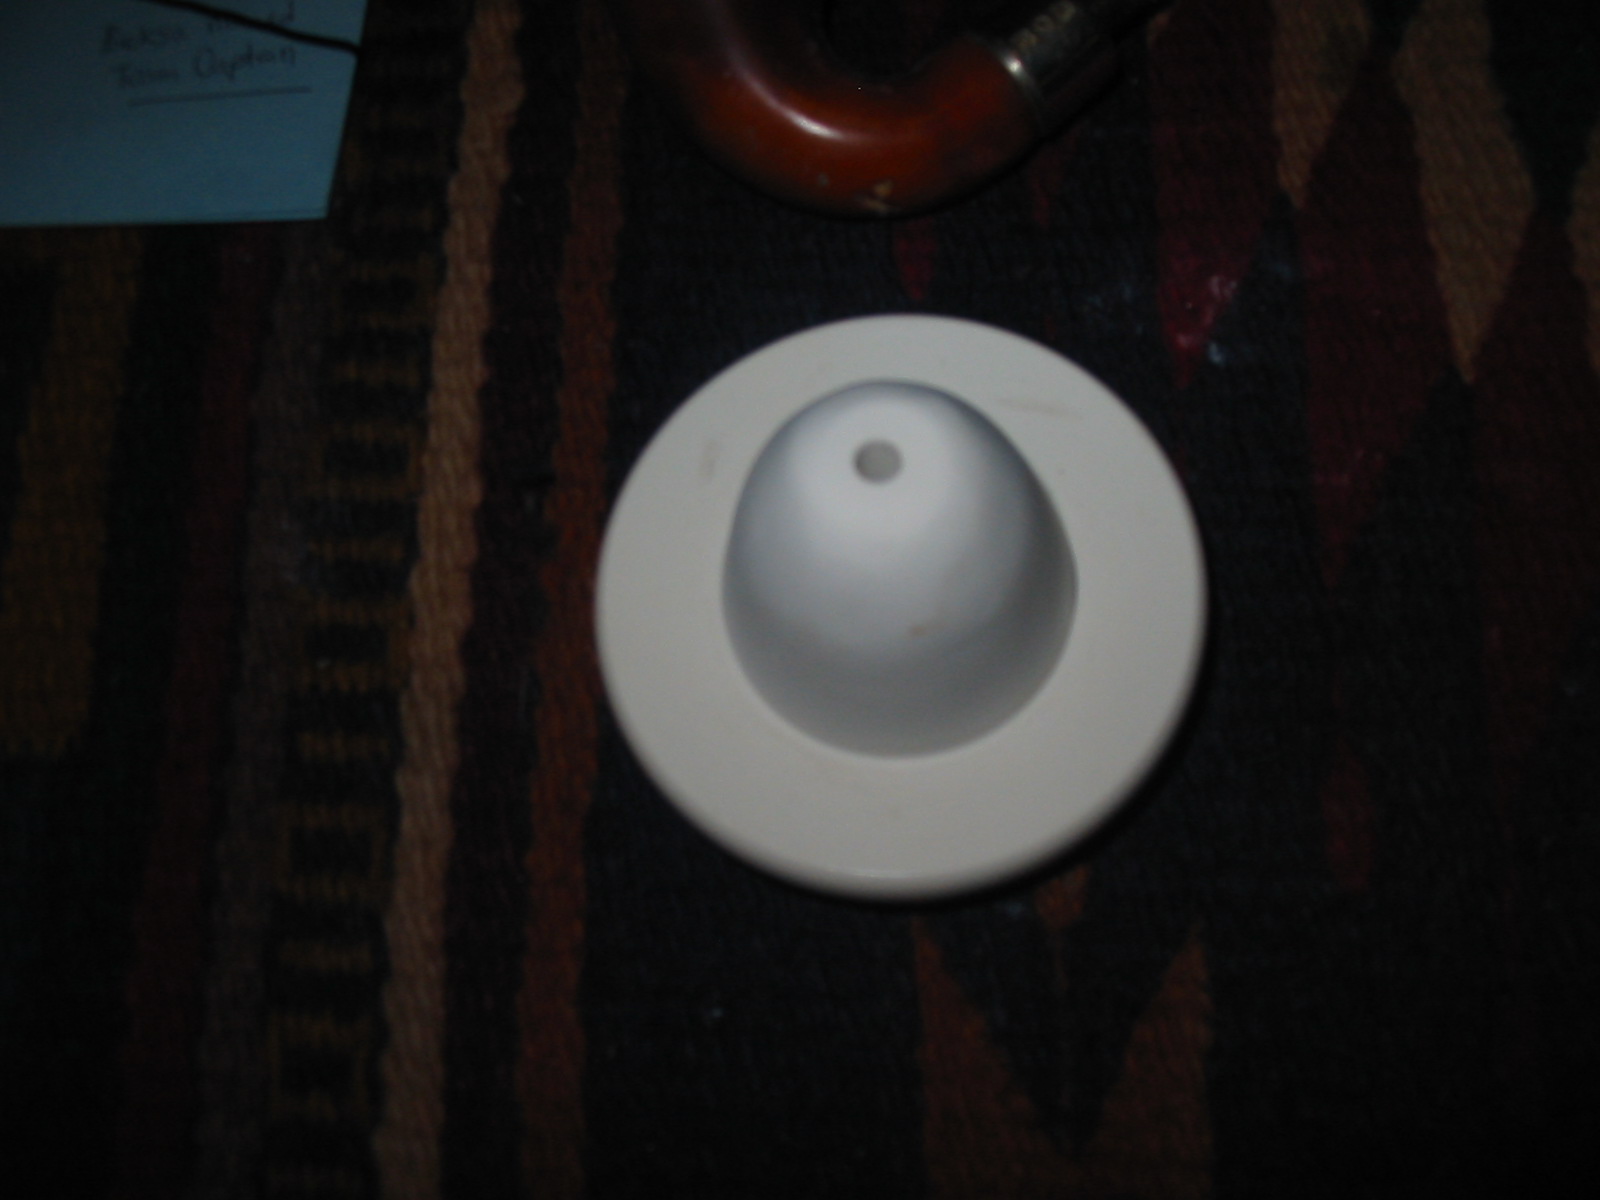
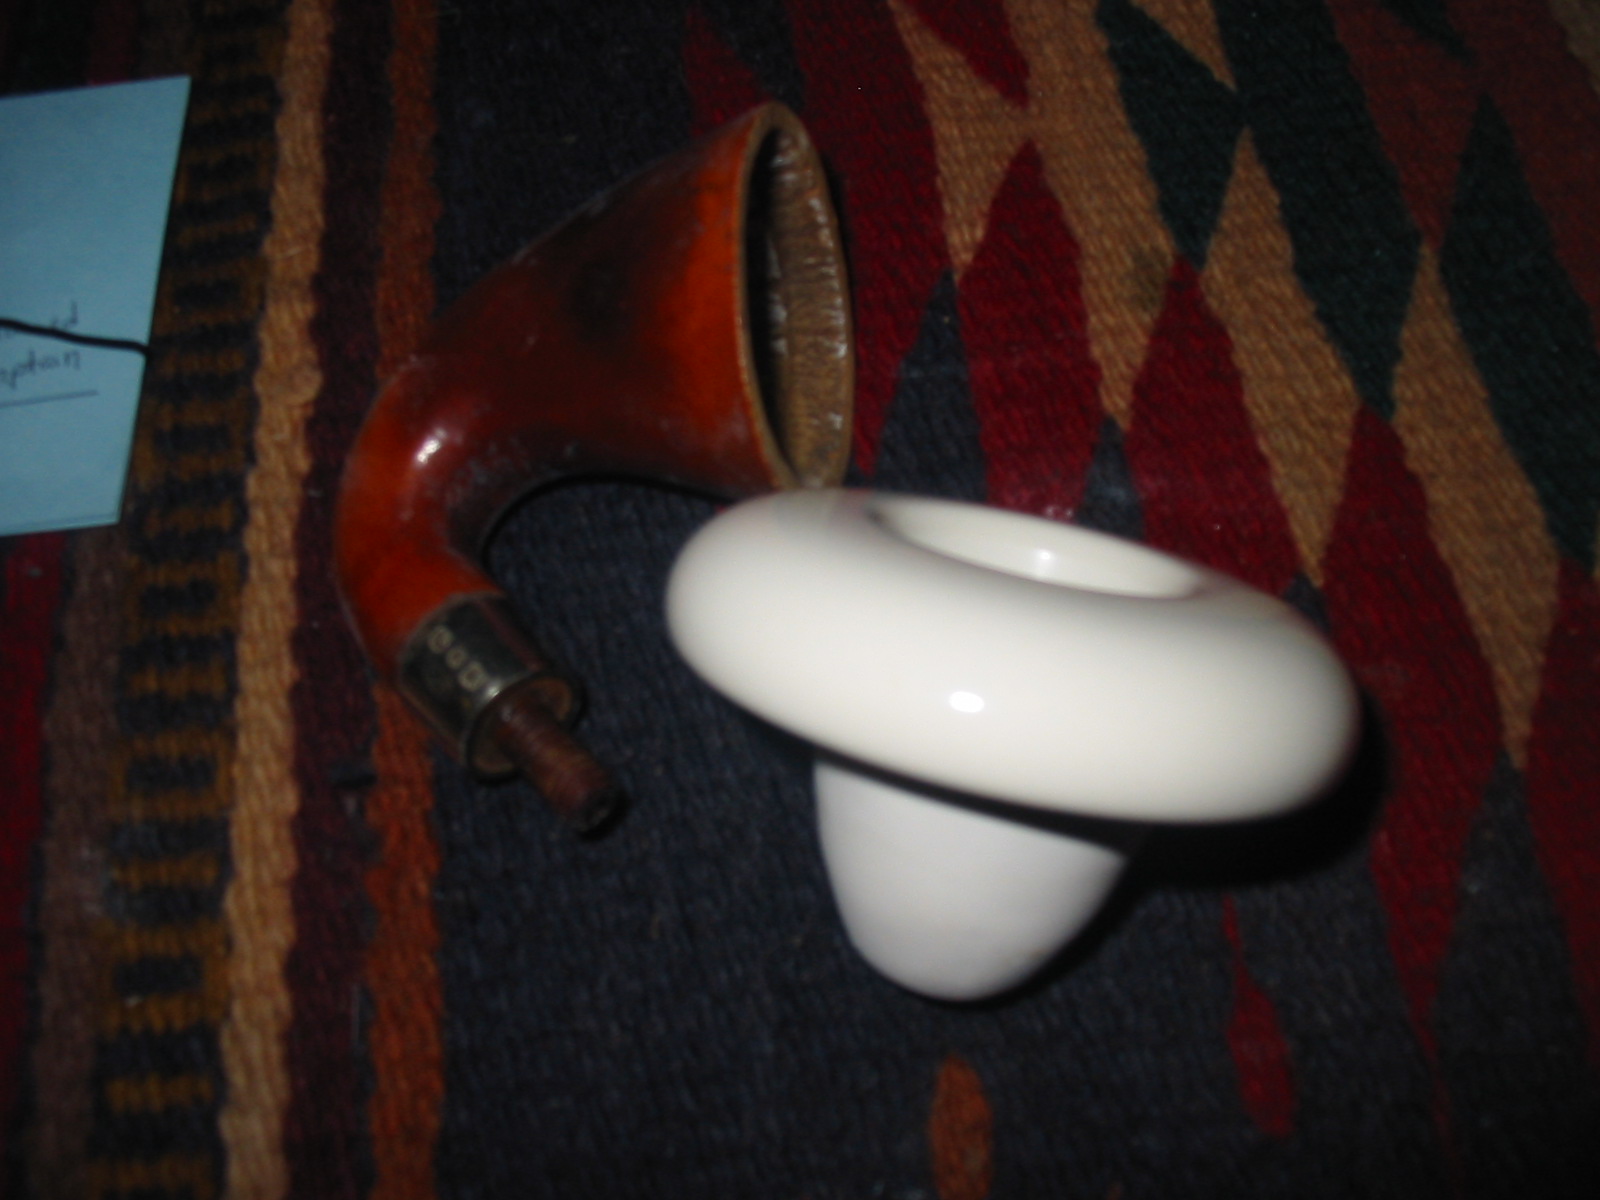
I measured the diameter of the bowl and the diameter of the bone tenon and made a call to Tim West at J.H. Lowe (http://www.jhlowe.com/) with the dimensions to see what he had in terms of a meerschaum bowl and a potential stem for the pipe. He asked for a photo of the bowl so he could have a look before recommending sizes of the stem or bowl. I told him that I was thinking about an amber acrylic a Bakelite stem. Once he saw the pictures Tim talked me out of that and said a vulcanite stem would be perfect for it. I asked if he would tap the stem for me before he shipped it. He said he would do it, no problem. He did a bang up job and sent it along with the meerschaum cup. Both of them arrived here in Vancouver quite quickly. I unpacked the bowl and stem from the box that Tim sent and that was the beginning of the issues that I faced with restoring this pipe. I will spell them out in detail as I write about the restoration of the pipe.
IMG_6747

IMG_6748
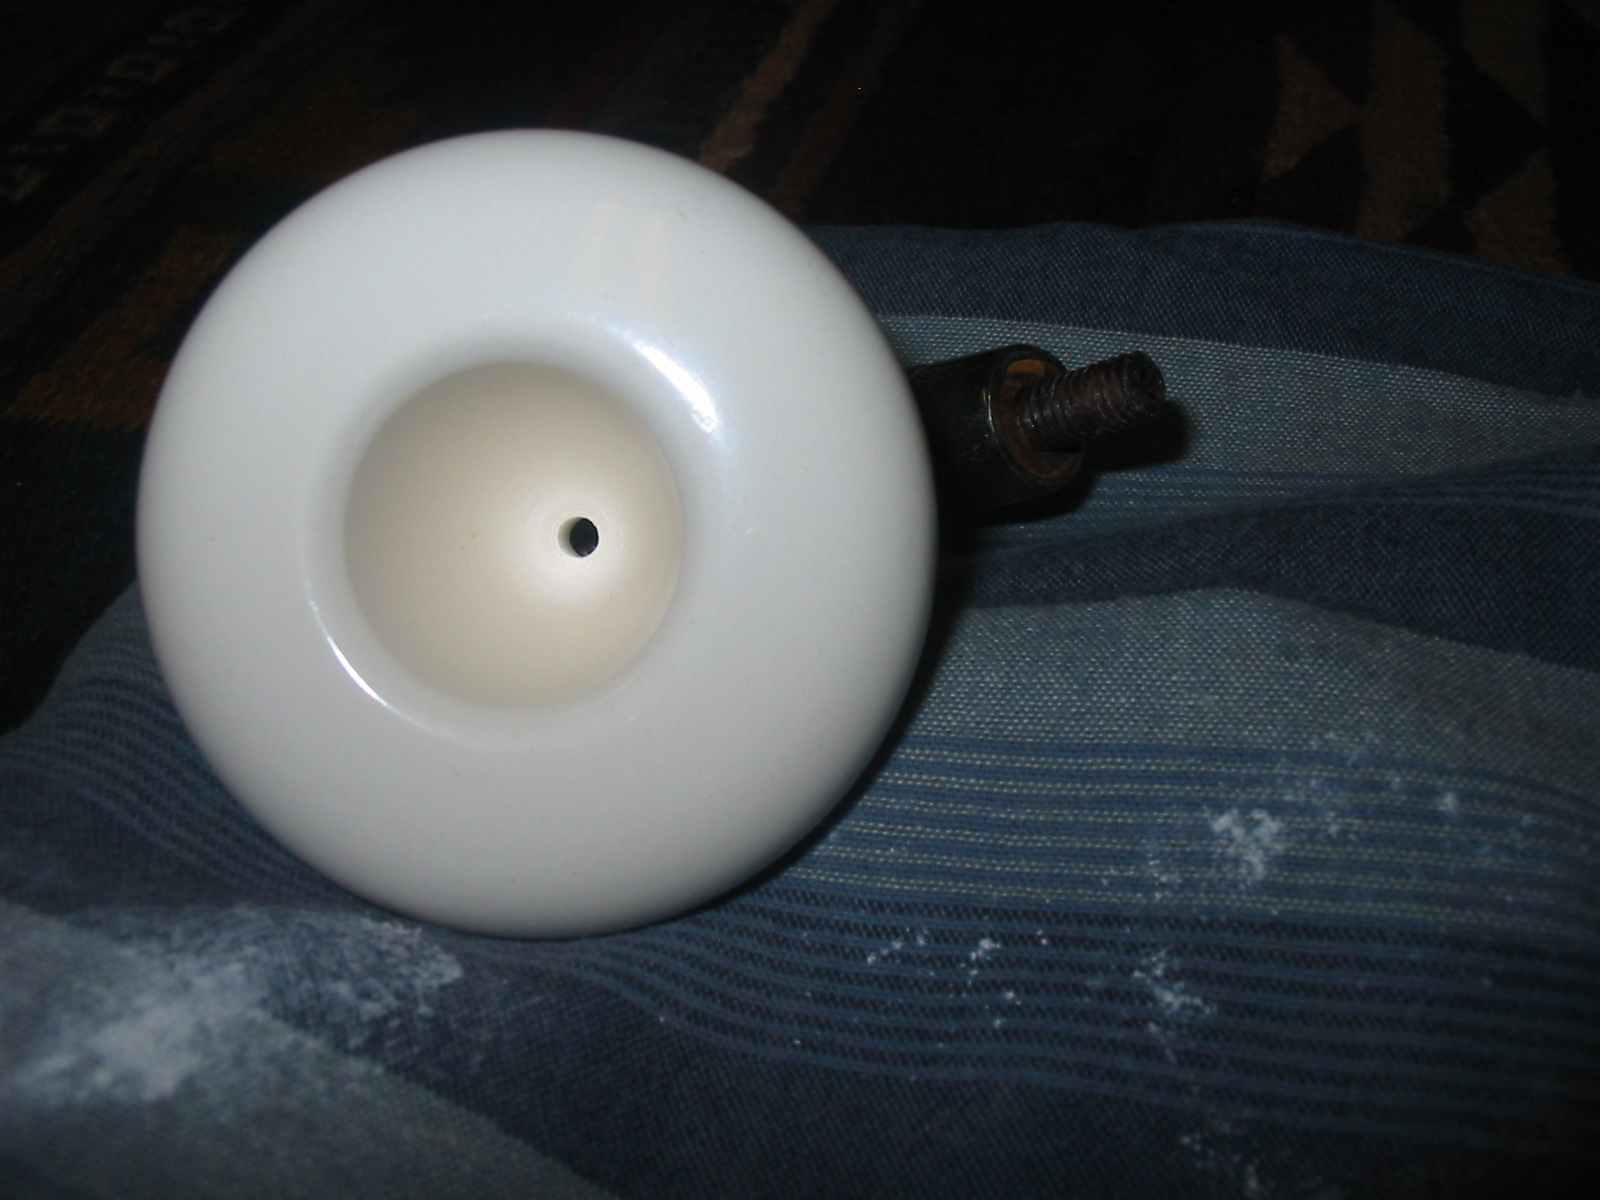
I tried fitting the meer cup into the gourd and found that there were several issues that I would have to deal with before it would fit well. The diameter of the bowl was perfect. The mushroom cap was big and draped over the top of the gourd and looked passable to me. The first problem was that the bowl had a lip around the top edge under the cap that was shaped the wrong direction – absolutely the opposite of the angle of the bowl. Because of that ridge the bowl would not sit in the gourd bowl correctly. Secondly I found that even without the ridge the cup was too deep to fit the depth of the gourd. The gourd tapered much more sharply than the meer cup so the bottom of the cup sat high in the gourd bowl. I would need to change the taper on the cup and shorten it so that it would sit in the gourd correctly and I would need to remove the lip around the top under the cap.

I measured the thickness of the bottom of the bowl and the thickness of the walls of the bowl around the cup to make sure I could remove the ridge and shorten the bowl without ruining the meer cup. I was happy to see that I had a lot of room to work with and could easily remove what was needed for a proper fit in the bowl. I used the Dremel to remove the ridge from under the cap edge. It was big enough that hand sanding would have taken a very long time. I took it down to match the rest of the bowl. I also used the Dremel to shorten the bowl. I flattened it out and took off approximately ½ inch. I then hand sanded the bowl with 220 grit sandpaper to reshape it and smooth out the Dremel work. I reshaped the taper of the cup to match the taper of the gourd. I sanded the flat edges of the bottom and reshaped it into a gentle curve. The photo below shows the newly reworked bowl. It fit well in the gourd after all of this work.
IMG_6749

IMG_6752

IMG_6751
I set aside the meer cup and cleaned out the inside of the gourd removing the tars and build up. I washed down the outside with undiluted Murphy’s Oil Soap to remove the grease and buildup on the gourd. I did not want the soap wet as I did not want to wet the gourd. I rubbed the soap on with a cotton pad and scrubbed and removed it the same way. Once it was clean I noticed that the small hairline crack along the front of the bowl was slightly open. I opened it slightly and dripped some super glue in it to bind the crack and clamped it until the glue cured. Fortunately for this impatient man the super glue dries very quickly and I could move on to the inside of the gourd. I sanded it out with a folded piece of 220 grit sandpaper. I was able to reach quite far down into the shank and sanded the ridges of tars and oils out of the bowl. There was a thick ridge at the bottom where the original cup had rested against the walls of the gourd. I used a dental pick to loosen that area and then sanded it smooth. All of this cleaning work served to renew the inside of the gourd but also made a smooth base for the new meer cup.
IMG_6750
I cut a piece of cork to fit the inner edge of the gourd. It had to be trimmed in both height and length to fit properly. I glued it into place with white all-purpose glue. I pressed on it to make sure that it sat tightly against the gourd. This cork would serve as a gasket for the cup and also it fit perfectly against the small crack that I had repaired on the exterior. Together they would bind together the crack and provide a functional repair to that surface.
IMG_6753
Once the glue dried I sanded the cork with 220 grit sandpaper (my go to sandpaper for much of the initial work I do on the pipe). I wanted it to be a smooth pressure fit that would hold the bowl in place. I rubbed down the cork gasket with Vaseline to soften it after the sanding. I find that cork left unused gets dry and brittle and the Vaseline brings it back to life. I pressed the bowl in place to check the fit and found that it still needed some adjustment to sit properly in the bowl. The top edge under the cap needed to be sanded some more to reduce the diameter of the cup.
IMG_6755
I took it out of the gourd and sanded it with the 220 grit sandpaper until it fit correctly. I polished the cup exterior with a fine grit sanding sponge and 1500 grit micromesh sanding pads before pressing it back into the gourd.
IMG_6754
This time it fit was far better. The cup sat in the gourd like they were made for each other. The two photos that follow show the fit and look of the new bowl. At this point the calabash is showing great promise.
IMG_6757

IMG_6756
I cleaned up the mess of the meerschaum sanding dust that was everywhere on my work table. It is a messy fine powder that gets into everything if left to its own devices. Once I had done that I wiped down the exterior of the bowl and cup one more time and took a couple of photos to get a good look at the pipe.
IMG_6758

IMG_6760
With the work on the bowl and cup finished I turned my attention to the stem. Tim’s drilling was spot on. The diameter was exactly what I had sent him – ¼ inch. The second problem I faced with this old calabash was that the bone tenon was not quite the 1/4 inch measurement I gave him. It would not fit in the tapped hole in the stem. I measured it again and found that is was closer to 3/8 inches than a ¼ inch. I re-tapped the stem to 3/8 and was able to thread the tenon into the stem. It looked great and it fit well in the mortise. I glued the tenon in place in the stem with all-purpose white glue and set it aside to cure over night.
IMG_6762

IMG_6763
In the morning I slowly and carefully turned it into the bowl. Things were going really well. It looked like I would need to reduce the diameter of the stem slightly on one side and the top to match the diameter of the shank band. As I was turning it I heard a noise that is dreadful to me and to anyone who has heard it. It generally is not a good sound when you are this far along in a repair and signifies more work. The bone tenon broke in half. It obviously had been cracked and I had not seen that when I examined it. When I had turned it into the shank it had shattered. I was left with the broken half glued into the stem and the threaded half stuck in the shank of the pipe. Talk about frustration. I set the pipe aside and took a deep breath. Now I would have to go back to the drawing board in terms of how to attach a stem. I would have to drill out both the stem and the shank in order to move forward.
IMG_6764
I pulled out a can from my drawer where I keep replacement tenons – threaded Delrin, straight Delrin rods cut to fit as tenons and some push stem conversion kits that had a mortise insert and tenon for converting threaded shanks in old meers to accommodate a push tenon. The conversion kit would work nicely in this situation. I would have to modify the shank of the calabash as the diameter of the mortise insert was too big for the 3/8 inch opening. I had to drill out the end of the gourd and then re-tap it to be able to put the insert in place. The thickness of the shank did not give me much wiggle room so I would only have one chance at this. I was able to drill it and tap it. I mixed the two part epoxy and inserted the mortise in place in the shank.

The tenon was a much simpler to repair. I carefully drilled out the broken bone tenon in the stem and was able to salvage the threads. Once I had blown out the dust from the stem the push tenon screwed neatly into the 3/8 inch tapped end of the stem. I removed it a final time and epoxied it in place. However, it too was not trouble-free. The tenon had a 1/16th inch lip that would not sit in the end of the drilling on the stem. I ended up having to carve it with a sharp knife to remove the lip. In the photo below you can see the epoxied insert in the shank and the tenon in the stem. The insert still needed to be countersunk and cleaned up and the tenon needed to have the lip trimmed away.
IMG_6768
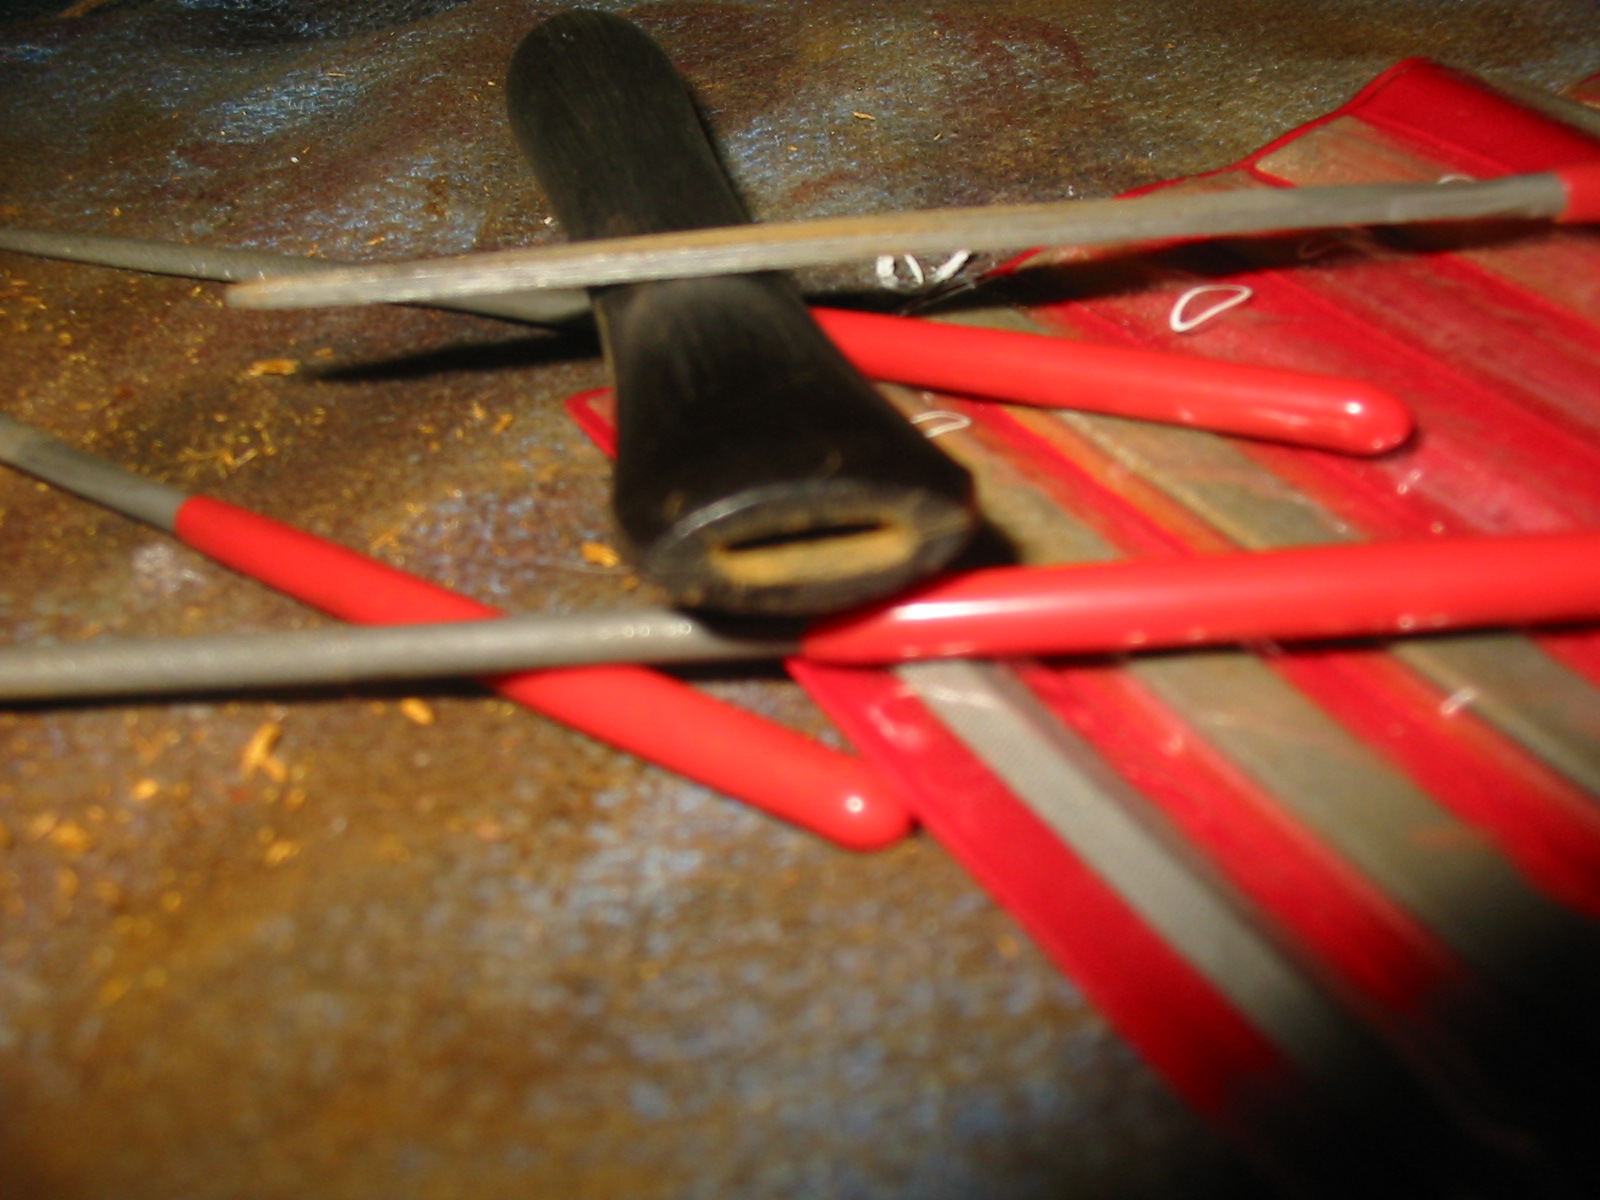
I set aside the calabash until the epoxy set. Once the stem was set I decided to work on the other end of the mouthpiece. It had a very tight slot on the end that was hard to push a pipe cleaner through so I opened that up with needle files. I used a flat oval file, an oval and a round file to do the majority of the work. I finished opening it with a flat angle file to open the top and bottom of the slot.
IMG_6770
When the epoxy had cured I carefully pushed the stem into the shank to check out the fit. The next two photos show the look of the pipe at this point. I removed the stem and countersunk the mortise slightly. I did not want to use a drill and countersink to do the work so I used a very sharp knife and did it by hand. Once it was completed I replaced the stem in the shank and the fit against the band was clean and snug. My initial mission was accomplished. I had not only broken the bone tenon, I had removed it from the shank and stem and converted the pipe to a push stem. There was still work to do but at least I had salvaged the pipe from the damage I had done in my initial repair. Whew…
IMG_6775

IMG_6776
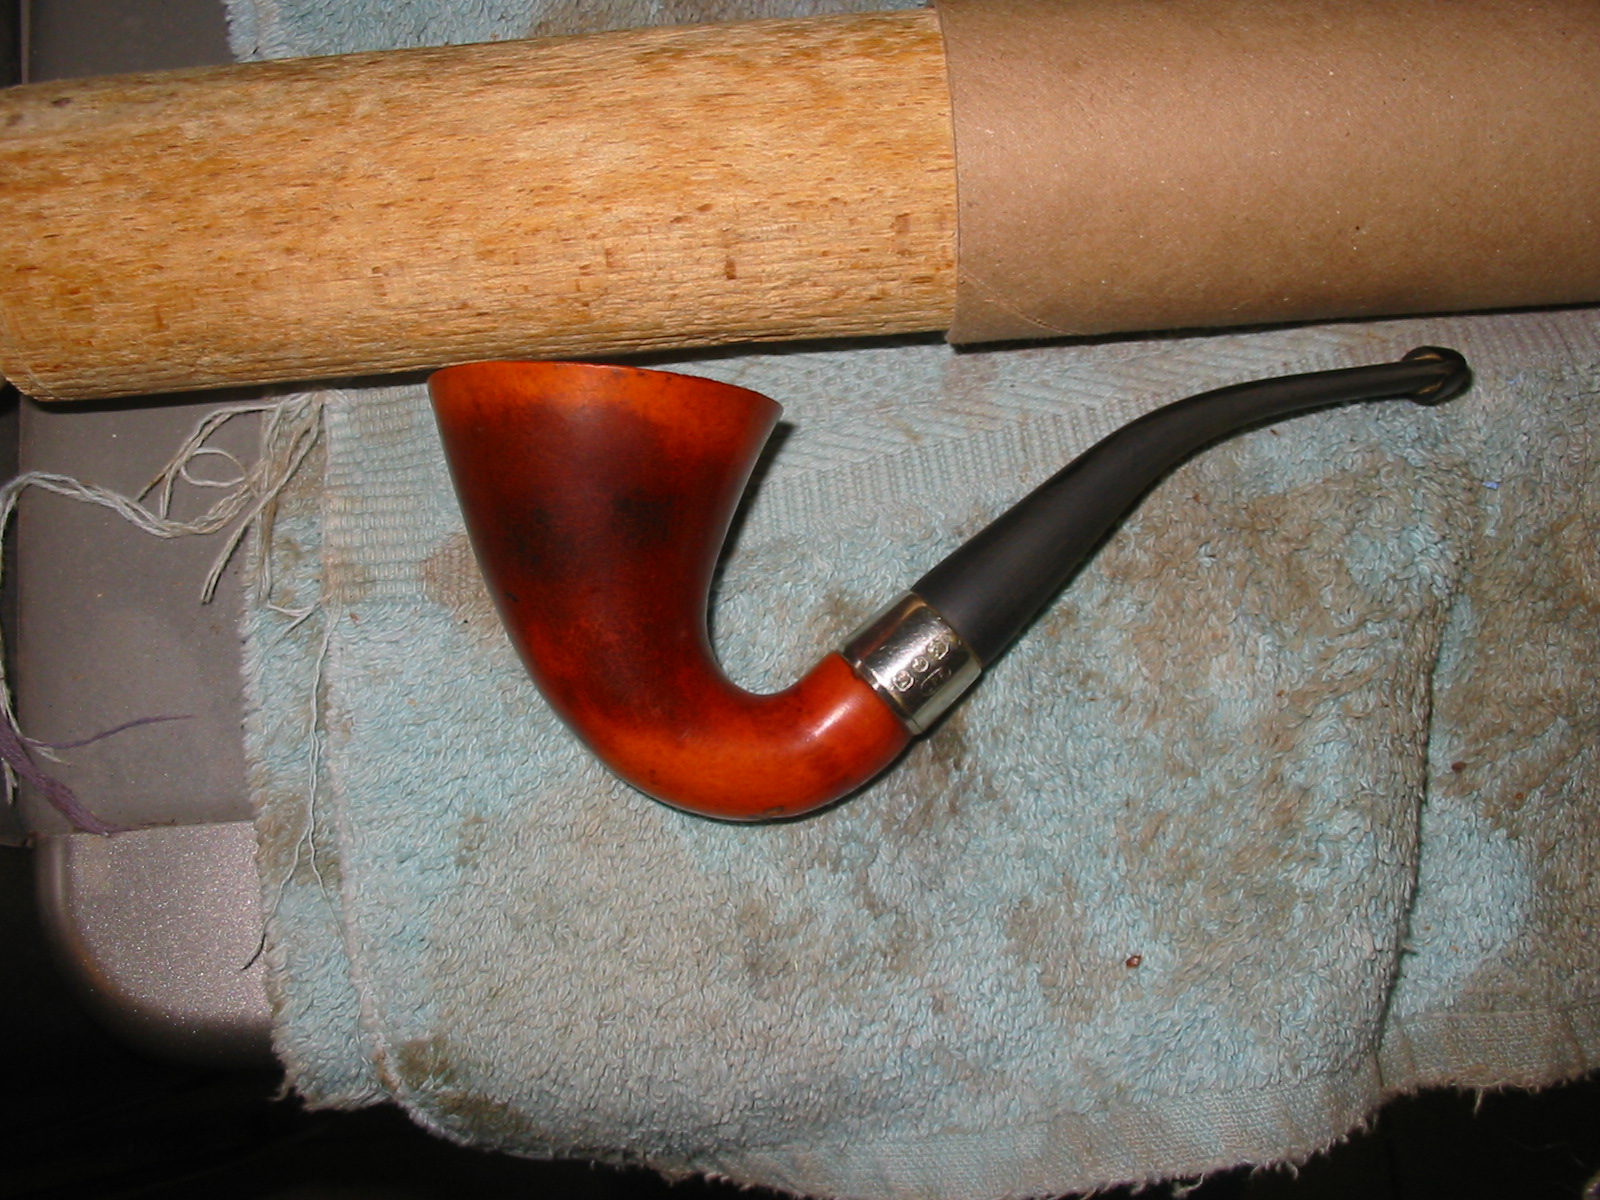
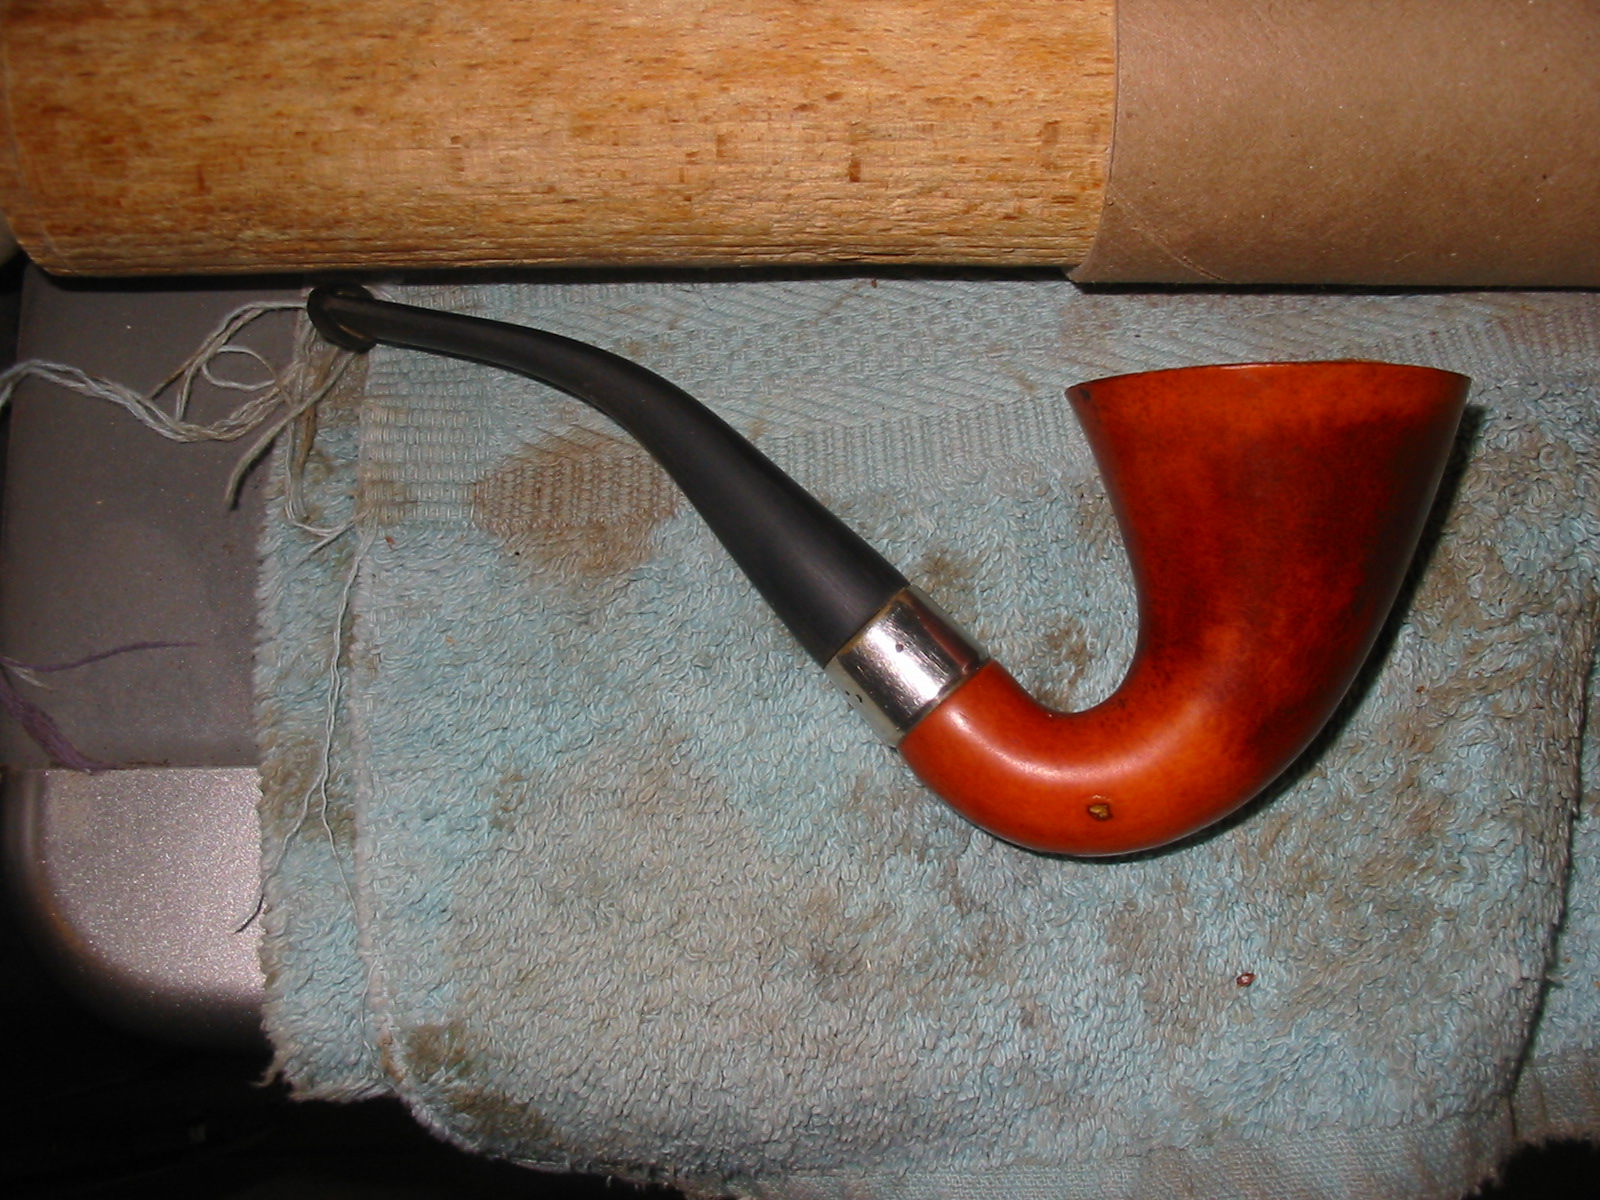
I sanded the stem with a medium and fine grit sanding sponge to remove the scratches left behind by the 220 grit sandpaper. I gave it a light buff with Tripoli on the wheel and then set up a heat gun to bend the stem. I held the stem about three inches above the heat and moved it around as it heated. I have learned that to leave it in one place as you heat it can damage the vulcanite and create more work. Once the stem was pliable I bent it over a wooden rolling pin that I use for that purpose. Lately I slid a cardboard tube over the pin to give a softer, smoother surface to bend the stem over. I had to do it twice to get the bend correct. It takes a bit longer to heat the thicker portion of the stem that needed to be bent so the repeated step made that possible.
IMG_6777

IMG_6778
The finished bend is shown in the next two photos. I still needed to polish the stem before it was finished but the finished look is beginning to appear. The calabash is just about reborn.
IMG_6779

IMG_6780
I removed the stem and worked on it with the sanding sponges and the micromesh sanding pads. I wet sanded with the 1500-2400 grit pads and dry sanded with the 3200-12000 grit pads. Between the wet and dry sanding I rubbed the stem down with Meguiar’s Scratch x2.0 and then buffed it with White Diamond. I finished the sanding and then rubbed the stem with Obsidian Oil. Once it was dry I gave it a quick buff with White Diamond and then gave it multiple coats of carnauba wax and buffed it with a soft flannel buff.
IMG_6782

IMG_6783

IMG_6784
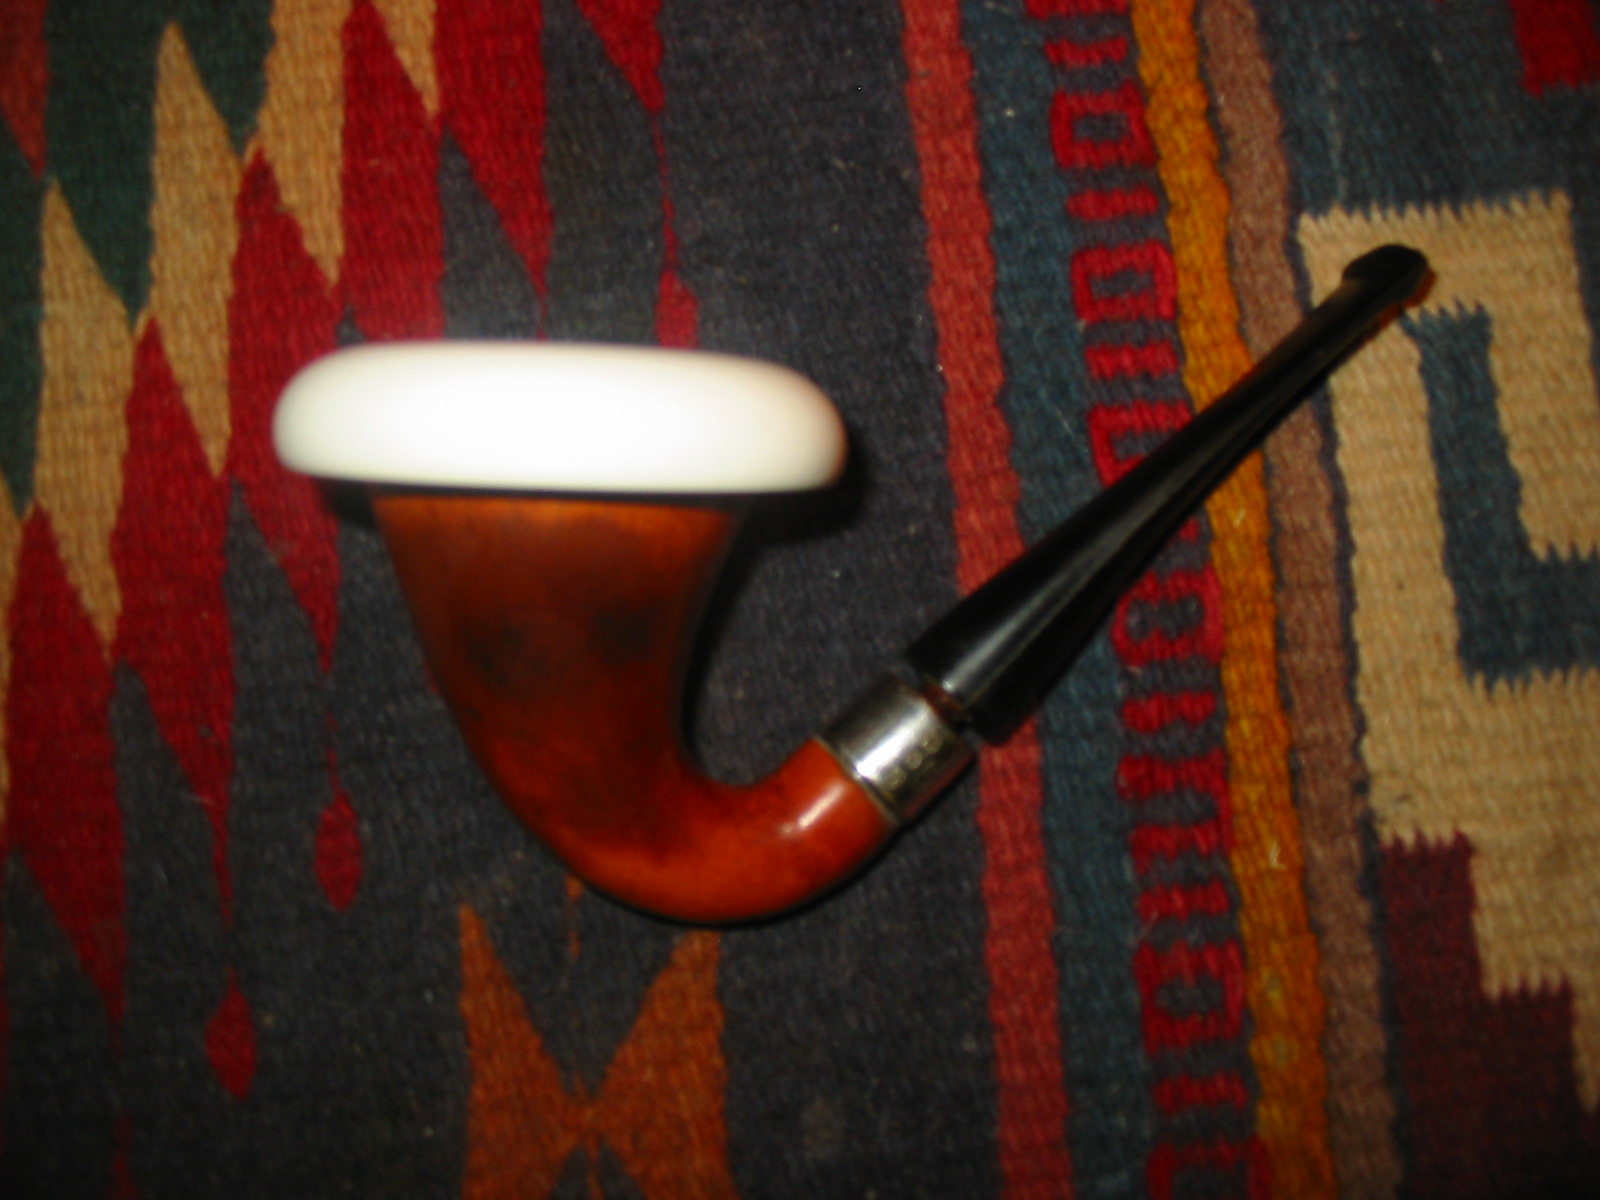
I scrubbed the surface of the gourd with Oil Soap and a light sanding with the fine grit sanding sponge to remove some of the deeper grime and oils in the gourd. I then applied several coats of Paragon Wax and hand buffed the gourd with a shoe brush to raise a shine. I polished the silver band with some silver polish and then reinserted the stem. I gave the whole pipe a final buff with the brush before setting the meerschaum cup in place. The finished pipe is shown in the photos below. It is a deep bowl and should hold a good pack of tobacco. The broad mushroom cap of the meerschaum cup looks good to me. The pipe is ready for its inaugural smoke. Now the only problem remaining is what tobacco to use to christen this restored calabash. Ah well that will sort itself out soon enough. Time to post this on the blog.
IMG_6785

IMG_6786

IMG_6787

IMG_6788

Kaywoodie Rustica Repaired and Refurbished


When I first saw this pipe it was on Pipe Smokers Unlimited online forum and Bill was lamenting the fact that when he was trying to unscrew the stem the shank had broken. The stinger was welded in place in the aluminum mortise insert and in twisting the stem it broke. What was odd was that the stem freely spun around on the stinger so evidently the glue had loosened enough to allow it to turn without it coming off. Bill posted these two photos on-line and asked for help.

It looked to me that there was darkening around the area of the break which suggest from the photos that a potential burn through was happening. The break was clean and the two pieces lent themselves to a potential repair. The metal shank insert would serve to strengthen the repair from the inside so I suggested that Bill put a silver band on the pipe and the combination of the internal metal tube and the band would provide stability to the repaired shank.
20140430_114107

20140430_114121
Bill thanked me for the suggestion and then shortly sent a message that the pipe was on its way to me and it was now mine.

When the pipe arrived it was indeed a clean break. The darkening on the shank near the break was not a burn through waiting to happening it was merely darkening. There were other spots on the pipe that makes me think that it was part of the finish. I took the pipe to the work table and tried to remove the stem from the piece of the shank. It did indeed freely twist in the mortise but the stem would not turn. The stinger stayed stationary while the stem turned. I used some WD40 to try to loosen the tarry build up on the stinger and penetrate into the joint. I let it sit and it still did not move. I thought about what to do next so I cleaned up the stinger and then used a Bic lighter to heat up the end of the stinger. My thinking was that the heat on the metal would also warm the tars that bound the stinger to the mortise. It worked better than I expected and in short order the stem was free. The bonus was that the glue that held the stinger in place in the stem also heated and when it cooled the stem no longer spun on the stinger.
IMG_6729
I cleaned up the broken ends of the shank and the visible end of the metal insert with acetone and qtips (cotton swabs) and then dried it and cleaned it again with isopropyl alcohol. I mixed up a two part epoxy and applied it to both sides of the broken shank and around the end of the inserted mortise. When the glue was tacky I pressed the two parts into place and held them tightly until the epoxy was initially set. That usually takes 3-5 minutes with the brand of epoxy that I am using so it is not a terribly long wait. I keep the pressure firm so that there is no give in the bond. I need to pick up some clamps that allow me the freedom to press it together and set it aside but I do not have them at the present. Before the epoxy dried hard I cleaned up the slight seepage at the joint with a soft cloth.
IMG_6730
After the epoxy had cured several hours I put wood glue on the outside of the shank and pressure fit a nickel band in place on the shank. The band was not overly deep so it did not obscure the stamping on the underside of the shank and also did not go too deeply into the rustication on the shank. It extended just beyond the deepest point of the break. The combination of the band and the internal mortise would strengthen the repair. The next series of photos show the repaired shank with the band in place.
IMG_6731

IMG_6733

IMG_6734

IMG_6736

IMG_6737
With the shank repair finished it was time to clean up the rest of the pipe. I reamed the bowl with a PipNet pipe reamer to take the cake back to the briar. I wanted to examine the walls of the bowl for potential damage so this was my means of doing so. There was a slight burned area on the inside edge of the rim at the back of the bowl that would need some attention. I used a brass tire brush to scrub the top of the rim as well as the inner edge to clean off the tars and carbon buildup. The soft brass bristles work very well with a rusticated finish. I was able to clean up the rim quite nicely with the brush.
IMG_6738

IMG_6739
The exterior of the bowl had a thick coat of urethane on it that gave it a permanent shine. I tried to remove it with acetone but it did not even scratch the surface of the finish. I used several solvents and was not able to remove any of the finish so I decided to leave it alone. I used a lighter to brush flame over the rest of the bowl to further darken the crevices and grooves in the finish to highlight them. This seemed to work very well. I restained the rim with a dark brown aniline stain and repeated it until the surface was well covered. I wiped it down with alcohol on a cotton pad to thin it to match the colour of the bowl and then flamed the surface to darken it slightly. I finished by taking the bowl to the buffer and buffing it lightly with red Tripoli and White Diamond to polish and give the rim the same shine as the bowl.
IMG_6740

IMG_6741

IMG_6742
With the work on the bowl finished it was time to address some of the issues with the stem. There was light tooth chatter on the top and bottom of the stem next to the button and there was a slight oxidation to the overall stem. I cleaned out the internals of the stem and the stinger with isopropyl alcohol and pipe cleaners until I had removed all of the buildup inside. Then I sanded the stem with 220 grit sandpaper and a medium and fine grit sanding sponge to remove the tooth chatter and then followed that with my usual regimen of micromesh sanding pads. I wet sanded with the 1500-2400 grit sanding pads and dry sanded with the 3200-12,000 grit pads. I rubbed the stem down with Obsidian Oil.
IMG_6743

IMG_6744

IMG_6745
When the stem was dry I buffed it with White Diamond. I polished the nickel band with the higher grades of micromesh sanding pads and then silver polish. I put the pipe back together and gave it a light buff with White Diamond. I applied carnauba to the bowl and stem to protect and preserve the stem and rim. I was pretty certain that the hard finish on the bowl would last longer than I would so it did not need a lot of wax. The finished pipe is shown below. The shank repair is very stable and solid so I think the pipe will provide many more years of service. Thanks Bill for the challenge and the gift you sent my way. It is greatly appreciated.
IMG_6771

IMG_6772

IMG_6773

IMG_6774